Rob S
-
Posts
339 -
Joined
-
Last visited
Content Type
Profiles
Forums
Gallery
Events
Everything posted by Rob S
-
 Ok, time to move onto the second layer of planking above the waterline. Right at about 30 days to lay the ‘copper’.
-
Thanks Emmet and Nirvana for your advice. As I begin transitioning to the second planking, I think I’ll start with soaking the pieces longer and apply other techniques if they become necessary.
-
Very informative log with a beautiful ship. Thanks for sharing the journey with us! Rob S
-
I've just shaped and attached the keel wooden strip after soaking it in warm water for 15 minutes and bending it with a heated plank bender. The wood material was walnut, 5mm wide by 2mm in depth. It was difficult to shape. Any suggestions out there for shaping thicker planks? I'm thinking I should have left it in the water at least another 15 minutes. I've got the lower wales still to shape and want to minimize the chance of breaking/cracking the wood. Thanks in advance.
-
Have completed the bow area. Continuing to fill in the ‘copper’ plates in the stern area and beginning the rudder. The plates will be modified to the rudder shape after the glue has sufficiently dried. Will add the walnut strip to the keel shortly.

-
Filled in most of the spaces. Concentrating on the keel and prow areas. Will start the second row of the keel plates next. Then the bow, cleaning lines, filling in remaining spaces and sanding before beginning to work on the lower wales.

-
Very nice job on the planking; looks like no filler used on the first layer. Great looking ship!
-
Emmet - Looks like you are almost there. My approach was to modify the dry planks (e.g., taper), mark where they need to be curved with a pencil, then soak them for 10-15 minutes in warm water. I created a PVC tube the length of the longest planks so I could soak the entire plank. Once out of the tube, I have my heated plank bender (same as you have I believe) at full temperature and I then bend the planks to fit based on the pencil mark. Once curved, I later learned to adhere them to shape with nails - not to glue them while wet. Once dry, they will hold the shape at which time I glue them into place.
-
The bow is nearly finished with some filler plates to be added. I’ll be working the stern areas over the next several days before finishing up on the keel and stern/bow areas. Not perfectly symmetrical on starboard/port sides - but OK for this case.
-
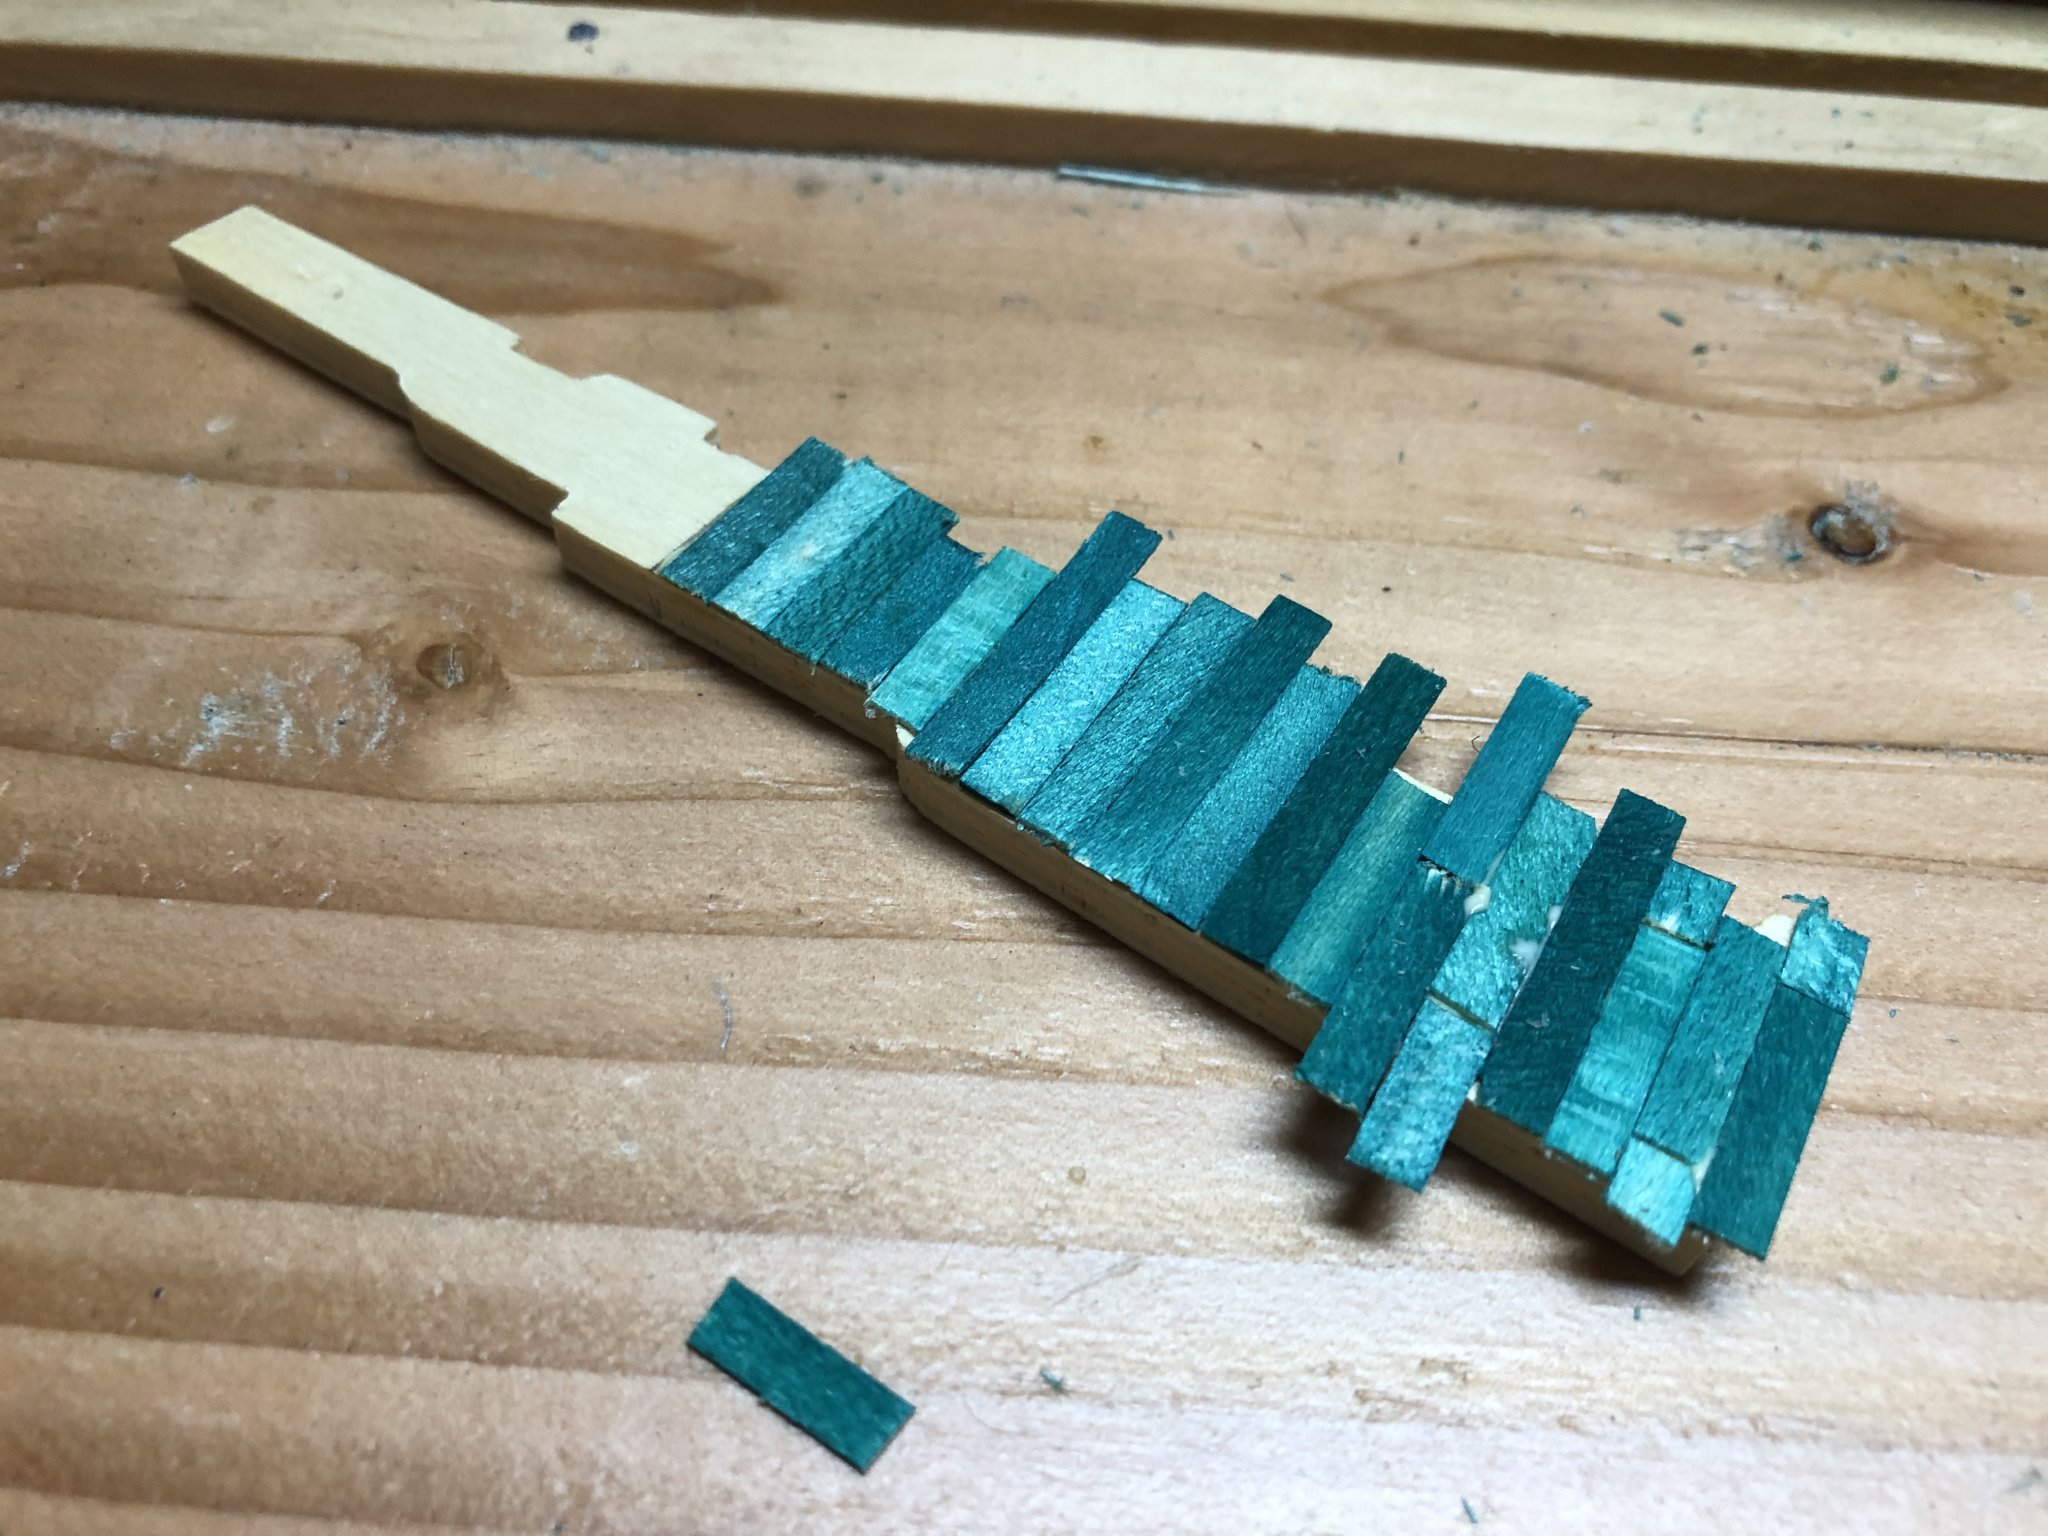
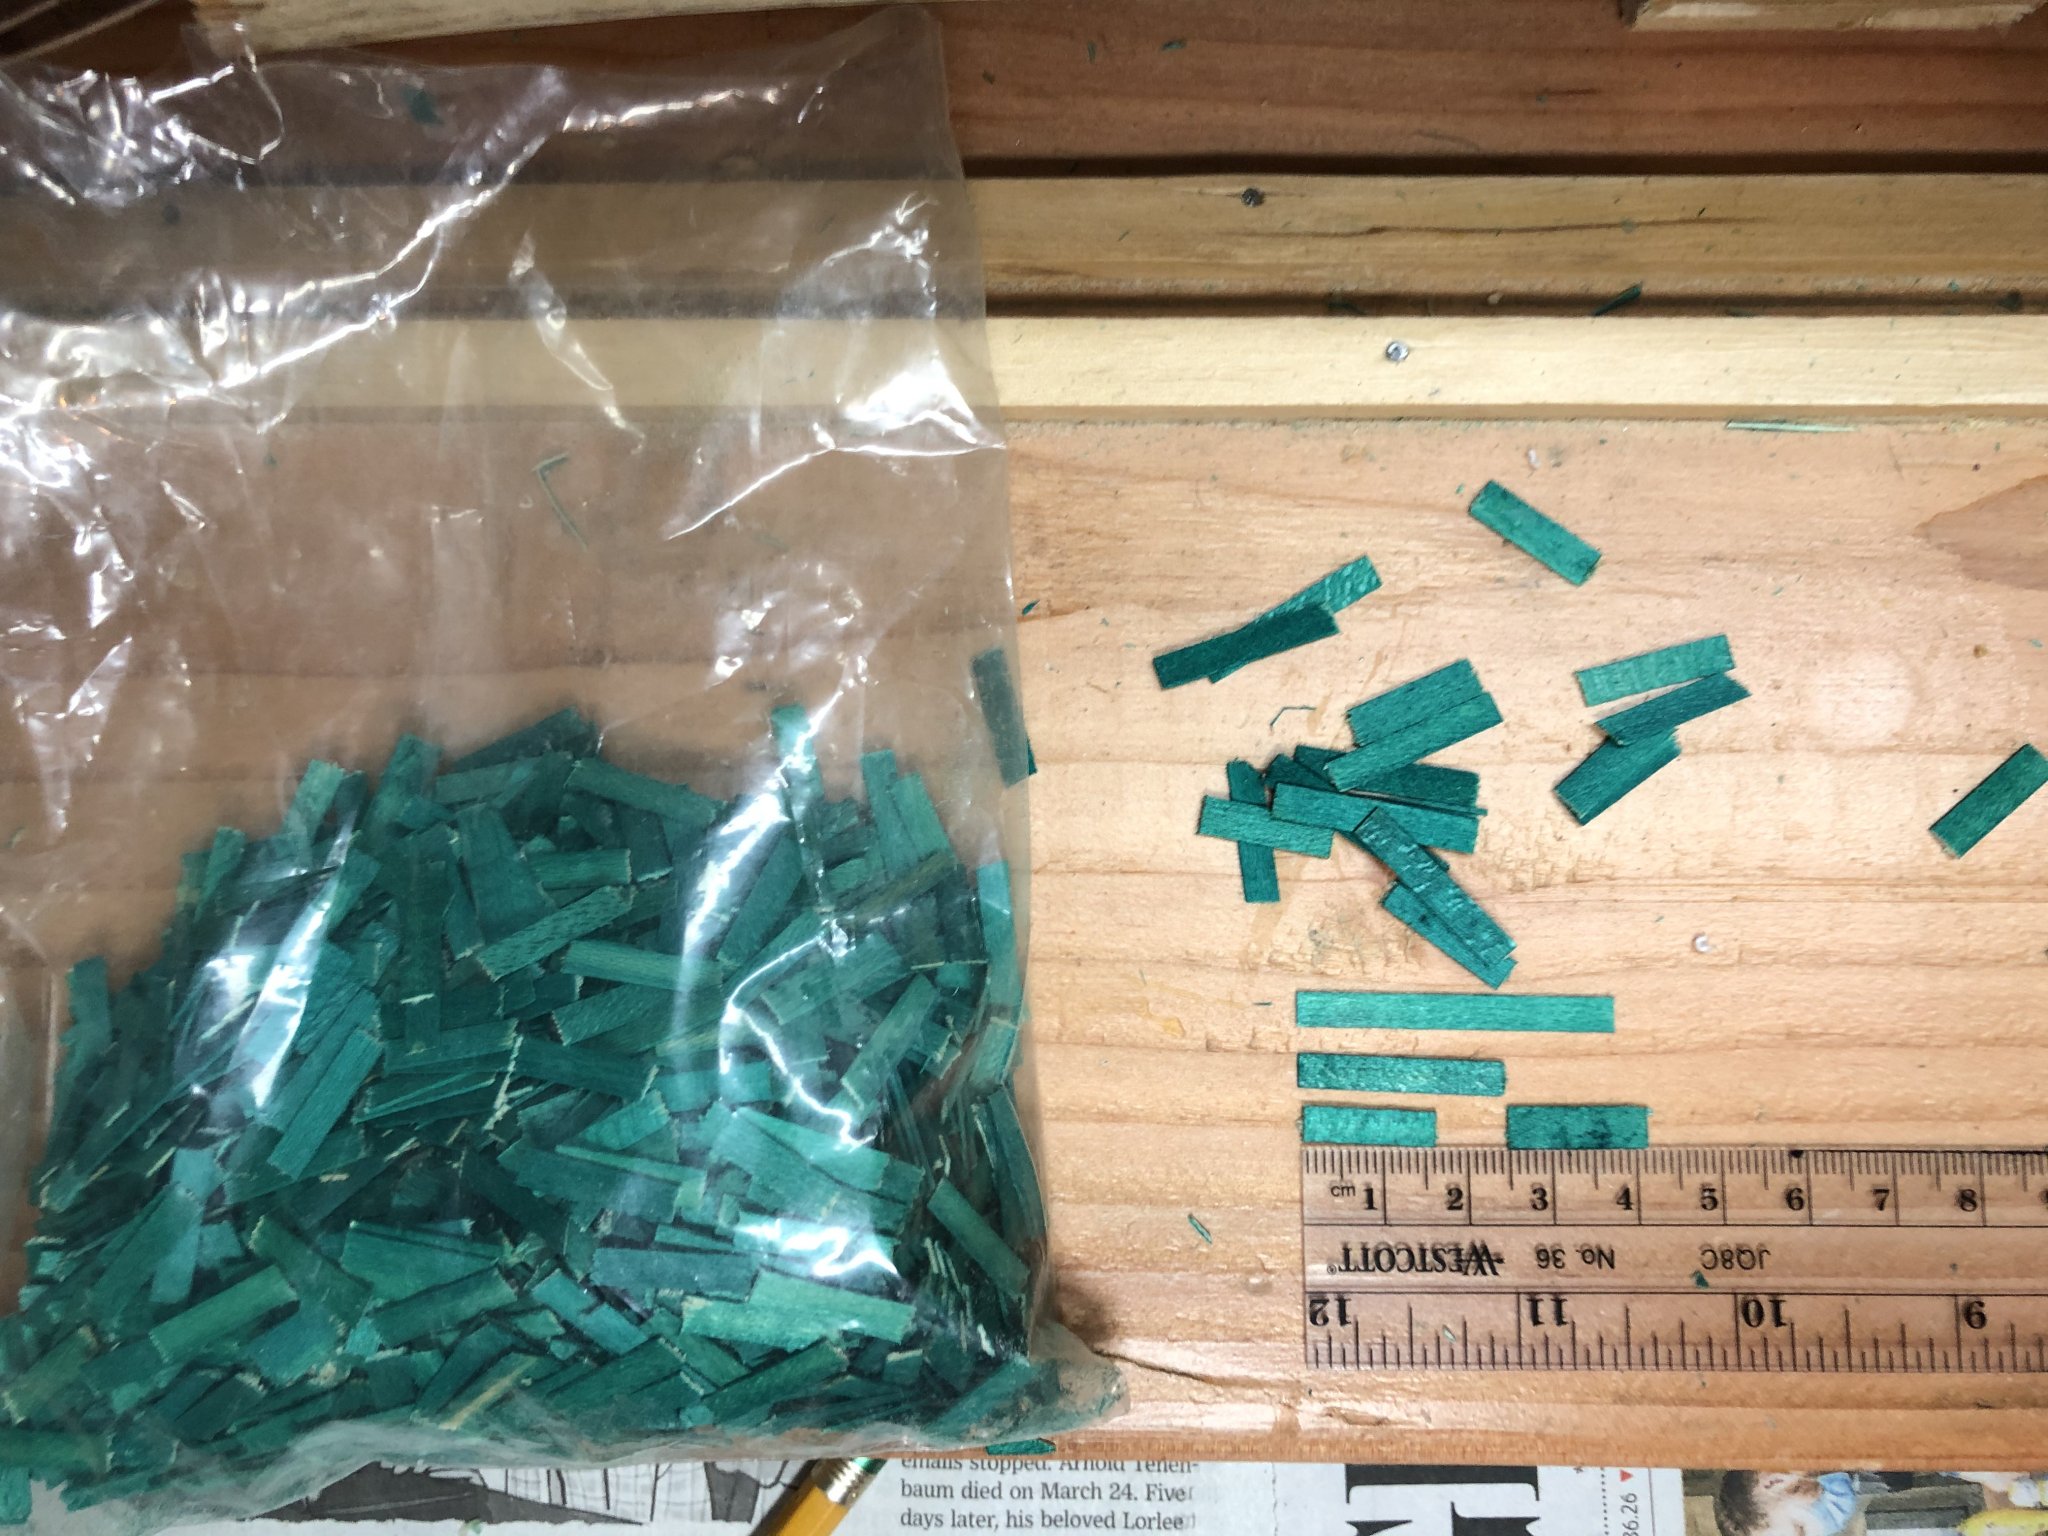
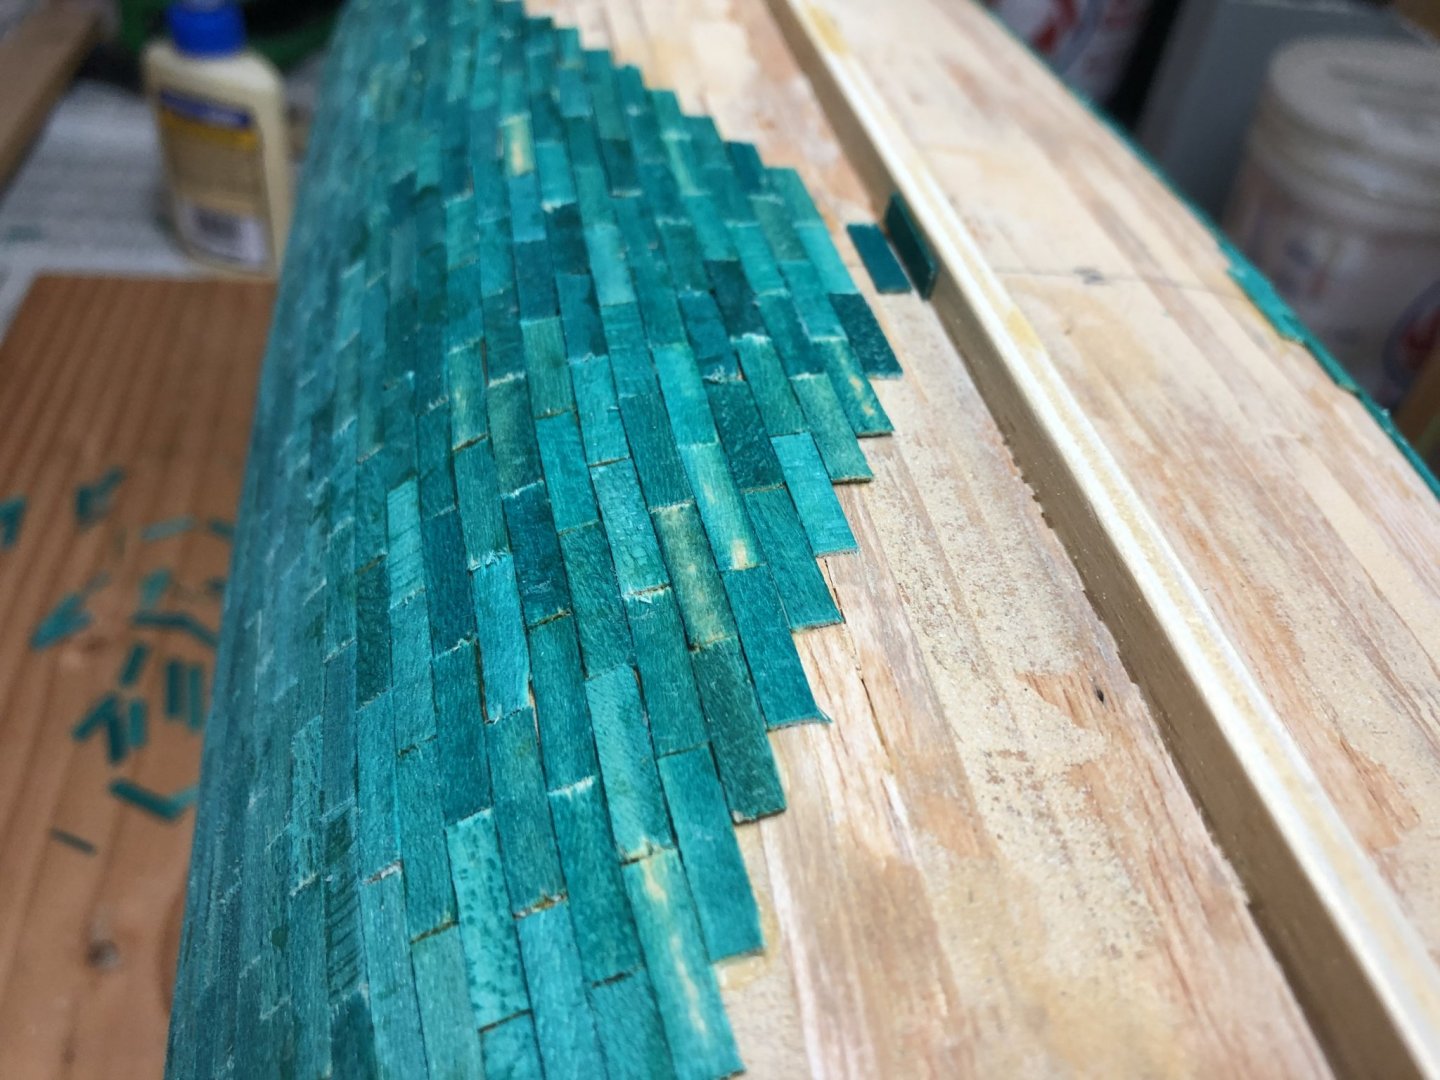
I’ve received several comments on the green copper tiles or ‘plates’ as described in the Mamoli instructions. While many of the craftsman in this forum have chosen to use substitute material (and I don’t blame them) for the copper plates used at/below the waterline, I’ve chosen to use the green wooden tiles/plates provided by Mamoli. You can see they come in various sizes to be used as fillers in some cases. Below is a picture of the tiles in their native form with some of the various shapes and sizes. Once covering the hull at the waterline and below, they can simply be painted copper or perhaps a mix of copper/green to show the hull in more of a used condition (I.e., in need of dry dock).

-
Love the weathering; quite the skill you have! Thanks for the detailed look behind the curtain!
- 358 replies
-
- 1
-

-
- occre
- santisima trinidad
- (and 1 more)
-
Not a problem. Mamoli provides these green tiles made of wood to imitate the copper tiles used on the actual ship. Mamoli states the ship scale negates the need to show the copper rivets. However, I’ve seen some copper plates that show the rivets fine. The tile color is meant to replicate the tarnishing effect of the seawater on the copper. I’m currently undecided on whether to paint them copper or some other blend of copper/green/brown to show the effects of the seawater. No need to cover them with anything but paint. I decided to stay away from the copper tape. Good question!
-
Progress as of today. Still have some gaps to fill in for the starboard bow section. The stern piece will follow after the port side bow area is complete. then the port side stern. Then the keel area/band. Fortunately these small green tiles are easy to modify.

-
Hello Mark - I just opened your log and after perusing it, I’m sure your Uncle would be very pleased at what you are undertaking. Anyone who’s worked on these great ships understand the huge time investment one makes, which is clearly the case for your Uncle. It looks to me like he left you a great place to start and you’ve taken it to heart; very well done! I’m so happy your Aunt did not throw the kit out! I’ve asked my son that if/when my ship is unfinished and I’m gone that he is to finish it and he has agreed. If that is ever the case, I would hope he would address it as you have. Thank you for allowing me to watch your journey! Rob S
-
She's looking good Henrik; very nice work! Great comment on how she looks with the naked eye vs. phone cameras.... I wince every time I look at my Vic because it looks like I have a lot more filling/sanding to do on the hull!
-
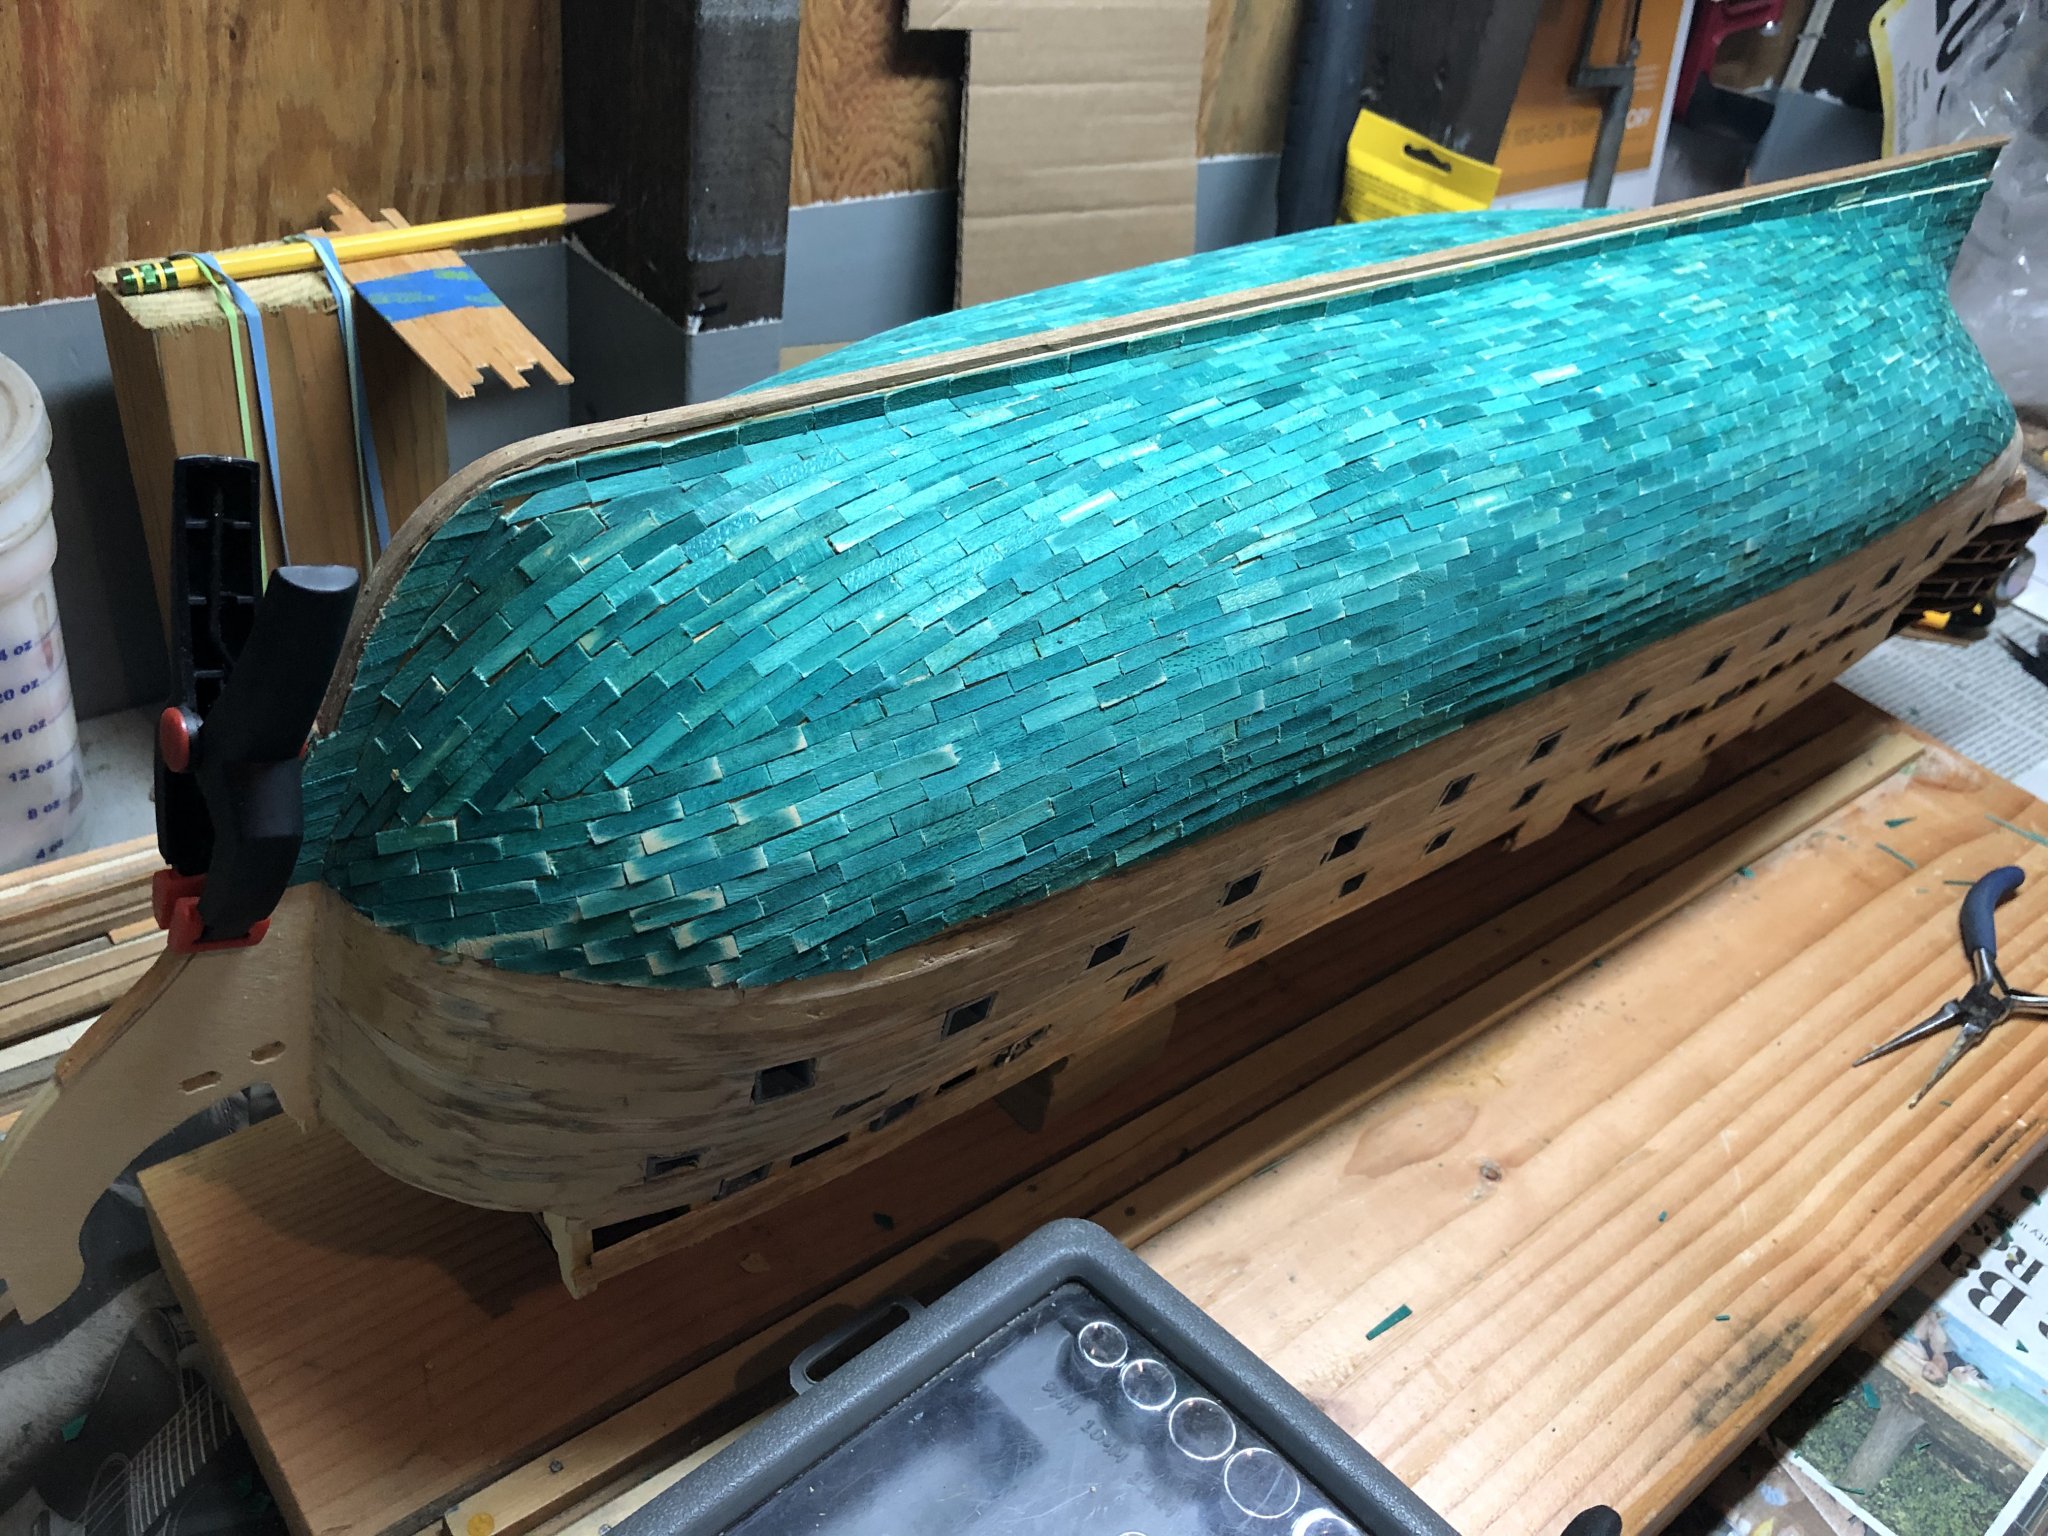
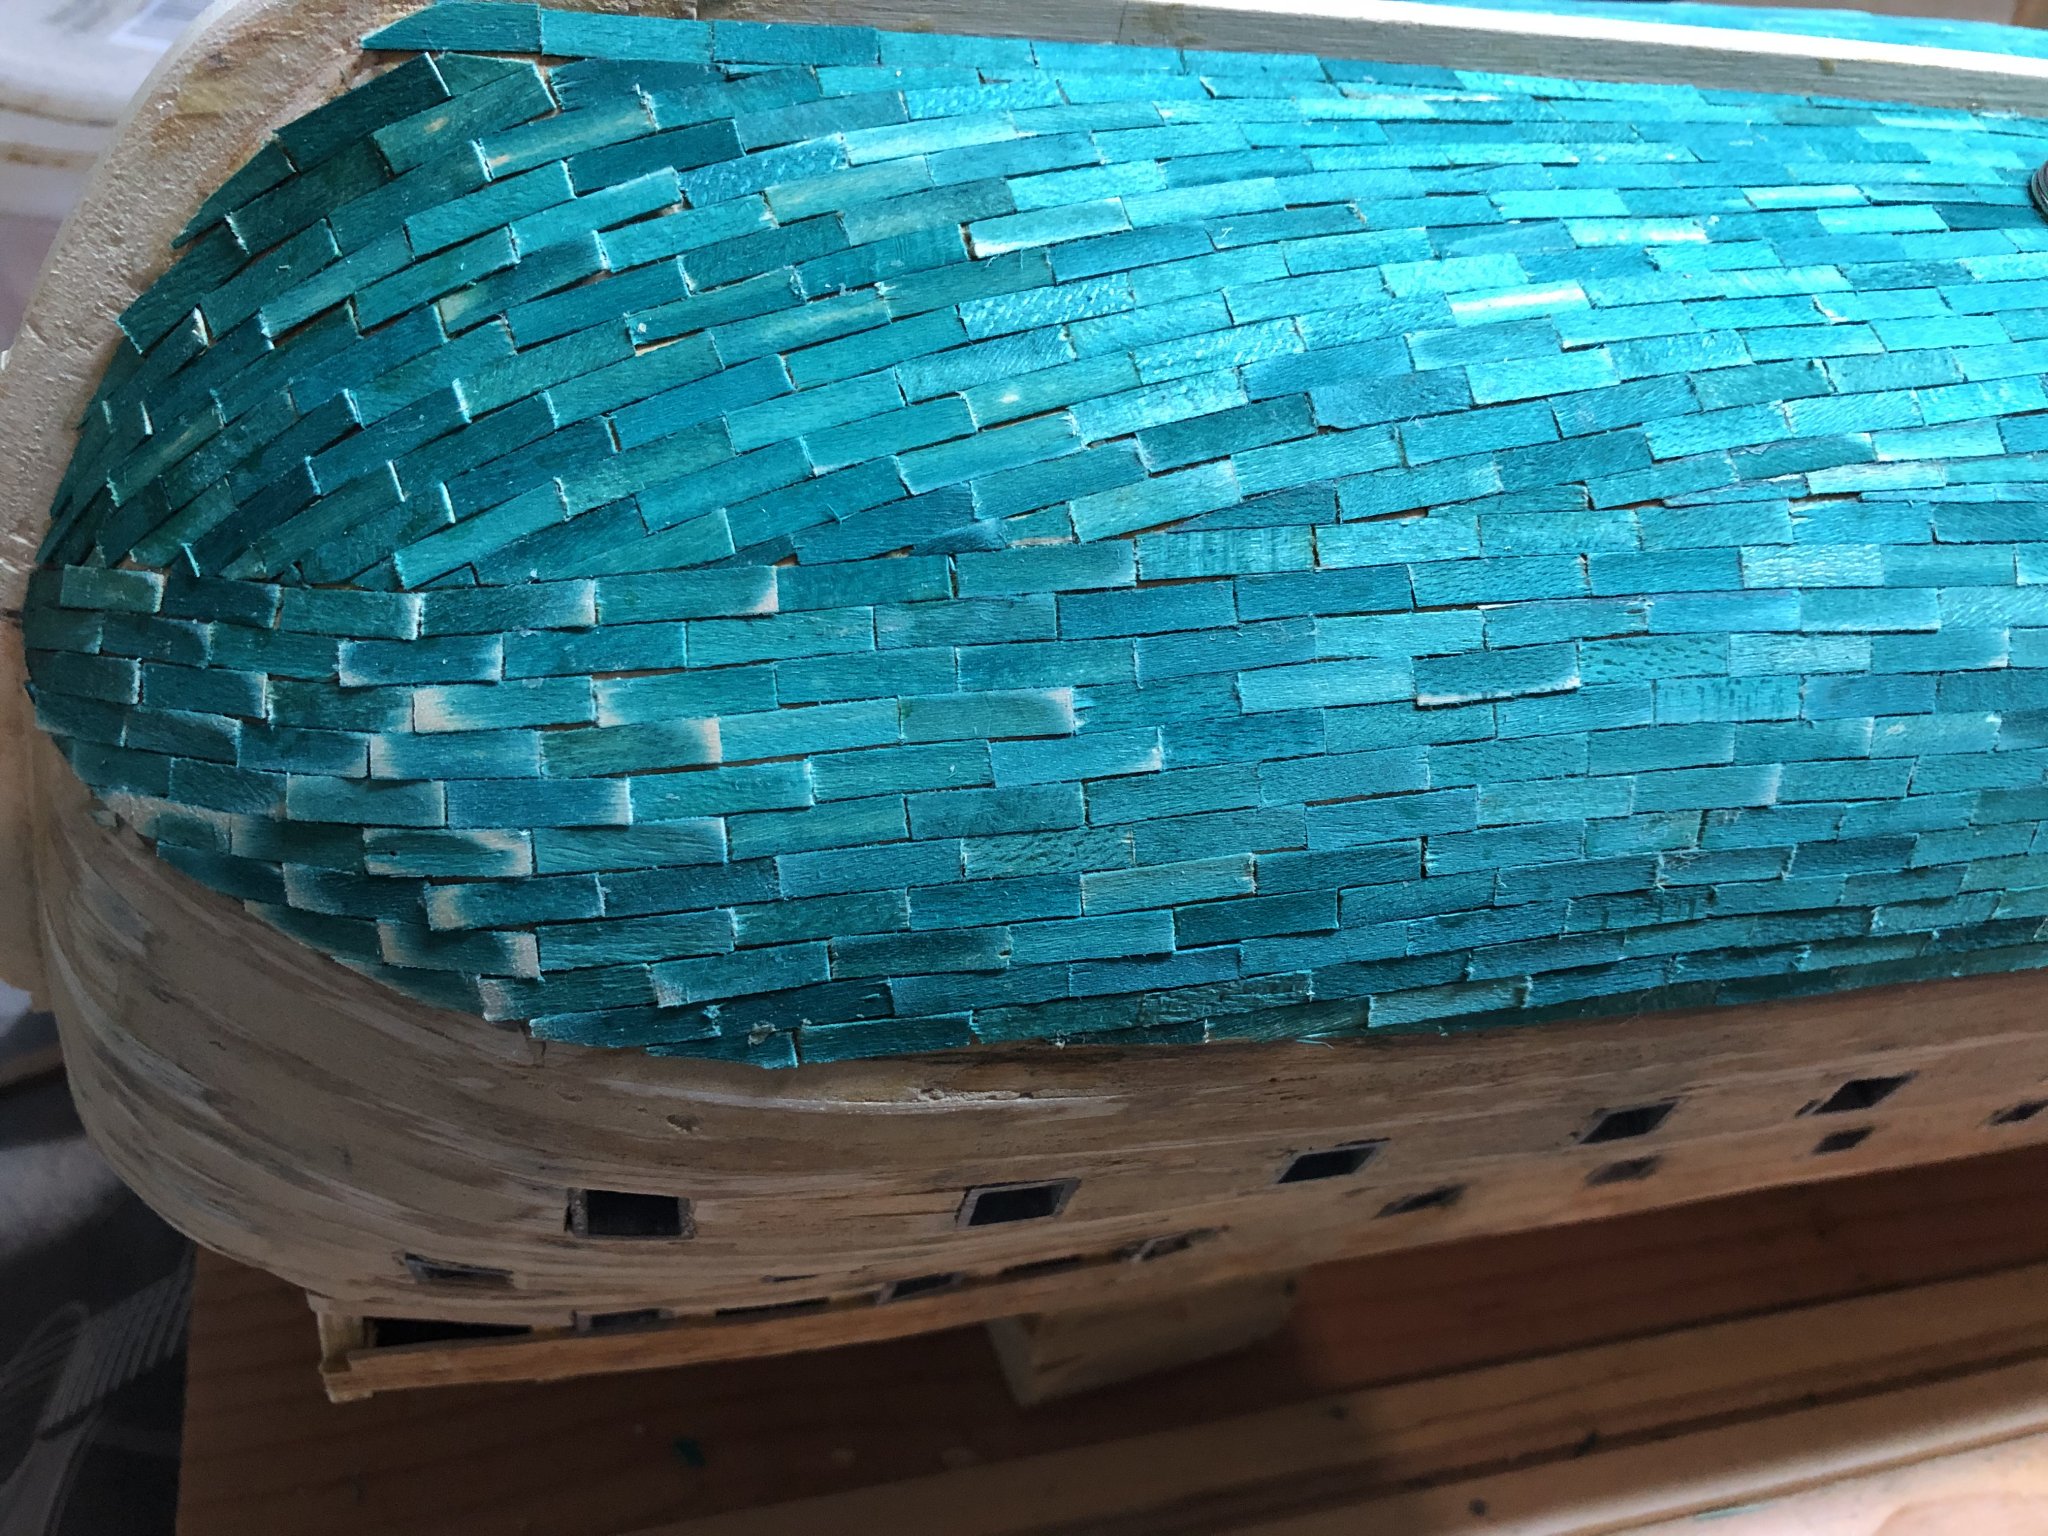
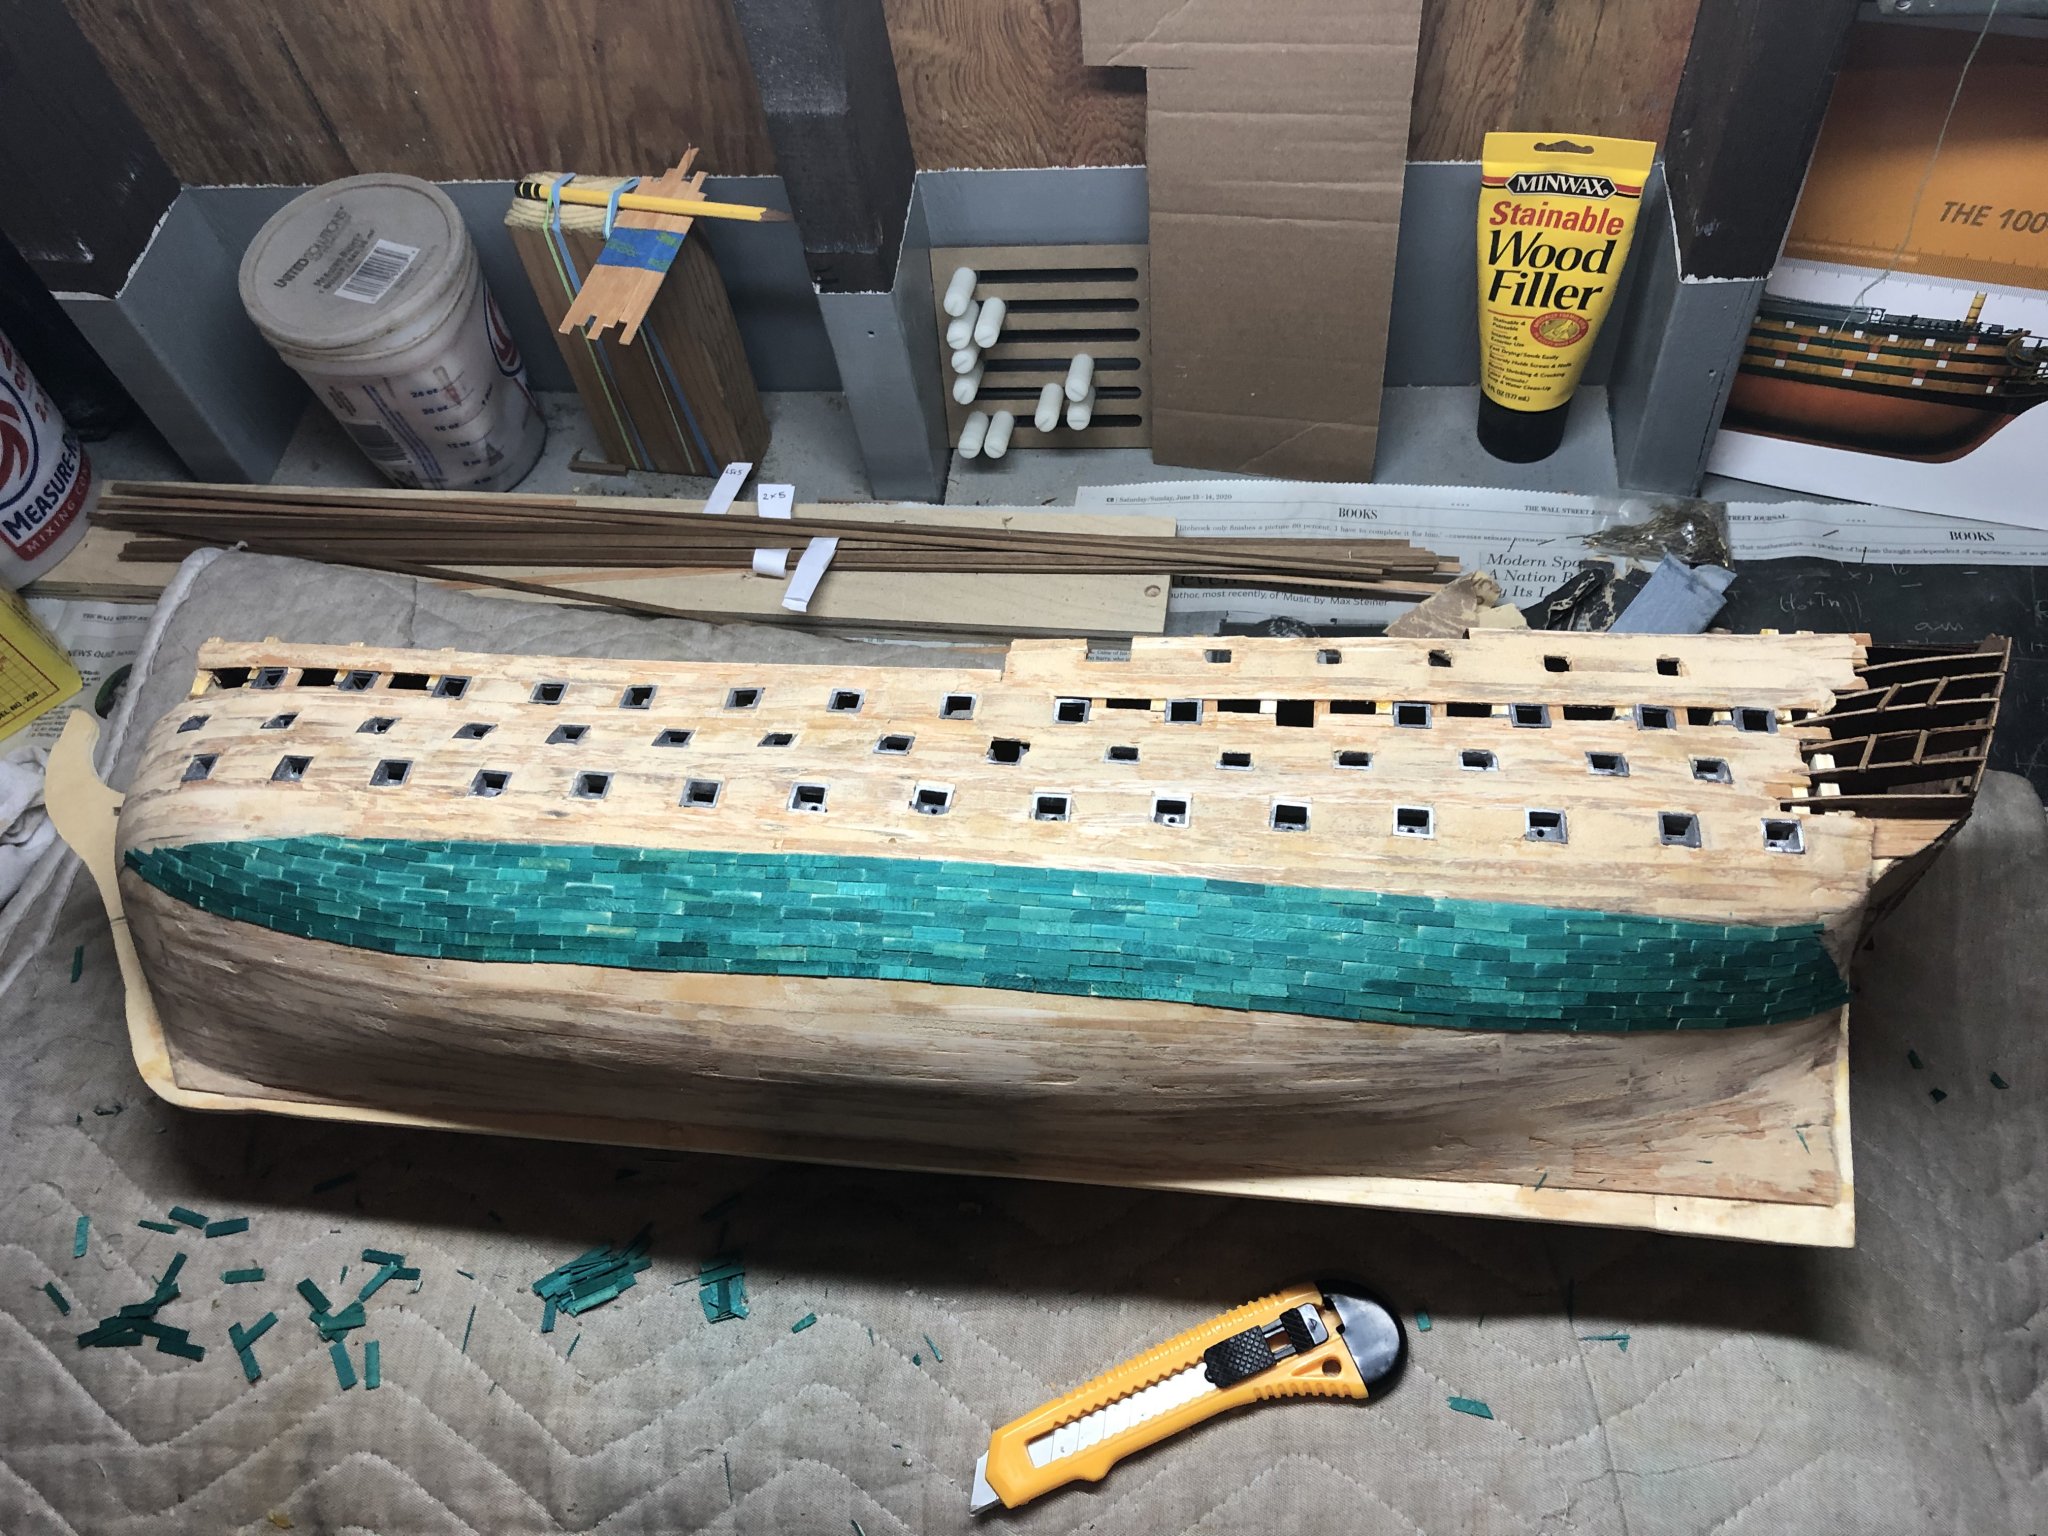
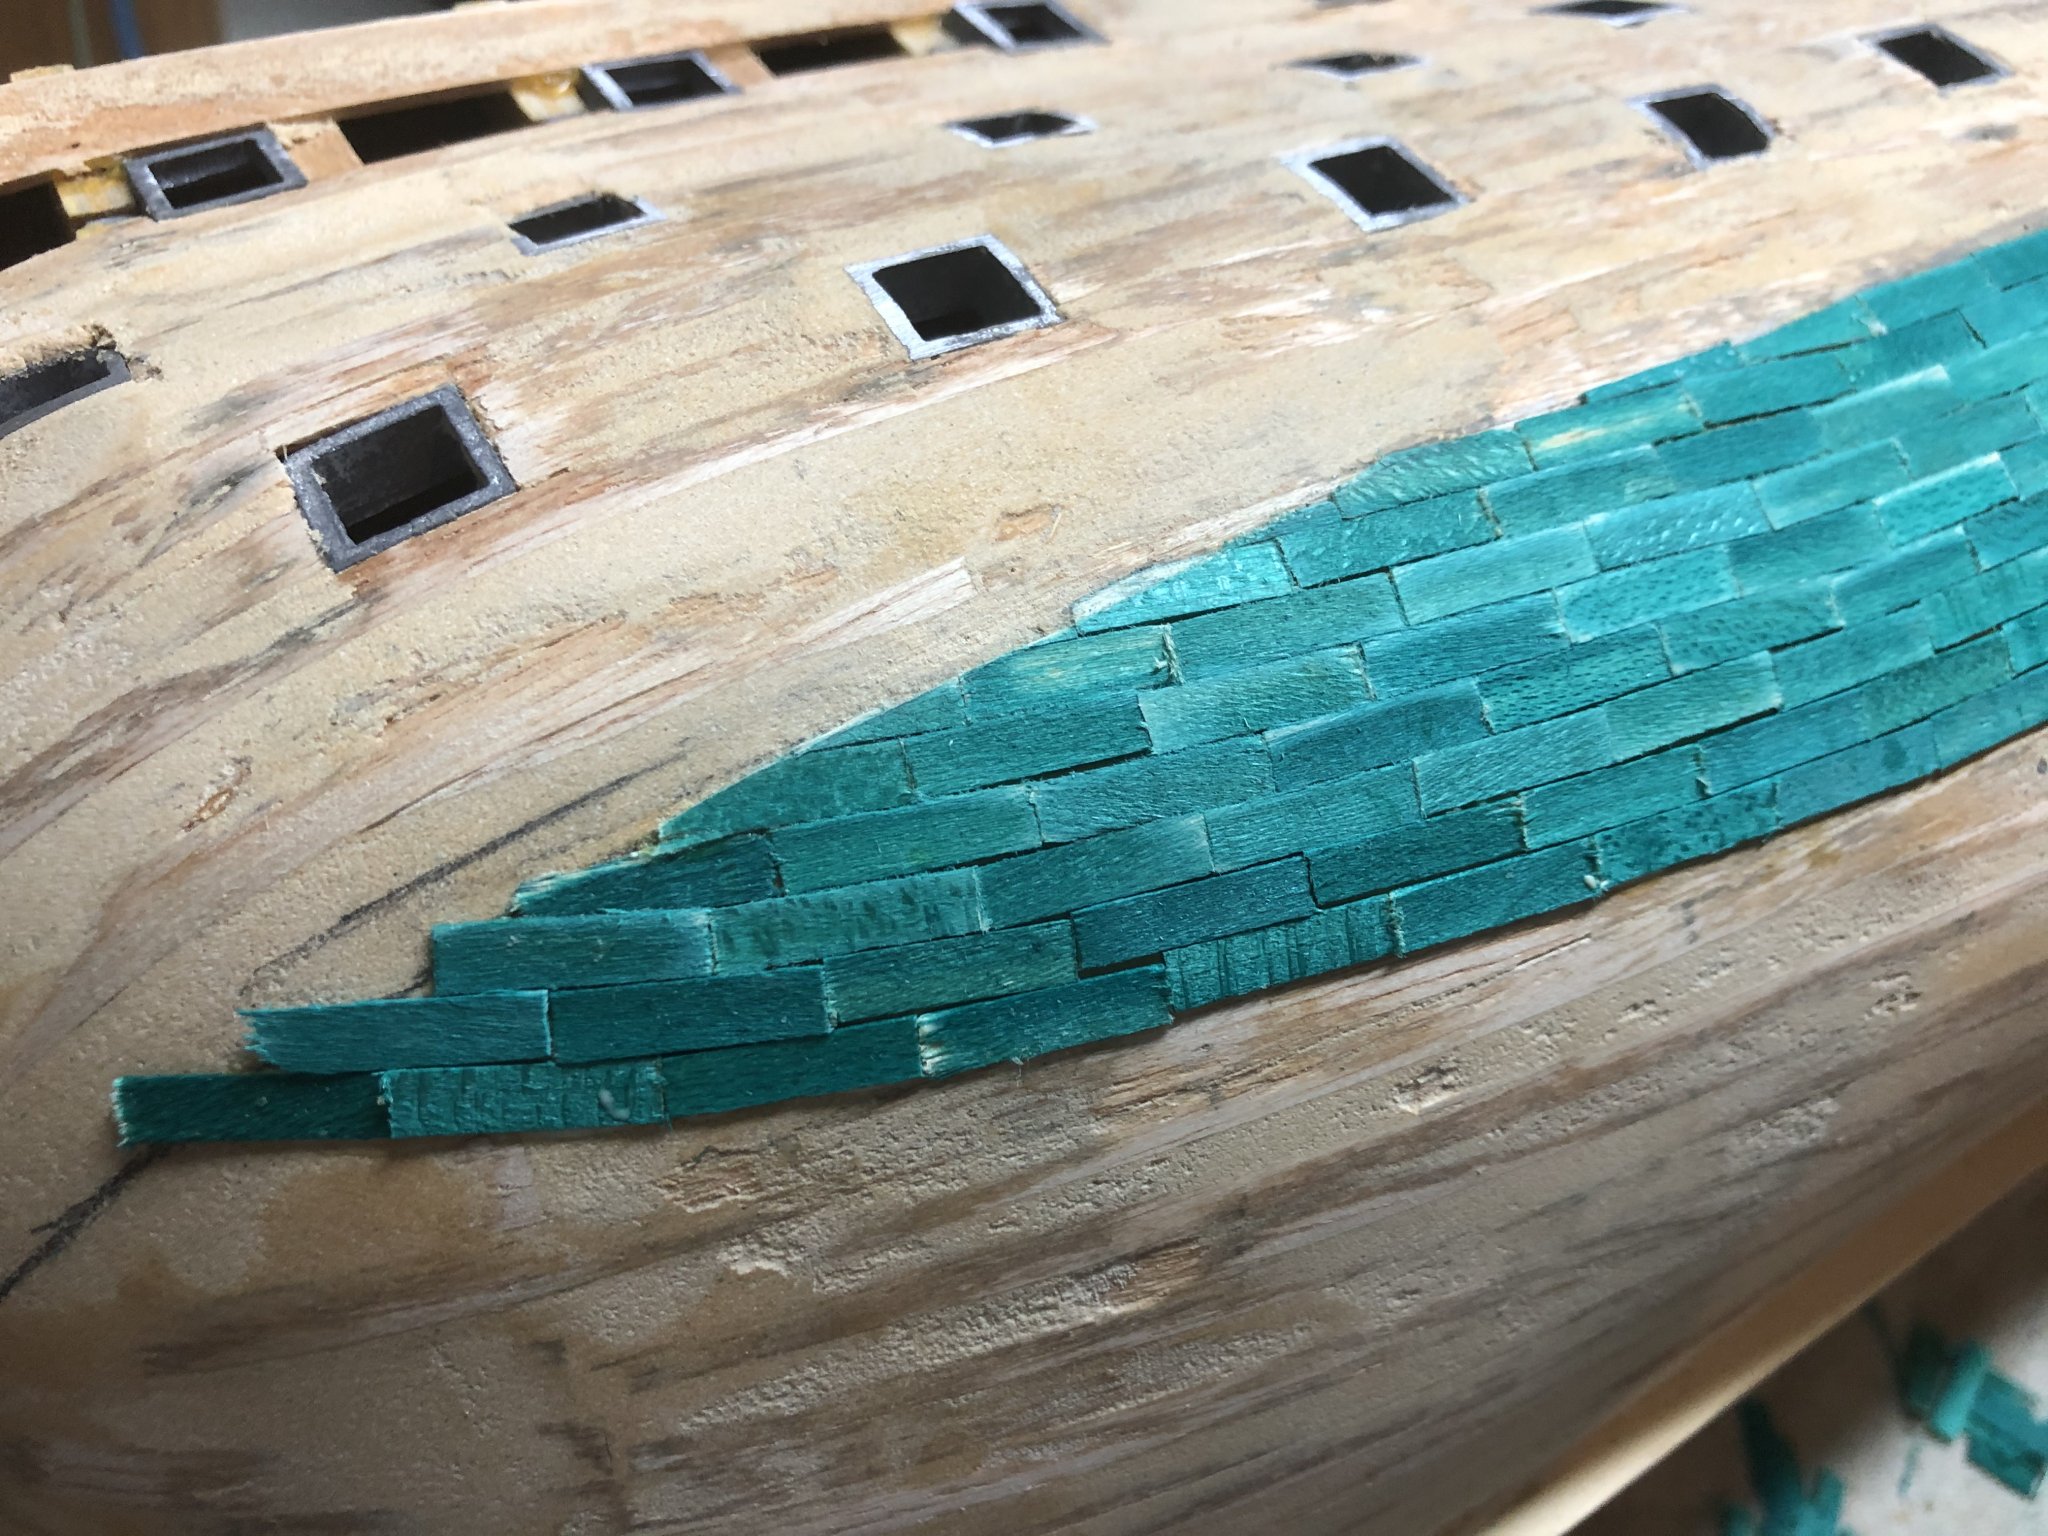
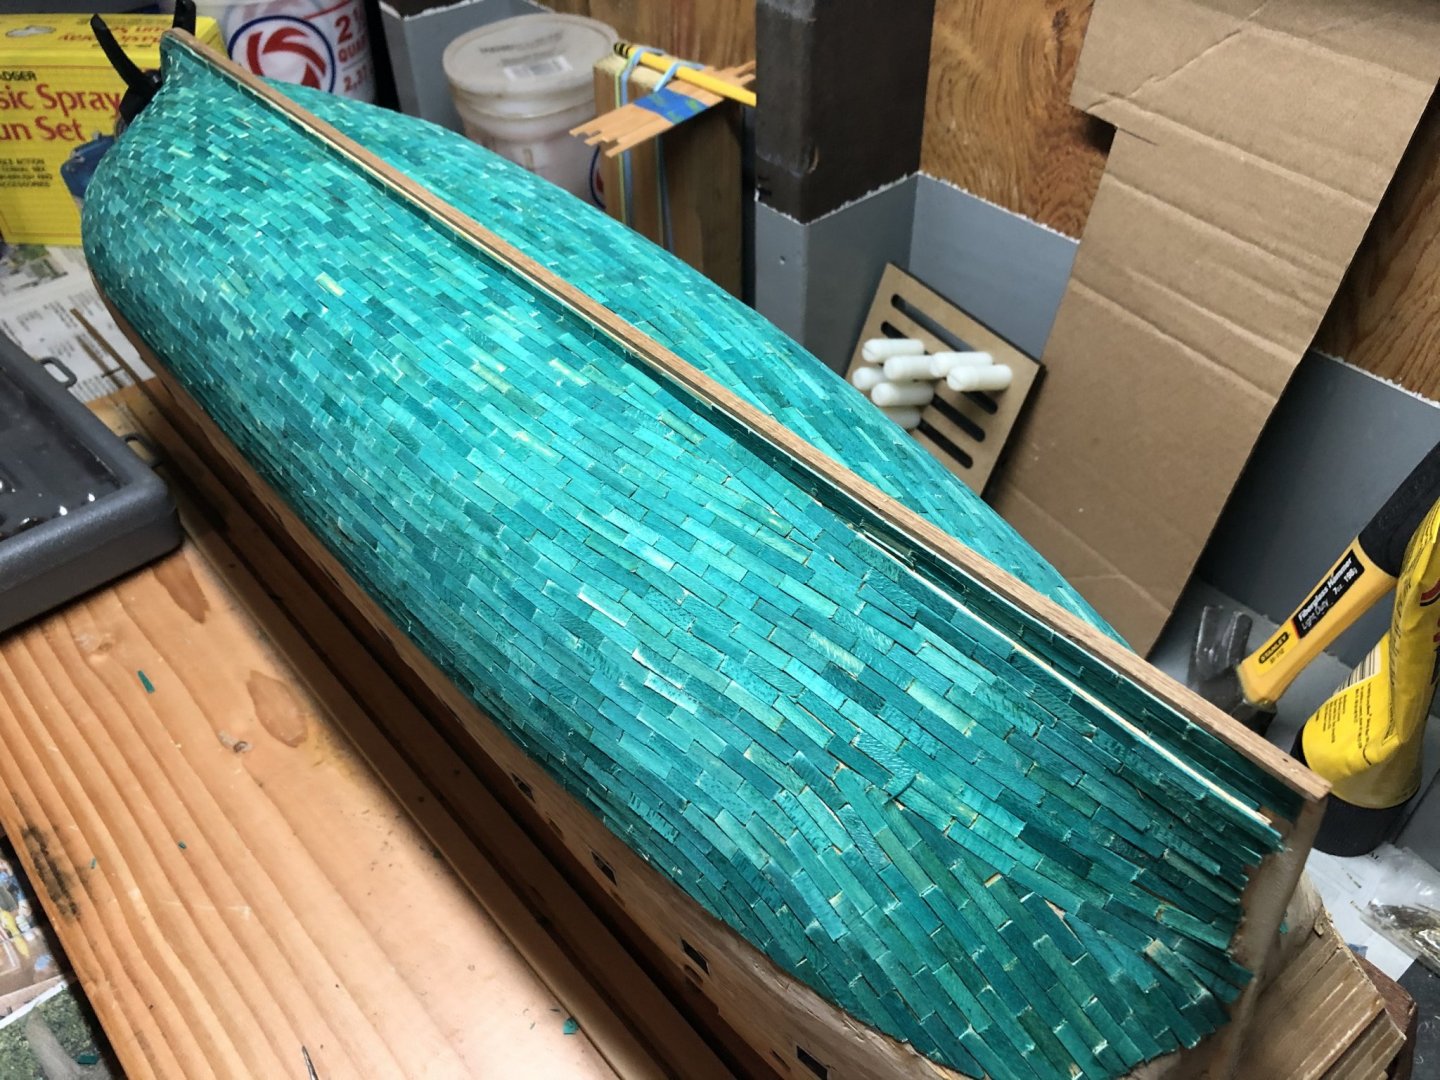
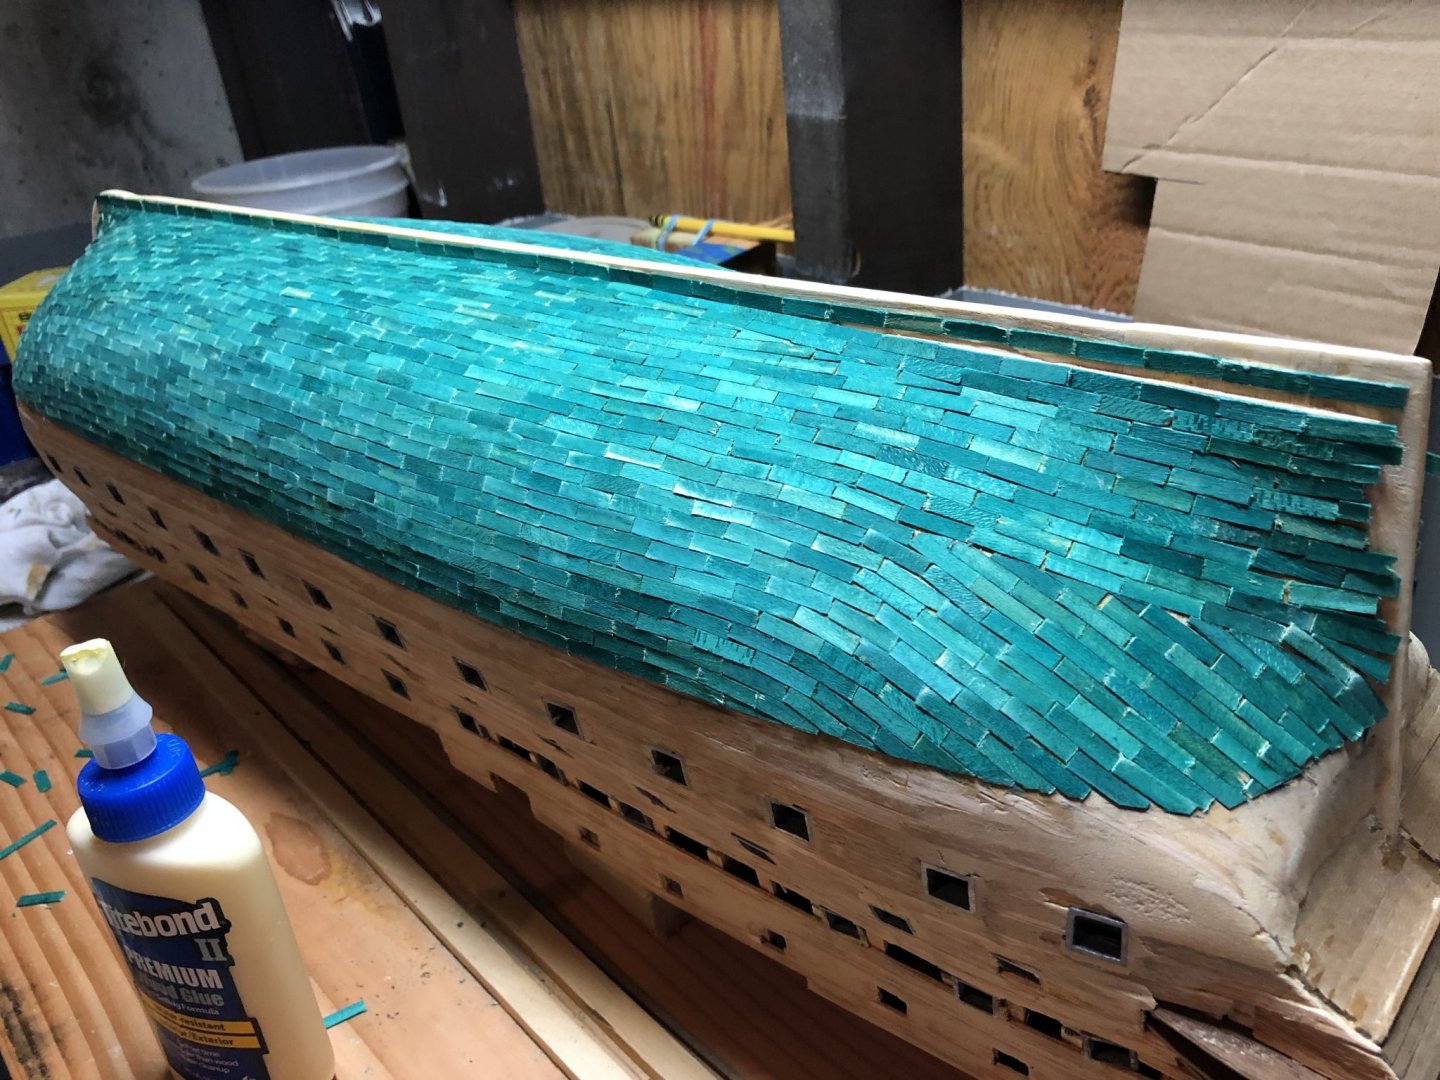
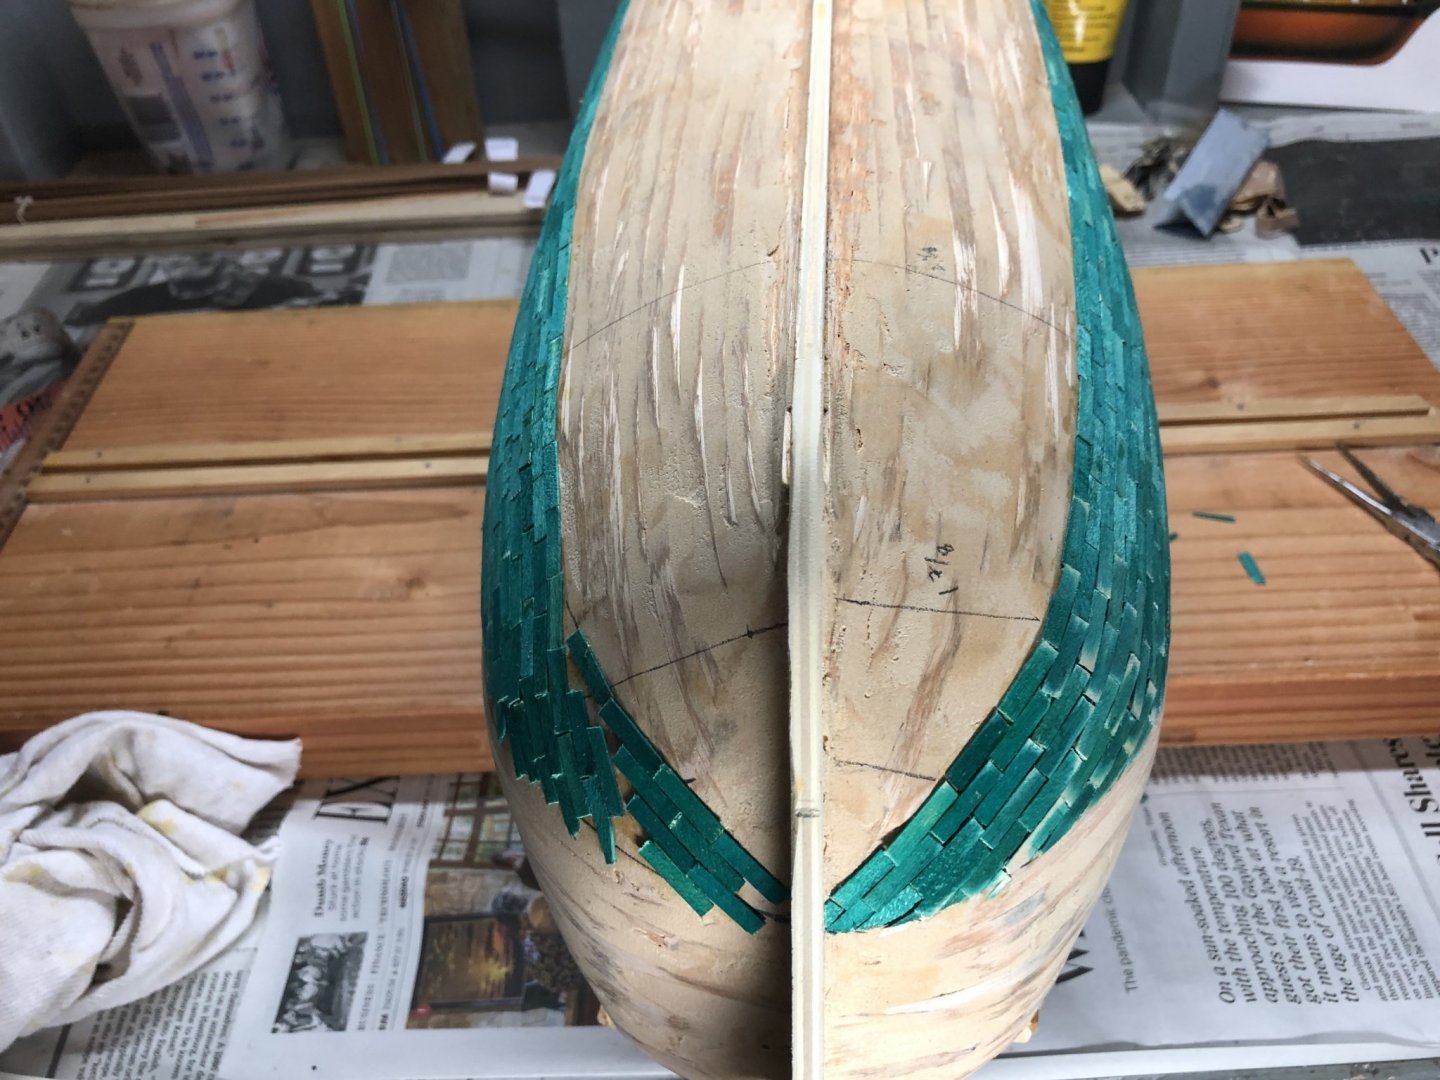
This exercise is a mini planking task. I’ve worked the tiles up from the midship section to the keel area on the starboard side. You can see the tile curvature stretching to bow (top of picture) and stern (bottom of picture) areas. I’ll be in a better position to adjust the tiles in these areas based on the number of rows required to cover the smaller spaces at each end. So there are more tiles required to cover the midship area then at the ship ends. Just call me ‘Captain Obvious’.
-
Thanks for the advice John, very good to know. It did seem like there were a lot of them. Also I’ll be sure to spend more time looking ahead at the instructions.
-
Hey Emmet - The wood tiles are made of thin pieces of wood (0.5 x 4mm) made to represent the copper plates at and below the waterline. The green color can be modified to display tarnished copper. I’m not yet sure how I will color the tiles.
-
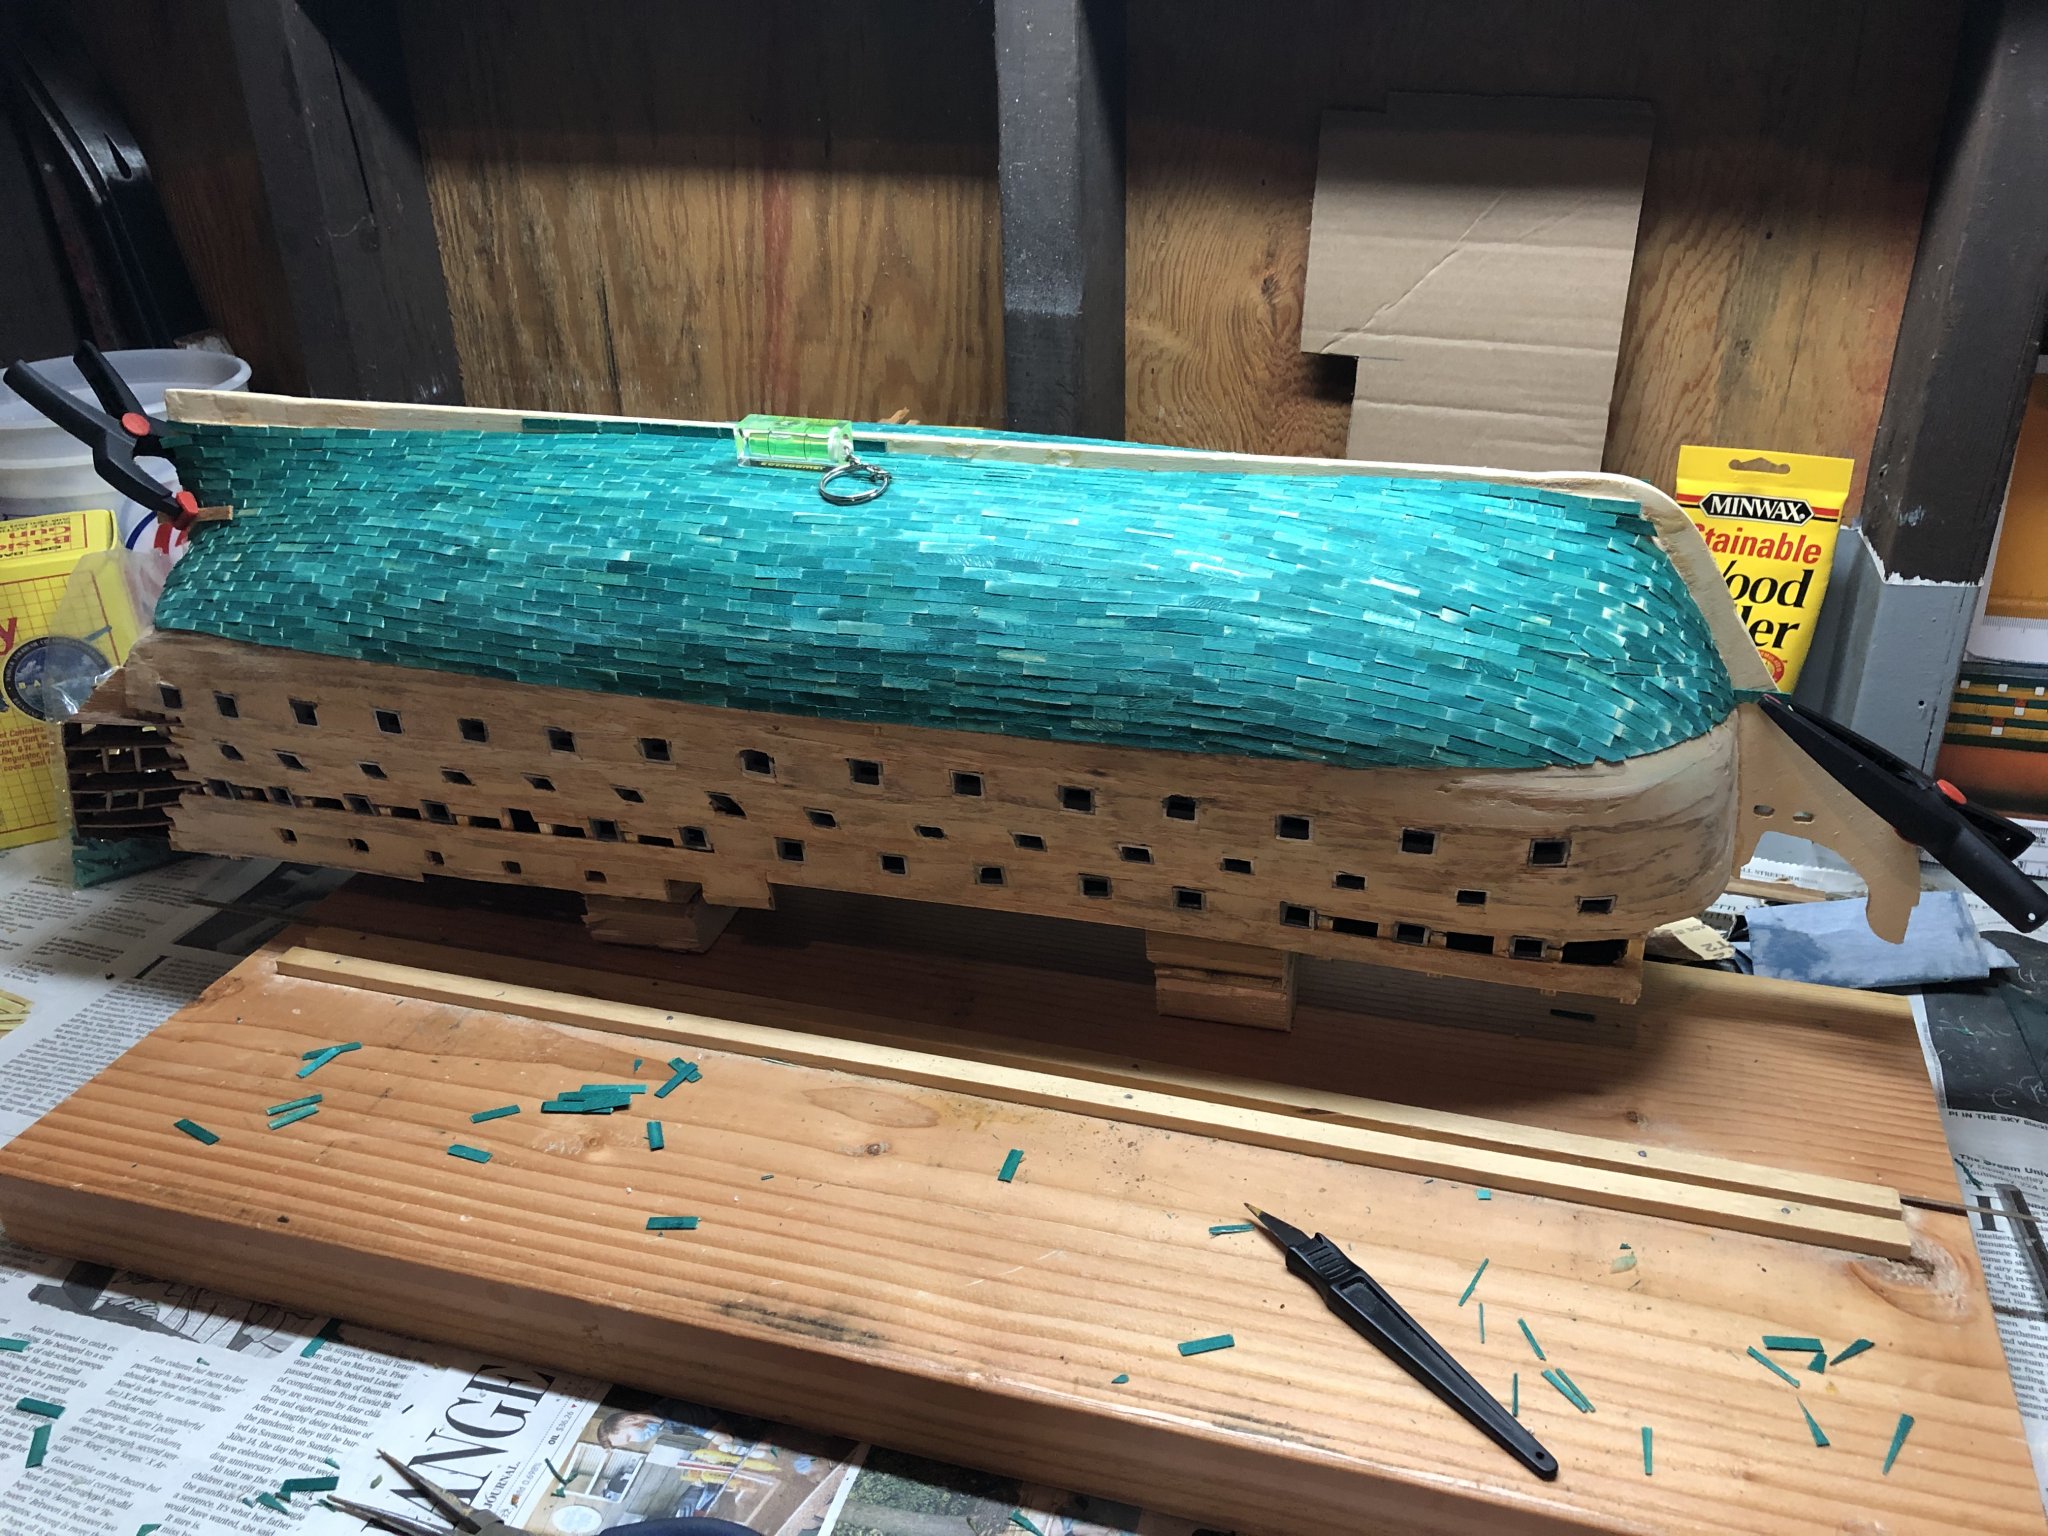
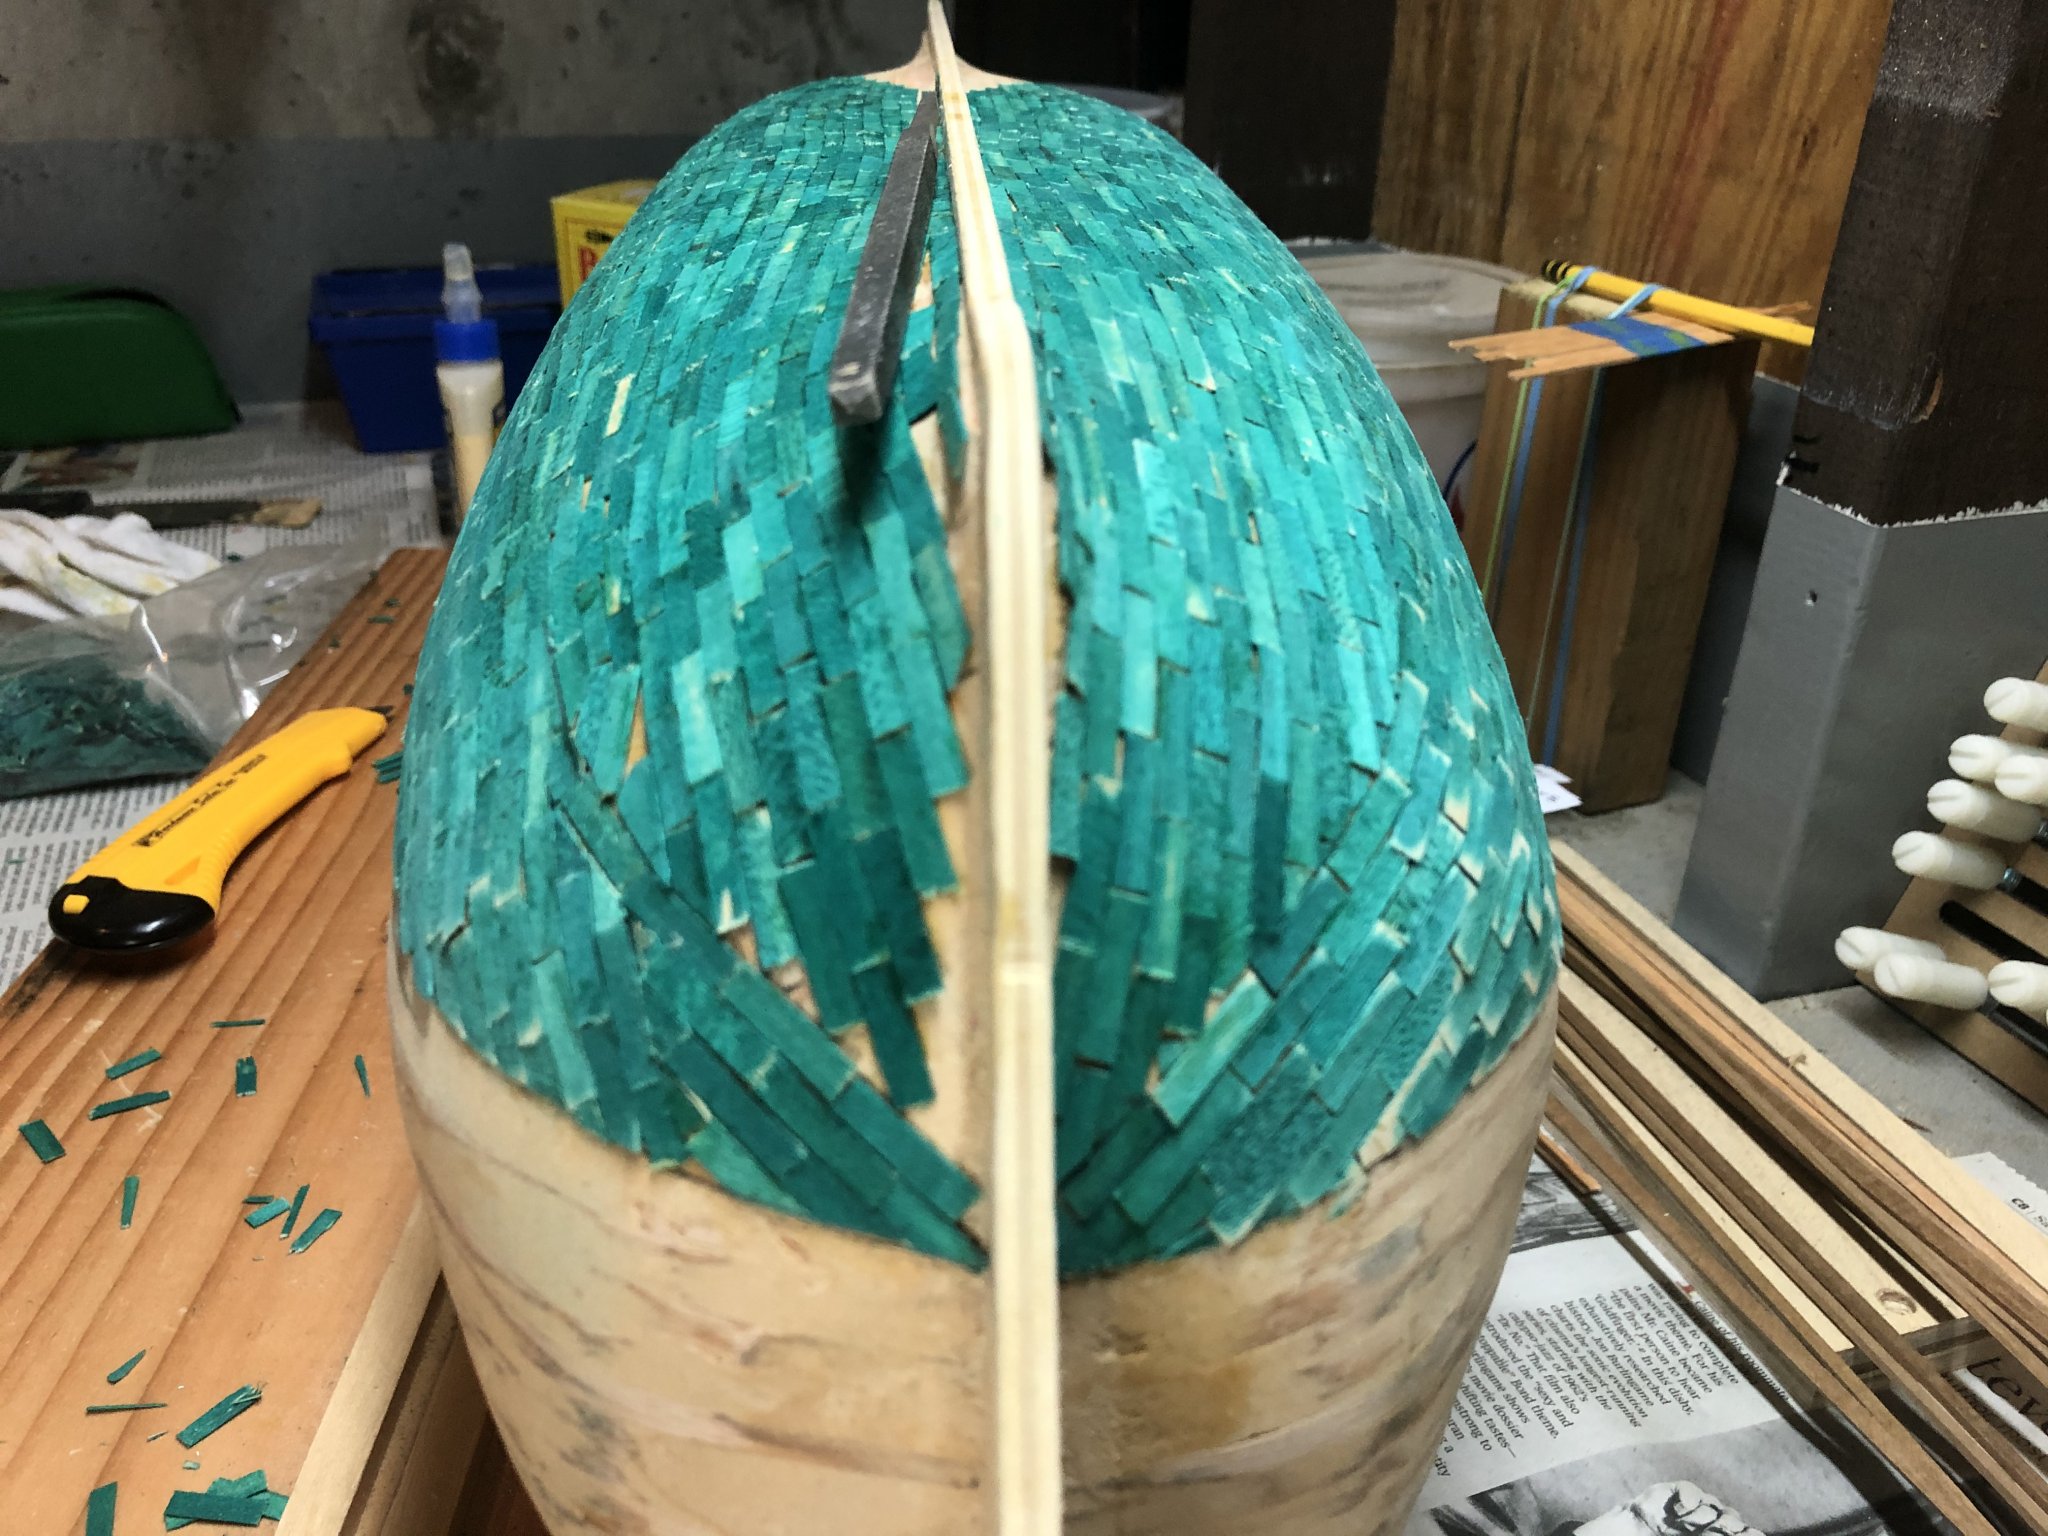
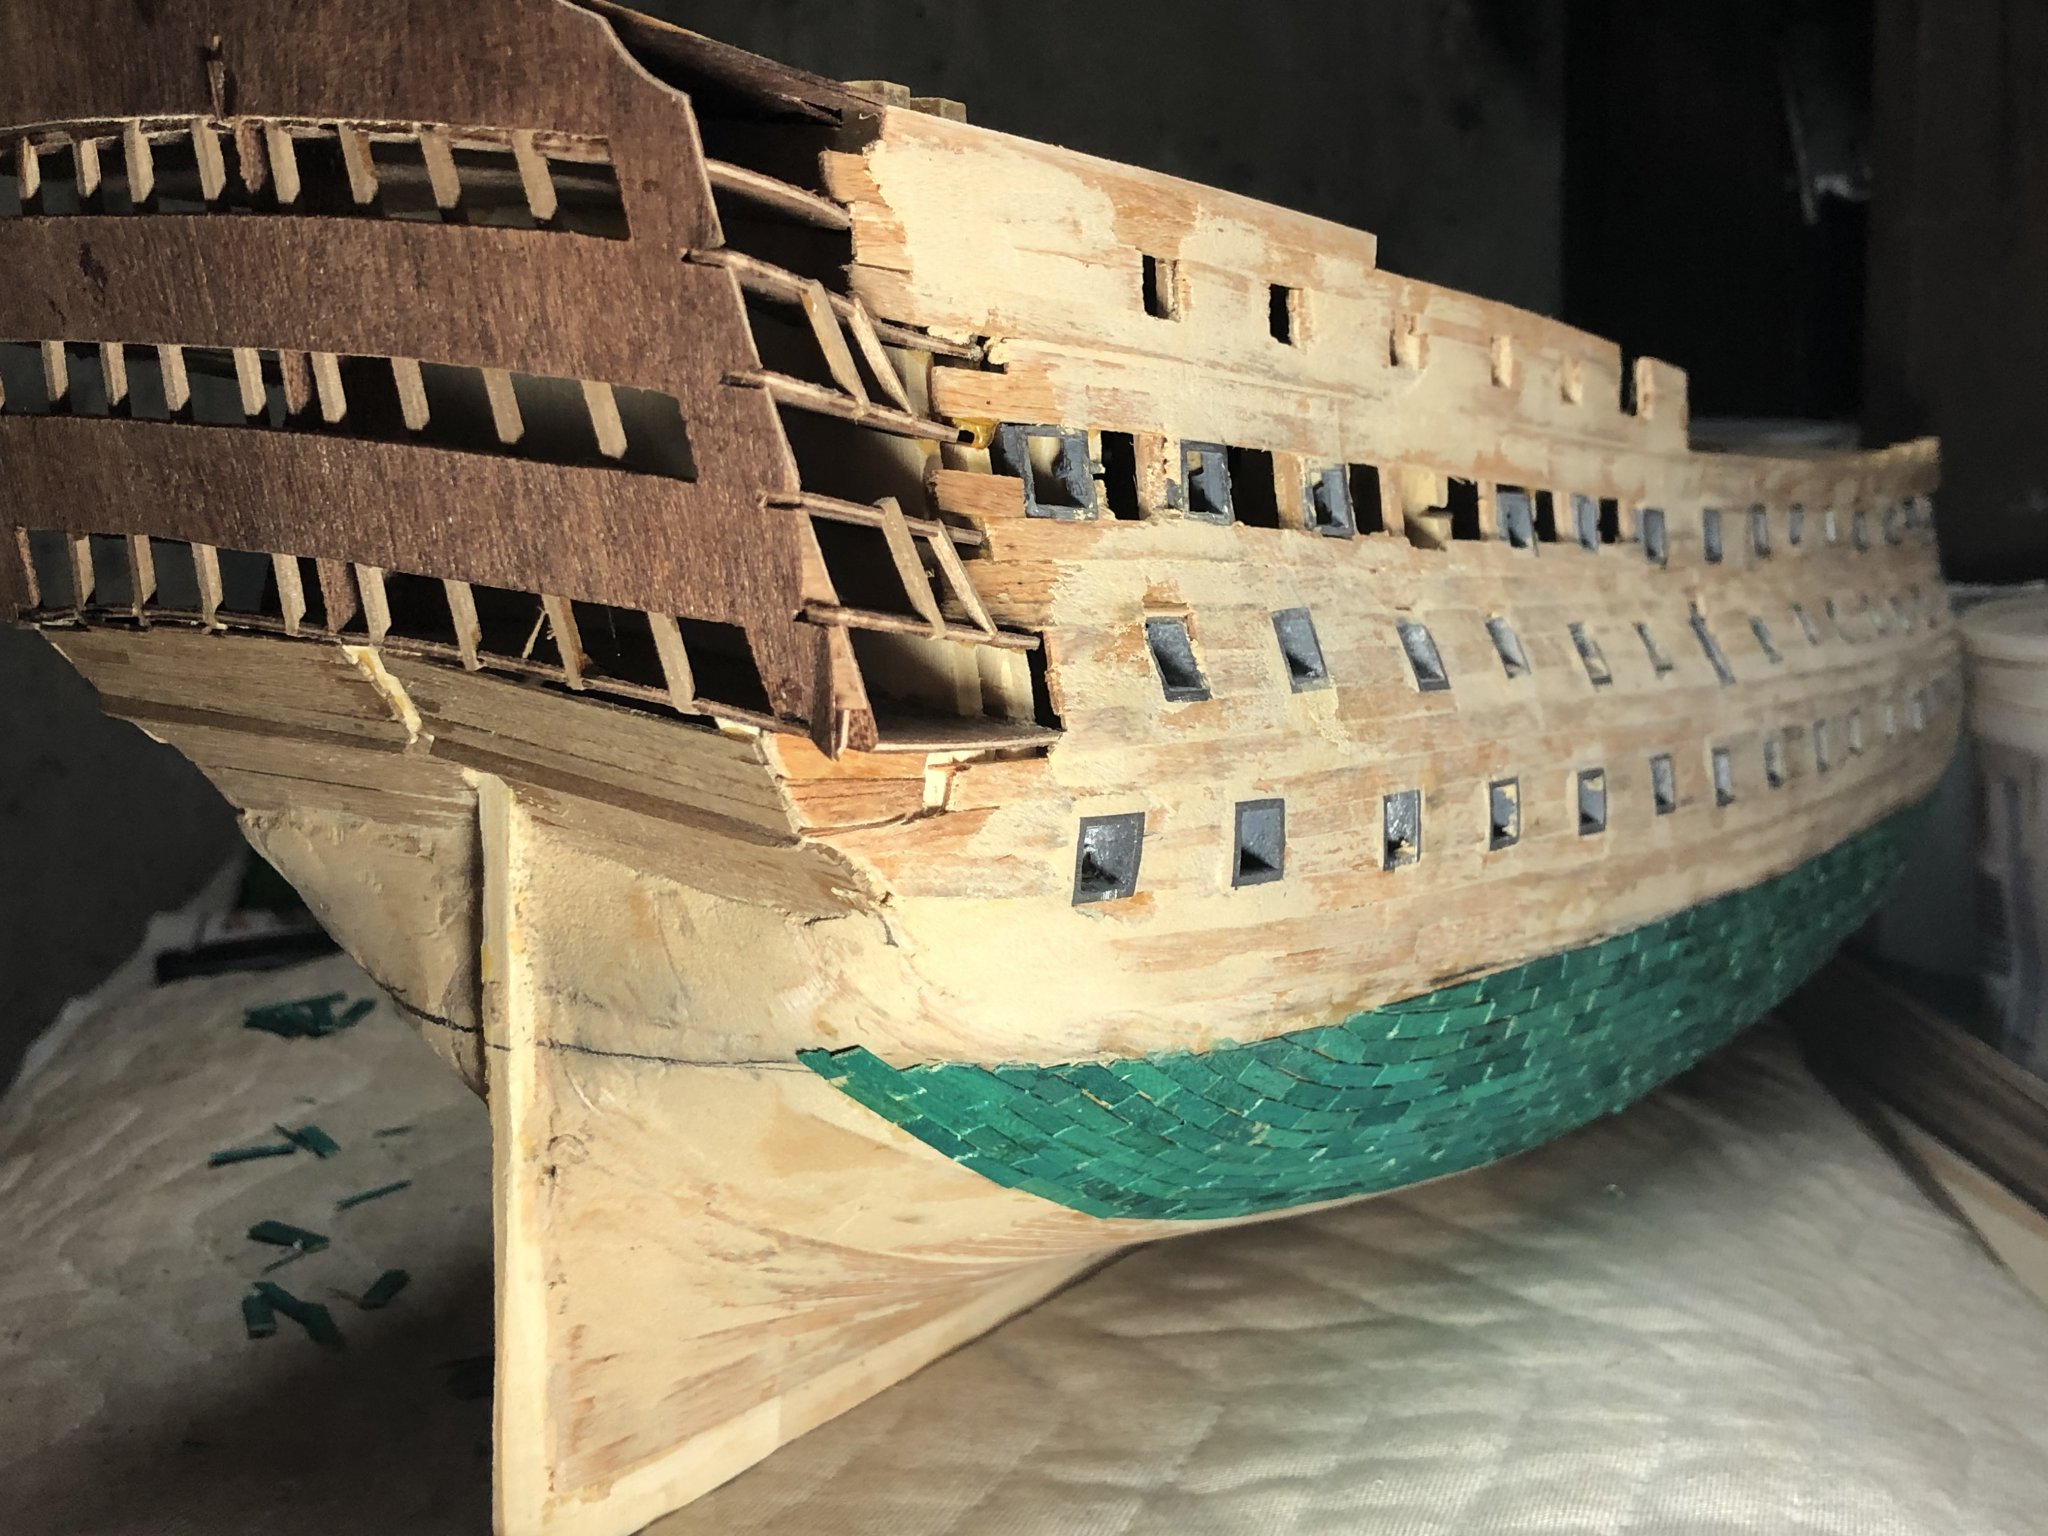
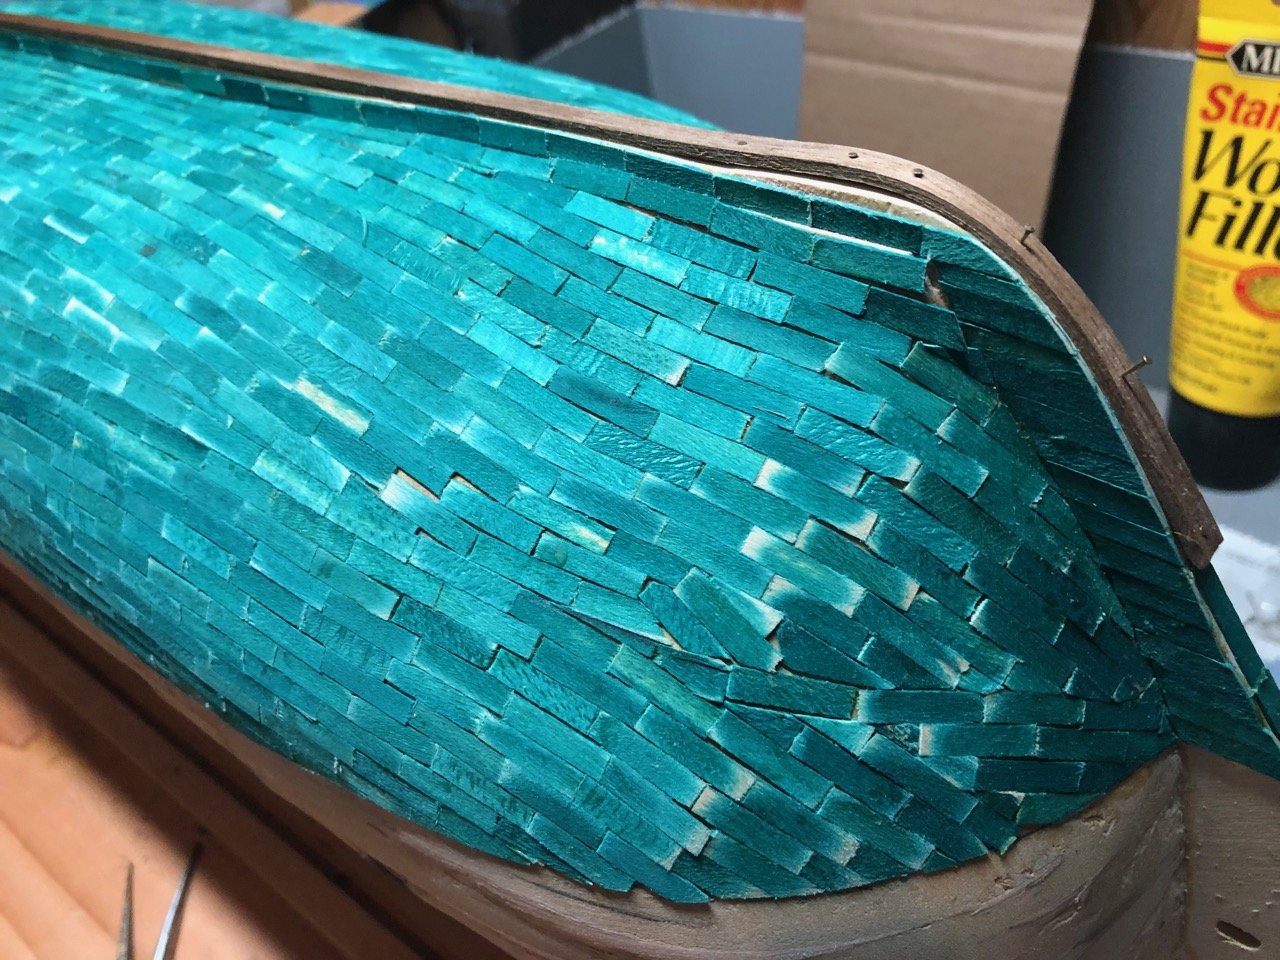
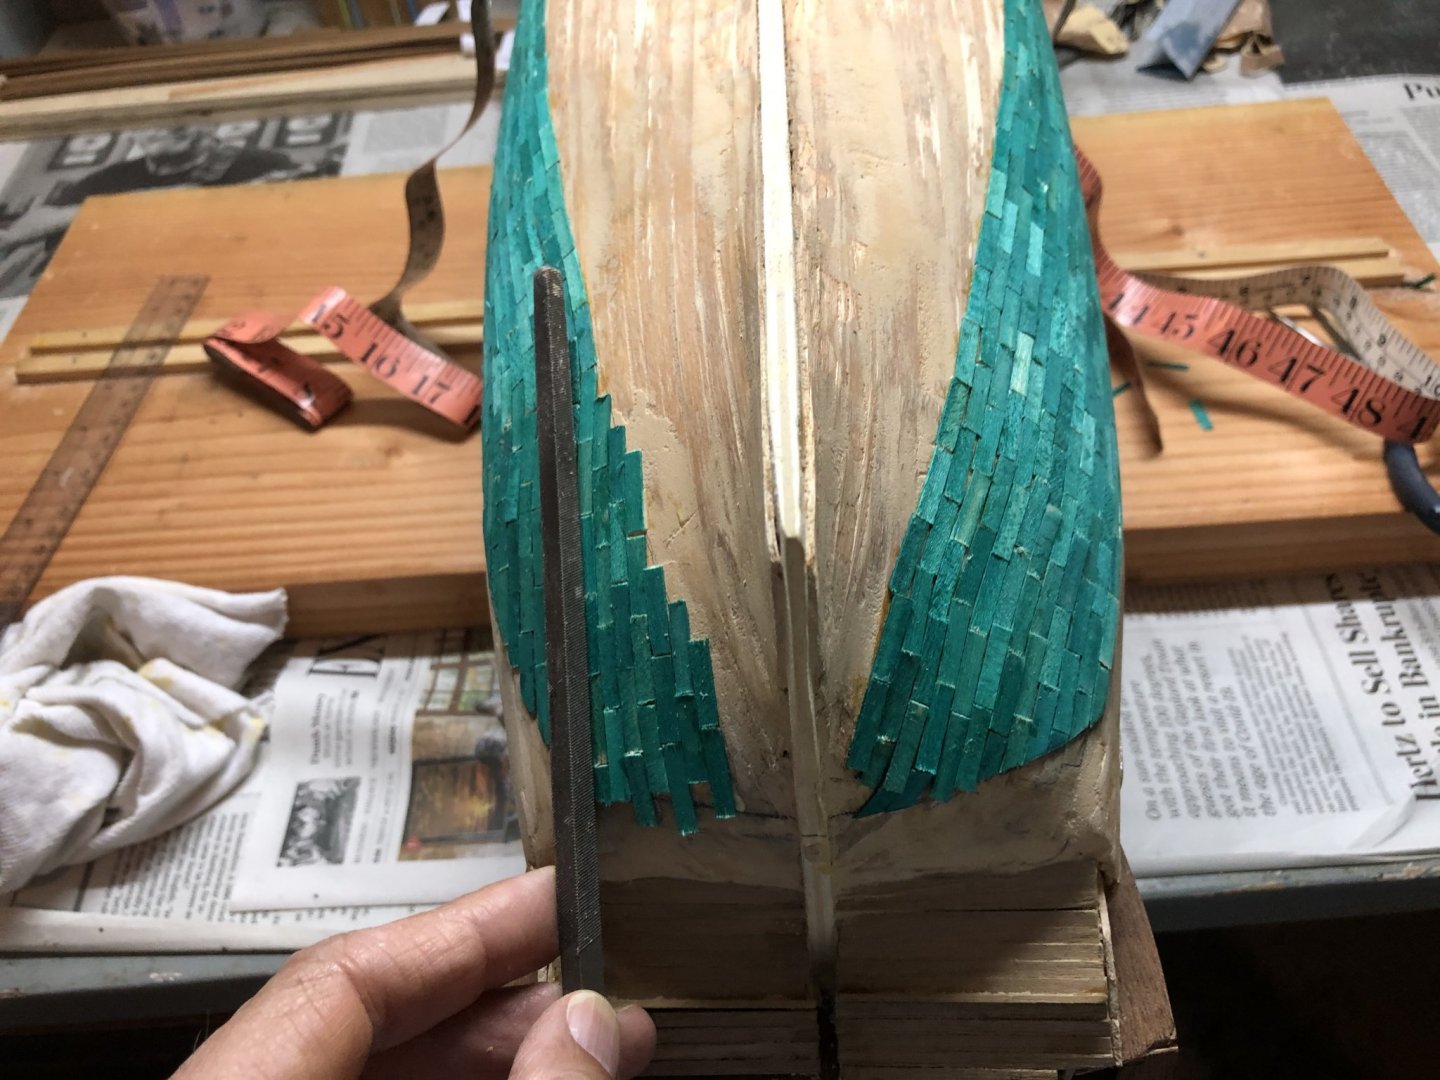
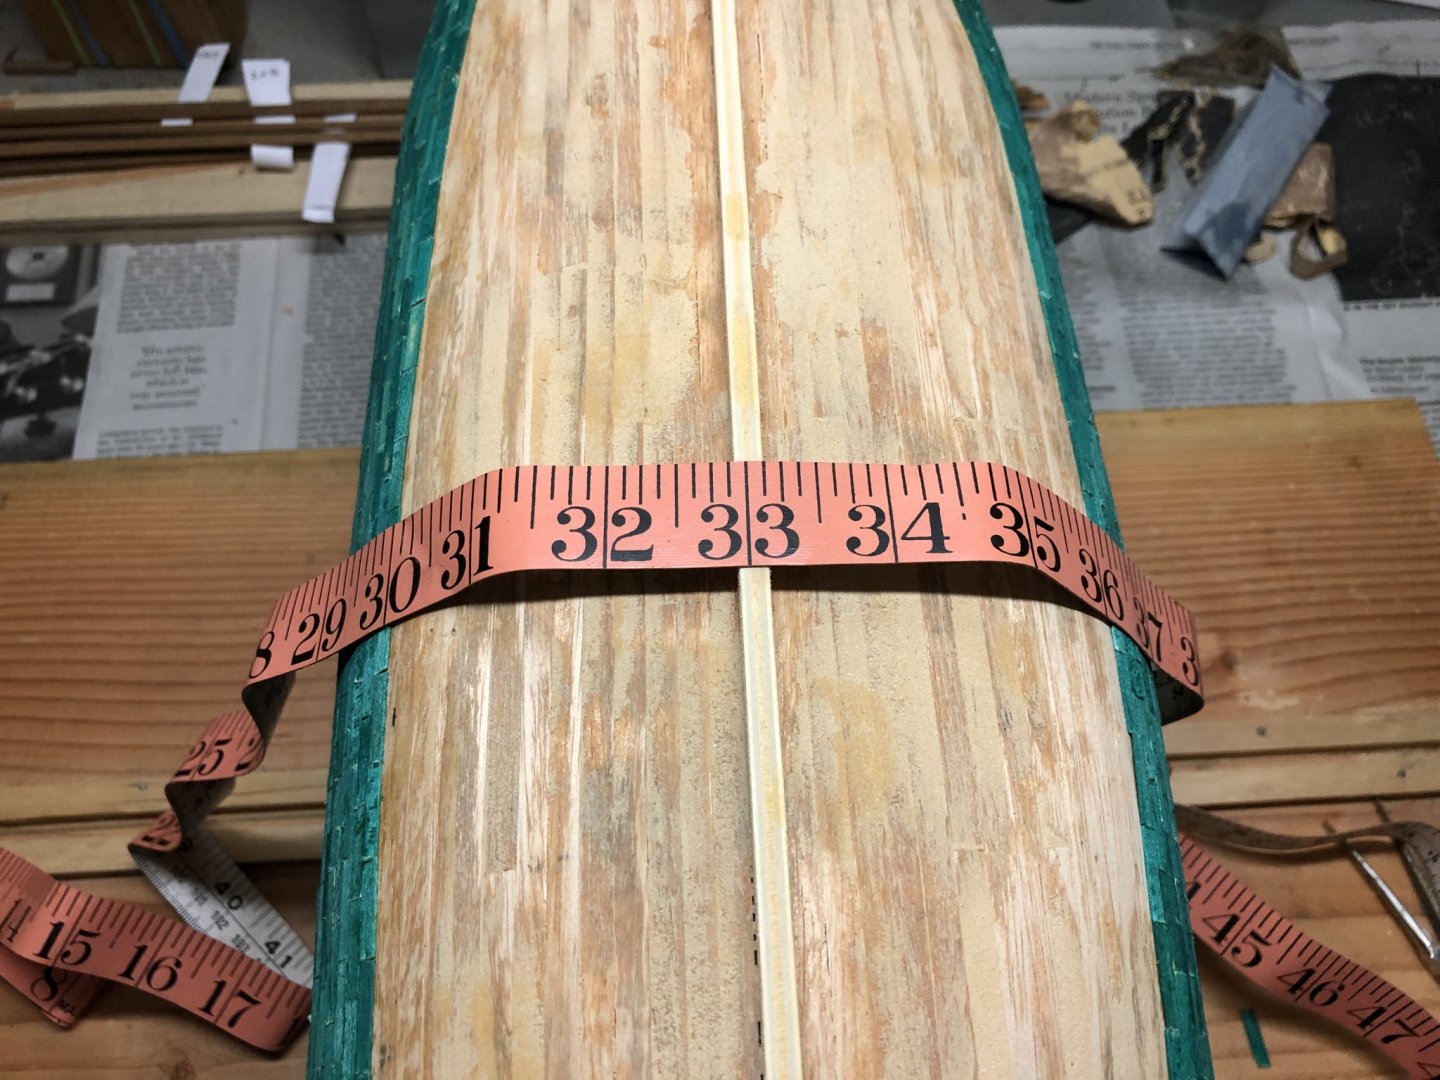
As I continue with the coppering exercise using these little green pieces of wood, the word of the day is ‘Symmetry’. An applicable sentence would be ‘The ship symmetry is clearly lacking.’ As I mentioned above I started the exercise at roughly the same place but had different results after laying 13 rows (per the instructions) on both port and starboard sides. The result as coppering did not cover or end at the same places. You can see the example of the stern where the file on the starboard side represents where I was and the tiles to the right were filled in. I’m filling in the port side of the bow now. See where mid ships the measurement of the ‘to go’ surface is close to exact (2 and 7/8 inches). There will be some additional filler tiles as we continue to align with the waterline. Then to complete the exercise as we work down to the keel.
-
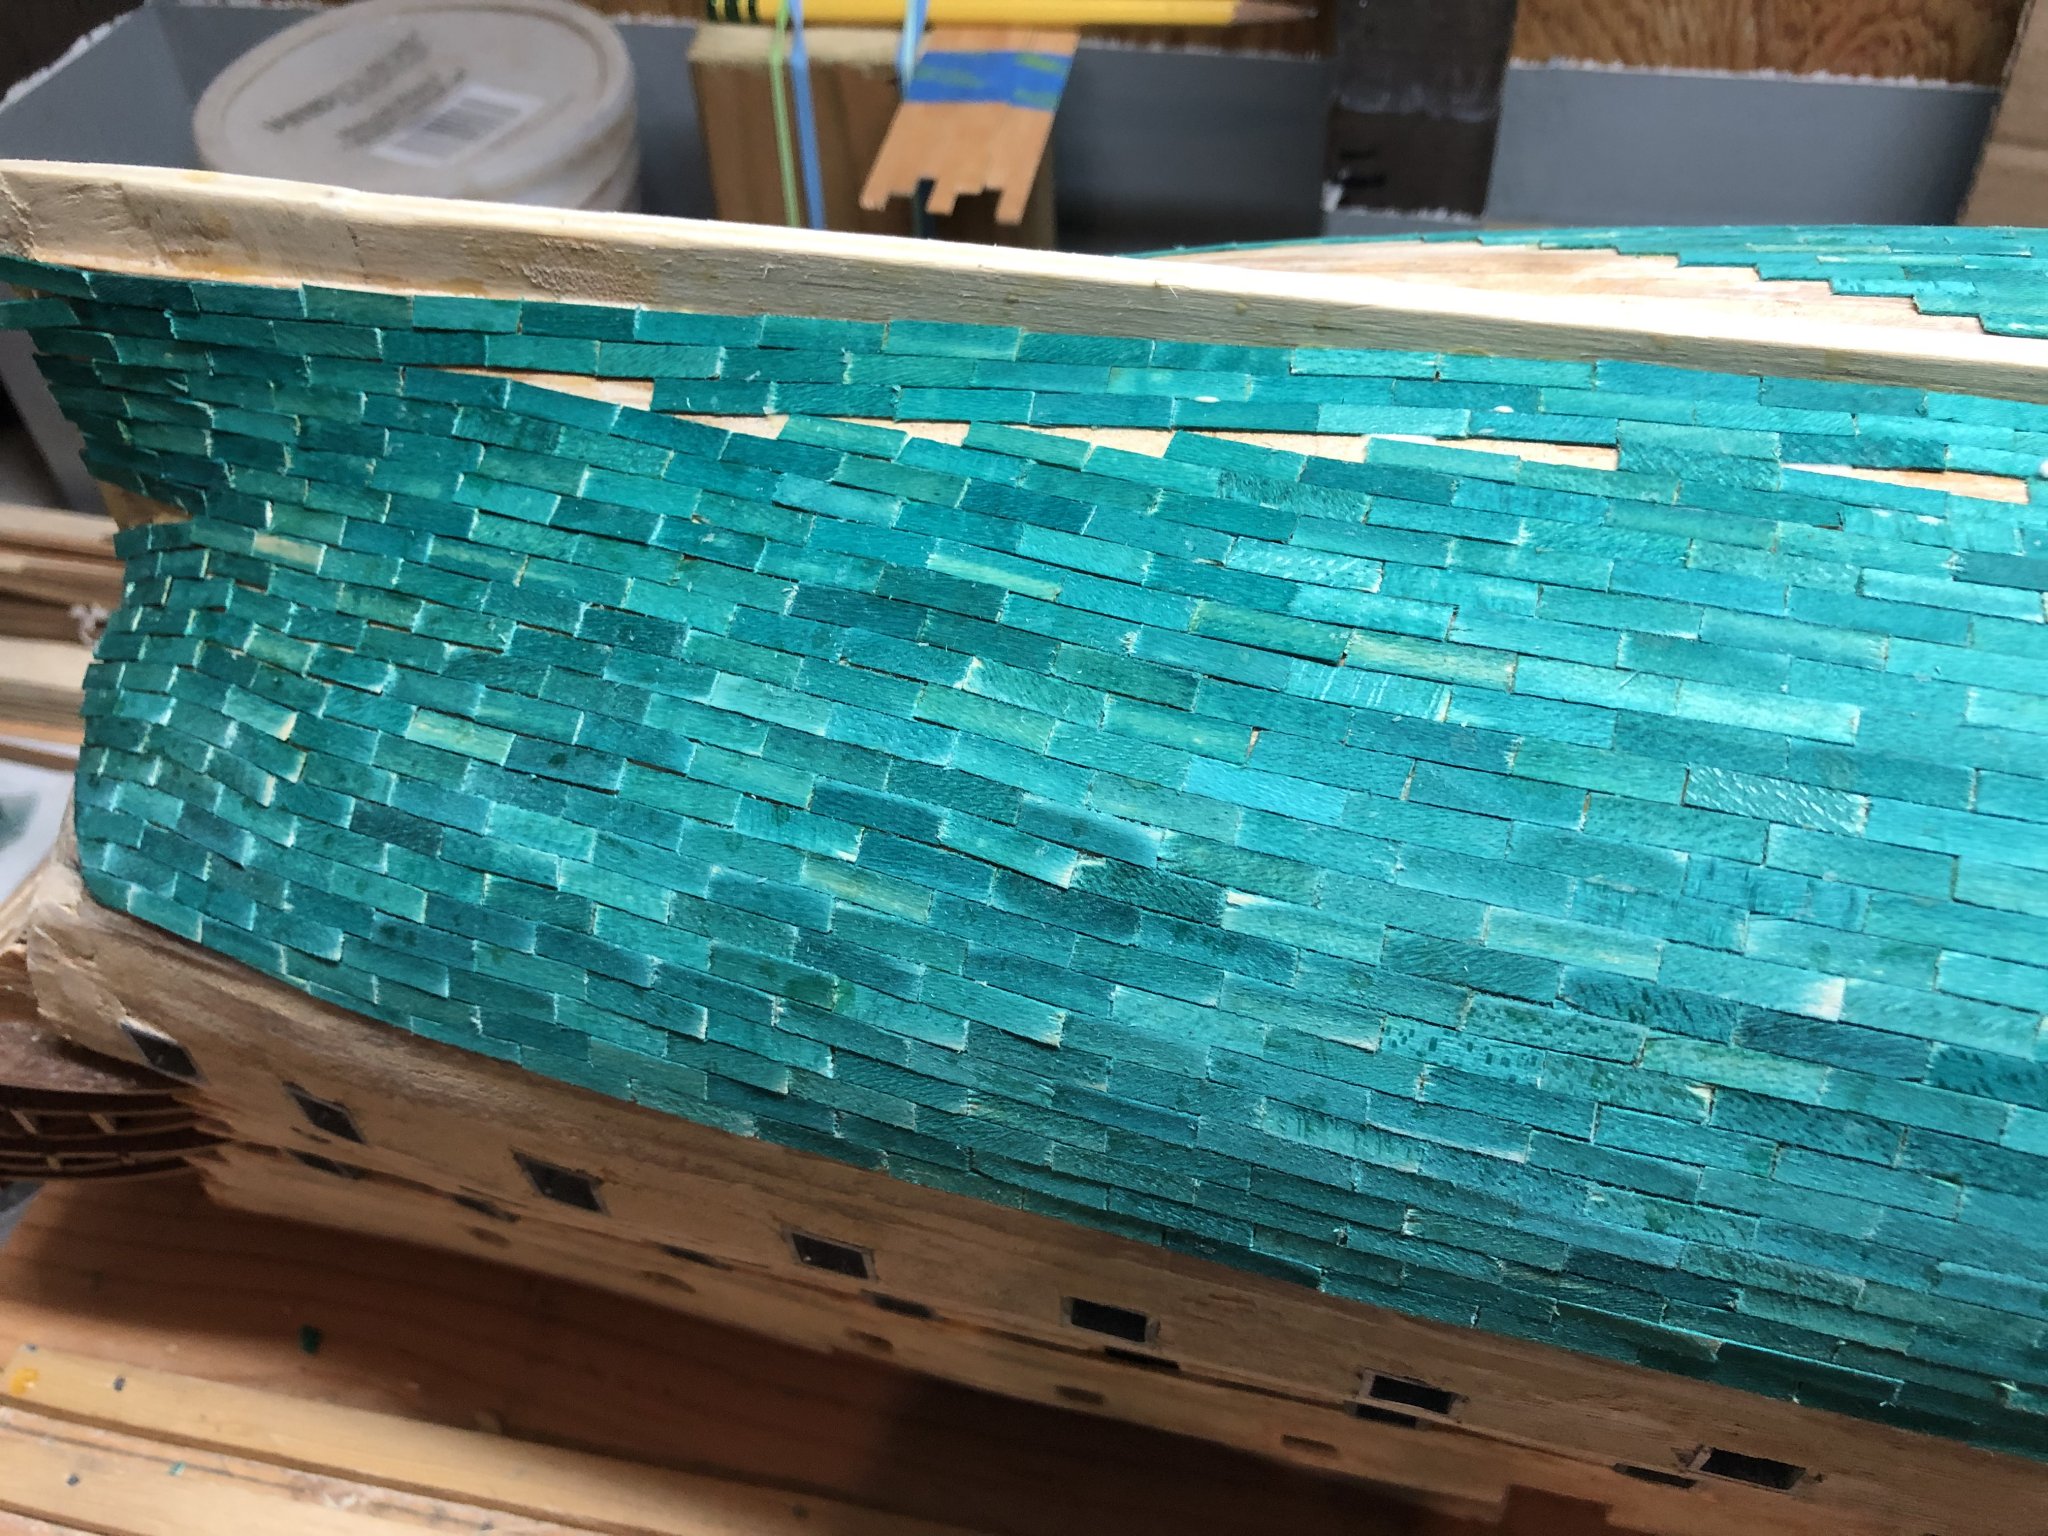
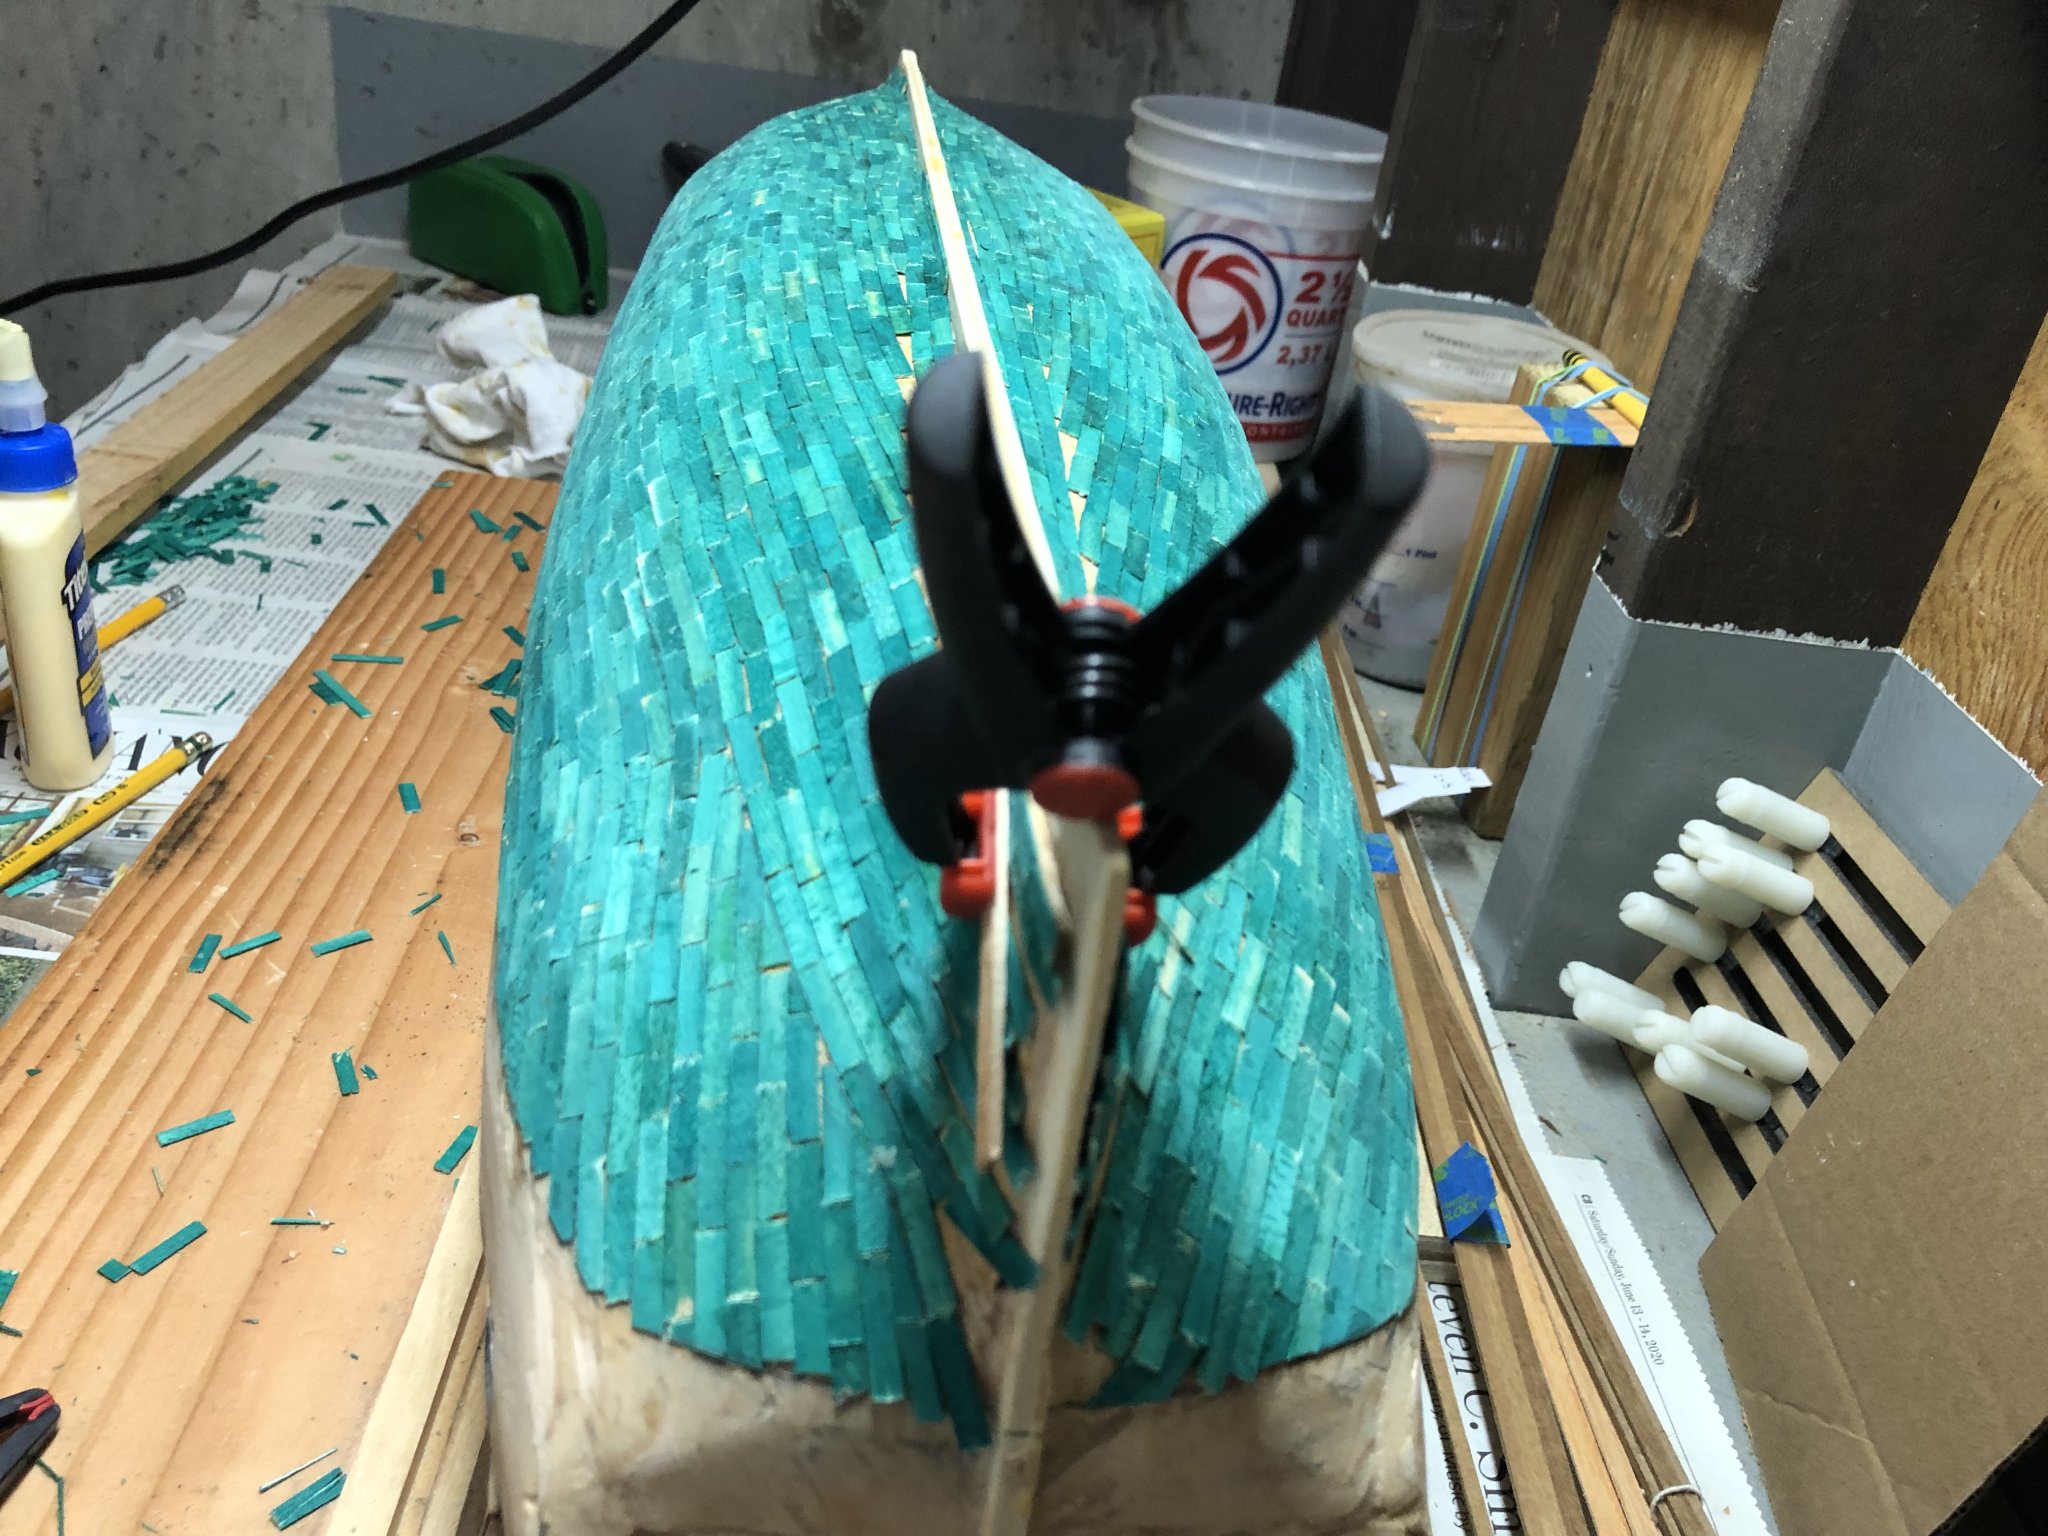
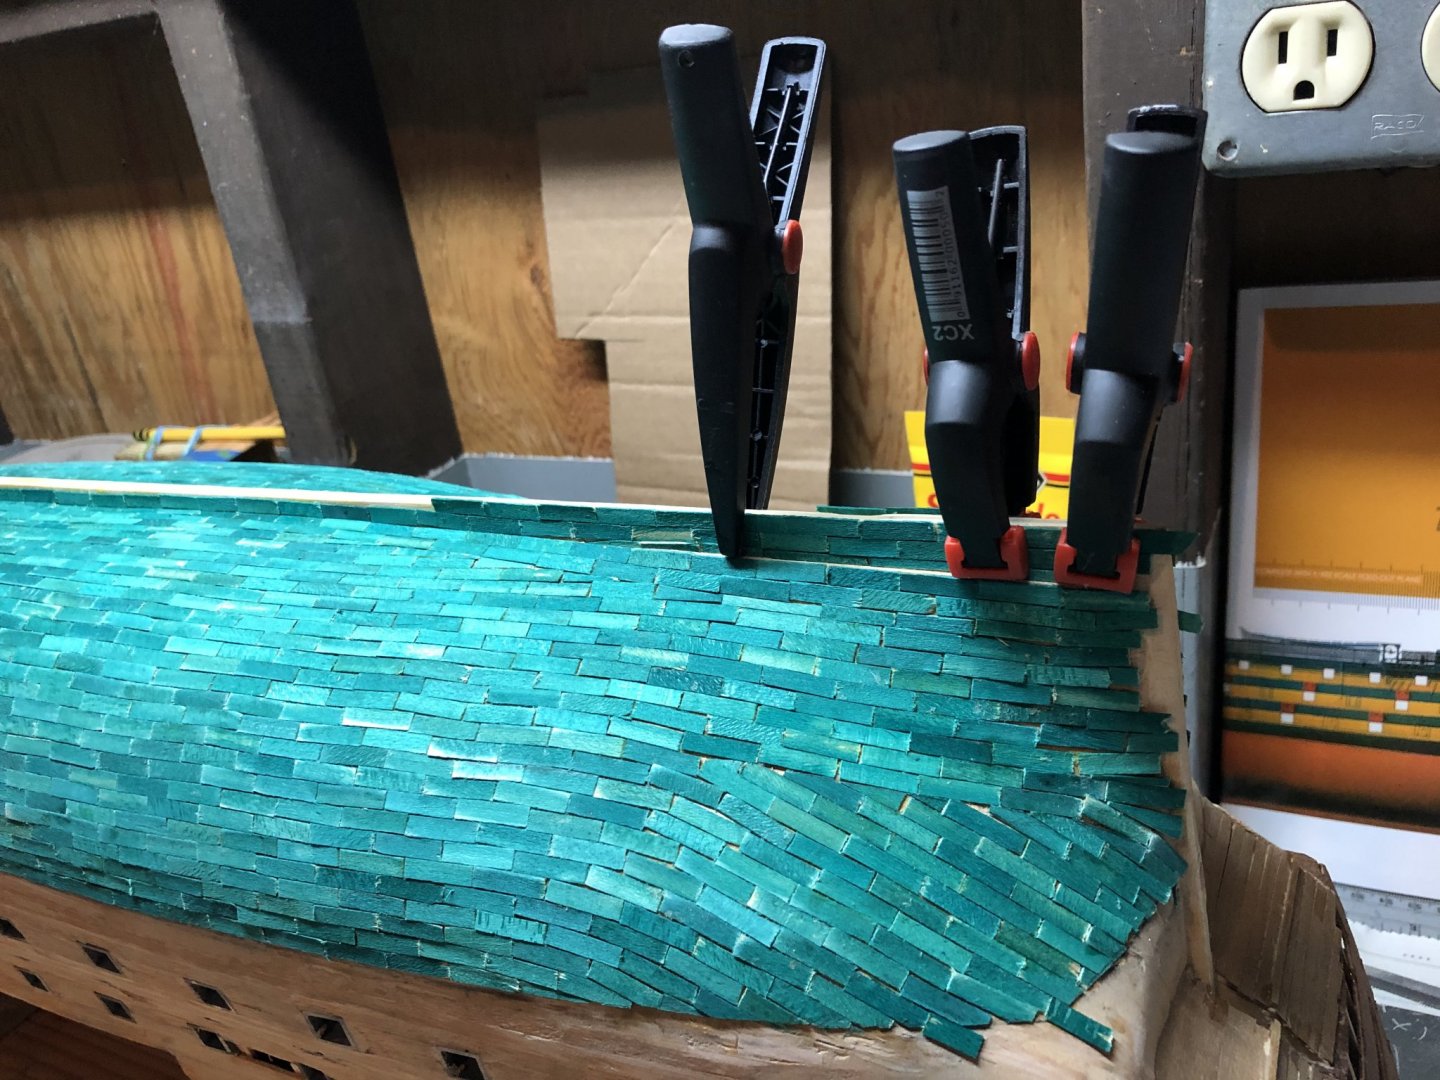
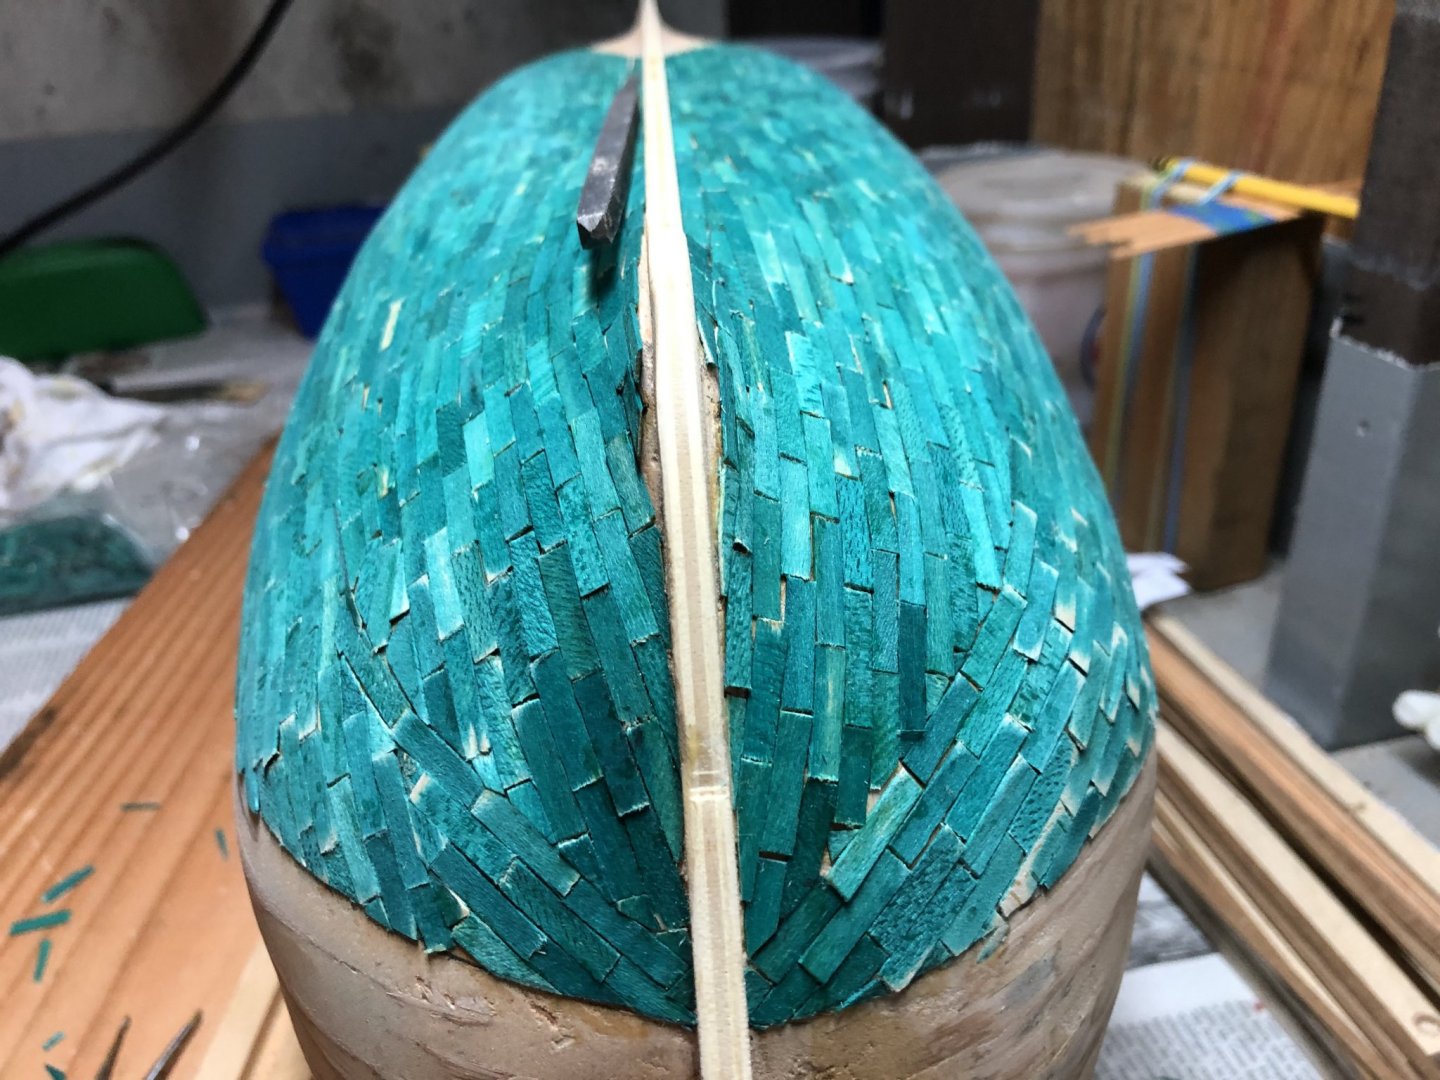
Port side coming along nicely... just one tile at a time. I’m also noticing the port and starboard patterns do not perfectly match; hopefully the copper or greenish copper colors will help minimize the clear differences. I’ve measured where each section was started vs. depth below the center port, but the difference doesn’t seem to support where/how the patterns are off. Once both sides have the thirteen rows of tiles, I’ll begin the second section for both sides.


-
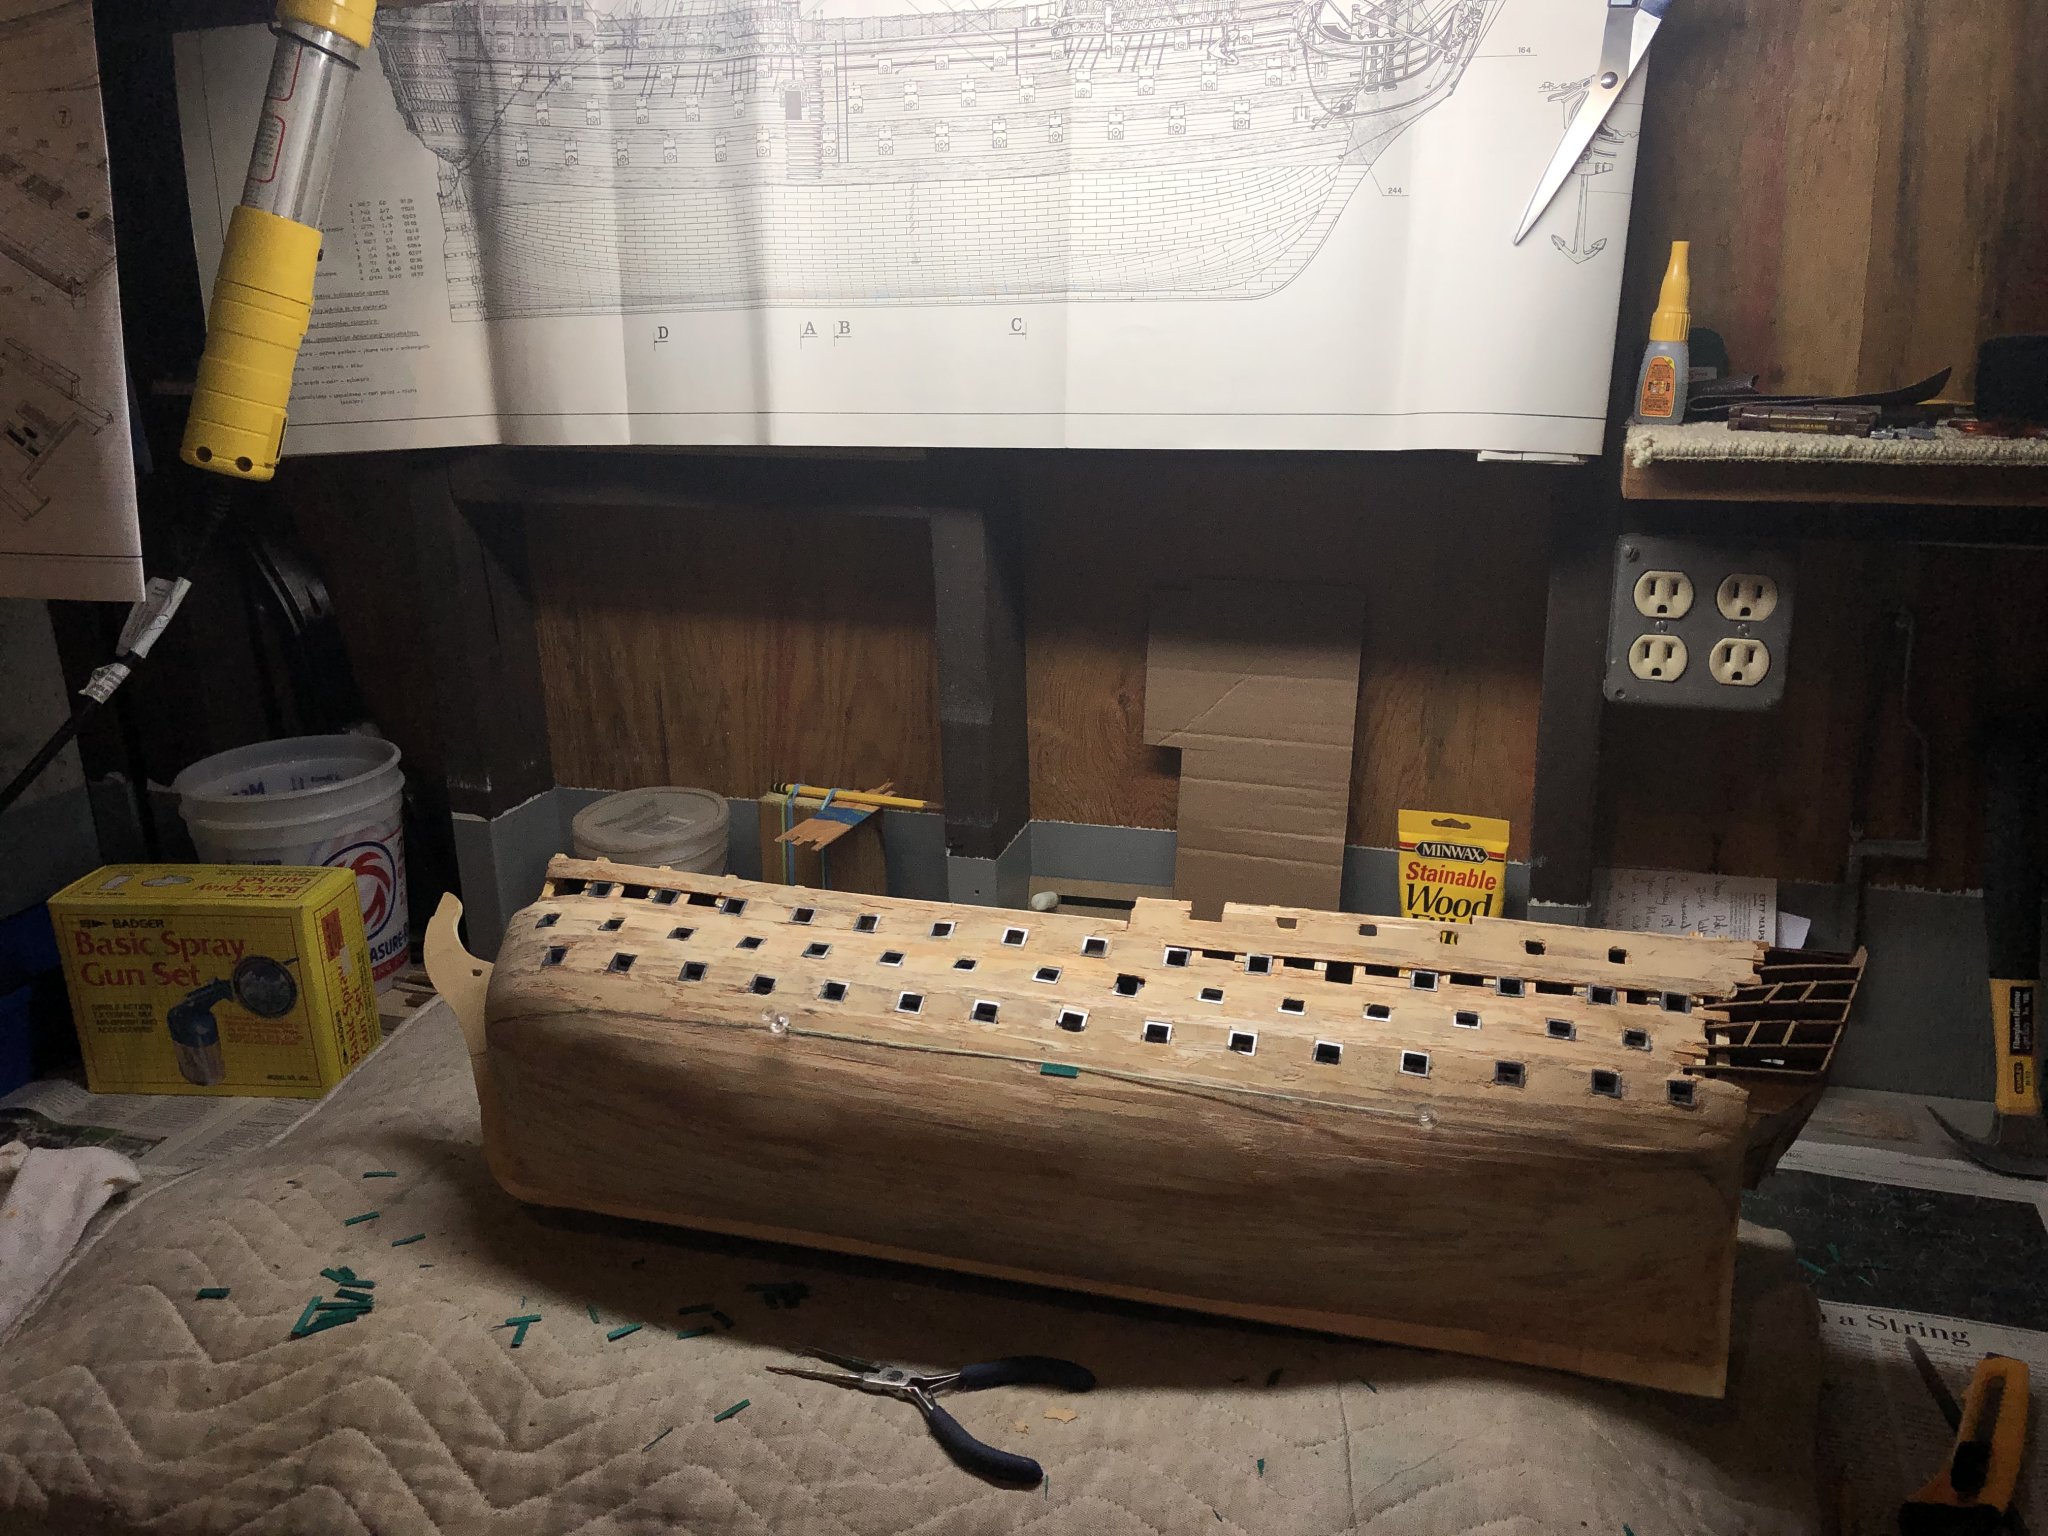
Spider - Best of luck finding a good paint set. I found that many sites were sold out. I finally ordered through Cornwall although multiple modeler’s gave me some advice on how to put together a set. I’m now through about 25% of the coppering having finished the upper section of the starboard side. Have laid the first tile on the port side and will be starting there shortly. I’ve included a ‘Where’s Waldo’ picture of the ship with the first port copper tile set. I’ve also slightly reconfigured ‘the shipyard’ by attaching Mamoli’s scale drawing to help me directly see where things should go. Nice now to have that directly in front of me while working. Better late than never!