Rob S
-
Posts
339 -
Joined
-
Last visited
Content Type
Profiles
Forums
Gallery
Events
Everything posted by Rob S
-

Looks like an informative place. Great Just Great
Rob S replied to rudybob's topic in New member Introductions
Welcome aboard Rudybob. You will certainly have a lot of material at your disposal. Glad you are here! Rob S -
Next step. Putting the small indents in for cannon balls is difficult because of the wood condition.

-
Beginning fabrication and installation of the Topsail Sheet Bitts and Main Topbowline Bitts assemblies. Working with the small parts is trying given the wood is old and brittle.

-
Happy New Year Emmet! I hope you/yours are well. Your build is looking good:)
-
Starting the 4 x ladders connecting the quarter to upper decks. A nice pair of serviceable needle nose pliers really help.
-
Looking closer at these ladders I realized they were installed upside down…. Will need to remove, sand, reposition and the reinstall.

-
Thanks for the observations and suggestions Allan… something for the ‘to do’ list. Columns fitted.

-
Columns continuing to go in. The gap between the upper deck and Scarphed Skid Beams is not uniform, necessitating tailoring each column for the 1-2mm gap difference.

-
Thanks for sharing…. Looking good! Great inspiration to have your father’s build in front, spurring you onward.
-
Nice looking start!
-
Thank you Henrik! Your Aggie is coming along nicely. Well done!
-
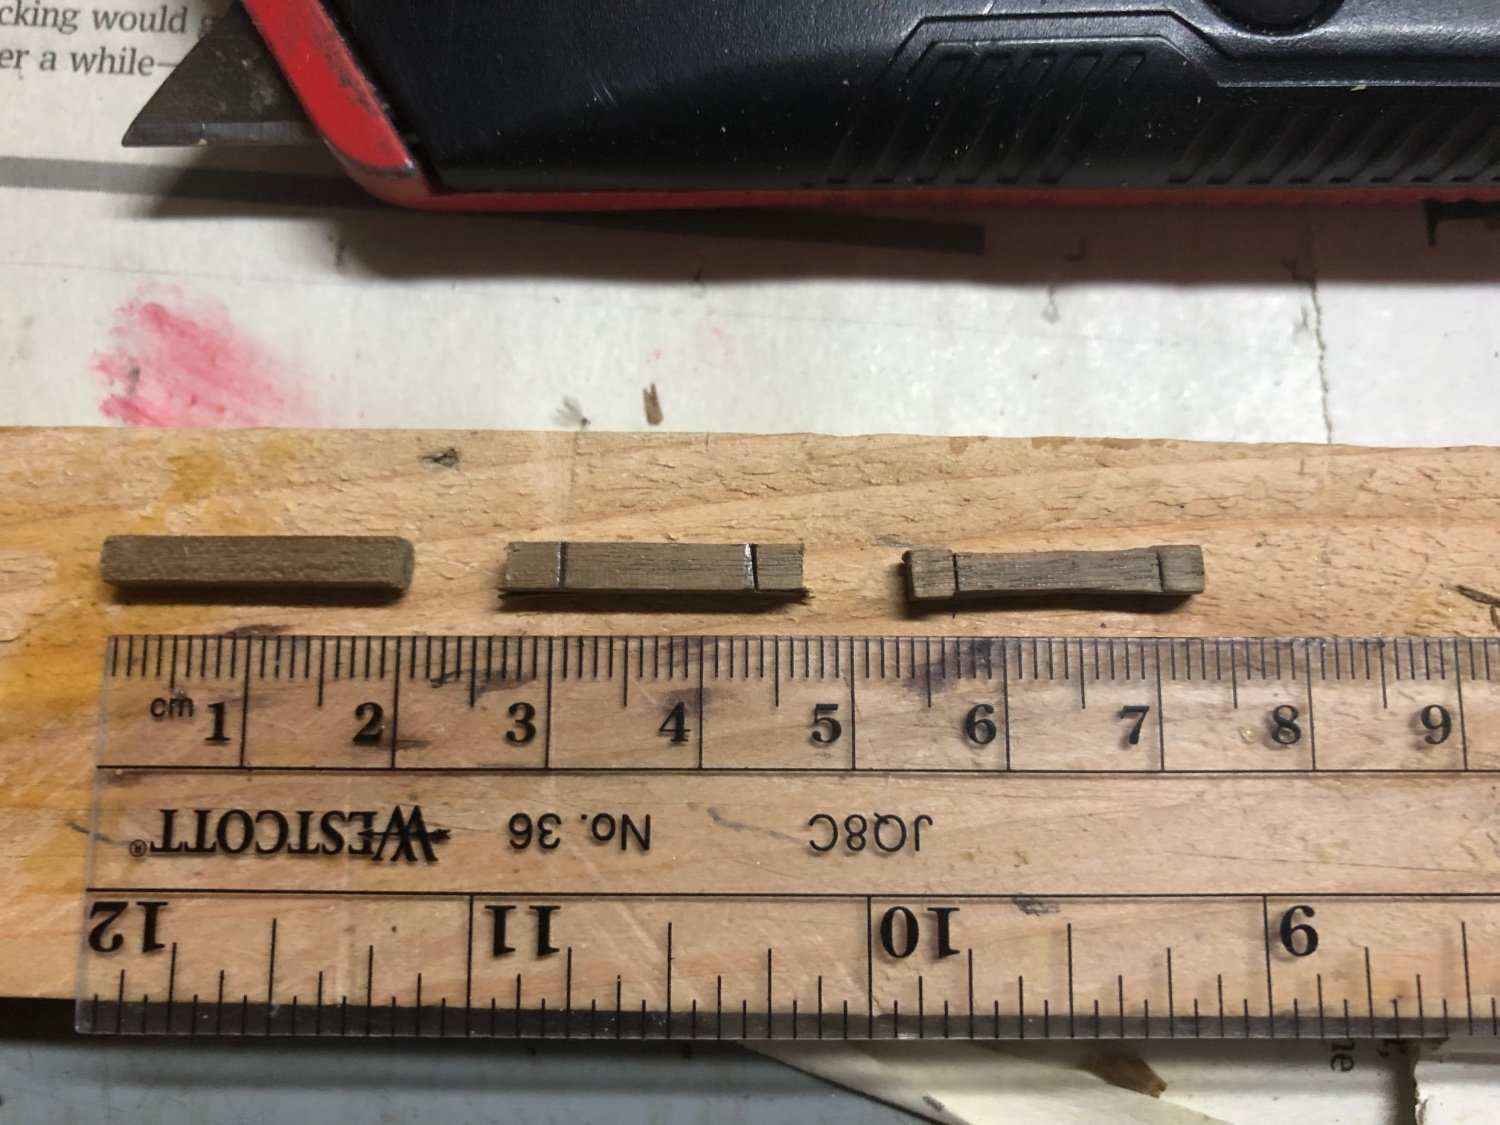
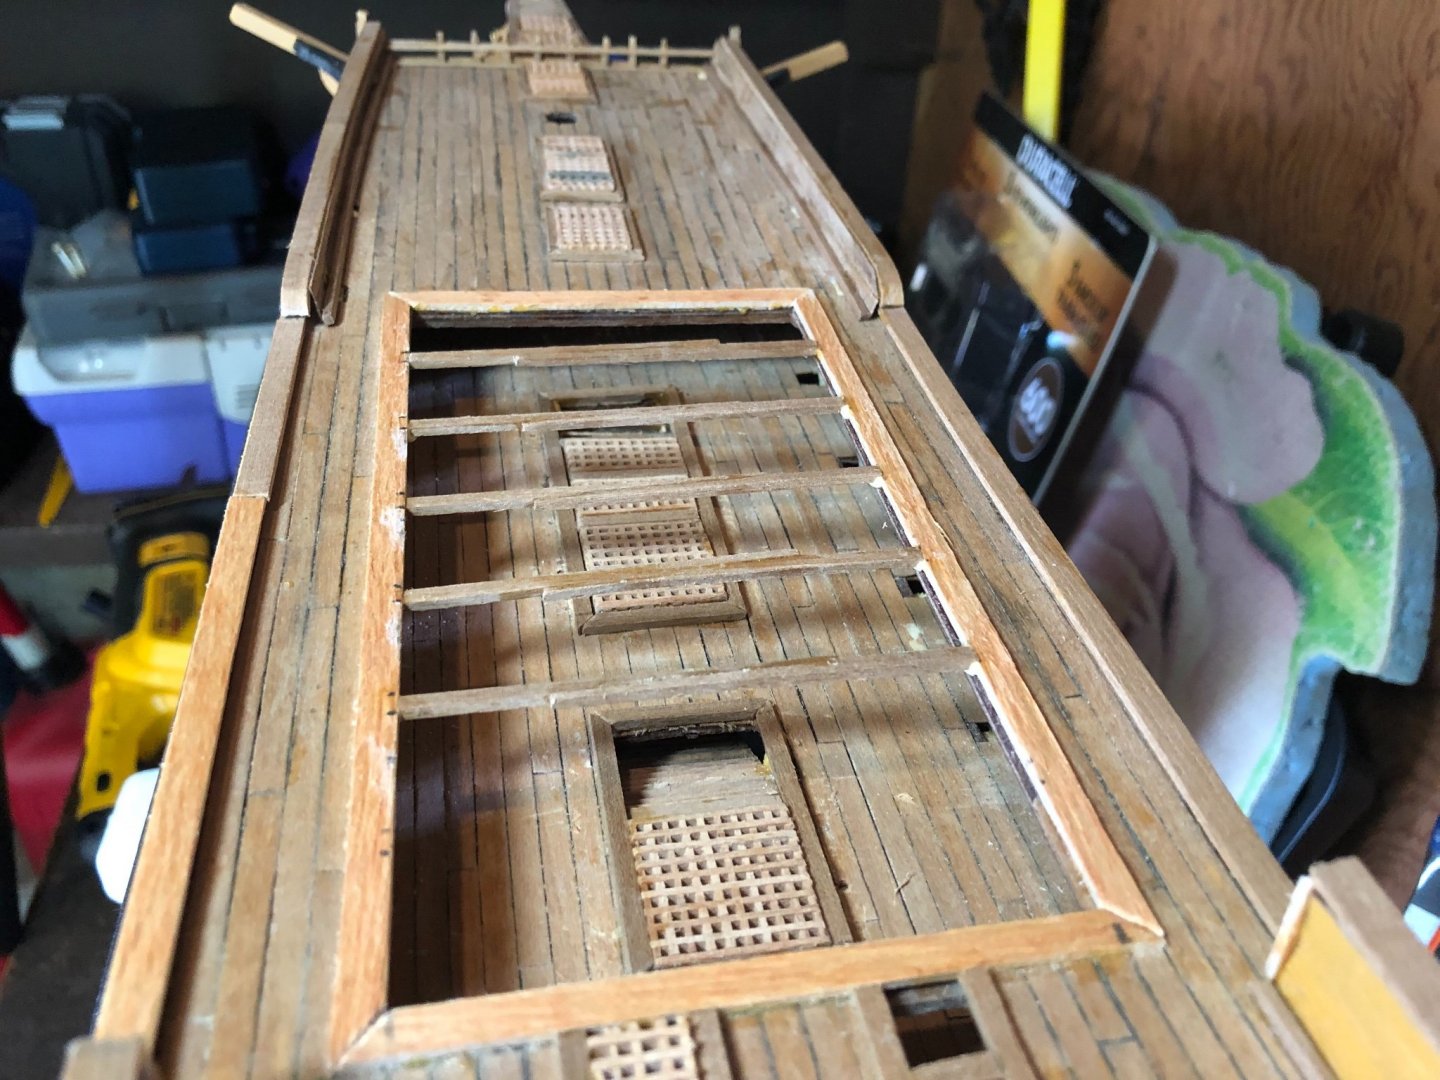
Continuing adding the 20 columns between the upper and quarter decks. They are roughly 20mm tall with variances between 1-3mm. I’ve included a photo showing the progression from unfinished 20mm x 3mm x 3mm block to the finished column. I start by cutting the blocks with a small, fine saw, with a bit of sanding at the ends. Then, I mark the 3mm points top and bottom with a pencil. I then use a razor to cut slits along the 3mm lines and then shave the center of the block with the razor. The last step is sanding. Not perfect, but works for me.

-
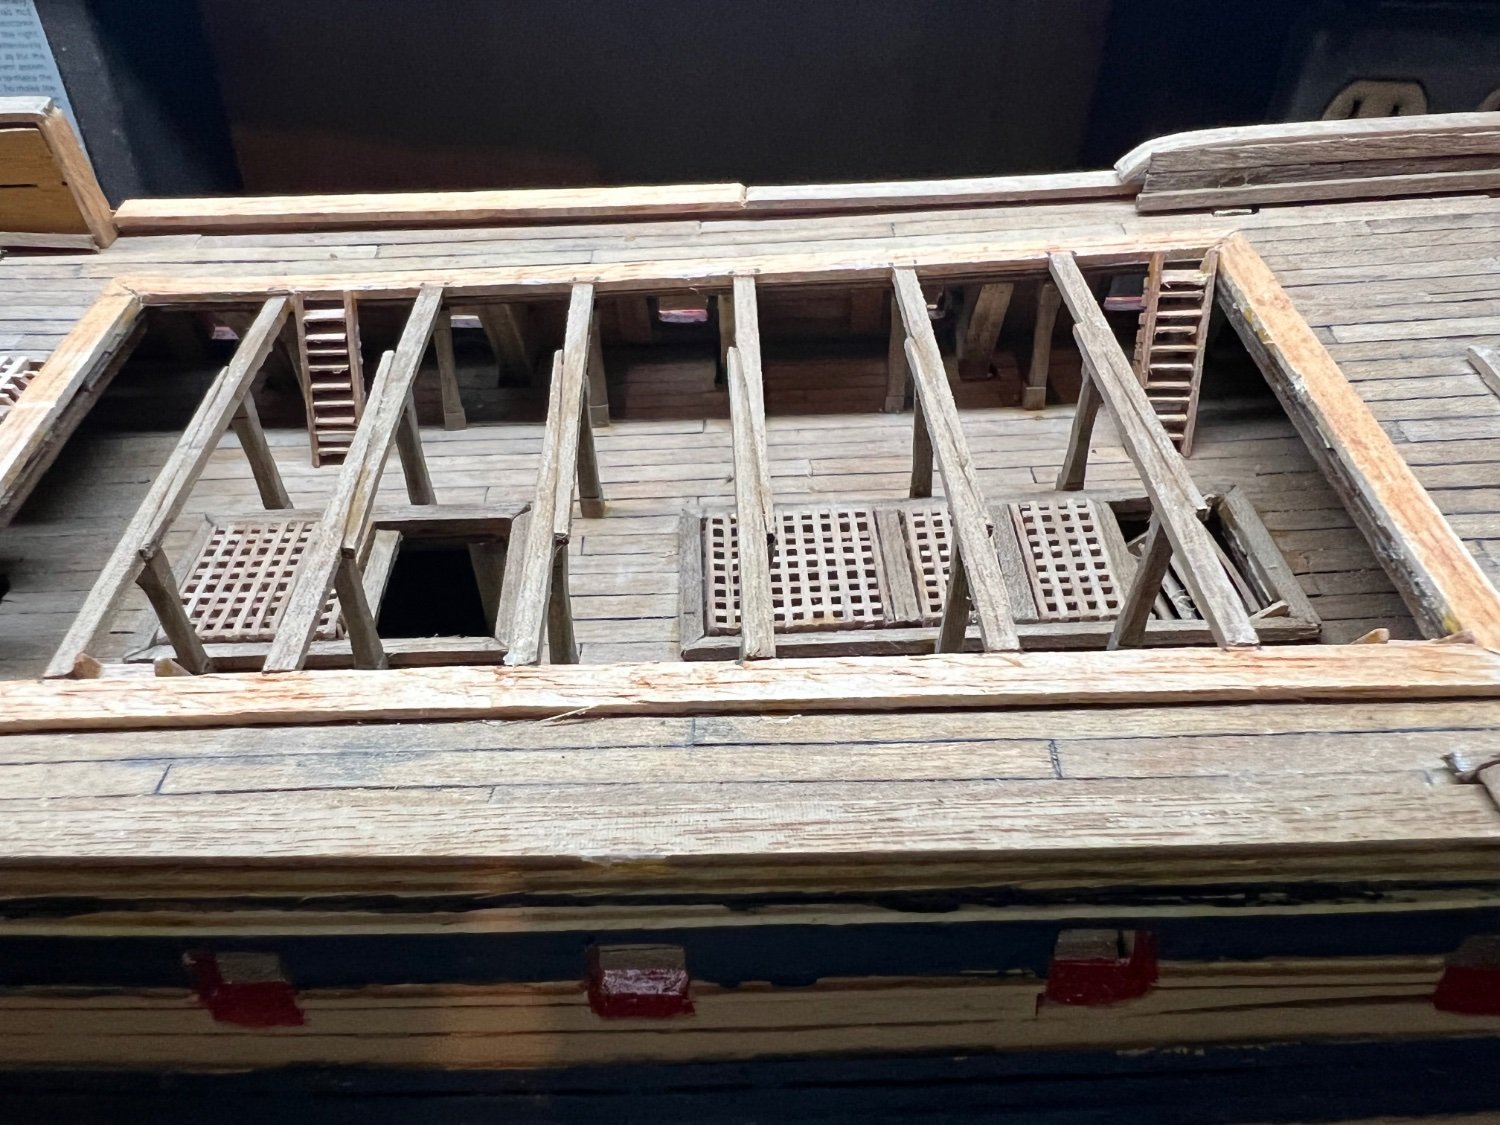
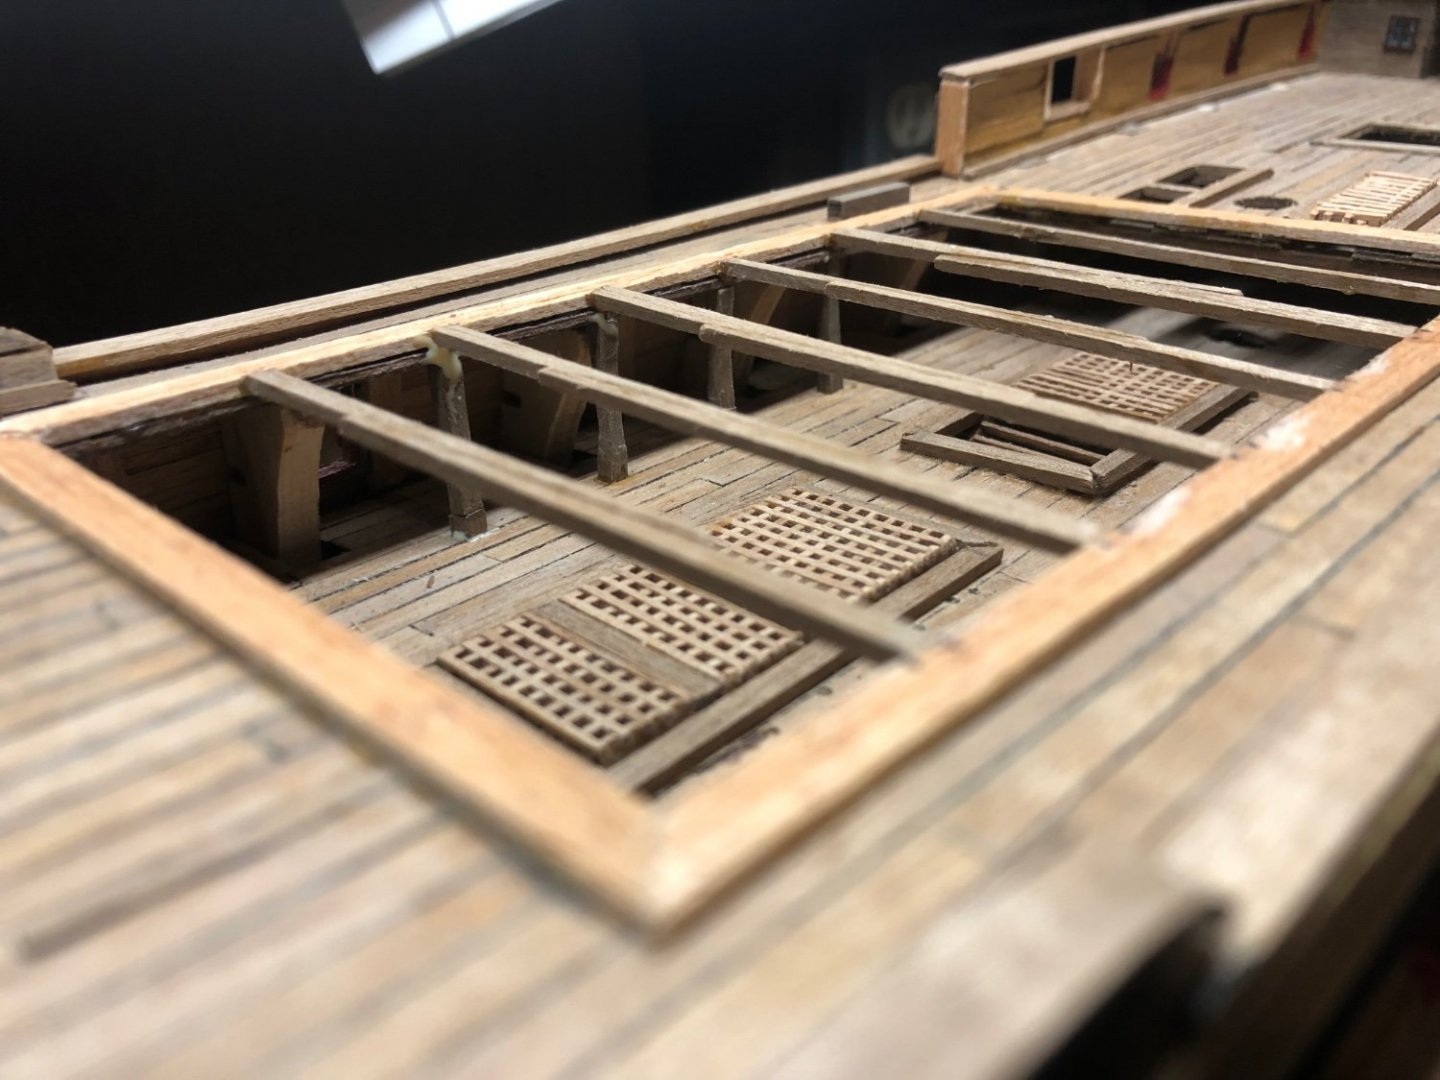
Beginning the finishing of the upper and quarter decks. I’m not very good at creating the small column structures from 3x3mm blocks 20mm or so in length as you can see below. Will be looking for more reliable methods for creating them.

-
Time to start restarting the shipyard as the temperature dips below 40 degrees Fahrenheit and we are moving into Nov. Now working to finish the quarterdeck which requires a lot of precise, detailed work. We’ll see how it goes.
-
Very nice work Henrik!
-
Hello everyone! Hope you are staying safe and healthy and that you/yours have been safely vaccinated. Summer is nearly upon us and I'm taking this opportunity to step away from the shipyard for a bit to enjoy the nice weather and do some outdoors type activities. I've been briefly in/out of the shipyard to complete the bow area and will be in the later summer/early, GLW, ramping up working on finishing the quarterdeck area moldings, etc. I'm also reading 'Nelson, a Dream of Glory' by John Sugden to get a better understanding of Nelson's earlier years and exploits. So far, fascinating reading. Please be sure to have a safe and enjoyable summer season and keep up the good work on your models! Rob S
-
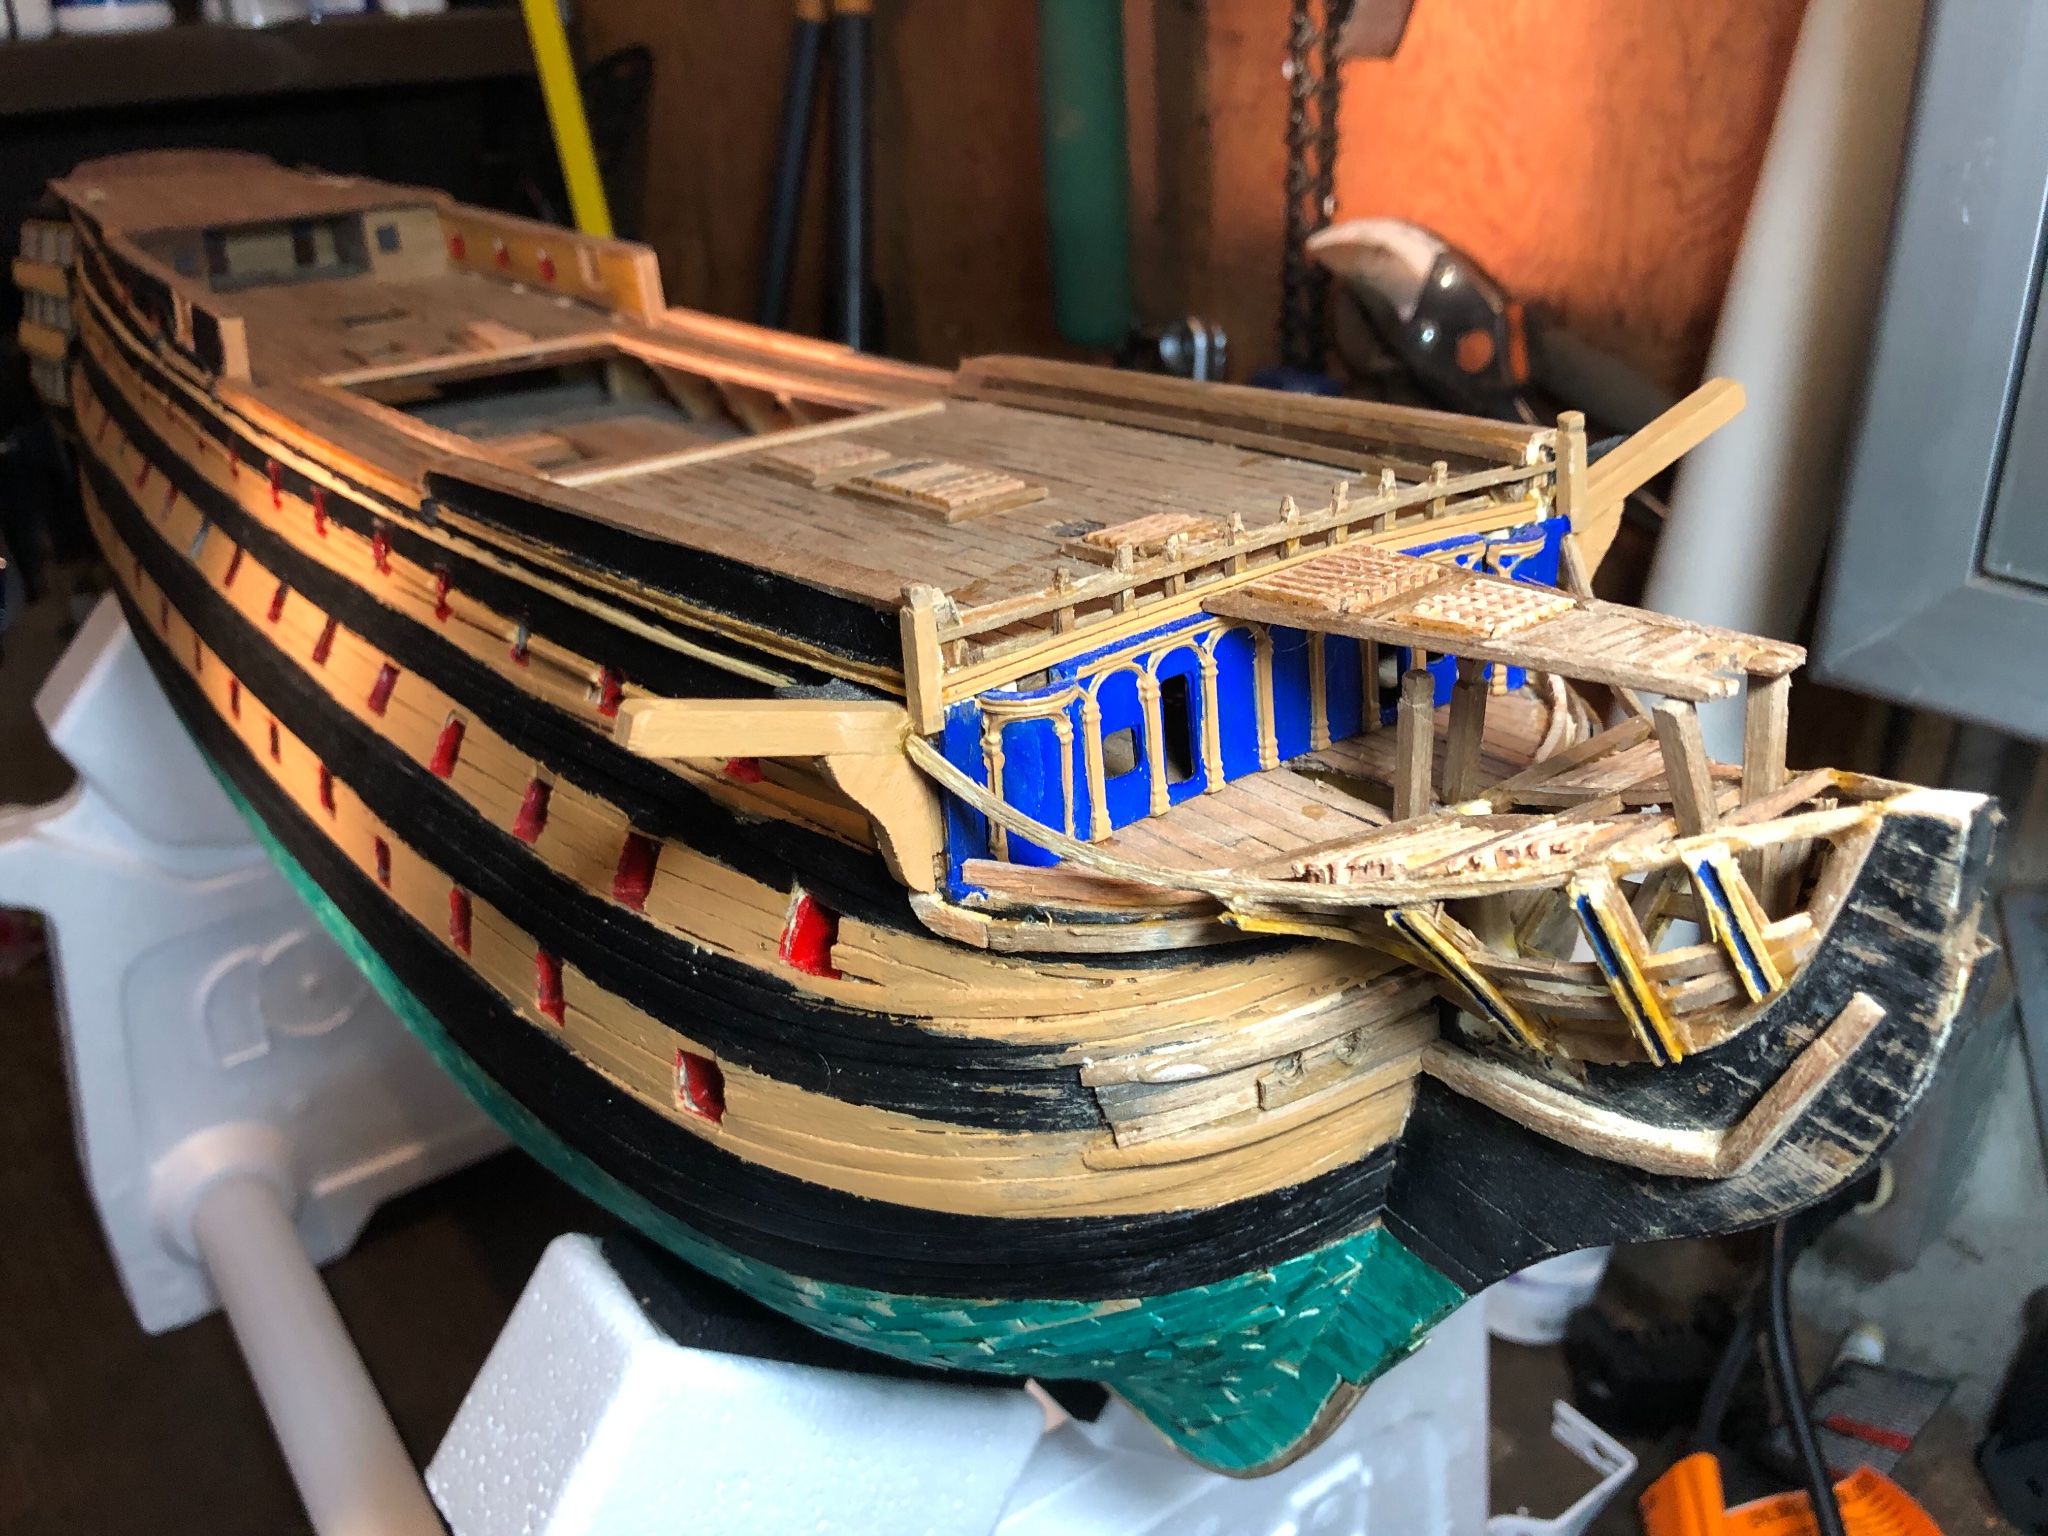
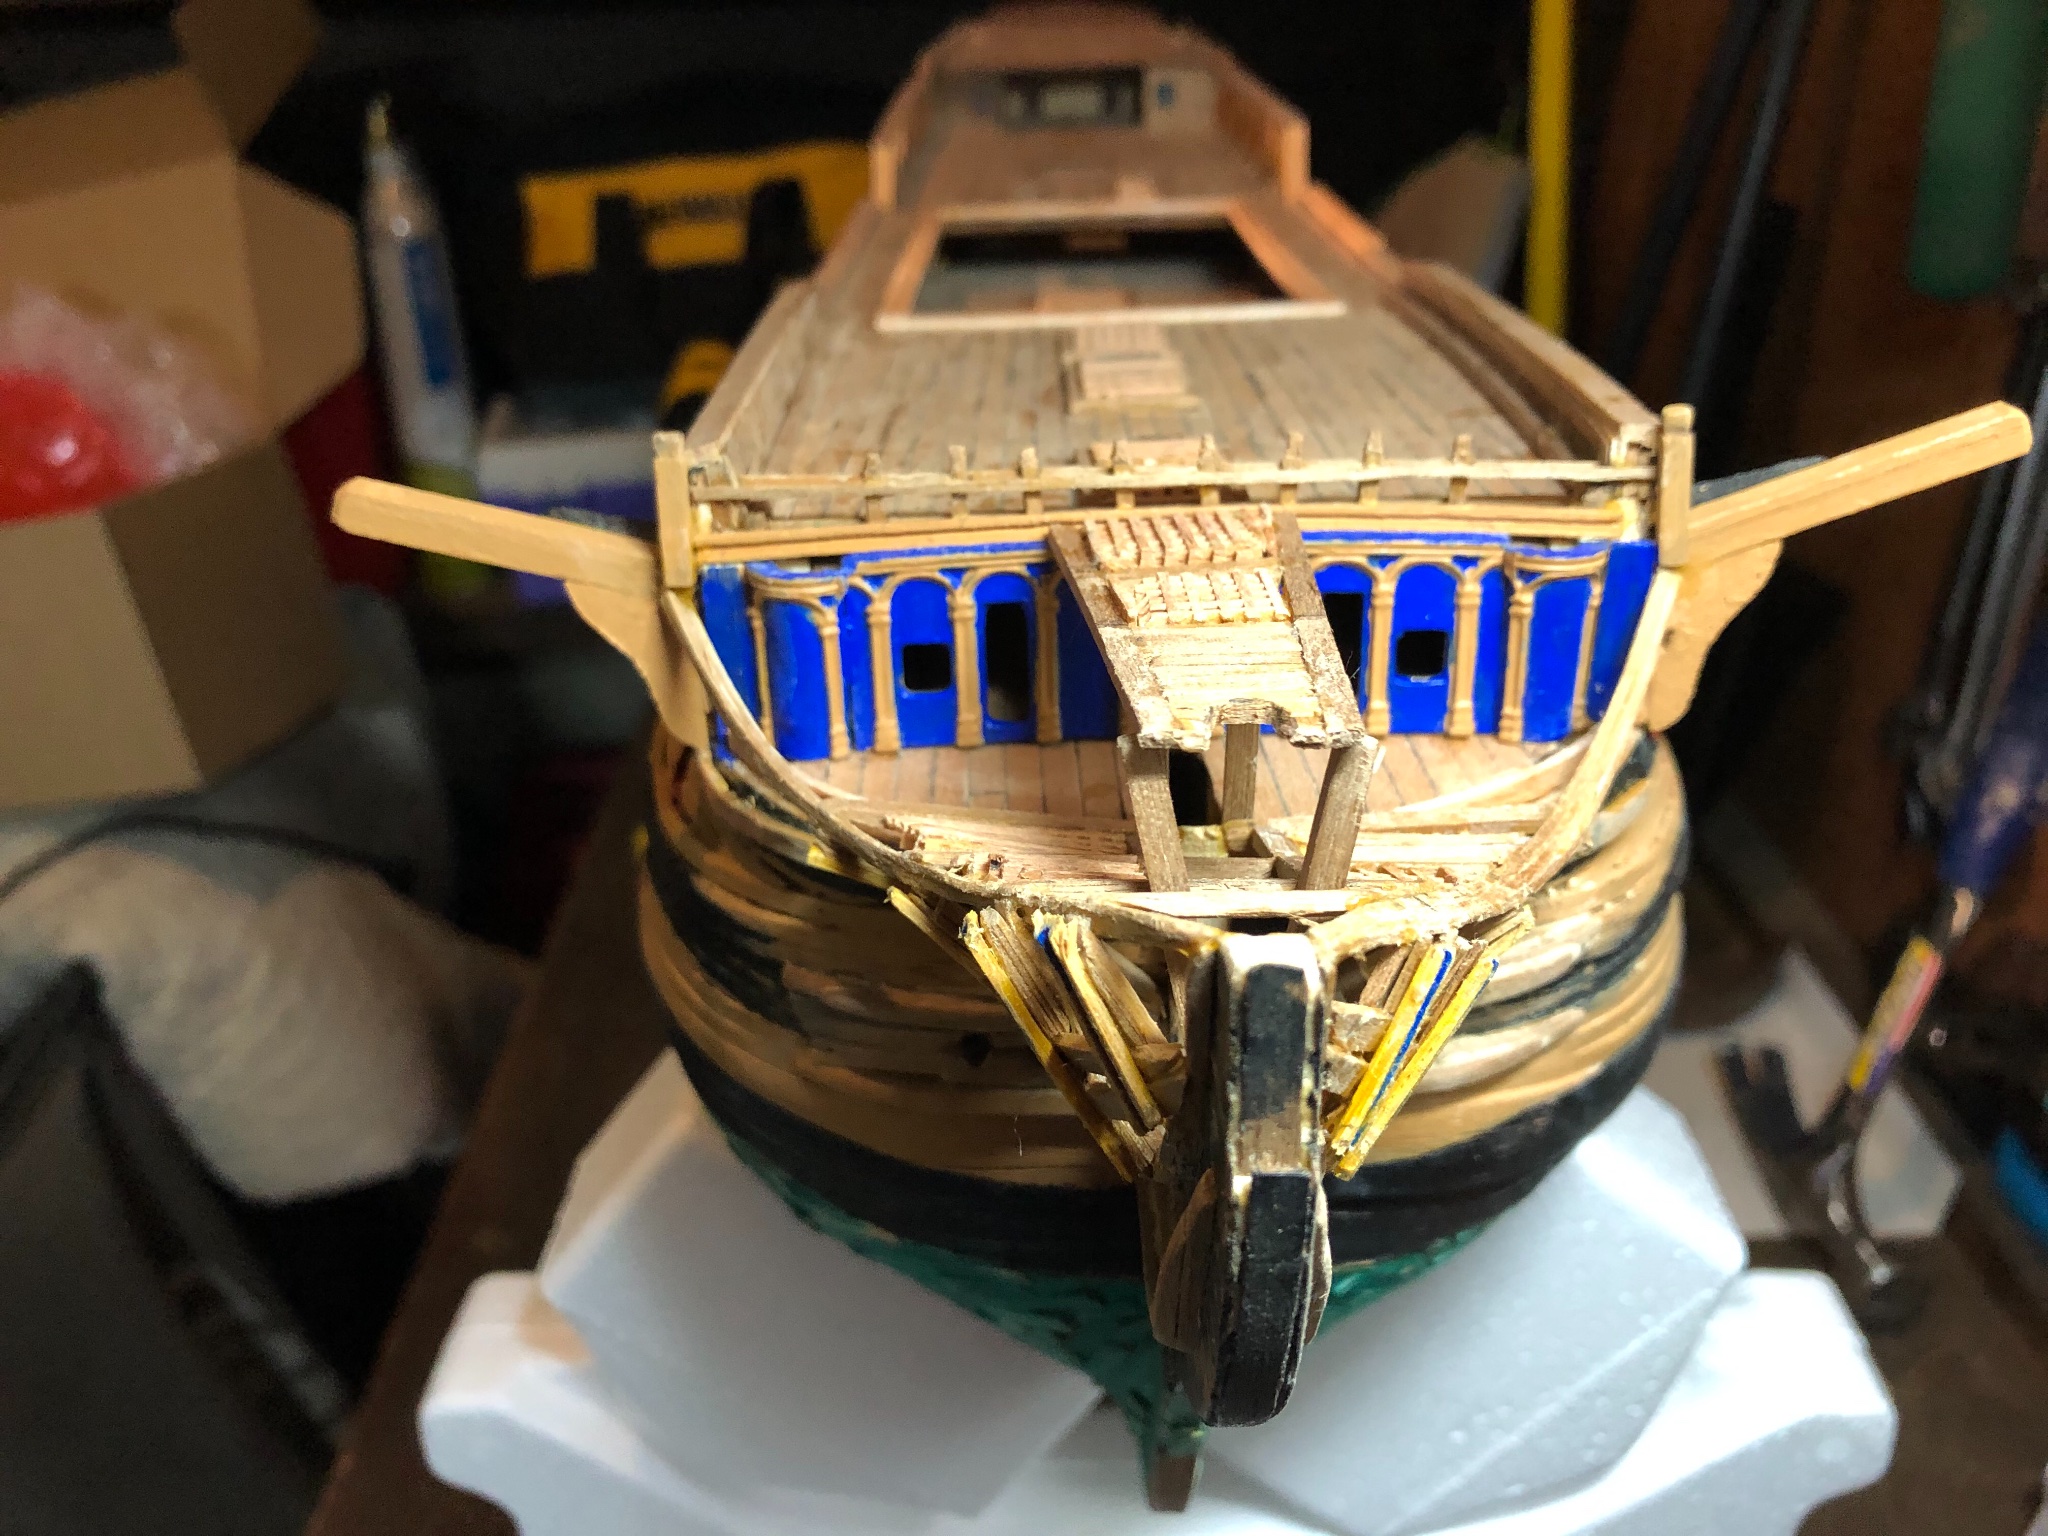
Still working on the bow finishing and have painted and installed the starboard false rail. These rails are made of lead and you can see where they don’t seamlessly interface with the main rail. The lead will break if I attempt to bend it, even a little. My thought will be to shape and put a piece of wood in the gap. I’m not aware of any more elegant type solutions. Lesson learned may be to fit the false and main rails while shaping the main rails to minimize that gap. There is a larger gap on the port side.

-
She’s coming along splendidly!
-
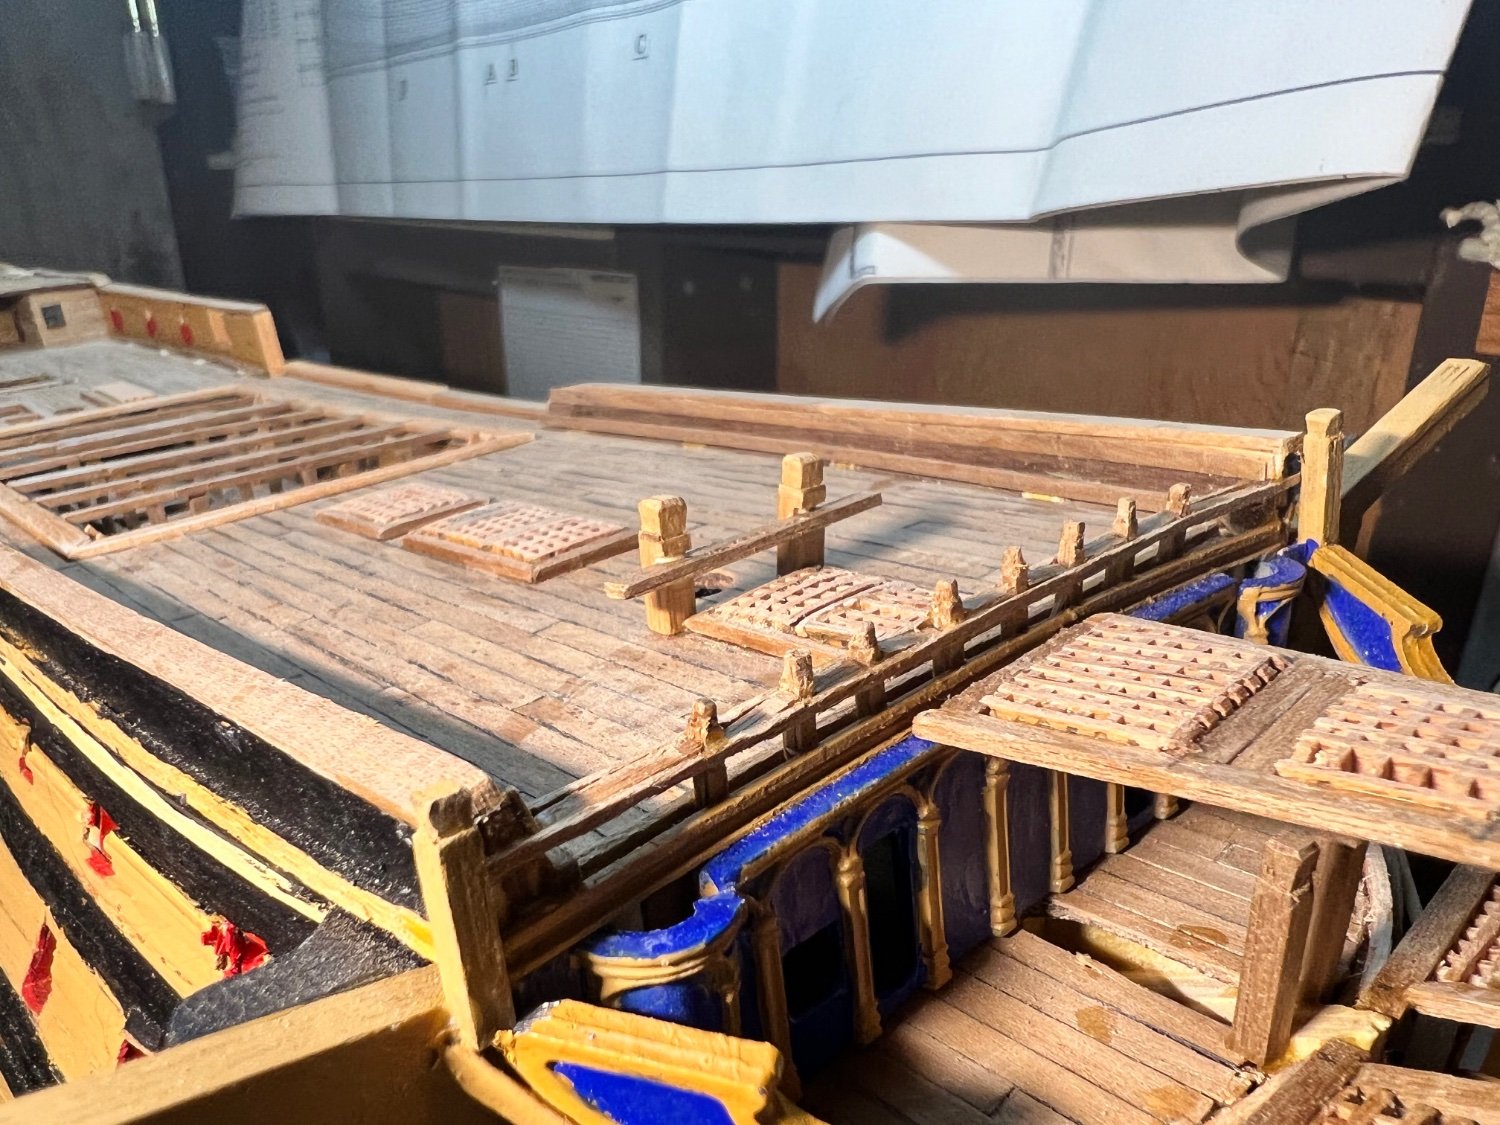
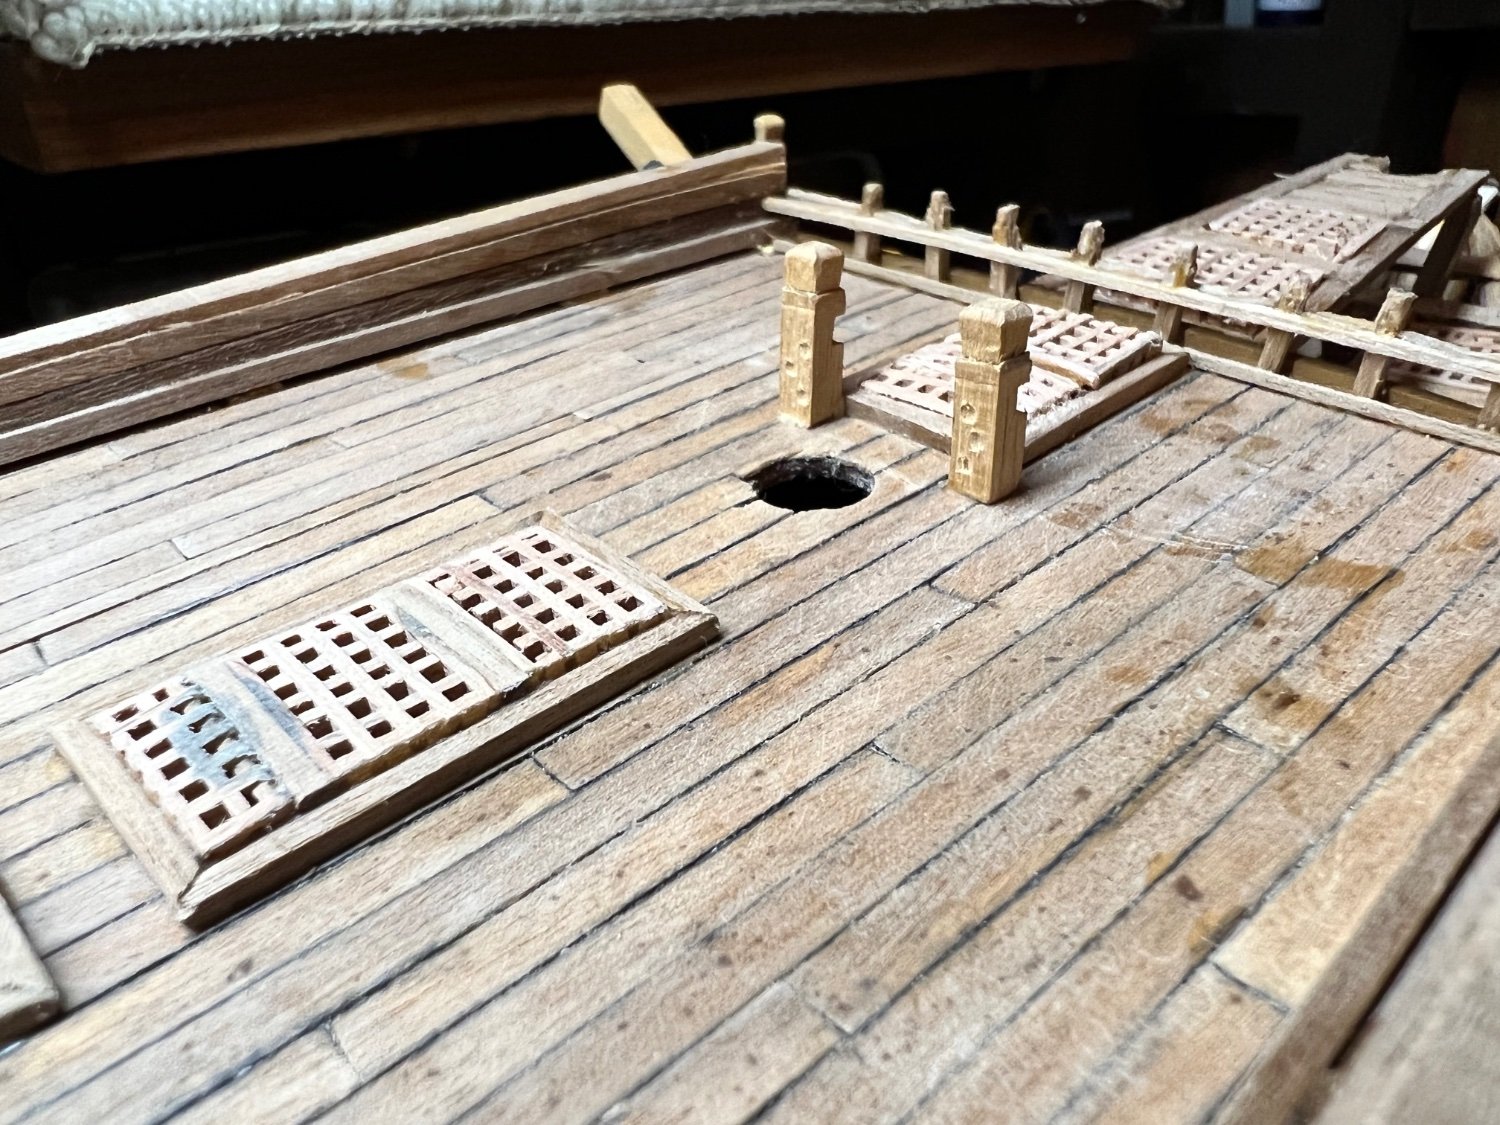
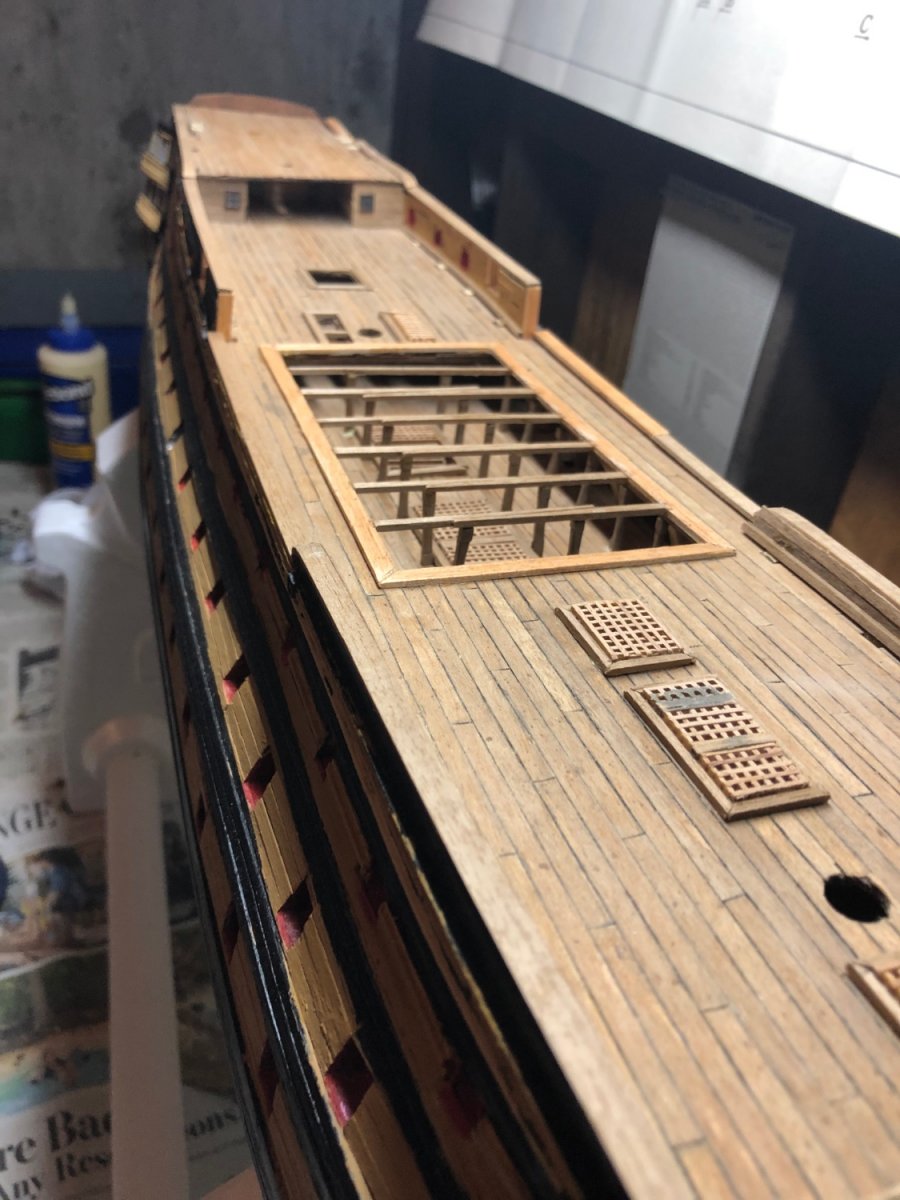
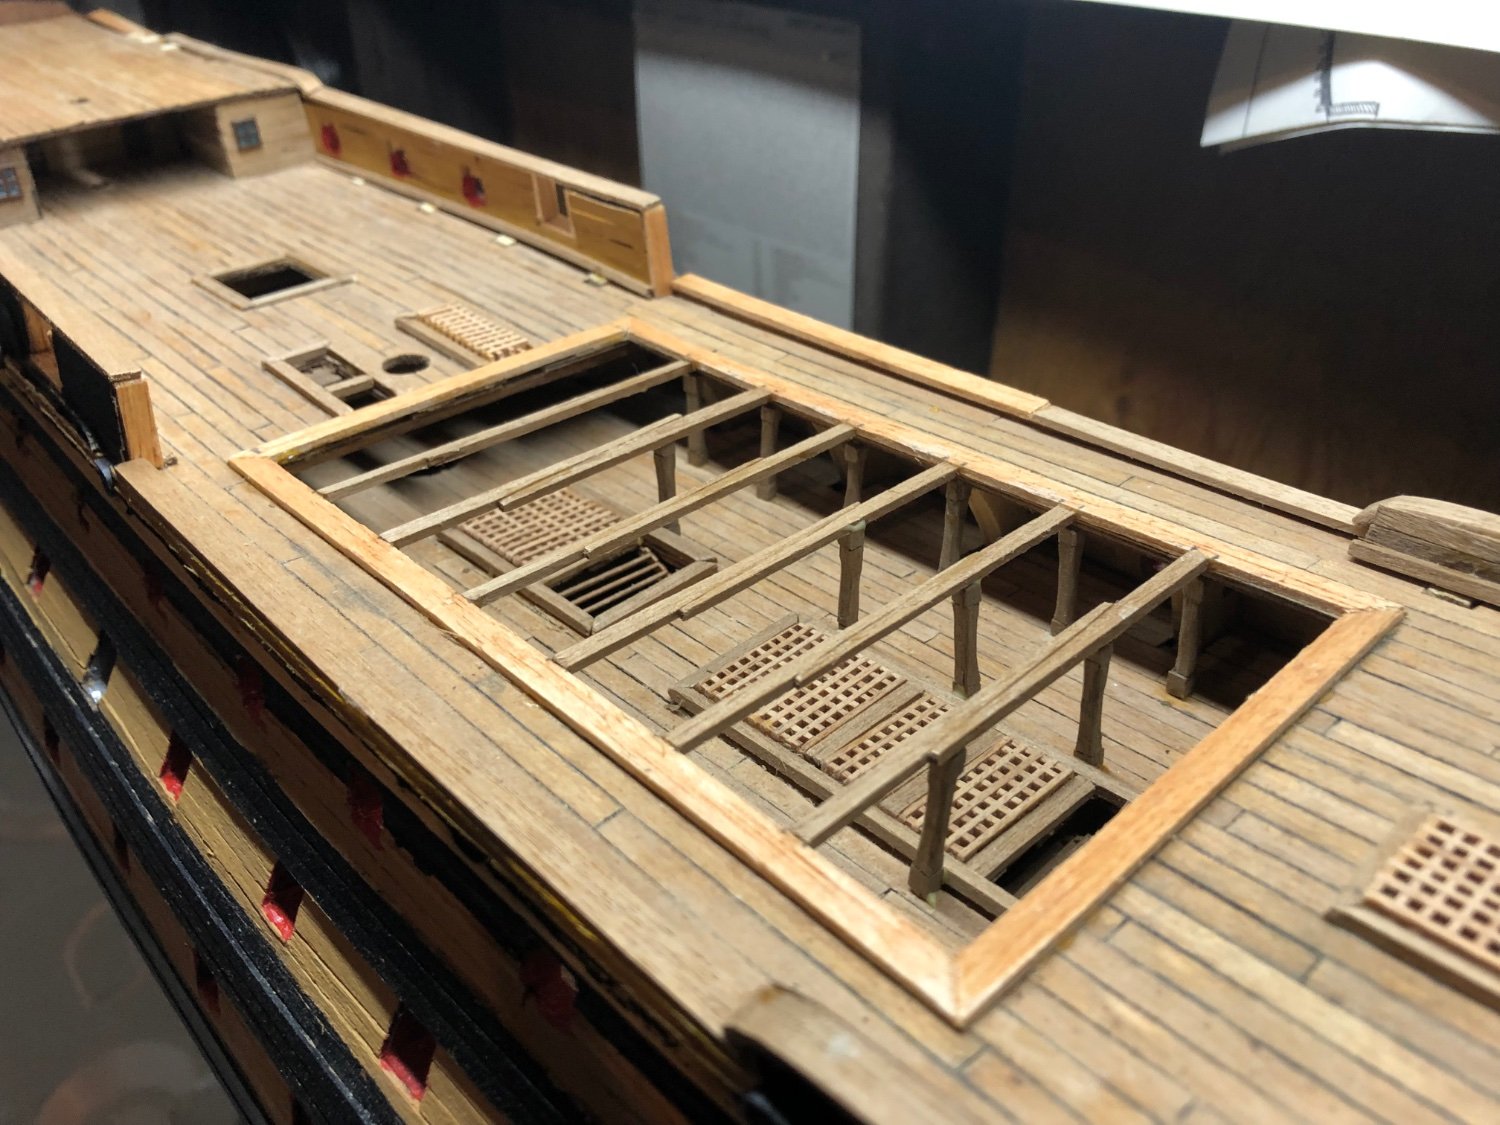
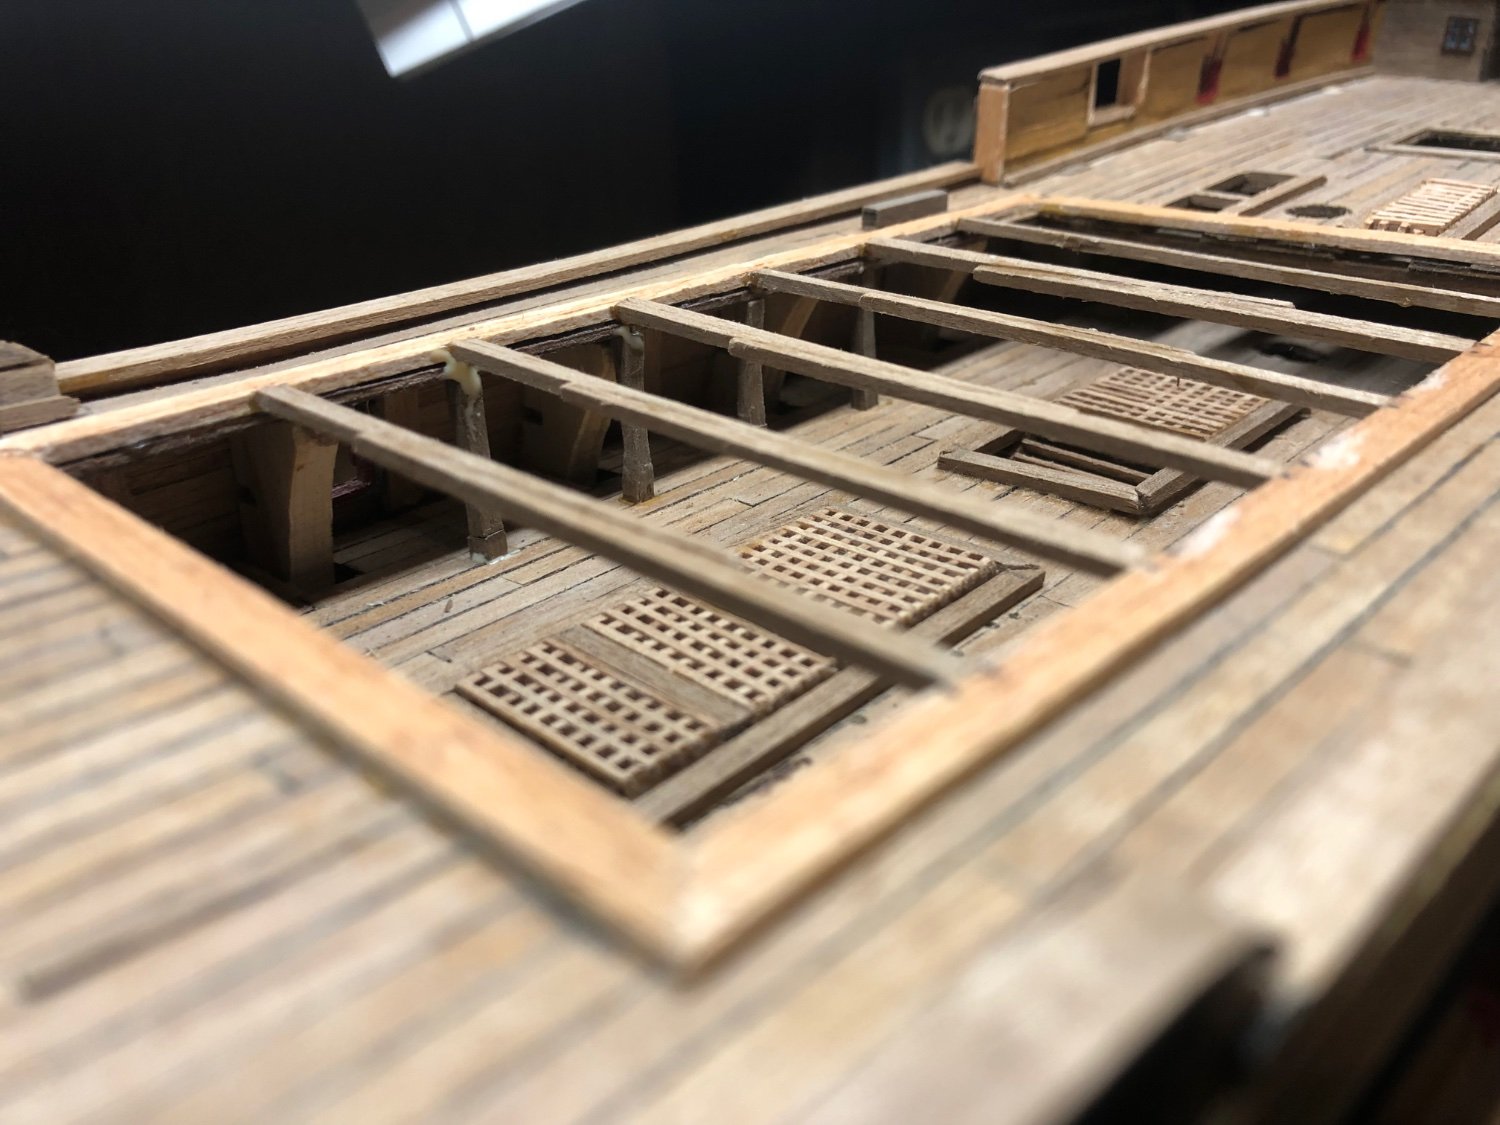
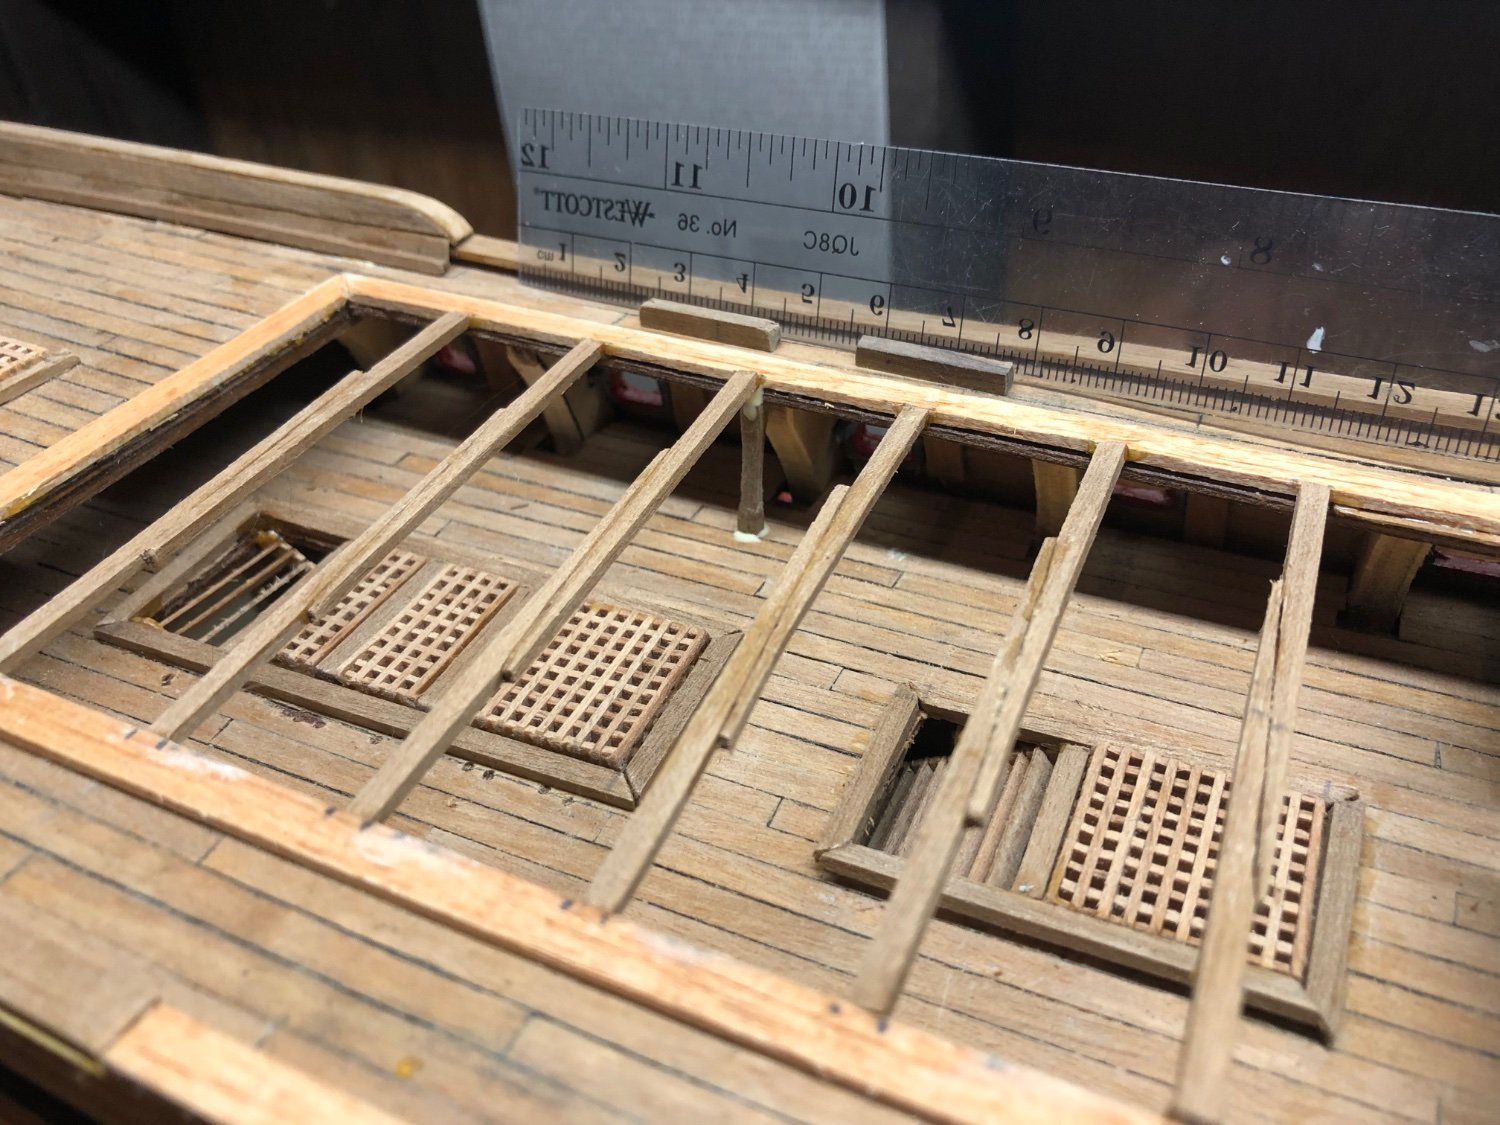
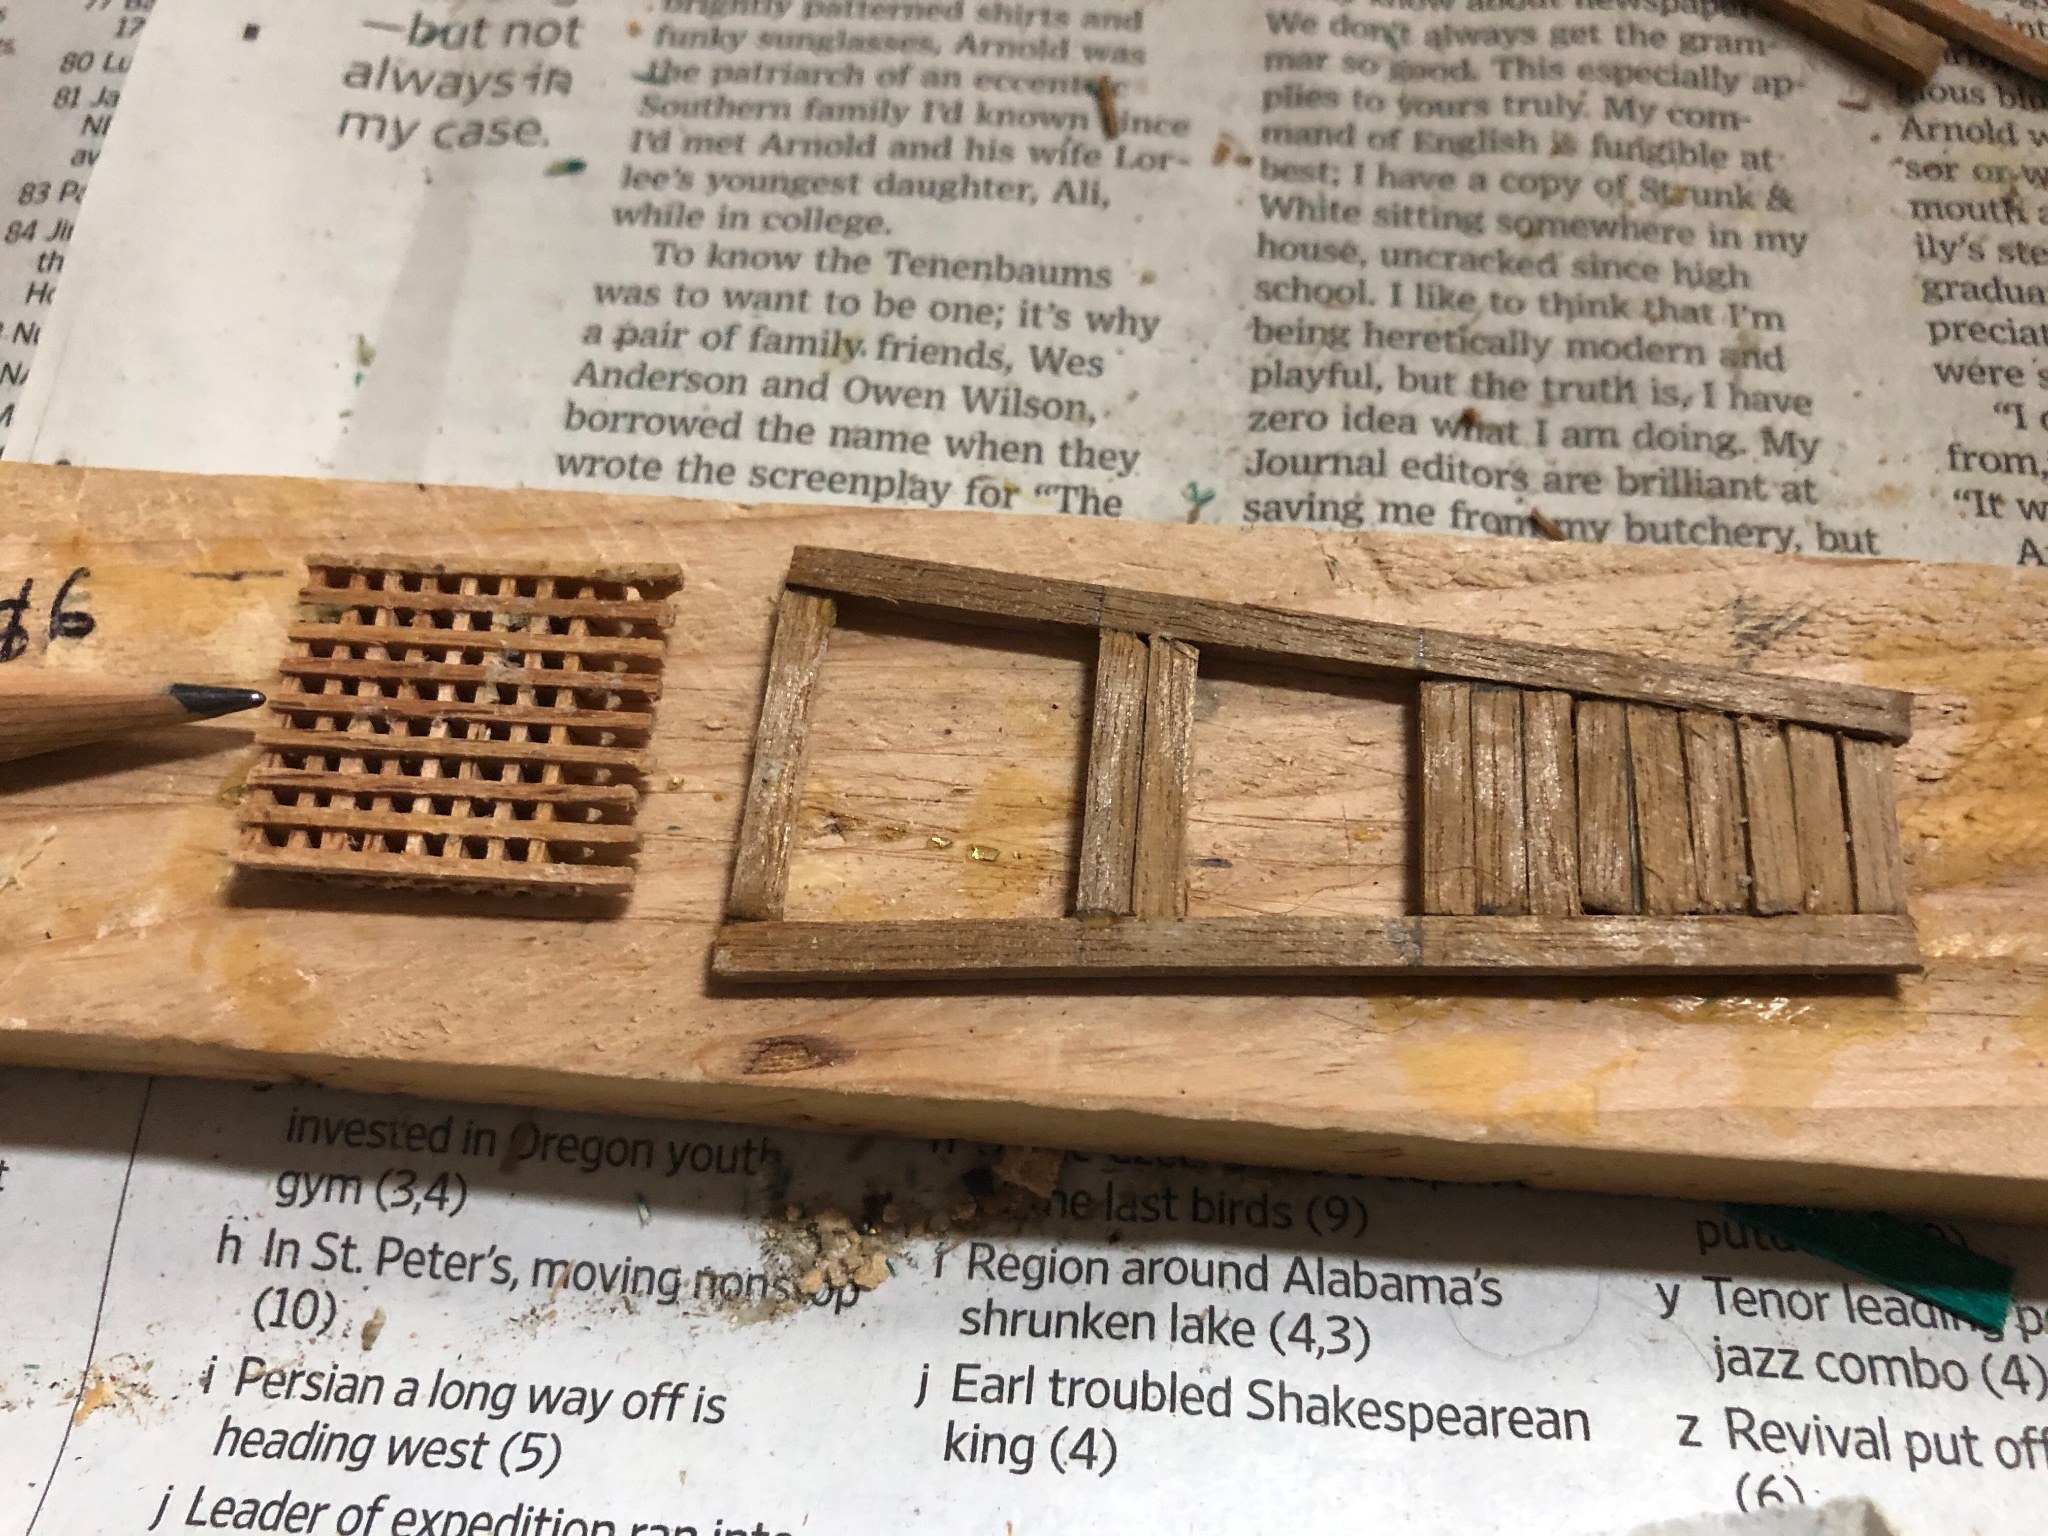
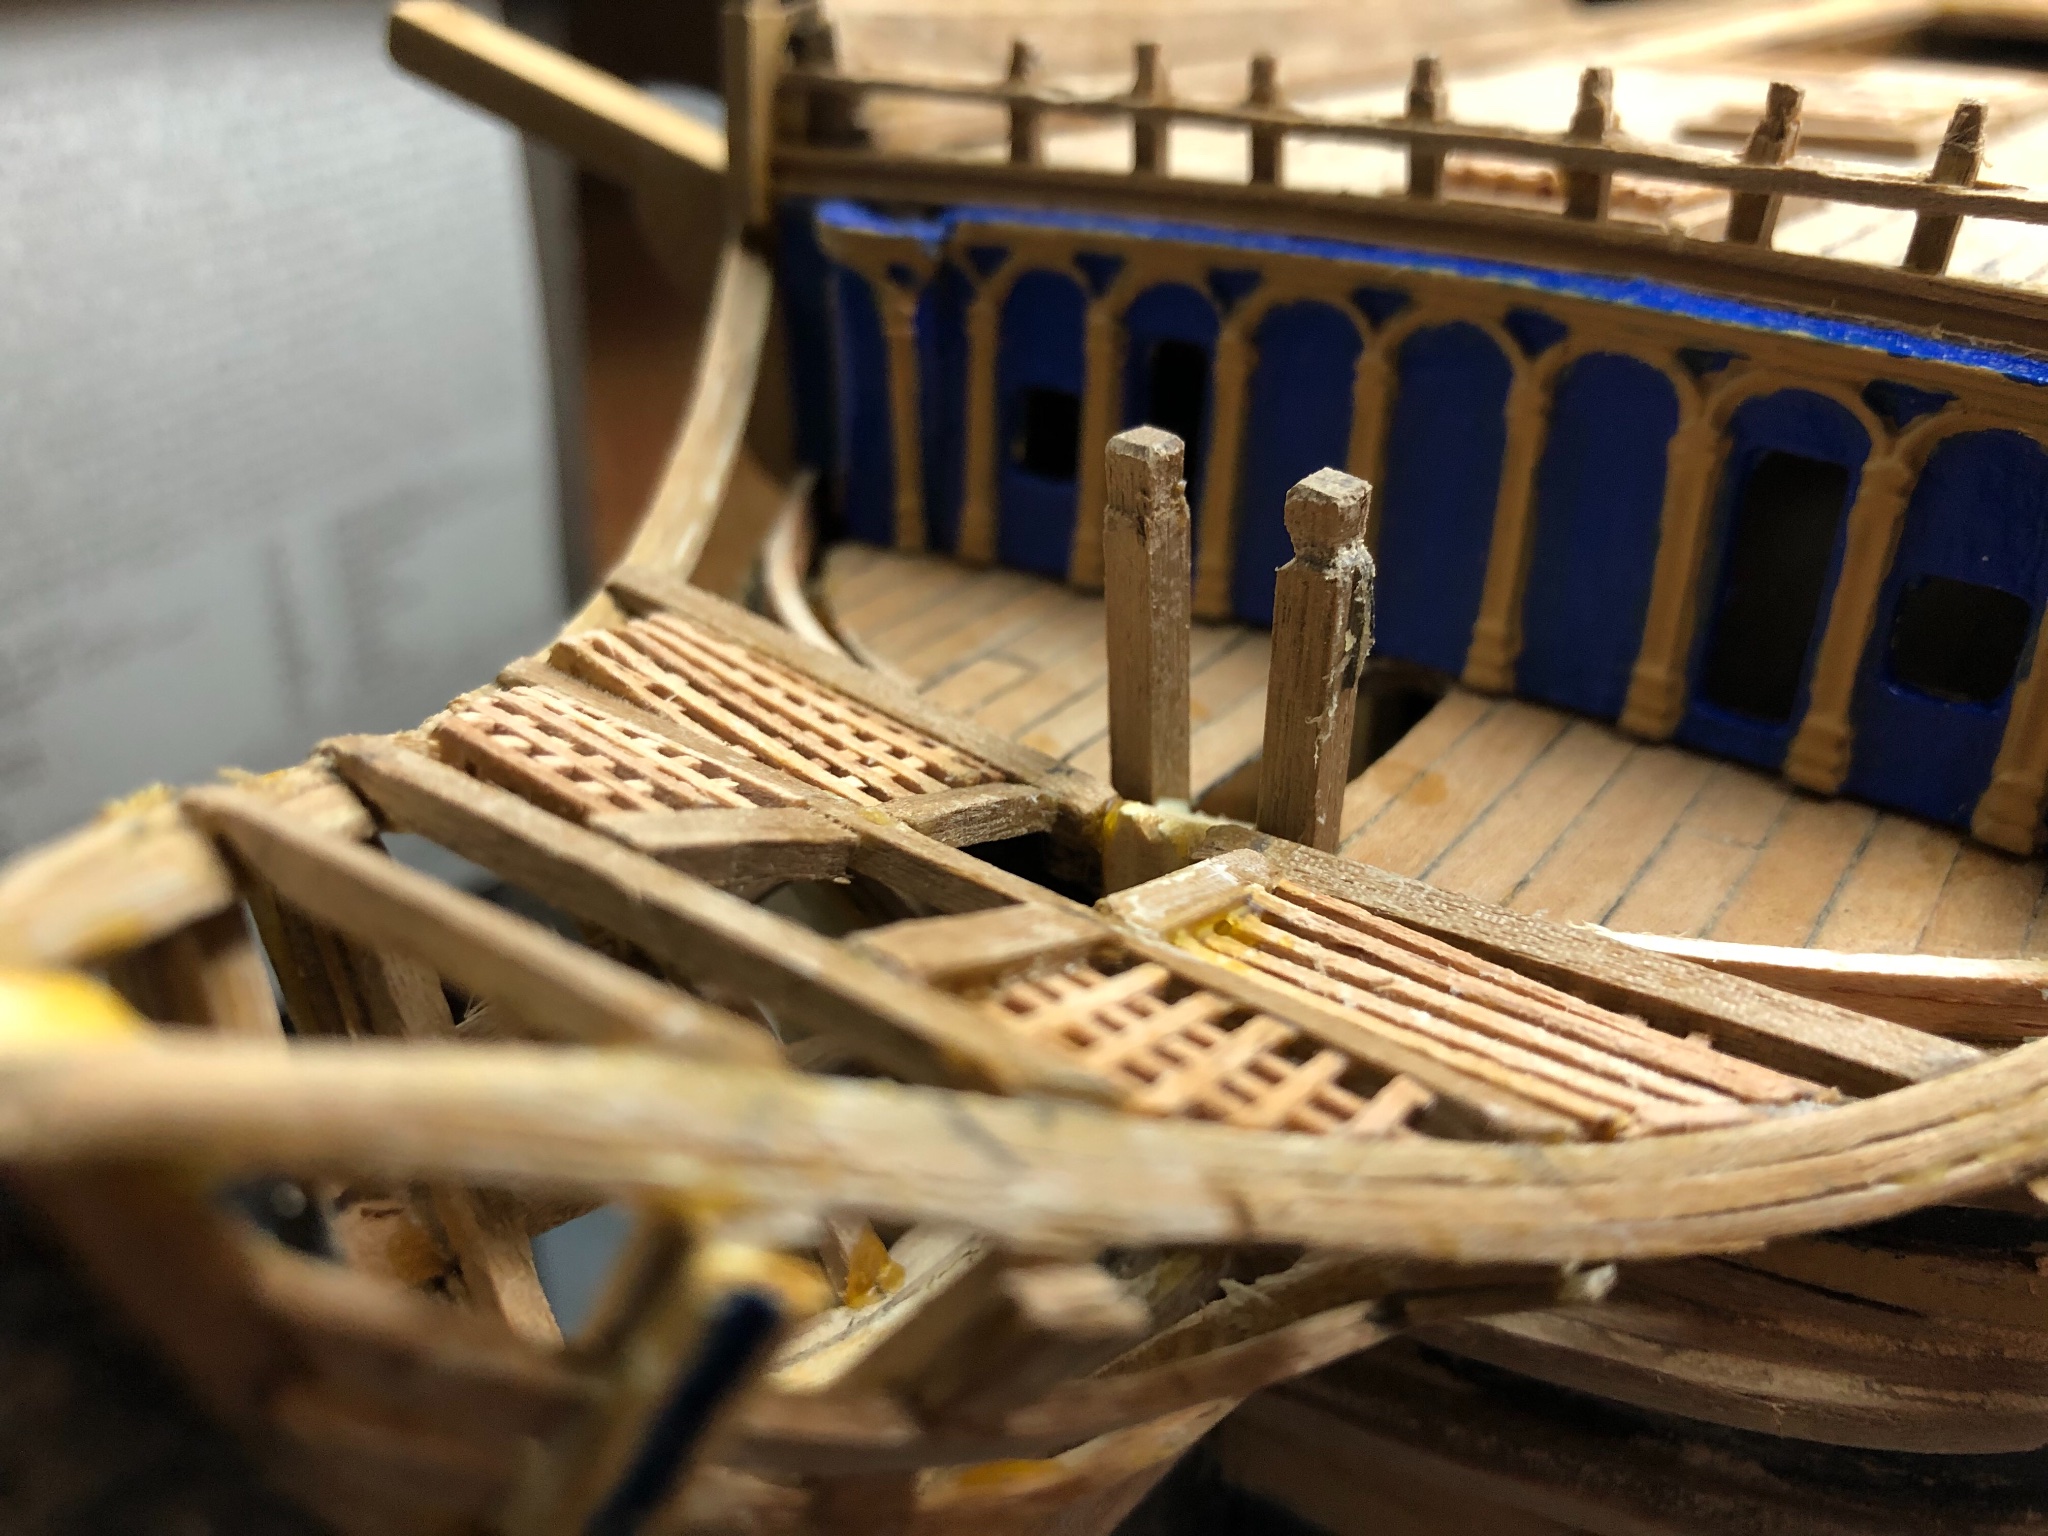
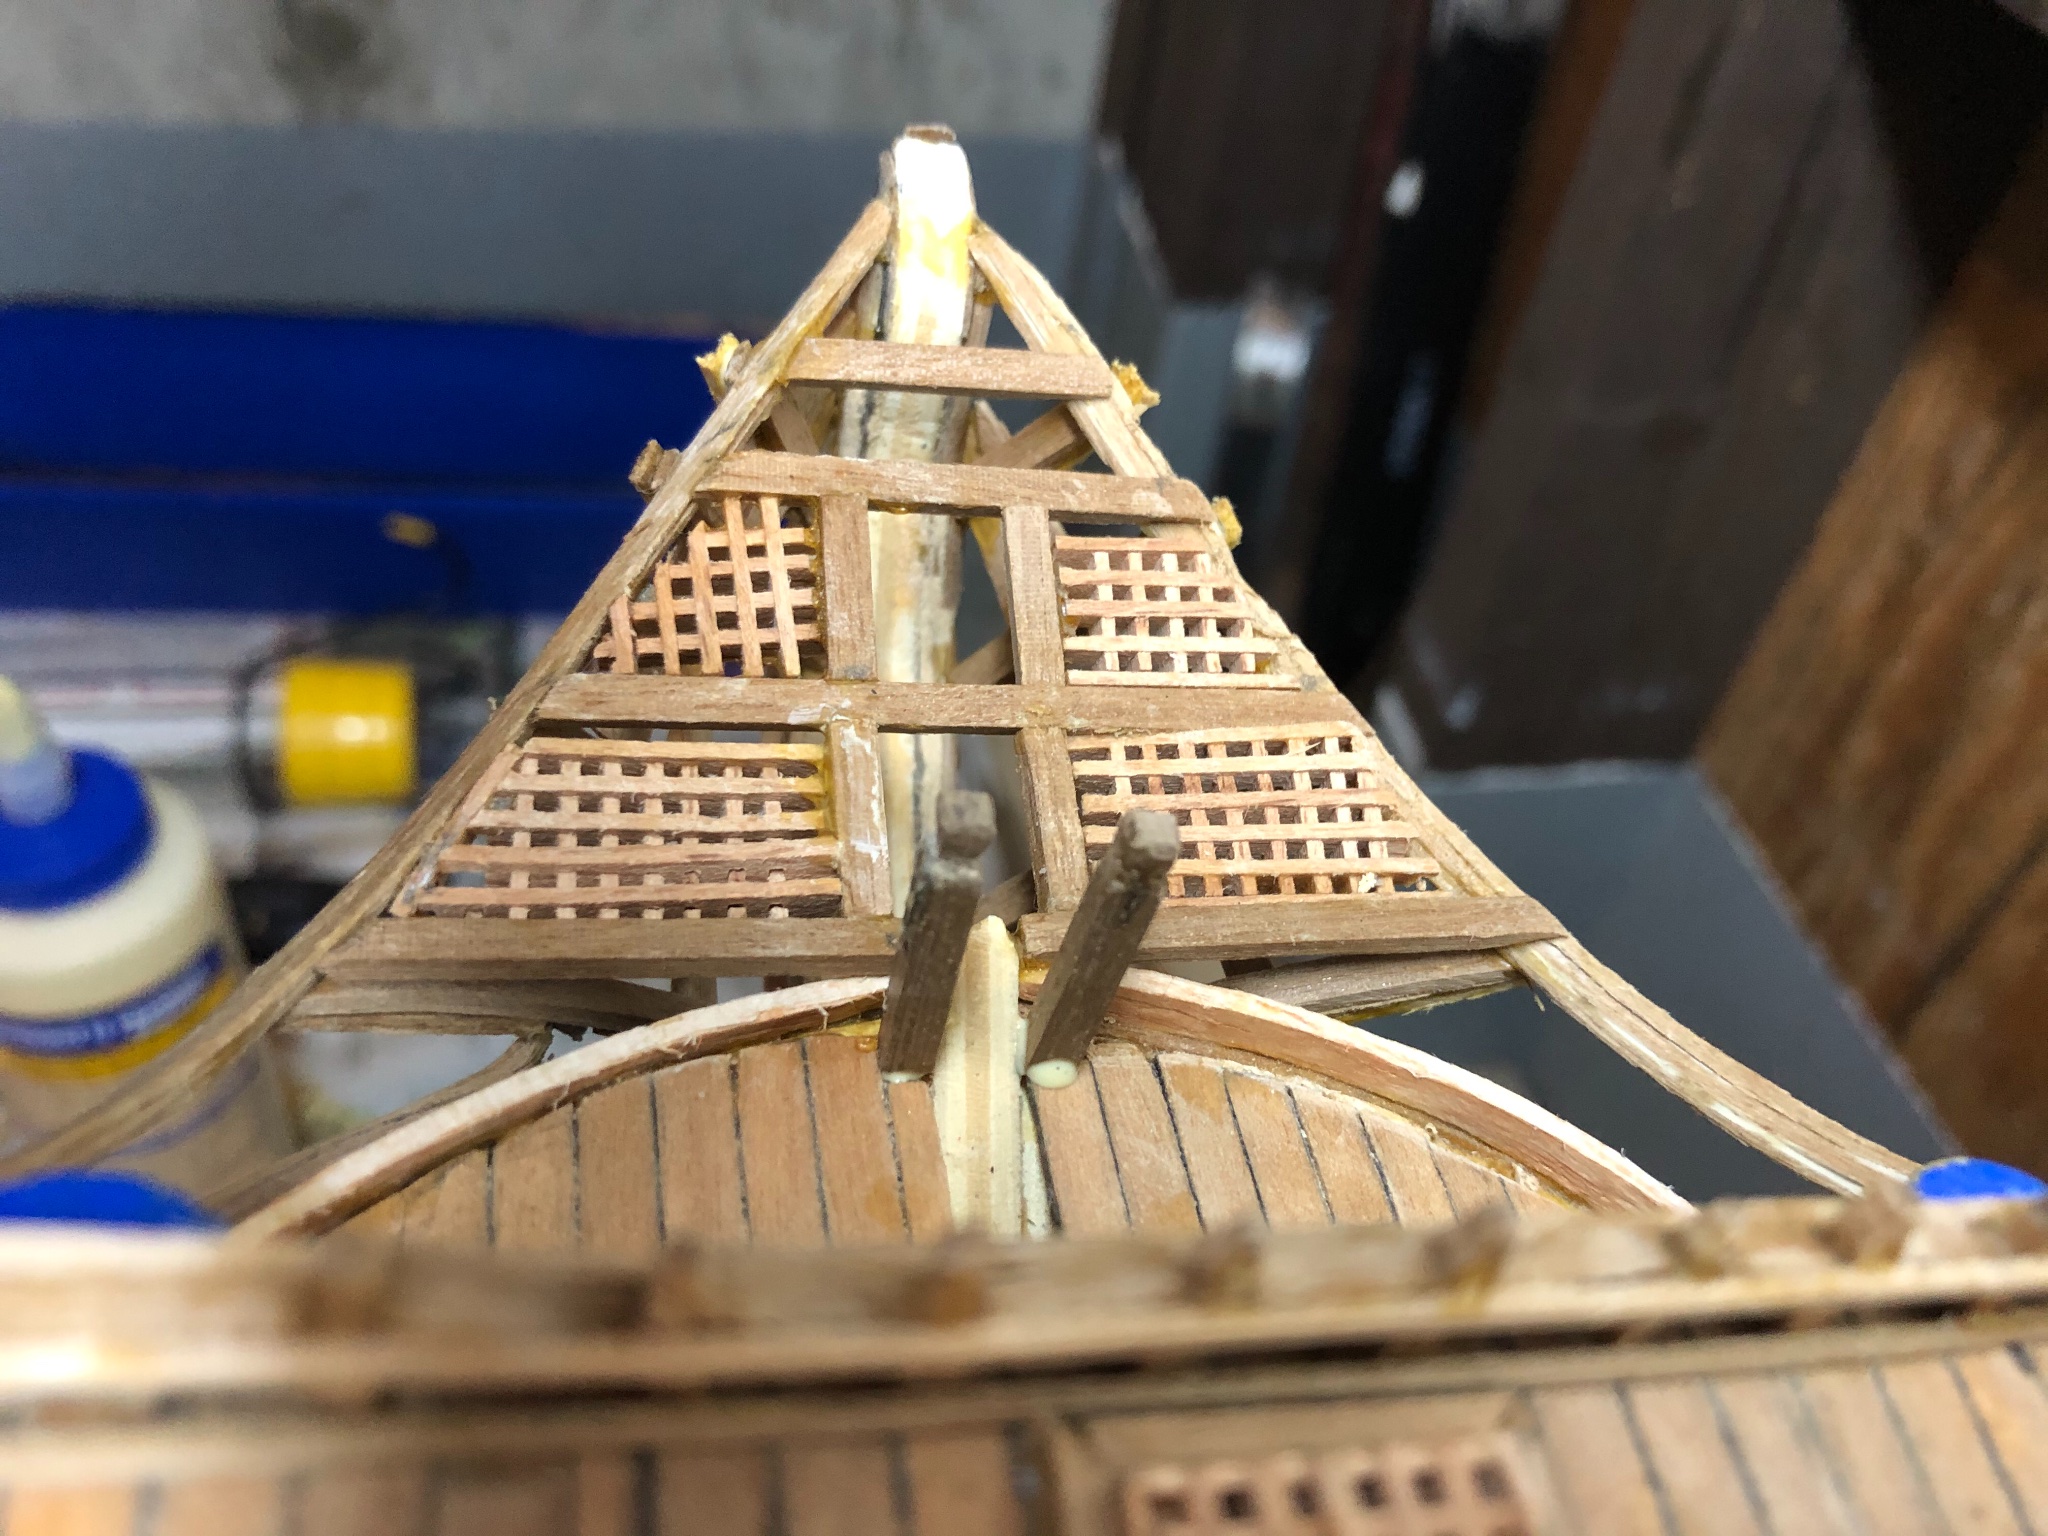
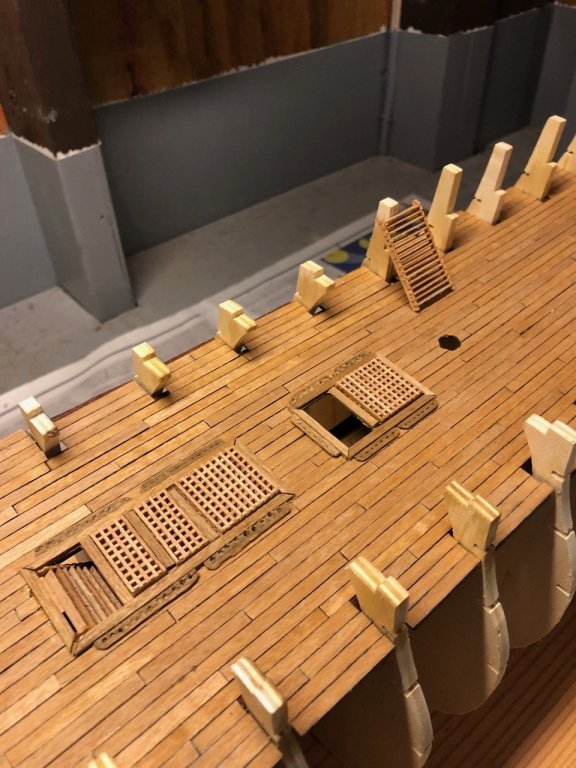
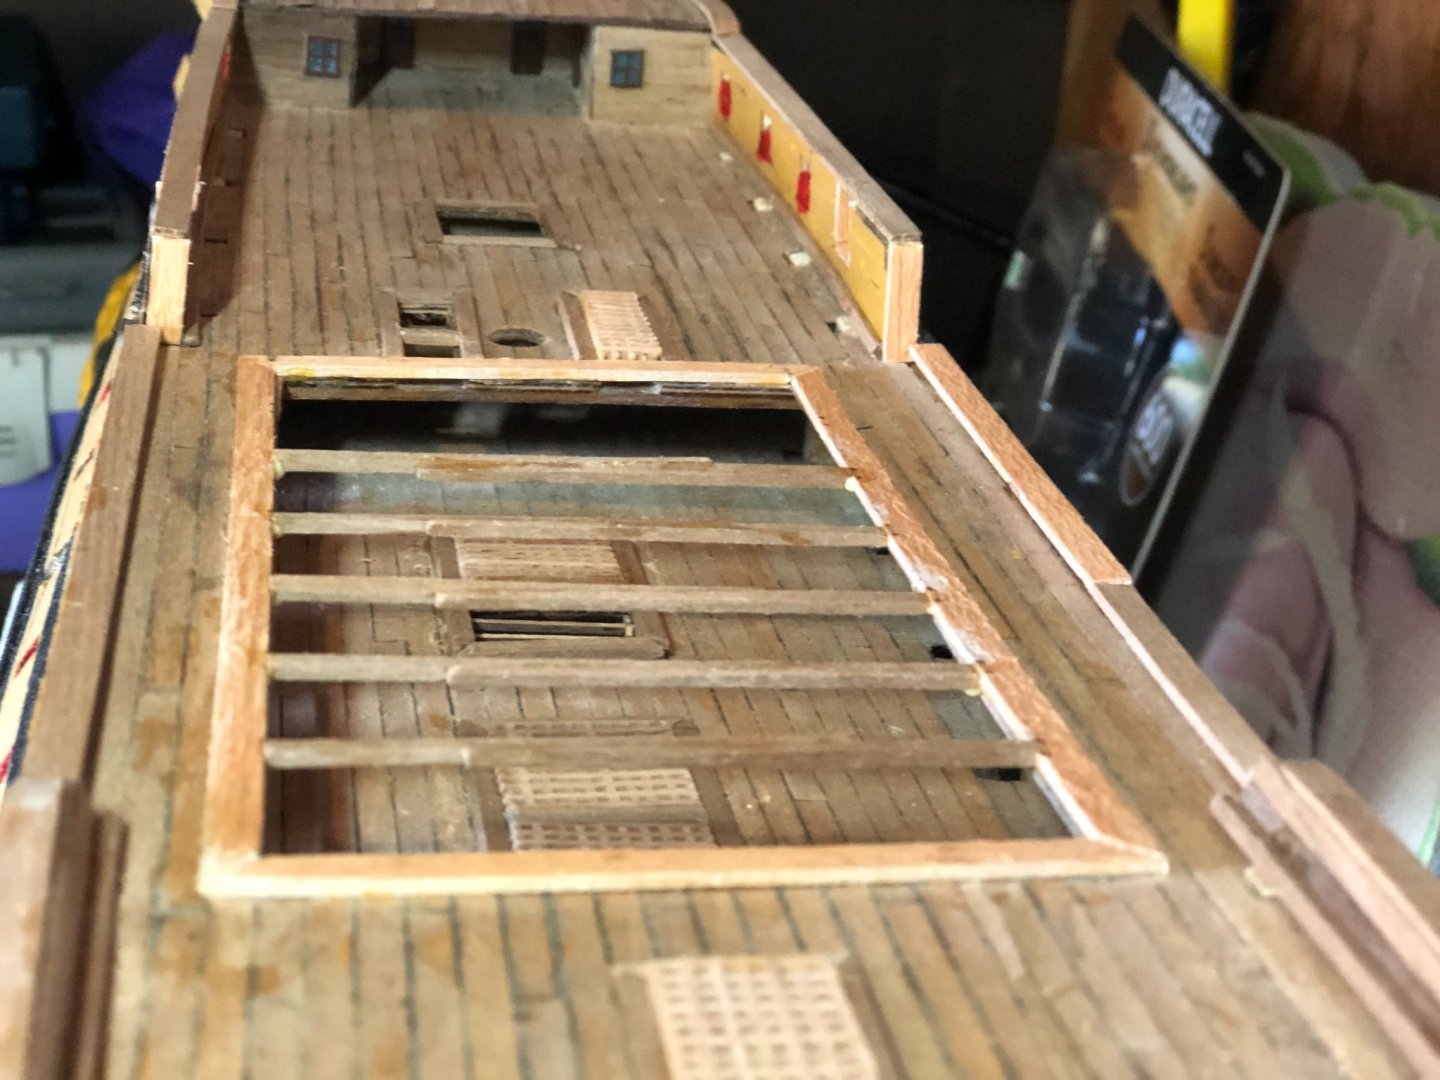
Marine’s walk with accompanying grate (1 of 2). I’ve tried a new approach to mitigating the grate brittleness with associated breakage by gluing the side grates (see pencil point for one) on each of 4 sides and then I was able to successfully tailor the sides without the whole thing falling apart. Still some additional work to get it to properly fit. Next pictures will show the completed item installed.

-
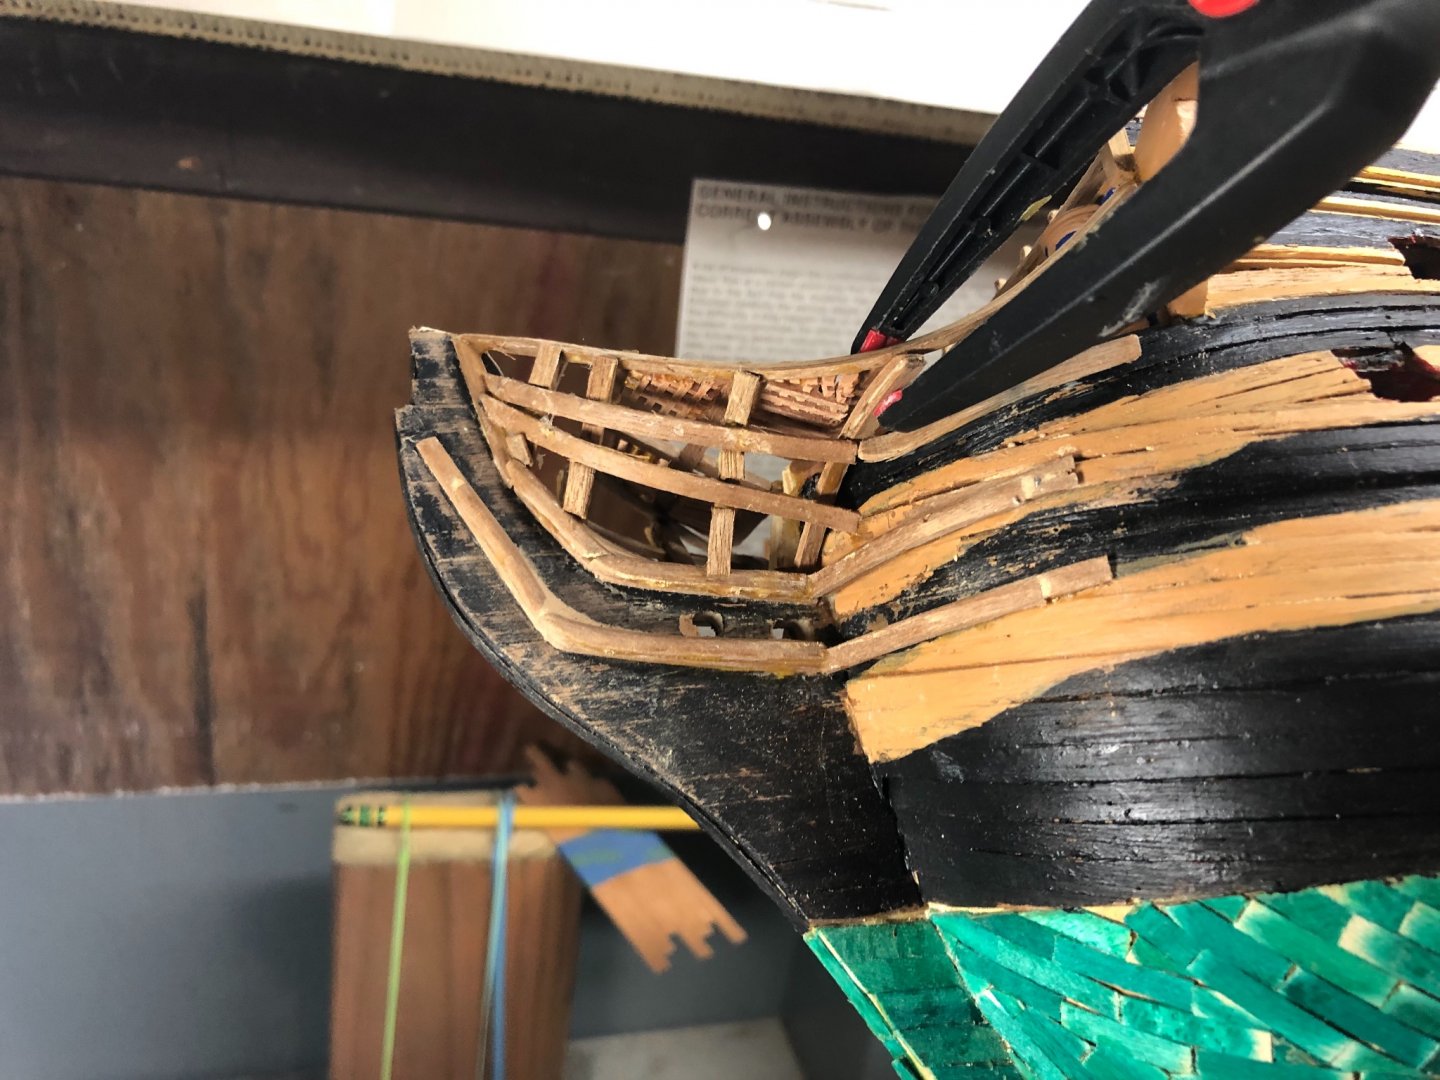
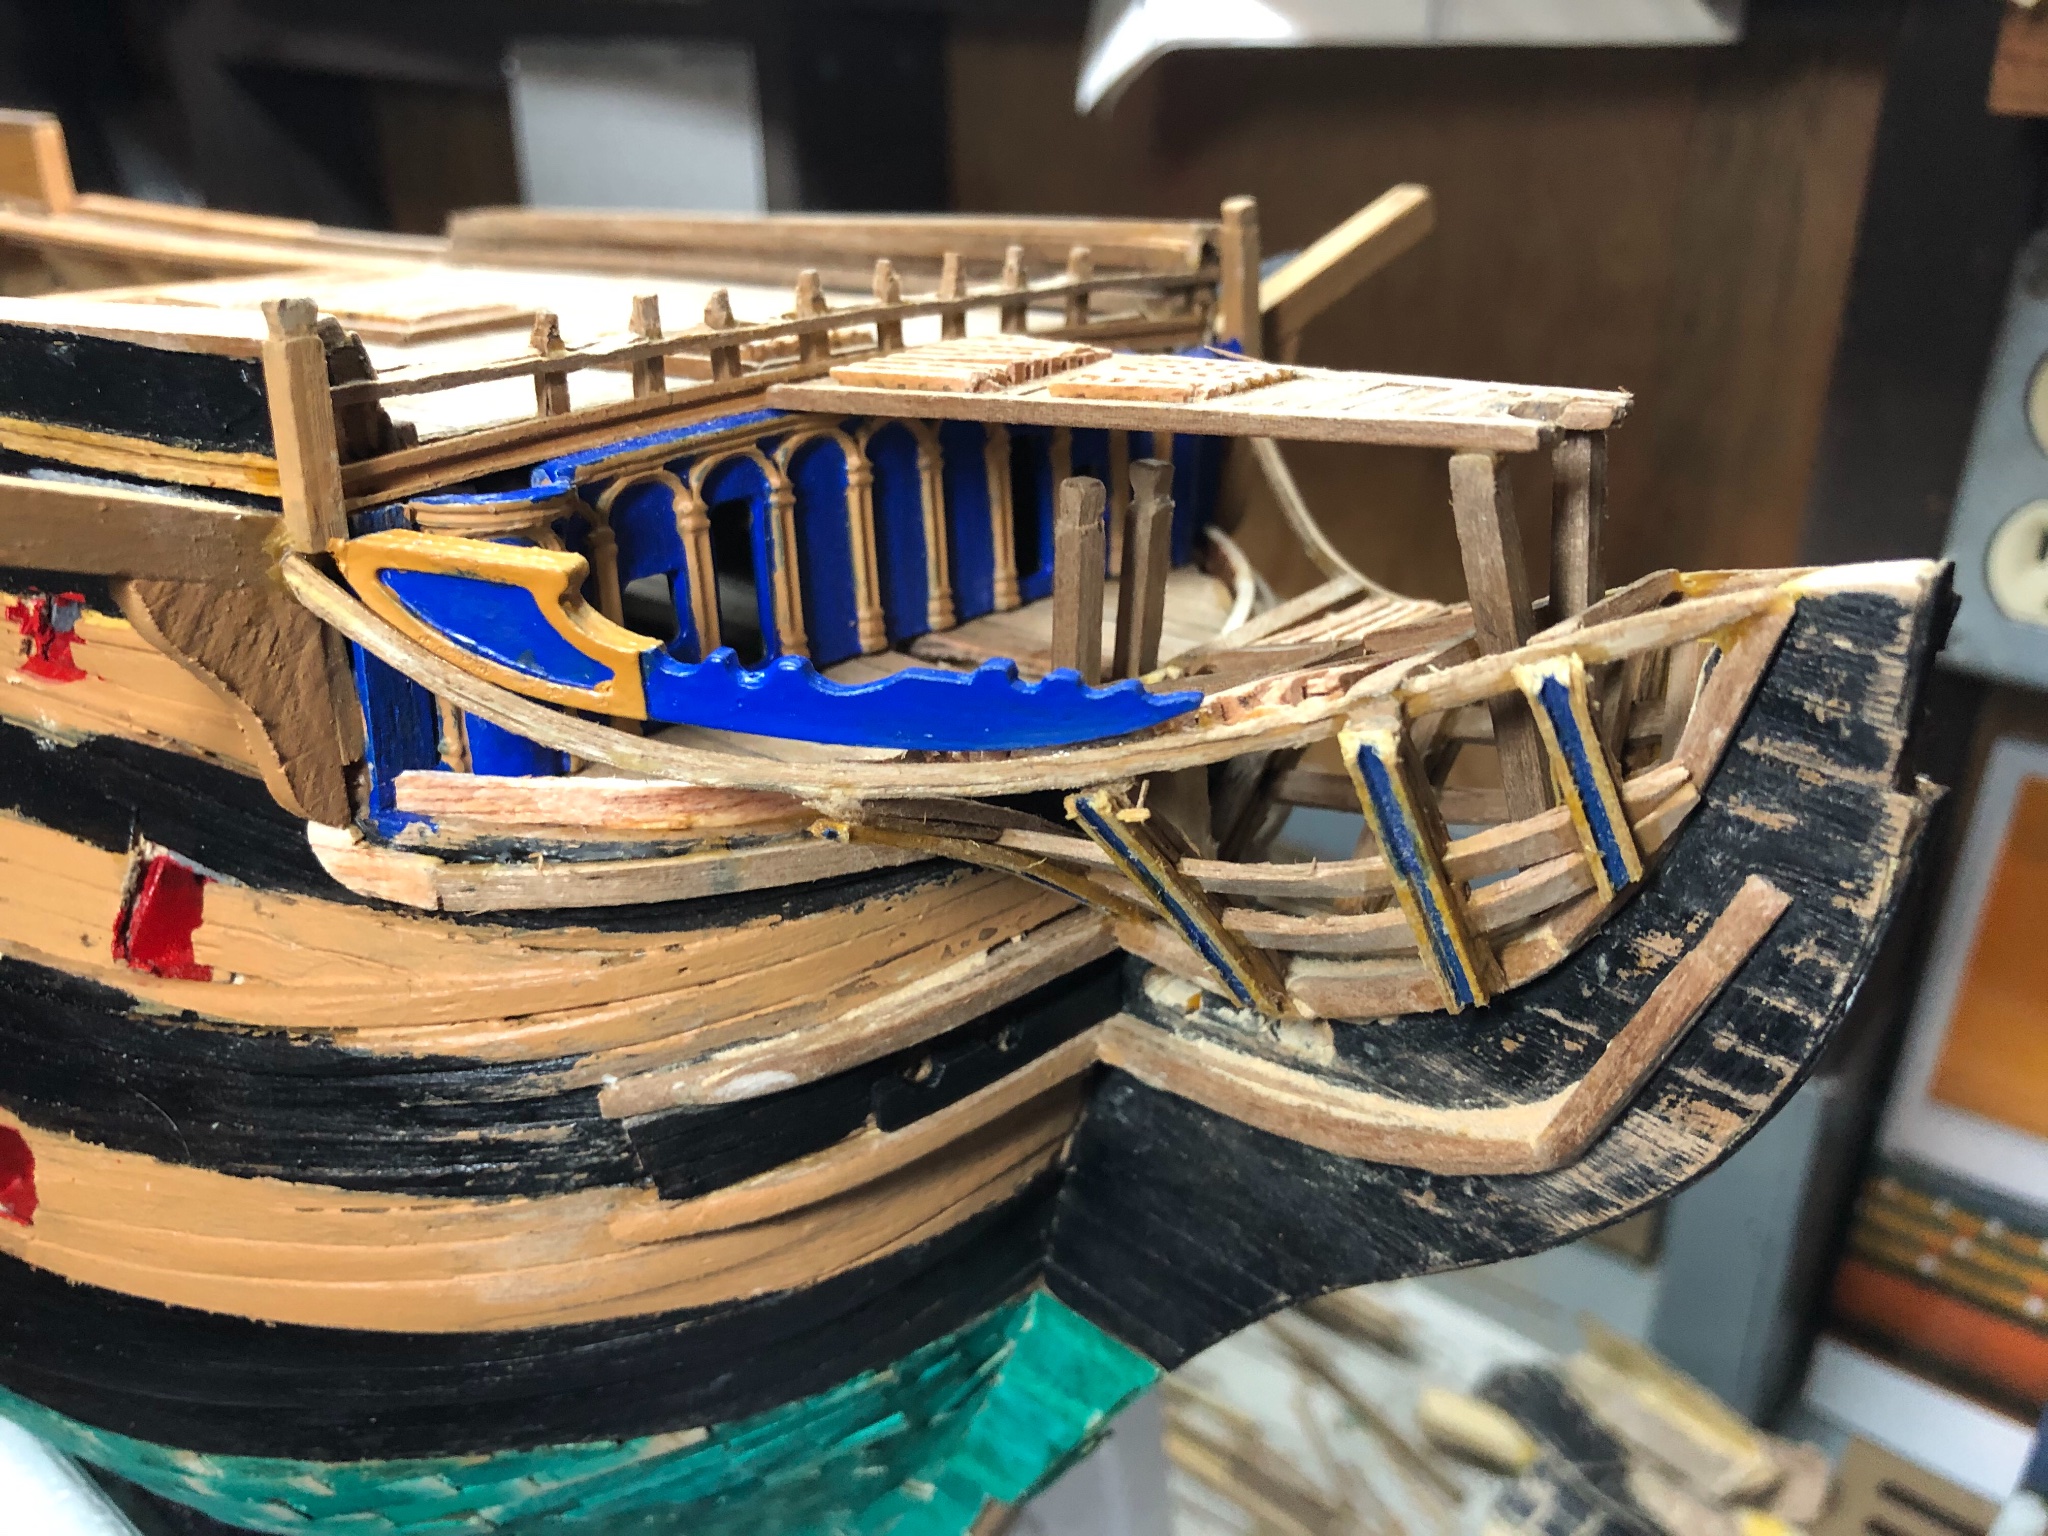
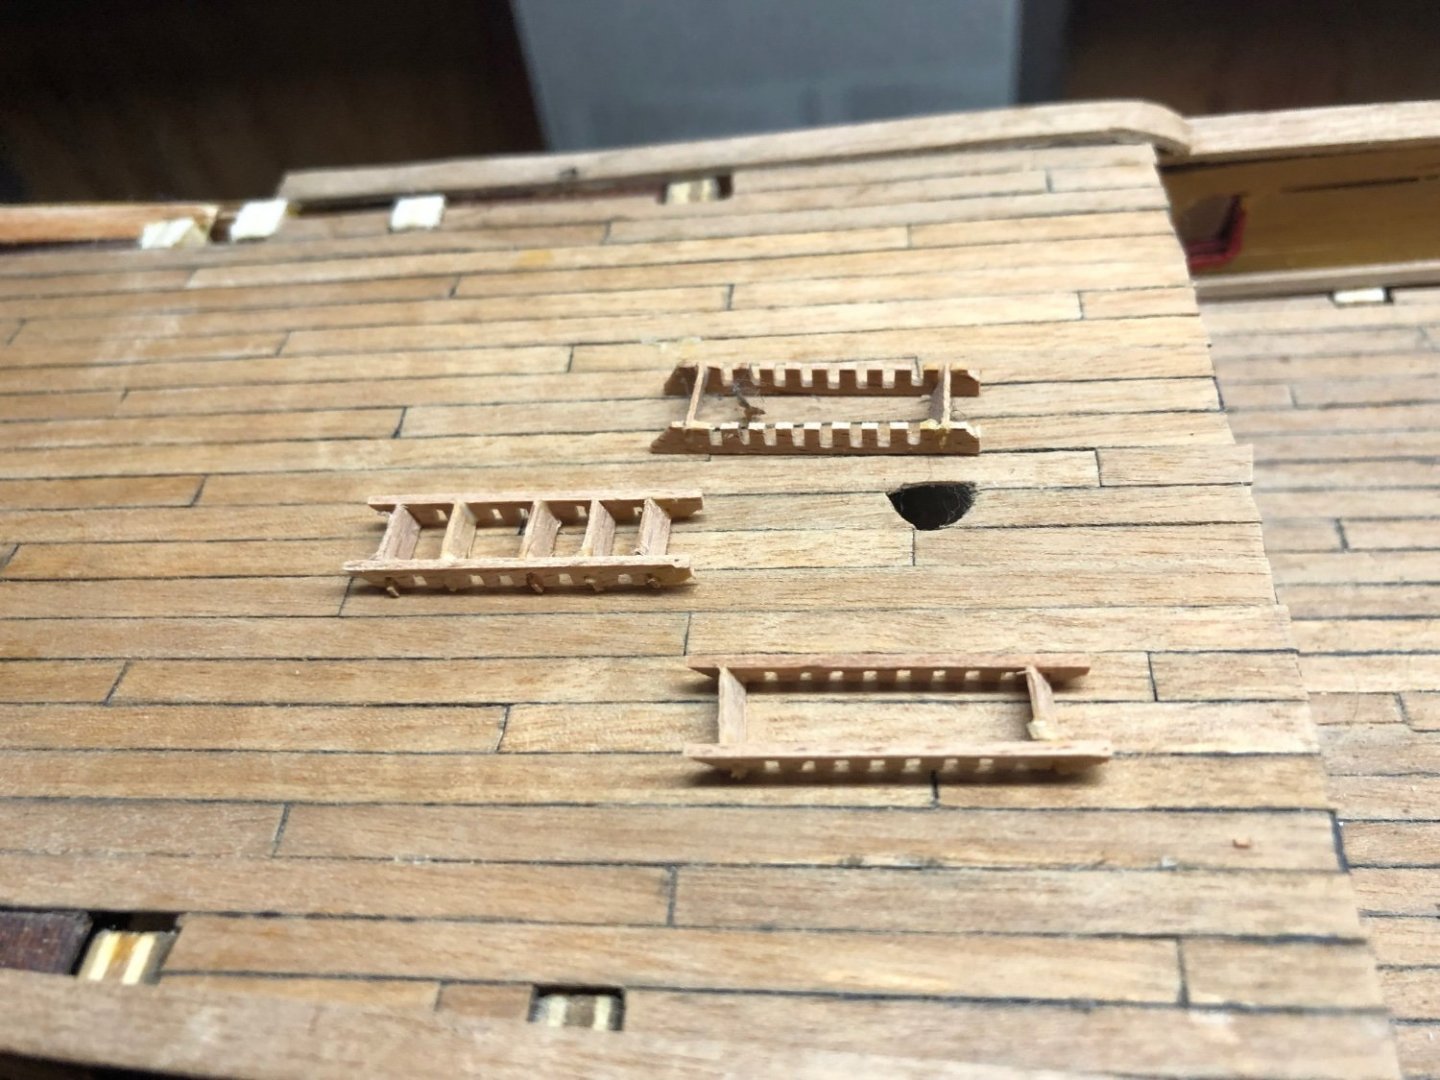
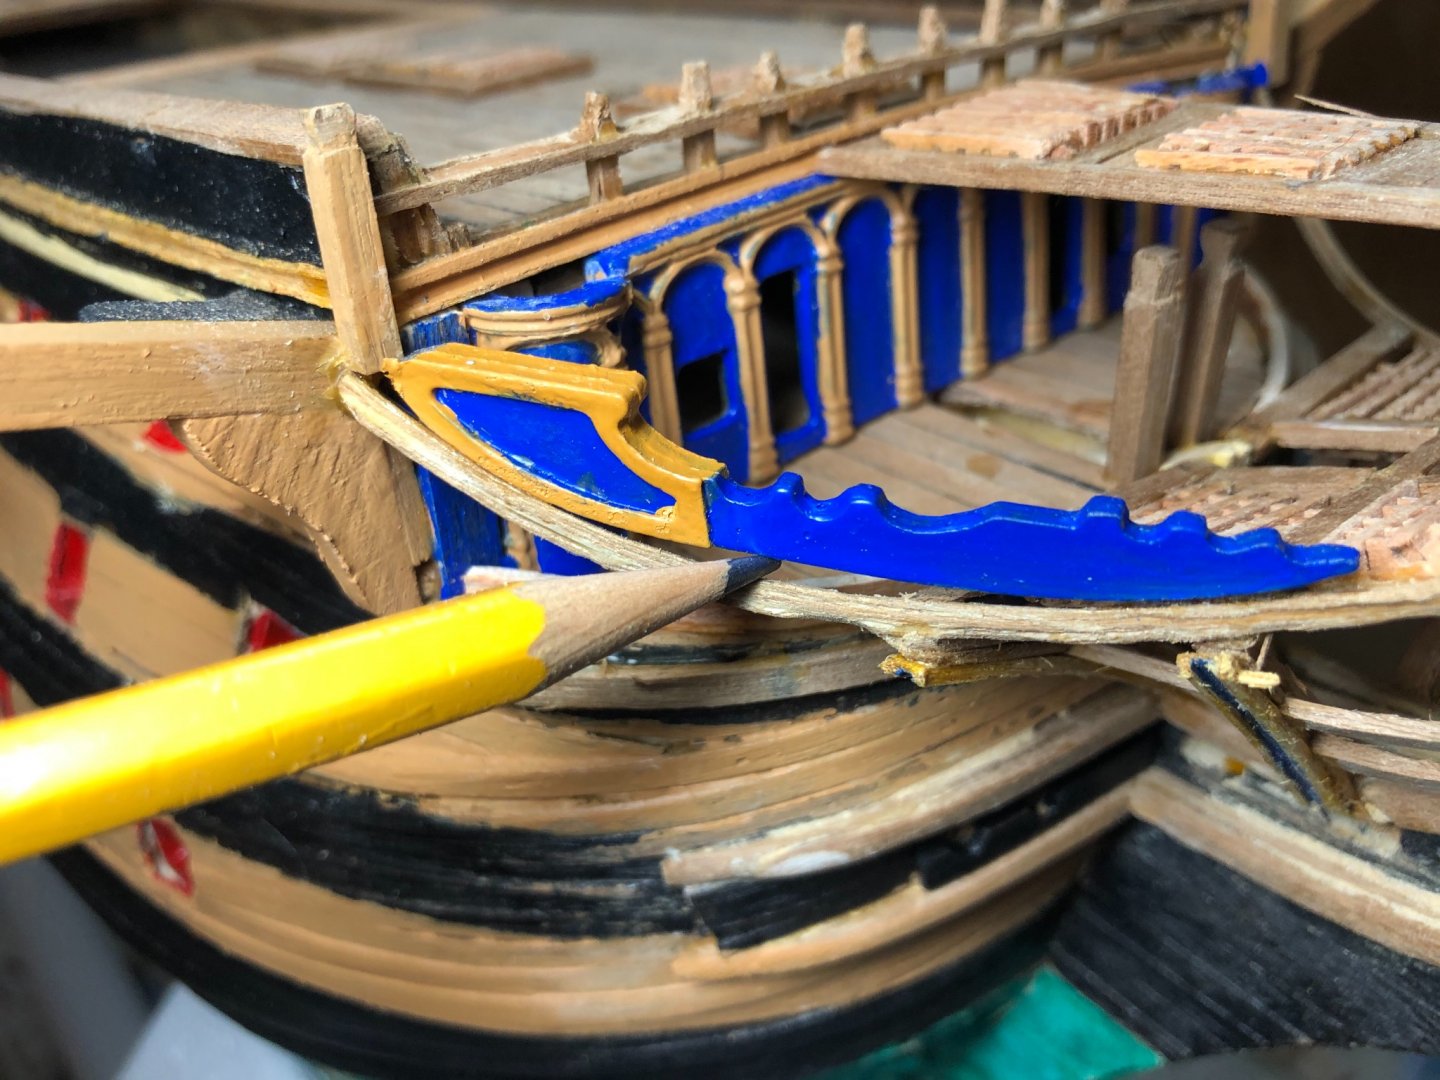
Working some of the detail as I complete the bow area. The knightheads are 3mm x 3mm walnut laths that I used a small chisel with the laths held in a vise. The grates did not turn out as I had hoped.


-
Port side bow finishes in work. A few rough areas to work after roughing in the support material.