Rob S
-
Posts
339 -
Joined
-
Last visited
Content Type
Profiles
Forums
Gallery
Events
Everything posted by Rob S
-
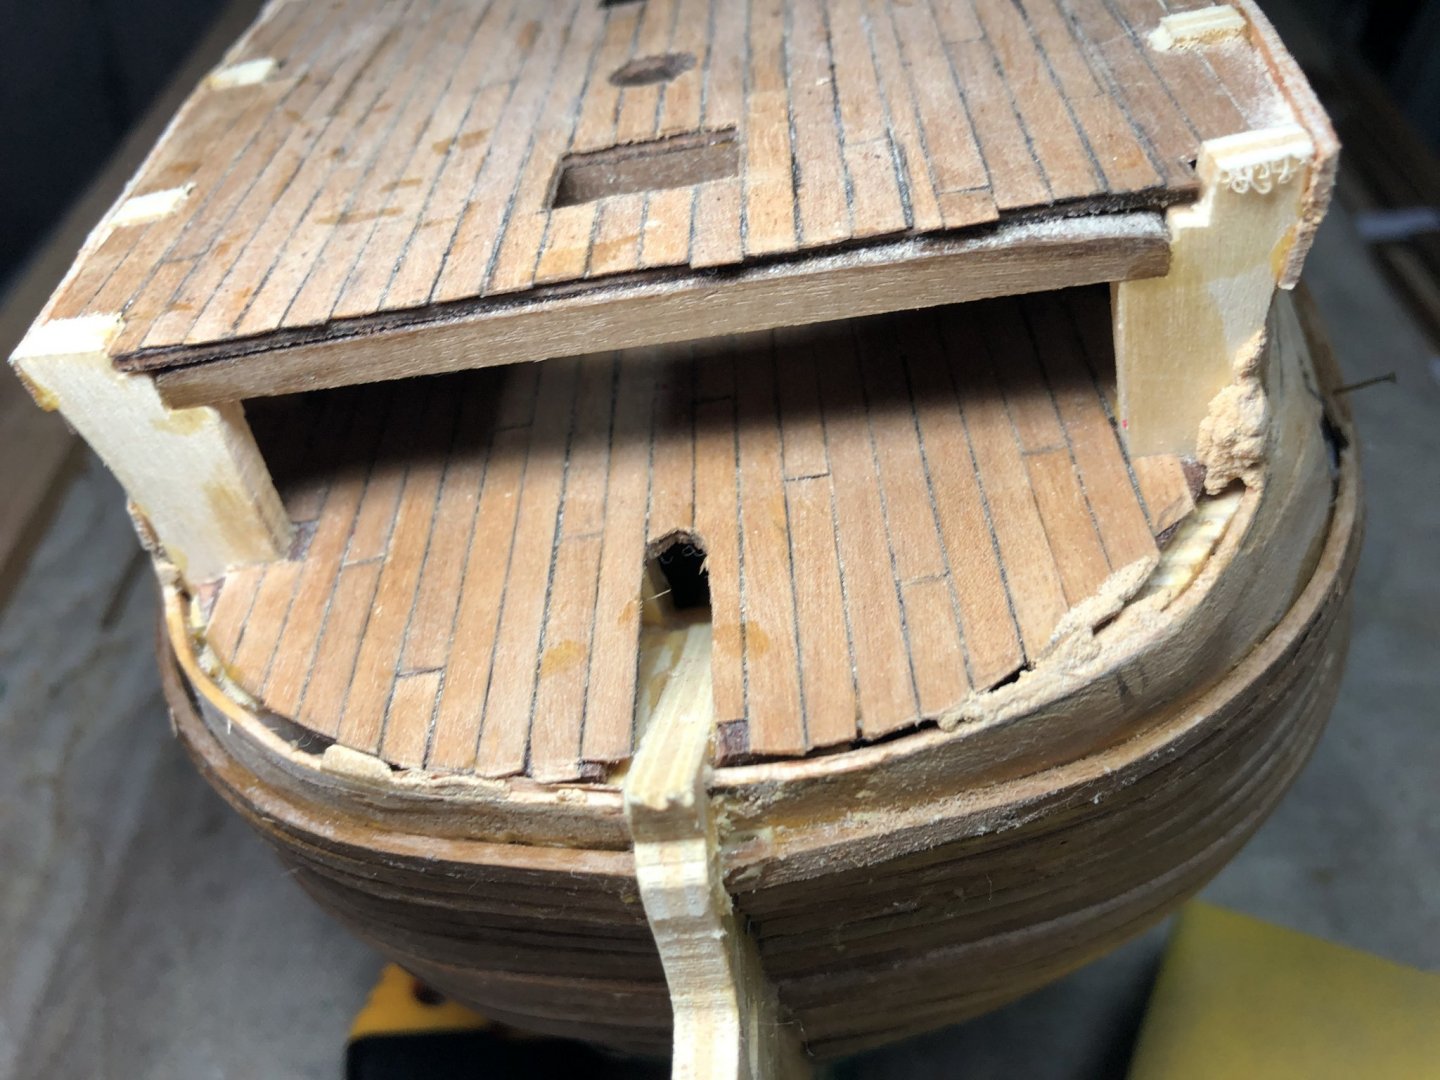
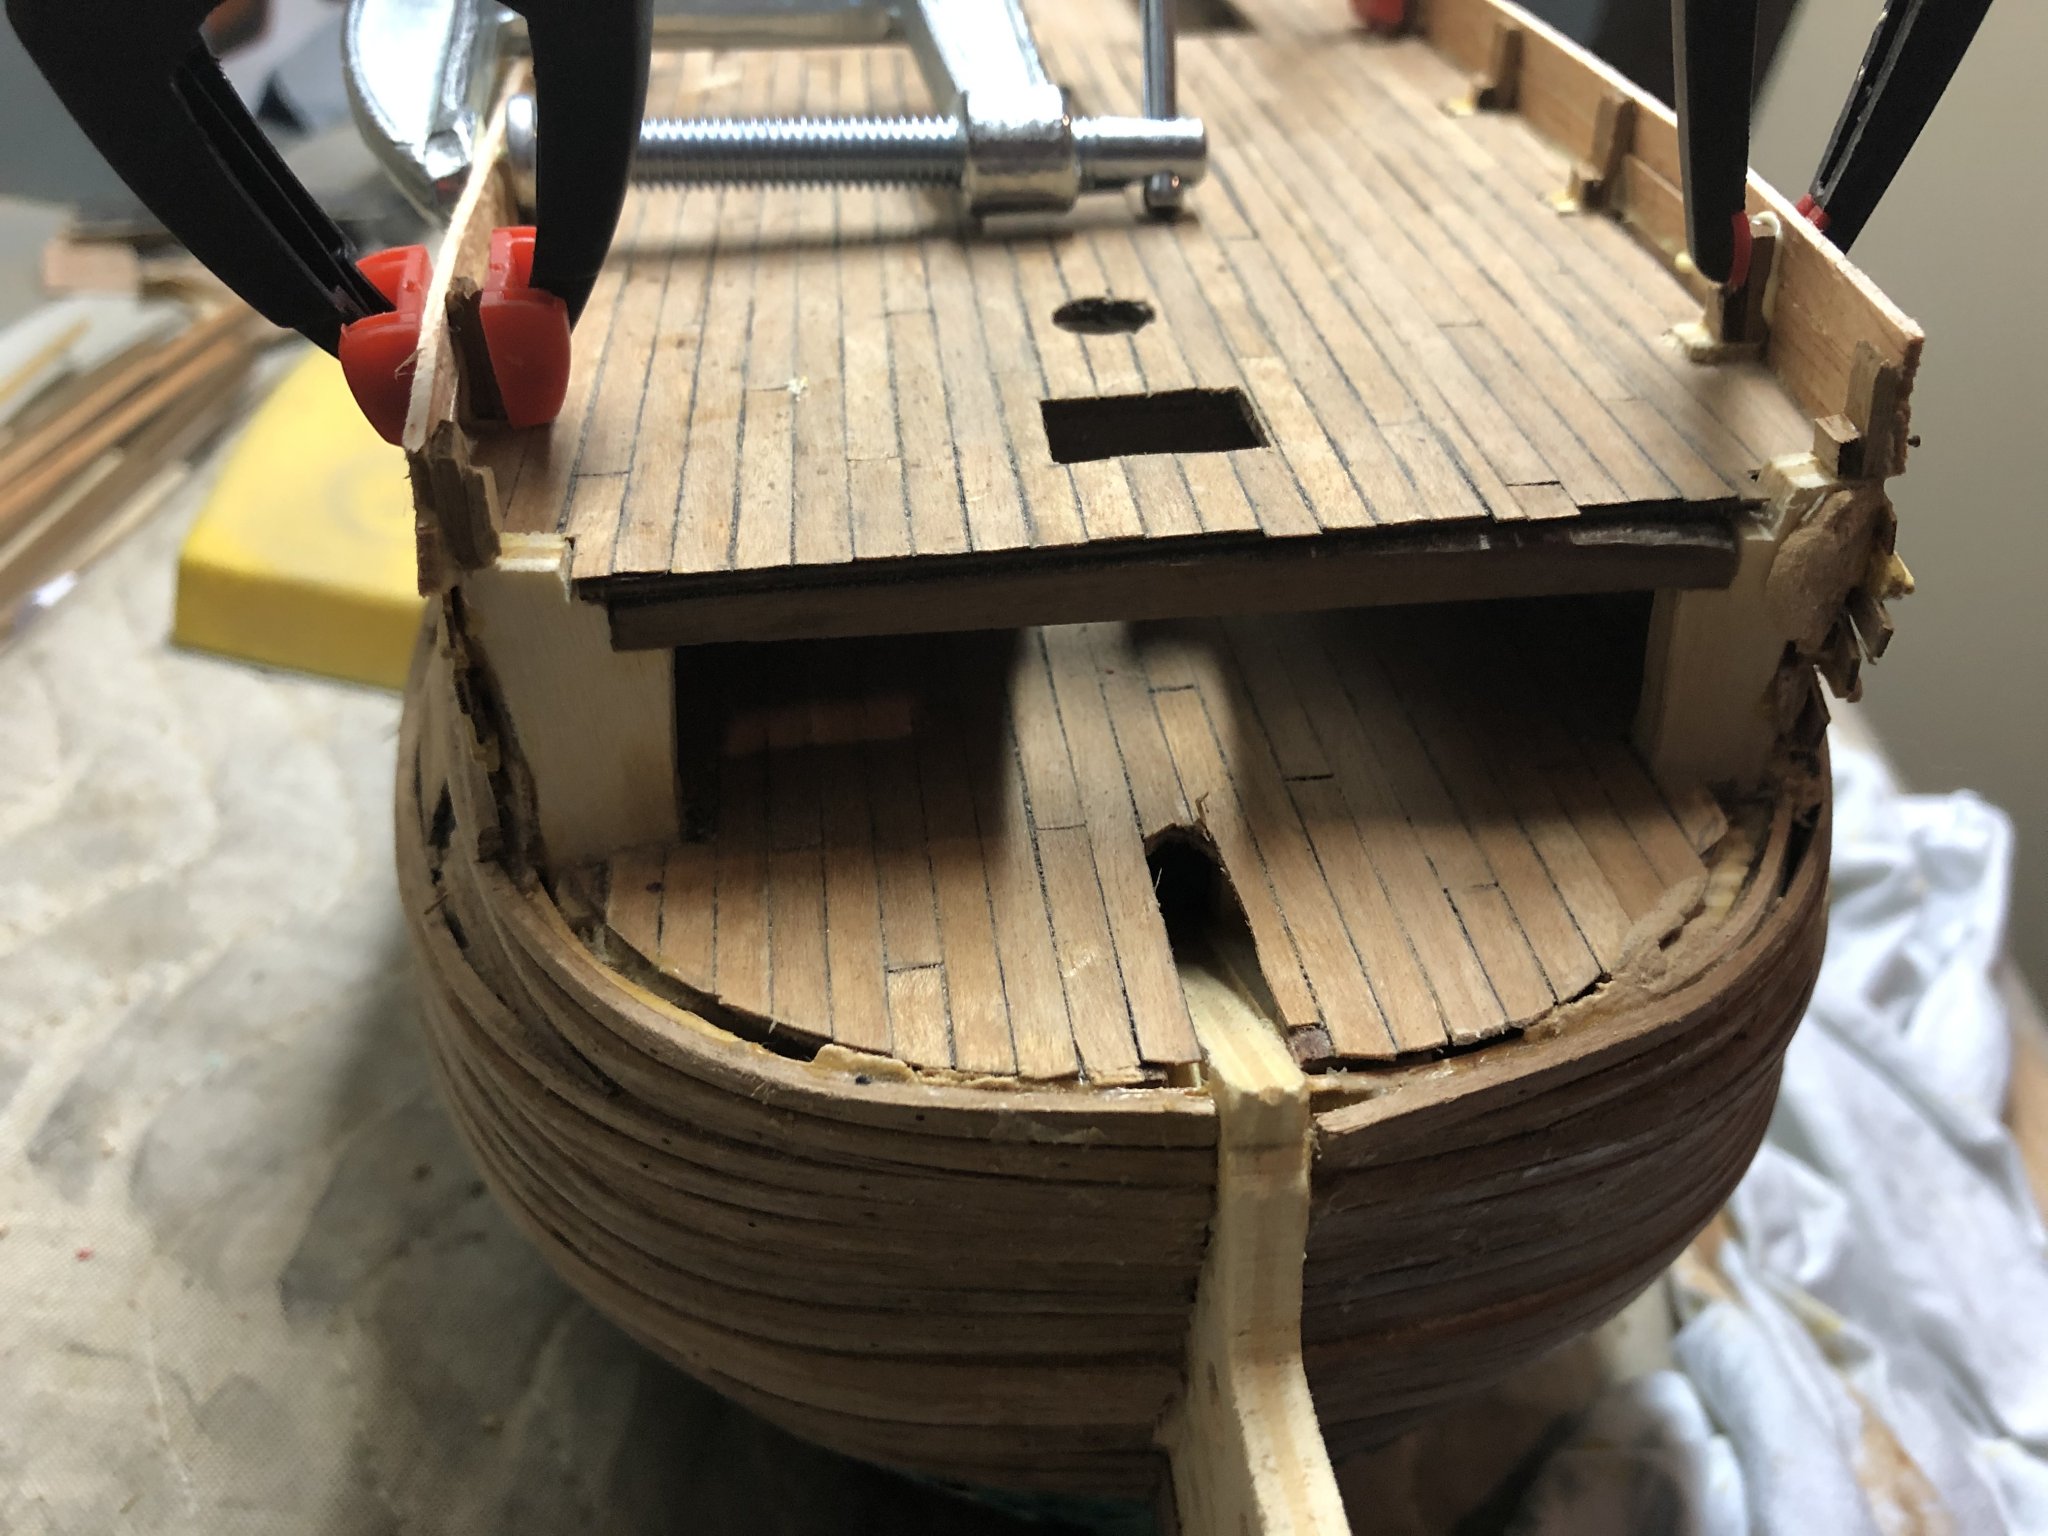
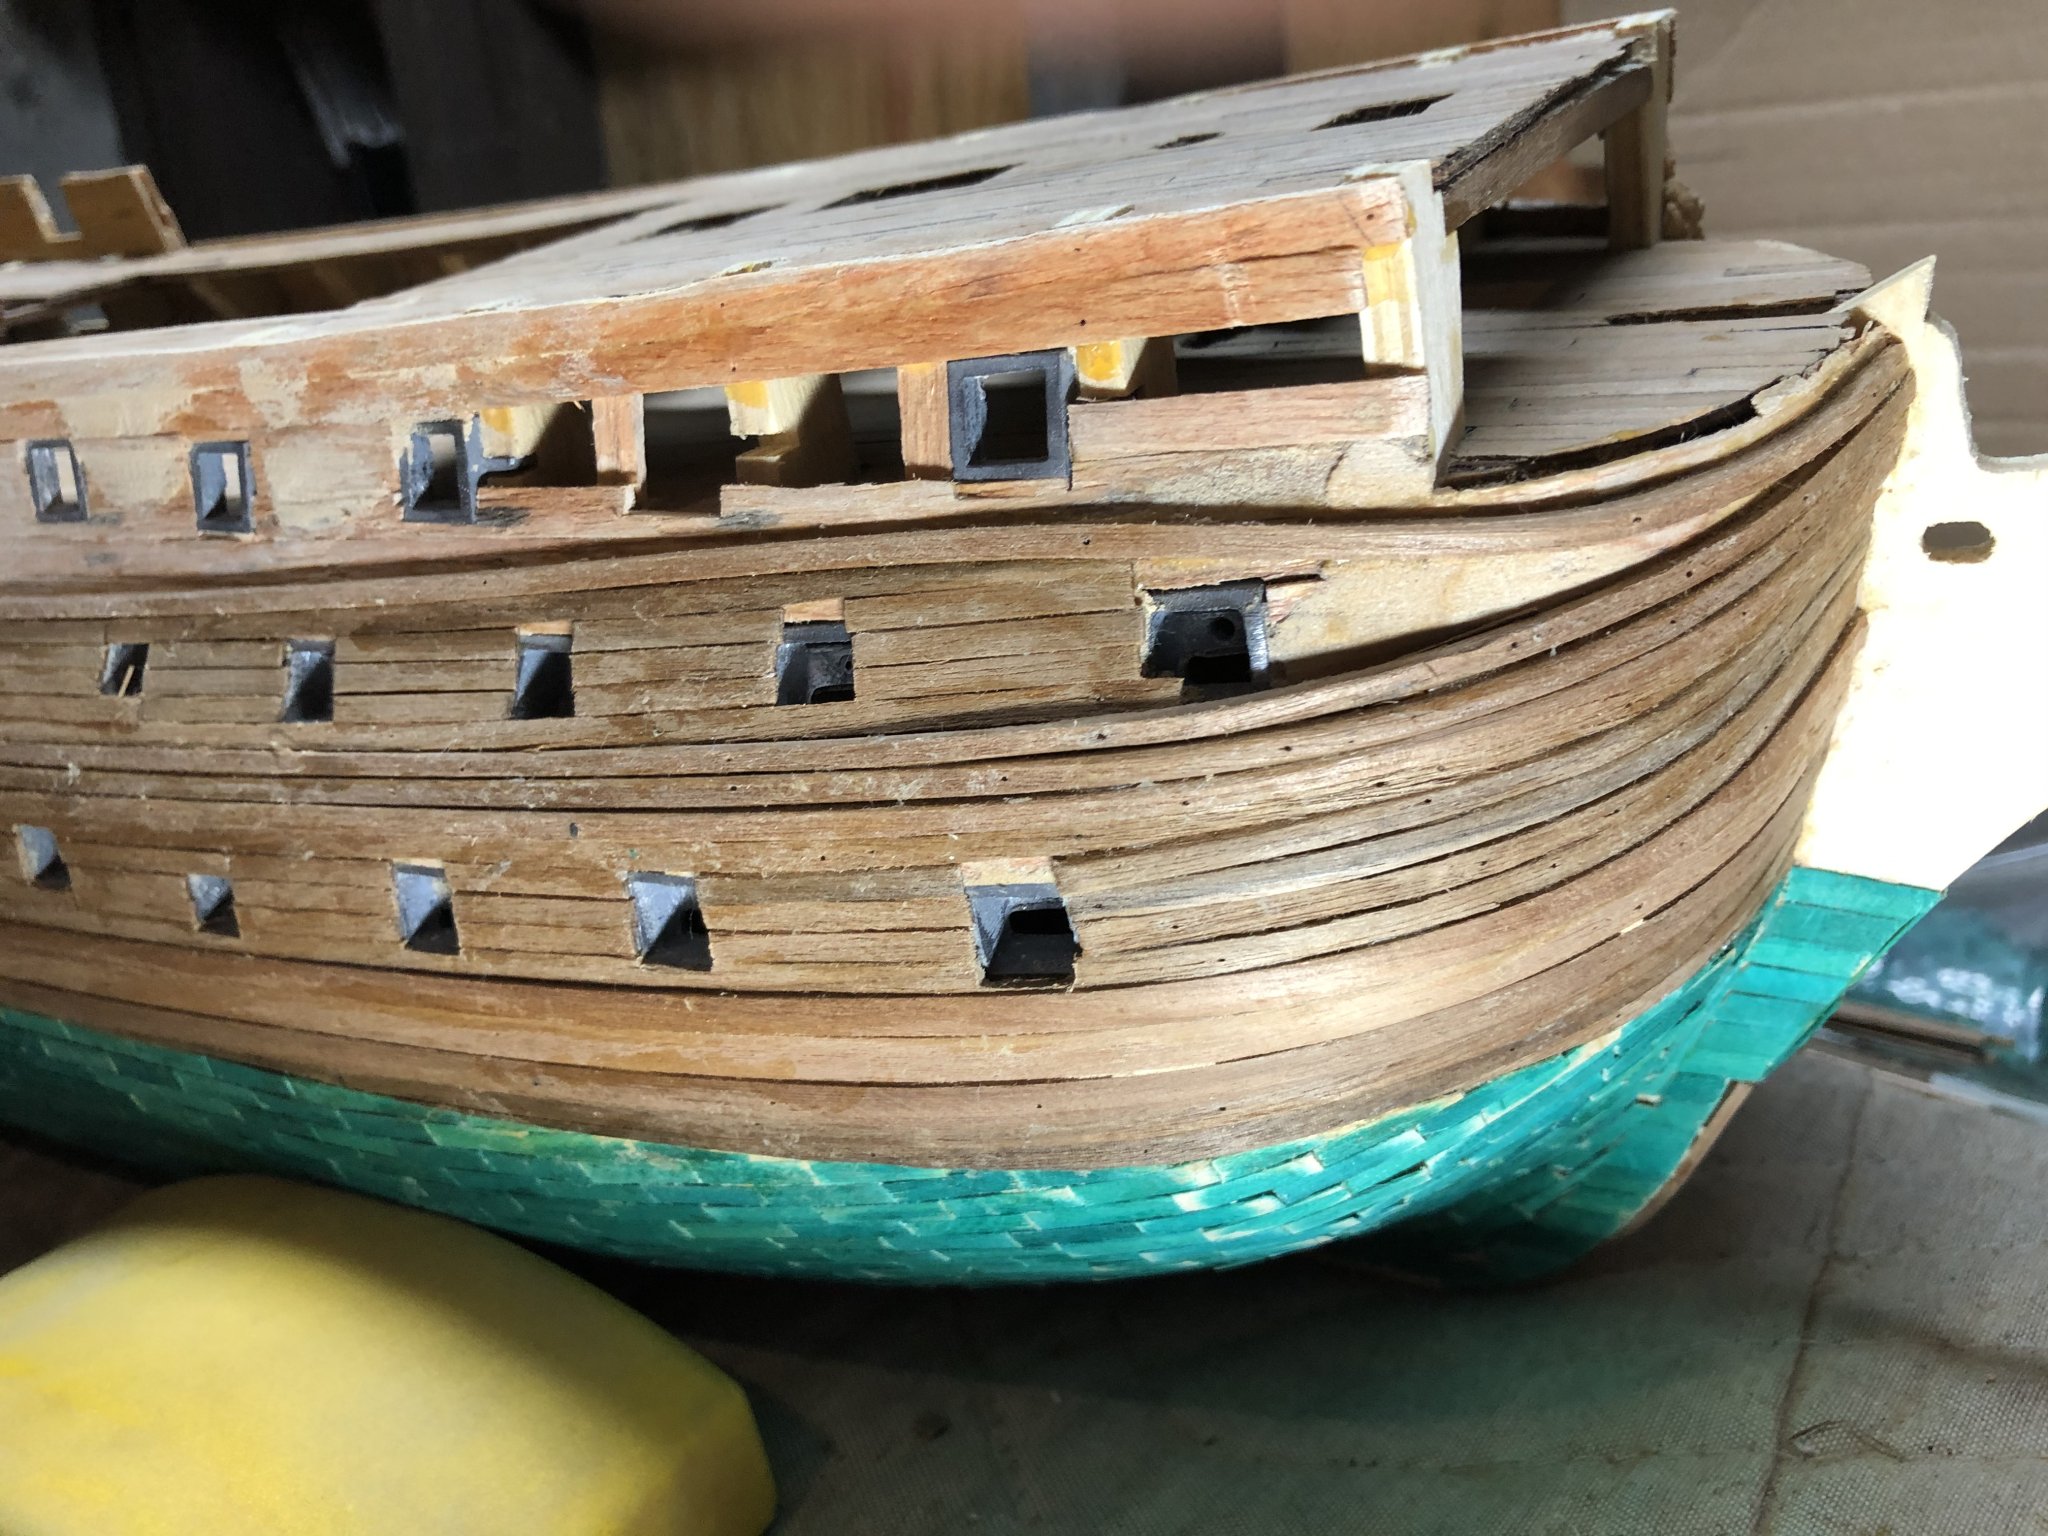
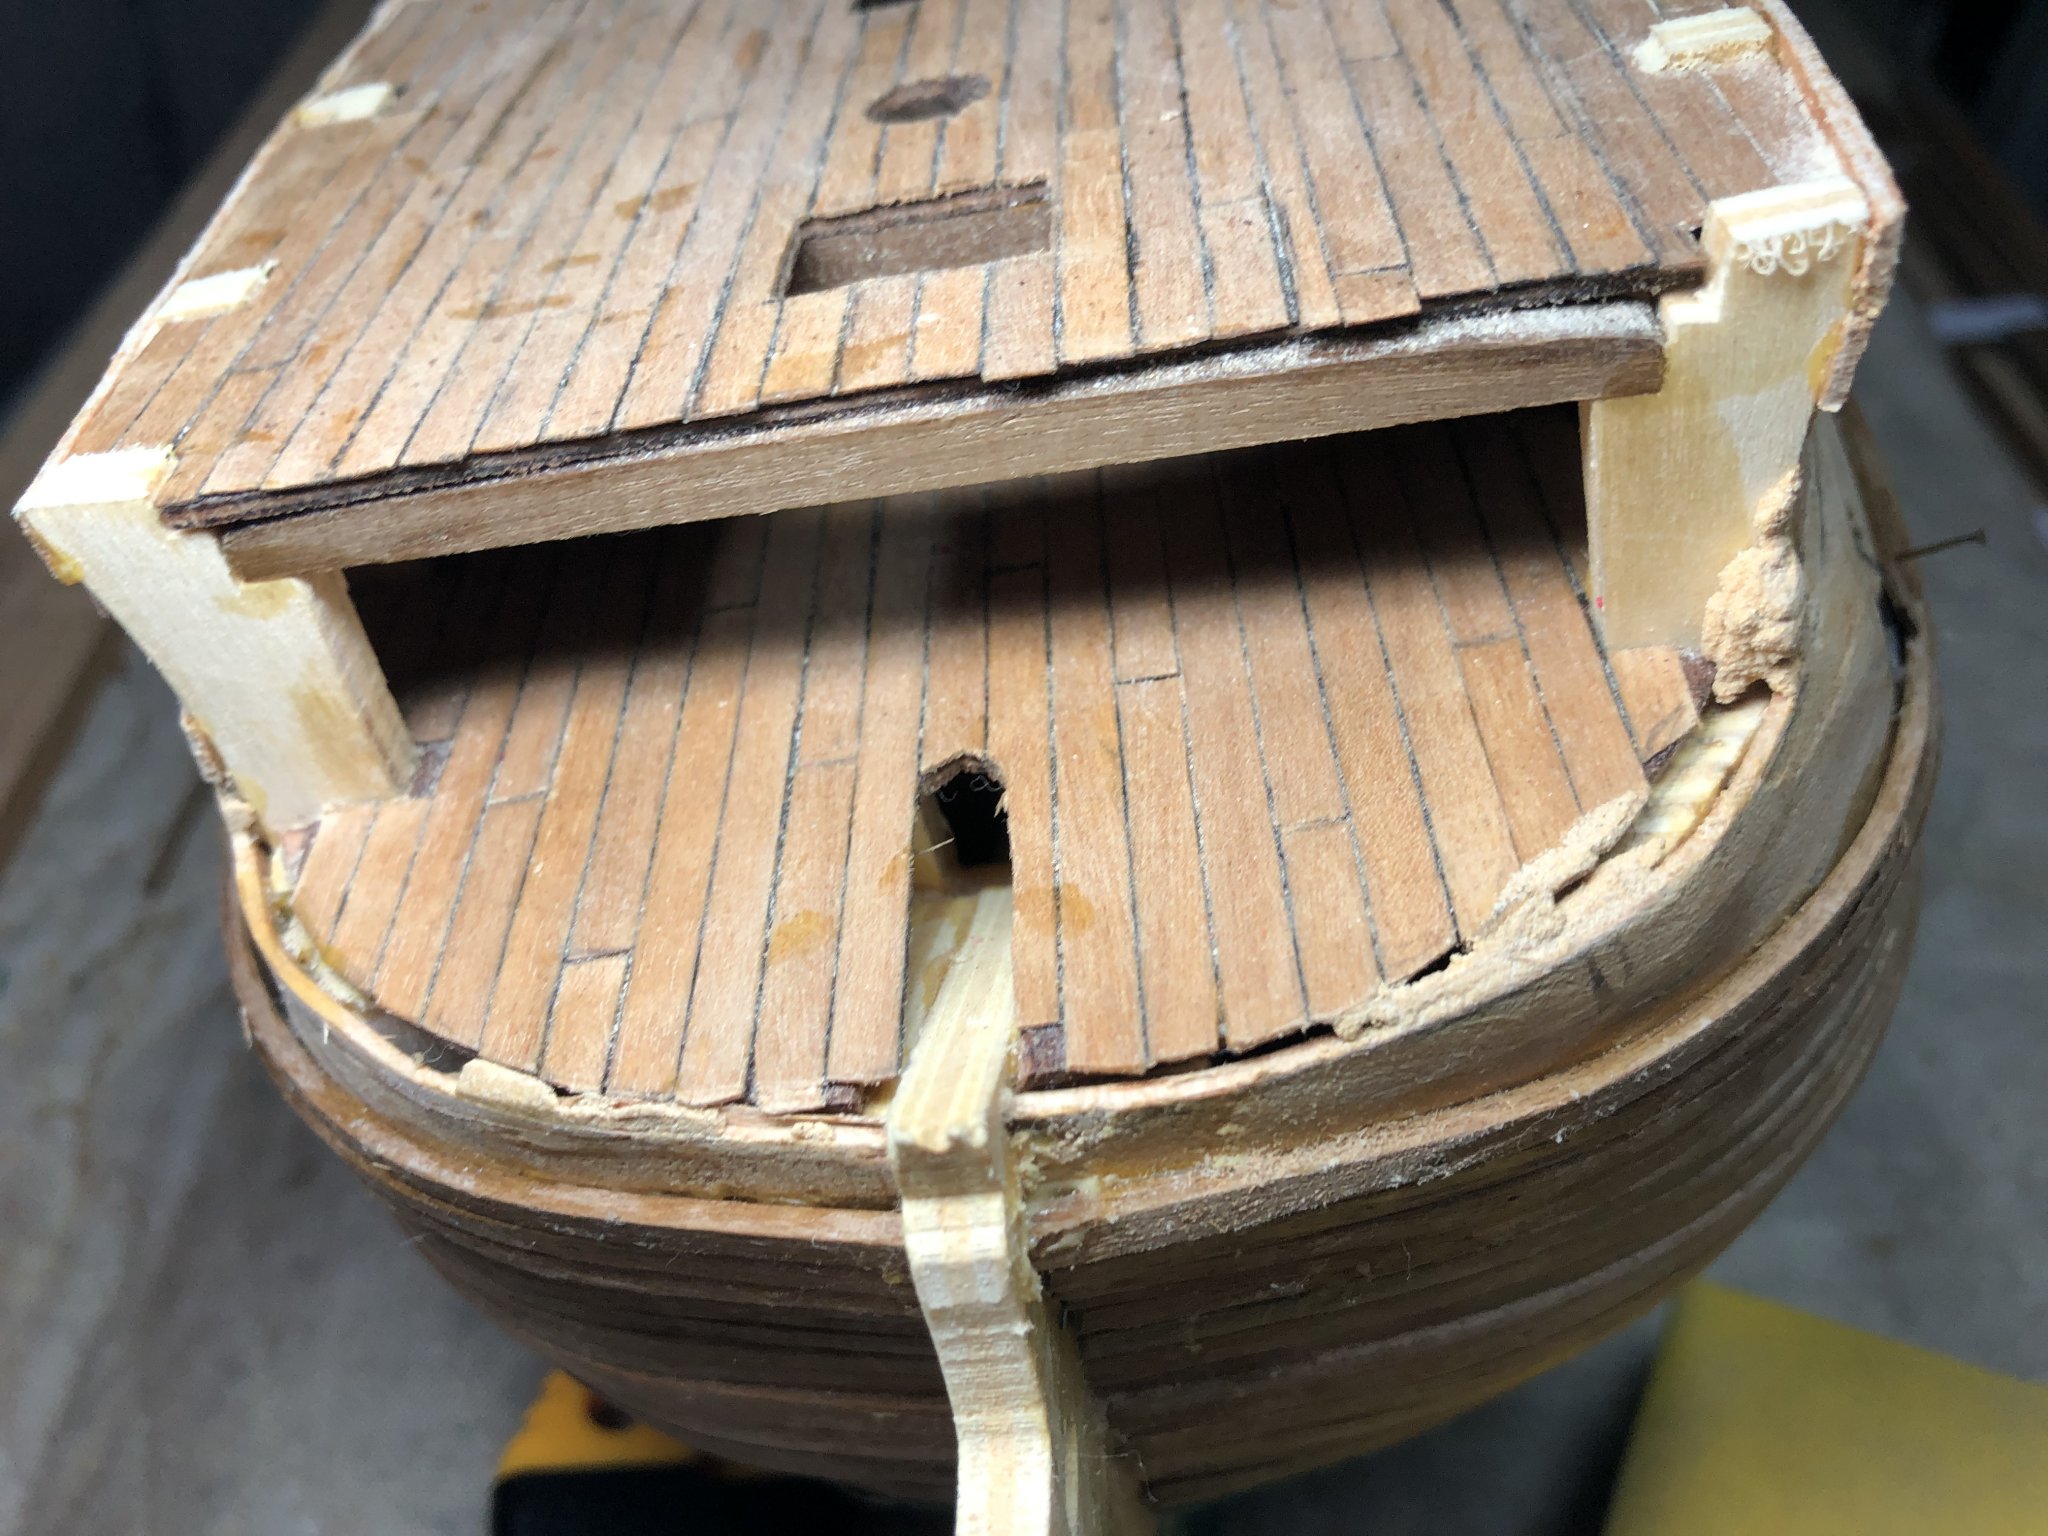
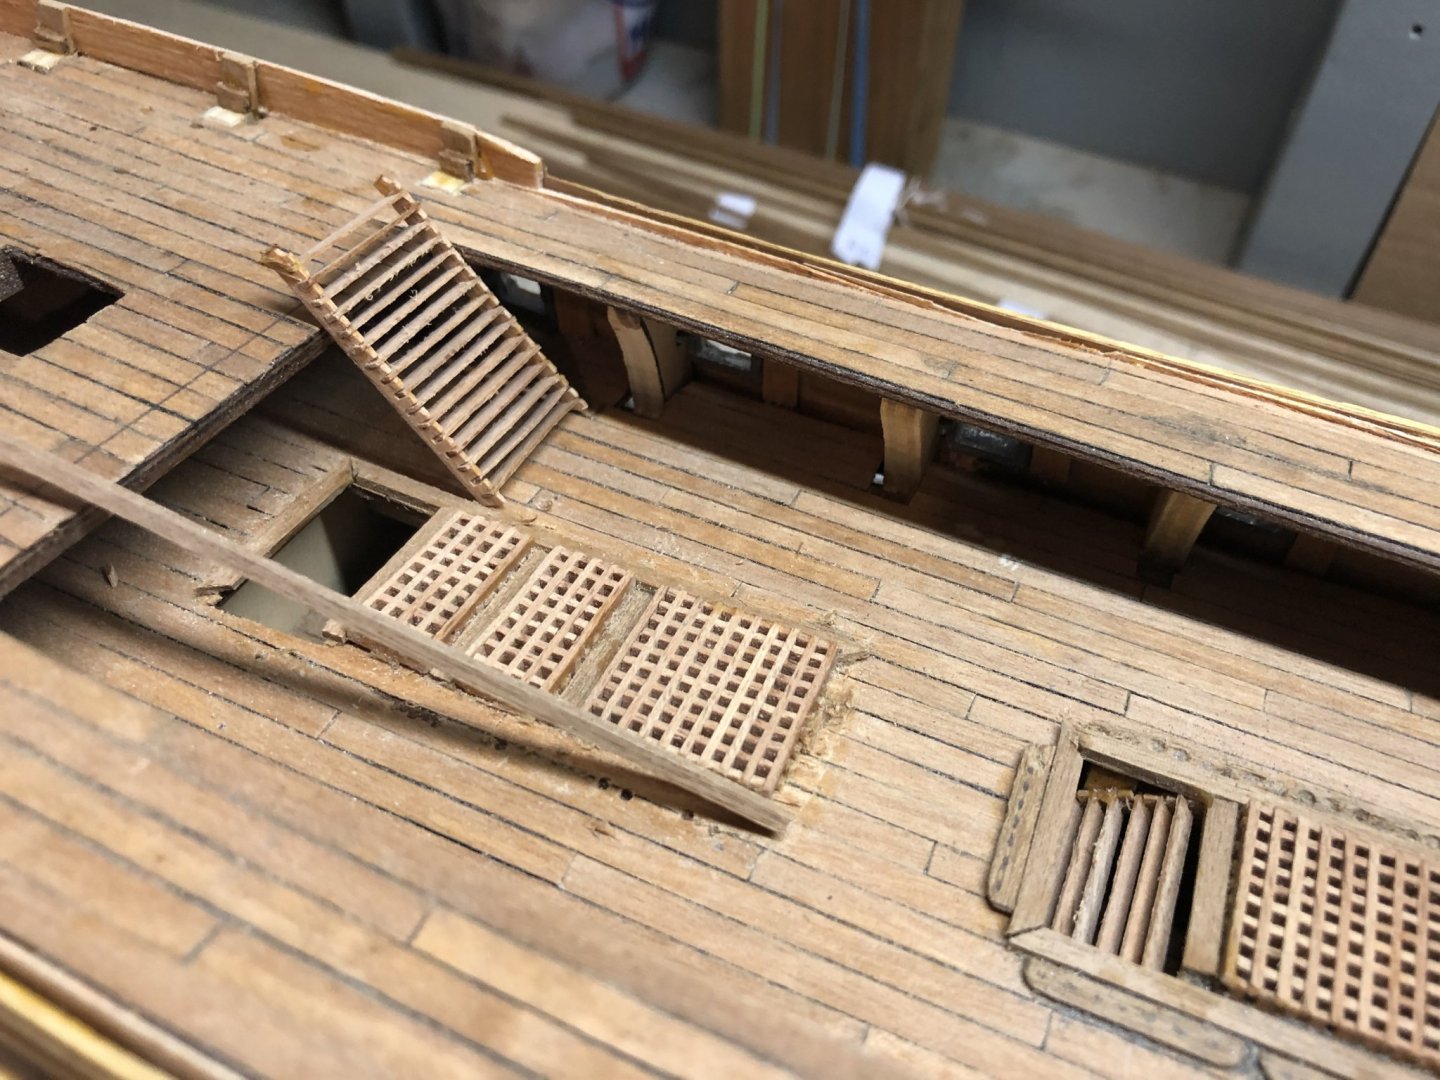
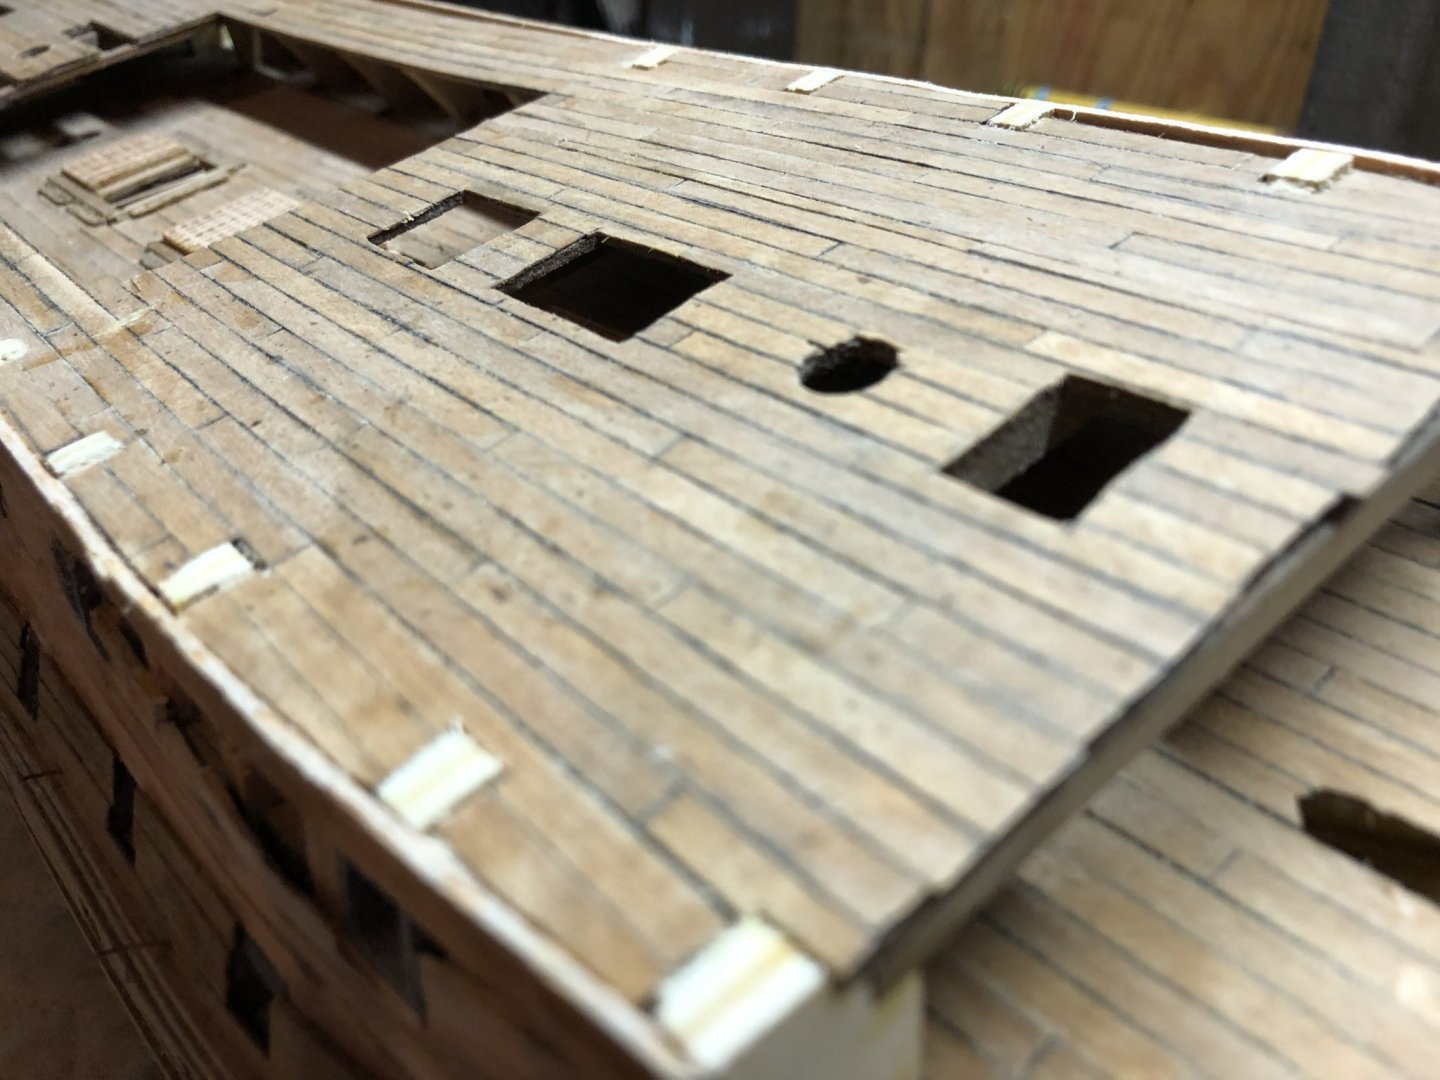
 Repair and replacement activities ongoing and nearly complete. I was able to scrape off the old pieces, sand down the rough spots and starting to replace the removed grate assemblies. Hoping to complete this exercise tomorrow and begin with the quarterdeck finishing. The bow is to the right.
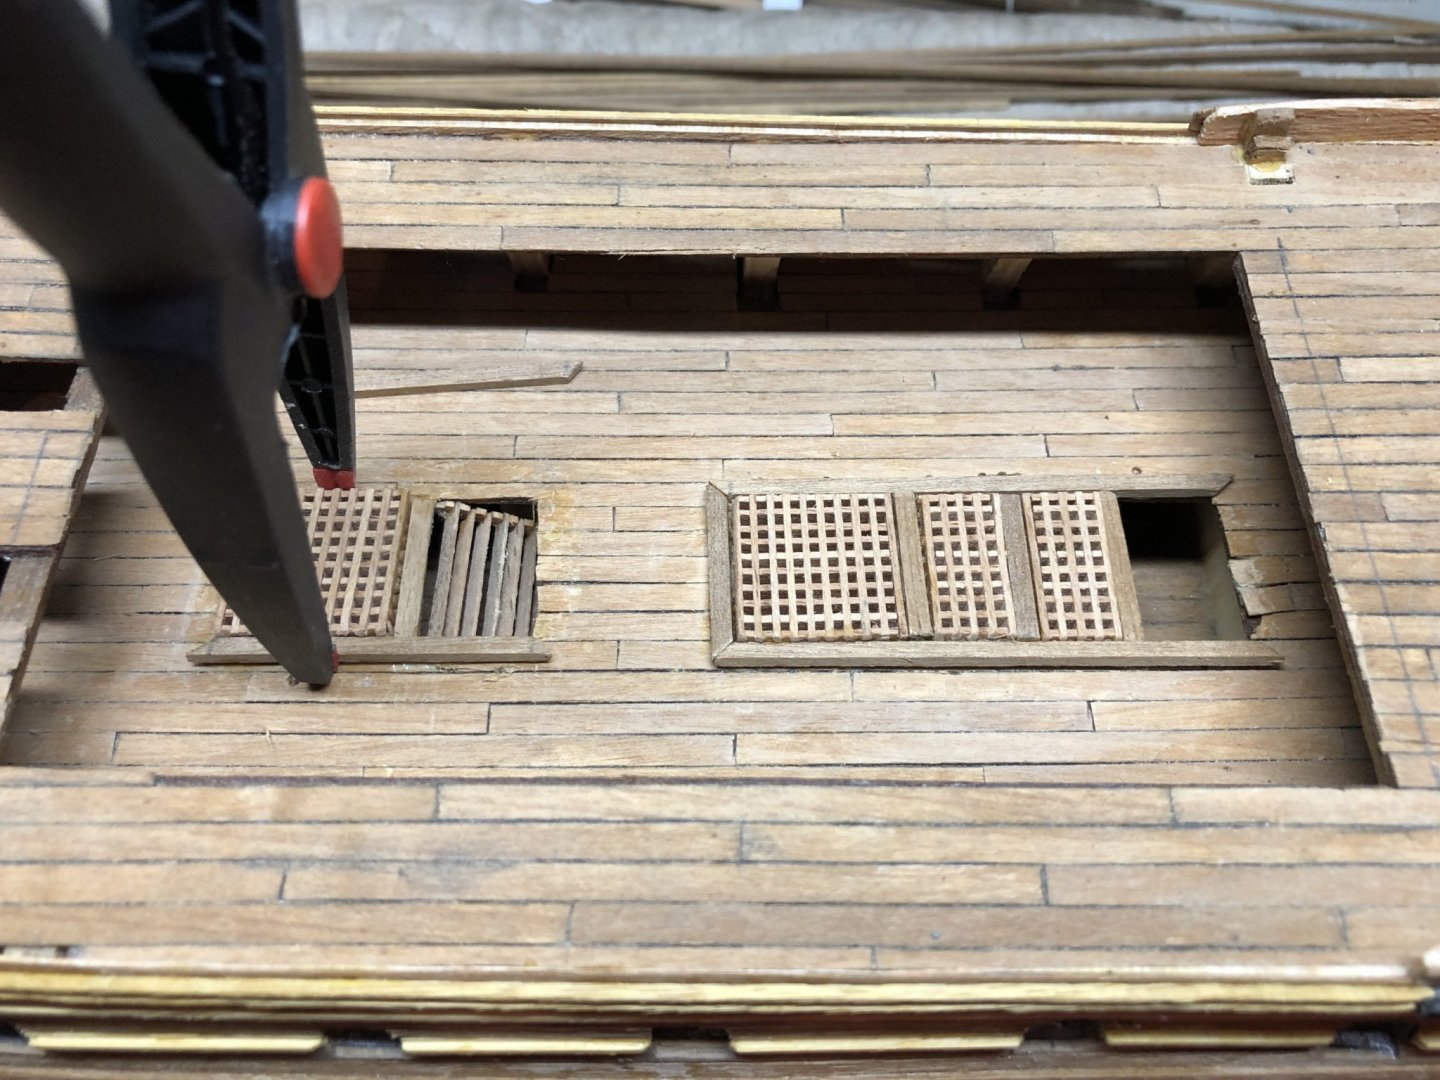
-
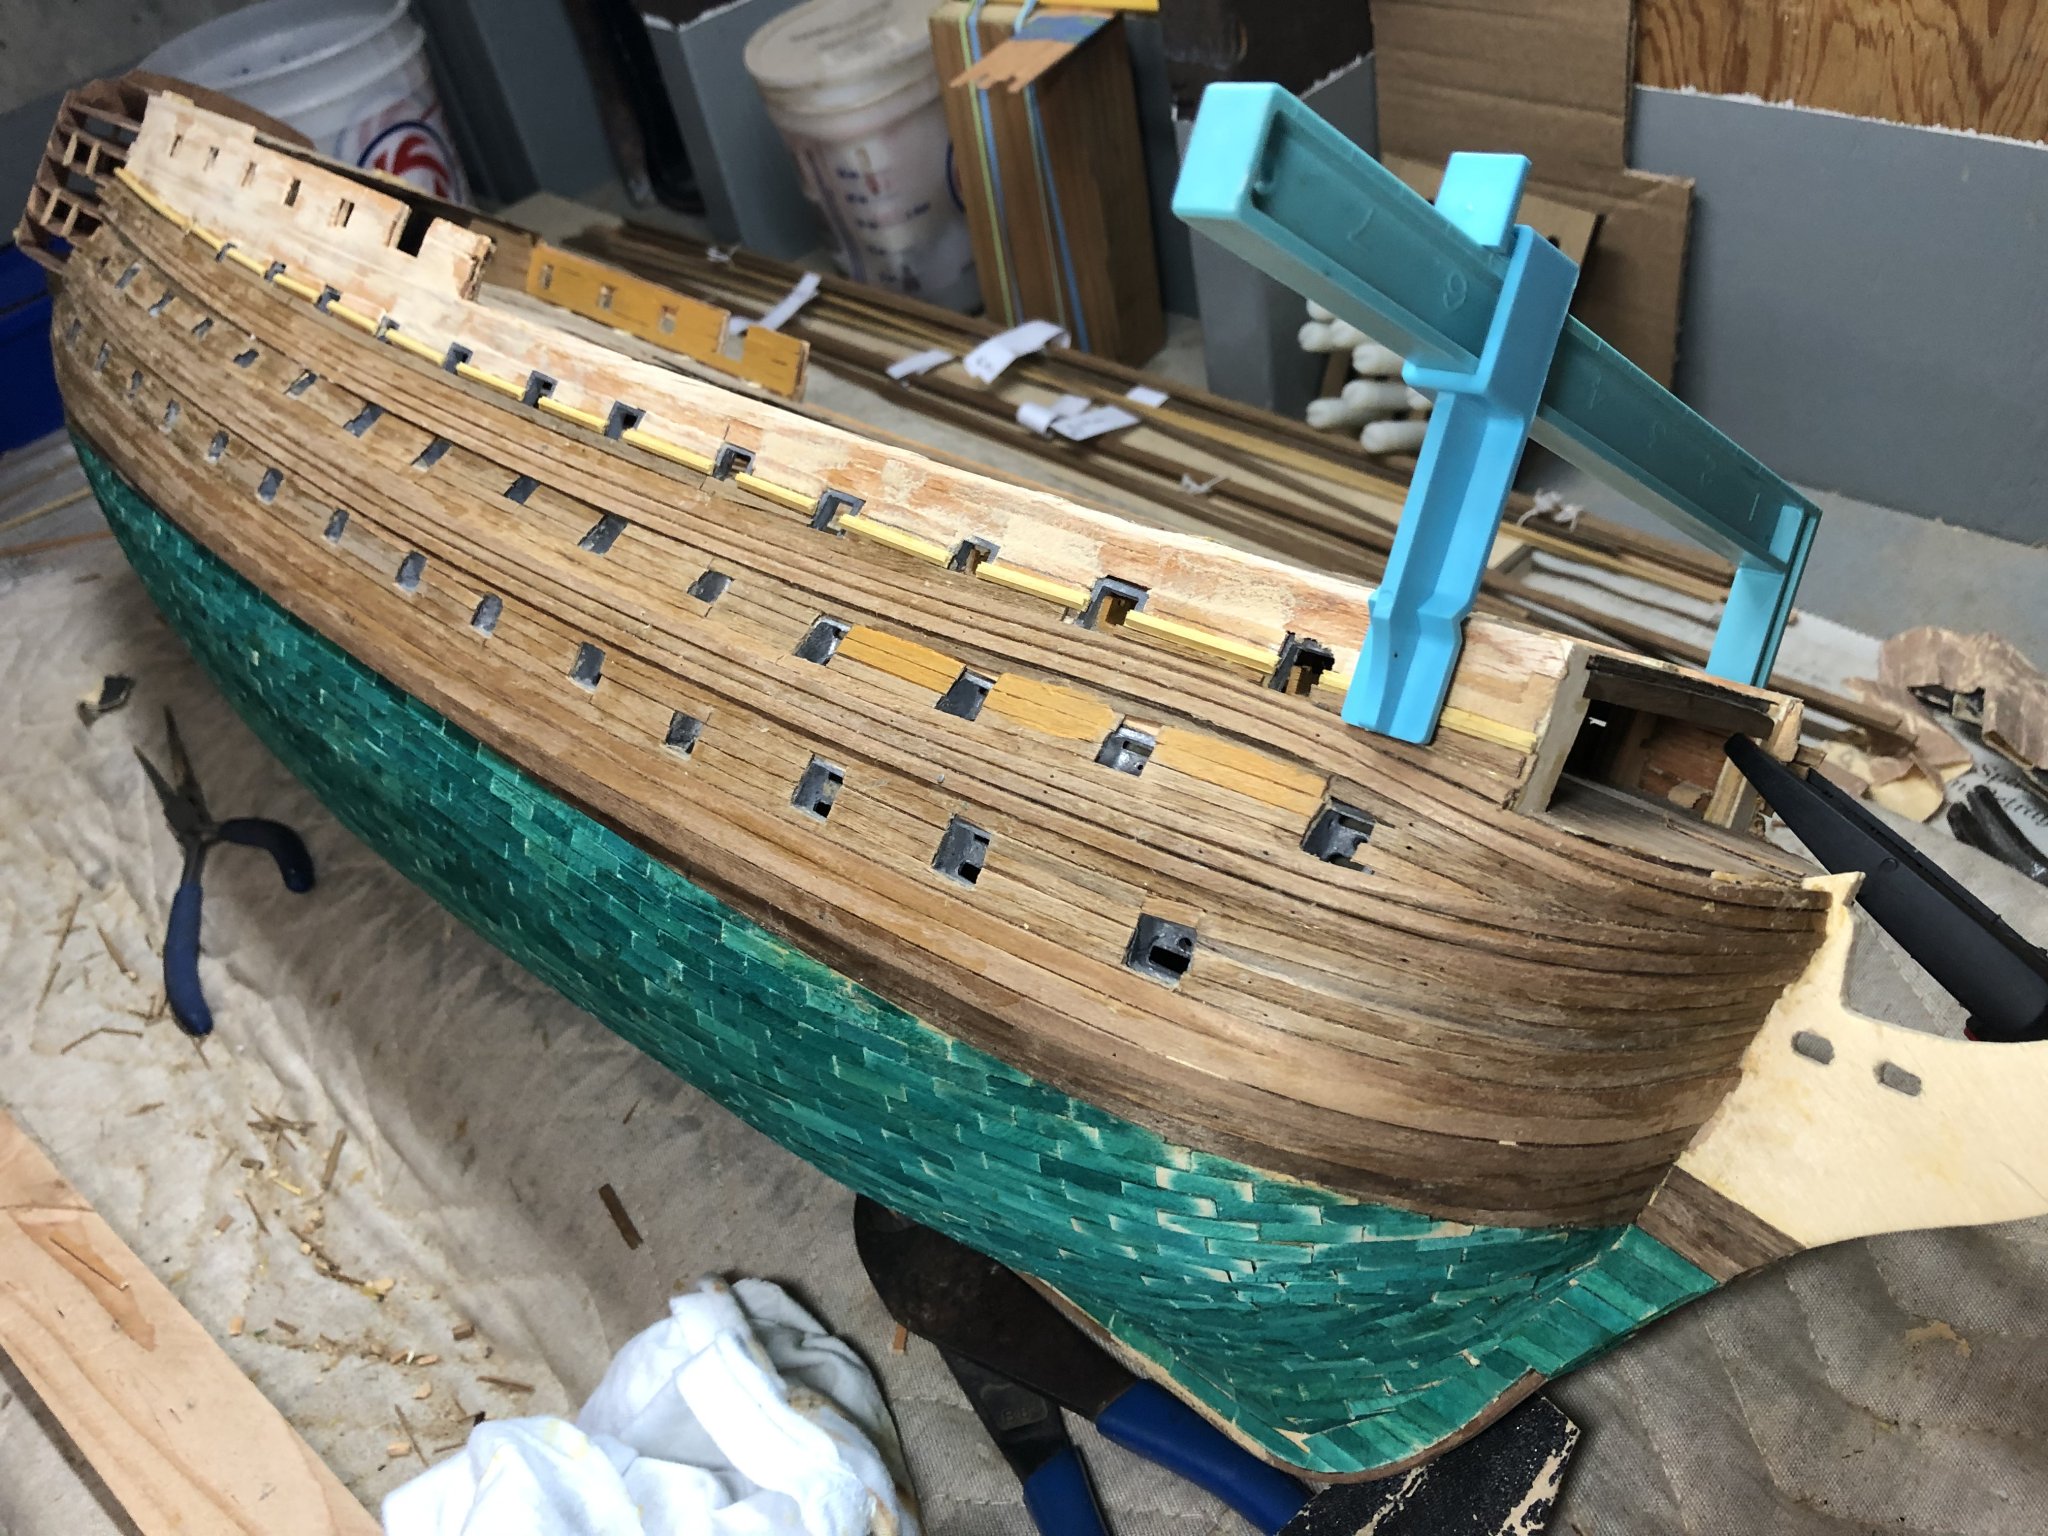
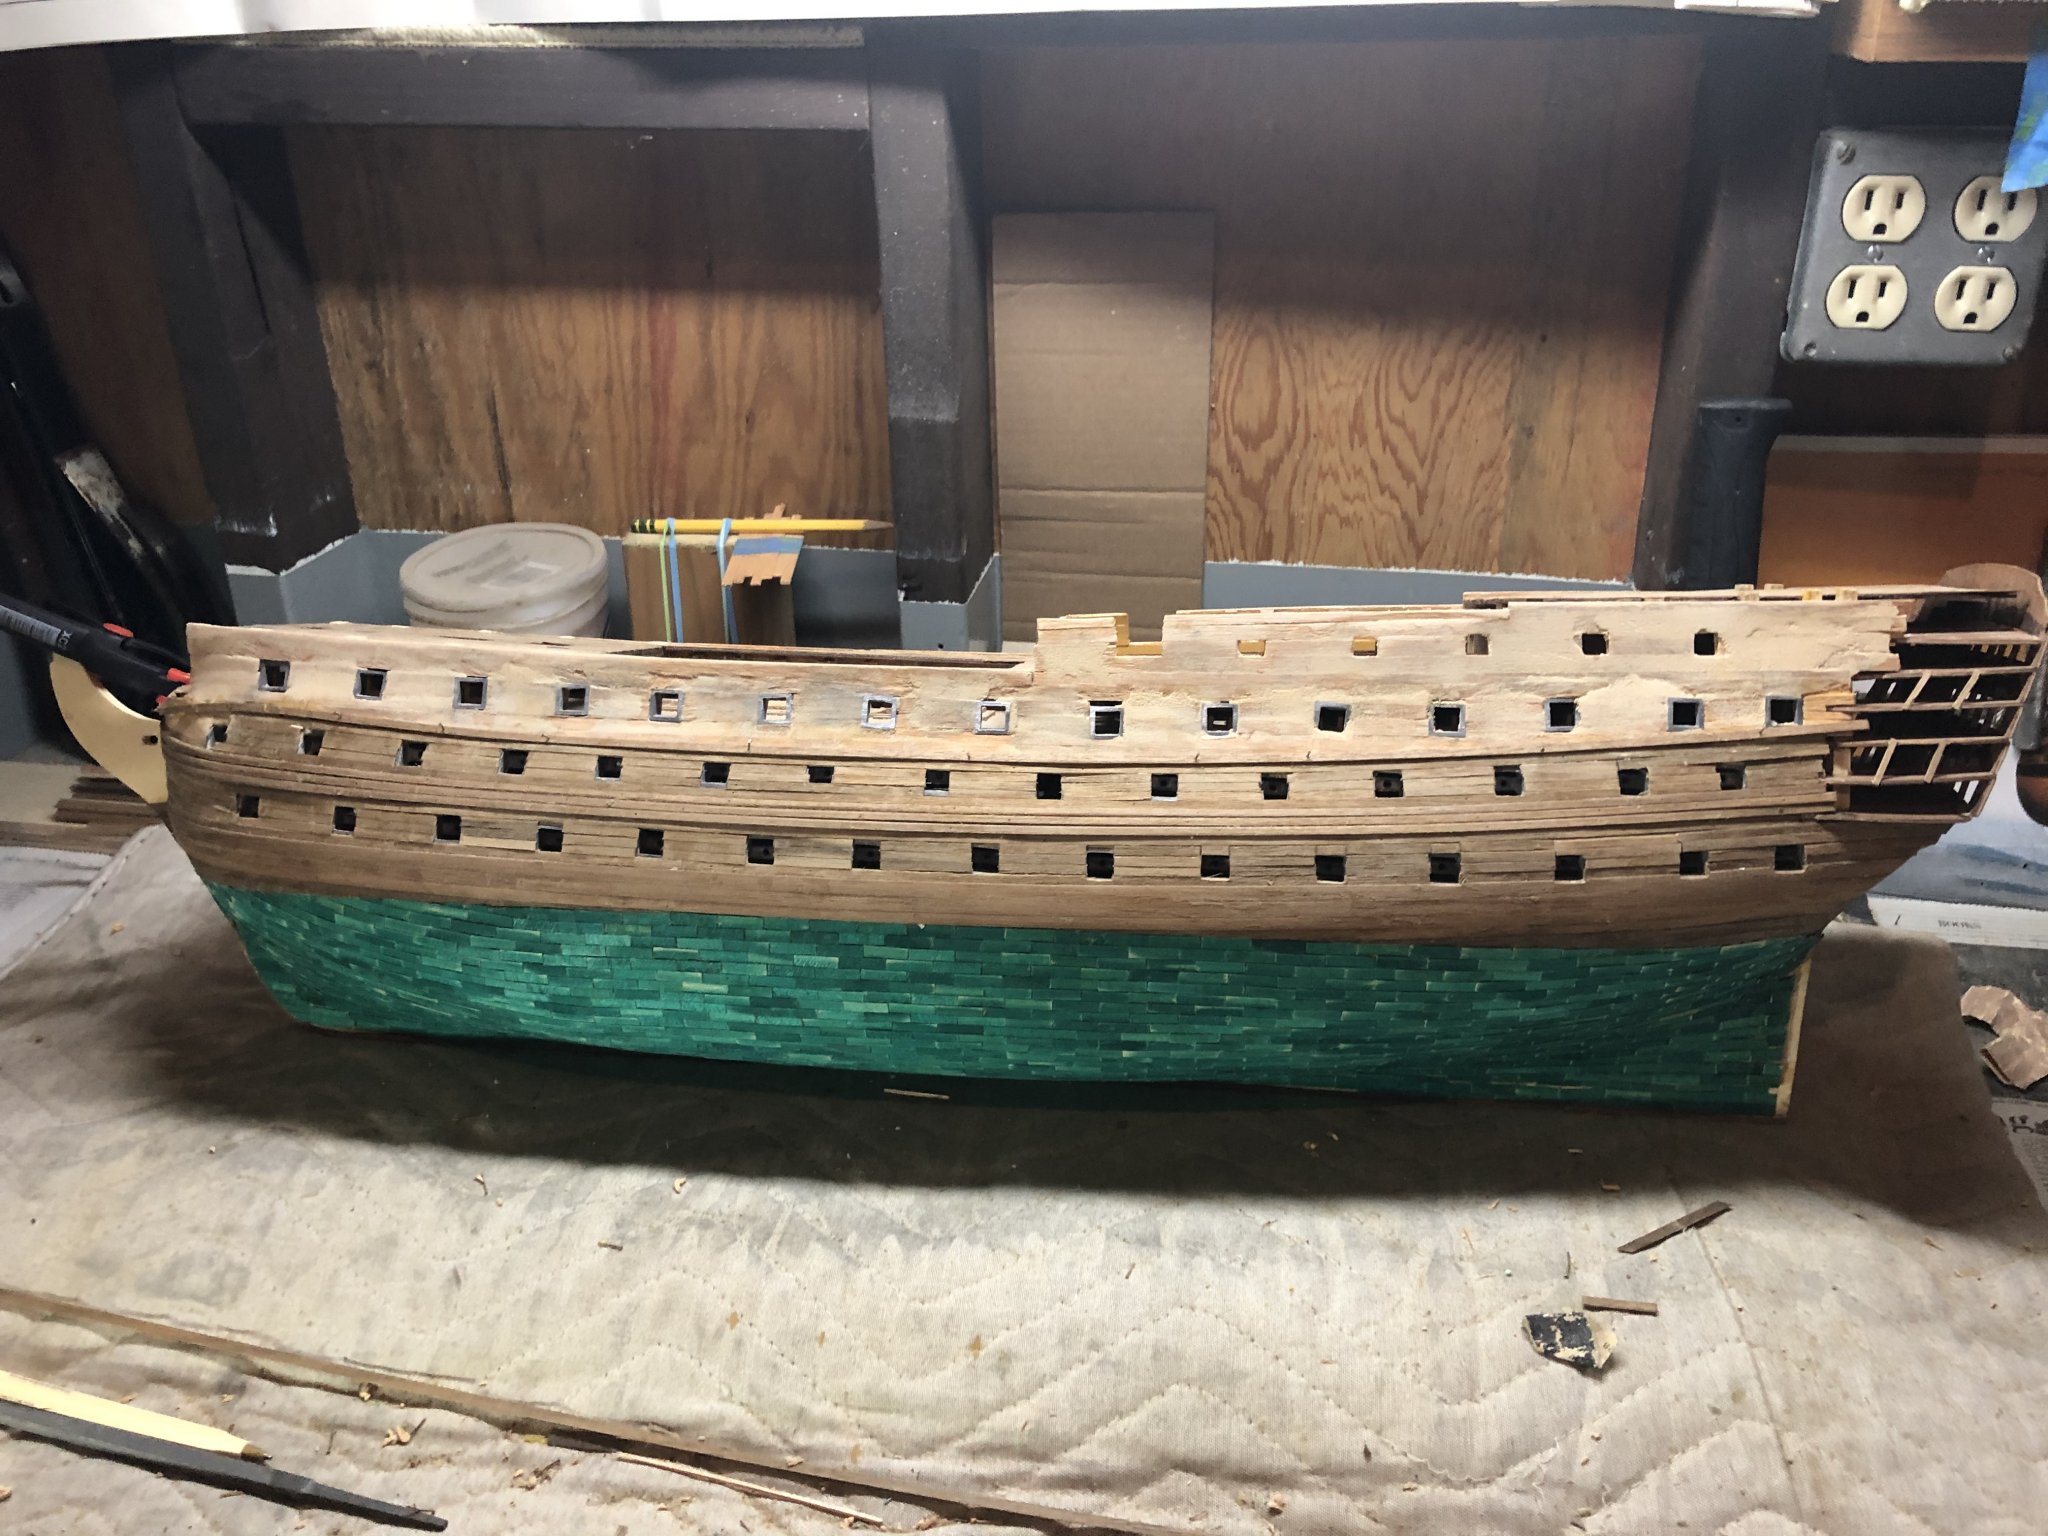
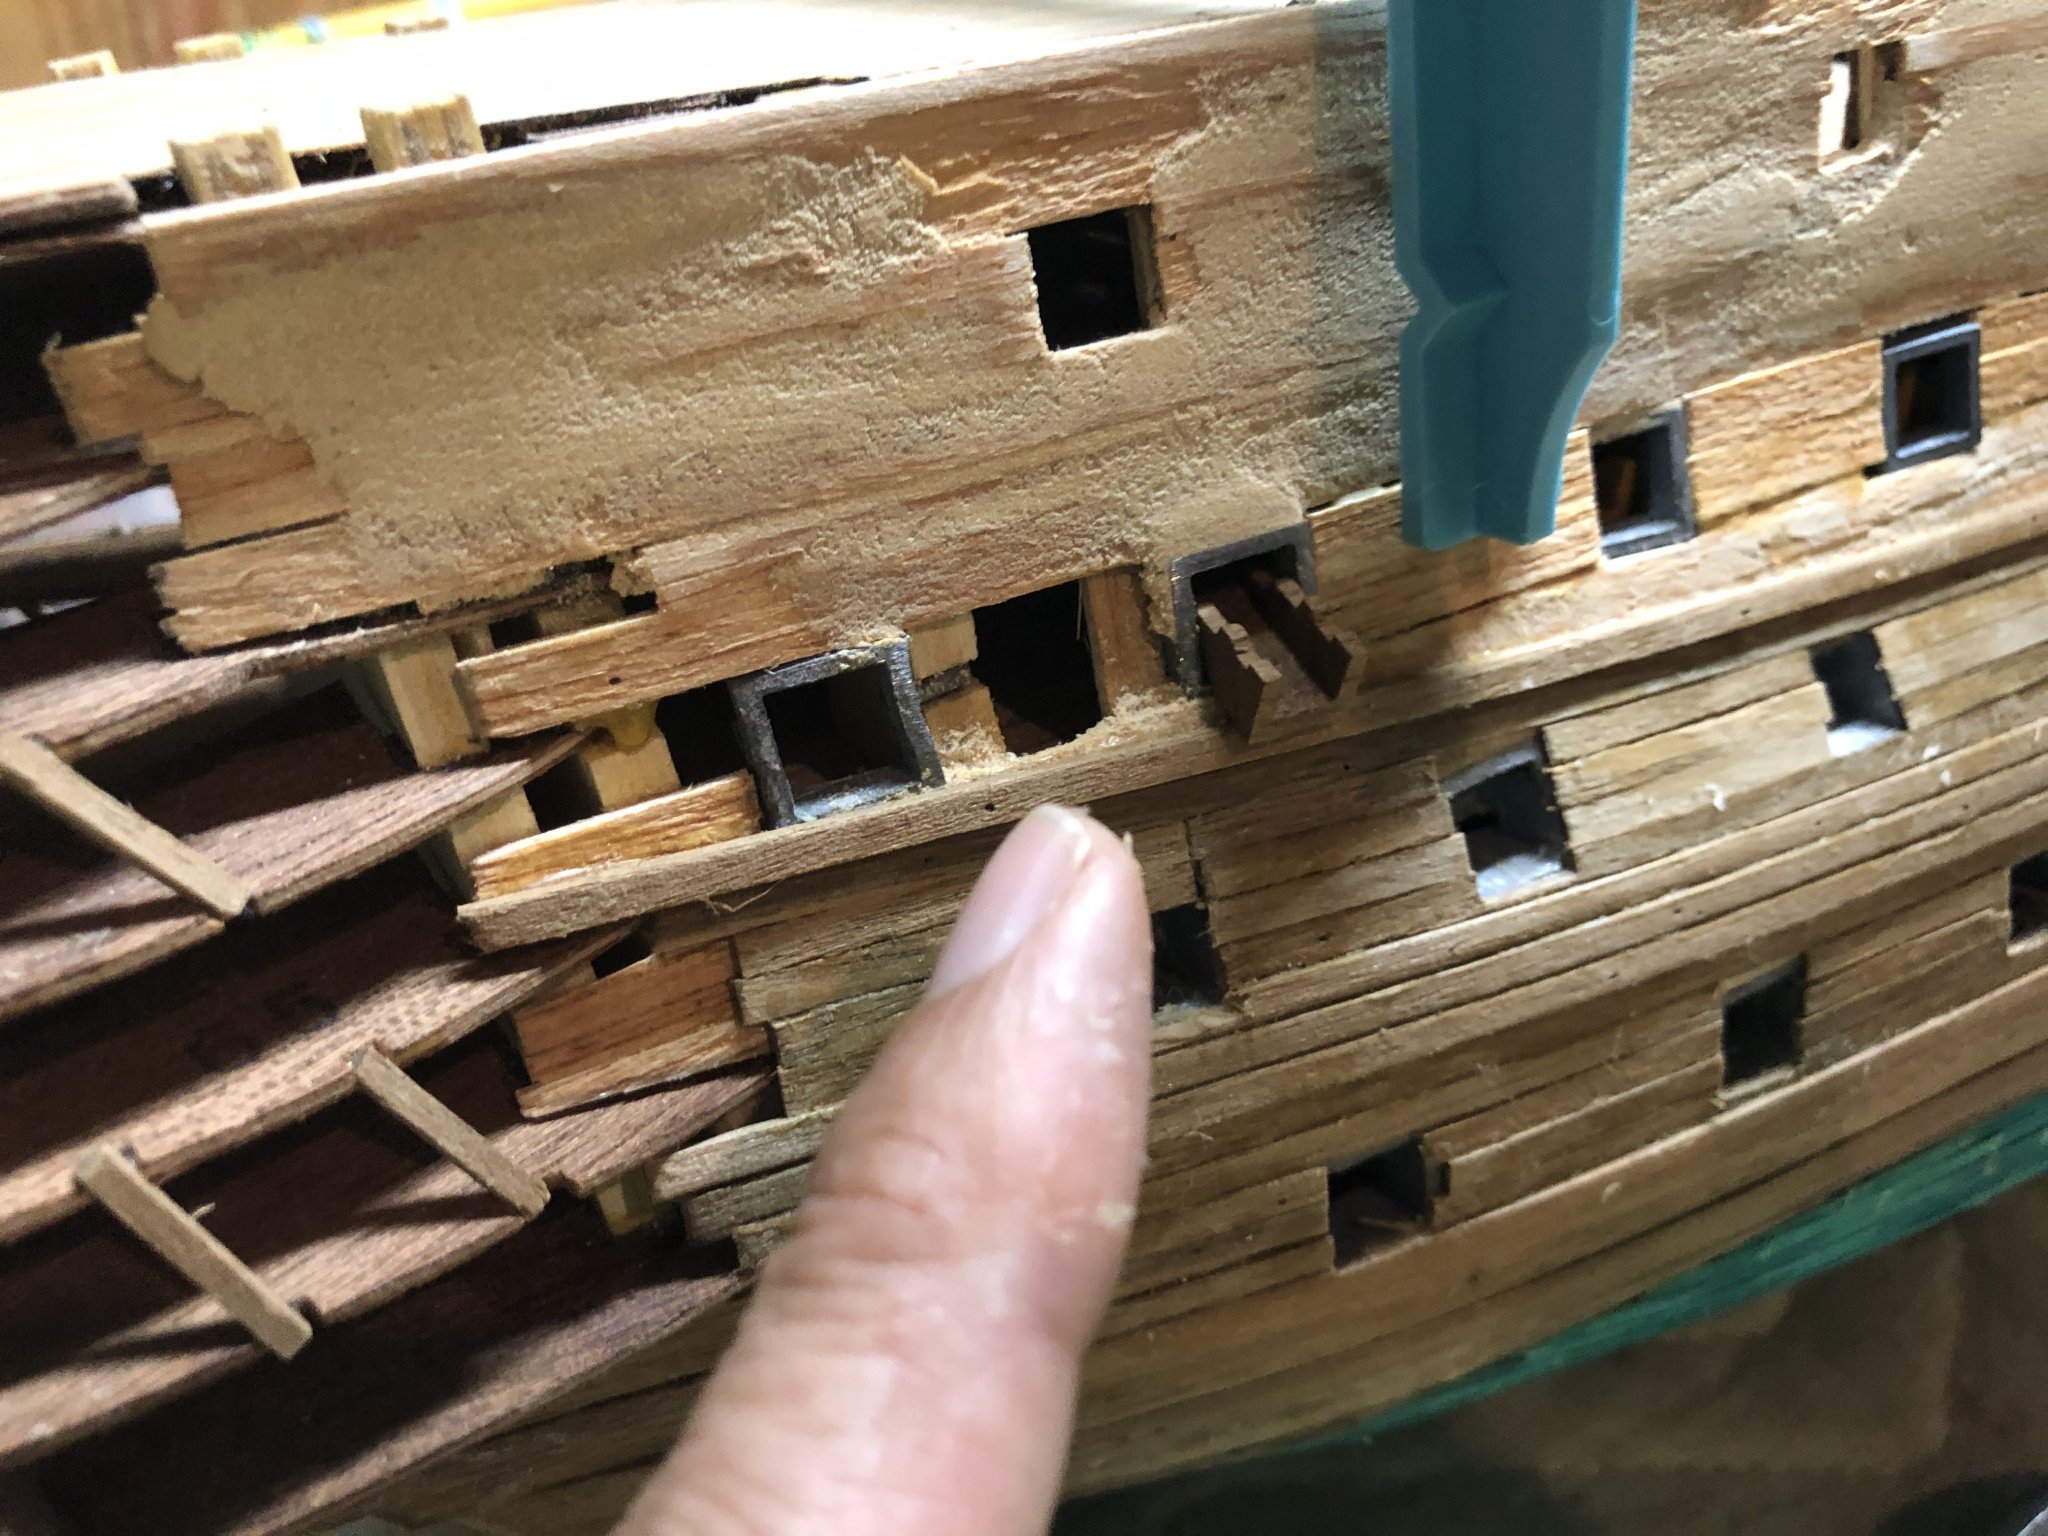
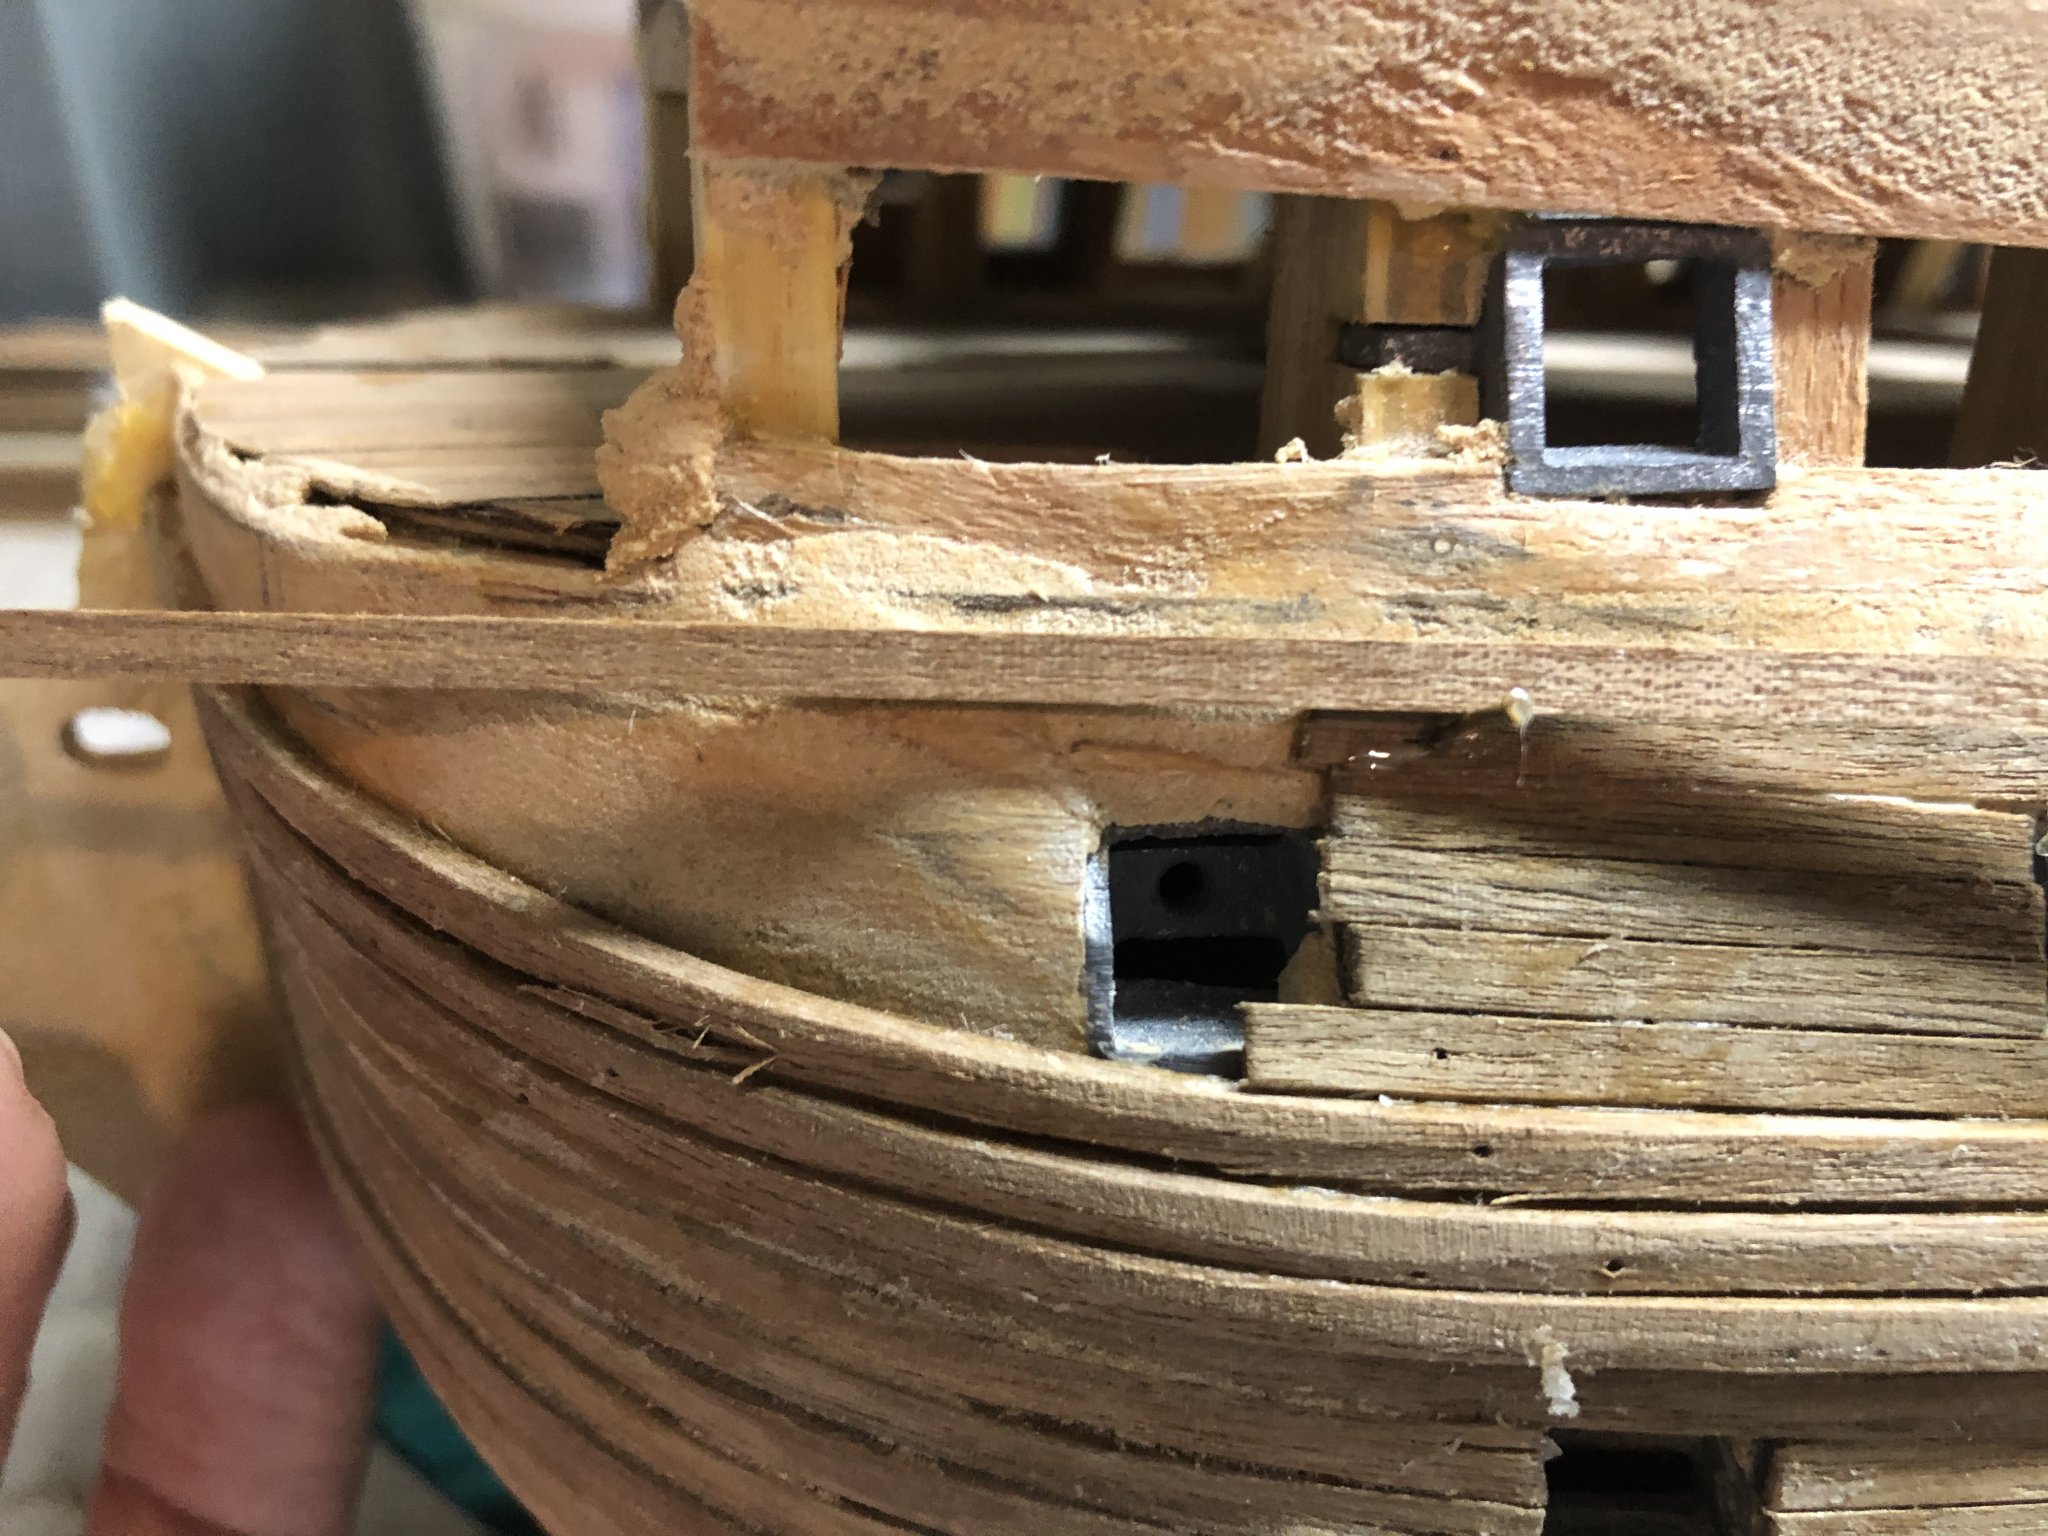
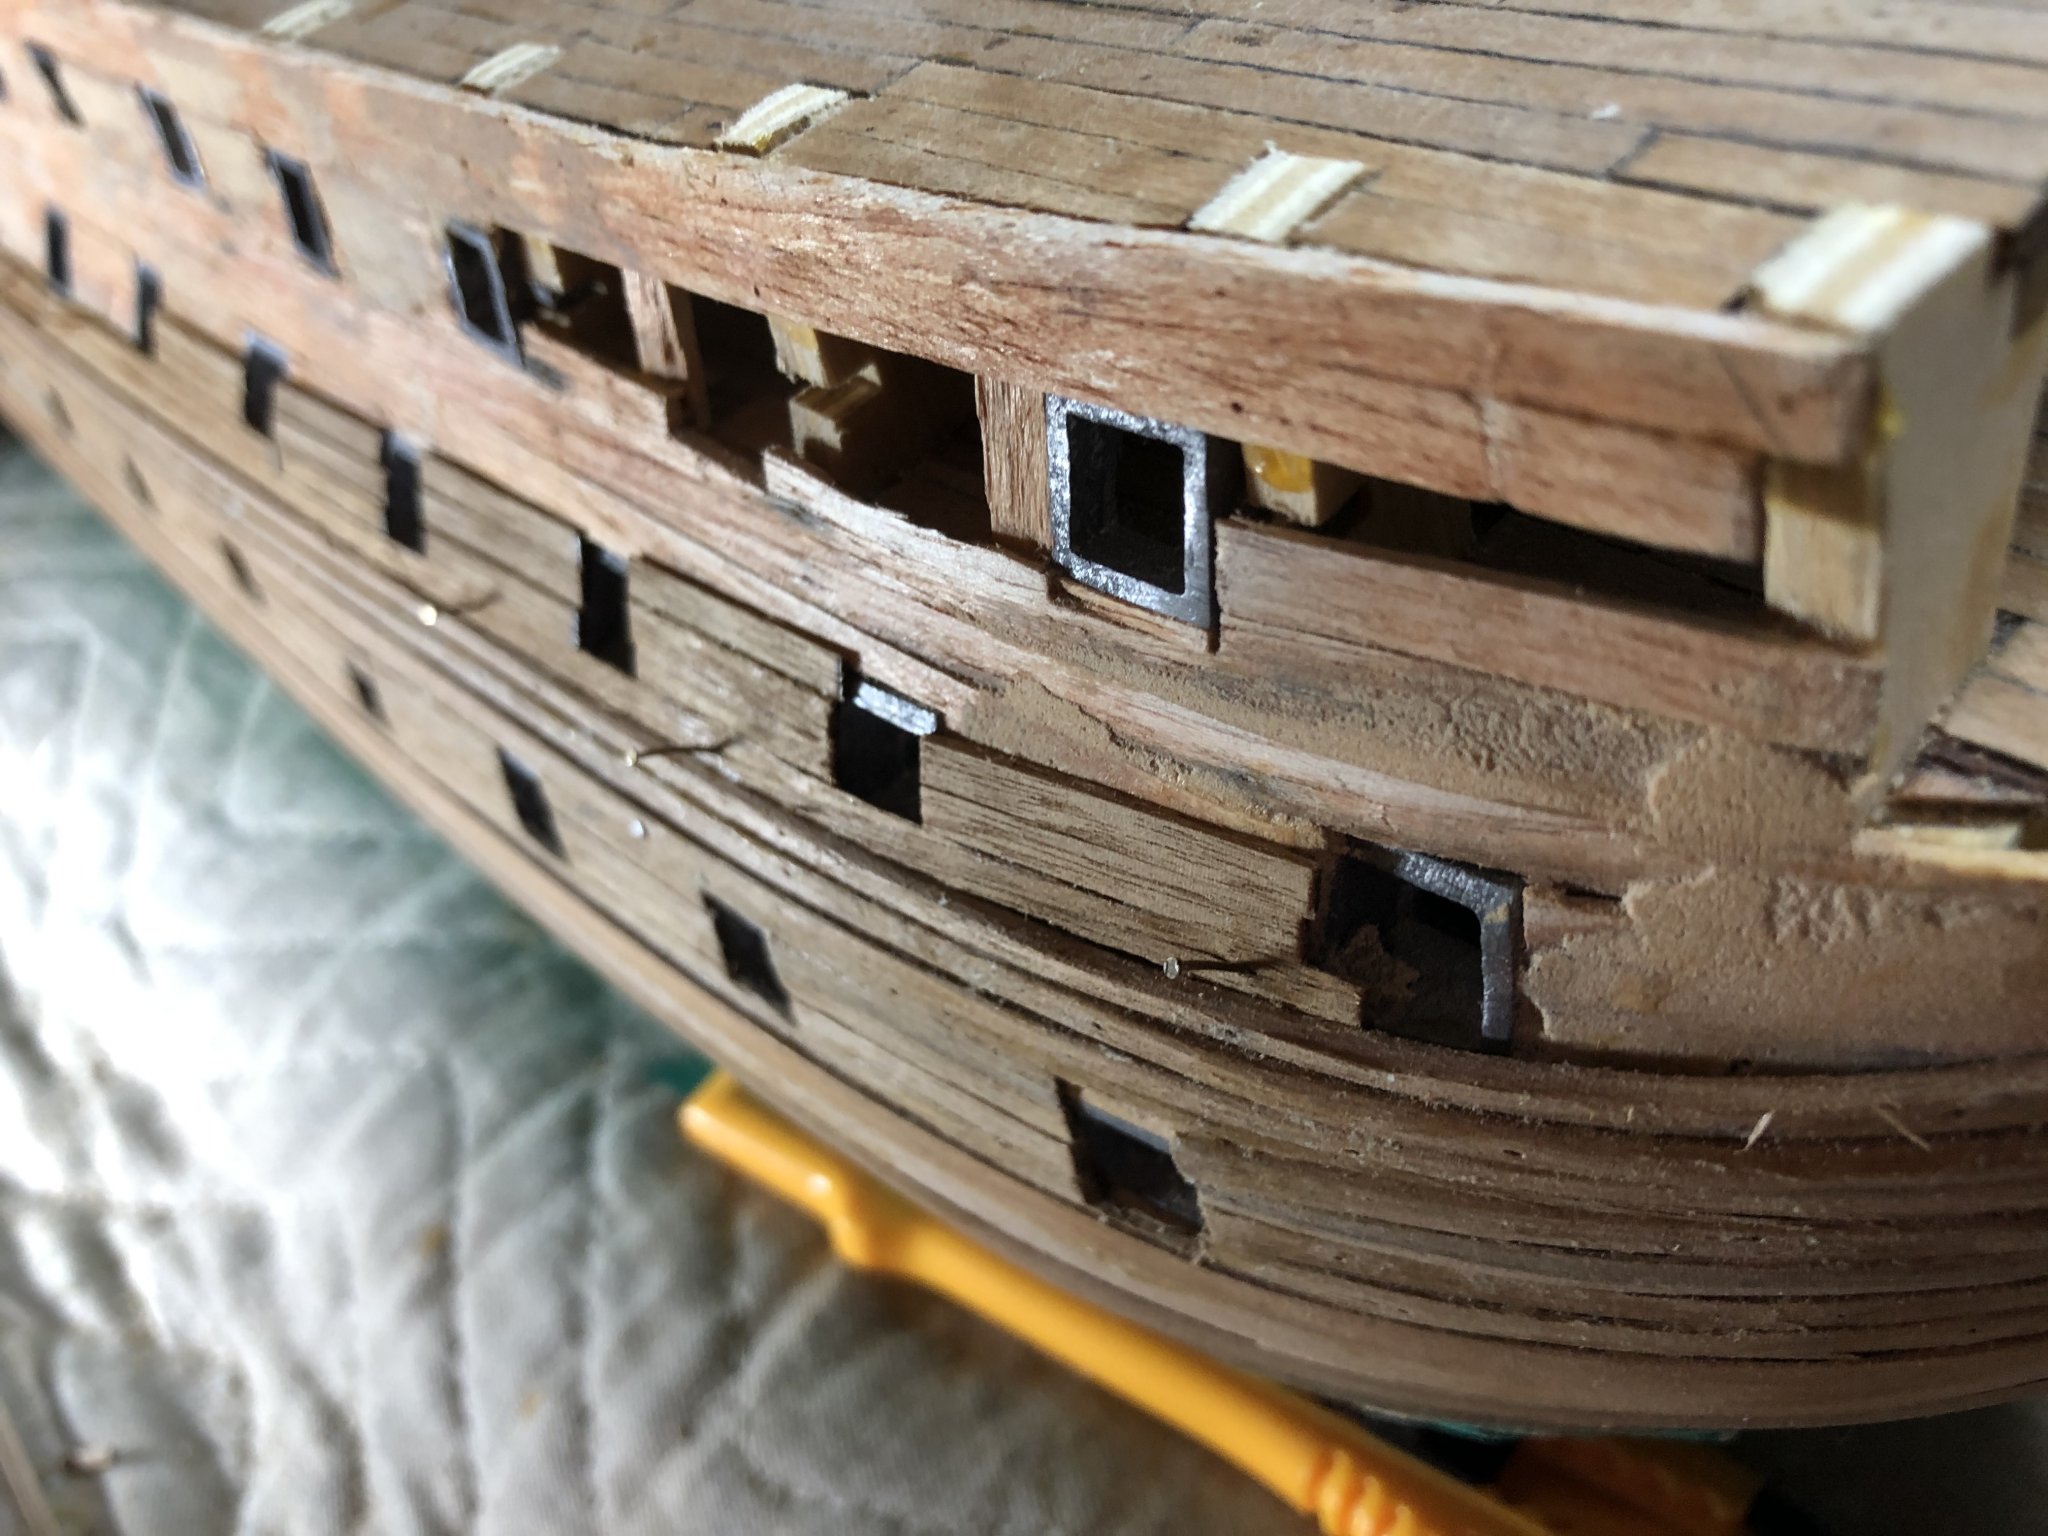
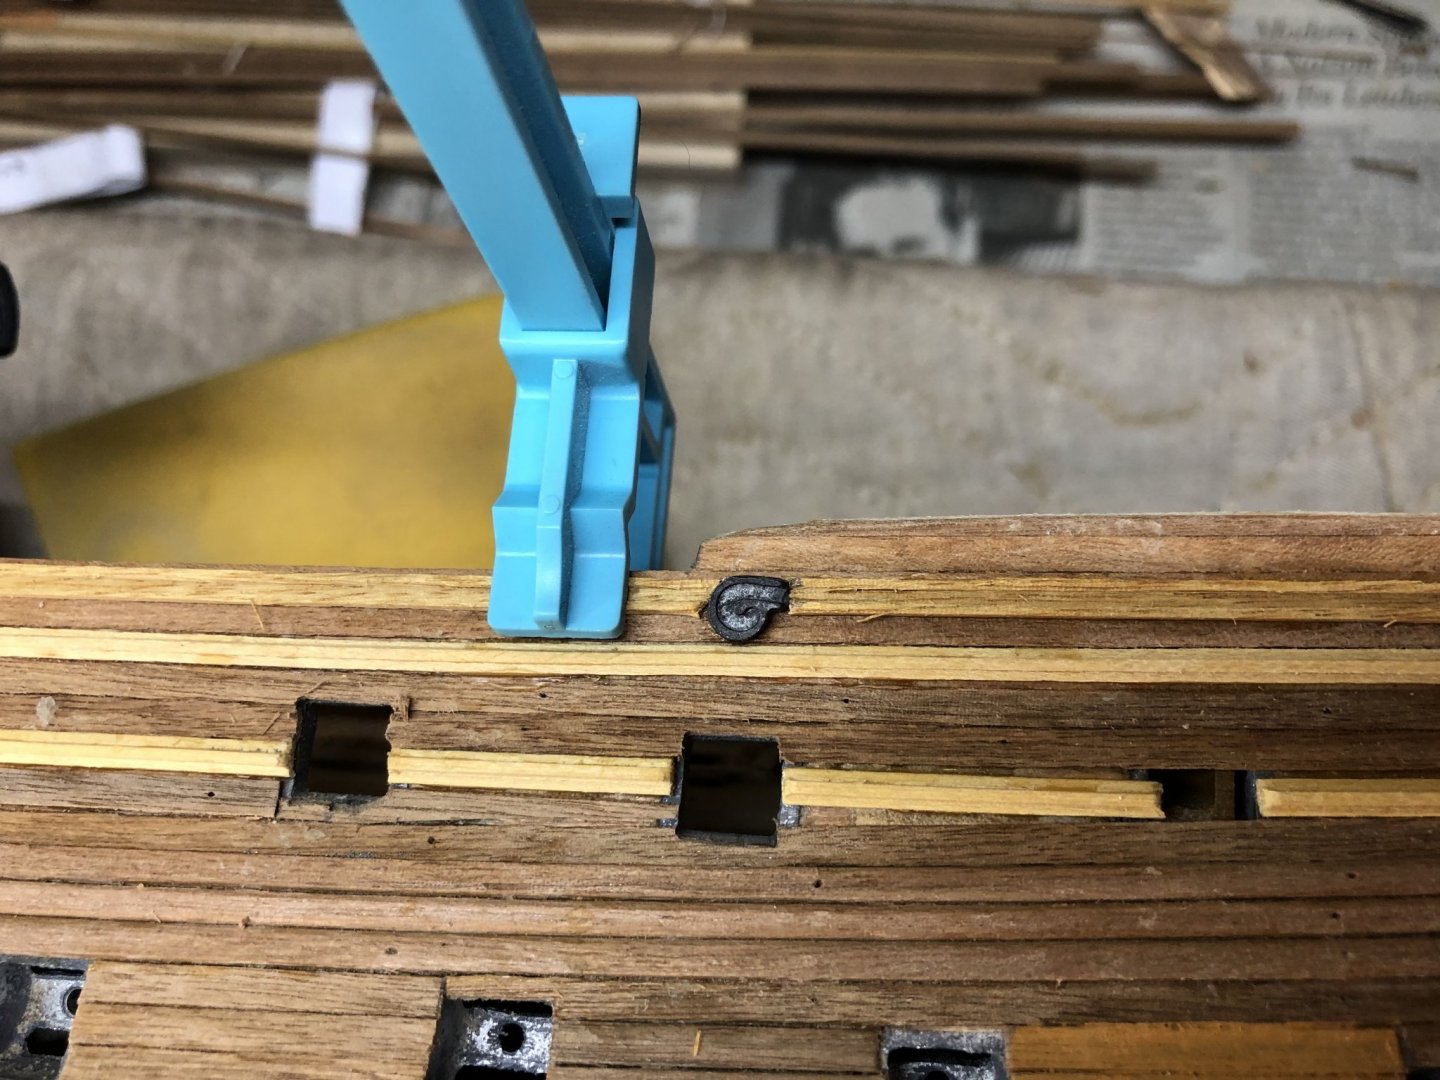
Taking some time to assess next steps. May not yet be ready for painting as I need to consider some primer options. I did add another decorative strip to the outer hull. In looking closely at the upper deck grates, I noted I used the wrong walnut laths - 1.5mm x 3mm vs. the 2mm x 3mm called out by Mamoli. I believe now is the time to correct this. I’m taking the old strips off with a sharp wood chisel which is working pretty well. Will also reset the ladder and attempt to drill better cannon ball holes for the accompanying laths. The small wooden strips are brittle and many times will split when attempting to drill the small holes (using a hand drill).

-
Thank you Christopher, I will check. Decorative planks installed with just a few more to add. The Mamoli instructions are a bit vague for some of these items so I’ll be looking around the forum for other examples. Some may think I’m including too many pictures. My thought is show incremental progress rather than bigger jumps. If desired, one should be able to see how I got there.. whether the end results were good or bad. Lessons learned. I’m also thinking now may be the best time to start painting the hull. I still have some gun port maintenance and light filling/sanding before, but that seems like it may be the next key phase.

-
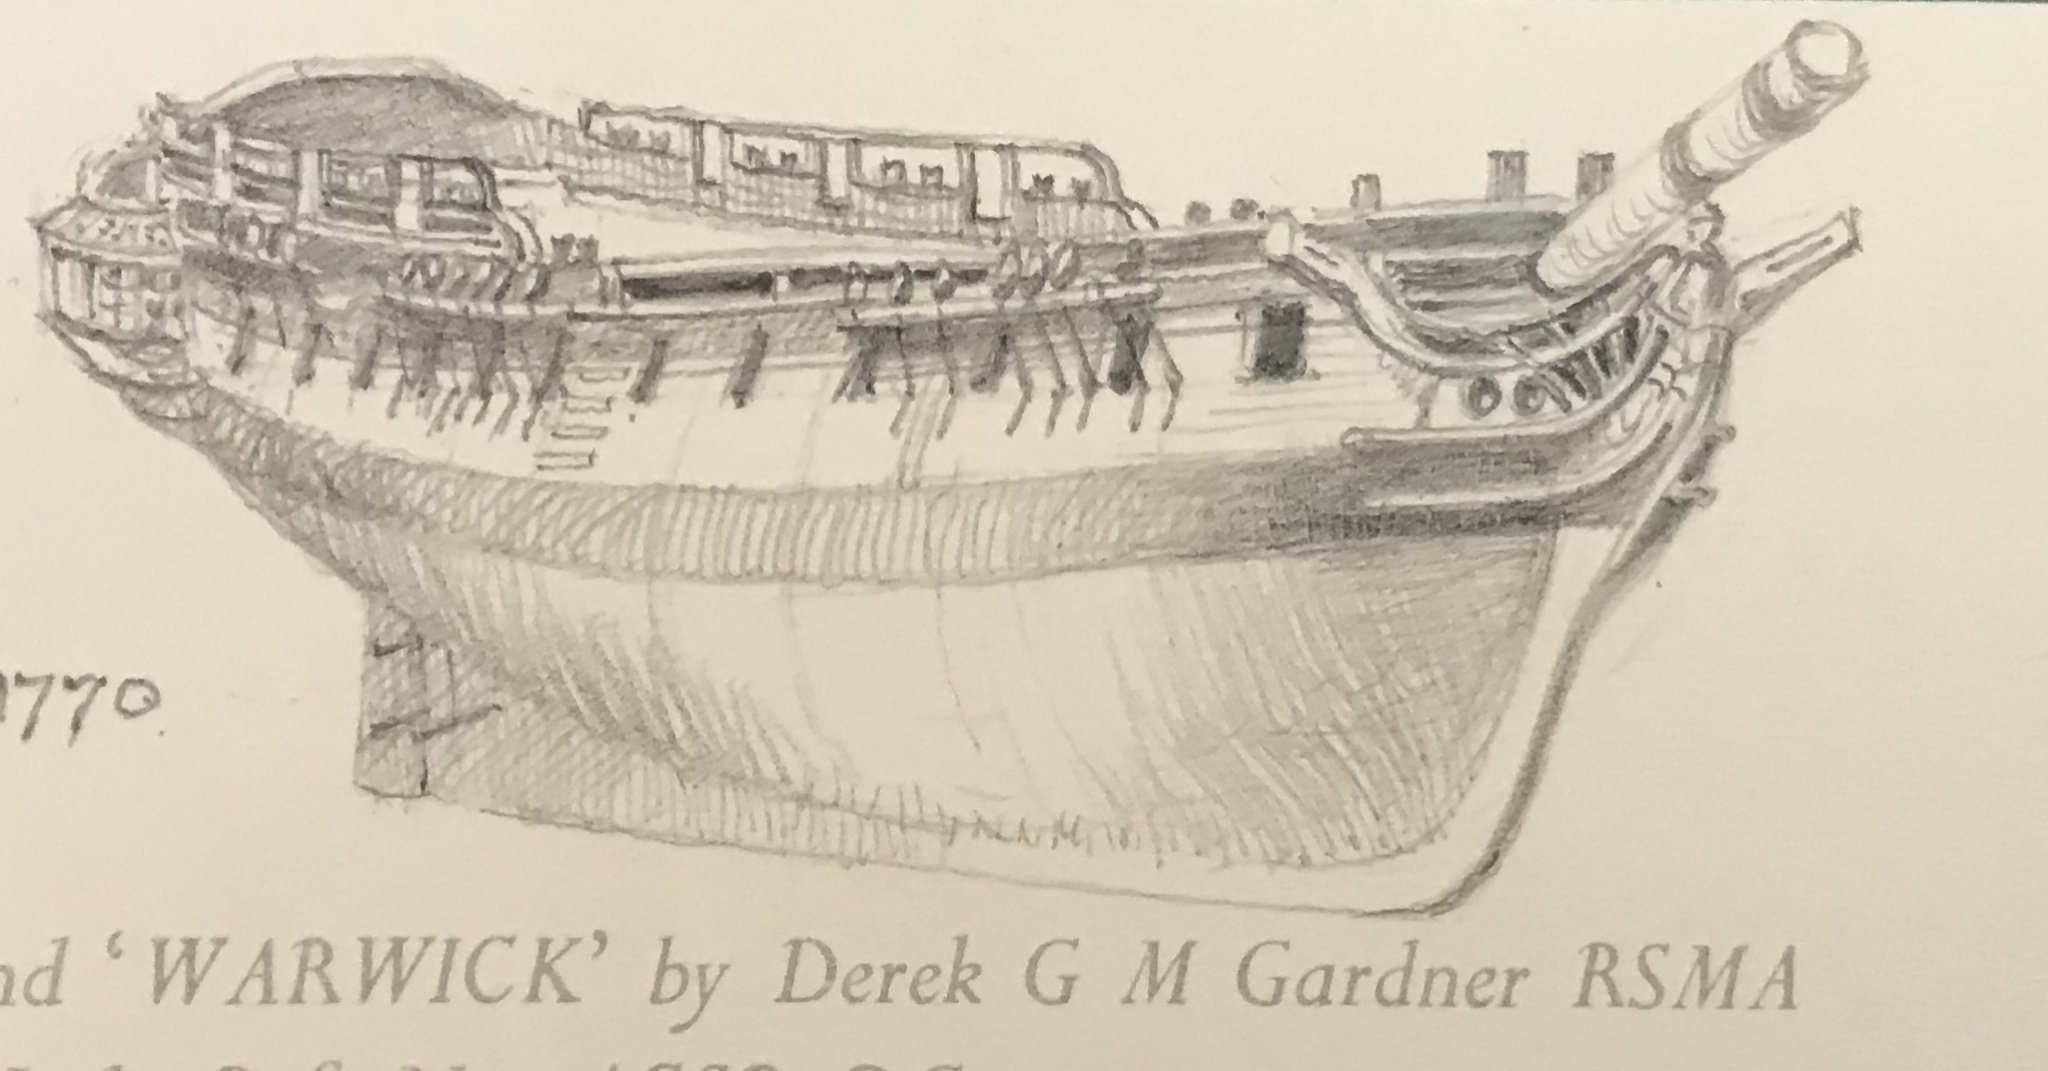
I understand when a model is complete, the word ‘FINISHED’ is included in the content title. However, I plan to work my Victory to the below state. I like this condition better for various reasons and it takes up less room for display purposes. Would this be considered ‘FINISHED’ or is it only when all the masts, spars, rigging, etc. is added? Perhaps the definition can be found in the forum content? Thank you!

-
A masterpiece; very nicely done!
-
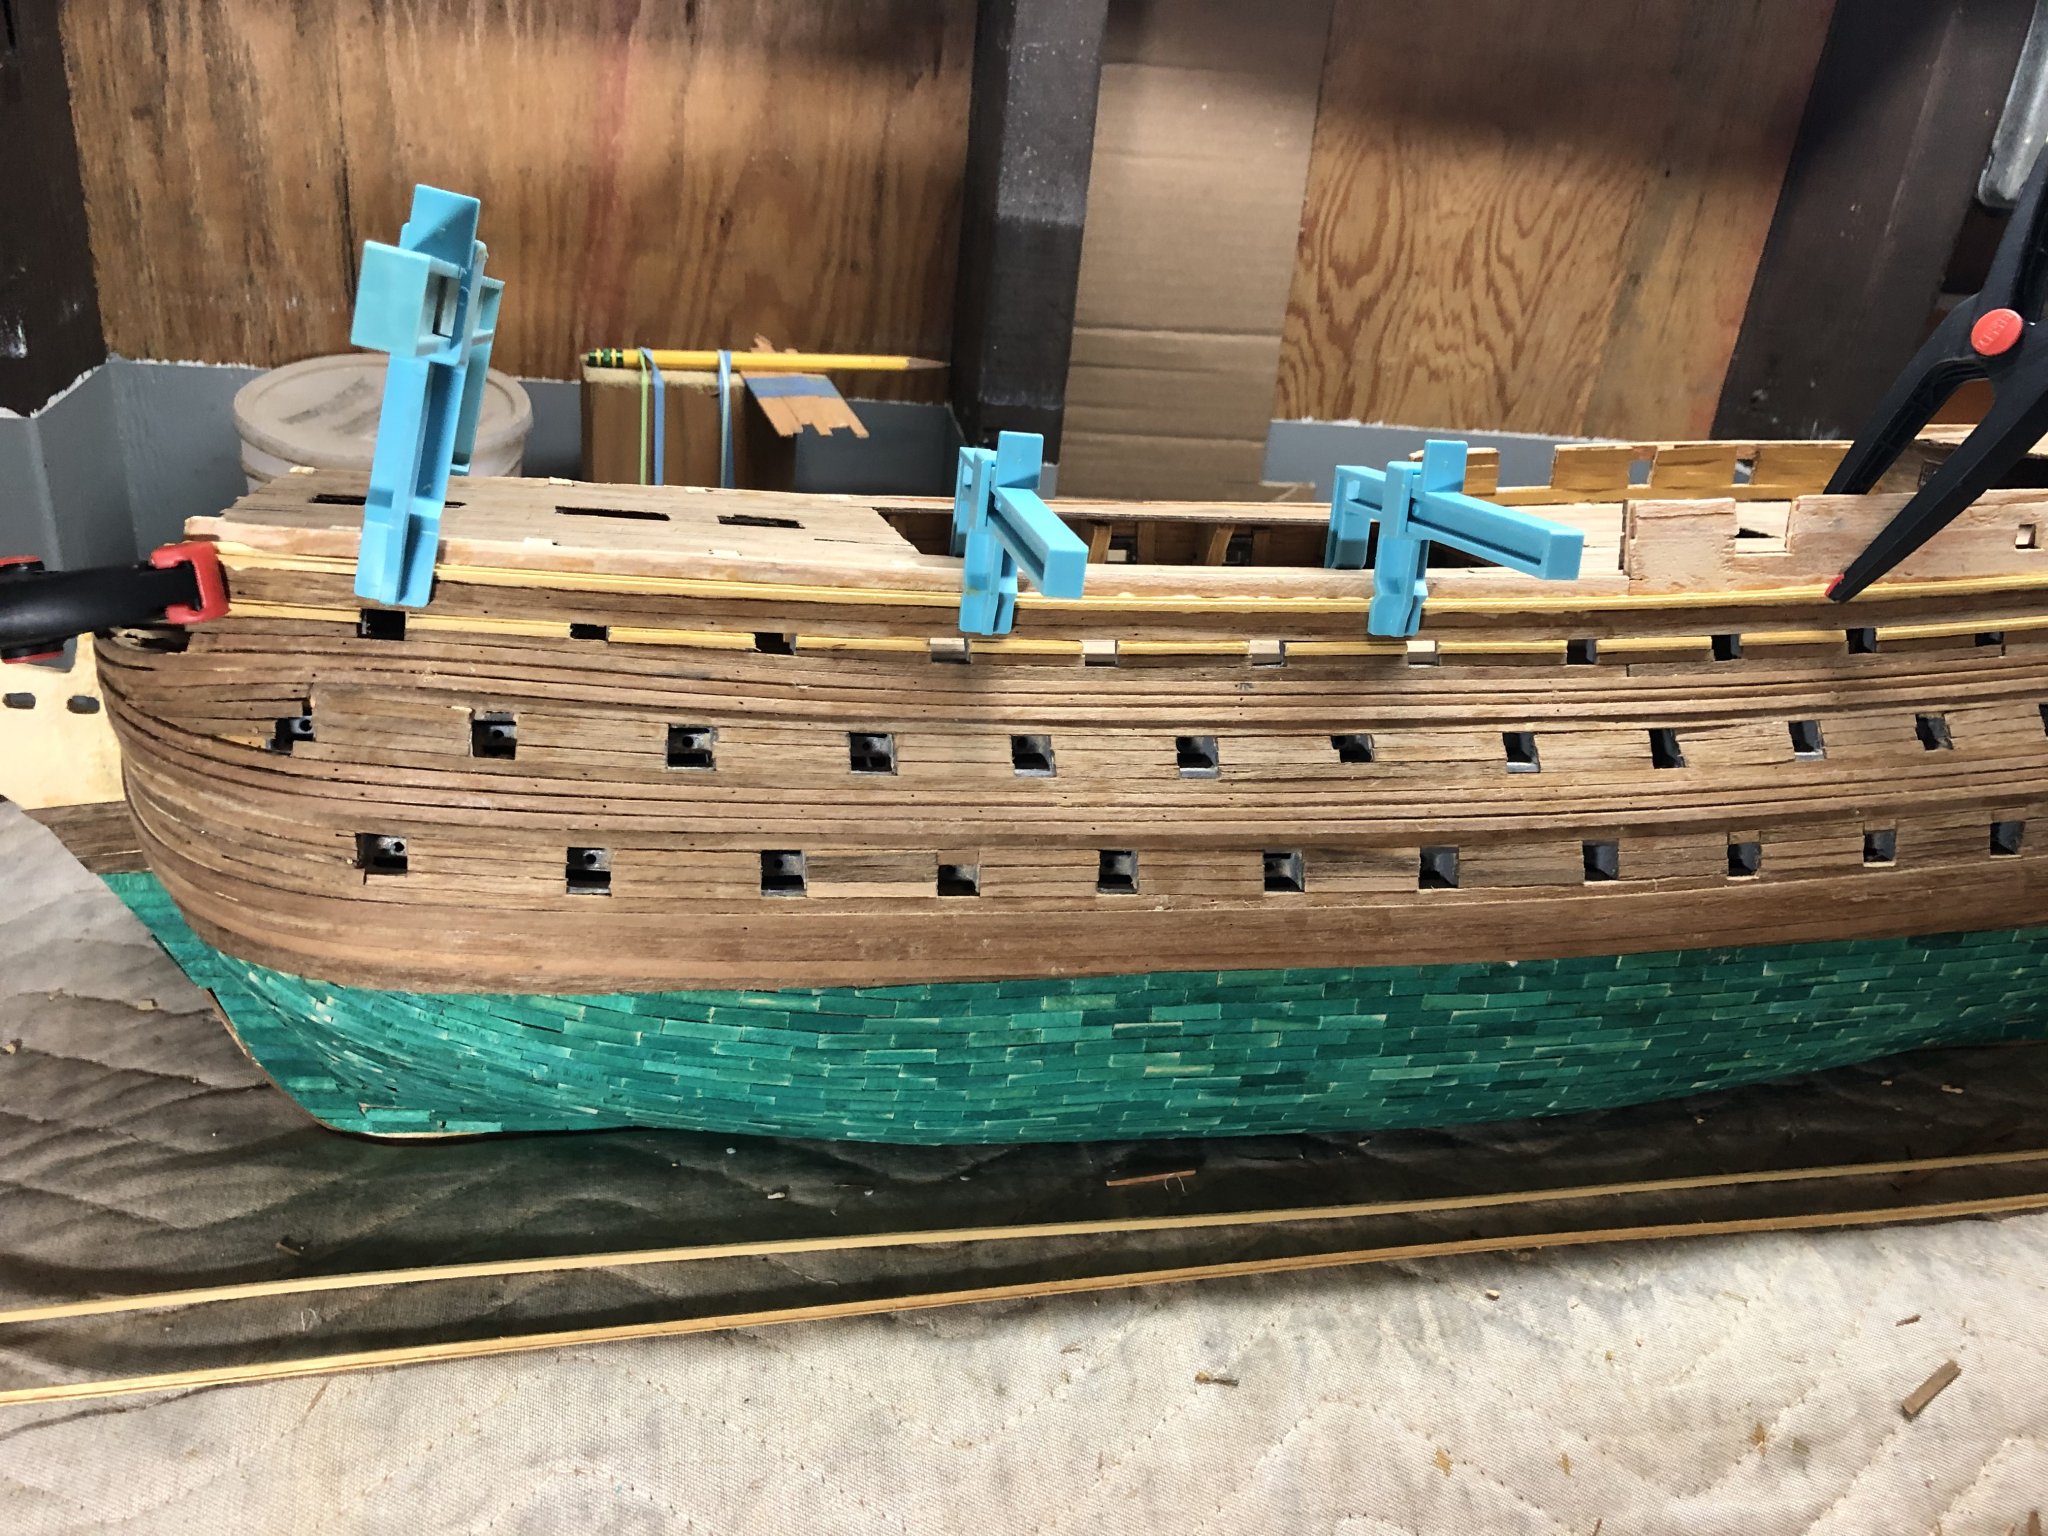
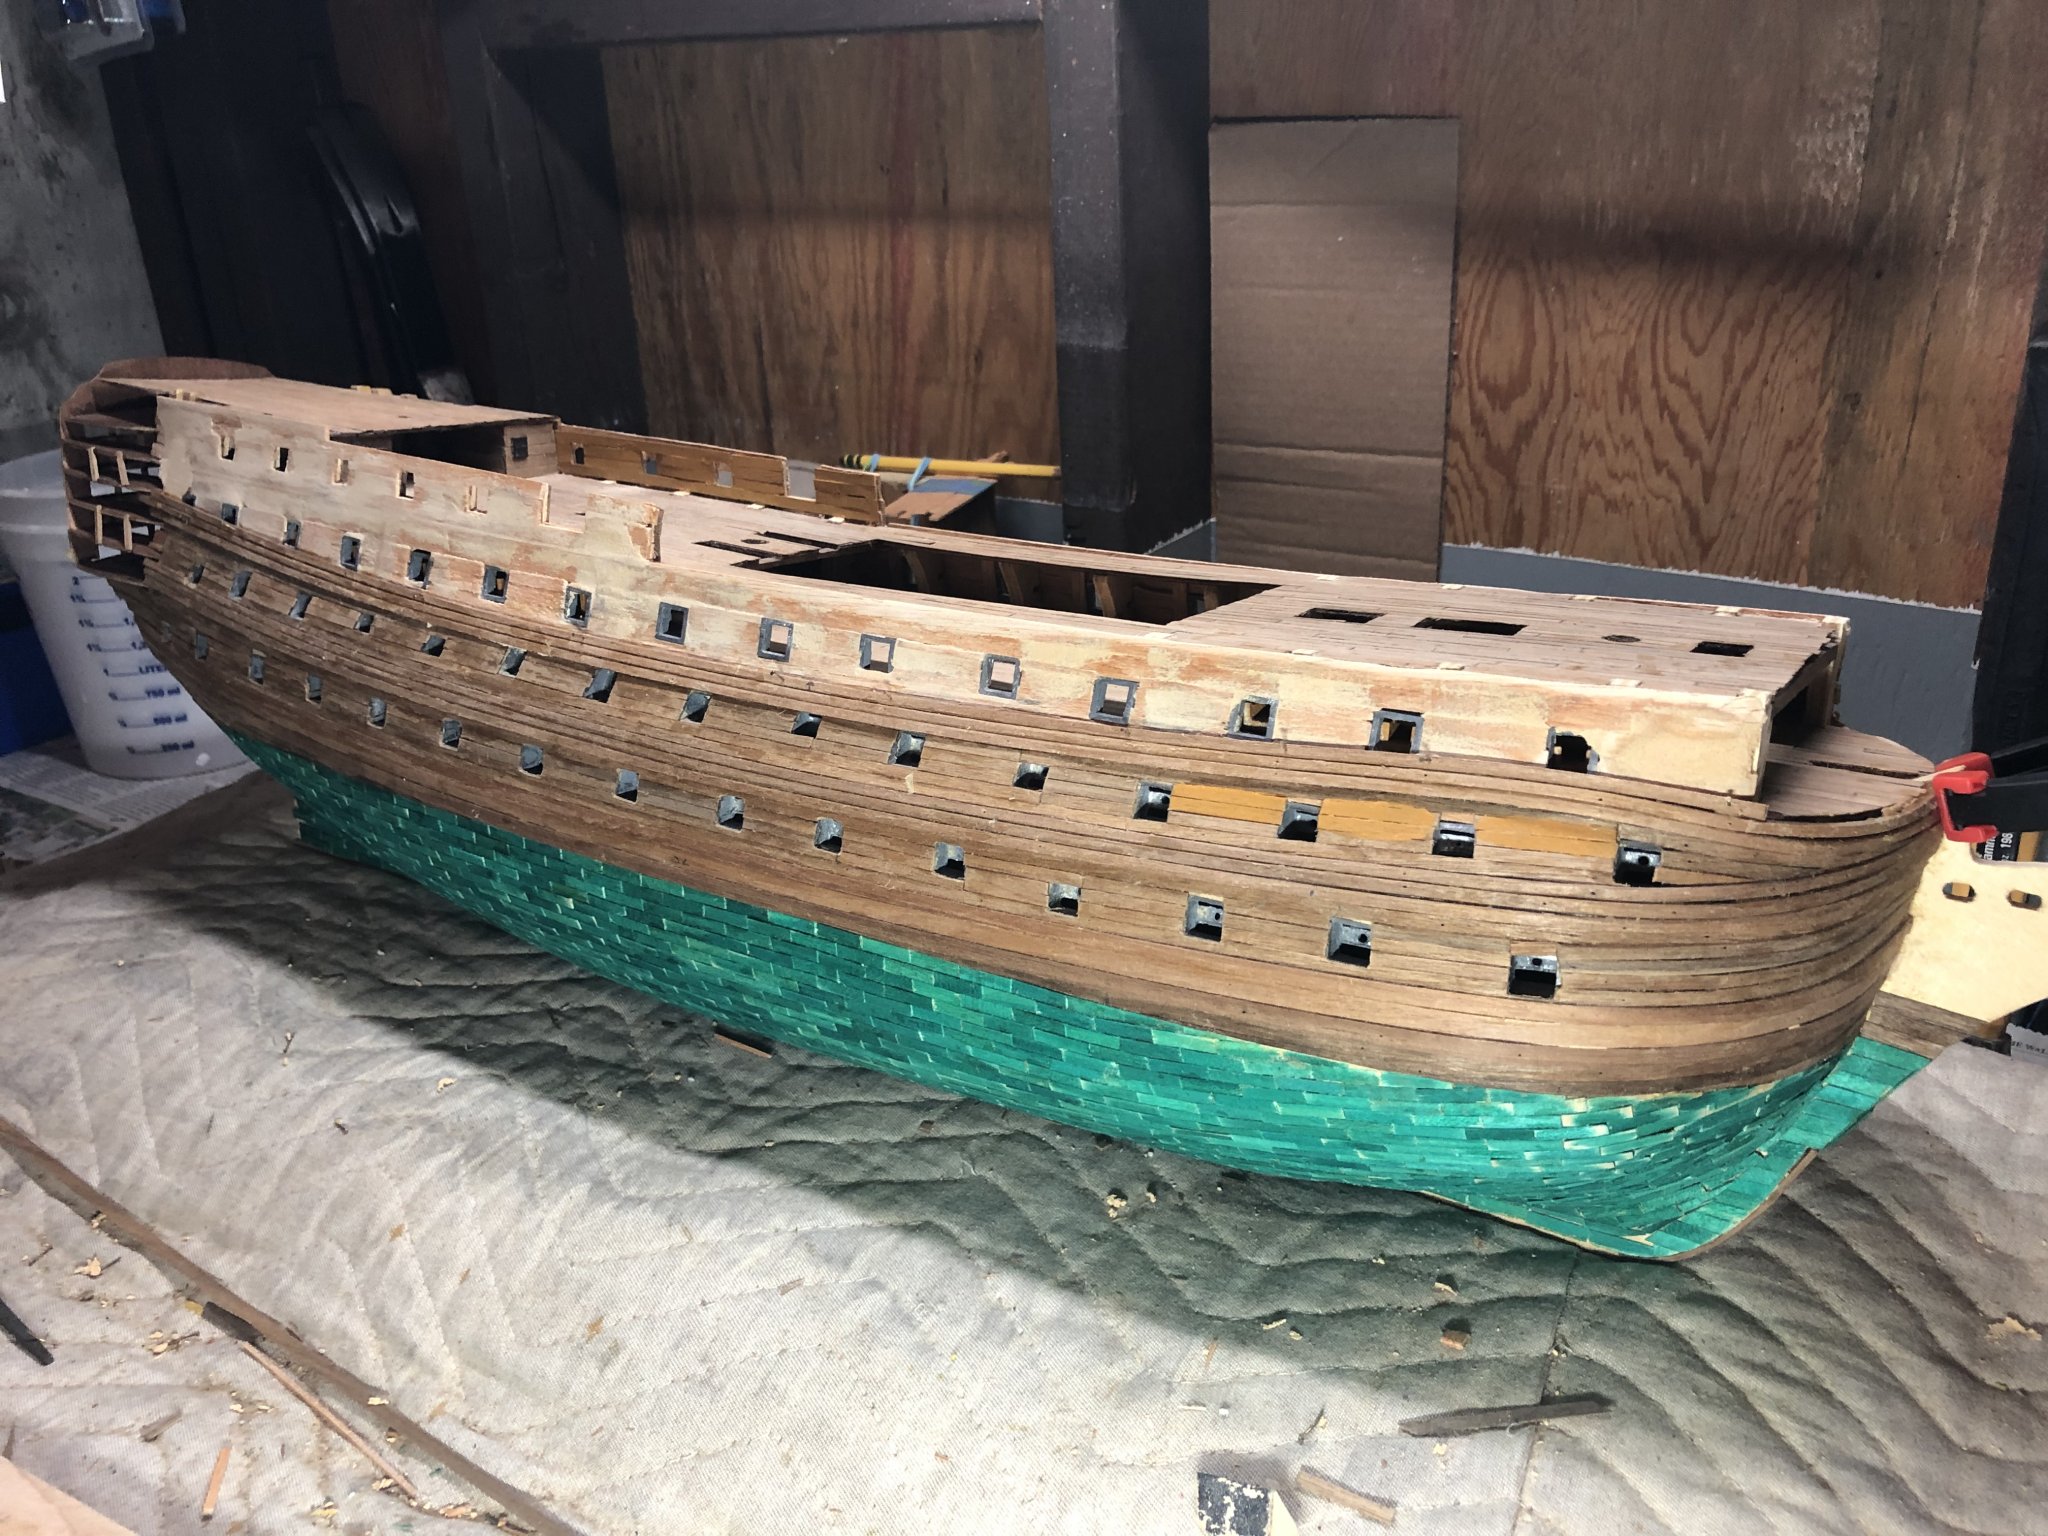
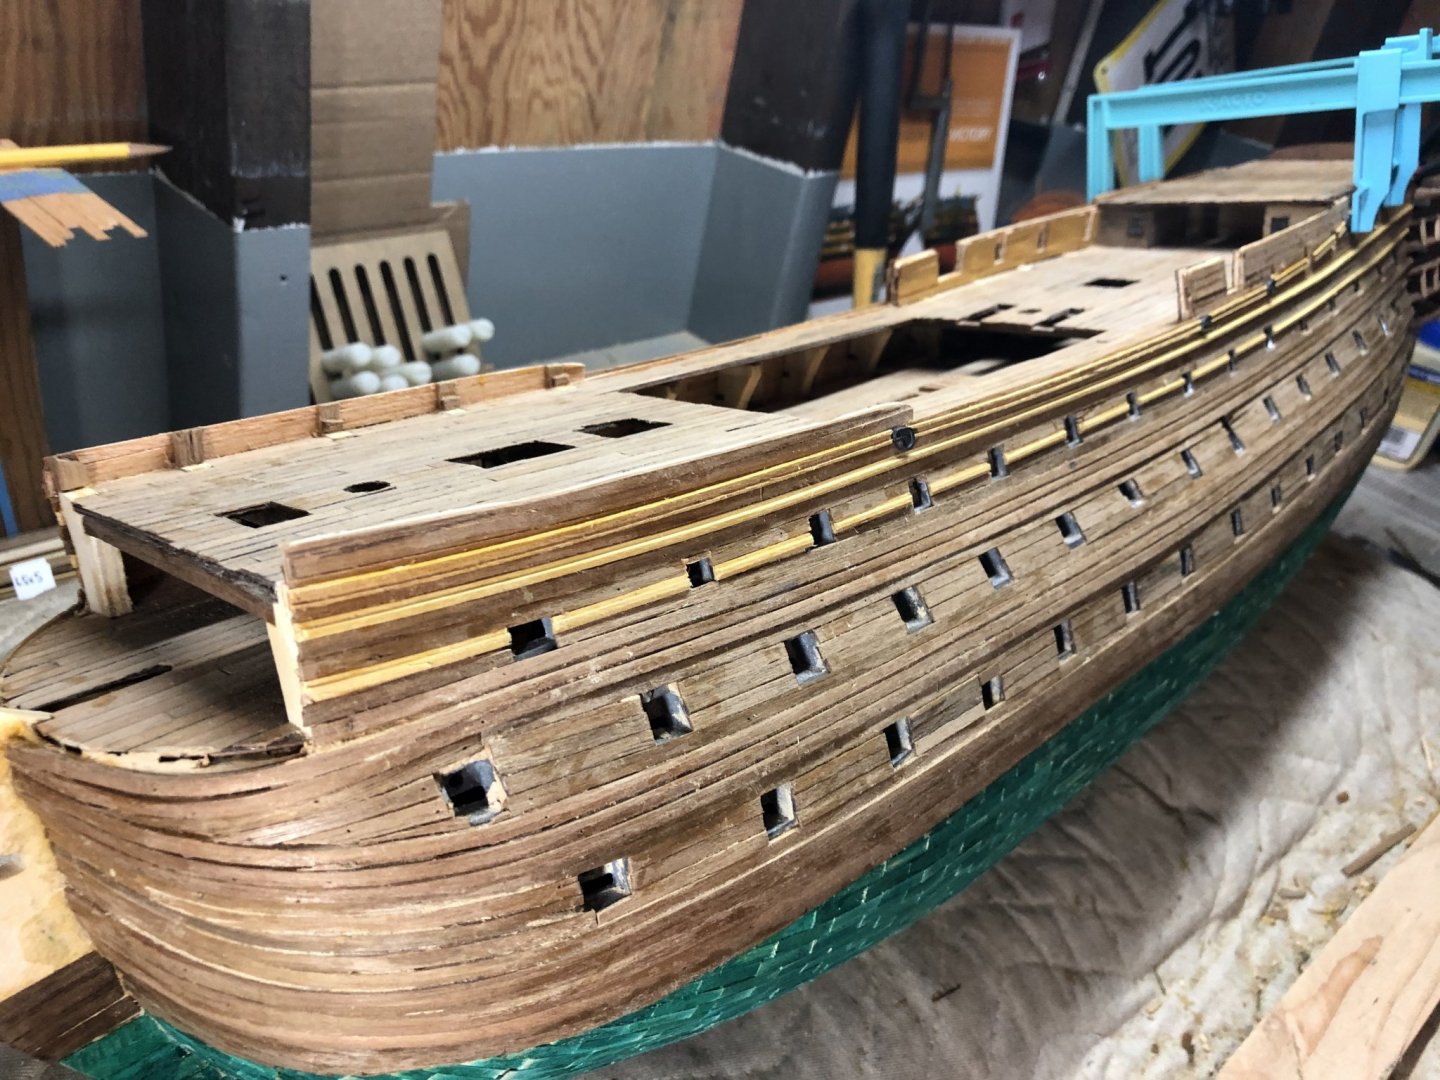
Second planking is now complete. I have some gunport related touch up yet to do. I also looked closer at Longridge’s plan 2/outboard profile (The Anatomy of Nelson’s Ships) and saw my forecastle sides were too high. I’ve since cut them down appropriately. Now on to add the decorative flourishes to the hull before turning to finishing the deck and sides with molding, etc.


-
What a beauty;very nice attention to detail!
-
Sure you can Christopher, don’t sell yourself short!
-
As I’ve been moving along, I noticed I did not initially plank the forecastle sides high enough. I even sanded down the small bulkhead tops that protruded above the deck, although they were not high enough for the 10mm sides needed to house the planks. I’ve since added the support ‘structures’ you see below and will be adding 2x5mm walnut planks to port and starboard sides. Then filling/sanding and finishing the second planking.

-
Nearing the top. Will be introducing some additional decorative pieces, some metal, shortly.
-
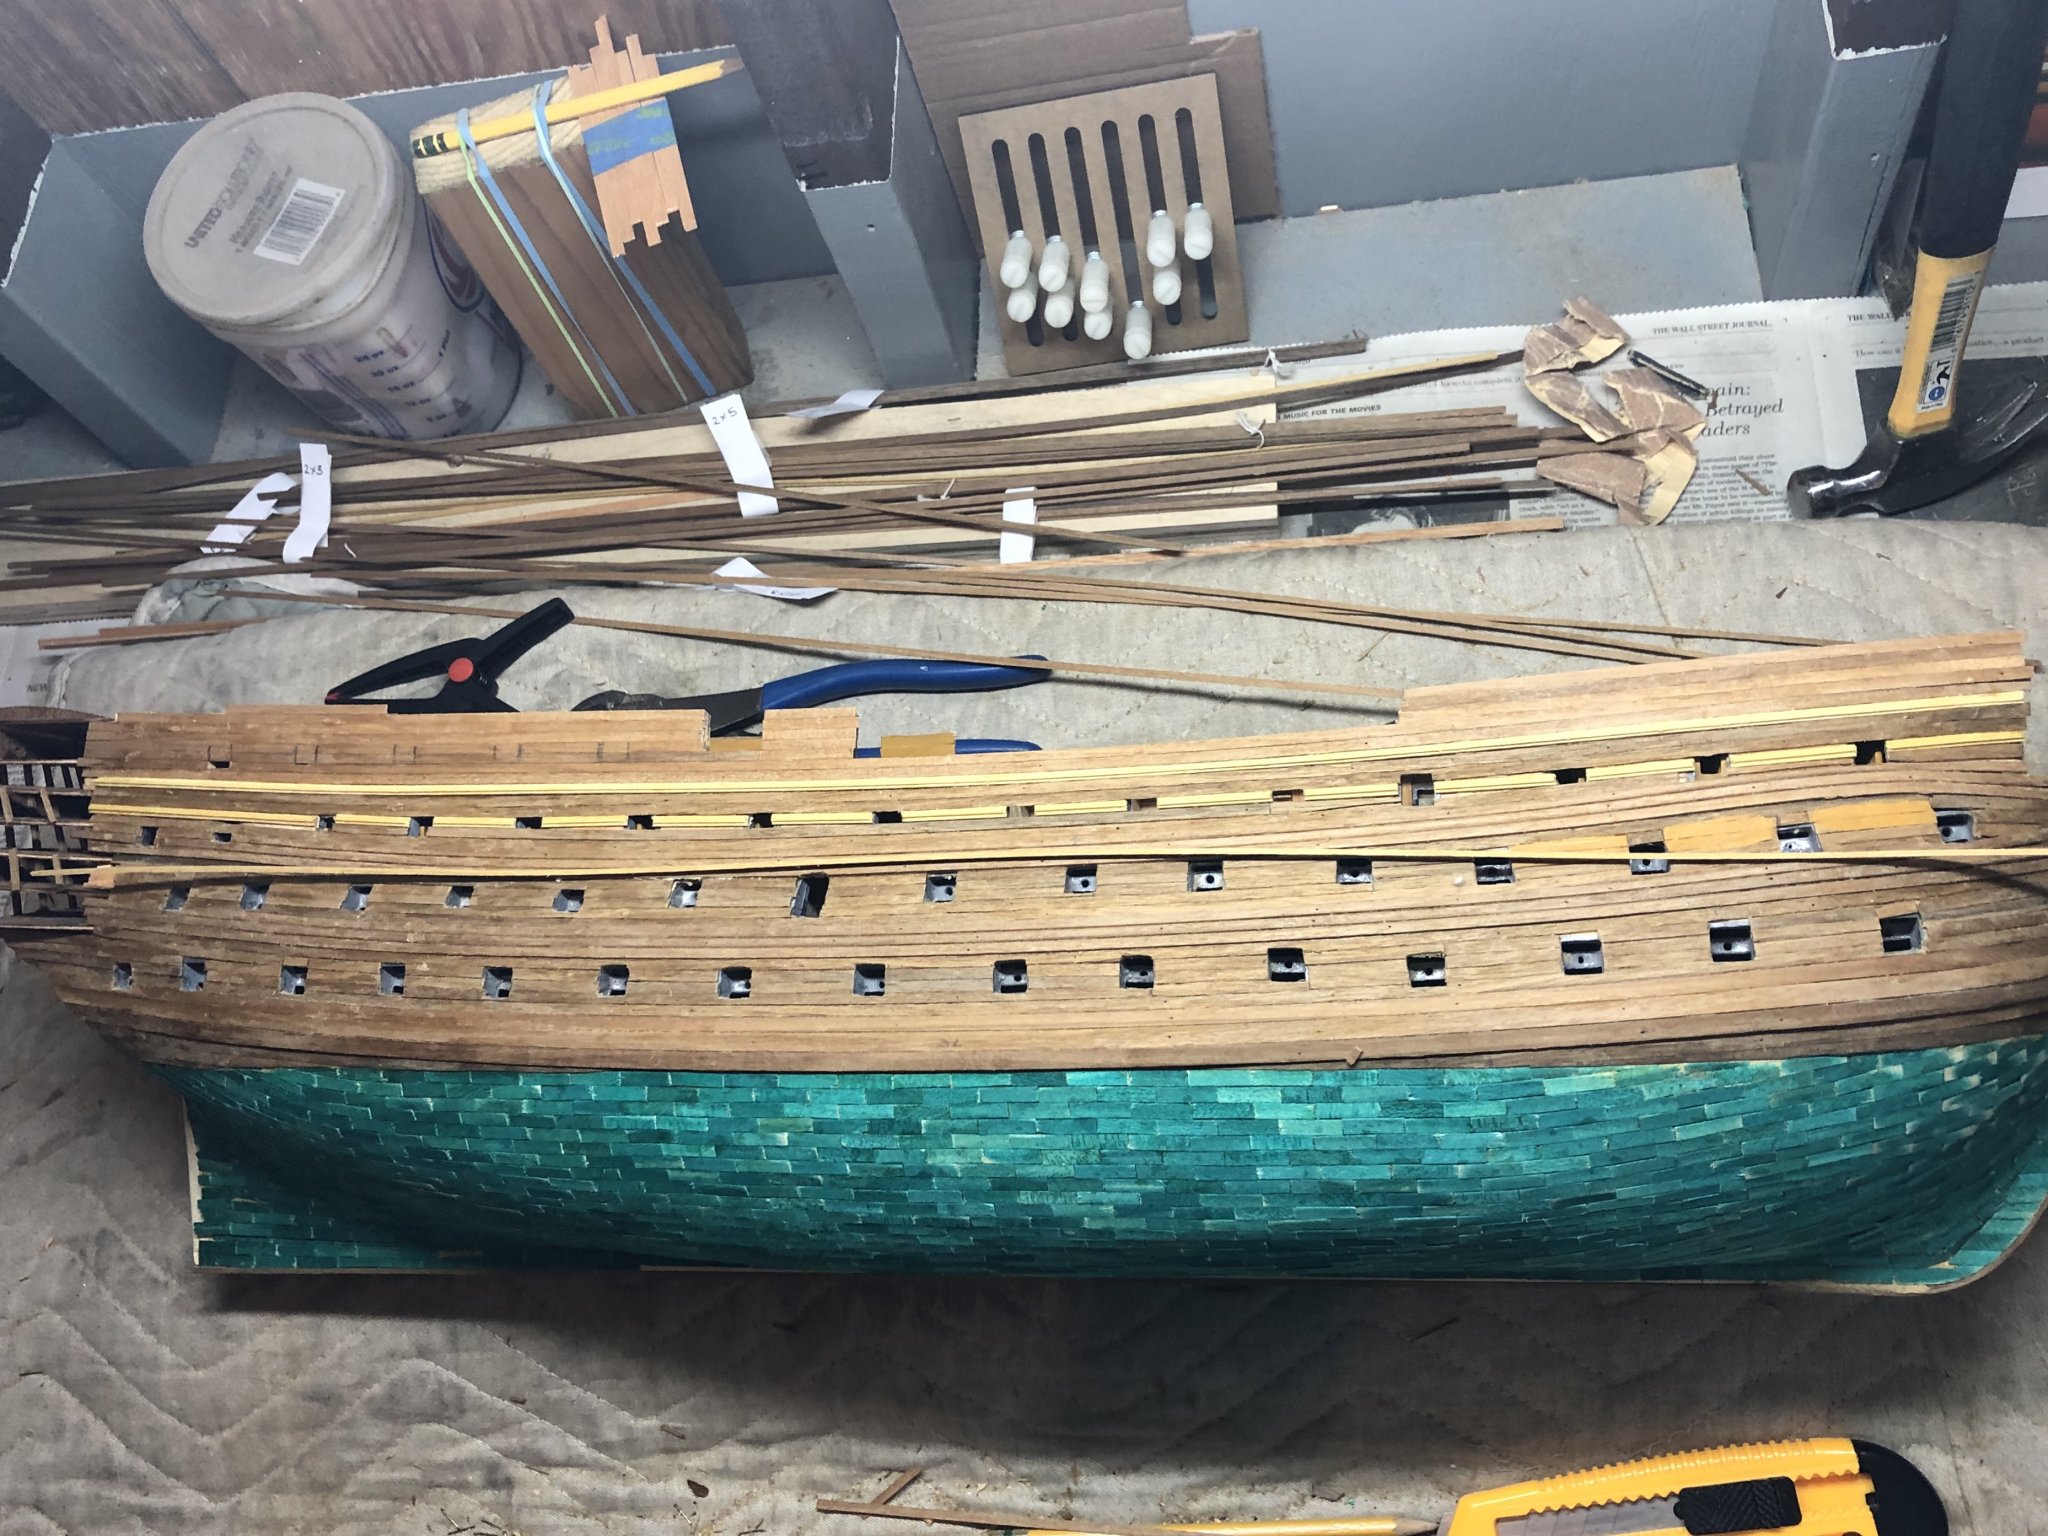
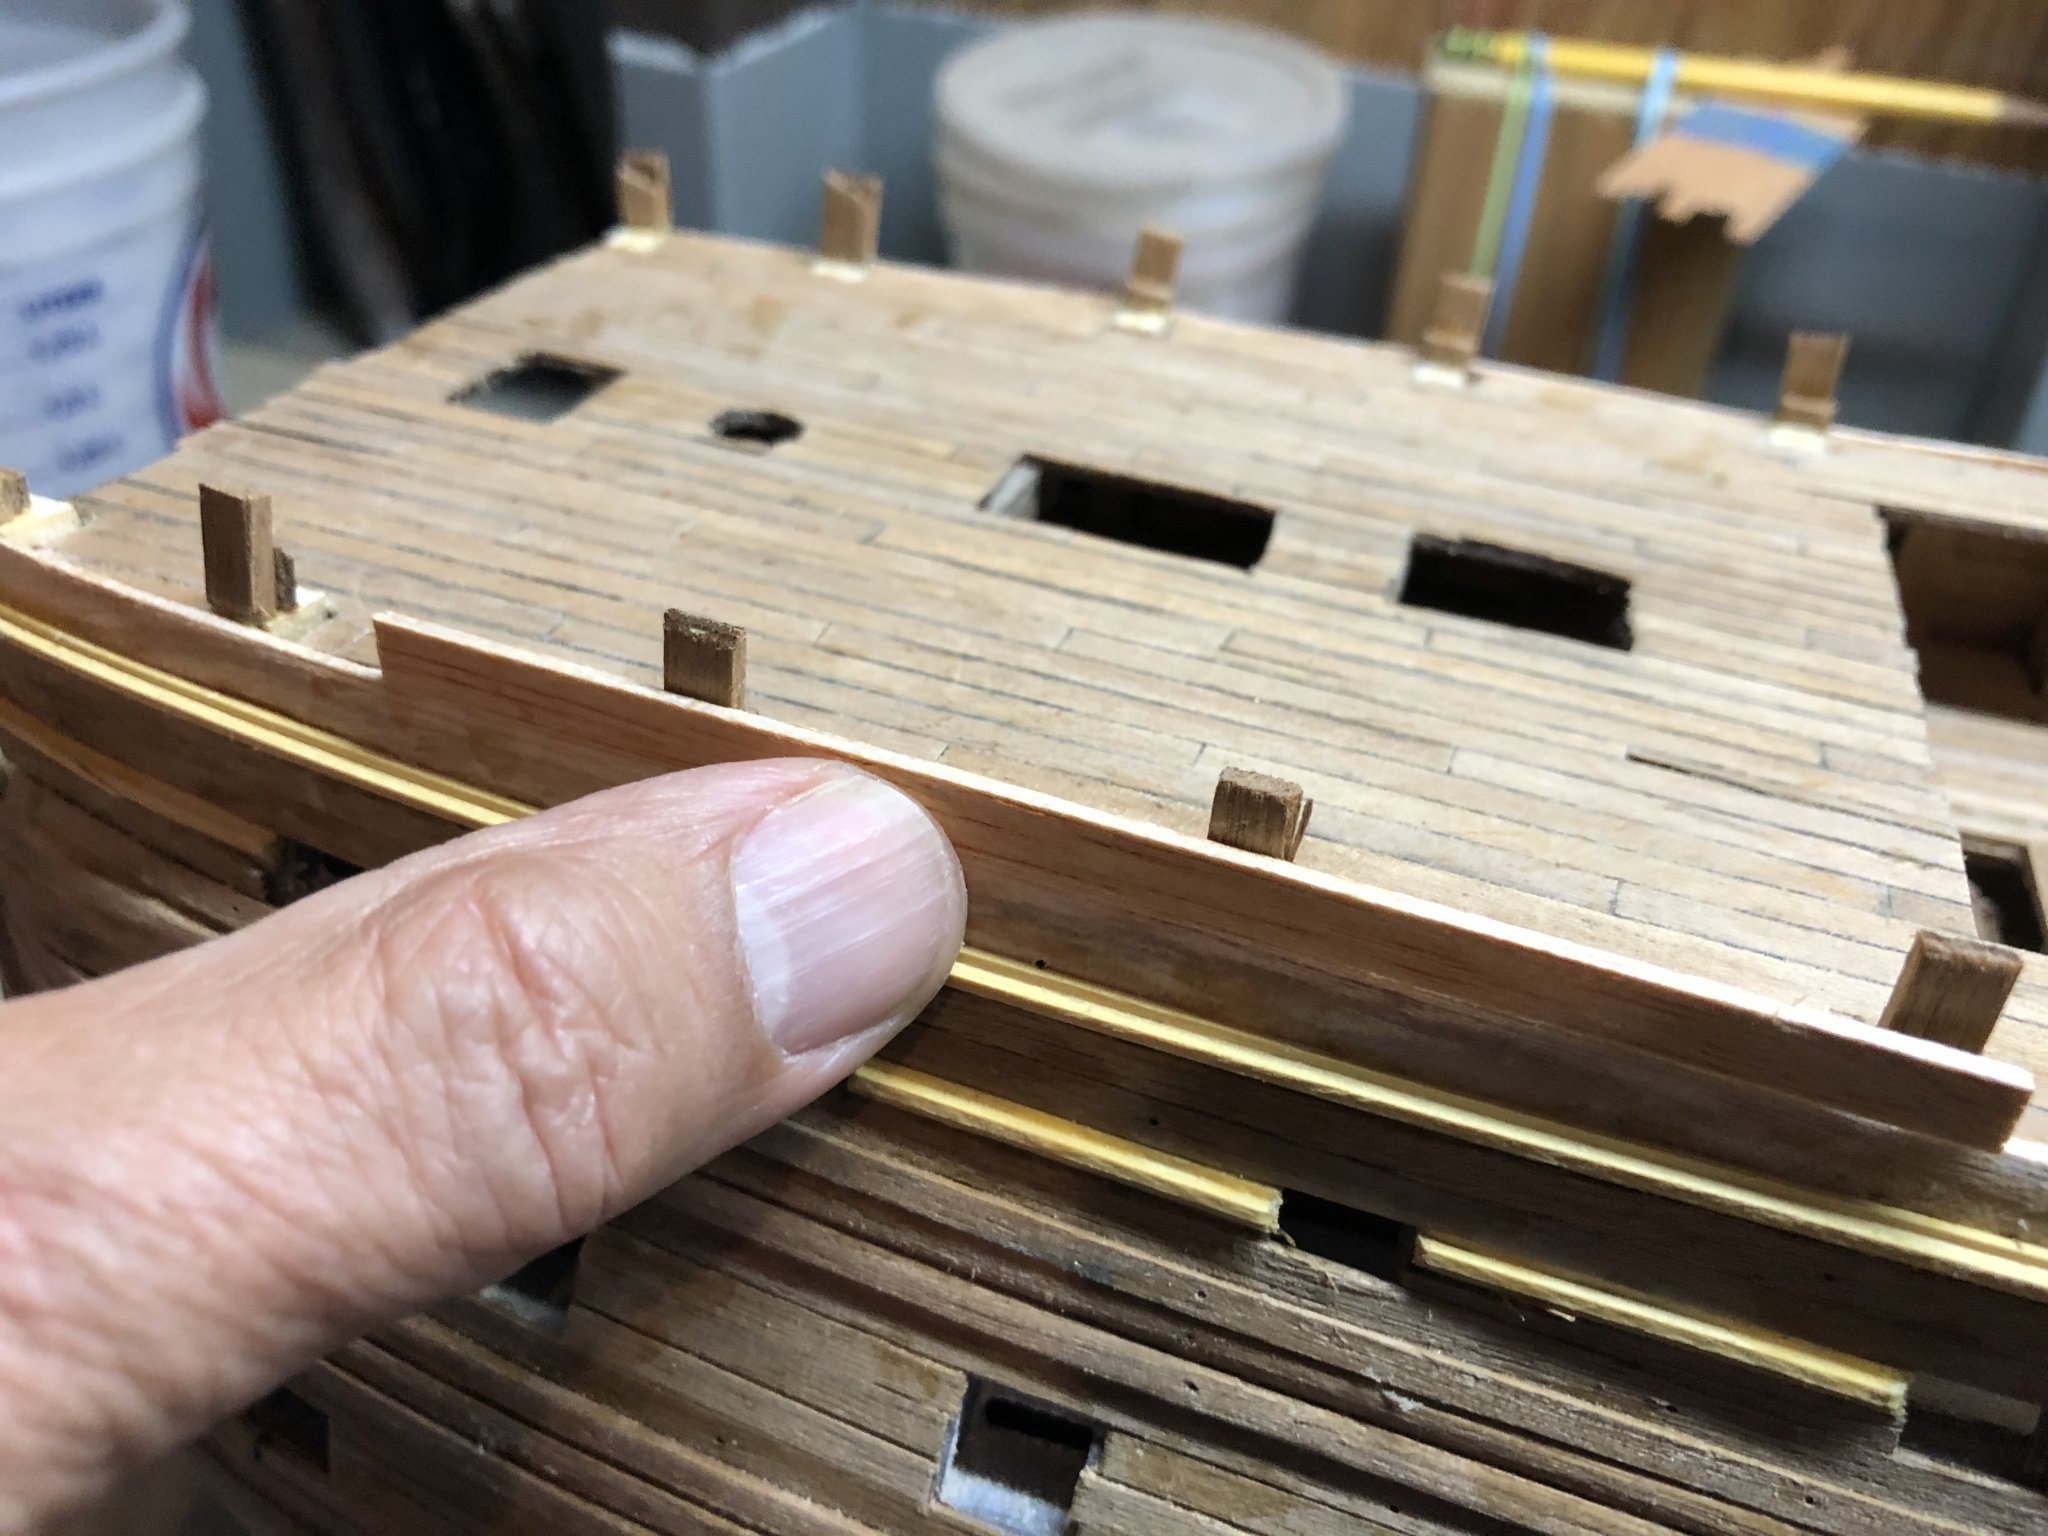
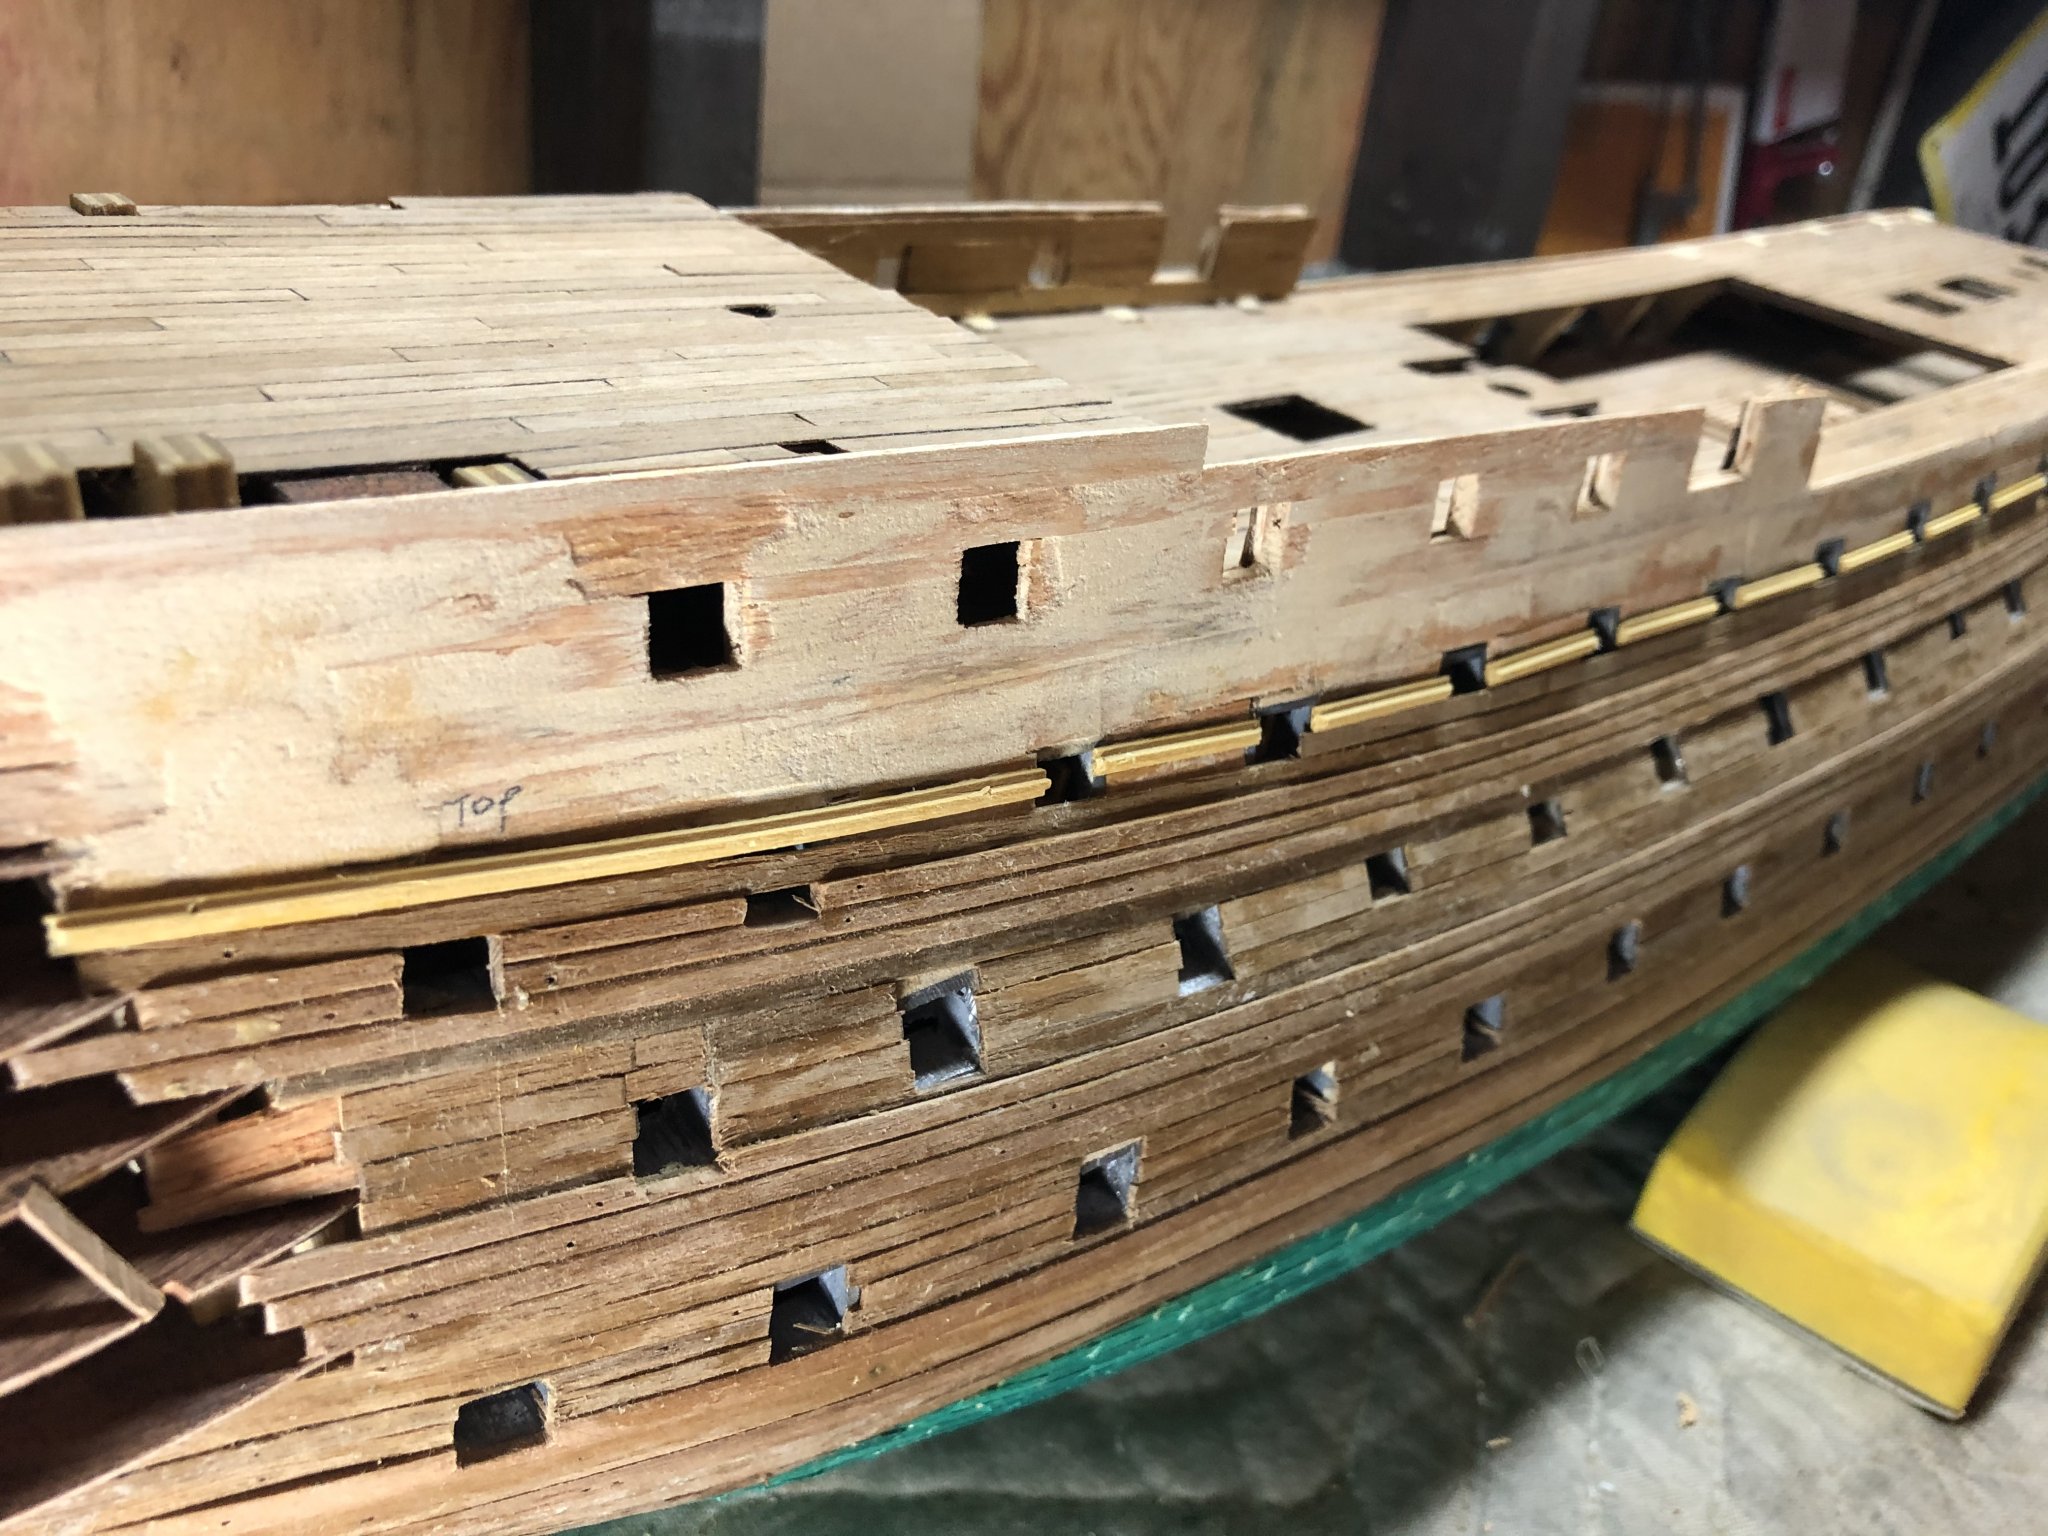
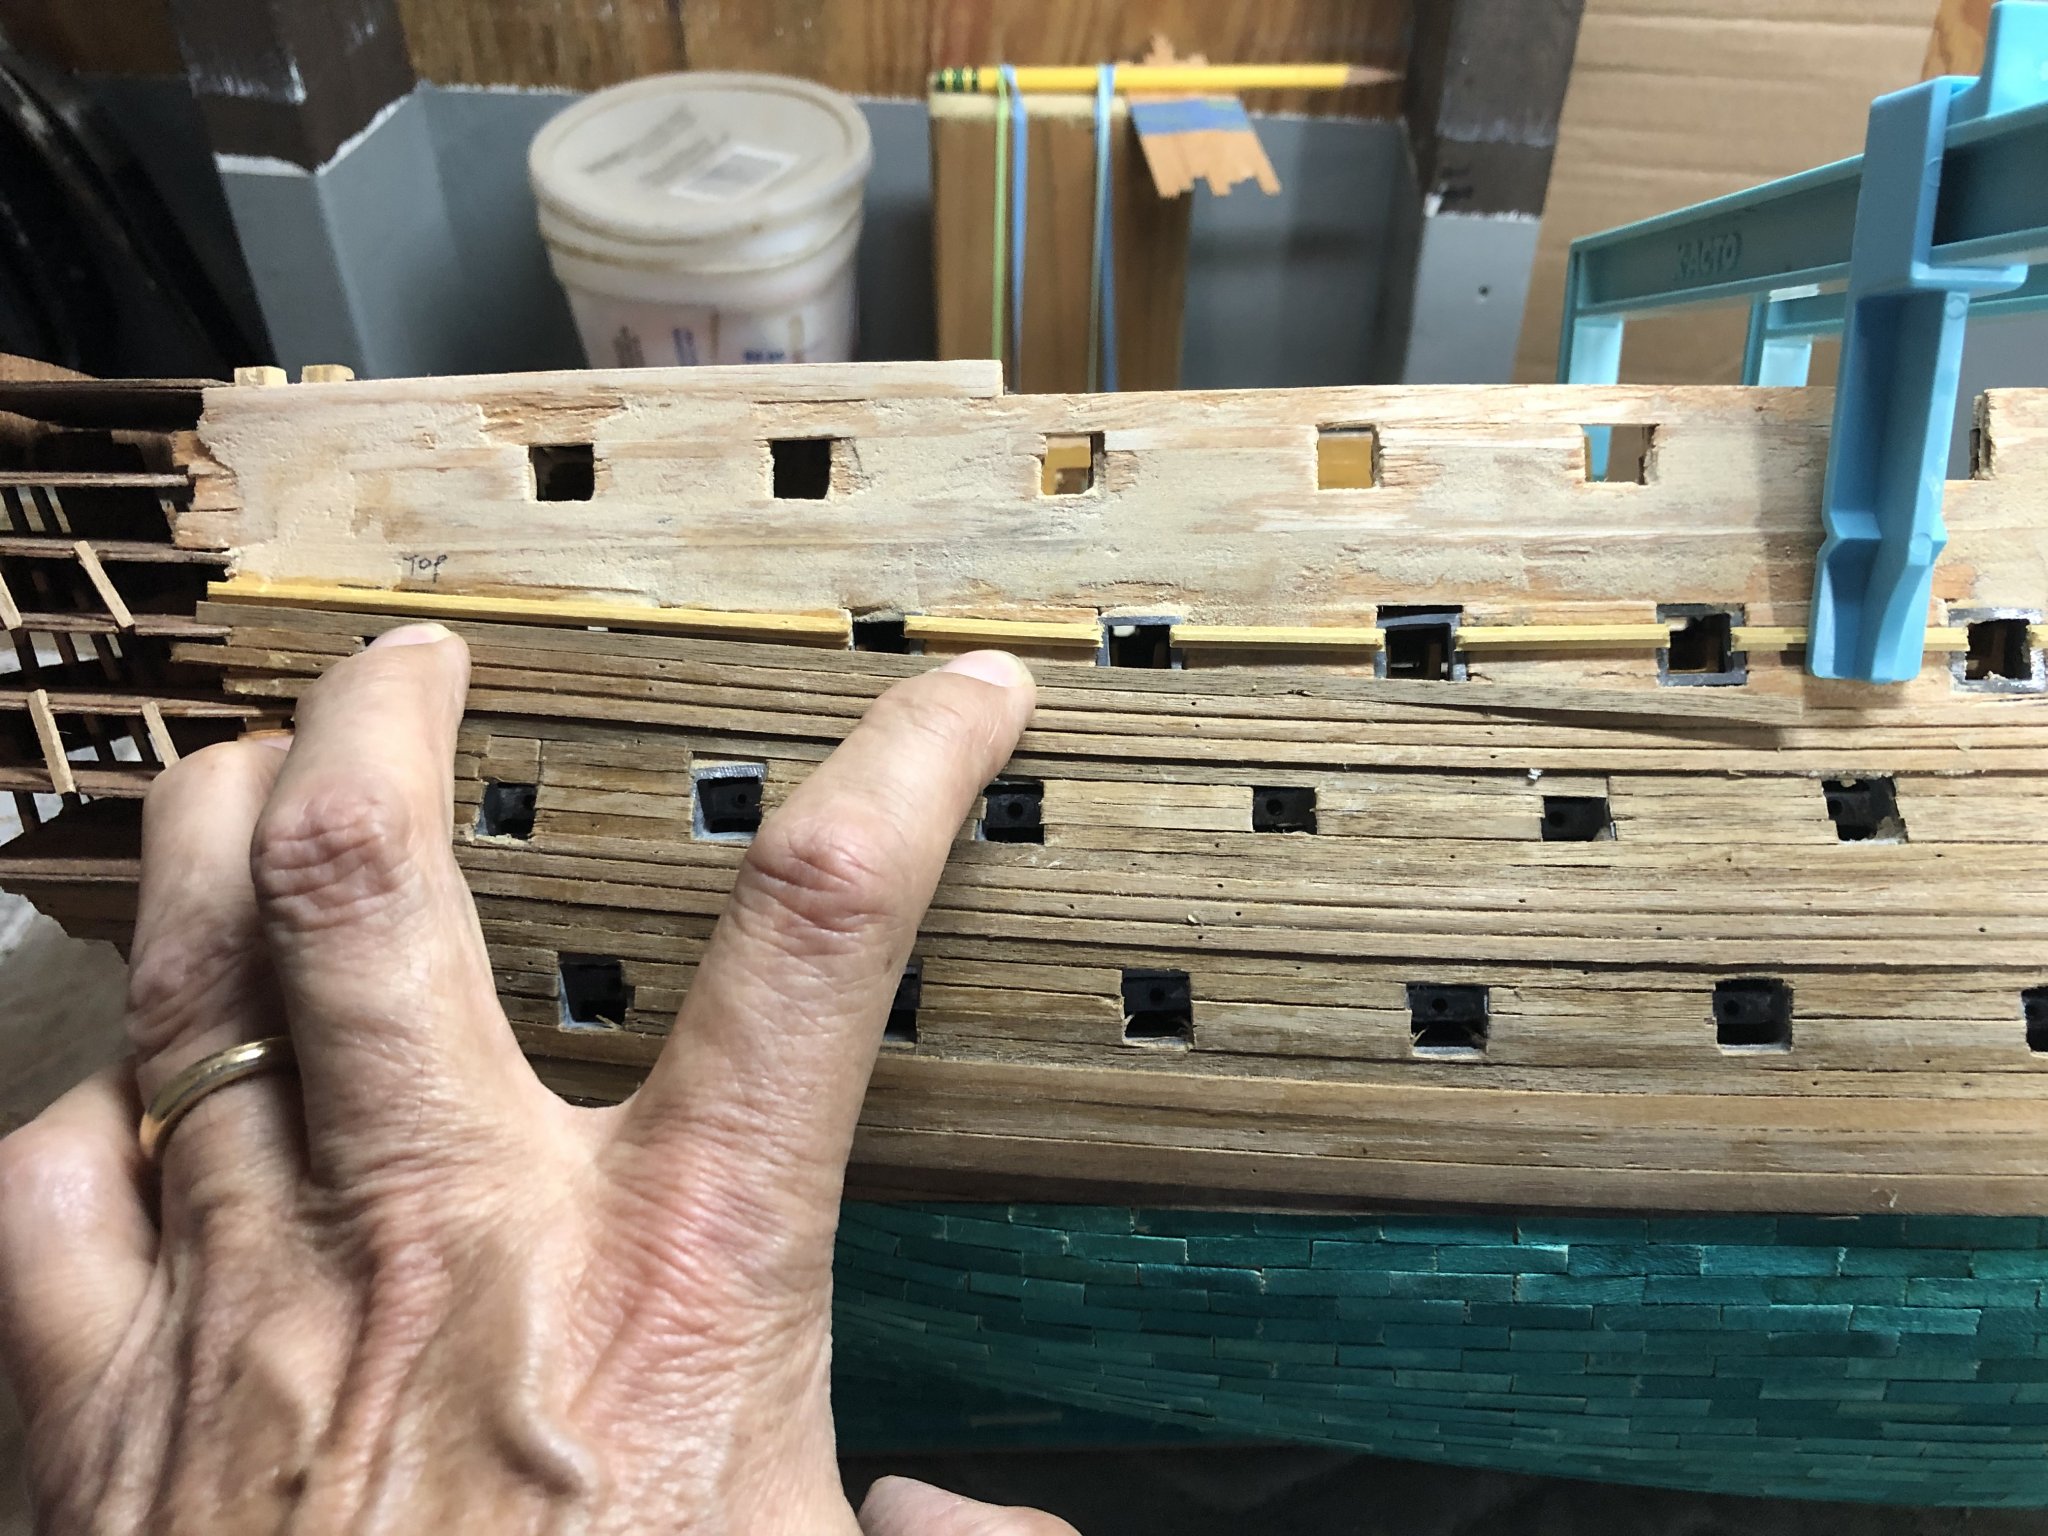
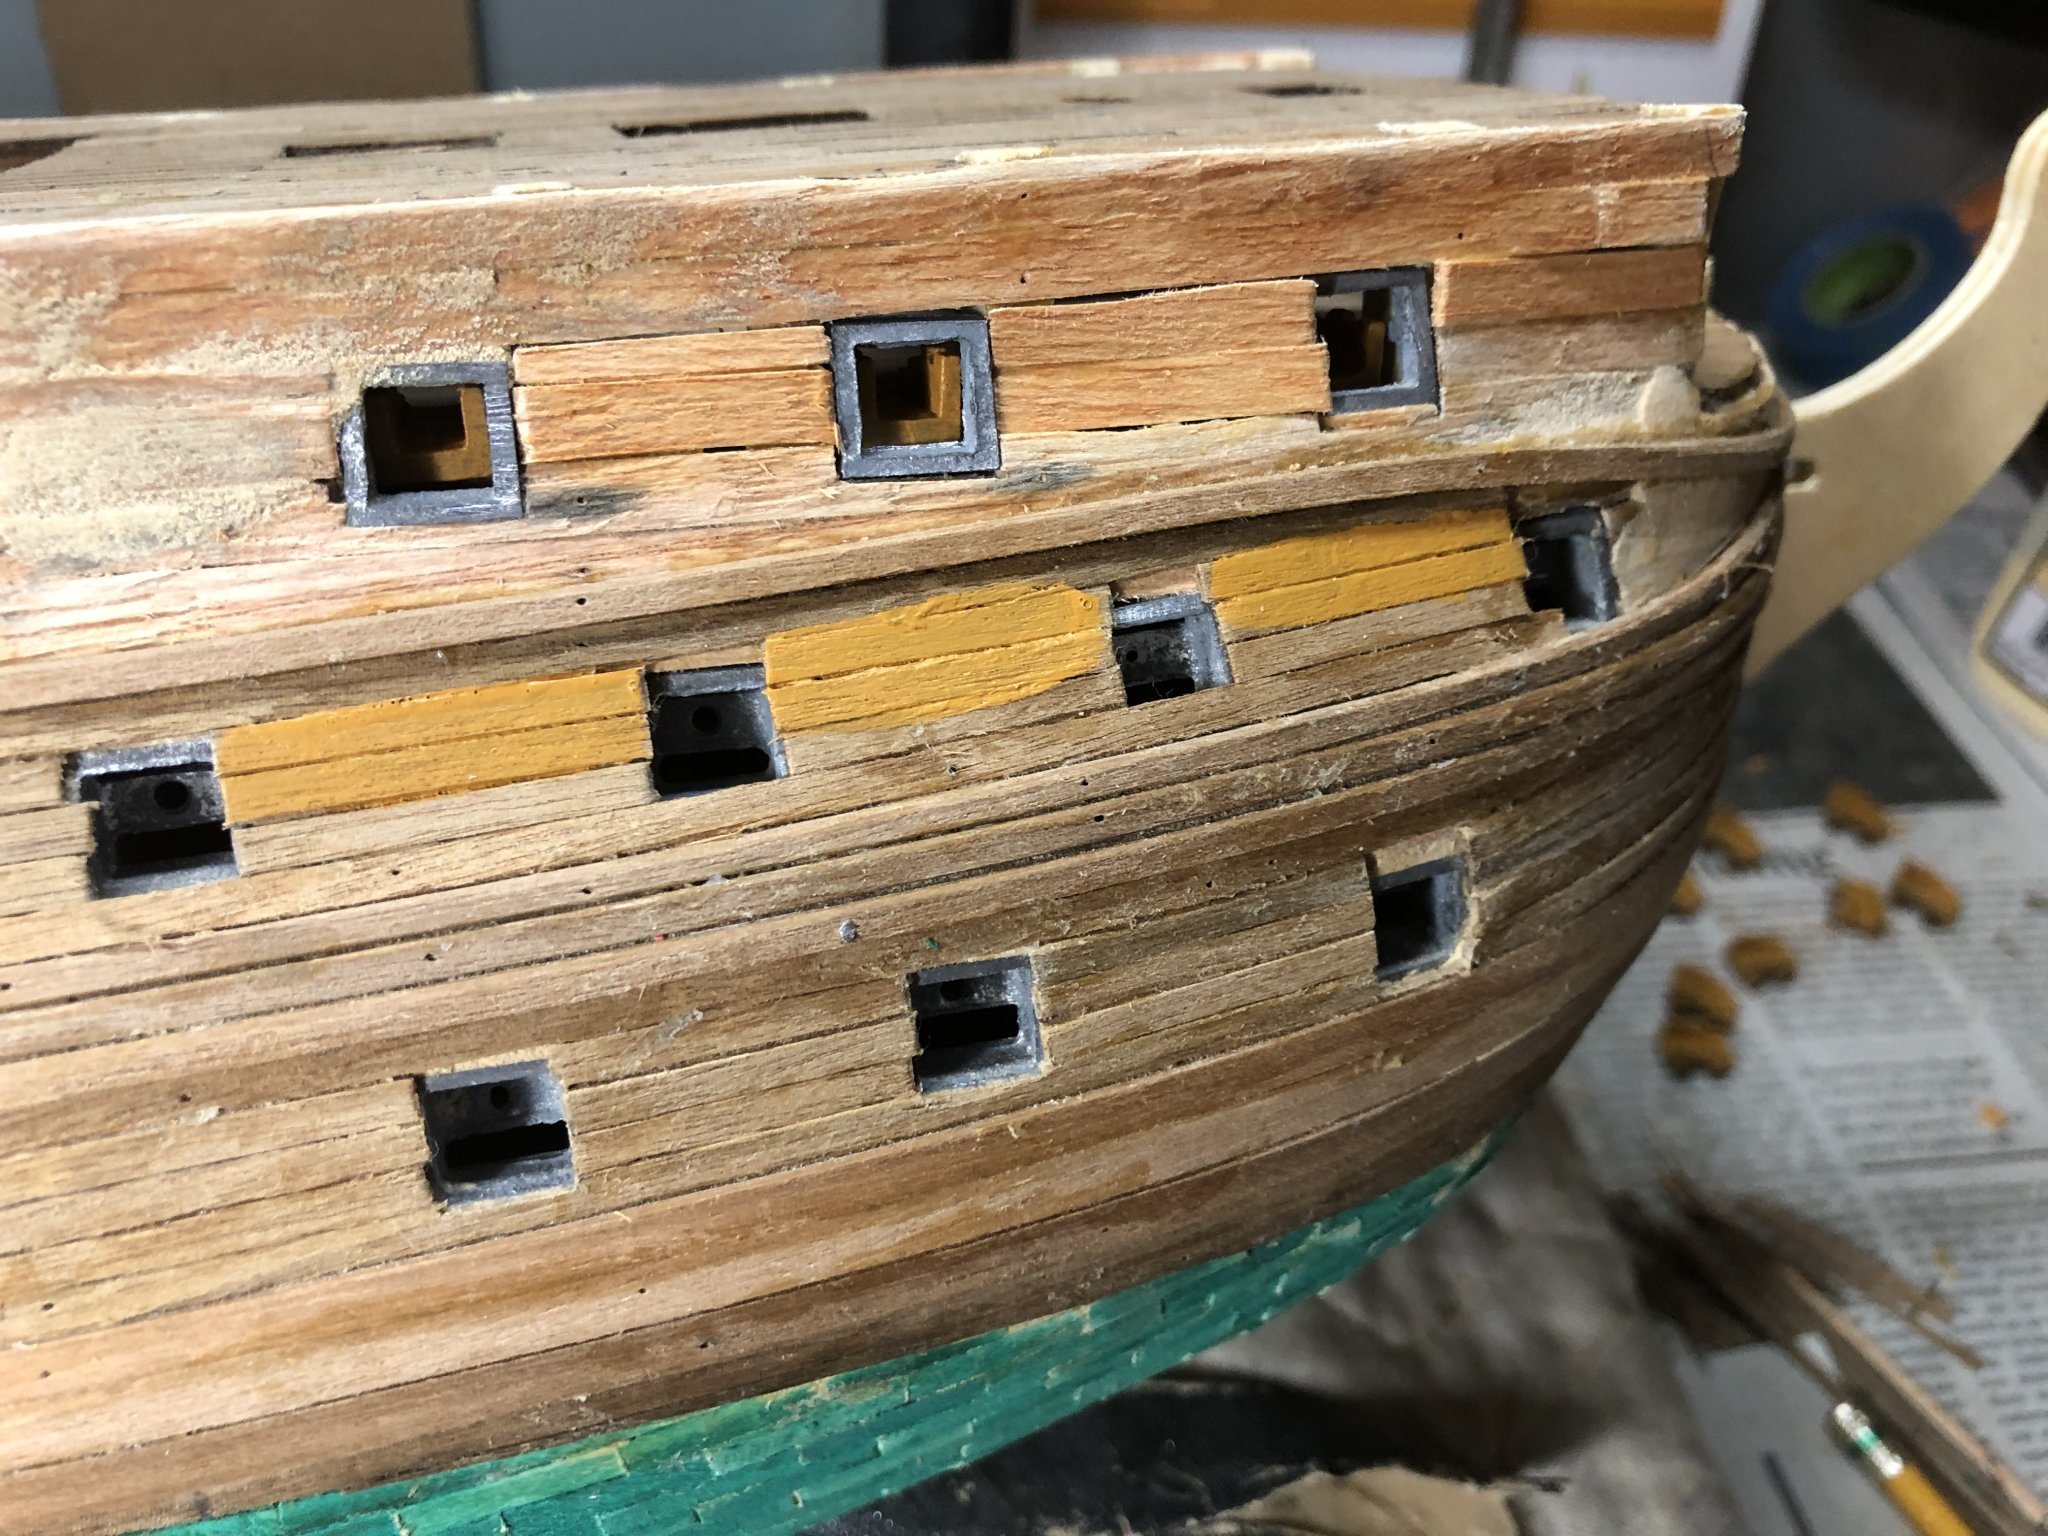
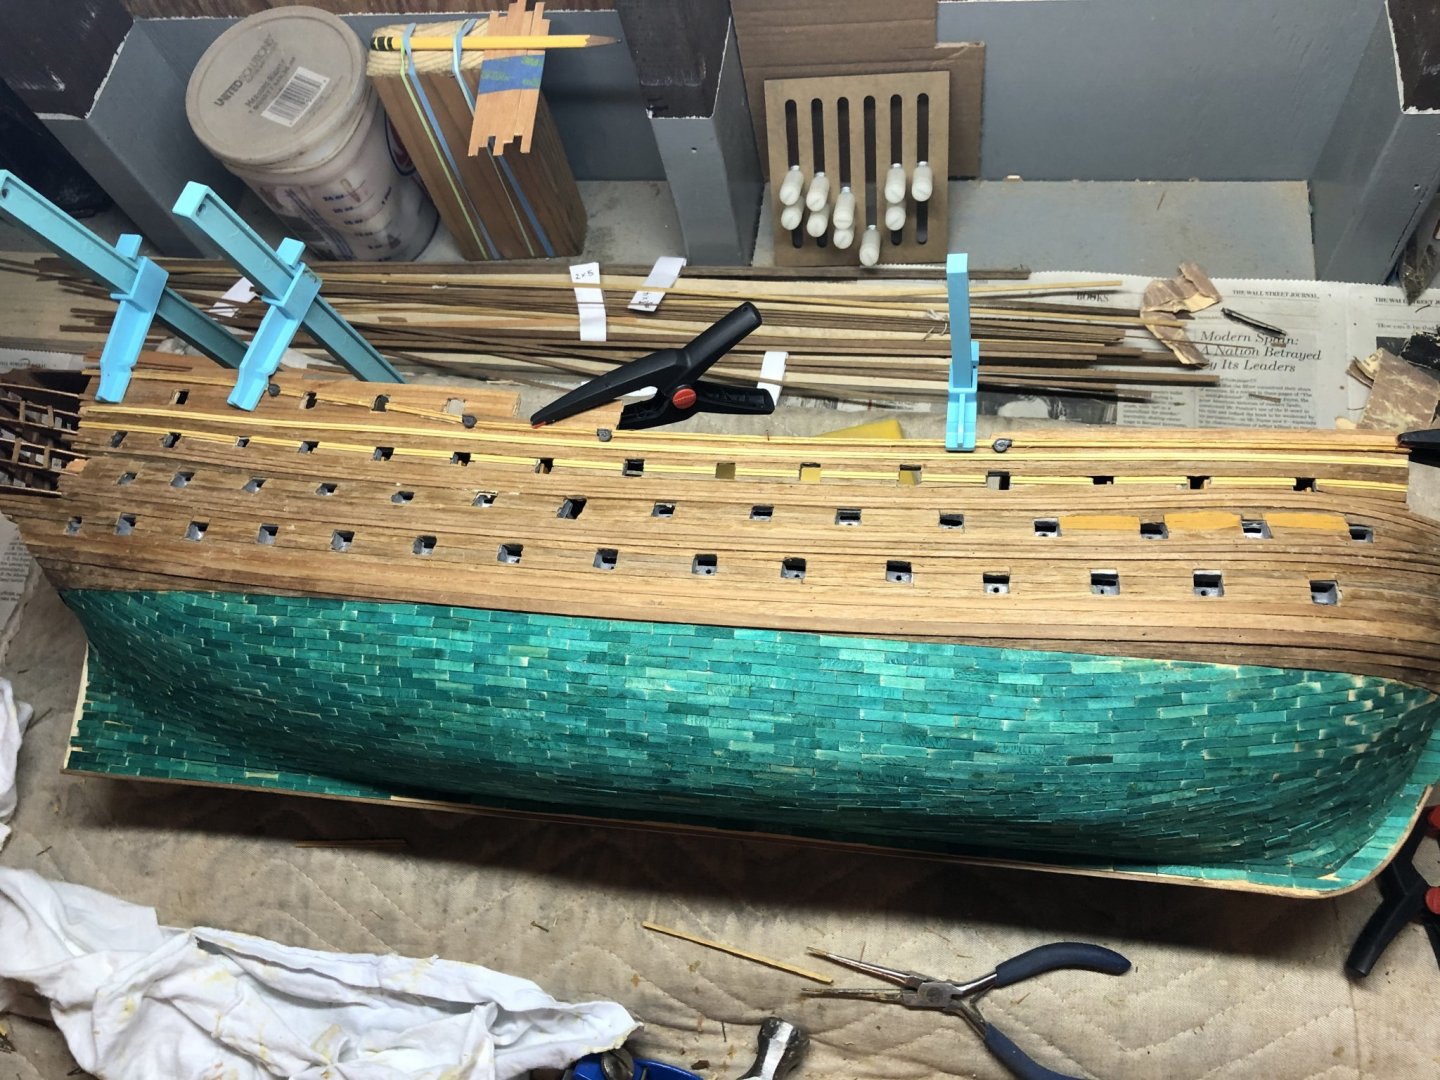
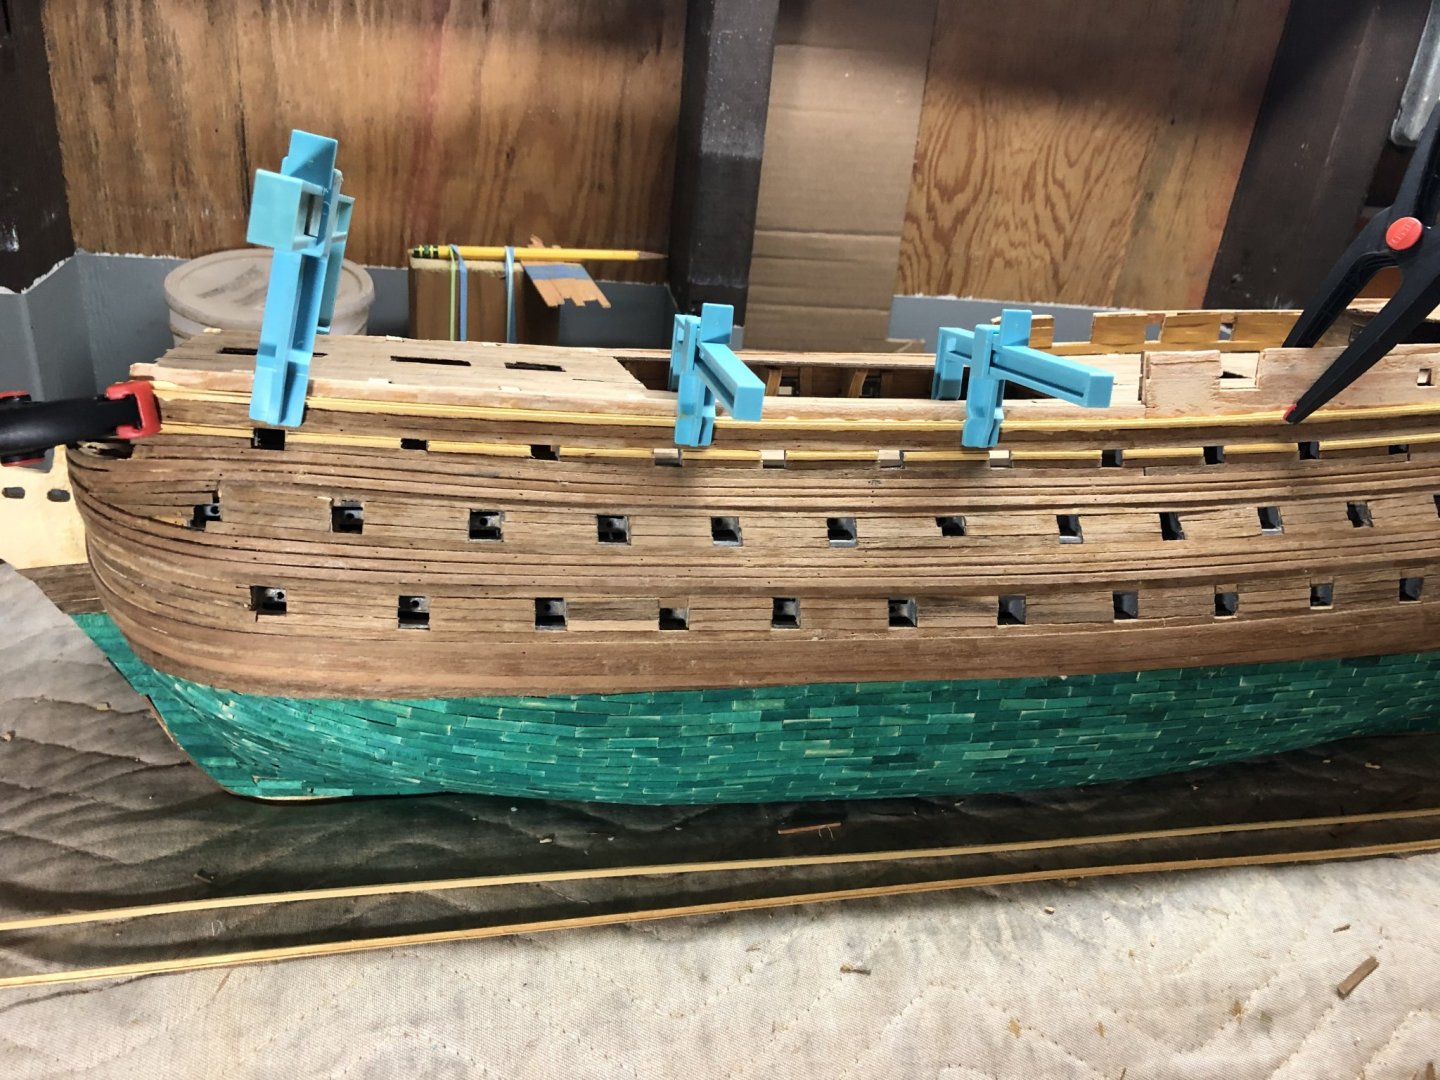
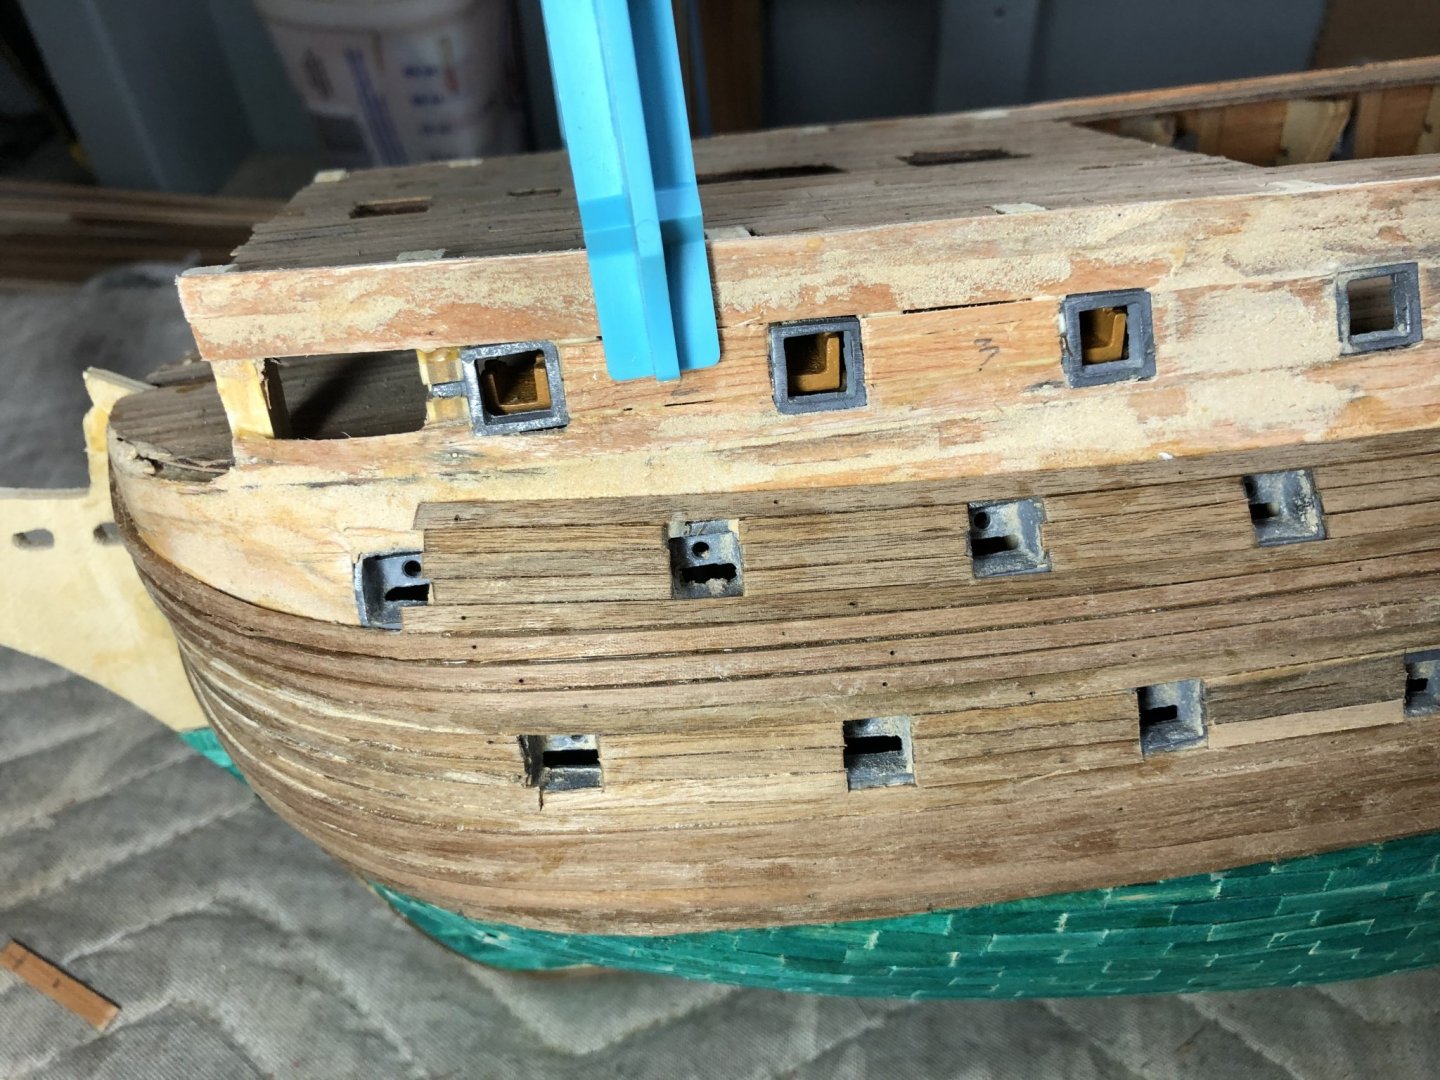
Continuing with the second planking. I have the second ‘minor’ wales installed. Reflecting back on the second planking process a bit. The Mamoli instructions provide a very nice graphic of the second planking exercise (e.g., Main wales, minor wales) building up from the waterline up to the very top of the hull. It specifies the exact number and type of planks required from keel to the top. However, when starting the main wales, I let the bow section ride up a little. That resulted in a small error that ‘snowballed’ a bit to where we are now with the second minor wales. This is similar to the planking approach with the garboard plank. The bow portion must be horizontal and not ride up. If so, it drives the entire planking off. Consequently I’ve now reset by marking and starting to install the first of two decorative (see yellow strips) planks per the Mamoli ship drawing. This is in contrast to where the Mamoli instructions call for 3 x 3mm x 1mm walnut planks between the top of the second minor wales and this decorative strip. However, because of where my planks currently reside, their will only be 1 plank near the stern, nearly 3 planks mid-ships and 1.5-2 planks near the bow. See the picture. The result is this decorative strip is correctly placed. I’m now thinking the paint job will help cover the difference between the specified and installed planks.

-
All first planking now on and resuming the second set of planking. Third set of wales nearly on.


-
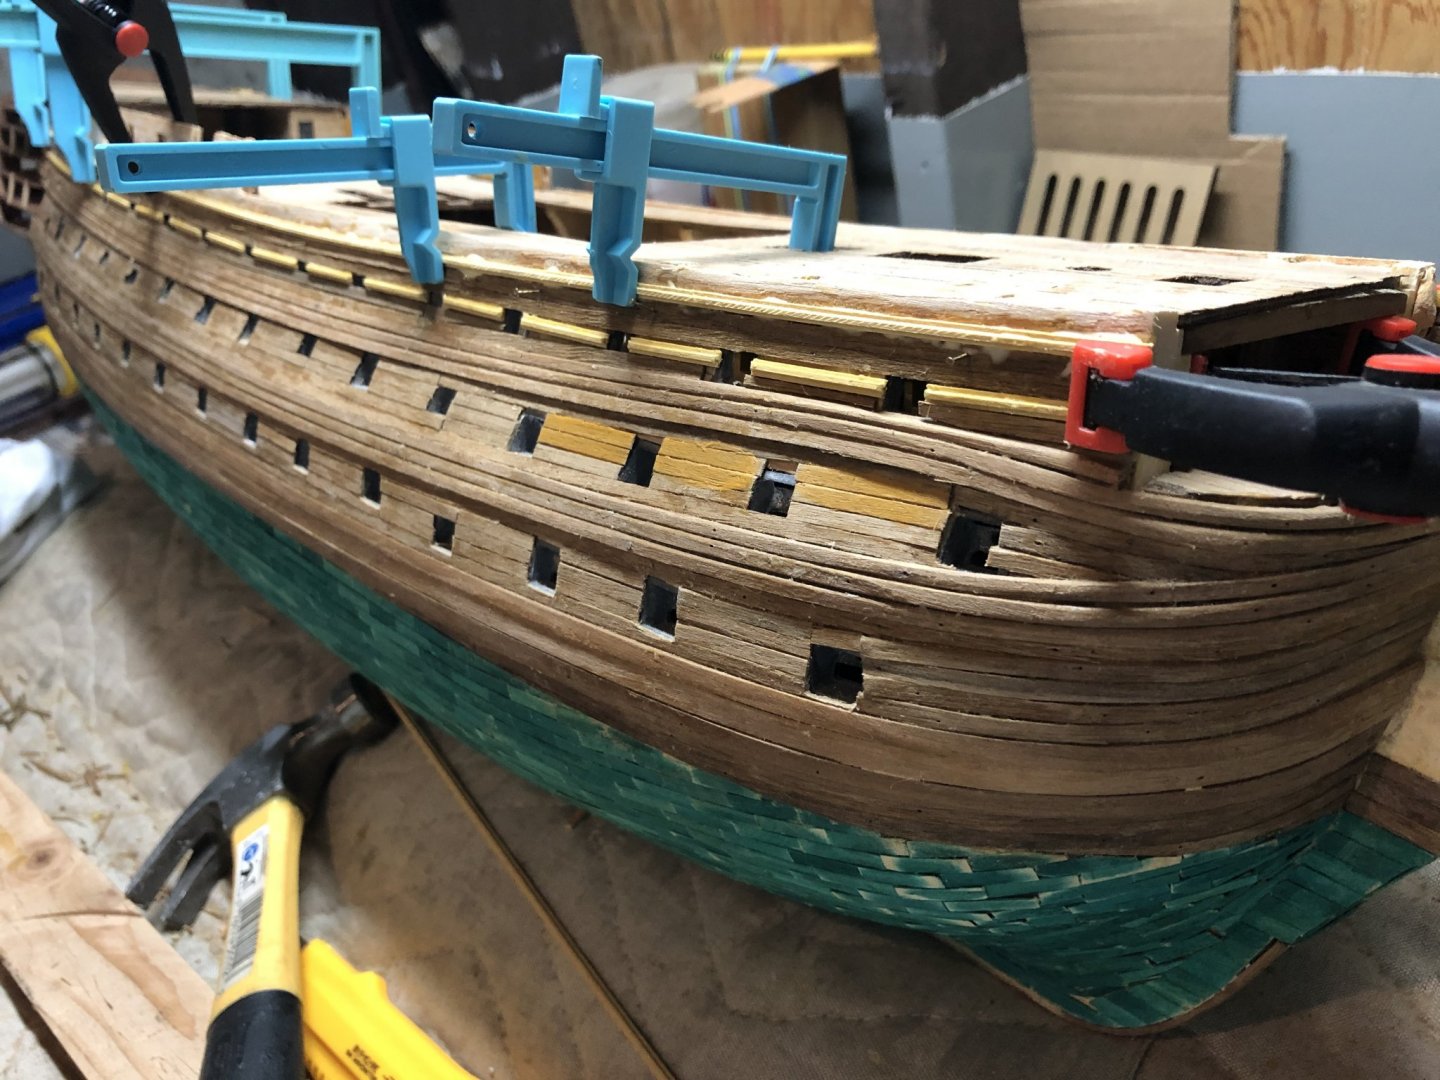
Thanks Emmet! I purchased those two clamps many years ago I forgot from where. They are simple plastic clamps one end of which slides. They grip pretty well. I'll see if I can figure out where they came from and let you know.
-
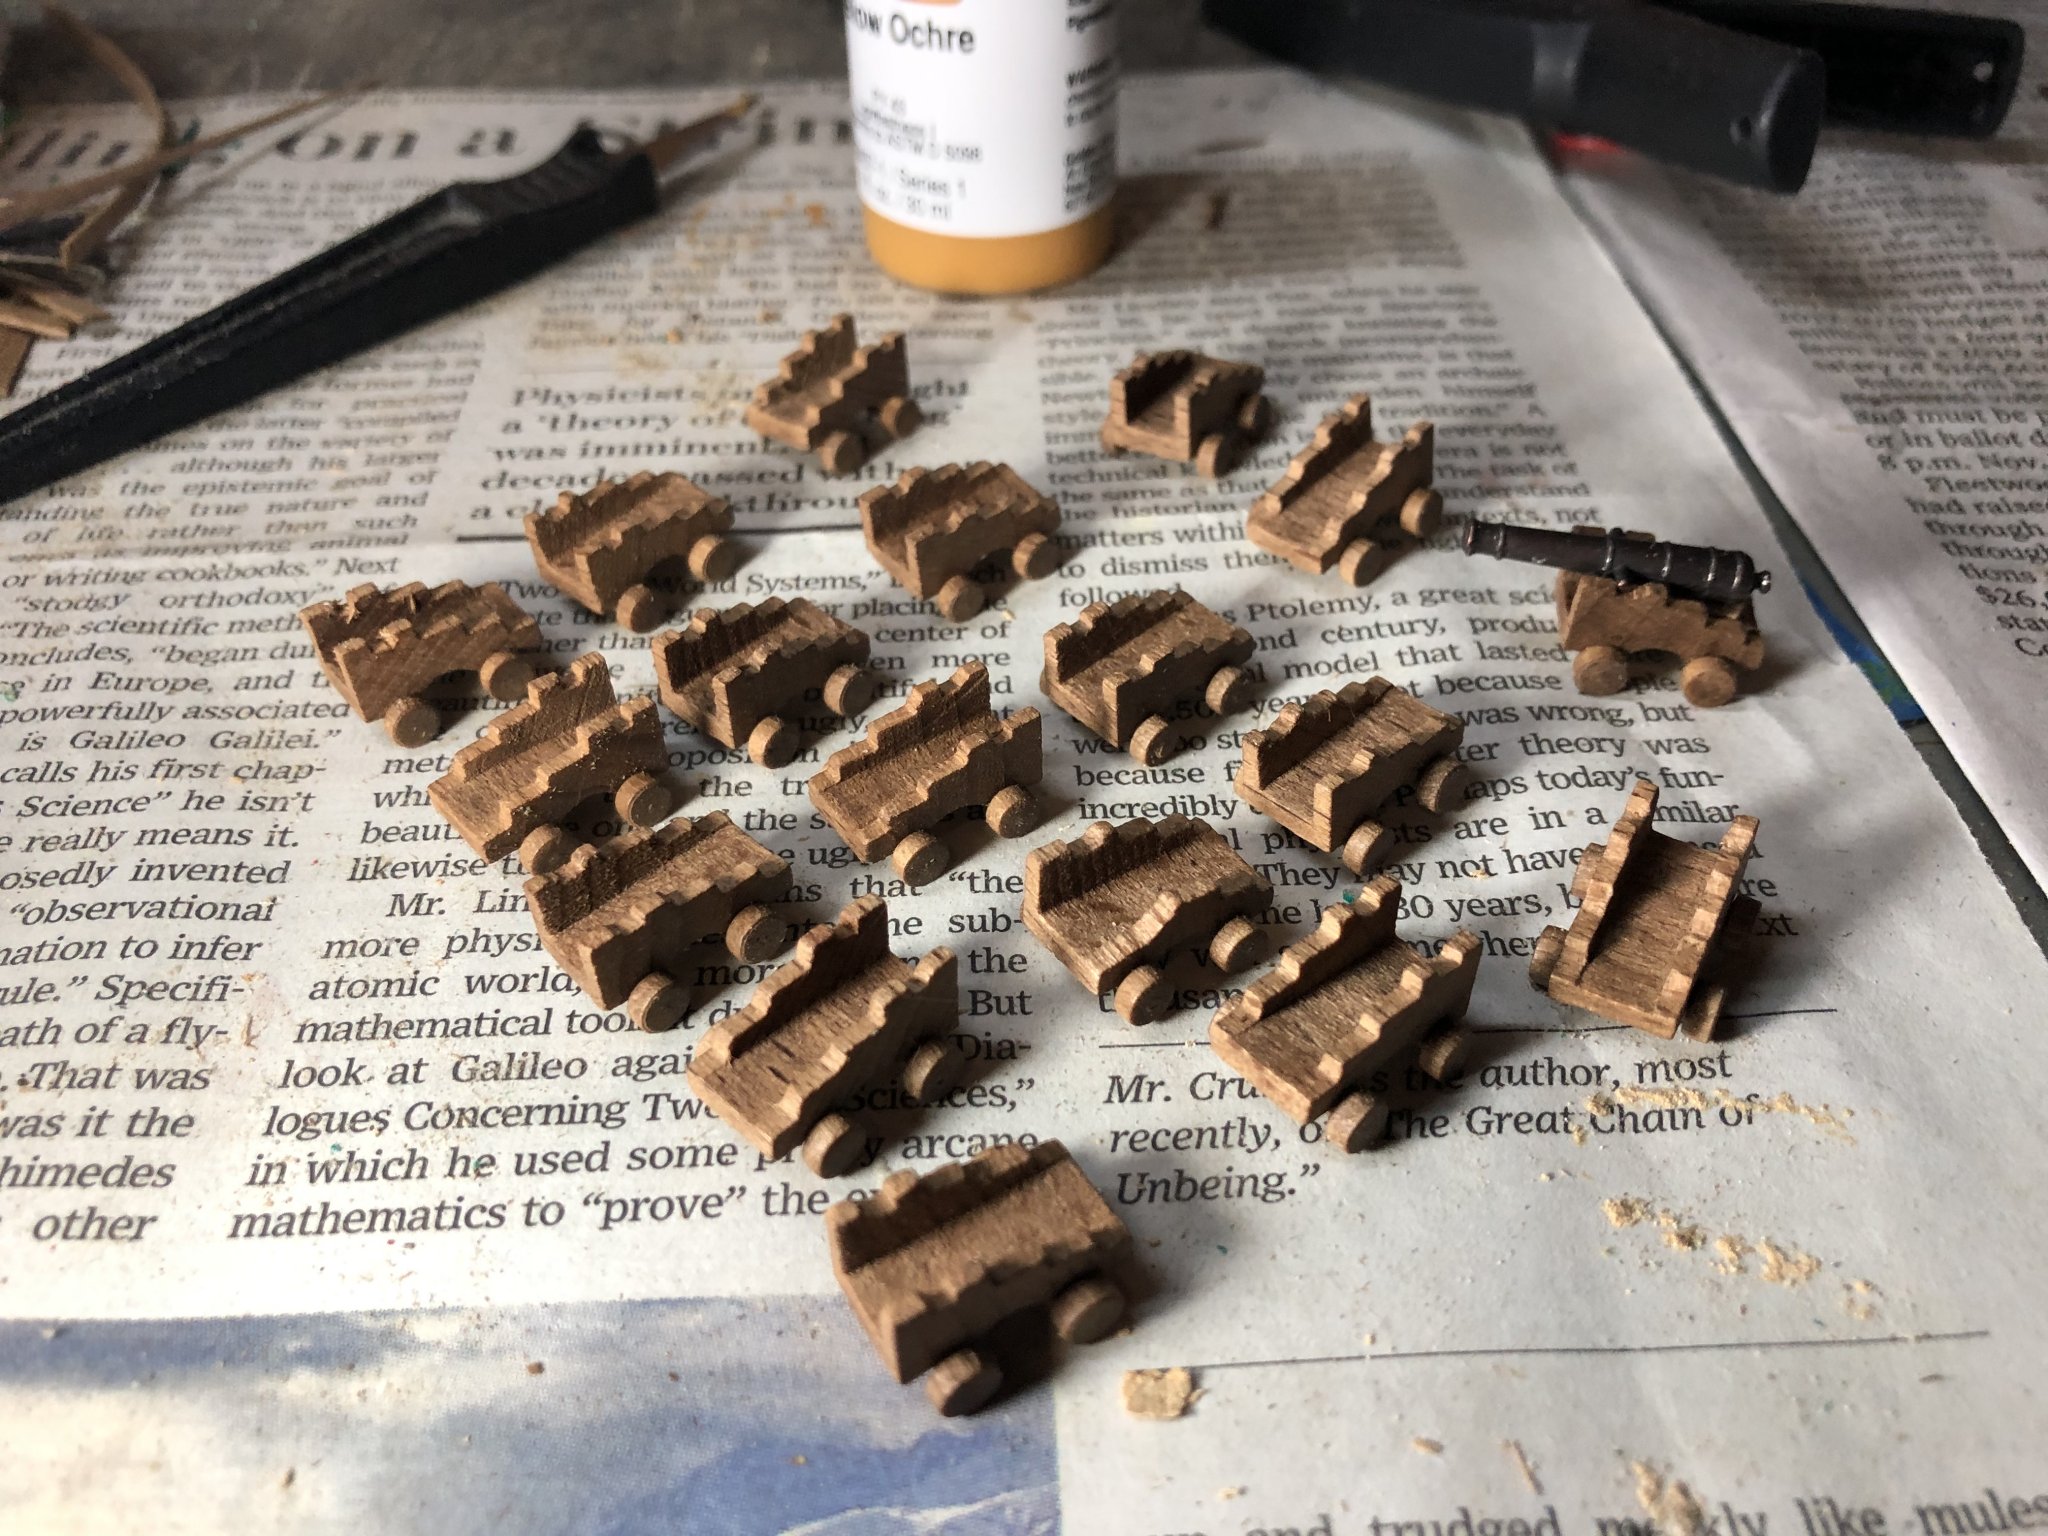
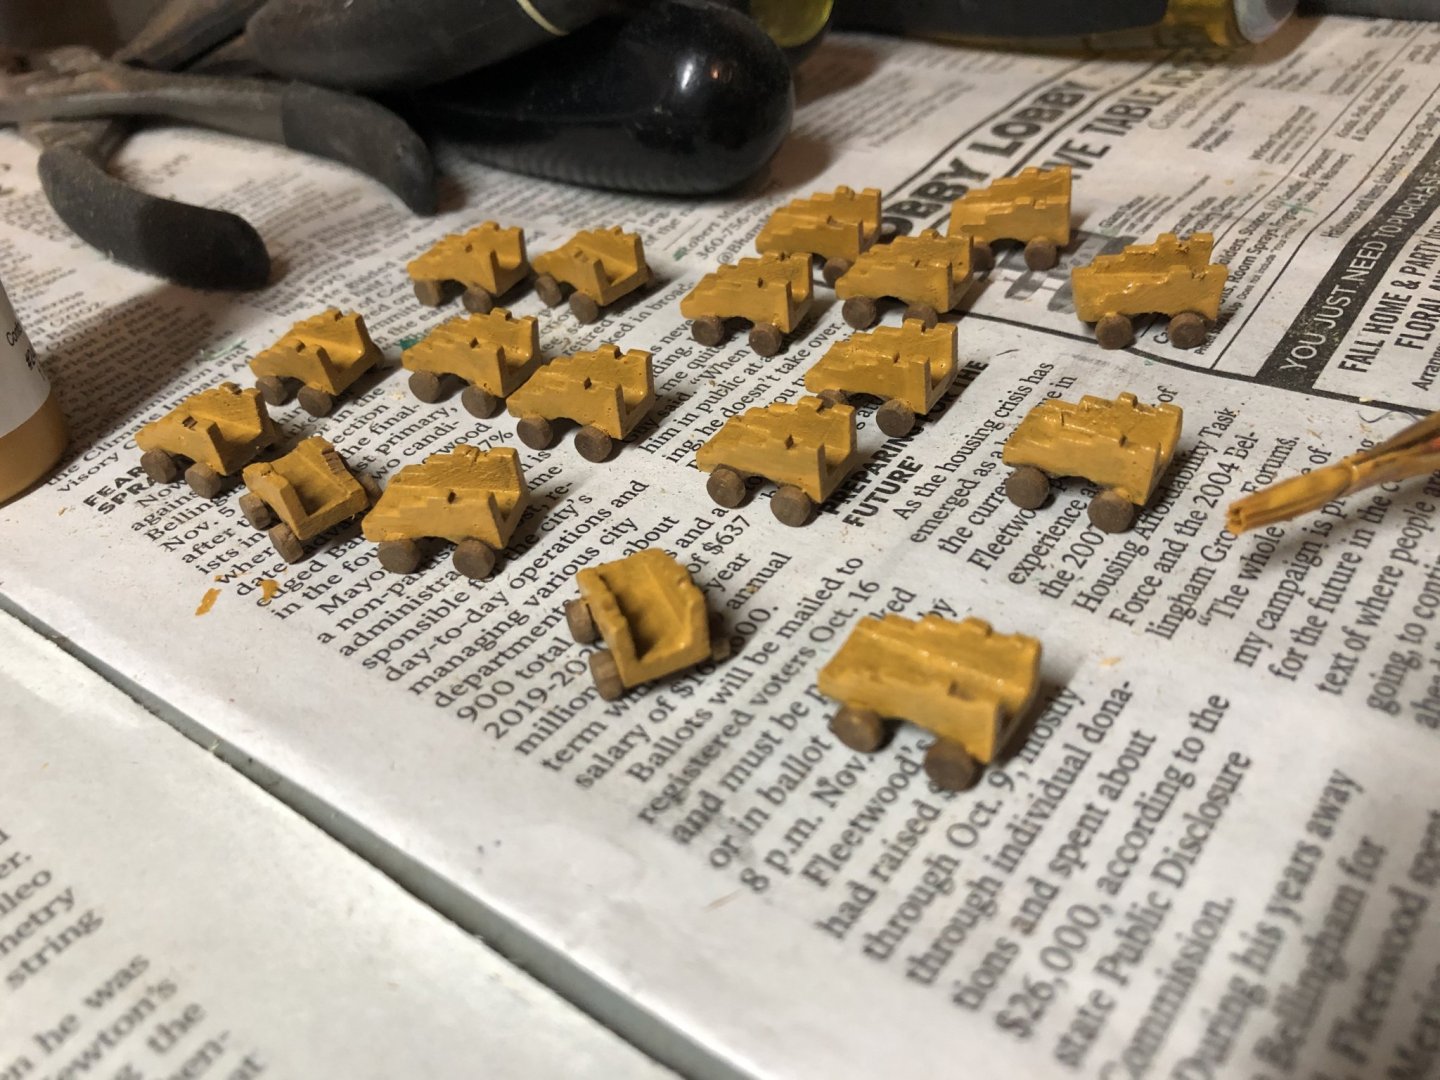
Finishing up the aft/stern starboard planking with carriages installed. I noted I could insert the carriages sans wheels through the aft two ports as these will be too hard to maneuver/install with the wheels on and glue applied. Could get messy and with a poor bond, if any. I plan to glue them into place without the wheels. I am painting them and will install those next before heading over to the port side.


-
Forward port carriages in with associated planking nearly complete. I need to shape the forward planks to align with the most forward bulkhead.
-
Phase 1 of carriage install complete. There are 18 carriages to install on the upper deck to enable me to finish the initial planking. I’ve got 3 installed on the starboard bow and the planking in place. Sanding/filing next. Then over to the port bow to repeat. The 12 carriages in the back will be more of a challenge to install. I have to maneuver the carriages back there and avoid getting glue all over. Then finish the initial planking before continuing with the walnut planks. Just like Henrik, I’ve put a splash of color on her!

-
I’ve decided to prepare and insert the upper deck gun carriages sans the cannons to enable me to complete the planking. They will go in the hard to install locations at the stern and bow. The cannons will be inserted later.

-
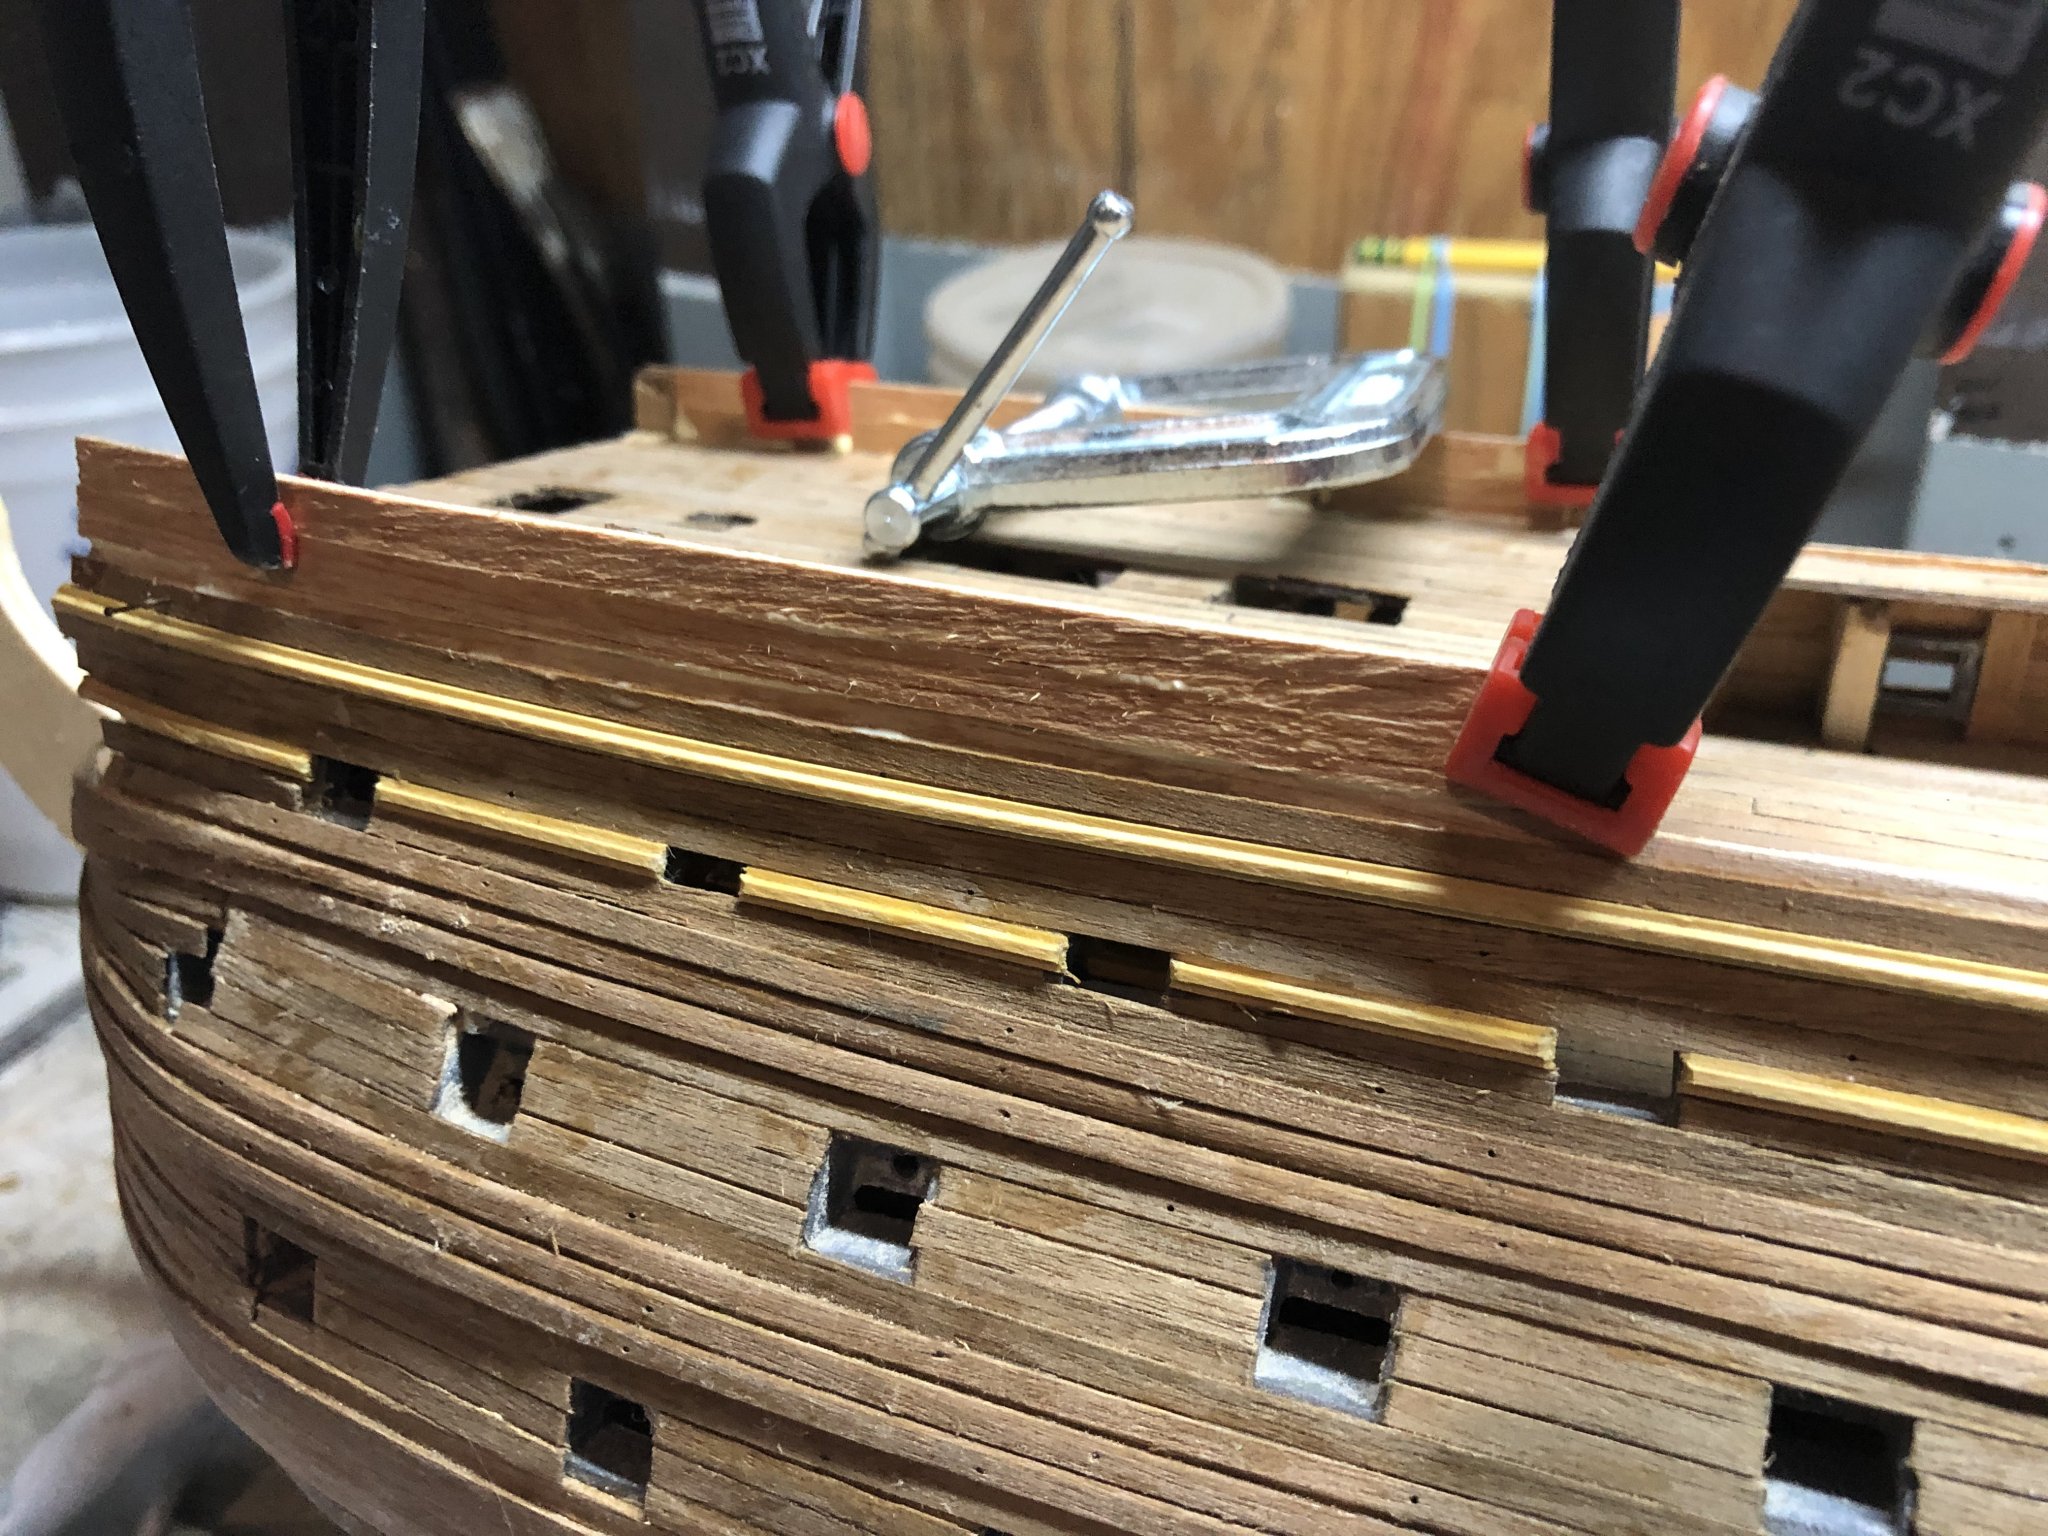
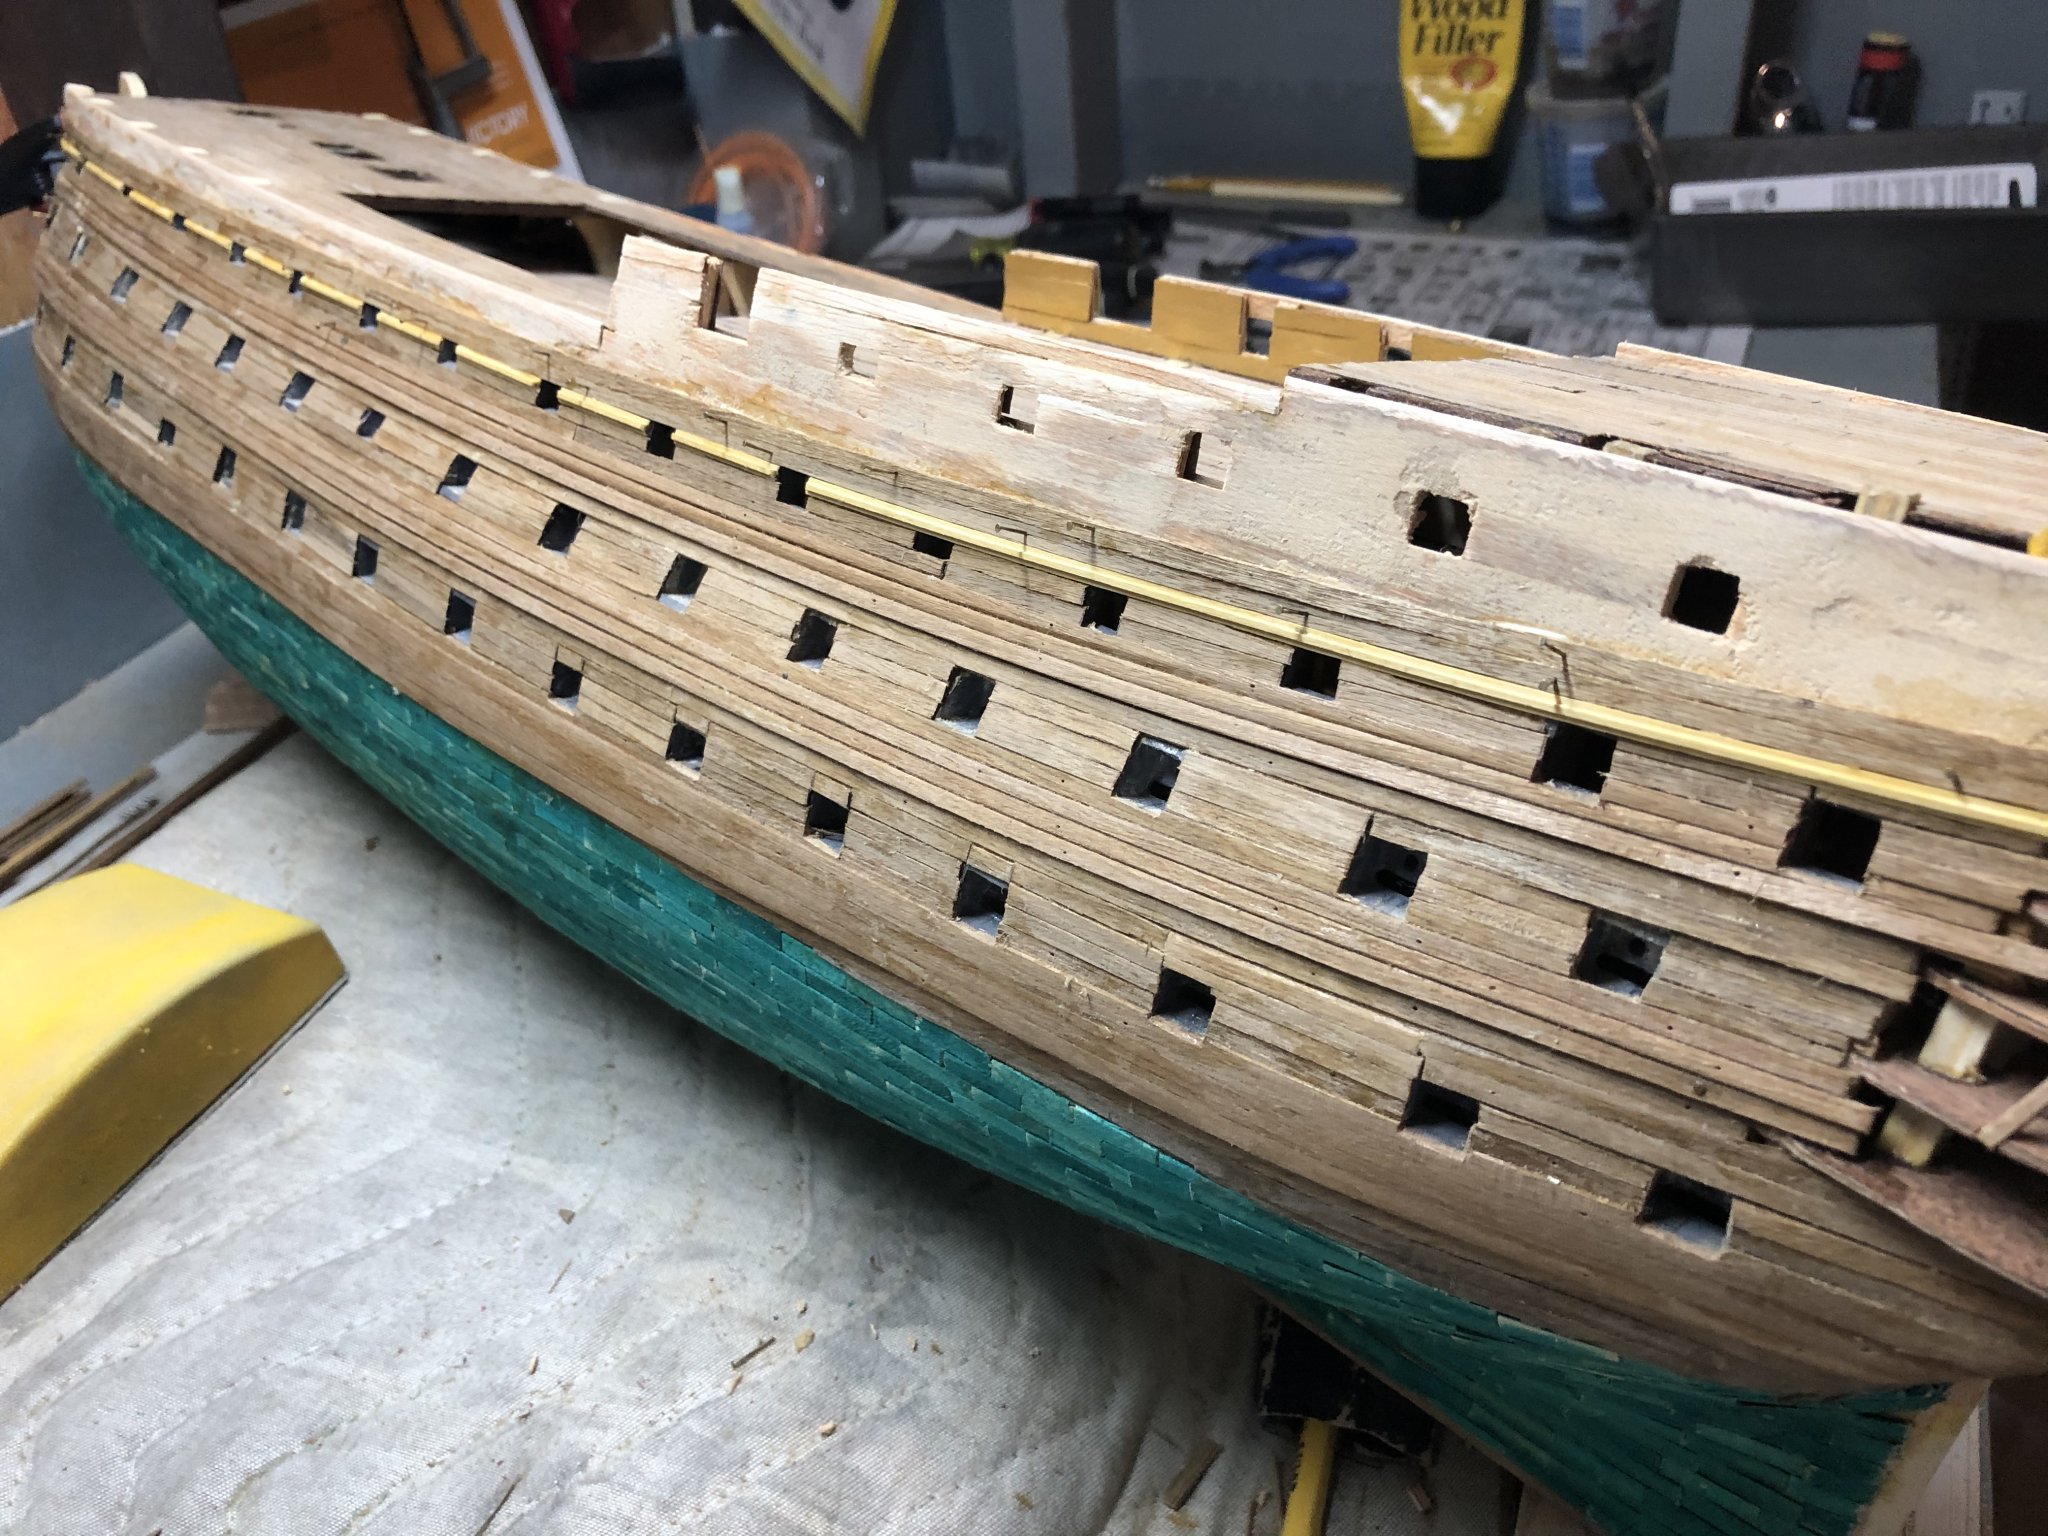
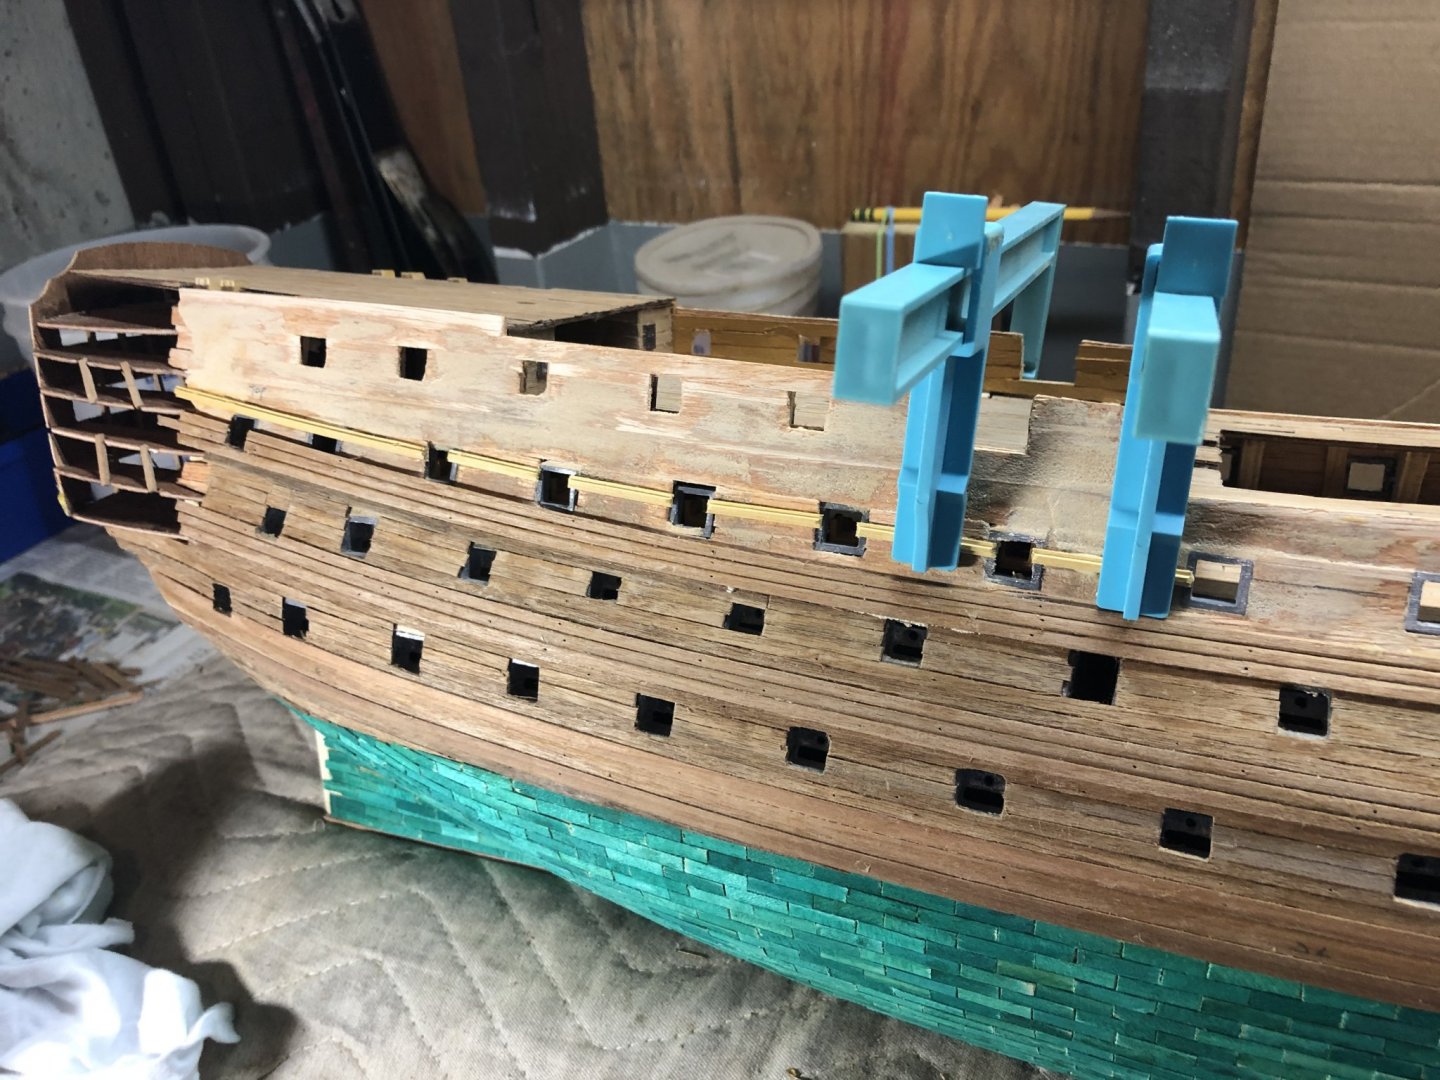
Here is my not so elegant solution to the above issue. I’ll be able to include an additional wales plank above this one. The third plank will end well before the bow.

-
Preparing to install the third set of wales. I’ve included a picture showing approximately where the lower plank of three wii reside. The plans call for the 3mm wide planks below The wales to continue around the bow. However, I’ll be tapering them up front to fit within the top and middle wales. Lesson learned is I should have limited how much the planks curl upwards near the bow Starting with the main wales - in other words, flatten them around the bow. This would have provided additional space for those planks near the top. Once these wales are on, I plan to finish off the deck flashing, some paint on the hull and get the upper deck forward and aft guns installed before finishing up the planking. That’s the plan for today! Of course as Sun Tzu said, ‘No plan survives first contact with the enemy’.

-
Continuing now with planking north of the second wales. The planking is a bit high towards the bow. I’ll show/discuss my plan for addressing it once we are ready for the next set of wales. I also sanded the top of the forward bulkheads to align with the quarter deck.

-
Thanks all for help with my wayward wales plank! After scraping off the surrounding glue I was able to press it back in place without steaming. Here it is now.