
CiscoH
-
Posts
385 -
Joined
-
Last visited
4 Followers


About CiscoH

- Birthday 01/29/1973
Recent Profile Visitors
3,408 profile views


-
 KARAVOKIRIS reacted to a post in a topic:
Speedwell Battle Station Kit 1752 by CiscoH - Syren Ship Model Company - 3/8" or 1:32
KARAVOKIRIS reacted to a post in a topic:
Speedwell Battle Station Kit 1752 by CiscoH - Syren Ship Model Company - 3/8" or 1:32
-
KARAVOKIRIS reacted to a post in a topic:
Speedwell Battle Station Kit 1752 by CiscoH - Syren Ship Model Company - 3/8" or 1:32
-
KARAVOKIRIS reacted to a post in a topic:
Speedwell Battle Station Kit 1752 by CiscoH - Syren Ship Model Company - 3/8" or 1:32
-
KARAVOKIRIS reacted to a post in a topic:
Speedwell Battle Station Kit 1752 by CiscoH - Syren Ship Model Company - 3/8" or 1:32
-
KARAVOKIRIS reacted to a post in a topic:
Speedwell Battle Station Kit 1752 by CiscoH - Syren Ship Model Company - 3/8" or 1:32
-
KARAVOKIRIS reacted to a post in a topic:
Speedwell Battle Station Kit 1752 by CiscoH - Syren Ship Model Company - 3/8" or 1:32
-
KARAVOKIRIS reacted to a post in a topic:
Speedwell Battle Station Kit 1752 by CiscoH - Syren Ship Model Company - 3/8" or 1:32
-
KARAVOKIRIS reacted to a post in a topic:
Speedwell Battle Station Kit 1752 by CiscoH - Syren Ship Model Company - 3/8" or 1:32
-
CiscoH reacted to a post in a topic:
Syren Ship Model Company News, Updates and Info.....(part 2)
-
yvesvidal reacted to a post in a topic:
Speedwell Battle Station Kit 1752 by CiscoH - Syren Ship Model Company - 3/8" or 1:32
-
Ryland Craze reacted to a post in a topic:
Speedwell Battle Station Kit 1752 by CiscoH - Syren Ship Model Company - 3/8" or 1:32
-
CiscoH reacted to a post in a topic:
USF Confederacy 1778 by WalrusGuy - Model Shipways - 1:64
-
CiscoH reacted to a post in a topic:
HMS Portland 1770 by Rustyj - Portland Scale Ship Co. - 1:48 - 50 gun 4th rate
-
CiscoH reacted to a post in a topic:
Sloop Speedwell 1752 by Rustyj - Syren Ship Model Company - 1:32 Scale - POF Sloop
-
CiscoH reacted to a post in a topic:
Armed Virginia Sloop (AVS) by SkiBee - Model Shipways - 1:48
-
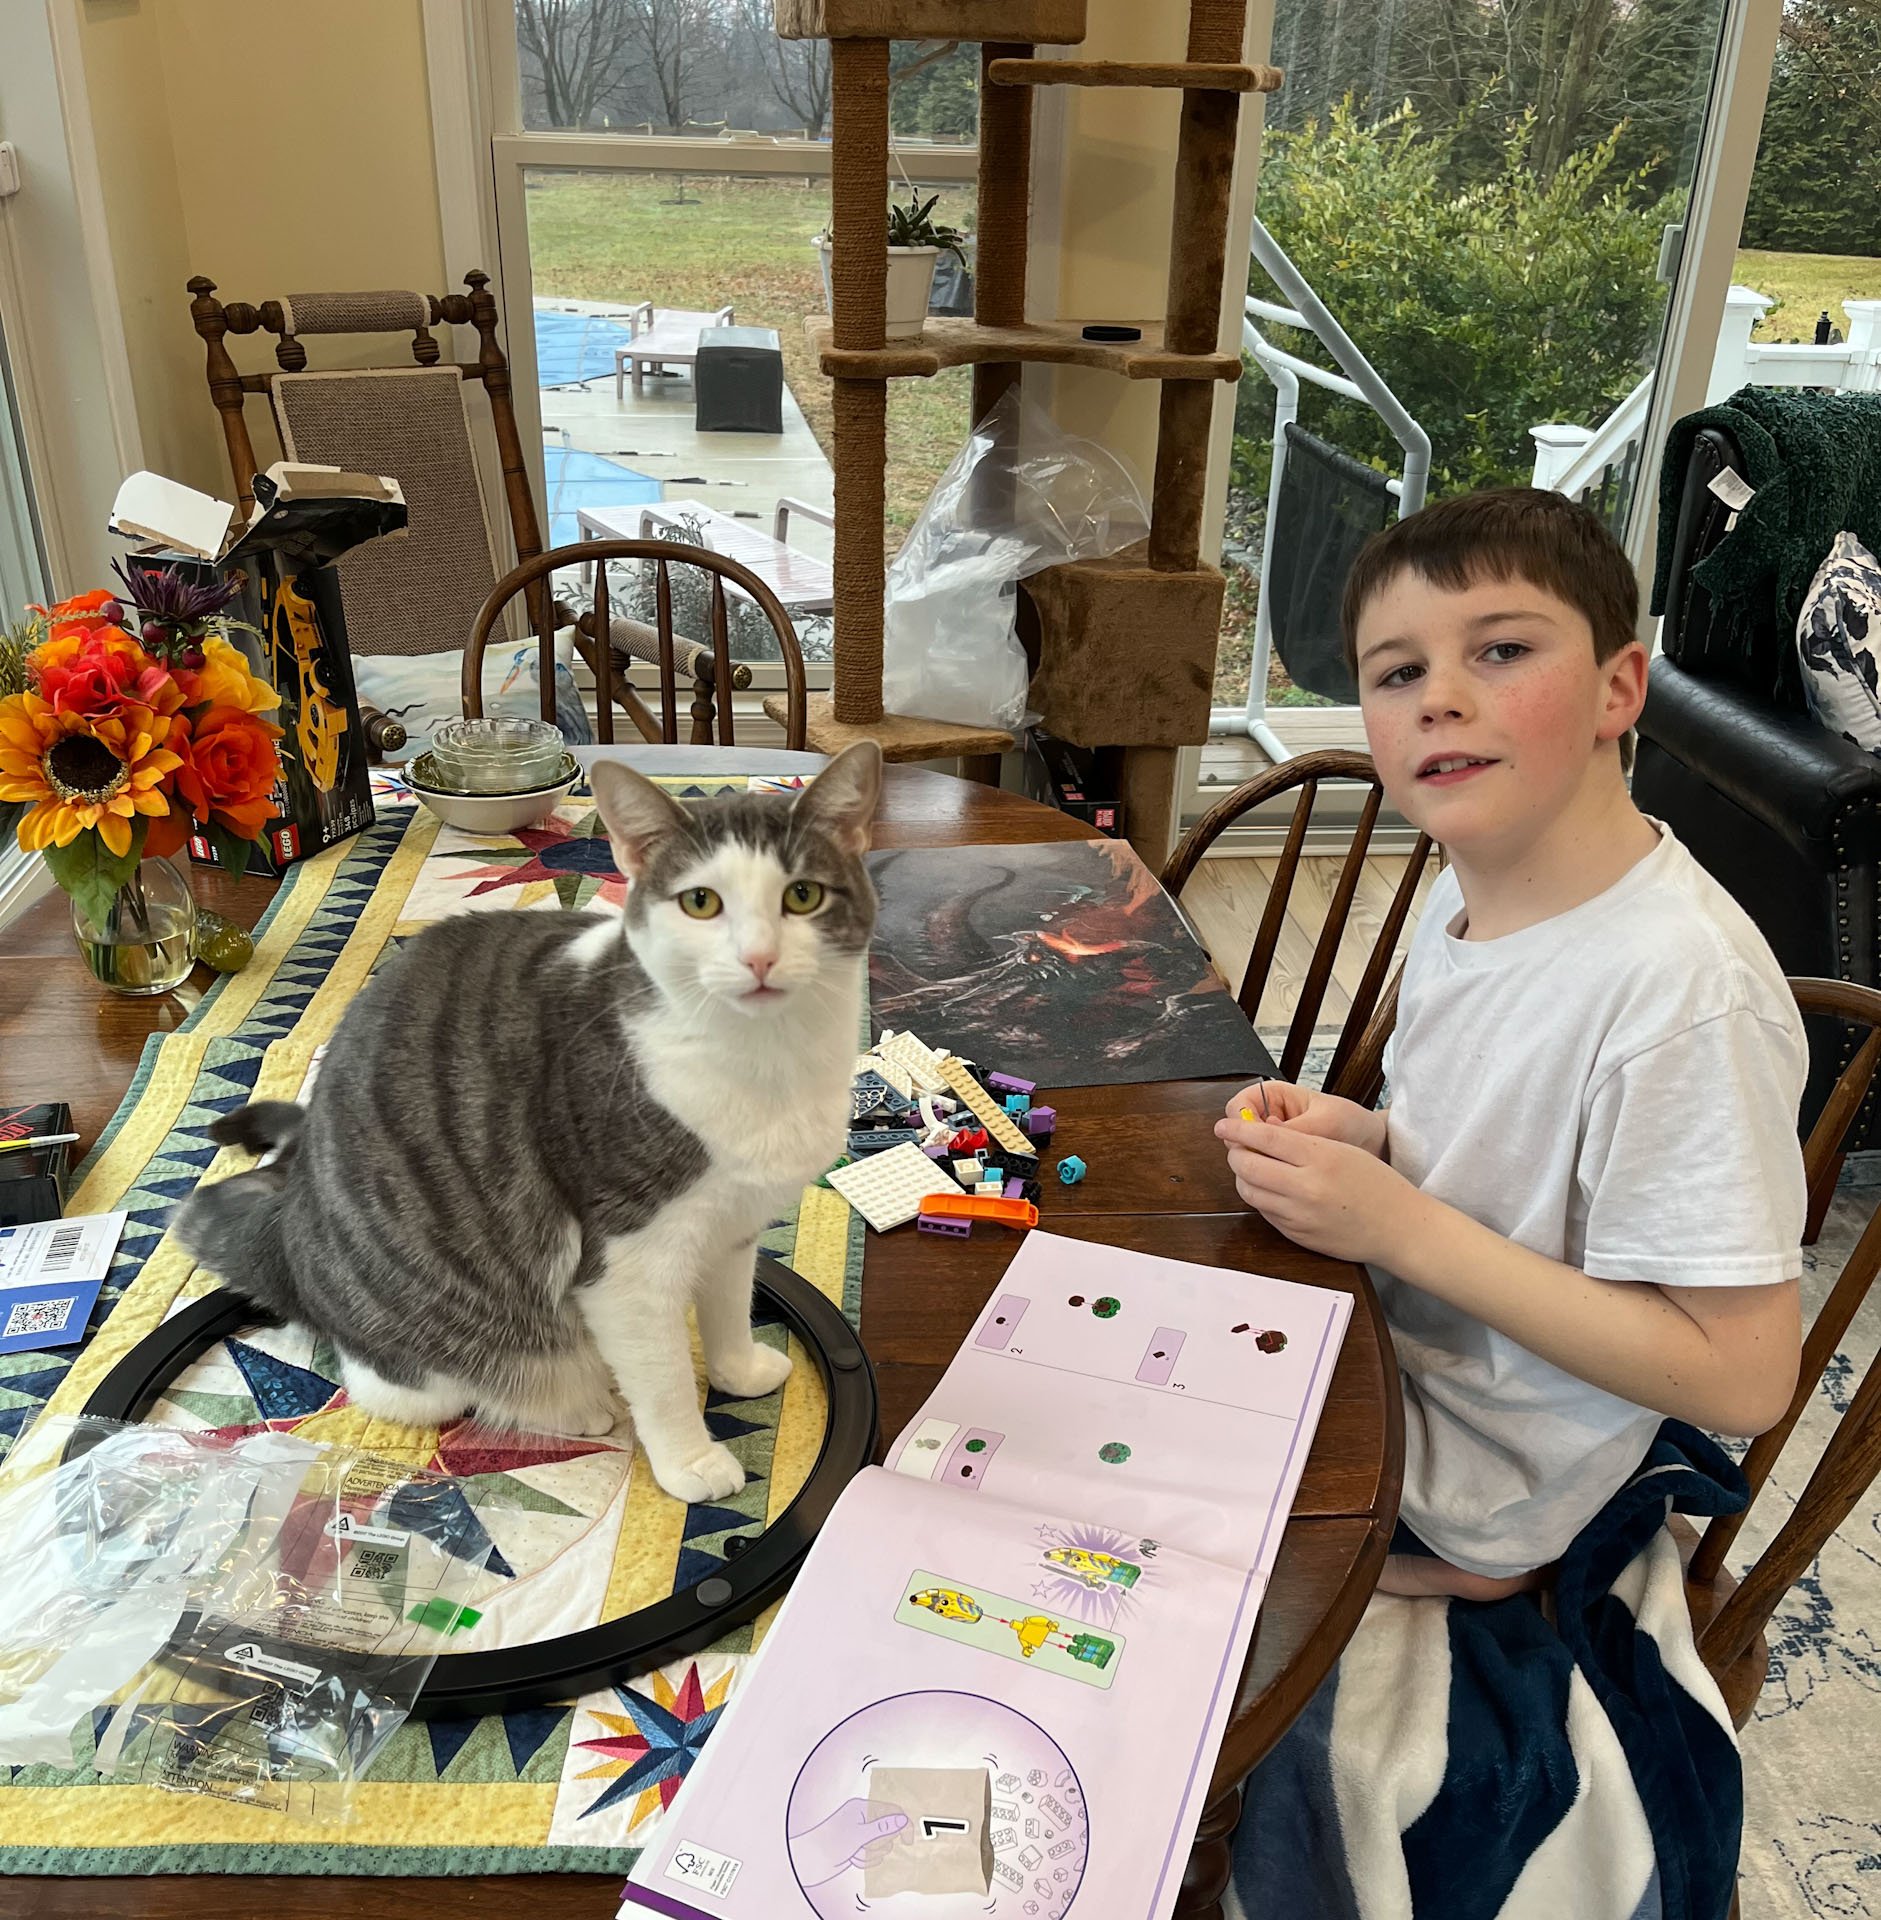
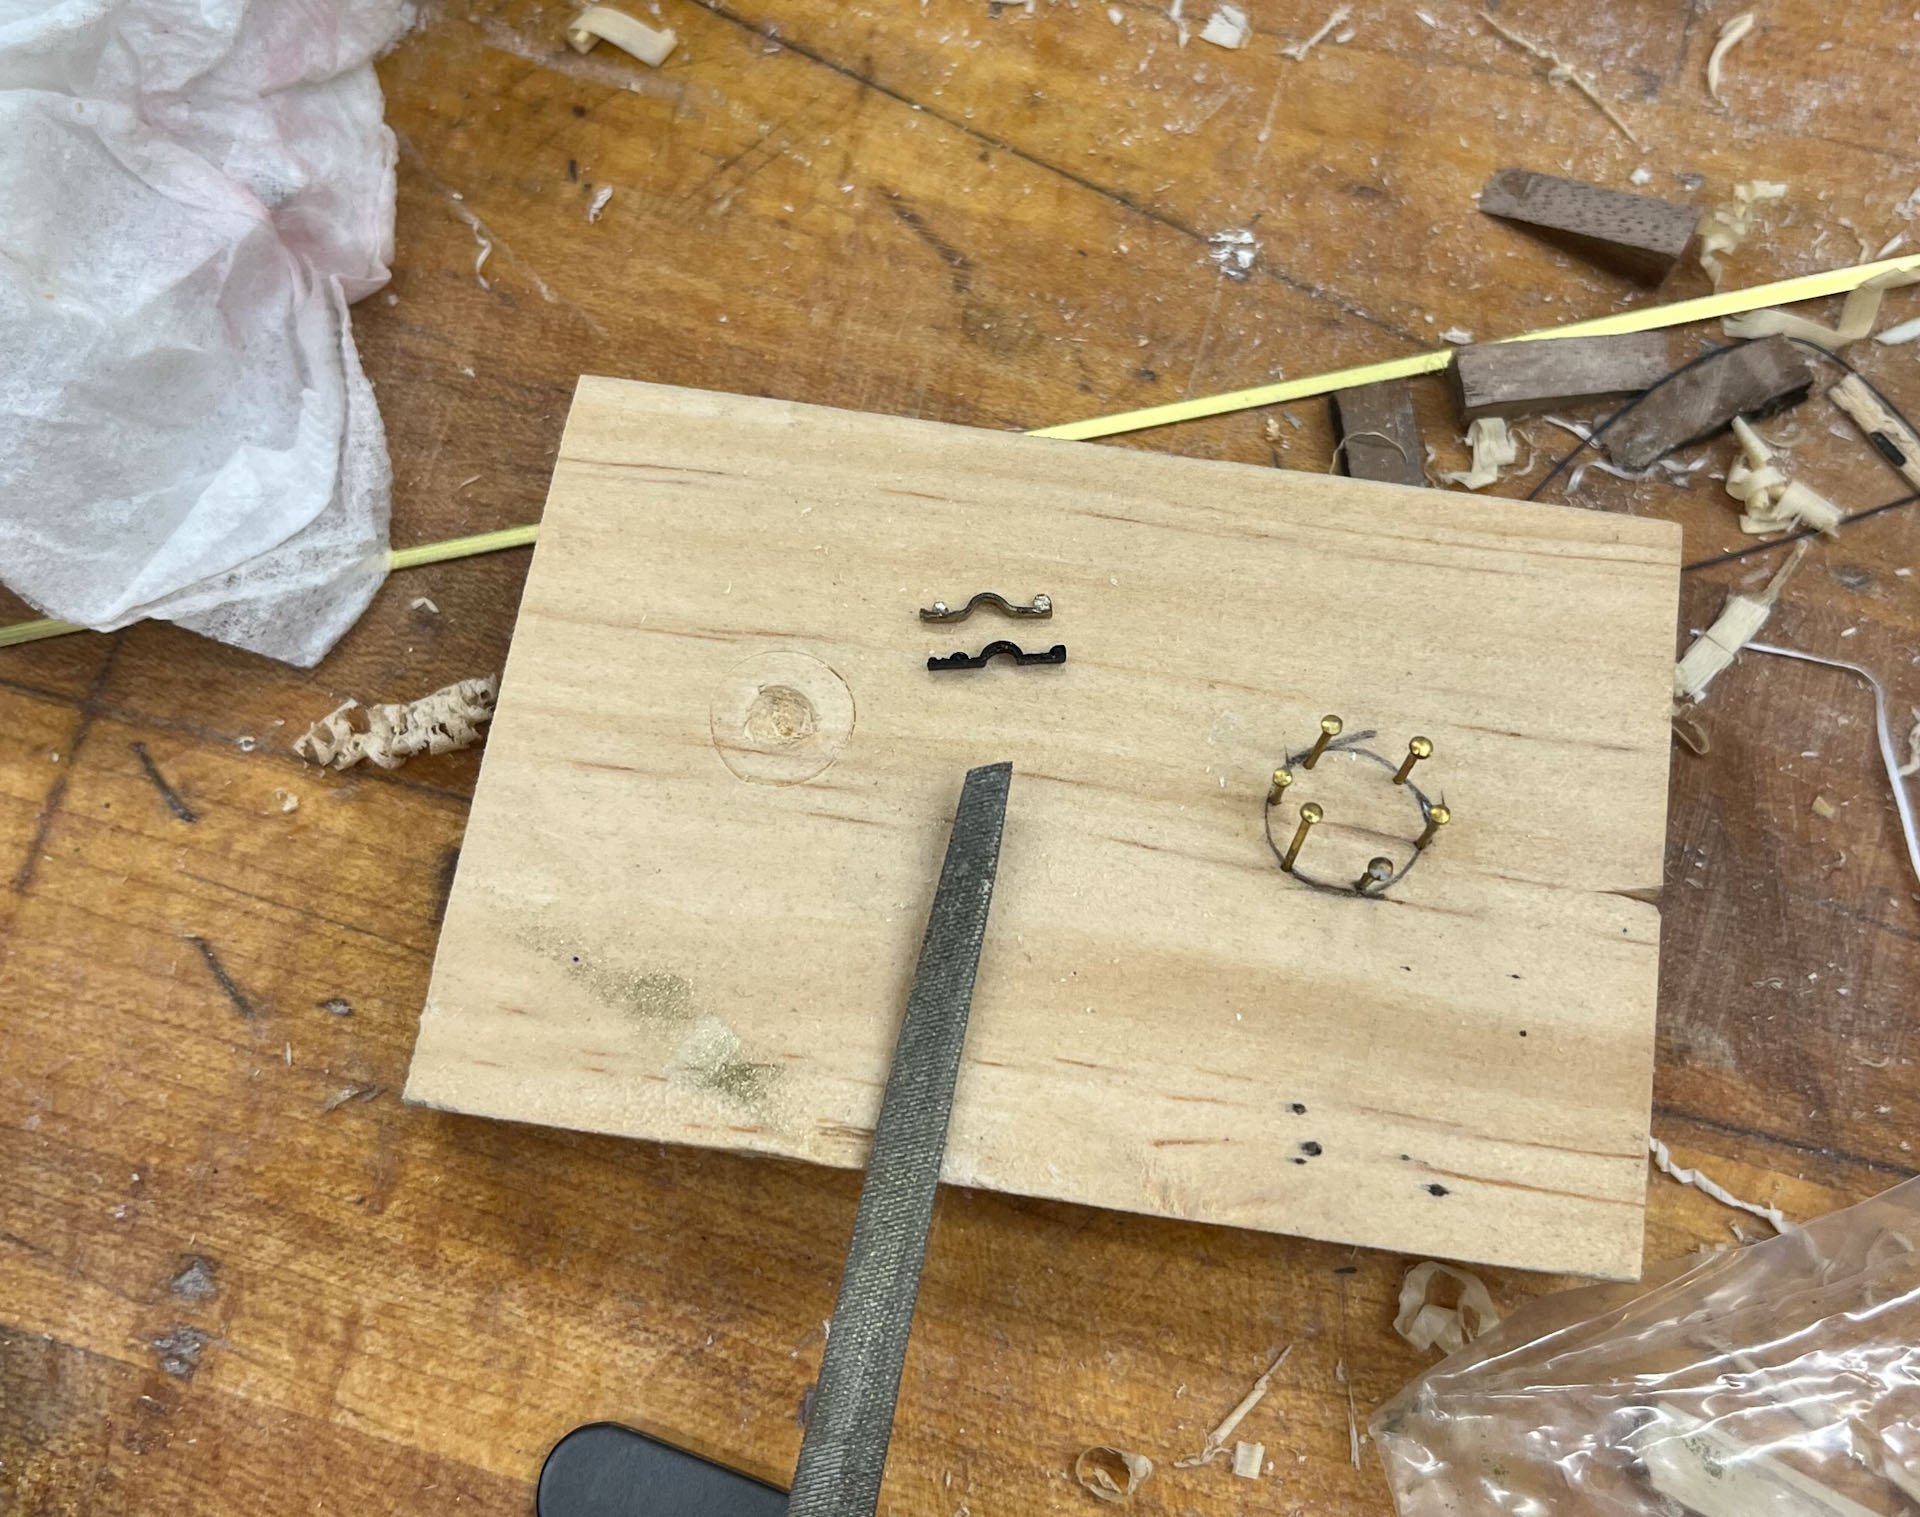
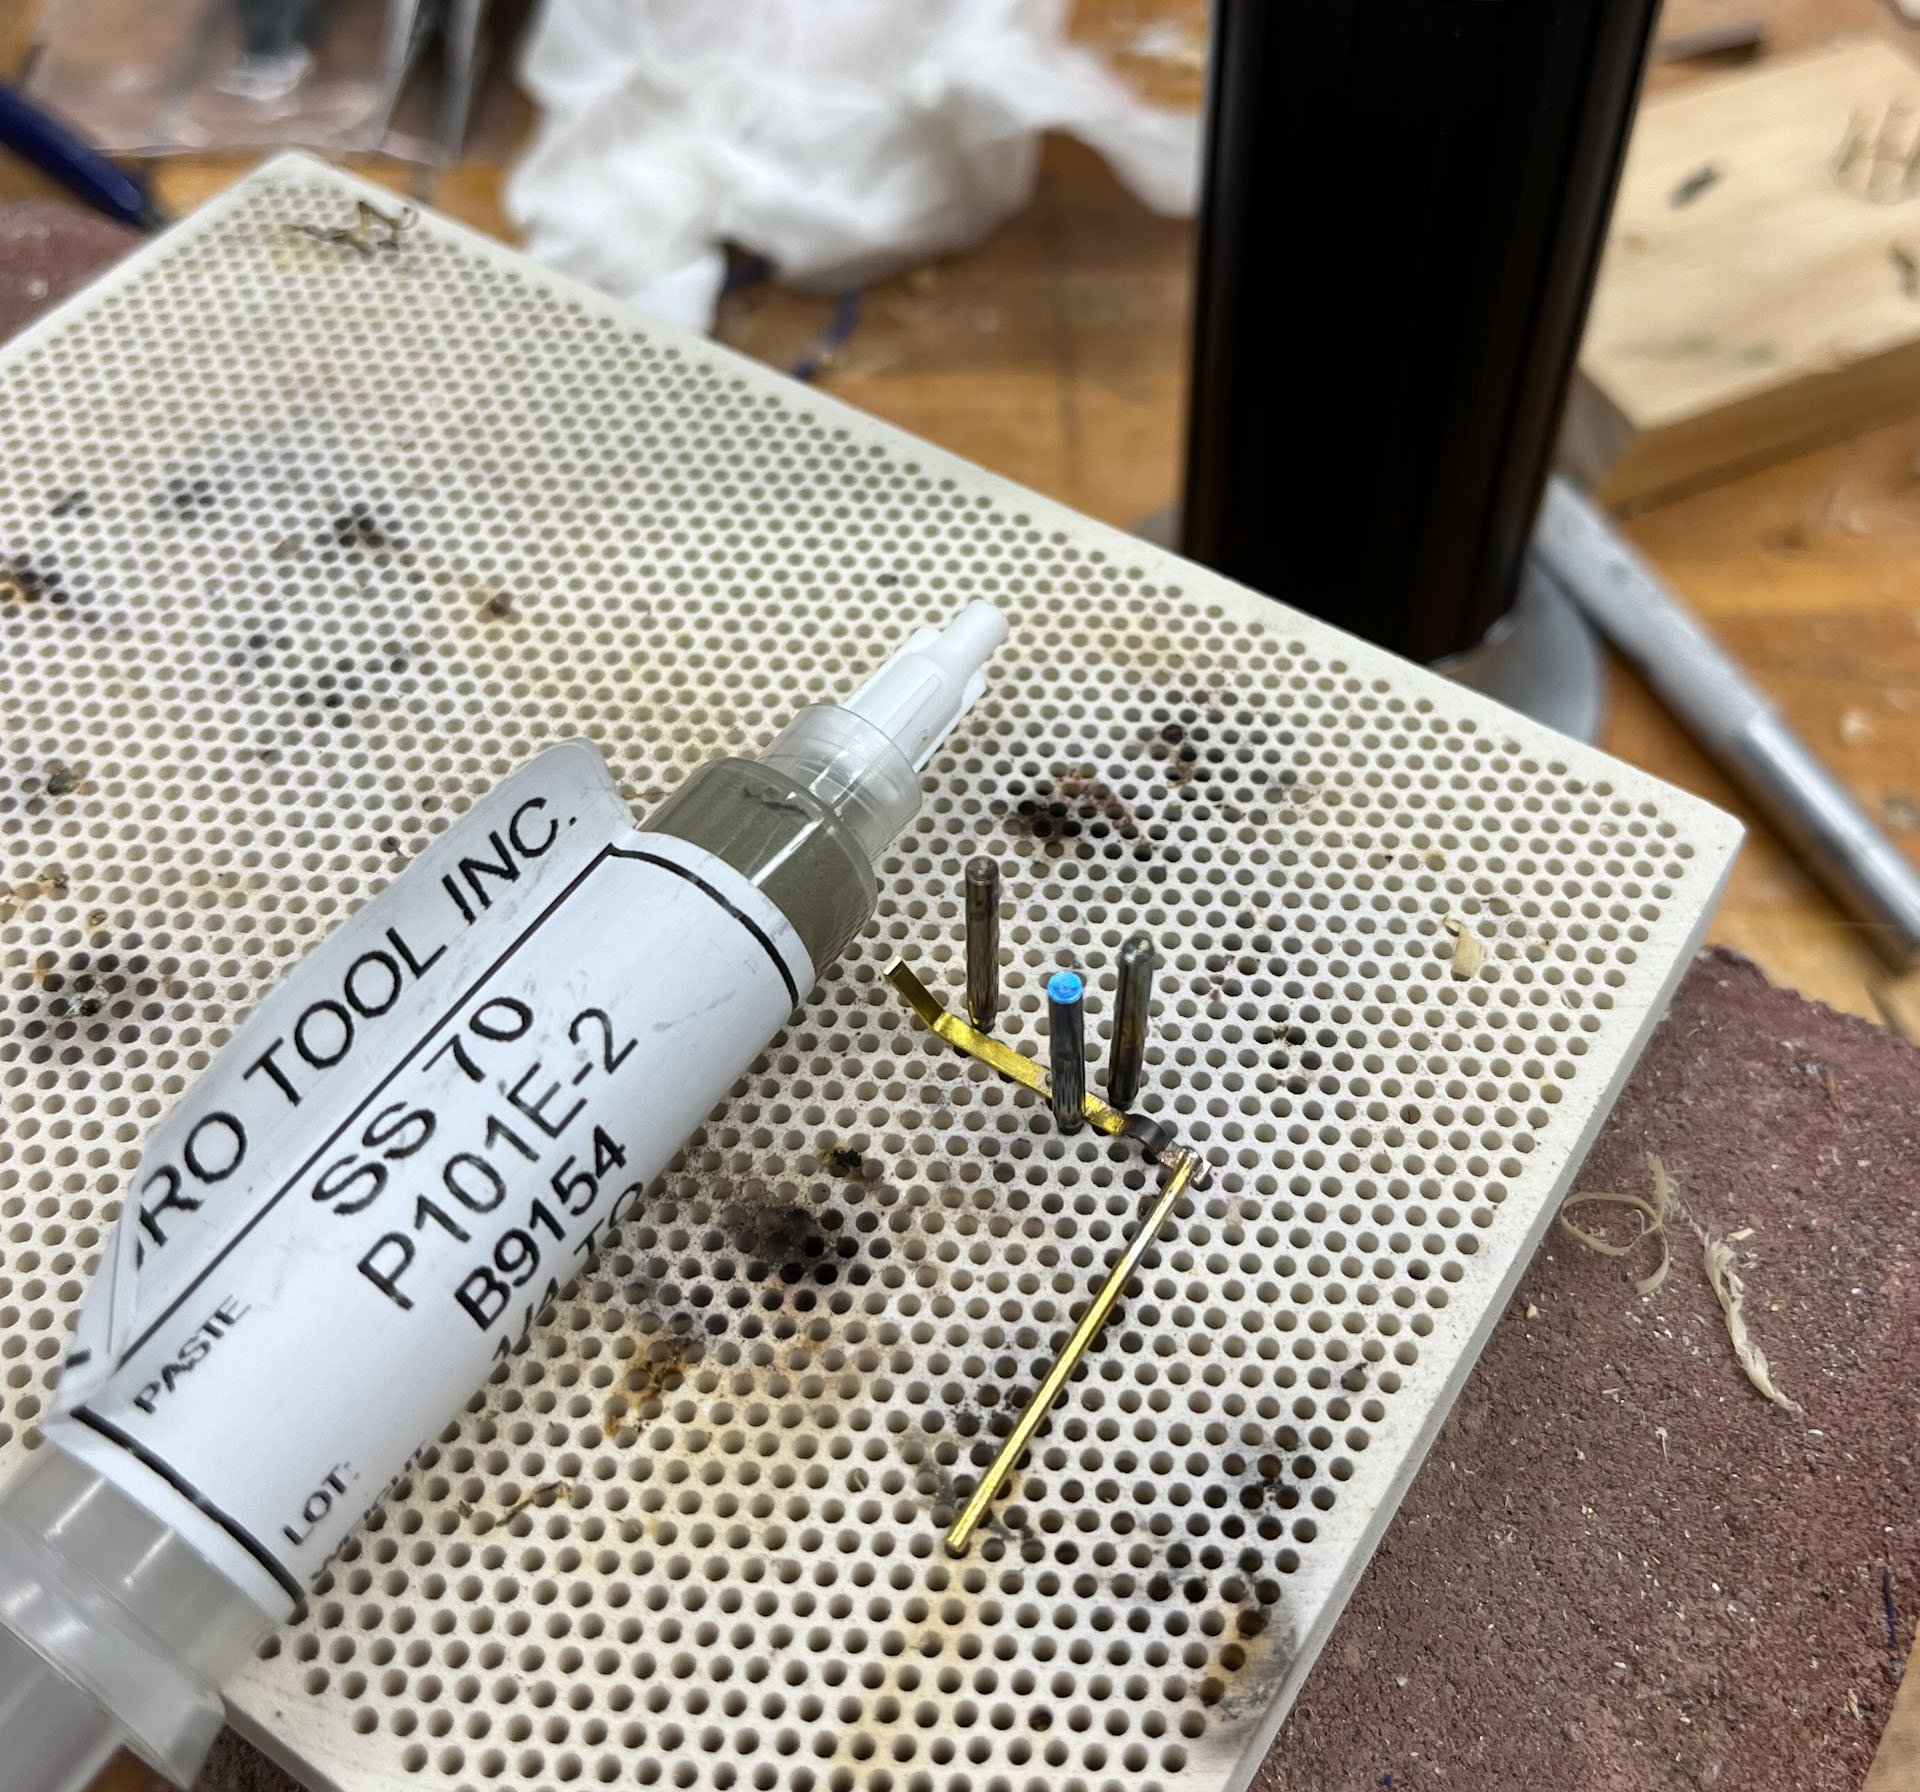
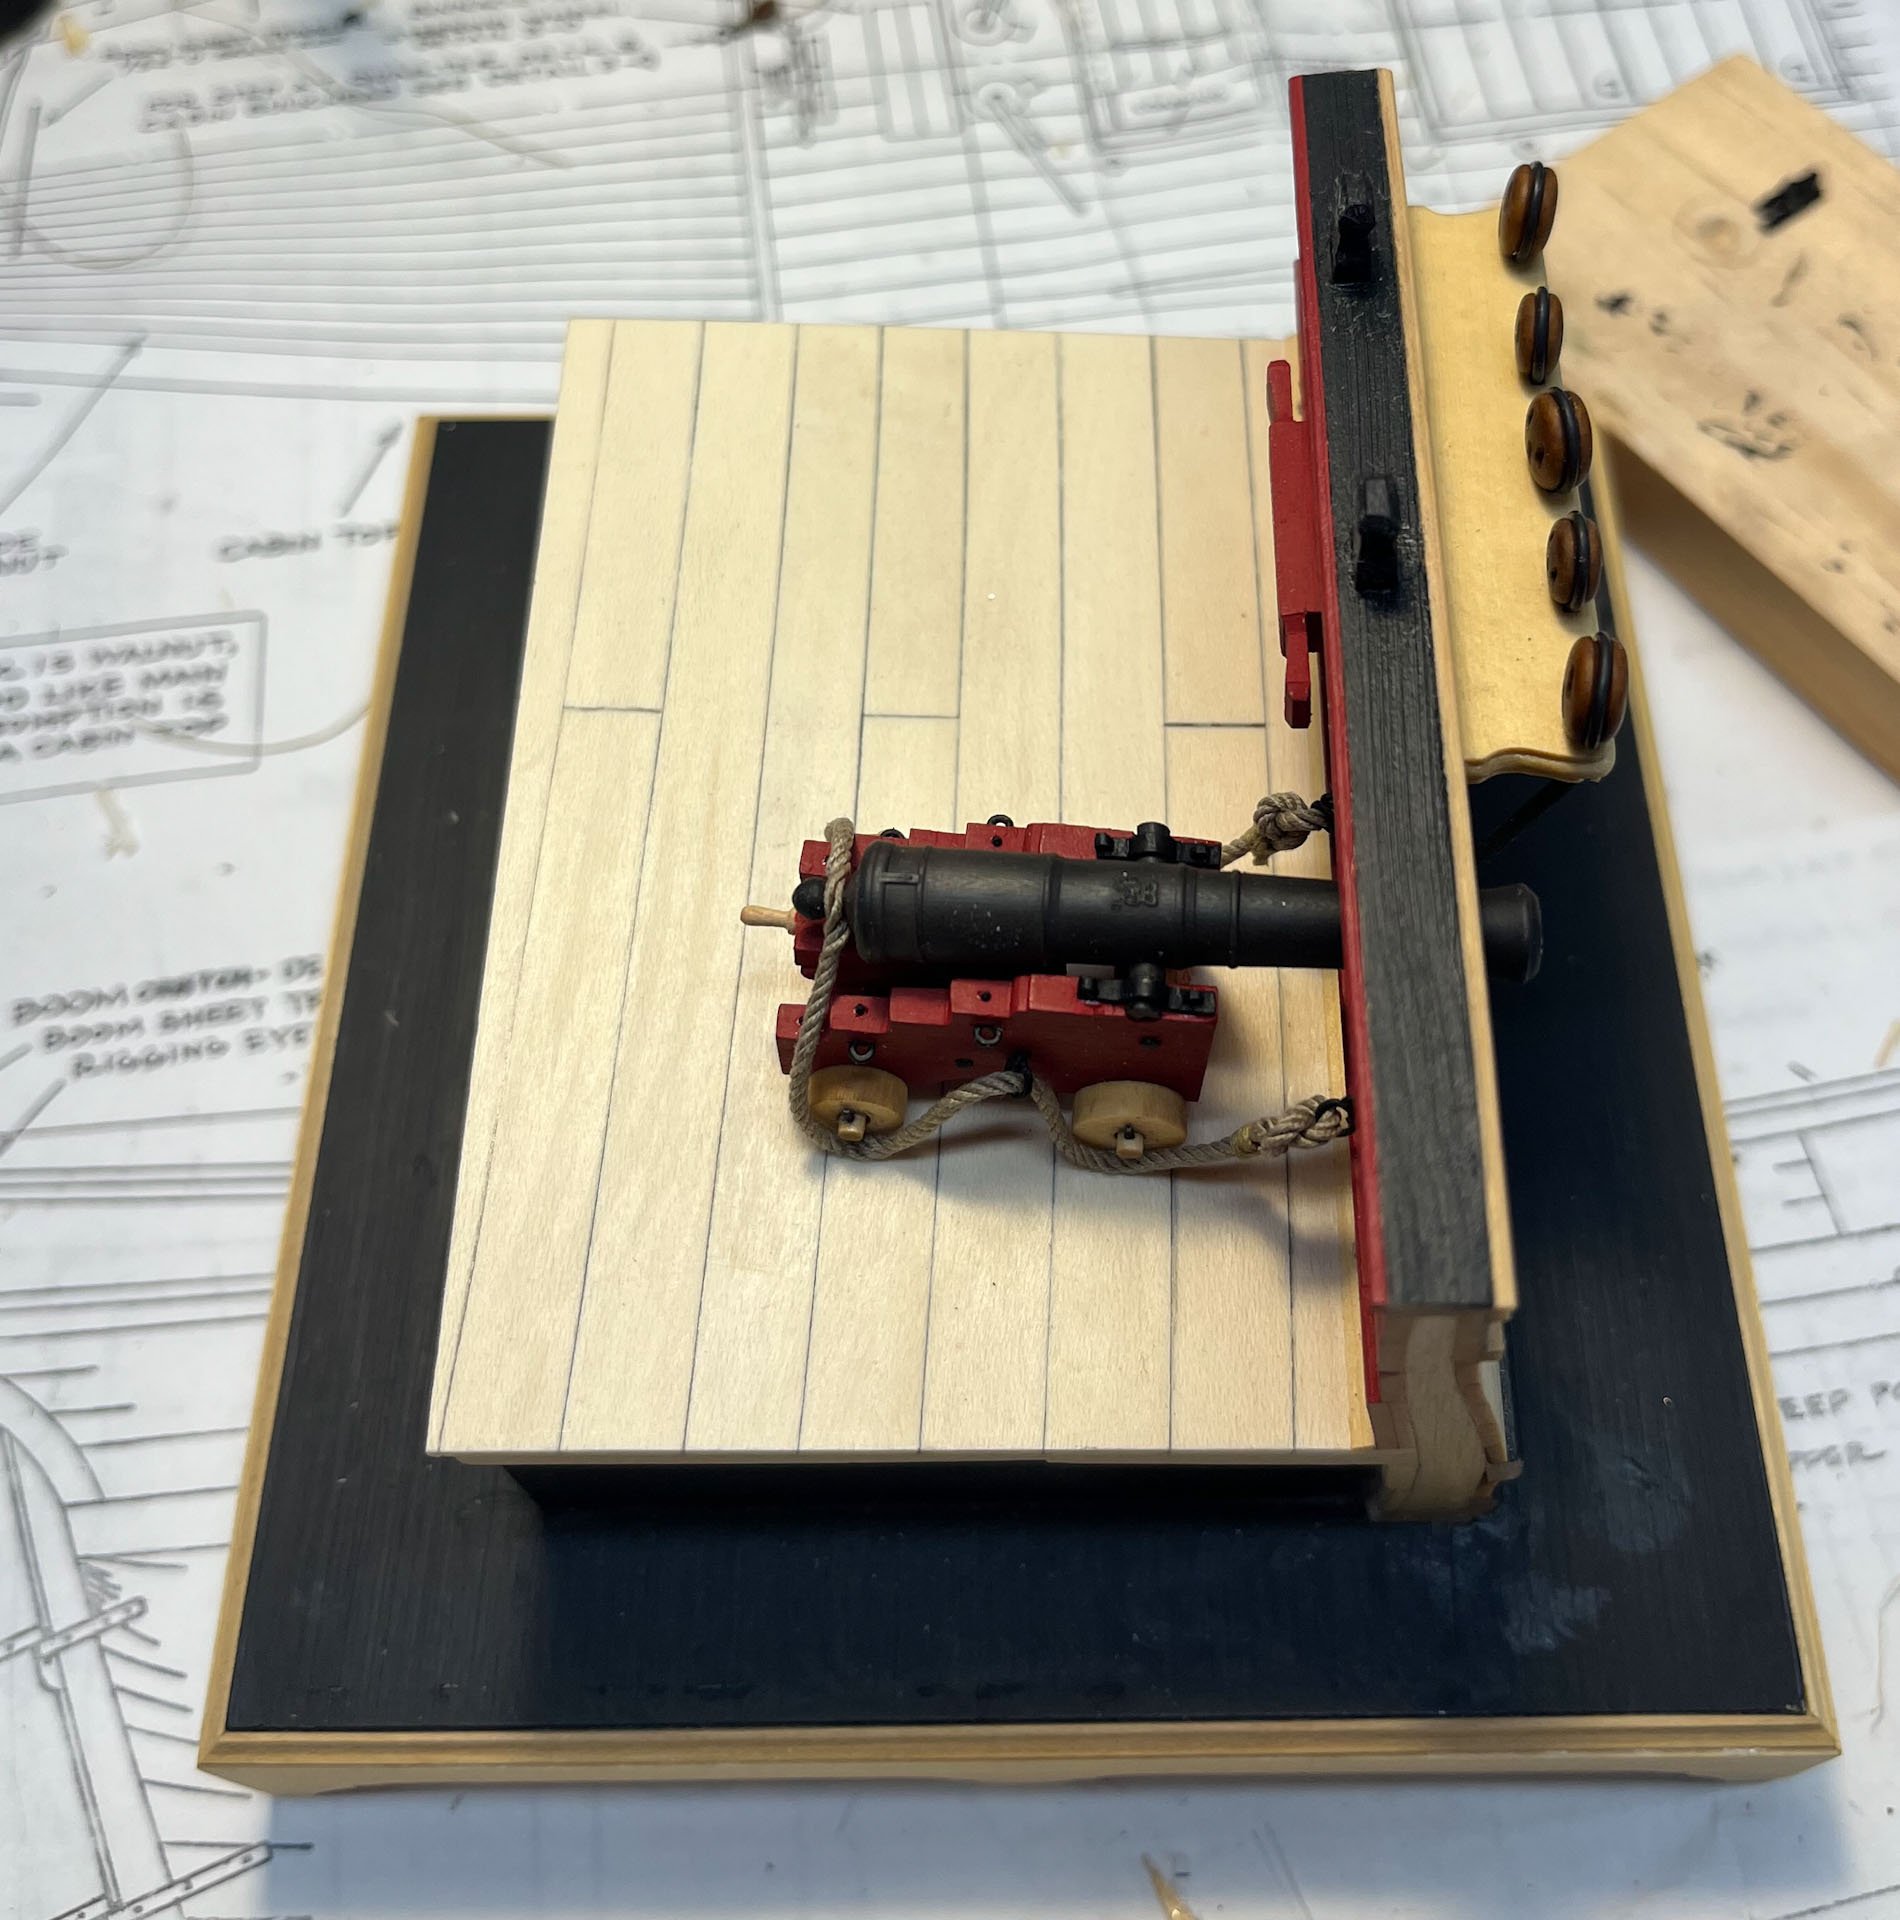
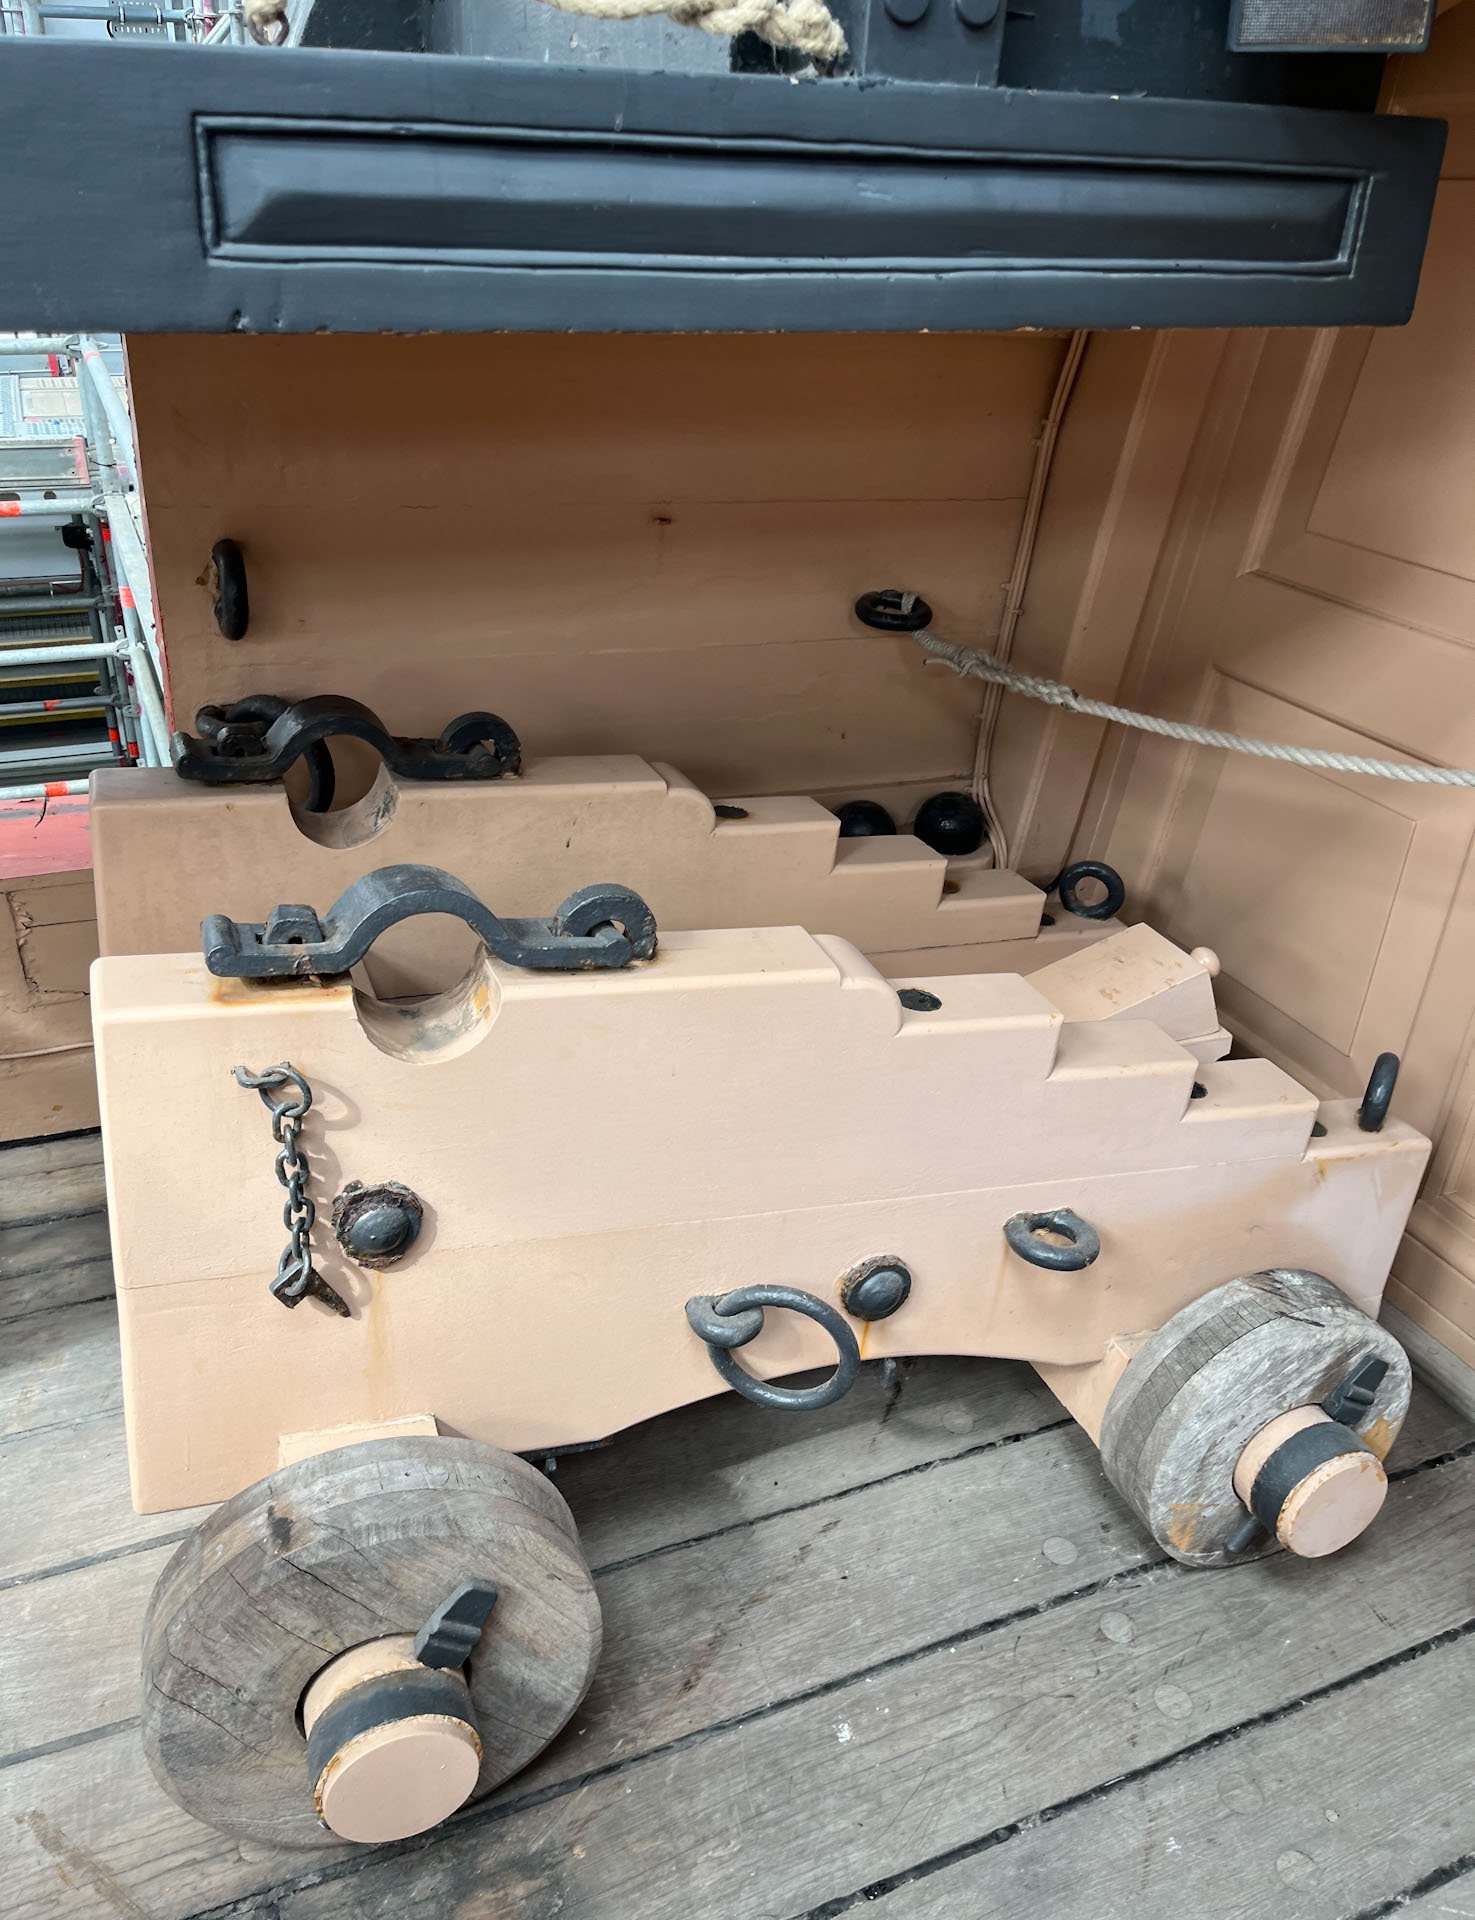
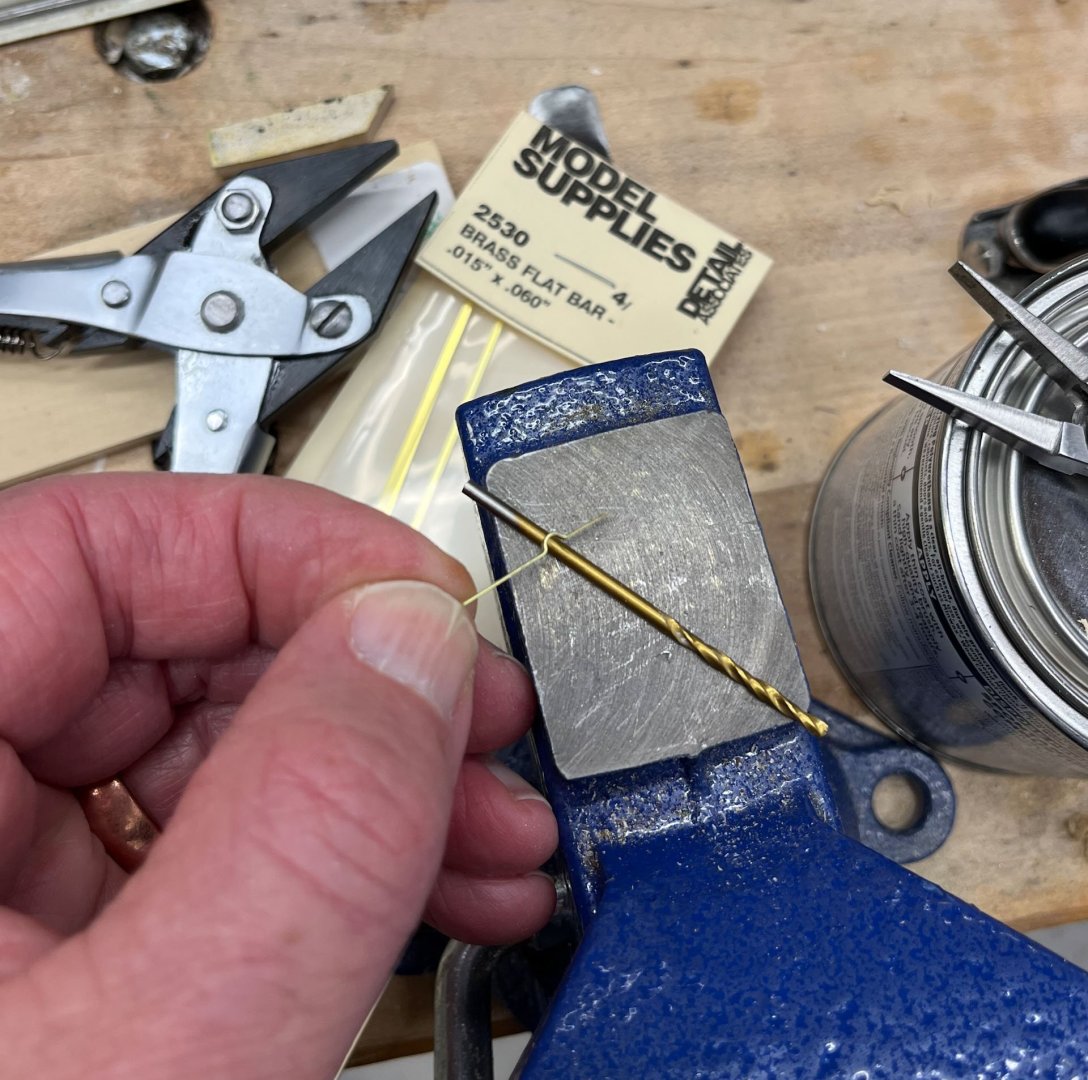
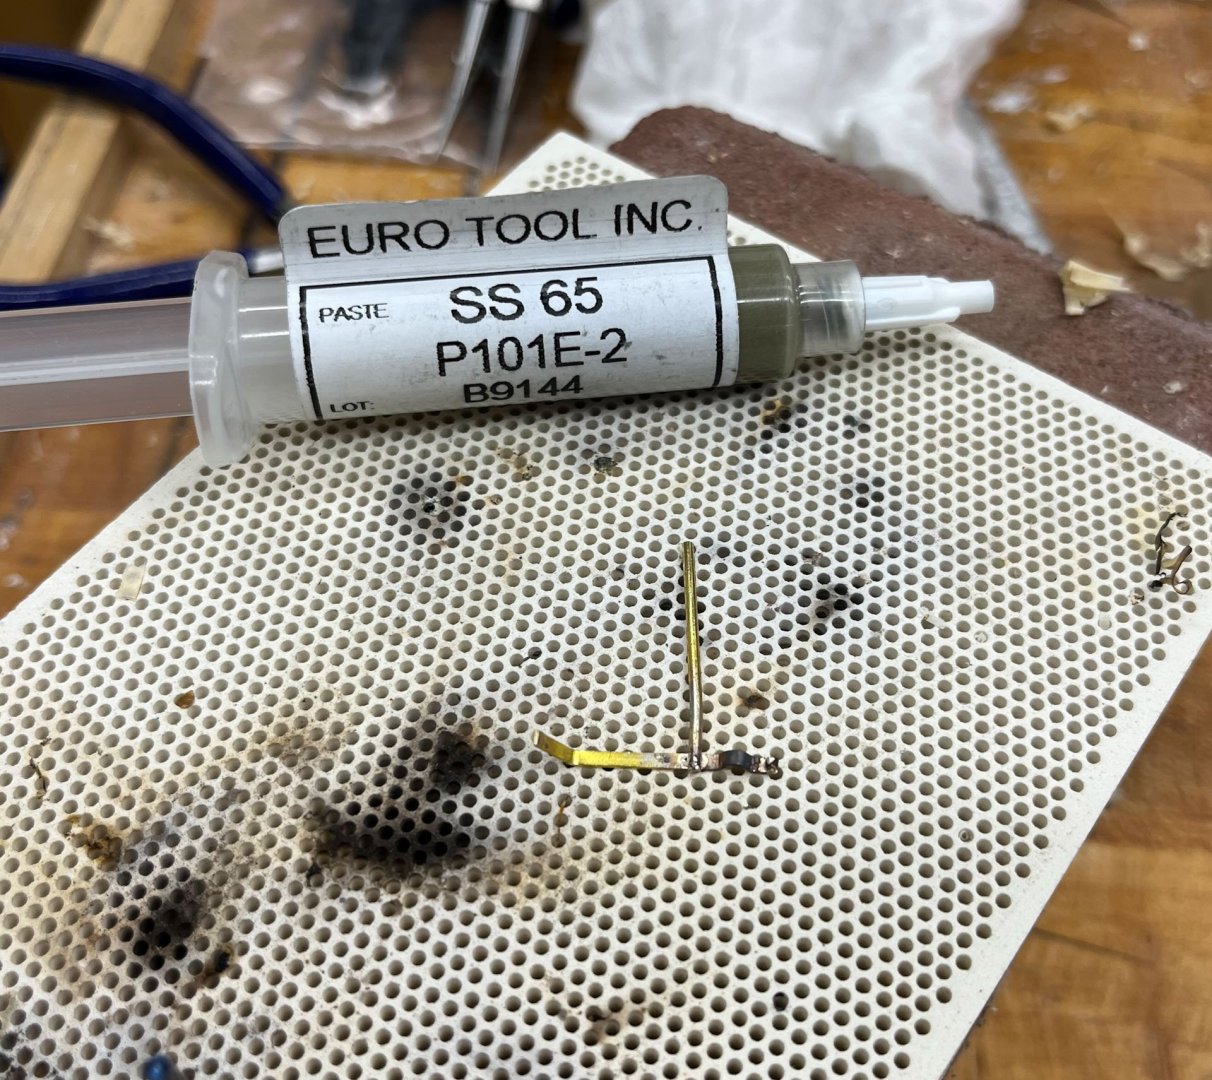
 Good afternoon; Today's post is about Capsquares. The kit comes with a sheet of laser-cut ones which look amazingly good and I was going to use them. But I had bedded my cannon trunions to shallow so they stuck up too high and the kit capsquares wouldn't seat. I had already glued the cannon into the carriage, which was also already glued to the decking. Thus I decided to make my own capsquares. I had the below pic from my visit to Victory in August I started out with some strip brass which was hard to find. Thank goodness for model railroader supply sites. I bent it around a drill bit sized a little smaller than the trunions. This was a great time to try using 2 different temp silver solders. And amazingly it worked. I was shocked. First I soldered the hinge part using the higher-temp solder SS70. This was trimmed flush, then the locking part of the capsquare soldered with the lower temp solder, SS65. You have to watch for the flash as the solder melts and take away flame immediately. I couldn't believe it worked. I used the same size brass rod and filed both down to the approximate shapes. As usual its almost impossible to see details in a part this small once its painted black but I thought it looked good. Below is a comparison- the kit plastic capsquare is below my homemade one at the top. Pretty close. and here they are superglued to the carriage. Next up I attached the blocks and ropes and prepared to make separate rope coils. I superglued the rope ends to the deck and I think they're too far outwards. I plan to reglue them closer to the carriage so the blocks aren't twisted horizontal, and try to make the lines a little tighter. Except my son came downstairs and was examining my extra rope which was ready to become coils, and now the rope is gone. I have looked everywhere and no luck. So I ordered more from Chuck yesterday - its tan 0.018" if anyone has a similar experience. Here is a shot of the 2 suspects in the disappearance: Both look guilty to me. Next up is trying my hand at painting the figure that comes with the kit. And awaiting the mail from NJ. thanks for reading Cisco
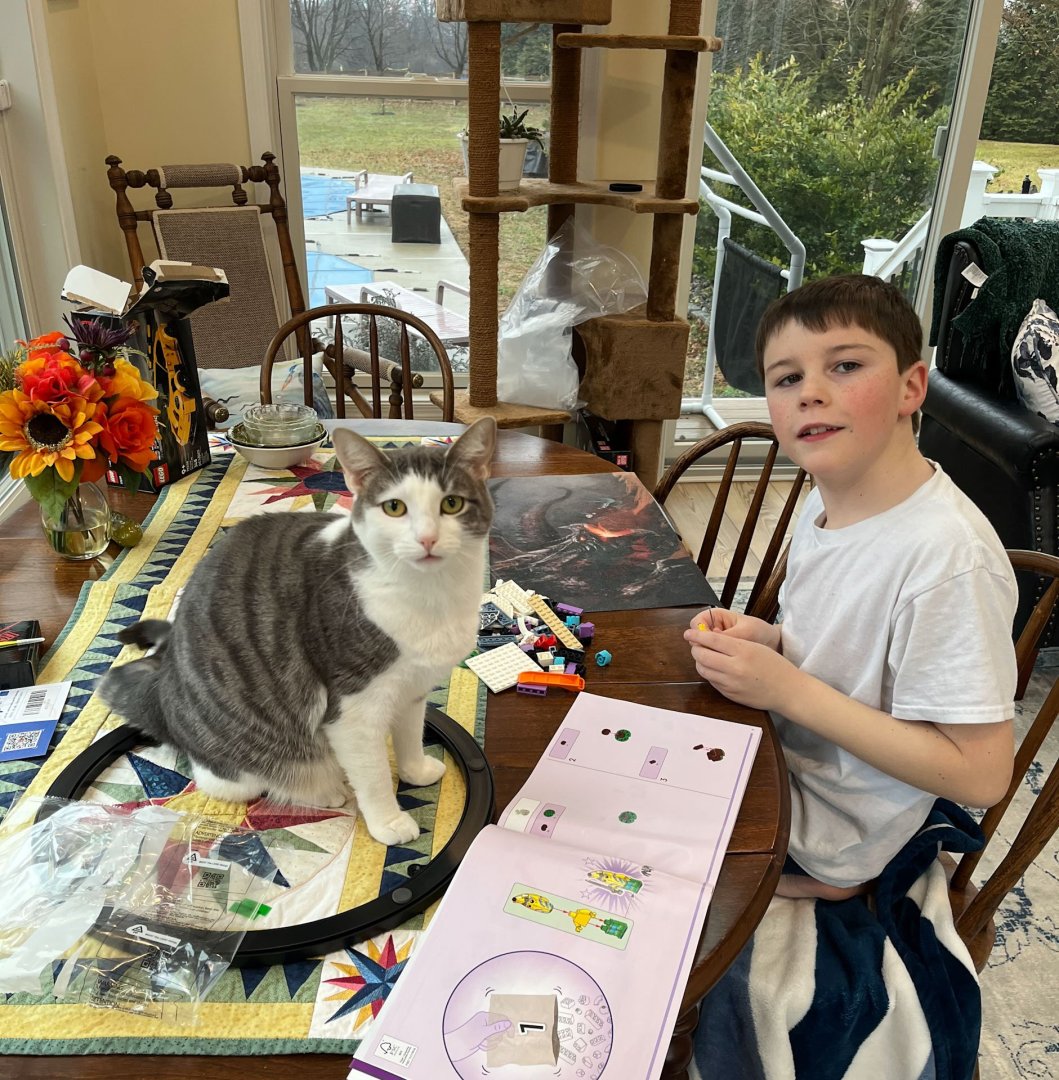


- 28 replies
-
- 4
-
-
- Speedwell
- battle station
- (and 1 more)
-
CiscoH reacted to a post in a topic:
HMS Portland 1770 by westwood - Portland Scale Ship Co. - 1:48 - 50 gun 4th rate
-
CiscoH reacted to a post in a topic:
Chris Watton and Vanguard Models news and updates Volume 2
-
CiscoH reacted to a post in a topic:
HMS Portland 1770 by scrubbyj427 - 1:48 - 4th rate 50-gun ship
-
CiscoH reacted to a post in a topic:
Hobbymill.EU / precision milled exotic woods
-
CiscoH reacted to a post in a topic:
Portland Scale Ship Co. news and updates
-
Last I posted was October. Playing catch-up today. I have been working on the cannon and associated rigging. All the first time for me. Here's the various brass bits that I thoroughly messed up blackening on and had to resort to paint. I used 24 and 28g brass wire. Rings were soldered which in hindsight was unnecessary. 9 A first effort attaching block to Syren rope. I haven't seized them yet in the below pic but I did them as per Chuck's instructions using med viscosity superglue. Jason (JLong) said they looked acceptable so good deal. I worked on the carriage and quoin as well; here is my attempt at the handle done in a dremel with needle files. Worked fine. Its easy to get the handle not in scale; I kept having to make it smaller. I also made the breech rope seizings. I couldn't make it work without the Extra Hands. I found it cumbersome to try and glue in the breech rope anchors while the cannon was attached to the carriage. So I tried it without the carriage. Definitely easier. And thats where it all stands. I should be better about posting now that the holidays are over. thanks for reading Cisco


- 28 replies
-
- 13
-
-
- Speedwell
- battle station
- (and 1 more)
-
Hey Capt, thanks for checking in. Work has crushed me lately but I will have an update this weekend, I hope. Learning how to rig cannons with the help of JLong. Cisco
- 28 replies
-
- 3
-
-
- Speedwell
- battle station
- (and 1 more)
-
2025 MSW Holiday Fund Drive
CiscoH replied to ferretmary1's topic in NAUTICAL RESEARCH GUILD - News & Information
Done. -
how did you shape your scraper? in the past i have used a dremel wheel and fine files. its easy to (or hard not to) make the concave sections too big
- 1,215 replies
-
- 2
-
-
- sloop
- kingfisher
- (and 1 more)
-
you are working to a very high standard and extremely quick great job
-
Amazing! Thank you for the detailed explanation. i had to read it several times and go back and forth between pictures. it makes a lot of sense.
-
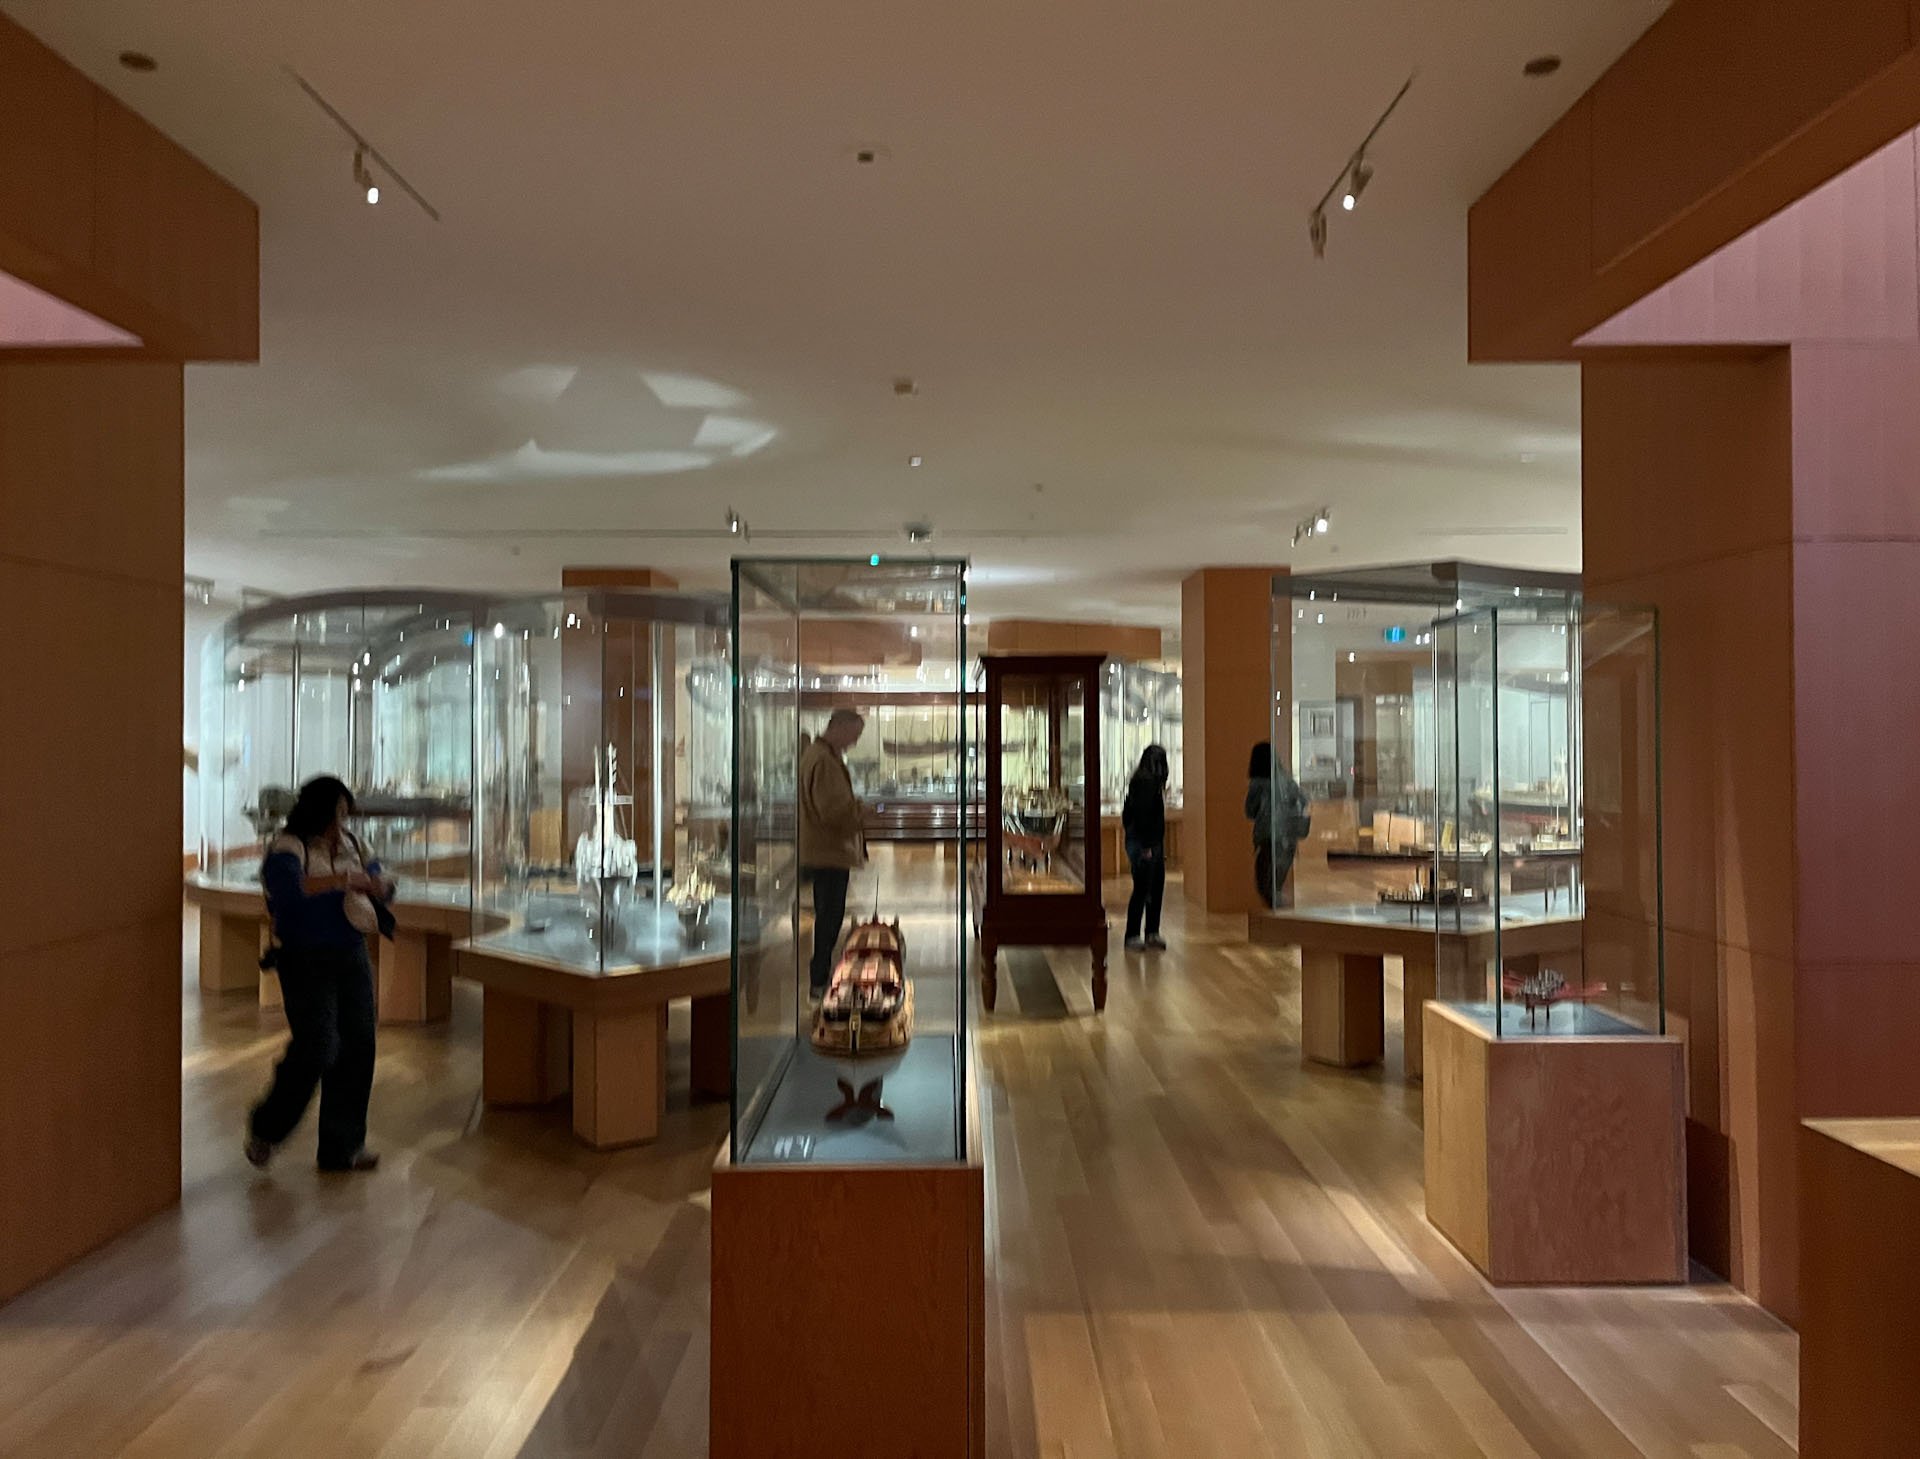
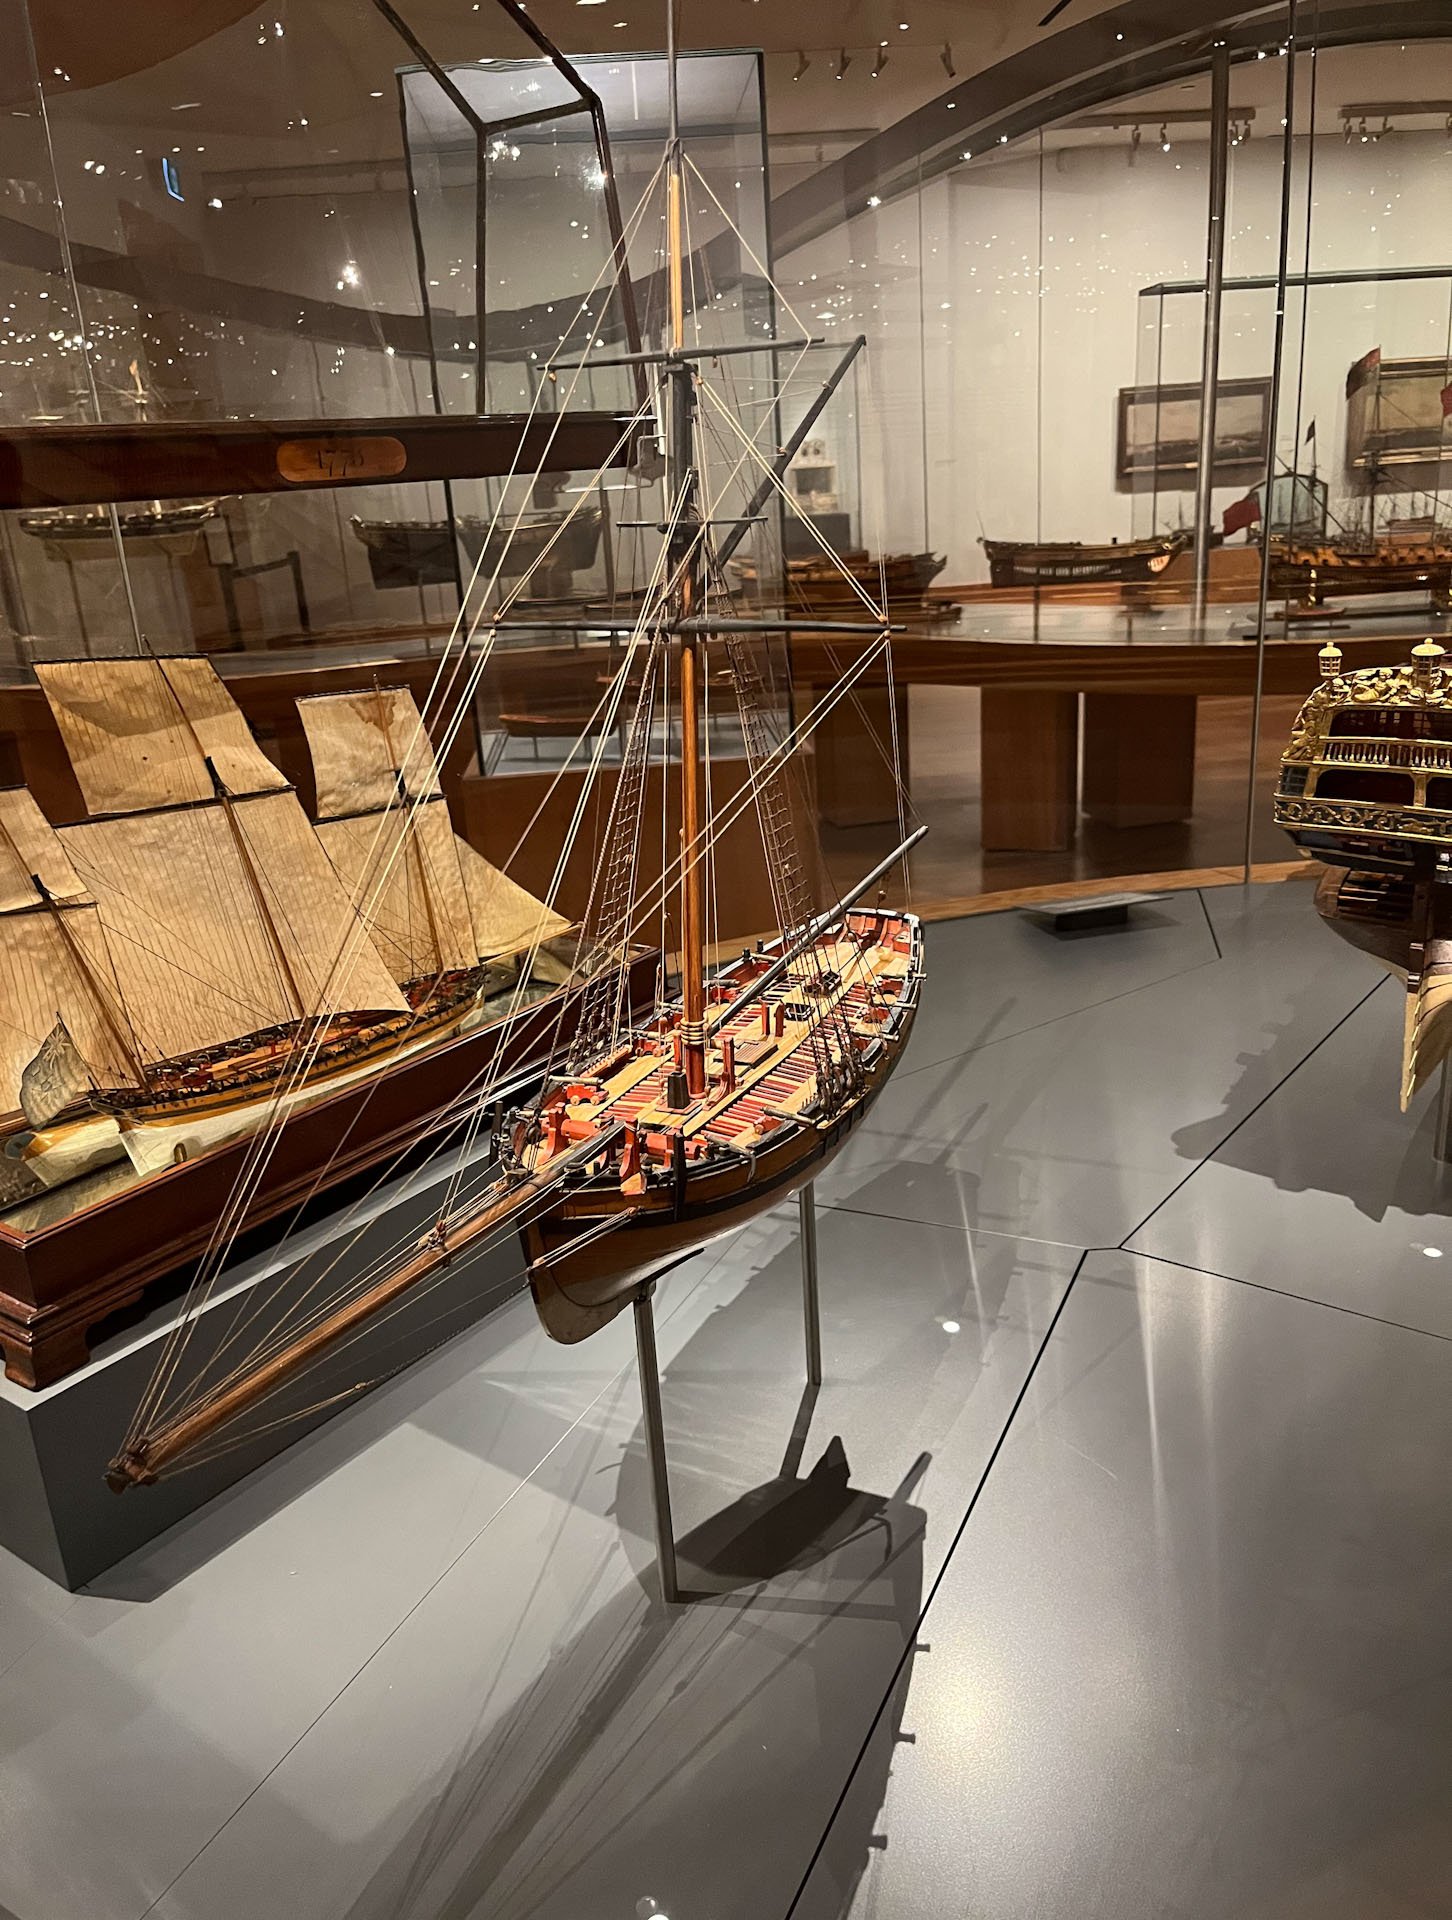
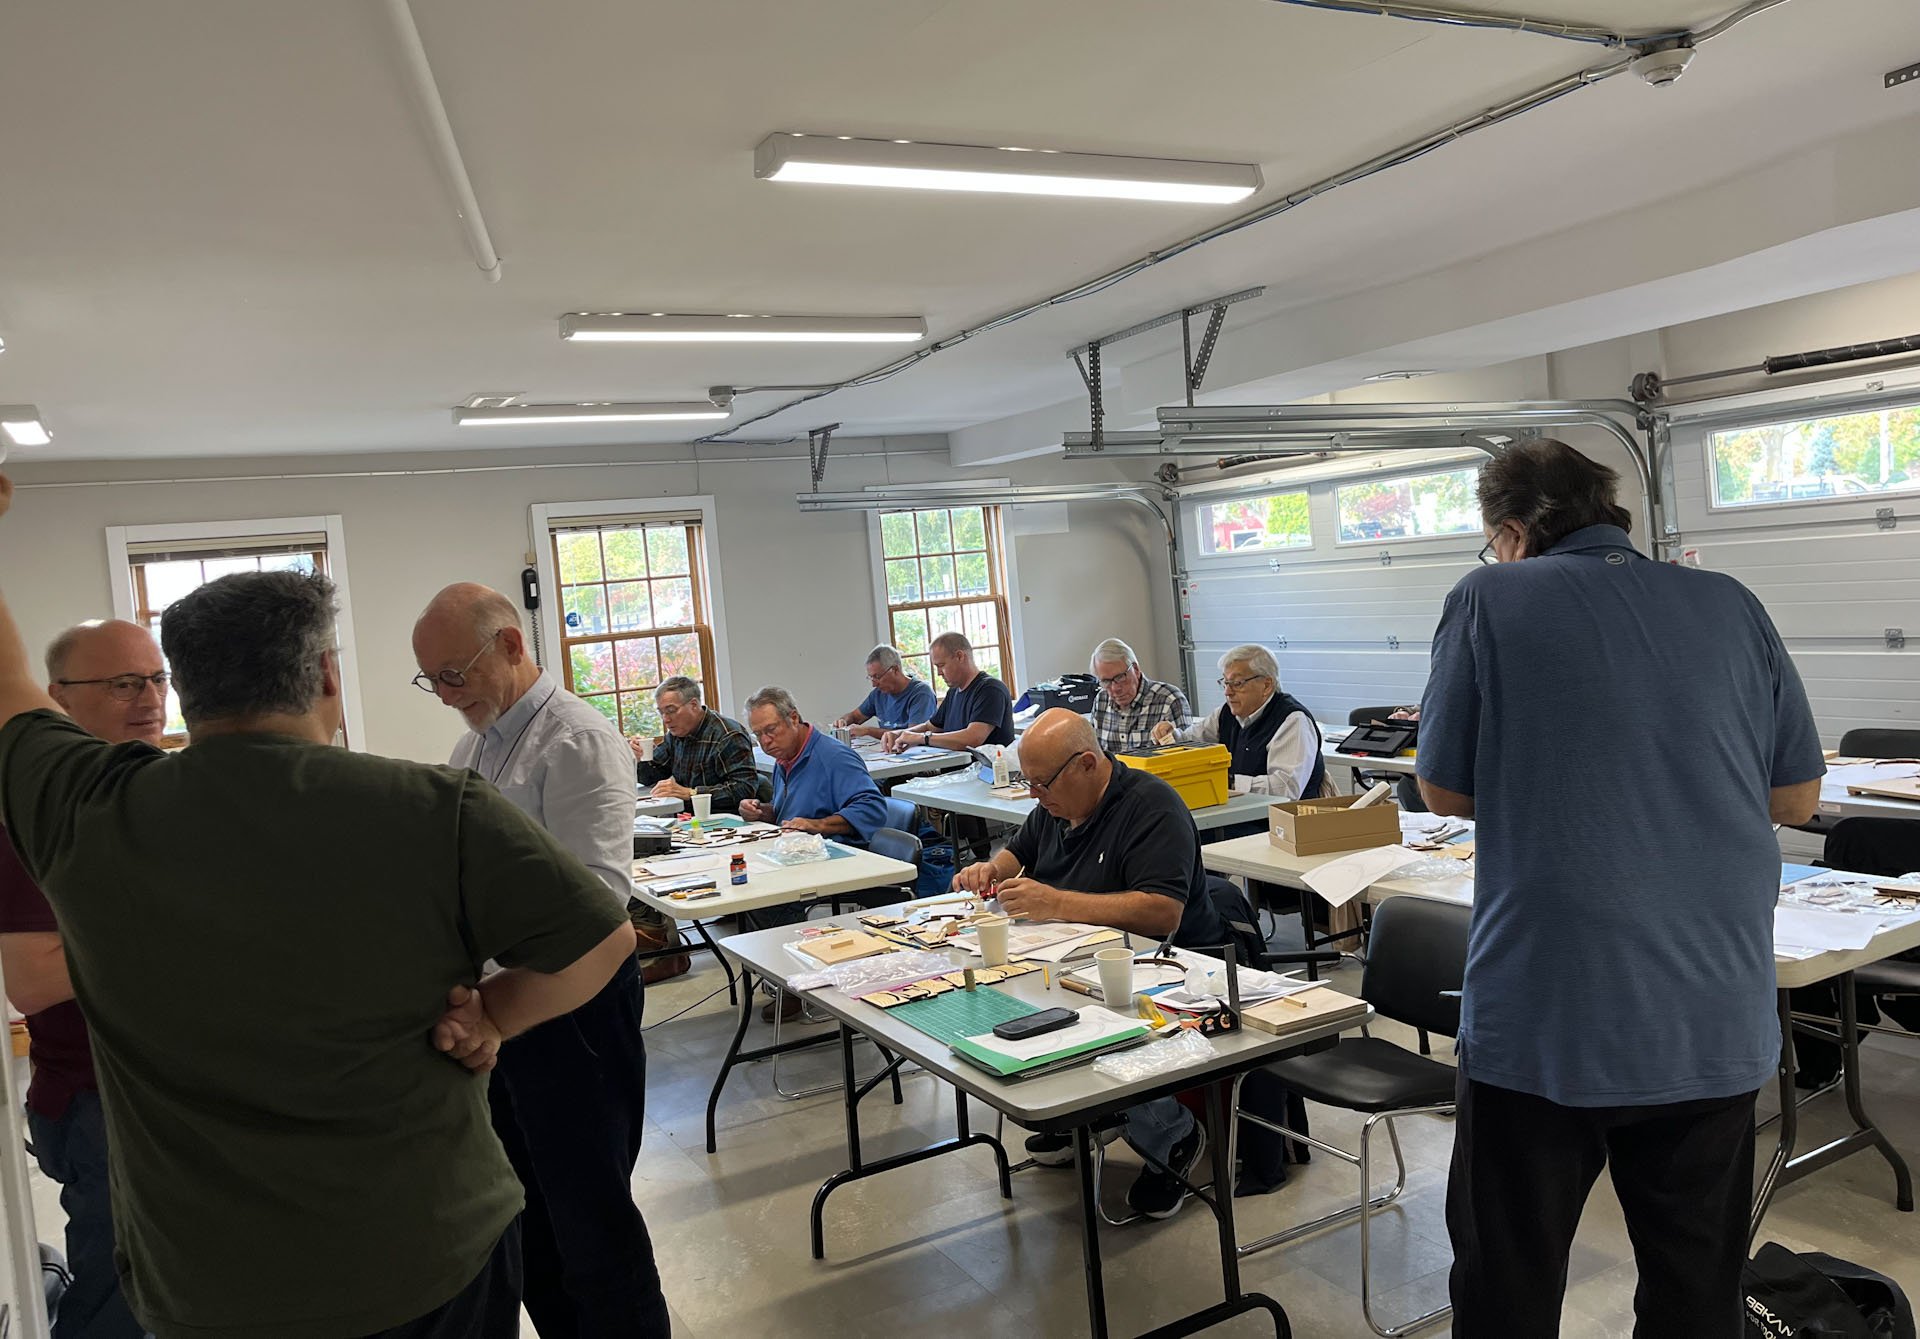
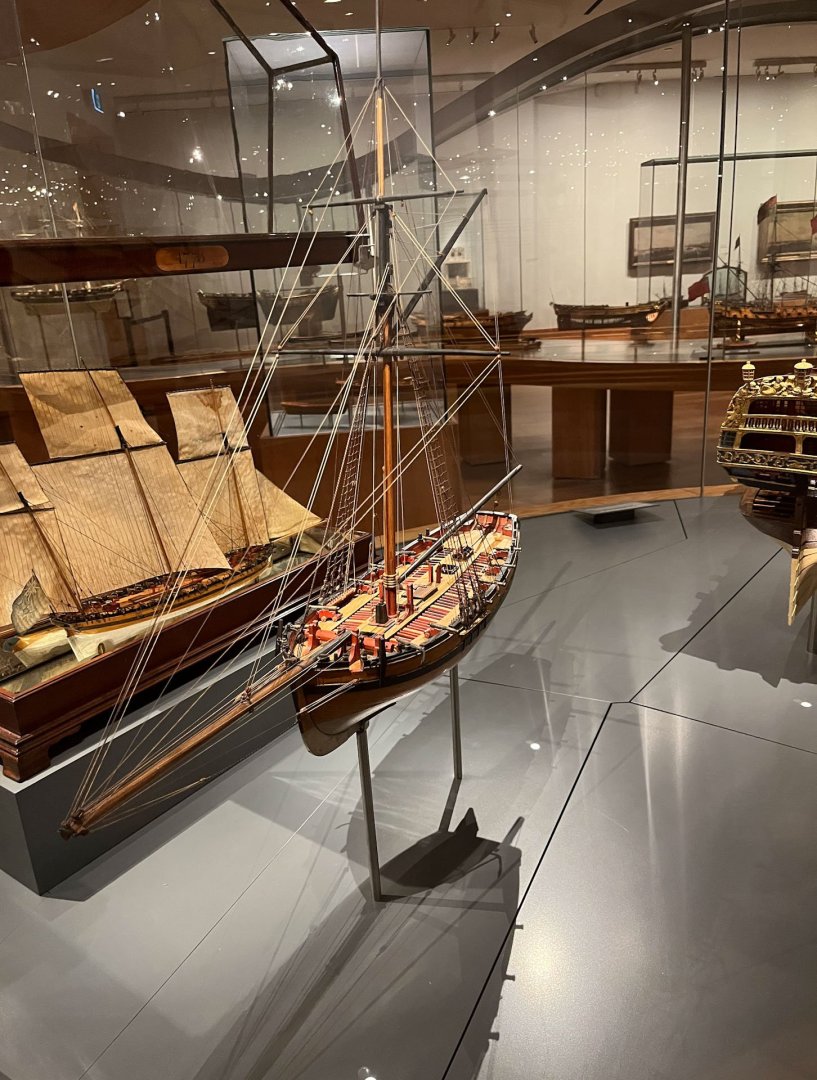
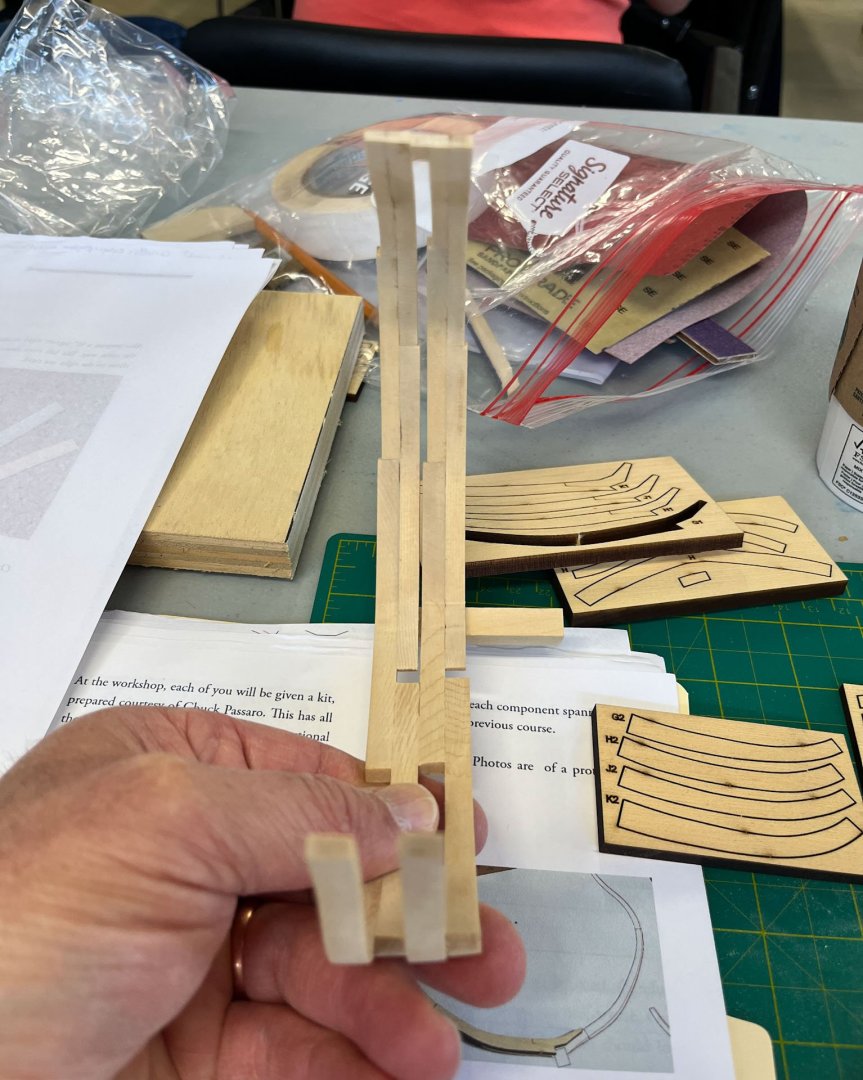
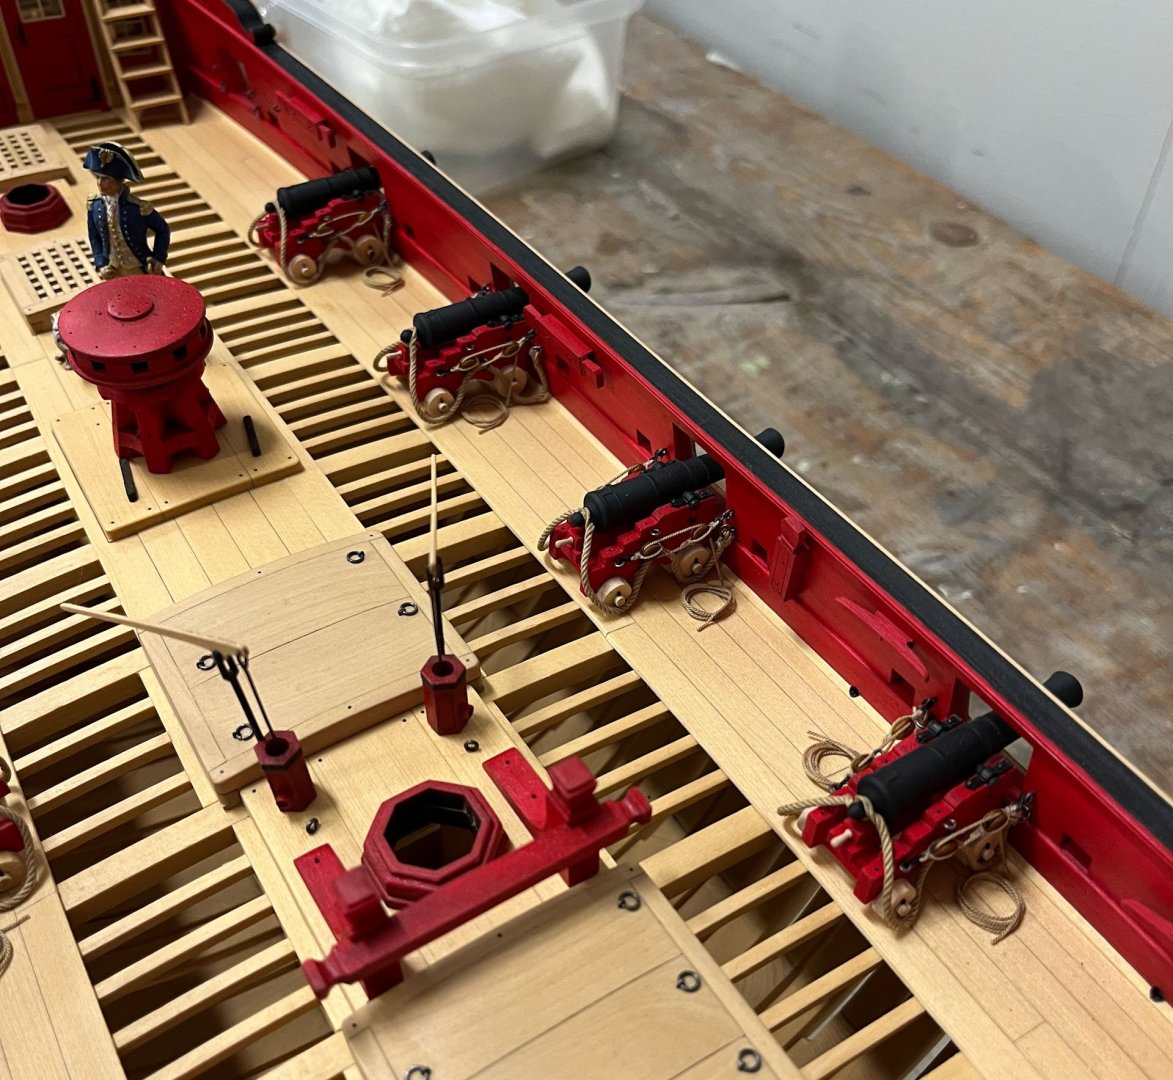
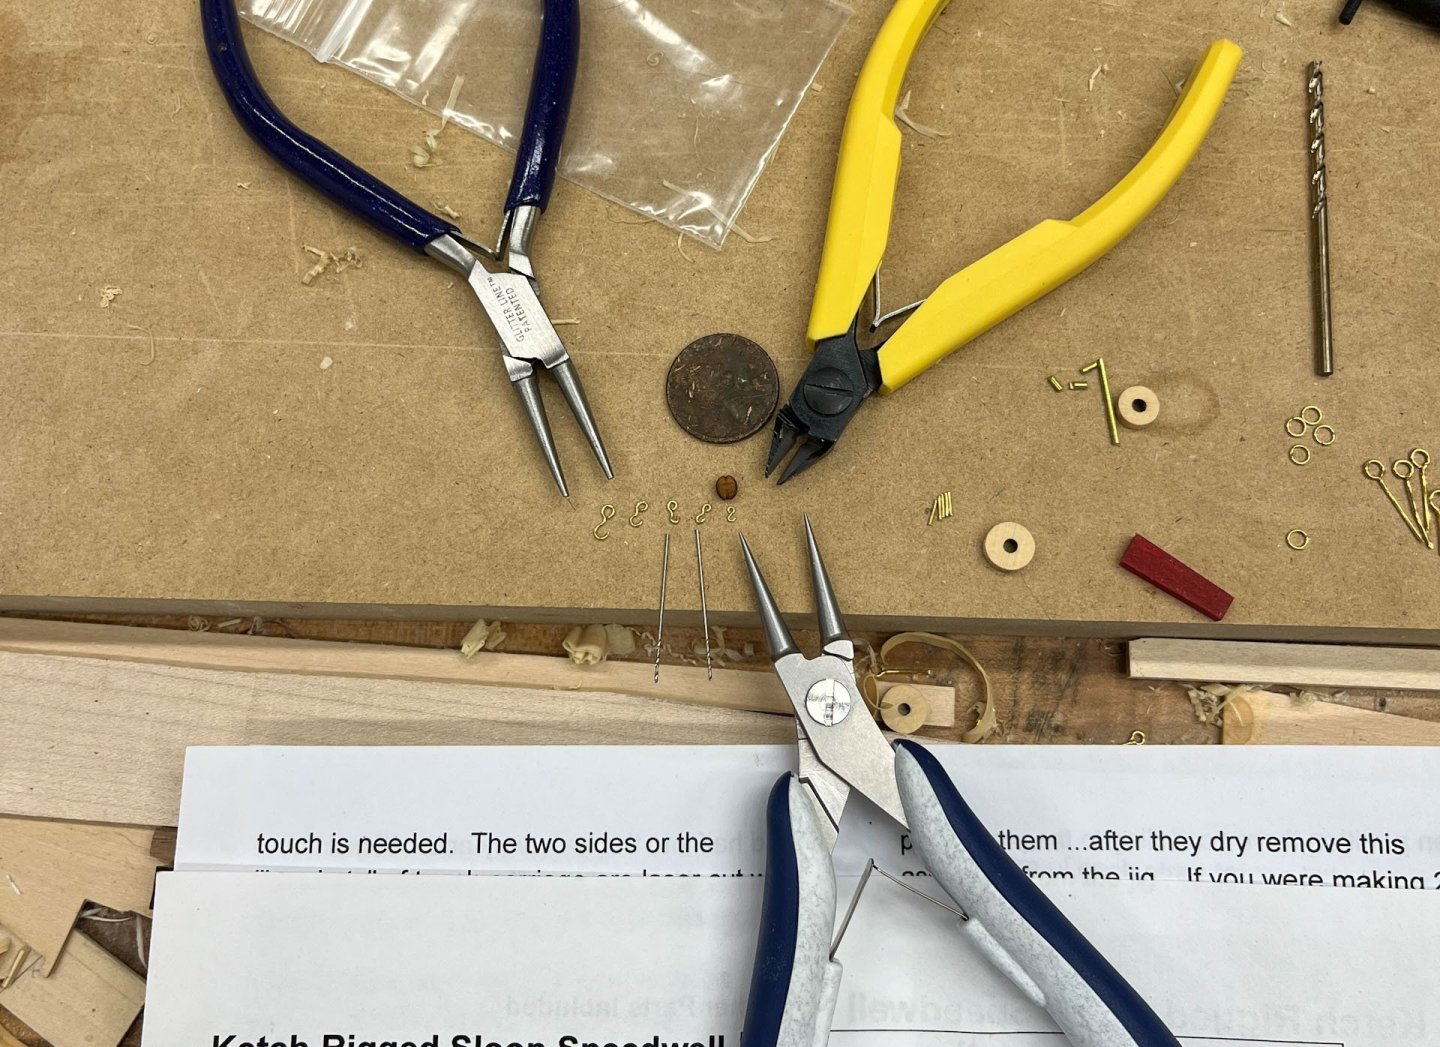
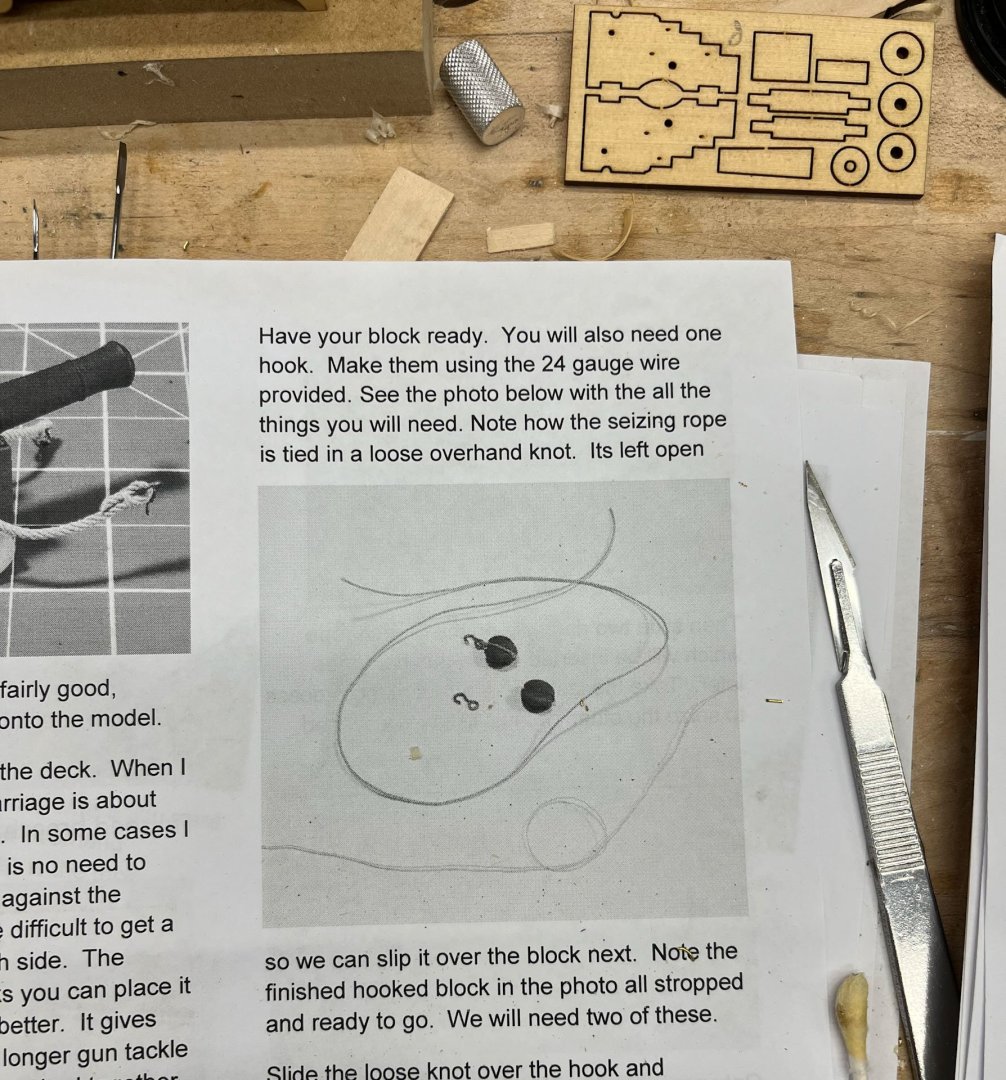
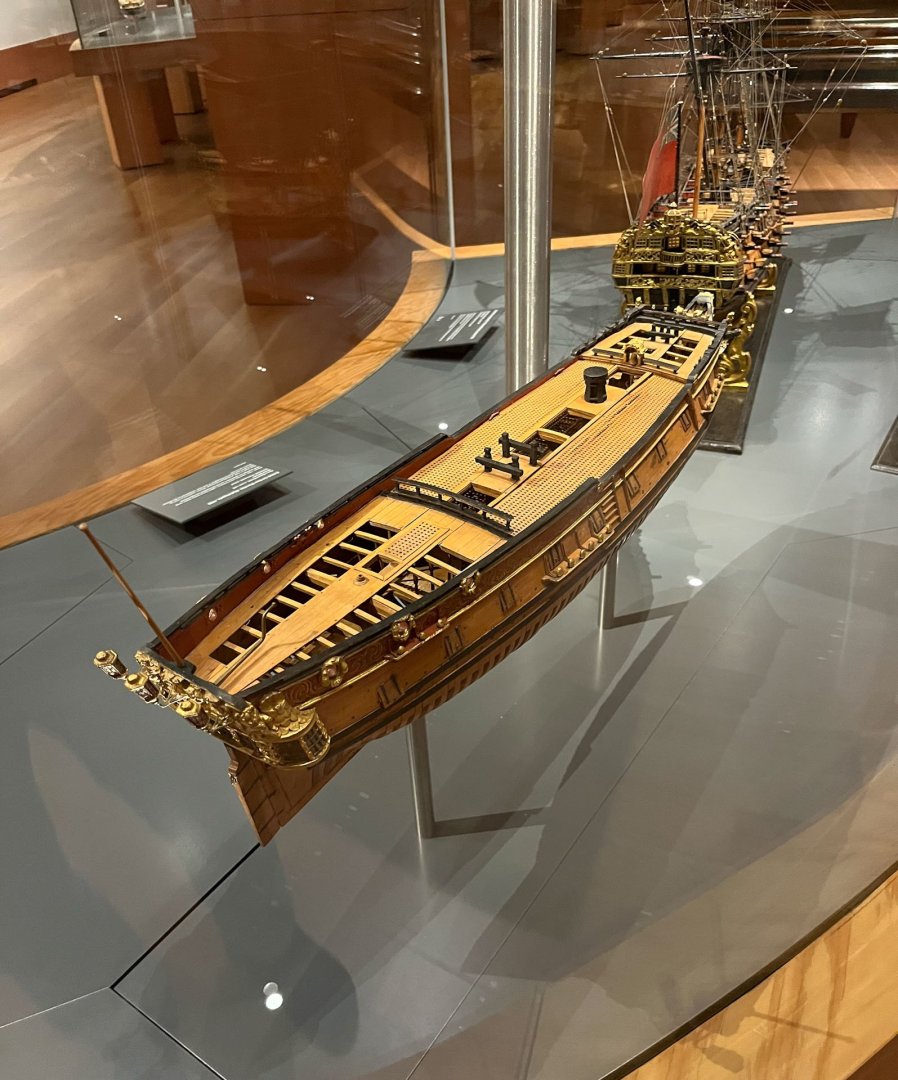
Good Evening MSW. Here in Delaware the weather has turned sweatpants and long sleeve plaid. First off I attended the last, or possibly the last so far until Chuck takes it over, Admiralty Workshops, held in beautiful Niagara on the Lake. This is a touristy town on the southern great lakes about 1 hr north of Niagara Falls. We were there off-season so it was quiet and not crowded. I flew but in hindsight should have driven. Stupid job time constraints getting in the way of my ship modeling. I landed in Toronto which was fine, got my rental car, and headed to the Art Gallery of Ontario which is about 20 minutes away with no traffic, haha. Parking was a struggle; eventually I used one of the kiosks on the side of the street and got the 3 hrs max which turned out to be plenty. If I was towing my family and kids probably not though. The floor I wanted was the Thomson Collection, a donated ship collection . All the exhibits are in flowing glass display cases. There are a lot of ships here, about half more modern metal ones, a quarter bone ships, and a quarter 17th-18th century. I always feel its a worthwhile trip if one thing speaks to you; here I really really liked the 24 gun navy board style Nightingale, 1:48. One i could see (someday far in the future) attempting to build. The Surly was there, I believe a close cousin to Cheerful. The rest of the museum is devoted to non-ship objects. The first floor has an incredible section of carved ivory and 17-18th century carved miniature wooden objects that defy belief. Many are carved on the inside; ie hollowed out balls with a level of detail and miniature-ism I would not have thought humanly possible. So don't go to this museum if you are a carver; you will leave depressed. The workshop itself was 2 days of comradery and socializing with fellow inmates. Chuck provided laser cut sections of futtocks that we glued together, then faired. One side was admiralty-style, the other side natural. Below is 2 of my sections being glued up; the final section had 4 "ribs." Here's a view during my 10:30am coffee break. Thank you Toni for letting me repeatedly borrow your scalpel. On the second day David gave some presentations on techniques. I had asked Chuck about how he formed the tiny hooks and eyebolts and rings on the Battlestation and this led to a demo. Chuck conveniently brought his Speedwell model and each time I look at it I see something new and challenging to replicate I missed the last time. Here's the cannons: David made some super-tiny rings from brass wire that I needed glasses to even see. I realized some purchases were in order. Clearly if I used the same tools as David I would magically achieve the same skill level. Here's what I wanted to do - make hooks that were proportional to the blocks Chuck supplied with the kit. To me the hooks look smaller than the blocks; ludicrously tiny. The pictures are deceptively magnified and I had spent some quality time before the workshop happily making giant-sized hooks. Once I got my new tools things were better. Purchases were: 1) teborg 46.9590 round nose pliers 5-1/2" long. Tips are a hair bigger than 1/64" diameter. My old set the tips were 3/64". 2) parallel jaw pliers, from Amazon. Very helpful squeezing rings shut and making bent wire flat. Generic made-in-pakistan. 3) Lindstrom flush cutting cutters #8147. My old ones were not flush and left a "beak" on all the wires I cut Below are my attempts to make hooks, left to right. I had tried my original round nosed pliers; huge hooks, then wrapping the wire around progressively smaller drill shafts which was very awkward and still were too big. With the new pliers I finally got a hook smaller than the block; Huzzay! I also ordered some smaller brass wire, 28 and 30g, which Chuck said will make it easier to form small parts. And thats where things stand tonight. Now I need to re-make my giant eyebolts and rings to a proper smaller dimension and then finally on to rigging the cannon. Thanks for reading Cisco


- 28 replies
-
- 16
-

-
-
- Speedwell
- battle station
- (and 1 more)
-
That looks great! Thank you for including your build process; its what is most interesting to us readers i think
- 32 replies
-
- 3
-

-
-
- NRG Capstan
- NRG
- (and 1 more)
-
JKC27 - i visited the museum on Tuesday. Driving in downtown Toronto wasnt much fun and the traffic on the highways around the city was also dense and unlovely. After driving aimlessly looking for nearby parking garages (all of which were tiny and full) i paid the street kiosk meter 15$? for 3 hrs and was 2 blocks away, which is what i should have done from the start. I only have 2 hours of focus anymore so that was enough time for me; the museum ship collection is Amazing and the carved wood/ivory wing was also pretty unbelievable. definitely worth the work getting there.
-
Donna there have been rumors your table saws are able to be purchased again?
-
Excellent planking sir! looks great