LyleK1
-
Posts
541 -
Joined
-
Last visited
Content Type
Profiles
Forums
Gallery
Events
Everything posted by LyleK1
-
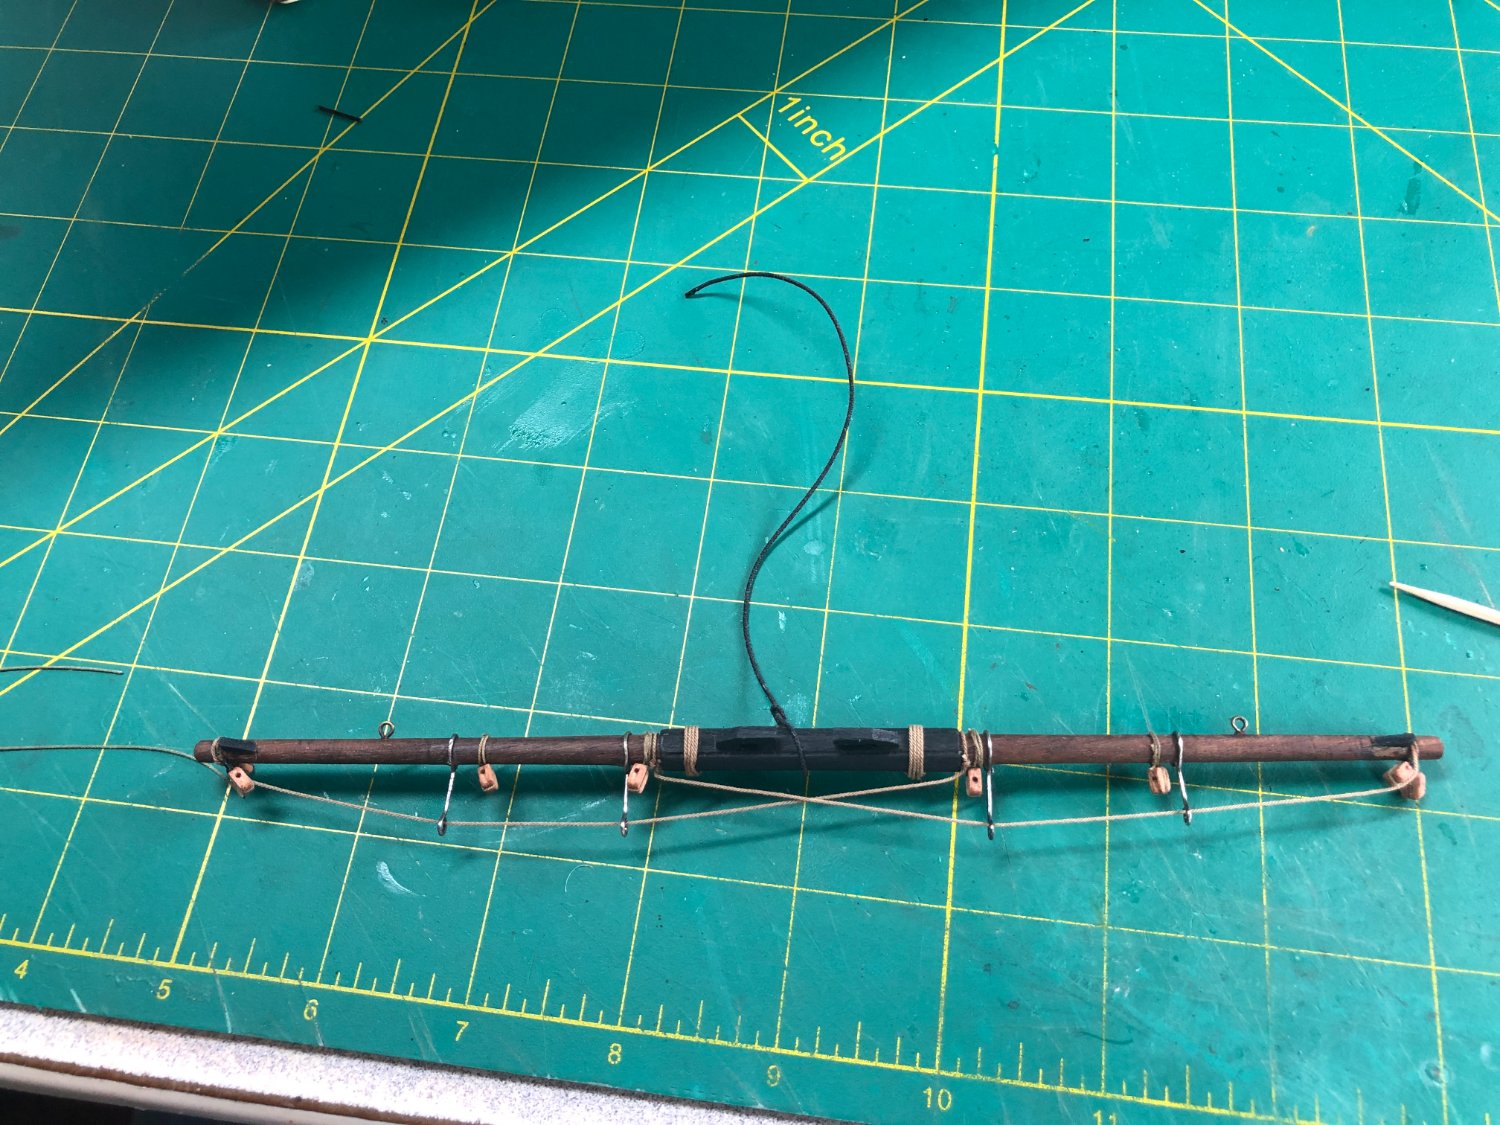
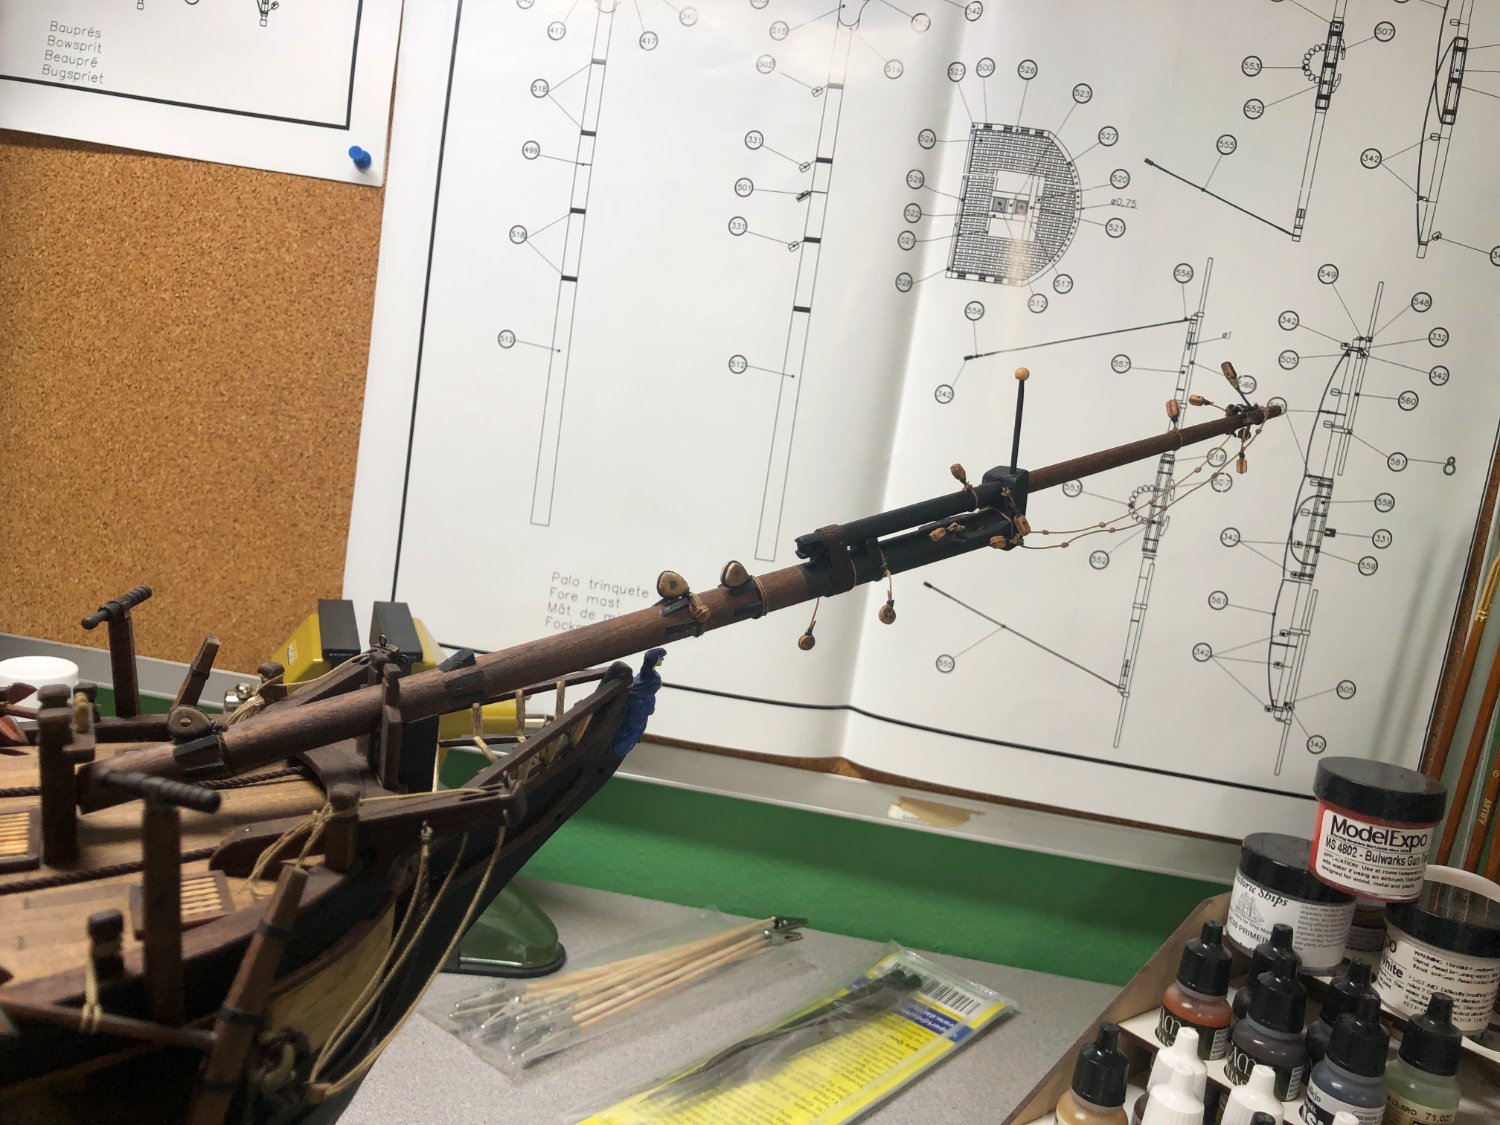
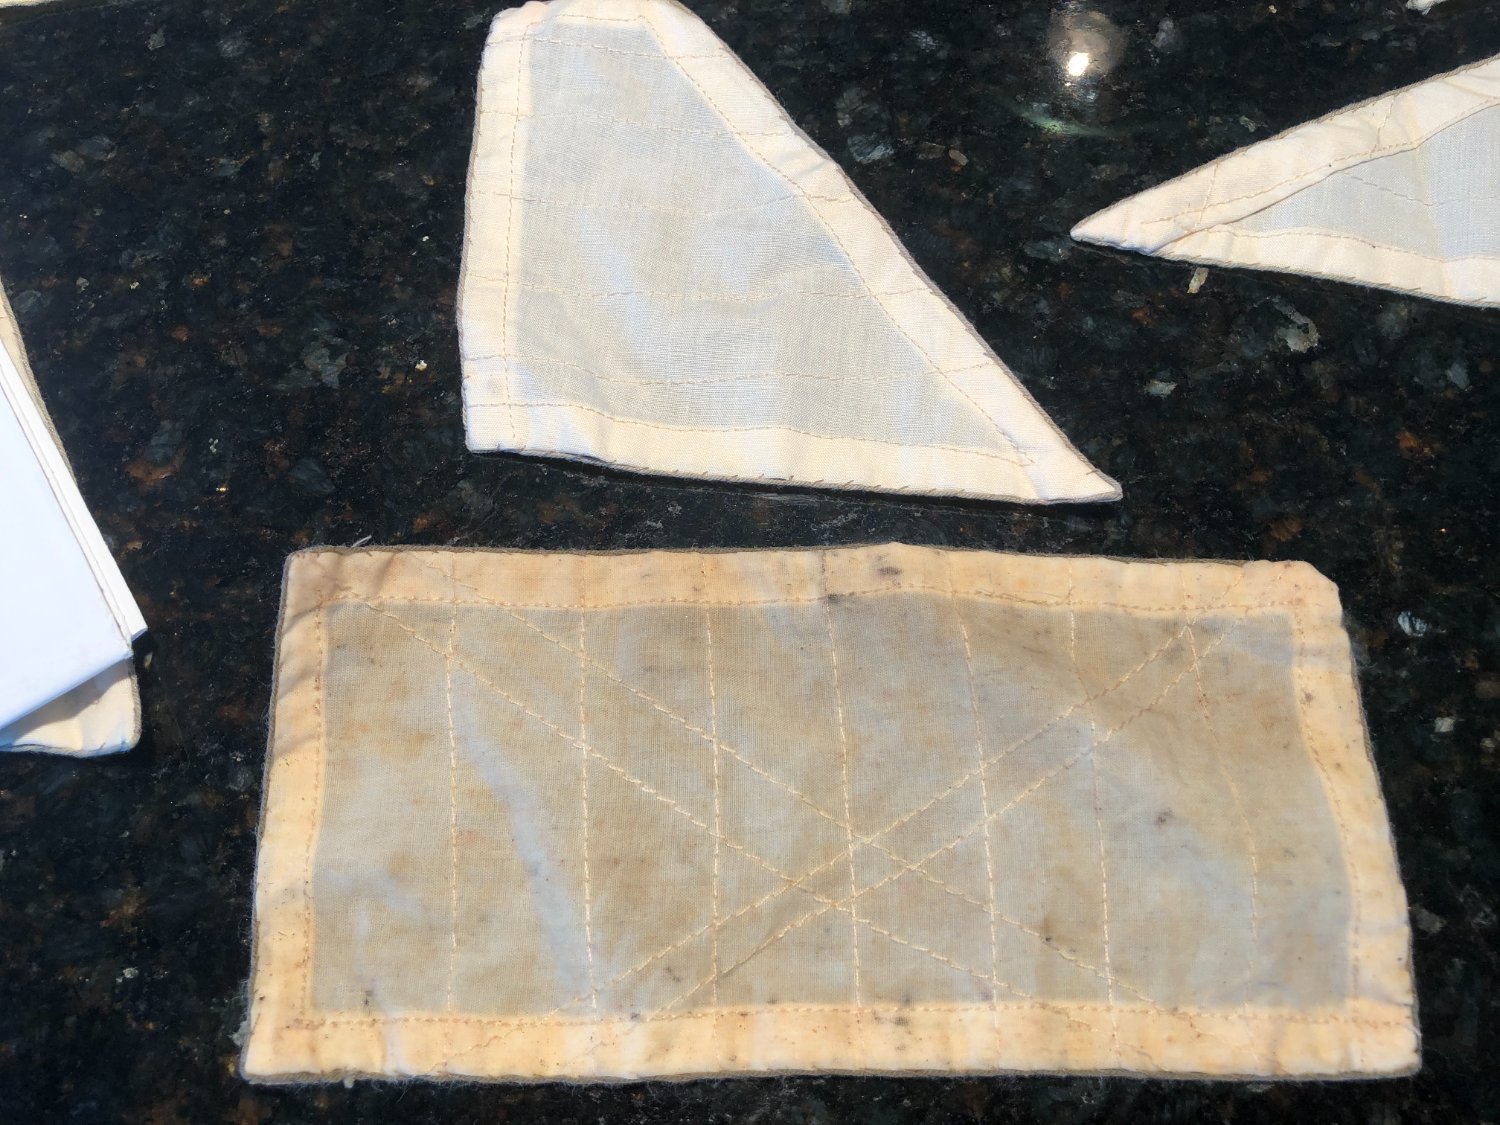
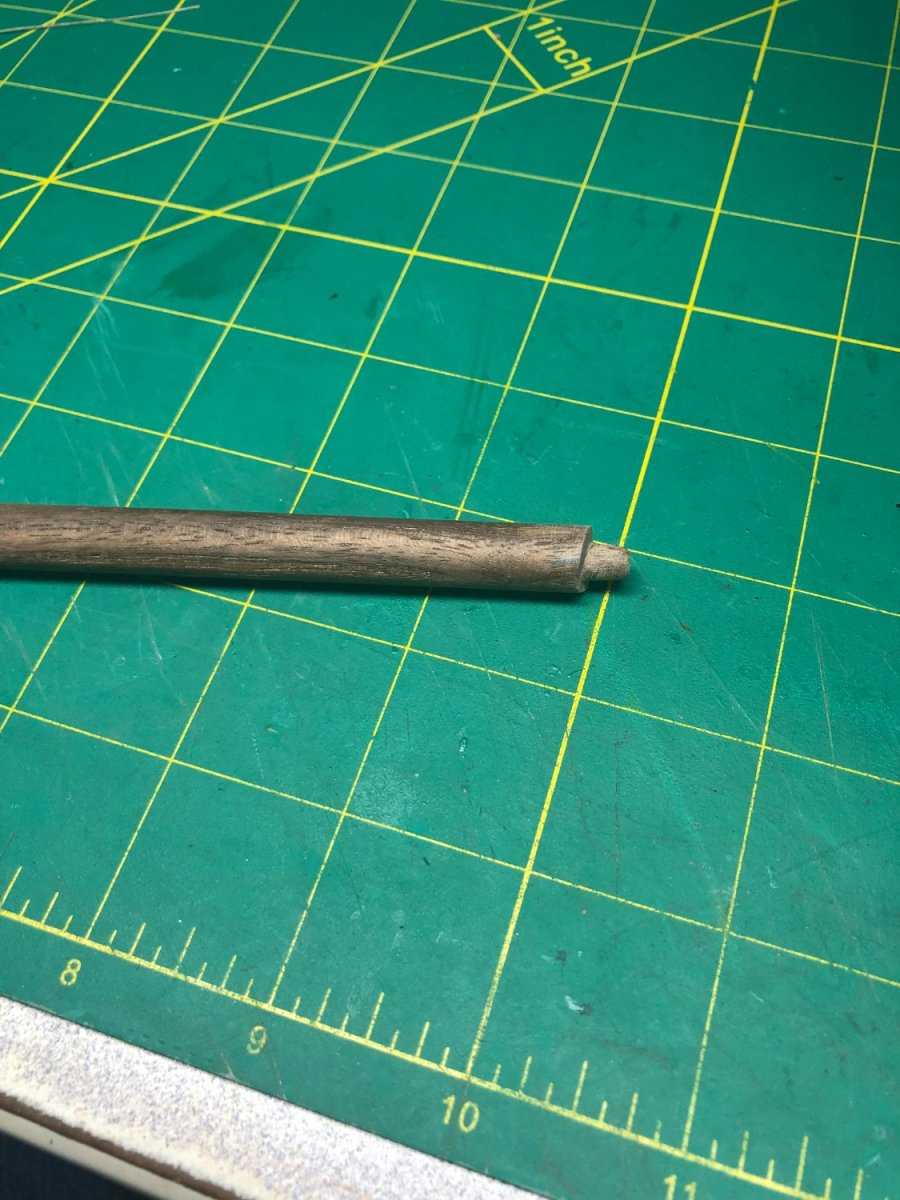
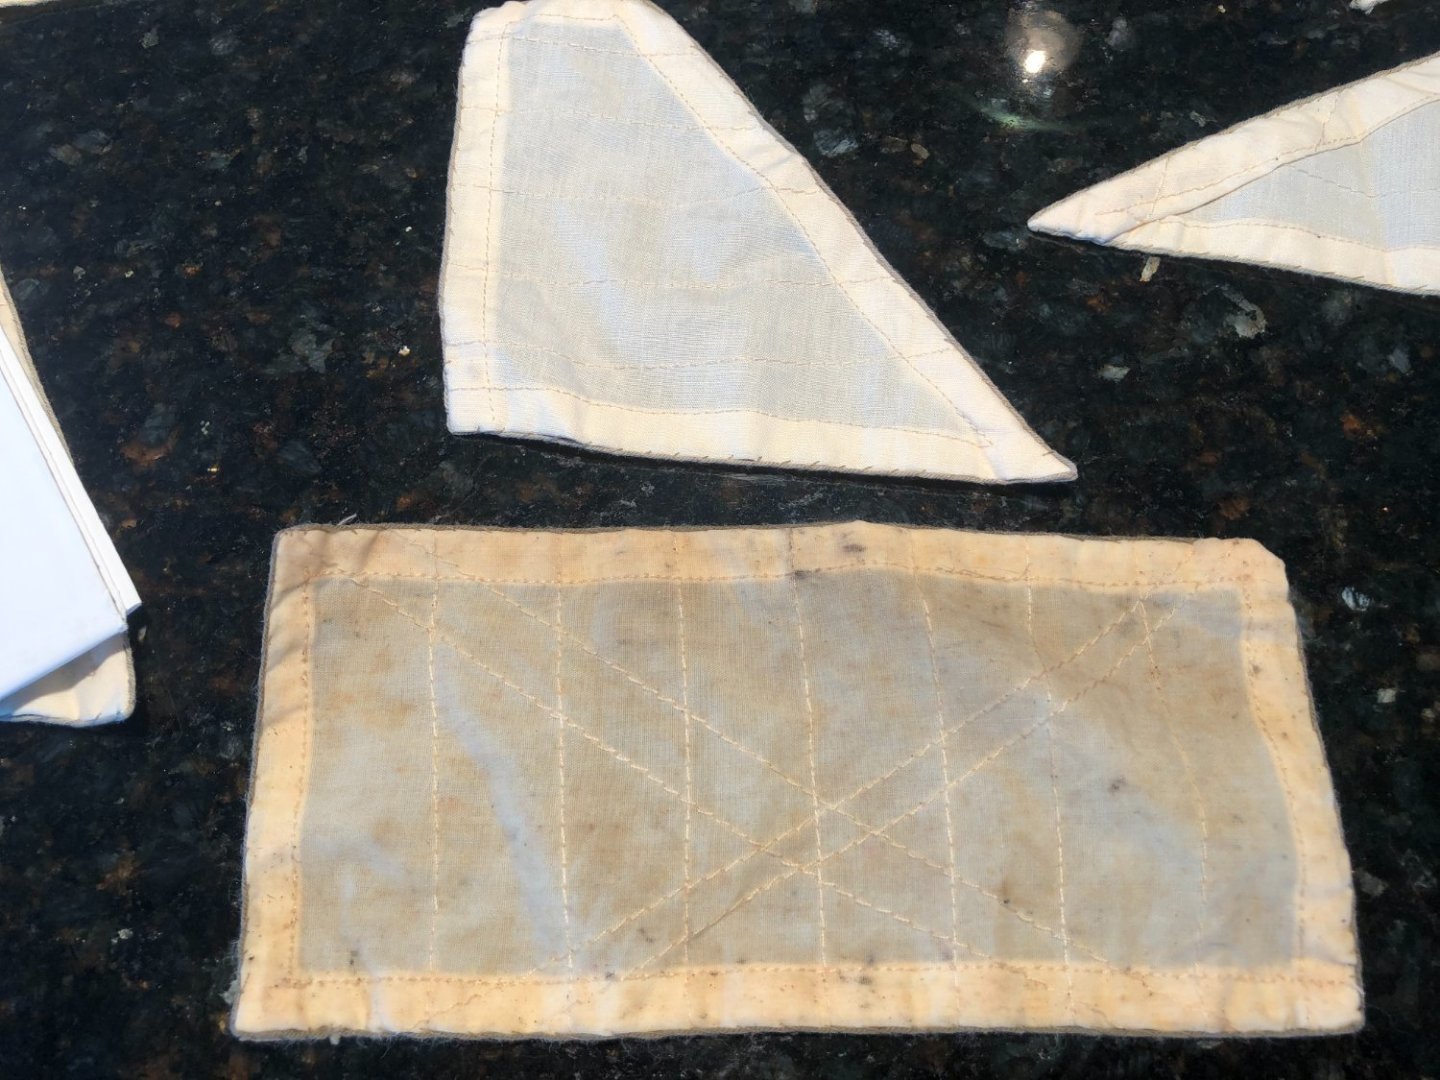
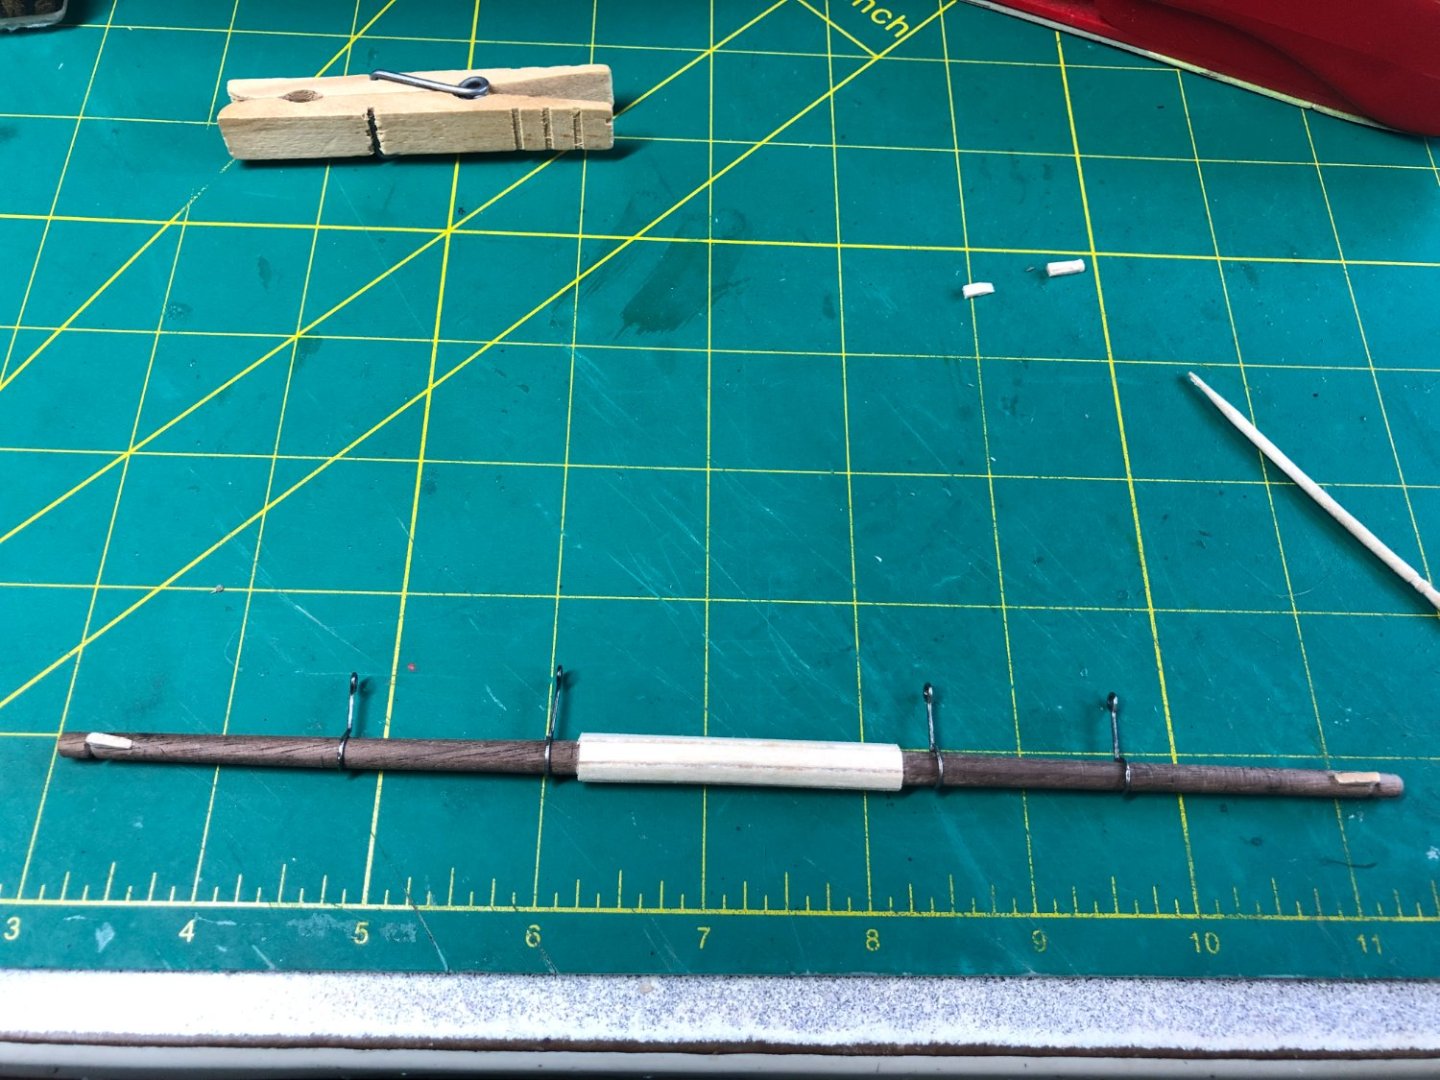
 So many details to think through before moving forward! Final decision on the the sails is to mount them in what some have called a "Dry Set". I've only seen this reference in a couple of places, so, I'm not sure that the name is correct. Essentially, rather than fully furled sails, some and maybe all will be partially furled in a manner that was used to allow the sails to dry while in port or on anchor. This particular set-up will still require most, if not all of the running lines to be in place. Now that I have that nailed down, I can move forward with the work. I finished the spritsail yard and it is ready for the sprit sail: Speaking of the sails, coming to a method of aging them has been an exercise in patience... mostly in weeding through the different methods available and deciding on which one will work best for this build. I finally found one that I like and did the sprit sail using that method. Pictured below is the sprit sail (front and back) aged and another sail to show the difference: I love the uneven color and some of the splotchy areas! I'm not sure the photo's do it justice... The method used will be detailed with some pictures in my next update but I am pleased with the final product. I mounted the bowsprit too: Any opinions on the sail aging?


-
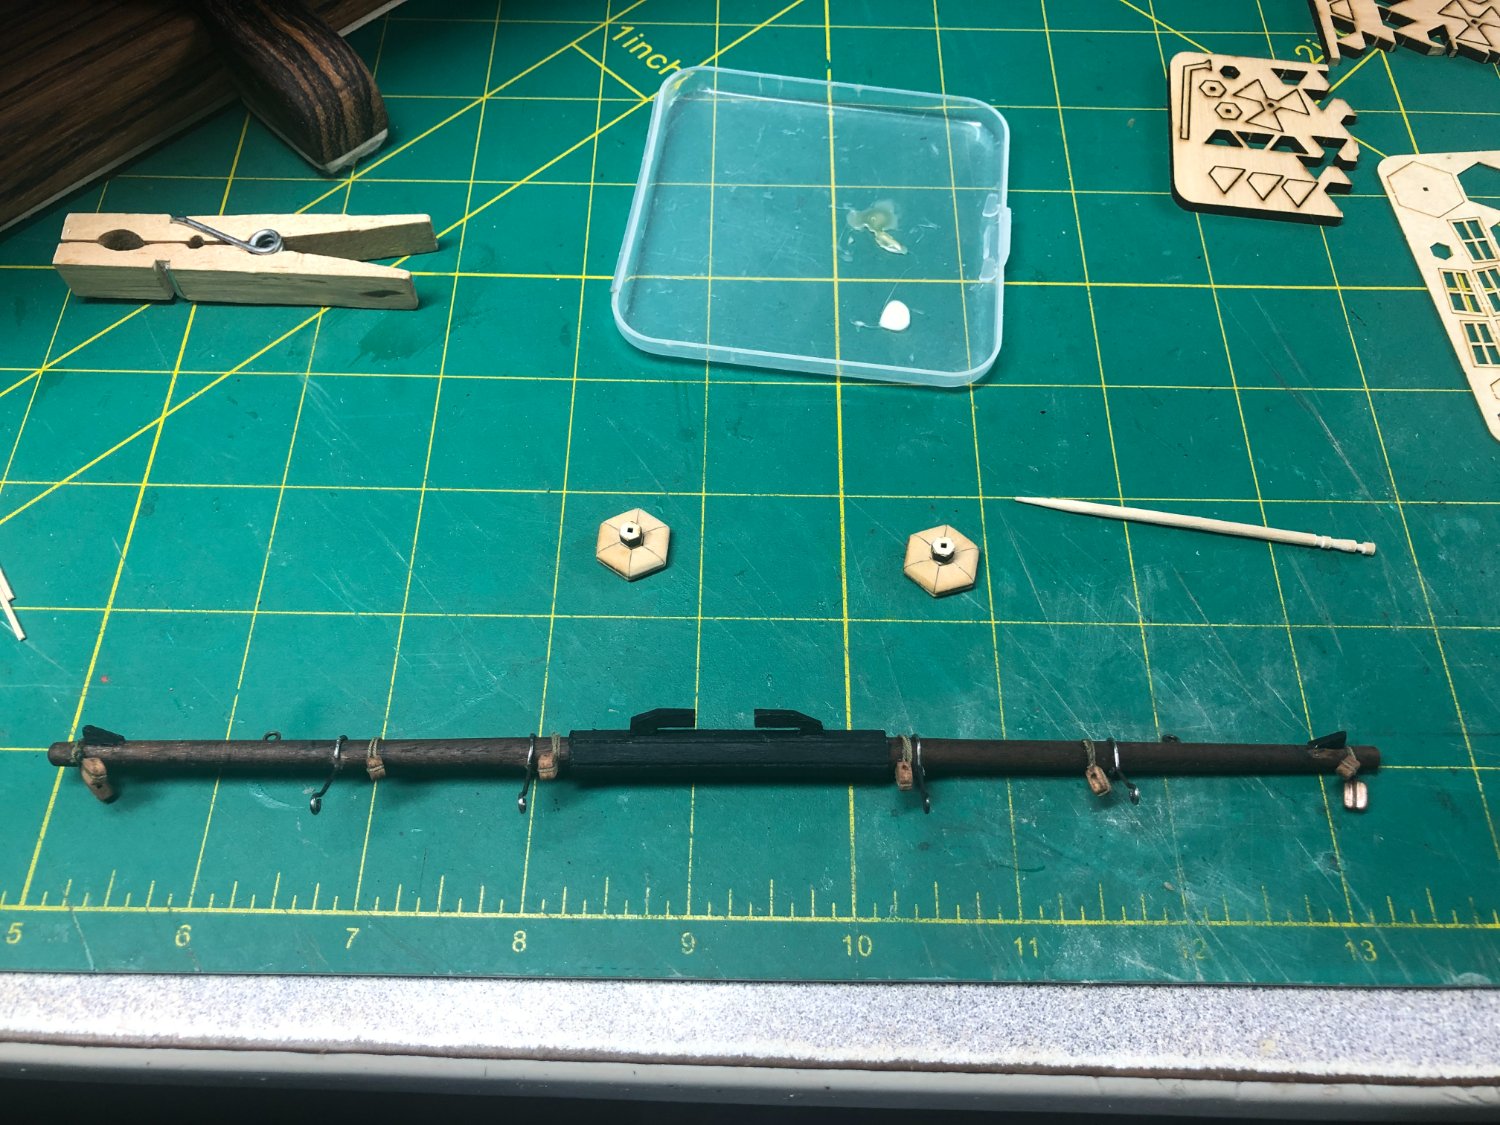
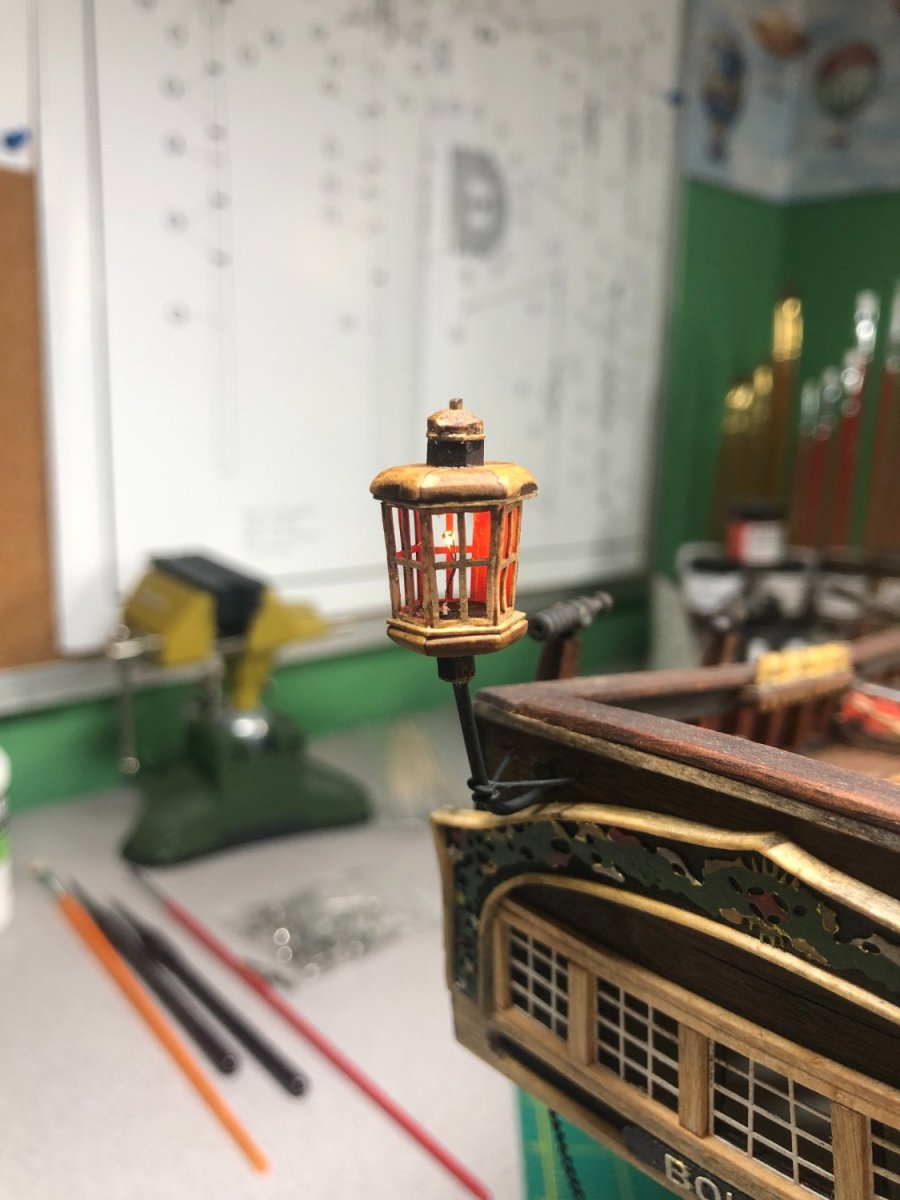
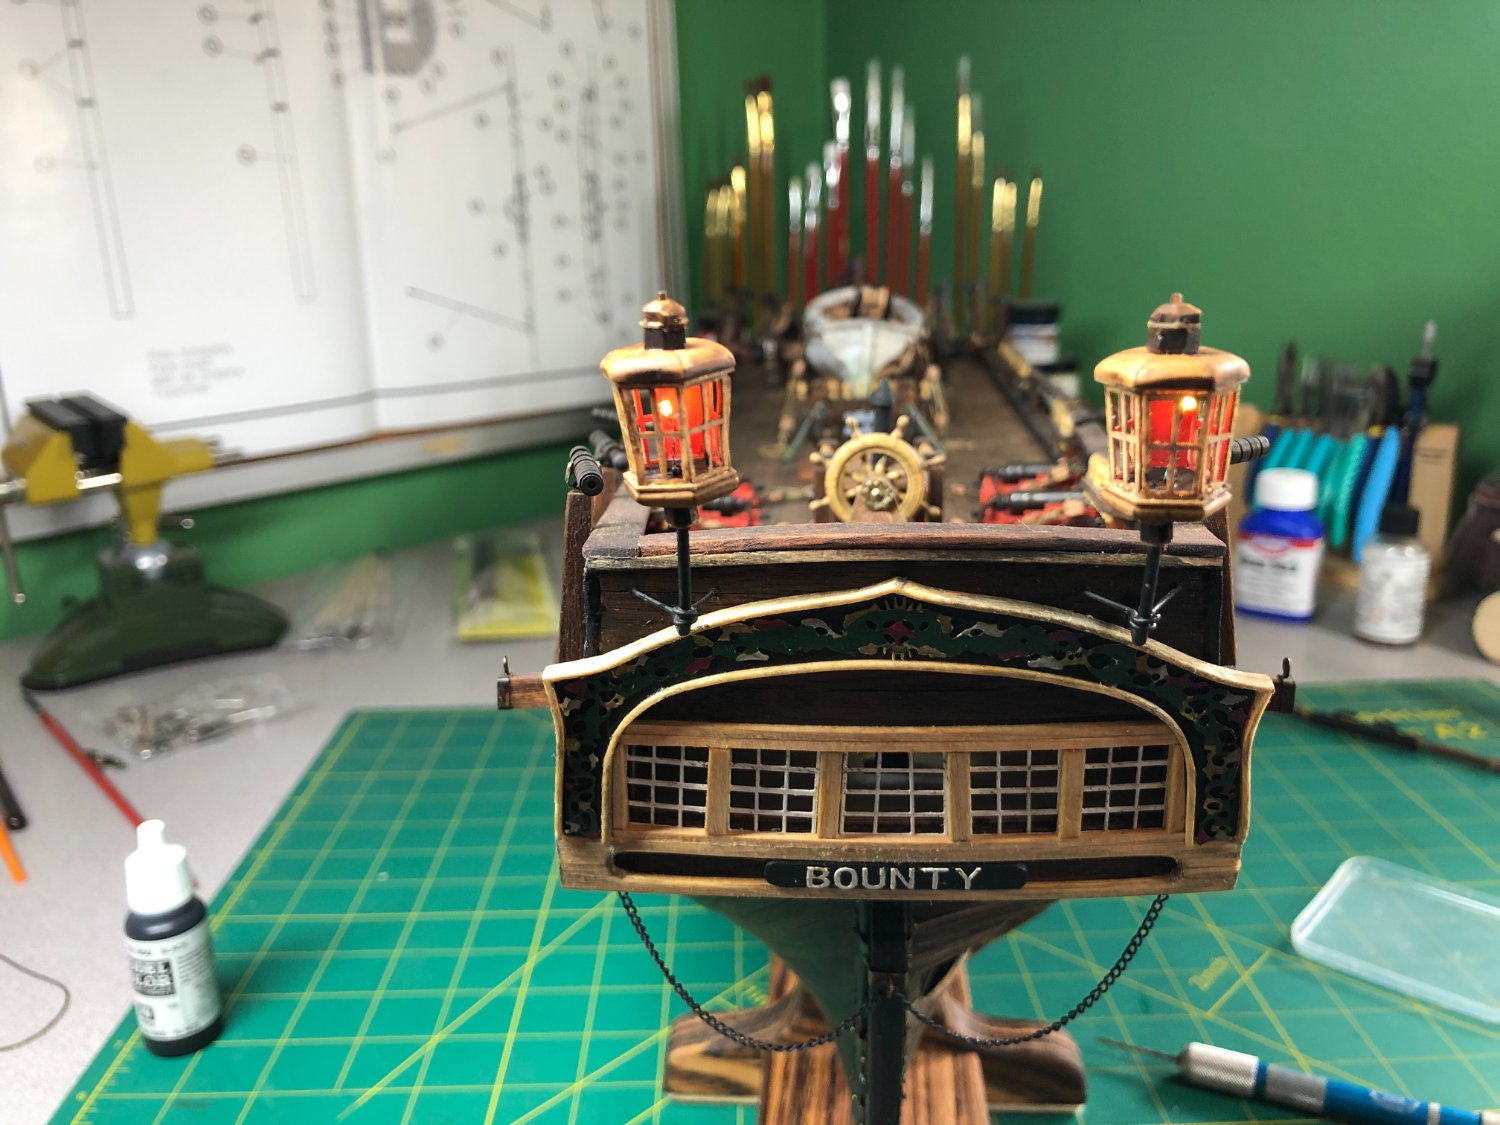
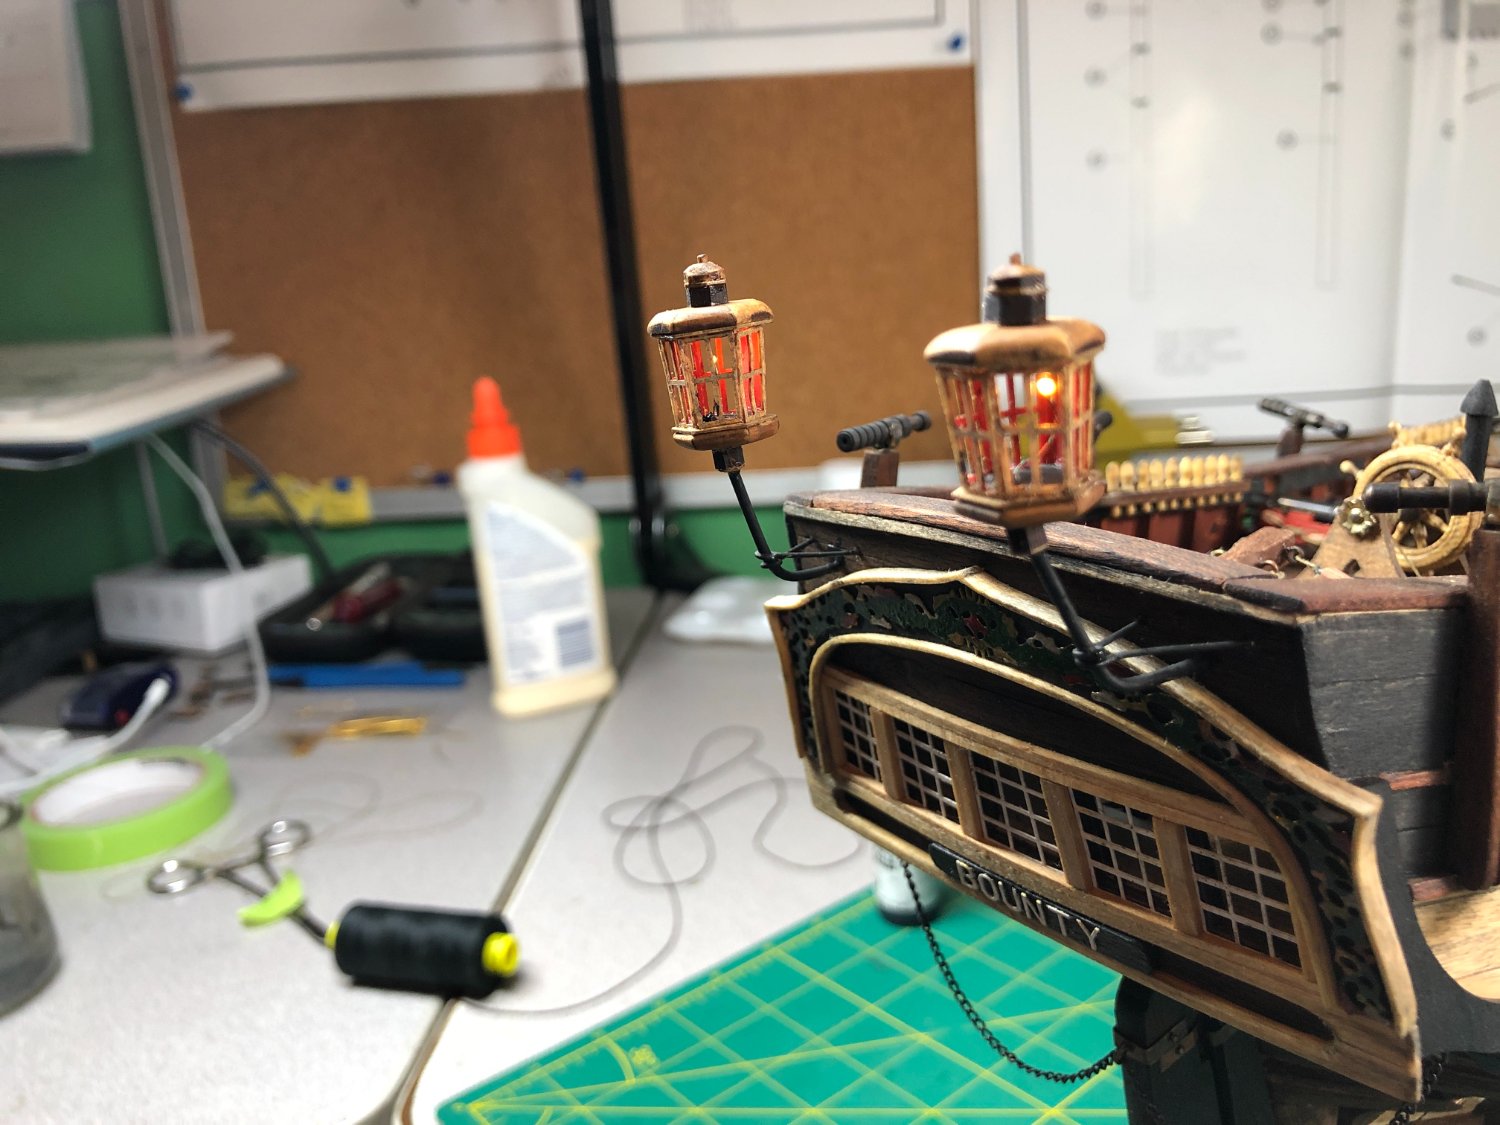
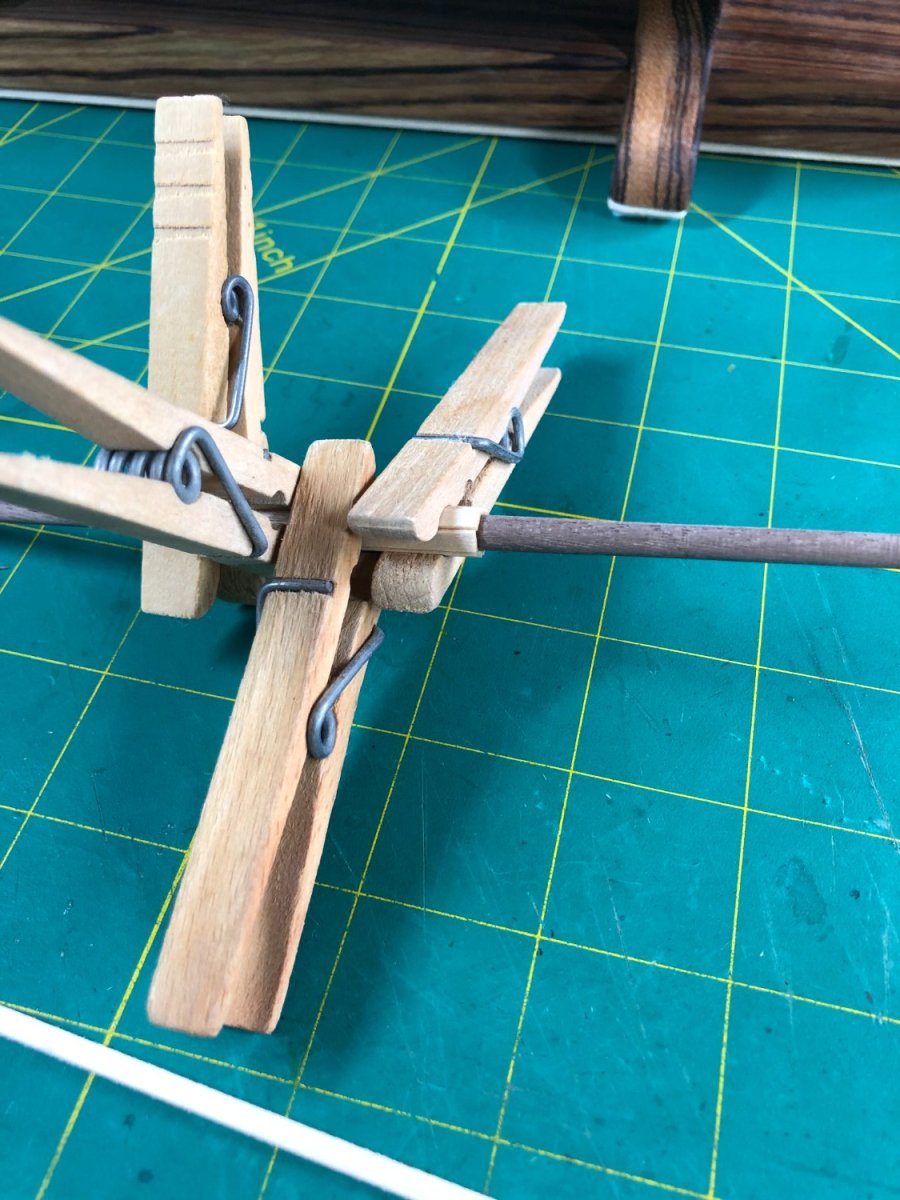
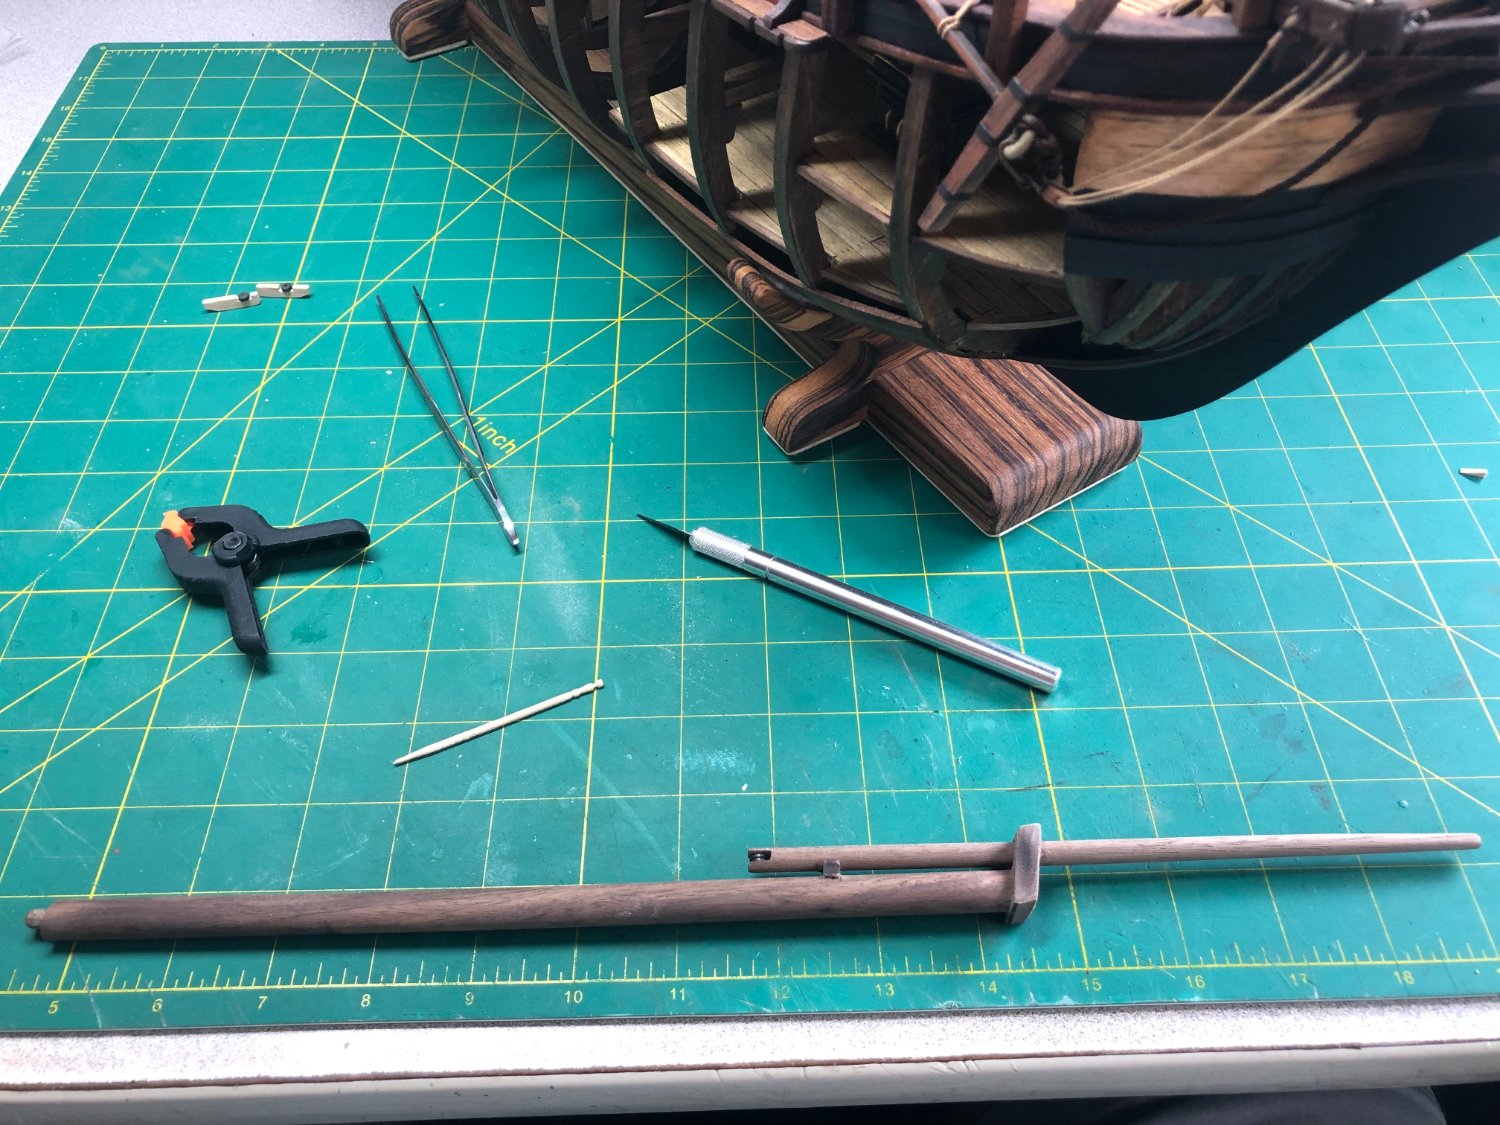
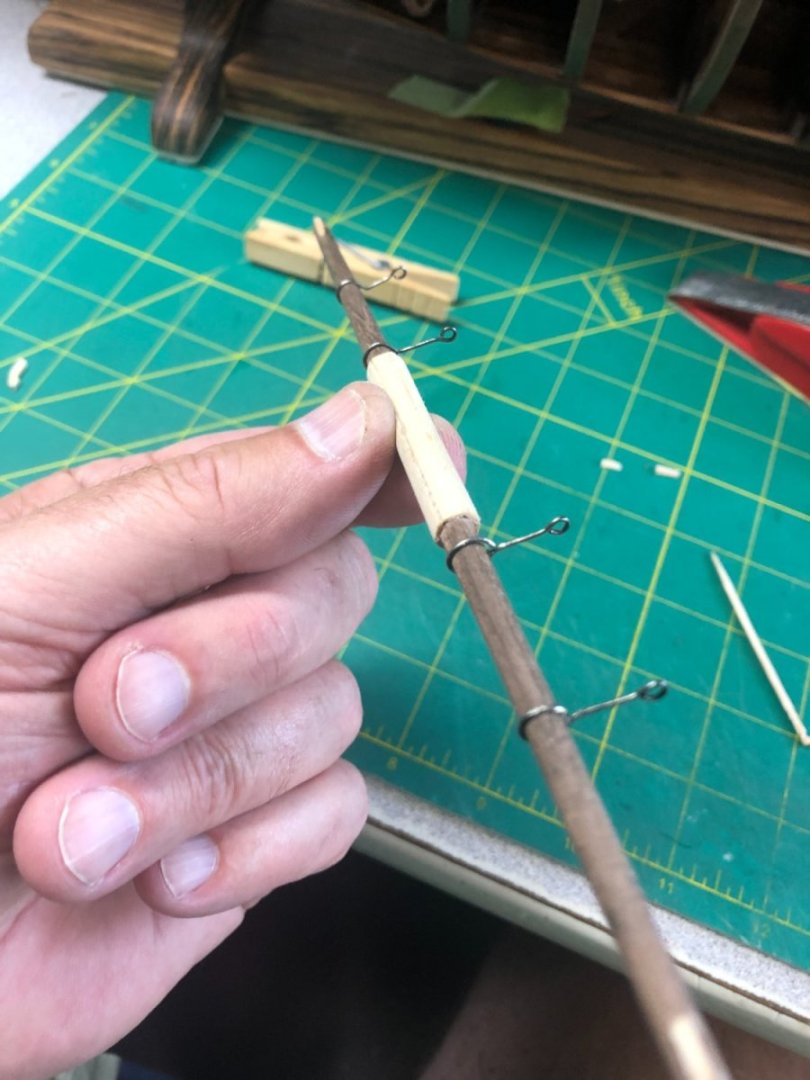
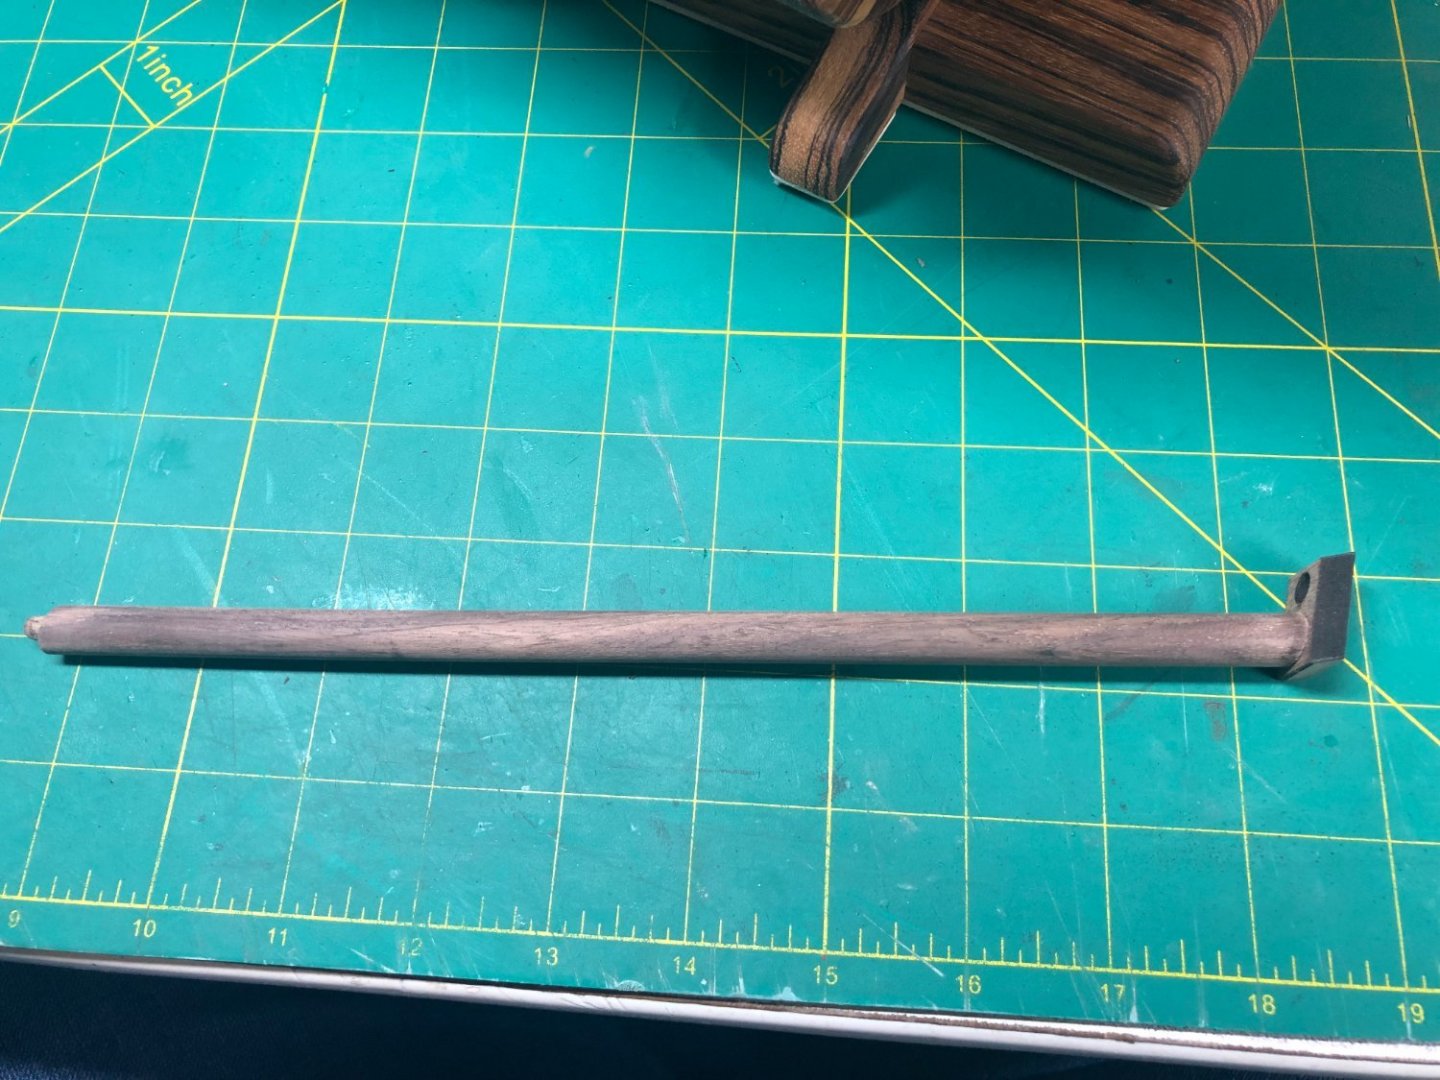
Spritsail yard is done except for the parrel... waiting on some clamps to help with serving the line necessary for the parrel. Should arrive later today: Notice the lamp tops... I finished the stern lamps. I think they turned out better than the ones provided in the kit: I decided early on that I am going to display the Bounty with furled sails. I purchased silkspan to make the sails since the provided sails are way too bulky for furling. I need to do some research but it seems to me that it would be best to furl the sail to the yard before mounting it to the mast ( or bowsprit, in this case).I also need to understand the lines that need to be attached, etc. So, I'll update things once I get a clue! Any suggestions or guidance is welcome!


-
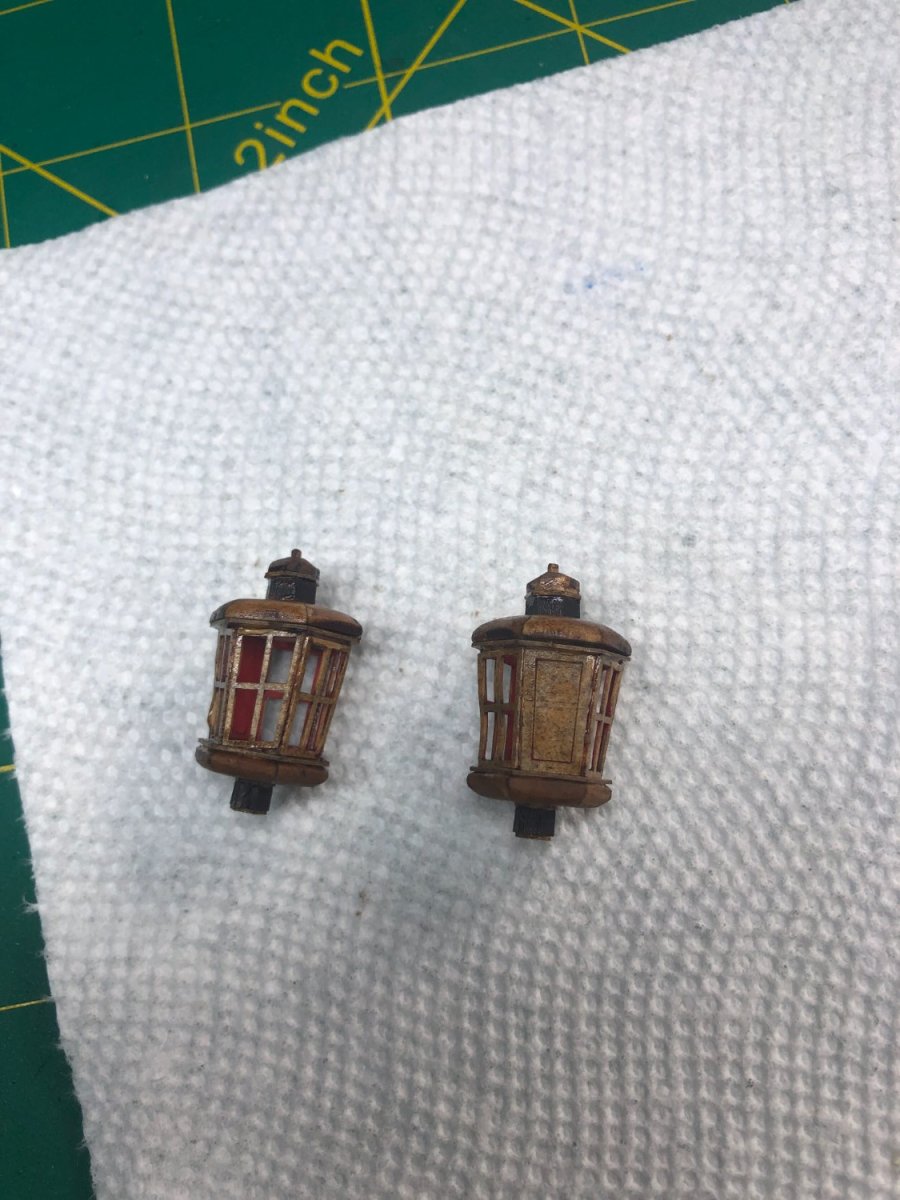
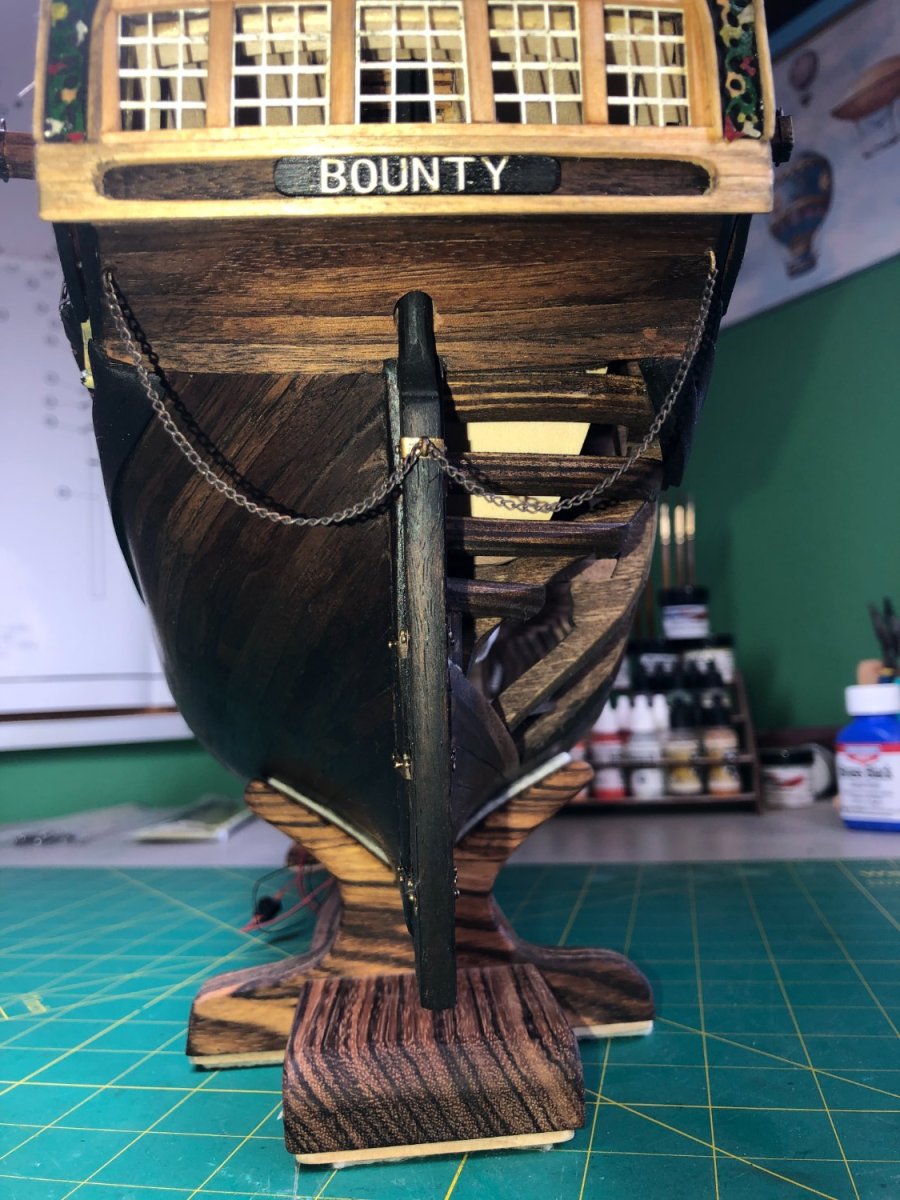
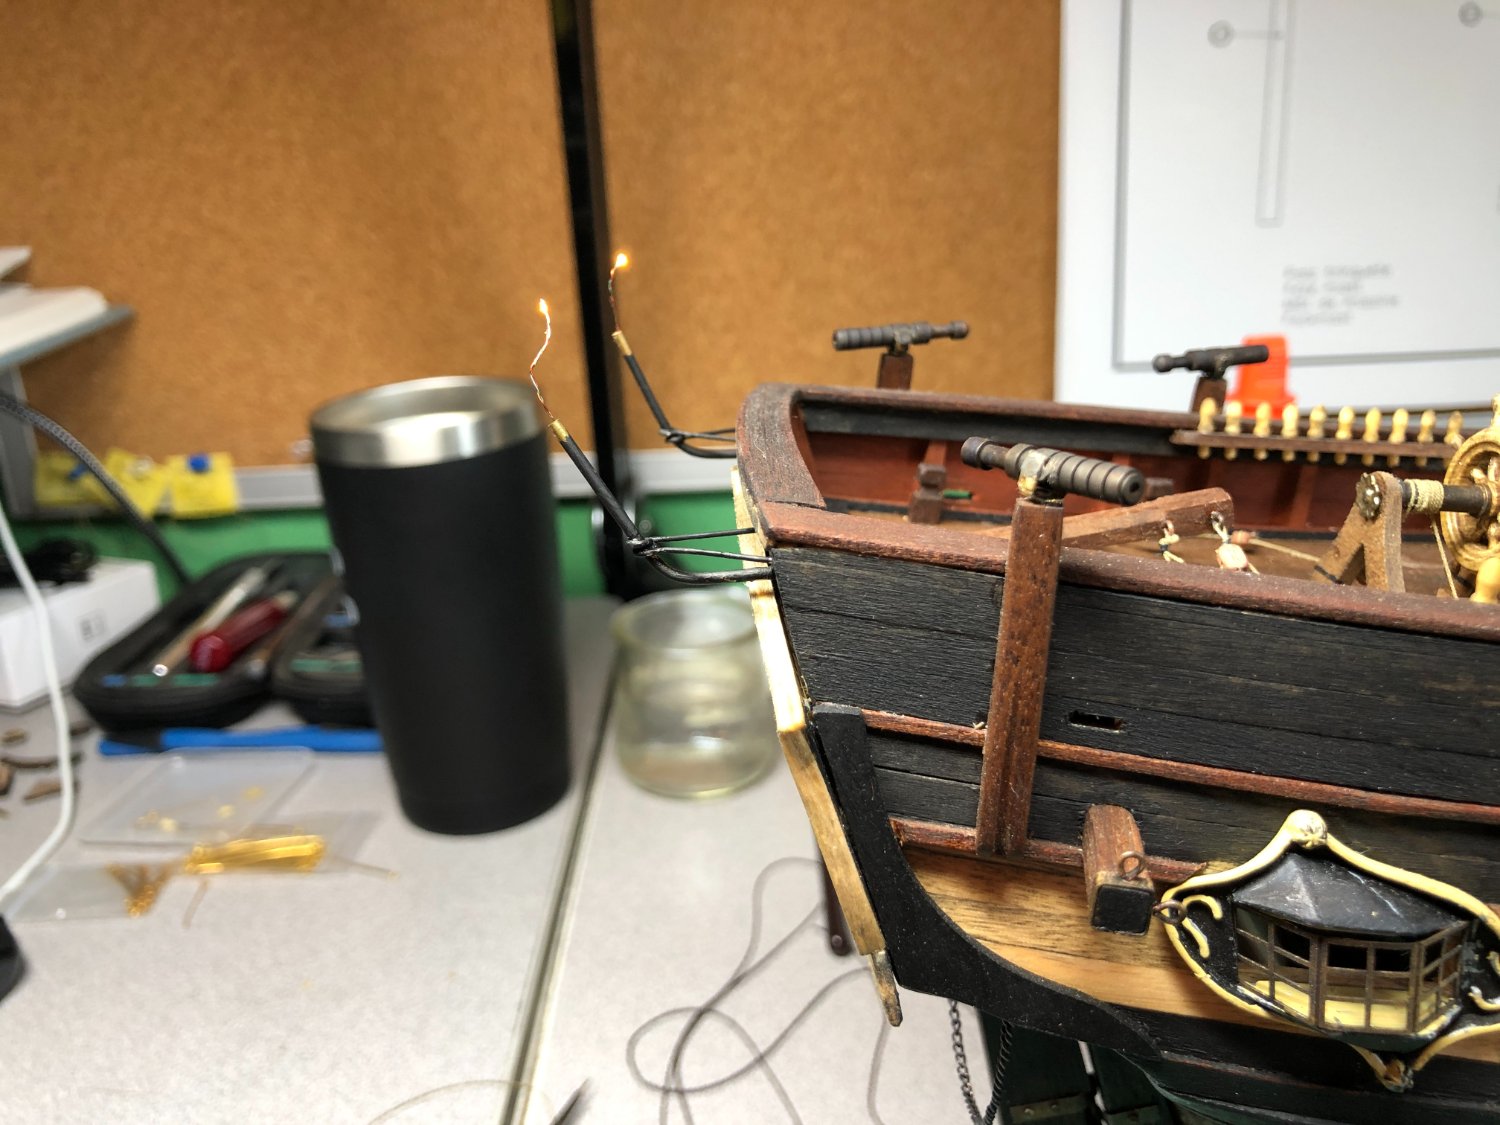
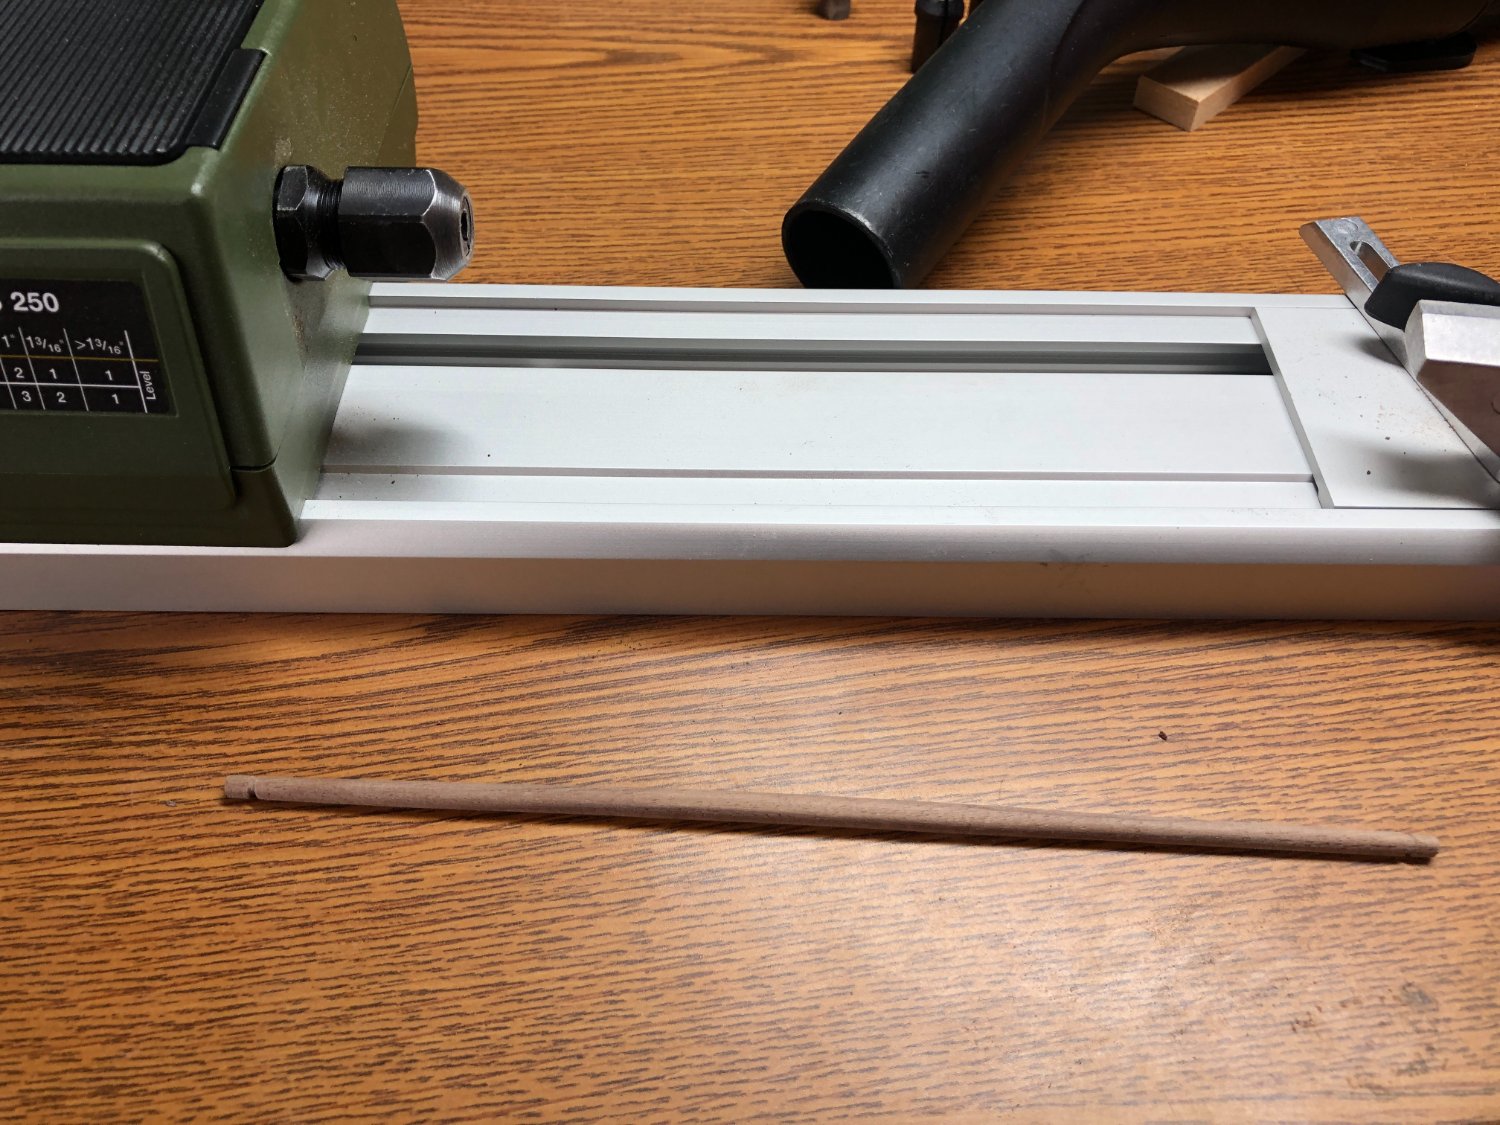
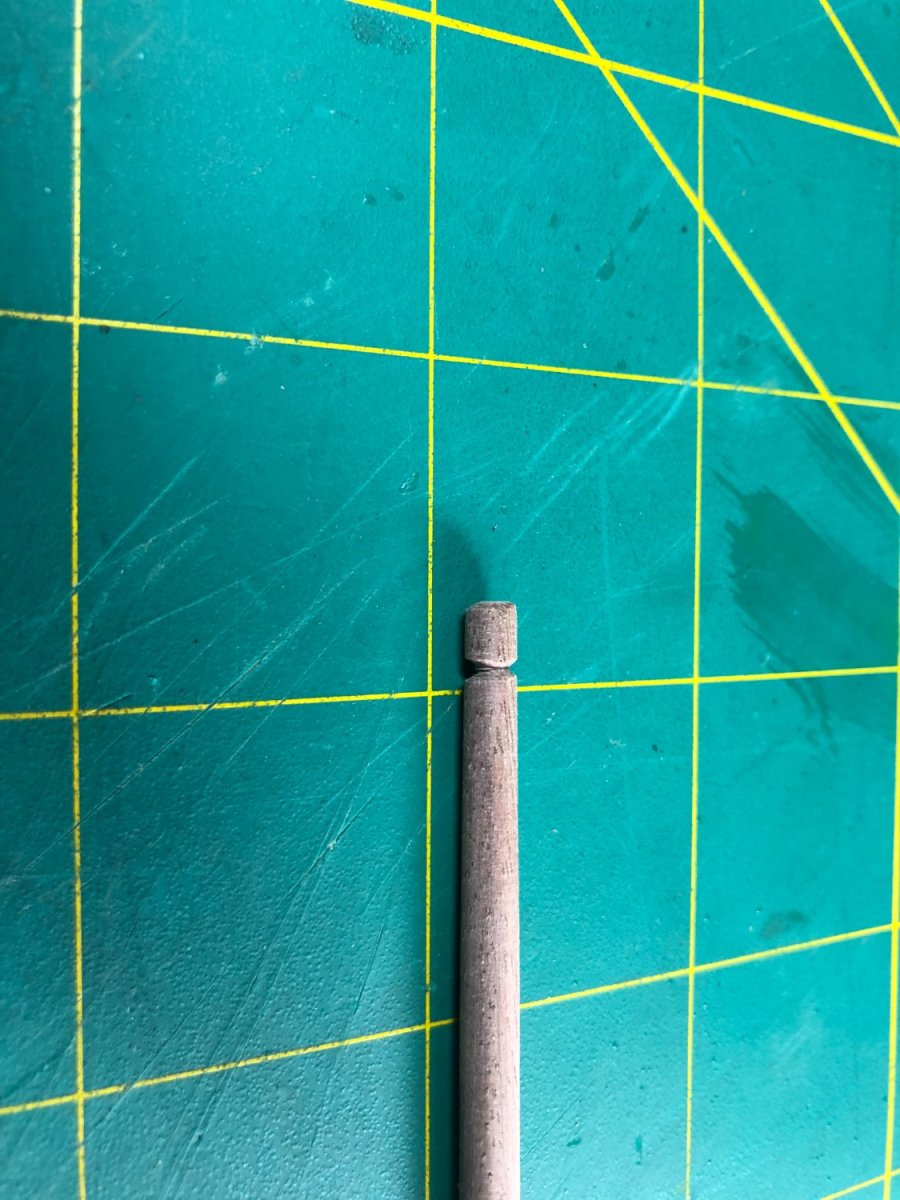
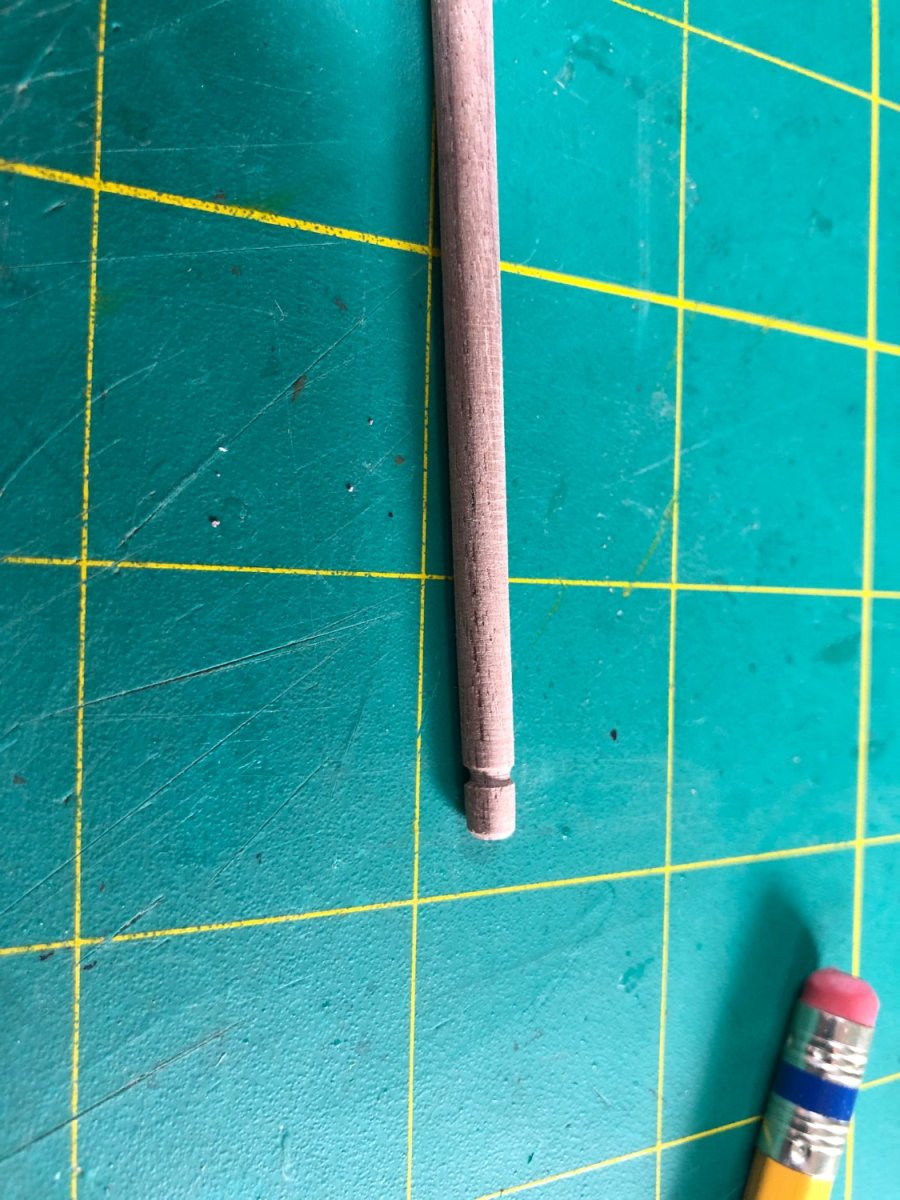
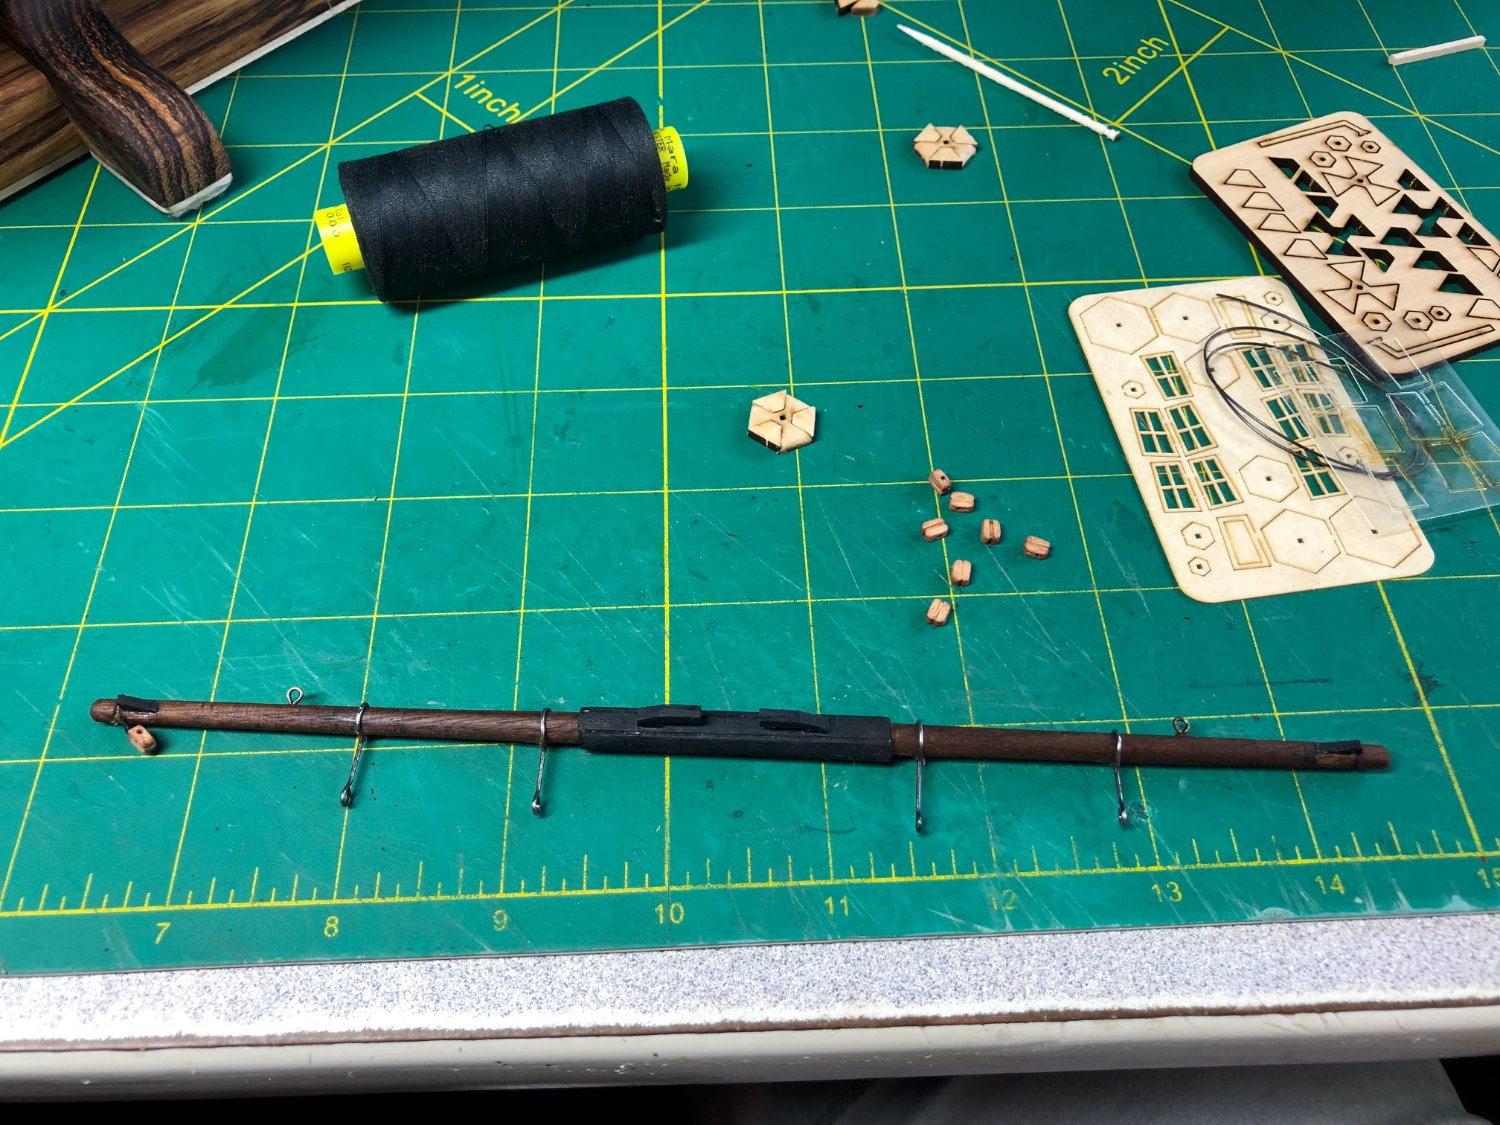
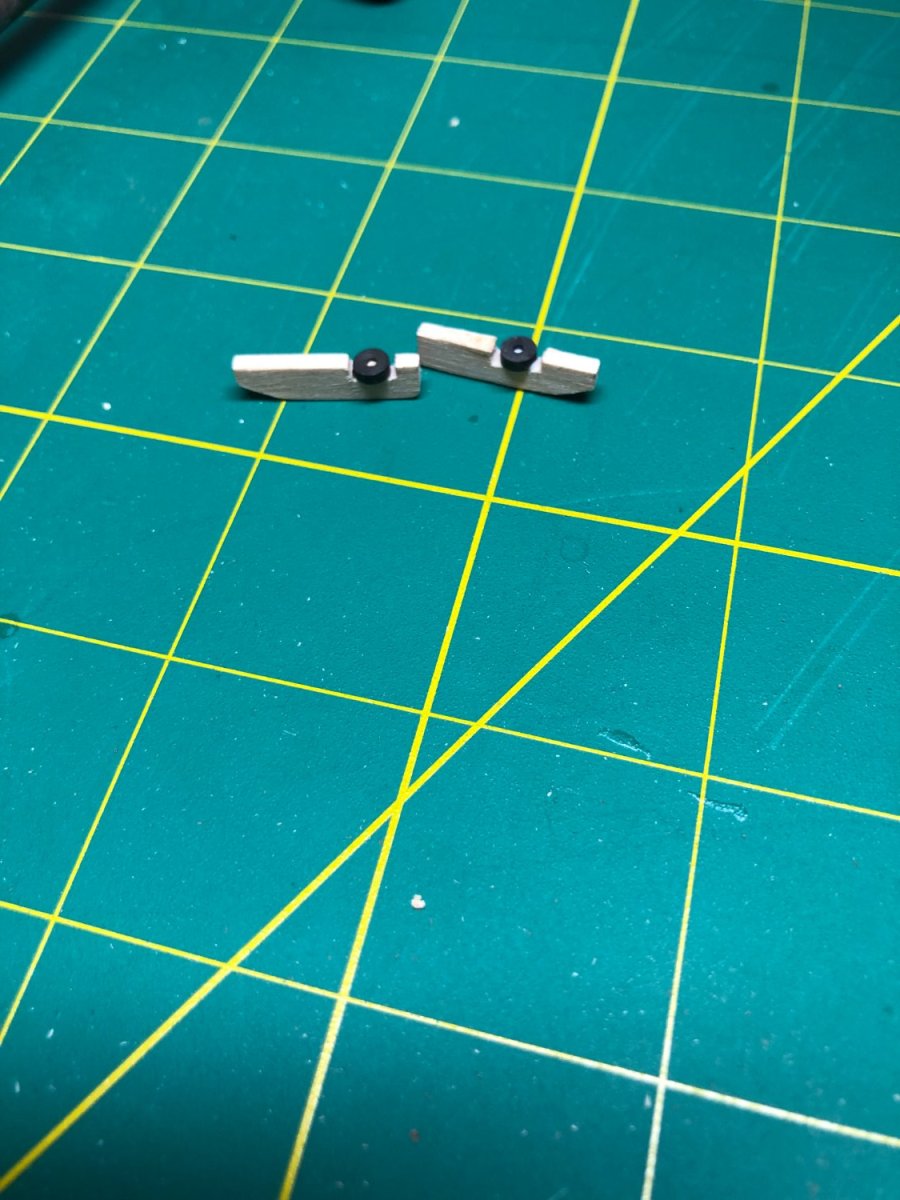
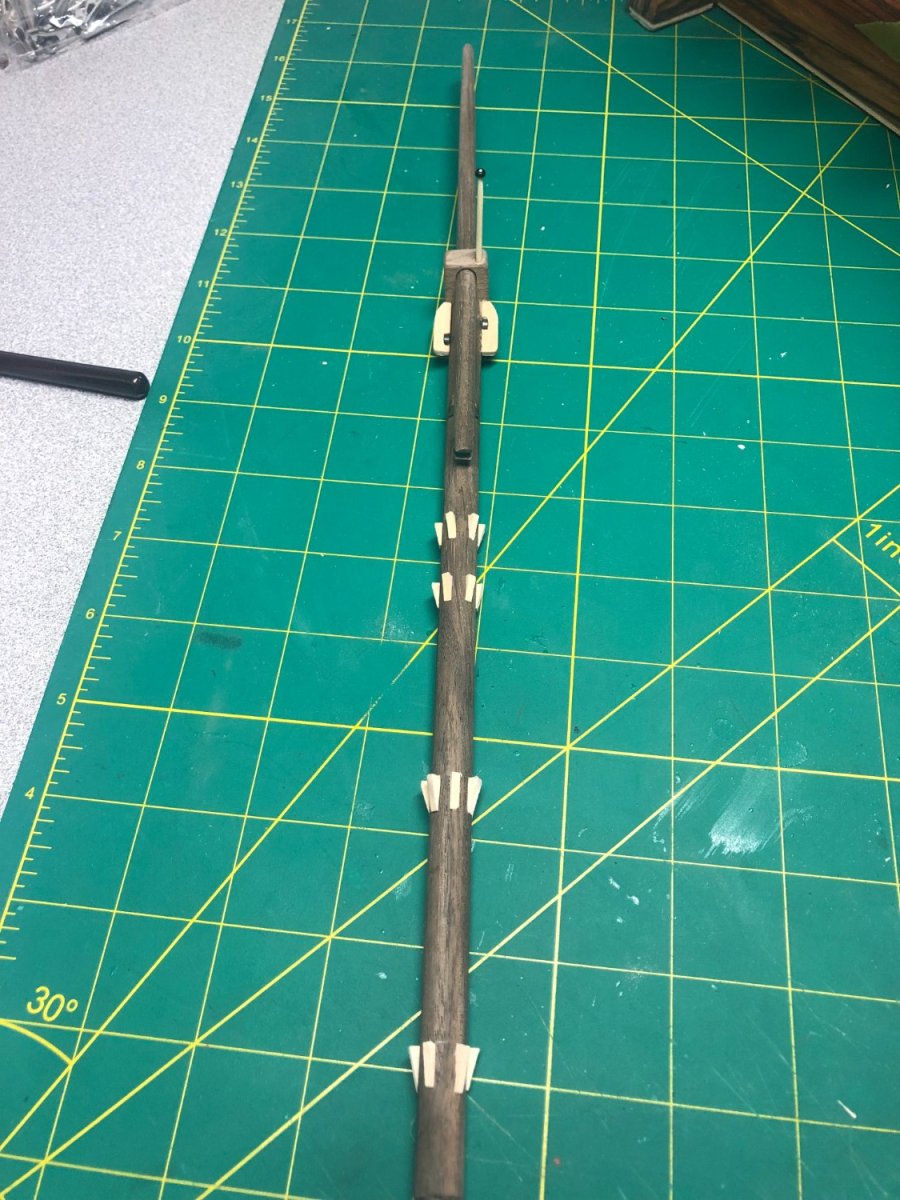
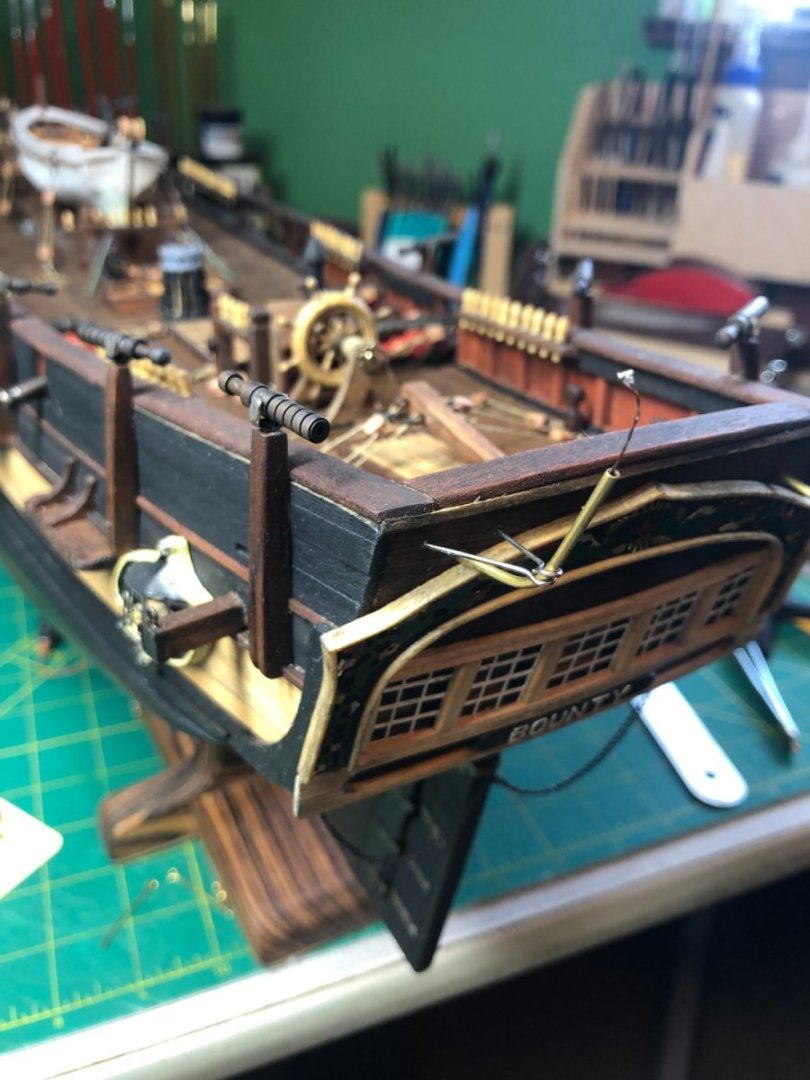
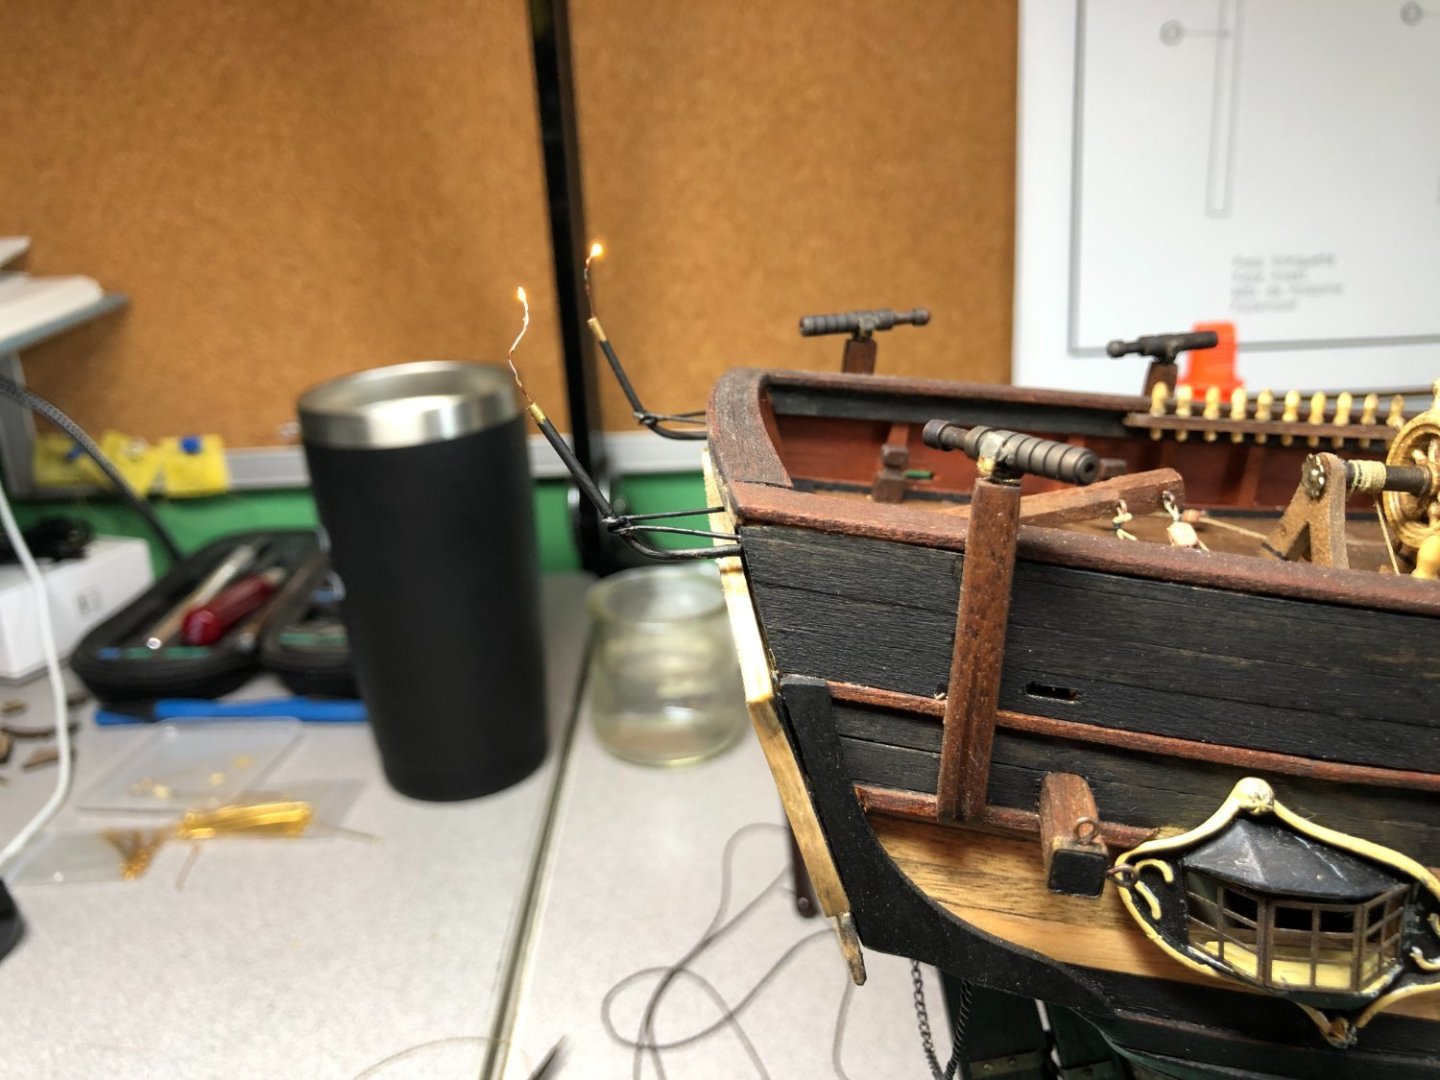
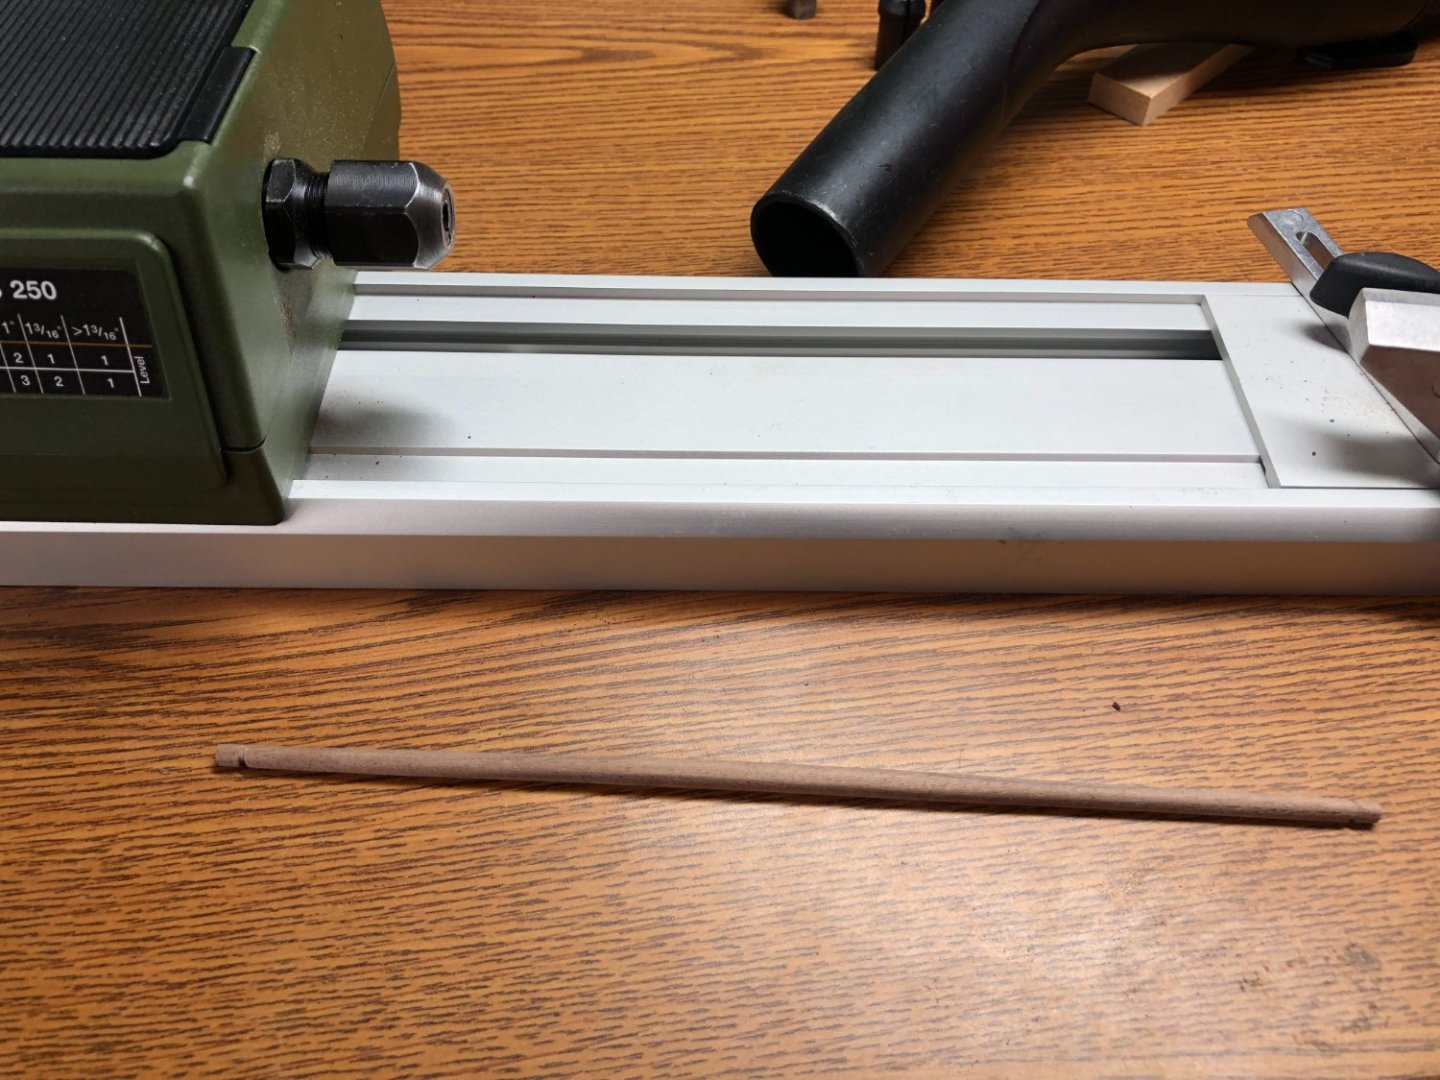
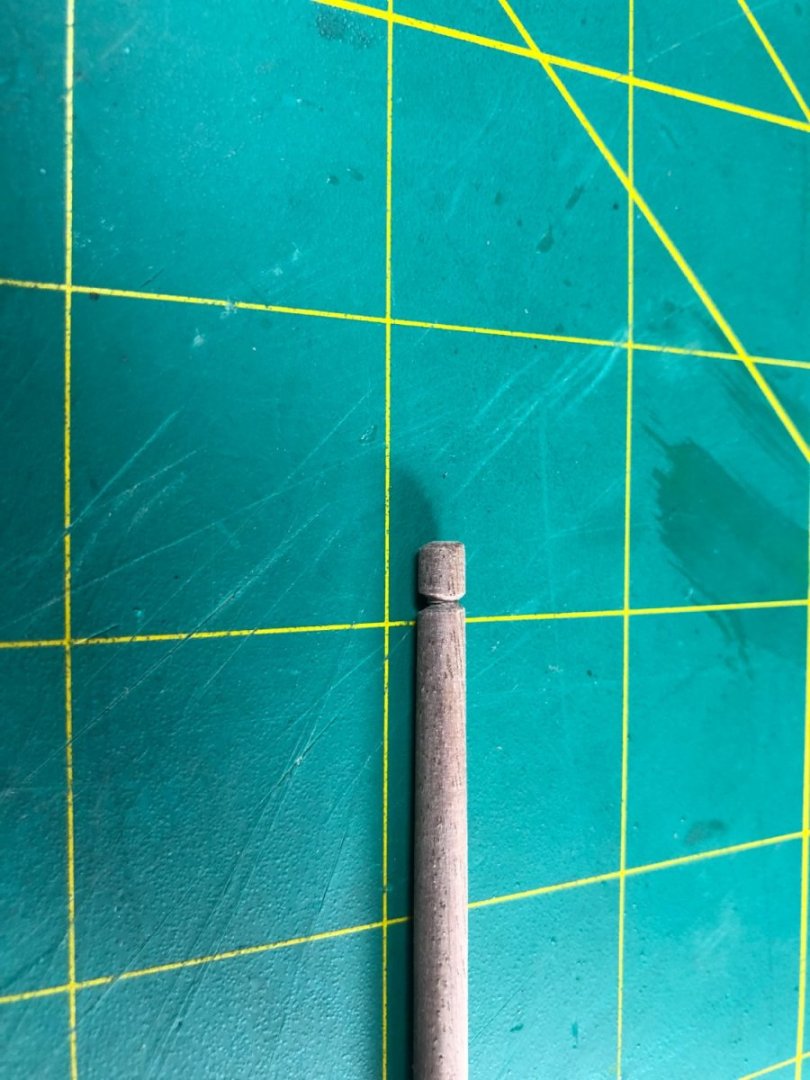
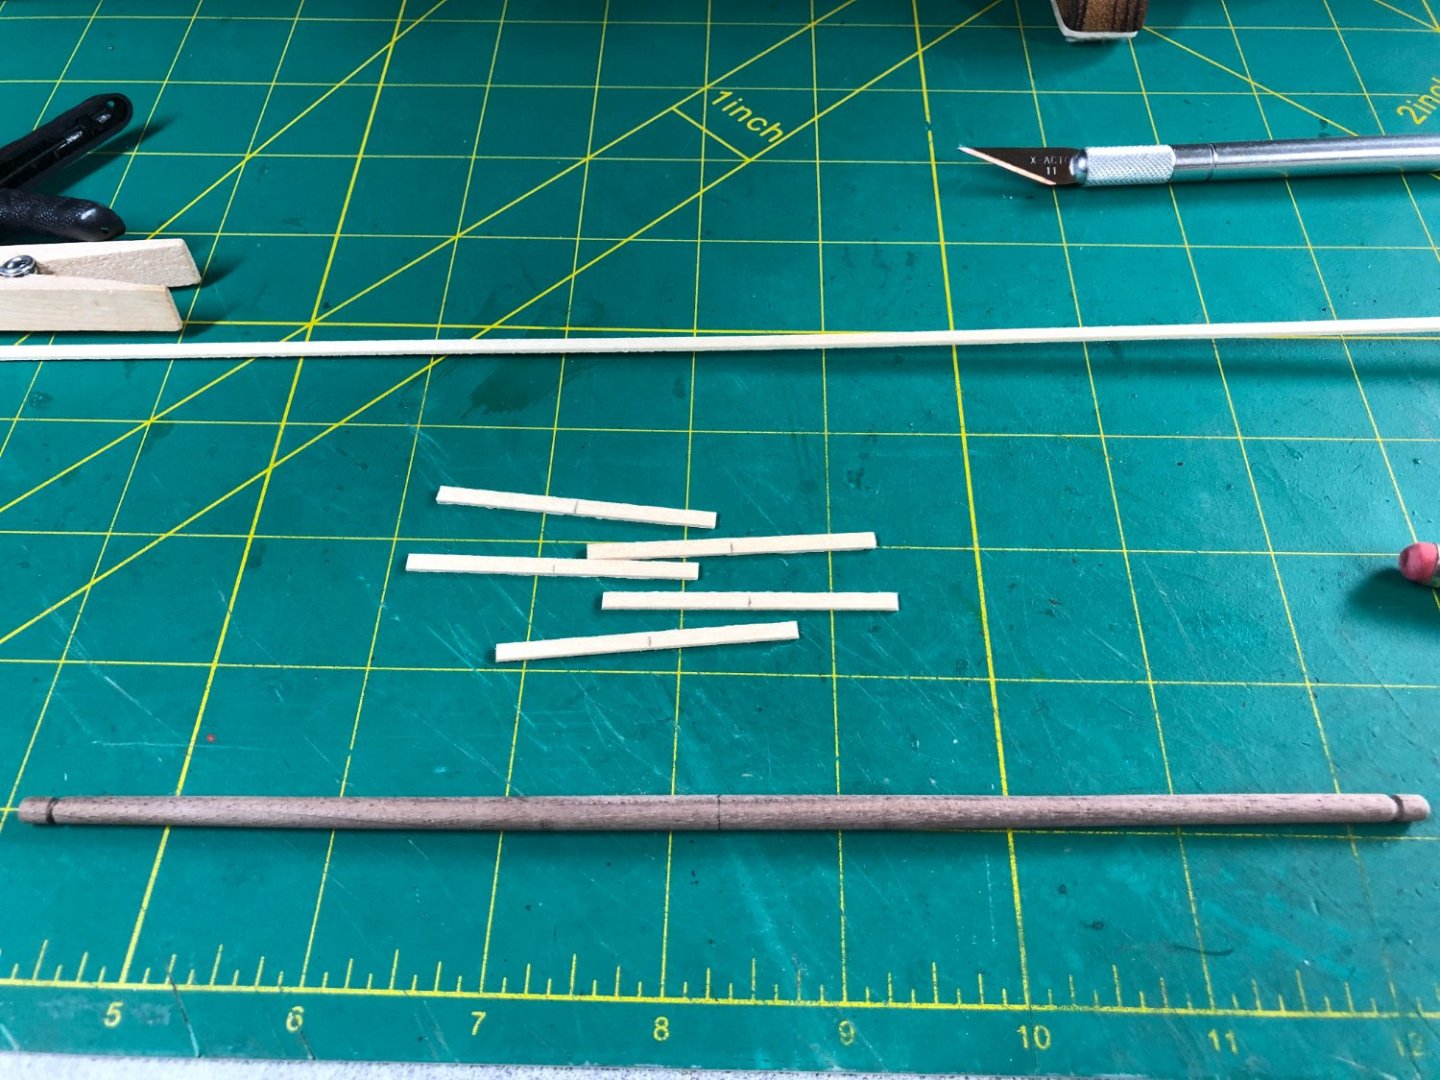
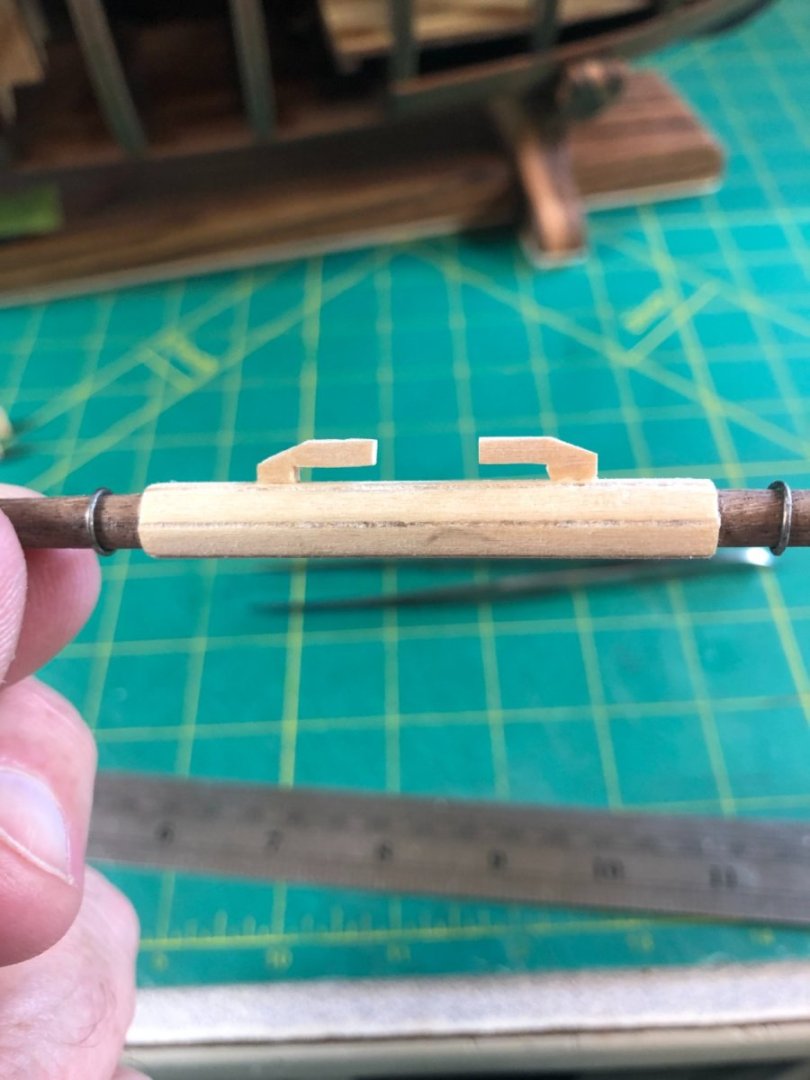
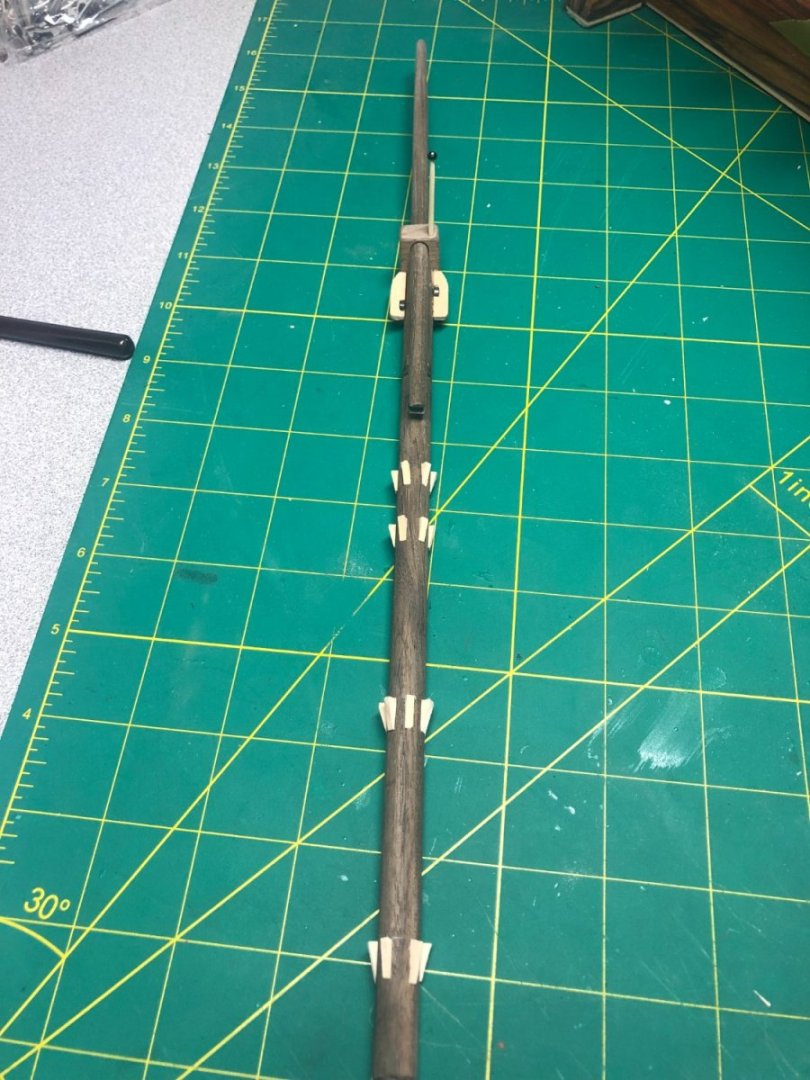
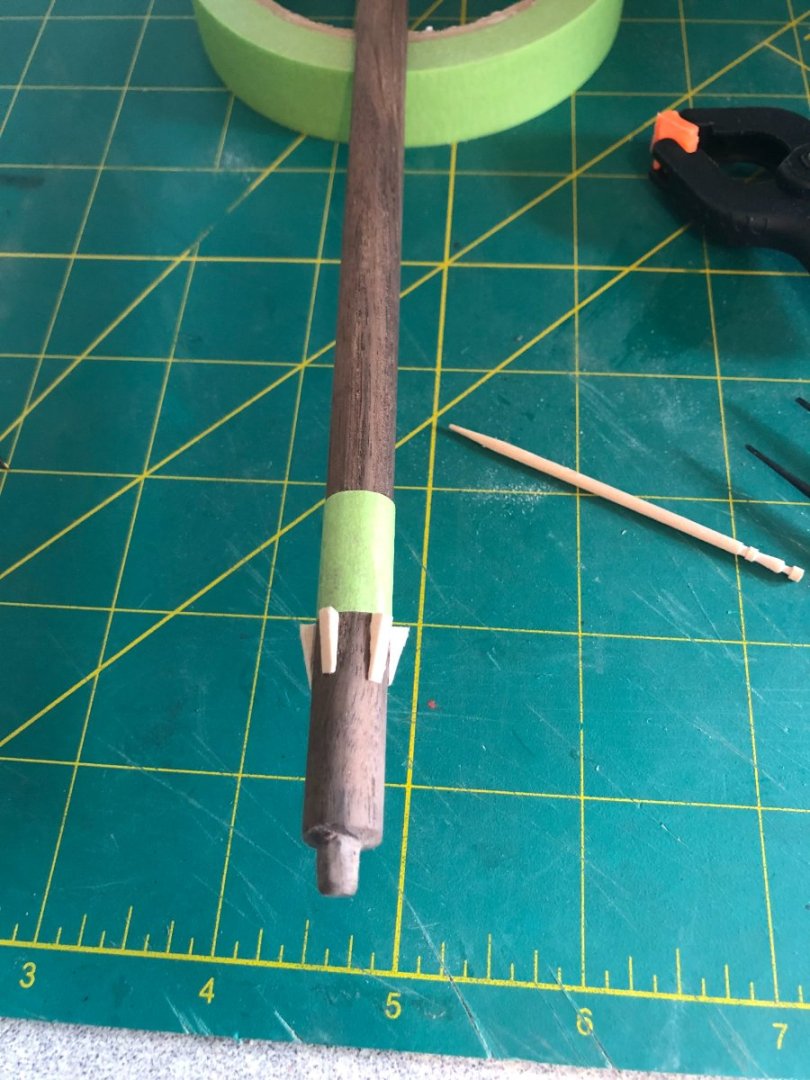
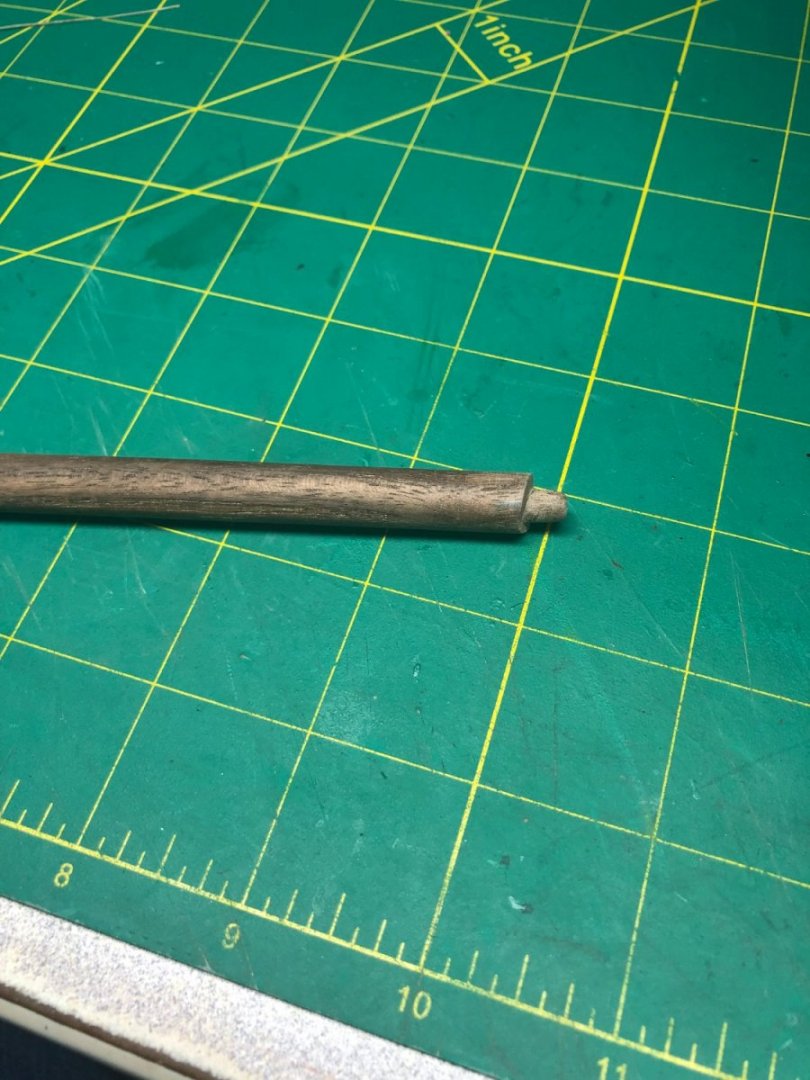
Before starting on the spritsail yard, I decided to clean up a couple of loose ends. First, the chain that is secured to the anchor: Not much to add, aged it and attached it! Will add rust to it when I do the final touch-ups on the model. Second item is the the stern lanterns. A bit tricky... I'm not using the lanterns that came in the kit but have purchased a set from Syren Ship Model Company and will assembly them for this model. Before the assembly, I have to secure the tube to the stern and install the braces. Keep in mind that both lanterns have a small light that runs through the tube and I had to be very careful not to damage the wires and light. Straight forward but complicated too: Once installed, I painted the supports and tubes black. I checked to ensure the wiring/lights survived... not that I could do much about it now! On to the spritsail yard... Using my mini lathe, I shaped the yard per the drawings and added the tip grooves: Adding the center strengthening pieces was straight forward too: The supports and the cleats were added. All per the drawings: After painting, I started adding the blocks, seizing's and parrels but still have a ways to go to finish them: The beginnings of the stern lanterns can be seen in the above picture too. More in a few days!


-
If you don't know the formula for the color, I'd just leave it. It looks fine and if you repaint it and the color doesn't match... well, you won't be happy with it!
-
"So, I have a lath with a mill." That's quite the set up! Well done!
-
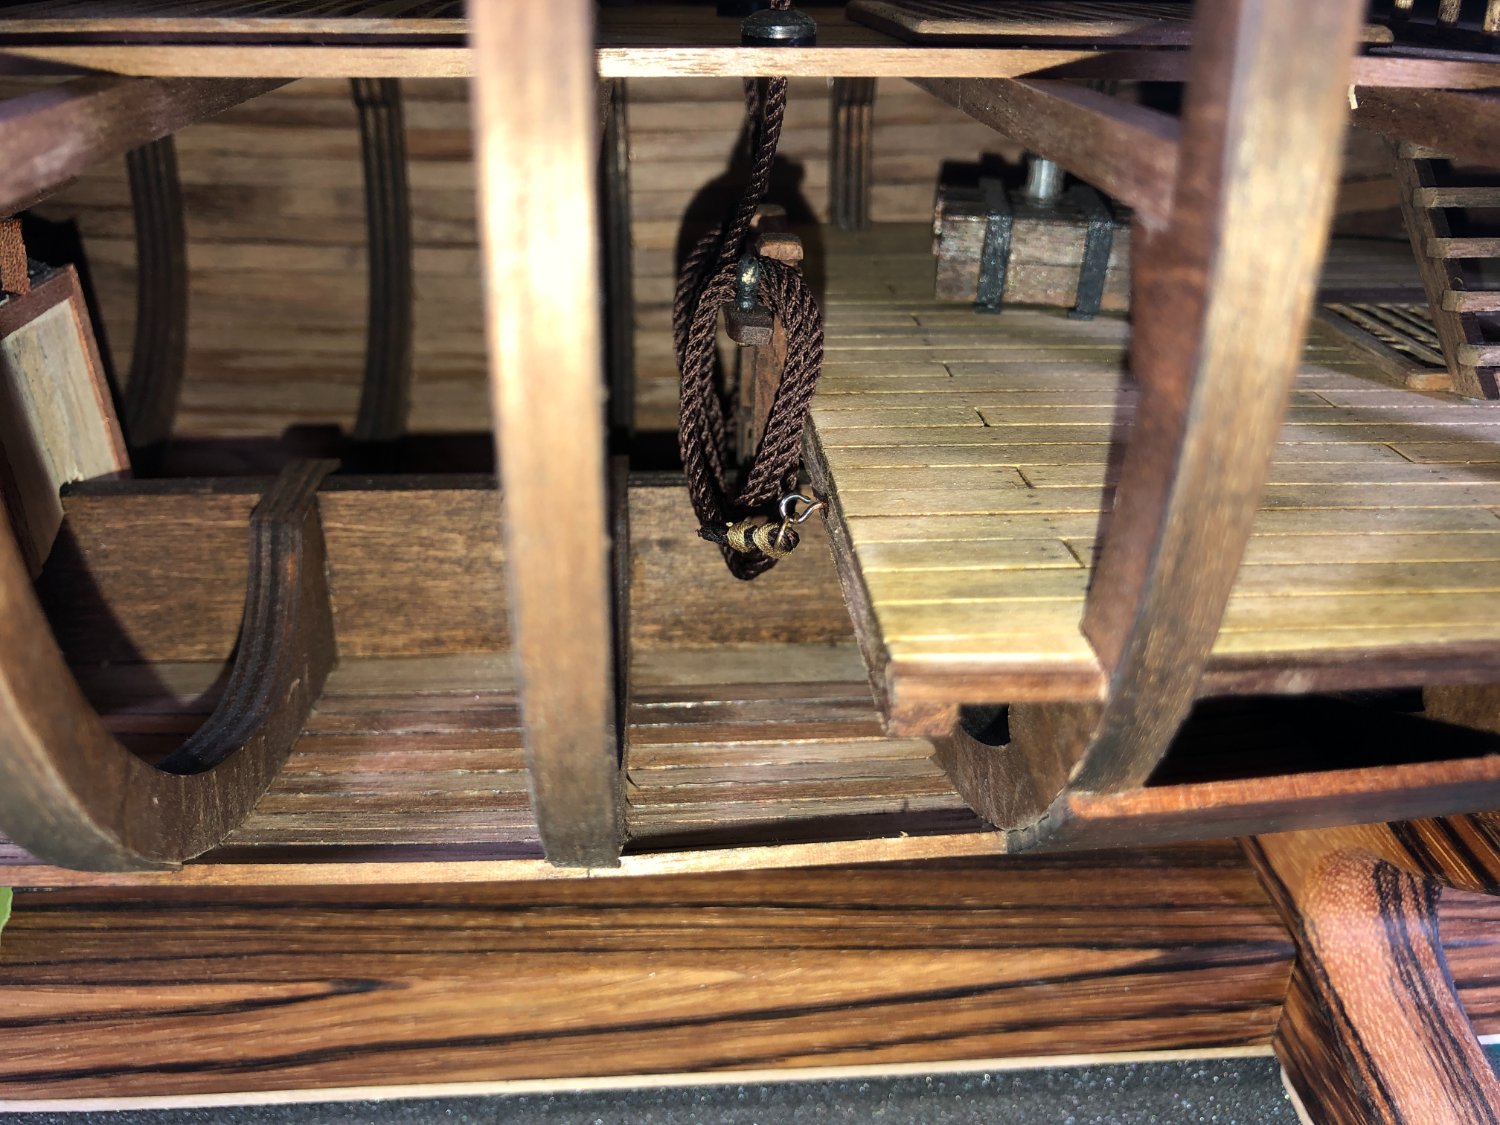
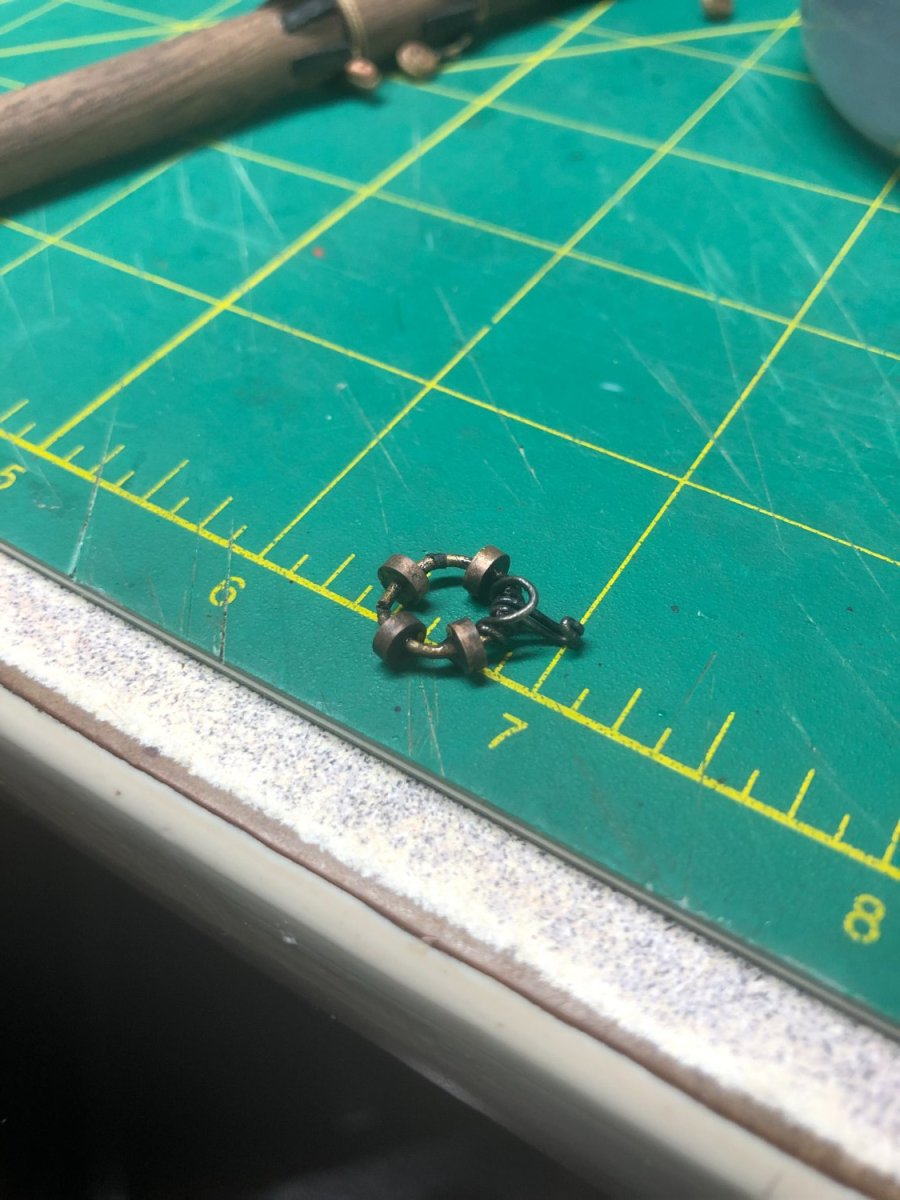
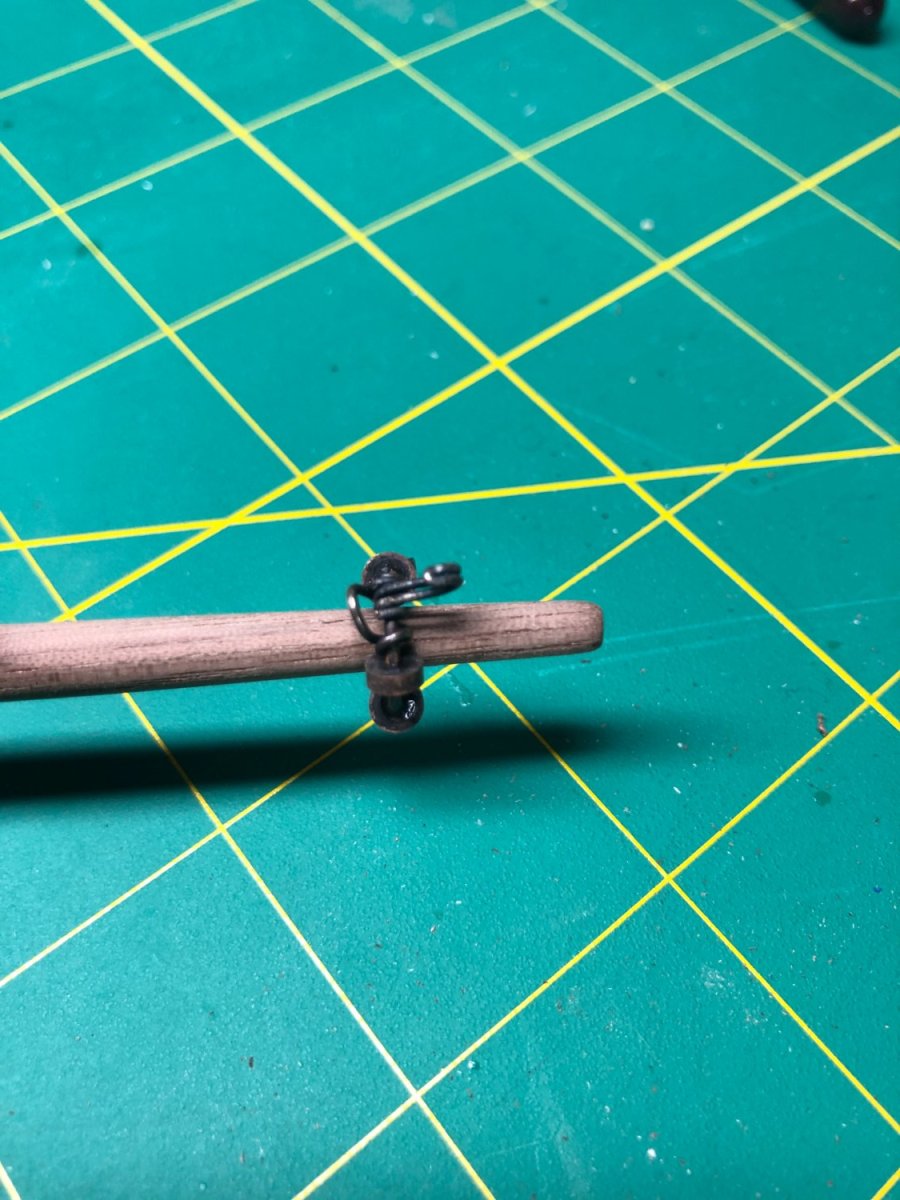
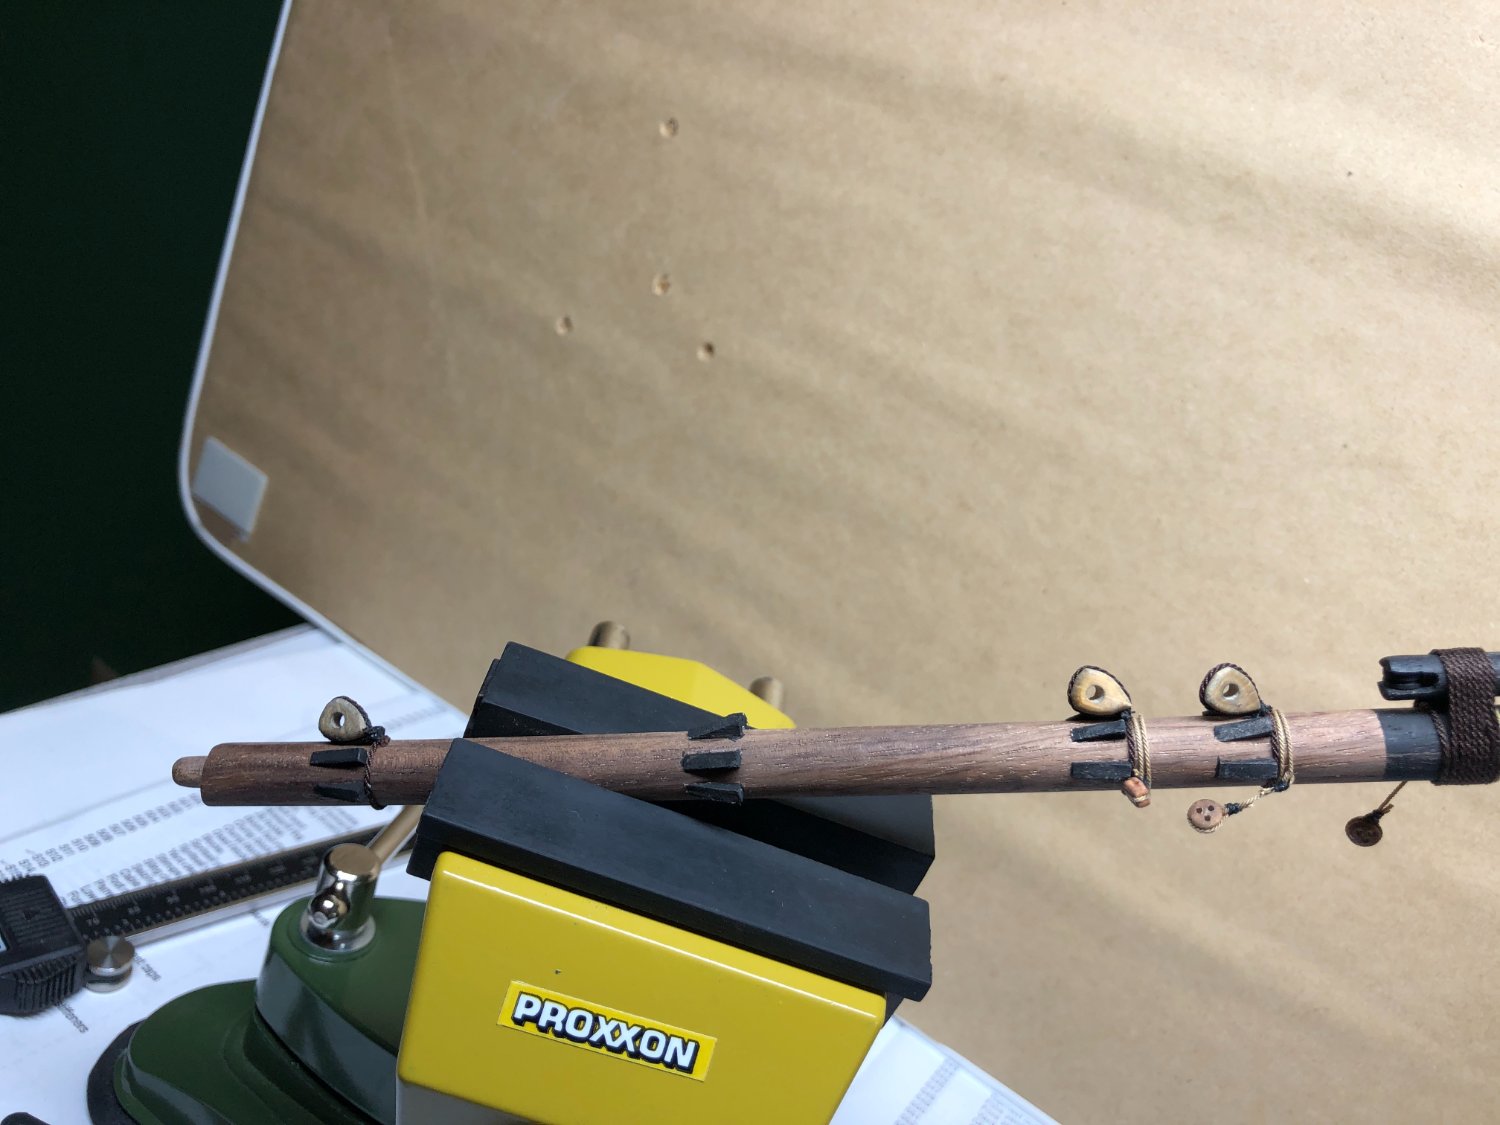
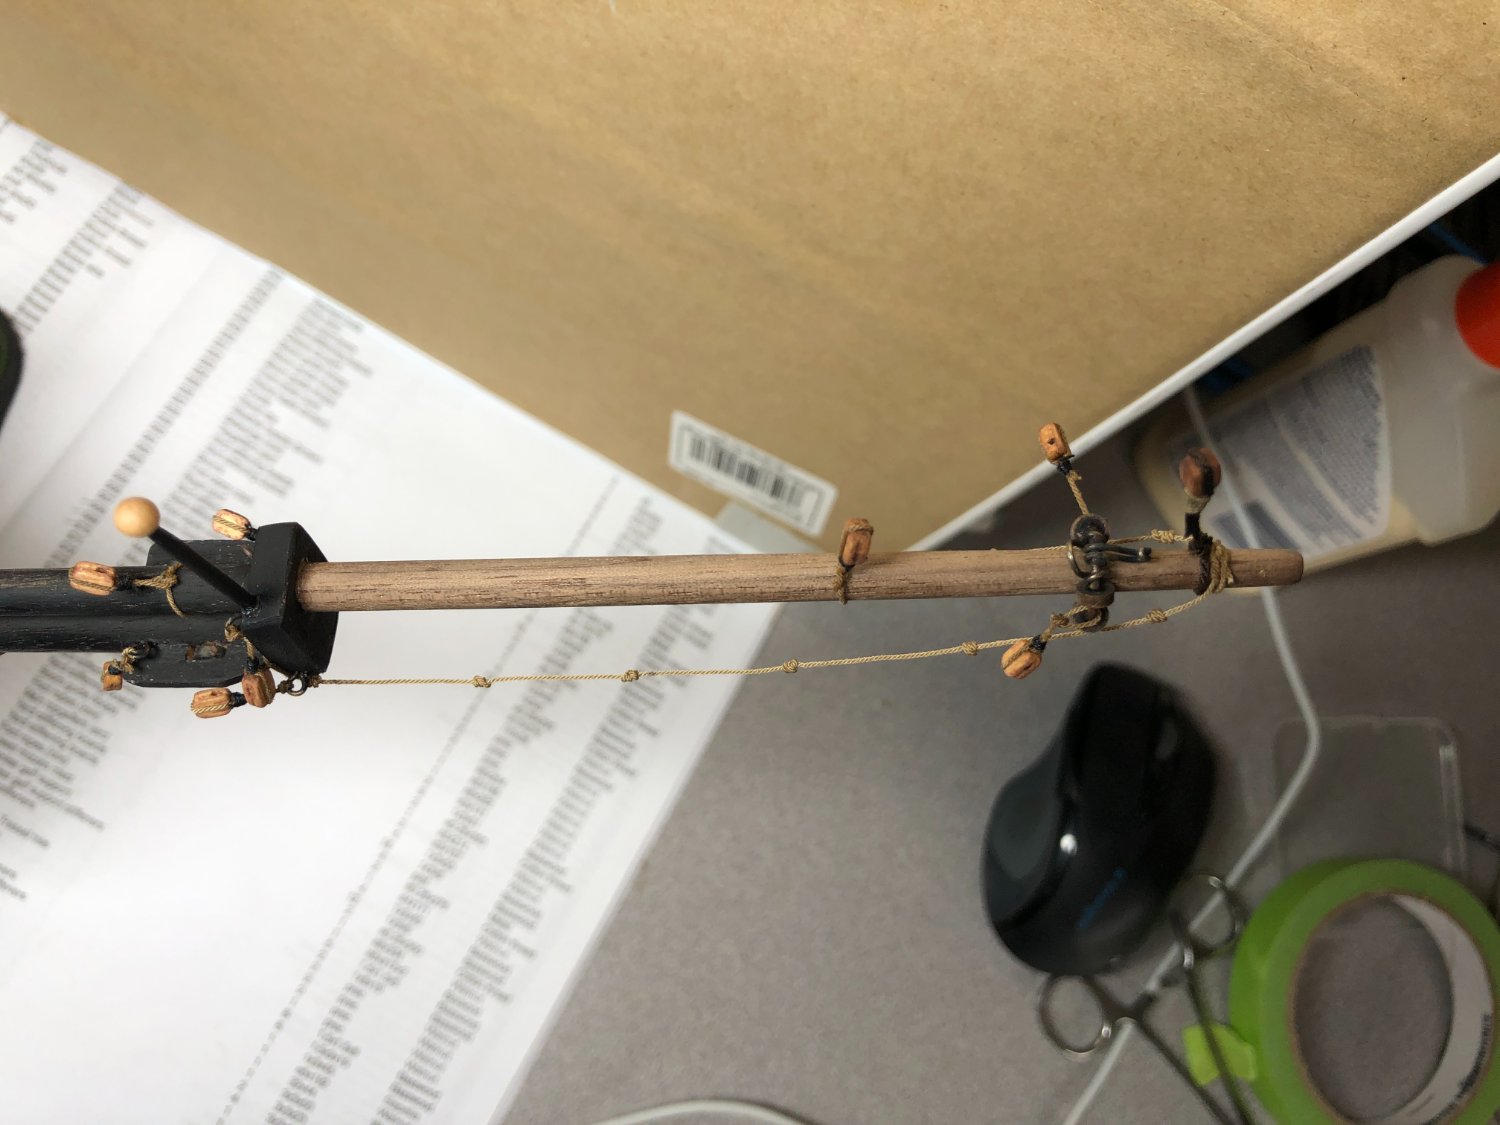
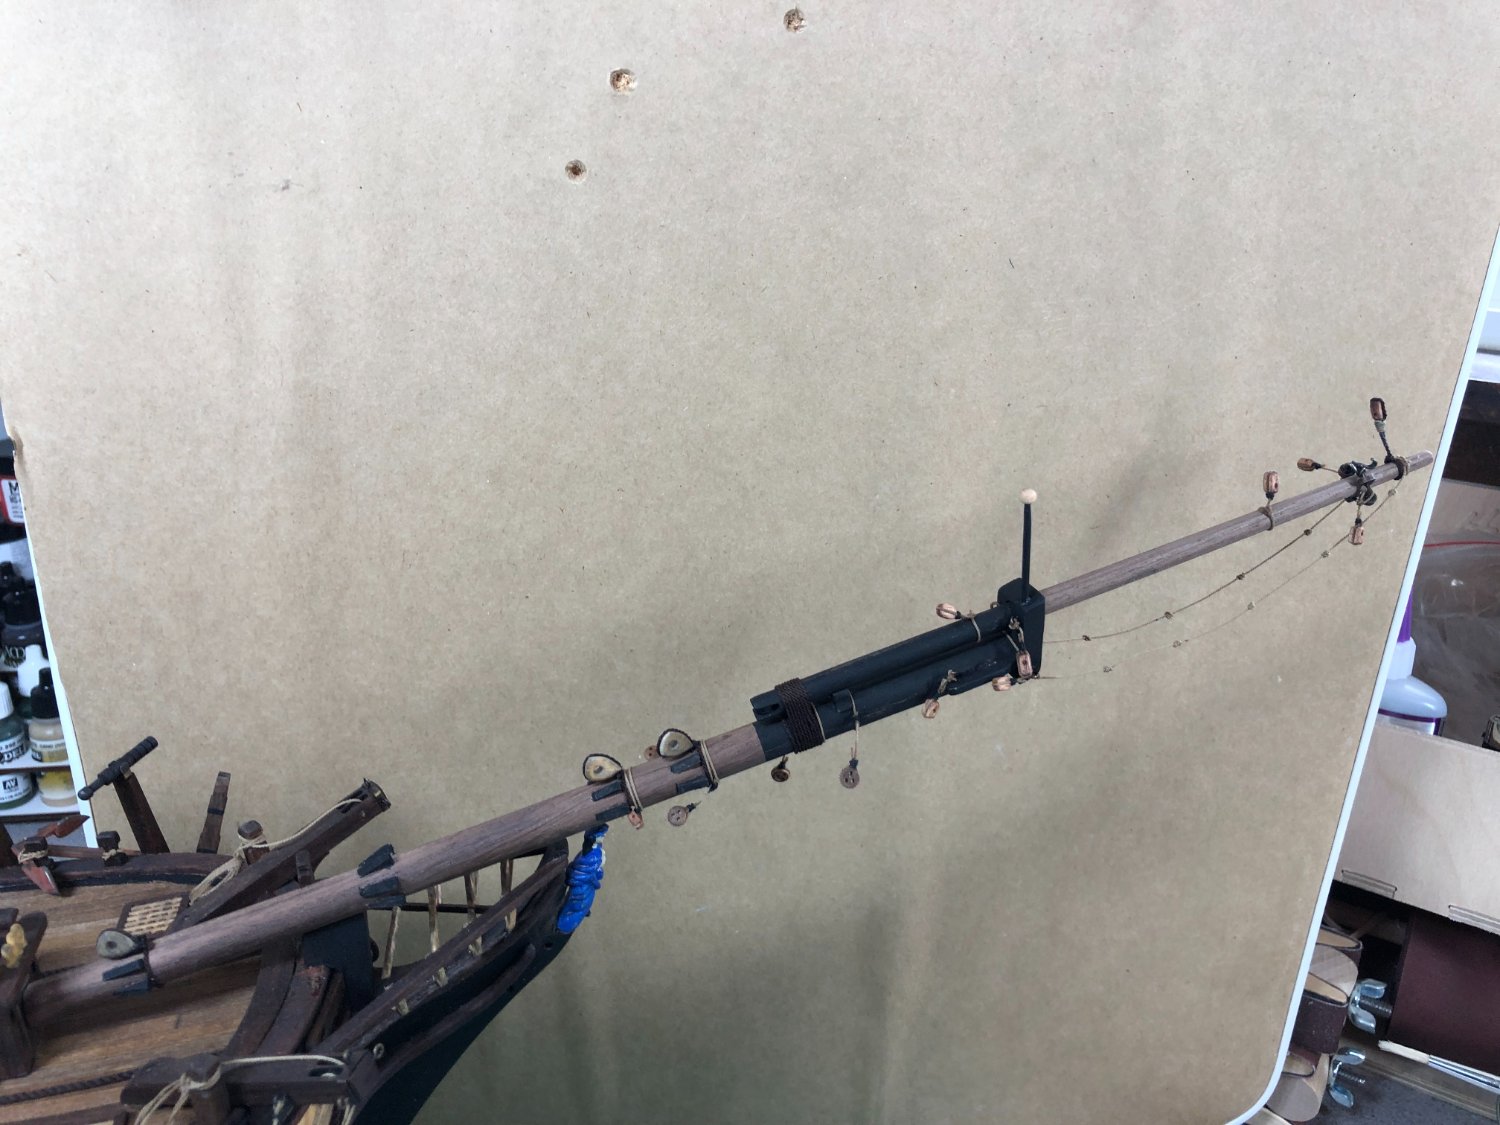
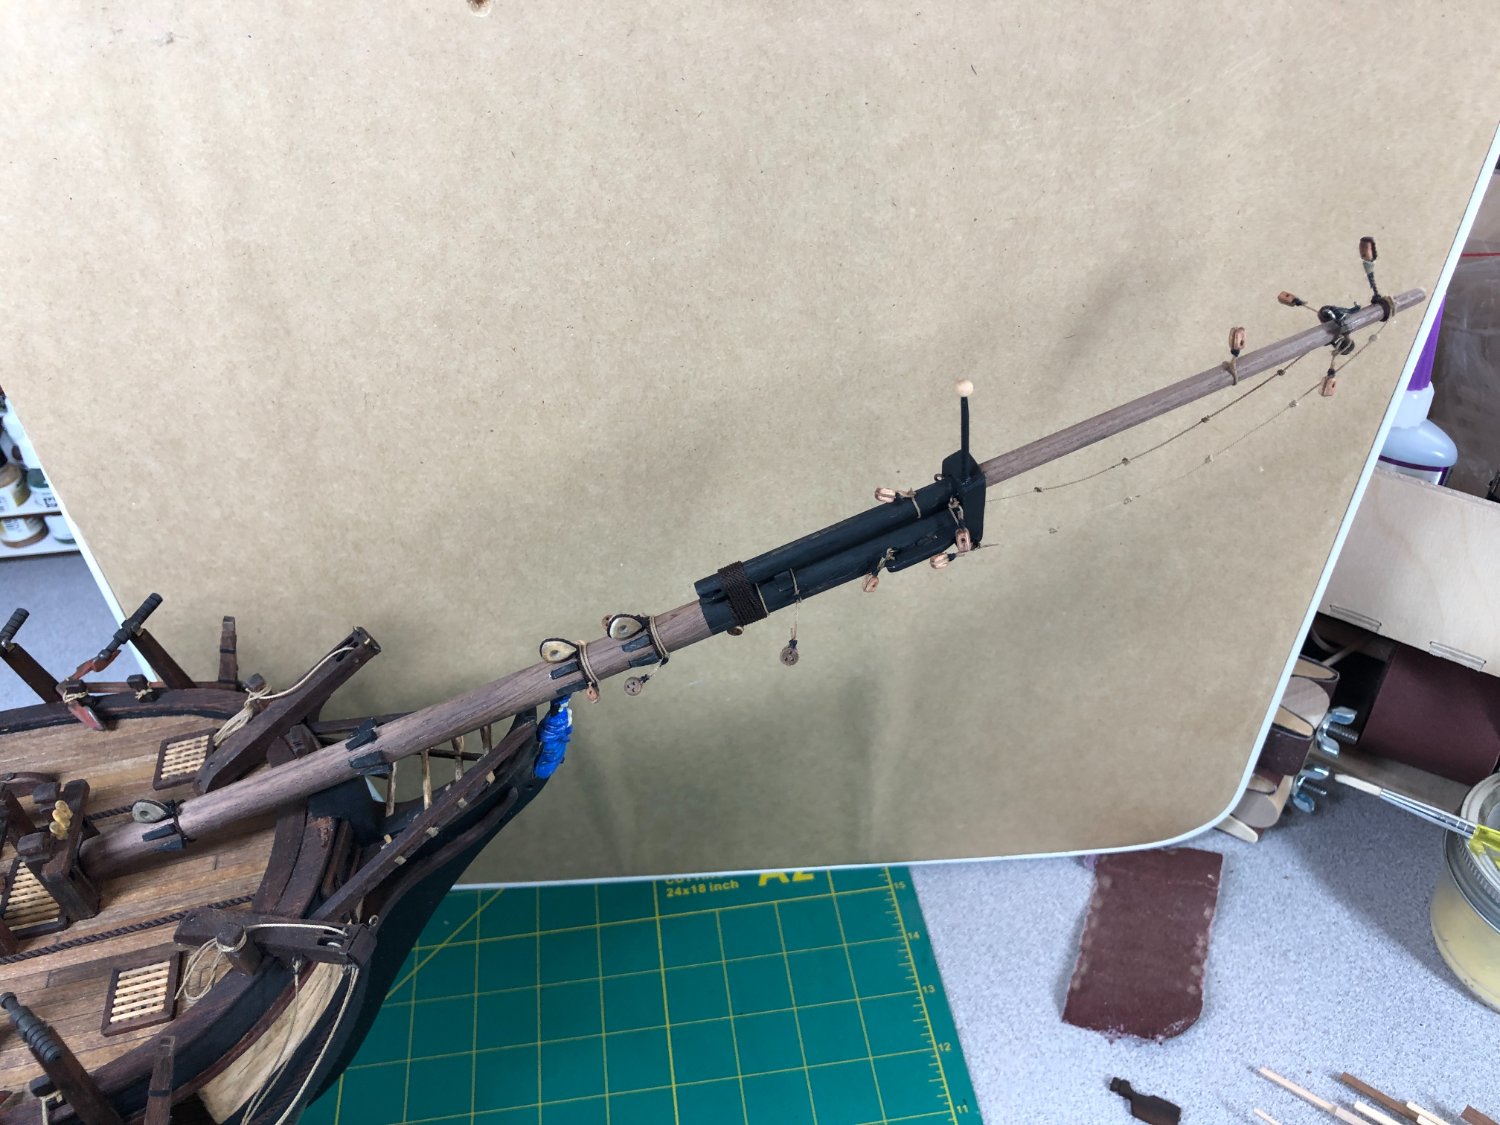
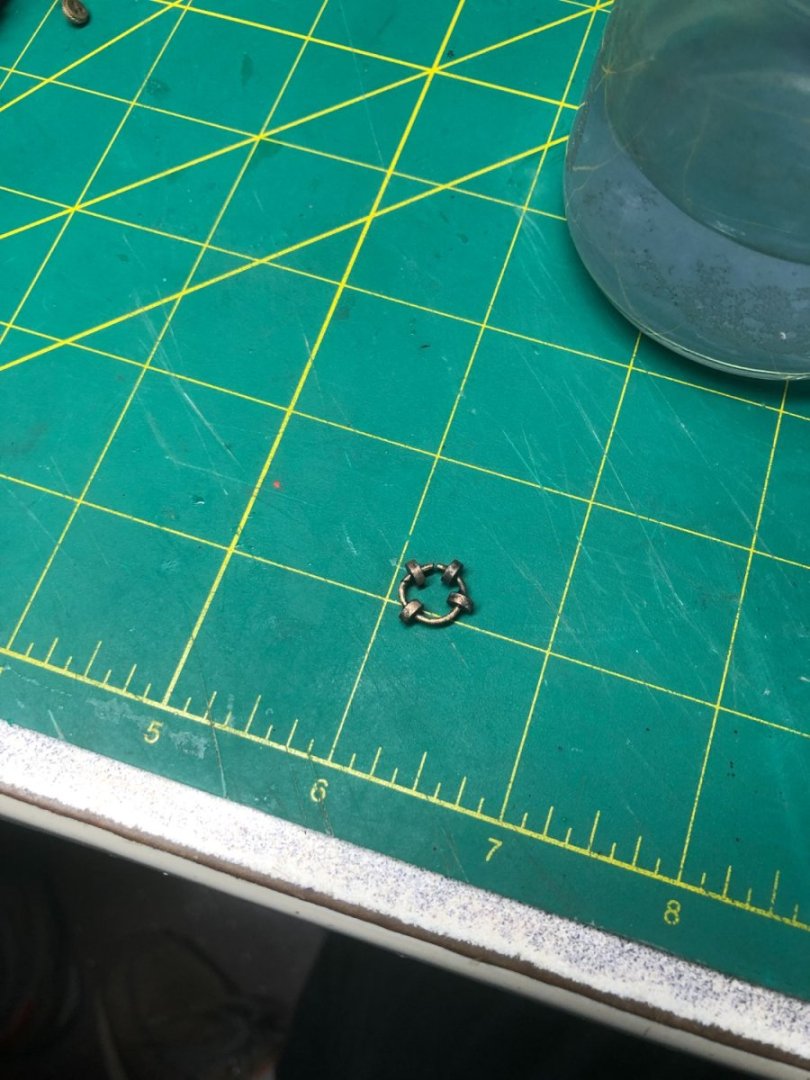
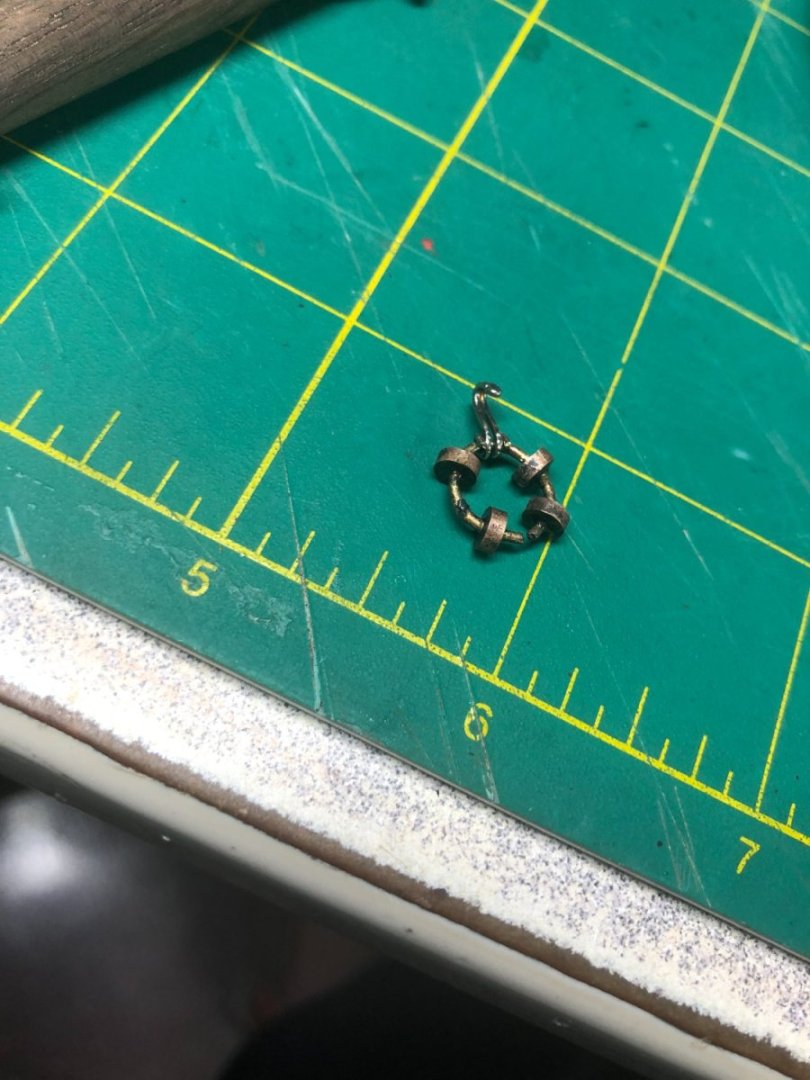
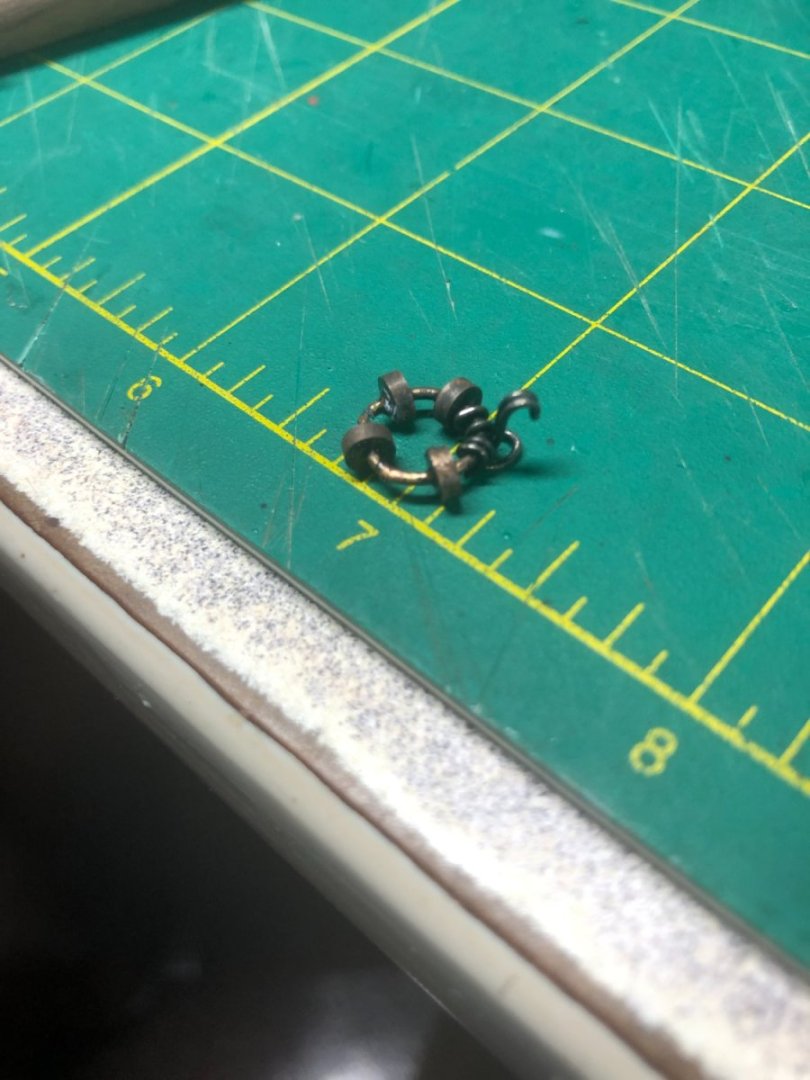
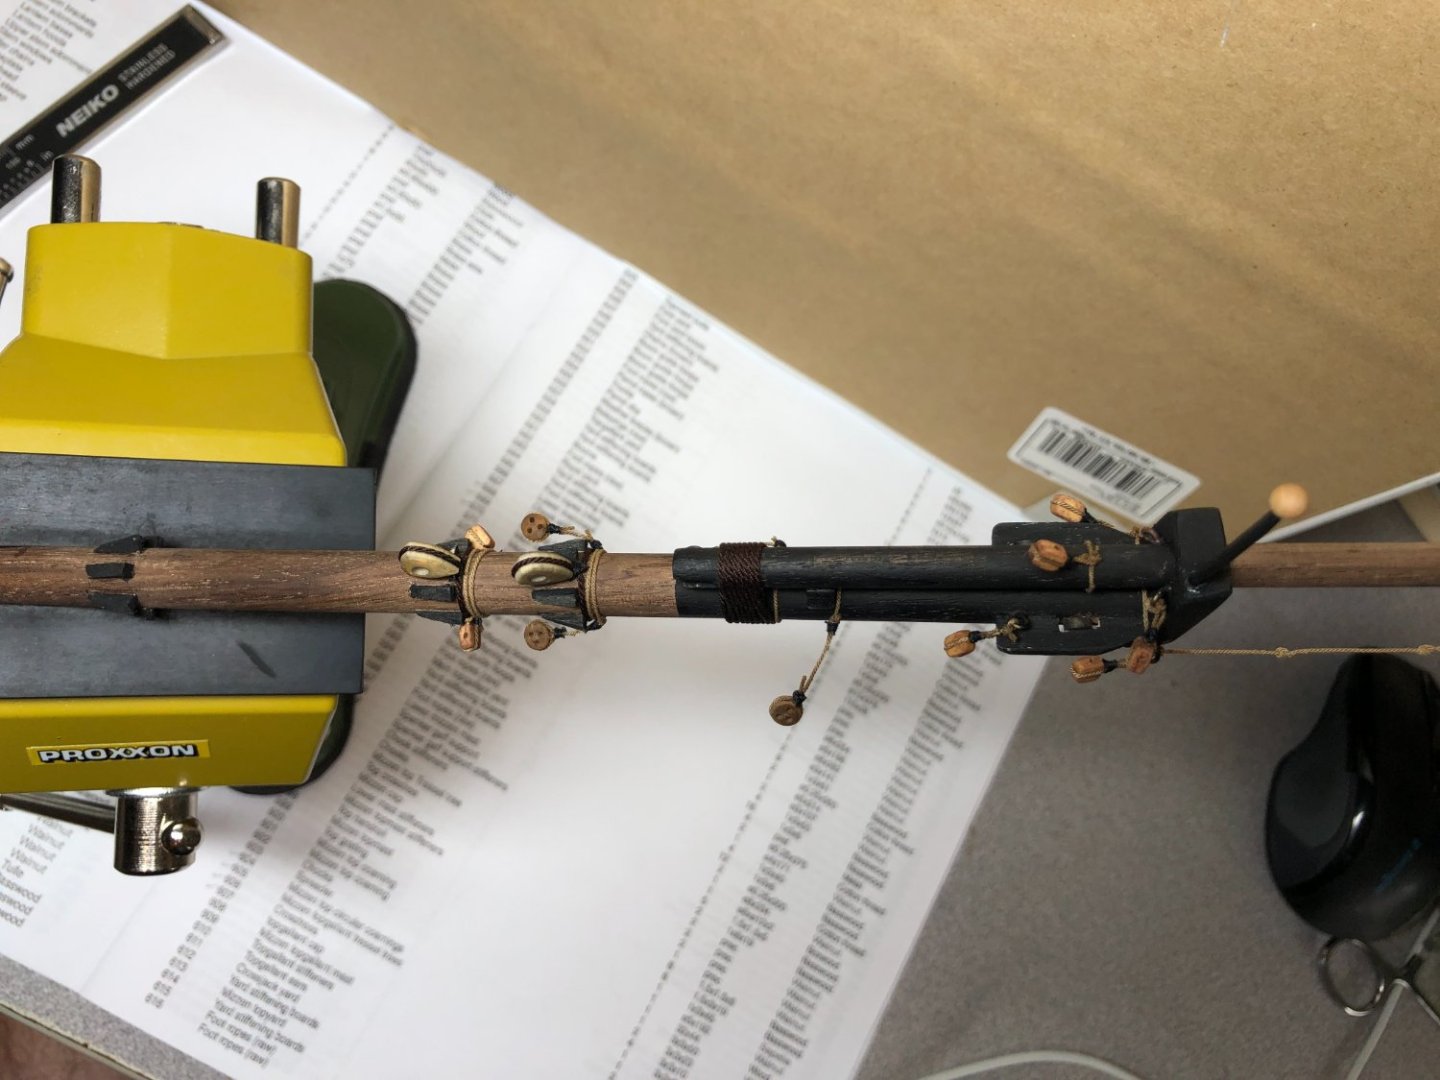
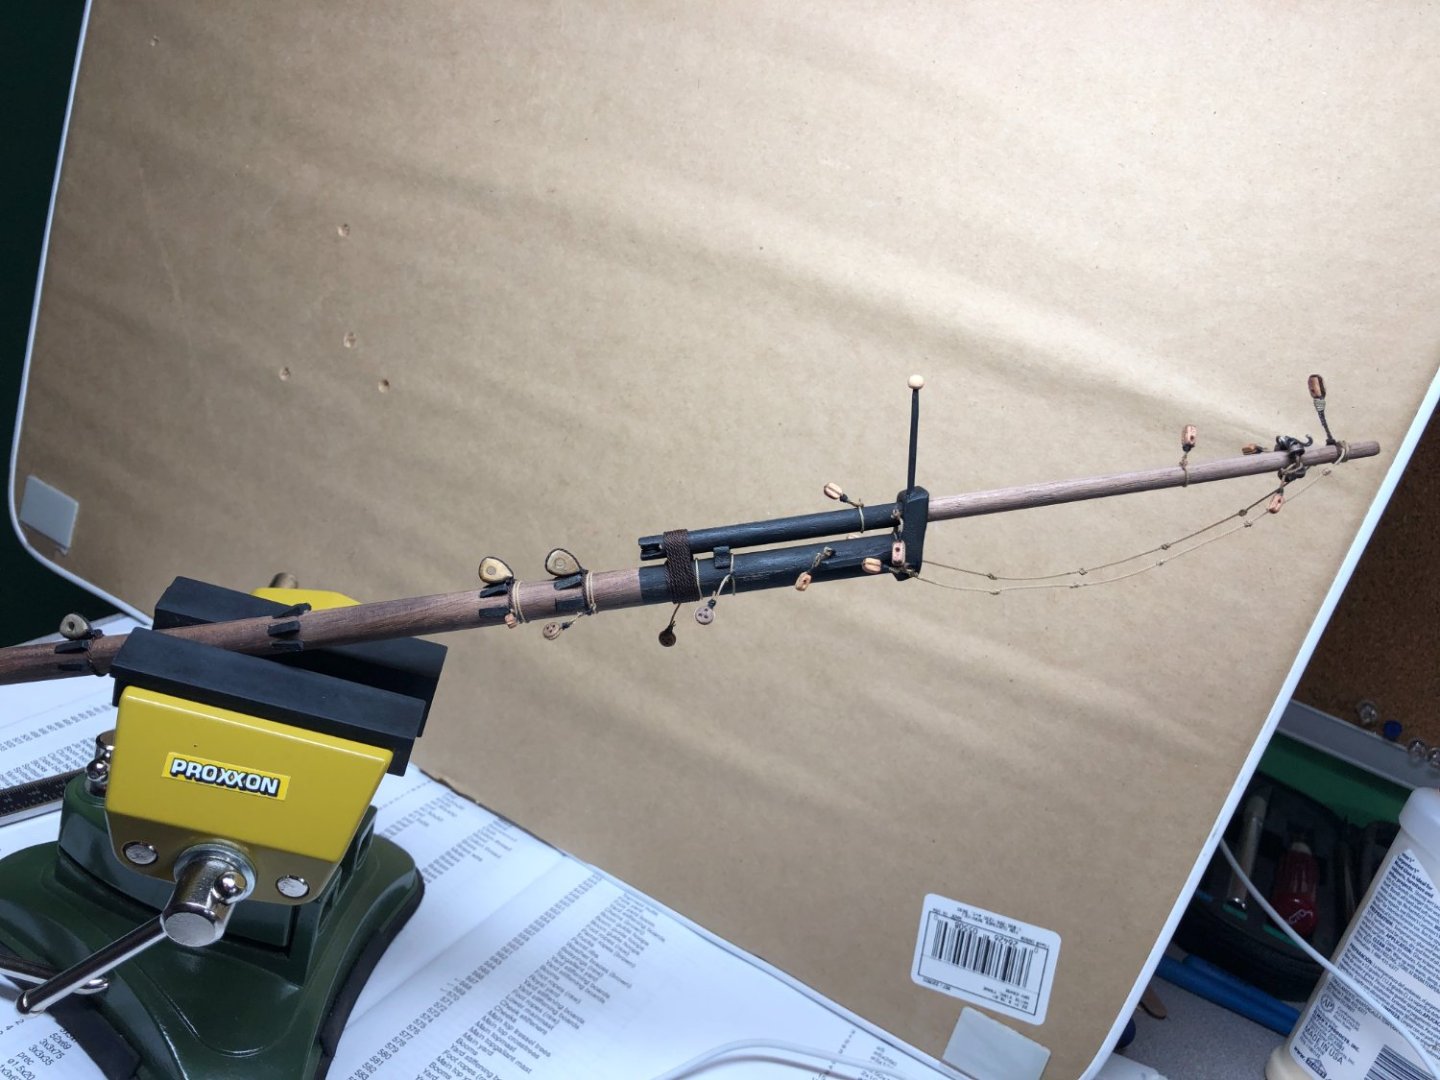
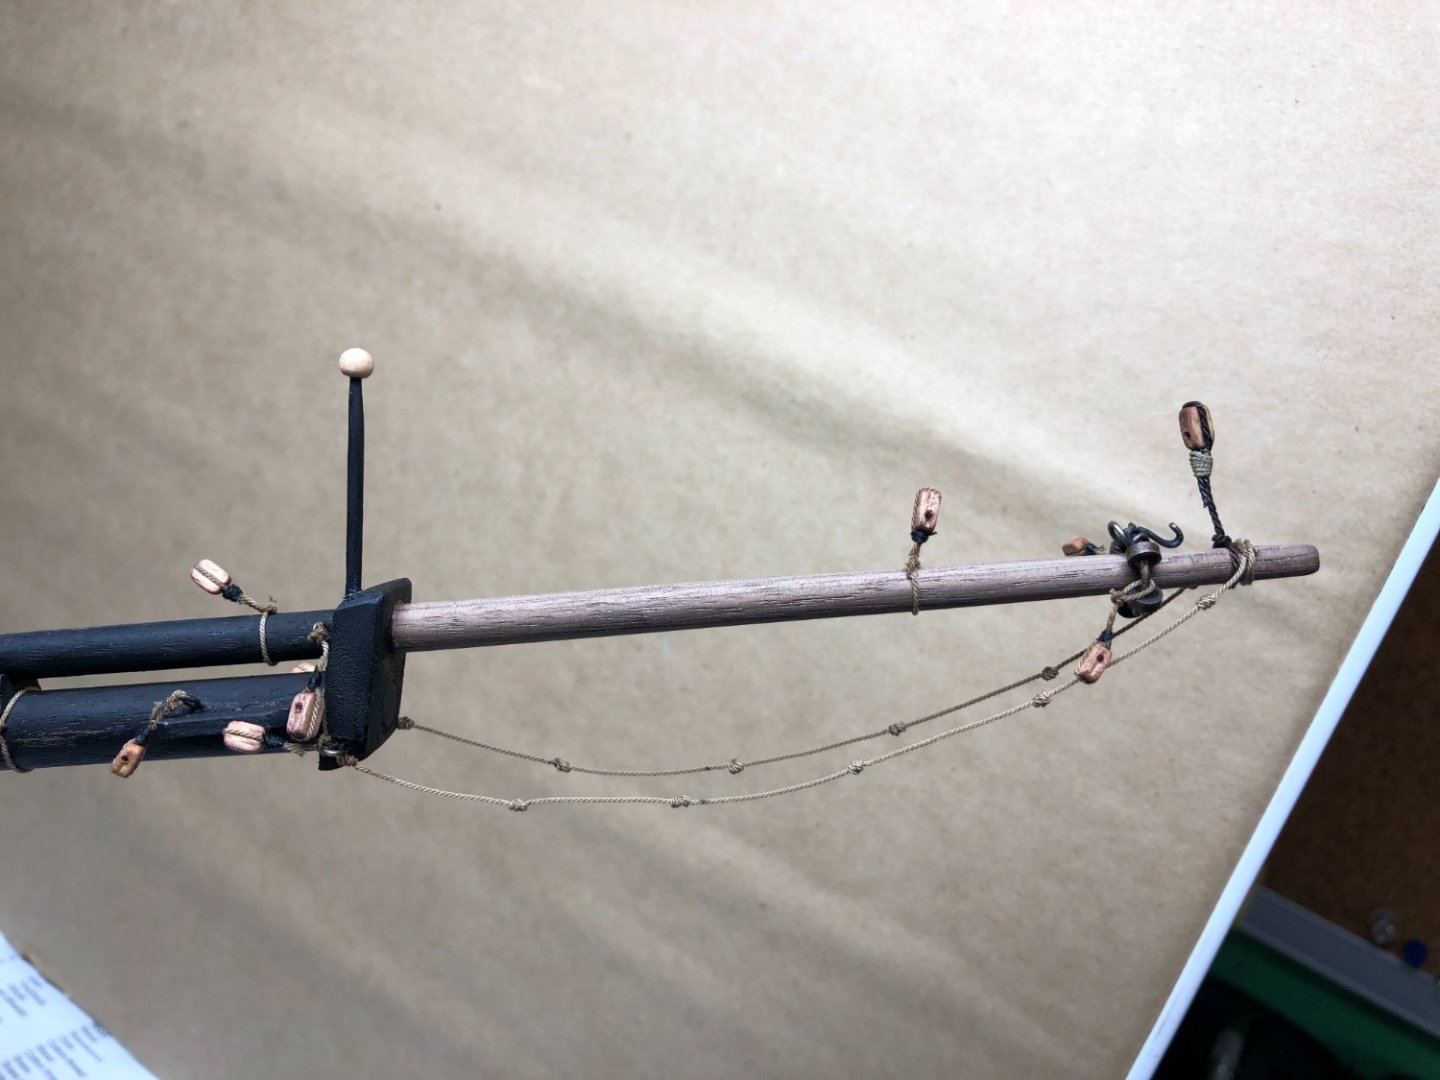
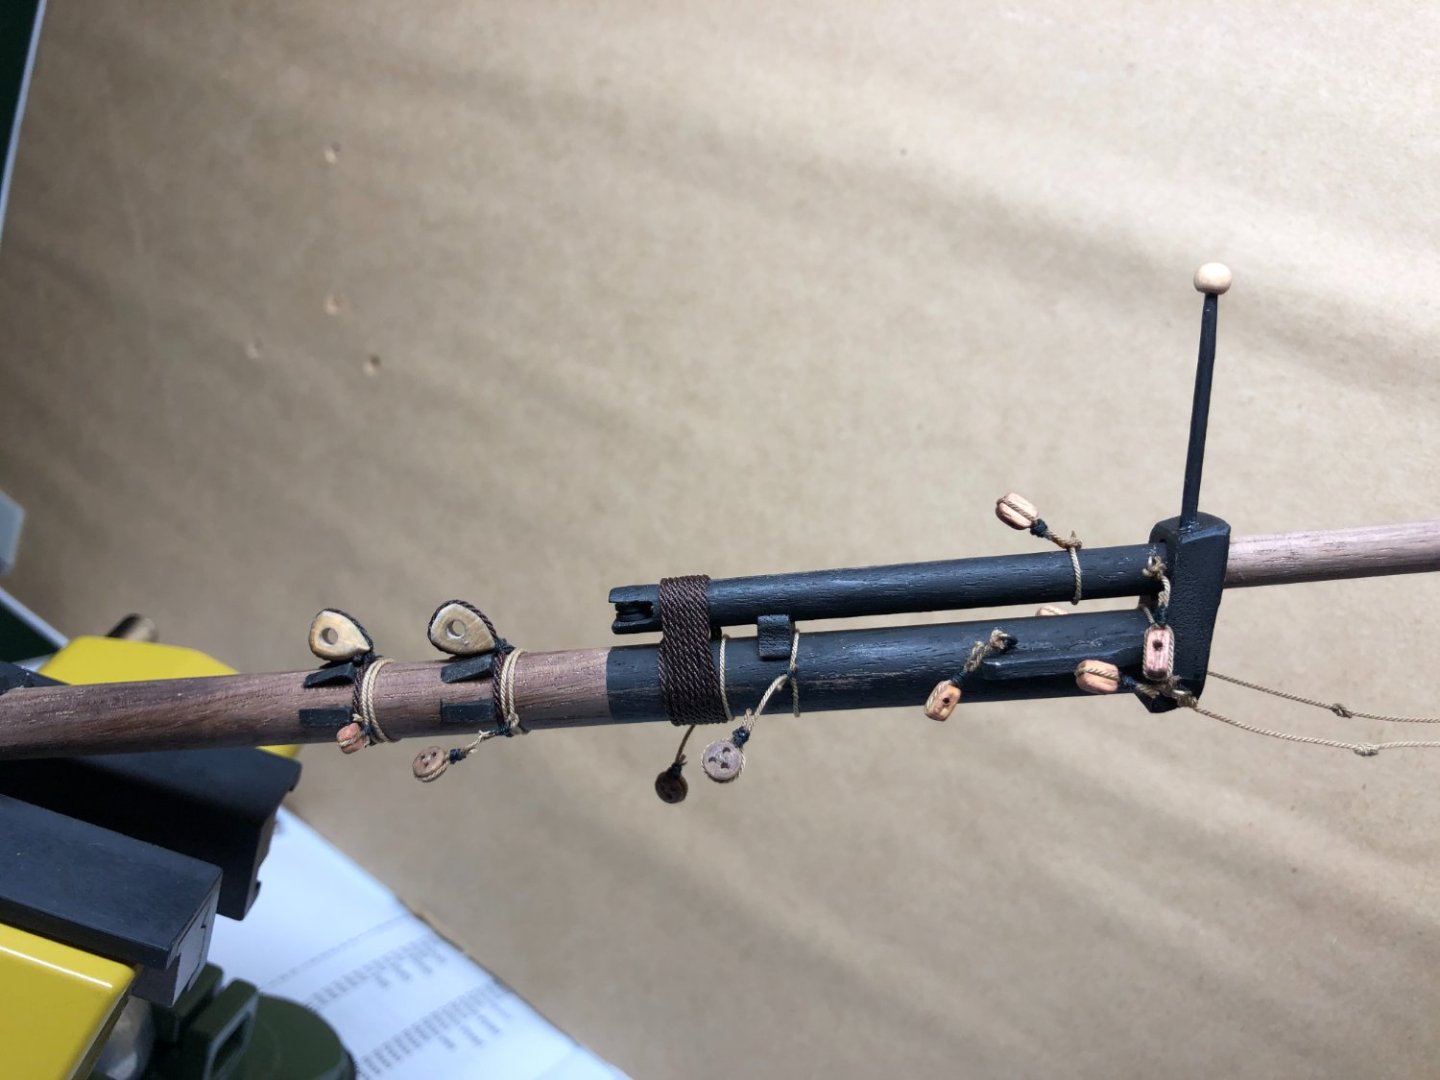
Lots of pictures going forward on the masting and rigging. I've looked at numerous sources for the little details that are just not well pictured or explained. So, going forward, I will attempt to make it bit easier on the next builder! I went back and reattached the anchor rodes in the mid-bilge area: Figured it would be easier to do now when the masts are not on the boat! The rigging attached to the bowsprit was very hard to follow but I am confident I got most of (if not all) it right. As mentioned nothing gets done until I've researched it first unless it's REAL obvious! The next series of pictures is that rigging being incrementally installed: The Traveler was an item that took me a ton of time to figure out! Again, based on several sources, here is my rendition: A tad out of round! But trust me, that was my best one! That was really tough to make and harder to find a decent picture of one! And finally, the completed bowsprit from several angles and close-ups: On to the spritsail yard.


-
You are gonna love it! I assume you mean the mini mill? I use mine for a lot of things and I haven't even begun to use it for its full value!
-
Proxxan makes a great mini mill that would've done that job very easily! Good machine and so many things it can help with.
-
Thanks Trond. The book is only accurate to a point. The author points out that little is known about the figurehead. I used a little artistic freedom based on historical accounts of many vessels from that time period. The rigging in the book is difficult (at best) to follow from end to end on many of the lines... but still is a point of reference too.
-
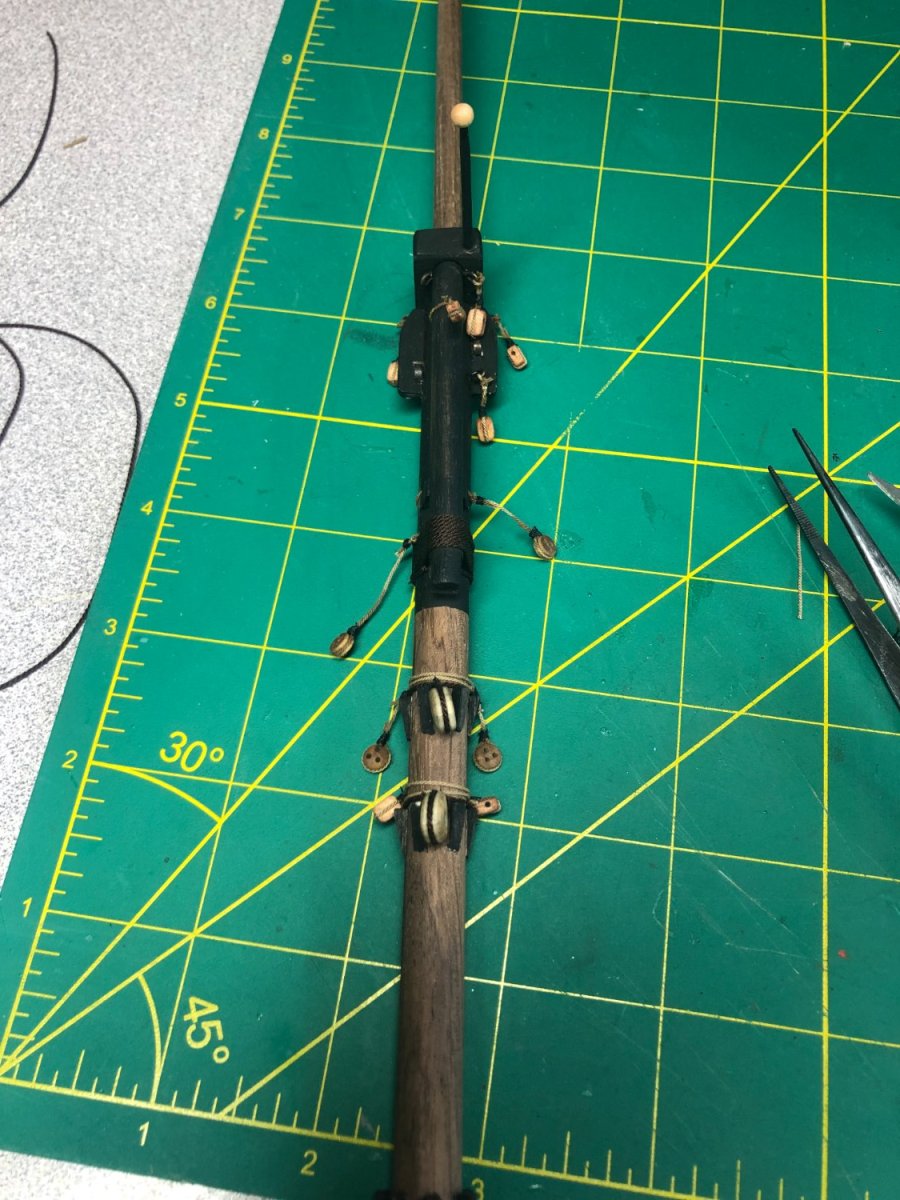
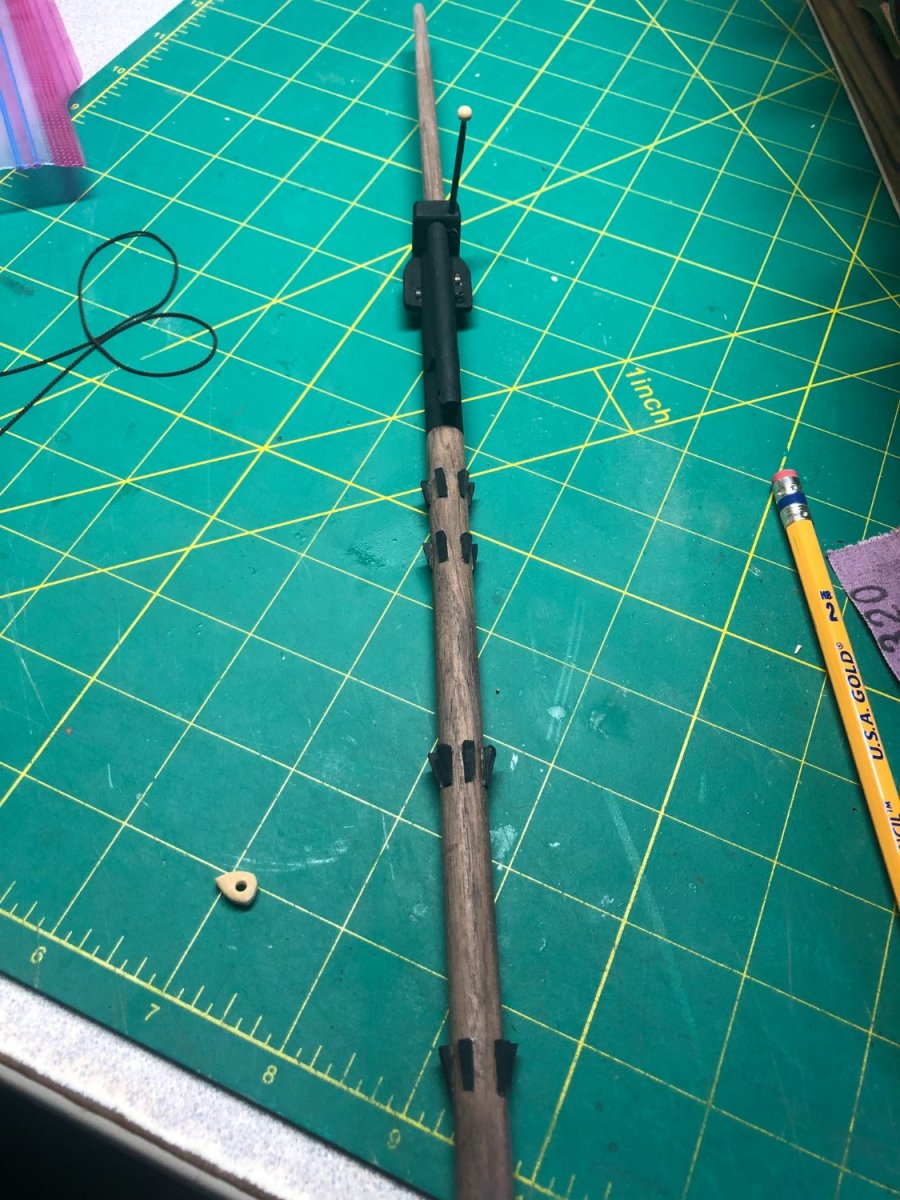
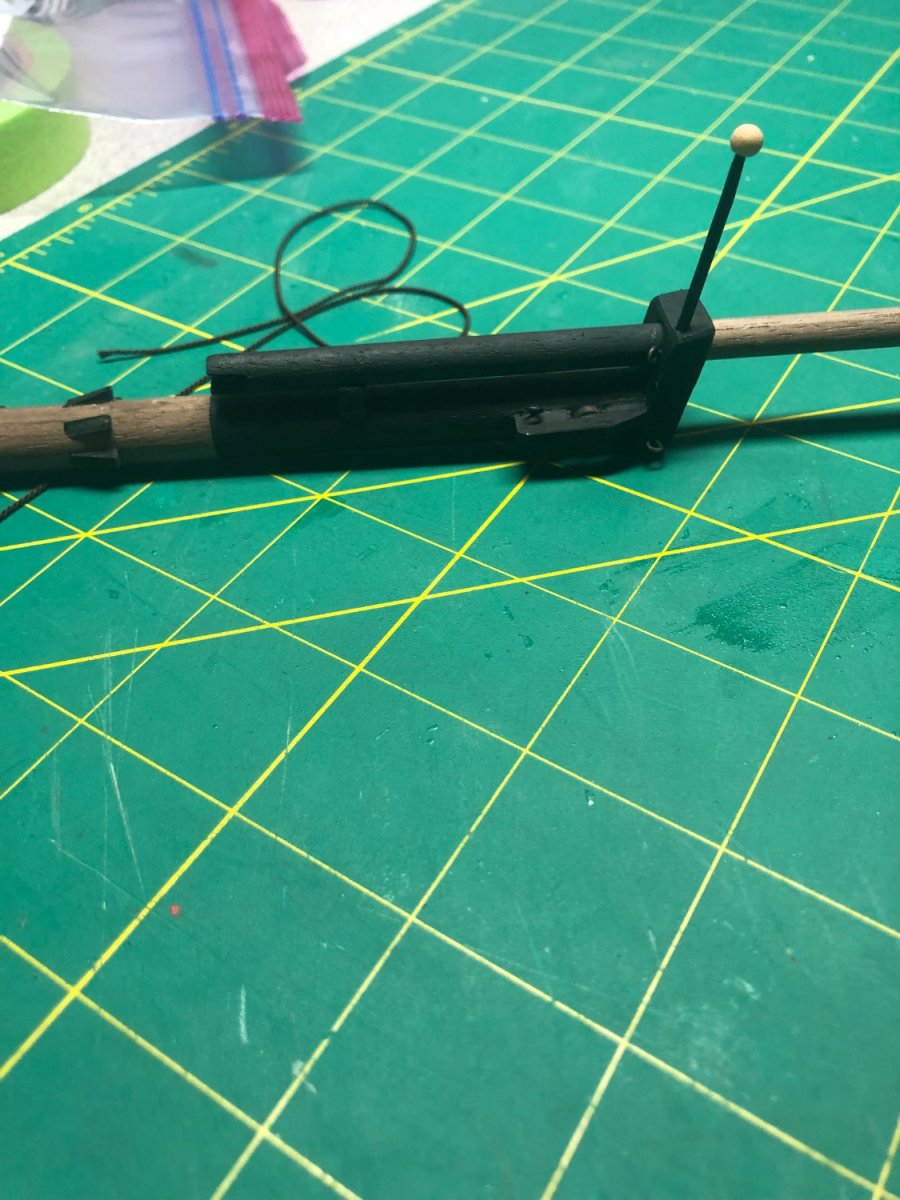
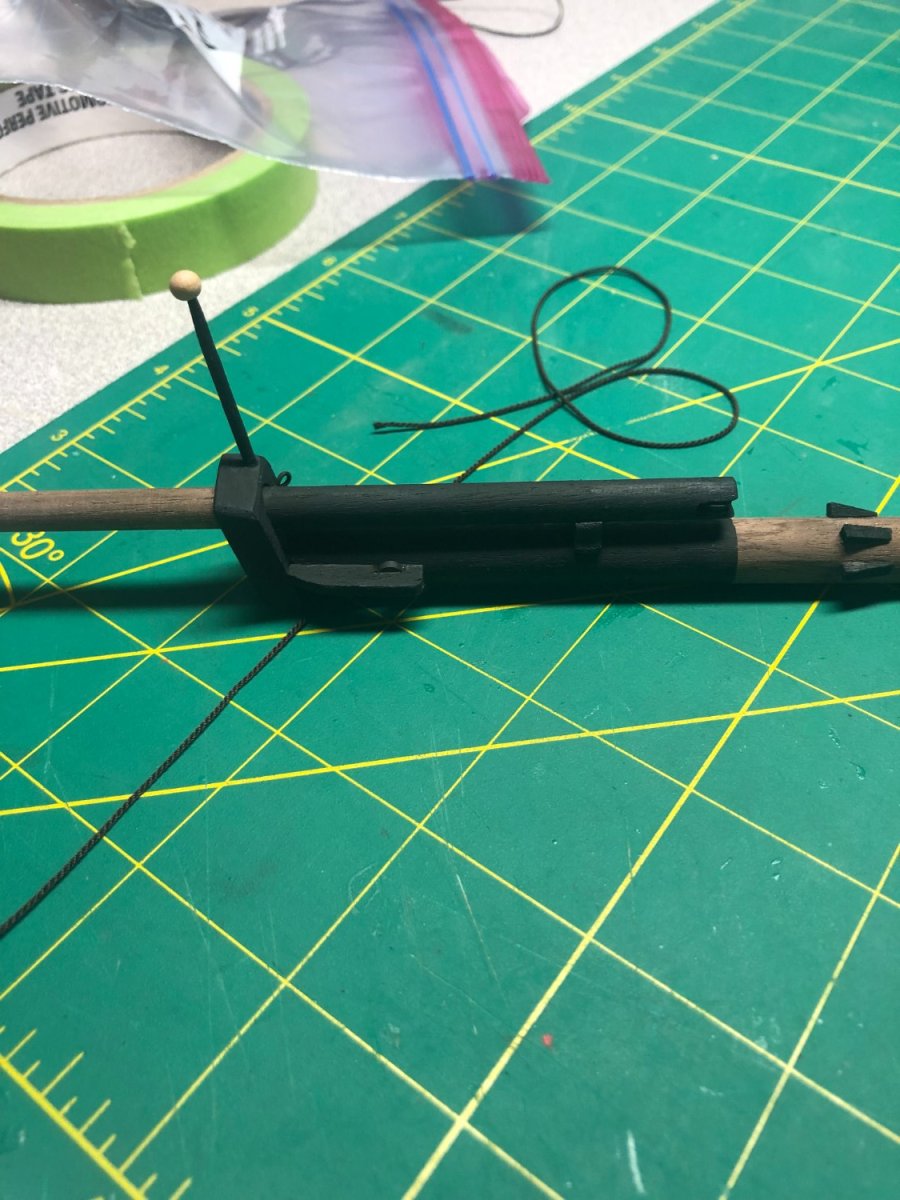
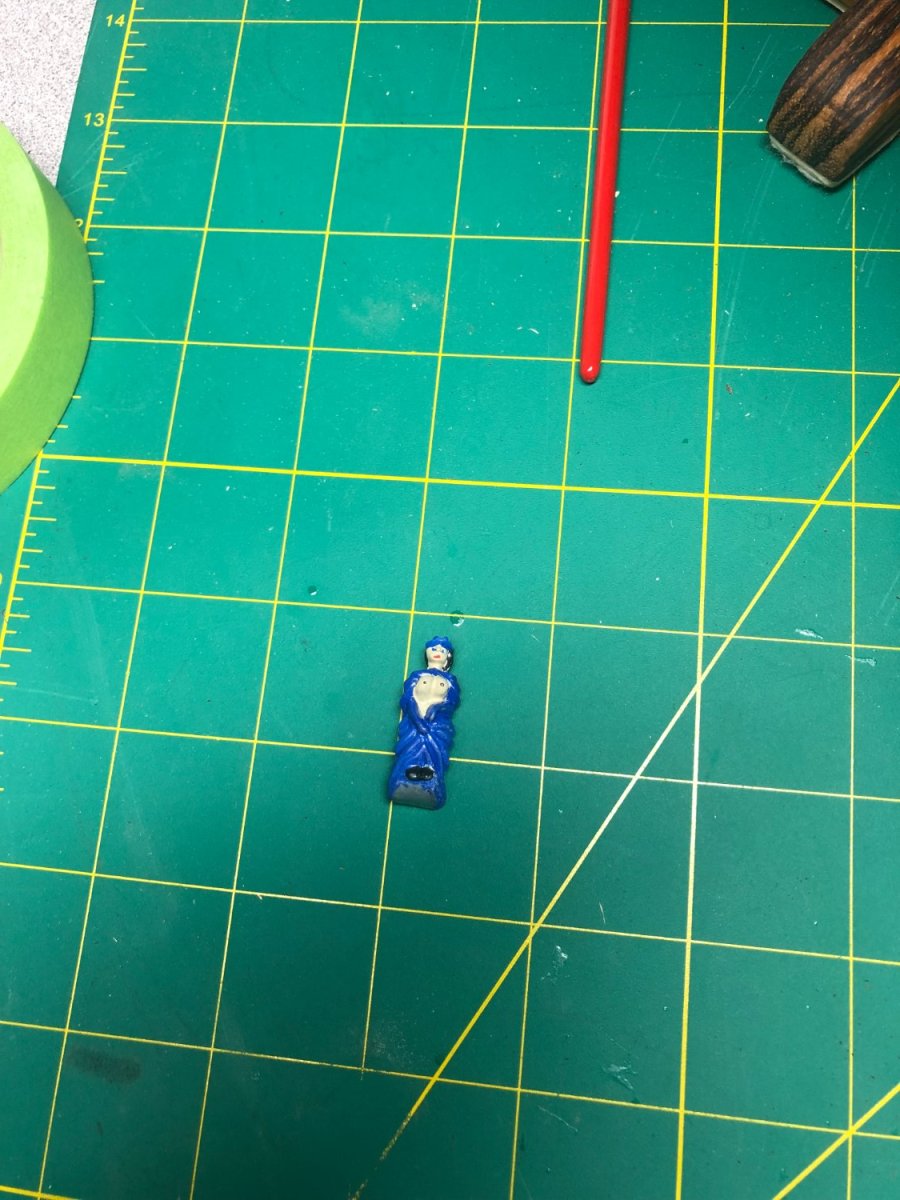
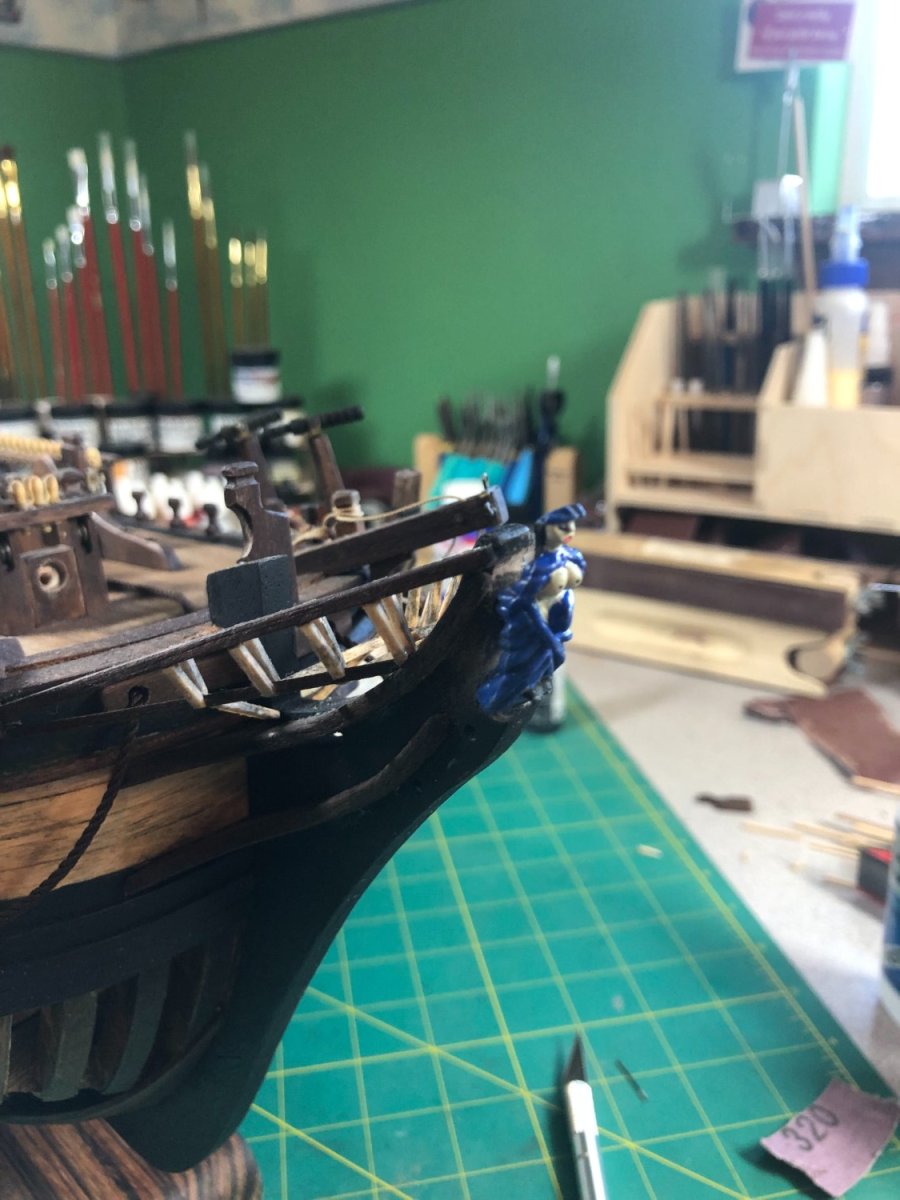
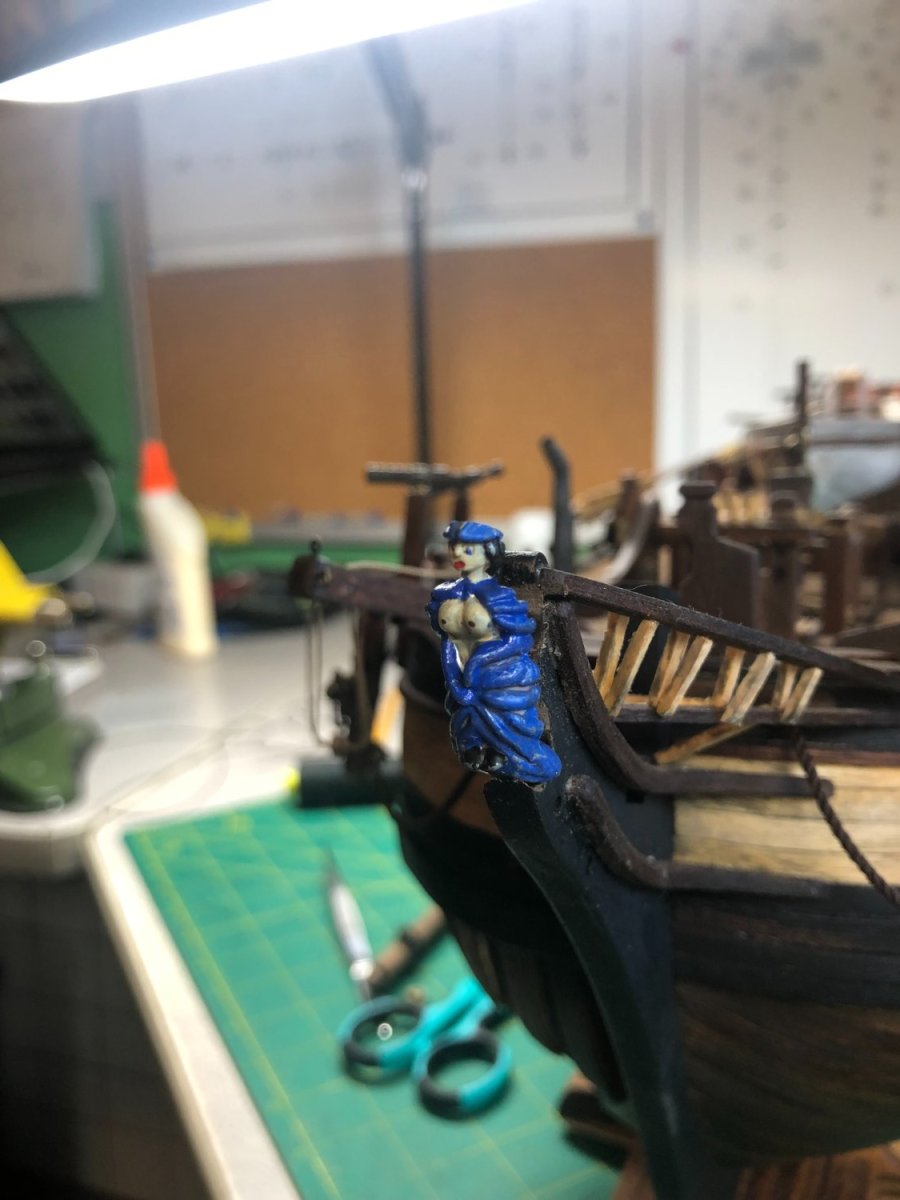
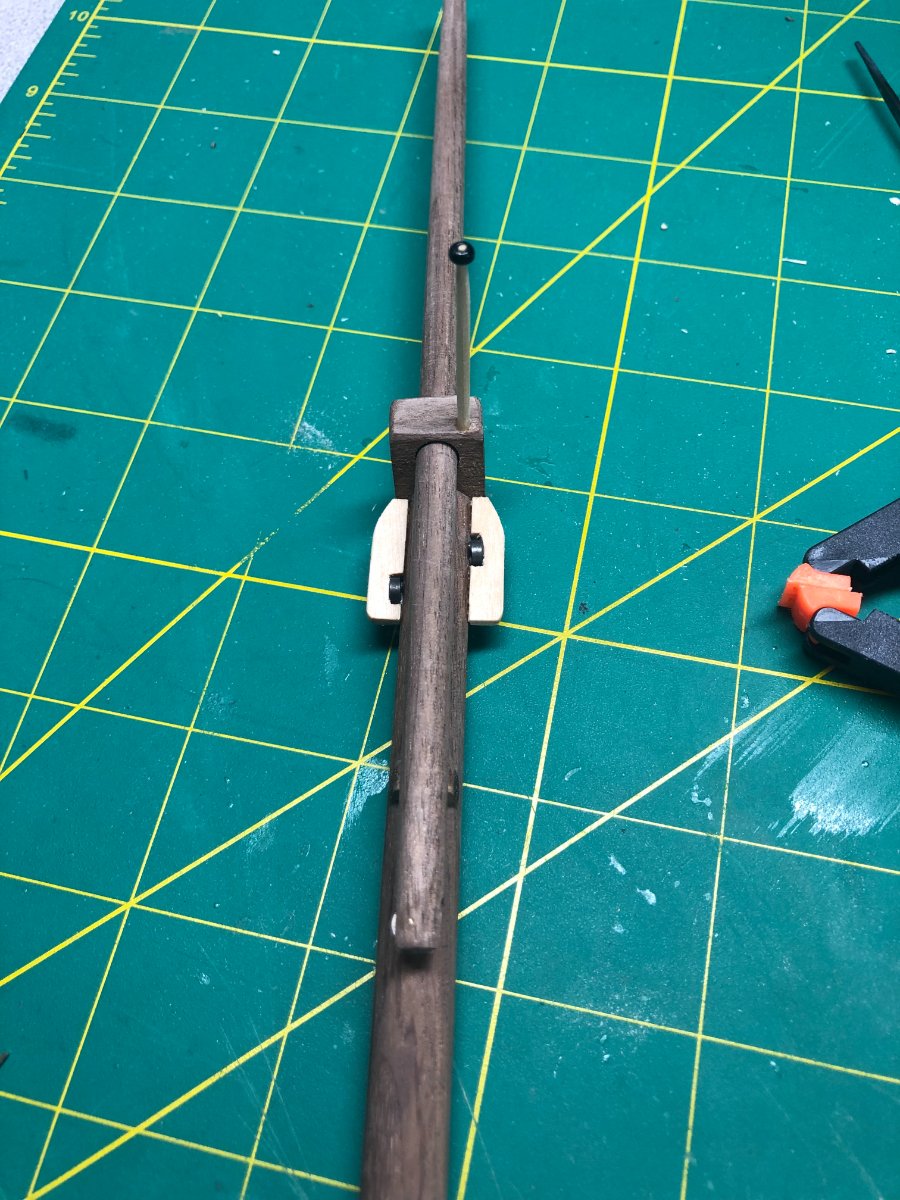
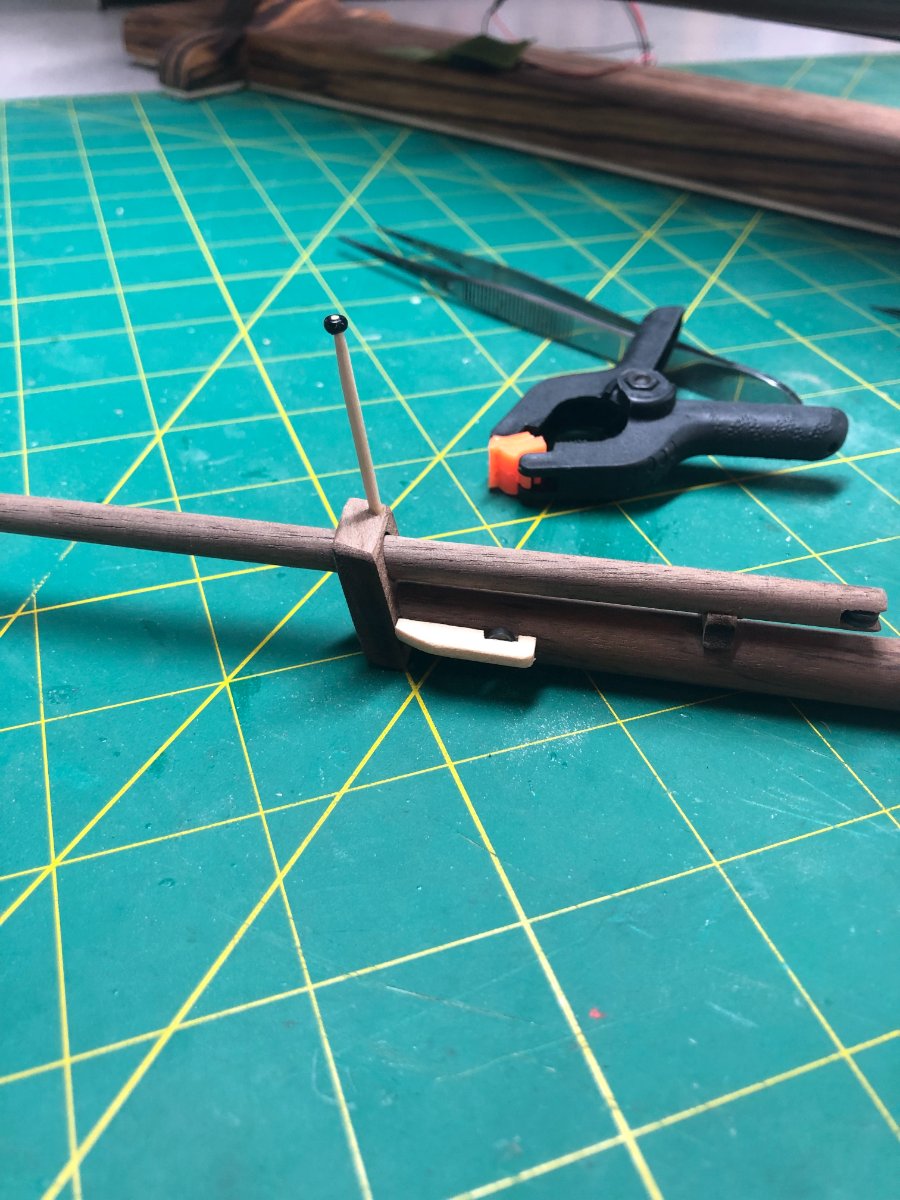
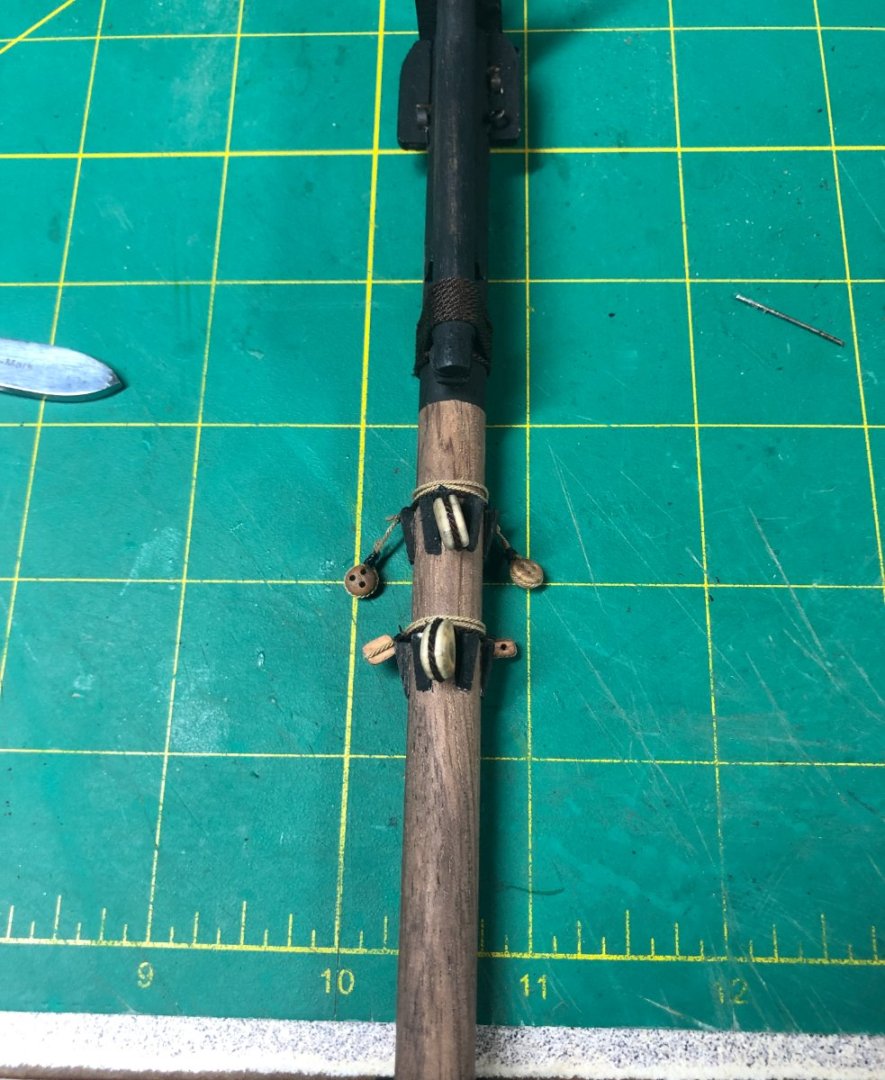
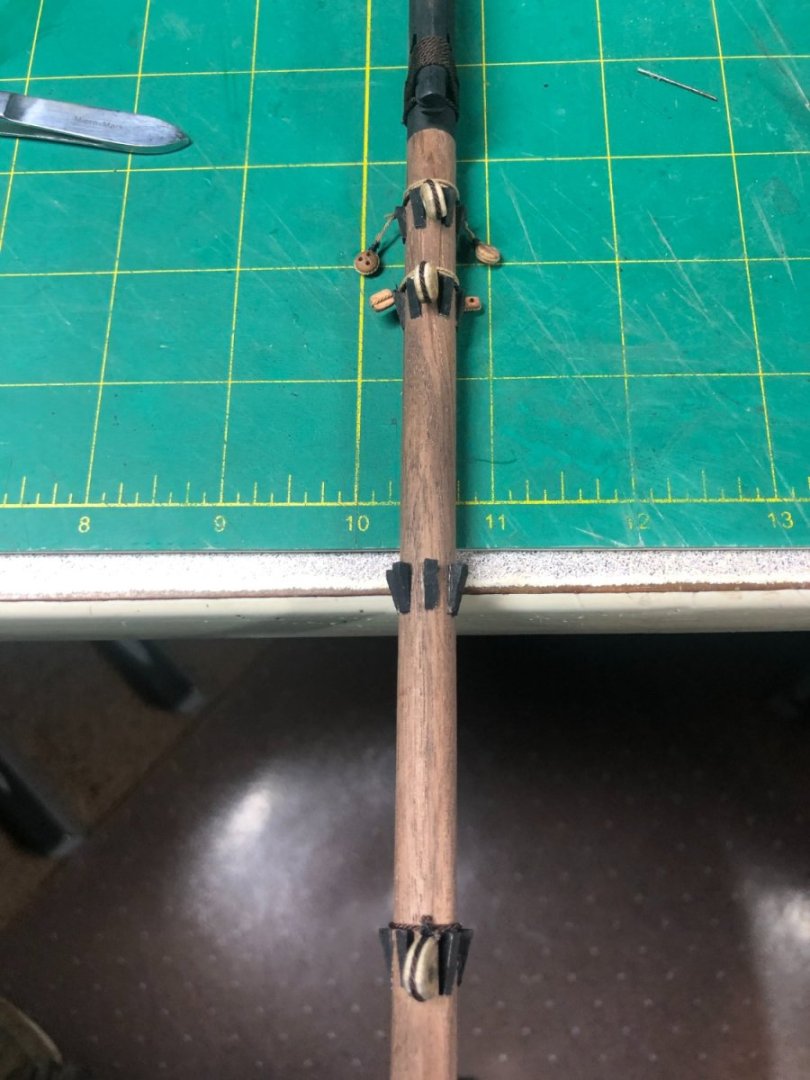
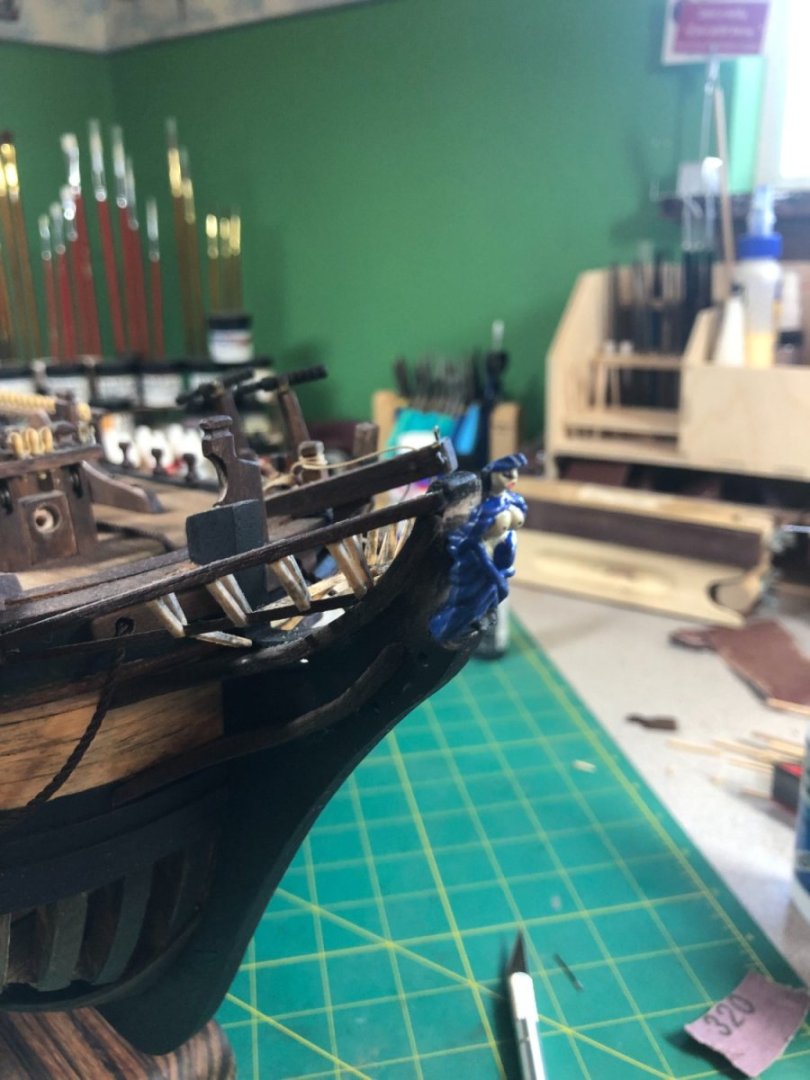
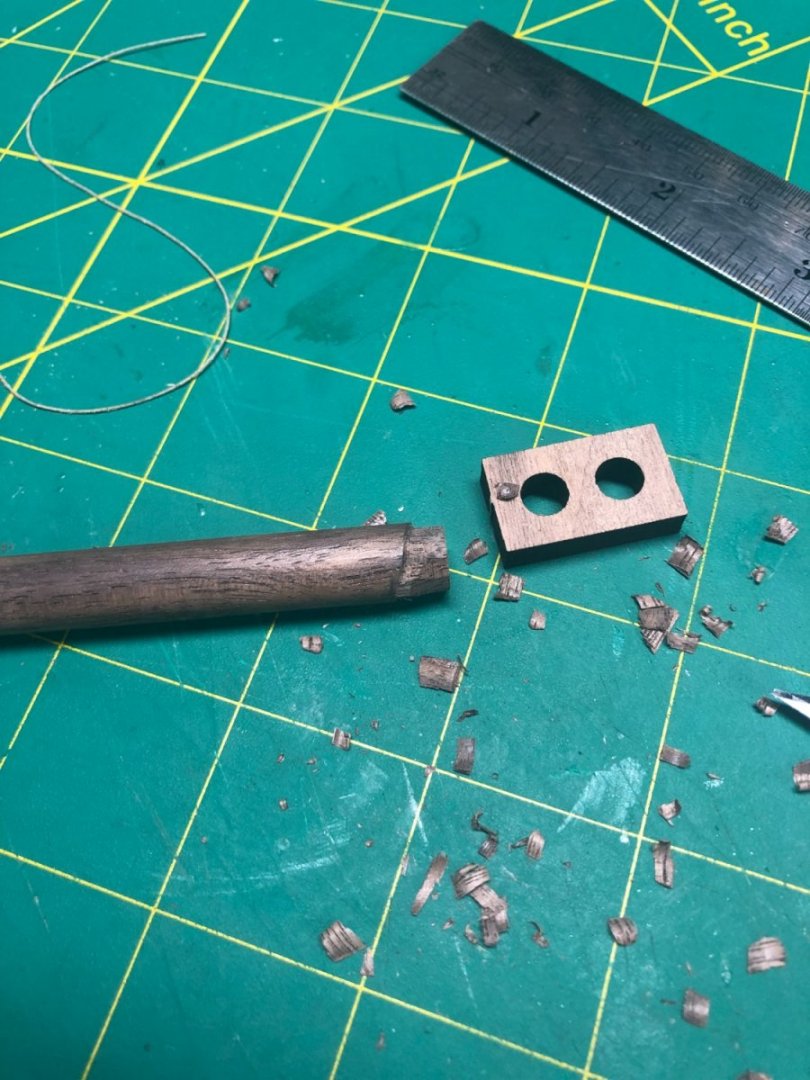
Ok... The rigging plans, drawings and instructions ARE NOT VERY GOOD! I have to spend a ton of time reading other logs, looking at the two books (Lee's and Petersens's), researching on the internet, etc. before I even start doing the actual work. I suspect that I will need to research just about every standing line and running line which does have advantages... By the time I'm done, I should have a better than working knowledge of the entire rigging system. We' see! I started with the "Woman in a Riding Habit" figurehead since it is directly below the bowsprit. Good thing I did too. The stem required some alterations to make her fit. Nothing drastic and I used a round file to do most of the work. Additionally, I painted her: I did quite a bit of research on figureheads and decide to leave her bare chested... here's an excerpt from one of my sources: "...such figures, baring one or both breasts, had been popular in both merchant and naval ships. Sailors' superstitions viewed women on board a ship as unlucky but a semi-naked sculpted female form was believed to calm storms at sea." I don't think it worked too well for Bligh! After painting, I gave it a "wash" to give it some highlights and once dry, mounted it: My painting skills look better from a better distance!! The bowsprit and jib had to be altered some to accommodate mounting and the jib was tapered per the drawings and then joined together using the saddle piece between them: I also added the sheave at the aft end of the jib. I should add that getting the angle of the bowsprit and jib boom was a lot of work with a file. The block as two round holes (one should be square but I left it) These holes required a lot of round file work. The Bees of the bowsprit were shaped and the sheaves added: And then installed on the bowsprit: The cleats were all hand cut and then installed. I used tape to mark the position of a row of cleats and then just glued them on: Also added the Jack Staff... I use a black bead for the tip... which I later changed to a wood knob (it will be in the last few pictures). And lastly, painted: You'll notice, I added 3 rings on the starboard side... The plans don't show any on the port side, not sure if that's accurate but they are relatively easy to add later, if needed. I've spent considerable time researching the "Traveler" and how to make it and have begun attaching the standing and running rigging blocks but as I noted above, I have to research each line to understand how it is attached to the bowsprit or jib boom and what its purpose. Back in a few days with the finished bowsprit!


-
Just got caught up on your progress... some very impressive work. Especially the ship's wheel! Your kit seems to rival mine in the lack of instructions, material and drawings. The AL instructions are non-existent once the main deck is done. The masting and rigging is all drawings... not great ones! I'm enjoying your log.
-
Returned from our long trip! Had a blast and can't wait to go again next year! Got back in the shop today, mostly just looking things over and re-engaging my mind! I'll start on the bowsprit next. Updates will start coming but there is still some summer left!
-
Nice to see your progress since we last spoke! Love the details you've added and your workmanship has been good... keep it up!
-
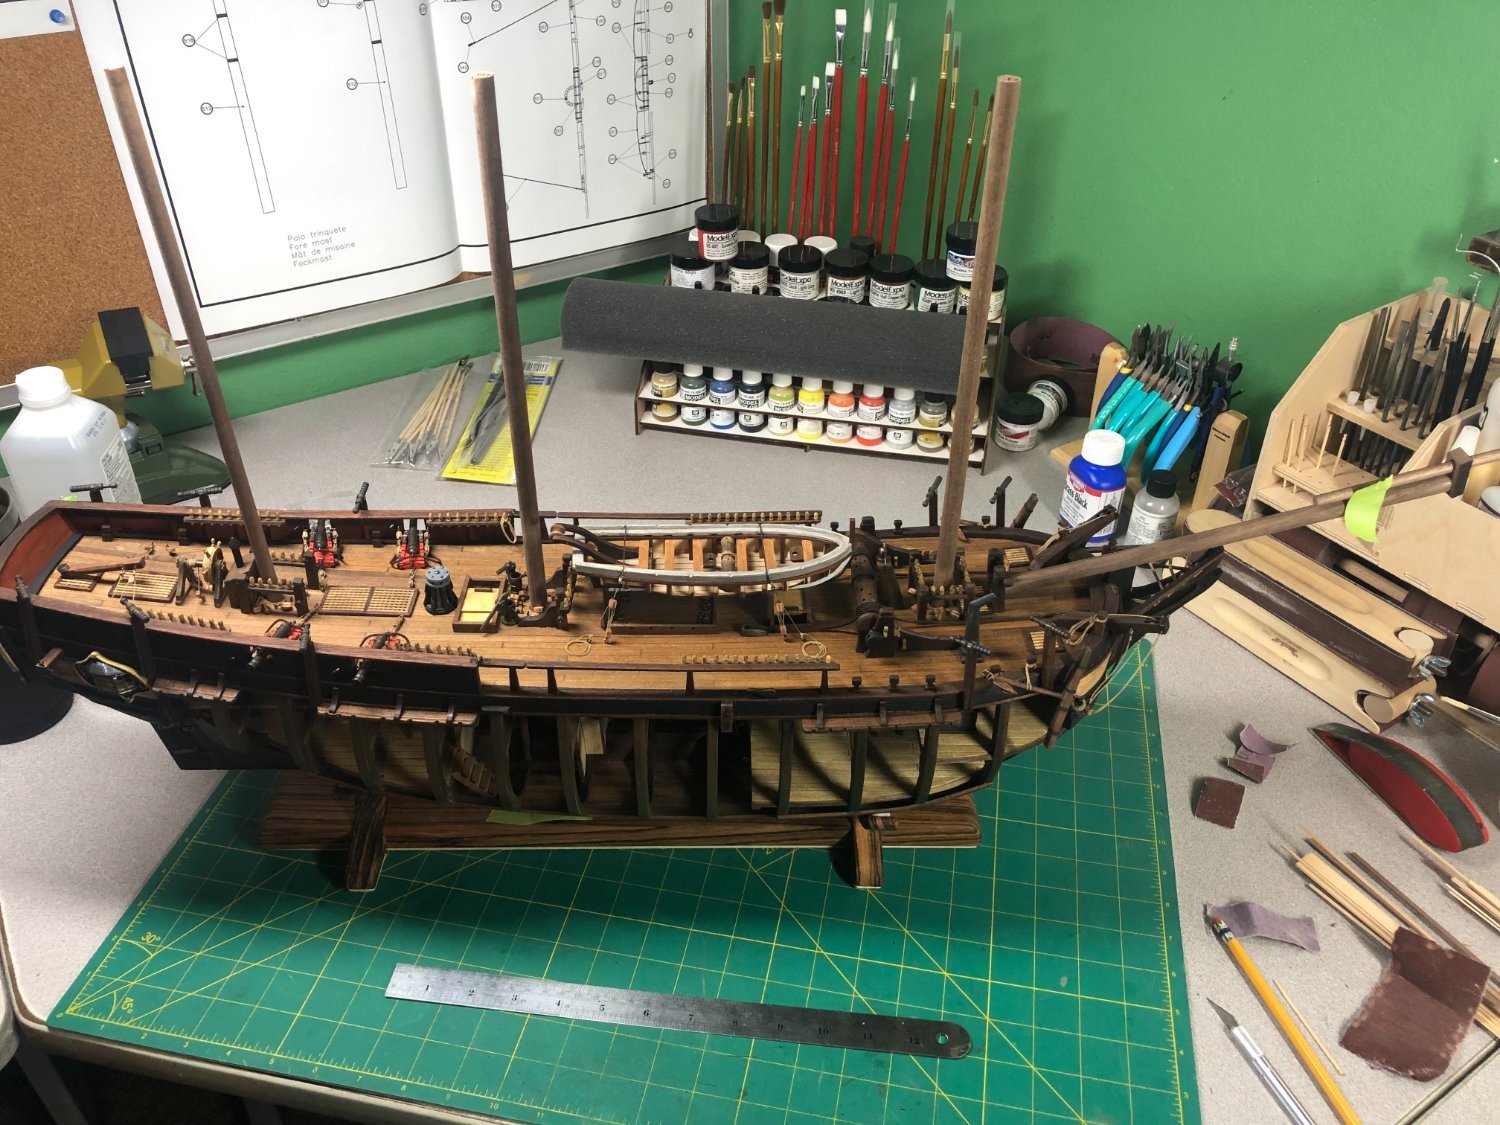
Last update for a while... off on the boat soon! Fitted the bowsprit and masts... alignment is good! Just need to add the details before final placement. Have a great summer!


-
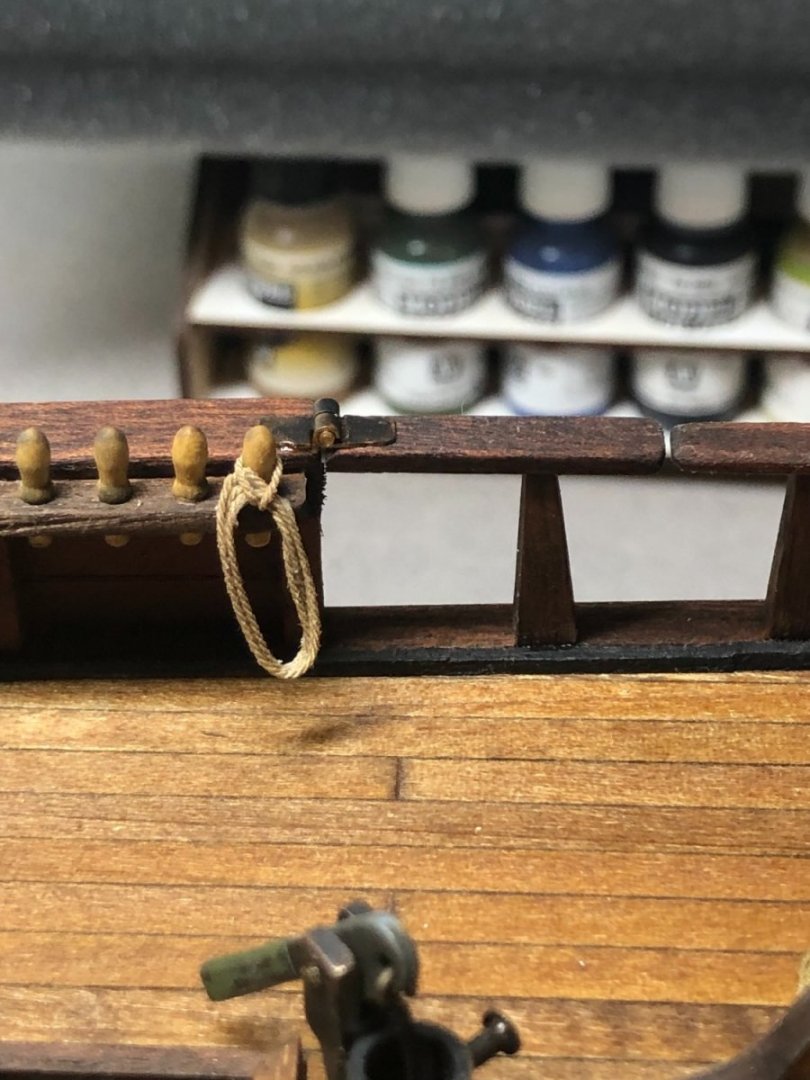
Just a quick update... I'm between boat trips with the big one coming in less than a month! I worked on rope hanks and rope coils. If you're interested in the details of products used and the process, check out this link: Rope hanks installed (temporarily on the belaying pin), I'll do a couple more smaller ones for the anchor tie-downs and will then mass produce a bunch for later use! Rope coils made too: Starting making measurements on the bowsprit and immediately found a pretty large difference between the parts listing and the drawings... a difference of 10mm in two cases. WIll ask for some help and do some checking with other plans. More when I can!


-
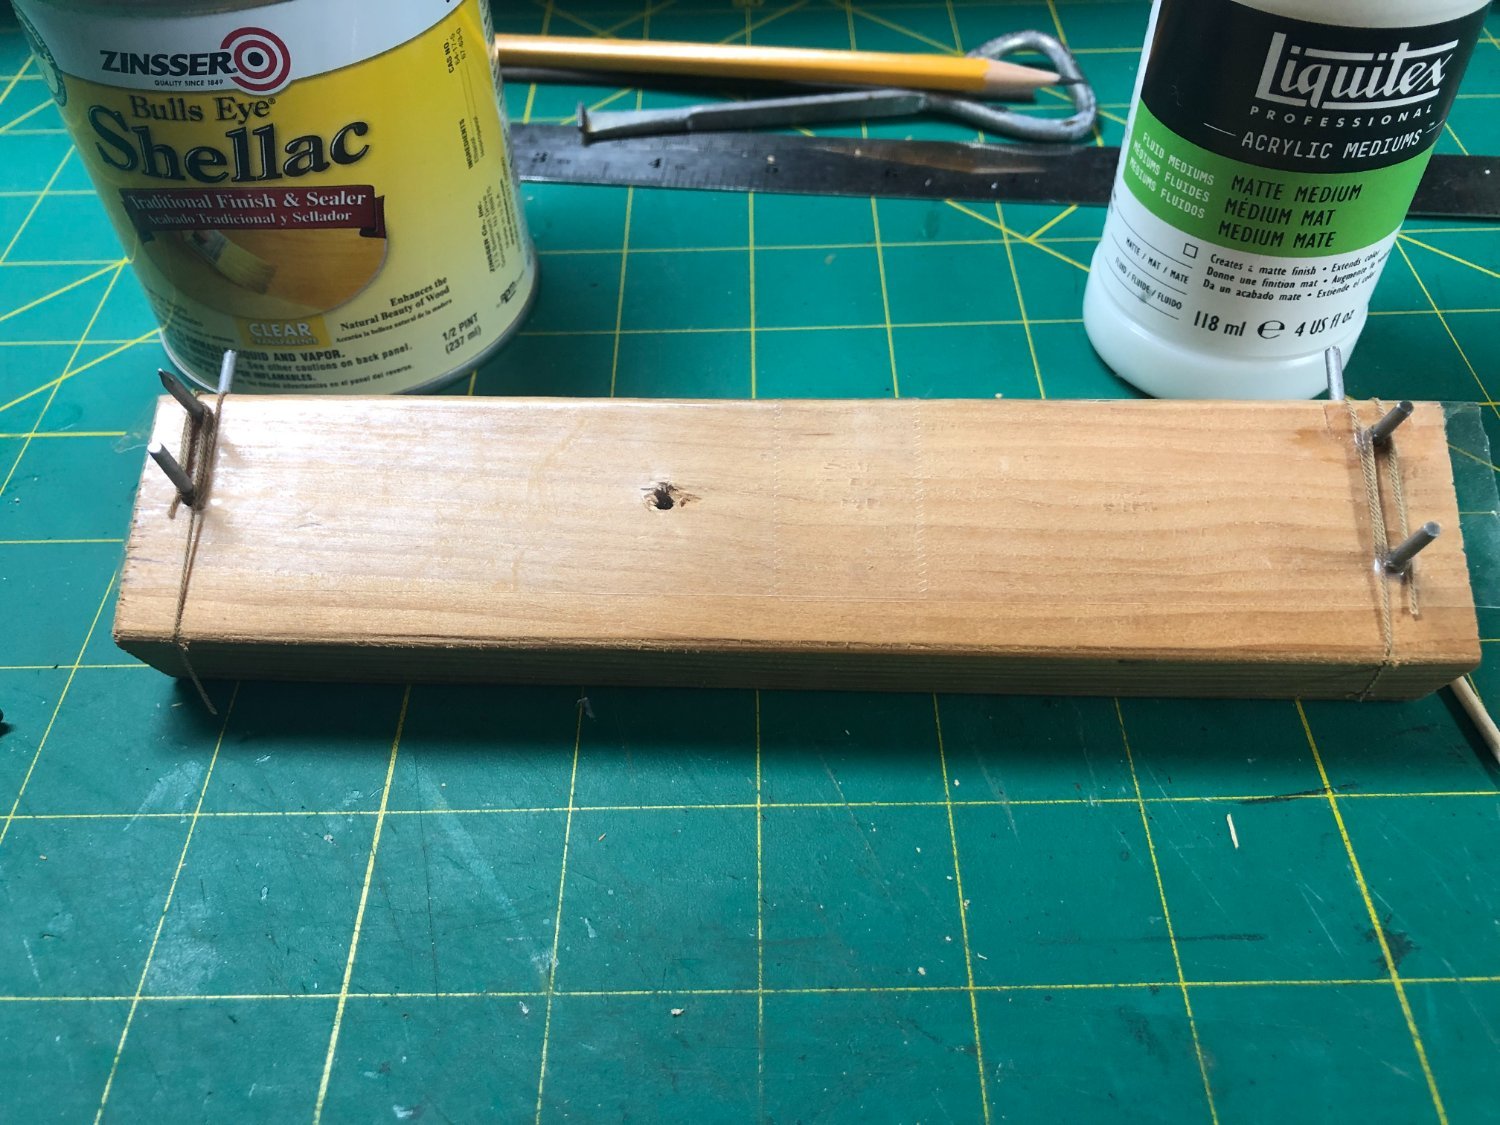
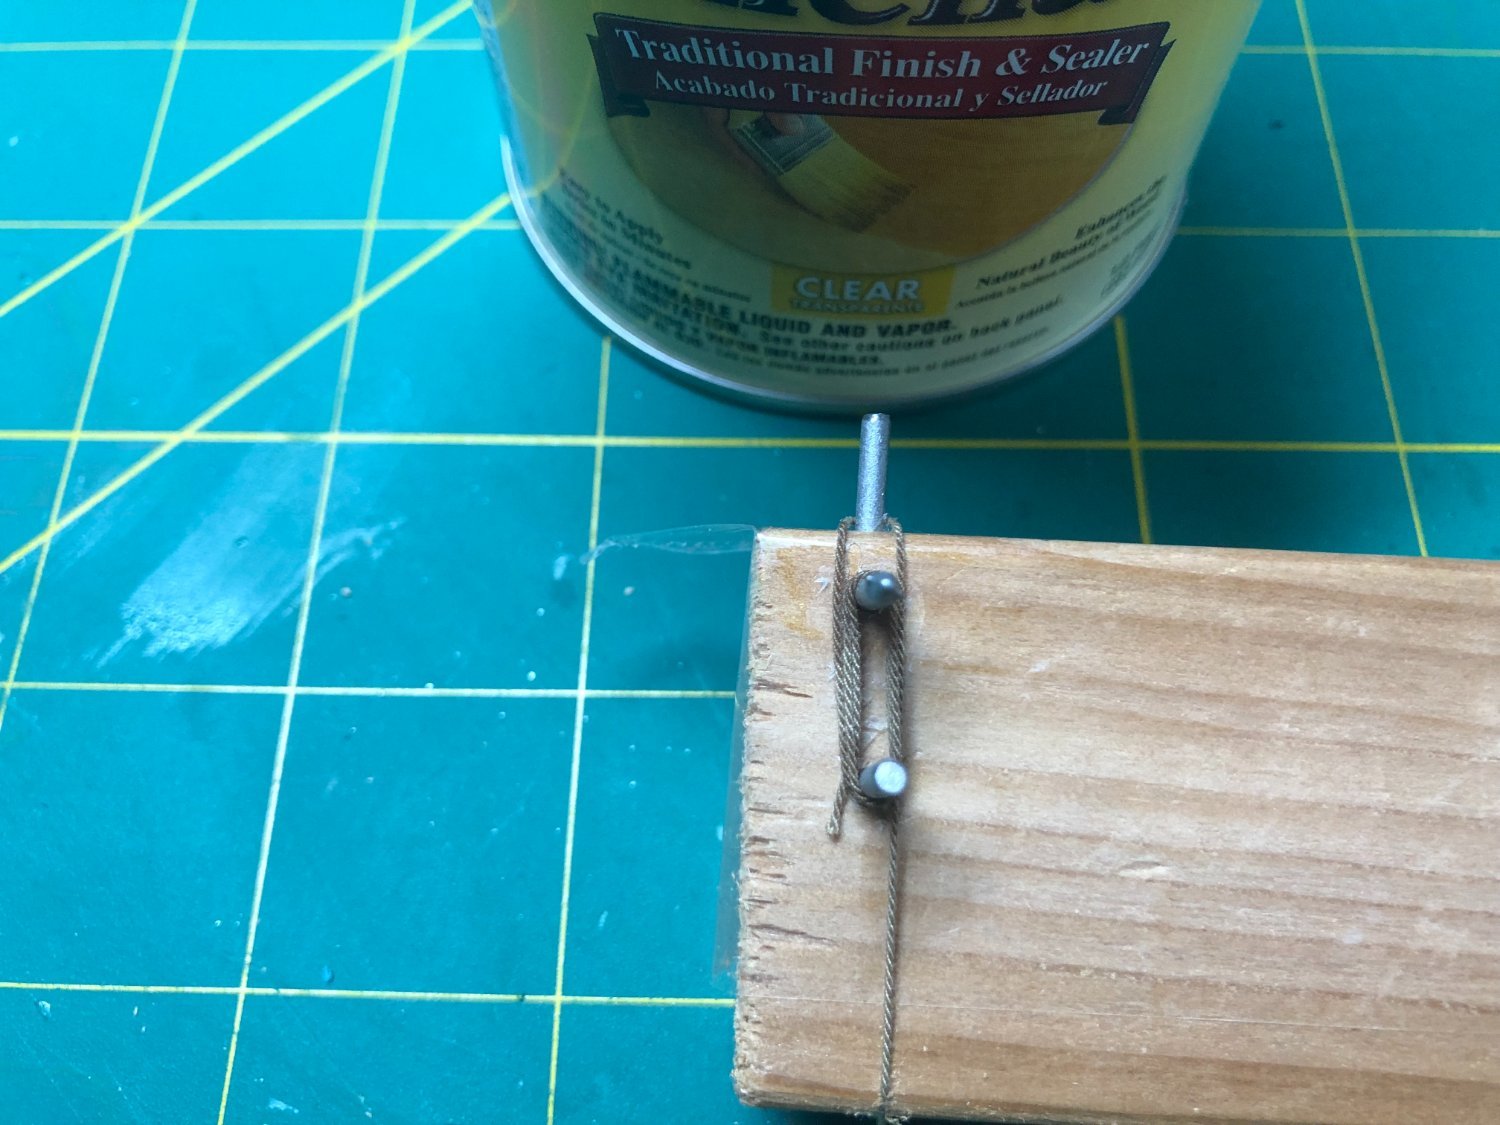
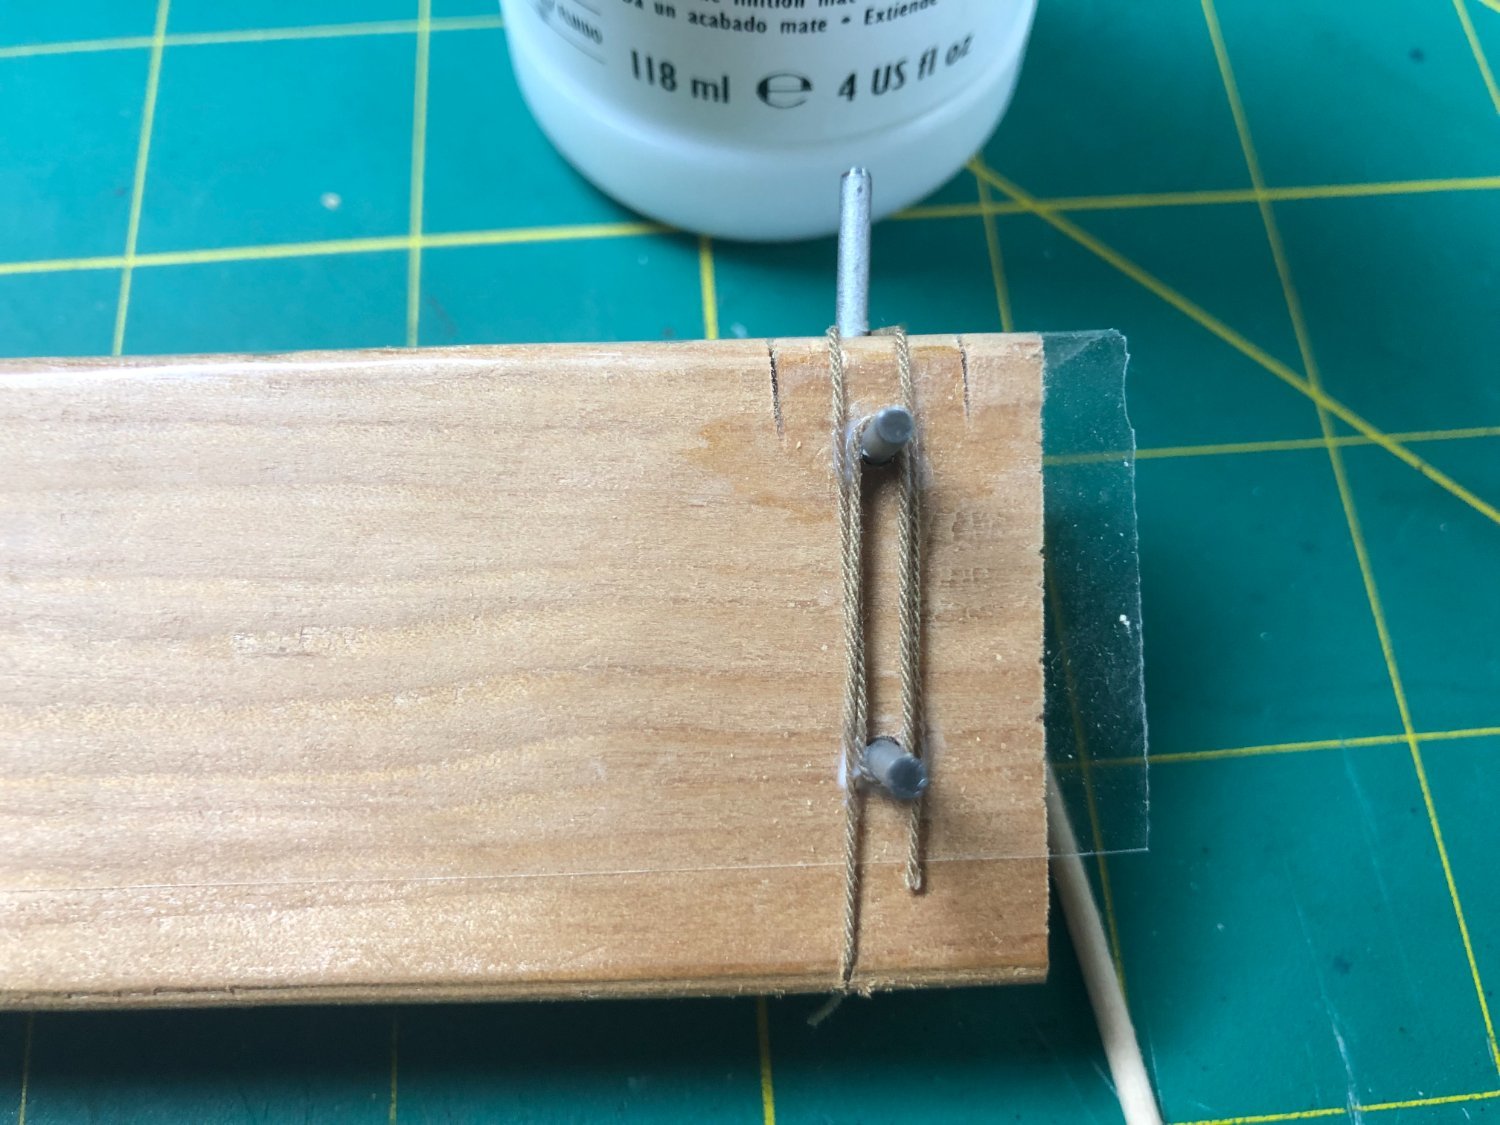
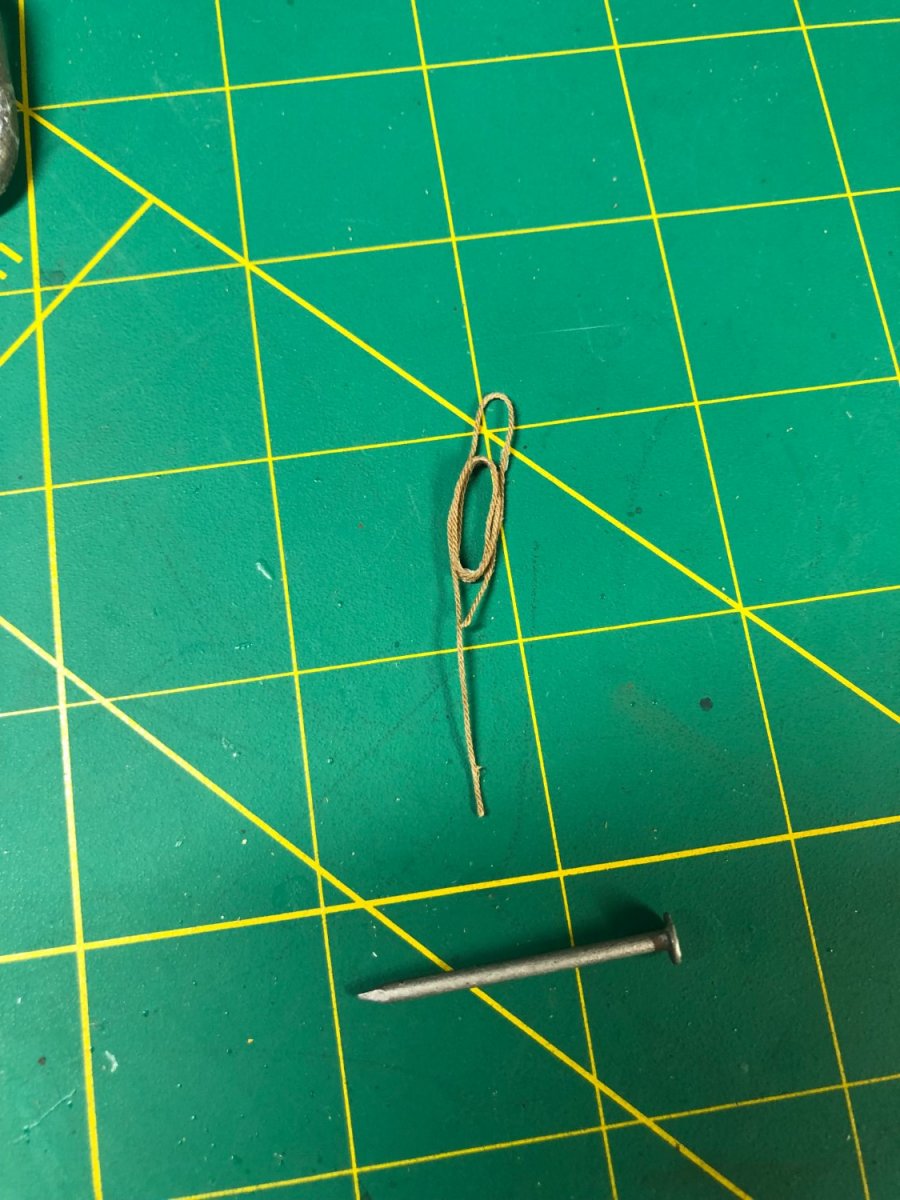
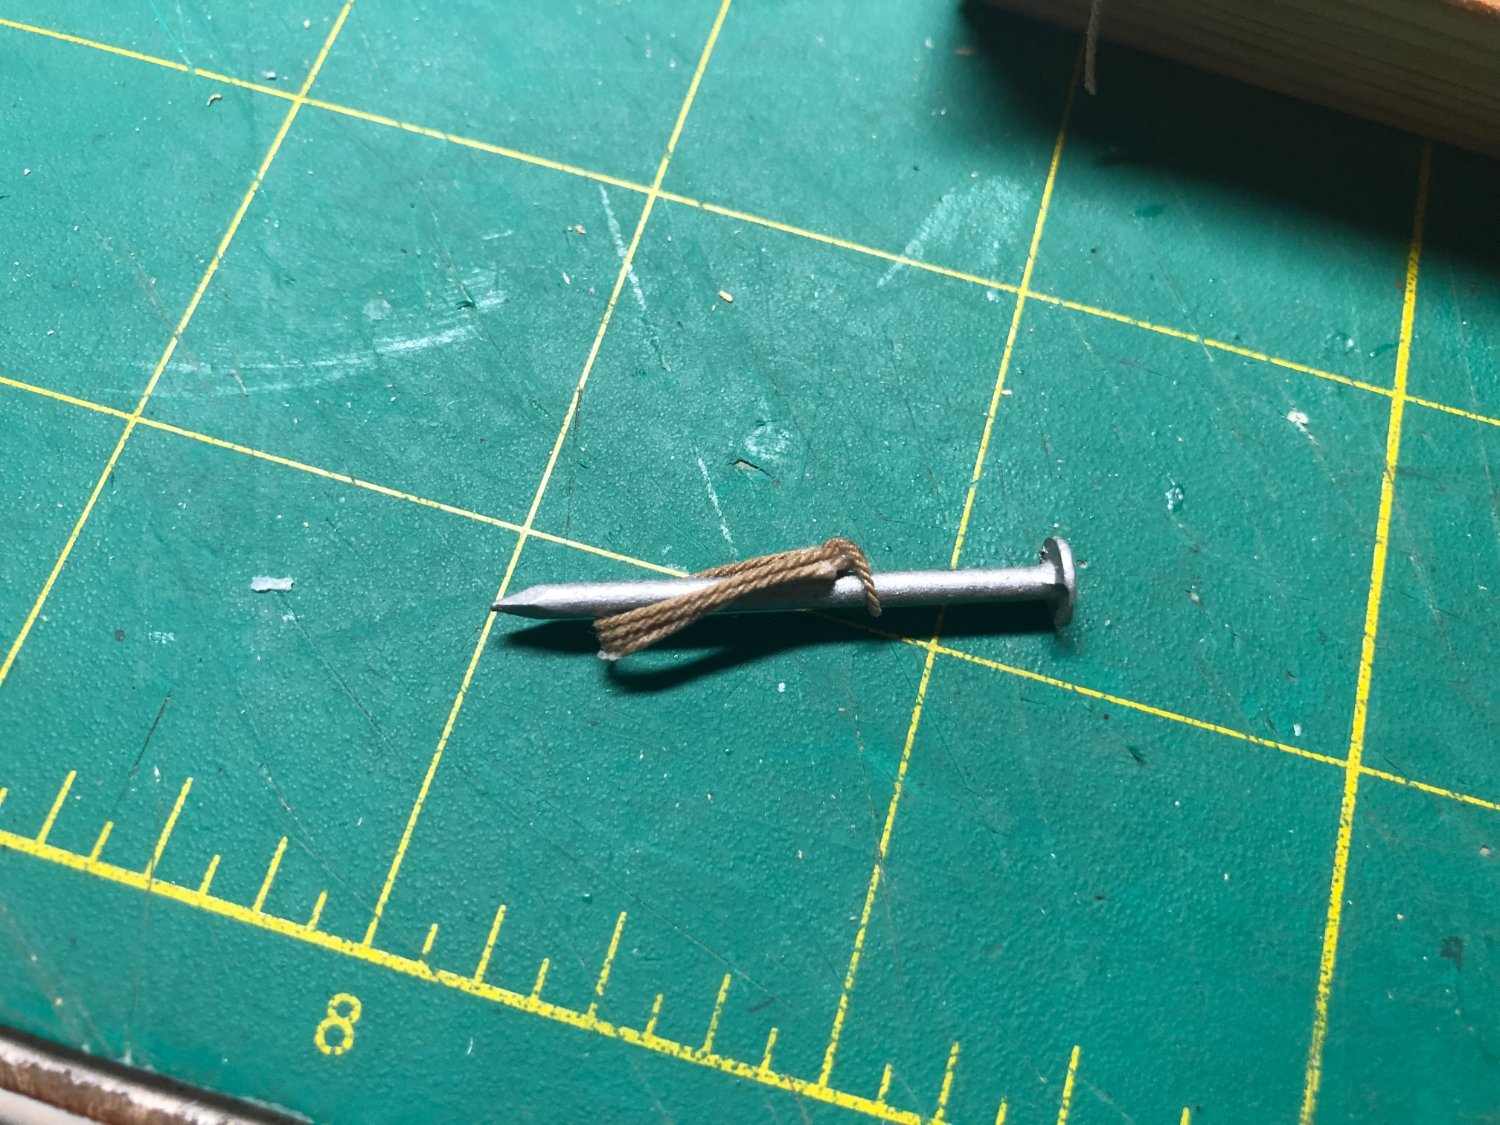
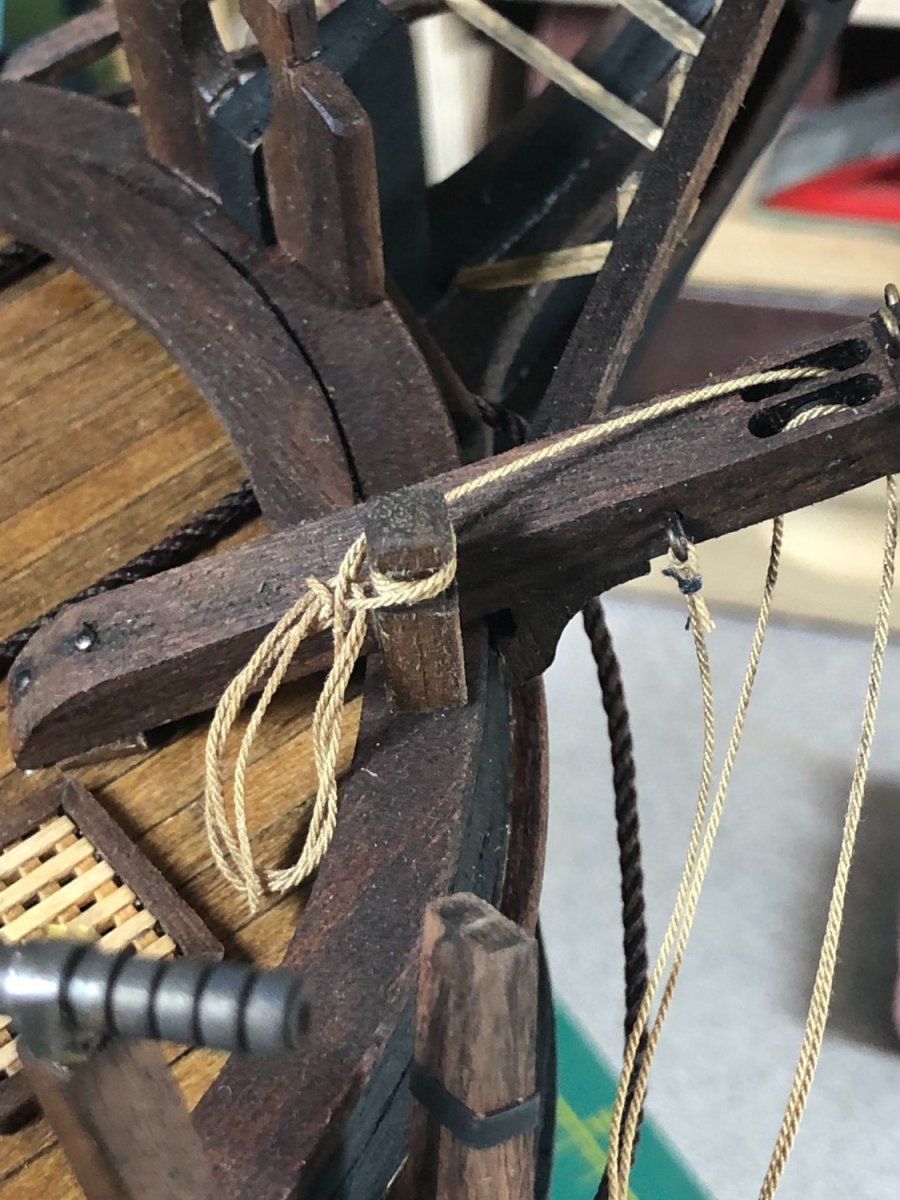
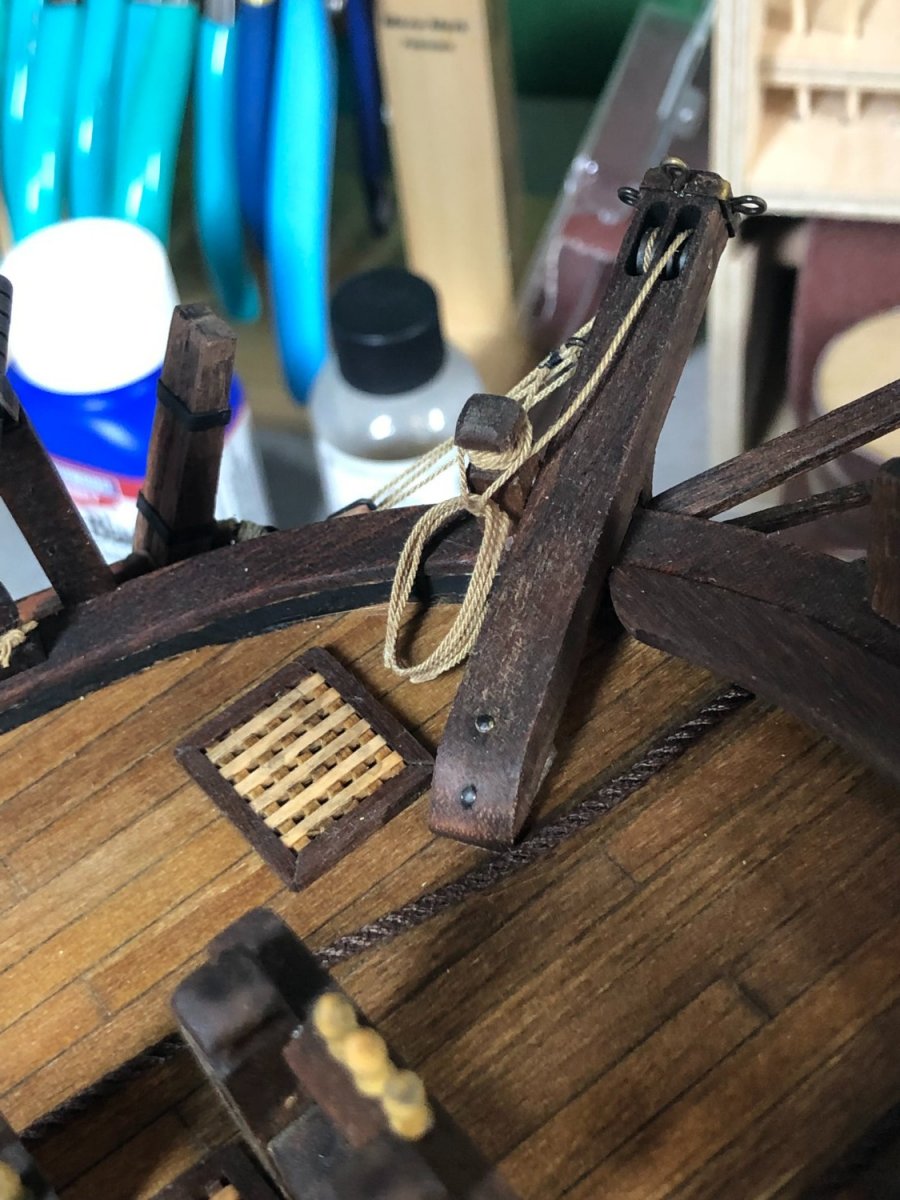
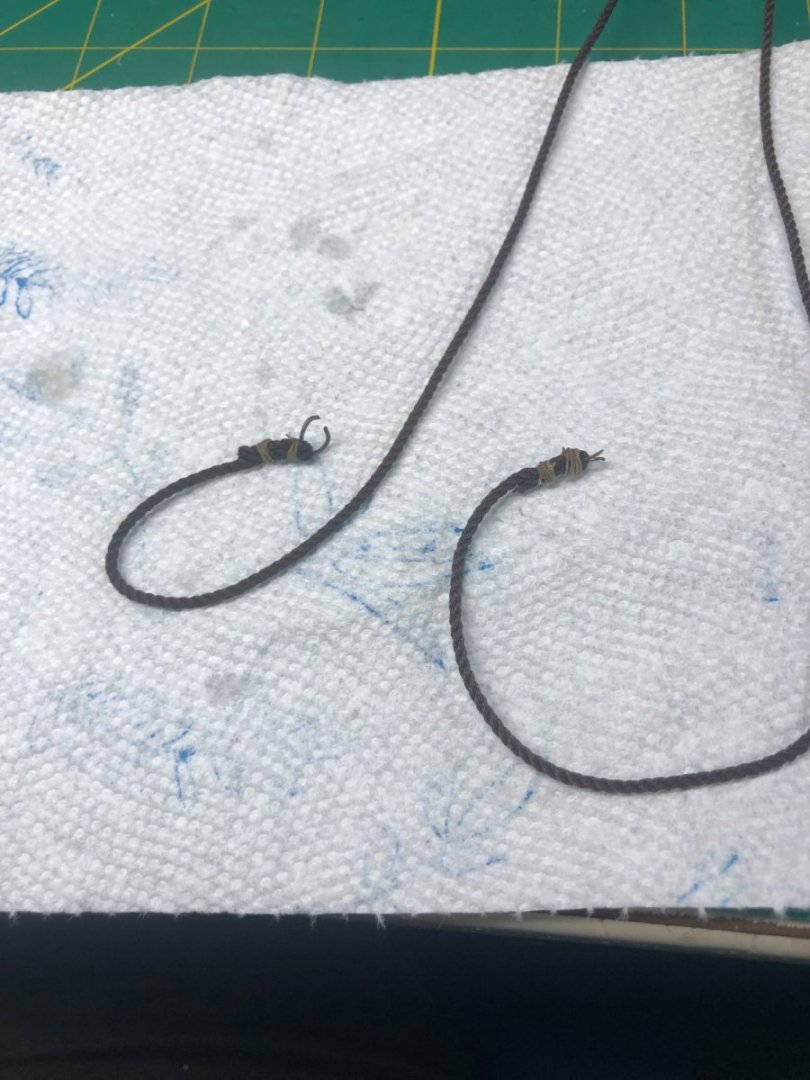
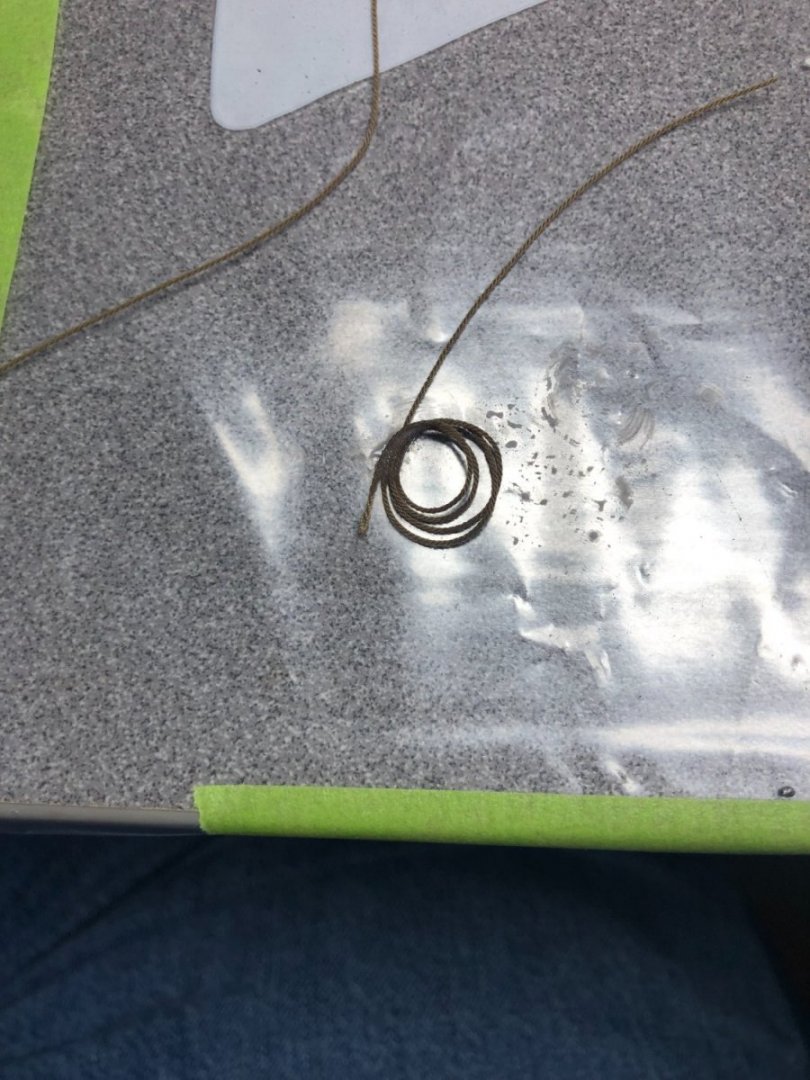
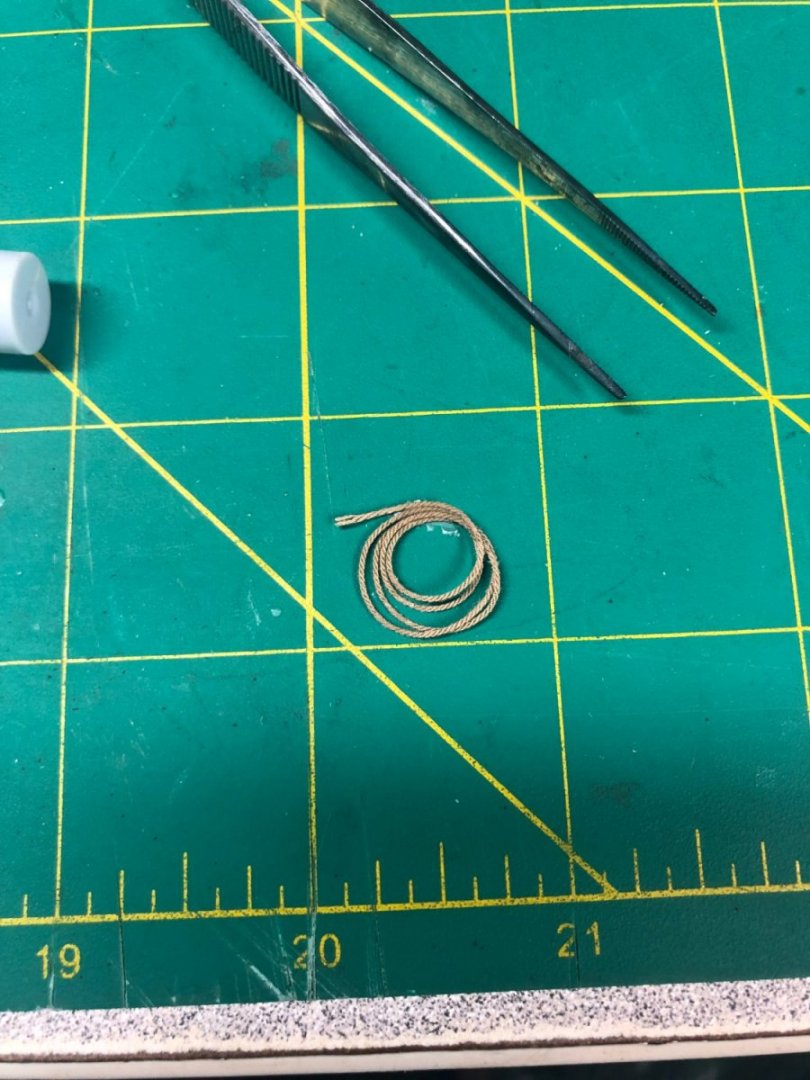
So, as I posted above I decided to try clear shellac and Liquitex Matte Medium. I made a jig to help with making the rope hanks... some trial and error to get the size(s) that I wanted: As can be seen, on the left is the hank made using clear shellac and on the right is the Liquitex. After making the necessary winds on each hank, I dabbed the tops and bottoms of the loops with the product nearest to it. The first time, I did not allow it to dry enough and had to restart. On the second attempt, I let both dry several hours. However, after about an hour, I did return and twisted the nails to keep the hanks from sticking. I also have packing tape on the wood to prevent adhesion: After a few hours, I used an Exacto-knife to remove loops: The hank with the shellac was very fragile and came apart too easily. Both attempts yielded the same results. However, the hanks maybe a bit more realistic looking... more on that in a bit. The hank pictured above is assembled with the Liquitex. The Liquitex consistently did a better job of adhering the rope. But it does have issues too. The biggest issue is the residue it left. Look closely at the next photo: The residue may be solved by either, using less product or possibly, diluting it just a bit. As I do more hanks, I'll try to refine my process. For me, the Liquitex is the better choice but... I still want to try the shellac on knots! Here's a couple photos of my first few completed and temporarily placed: Liquitex version above Shellac version - I think it looks a little more realistic. The Liquitex are almost too close to perfect. Liquitex version I also produced one rope coil (loosely rolled) using the Liquitex: Although certainly not conclusive, for me, I have my answer and will use the Liquitex for the hanks and coils. The jury is still out on the shellac for knots, etc. I'll update the group when I have a chance to try it. It might be a bit as I am headed out on a boat trip soon... be back in the late summer or early fall!


-
Well done, Dave! My results are in the next post!
-
It’s called a contour gauge! Good idea!
-
Got it! Thanks Allan!
-
You cannot store it in a squeeze bottle... it evaporates very fast. You can buy it in smaller quantities but still have to open the can!
-
Maybe my solution was diluted too much? My coils just came apart and the served line unraveled completely. I soak both and let them dry overnight too.
-
Hmmmm…. These blocks only have two holes in them. So, should the blocks be reversed?
-
Another option to try... I've already purchased the other two products. If they are not up to standards, I'll try this one next. Thanks for the tip Dee-Dee.