.jpg.1f80adf1a9b14a937cfcf2ca6af0f0d4.jpg)
WalrusGuy
-
Posts
1,009 -
Joined
-
Last visited
Content Type
Profiles
Forums
Gallery
Events
Everything posted by WalrusGuy
-
.thumb.jpg.62d1d69fed1f32364417cb1f9cdeb009.jpg) I also struggled with this. I tried using clamps at first (which did work initially) then had to move on to just using my hands and patiently waiting. I also found a neat trick of using superglue at the end with wood glue for the rest of the plank. The superglue acted like an internal clamp since it stuck super quick. Hope this helps!! Btw your planking work is very neat!
I also struggled with this. I tried using clamps at first (which did work initially) then had to move on to just using my hands and patiently waiting. I also found a neat trick of using superglue at the end with wood glue for the rest of the plank. The superglue acted like an internal clamp since it stuck super quick. Hope this helps!! Btw your planking work is very neat! -
Thank you Richard, Thomas and Will for the great comments! And thanks all for the likes! 😄
- 950 replies
-
- 1
-

-
- syren
- model shipways
- (and 1 more)
-
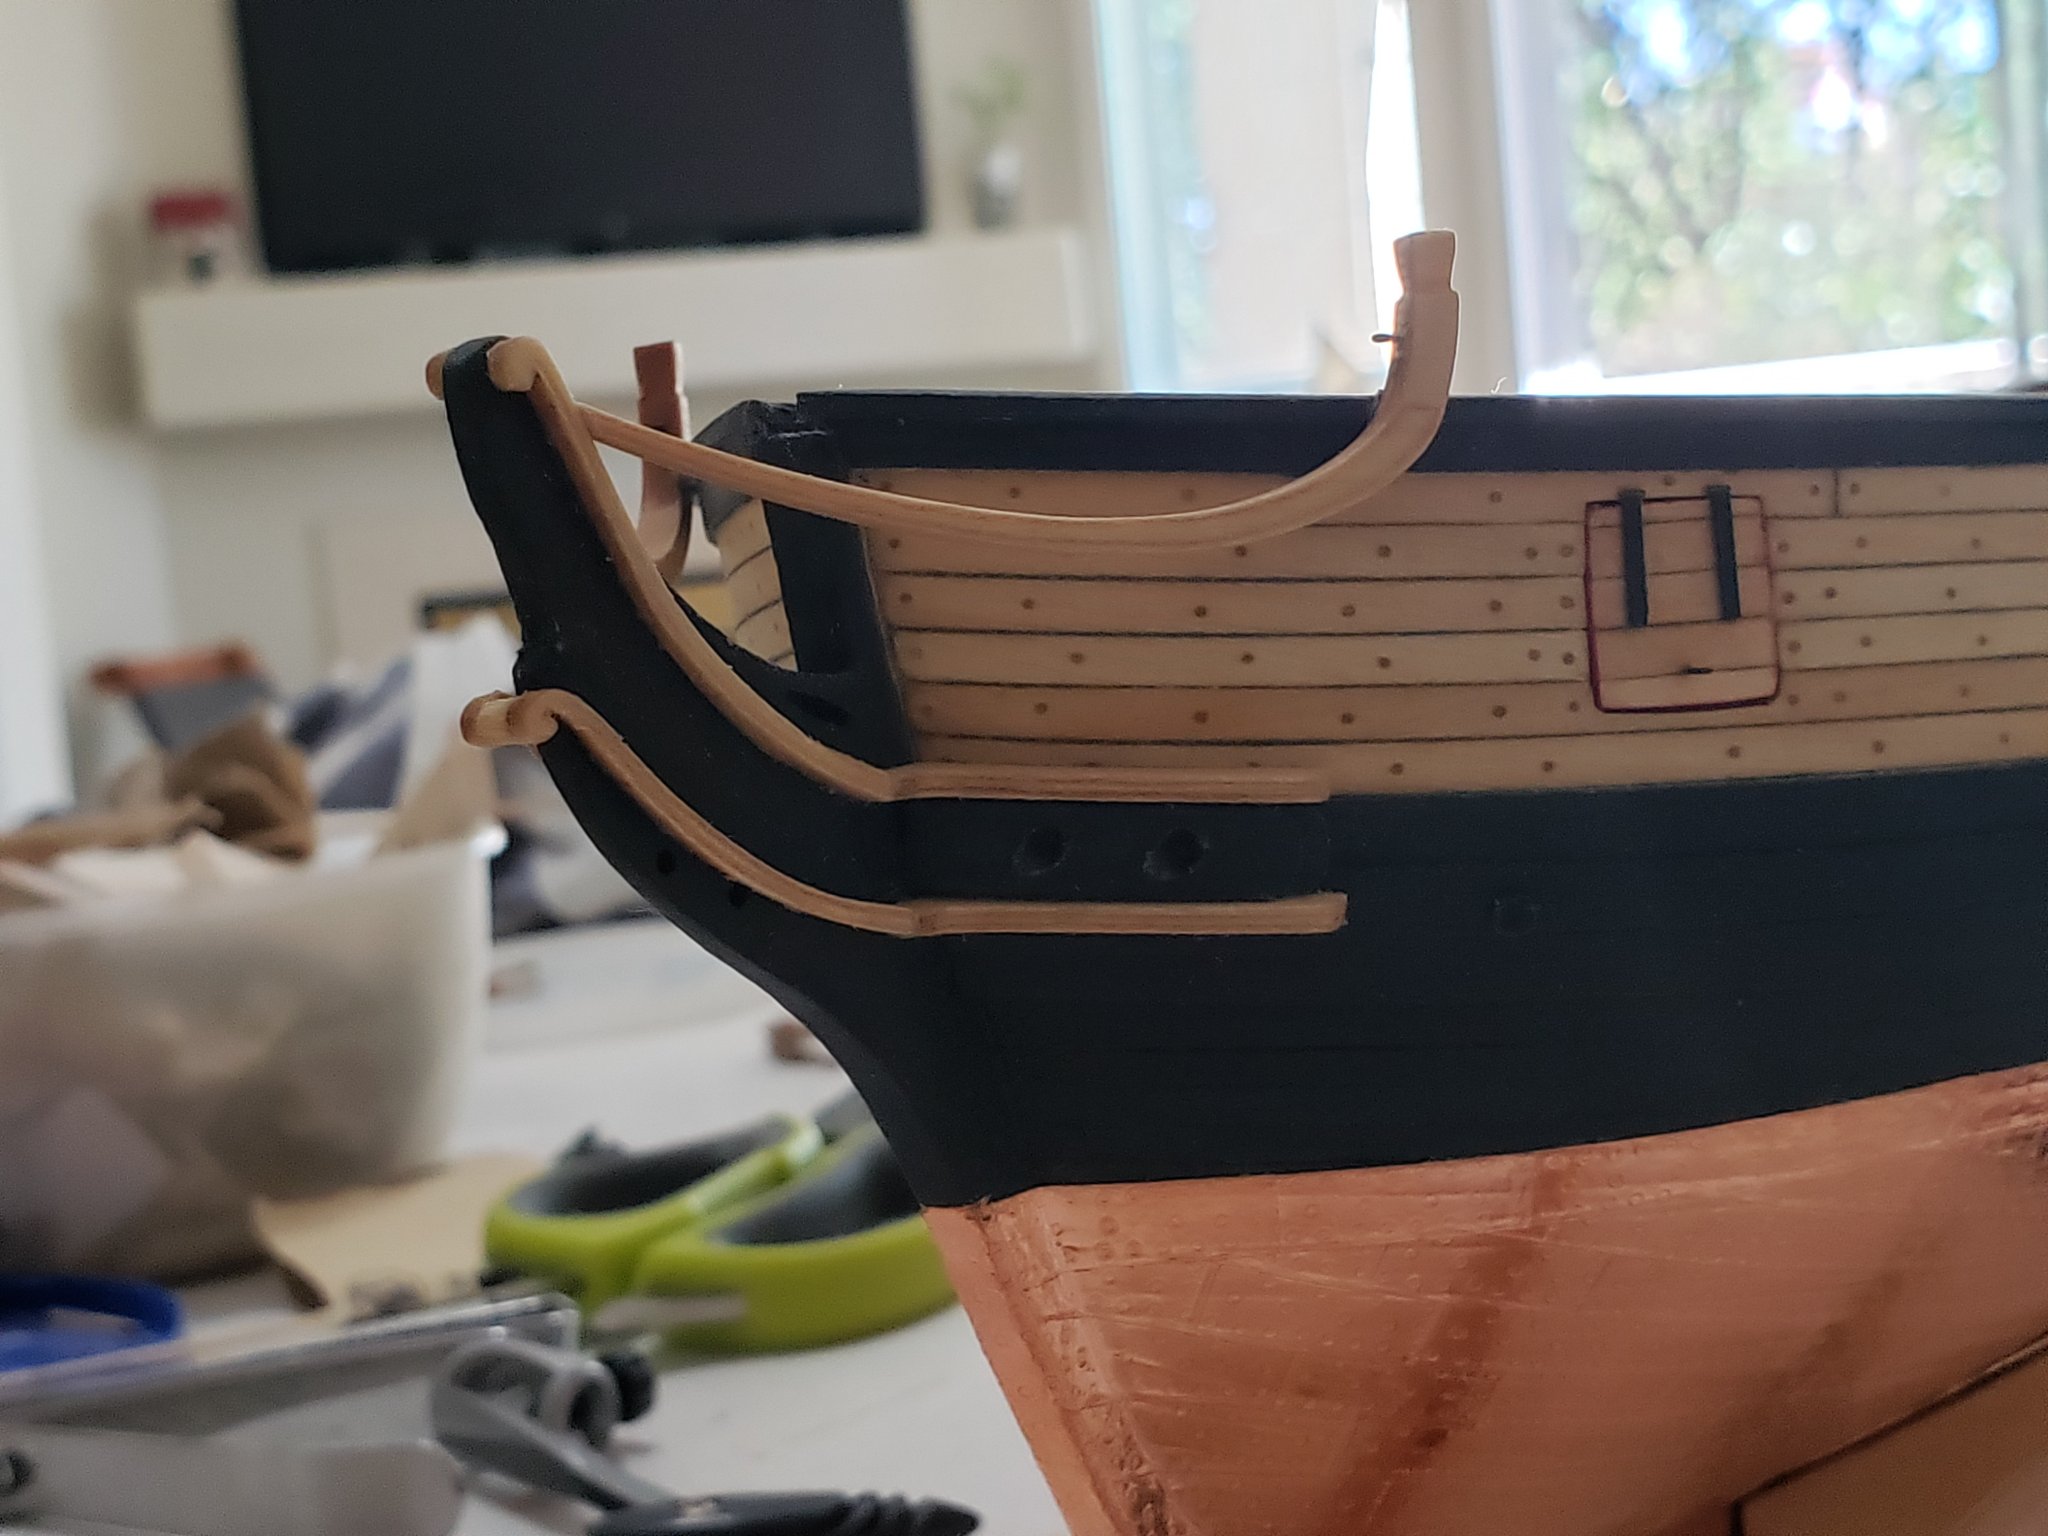
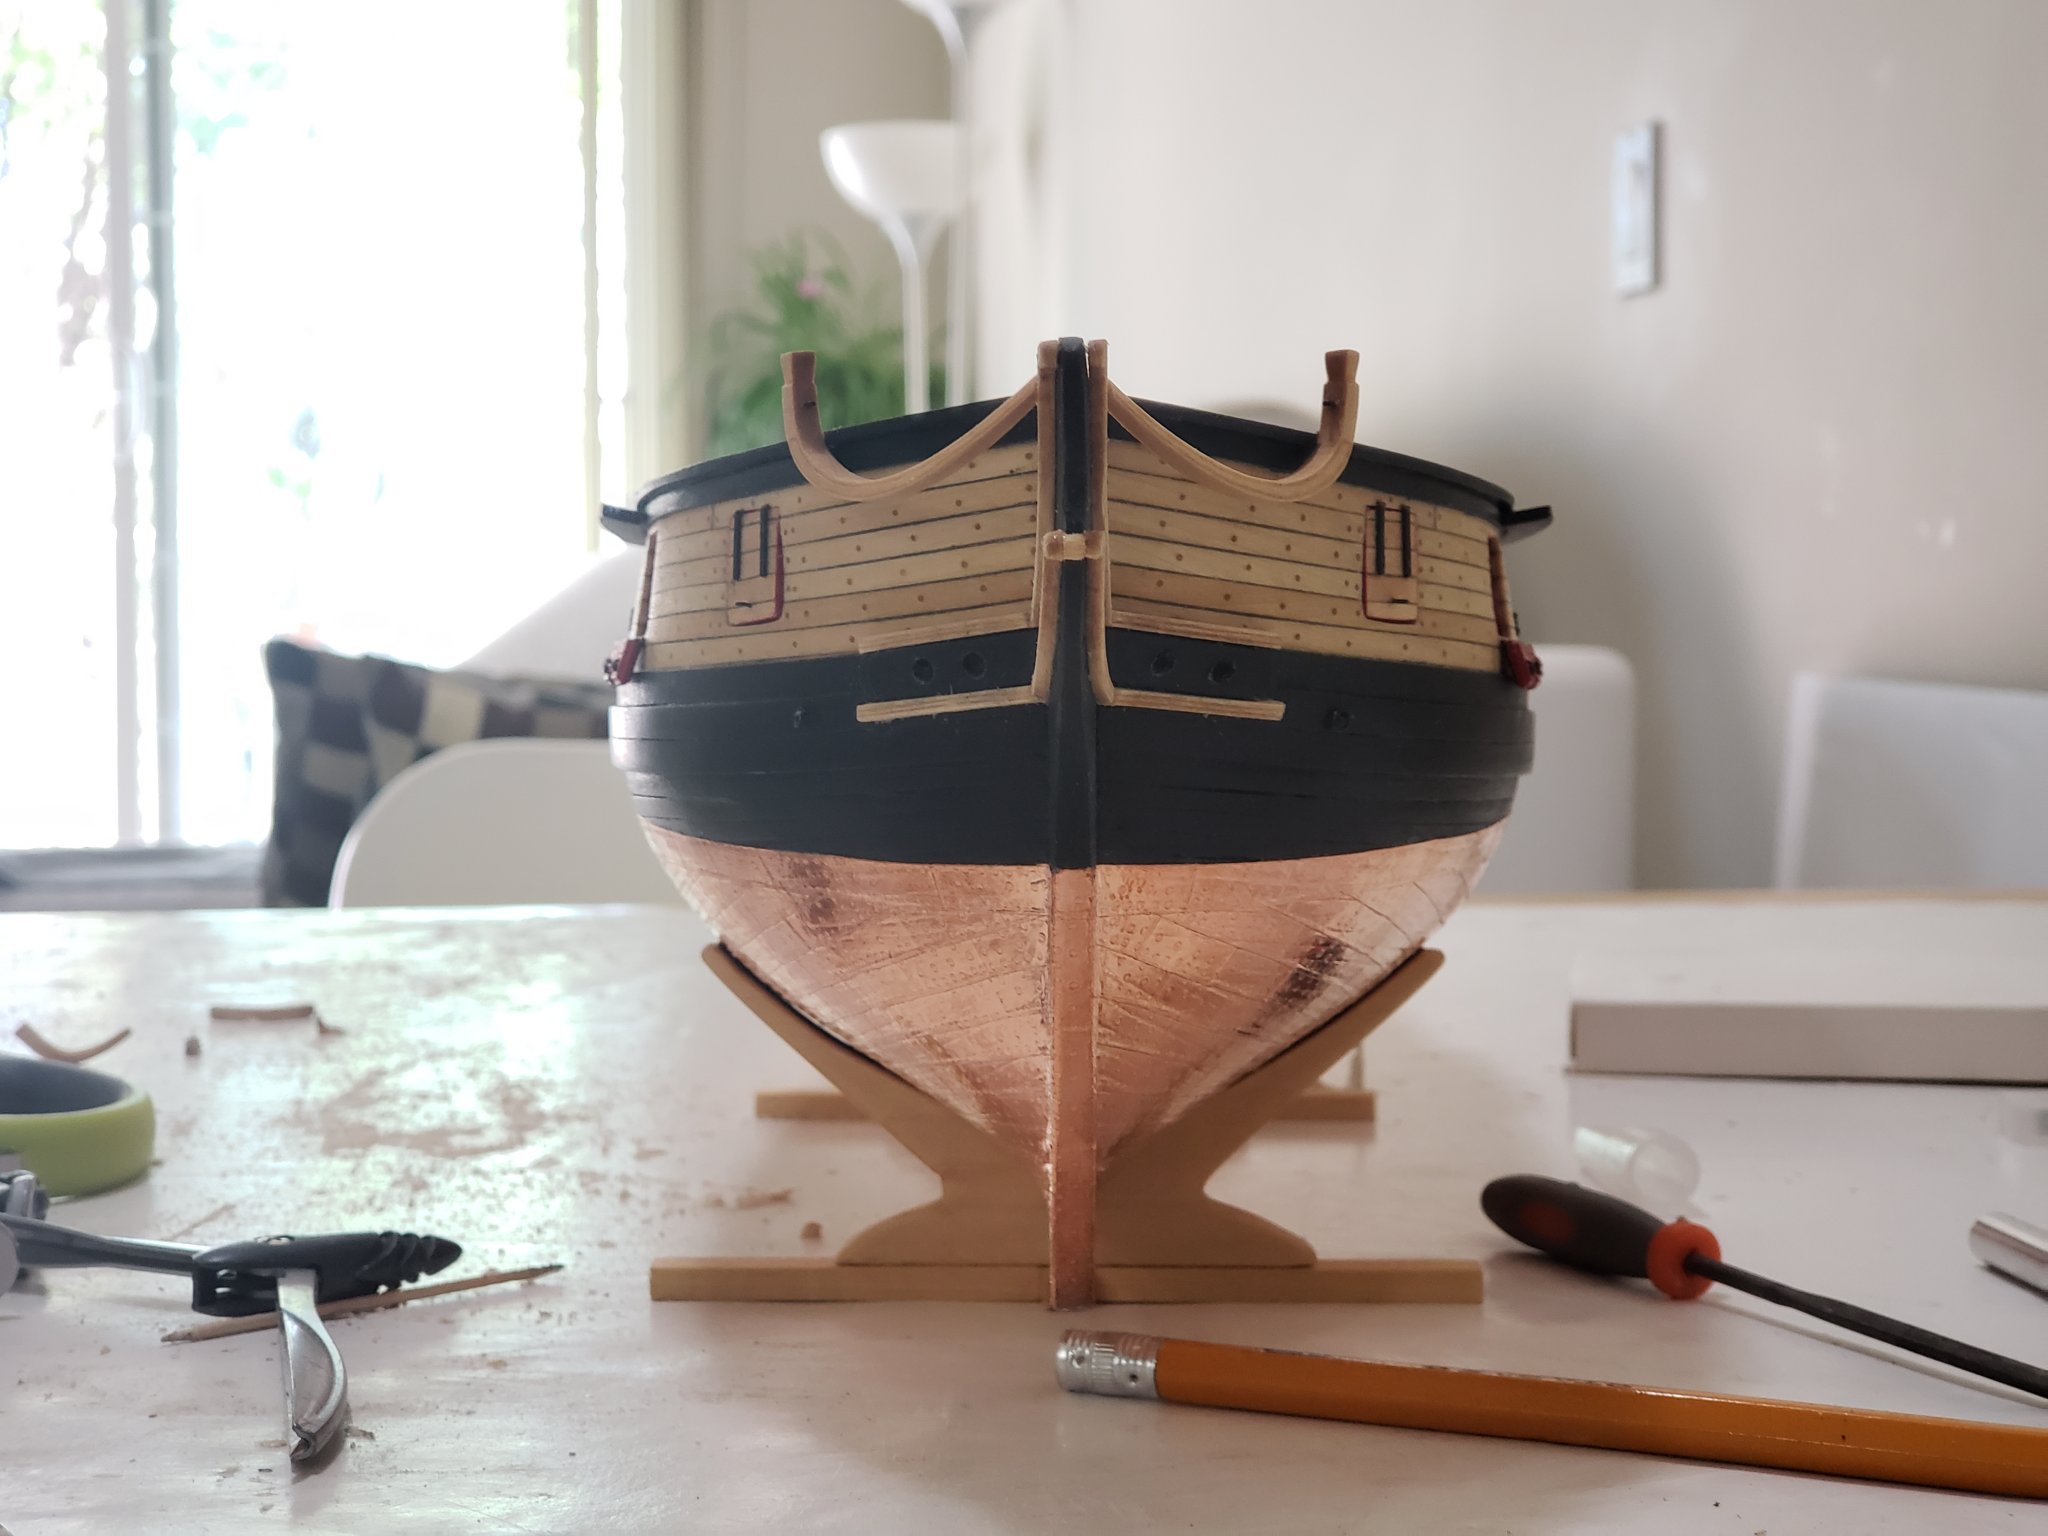
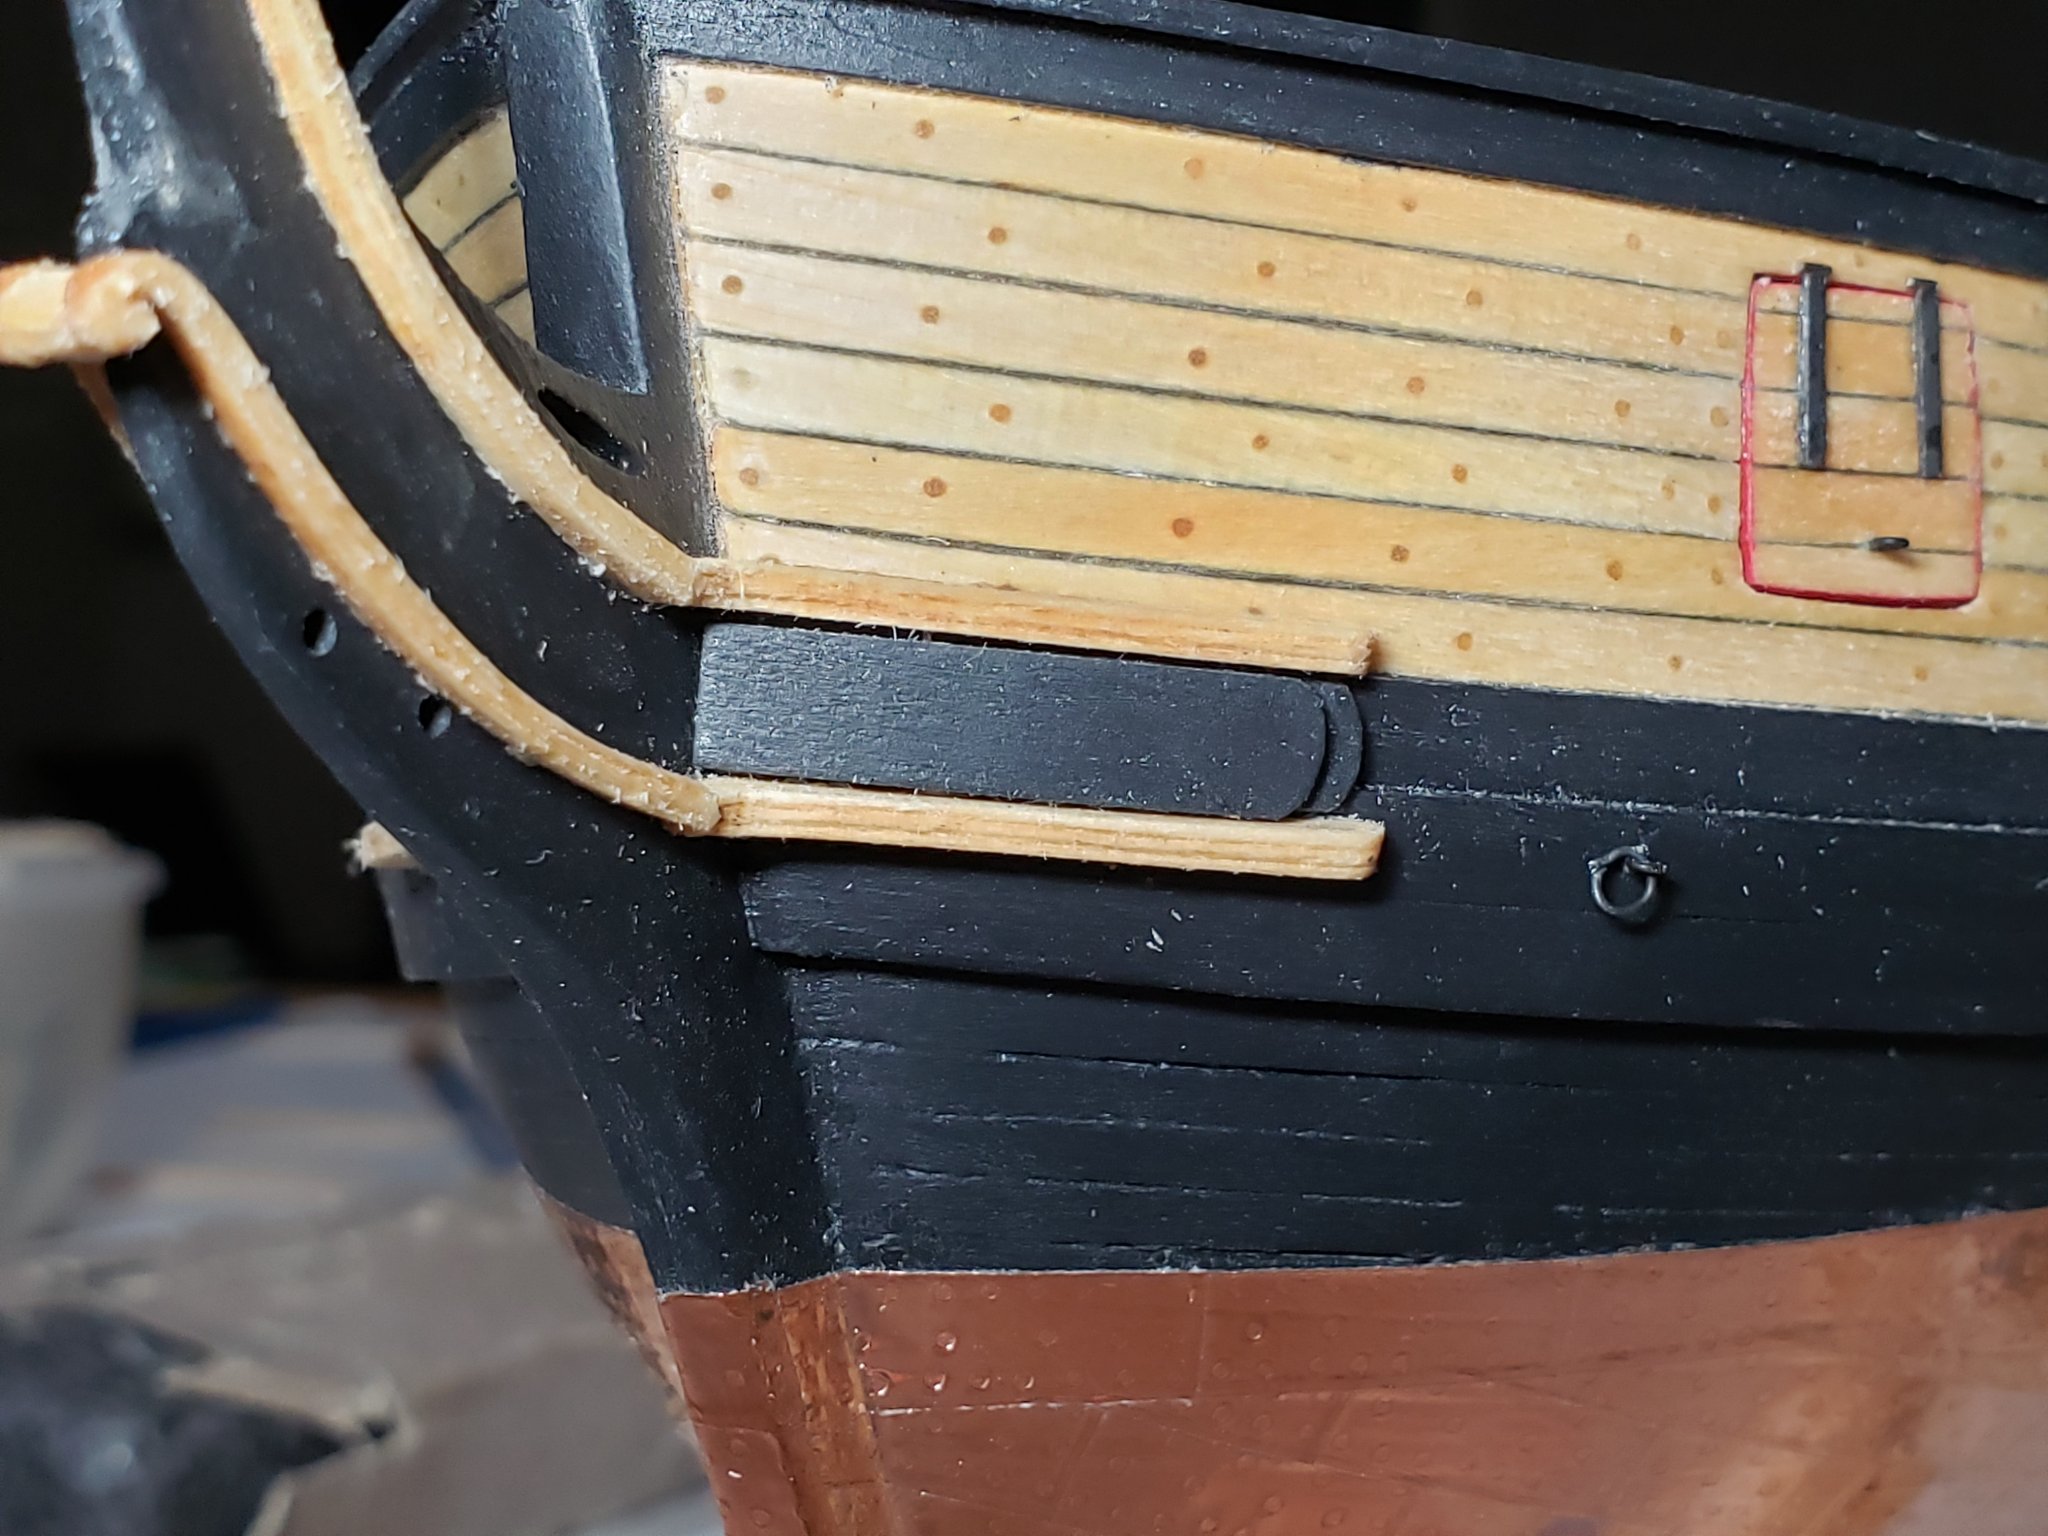
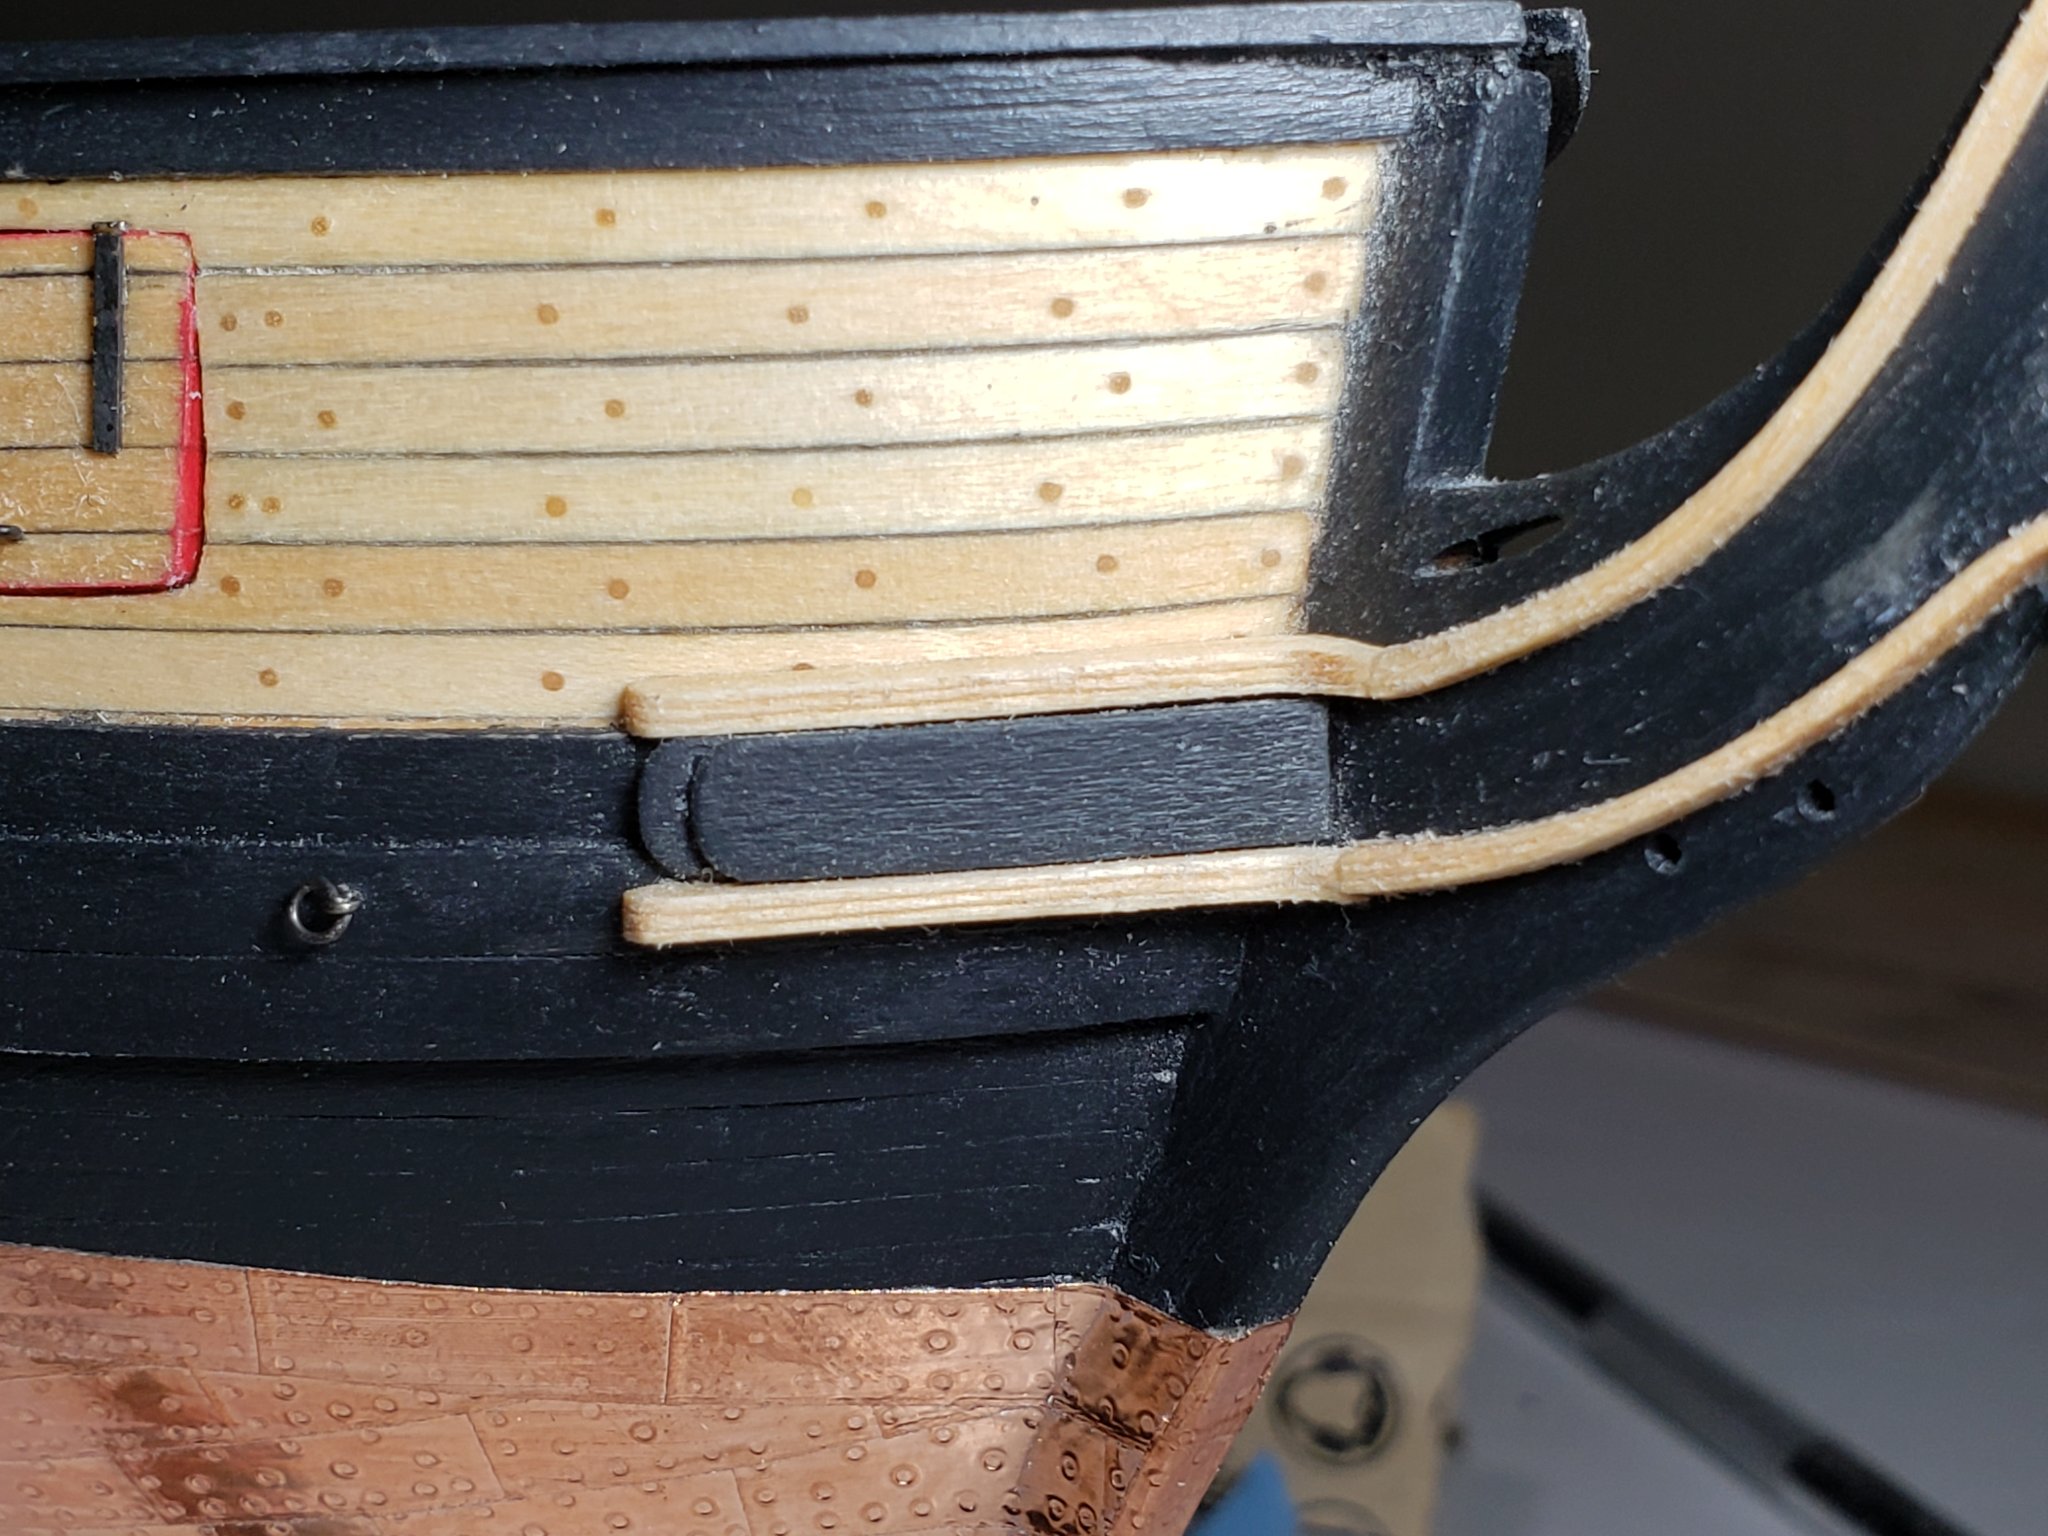
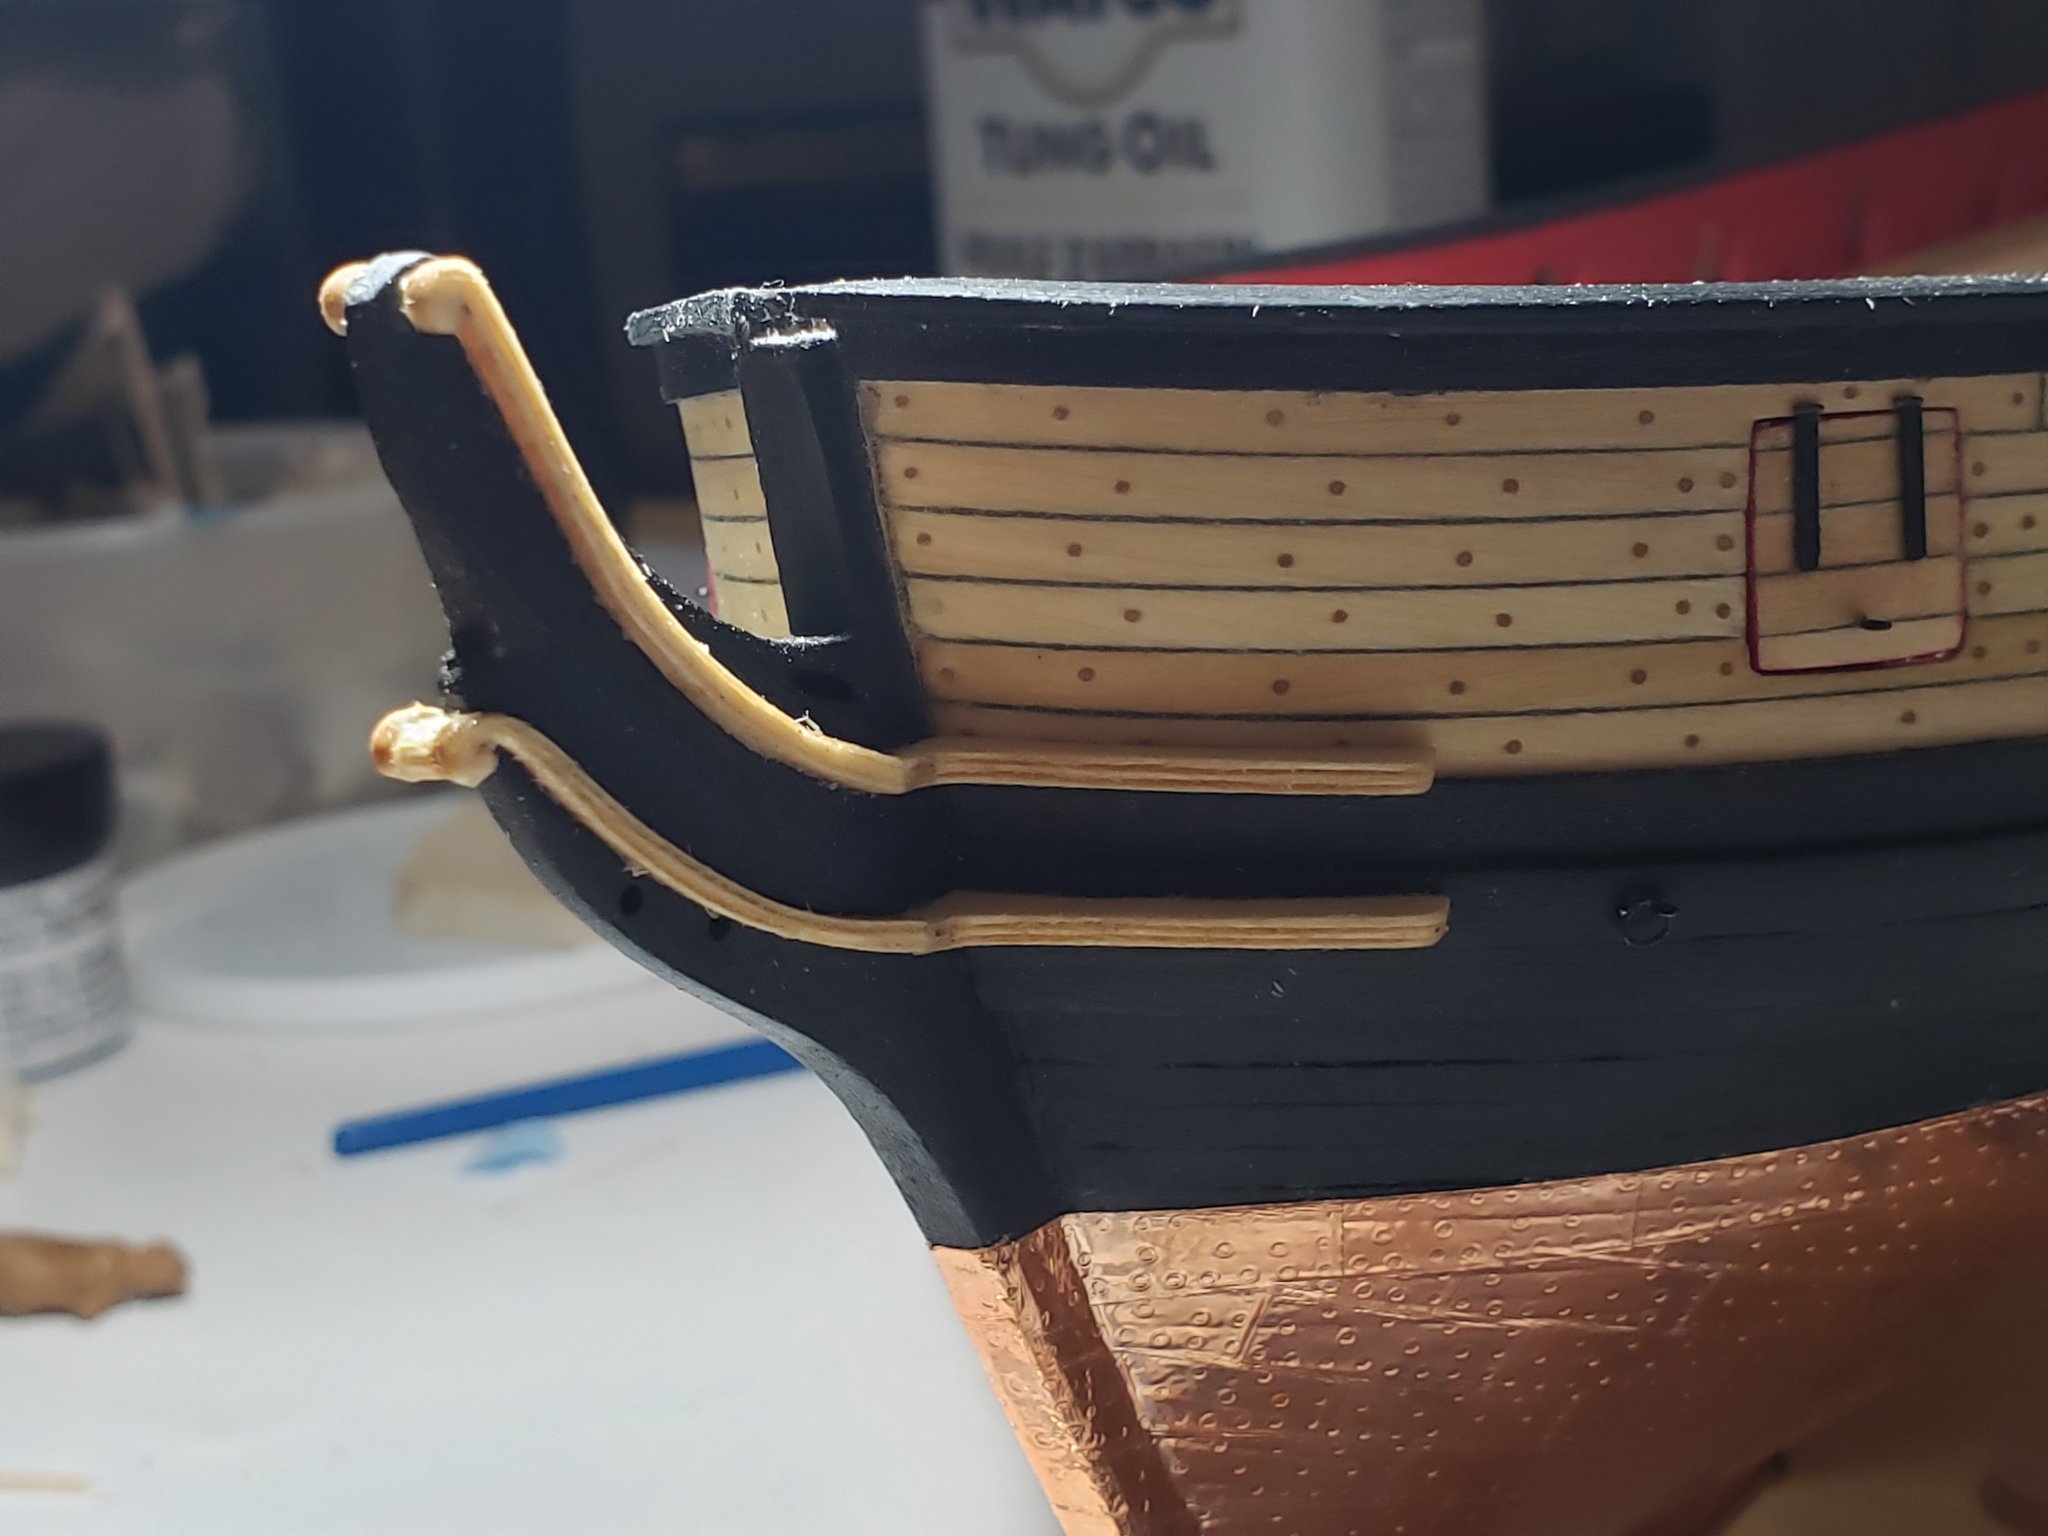
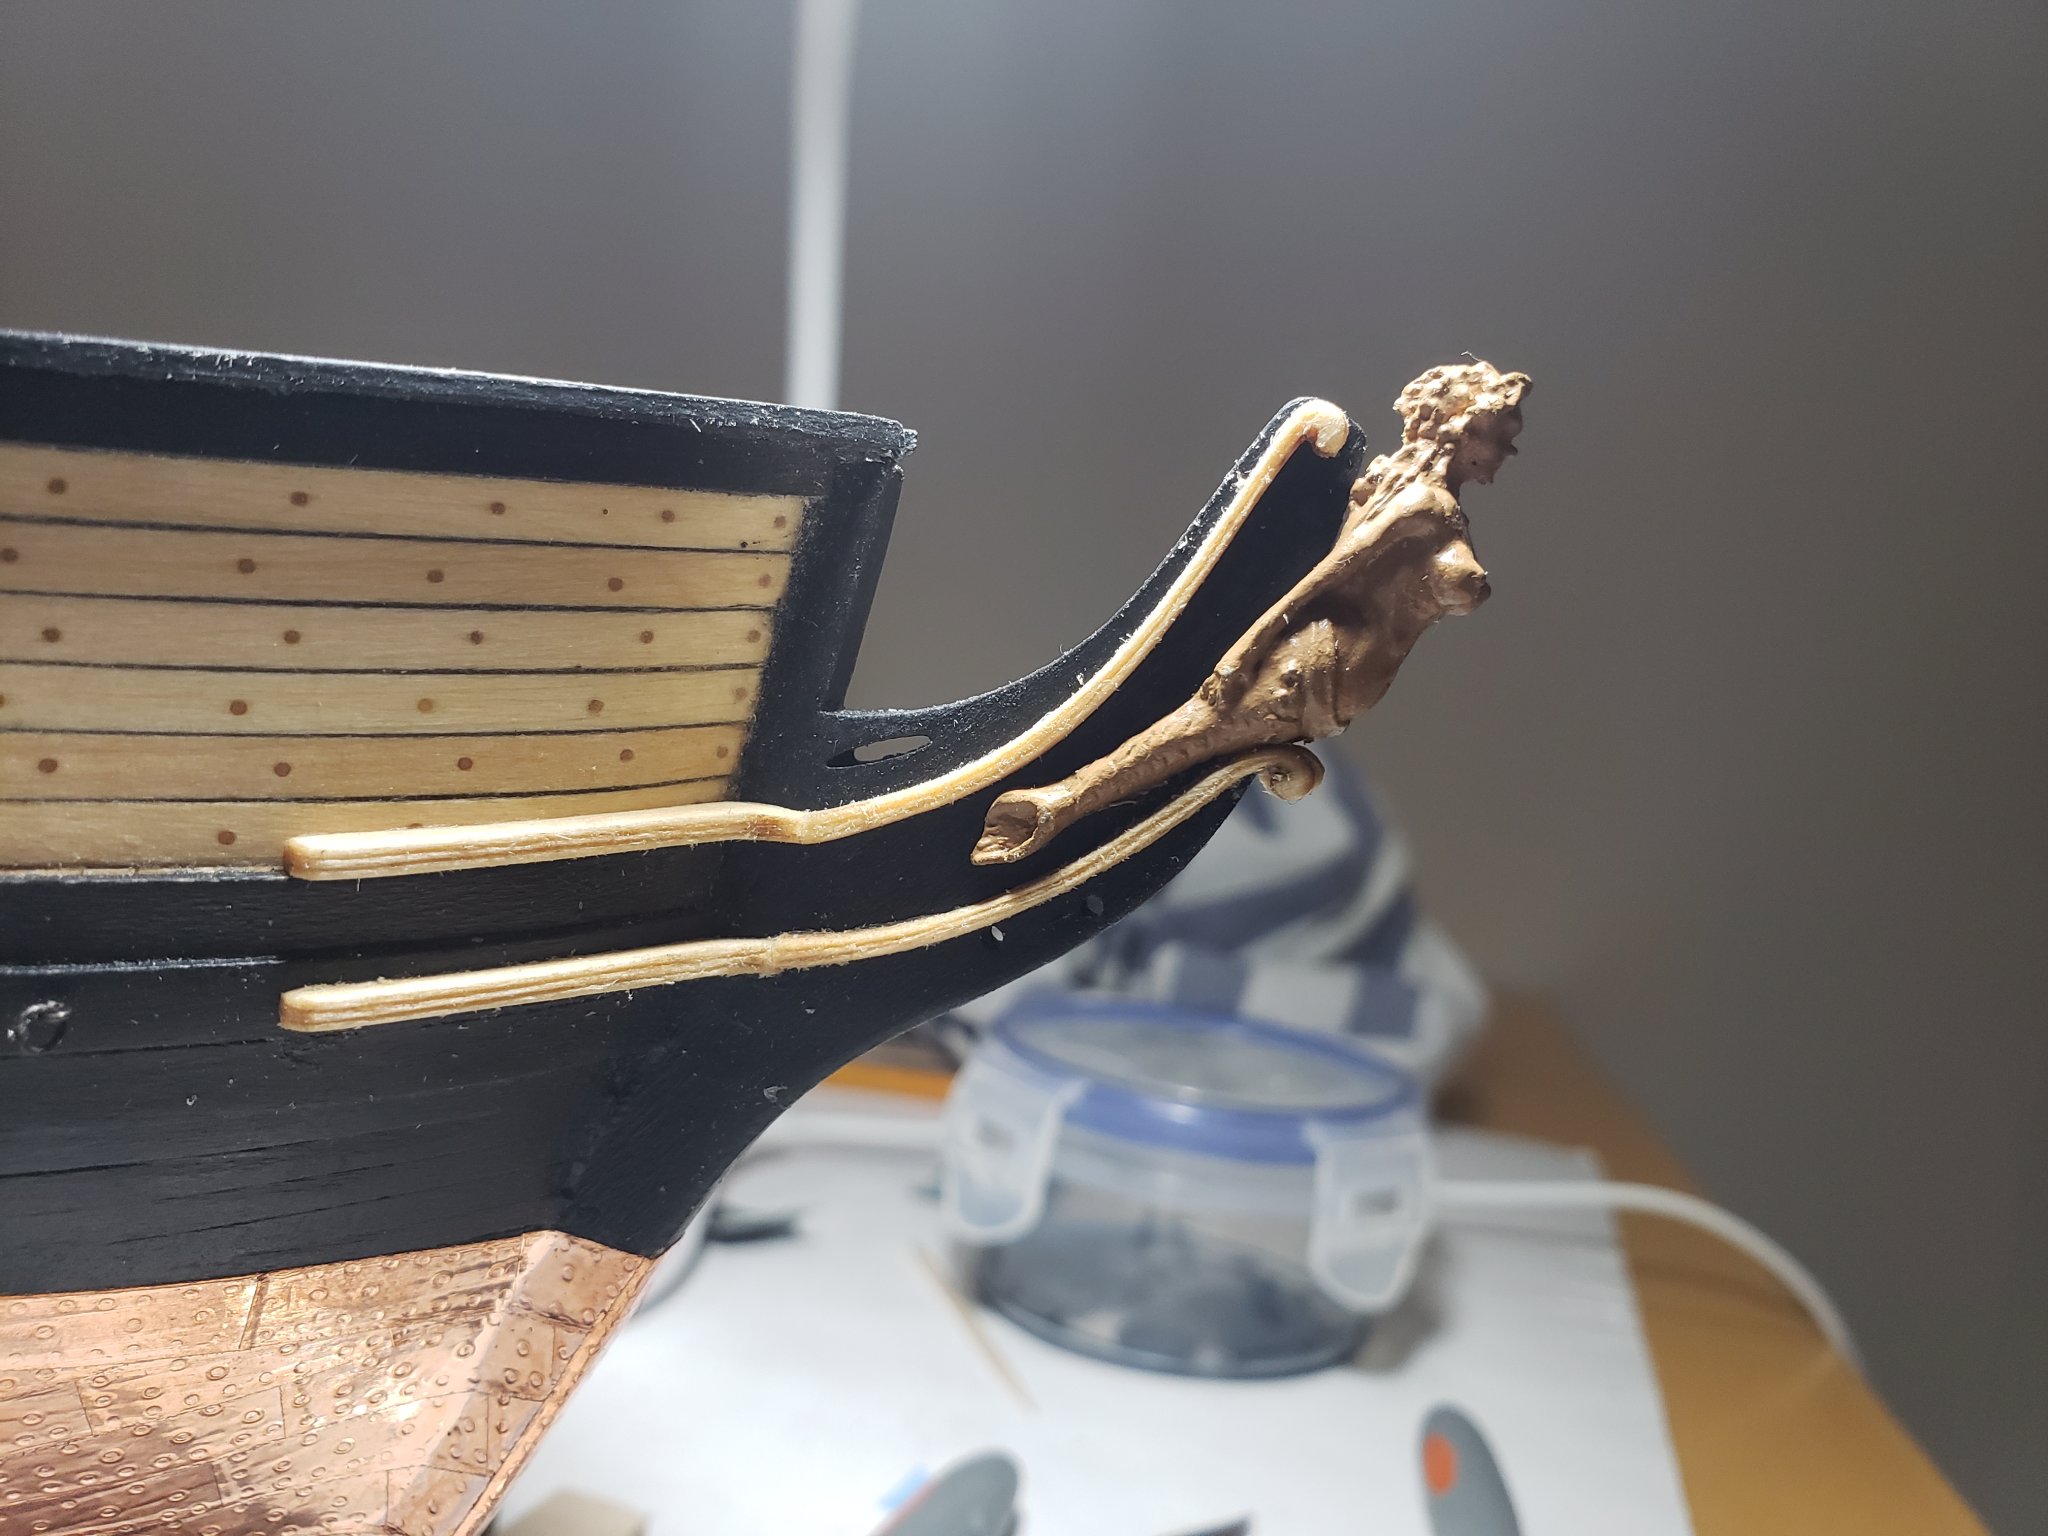
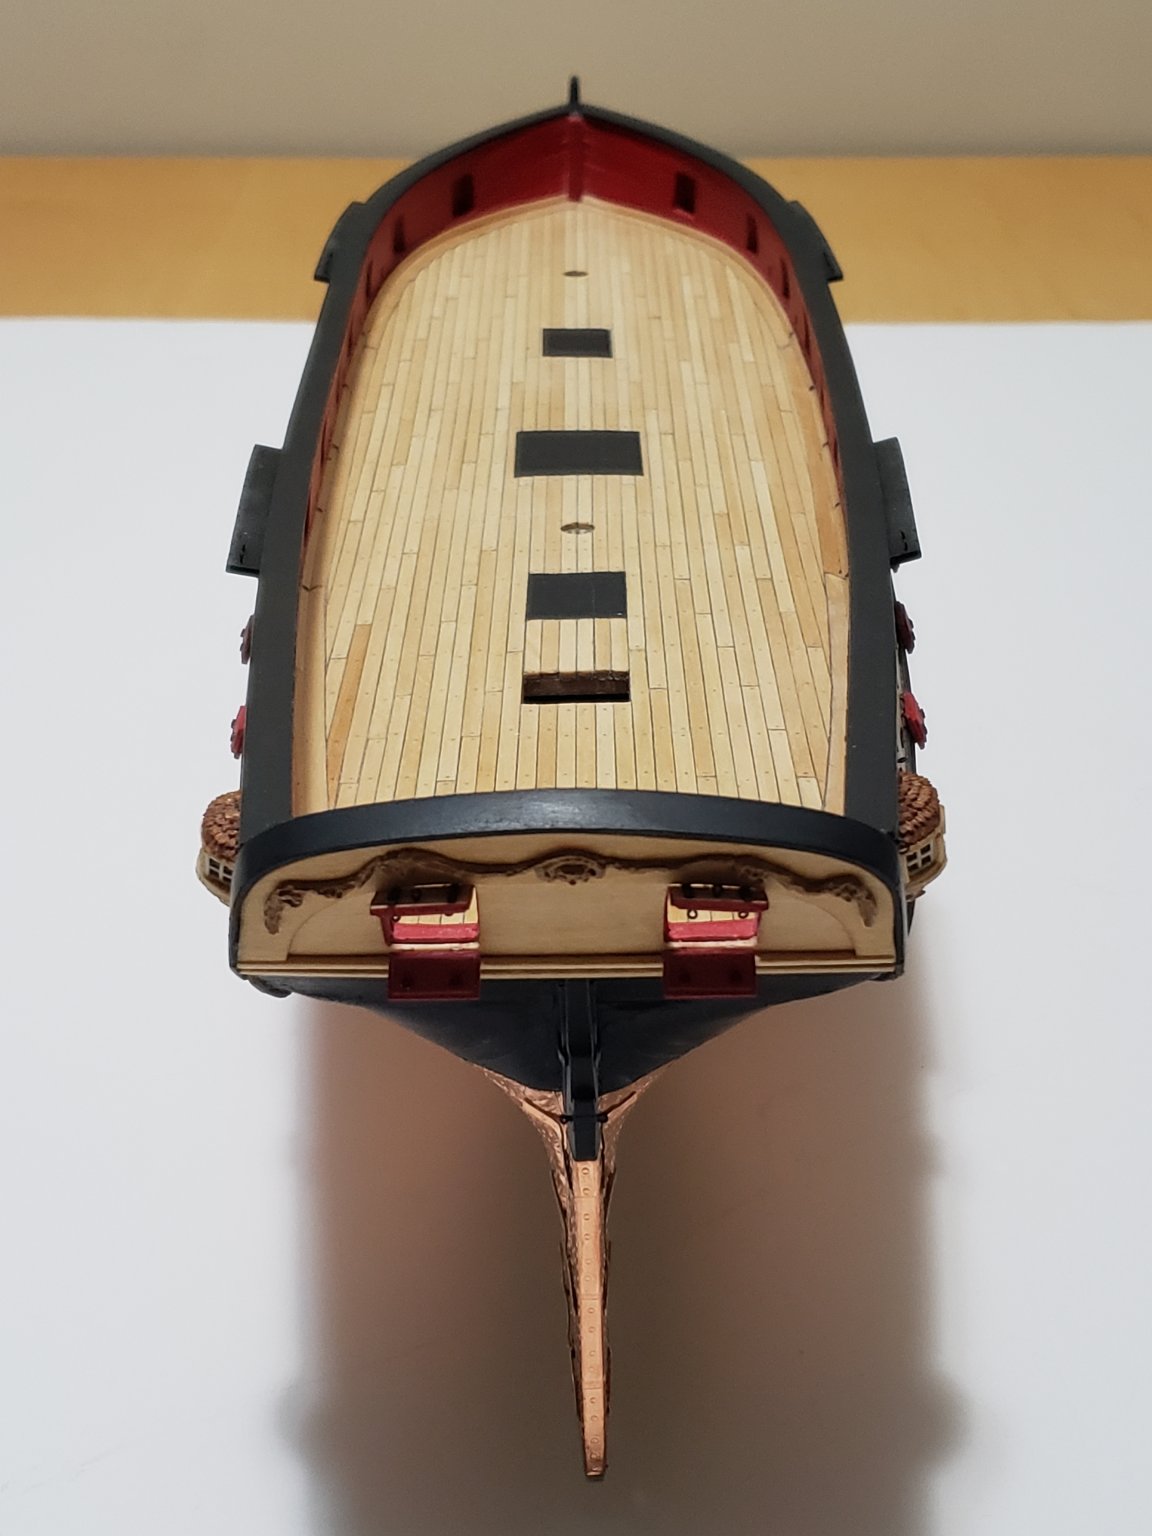
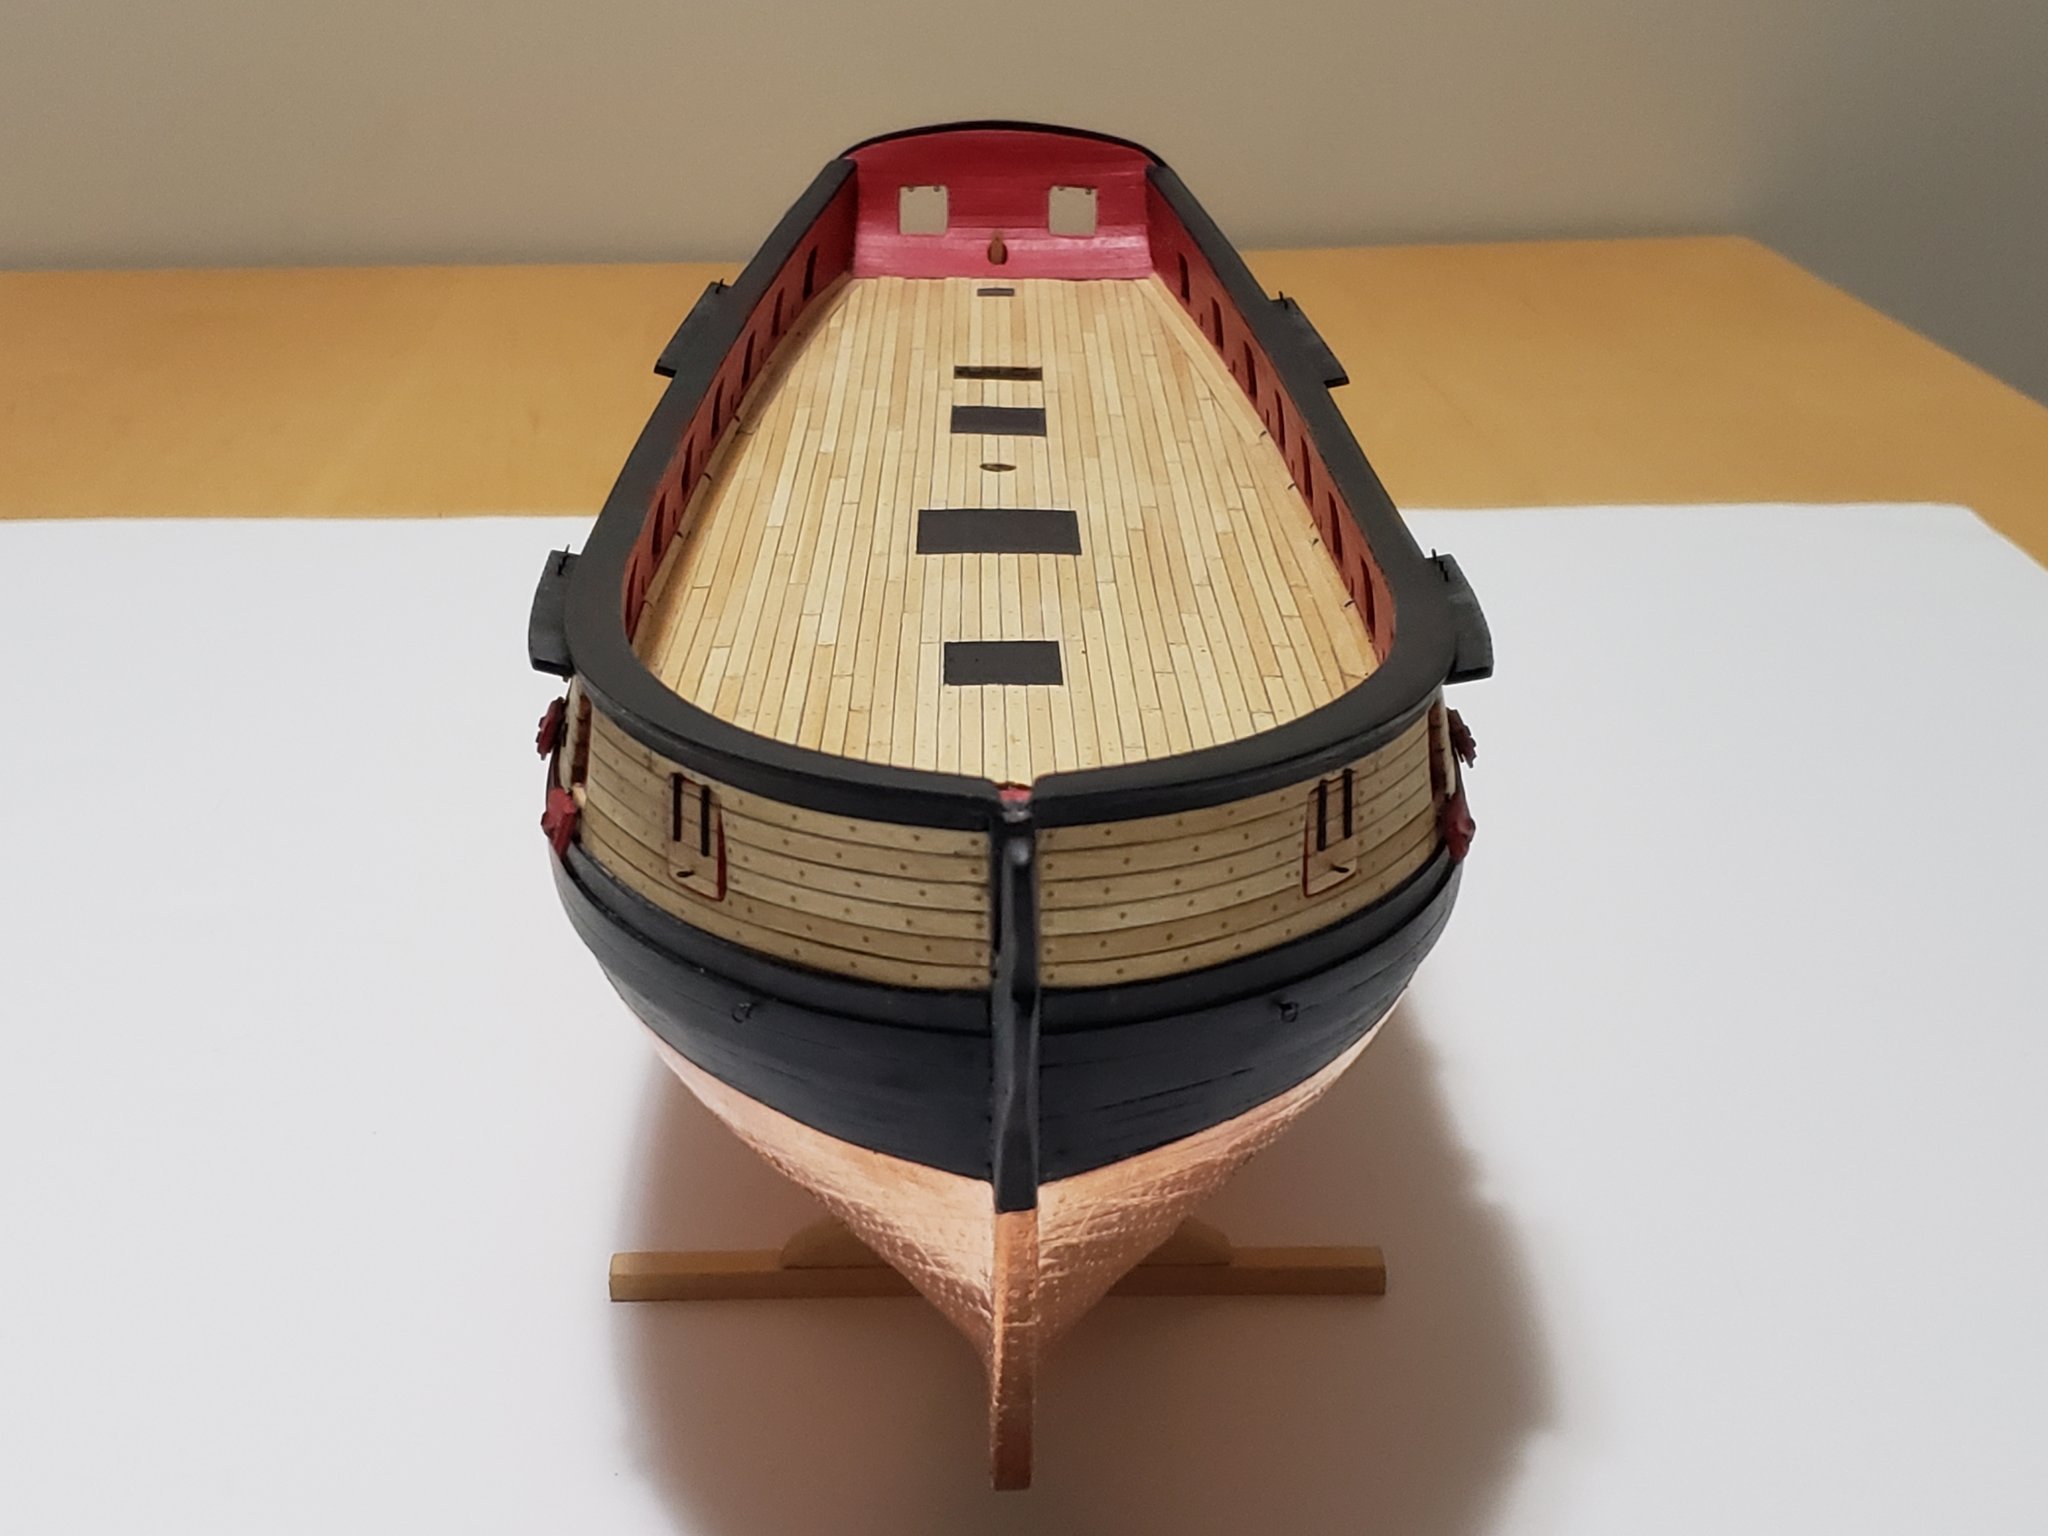
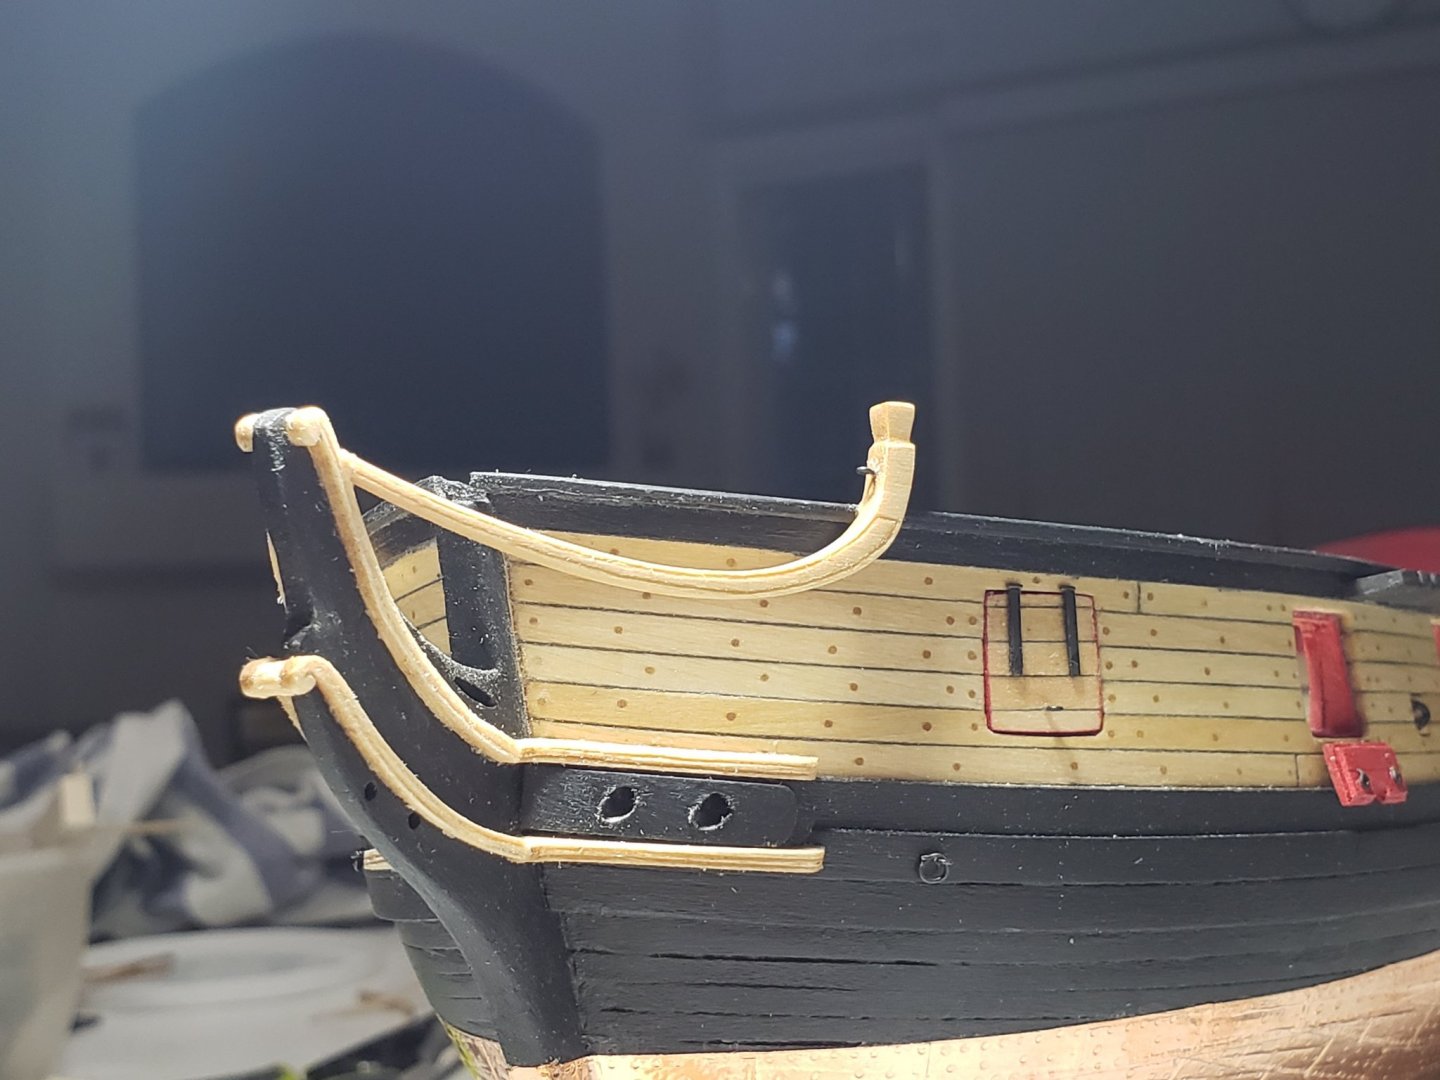
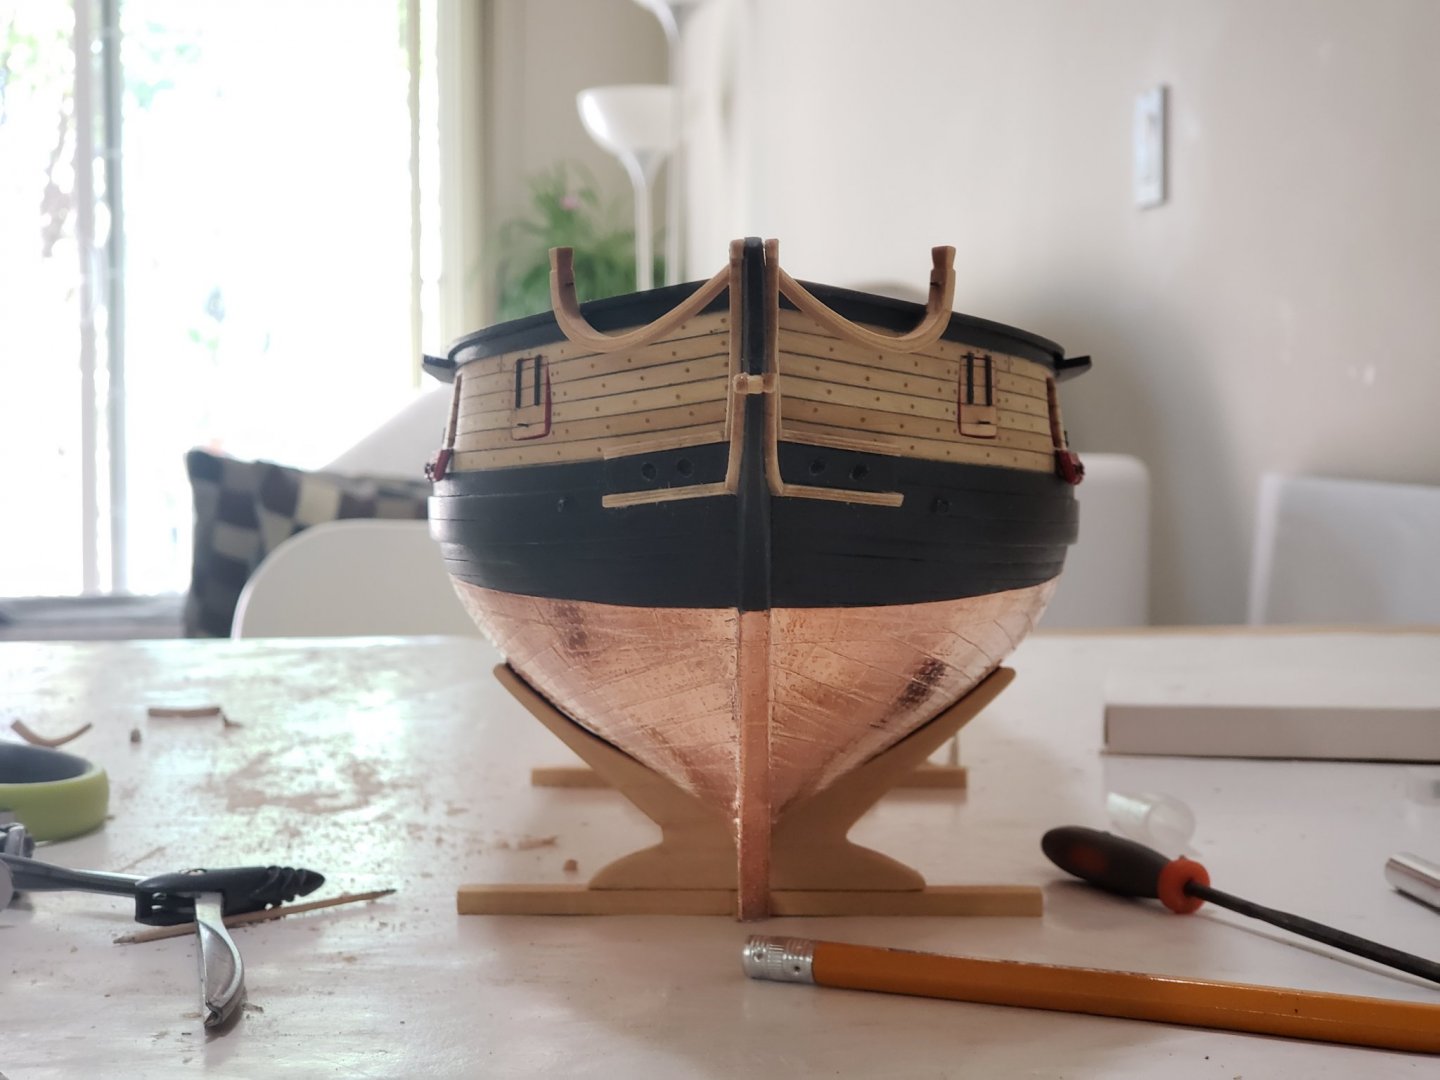
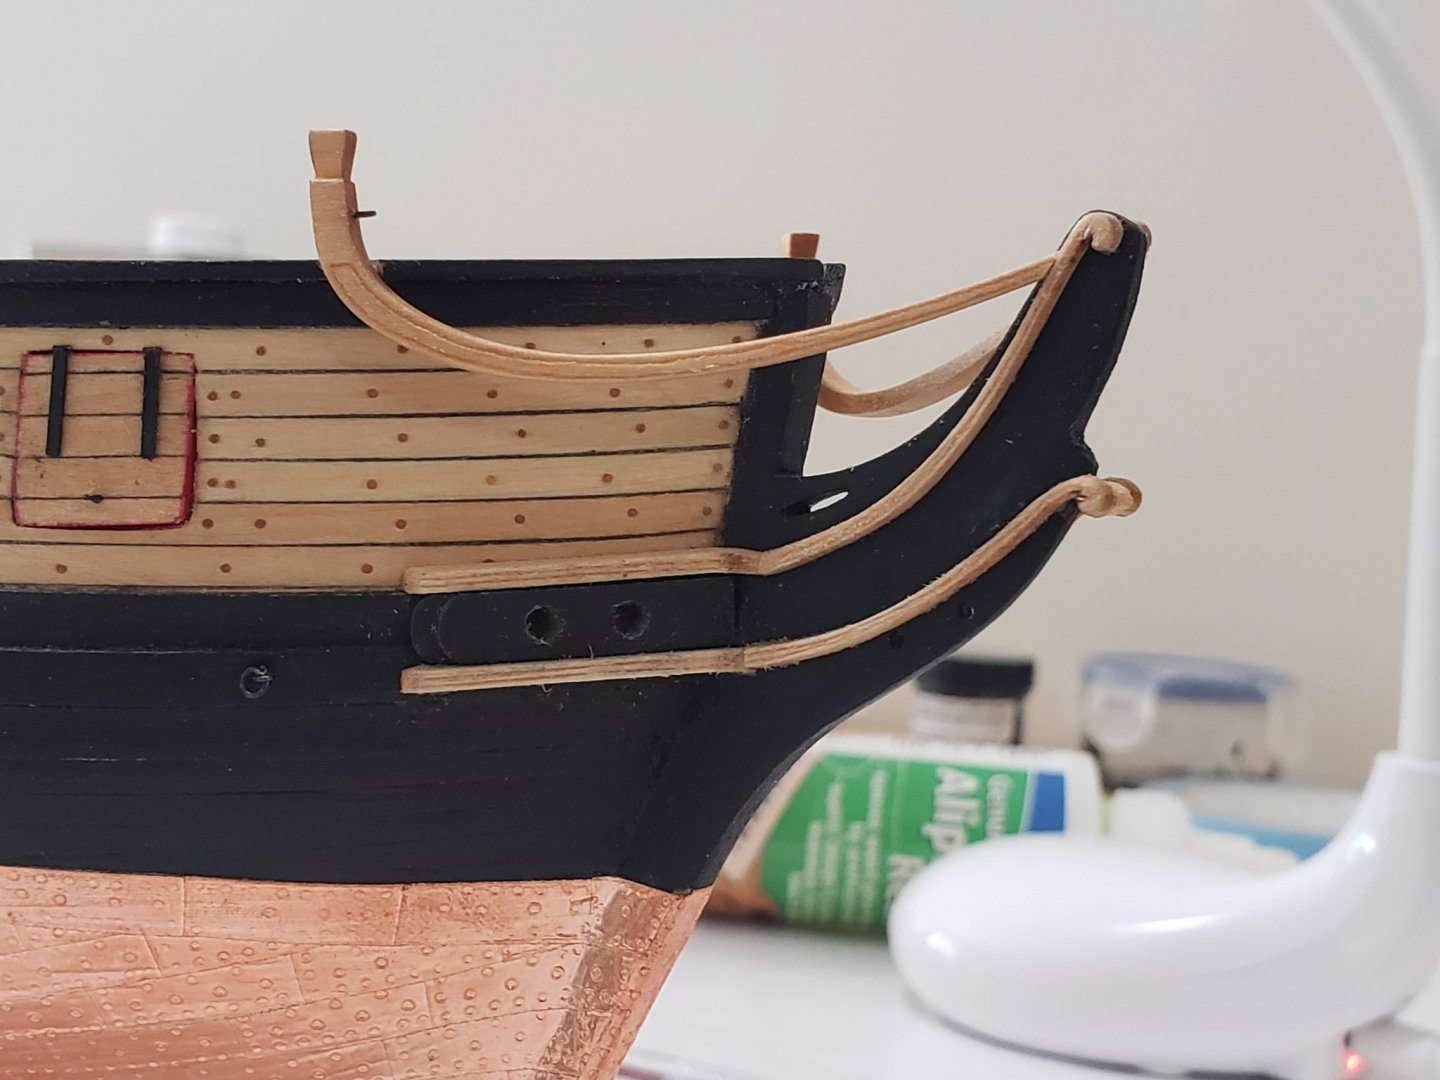
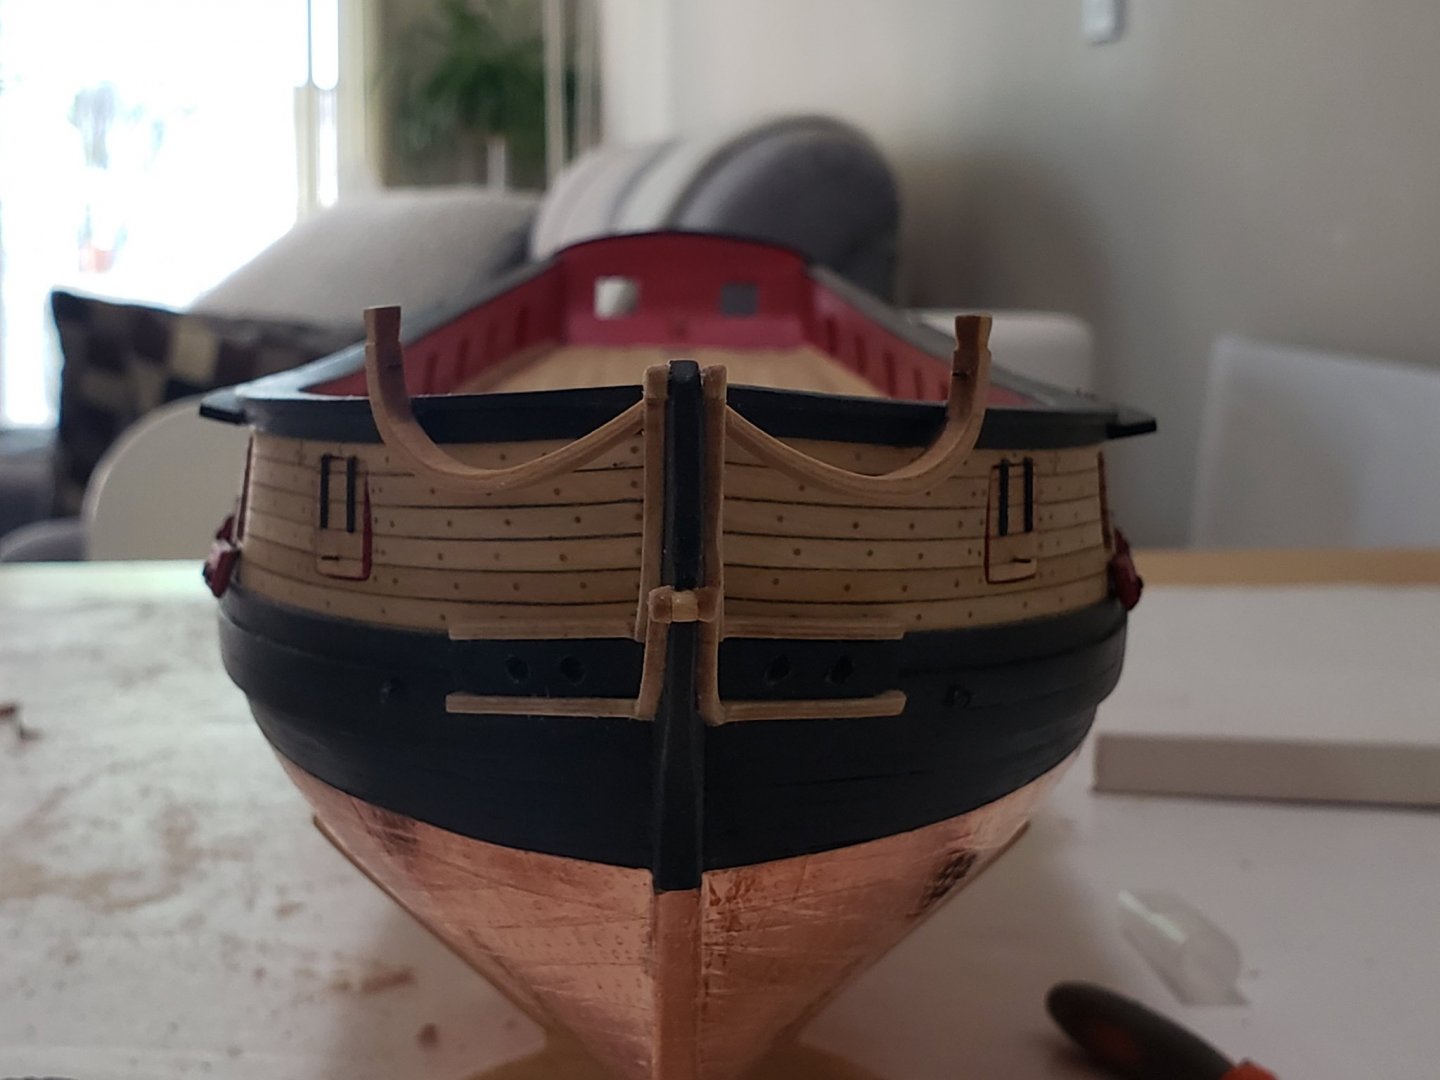
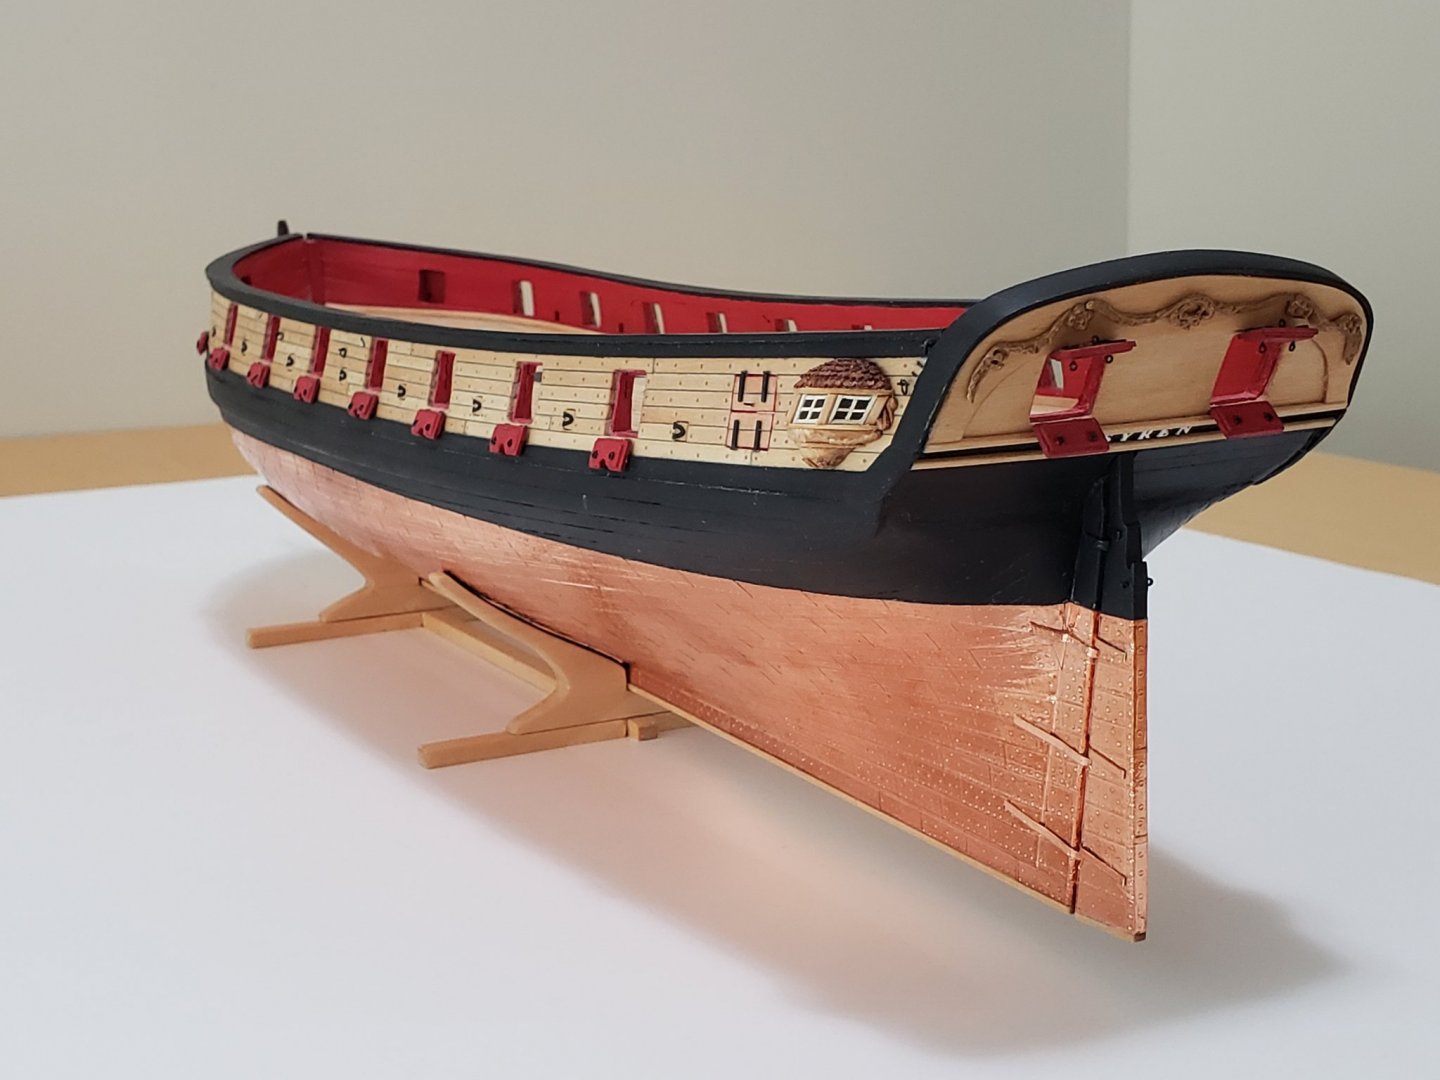
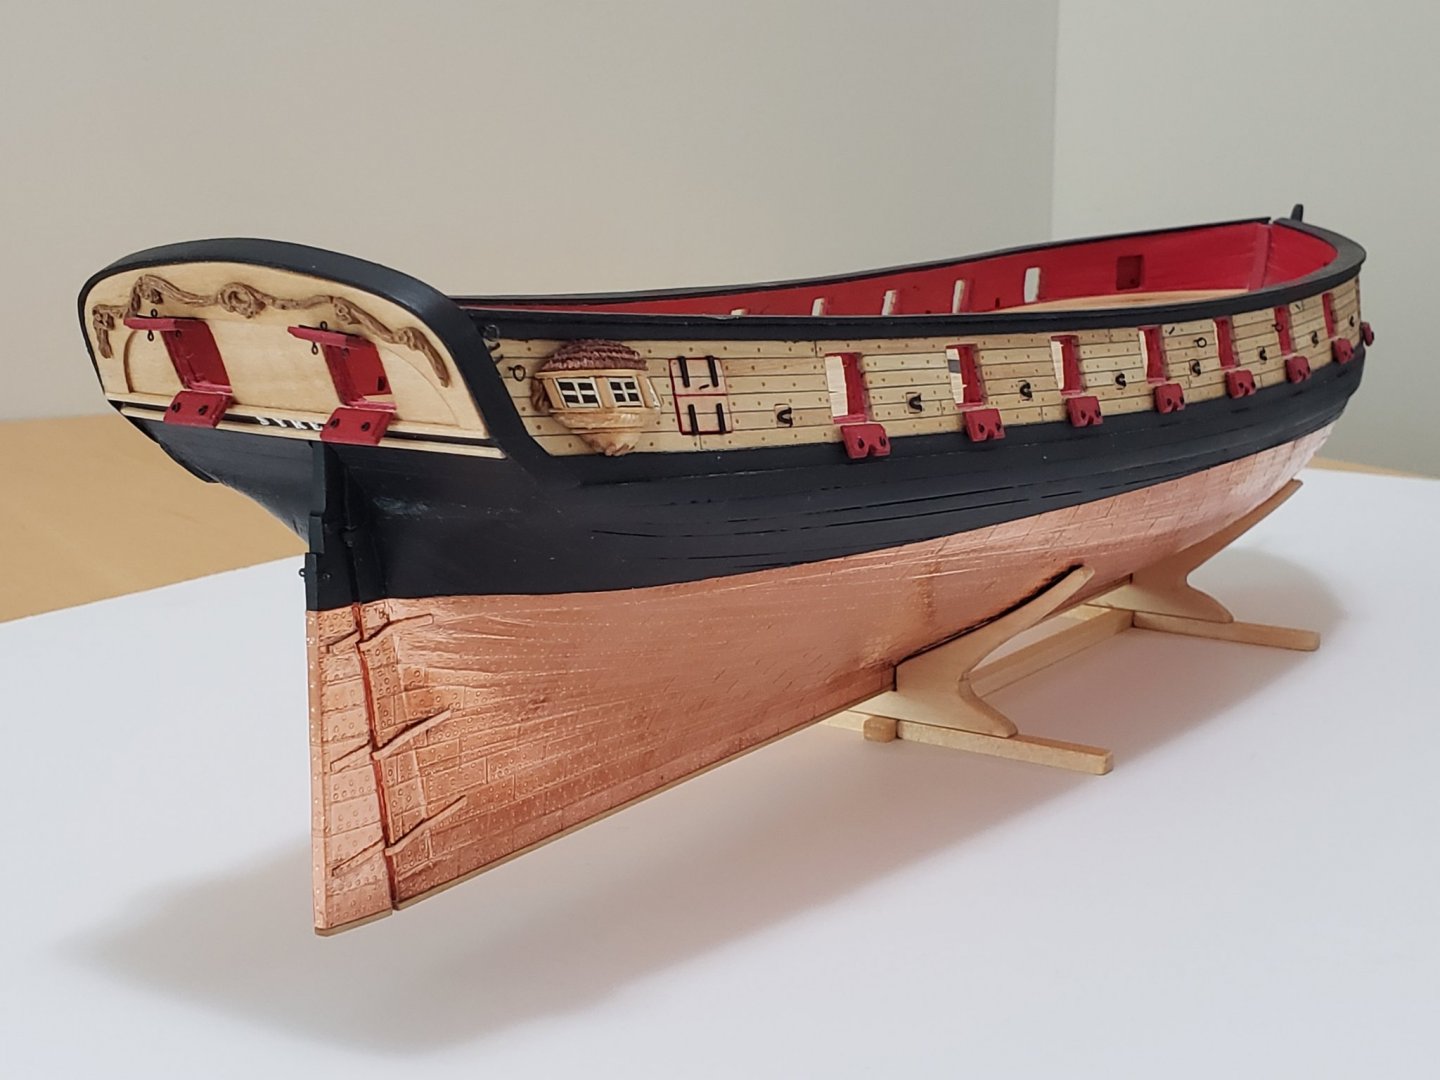
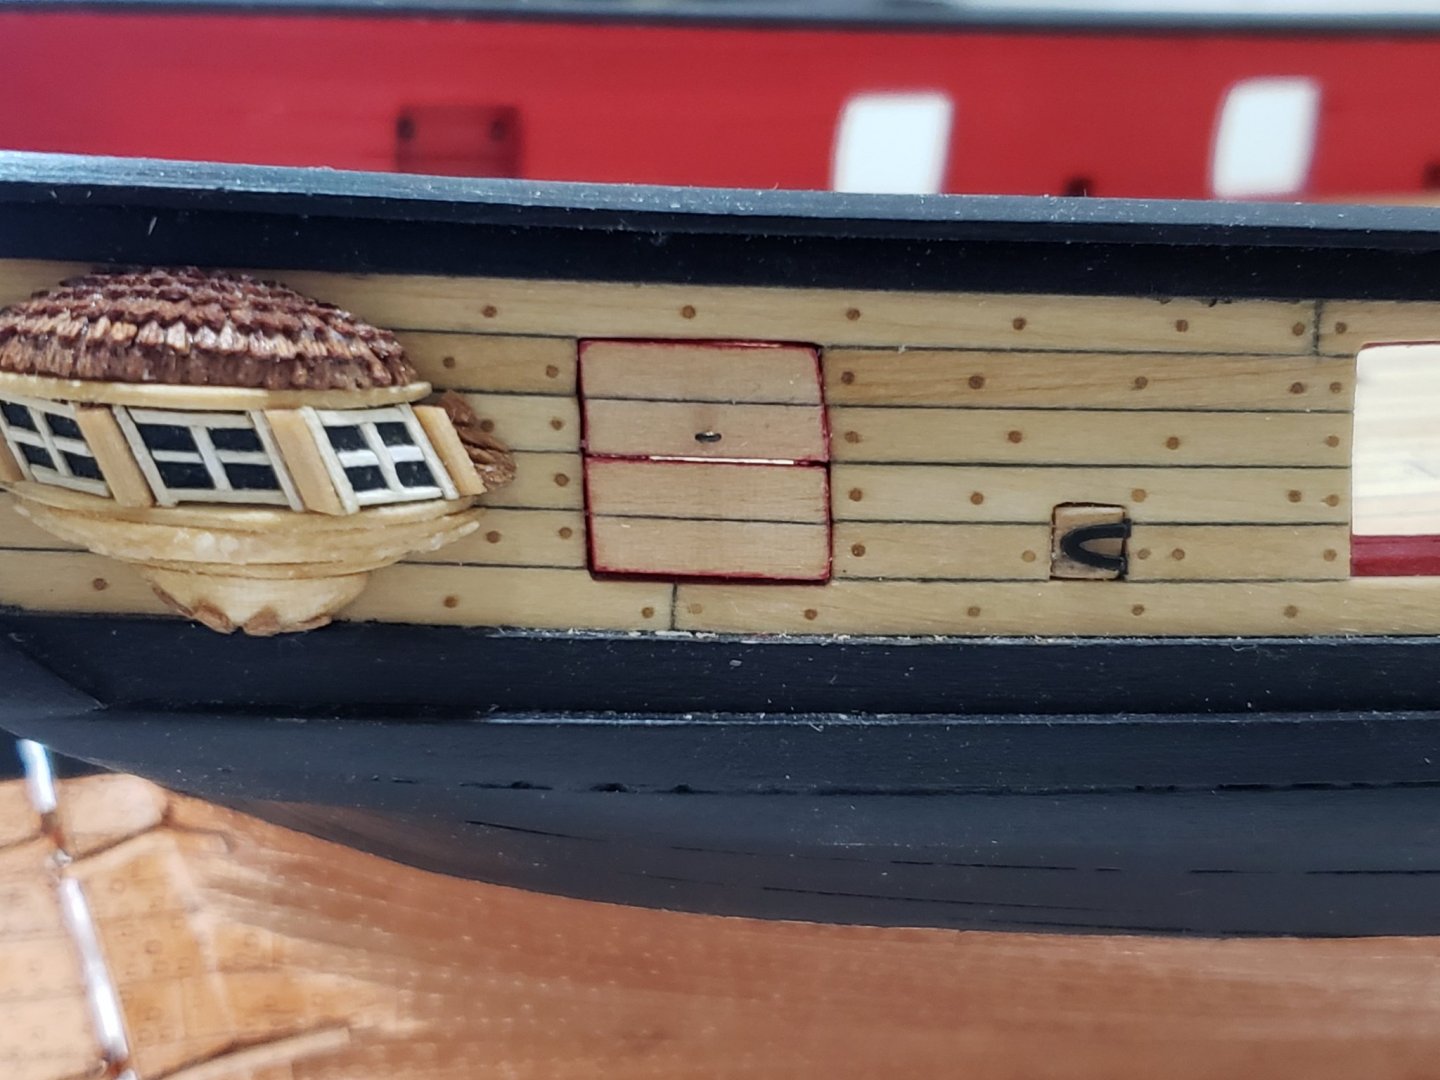
Thank you for the amazing compliment Voyageur. To be honest I feel like the opposite... many small mistakes that seem to stack up 😅 I ended up gluing the upper rail since I think it'll help in positioning the middle rail. Here are some photos of it glued: Next I'll be working on the cathead. It seems like a very complicated part to make but let's see how it goes..


- 950 replies
-
- 10
-
-
- syren
- model shipways
- (and 1 more)
-
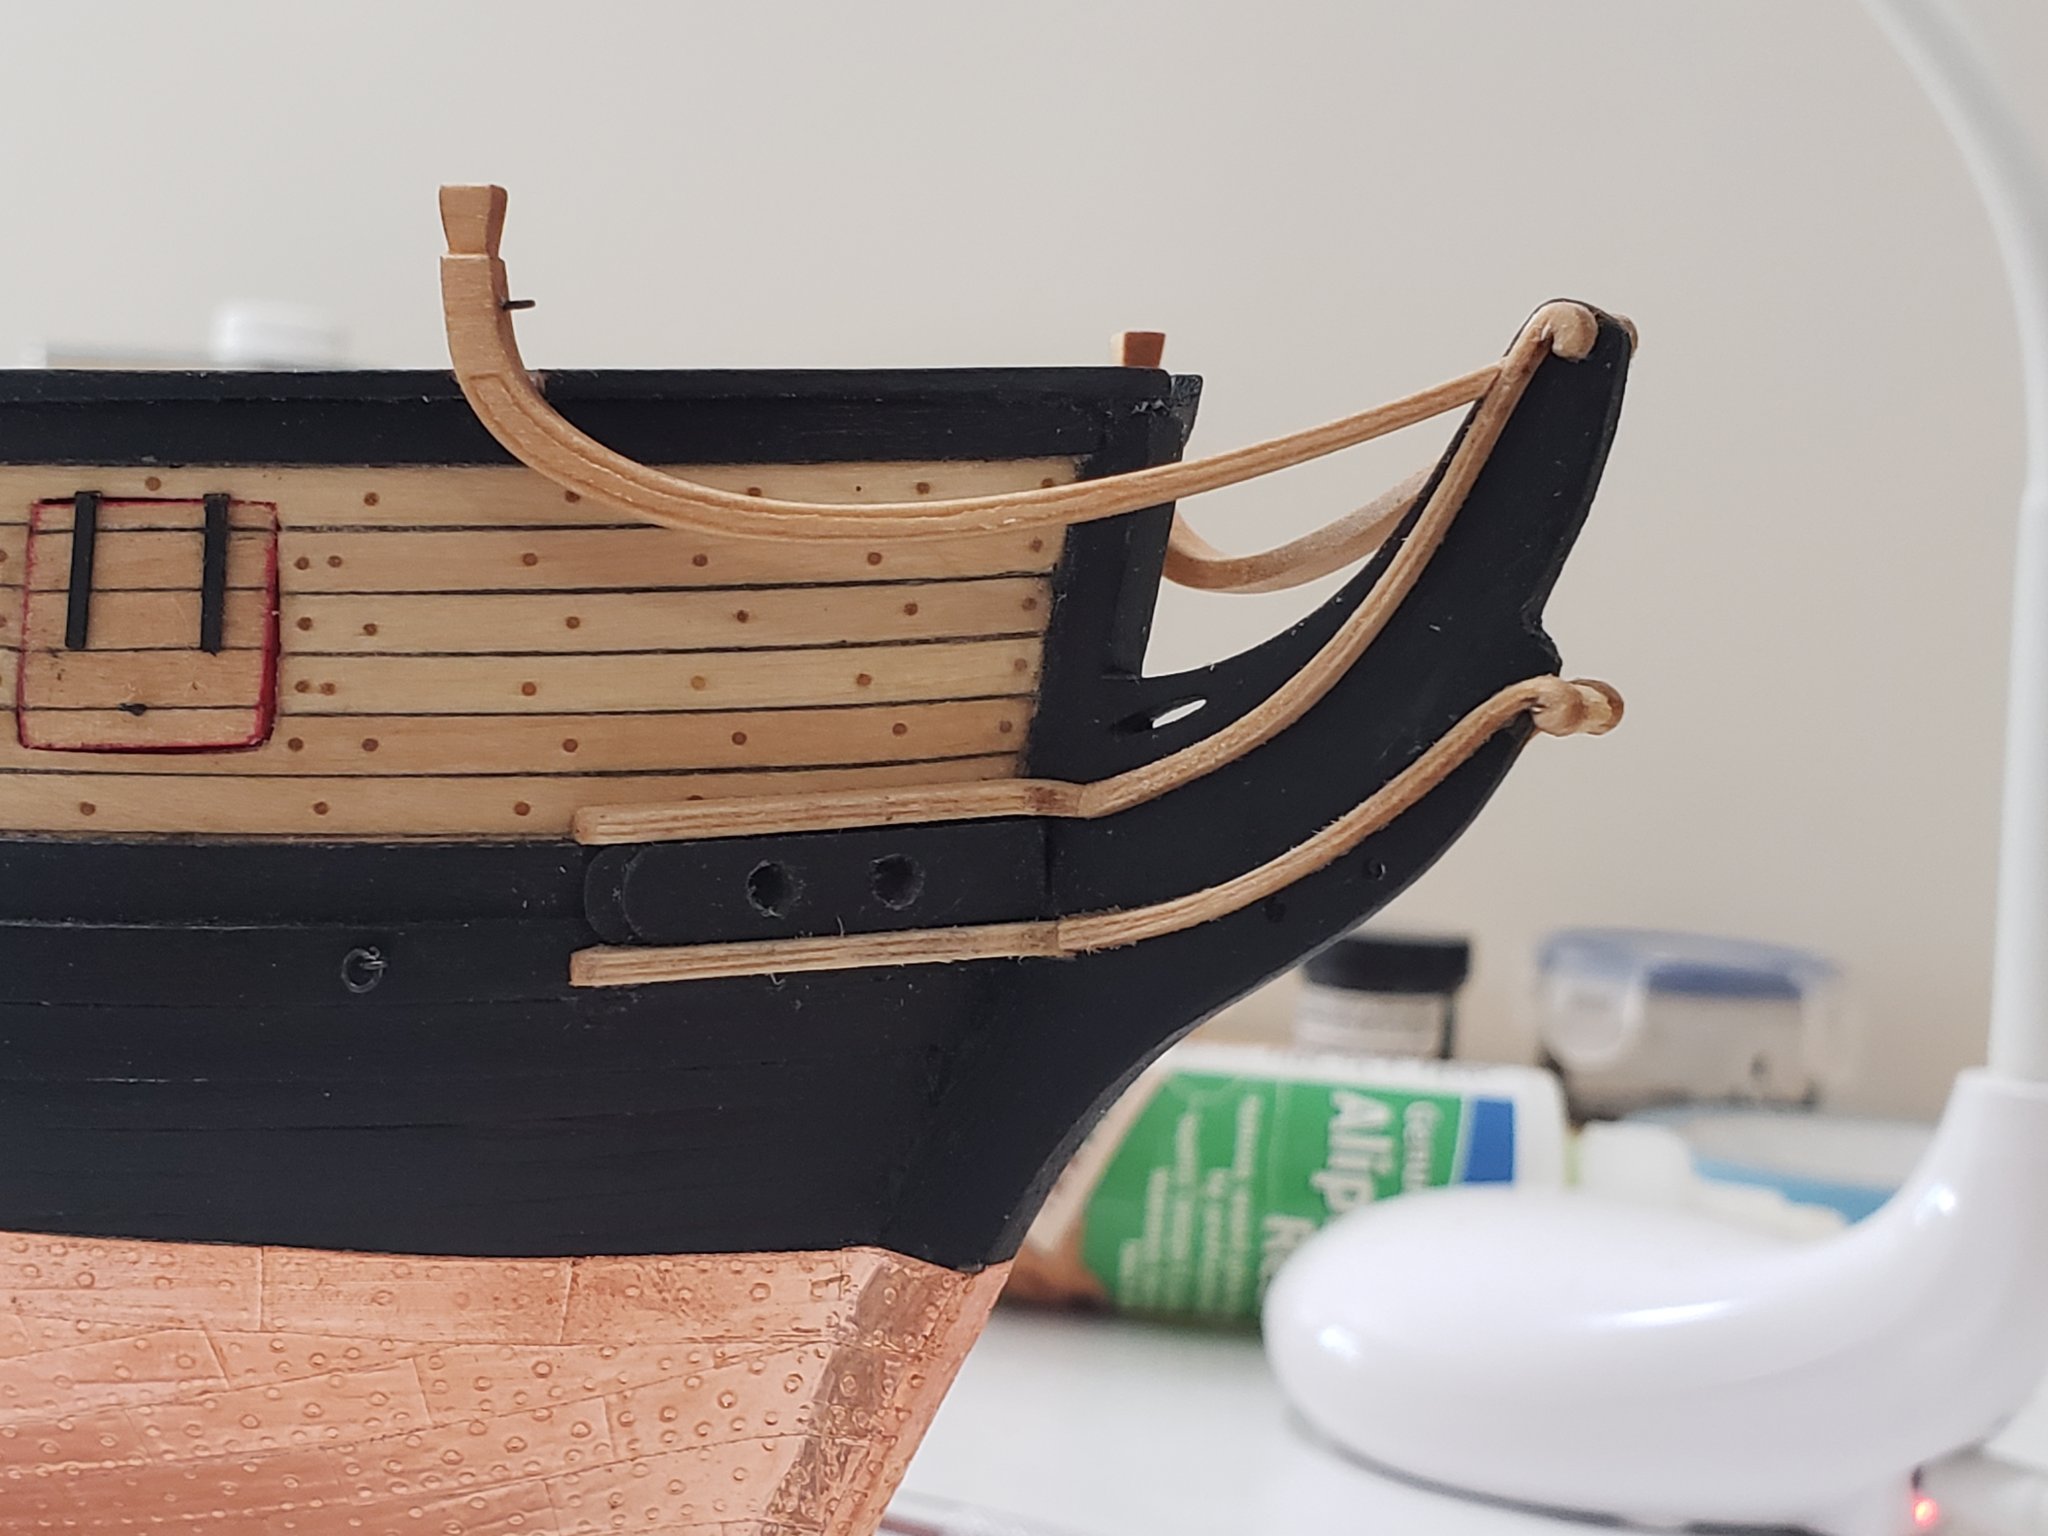
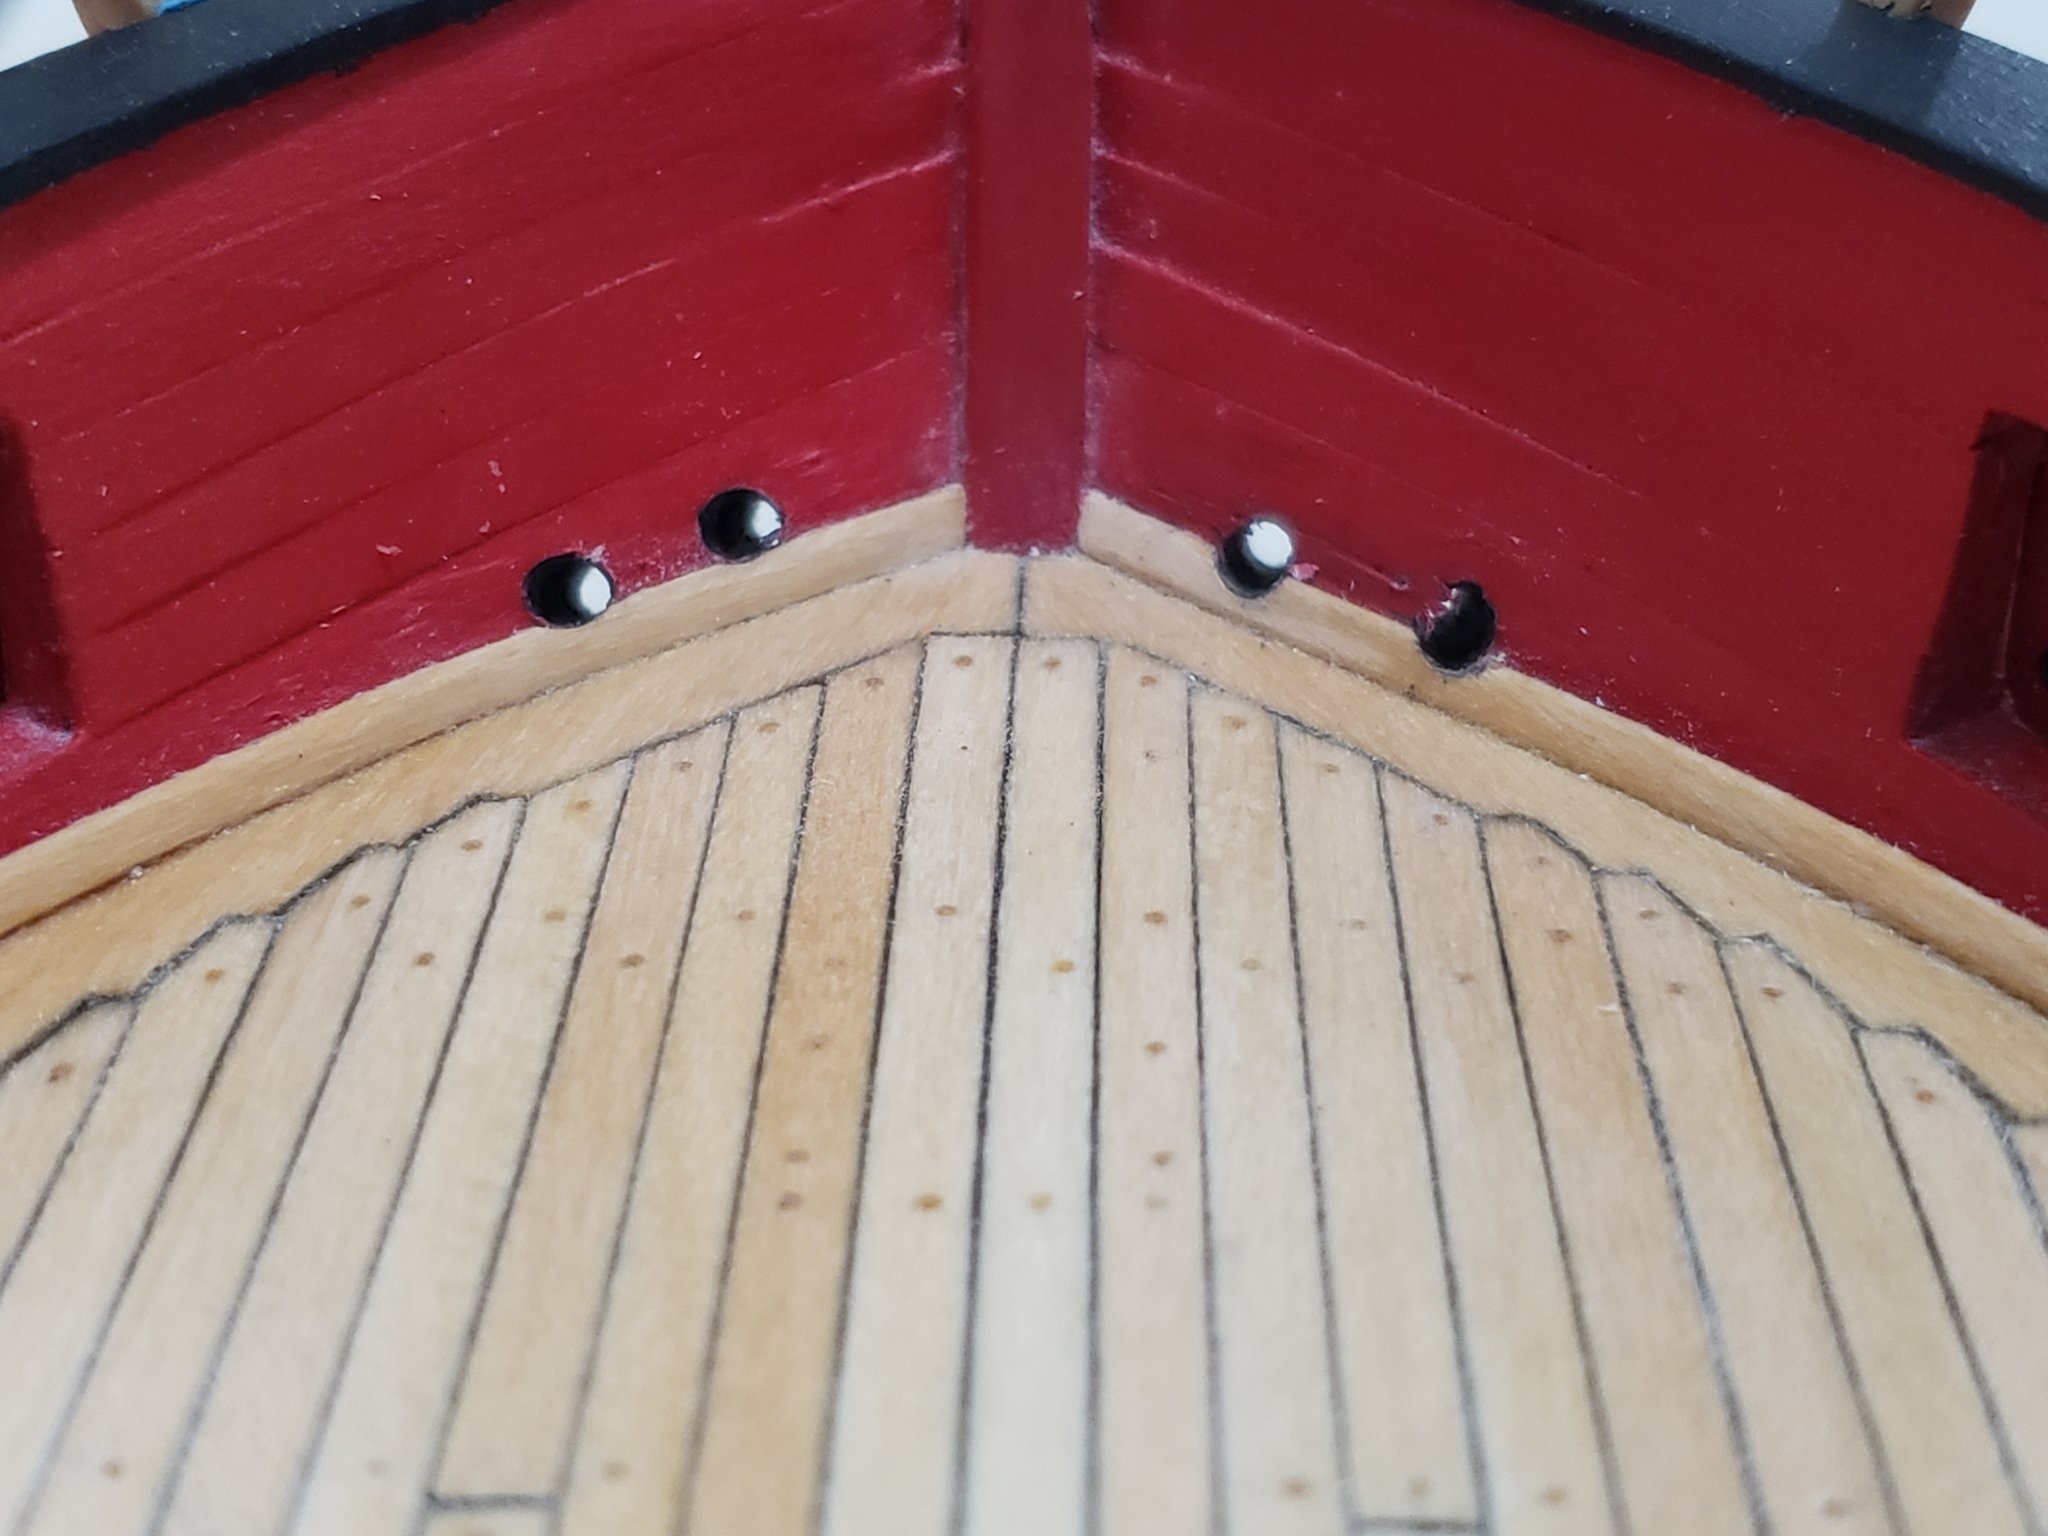
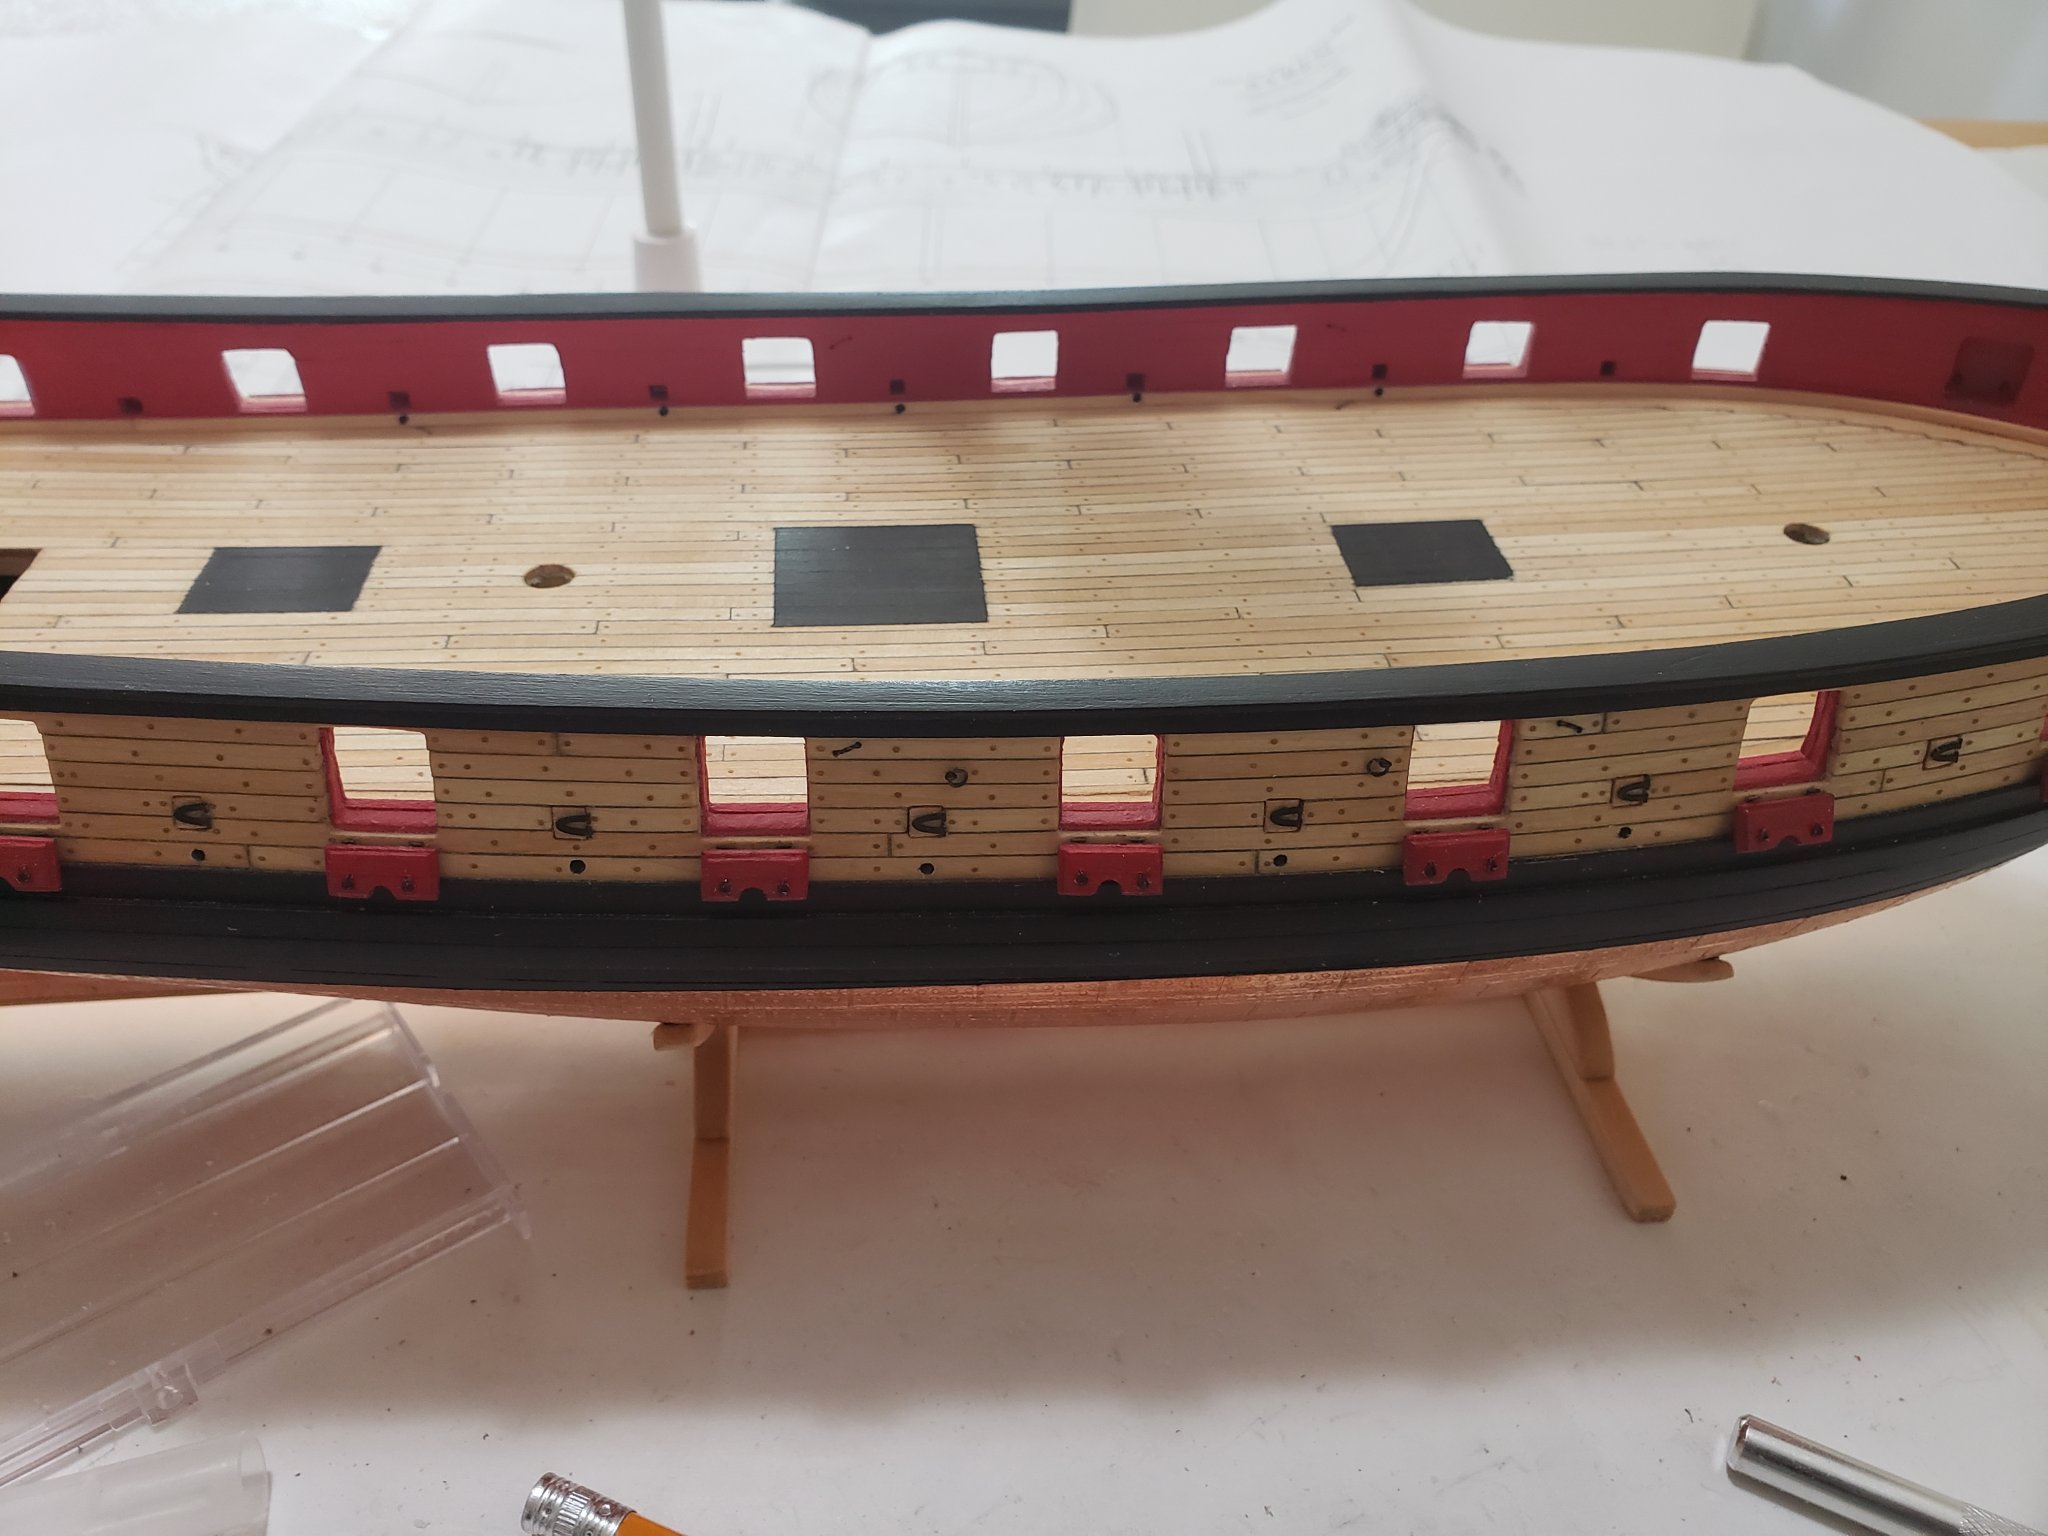
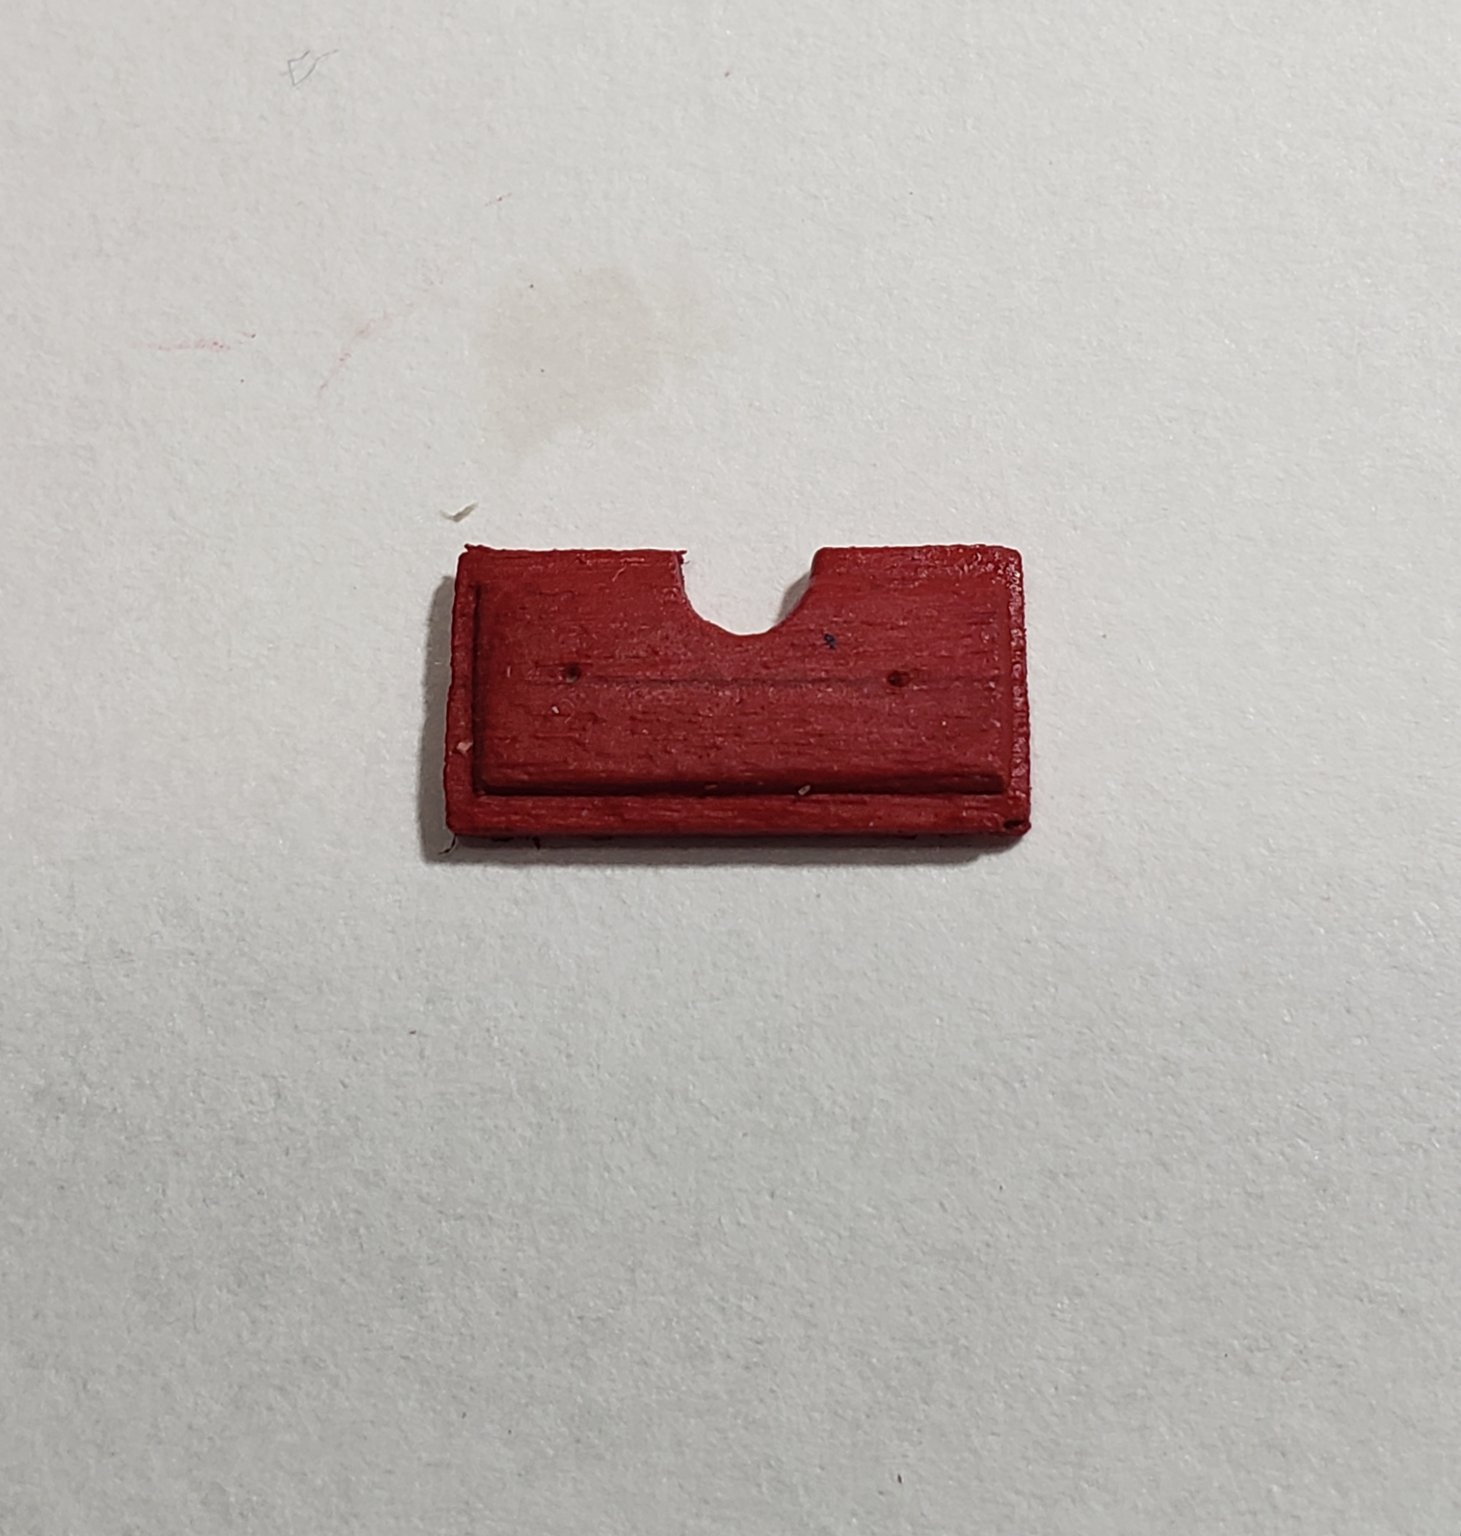
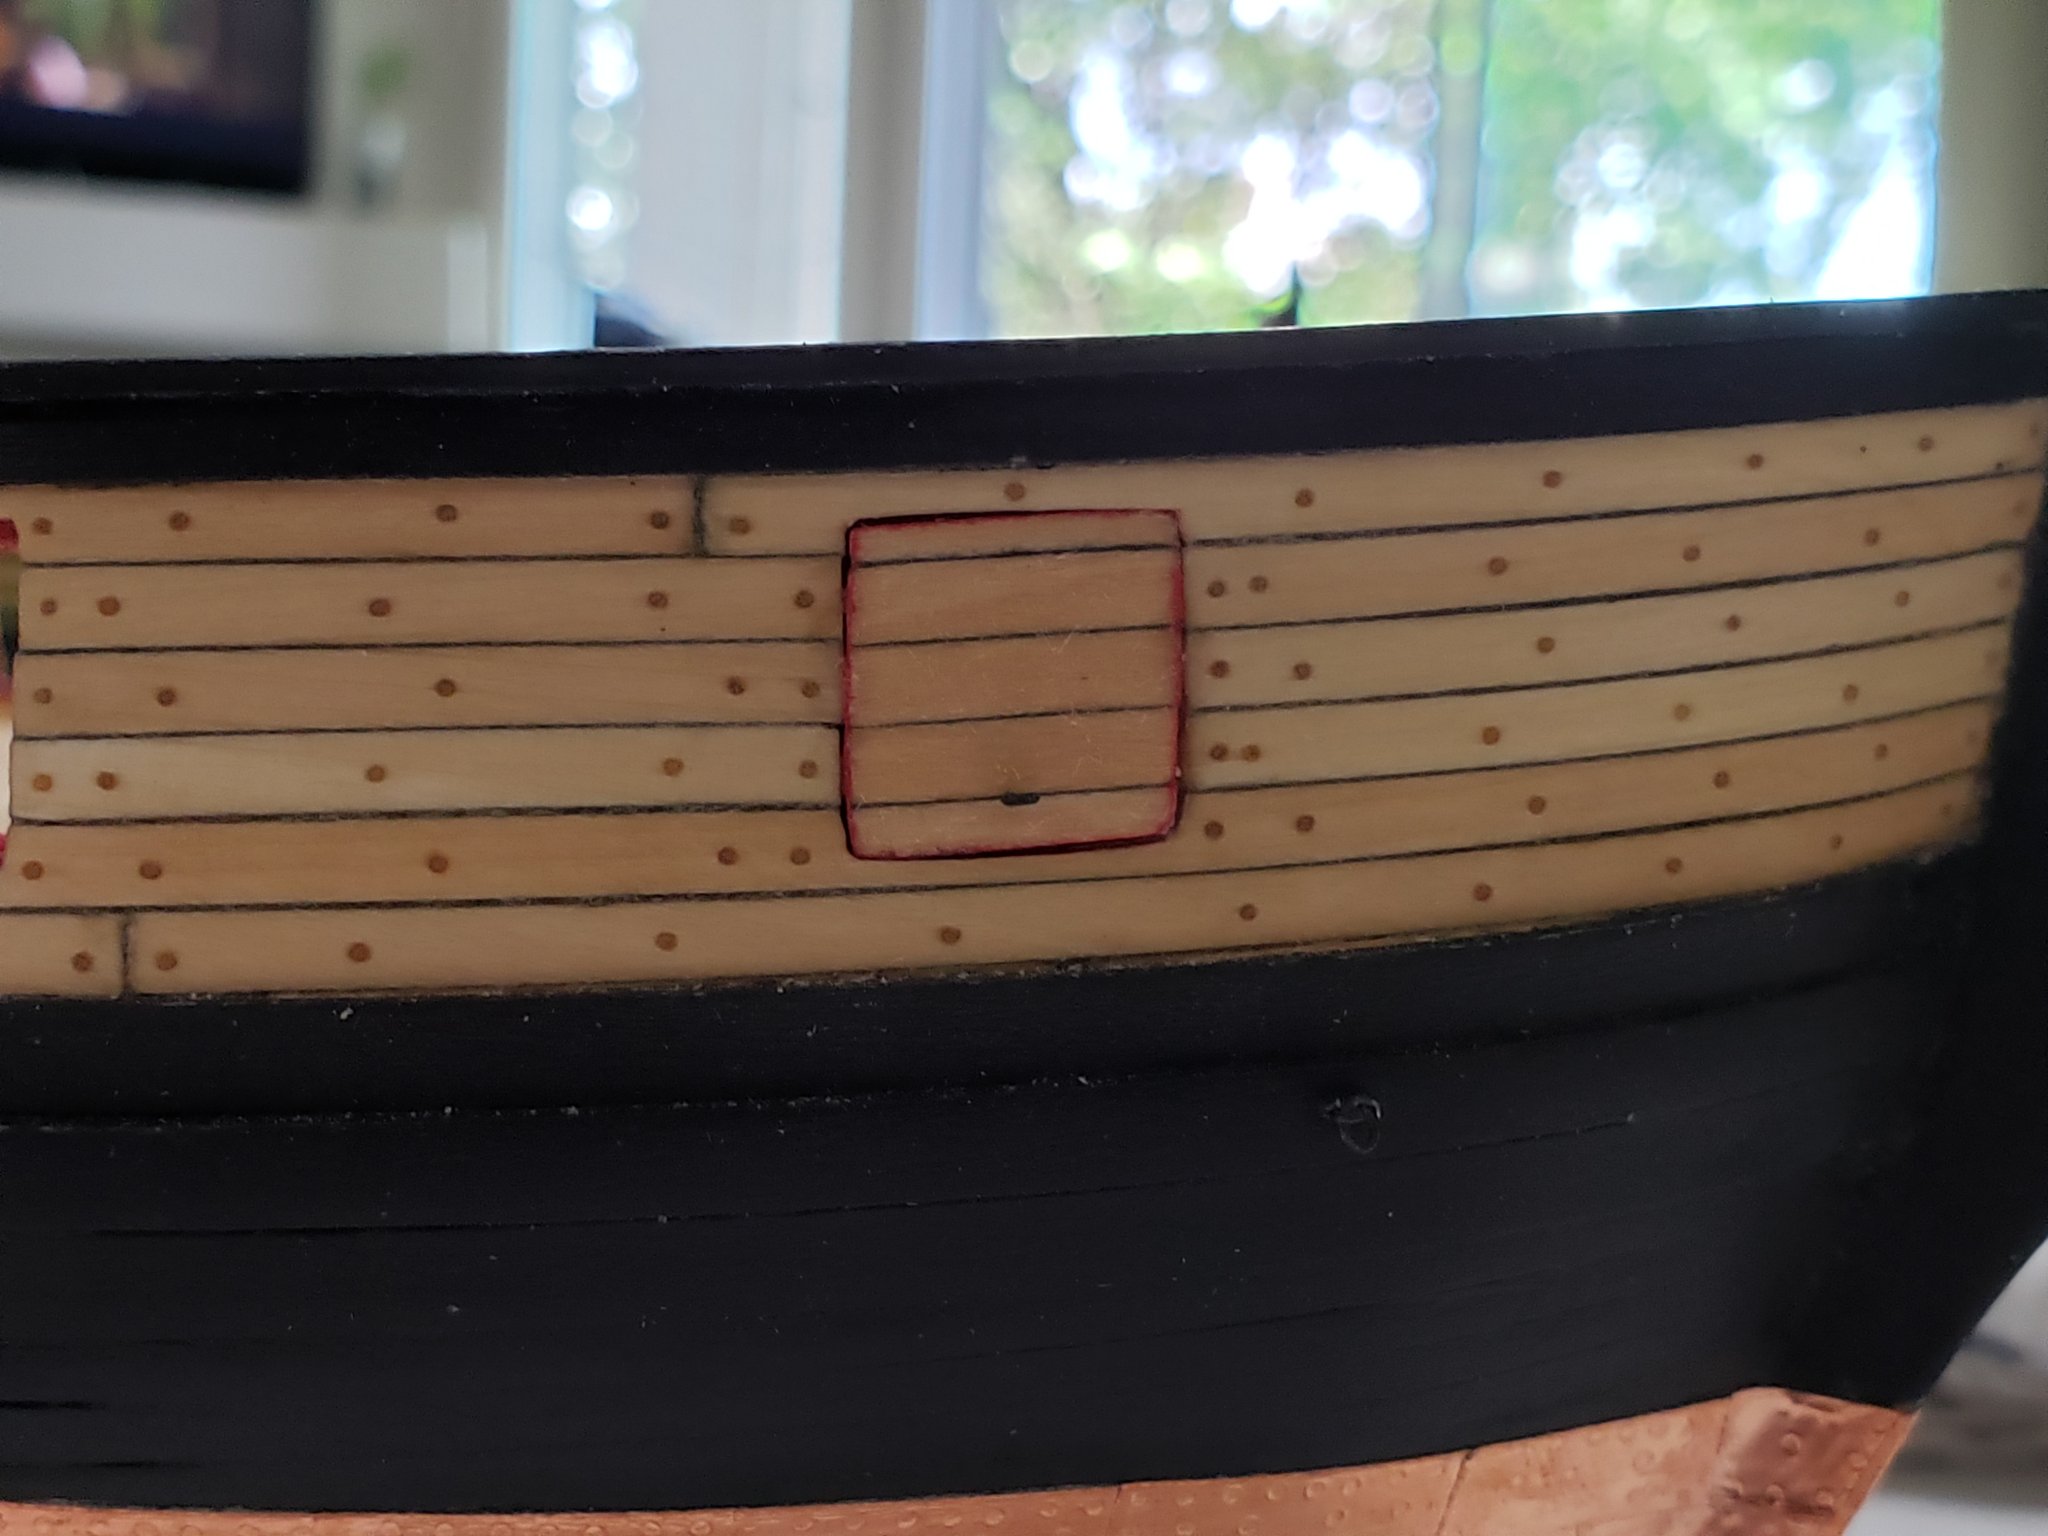
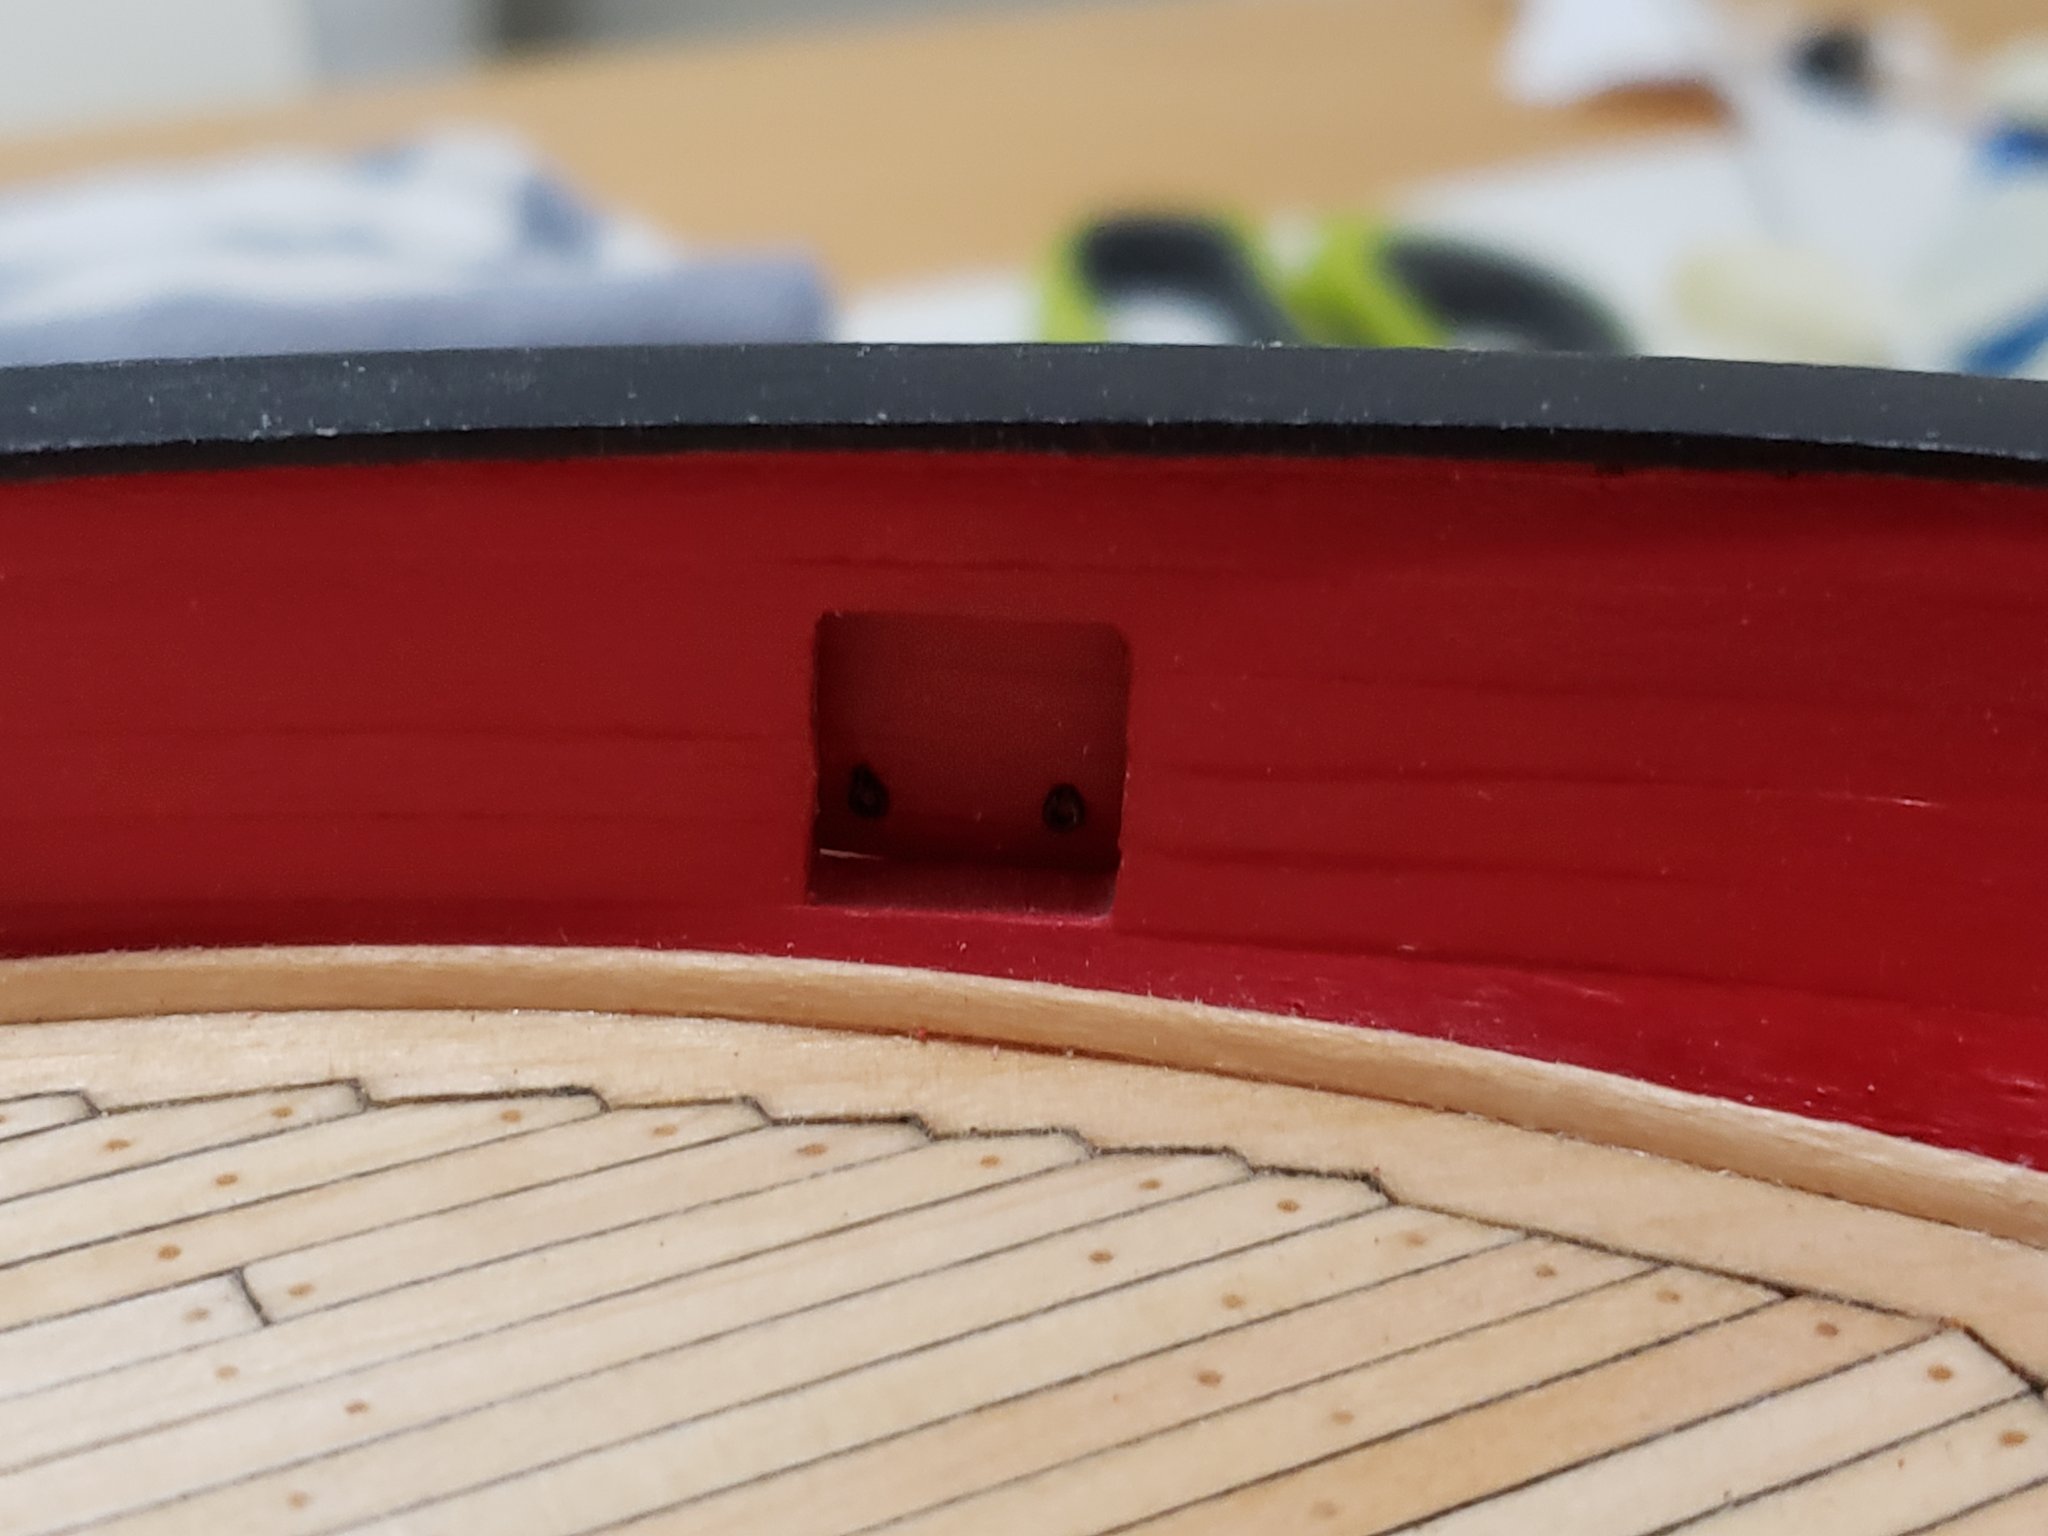
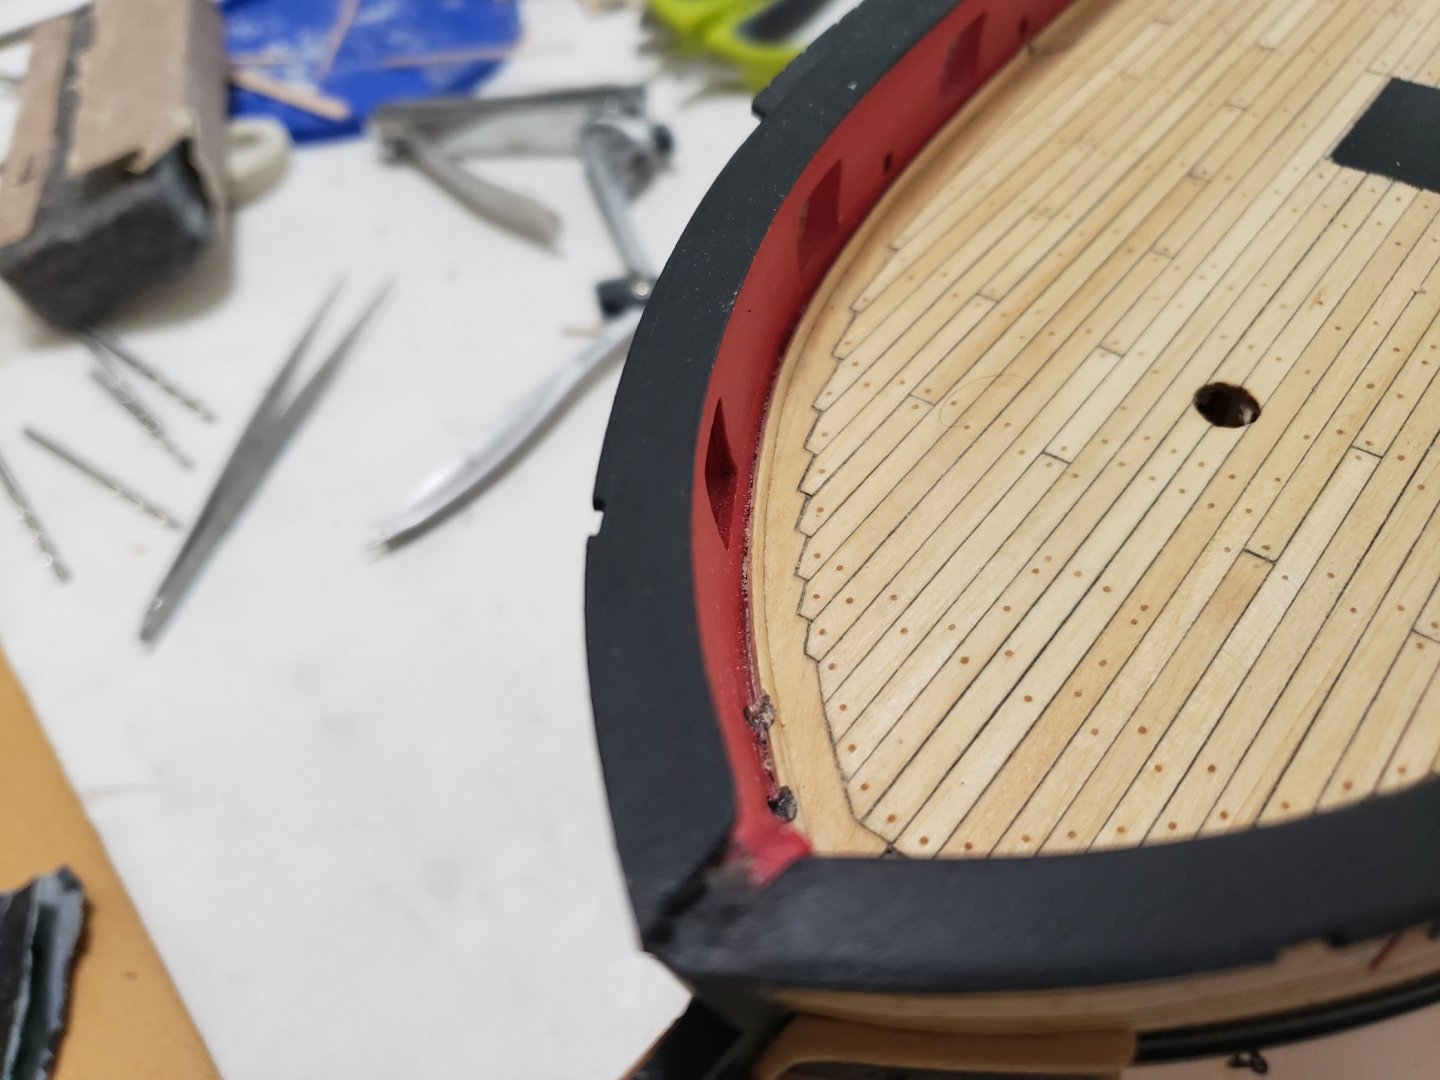
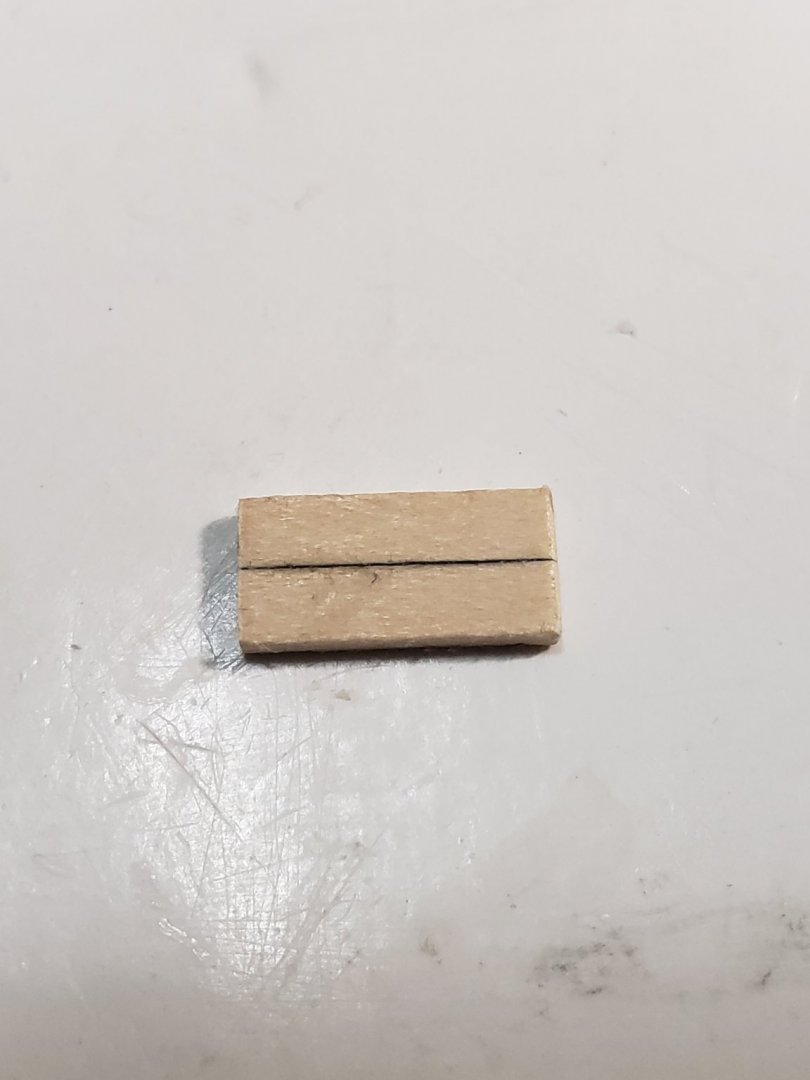
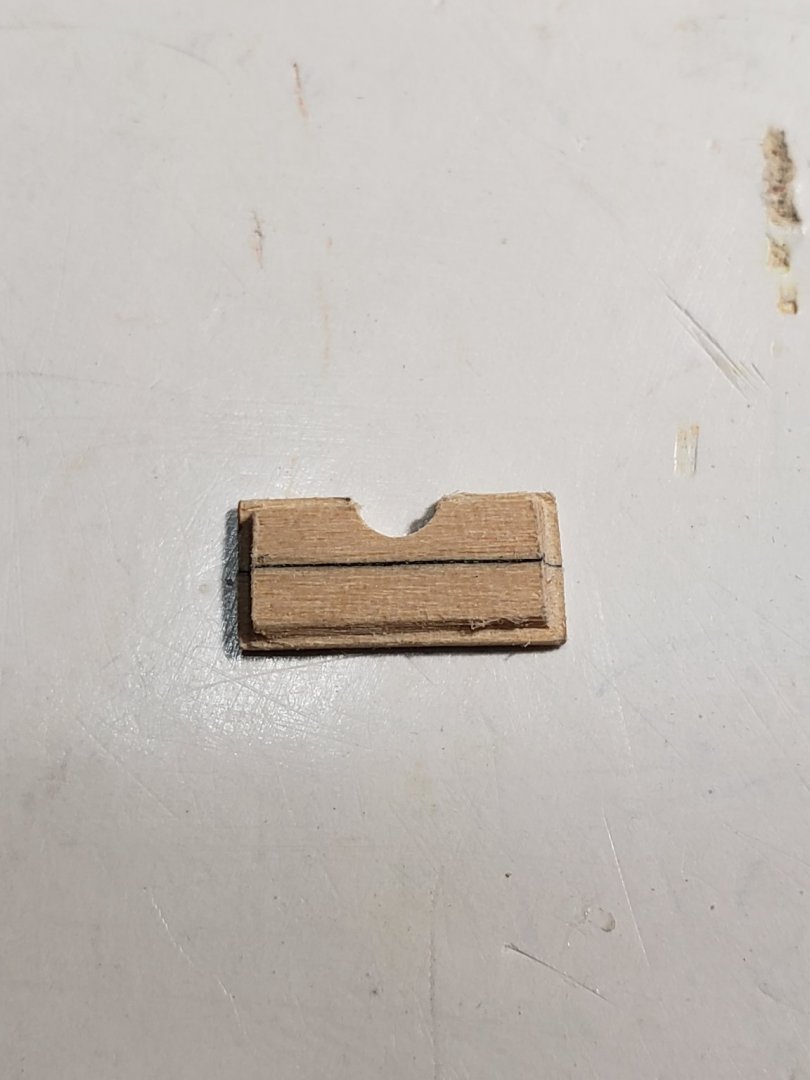
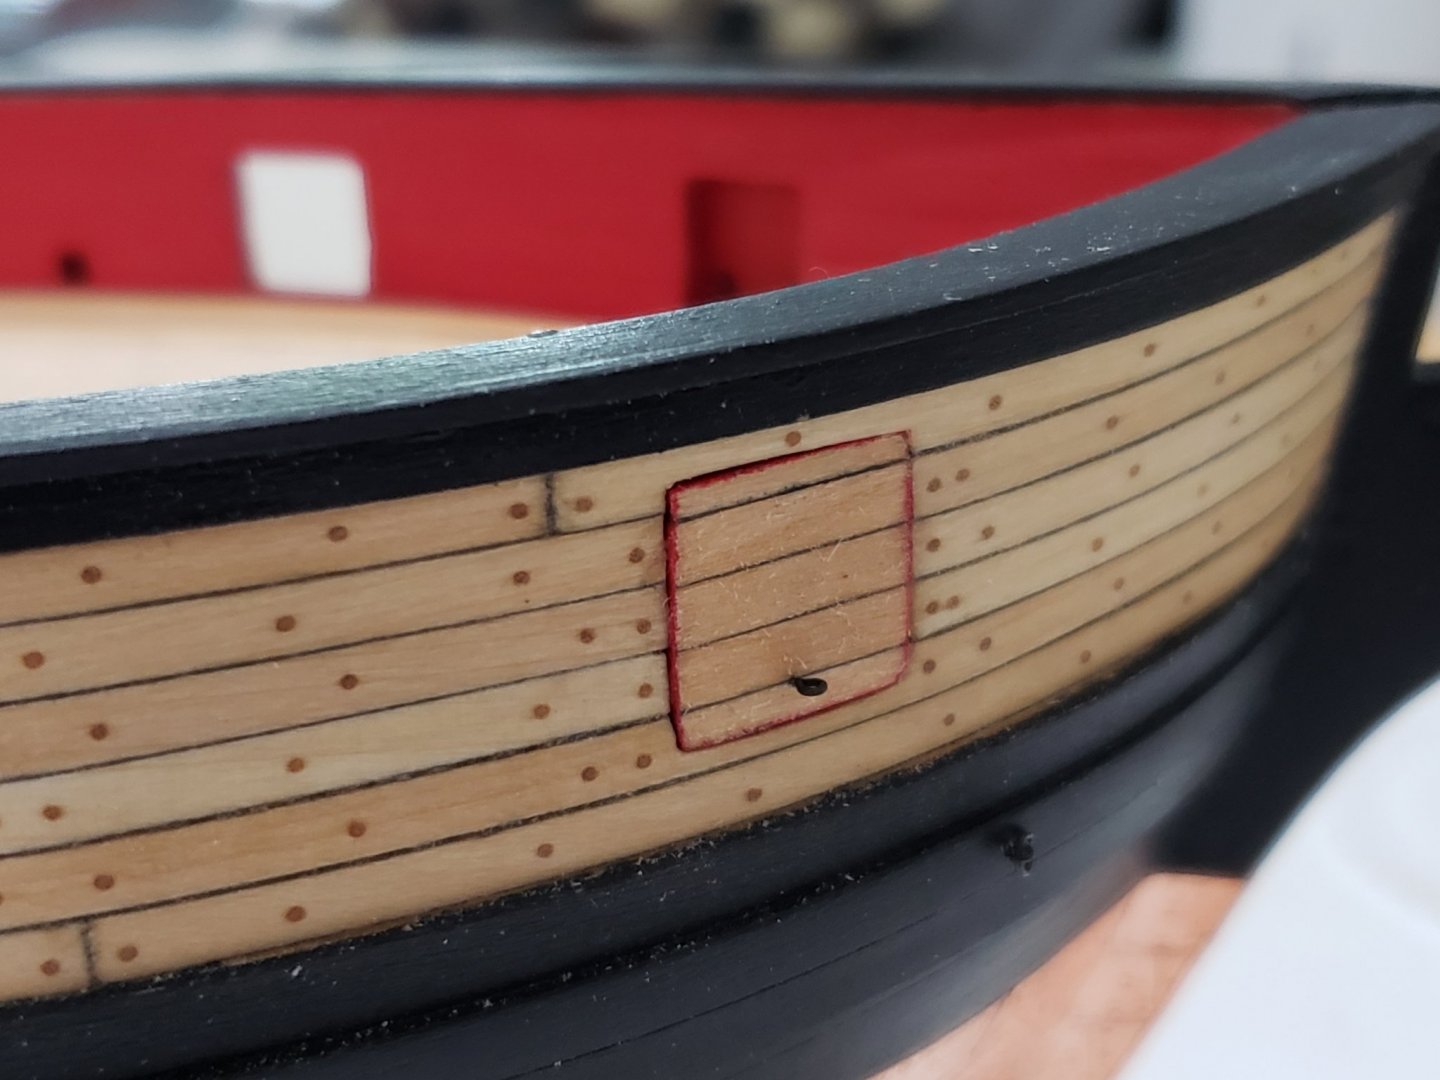
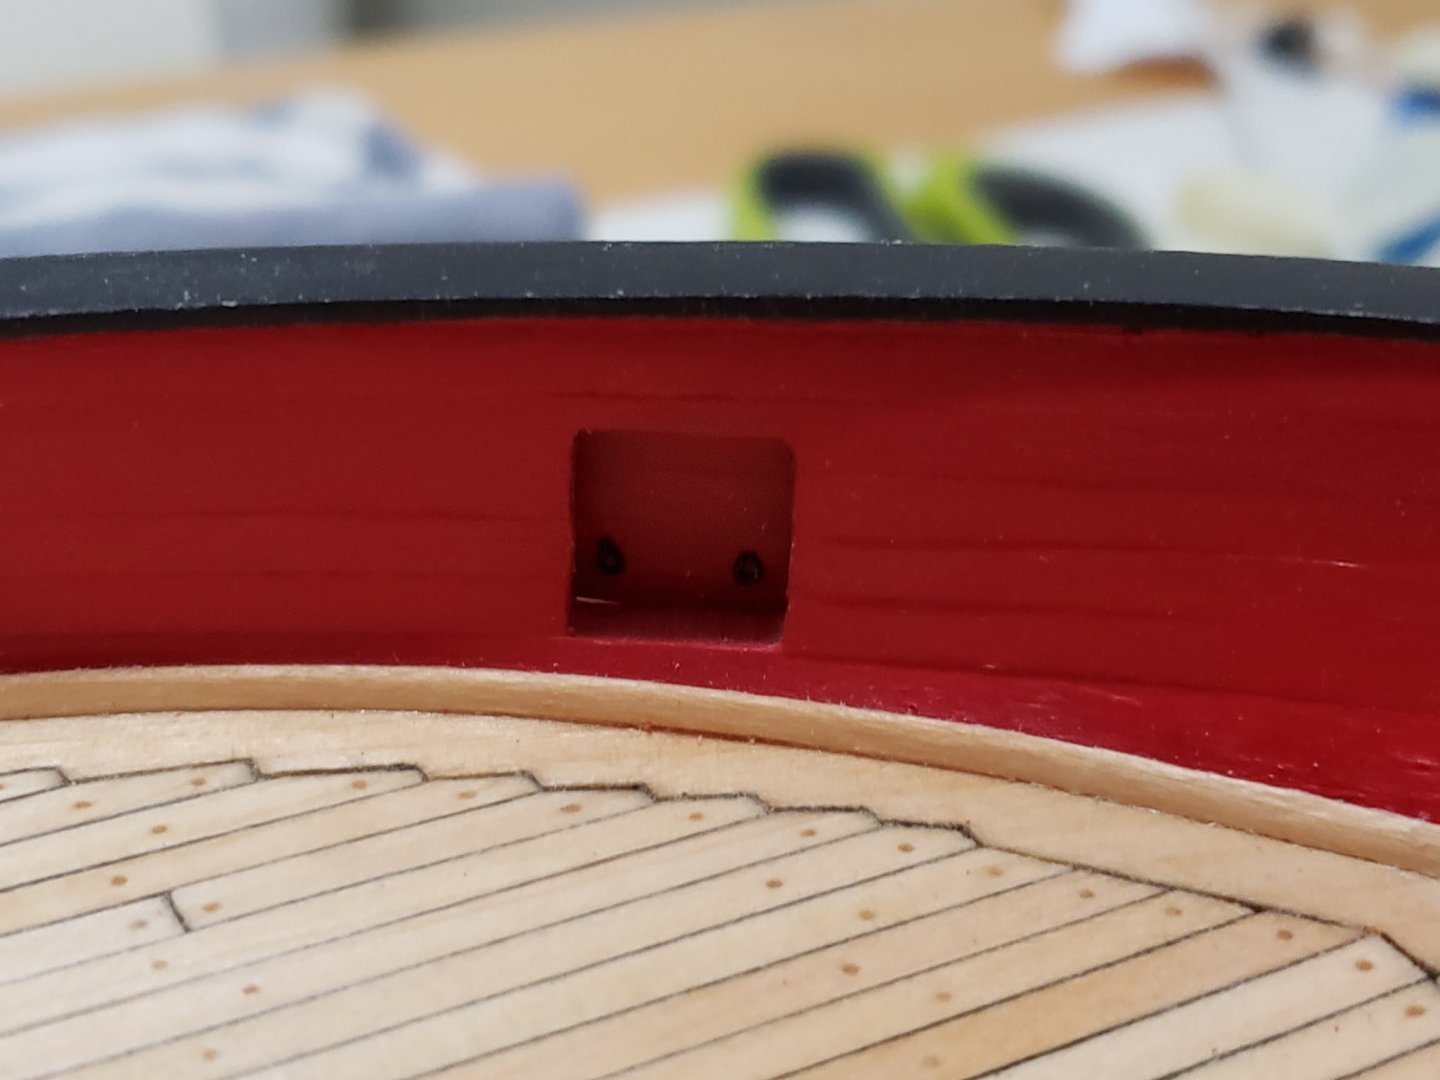
Some more progress, finished with the holes (I found this part tricky but managed to do it) and also made notches for the upper head rail. I used pencil to simulate the lead in the hawse holes. To drill the holes I used a small drillbit for a pilot hole from both inside and outside the hull until both holes joined. I then increased the drill bit size until I reached 0.01in diameter. I wasn't sure on what the end diameter should be but this size looked similar to other build logs. Here the upper rail is dry fitted: Photo of the notch: I'm thinking of going ahead and gluing the upper rail, unless anyone has other suggestions 😁


- 950 replies
-
- 8
-
-
- syren
- model shipways
- (and 1 more)
-
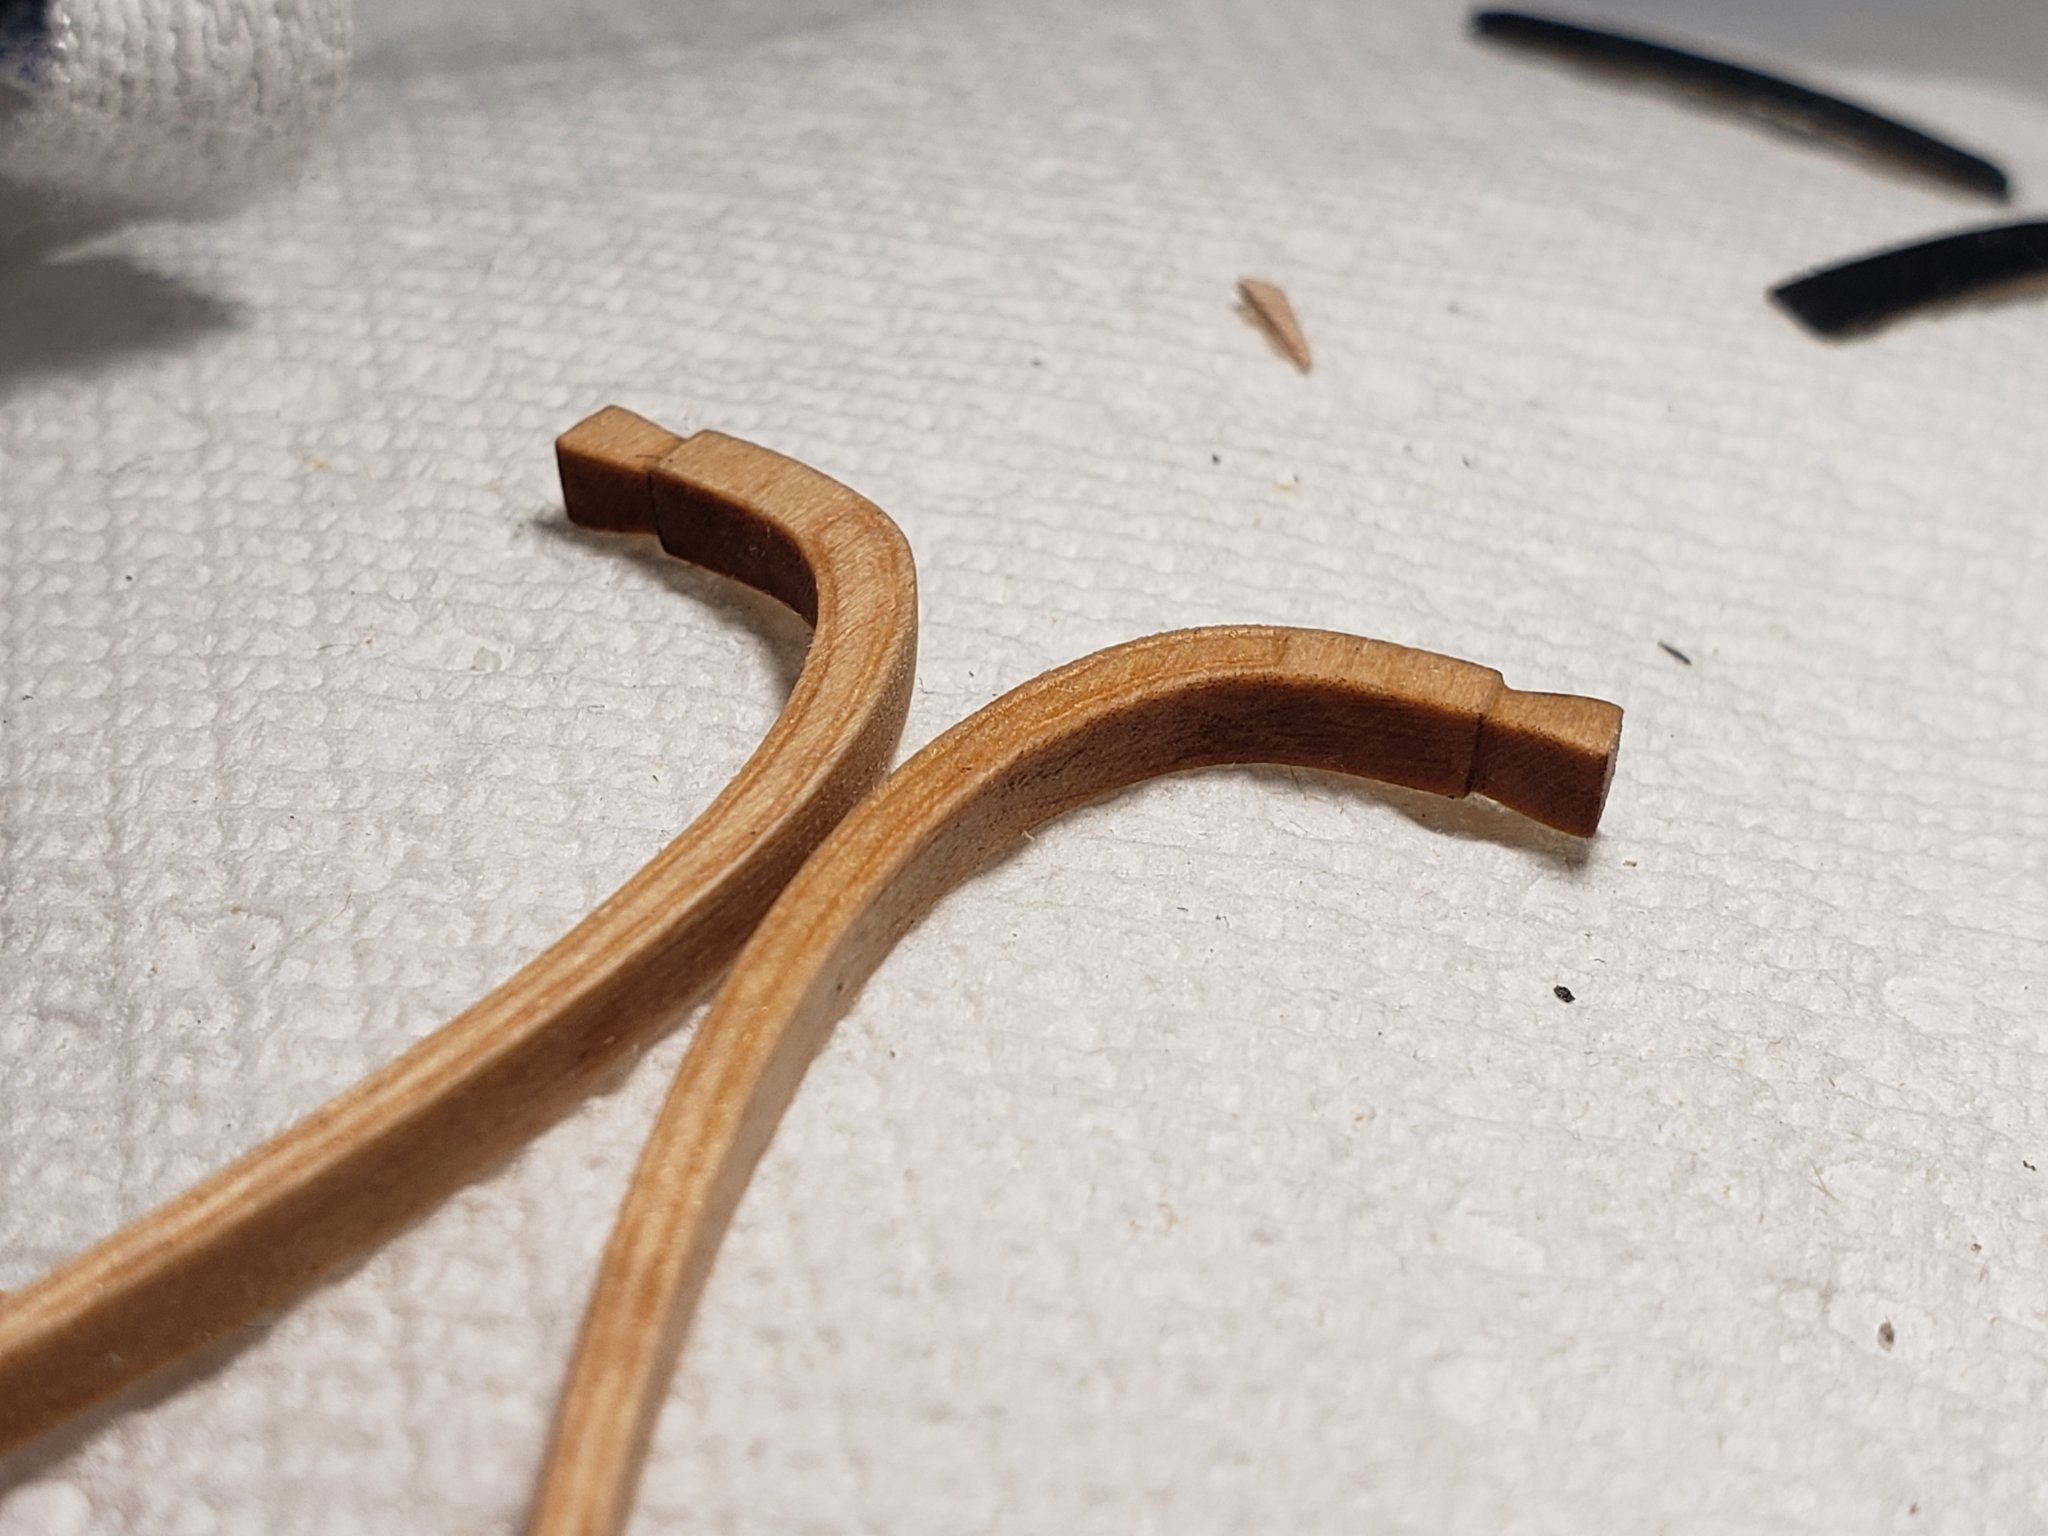
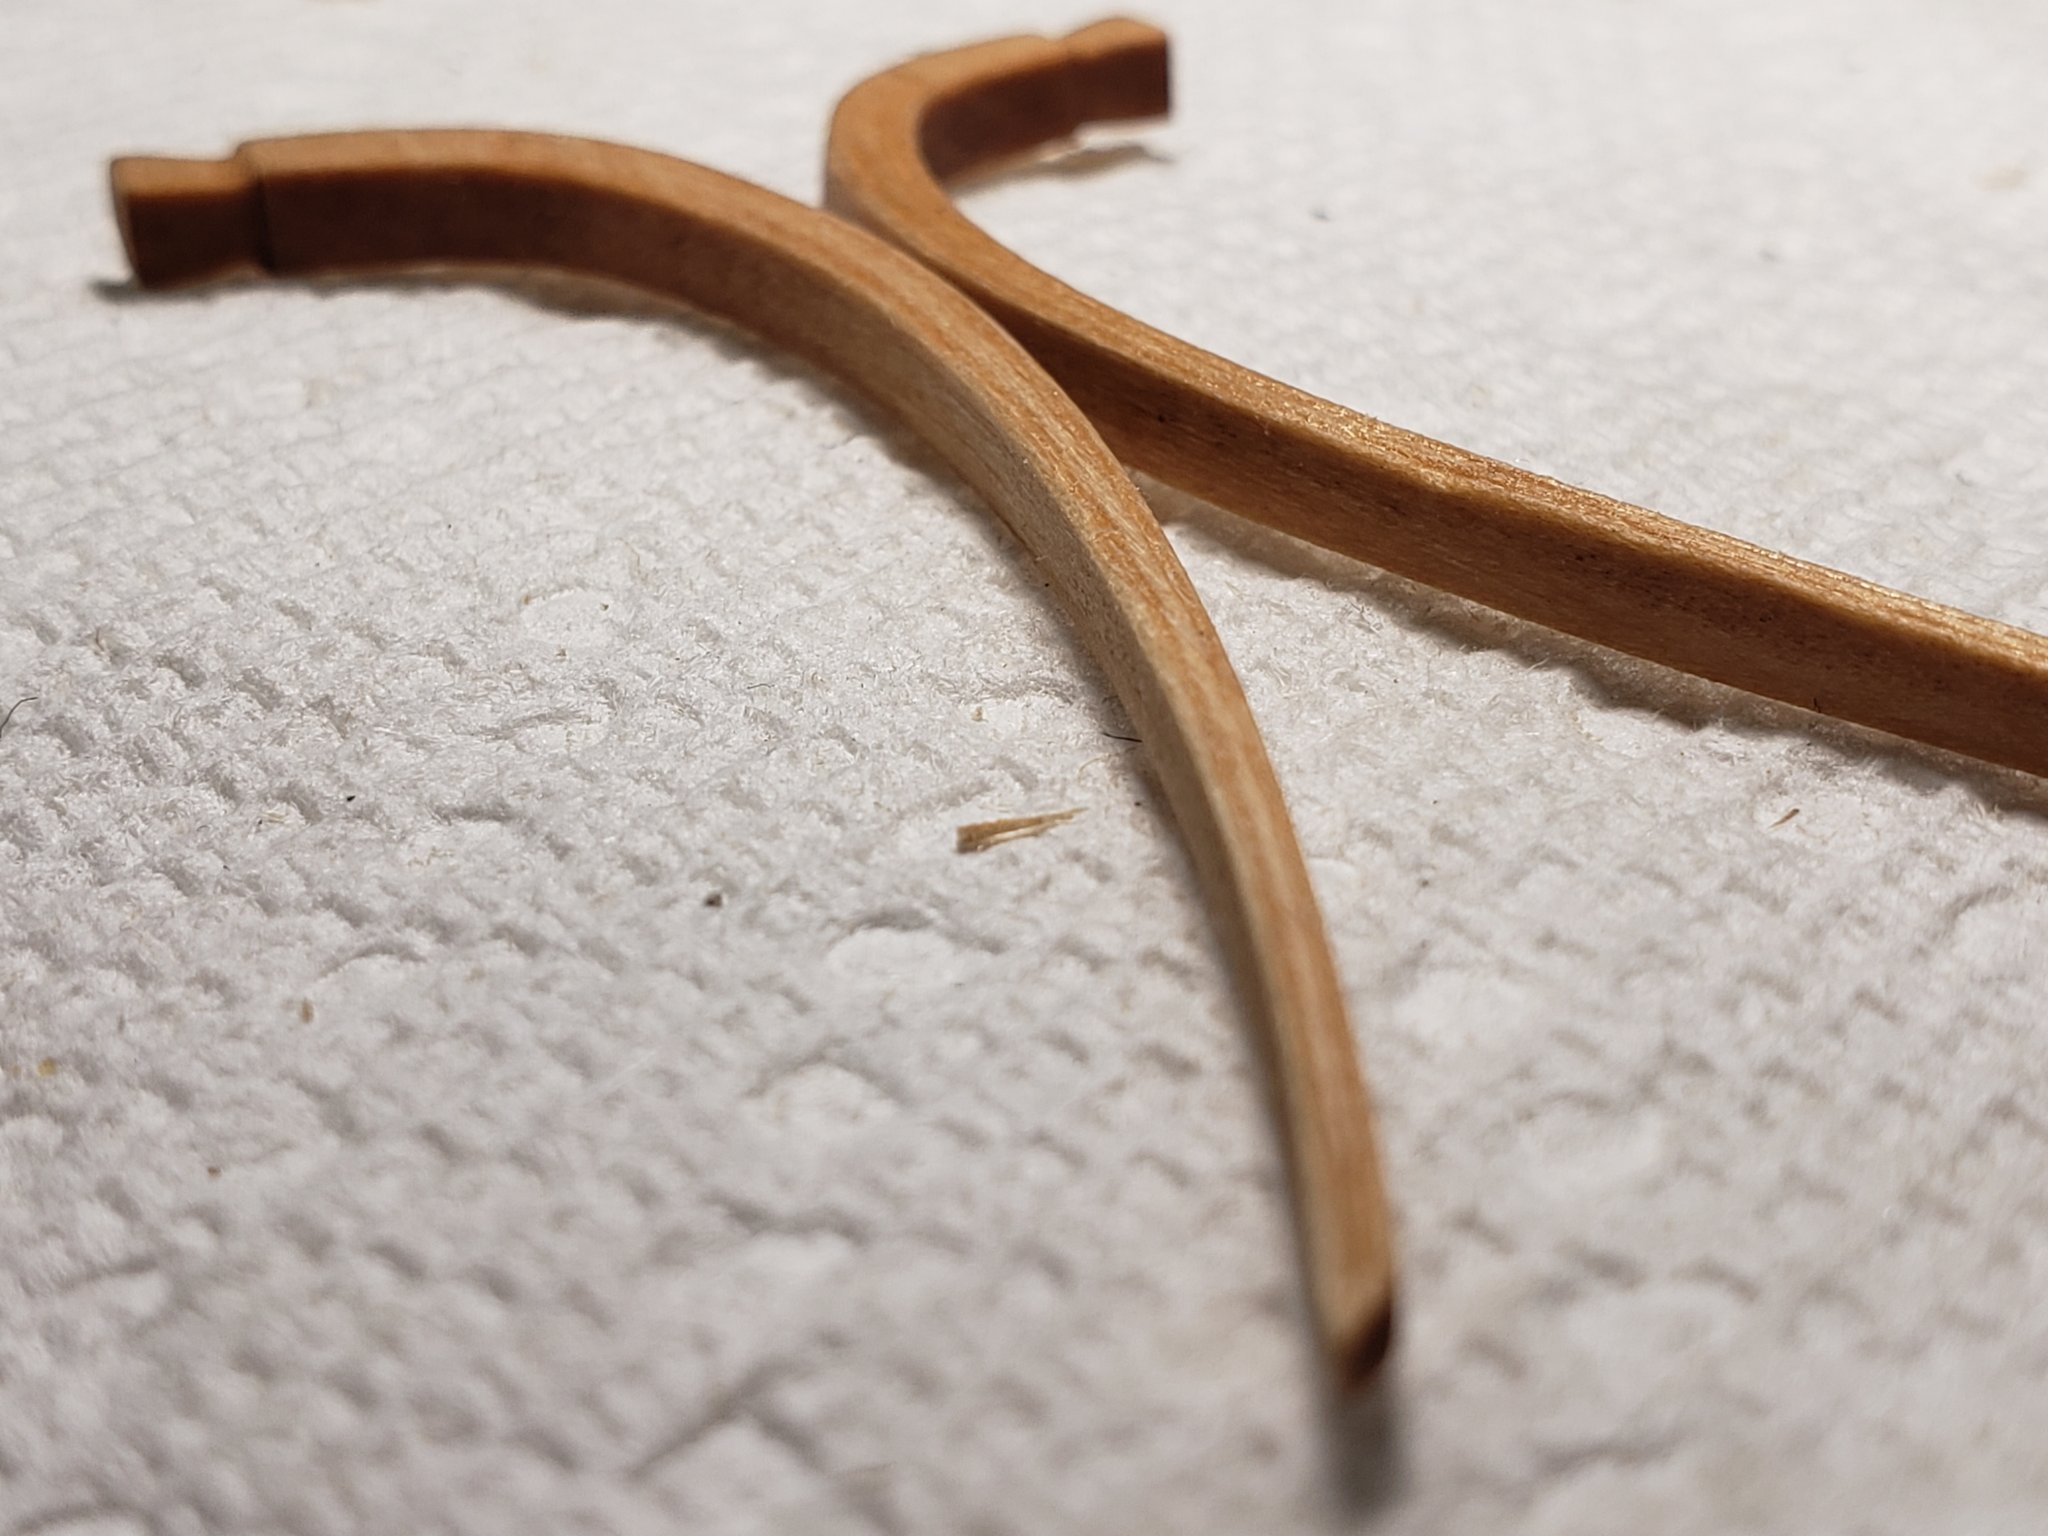
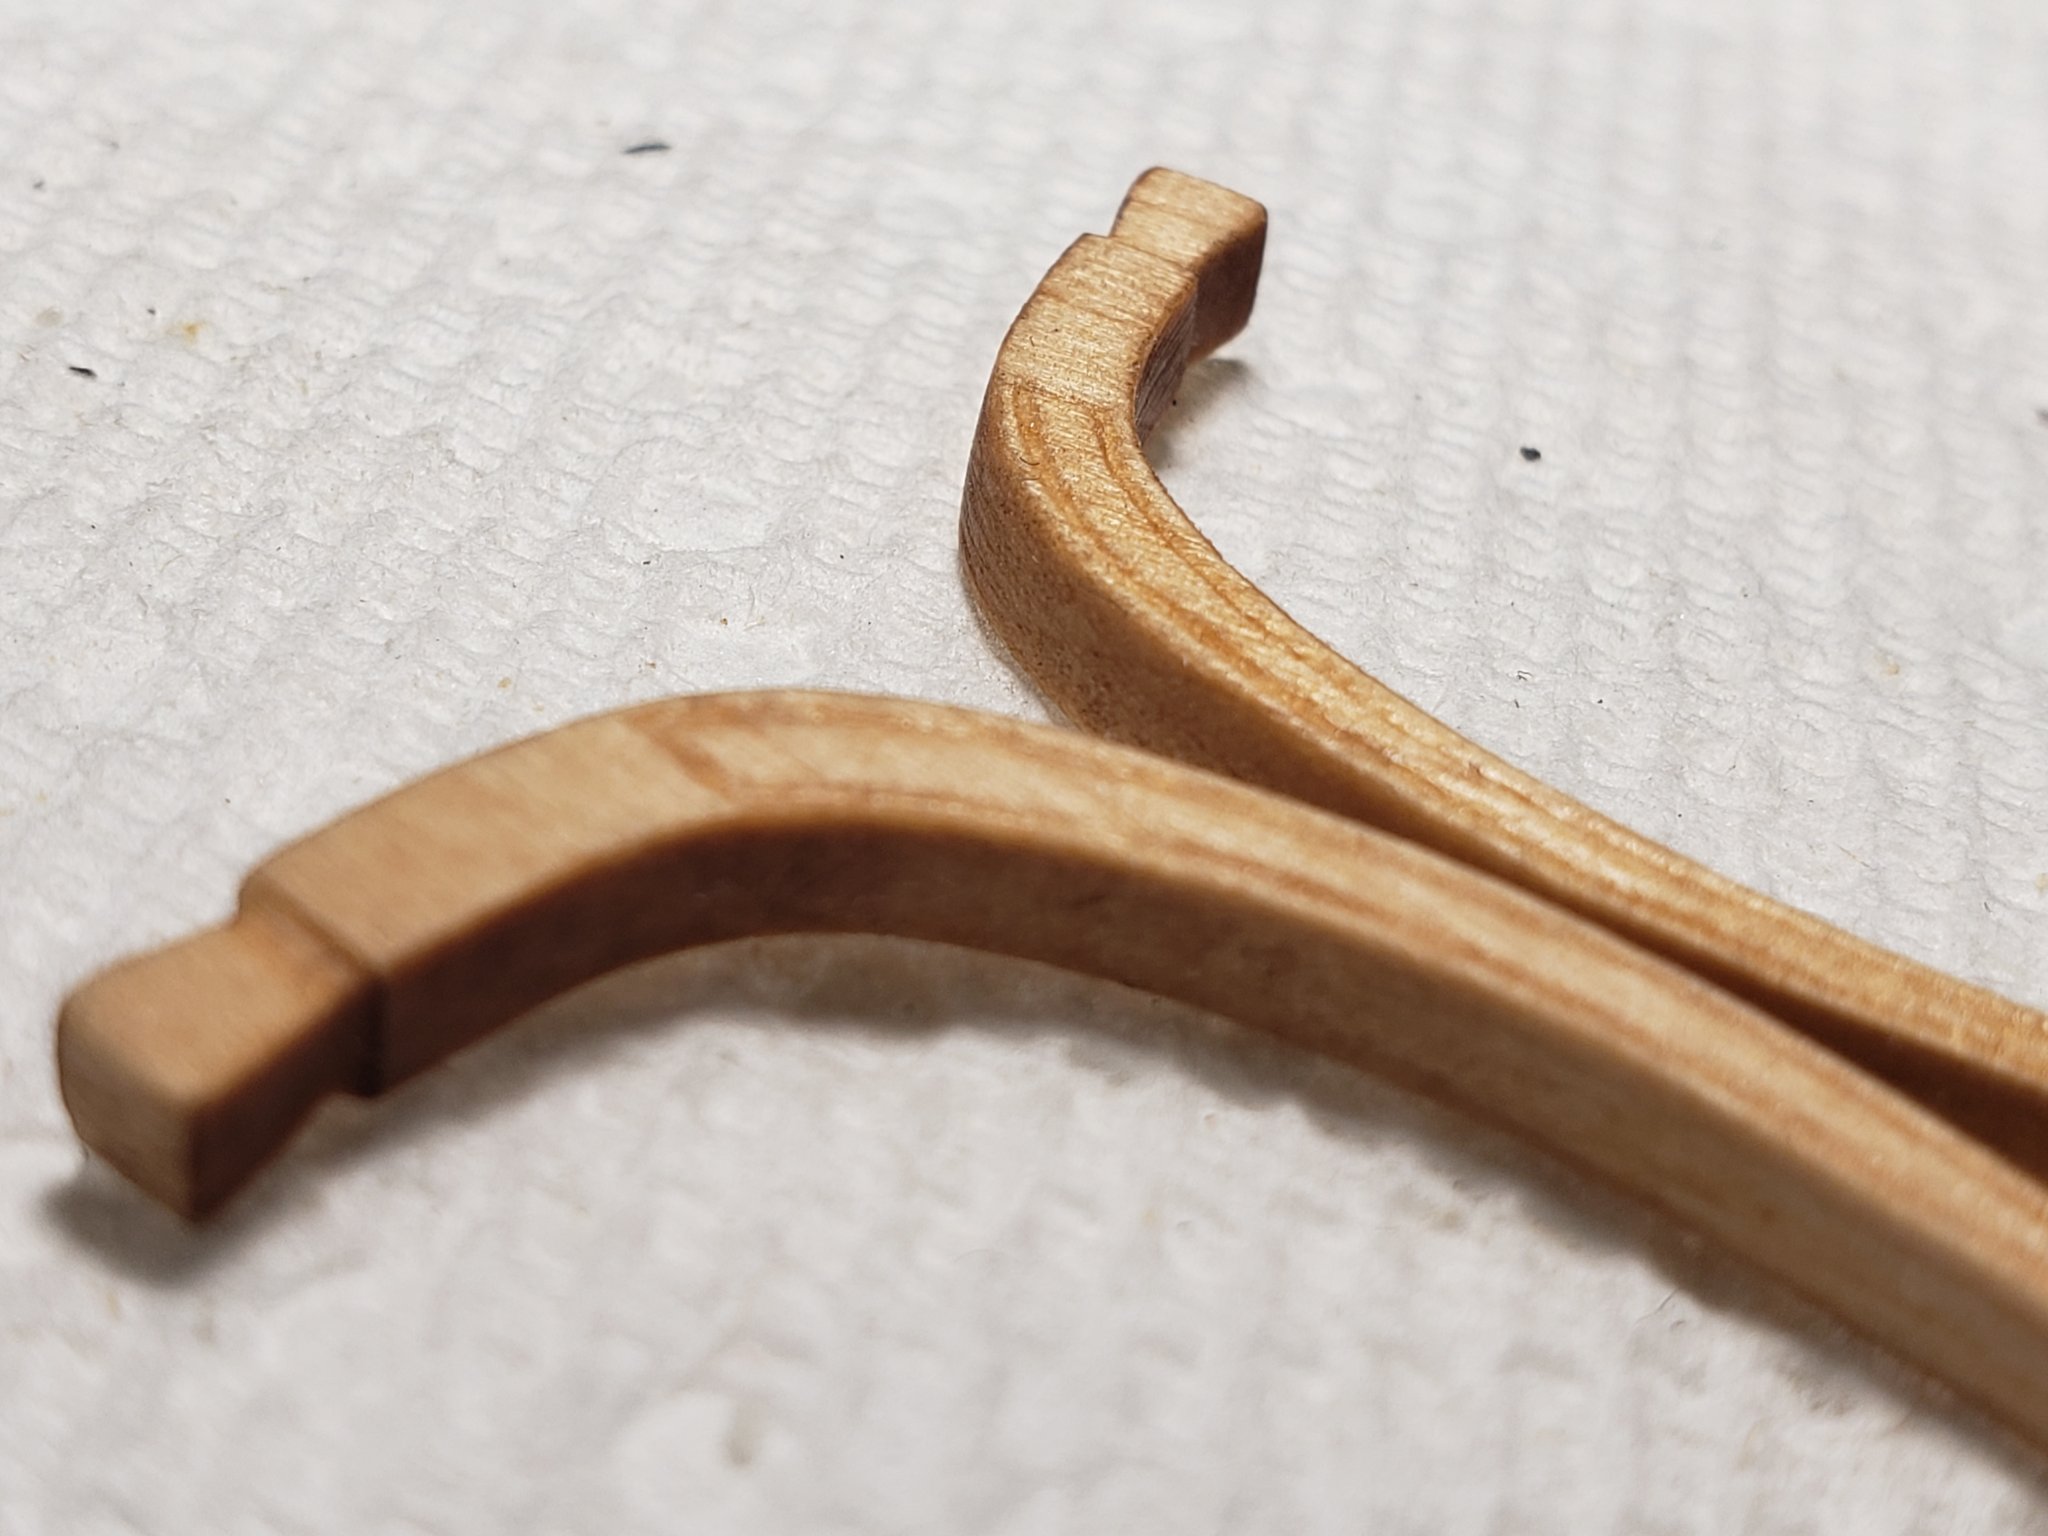
Thank you Voyageur and Patrick! I found that using a fresh blade helped with the shape I also carved out the 2nd rail. Not completely symmetric but it'll do..


- 950 replies
-
- 9
-
-
- syren
- model shipways
- (and 1 more)
-
I forgot to add to my previous post, I also carved out one of the upper head rails. There are a few mistakes but I think it's passable.


- 950 replies
-
- 10
-
-
- syren
- model shipways
- (and 1 more)
-
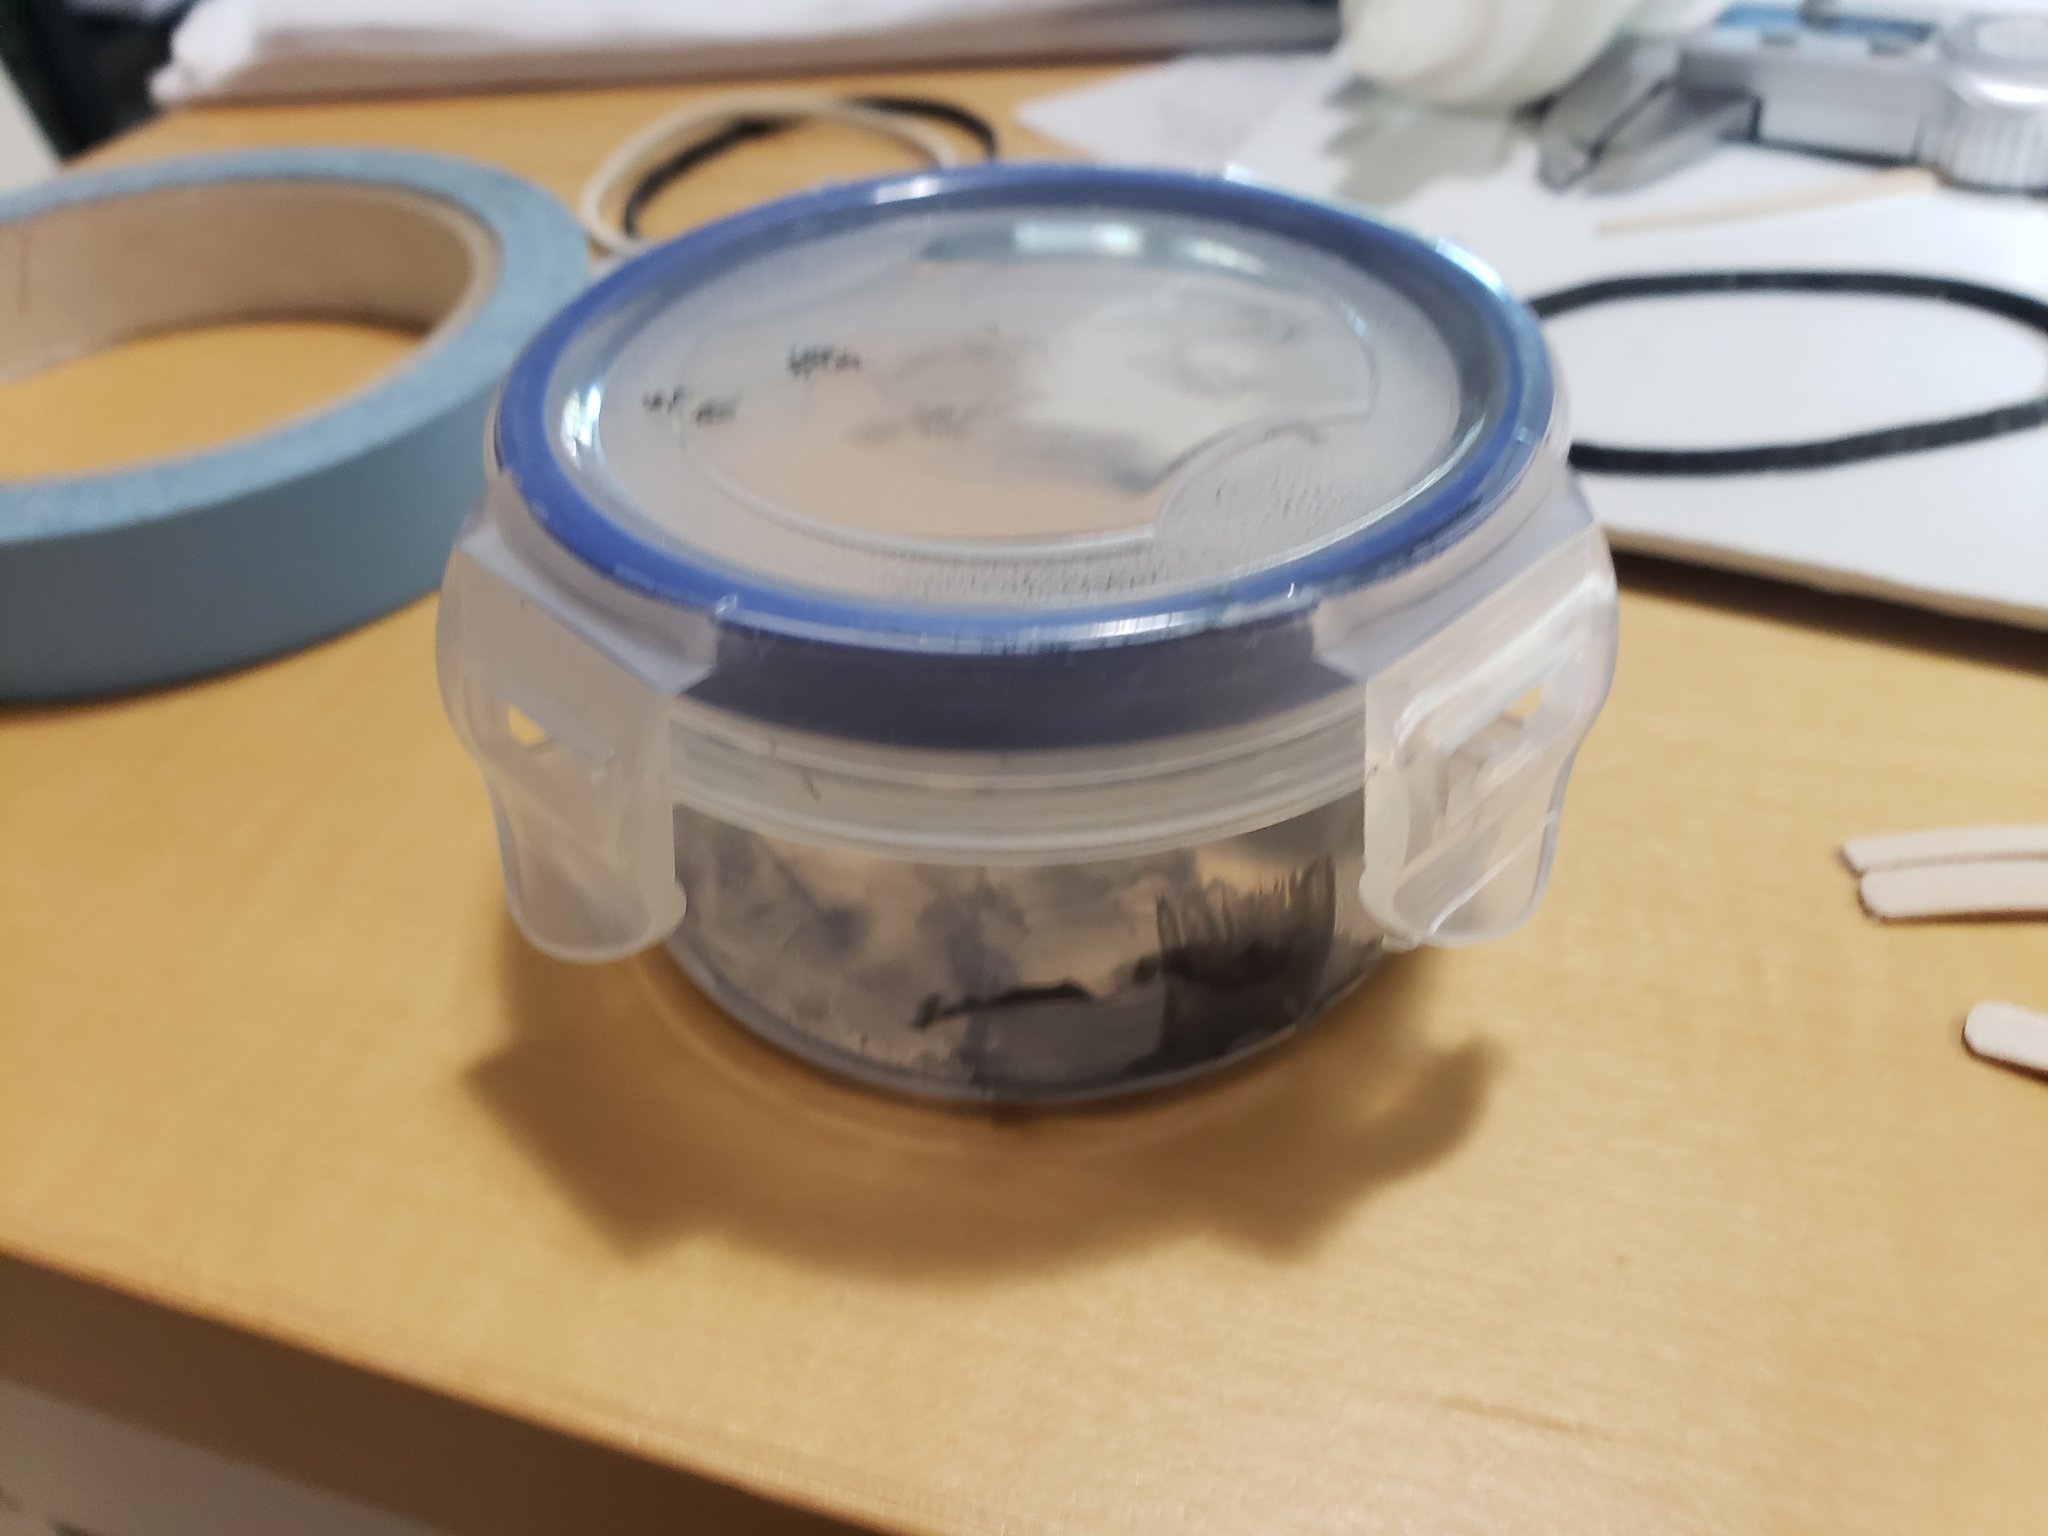
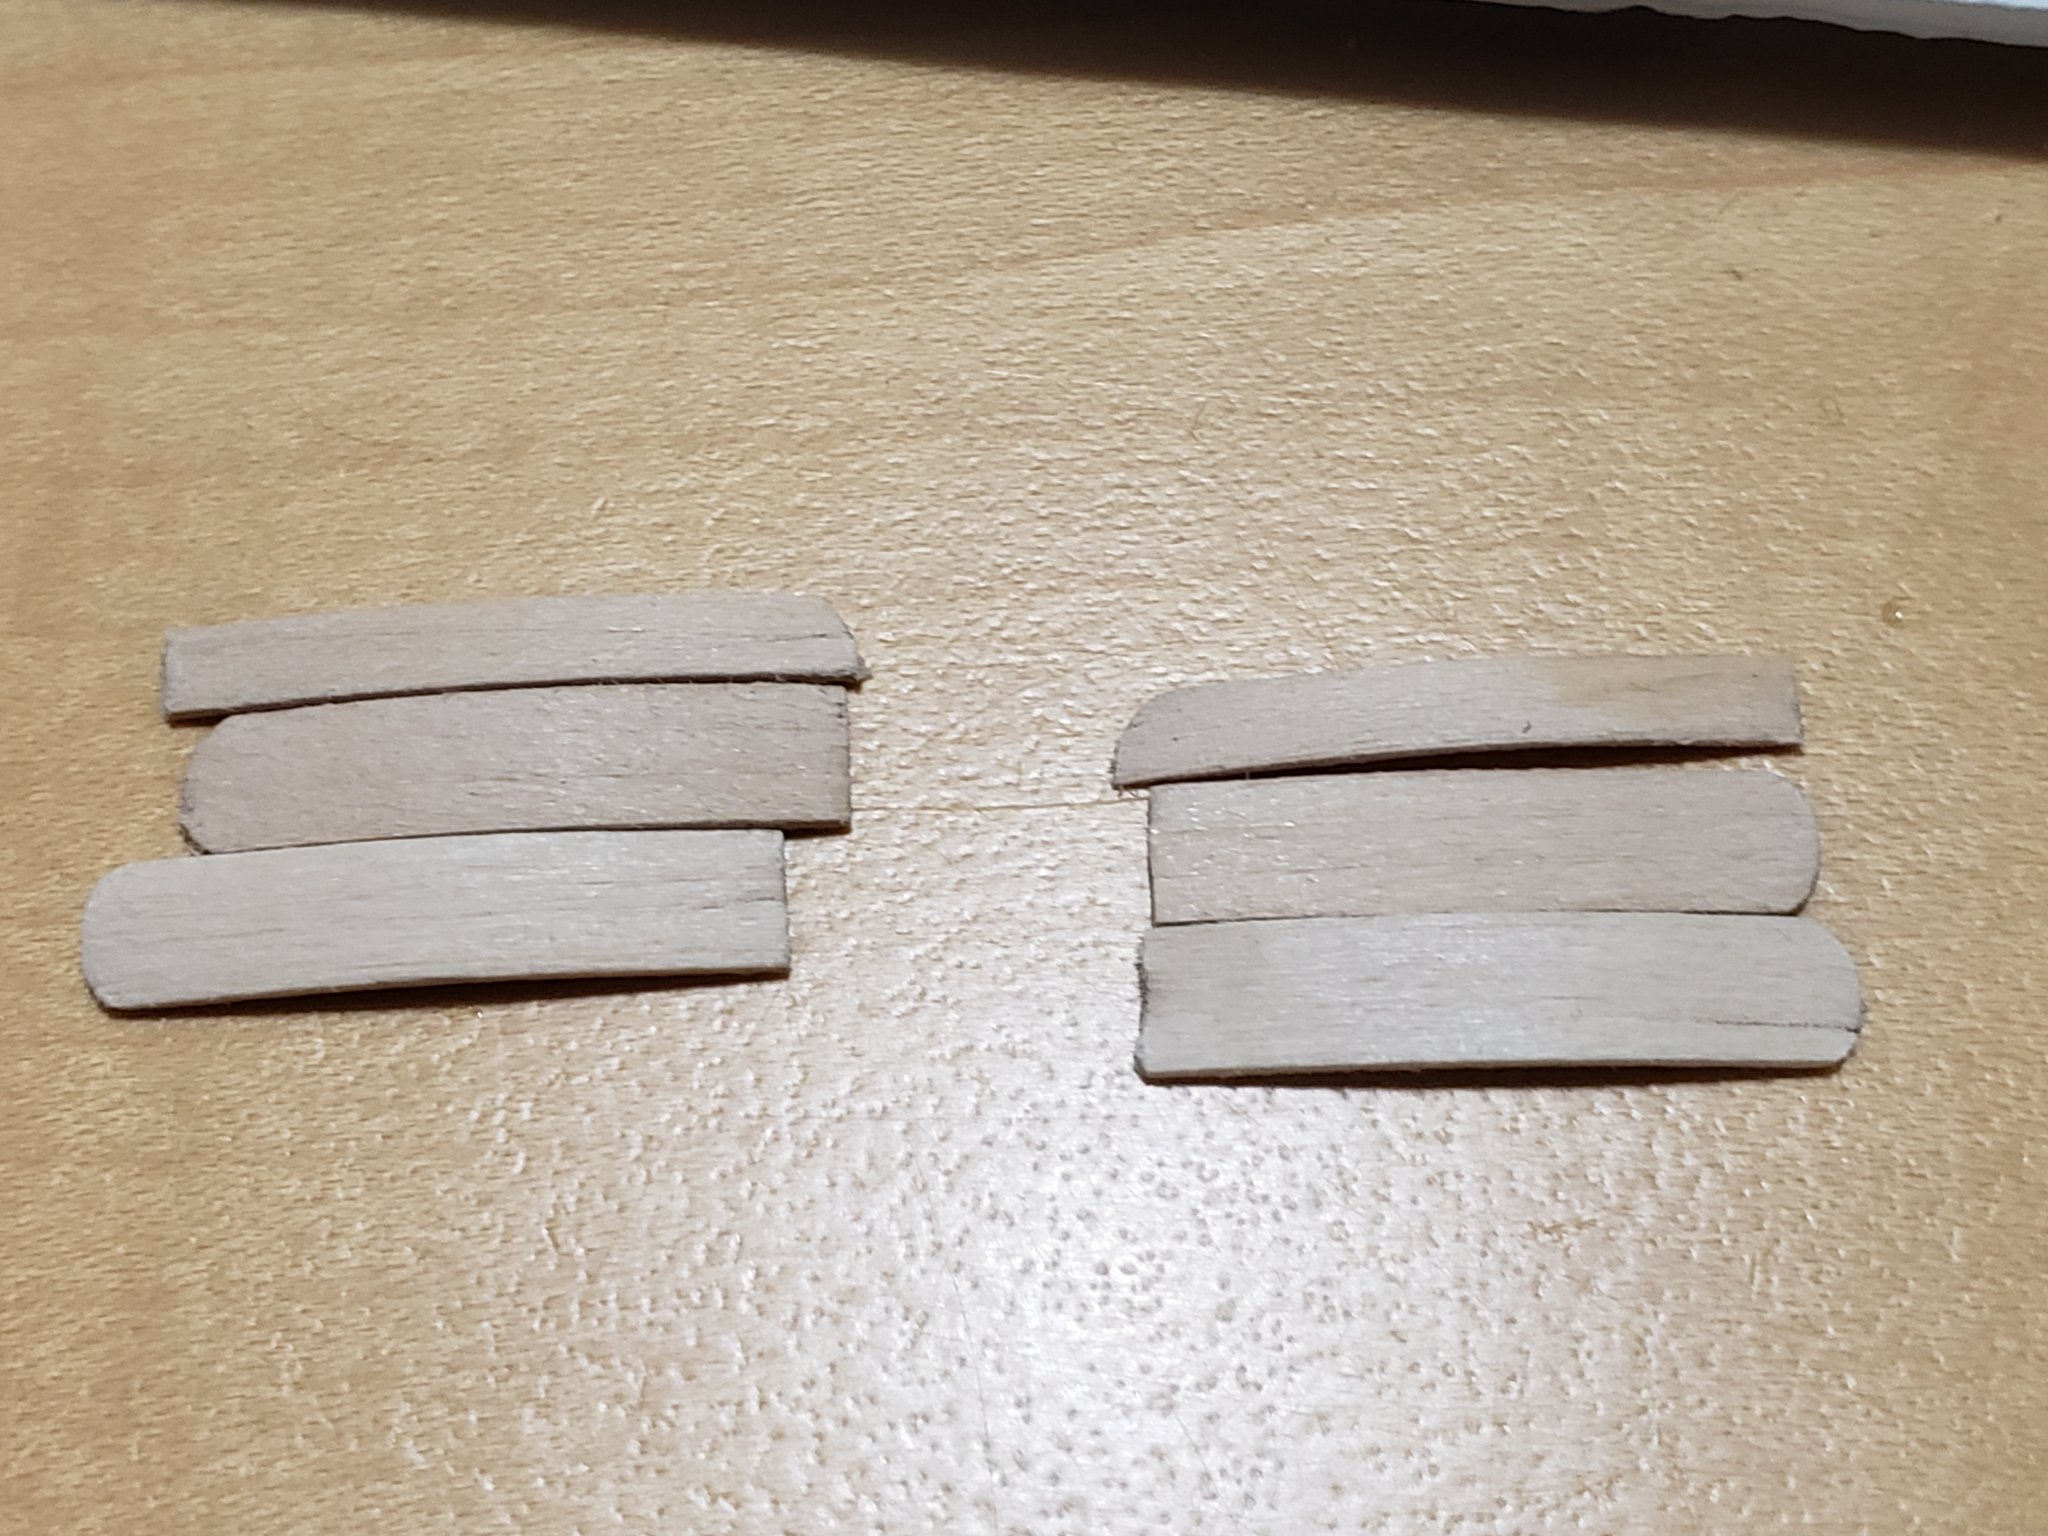
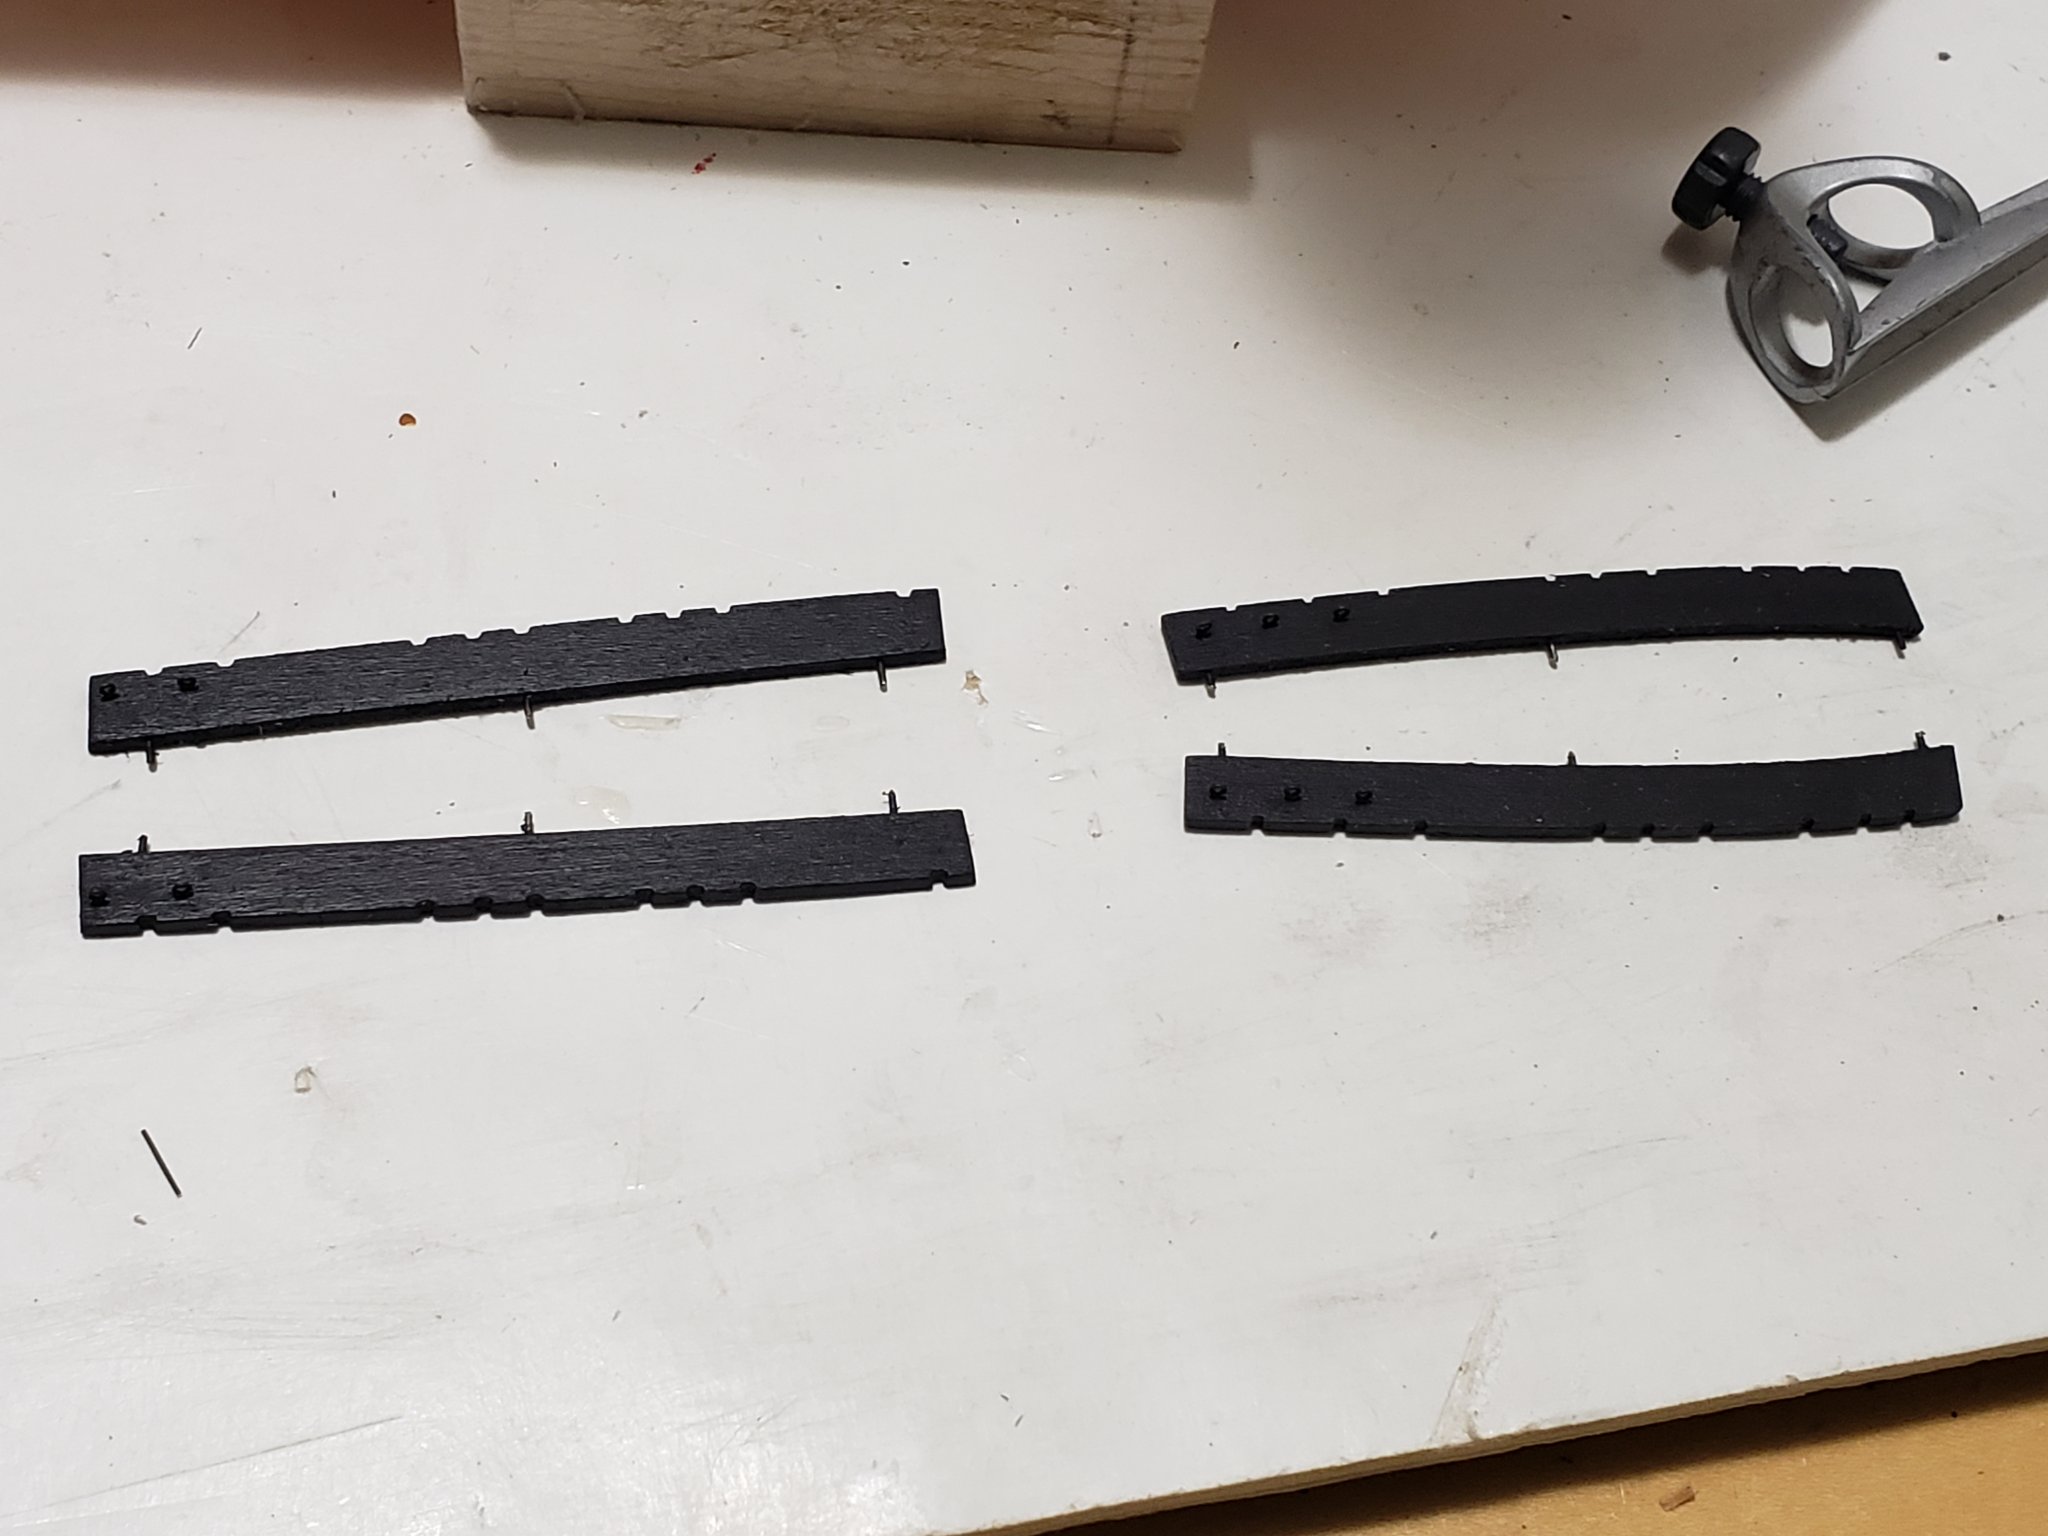
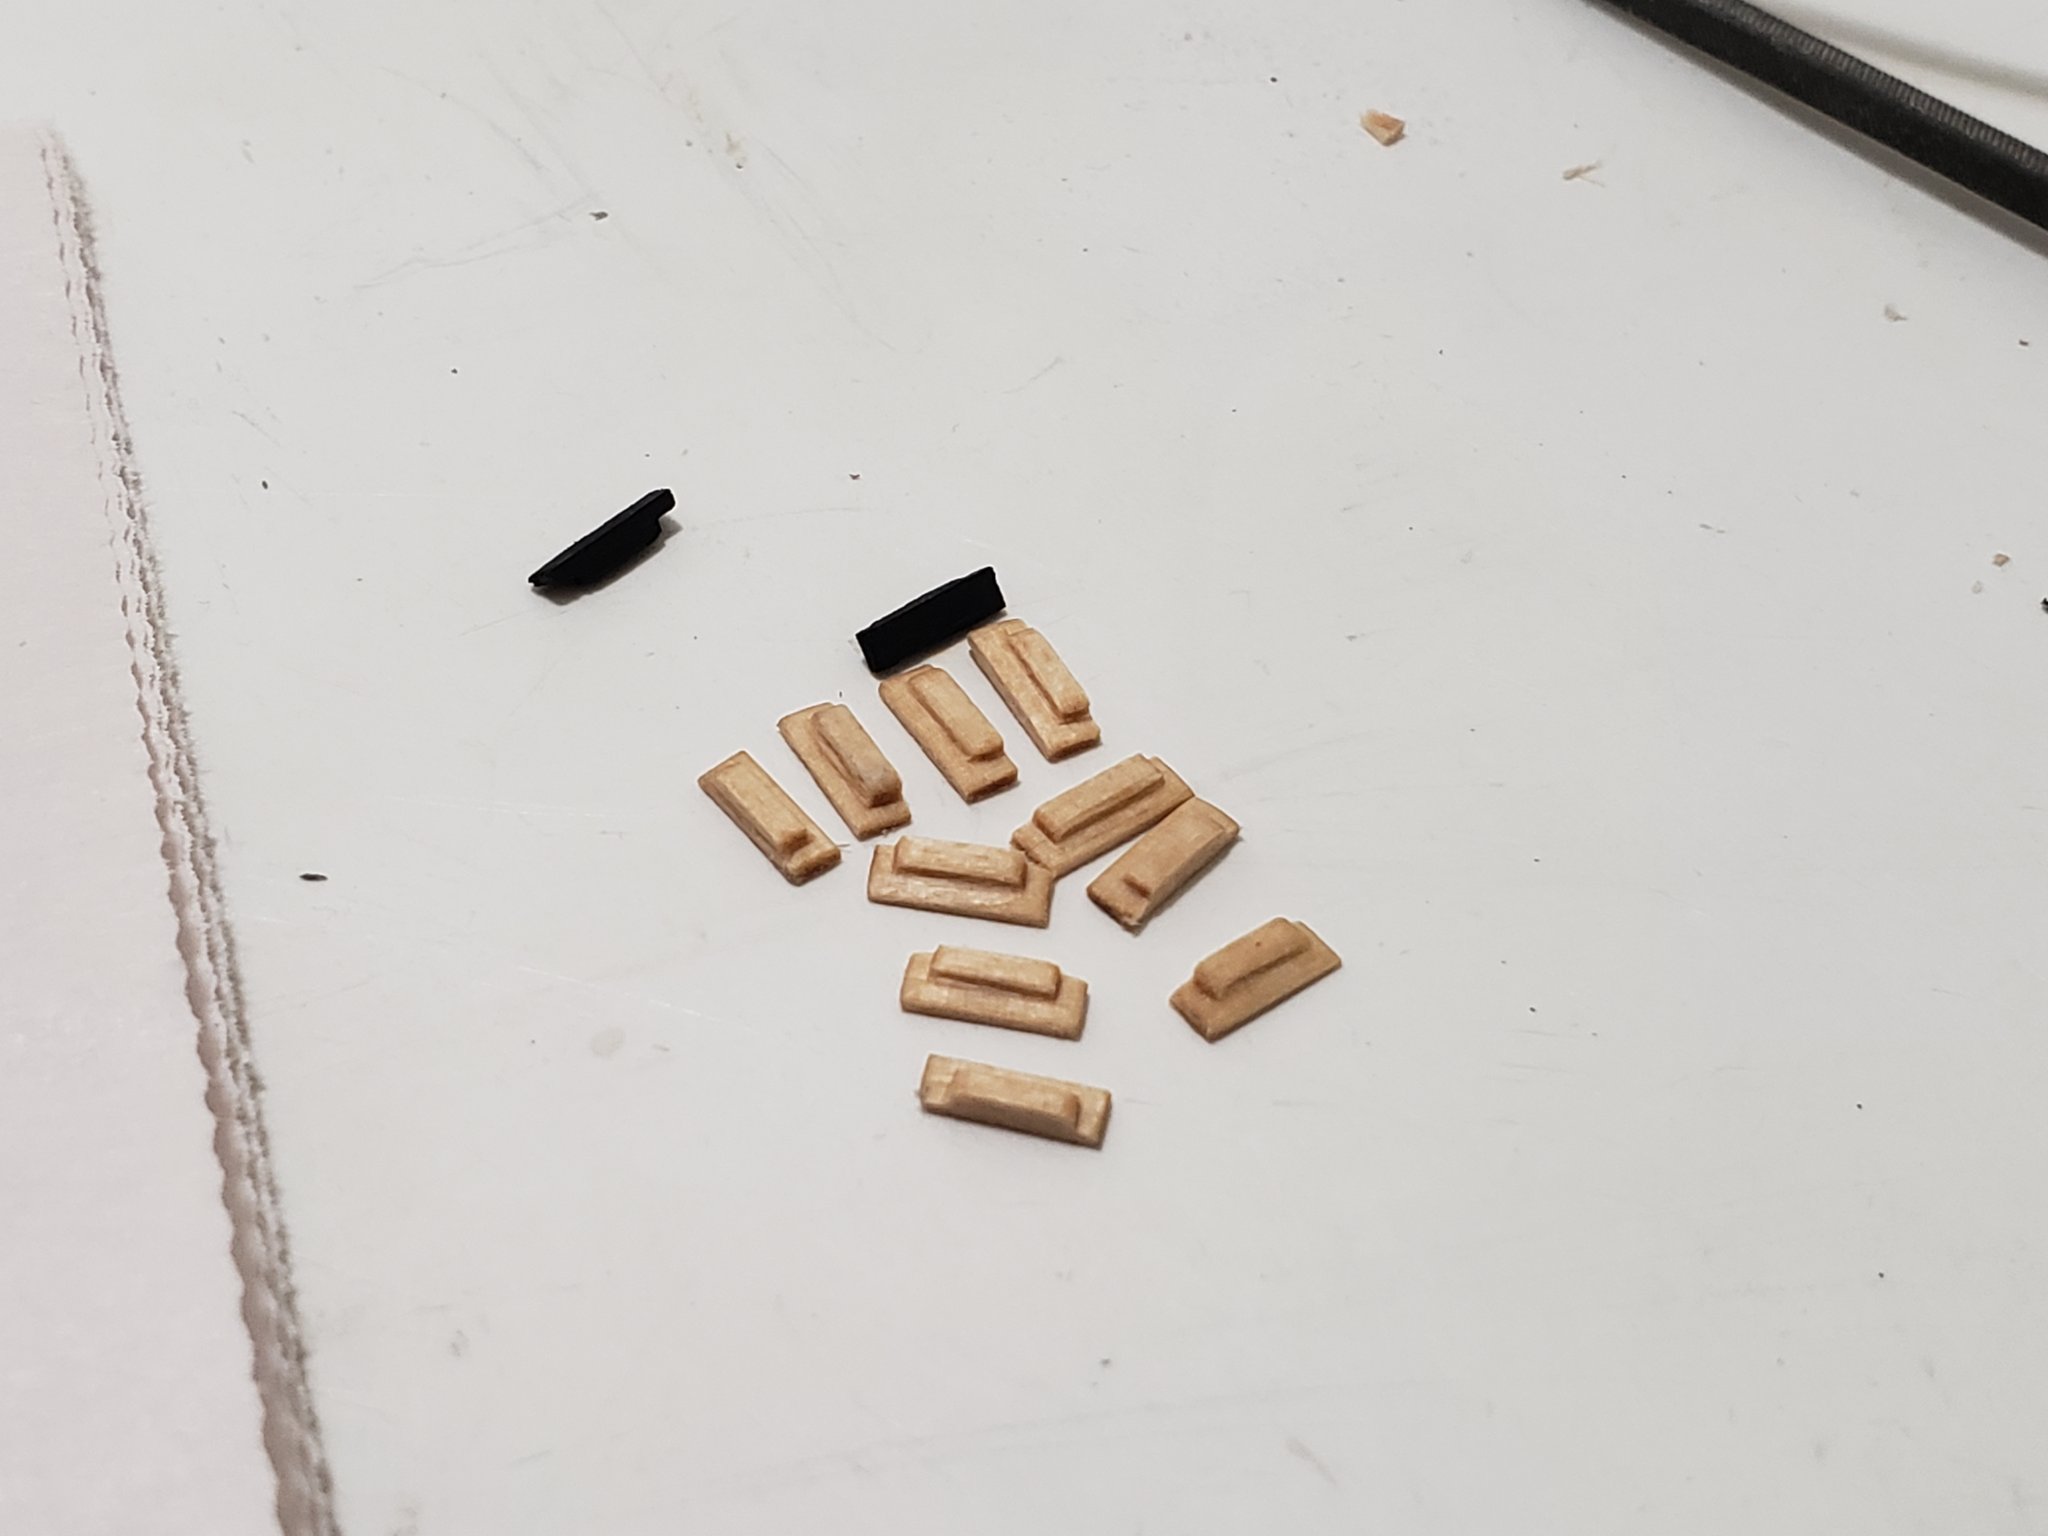
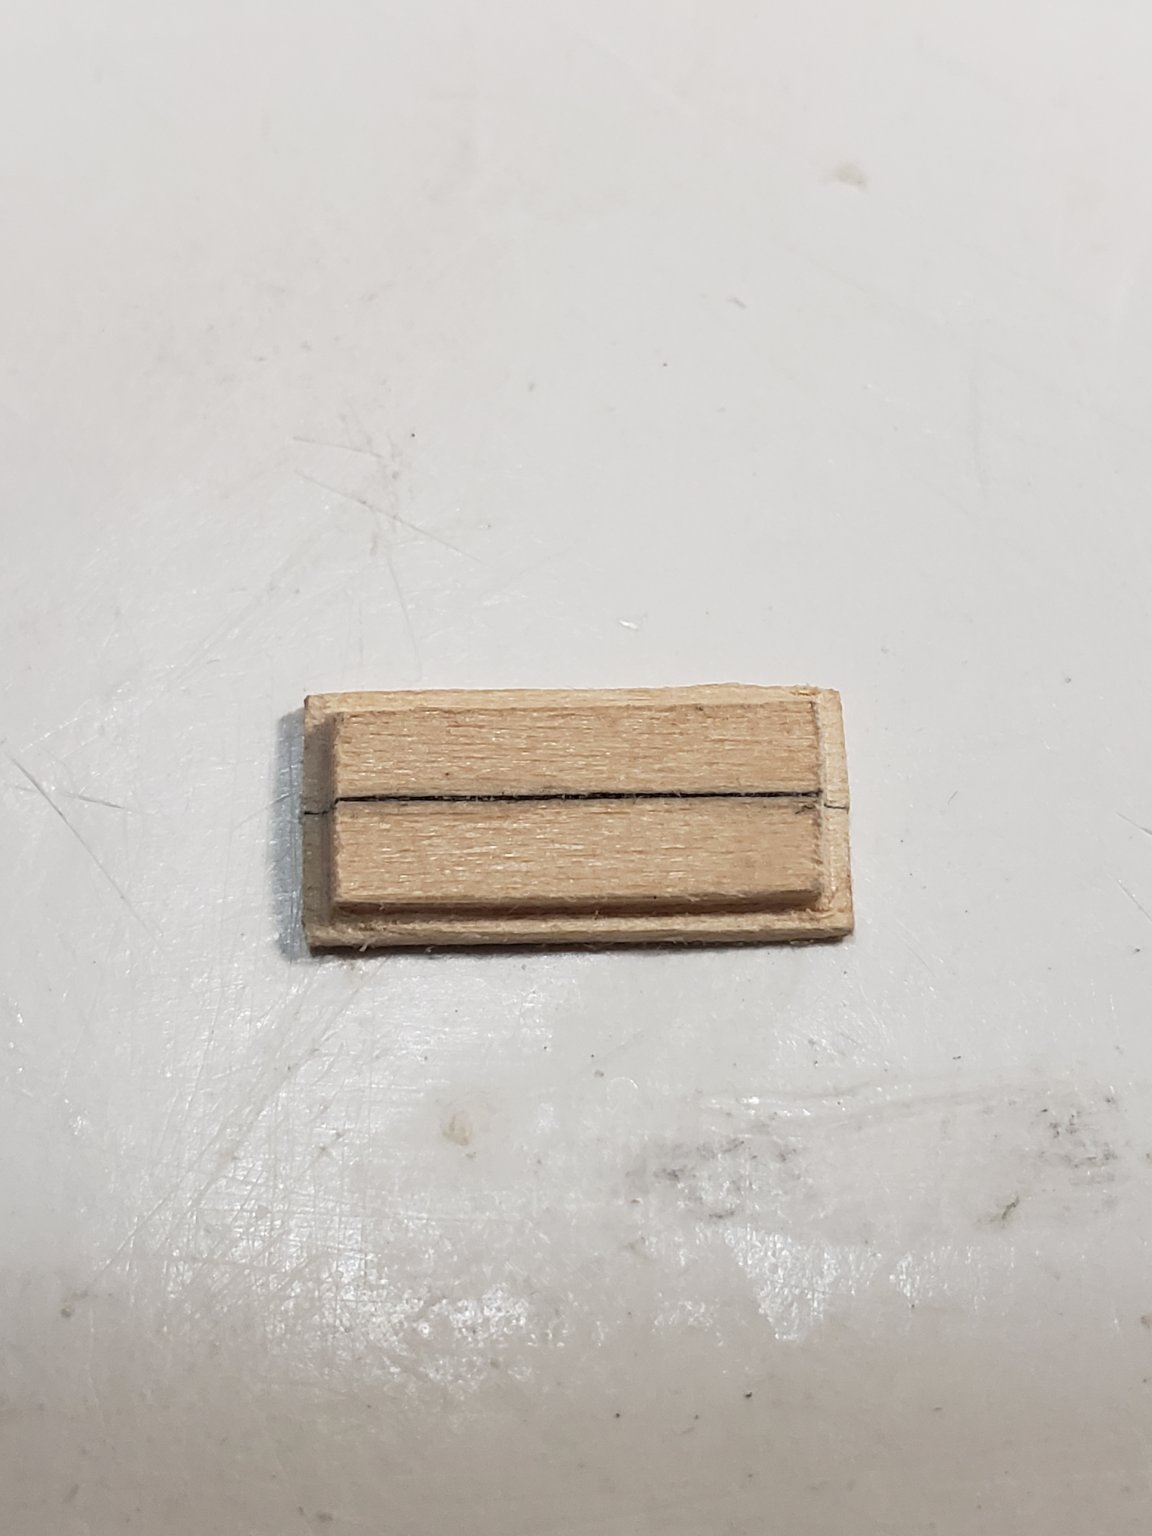
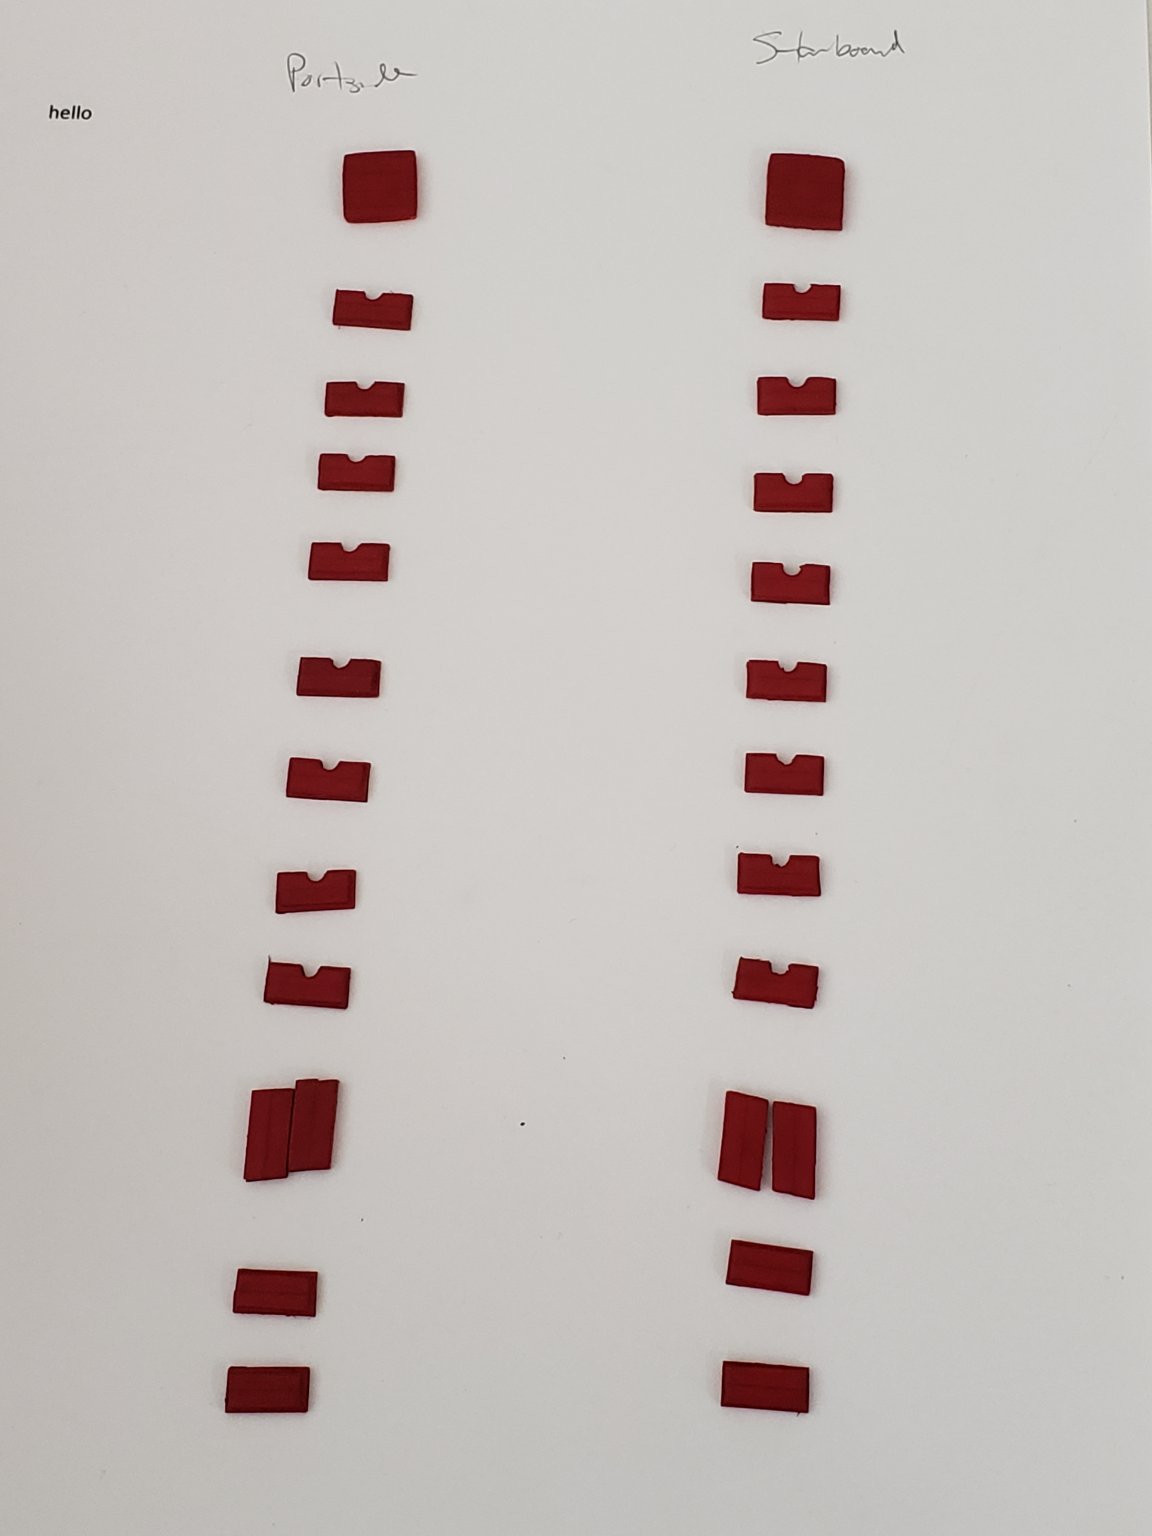
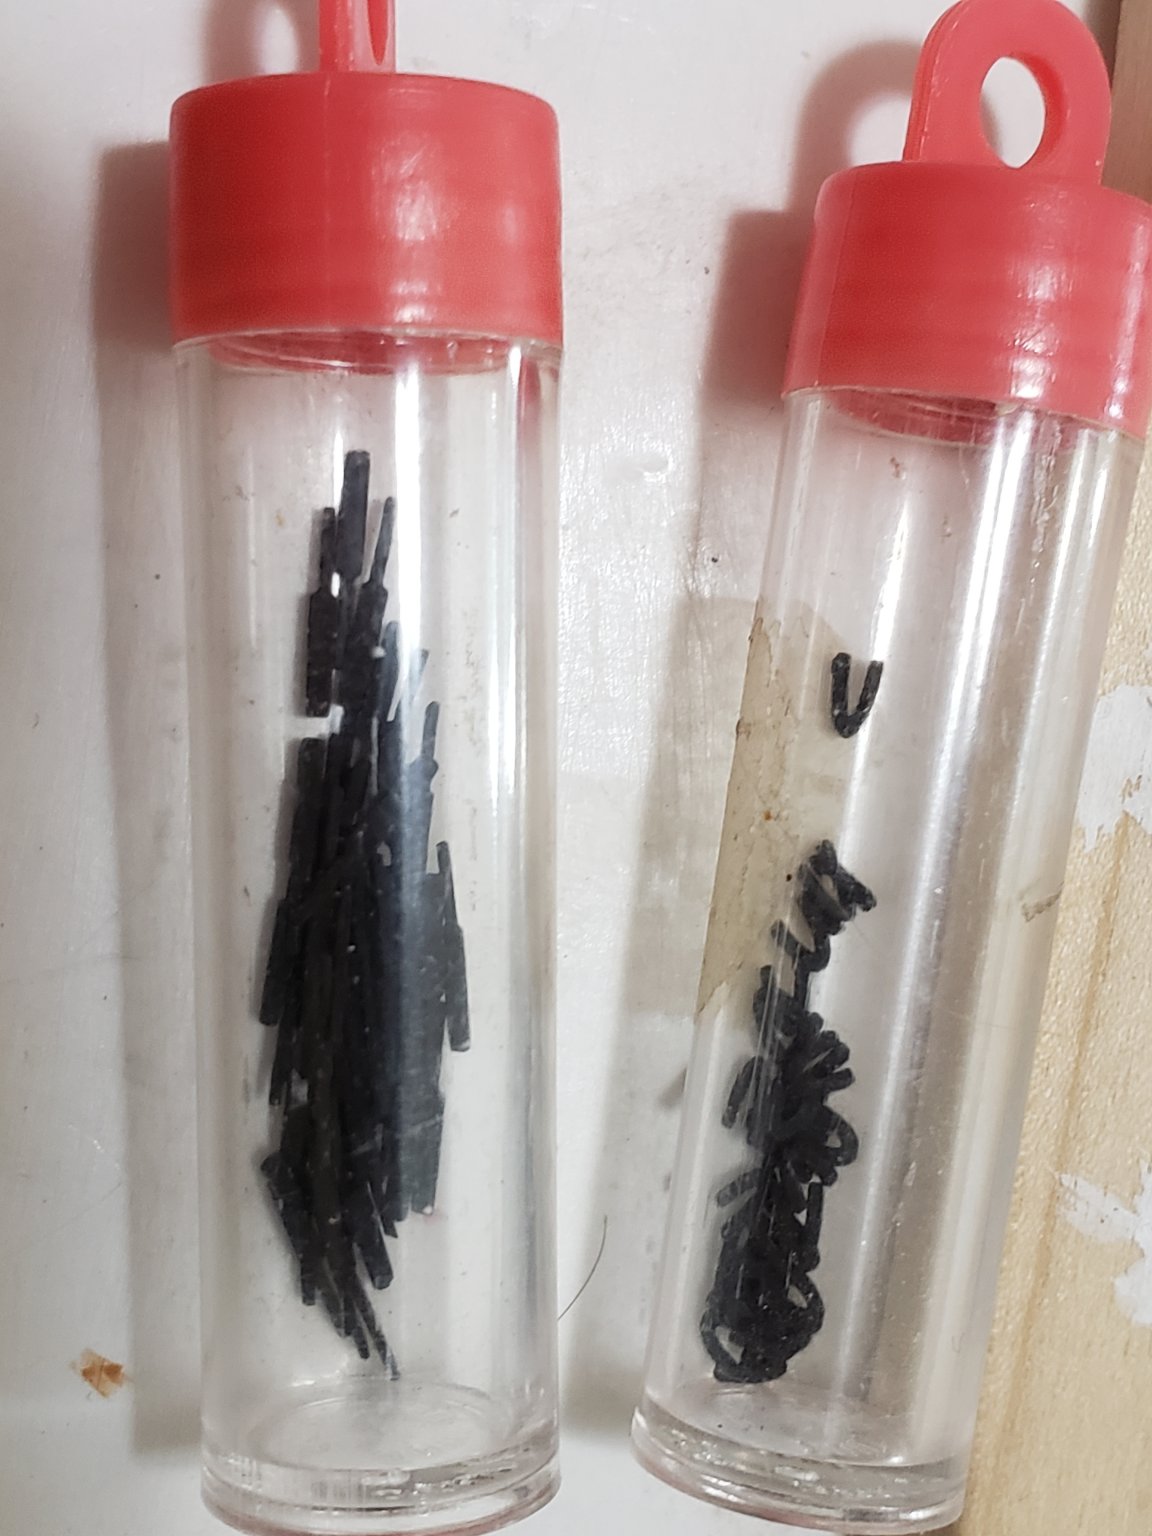
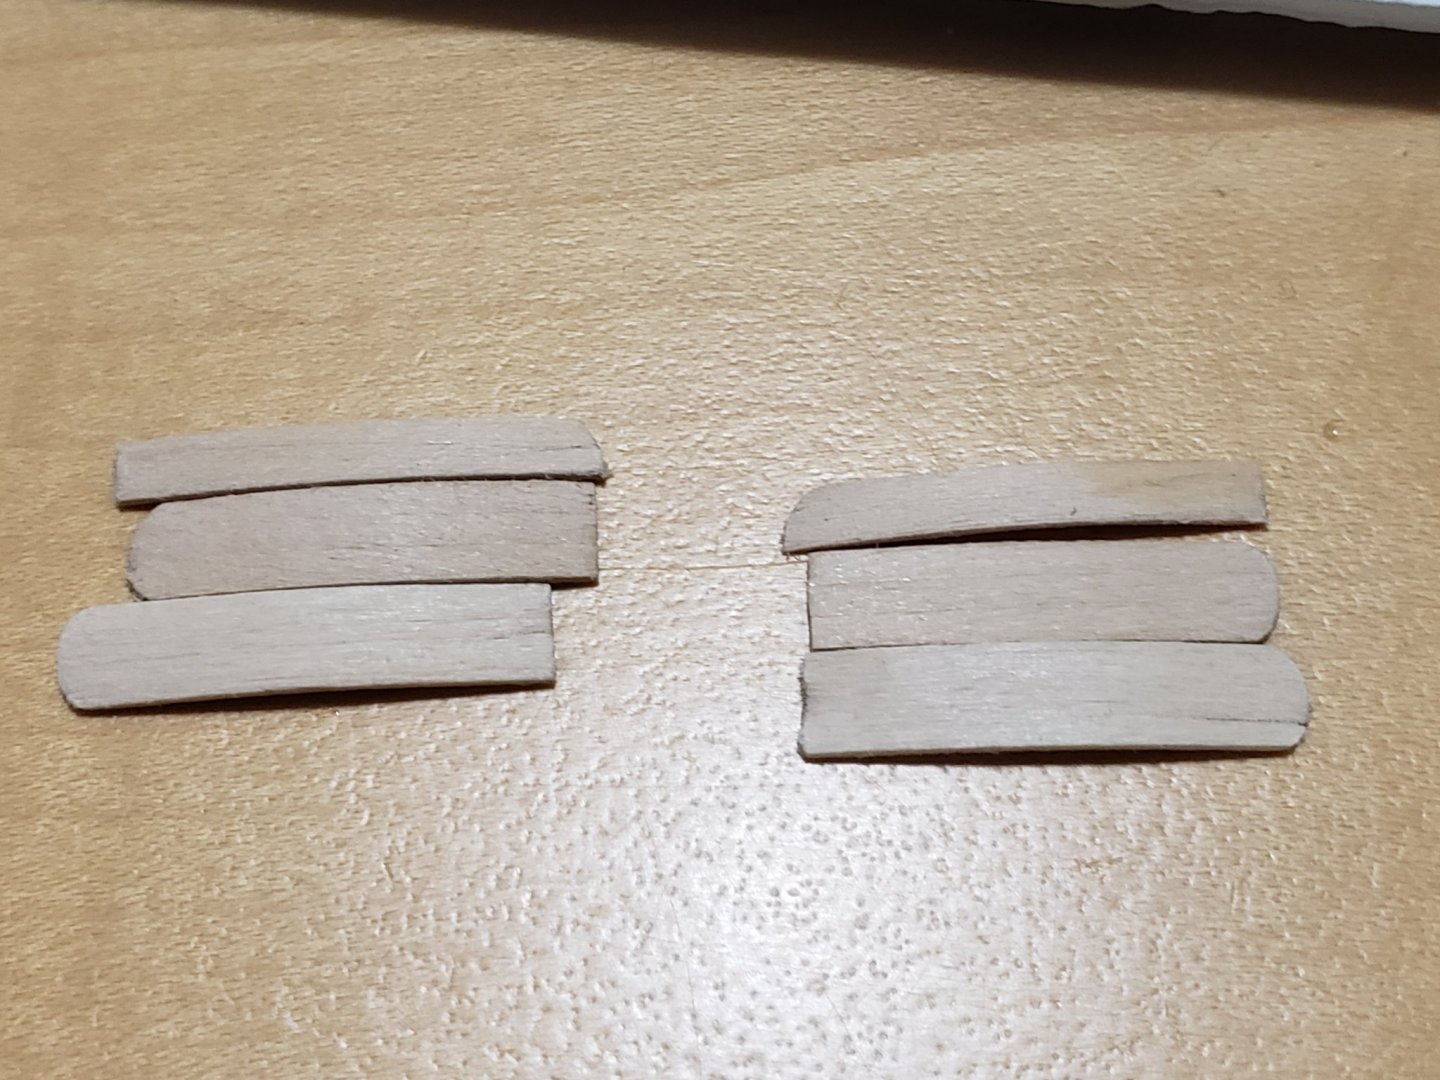
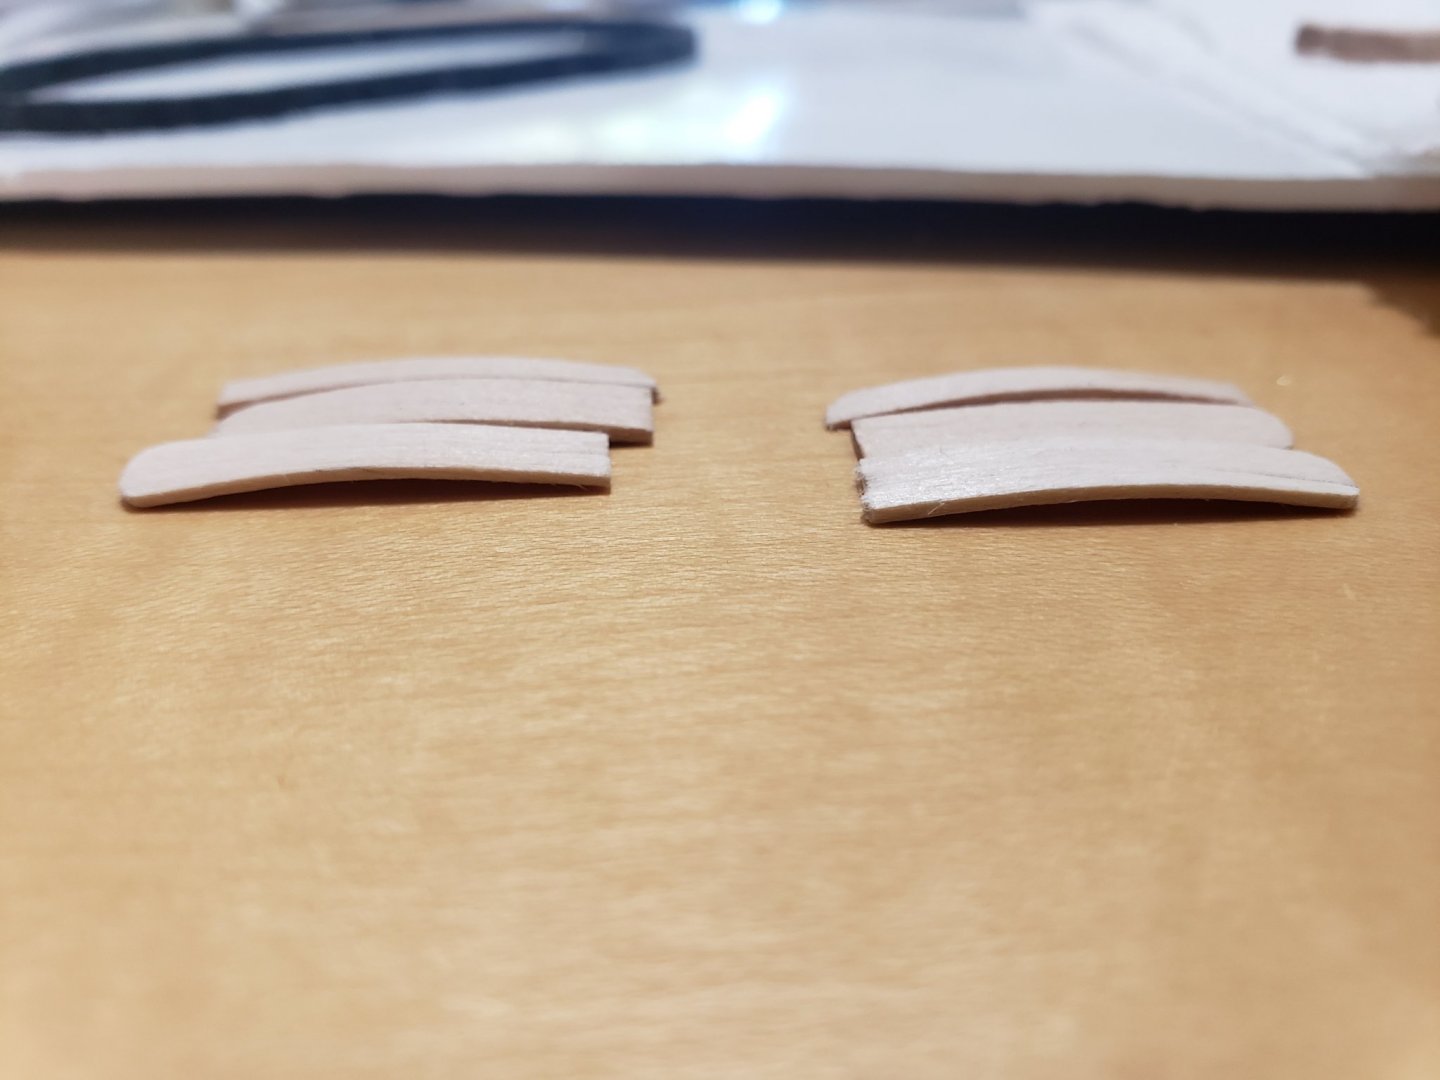
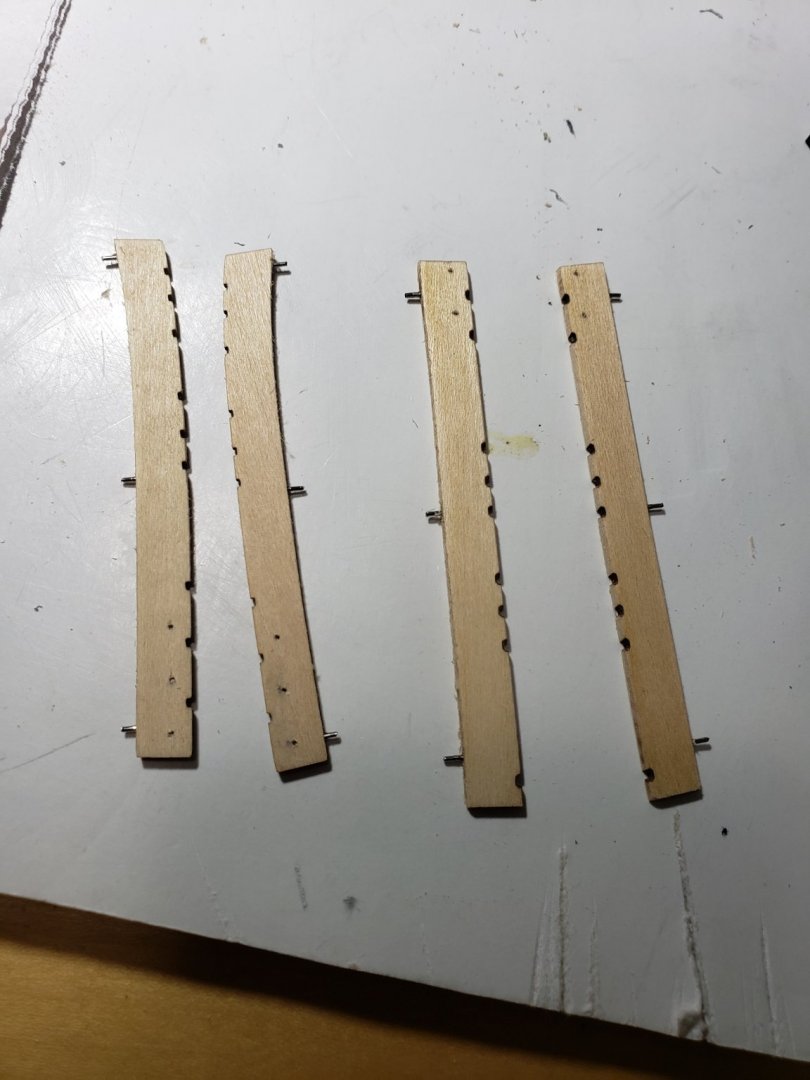
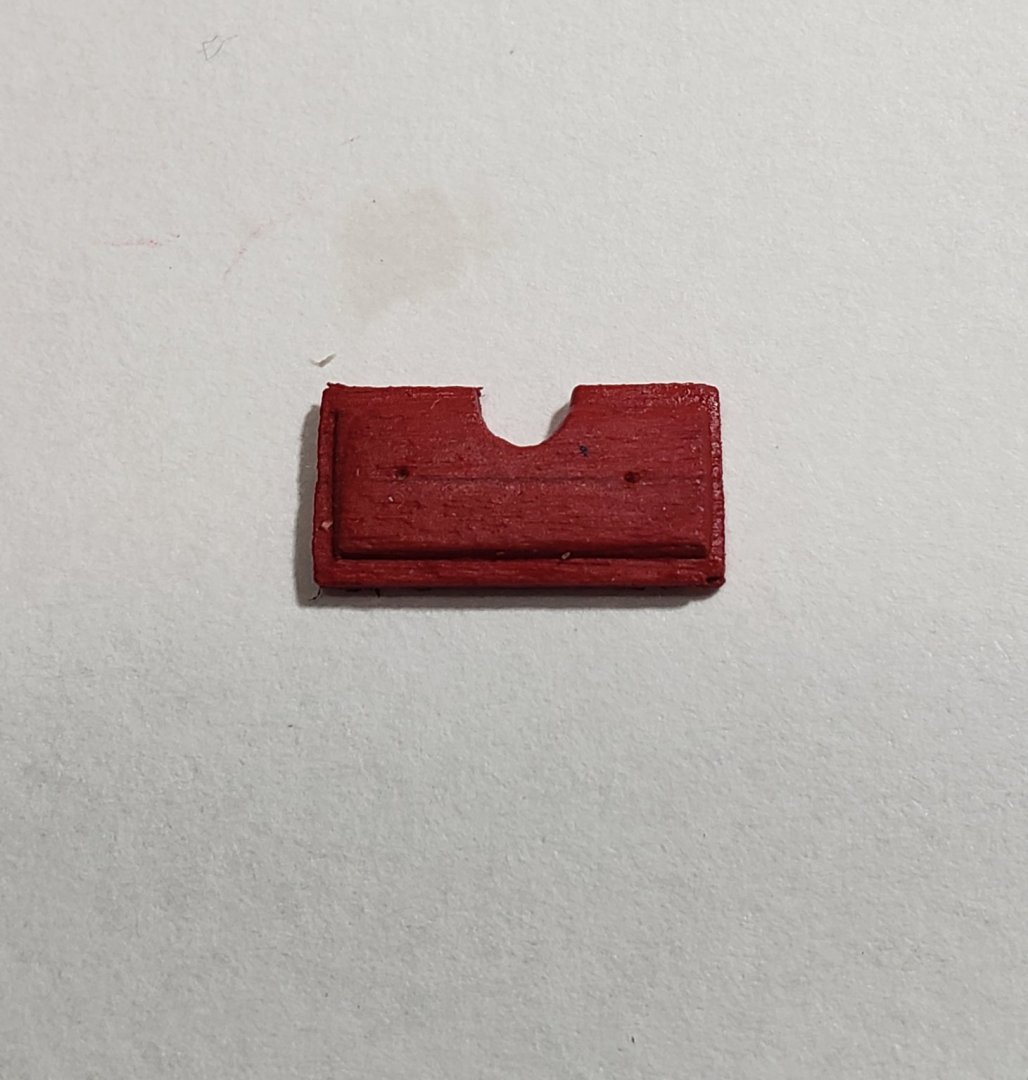
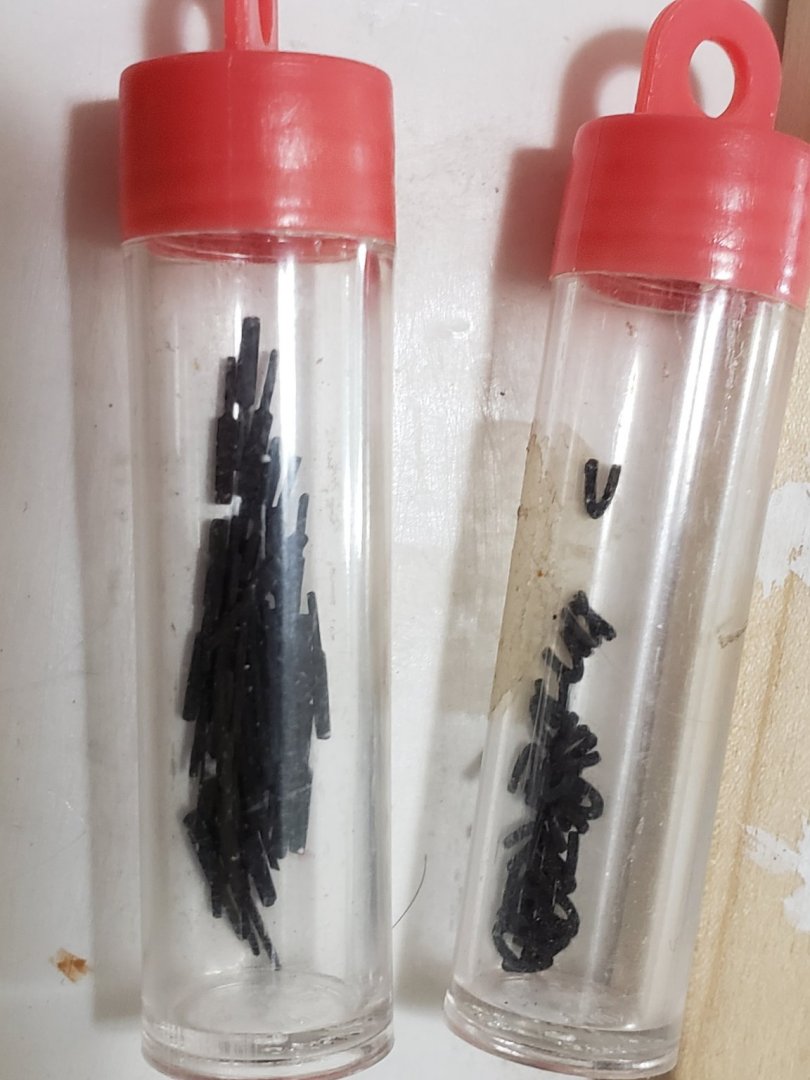
Thanks so much Thomas. I'm really looking forward to see how they turn out. Hopefully not terrible 😅 Made a bit more progress today for the layers of wood for the hawse holes. I bent them first since they have a slight curve. I used this container for it by wrapping them with rubber bands after being soaked in boiling water for 5 minutes. The top pair of wood wasn't used but I thought I might need it to level things out between the different thicknesses of wood. Here they are installed. Now it's time for the holes


- 950 replies
-
- 5
-
-
- syren
- model shipways
- (and 1 more)
-
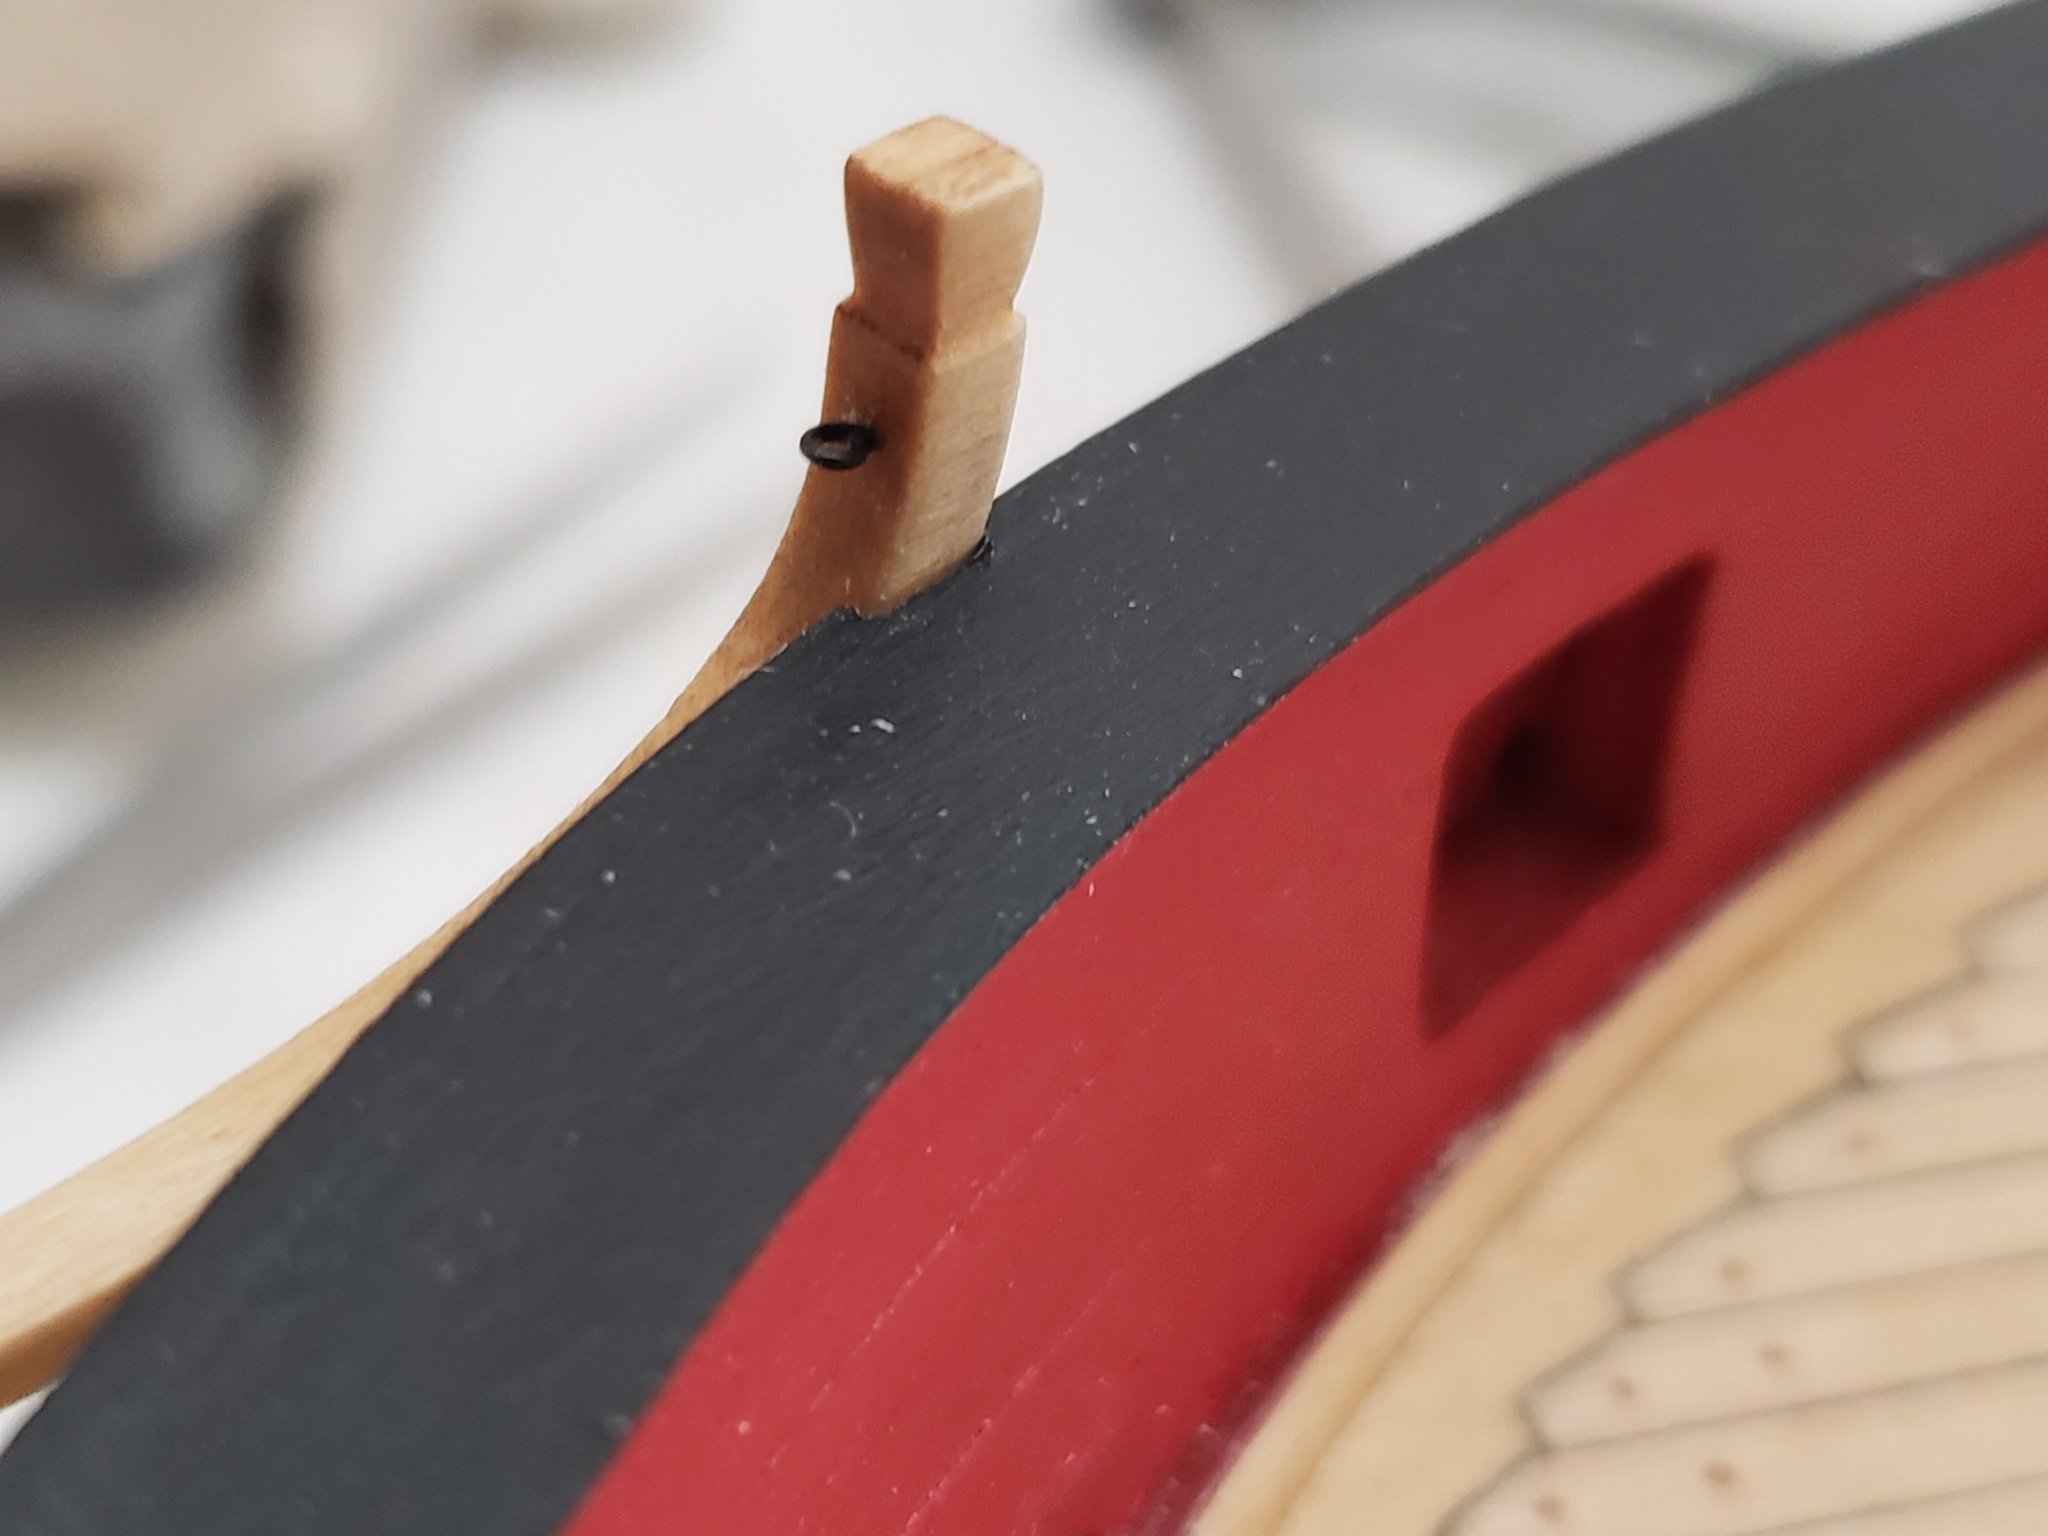
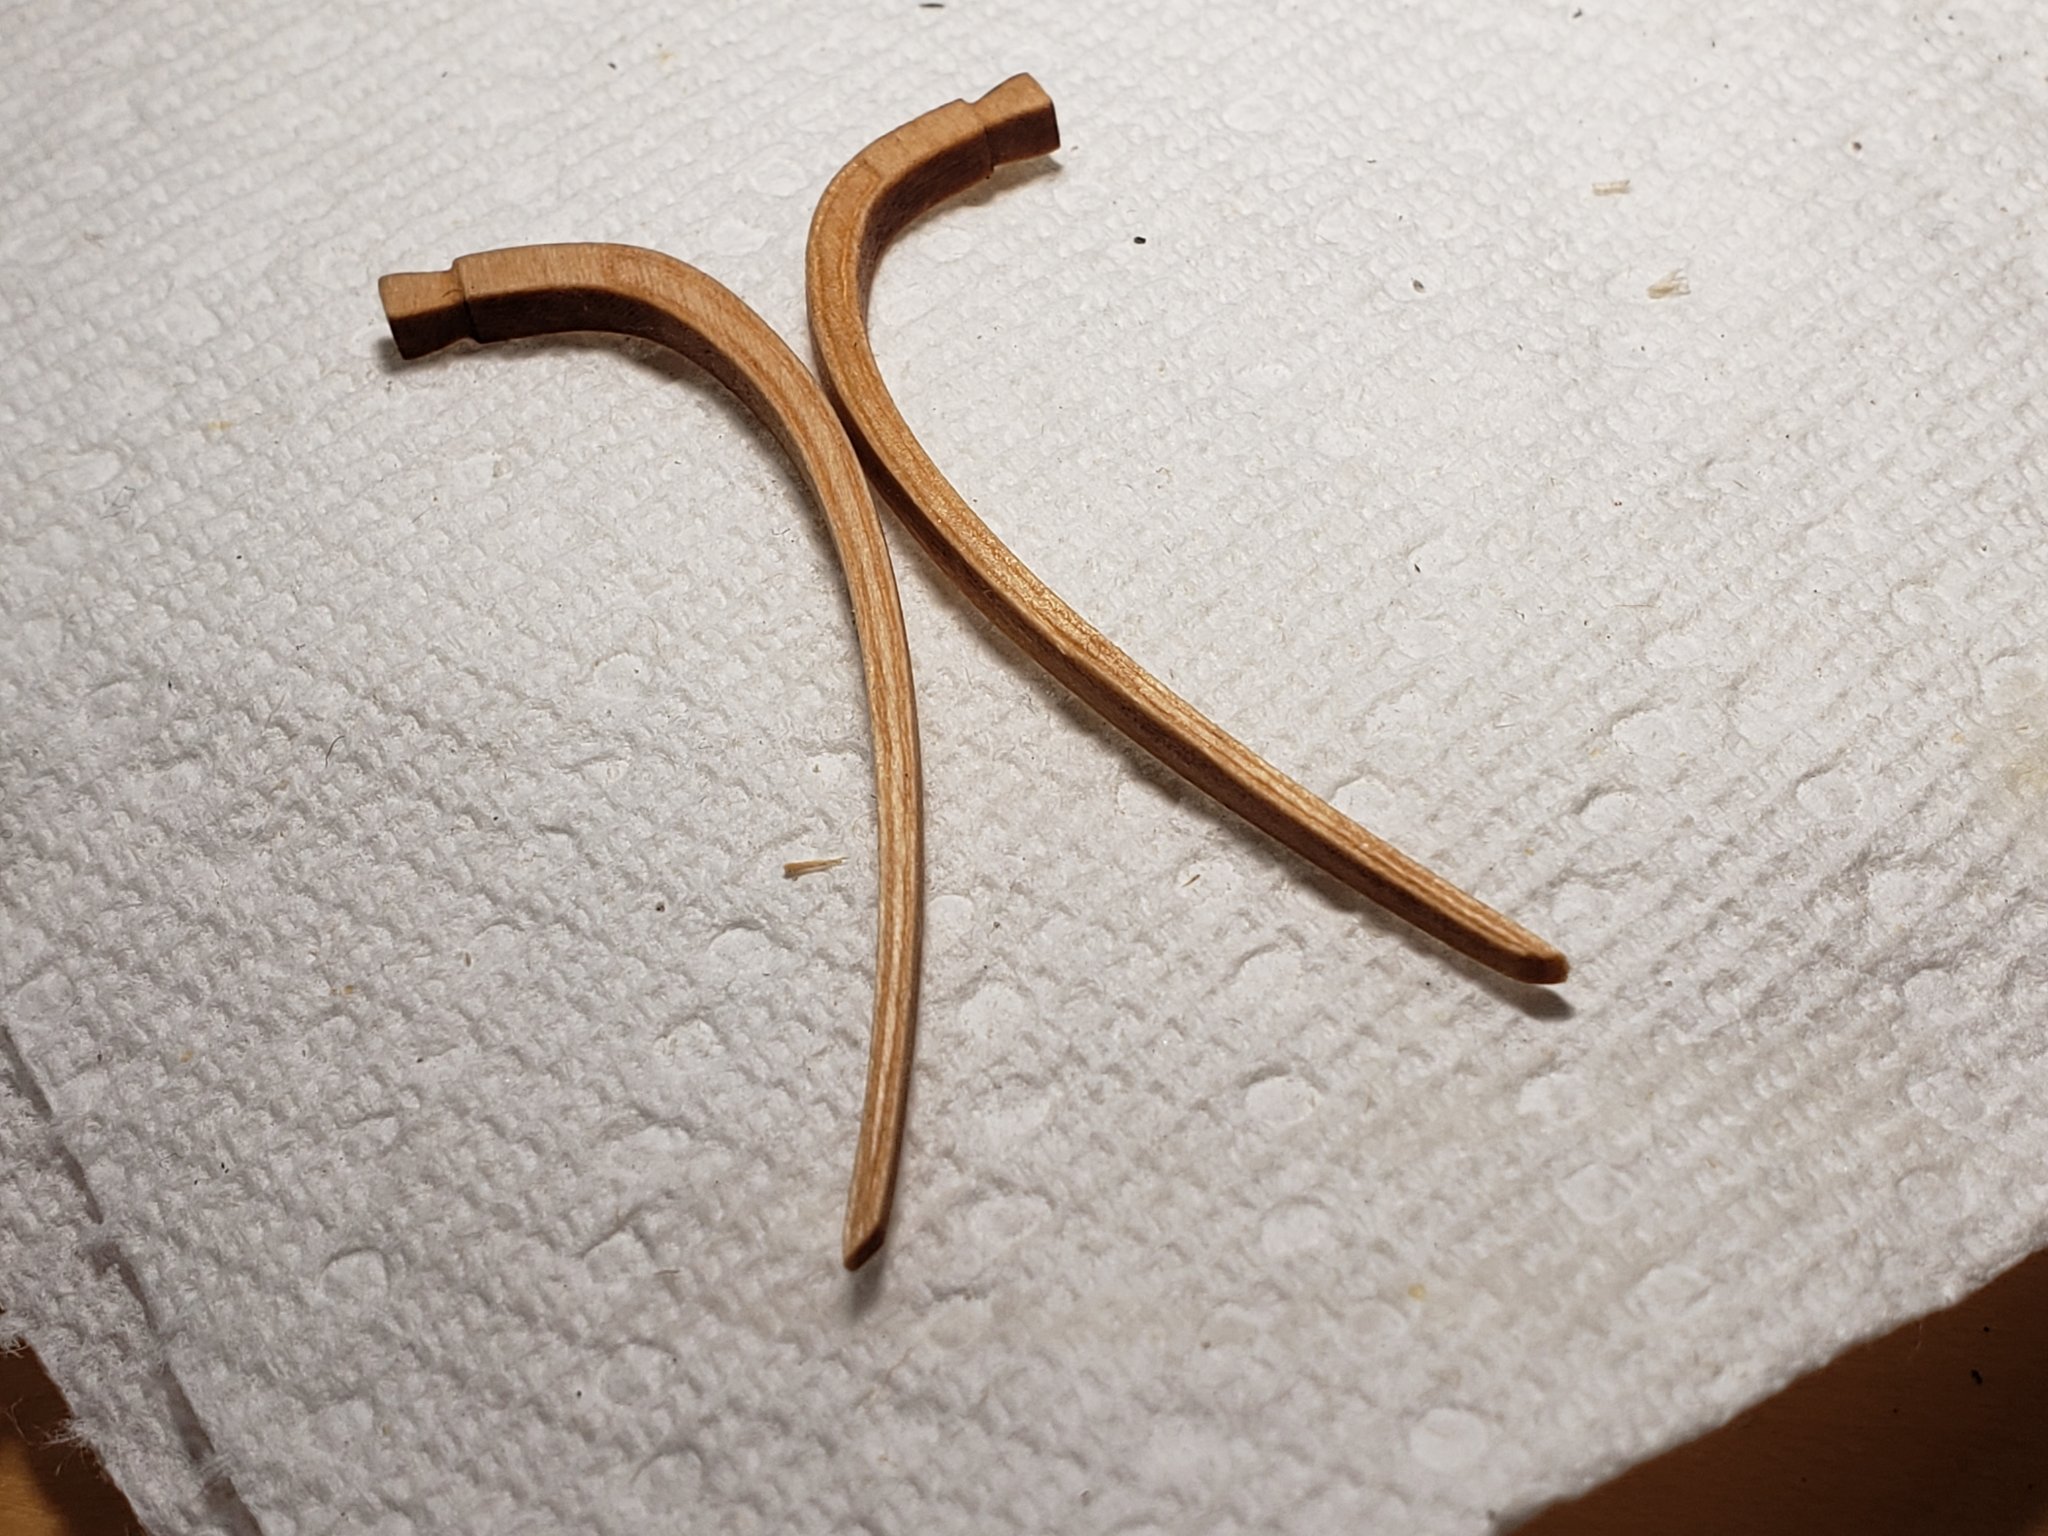
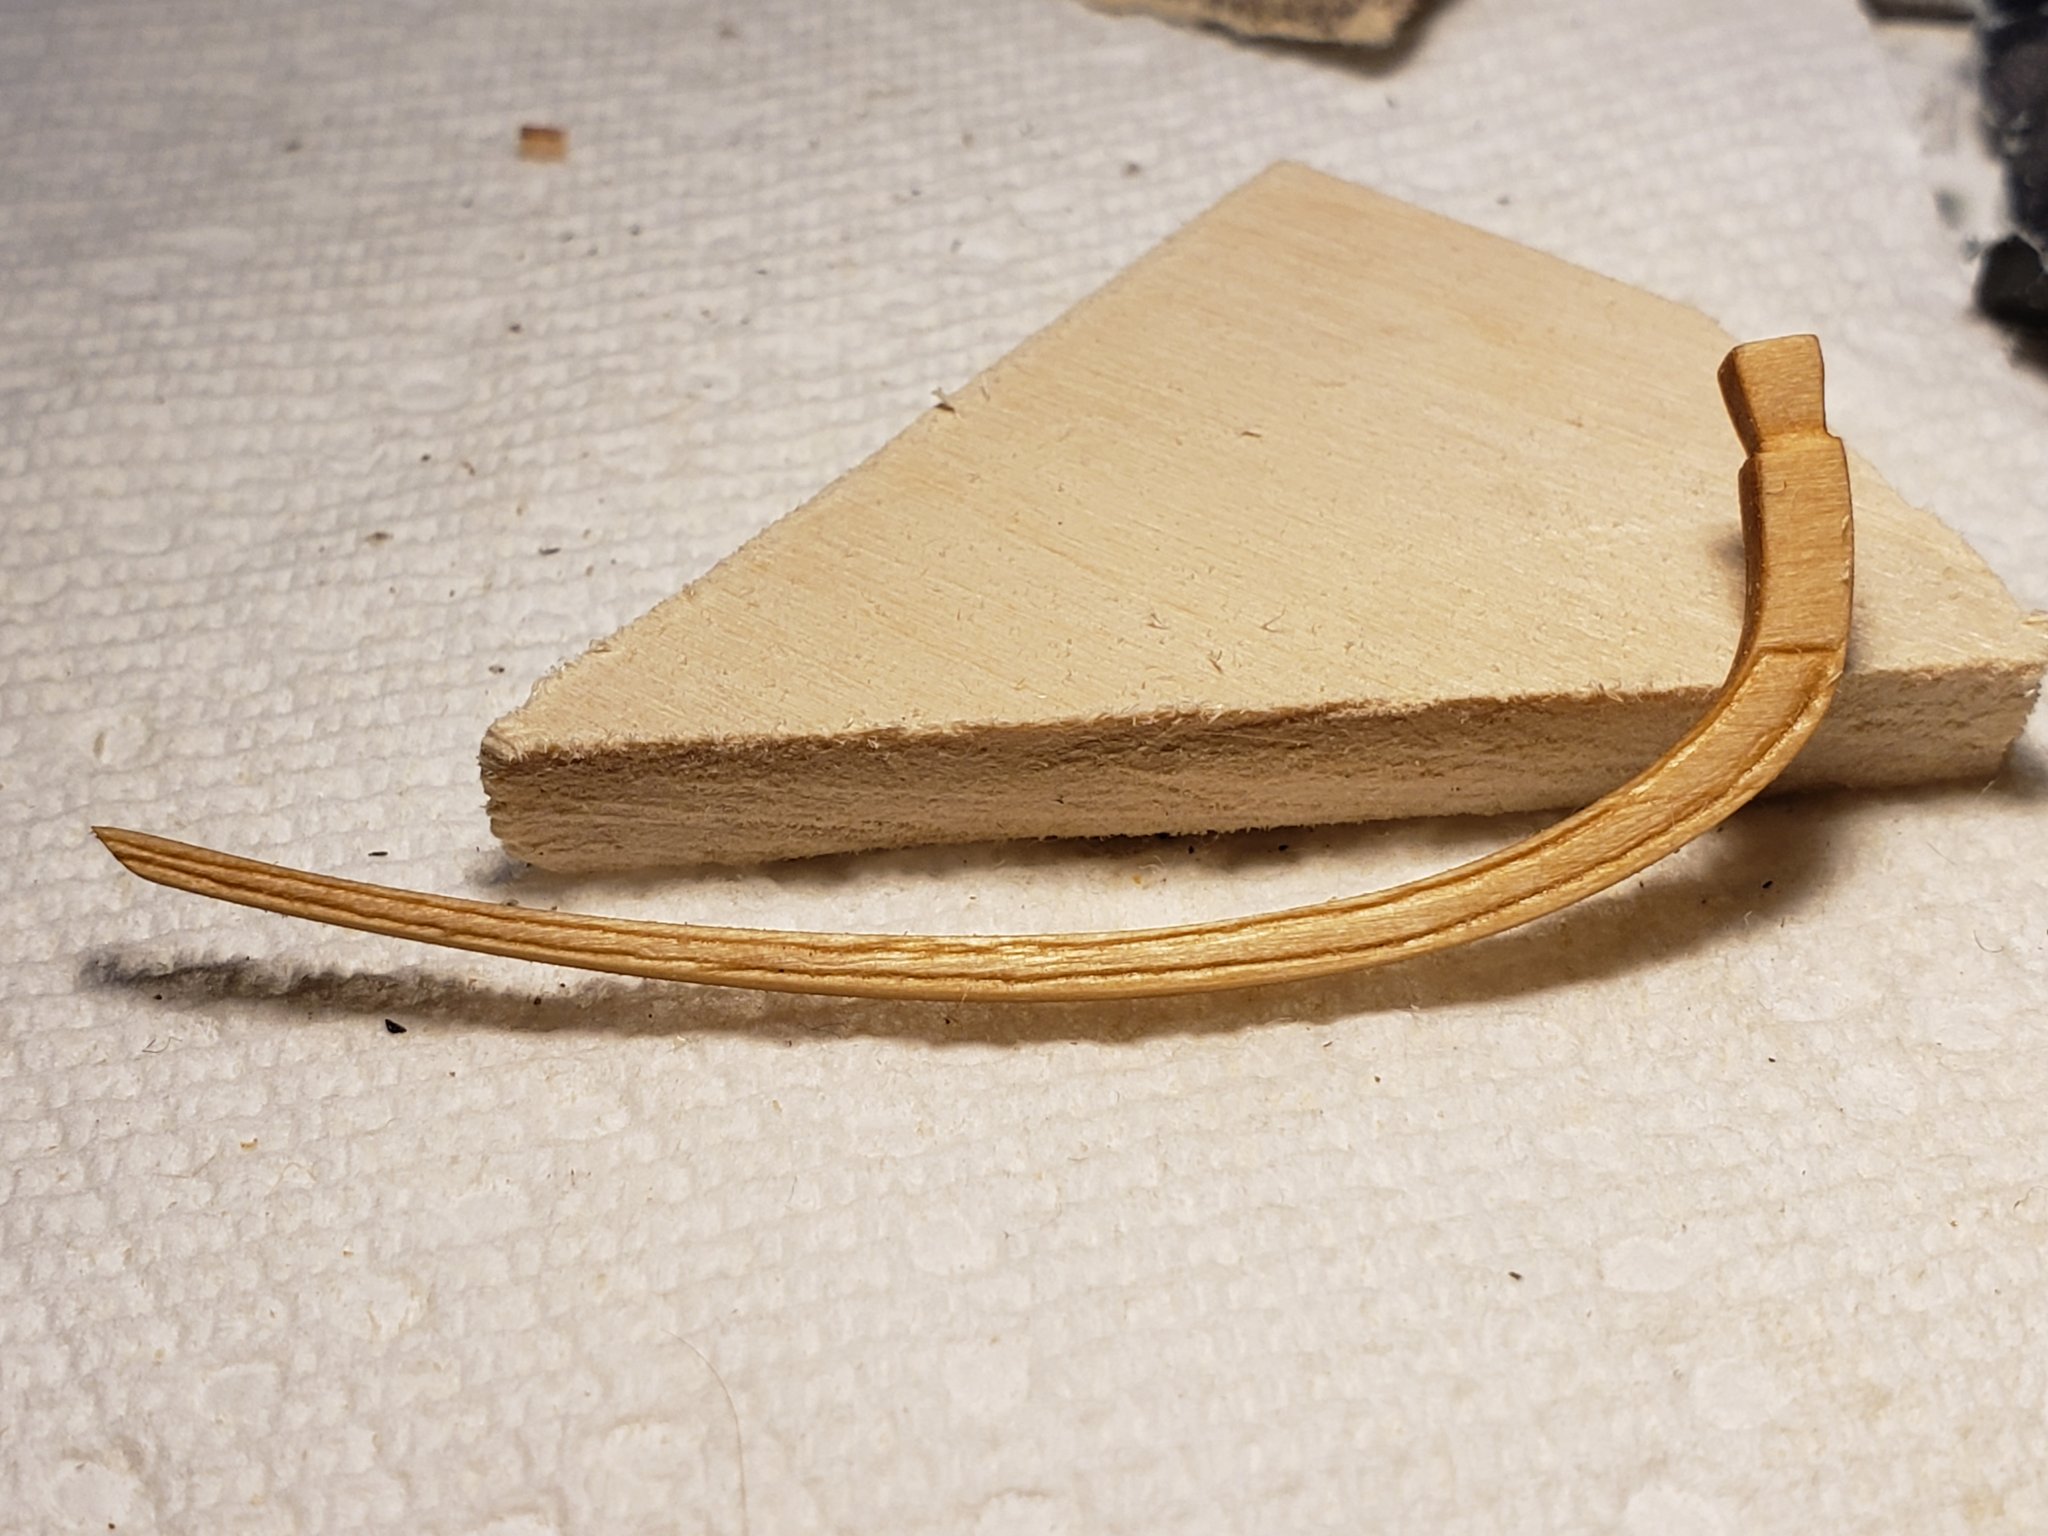
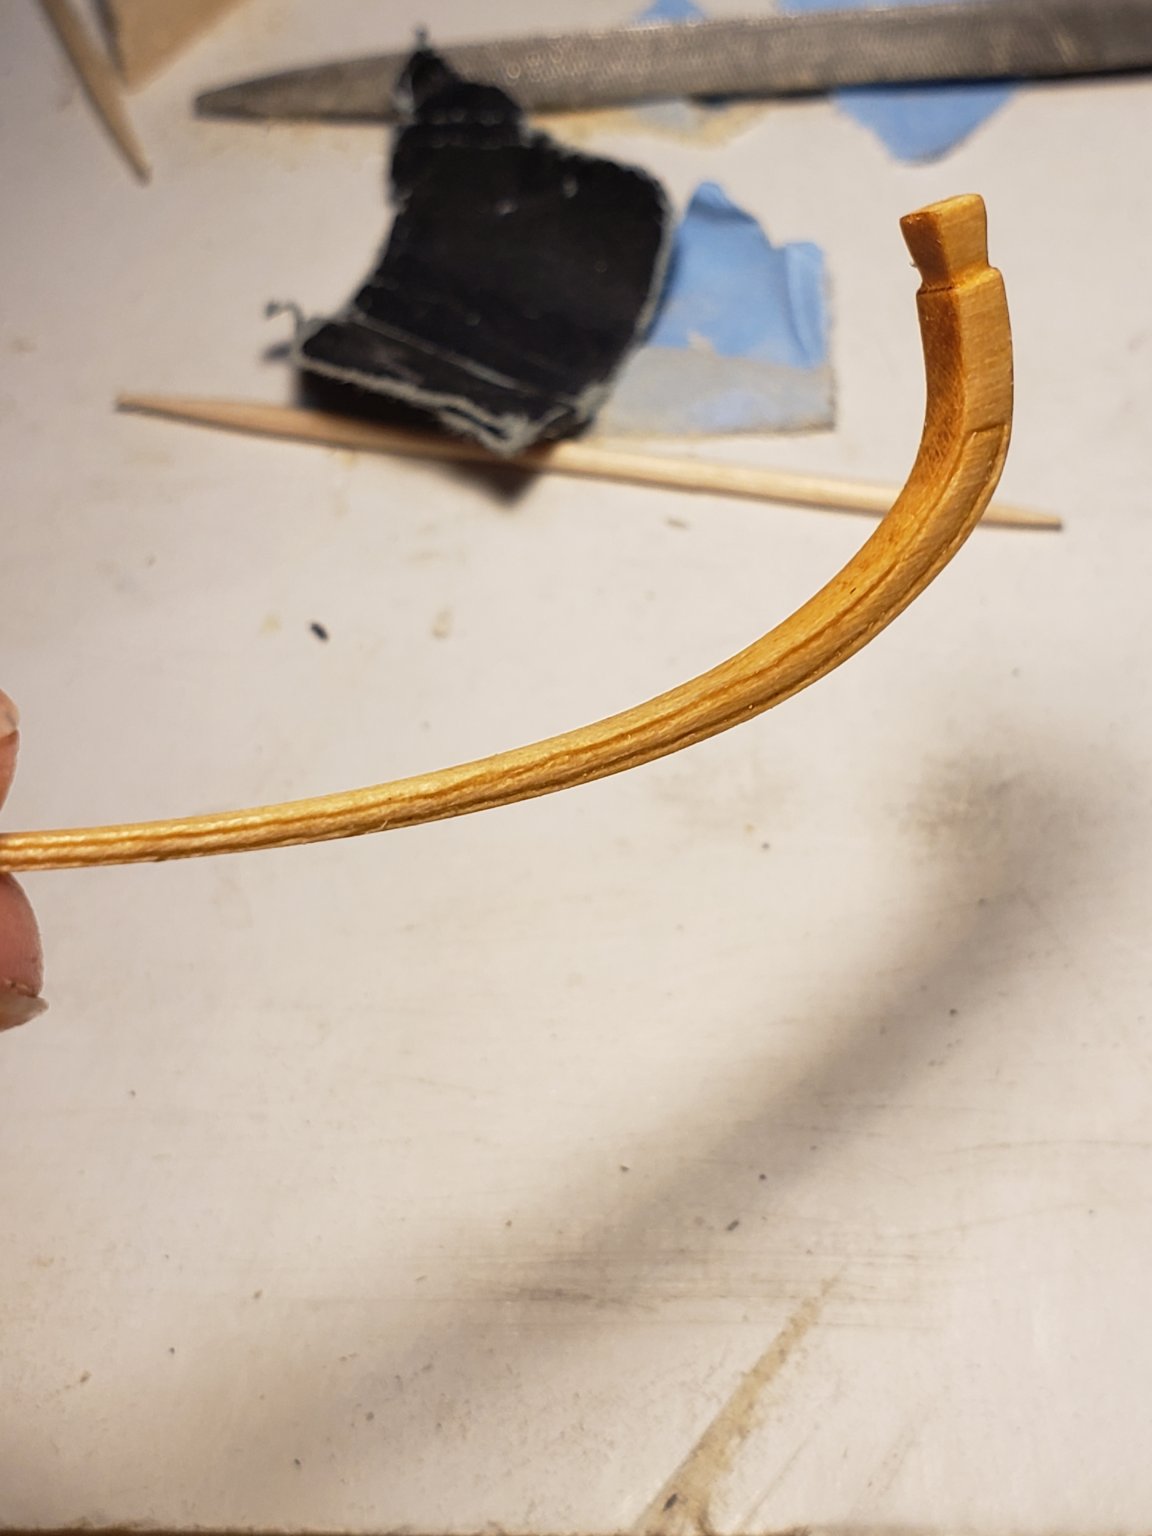
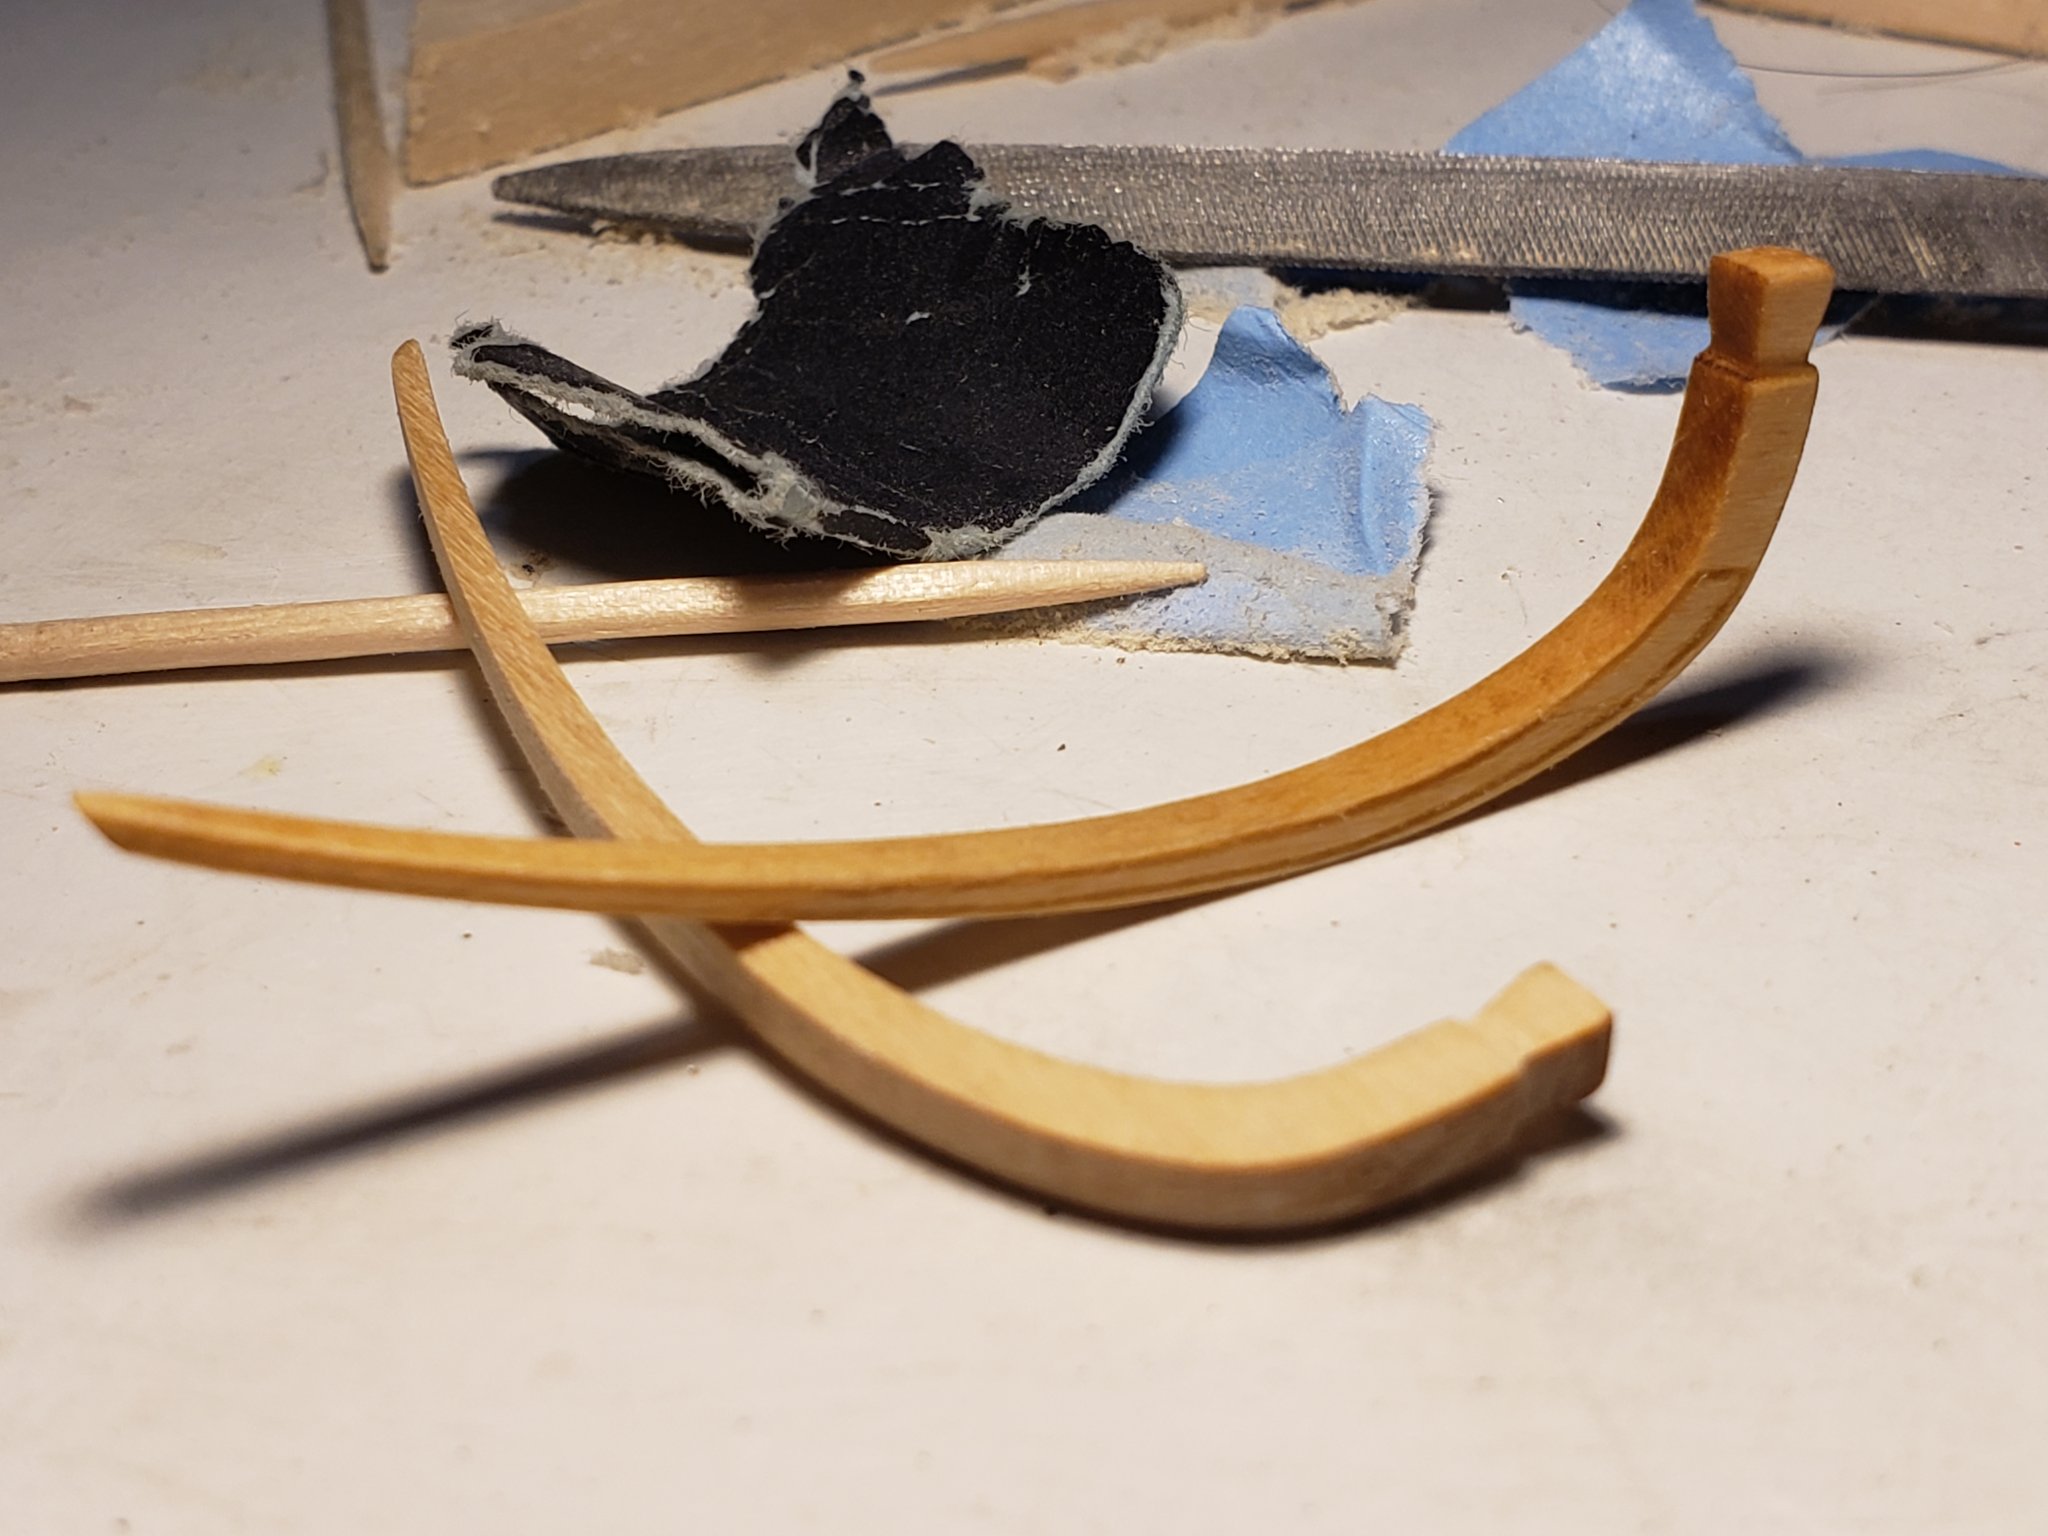
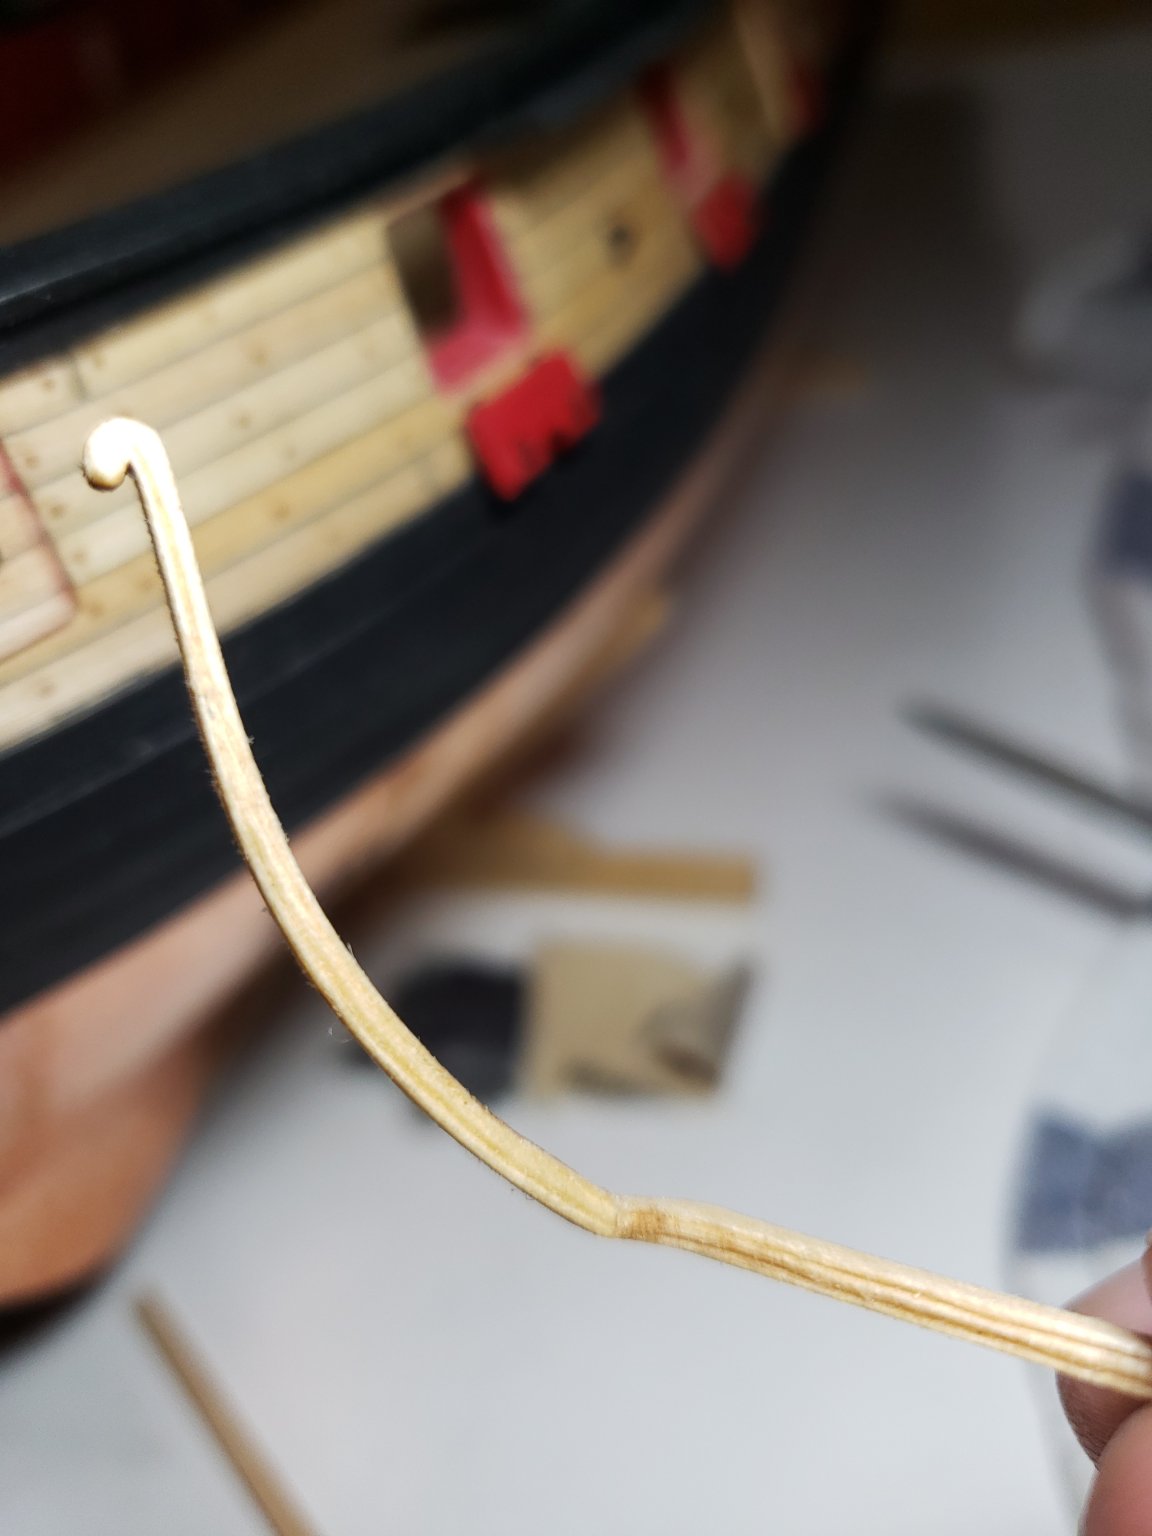
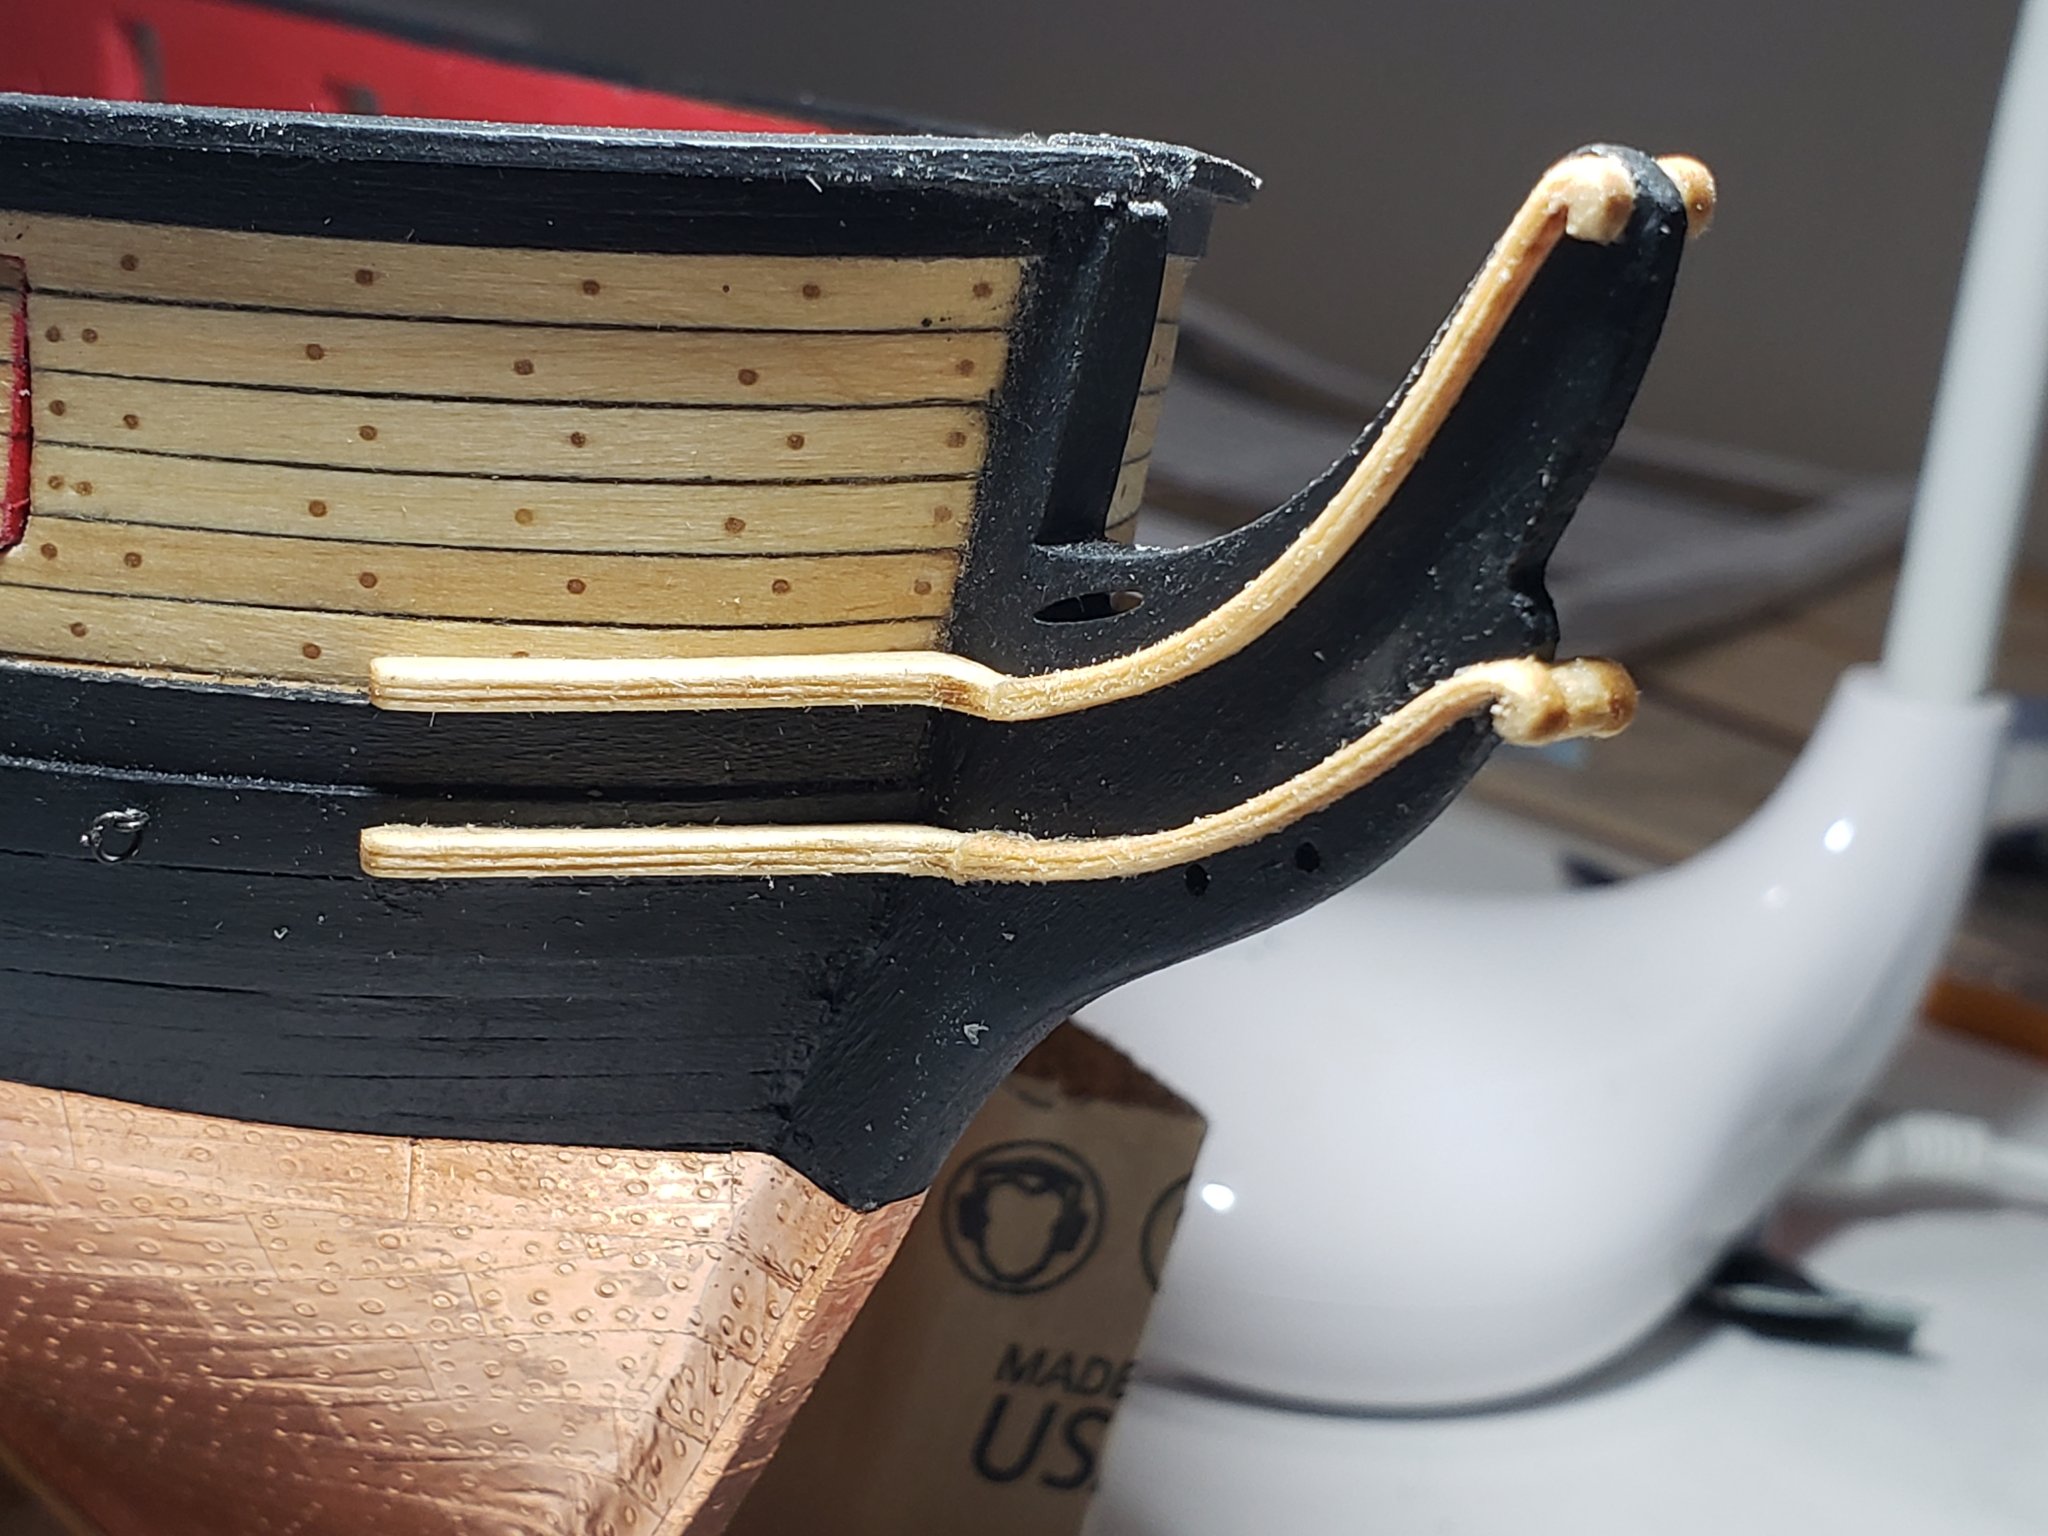
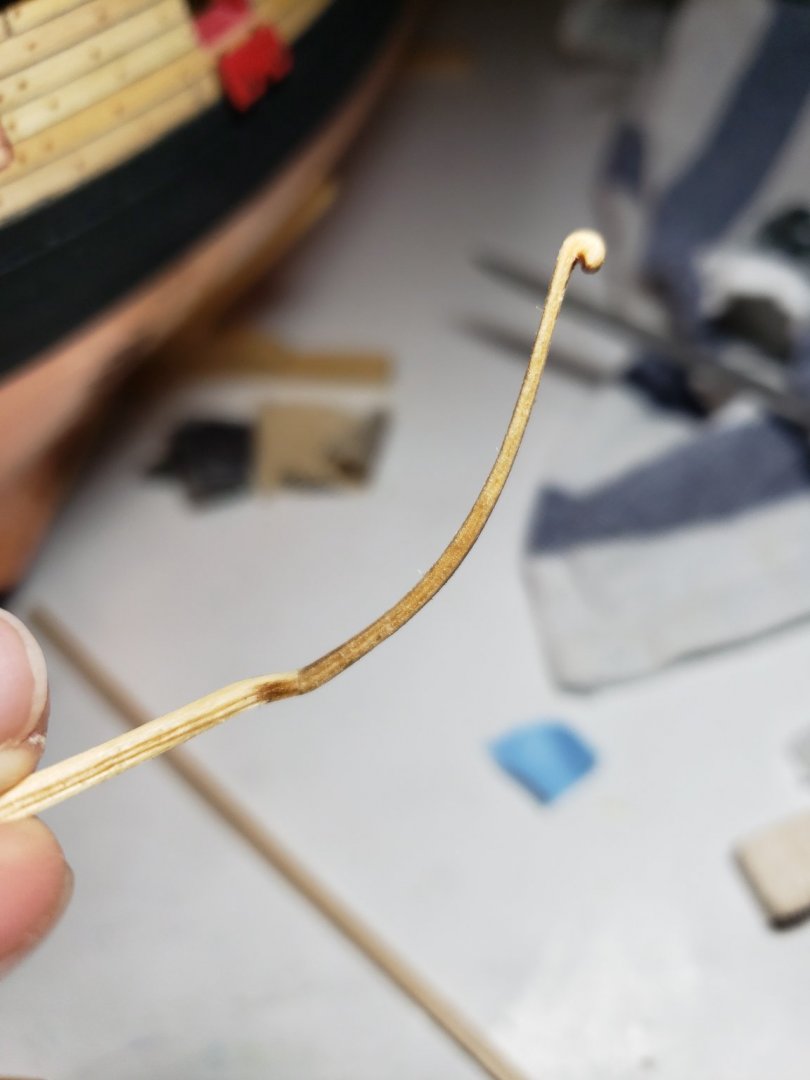
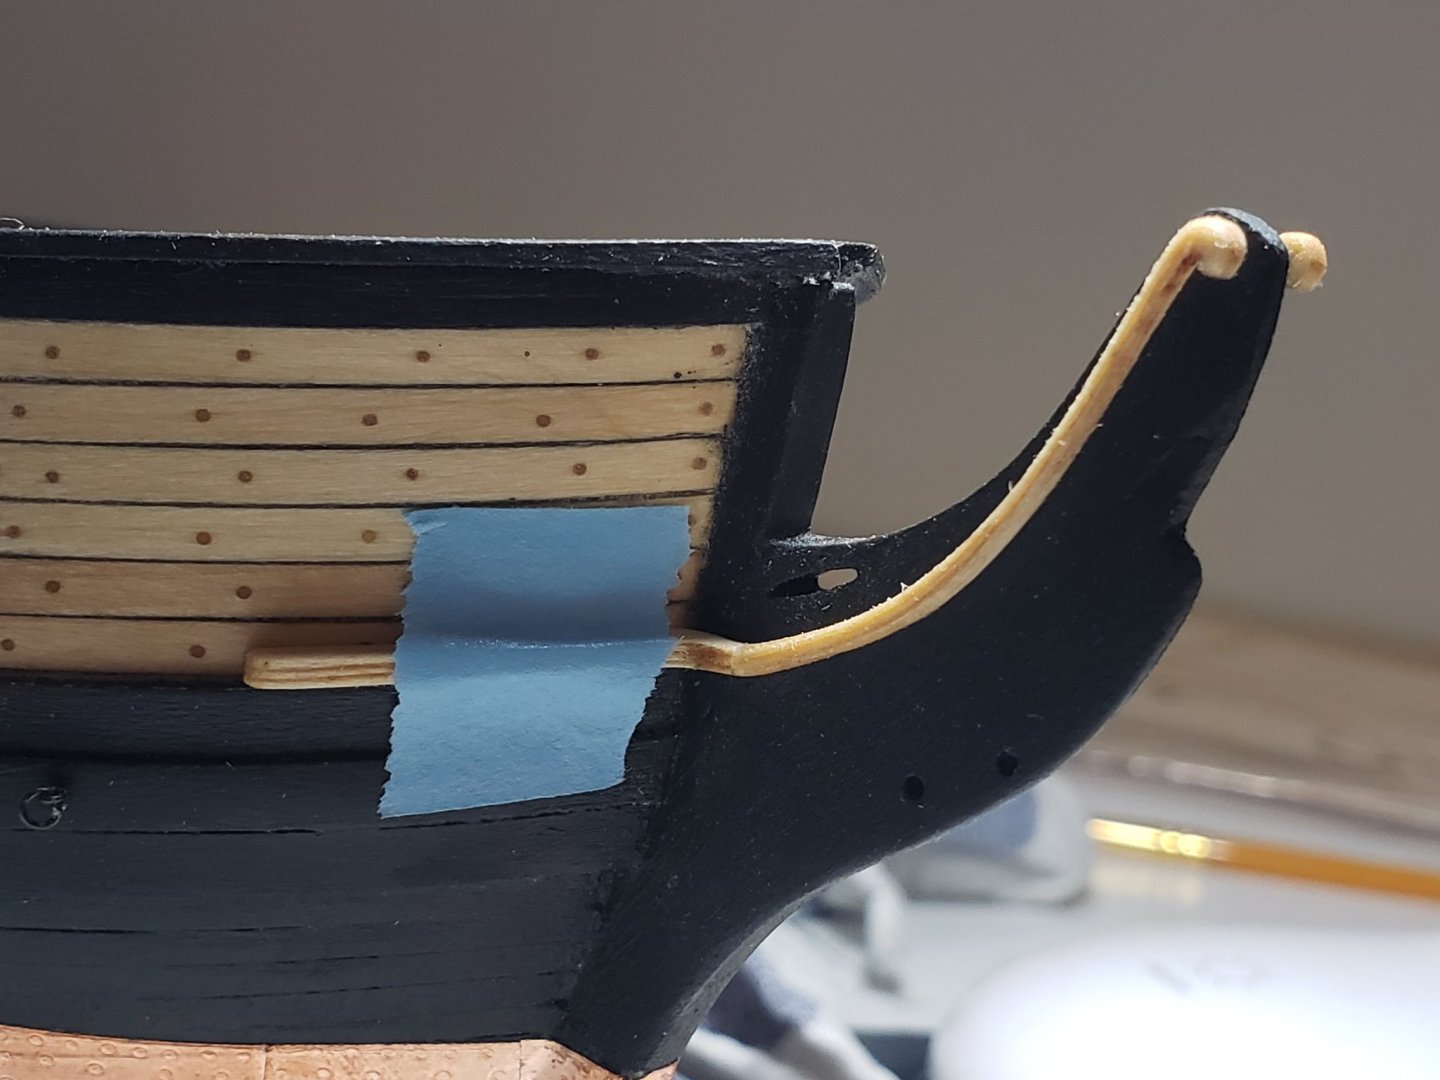
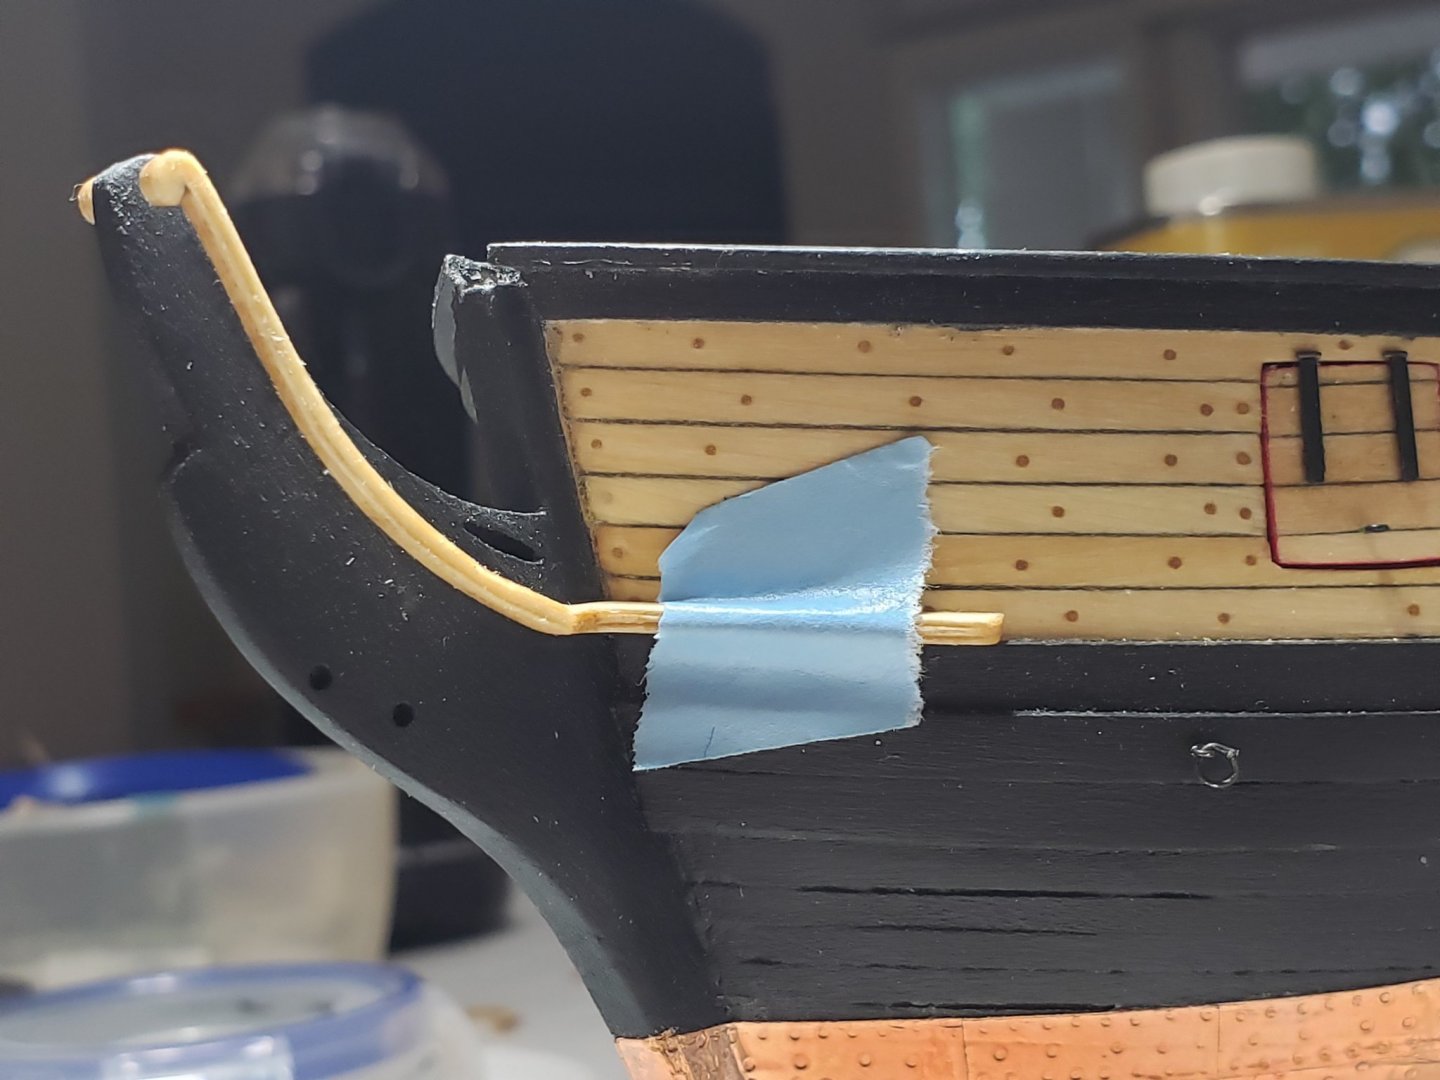
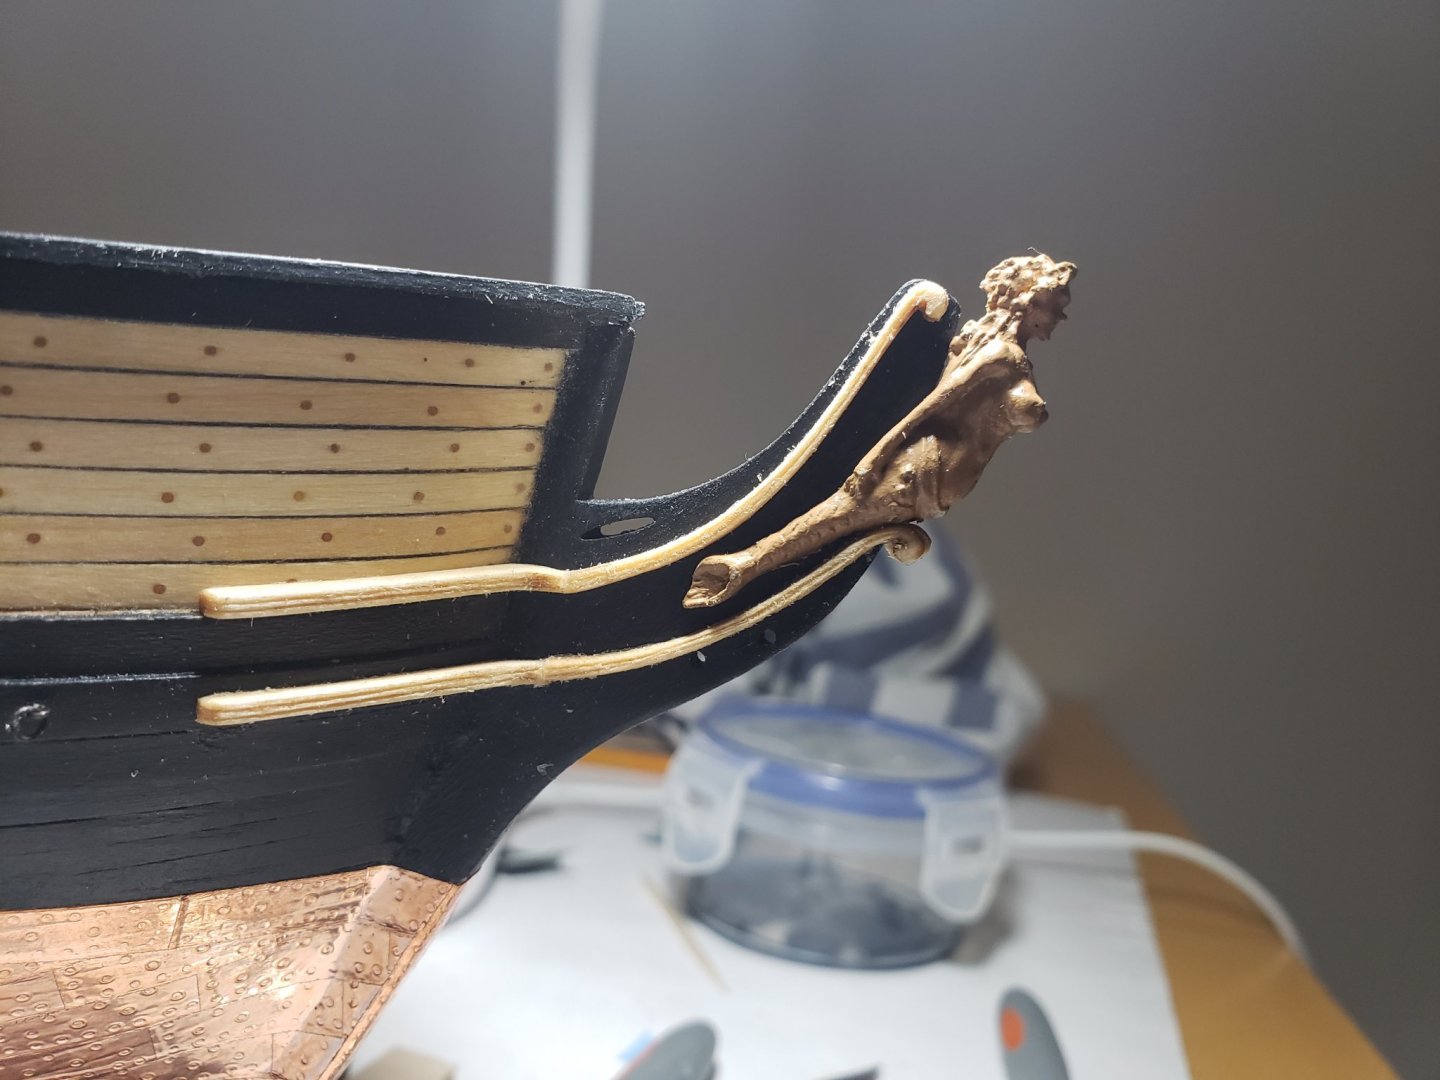
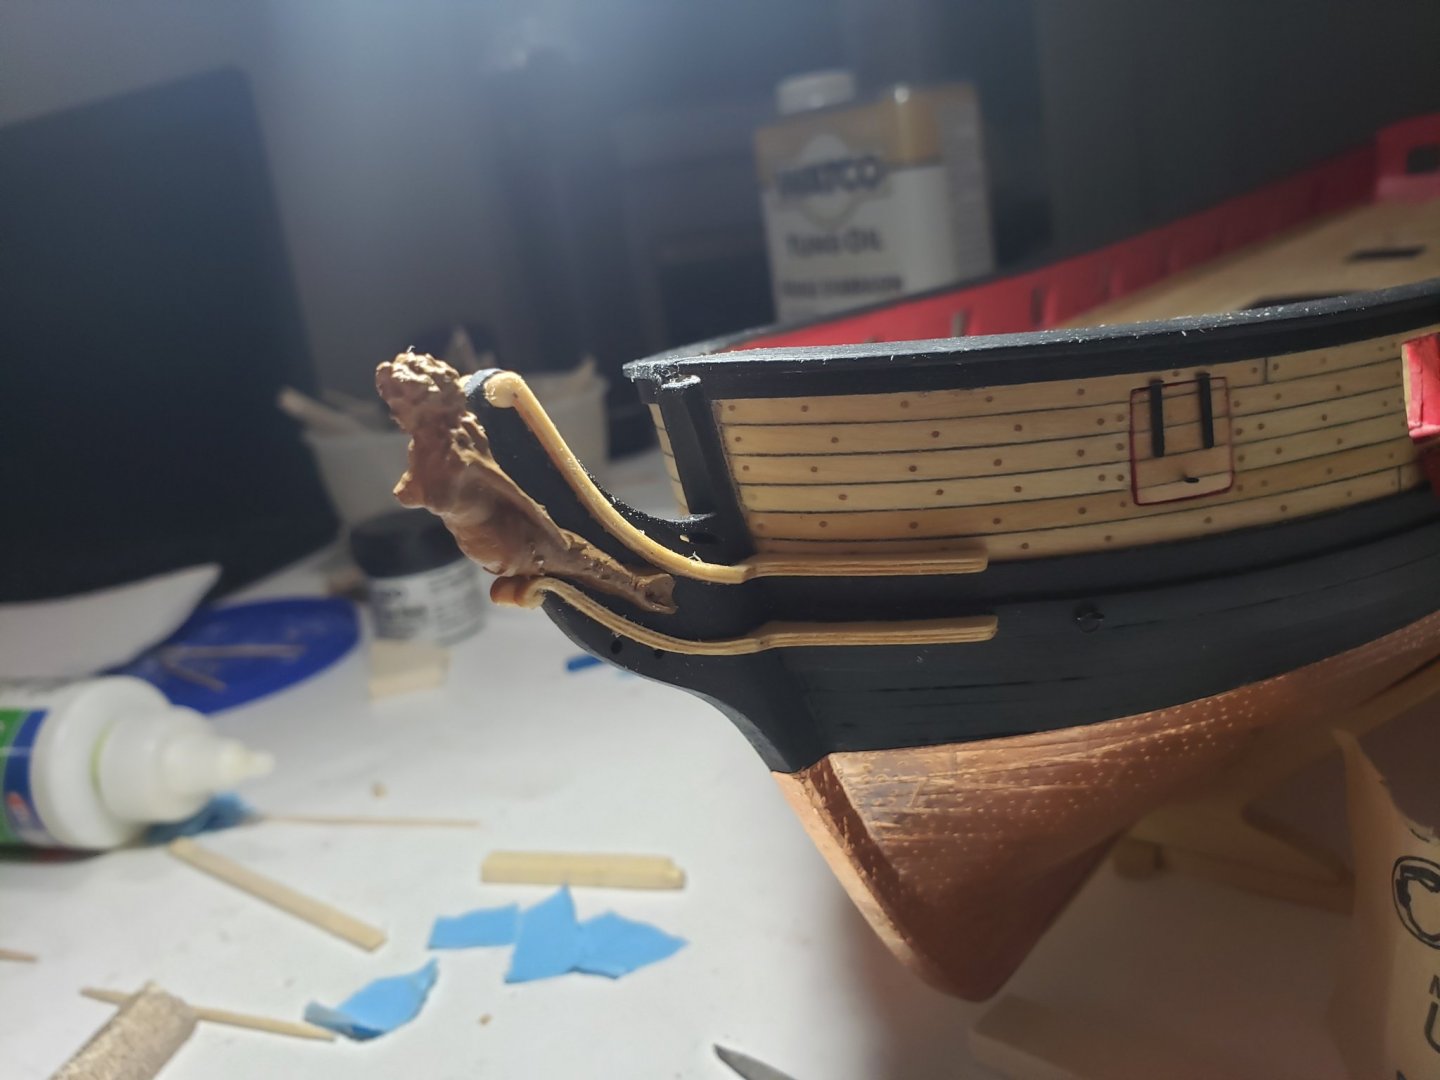
I started working on the head rails. The start only was already so tricky, no idea how I'll do the rest 😶 To start this chapter, I went through all the build logs to see how everyone approached it.. I began by carving the outside edges. With basswood being basswood, this was not fun... Then seeing Thomas Gahm's log, I saw he glued the two parts of the cheeks prior to installing them to make it look like one piece. This helped a lot to make it look neater. Speaking of neat, the start of mine looks so messy, glue everywhere... Things kept sliding and was very frustrating loll. Half way though installing the bottom cheek I realized I needed to steer away from one of the holes on the stem knee, and make sure the figure head fit, both of which didn't so had to deconstruct and do it again. Again, this was very messy.... Here are some pics of testing the pieces: Here are pics of them glued in: Figure head is not glued in yet, so it keeps sliding down, but fits nicely I think.. Next I'll be making the hawse holes. I don't know if it's just me, but everytime I have to drill into the hull I get extremely nervous...


- 950 replies
-
- 13
-
-
- syren
- model shipways
- (and 1 more)
-
Thanks for the compliment Robin. It was bugging me all night after I installed it so I had to try to fix it 😅
- 950 replies
-
- 1
-
-
- syren
- model shipways
- (and 1 more)
-
I agree with Patrick. After all that work you want it to show!
-
Looks perfect!! Next time I'll try making sheaves as well (back then I had no idea what they were lolll)
-
Many thanks Pat and Mugje!! 😄 I decided to deconstruct the starboard main channel and glue it at a lower angle. I did this by drilling new holes for the pins.. Glad I did this. Looks much more symmetrical and cleaner. Now on to the headrails
- 950 replies
-
- 15
-
-
- syren
- model shipways
- (and 1 more)
-
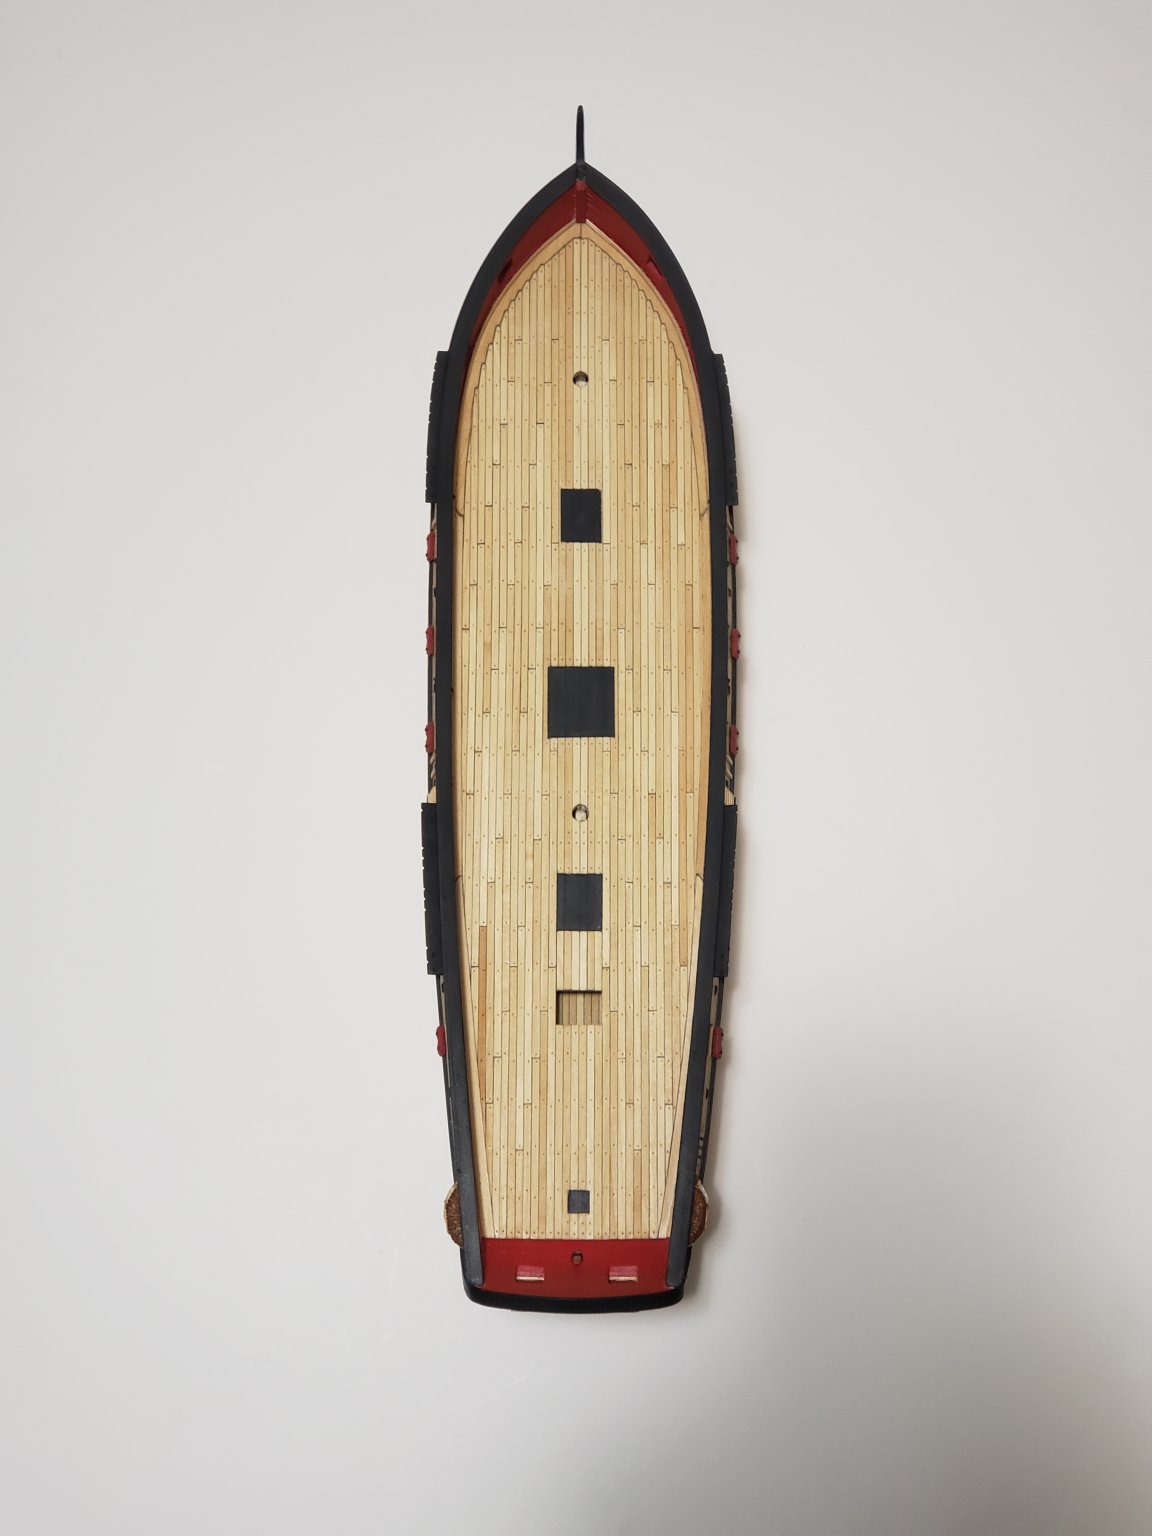
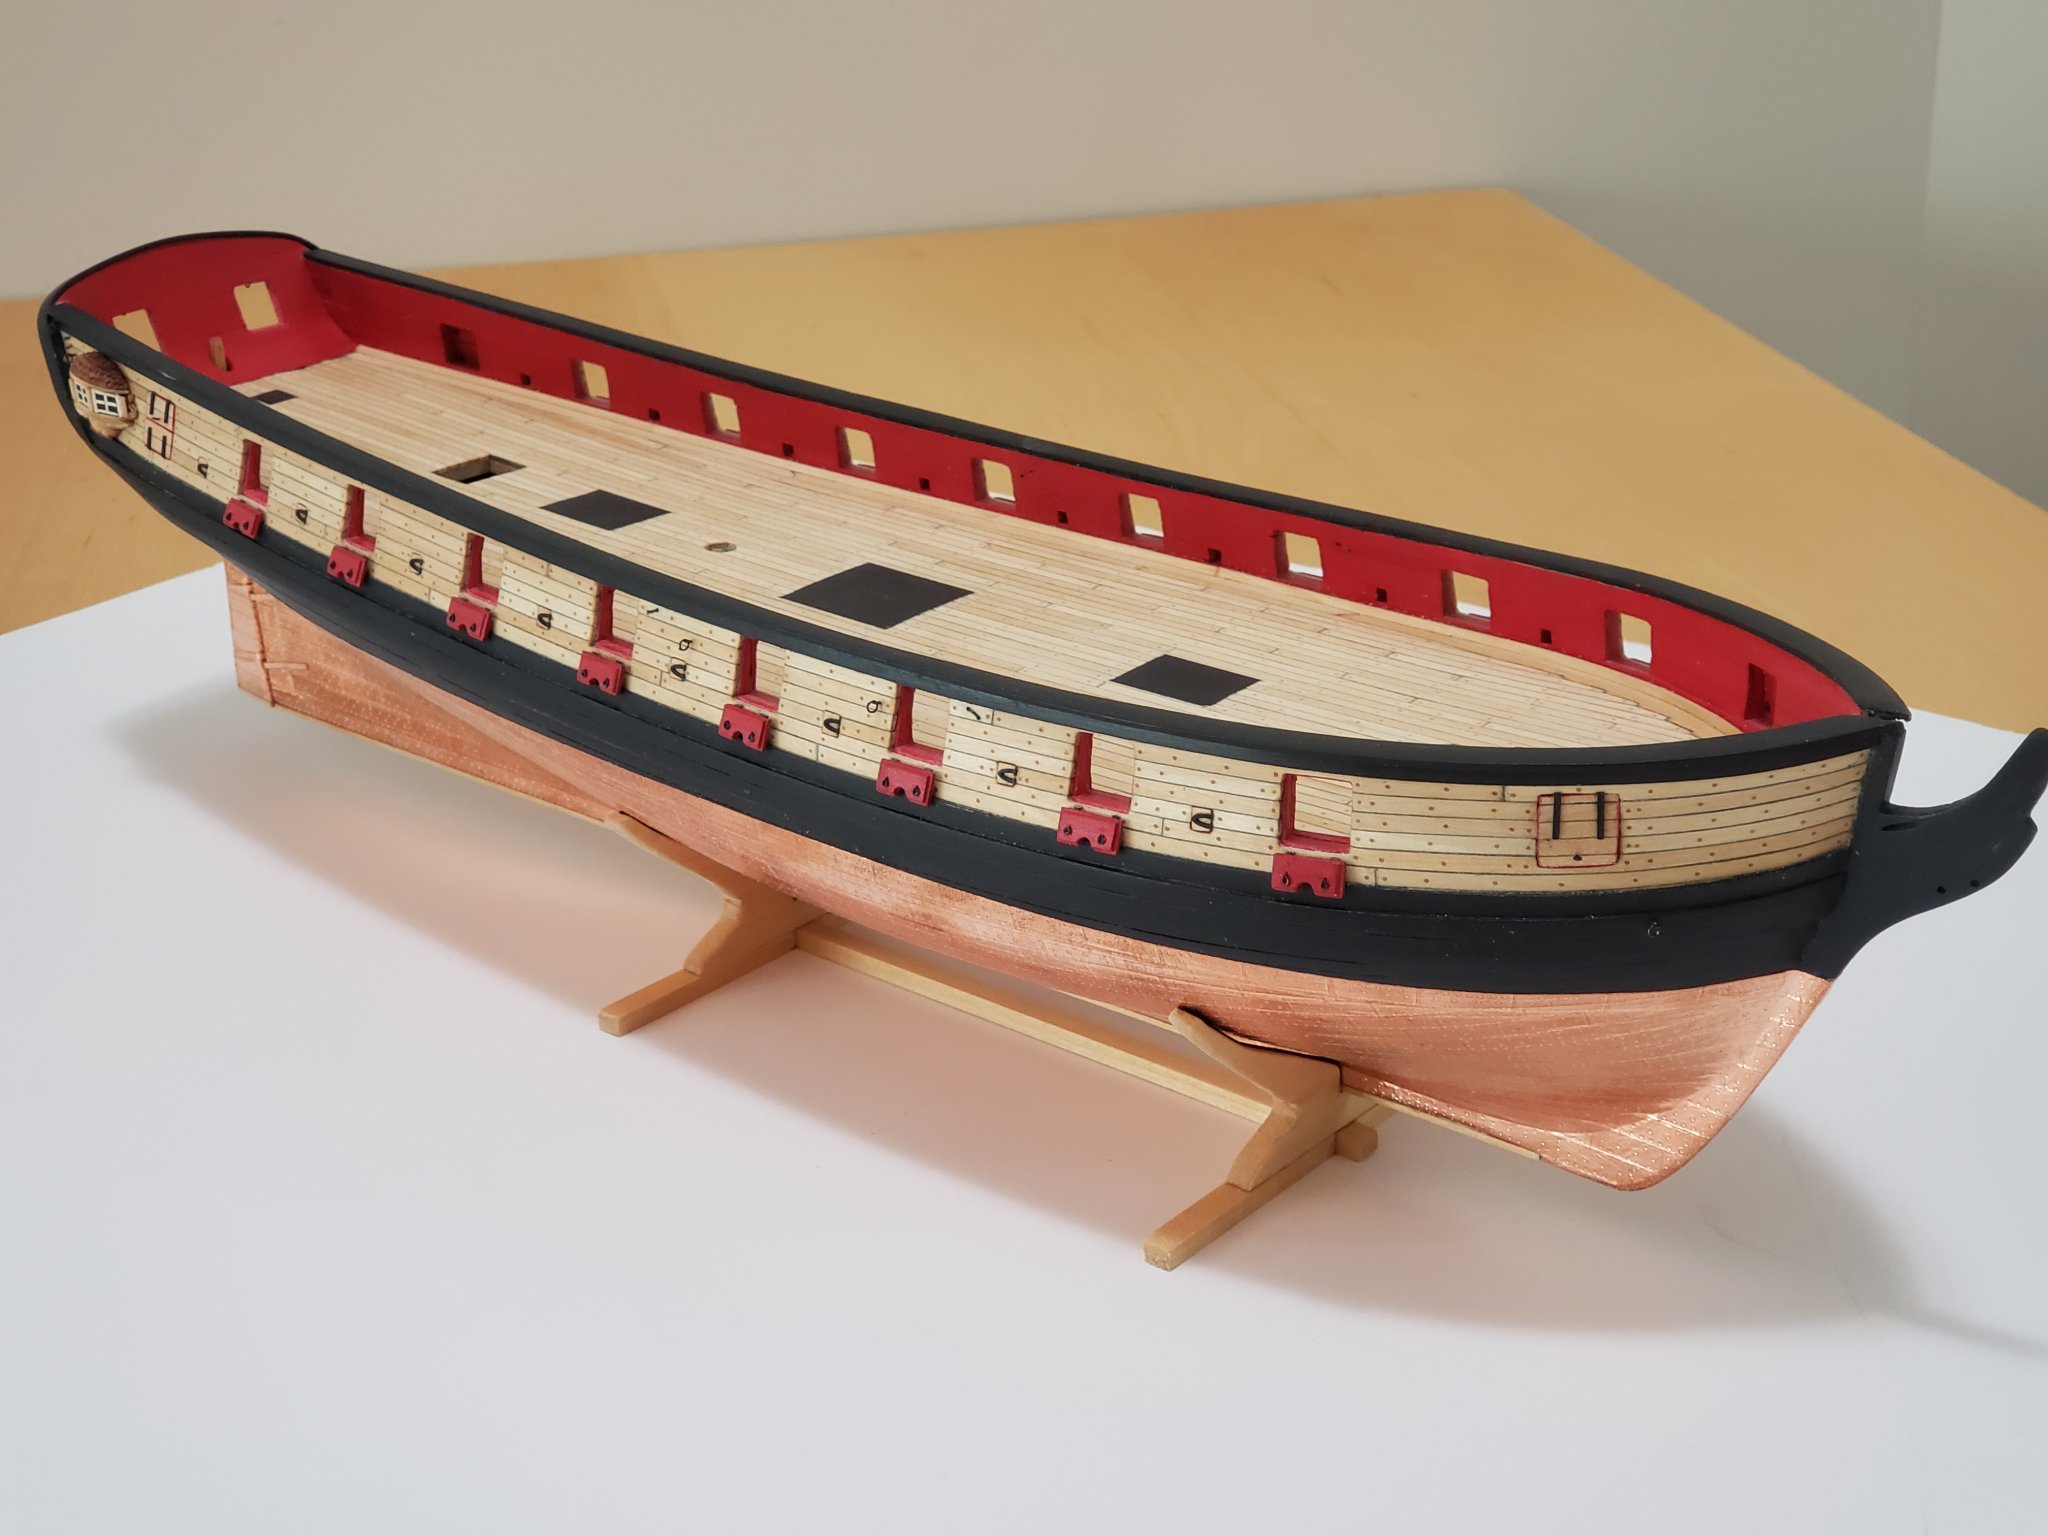
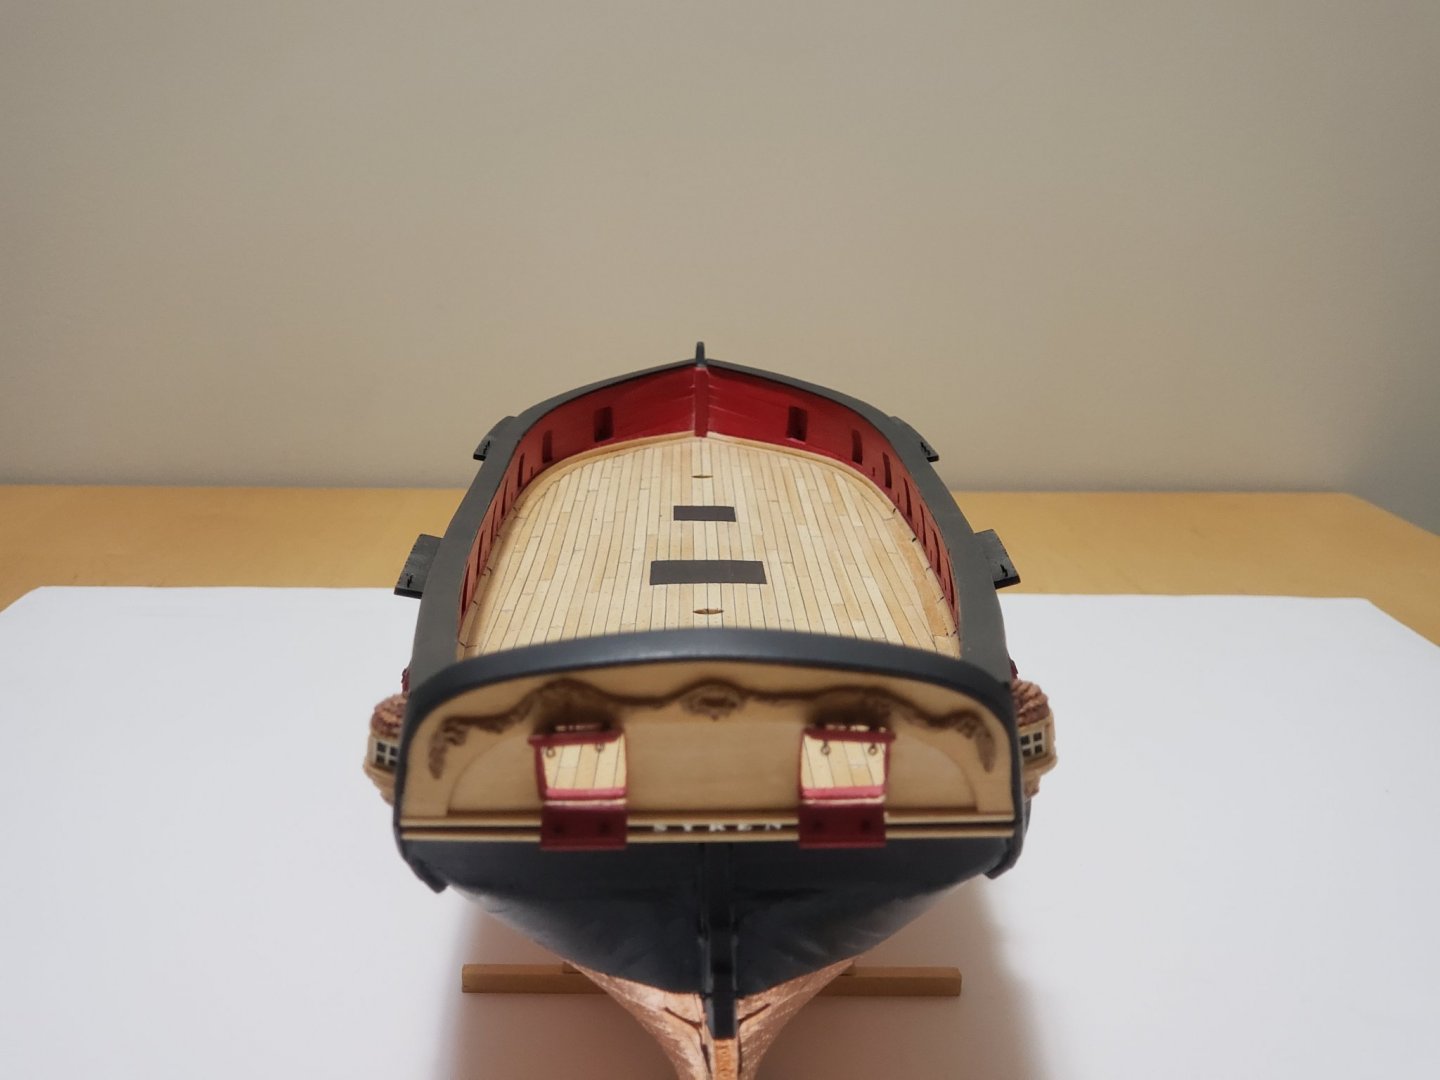
I have finally finished the hull details (apart from a small mishap shown later on). The channels were installed and I used three pins to peg each one as shown: I think the channels have been placed pretty symmetrically as shown in this overhead shot (I based the symmetry on the deck butt lines and distance from gun and sweep ports).. But if anyone can see any slight deviation please do let me know 🙂 Now for the small mishap... The main channel on the starboard side seems to be tilted higher than the portside one. No idea how it happened.. Maybe it is the angle I drilled the holes at. You can see it a bit in the below photo. I am inclined to leave it as is since it is not very noticeable, but if I find the courage I might try to remove it and bend the pins or something. Just scared if it has been bonded too well with the hull. Anyways, here are some more photos Next I will go ahead and try out the head rails 😬 😬 😬, unless of course I try and fix the channel issue...


- 950 replies
-
- 16
-
-
- syren
- model shipways
- (and 1 more)
-
Thanks so much Will and Richard. Will, I'd say the joint in how the channels are attached are more fragile than the piece itself. Securing them with pins (like what the instructions say) do make a more secure fit. Also, in the coming weeks, progress will really start to slow down 😥 I've been enjoying my summer break after I recently finished school, but have chosen to make myself busy again with grad school 😅. It will be hard to concentrate though since I will be studying from home (because of the pandemic) with the Syren right in front of me calling me to finish building her up 😄
- 950 replies
-
- 1
-
-
- syren
- model shipways
- (and 1 more)
-
Thanks Robin! Yeaup they do look a bit fragile... I hope they strengthen up with them being supported by the pins.. In any case I'll try being extra careful after they are installed.
- 950 replies
-
- 1
-
-
- syren
- model shipways
- (and 1 more)
-
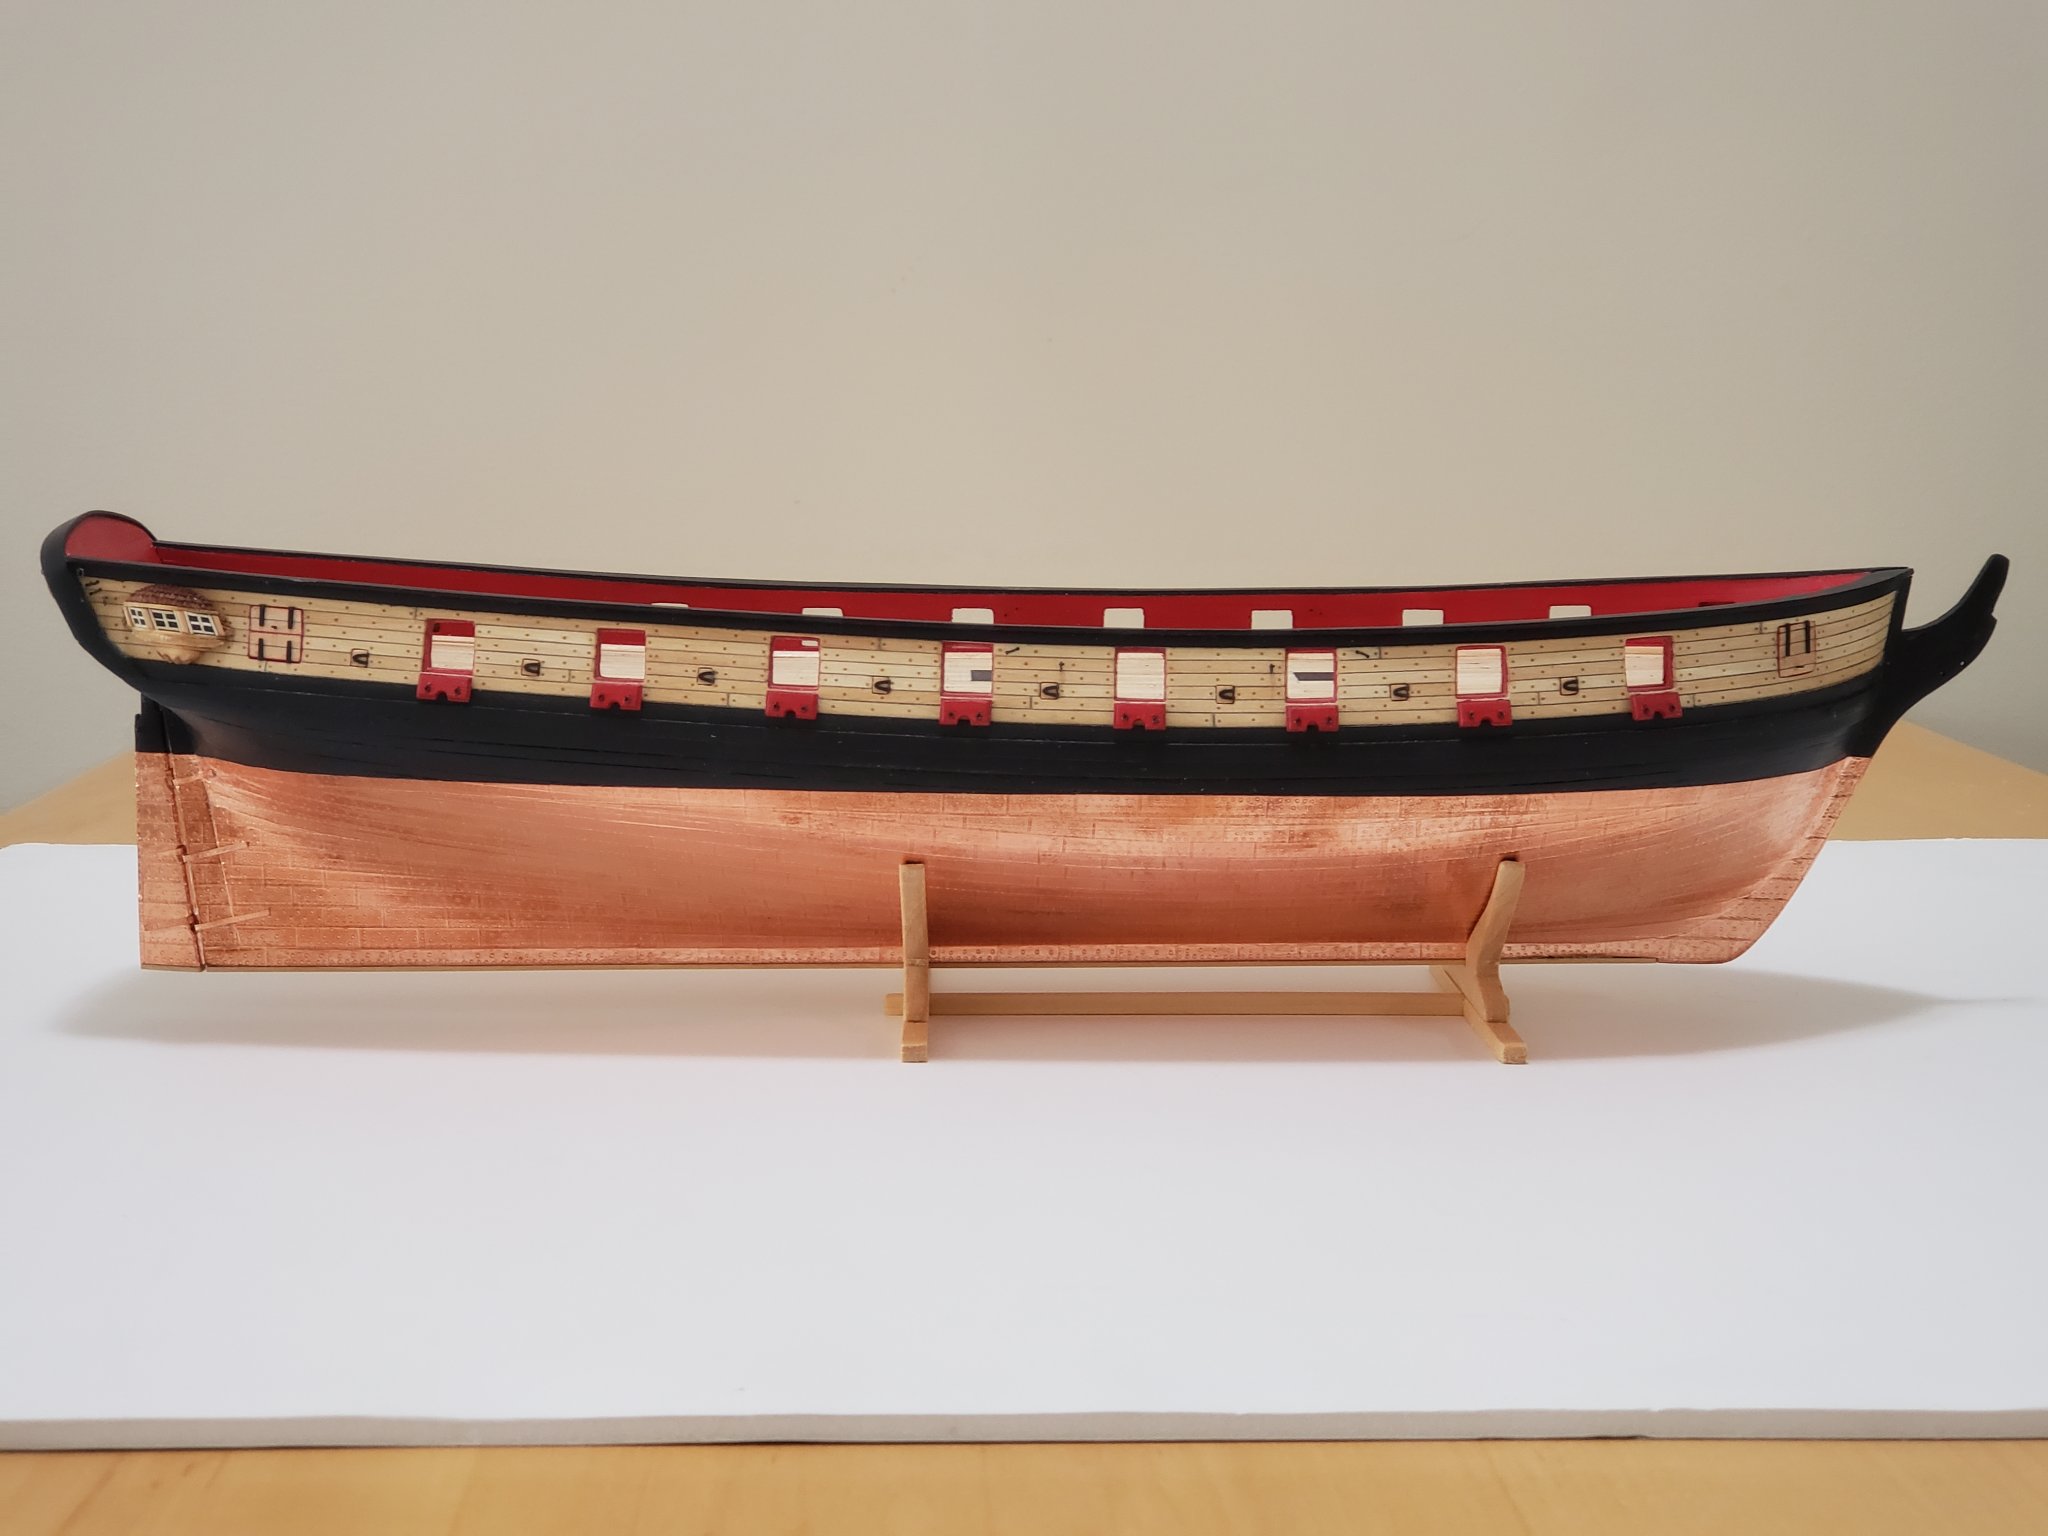
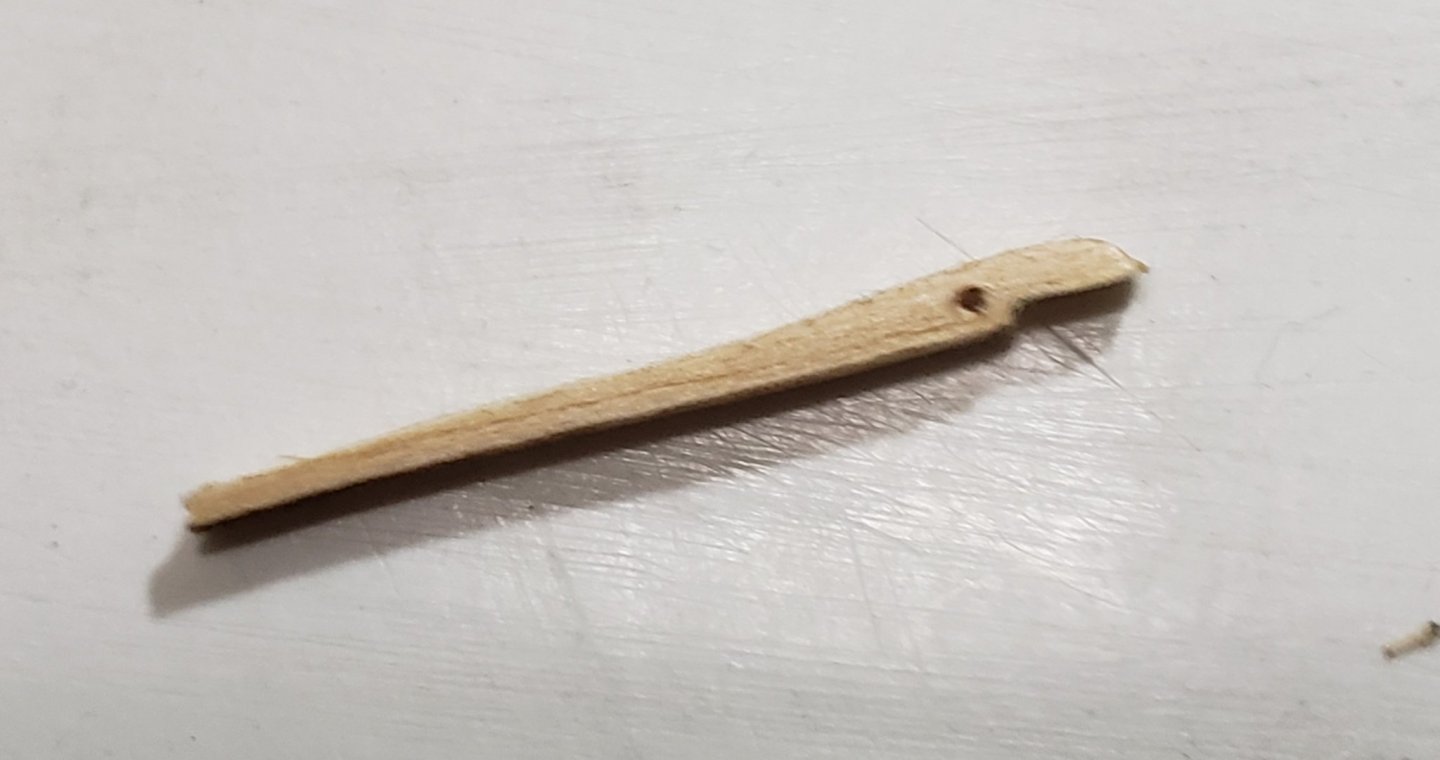
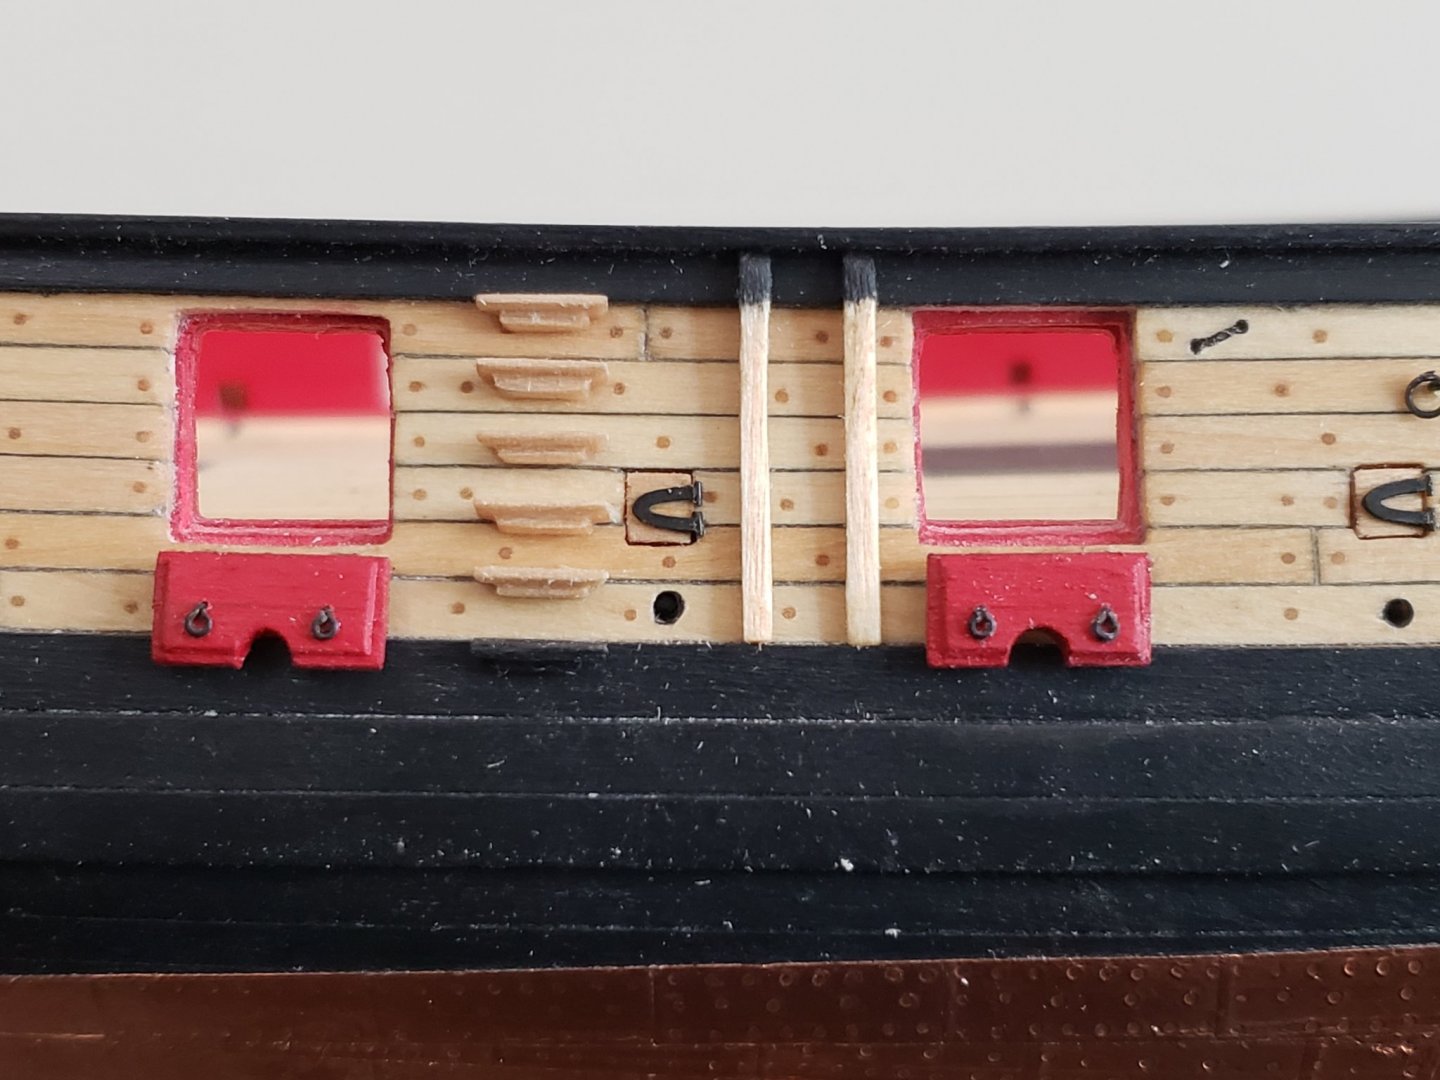
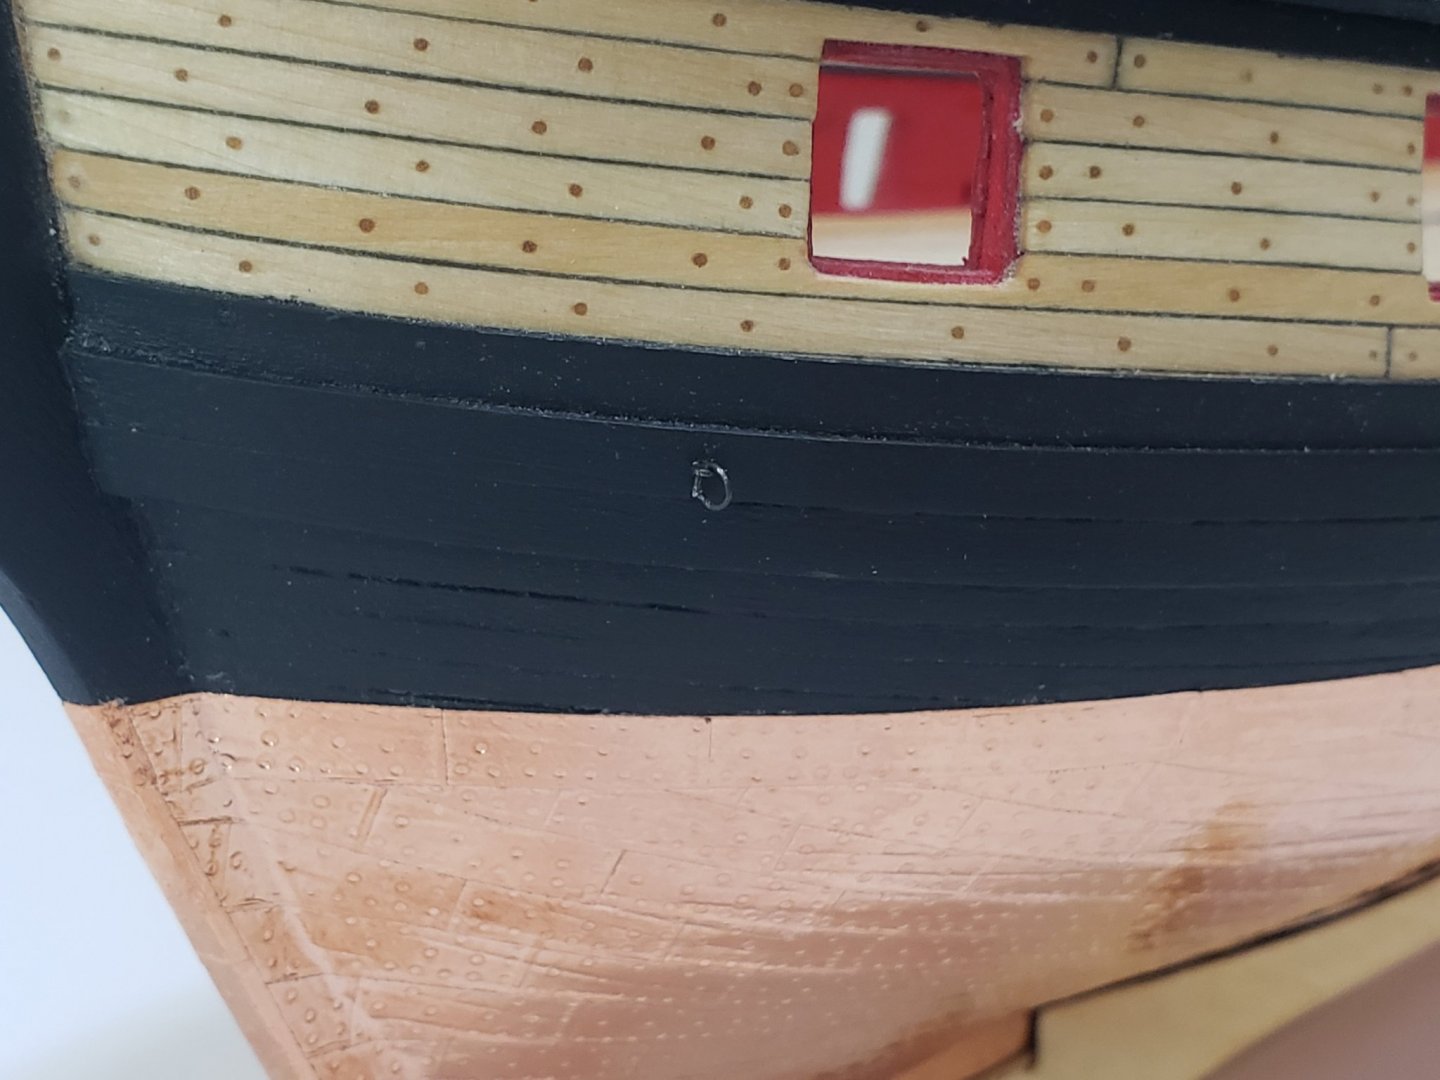
Almost done with the hull details. I have finished with the ladder, scuppers (chose not to drill these all the way in case of a terrible mishap...), fenders and chesstree. First the scuppers were drilled partway through and shaded in with a pencil: Then the ladders, fenders and chesstree were completed. These parts were stained and painted prior to installation. Drilled a 0.55mm hole on the chesstree: All is left is the channels, which I am a bit nervous to do since the entire standing rigging will be dependent on its locations.


- 950 replies
-
- 13
-
-
- syren
- model shipways
- (and 1 more)
-
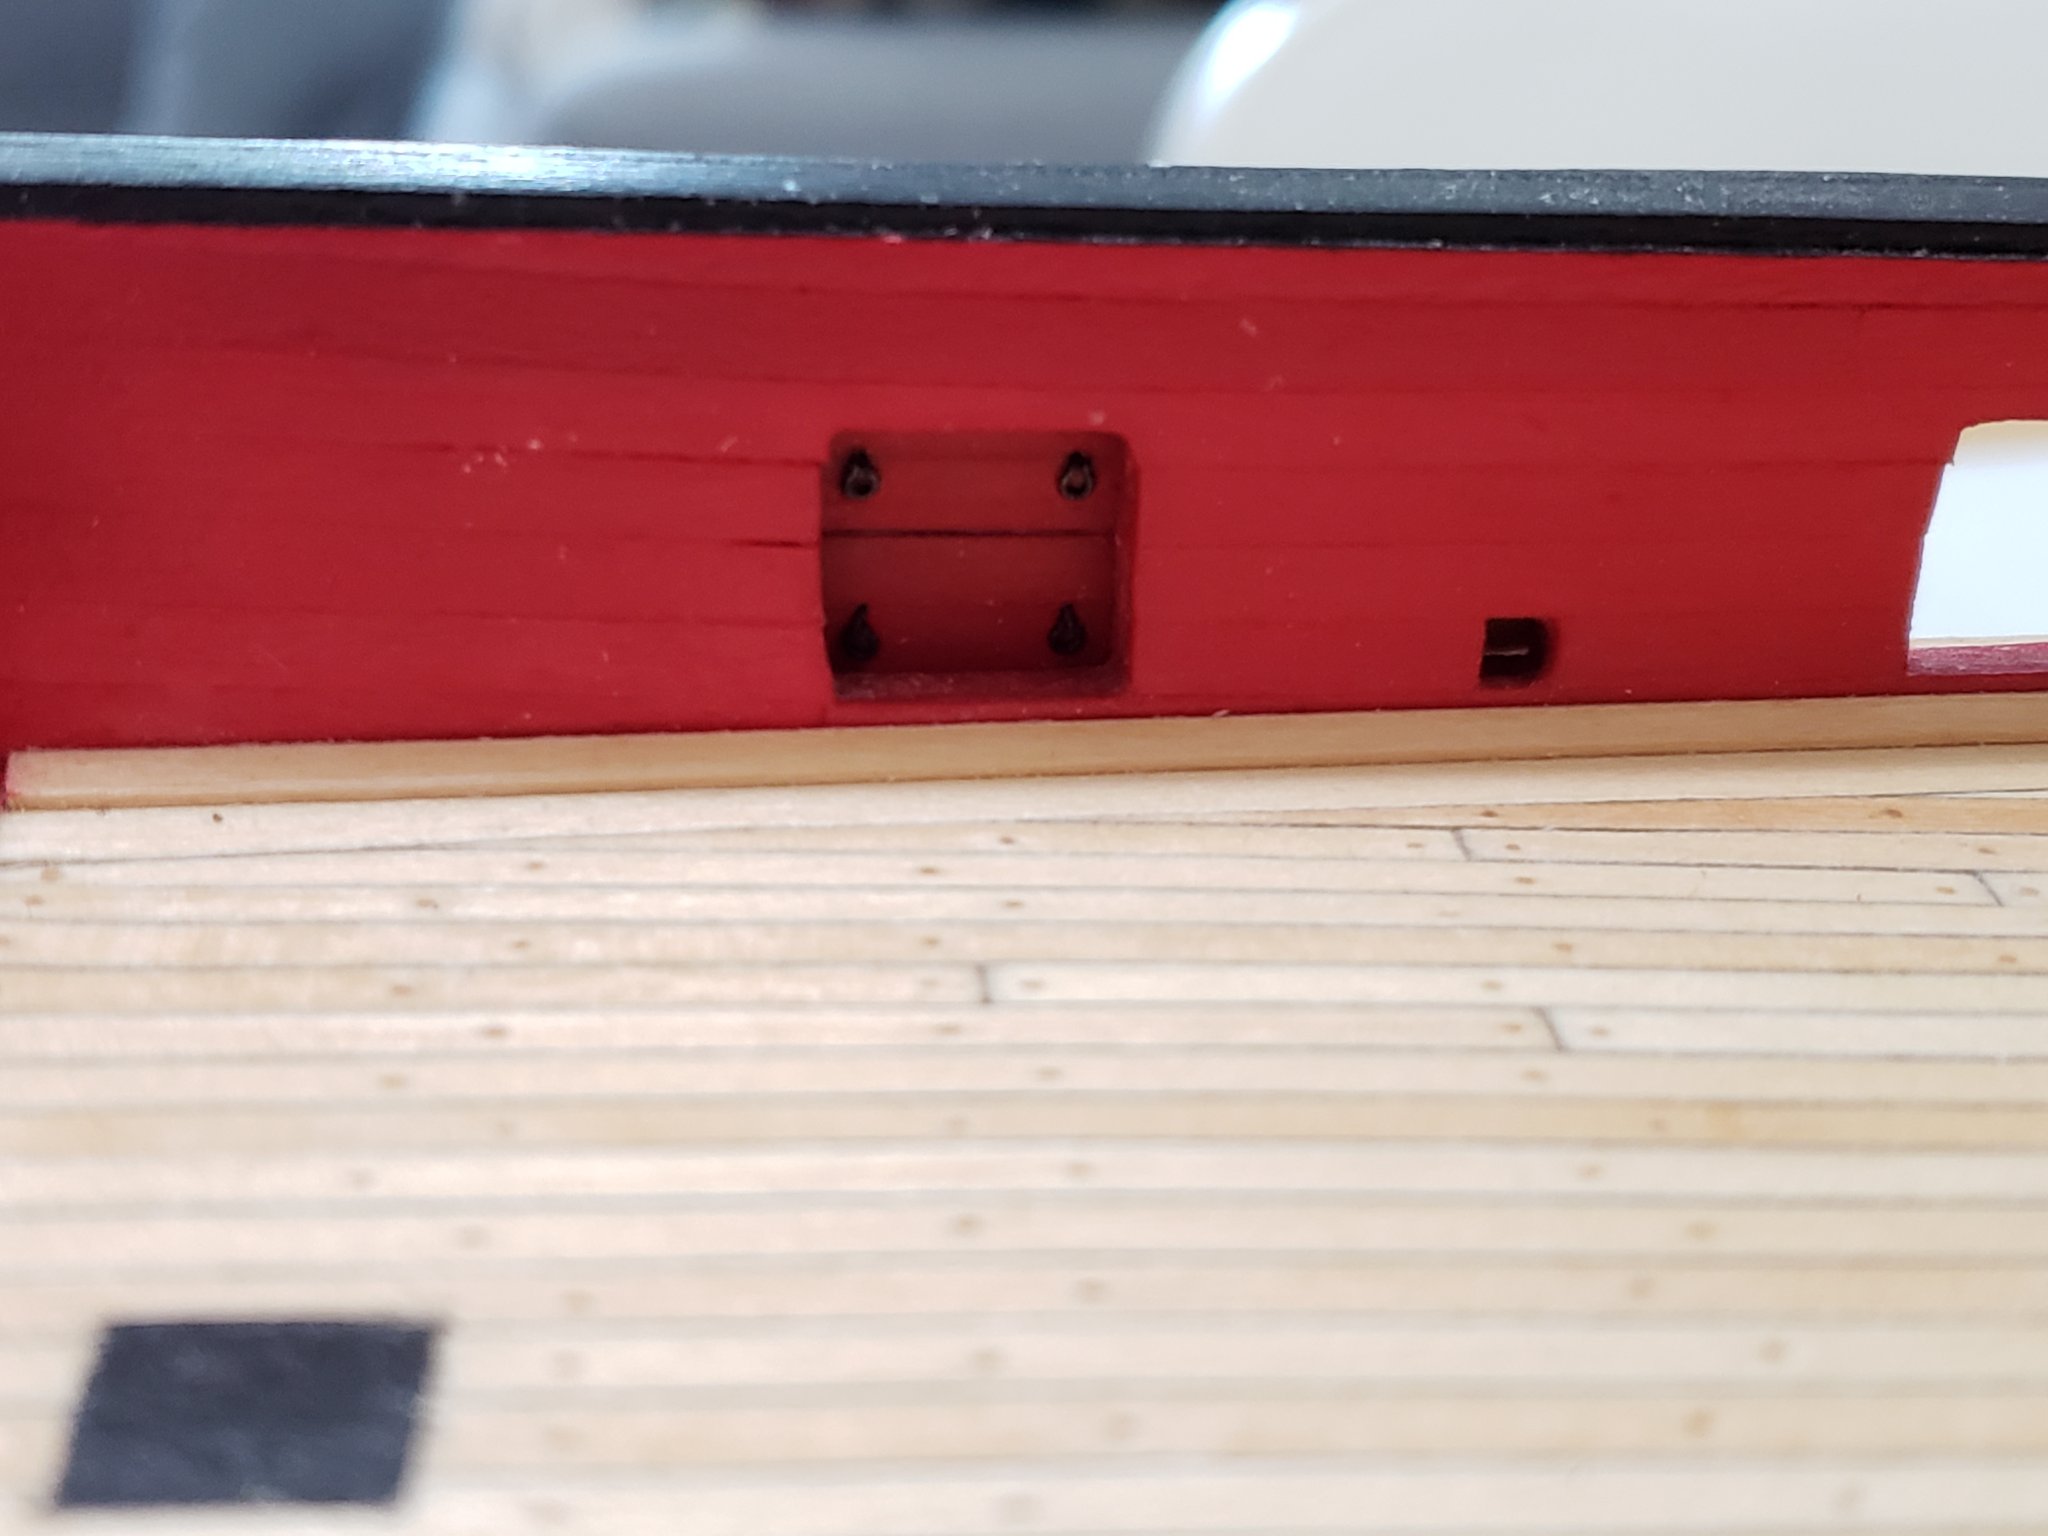
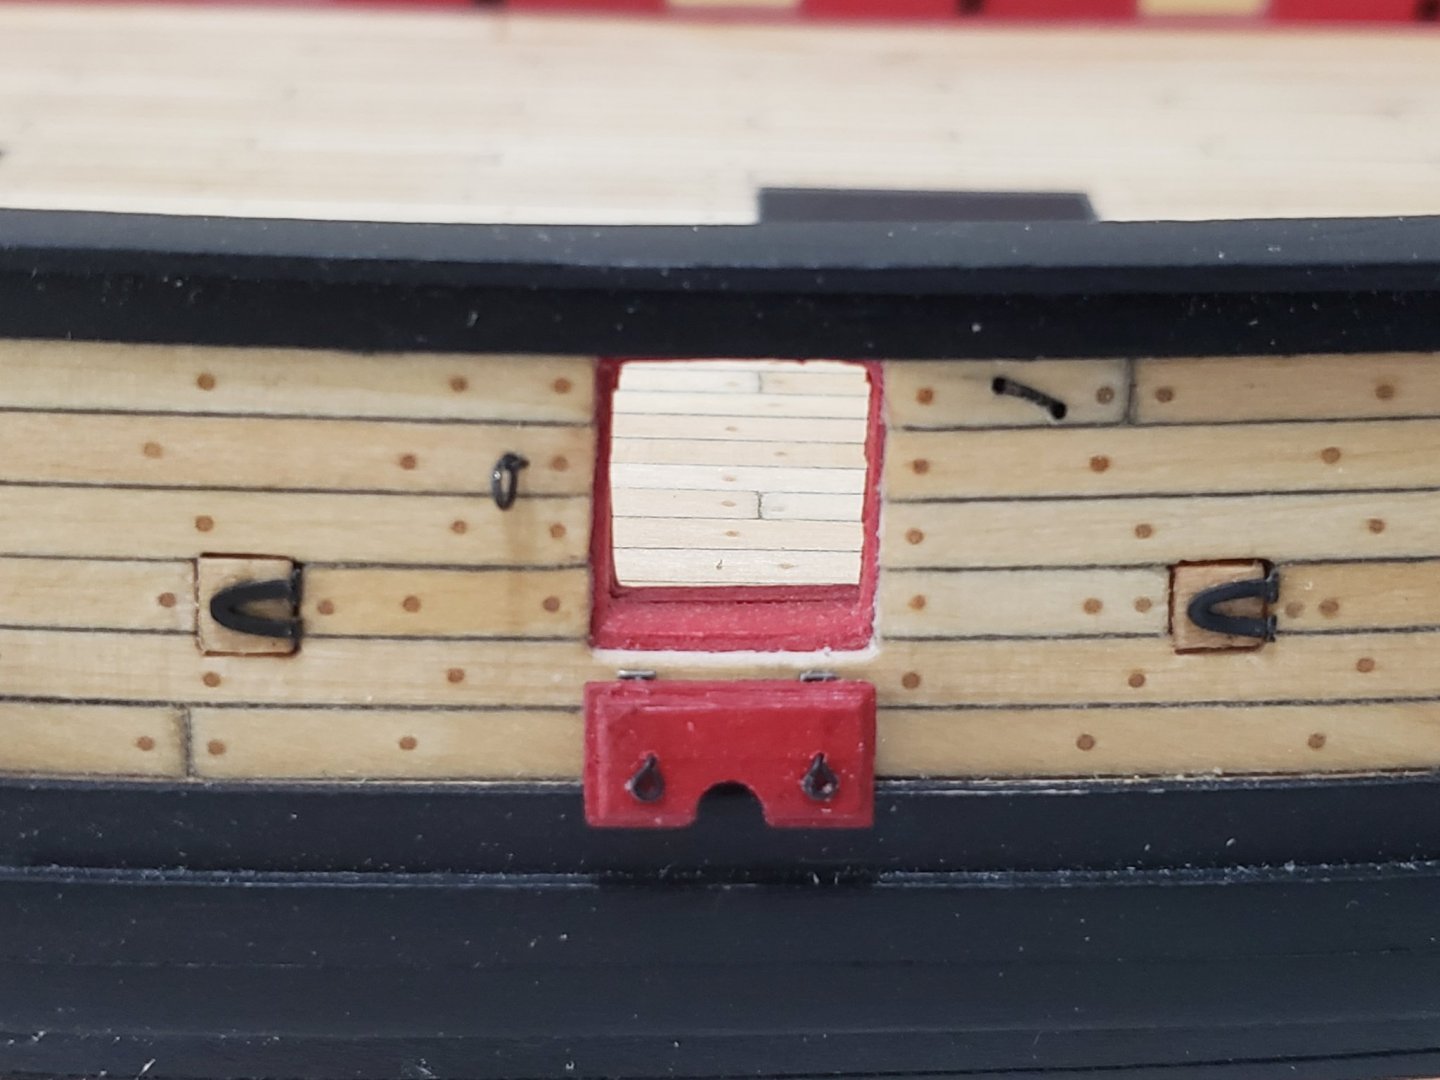
The gun port lids are finally finished! I used a 0.55mm drill bit to drill part way for the hinges to enter in. Also, I had stuck the hinges onto the lids first, then realized it was easier to just stick the hinges onto the hull, then stick the lids on that. I ultimately ended up doing that anyways since the lids unstuck from the wood very easily while putting it in.. Here's a photo of the stern gun port hinge being attached in case it helps anyone see the location of the drilled holes:


- 950 replies
-
- 15
-
-
- syren
- model shipways
- (and 1 more)
-
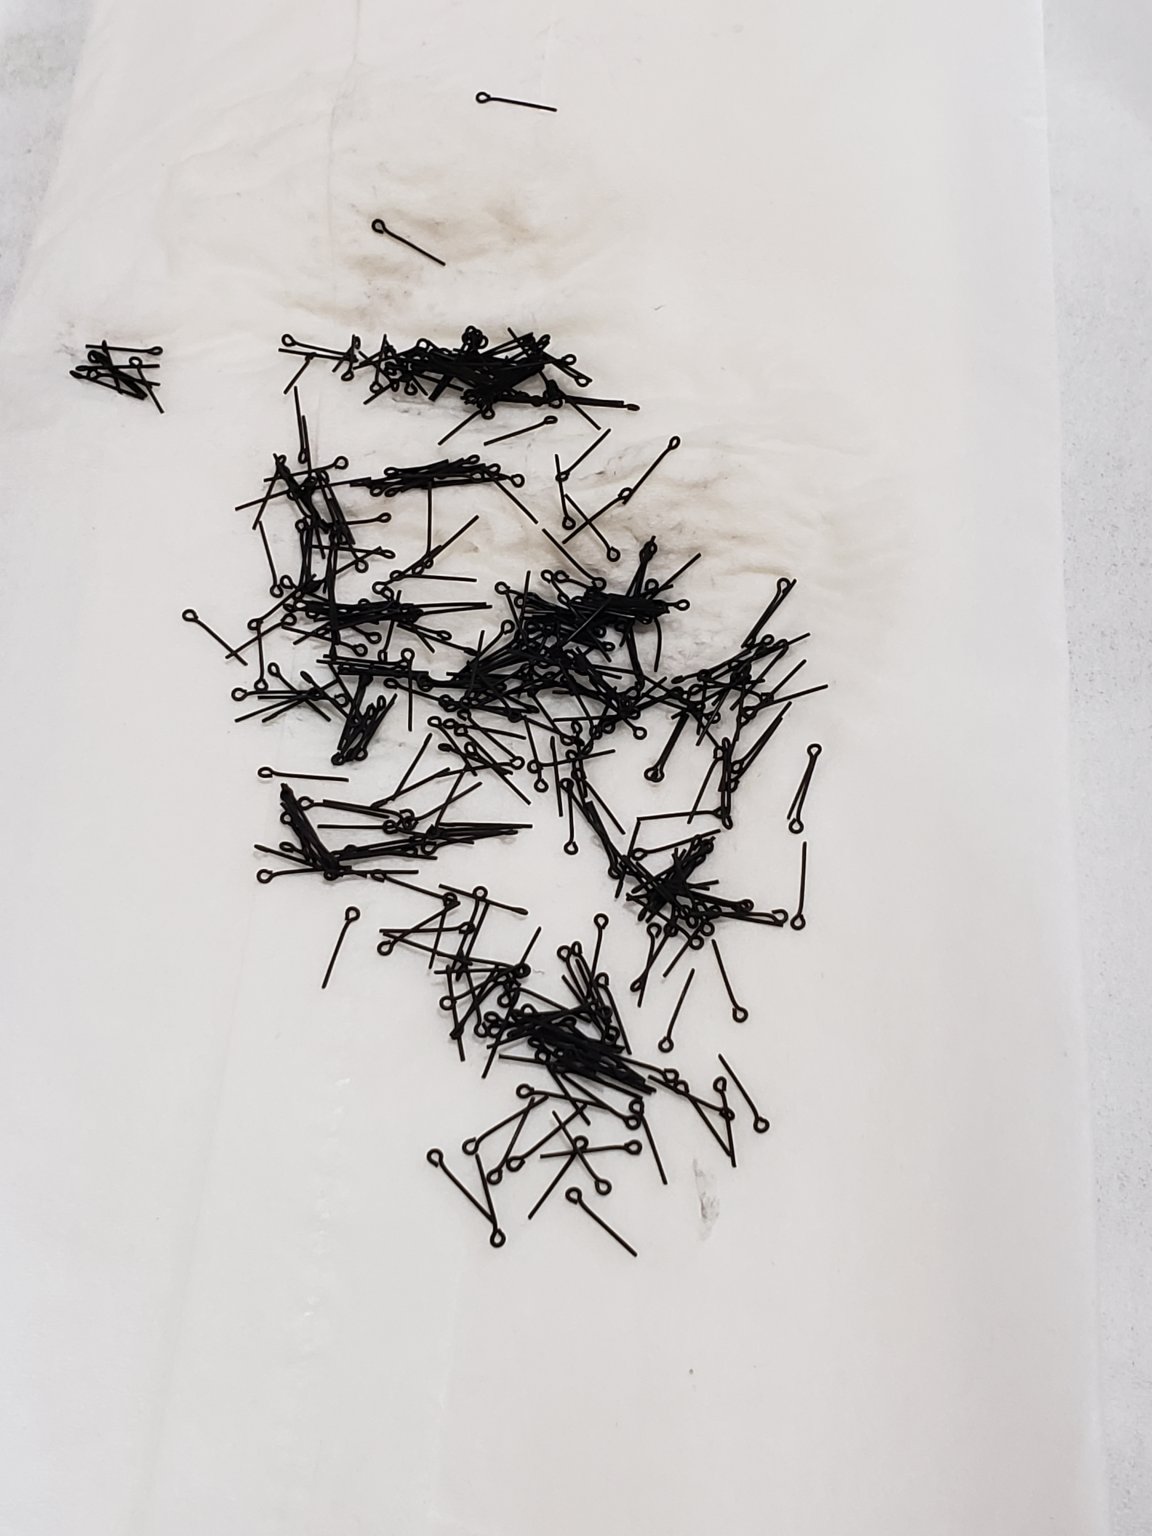
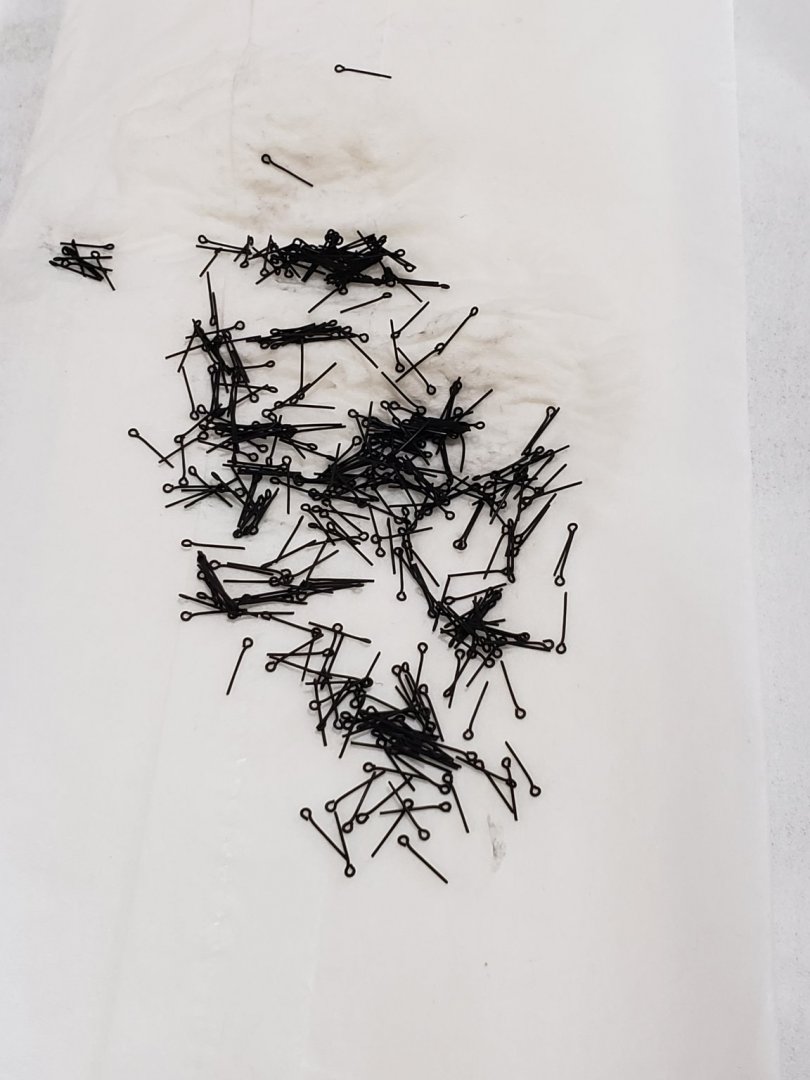
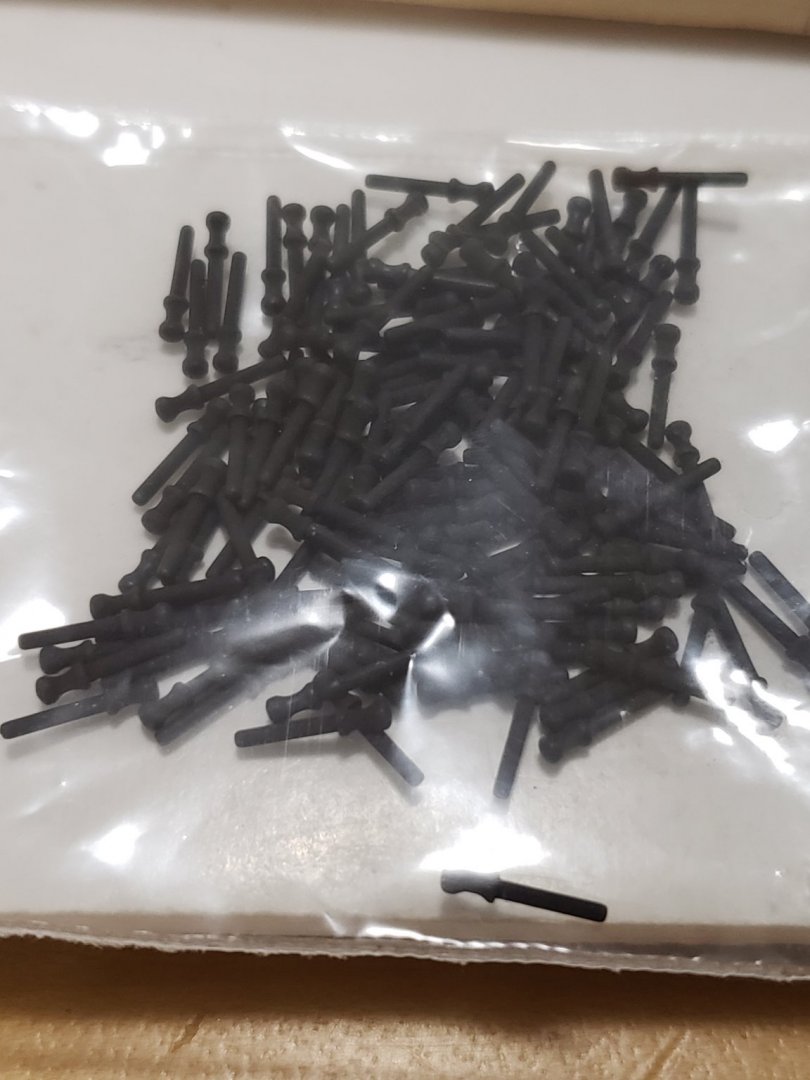
I finished shaping and painting the gun port lids. All is left is detailing them with eye bolts then installing them. Sanding the edges were not easy and required some practice to get decent results. The aft most and bridle gun port lids have been installed. I'll glue the hinges next. For the eyebolts, I bent them on a scrap wood instead of on the port lid itself since the glued straight section is so small. If I can find the right size pin heads, I might attempt the rivets on the aft most and bridle port lids' hinges, similar to how Dubz did on his model.


- 950 replies
-
- 13
-
-
- syren
- model shipways
- (and 1 more)
-
Thanks guys!! 🙂
-
Hi Chris, any possibility you could also send me a PM of the kits you designed? This would help me decide on future potential projects since I know they would have been designed very well. Thanks!
-
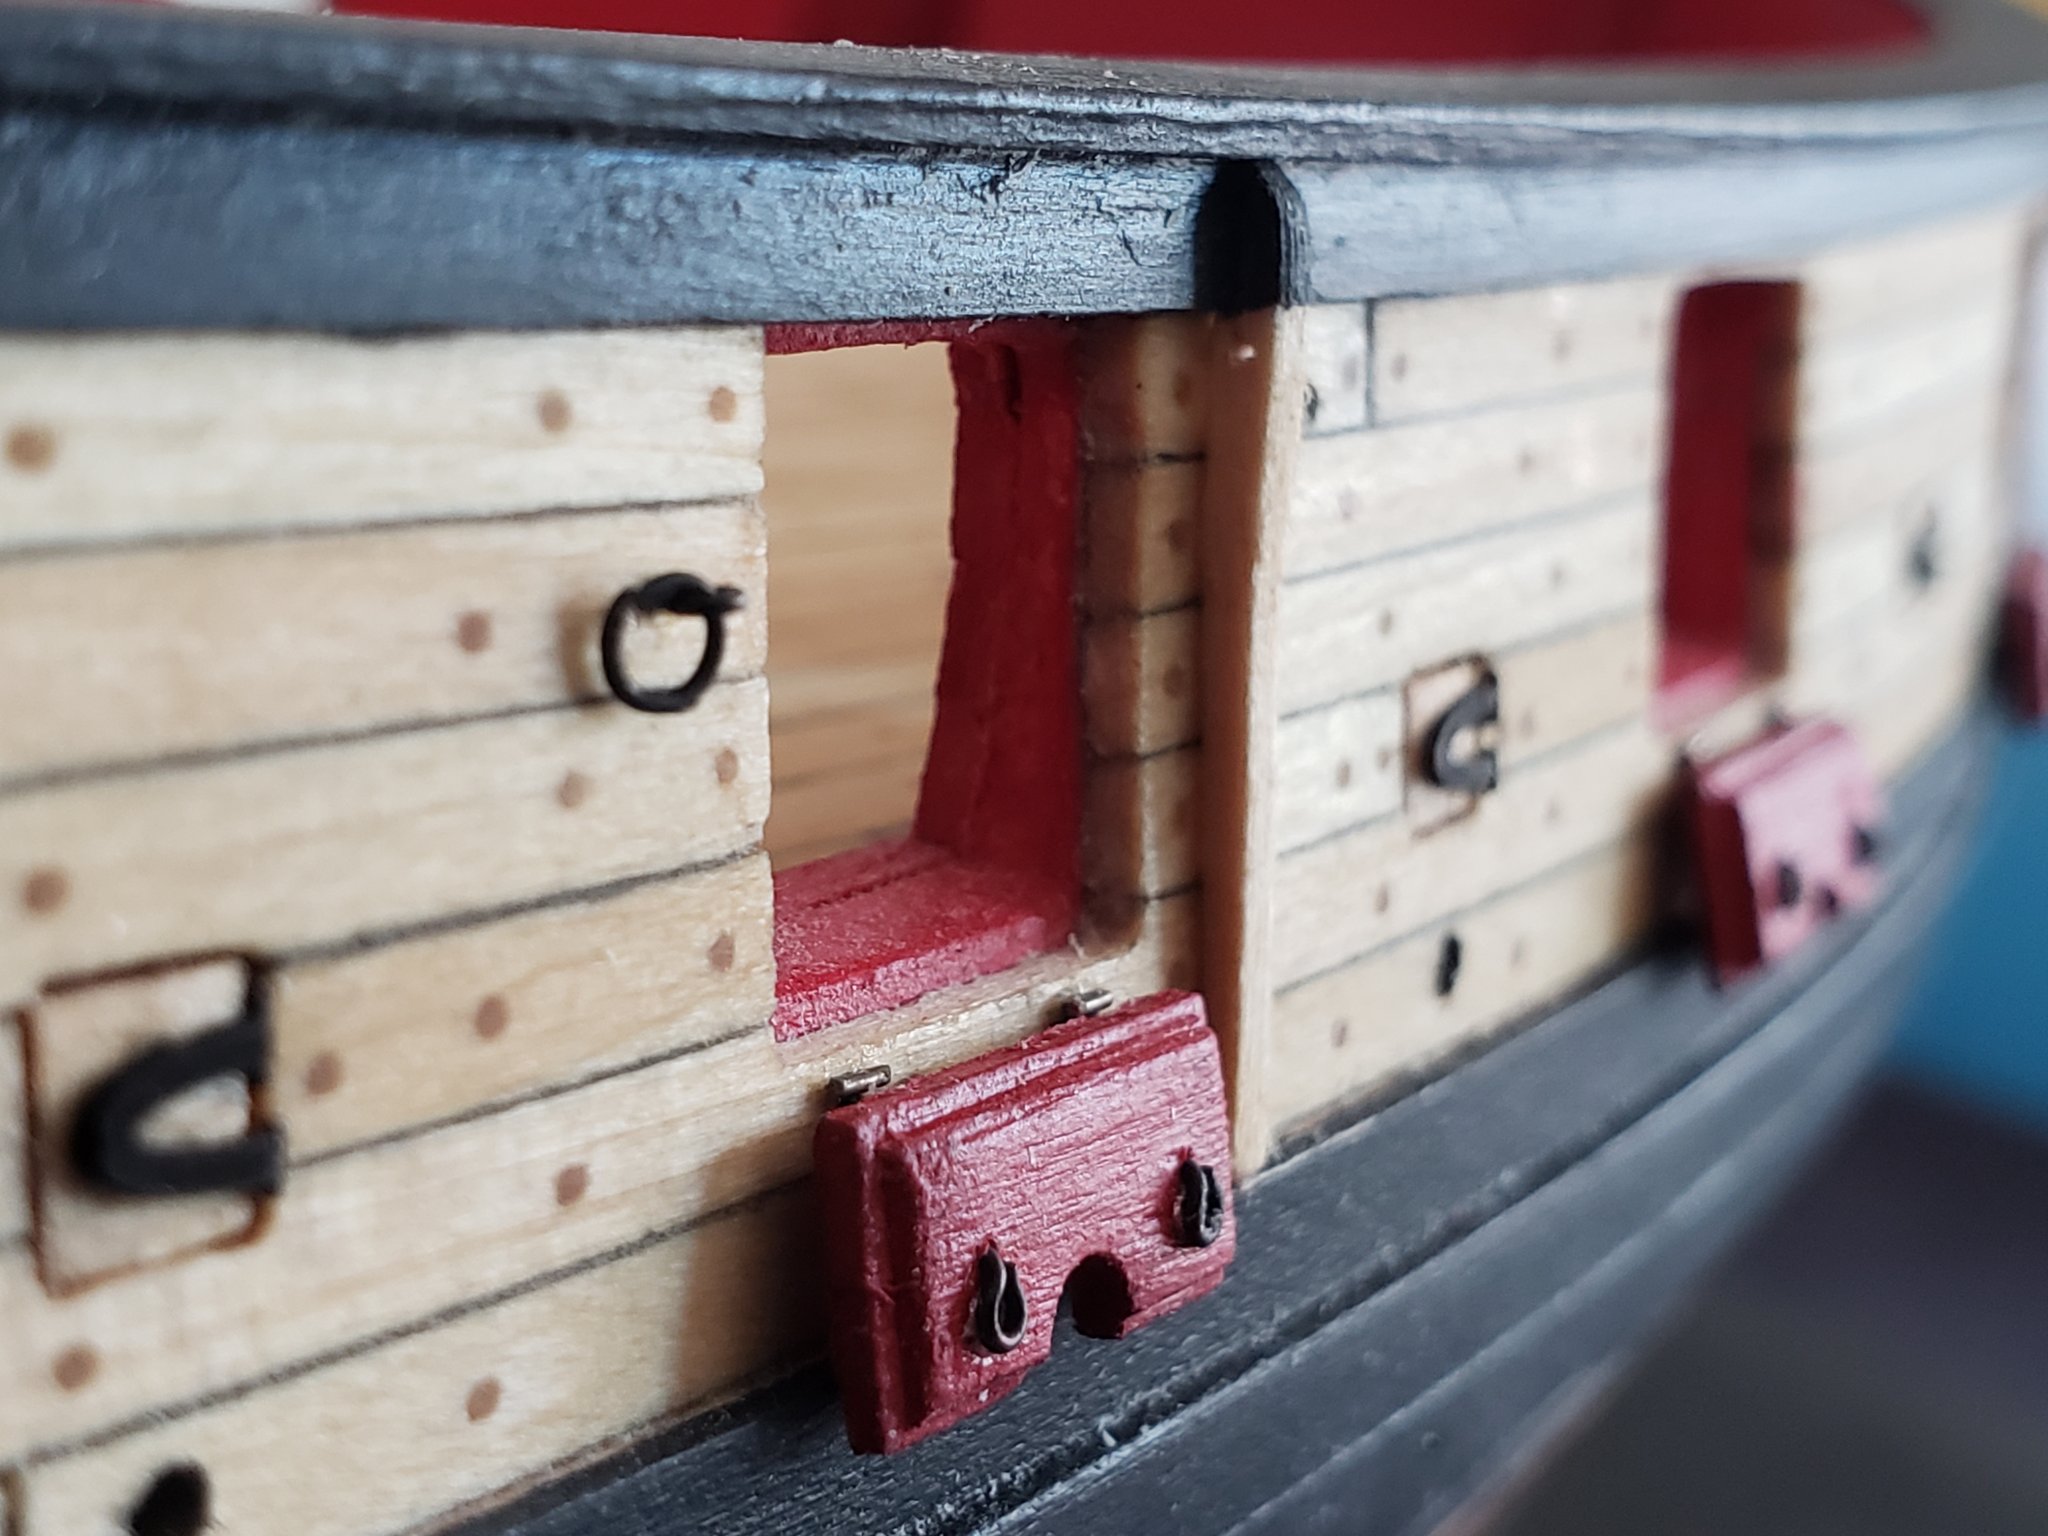
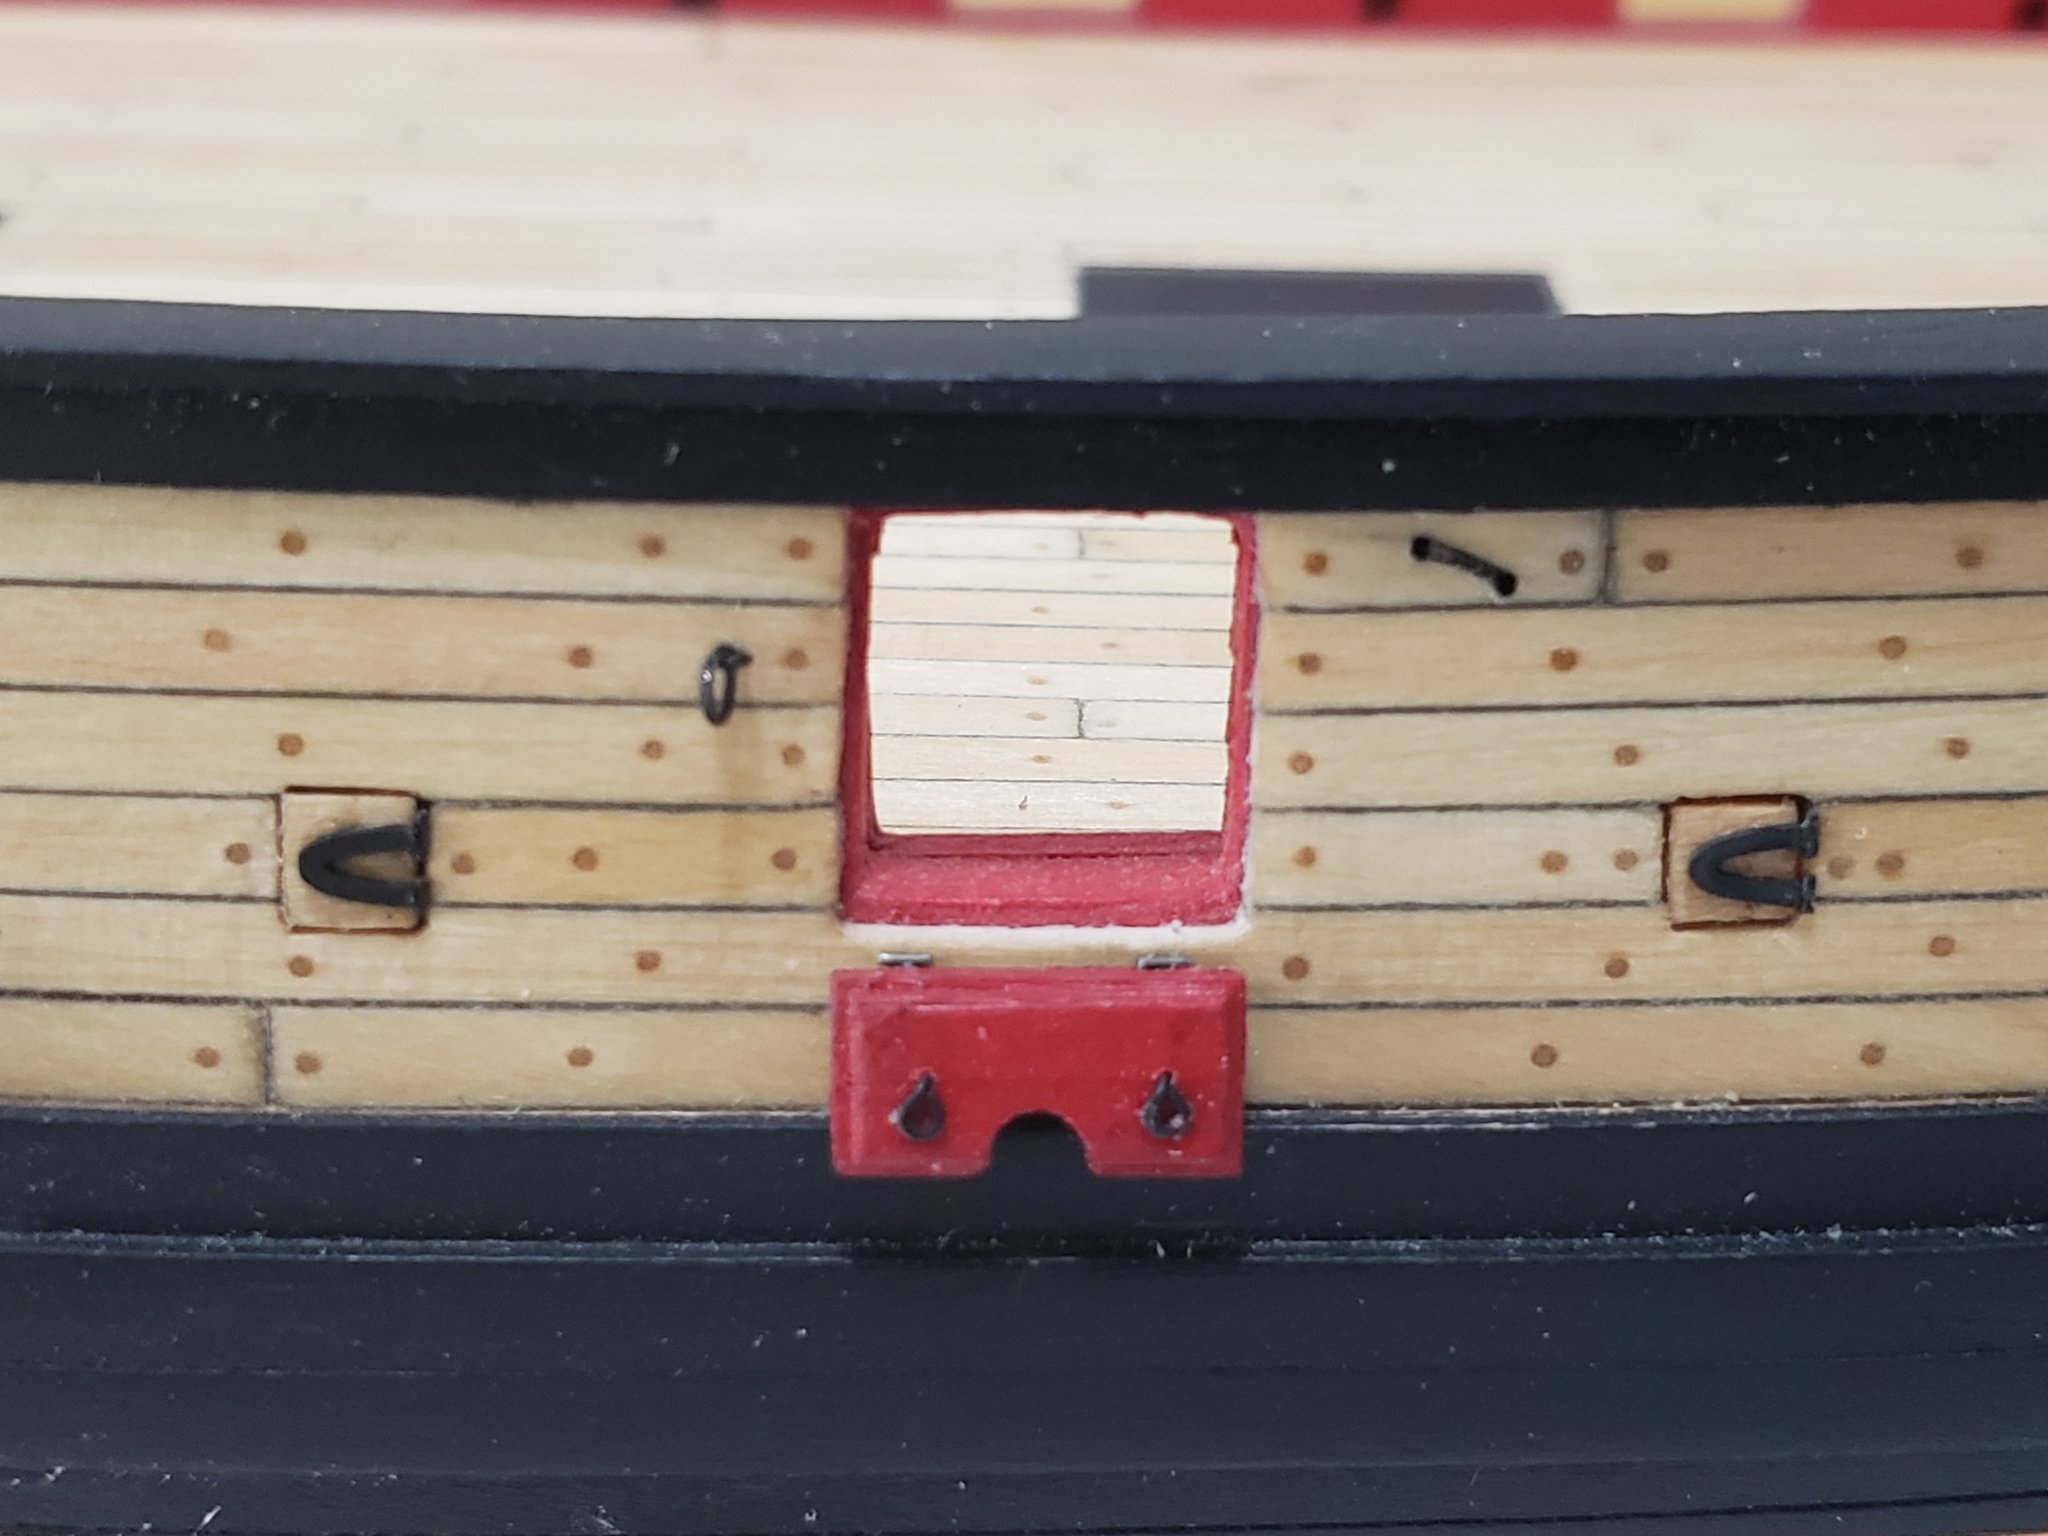
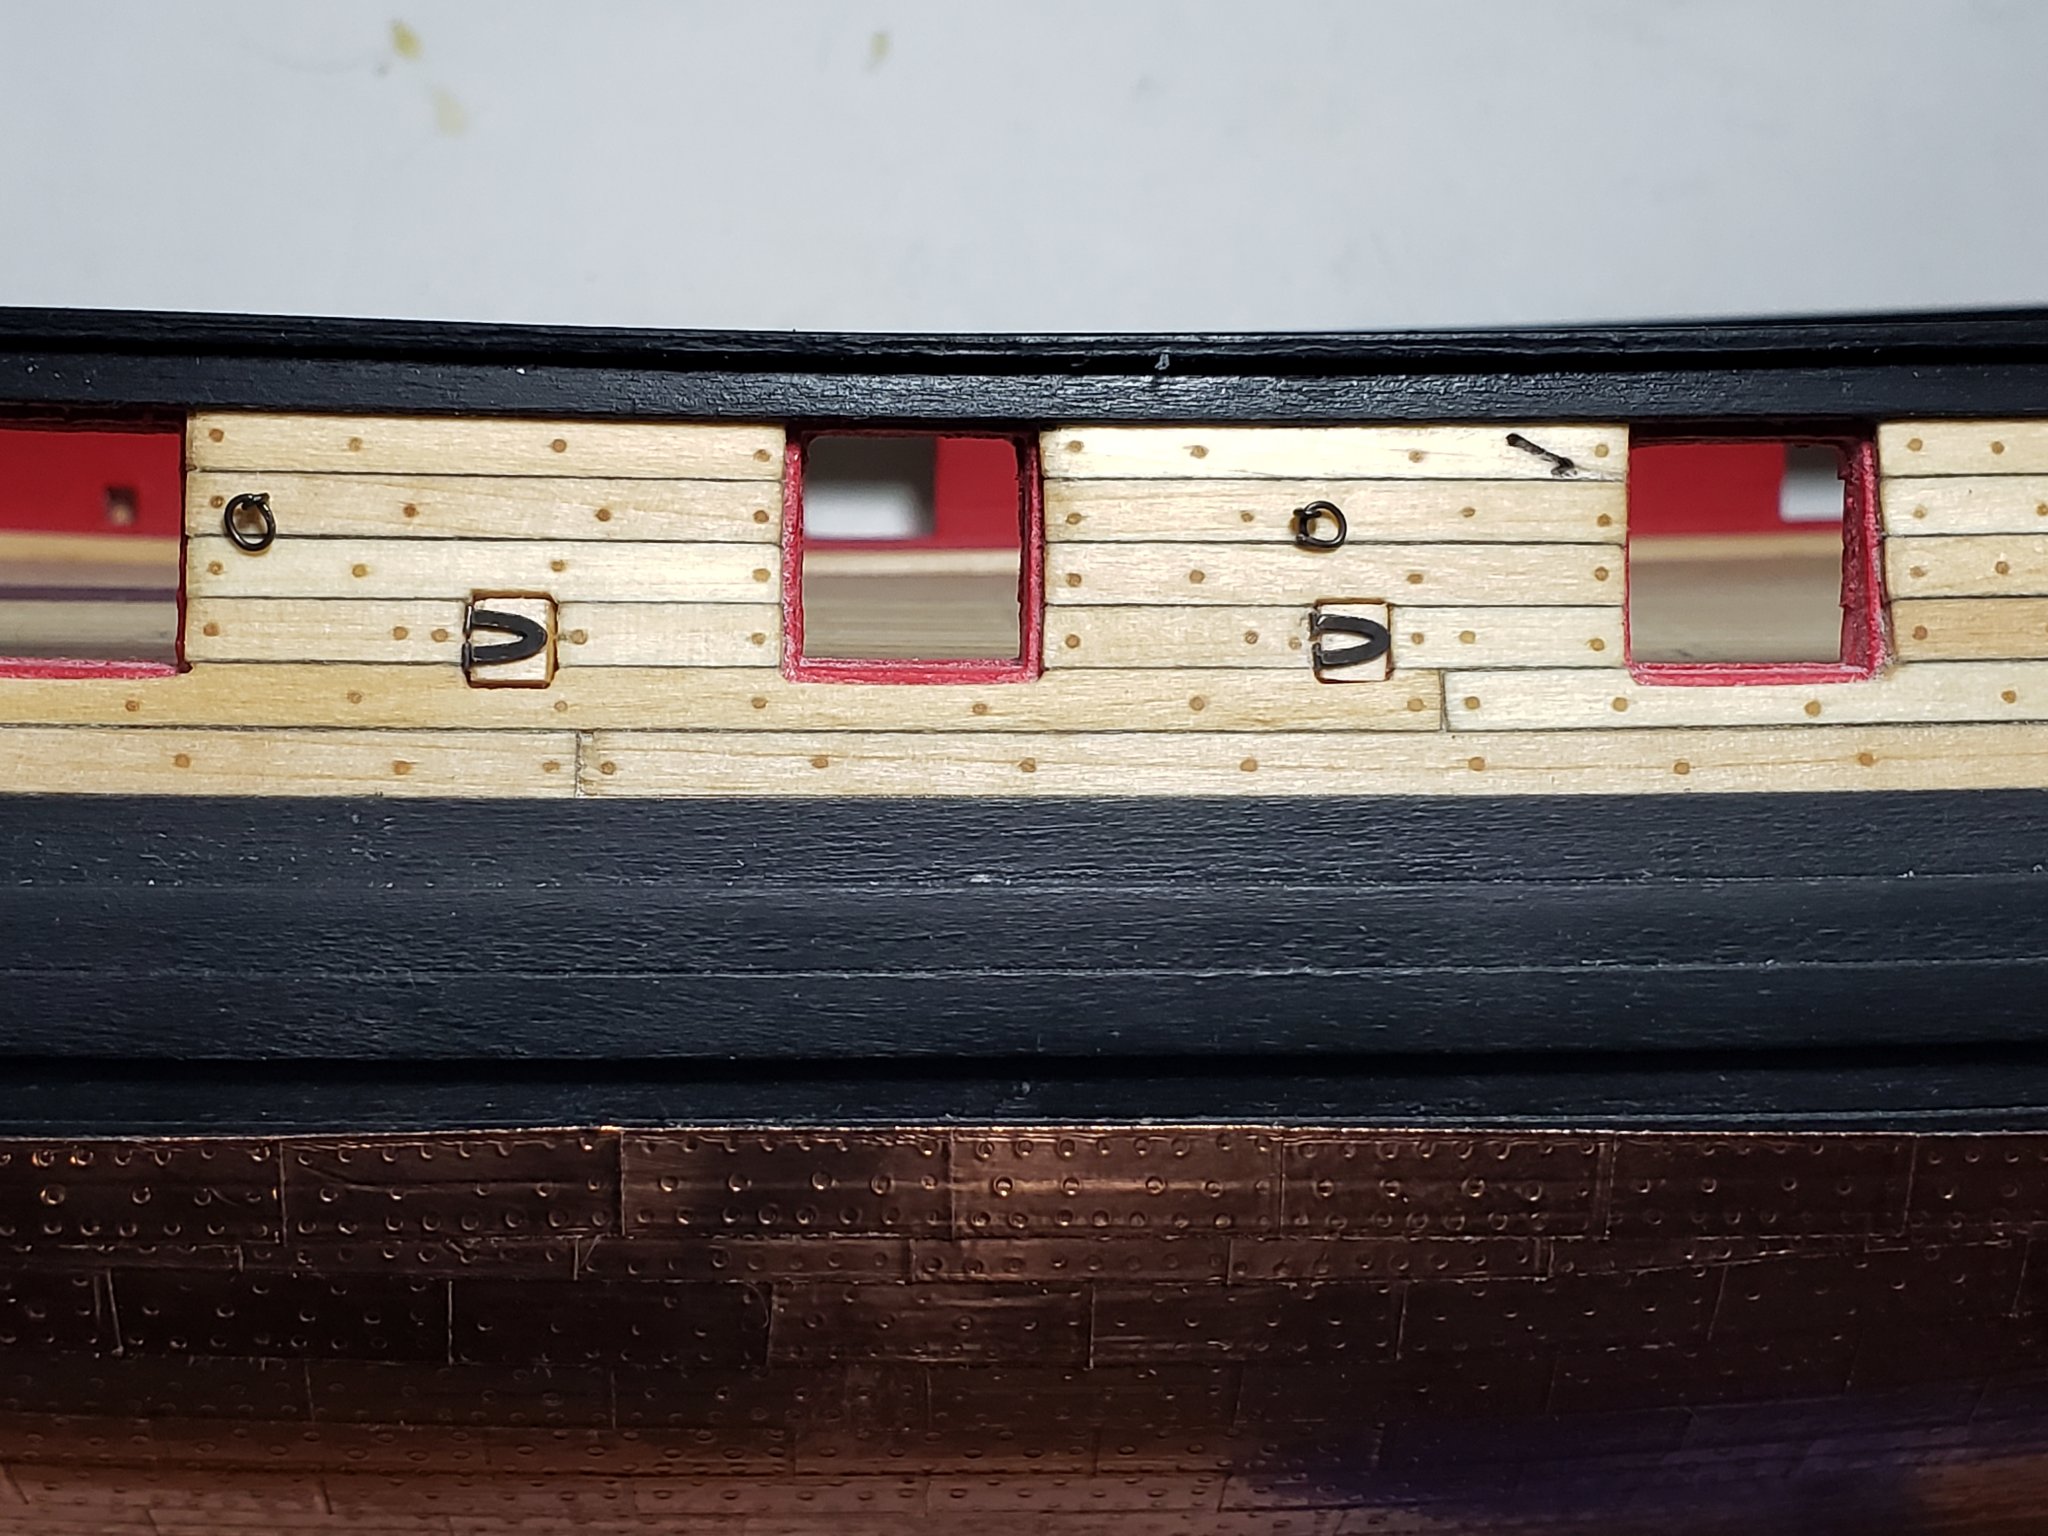
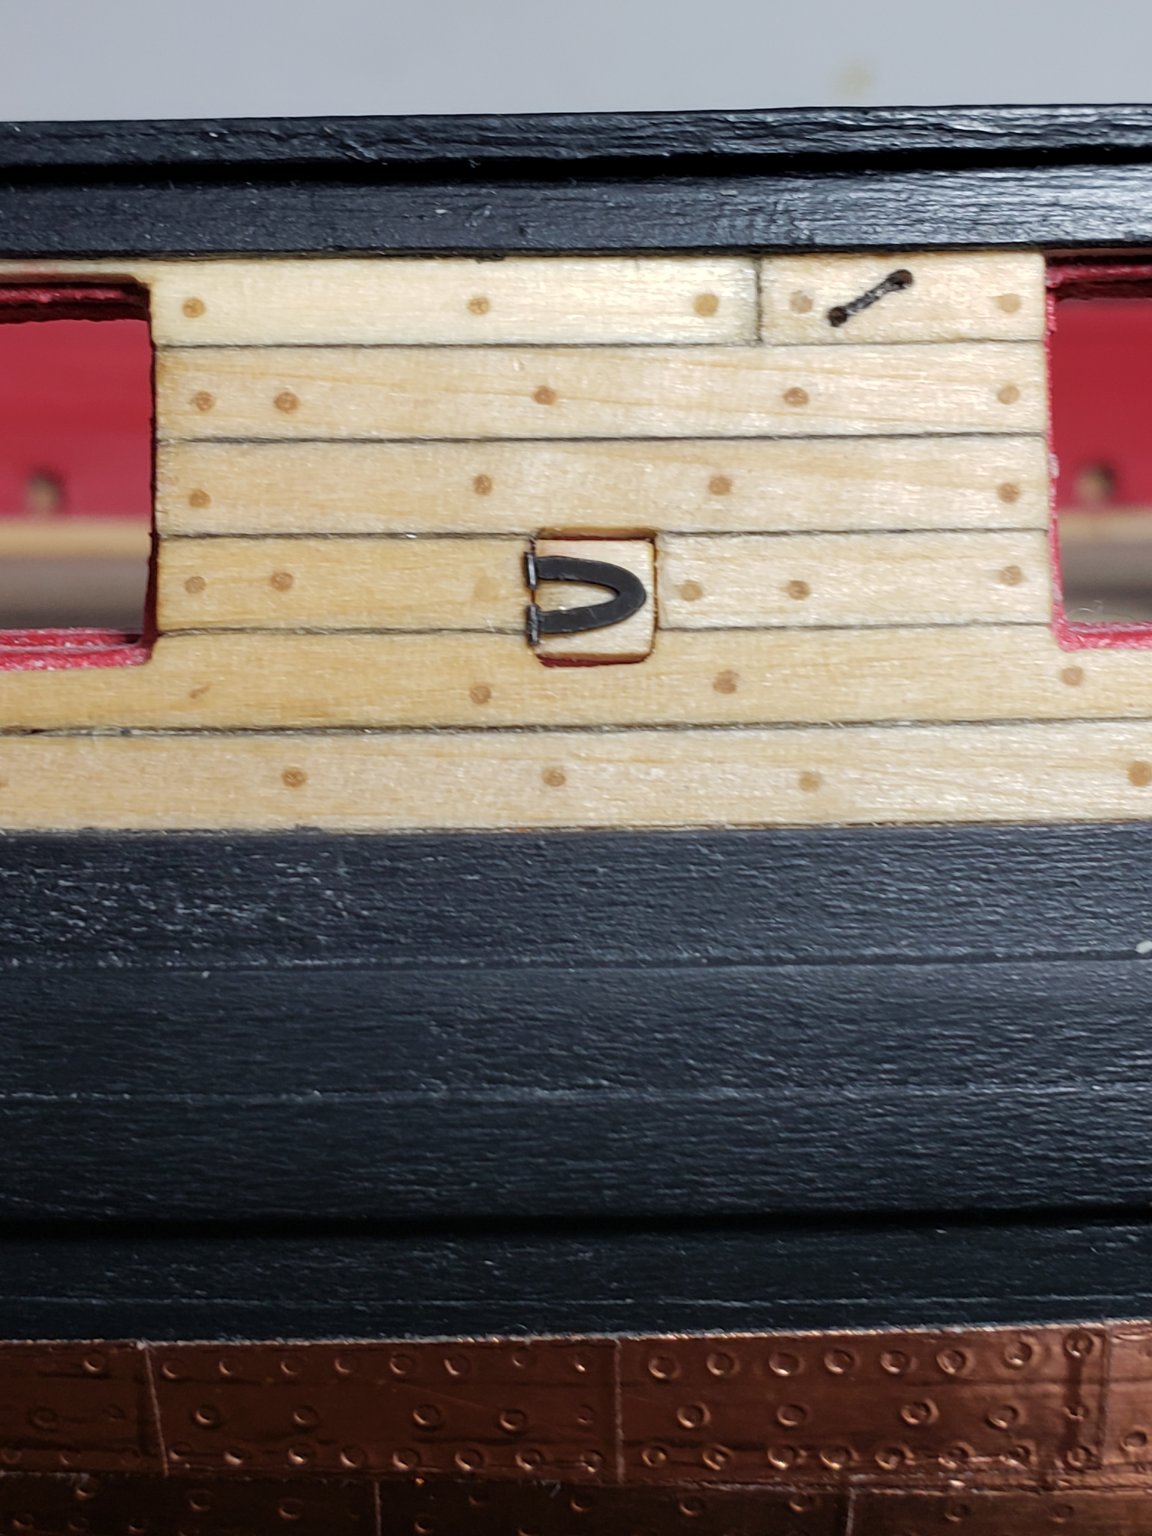
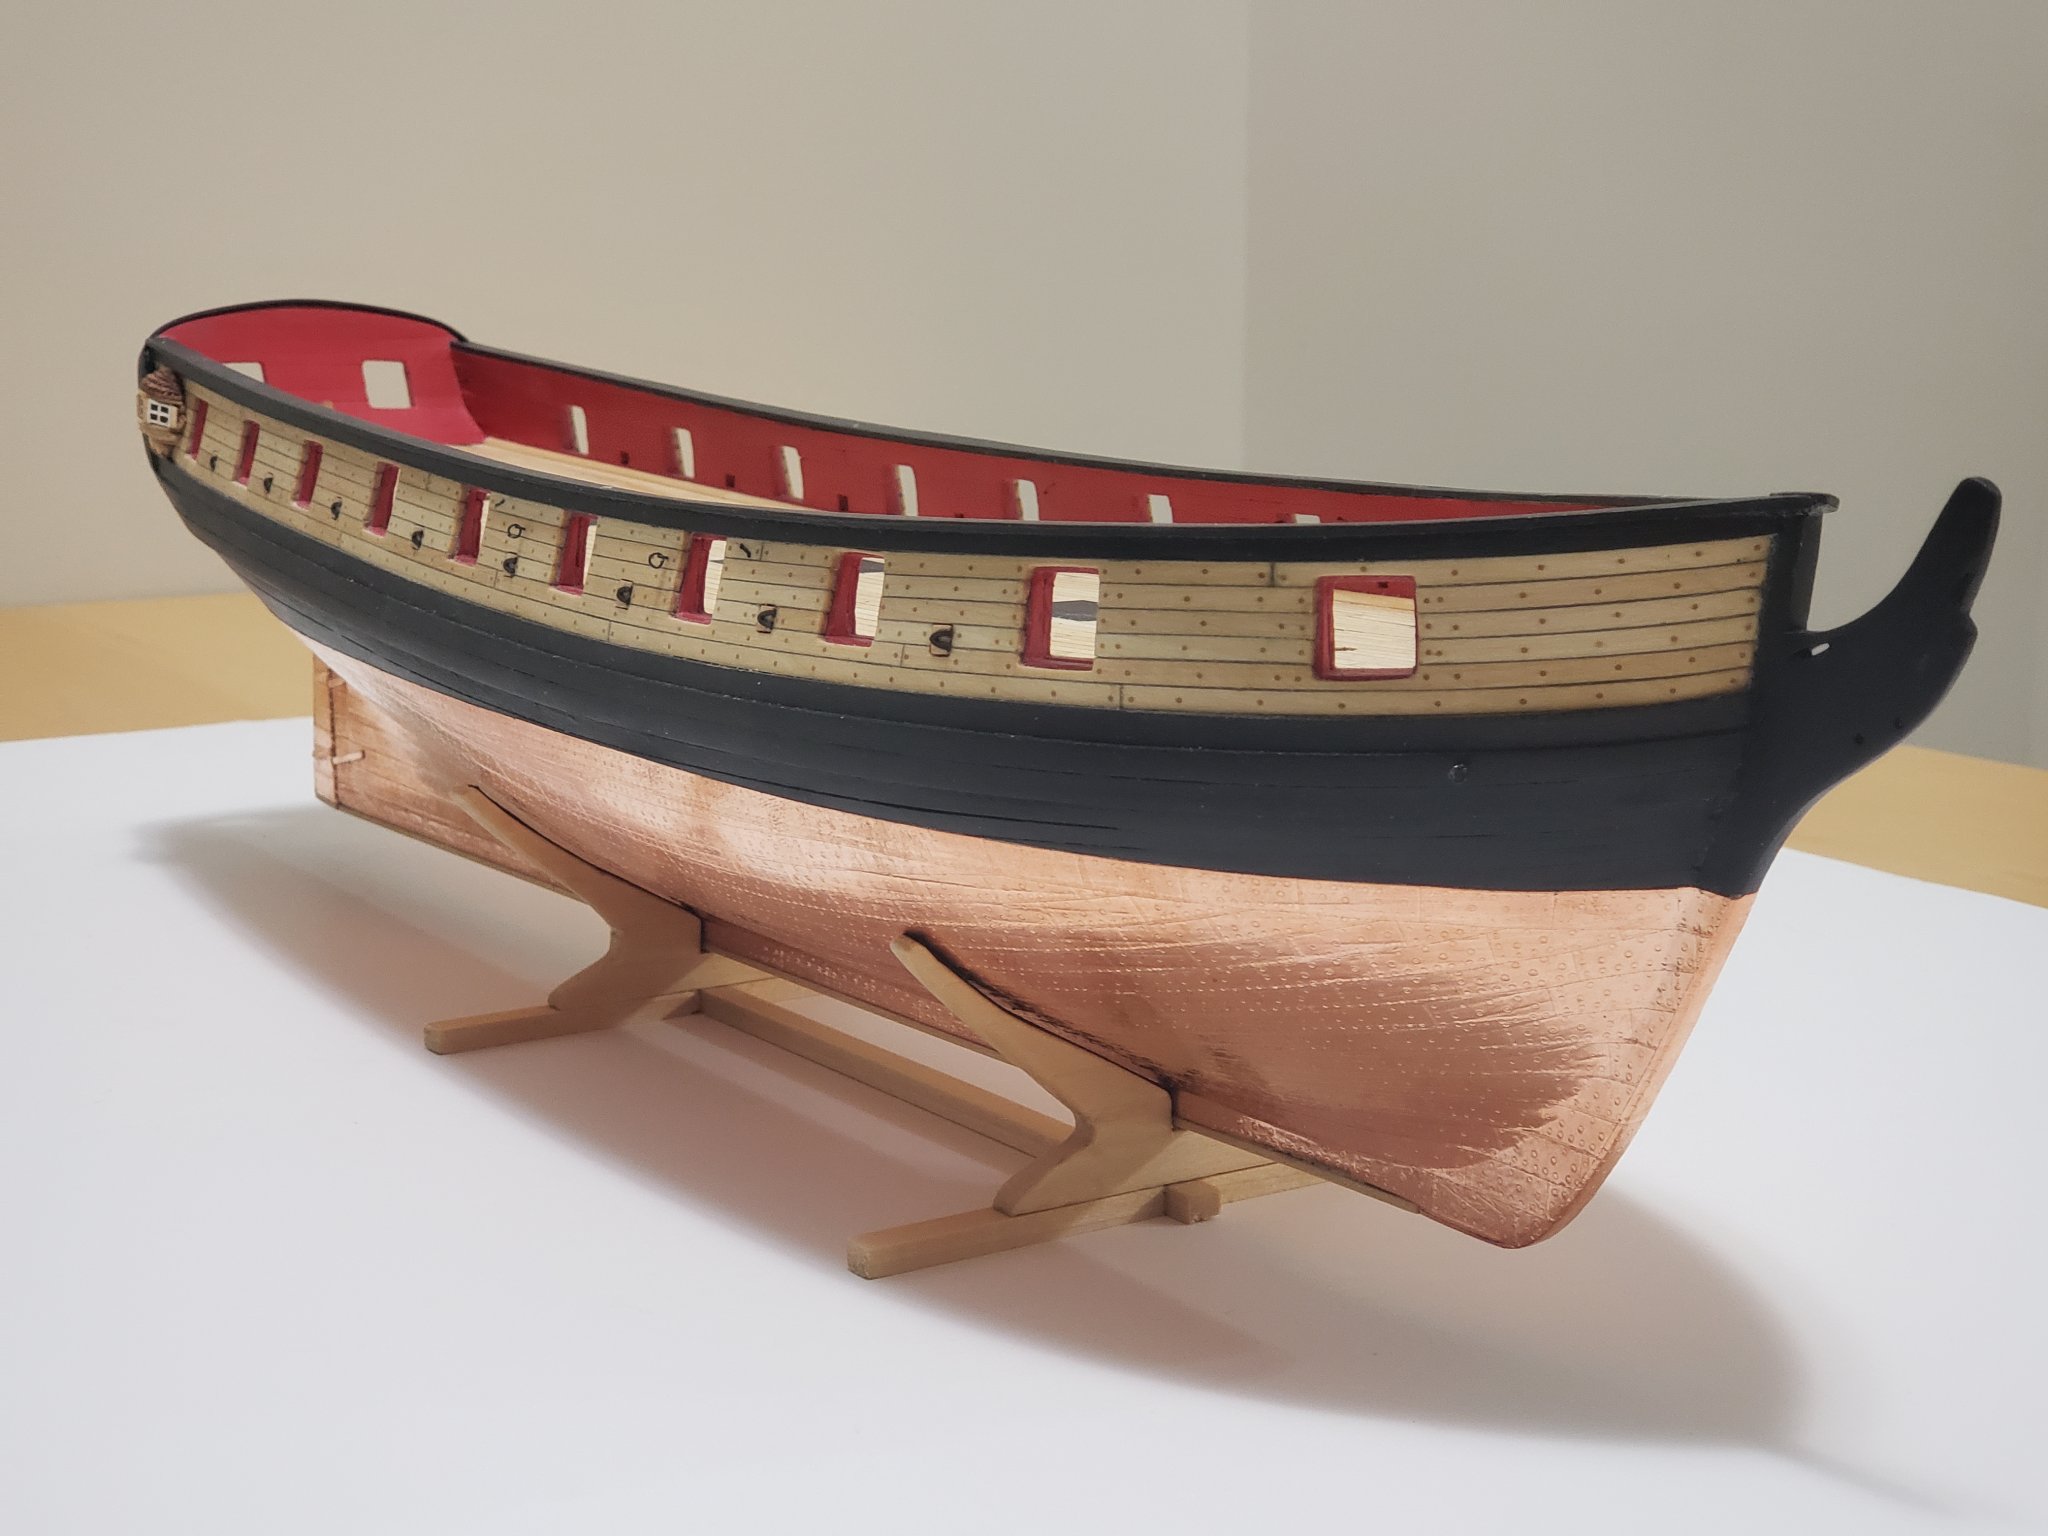
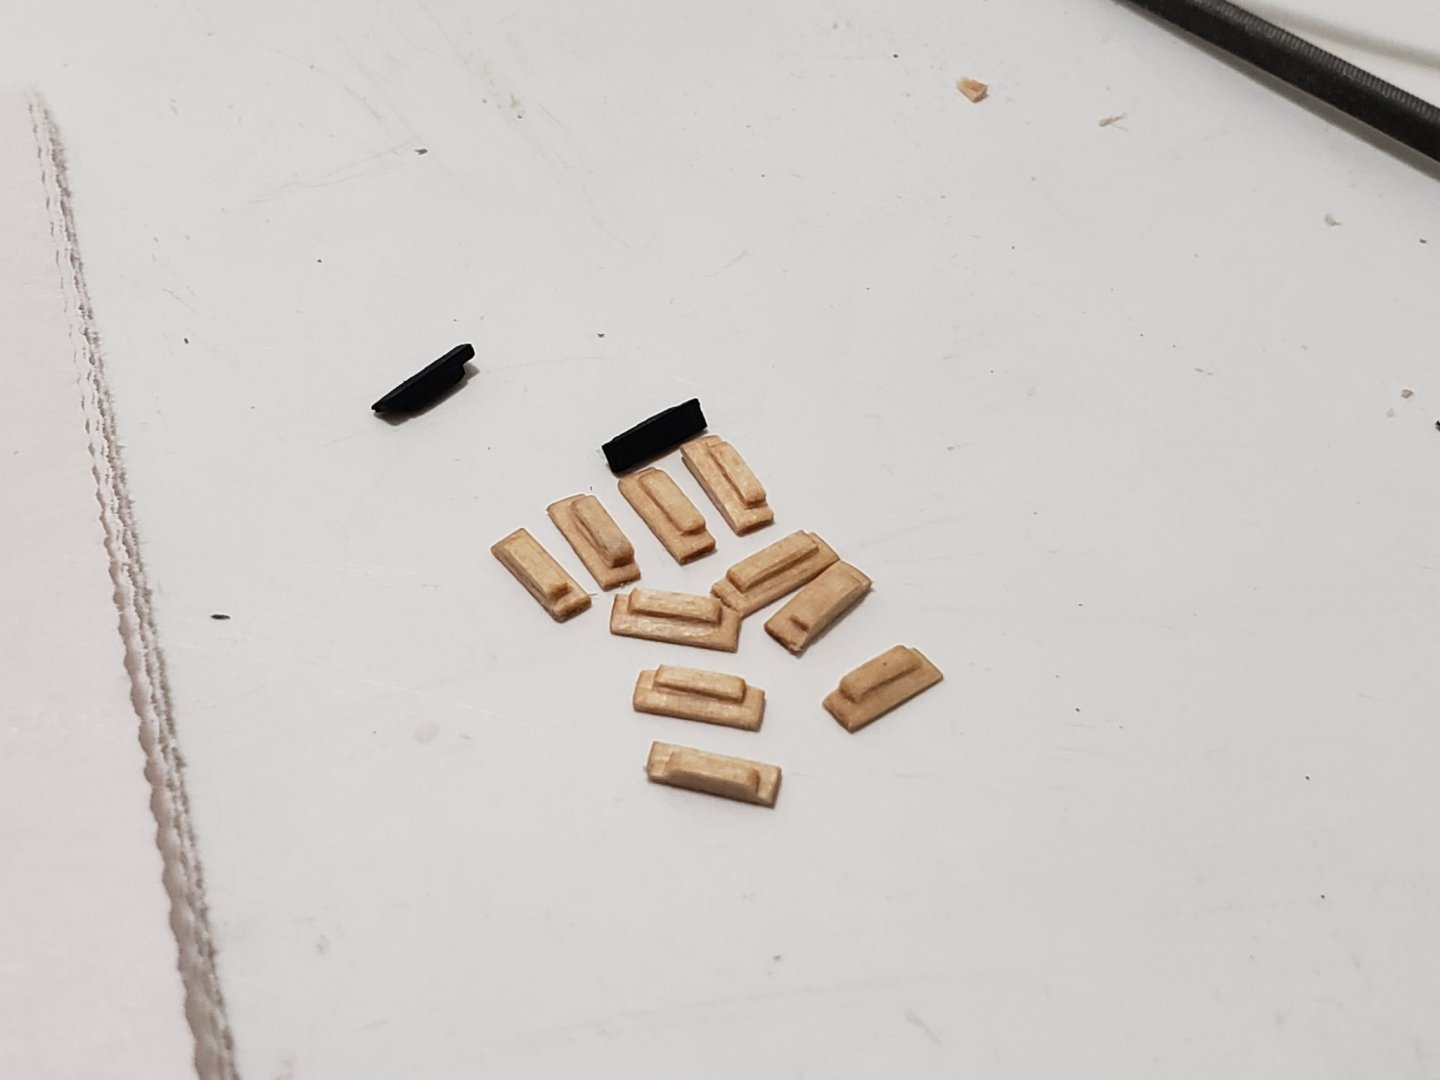
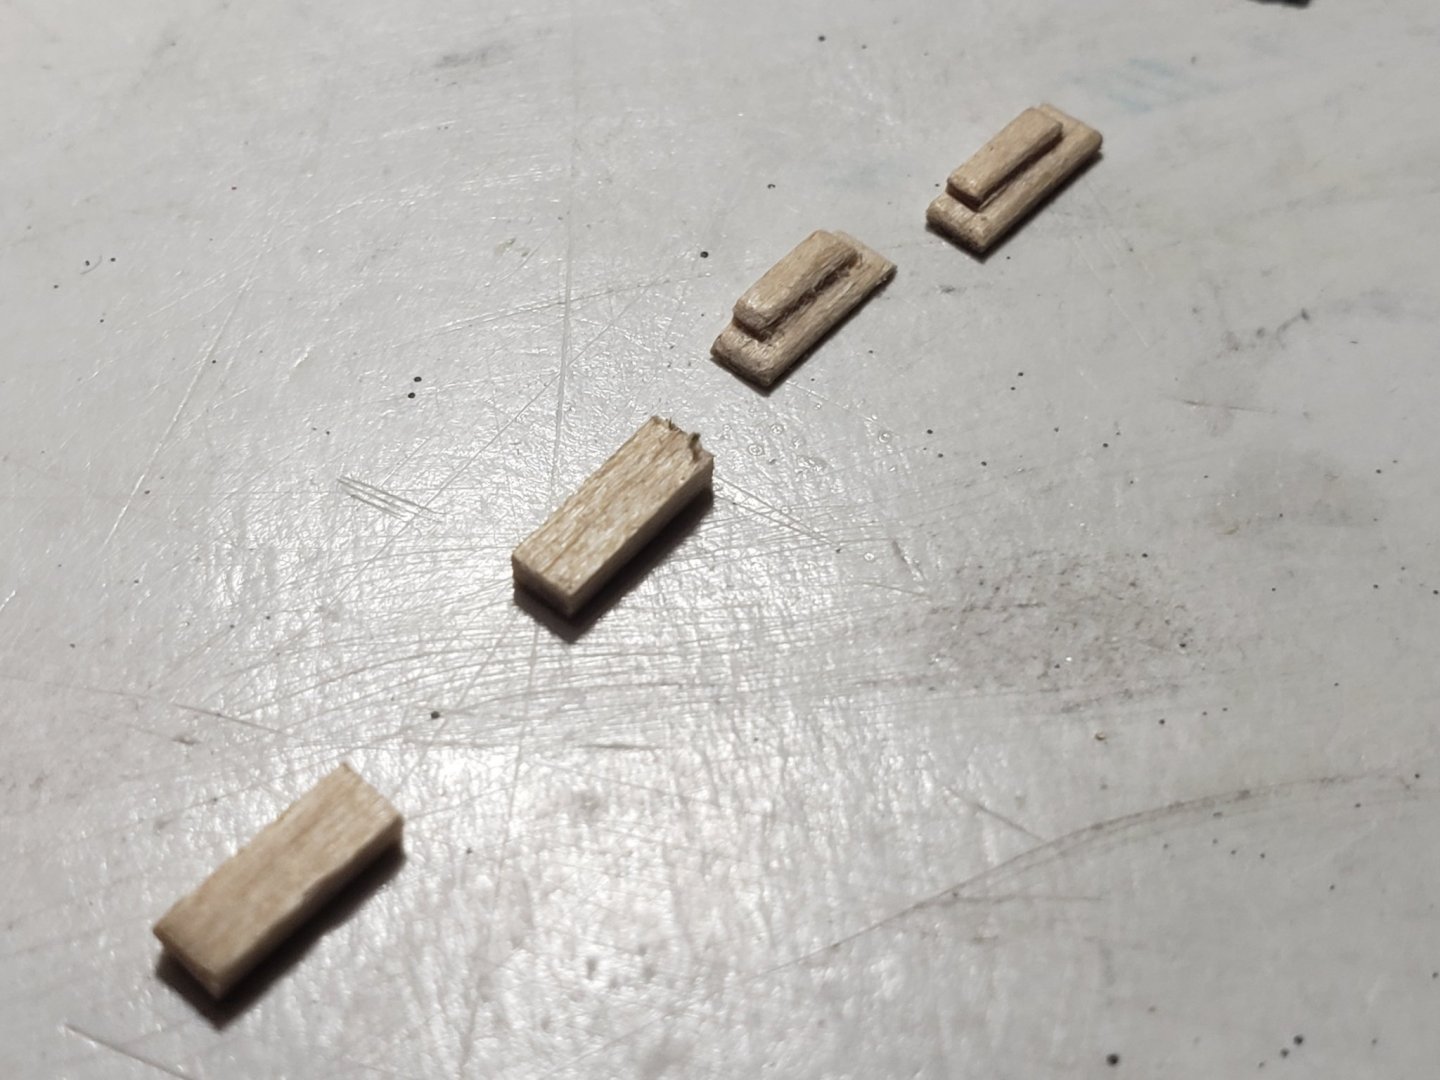
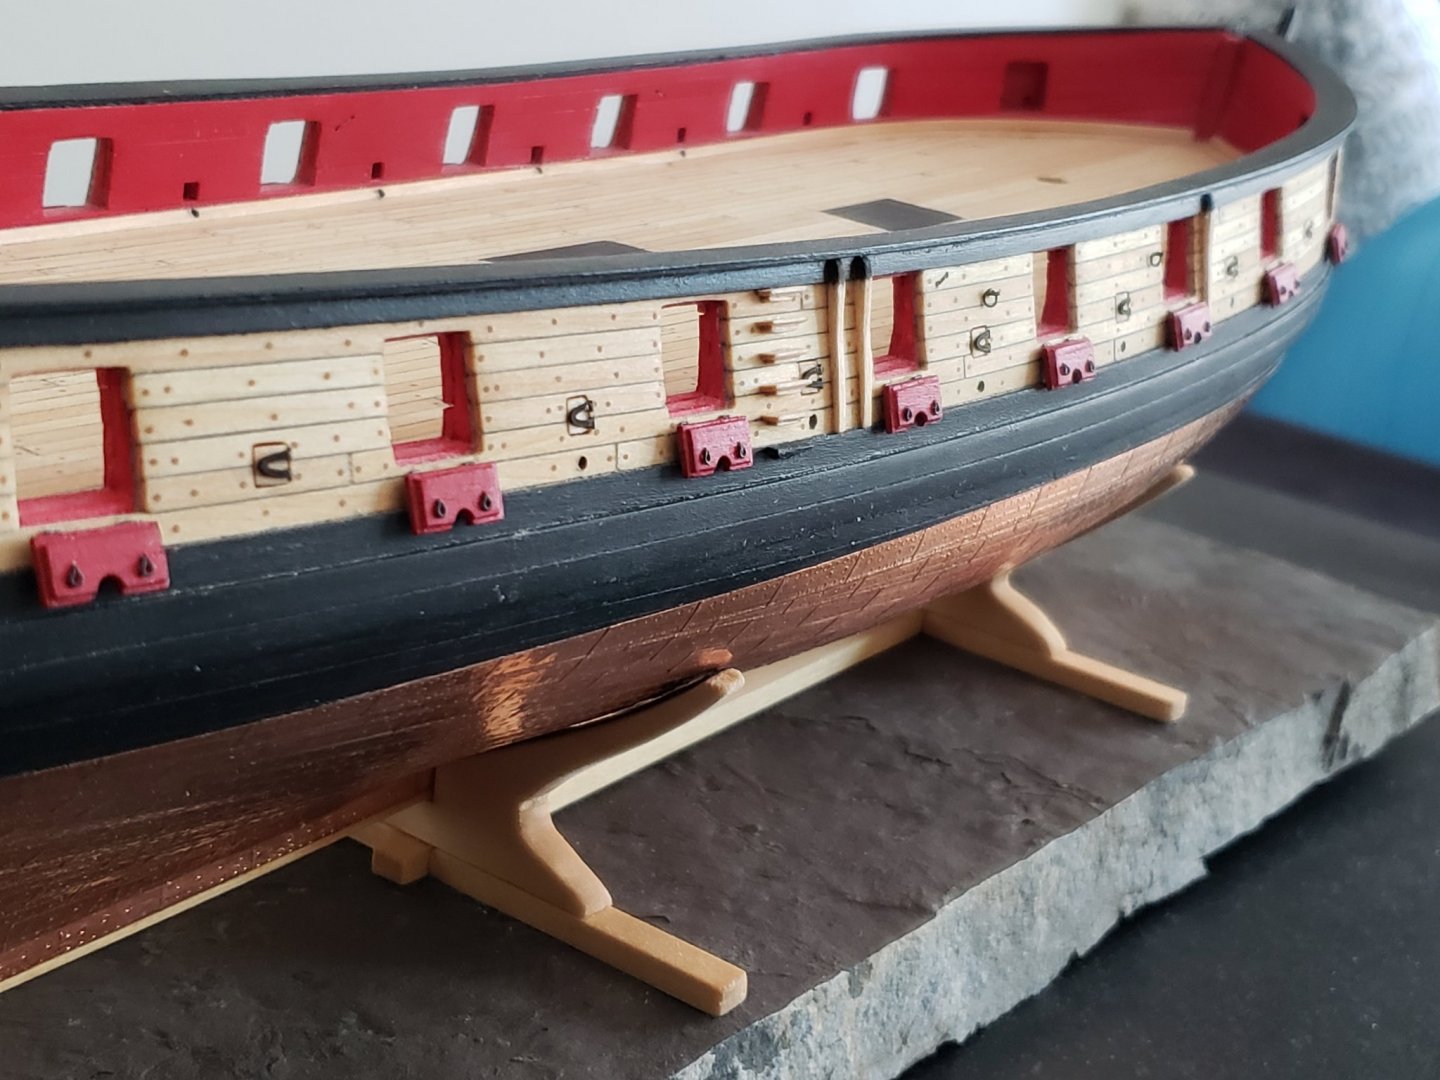
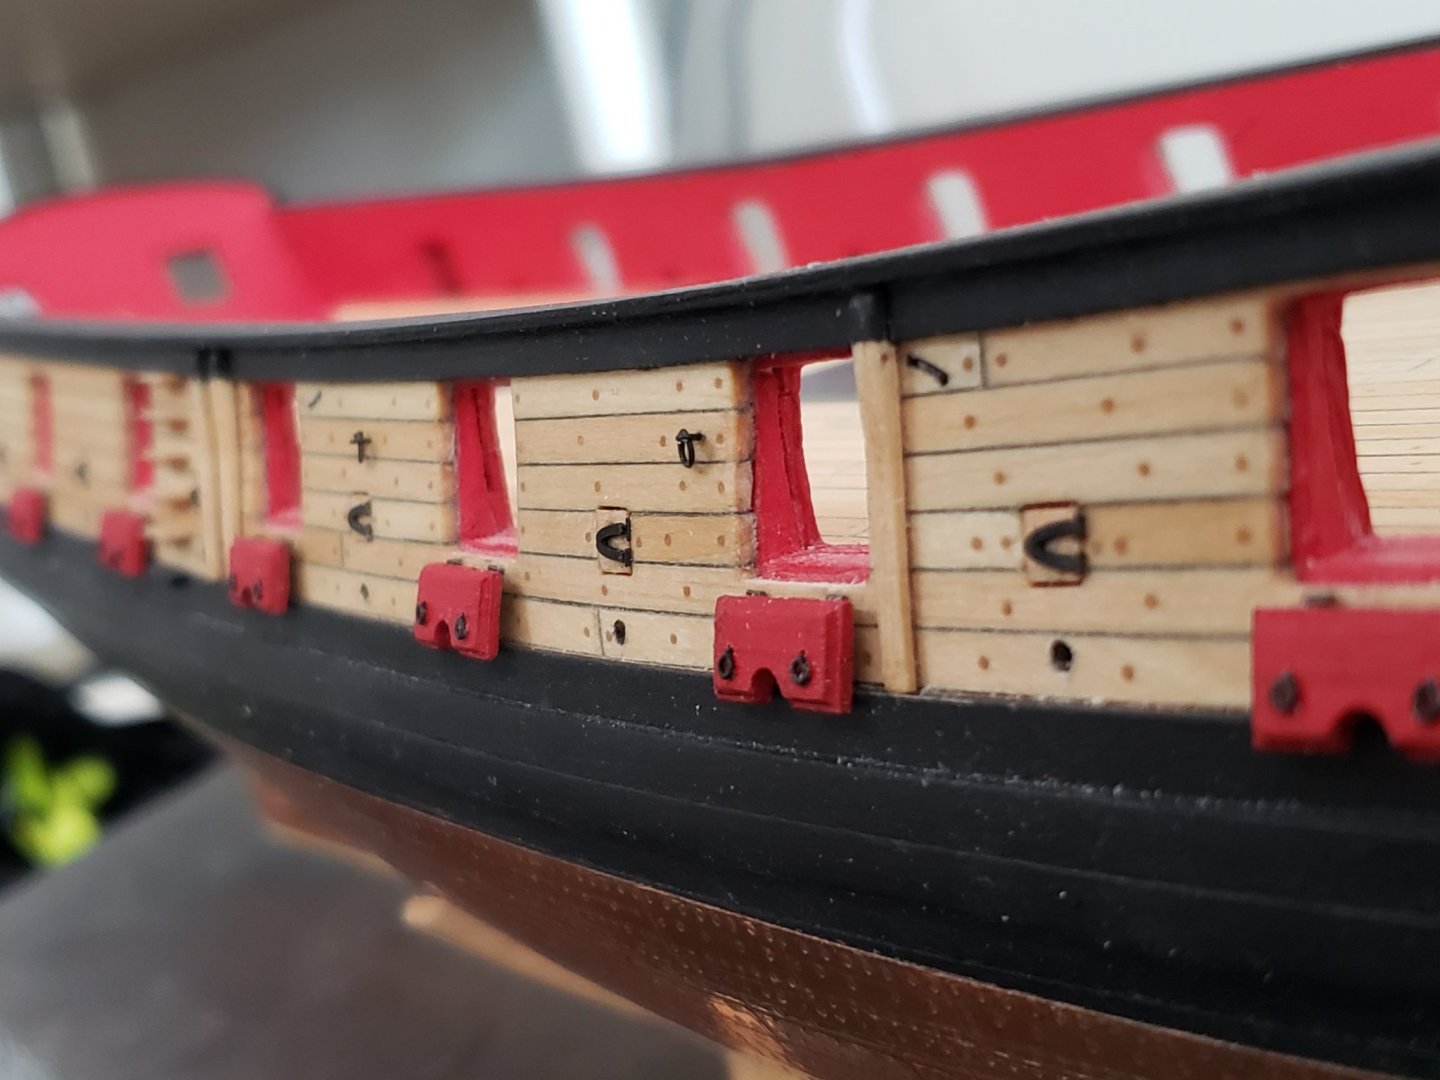
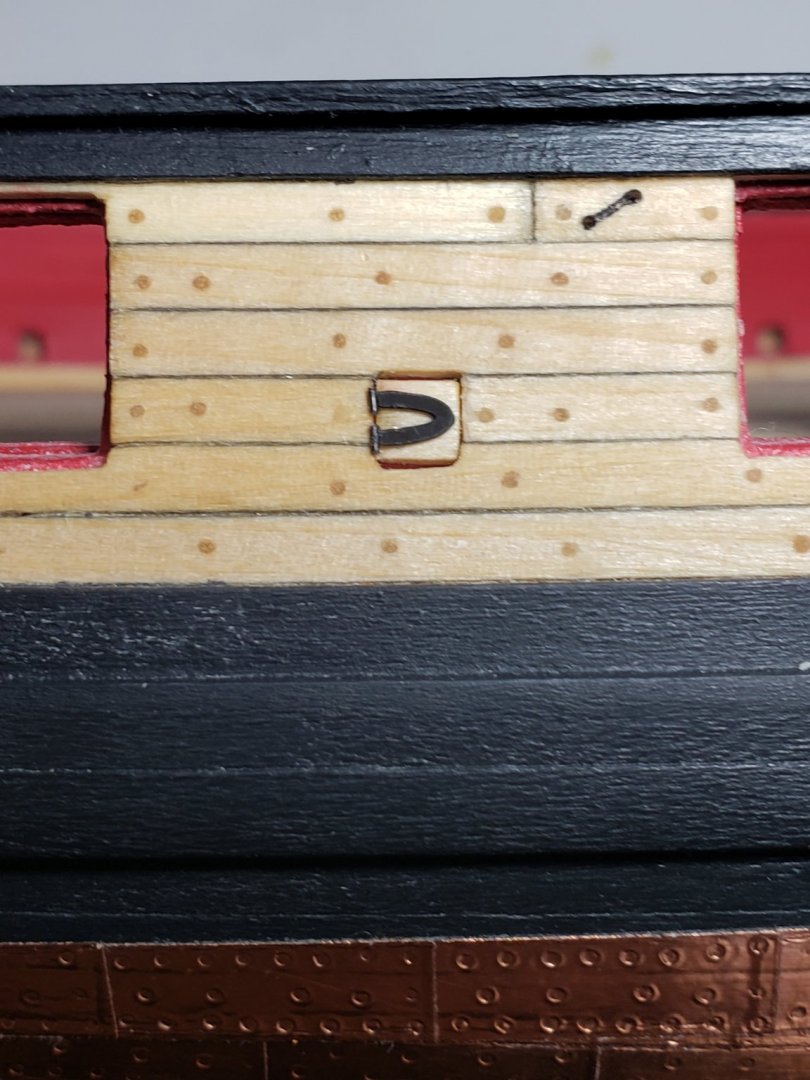
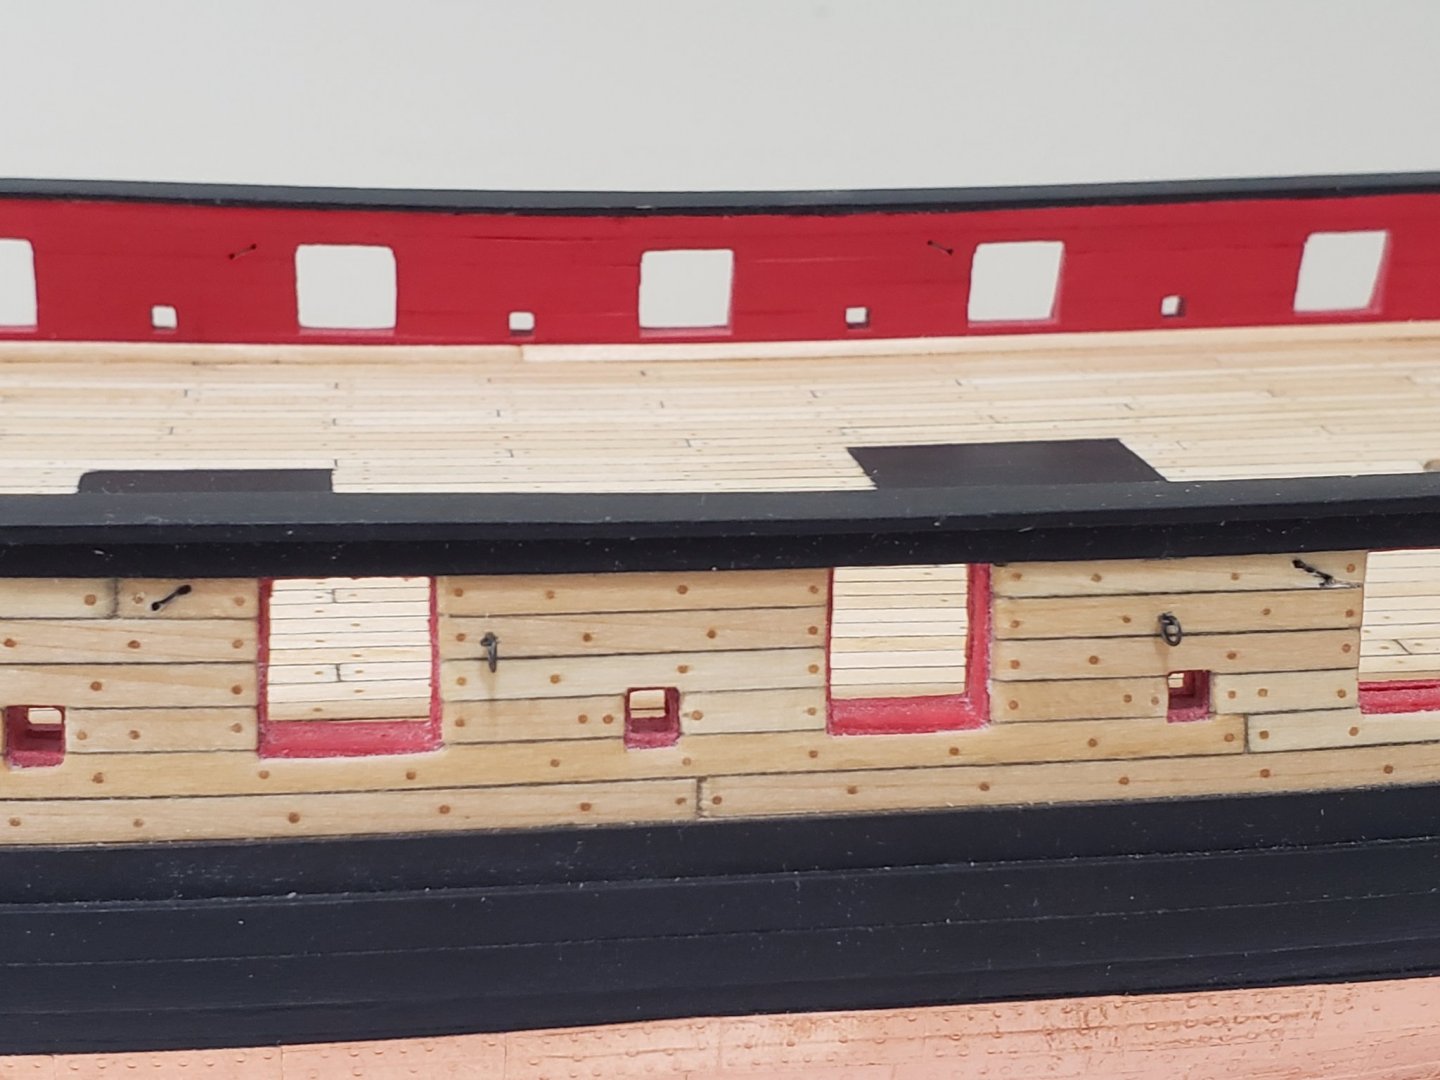
Many thanks Eamonn! I might try to find a way to make it thinner (maybe by using a chisel) but let's see... I'm more inclined to leave it as is since it seems a bit fragile I finished making the sweep ports. This was not too bad until I realized I forgot to paint the inside of it before it was too late.. Ah well, I am liking the contrast the wood makes with the red, and the back of the ports is kind of hard to see since its so deep, so all is good! I needed to use a bit of wider wood than the instructions called out for. Fortunately, I had saved all my scraps and used some wider pieces. After cutting each piece, I applied tung oil, then stuck them to the hull using diluted glue. Then the horseshoe shaped hinges and wire pins were also installed using diluted wood glue. Here are some pics:

- 950 replies
-
- 19
-
-
- syren
- model shipways
- (and 1 more)
-
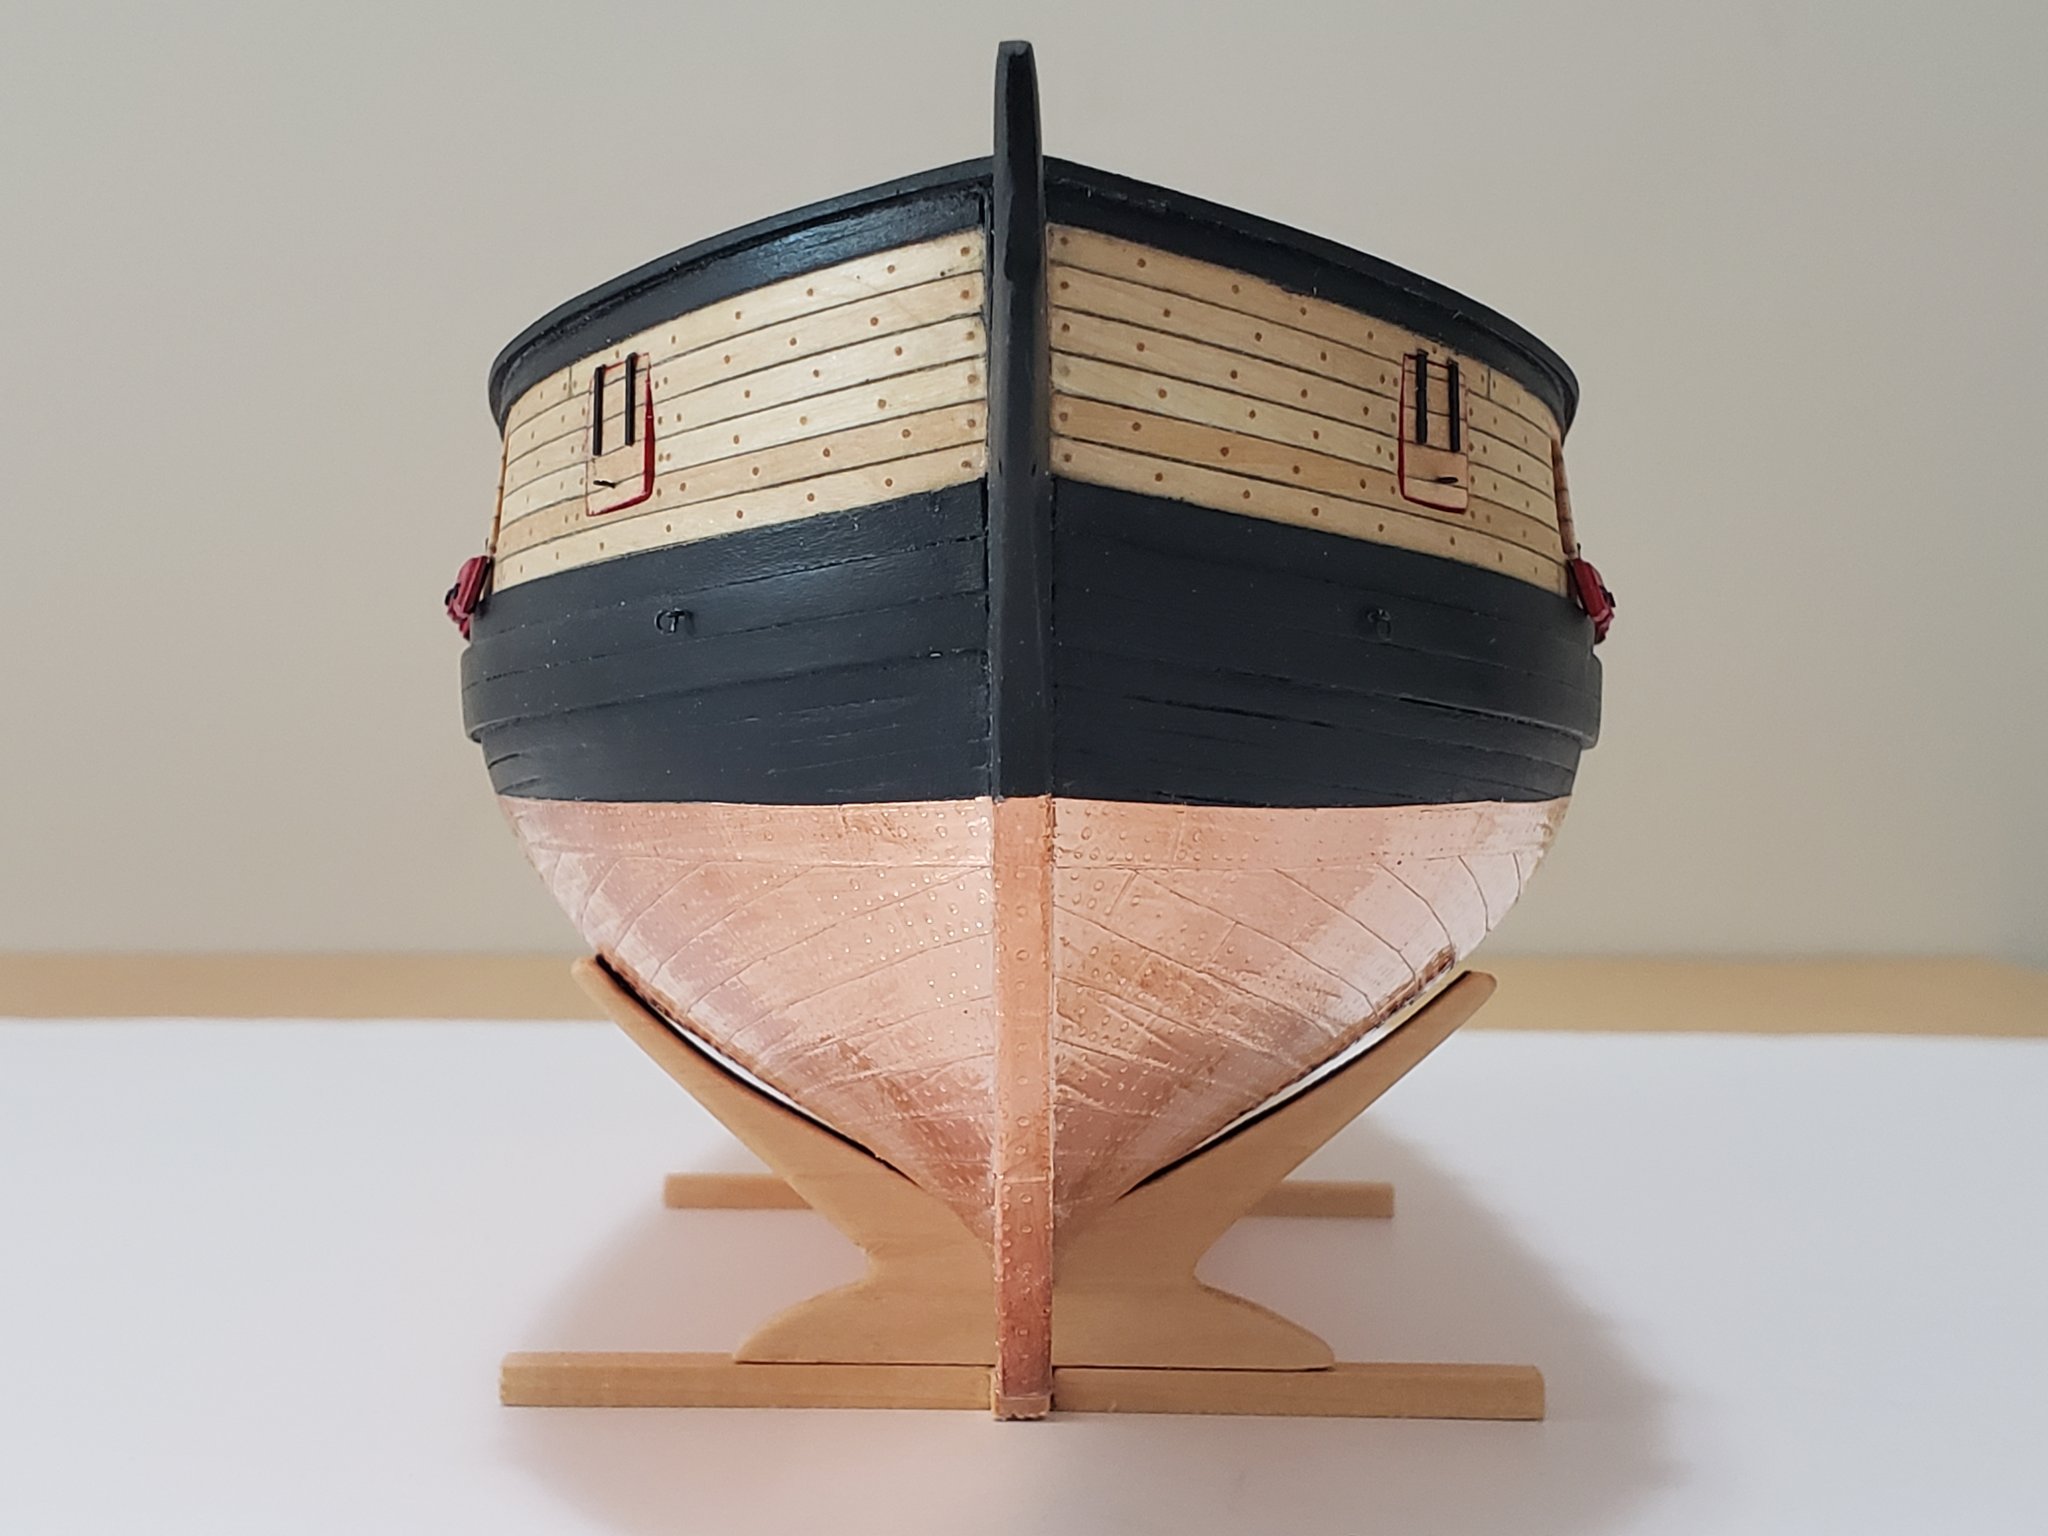
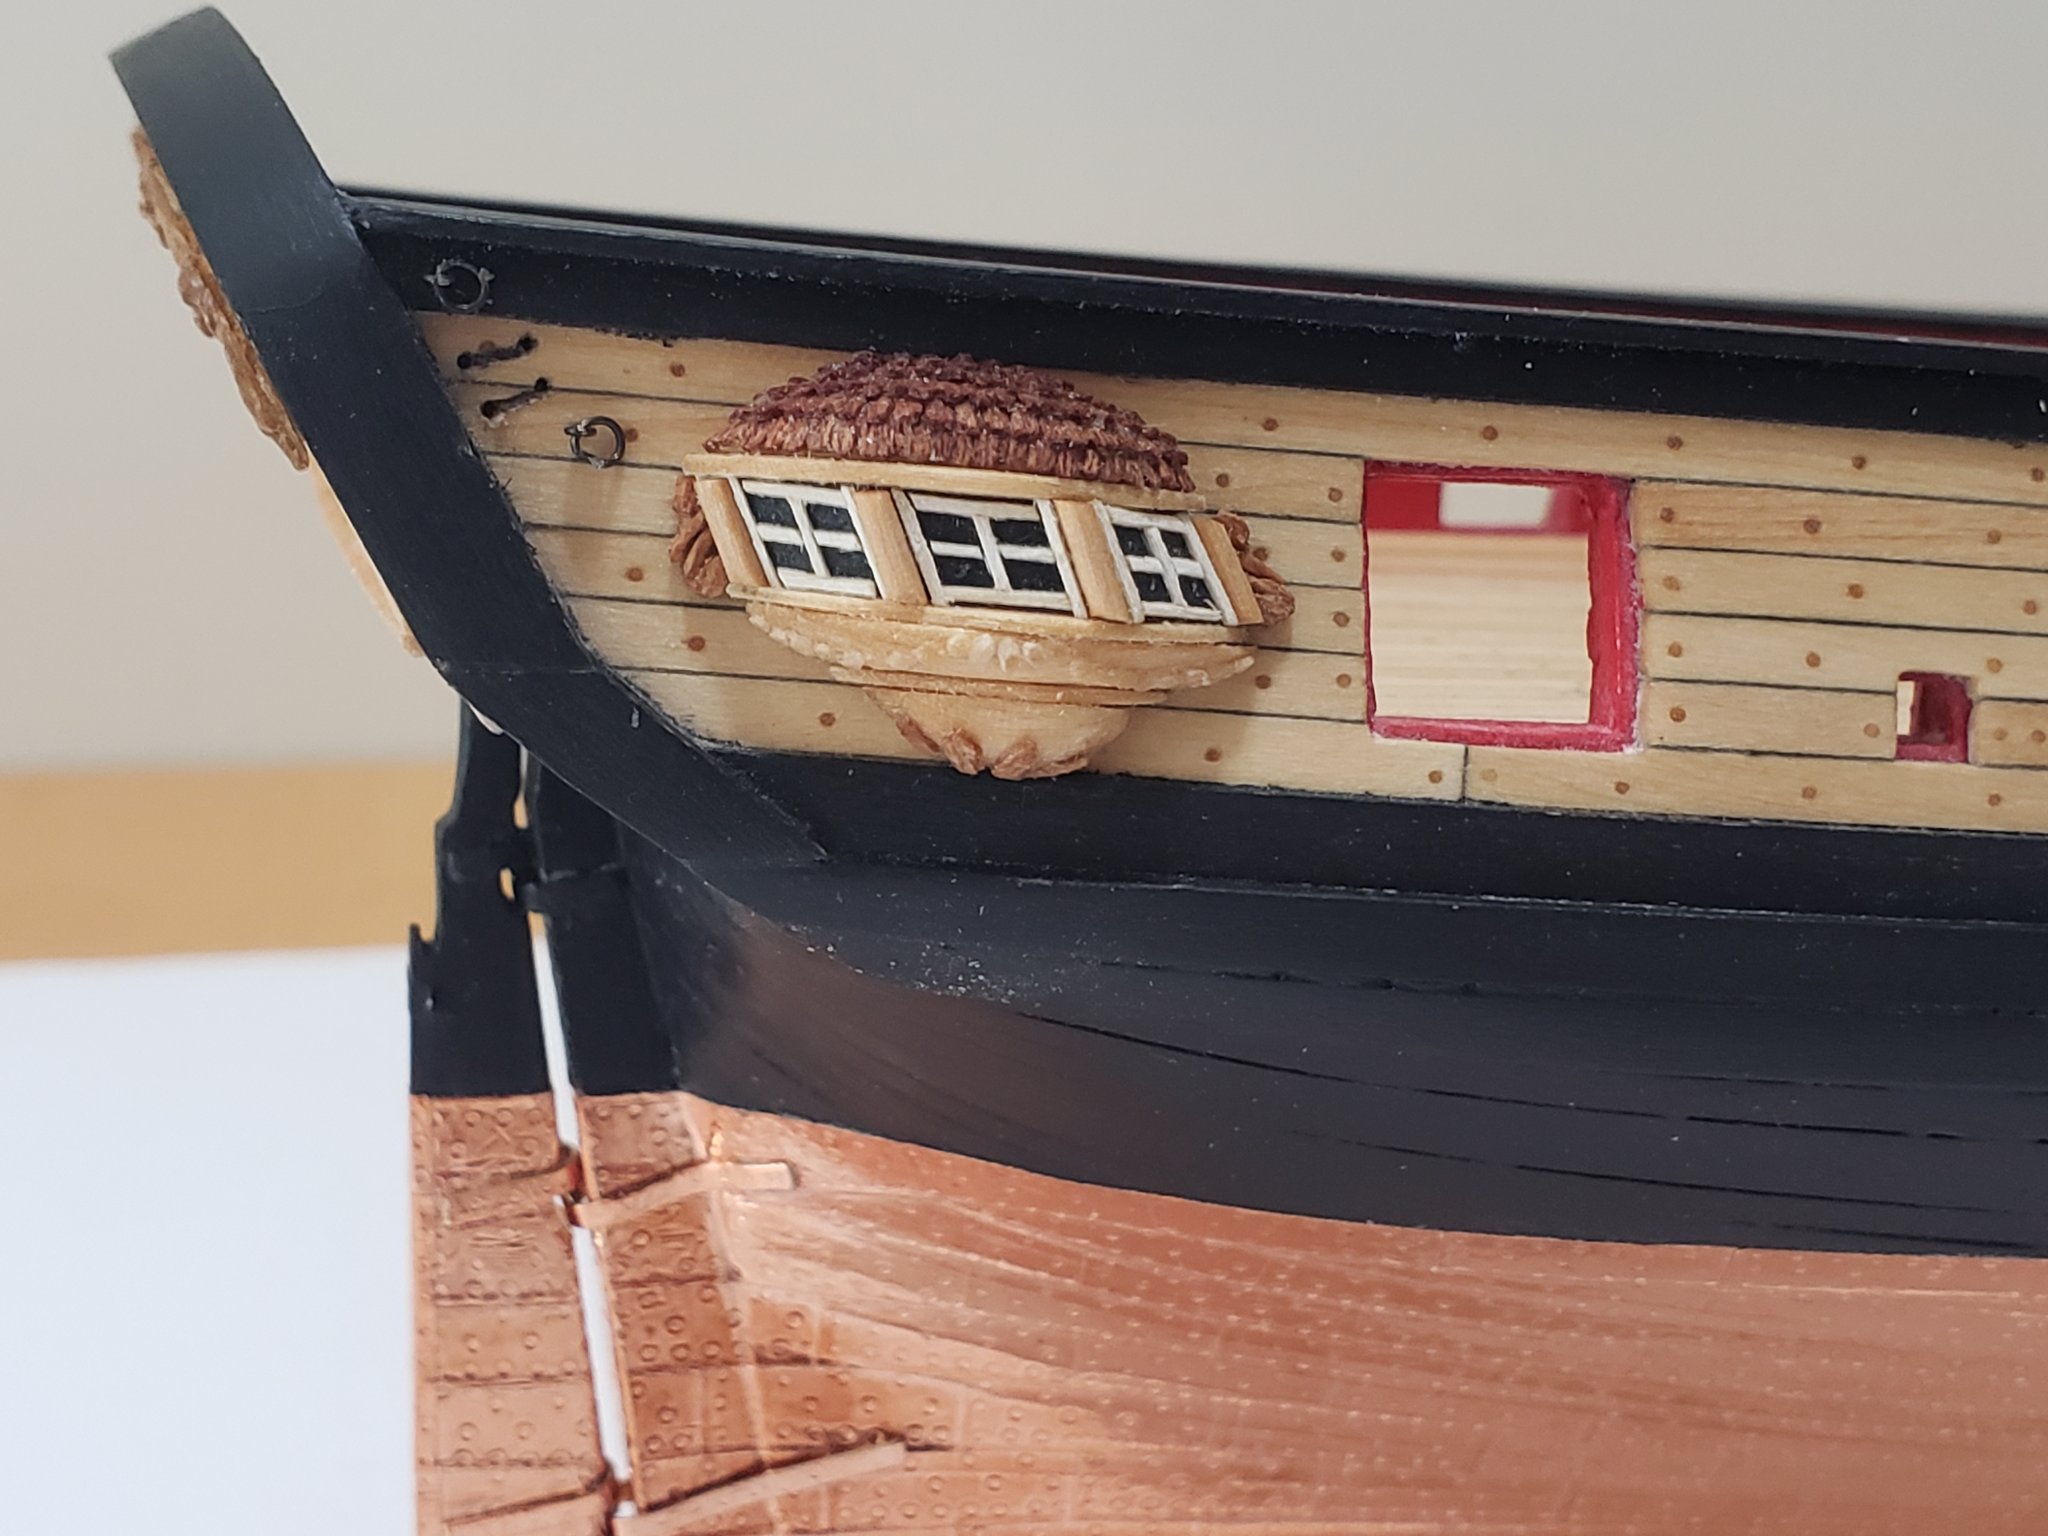
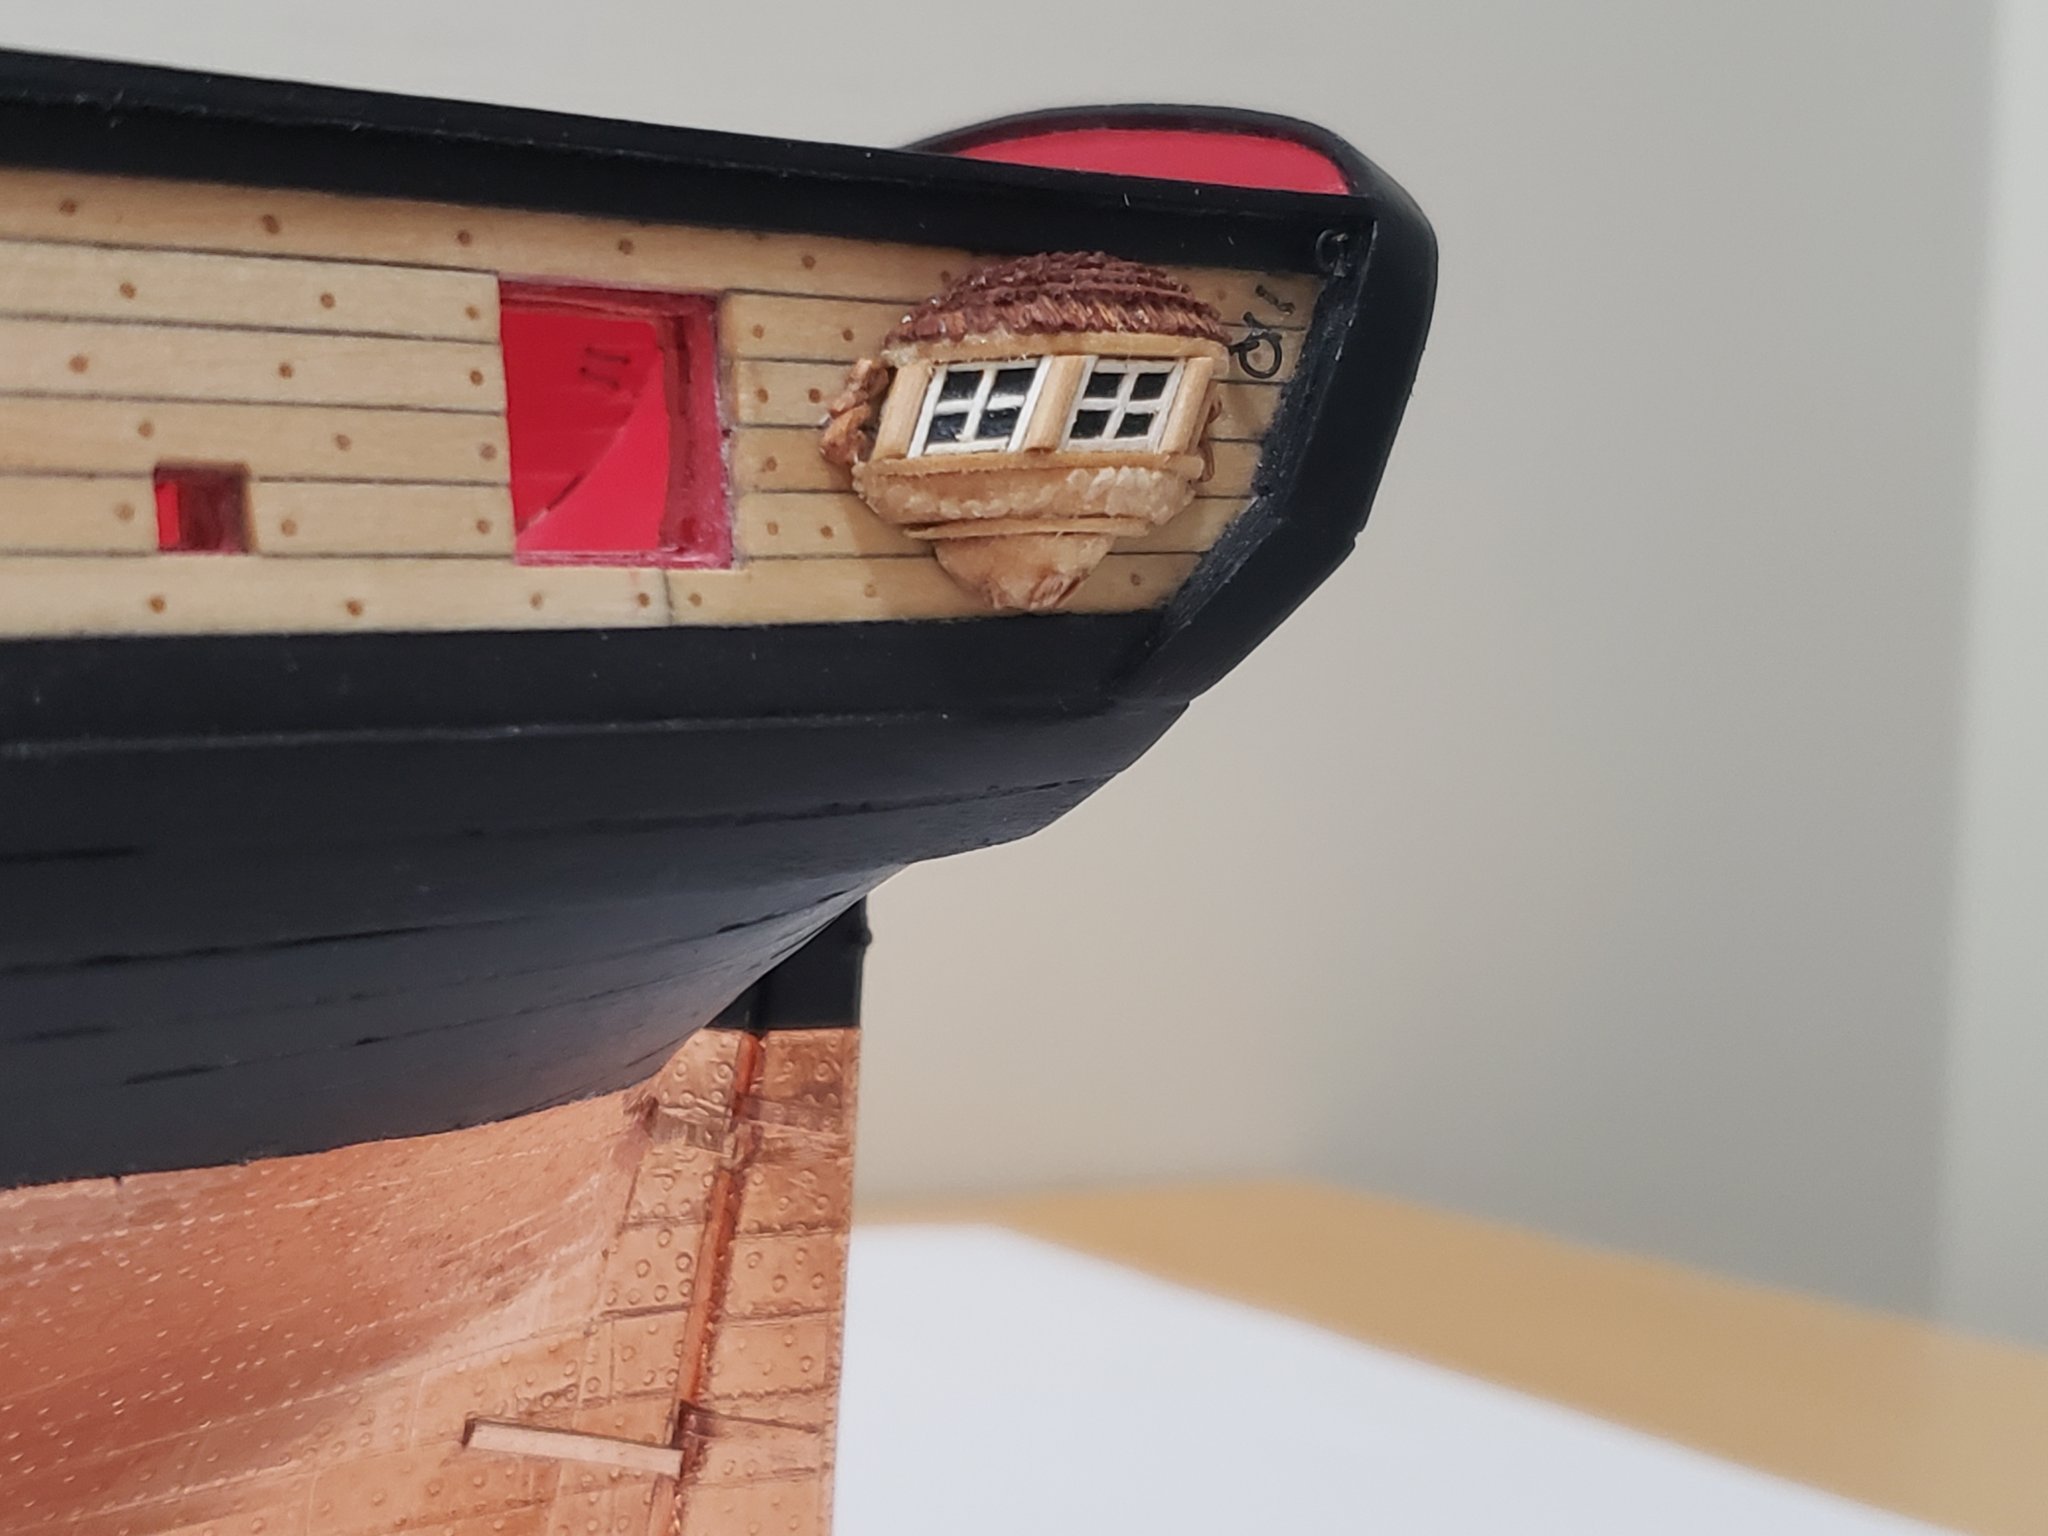
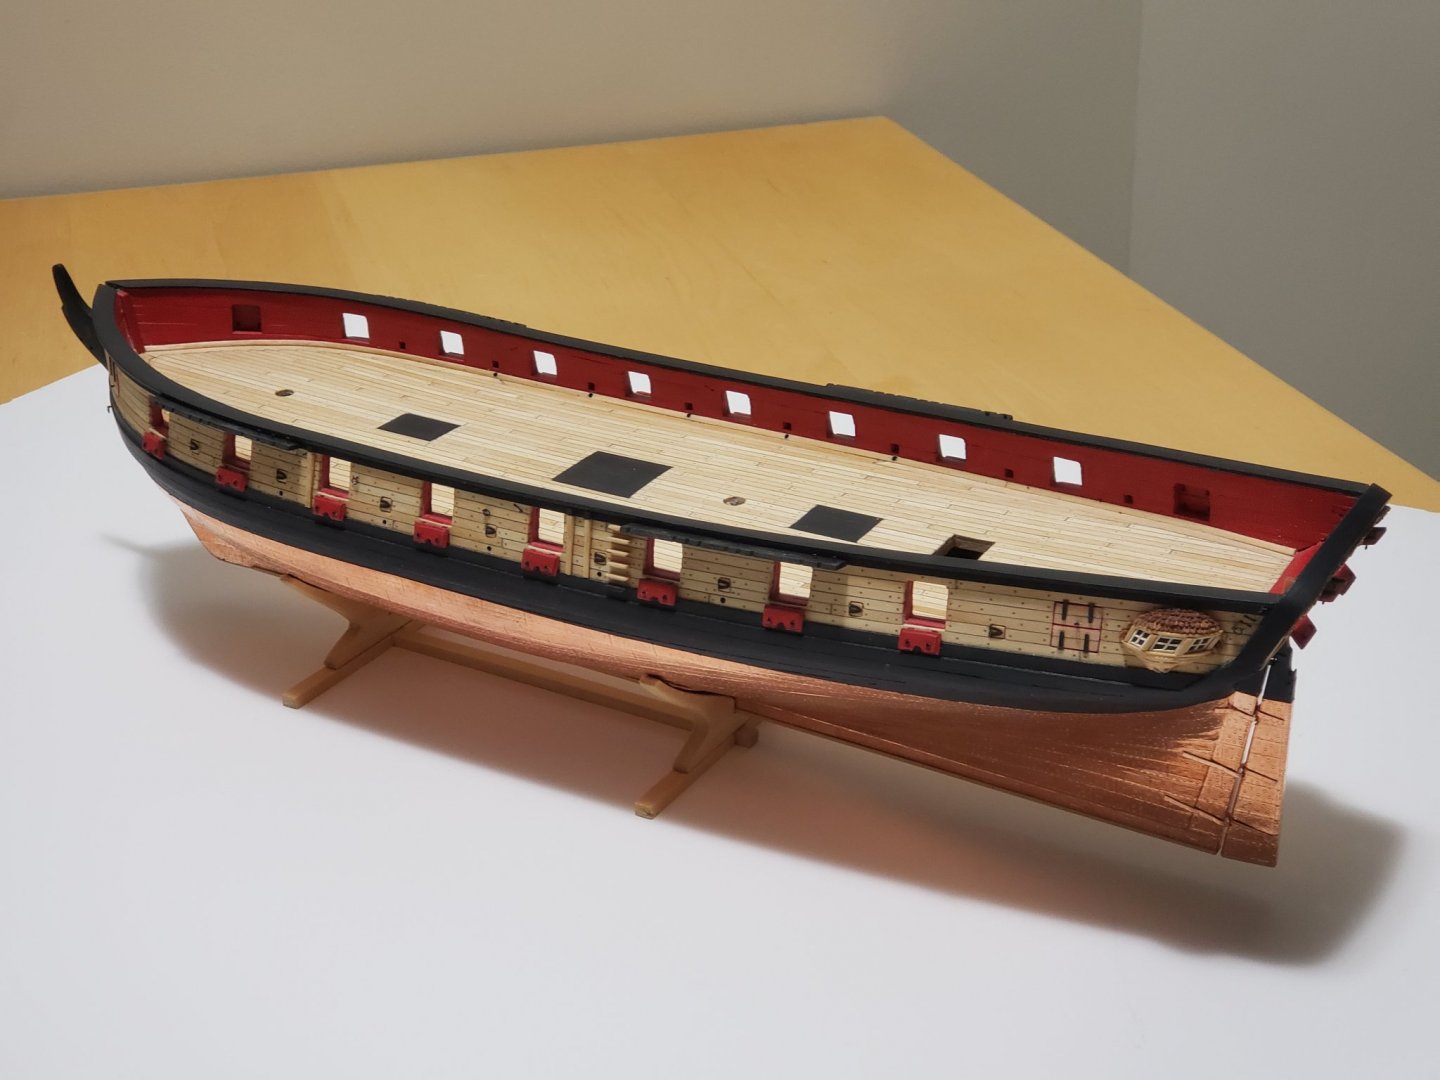
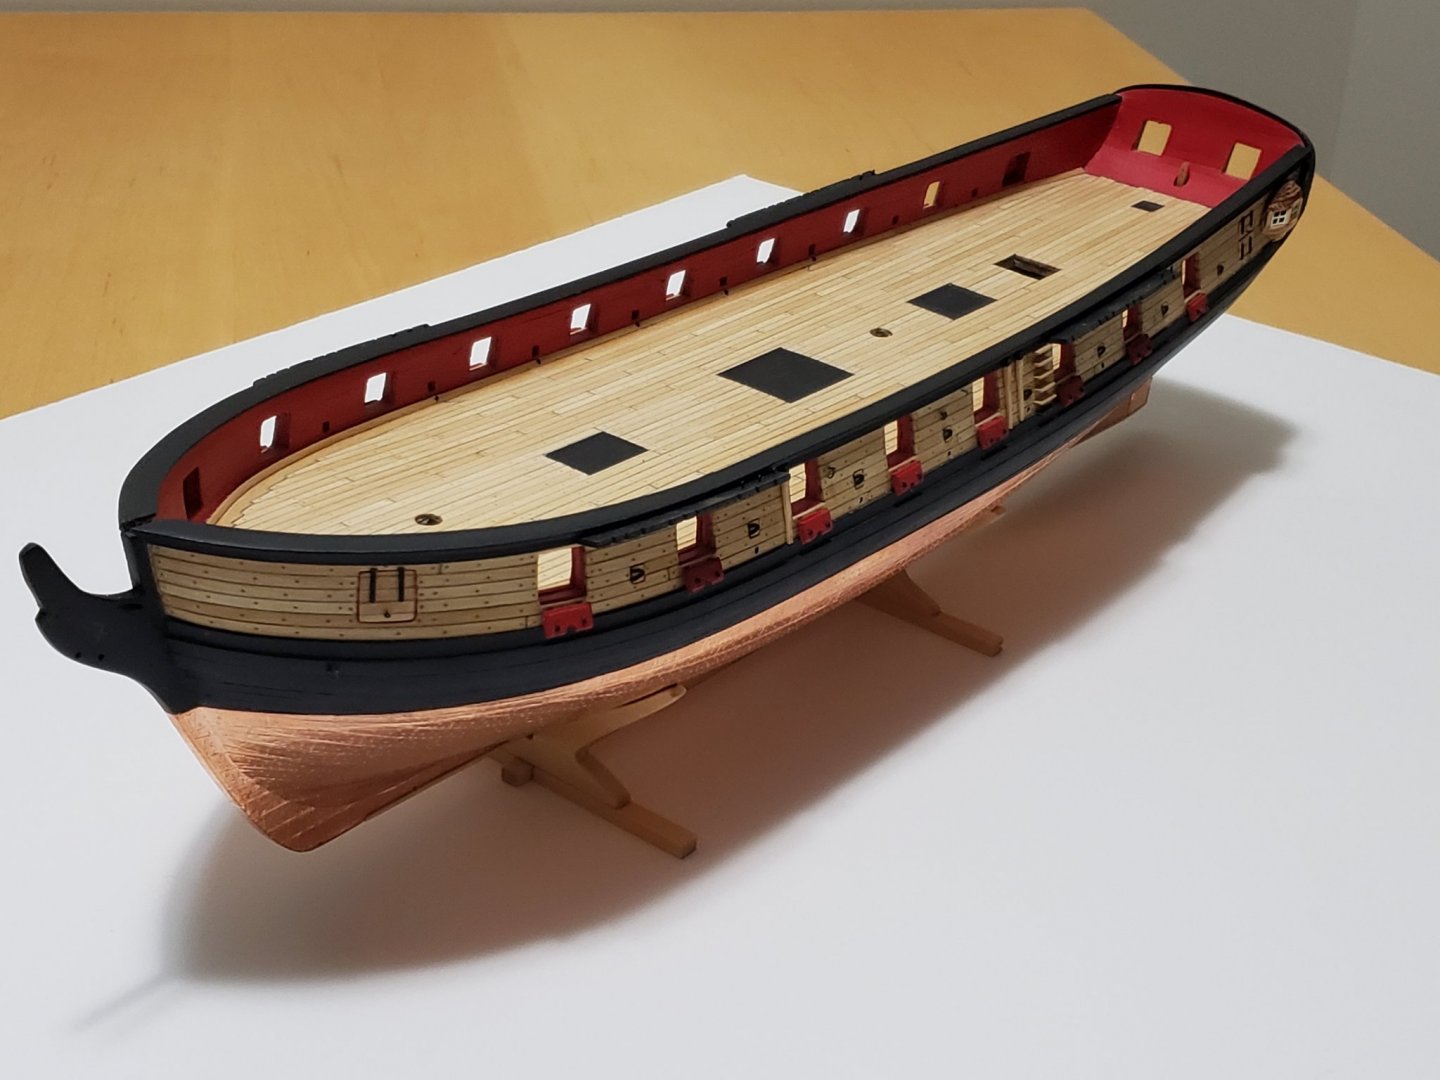
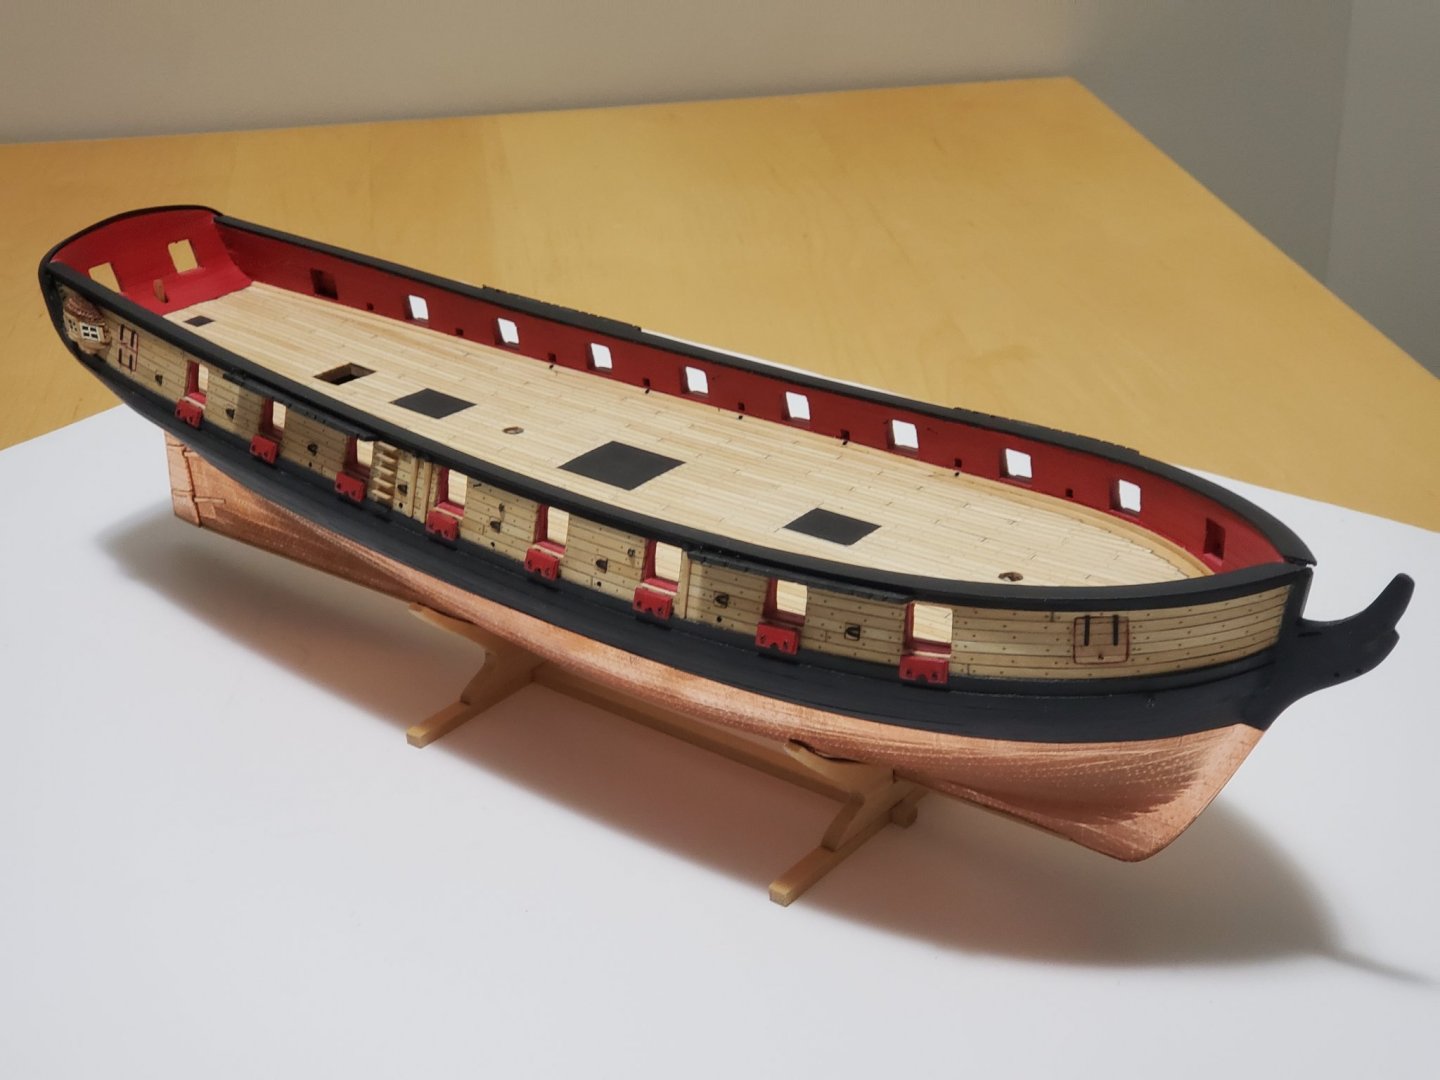
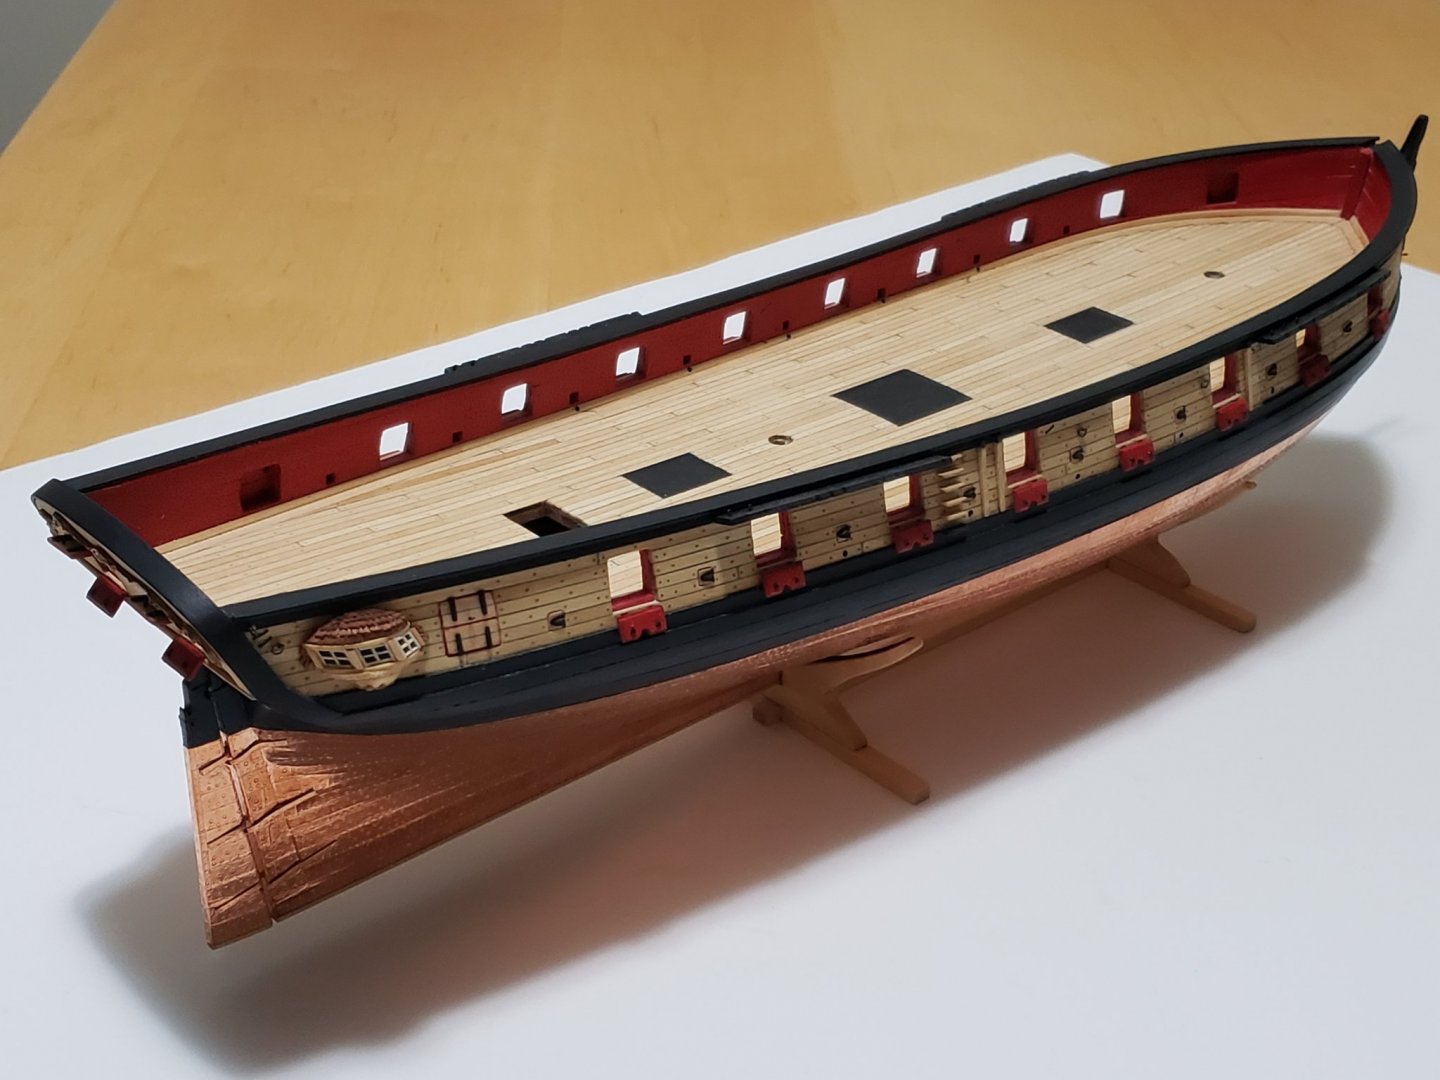
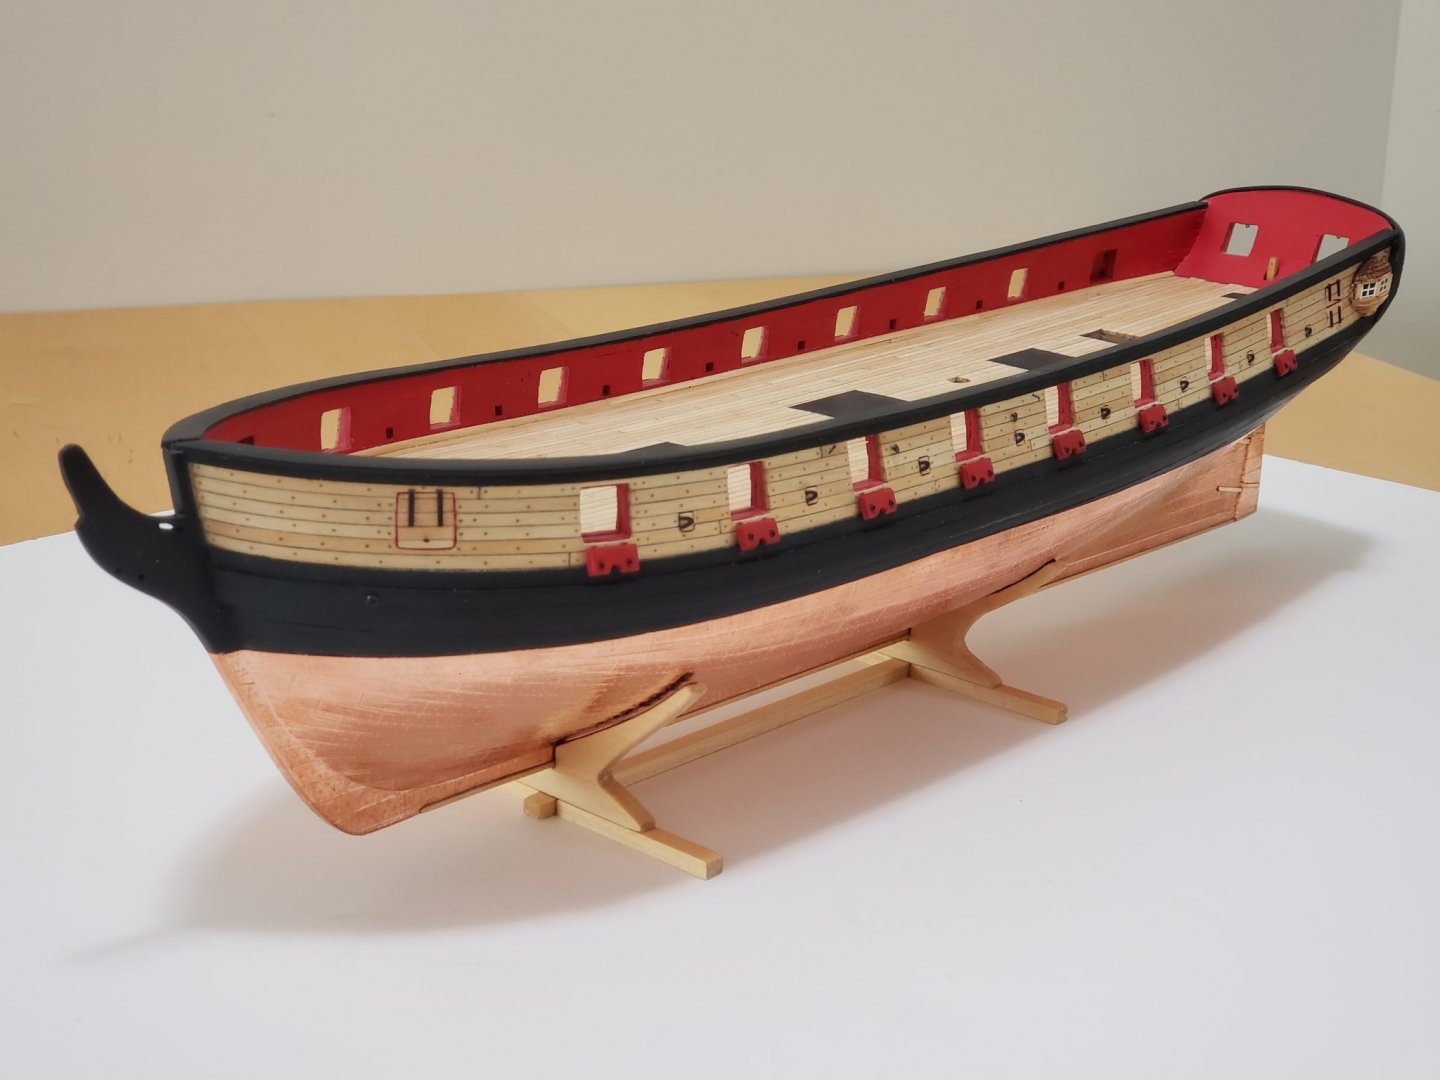
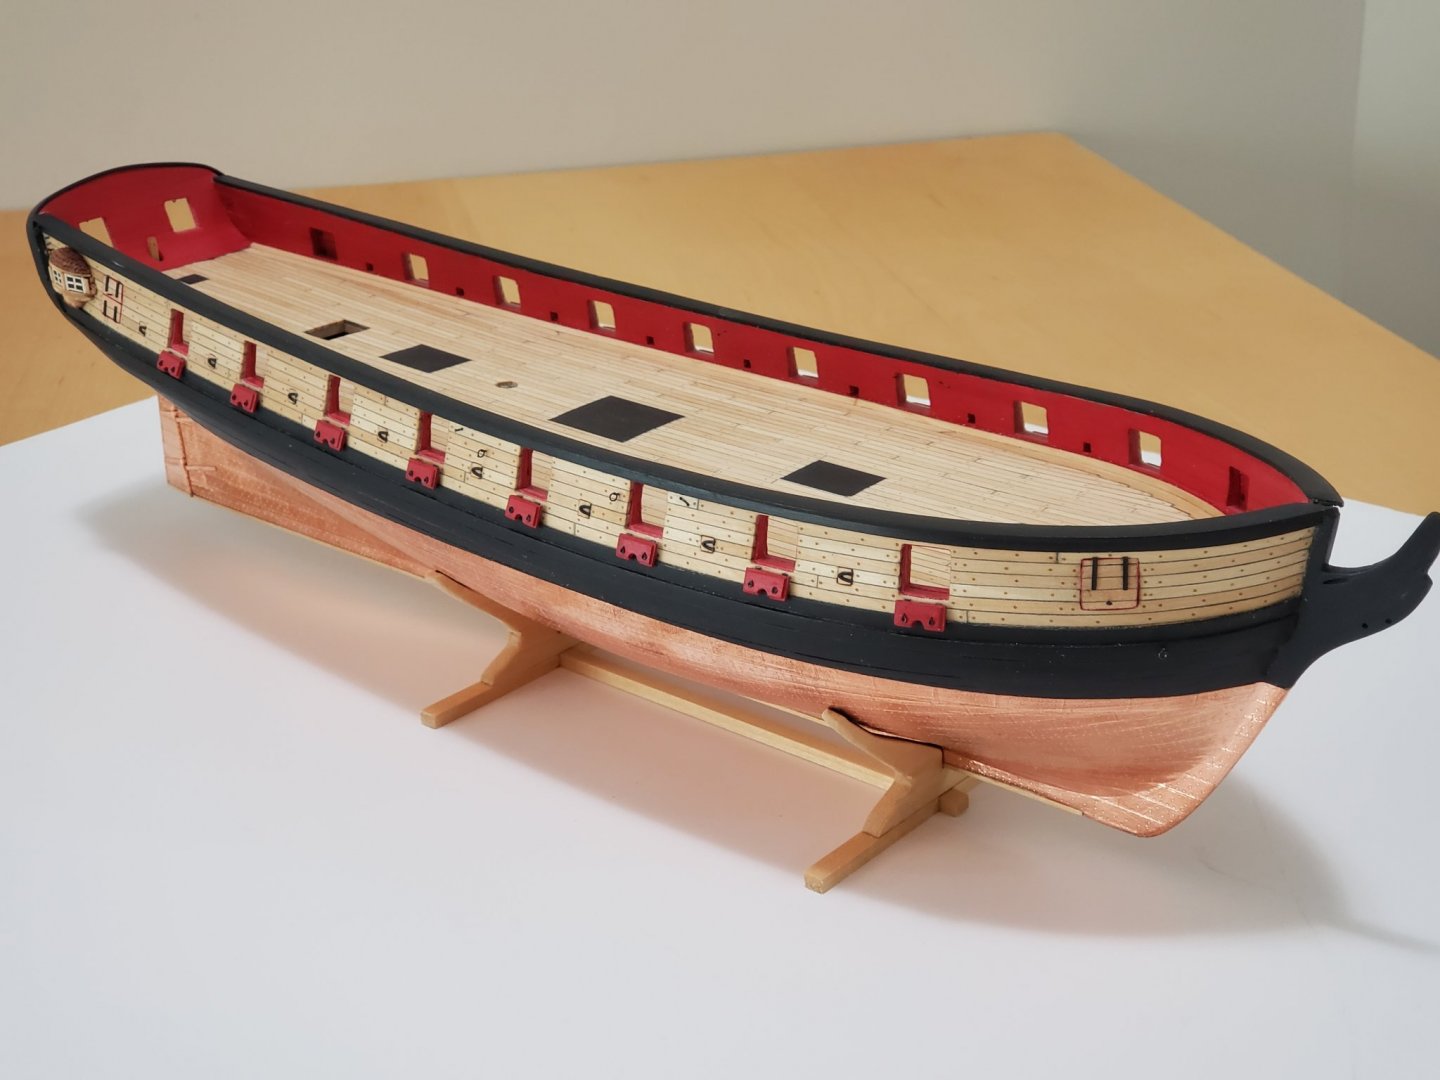
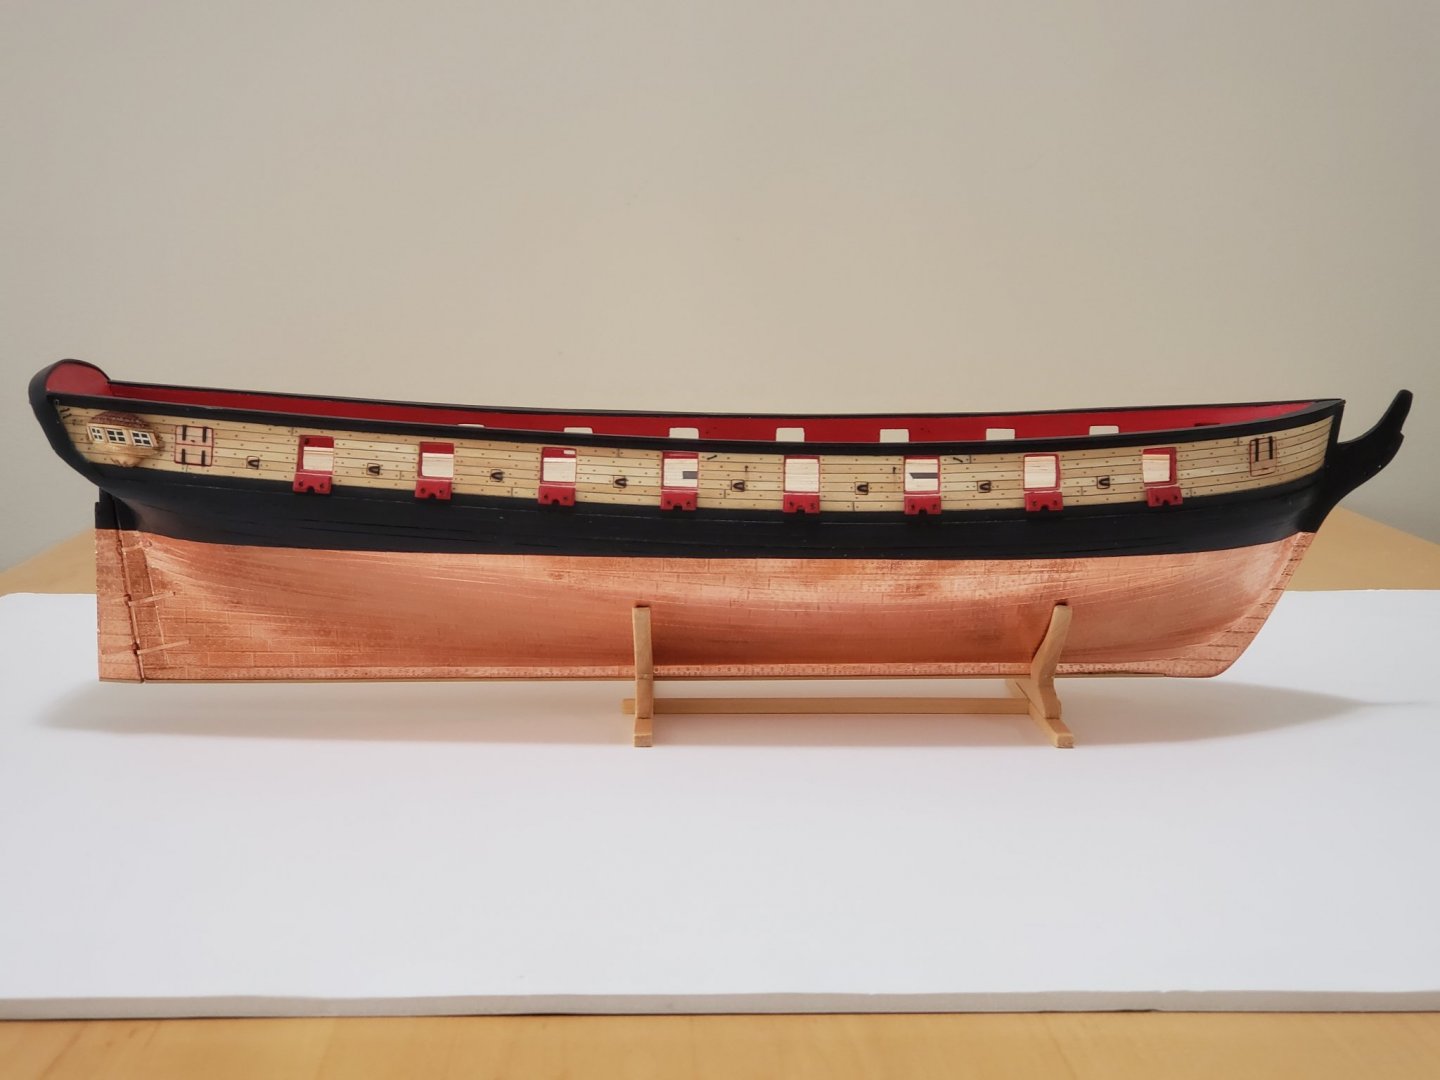
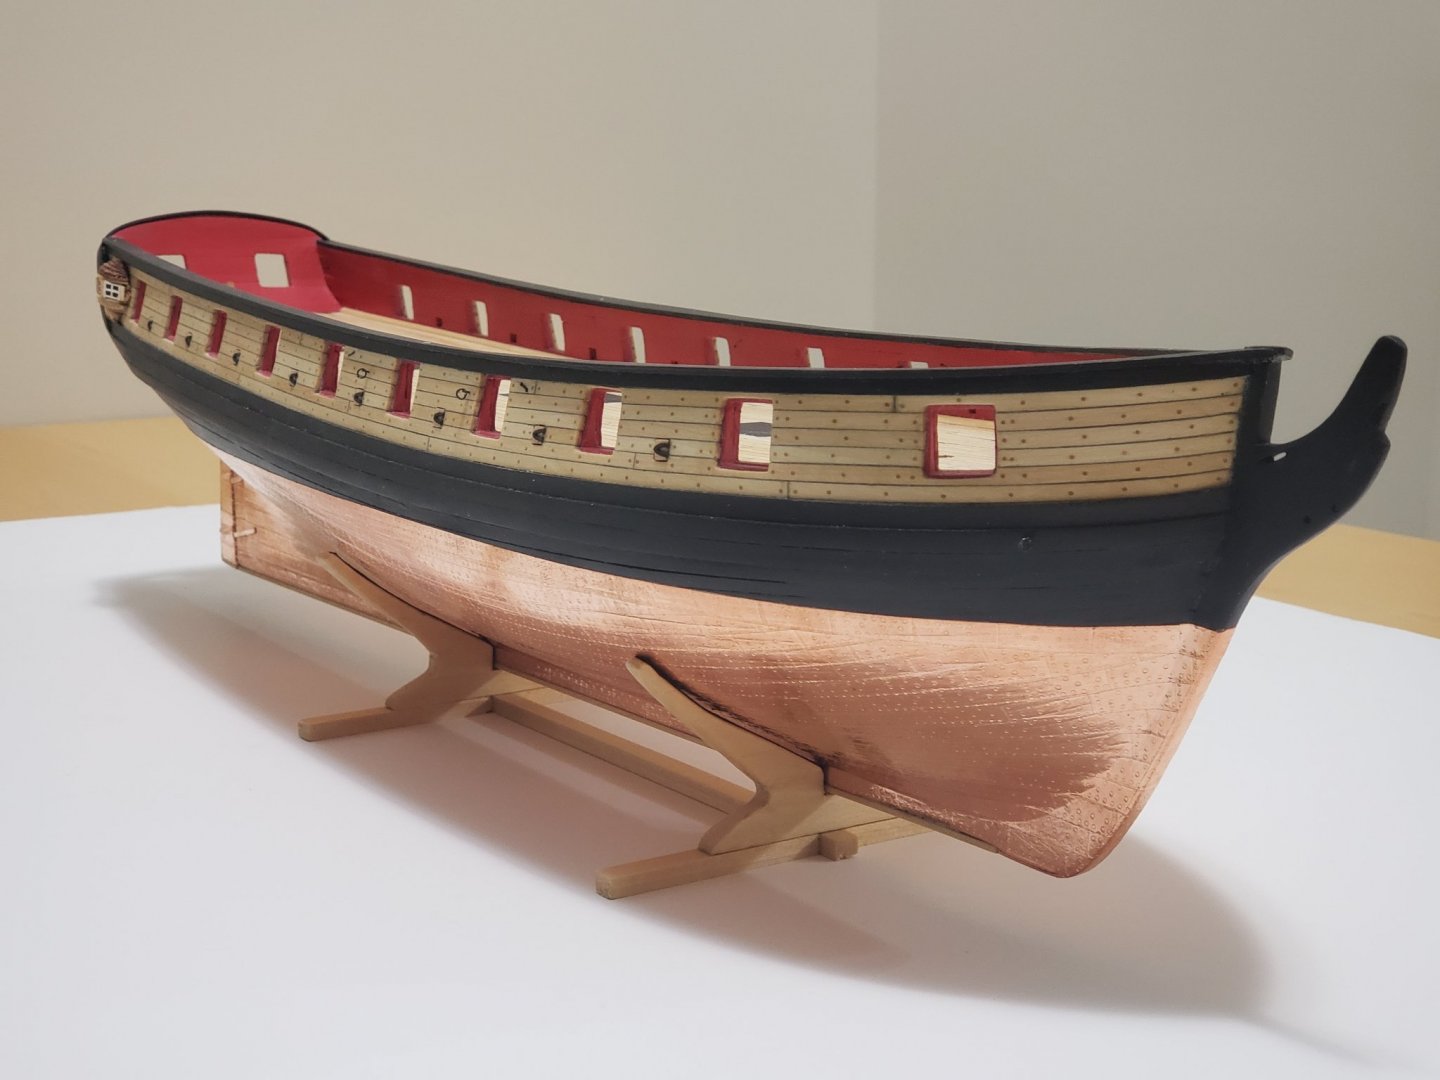
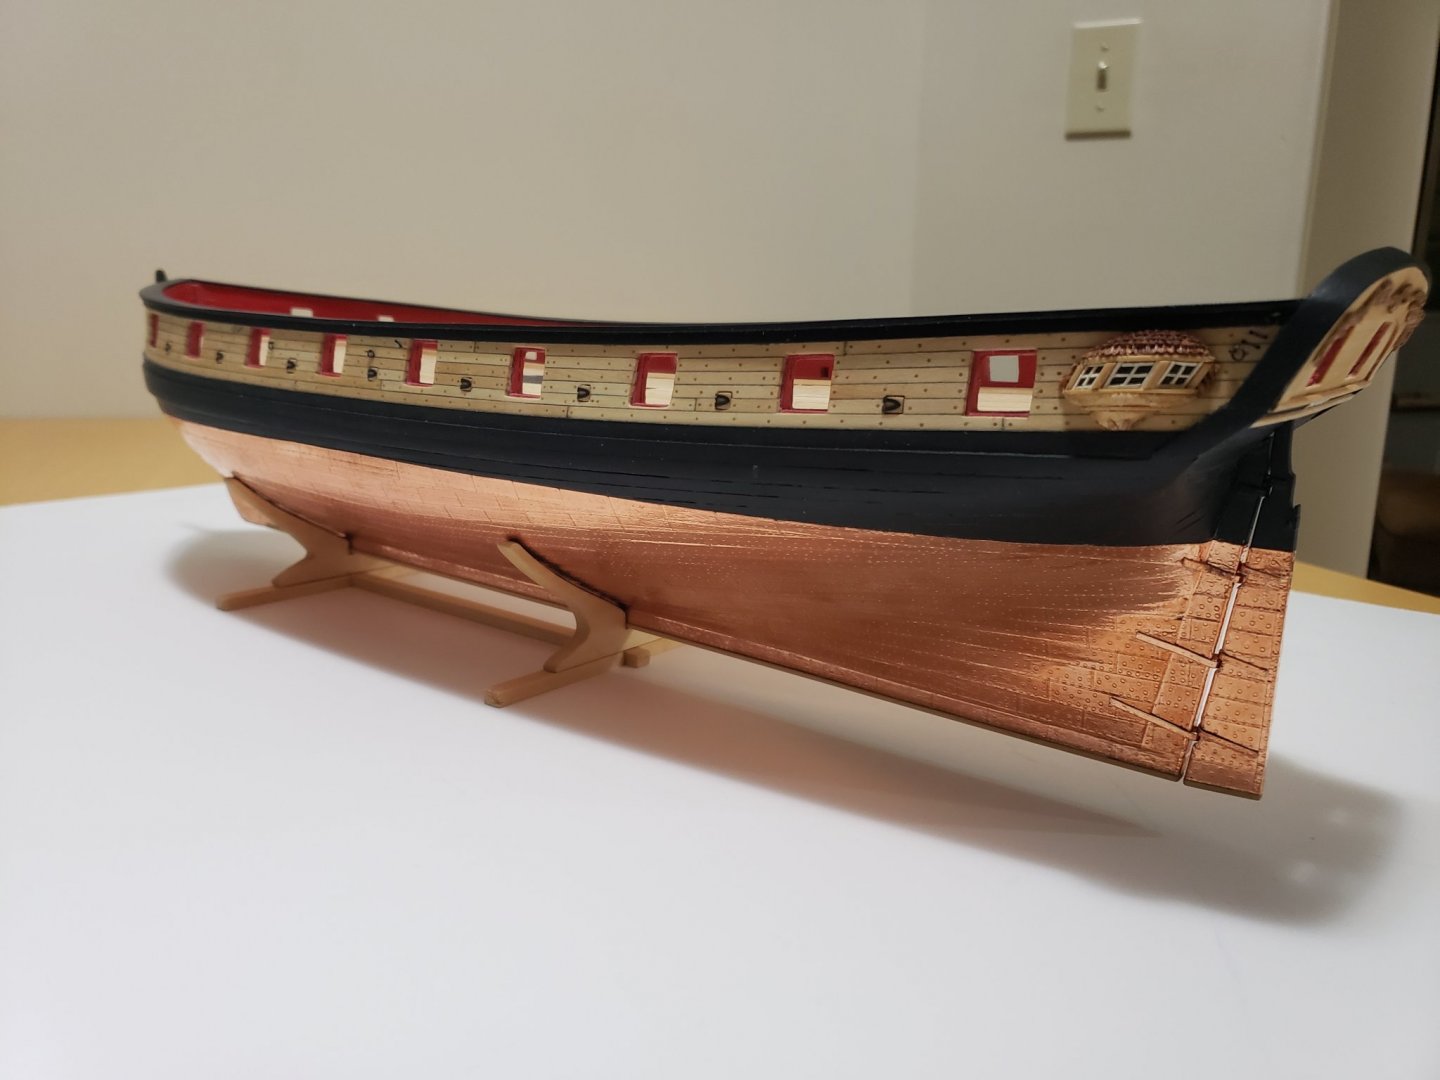
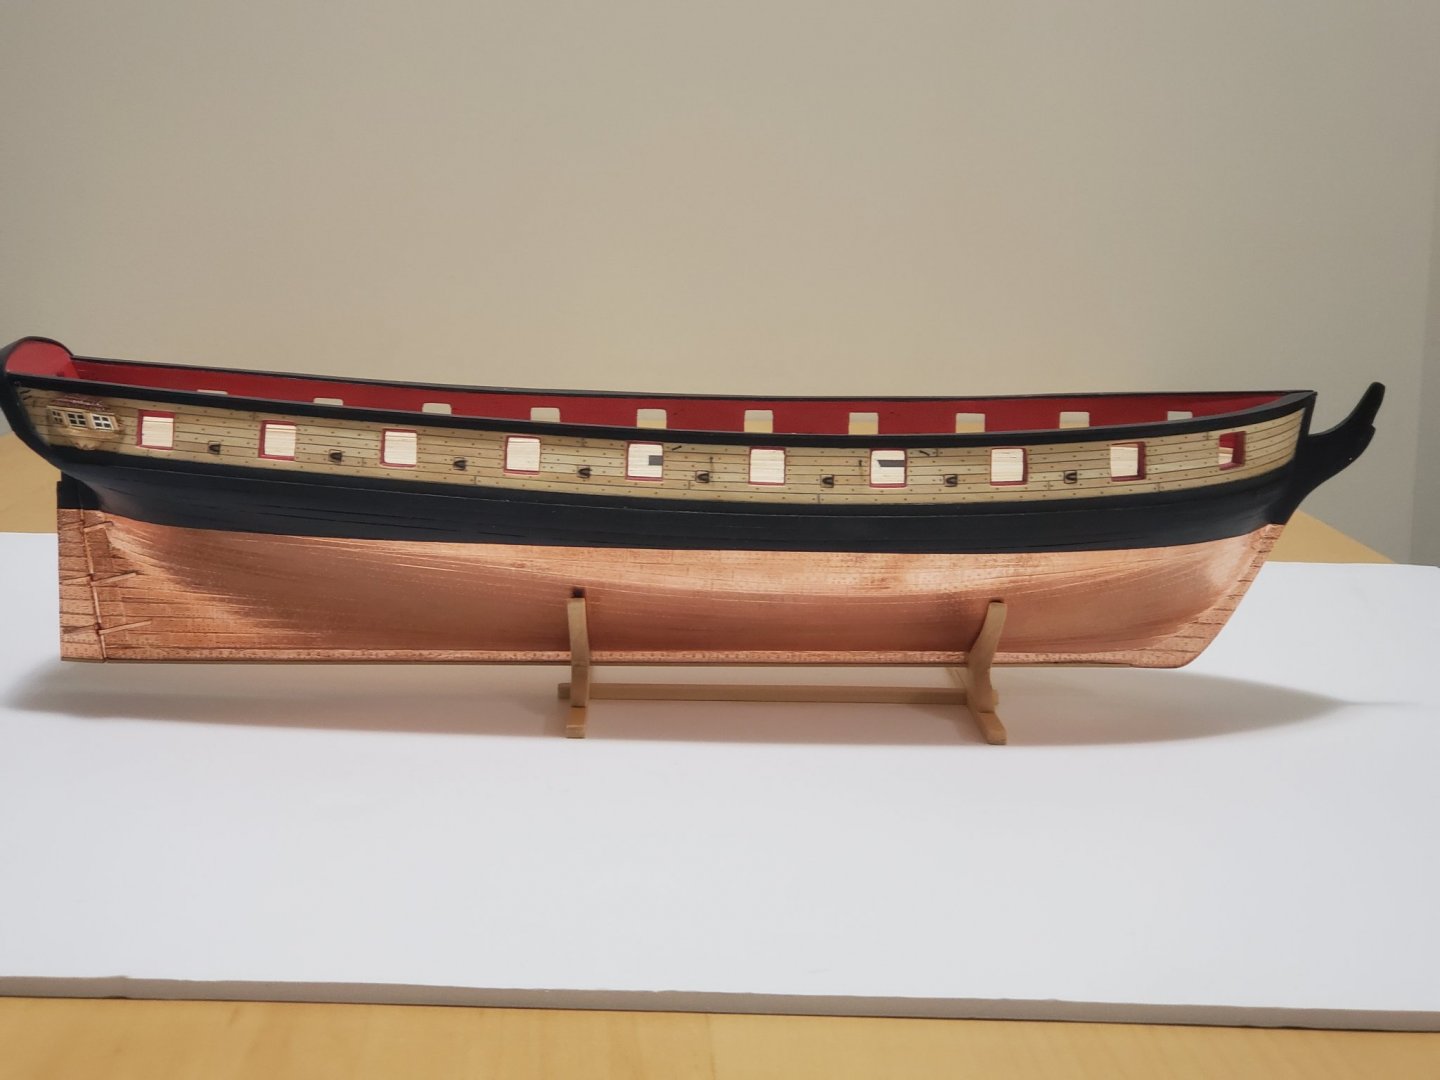
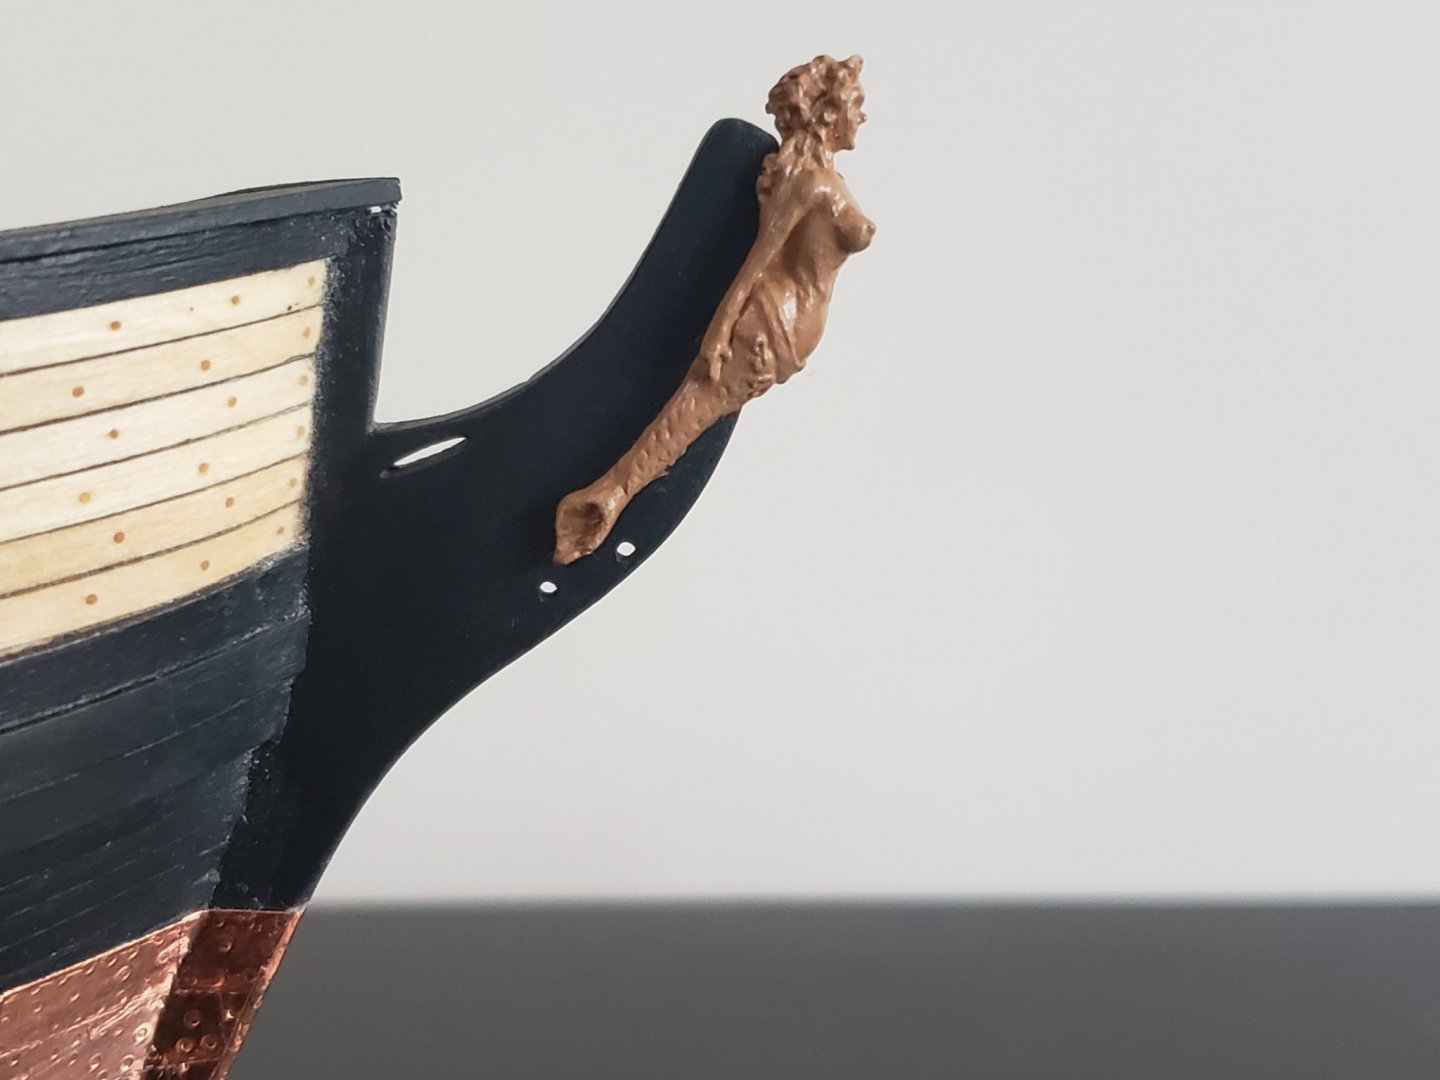
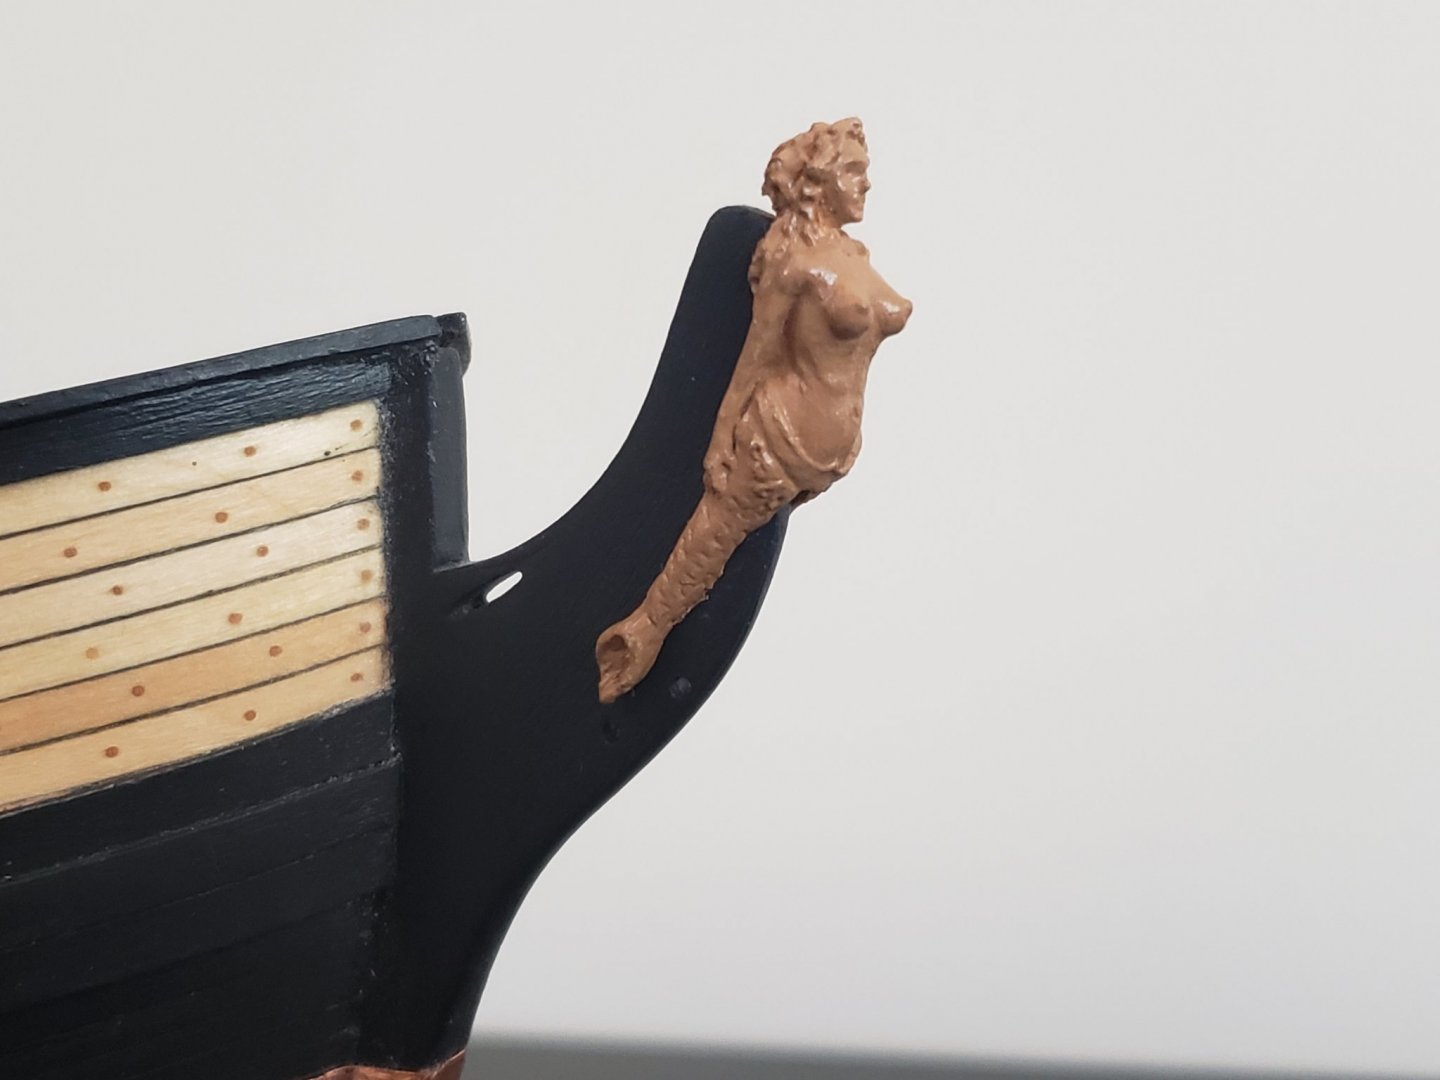
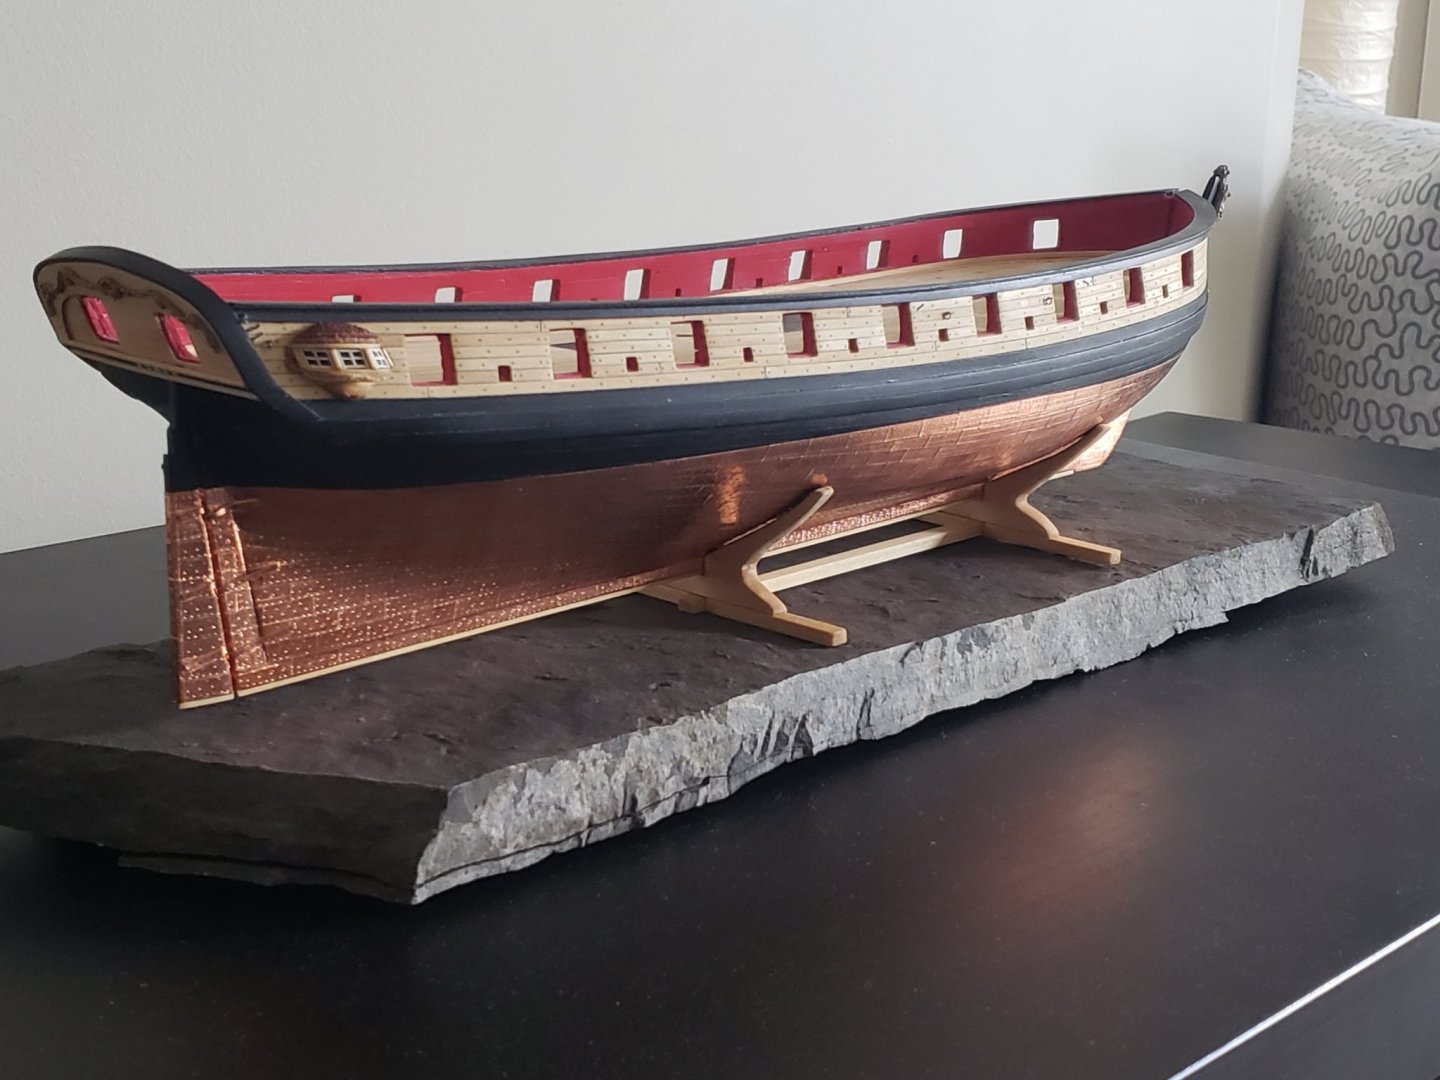
Making some progress on the hull details. I finished with the eyebolts, sheaves, and quarter gallery installation. I found the sheaves to be a bit of a pain, especially the aft ones. I decided to drill the holes all the way through, this overcomplicated things but I guess I did an OK job. To those who also want to drill them through, make sure to drill both sides and not only on one. The basswood will otherwise chip... I had to drill the ones at the stern all the way through from outboard because my pinvise could not fit for the inner ones. This caused a bit of a mess and had to put filler to hide the mistakes. As for the eyebolts, I used the tip of a compass to make sure they are circular. Enough rambling, here are some pics: Also I have noticed some fingerprints show up on some plates... 😣 I have been so careful not to touch the copper, but there are times where my hand might have slipped to hold it 😬 I might try using a water, salt, vinegar mix to remove the fingerprints (I think I saw this pointed out by Dubz but don't remember exactly where), but I am a bit scared that it will age the copper too quick.. I am liking the new copper look.. The fingertips show much more when the ship is on a white platform, so if I decide to not touch the copper, I will end up placing it on a darker one to hide it 😅 If anyone has any other tips to remove the fingerprints, please let me know. Oh and almost forgot, I tapered the stem knee a bit more so that I can fit the mermaid. Here are a couple of photos with the figurehead dryfitted: Lastly, I found this slate lying around in scraps of a construction happening nearby. Not sure if too thick or not but I kinda like the look.


- 950 replies
-
- 13
-
-
- syren
- model shipways
- (and 1 more)
-
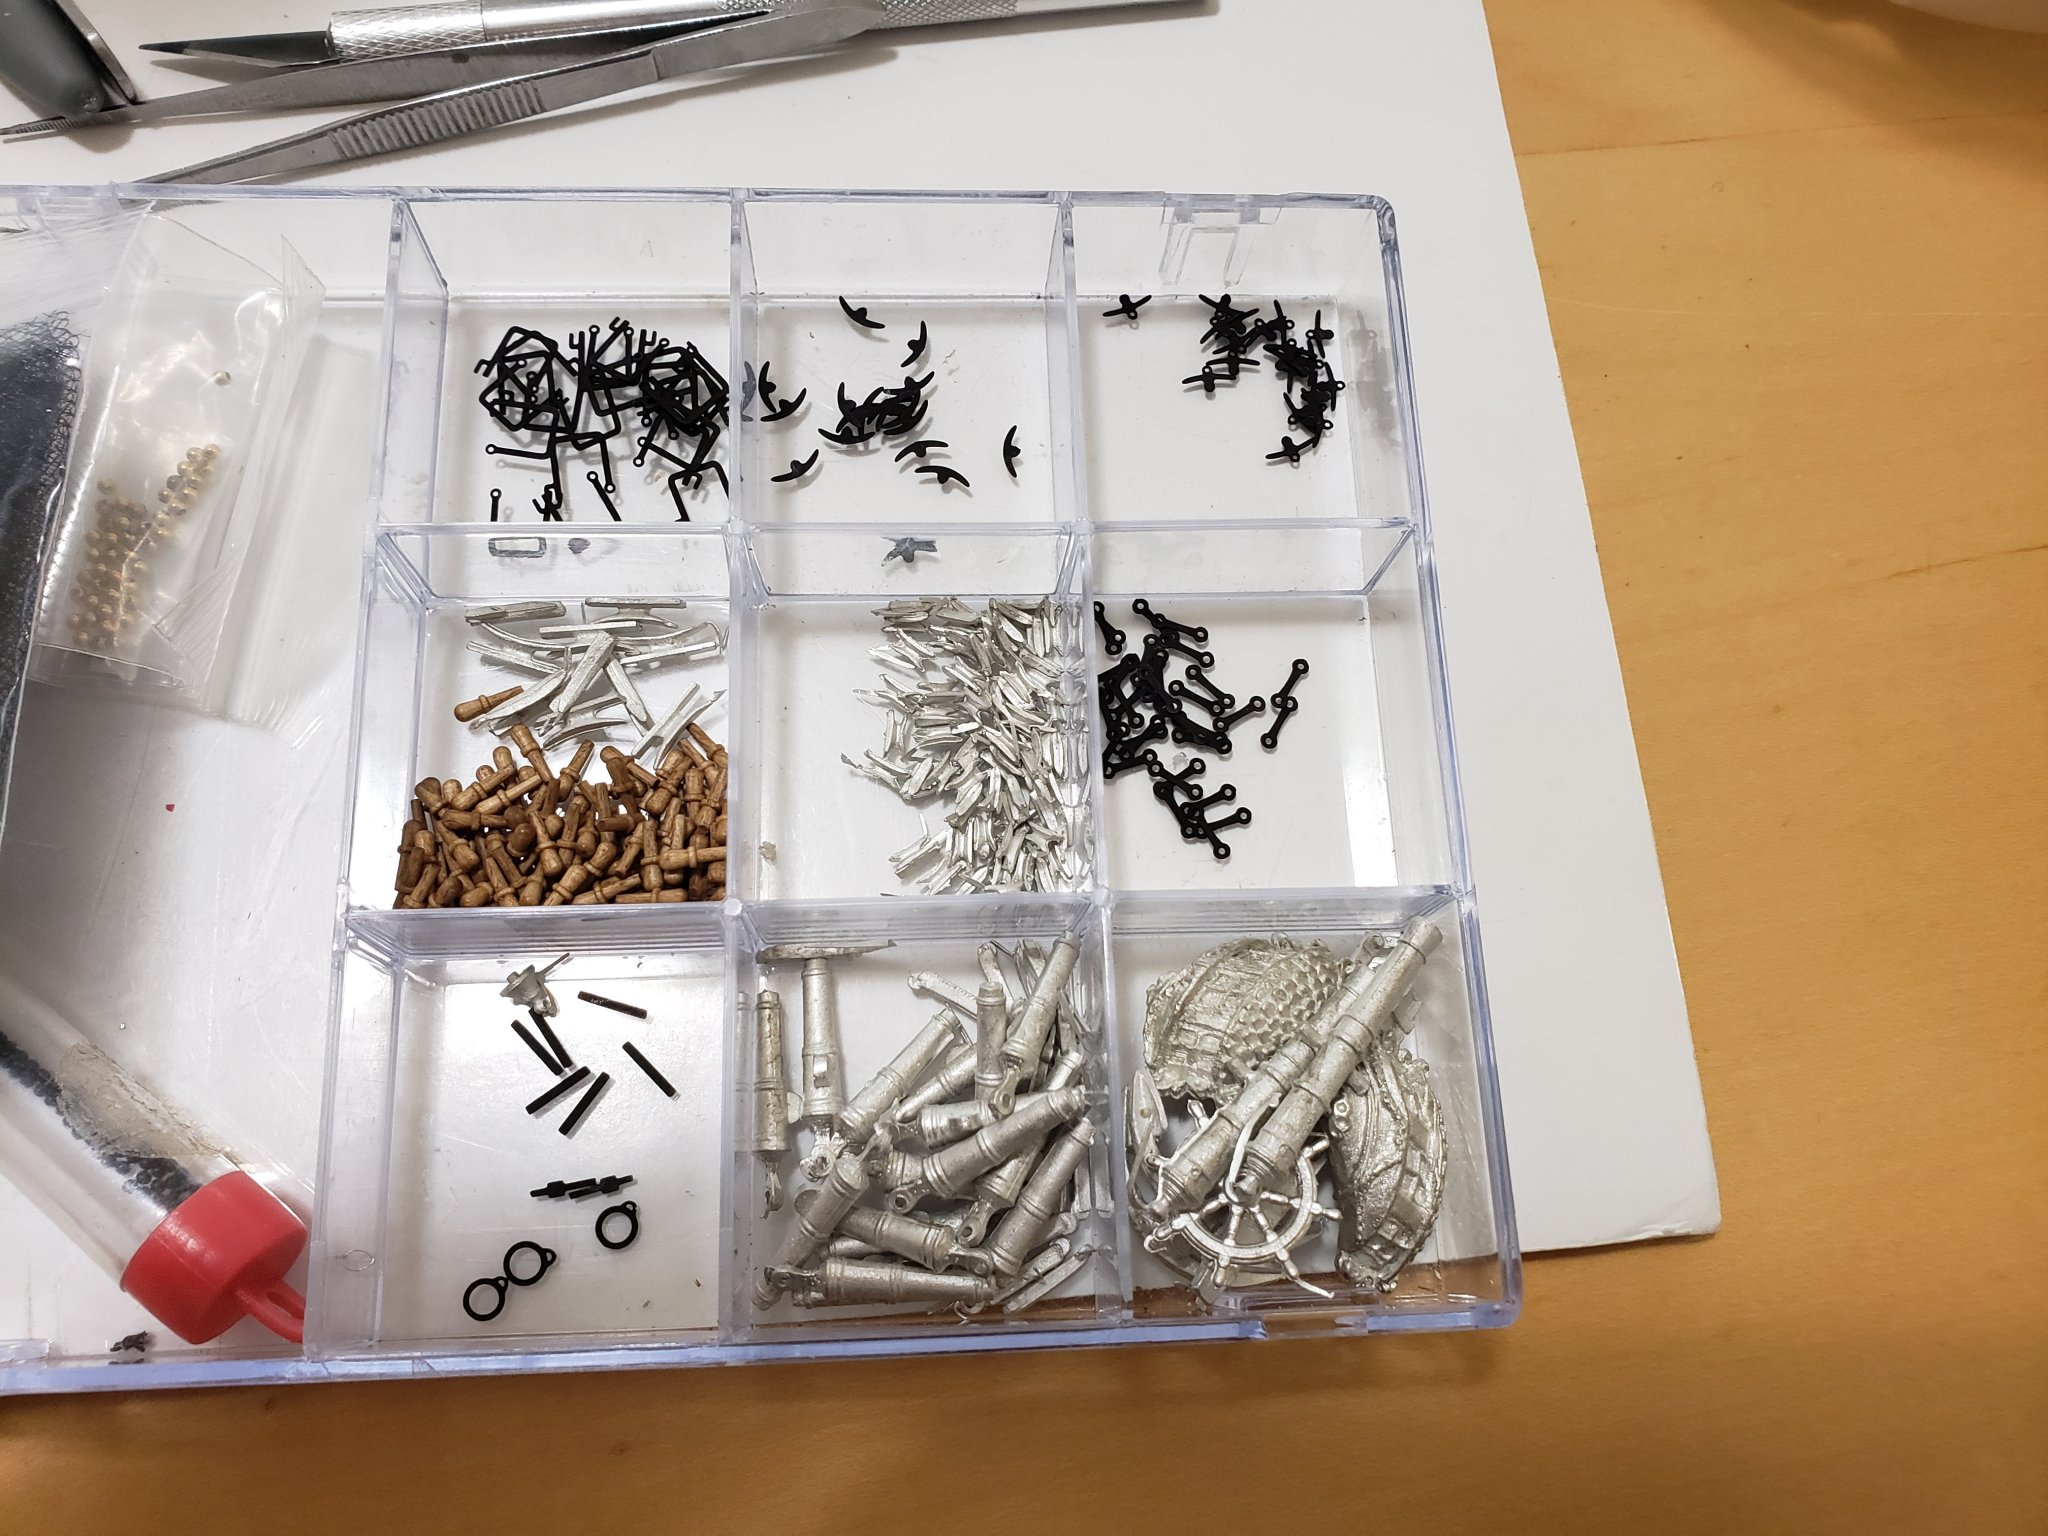
Thanks Patrick! All the brass parts were treated with Brass Black Metal Finish. This includes all the parts in the photo etched sheet except for the letters, the belaying pins and the eye bolts. I used Robin's method to do this where I reused the same solution multiple times. I can now finally work on the rest of the hull details 😀

- 950 replies
-
- 10
-
-
- syren
- model shipways
- (and 1 more)
-
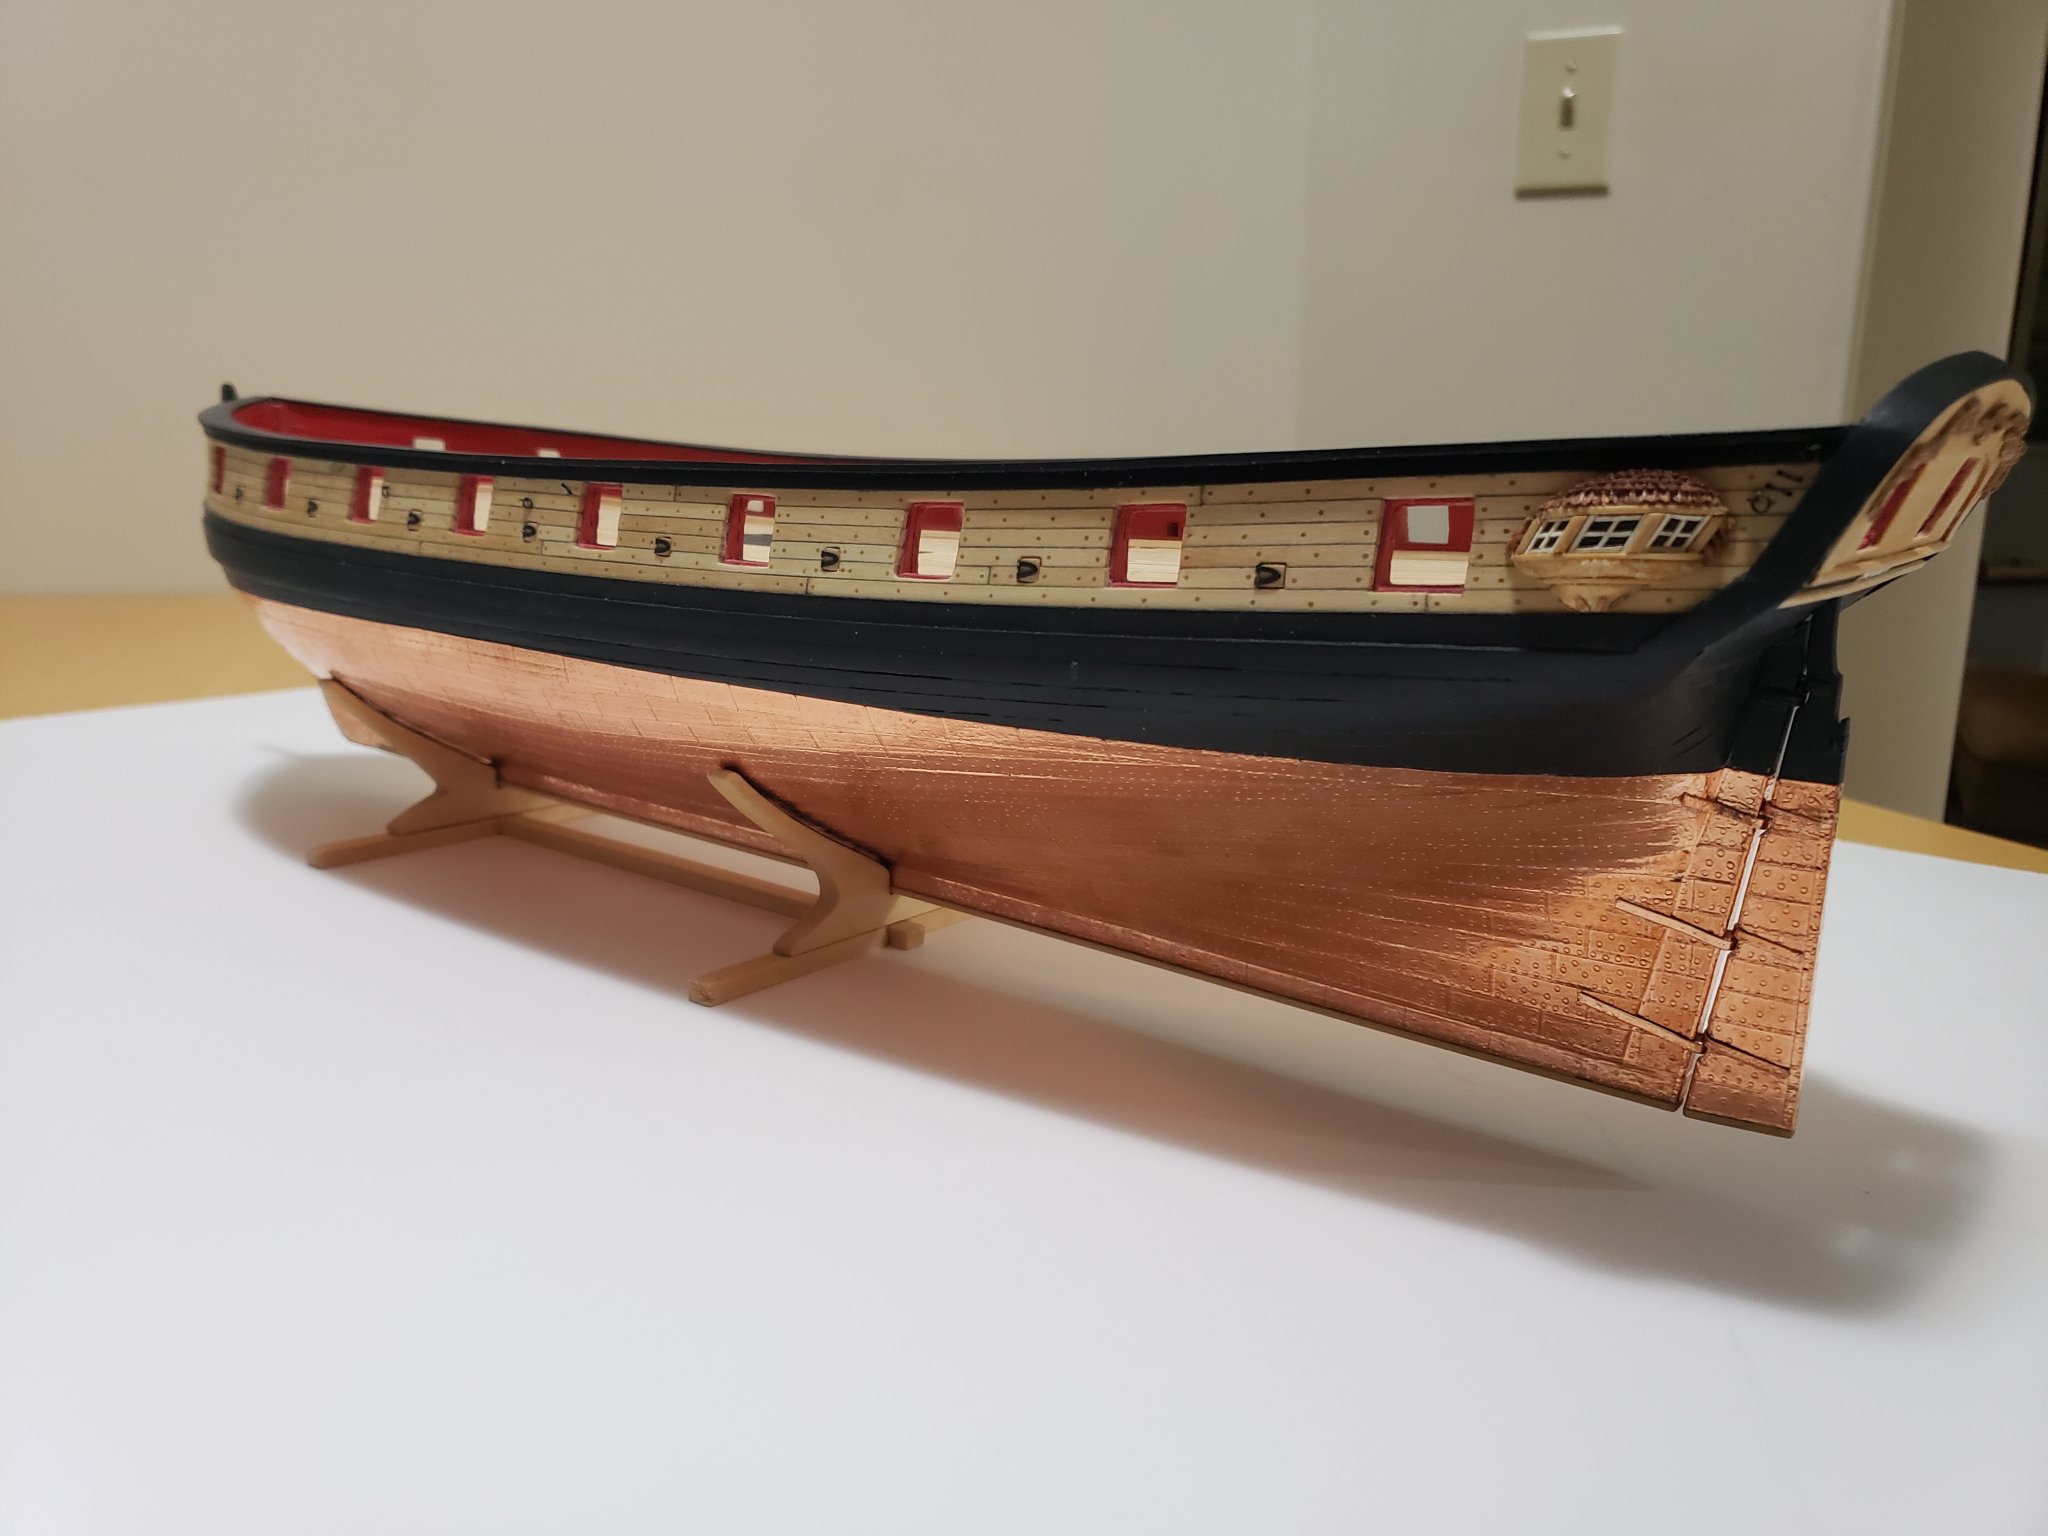
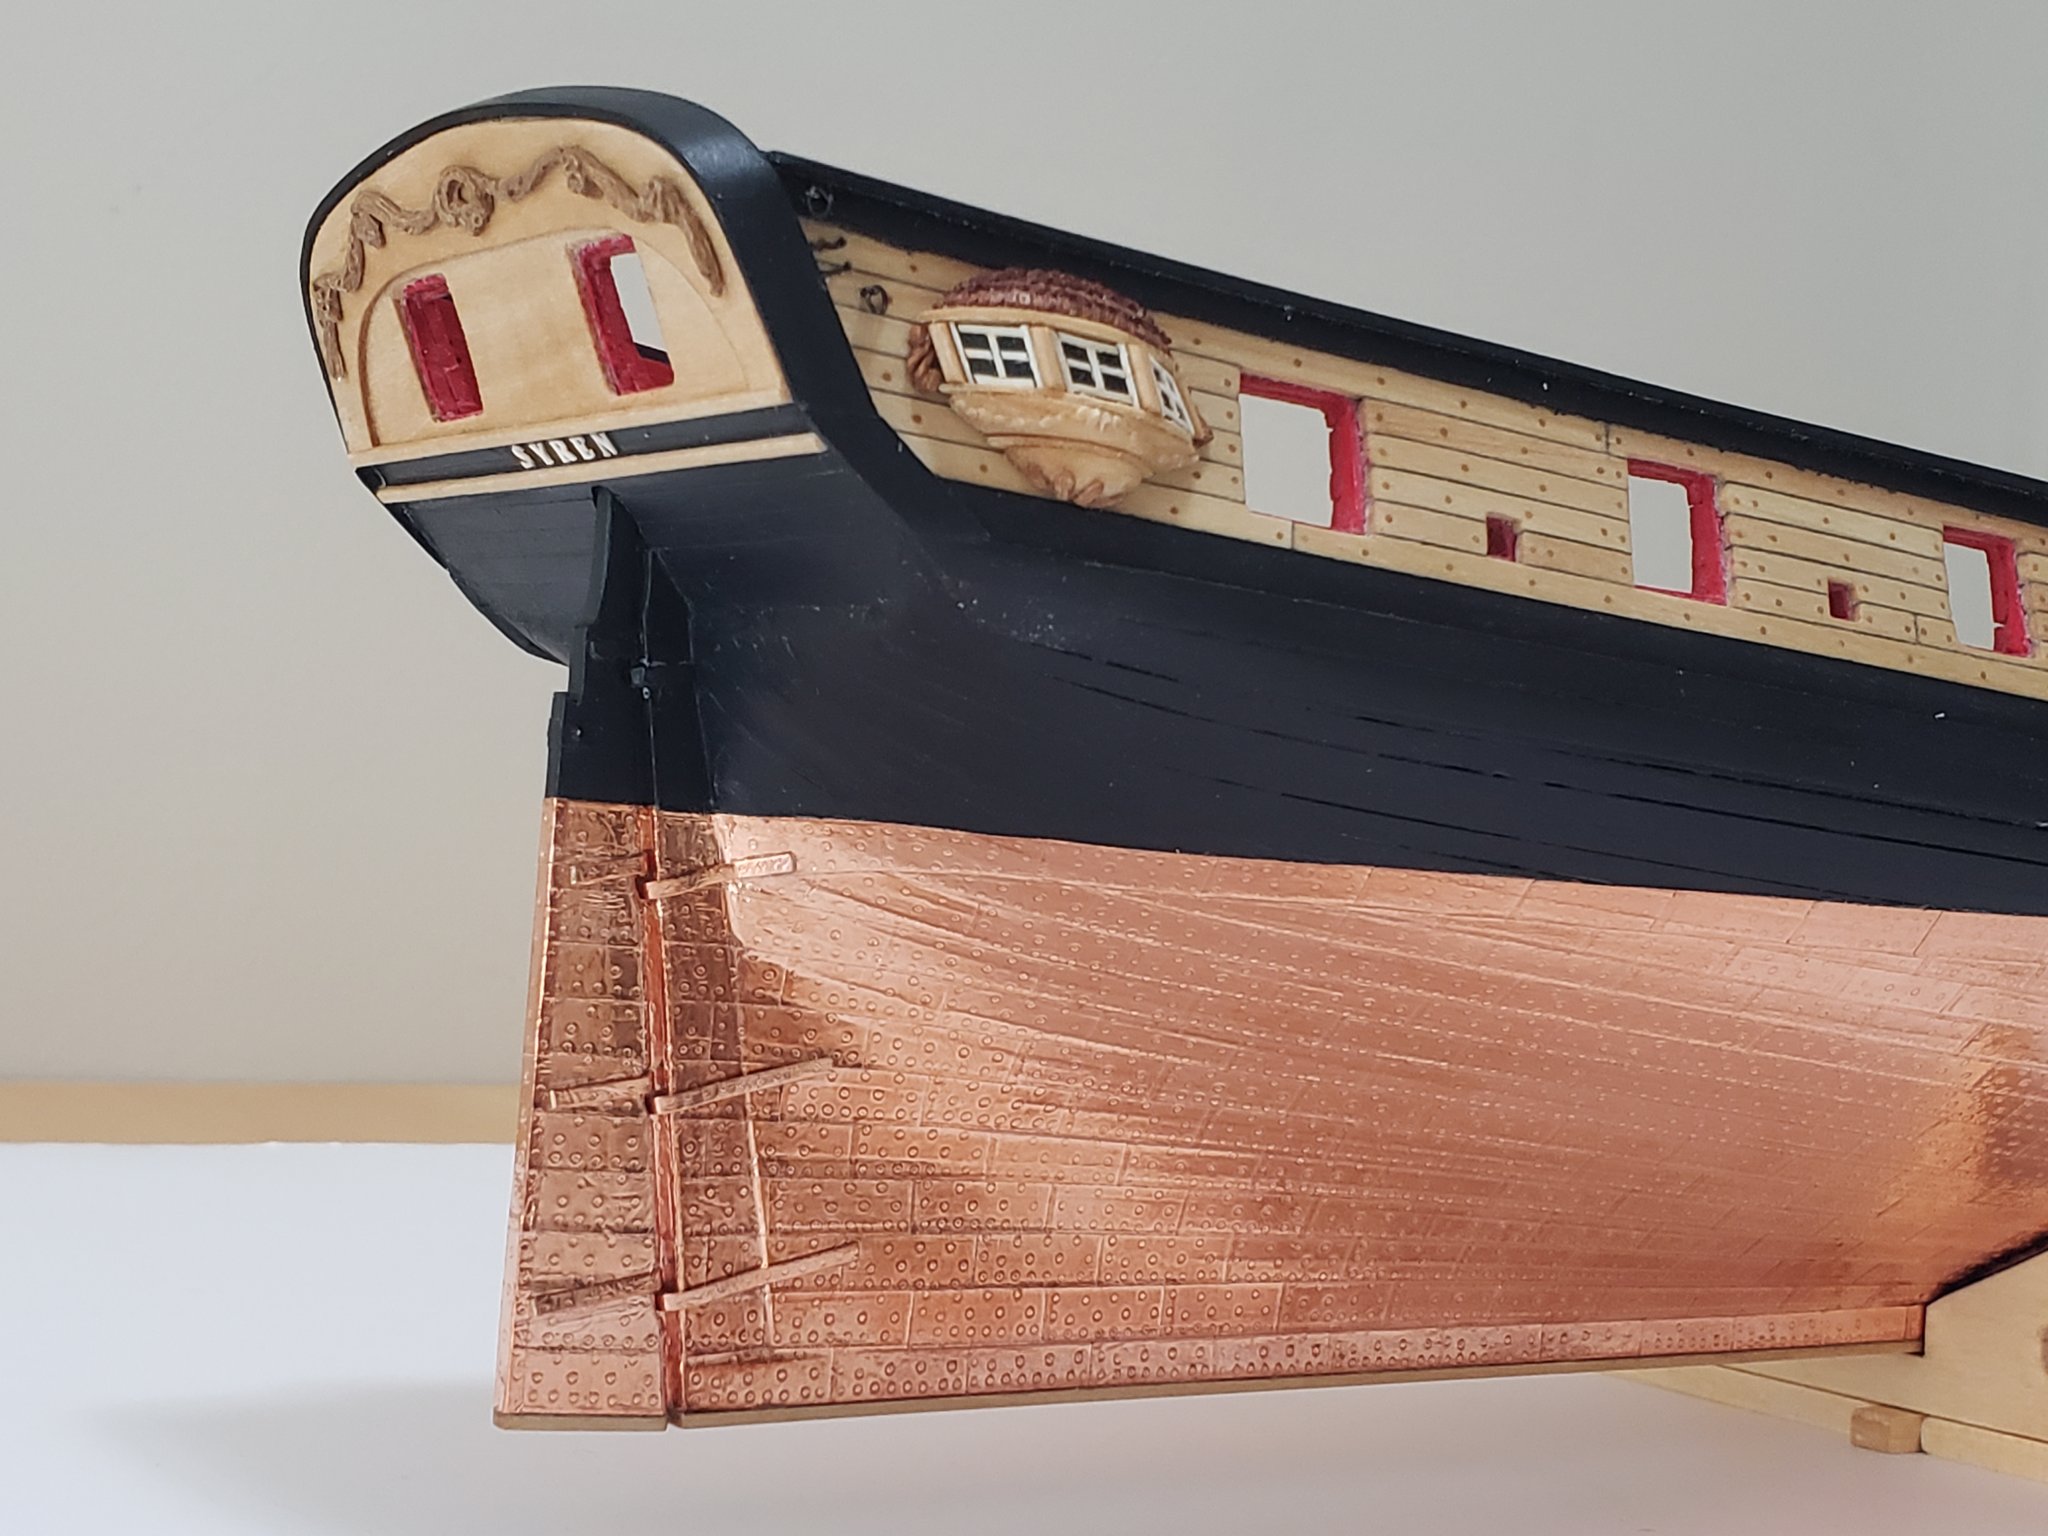
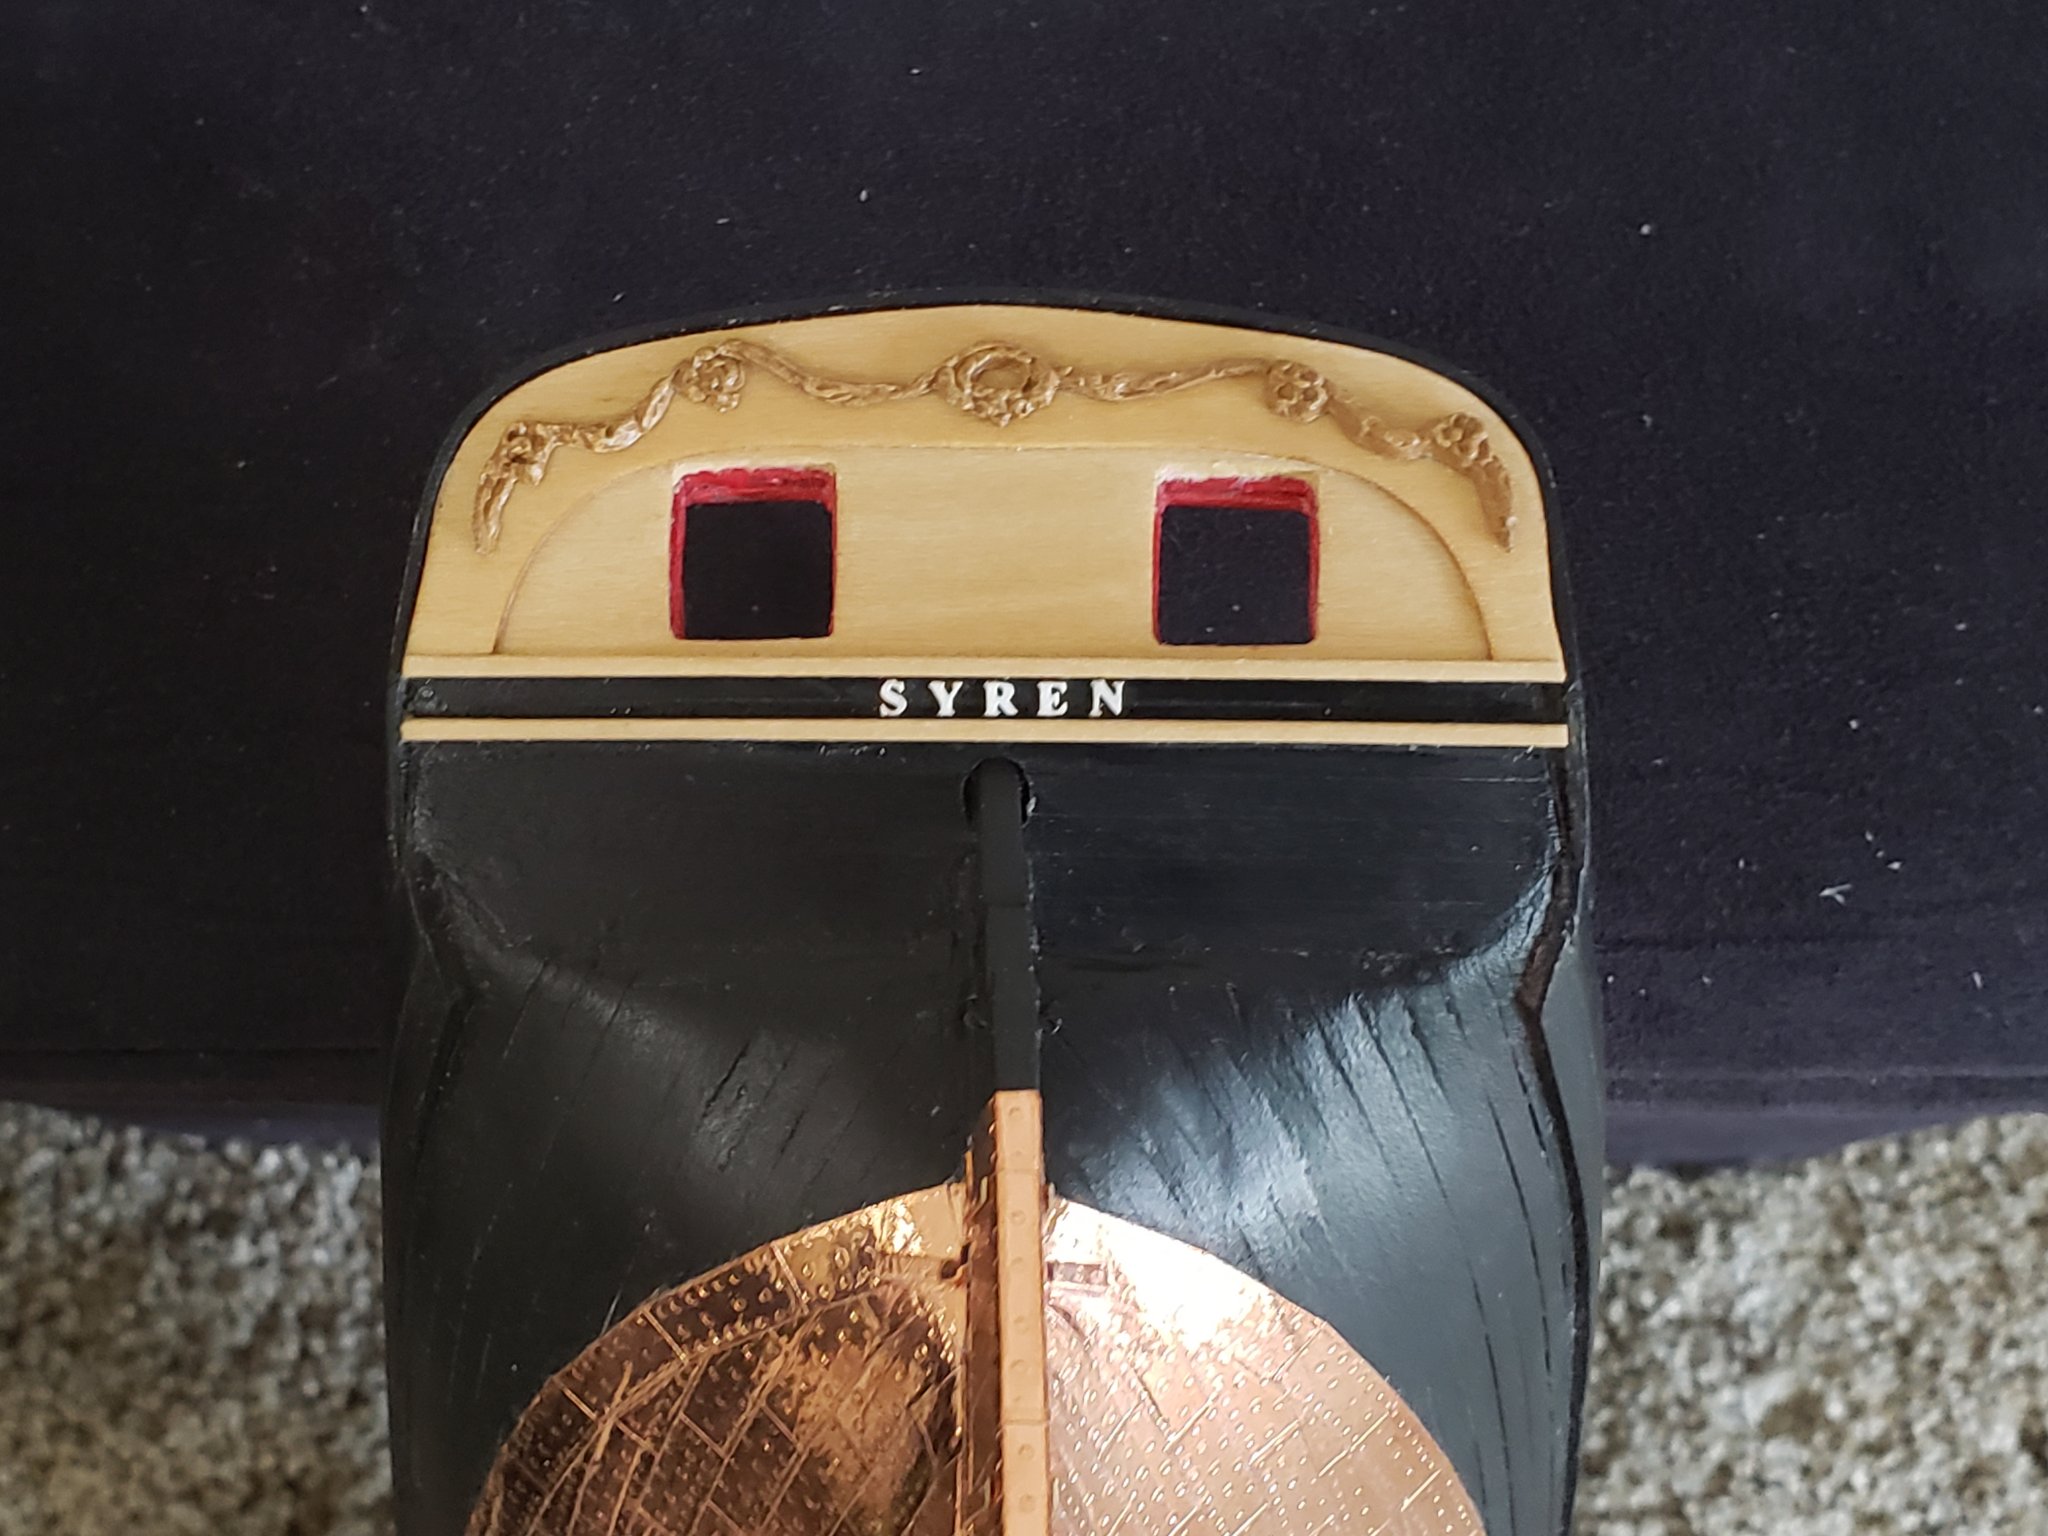
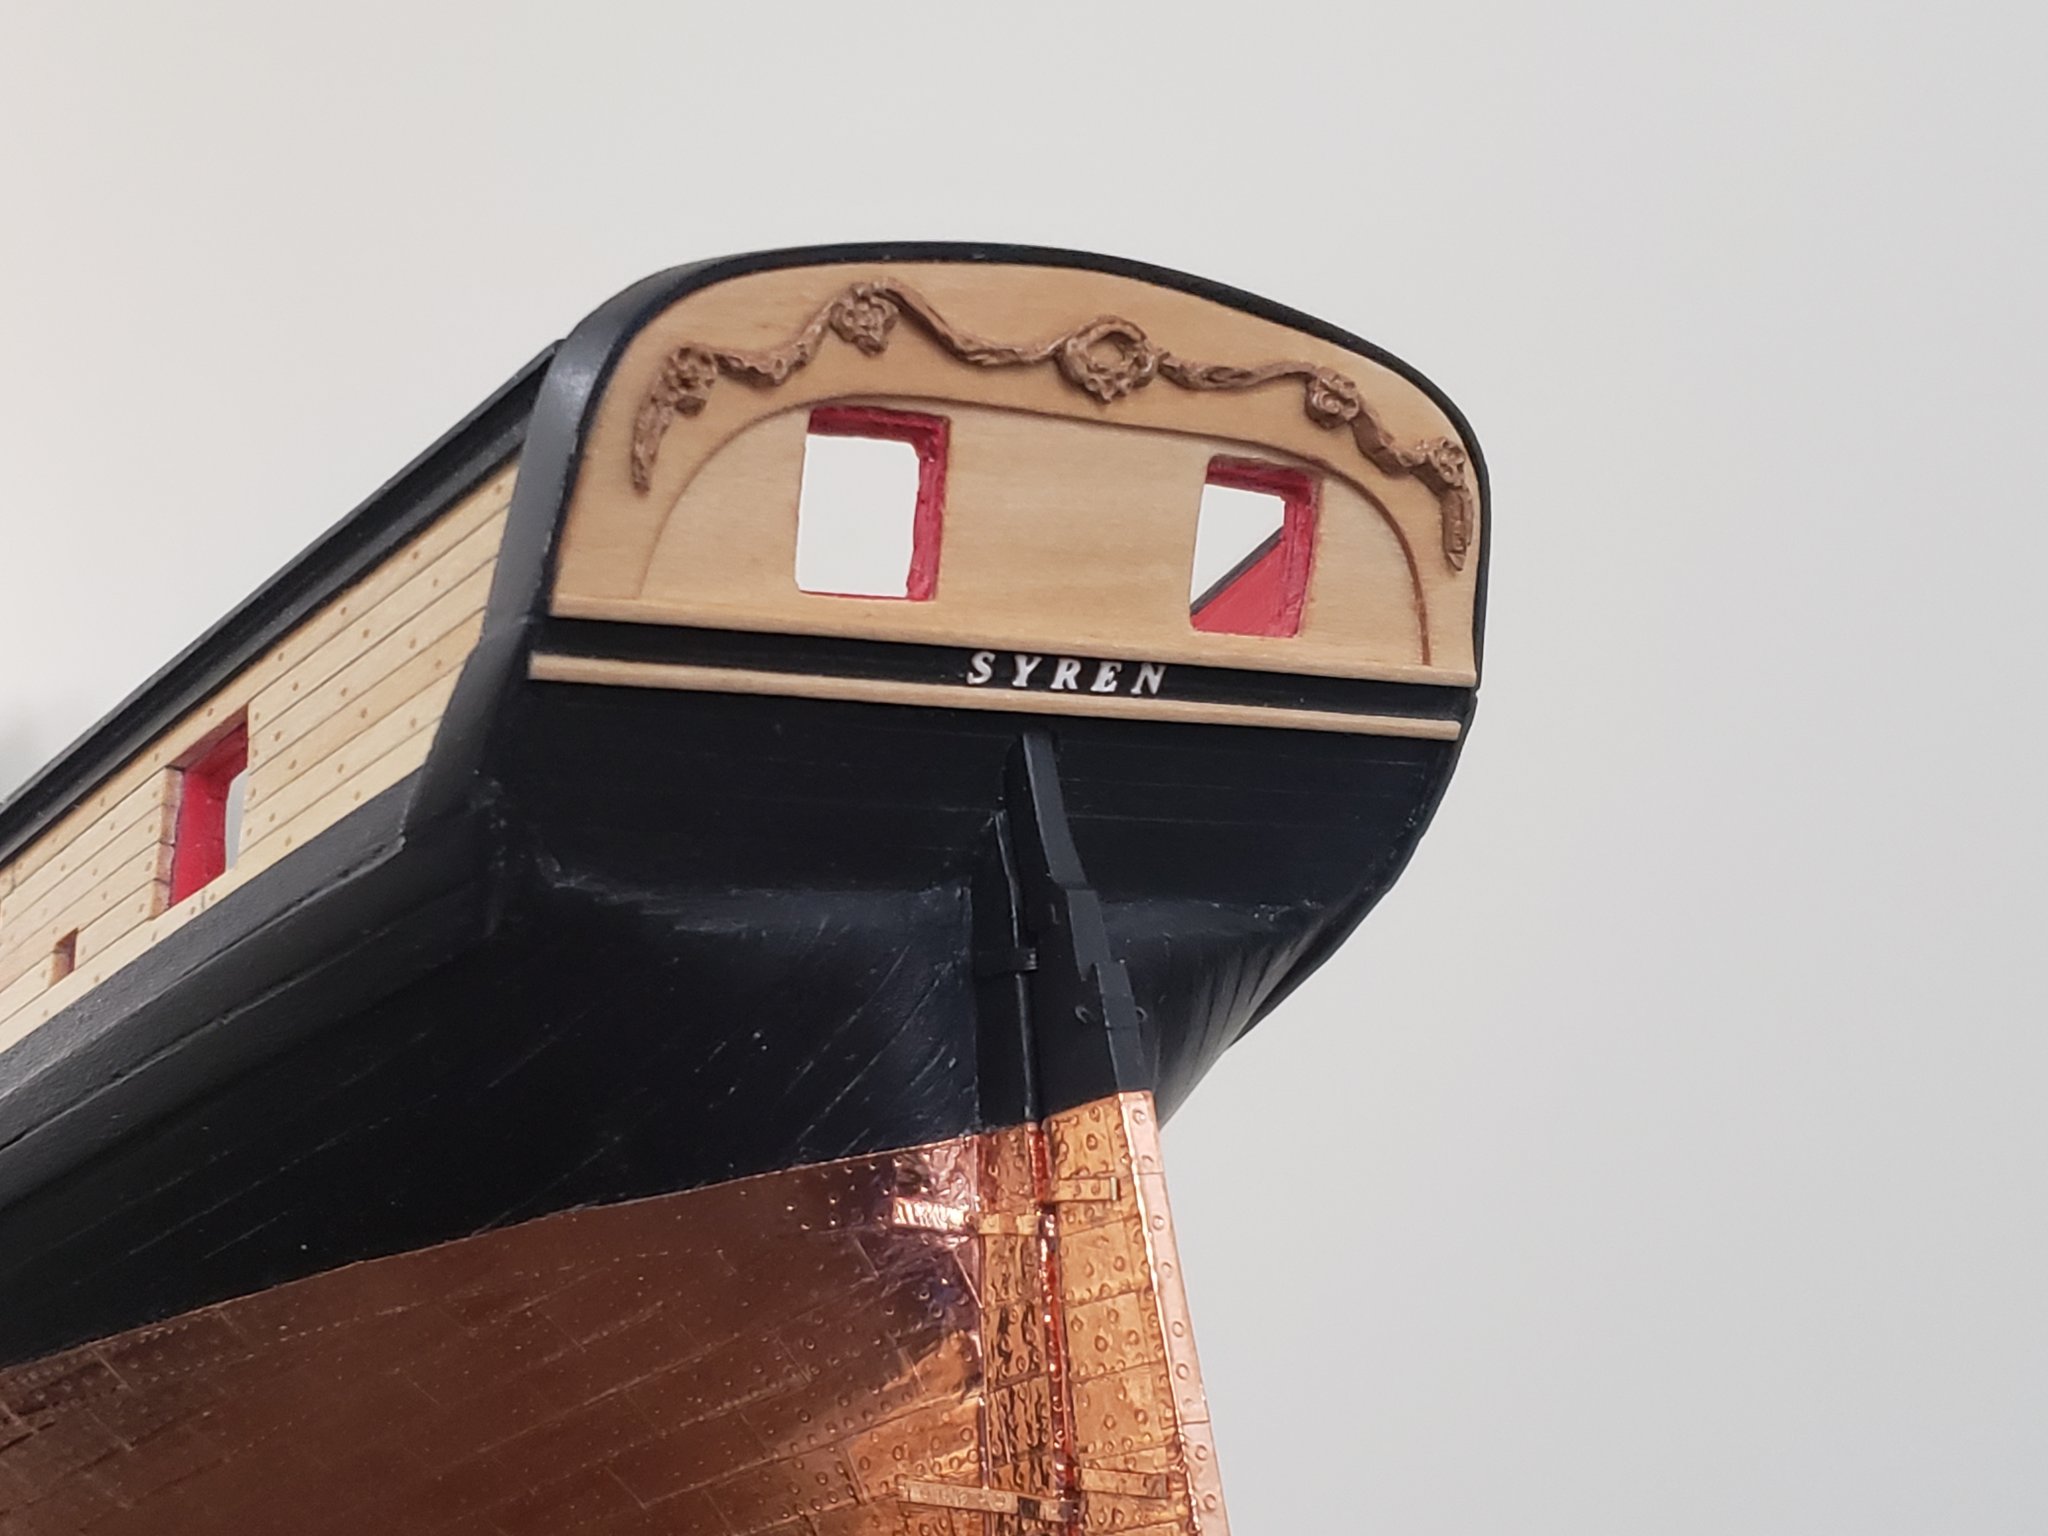
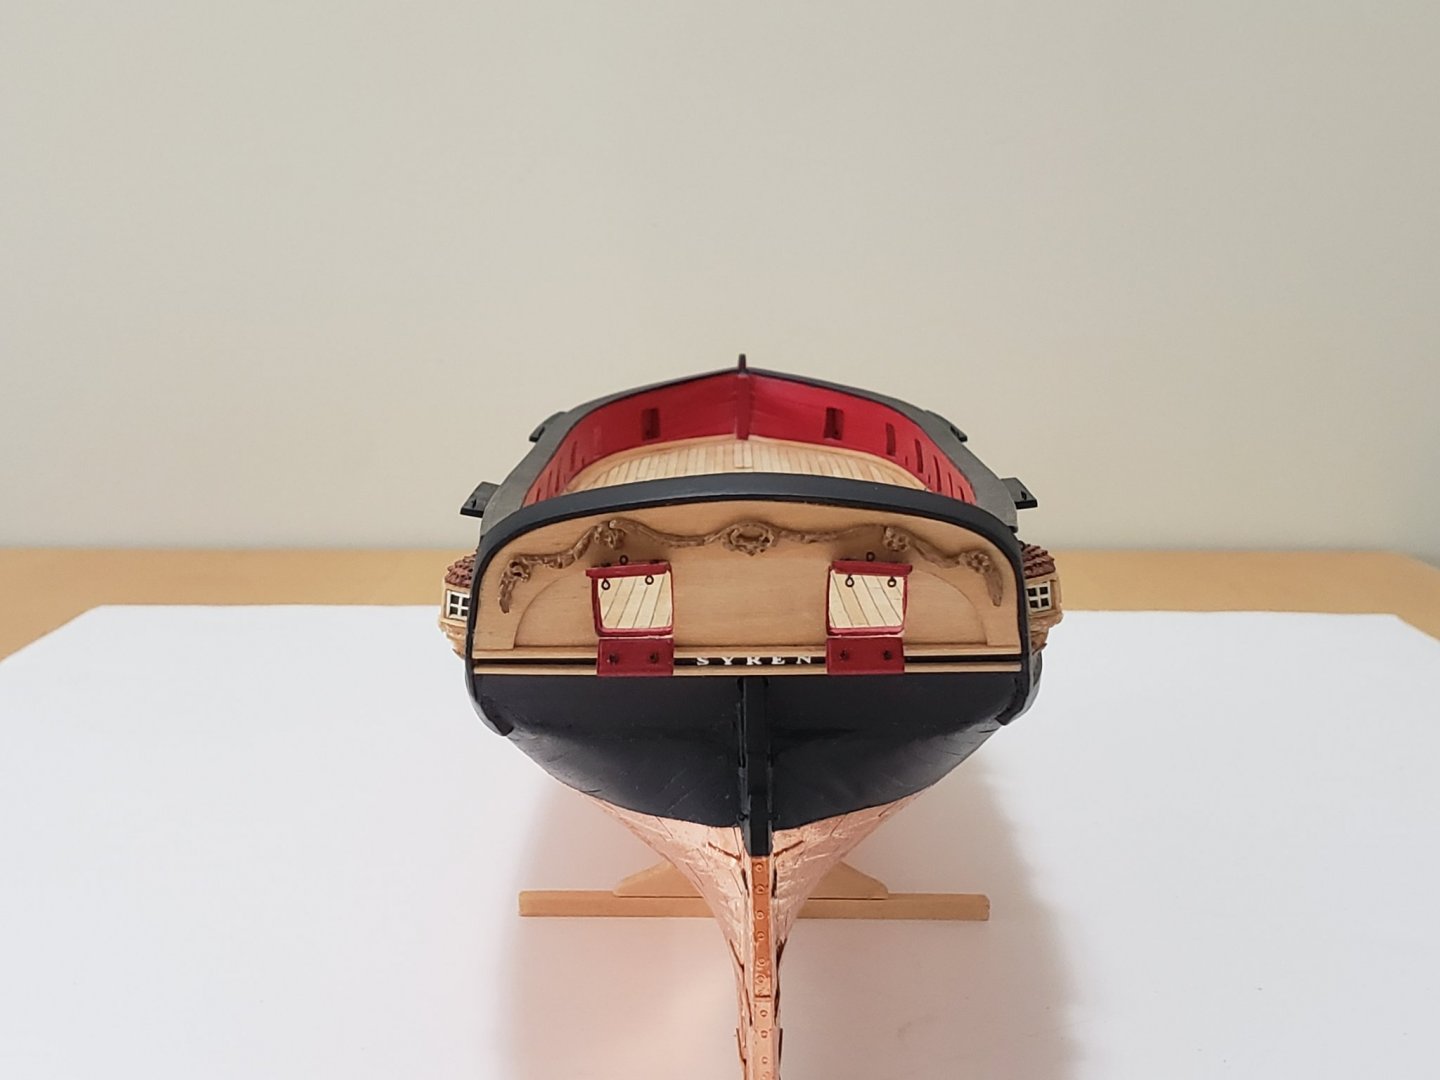
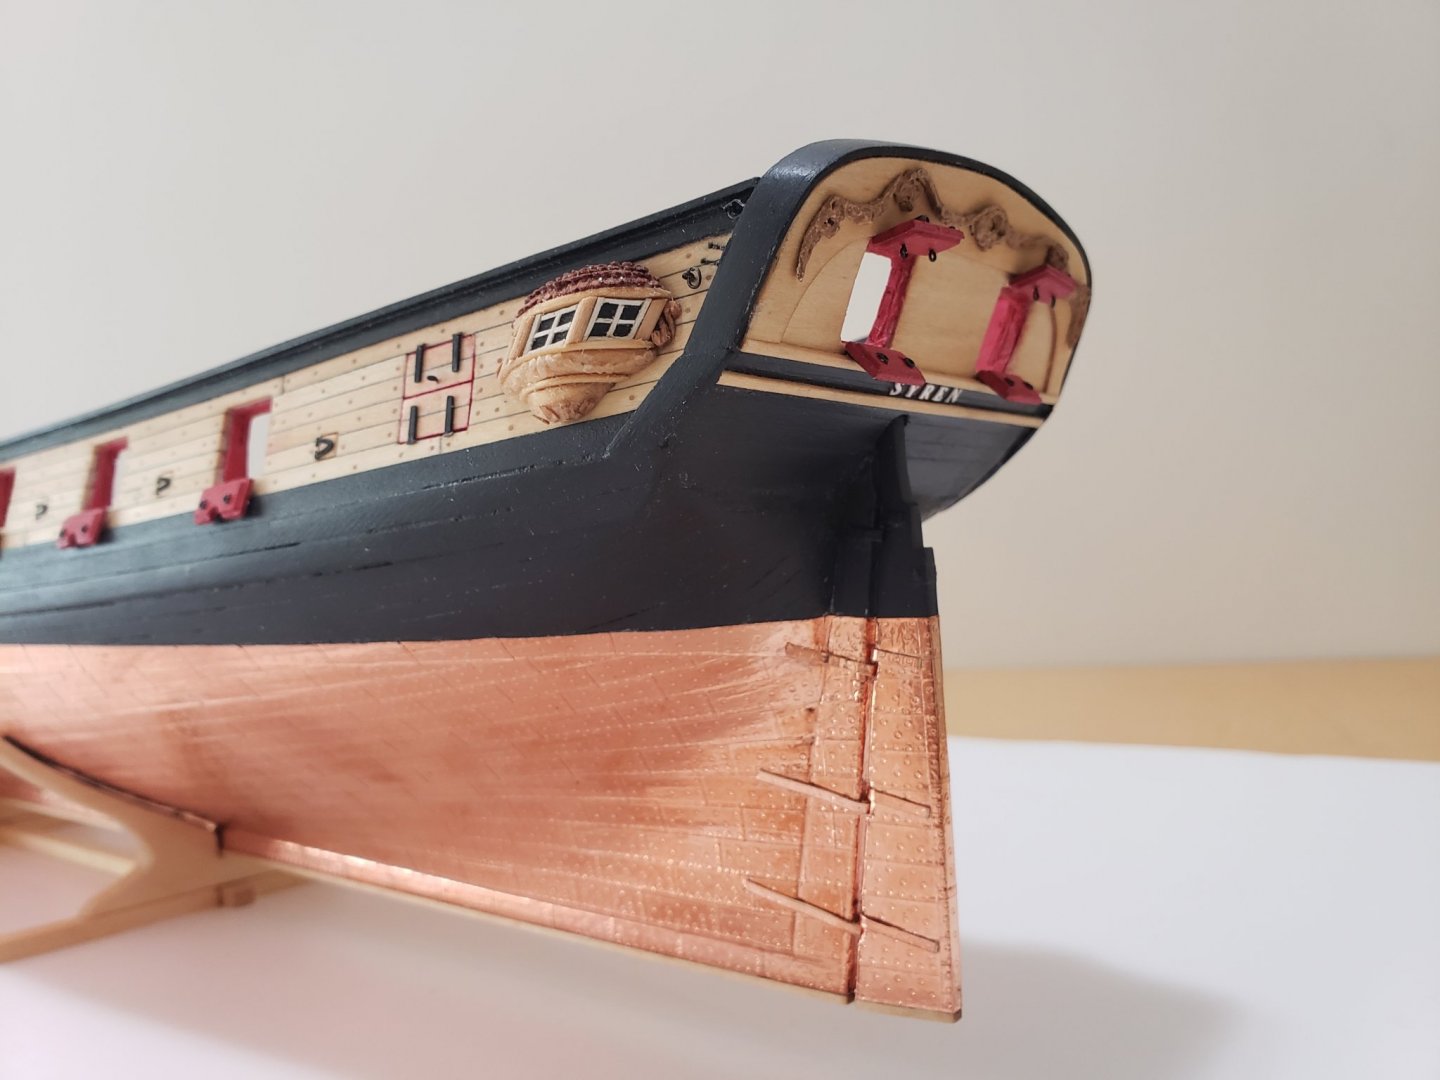
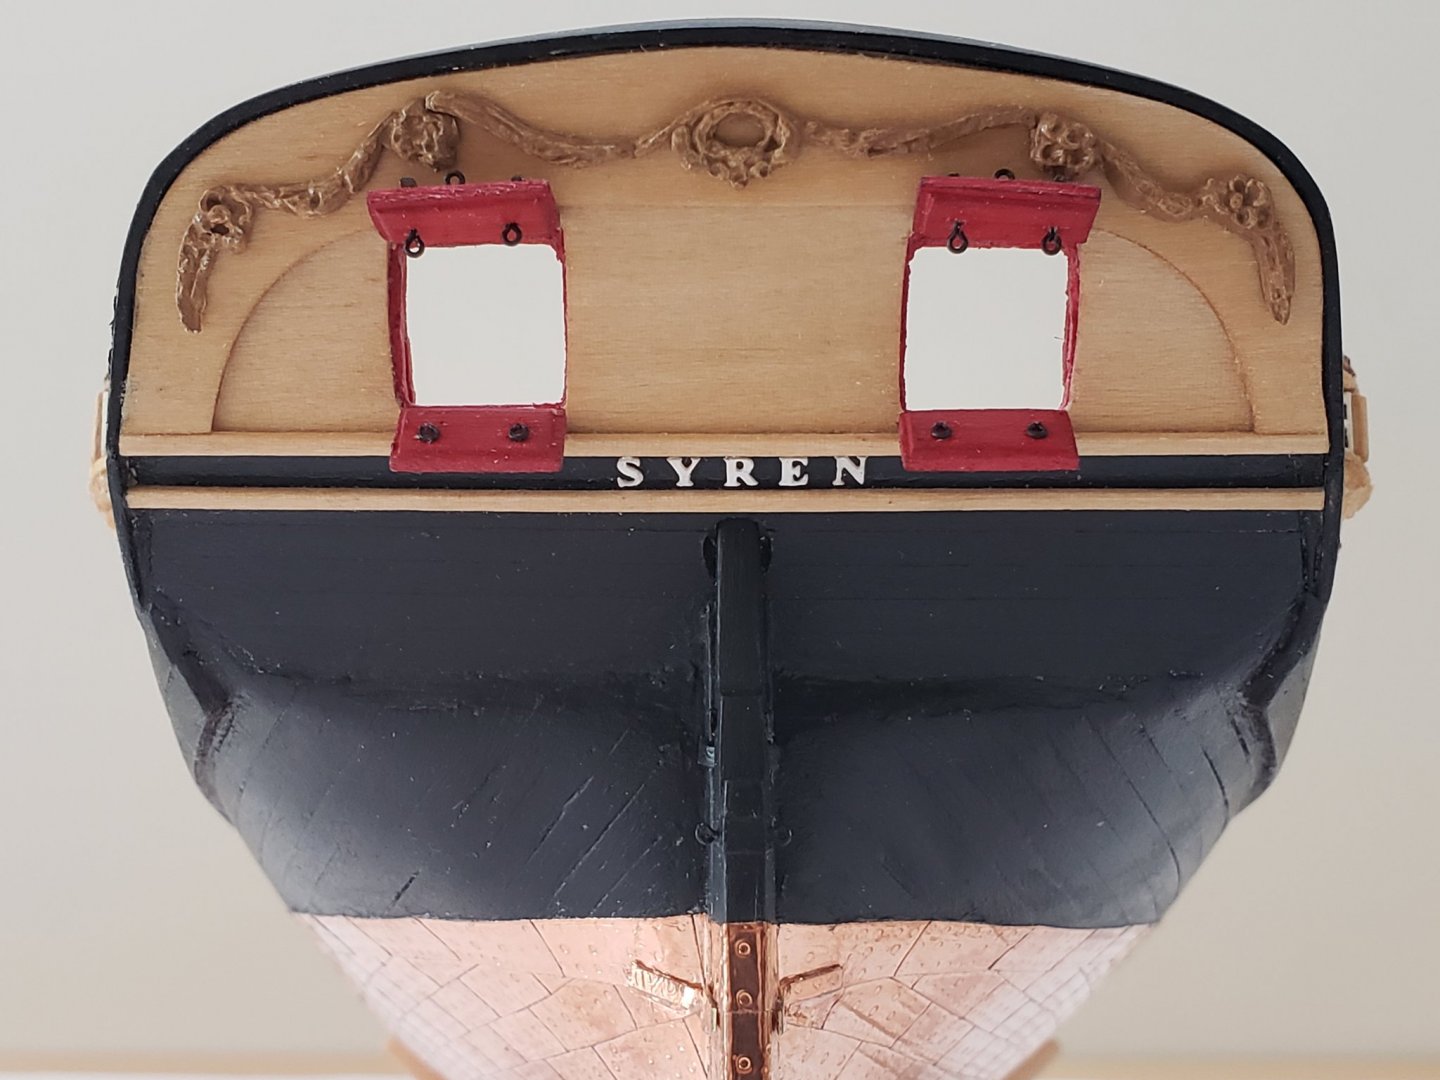
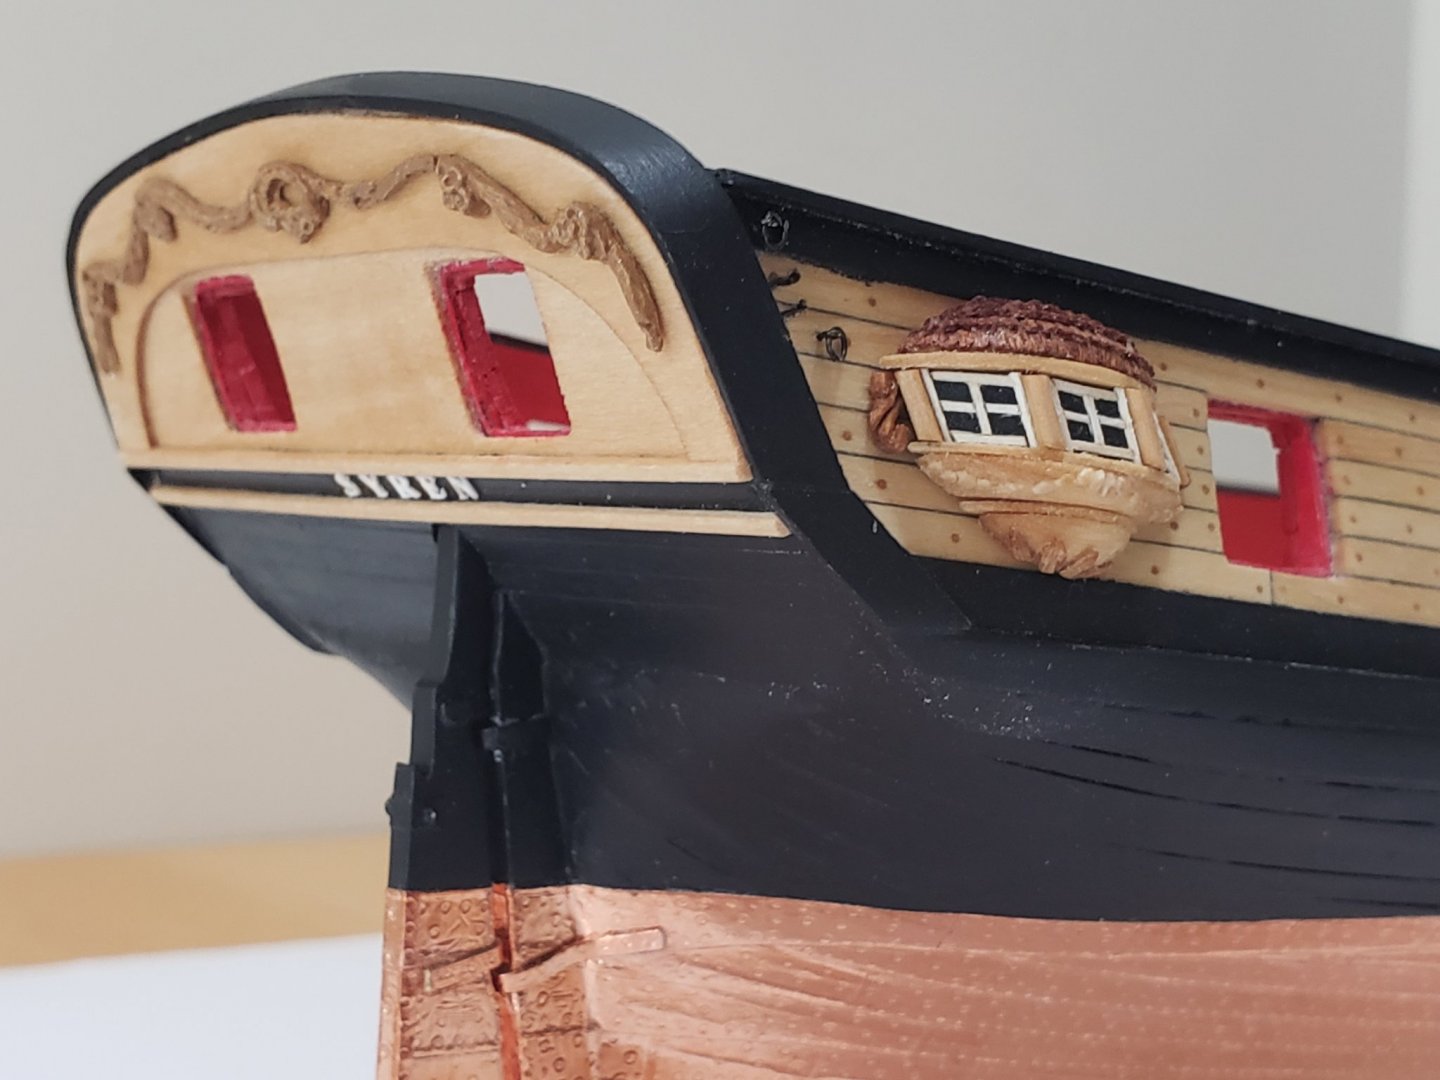
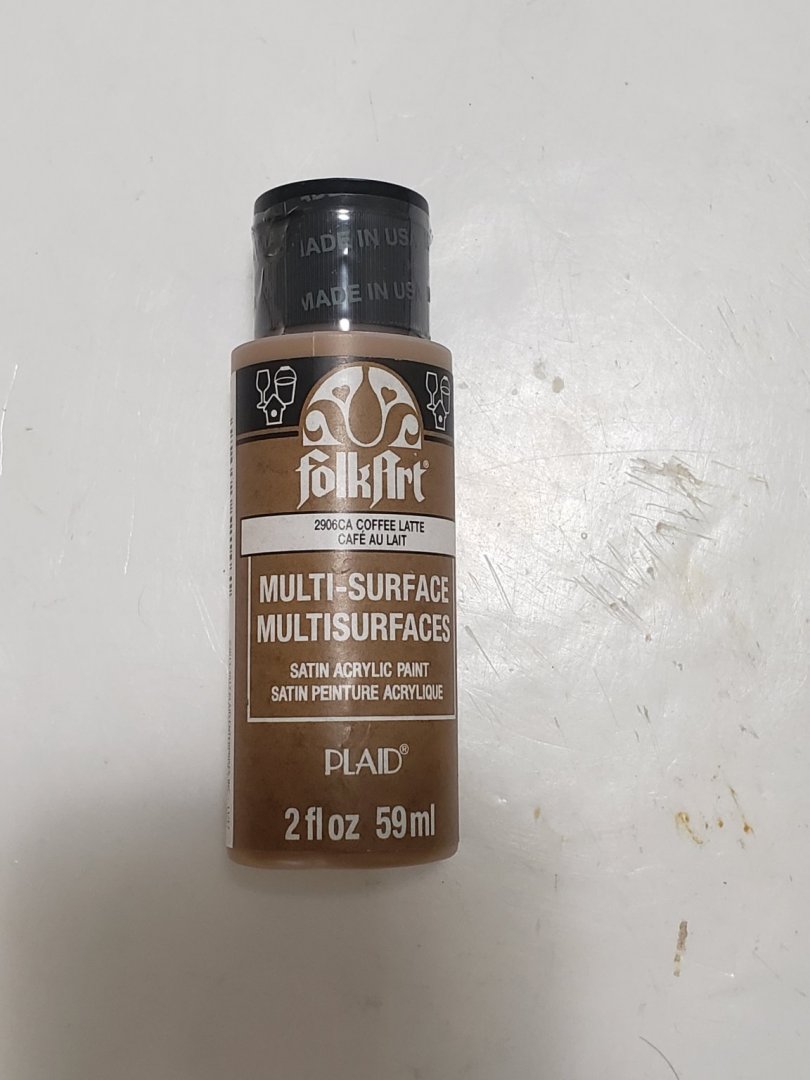
The metal stern carvings have been painted and stuck on the hull. So have the Syren letters. I found the letters tricky to glue to place since they are so small. For these parts I used wood glue to stick them since I could play around with the locations before it set. I also had the ship secured upright to make it easier to stick the items. Here is the paint I used: Here are some pics of the stern with the carvings and letters: I painted the figurehead the same color as the carvings. Another note, I need to taper the stem knee a bit more since the figurehead does not go in smoothly. The paint on the knee probably made it thicker.


- 950 replies
-
- 11
-
-
- syren
- model shipways
- (and 1 more)
-
Thanks so much Robin!! This is my first time using brass parts so I had a bunch of questions 😁. Thanks again for the detailed response!