HOLIDAY DONATION DRIVE - SUPPORT MSW - DO YOUR PART TO KEEP THIS GREAT FORUM GOING! (Only 13 donations so far - C'mon guys!)
×

.jpg.1f80adf1a9b14a937cfcf2ca6af0f0d4.jpg)
WalrusGuy
-
Posts
1,007 -
Joined
-
Last visited
Content Type
Profiles
Forums
Gallery
Events
Everything posted by WalrusGuy
-
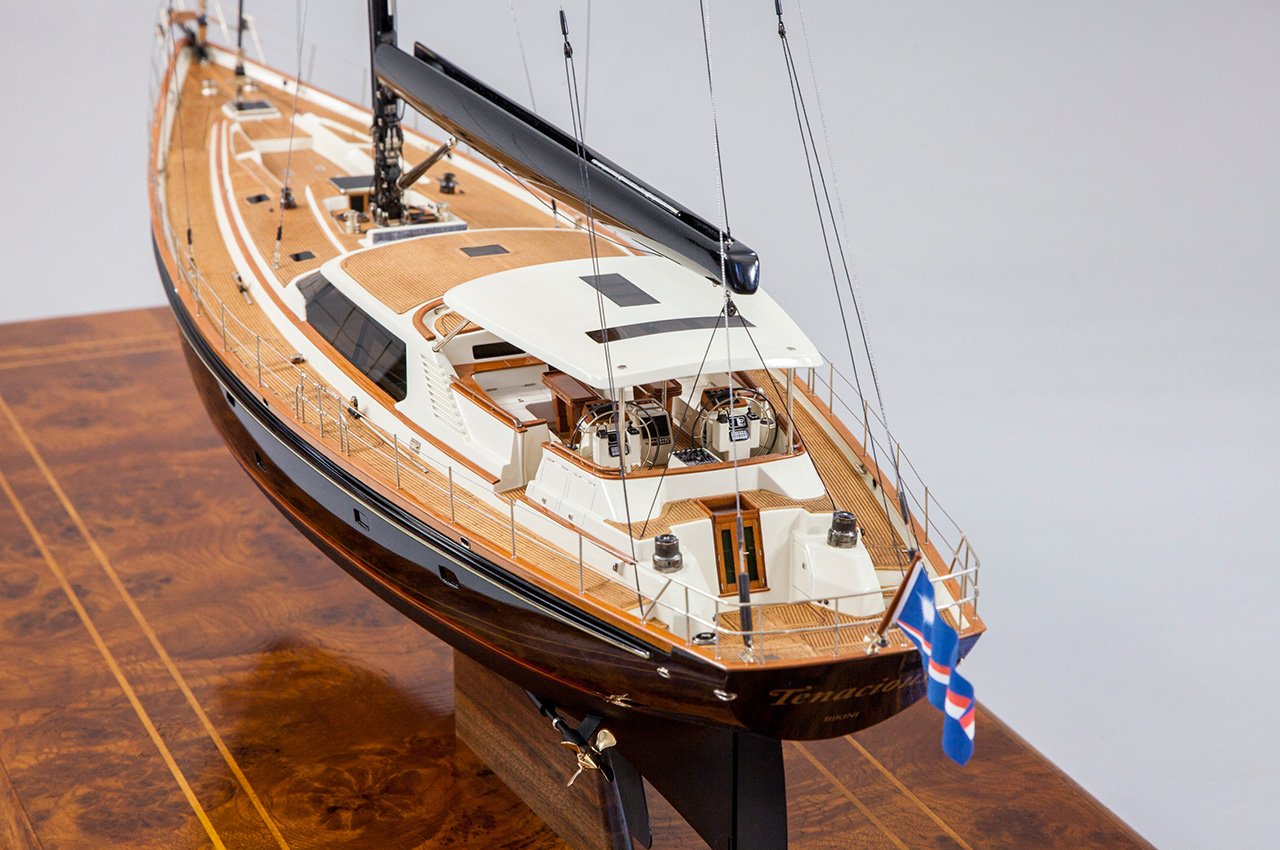
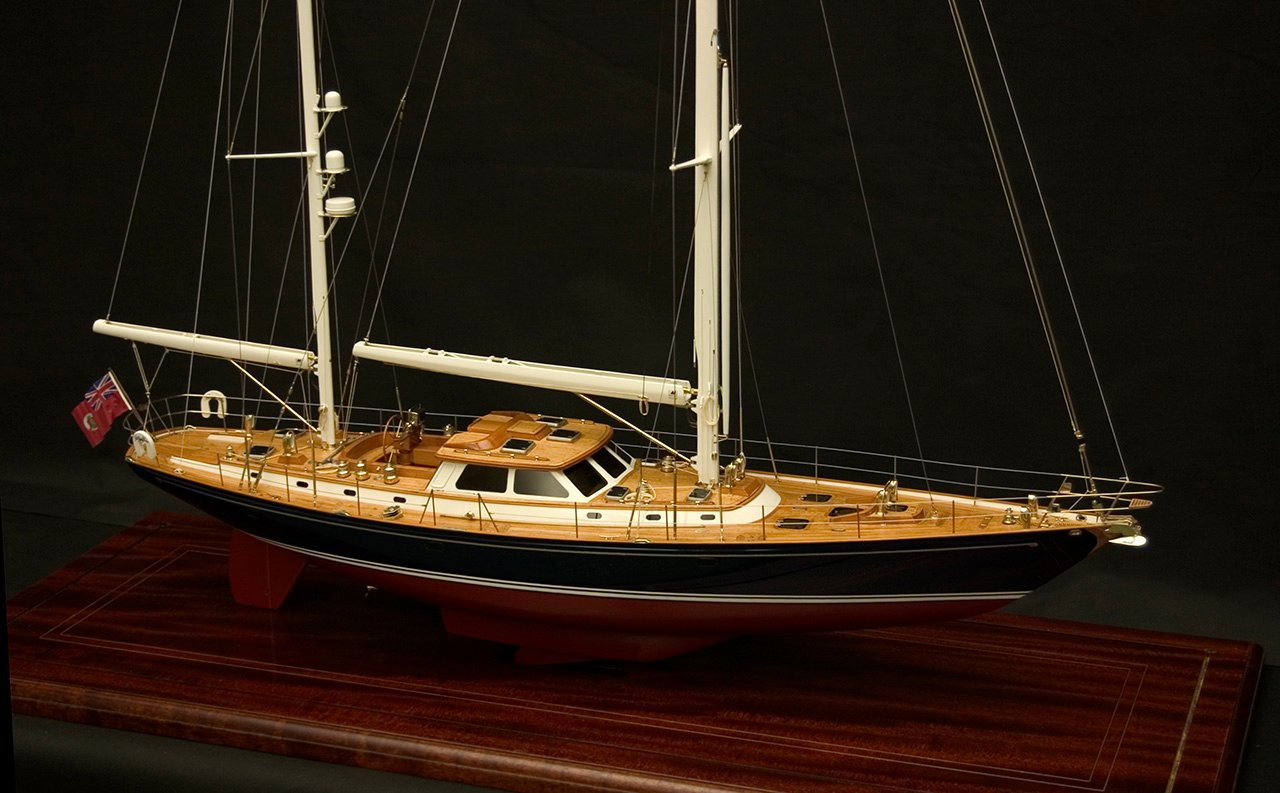
.thumb.jpg.62d1d69fed1f32364417cb1f9cdeb009.jpg) Hi Chris. I am not sure if you have answered this question before, but do you have any plans of designing a modern day sailing yacht kit? Something like these (pics from http://www.yachtmodels.com/):
Hi Chris. I am not sure if you have answered this question before, but do you have any plans of designing a modern day sailing yacht kit? Something like these (pics from http://www.yachtmodels.com/):
-
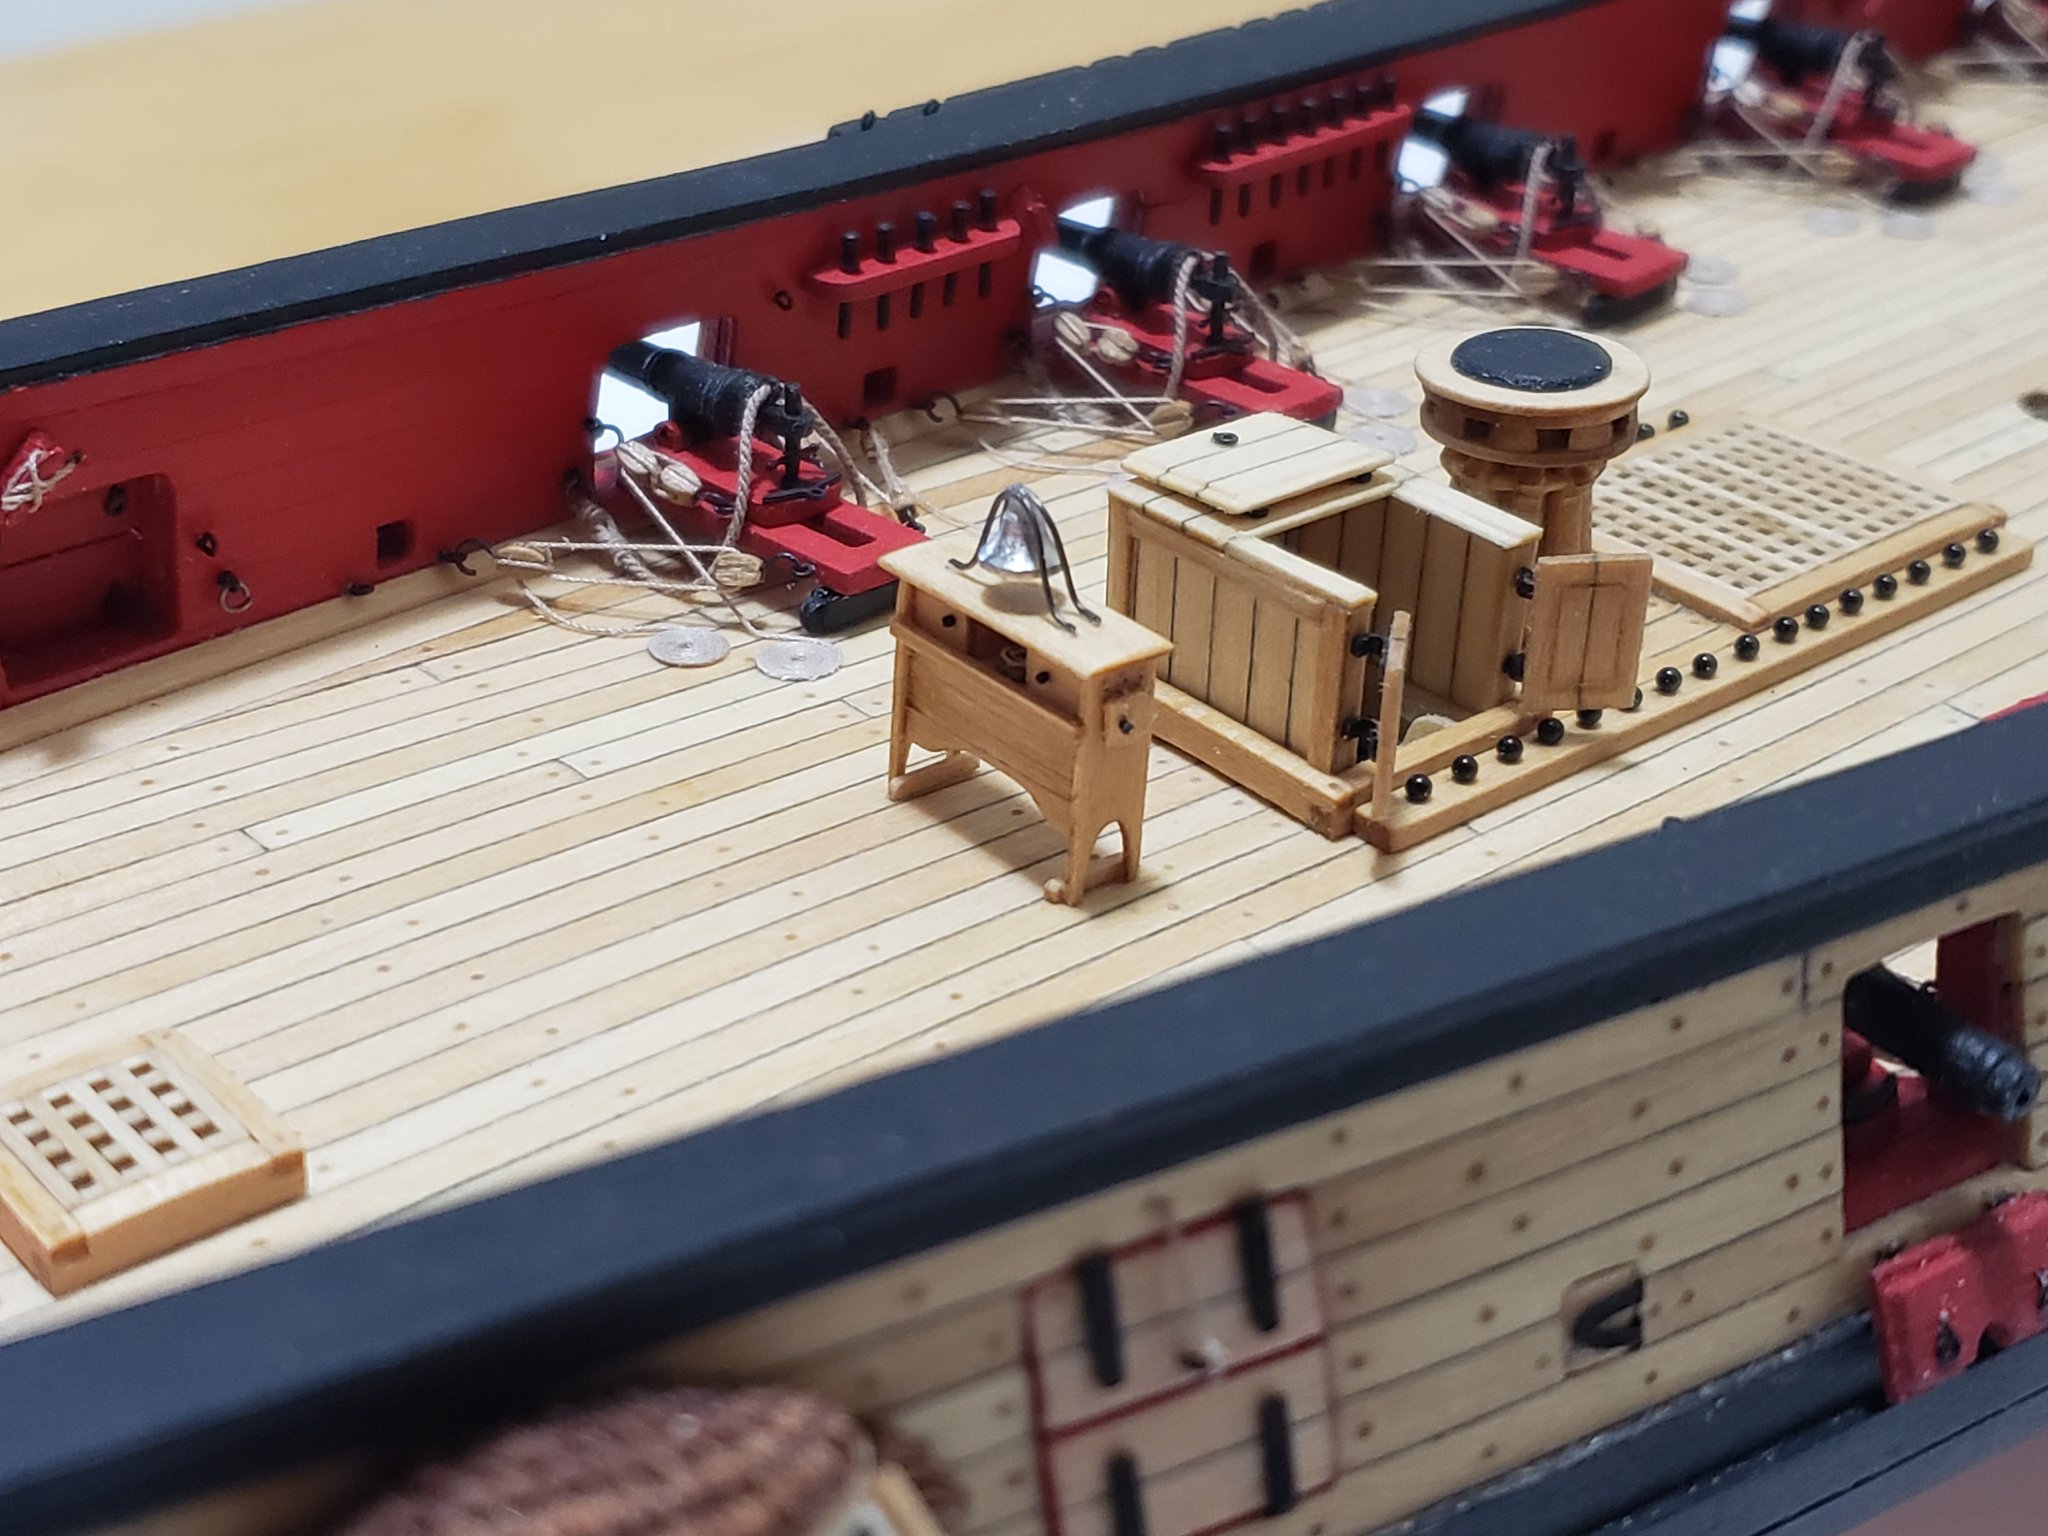
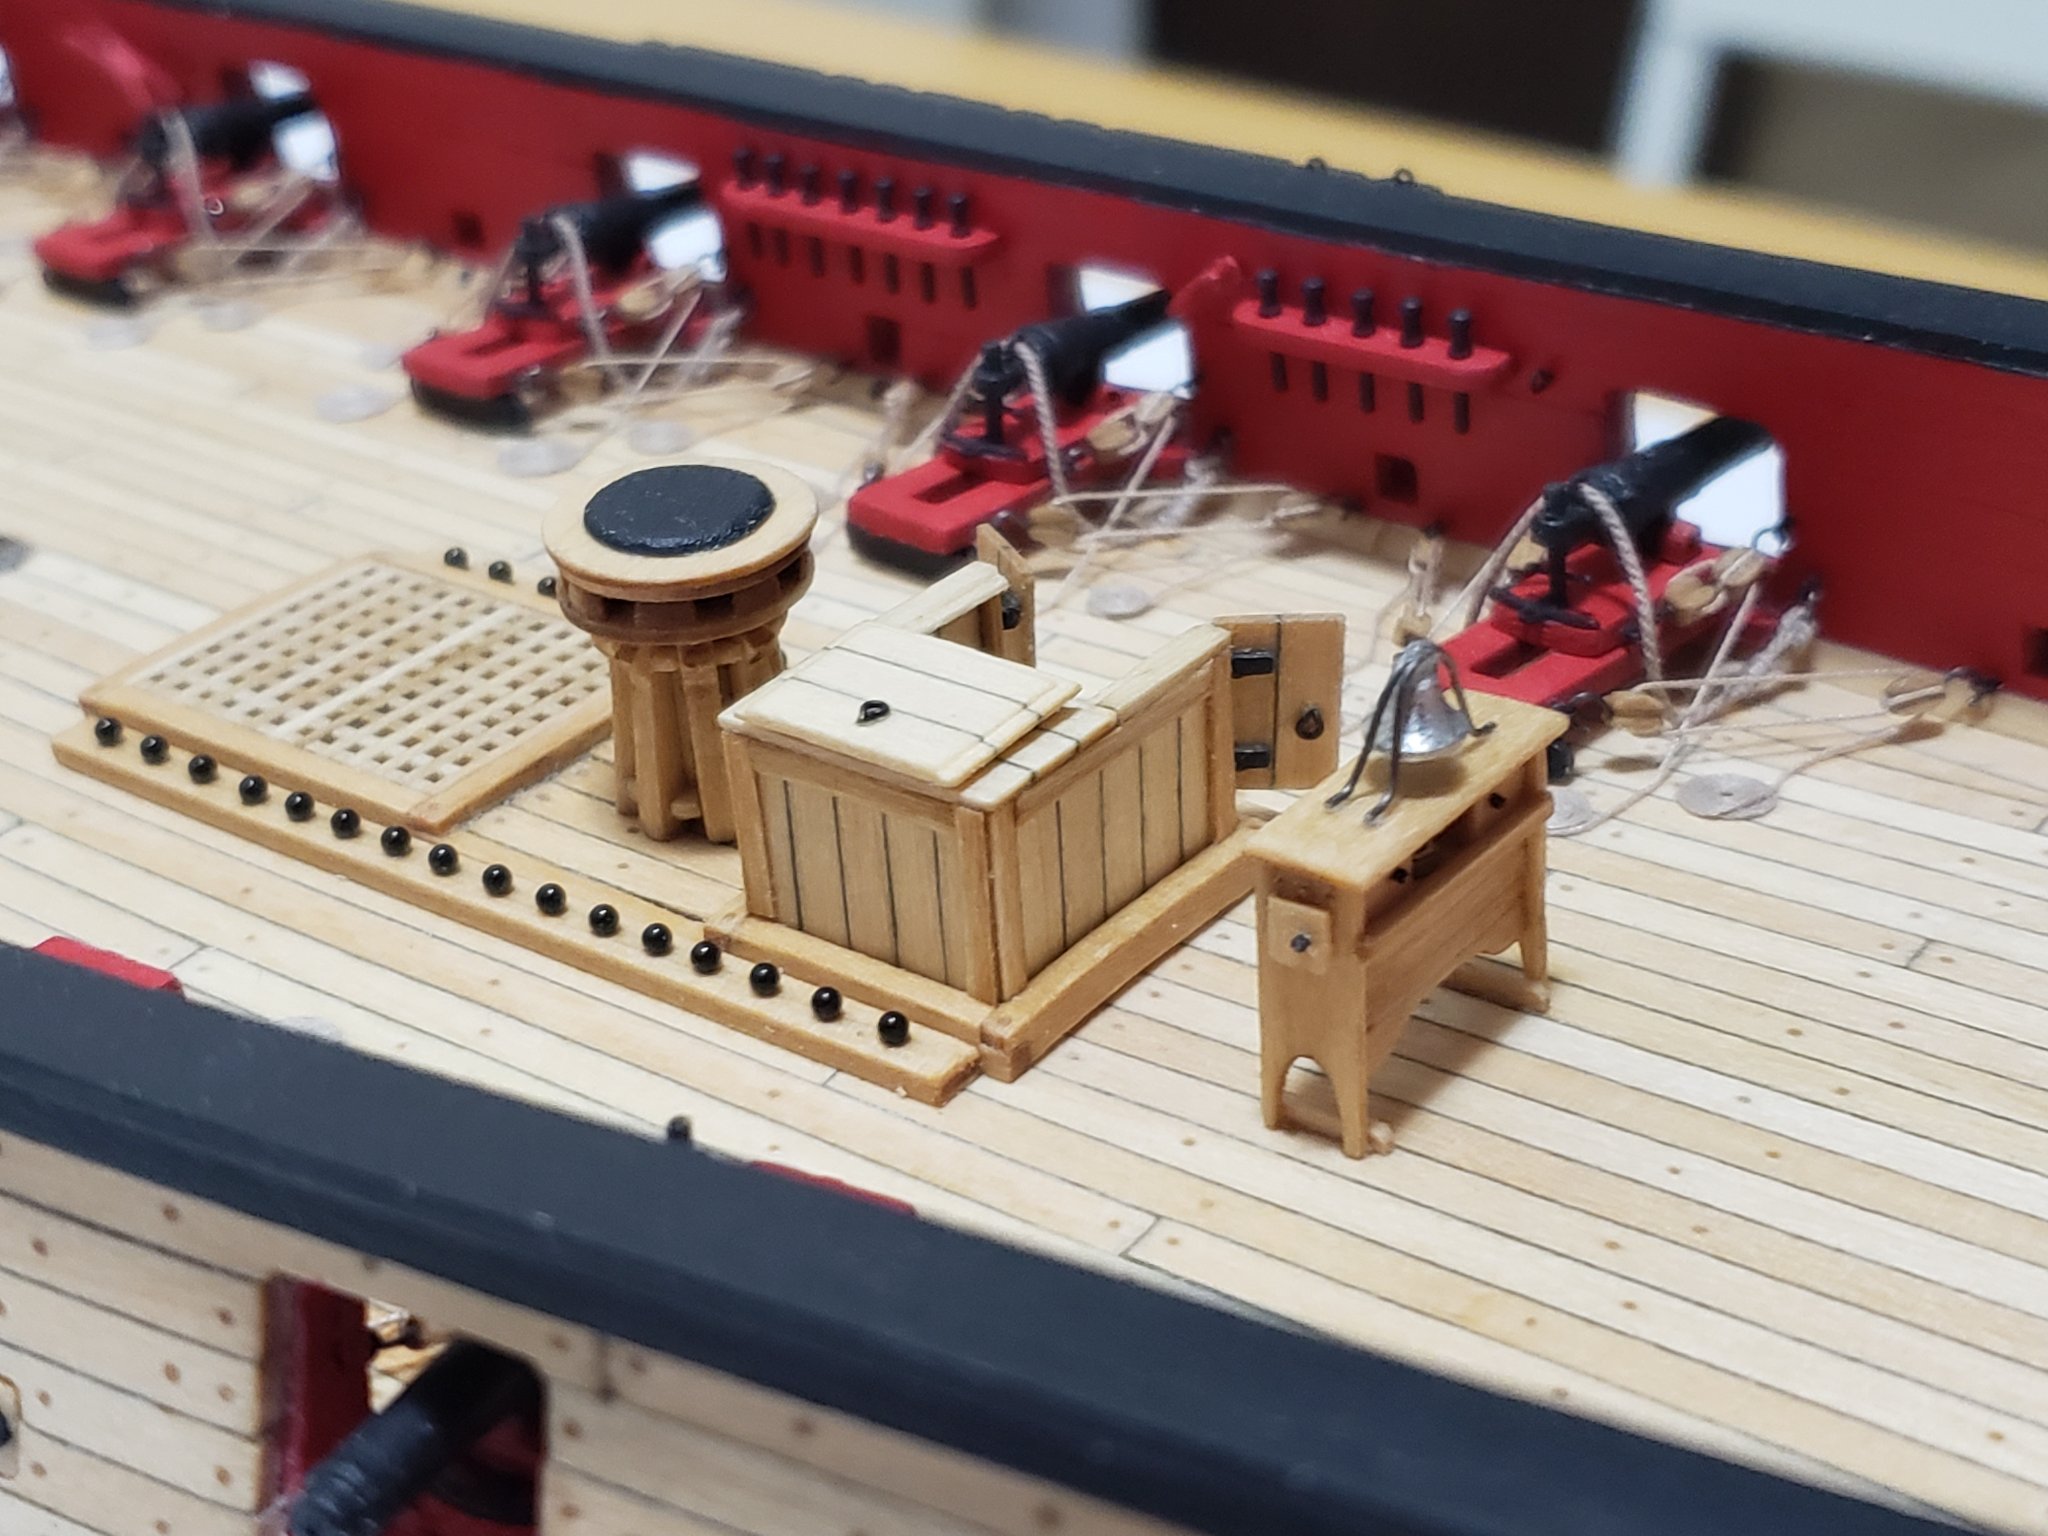
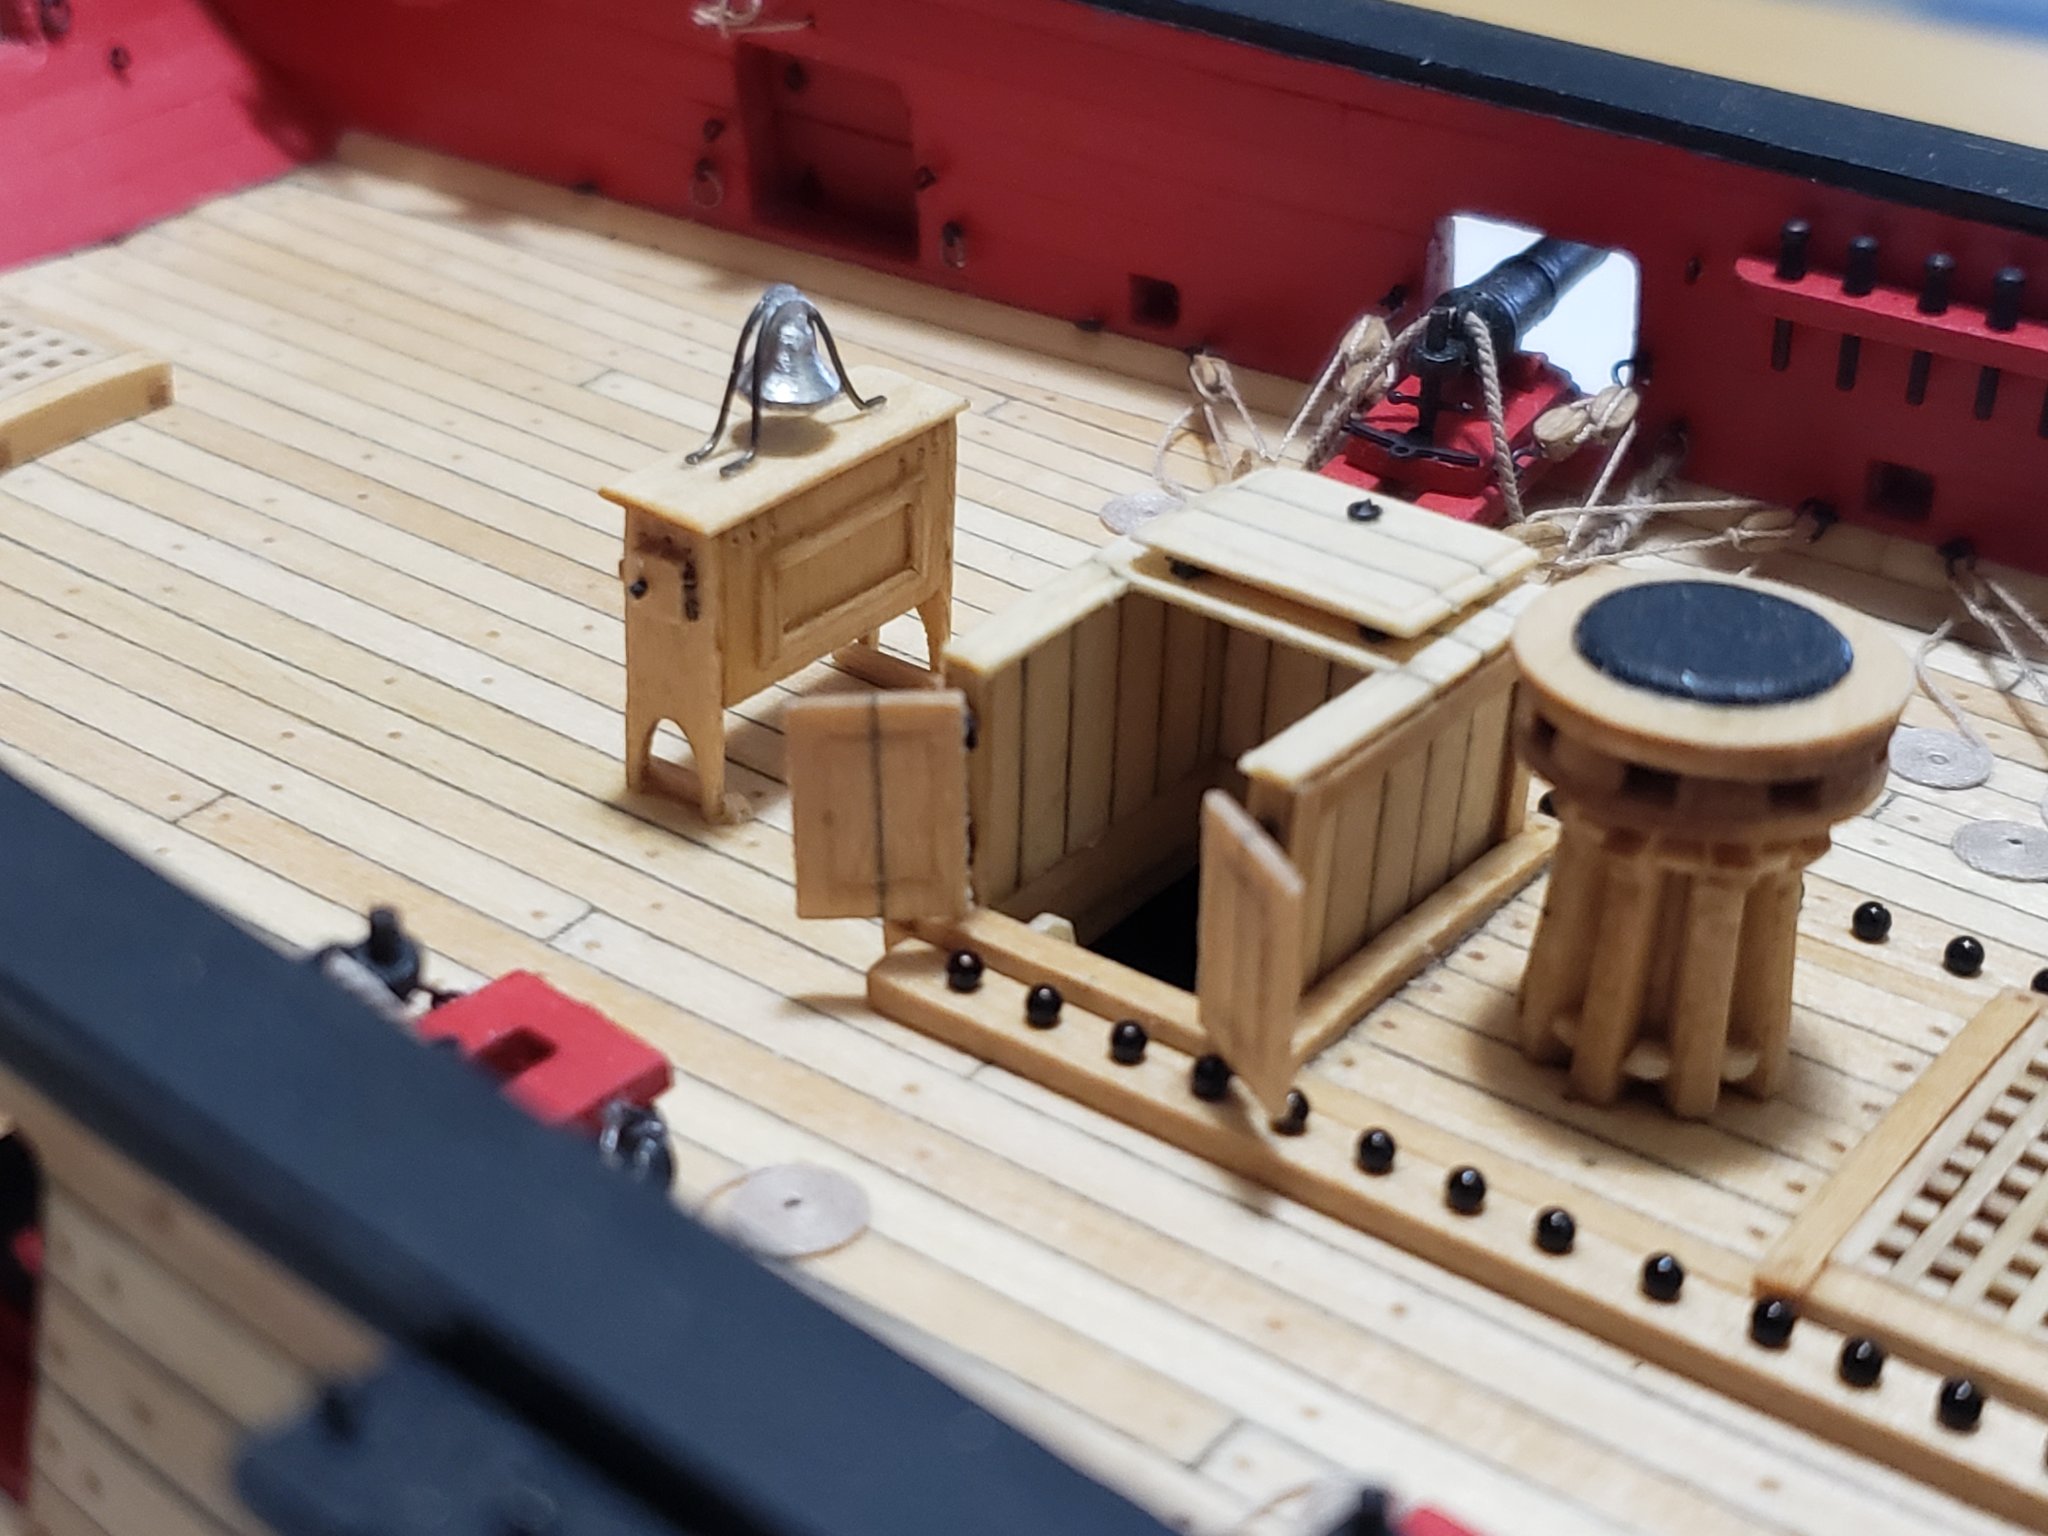
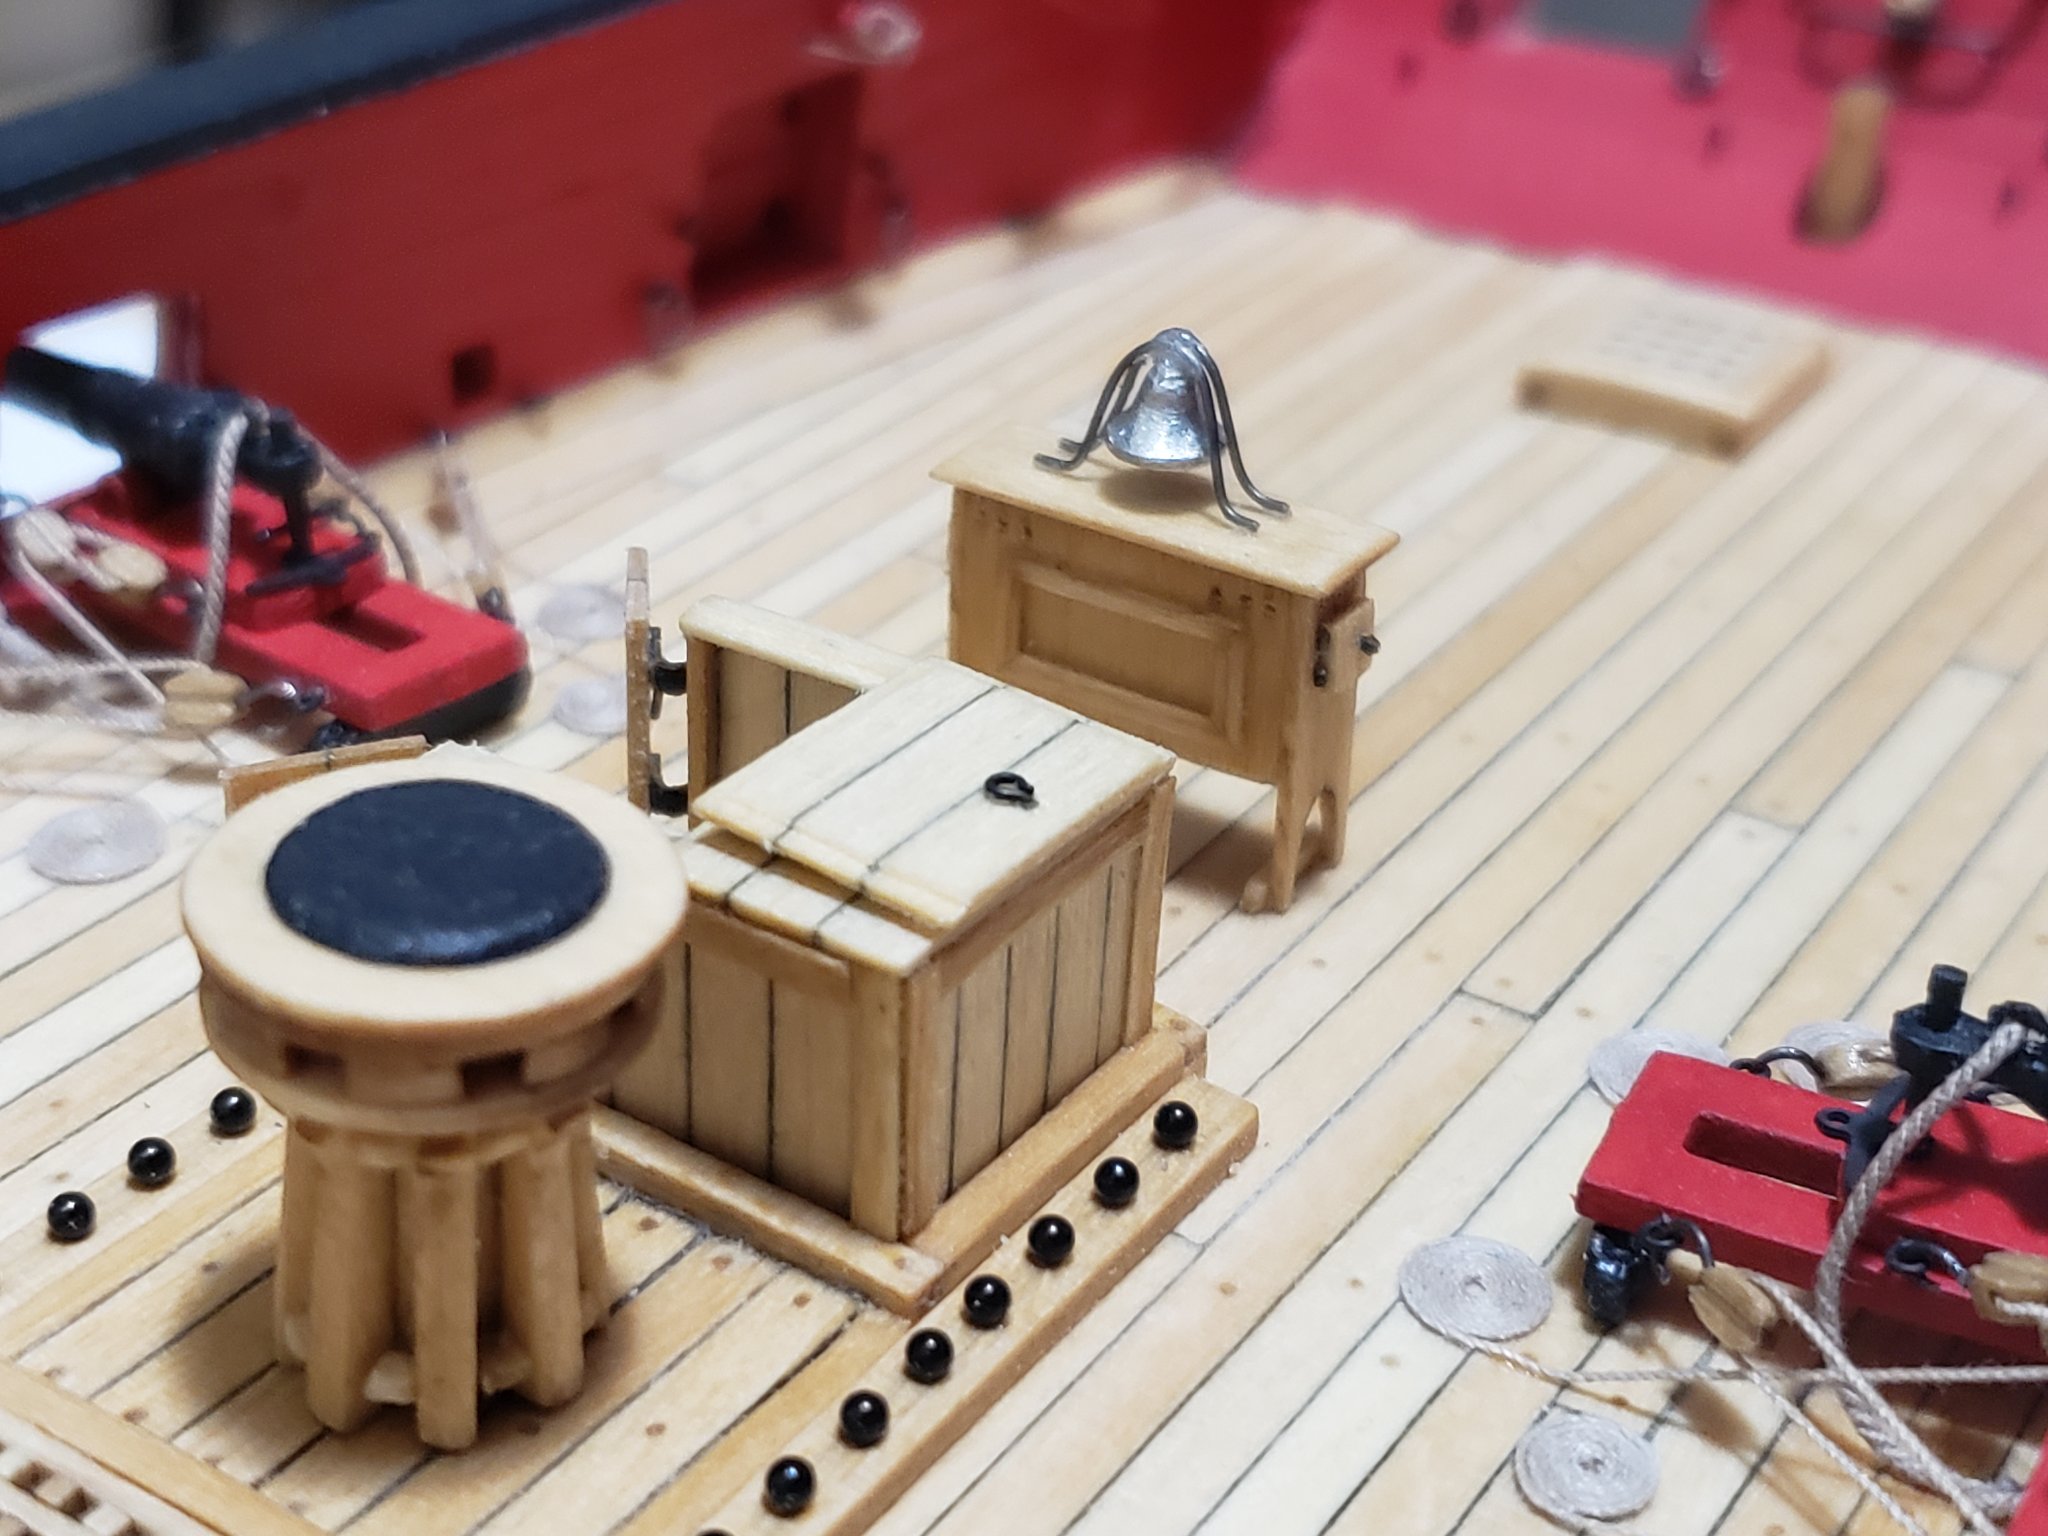
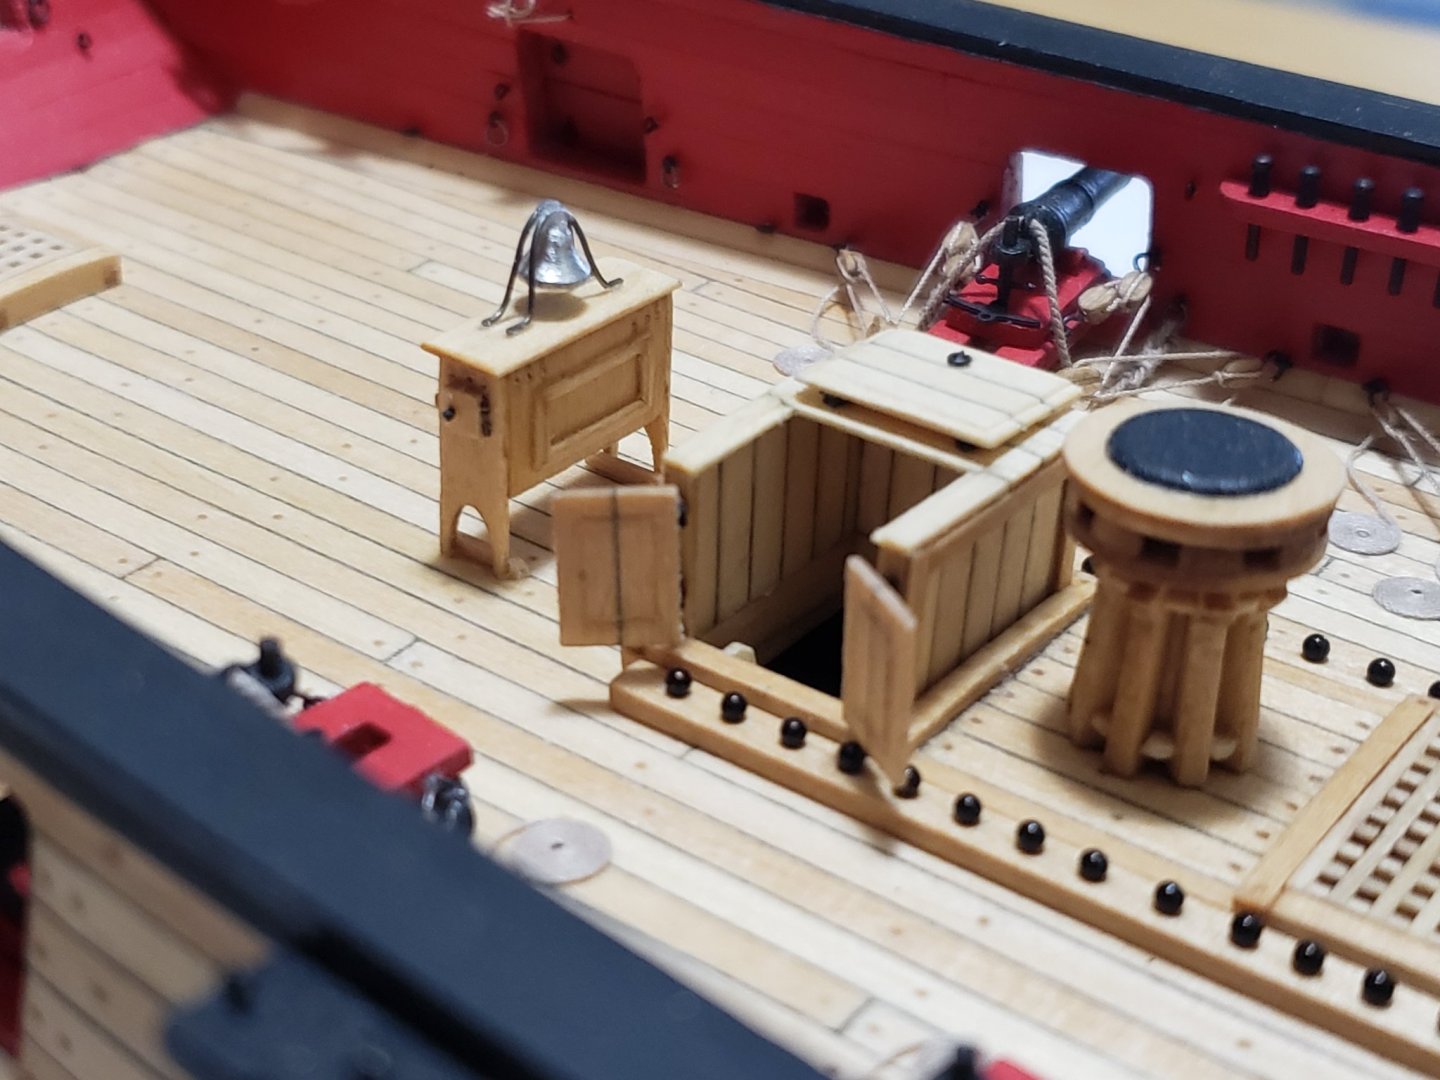
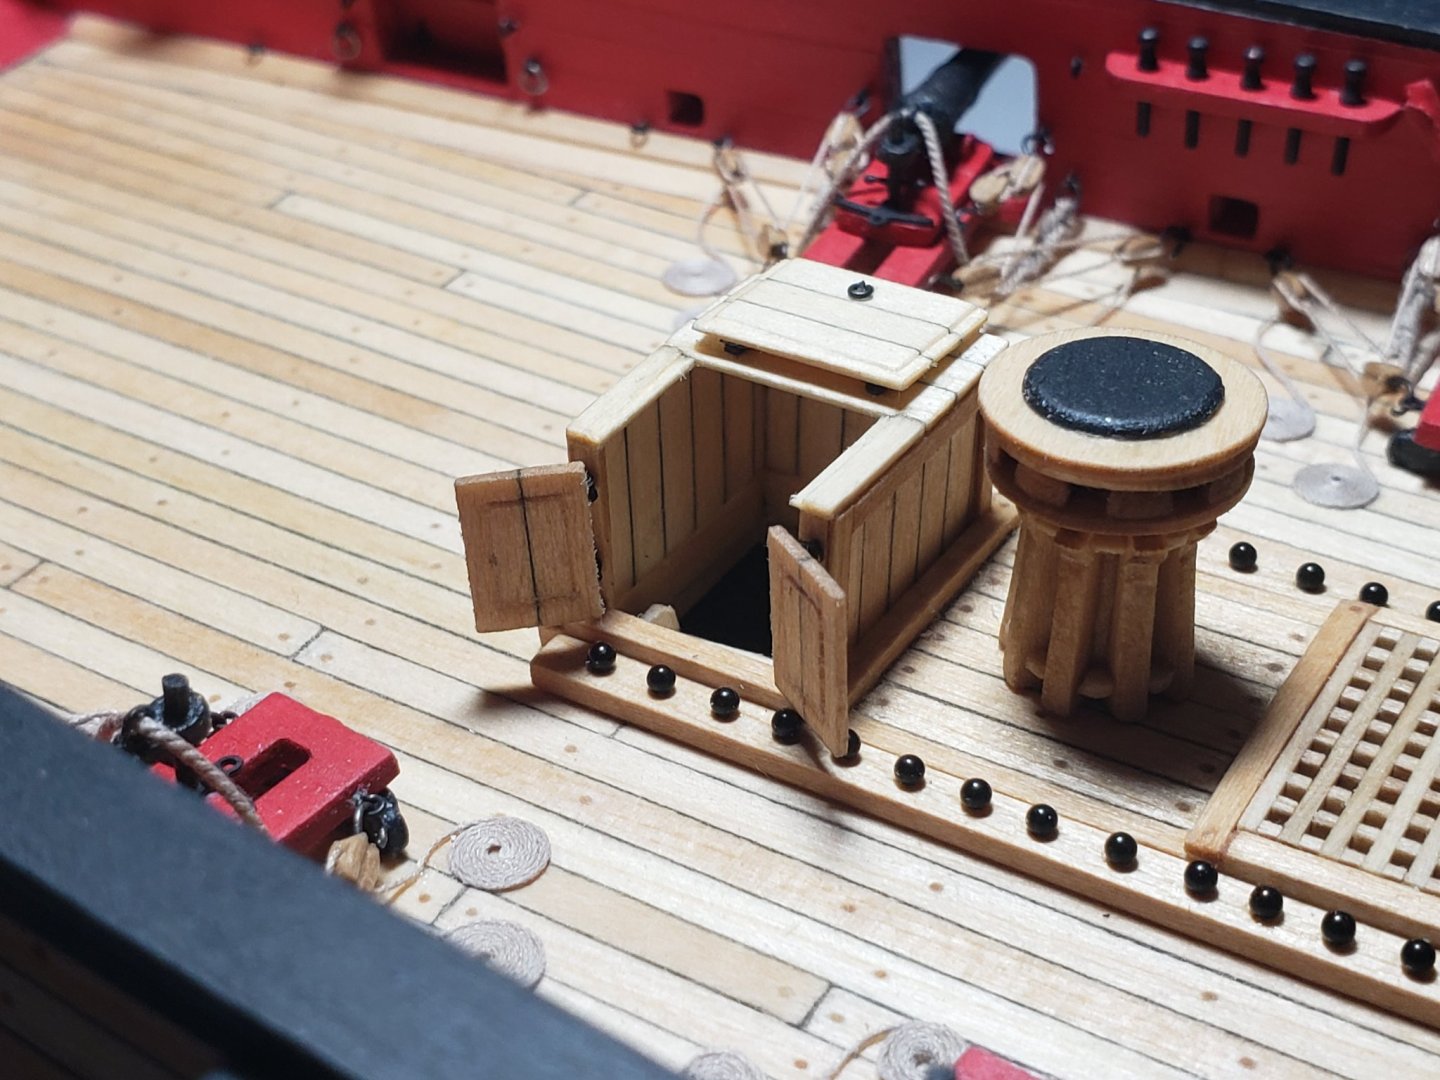
Binnacle has been glued in position. Here are some pics:


- 950 replies
-
- 12
-

-
- syren
- model shipways
- (and 1 more)
-
Very interesting build! Looking great so far!!!
-
Thanks all for the encouraging words and the likes. Motivates me a lot!! Also wanted to mention, whenever I look at the ship I can't believe my eyes on how far I've reached. Without this forum I'm sure I wouldn't have been able to reach this far. Really is a great community. Seeing other builds is also really motivating and inspiring. So thanks again to all those who have been following my build and leaving likes and comments. Means a lot!!!
- 950 replies
-
- 6
-
-
- syren
- model shipways
- (and 1 more)
-
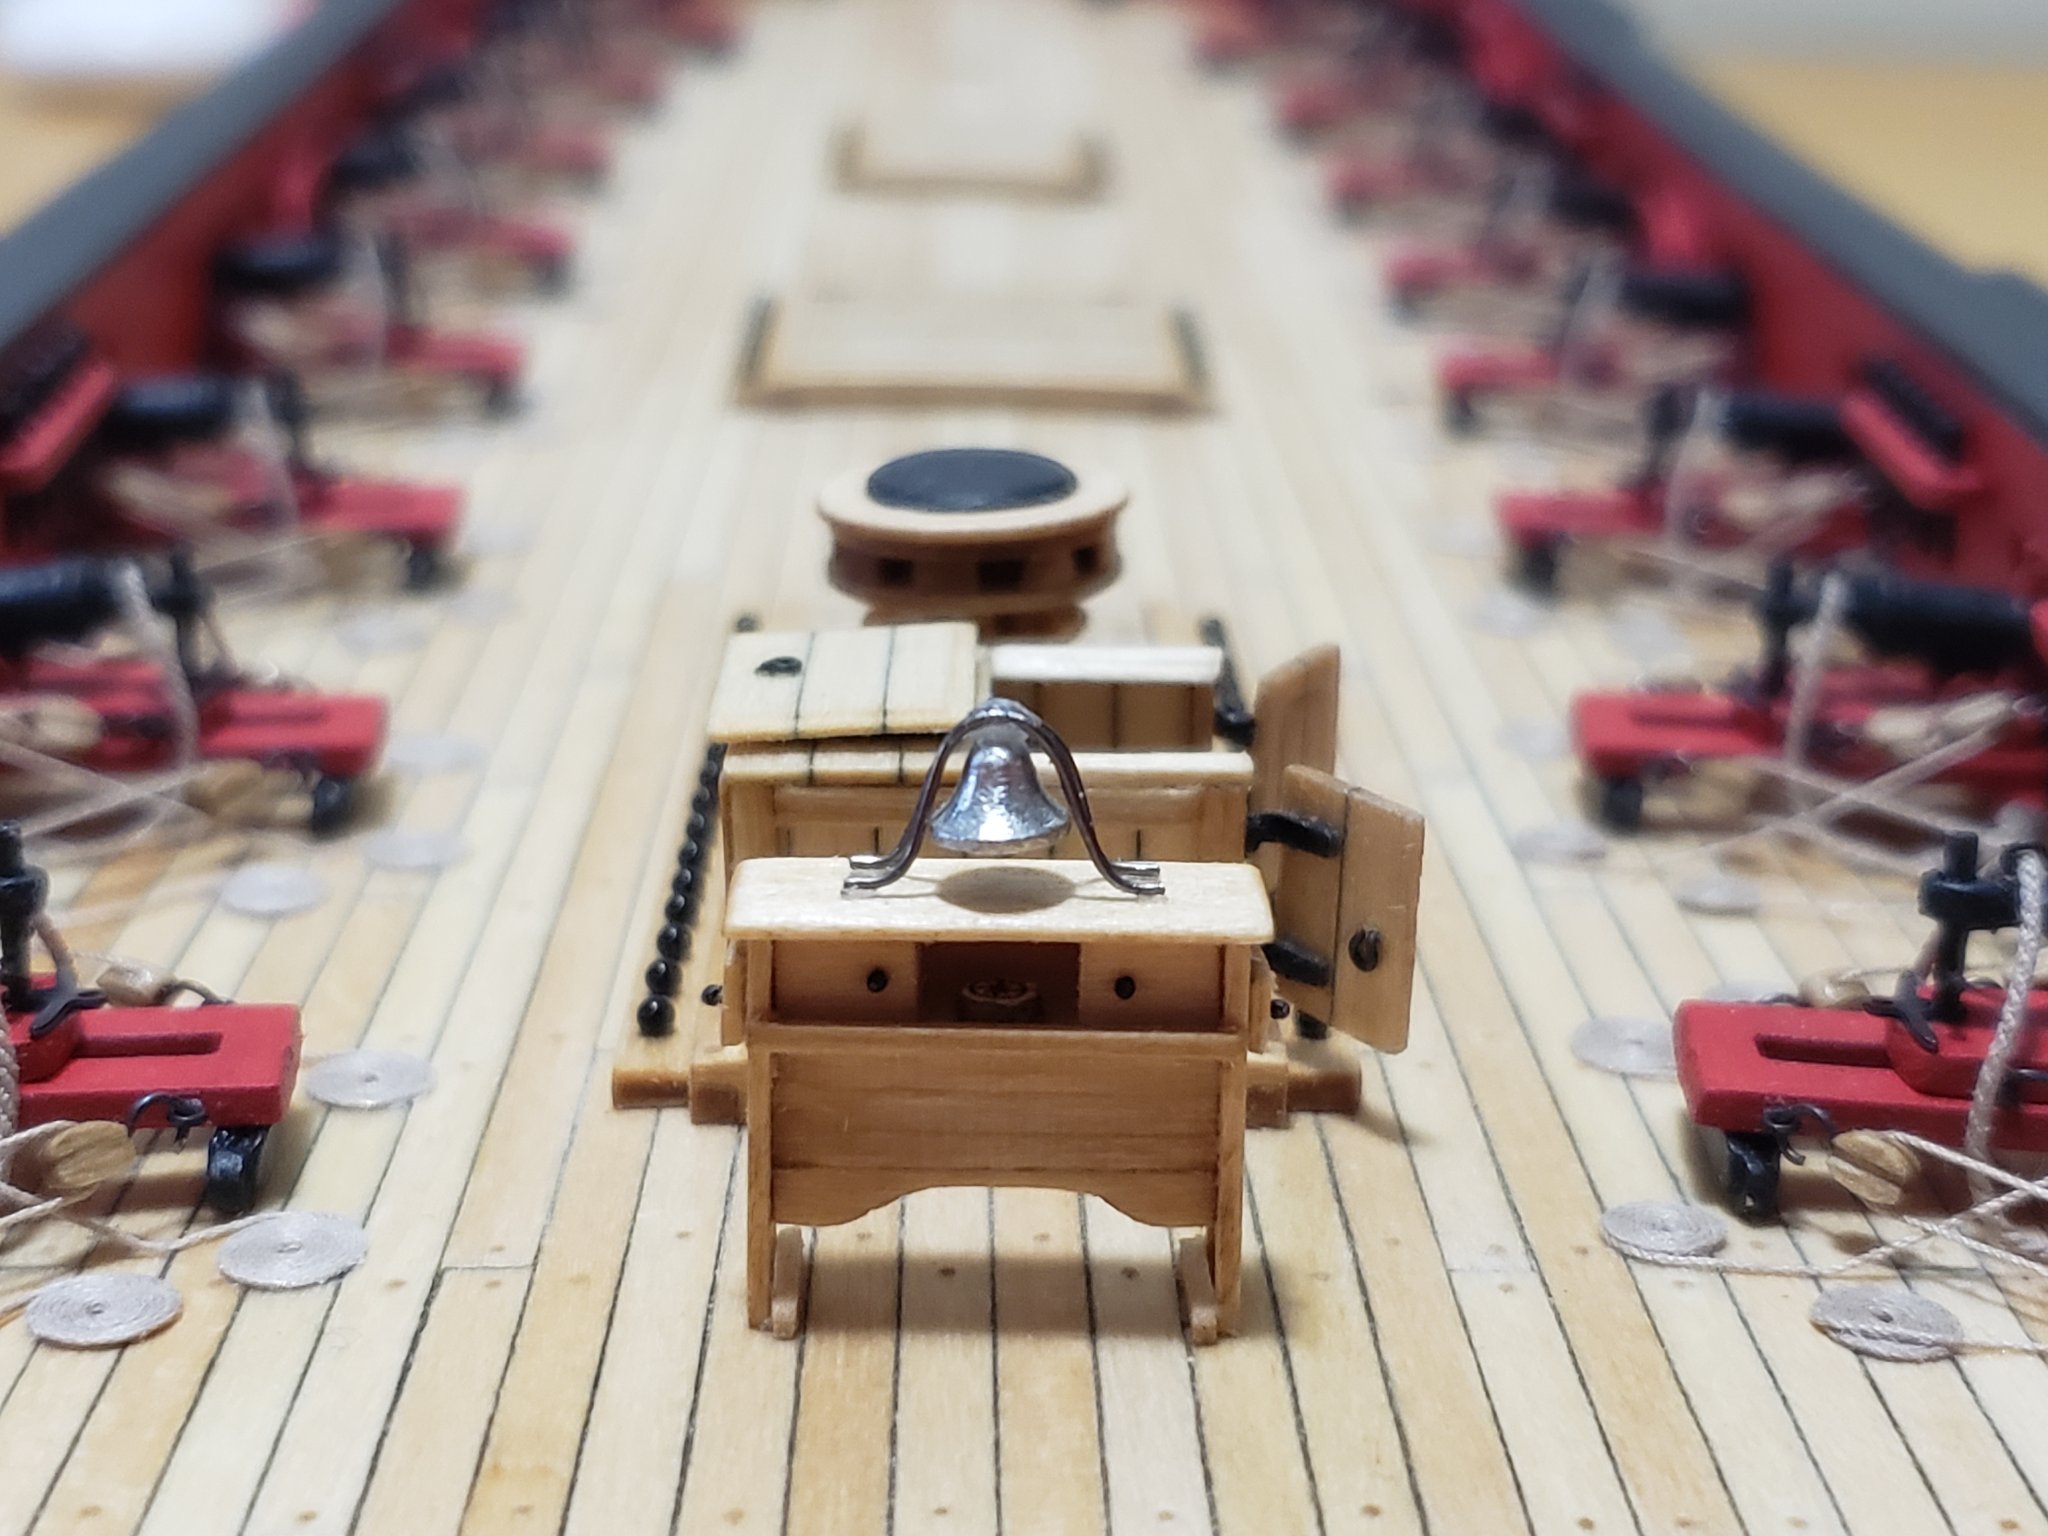
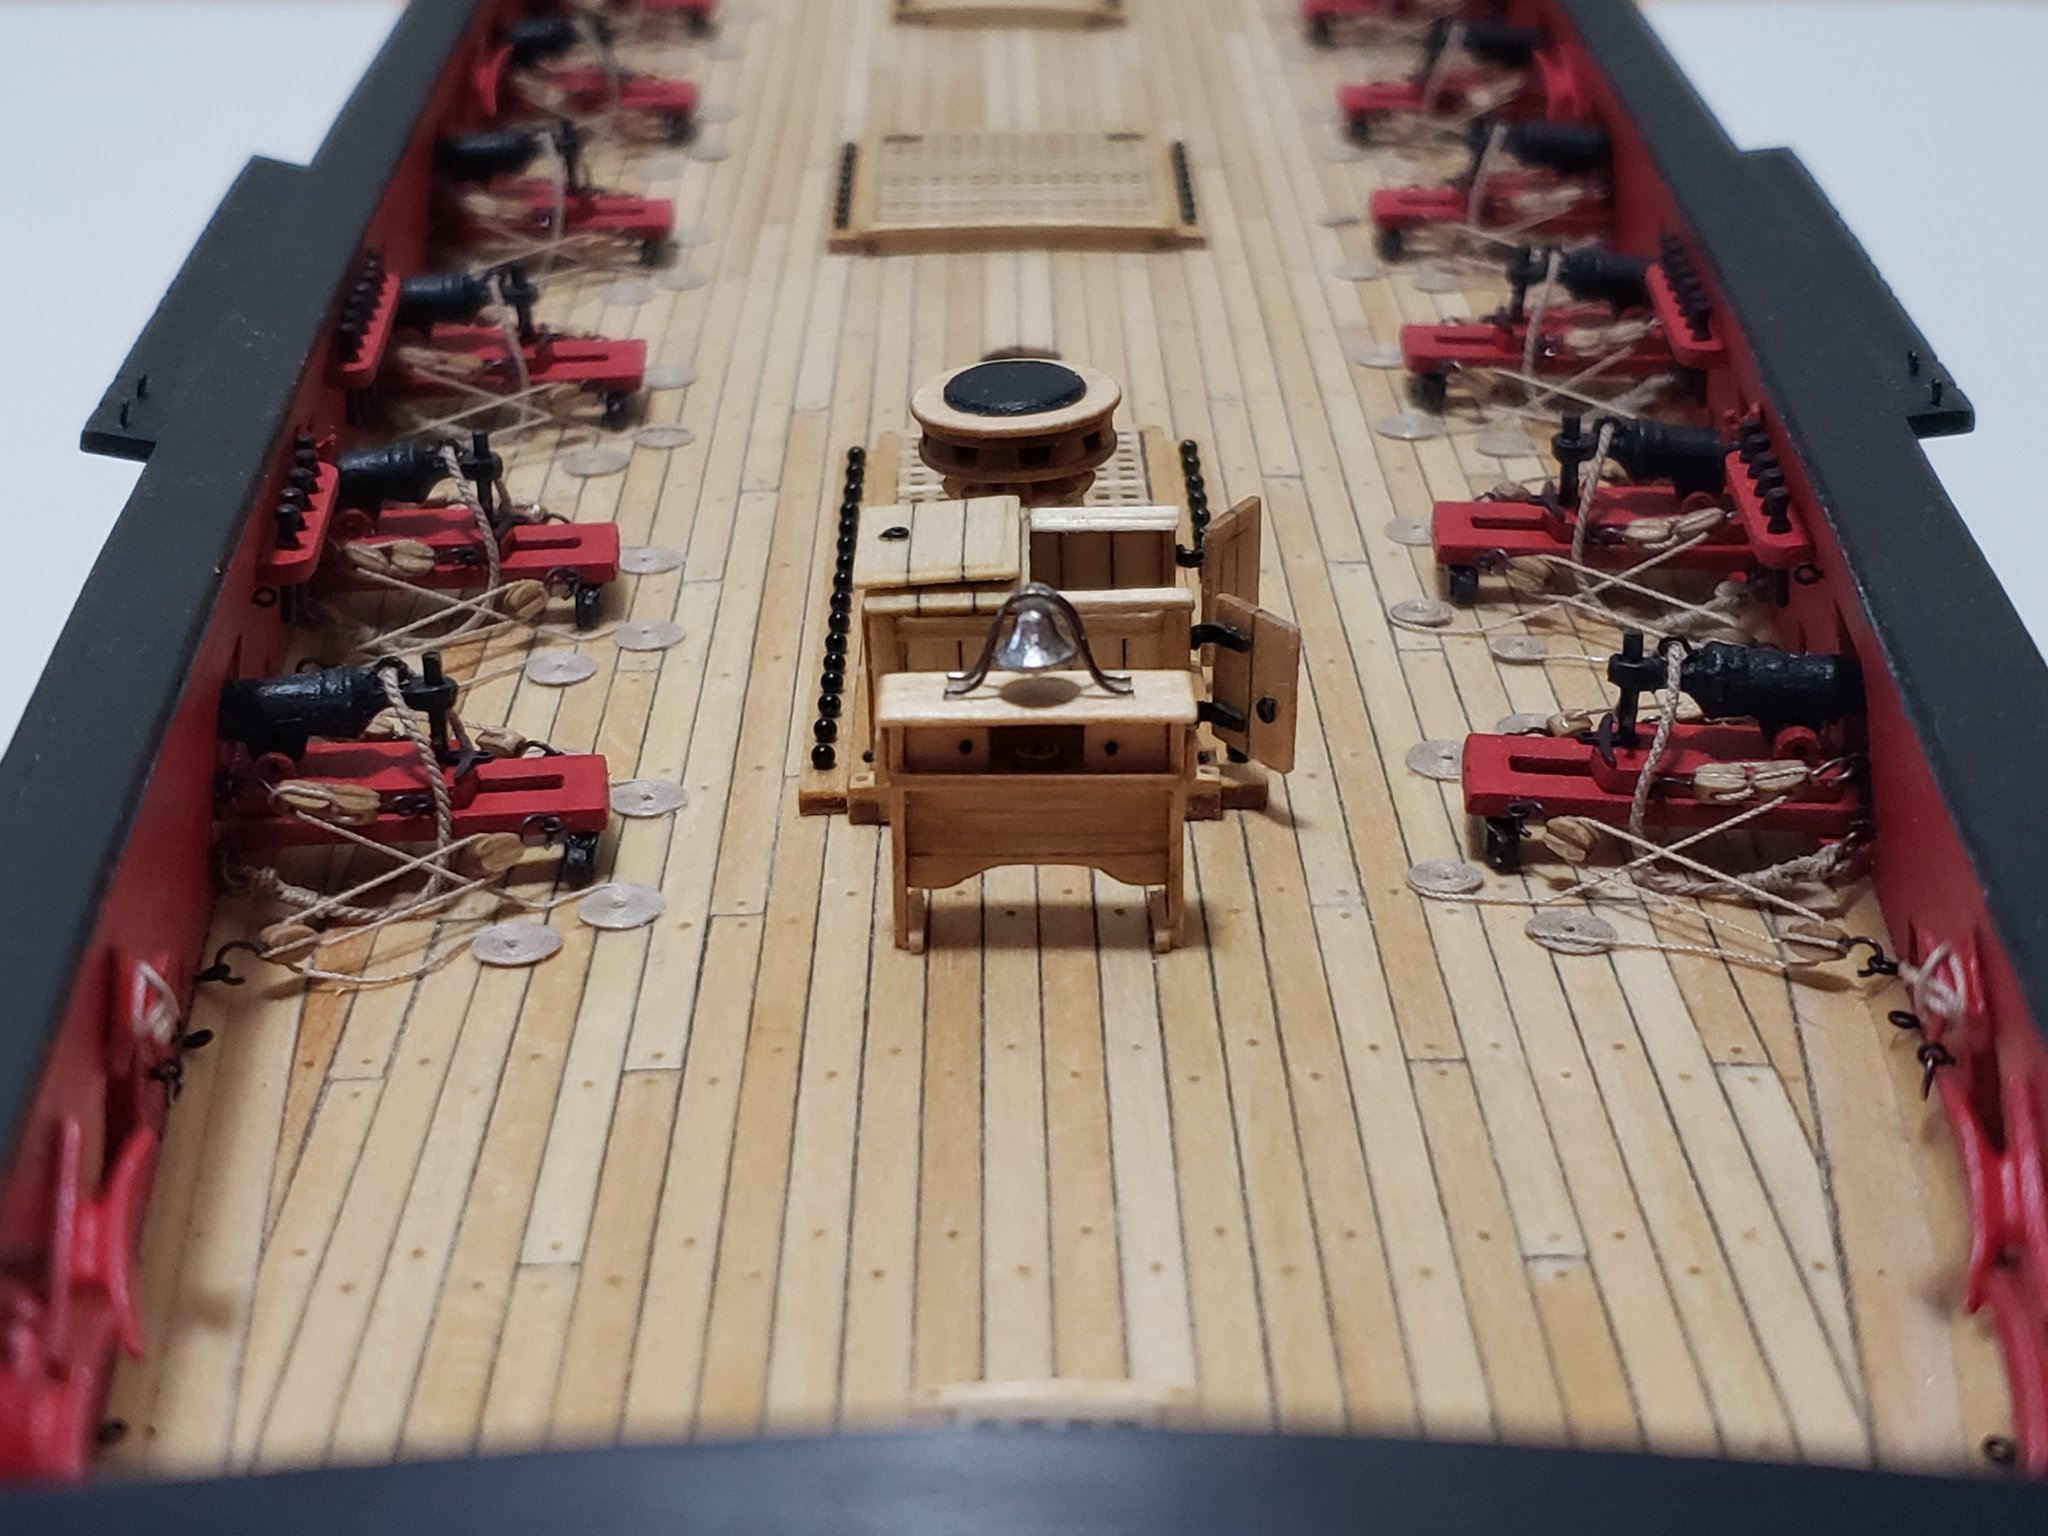
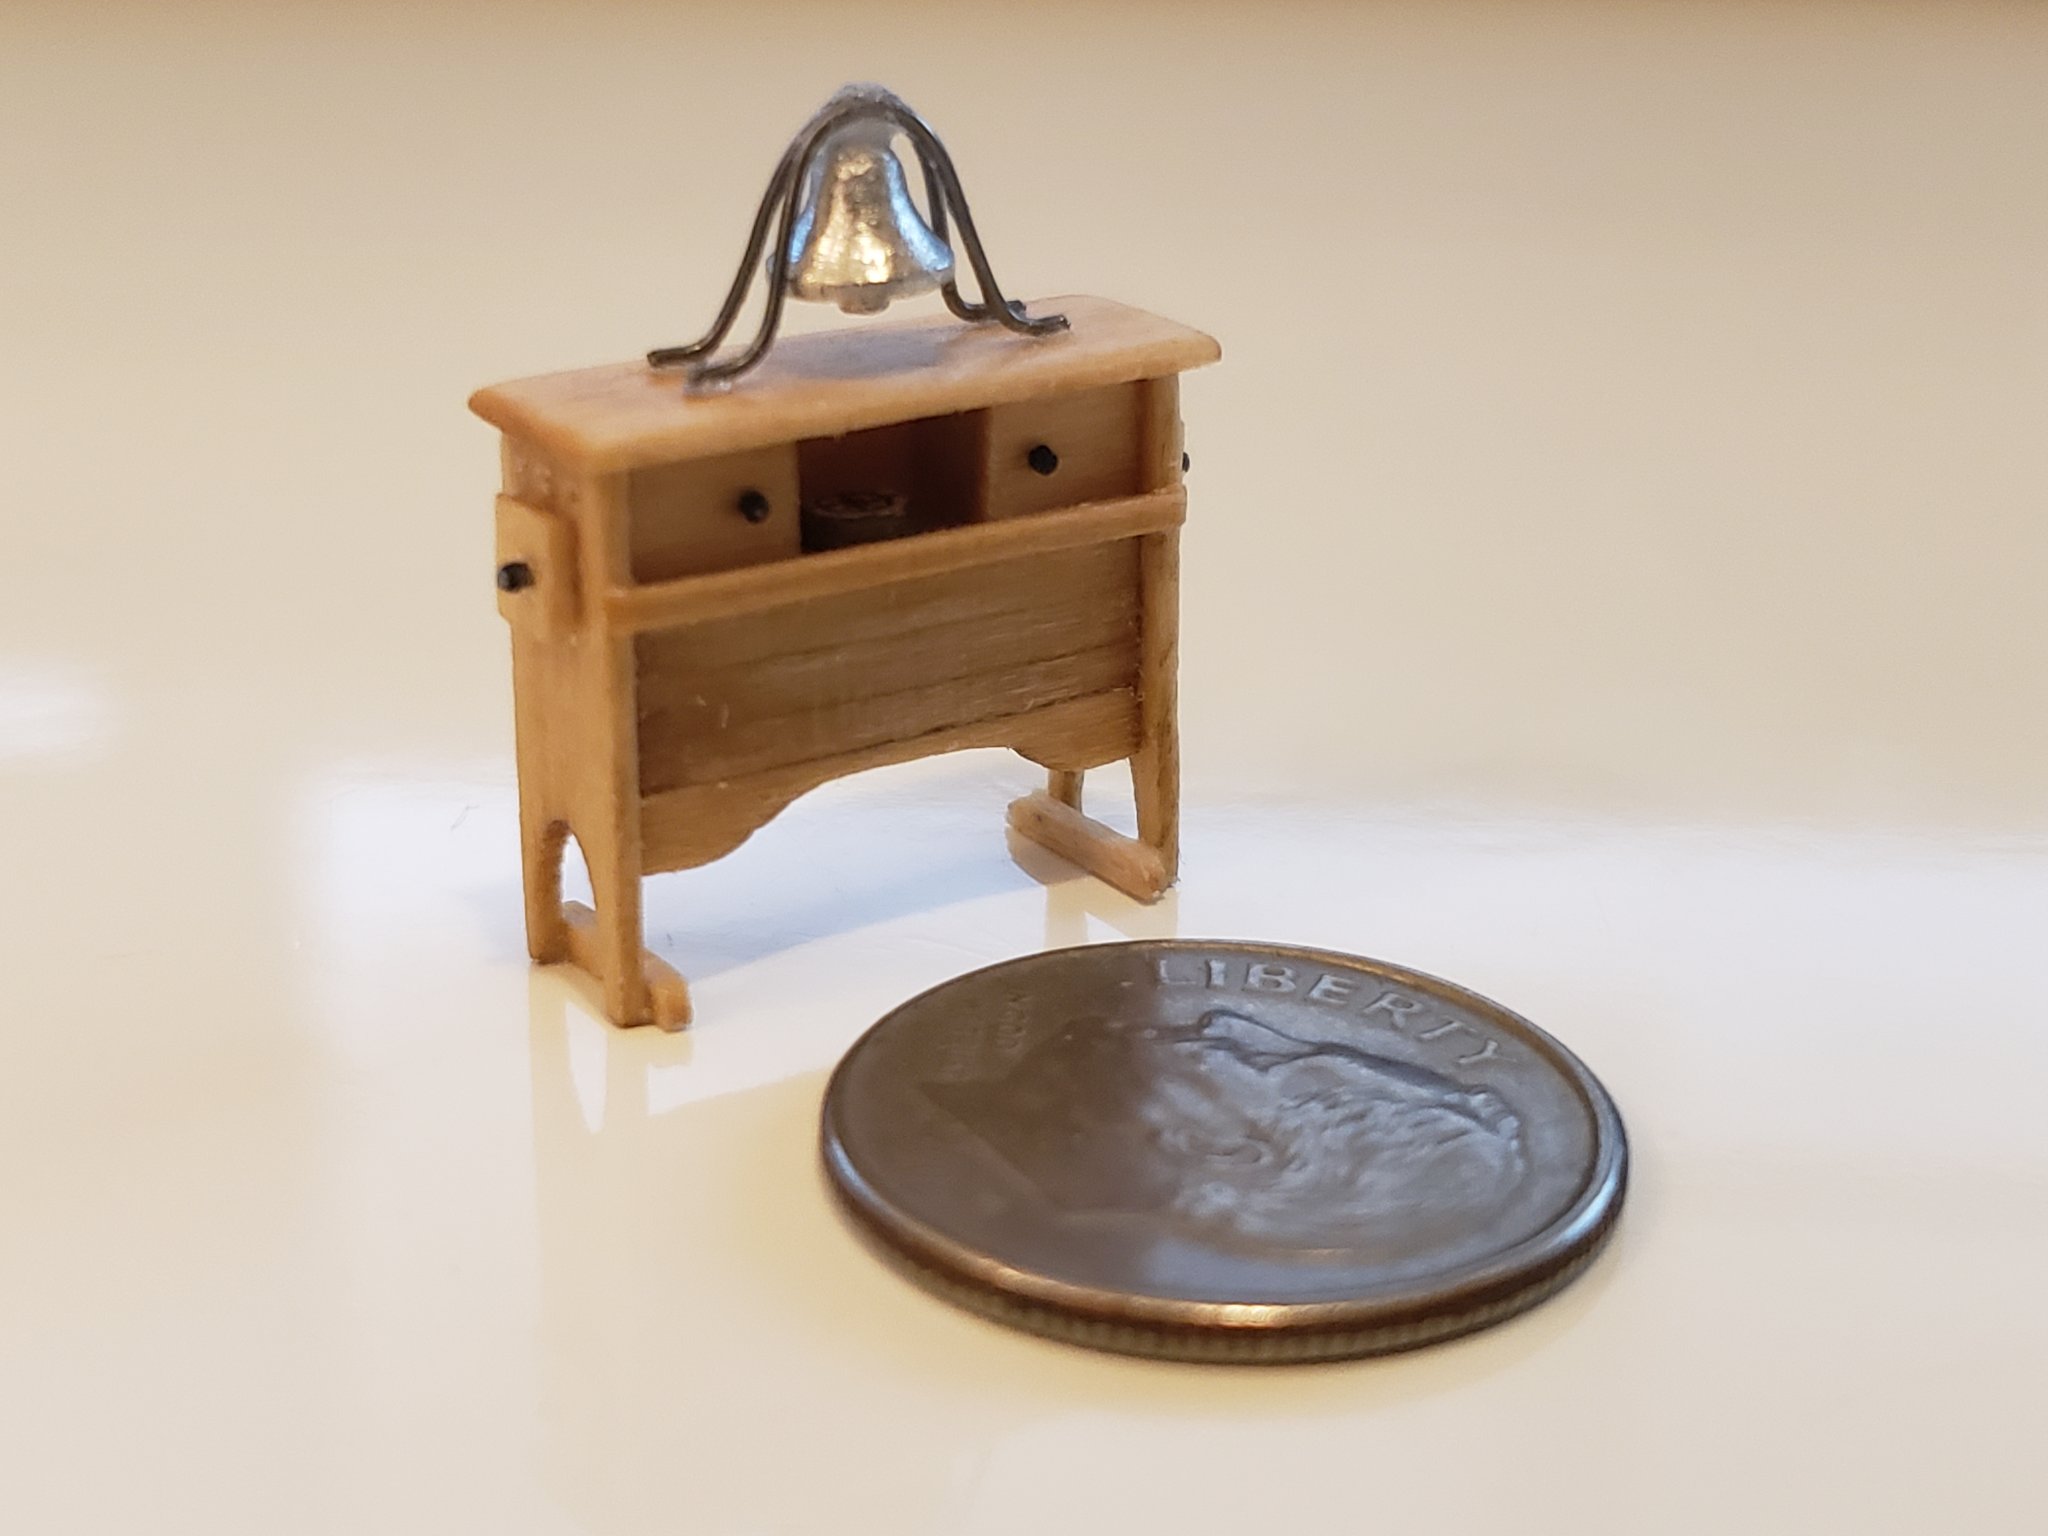
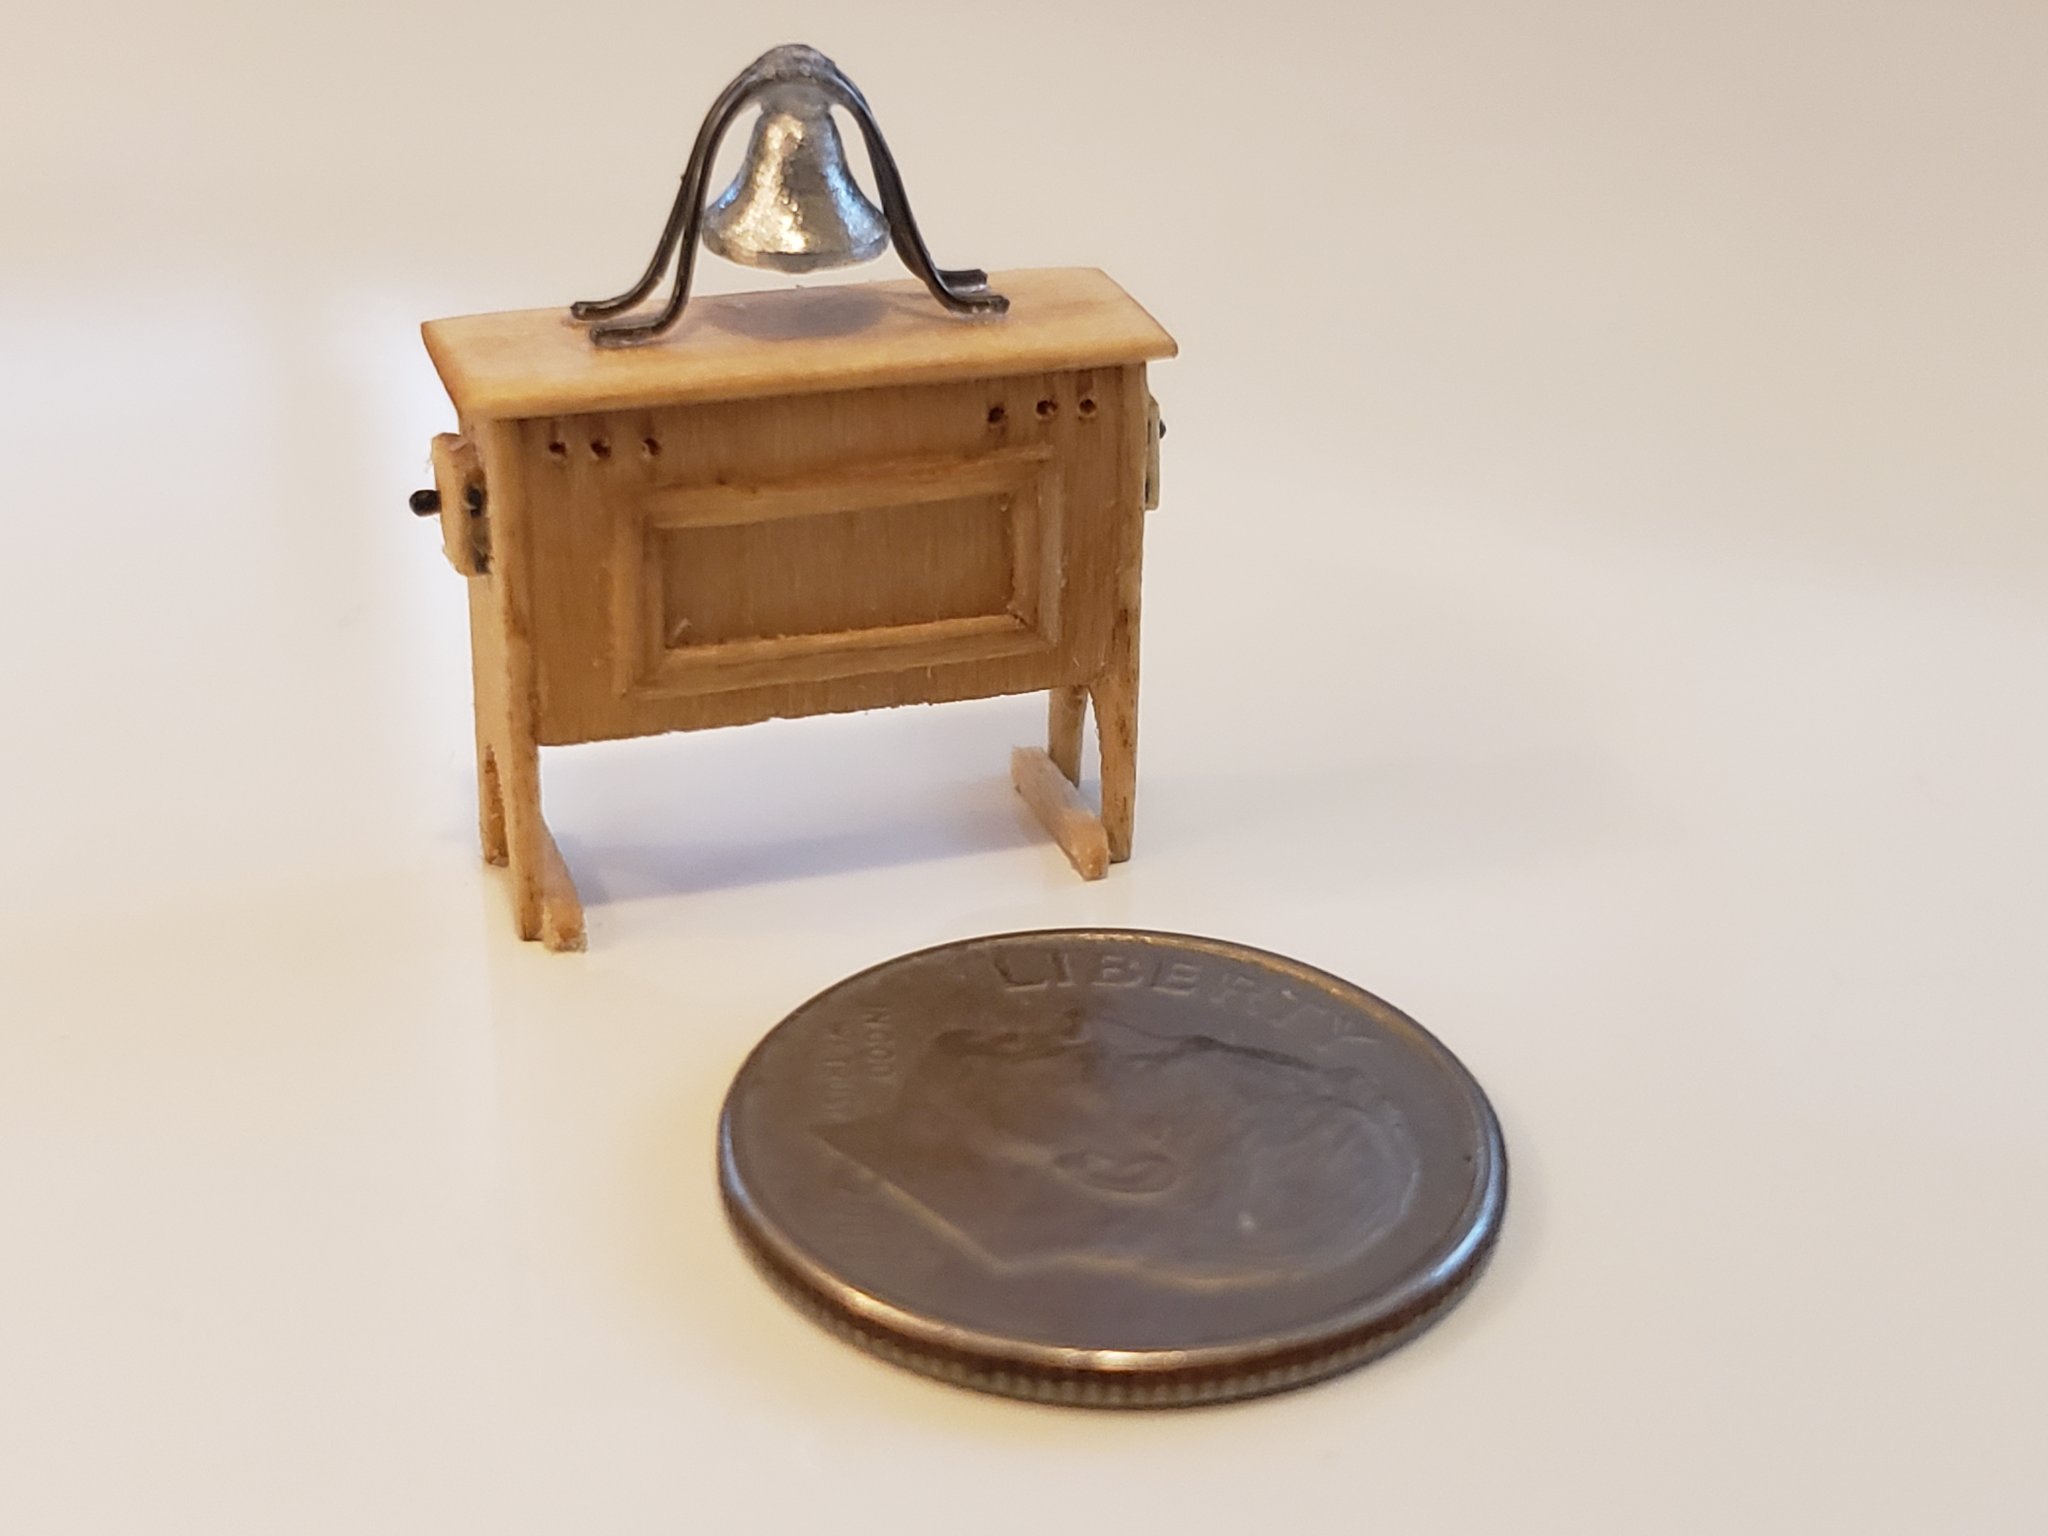
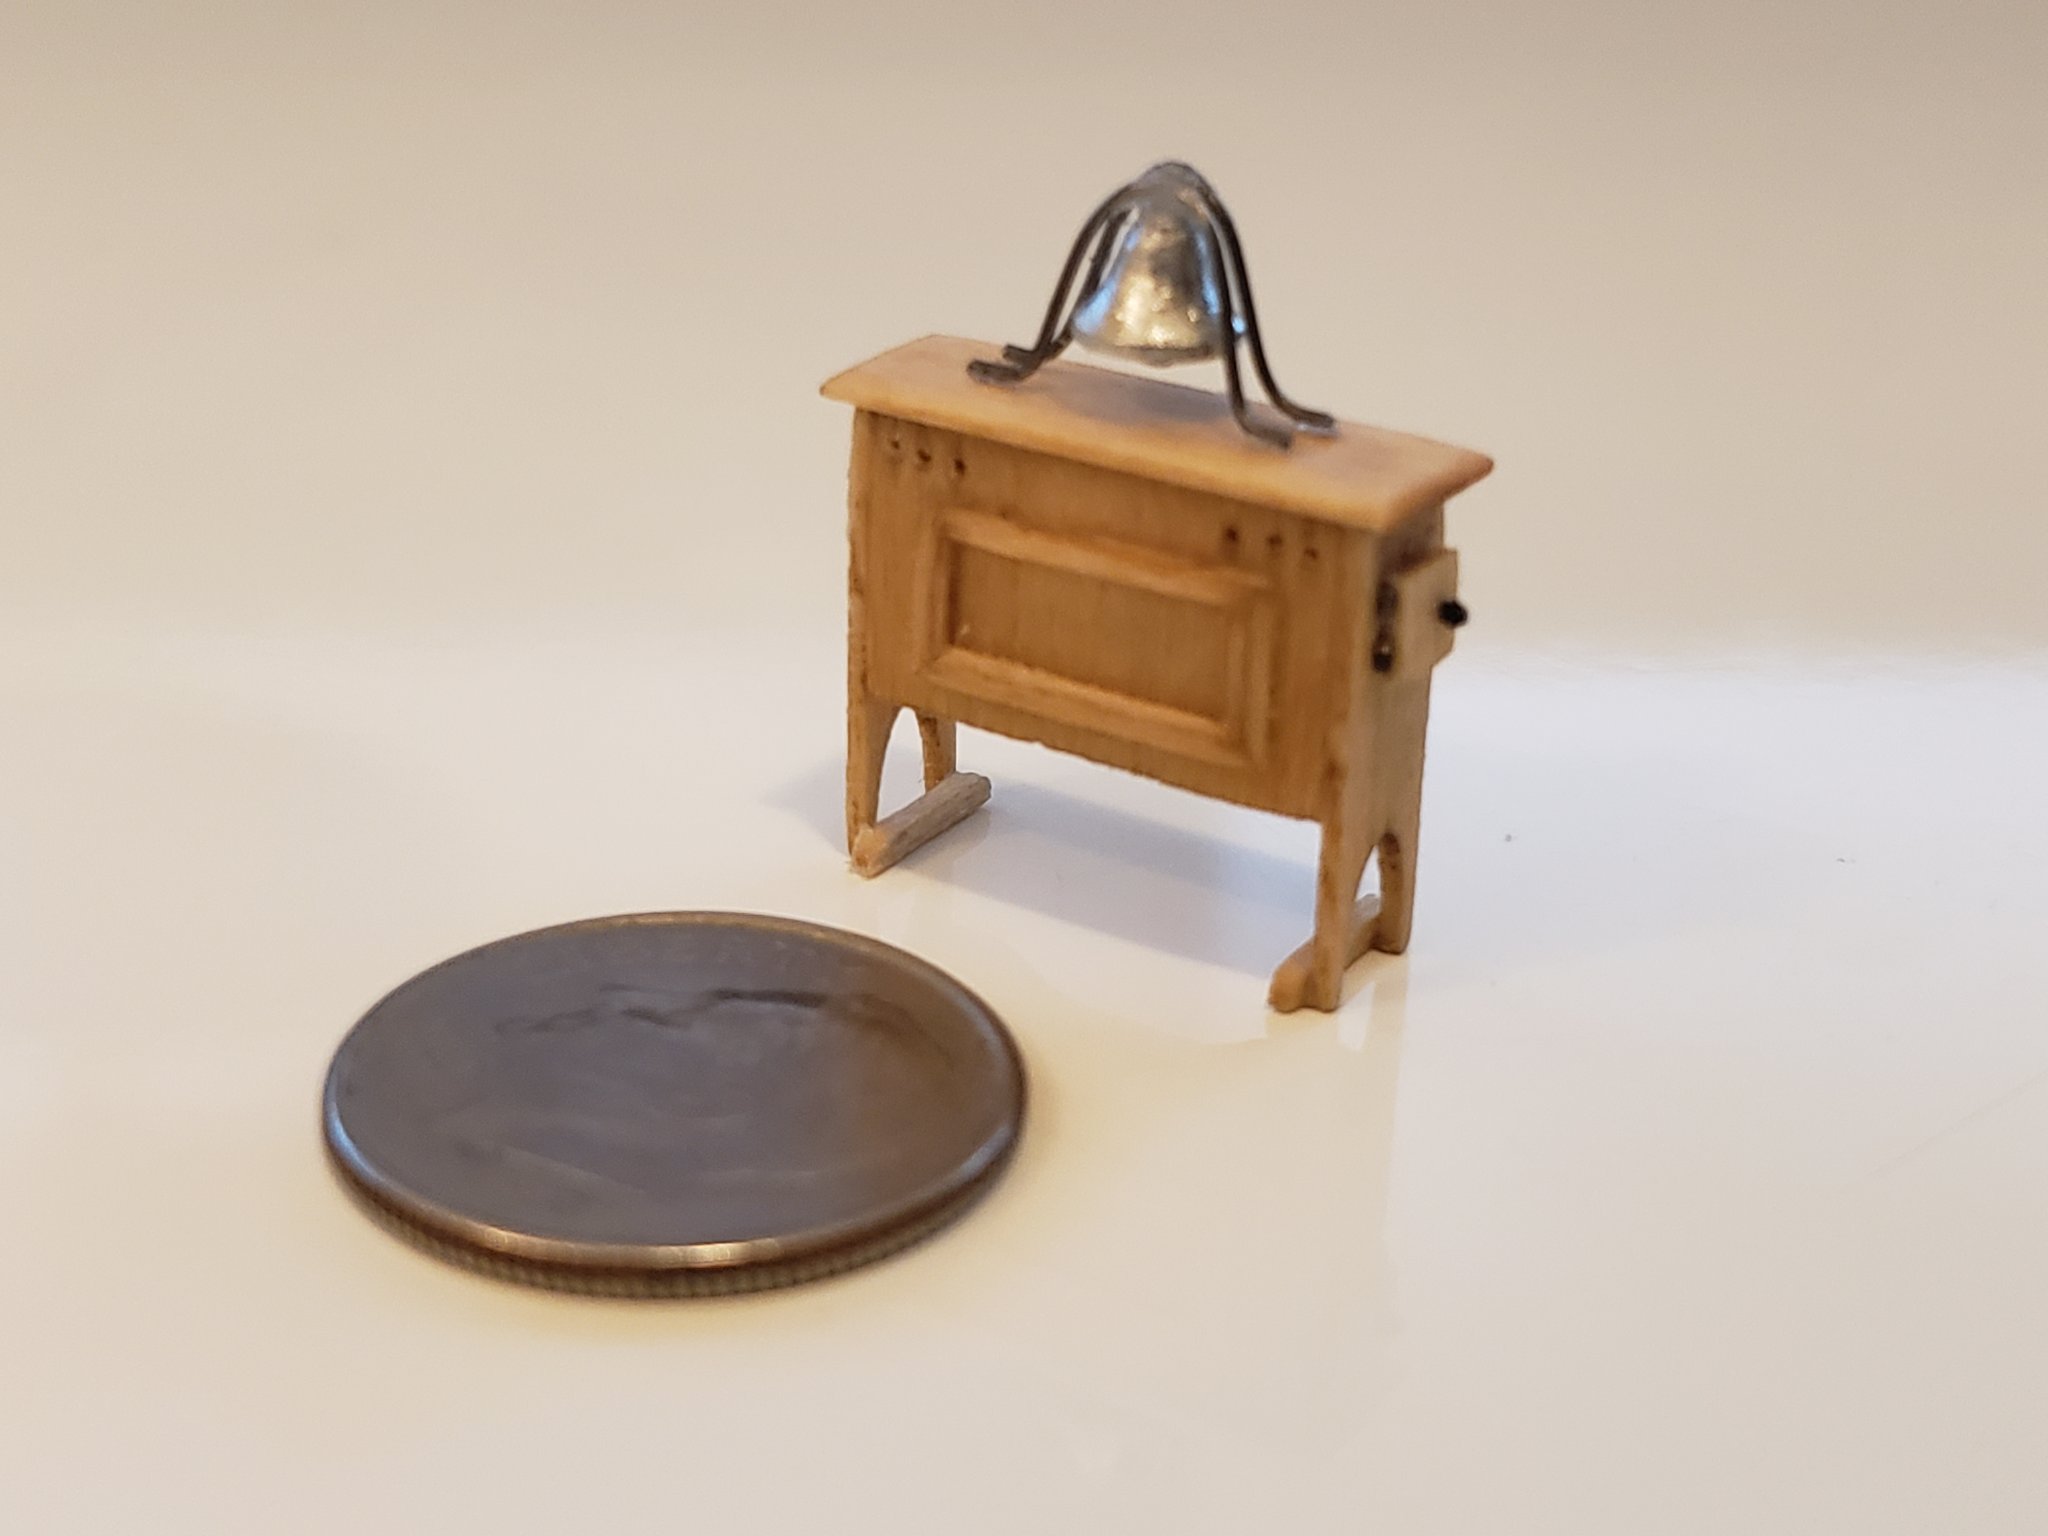
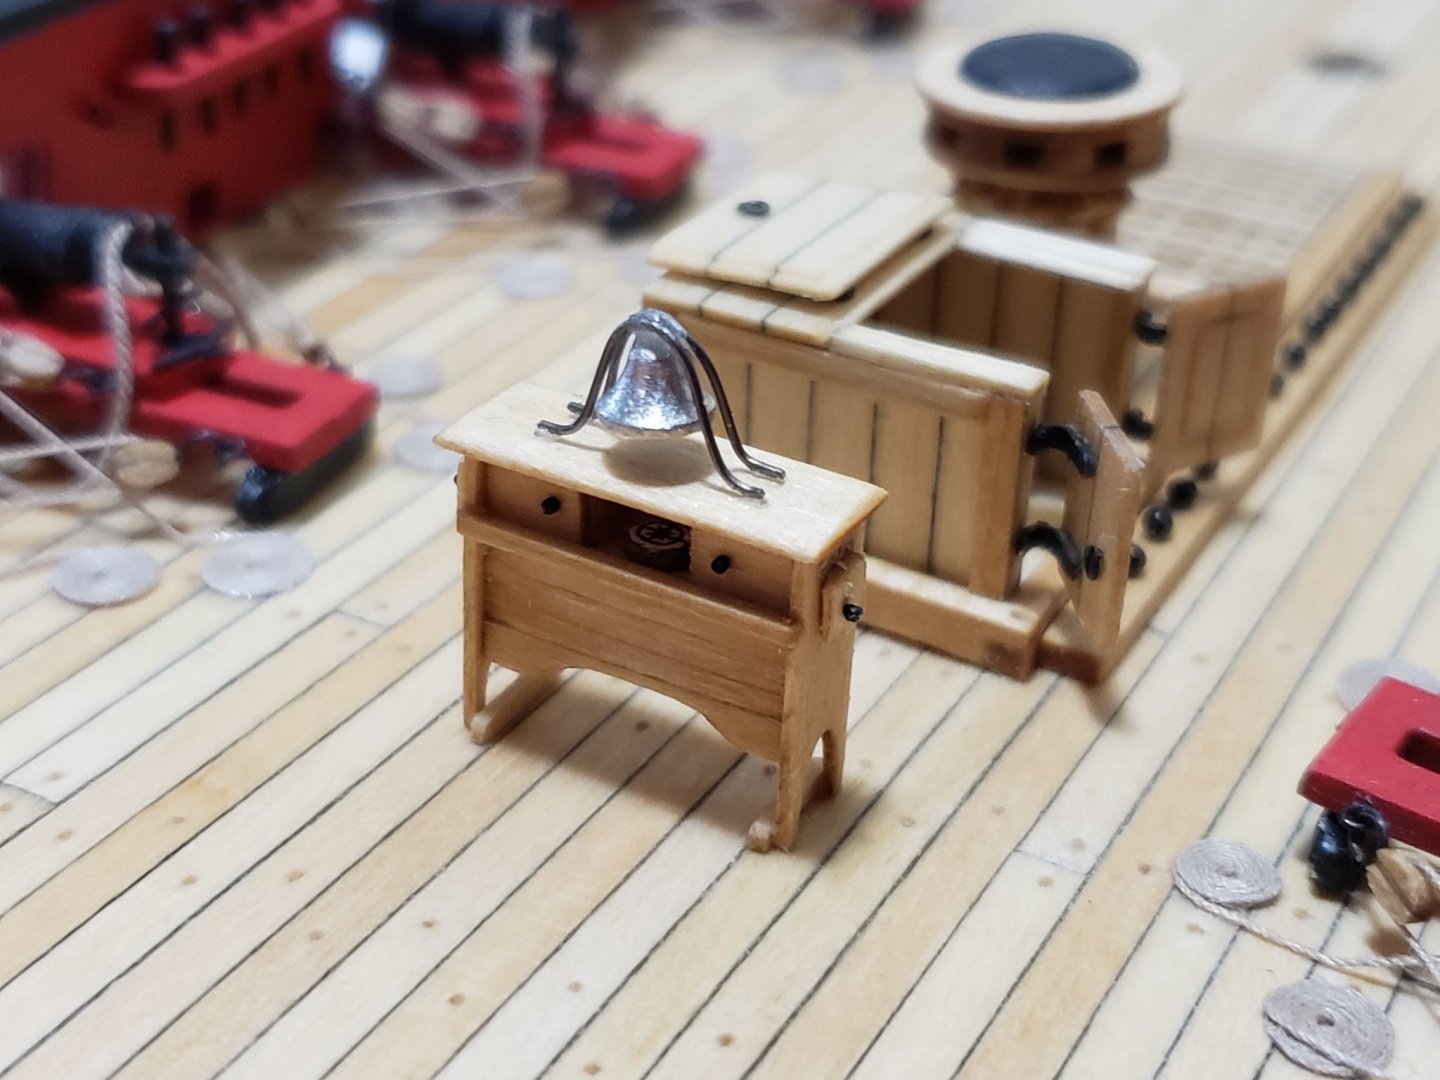
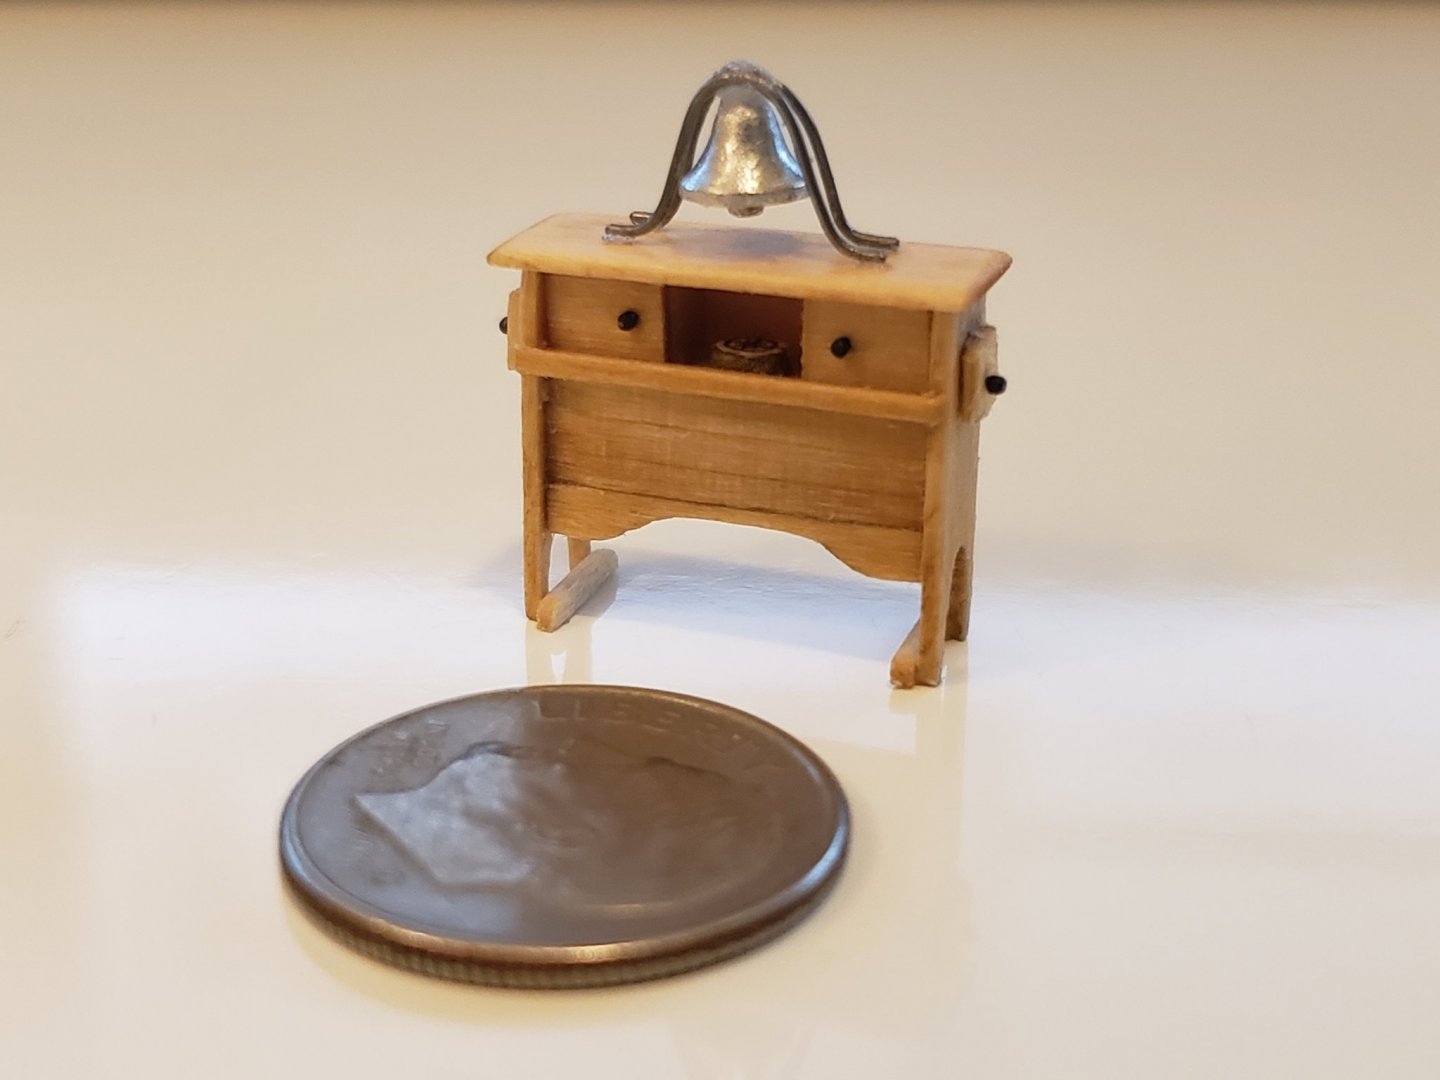
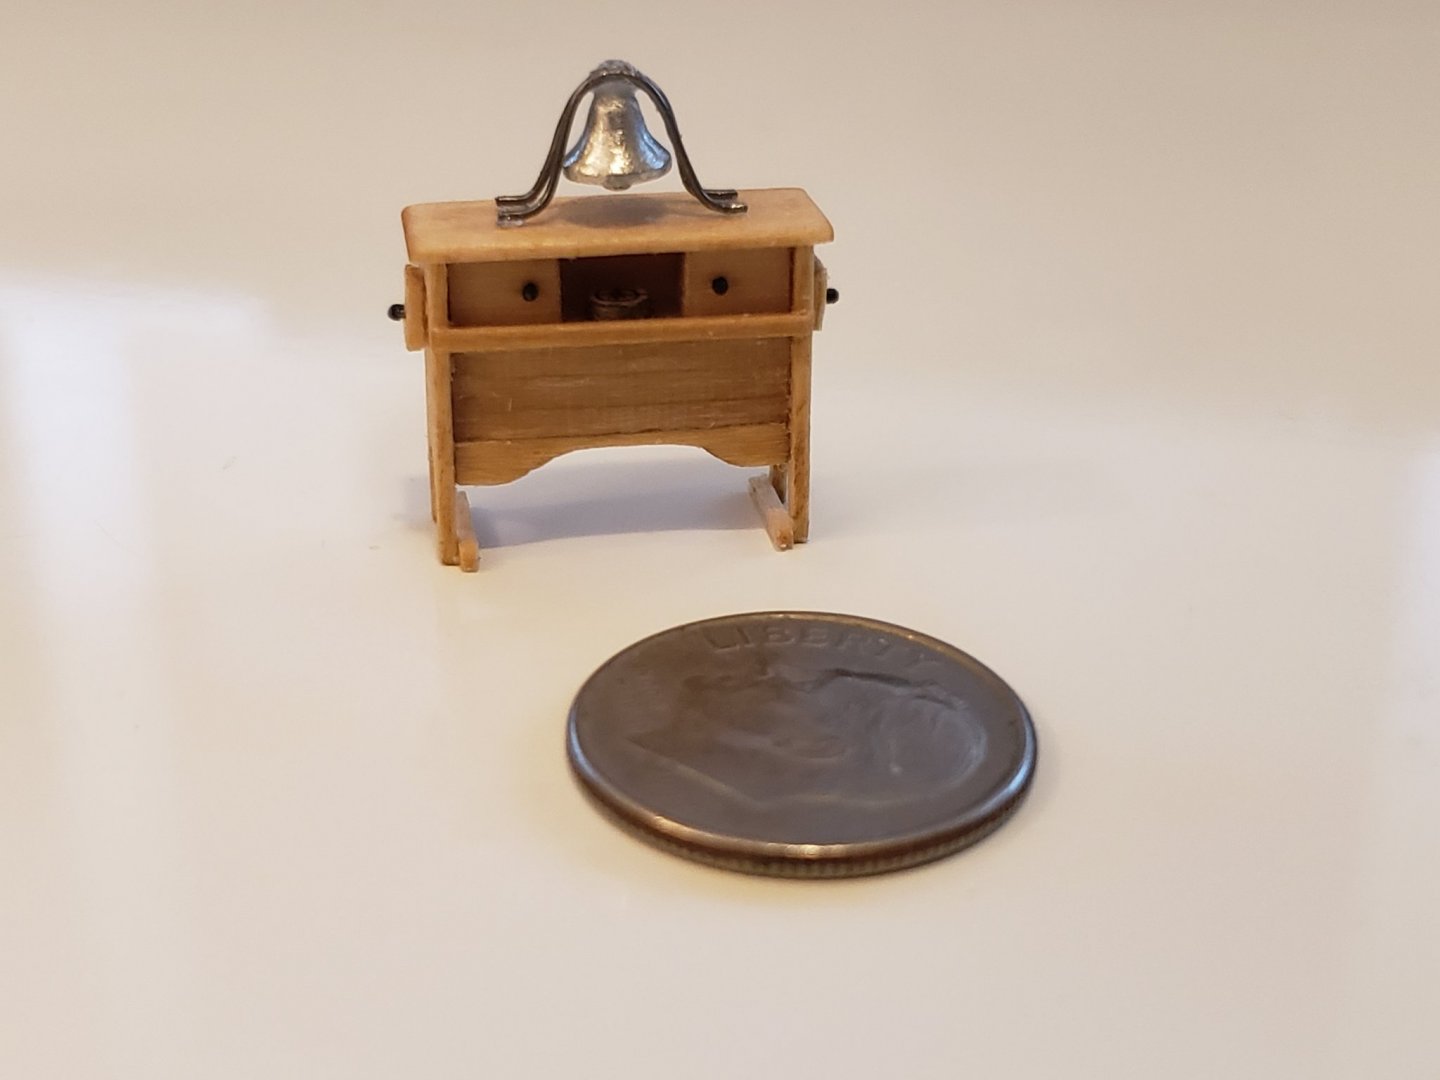
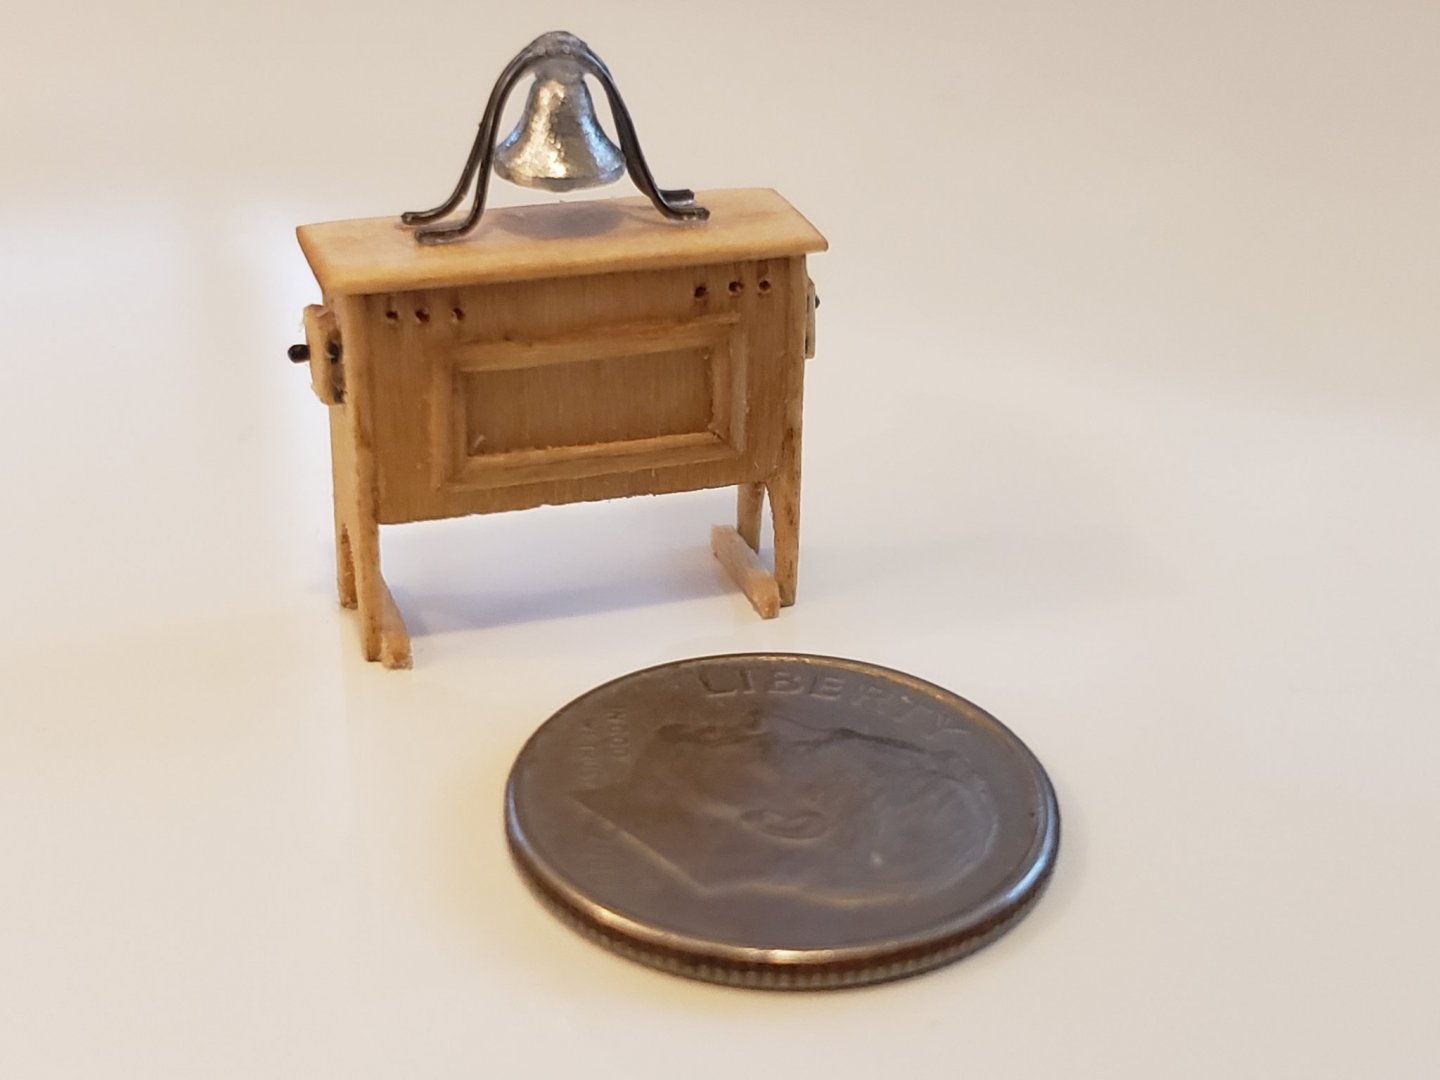
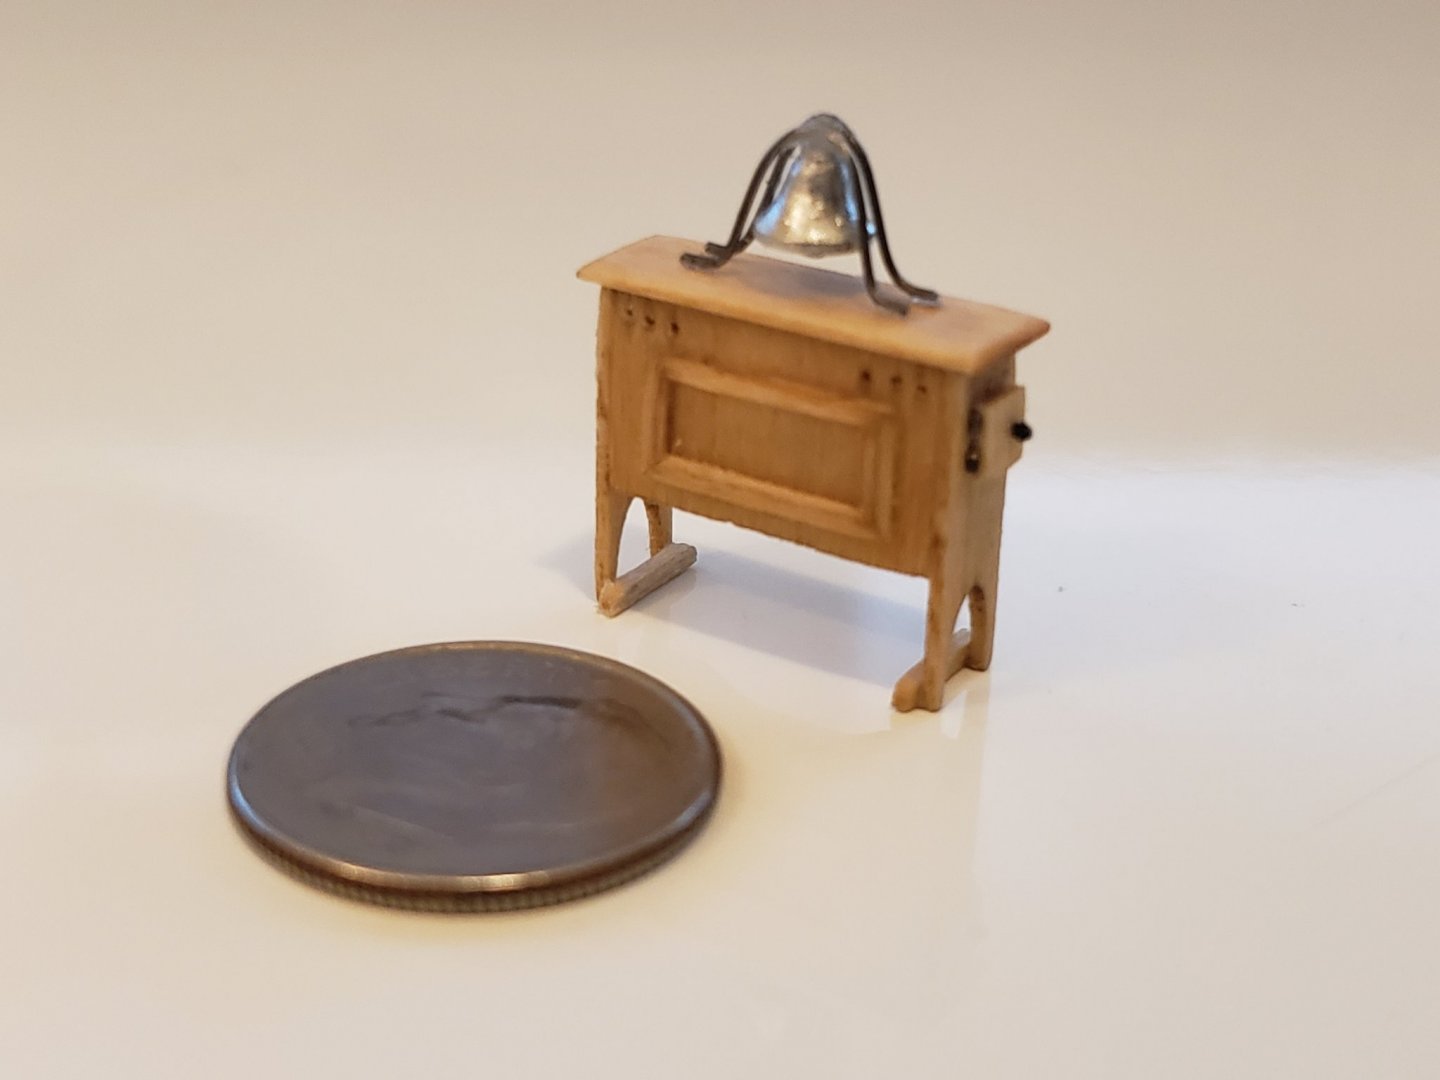
Binnacle is finally completed!! Funny how I was almost going to mention how fun this part of the build is, up until I started working on the bell. That was a total nightmare!!! I bent so many wires to get the right shape, and when I did get the right one, I found out that the bell was too large to fit (not enough clearance from the wood...). Then had to start all over. But that's not where it ended, the hardest part was gluing the two wires. I somehow managed to do it by using some scrap wood to balance one while holding the other. And... gluing the bell onto the wires was also troublesome... but again, I somehow managed to get it done. Also, I intended to paint the bell gold, but when I applied primer, it looked too blotchy, and without primer, the paint was just sliding off. So I decided to file the bell to be shiny, and I am happy with the look (would be happier if it was golden in color but this will do 😅) Anyways... enough rambling, here are some pics:

- 950 replies
-
- 12
-
-
- syren
- model shipways
- (and 1 more)
-
Well I did the next best thing, ie. making the compass. Hoping it entertained the sailors back then 😁 Thanks Matt! The hardest part about the scale is dealing with basswood.... Keeps cracking when the smallest bit of pressure is applied!!


- 950 replies
-
- 8
-
-
- syren
- model shipways
- (and 1 more)
-
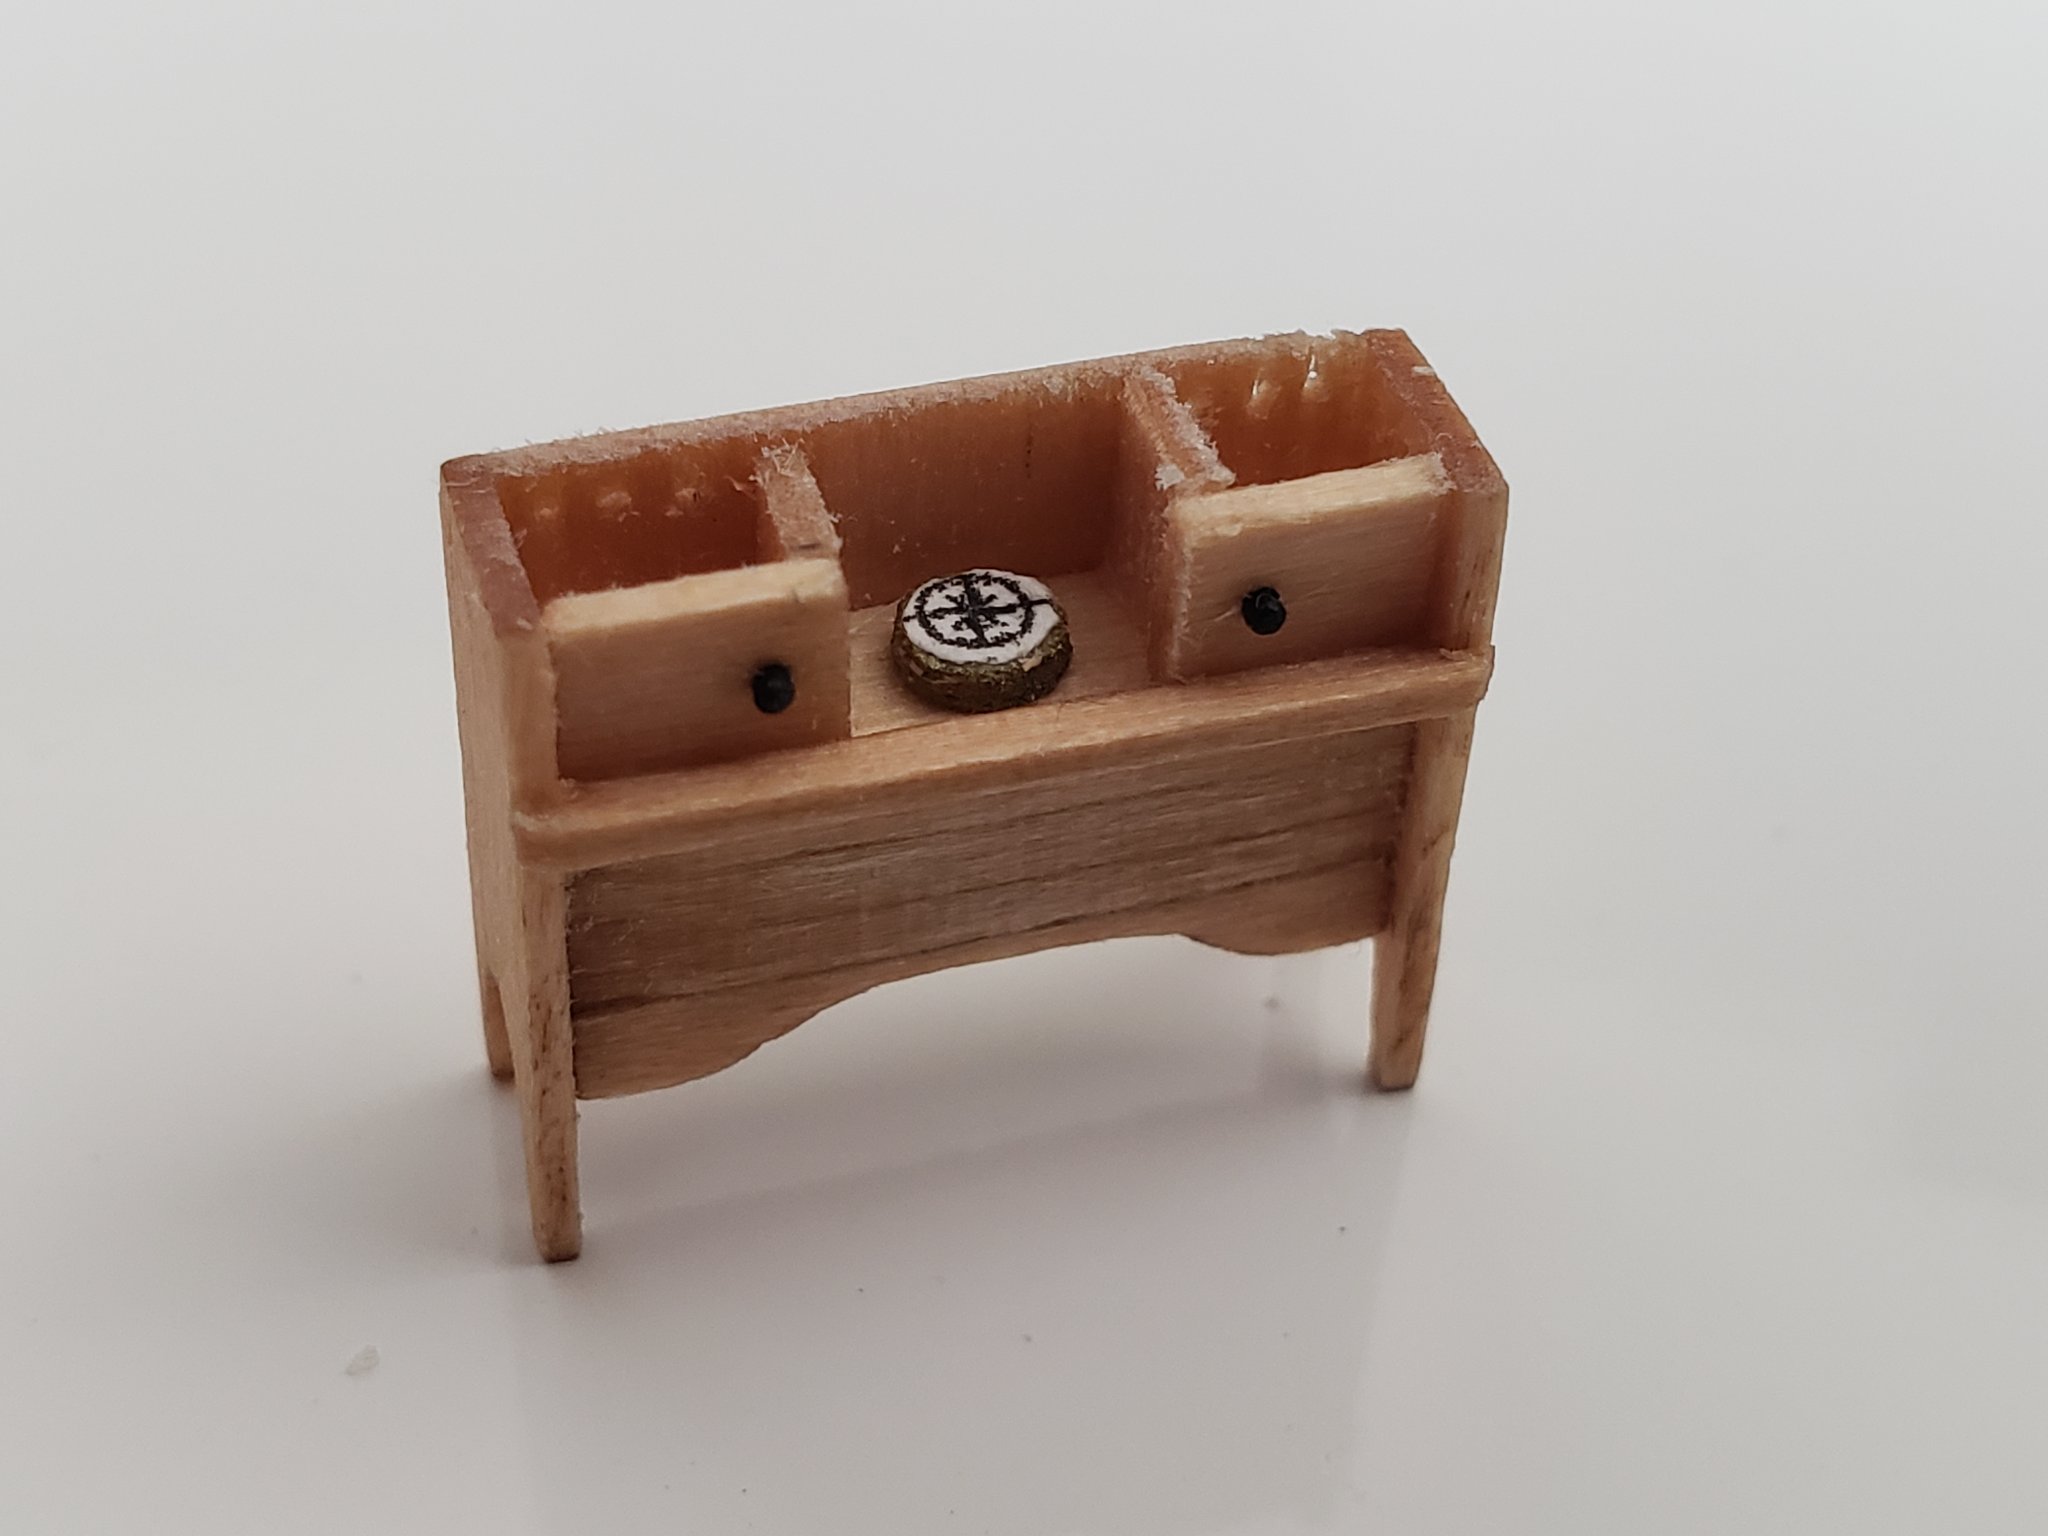
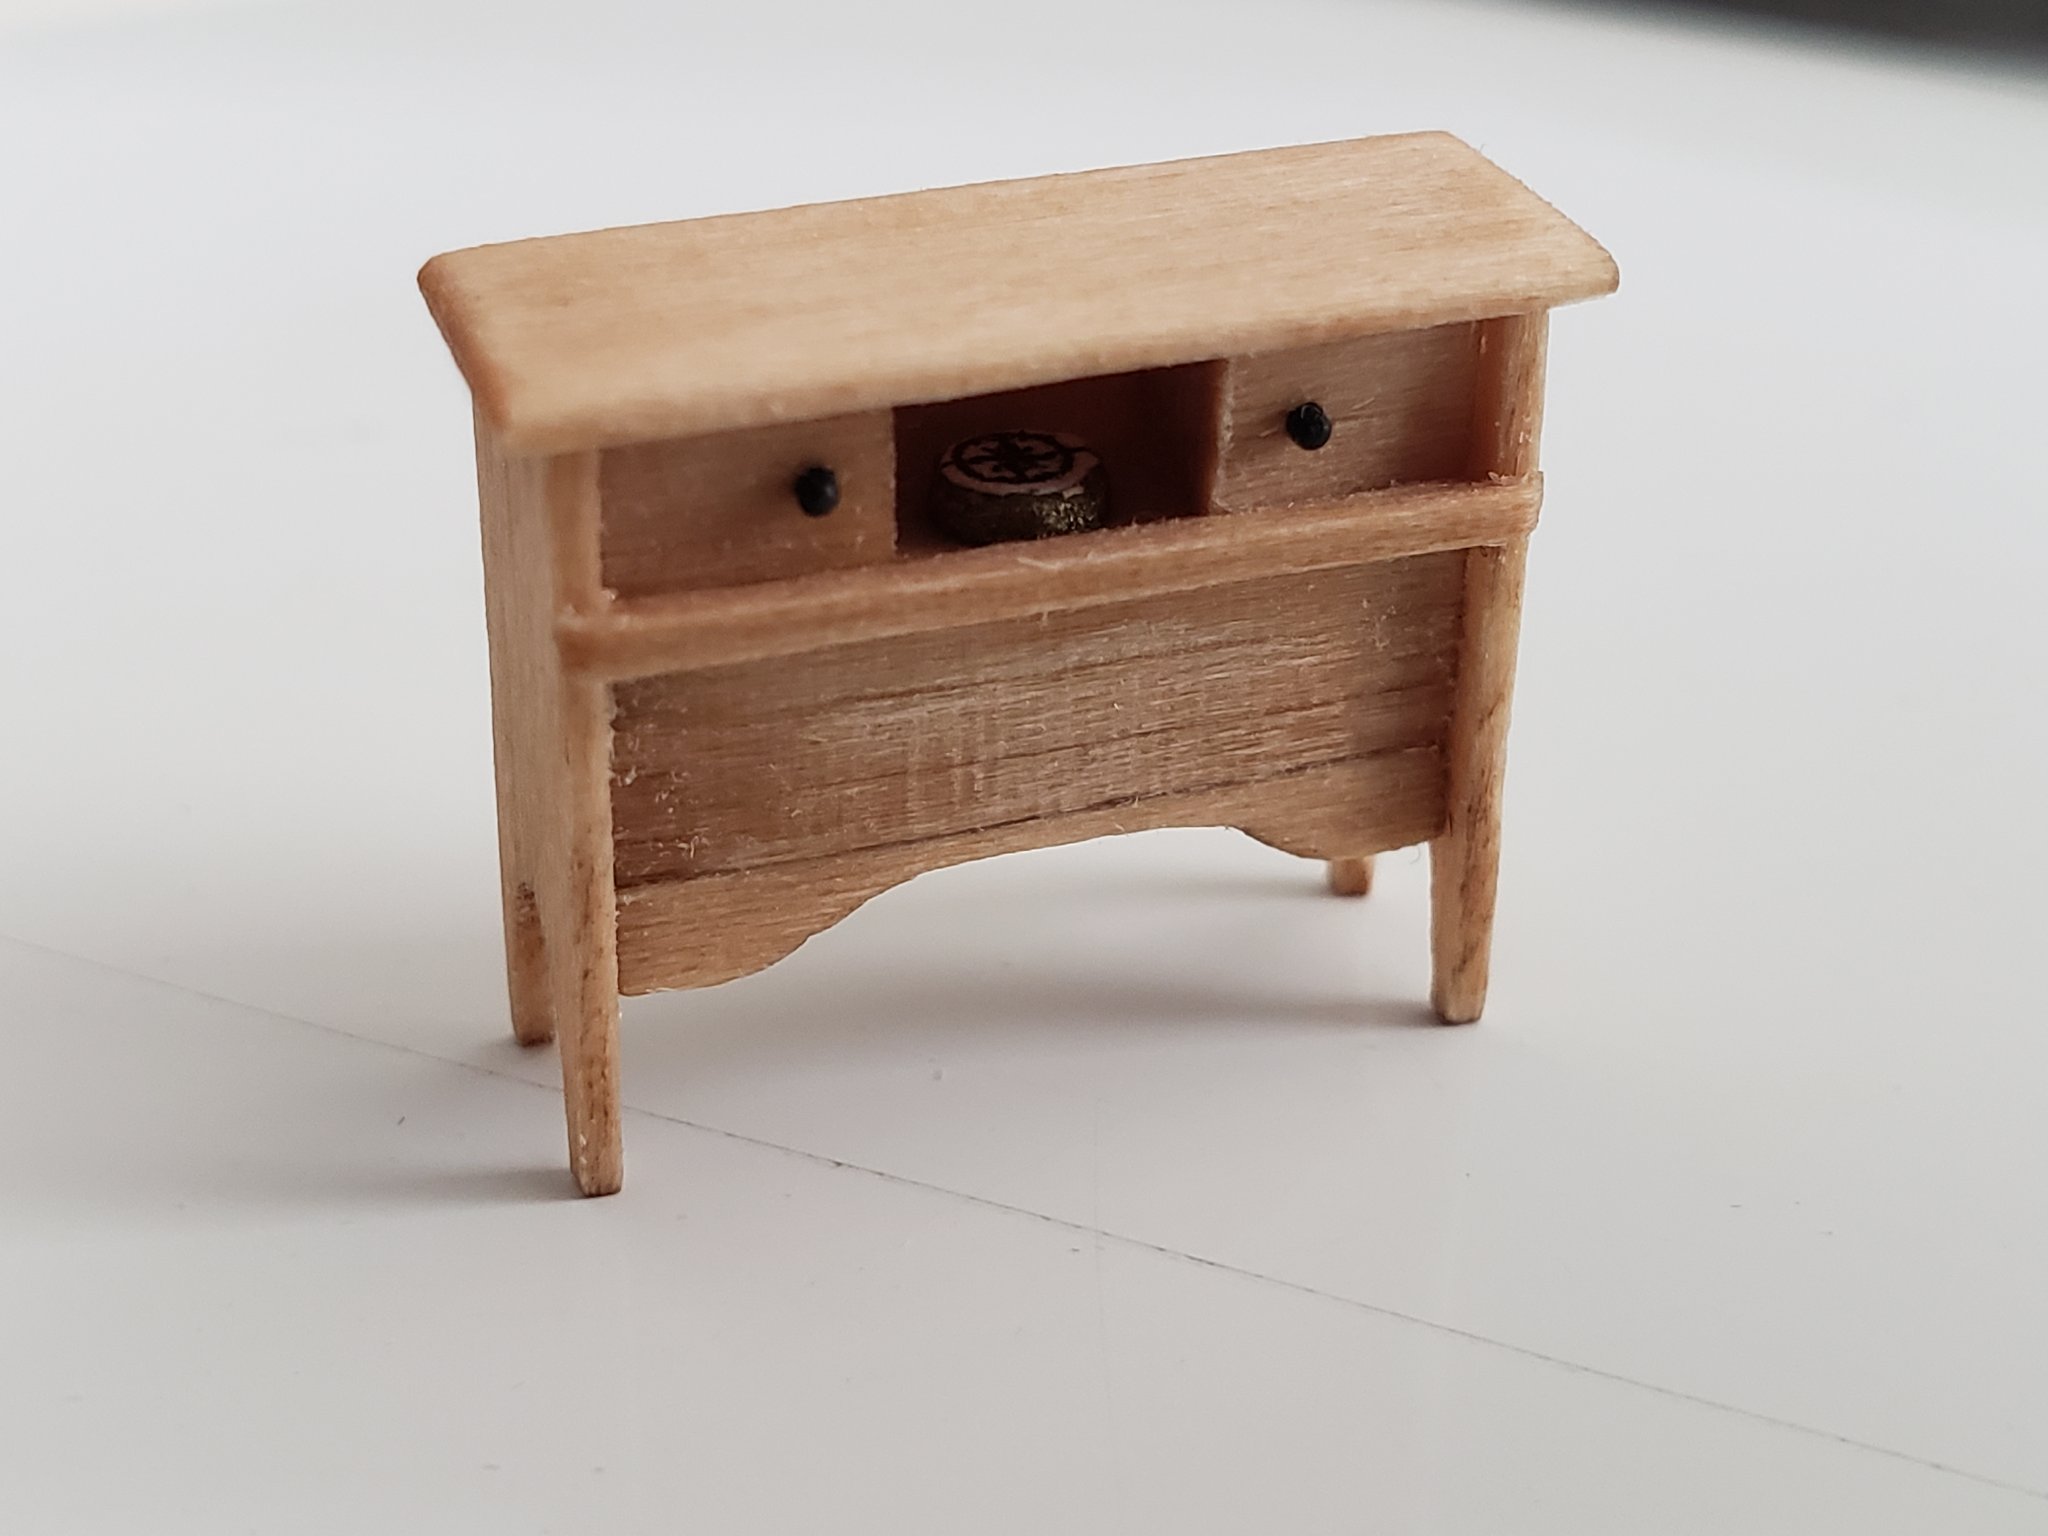
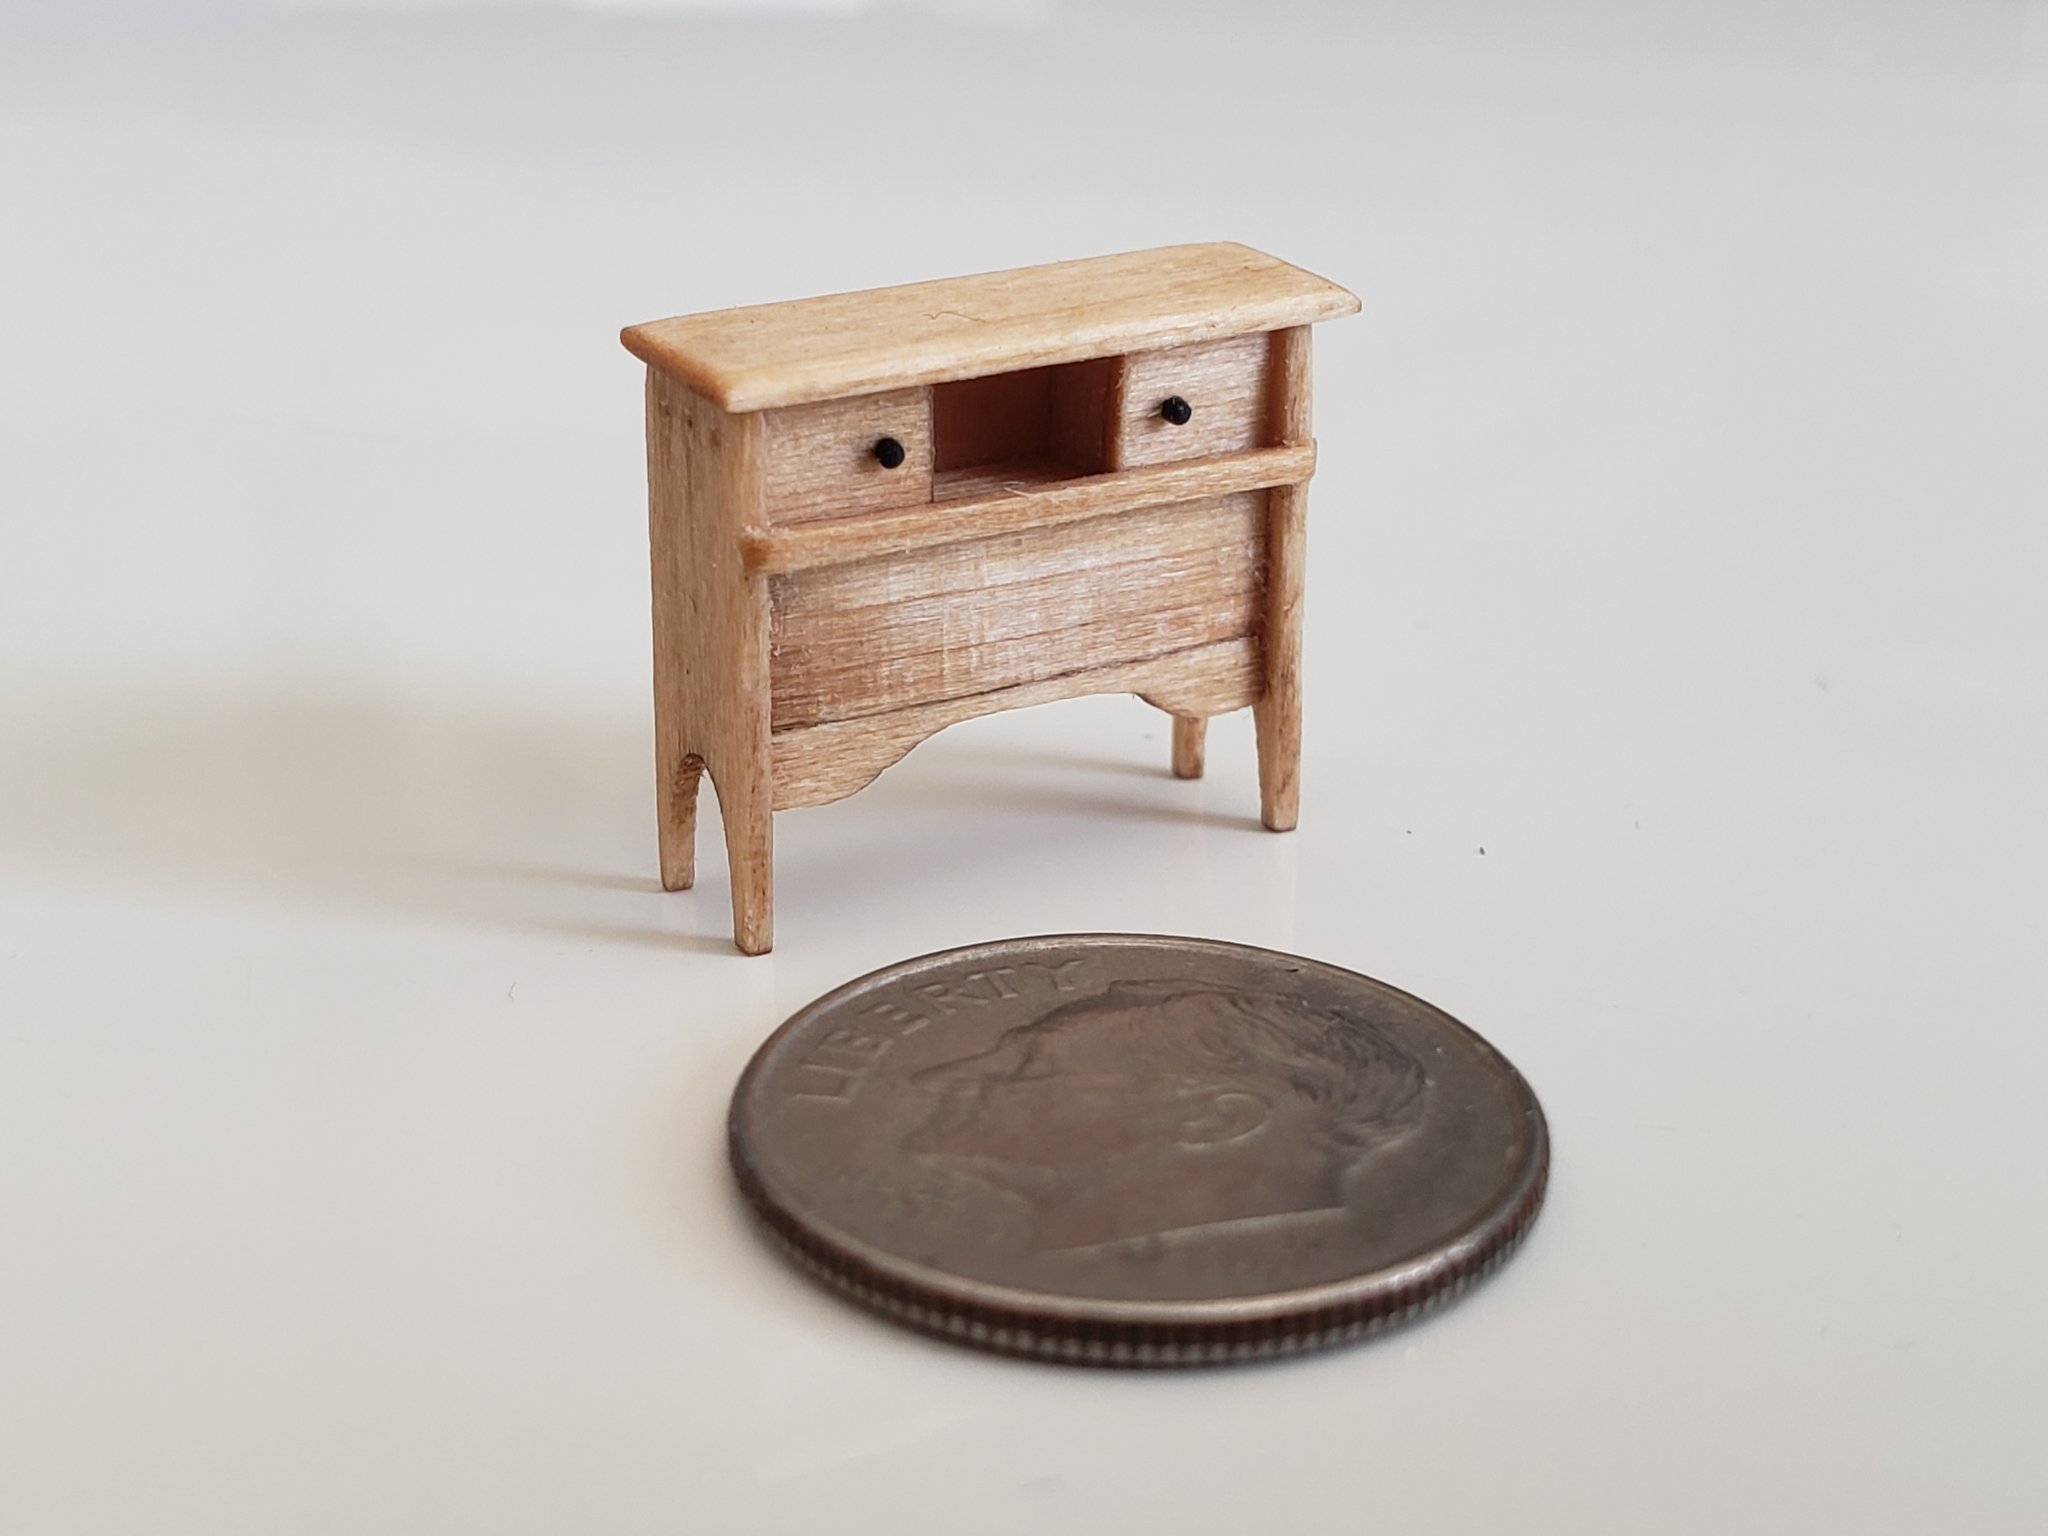
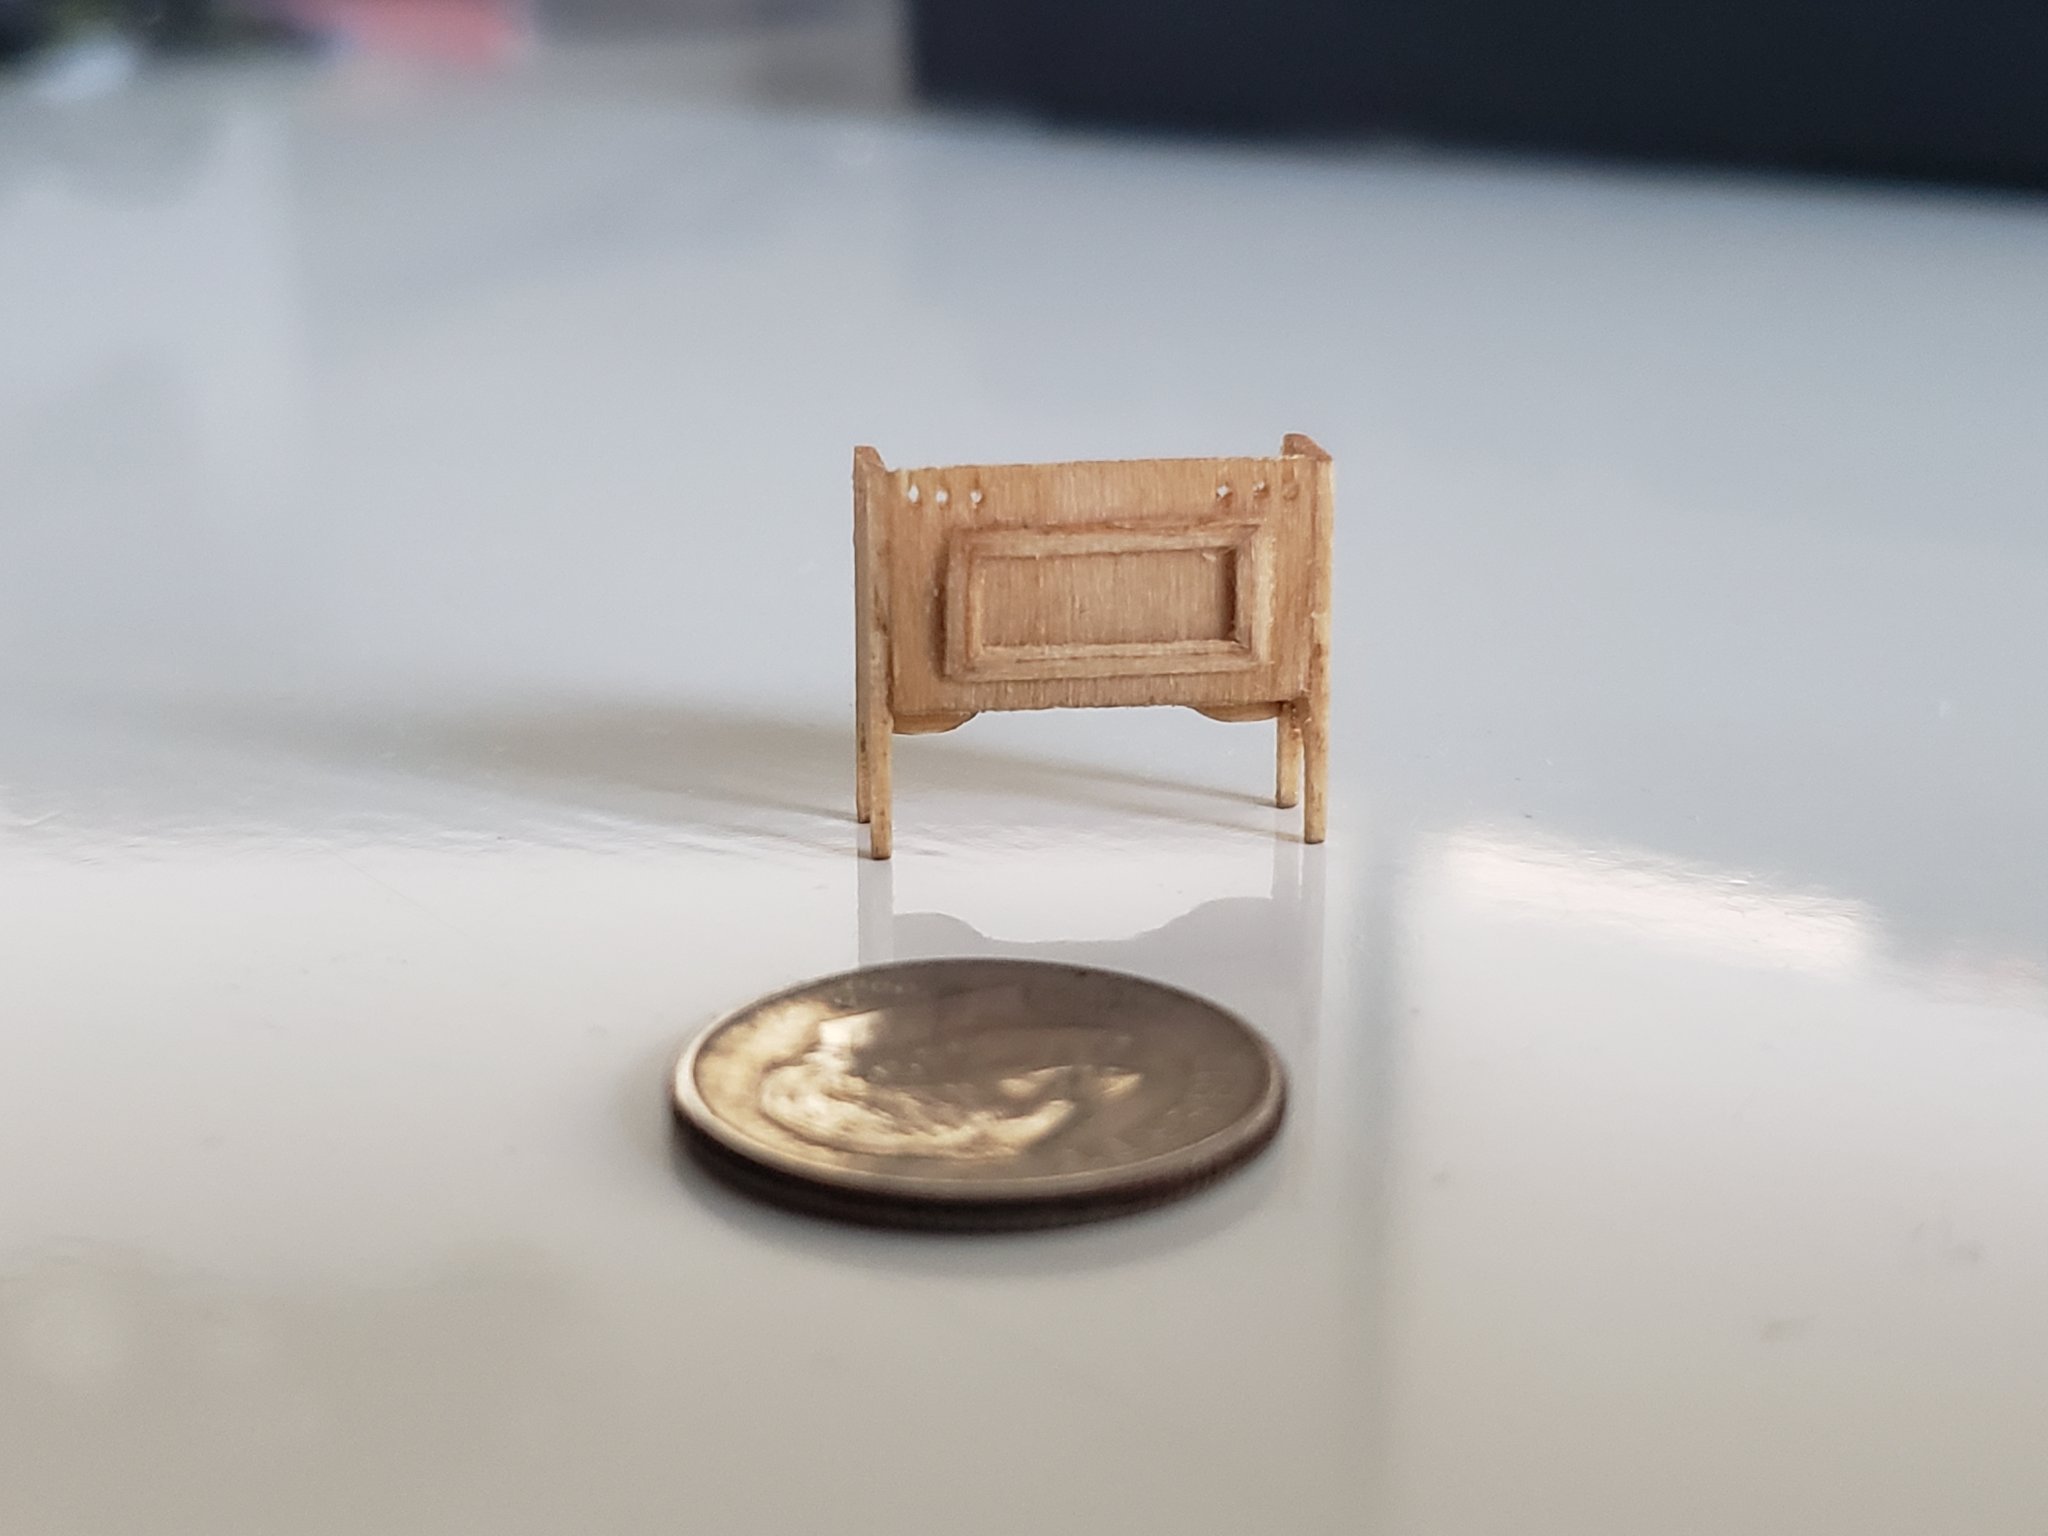
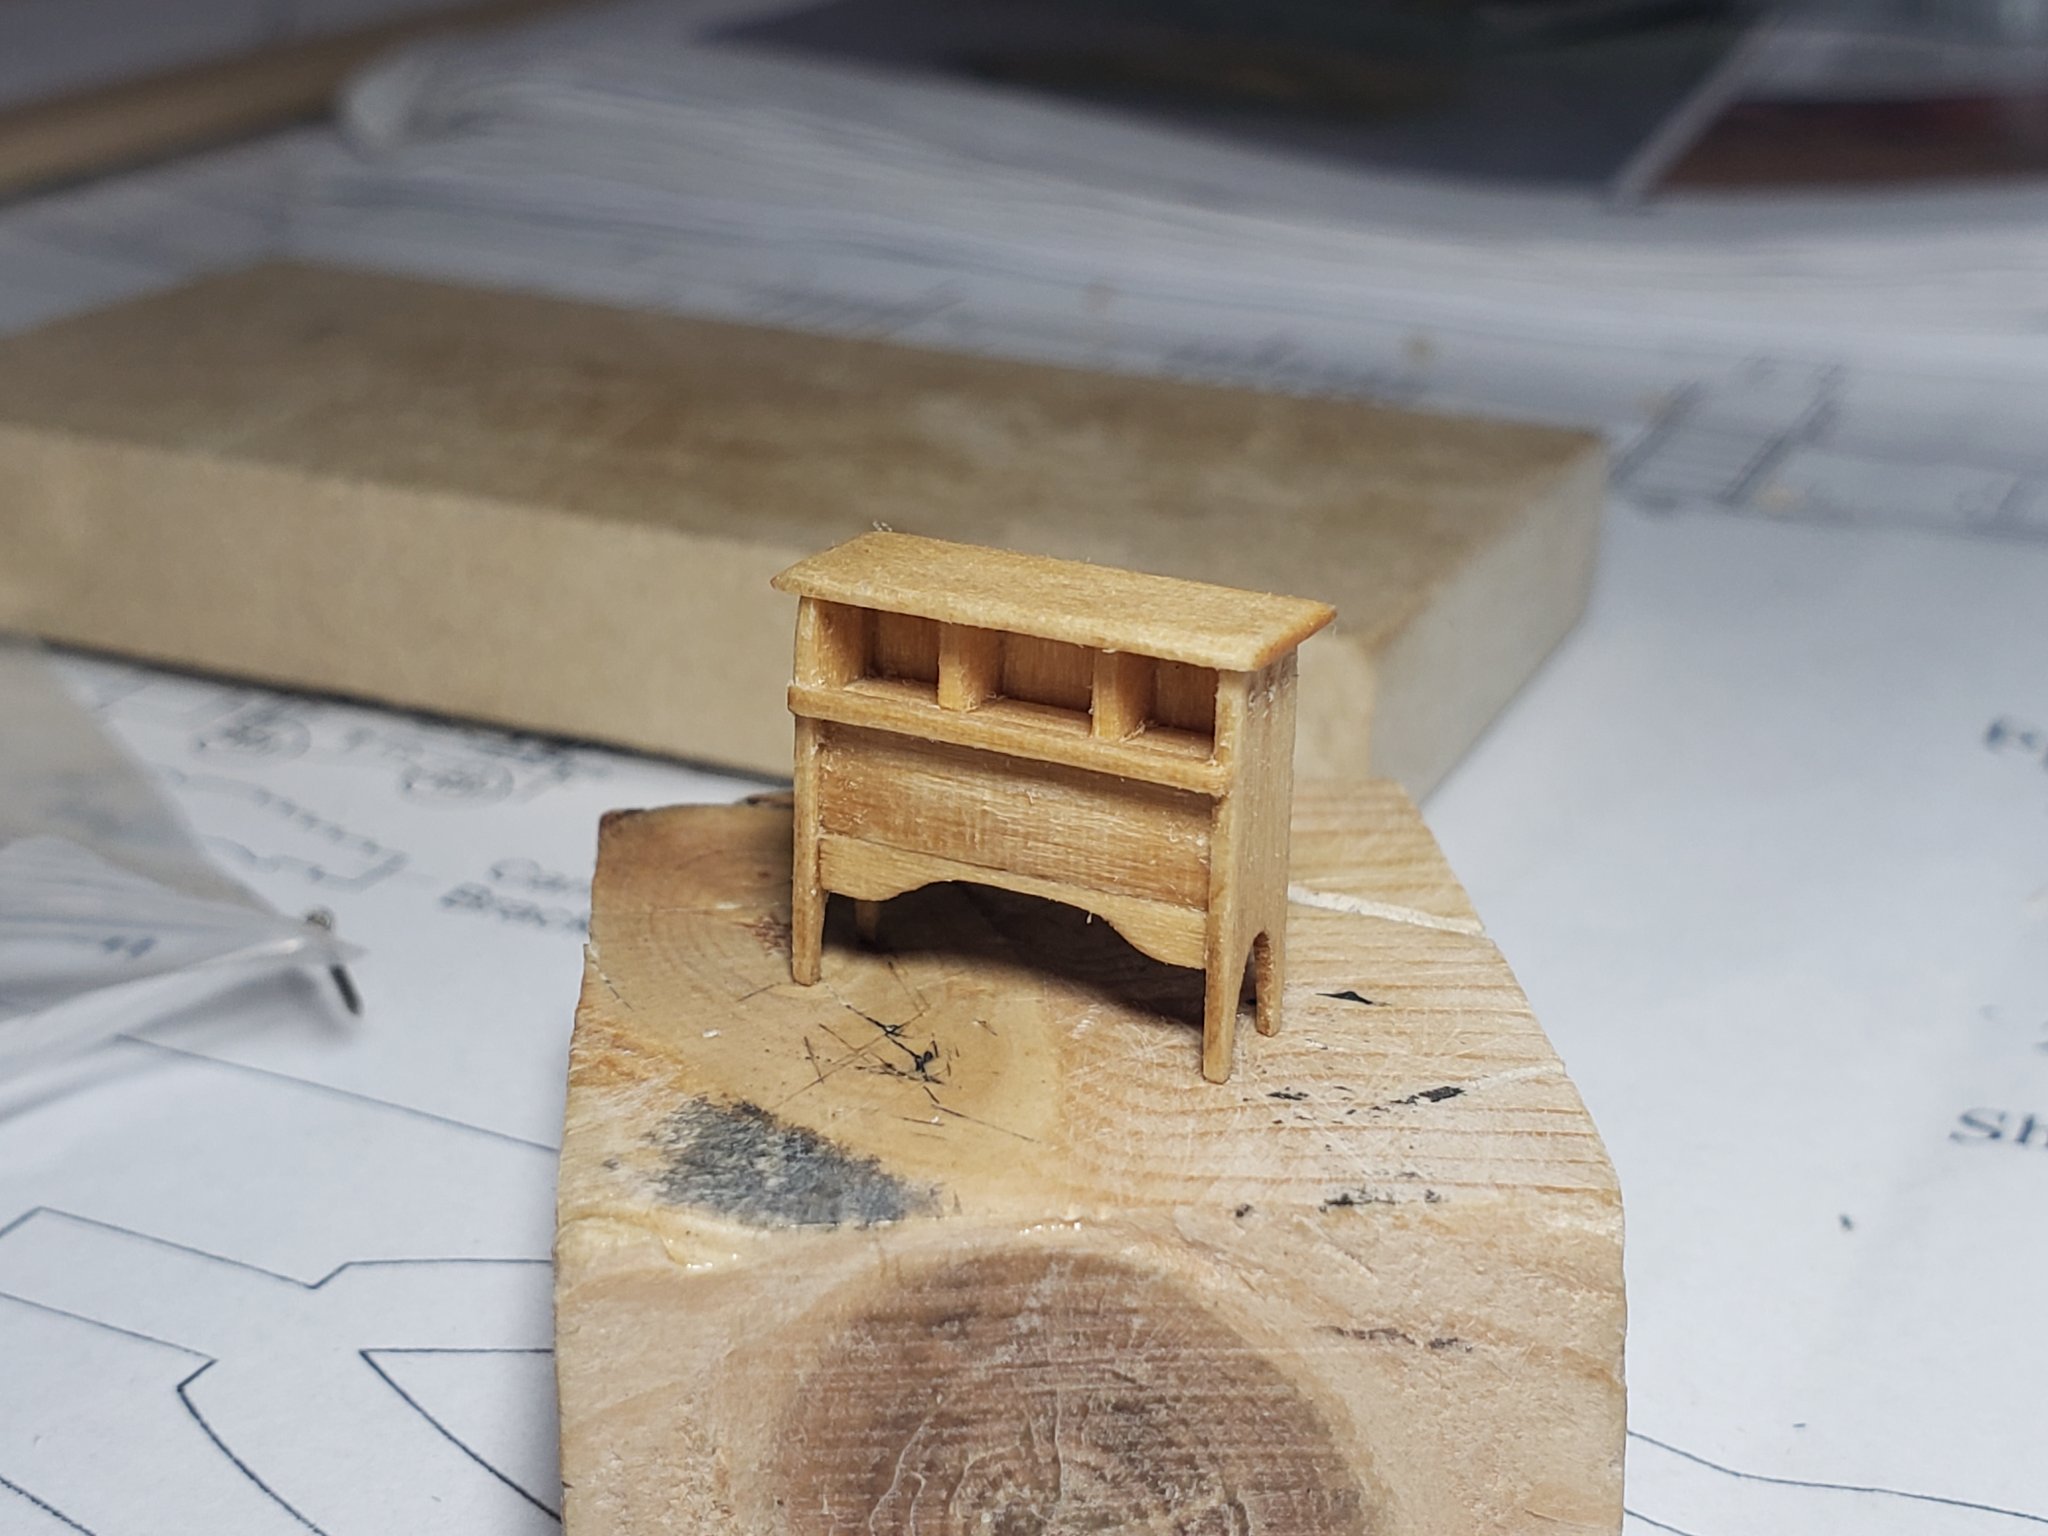
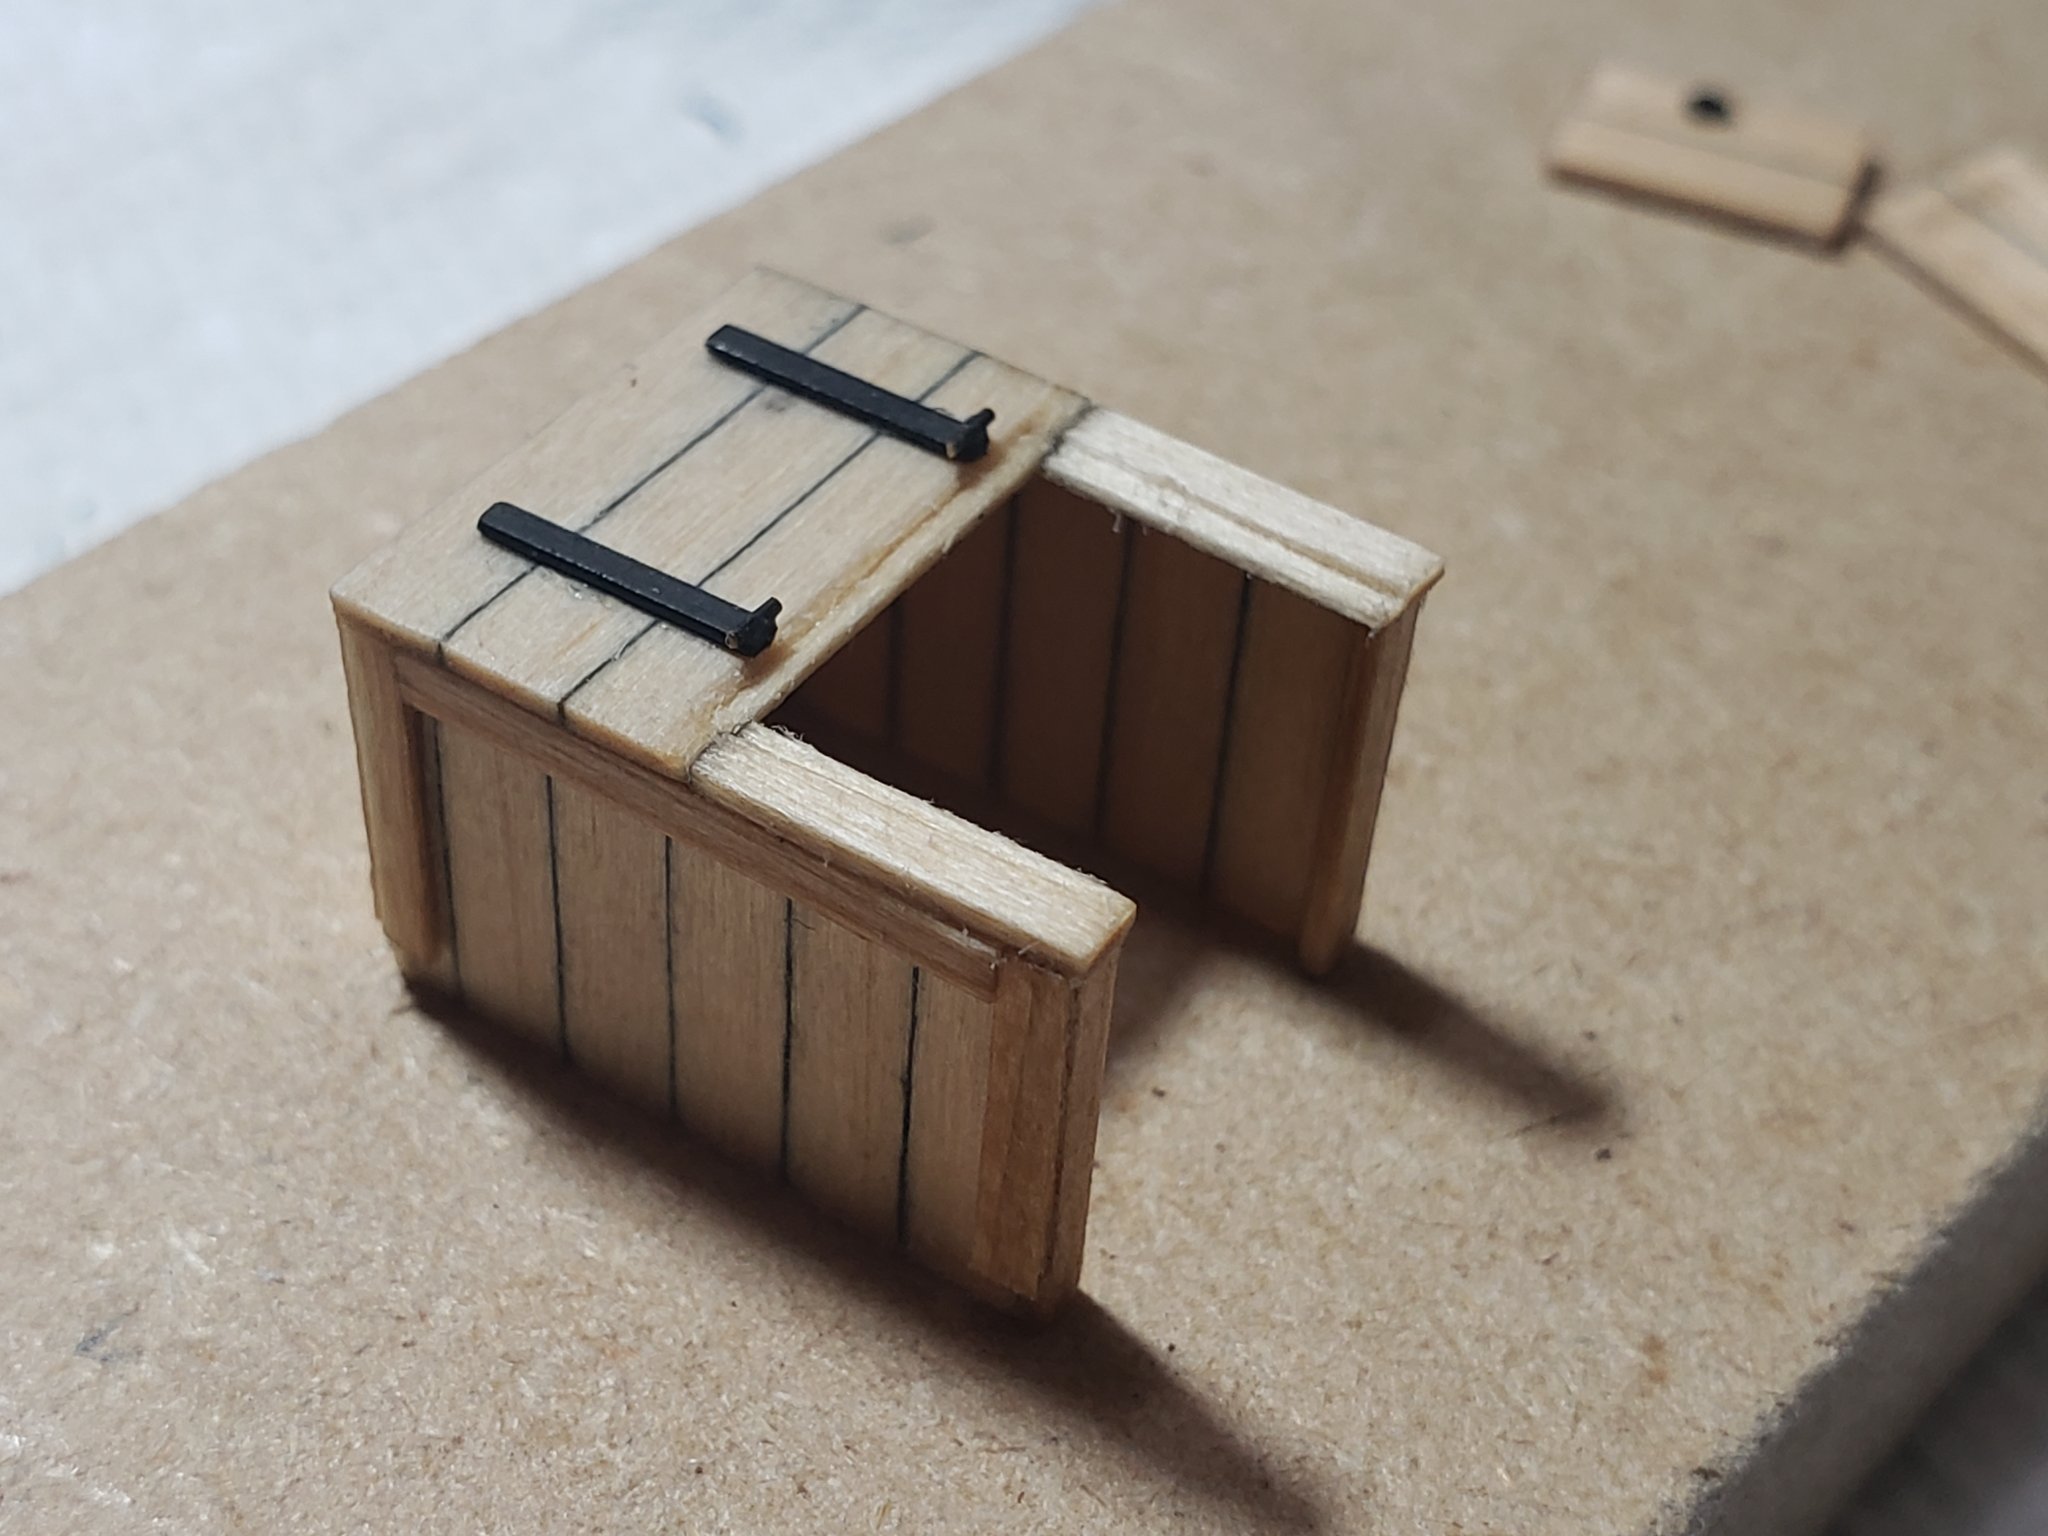
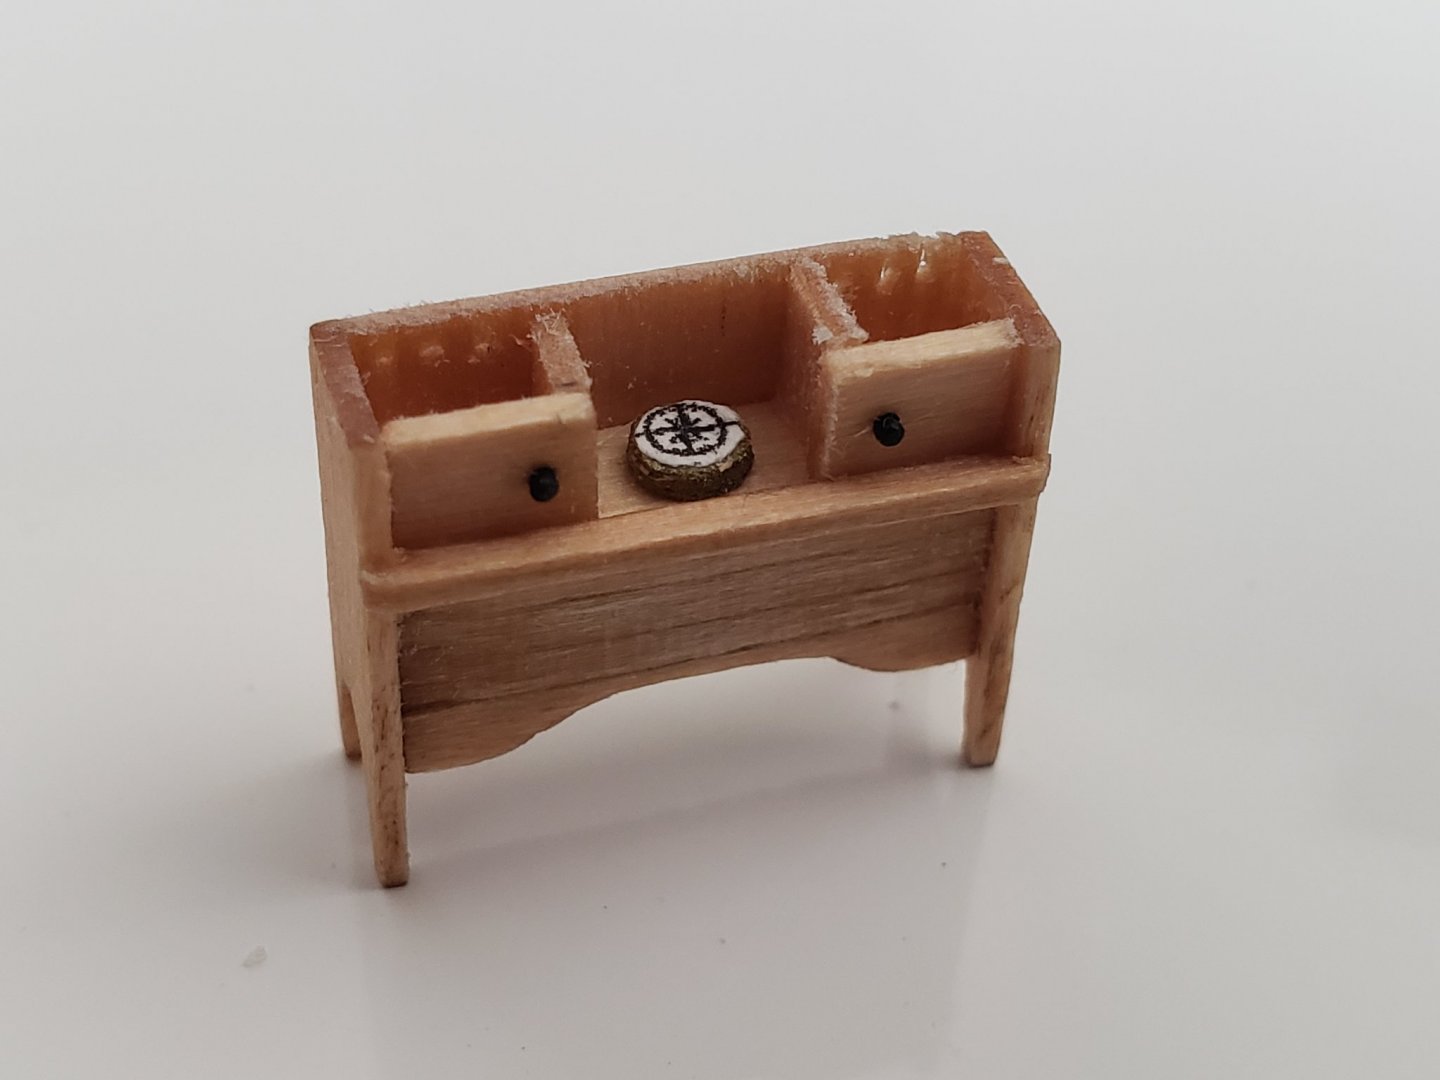
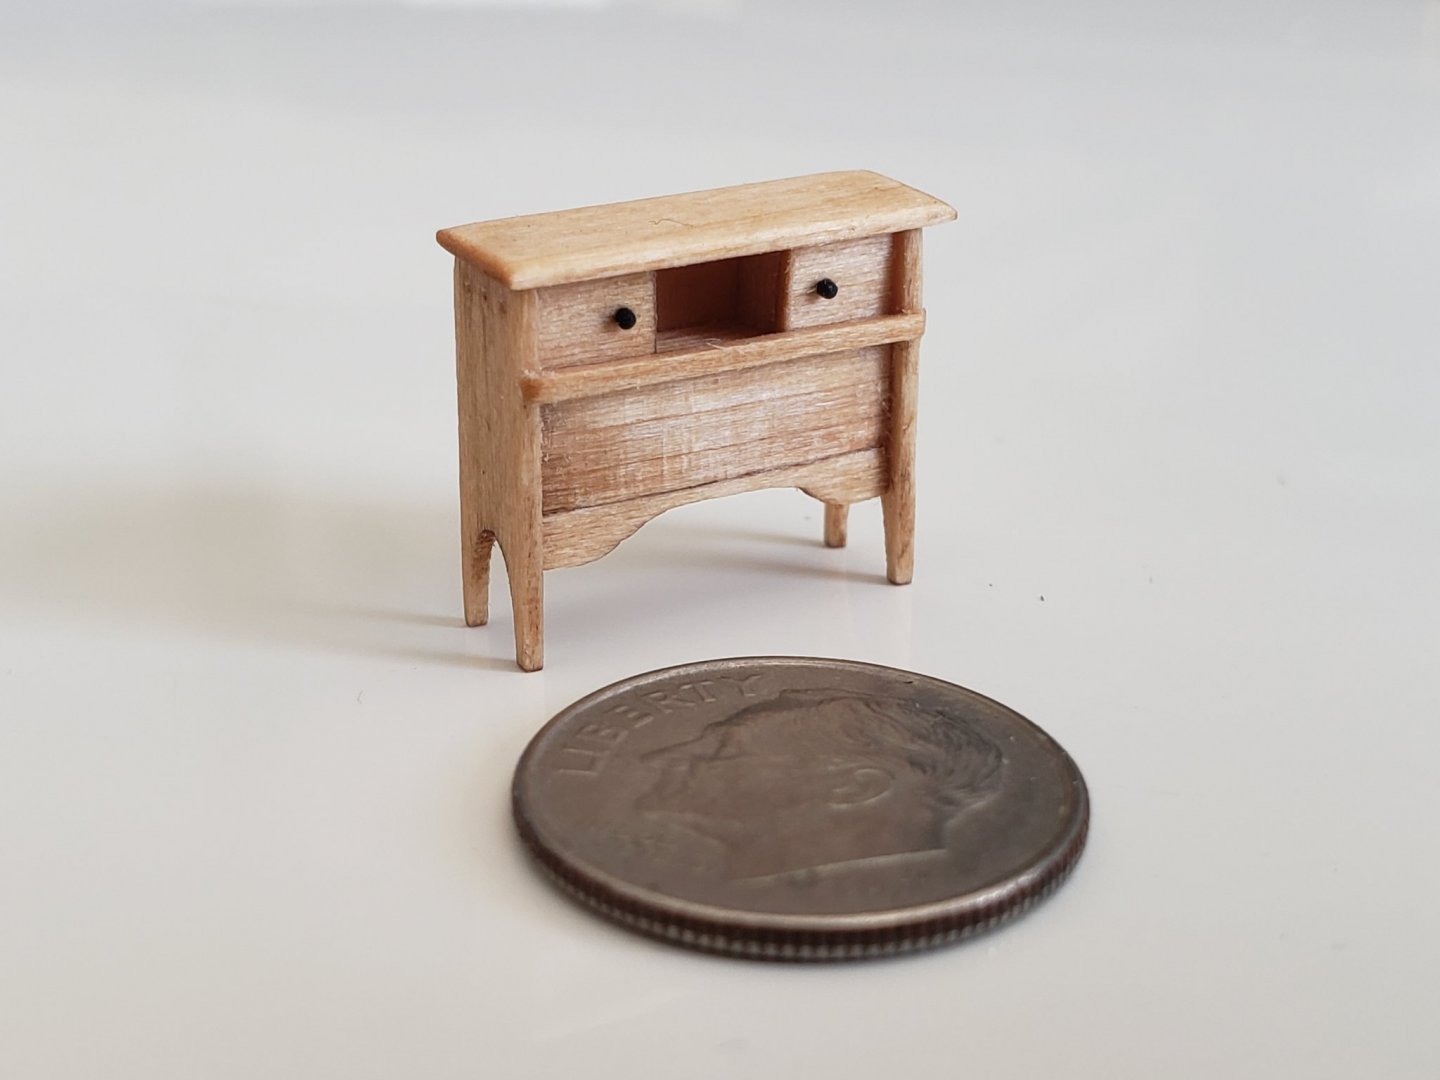
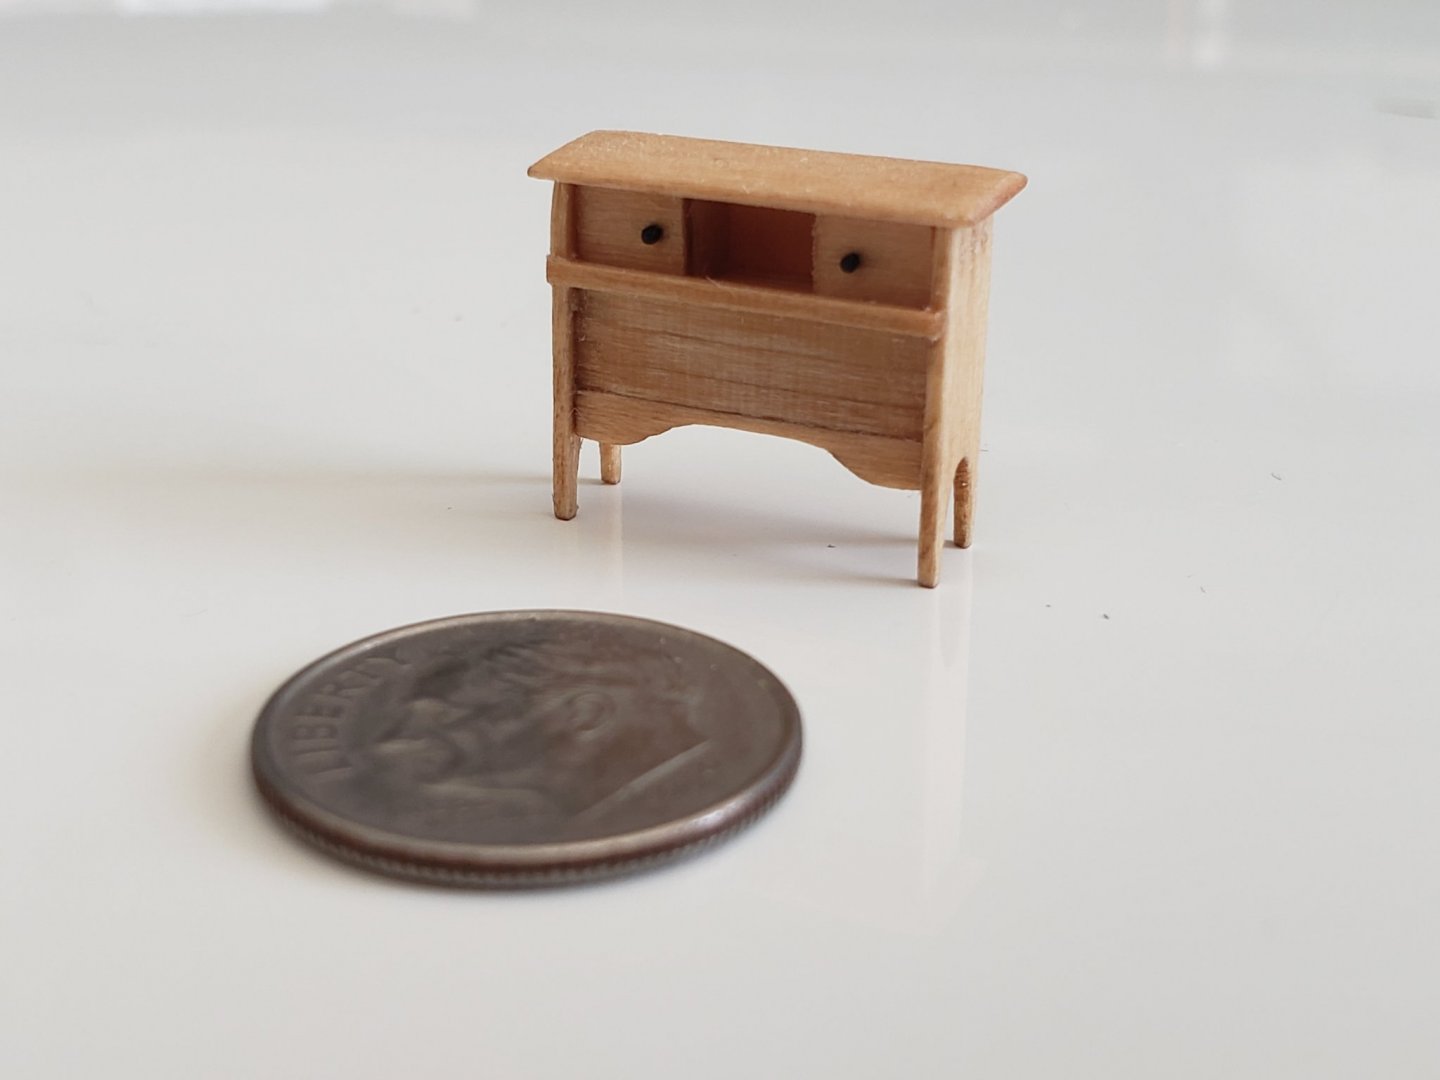
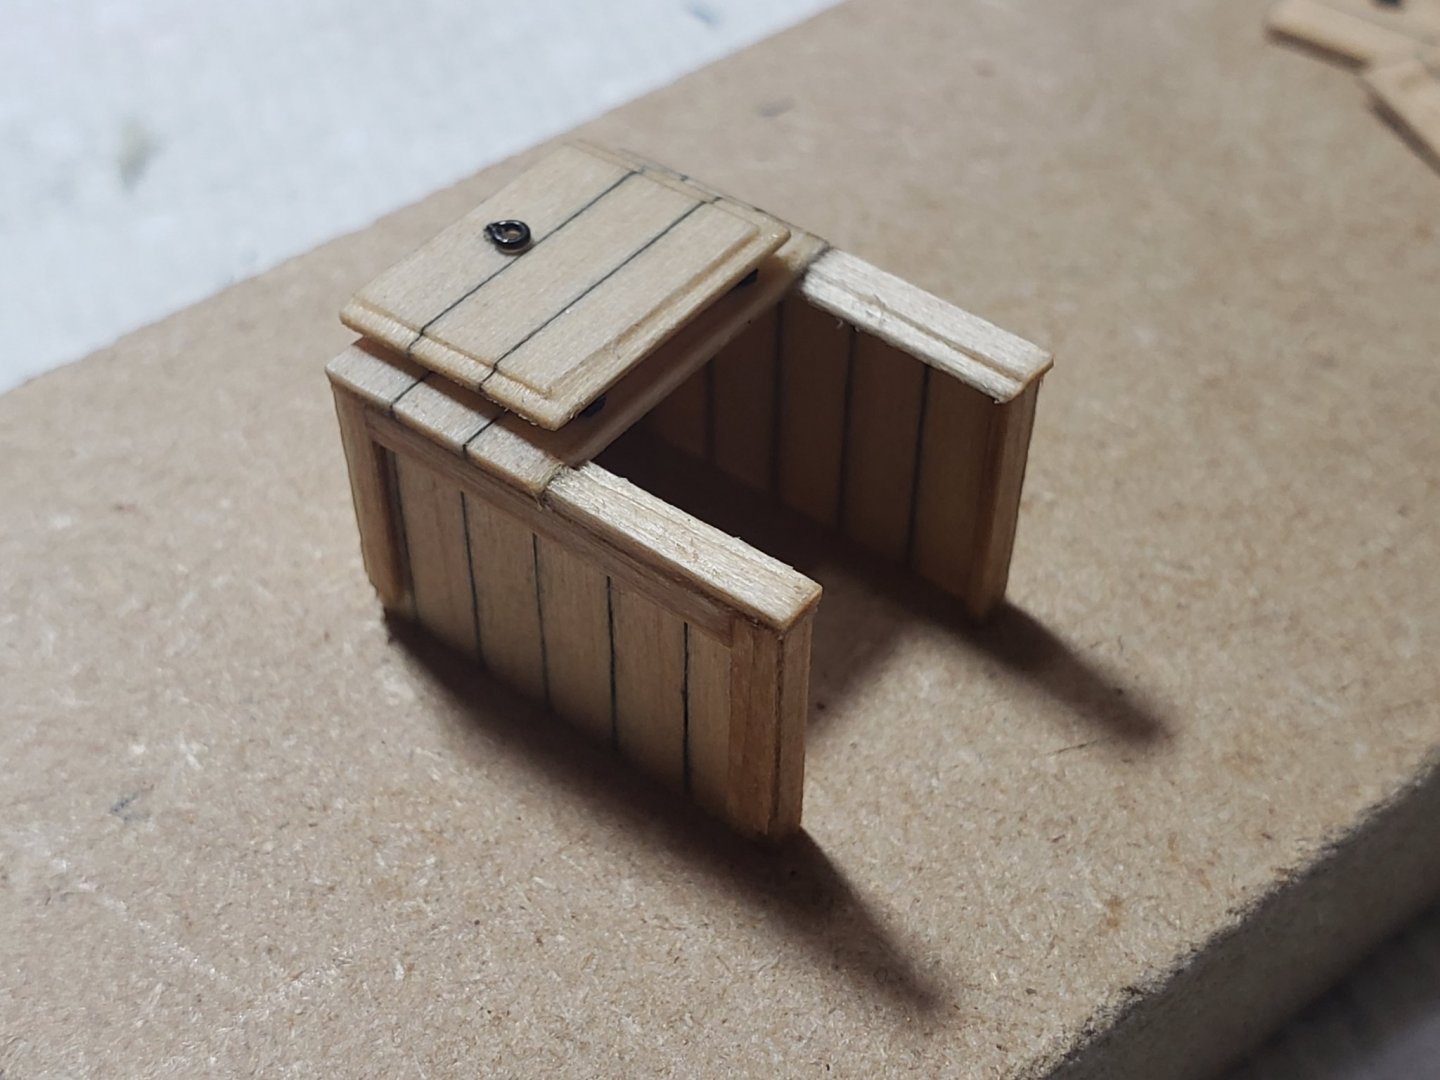
I glued in the handles and the top drawers onto the binnacle. The top has not yet been glued as I want to try putting in a tiny compass in the middle. Let me know if there's anything I can improve on it! Next steps are making the compass, finishing the side simulated cabinets, and attaching the bell


- 950 replies
-
- 9
-
-
- syren
- model shipways
- (and 1 more)
-
It's looking great Robin! The black chocks contrasts well with the red and they fit it perfectly! Also those hinges look very realistic!!
-
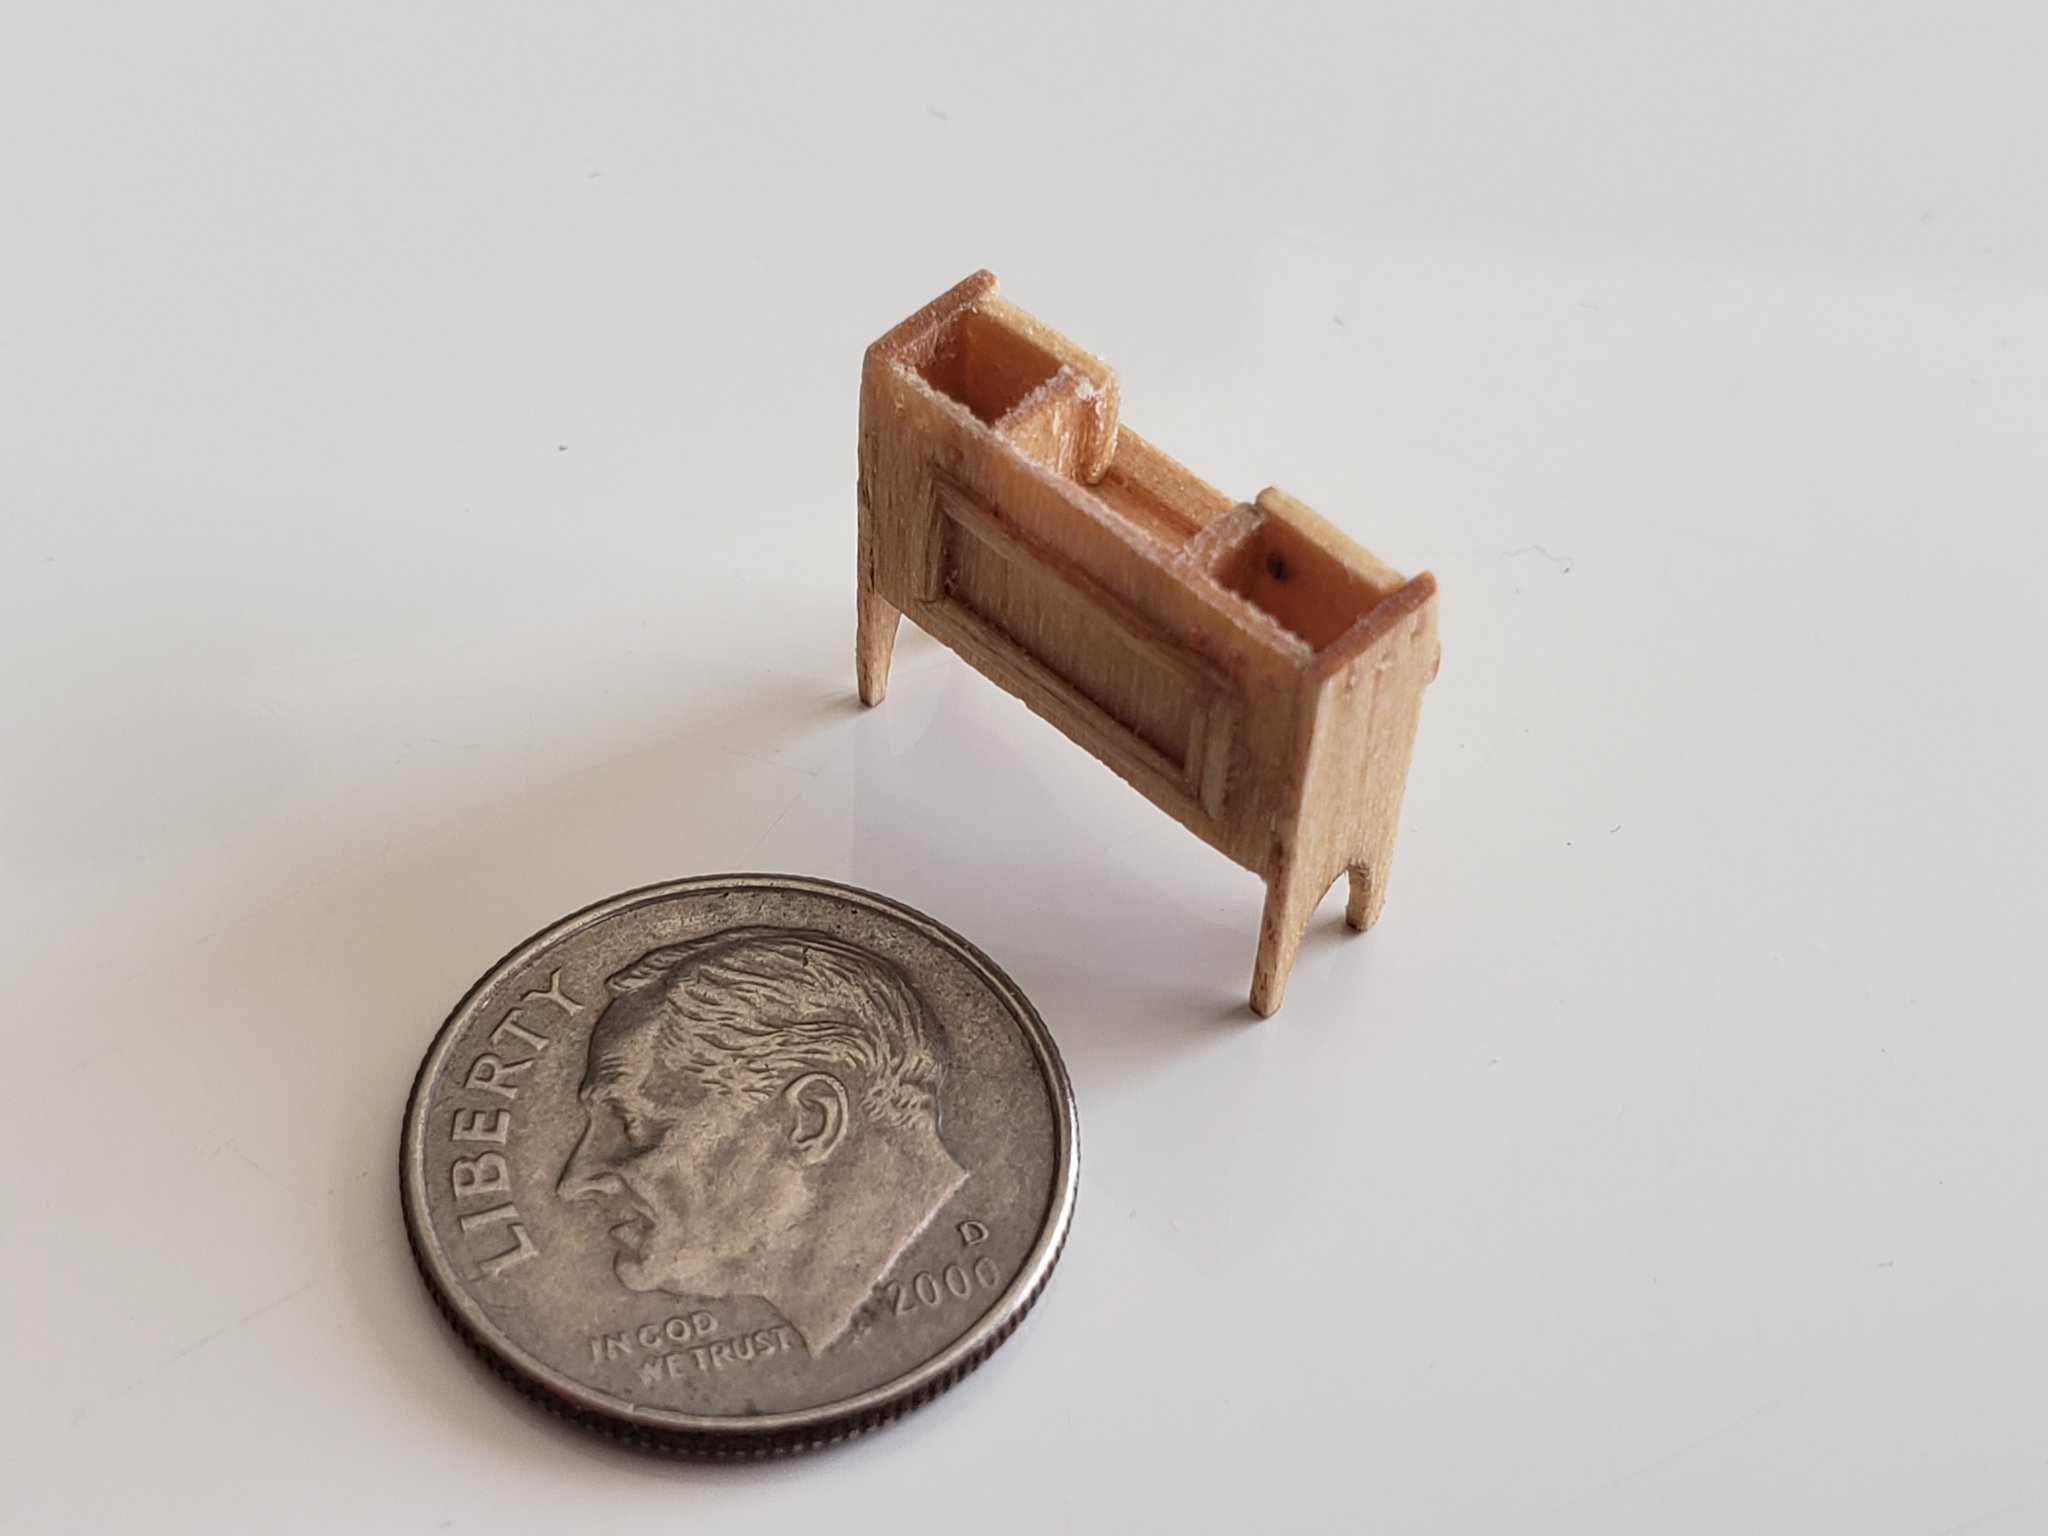
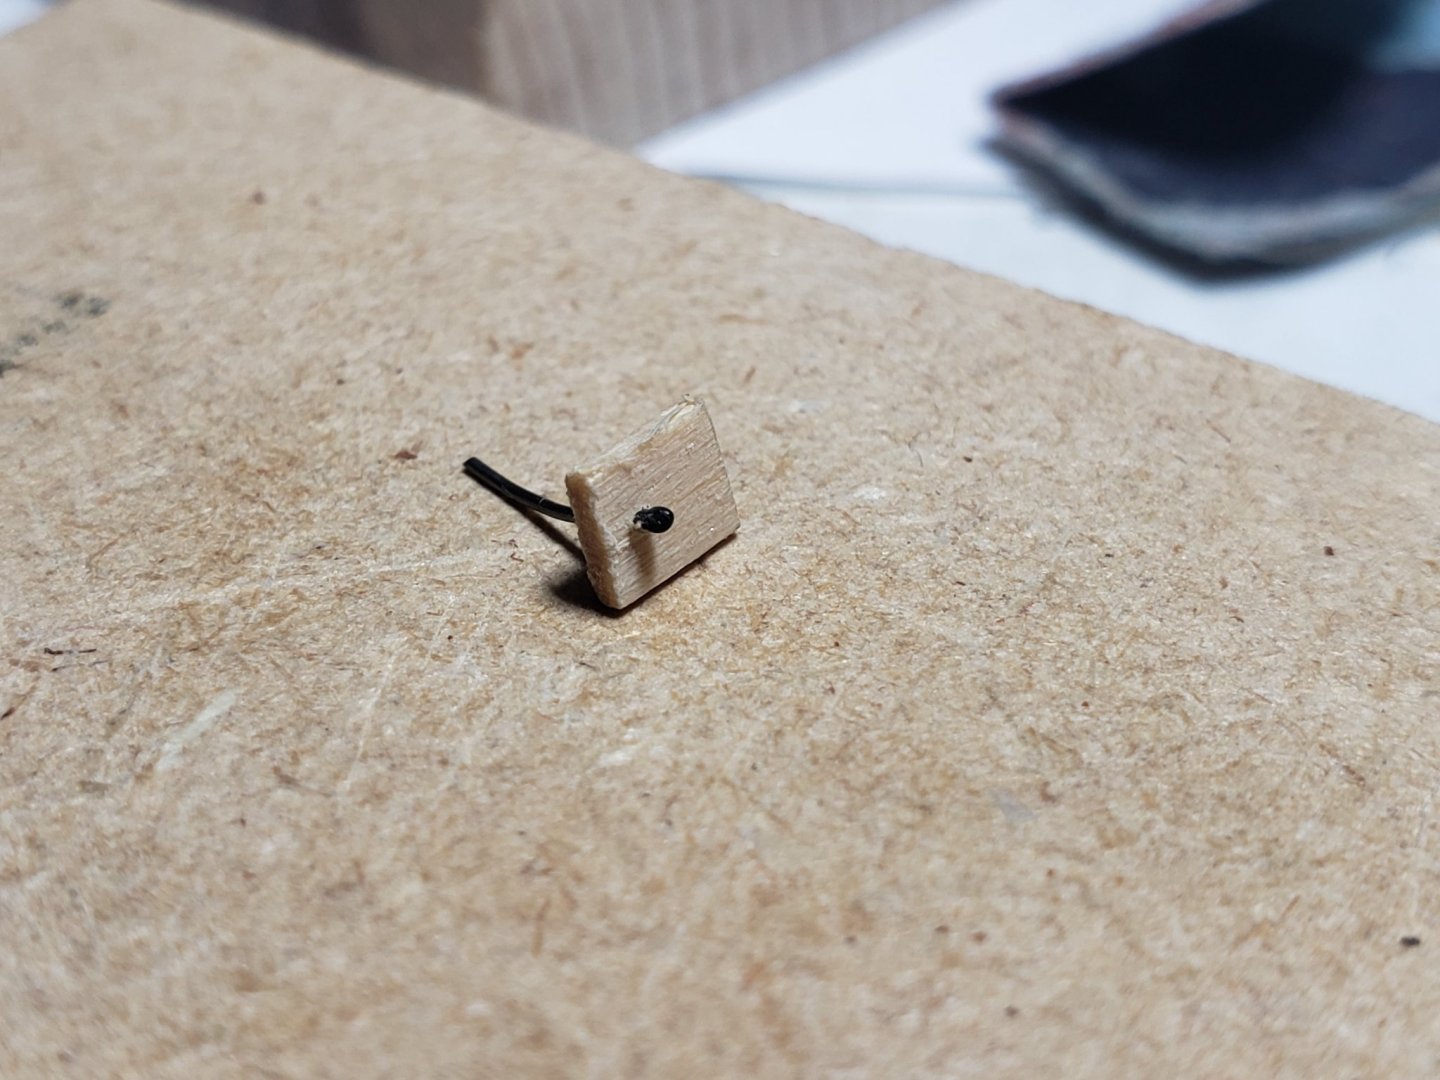
Thanks for the comments! I was also contemplating on the holes for the inner compartment walls, but ended up not including it, mainly because of the limitations of basswood. Even with a 0.5mm hole, I keep splitting the wood!!! 😣 Also, I think the CA method works for the handles. I may end up using these unless anyone has other suggestions

- 950 replies
-
- 2
-
-
- syren
- model shipways
- (and 1 more)
-
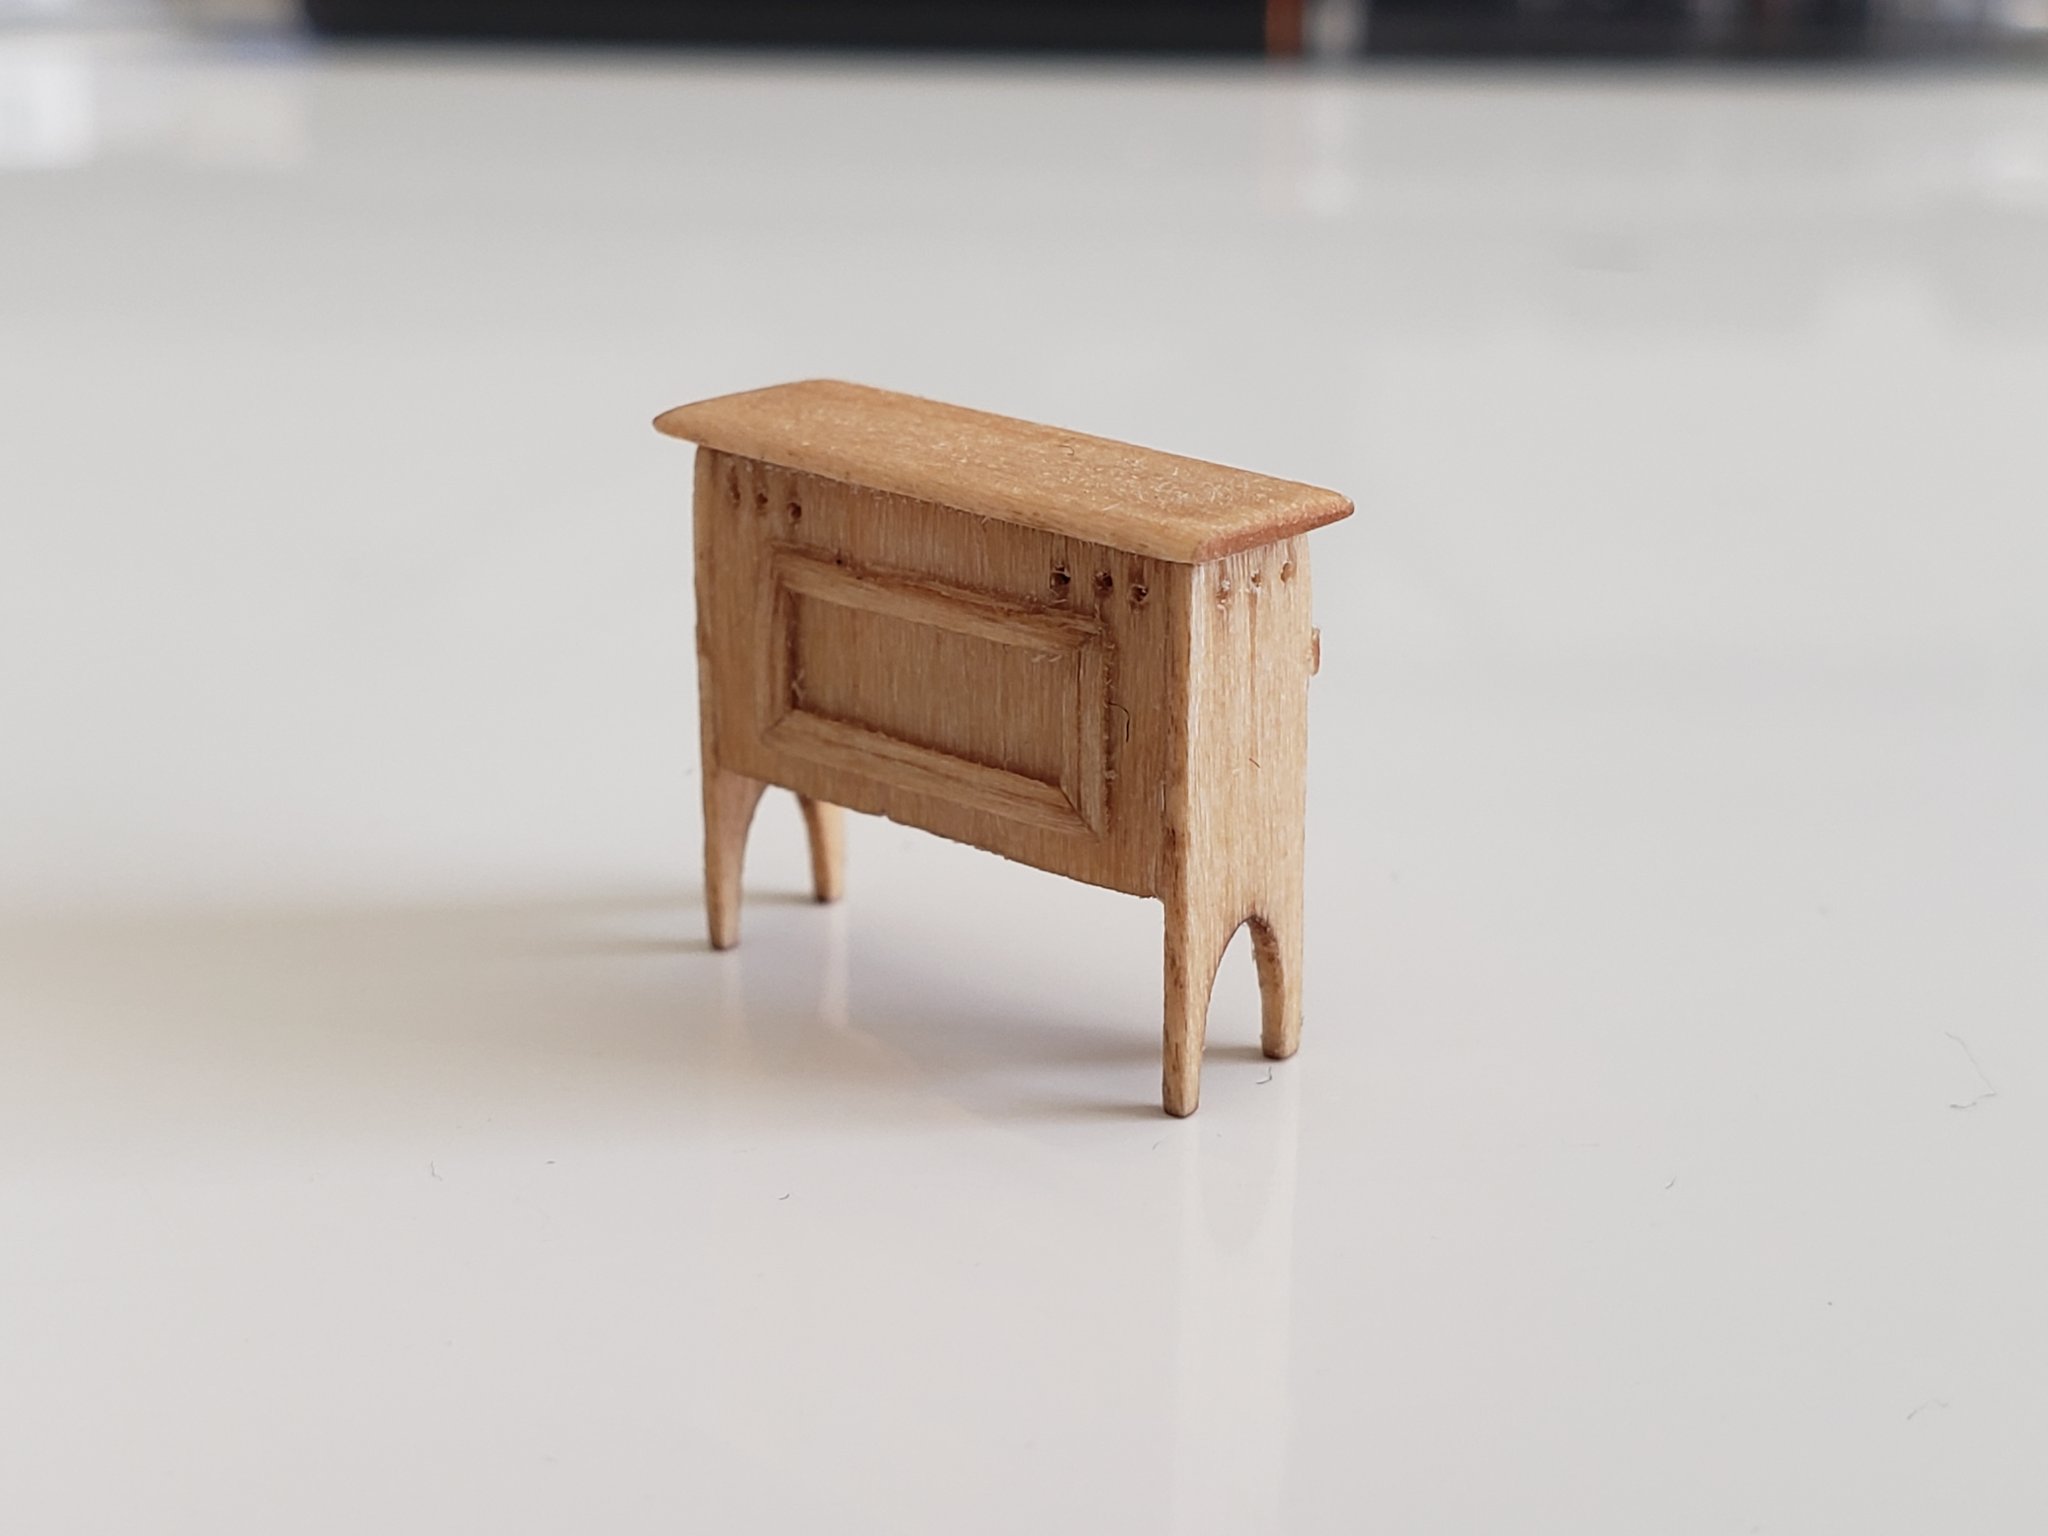
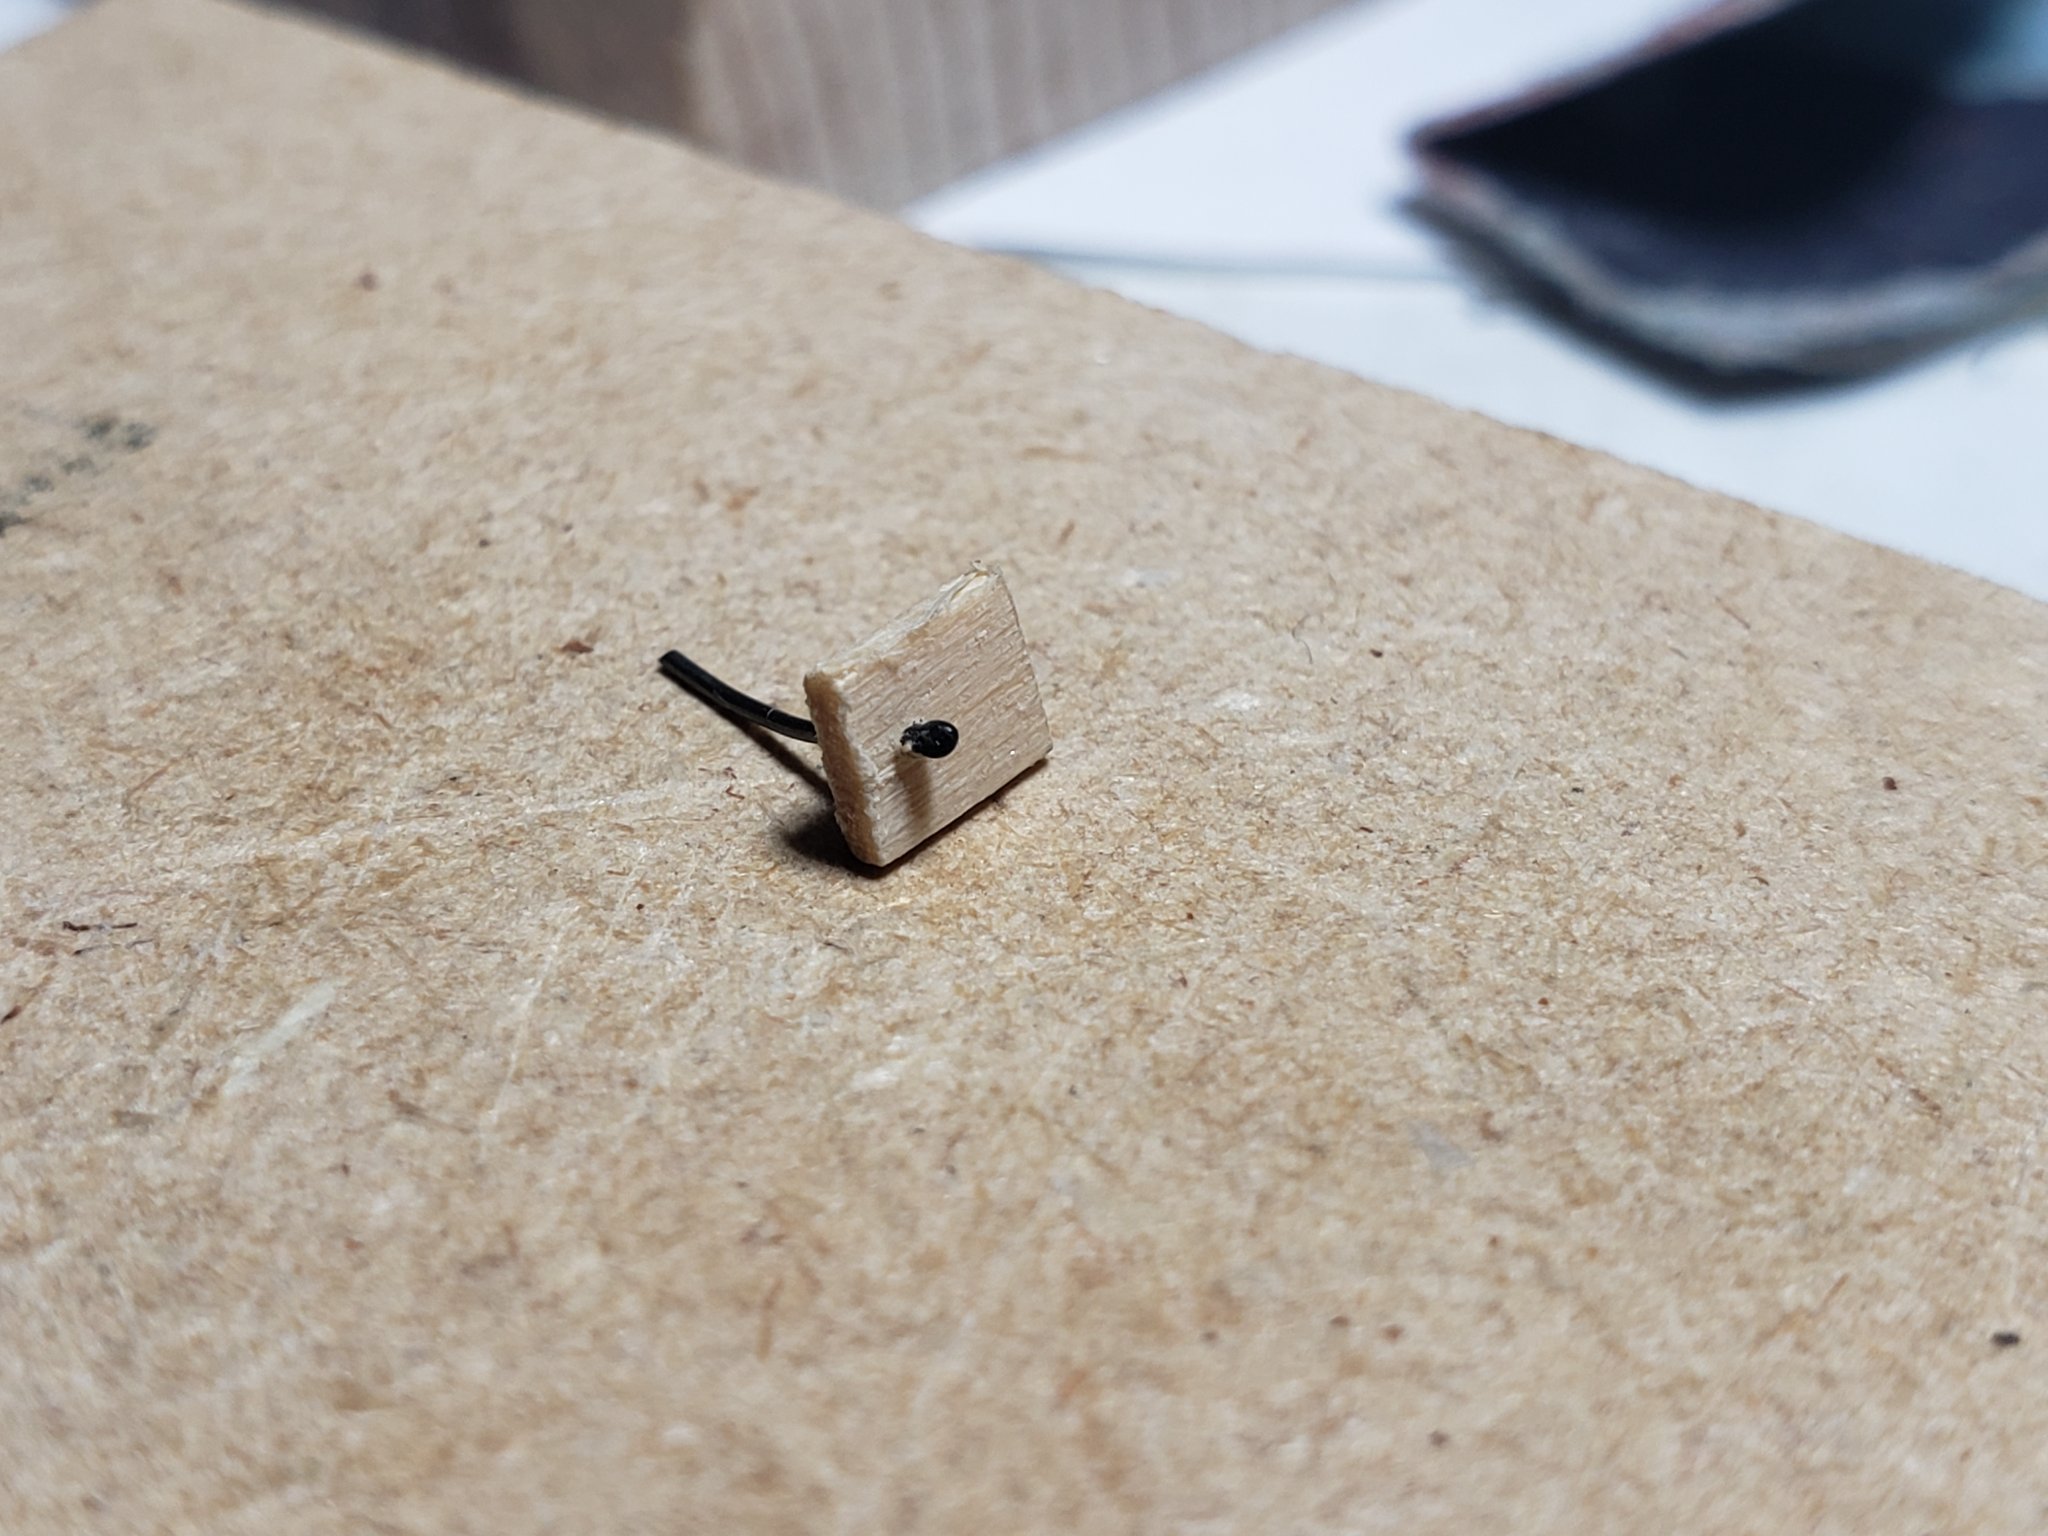
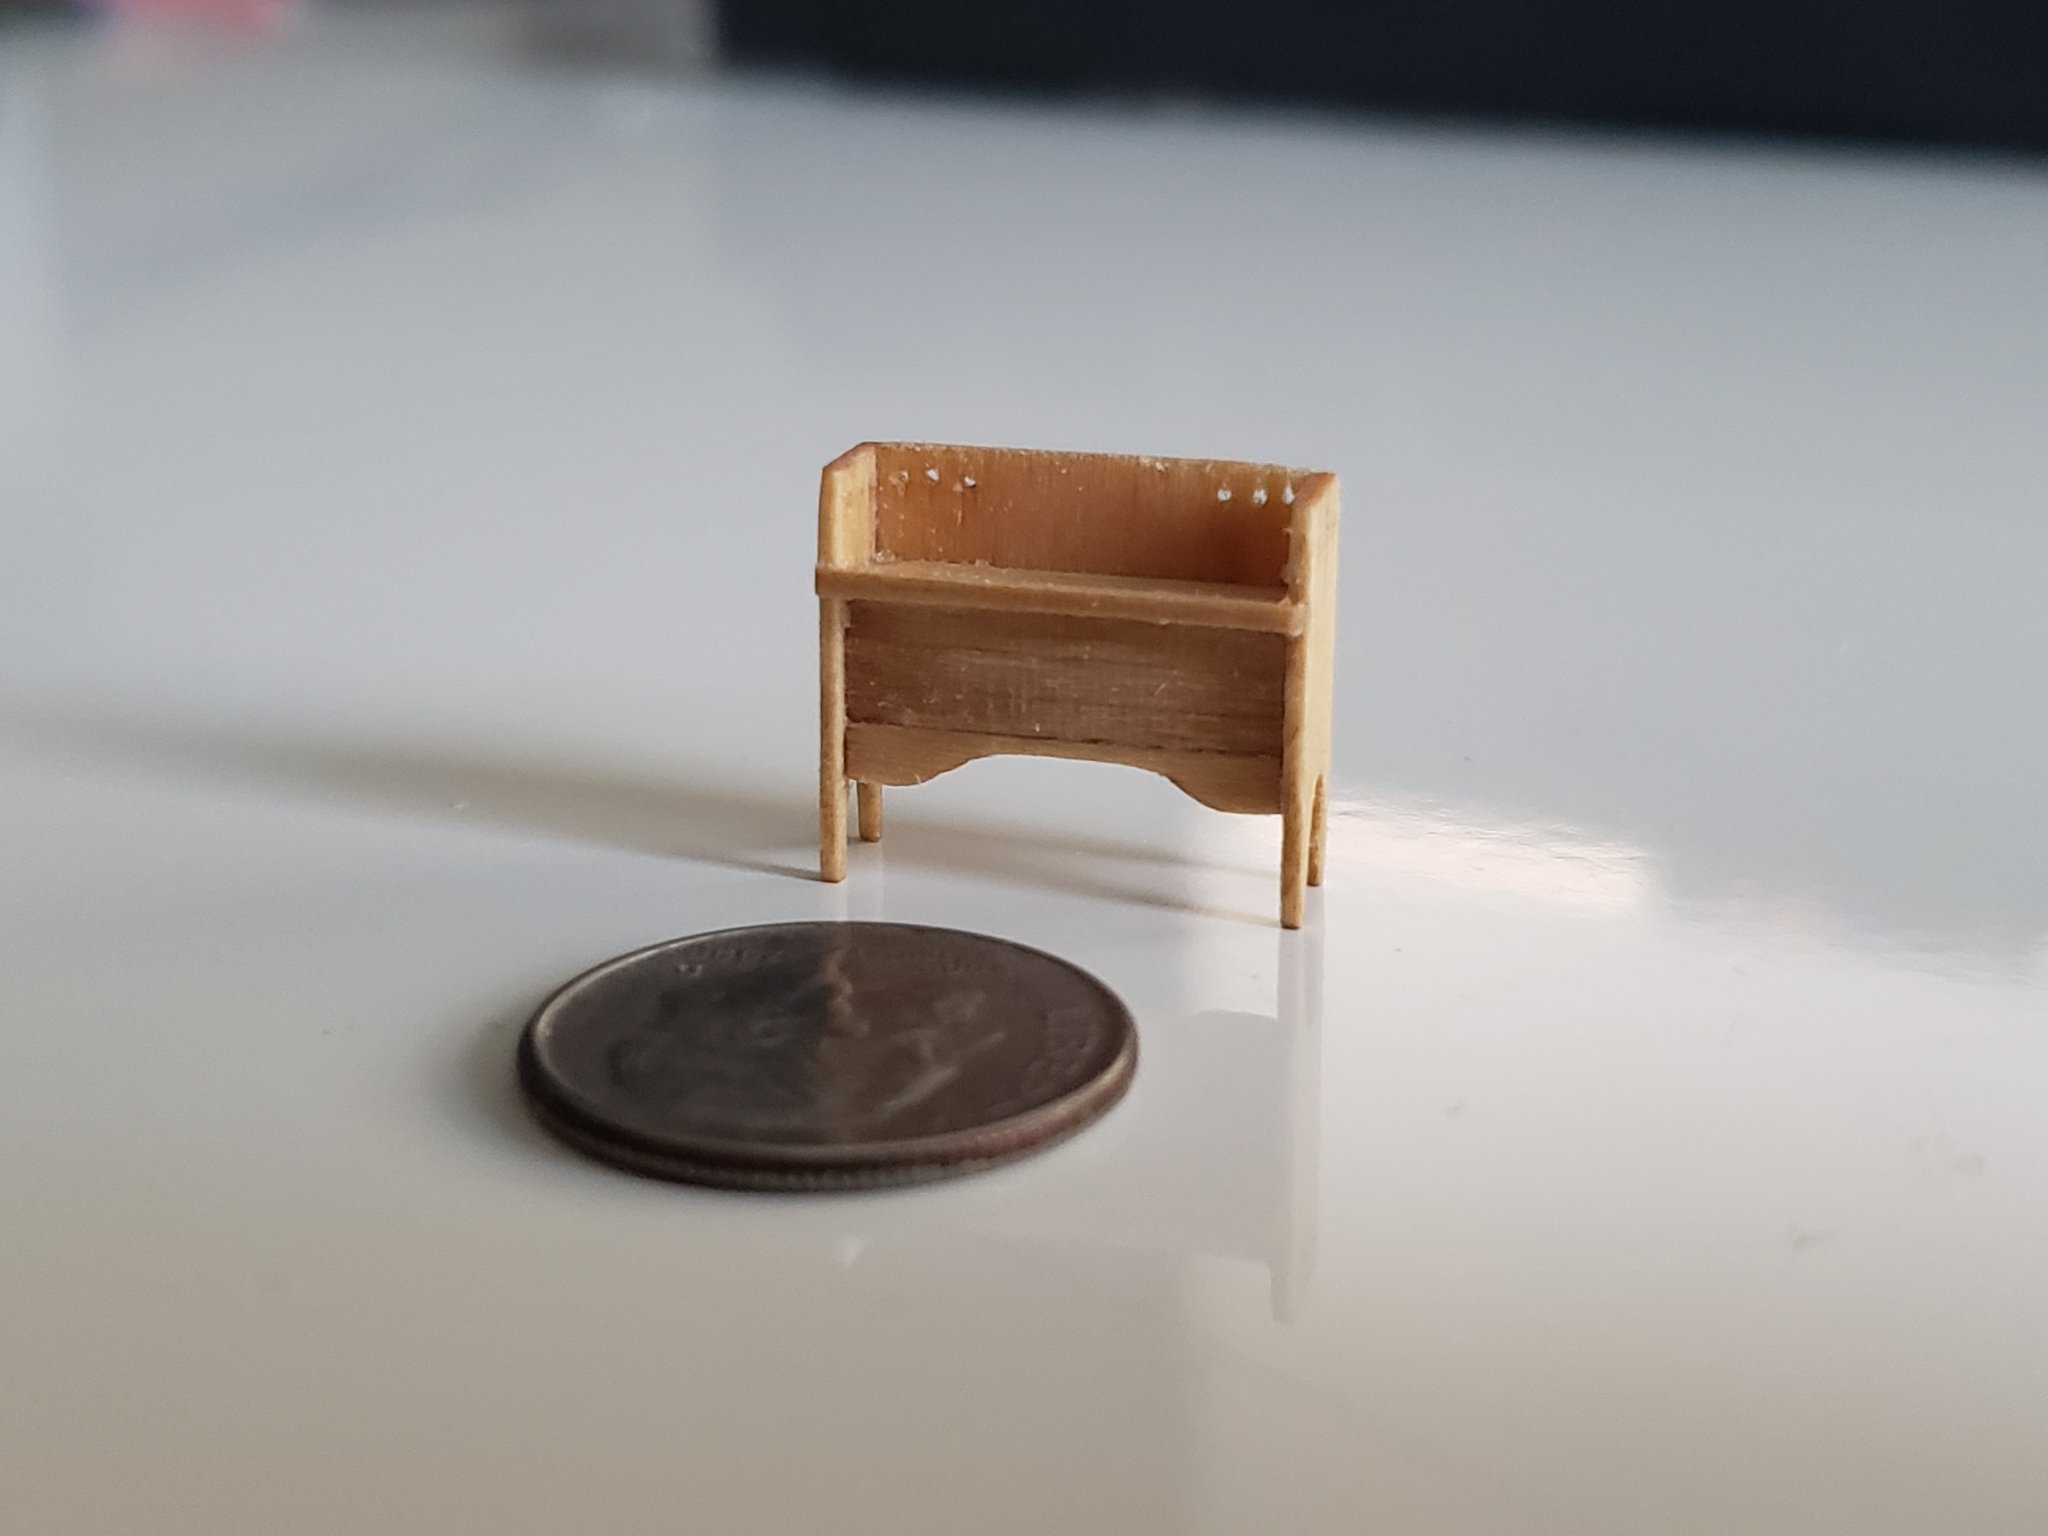
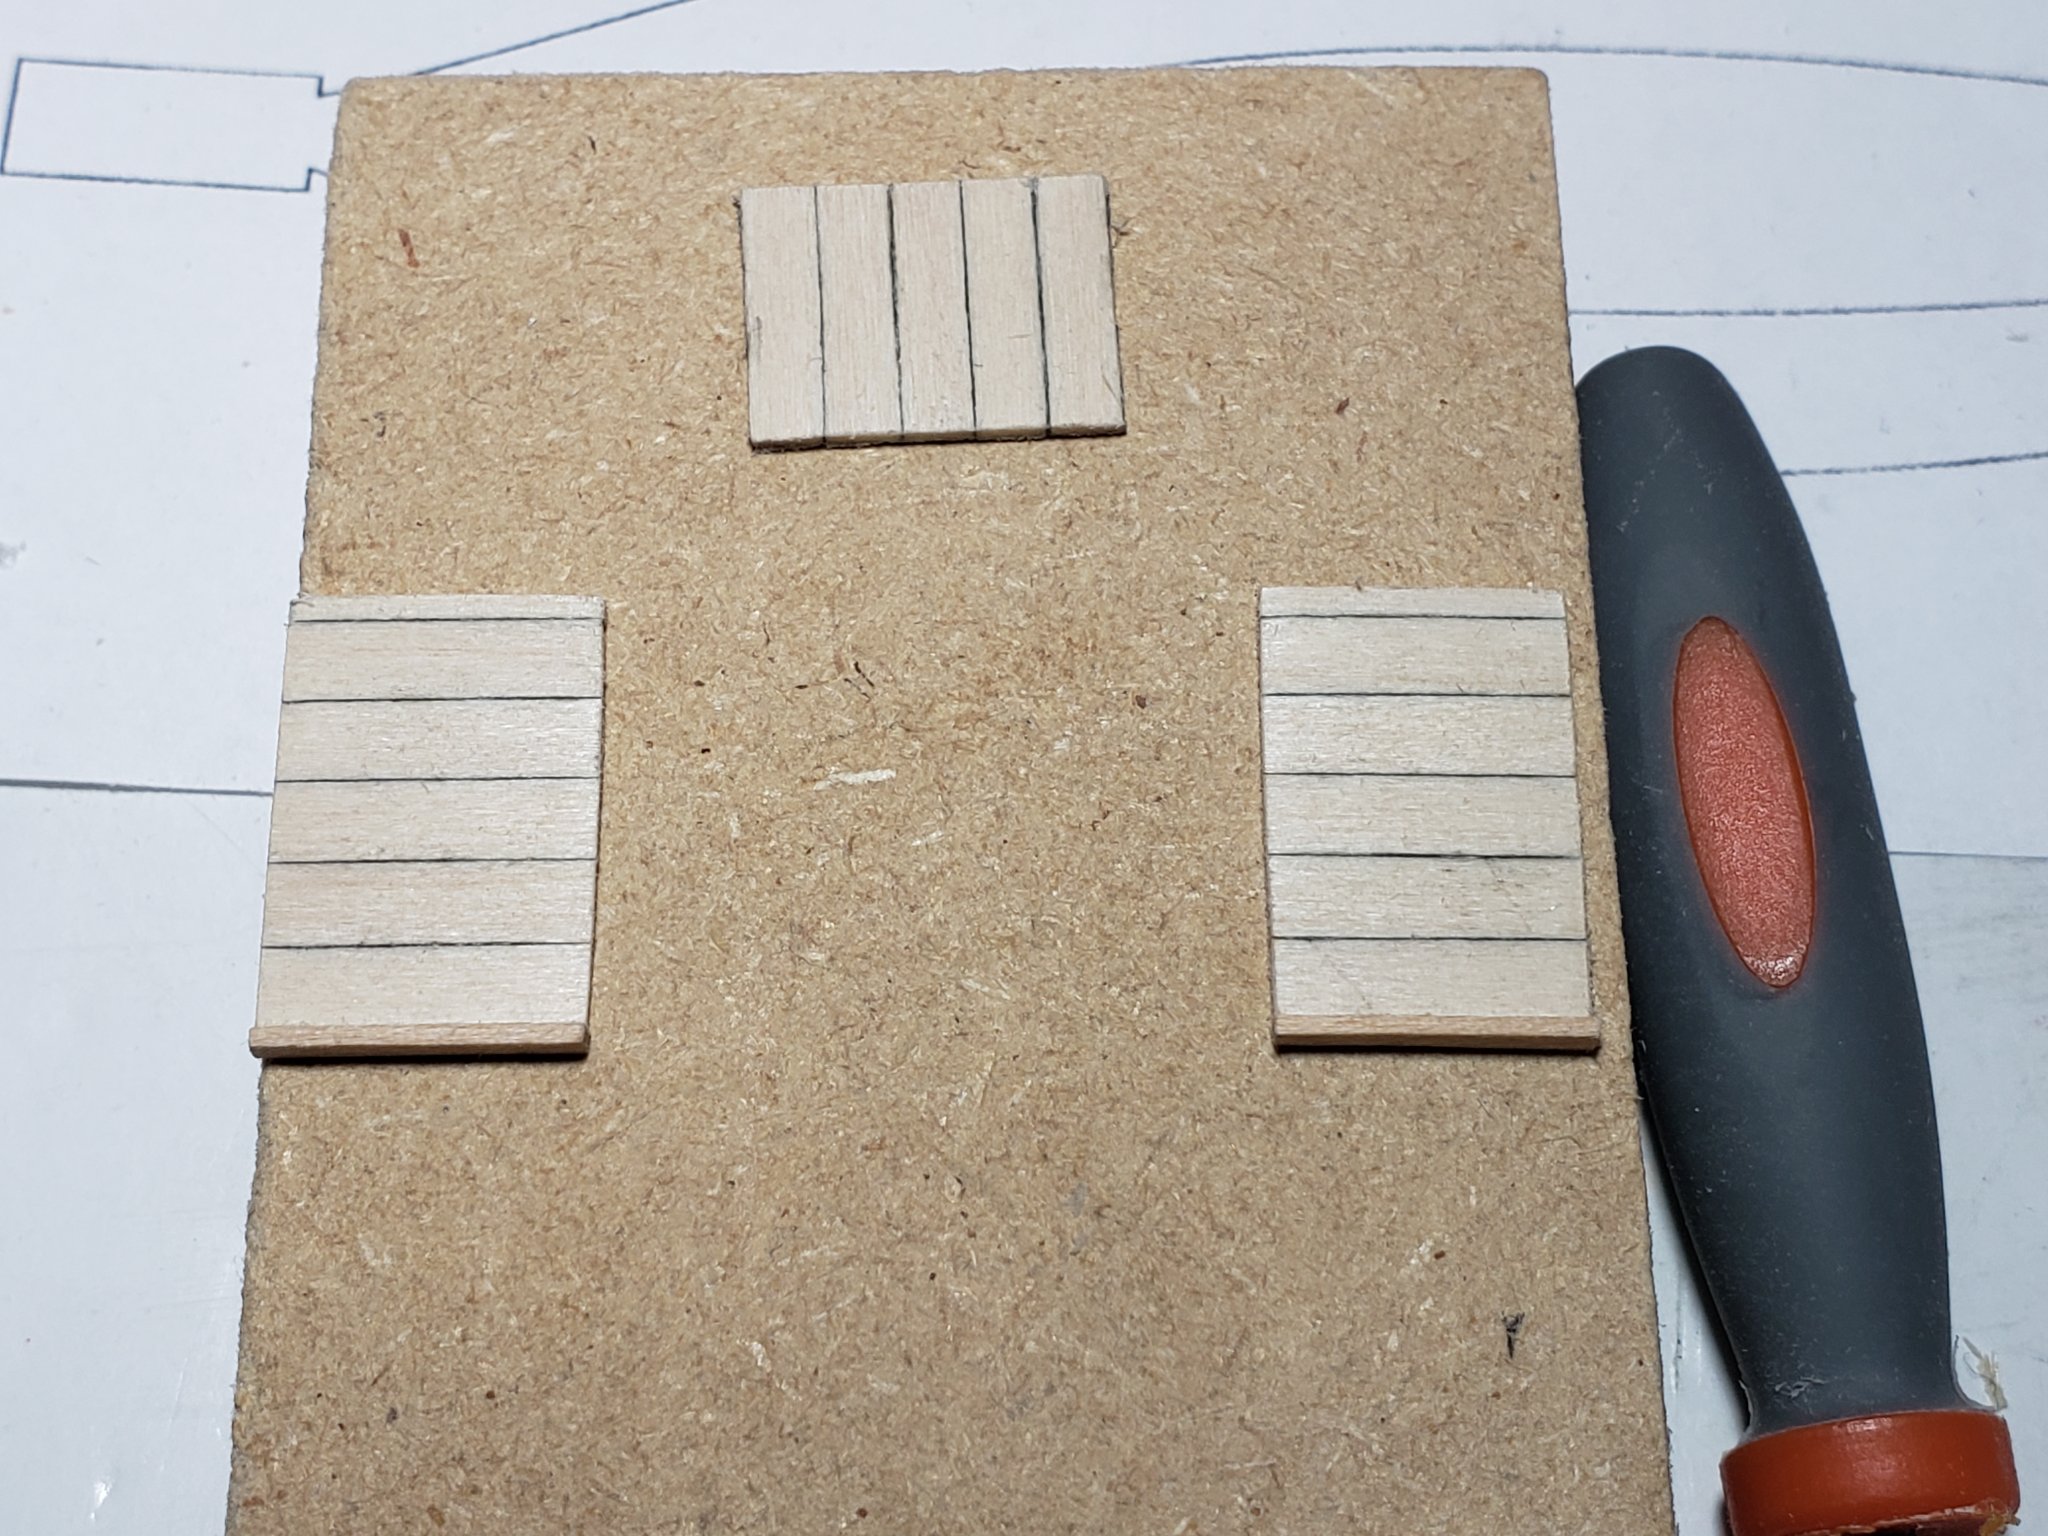
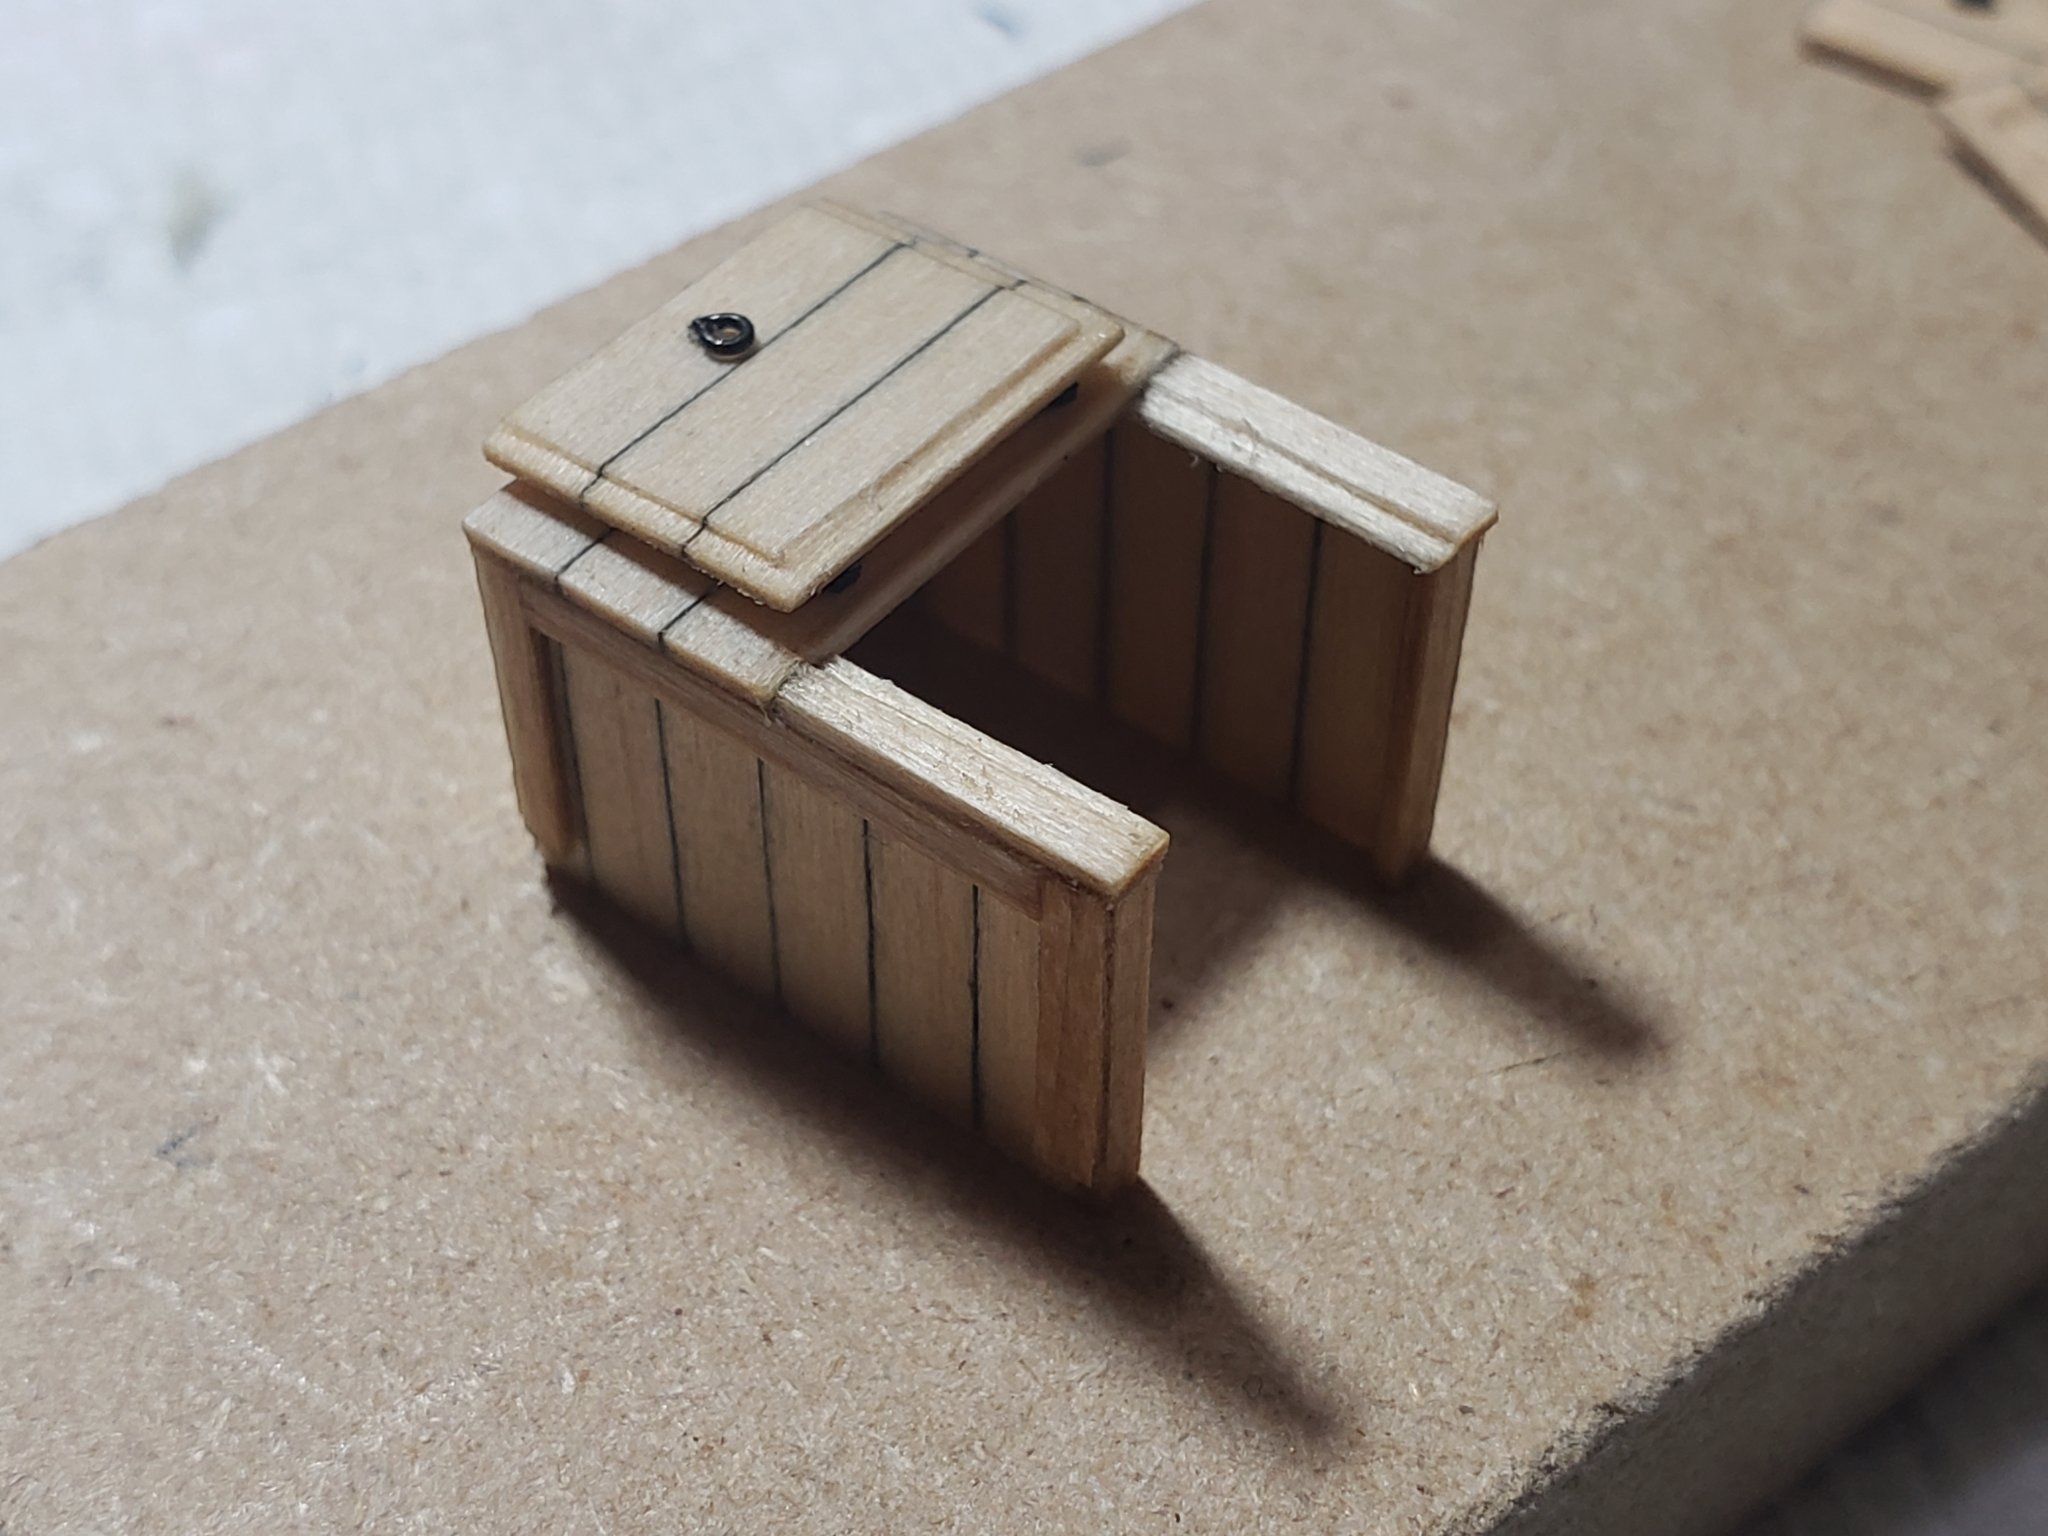
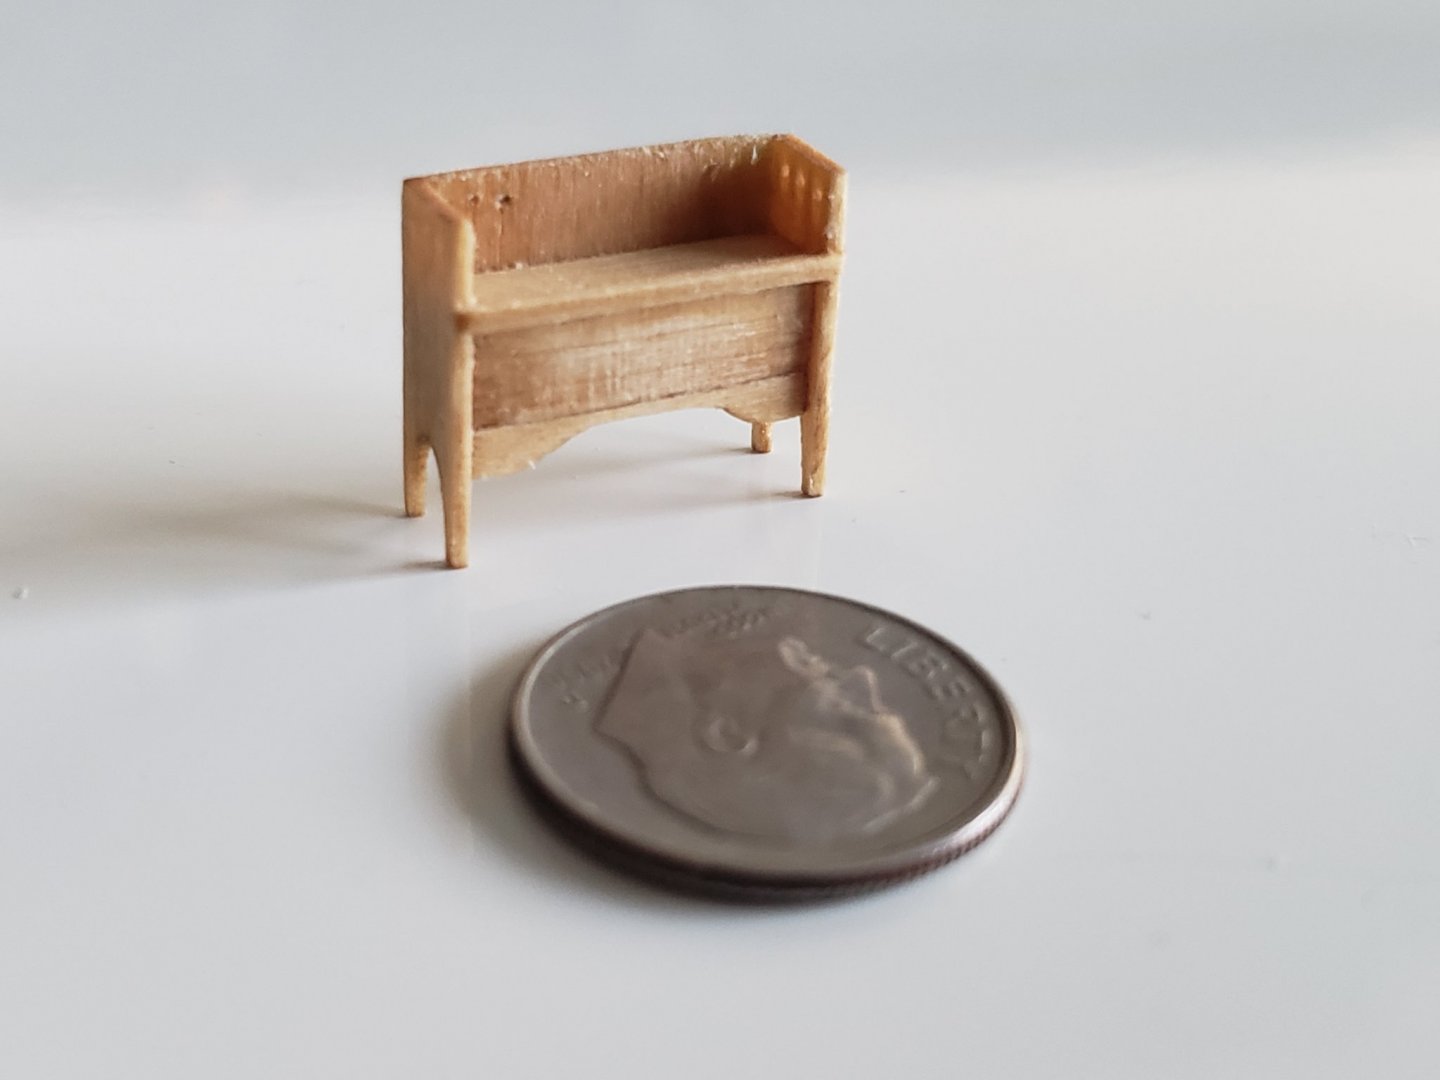
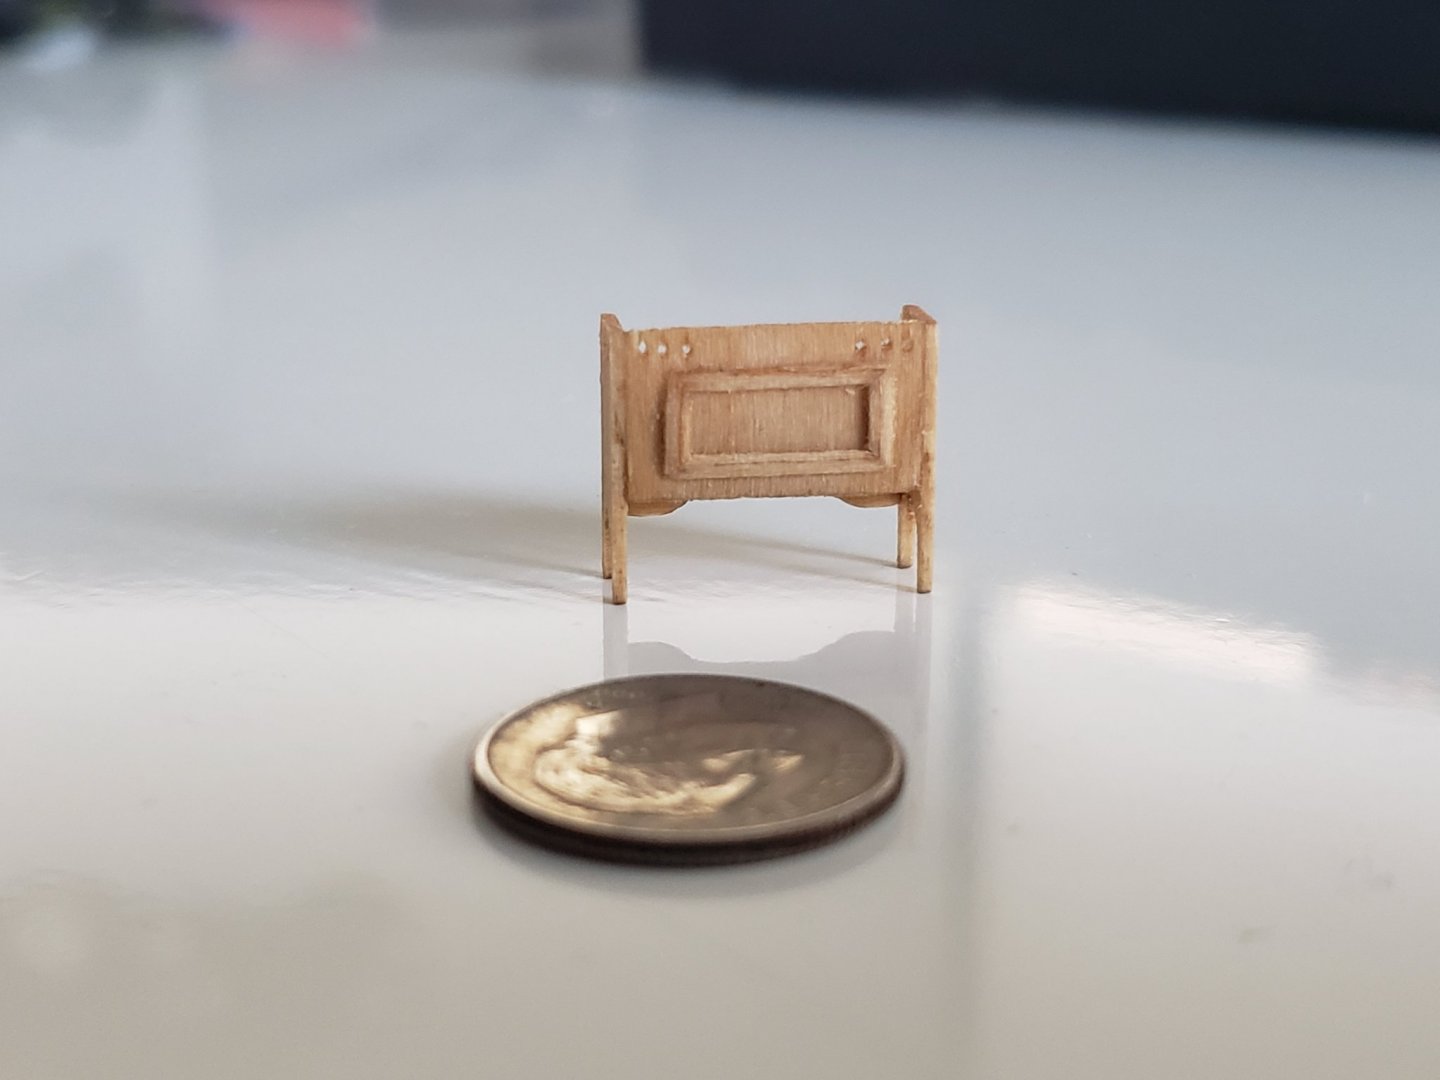
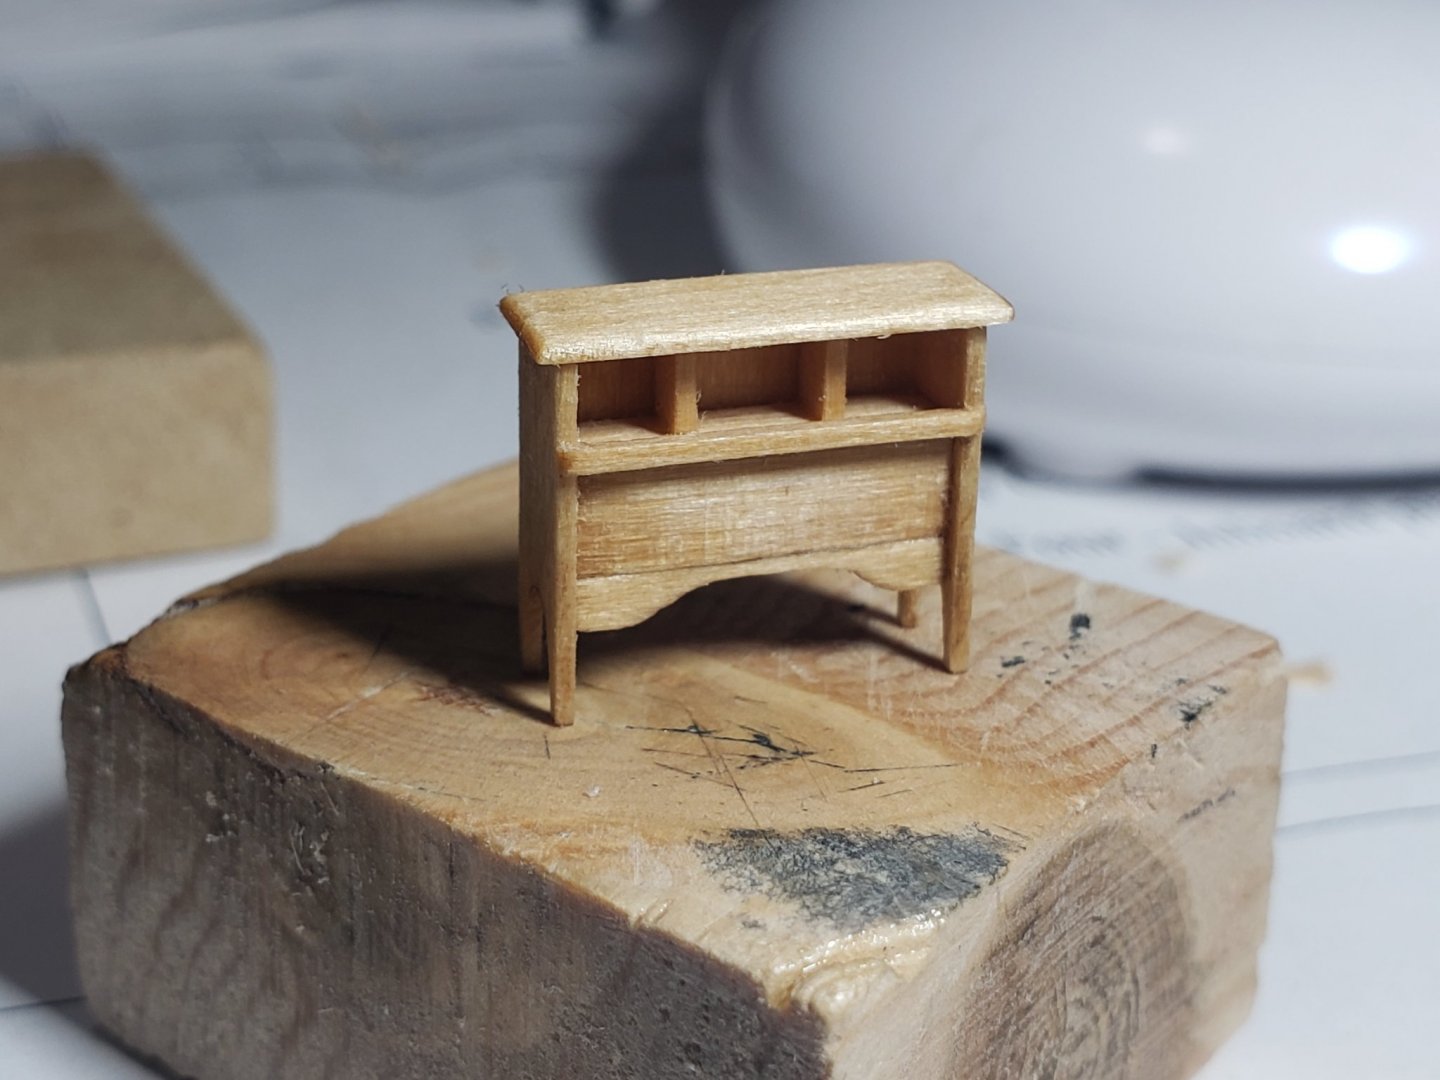
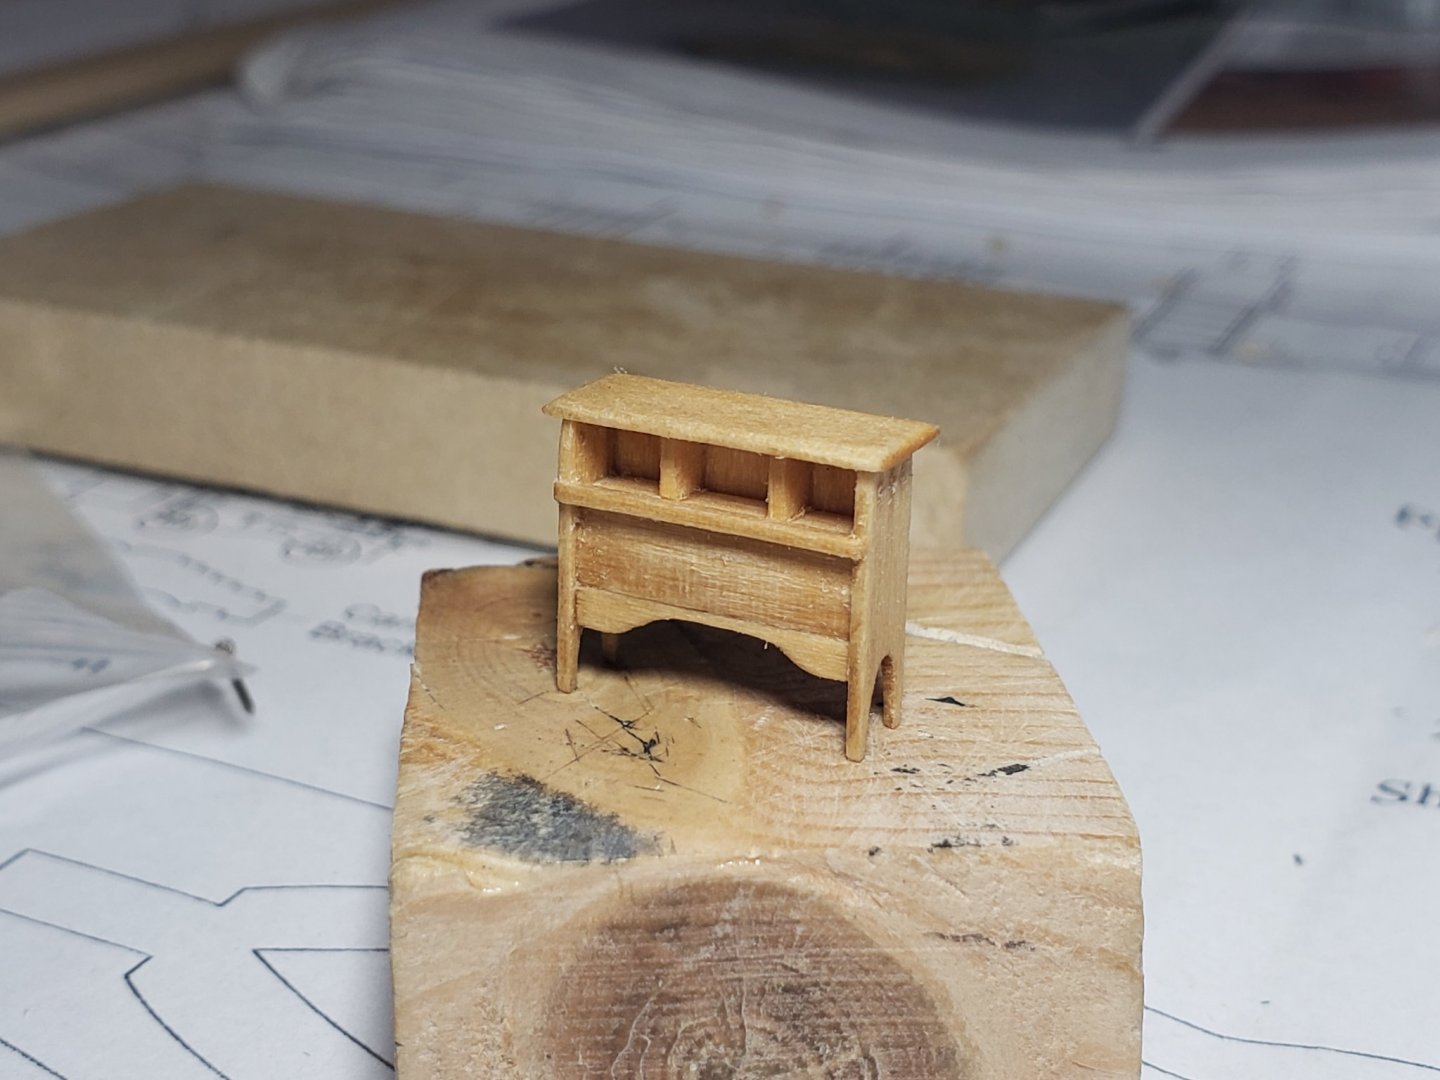
Started making the binnacle. I took Thomas's one as a guide when making mine. Here are some progress pics: The top is not yet glued: I'm thinking of skipping making the three lower drawers since I prefer the cleaner look without them. Or do y'all think it will look better with them on? For the top drawer, does anyone how to make nice looking handles? I'm trying out using wire dipped in CA glue and painted black (similar to how the handles were made for the carronade pins), and will post pics if they look ok. I tried using nails with the heads filed away to look smaller, but they looked very oversized.

- 950 replies
-
- 13
-
-
- syren
- model shipways
- (and 1 more)
-
I may be stealing that toothpick idea, all depending on how my carvings turn out... She's looking great!!
- 157 replies
-
- 2
-
-
- model shipways
- syren
- (and 1 more)
-
Agree with Pat. Looks very nice!!
-
Many thanks Robin and Thomas for the great comments! As always, much appreciated!! And thanks all for the likes! Robin, I would be lying if I said I didn't want to trade, especially with the crisp pear one you are scratch building! 😉
- 950 replies
-
- 1
-
-
- syren
- model shipways
- (and 1 more)
-
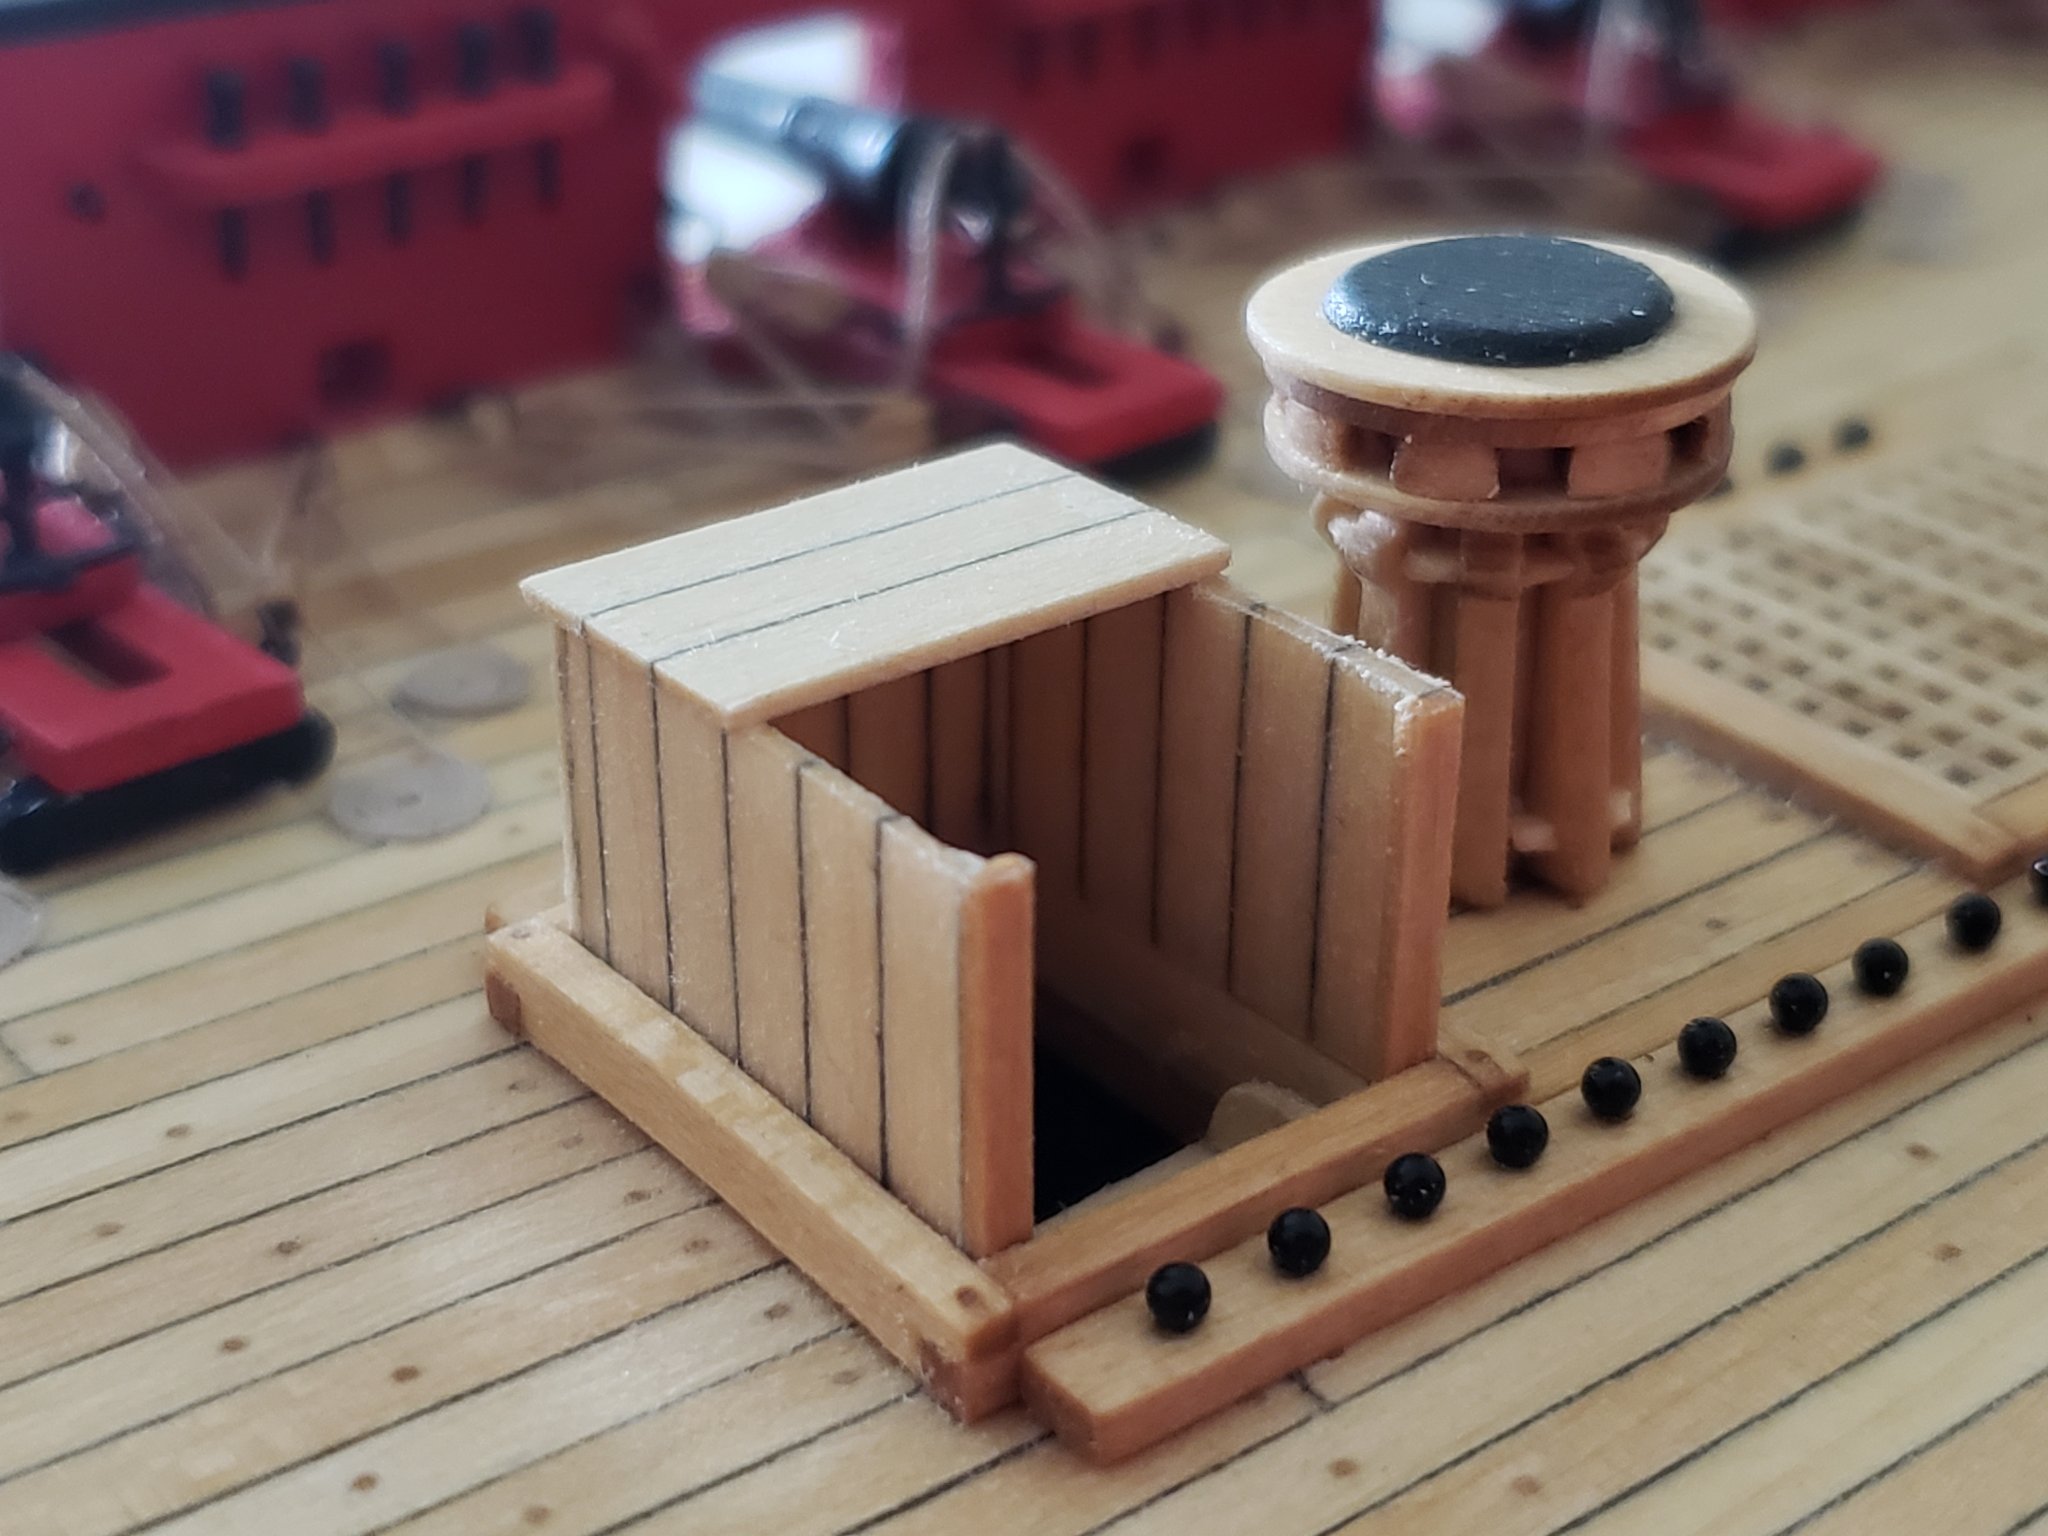
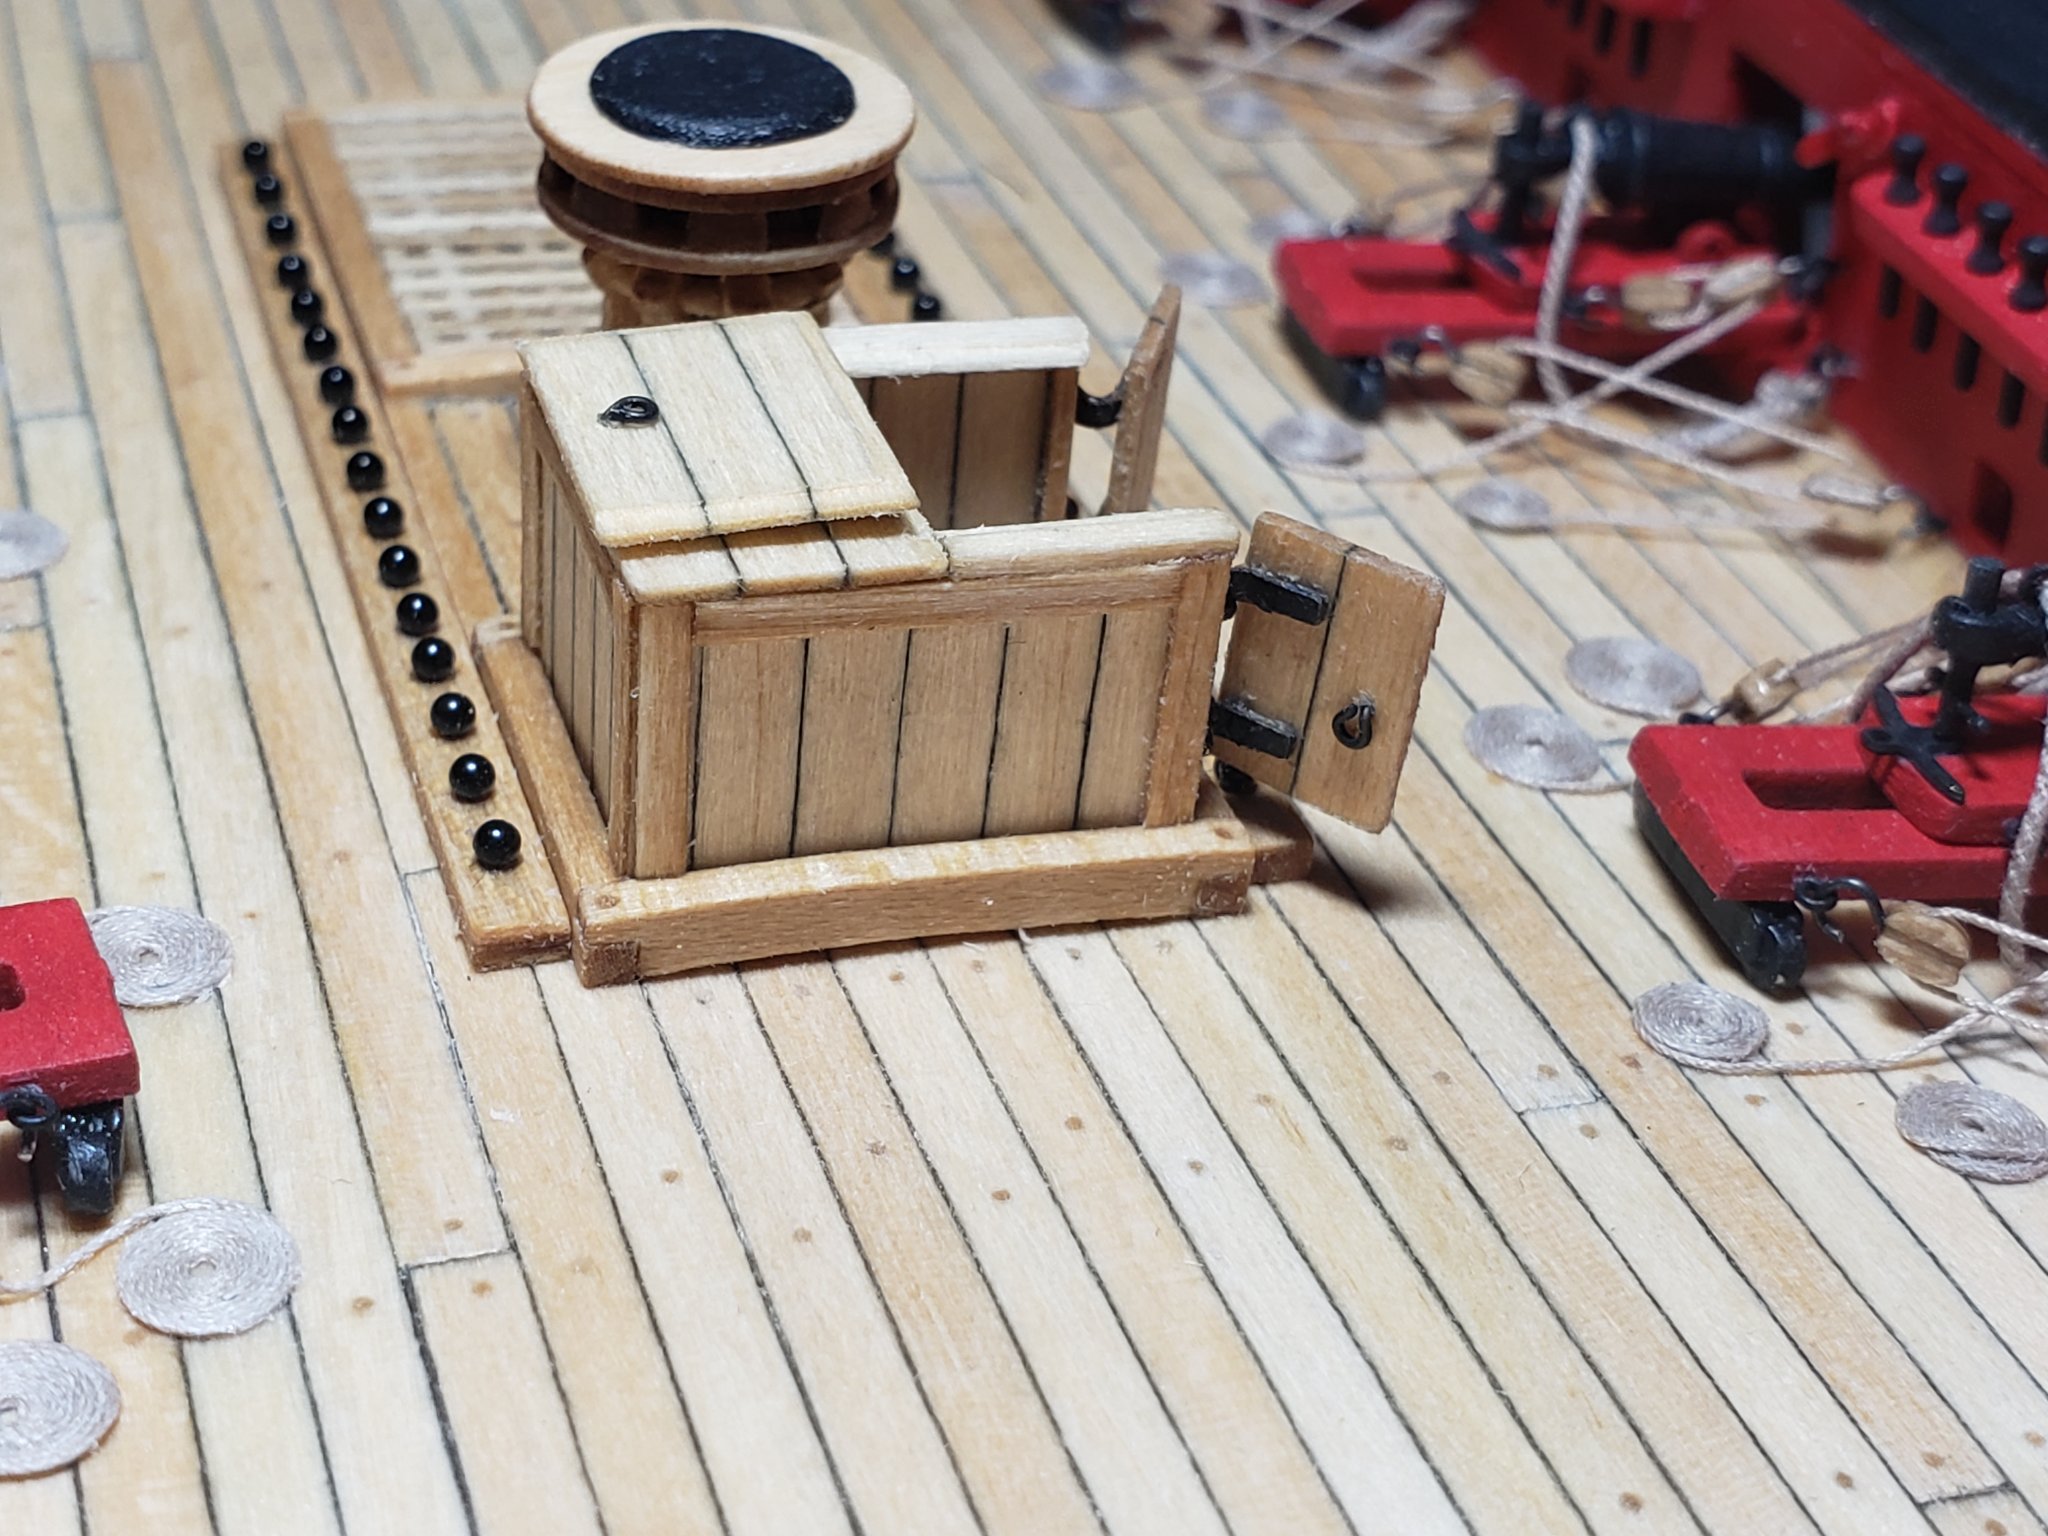
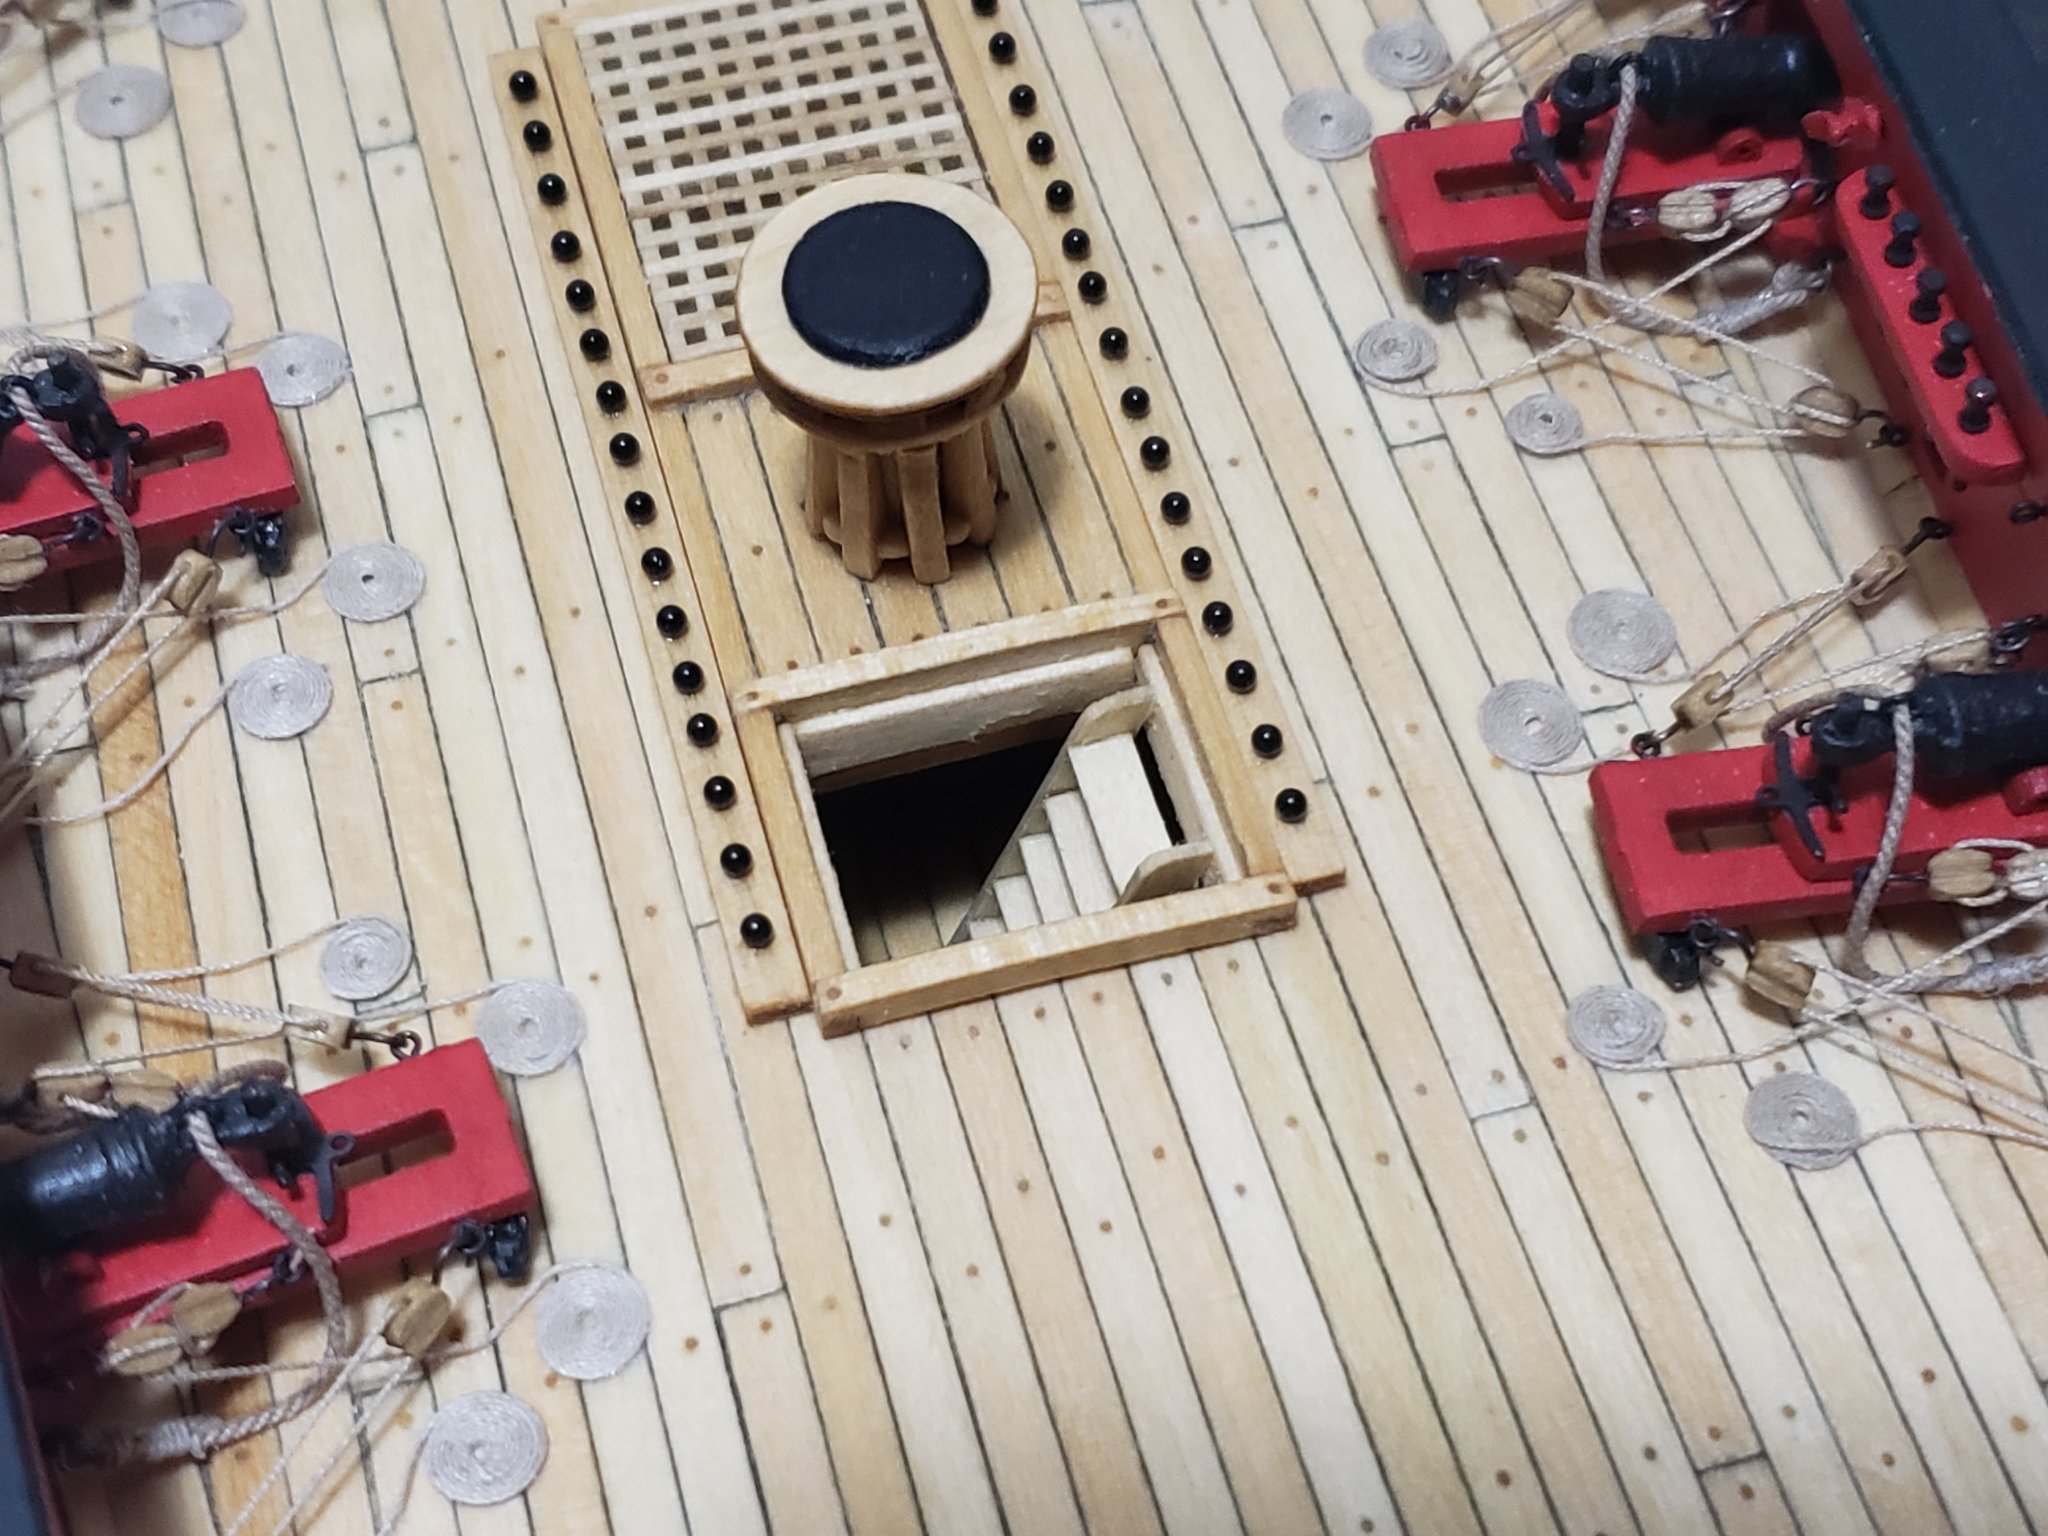
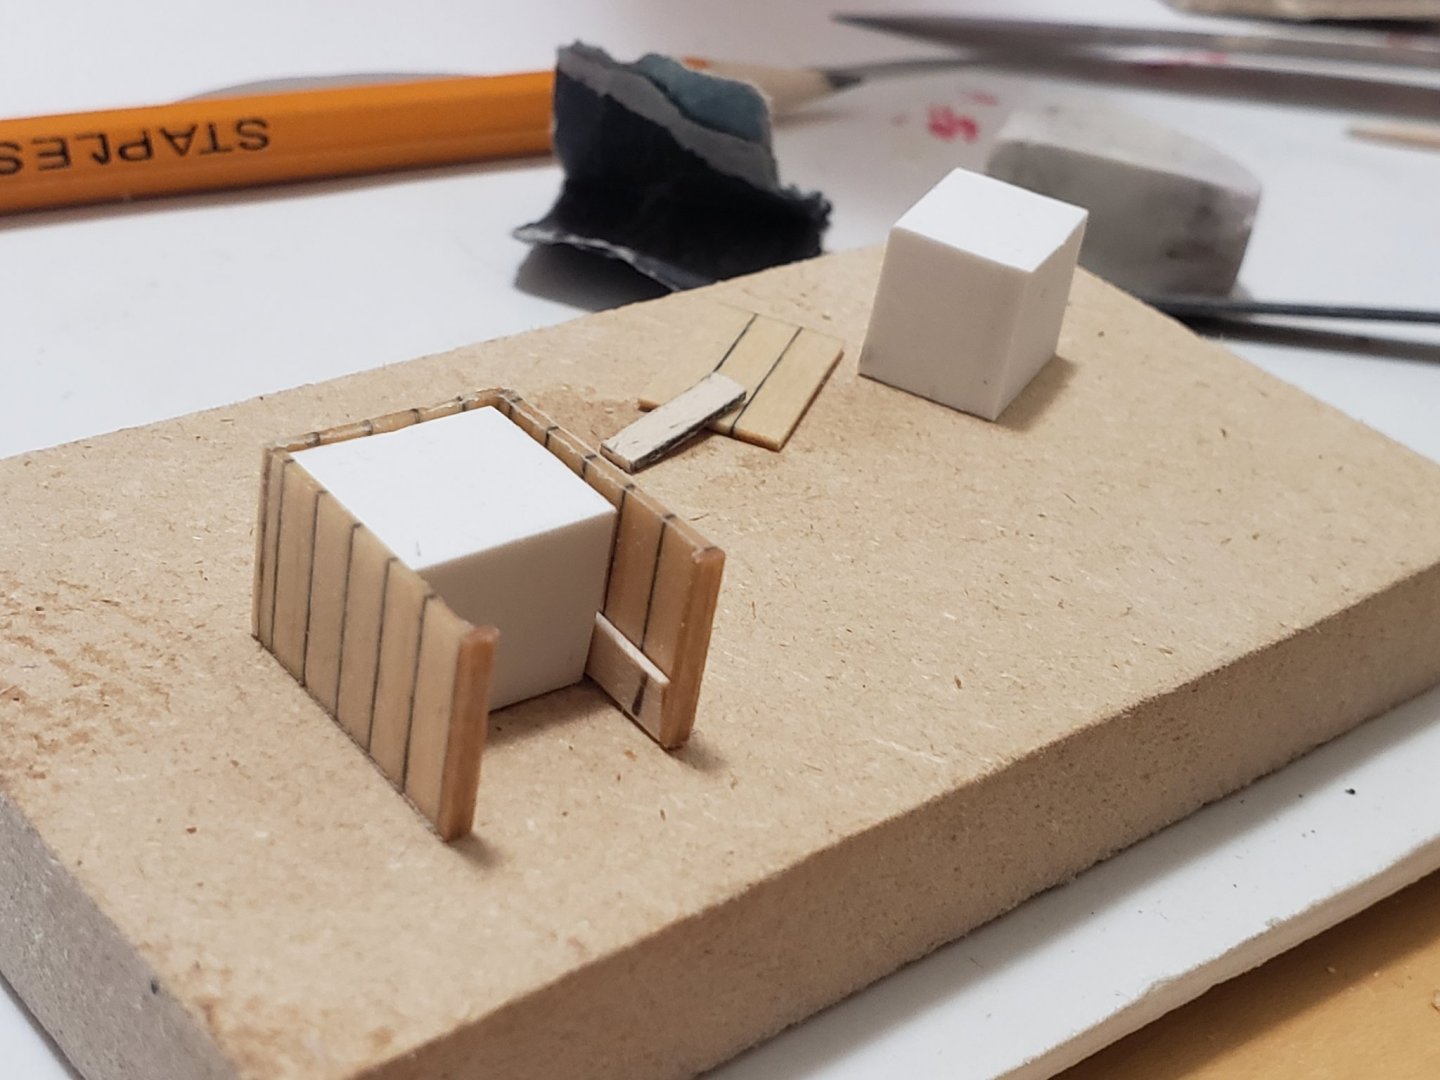
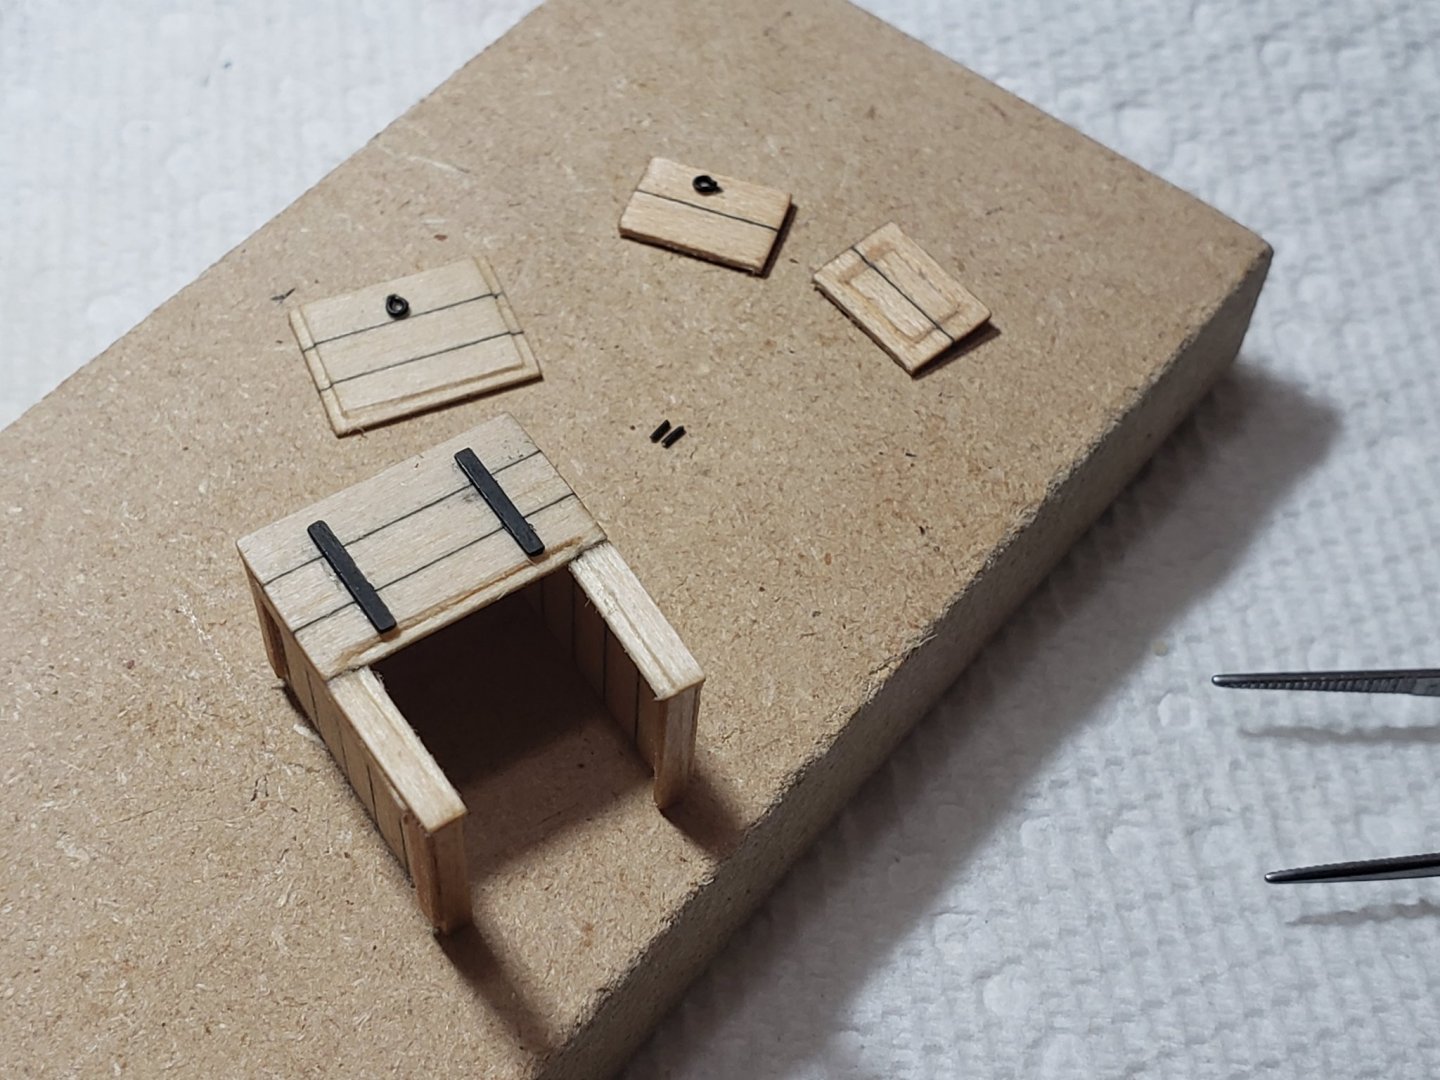
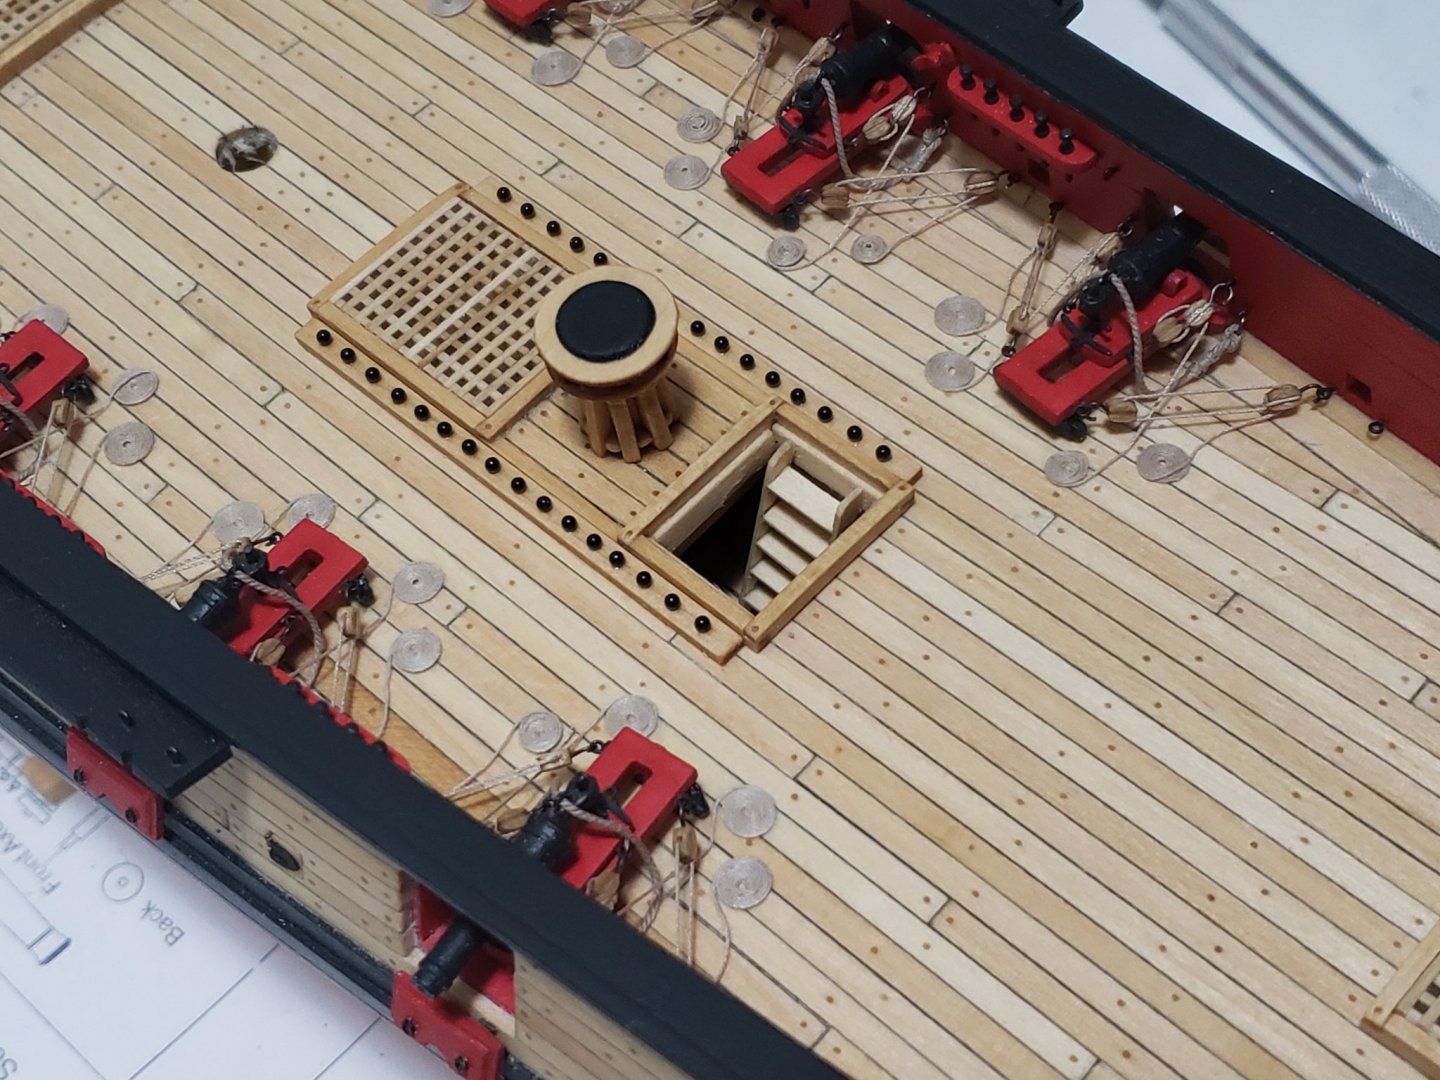
Many thanks Richard! Finished with the companionway. I carved the door to create some more detail using the same method as the head rails. I also opted for framing the outer structure, similar to what Robin and Thomas did on their builds. Here are some pics


- 950 replies
-
- 14
-
-
- syren
- model shipways
- (and 1 more)
-
Great thinking! I remember struggling sticking the letters directly on the transform and now I wish I had thought of that! Would have made life a lot easier
-
Thank you for the awesome comments Steven and Thomas! Yeaup, just got to work through it and results will show 😁 Thomas, I keep telling the captain he needs to lose weight to enter the companionway, but he wouldn't listen. He thinks the crew is hiding something from him inside since he's unable to enter
- 950 replies
-
- 2
-
-
- syren
- model shipways
- (and 1 more)
-
The details are really bringing the ship to life! Looks really nice!!
- 157 replies
-
- 1
-
-
- model shipways
- syren
- (and 1 more)
-
I never knew Model Shipways had a plank on frame kit until I stumbled upon this log. I'll watch with interest. This is a model I might be getting sometime in the near future 😁
-
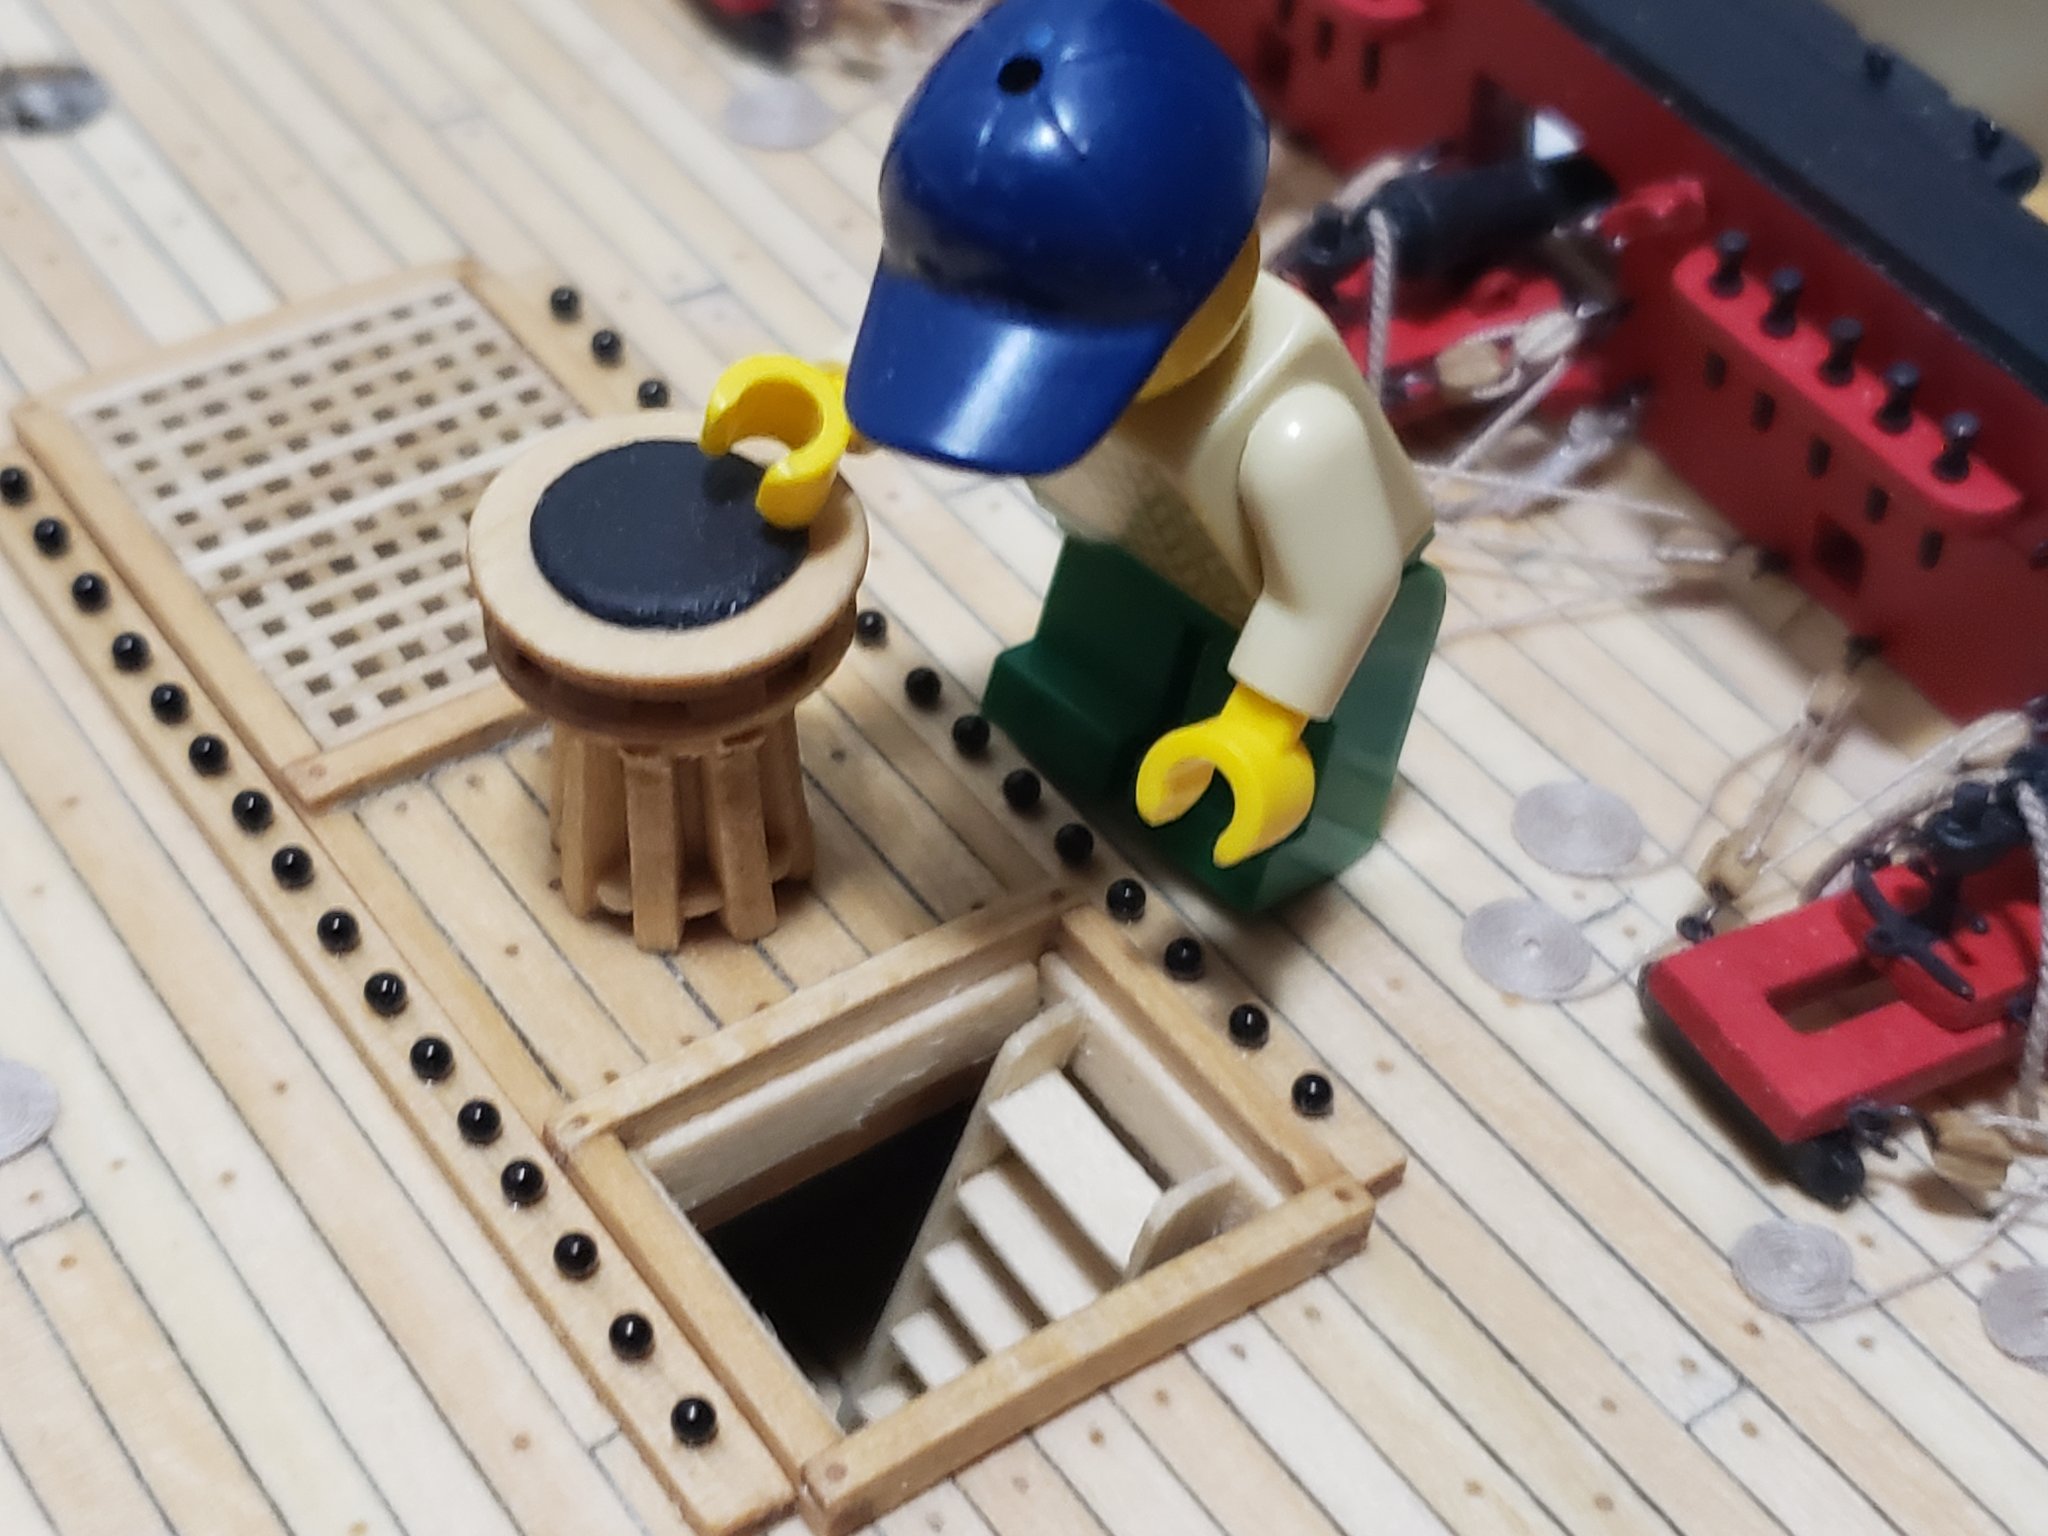
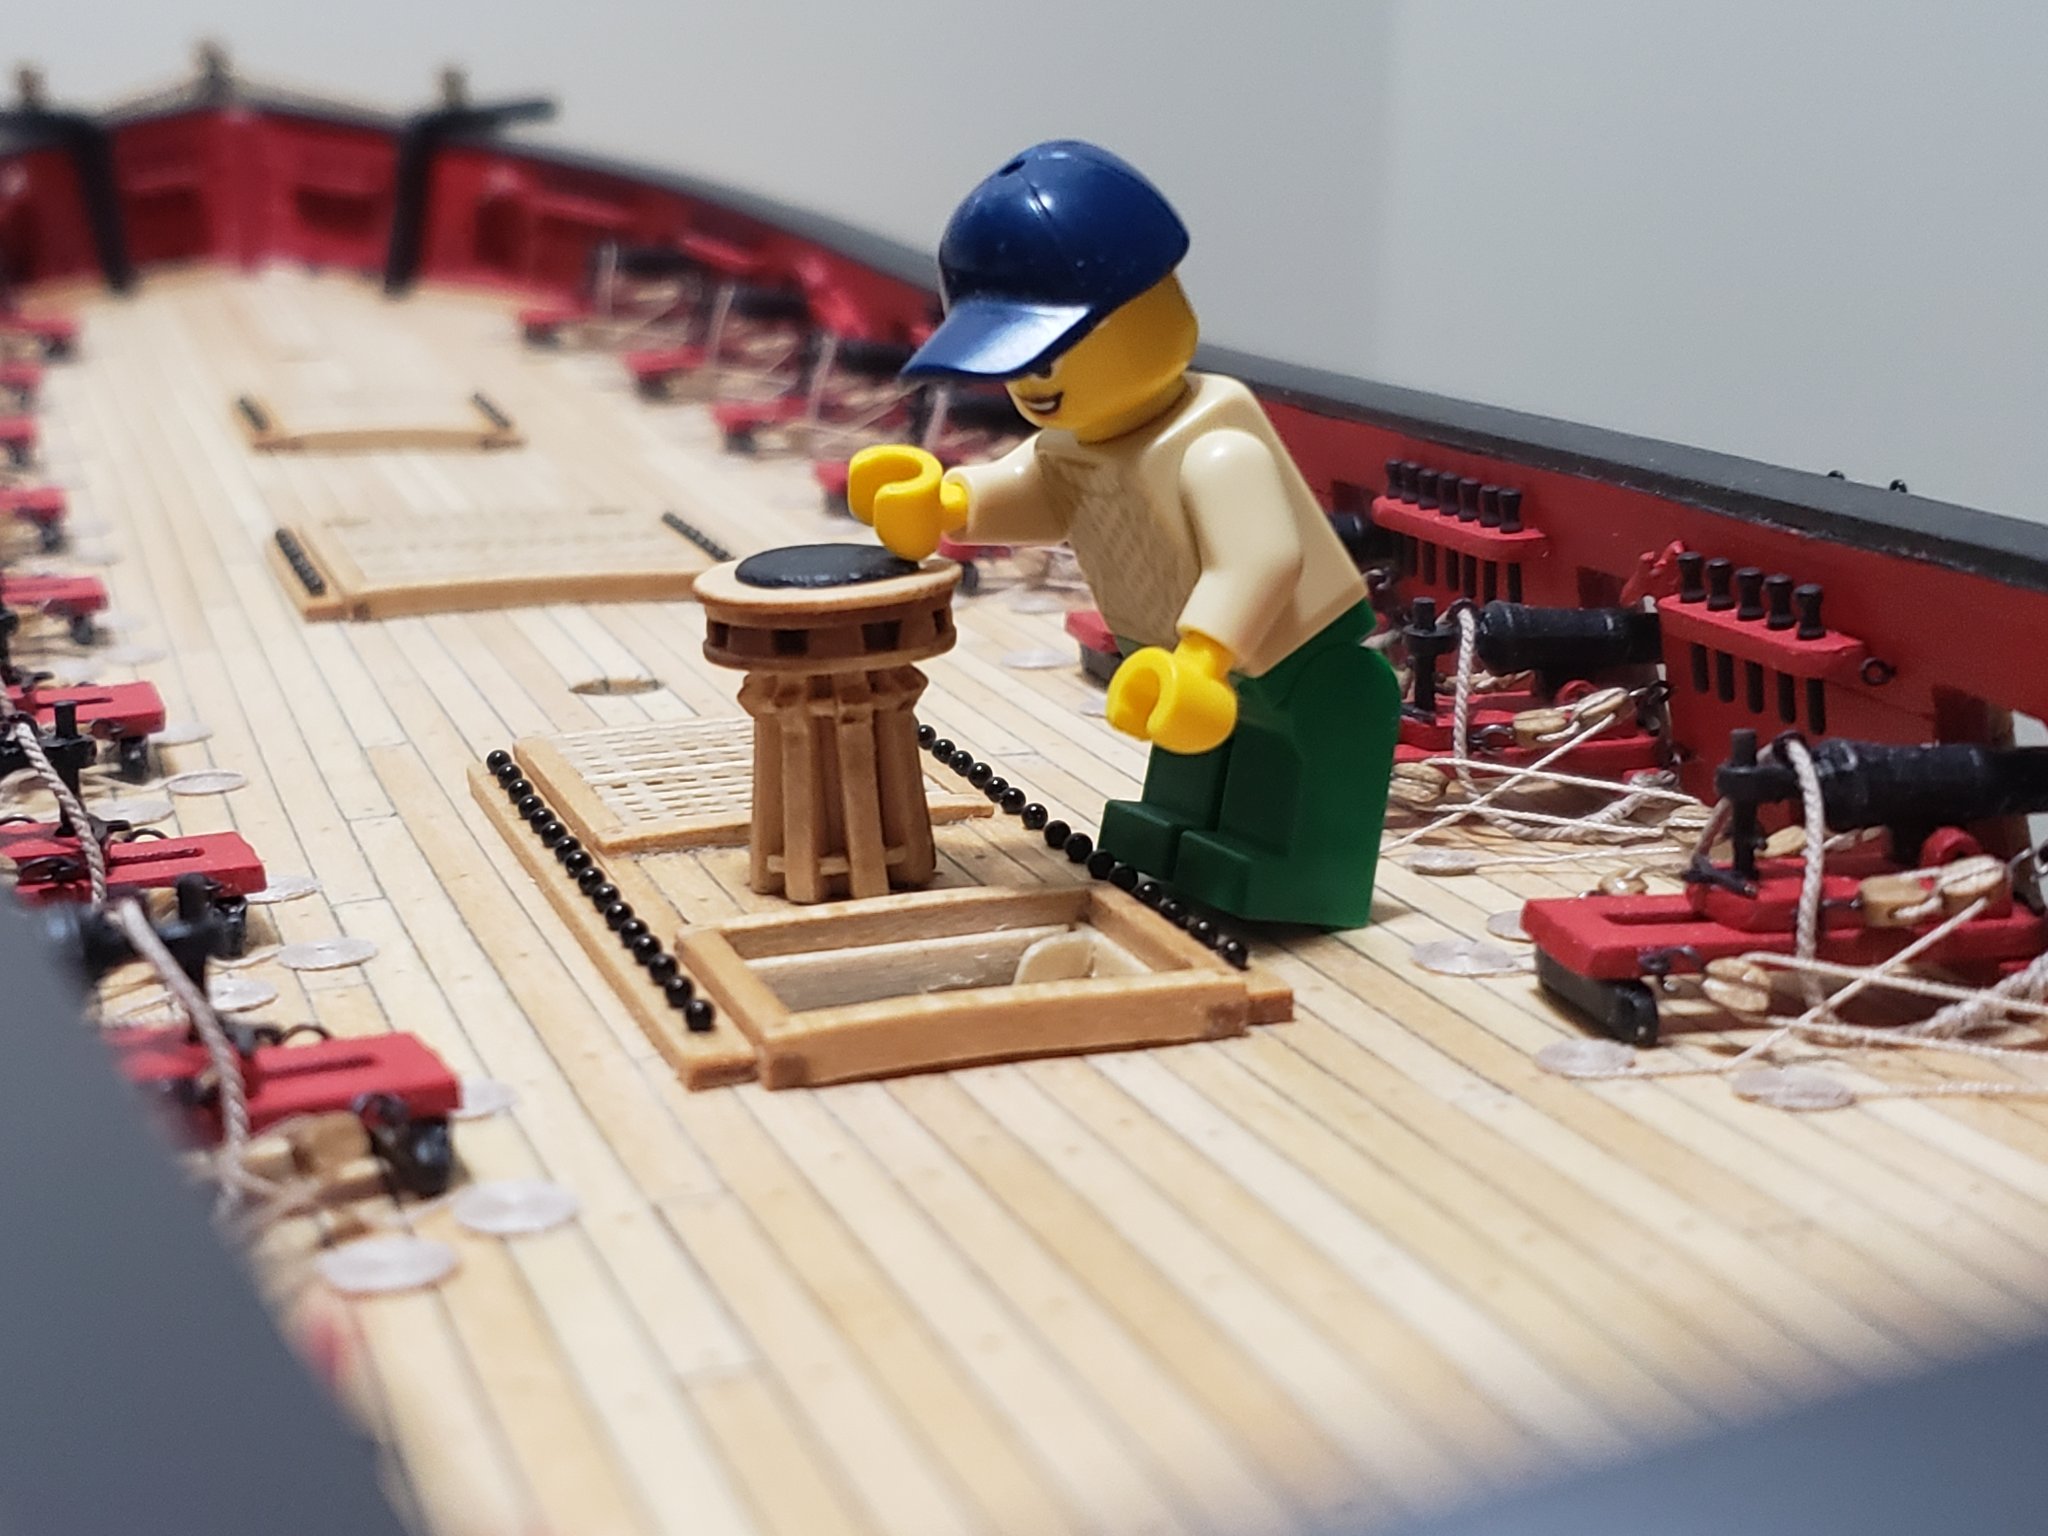
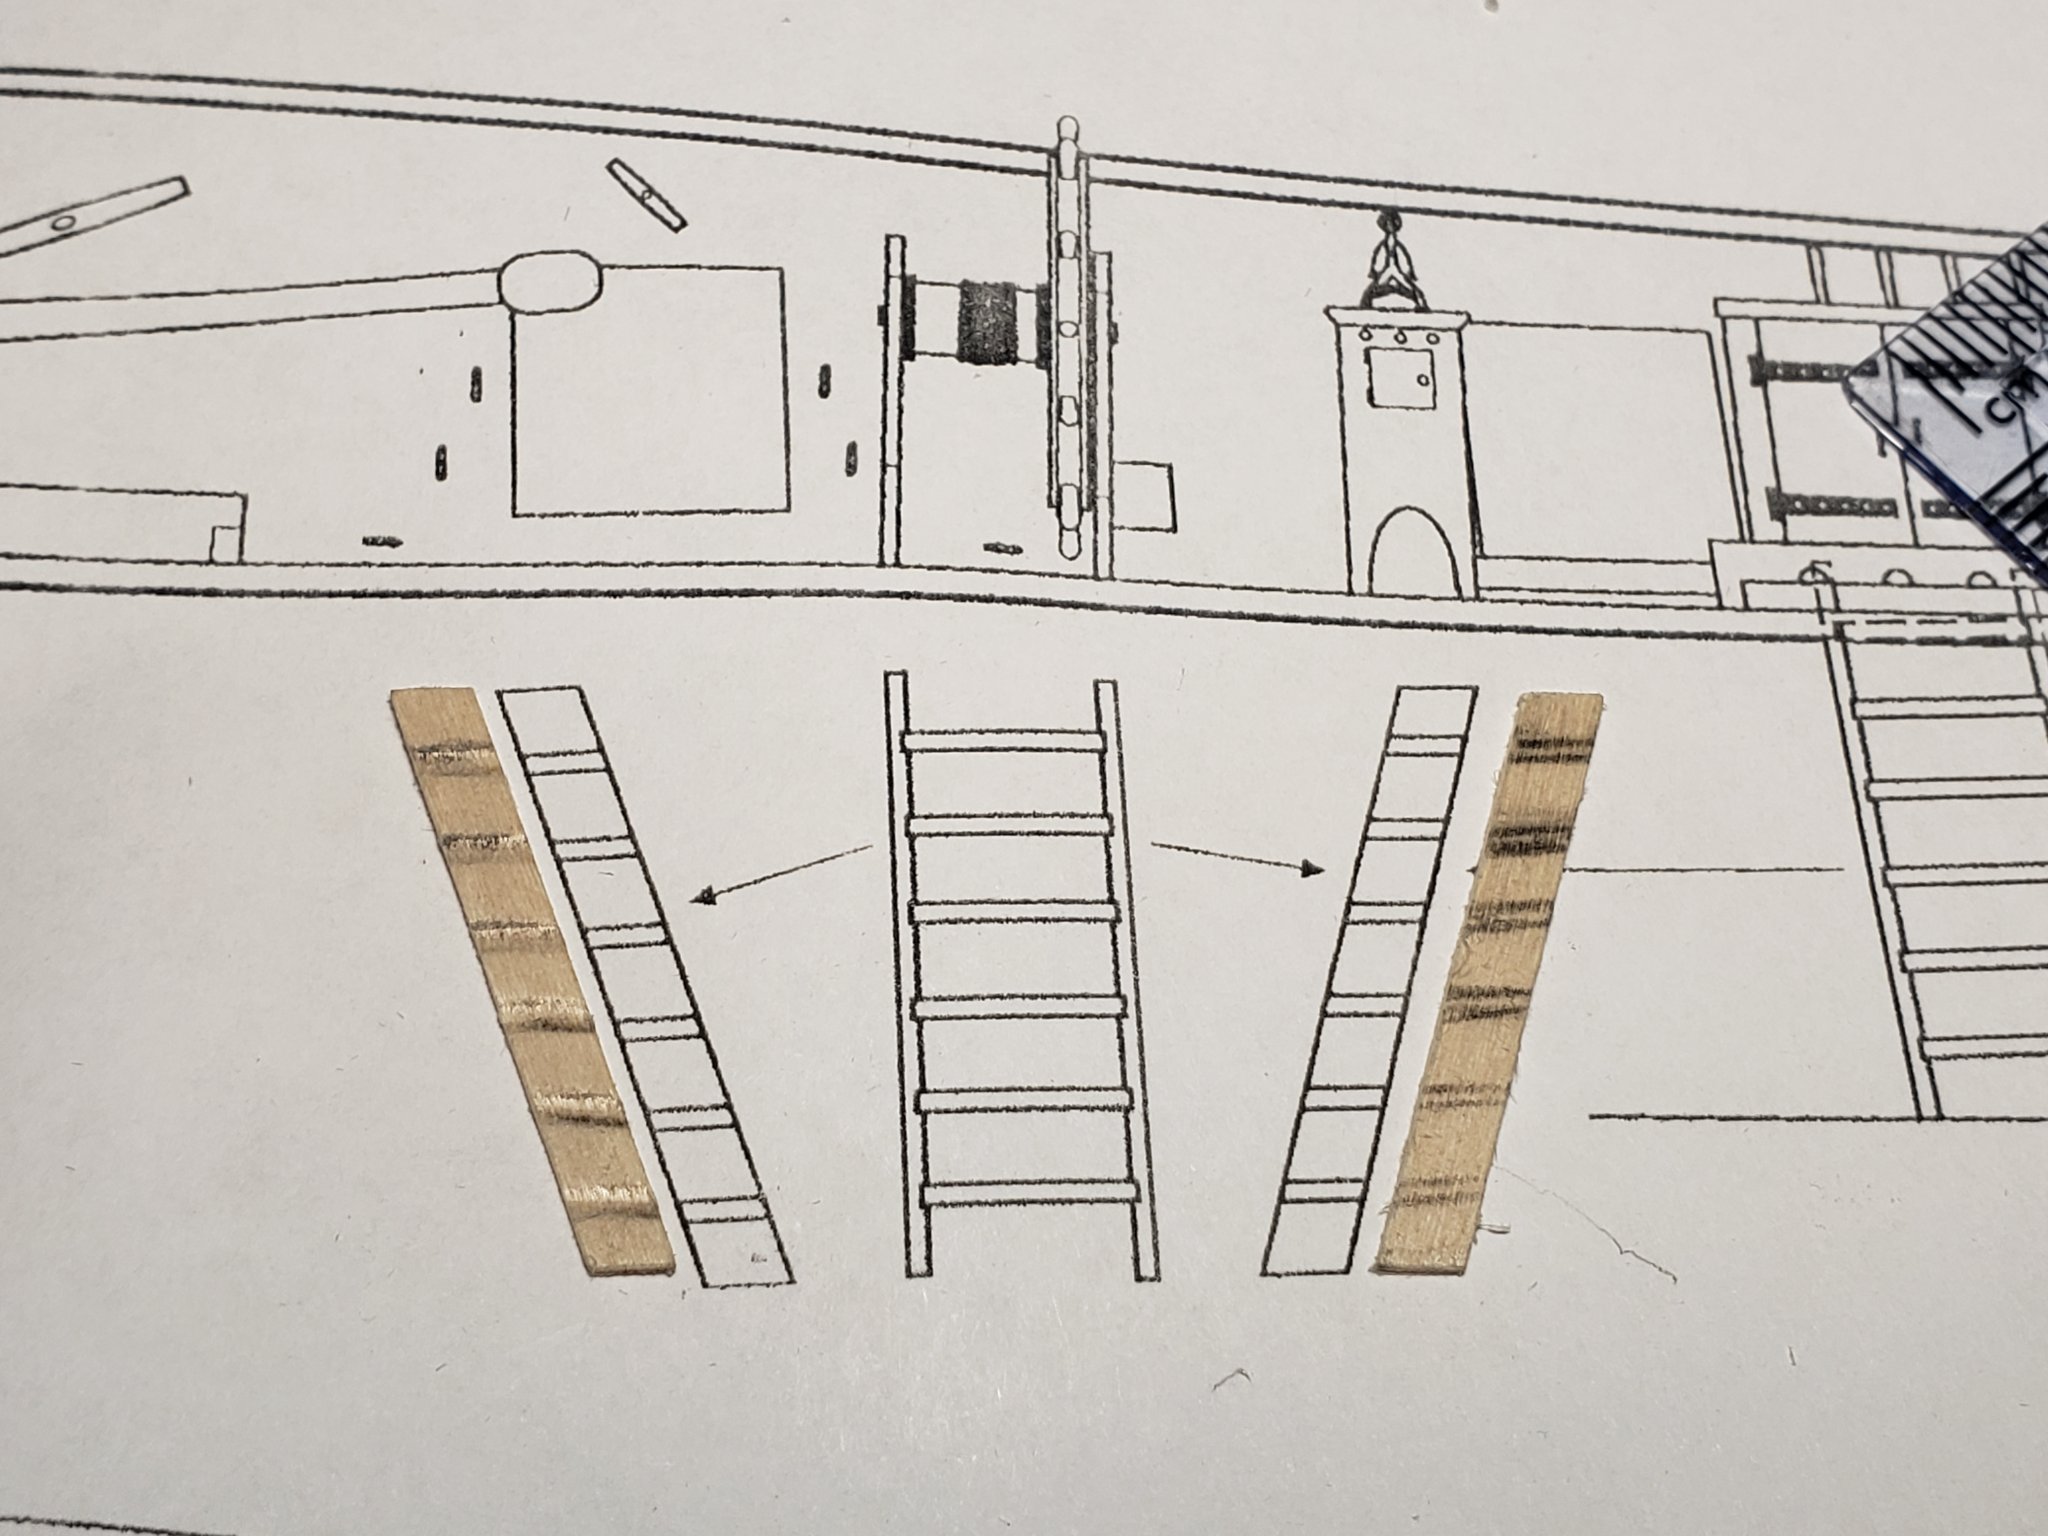
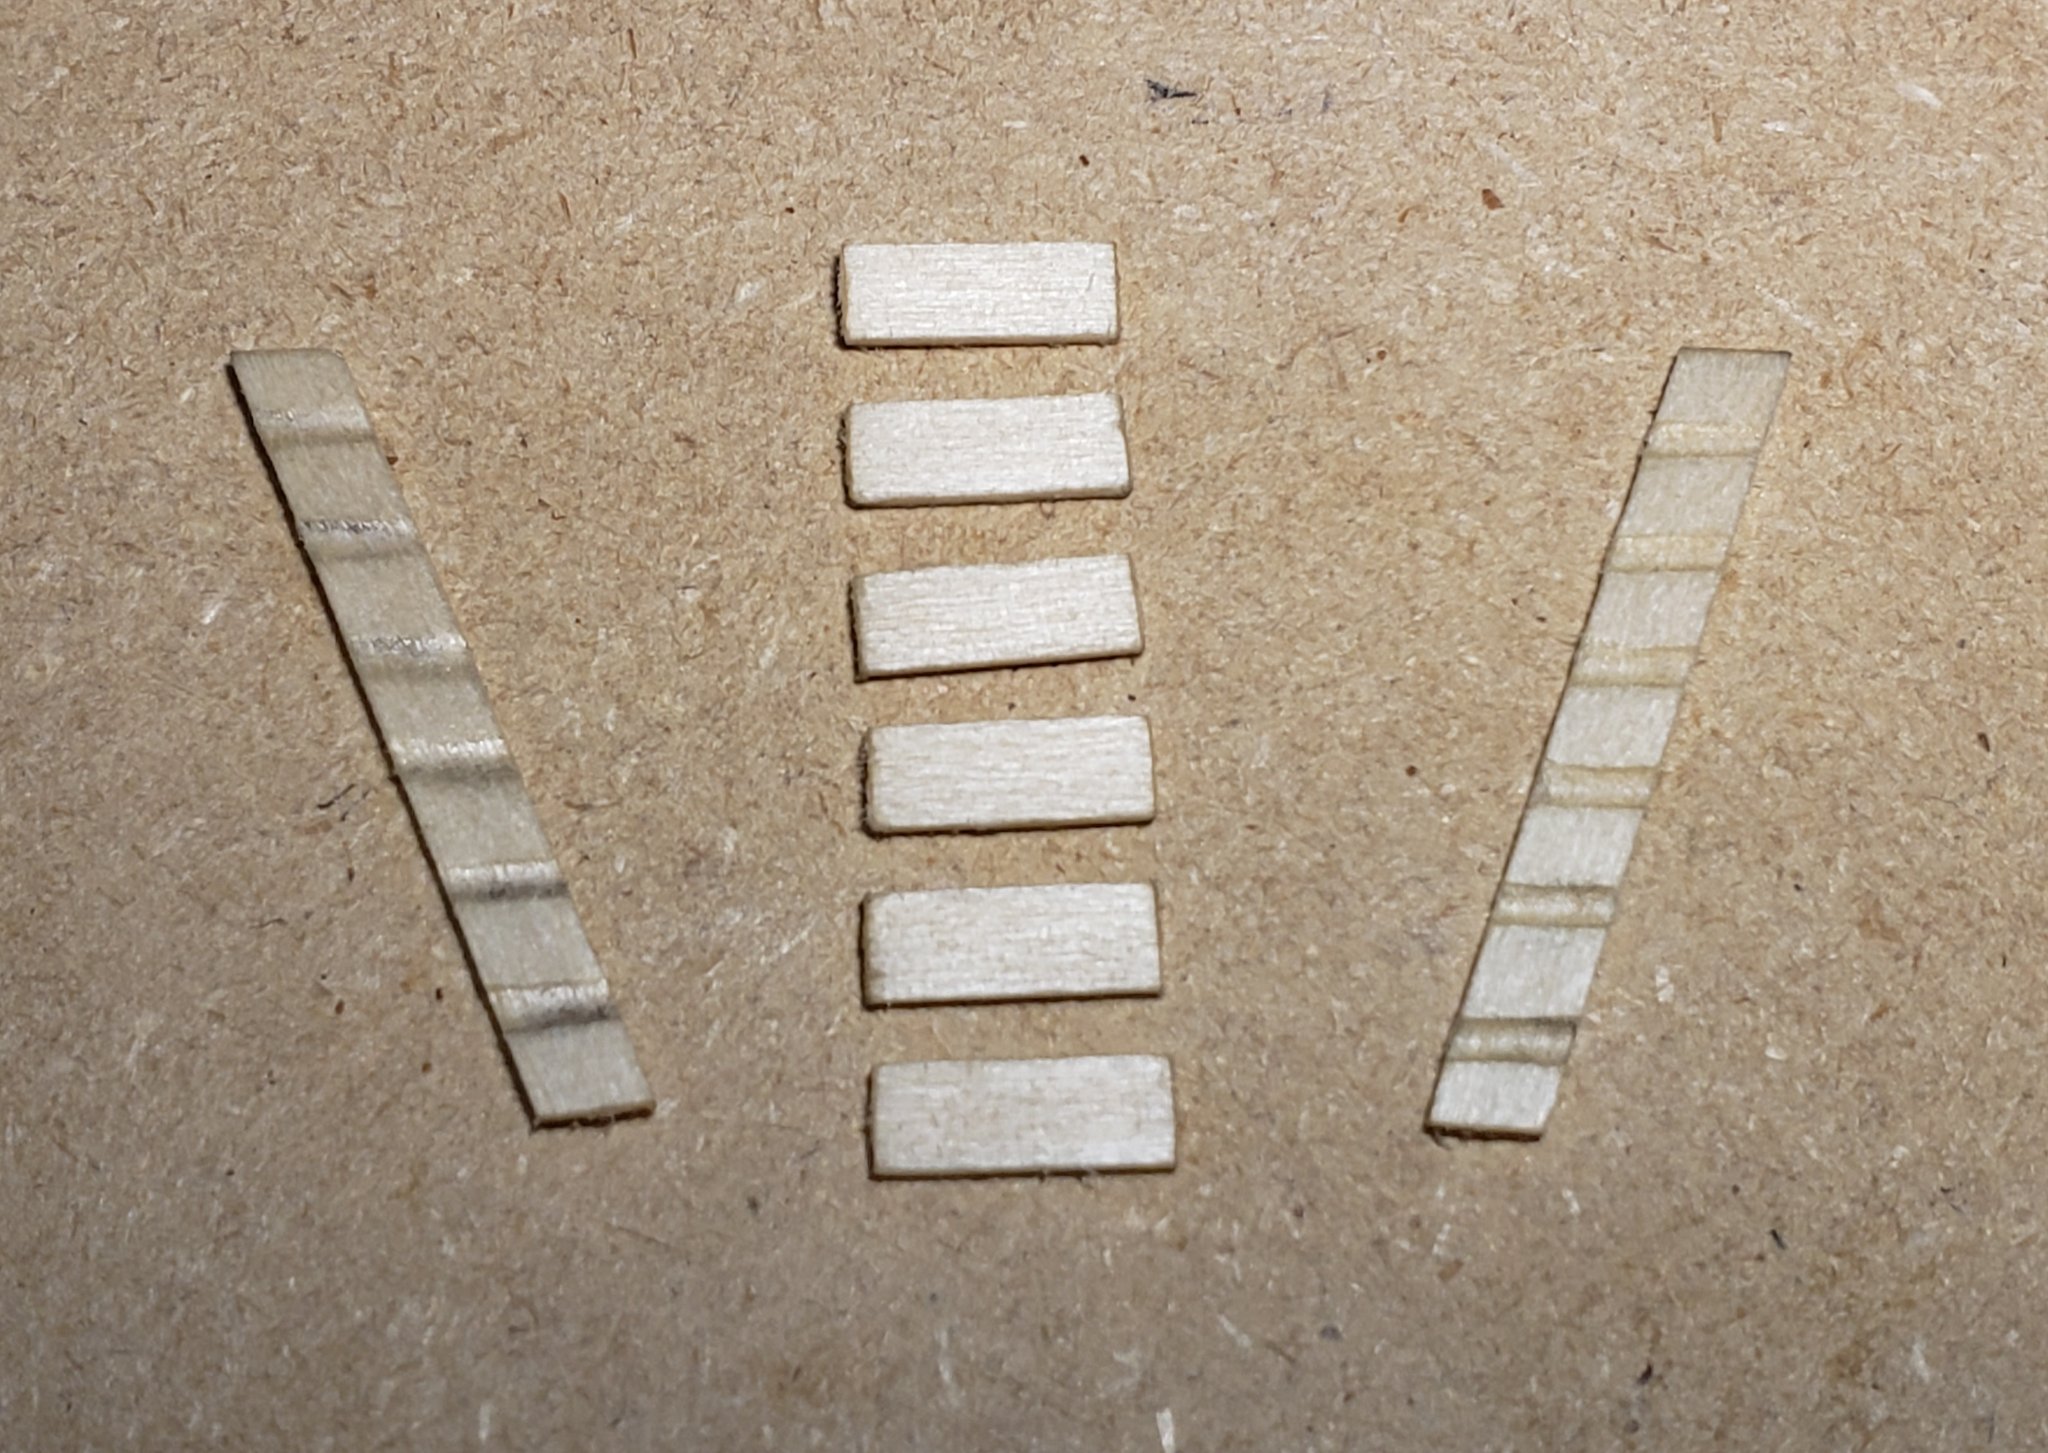
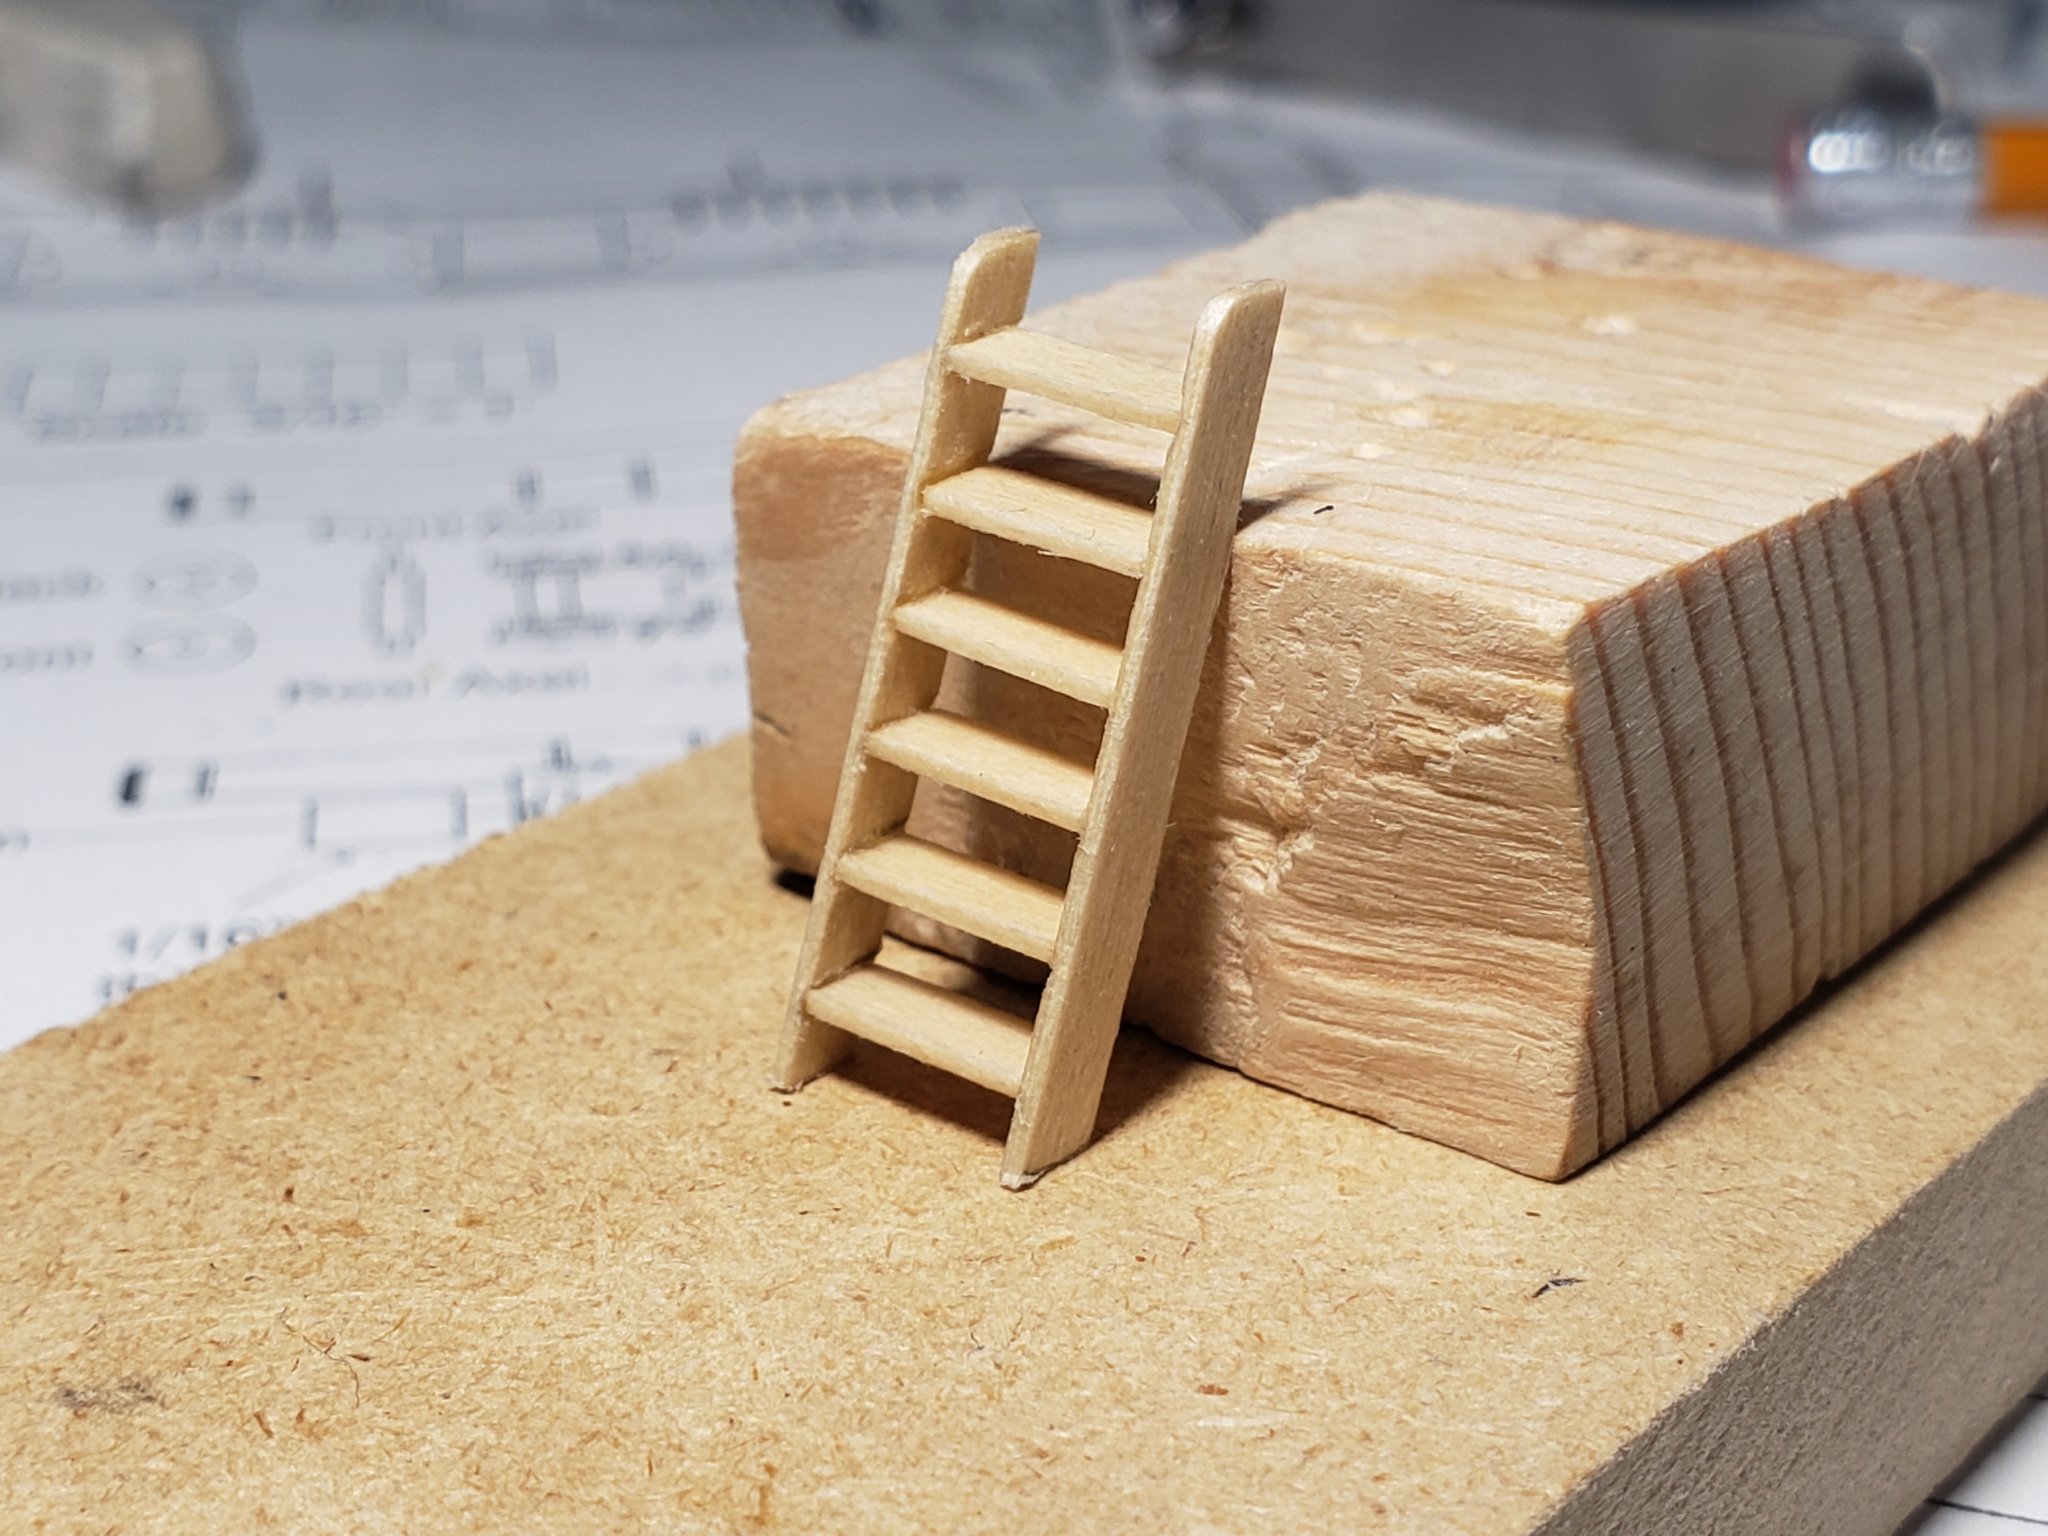
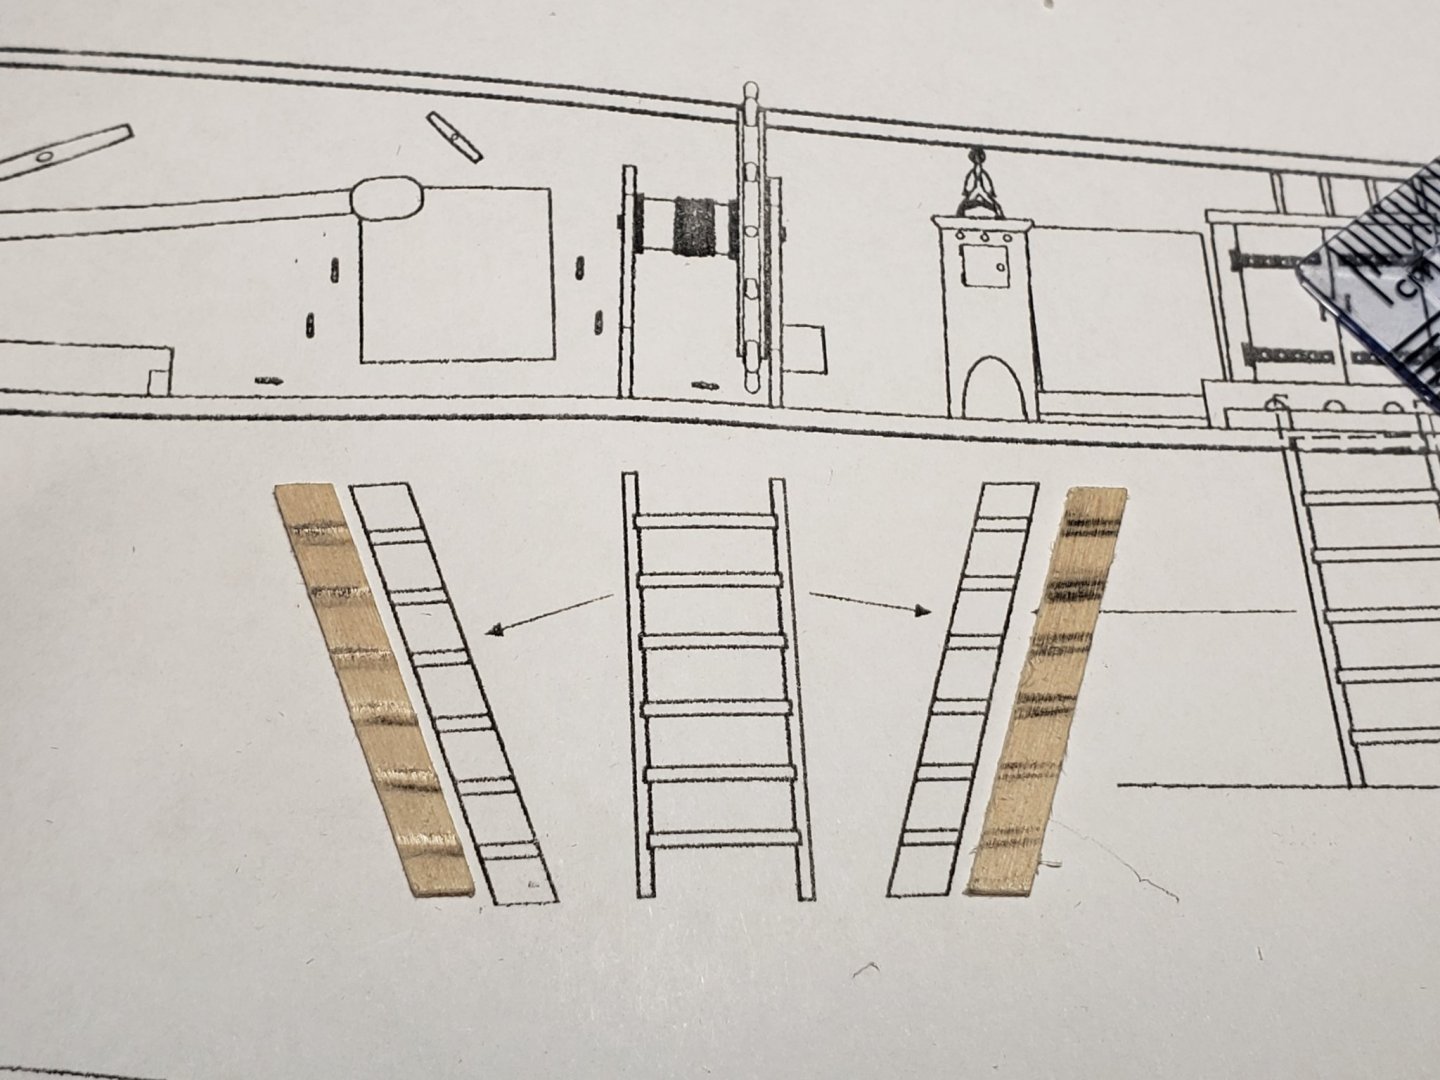
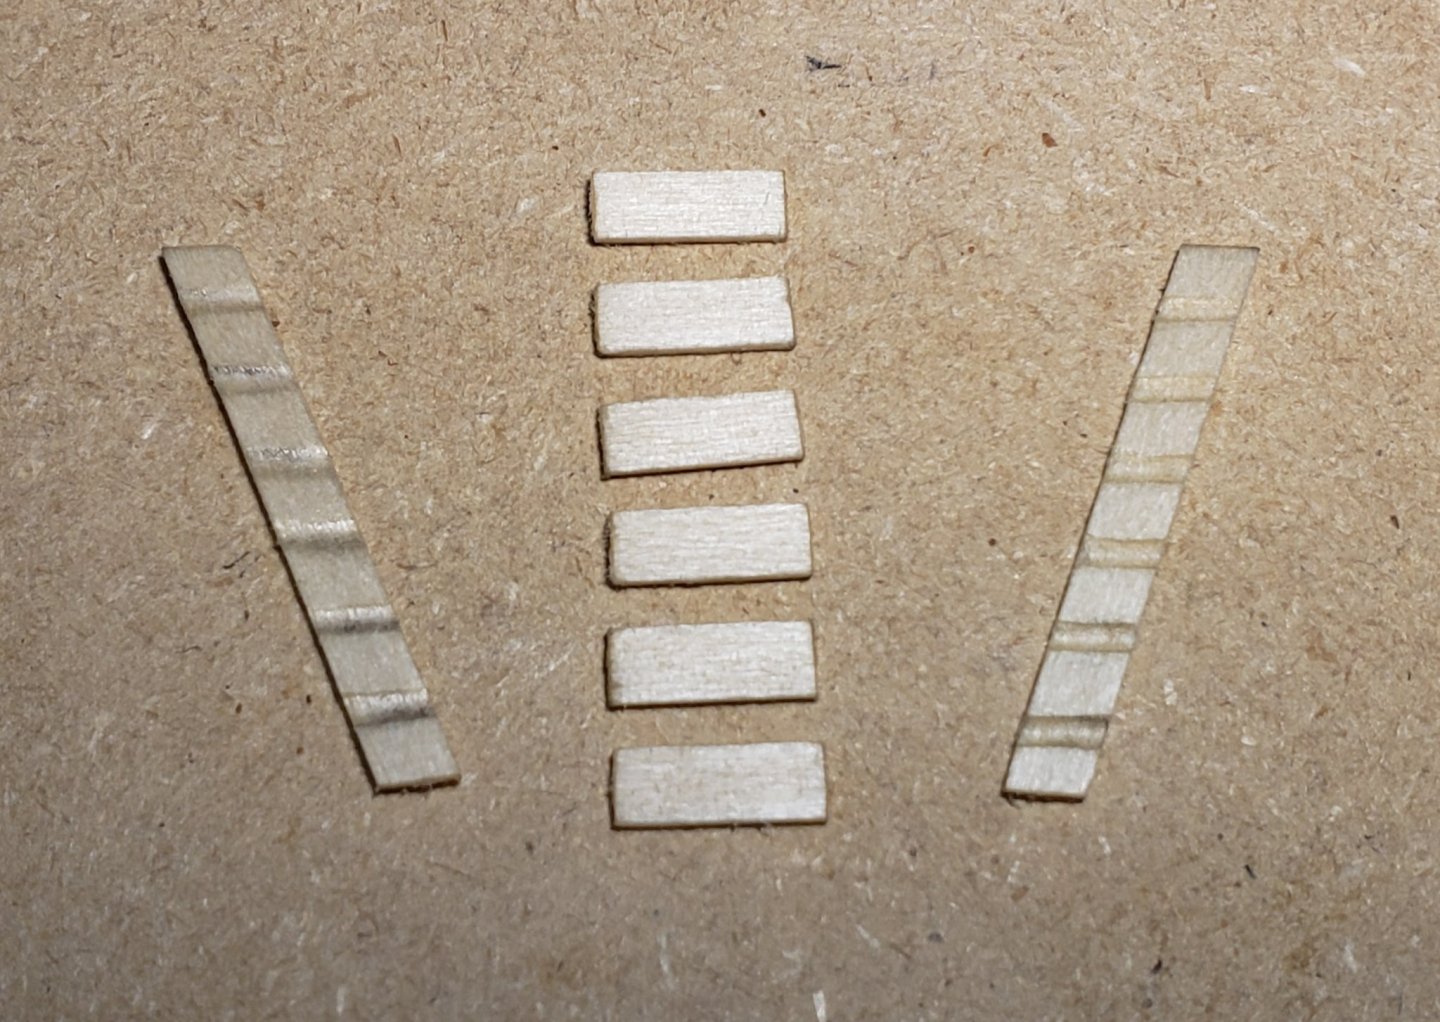
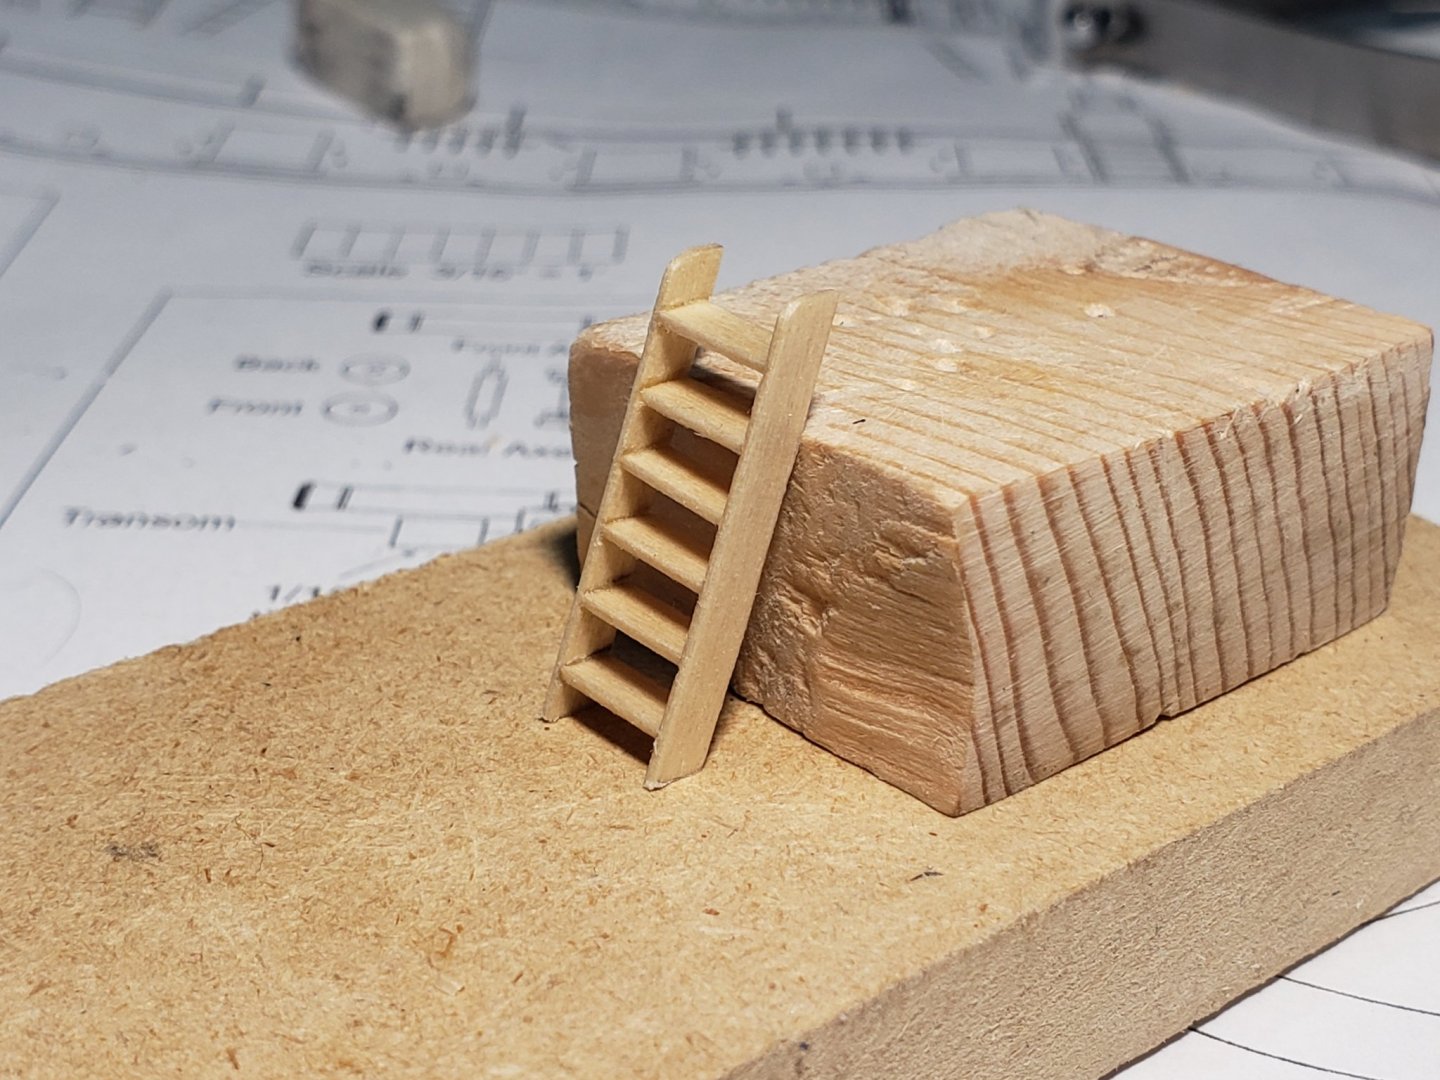
Thanks Robin!! Those blocks took a toll on me. Didnt realize they were many until I had to sand them and drill holes for the hooks. I completed making the ladder for the companionway. It was good practice for the ladders that will come on the deck. And with lego 😁


- 950 replies
-
- 13
-
-
- syren
- model shipways
- (and 1 more)
-
Many thanks for the nice comments Robin and Thomas! 😃
- 950 replies
-
- 1
-
-
- syren
- model shipways
- (and 1 more)
-
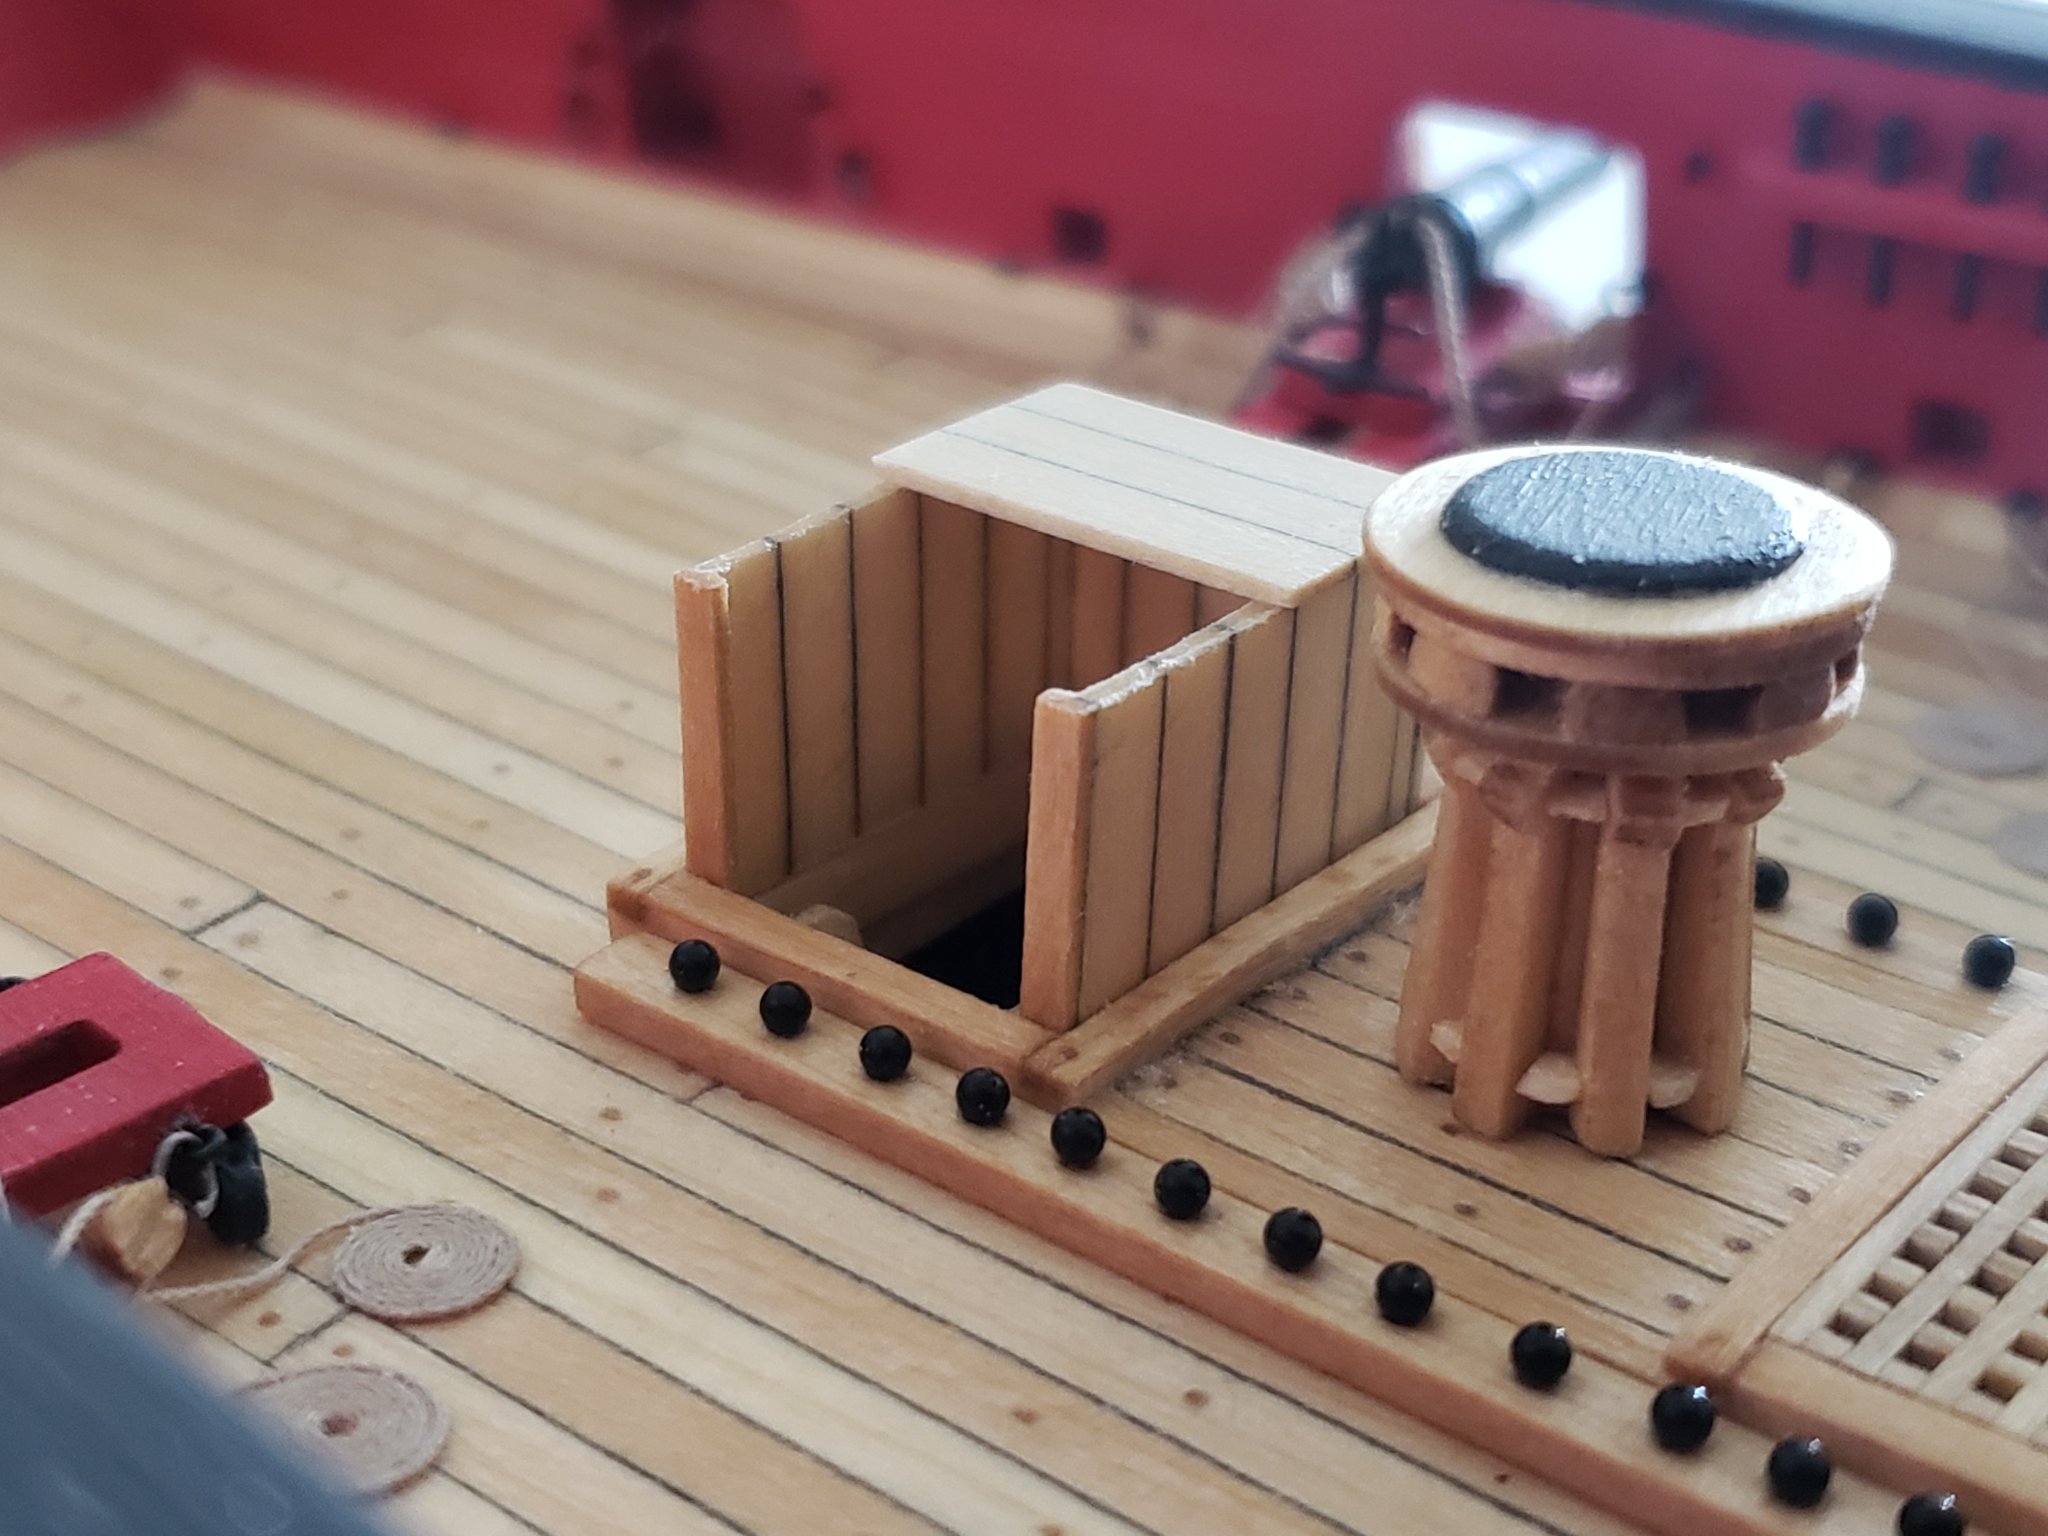
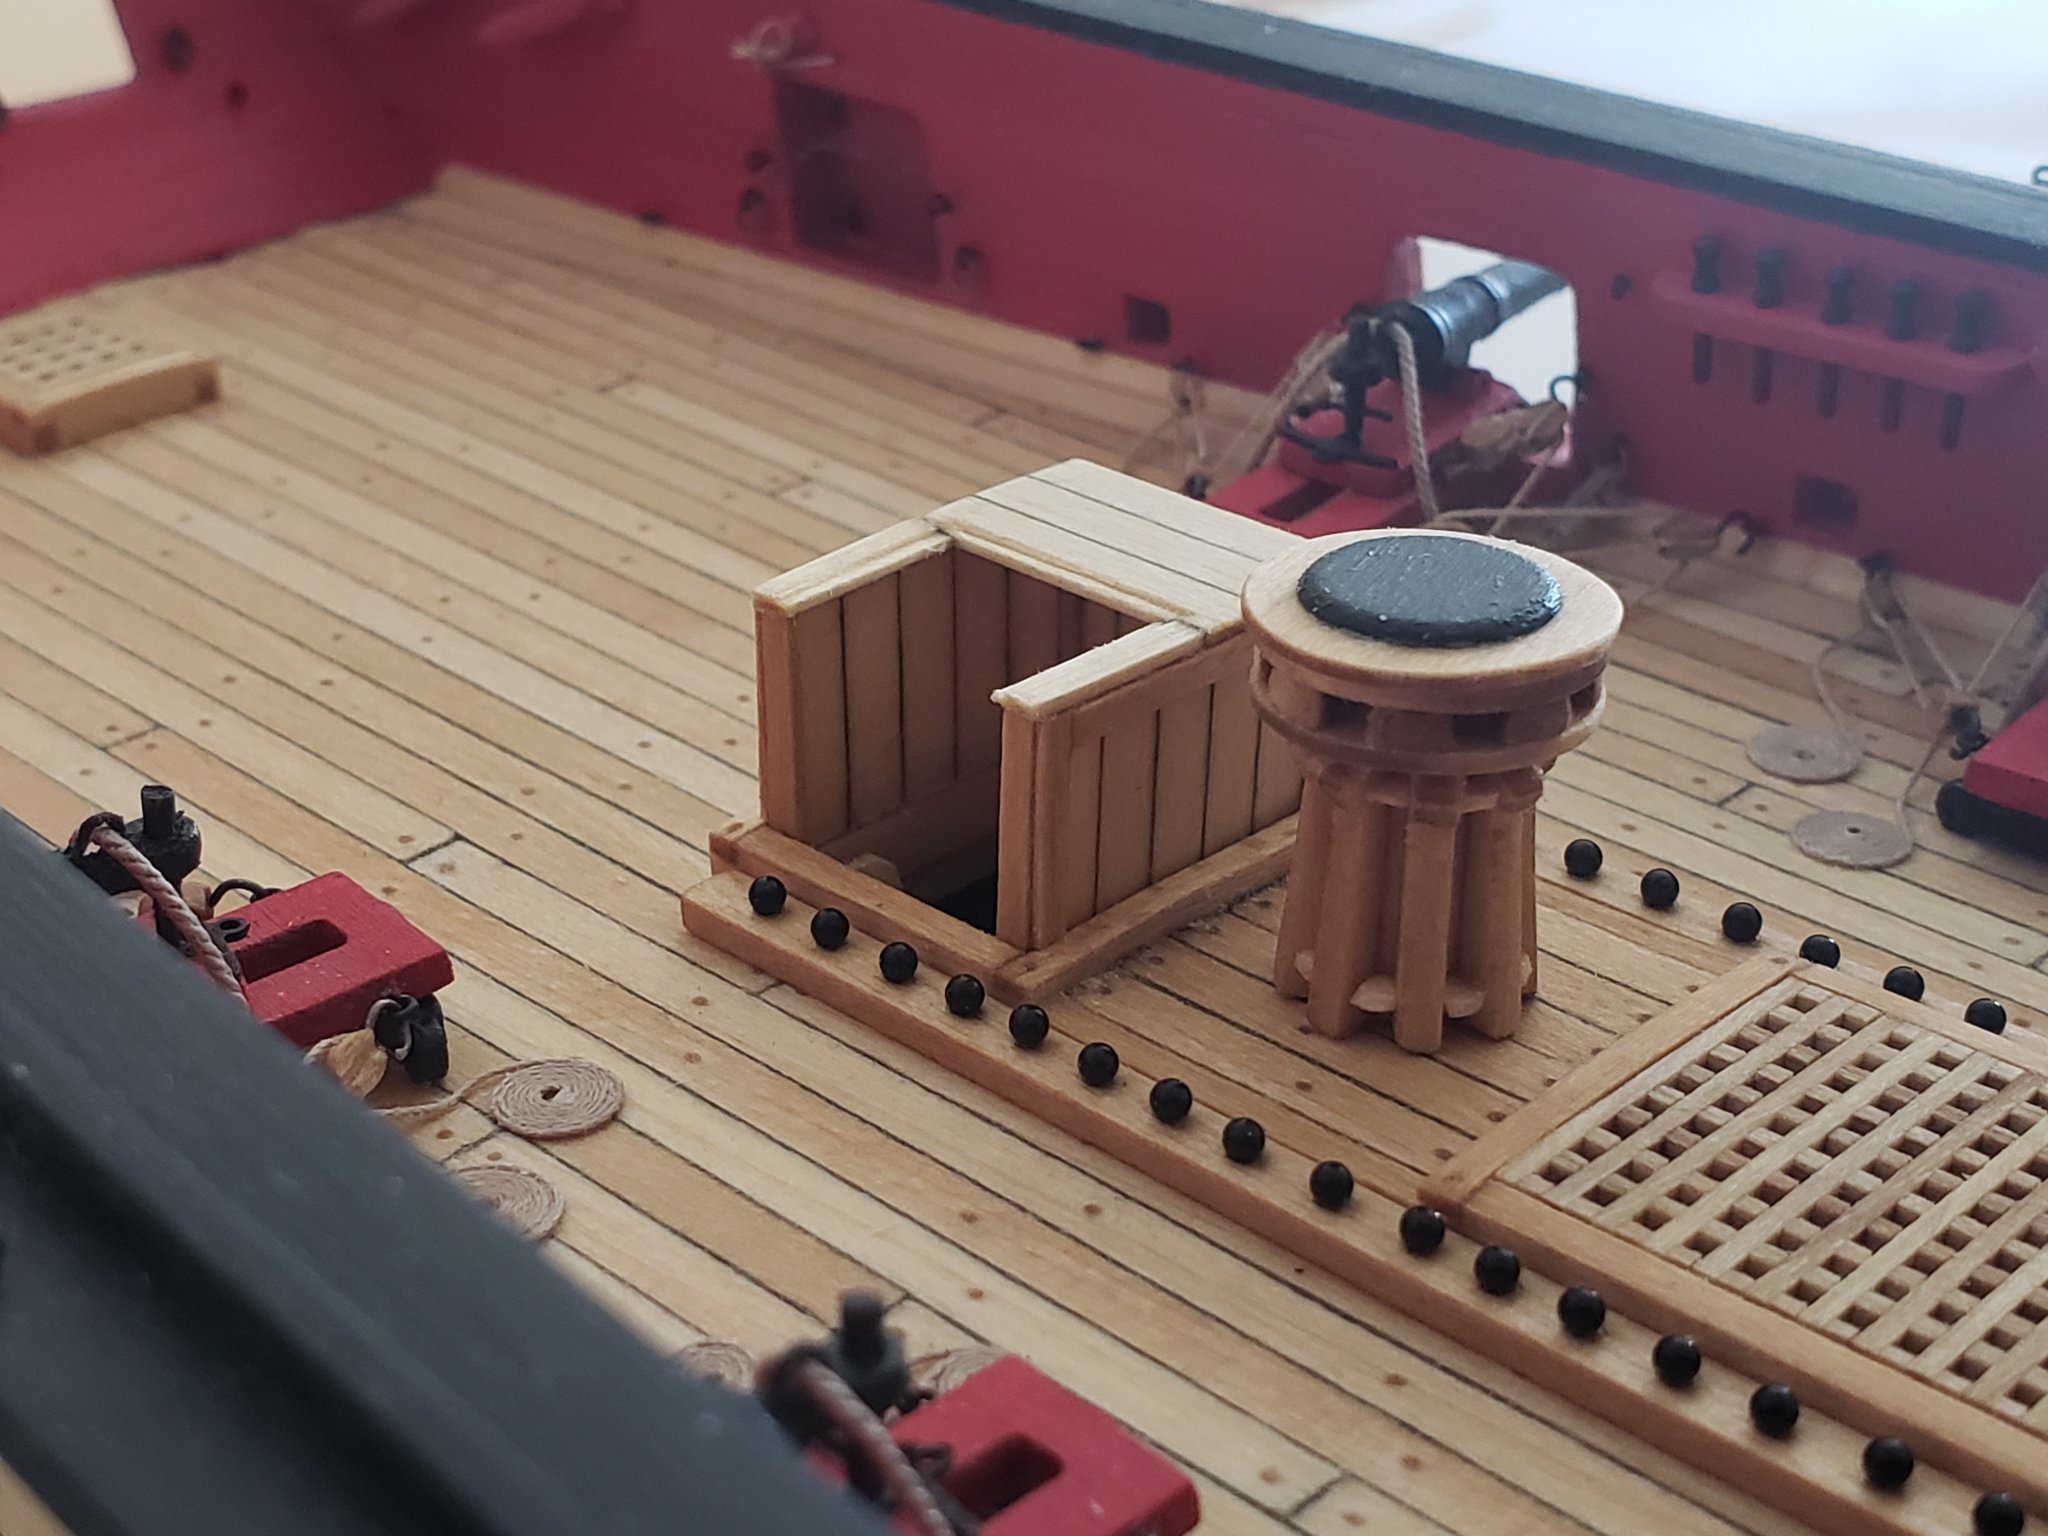
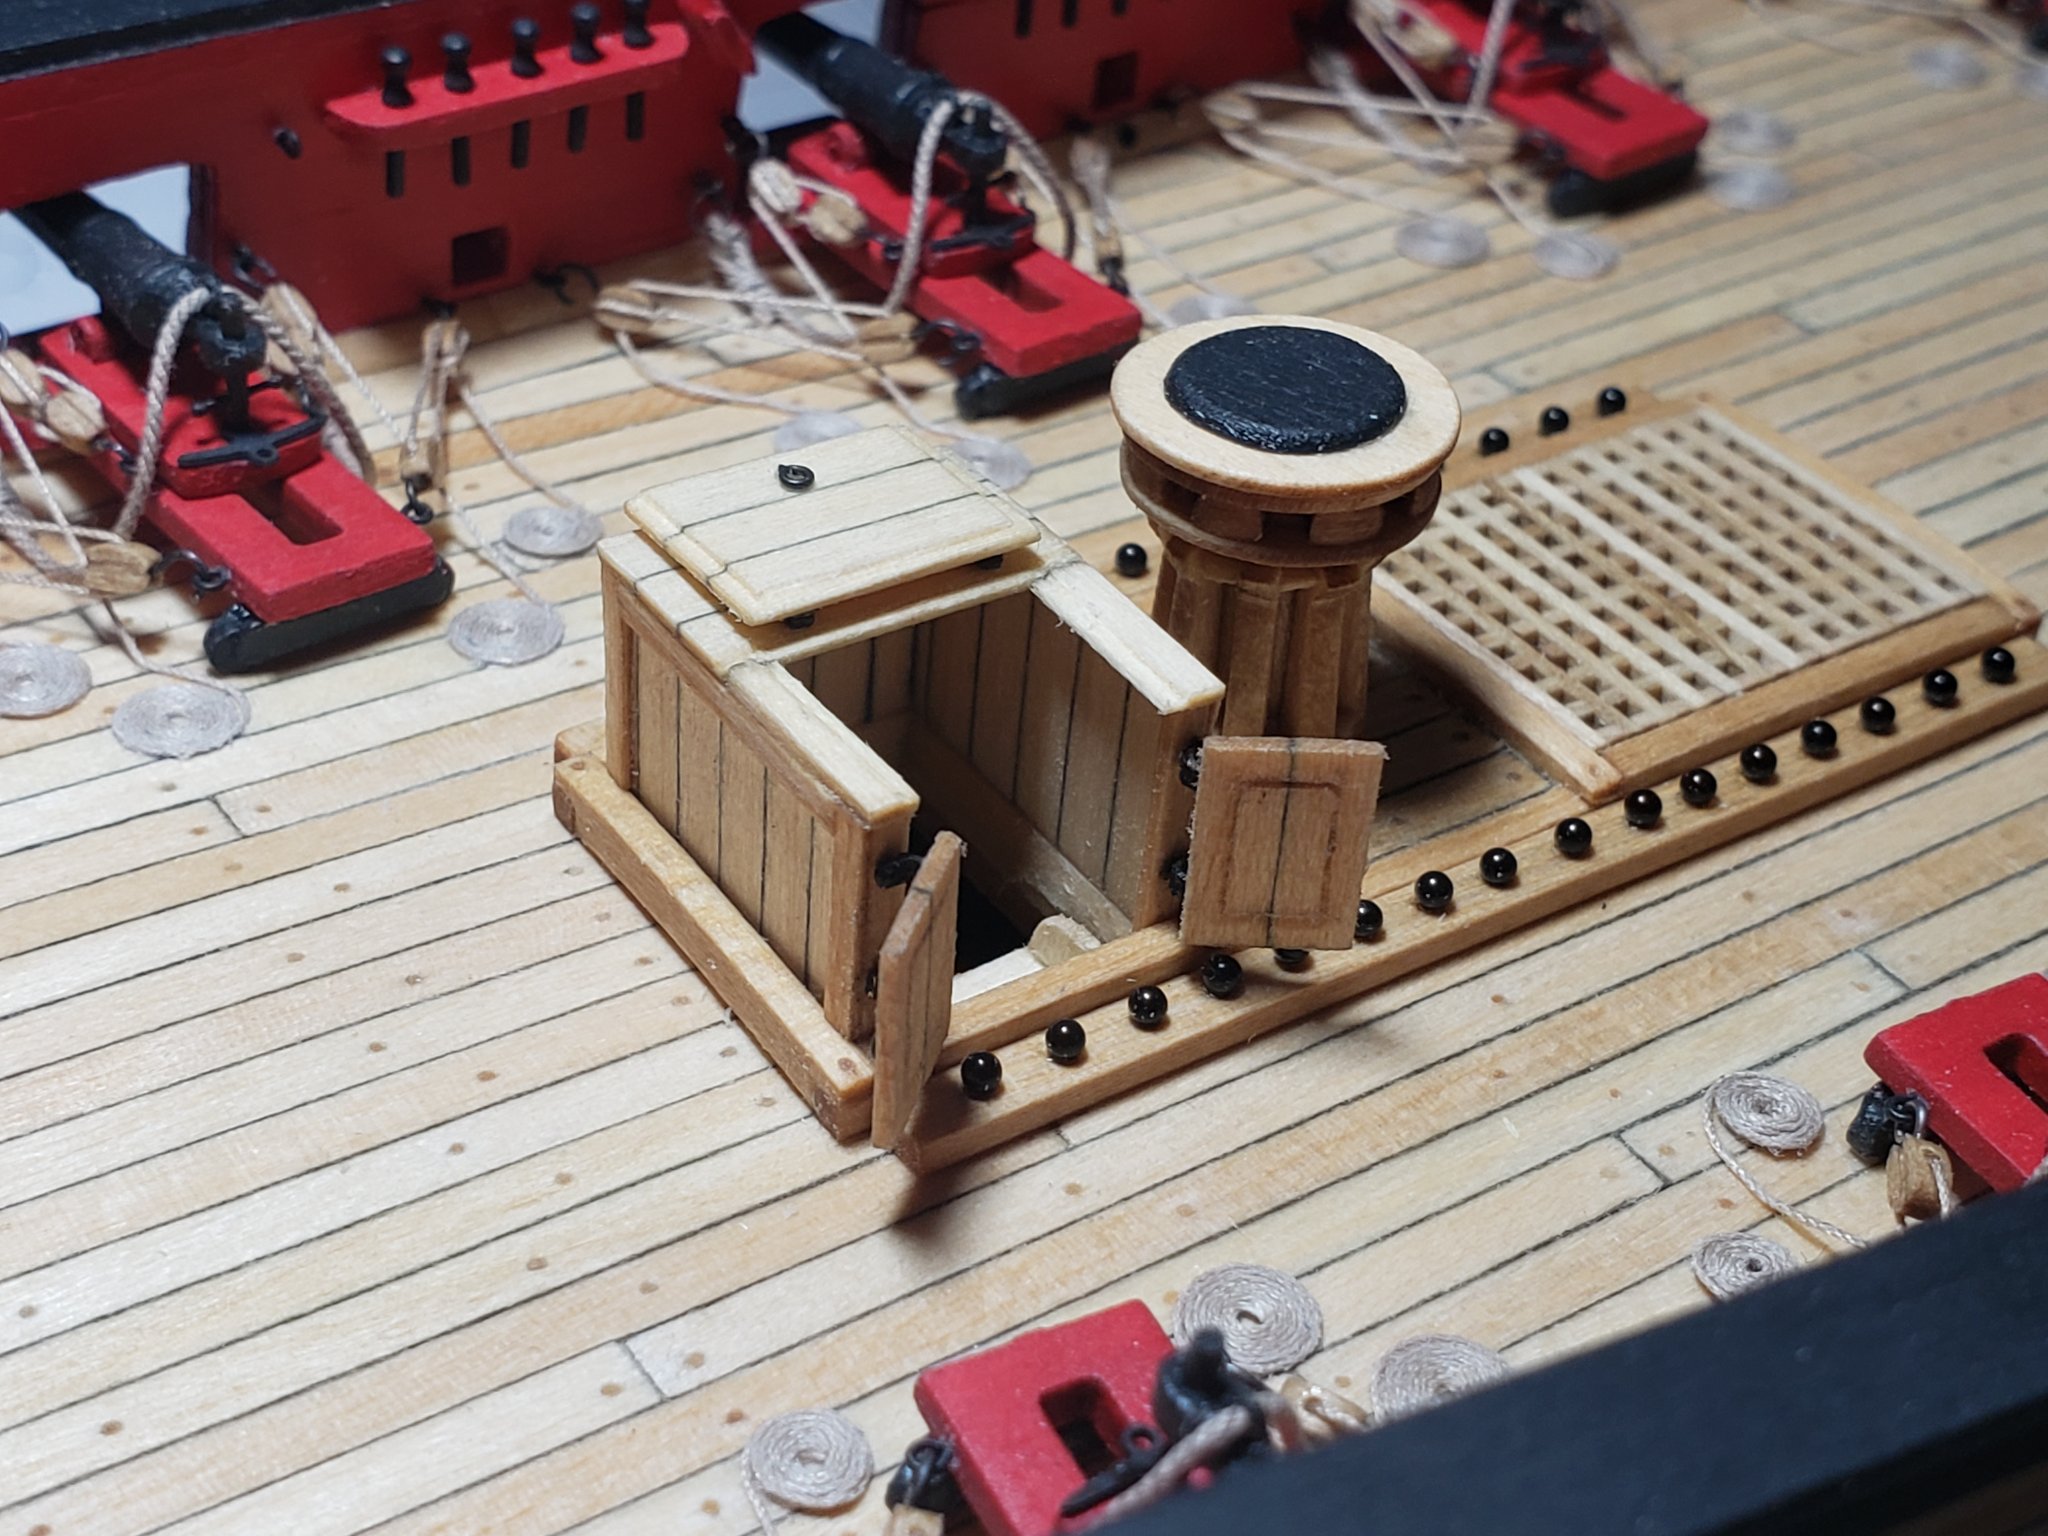
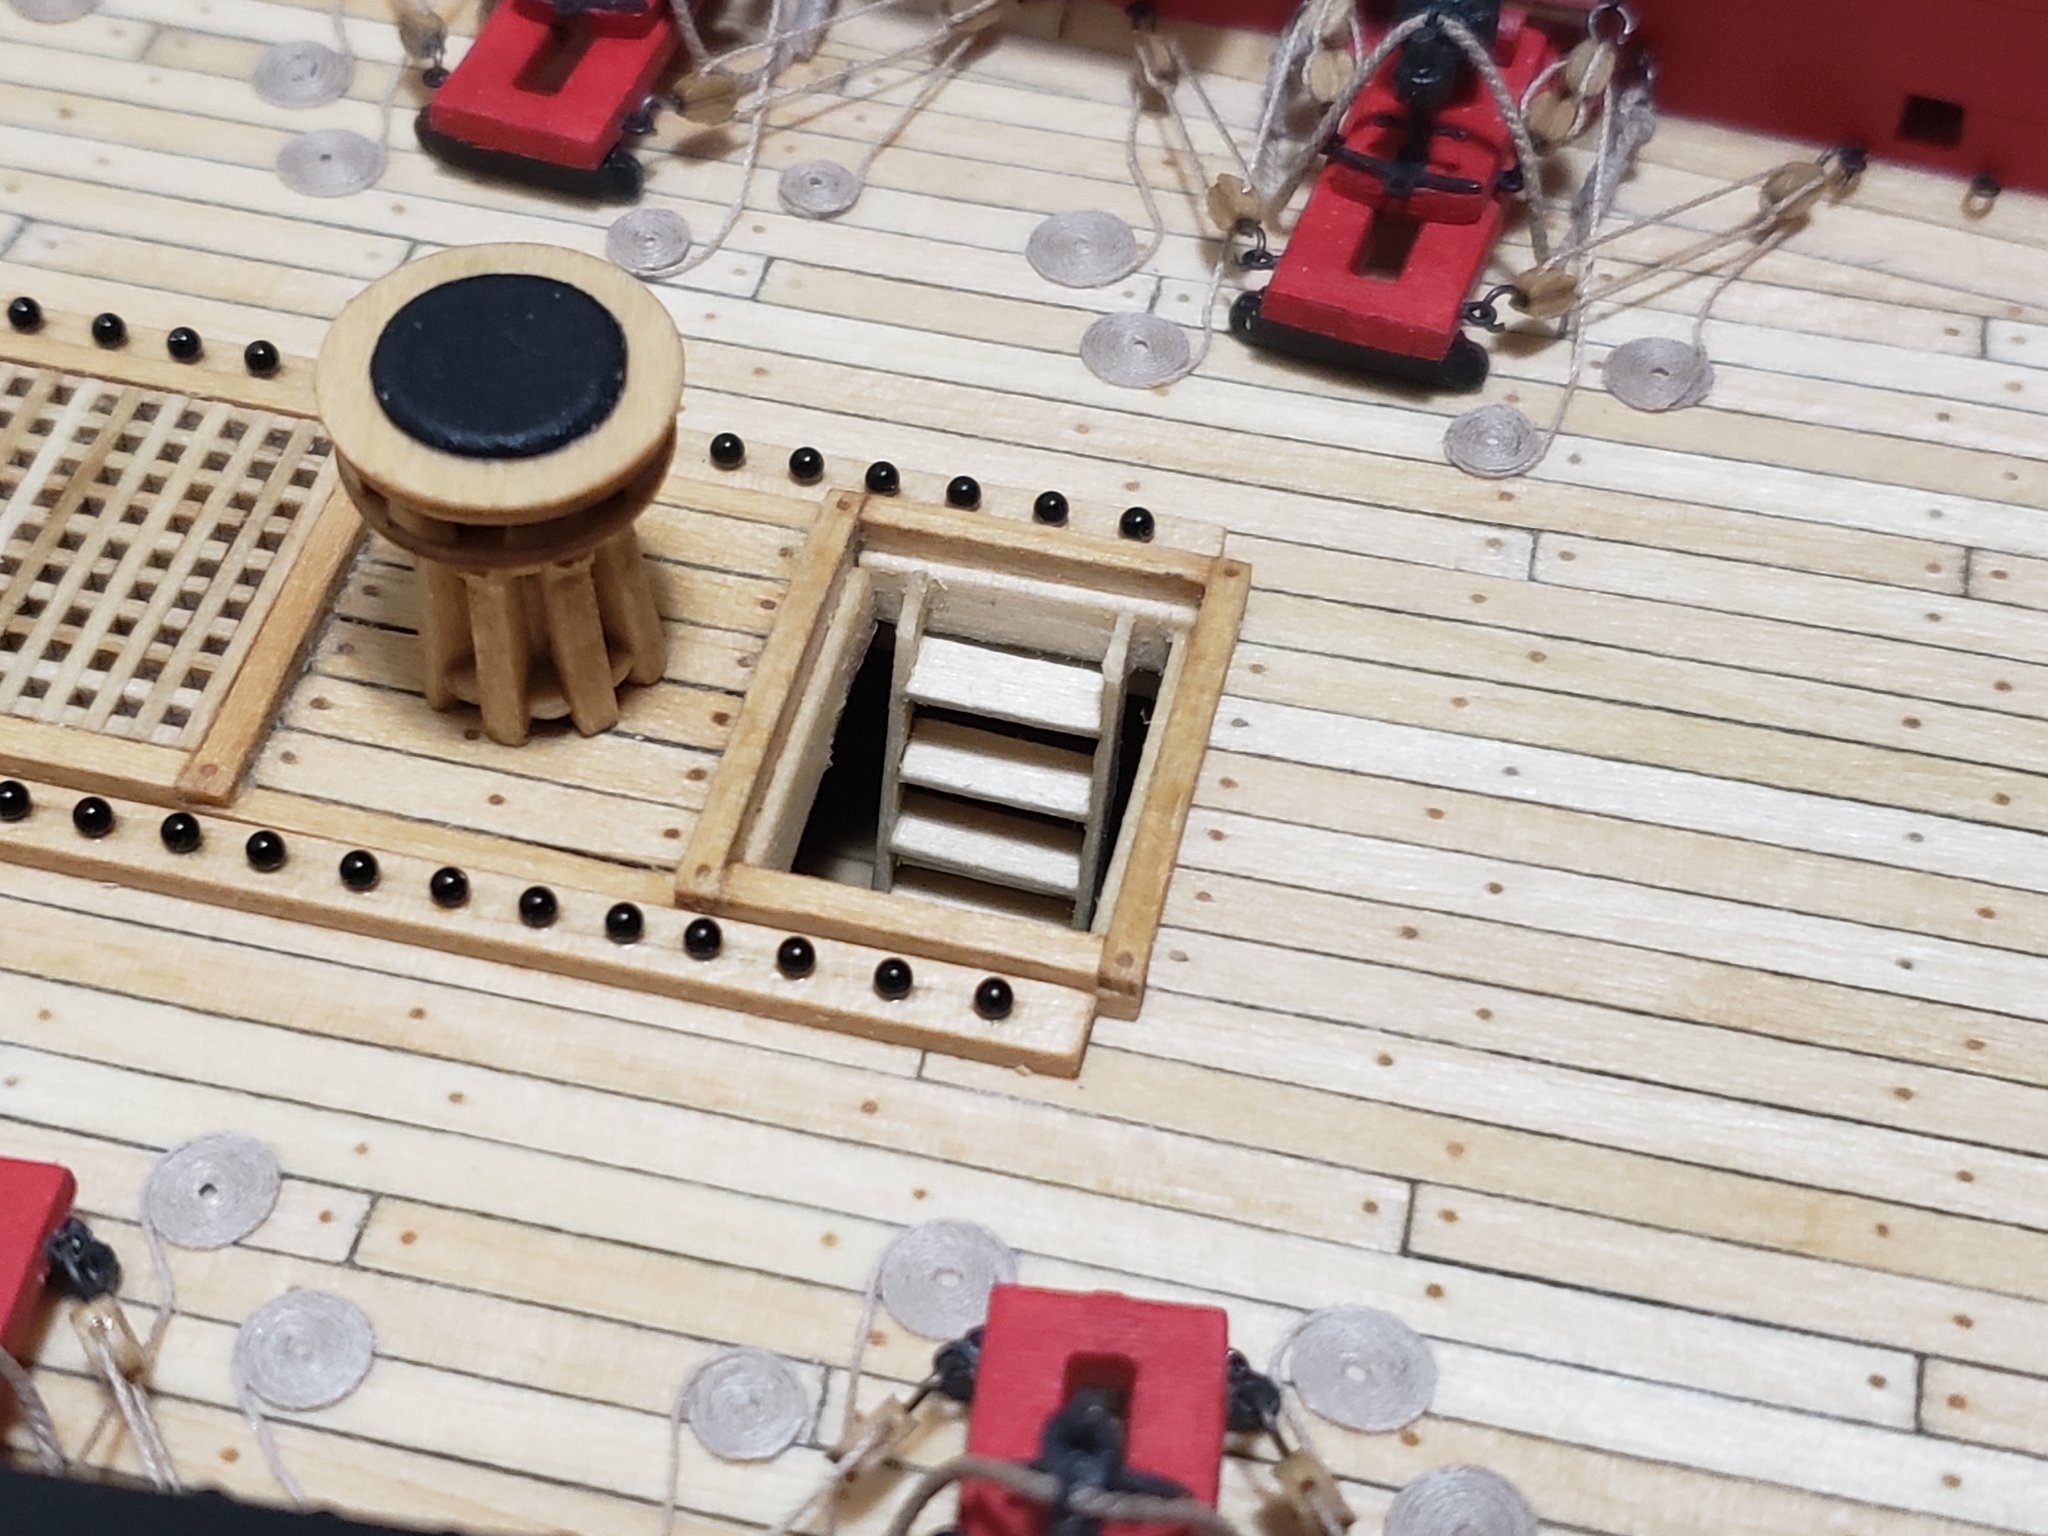
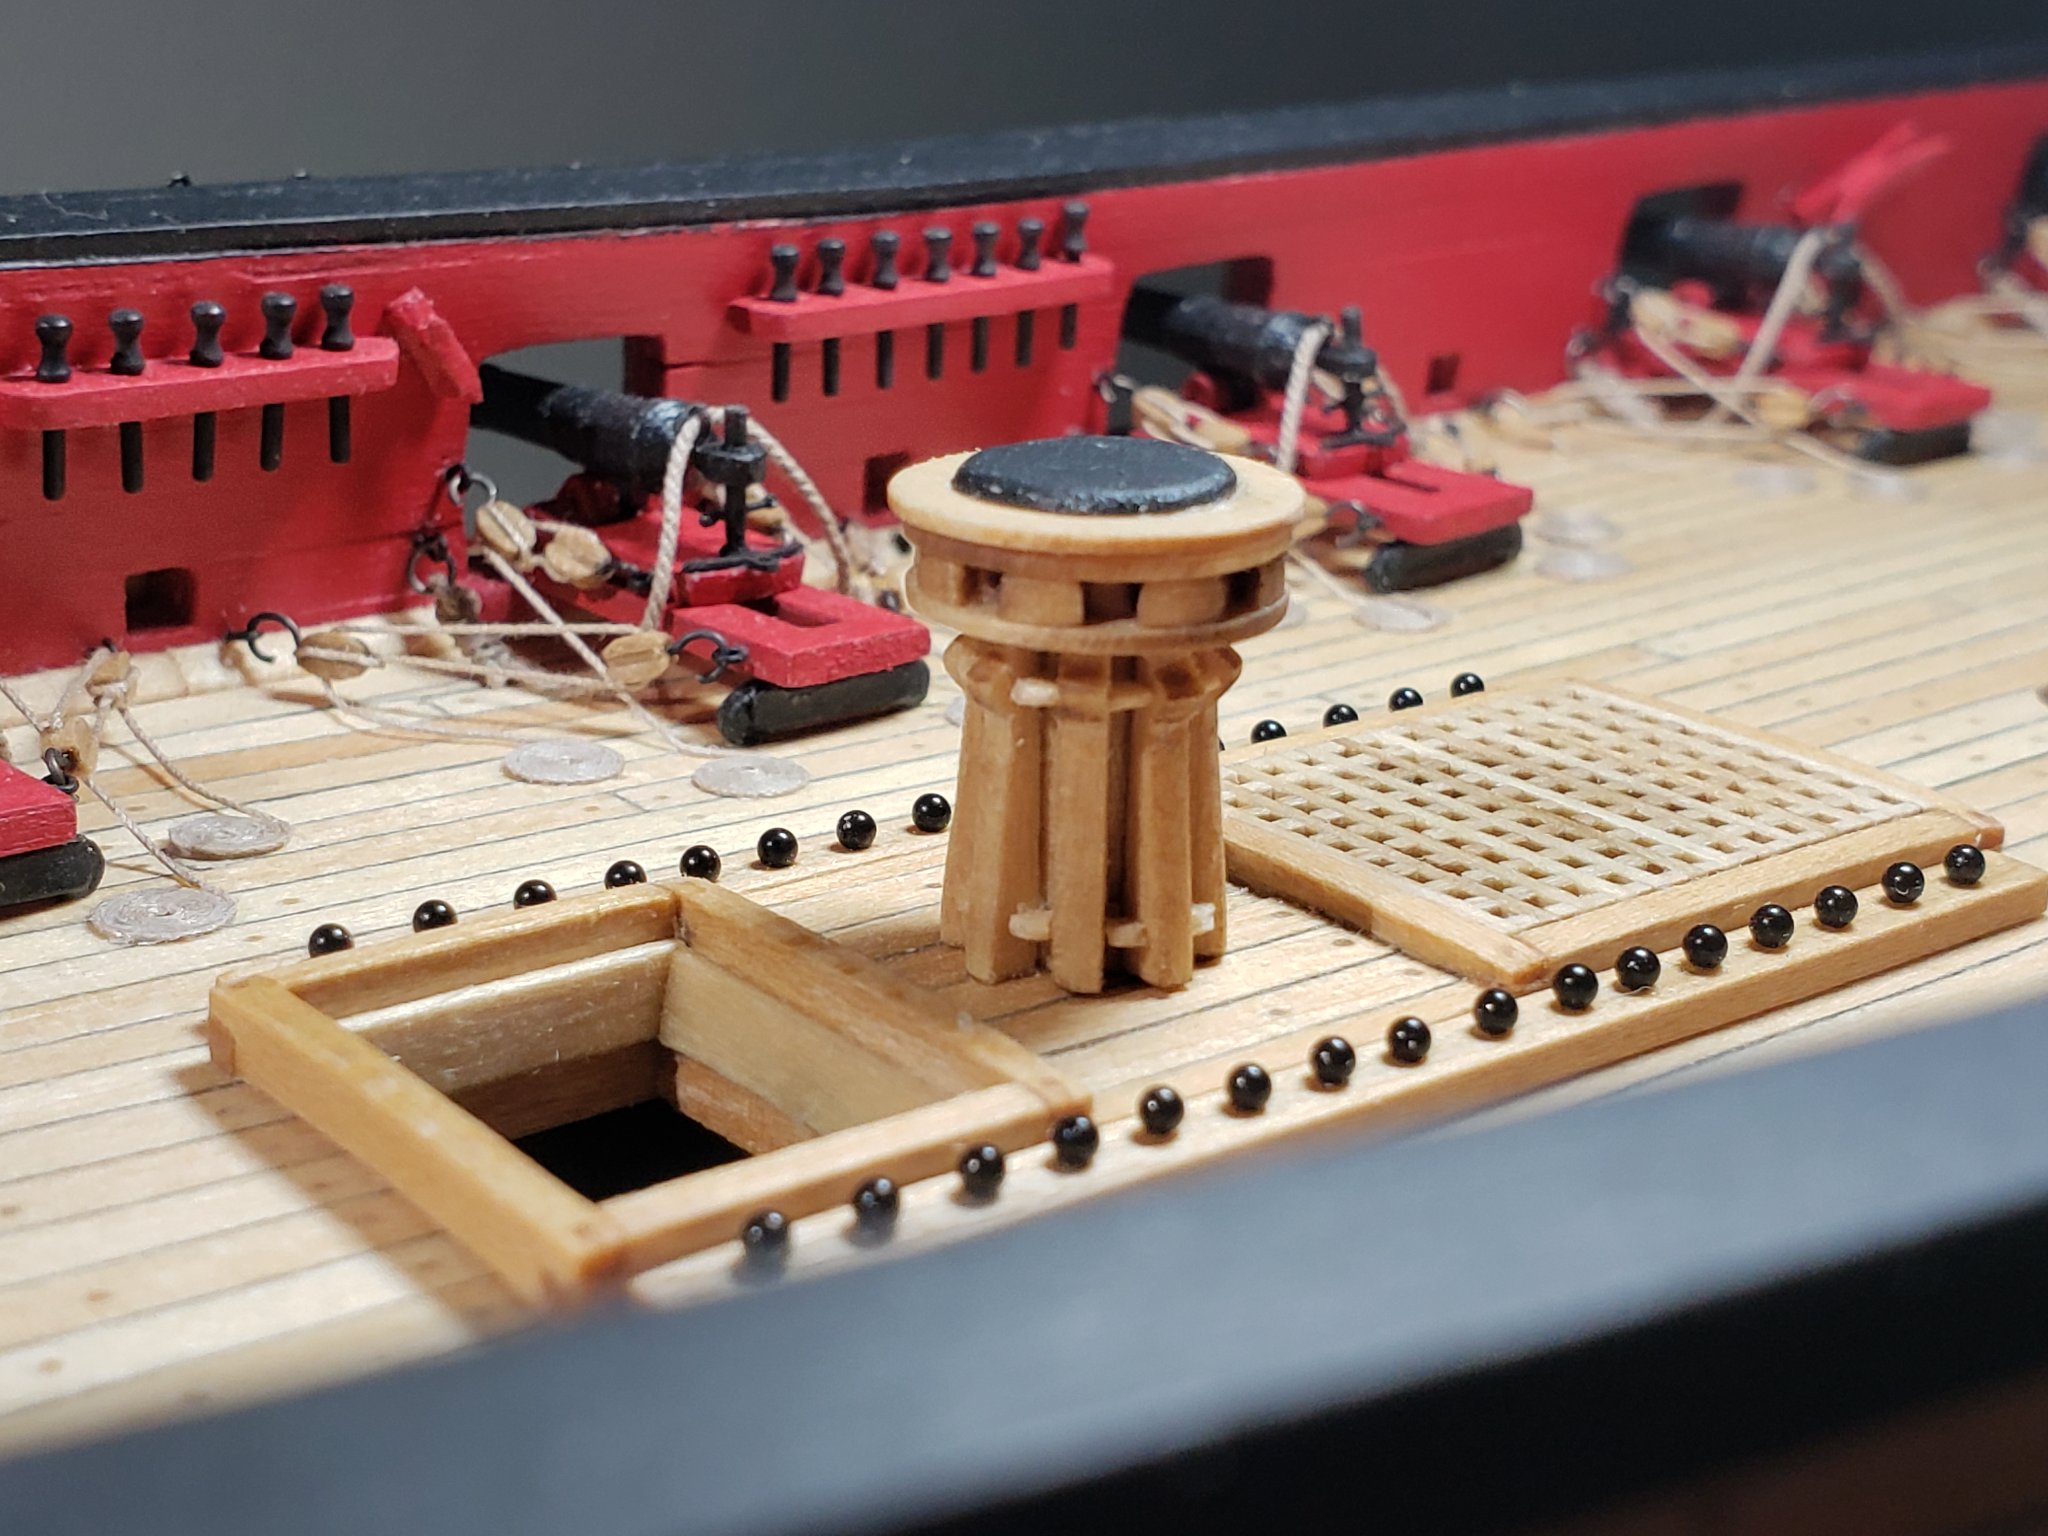
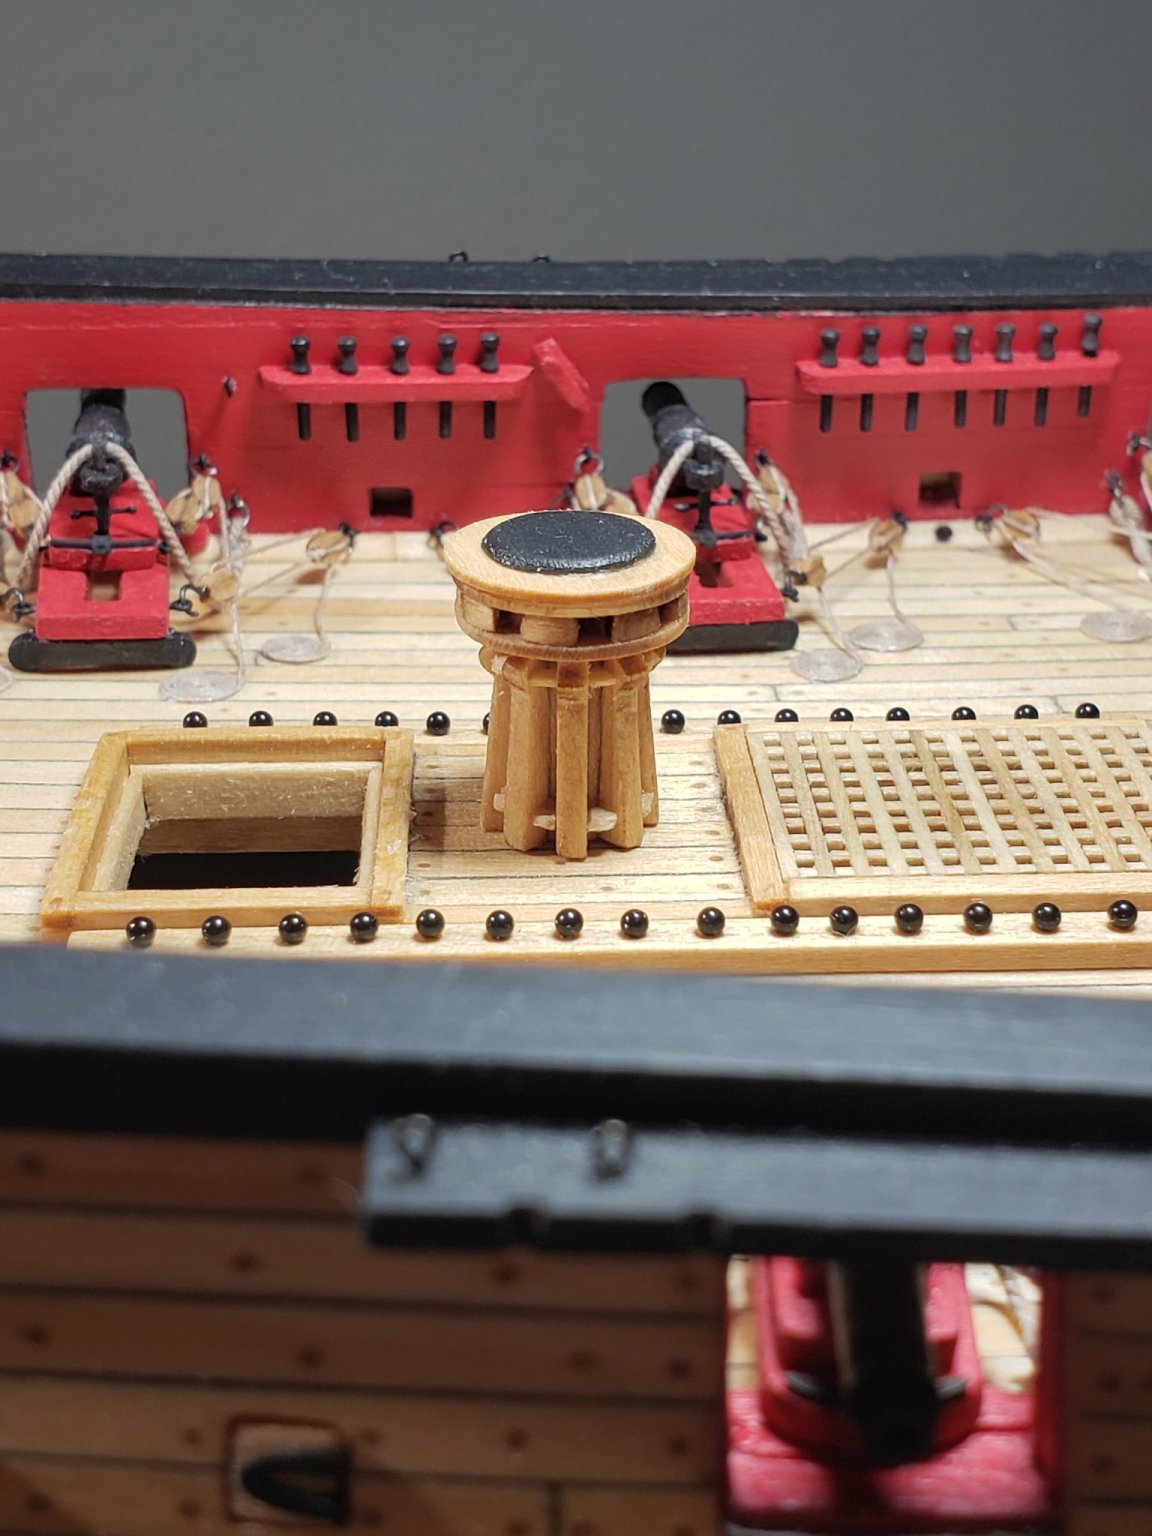
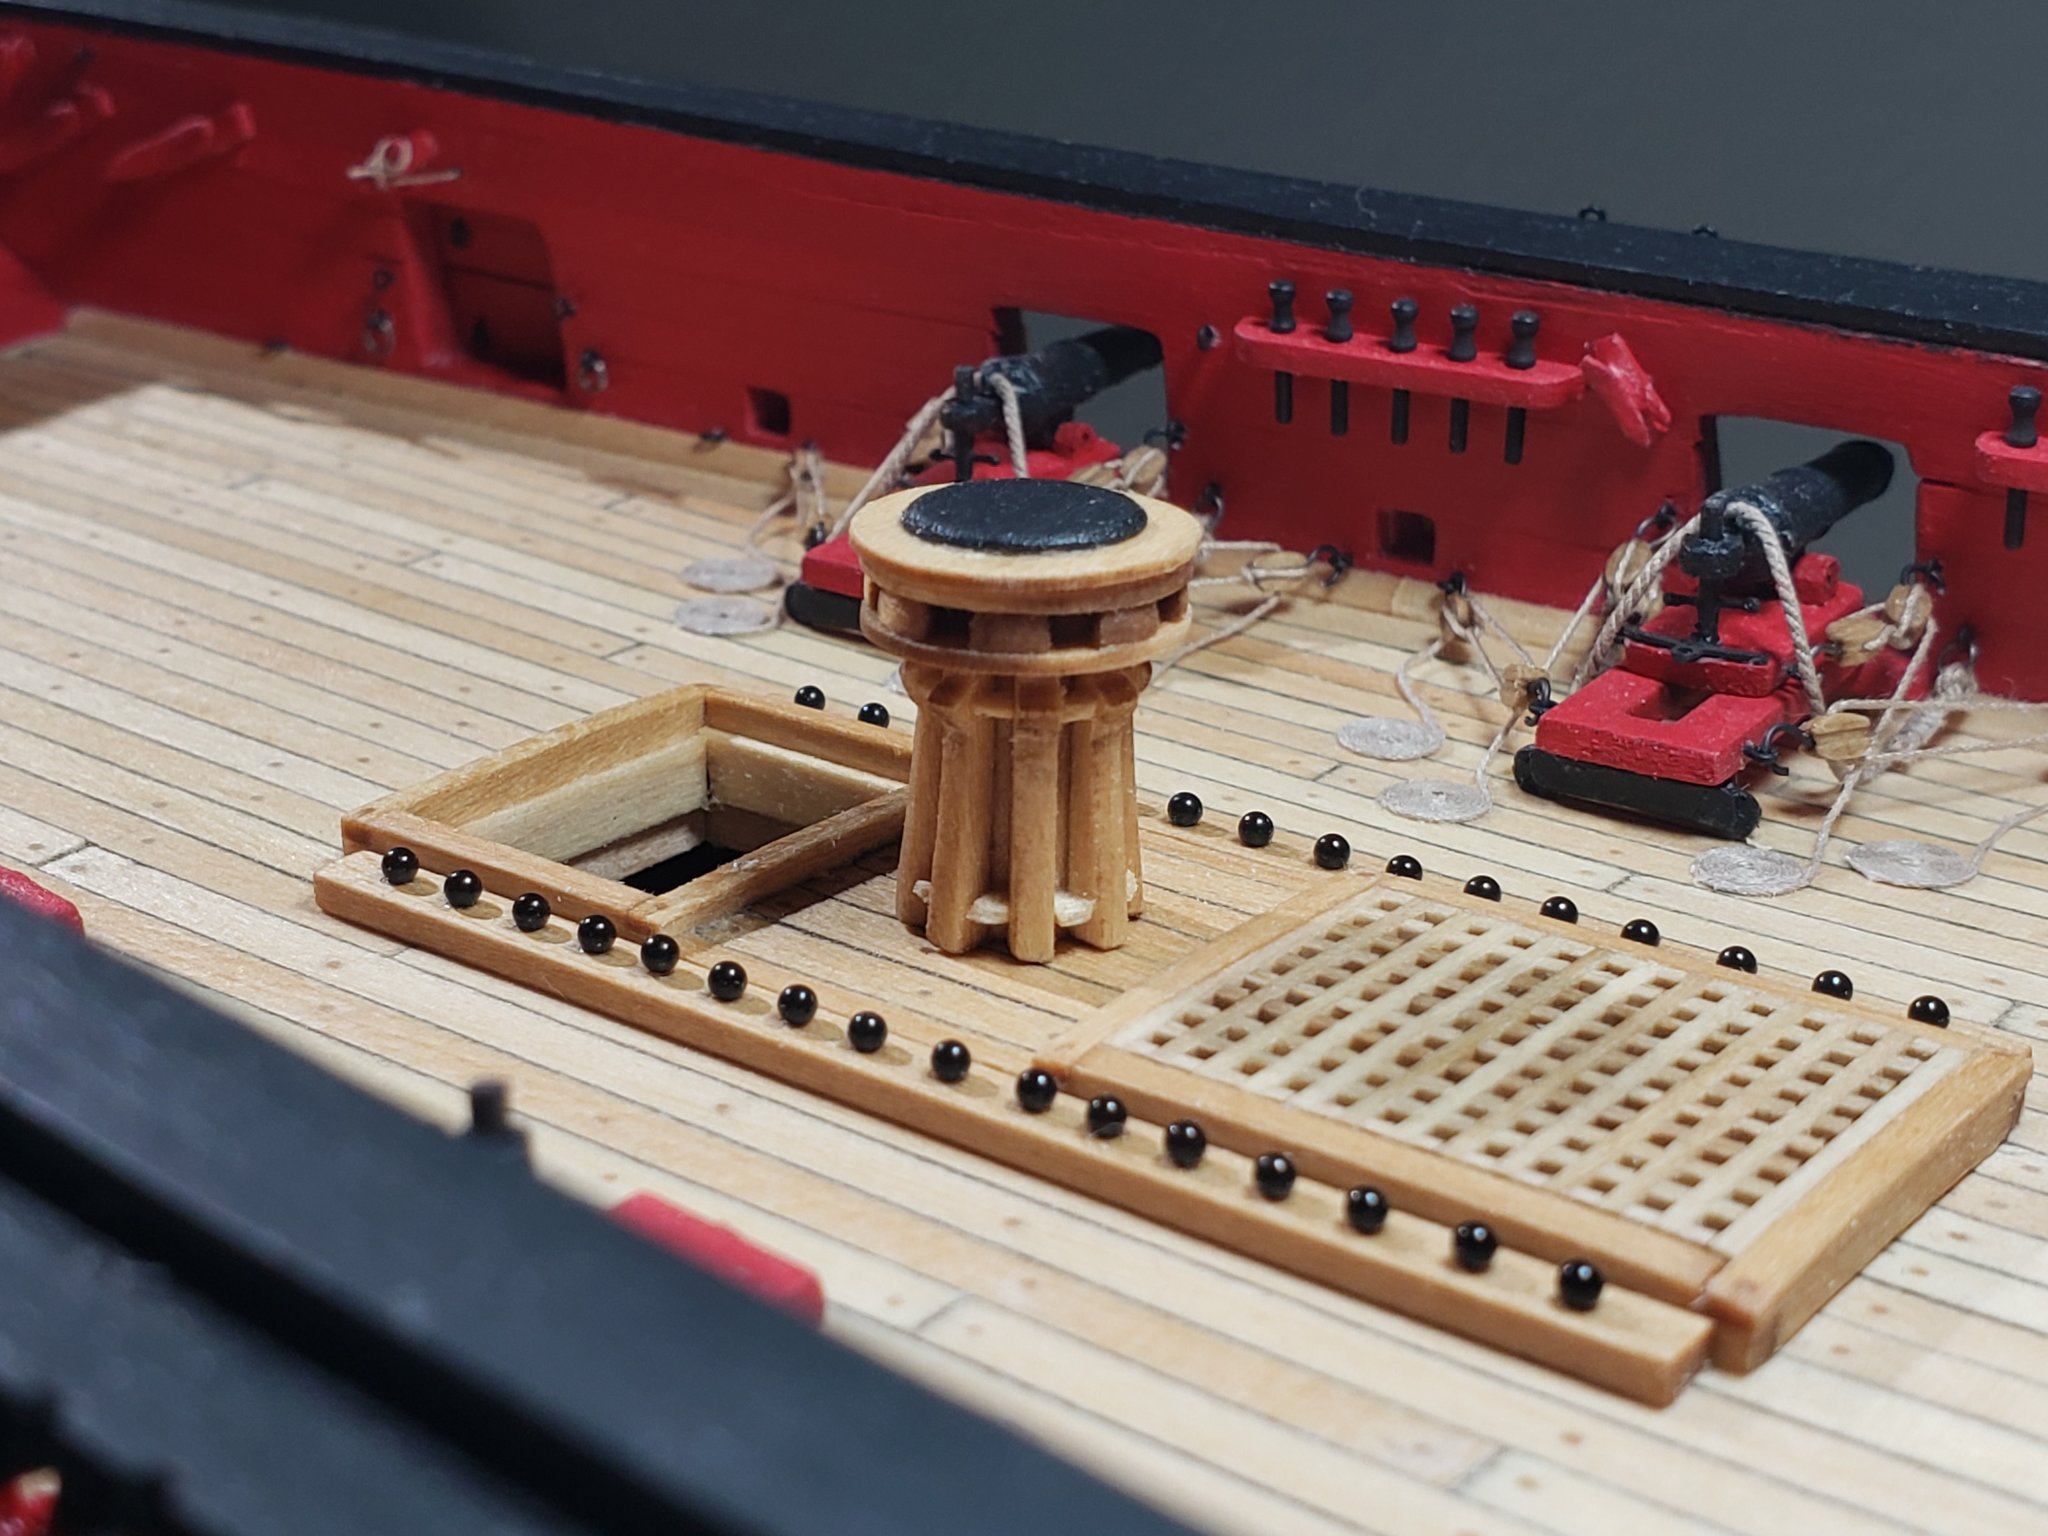
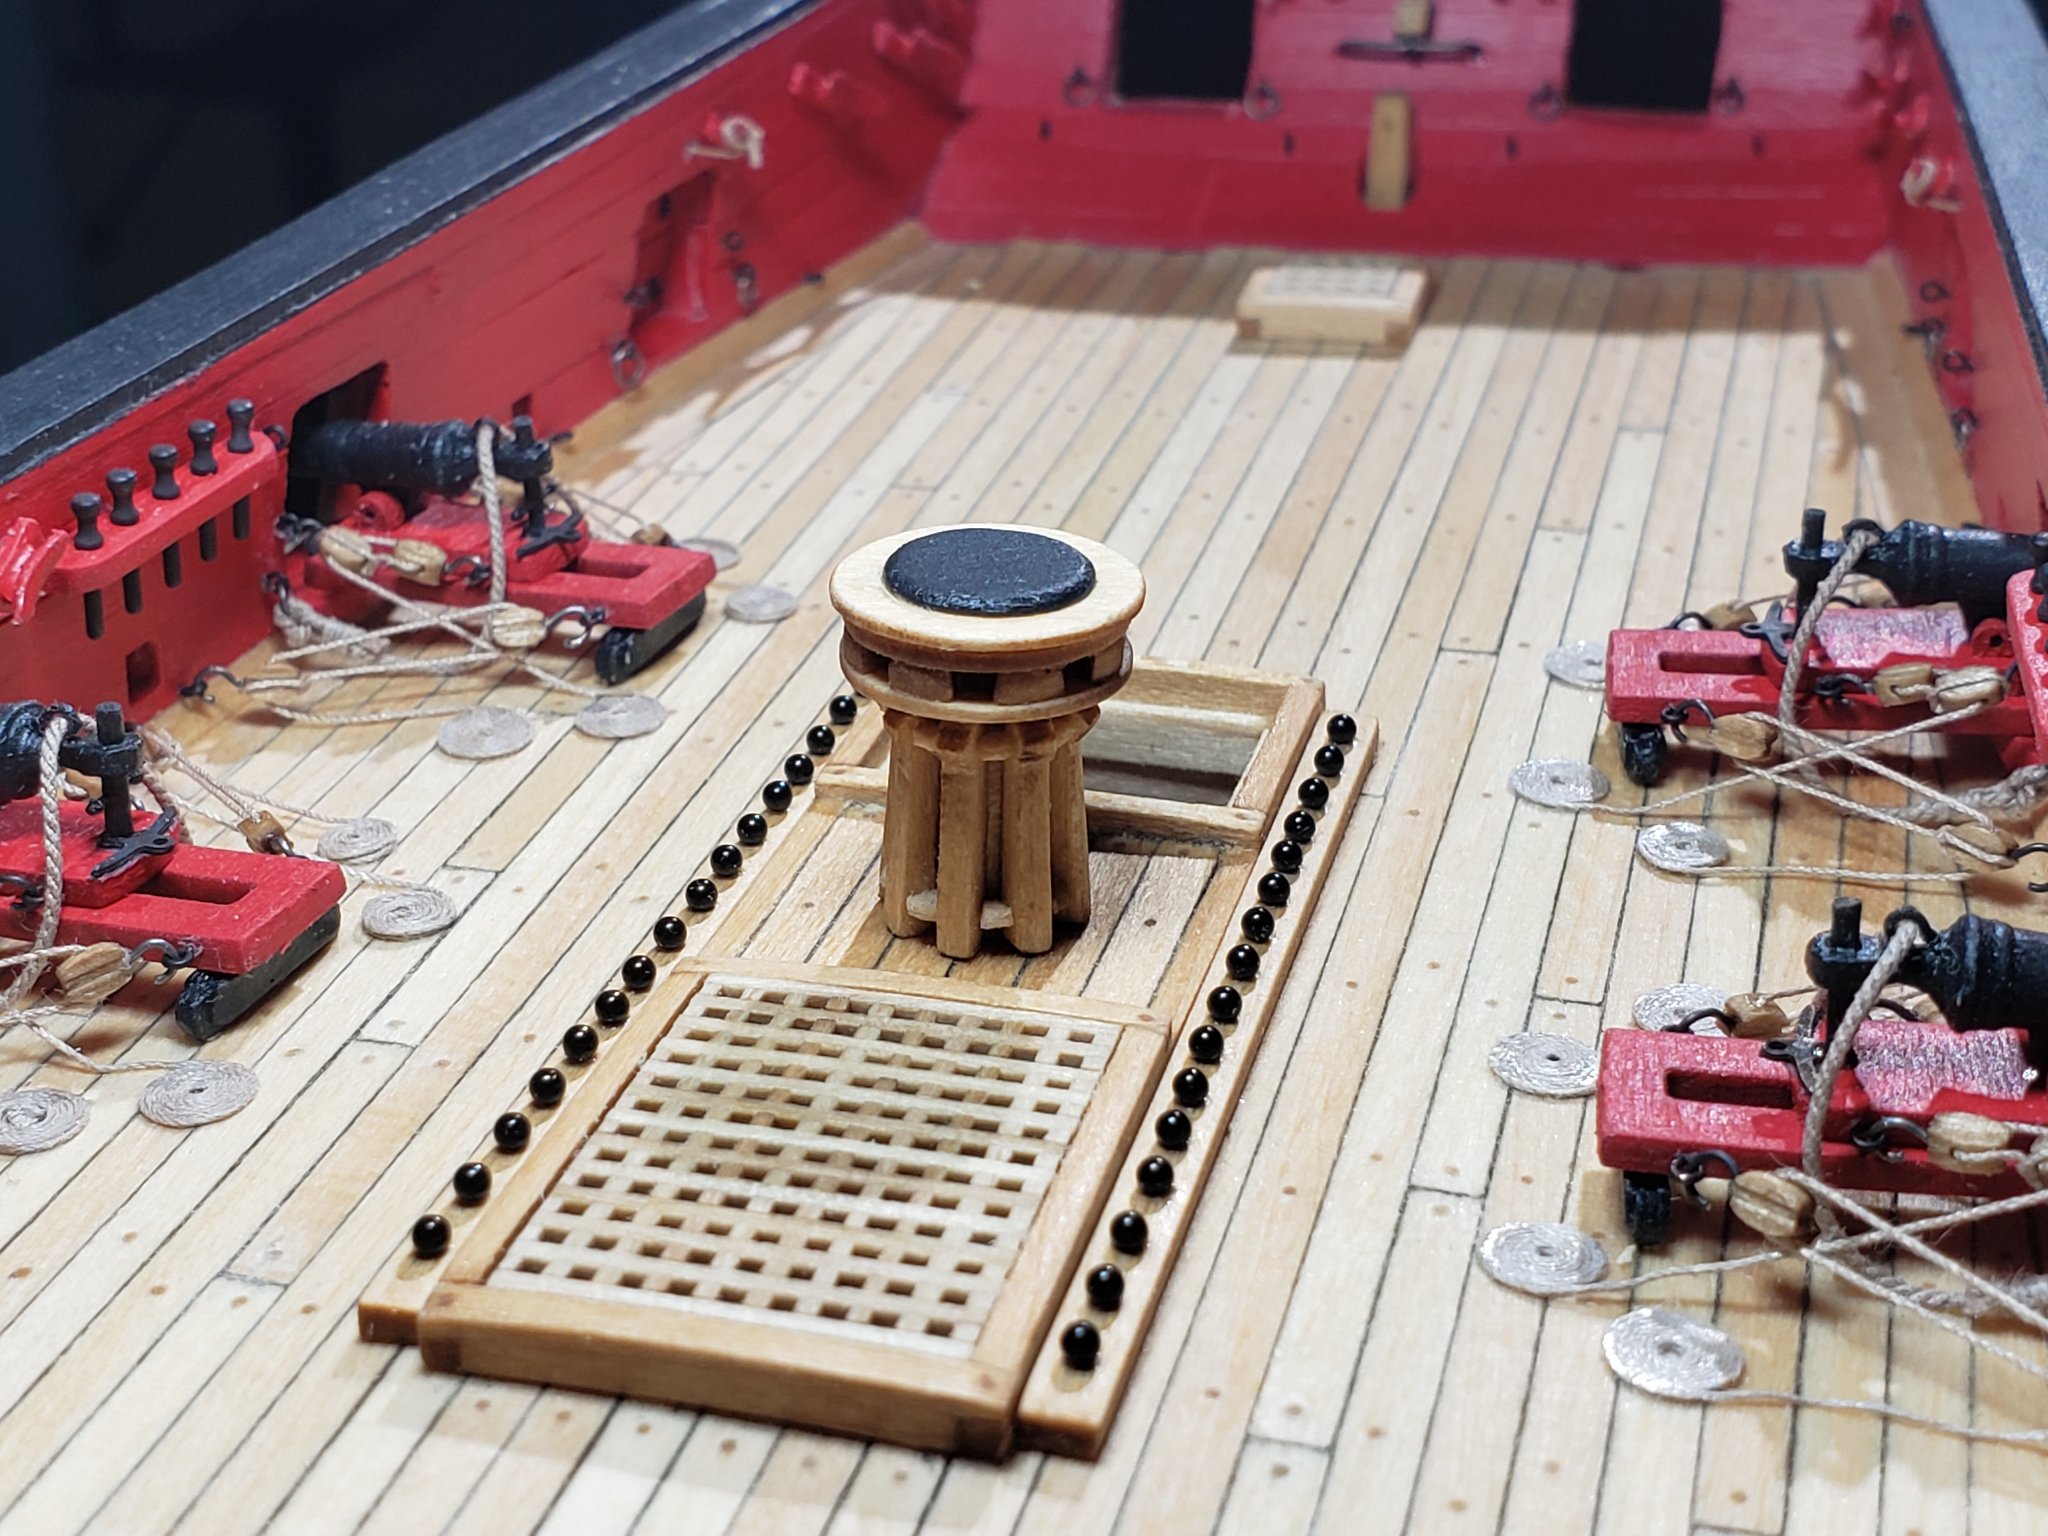
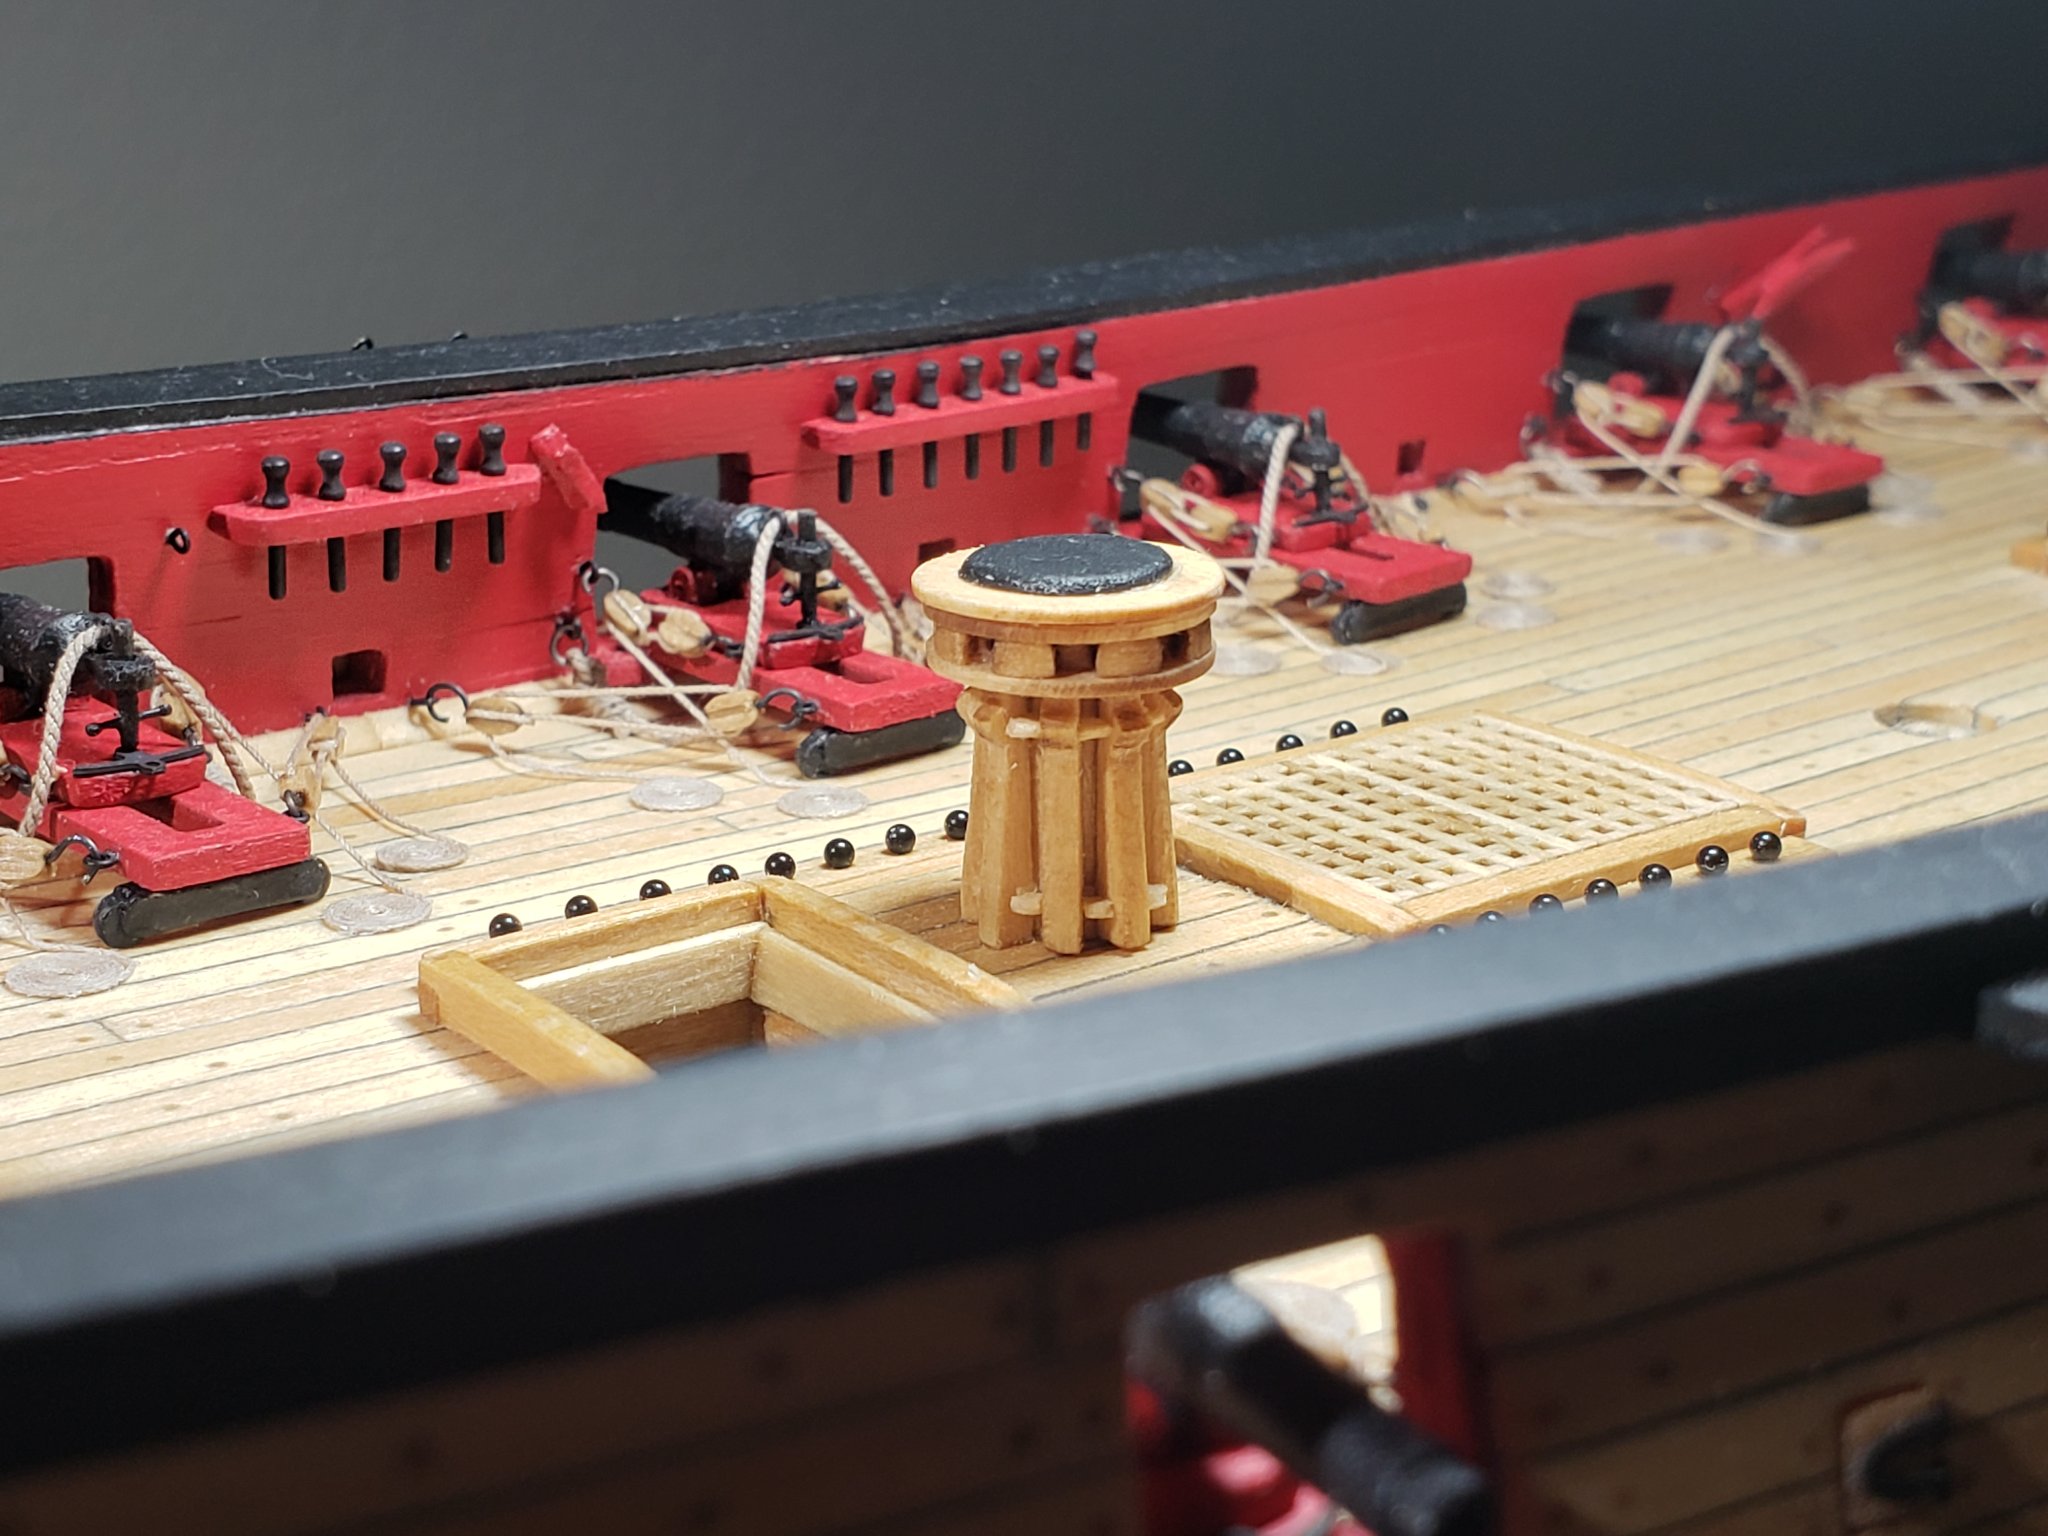
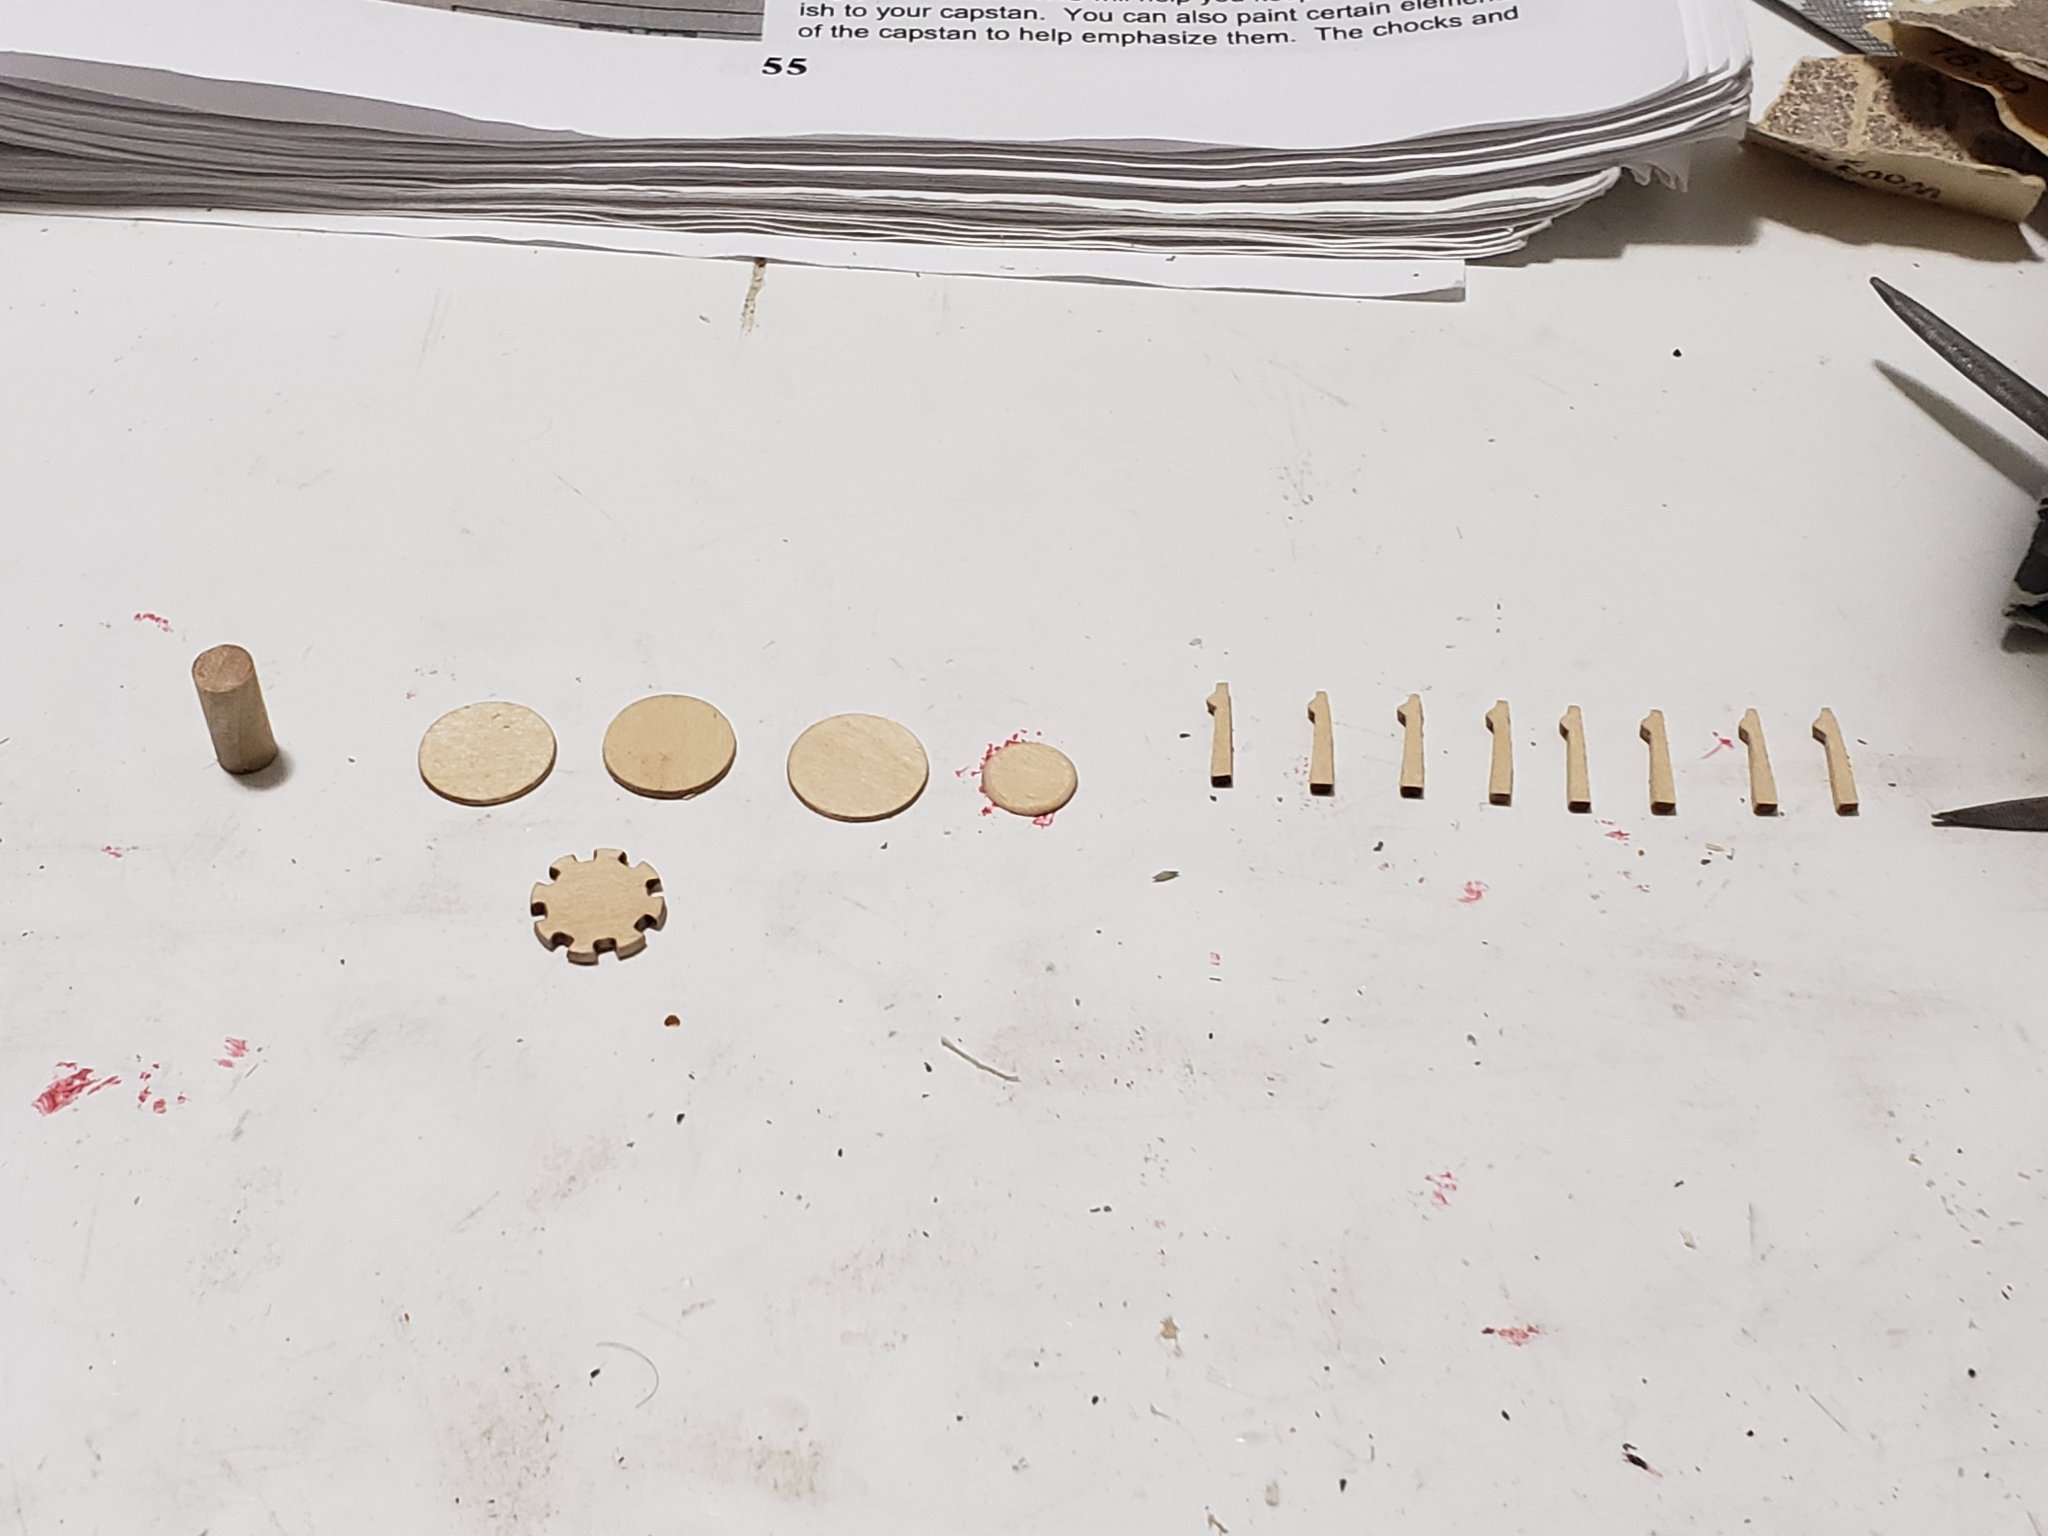
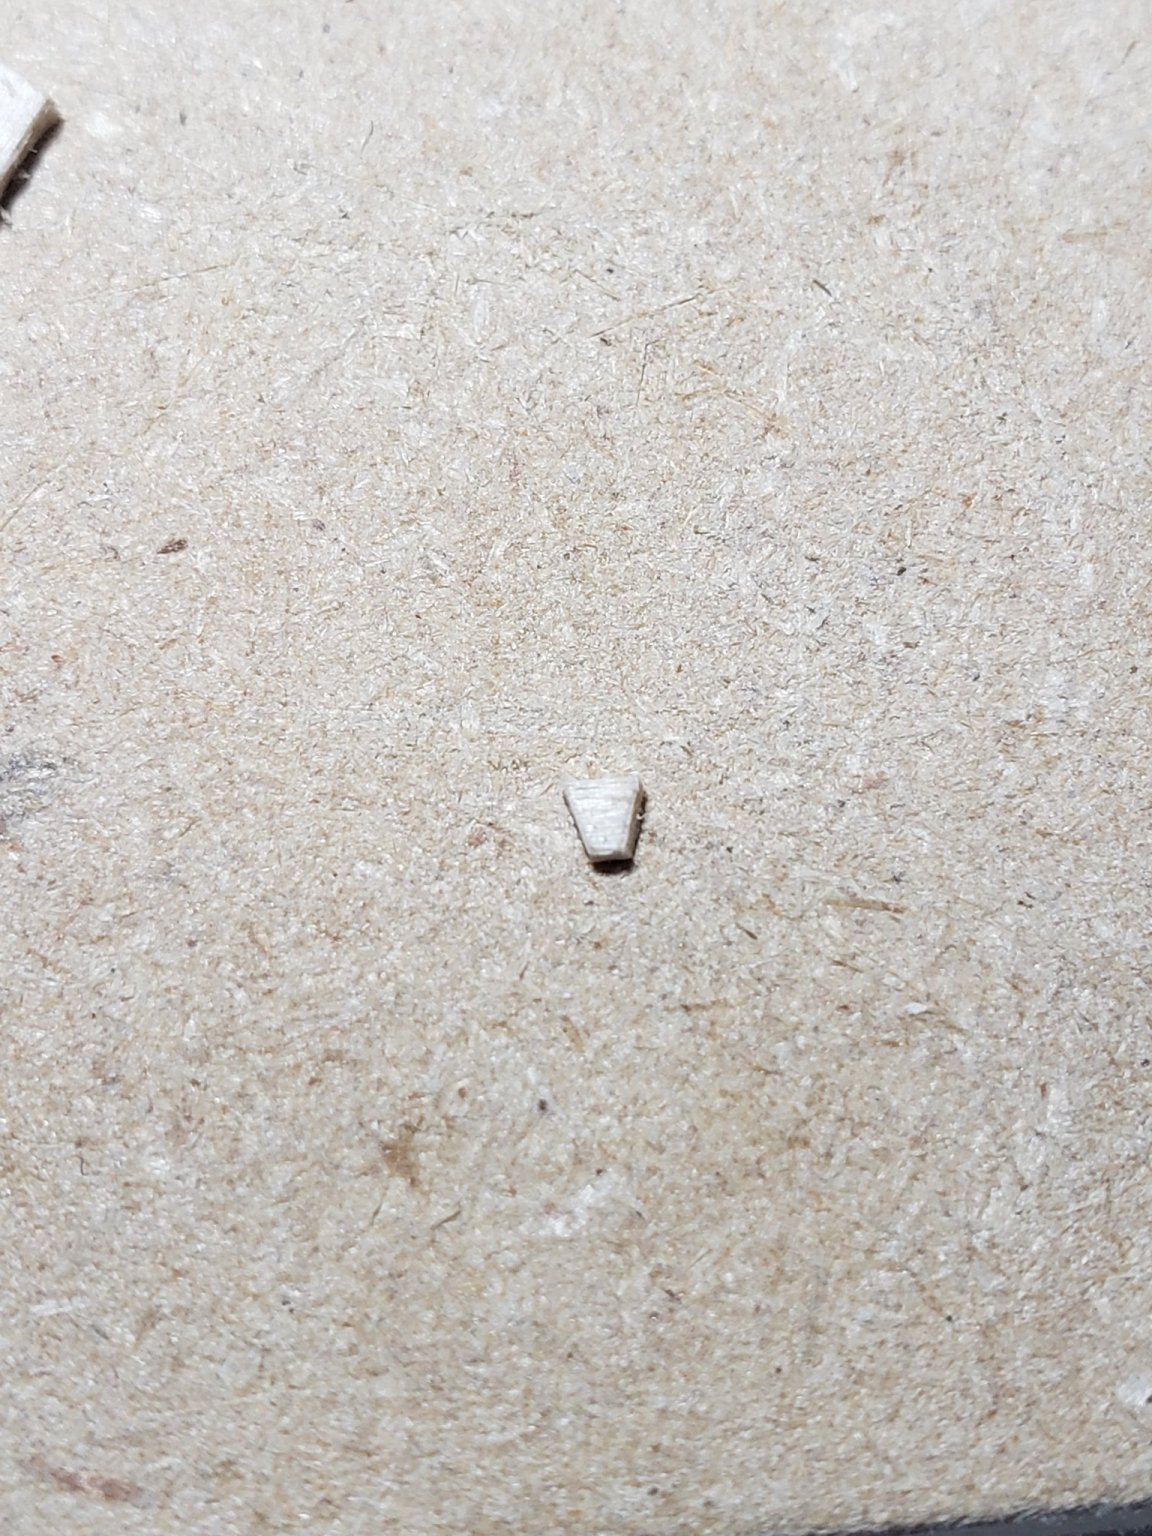
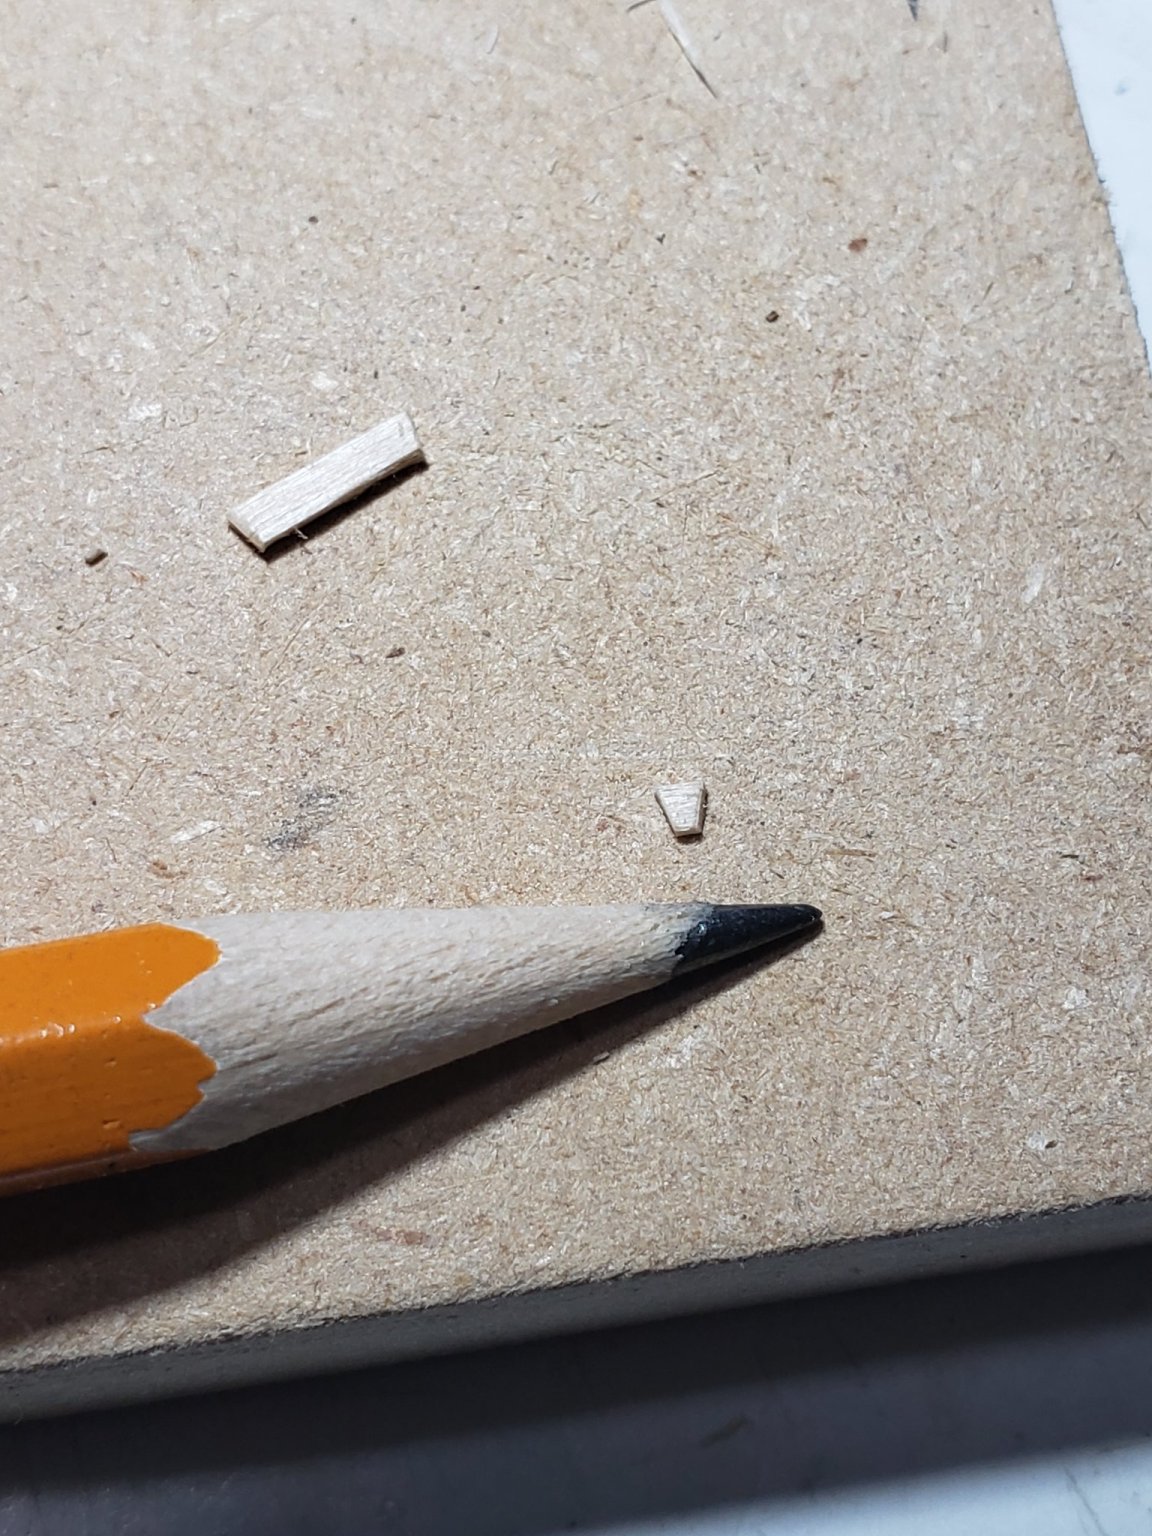
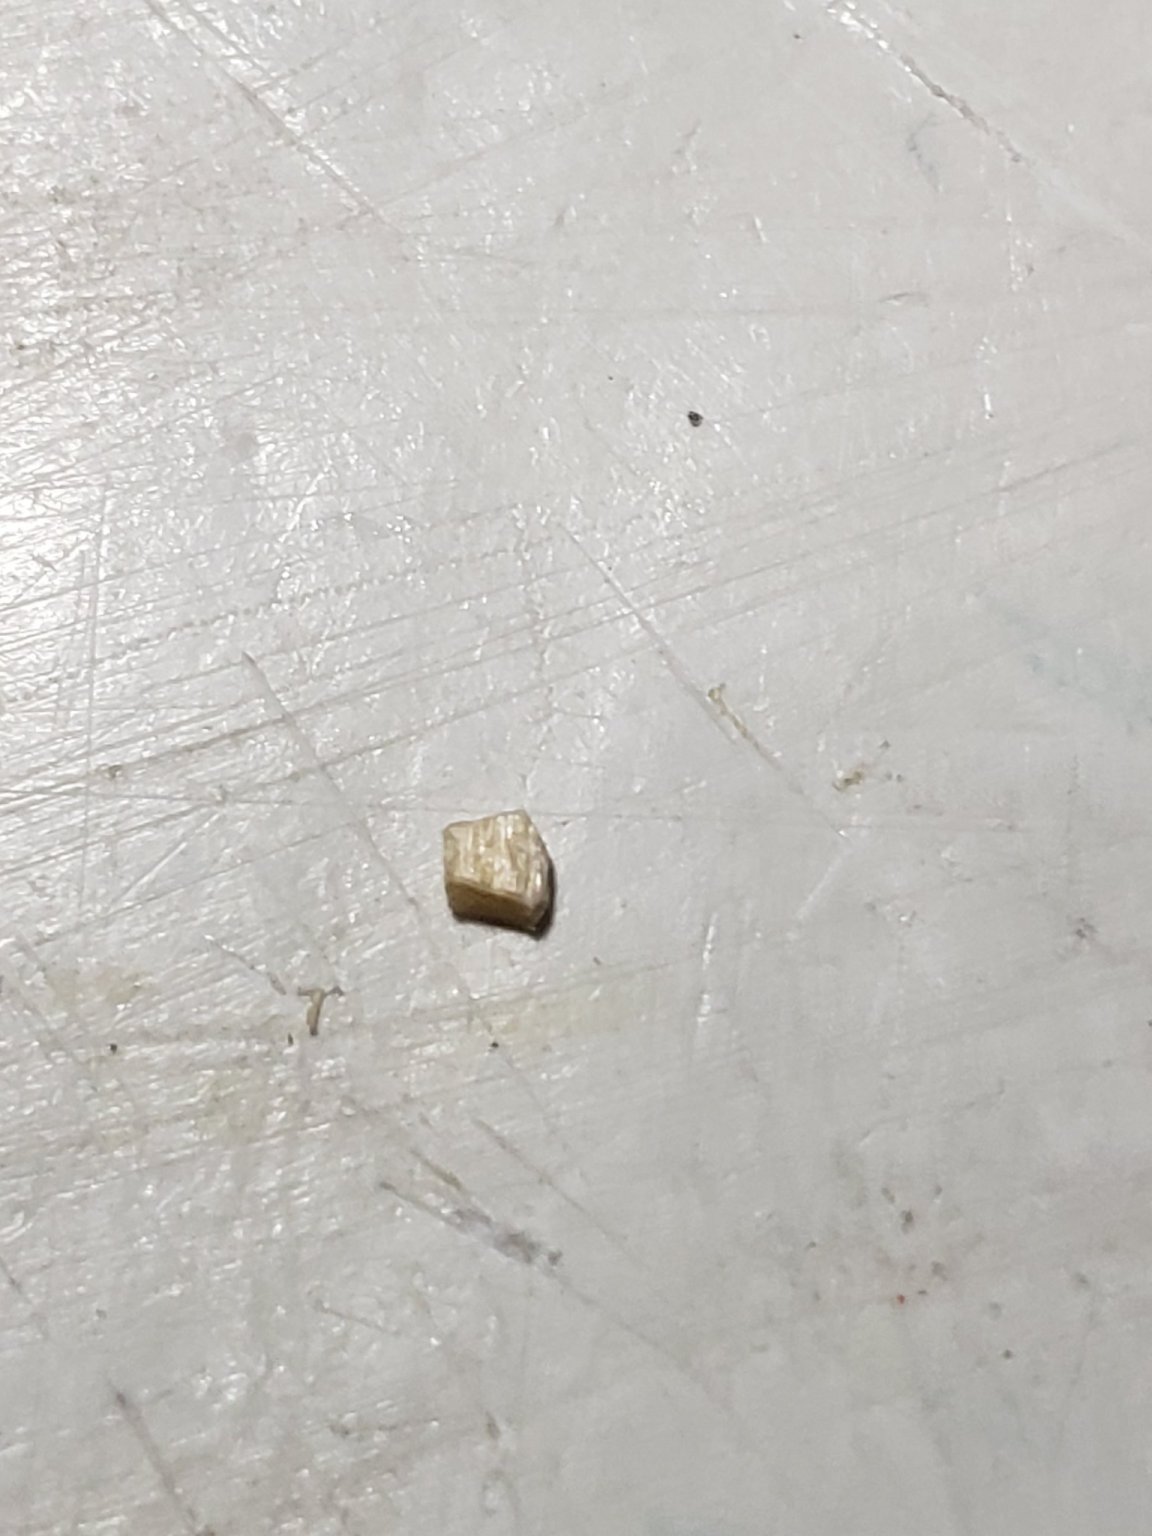
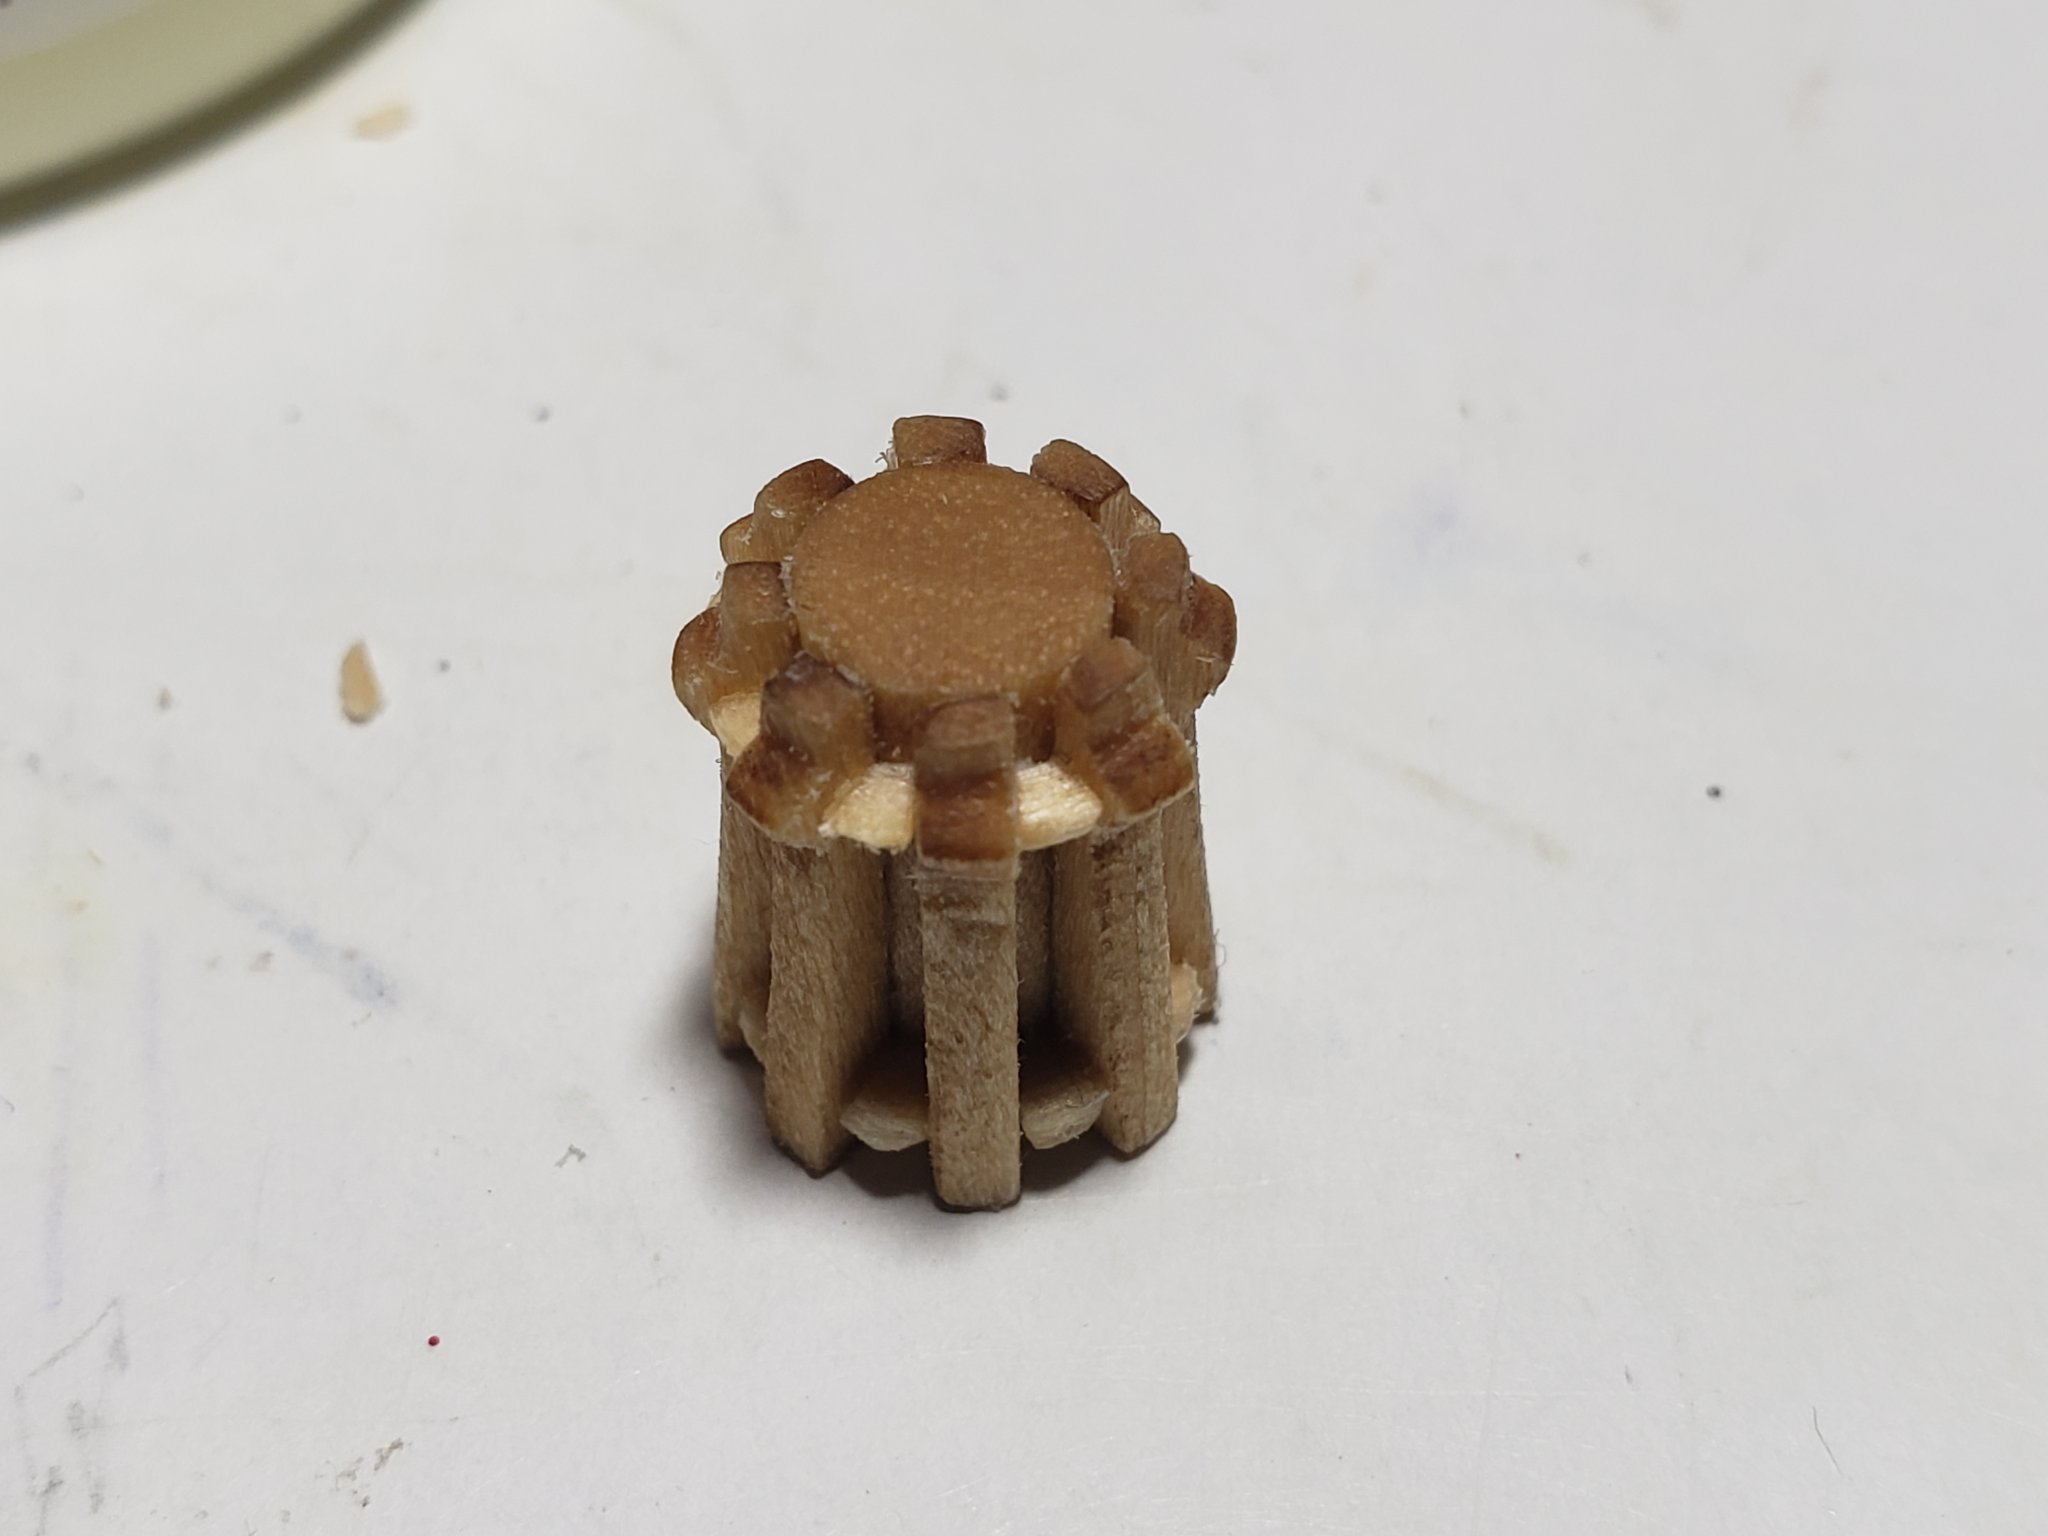
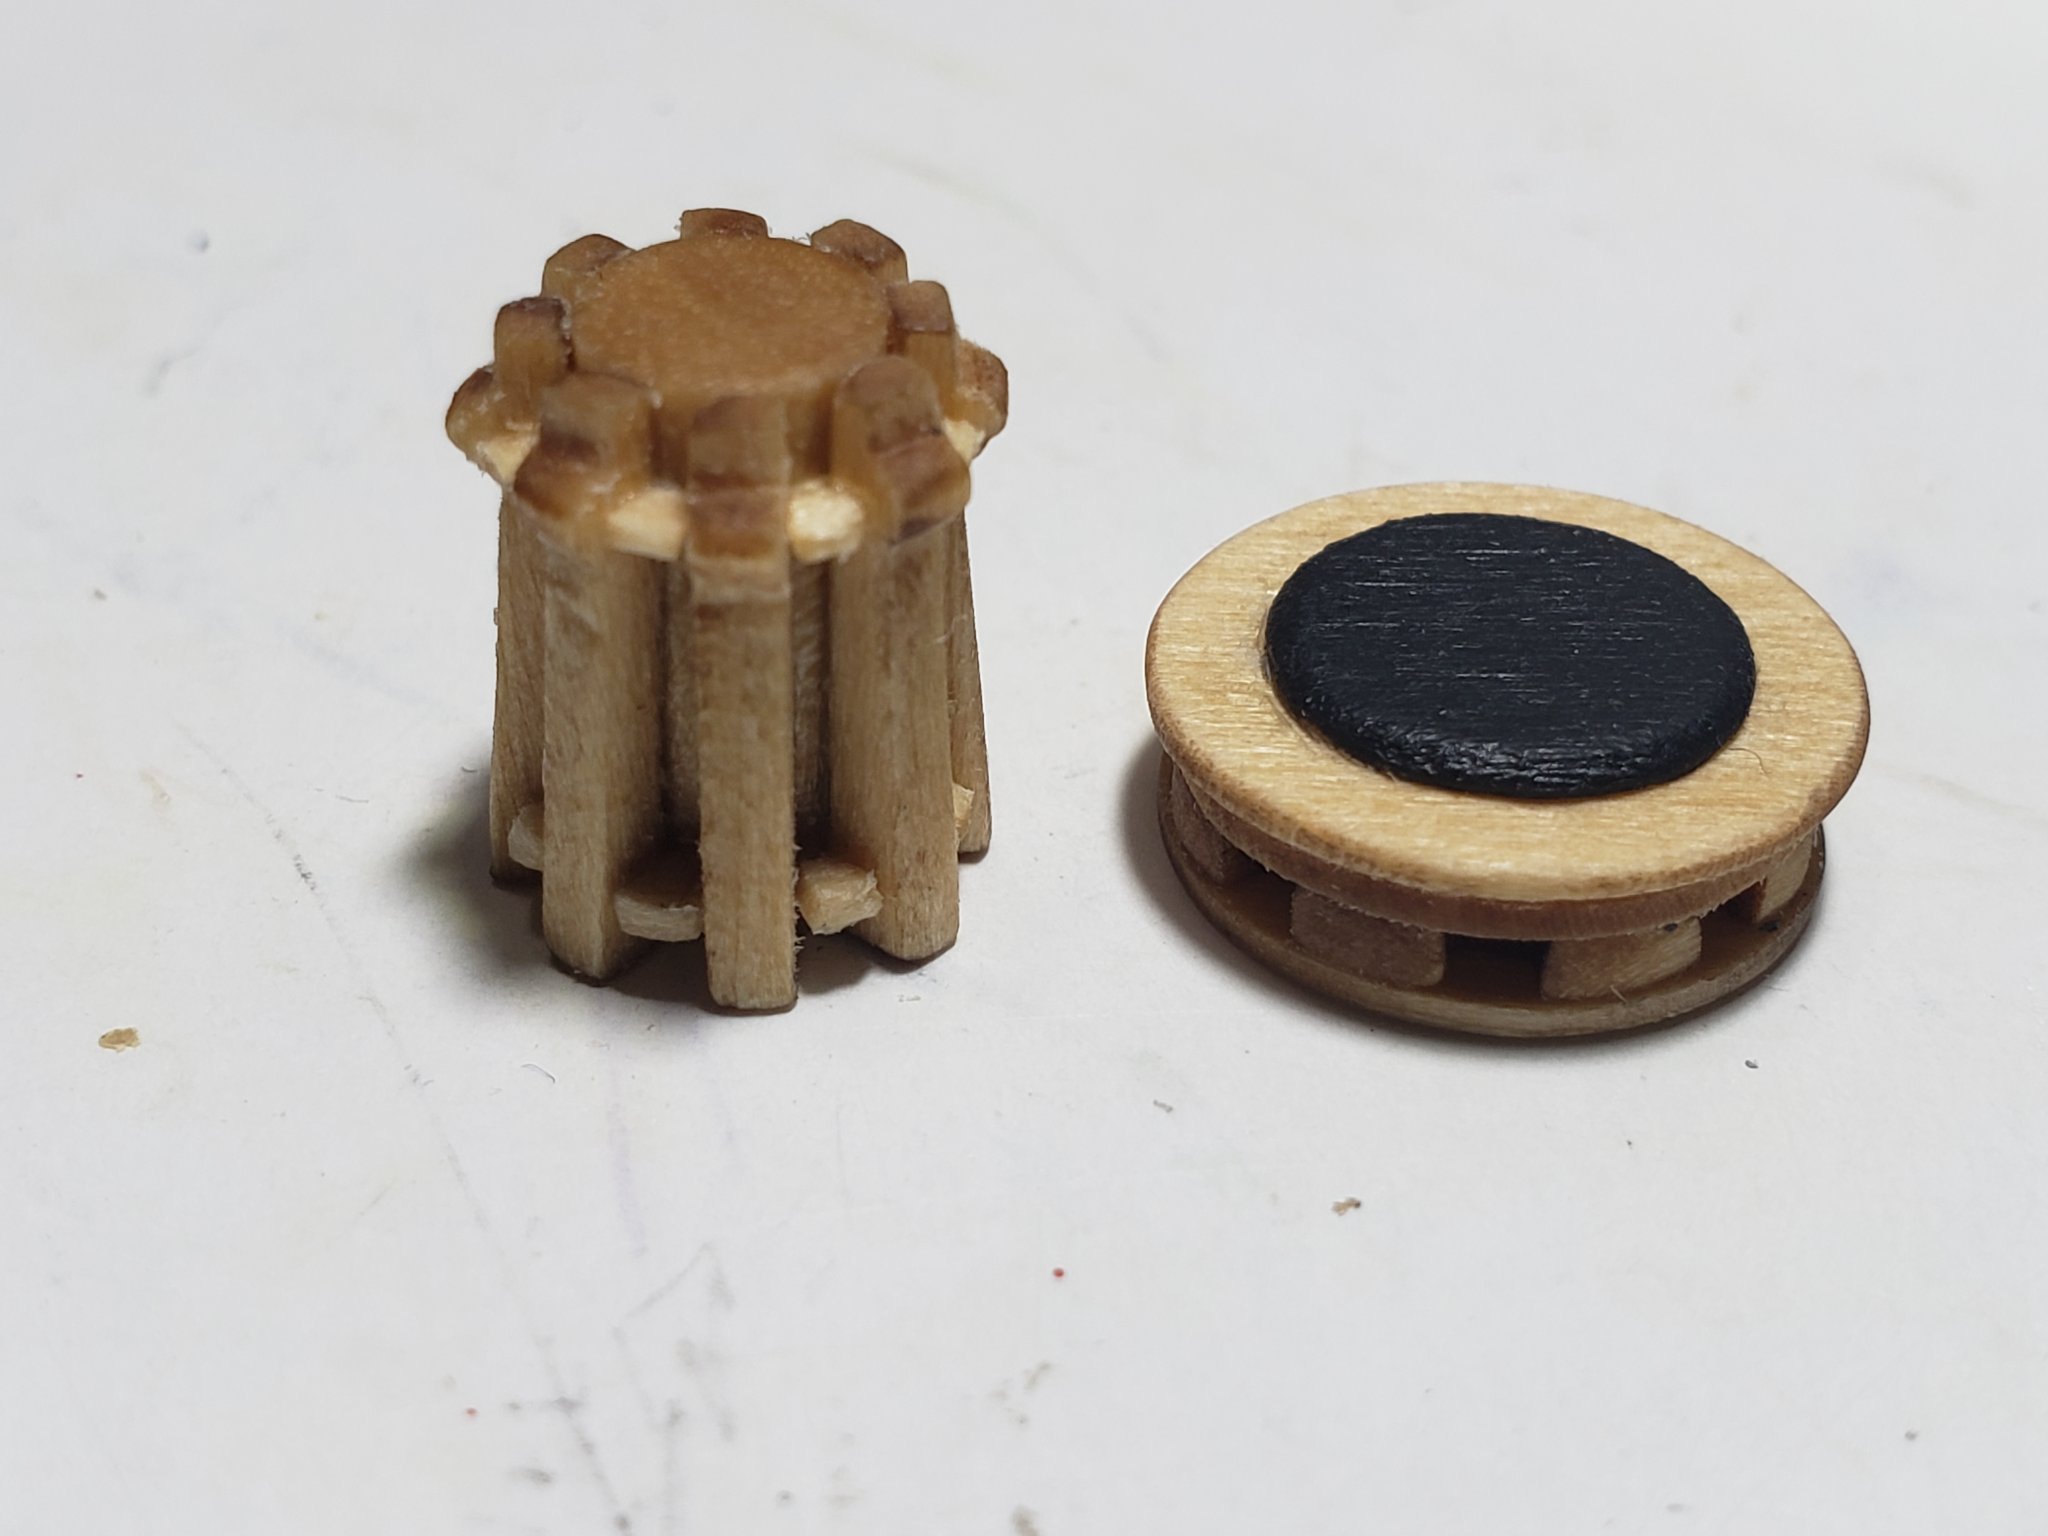
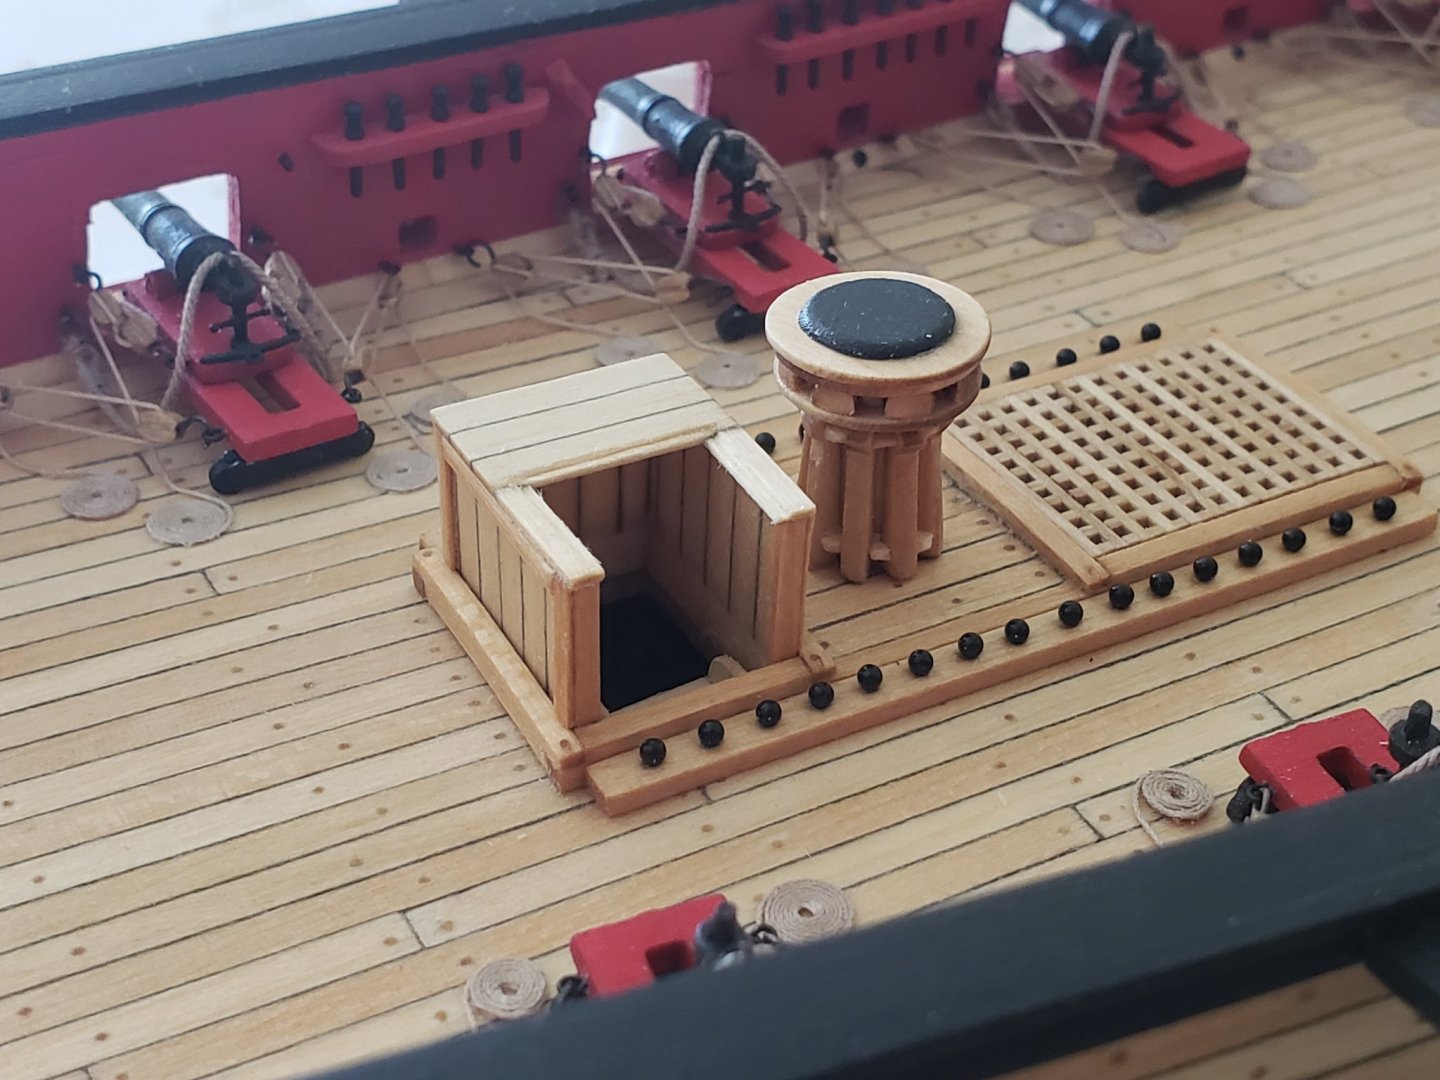
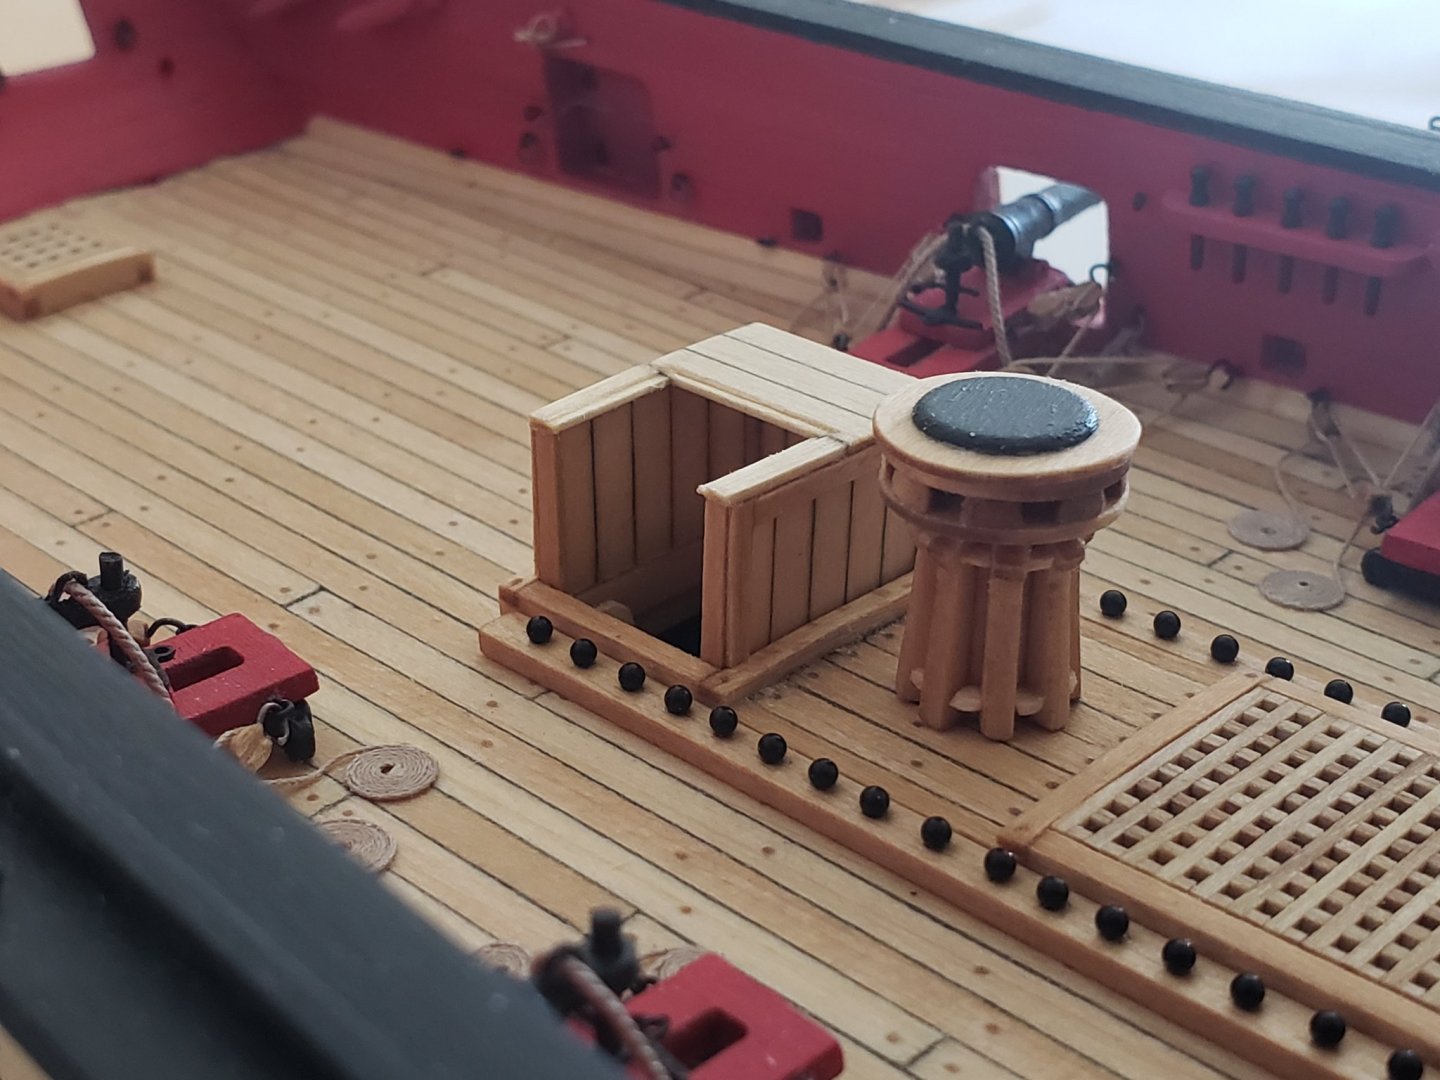
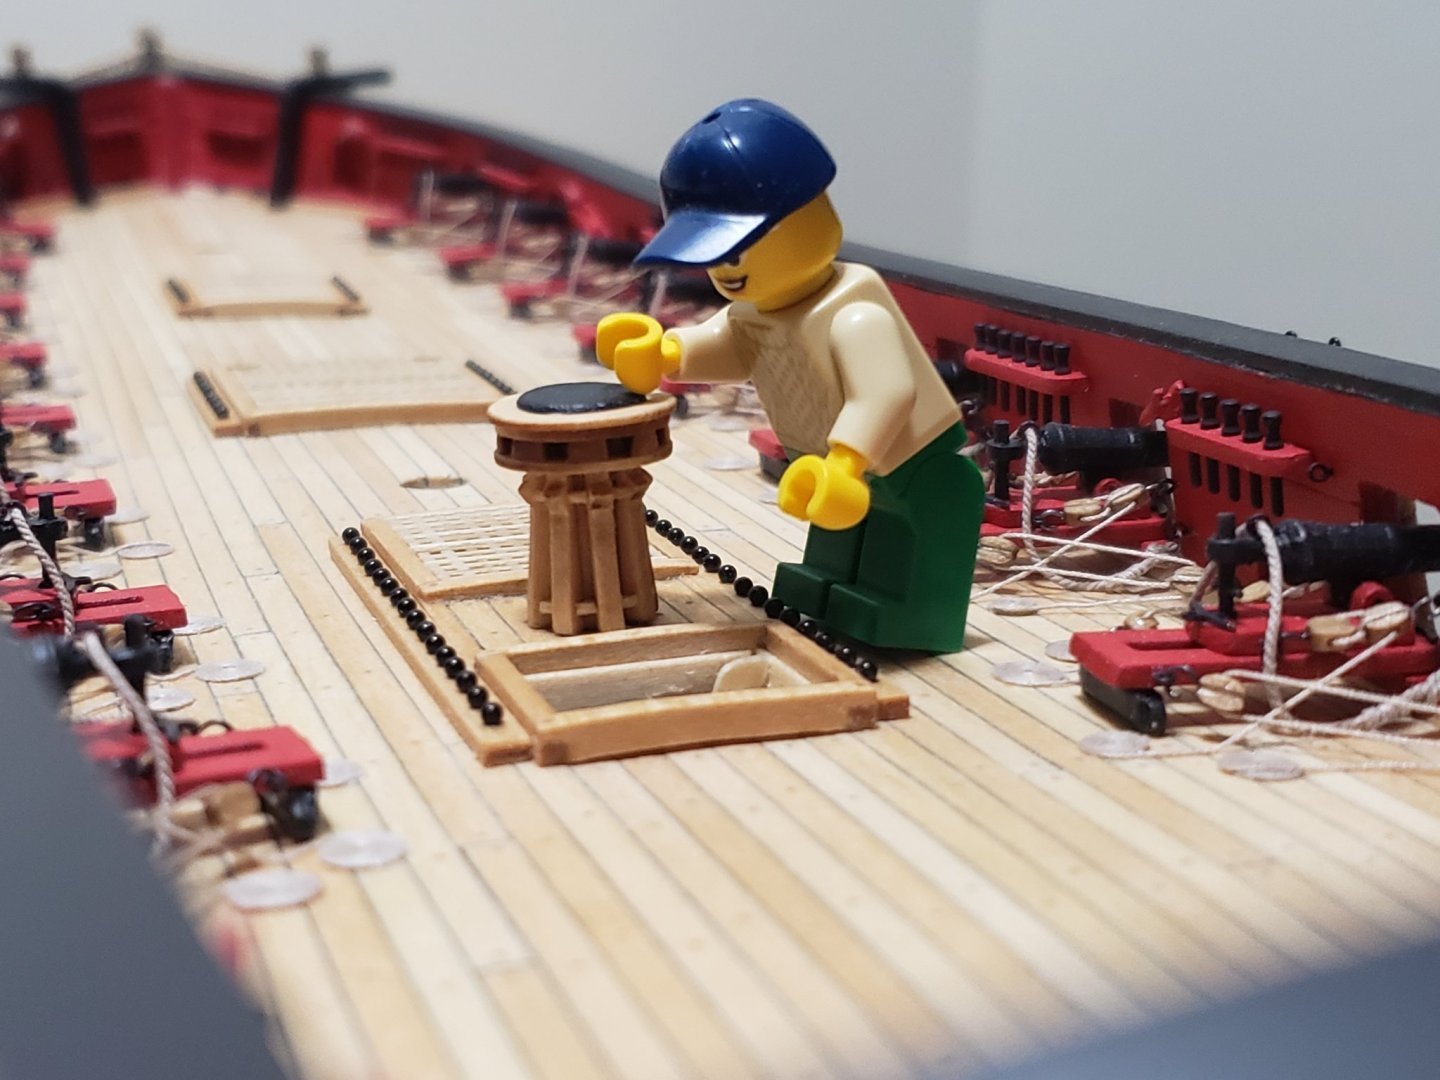
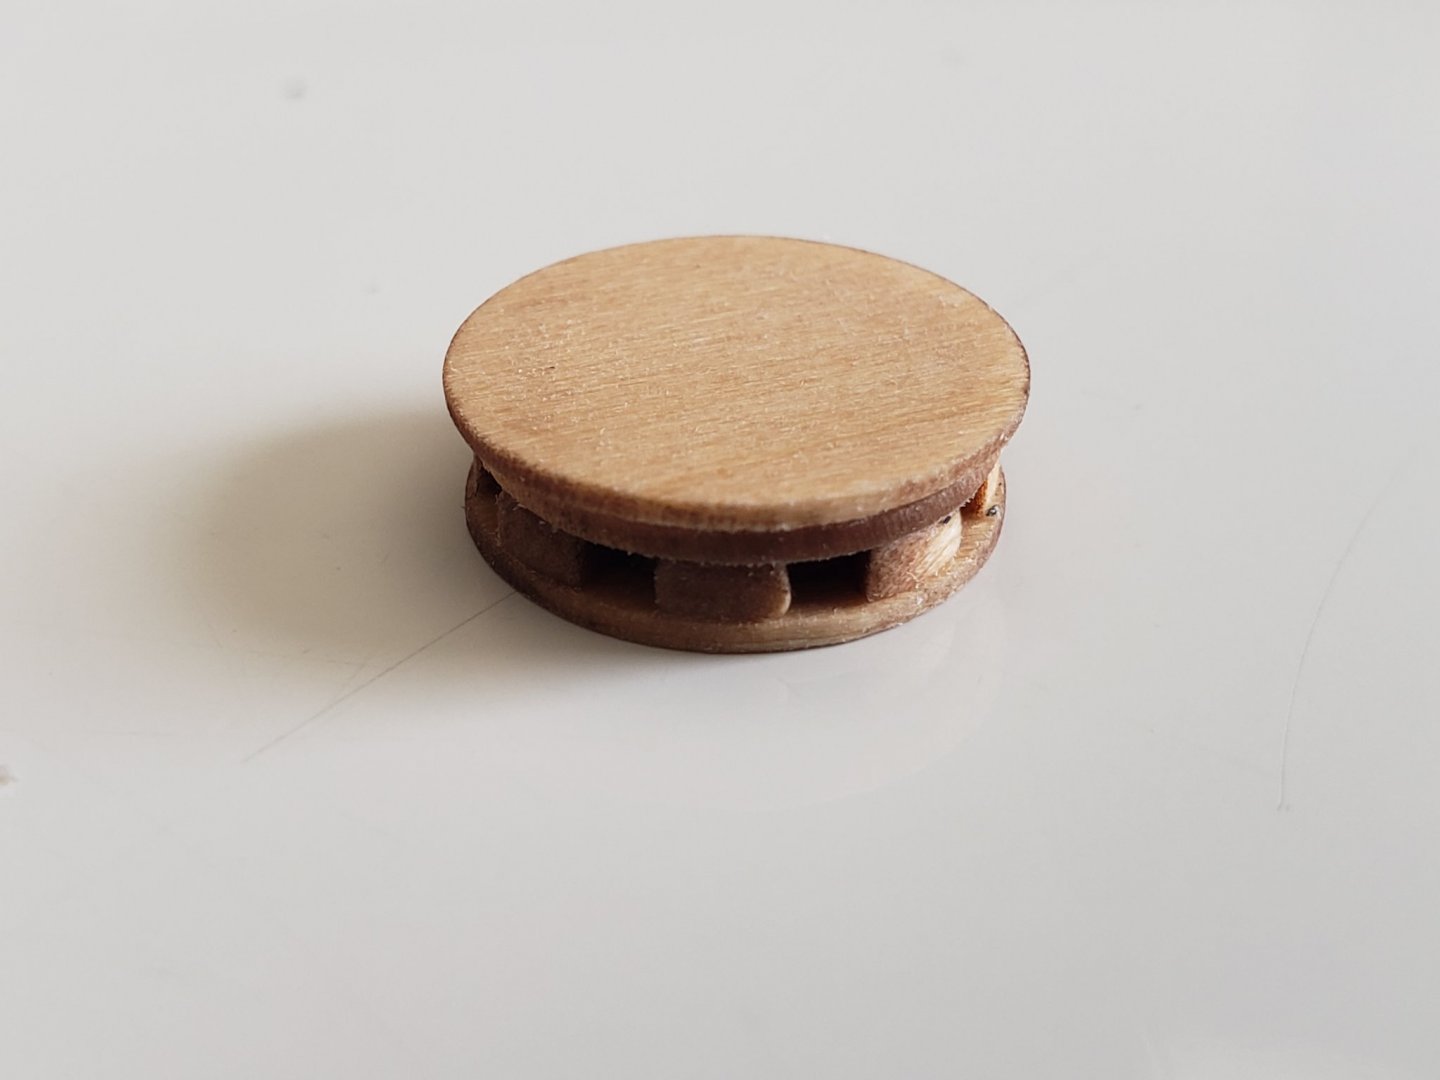
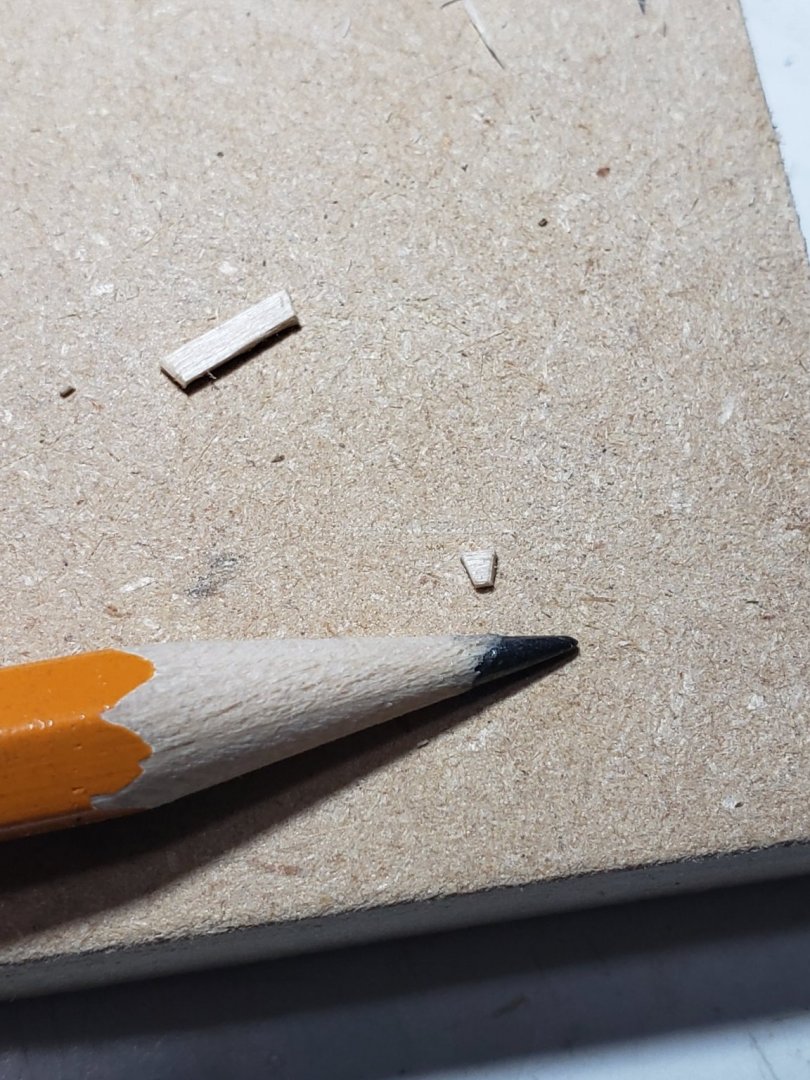
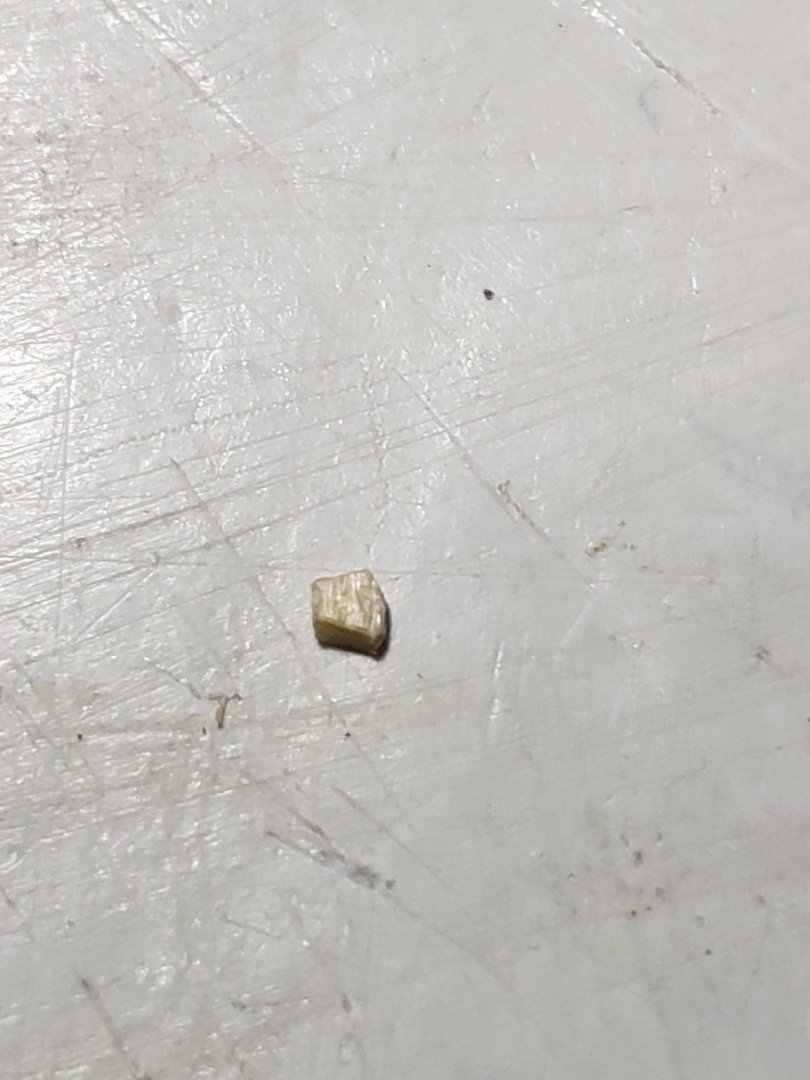
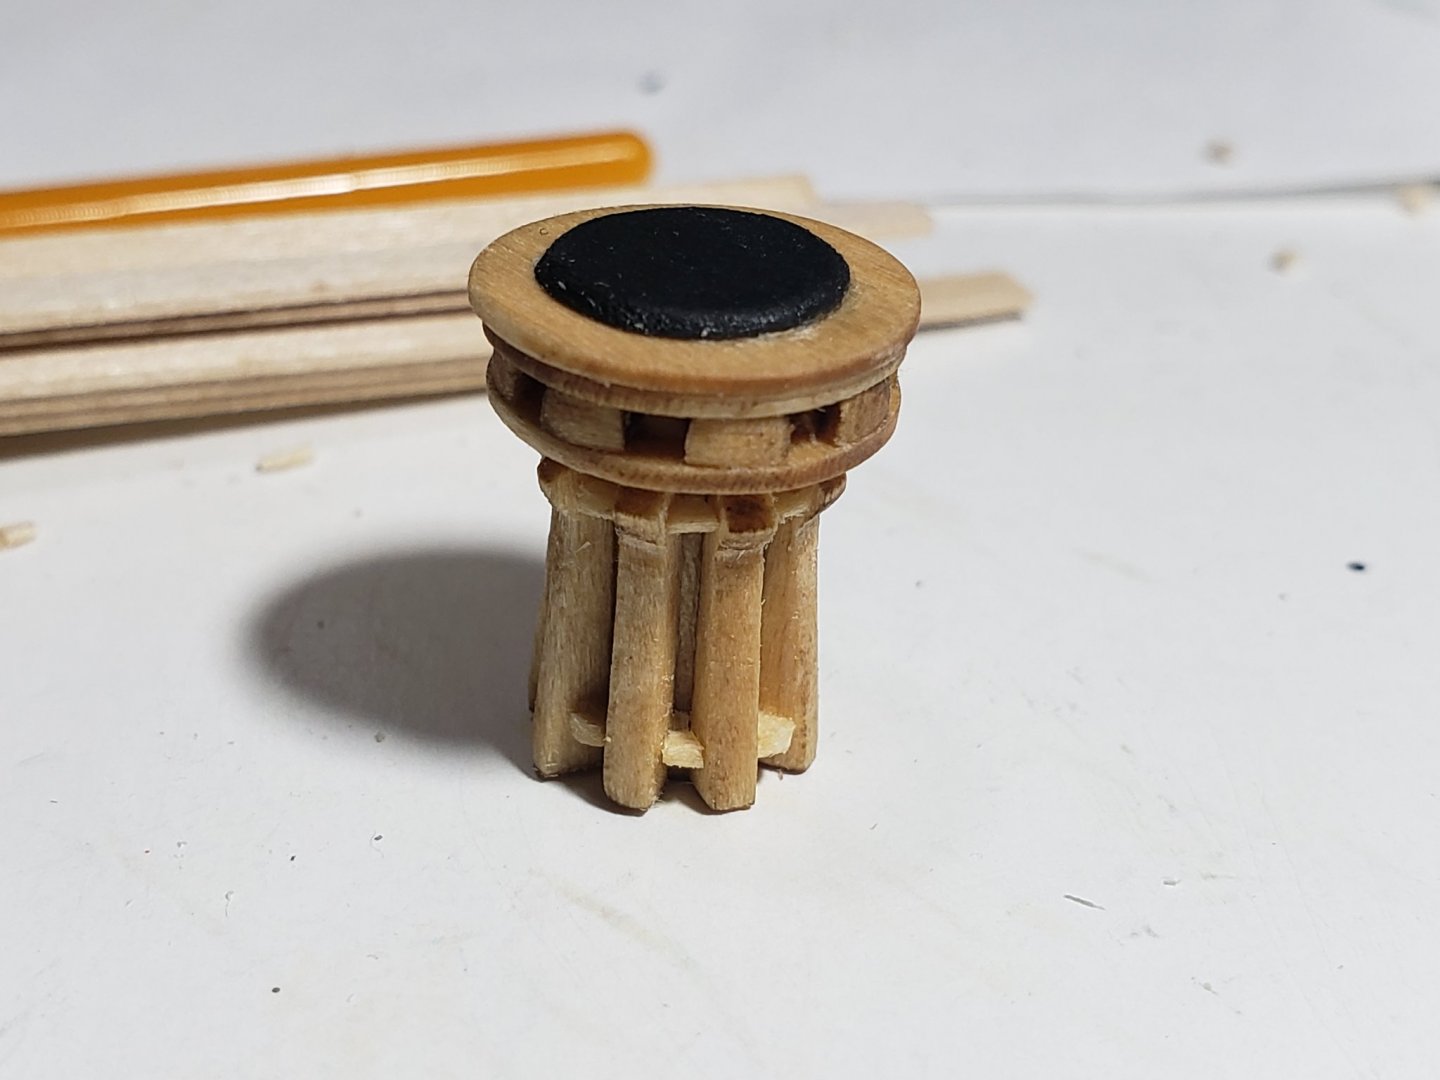
Finished working on the capstan!! This part was trickier than I thought, especially installing the chocks. I used a 1/4" dowel instead of the 5/32" dowel which was mentioned in the instructions. I think this may have been a typo since the 5/32 dowel did not match the width shown in the plans. Nevertheless, here are some pics and process: I first removed all the laser burn marks from the laser cut pieces: Glued the circles and cog like piece, and applied tung oil to the assembly. I also painted the top small circle black (shown after): Glued the whelps (stuck first one followed by one opposite it, followed by one between the first two etc). Now for the chocks, very tricky at this scale. And don't get me started about basswood.......... It kept chipping when trying to cut it to shape.... Very frustrating!!! Anyhows, I managed to do it. You can probably tell in the photos I got used to cutting it since the bottom row looks a bit worse than the top. Overall I'm satisfied with it and don't want to touch this part again.. I ended up with the following method: First divide the 1/32x1/8 plank into 2 1/16" wide planks. Then cut out a trapezoidal piece. Make sure the skinnier part of trapezoid fits in the gap Here's a pencil for scale: Curve the long edges with a file to create a messy looking piece 😅😂 Apply tung oil and glue into position. After these annoying pieces were glued, the assembly was glued together:


- 950 replies
-
- 9
-
-
- syren
- model shipways
- (and 1 more)
-
Gorgeous!!!! I know what you mean about the blocks and hooks...... Don't want to do that again
-
Looks great! Any thoughts for the next project?
-
Great progress!! I never thought of using that rubber band clamping jig.. Will be sure to try it out sometime!