.jpg.1f80adf1a9b14a937cfcf2ca6af0f0d4.jpg)
WalrusGuy
-
Posts
1,007 -
Joined
-
Last visited
Content Type
Profiles
Forums
Gallery
Events
Everything posted by WalrusGuy
-
.thumb.jpg.62d1d69fed1f32364417cb1f9cdeb009.jpg) I agree Patrick, wish I also planked mine as it looks detailed whereas the preformed one looks kinda flat.
I agree Patrick, wish I also planked mine as it looks detailed whereas the preformed one looks kinda flat. -
Thanks for the shout-out Edward!! Feel free to ask me questions regarding any of the steps. The process was time consuming but it was worth the effort imo..
-
For my kit they packed the brass strip in a tube together with the brass rod.
-
The planking looks really good!! I think I also had the same issue with the stairstep look in the planks which disappeared with sanding. I'm also eager to see the results of two nails per plank.
-
Thanks Thomas!! I'll take a look.
-
Wow!!! It looks perfect to me, Robin! I also need to do homework on what it's used for, I thought it was just used for decorative purposes 😅
-
Thanks for the compliments Voyageur and Thomas! And thanks all for the likes 😄 Thomas, I have a question for you if you don't mind (or if anyone else knows ).. I want to try to carve out the stern carvings, and was just wondering how did you achieve the (leaf?) pattern that runs throughout the entire carving? Is it at all possible with just a #11 blade and some needle files? I'll be using cherry wood for this. Also any other bits of advice before I try this very daunting task? 😅 This endeavour seems like it is way over my skill set so if all fails I'll just use the castings, but just wanted to try it out 😄
- 950 replies
-
- 1
-

-
- syren
- model shipways
- (and 1 more)
-
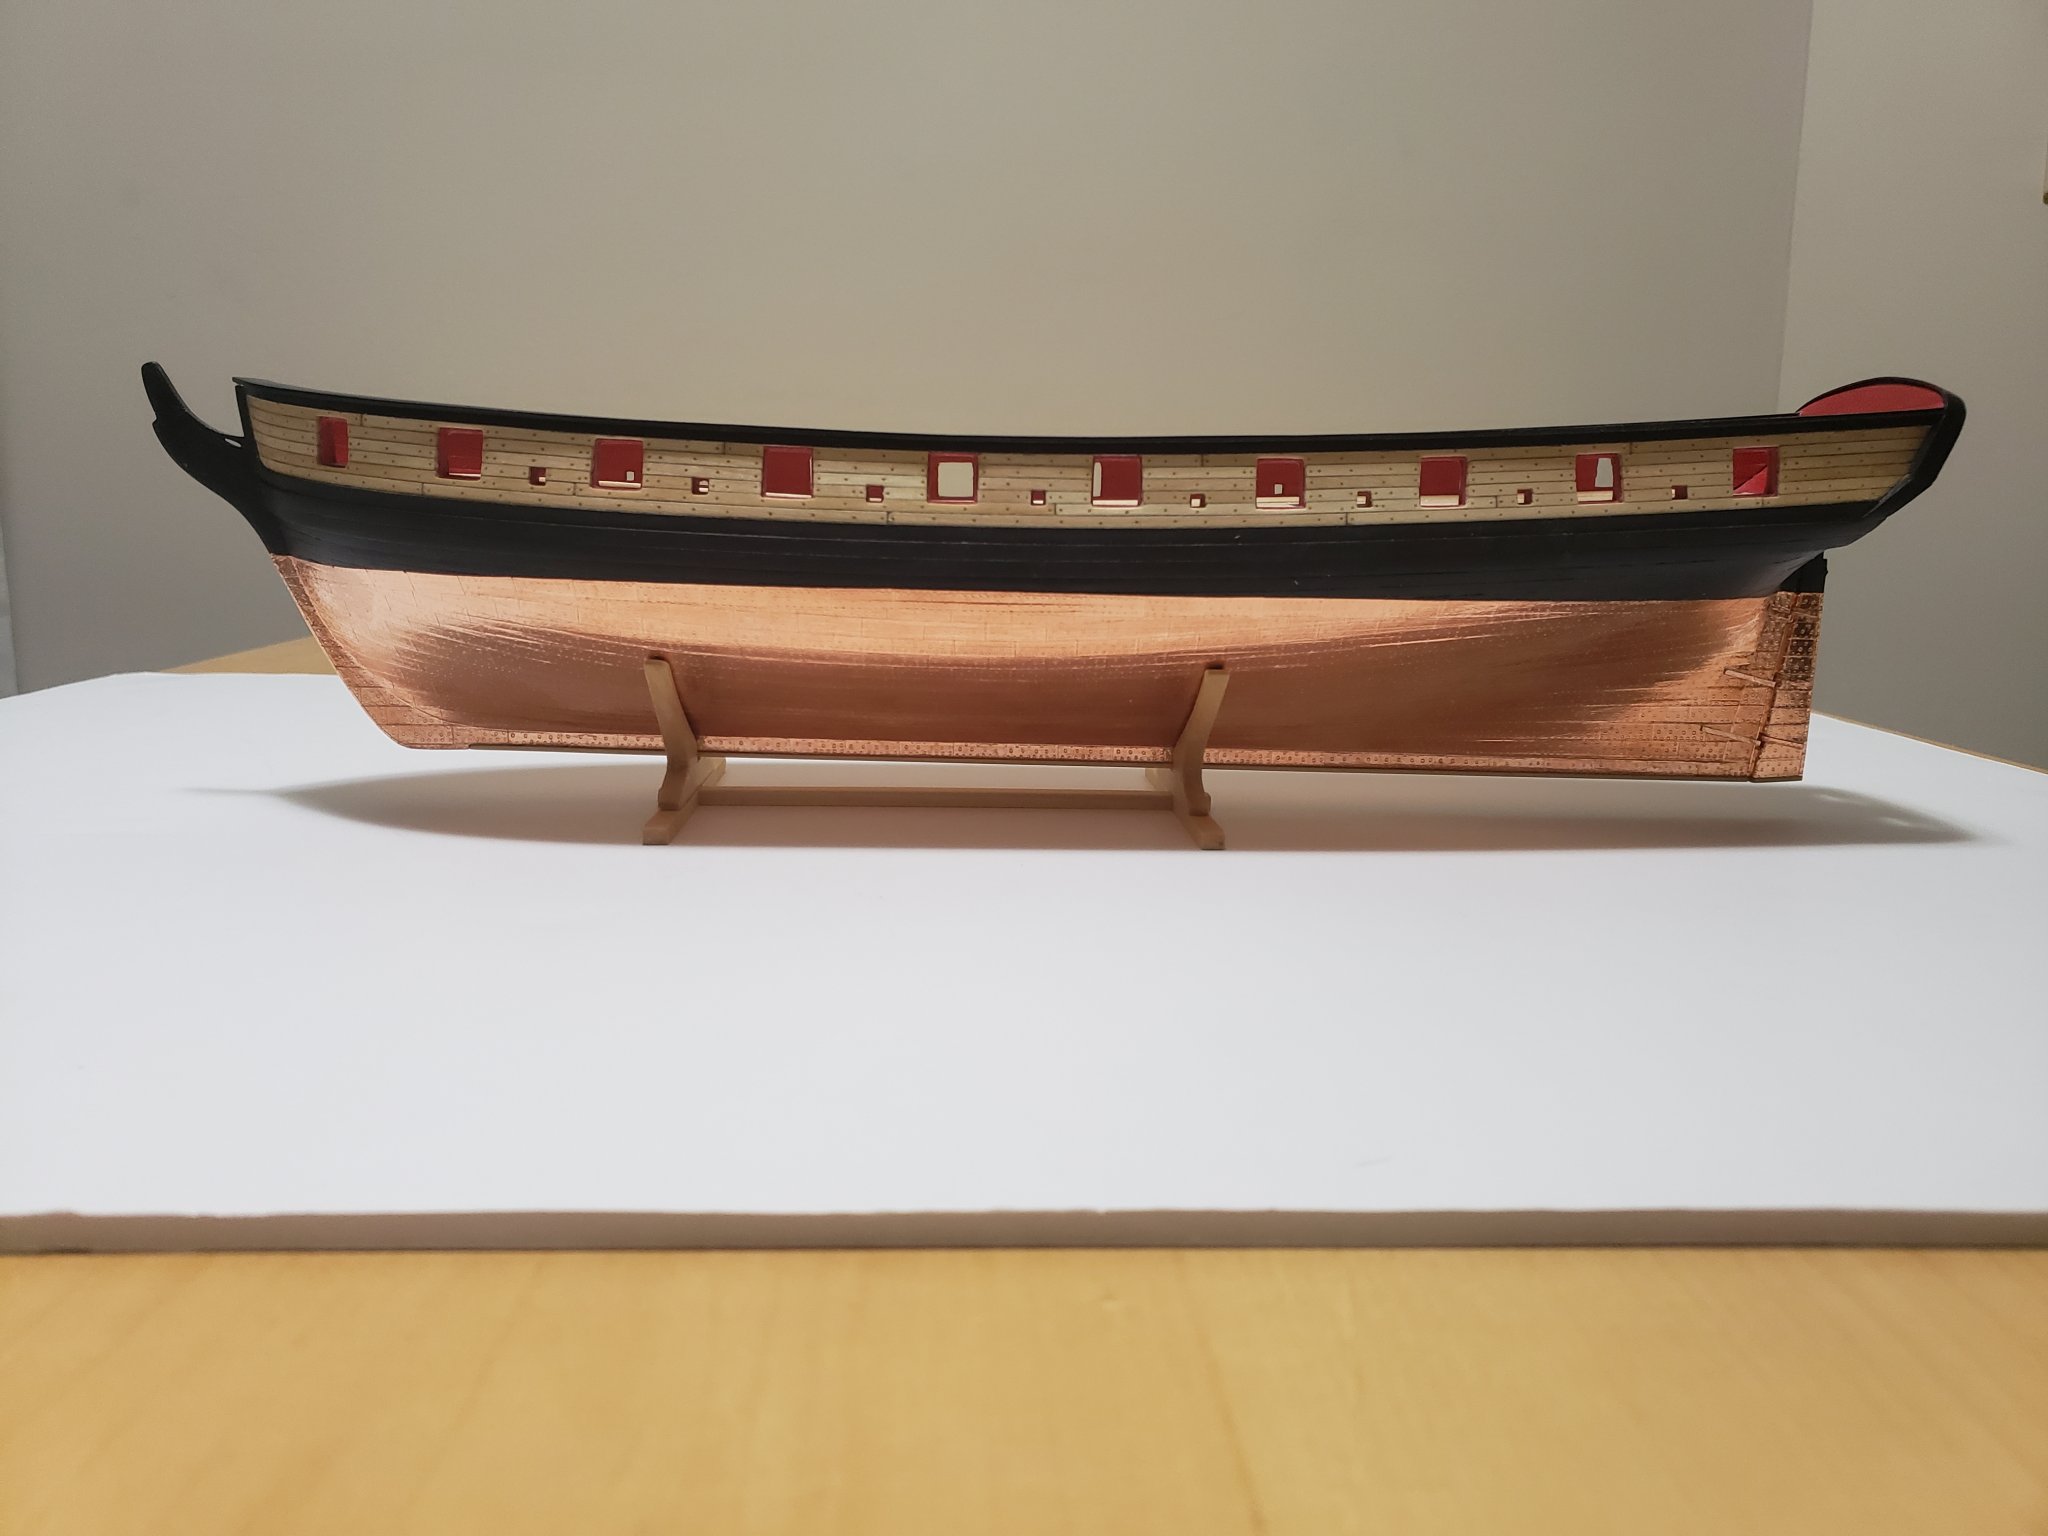
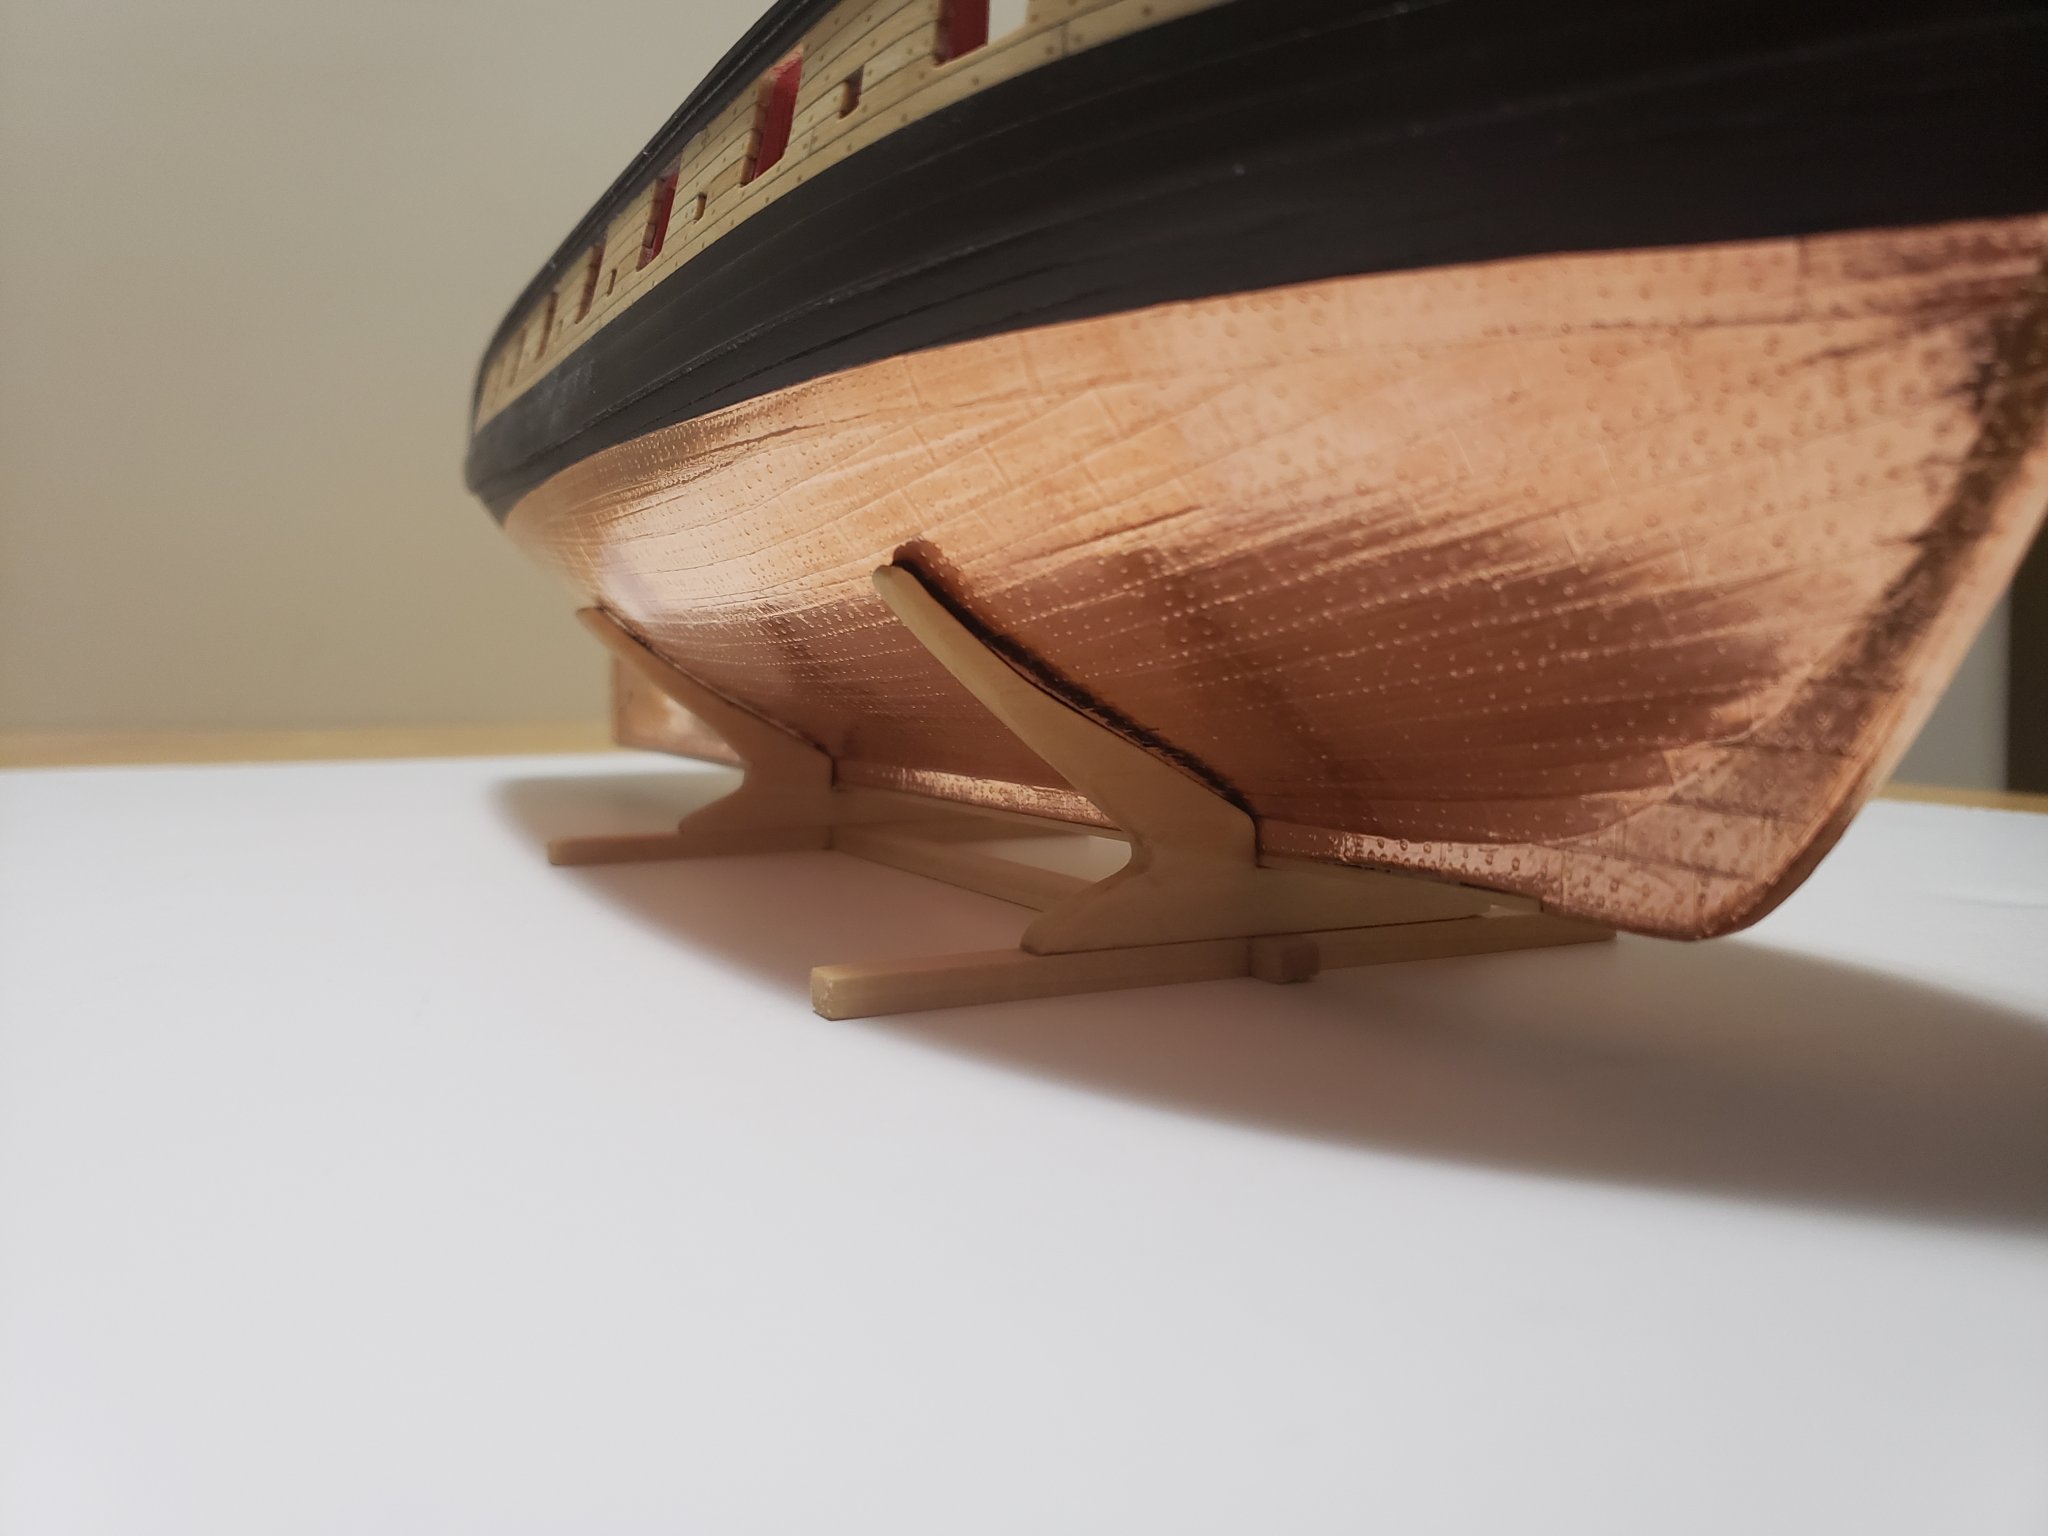
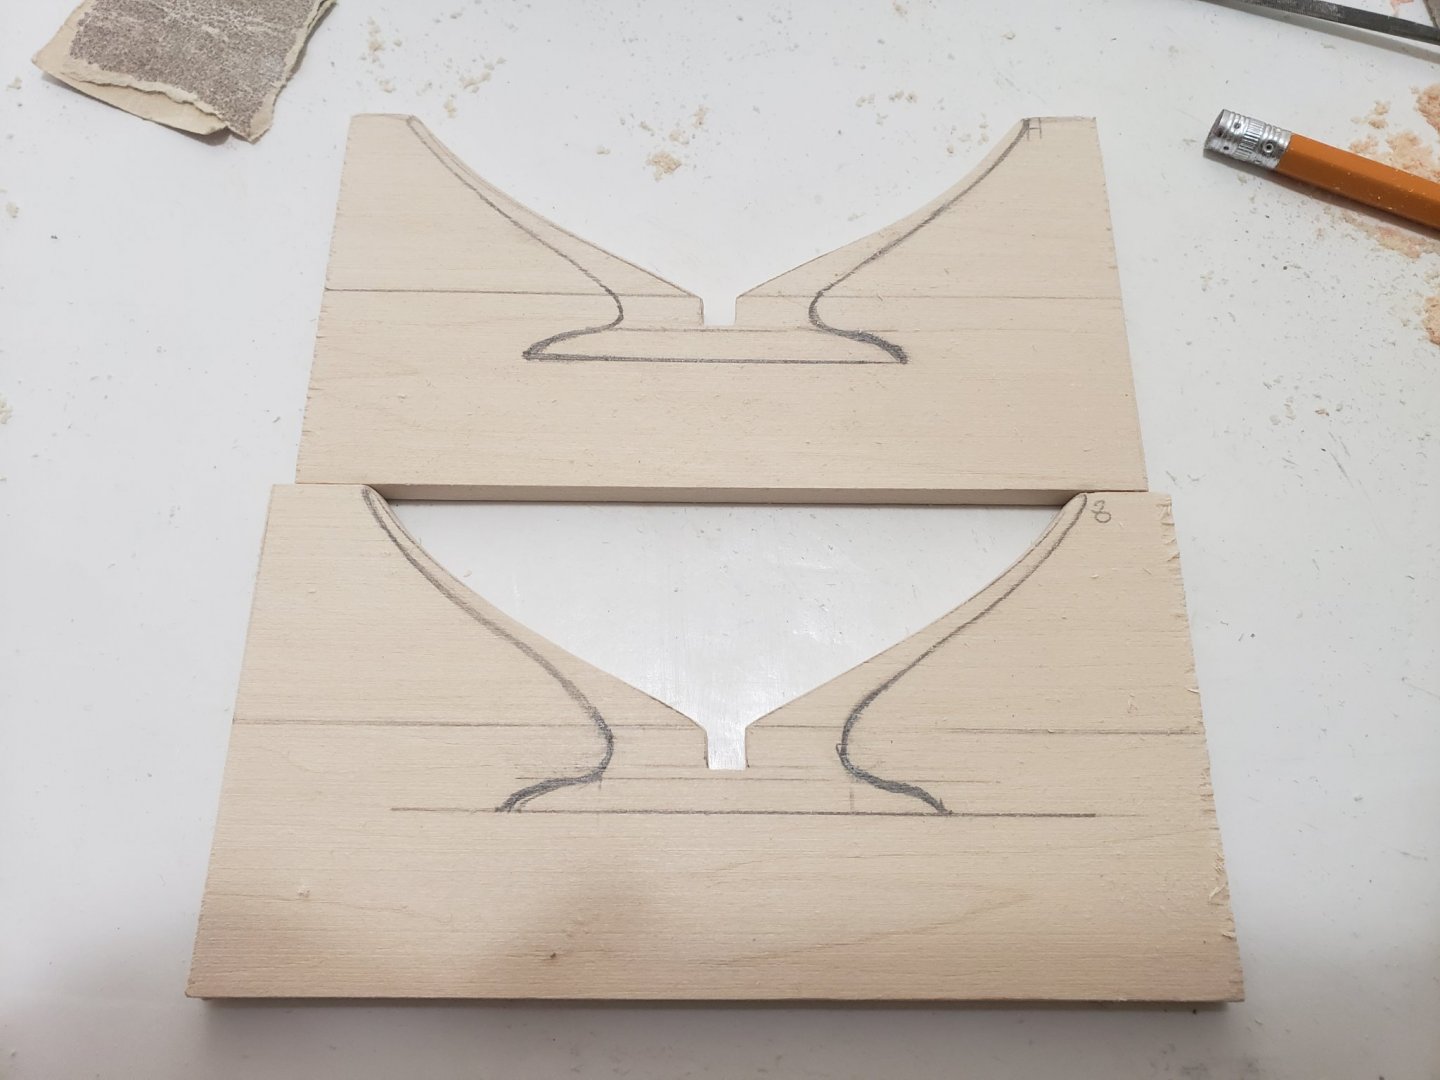
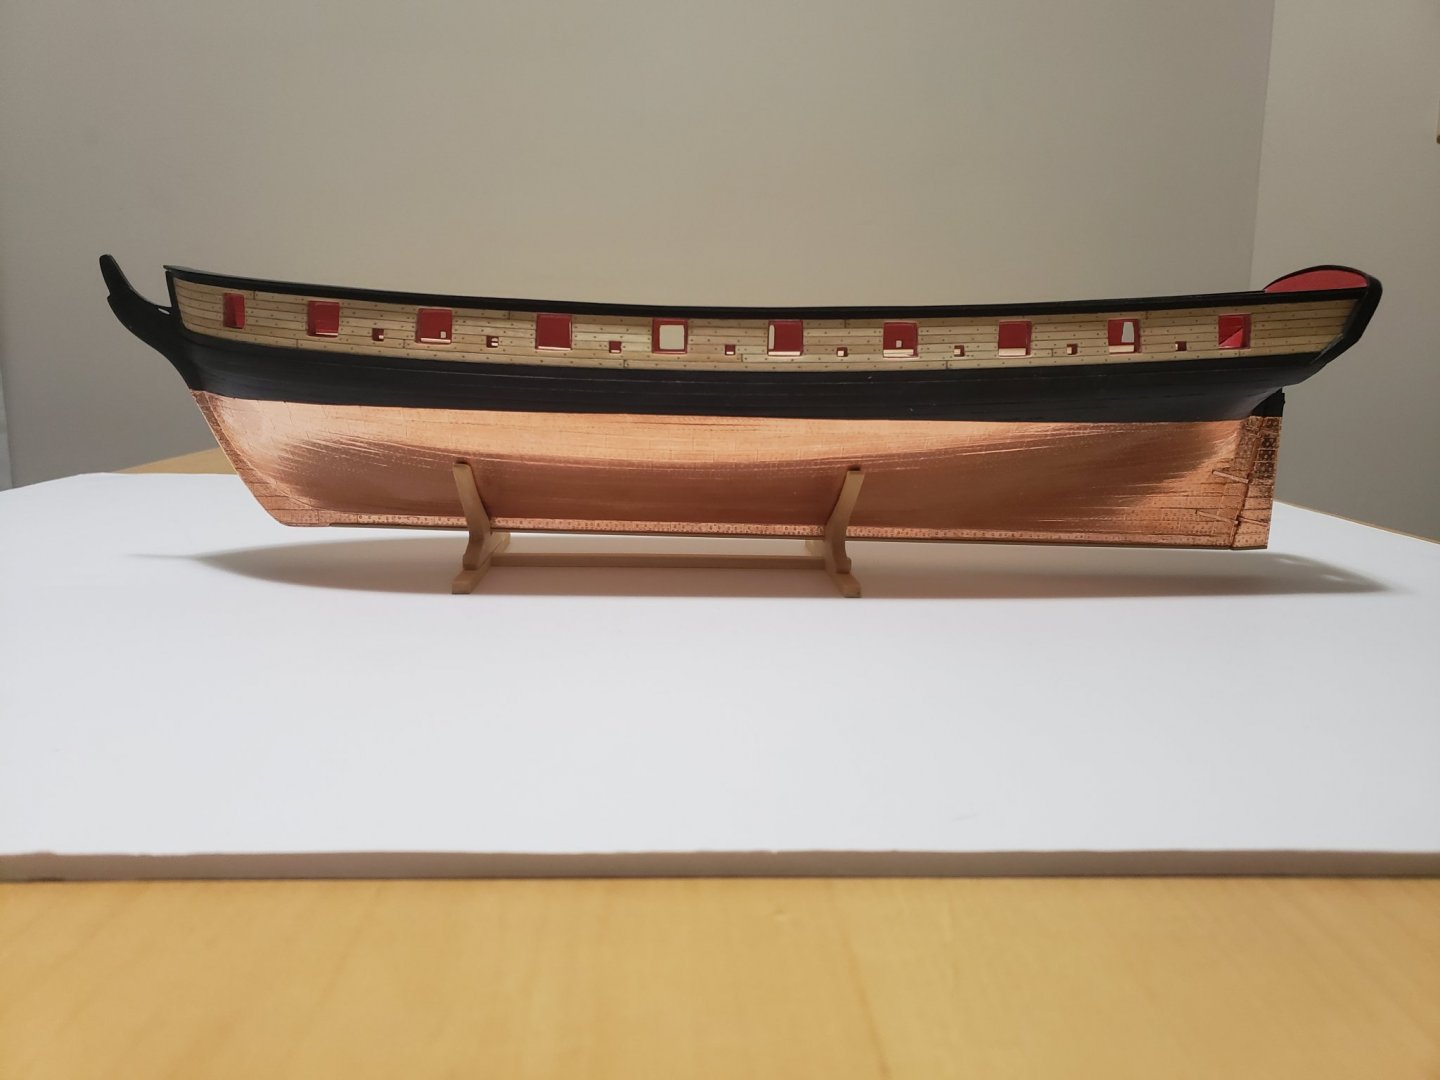
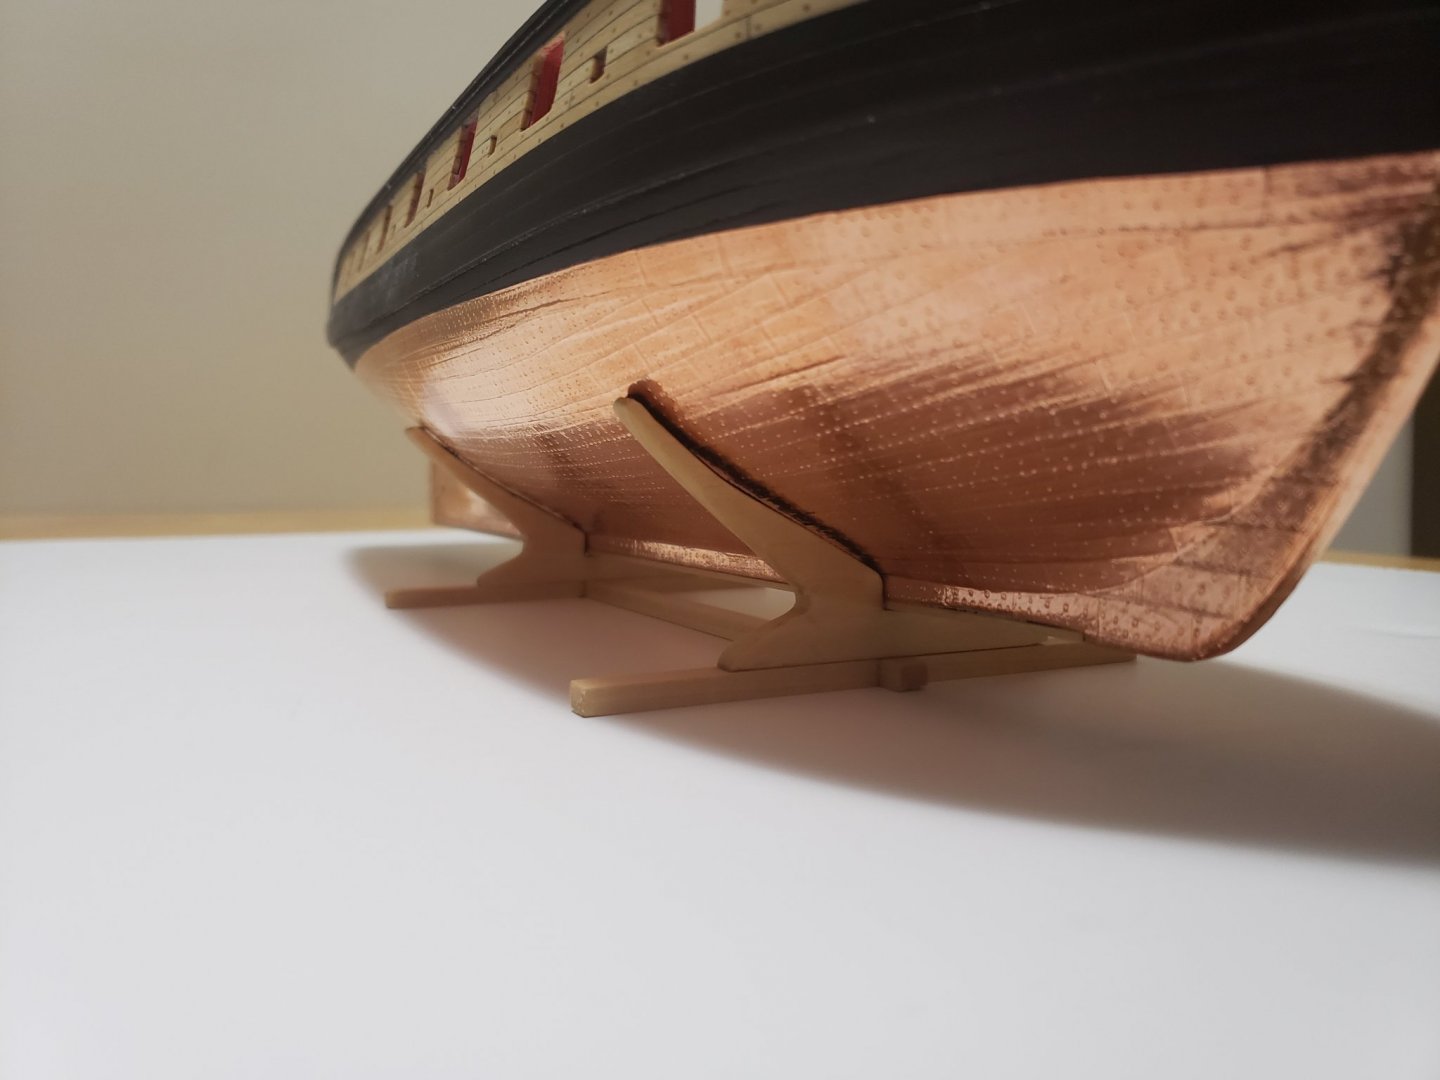
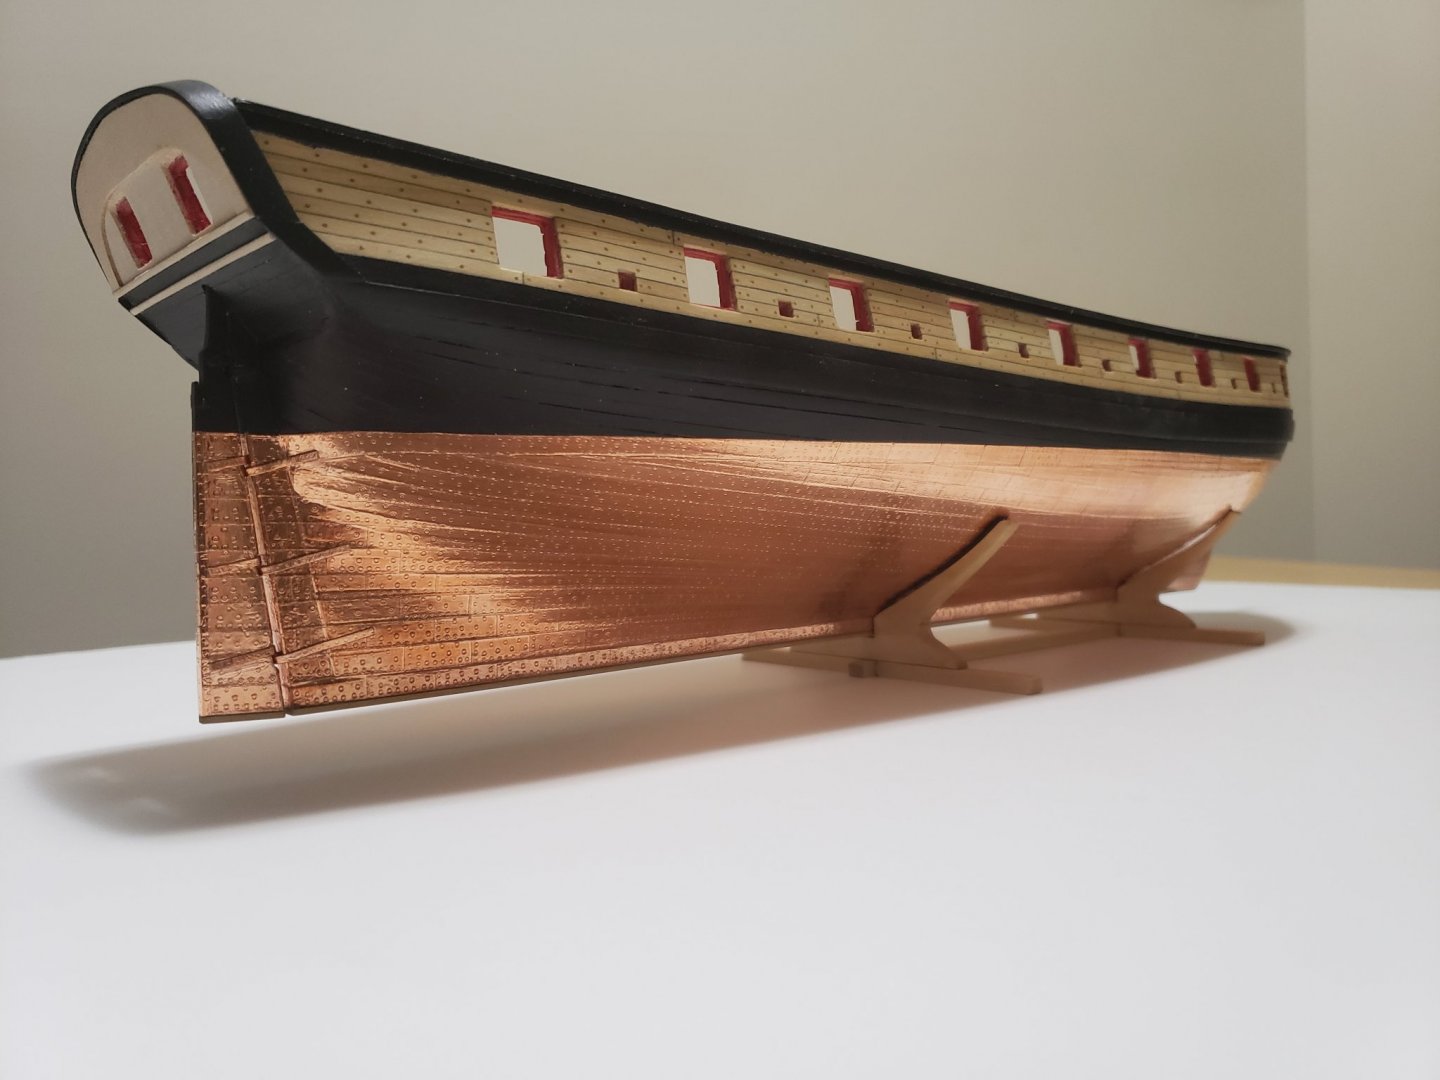
Built a nicer cradle for the ship. I opted for a simple design. I used 1/4" thick basswood sheet and used bulkheads 8 and H for the supports. I chose these locations since once the bowsprit is installed, the ship will (hopefully) be centered. Manually sawing these sheets made me wish I had access to a band saw... I finished it off with some tung oil, and lined it up with a thin ribbon to help prevent scratches on the copper.


- 950 replies
-
- 17
-
-
- syren
- model shipways
- (and 1 more)
-
Thanks Pat! 🙂 I took more than twice as many photos after completion and had to limit myslelf to how many I post 😅
- 950 replies
-
- 1
-
-
- syren
- model shipways
- (and 1 more)
-
Same here!! That ship is massive!!!
-
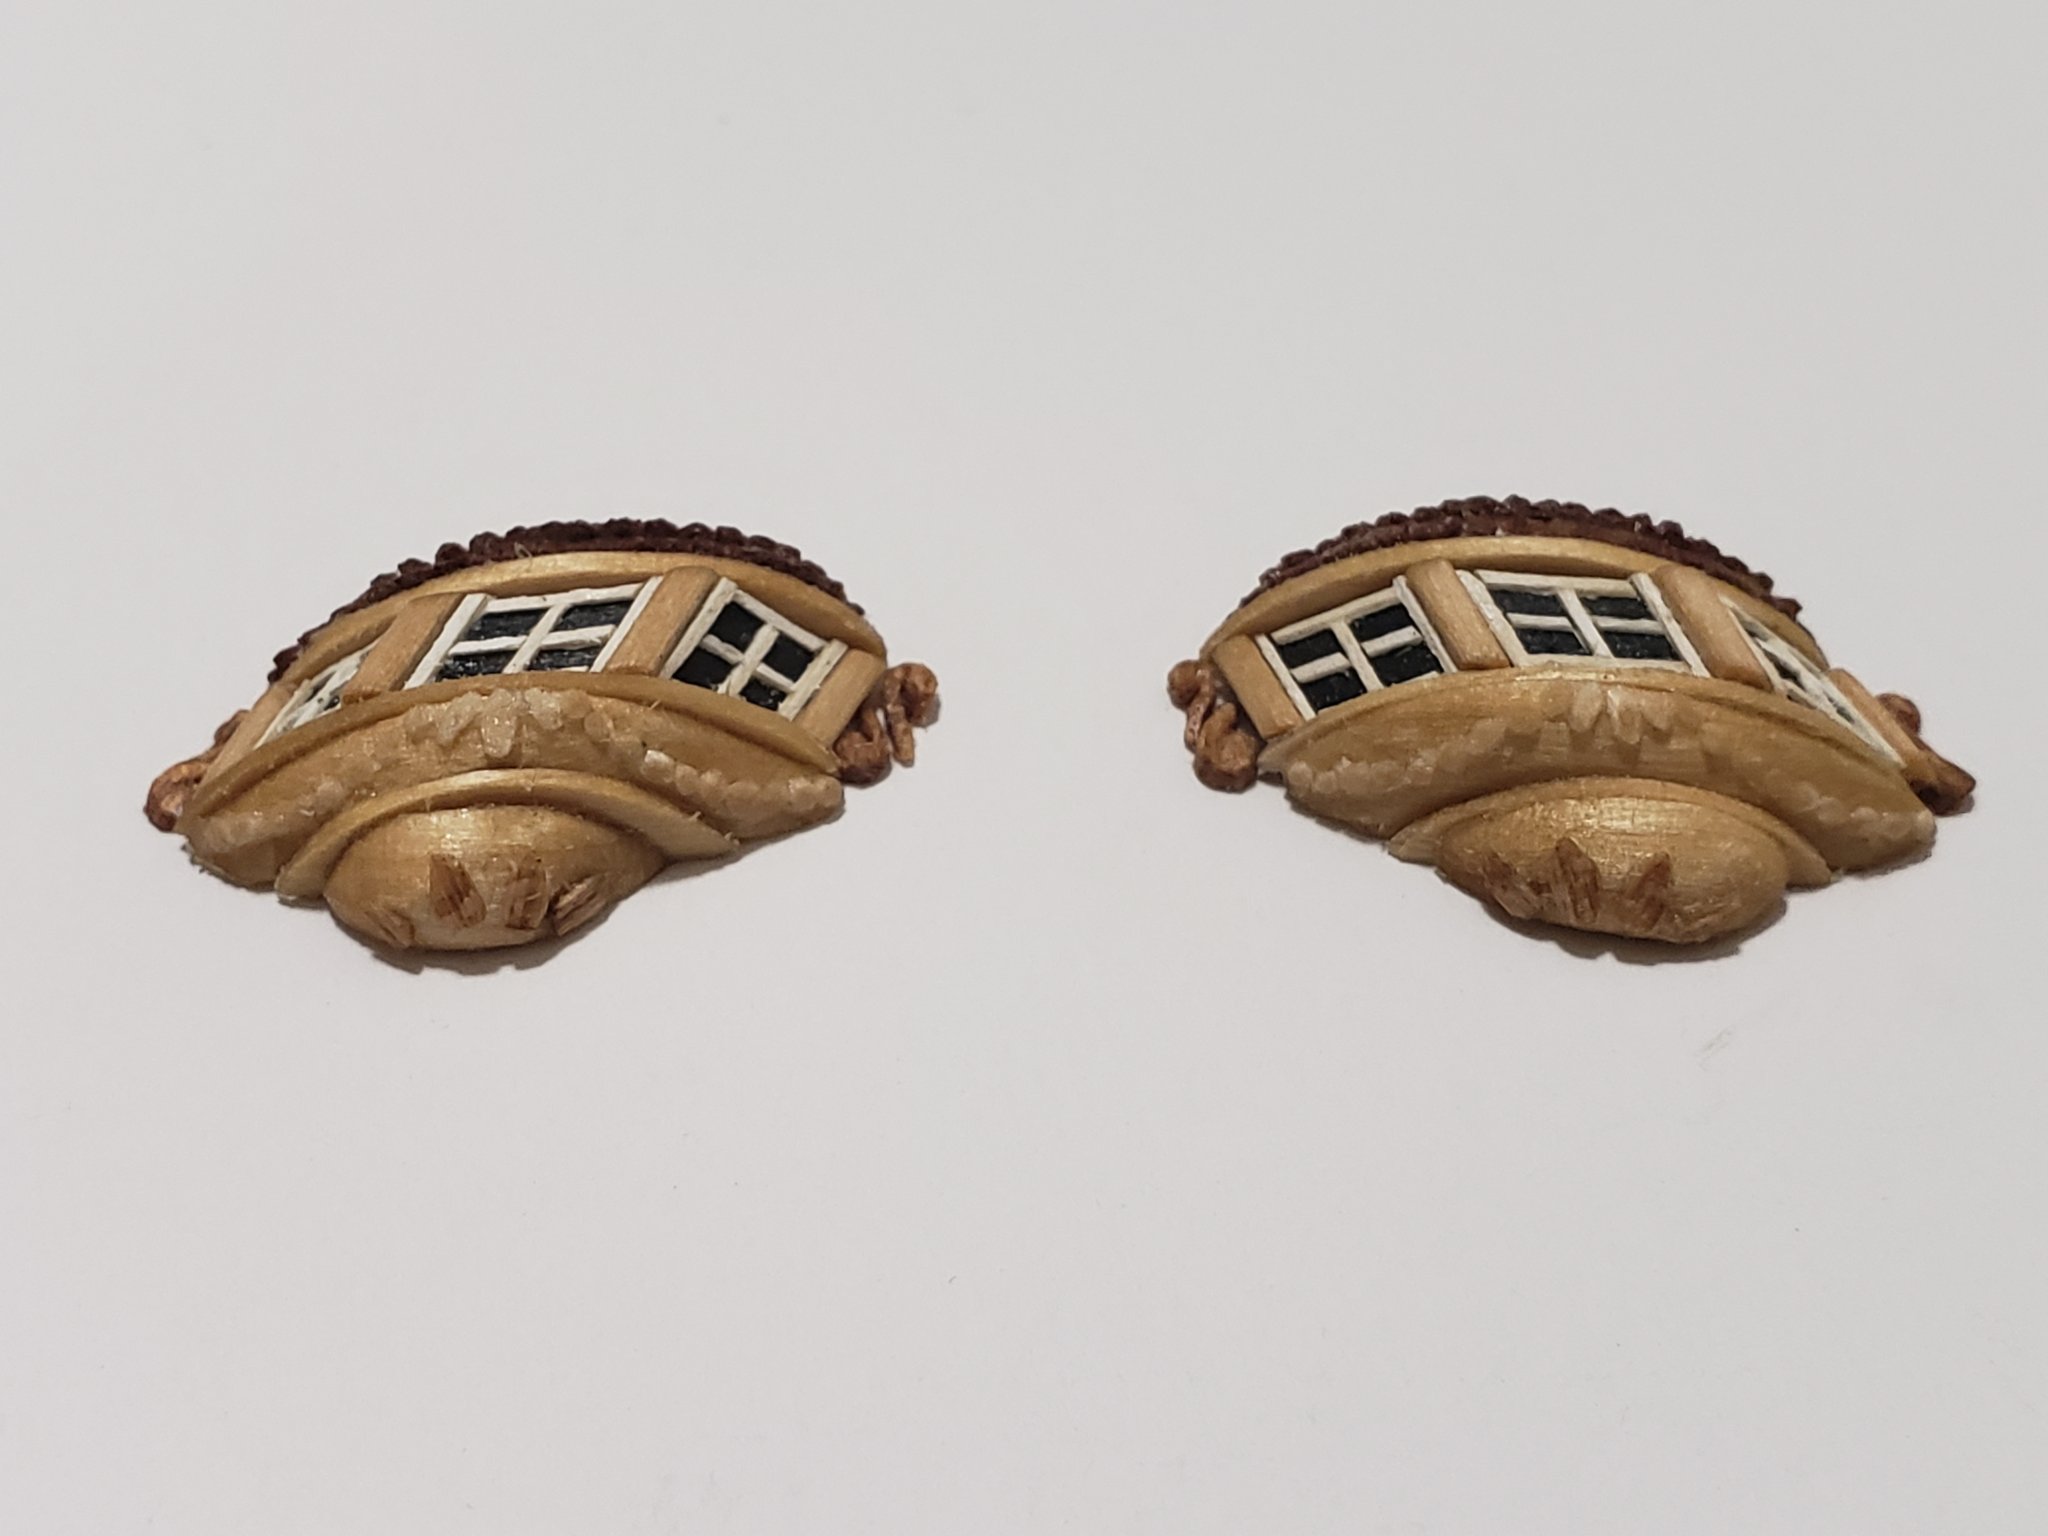
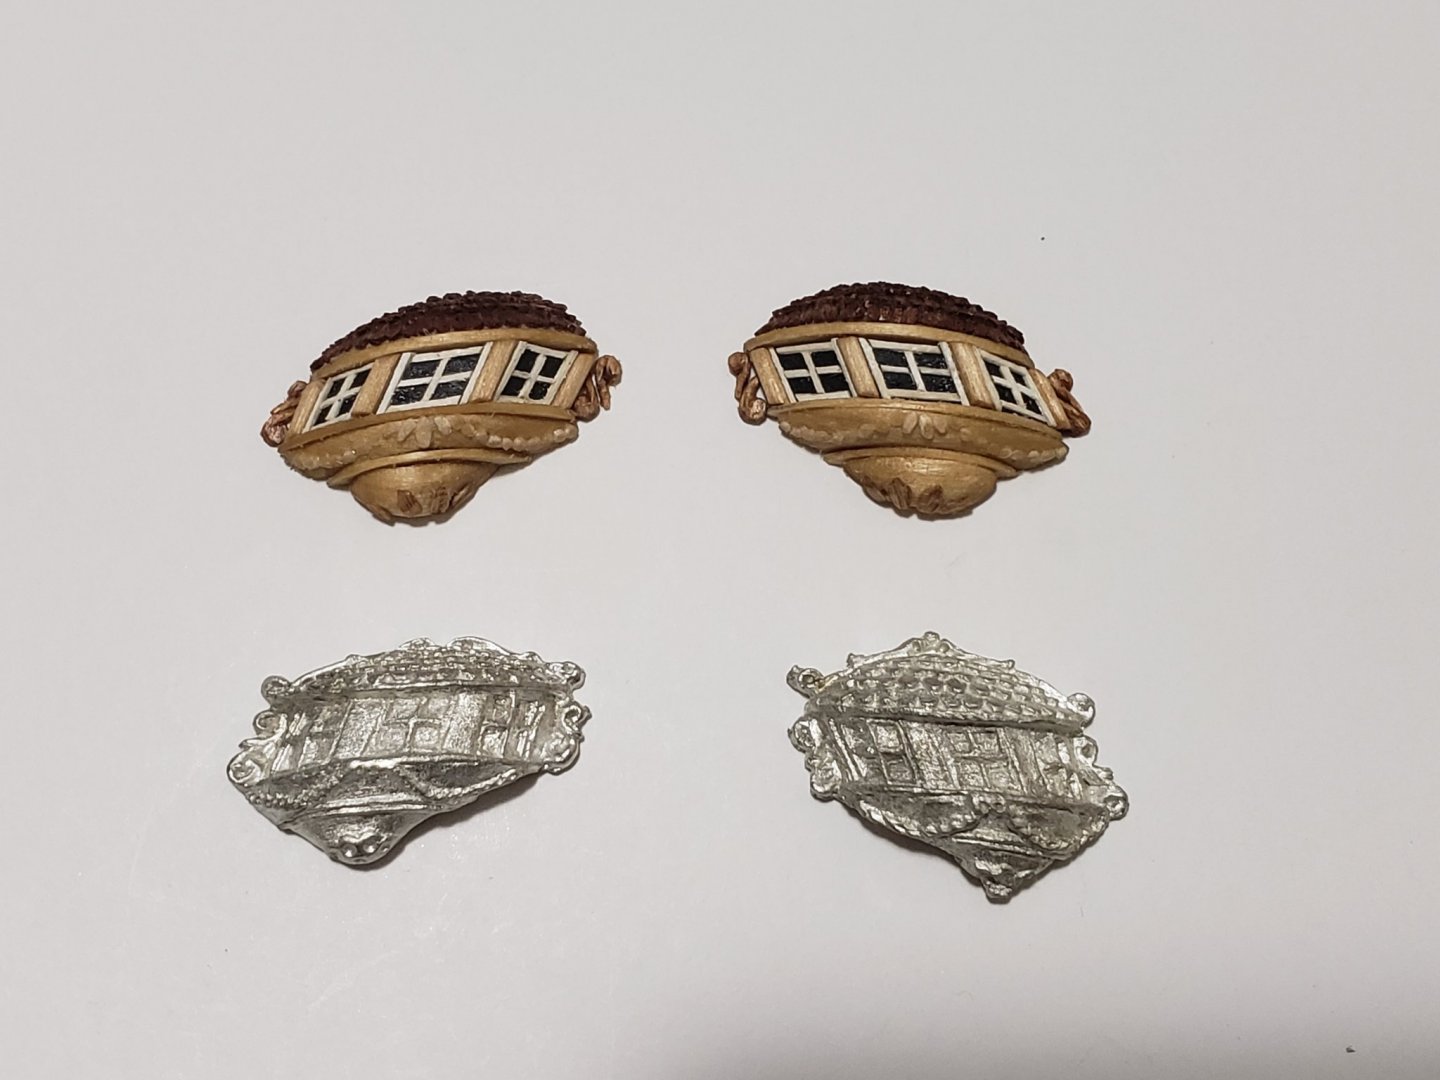
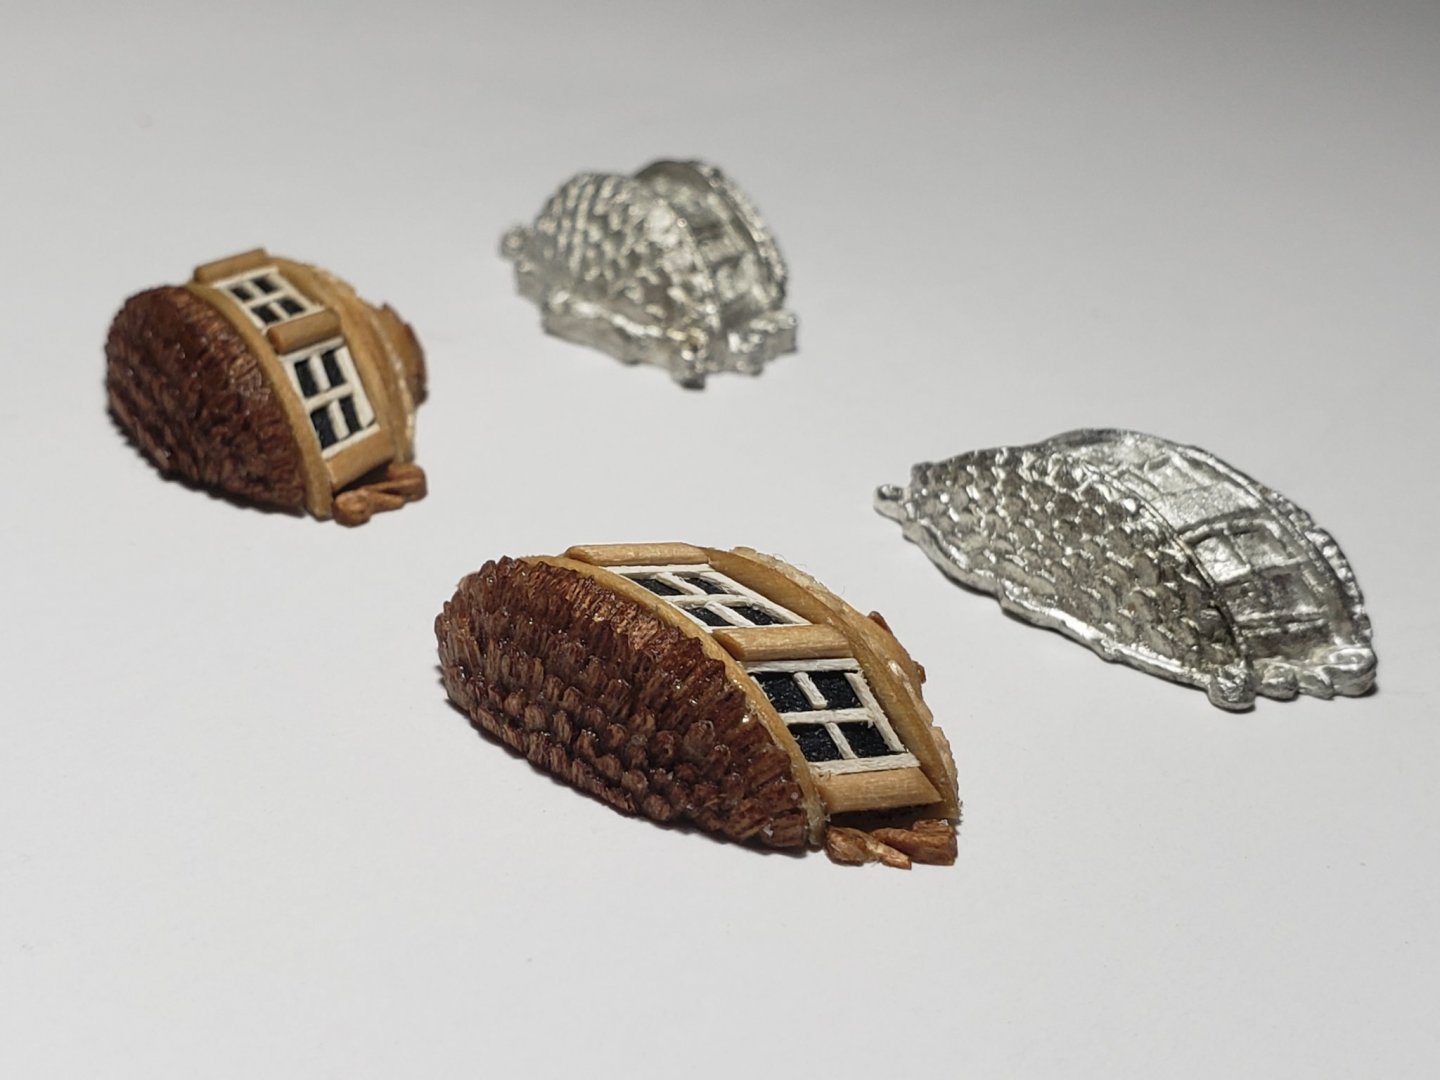
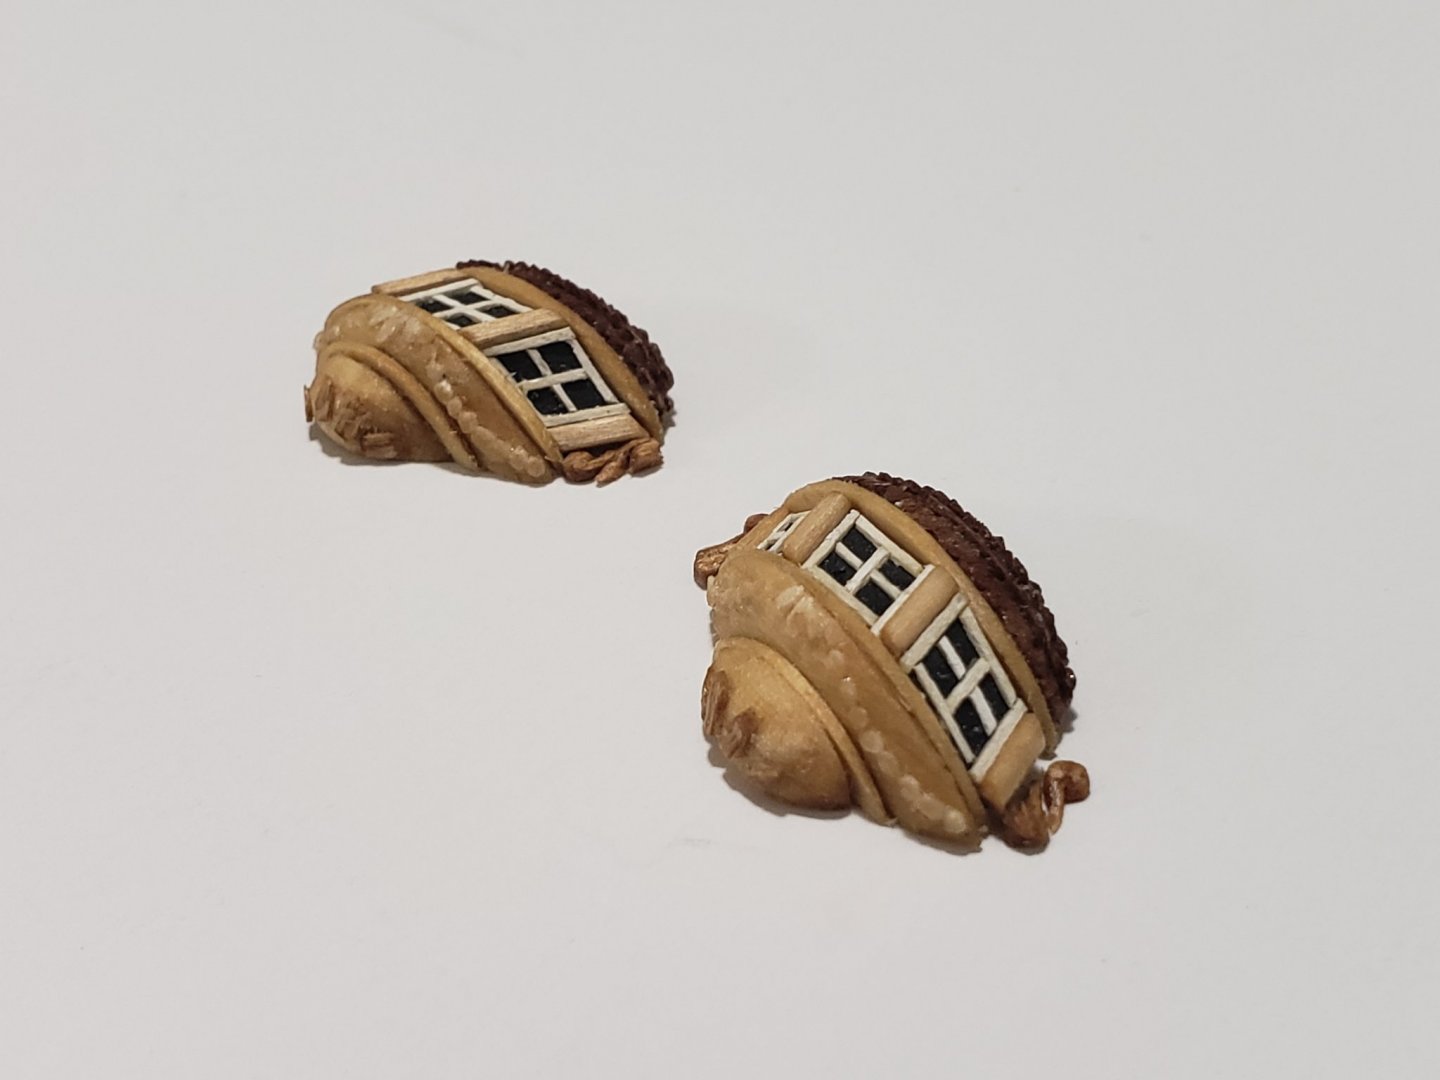
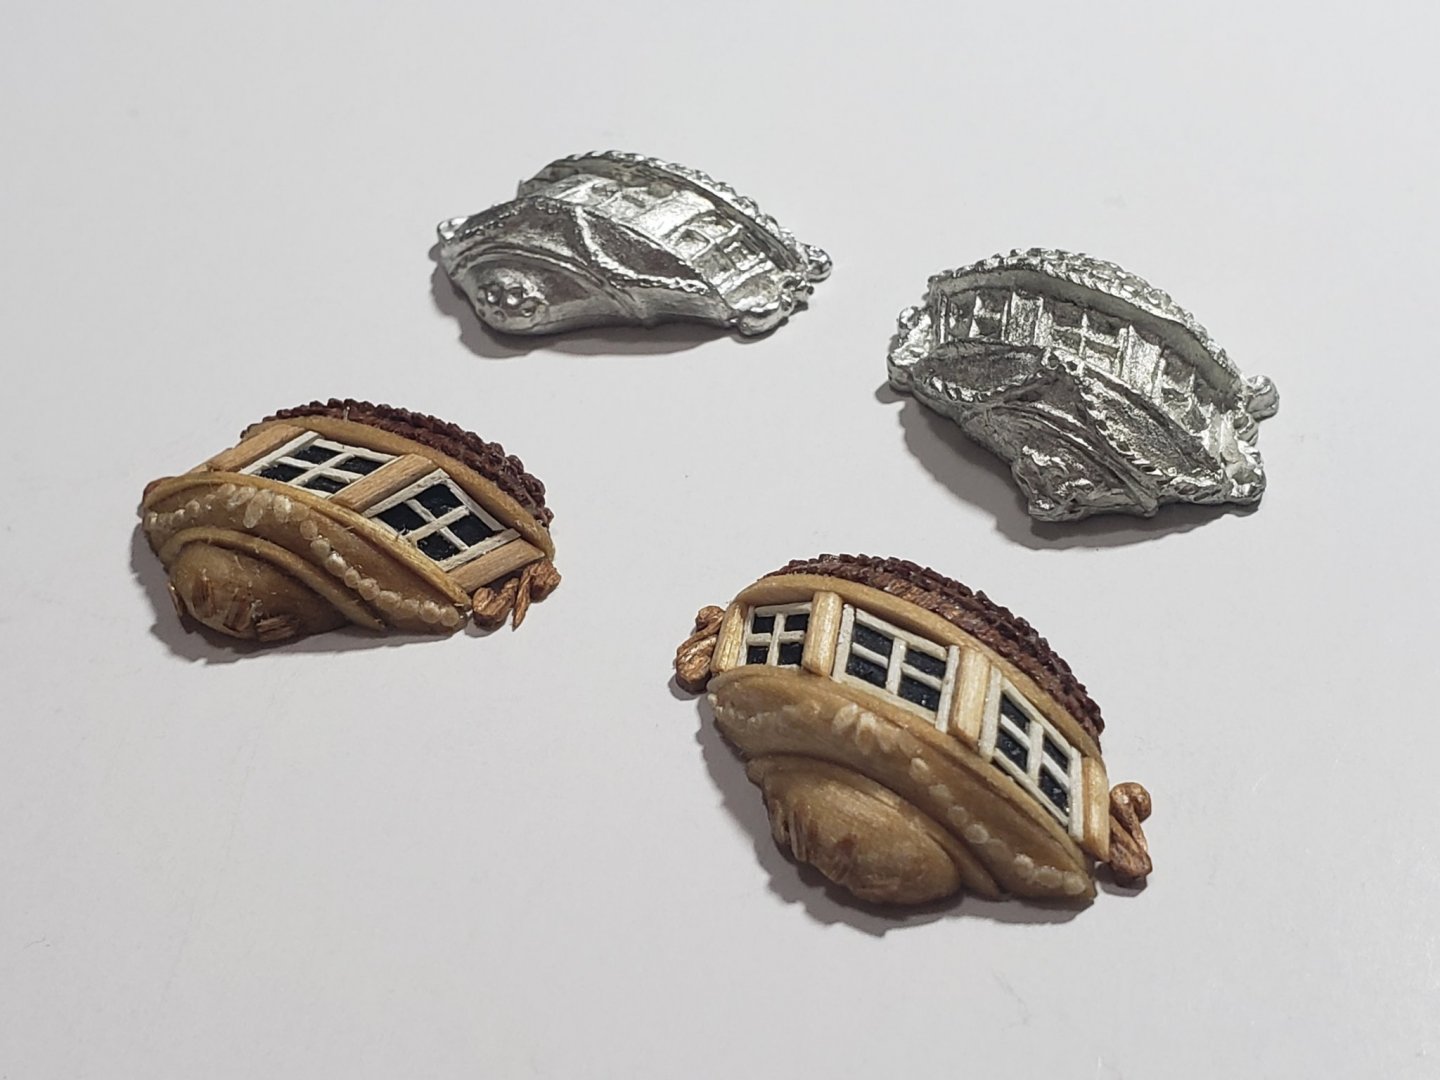
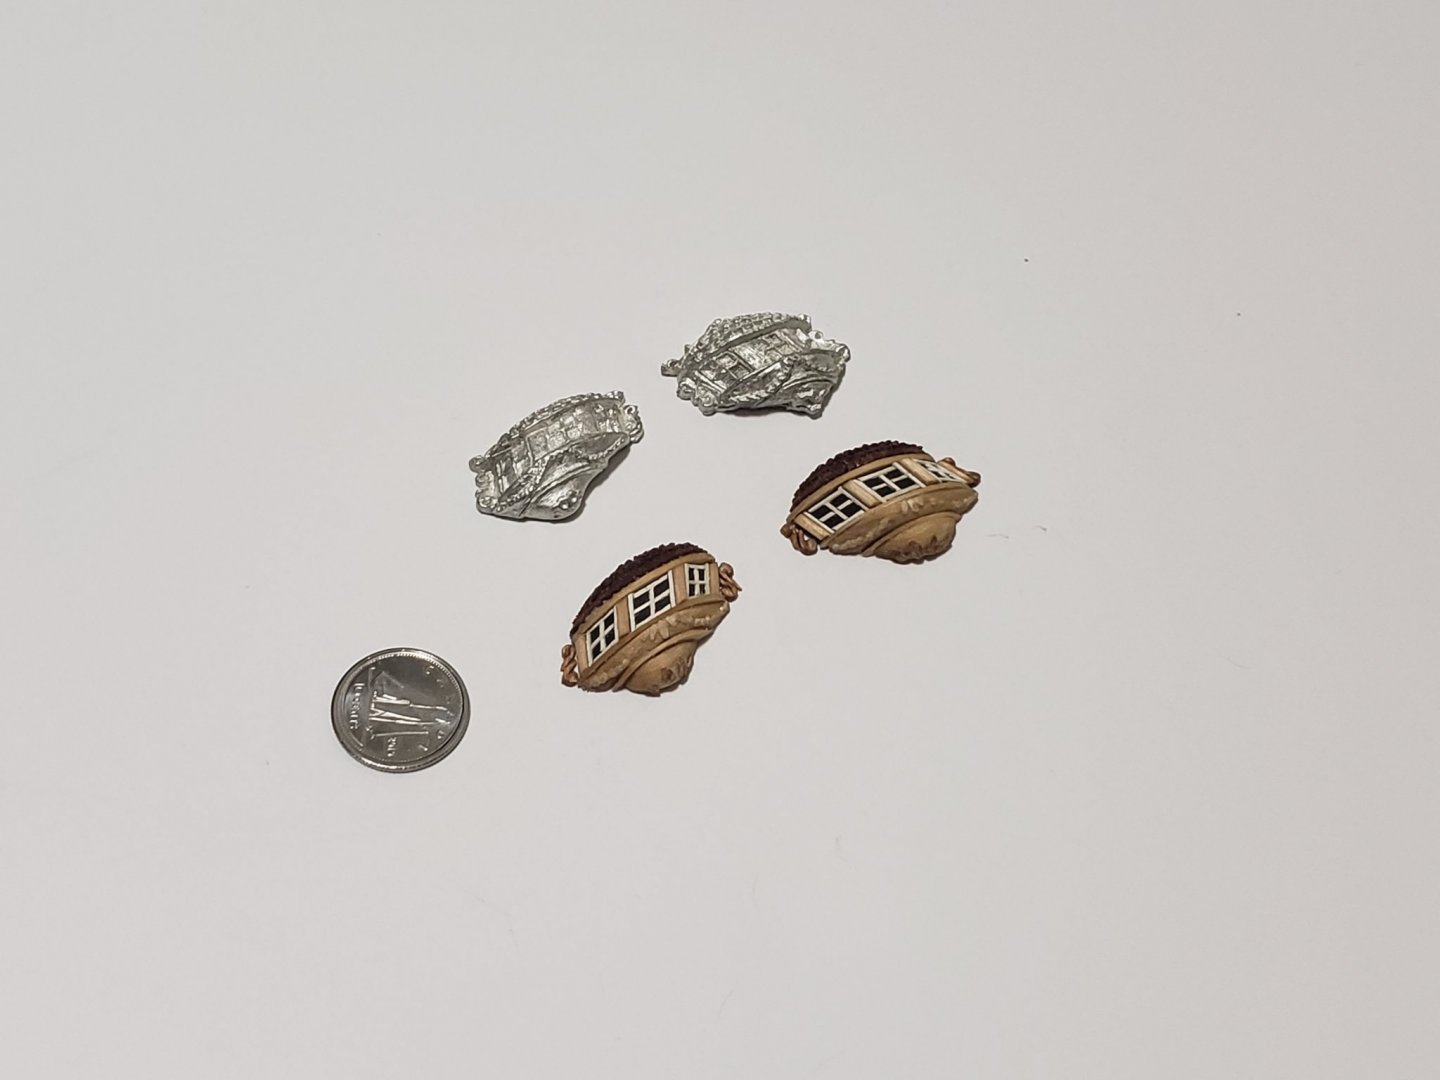
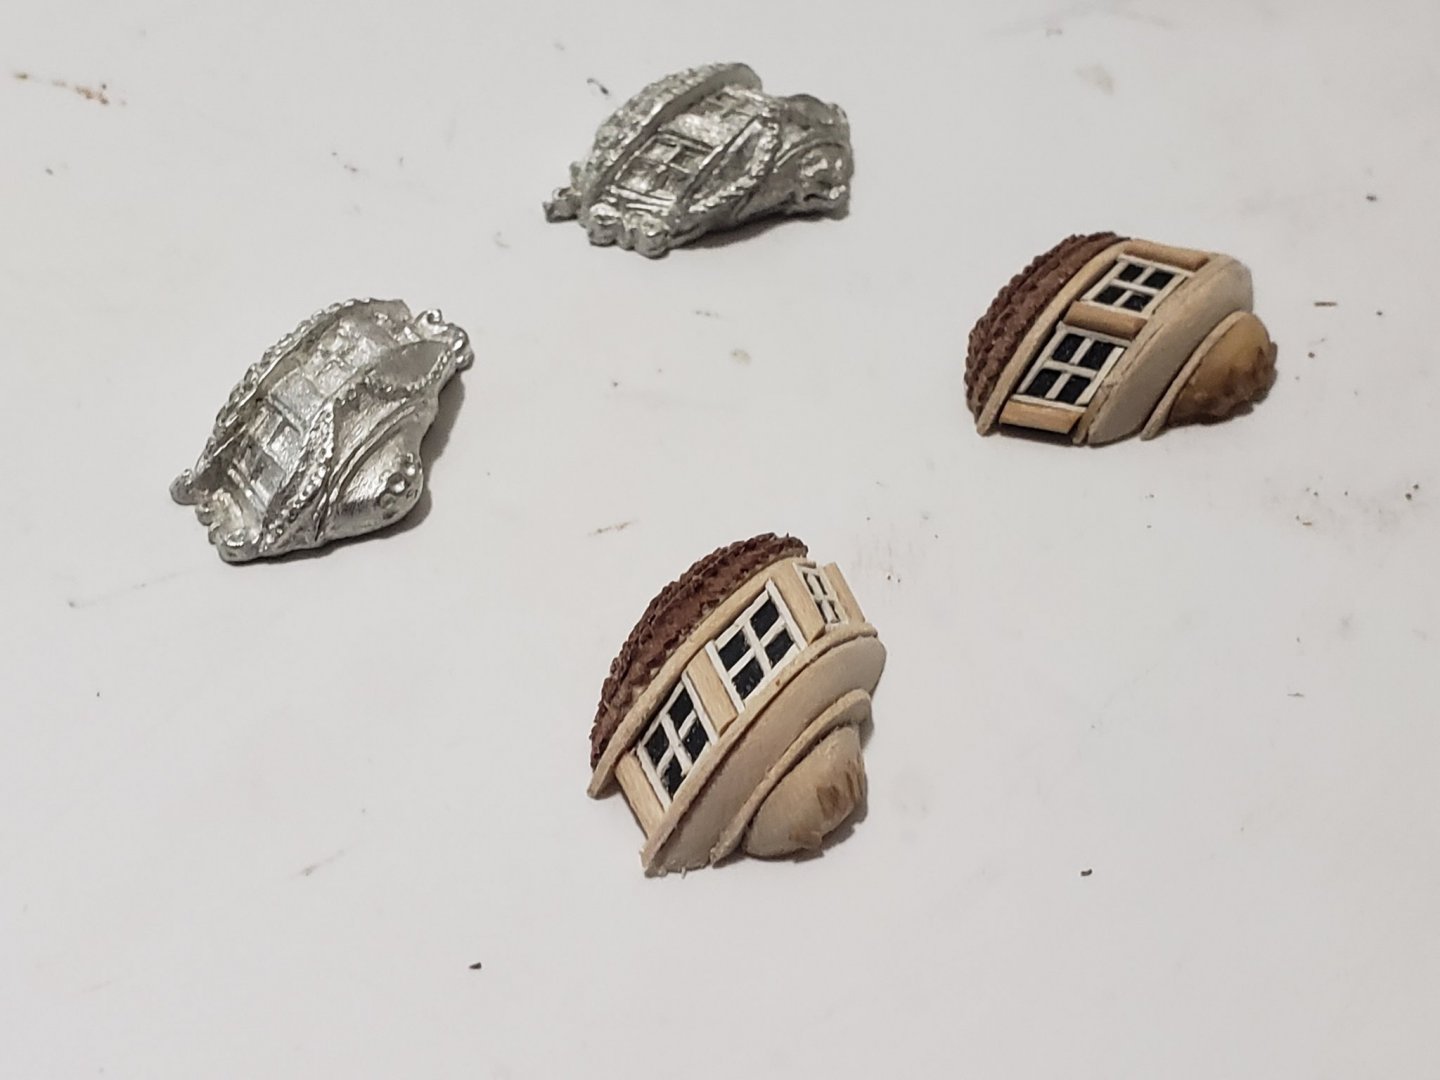
The quarter badges are now finally finished!! Phew The toothpicks did not darken as much as I thought it would with tung oil, but I don't think it looks too bad. Here are some photos (the carvings are not glued to the badges, but will be glued to the hull instead):


- 950 replies
-
- 15
-
-

-
- syren
- model shipways
- (and 1 more)
-
Thanks Robin!! I just finished the other side. I'll post photos once I glue and apply tung oil to them. Scratch building the quarter badges was a task and a half 😅, and definitely a project on its own, but was well worth the effort..
- 950 replies
-
- 3
-
-
- syren
- model shipways
- (and 1 more)
-
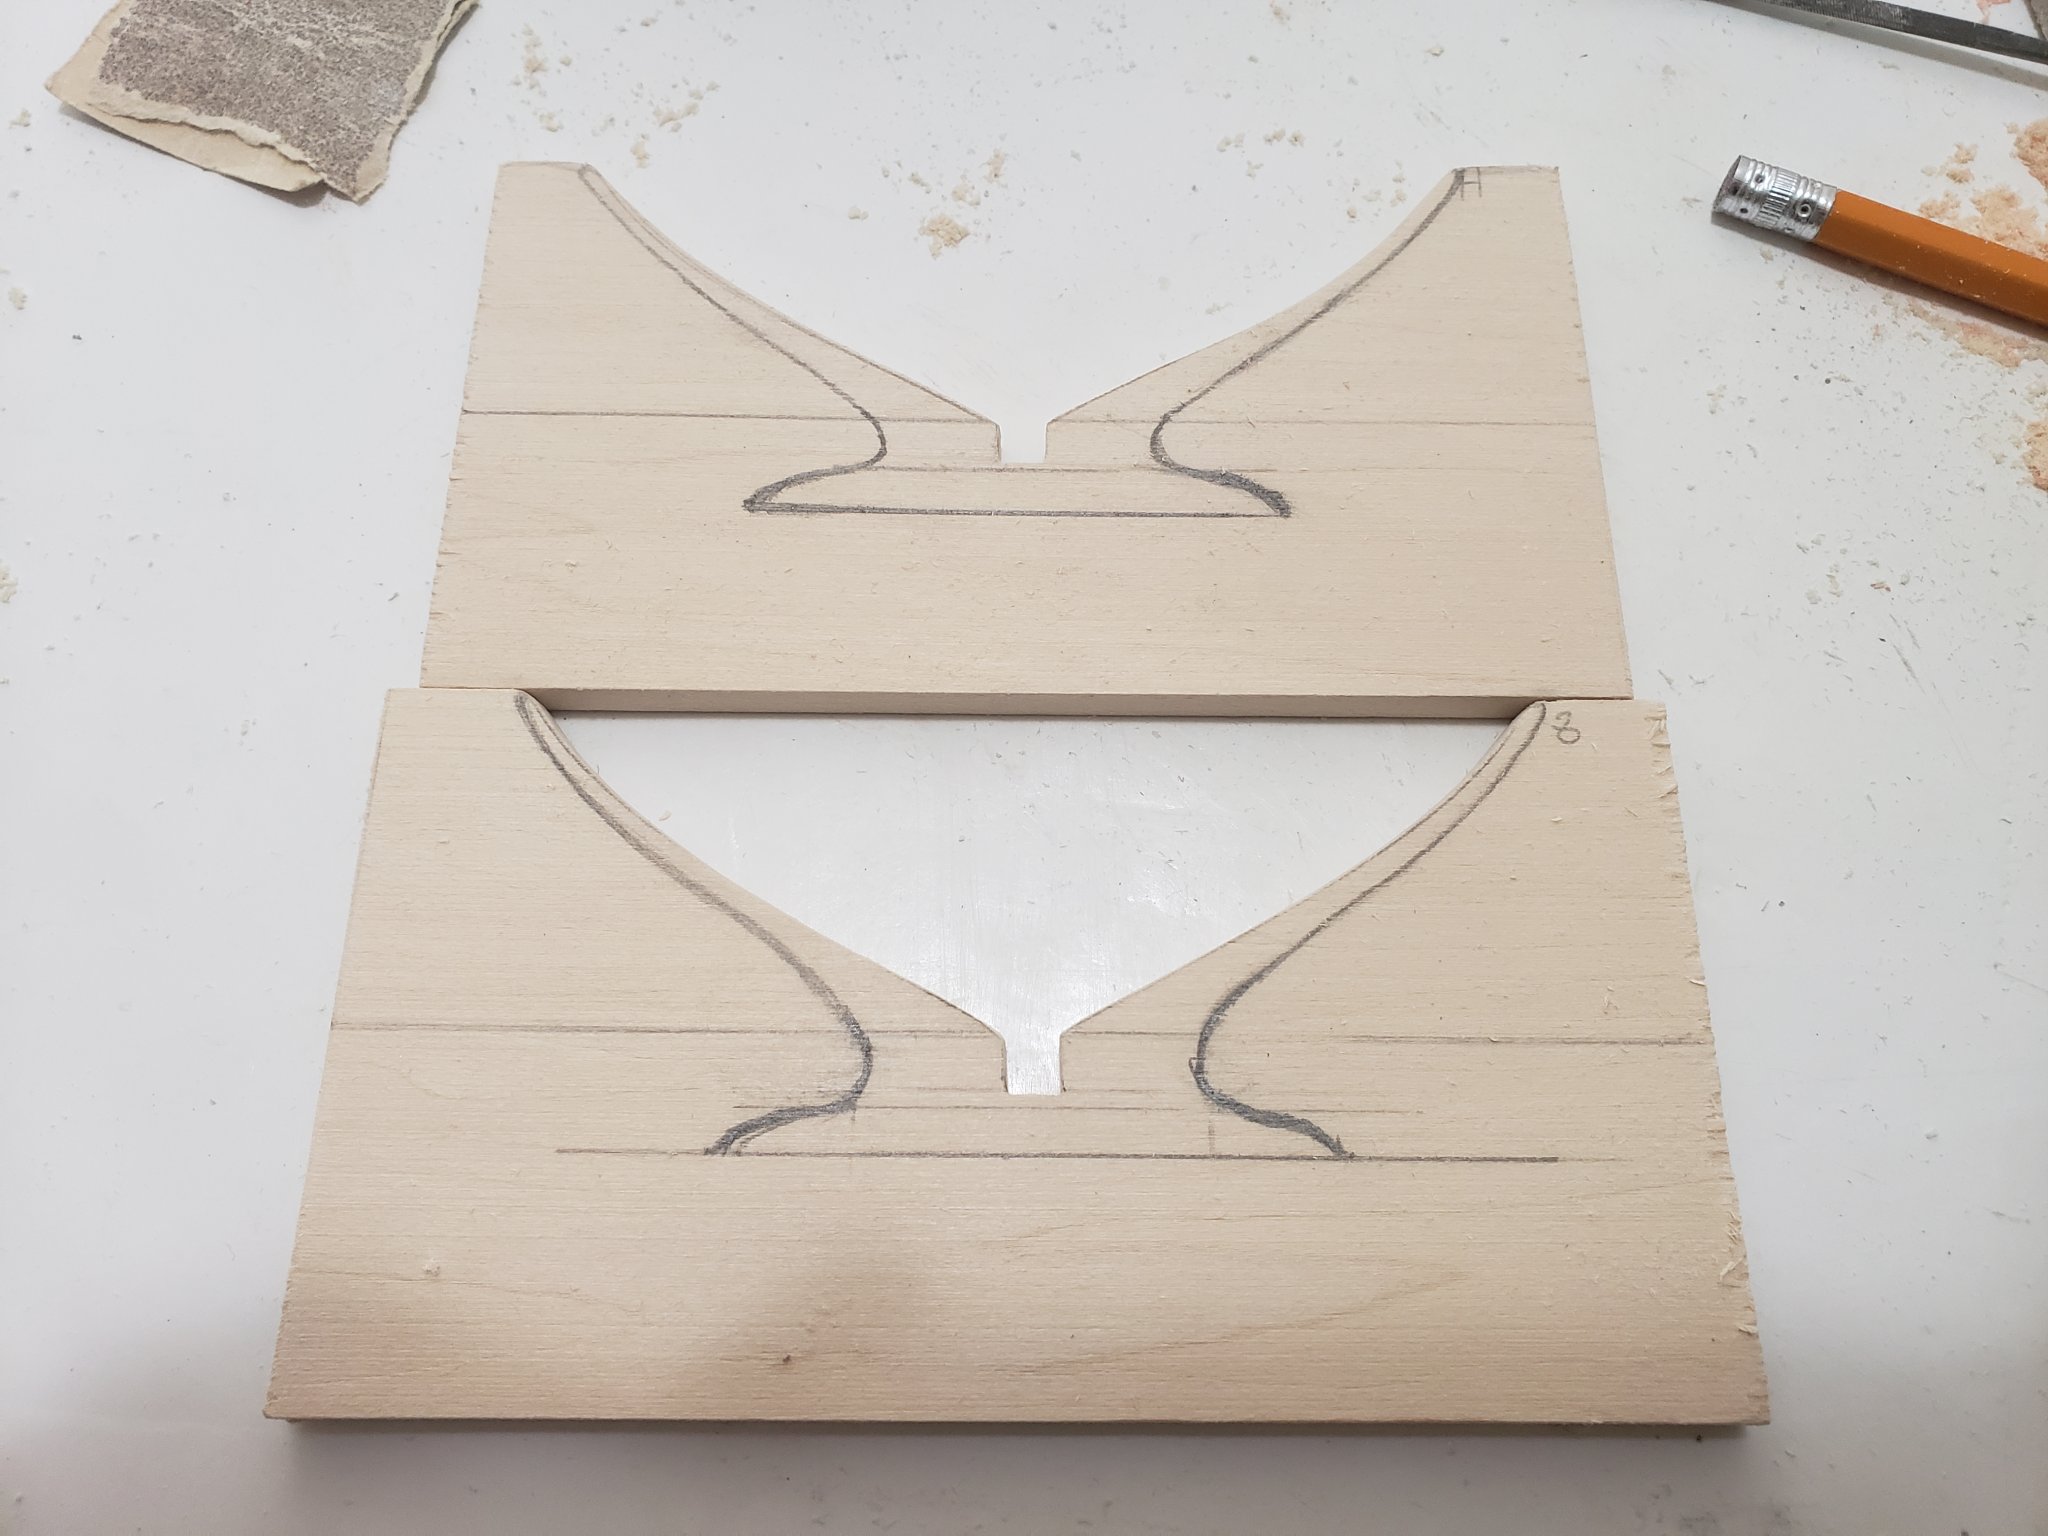
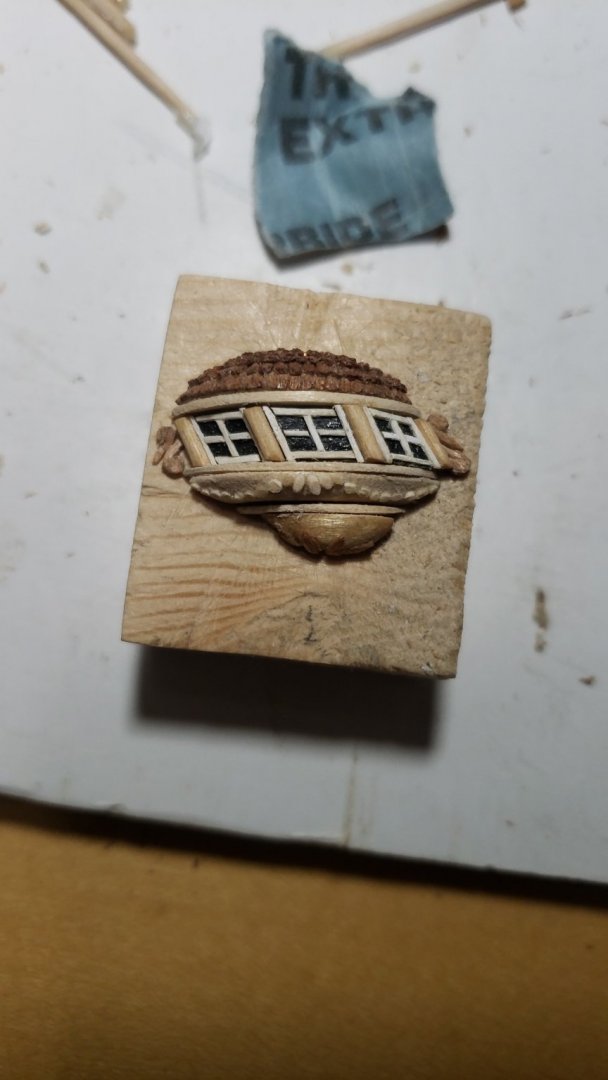
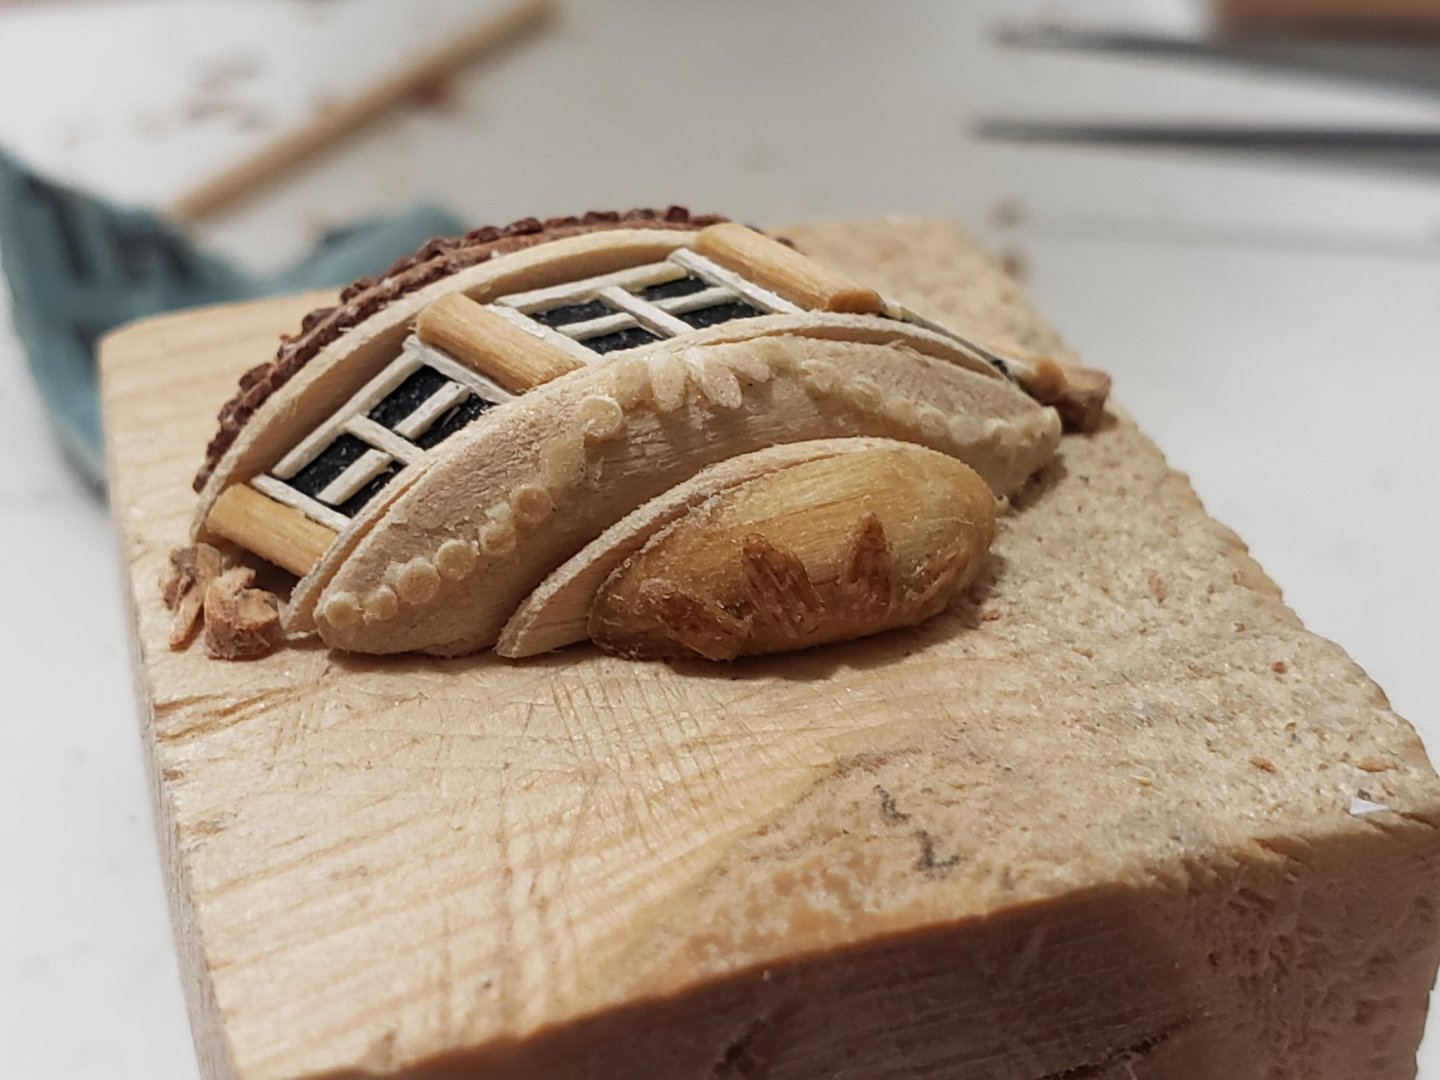
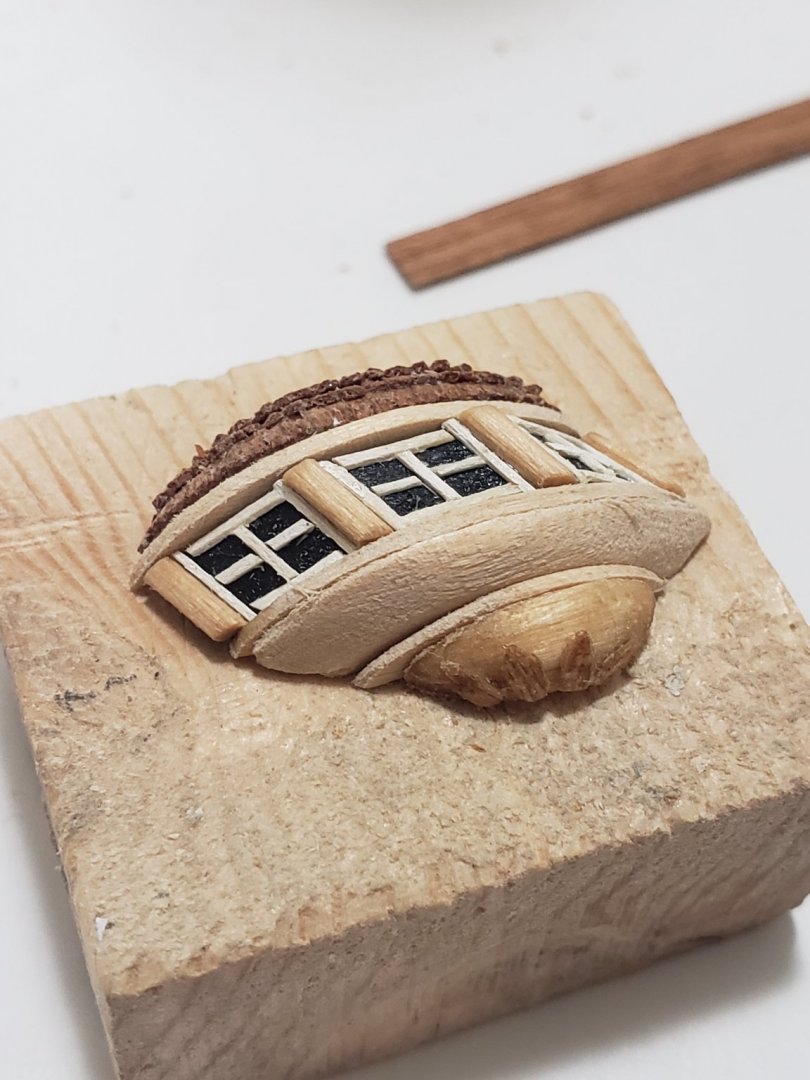
Many thanks Patrick and Edward, and thanks all for the likes 🙂 I think I have finished detailing (for one quarter badge). For the last middle layer I used toothpicks for the design since they are already circular and it made things a bit easier than carving the circles out. The toothpicks will darken slightly after I put tung oil just, so it'll look like the treenails on the hull planks. Here is how it looks right now: This small detail changed the way the entire badge looks imo. I was contemplating on skipping it but I'm glad I tried it out. The side carvings required a lot of patience, and the cherry was really good to work with. They look somewhat decent so I'll include them with the quarter badge. I think I'll skip the top carvings since from dry fitting the quarterbadge on the hull, it fits snugly, and if I were to add one more carving to the top I'll need to sand down some layers which might mess it up. So next I'll finish working on the other side, permanently glue all the layers for both badges, apply tung oil, then stick them on the hull.
- 950 replies
-
- 11
-
-
- syren
- model shipways
- (and 1 more)
-
Thanks so much Justin! I am very glad I chose to try this out (like you and many others suggested) and not to use the kit ones. Although there are some areas I think I could have done better/more cleaner (like the curve of the bottom-most layer and its petal pattern), but that's just the self-critical me talking. As for the carvings, I am finding that part very difficult. The cherry wood makes it easier than basswood. I'll try a few more practice runs, and if they don't look too good I might just use quarter badges without them (ie. the ones shown in my last post). I'll probably ask for opinions again before I make that decision 😄
- 950 replies
-
- 5
-
-
- syren
- model shipways
- (and 1 more)
-
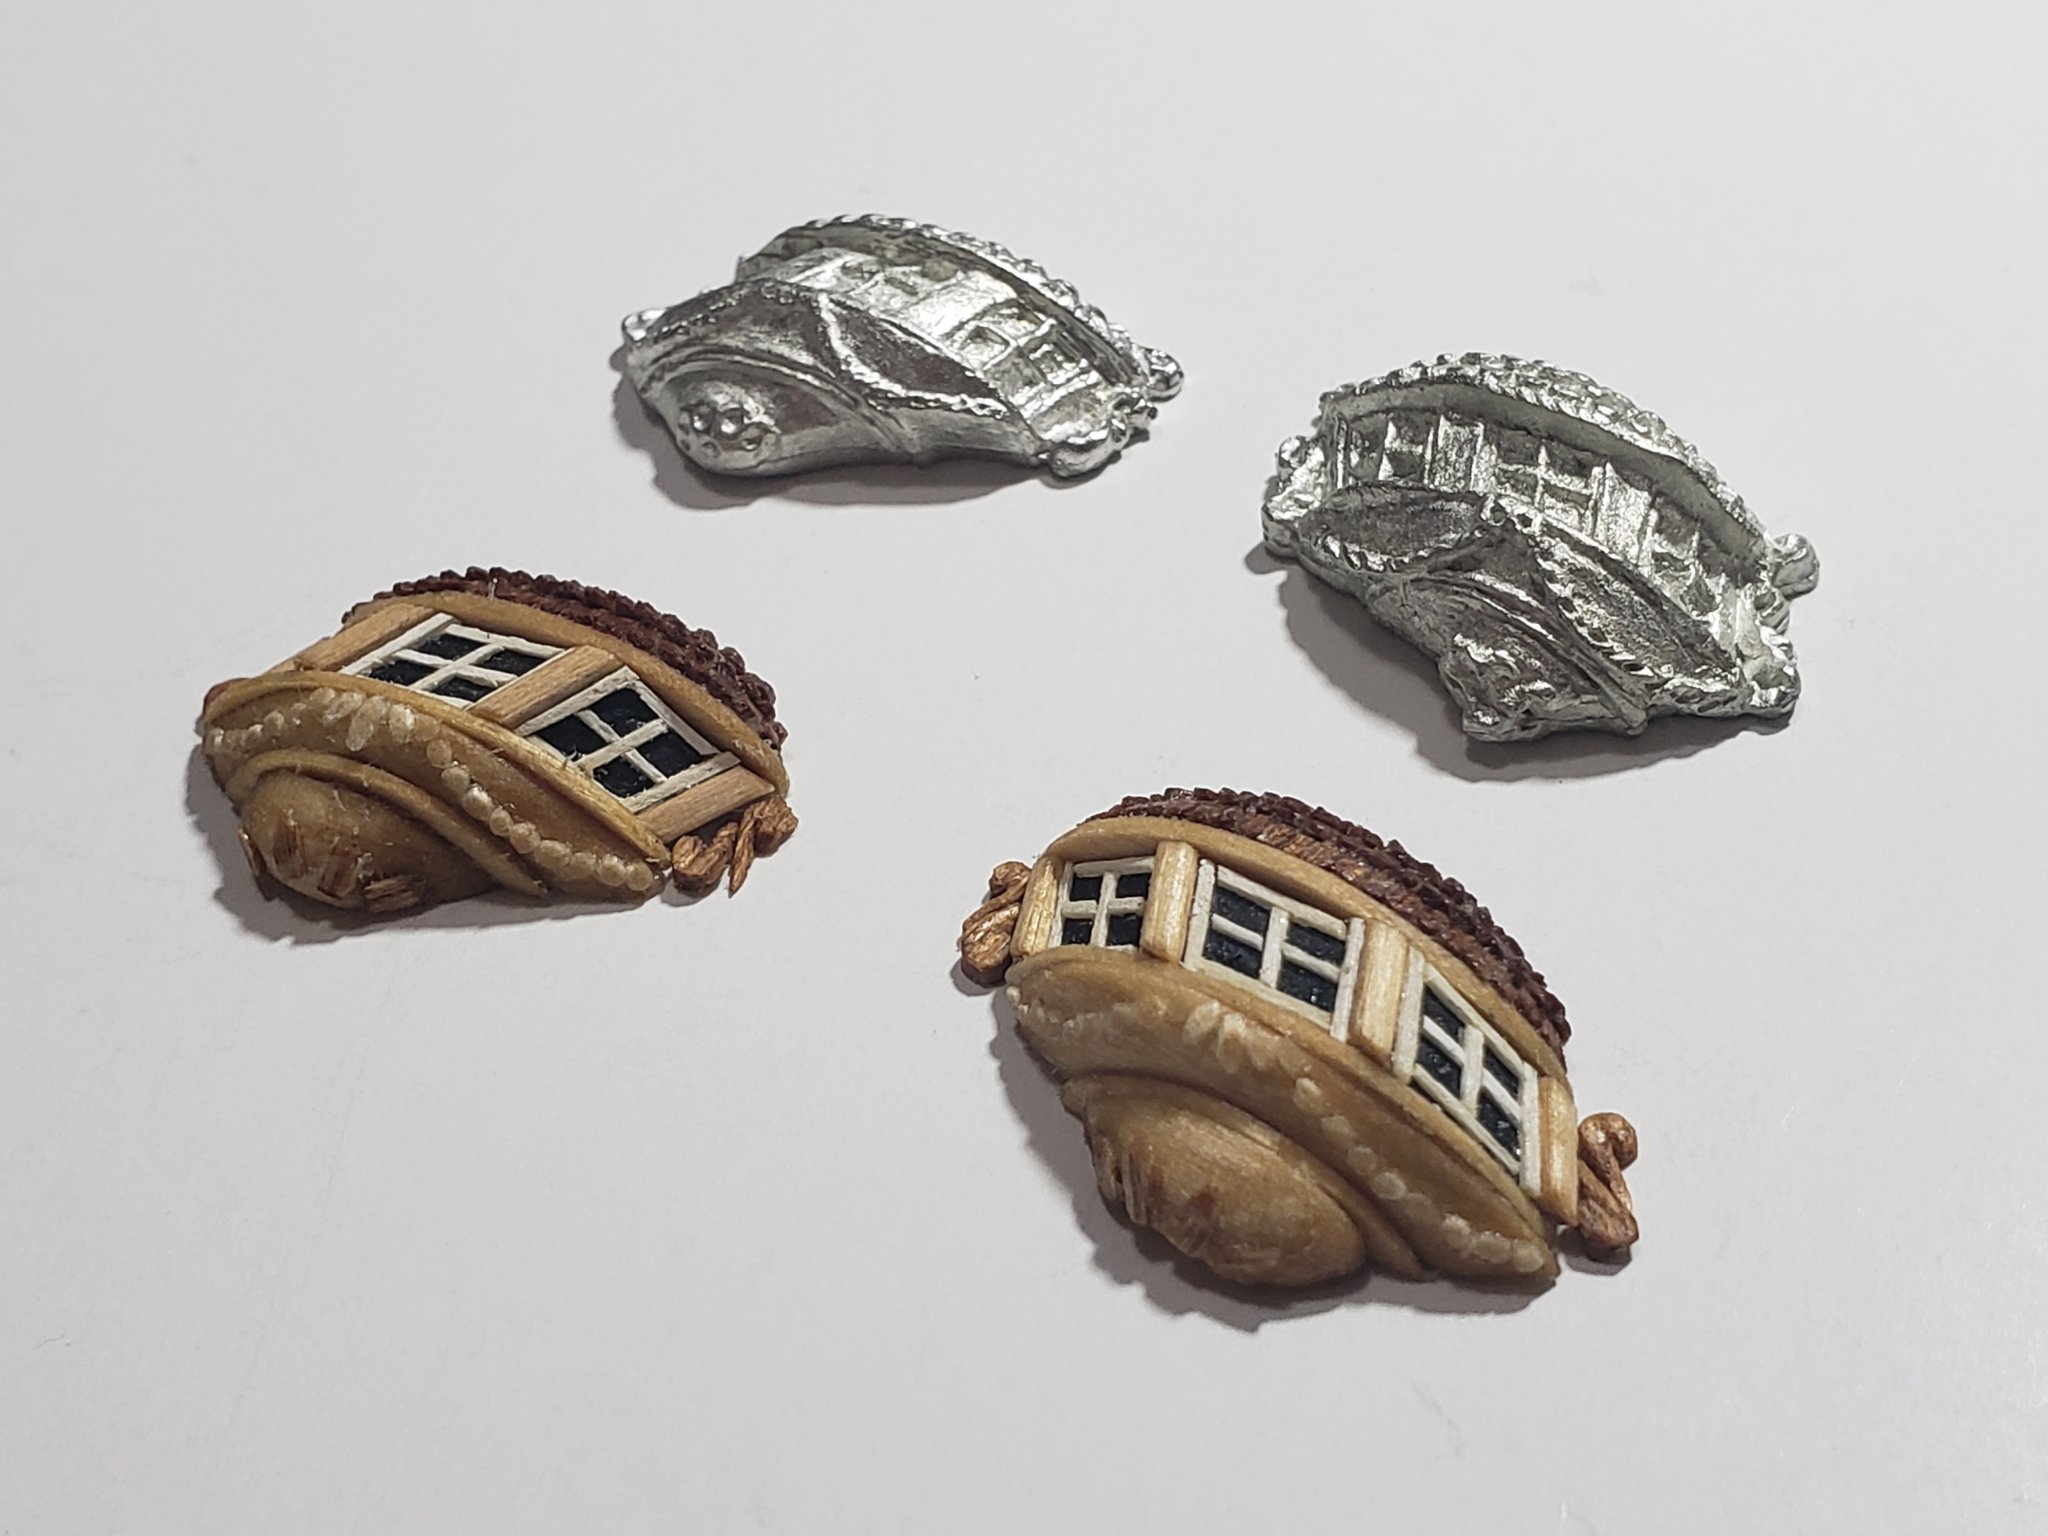
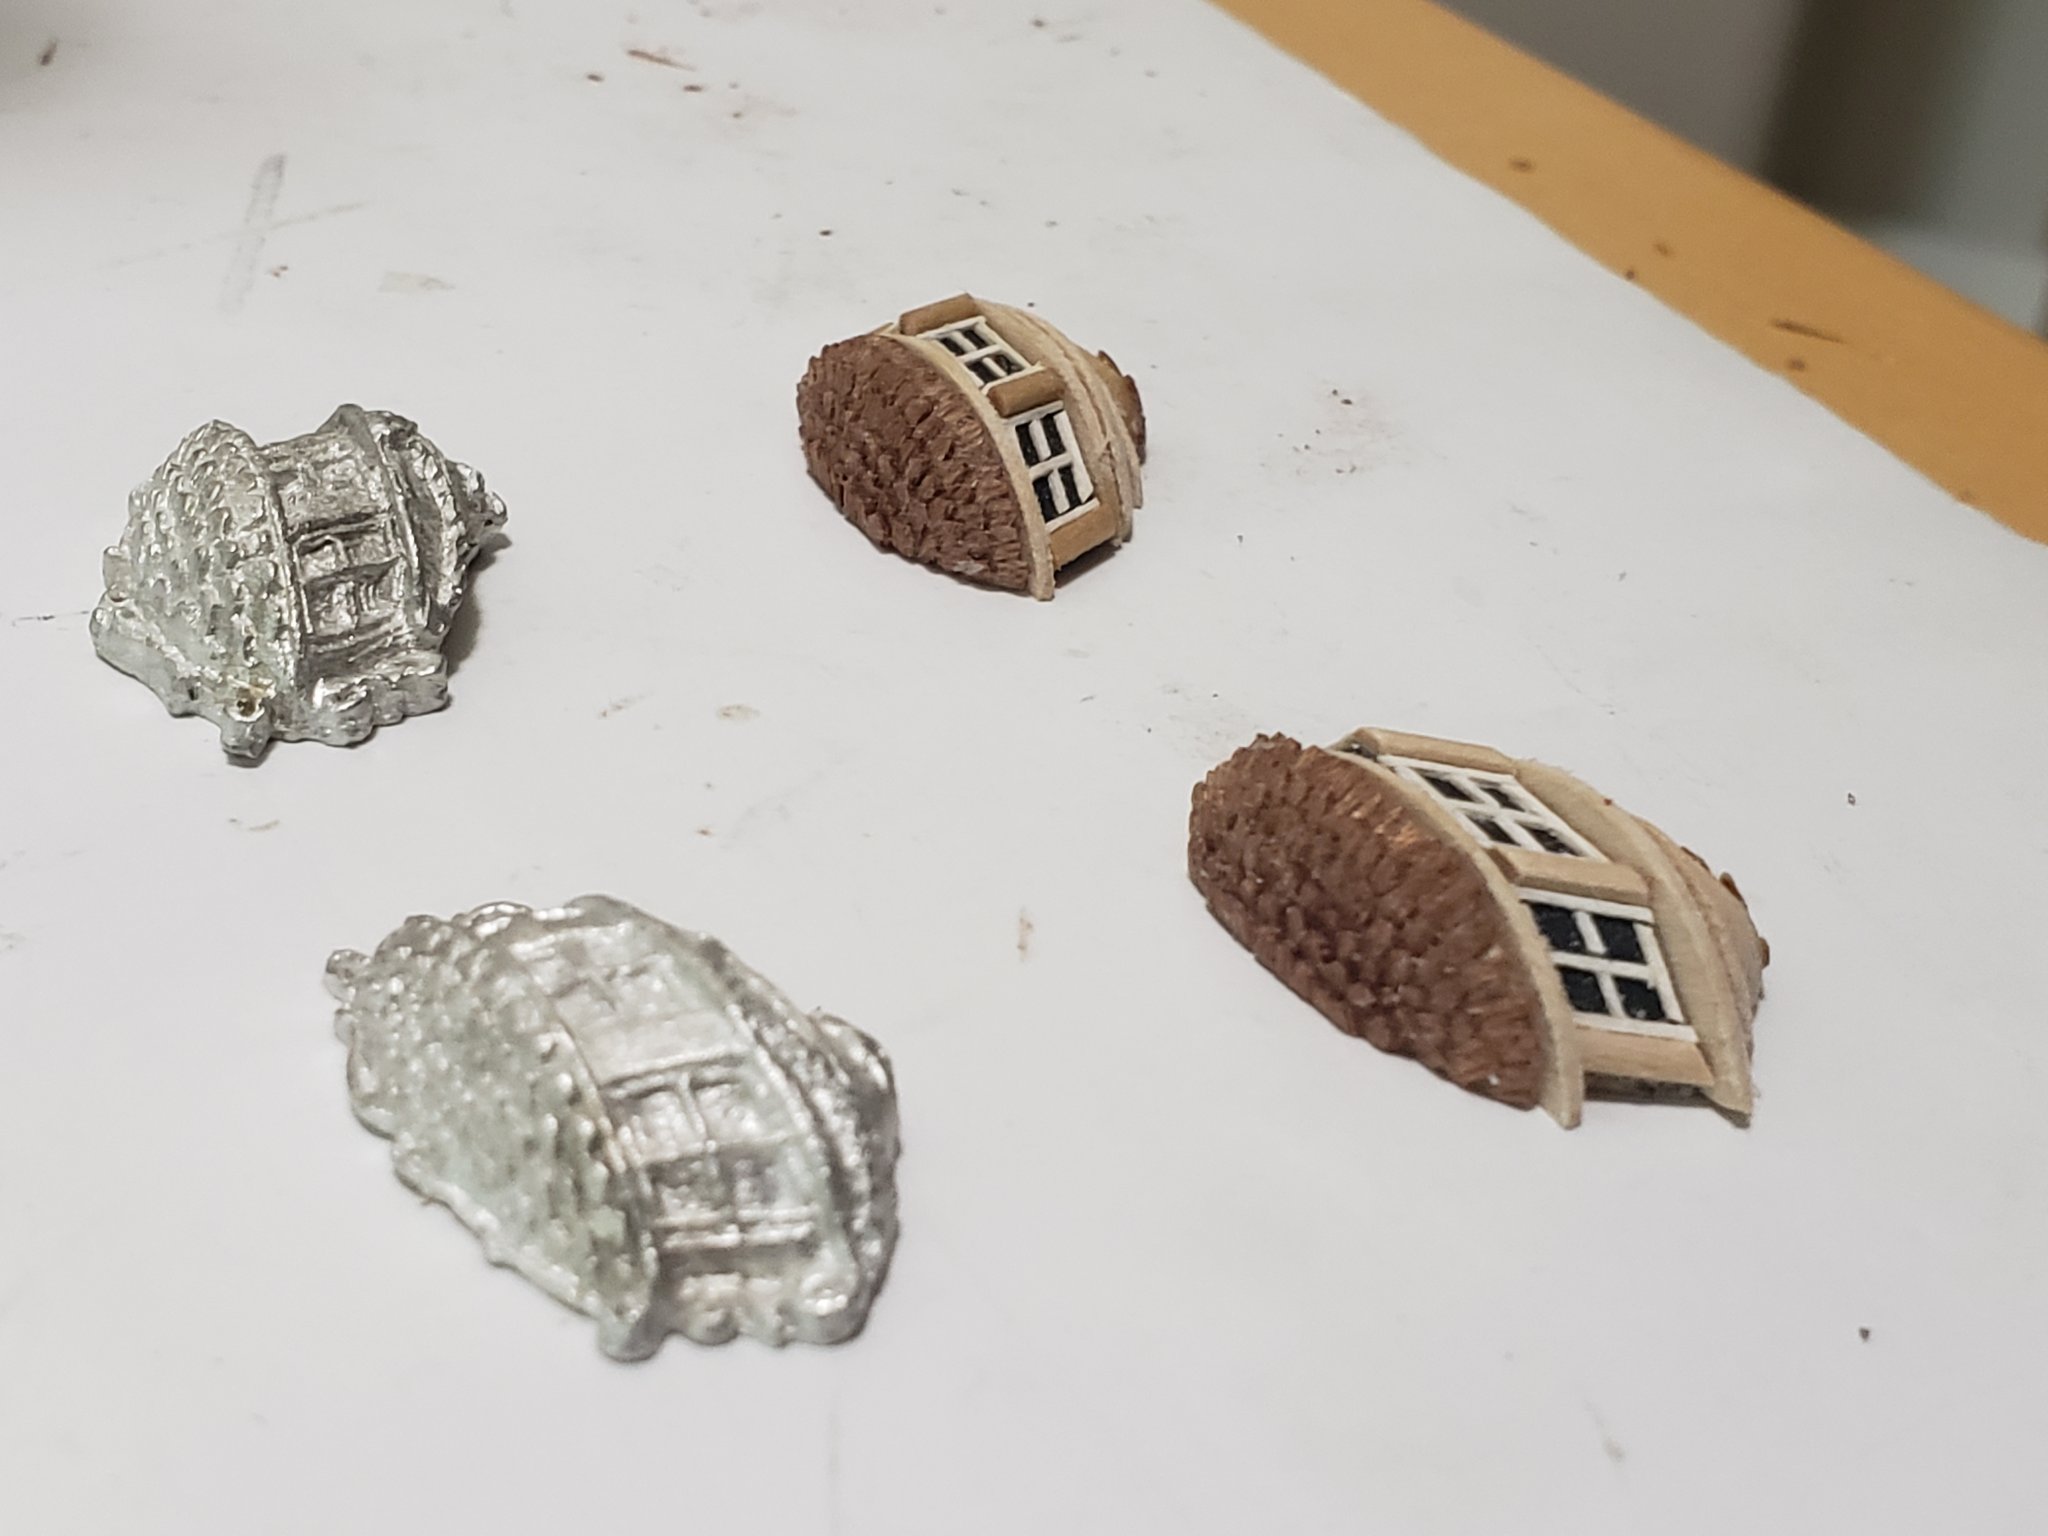
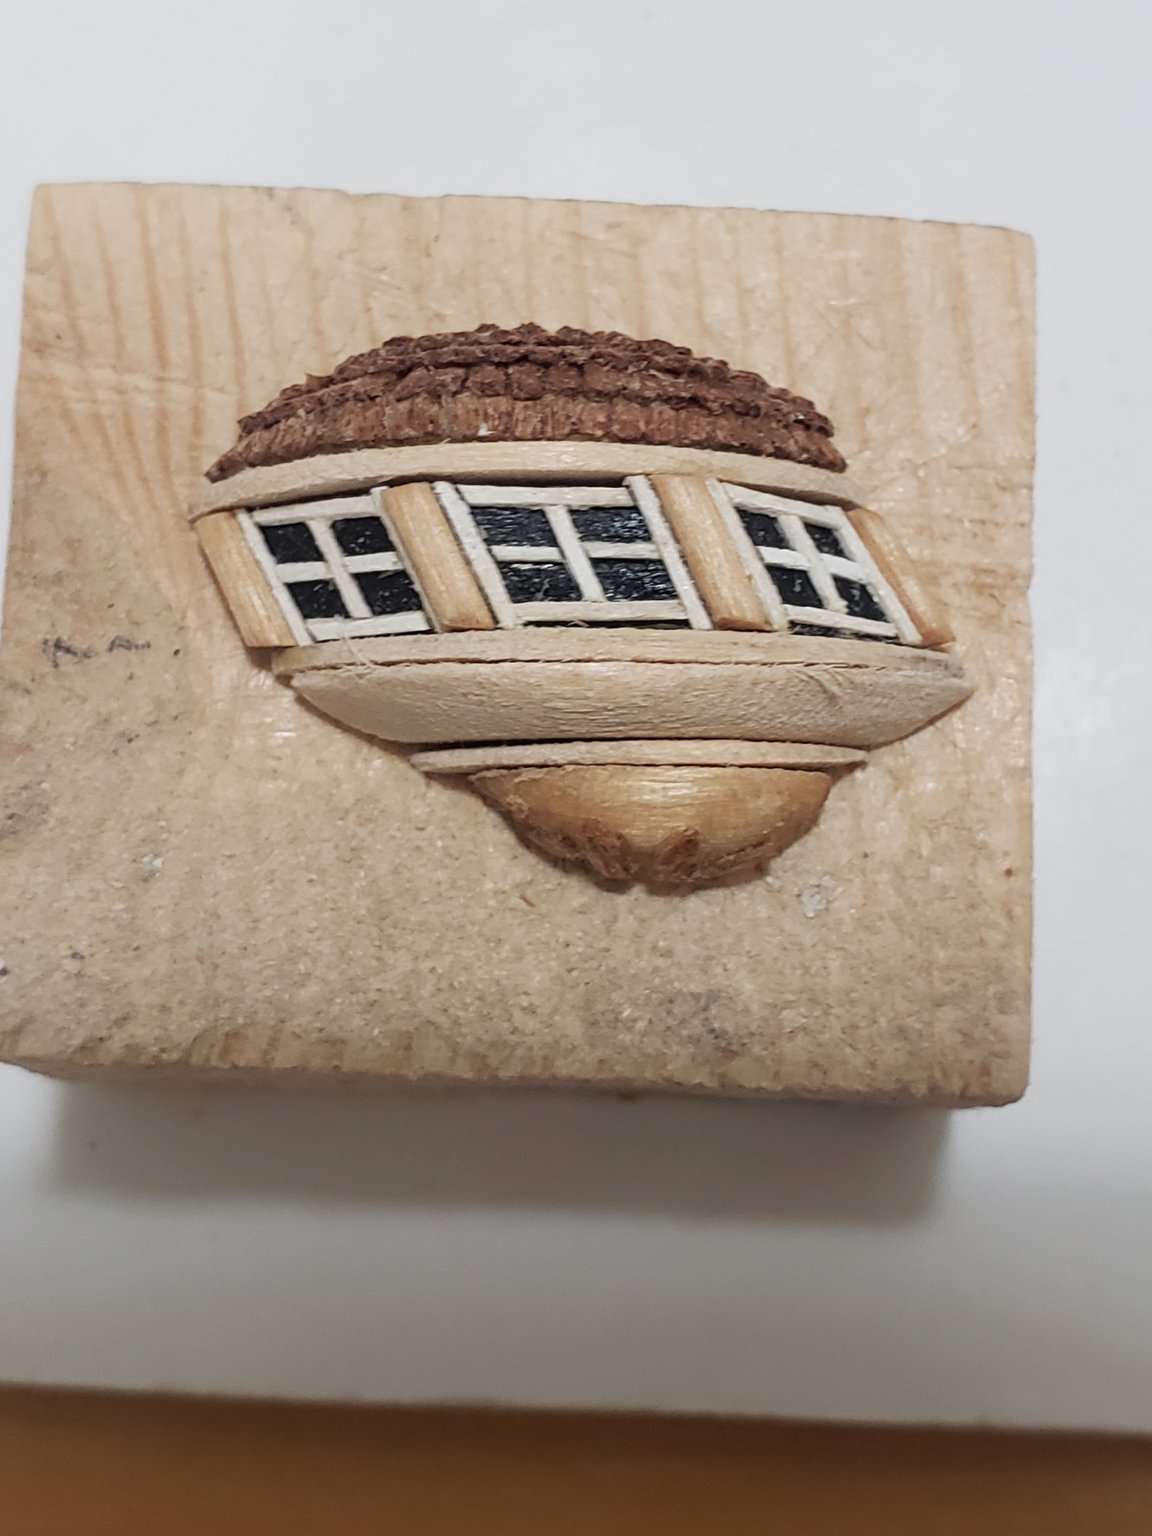
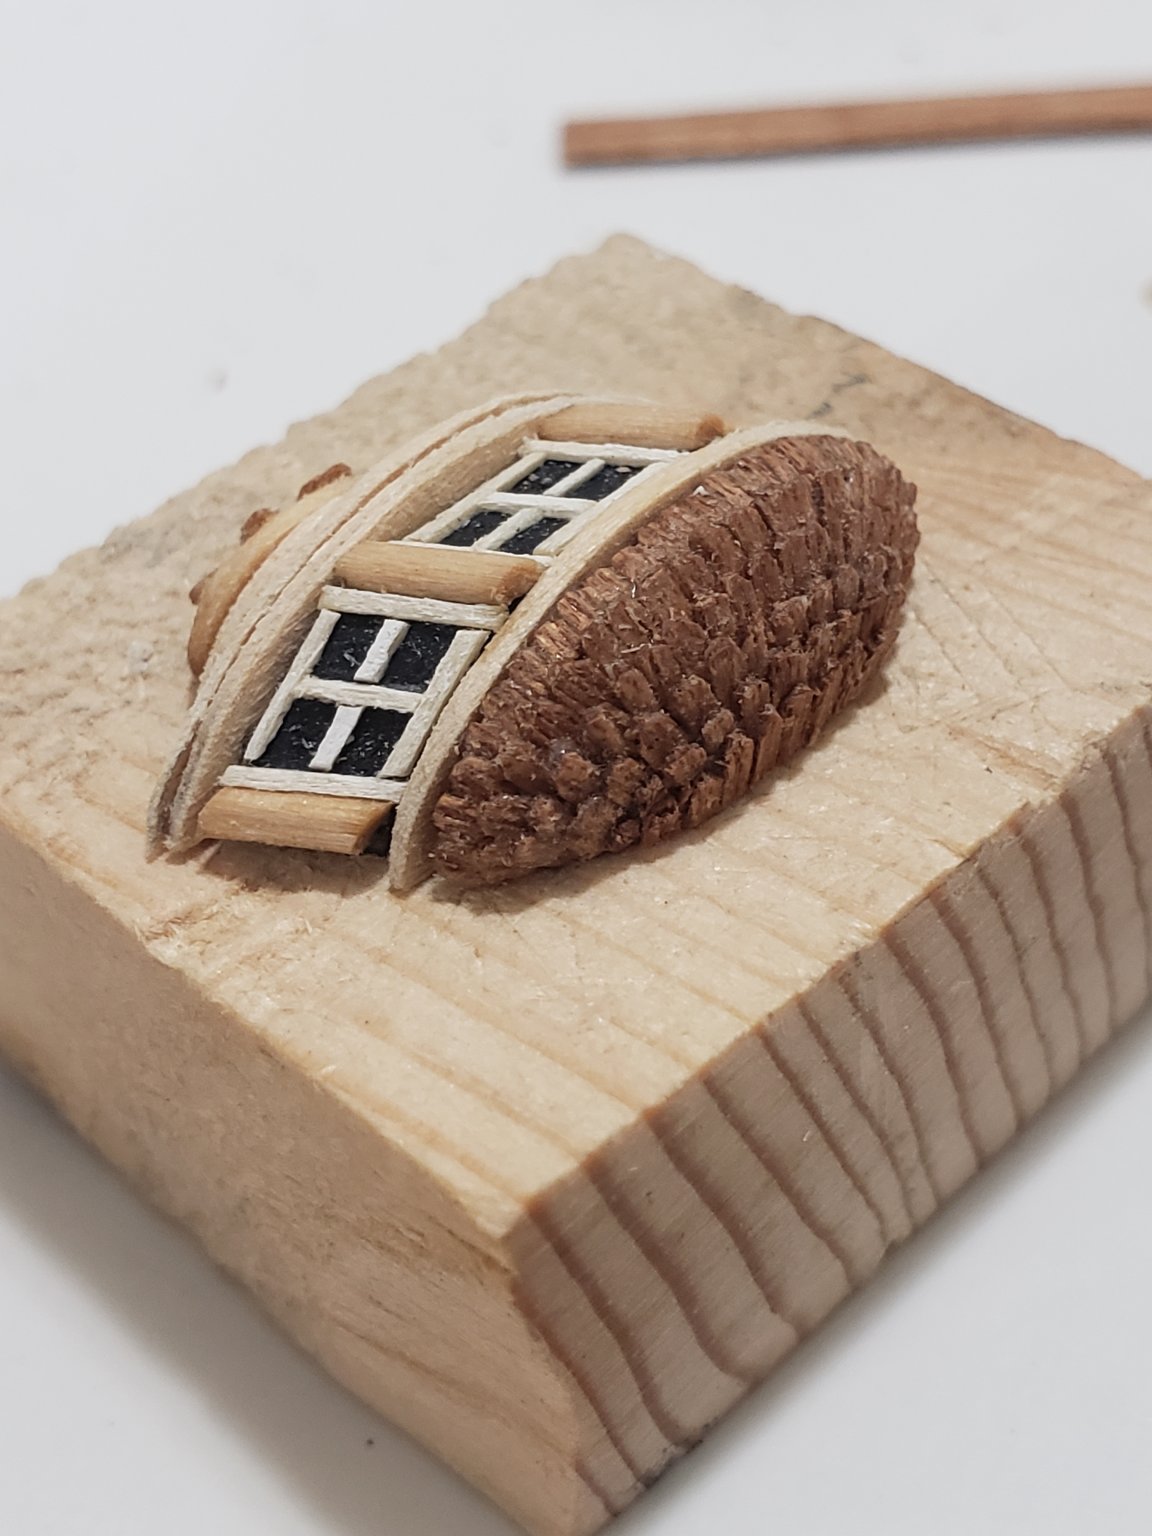
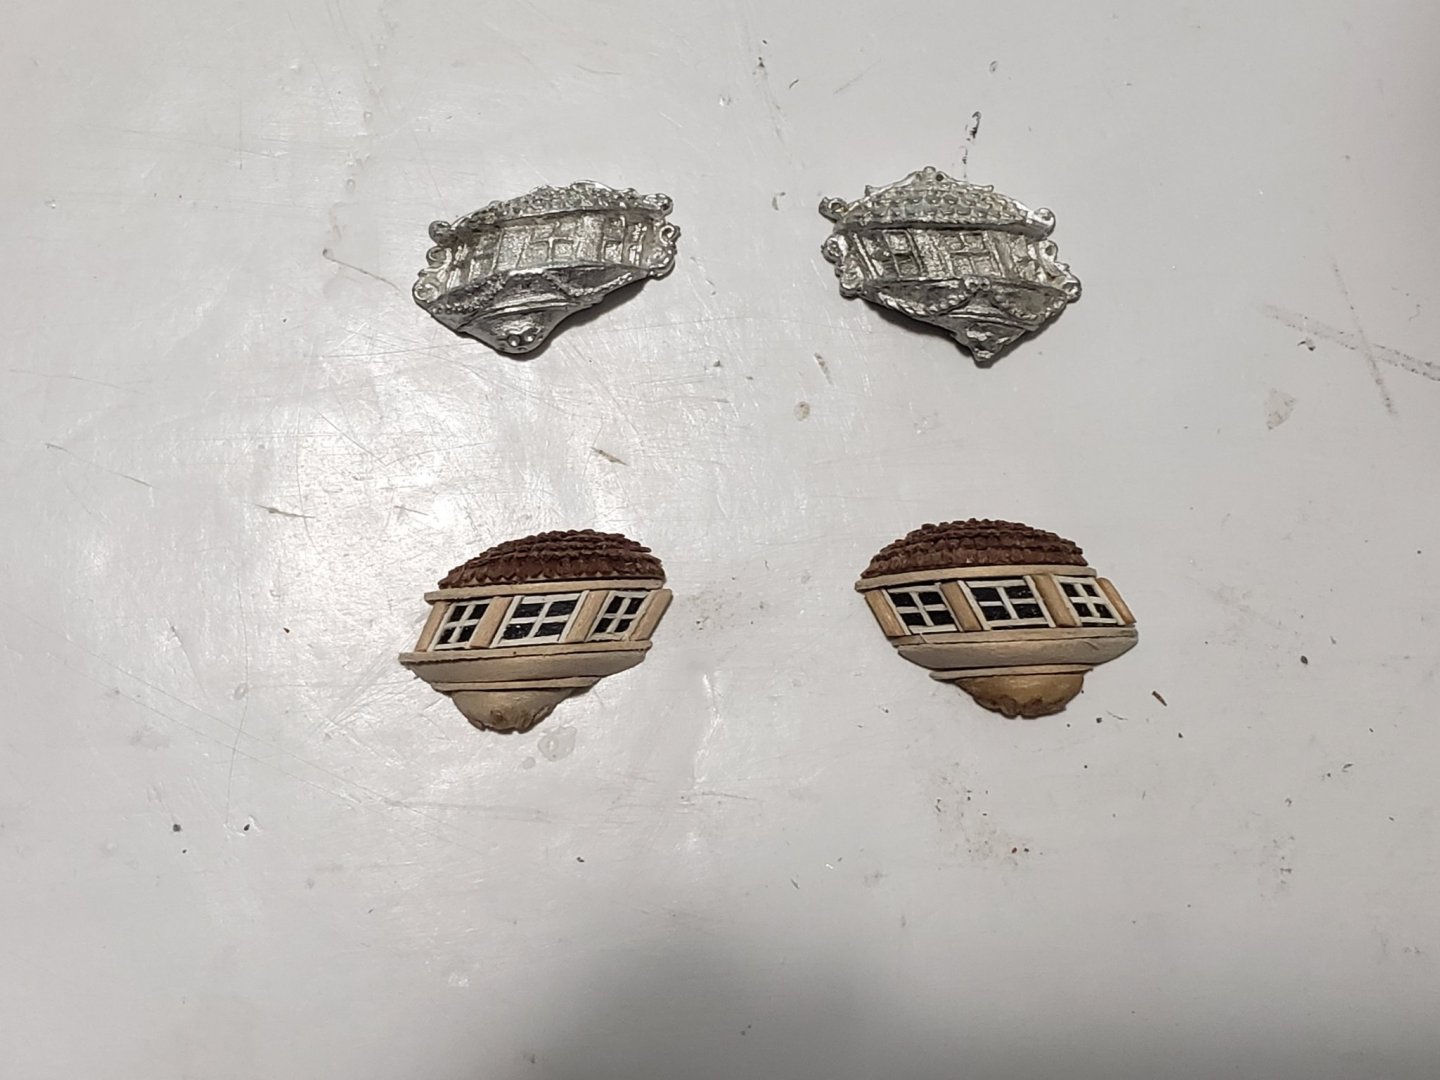
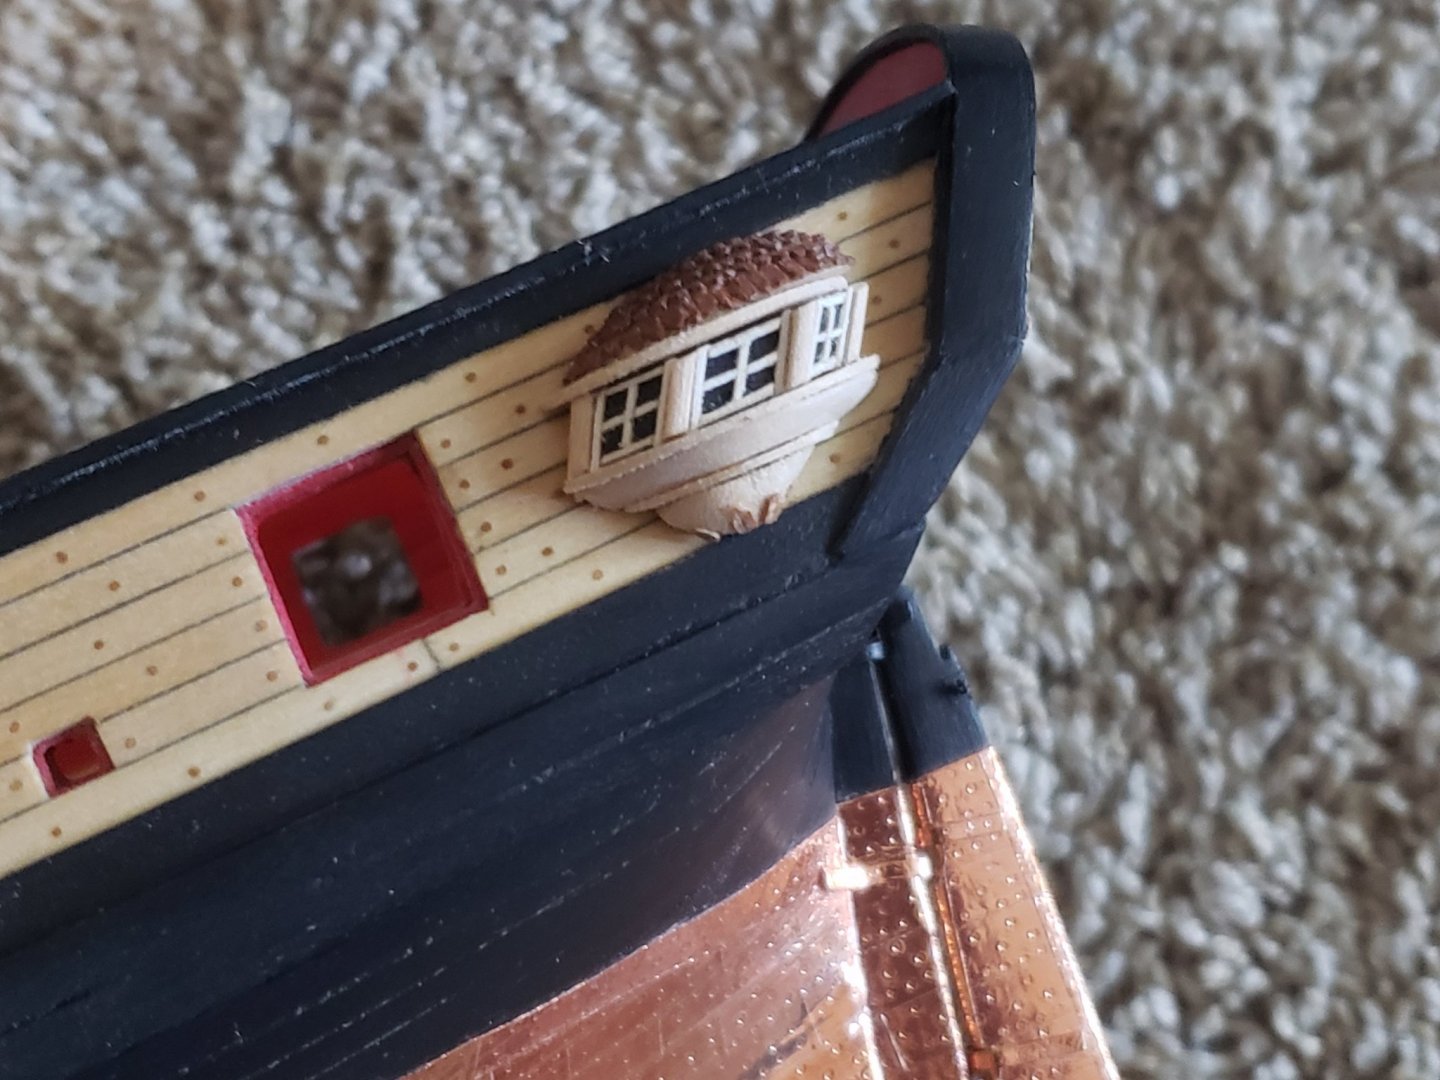
Some more progress on the quarter badge. I finished tiling the roof and the pattern at the bottom. I used a very thin mahogany strip (leftovers from the Virginia kit) for the tiles and cherry wood for the bottom pattern. Here are some photos. The right one has the window and bottom layers with a coat tung oil to see how it'll look. The tiling was not so bad, I just had to sand it to be somewhat flat with the basswood before sticking the next layer. I tried carving the tiles in another scrap wood but it didn't turn out so good. Here is a progress pic of the roof with 2nd layer of tiles being glued: Only thing left until I finish this very tricky part of the build (and equally time-consuming 😅) is the carvings. Bonus photo: dry-fitting it on the Syren:


- 950 replies
-
- 15
-
-
- syren
- model shipways
- (and 1 more)
-
Sure! 🙂 Hmm I'm not too sure about this, but it wouldn't hurt finding something.. I have my wood stored in a closet just in the box it came with, but I don't think it's damp at all.
-
Thanks for the suggestions Richard! Thing is, it becomes very pricey when shipping wood to Alberta, and I can't justify spending over the price of wood on shipping. I inquired some places in Canada and the price of a couple of sheets of wood including shipping came to over $50 CAD.... From the US it was even more... I'll see how the cherry treats me, otherwise I'll need to bite the bullet and get other wood species from the places you mentioned... Also I don't own equipment to mill the wood, some places I inquired were charging $120 CAD for material and milling for two 2"x24" sheets!! 😲 Thanks again for the stores, I'll keep them in mind if I need to order something.. It was hard to find such stores when I was searching for them.
-
Good luck with your build!! I'll follow along!
-
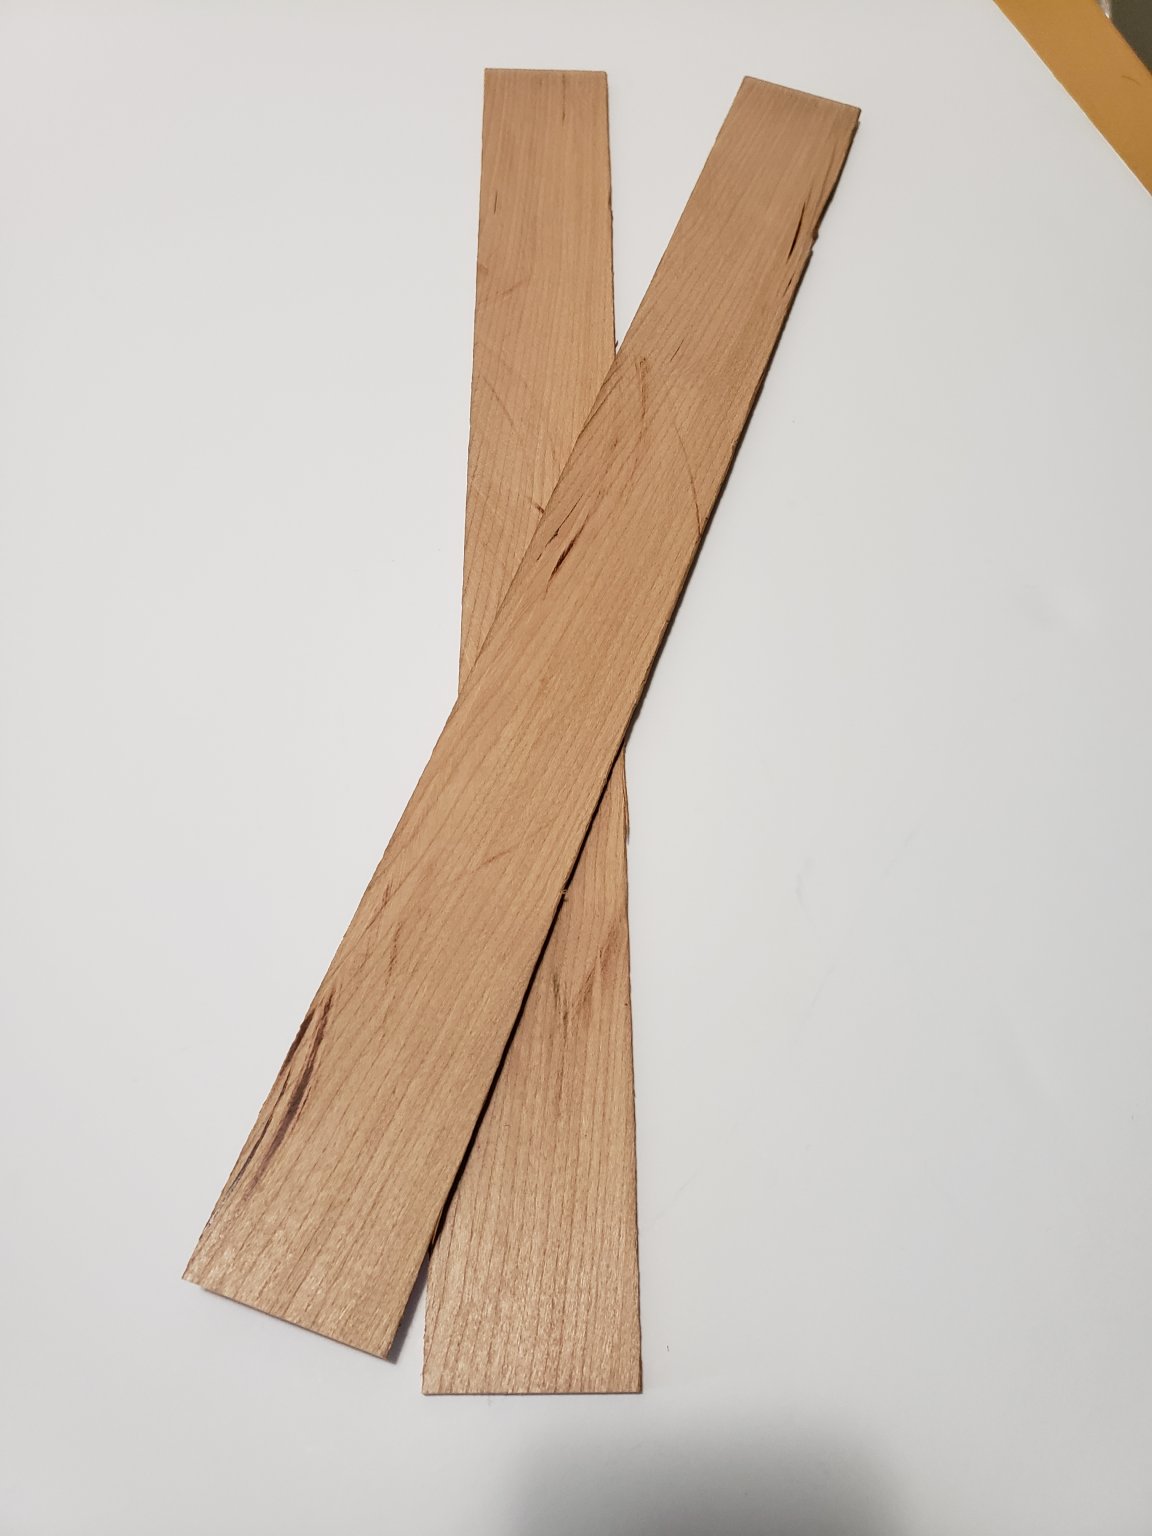
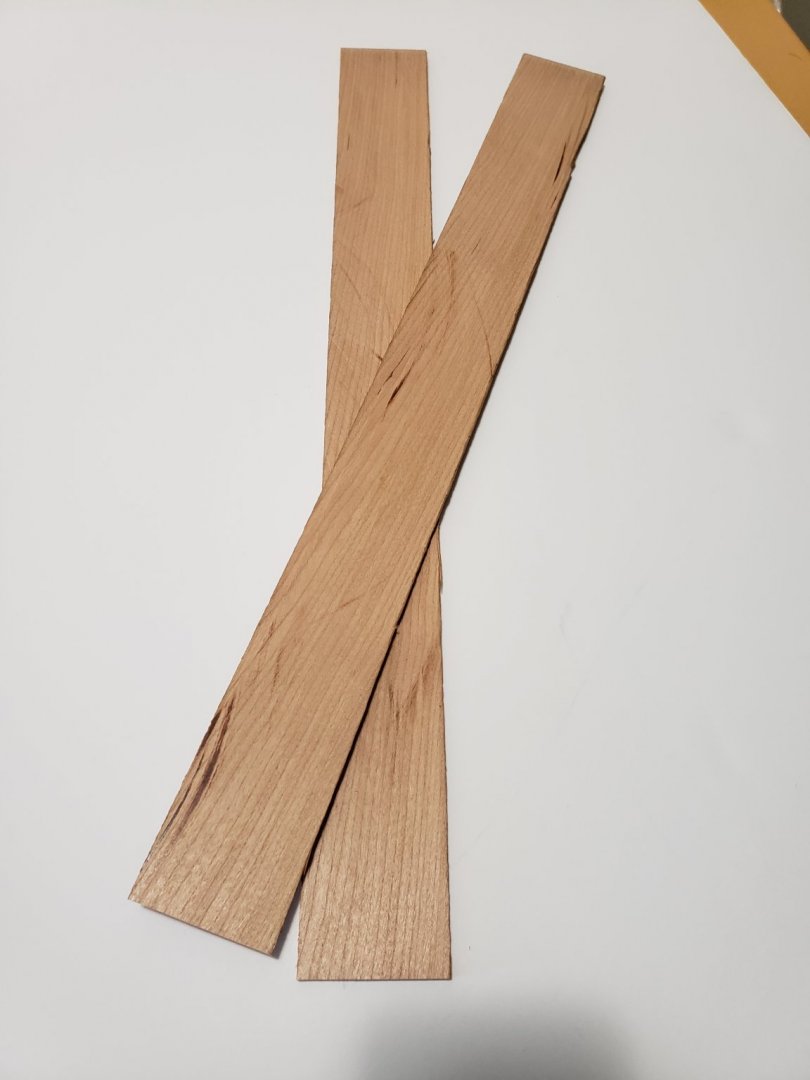
Good news! I can resume working on the quarter badges now. I found a local hardwood store that sells cherry (wood slabs), and the owner was more than happy to saw out a couple of ~1/8" thick sheets from it. Really appreciated this since I don't think many would go out of their way to do something like this. Finding a local store meant that I didn't need to order from out of town and pay the hefty shipping costs and I could also see exactly what I was getting. Here are the wood sheets: The burnt saw marks can be easily sanded off, but the wood looks really clean. Right off the bat it already feels better than basswood. I know it's not pear or boxwood, but I think it would be much more workable than basswood. Looking forward to working with it! I will also try carving out the stern carvings, hope it turns out decent... Otherwise I'll use the metal castings since they are not bad (ie. much better than the quality of the metal quarter badges). I also bought some basswood 1/4" and 3/8" sheets which I will use to make a better looking cradle than the one the Syren is currently sitting on. P.S. progress will start to slow down since I will start grad school soon... Lots of things to prepare for before I start in a few months..
- 950 replies
-
- 9
-
-
- syren
- model shipways
- (and 1 more)
-
Thanks!! I'll follow these steps for my next potential model.
-
I mostly try to apply finishings after I install most or all furniture. That being said, for my current build I have applied tung oil to the deck and will lightly sand areas where I intend to install furniture.
-
Those are some smooth and crisp lines... Looking fantastic! I'm definitely putting that wood in my wishlist now.. How did you cut the straight lines for the port sills and lintels? I had to use a needle file for mine because of how the basswood kept cracking from using a hobby knife, but I guess this isn't the case for cedar. Again, I am really loving this look!!! Also, just thinking out loud, how would cedar planking would look with pear decking 🤔?
-
It's always exciting to see another Syren build log. Looking forward to see your progress. Good luck with the build!!
-
It's beautiful!!
-
Thanks Will and Richard. I should not be so impatient on finishing this step. Just gave Black Forest Wood Company a call and they don't store boxwood or pear wood, so an email was dispatched to The Lumberyard to inquire if they stock the 1/8", 1/16" and 1/32" thick pear wood sheets. I am not sure on which sizes I will need, but wouldn't hurt to have extra wood for any other project or carvings I may have to do. I'll carry on with the rest of the hull details in the meantime. Also the basswood was good practice for the carving. It taught me to be extra gentle and careful not to split the wood. I am really looking forward to get the pear wood if Lumberyard has them.
- 950 replies
-
- 3
-
-
- syren
- model shipways
- (and 1 more)