.jpeg.9d9bab3fa66f4349cae83f4155046894.jpeg)
rkwz
-
Posts
241 -
Joined
-
Last visited
Content Type
Profiles
Forums
Gallery
Events
Everything posted by rkwz
-
Thanks John. That's helpful advice. I'll leave them off the build in that case. I sometimes wish I had planned to add sails right at the start of the build, but it has been a great (& steep) learning experience! Cheers, Ron
-
For extra punishment? 😁 So if the ship was in dry dock, I was wondering how the sheet blocks and rope would be stored? Or am I overthinking this again?
-
Hello all, I am having trouble working out how to rig the jib sheets for my sail-less build. Hoping for some advice from the experts at MSW ! Cheers, Ron
-
.thumb.jpeg.d239701c2f7247a100a3f432822c4eda.jpeg) The natural finish is testament to your skill! Paint is an excellent way to hide our errors 😁
The natural finish is testament to your skill! Paint is an excellent way to hide our errors 😁 -
Thank you, Henry that's very helpful. I did some more digging around online for more Victory quarterdeck photos and came across this: I can't tell if the rope belayed around the staghorns makes up part of the tie off for the main topsail yard halyard which belays to the kevel on the left? Or is that the main sheet tied off according to Longridge?

-
Also my second question... Noel Hackney's guide for a standing/harbour rig suggests the tricing lines are pulled higher and the inner tricing lines run along the shrouds. I noticed most builds with the tricing lines rigged differently have the main sheets reeved in-board of those lines. However since the tricing lines on my model are pulled close to the shrouds, there is little room to fit the main sheets which would then be rubbing directly against the shrouds. Would it be feasible to let my main sheets run outboard of the tricing lines instead? Or am I overthinking this?
-
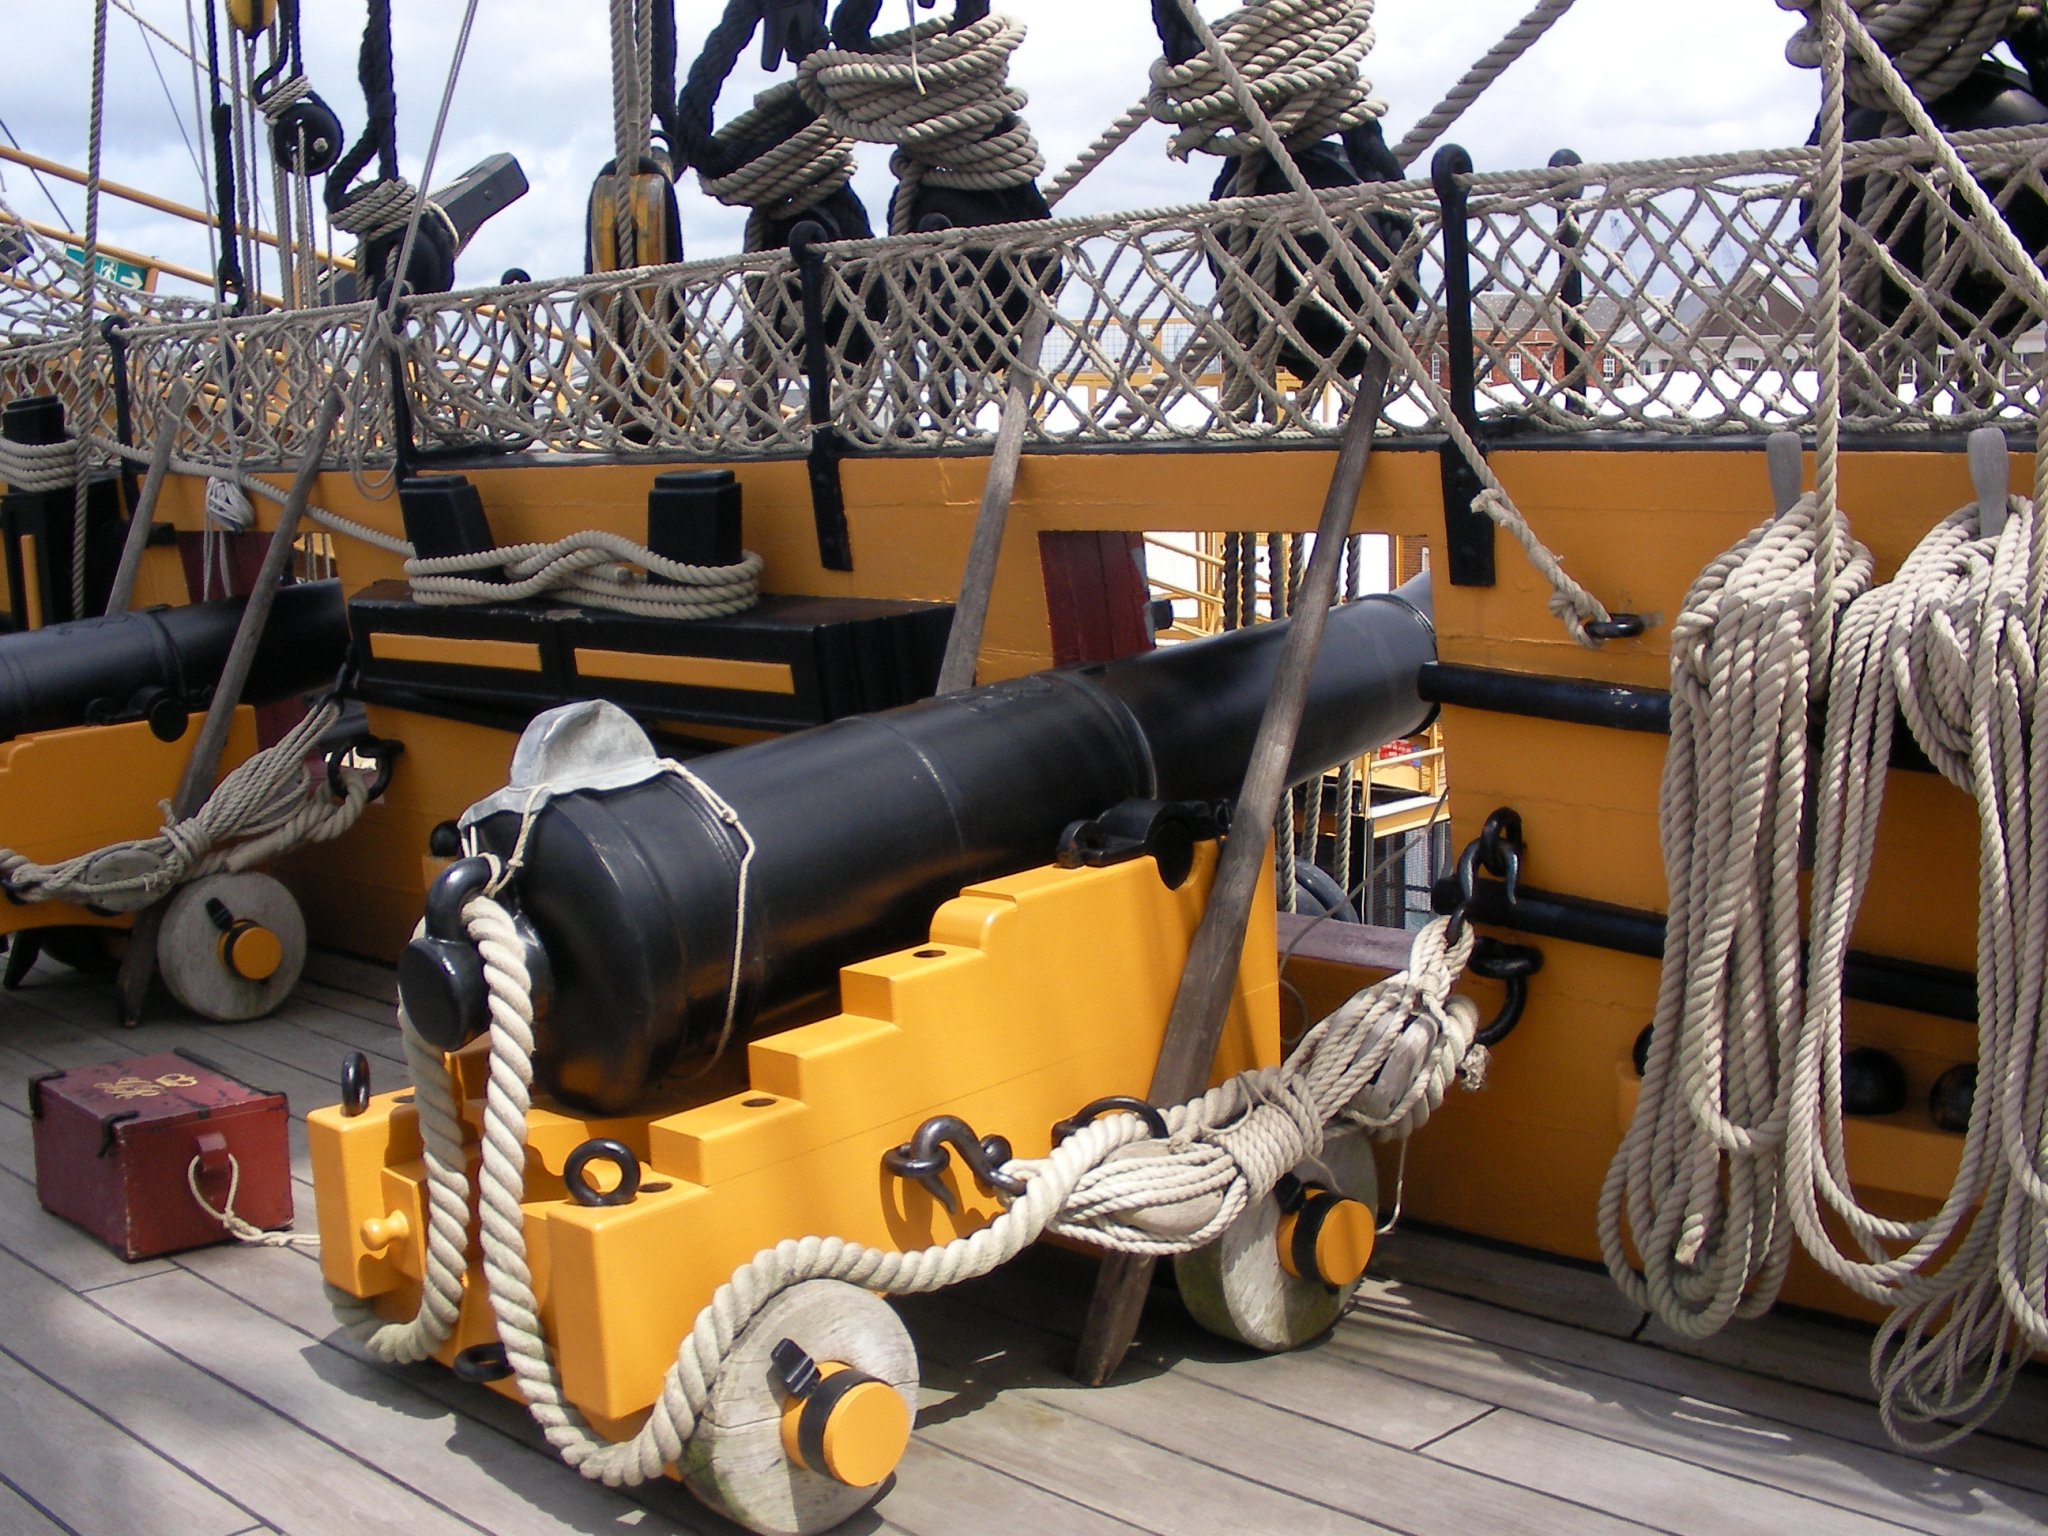
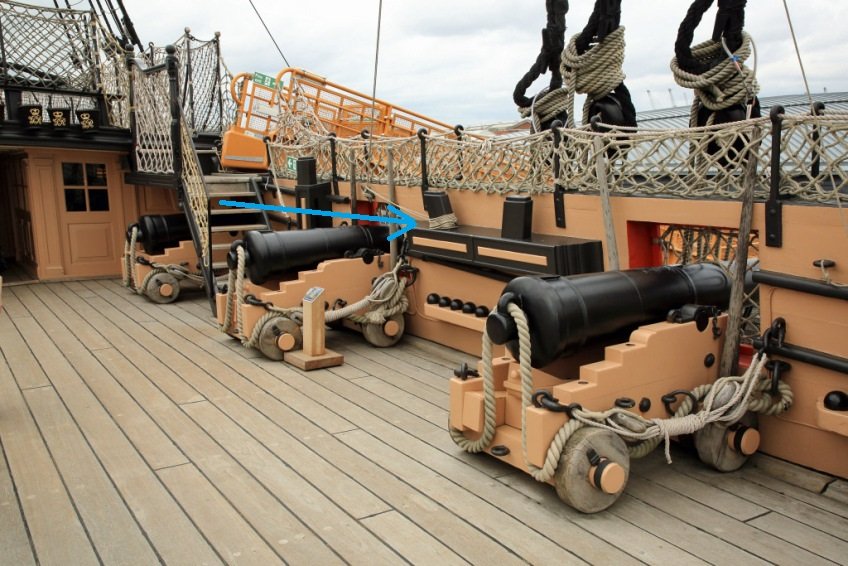
Hello everyone, I am having trouble working out how to belay the main sheet rope for my HMS Victory build: Longridge says after it reeves through the sheet block in the "spider" (hull bracket) on the side of the hull, it leads through a lead lined hole in the quarter deck bulwark and belays to the staghorn inside the bulwarks. On the actual ship, from my understanding, the blue line I have marked below would show the direction of the line in order to belay on the staghorn based on what I have read (the hole I believe is located behind the ladder leading up to the poop deck based on Noel Hackney's book). I'm not sure if the photo below was taken after most of the masts were removed for the recent renovations performed on the Victory as the sheet line doesn't appear to be tied to the staghorn. I suppose my question is how this line would have led to the staghorn without fouling on the cannons, kevels etc. ? Or is the hole located closer to the staghorns?
-
Funnily enough, I was thinking maybe the leftover bones from some lamb shanks I had last week would've provided an excellent supply and after some armchair "googling", it seems mutton stew was a staple diet for French captives held in England during the Napoleonic wars after all! Bone spars would surely be a stronger material than the lousy plastic spars I have been using for this build... But I digress. 😁
-
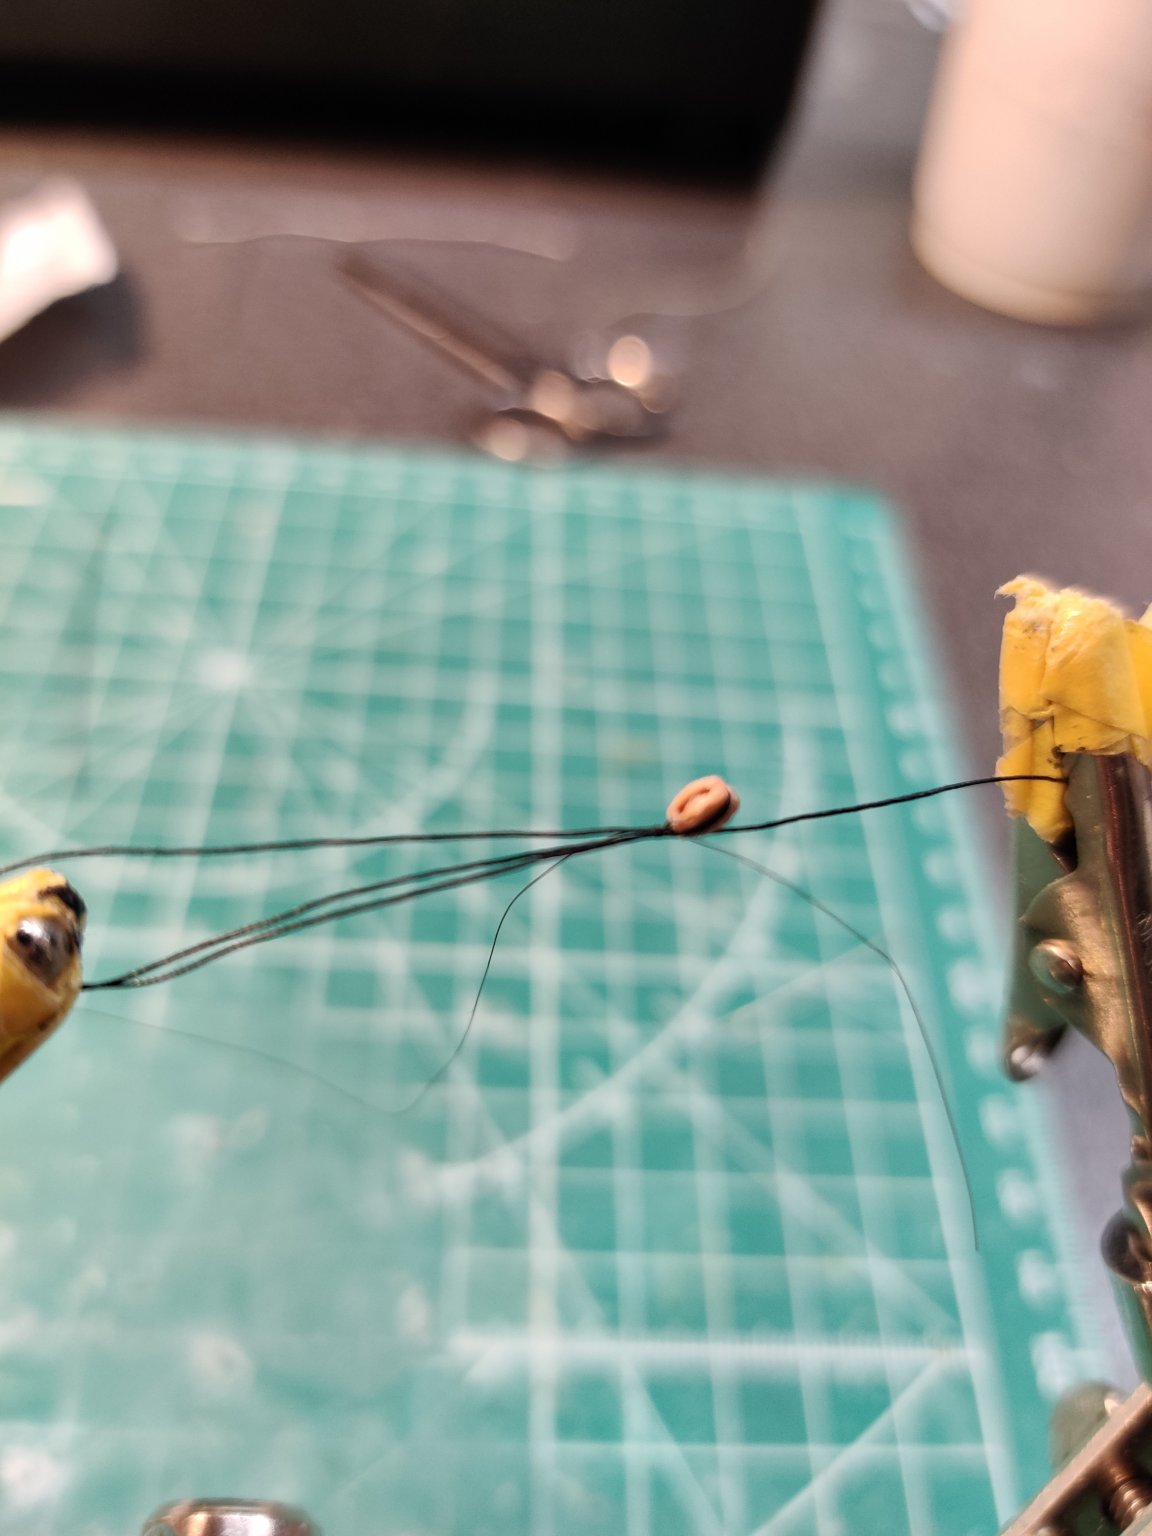
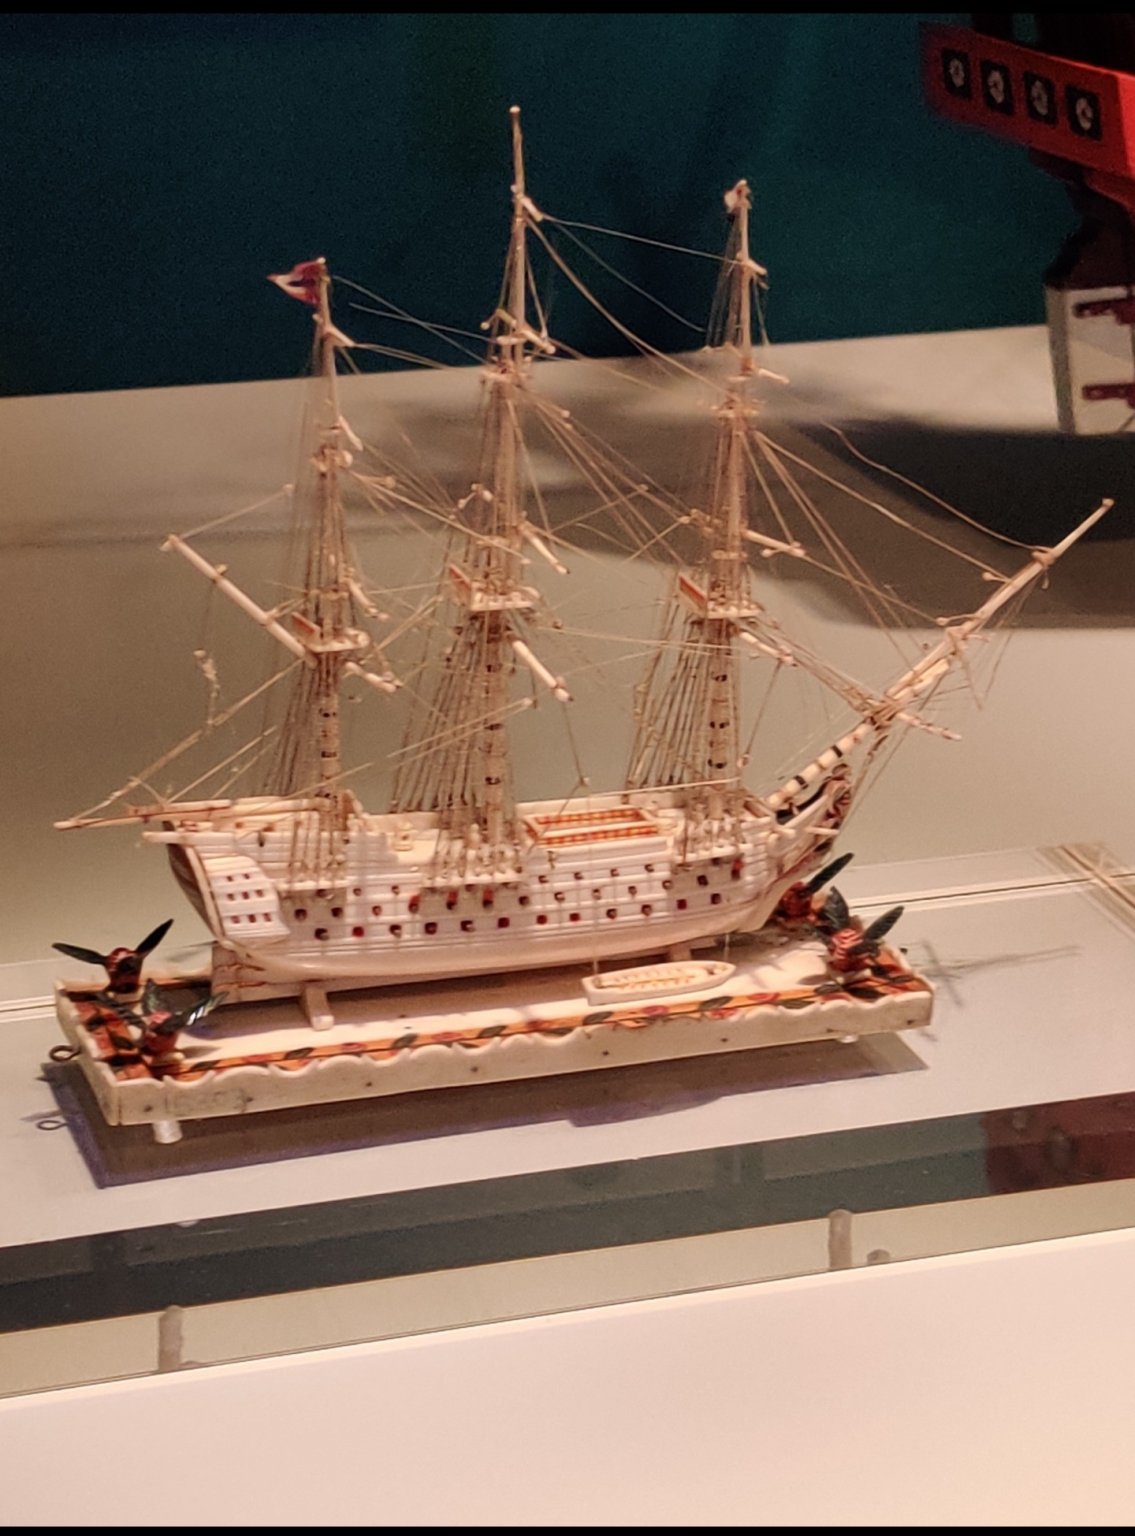
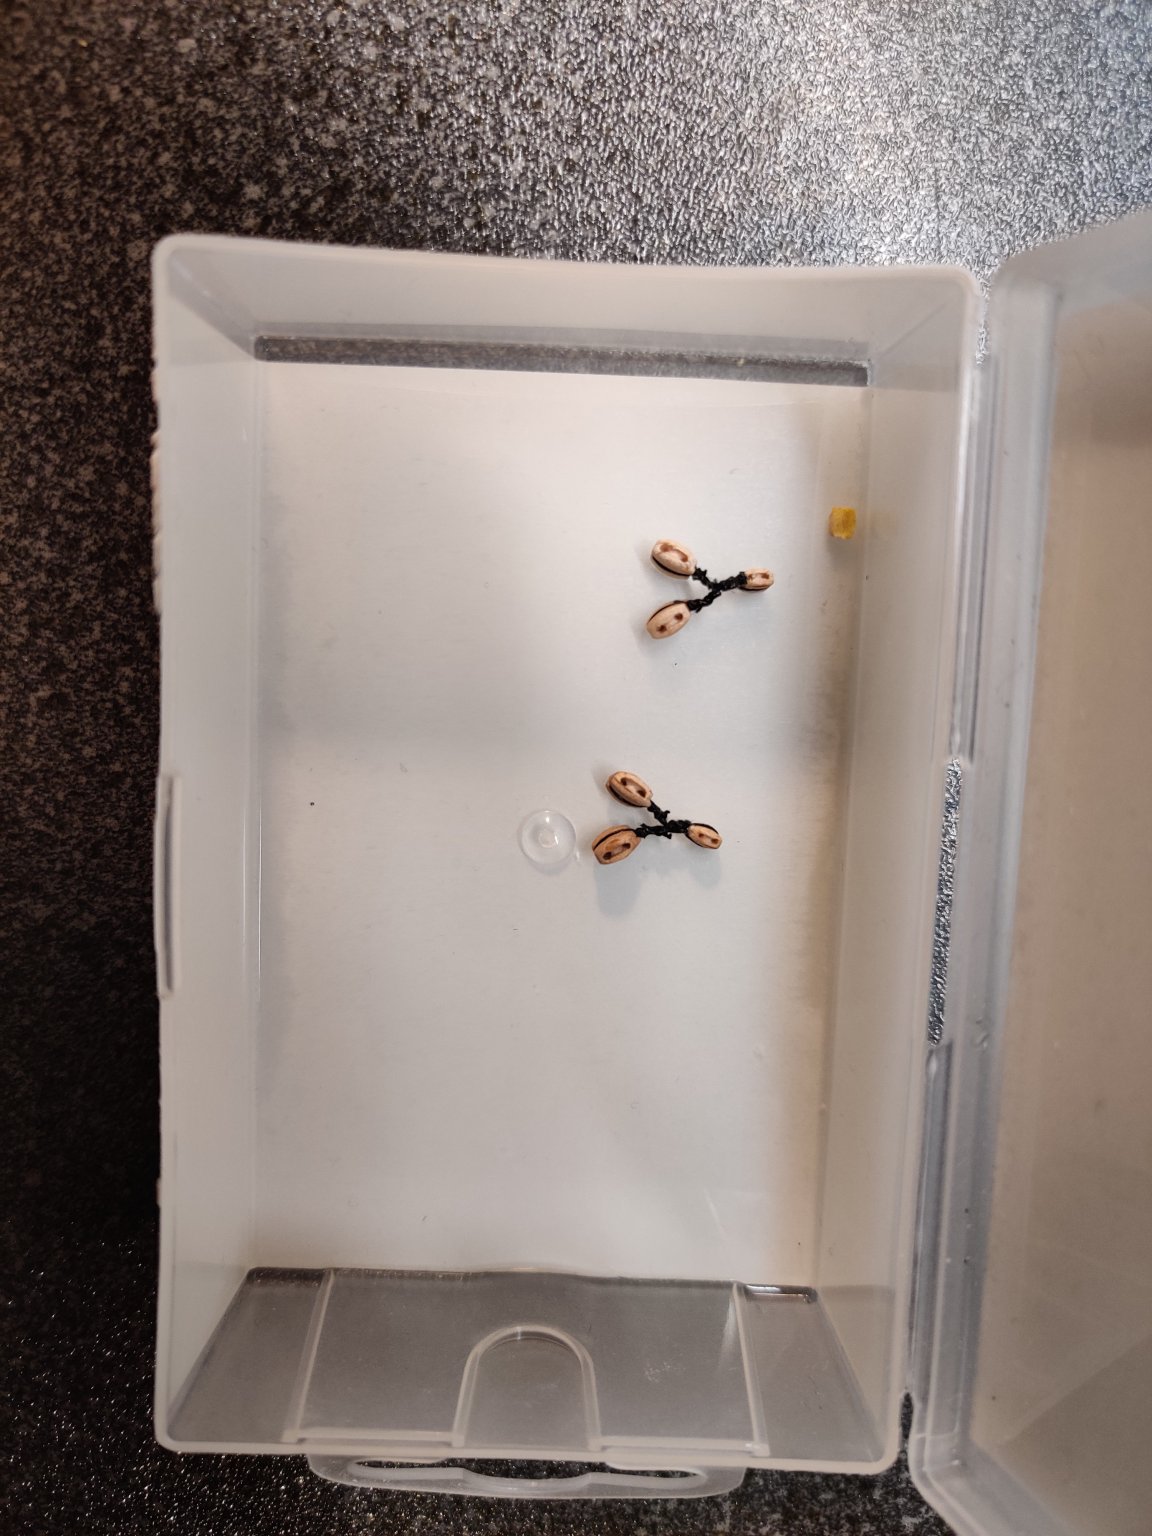
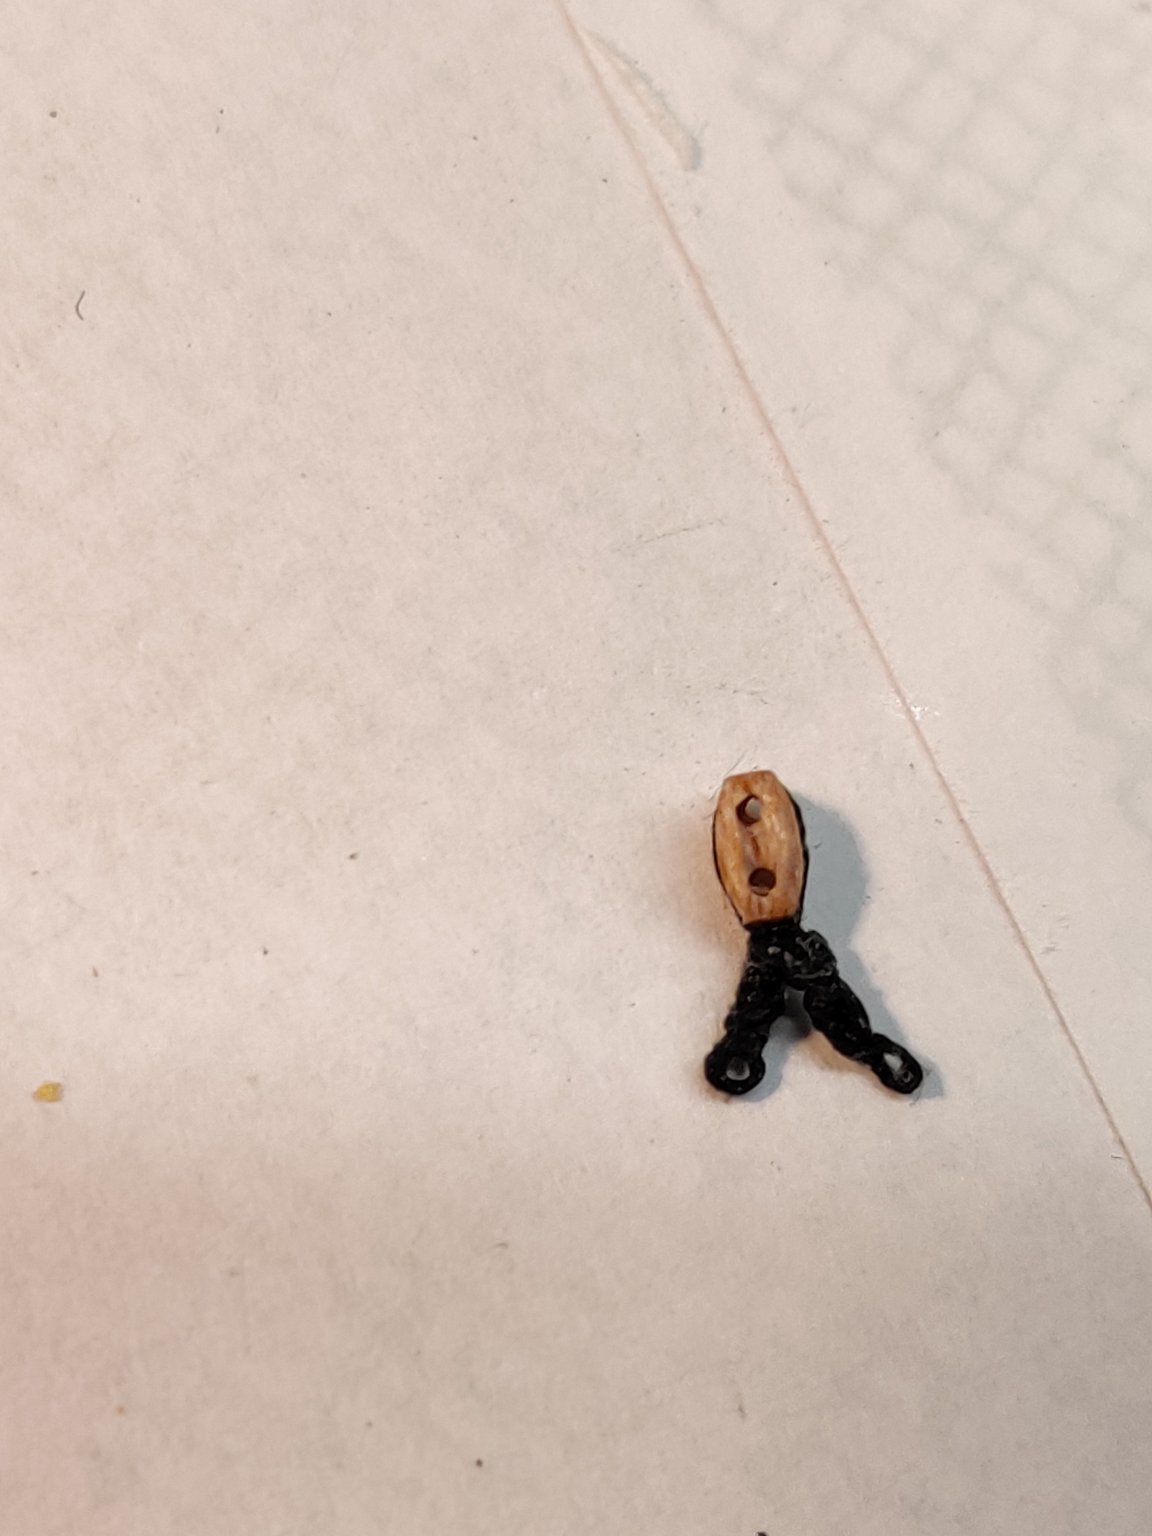
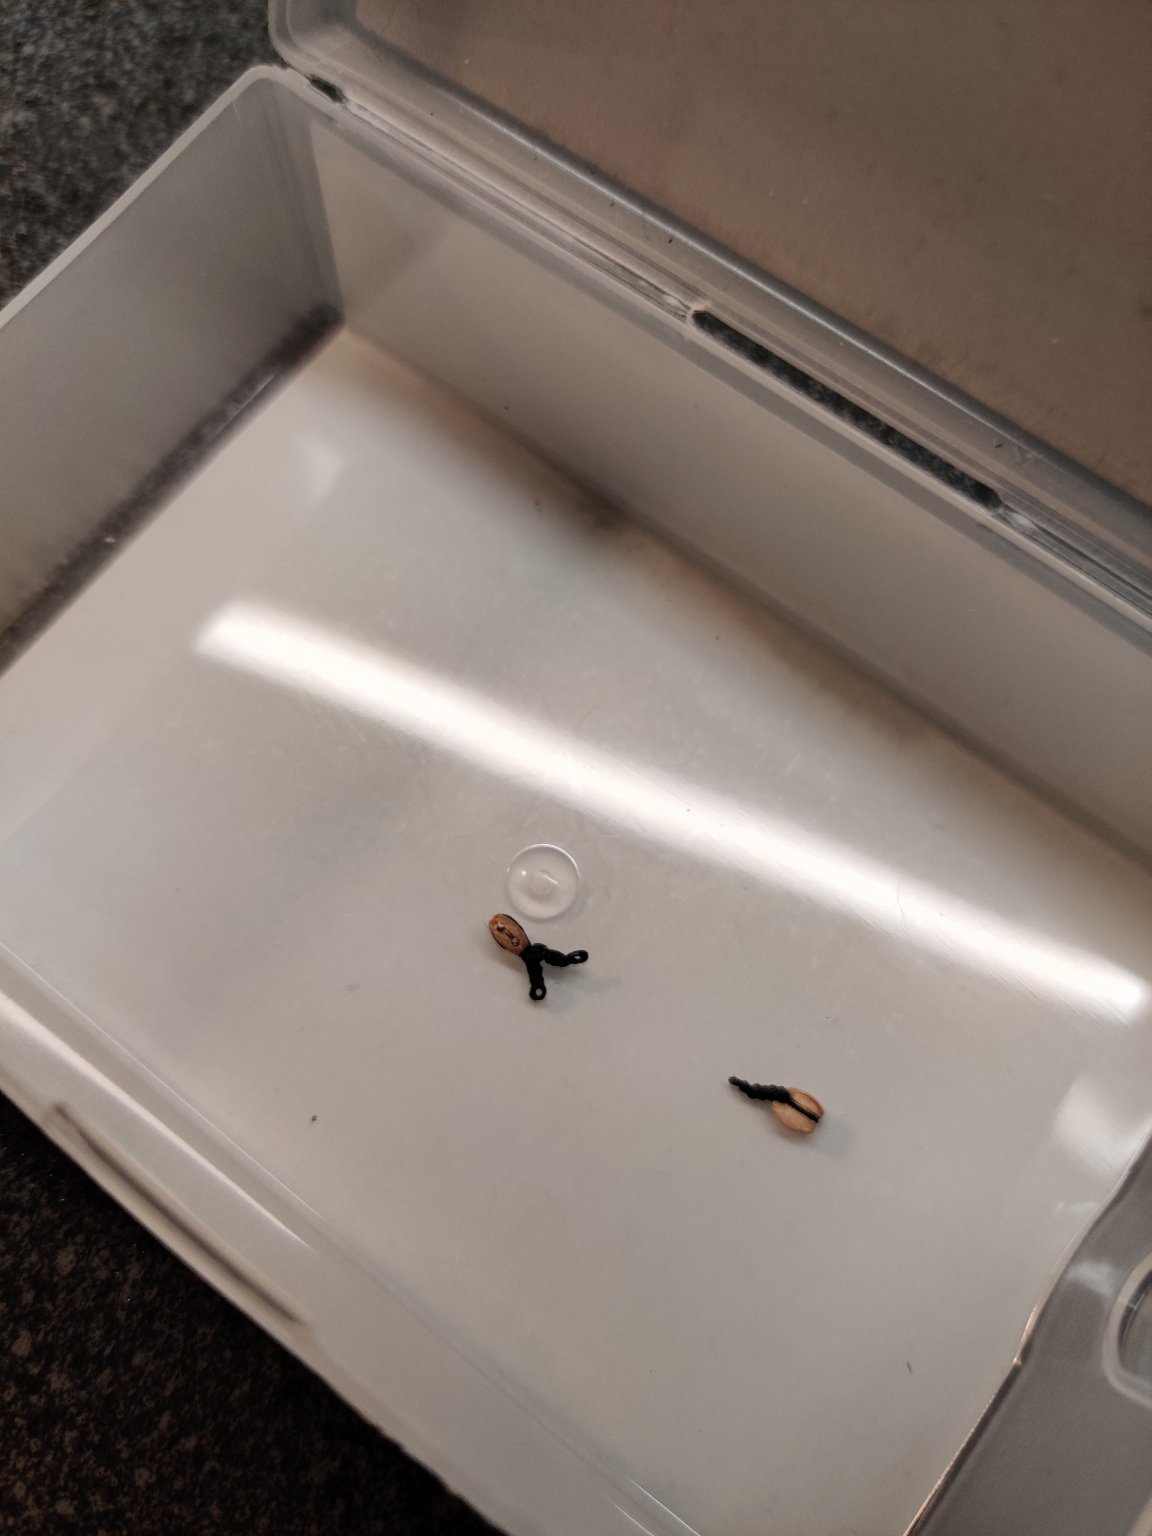
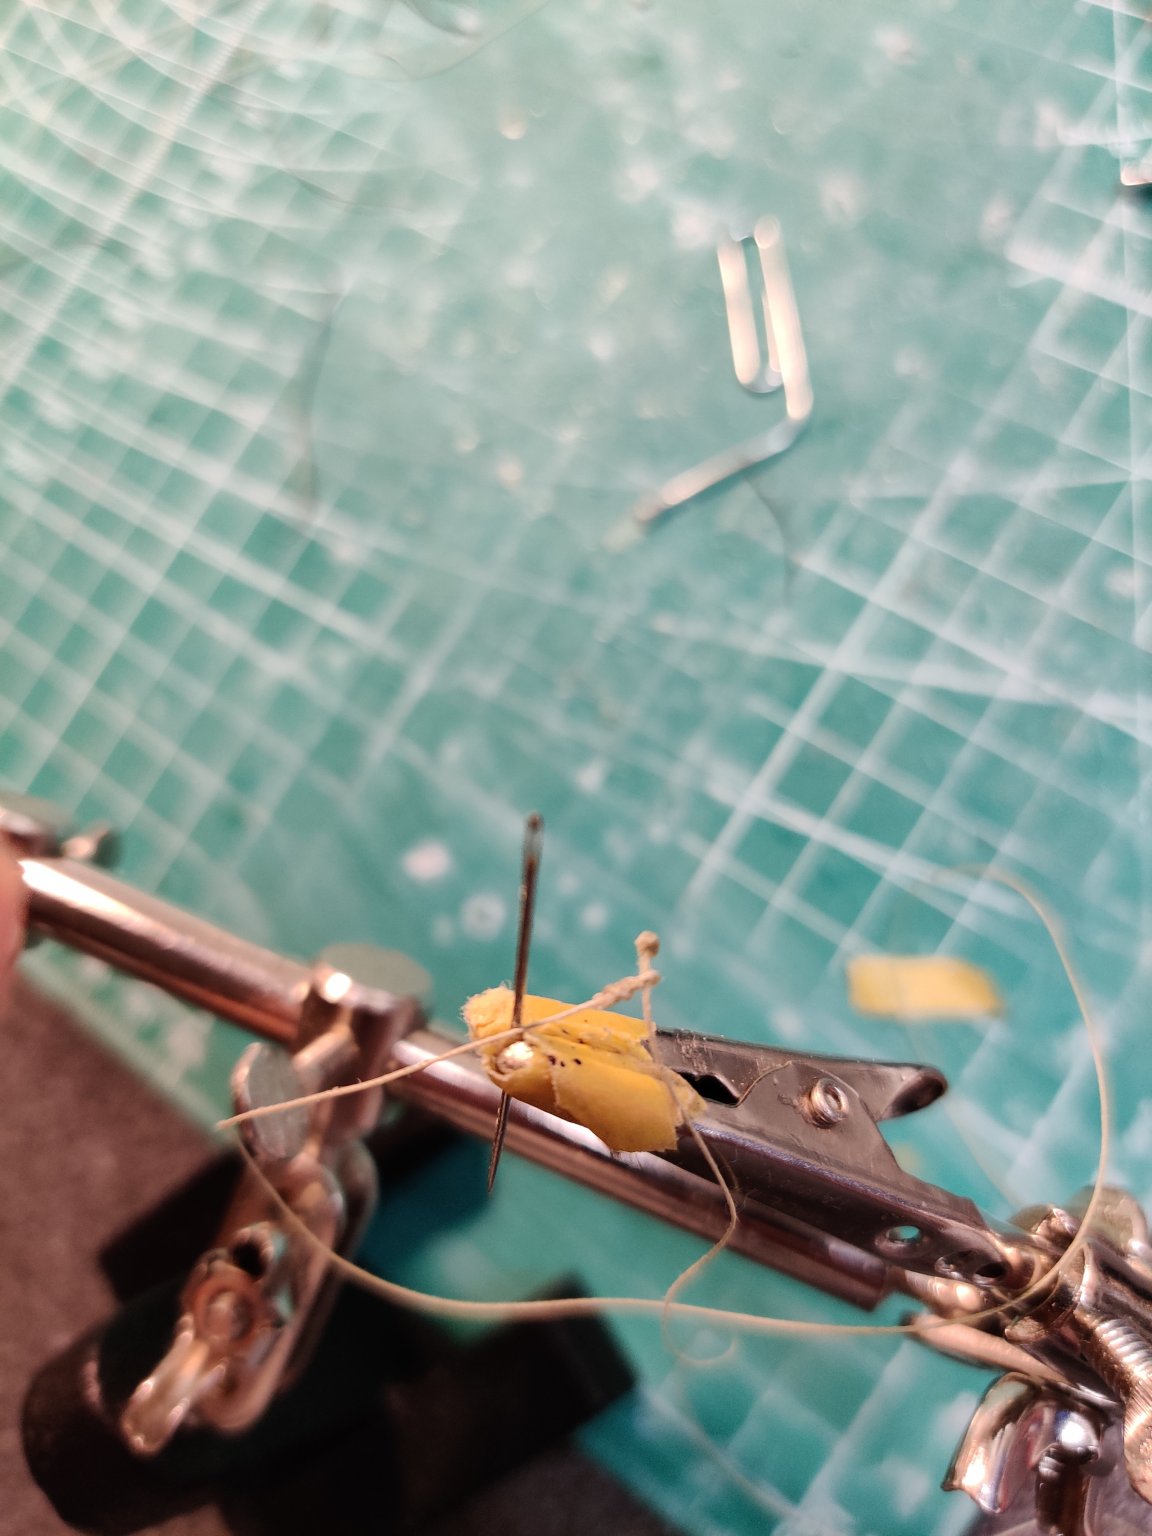
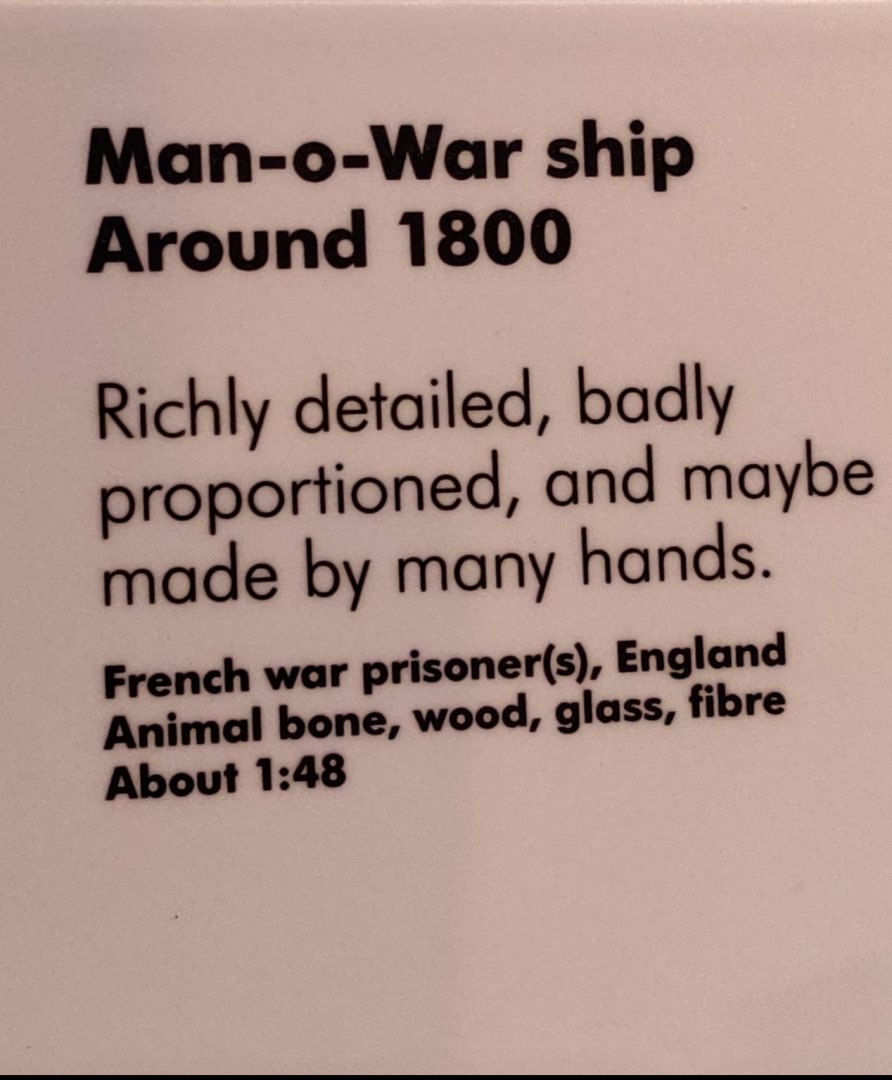
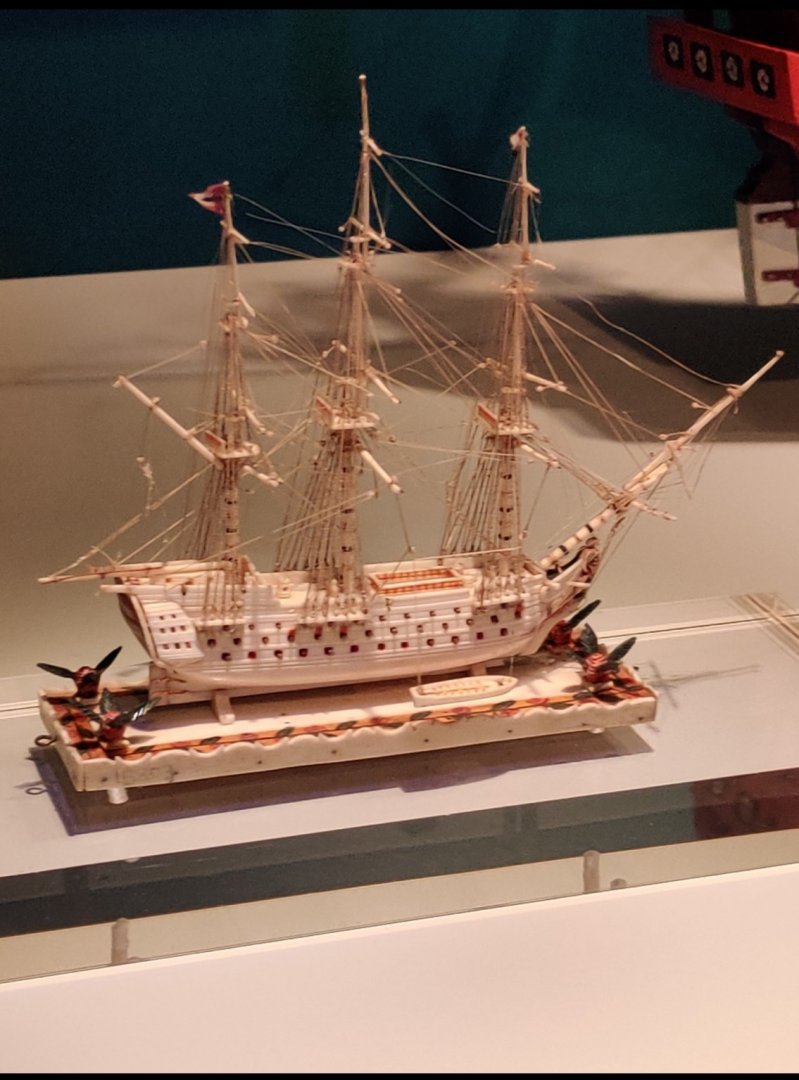
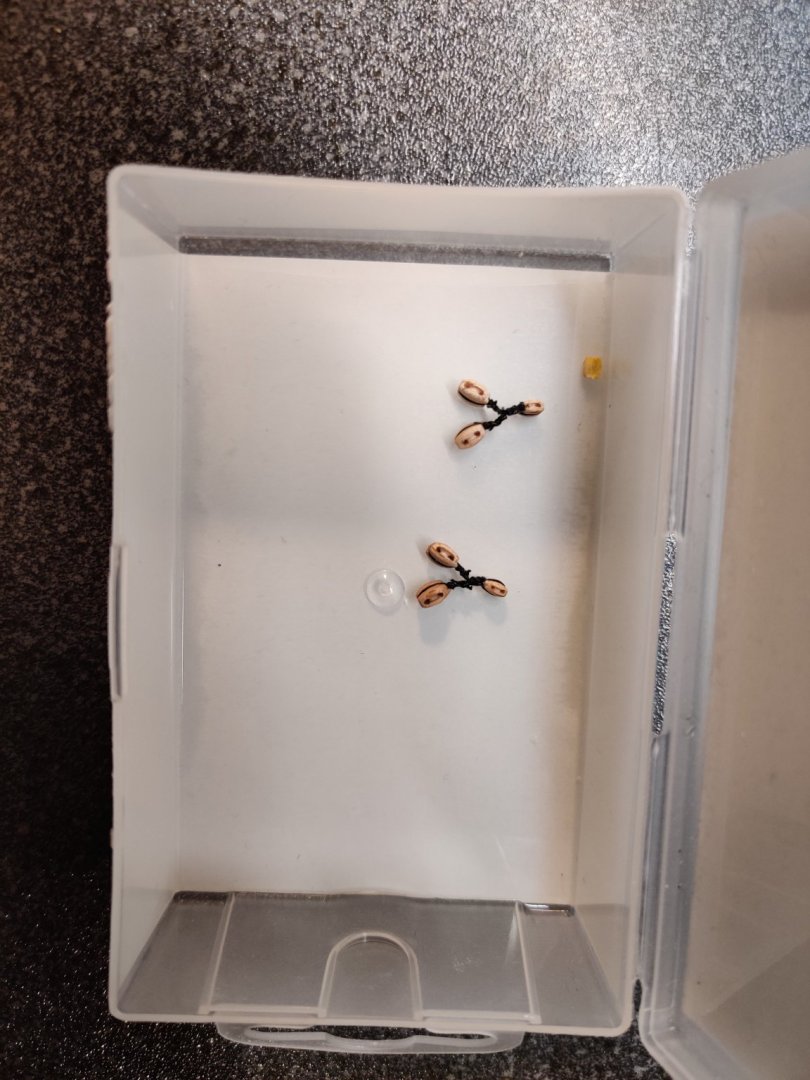
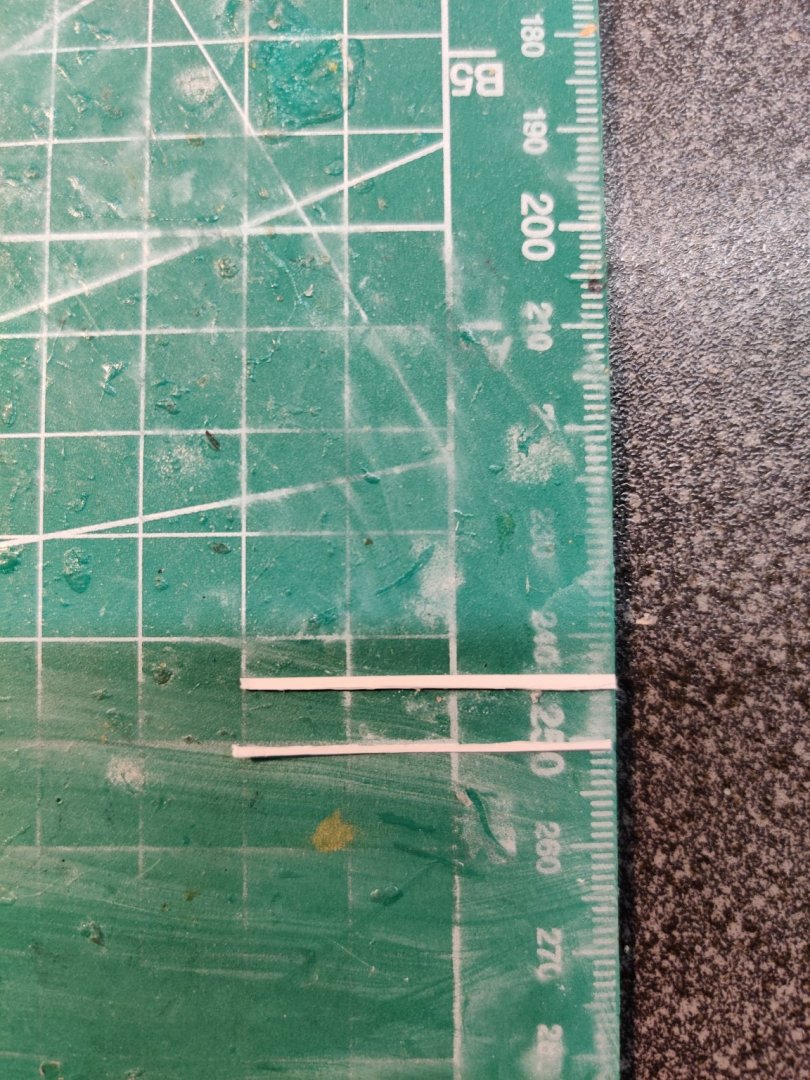
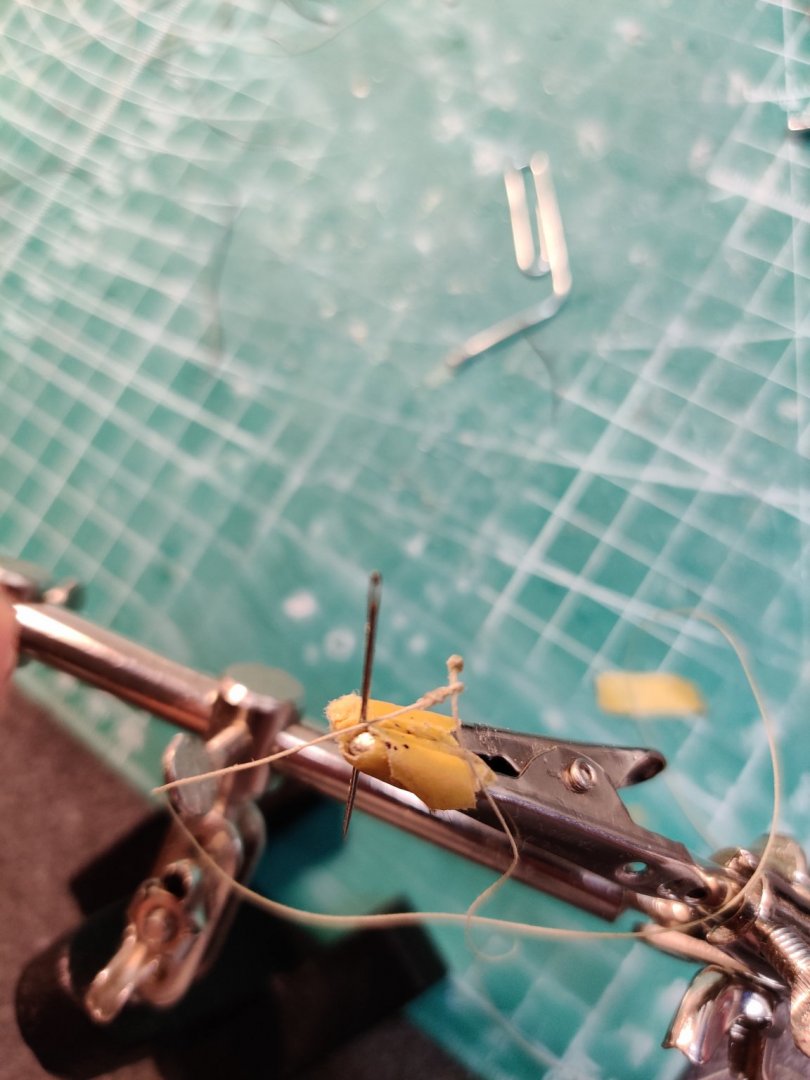
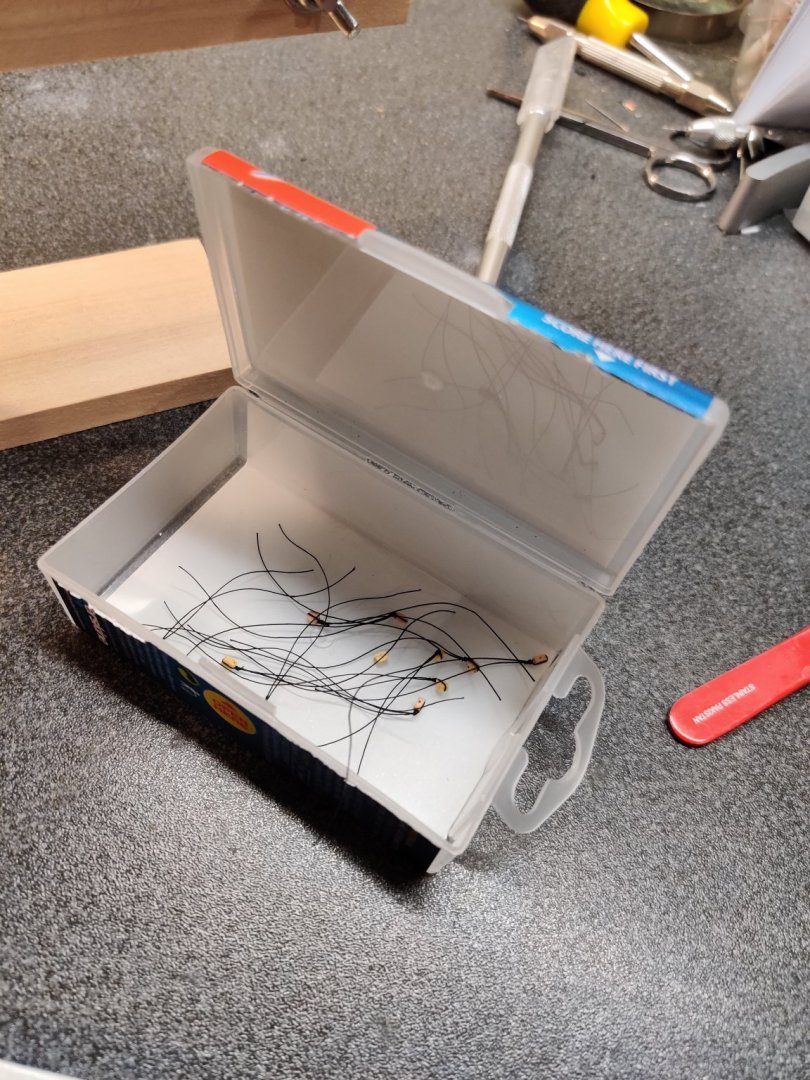
As I had run out of 0.18mm monofilament nylon wire which I had been using for seizing blocks with and the gutterman thread I had settled with was producing less than satisfactory results, I remembered that some Napoleonic prisoner of war models used human hair for rigging. E.g. this model which was mentioned earlier in this log ... Surely it isn't 1:48 scale? More like 1:400 😅. I remembered it was maybe about 15cm in total length when I saw it. So I tried a strand of hair. It does work, but I found it was prone to break at high tension. Best to lightly tighten the seizing, then apply a drop of CA to secure it. Meanwhile I finally managed to make the sheet/tack/clue block combo for the main yard sail rig. Out of curiosity, I wonder if any members have attempted a scratch build out of bone like the ones made by the Napoleonic prisoners of war?

-
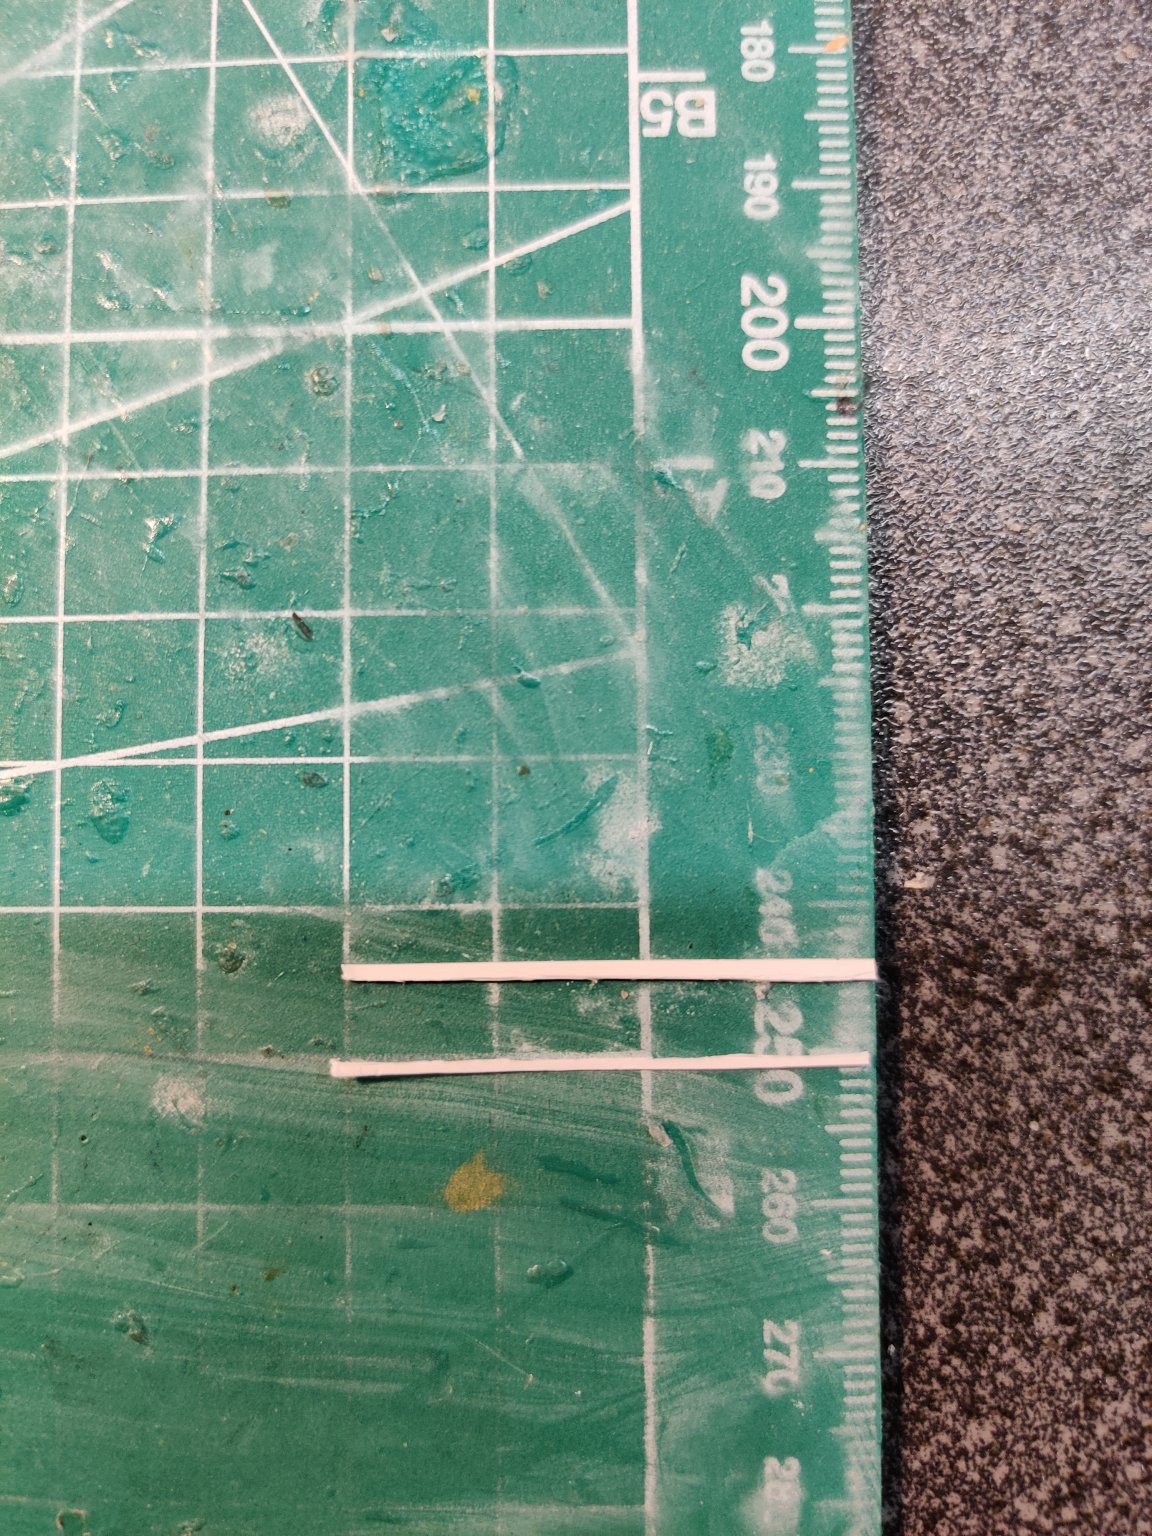
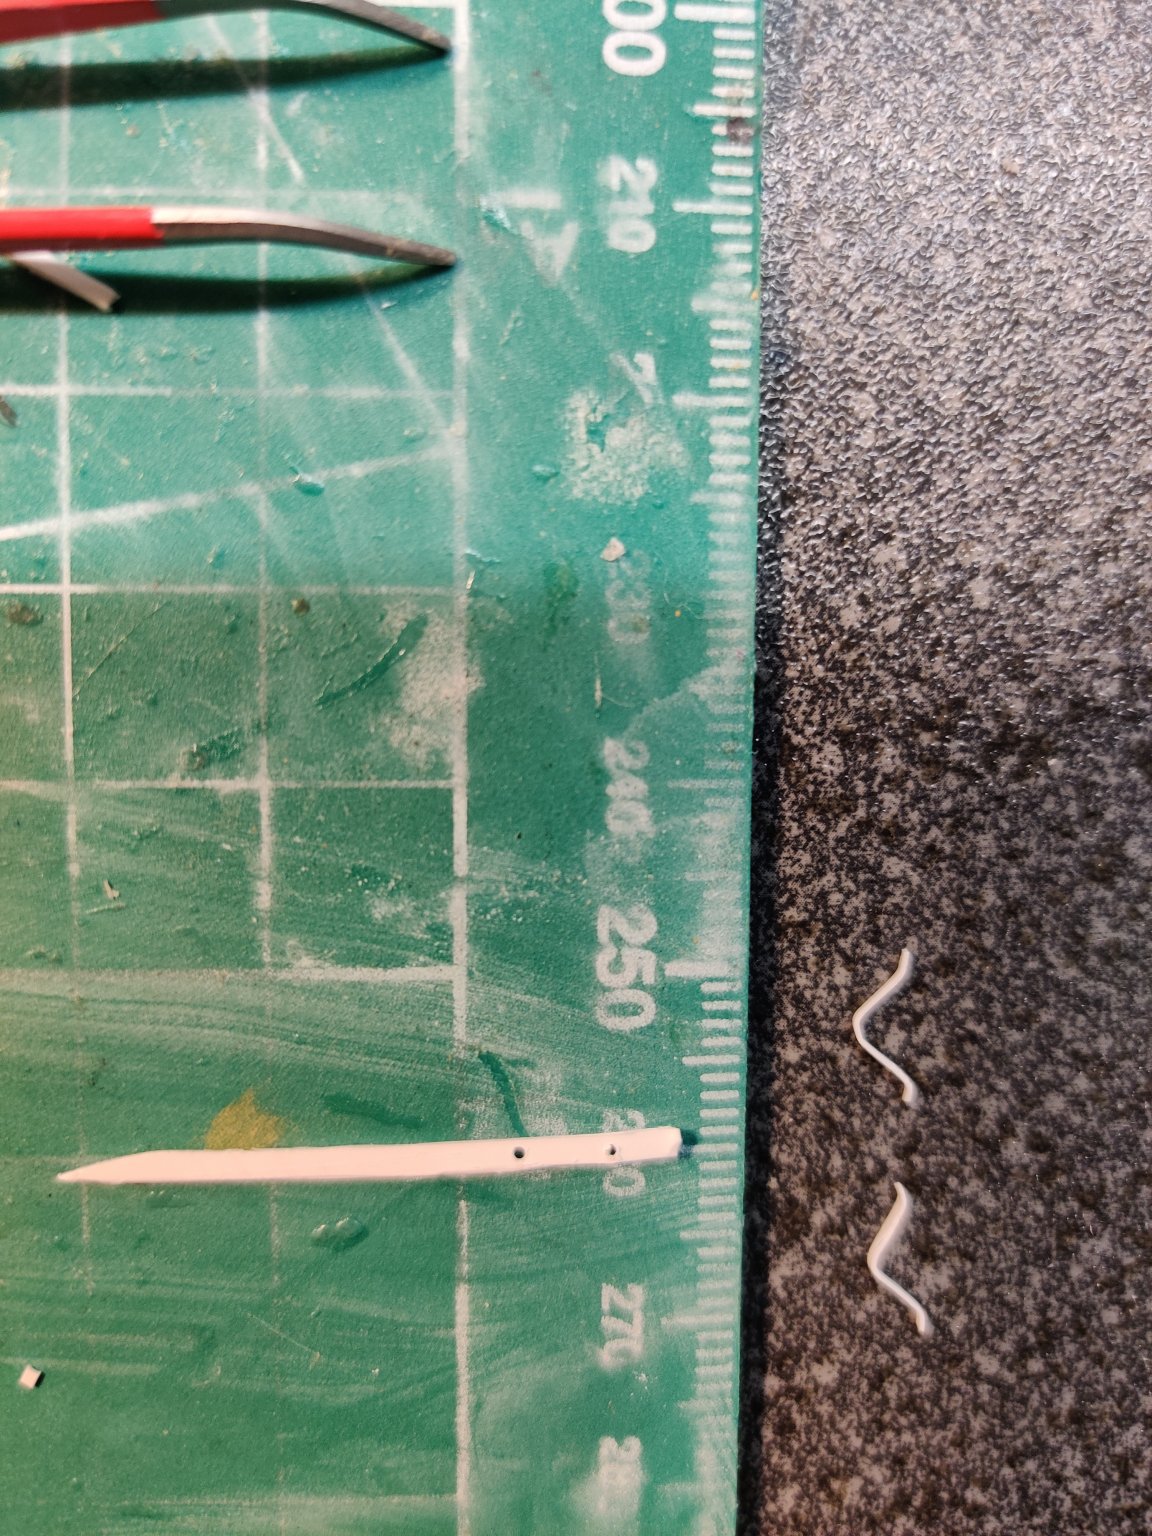
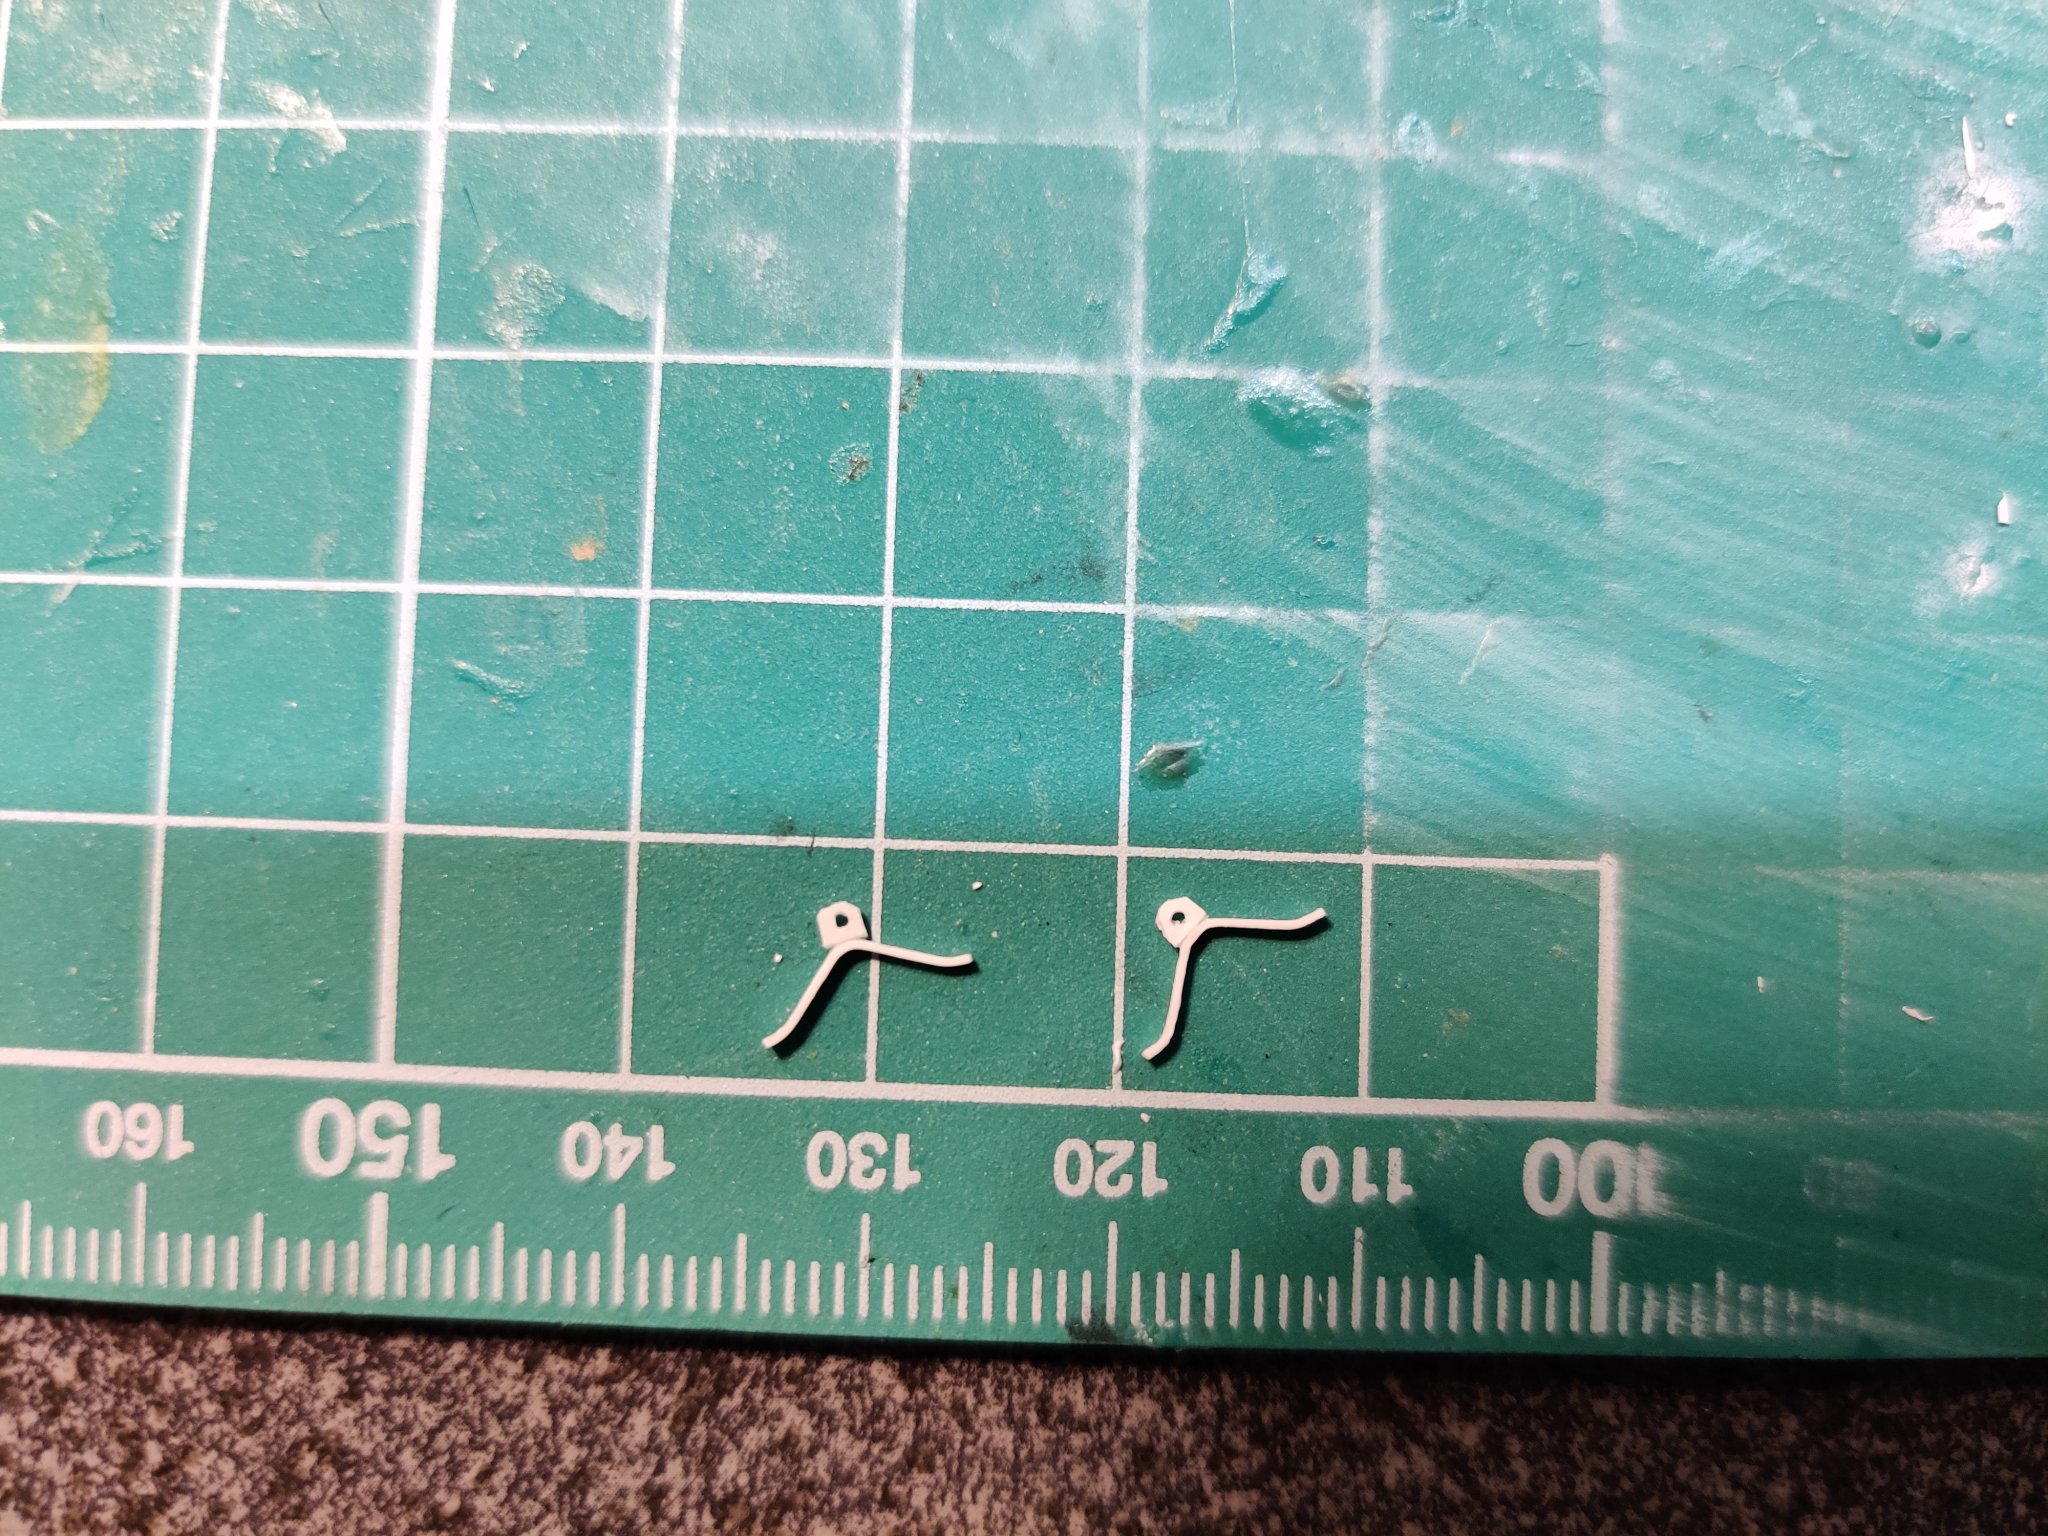
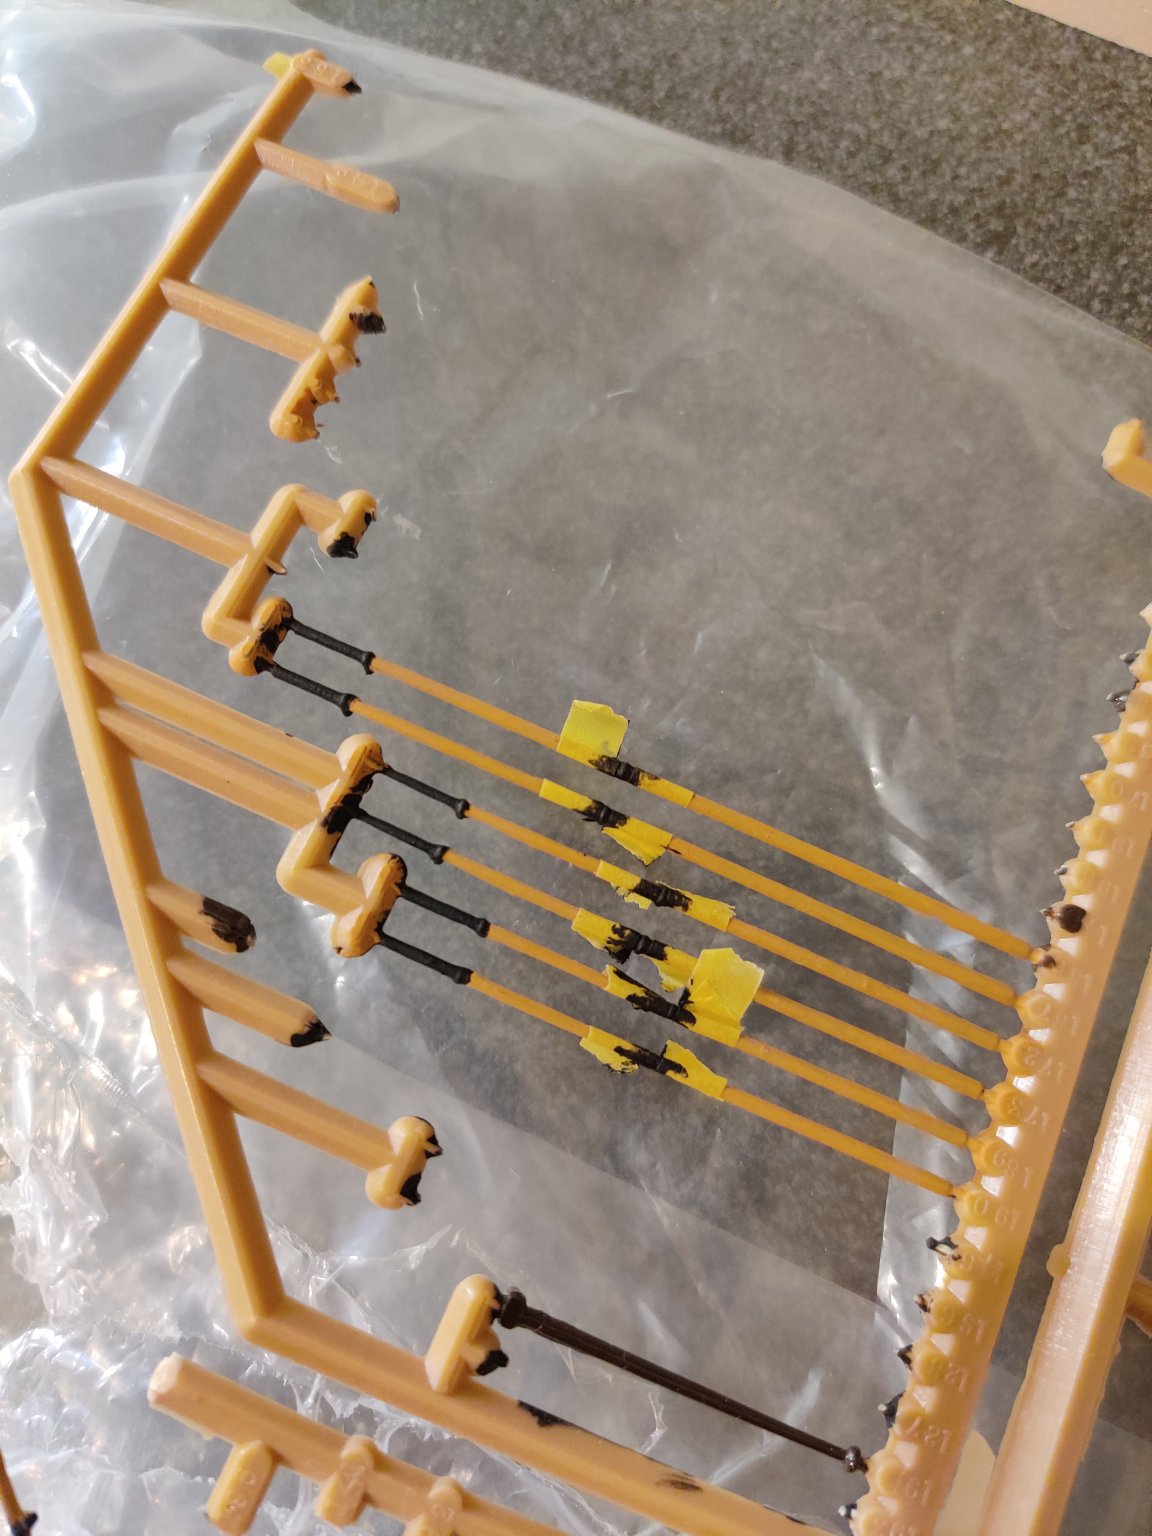
More fiddly work to be done for the hull brackets for the main courses... I couldn't find any 0.5mm styrene in my stash so I had to slice some out of a 2.5mm H column using an X-Acto blade. Some further trimming and shaping. Probably too risky to drill in an eyebolt which was my initial plan, so I followed Hackney's advice to fashion a square piece of styrene and drill a hole through it. A touch of CA and some more trimming of the edges to round it off a little further and hopefully this will work. The legs are quite flexible and will be bent further when installed. Painted black, now to wait for it to dry before attaching them to the hull ... Also took the opportunity to prepare the stunsail booms. Too late for me to fashion the boom supports out of wire, so I took a shortcut and painted the kit molded supports black. Again due to my lack of foresight and experience...


-
Beautiful and such detailed work! The Heller Victory is on my Xmas wishlist...along with Daniel's amazing etch sets 😁
-
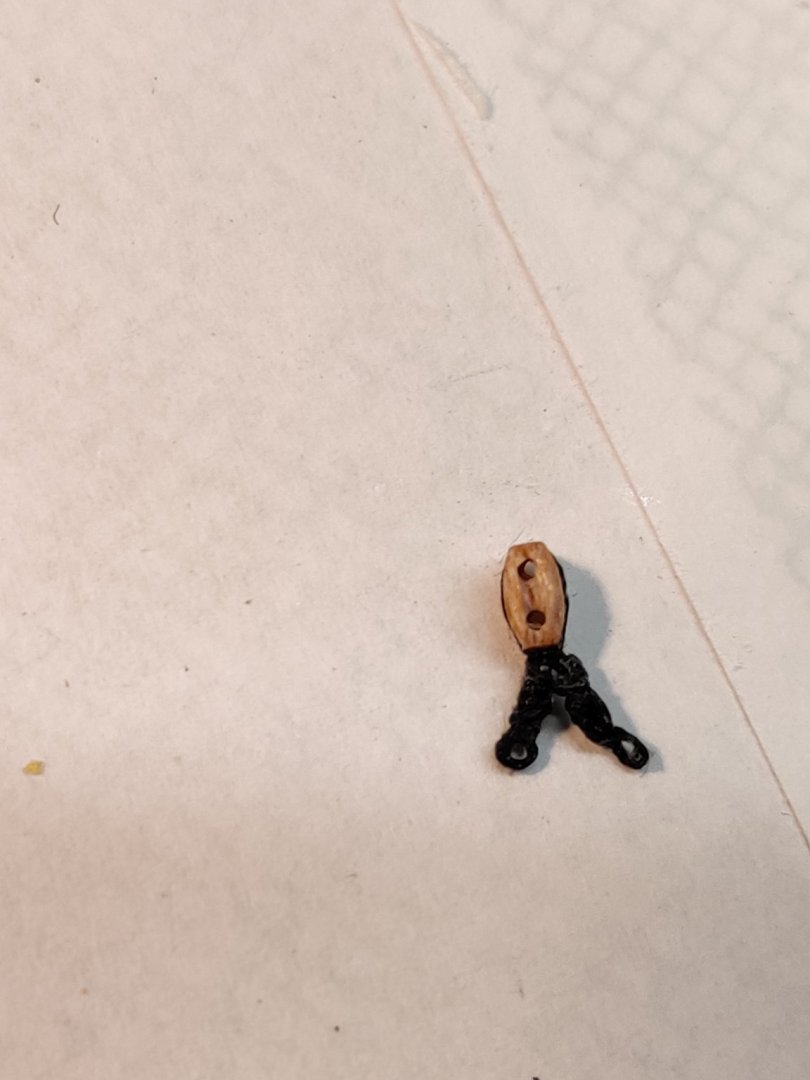
That's great advice, thank you Thunder. I had given some thought about using styrene too but impatience got the better of me. Will try this for the blocks for the buntlines later (don't think these will be rigged though as I don't have some specific blocks under the mast caps). It's a block party this week: Some early tests for the main sheet, clueline and tack blocks... Seems ok i think

-
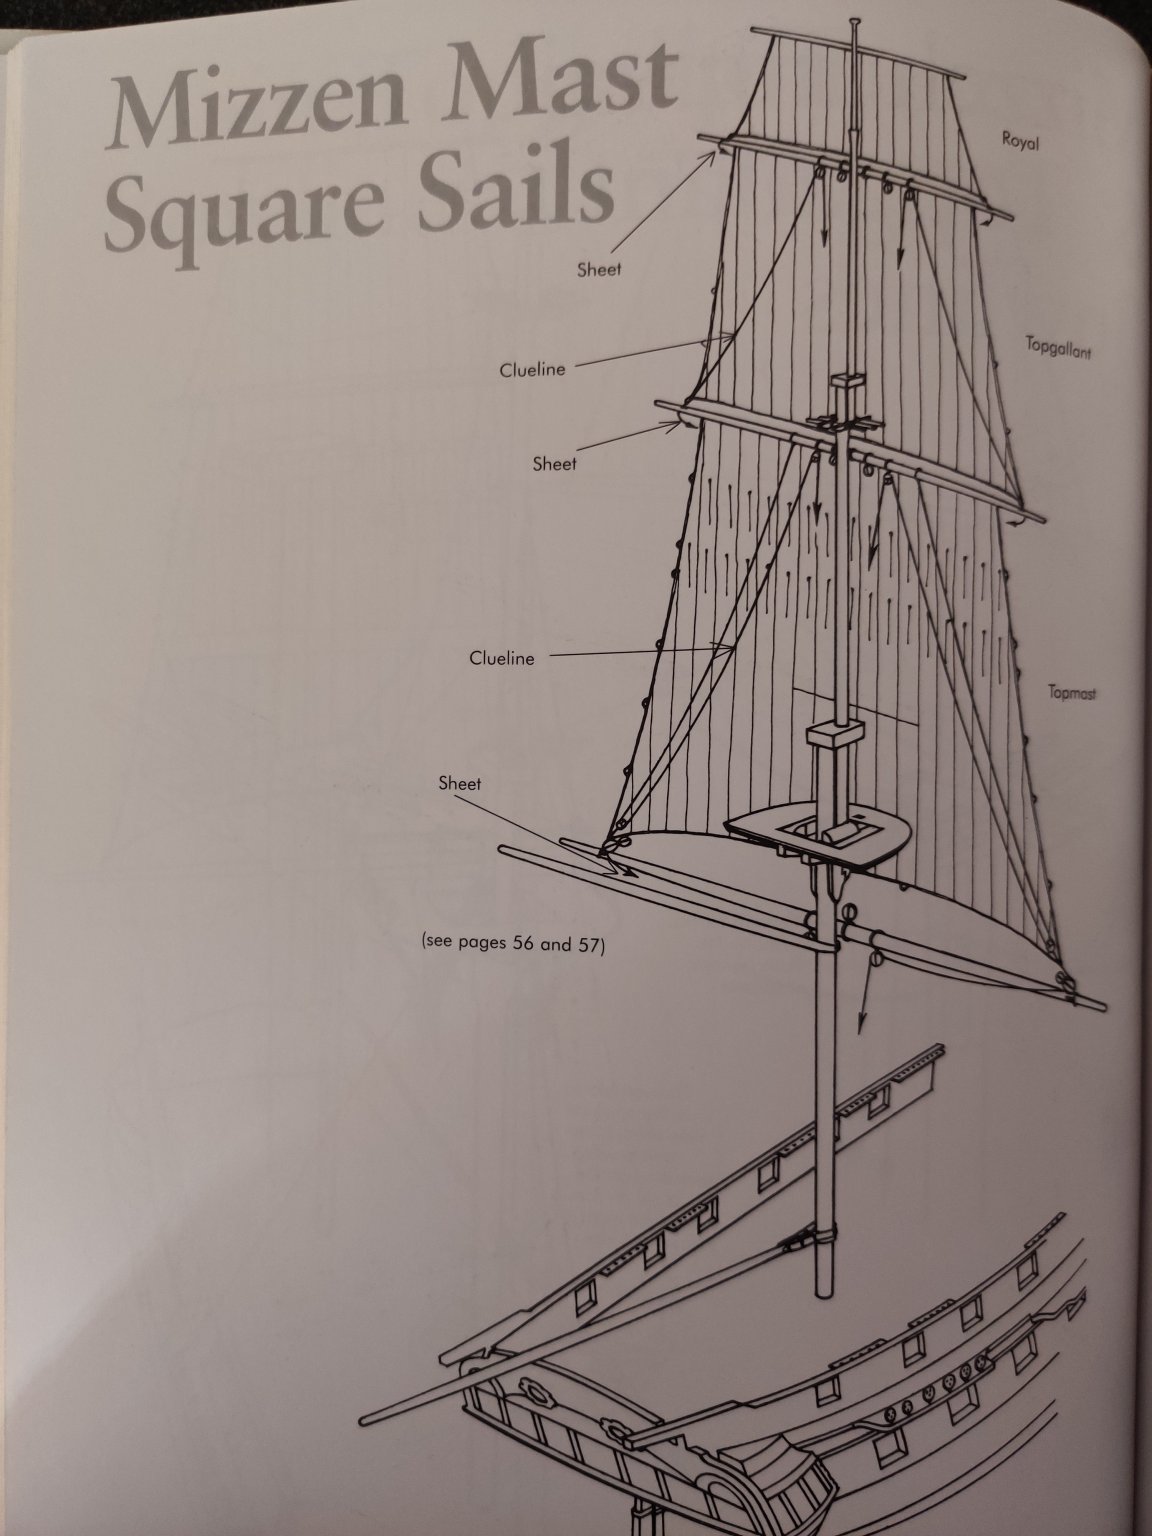
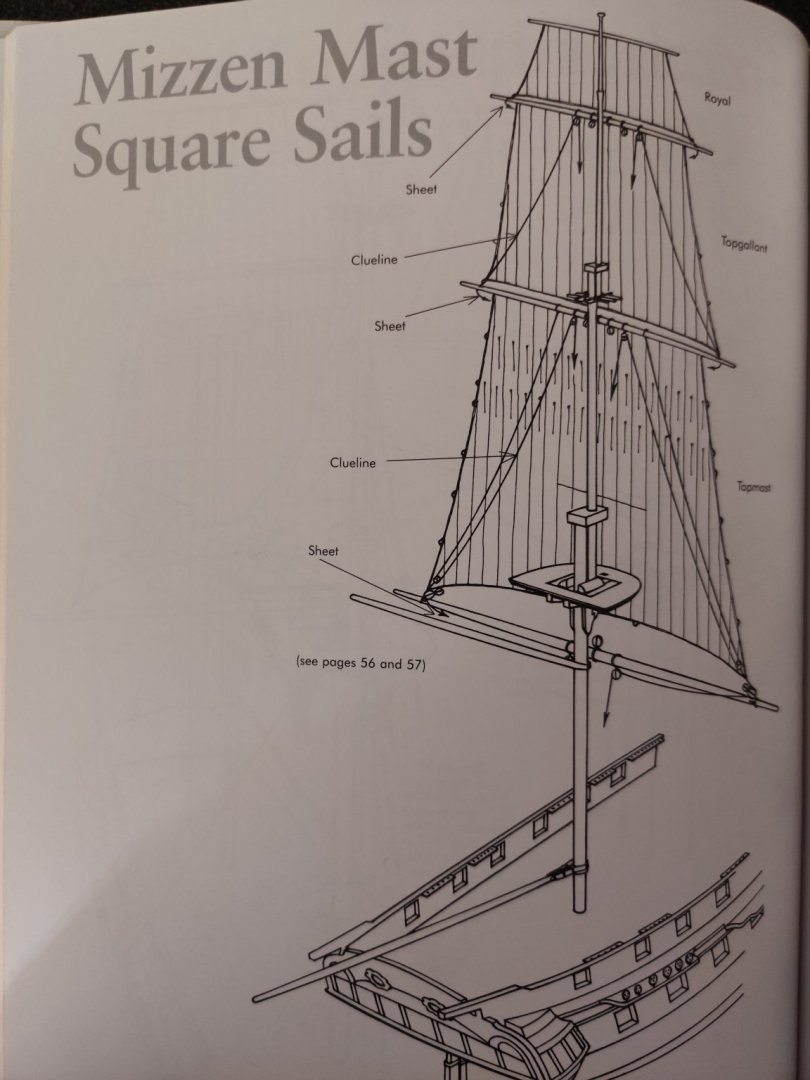
Continuing on with the sail rig... After some thought and referral to an earlier MSW post: So the sheet terminates in a tack knot, secured by a loop for the clue line as there doesn't appear to be a block used for the topgallant clueline end. Although I'm still unsure as Lennarth Peterson's book shows the lines passing through a sheave in the topsail and topgallant yards? Was this an artistic simplification or perhaps specific to the Melampus model his book was based on? Hopefully I'm on the right track.

-
Hi Thunder, the blocks came from this site: https://www.hismodel.com/ From firsthand experience, the blocks are quite well made...edges are sanded nicely, sheaves moulded quite well with very few defective blocks . Much better quality than my local supplier that's for sure!
-
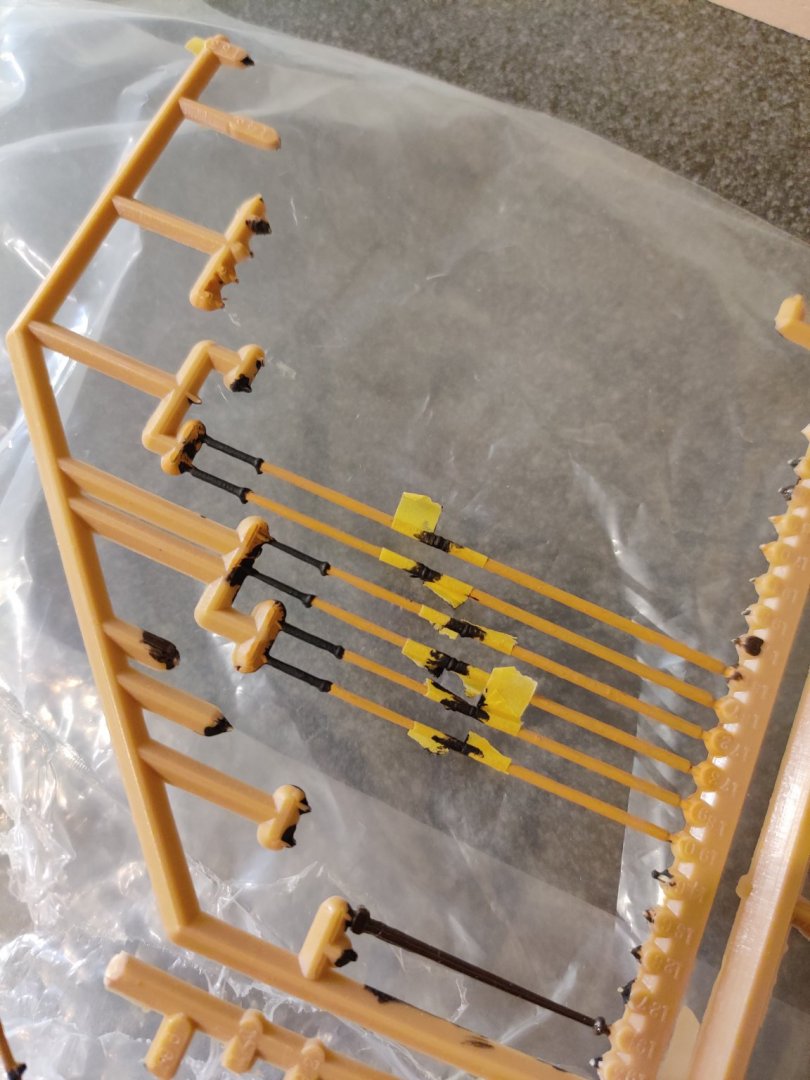
Well, it looks like my excitement got the better of me again and I totally forgot to plan for the sail rig in Chapter 11 of Hackney's guide... (sheets, tacks, cluelines etc) although I didn't intend to add sails to the rig initially. After some helpful discussion with other members, I've decided to press on and add these lines. Had to prepare at least 30 extra single 2mm blocks. At this scale, that was the smallest could source although I really needed a range starting from 1.2mm...  Extra blocks added to the yard arms. I had to settle with simple overhand knots this time. It is definitely better & easier to tie them down before the yard arms were rigged. Eyebolts added to the hull for the sheets. Need to figure out how to make the hull block brackets next for the main sheet... Cheers, Ron

-
Thank you Thunder. As I recall, it was you who recommended me Hackney's manual earlier in my log which set me on the right path! I can't thank you enough I've decided to follow Gil's method which was to tie it off to the aftmost mizzen shroud a little higher, but leaving it loose in case I need to redo it or if more information comes to light... Cheers, Ron
-
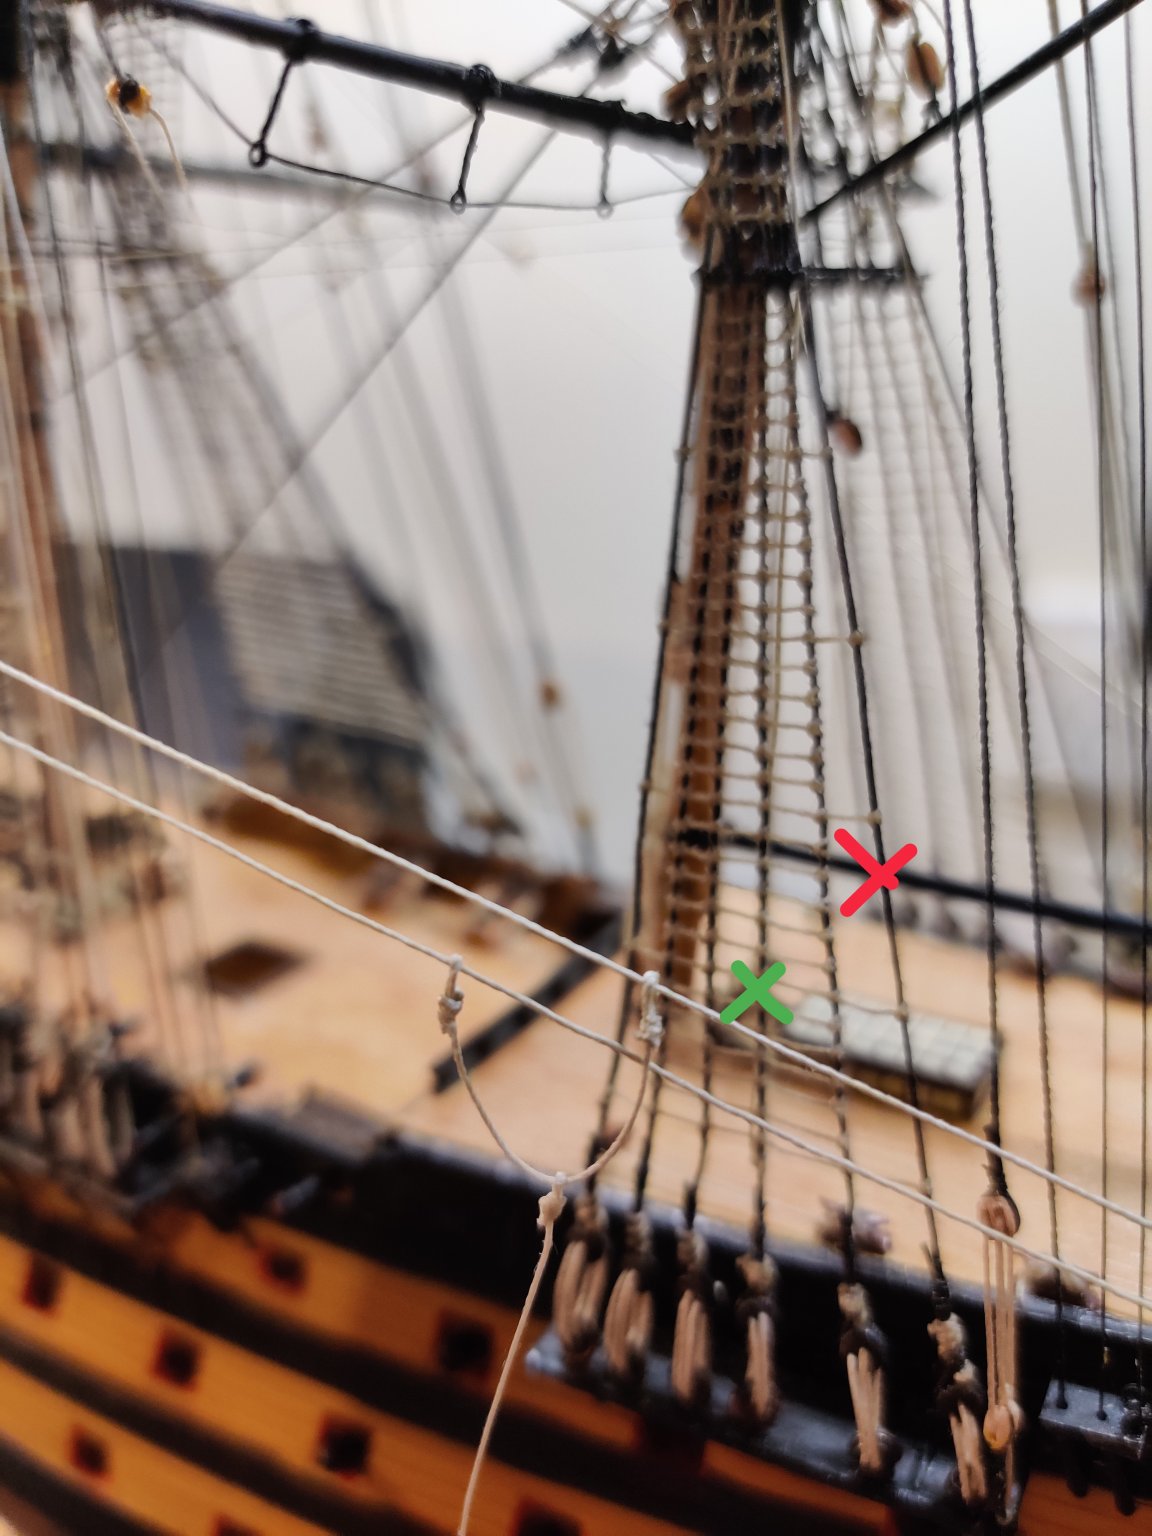
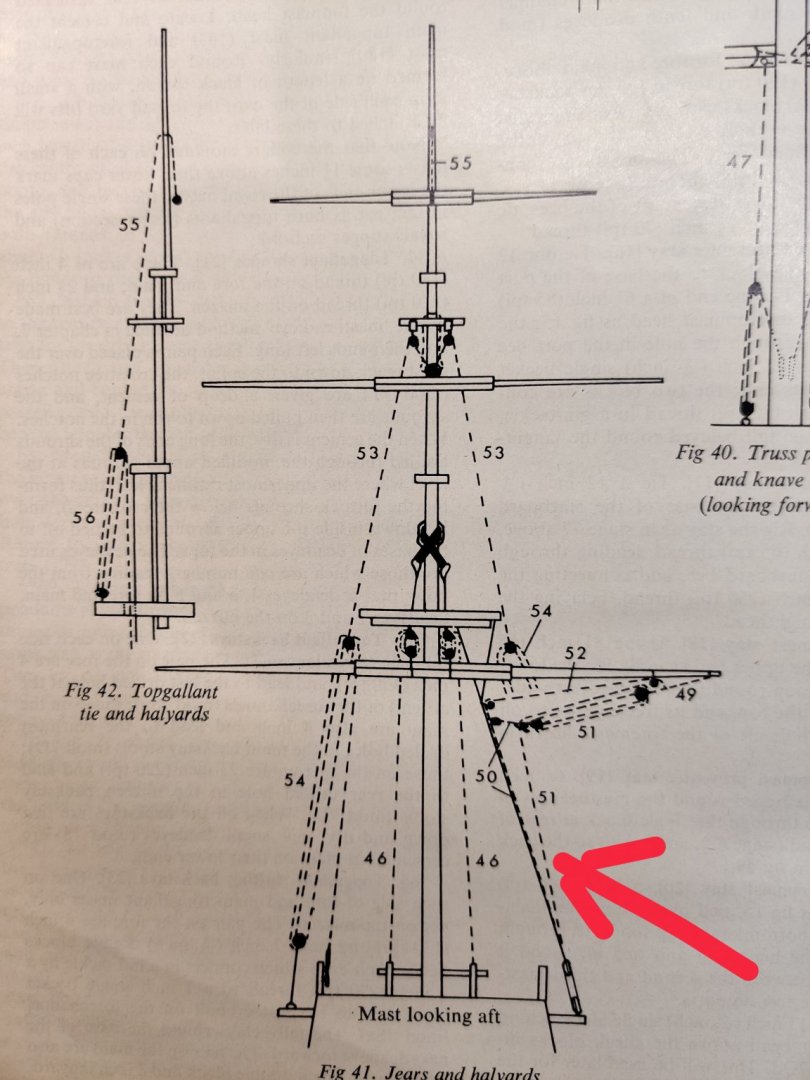
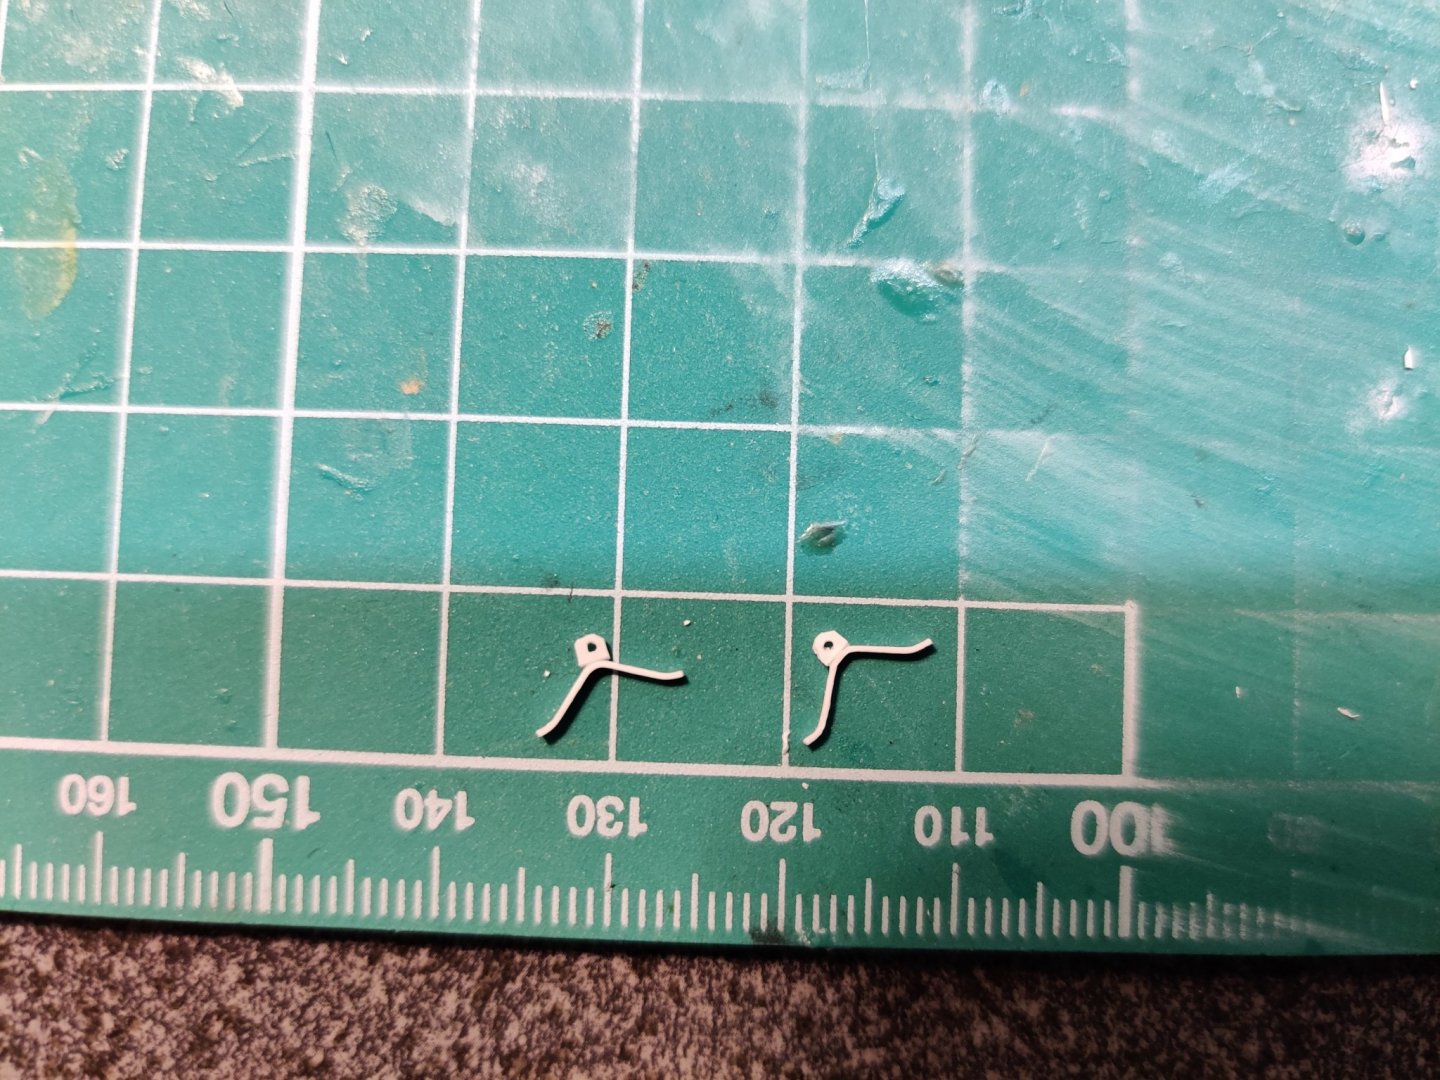
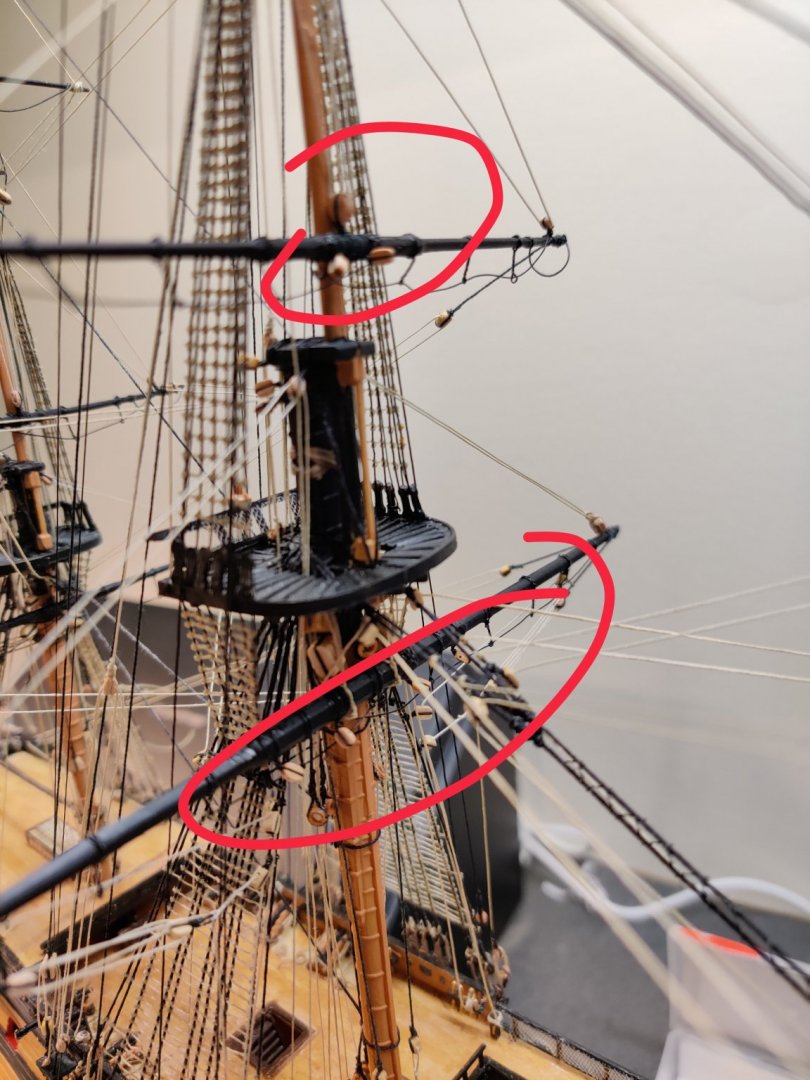
Hello all (again), I have yet another Victory rigging related question... Main yard brace lizards/lizzards - where do they tie off to? Hackney says to tie them to the "no 4 mizzen shroud one ratline below the 2nd full length ratline above deck level). Longridge doesn't really mention the specifics of where to tie it off to, simply "made fast to one of the mizzen shrouds". So which way is the "correct" way? Hackneys method seems a little too low on the shrouds (see green cross). Some builds I've seen on the forum have it on the aft most mizzen shroud (red cross approx.) Apologies for the rudimentary lizard thimbles! Cheers, Ron

-
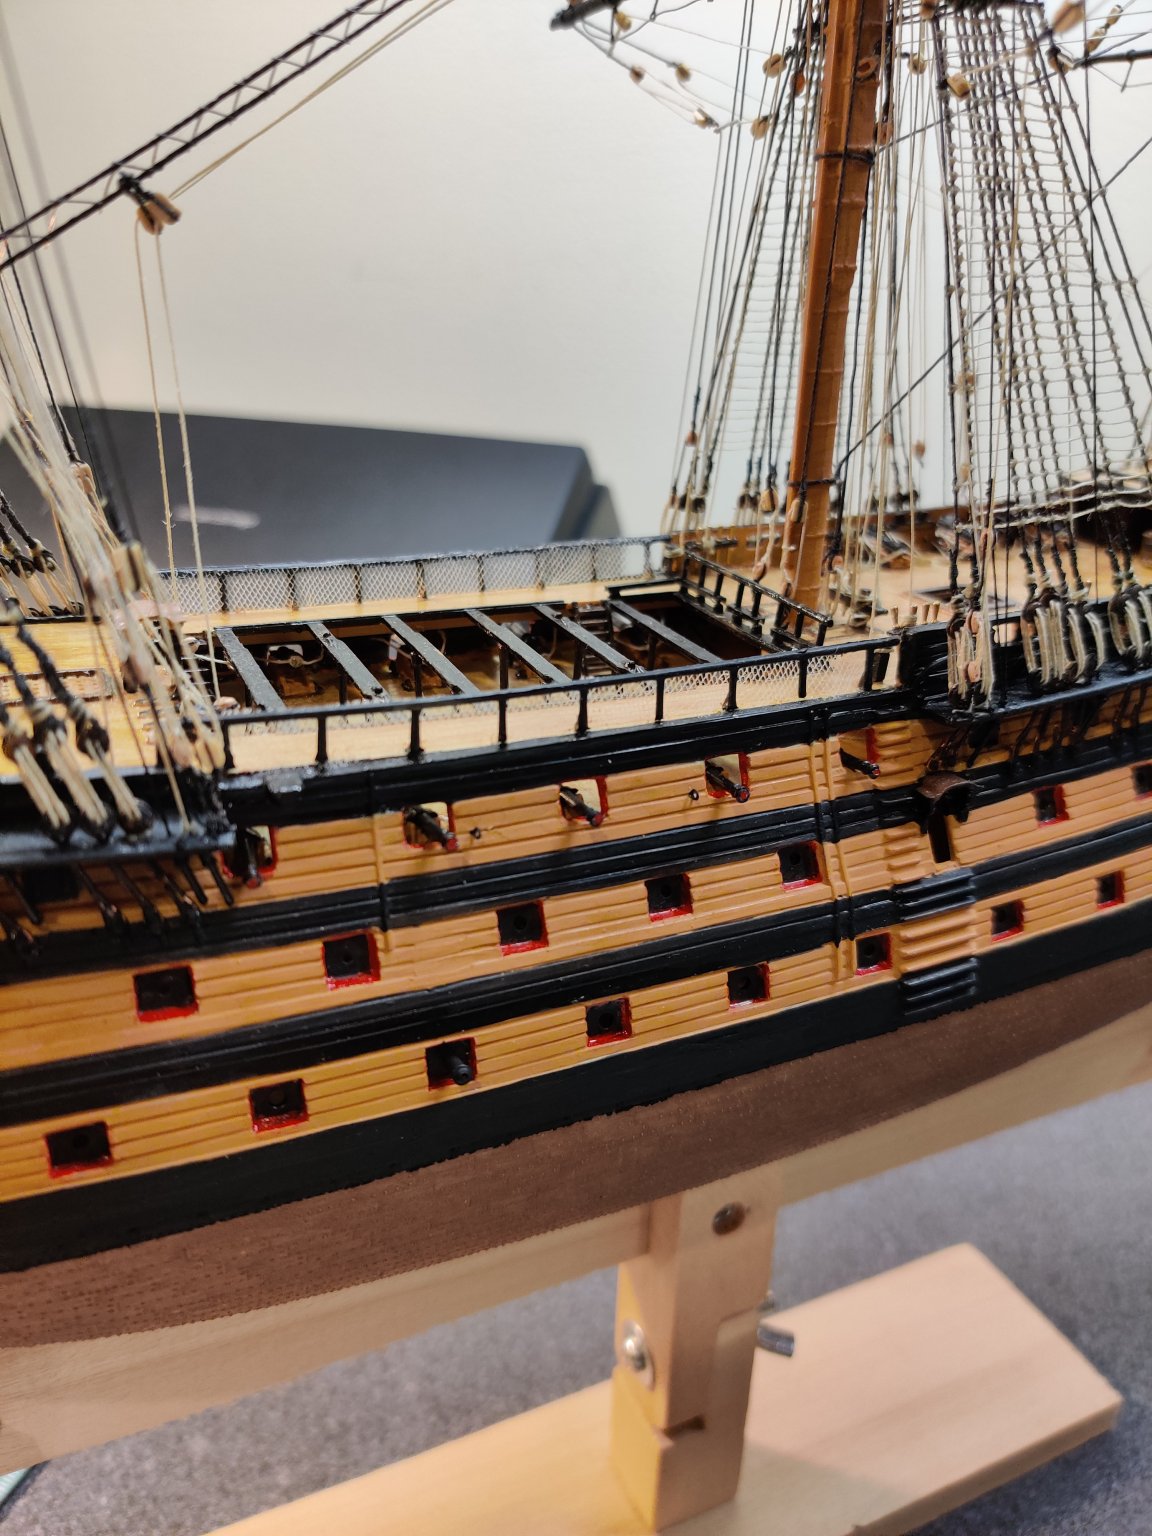
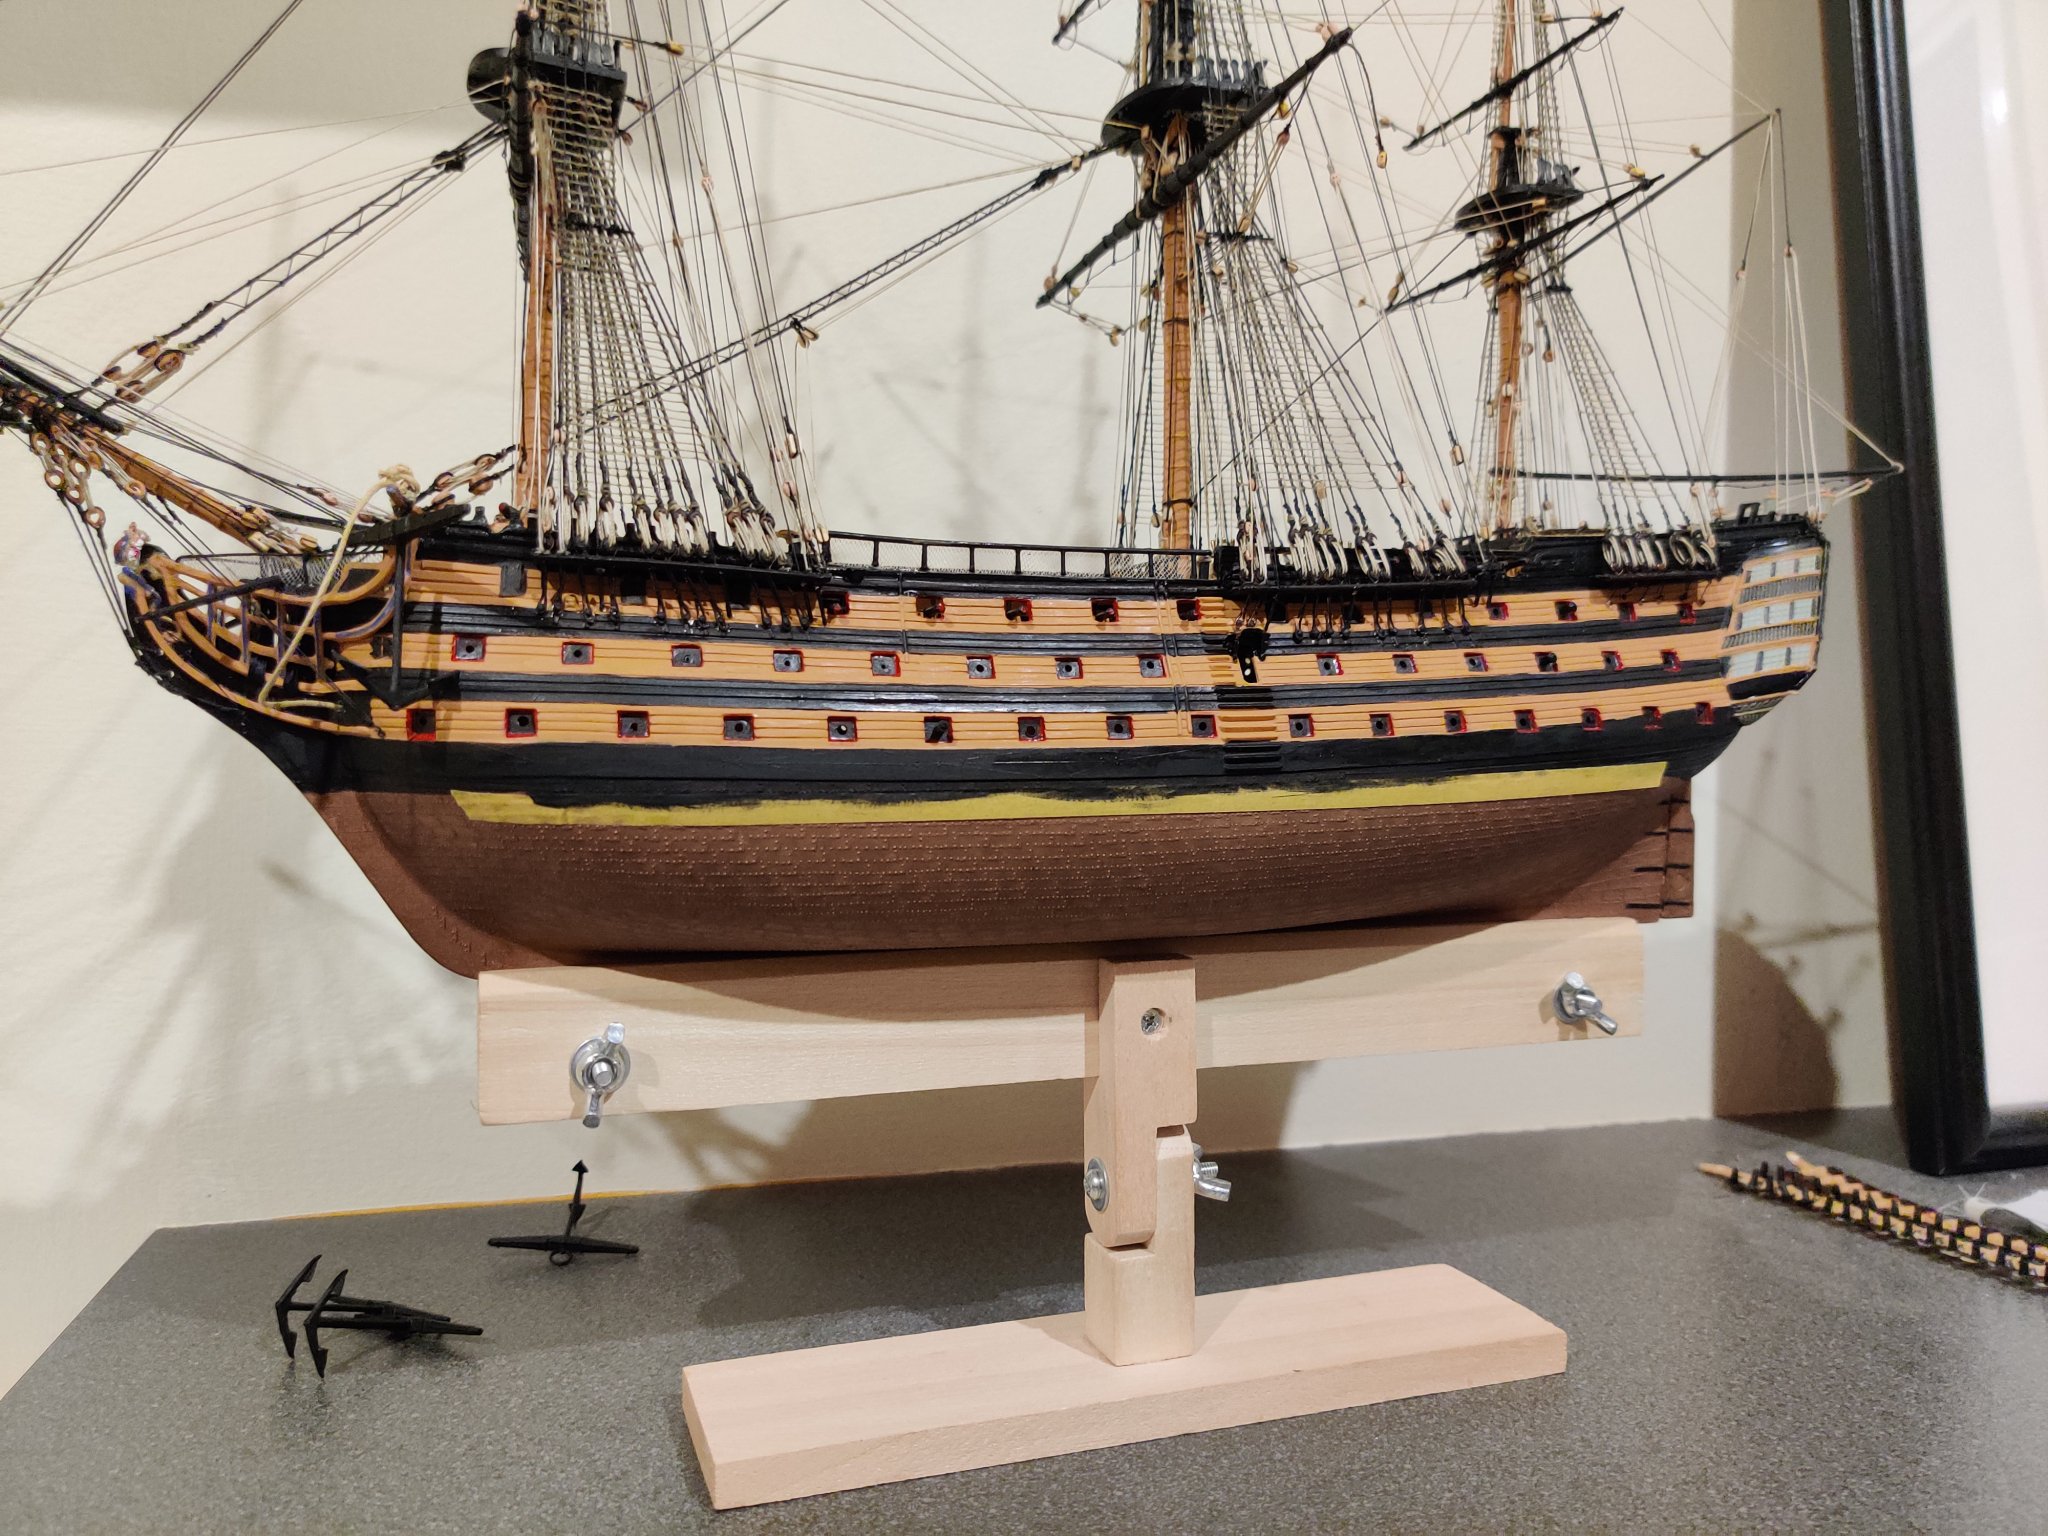
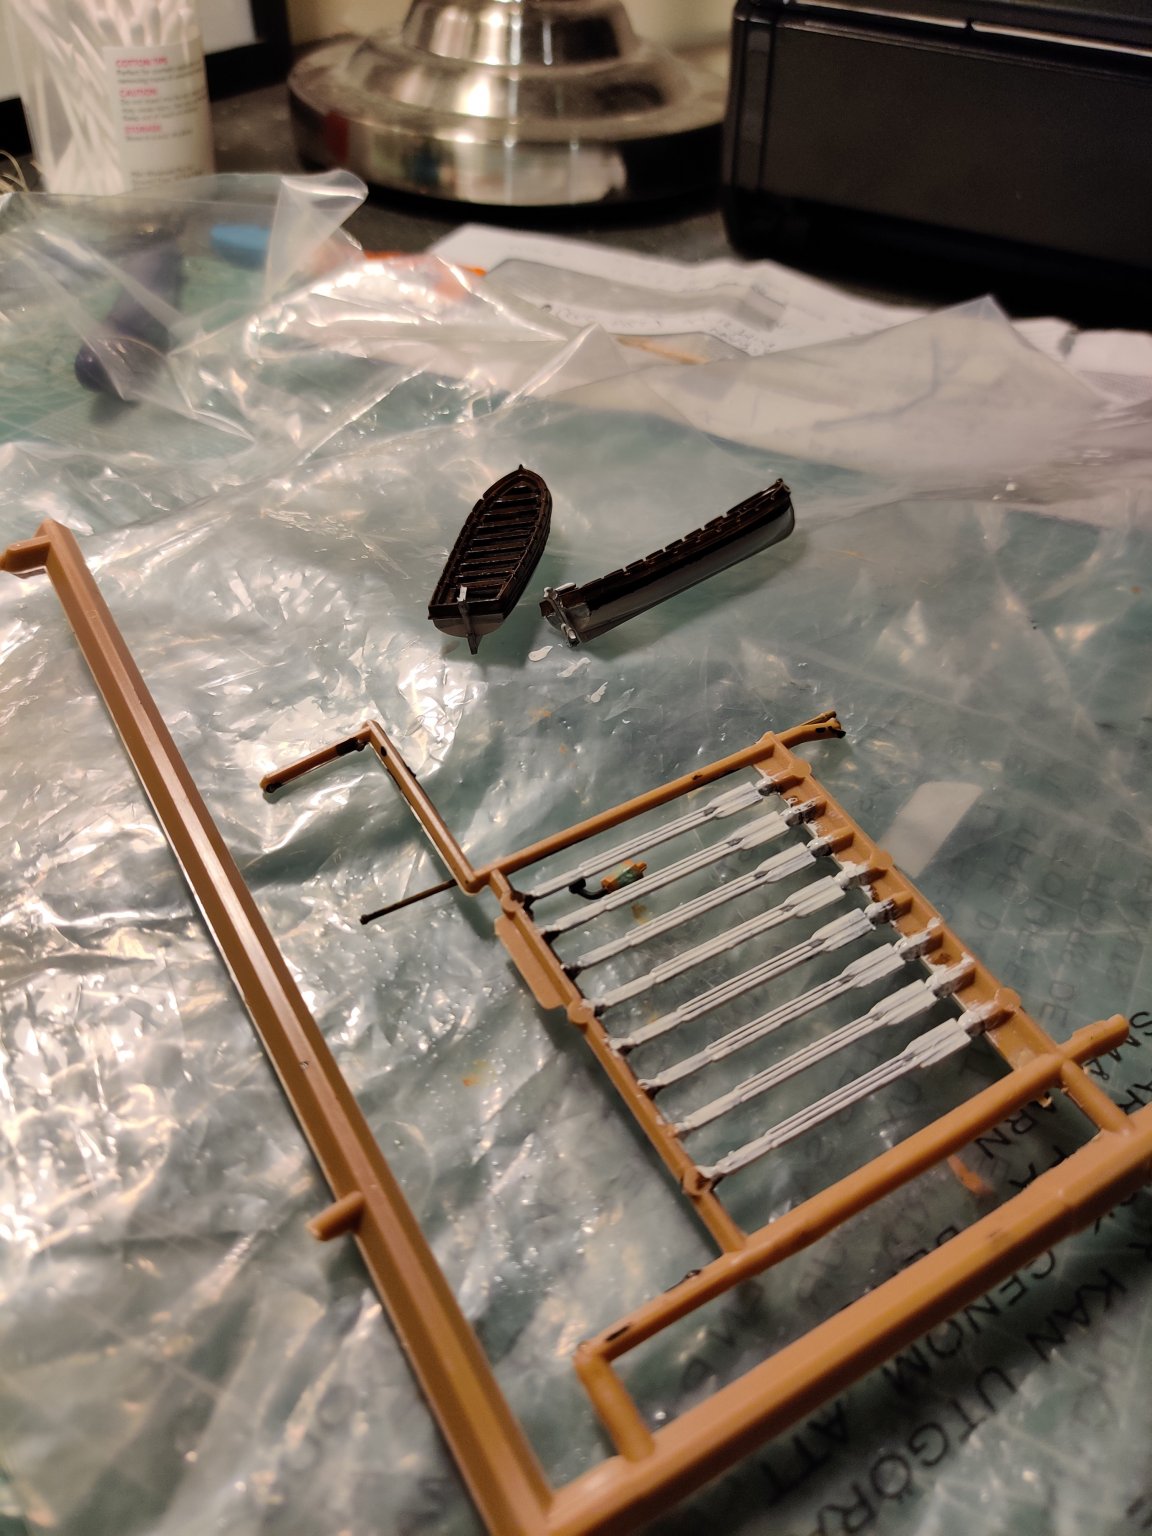
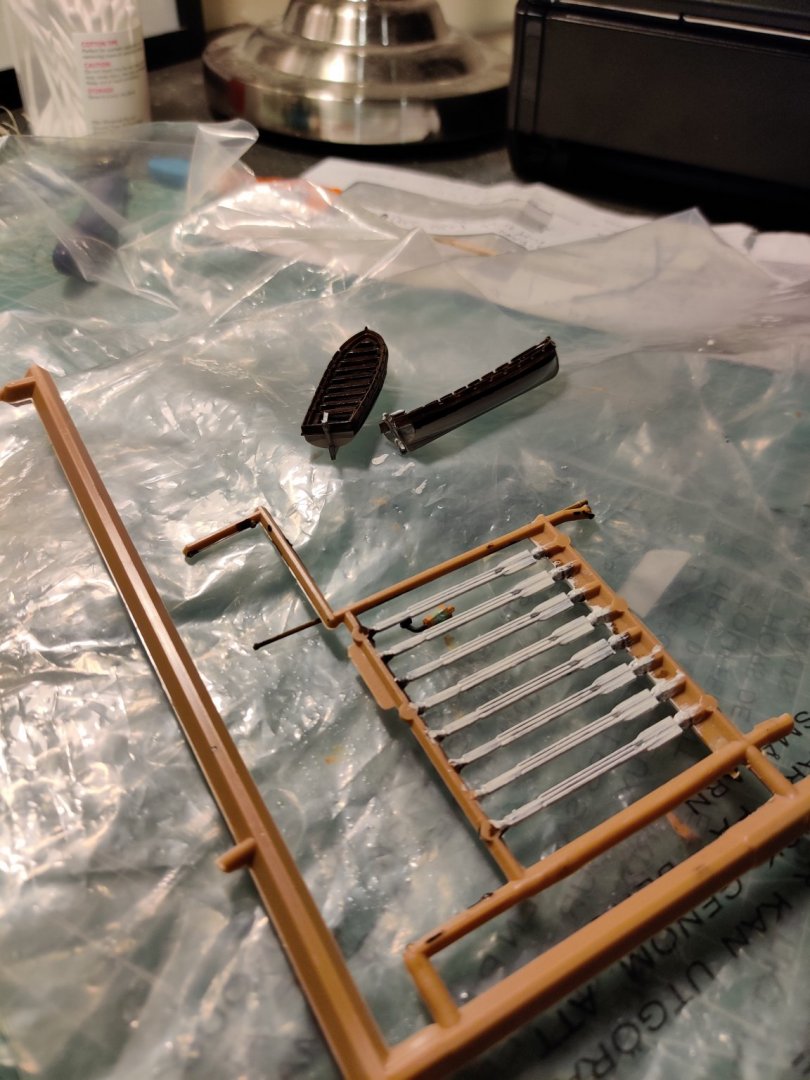
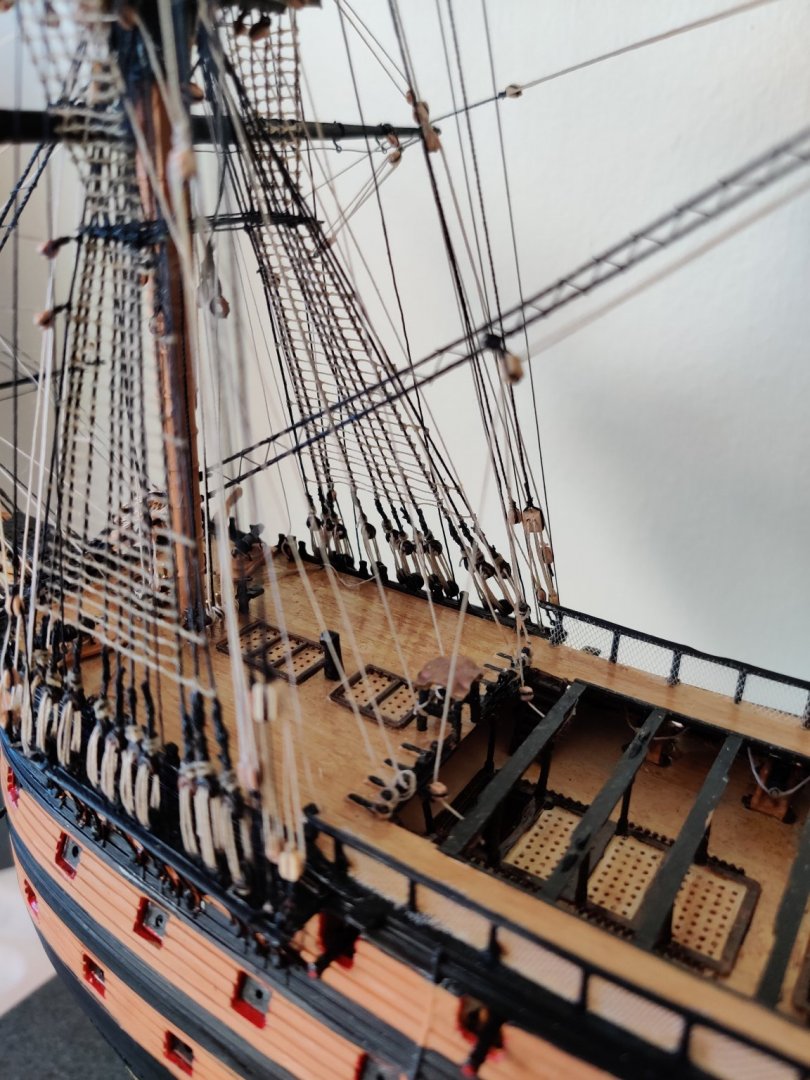
Thanks for following this log. I'm doing my best to squeeze more out of this model while we are under a 6 week lockdown due to the pandemic... Update on progress: Braces mostly done, except the main yard brace. I missed an earlier step to make some snatch blocks as I didn't understand it earlier. Makes sense after referring to Gil Middleton's log/Bible. Running rigging lines show up better in the dark. I used some french furniture polish (Pate Dugay) mainly because I was up sold this product when I asked for beeswax. Silly me. The product does leave a slight light brown stain which is what I was looking for though. Unfortunately on black thread, that same stain shows a little once it's hardened. Next step was to correct some earlier errors in the painting of the waterline along the hull. Finally some minor repainting of the lifeboats and oars (decided to follow the current Portsmouth colour scheme although it may be too late for me to paint the planks inside the lifeboats yellow at this stage. Waiting for the enamel paint to dry before applying a 2nd coat. Cheers, Ron


-
Hi Keith, I am admittedly late to the party. What a great build! Looking forward to more updates
-
Phil, your Victory and Prince de Neufchatel are no doubt special builds, but the Hannah being something made from scratch using your ingenuity would surely score higher in terms of satisfaction? Looking forward to more updates
-
When to add cluelines, buntlines and sheets?
rkwz replied to rkwz's topic in Masting, rigging and sails
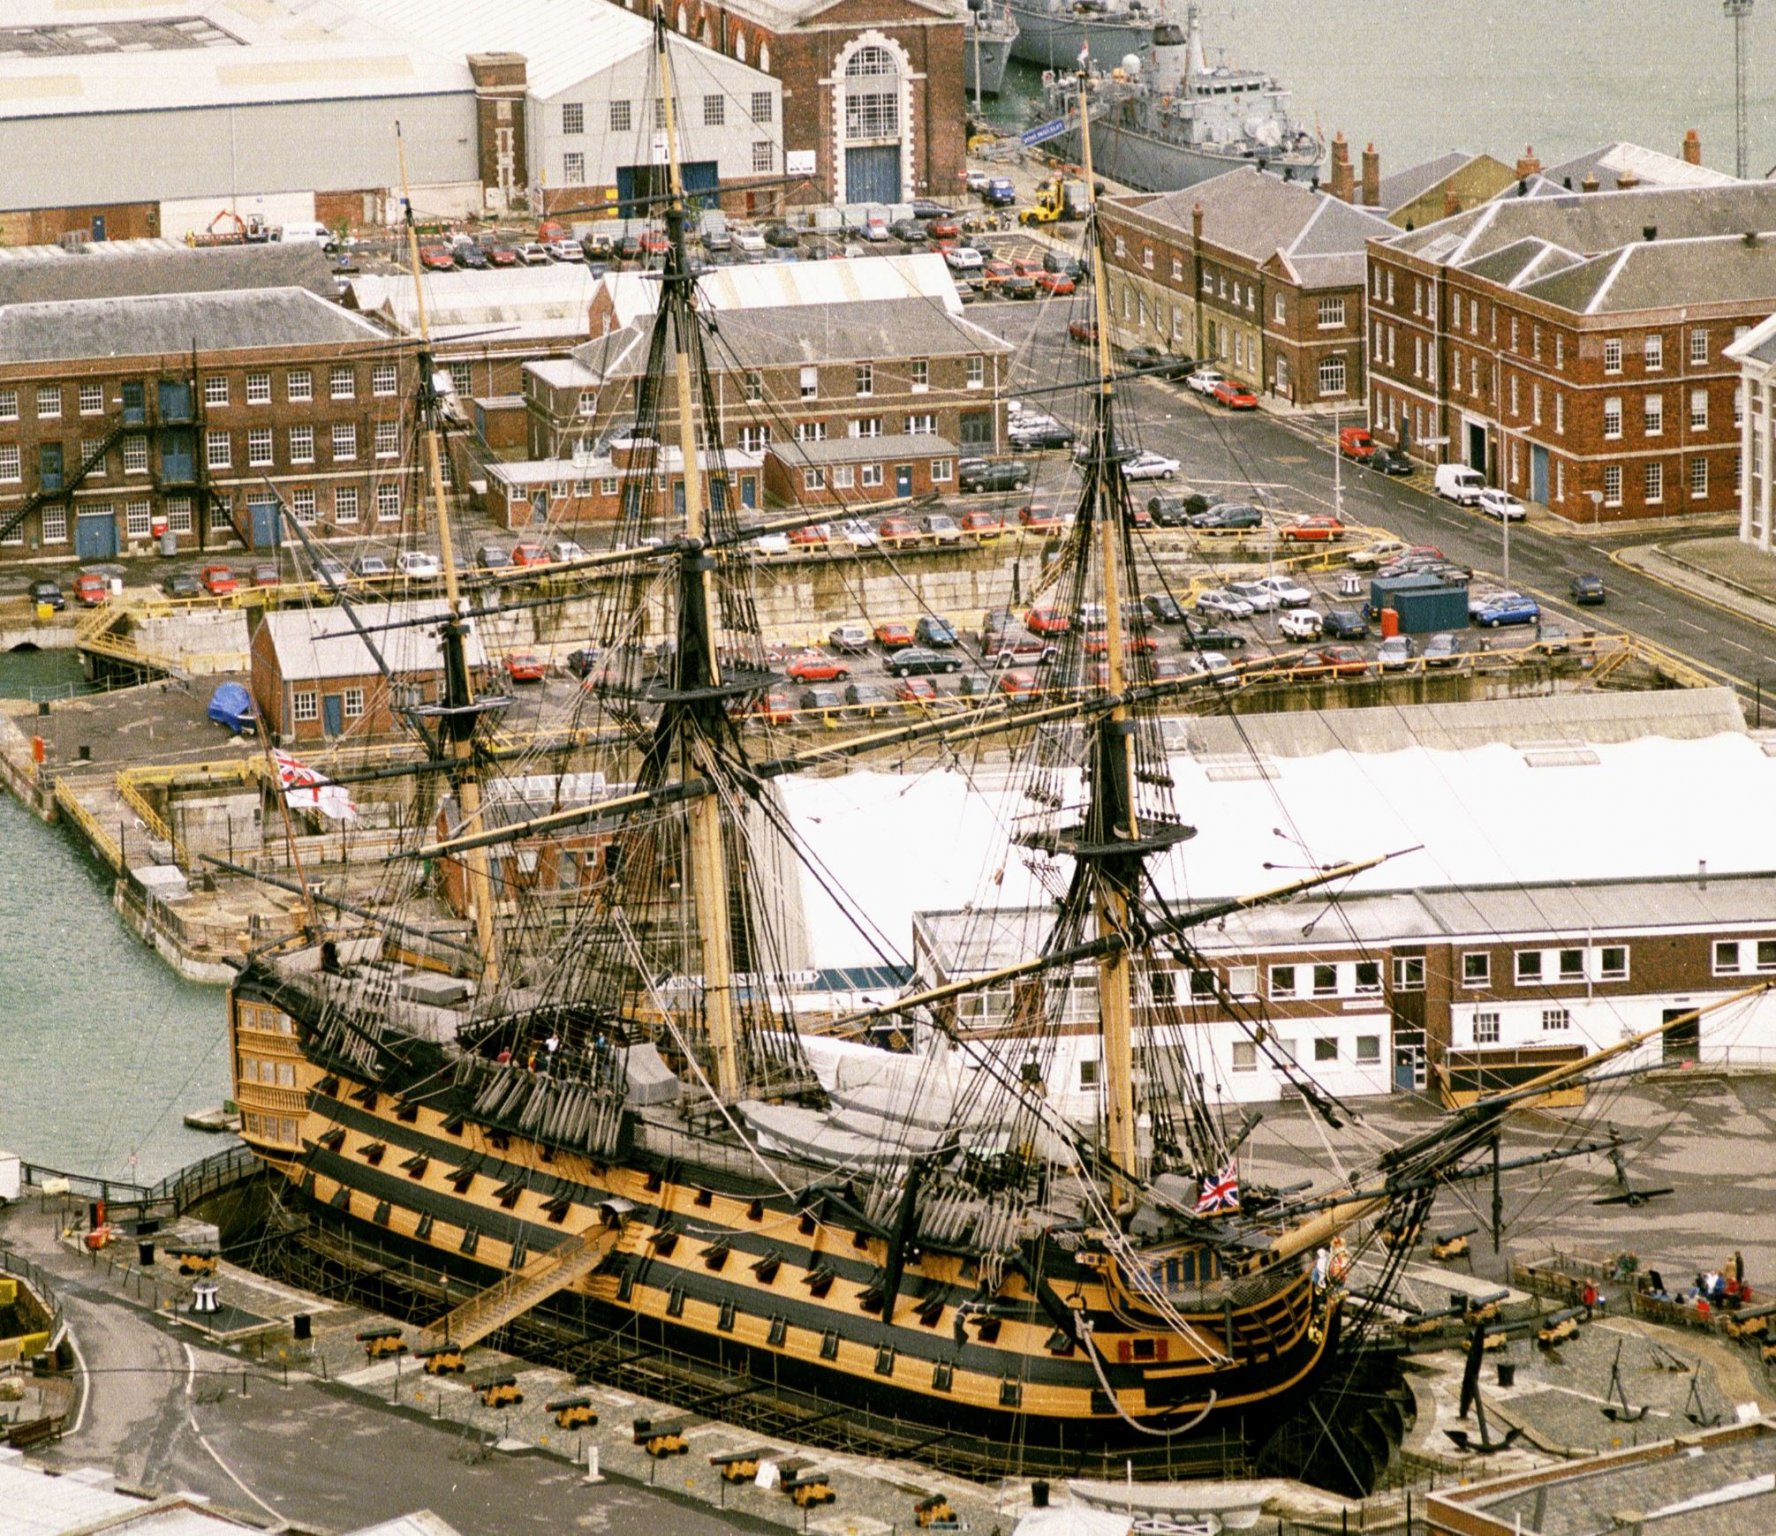
Thank you everyone for sharing your wisdom . shipman - got to this stage with encouragement from you... thank you again! Allan & John - too late to take down the spars for me (sweated on them for weeks...), my problem was not having a clear plan when starting this build so I have settled for an aesthetic representation of Victory with rigging mostly based on what was there prior to the removal of the masts for her current renovation at Portsmouth... As you say, those lines were indeed rigged on the ship. For most of my build, I referred to the below image for reference - it wasn't so easy finding a picture of the entirety of the ship! Gregory - I understand sails on models is a polarising topic, perhaps at this scale and with my inexperience I would run a higher risk of stuffing it up so for today, no sails for Vicky. I was so looking forward to dipping cloth in tea though...
-
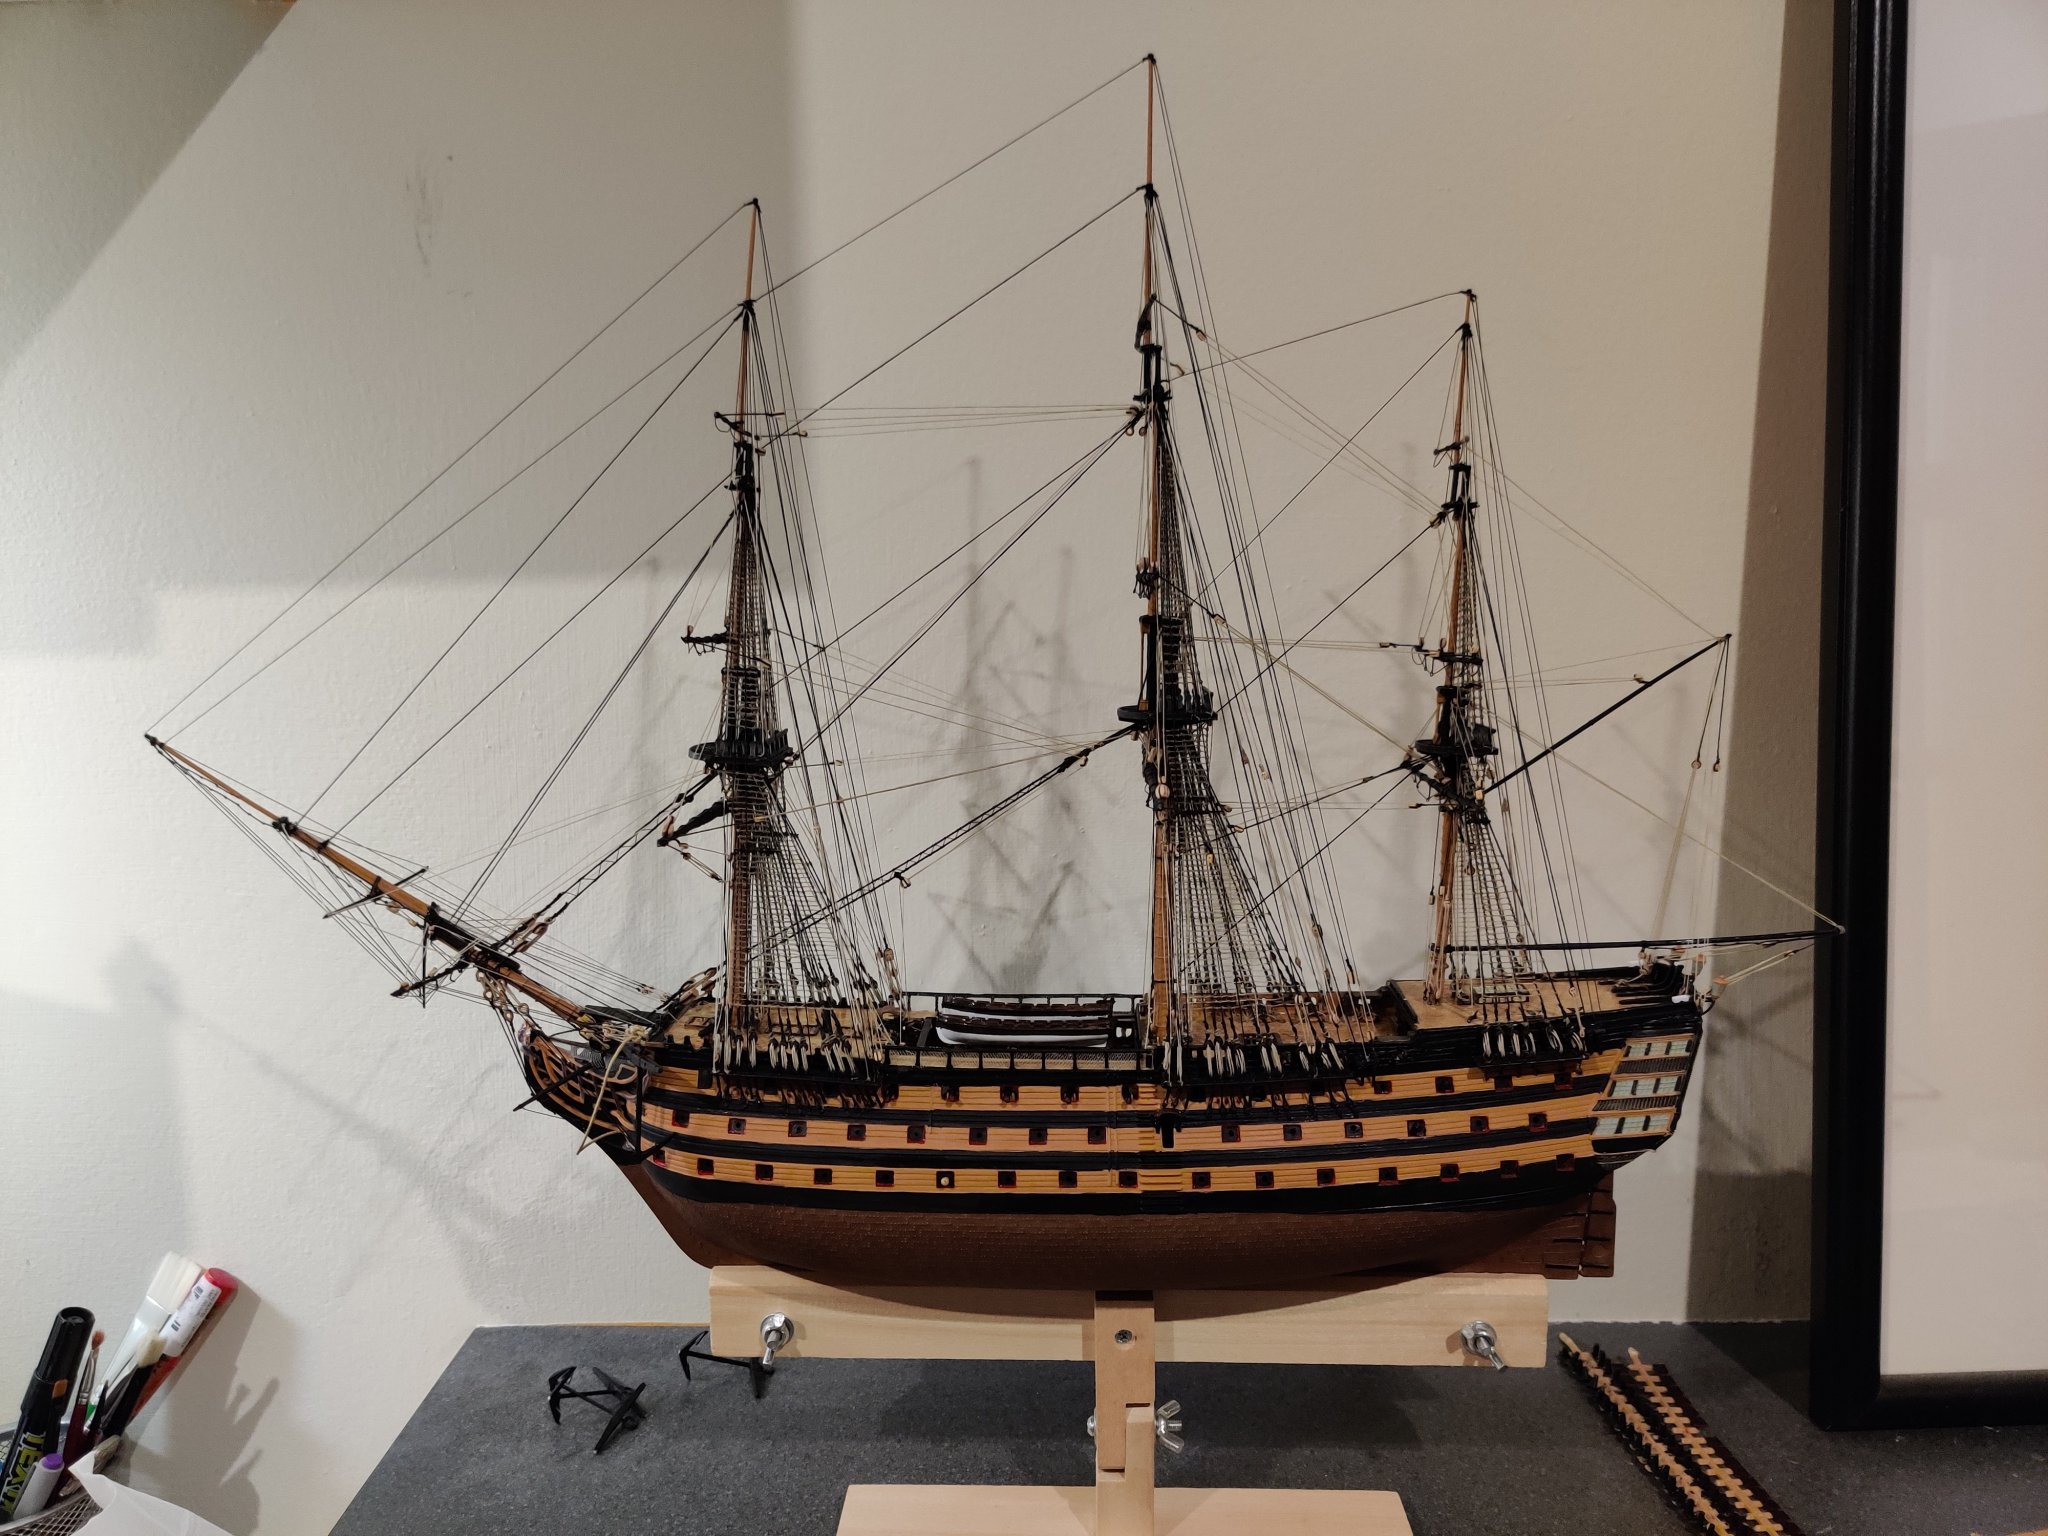
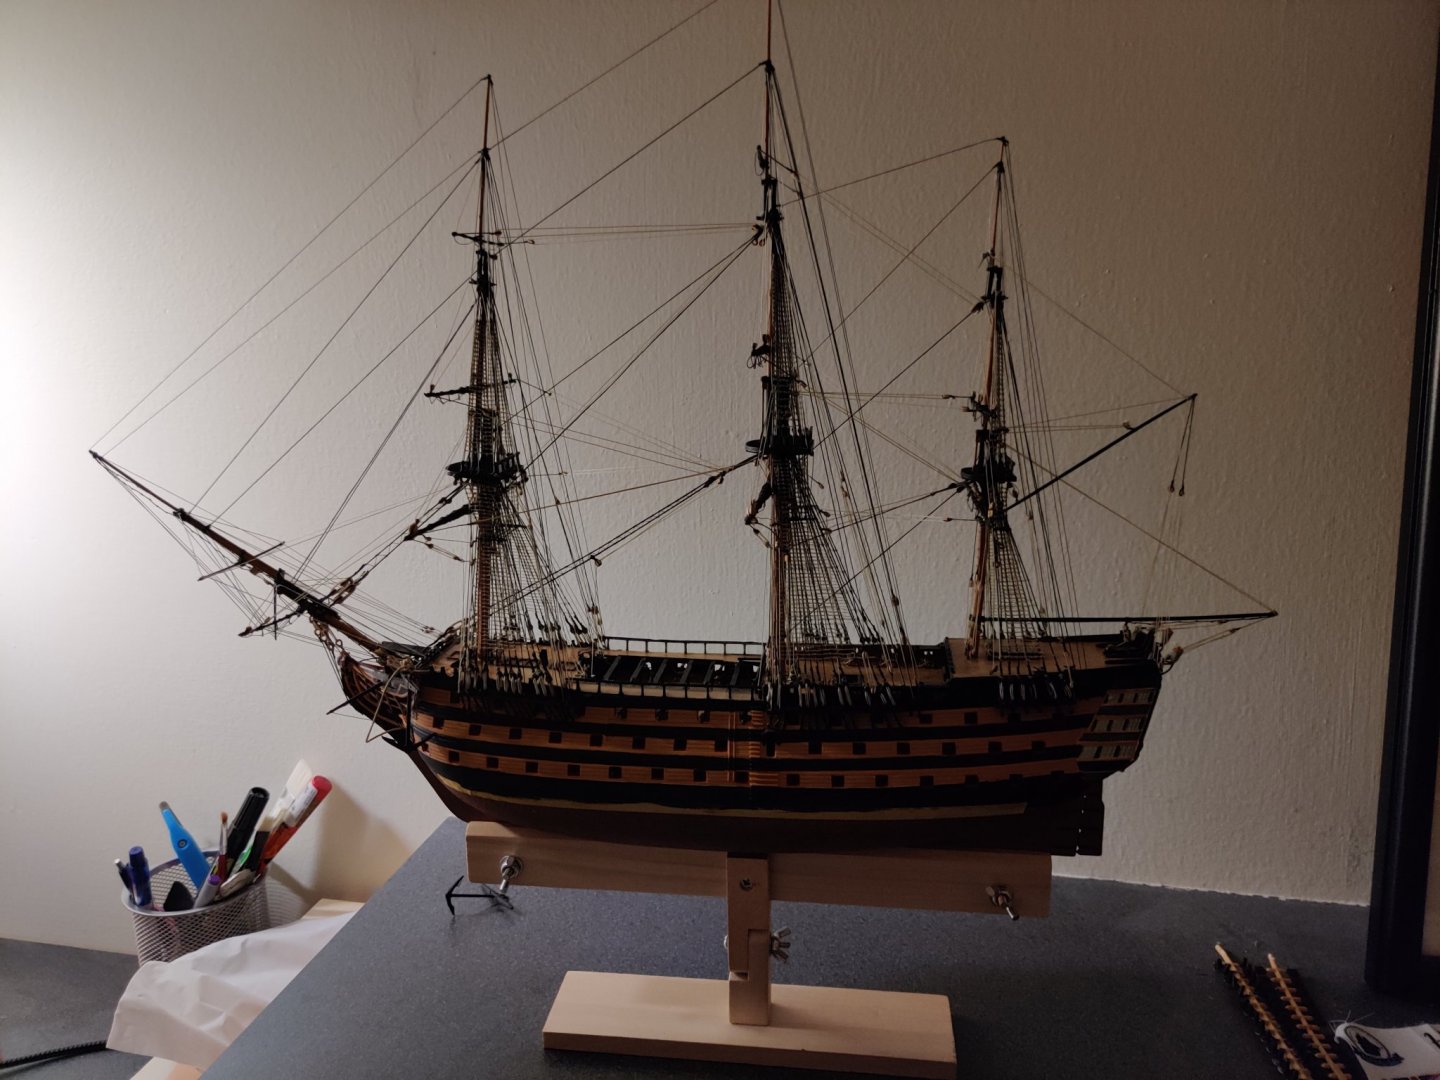
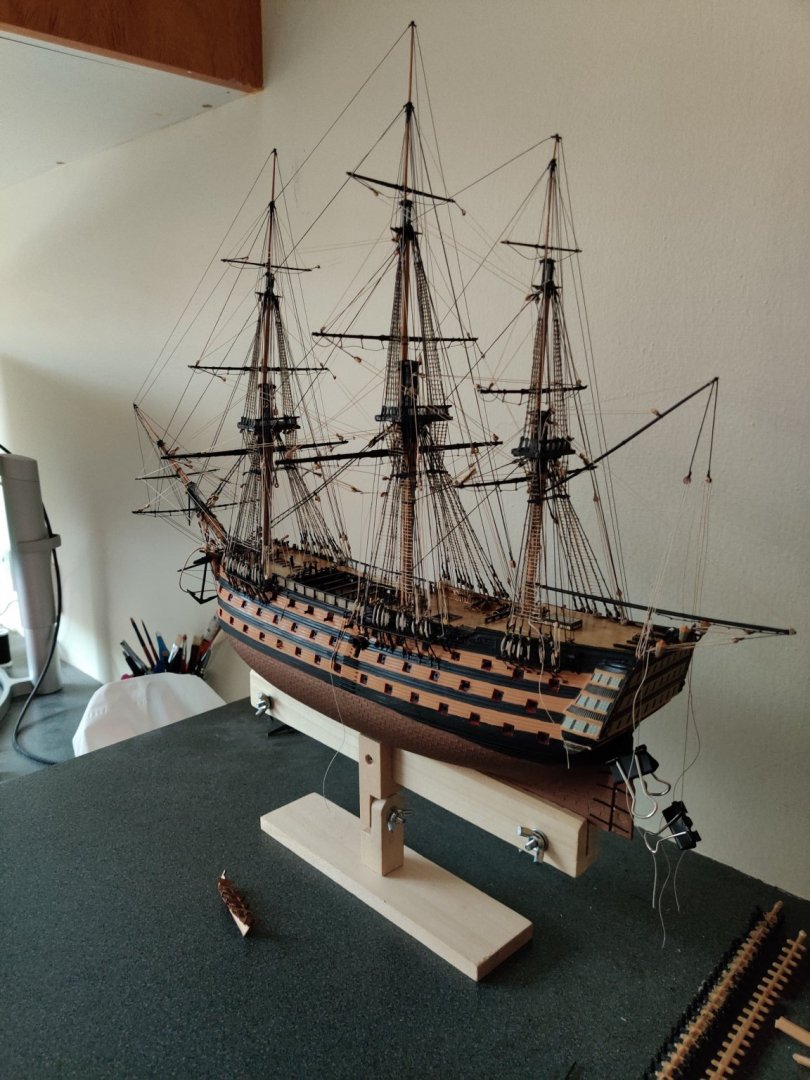
I have nearly completed my 1:180 scale Airfix HMS Victory following Noel Hackney's guide (and Gil Middleton's log - his pictures and patience in explaining his rigging method is a real treasure for the community) I followed the instructions to rig it in dry dock (or harbour rig as Hackney calls it) which means i've probably missed some steps along the way to add the sails by now much to my regret. So far I have completed the standing rigging and most of the running rigging ... Just the main yard brace, davit lifts and anchors to go. This is as far as Hackney recommends for the dry dock rigging. I've read from an earlier thread that the cluelines (or clew?) , buntlines, sheets and other lines to hold up the sails are taken down when the ship is dry docked to minimise weather damage. Should I press on and attempt them (for aesthetic reasons)? I'm not even sure whether I can add buntlines anymore either as the area beneath the mast tops are quite congested now.

-
I came upon this conundrum too rigging my little AIRFIX Victory... I ended up following Gil and the current rig at Portsmouth (i.e. with yard pendants). Noel Hackney's Victory rigging method also suggests no pendants were used except for the Crossjack braces, but this was written in the 1970s.
-
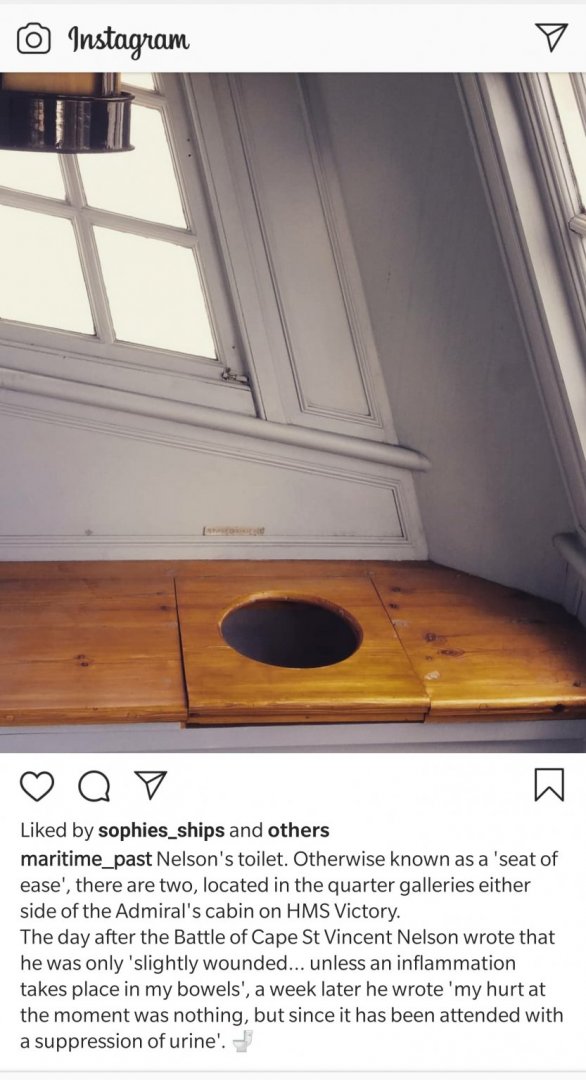
Daniel, your posts make the ship so much more relatable for everyone! Saw this picture on Instagram today and reminded me of your earlier mods in your Heller build 😂. Must be a heck of a view out the stern windows....