-
Posts
7,403 -
Joined
-
Last visited
Content Type
Profiles
Forums
Gallery
Events
Posts posted by Mirabell61
-
-
nice axilliary-tool Tom,
I like that solution for clean sanding Frame contours, and its easy to set up...., and the edge is perpindicular to the base board.
Nils
-
Thanks for your "strops into the channels..." solution Jason,
I`m afraid that that Version would put to much tension on the channels from above, as the channels should actualy only spread the shroud- and backstay chords outwards. A unpurposed knock on the masts during handling could rip off the channels, even in spite of the rather riged channelsupports
I have an idea of how it could be done without putting additional tension on the channels, will do some Trials tomorrow and post it if I`m satisfied with it...
Nils
-
Jason,
you`re right with the stepped shrouds, and I also felt like taking a Little risk in doing like I did to find the angles
(no risk, no fun... ) I hope it won`nt turn out wrong to set the chain plates at this building stage.
On the partial outcut portside its going to be more tricky because there is no "Skin" to bolt the chainlinks to, have to find an alternative solution for that...
Nils
Pete,
thanks for your words, yes slowly it is coming together, and yet if I ever would build another one of these 18th century models there are so many little inspiring solutions tricks and ways gained from this MSW Forum, how to do things better, recognizing that it would probably be taking at least twice the time to build. (depending on the own set obligations)
Nils
-
-
Moving on to the chain-plate mounting....
although I tried to get the individual link lenghths in size to enable the lowest mounting Point above the wales, I could not get them all alingned in a straight horizontal row, but I`ll leave as is. therefore the deadeyes are all horizontal in a row which I felt is more important.
main mast arrangement
fore mast arrangement
the alignment angles I get with a string from the appropriate hight of a preliminary 8 mm diam. mast with an adjustable dummy top-platform in hight for main and foremast
Build log part 39 to follow...
Nils
-
-
In this final series of shots, I wanted to show some views of the Launch on the skid beams. I fitted a couple of eye-bolts to the keelson of the boat and attached the lifting gear, to show the boat in the process of being readied for launching. I haven't yet tied off the tackle falls, in case I change my mind about this, or some of you have better ideas for this aspect.
This last shot shows quite clearly the Fore course sheet and the Main course tack passing through their respective hull sheave blocks.
And that's your lot for now. Hopefully it won't be too long before I start posting progress on the remaining boats.
A beautiful model Grant,
a masterly build of a great ship, well done !
Nils
-
Okay, as promised, here's the final instalment on the Block Tumbler.
Mod 2: I had an epiphany while thinking about the drive shaft problem and decided that the only way it was going to work was for the drive shaft to be a single piece running through the top end cap. The limitation was that the “business” end needed to be no larger in diameter than 10mm in order to fit through the headstock spindle of the lathe. So new drive shafts were manufactured with the “business” end turned down to a 10 mm diameter.
Here is the new setup running on the lathe. The cutting tool is lightly held agains the canister body to prevent it from turning. In this picture the lathe is actually running, with the drive shaft turning within the canister.
Functional Test No. 2
The functional test on the new design worked perfectly. To further the testing, a selection of kit blocks was put through a short spin in each of the grades of sandpaper. To begin with, this is how the blocks look “as provided” in the kit:
It’s pretty obvious from this picture why a block tumbler is needed. Up until now, I have been individually hand sanding all blocks prior to use - a very tedious process!
Here’s a comparison of an untreated block (on the left) with one that has had a very short tumble.
I then proceeded to a larger test with a range of block sizes. Time spent in the tumbler was very short for these tests - no more than 2 minutes in each grade of sandpaper.
After Tumbling in 120 grit:
The same blocks after then Tumbling in 400 grit:
And after then Tumbling in 600 grit:
So just for comparison let’s look at a “before” and “after” shot side by side:
 Kit Blocks 1 untreated.jpg
  Kit Blocks Test 600.jpg
I think this proves the concept. Even better results should be achievable with a longer duration in the Tumbler. Finishing with 600 grit does seem to produce quite a nice end result that is ready to use.
Reflections / Observations
The Tumbler works well and is relatively simple to construct. If I were doing it again, I would reduce the size of the canister considerably. This canister I made is 100mm long with a diameter of about 85mm. I think a canister length of 50 mm, with a diameter of 50 mm would probably be quite larger enough for the purpose.
The drive shaft is key. It must be a single piece that runs through the top end-cap. Boring a 6.5mm hole in the tail end allows it to be located on a 6mm dowell spigot through the tail end cap. This both supports the end of the drive shaft and allows it to spin freely. The outer end of the tail end cap spigot is held in the lathe tail-stock chuck.
The whole assembly could be modified for hand held use. To do that, cut the tail stock spigot off flush with the outer end of the tail end cap. Then make and attach a “winding handle” to the drive shaft.
Happy Tumbling. May all your blocks be smooth!
Hello Grant,
thanks for sharing your method to make ordenary blocks look great, I always thought the "tumbling" was bound to metal work
Nils
-
-
Thanks Pete,
the time is now not far from putting on the forecastle and the aft quarter deck permanently, but all Fitting-out that goes underneath will have to be rigged first (anchor cables, Messenger cable and appropriate guns and their rigging)
Nils
- popeye the sailor and pete48
-
 2
2
-
A lovely Little boat Bob,
I like it very much
Nils
-
Build log part 38
I am working at the forecastle in the moment,
the deck, the deck rails, the the gratings and roamings, the catheads, etc....
prefitting Position check
the galley chimney shall be dressed to fit for final shape later on...
catheads (double sheaved) fitted on top of eking rail and cathead supporters, The mainrail shall be fitted later on
the catheads slip in with tight fit
Nils
-
-
excellent sail making Pete,
those sewed on bolt ropes look great,
Well done !
together with those spruce masts and gaff booms your Pilot schooner is a fantastic sight
Nils
-
-
Pete,
this is a lovely build log you are presenting, hull,sails, Fitting out, all very well done in Detail, I love that topsail schooner...
Nils
-
Very good looking model Bob,
nice and
clean built in all datails
Well done !
Nils
-
Your Diana is a superb built model Ray,
I enjoy those pics every time I look into your build log. Also although Long completed already, I like to look up your HMS Pegasus, which I also find an inspiring and very well done model in all Details...
Nils
- Graziani Antonio and Ray
-
 2
2
-
Many thanks E&T,
for sharing your intensive experimental tests on blackening, great work..
Nils
-
Hi Darrel,
nice to hear that you have good freinds in Ol`Germany, hope you and your wife had a pleasant stay in this Country.
I also still have an 80% completed Billing Boats Bluenose on the shelf, started at least 25 years ago, my wife always reminds me to get that one done before I begin something new. There are several good looking builds of those fabulous gloucester fisher schooners here on MSW, or here in Progress, that my fingers start itching to continue. I love the lines of These ships
Nils
-
The hull of your schooner is very nicely built Darrel,
wish you much fun and good ongoing success in the further build sequences...
Nils
-
-
-
The deck is almost done. I apologize for not taking pictures of the parts as I built them. I tend to get carried away with the build and don’t think of pictures until it’s too late. I still need to put pin rails near the dead eyes and cut the samson or pawl post to the right height. I also need to add supports for the deck boat. The mackerel boats towed a seine boat which was around forty feet long but they also carried a dory on deck.
Bob
They put braces on the corners of the skylight to keep the lines from snagging.
Apparently they were not concerned with the smoke stack.
Bob,
she Looks super !
a beautiful ship
Nils


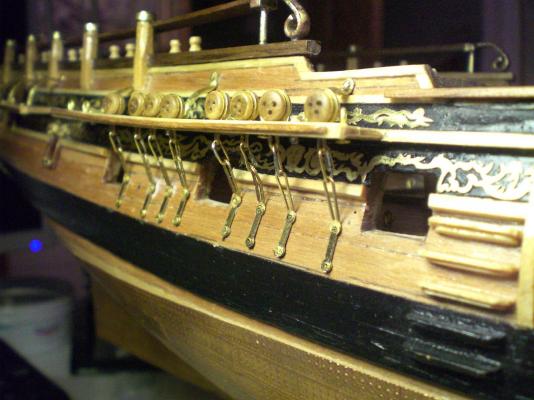
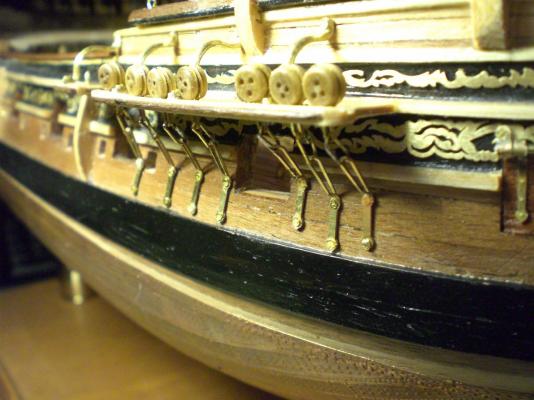
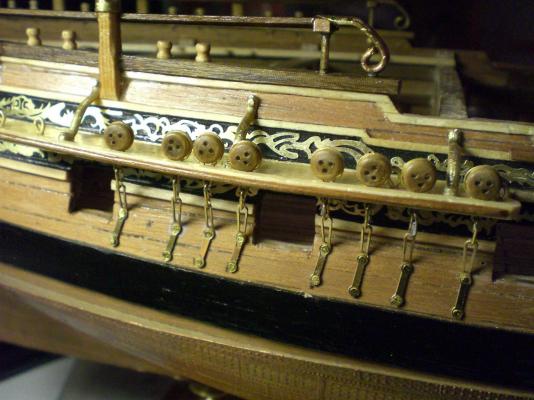
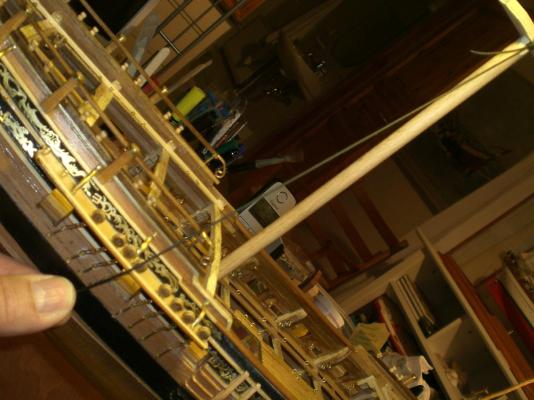
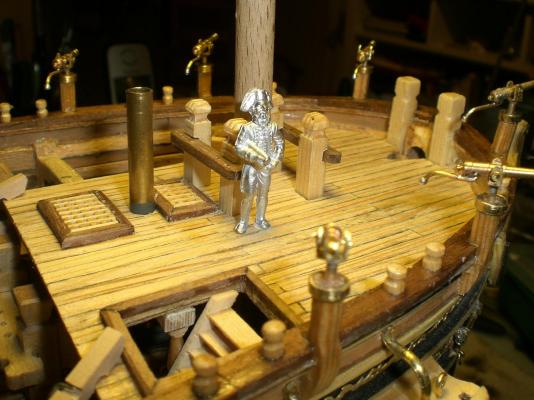
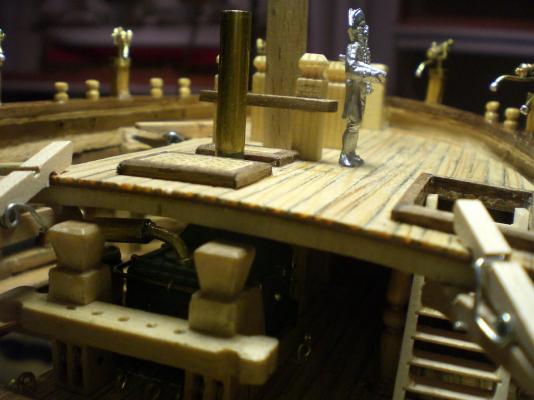
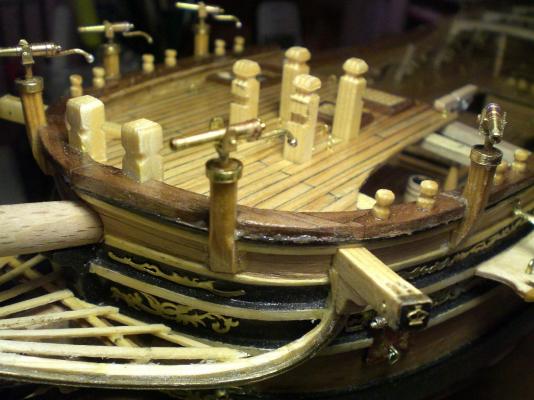

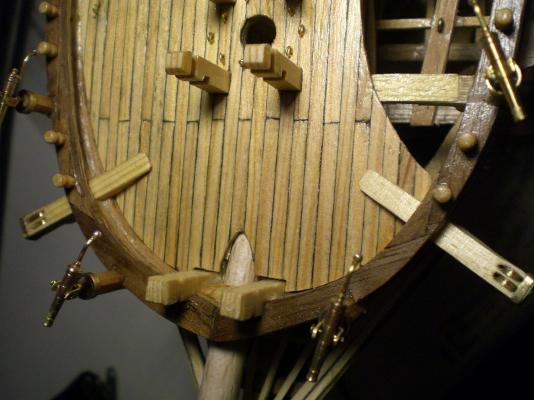
Batavia by *Hans* - FINISHED
in - Build logs for subjects built 1501 - 1750
Posted
congrats Hans,
a good looking and nicely built ship...
Nils