-
Posts
7,403 -
Joined
-
Last visited
Content Type
Profiles
Forums
Gallery
Events
Posts posted by Mirabell61
-
-
Thank you Popeye,
there are so many of These small deck Fittings to be done, I am trying to get the binnacle cabinet assembled and completed today. All the Fittings go in row and there is hardly space to get all in line.
Nils
-
looking good marisstella,
nice clean planking
Nils
-
-
-
-
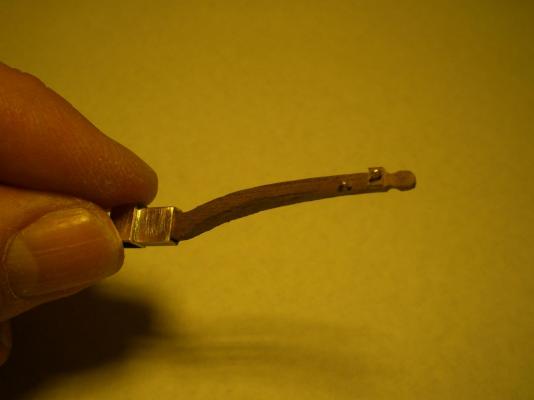
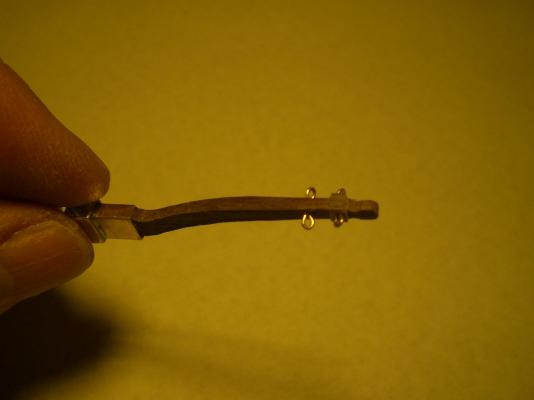
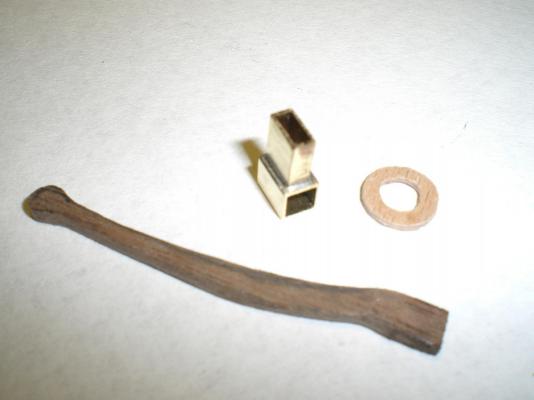
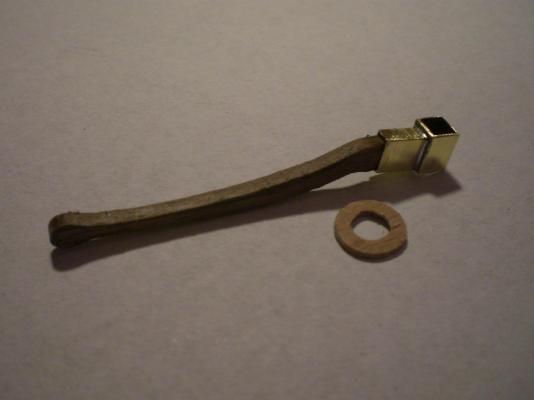
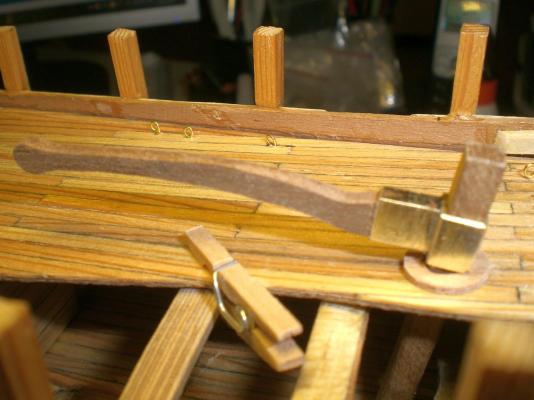
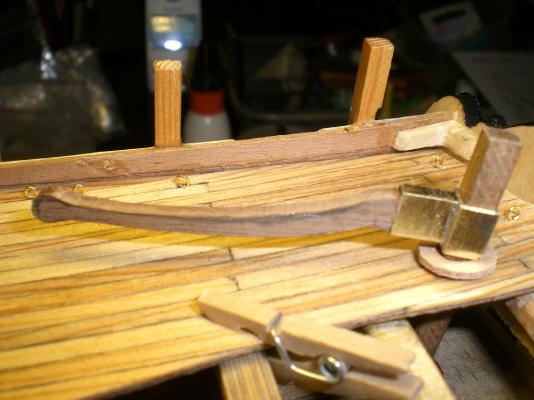
Setting the tiller for steering either for Manual direct, or for steering with tackle rope and wheel. In raw shaped condition, Needs to be fine tuned...
here the tiller parts
tiller mounted to the Fitting socket
tiller upwards curve for Manual steering
or in downwards mode for rope steering (via blocks and wheel)
Nils
- themadchemist, rafine, jaerschen and 10 others
-
 13
13
-
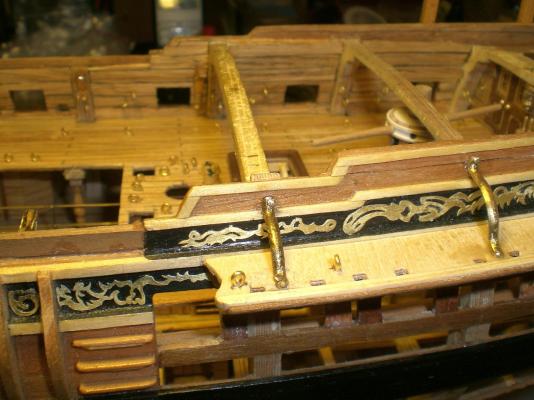
Build log part 34
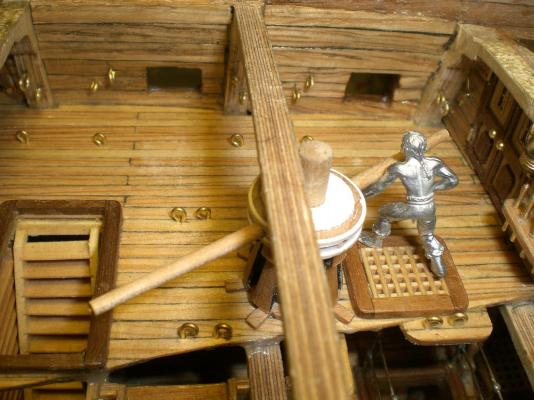
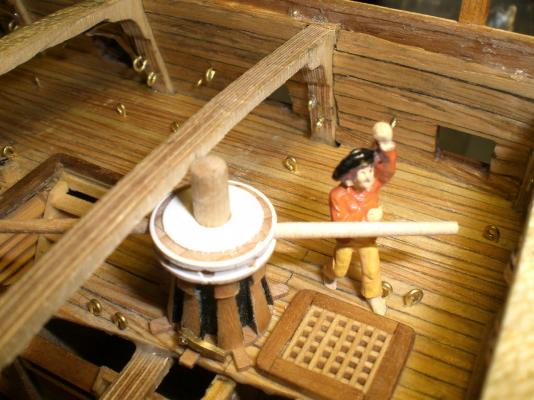
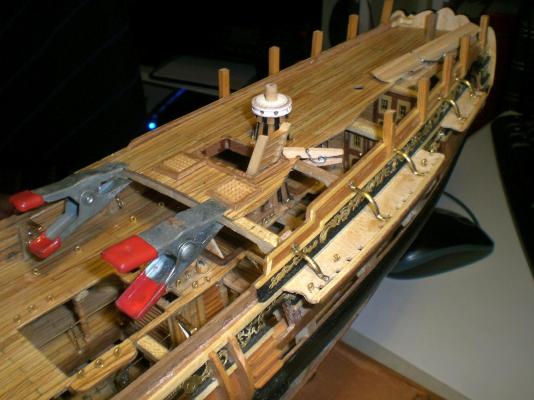
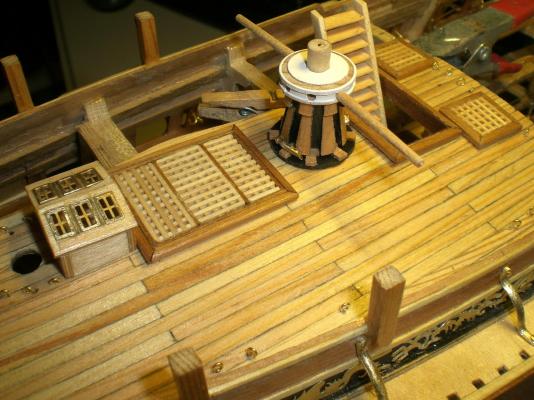
concentrating on the Quarterdeck
the deckbeams arecready to take on the deck
the uncolored figure is 25 mm hight...
the painted figure is 28mm hight
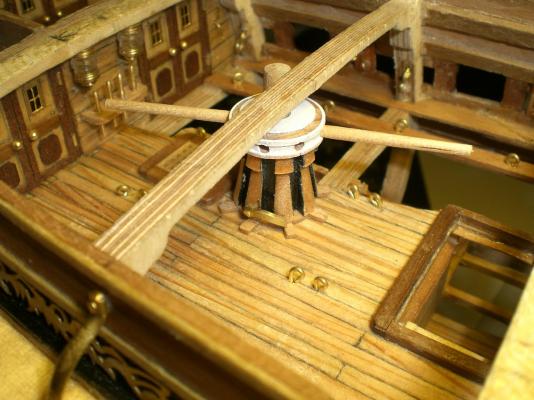
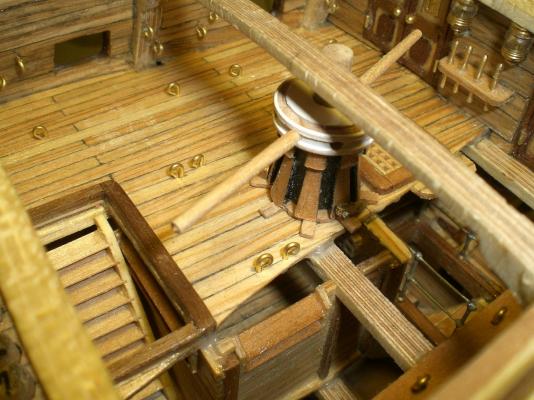
the cutaway of the Quarterdeck allows sight to the inside
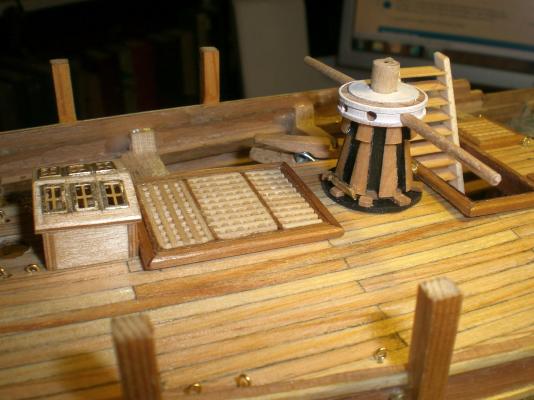
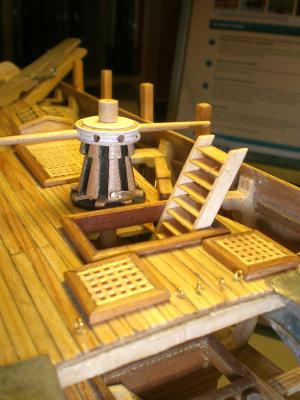
gratings, capstan, Skylight housing and deckframe for ladder added
Build log part 35 to follow...
Nils
-
-
Hi Nils, according to the ffm the capstan bars were 8' long = 38mm at scale, and when in use gratings would cover the hatchways. I think the Quarterdeck ladder would be removed when the capstan was in operation, I doubt there was room to swing it up beneath the deck beams.
B.E.
Thank you B.E.
for your explain on ladder a capstan. I was a Little bit between the Options of putting on the Quarterdeck ladder, or Fitting the gundeck capstan spars, so theat These could be visible through the Quarterdeck outcuts from above.
Nils
-
the more I see....the deeper in awe I get! truly awesome work!

Thank you Popeye
Nils
-
-
A very impressive model Chris,
and beautifully built
Nils
-
Who knows ?
here rises the question...
the downleading stairway (not shown here yet) from the Quarterdeck will be landing between capstan and the next downward starcase, interferes full with the gundeck capstan, if it should be operated with 360 ° turn.
does the Quarterdeck stair have to be fitted moveable with hinges, for instance to be hauled up against the Quarterdeck from beneath, to allow full capstan operation ?
Nils
The downward stairs from the Quarterdeck interferes full with the capstan Operation....
-
Thank you B.E.
I`m hesitating for putting on the quarter deck and the forcastle deck because the guns underneath, as well as the anchor rigging would have to be installed permanently before. I think I`ll do the anchor- messenger rigging next, when I get the appropriate ordered ropes. Also the upper bulwark portions of the welldeck and the swivel gunposts Need some attention
Nils
-
Thank you Popeye,
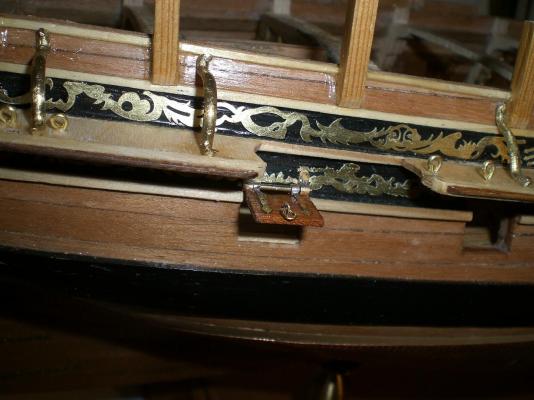
due to the fact that there are only 4 gunlids shown on the plan and therefore done, it was not much extra effort to make them moveable, it was a bit tricky in soldering those mini-hinges
Nils
-
beautiful "pumpspill model" Bob
Nils
-
-
Hello Jack,
I just looked into your build log, its a great build, the vikings realy knew how to shape a good boat and for best seaworthiness. Your model is looking fabulous in all Details. Lovely photos, those with the black Background
well done !
Nils
-
-
hi Omega,
theres a real miniature FOP dreamship on your slipway, Looks great, must be absolute lightweight due to that filigrane construction
Well done !!
Nils
-
-
Thank you very much Jason,
I like your comments and thanks for following this build. I have`nt looked into the Amati plan for some time now, because I get so much Inspiration from builds of other members, and then there are so many ideas I would like to intigrate and that are not shown on the plan. I wish you much pleausure with your own HMS Snake model, it is a fine built vessel
Nils
-
-
Having just logged the 500th hour in the build log, it's time for a small update.
A portion of the photoetched parts for the outer hull have been added. The first photo shows them blackened and ready to deploy:
For the blackening, I use the process described throughout MSW. Specifically, the trimmed parts are degreased by bathing in acetone for about 10 minutes followed by an 'etching' in a household vinegar bath for about the same time. They are then soaked in a bath of 50% 'Blacken-it' for 5-15 minutes, rinsed thoroughly then dried. Before gluing (using either CA or epoxy), the surface to be glued is roughened with a 150 grit sanding block. After the part is applied to the ship, a coat of Testors Flat Acrylic lacquer is applied. This protects the coating and (I think) gives a nice appearance.
Stern gun port hinges and rings, keel fastener:
Bilge port and sweep port hinges:
Bridle port and forward keel fastener:
Finally, just an overview of where she stands:
It is now time to bid a fond farewell to the outer hull for the time being. There is still much to be done but we will now turn our attention to the innermost details of the ship. But first, a short break in the shipyard to acknowledge the arrival of good weather, tend to the garden and (long delayed) Spring cleaning.
Everyone stay the course and be well!
Looking fine Augie,
very nicely built, natural Wood Colors, in contrast to the metal Fittings, accurate clean planking,
in all very well done !
Nils


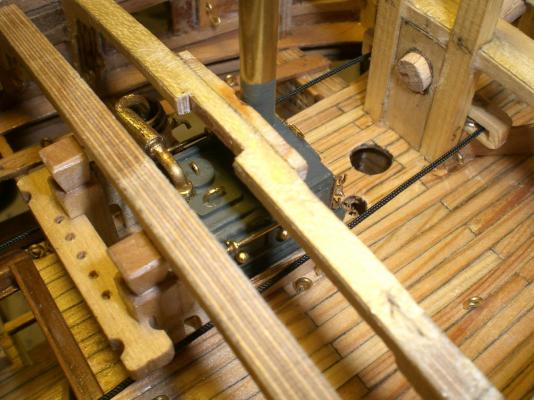
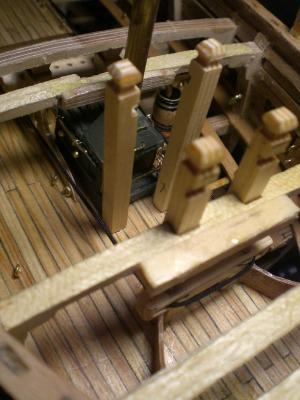
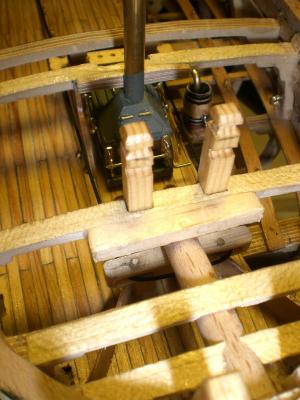
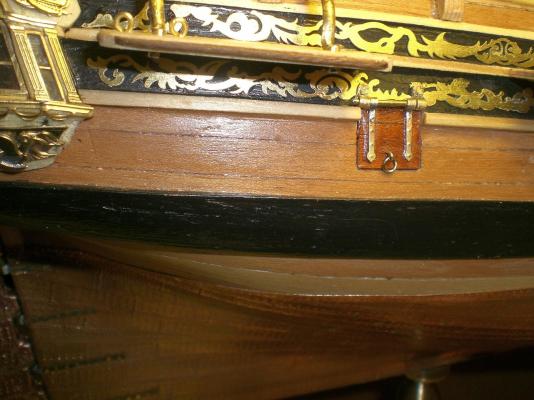
ESSEX 1799 by samueljr - prototype build for Model Shipways kit
in - Build logs for subjects built 1751 - 1800
Posted
Looks to be an ambitious and promissing log Sam,
am waiting for you to "push out the boat"
Nils