


Mirabell61
-
Posts
7,407 -
Joined
-
Last visited
Content Type
Profiles
Forums
Gallery
Events
Posts posted by Mirabell61
-
-
a beautiful piece of work John,
it reminds me of back of the course when my "Pamir" was under progress ( rigging and sails) at that stage as yourè doing....
Nils
- Keith Black and FriedClams
-
 2
2
-
Great work Ilhan,
a very nice and precise built ship, als good Photos
Nils
- Ilhan Gokcay, Keith Black, Tony Hunt and 1 other
-
4
-
Very nice work Paul !
Your buildlog is very interesting to follow, well done
Nils
-
Moin Siggi,
its a delight to explore your beautiful work to date on this ship, well done...
Nils
- Keith Black and Siggi52
-
2
-
-
-
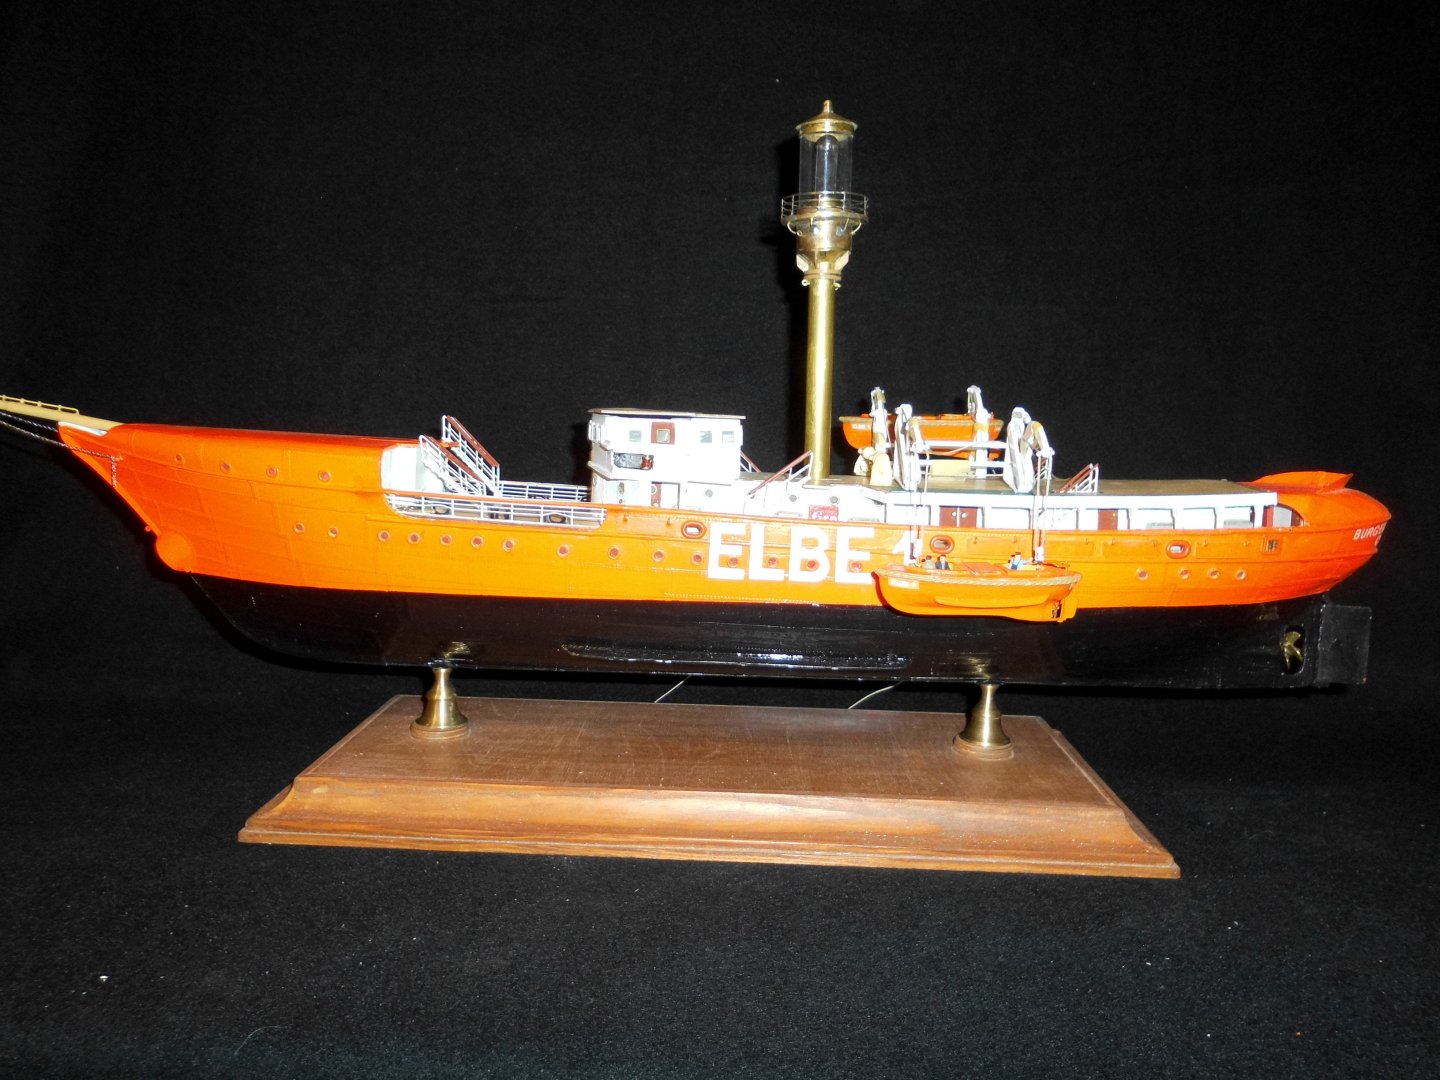
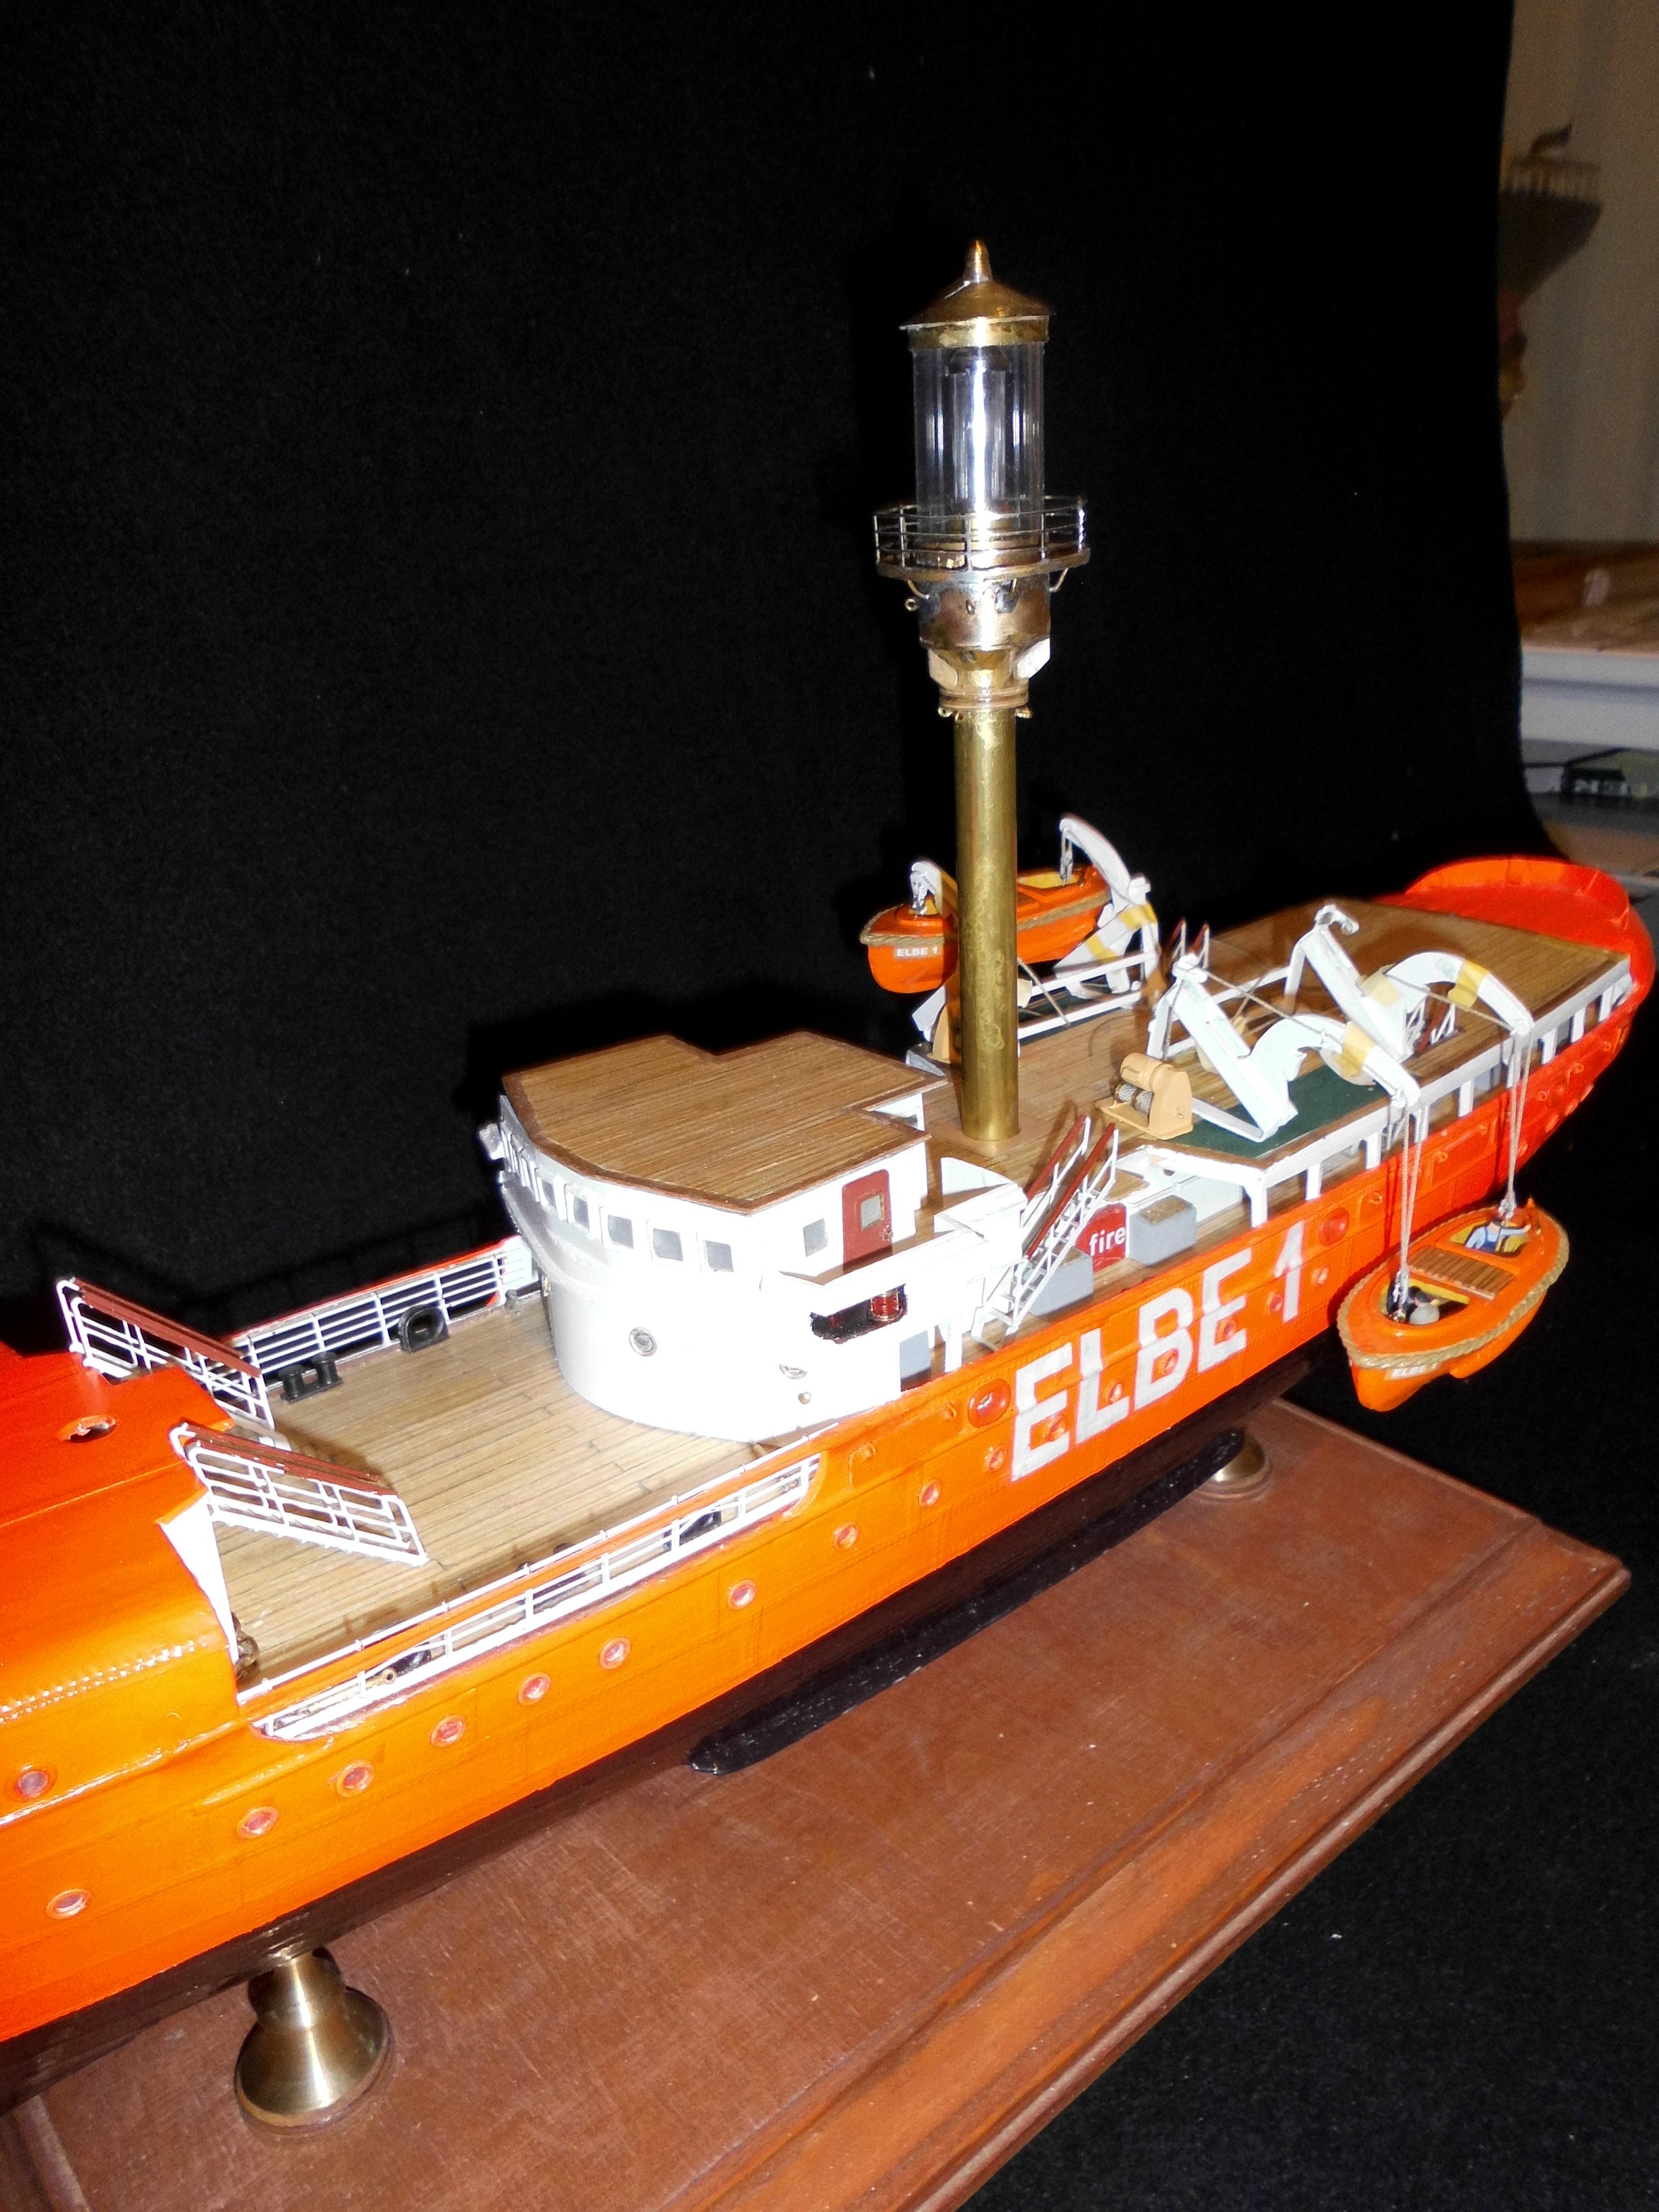
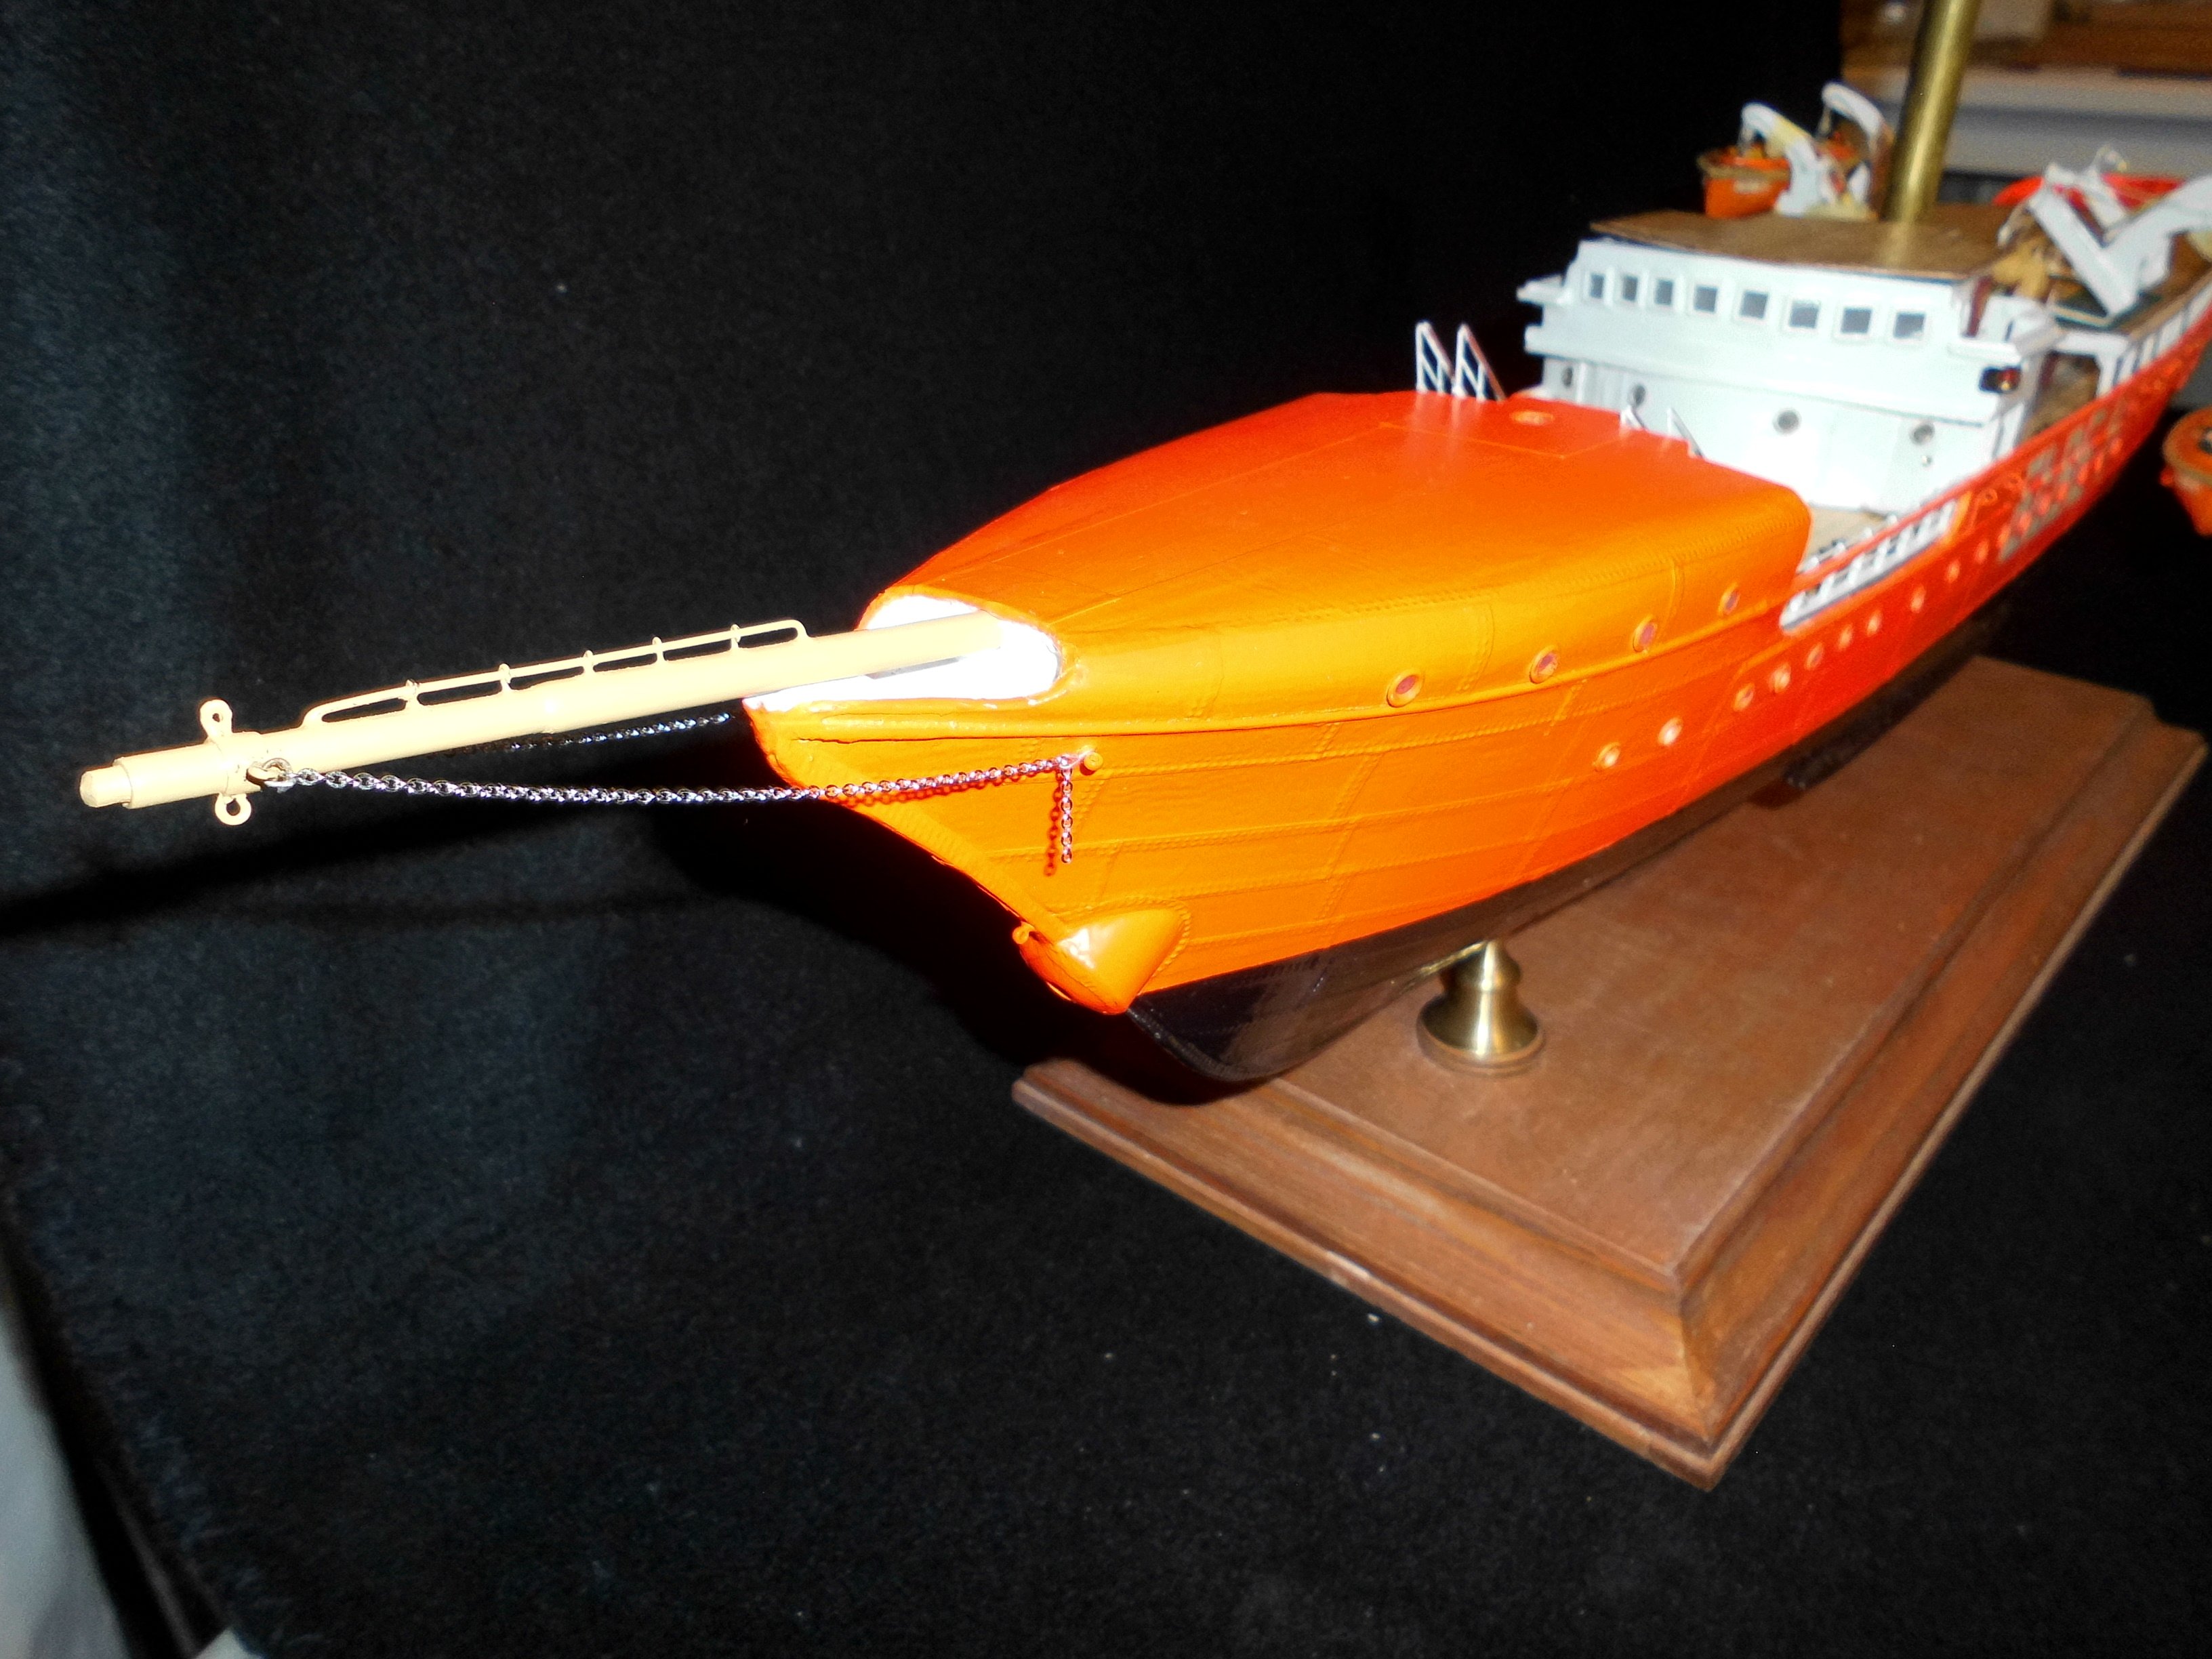
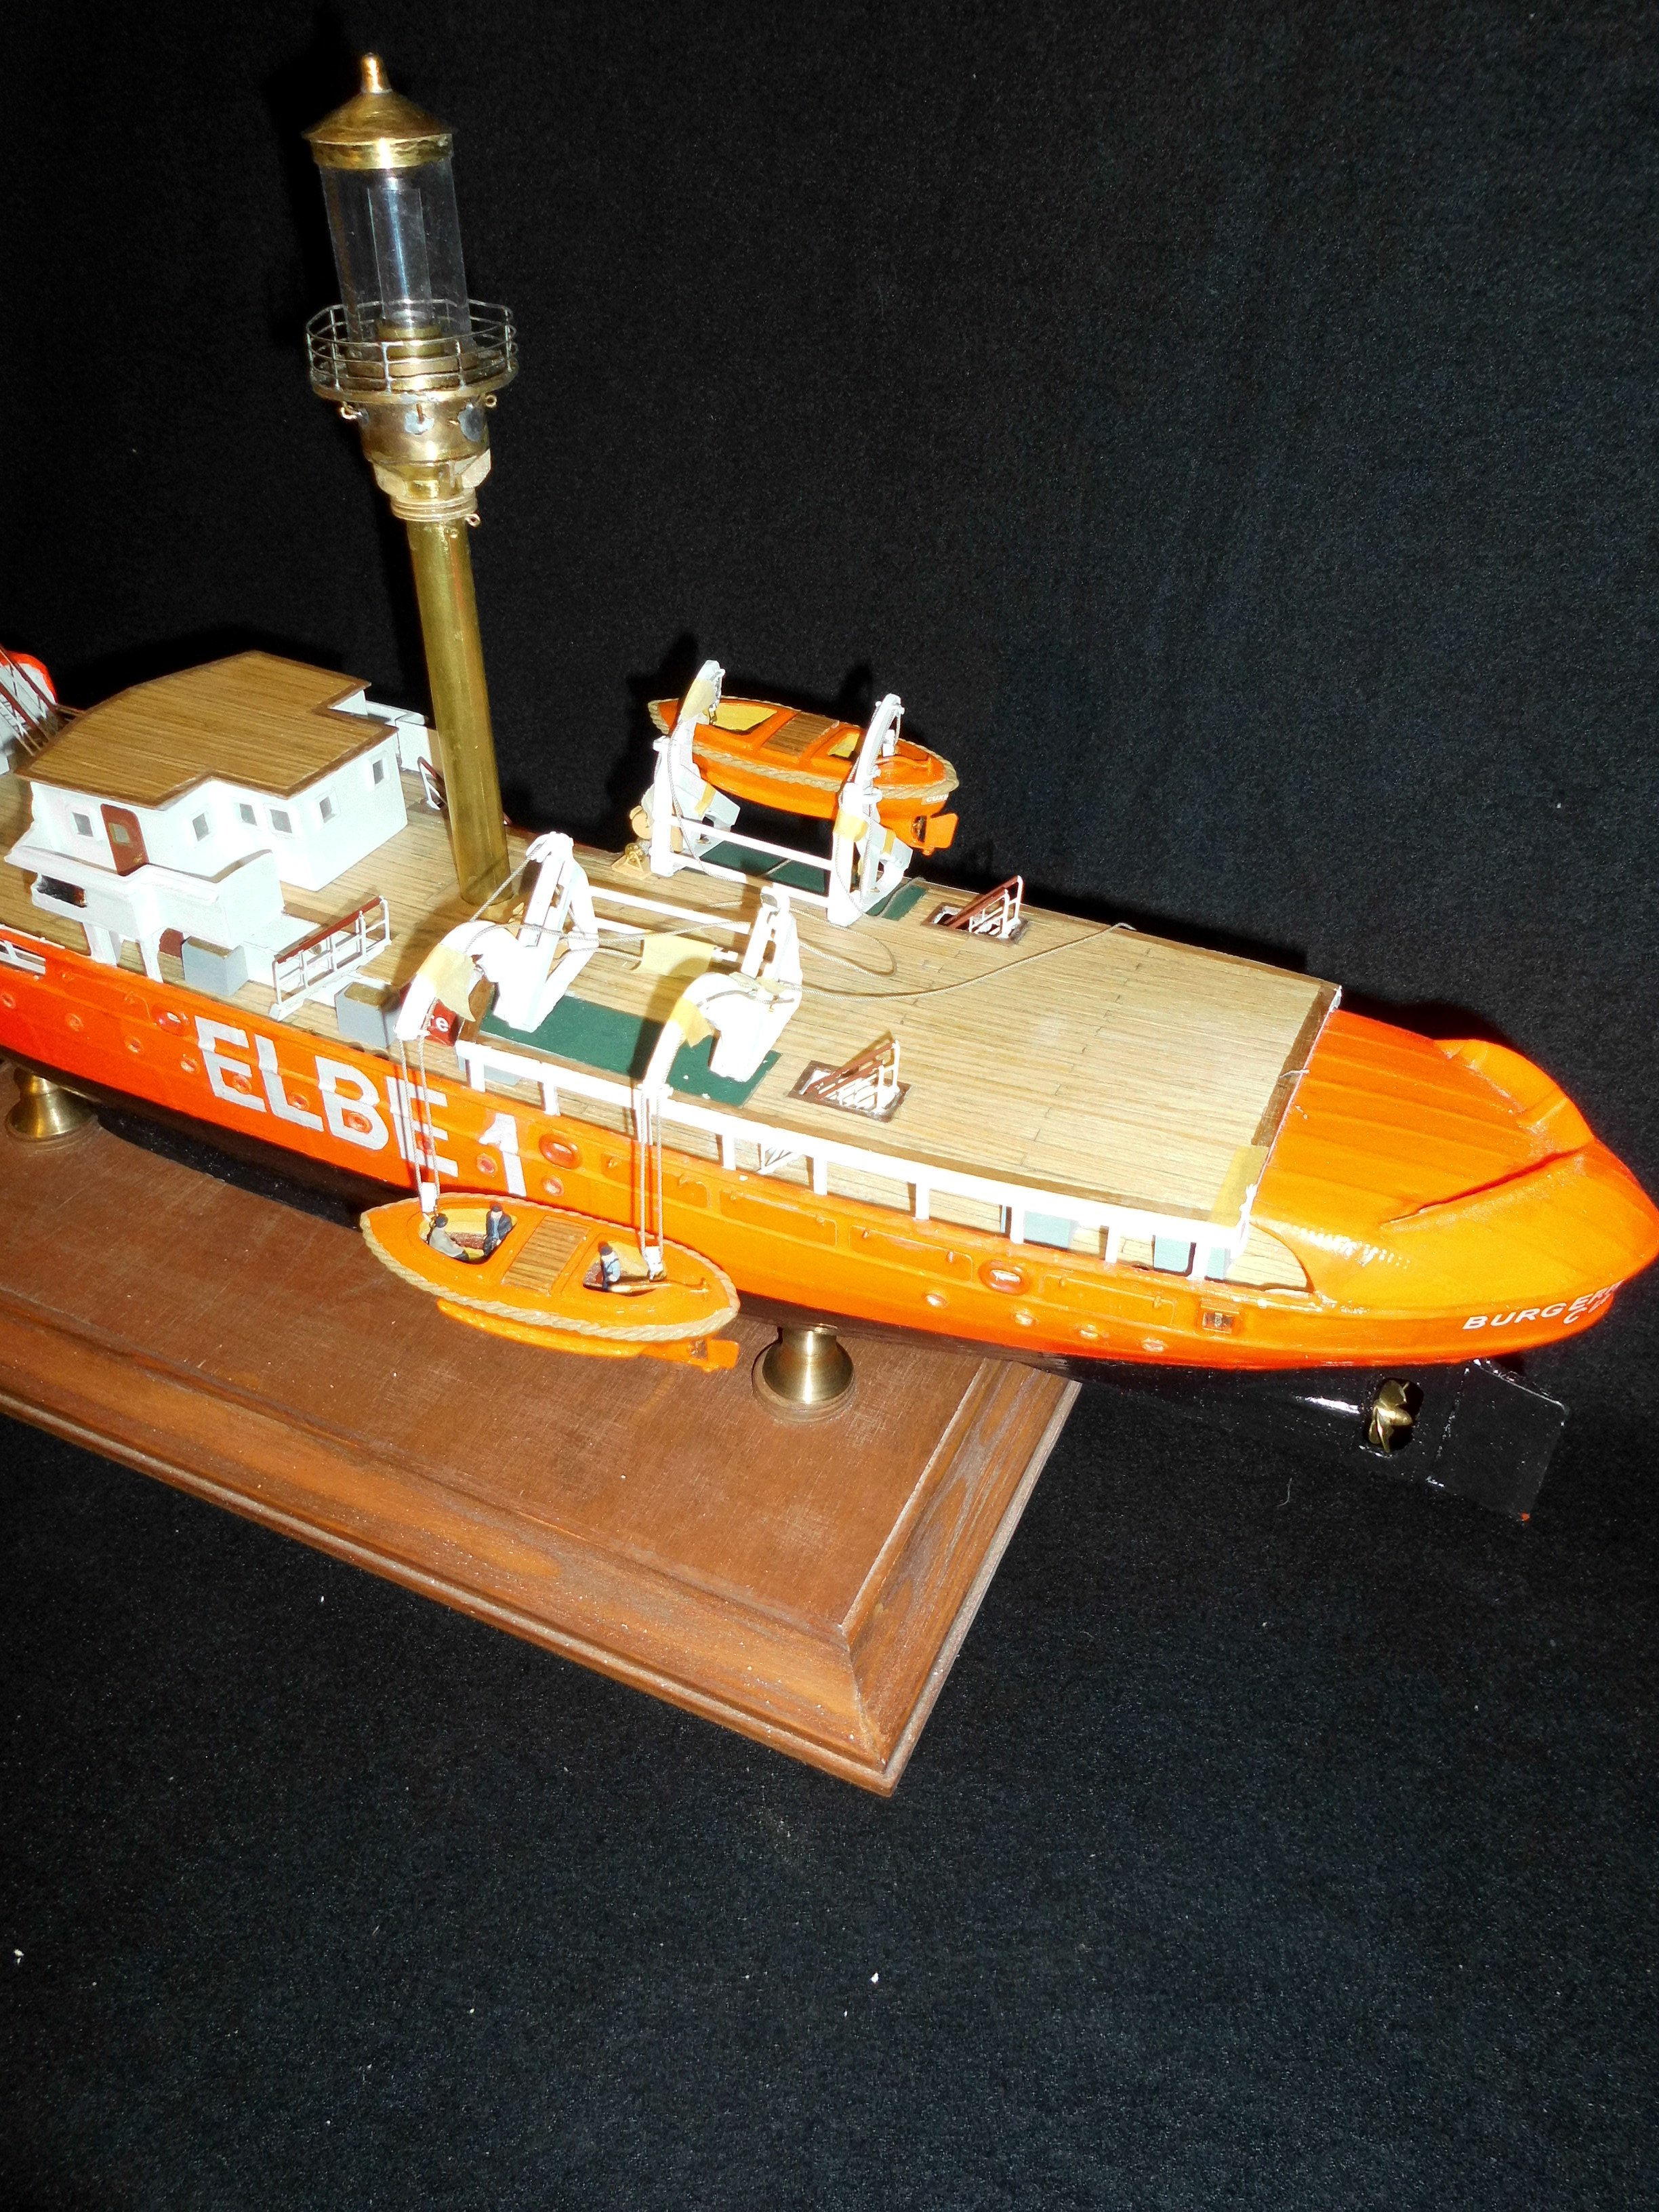
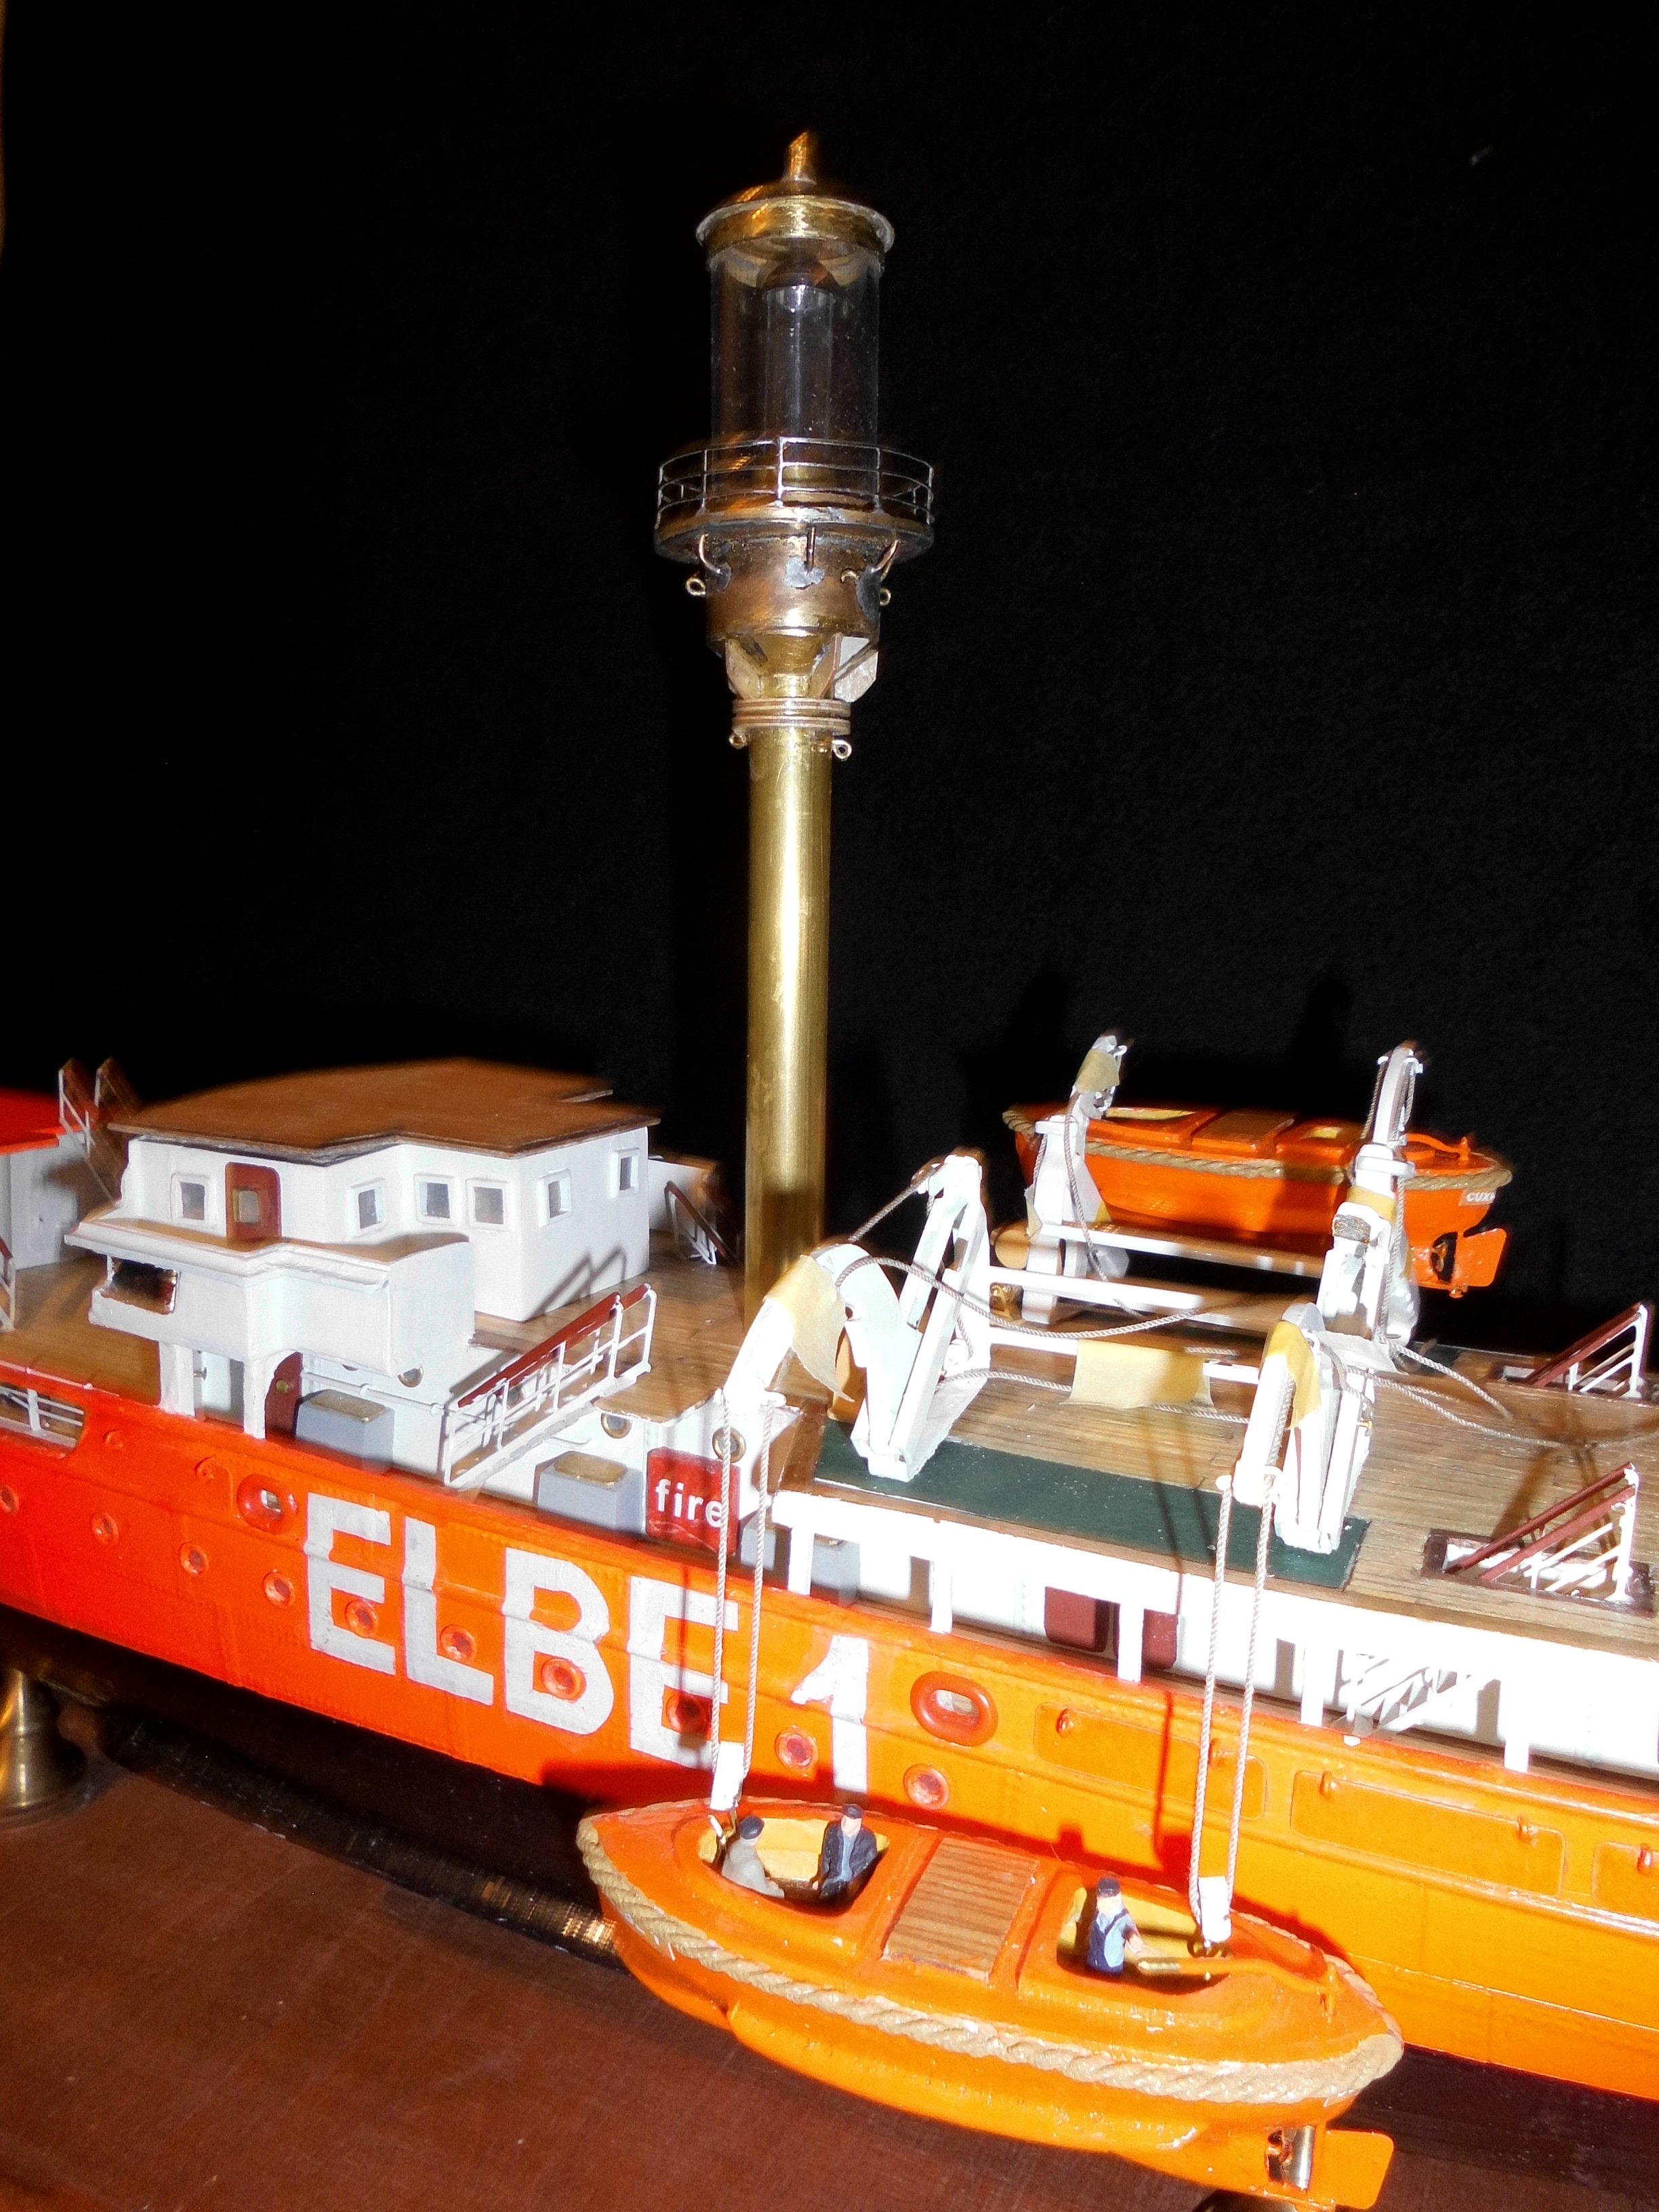
Hello fellow builders,
after quite some months, due to the aid for my wife, i find some time again to carry on with the build log.
Here some pics of the progress.....
Nils

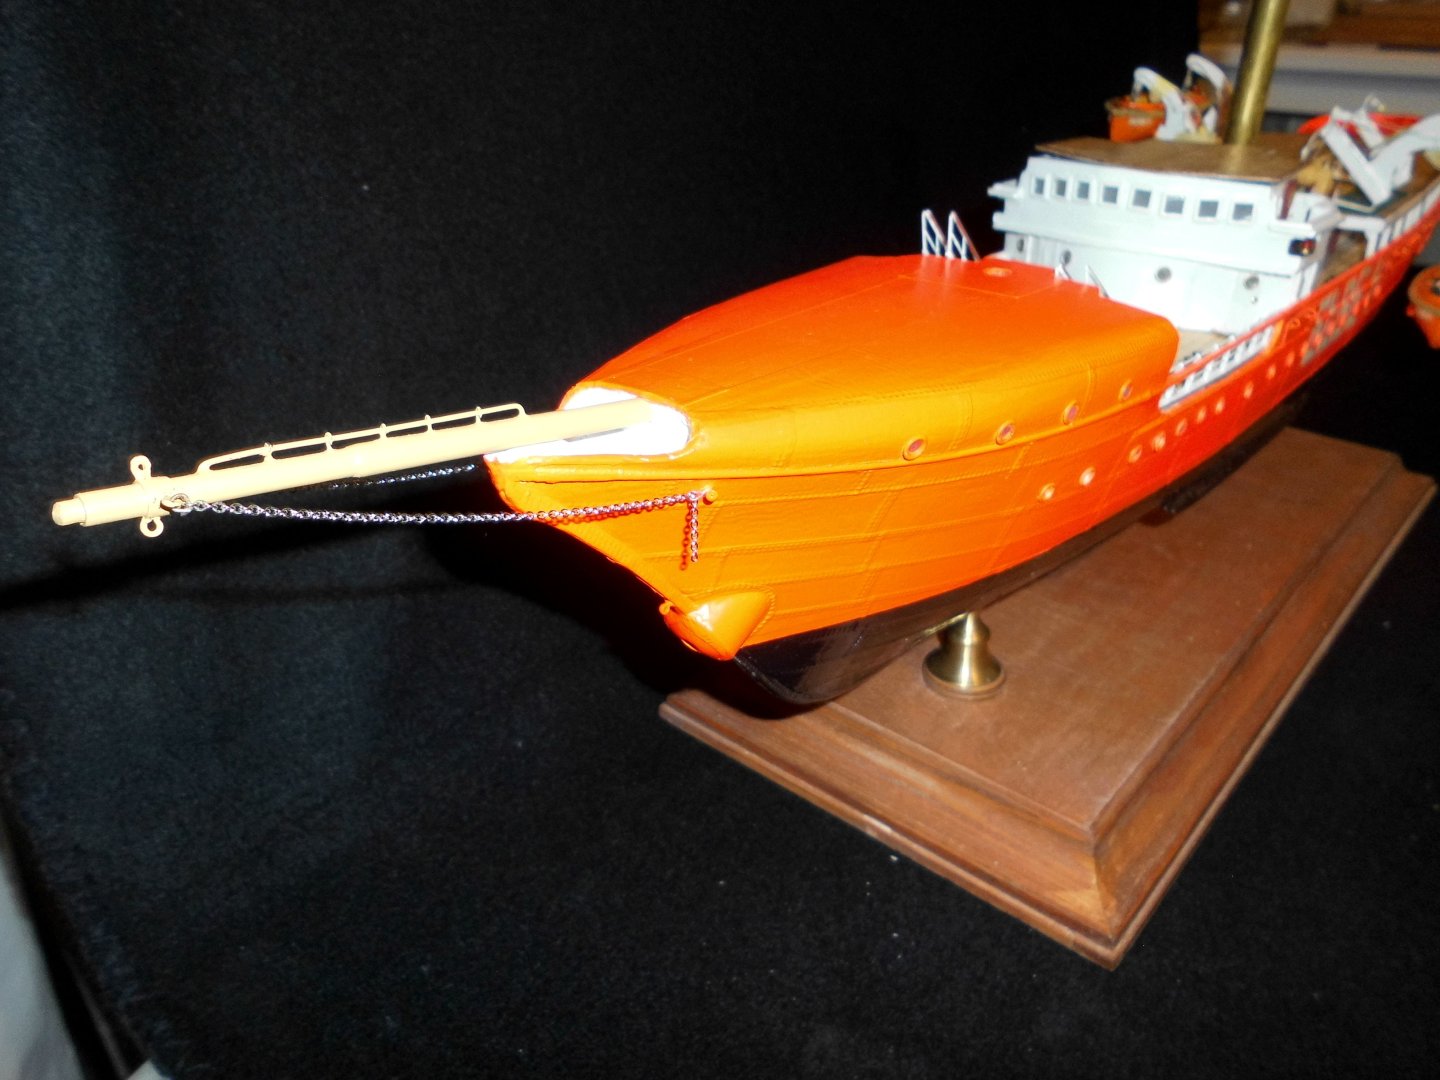
--the bow sprit in place wit preliminary attached chains

the boats and the boats gear in place, also the raw lightmast in place
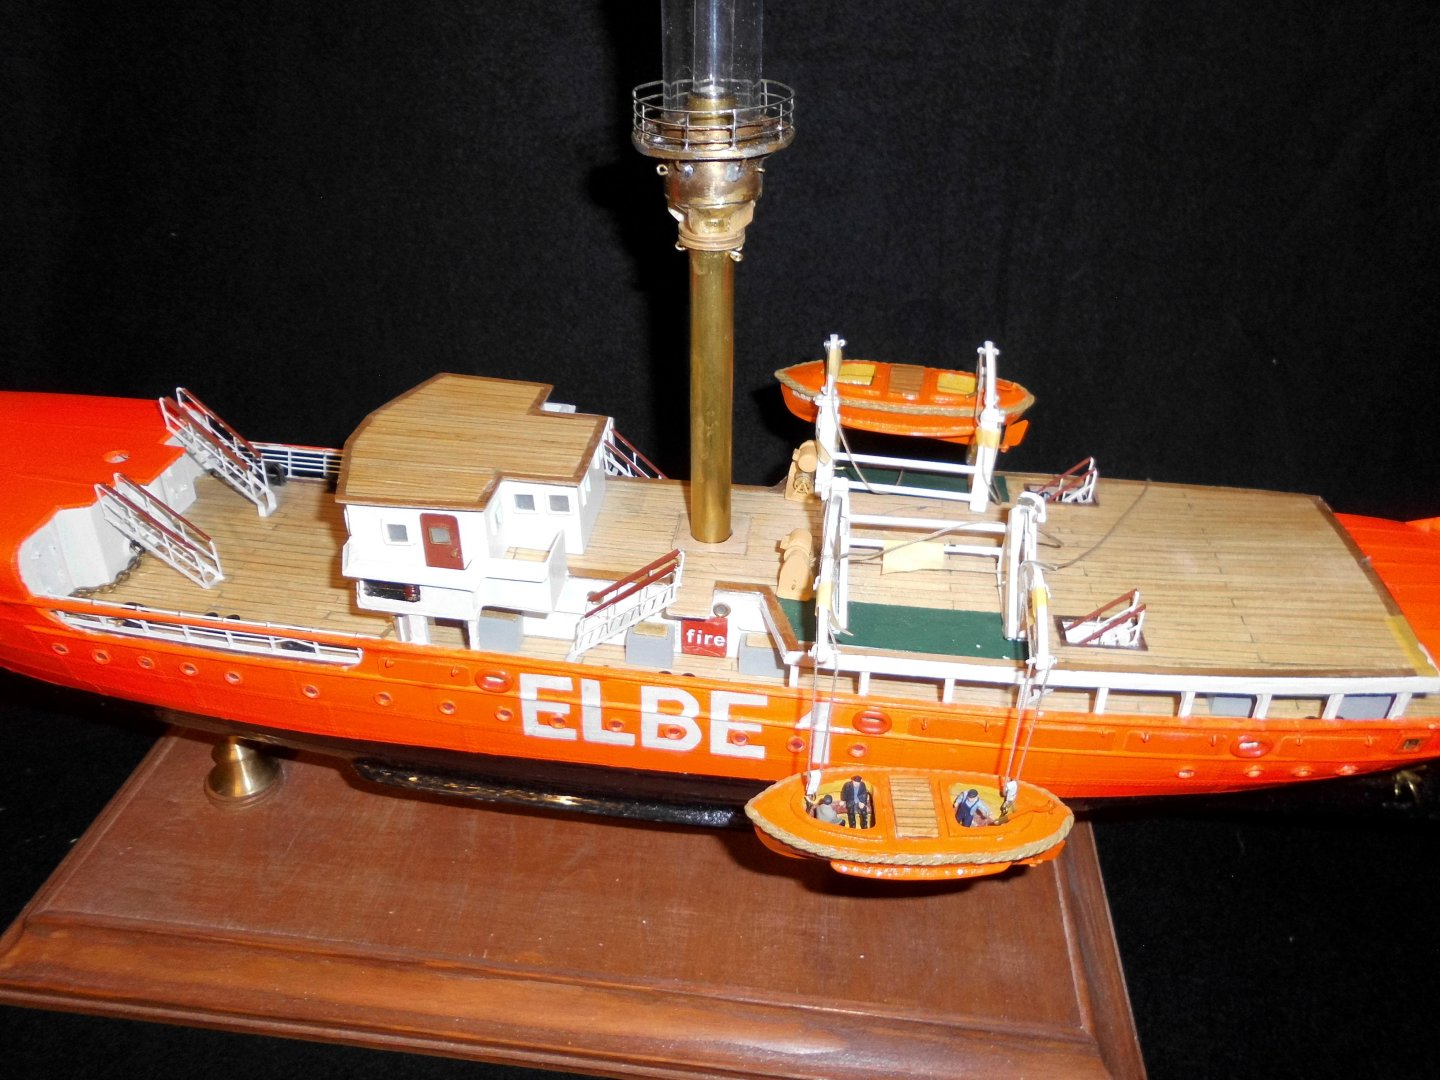
the stairs in place and the planked roofdeck of the wheelhouse

I`ll rigg the portside Boat in lowered position
-
-
Beautíful work Yves,
I was allways wondering how the triangle shaped spaces underneath the gundecks were to be cleaned, as there must have quite a smell coming from underneath. I knew thar there were some triangle shaped scuppers to the hull outside in that area. Probably the cleaning could be done from above, after lifting and removing the appropriate gundeck gratings.....
Nils
-
looks great Valeriy,
Nils
- Keith Black and Valeriy V
-
2
-
2 hours ago, Ilhan Gokcay said:
Beautiful work Ilhan,
I love the techniques you are showing on this build. Very nice painting job, Also great, the aft grating....
in all an amazing build !
Nils
- Ilhan Gokcay, mtaylor, Keith Black and 1 other
-
4
-
Hi Paul,
very interesting scratch build, good work ! I wish you much fun an good success for the progress
Nils
-
On 2/26/2025 at 7:57 PM, yvesvidal said:
Thanks Nil.
I know you have built that model too (yours was scratchbuilt, I think) so you know about the lack of straight lines and flat surfaces on this vessel.
I am making some slow progress, which I hope to present in a few days. As always, I am moving away from the official "Instructions" and going all over the place, as needed.
Yves
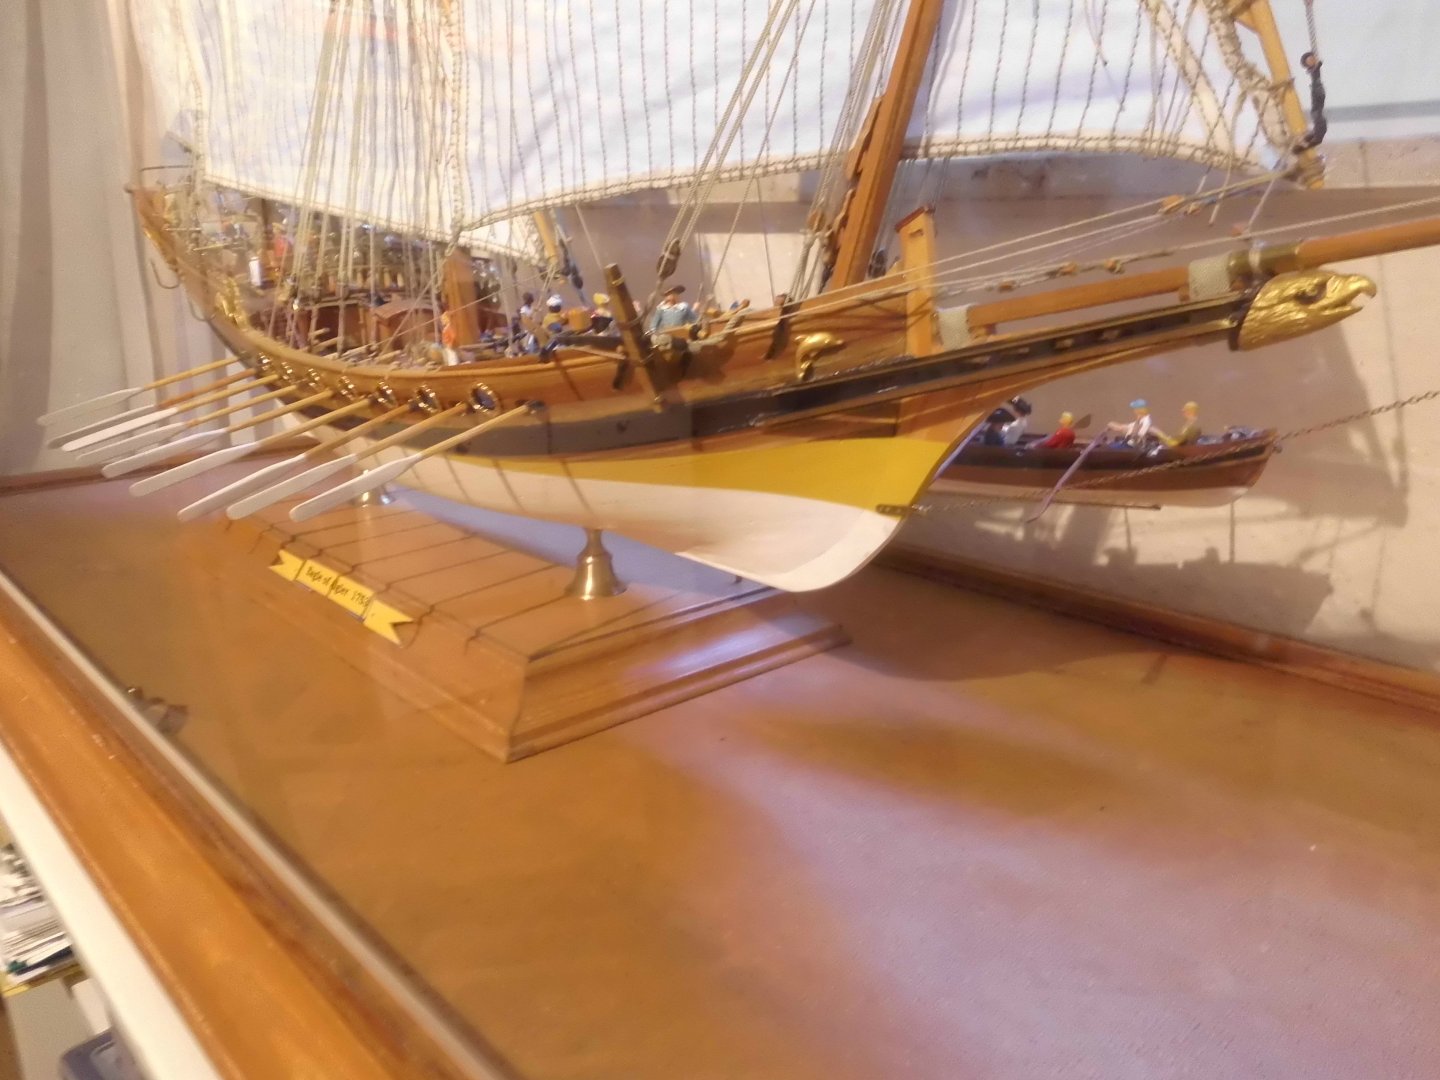
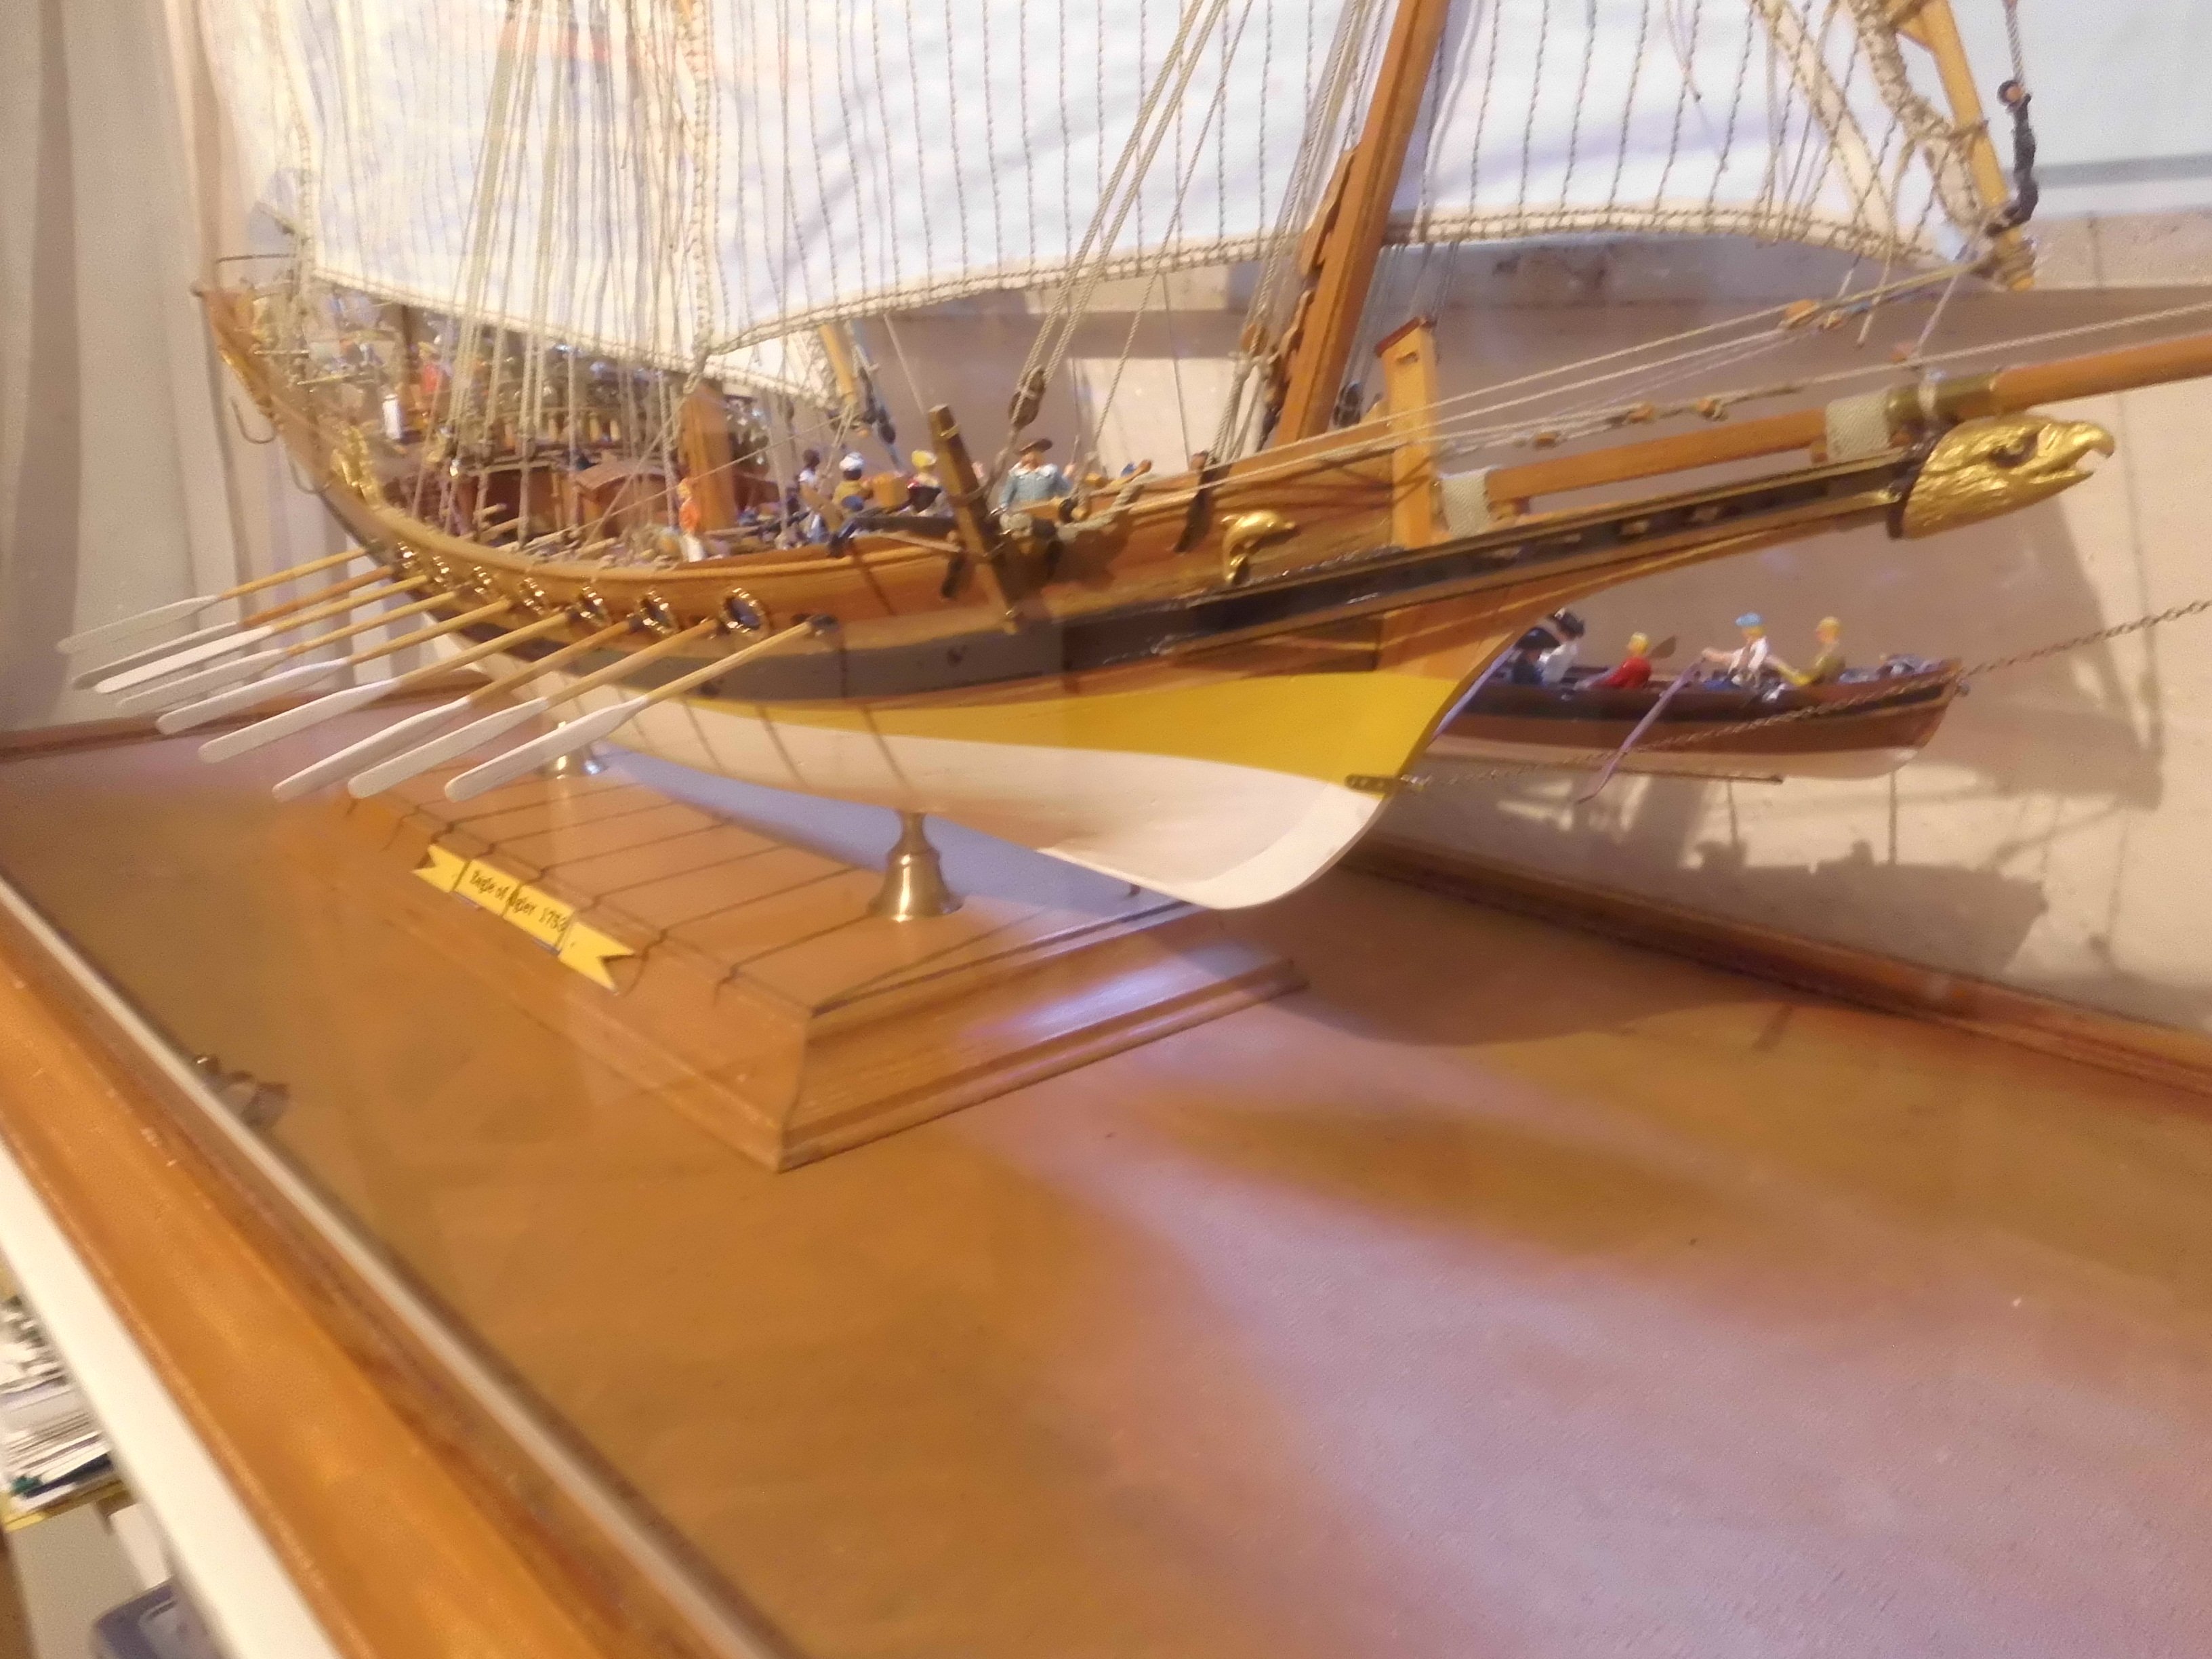
Hi Yves,
I have a pic here to show the Eagle of Algier with set sails in a quite broad glass casing. I fitted the starboard side with a set of sweeps whilst the portside is equipped with closed oar doors. A ship`s boat with crew is placed at the waterline, heading for shore
Nils
- yvesvidal, DonSangria and Paul Le Wol
-
2
-
 1
1
-
-
-
-
Good looking progress John,
I have a question to the boats,..... are they self made from wood or by resin-casting ?
Nils
- Keith Black and FriedClams
-
2
-
15 hours ago, Moonbug said:
Thanks so much @Thukydides and @alde! I appreciate the kind words. I've learned a lot from the folks here on MSW, so it's genuinely very gratifying to hear that my build log may be helping others in return.
Great work Bug,
congrats, your ship looks fantastic, did you ever plan in sails with the rigging ?
Nils
-
-
Super work Valeriy,
double-ender lifeboat and a workboat shells. Where did you take the hull shaping and the necessary software from for 3_D making?
Do you operate your own 3-D printer ?
Nils
- Canute, cotrecerf, Keith Black and 2 others
-
5
-
-
Beautiful work John,
I love that reconstruction of your 4 mast barque
Nils
-
Many thanks Valeriy,
for your answer...., you did a great job there !
Nils
- Keith Black, FriedClams, mikegr and 2 others
-
5
-
Very nice work Valeriy,
how did you do the railings? are they made from brass wire ? and did you drill thin holes into the deck to press in........, perhaps with a thin glue moisturing?
Nils
- Canute, mtaylor and Keith Black
-
3


USS Cape (MSI-2) by Dr PR - 1:48 - Inshore Minesweeper
in - Build logs for subjects built 1901 - Present Day
Posted
Spendid and fine detailed work Phil,
L love your metalwork, a very fine model !!
Nils