HOLIDAY DONATION DRIVE - SUPPORT MSW - DO YOUR PART TO KEEP THIS GREAT FORUM GOING! (Only 51 donations so far out of 49,000 members - C'mon guys!)
×


Mirabell61
-
Posts
7,407 -
Joined
-
Last visited
Content Type
Profiles
Forums
Gallery
Events
Everything posted by Mirabell61
-
 Hi Clare, thanks for your words, much appreciated Nils
- 692 replies
-
- 3
-

-
- eagle of algier
- chebec
- (and 2 more)
-
Hi Michael, I`m very pleased to welcome you aboard again, and thanks for your kind words, much appreciated Nils
- 692 replies
-
- 3
-
-
- eagle of algier
- chebec
- (and 2 more)
-
Amazing work Ken, that hull looks wonderful !! Nils
-
Hi Toni, wonderful view down into the hull at the forecastle showing the beautiful timbering joints, etc. Nils
-
Hi Glued , pretty good work, nice details, and wonderful use of materials.... Nils
- 83 replies
-
- 3
-
-
- melvin
- blue devil
- (and 2 more)
-
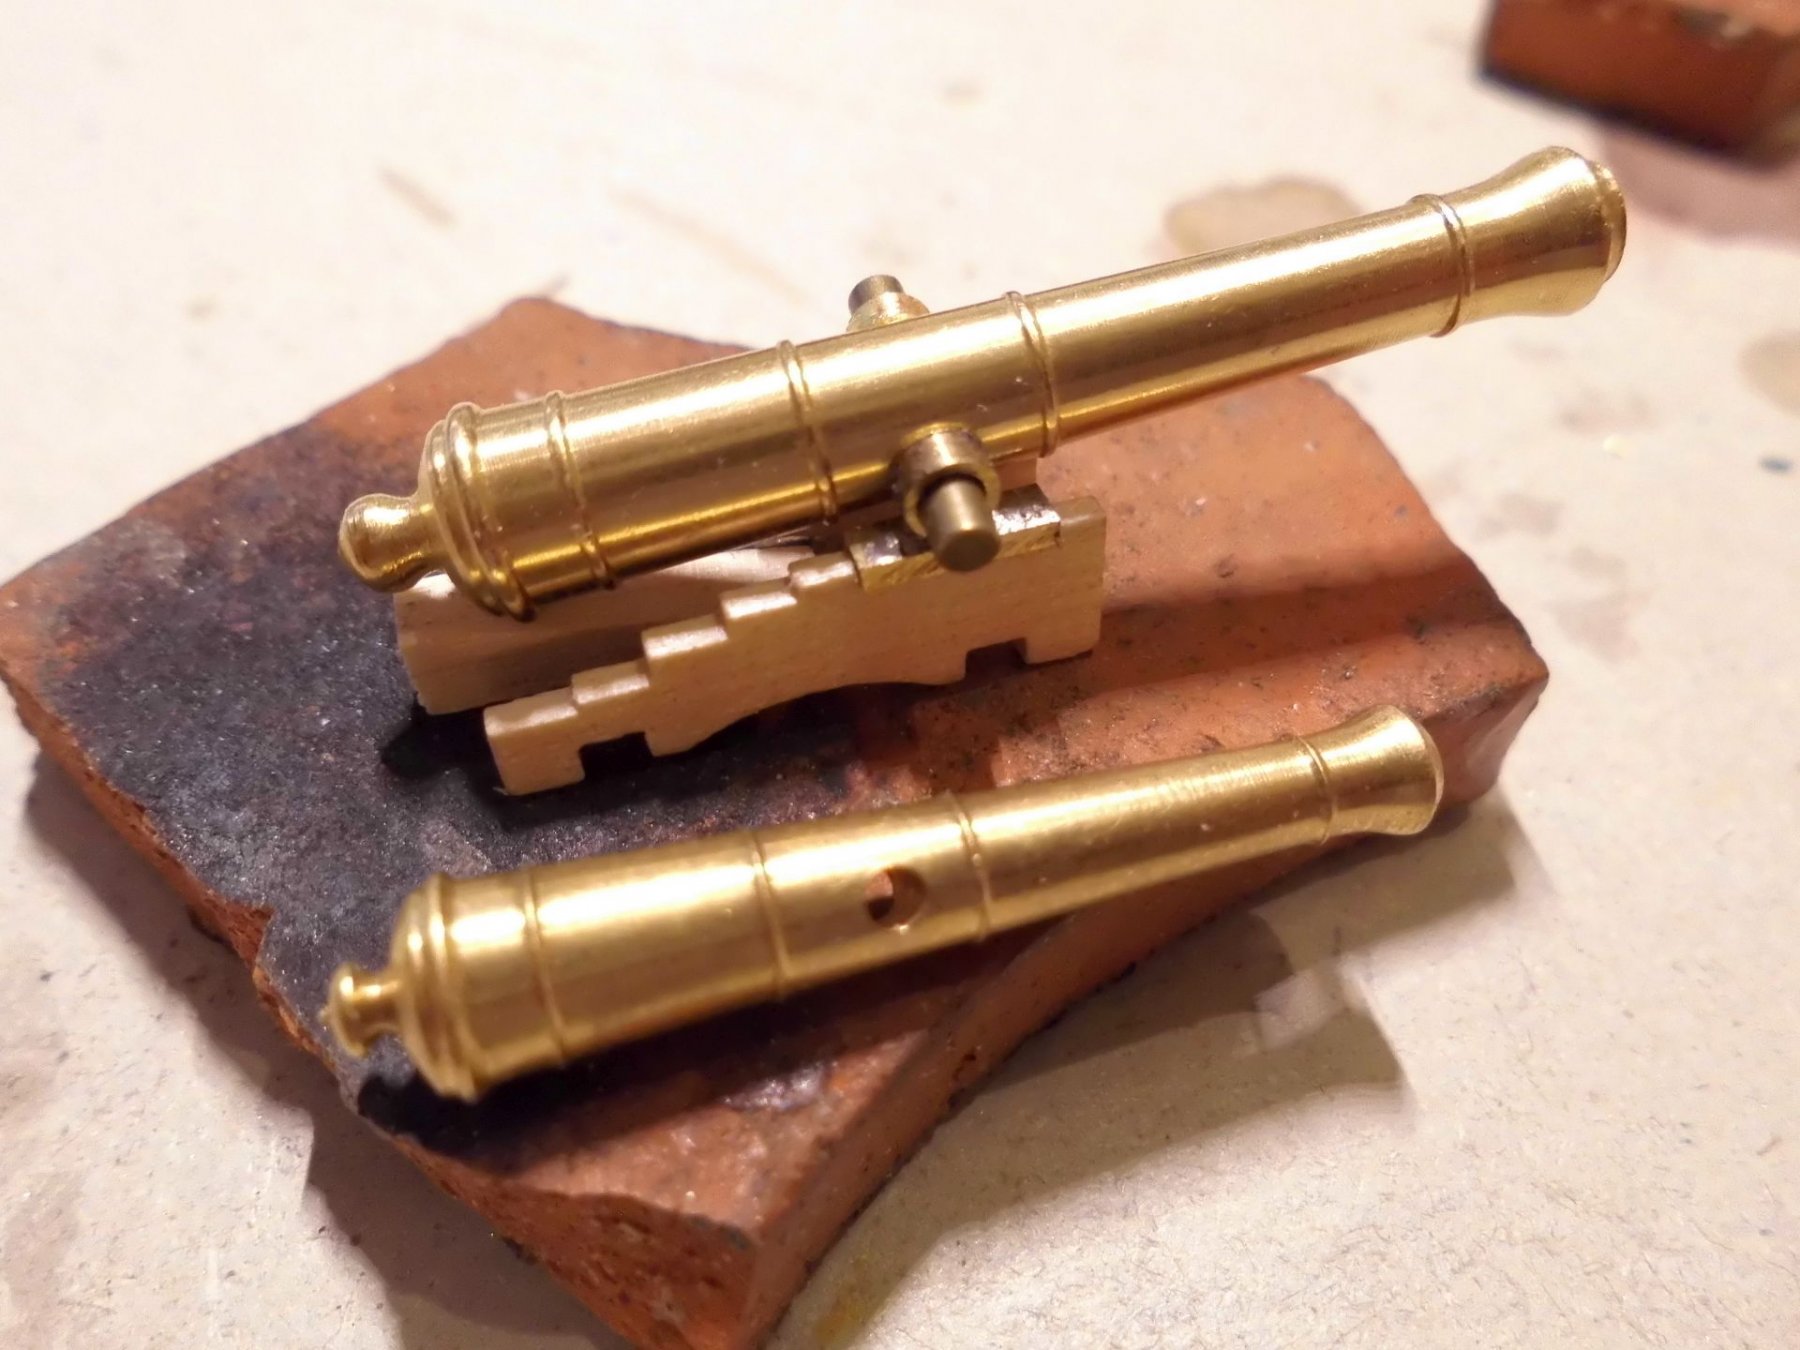
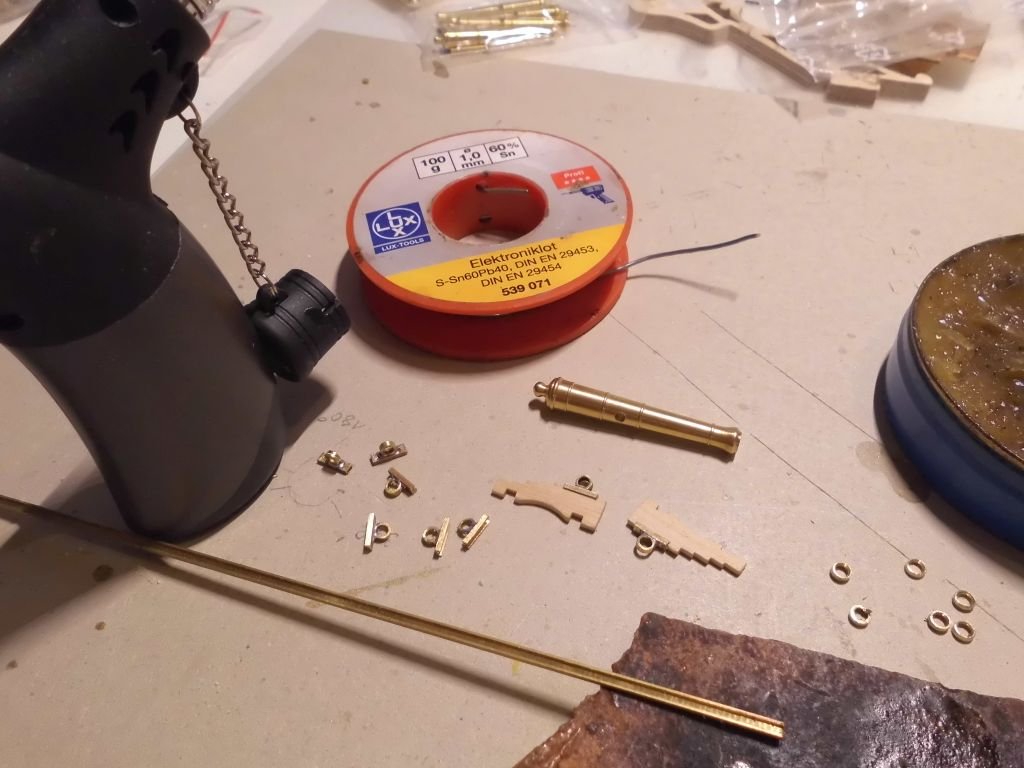
Hi Keith, in answer to your question: due to time consumption, did`nt want to do these myself completely..... I found the barrels per search on the web. They come in a little kit for self assembling over a wooden core construction with laser cut tapered planks, its a bit fiddeling and must be careful not to mess around too much with the CA during assembly. The wrapping rings are from black card. Nils
- 692 replies
-
- 5
-
-
- eagle of algier
- chebec
- (and 2 more)
-
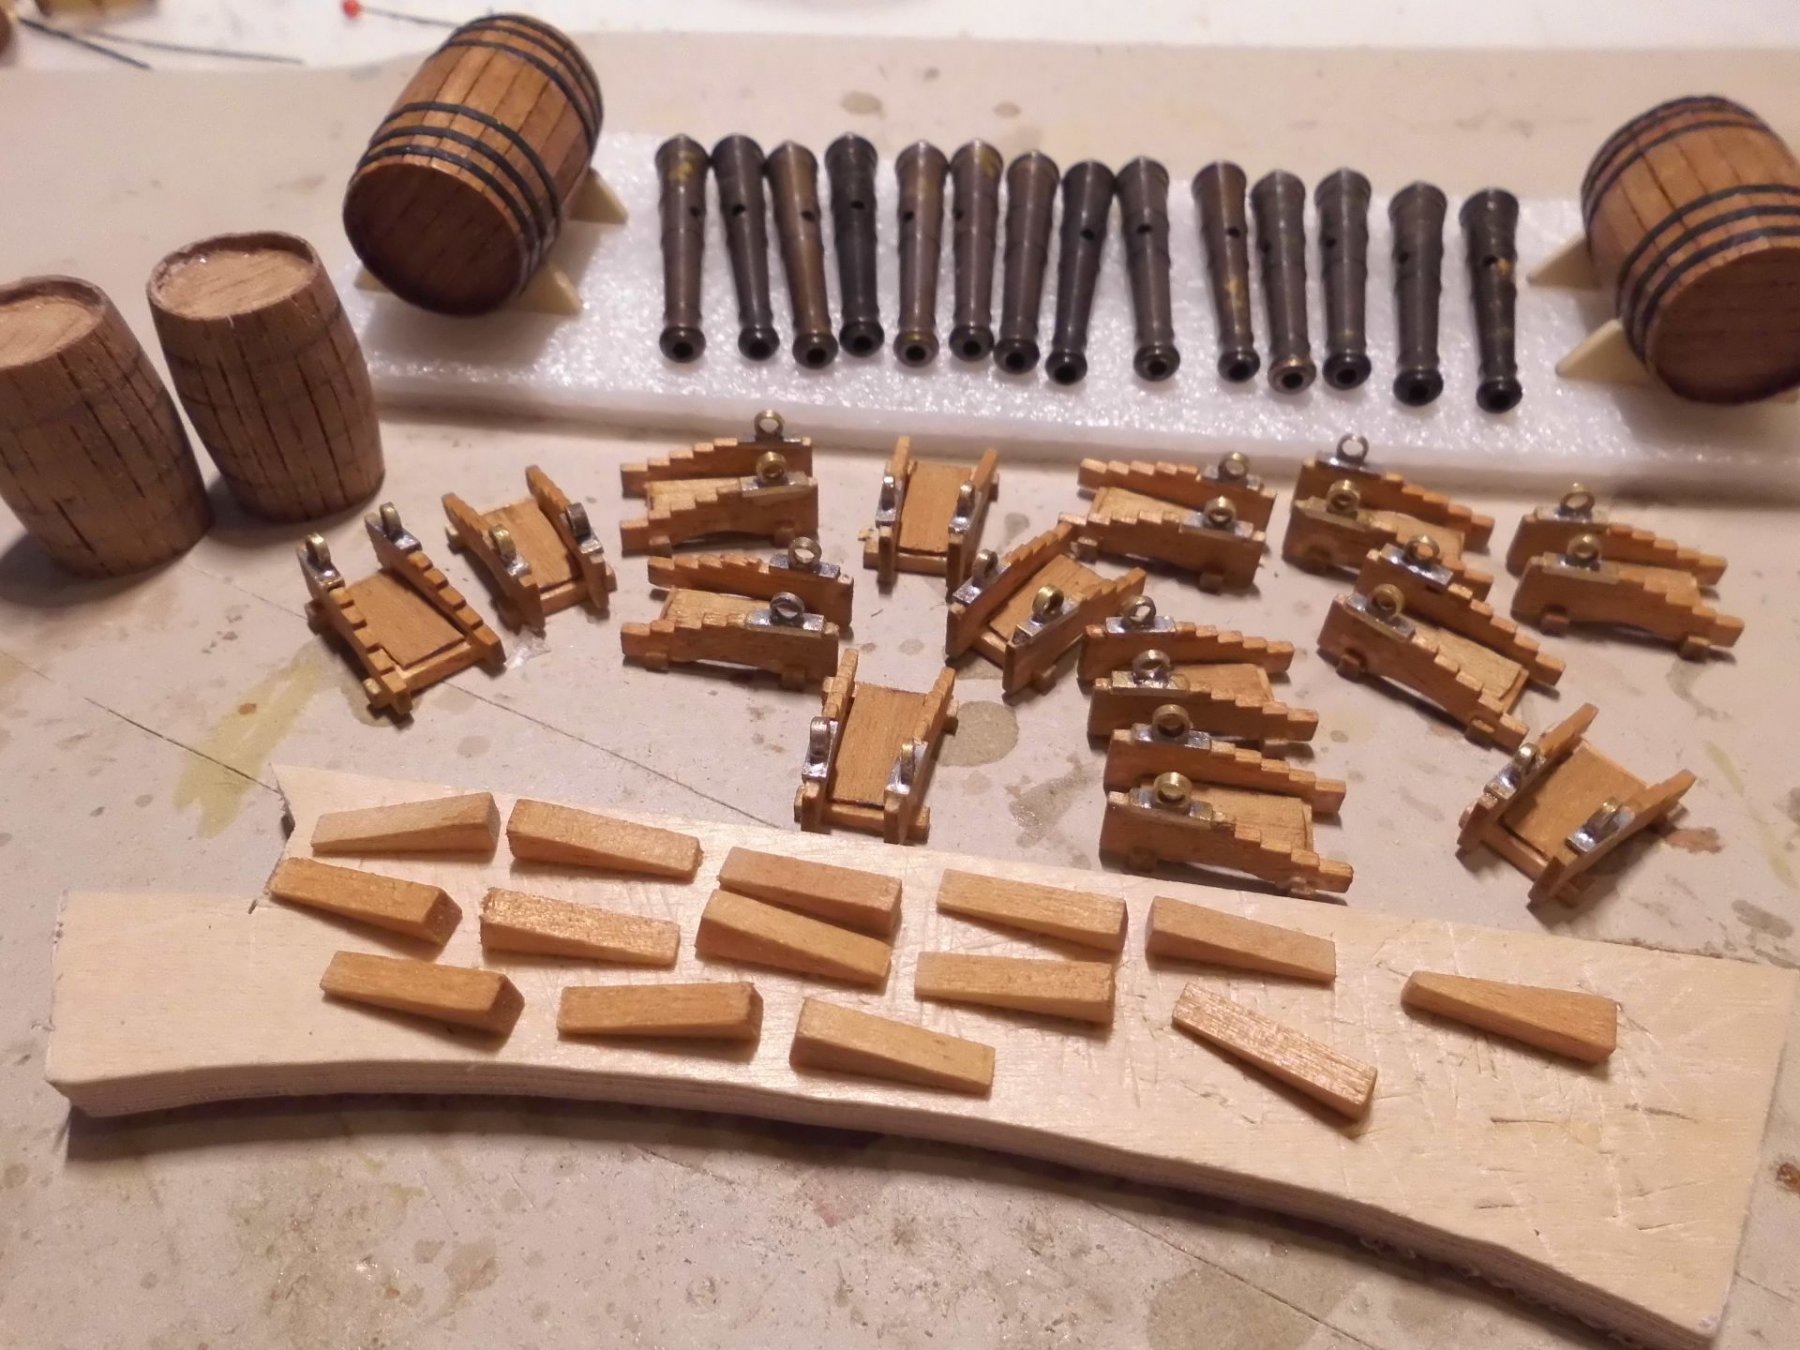
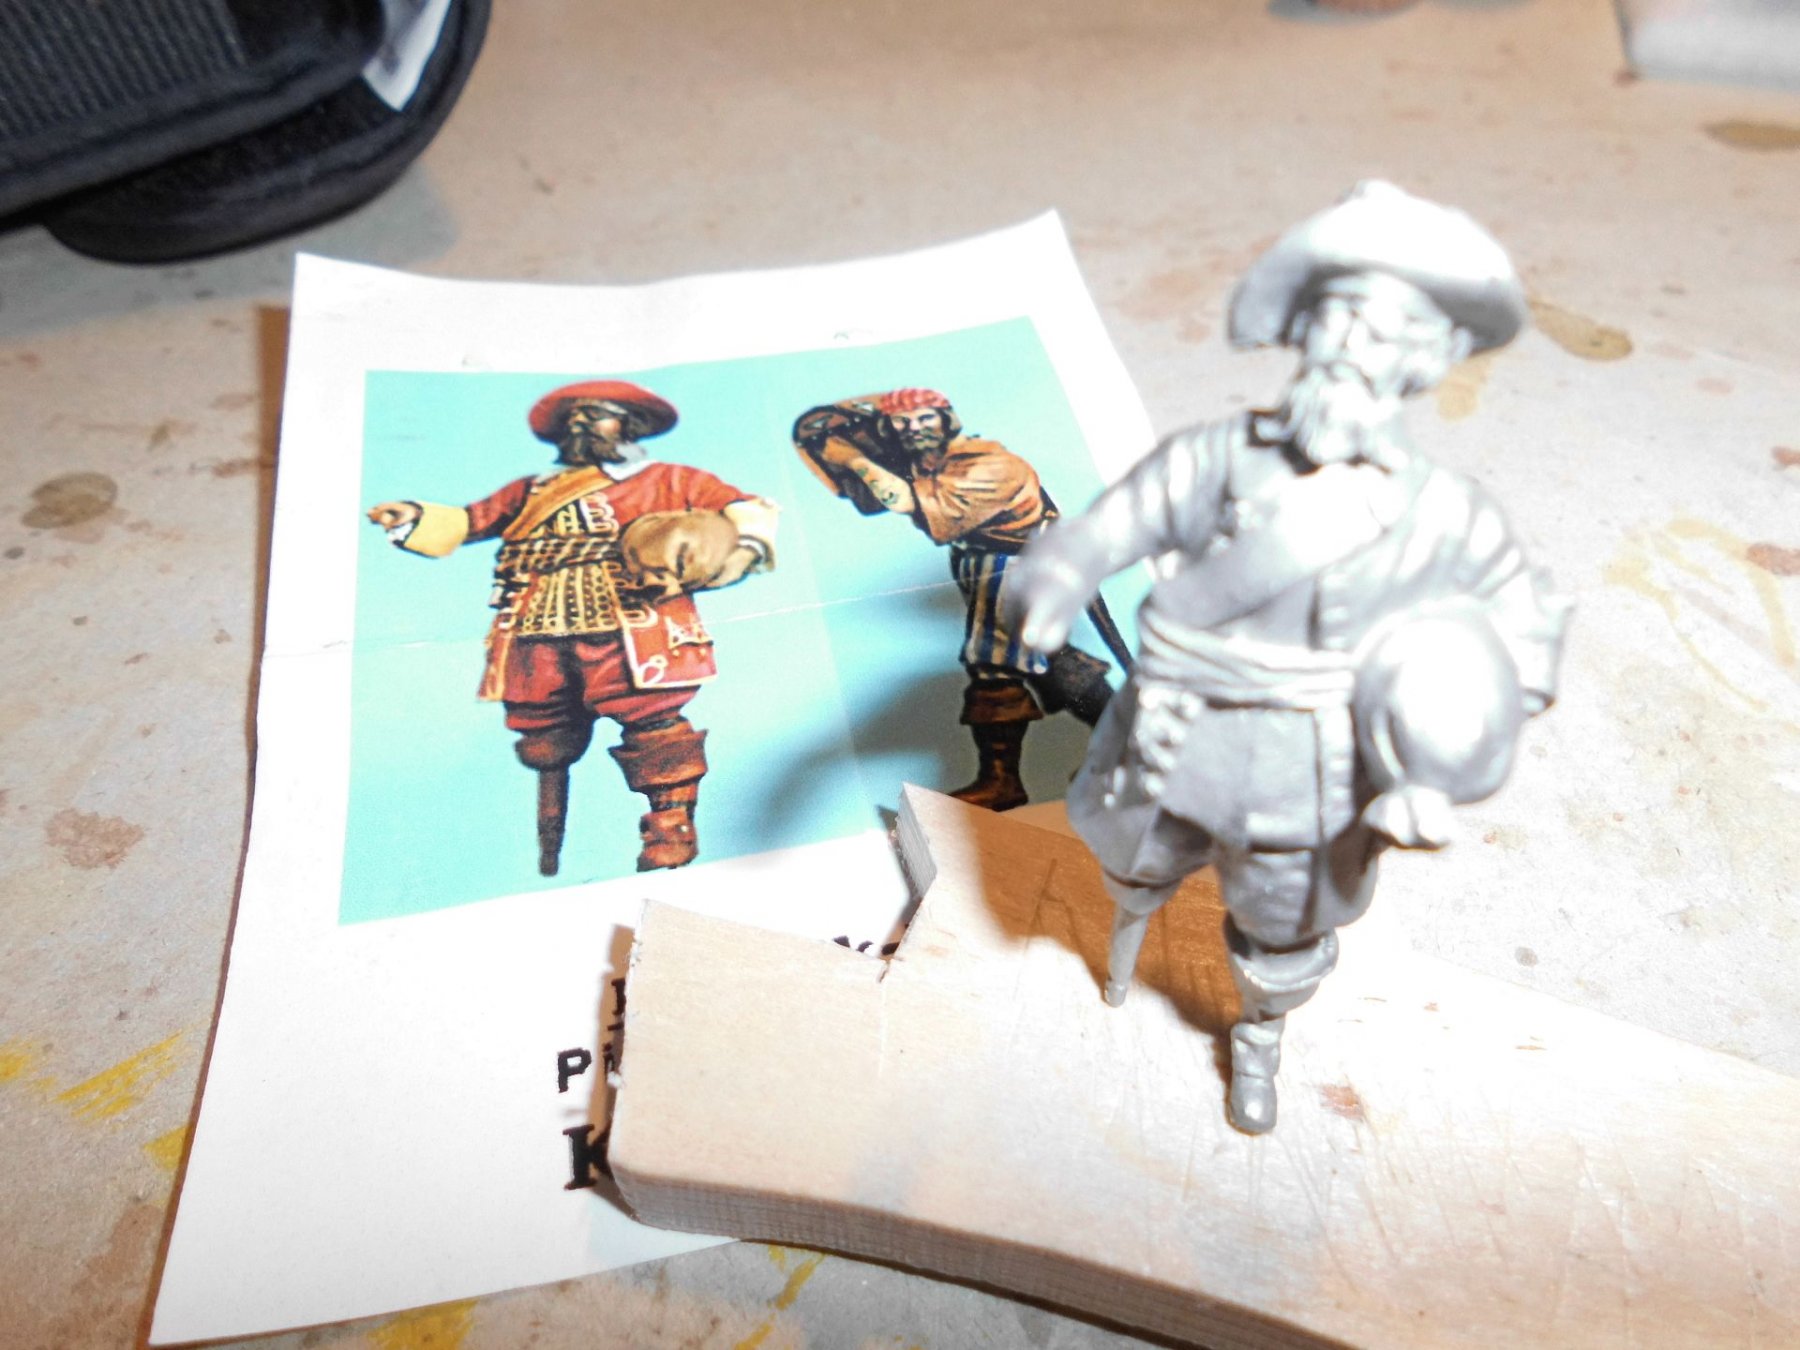
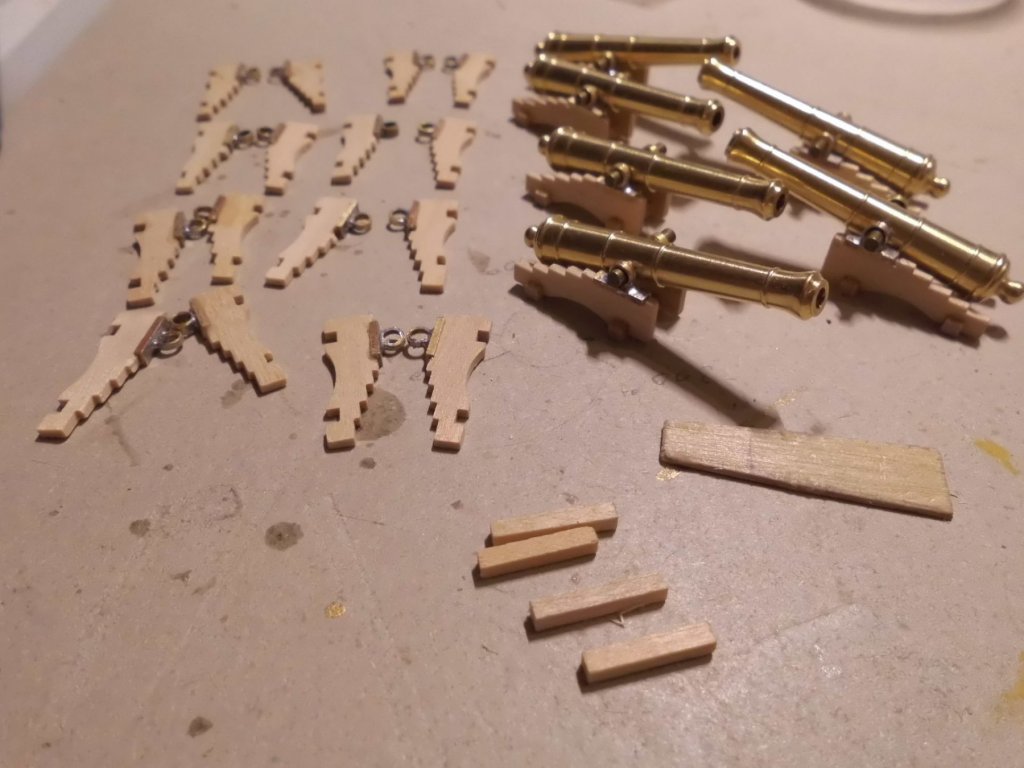
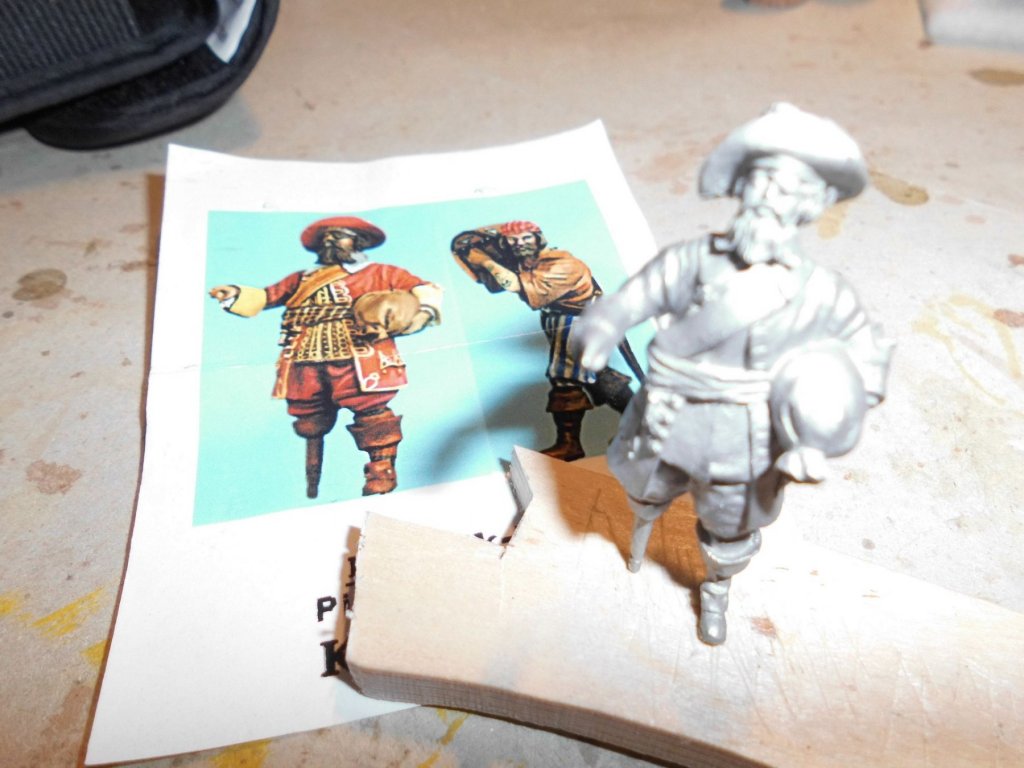
update... stained the gun carriages (still without wheels), chemical blackened the gun barrels, and made some wooden barrels for the cargo hold, also found some figurines in scale 1:48 for the crew... Nils

- 692 replies
-
- 16
-
-
- eagle of algier
- chebec
- (and 2 more)
-
Hi Denis, thanks for your word,.... I do`nt have the exact picture of the deck outcuts before my eyes yet, but there will be some kind of framing, and as I wanted to enable viewing to the interior as well, there will be a certain compromise to be done. Nils
- 692 replies
-
- 4
-
-
- eagle of algier
- chebec
- (and 2 more)
-
Congrats to this kit Antony, looks a nice neat kit and the boat itself is beautiful. Must have been a very brave-hearted moment to saw off the underwater hull, but I bet it will look great when completed the way you`re doing it... Nils
- 32 replies
-
- 2
-
-
- santa lucia
- panart
- (and 1 more)
-
right you are Carl, ...of course it should read "a mediteranian vessel".... Nils
- 692 replies
-
- 5
-
-
- eagle of algier
- chebec
- (and 2 more)
-
Thank you very much Piet and John, Piet, thanks for B-day wishes and your appreciation.... John, yes, so it is, pirate vessel of the North African "Barbary Coast" Nils
- 692 replies
-
- 3
-
-
- eagle of algier
- chebec
- (and 2 more)
-
Many thanks Keith, for looking in and for greetings... Nils
- 692 replies
-
- 3
-
-
- eagle of algier
- chebec
- (and 2 more)
-
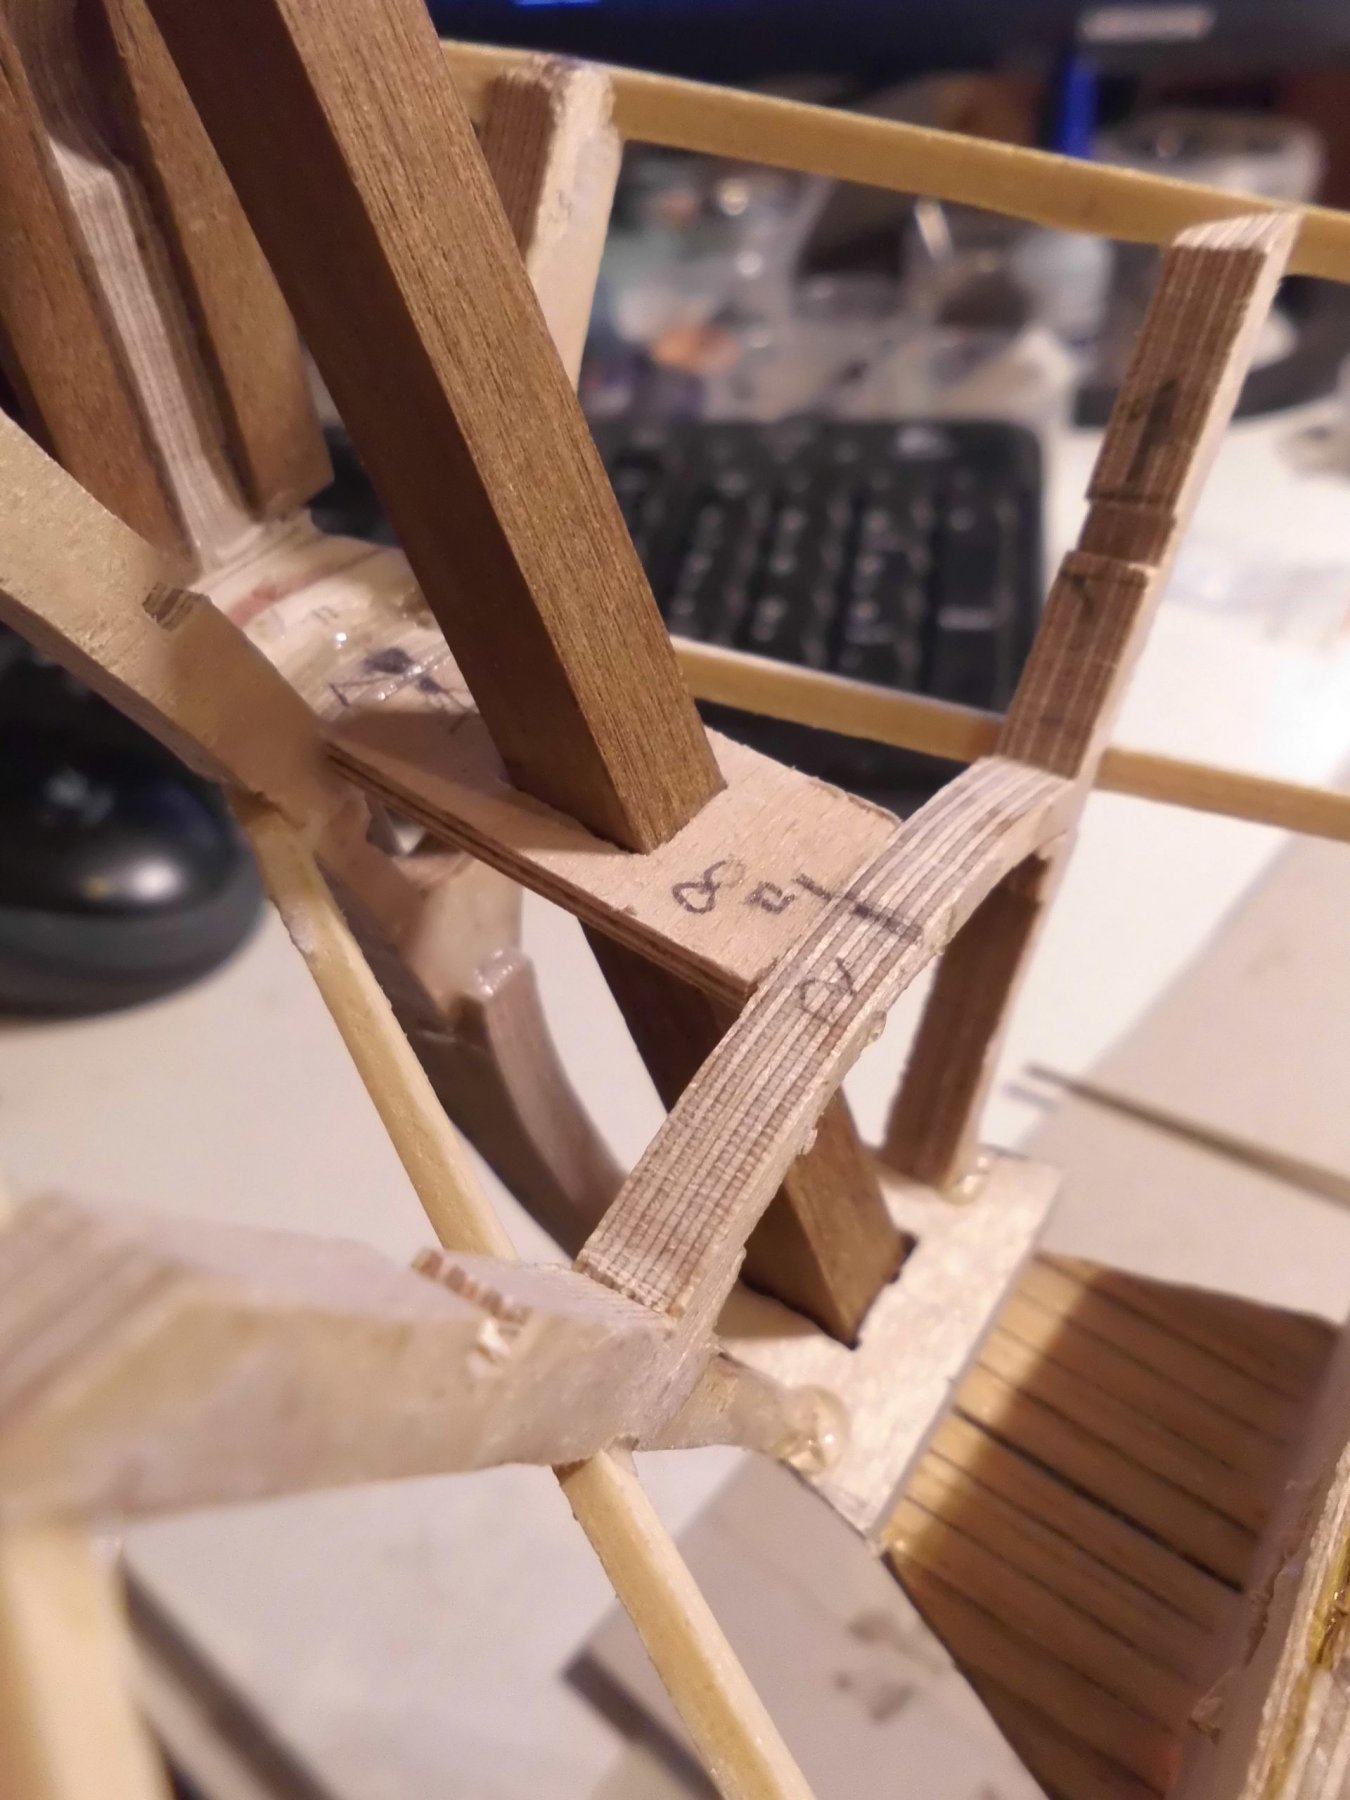
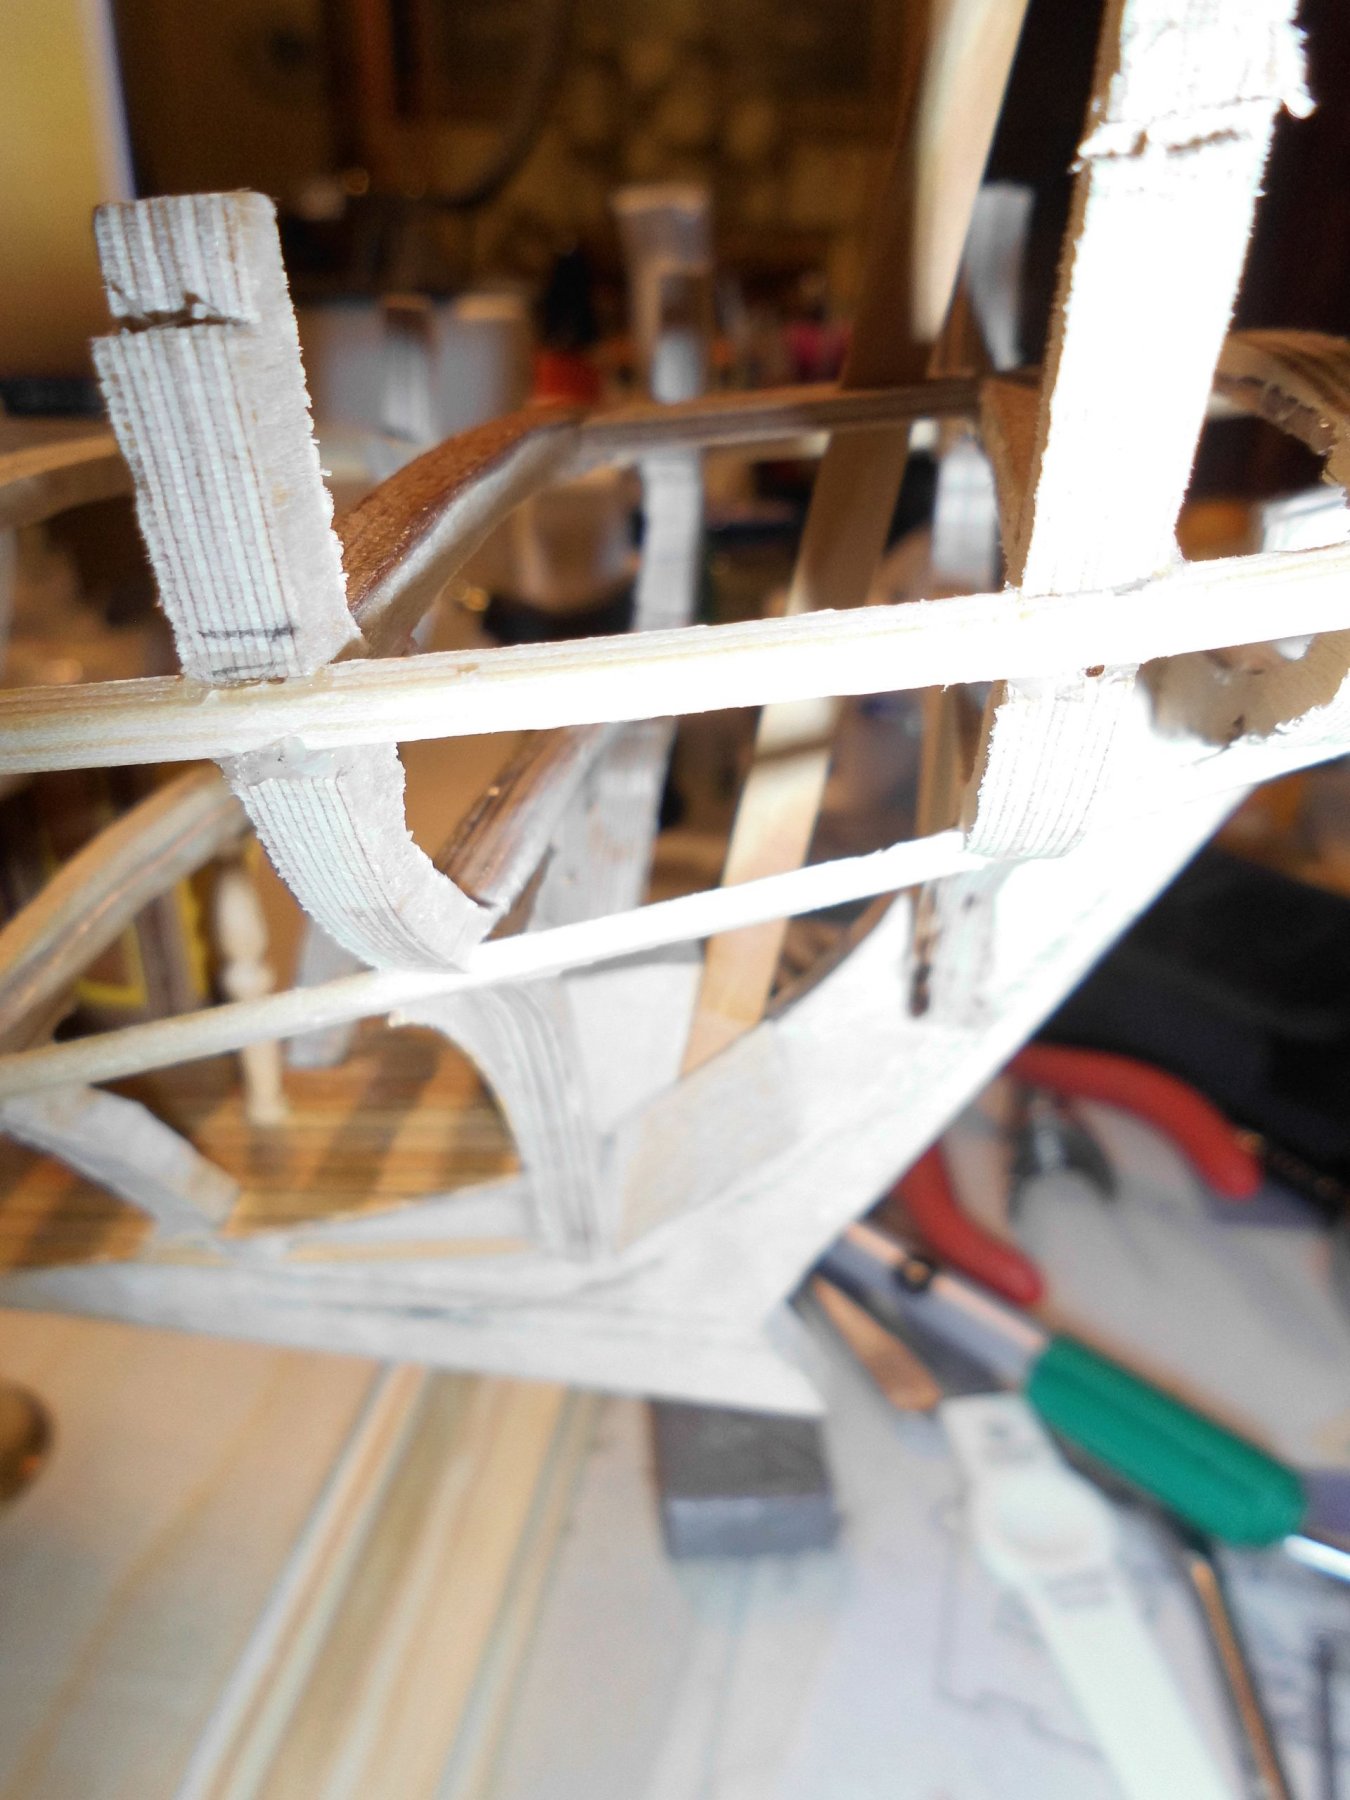
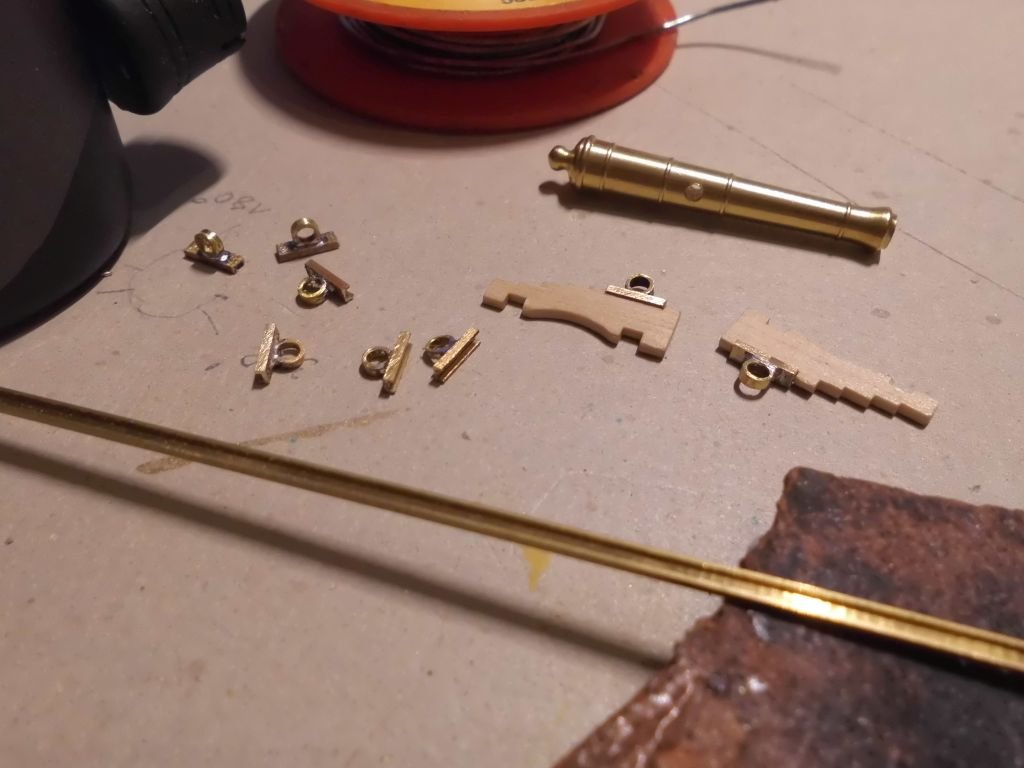
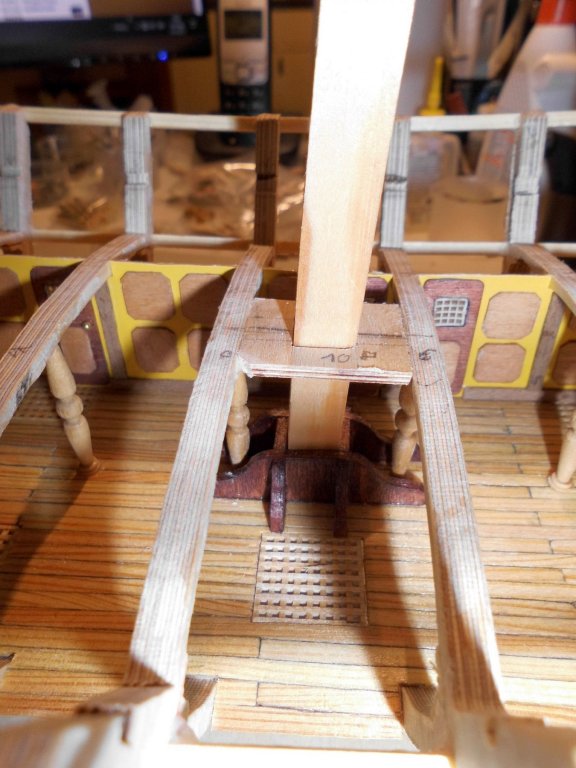
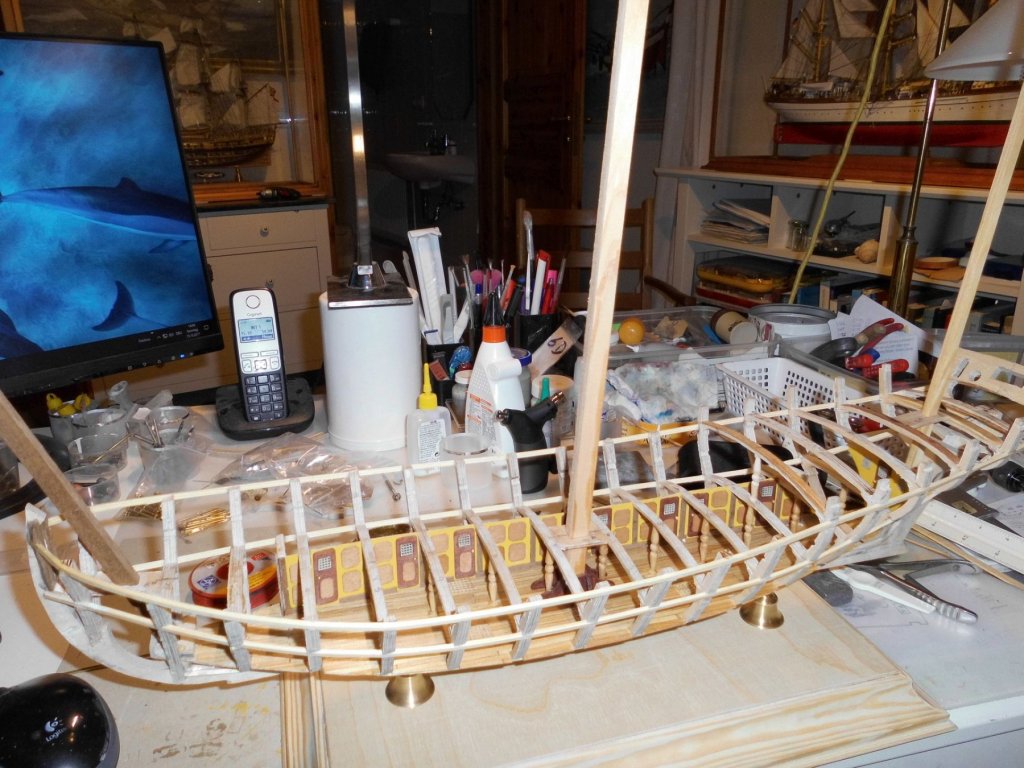
Update.... putting in the three mast dummies in order to check the rake-angles... and the alignment for the canons I`ll be using the the carriages for 32 mm long barrels, but replacing the barrels with 40 mm long ones from RB, (this suits the scale 1:48 better) For doing so, the cap bearing points have to be overworked so that the barrel comes to sit a we bit higher and a bit more foreward on the trucks... Nils the bearing caps are made of brass-tube and a short bit of U-profile soldered together here the 32 mm barrel compared with the 40 mm one The ship will carry 14 guns on the main deck and 6 swivels on the poop deck foremast sockets, mast will be made from 8 mm square main mast from 10 mm square mizzen mast from 6 mm square rakes, angles and alignment set


- 692 replies
-
- 19
-
-
- eagle of algier
- chebec
- (and 2 more)
-
beautiful lugger Russ, you did a fine work on the hull, love it.... Nils
- 420 replies
-
- 3
-
-
- captain roy
- lugger
- (and 2 more)
-
Thank you for your kind birthday greetings Patrick, Al, and Igor Nils
- 692 replies
-
- 4
-
-
- eagle of algier
- chebec
- (and 2 more)
-
Many thanks for your kind birthday greetings Patrick and John, had an enjoyable day with family today.... Nils
- 692 replies
-
- 3
-
-
- eagle of algier
- chebec
- (and 2 more)
-
Bob, your Halifax is a real beauty, love your clean and tidy work and the positioning of the outcuts in the decks for viewing the interior... Nils
- 682 replies
-
- 5
-
-
- halifax
- lumberyard
- (and 1 more)
-
Don, thank you very much for looking in and for your nice compliment, its fun building this for me new ship type.... Nils
- 692 replies
-
- 2
-
-
- eagle of algier
- chebec
- (and 2 more)
-
Beautiful hull shape Matiz ! Nils
-
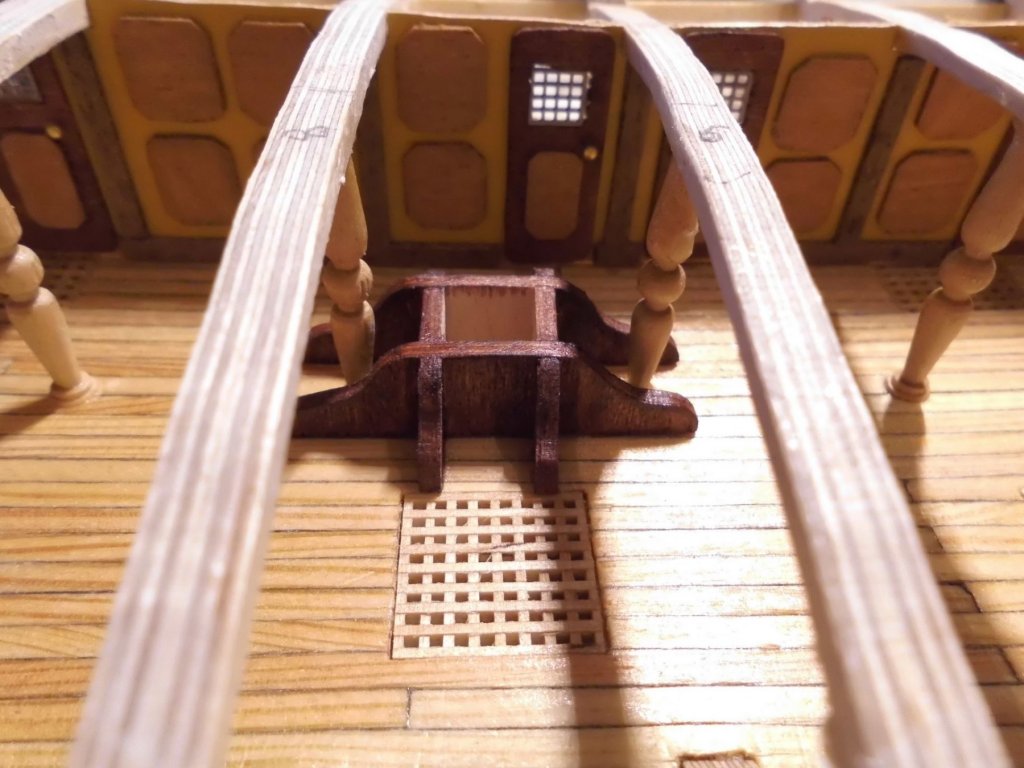
Welcome aboard John, thanks for your kind words.... have set up the main mast foot (the mast has a square section)... Nils
- 692 replies
-
- 19
-
-
- eagle of algier
- chebec
- (and 2 more)
-
Many thanks Igor, welcome to the chebec shipyard, I`m pleased you like it... Nils
- 692 replies
-
- 4
-
-
- eagle of algier
- chebec
- (and 2 more)
-
Very nice Lilliput work Igor, did you buy the little laser cut parts just for the reason of having those mini deadeyes ? good idea ... Nils
- 185 replies
-
- 3
-
-
- jolie brise
- pilot cutter
- (and 2 more)
-
Thank you very much Denis and Piet, I know its an early phase to do the stand at this status already, but it keeps the model safe and and out of the way when not working on... Nils
- 692 replies
-
- 3
-
-
- eagle of algier
- chebec
- (and 2 more)