Kevin-the-lubber
-
Posts
1,232 -
Joined
-
Last visited
Content Type
Profiles
Forums
Gallery
Events
Everything posted by Kevin-the-lubber
-
 Same here, and I’m glad you’ve reminded me of the existence of styrene; I had honestly entirely forgotten to think about that for a bit I’m fighting to make at the moment. Even resin printing will still have you scratching your head at times.
- 460 replies
-
- 5
-

-
- Finished
- Flower-class
- (and 1 more)
-
I thought about that myself, or rather, making one, but as I need some rope fairly soon and the Amati kit is so reasonably priced, I’ll give that a go. I’ve never seen proper miniature rope in the flesh so am keen to see how it compares to what comes with the kits. I will, however, either buy or make a serving machine.
-
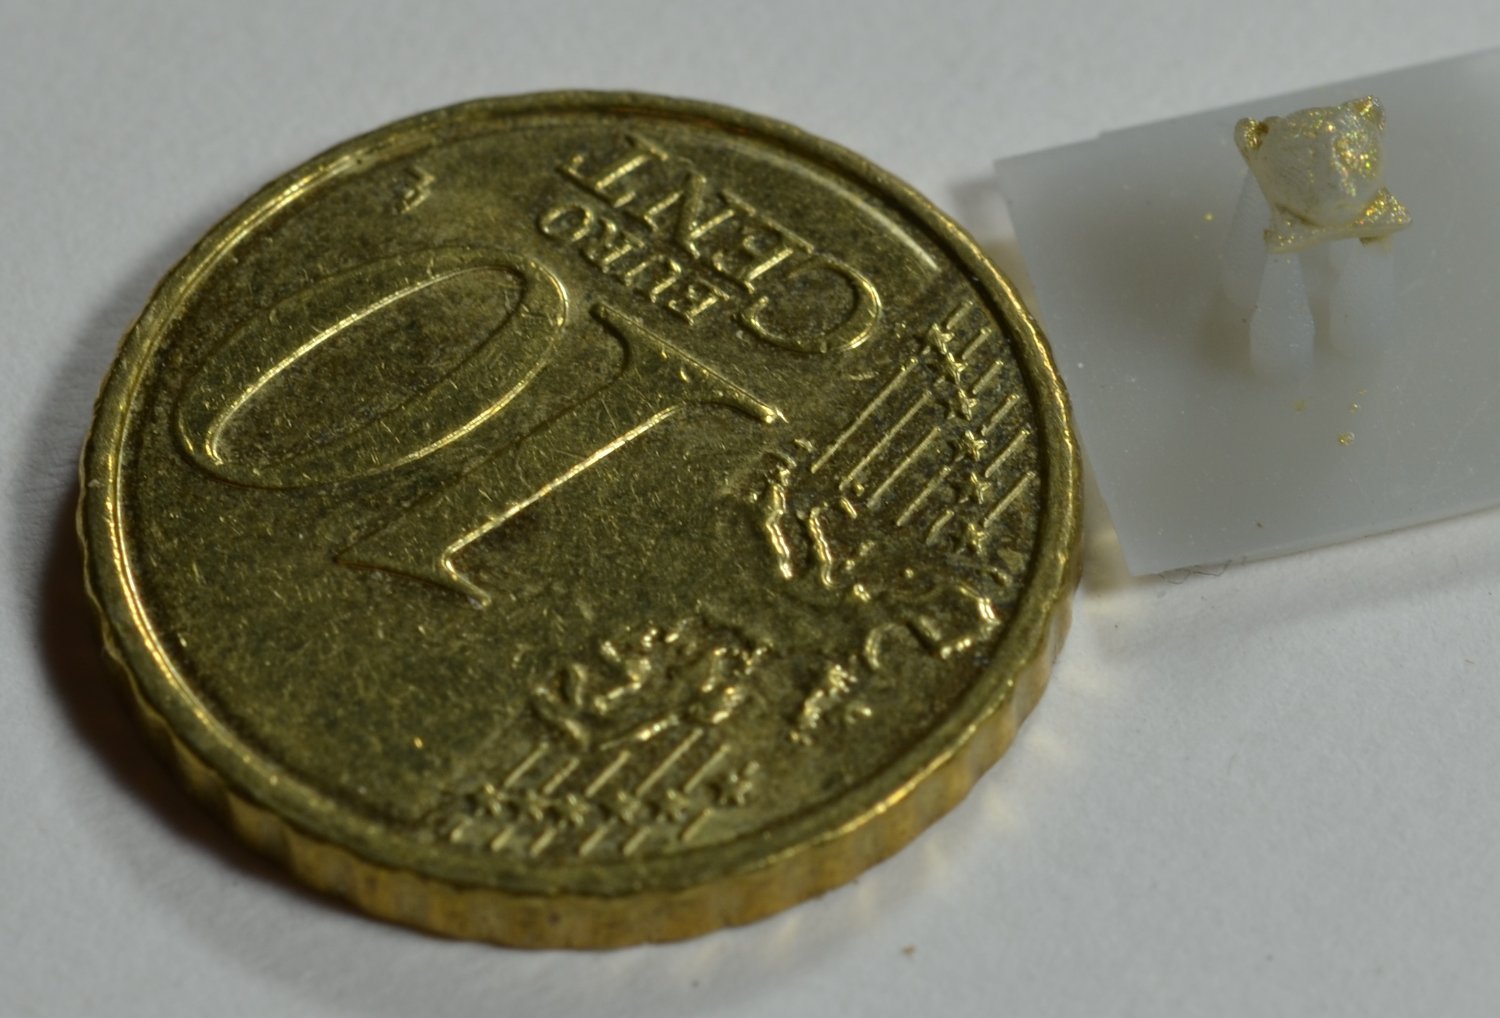
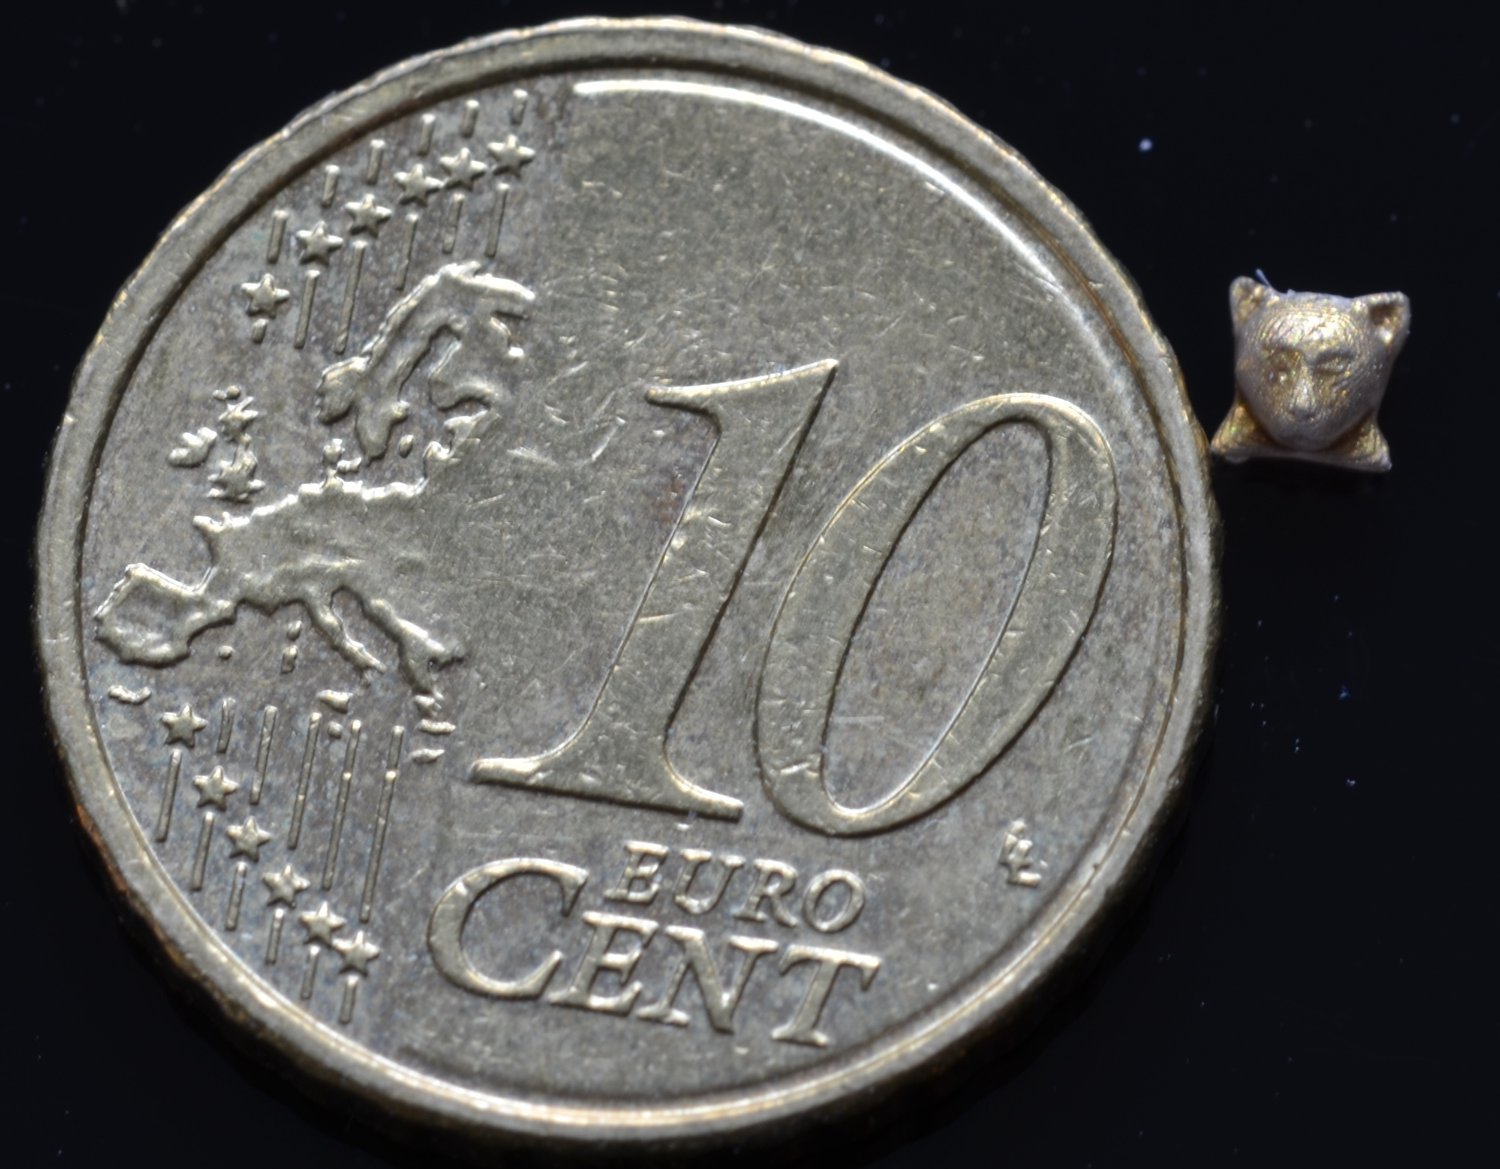
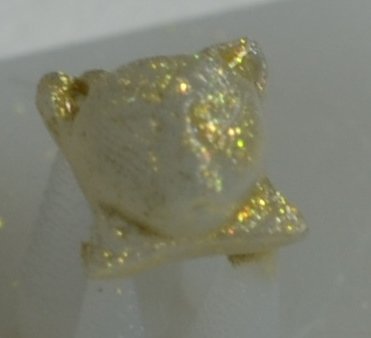
Something nice but a bit silly that I stumbled across after spotting gold paint on the ends of the catheads and going googling. What else would you find there, other than a.... cat's head. Readily downloadable as an STL from Dumbarton museum. I've just resized and am in the process of trying to apply some paint while keeping the detail. Obviously no-one will ever even realise that's what's there, but as it's there, why not. Added a slightly better photo


- 444 replies
-
- 5
-
-
- Cutty Sark
- Revell
- (and 2 more)
-
What a coincidence(ish). Back in early 1980's I also tried to make a living from photography. My bread and butter - and that was about all I could afford by way of food - was school year pics, you know, one frame per child, good or not, because film was pricey, you couldn't charge much and most people wouldnt buy anyway. I did the odd wedding for friends but hated that people would say 'but my photo of that scene is a bit better'. Well, yes, it would be as I set the shot up and you pounced in front of me to get yours first, stealing the mood. Never mind. My nadir came when I moved into college graduation shots, using a full studio setup. I took the most beautiful set of the most beautiful daughter of the most beautiful family on my gorgeous Mamiya 2 1/4" square, got home, opened the camera to process the film and.... yes, you guessed, no film. The rest of the story makes me shudder even now. It didn't go well. As none of this is what I actually enjoyed doing - arty still lifes and wildlife - I quit at that point. Since coming back to modelling my interest has been rekindled a little as I still love a really great photo; last week I bought some quite powerful LED worklights as these are much cheaper than 'photography' lights, and once I've figured out how to tether and control the camera from the computer I'll start playing with focus stacking.
-
Nice rails. In fact, very nice rails 😀. After wasting a lot of time, effort and plastic on trying to make everything printed I now think it’s way better to just print stuff where that solves a problem but use other materials where better and this is a bgreat example of that.
- 460 replies
-
- 6
-
-
- Finished
- Flower-class
- (and 1 more)
-
Looking good. You’ve reminded me that I really need to paint my trophy of arms at some point!
-
Just follow the links to either my victory or Cutty sark log. Page 4 on the victory log will show you an assembly comprising about 60 interdependent parts, all done in the one file so I could develop them in situ, so to speak and view them individually, just some, or all, at will. But there are way, way better examples of f360 out there than my work. I wouldn’t say f360 is easy, more that multi component is just there by design so that is easy. As are all the functions like combining, cutting, intersecting and apart from when I’ve used it for meshes, I don’t ever have non-manifold issues, just design, export as an stl and print. Thinking back, I think actually that the reason I went with f360 was because there are so many good tutorials and I happened upon one set in particular that had me up and running in about an hour, having previously given up trying to learn it intuitively. I know there are tons of tutorials for rhino as well but it looks like you need to spend many hours being taught the basics before you can get going. As Richard says, there’s still quite a learning curve with f360, but I sense that this is probably true of all powerful cad packages. For me the difficulty has been less that of learning how to use this or that functionality, which is generally obvious once you’ve learned the basics, but how to work around the limitations and flaws. Would I pay to use f360? Certainly not what they charge and part of the reason I should explore alternatives is because I can see autodesk charging even hobbyists at some point. But as a free (at this time) option it’s pretty good.
-
There’s the irony; I often get better shots myself using my cheapo Chinese phone, but know I should be able to knock spots off these with a dslr.
-
You're absolutely right - I don't know why I originally read it as 2 weeks. In which case I may give it a look. I liked everything I heard about rhino, but unlike f360, when I started playing it was just unintuitive, maybe this is better.
-
Photo stacking is when you take a series of photos focussed on different points of the object (front to back) from a fixed viewpoint i.e. a tripod. You then 'stack' these in some software whirligig which combines them to produce a single image with everything in focus. Apparently it's quite common in macro photography such as we all do on our models and, which I don't understand, landscapes. I suffered a one hour monologue on why I should spend at least £1500 in order to do this from a sales assistant in a camera shop last weekend, but will try the zero cost but my time and patience method first. You can probably afford to skip the bother of learning this as you already seem to get everything in focus effortlessly 😊. But you may want to hang on to that Olympus. BTW, proper film photography is apparently back in fashion though quite niche.
-
Ian, your photos are usually of a very high quality - are you focus stacking? I ask because mine are generally a bit rubbish and it grieves me that my daughter gets better results with her dinky phone camera than I get with a nikon and posh glass!
-
Some of this is going over my head as a relative novice with only a year or so of 3D modelling experience. But across just about everything covered in the last 2 or 3 posts I’m thinking ‘but I can do that quite easily in F360’. Of course ‘easily’ is a relative term here. Or am I missing the point? That’s not at all to say F360 is a panacea for 3D solid ship modelling, it has almost had me in tears of frustration at times, especially around patterning and lofting, but multipart assemblies are by and large quite straightforward. I had a look at rhino a few months ago as I was particularly fed up with f360 at the time, but as it looked like another long and difficult learning curve I parked that for another time. MOI 3D sounds interesting but a two week trial is too short compared to rhino’s 3 months (or f360’s forever).
-
Likewise never used tree supports, in fact had completely forgotten you can do that. I really dislike the mess of normal supports, so I must try trees. I wonder if that would allow the barrels to be printed vertically?
- 460 replies
-
- 5
-
-
- Finished
- Flower-class
- (and 1 more)
-
That makes sense. Tea chests are relatively easy to manhandle, though the dummy wool sacks on display in the hold today look like they’d have been heavy work. But all the same, they’d have had to be moved around by hand in the hold.
-
I think there are three, last seen creating mischief for Macbeth.
- 460 replies
-
- 6
-
-

-
- Finished
- Flower-class
- (and 1 more)
-
Yep, too many variables and too many opinions on the ‘right’ settings. If only we could all identify and tap into the one person who really knows it all inside out!
- 460 replies
-
- 6
-
-
- Finished
- Flower-class
- (and 1 more)
-
Looks like you’ll be back to having tradesman’s hands by the time you’ve got that finished Richard, that’s one big hull. But welcome back. I never understood tradespeople that ripped people off, but there are plenty of them out there.
- 454 replies
-
- 1
-
-
- Union Steamship Company
- Stepcraft 840
- (and 3 more)
-
Were you supposed to paint it, stain it or something?
-
I’ve bought it (Amati) from Hismodel, think I get something like 7 sizes tailored to the Cutty, and it really wasn’t that expensive at about £22 for the set plus a little bit of postage. It’ll take 2 or 3 weeks to arrive but I’m fine with that. Thanks for the compliment, this model really lends itself to little tweaks, being a relatively simple kit.
-
Thanks all. At least it confirms that no-one seems to have ever gone down the green rigging route! I’ll play around with paint and/or dyes at some point, failing all else I’ll have plenty of string for this years tomato’s.
-
It's not poly then. I hadn't thought of that. Could be - it's 4 strands which do become quite furry when unpicked and it looks to me as though the strands themselves were not wound tight enough. It seems lighter/whiter towards the centre of the unpicked strands, maybe it's just changed colour over time. Anyway, it does look like it could be good for faux cable; all the stays appear to have been wire, of various sizes.
-
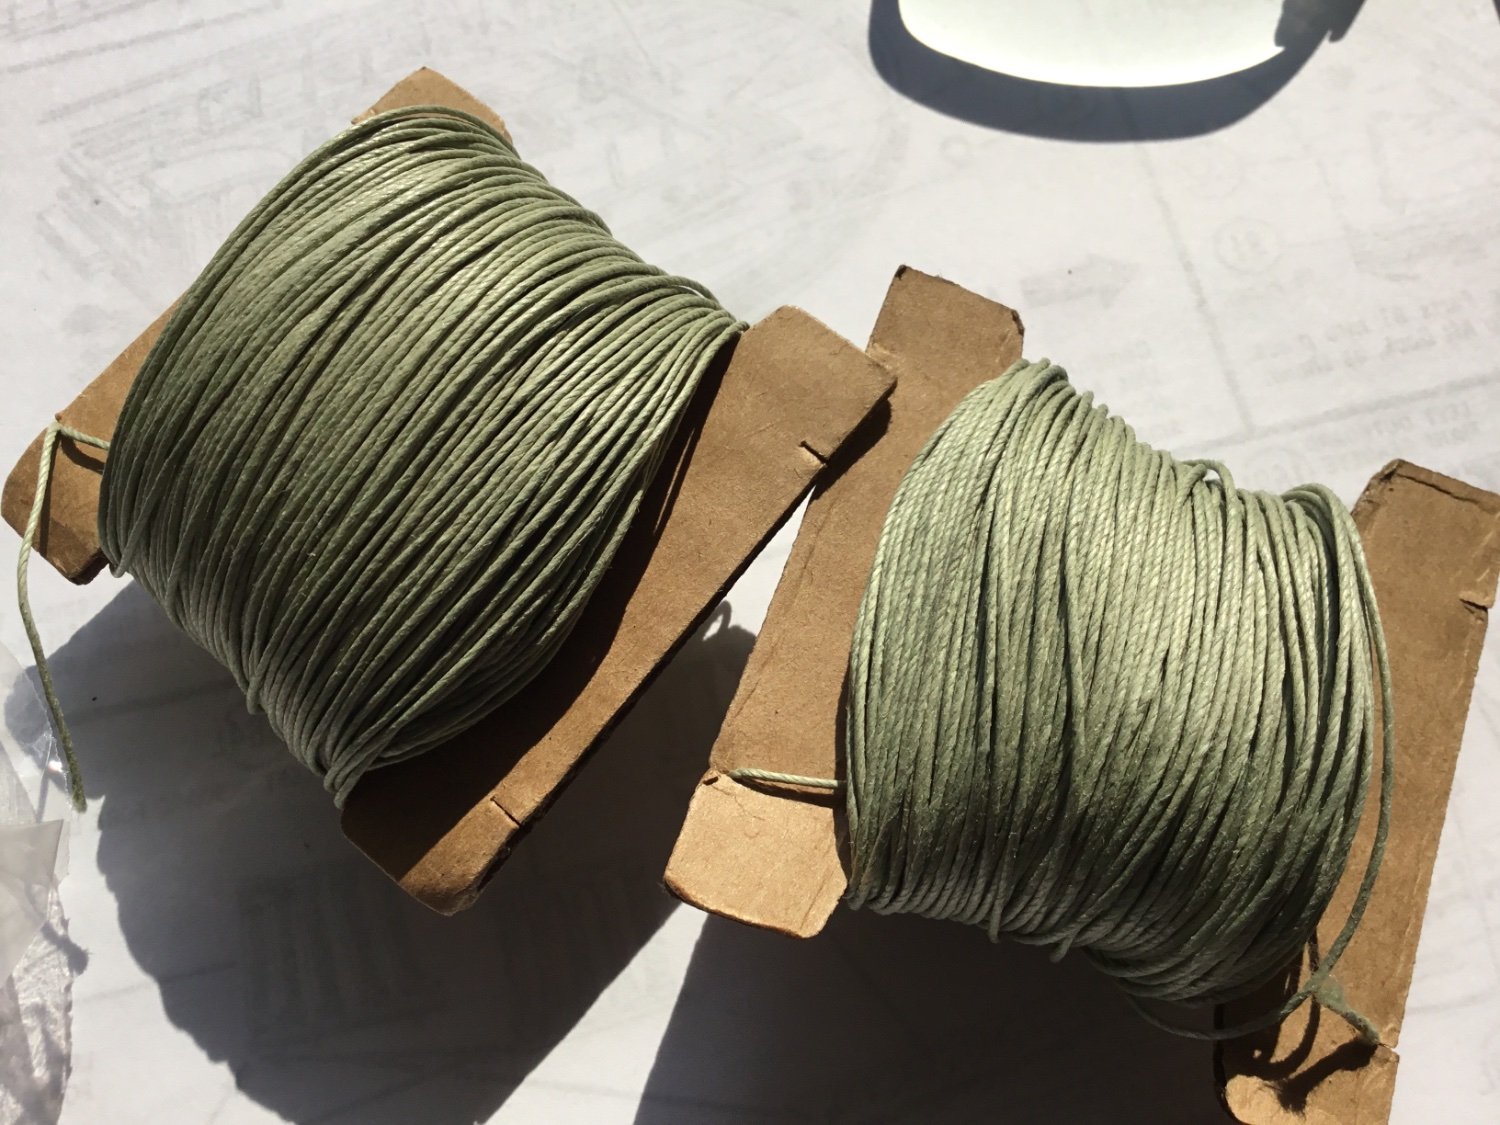
Photo attached. One reel is about .5mm, the other .6mm. It’s not especially rope-like, feels a little waxy/slippy and has a bit of give. I don’t know what linen rope feels like but my guess is this is polypropylene, because of the give and lack of furring. Mind you, the amount of stretch feels like just what you’d want for rigging, so I’ll definitely hand on to it and maybe use a bit of dye. You’re dead right, the CS does have steel cables; I haven’t even begun to think about whether to try replicating at scale or just use rope.

-
I recently bought an old Revell 1:96 Cutty Sark kit, circa 1975, on eBay, which when it arrived obviously had bits and bobs of leftovers from one or two other kits I.e. I had double quantities of certain things and some non CS parts. It also contained two reels of green coloured rope. This has me foxed? Was this standard back in the day, and are you supposed to bleach or dye it? Or is it more likely just some random aftermarket purchase related to a different line of modelling?
-
Knowing your work rate, Bill, I’m decidedly daunted by what lies in store for me on the Cutty Sark, as you must have spent maybe 2 months to get this far on the rigging? But I guess a lot of that is probably down to the great care and attention to detail, which shines through in every photo. It’s looking great, the rope work really does look like rope rather than threads, if you know what I mean. On that subject, I ordered a set of Amati ropes this week, is that what you’ve used?
-
The Astro-Phil looks like the level of cleanlinesses I usually get on everything since I did all the upgrades but I still use a super quality setting (0.12 layer height) as I found the finish at 0.2 a bit too coarse. That said, I did my first FDM print for two or three weeks yesterday, I.e. the filament hadn’t been heated for that time, and it was quite zitty, stringy and delaminating. I’ll be doing it again this weekend and will have baked the filament for plenty of hours by then so will see if this is the difference, as this would be the first time since buying the heater than I’ve not printed for weeks. Maybe as we’ve moved into springtime the air moisture has increased. This is the frustration with FDM, isn’t it, so many variables; but my gut feeling is that ‘perfect prints’ only depend on a few things. I have to admit it’s ages since I checked the calibration. Windows 11? Jesus, Mary & Joseph and the wee fella’s donkey, as if we don’t have enough troubles already!😪
- 460 replies
-
- 5
-
-
- Finished
- Flower-class
- (and 1 more)