HOLIDAY DONATION DRIVE - SUPPORT MSW - DO YOUR PART TO KEEP THIS GREAT FORUM GOING! (Only 20 donations so far - C'mon guys!)
×


John Ruy
-
Posts
1,568 -
Joined
-
Last visited
Content Type
Profiles
Forums
Gallery
Events
Everything posted by John Ruy
-
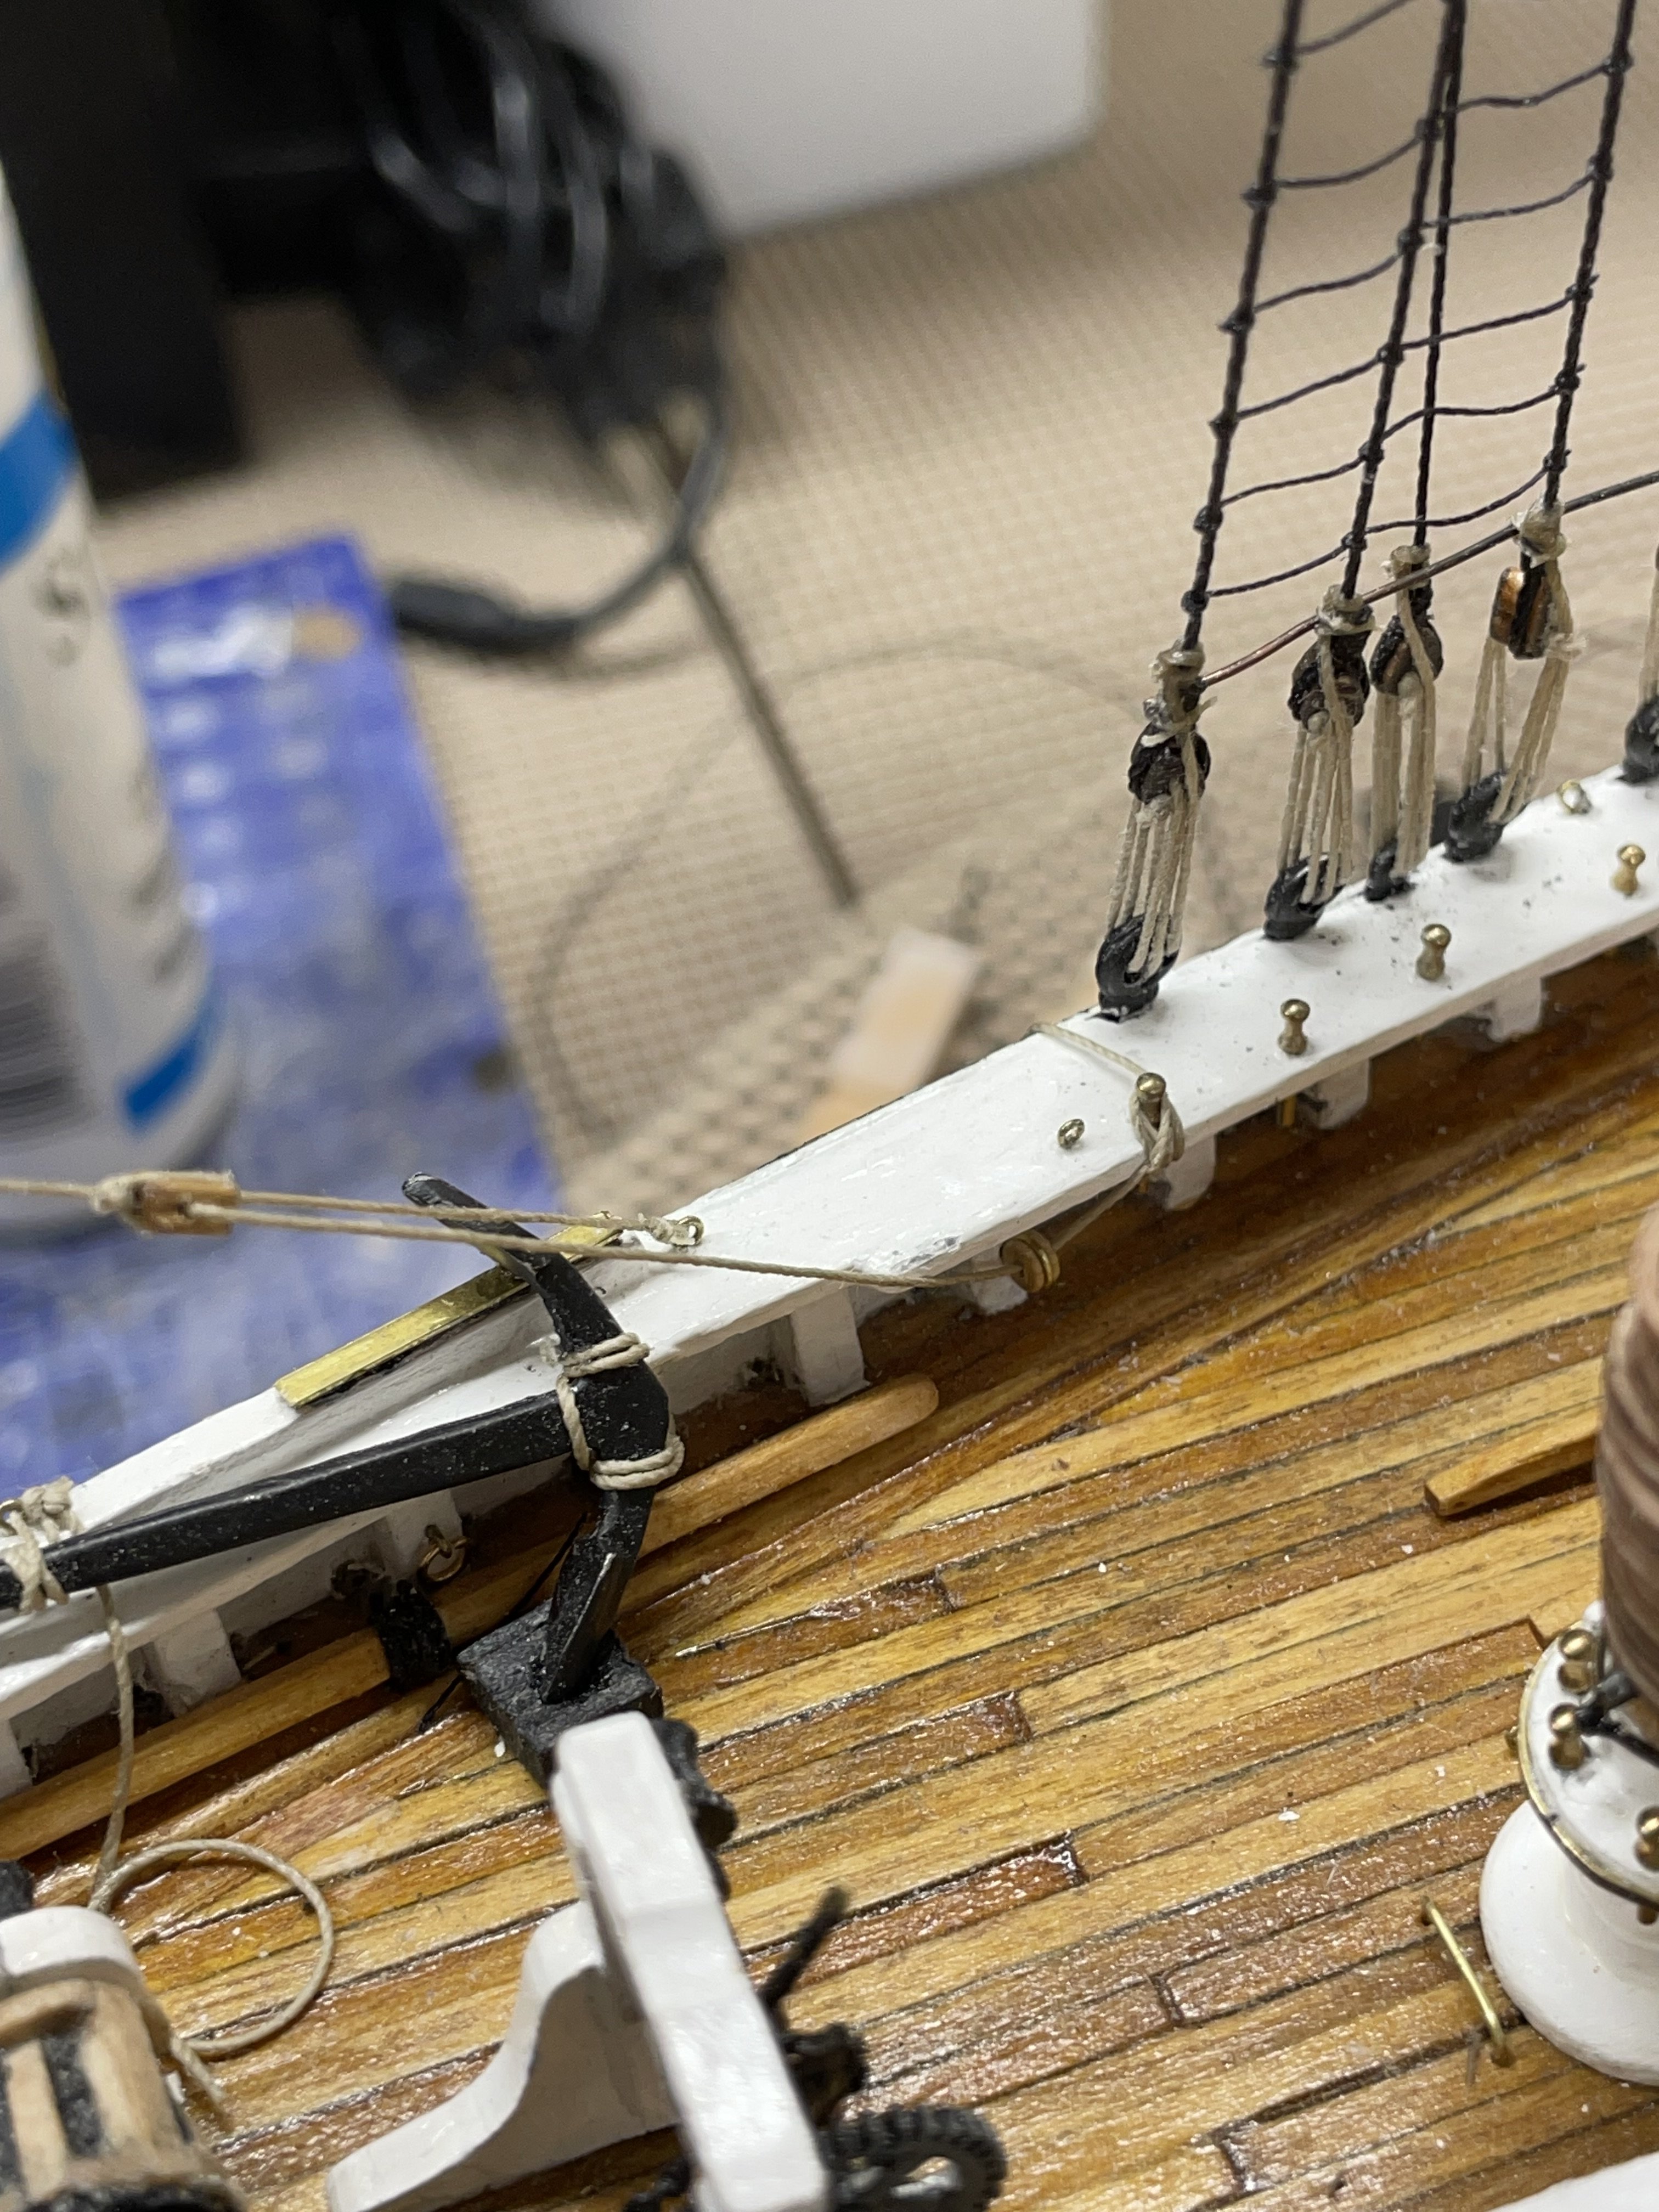
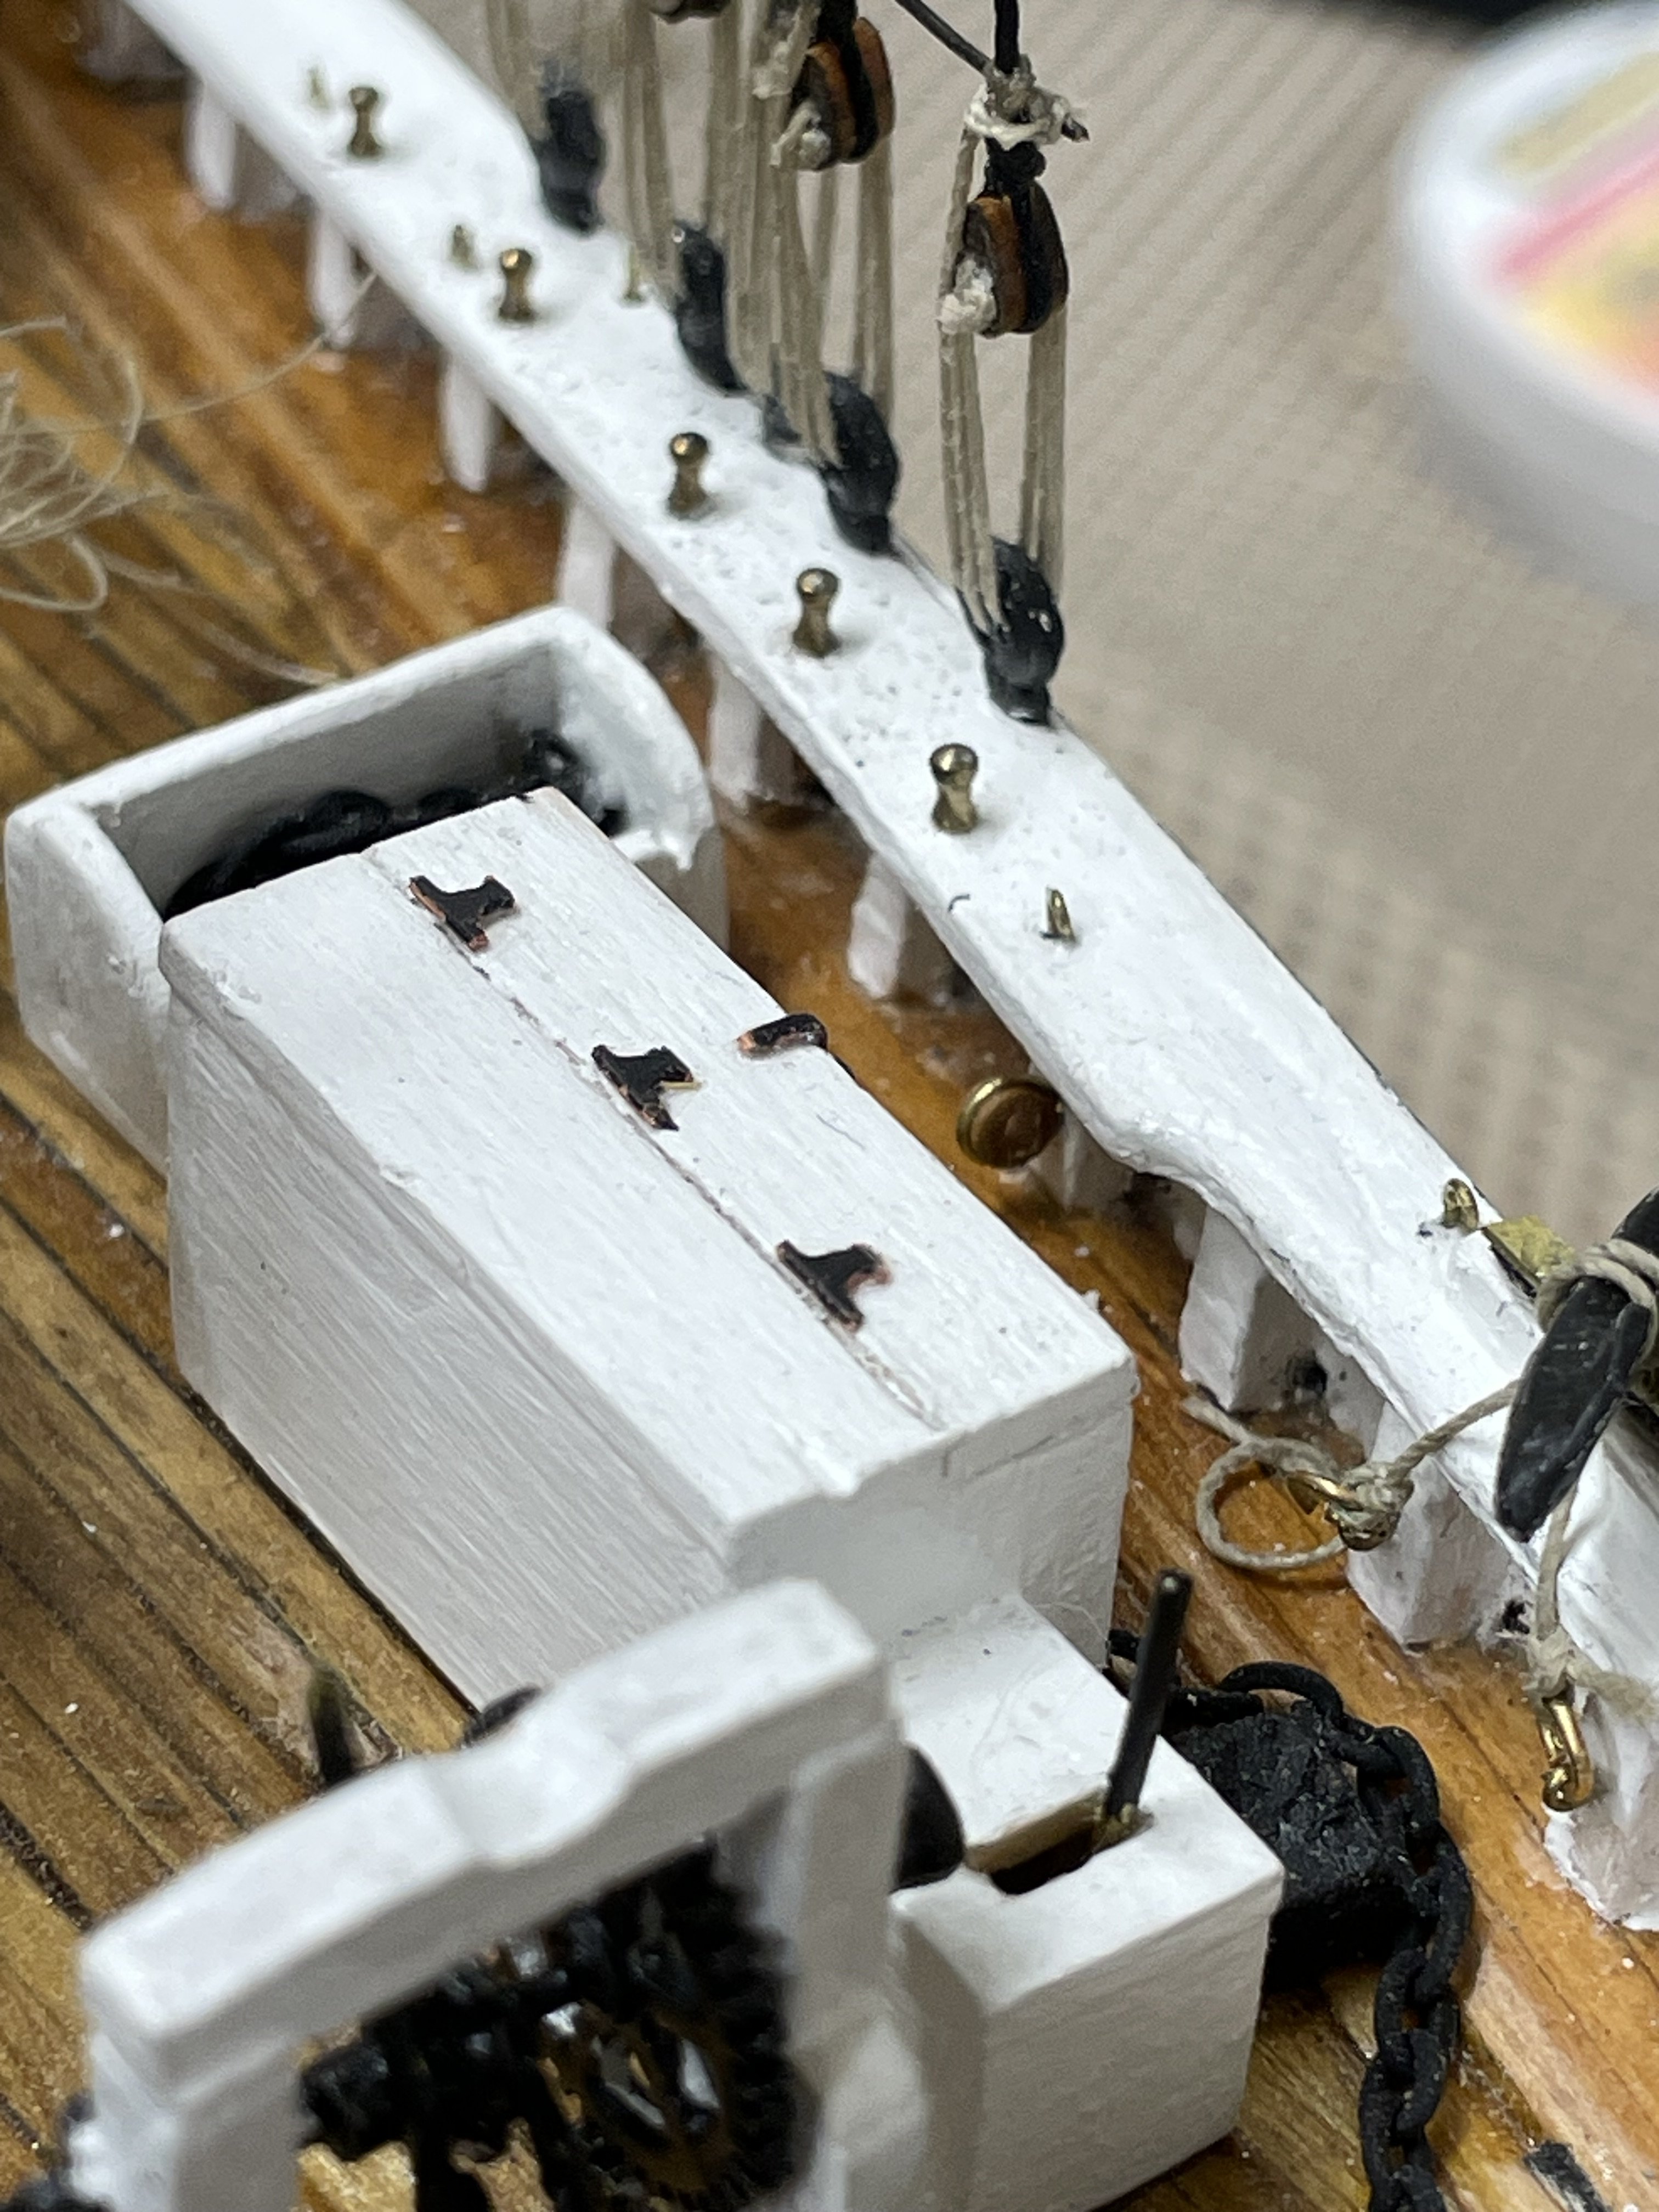
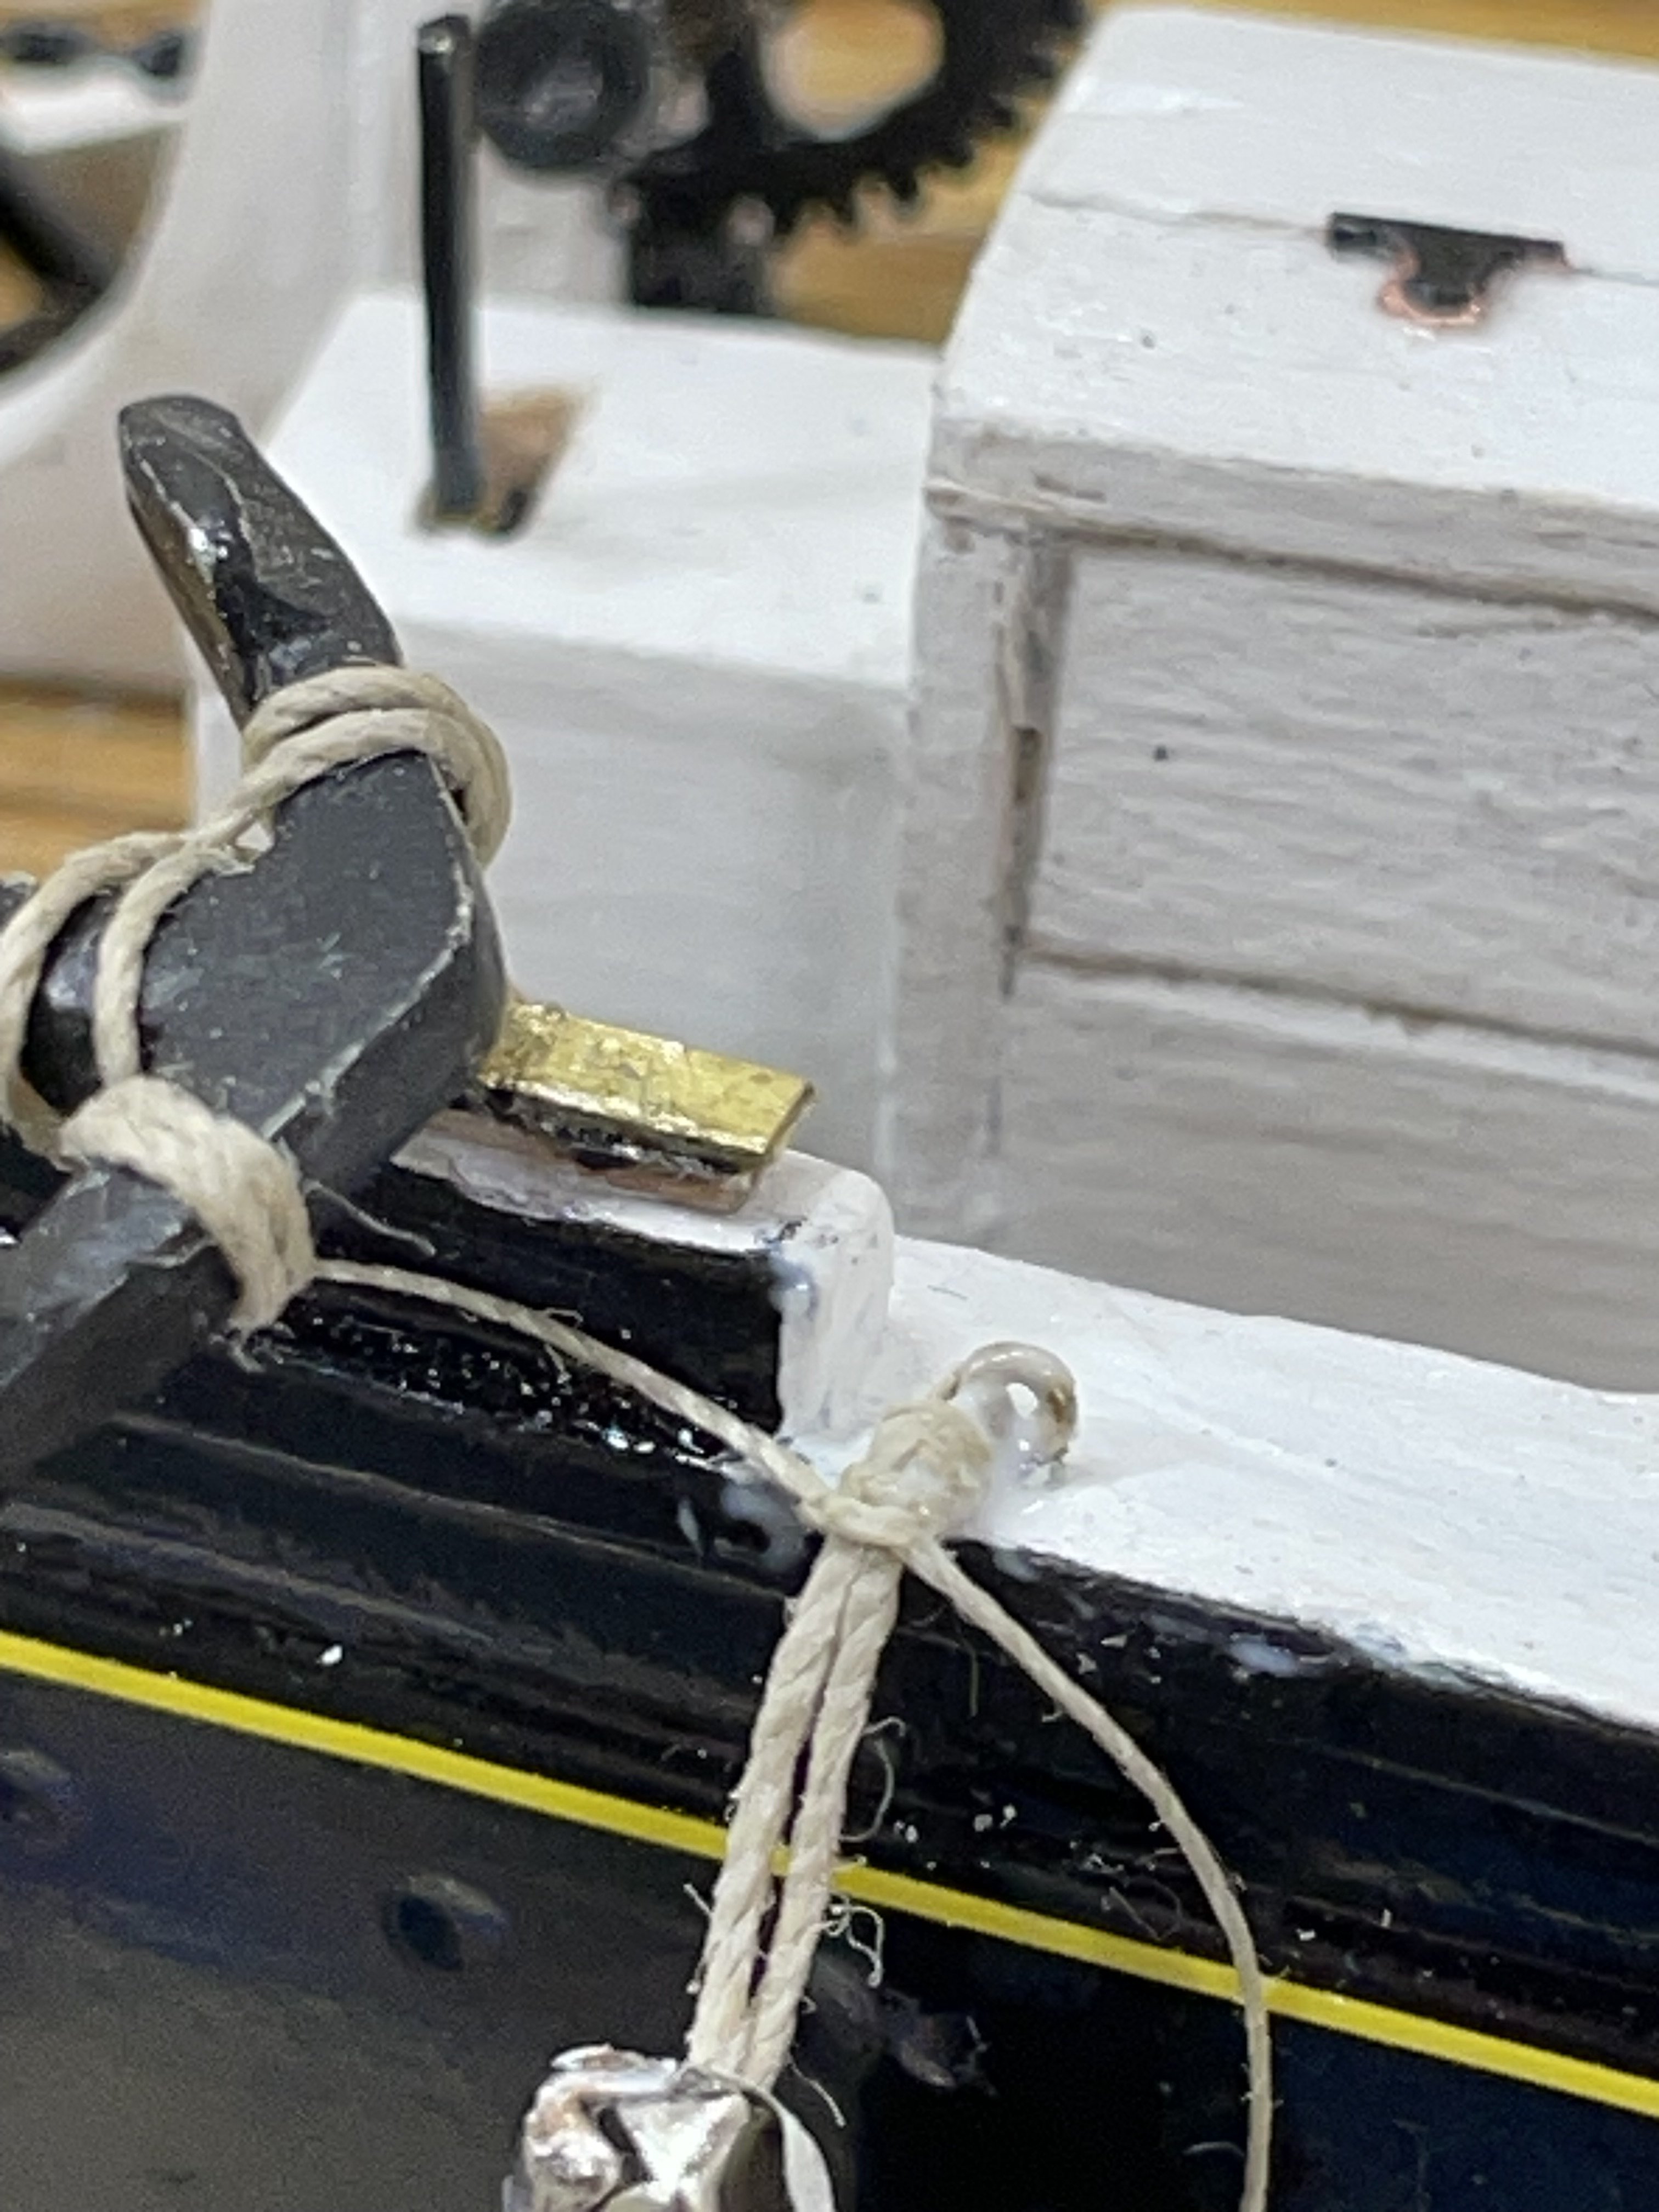
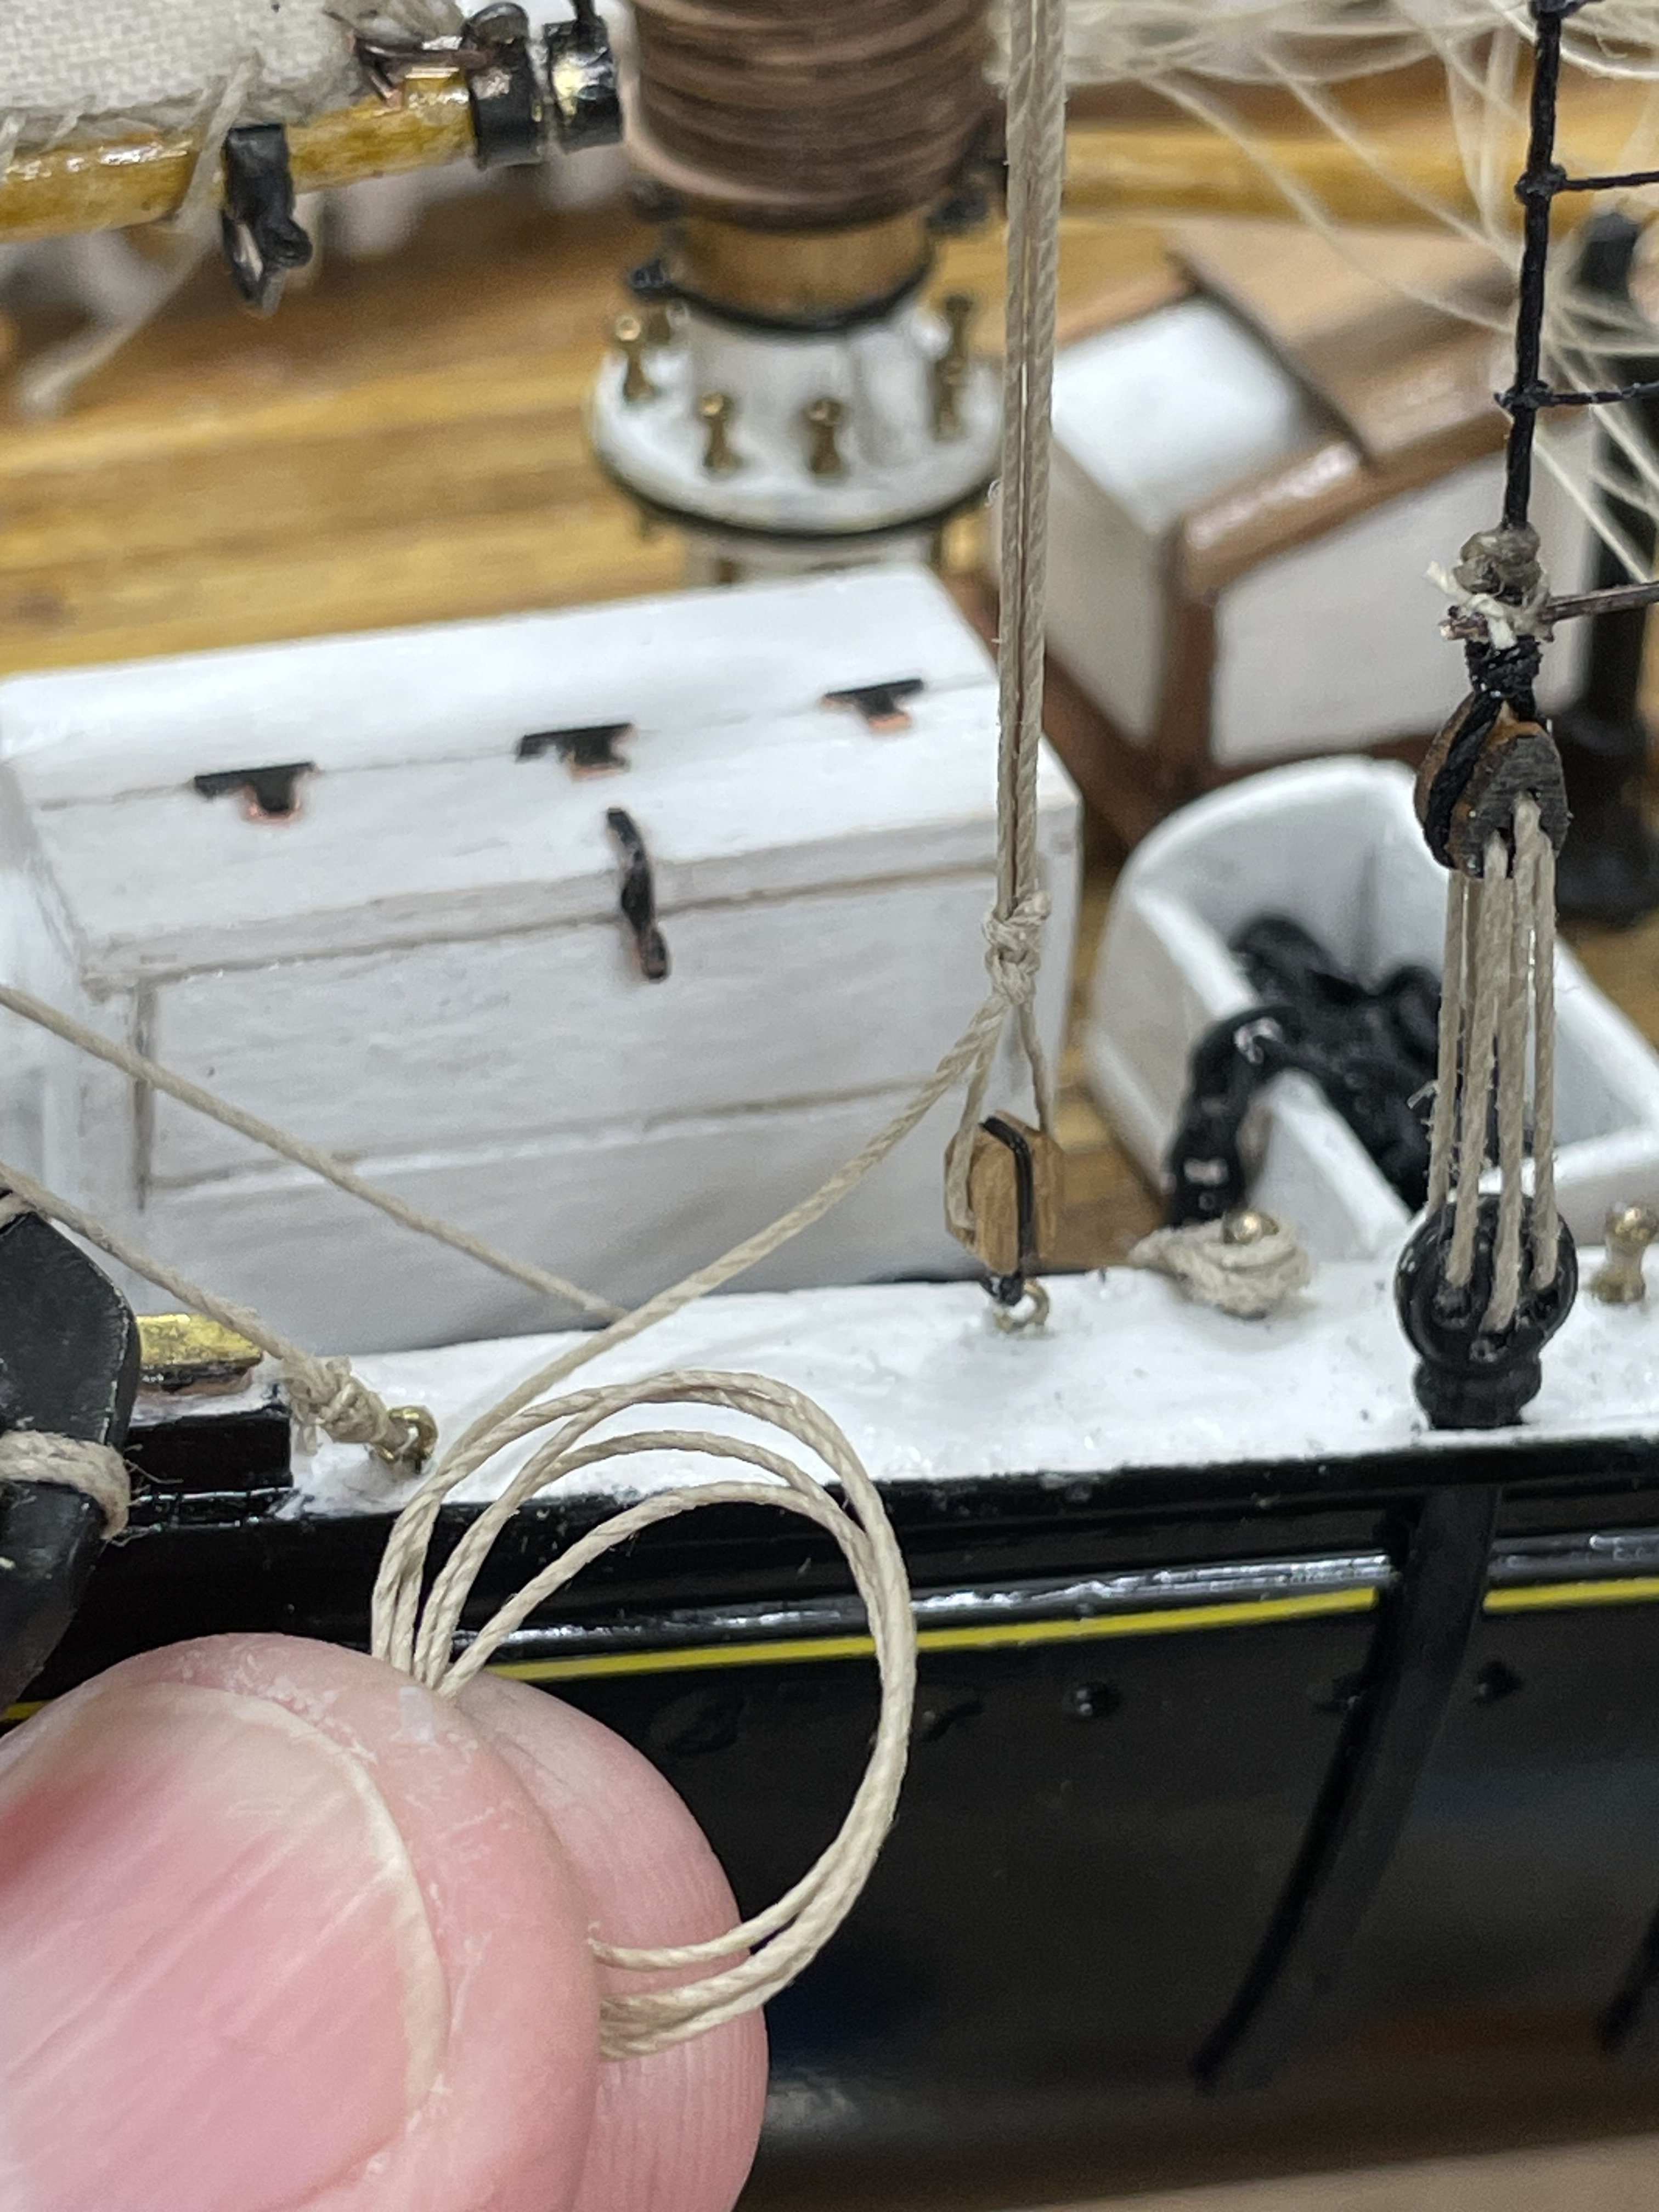
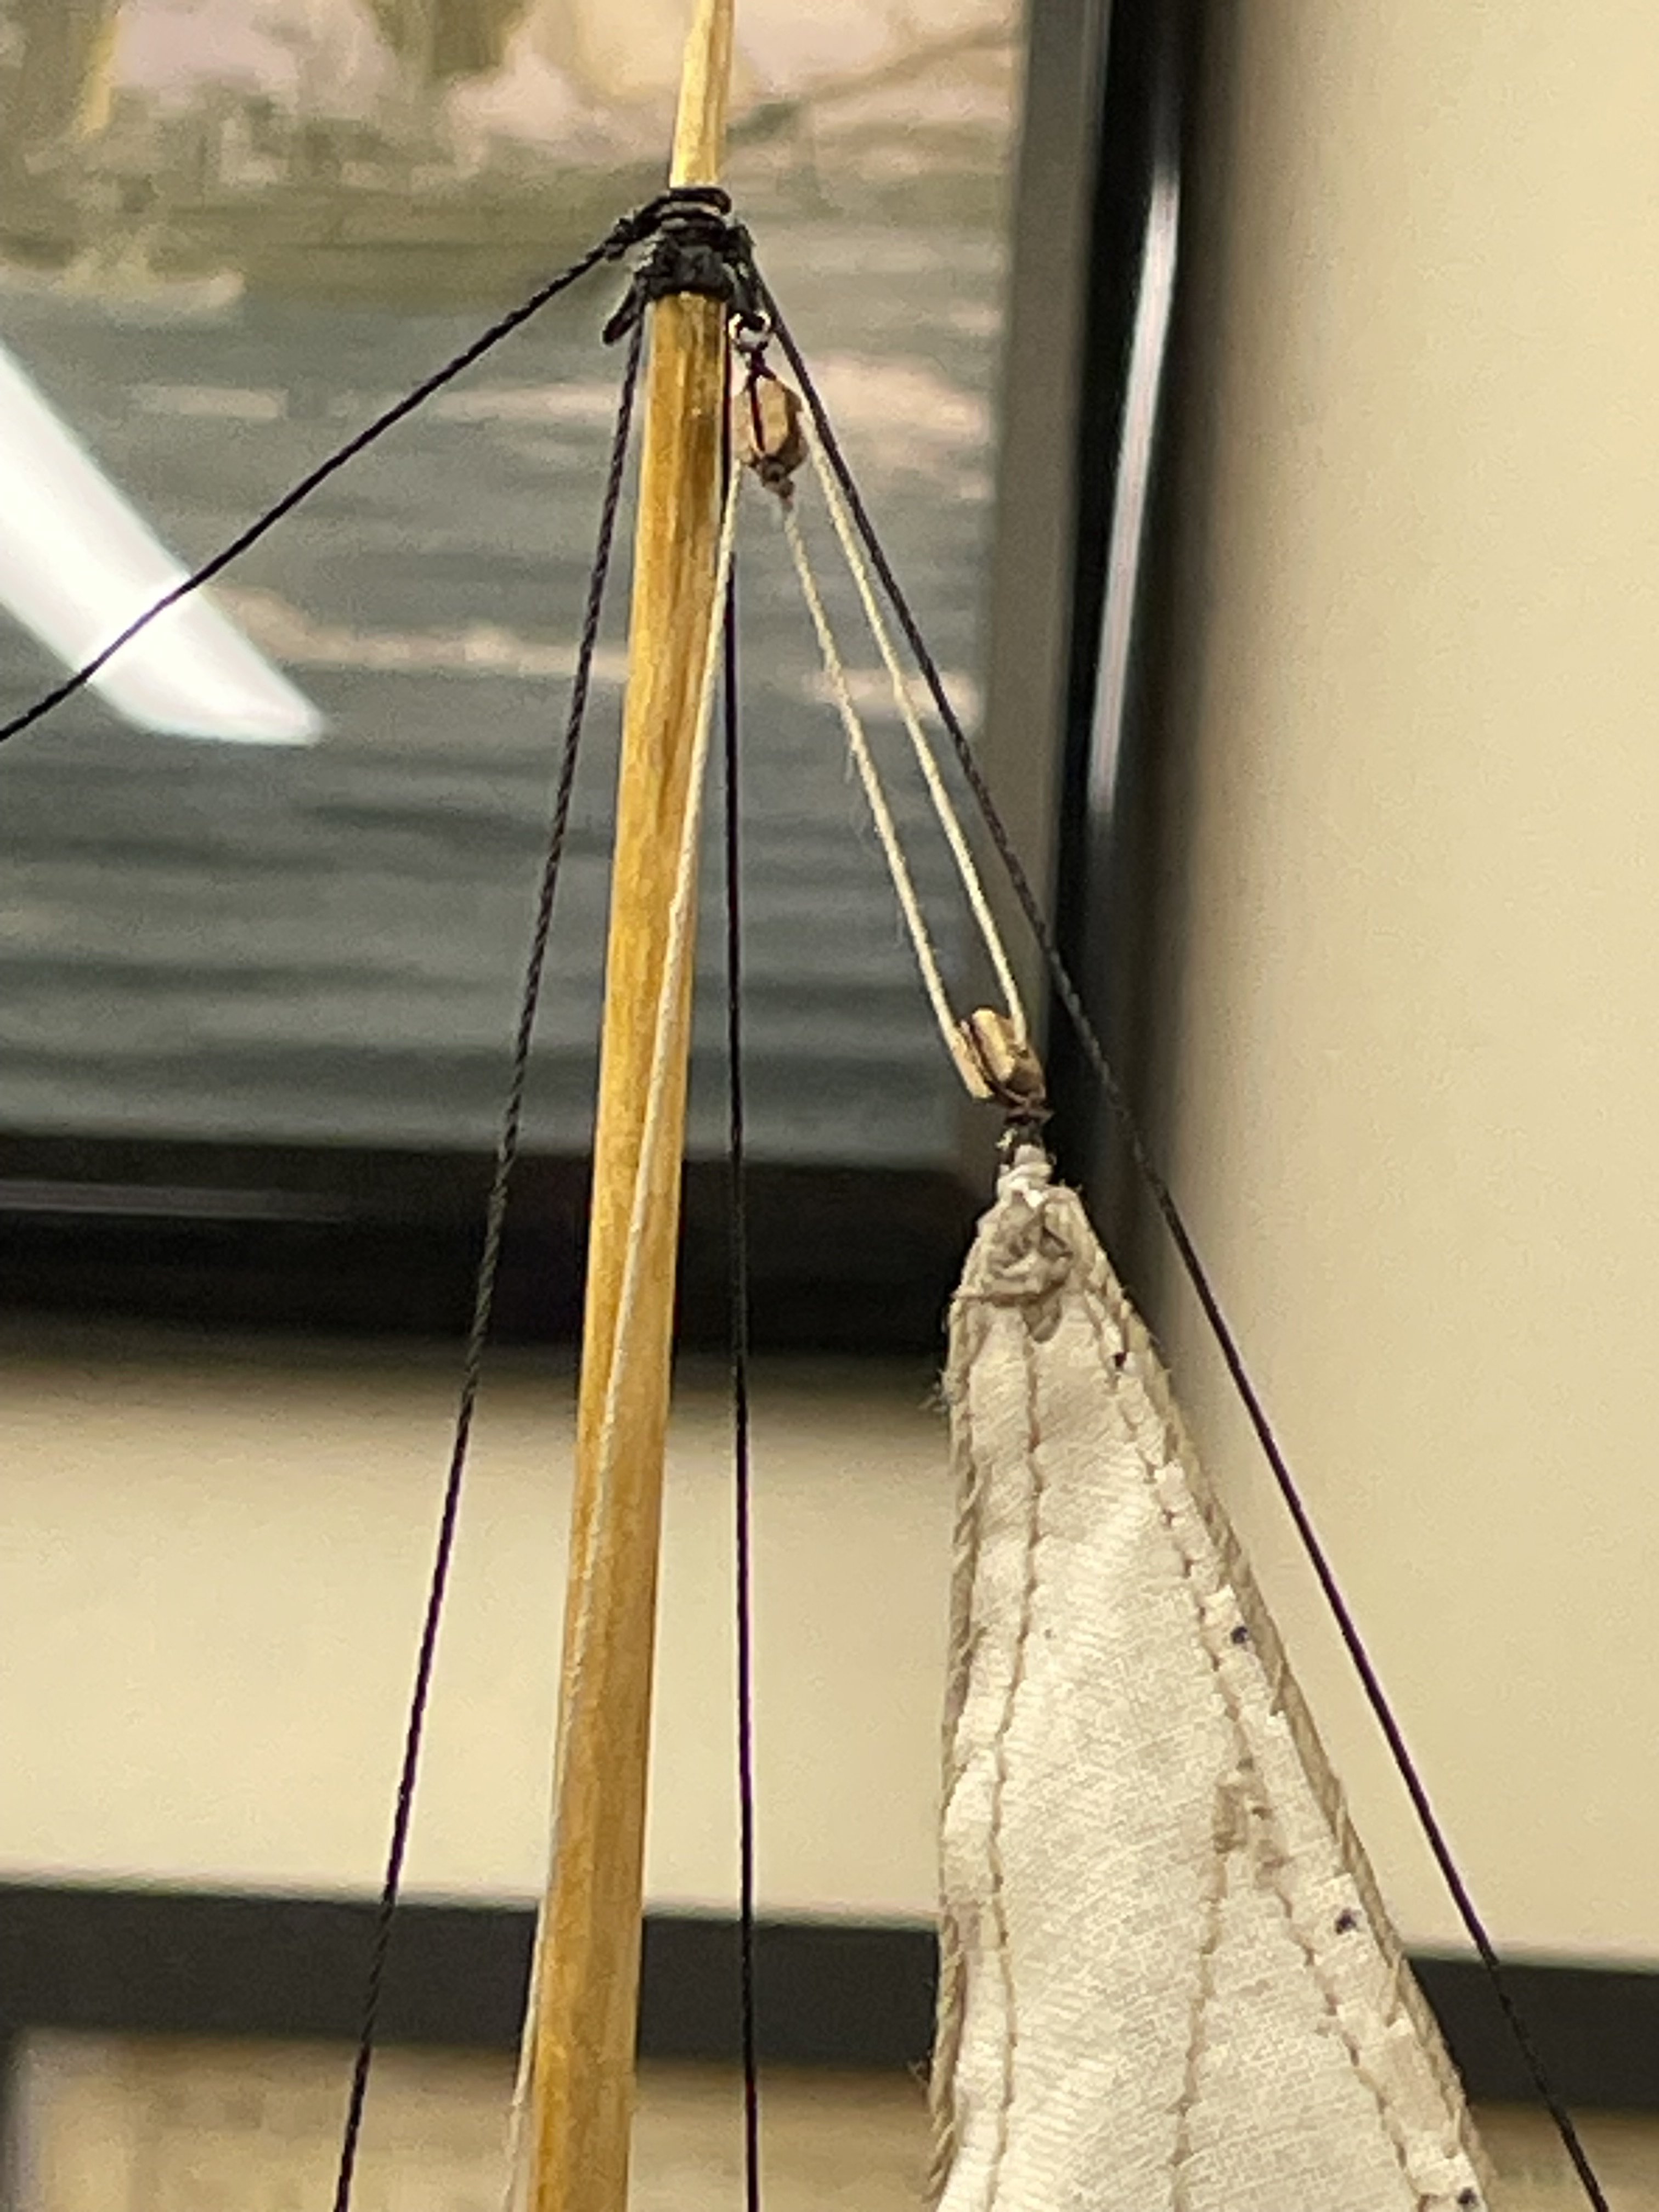
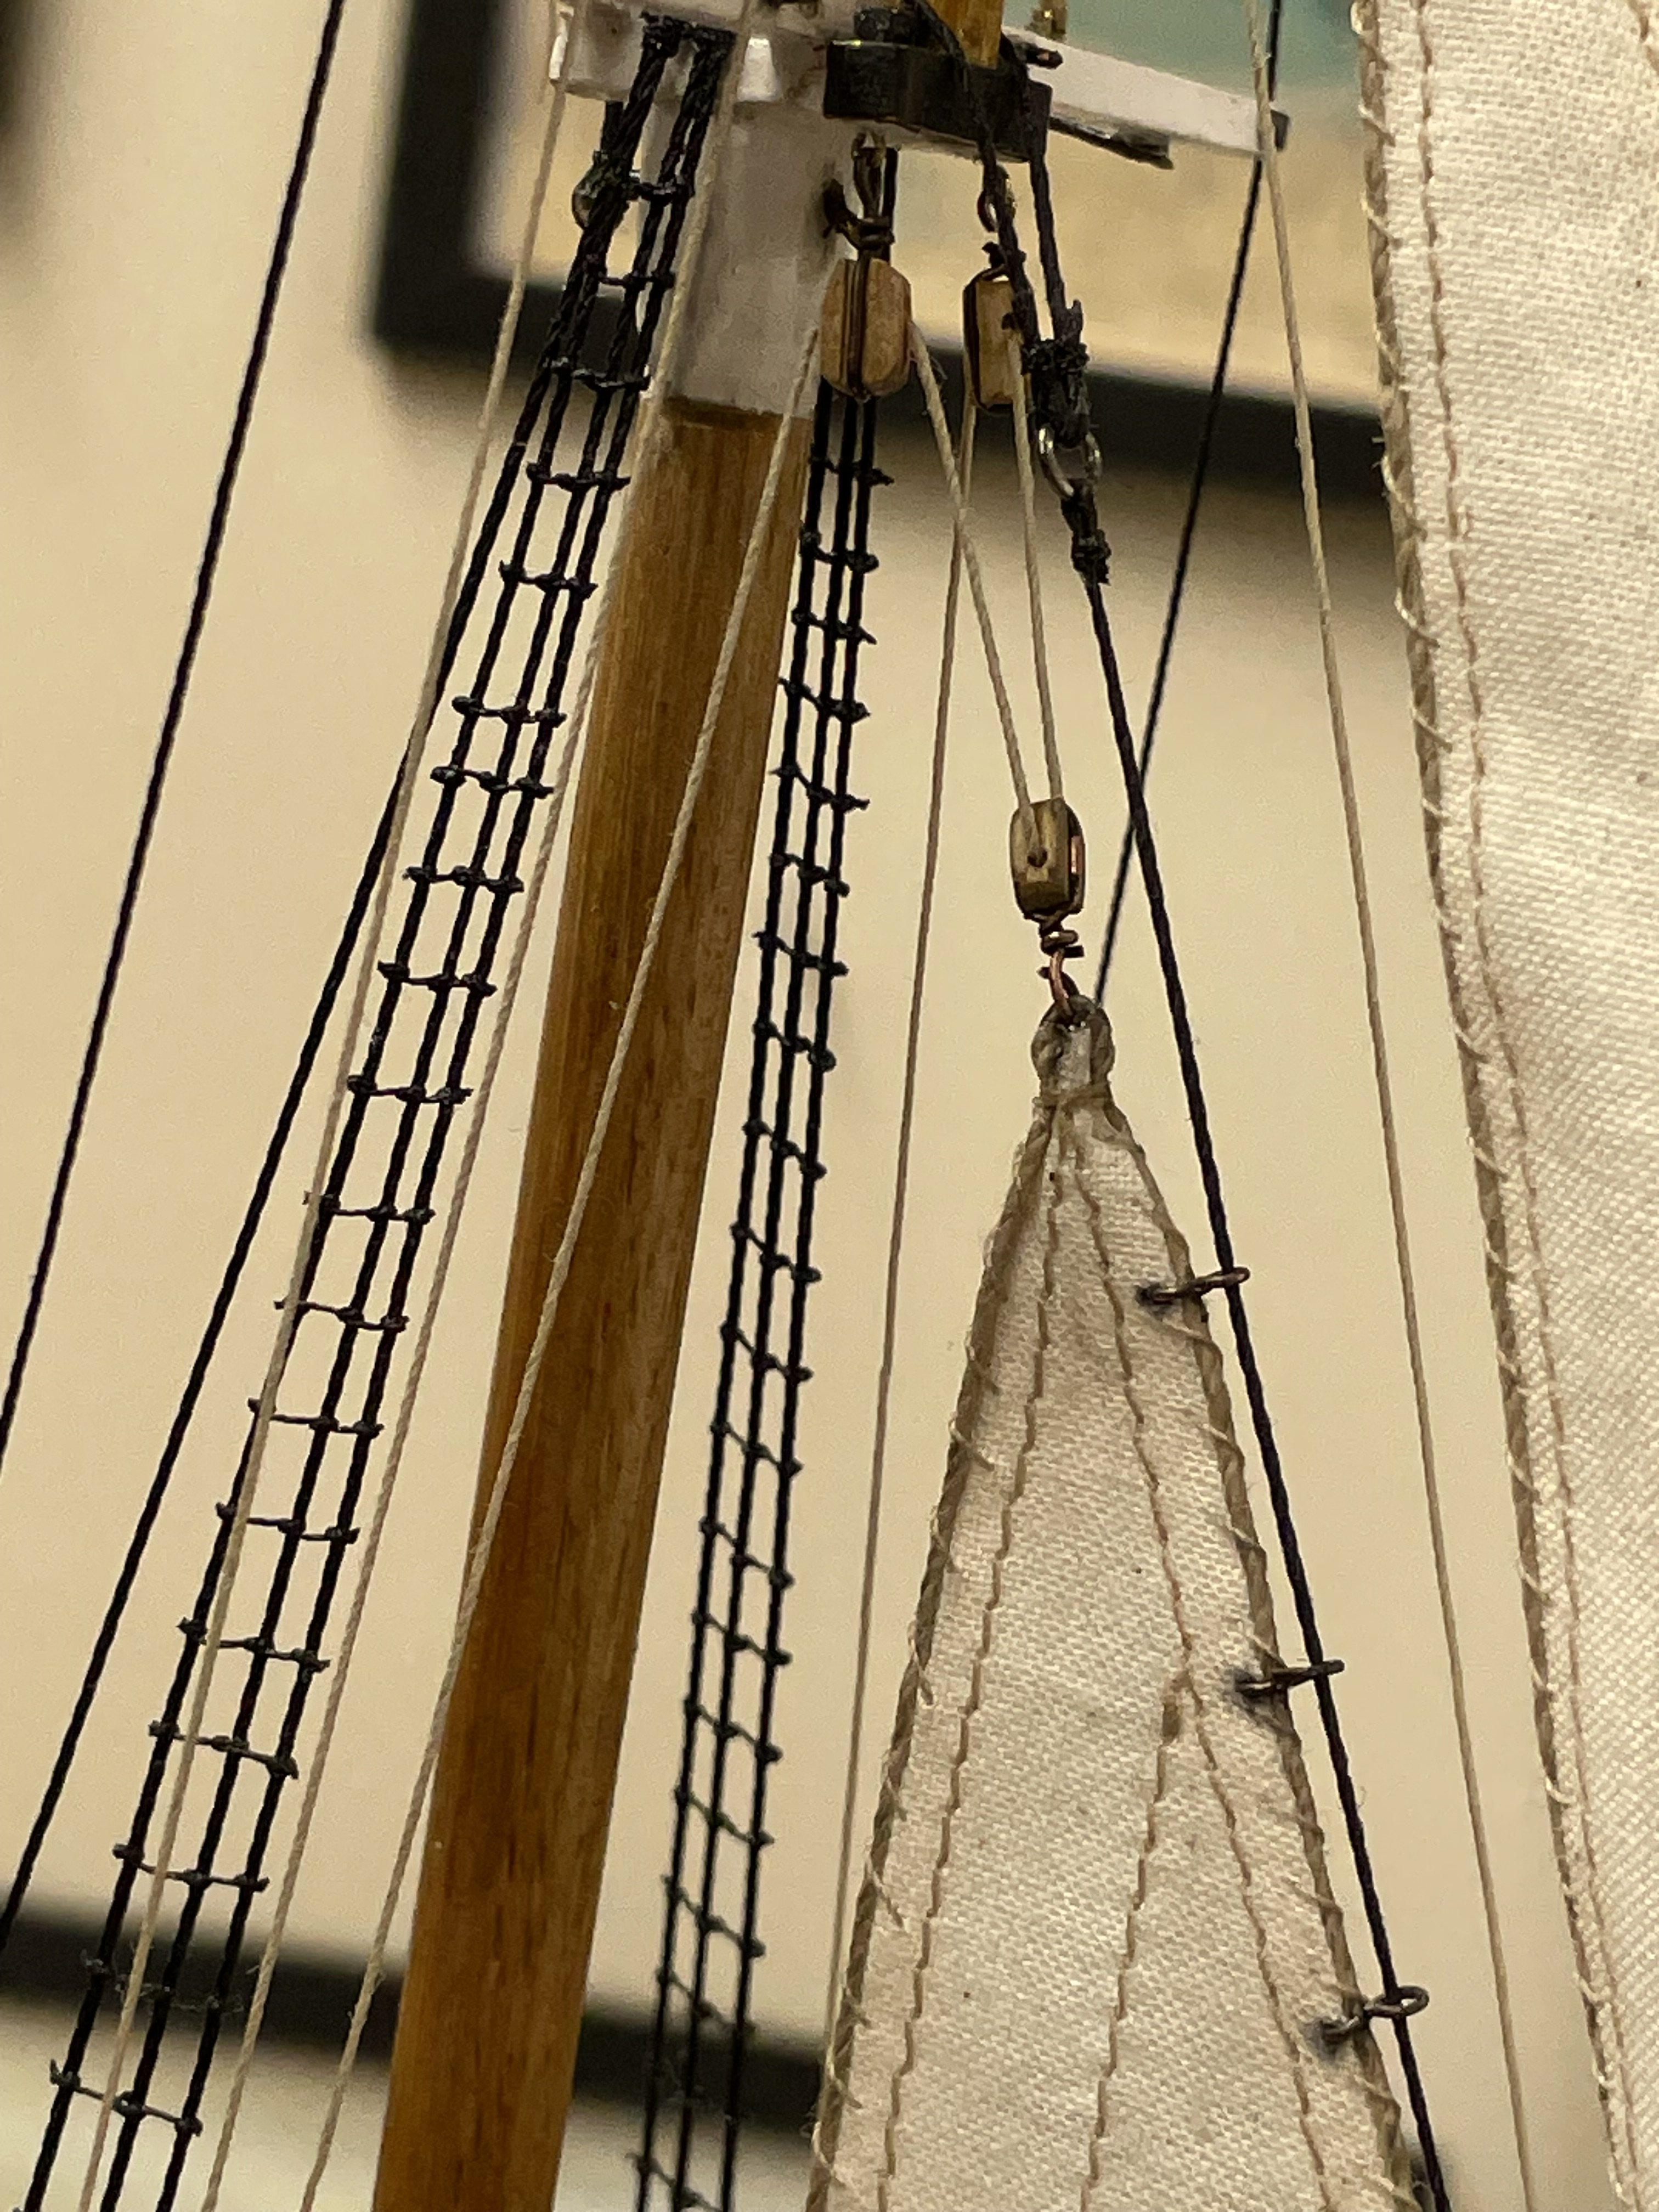
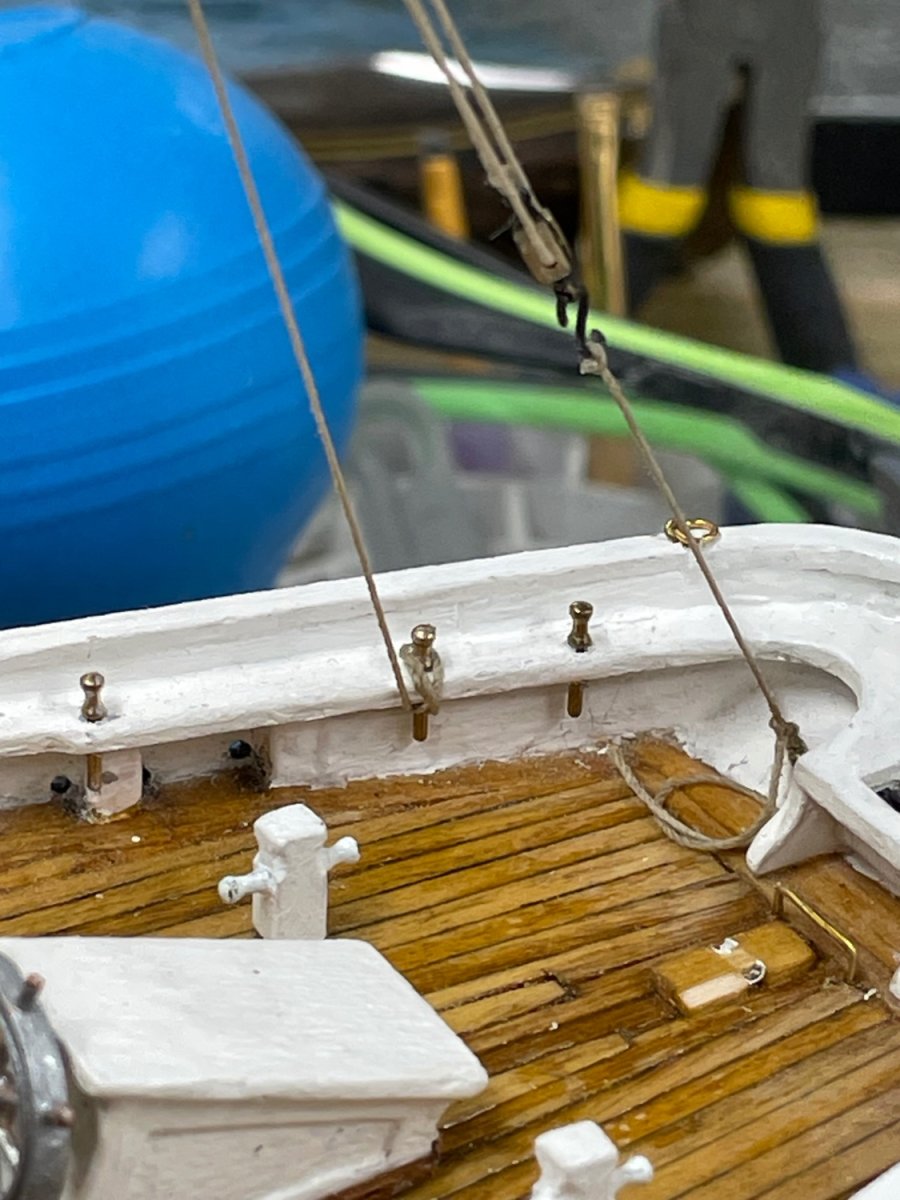
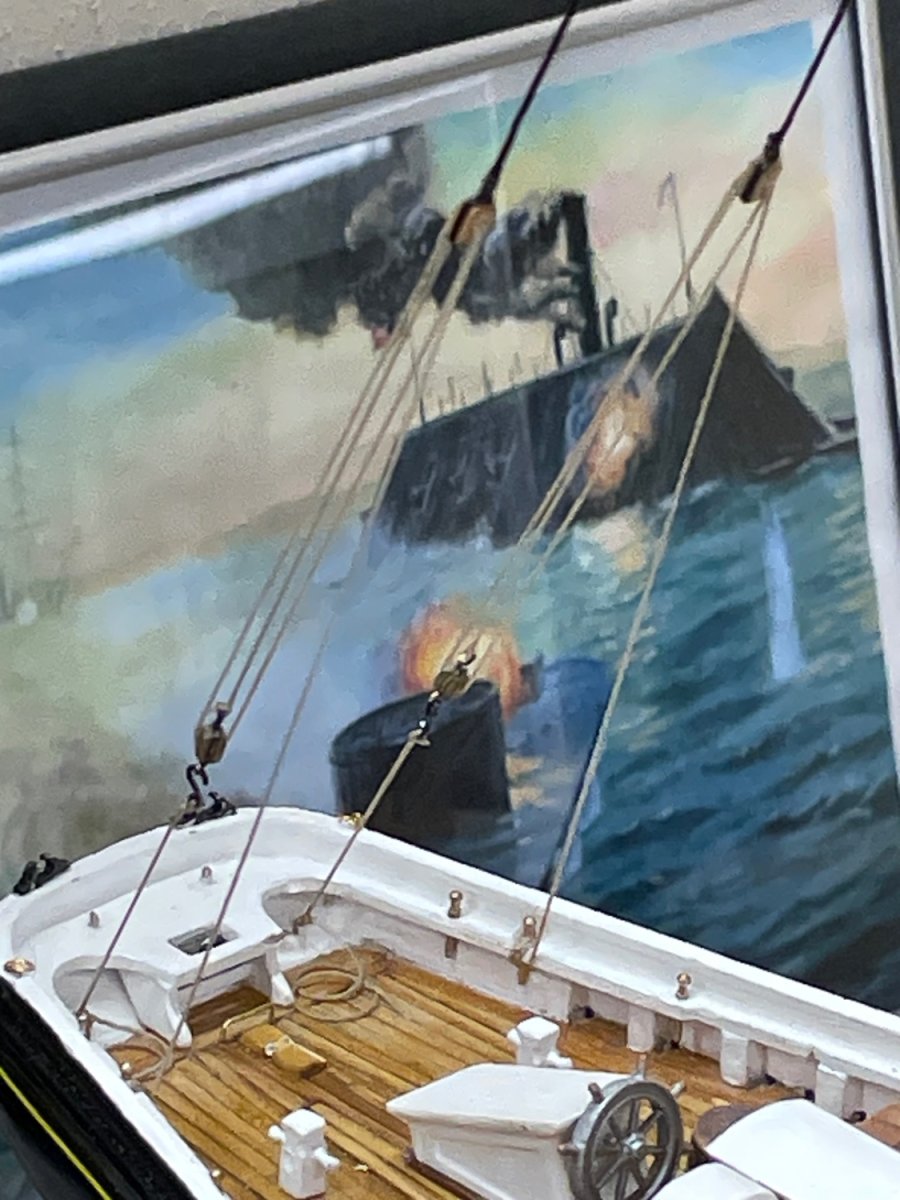
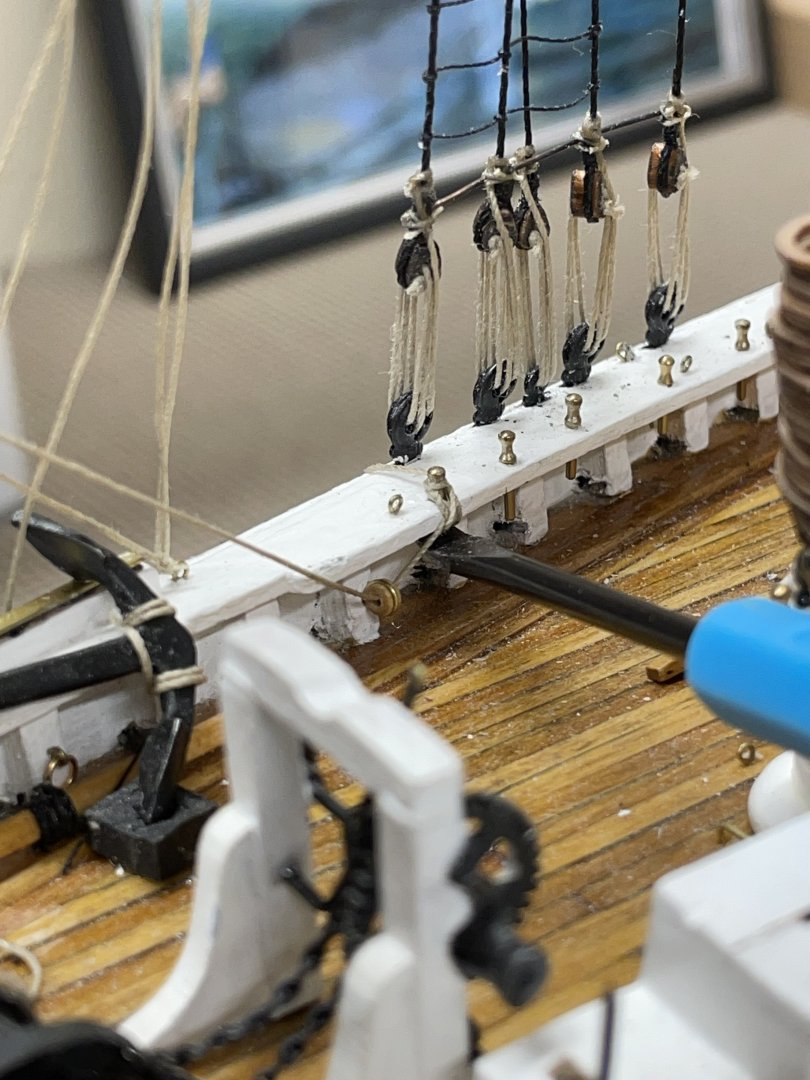
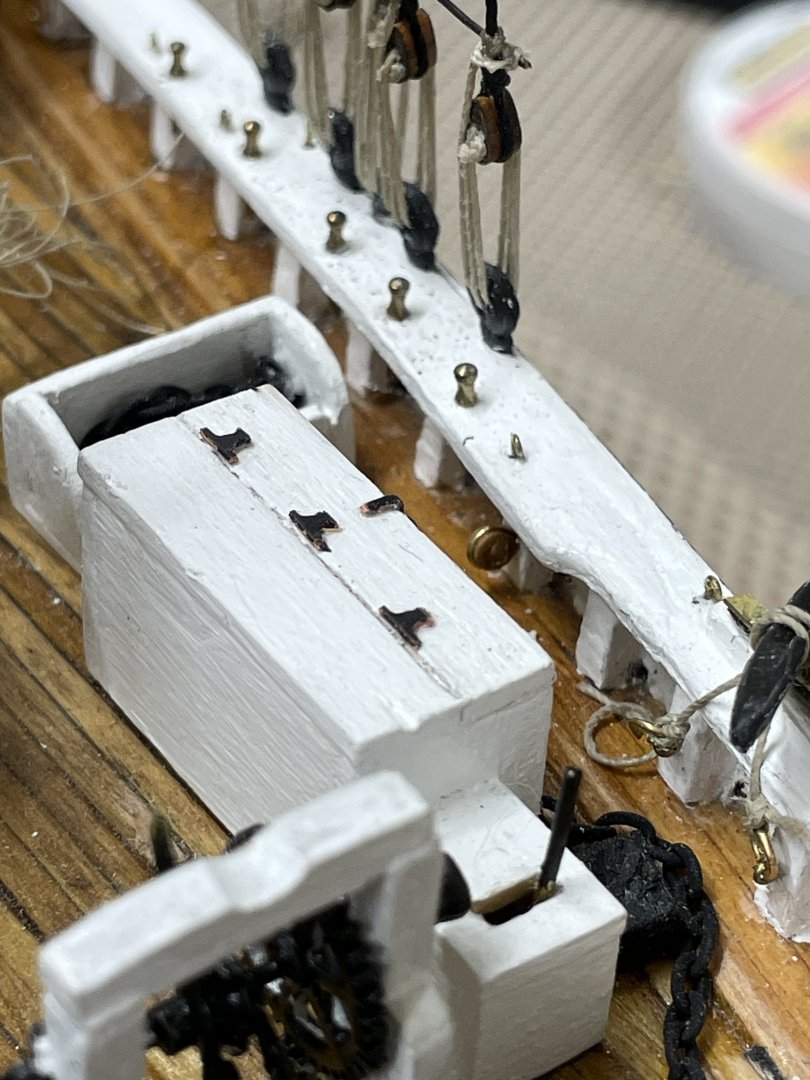
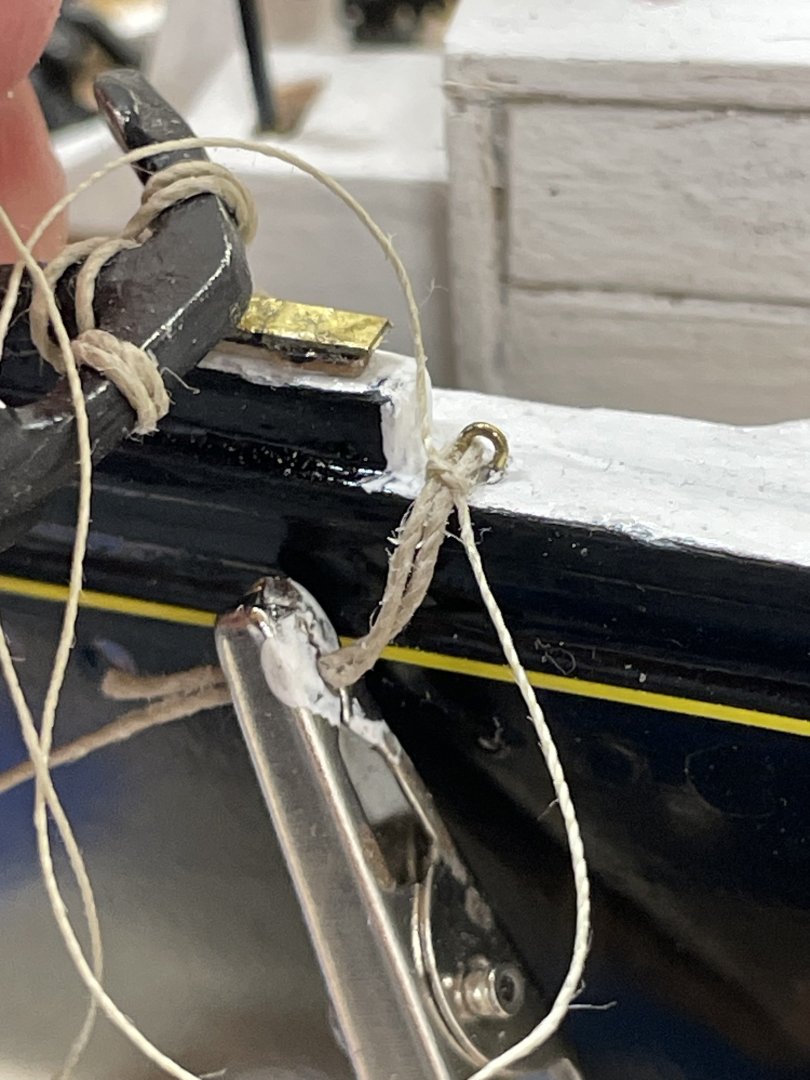
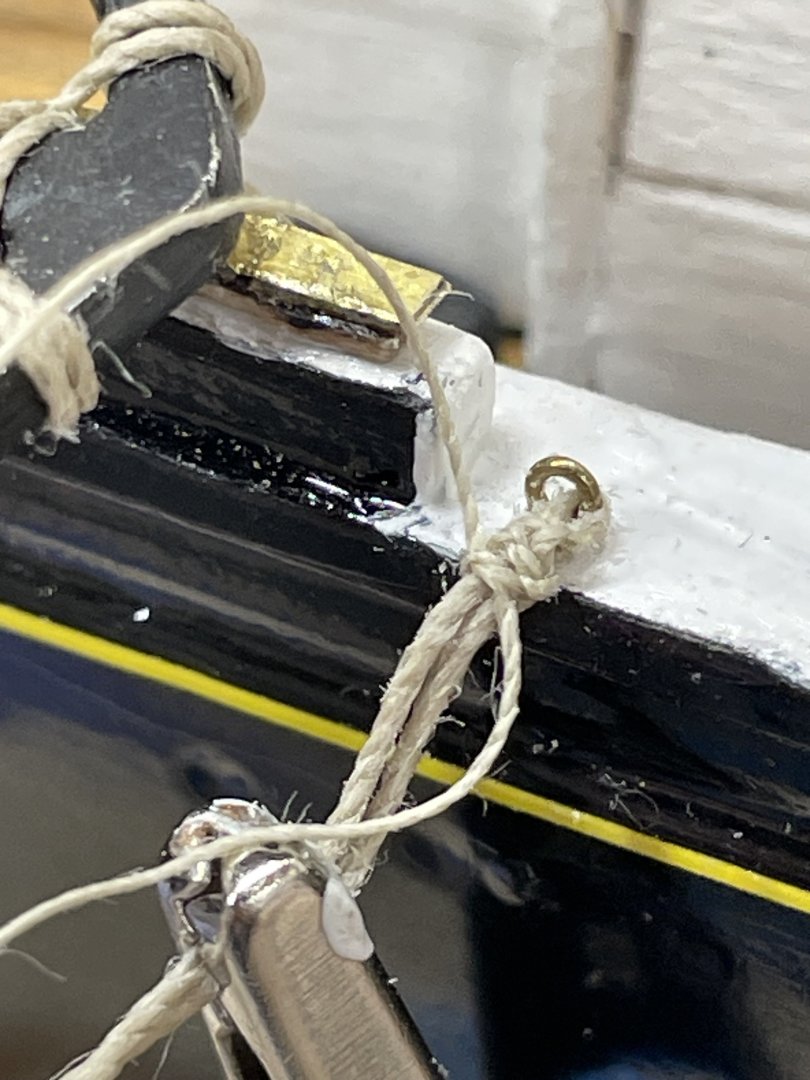
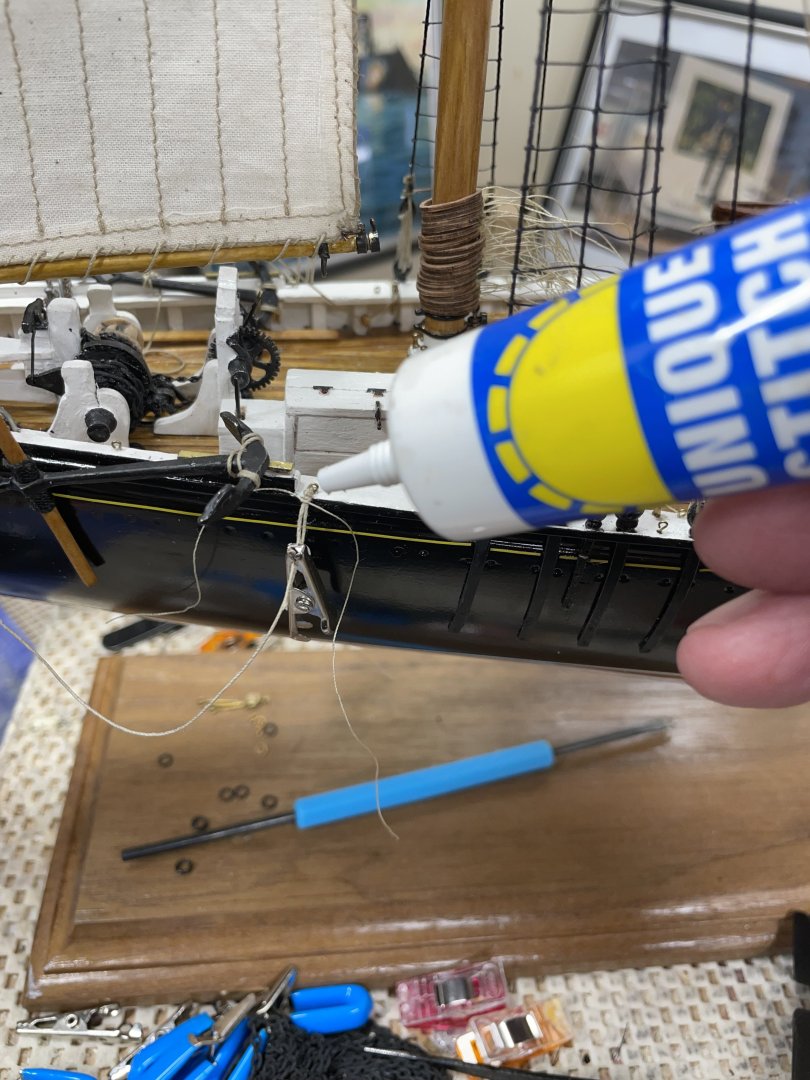
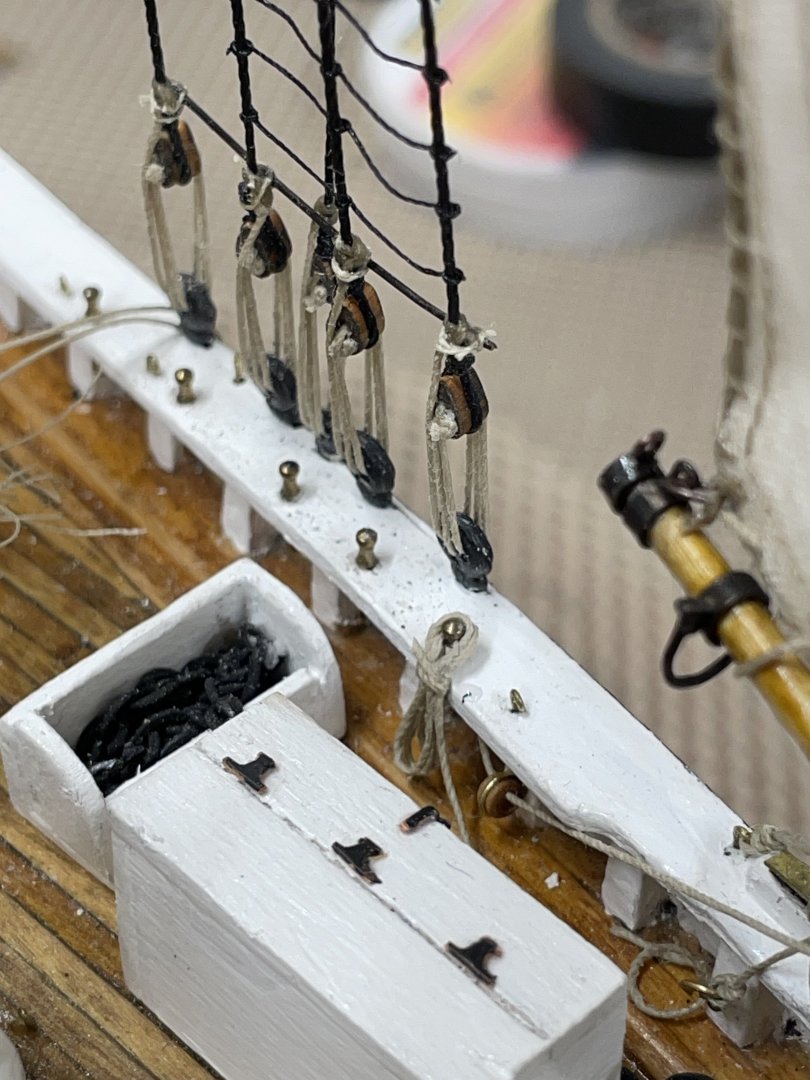
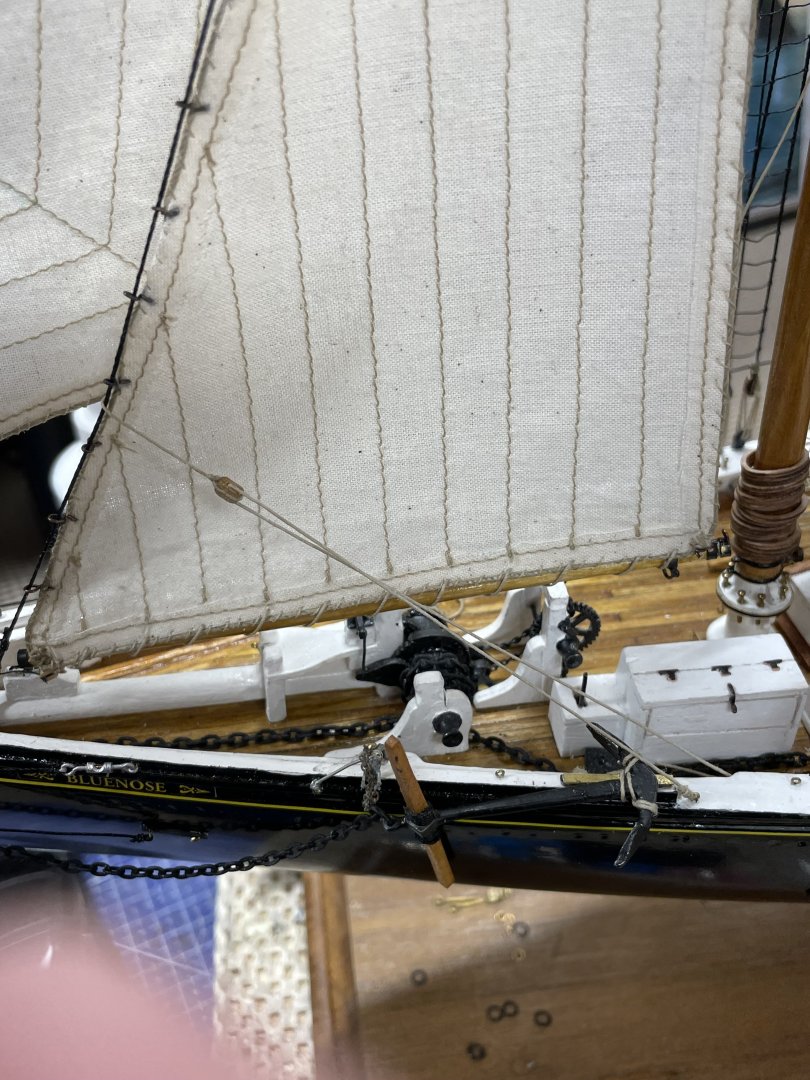
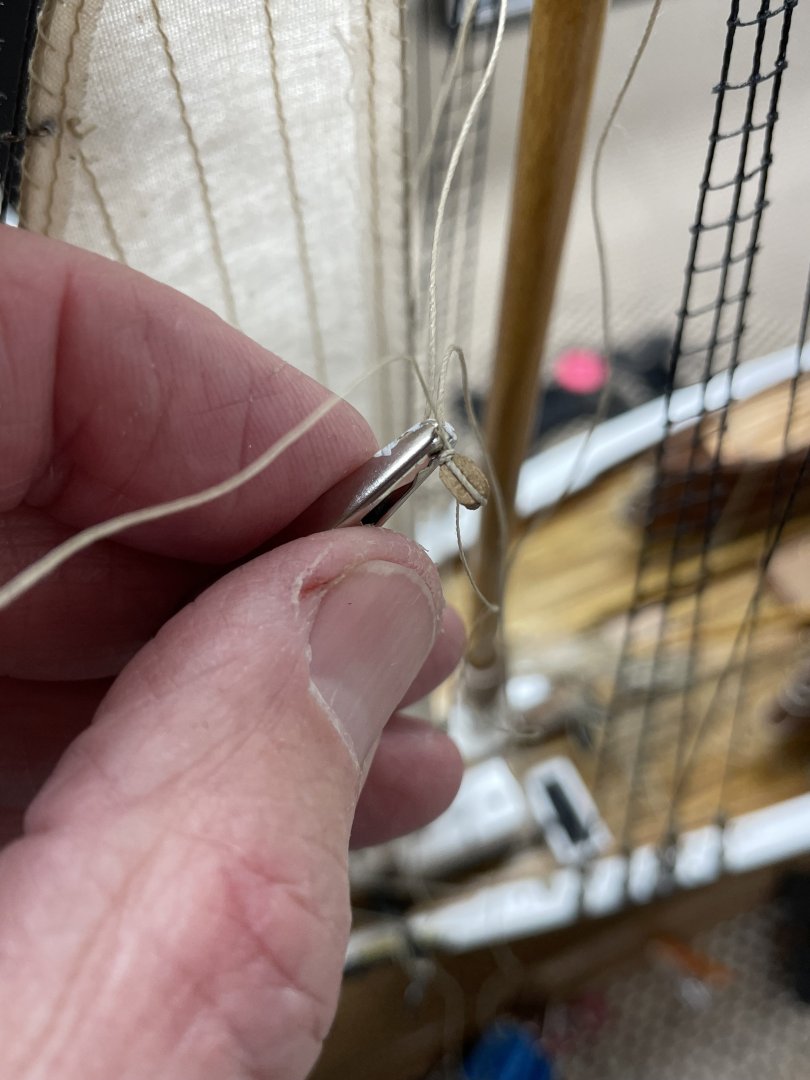
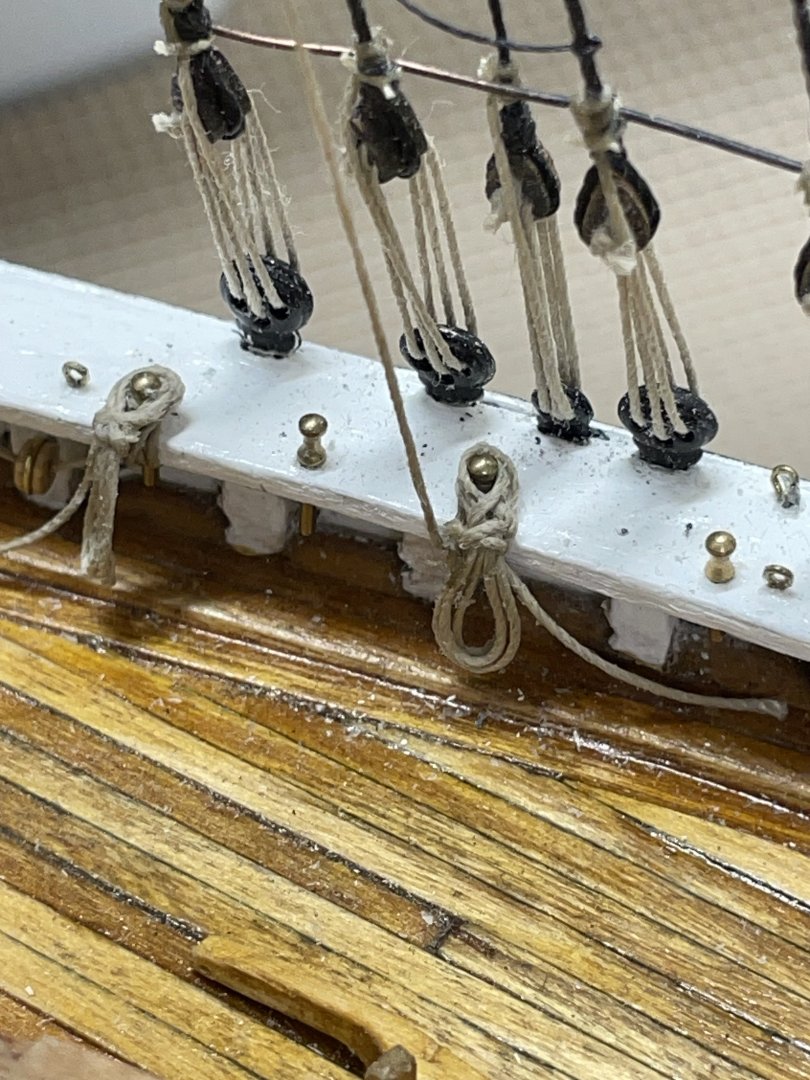
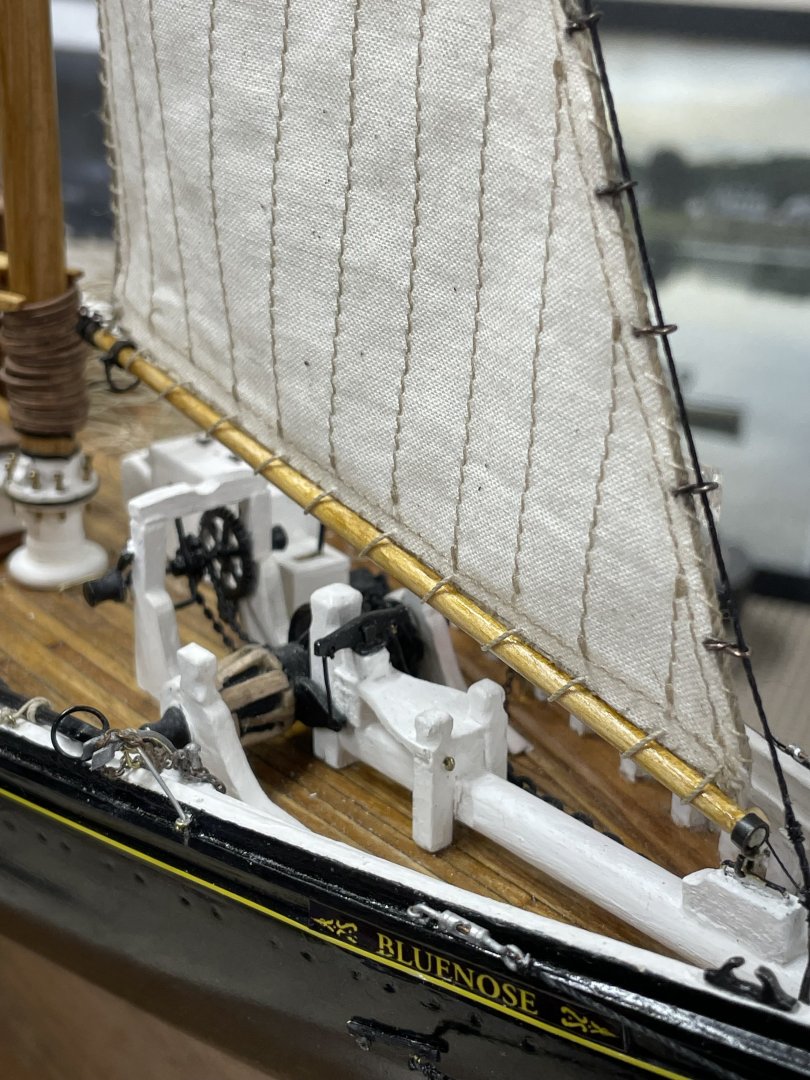
 Rigging the Jib… Jib Sheet belayed through fair lead to Pin #12 (starboard) Jib Sheet (port) belaying and fare lead located behind engine box. 🤨 Jib Sheet belayed to Pin #11 Port side. Jib Sheet (port) completed Jib Halyard Tackle tied off to itself. (port) Jib Halyard fair leads. Jib Halyard belayed to Pin #16 (starboard) Jib rigging completed, with exception of the down haul. Onwards 🍻


- 282 replies
-
- 8
-

-
- Bluenose
- Model Shipways
- (and 1 more)
-
I have used their CNC Sails on my Revell USS Constitution. Great products. Their Rope is of Excellent Quality as well.
-
Great! Let me know if you find something smaller. I can always use smaller tools. 🧰
- 282 replies
-
- 2
-
-
- Bluenose
- Model Shipways
- (and 1 more)
-
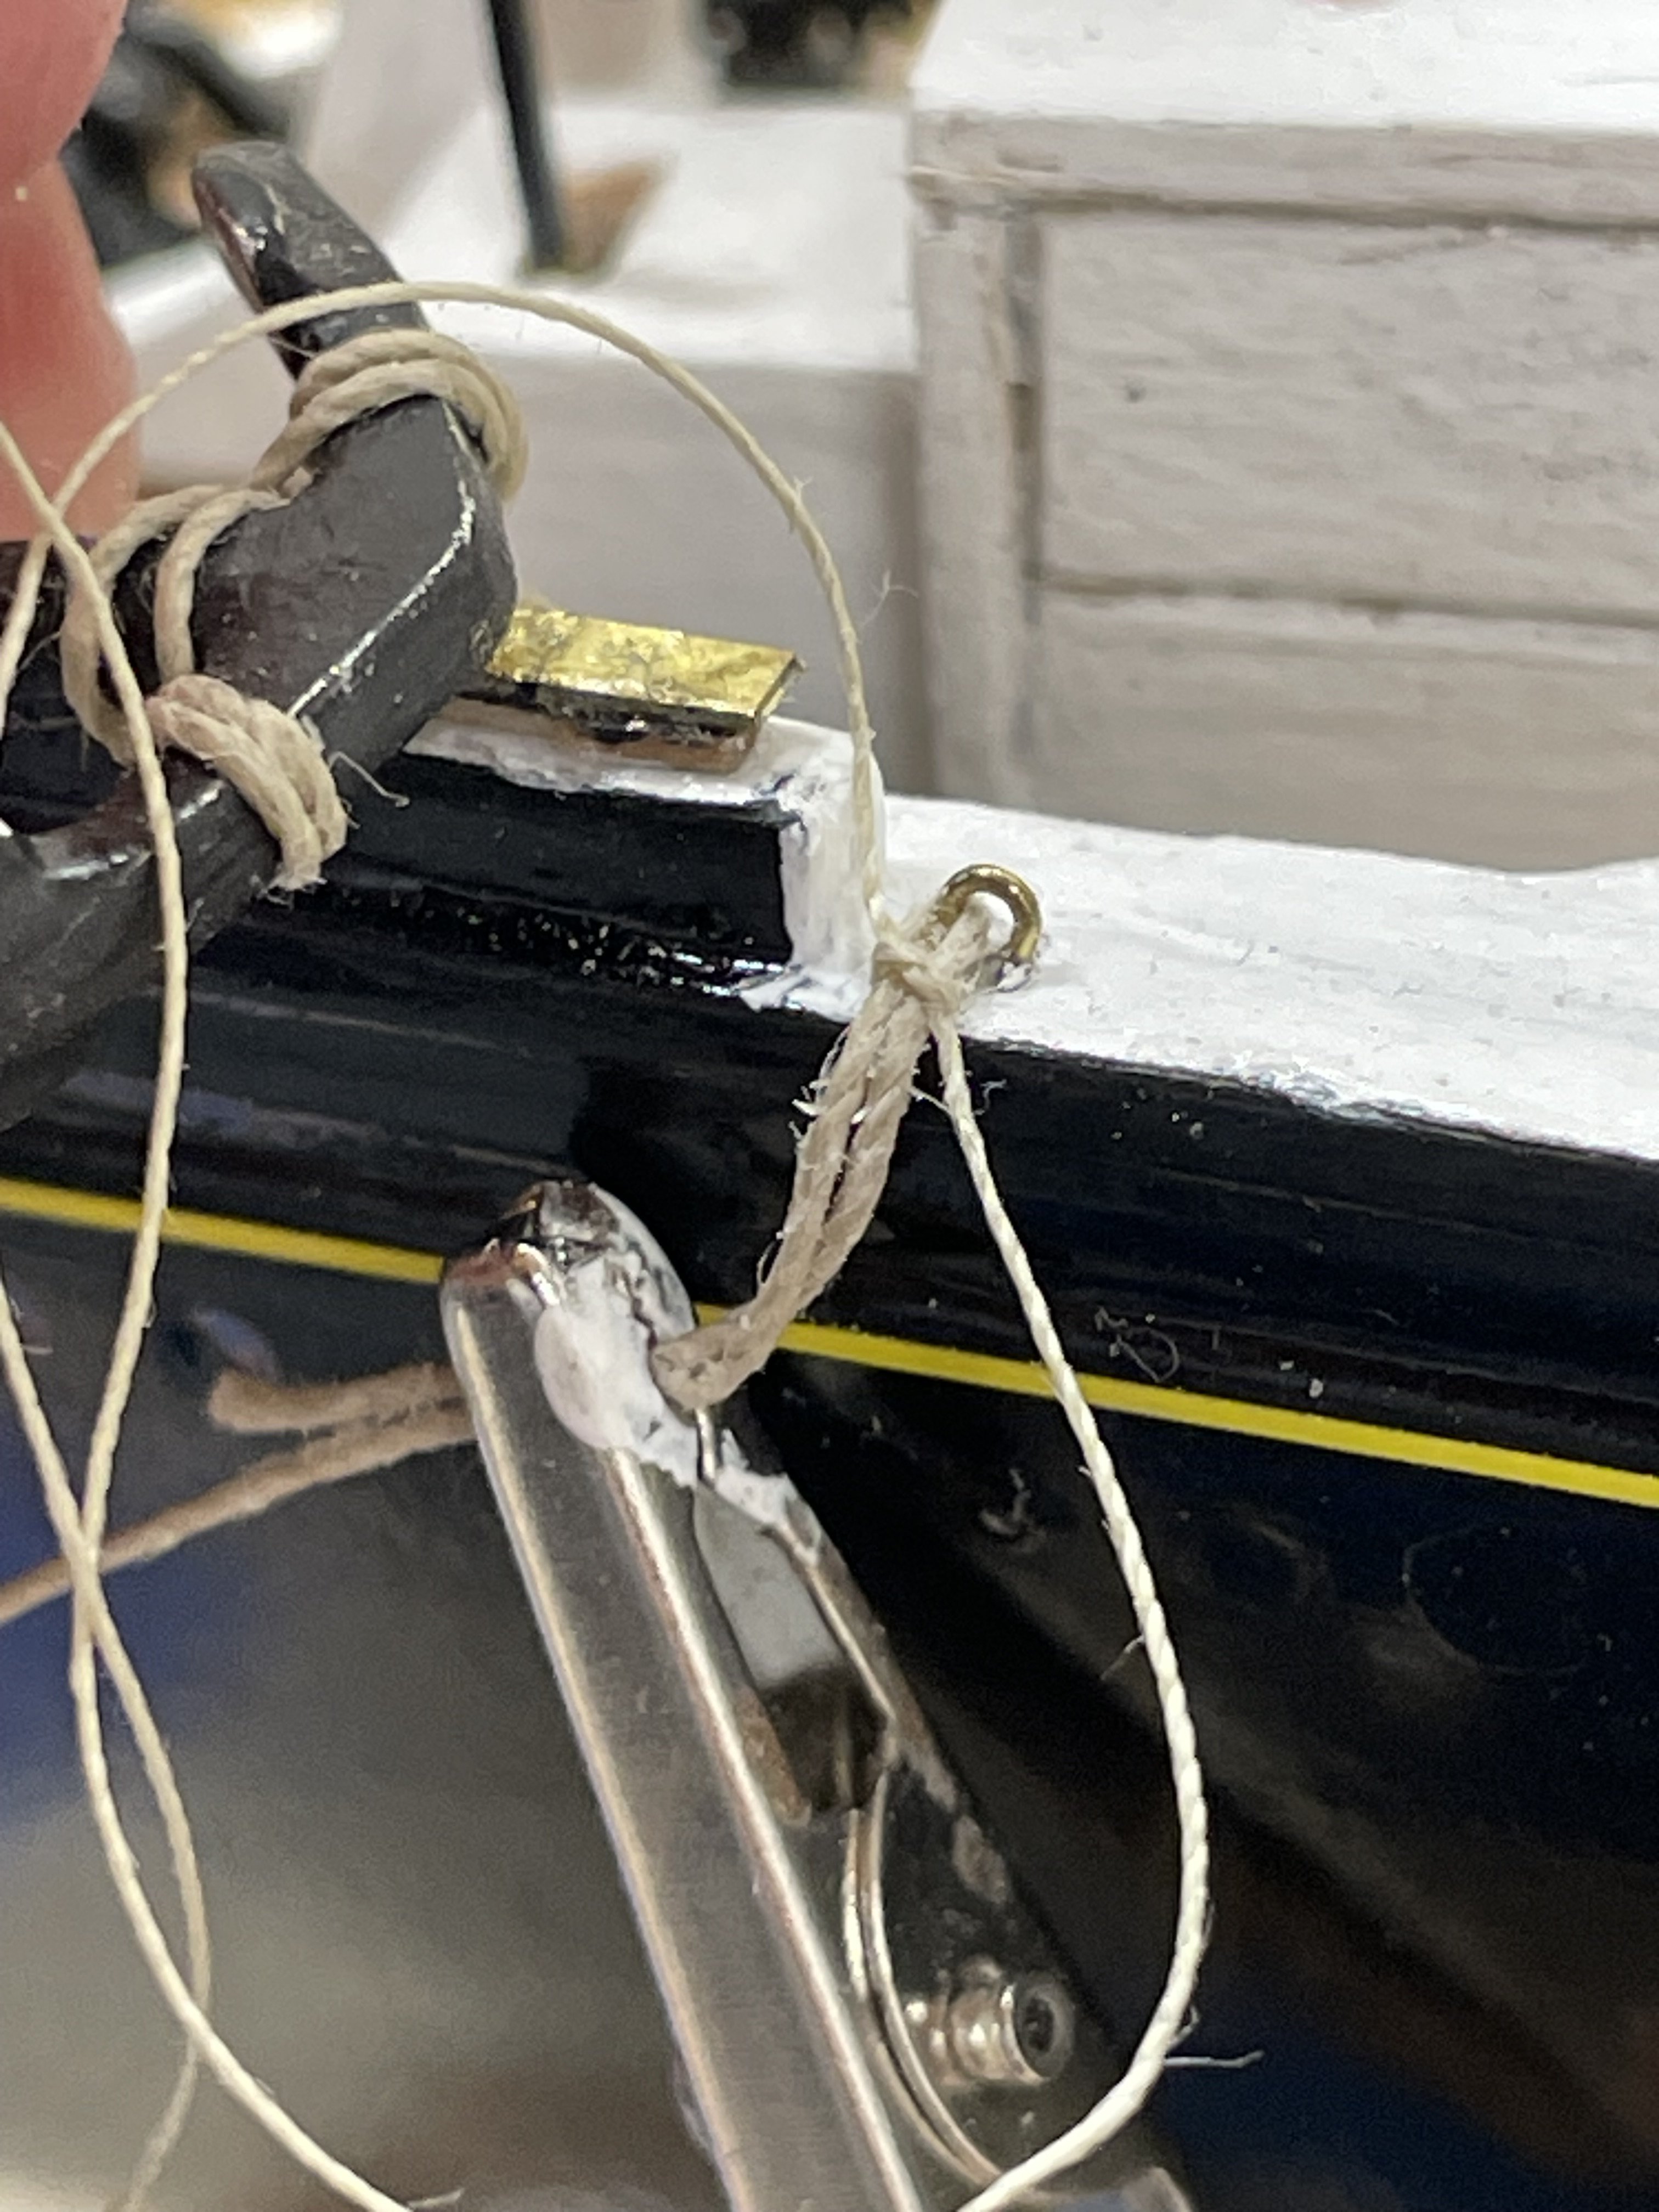
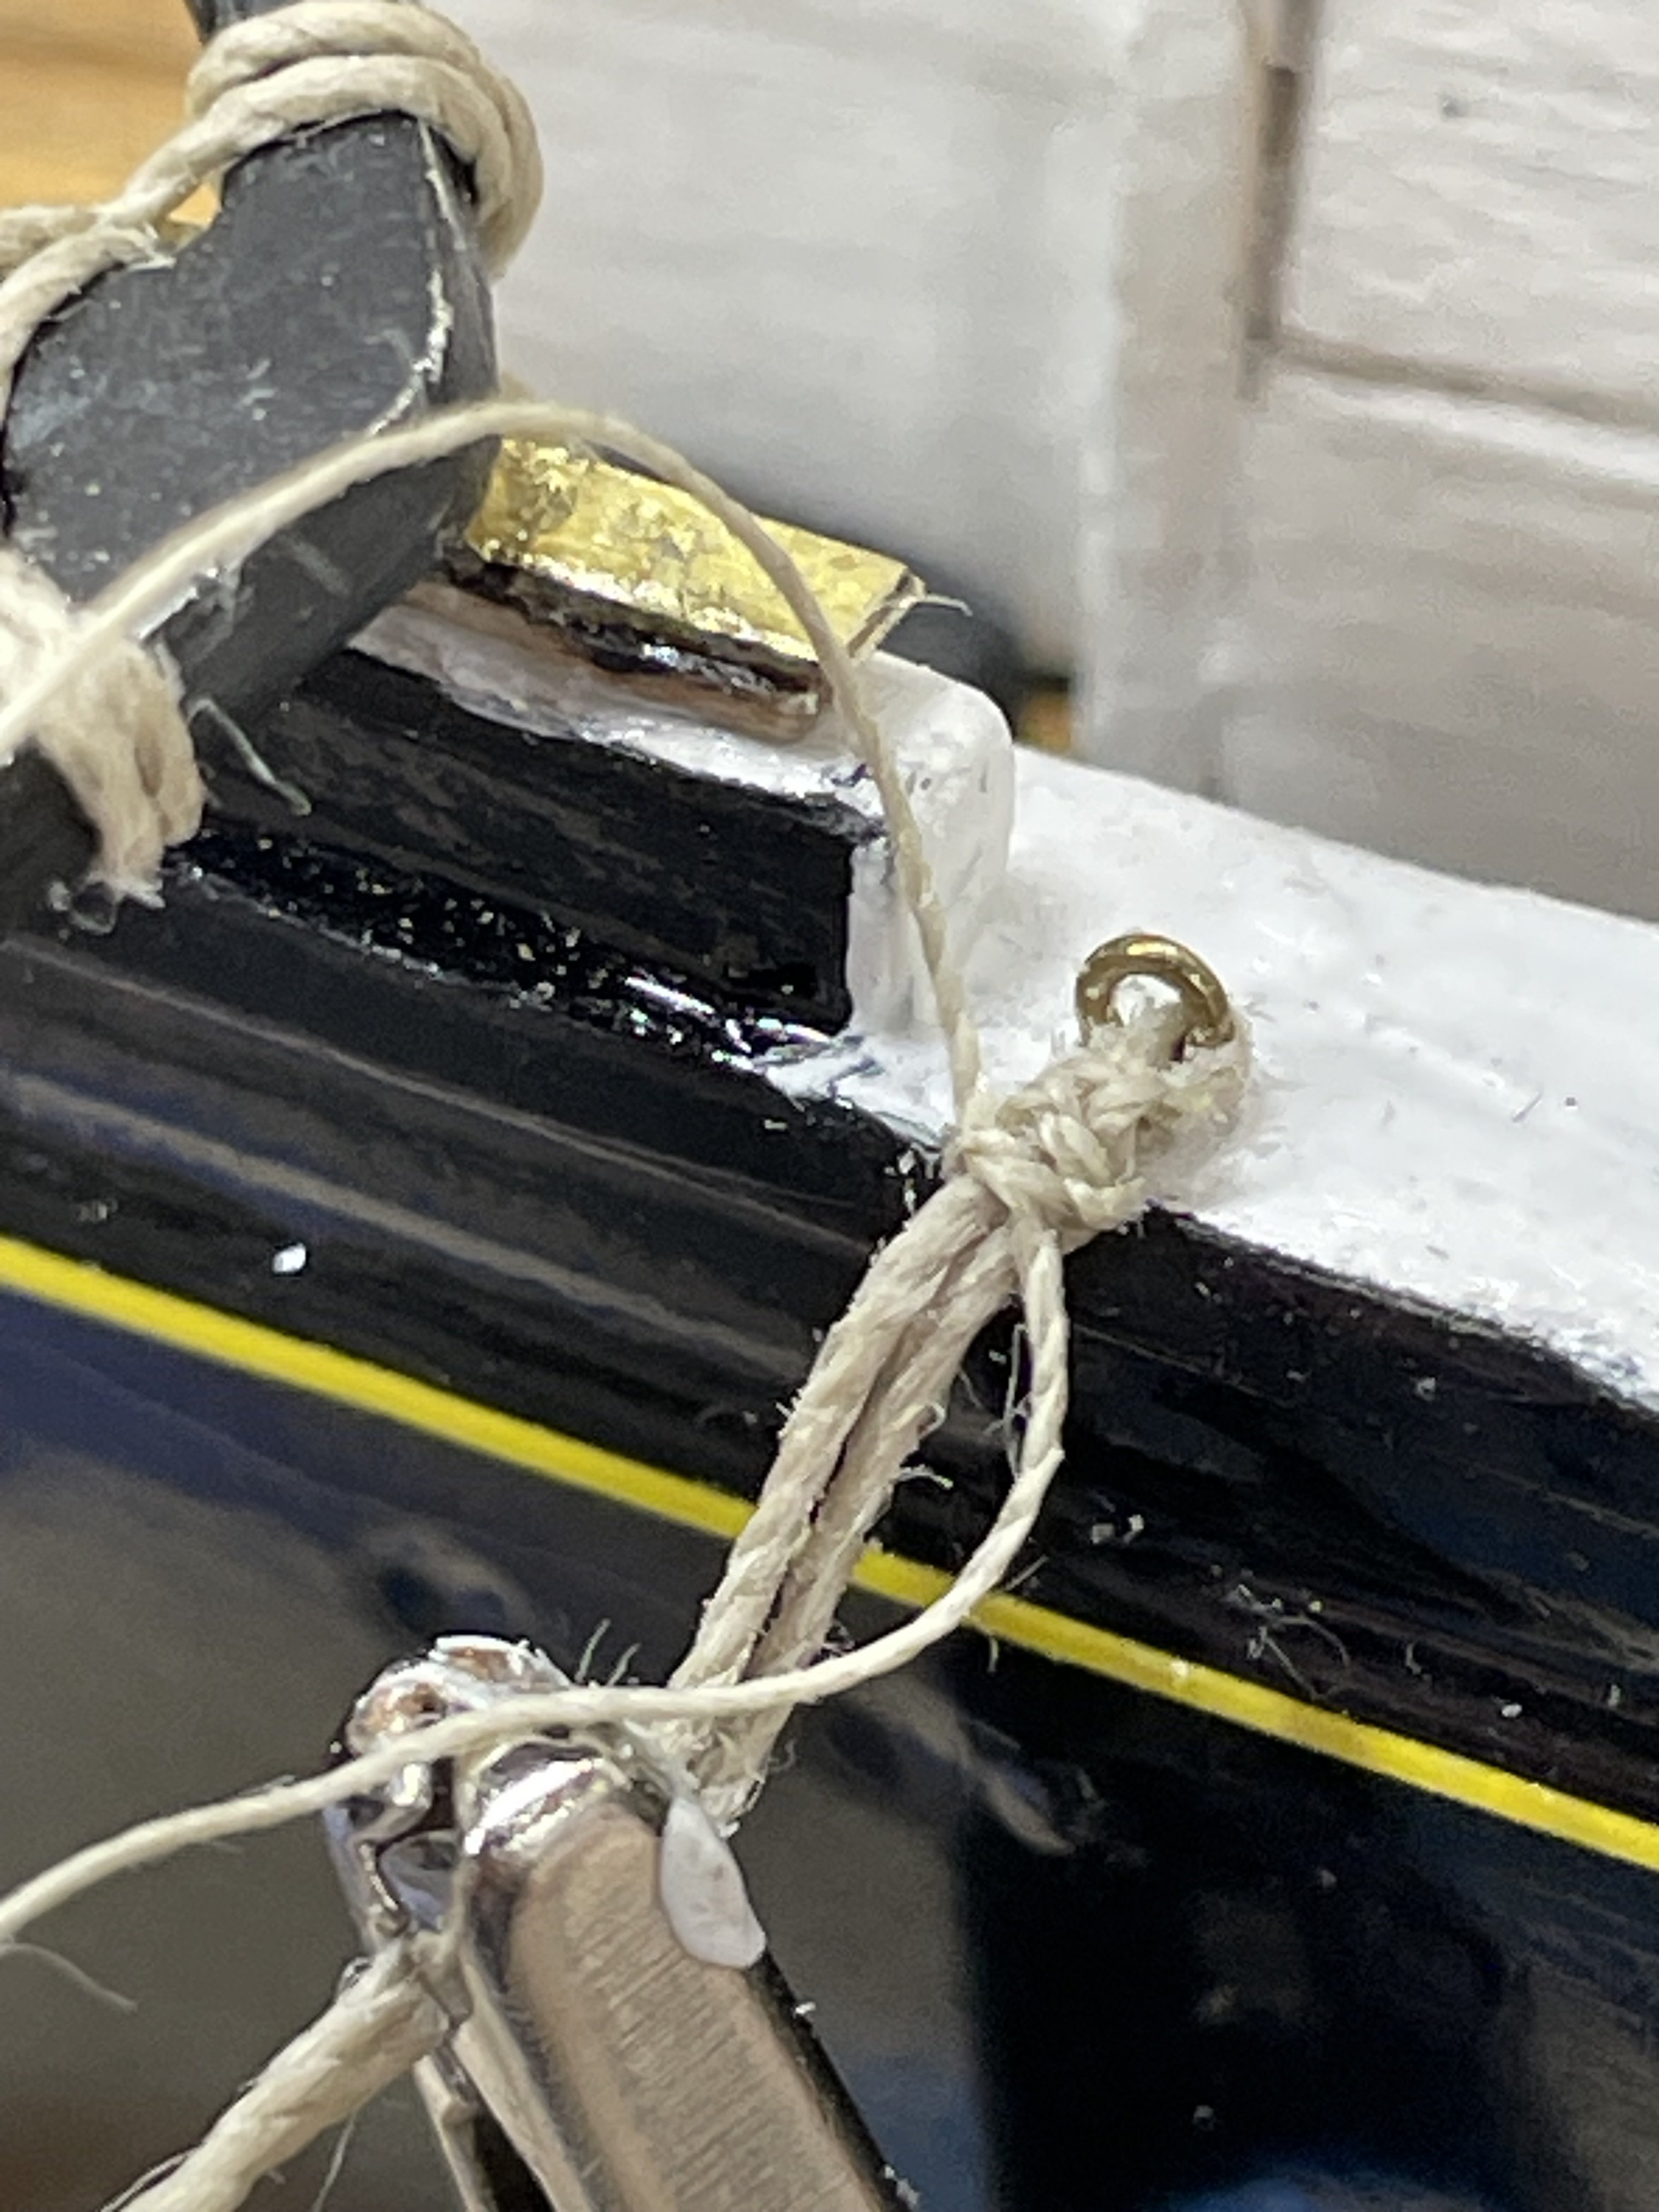
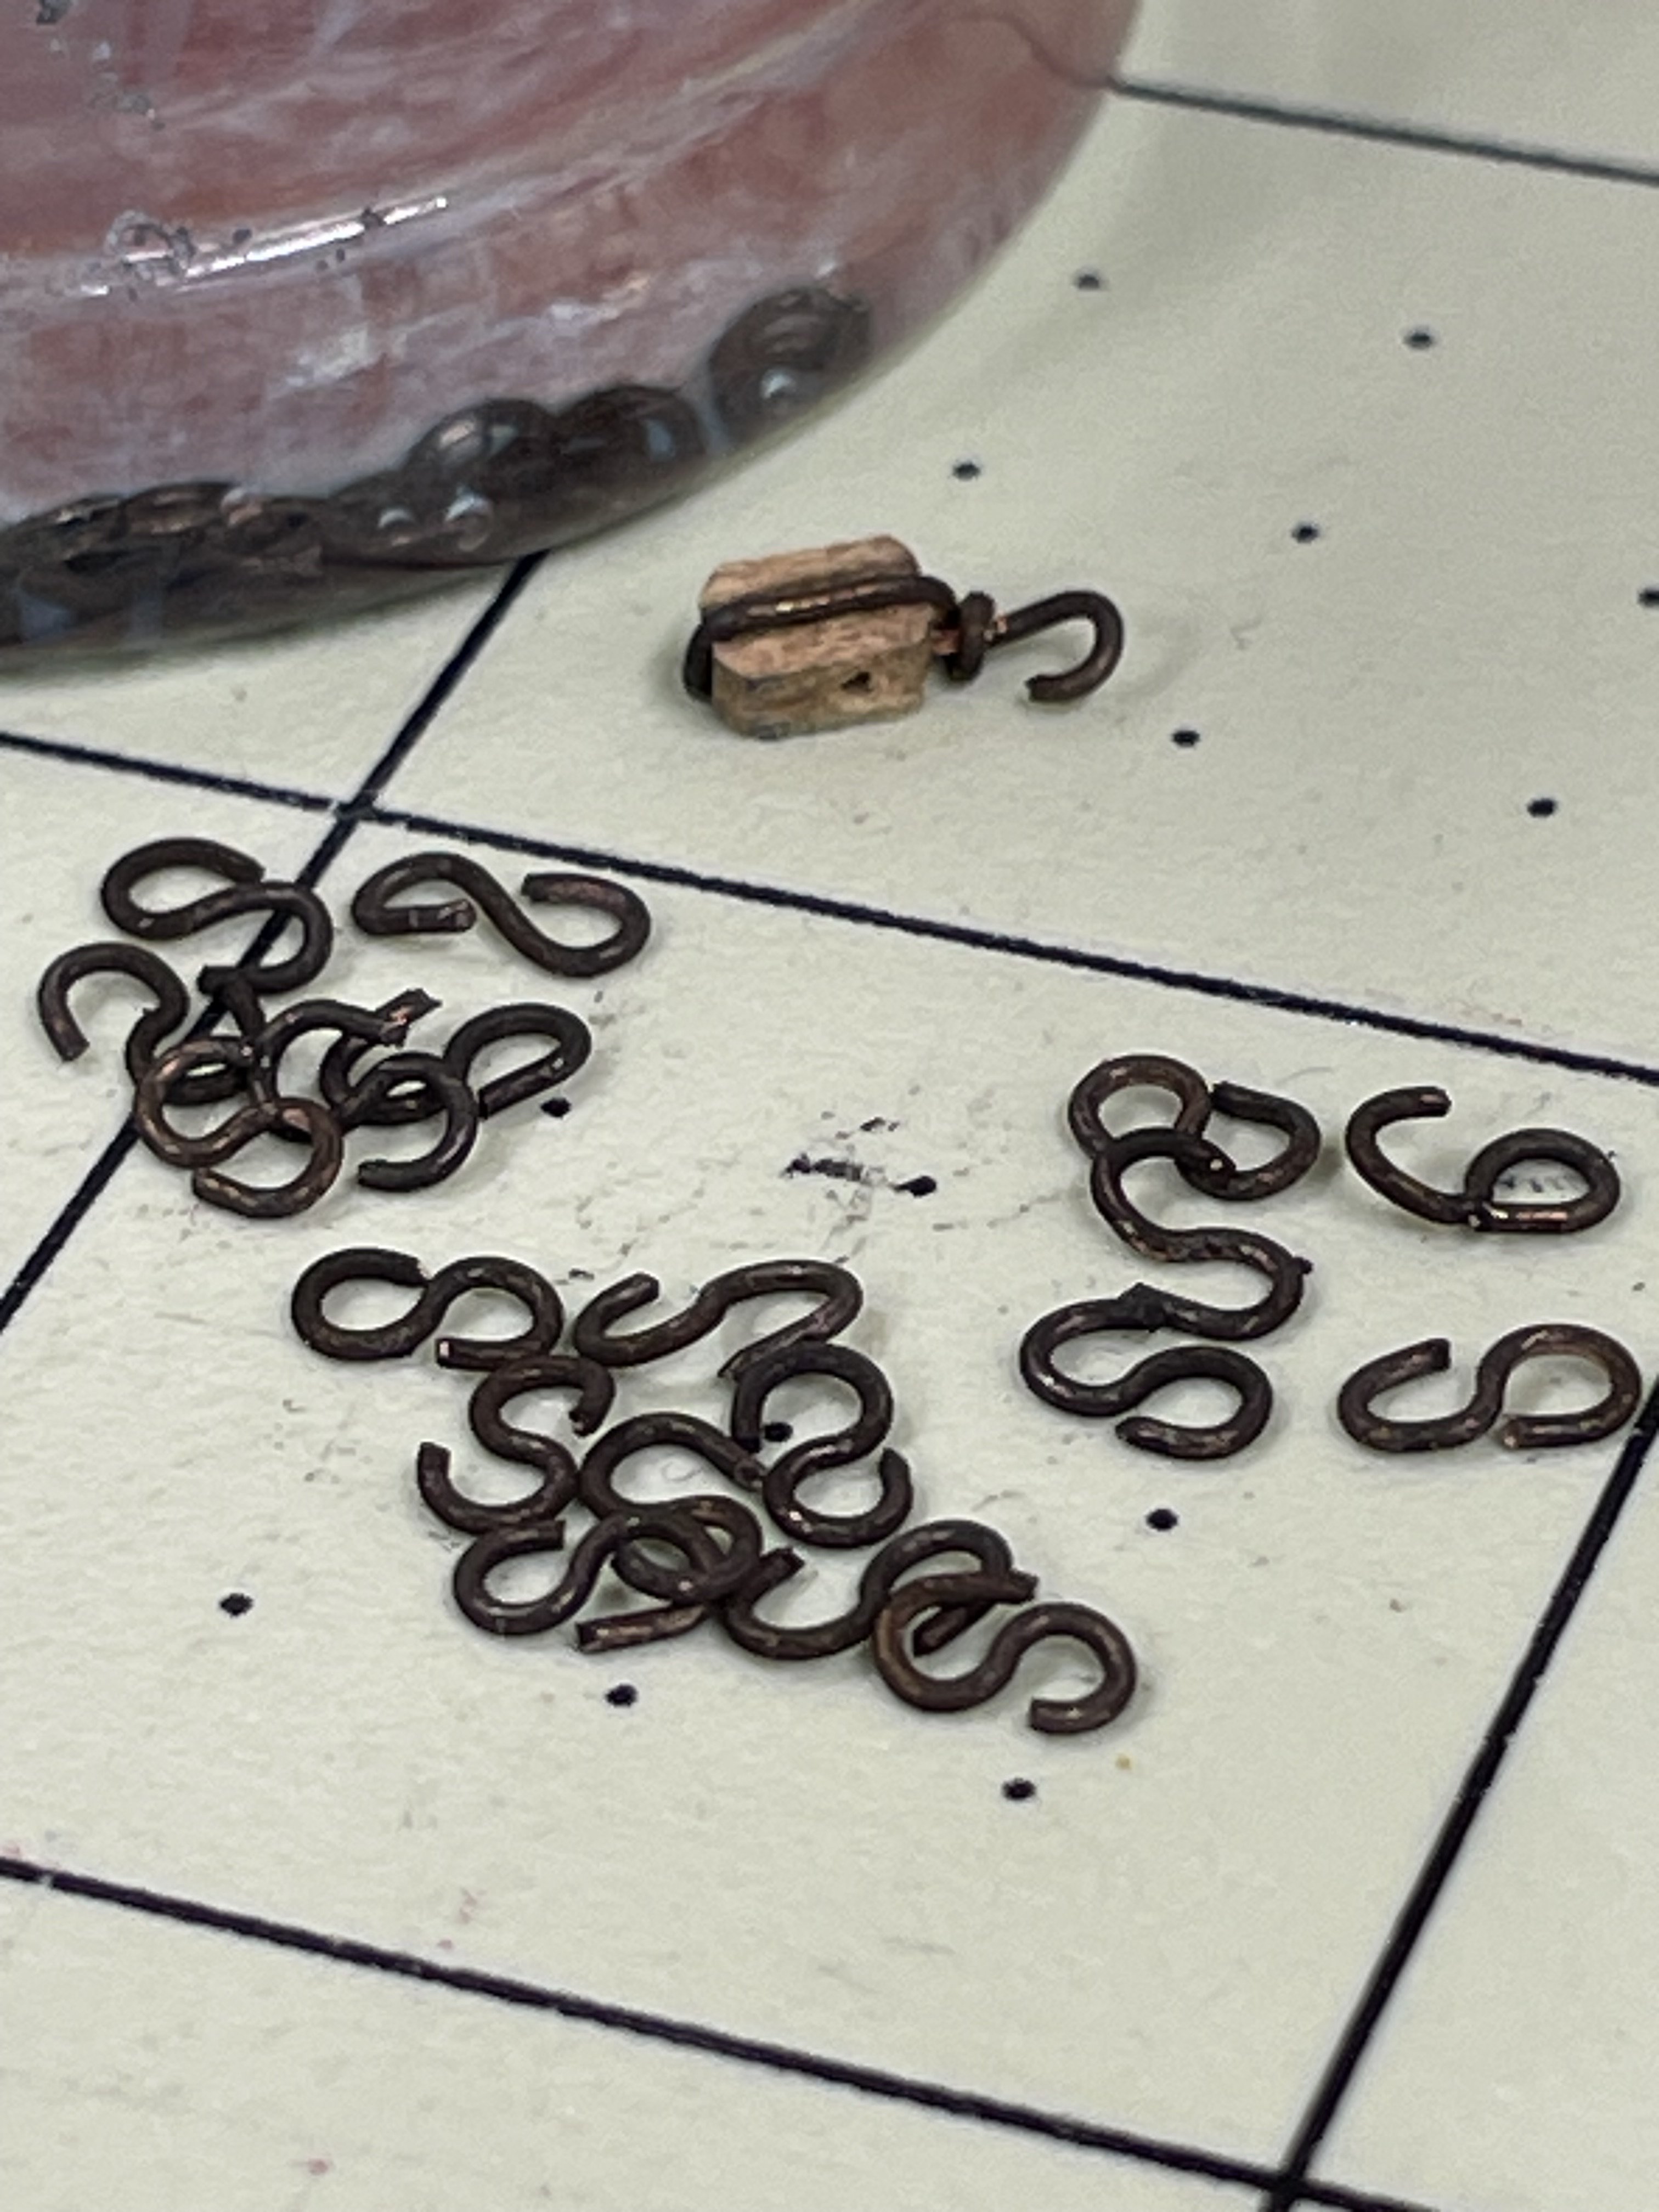
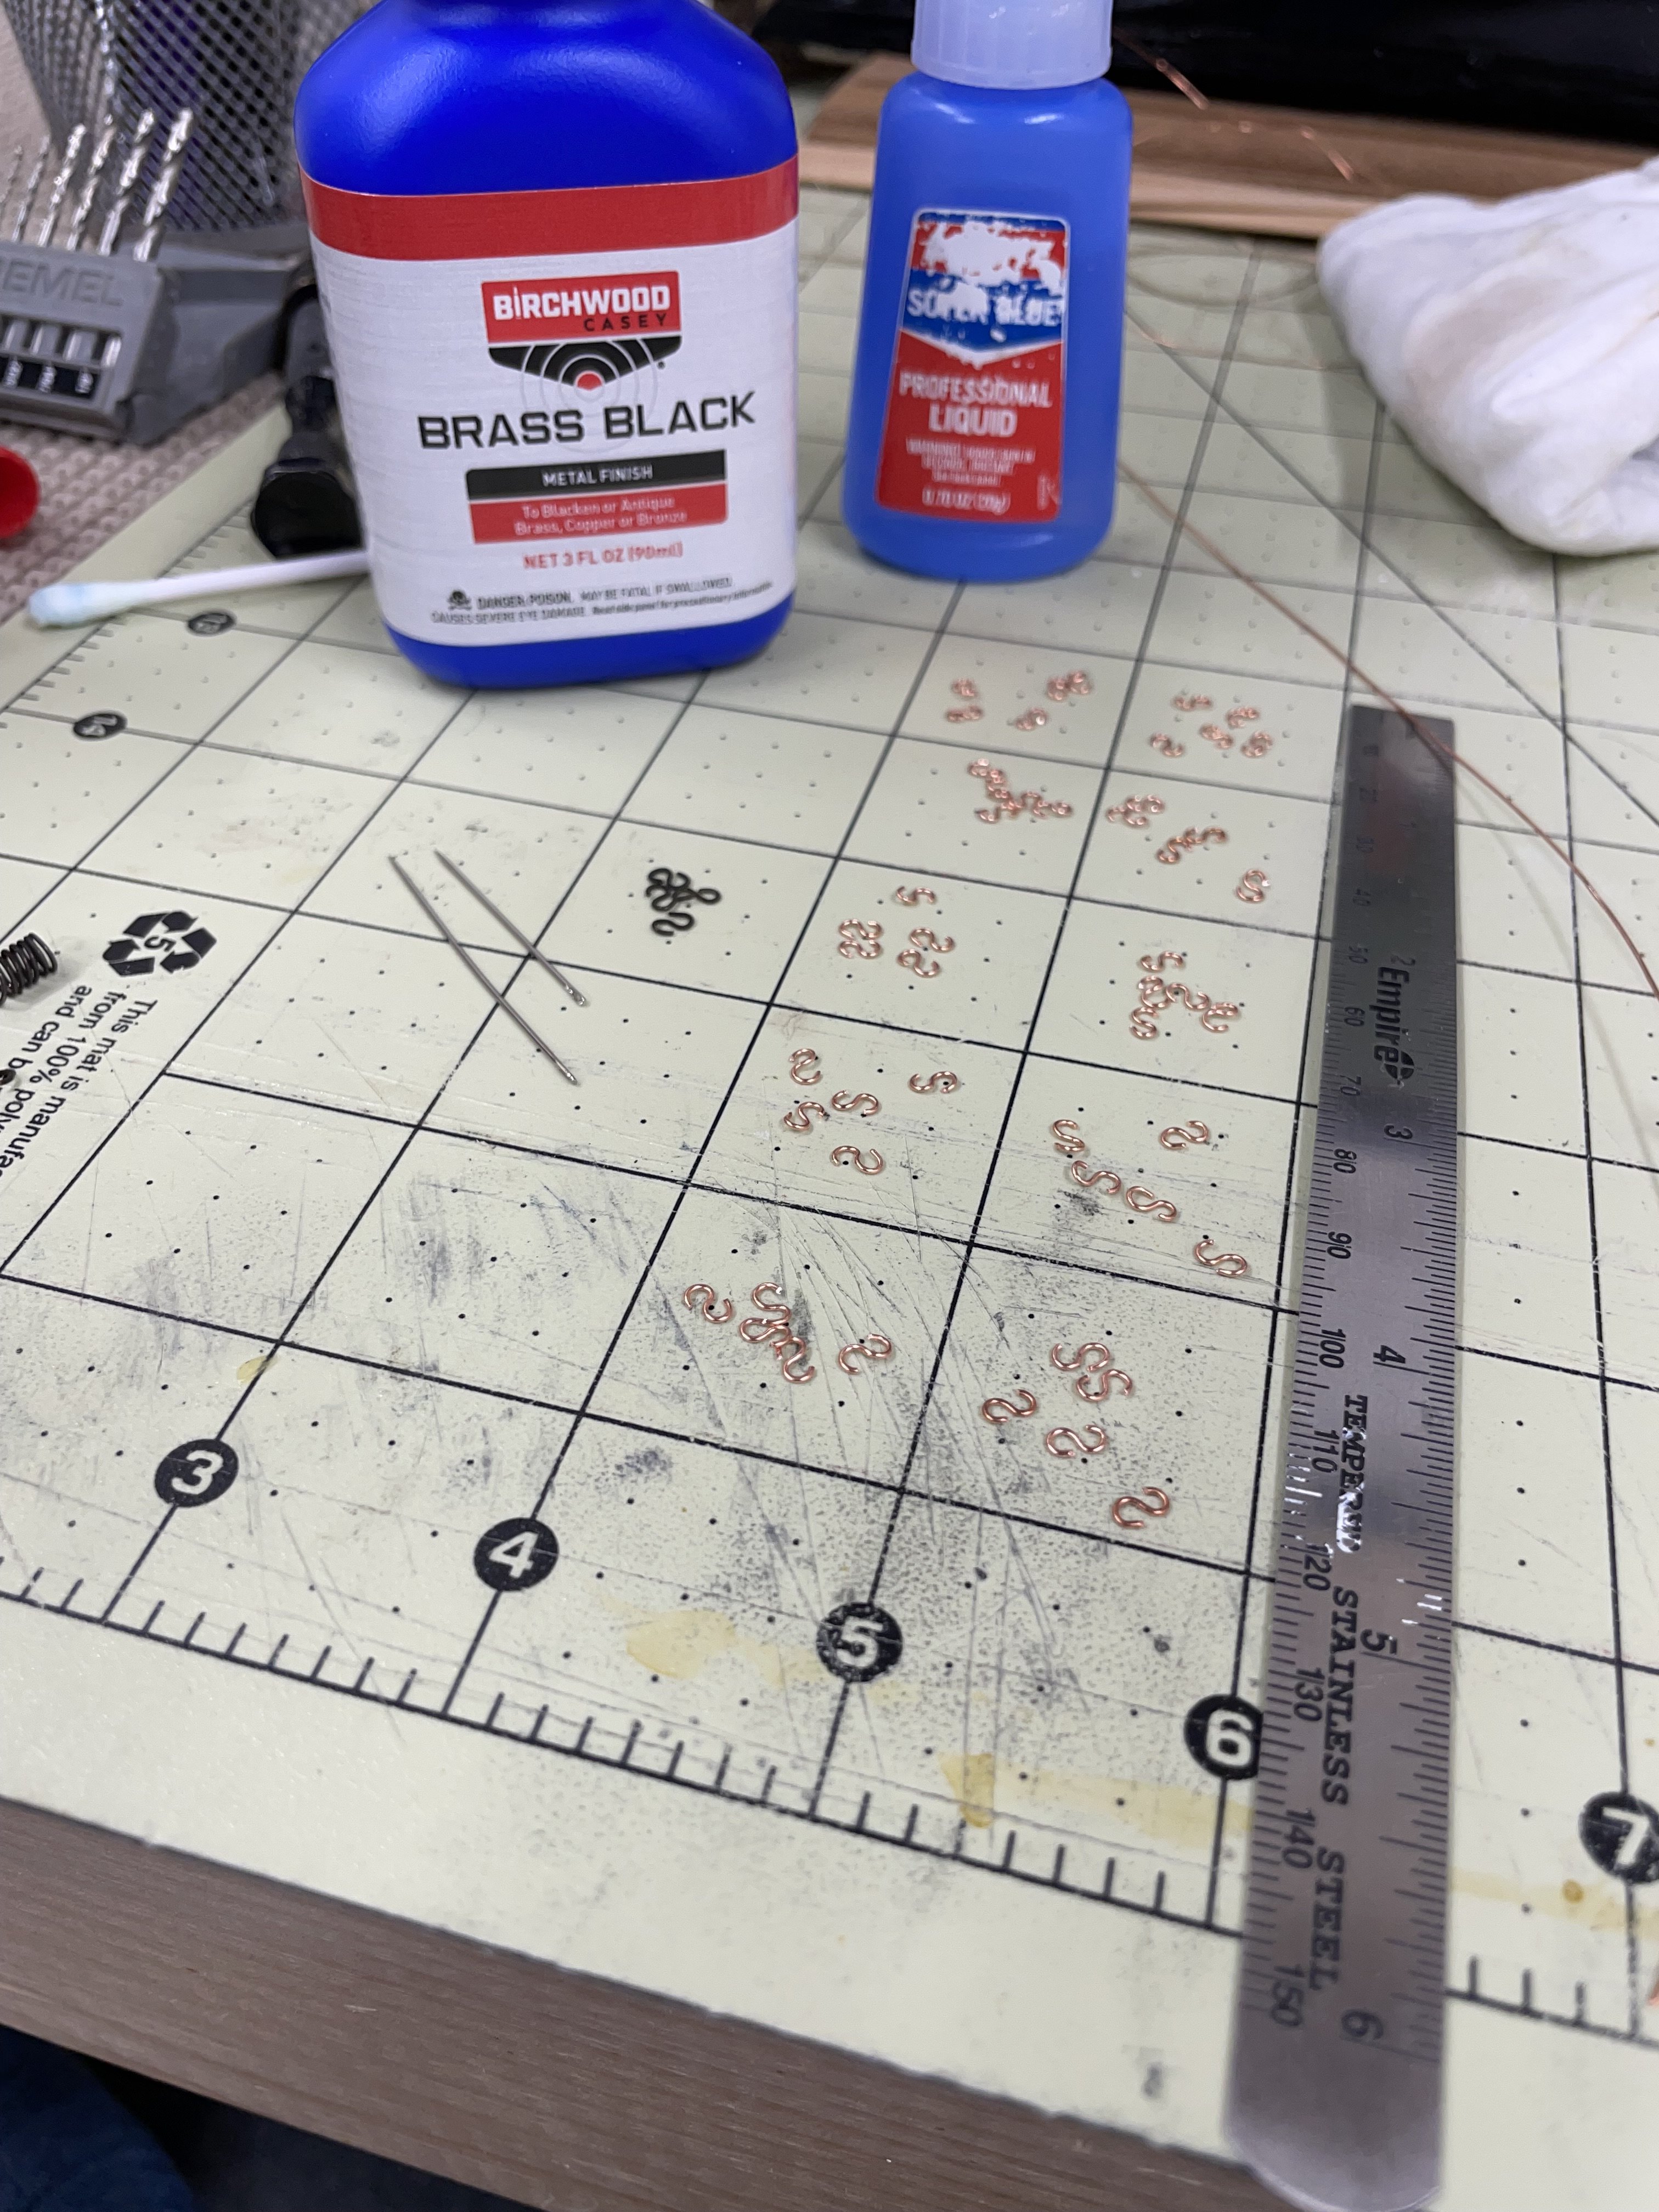
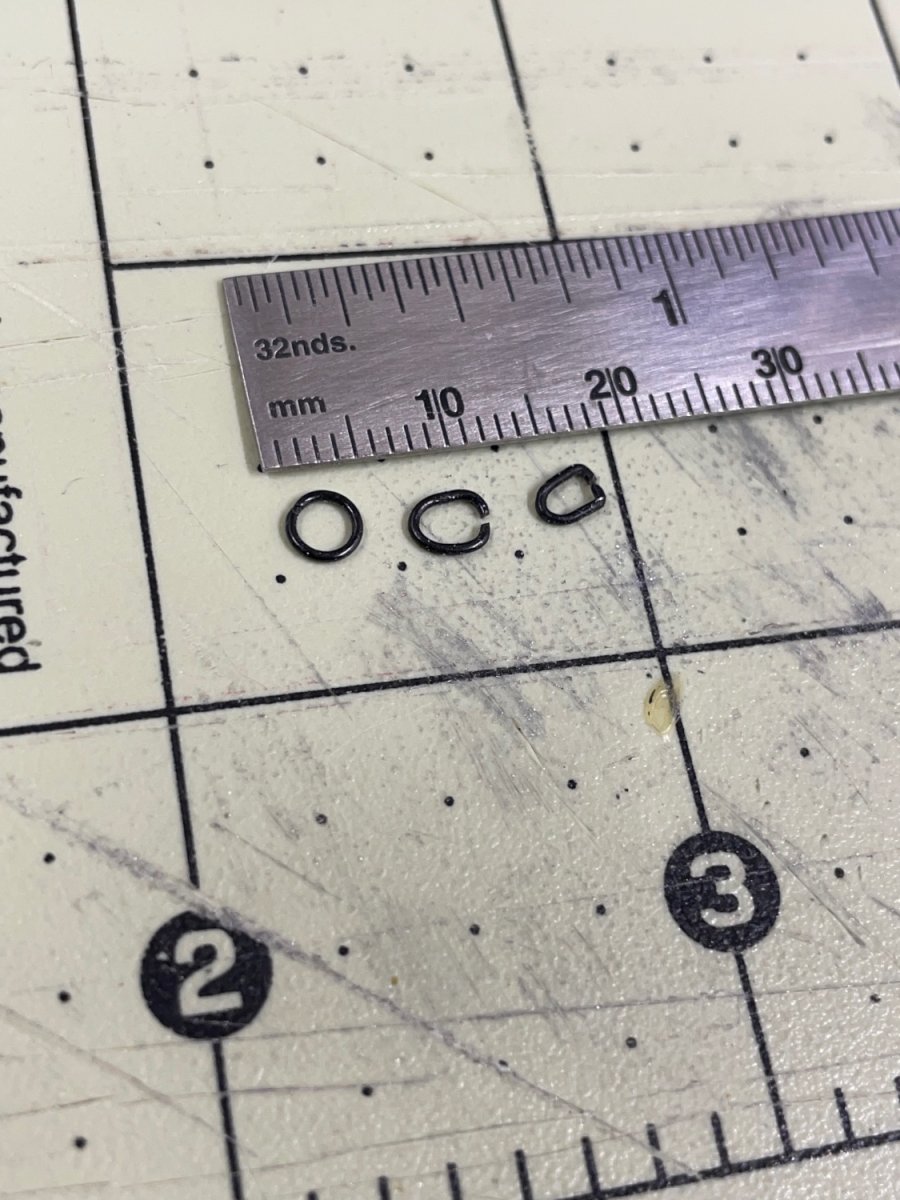
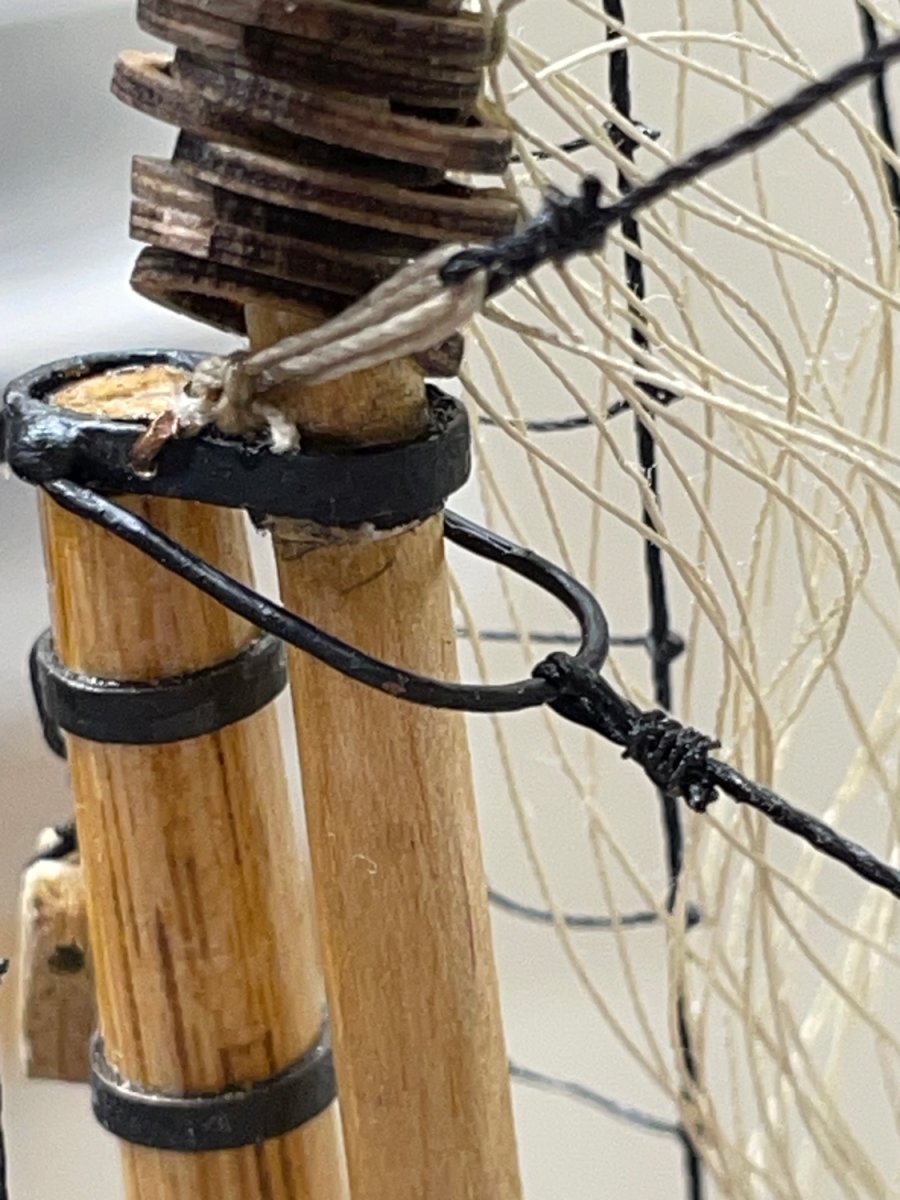
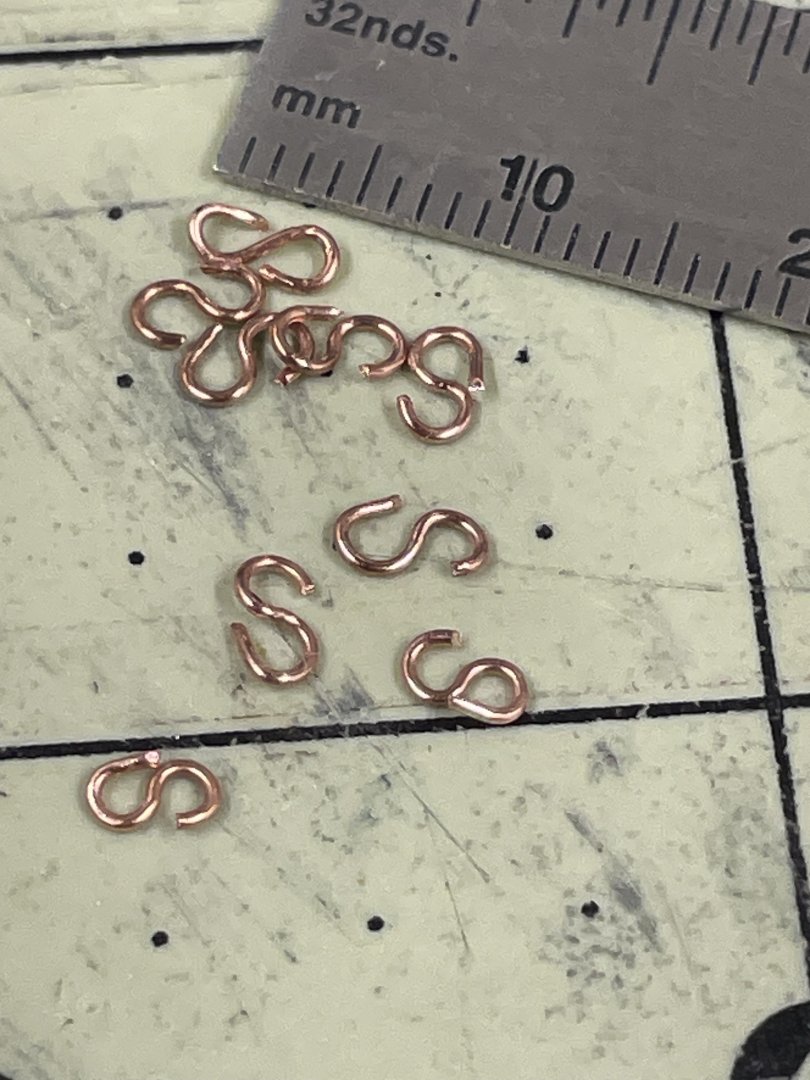
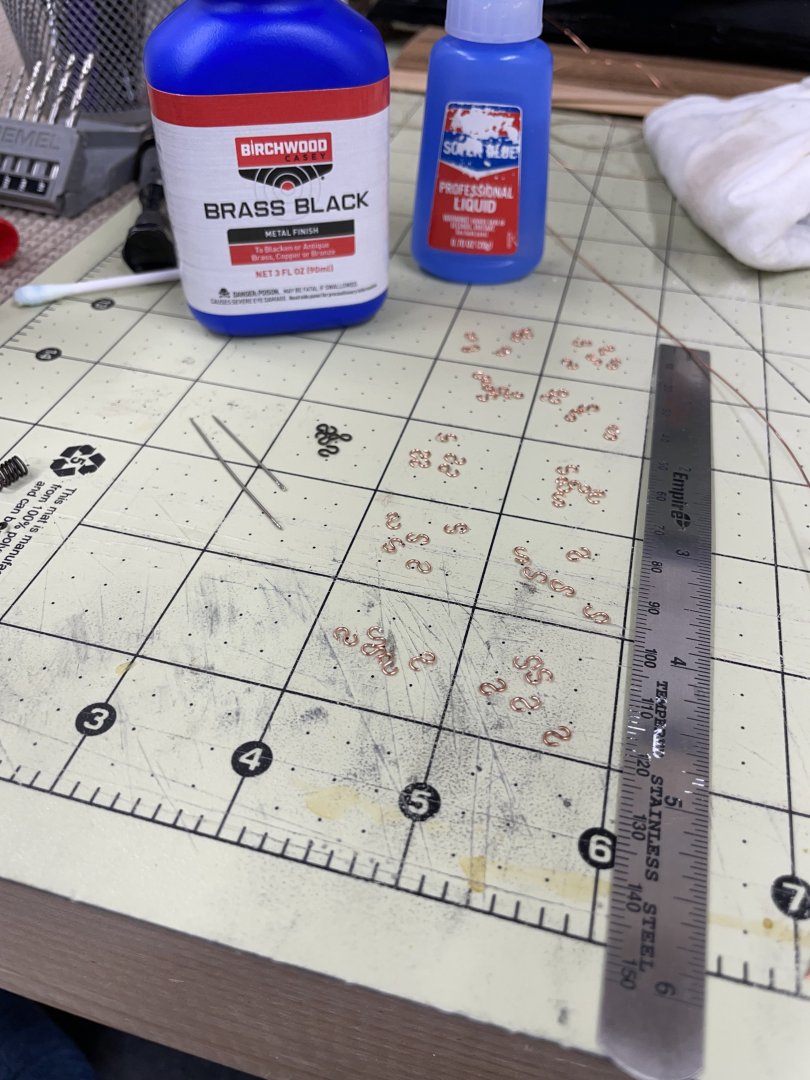
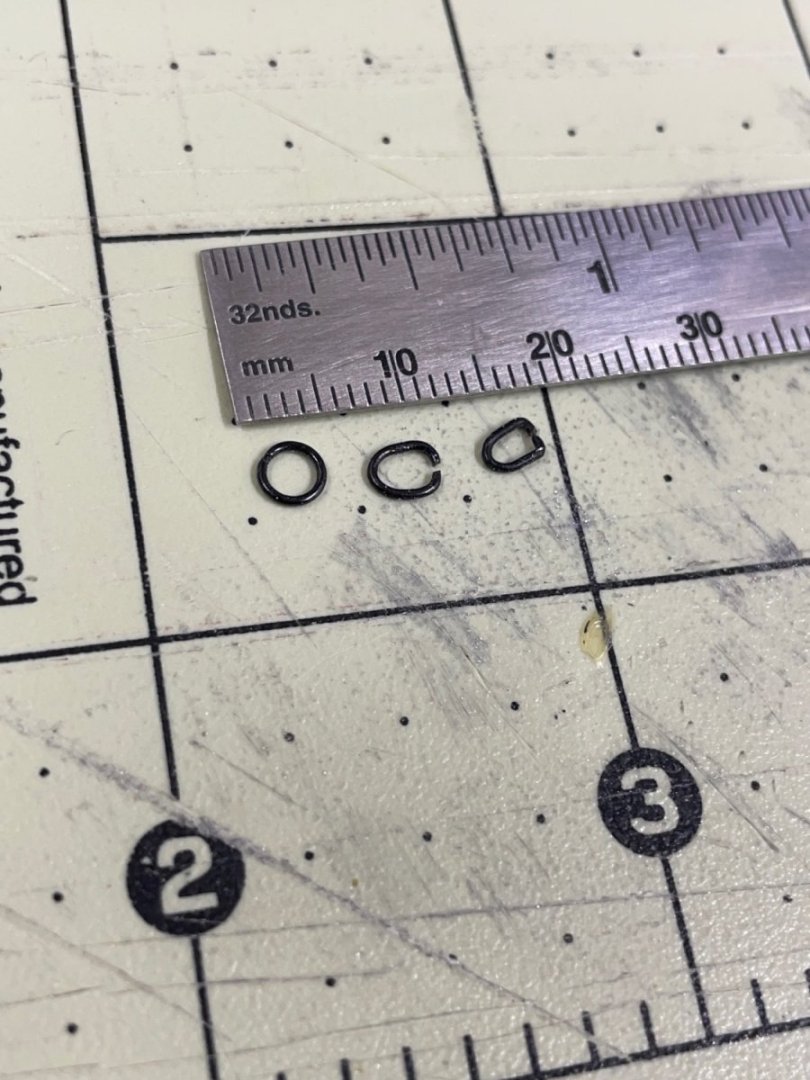
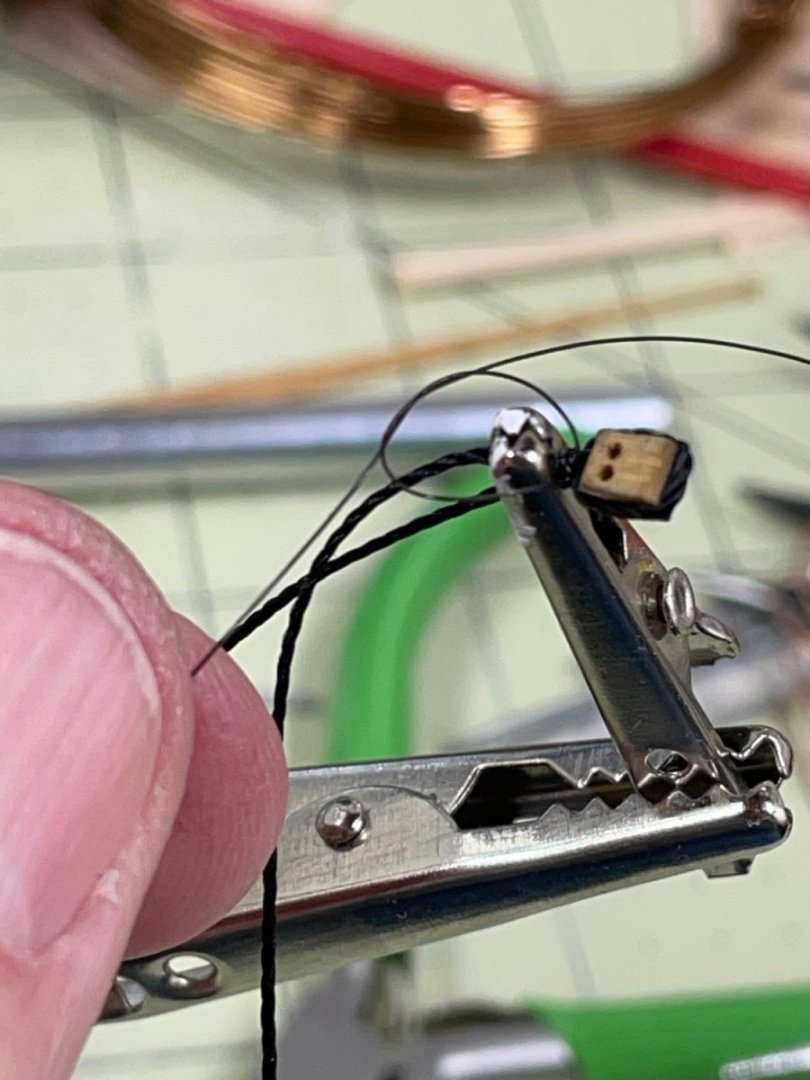
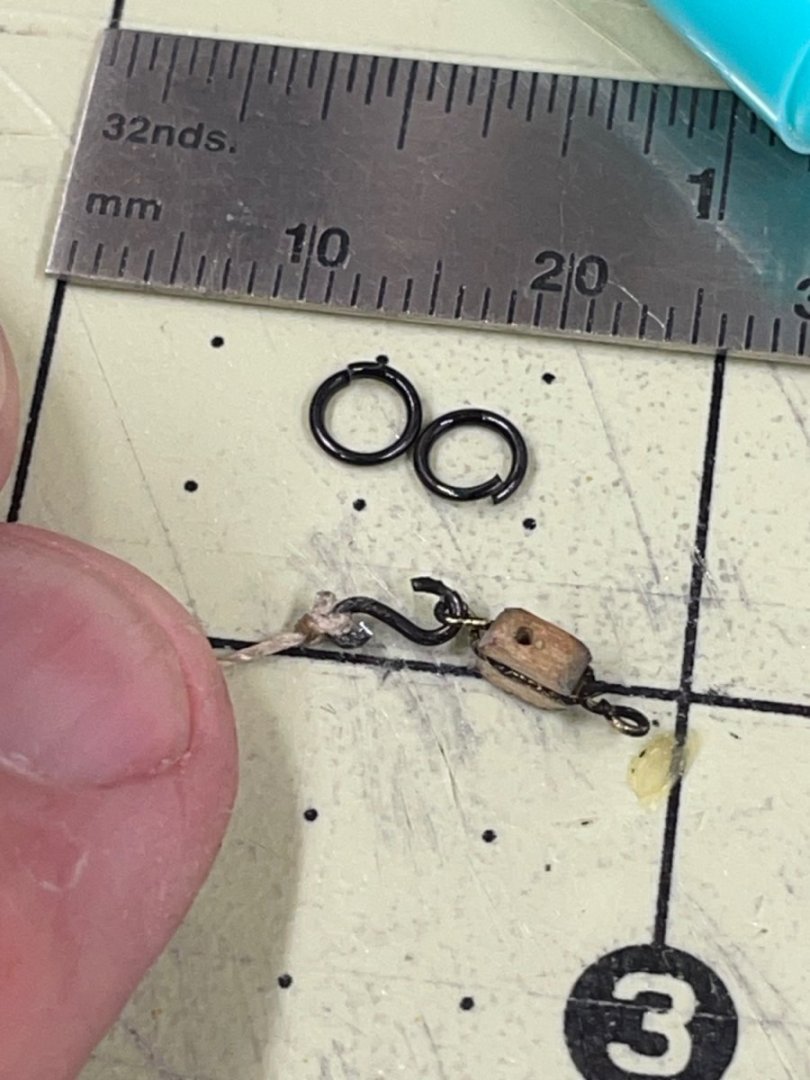
Tim, Thanks for your comment. I usually use split rings but found them to be too out of scale. Here is a comparison, split ring at the top.
- 282 replies
-
- 3
-
-
- Bluenose
- Model Shipways
- (and 1 more)
-
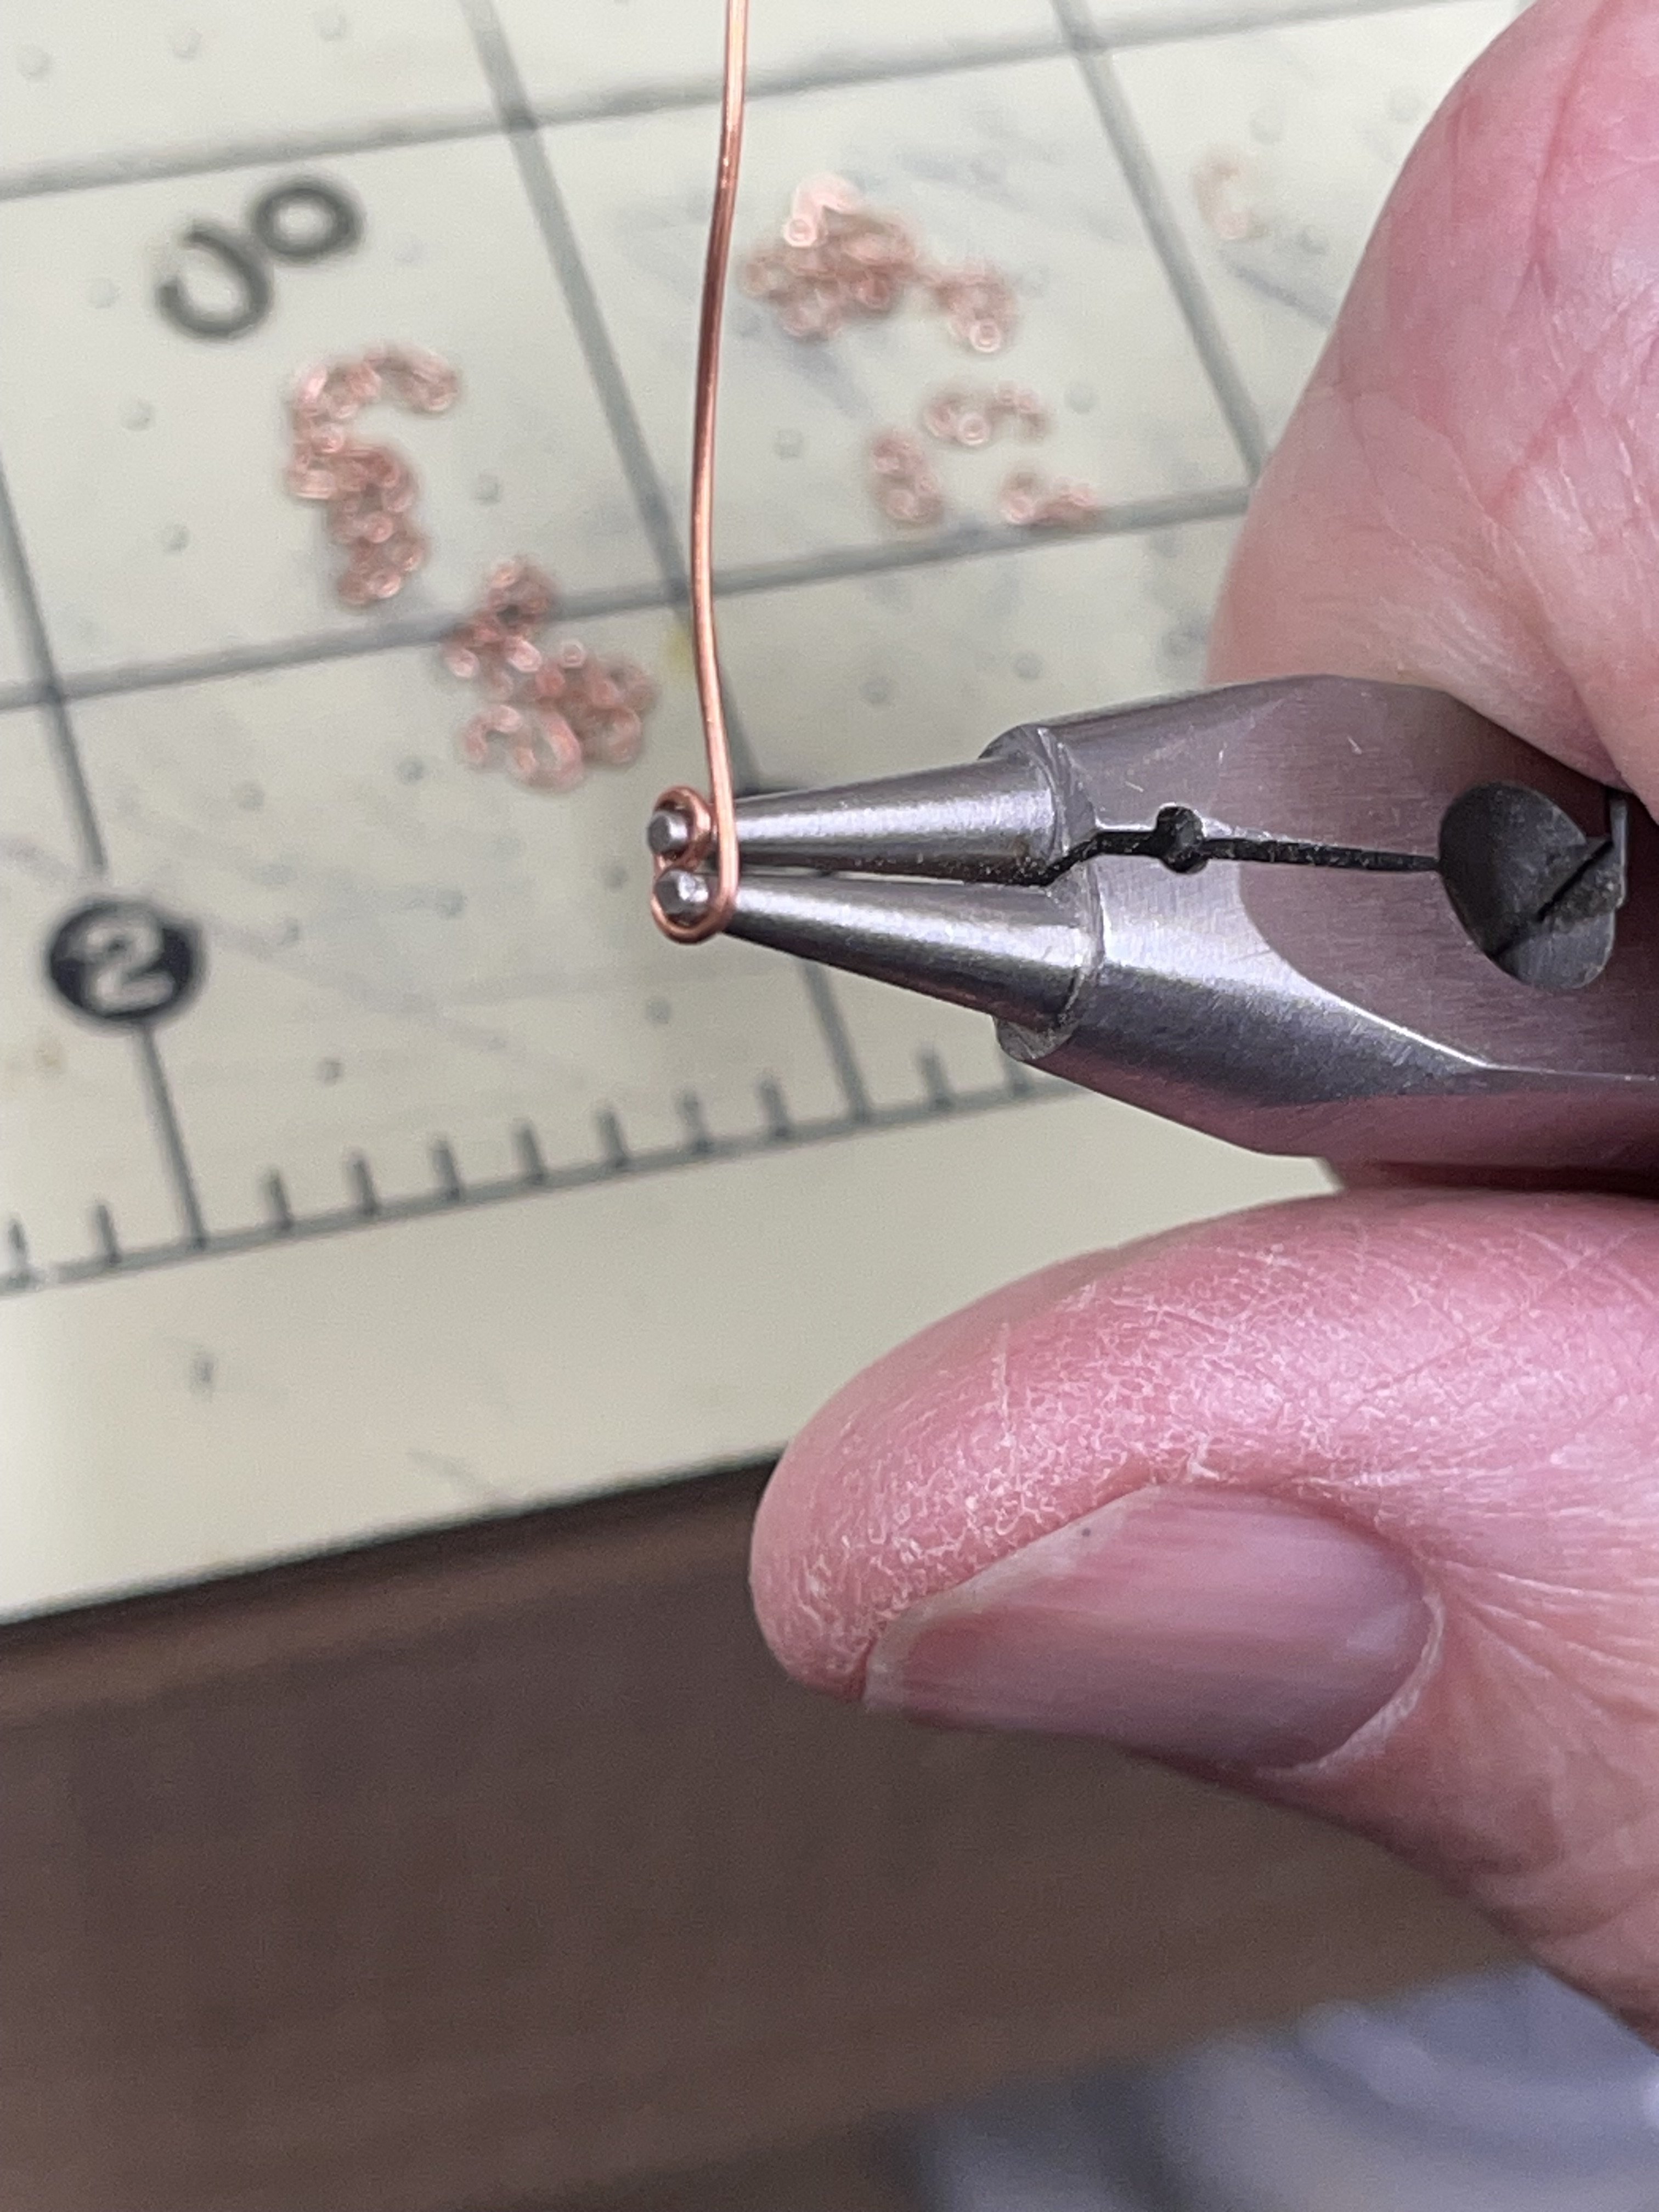
Thanks Greg… The tips on the pliers actually measure 1.4 mm. Got them at Joann’s. https://www.joann.com/8in-round-3-in-1-nose-plier-by-hildie-jo/17167362.html
-
Gord, Glad your back on the Bluenose, it’s been my obsession for just over two years now. As for the gaps, you might try using carpenter’s glue in them and sanding over the hull prior to the glue setting. Planking is looking good 👍
-
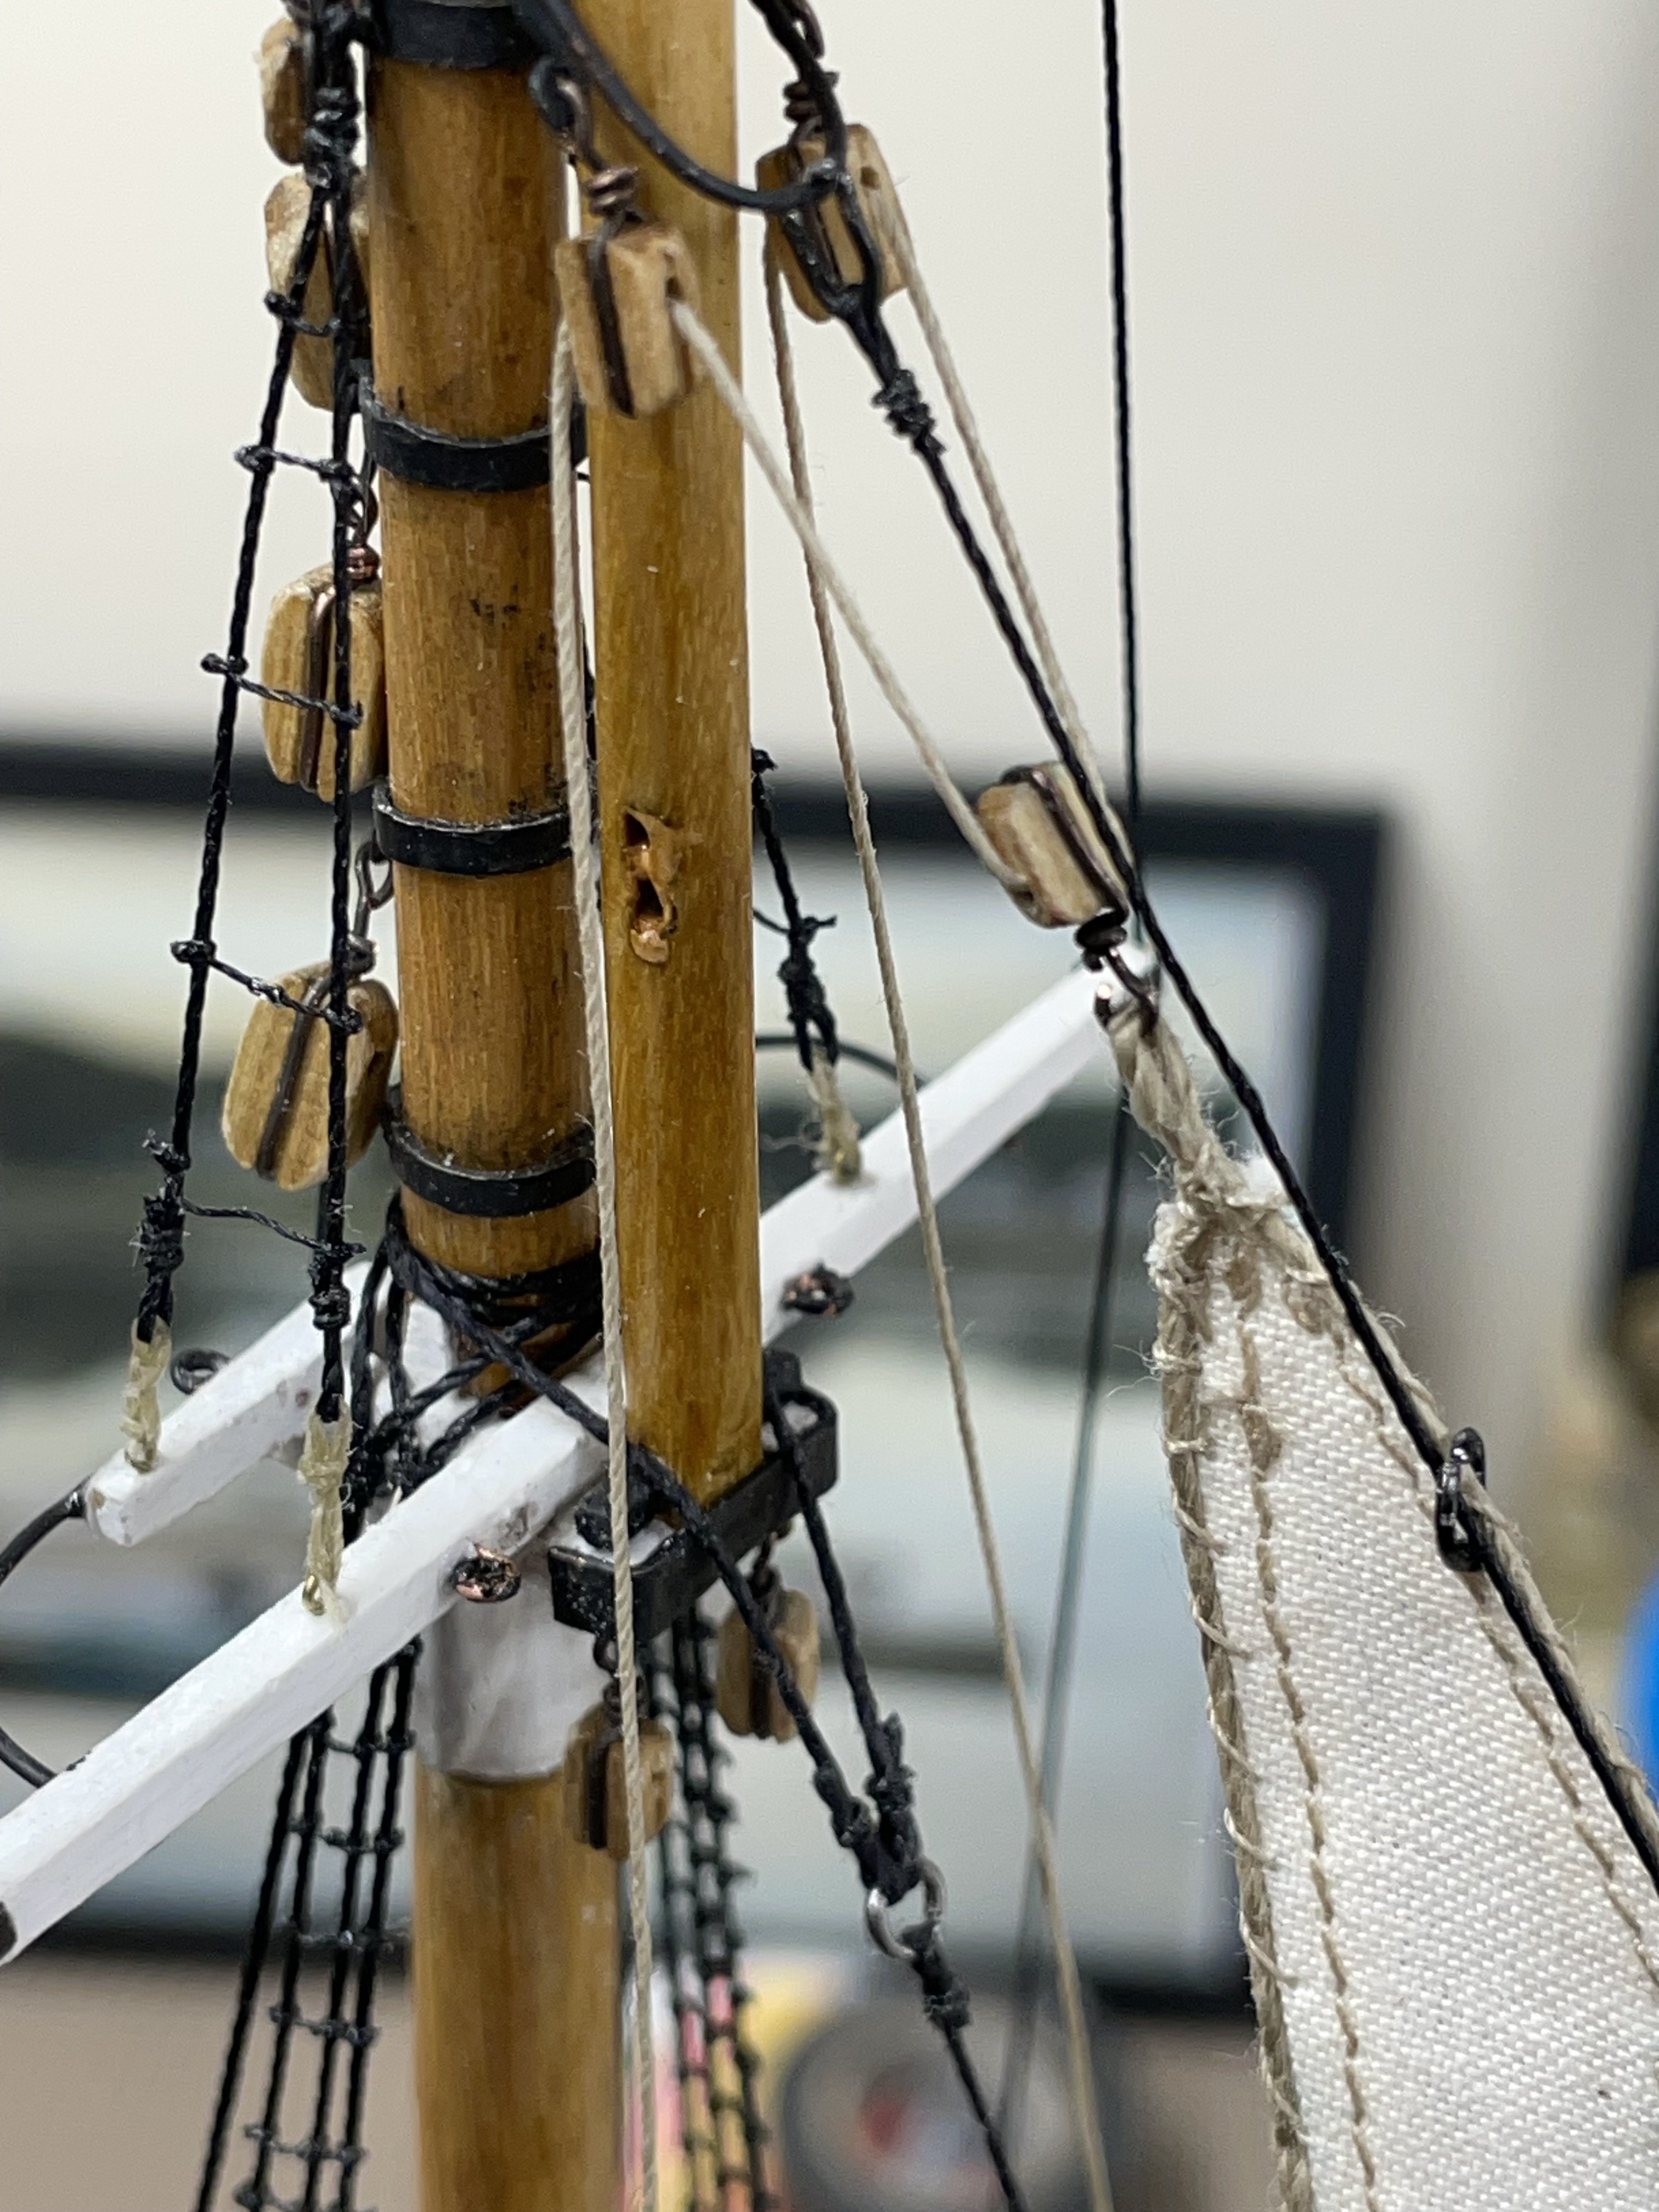
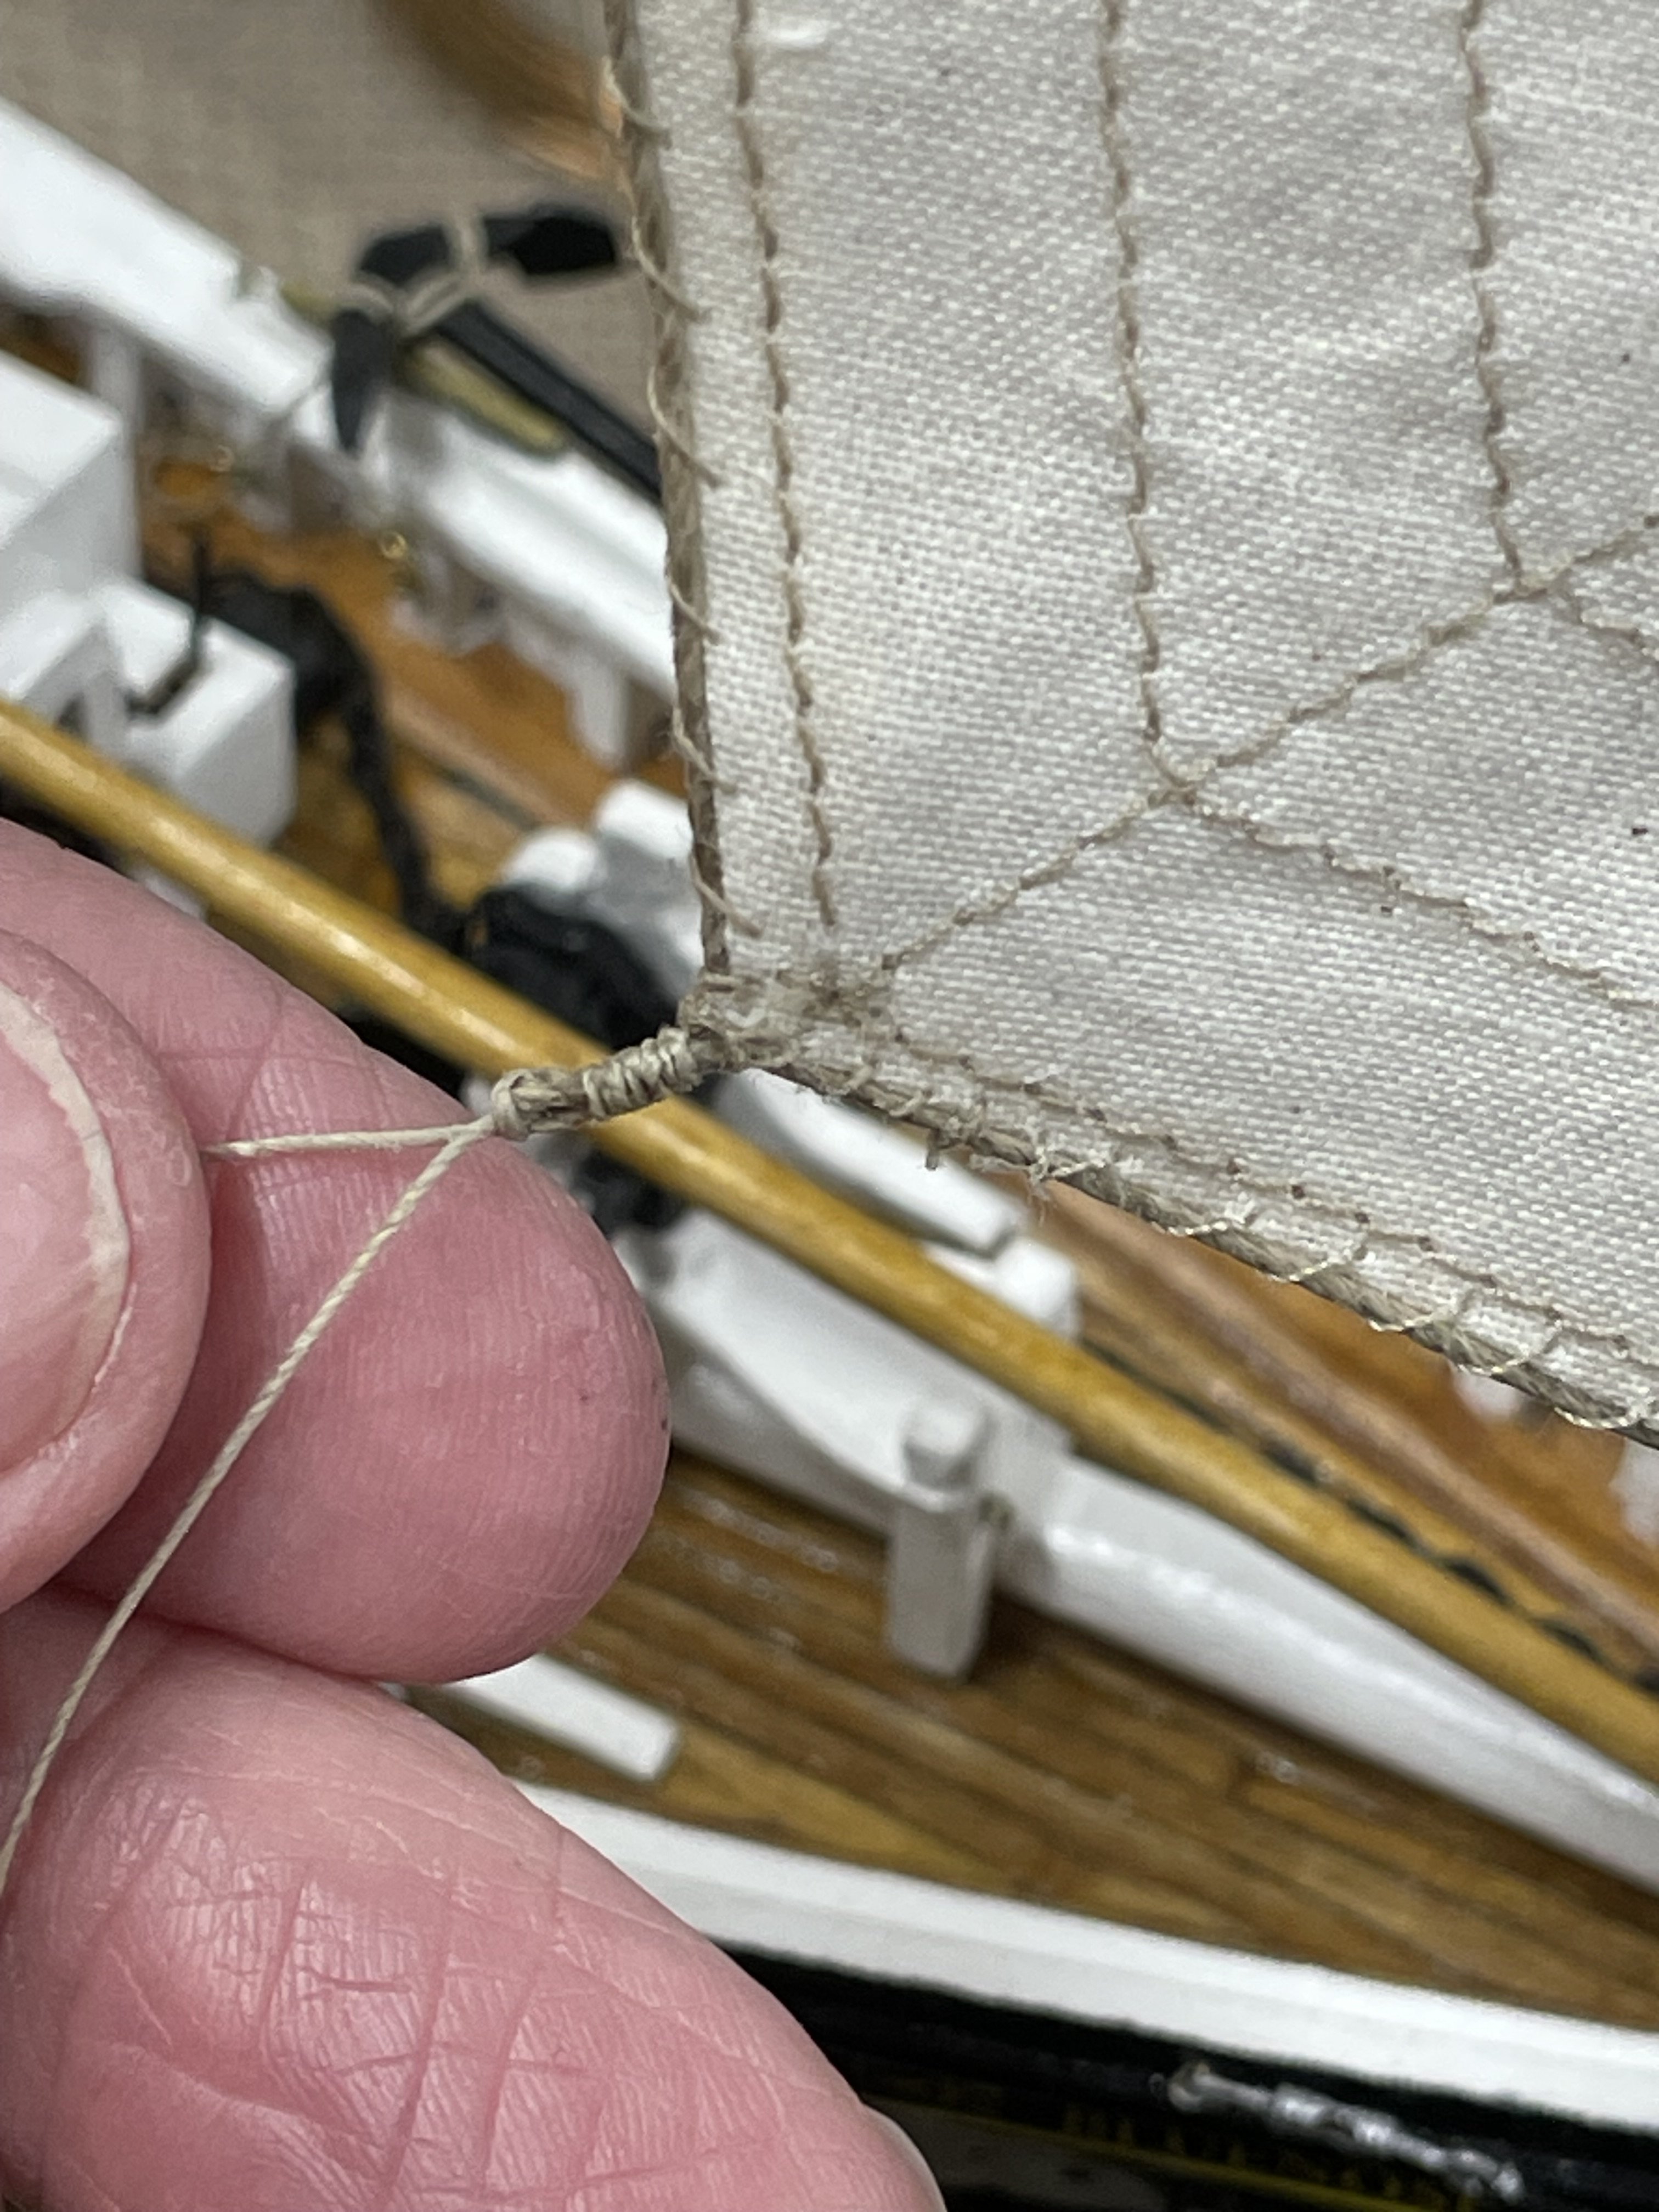
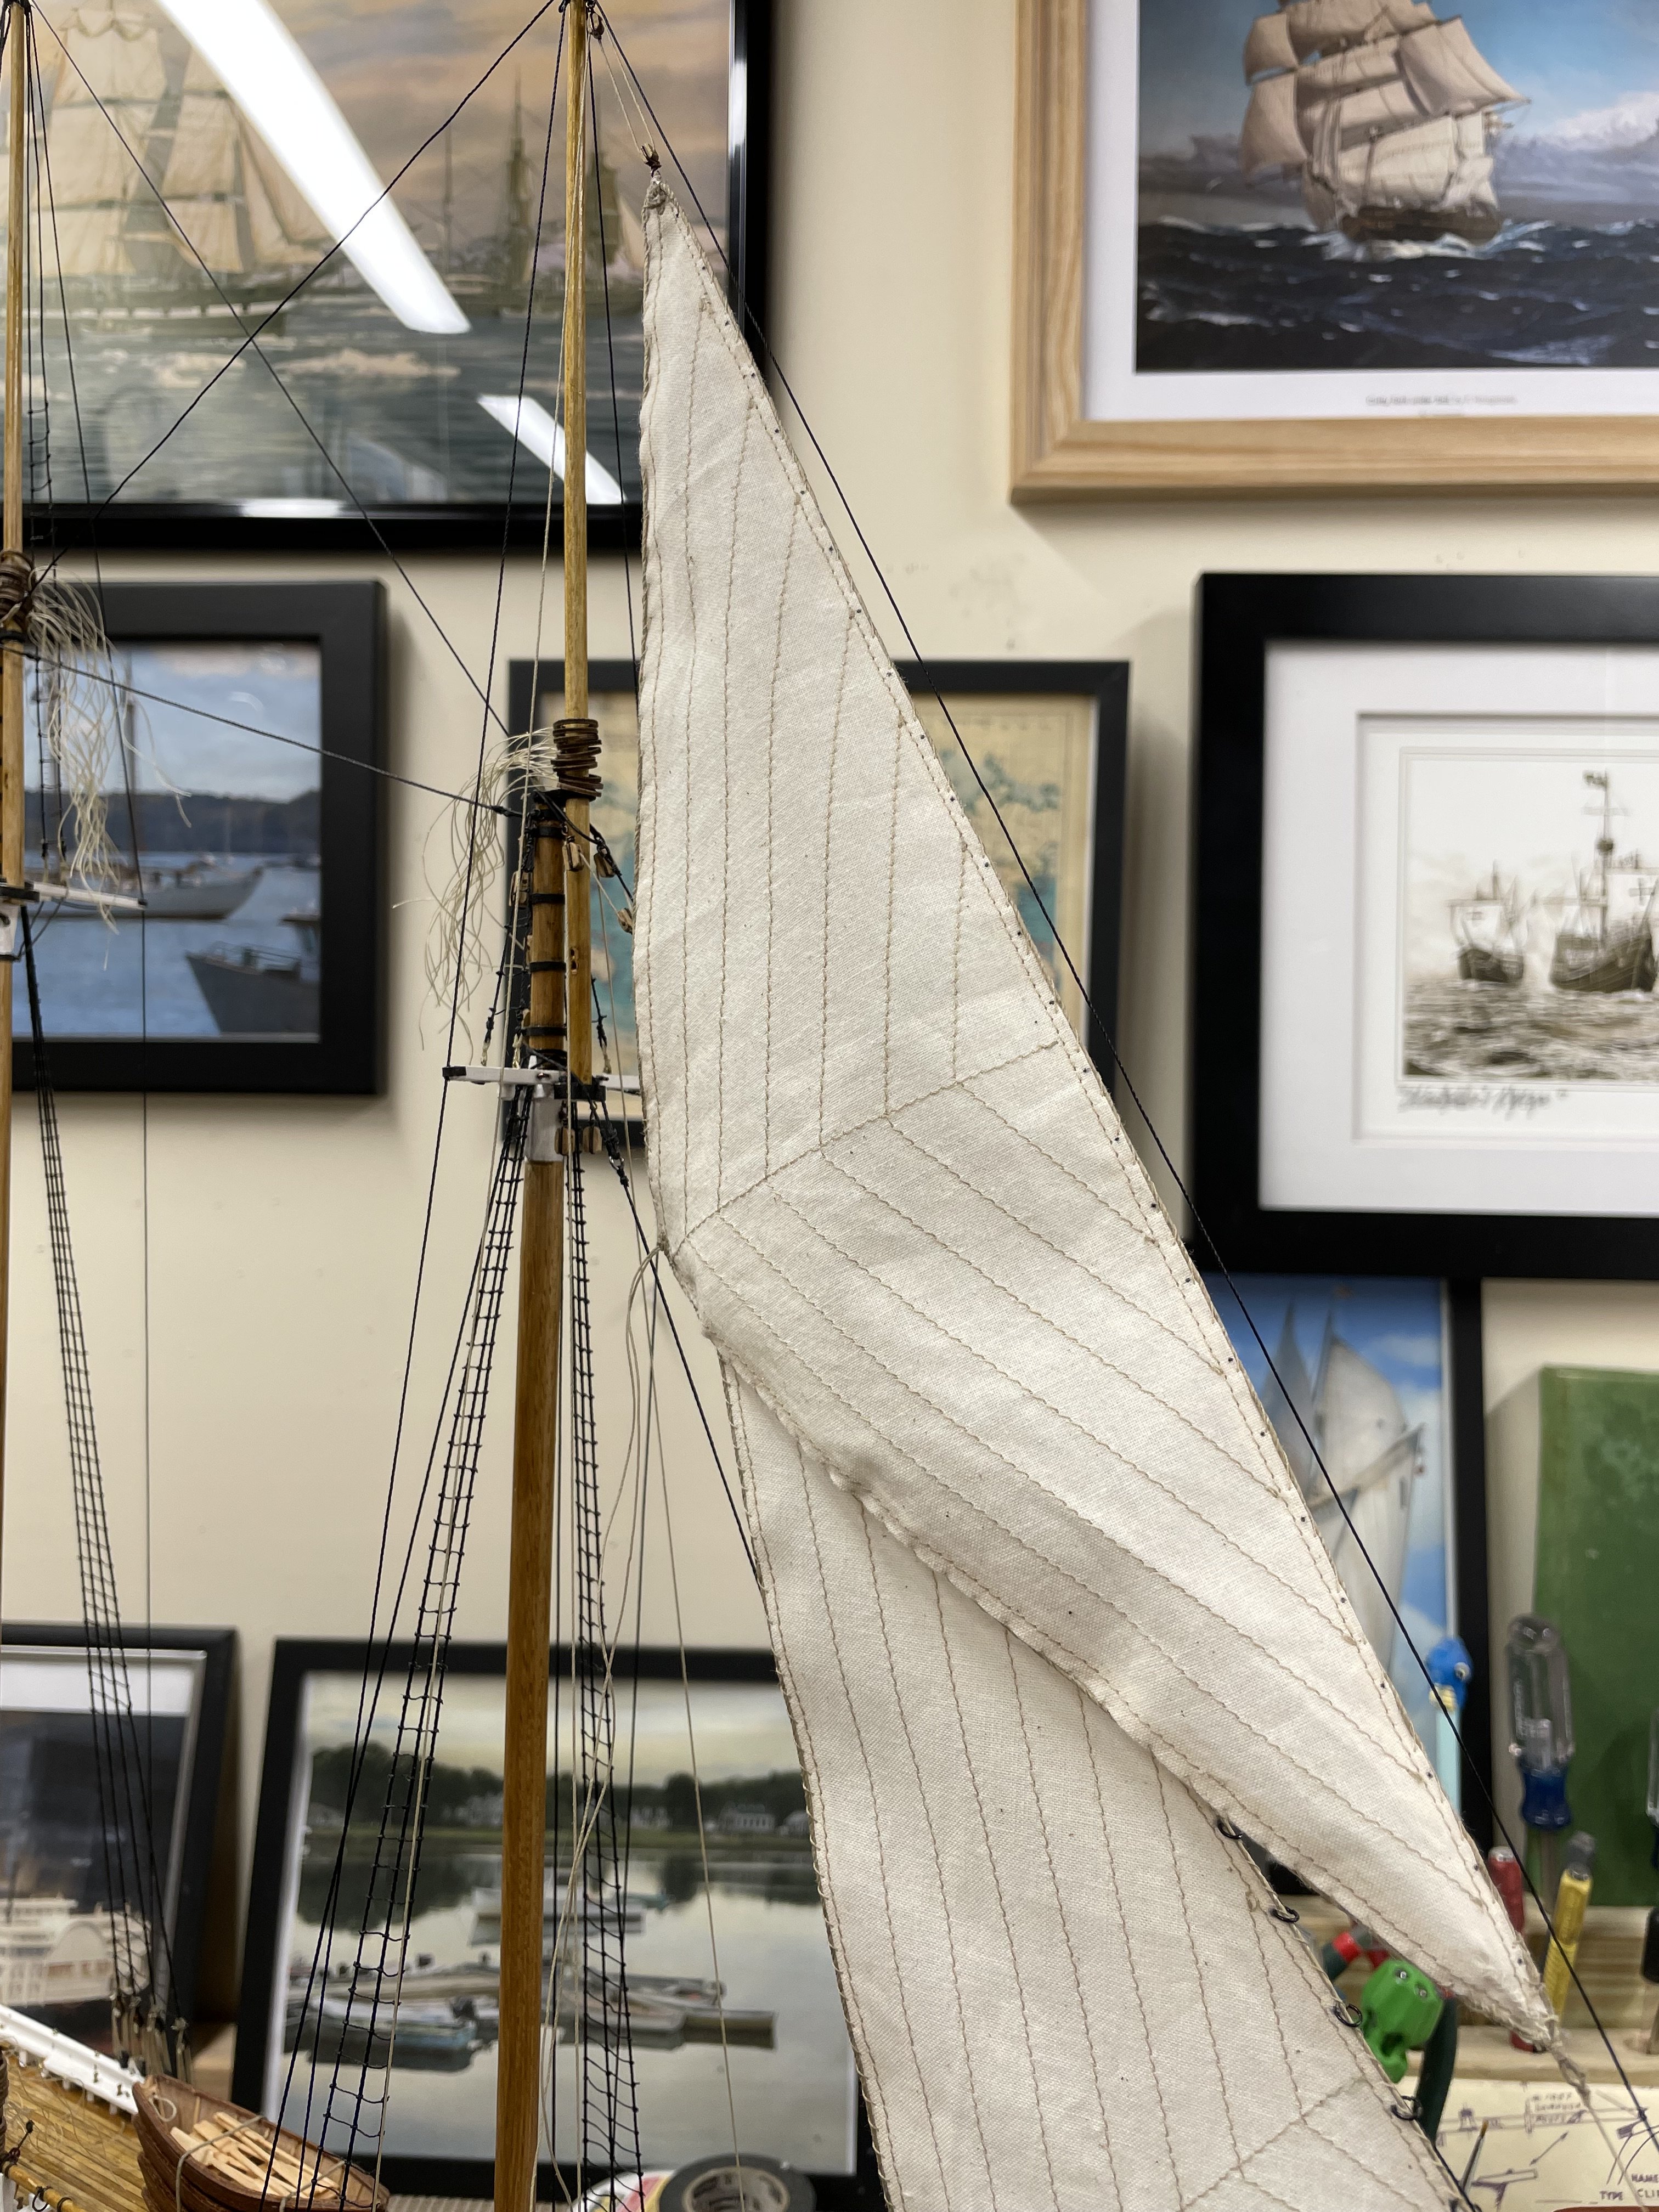
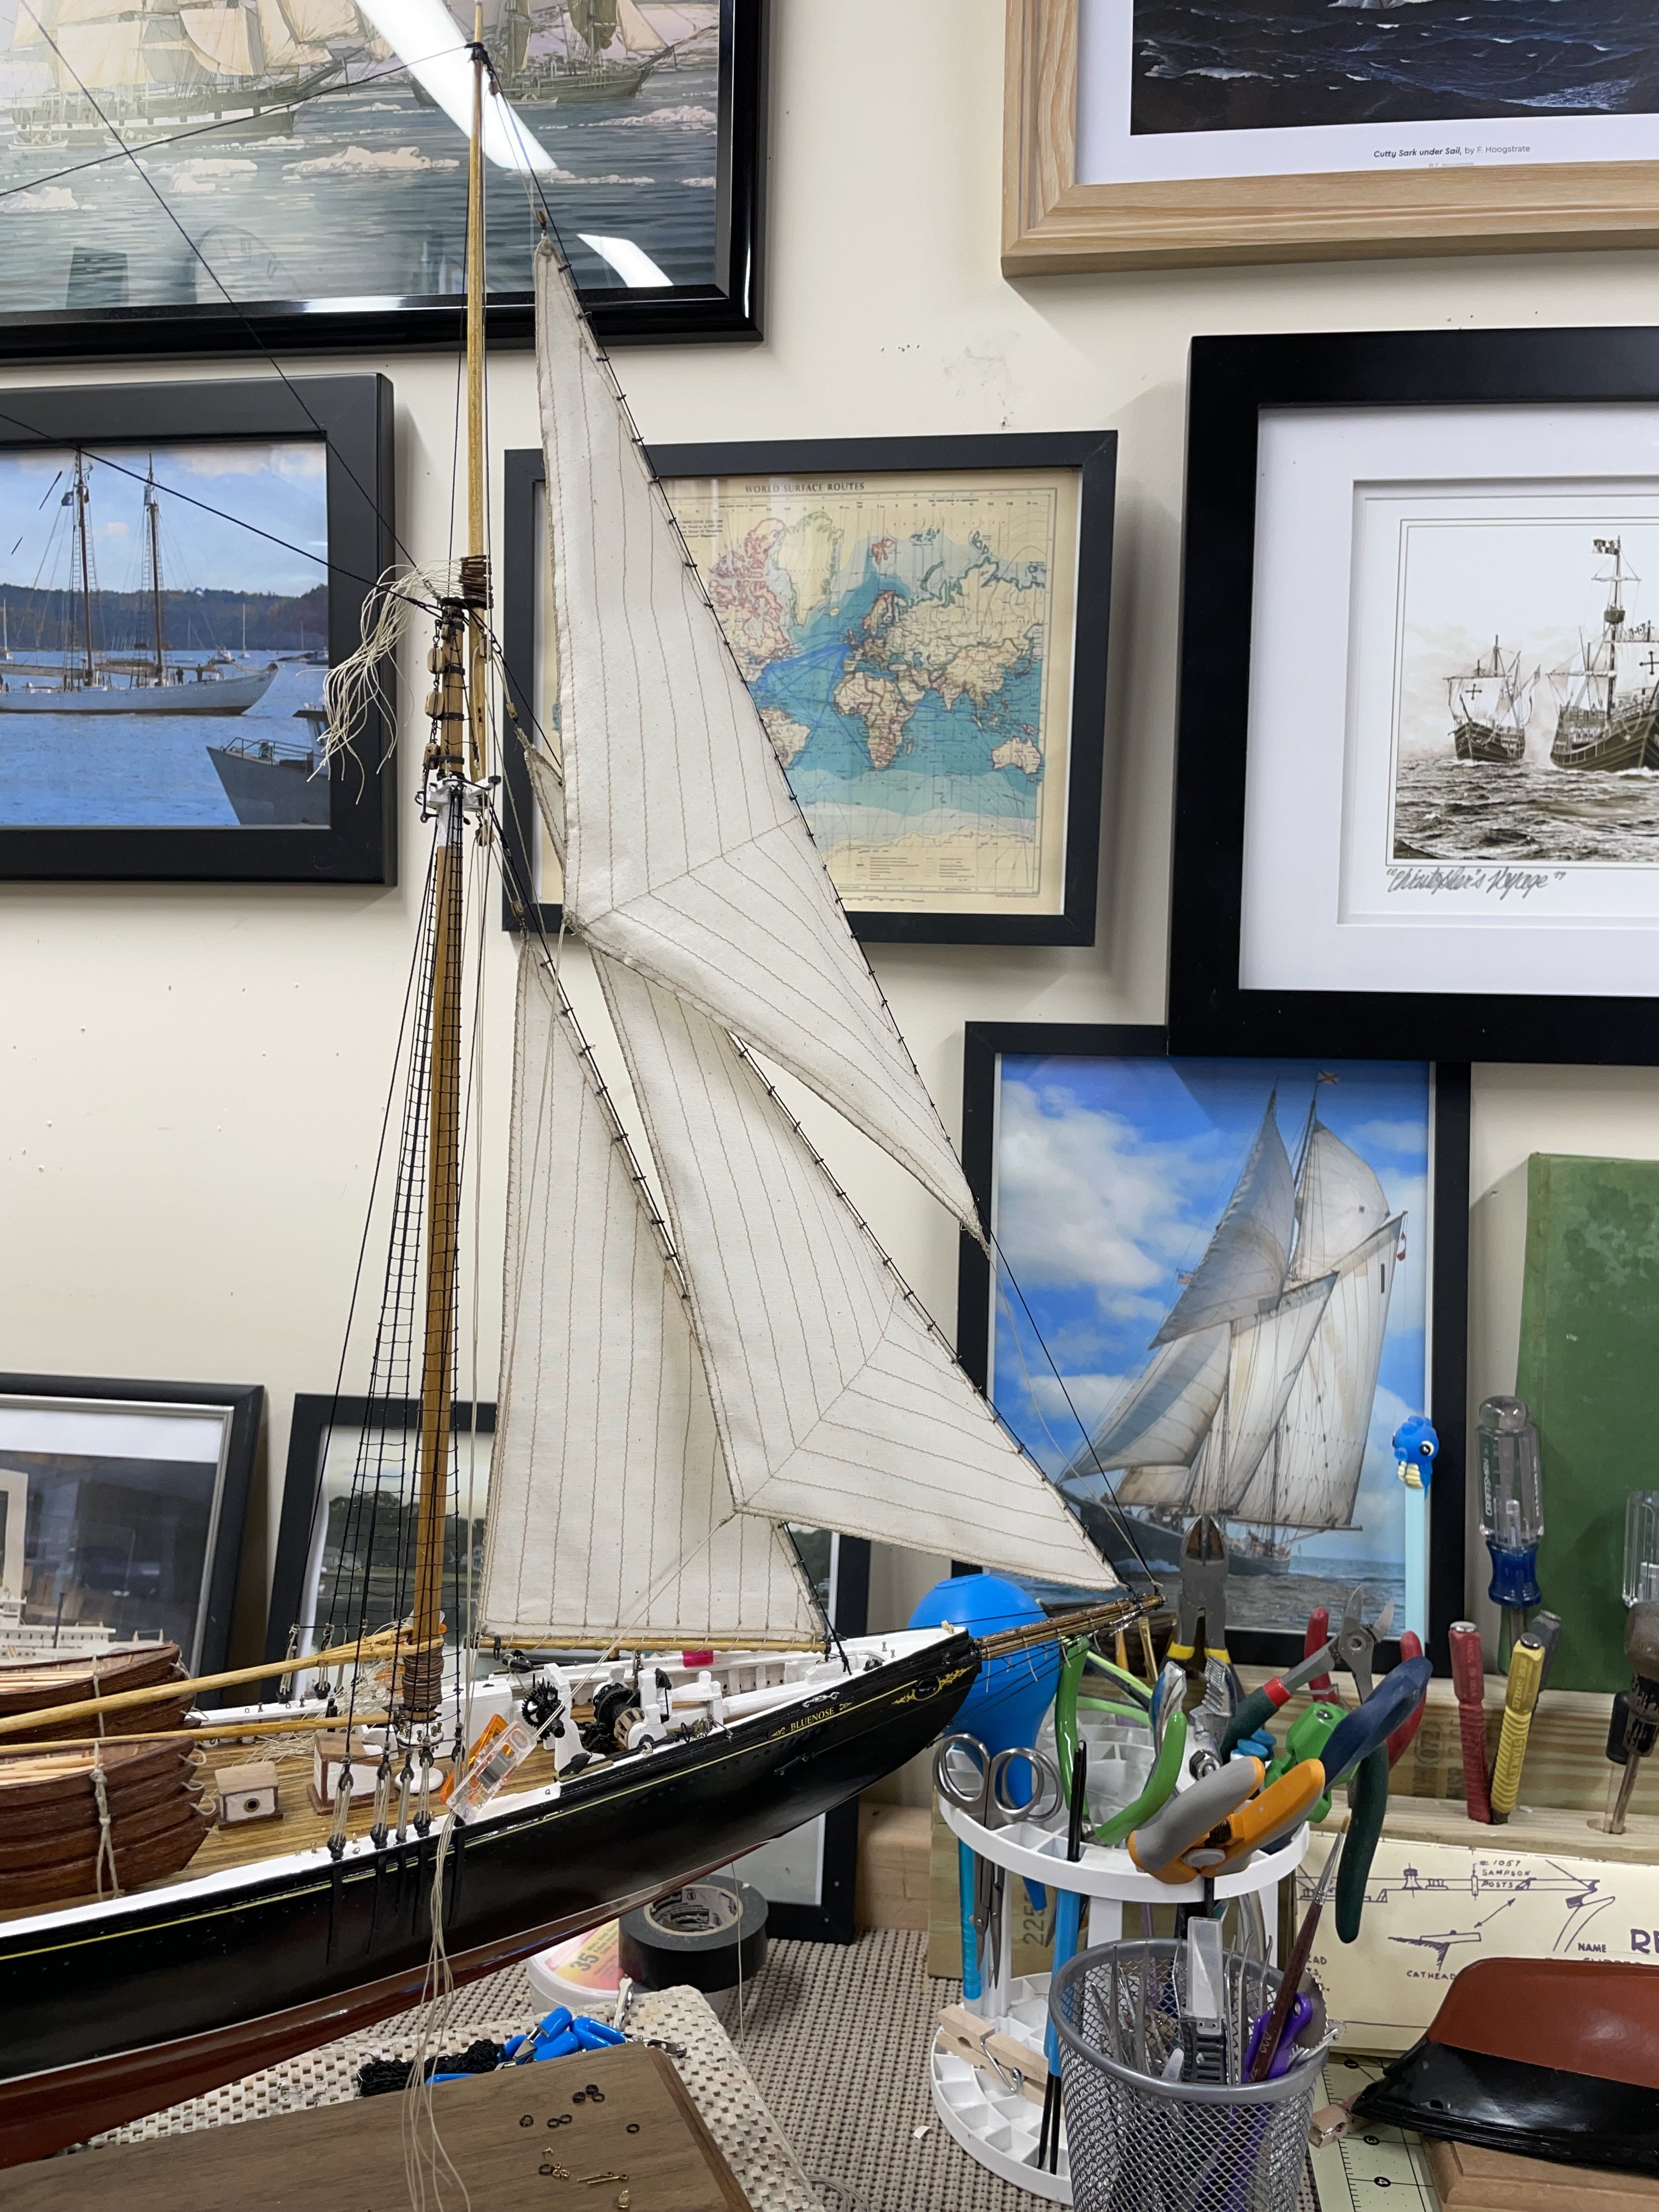
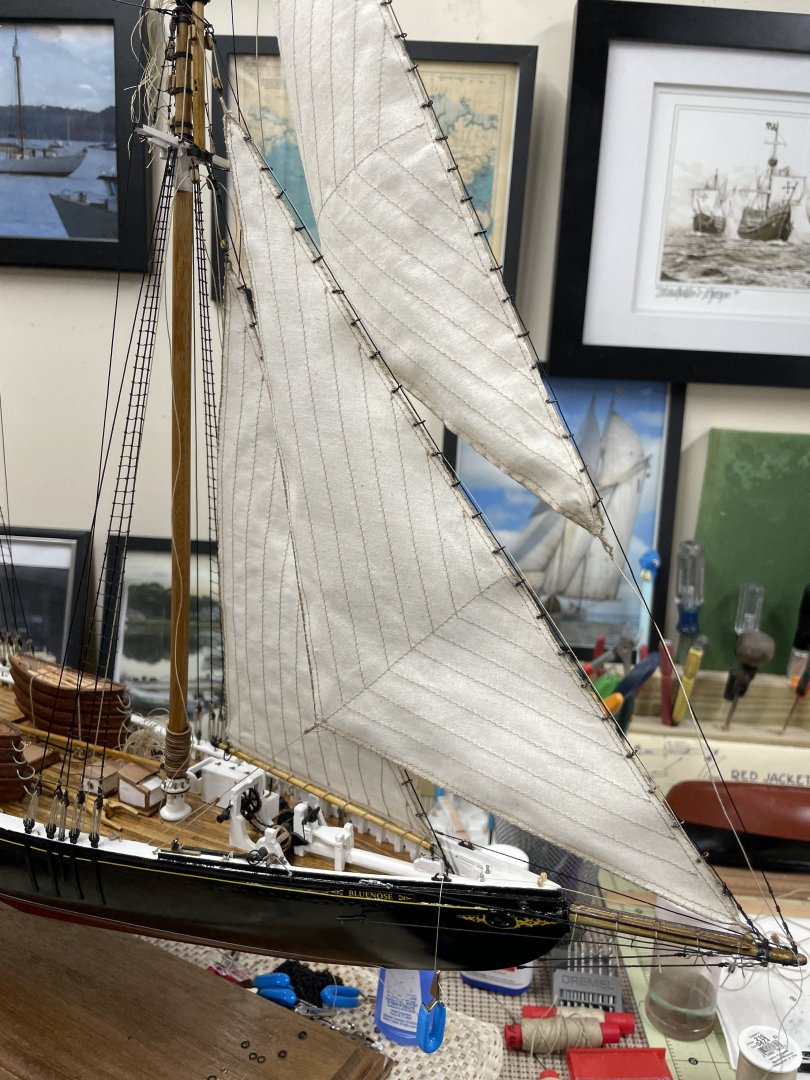
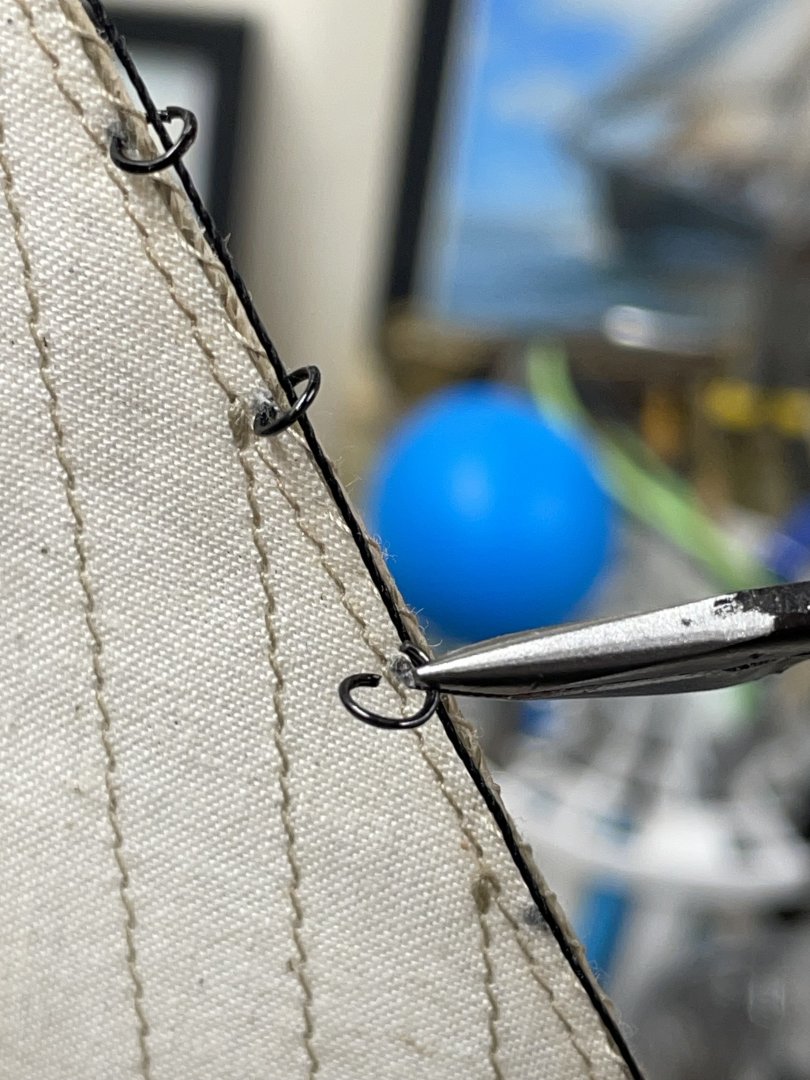
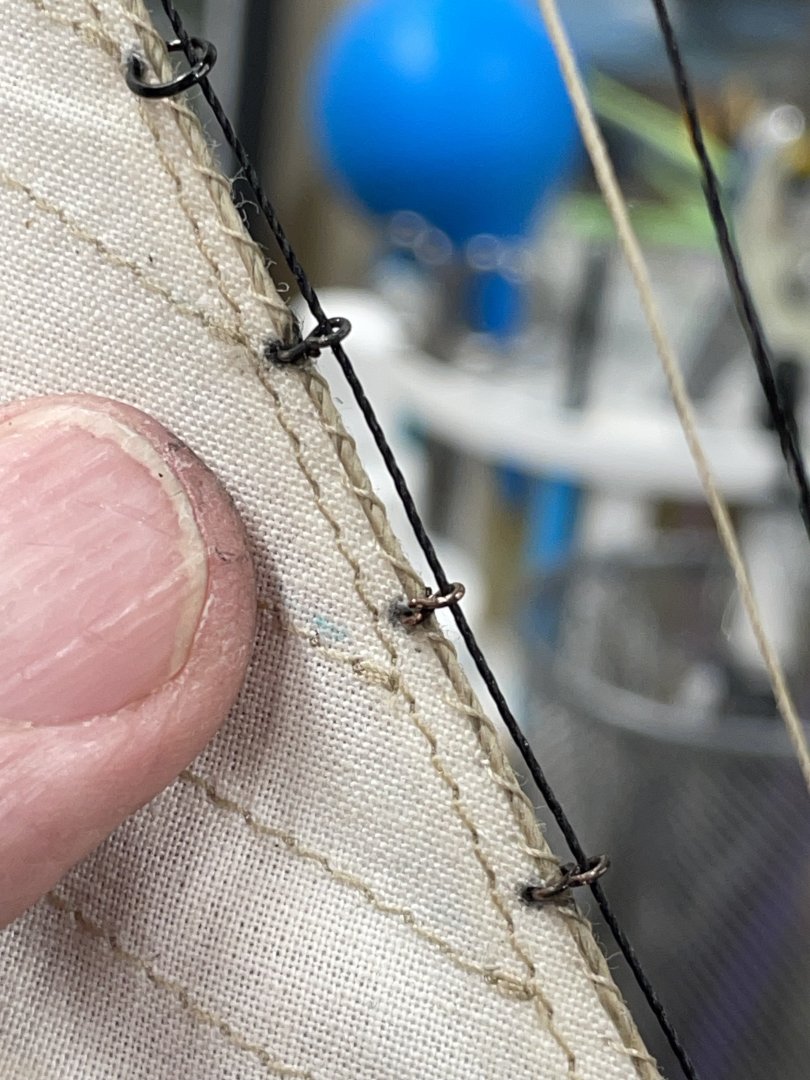
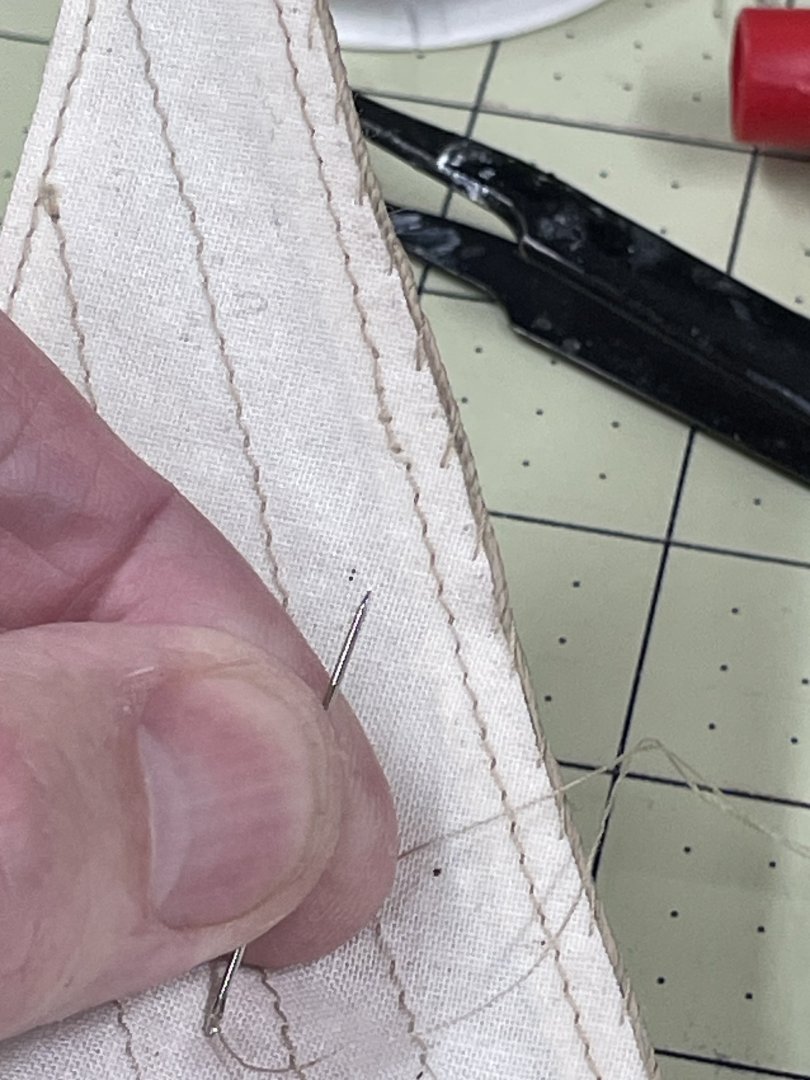
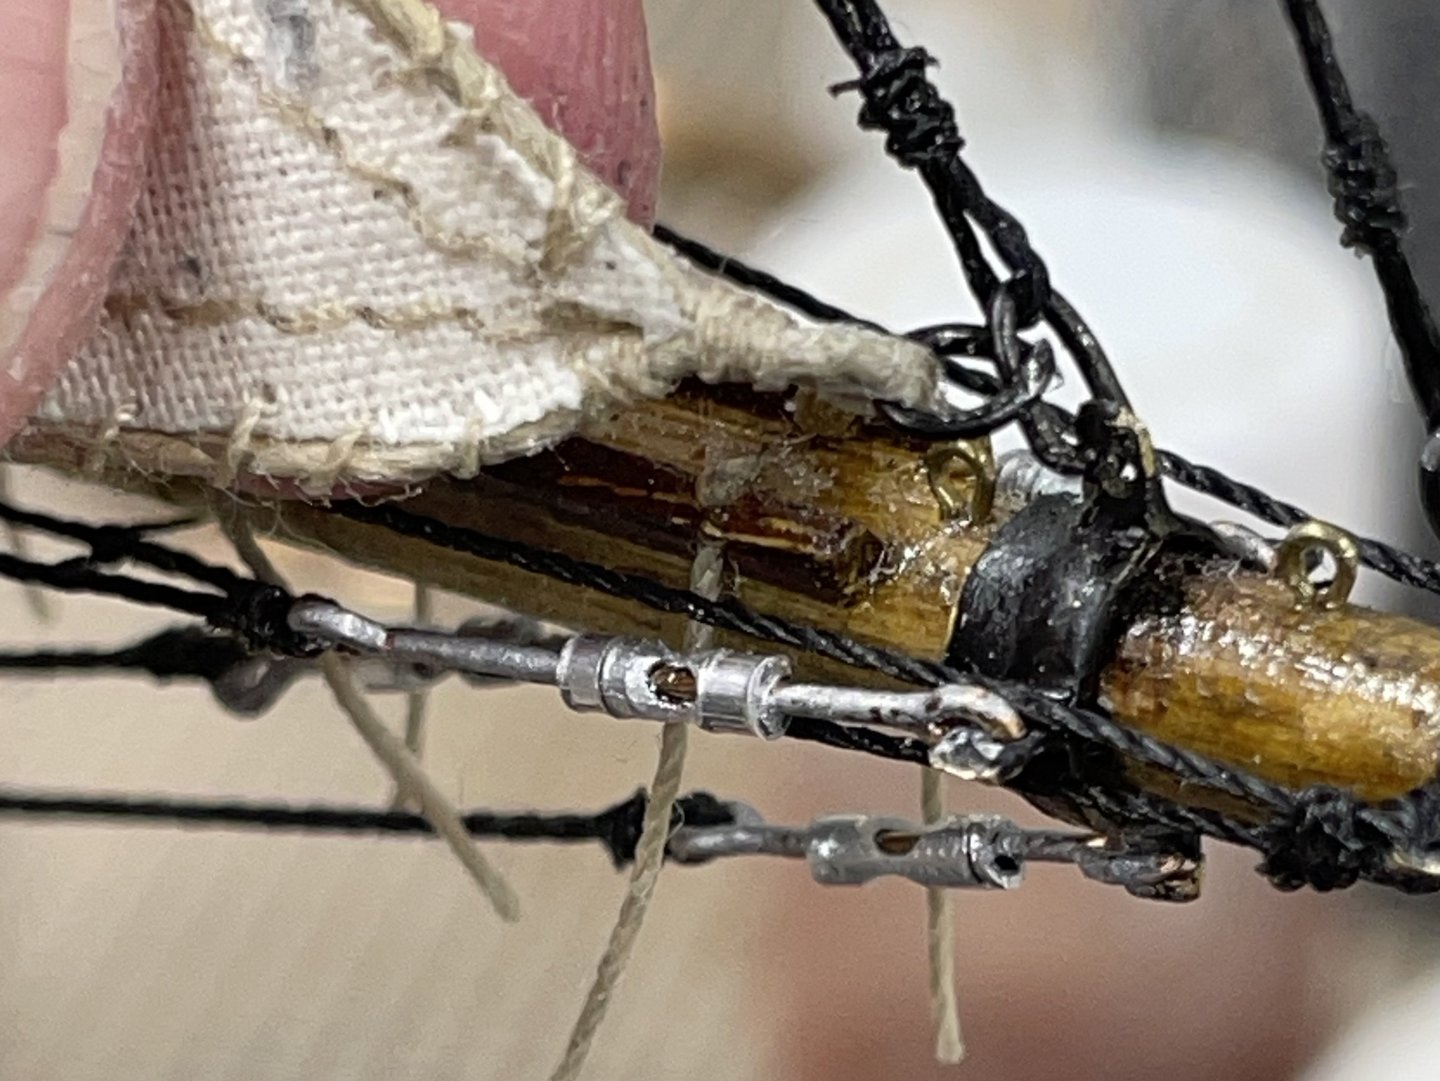
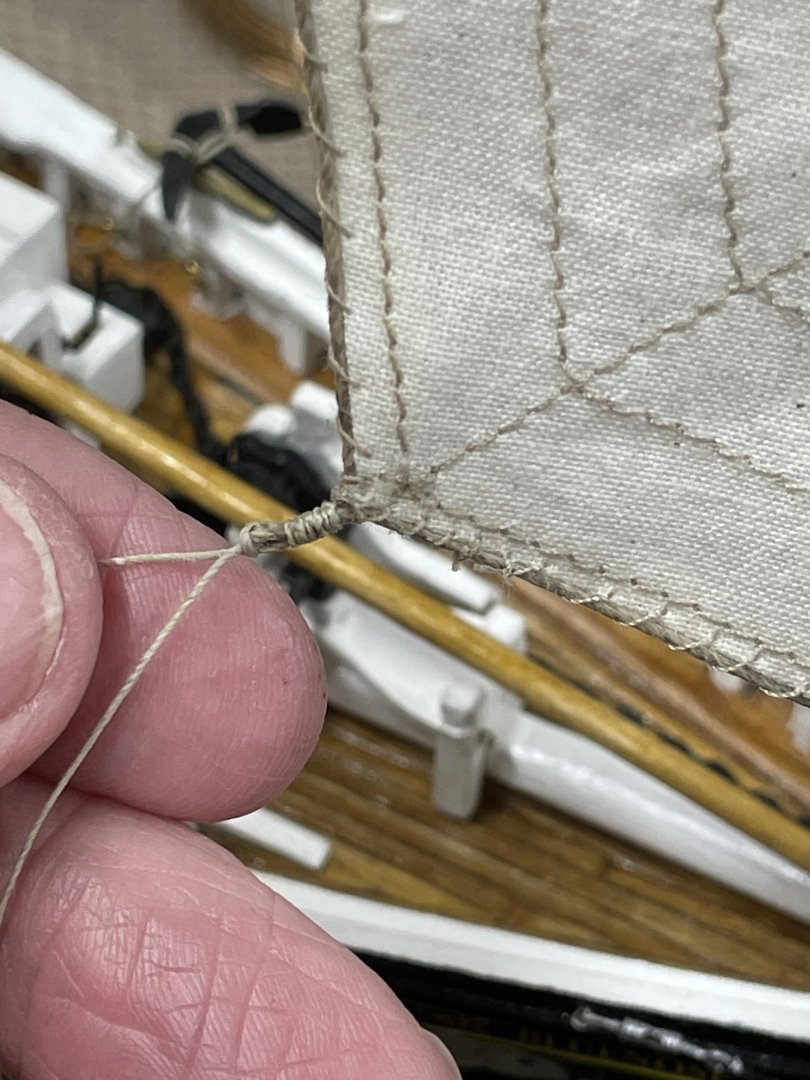
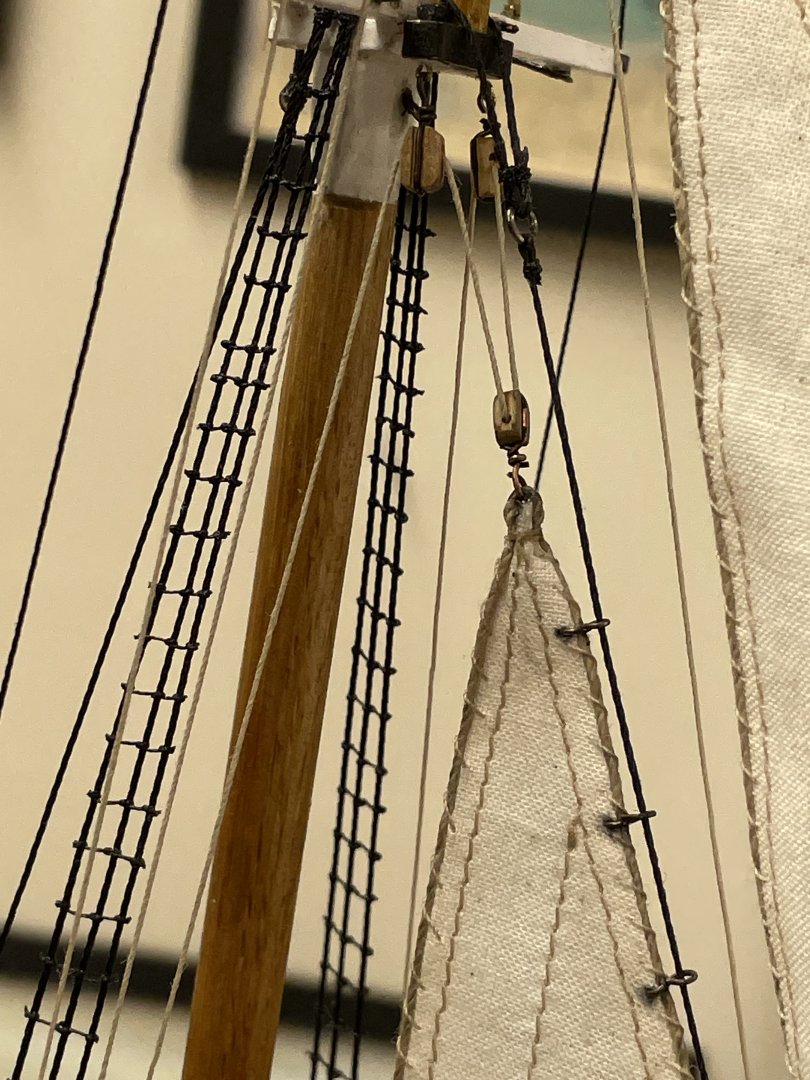
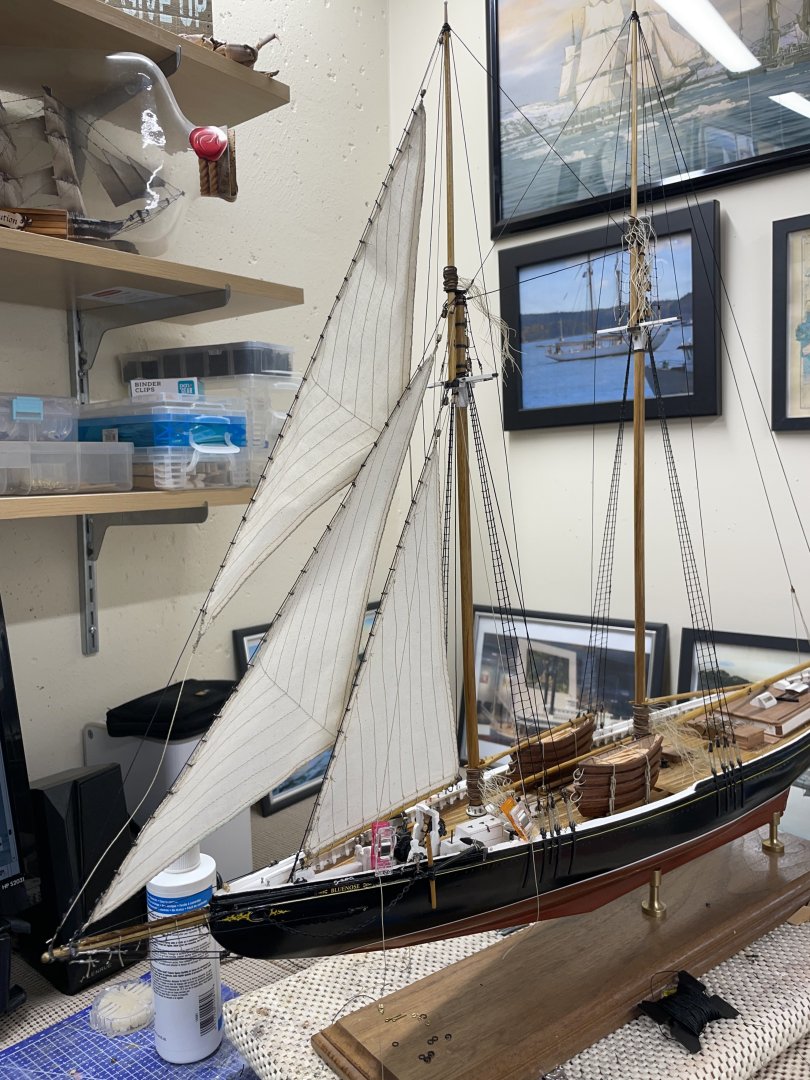
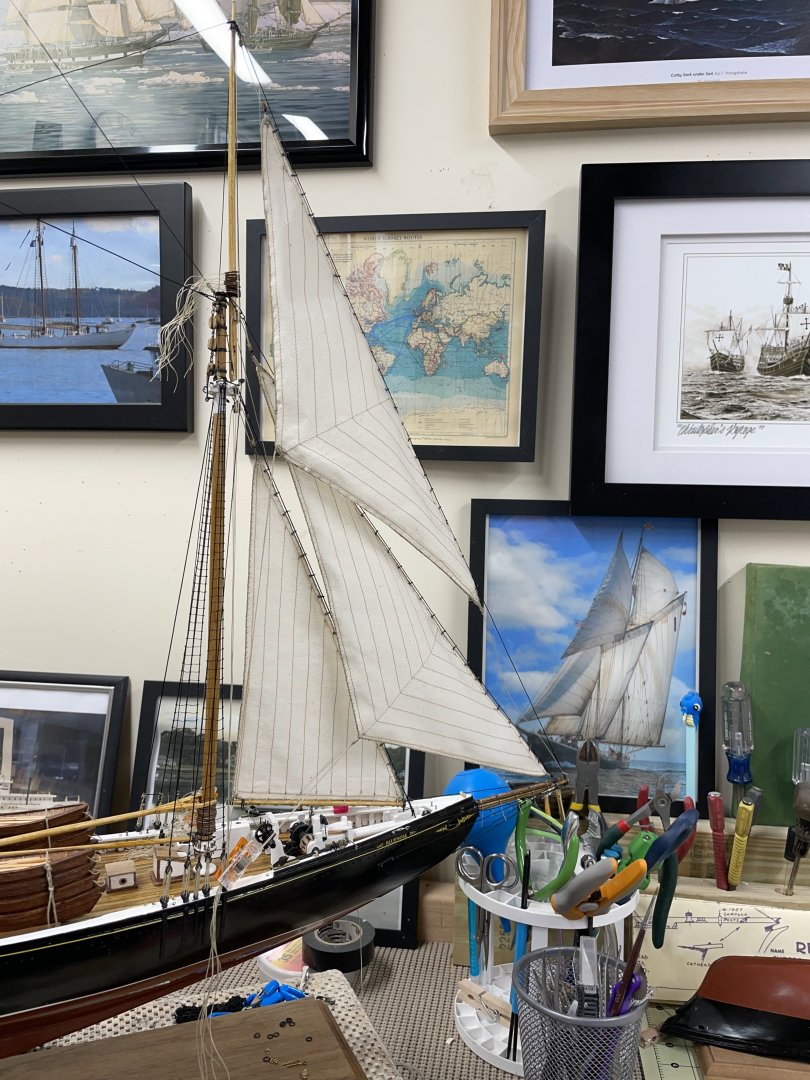
Jib Sails… Sewing on the Bolt Rope… Attaching the Jib Tack… Halyard Jib Head… Sheet Lines Jib Clew… Hanks made from .5mm Copper… Blackened Copper Hanks… Jib and Balloon Jib mounted… Installing Hanks… Curling Jibs with Fabric Stiffener… Jumbo Jib with Bolt Rope… 50 more Hanks… Jumbo Jib Mounted and lashed to the Boom. Jumbo Jib Halyard… Jibs mounted, I will finish the jib running rigging before moving on to the Fore Sails. Cheers 🍻


- 282 replies
-
- 12
-
-

-
- Bluenose
- Model Shipways
- (and 1 more)
-
WOW! Has it really been a year! I was wondering what happened. Glad you are back. The Planking looks like it’s off to a really good start. Cheers 🍻
-
Thanks Allan, I’m not sure about the high thread count material? I’ll have look into that.
-
Oh Come on Greg… you can do it. Sails are coming up, right after Shrouds and the Sanding Rigging. You are almost there… LOL Thanks for the invitation, been there. I’m all set! 😎
- 282 replies
-
- 1
-

-
- Bluenose
- Model Shipways
- (and 1 more)
-
Thank you, Glen… learned everything I know from the Admiral. I had to, she would not sew my sails for me. She doesn’t do my ironing either. 😆 I now have my own sewing machine, all it cost me was a new upgraded machine for the Admiral. LOL
- 282 replies
-
- 4
-
-
- Bluenose
- Model Shipways
- (and 1 more)
-
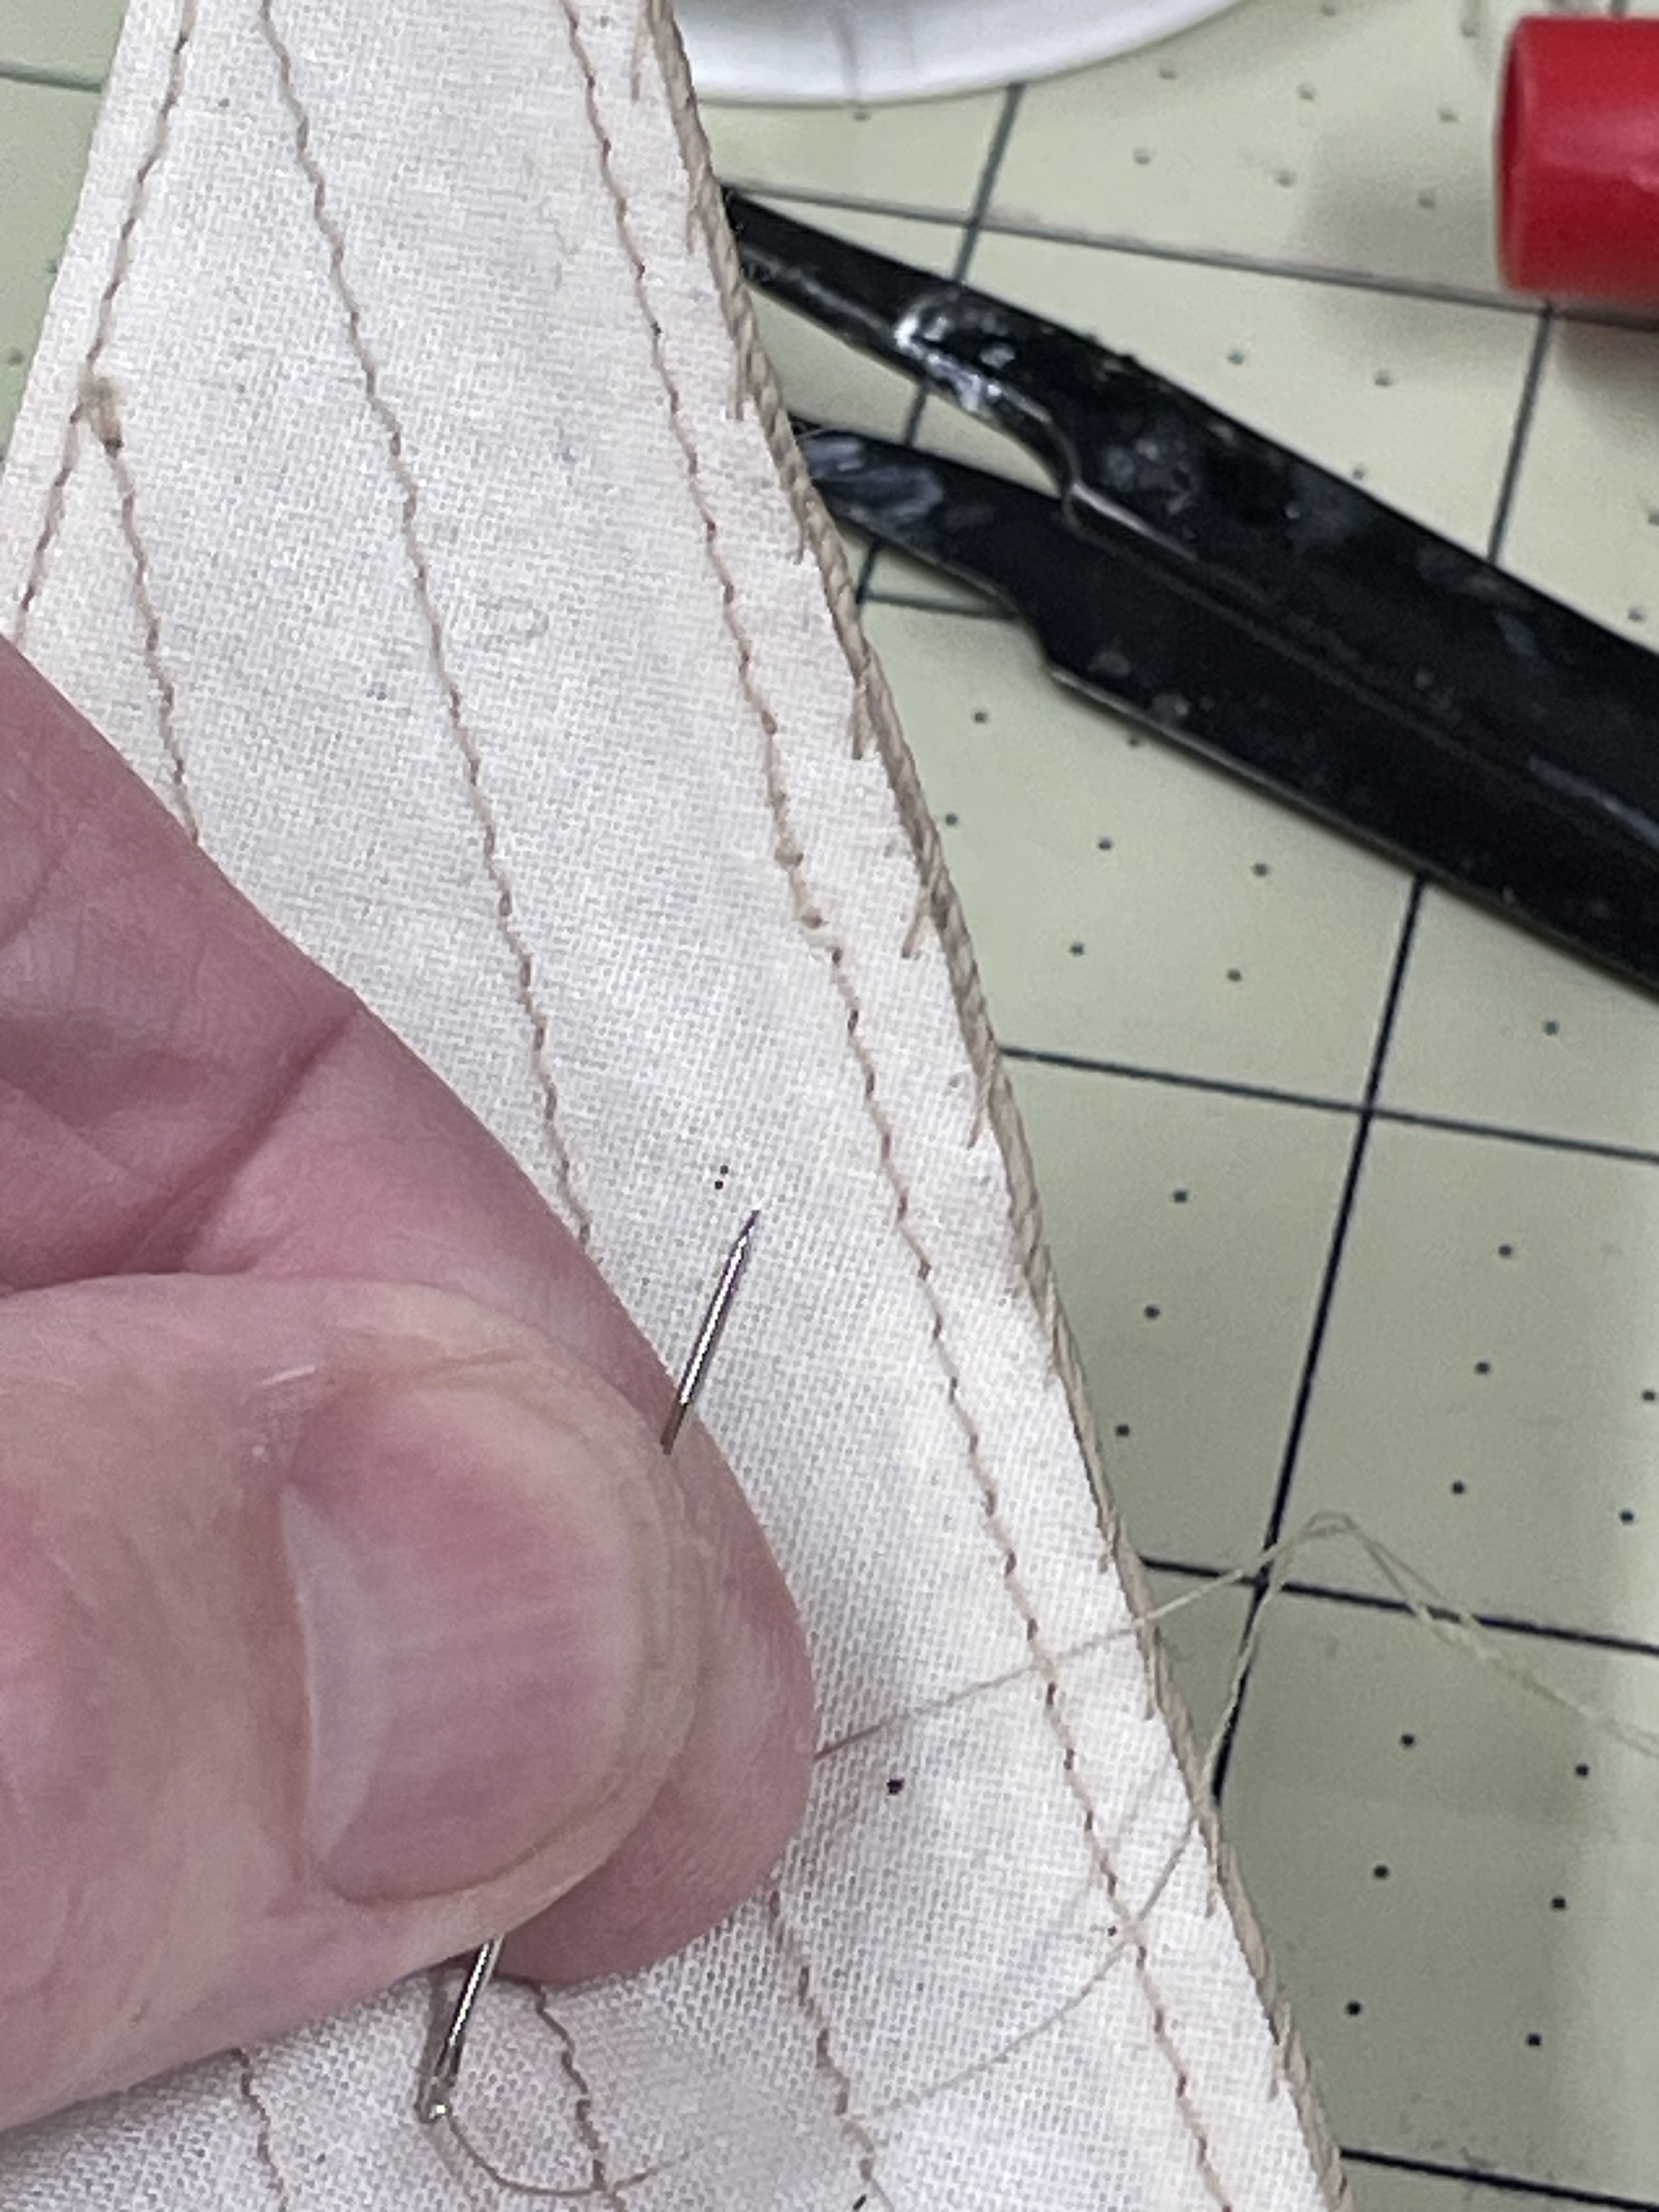
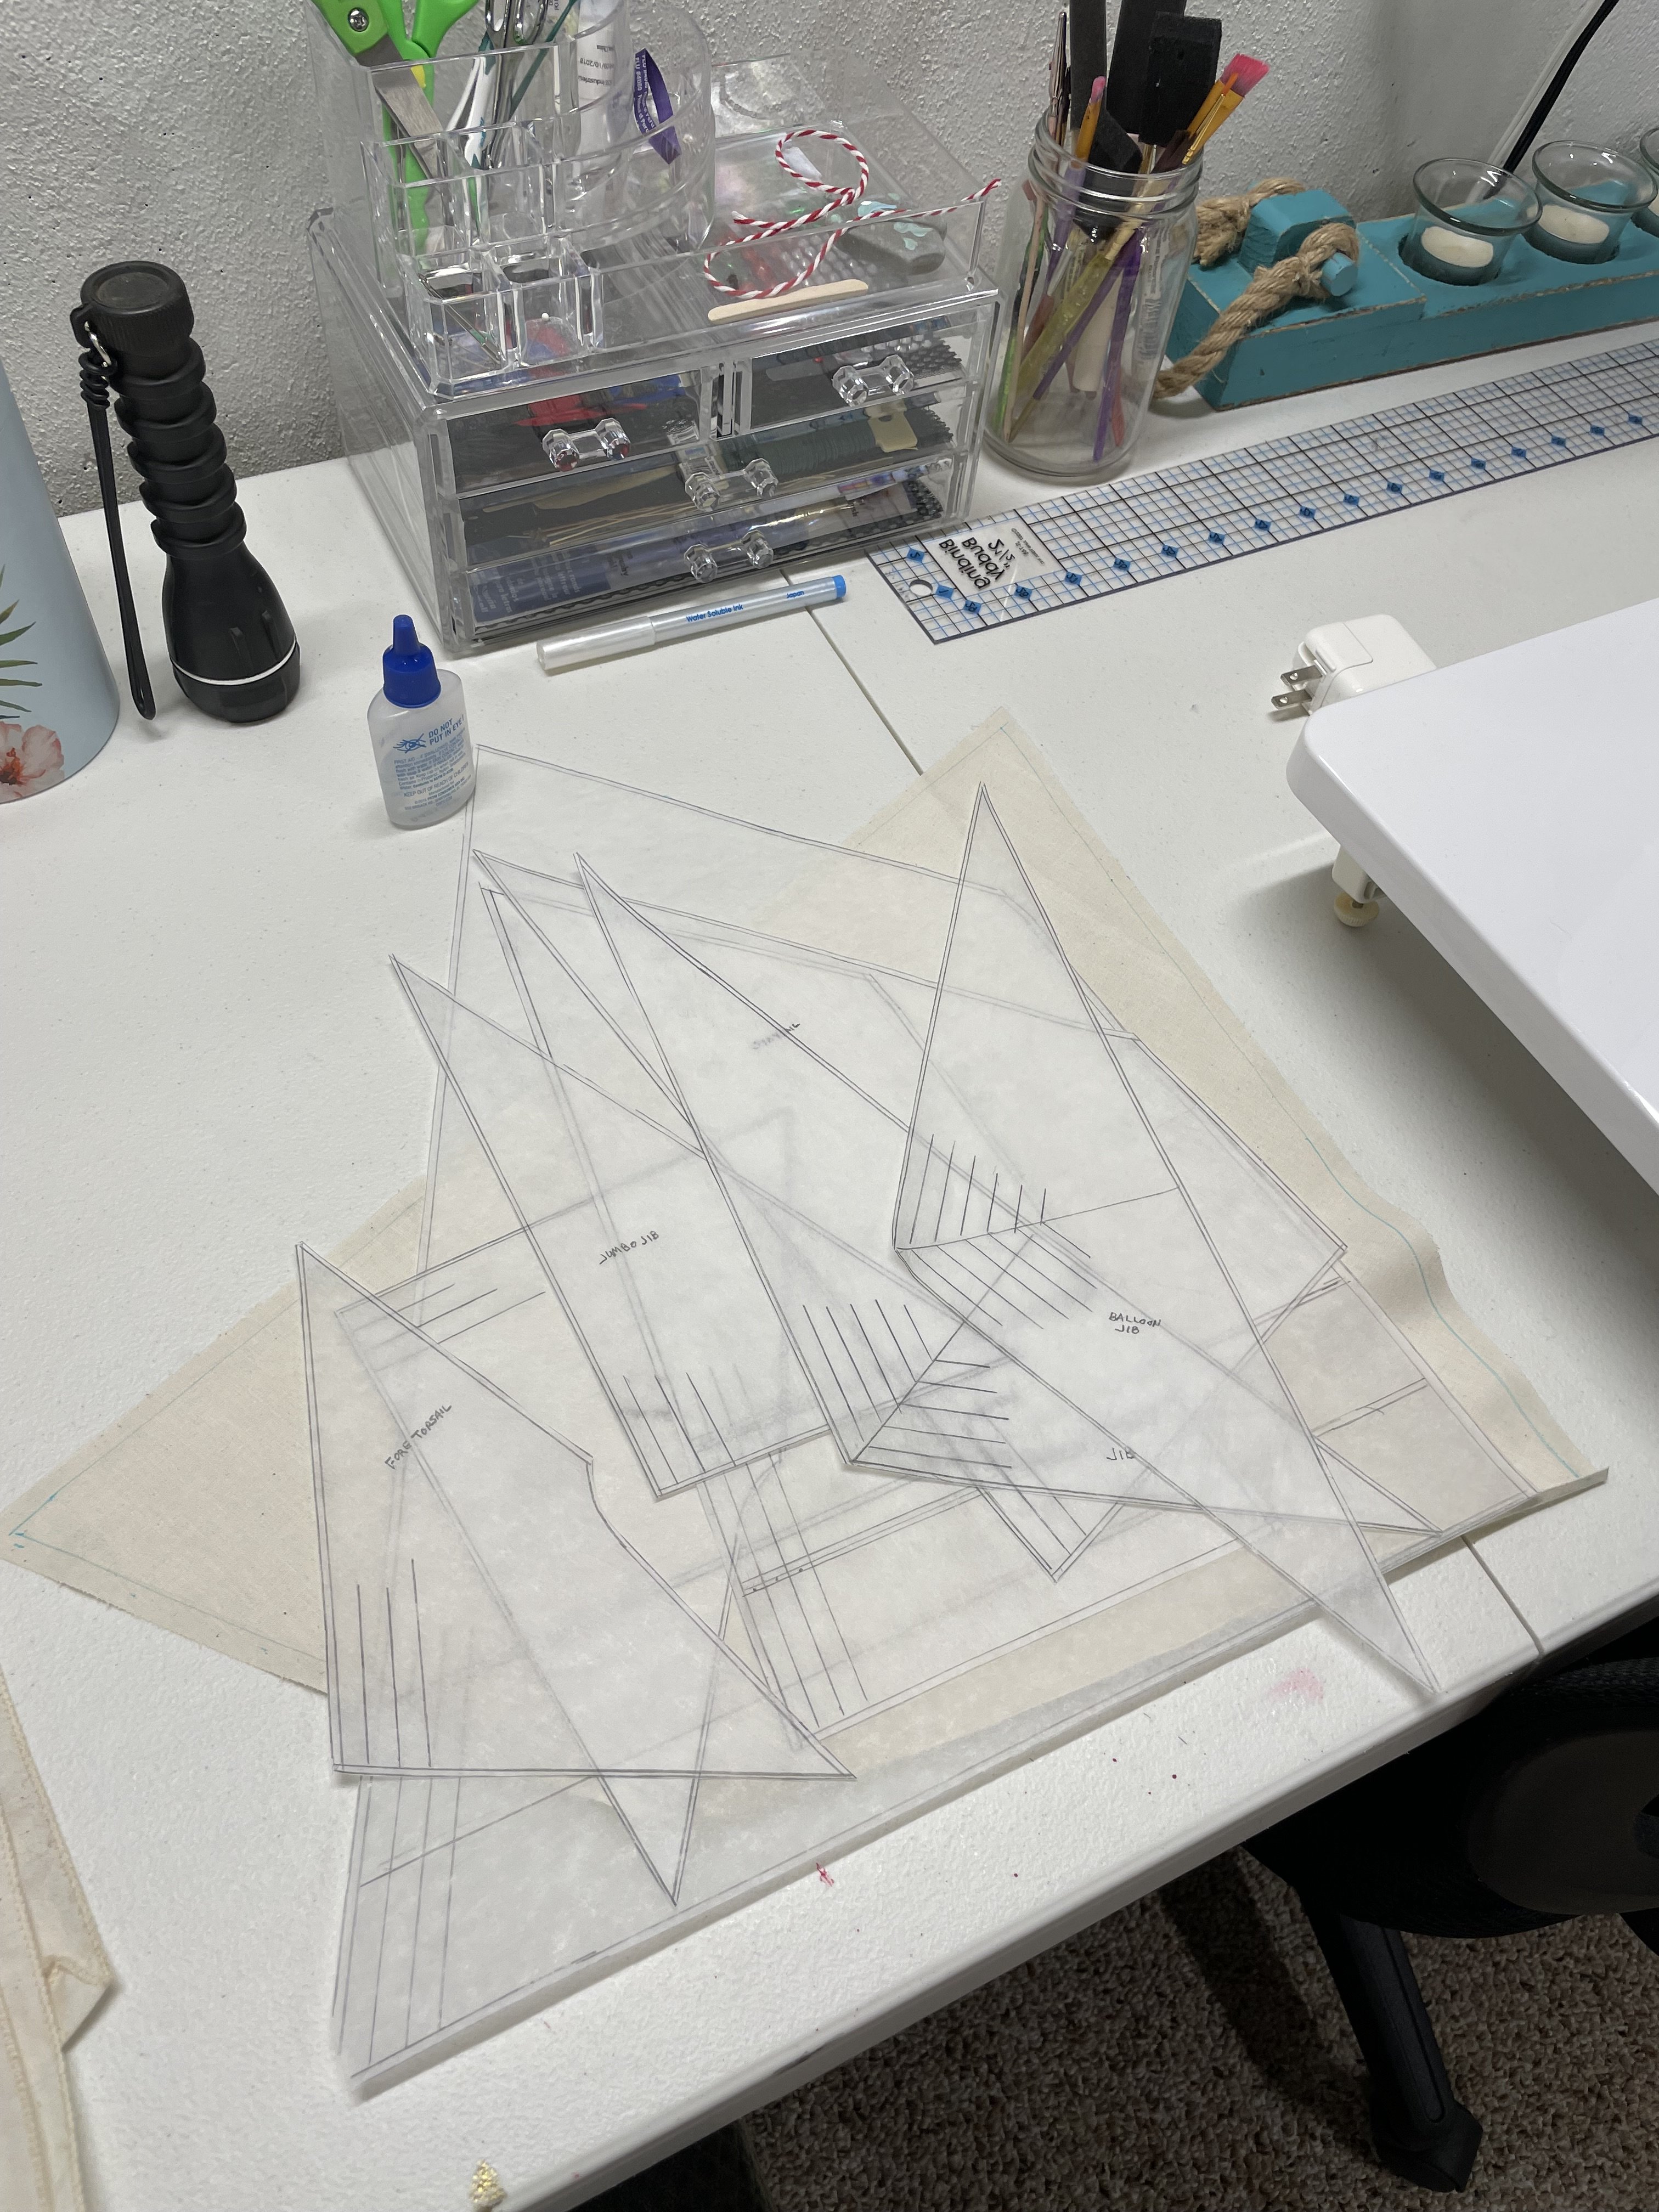
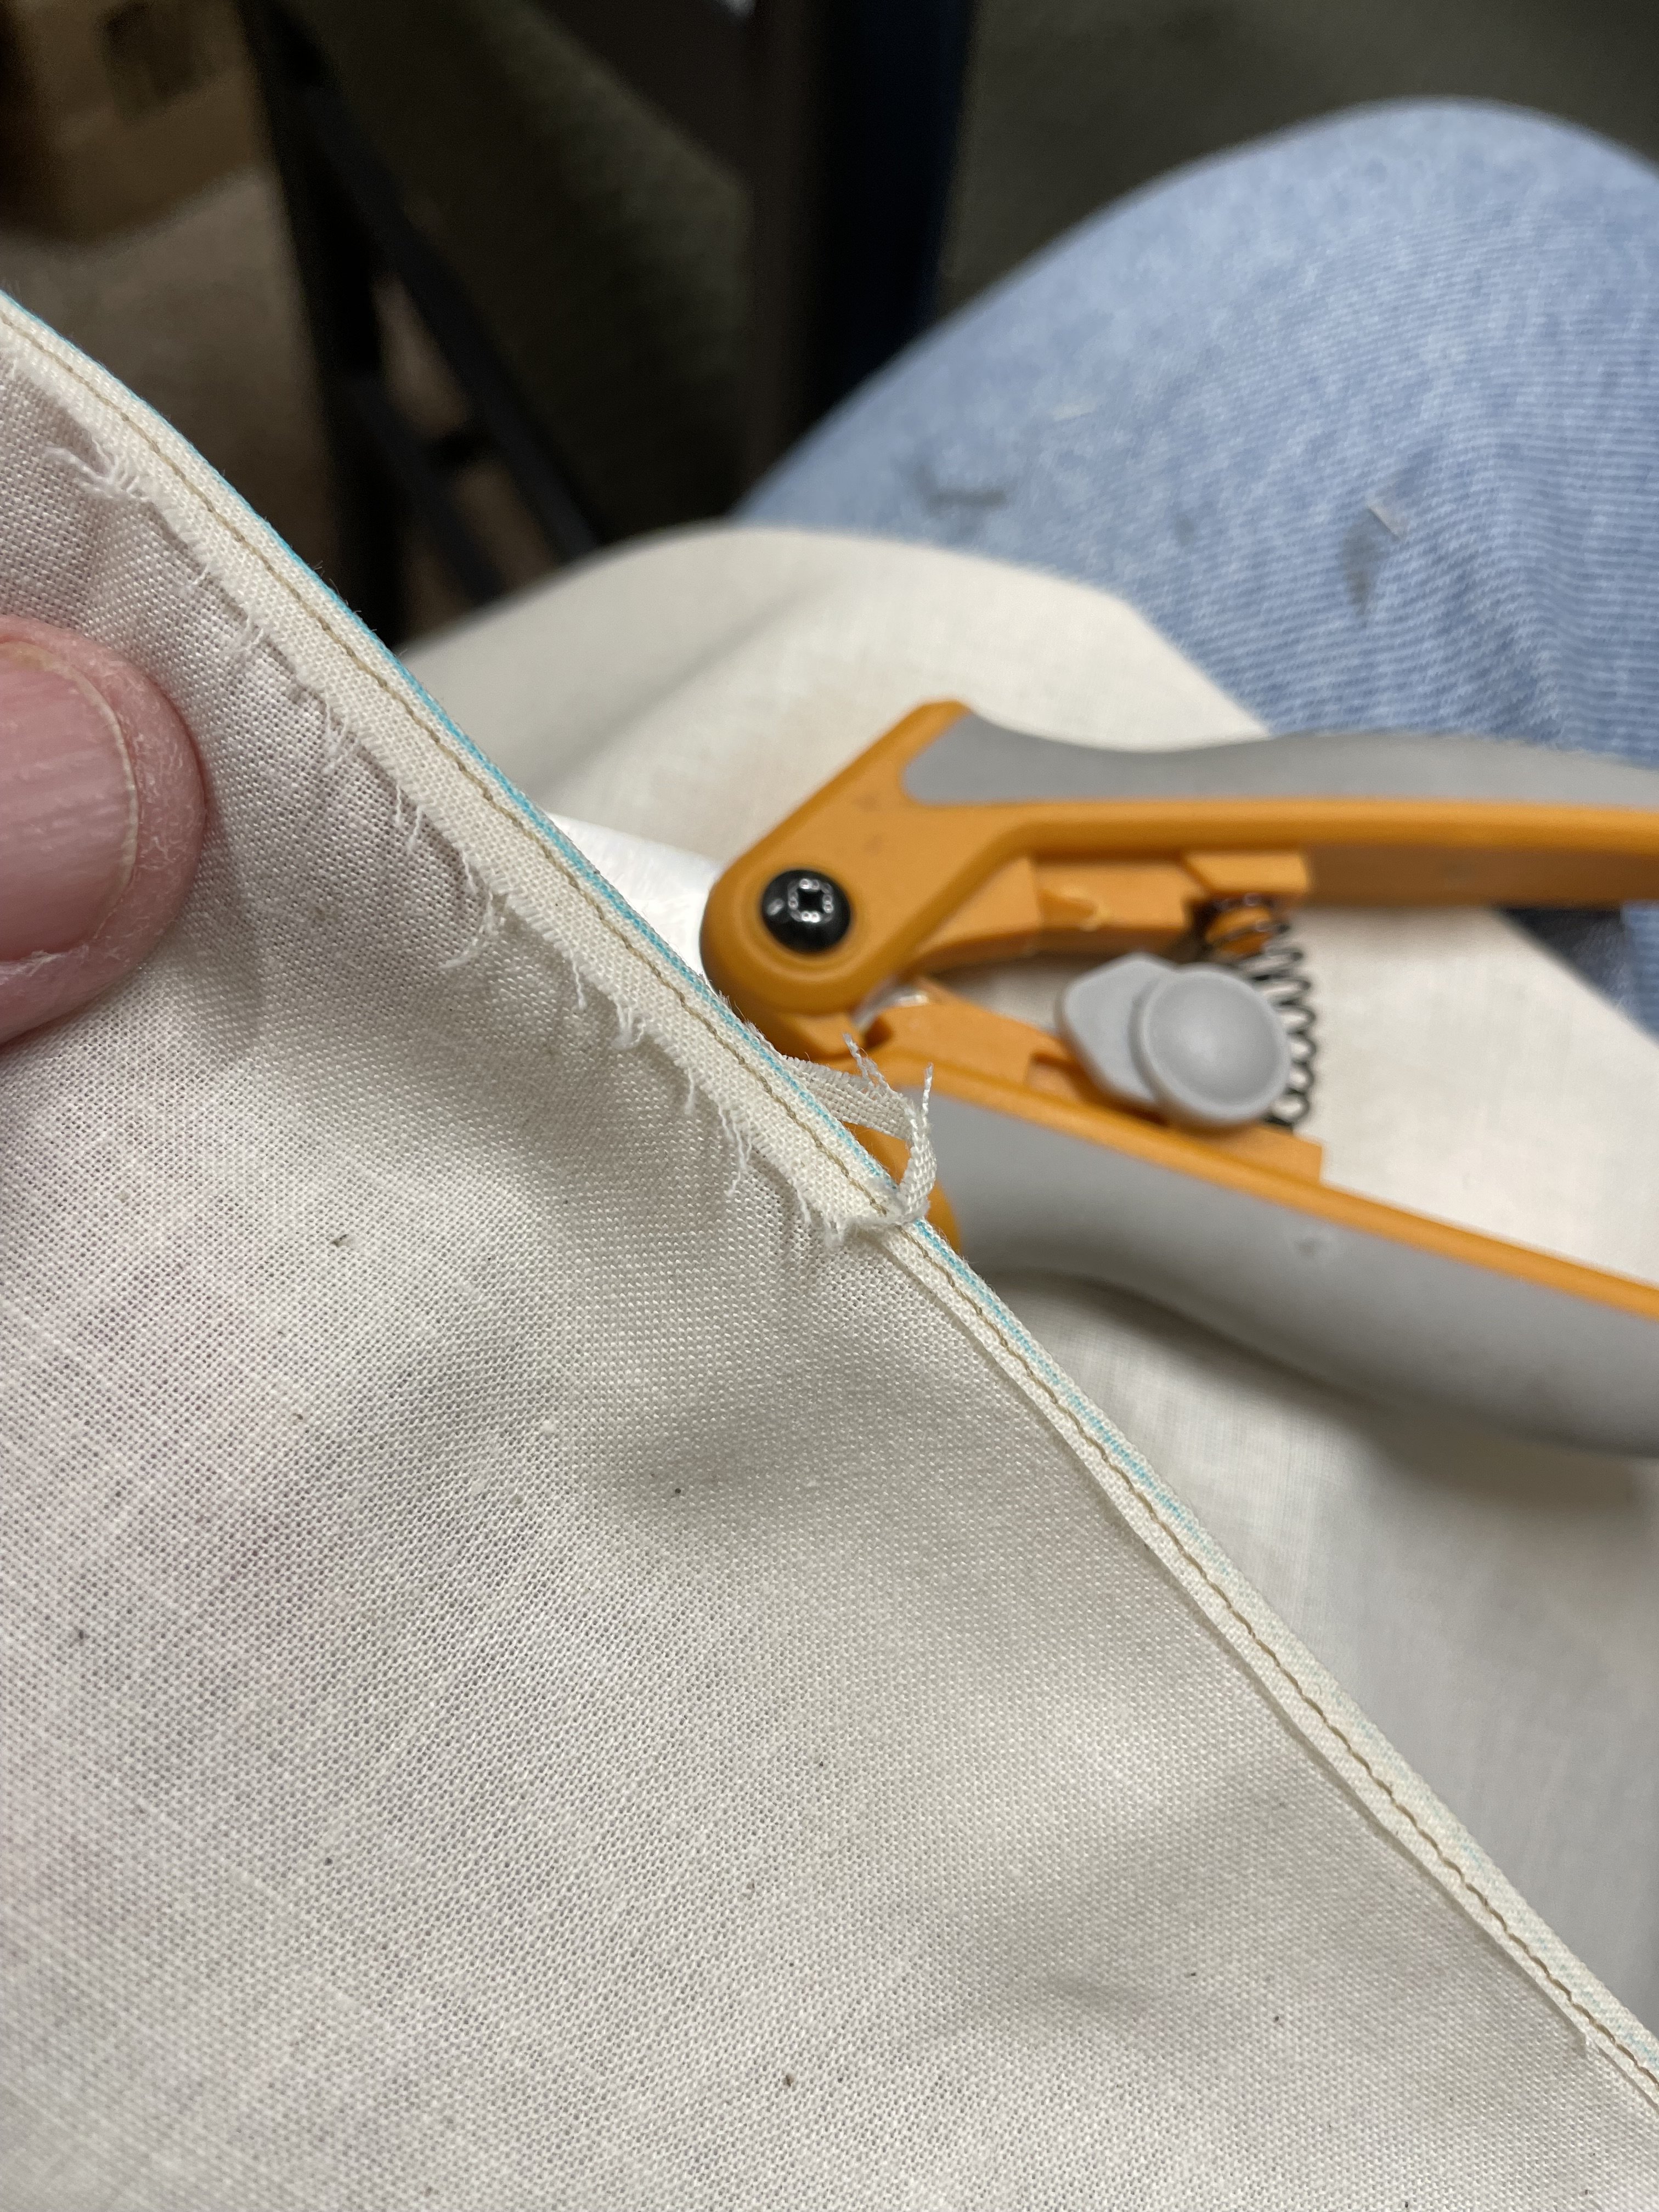
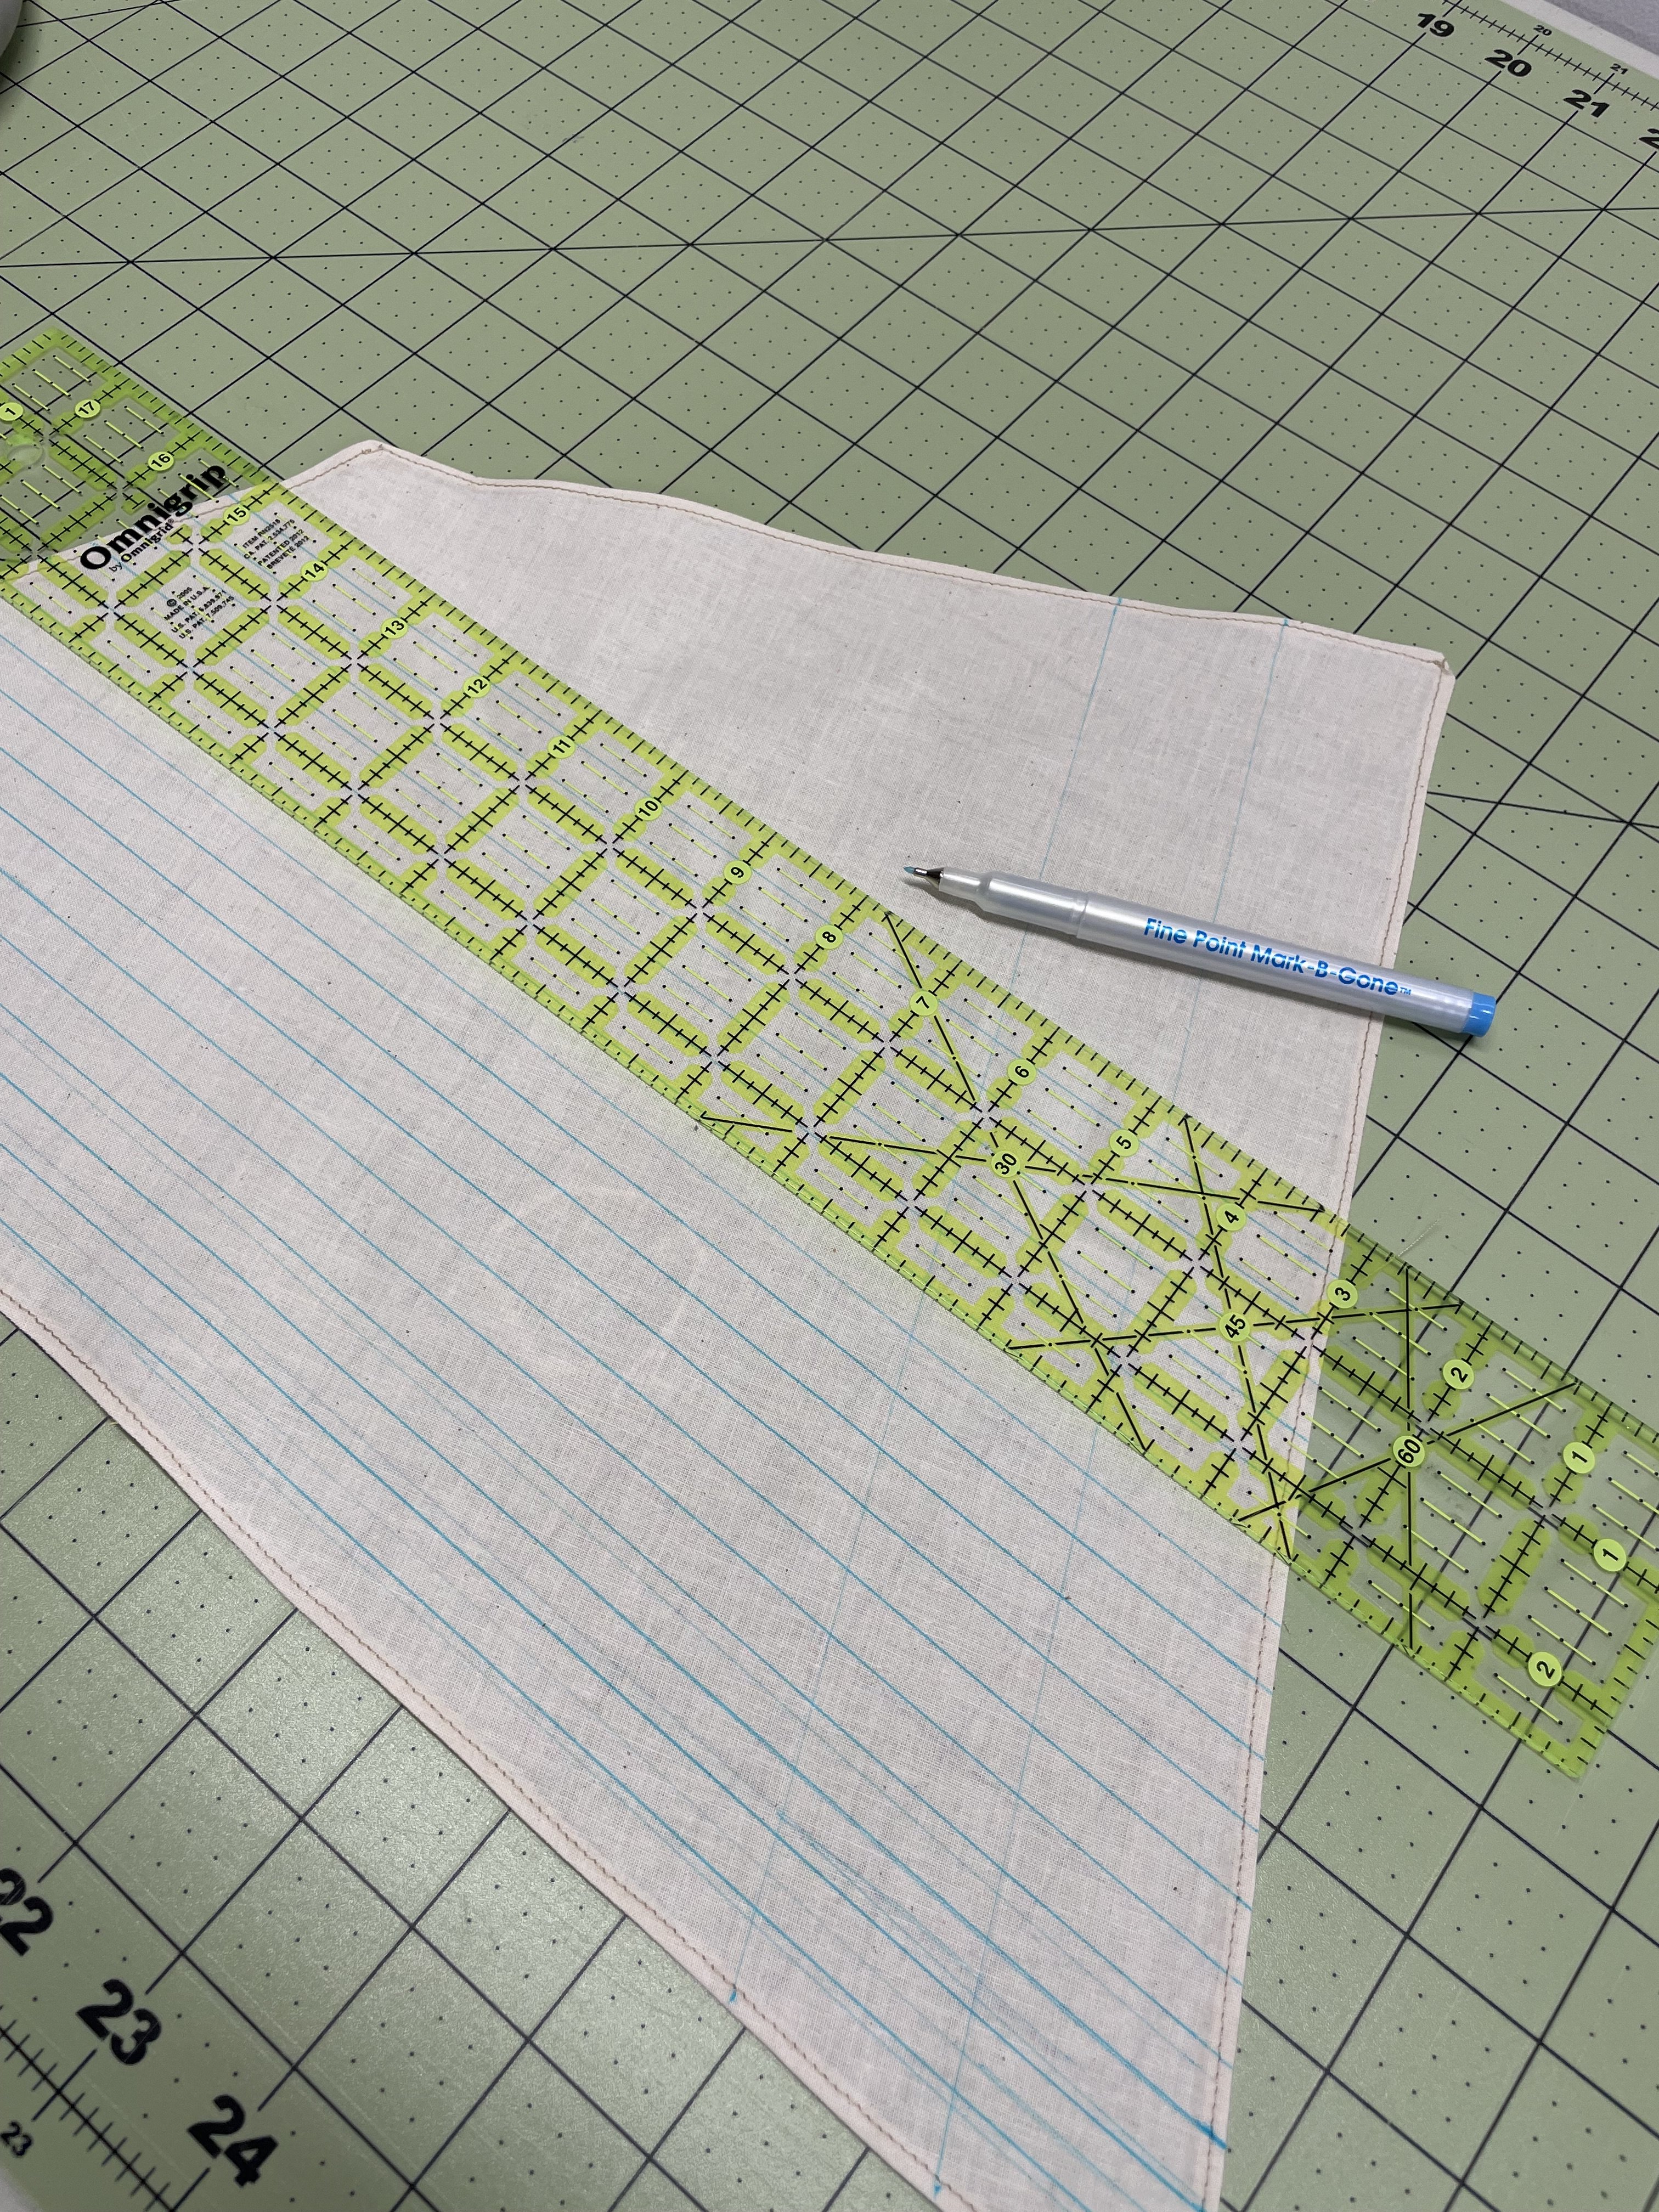
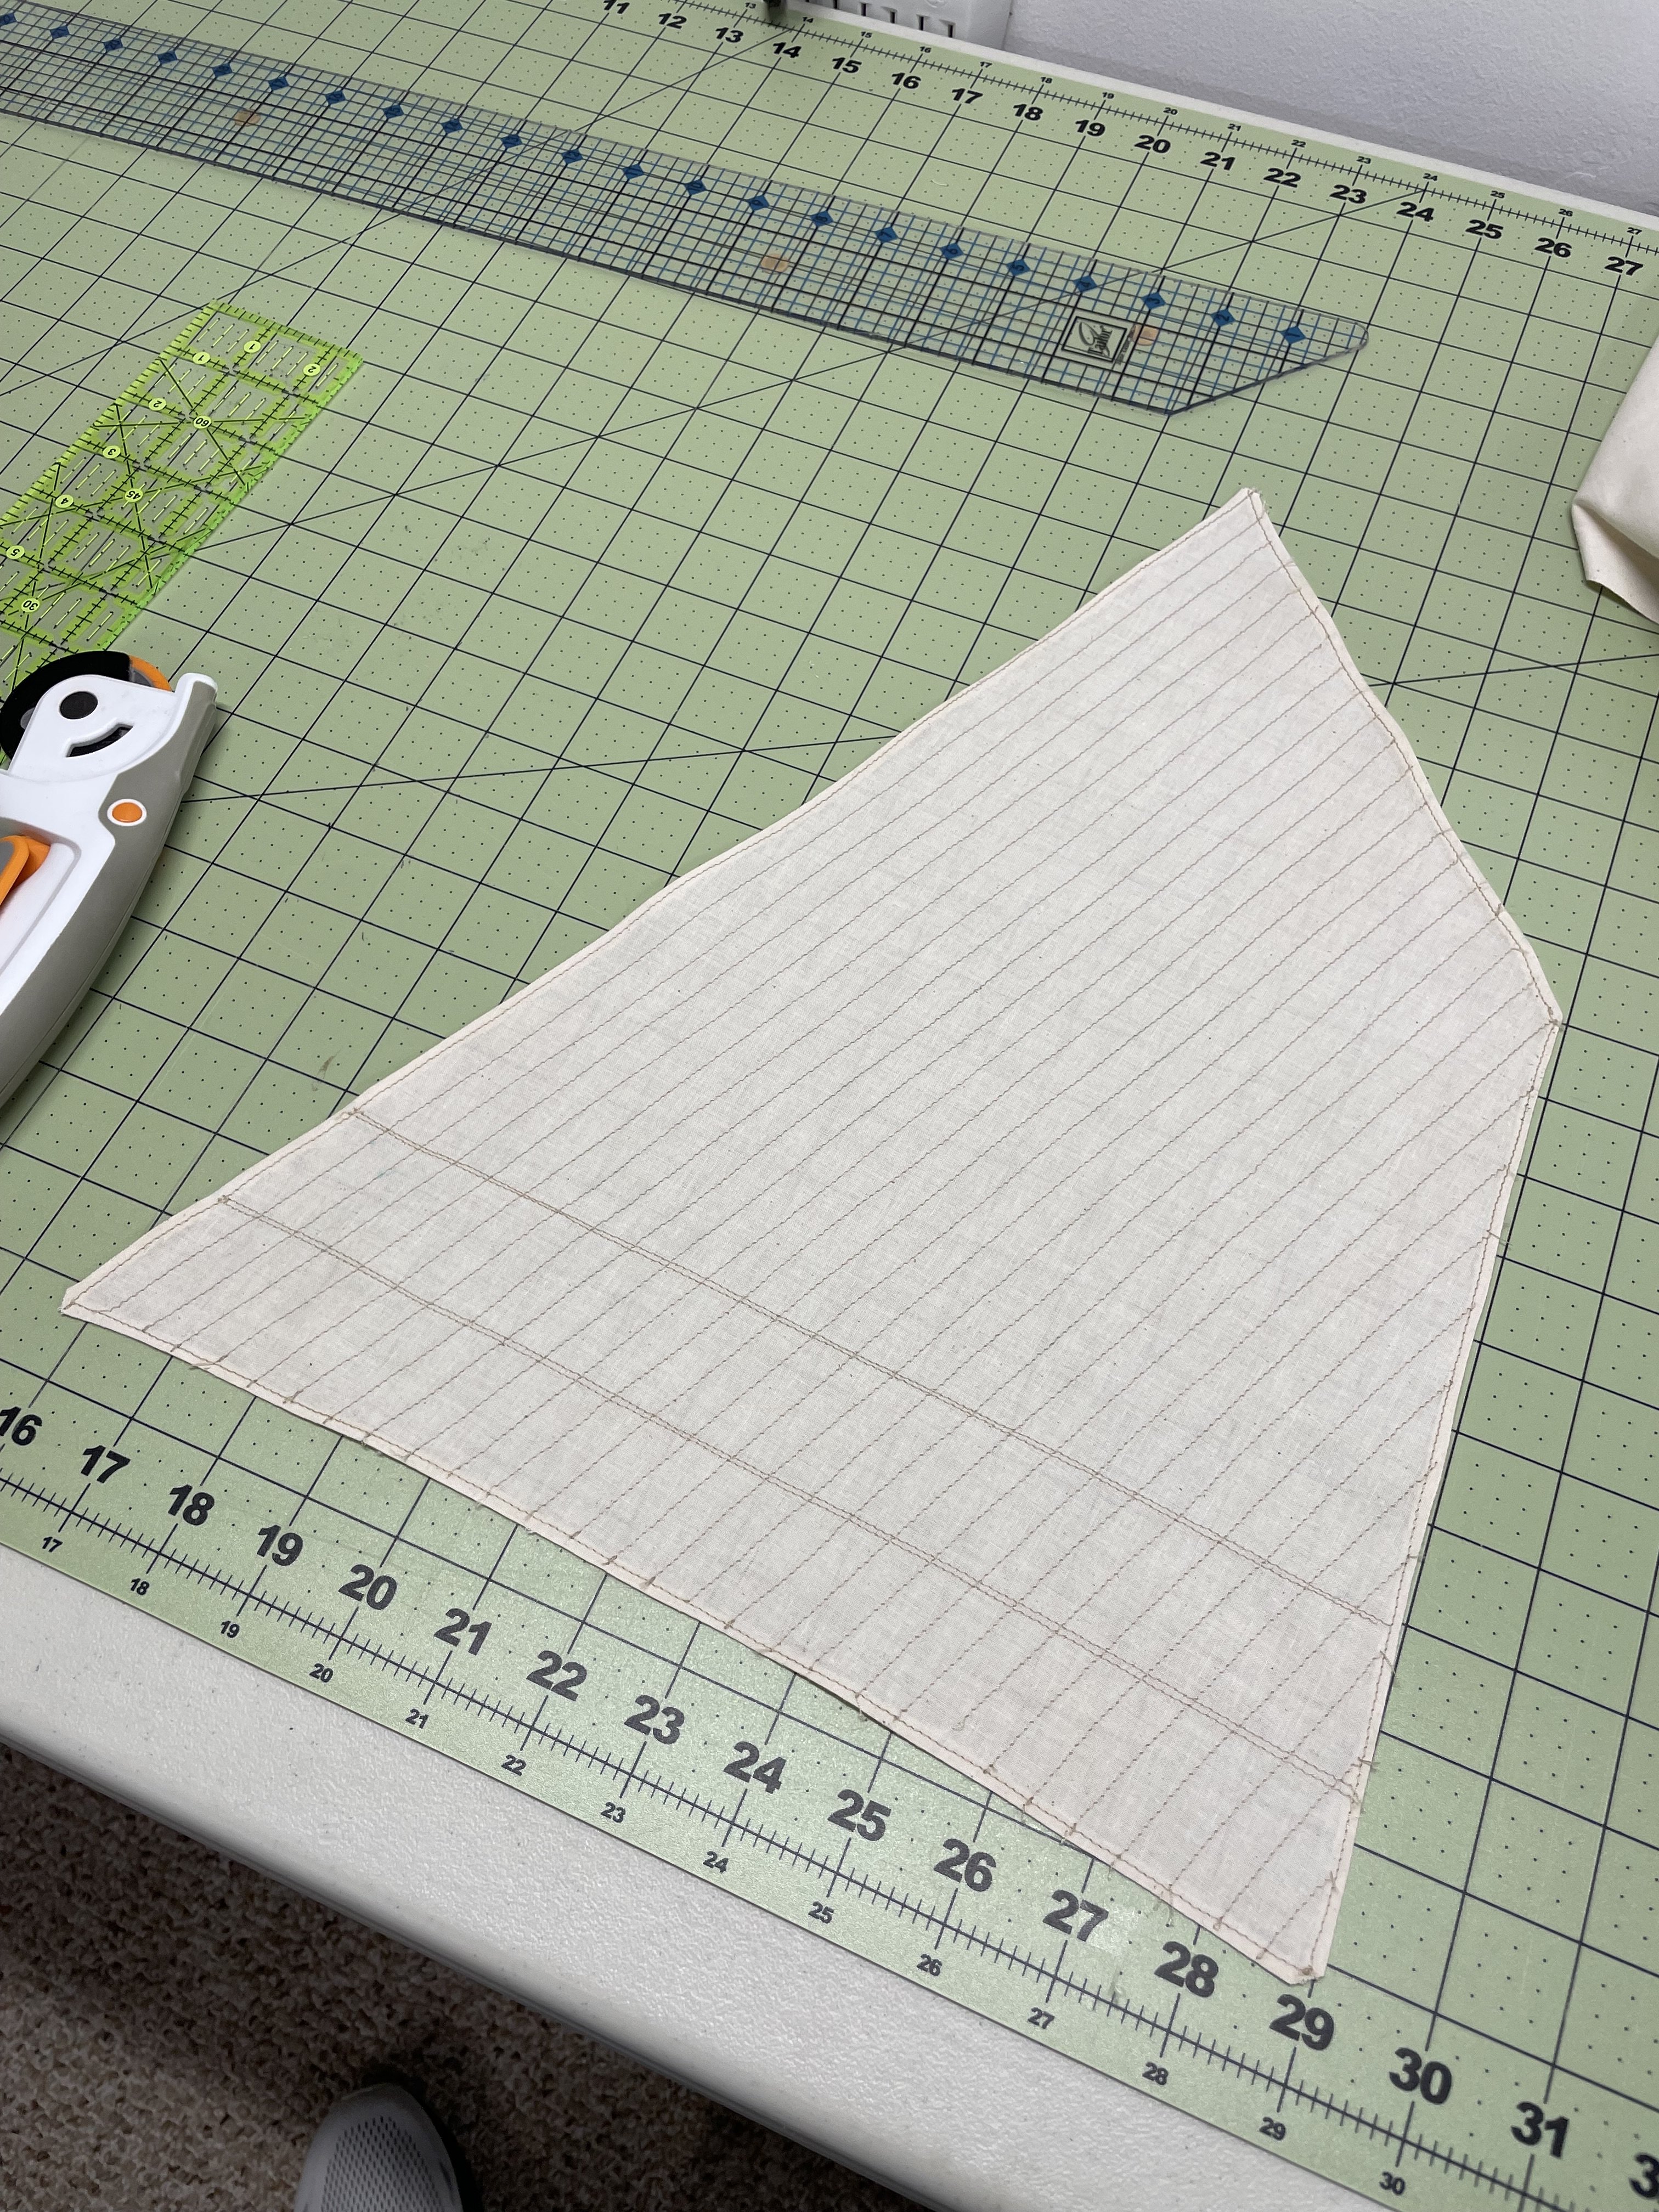
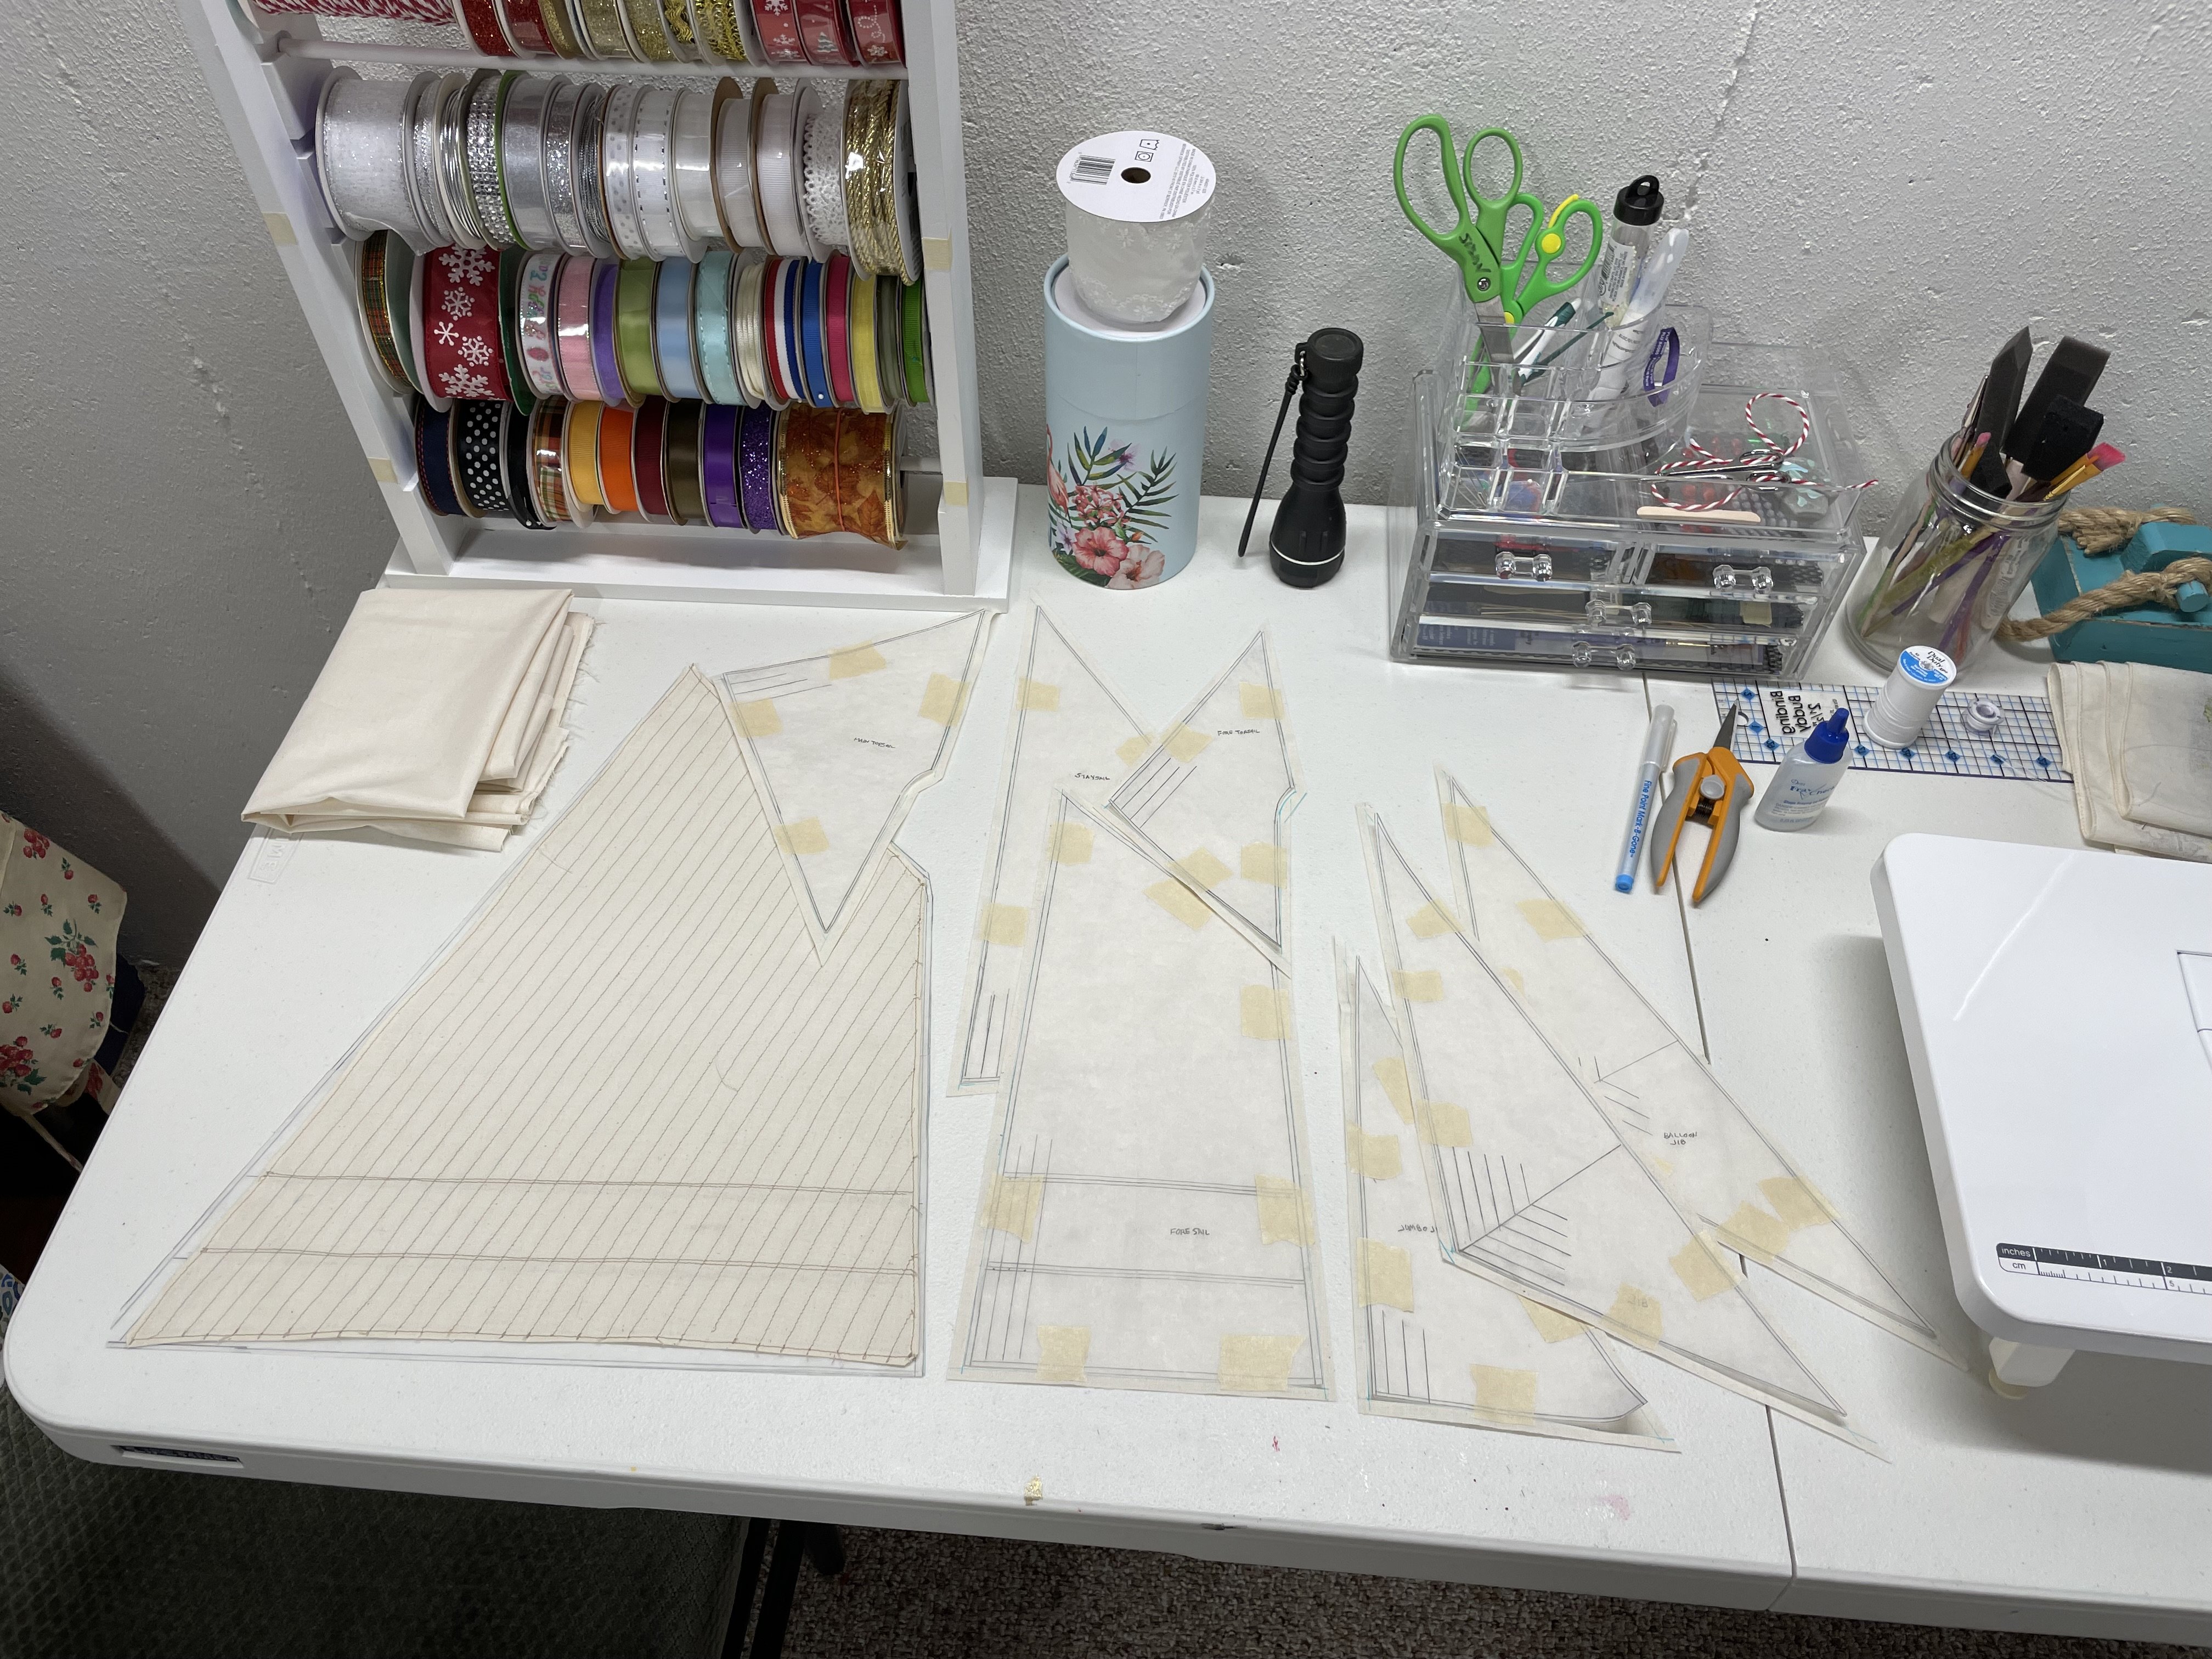
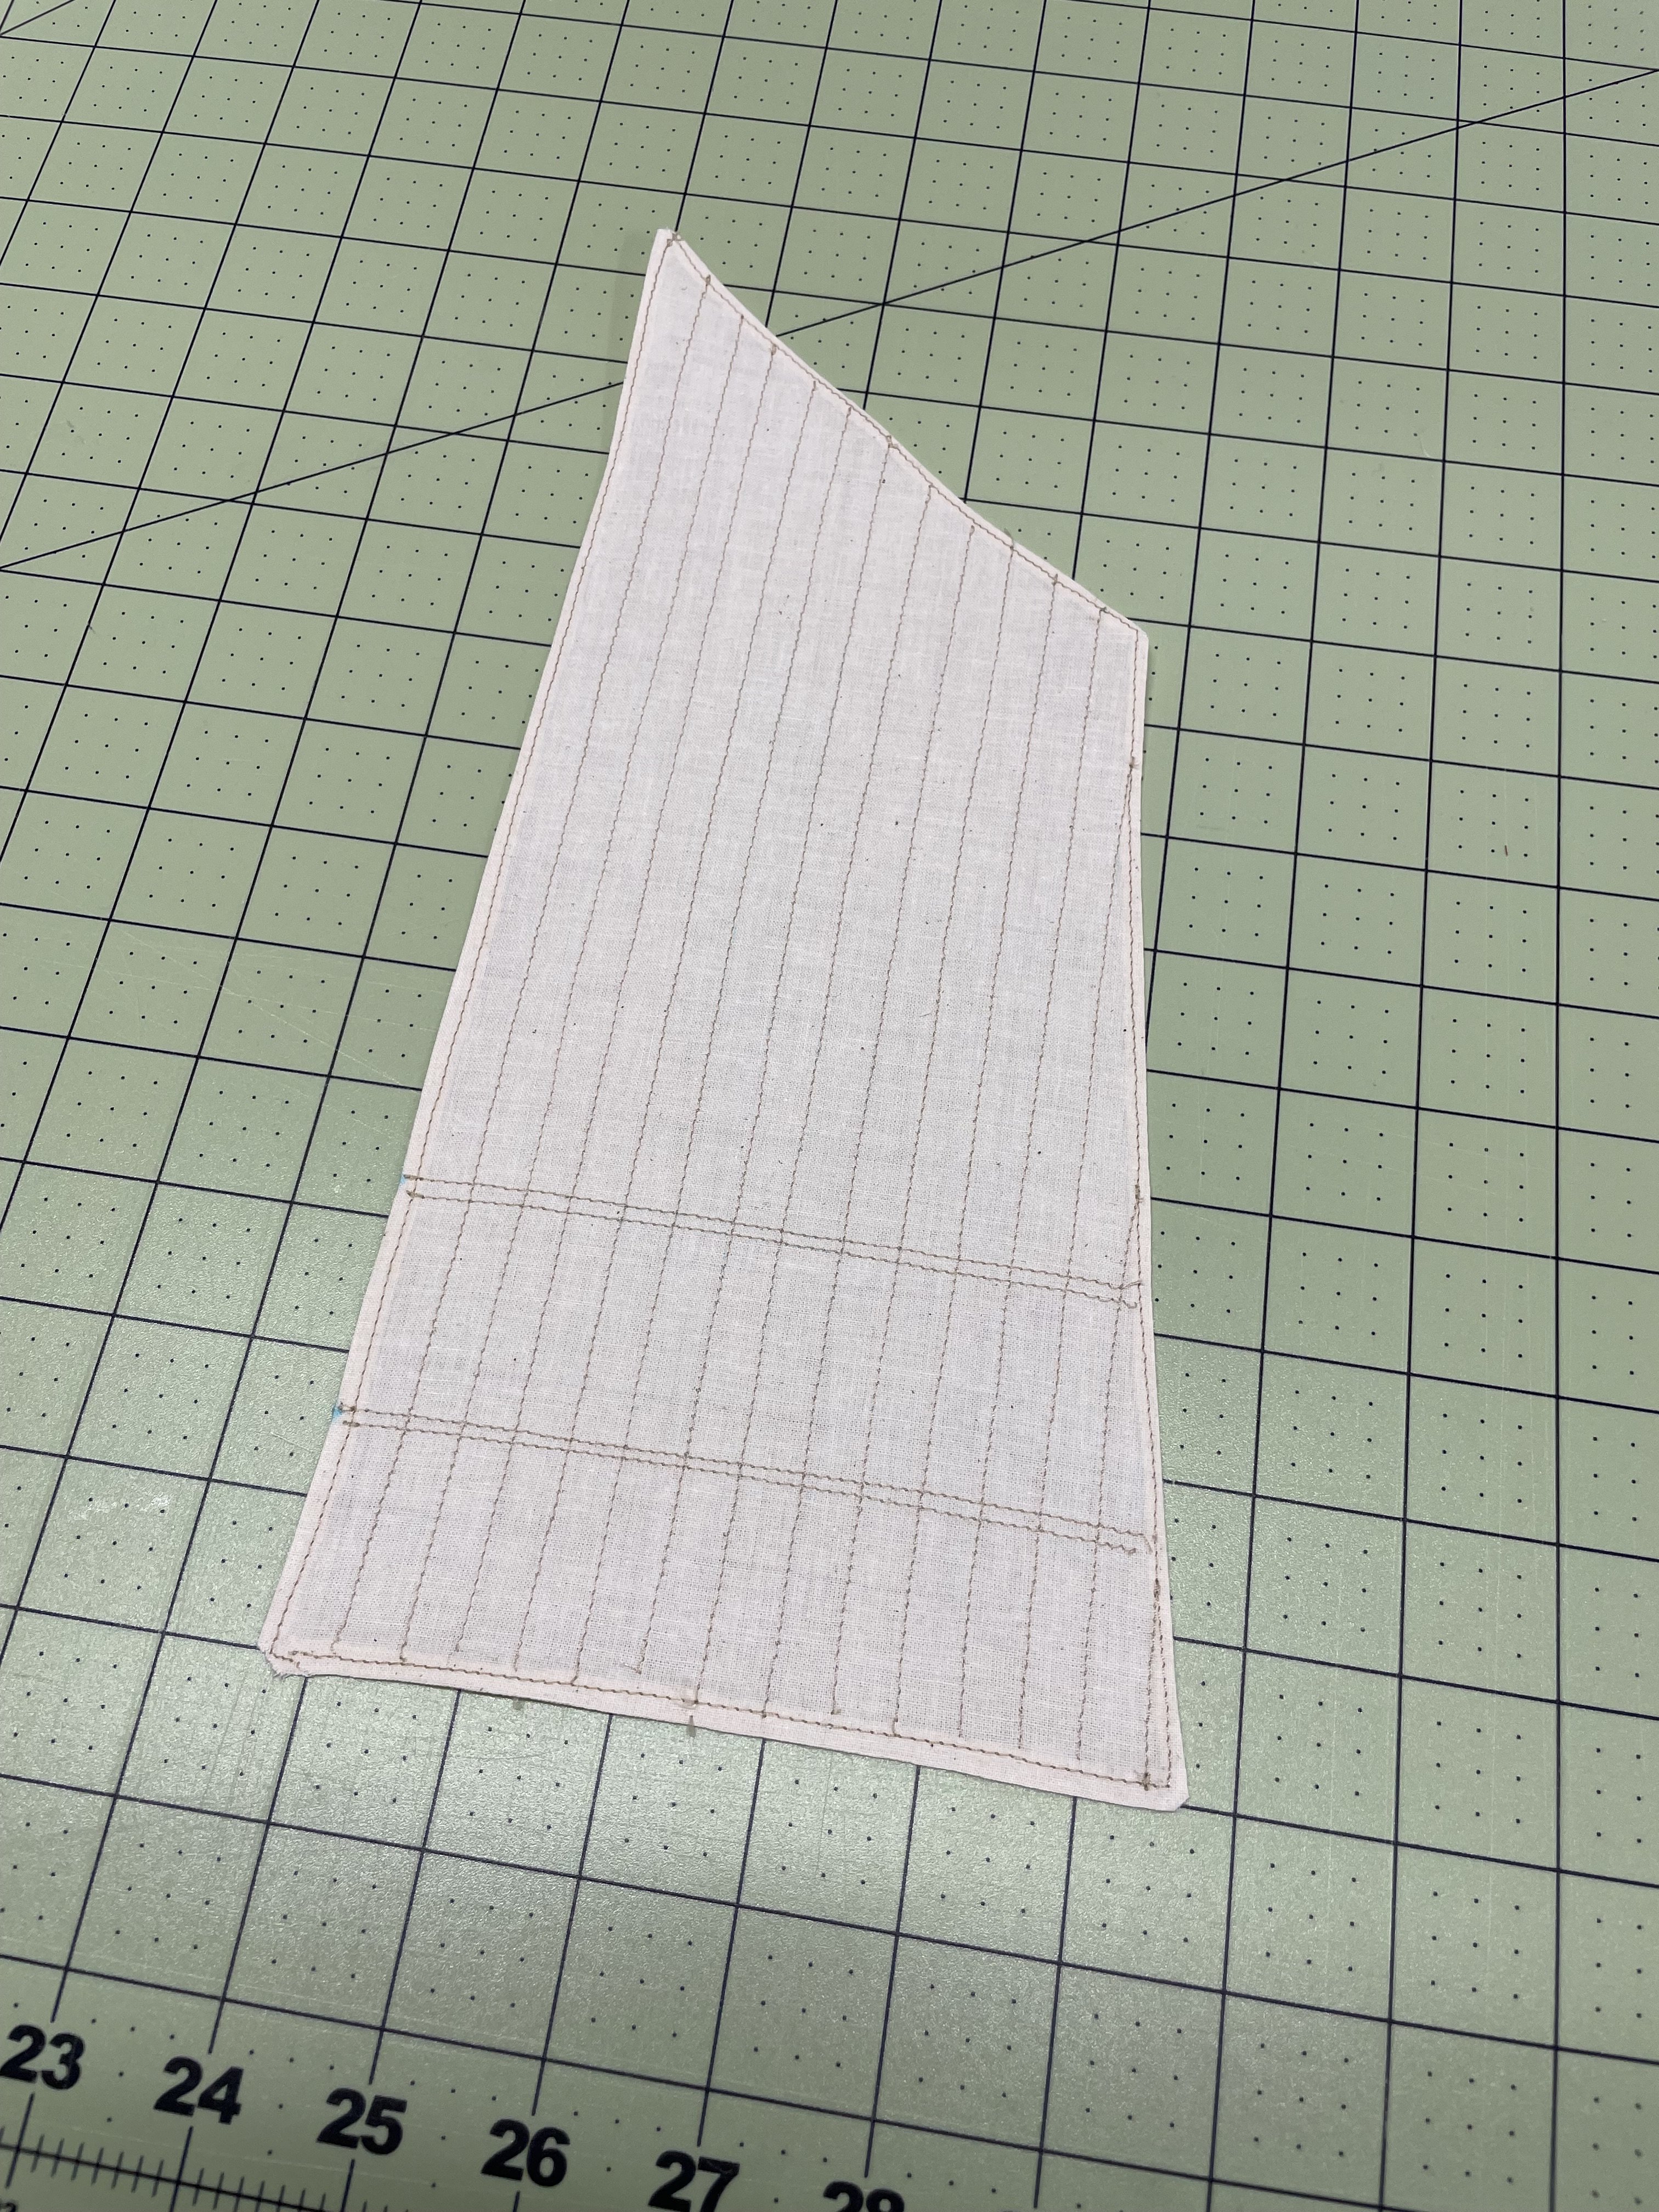
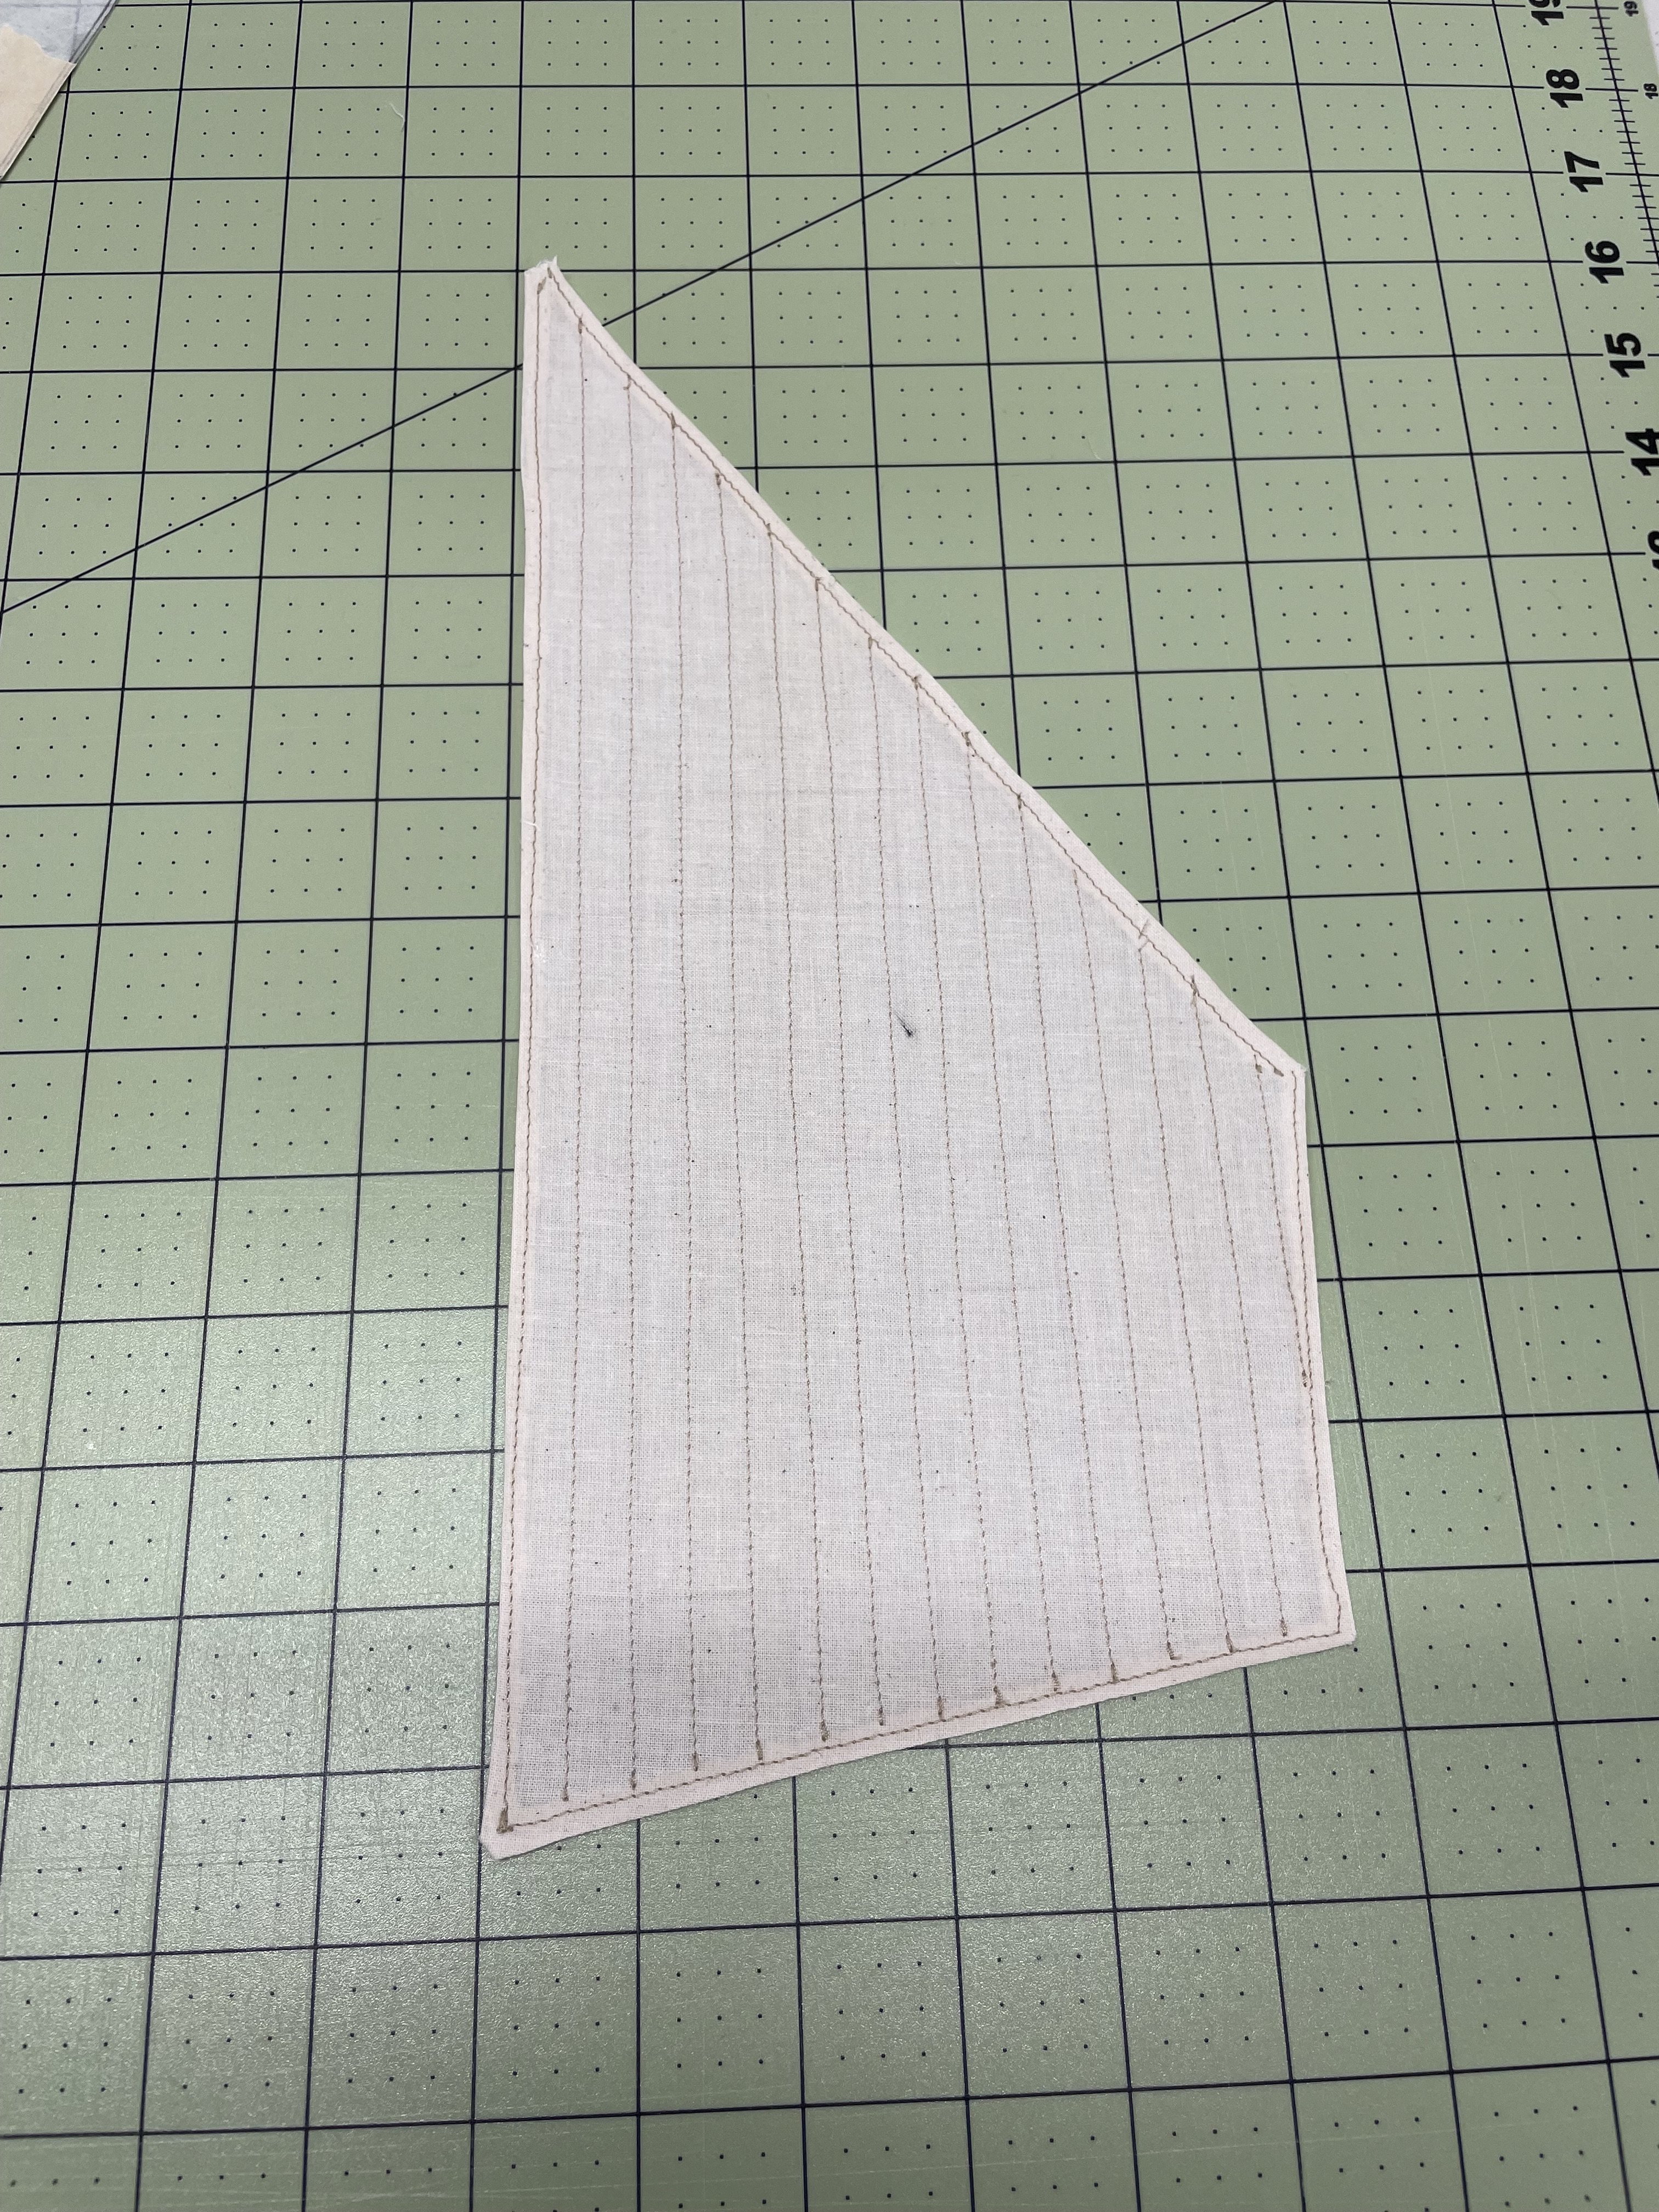
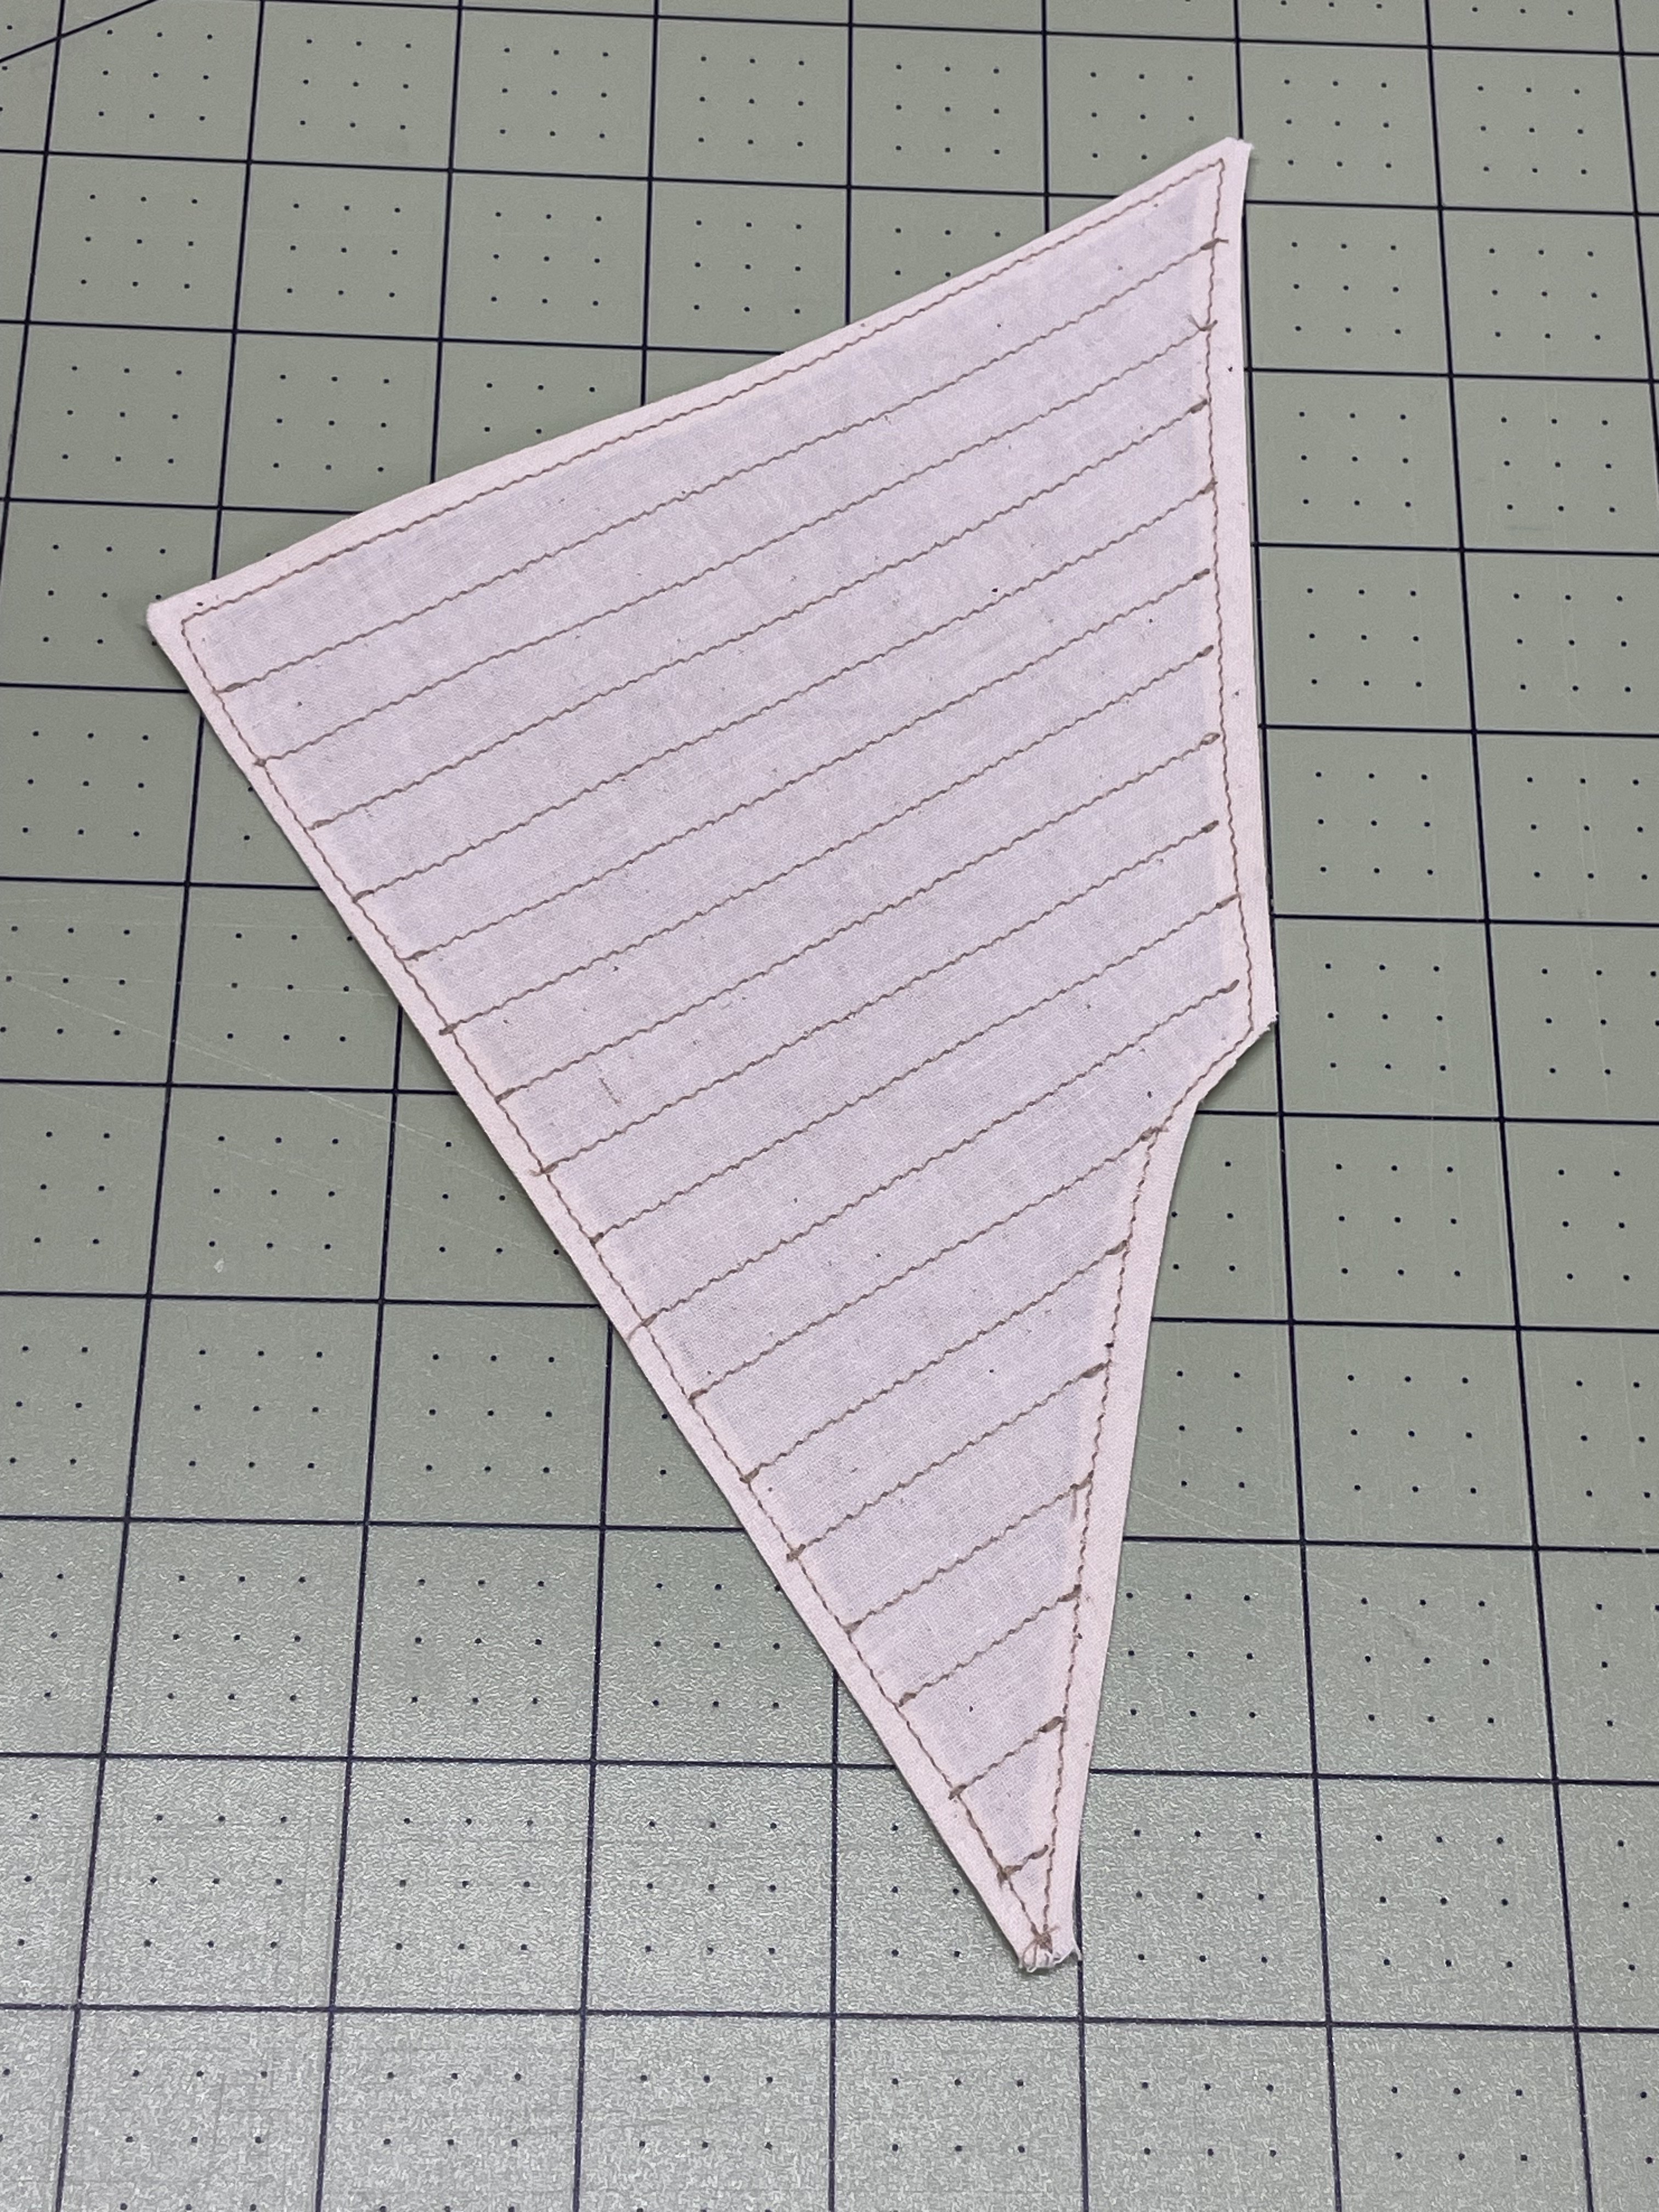
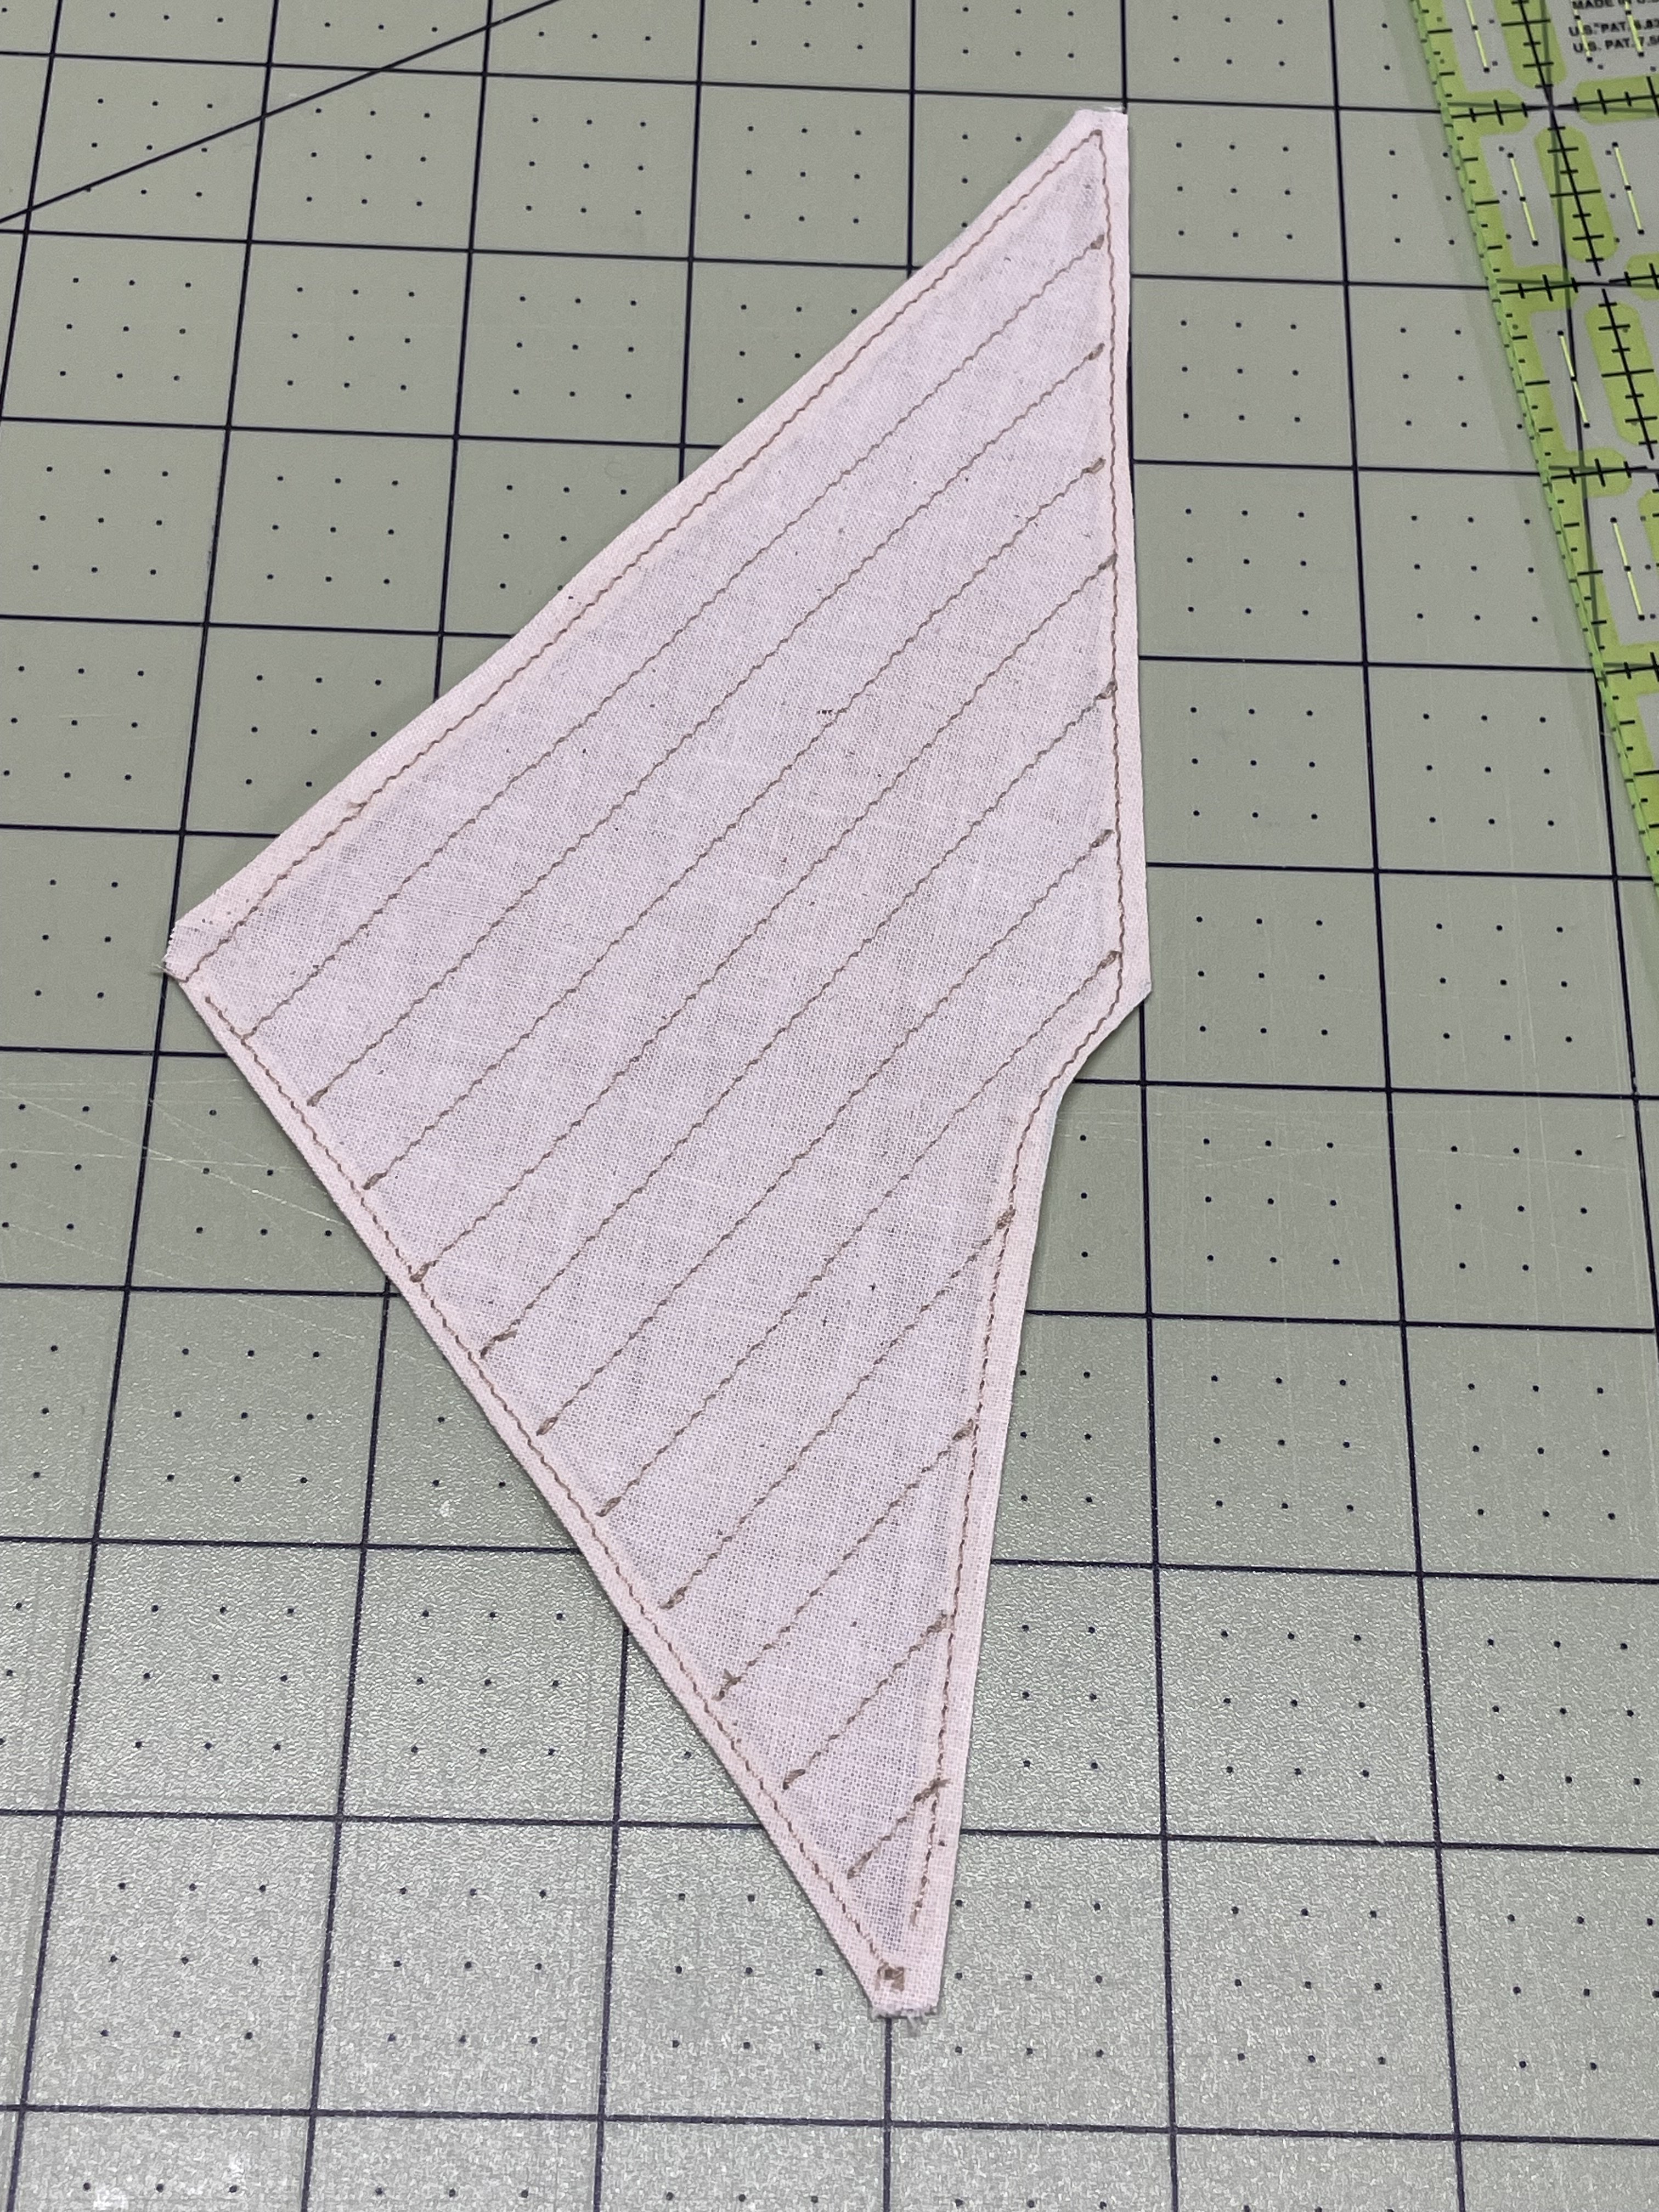
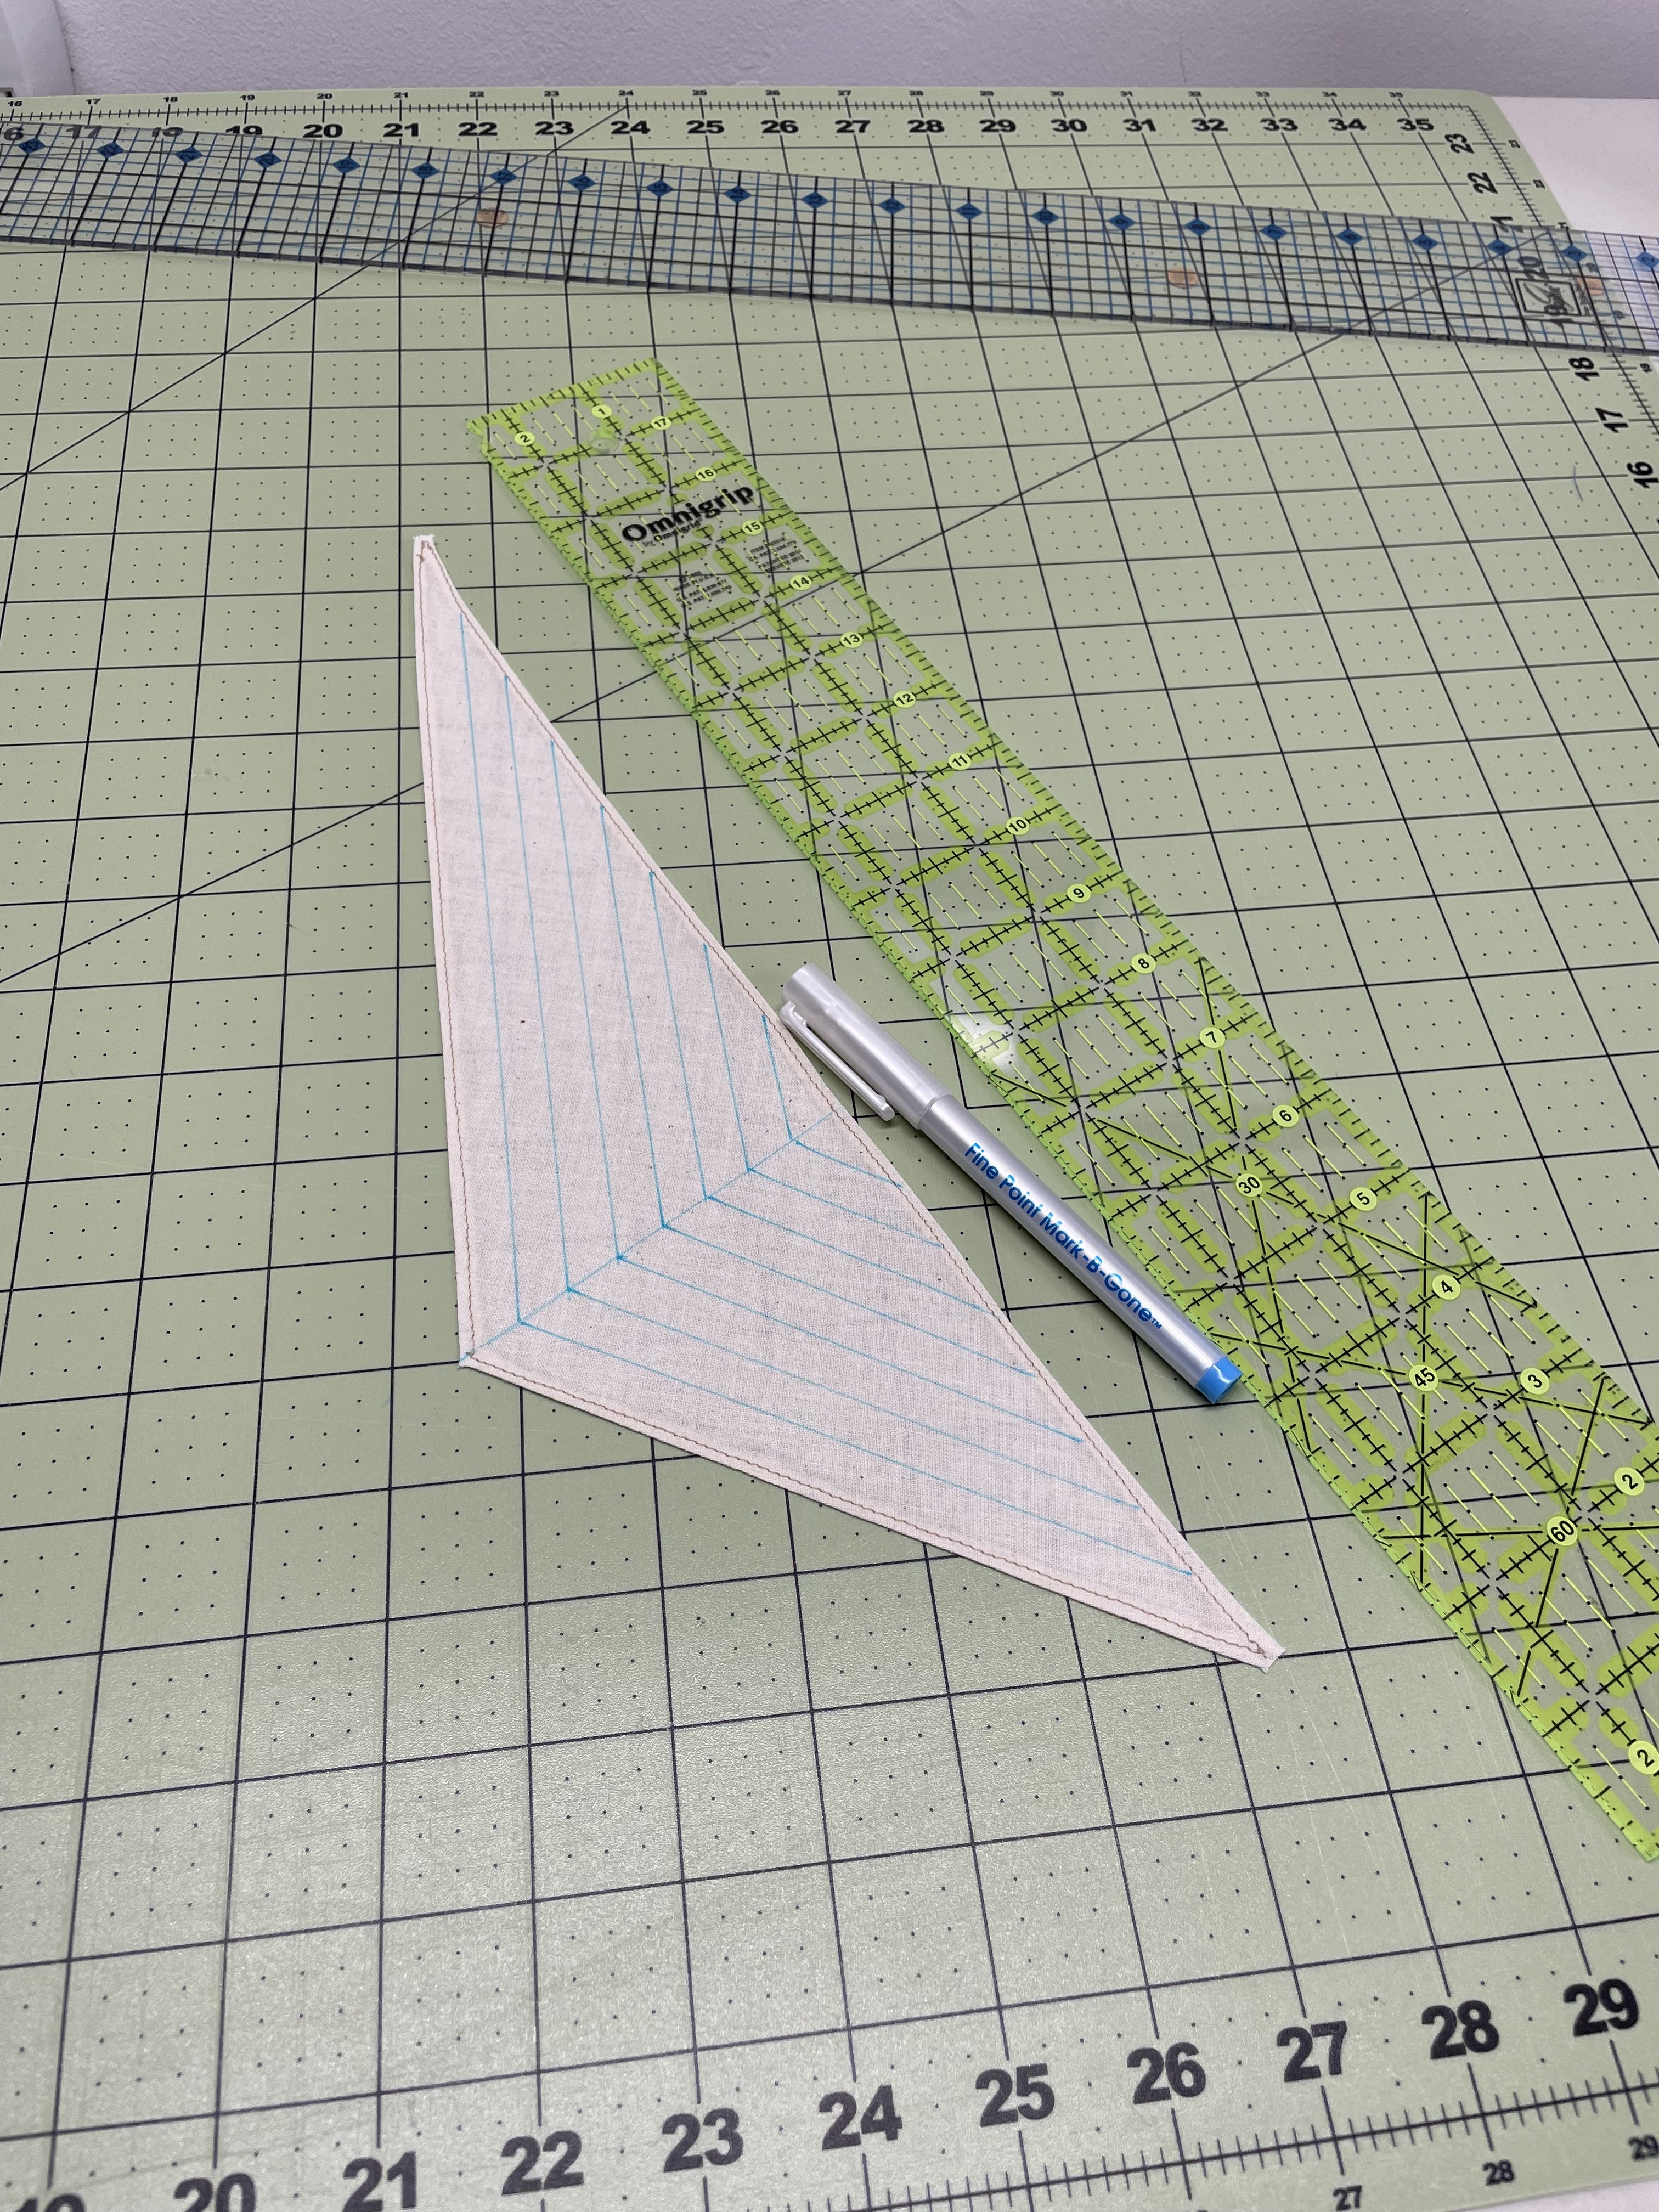
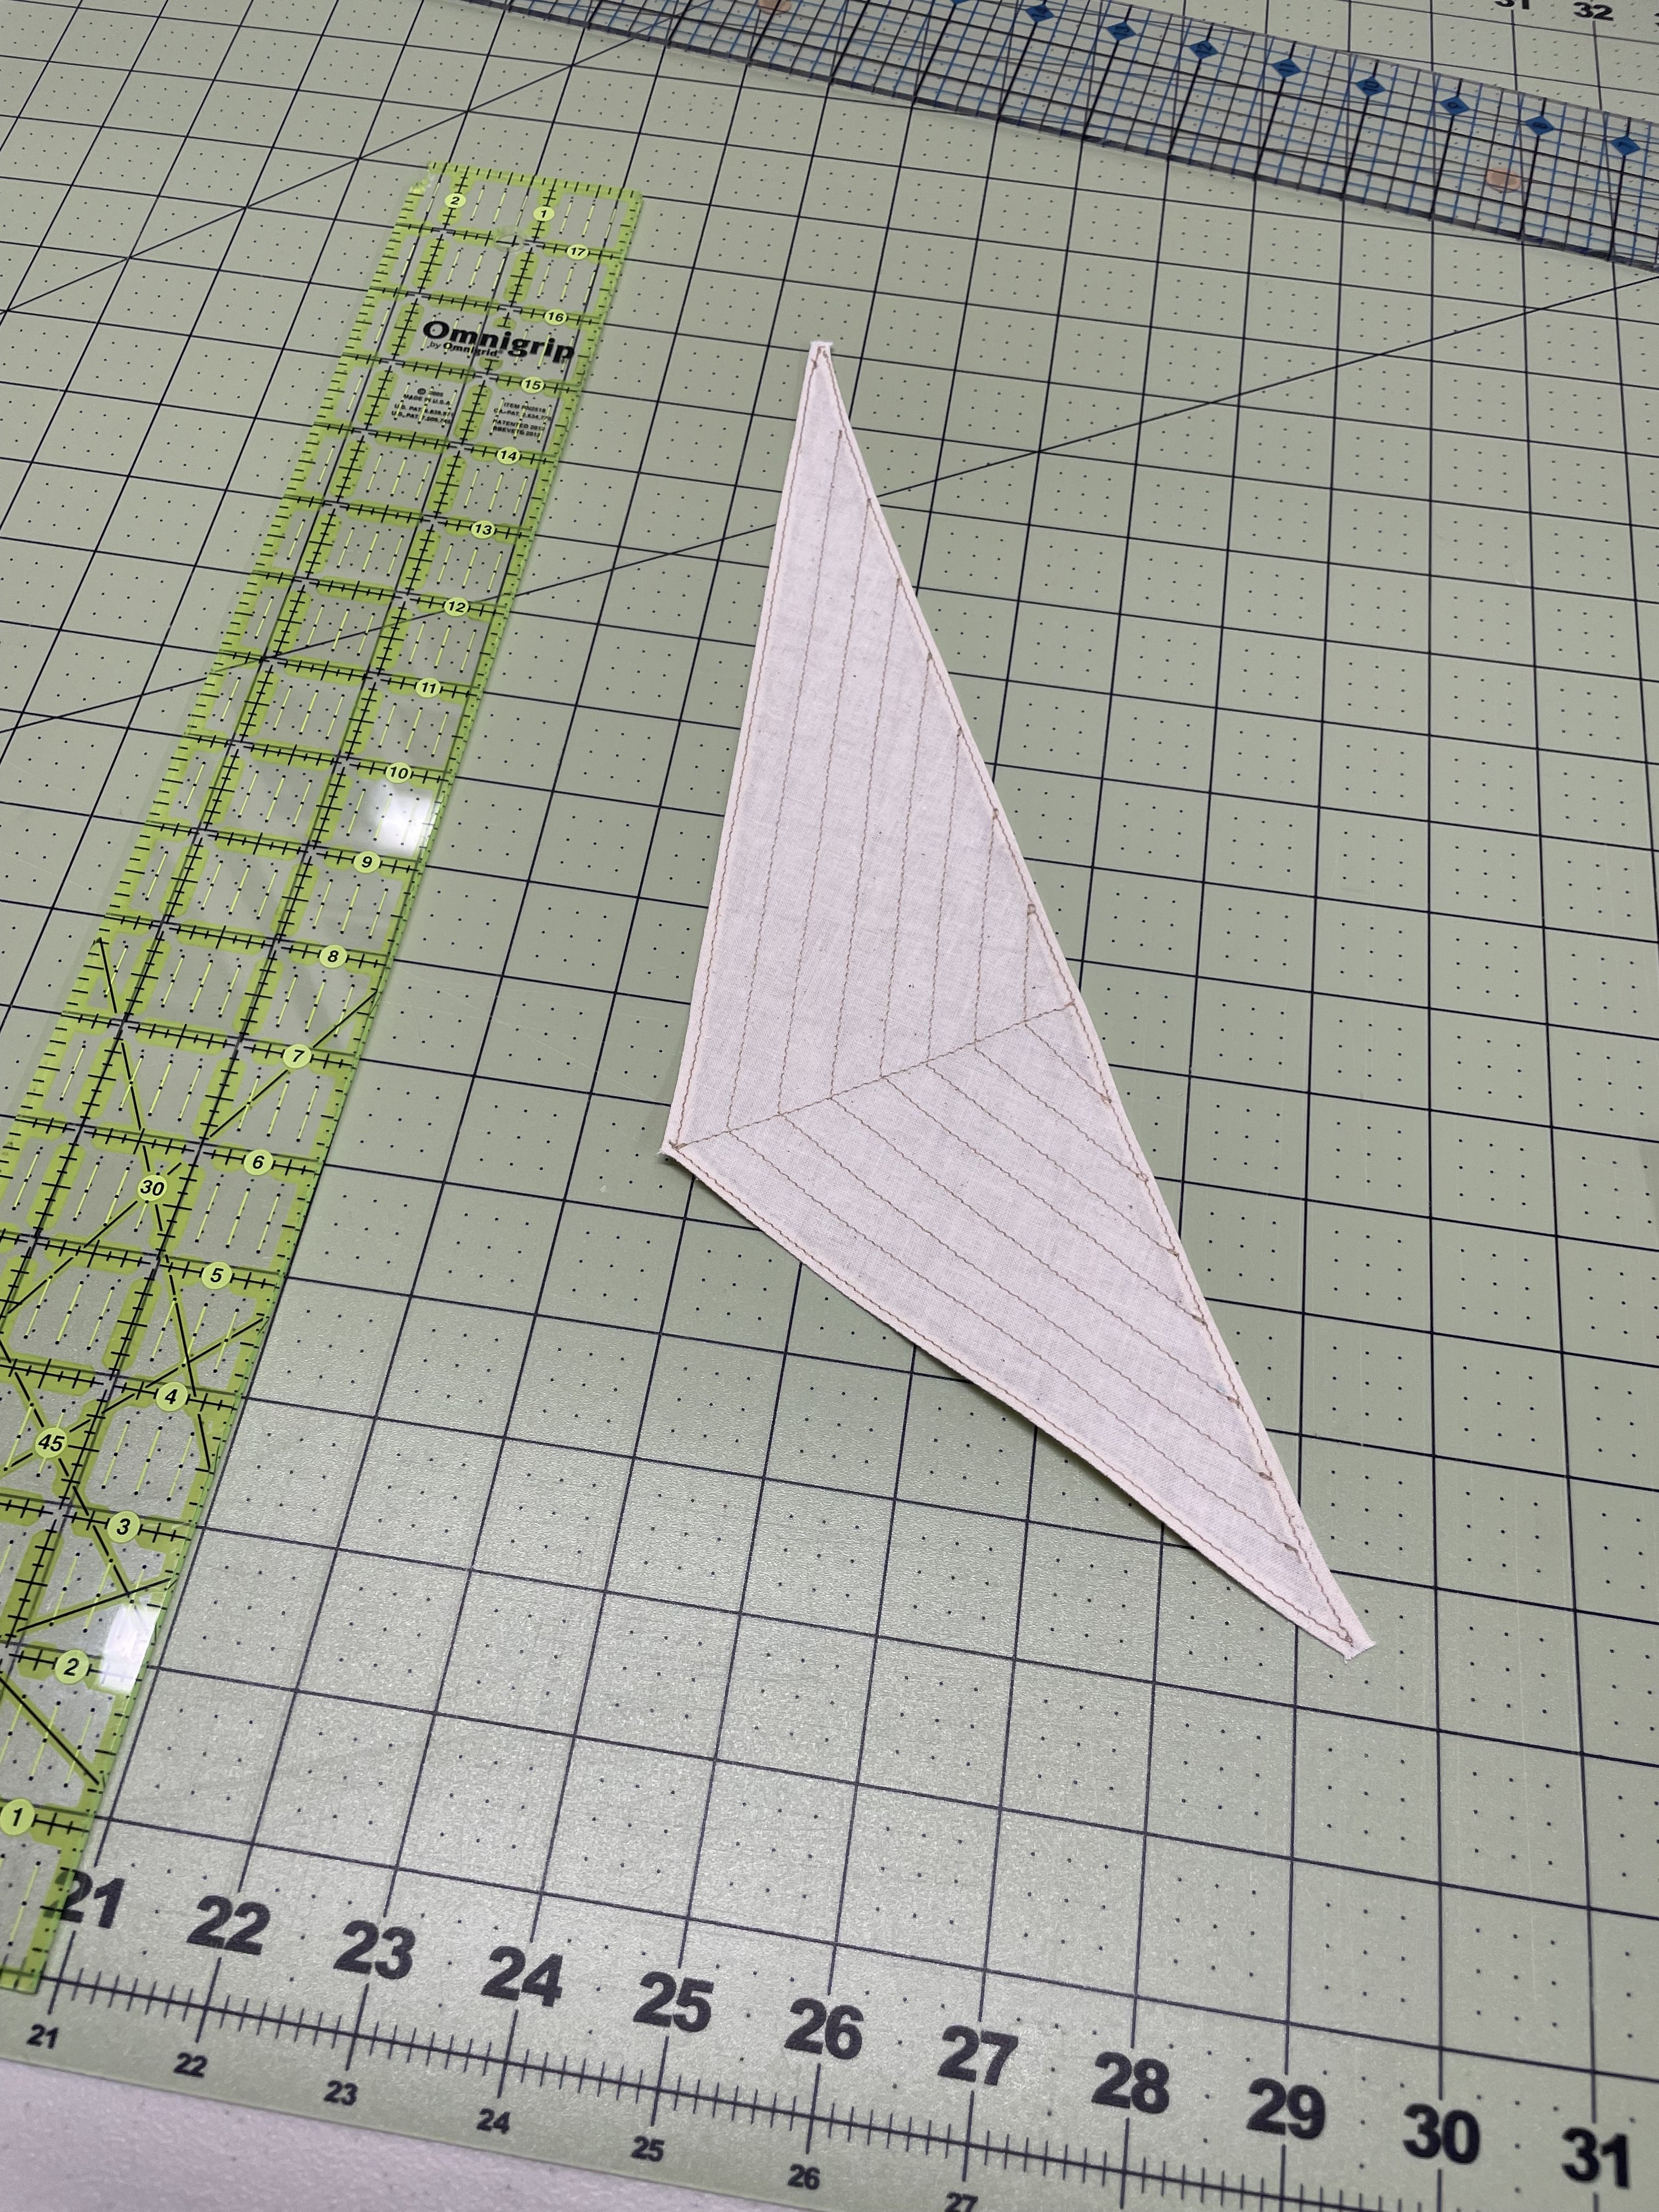
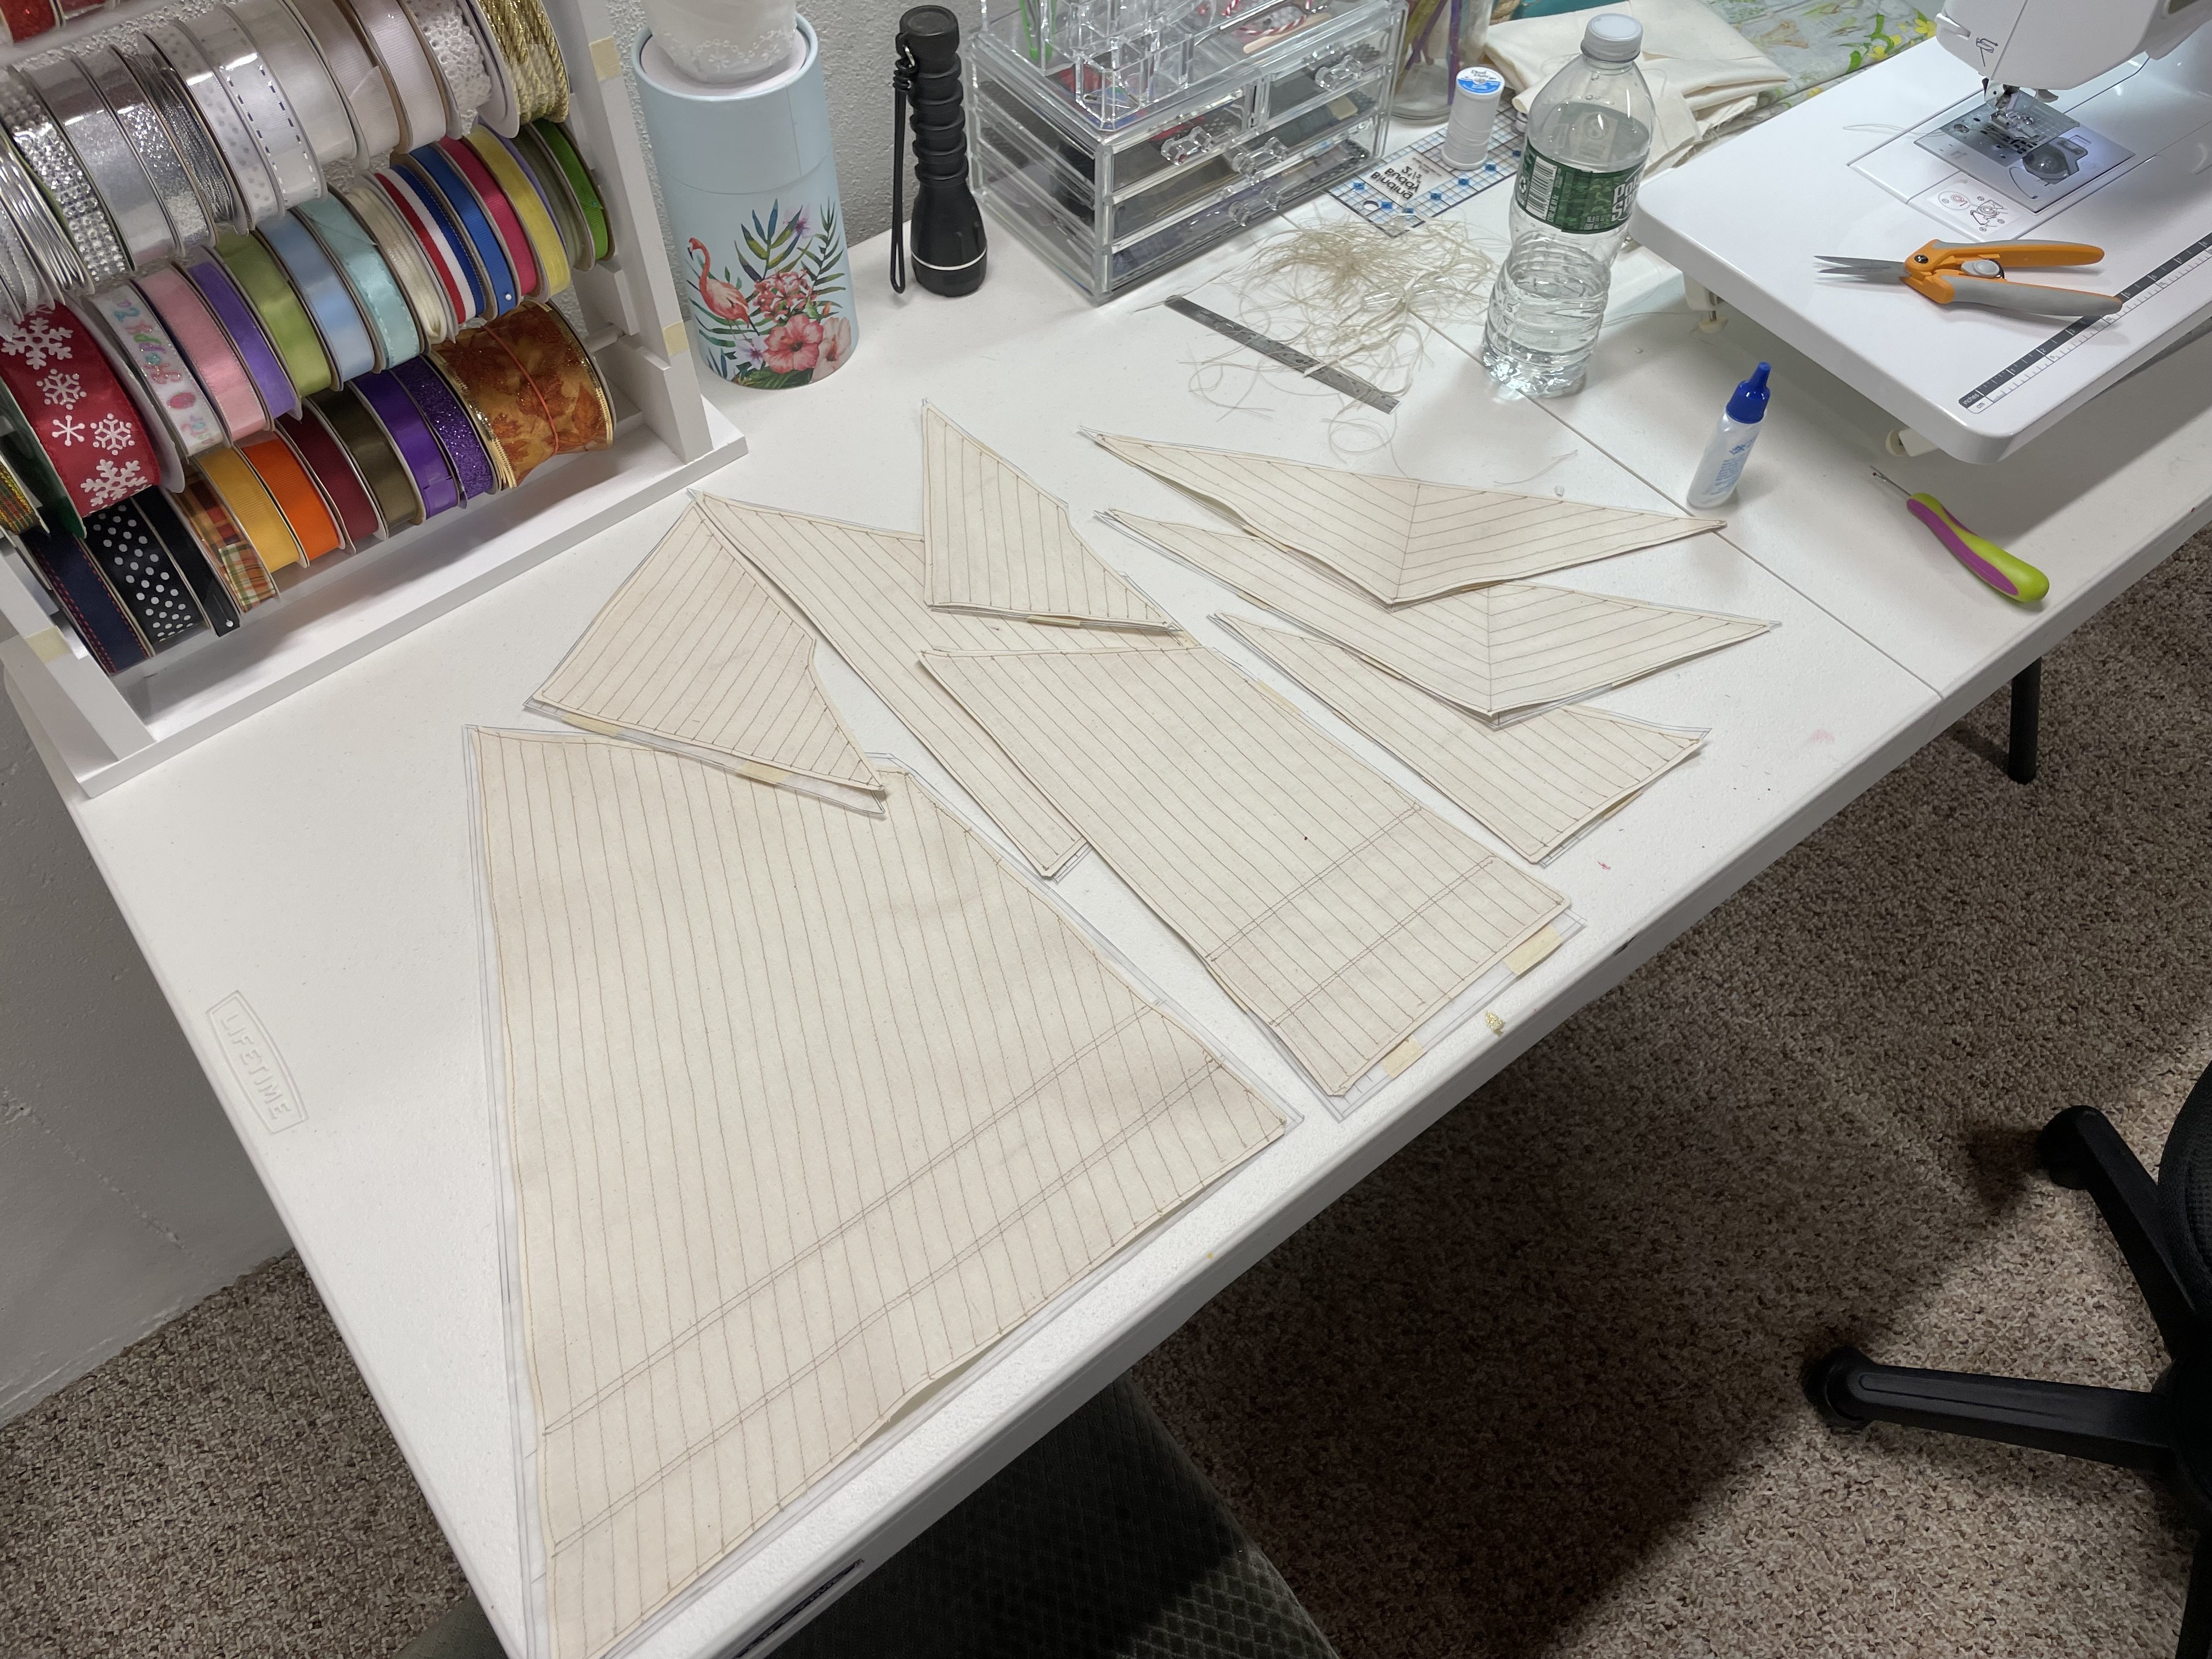
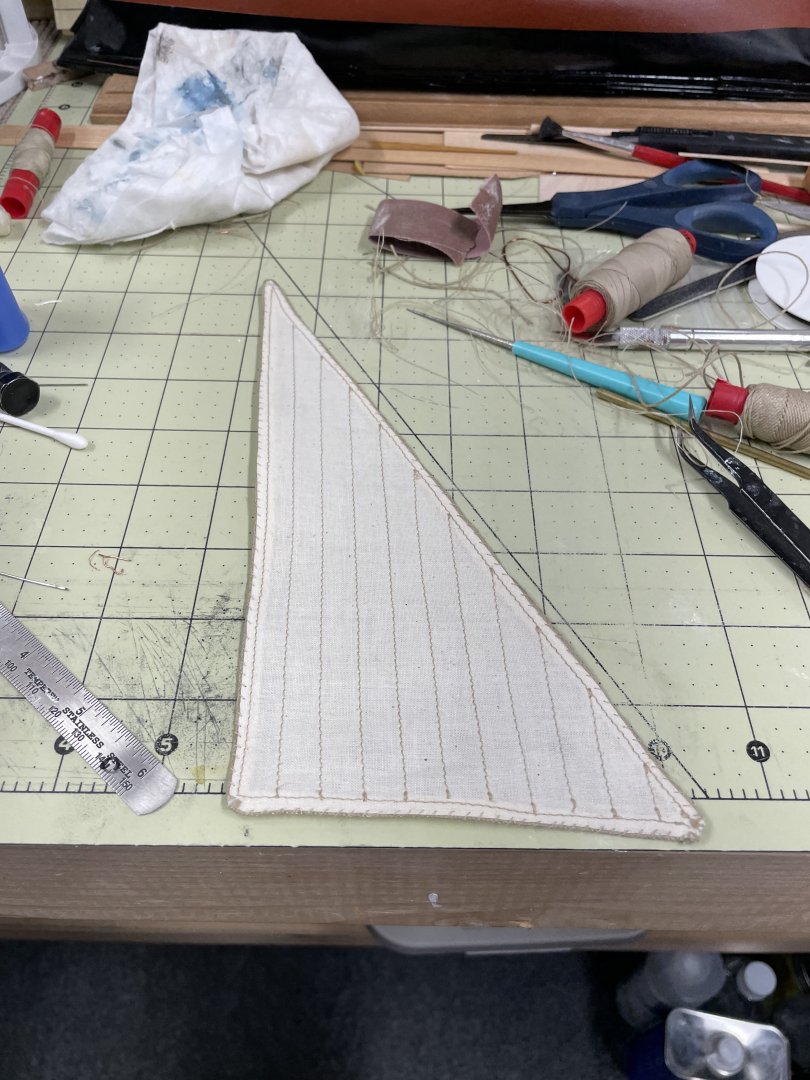
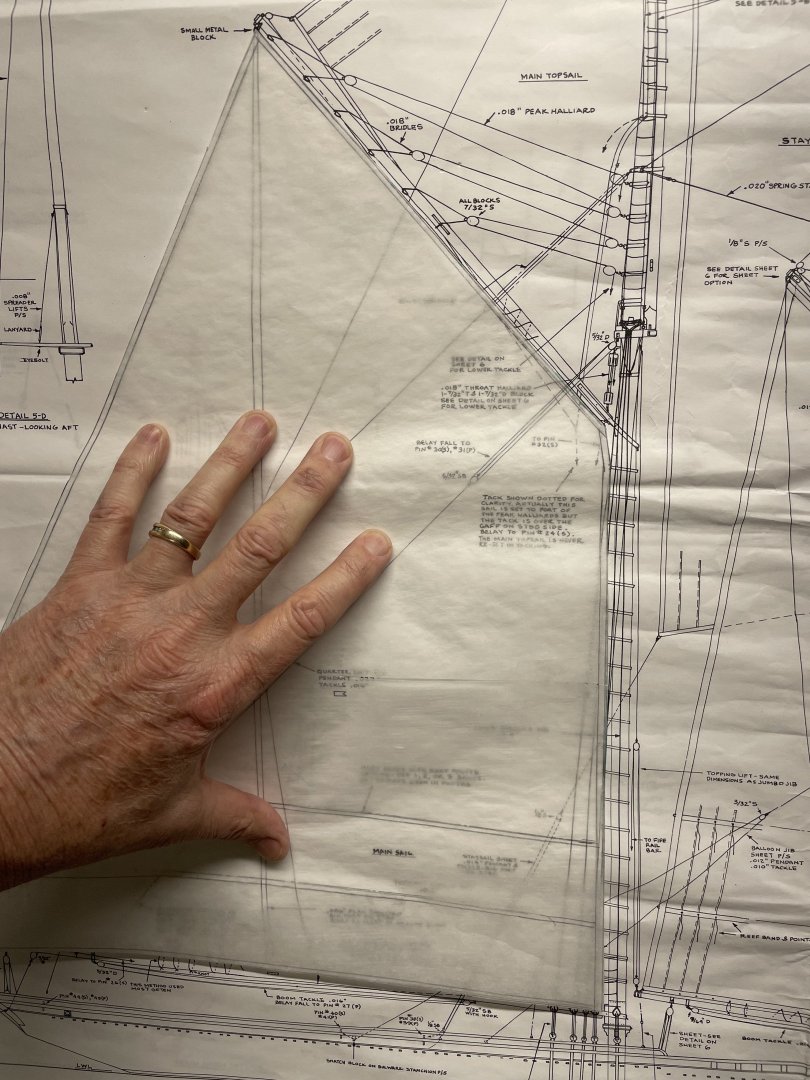
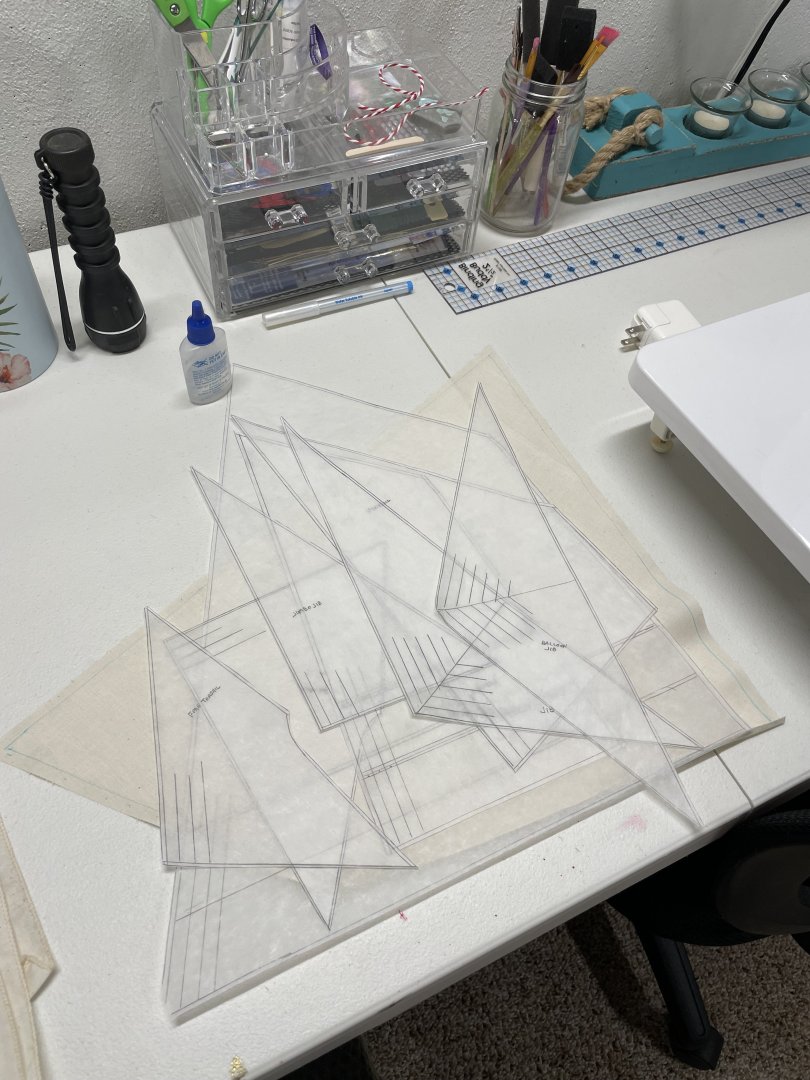
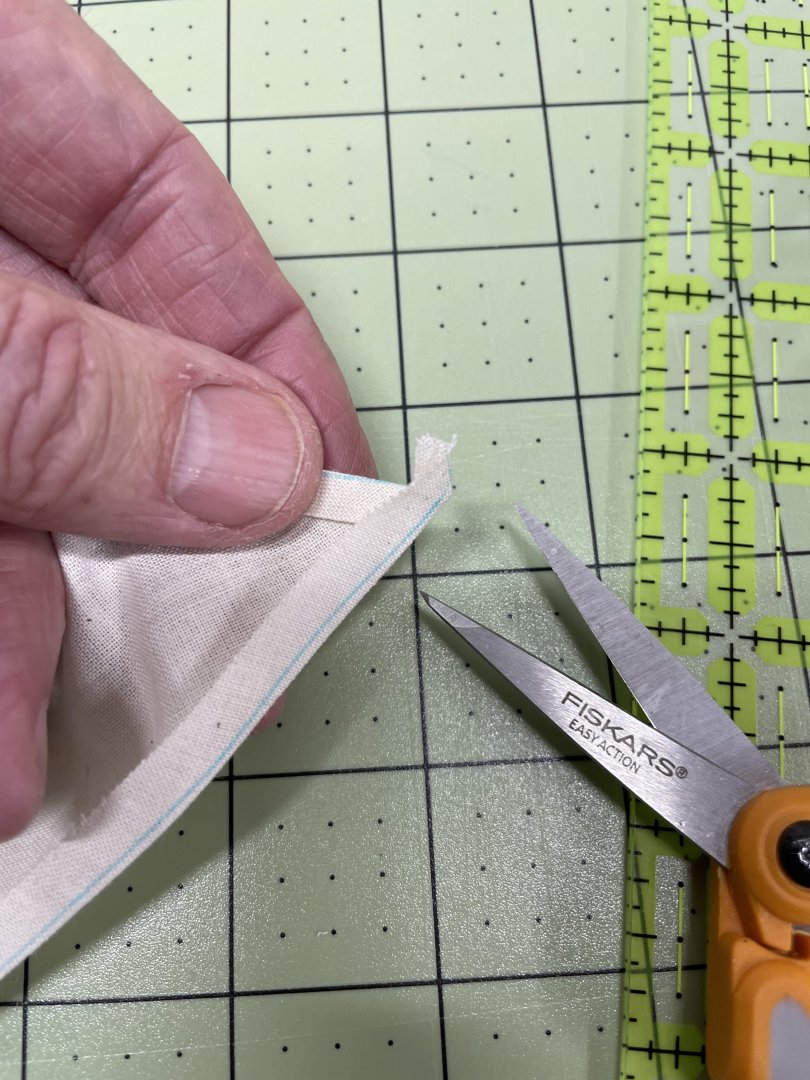
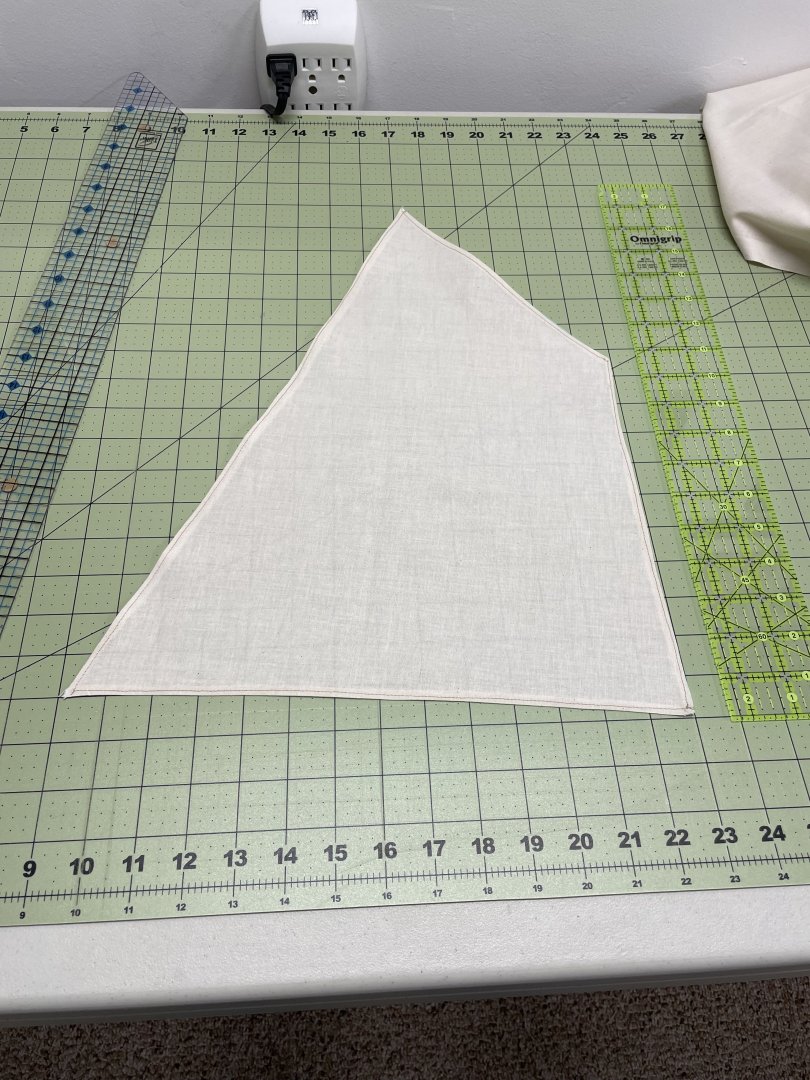
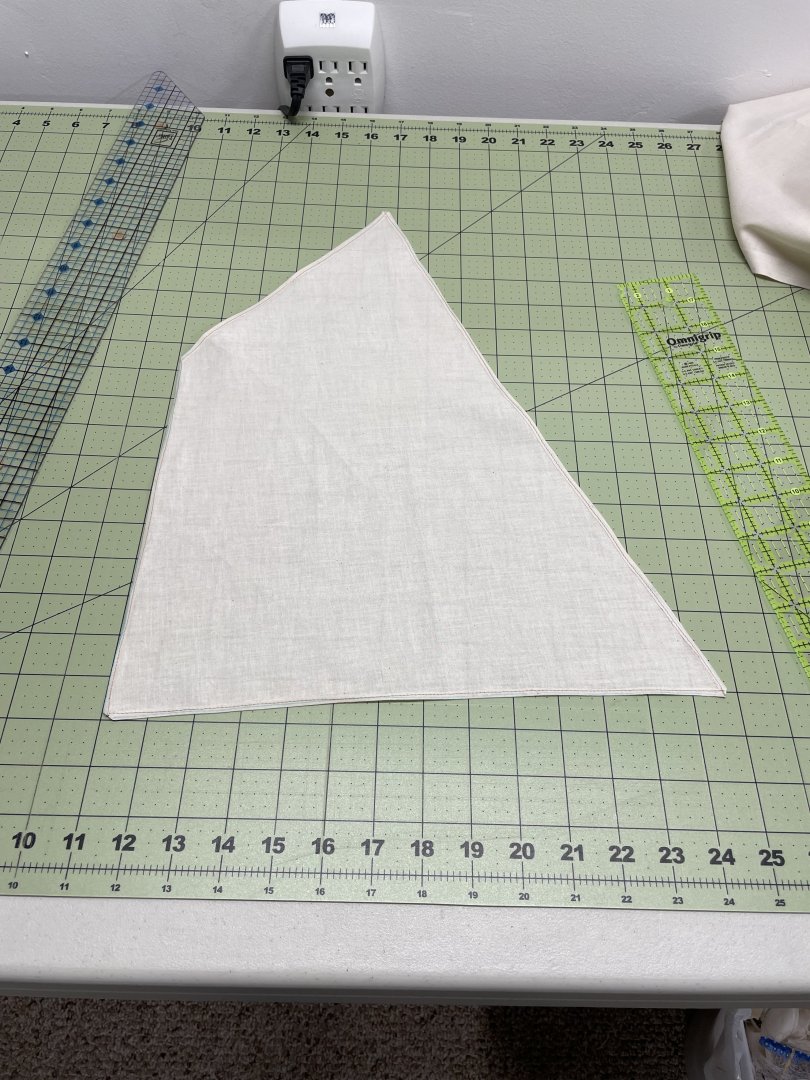
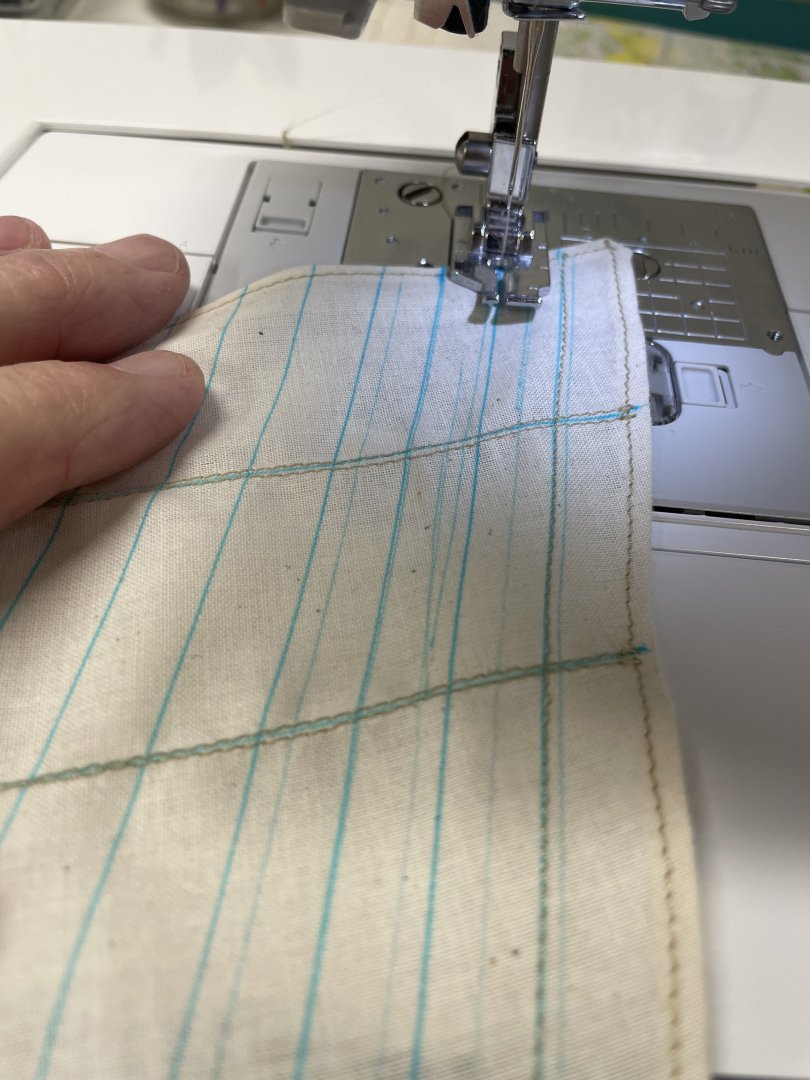
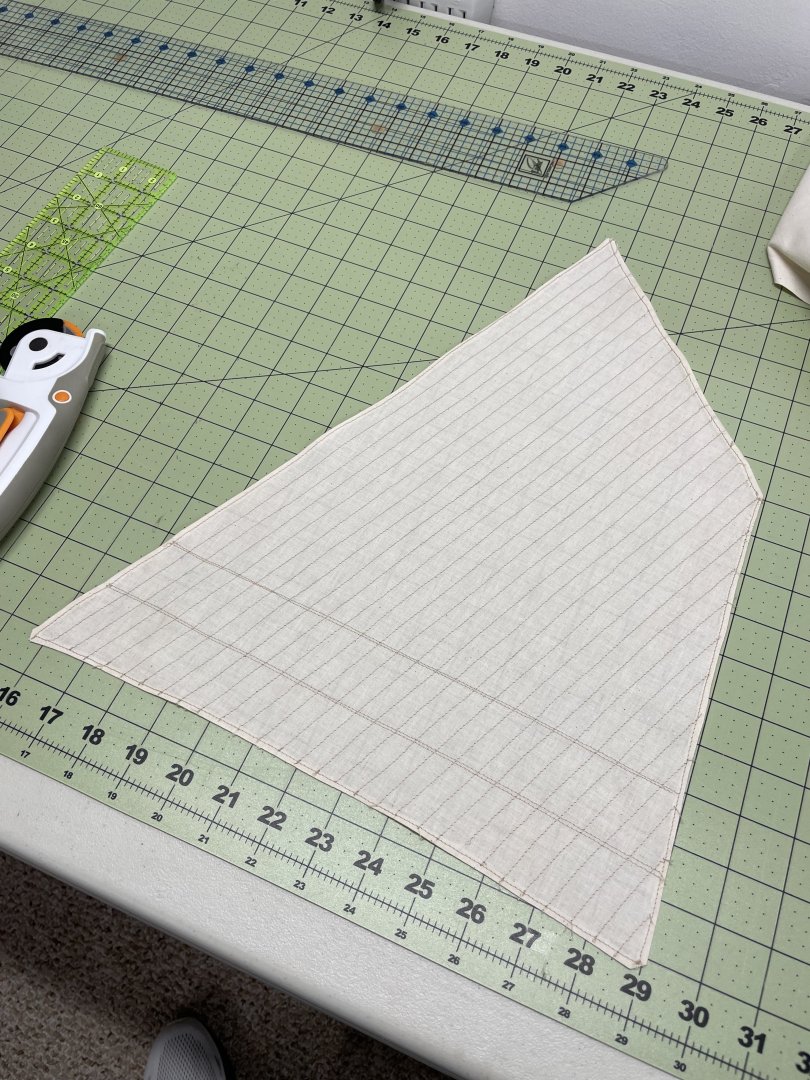
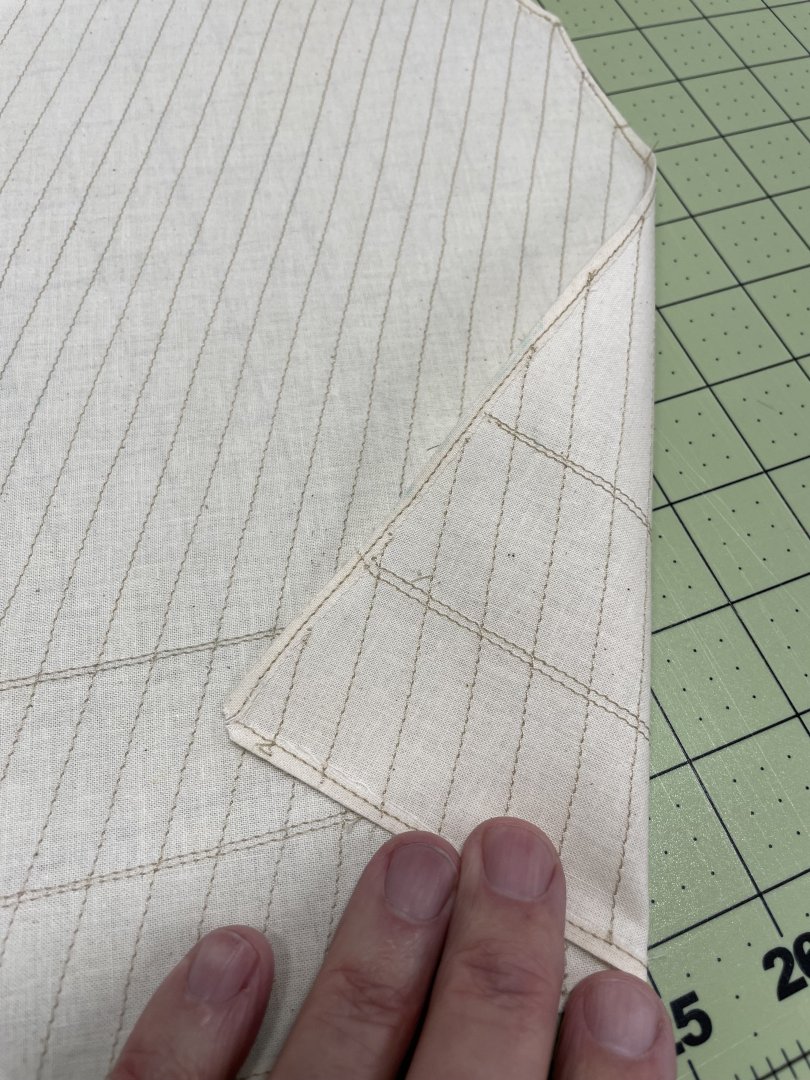
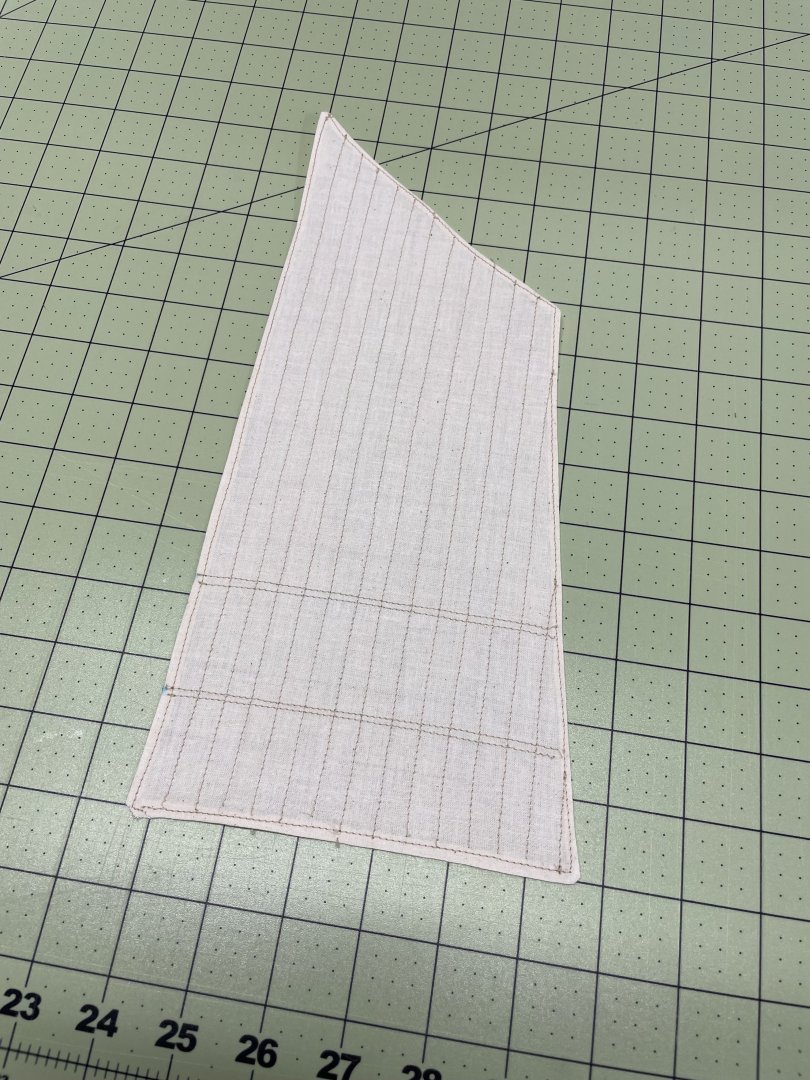
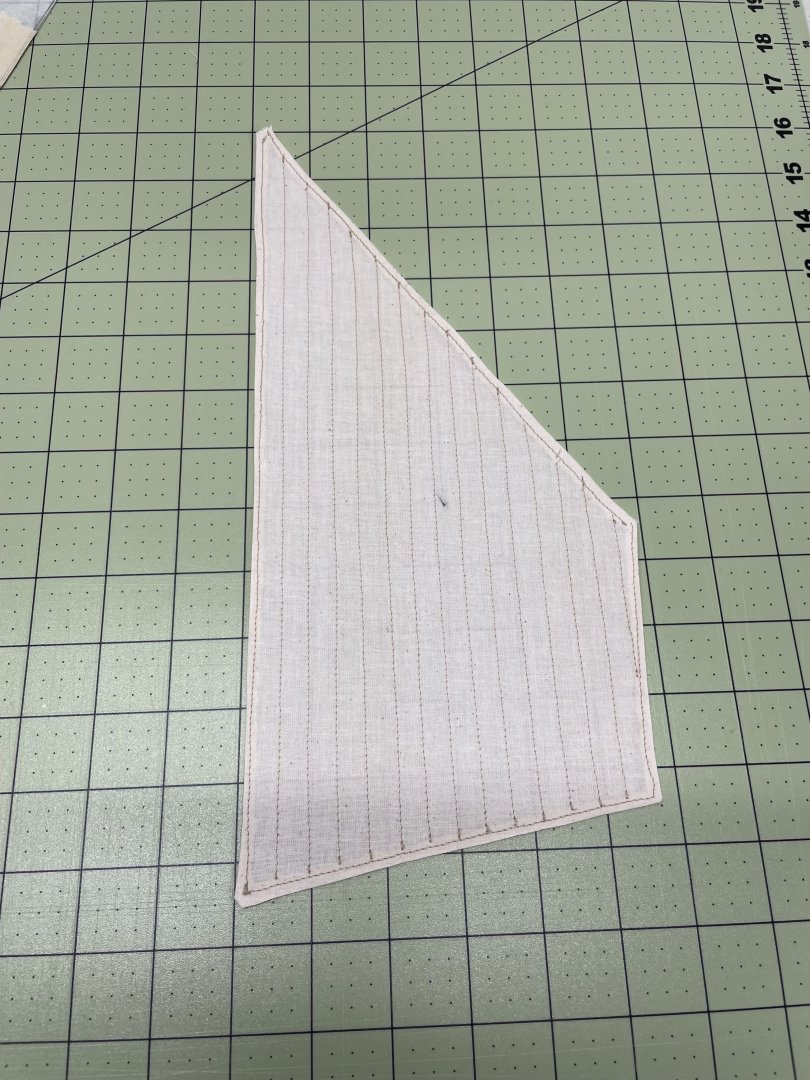
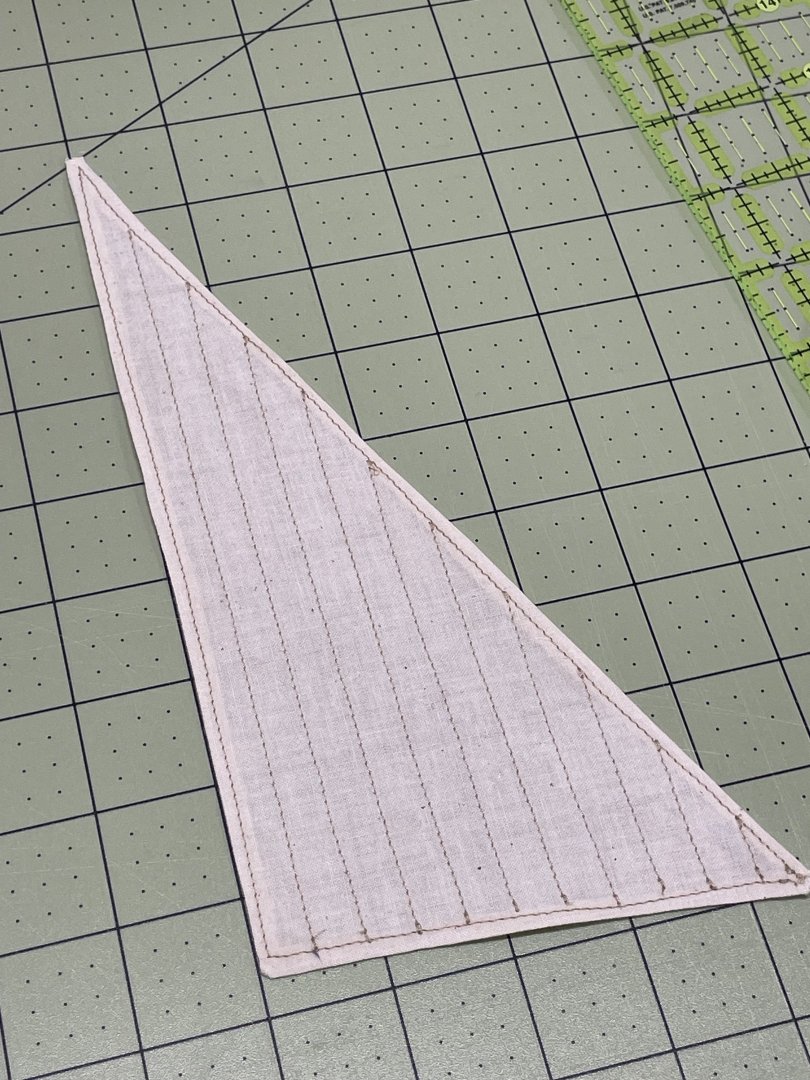
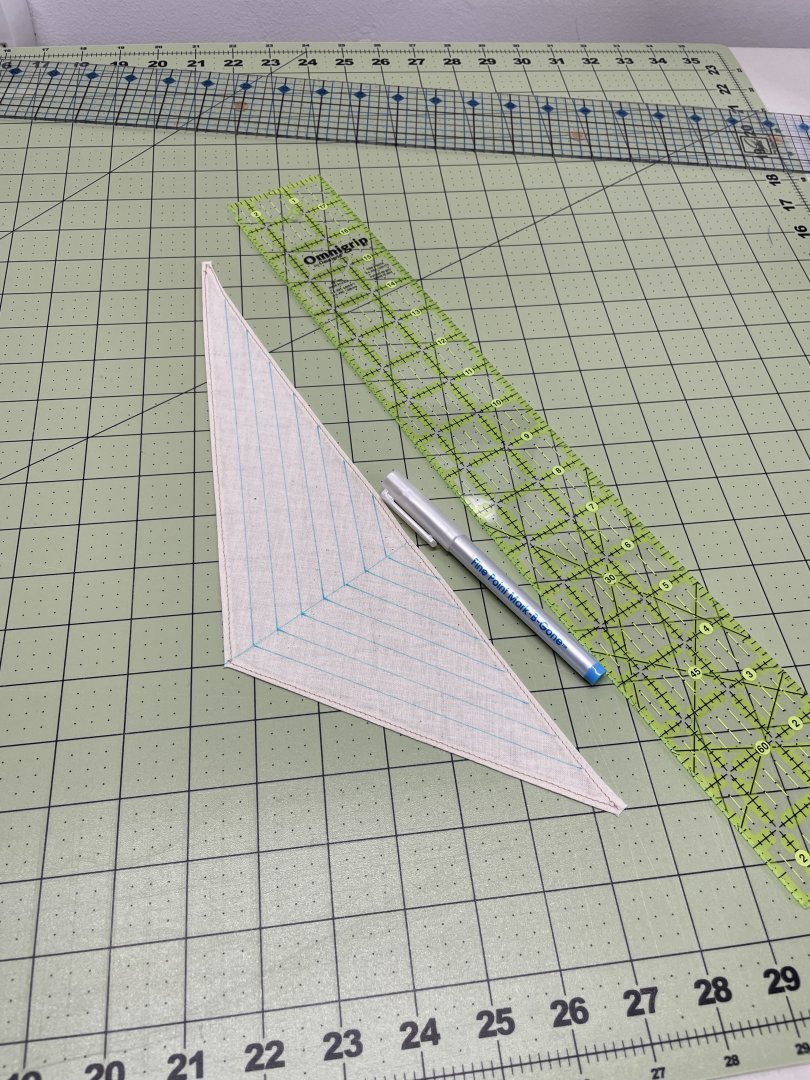
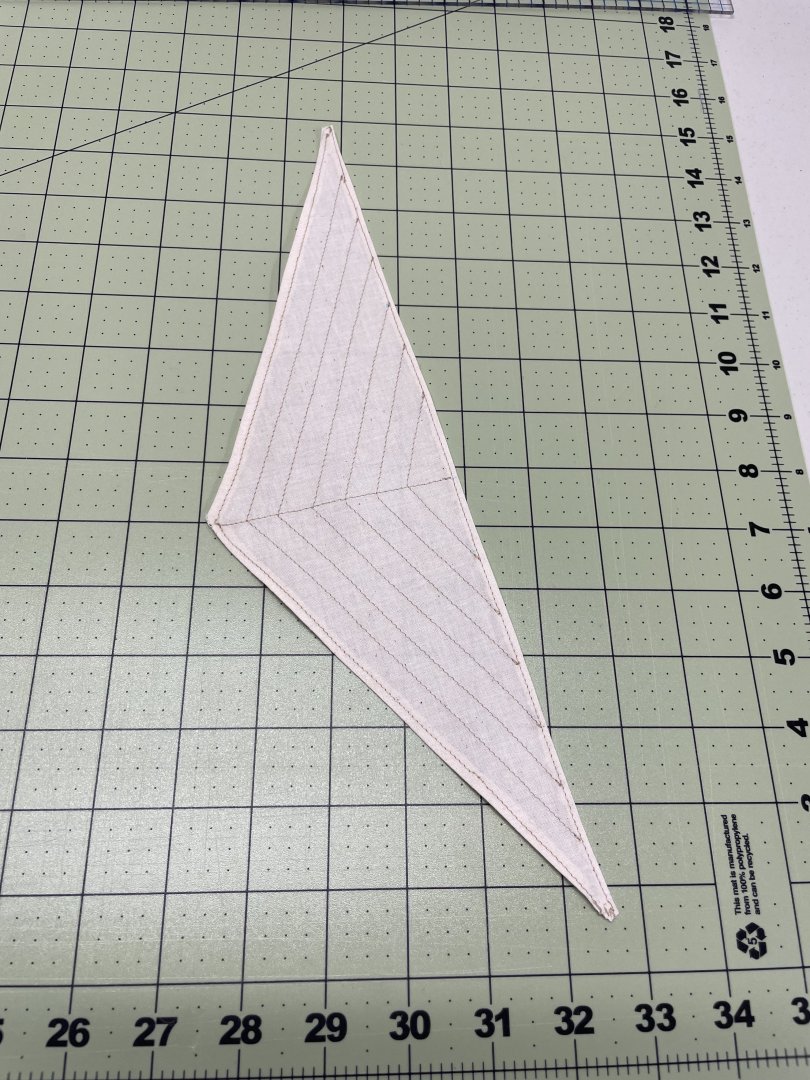
Sails… Carefully trace all sails from drawings. Cut out sail leaving 1/4” to fold over the edge. I use a muslin material purchased at a fabric store. The Kit supplied sail cloth is usually too heavy. Fold the 1/4” edge seam and iron it flat for sewing. Trim corner to lay flat before sewing. Edge seams sewn 1/8” from the edge. Trim the under side, fray check the fabric edges and iron out flat. Mark up seams with water soluble ink pen. (fine point) Sew seams including those for reef points. Main Sail sewn and ready for additional details. Bolt rope, reef point ropes and corner rings. Remaining sails cut out ready for sewing. Fore Sail Stay Sail Main Top Sail Fore Top Sail Jumbo Jib Jib Sail Balloon Jib All Sails sewn and ready for details to be added. Cheers 🍻


- 282 replies
-
- 9
-
-
-
- Bluenose
- Model Shipways
- (and 1 more)
-
You are welcome Greg…. We all have those that inspire us and those we hope to inspire here on MSW. MSW is a great place to grow and thrive in this hobby. It’s a great community no matter the skill level, beginner to master. 😎 Cheers 🍻
-
Greg, Very Nice progress. Great spars, a very important piece has been accomplished with great skill and patience. One more step closer to the finish line. Steady as she goes… Good job. 👍
- 184 replies
-
- 1
-
-
- Bluenose
- Model Shipways
- (and 1 more)
-
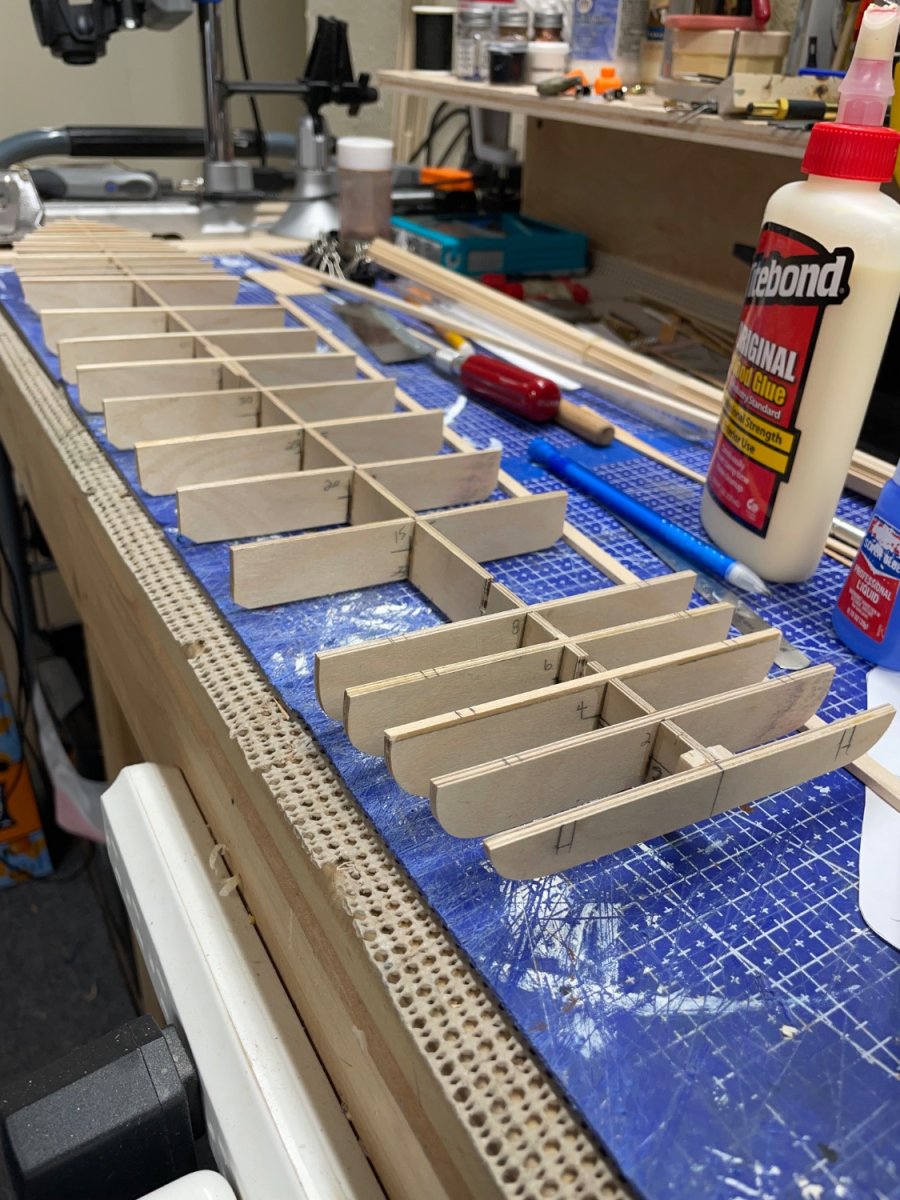
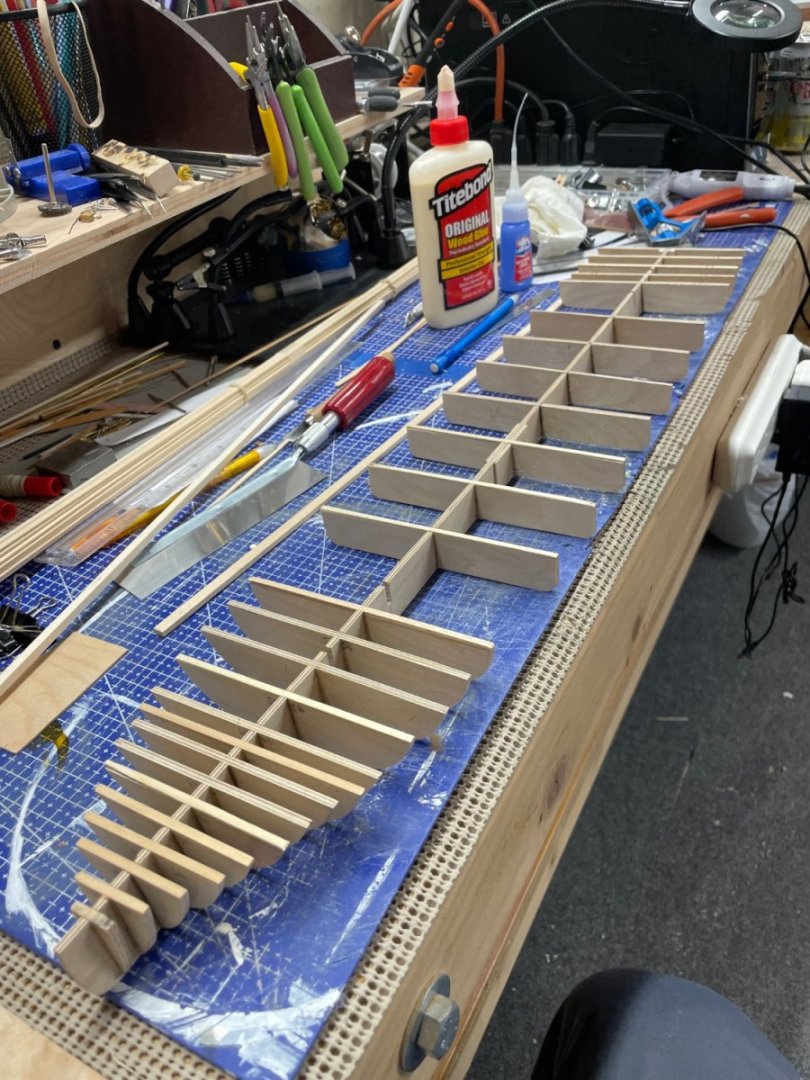
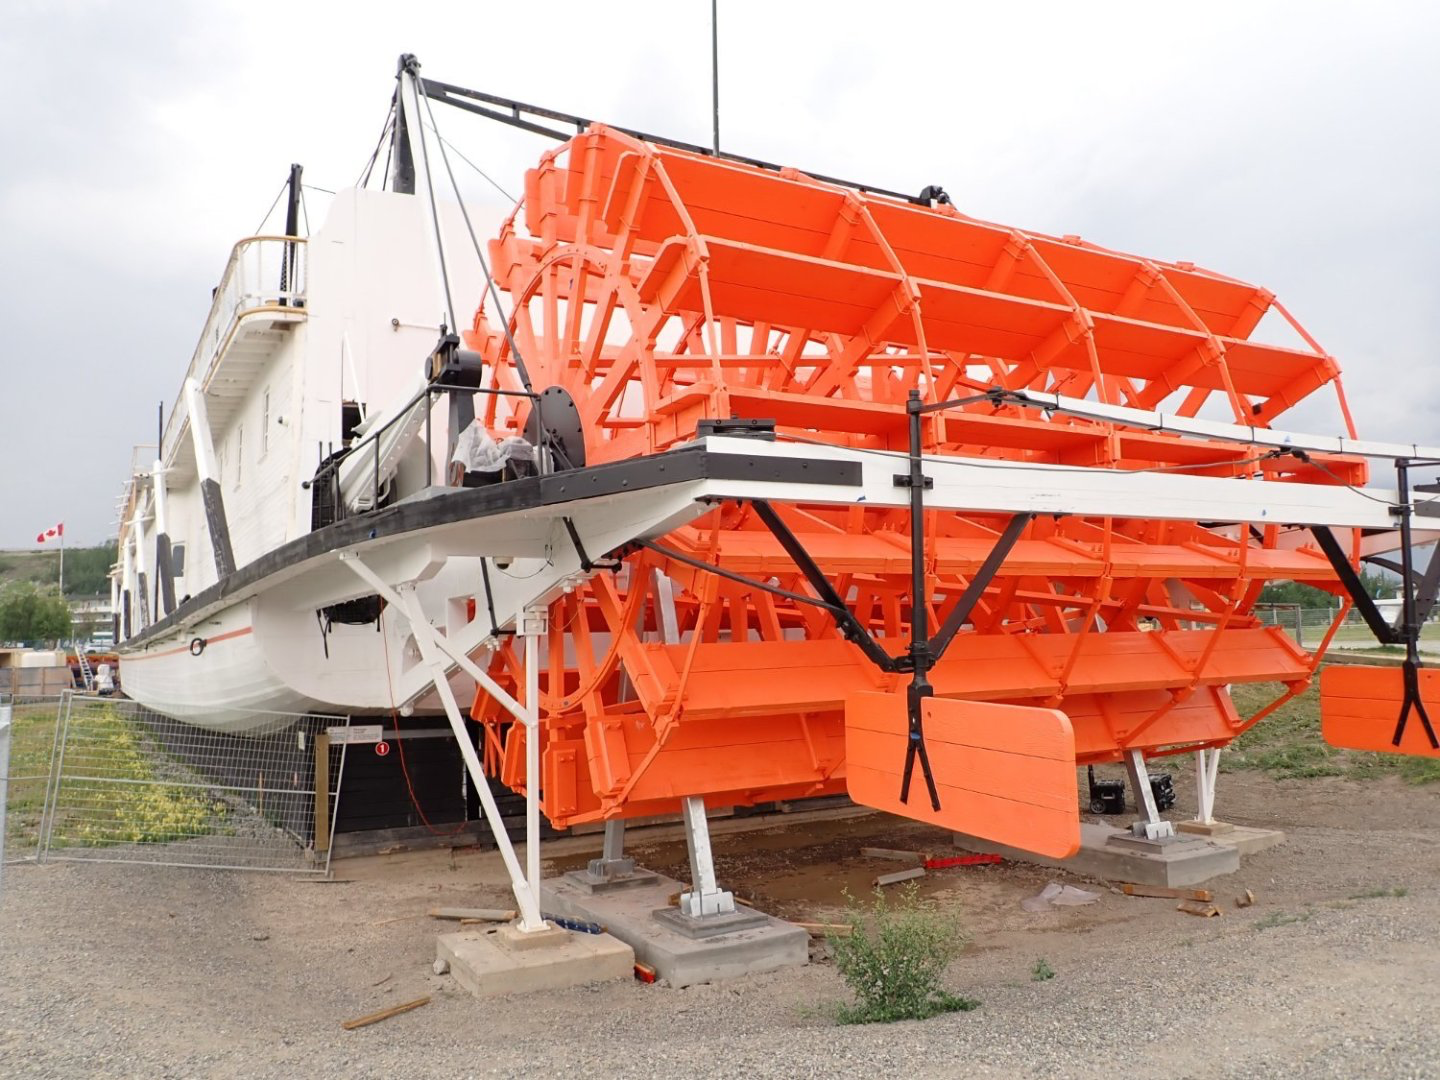
The Hull continued… Completed cutting out 26 Bulkheads for the hull framing. Bow bulkheads will need some serious faring prior to hull planking. Before planking I will need to install two cantilevered Beams through the transom. These will support the Paddel Wheel. Just getting started… Cheers 🍻

-
Agreed… POF is the way to go, I still have some spot filling and sanding to do here. Many more coats of paint. 😜

- 165 replies
-
- 3
-
-
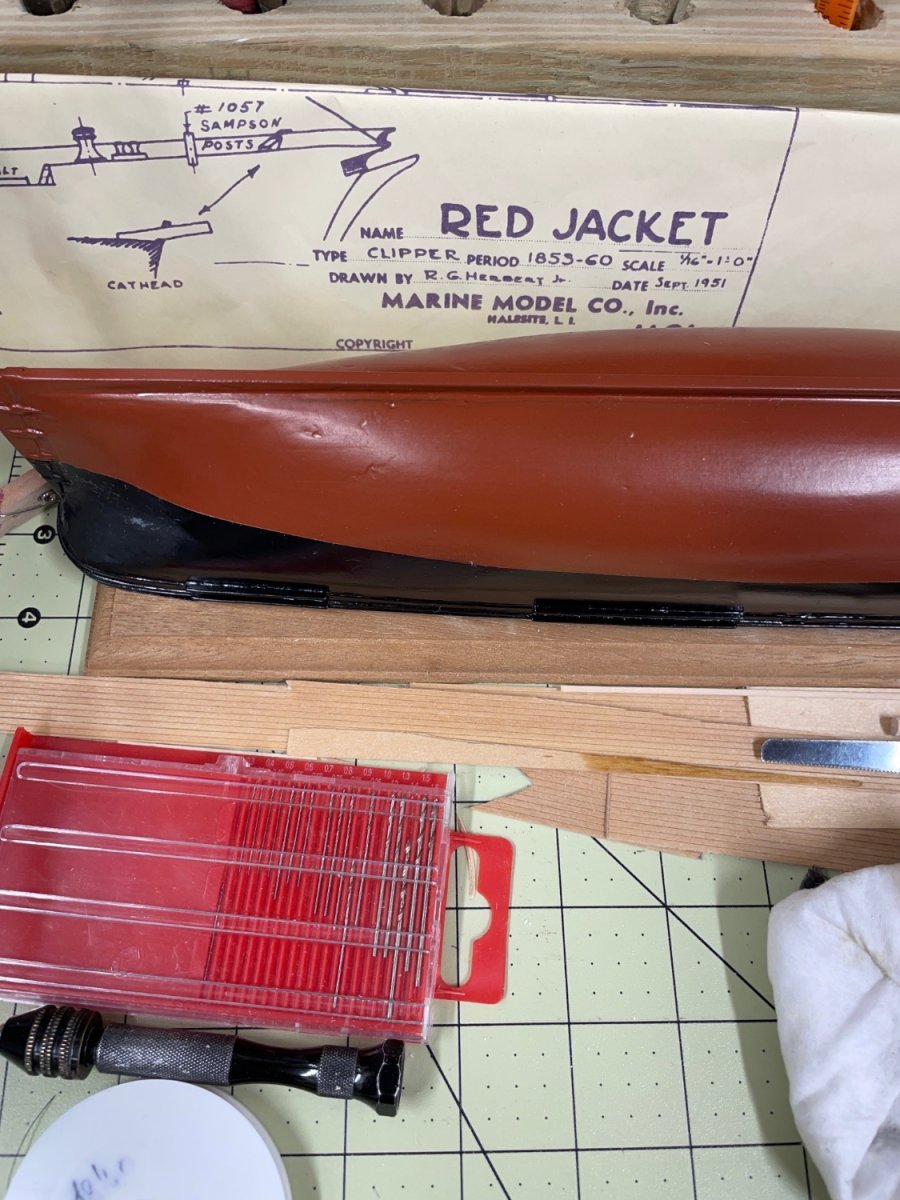
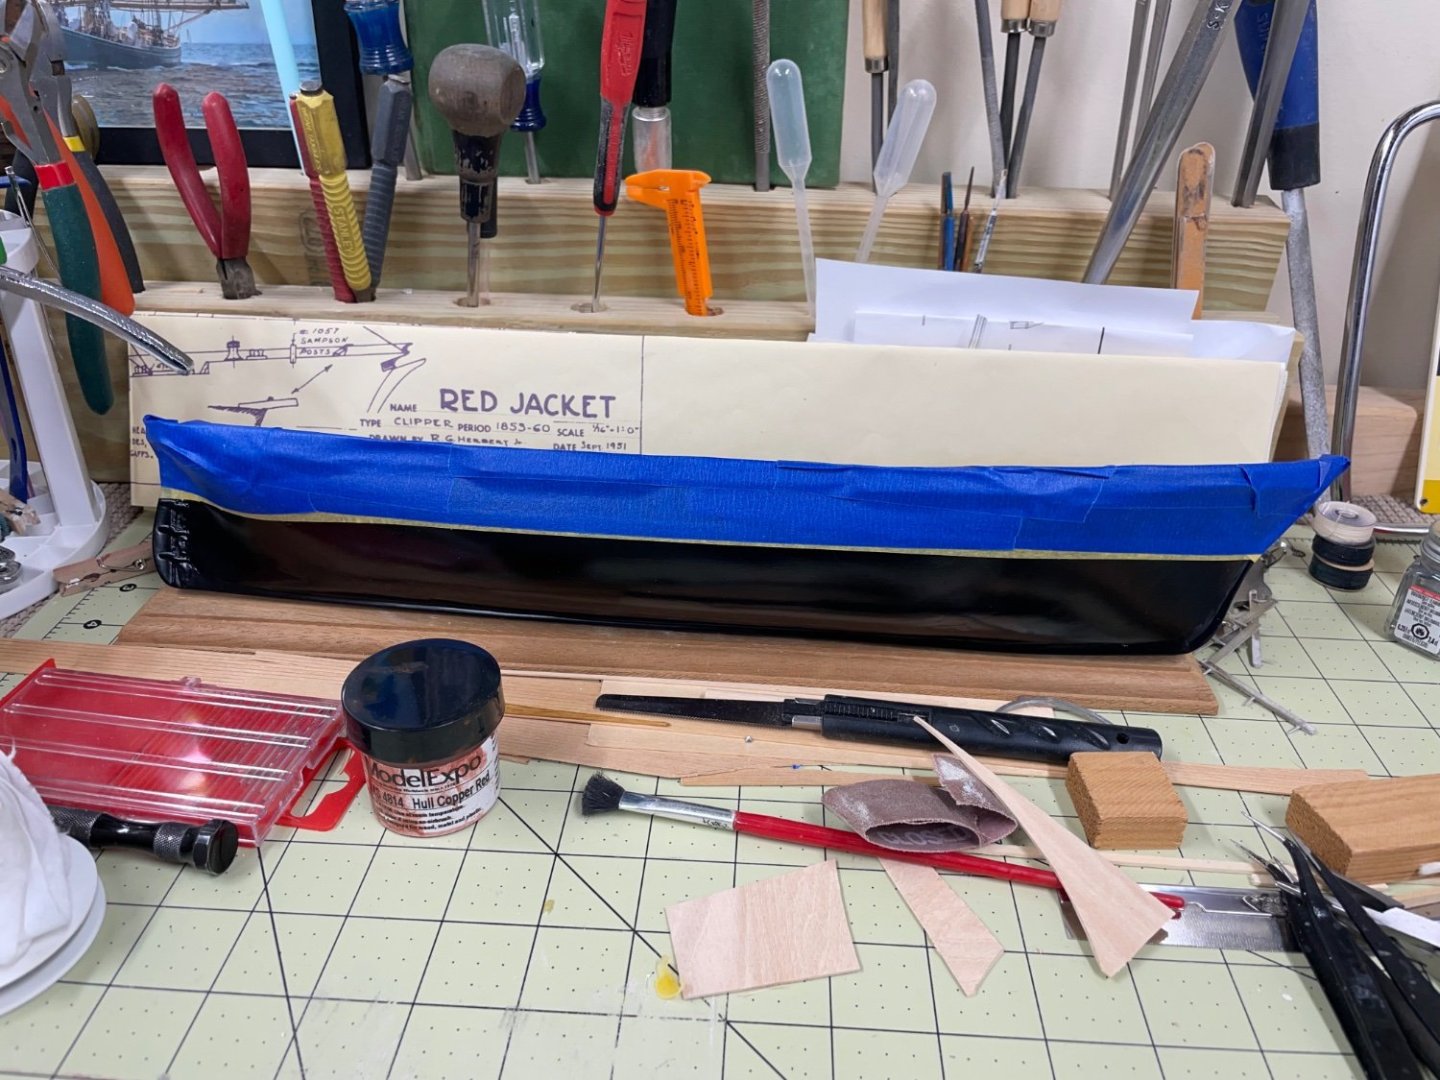
- Red Jacket
- Marine Model Company
- (and 2 more)
-
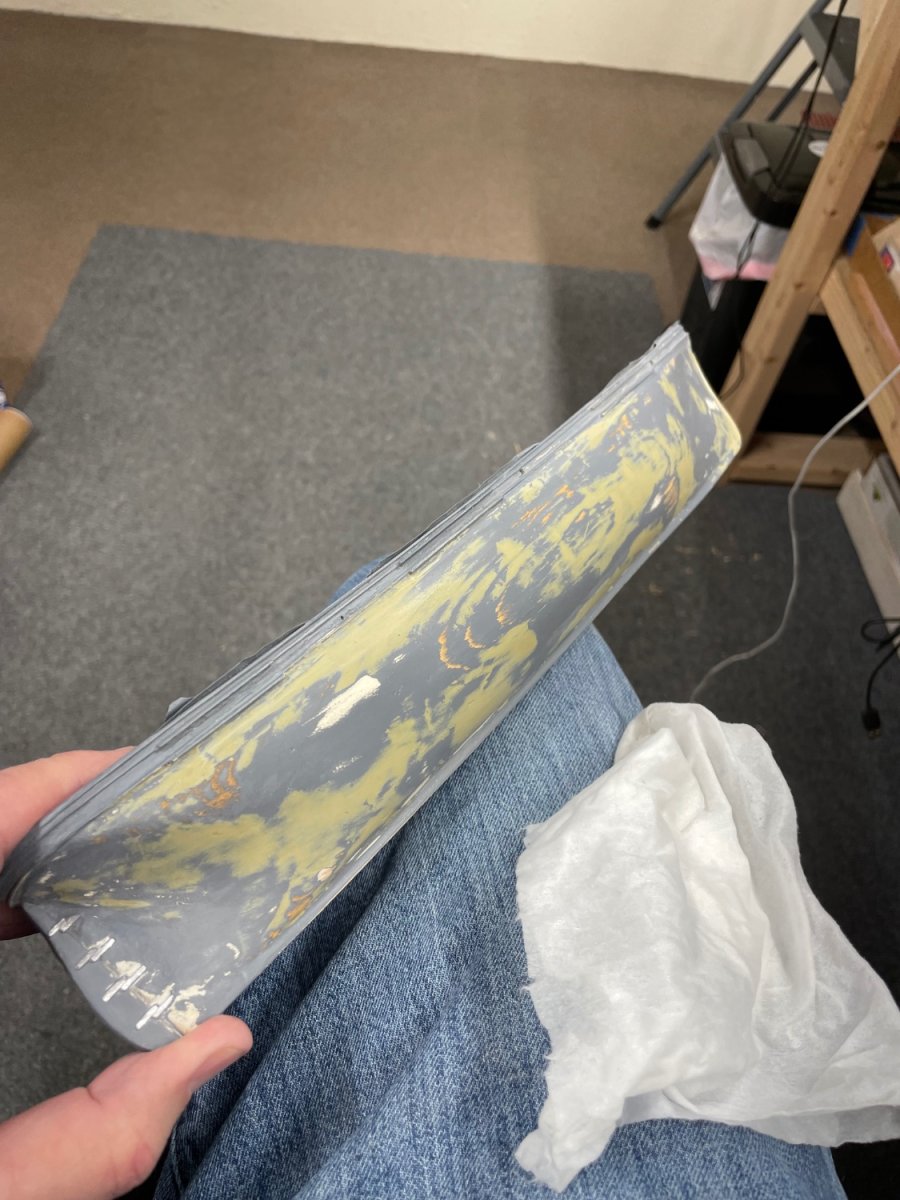
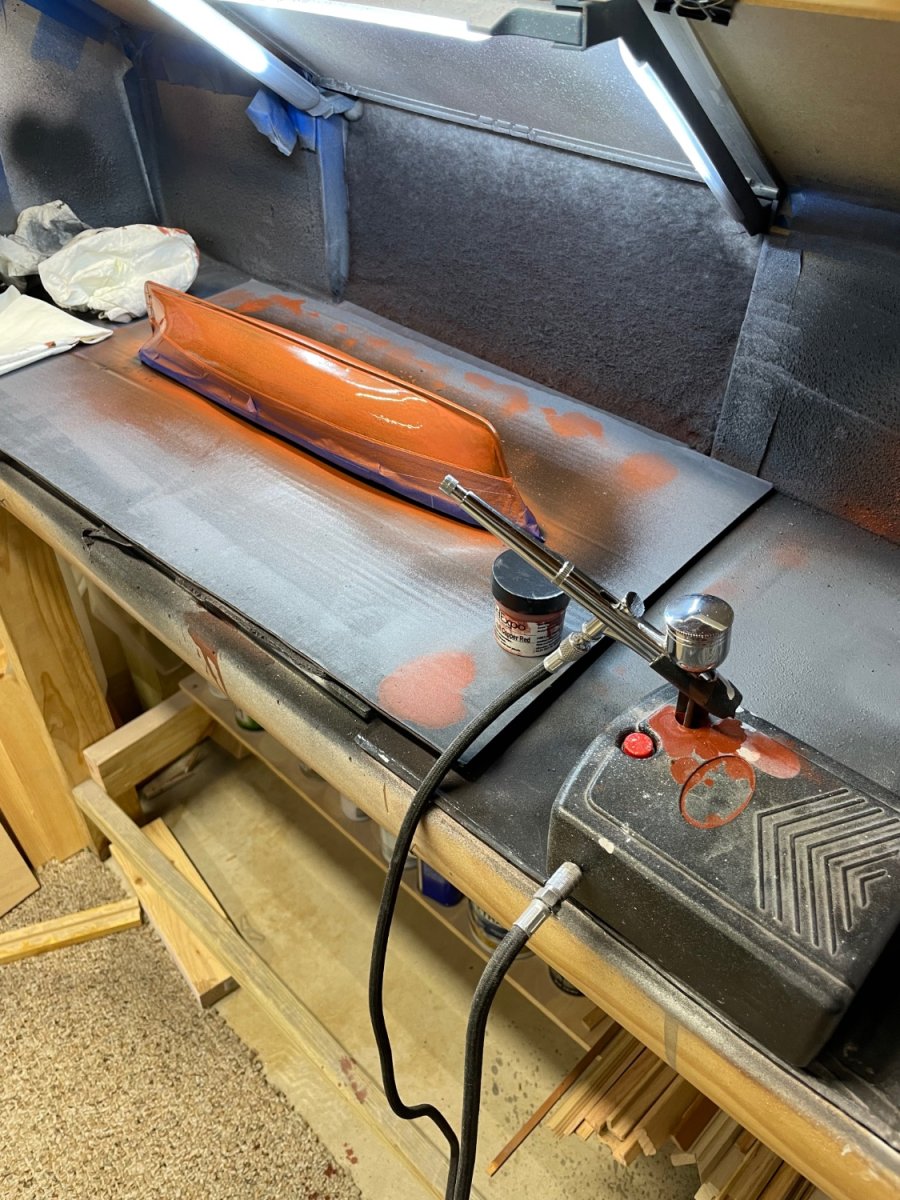
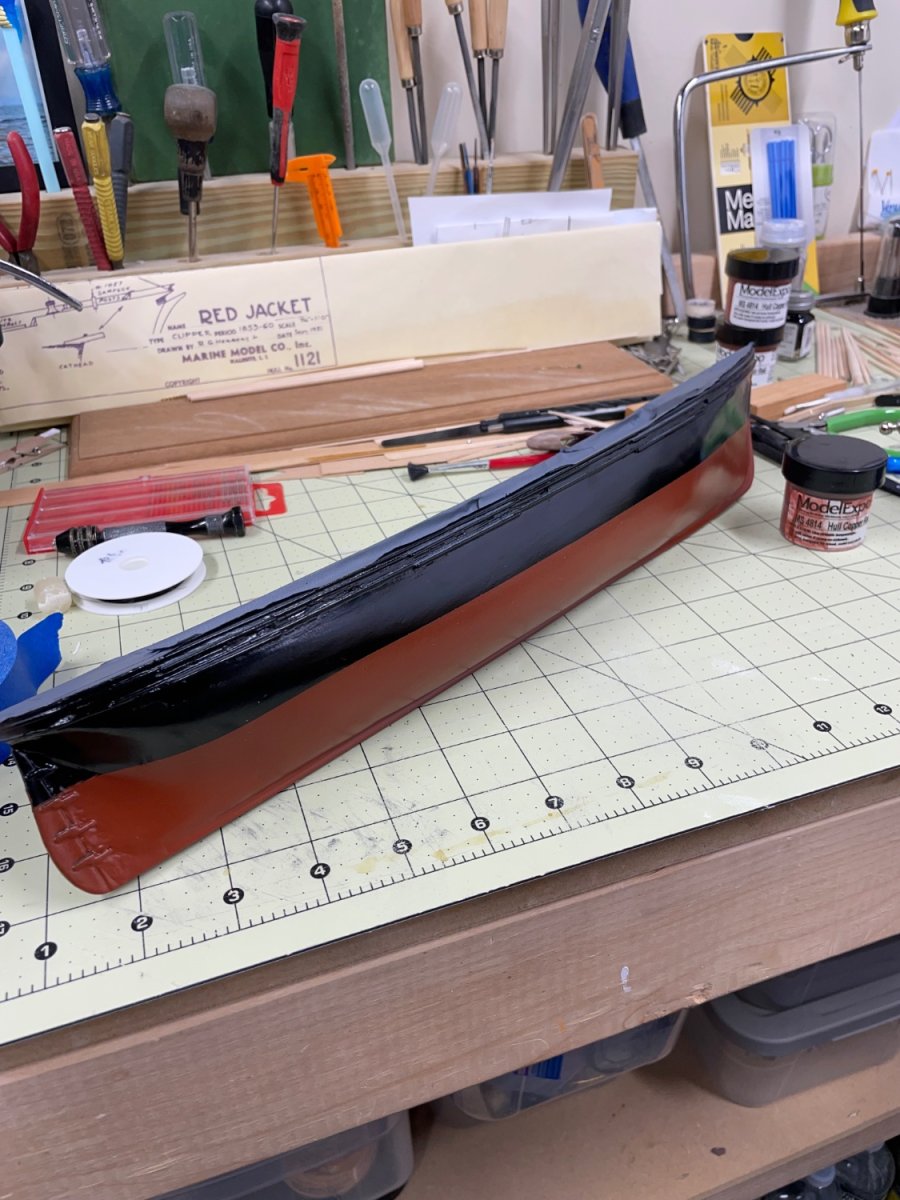
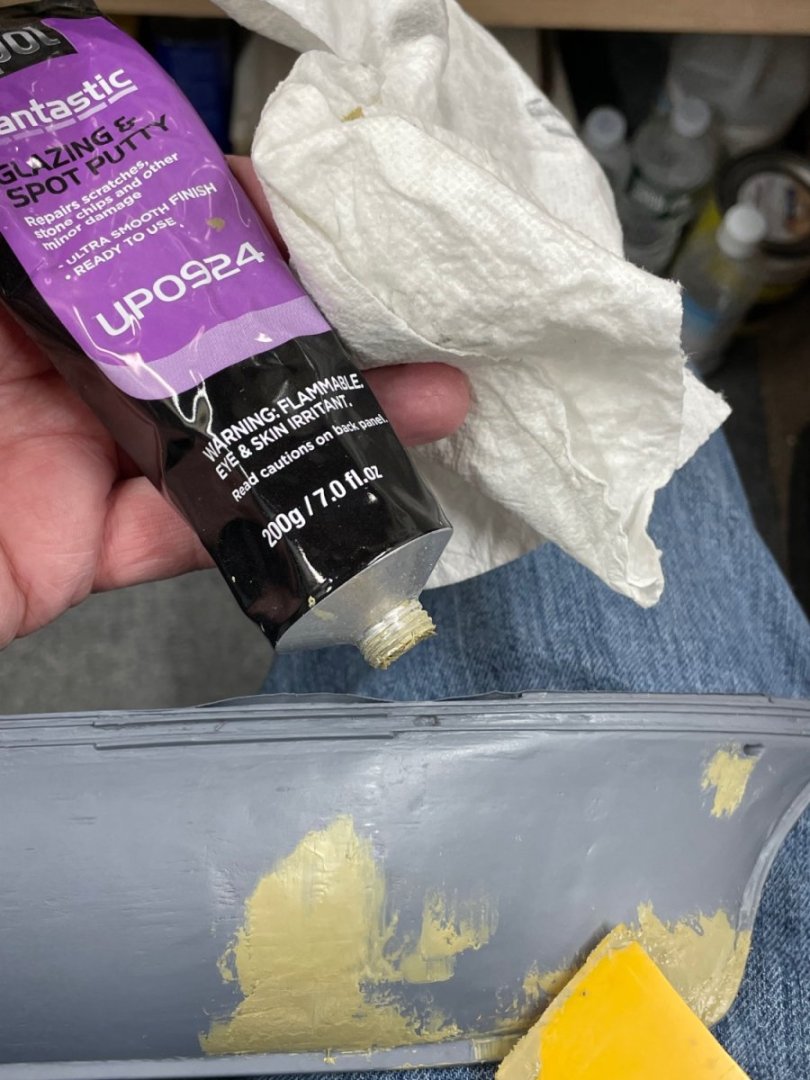
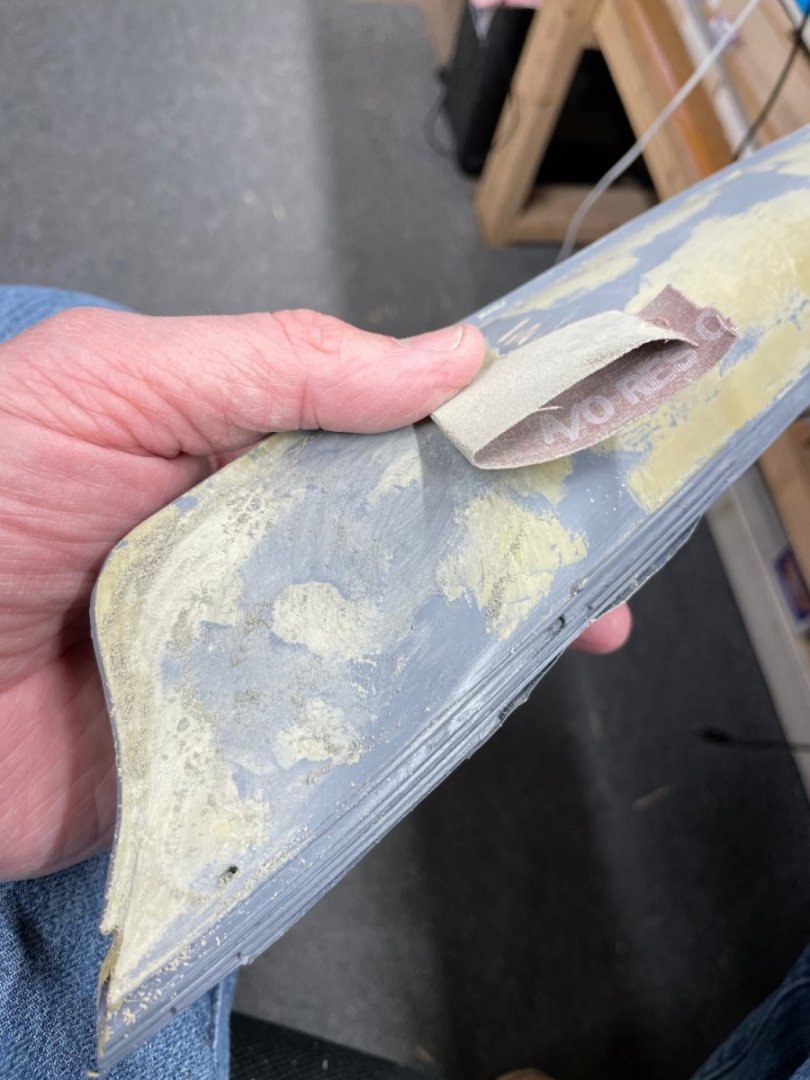
Painting the hull continues… Spot putty and sanding prior to color coats… Painted hull semi gloss black and masked off water line in preparation for Hull Copper Red below the Water line. Air Brushed the Hull Copper Red… Color coats complete, still needs some touch up prior to finishing with Semi Gloss Clear Coat. Cheers 🍻


- 165 replies
-
- 6
-
-
- Red Jacket
- Marine Model Company
- (and 2 more)
-
Excellent… 👏 Nice work Ron, your hard work has paid off. It’s been quite the journey, Job well done. 👍 John
-
Nice work on the soldering, the hardware is the toughest part of this build. She is looking really good. 👍
- 184 replies
-
- 1
-

-
- Bluenose
- Model Shipways
- (and 1 more)
-
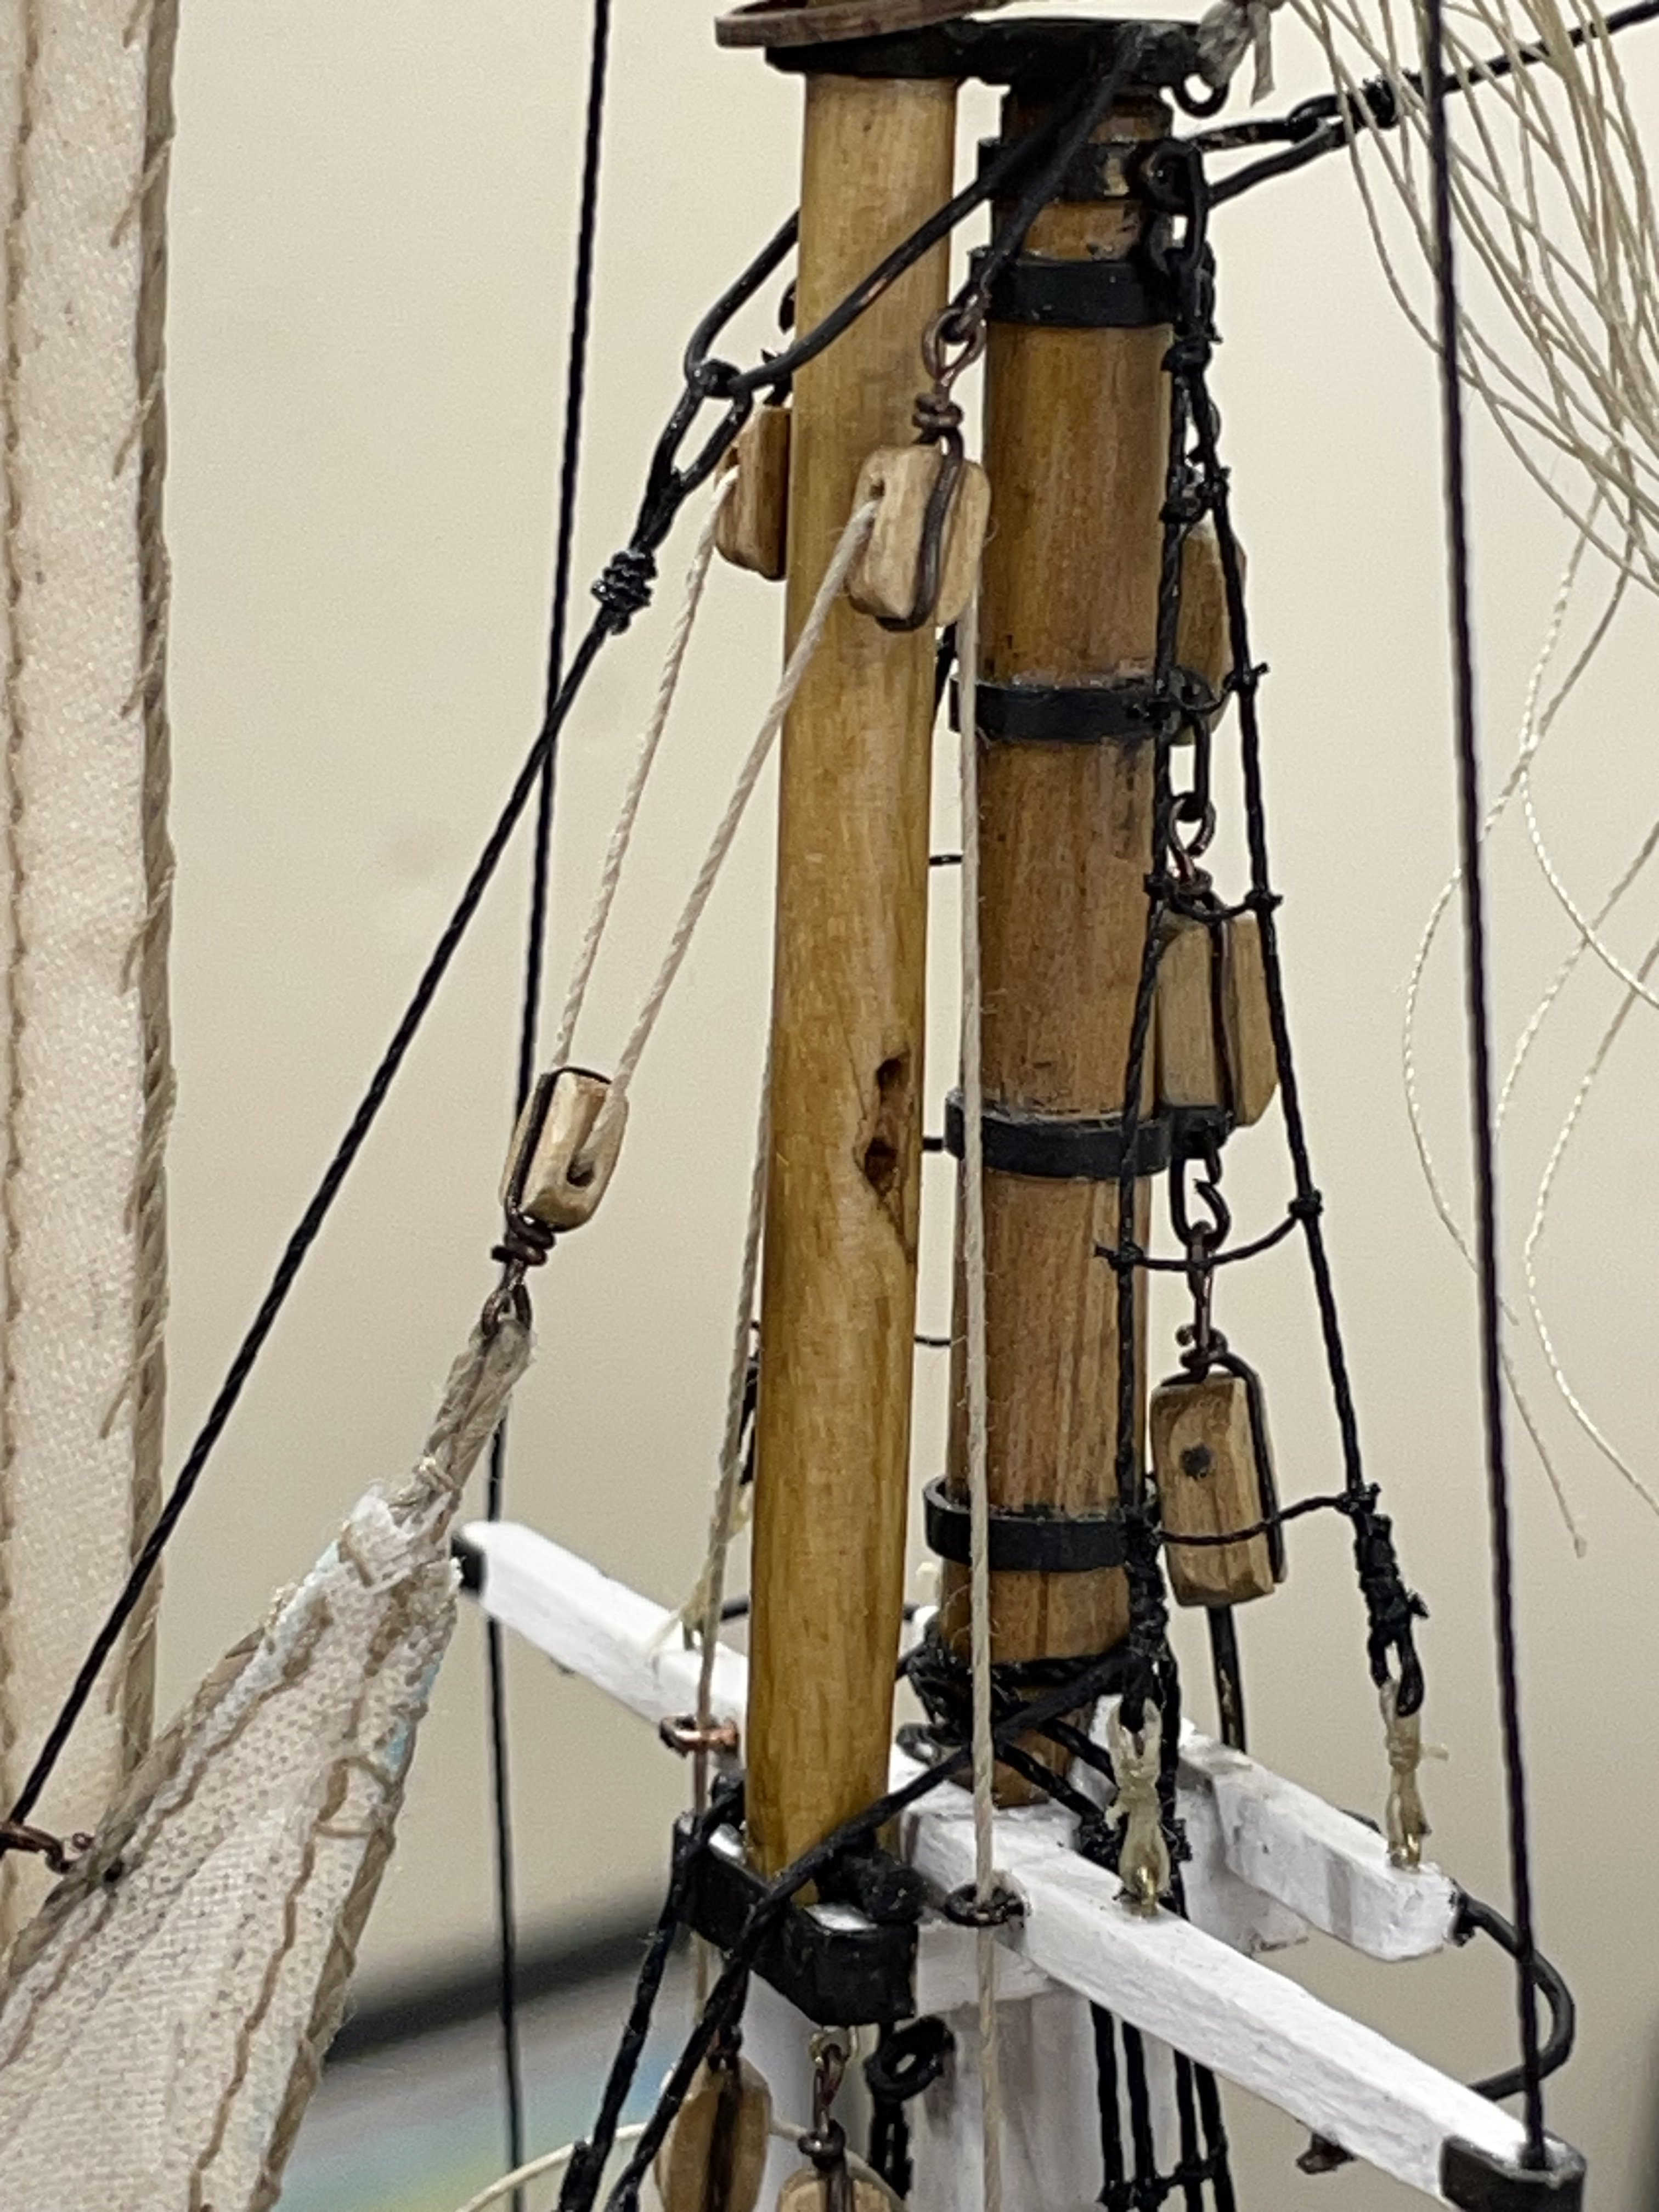
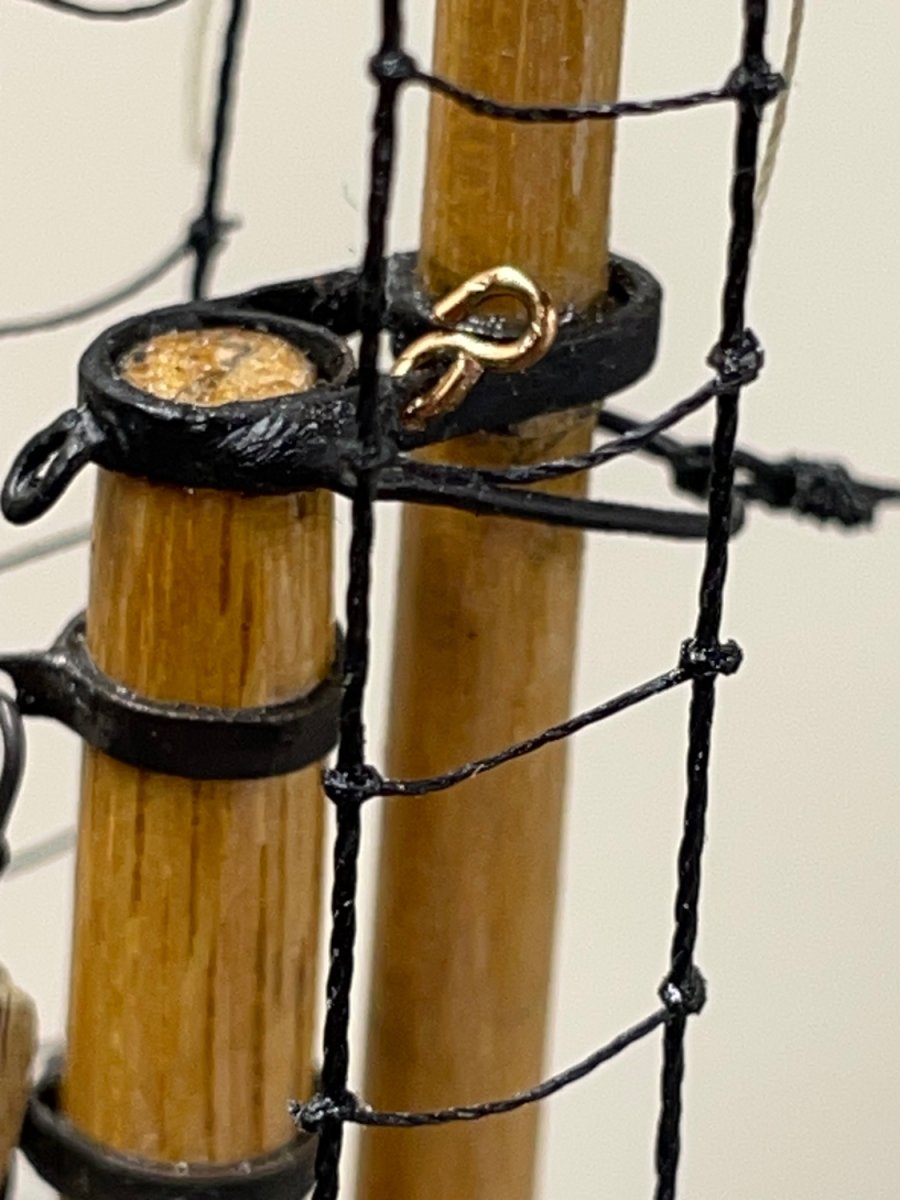
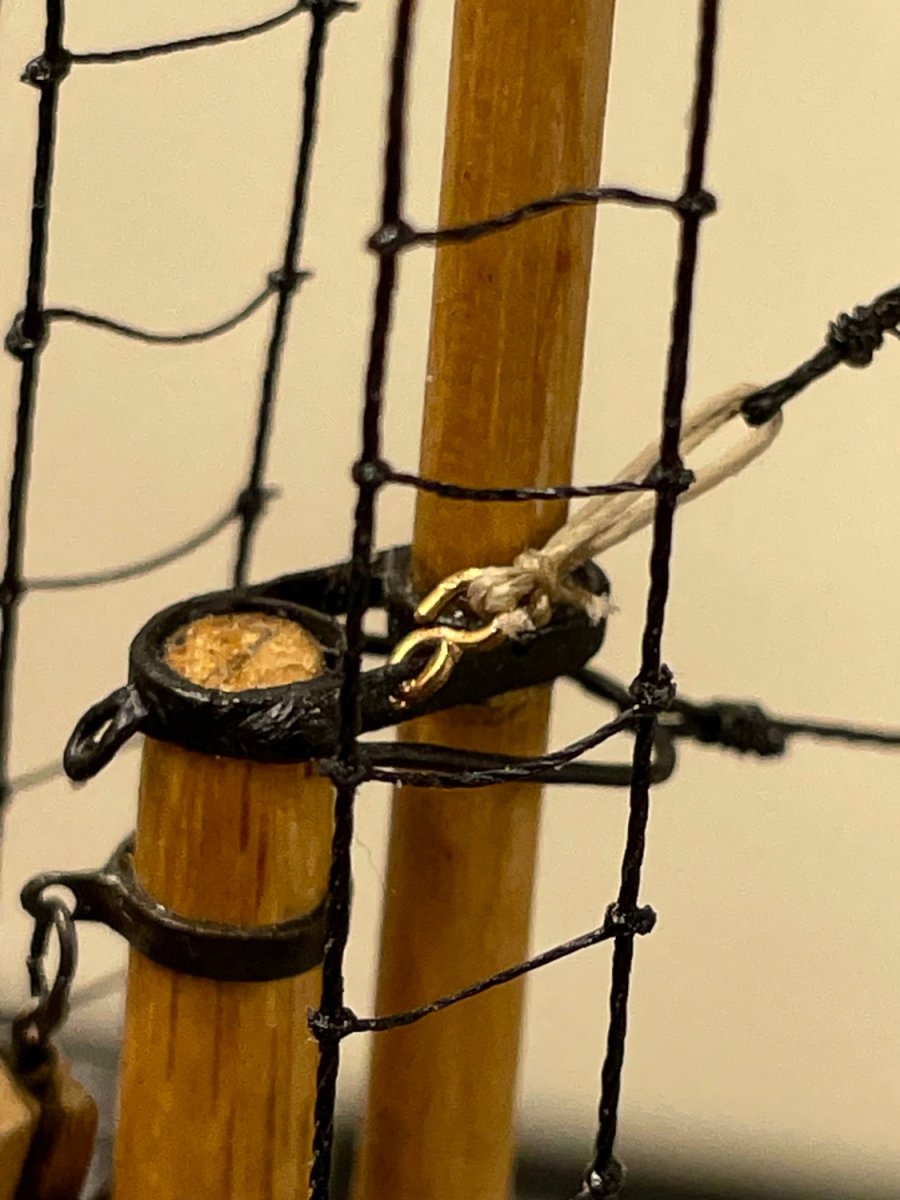
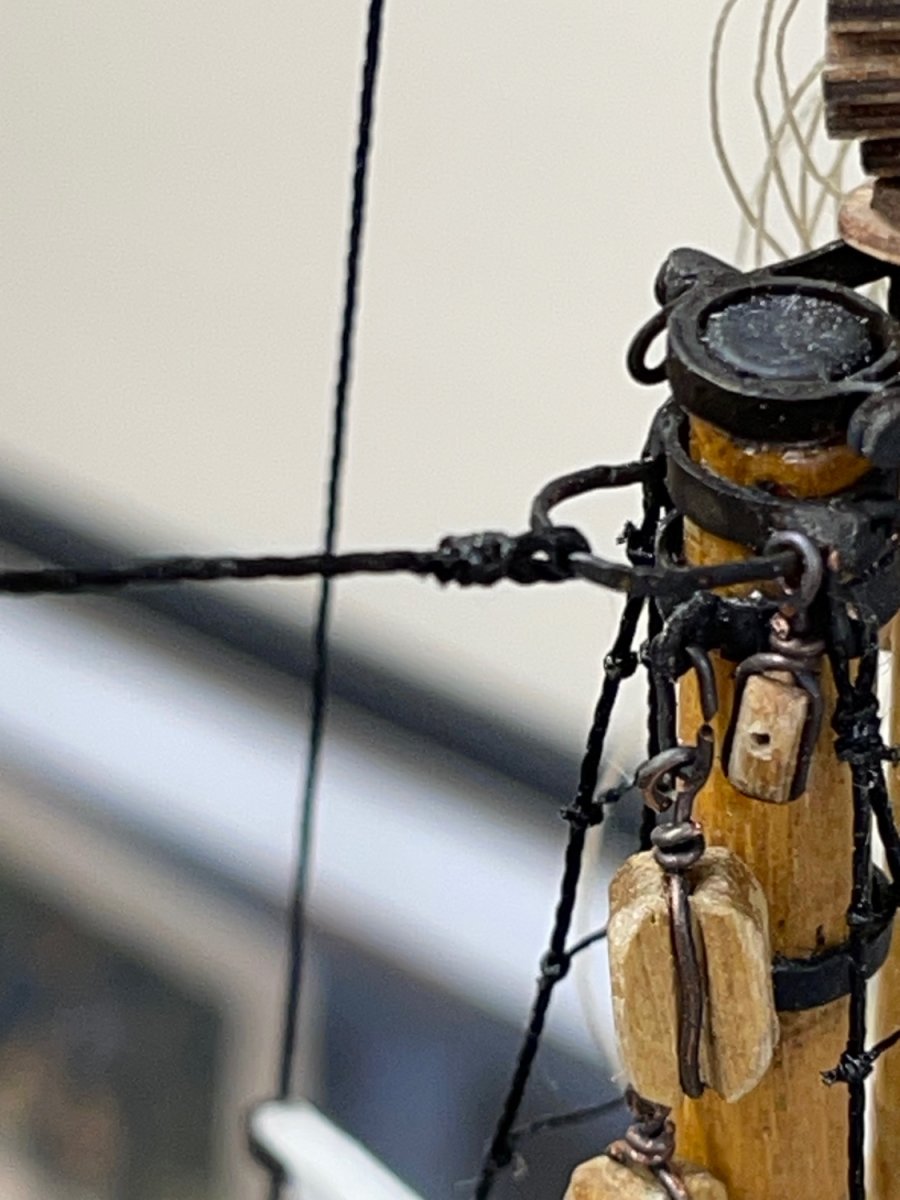
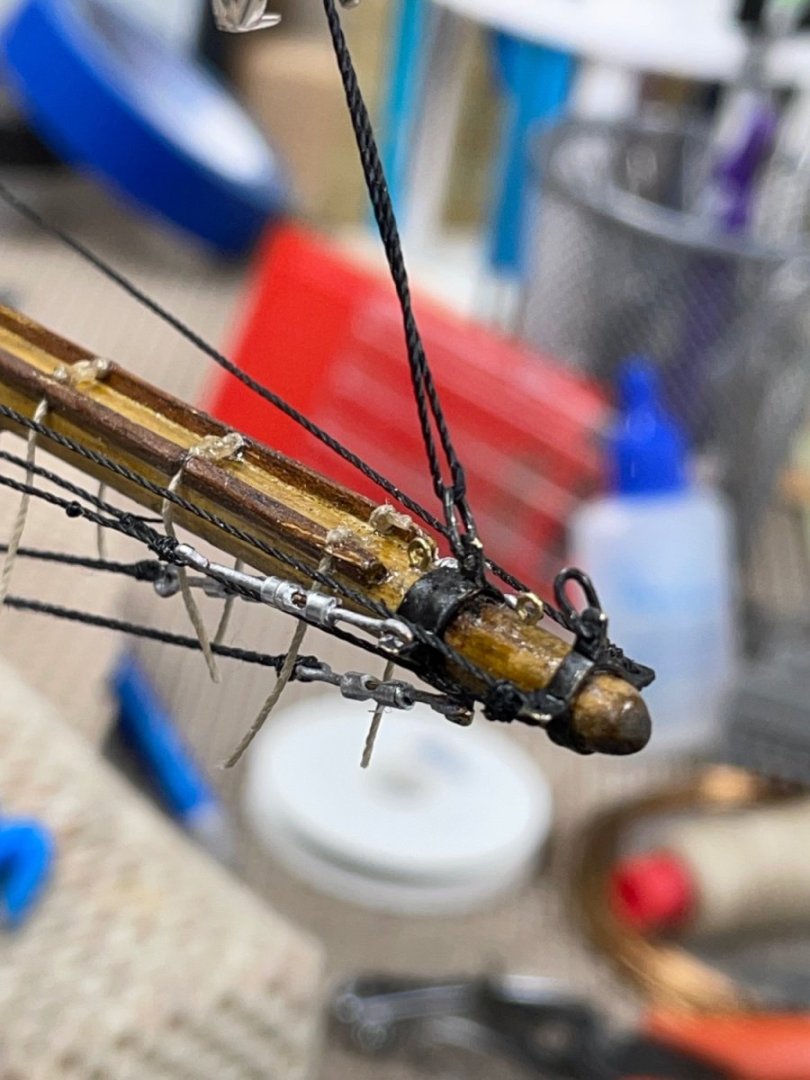
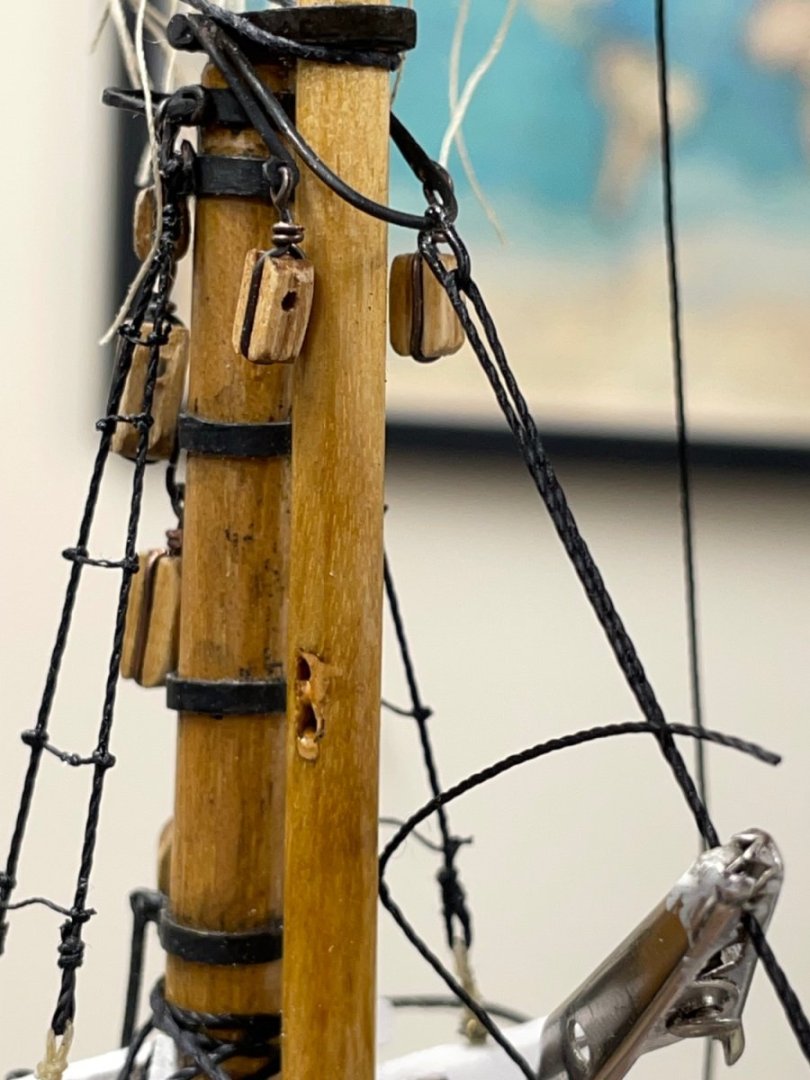
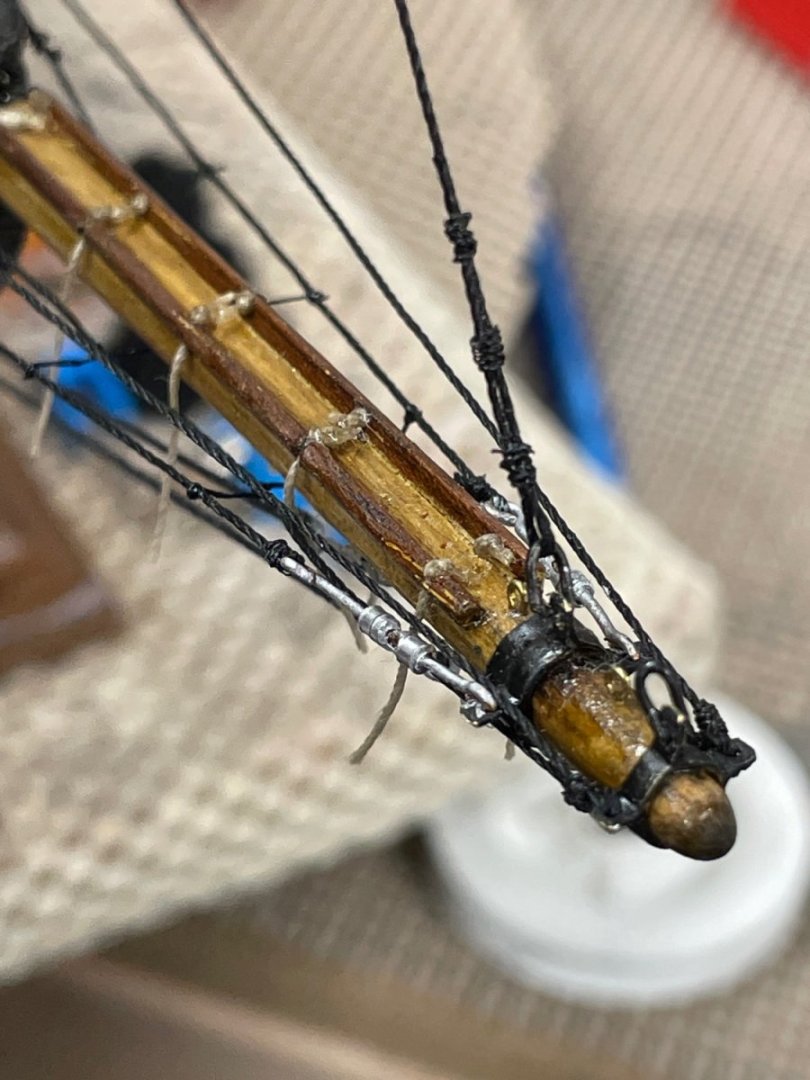
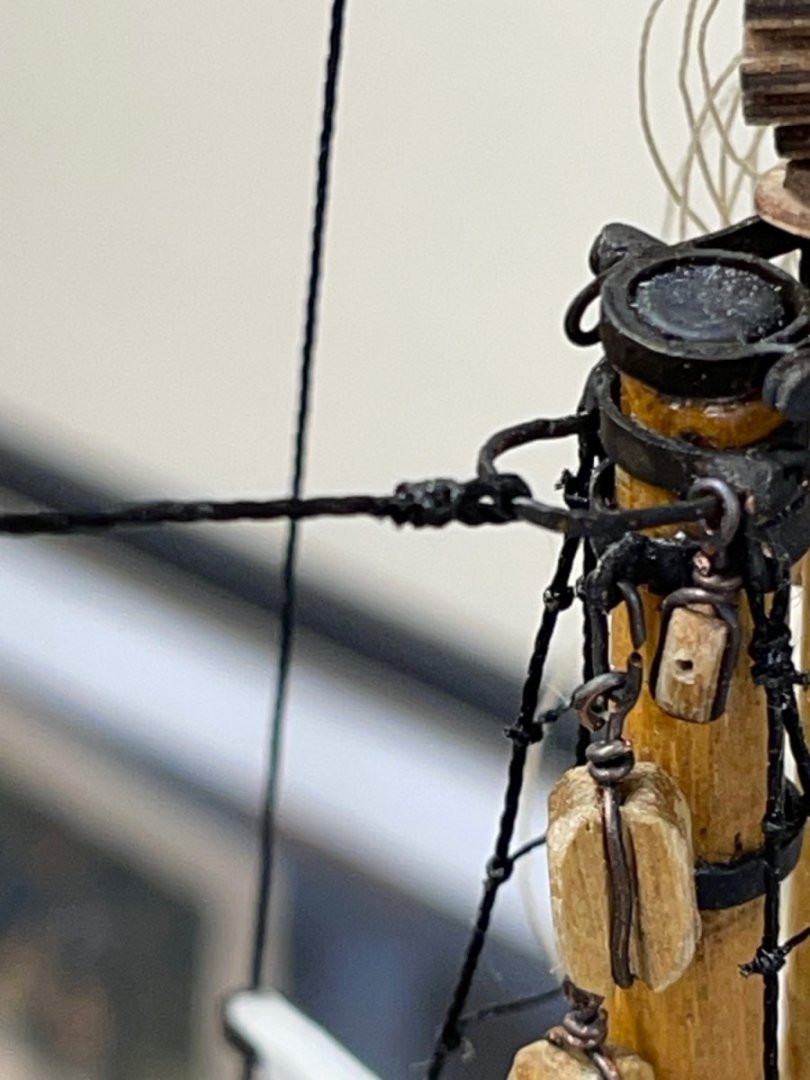
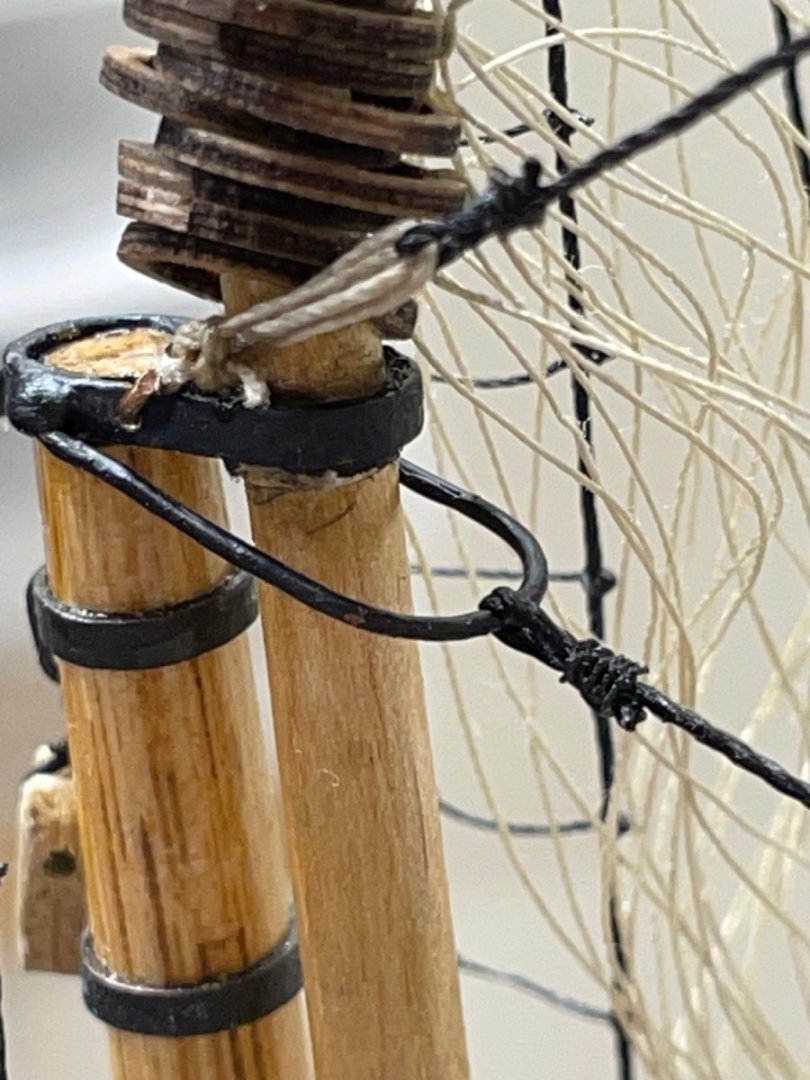
Standing Rigging continued… Shackles easy as 1 2 3… Jib Stay completed… Pullback Stay and Spring Stay completed… Flying Backstays and Main Topmast Stay Completed… Standing Rigging Complete. Ready to start sewing Sails. Cheers 🍻


- 282 replies
-
- 6
-
-
- Bluenose
- Model Shipways
- (and 1 more)