HOLIDAY DONATION DRIVE - SUPPORT MSW - DO YOUR PART TO KEEP THIS GREAT FORUM GOING! (Only 20 donations so far - C'mon guys!)
×


John Ruy
-
Posts
1,568 -
Joined
-
Last visited
Content Type
Profiles
Forums
Gallery
Events
Everything posted by John Ruy
-
 Amazing, I was having this exact same thought. I’m sitting here right now putting together an order for cleats and pieces I need for my 1/16 scale Red Jacket as well. Thanks for chiming in… 🍻 I’ll try not to spill any thing… LOL 😆
 -
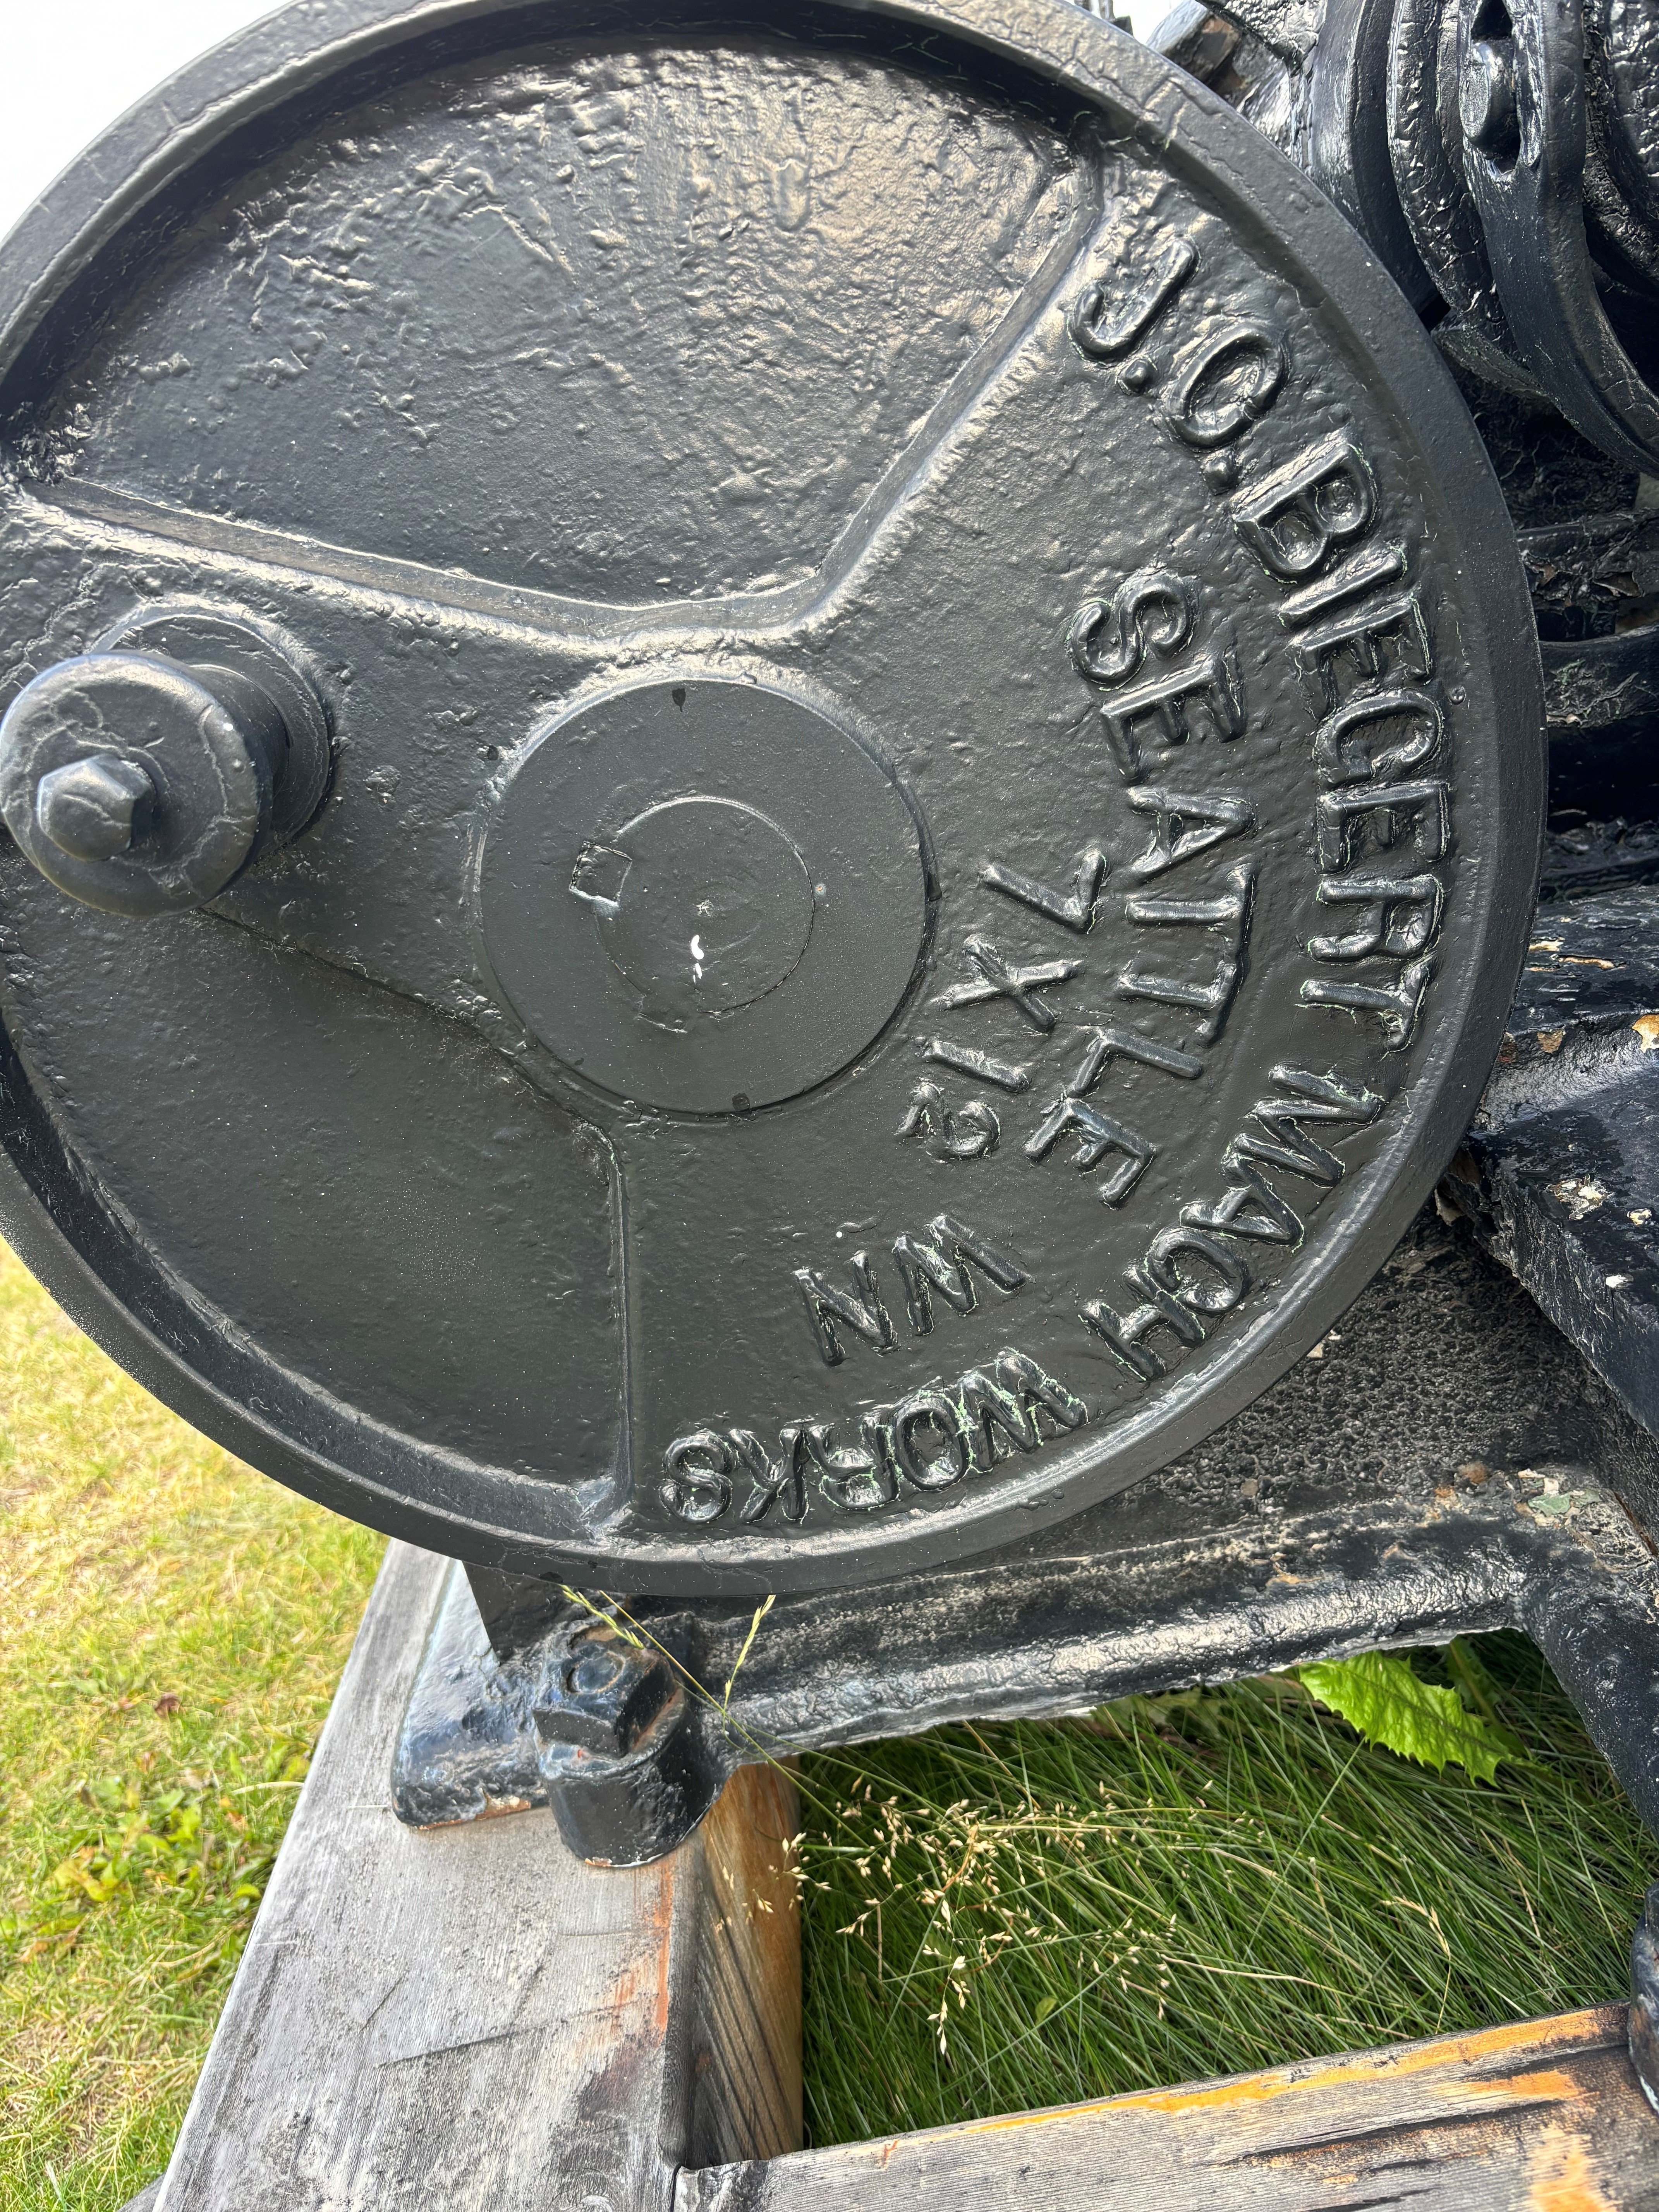
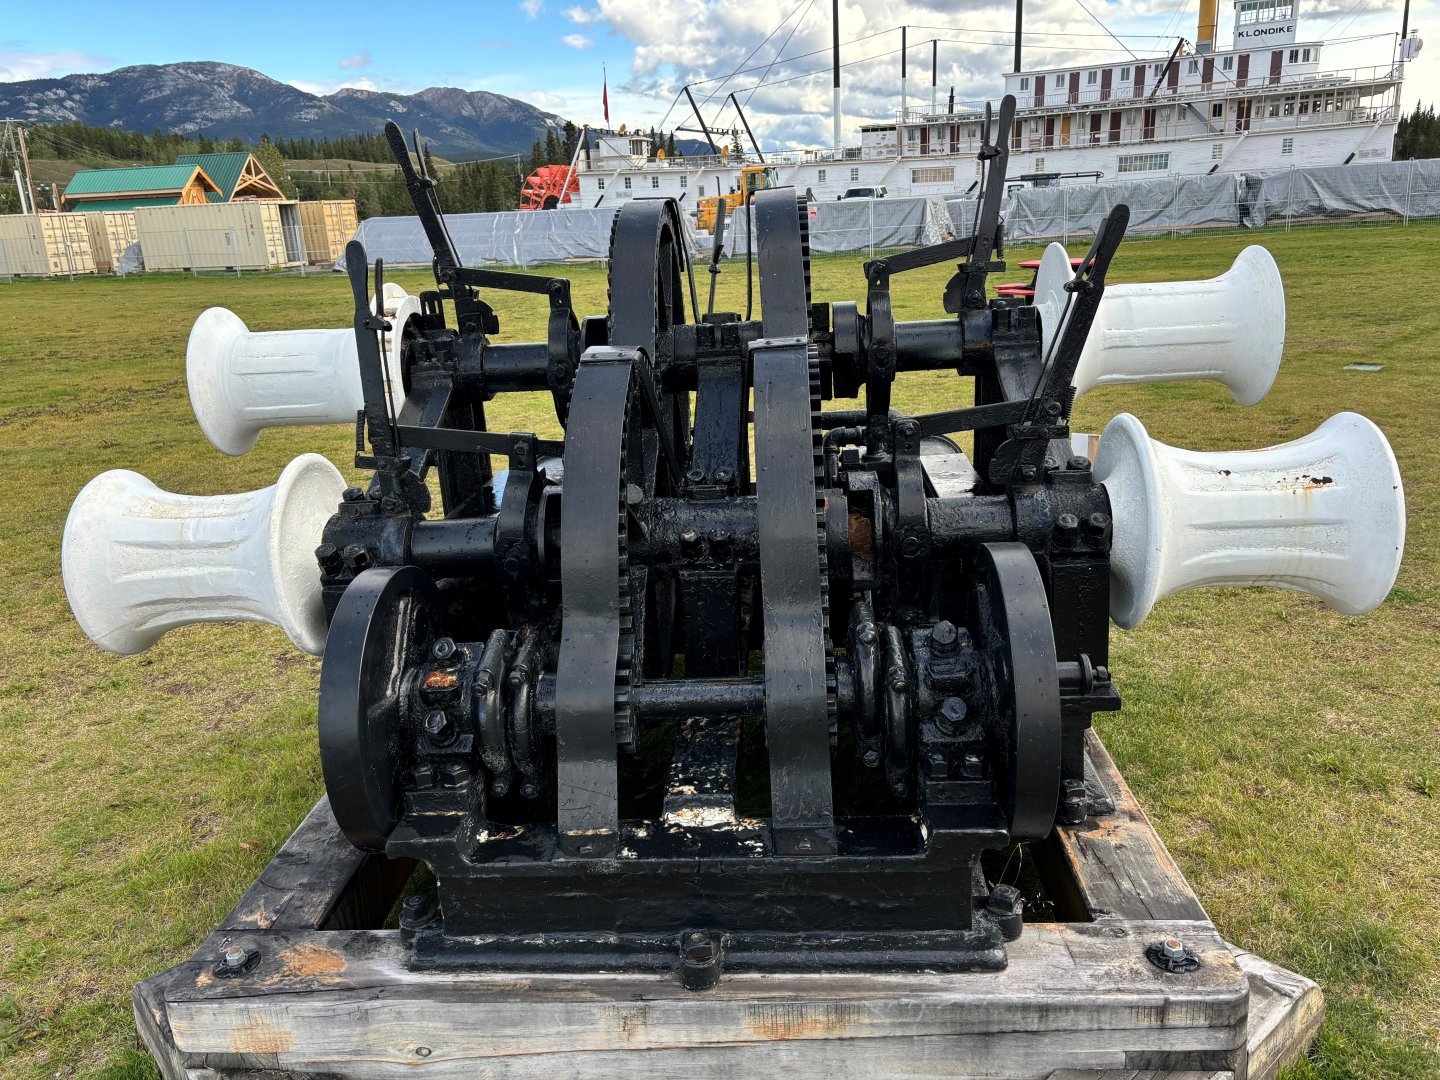
Yes, quite the work horse, back in the day.
-
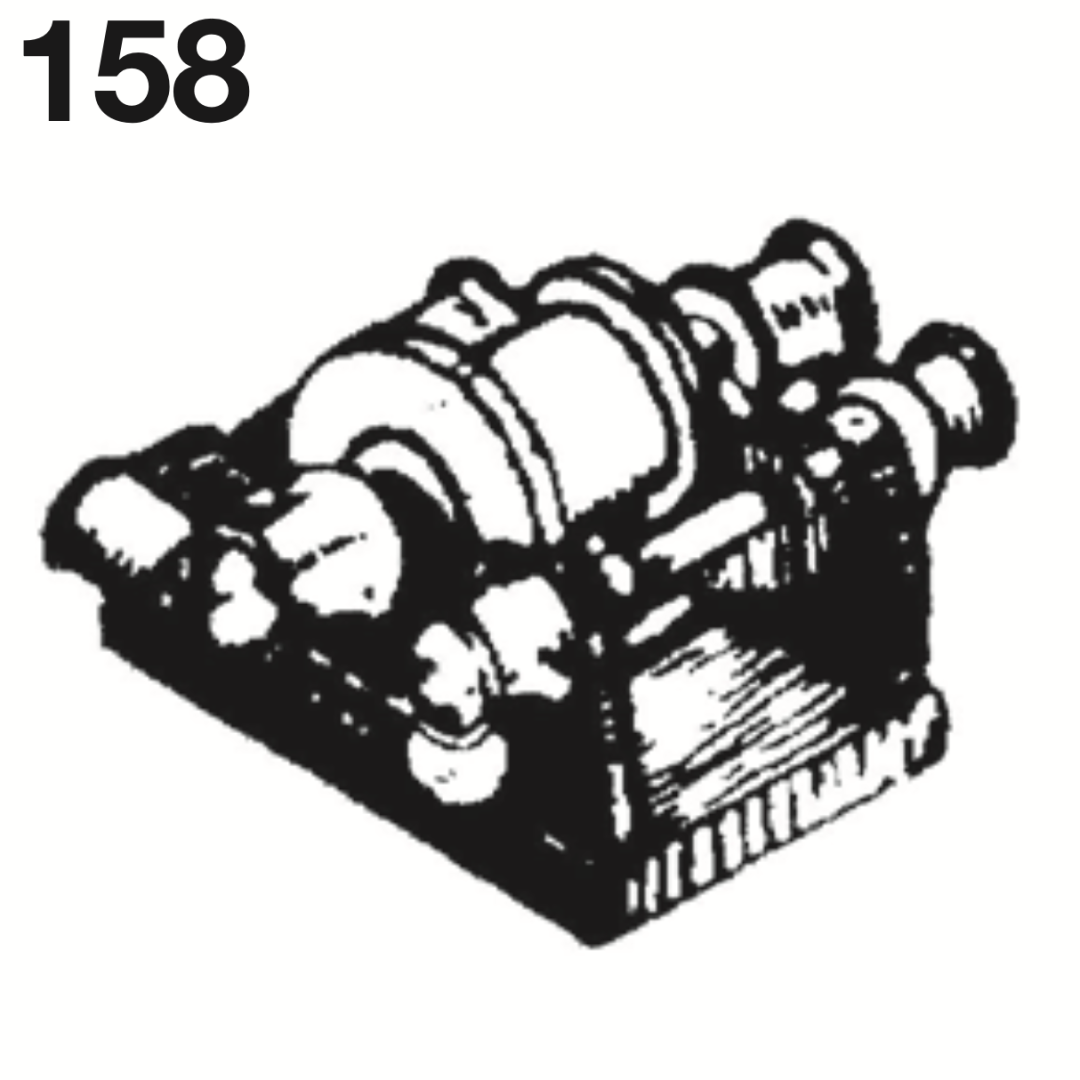
Thanks Keith… I have been trying to wrap my head around this task. Your suggestions are very helpful. I have found a Bluejacket piece that could work as a base and have been pondering 🤔 modifications. 5/8″ x 3/4″ (1/8″ Scale). Priced per 6 pieces. $7.66 I do think your suggested size feels more appropriate and I can build it to look more correct than Bluejackets “Liberty” winch modified.
-
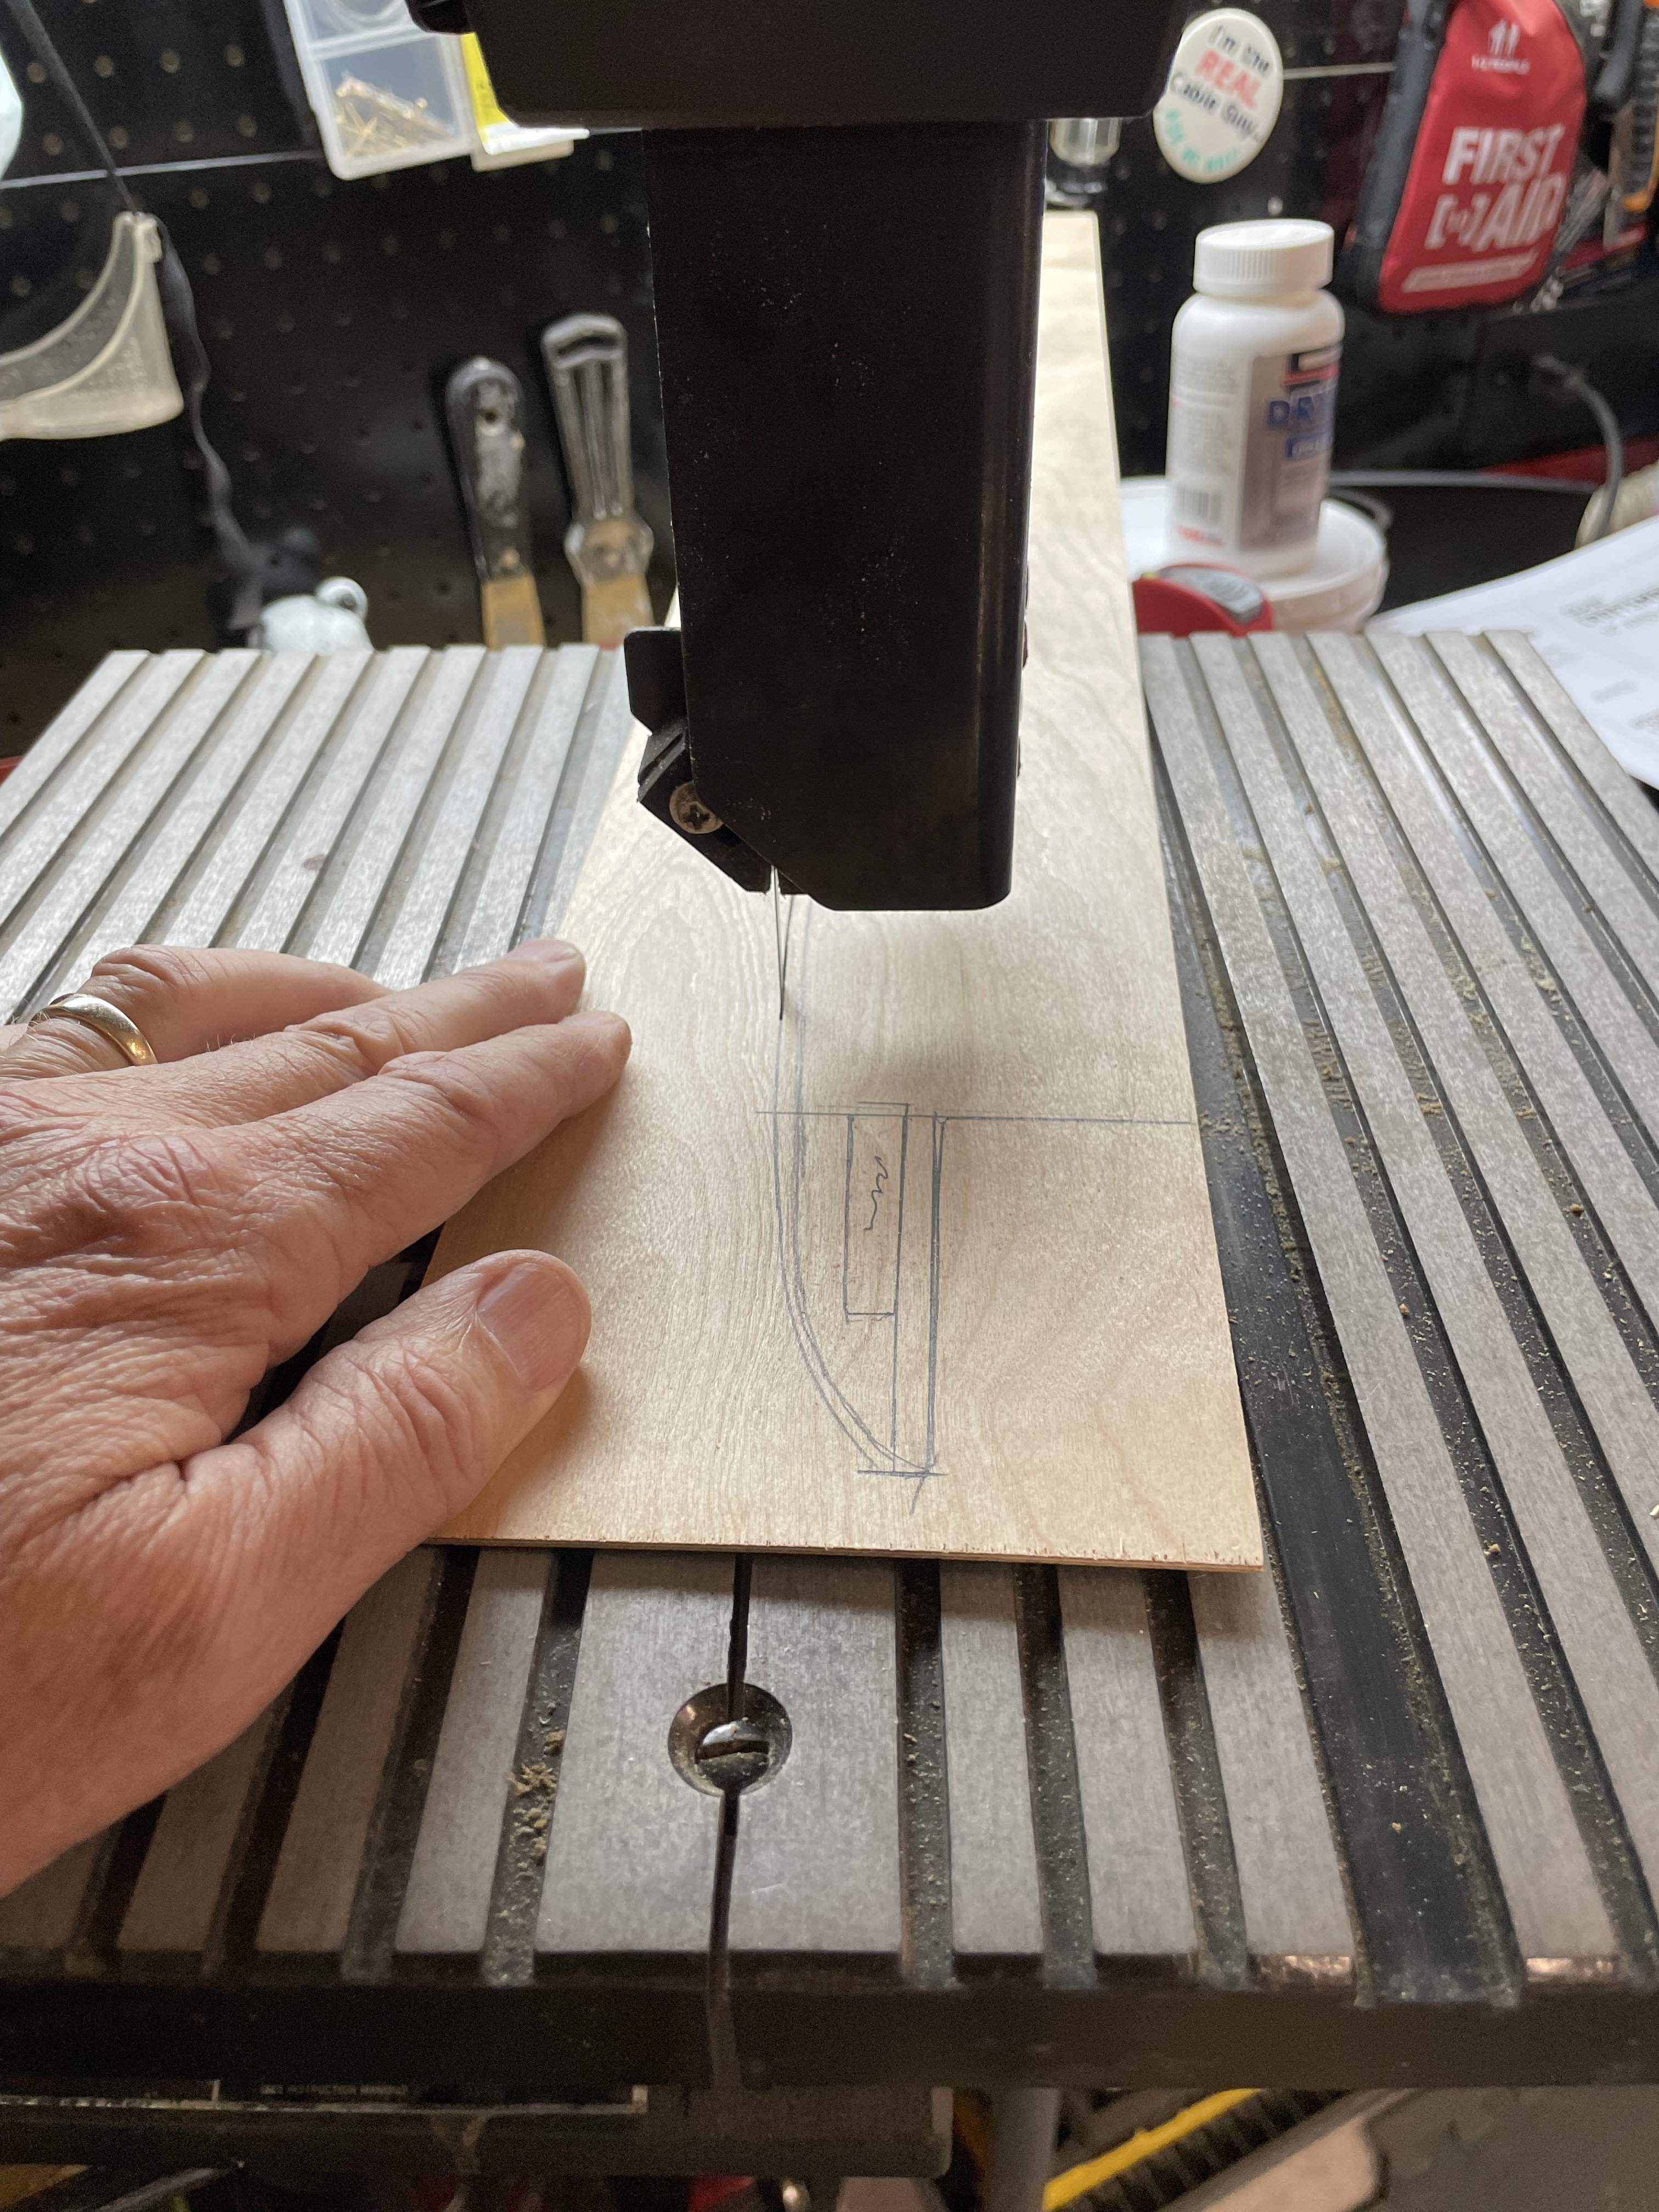
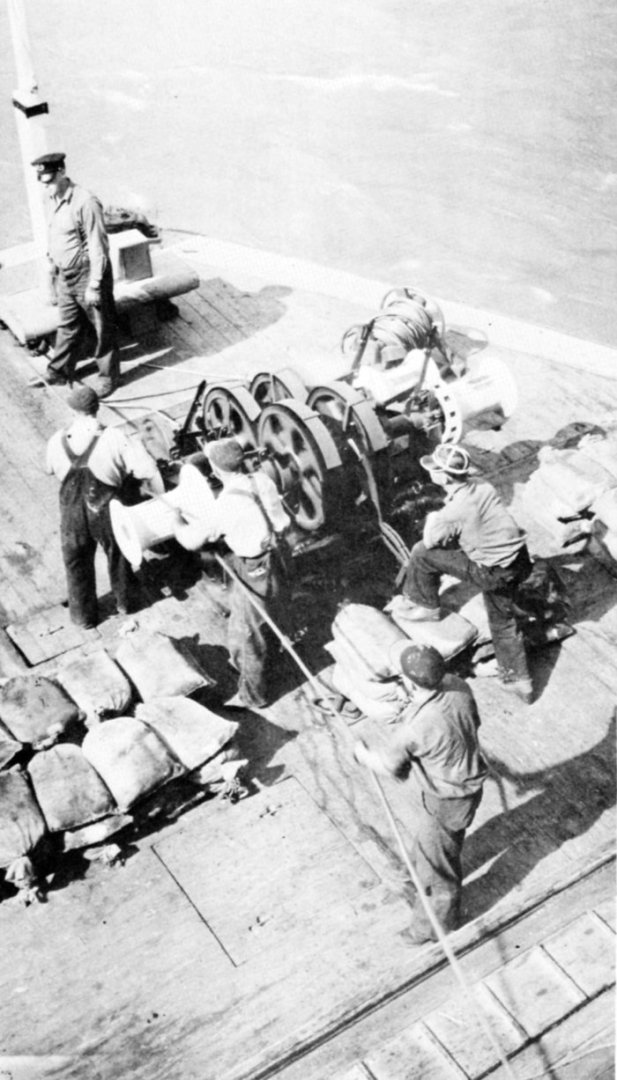
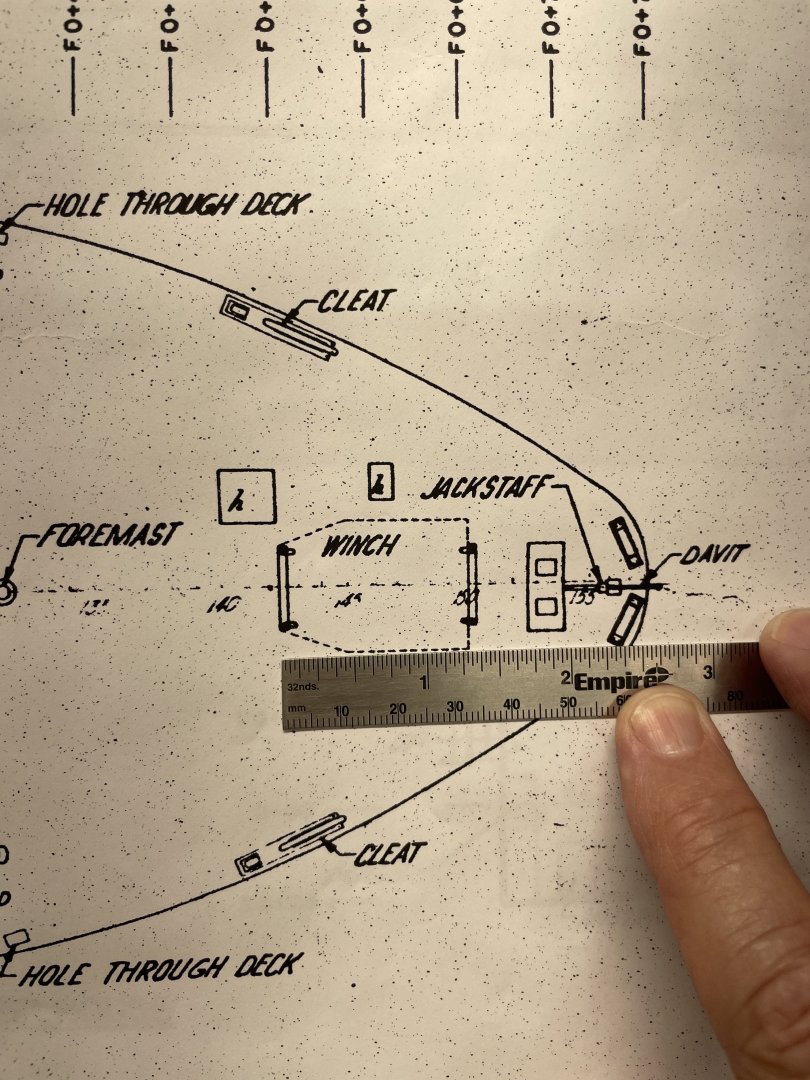
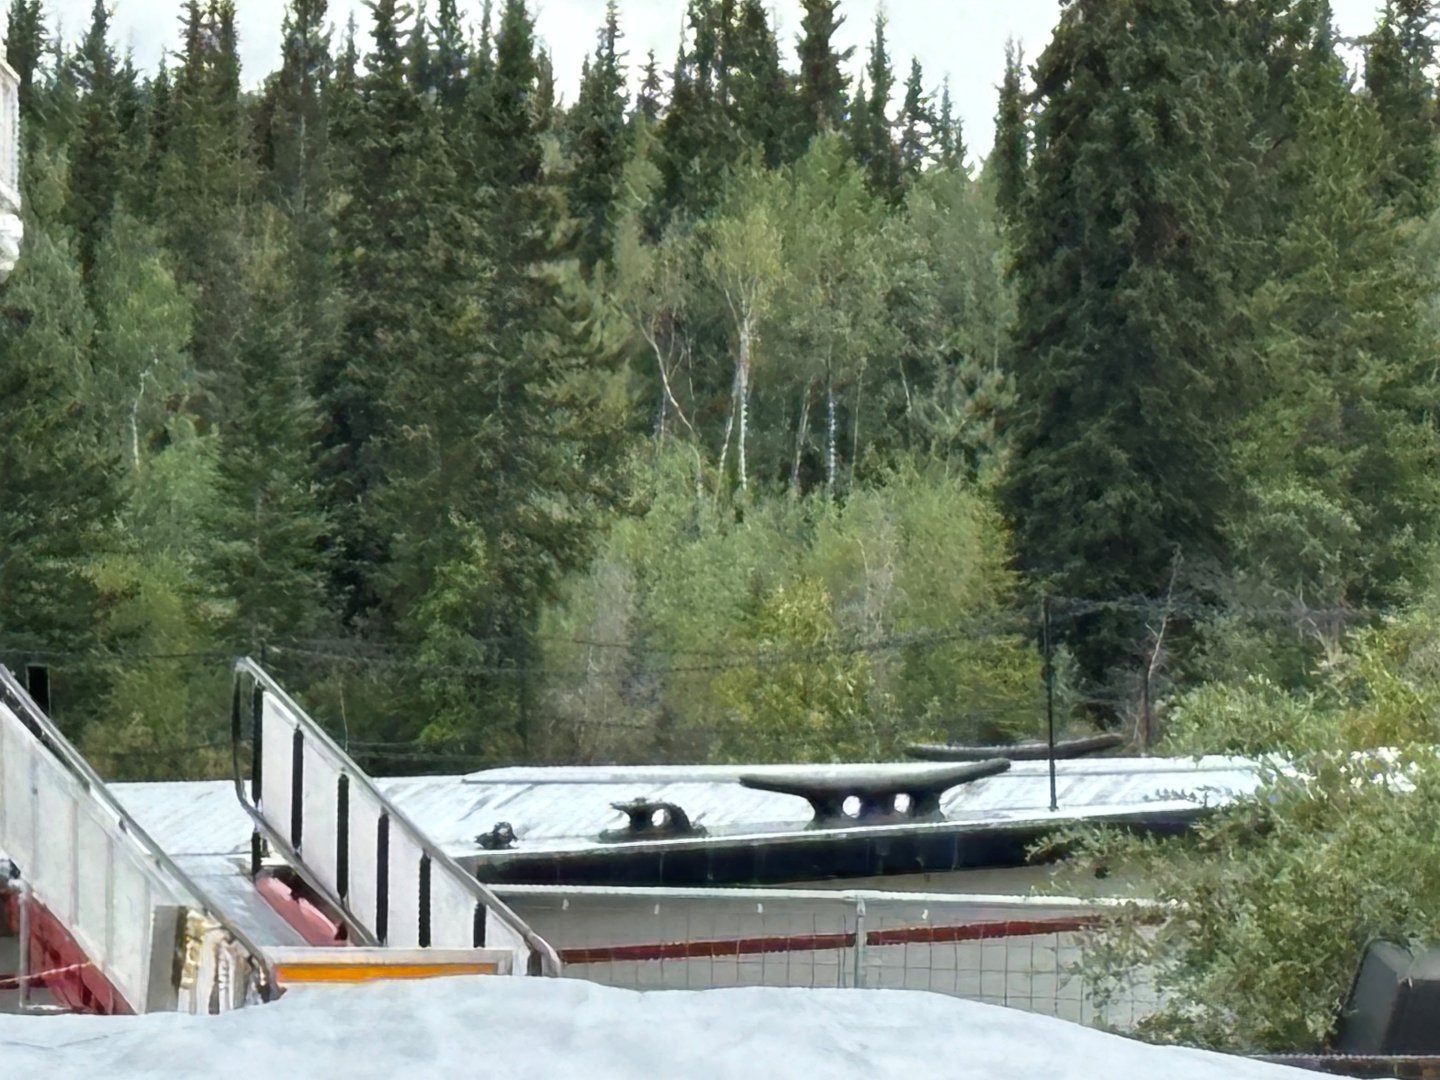
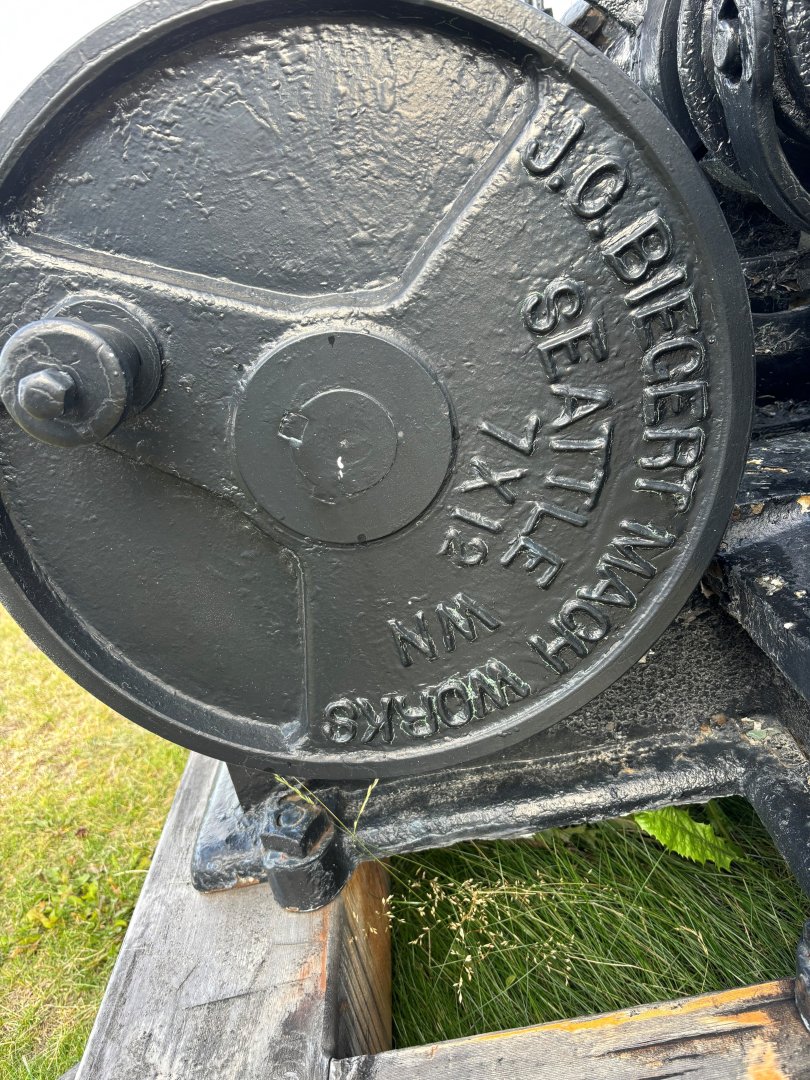
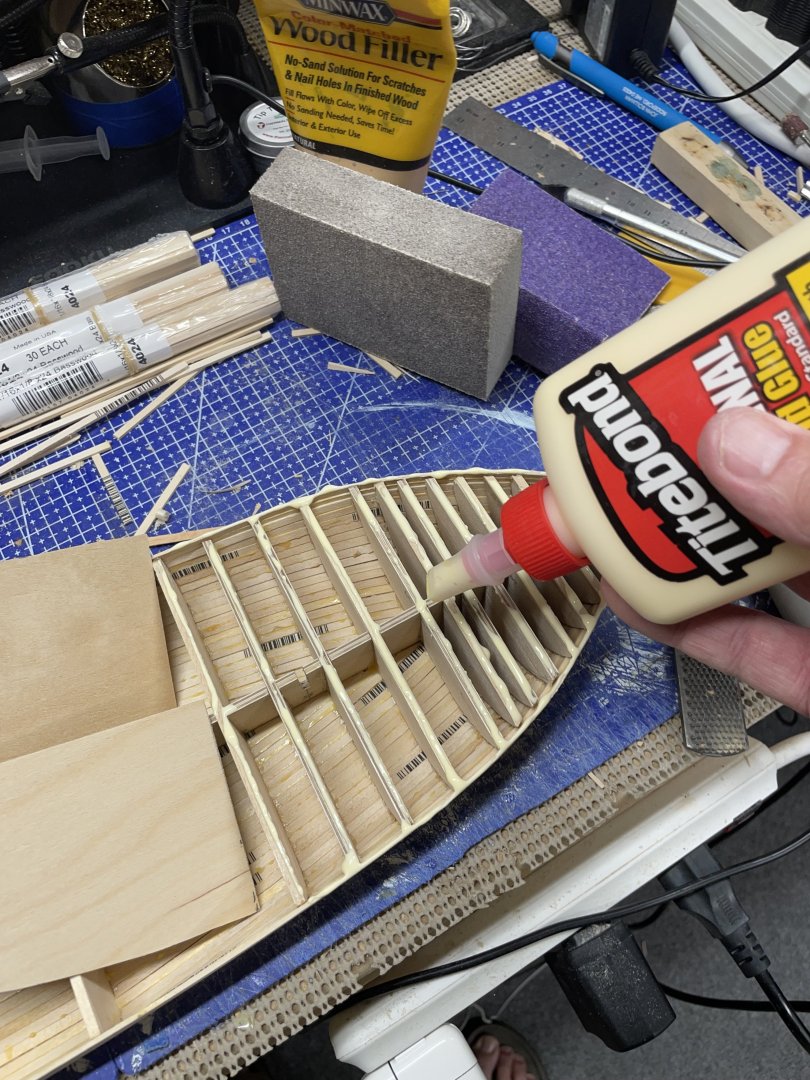
Main Sub-deck completed… Cutting out the sub-decking from 1/16” plywood. Ready to plank the main deck… Shout out to @Kusawa2000 in White Horse, YT for his spy photos. He helped me confirm the Fore Deck planking and the Steam Winch to be placed on the Fore Deck. Thanks Mike… The real Klondike II is currently under some serious restoration efforts by Parks Canada. 🇨🇦 I will be attempting to scratch build this Winch at 1/96 scale. Any tips or suggestions you all may have would be greatly appreciated. I have enough photos, it’s a mechanical drawing of this equipment that would be helpful. On to planking… 🍻


-
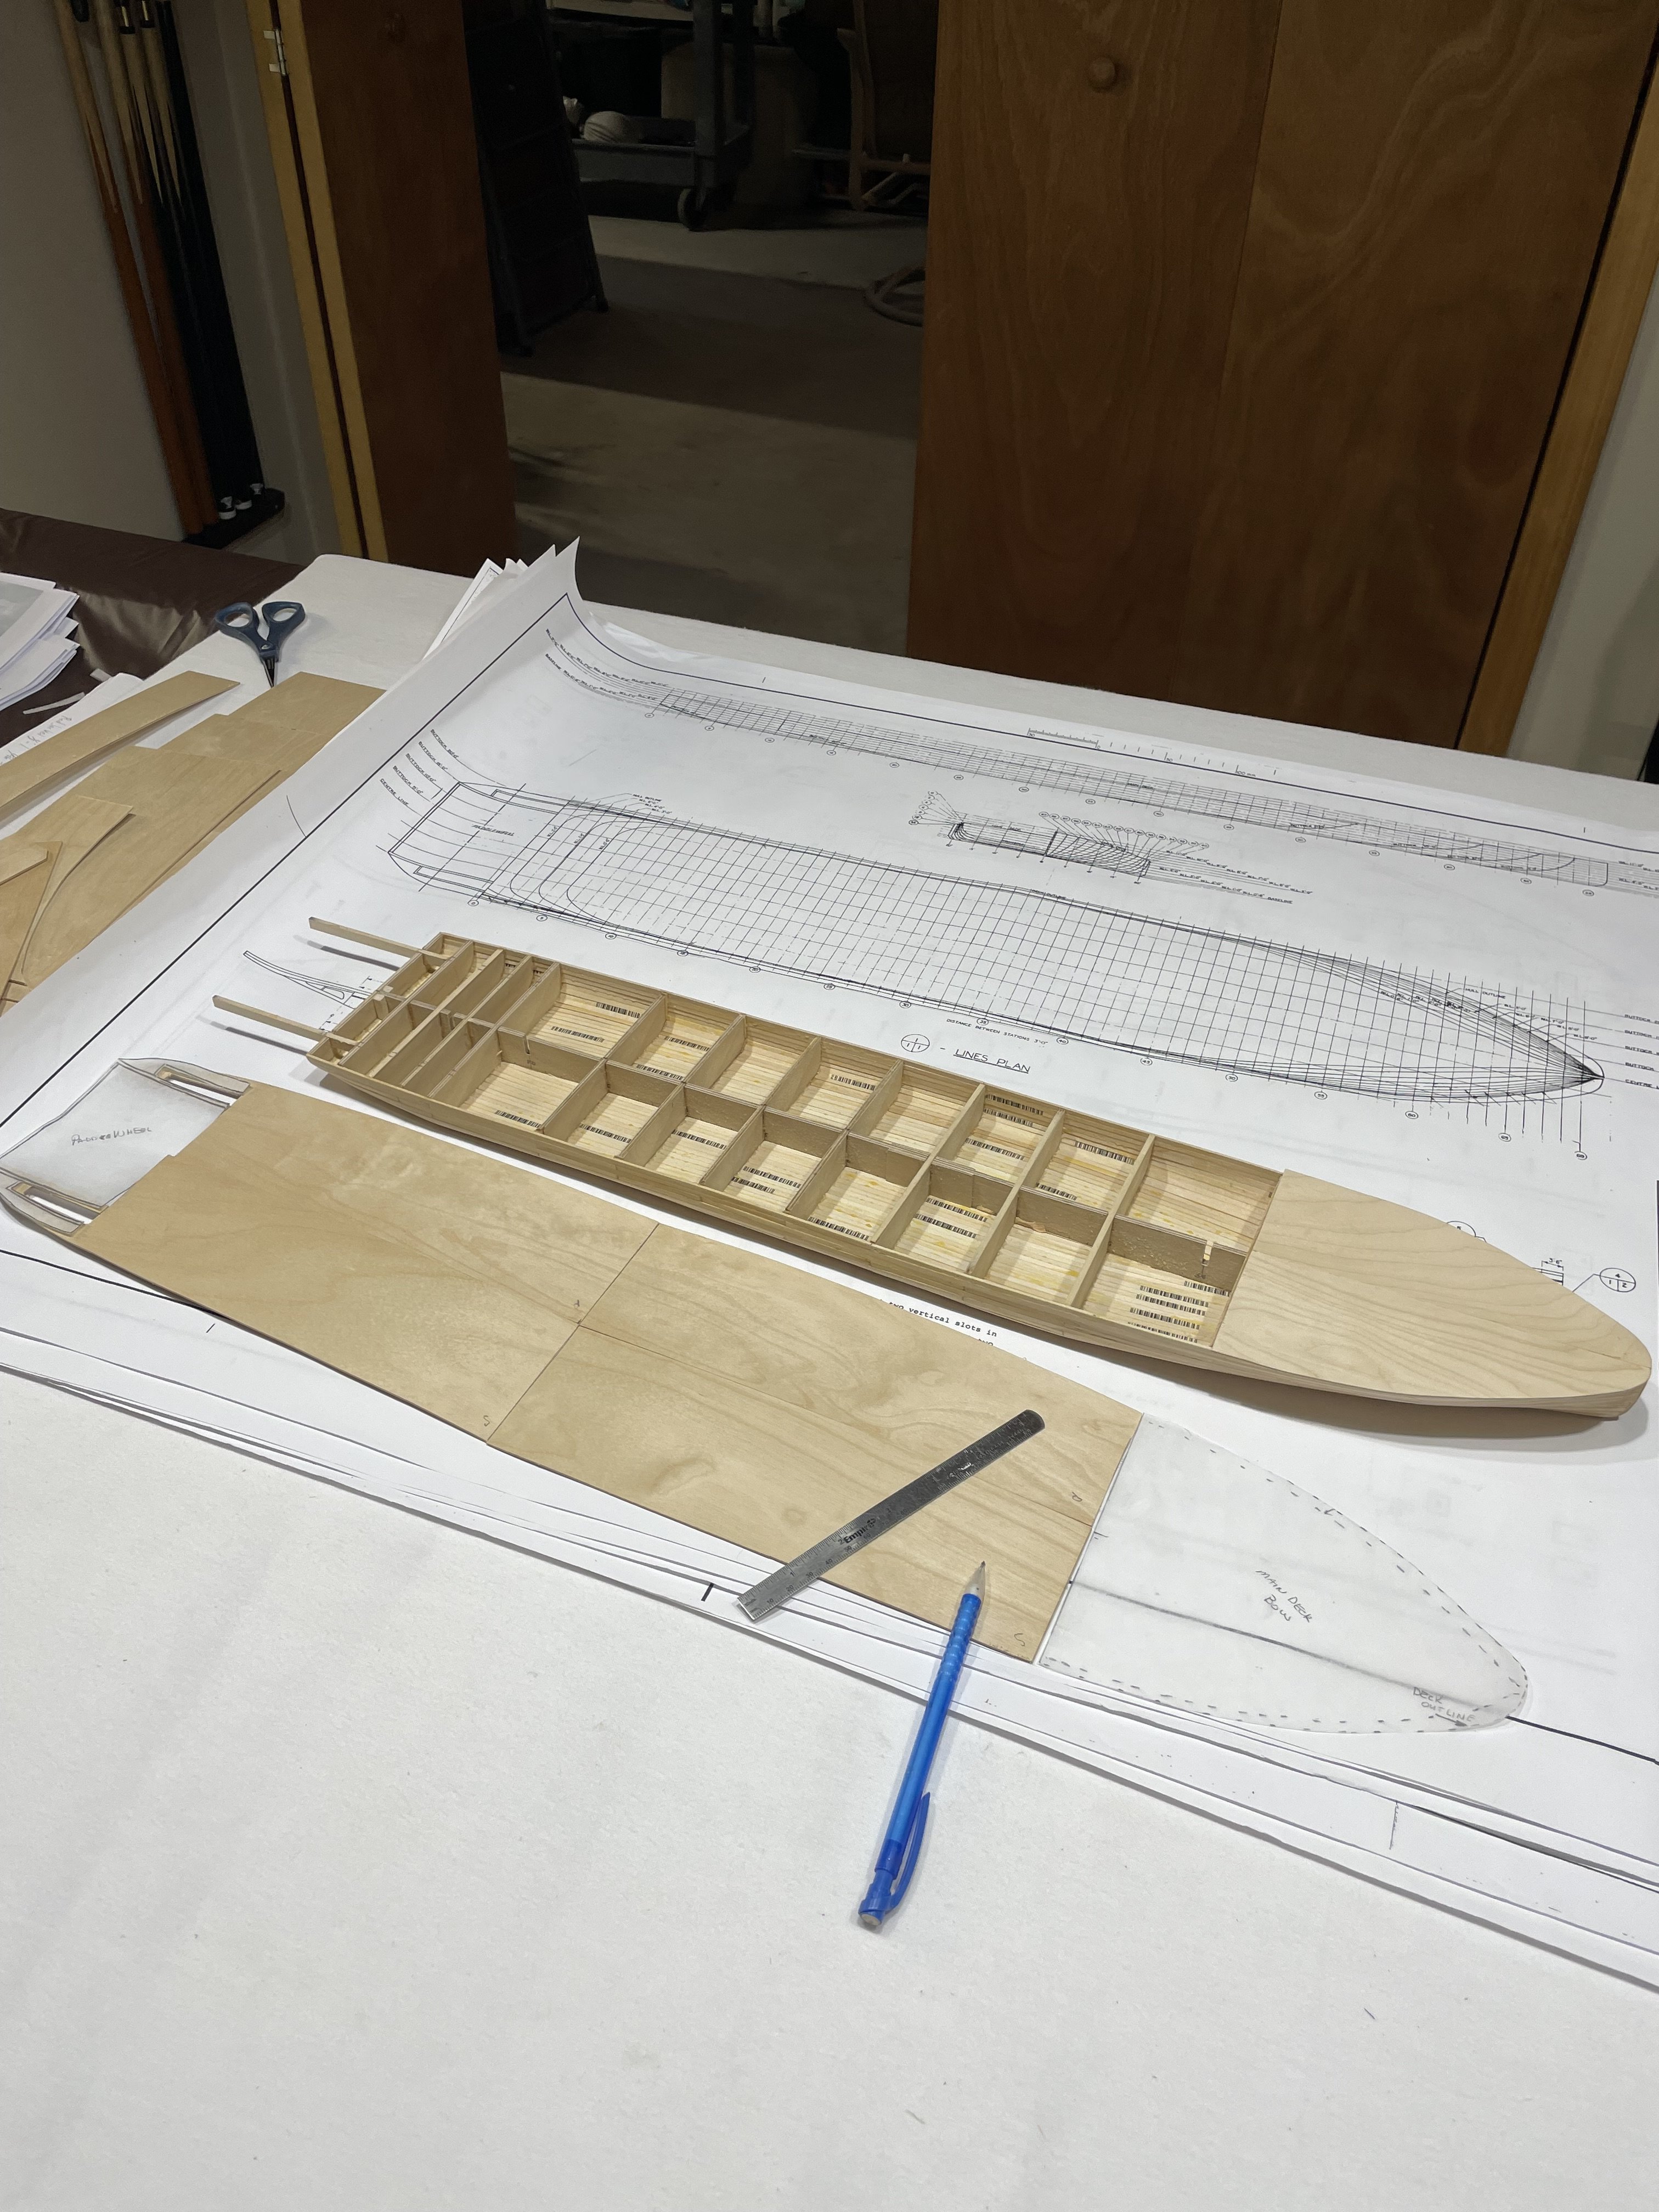
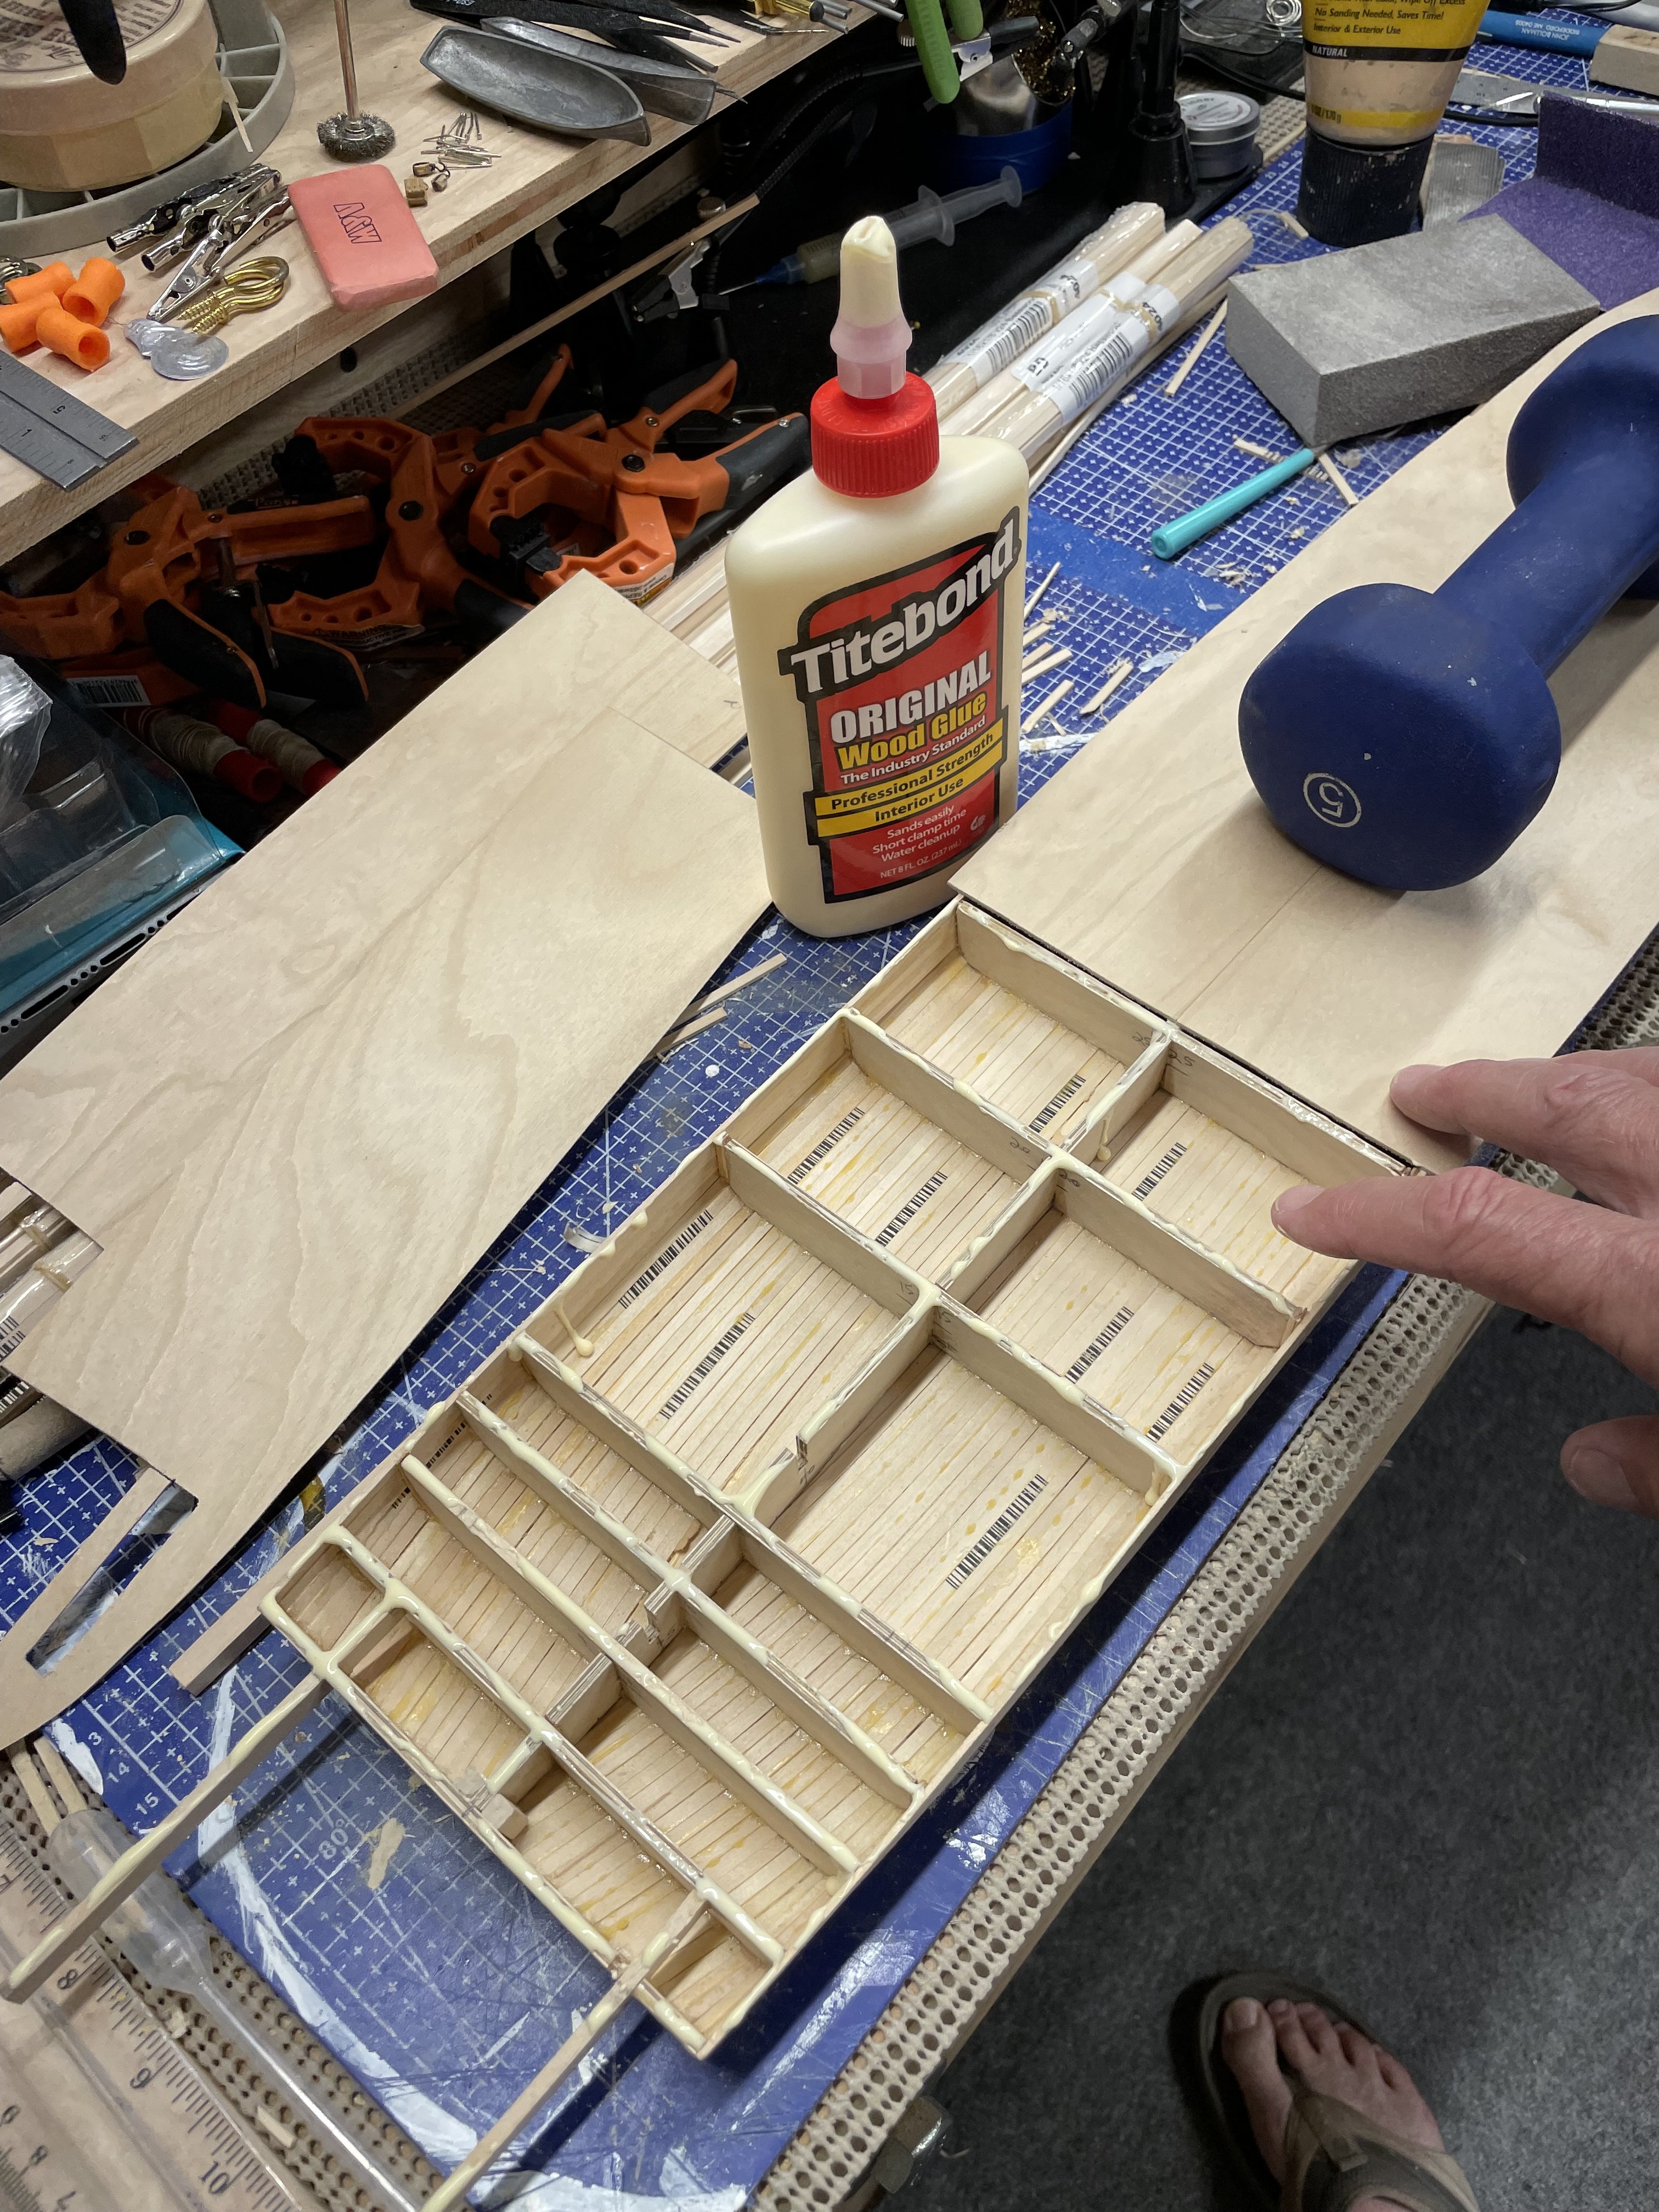
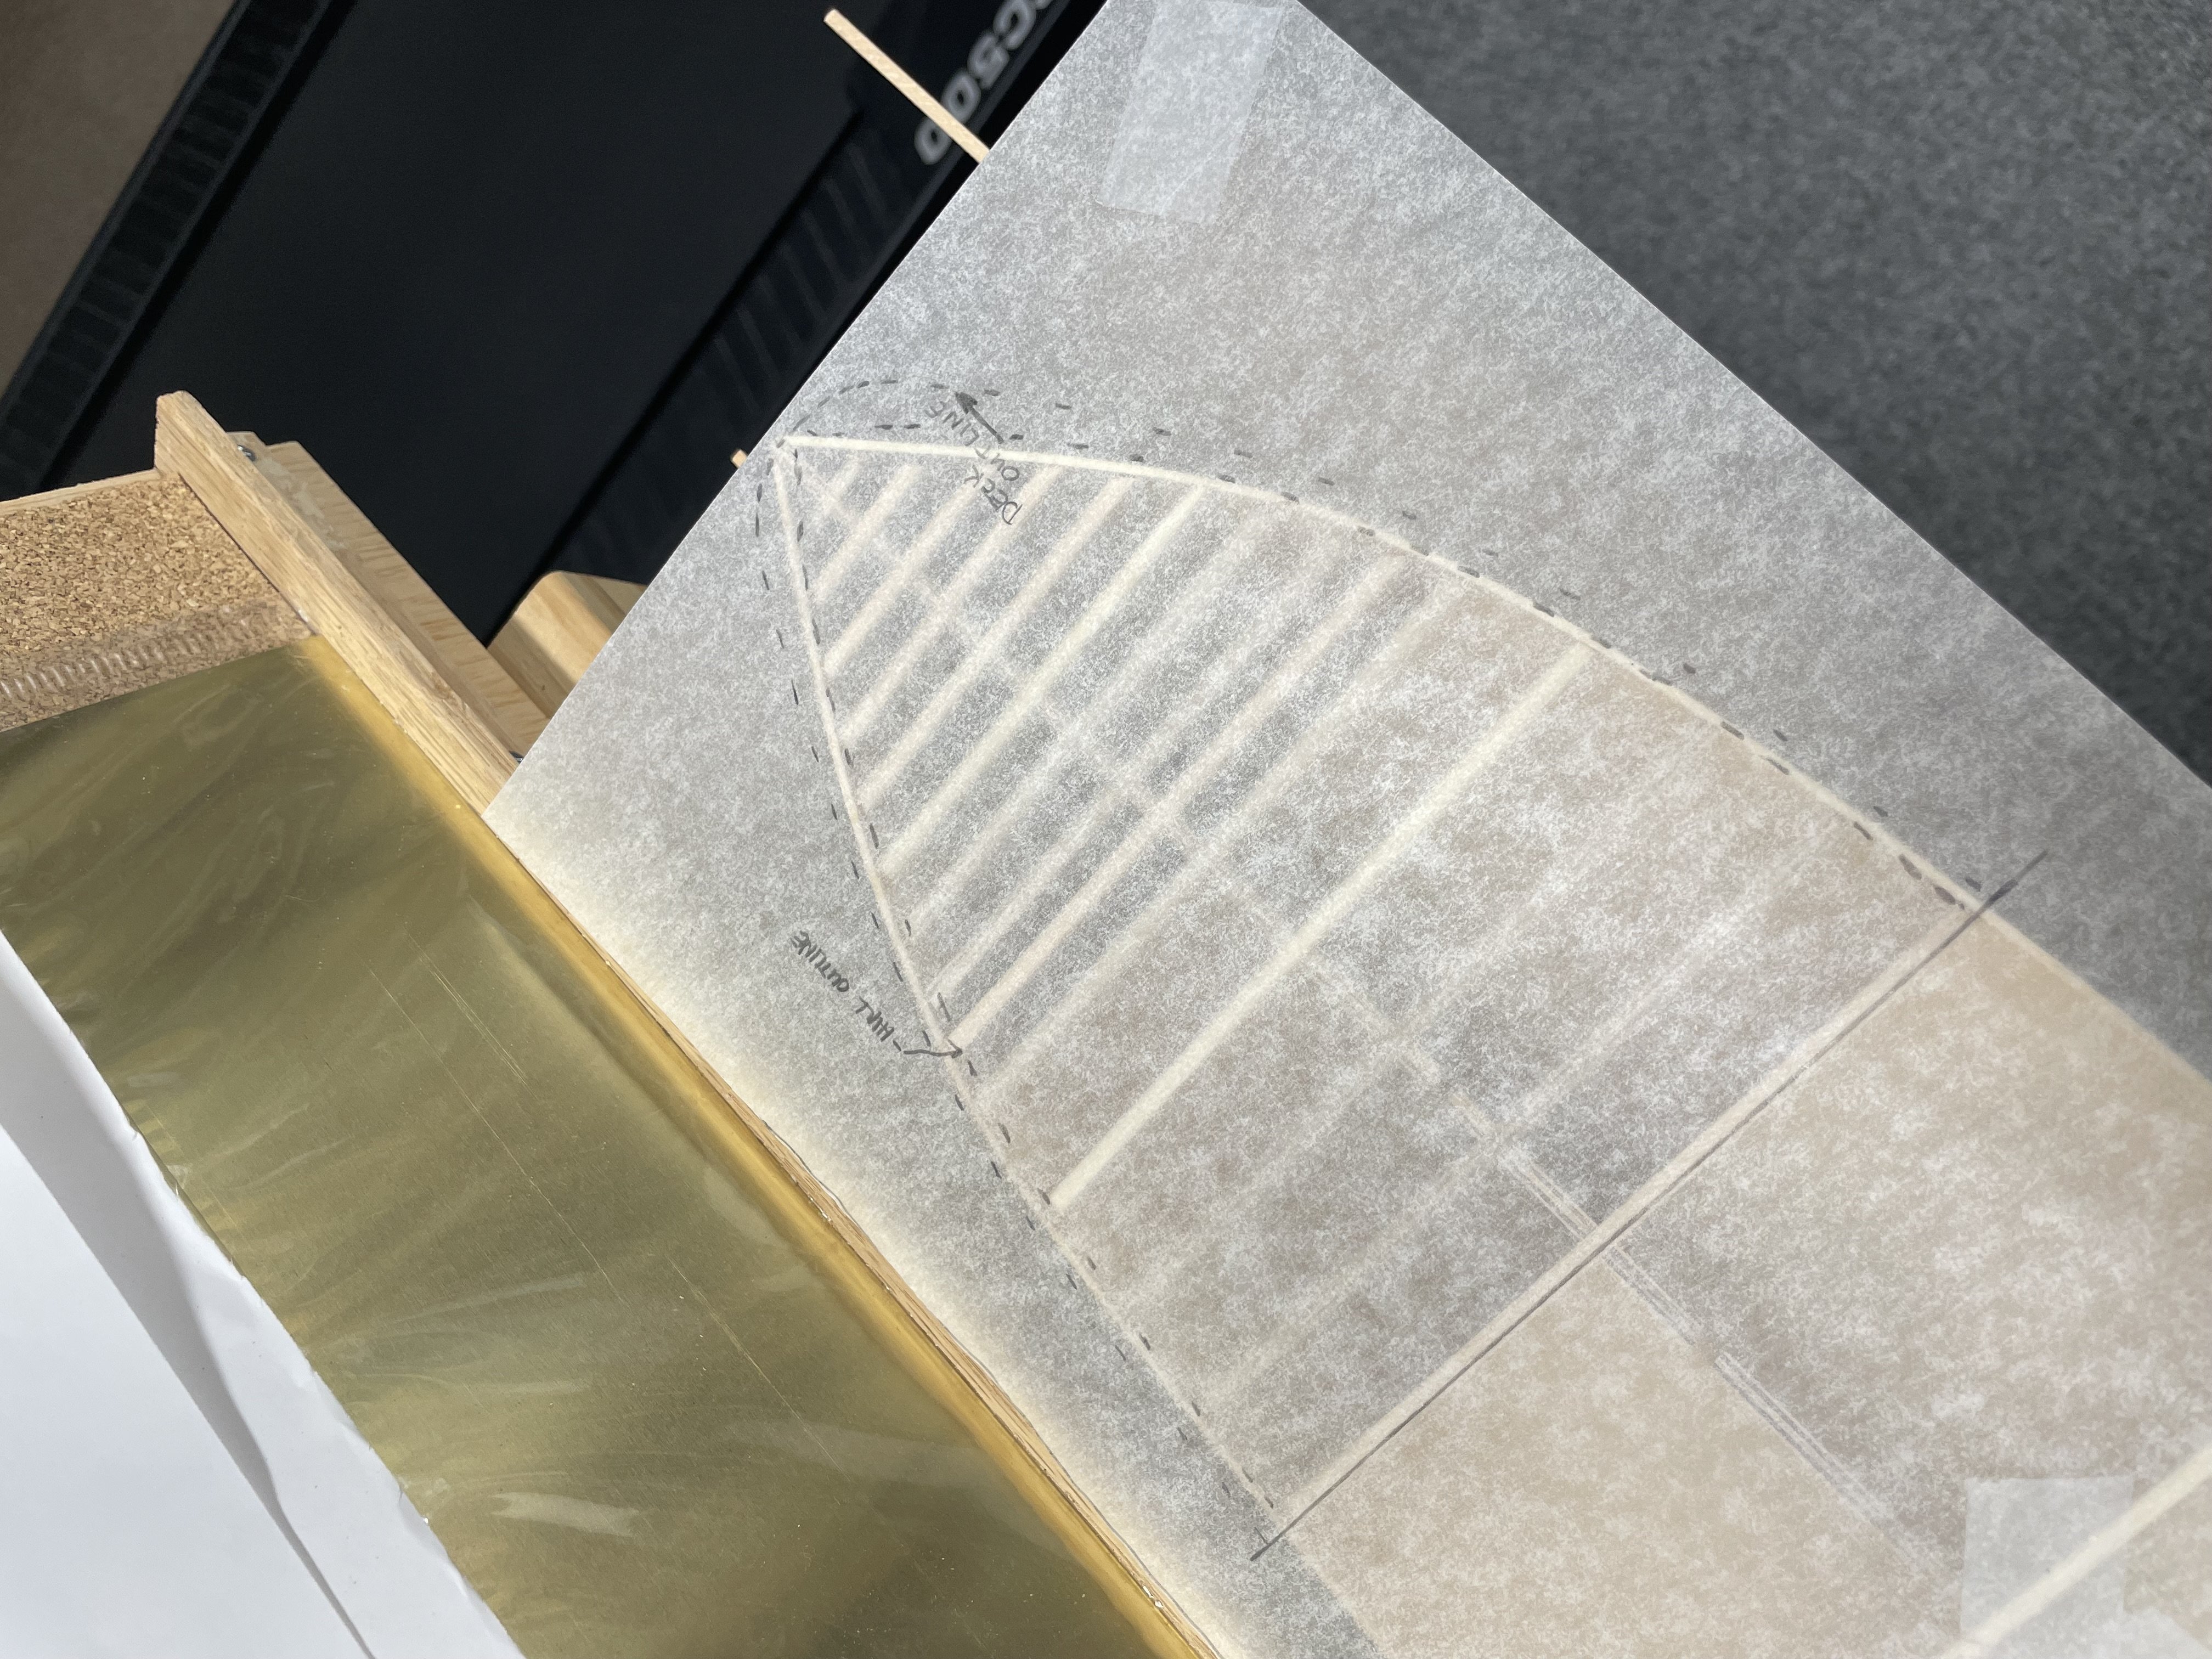
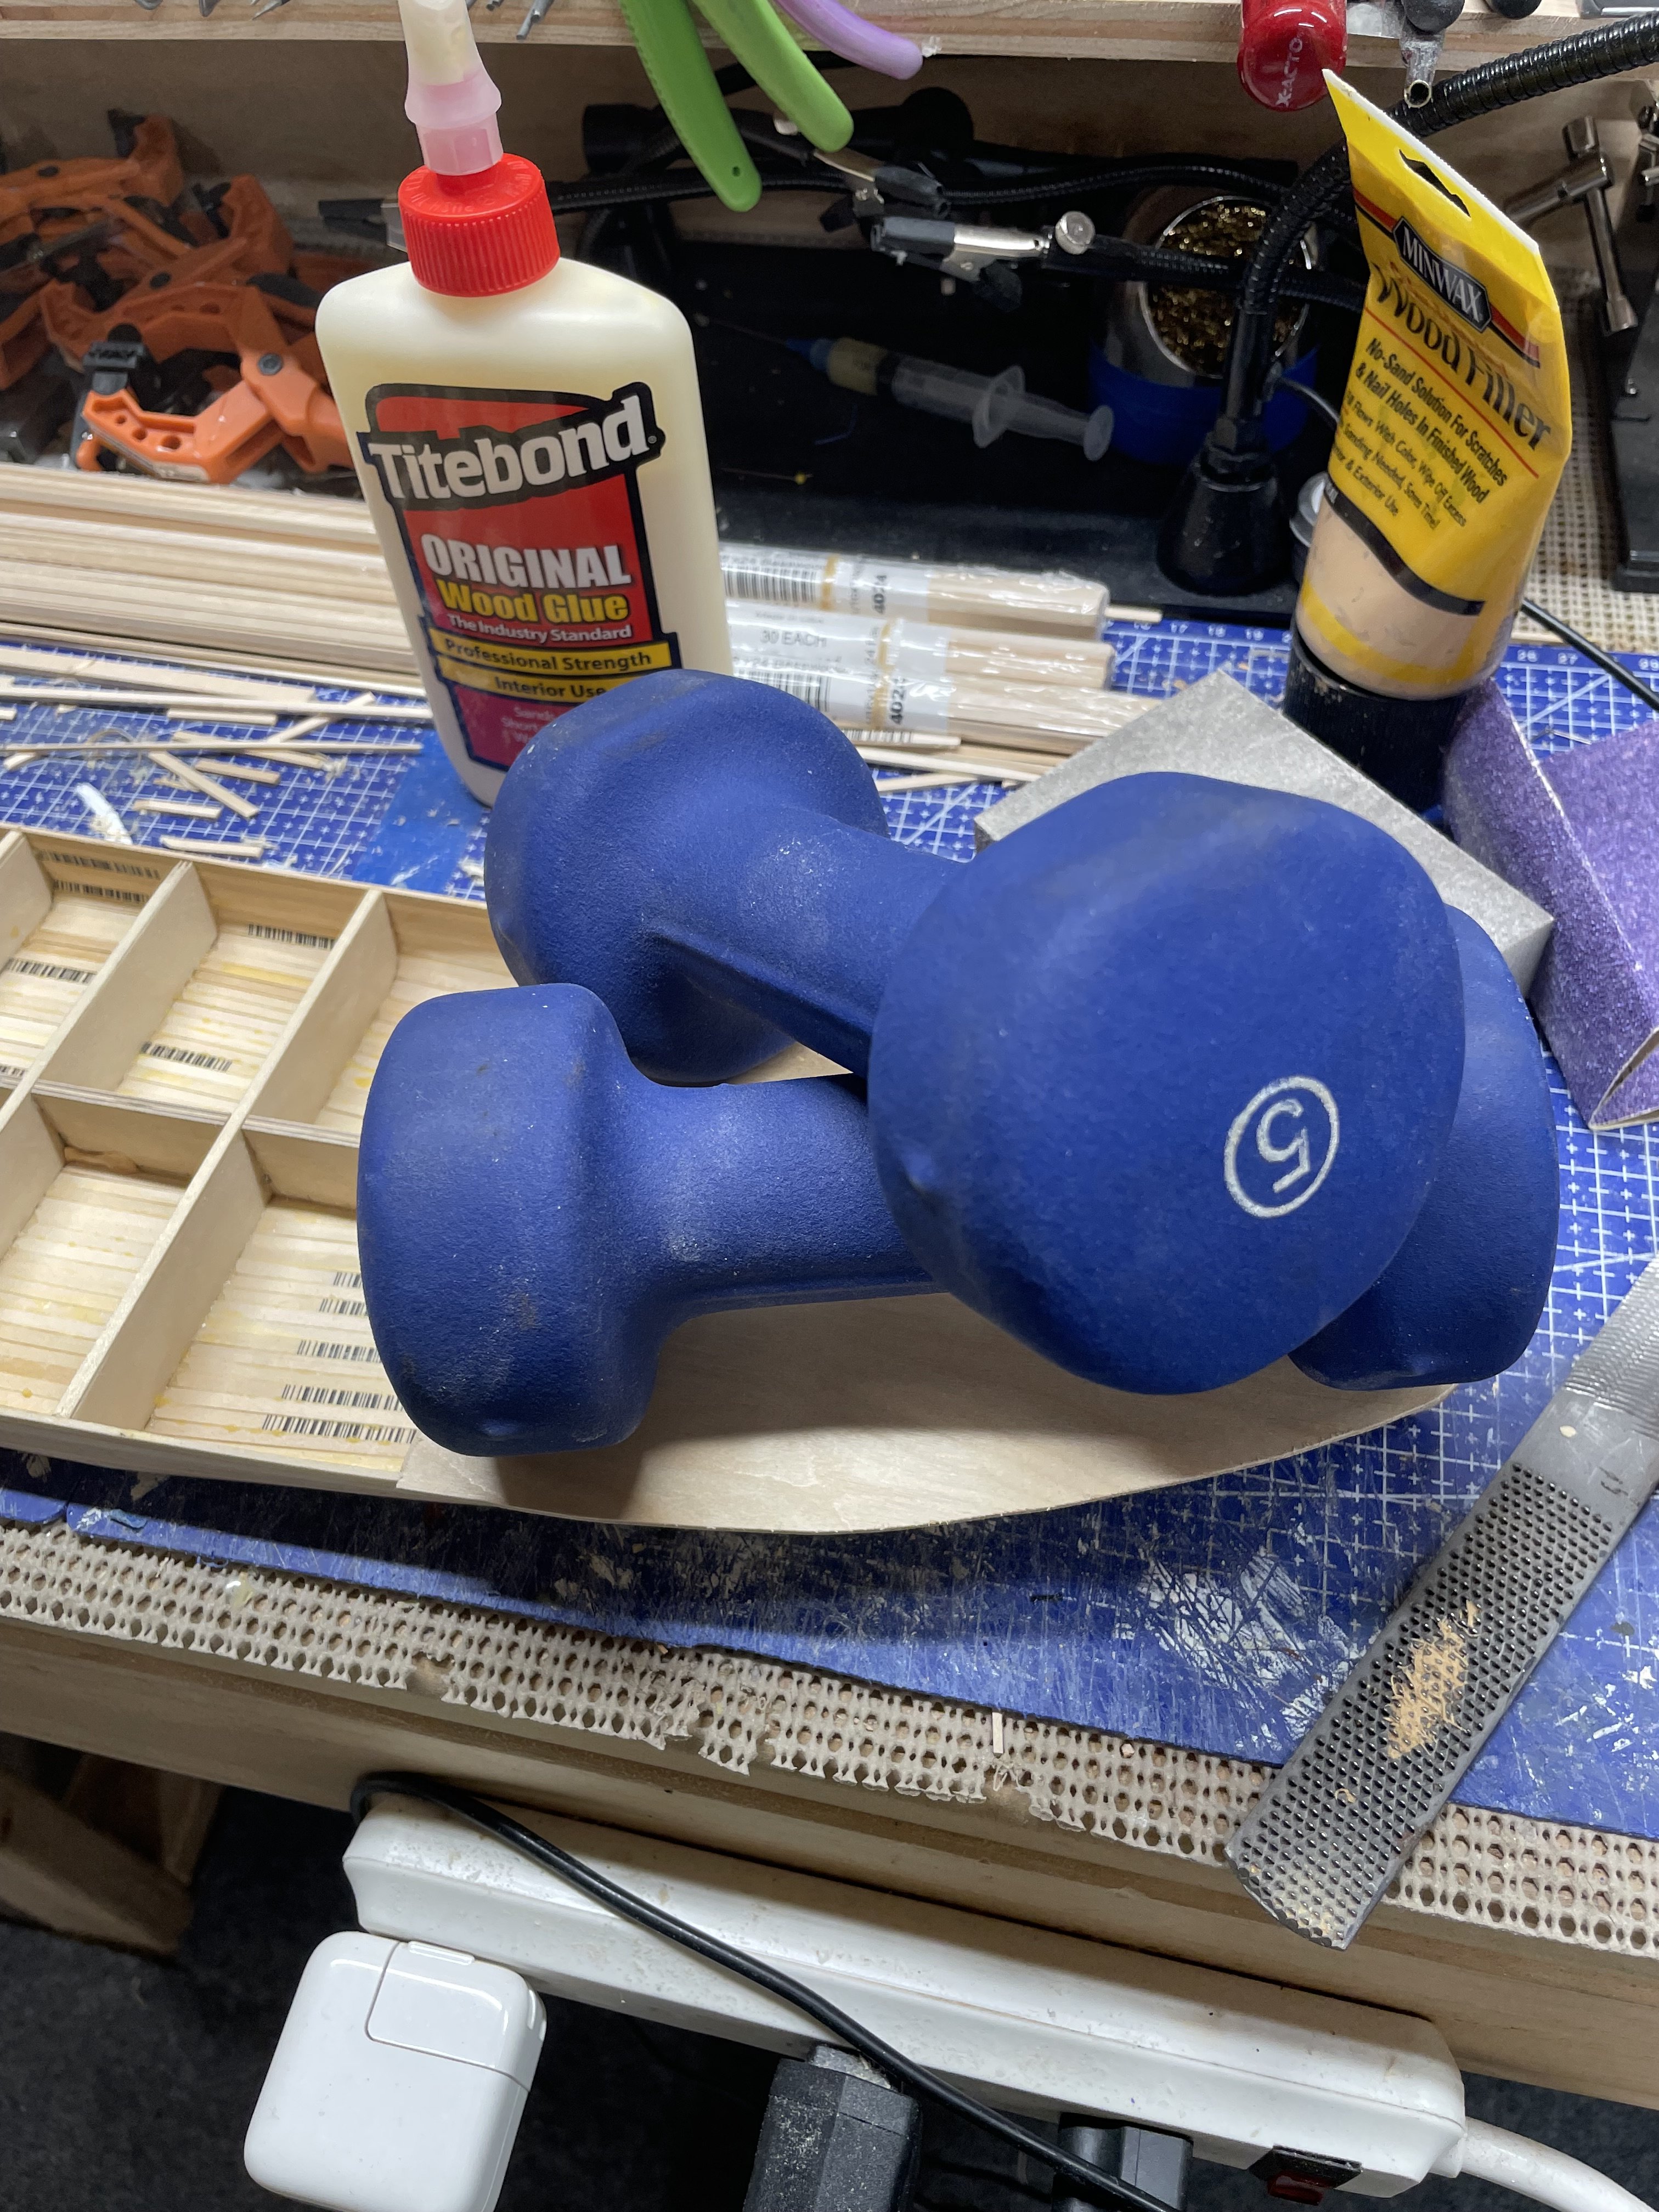
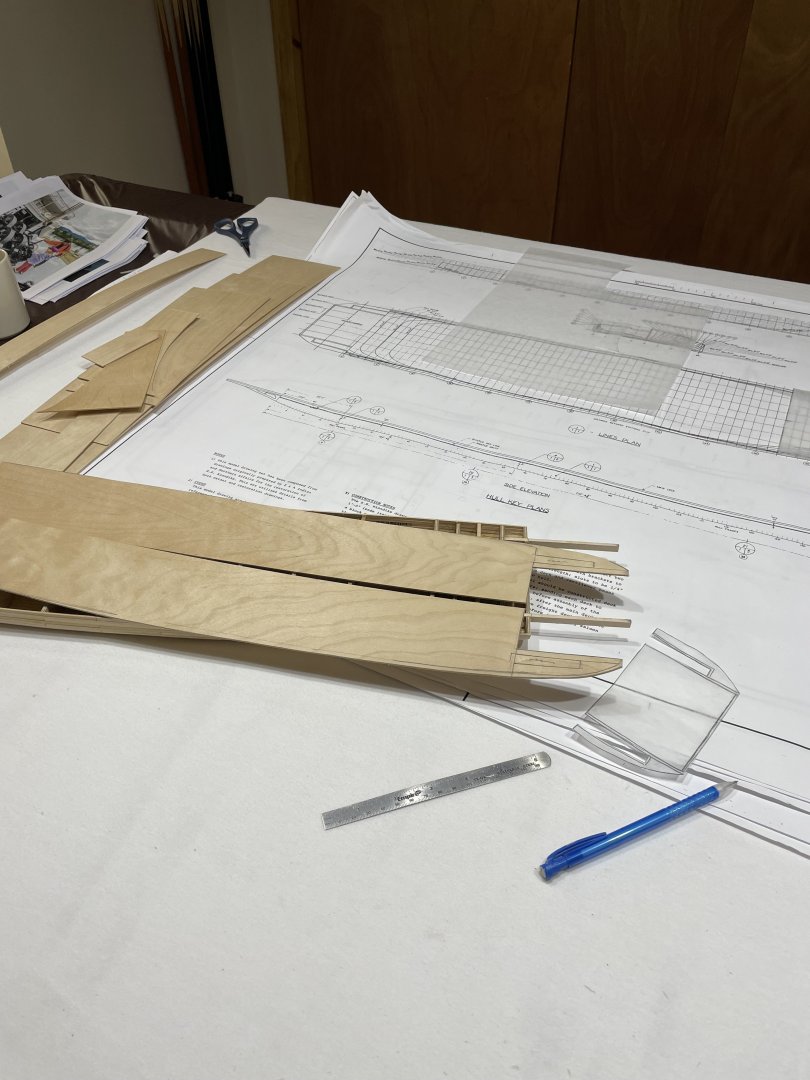
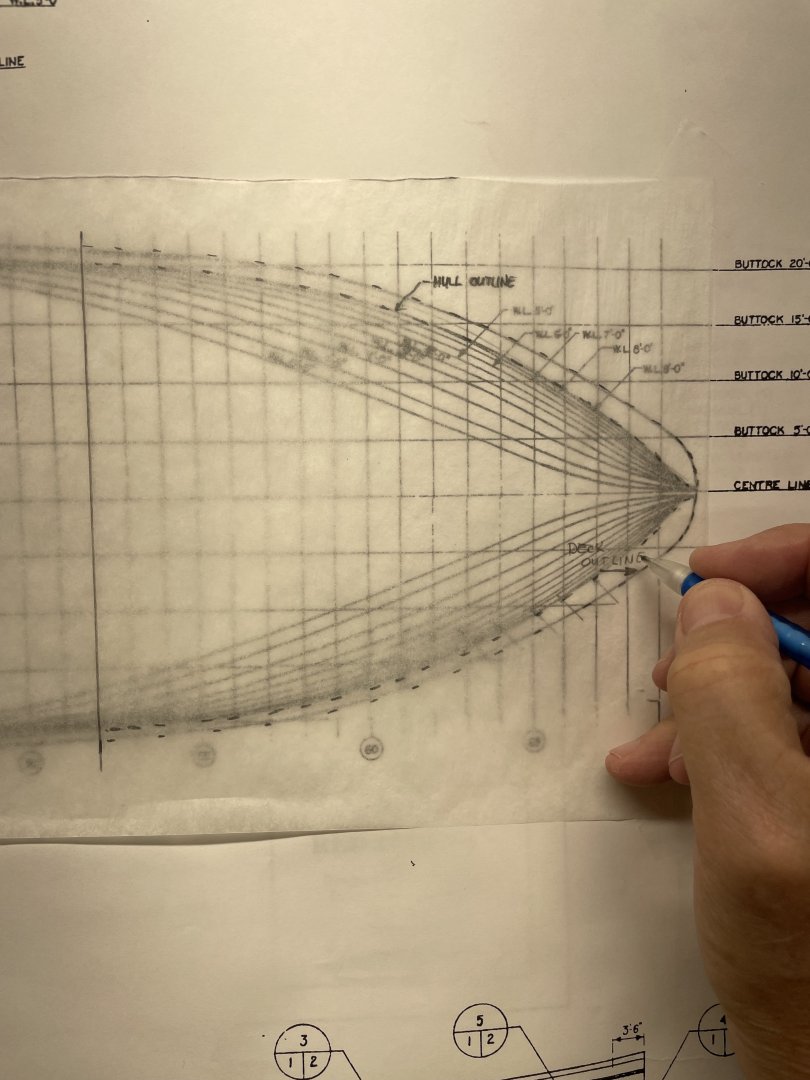
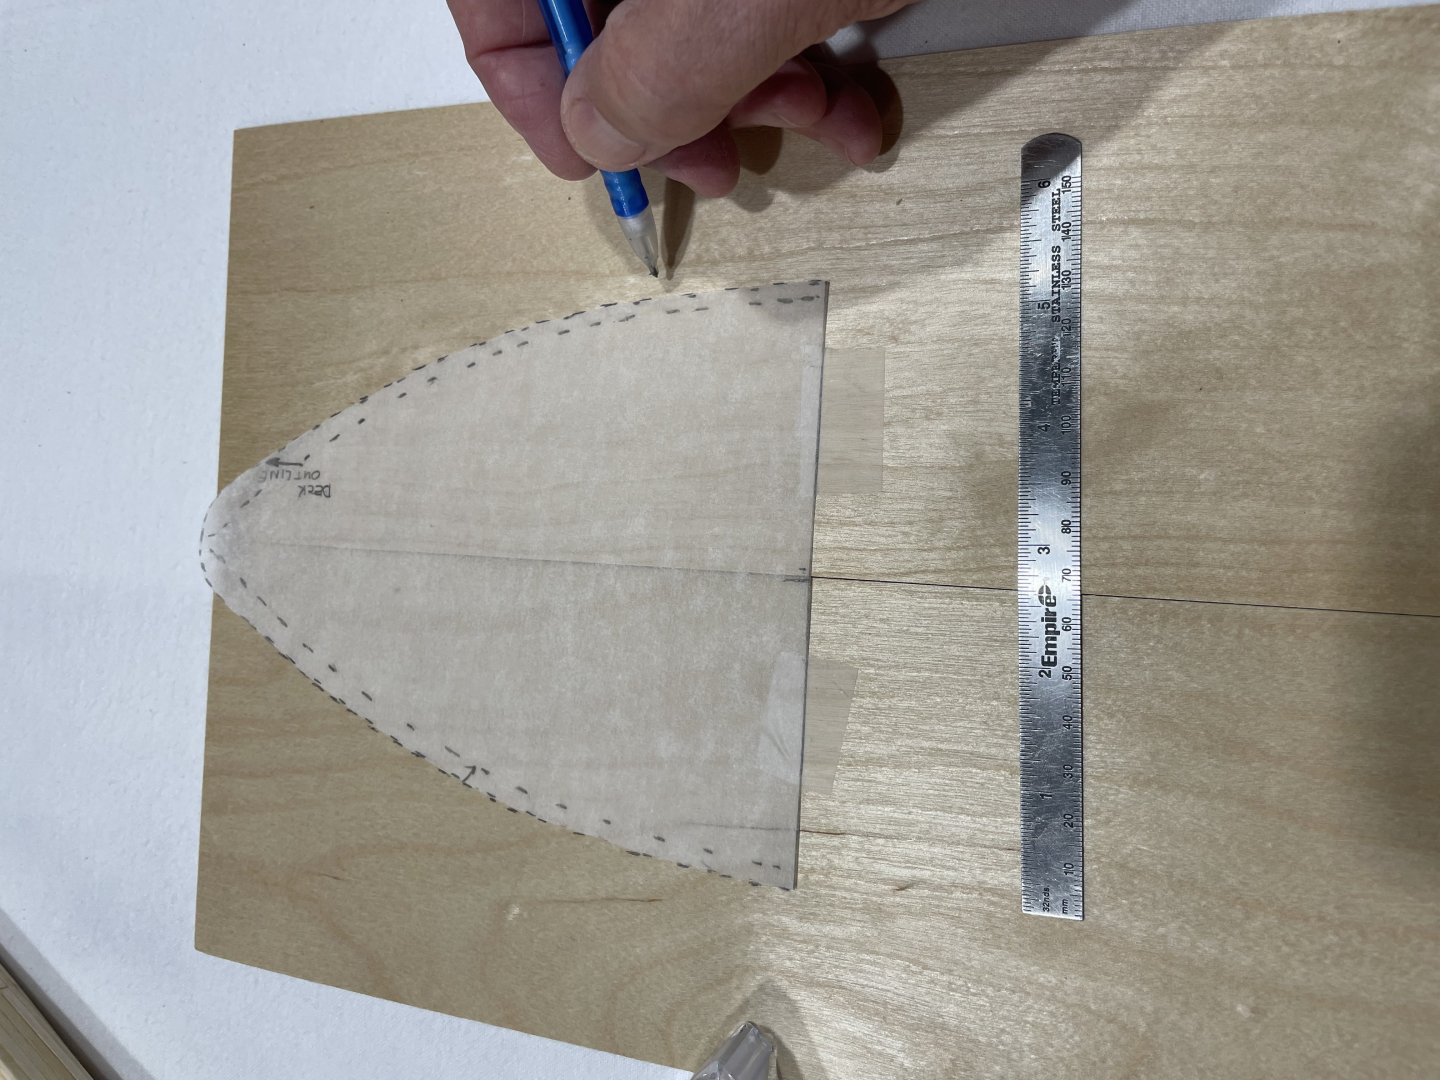
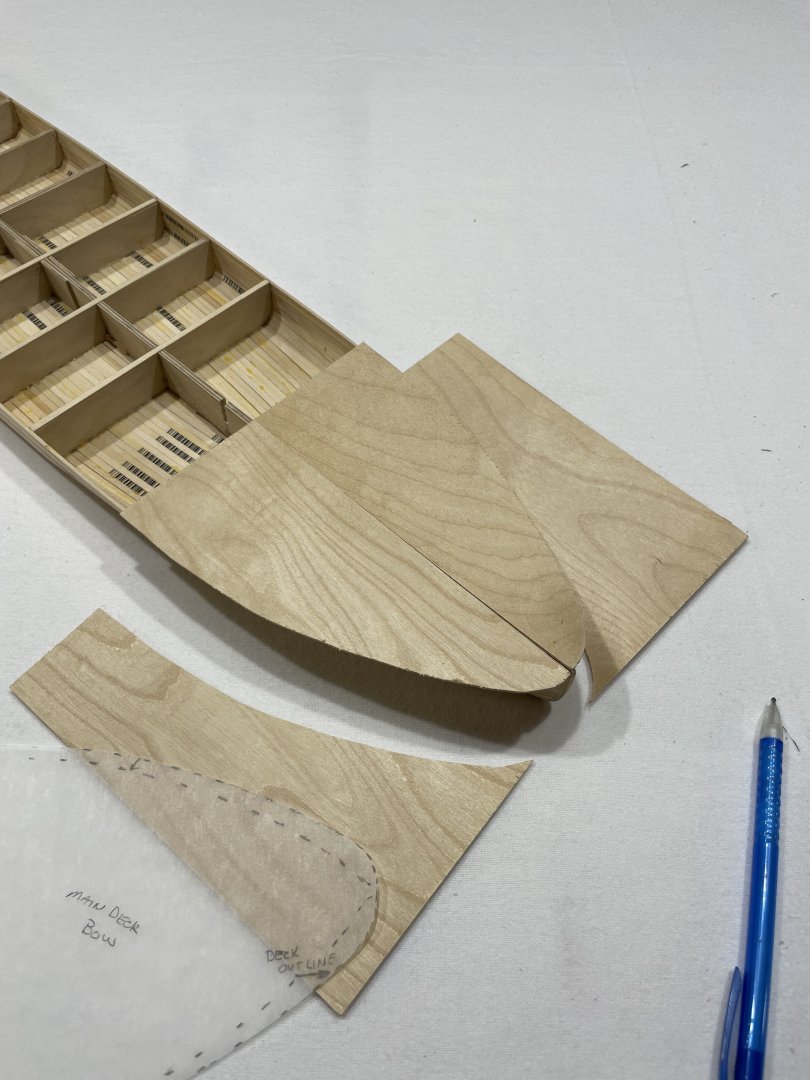
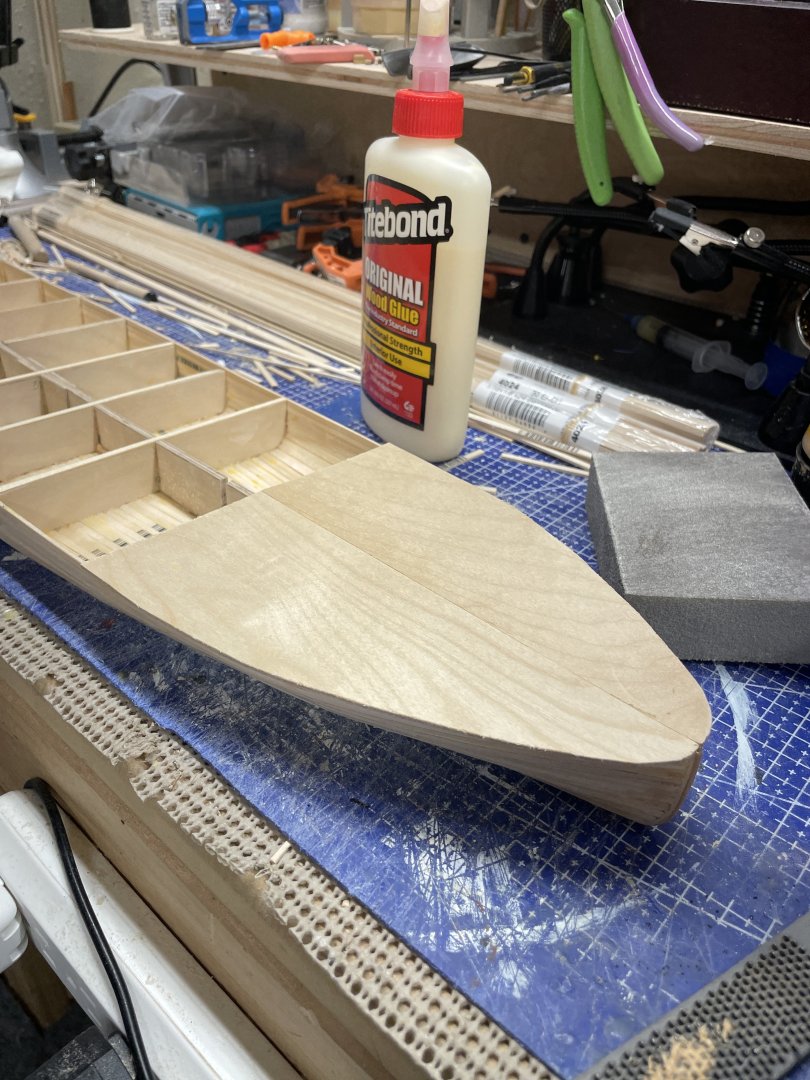
A bit of progress… I worked on the Main Deck (bow section) tonight. Tracing the deck line for a template. Cut out the template and draw the outline of the bow section on 1/16” plywood. Cut out the plywood… Glue and clamp… Bow section complete. I will be planking the Main Deck once the structure is completed. The upper decks were covered with canvas, which I will simulate with paper and gray stain. No need to plank those decks. Cheers 🍻


-
Painting tips: 1. Cover all imperfections with filler and primer, before the color coat. 2. Fine thin coats of semi gloss color. Just enough coats to cover the primer with consistent color. Fine sanding between each coat. 3. After final color coat, spray a fine wet coat of semi gloss clear. Not to much. Then don’t touch until set. Easy as 123…. LOL 😆 Cheers 🍻
- 165 replies
-
- 4
-

-
- Red Jacket
- Marine Model Company
- (and 2 more)
-
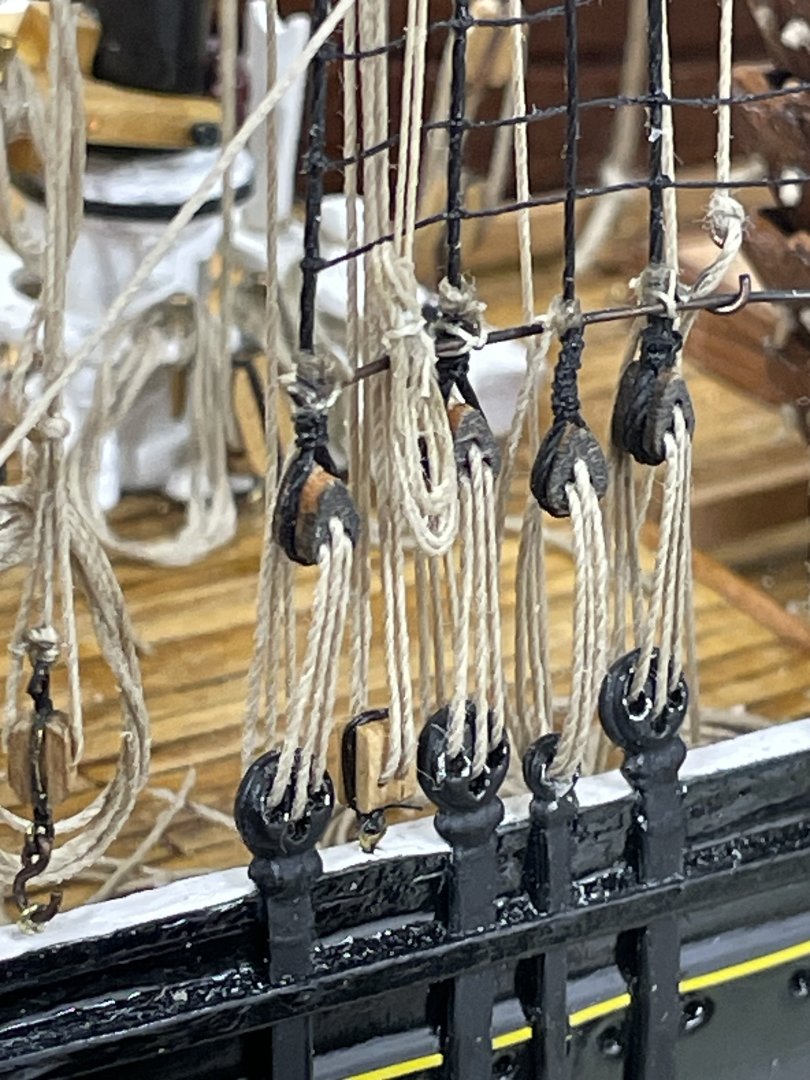
Pin Rails and Taffrail completed with belaying pins… Had to correct the Taffrail and reposition the belaying pins. Completed the Starboard Pin Rail Ready to start Deadeye/Chainplate installation. Then Deck Furnishings and Deck Houses. Cheers 🍻


- 165 replies
-
- 7
-
-
- Red Jacket
- Marine Model Company
- (and 2 more)
-
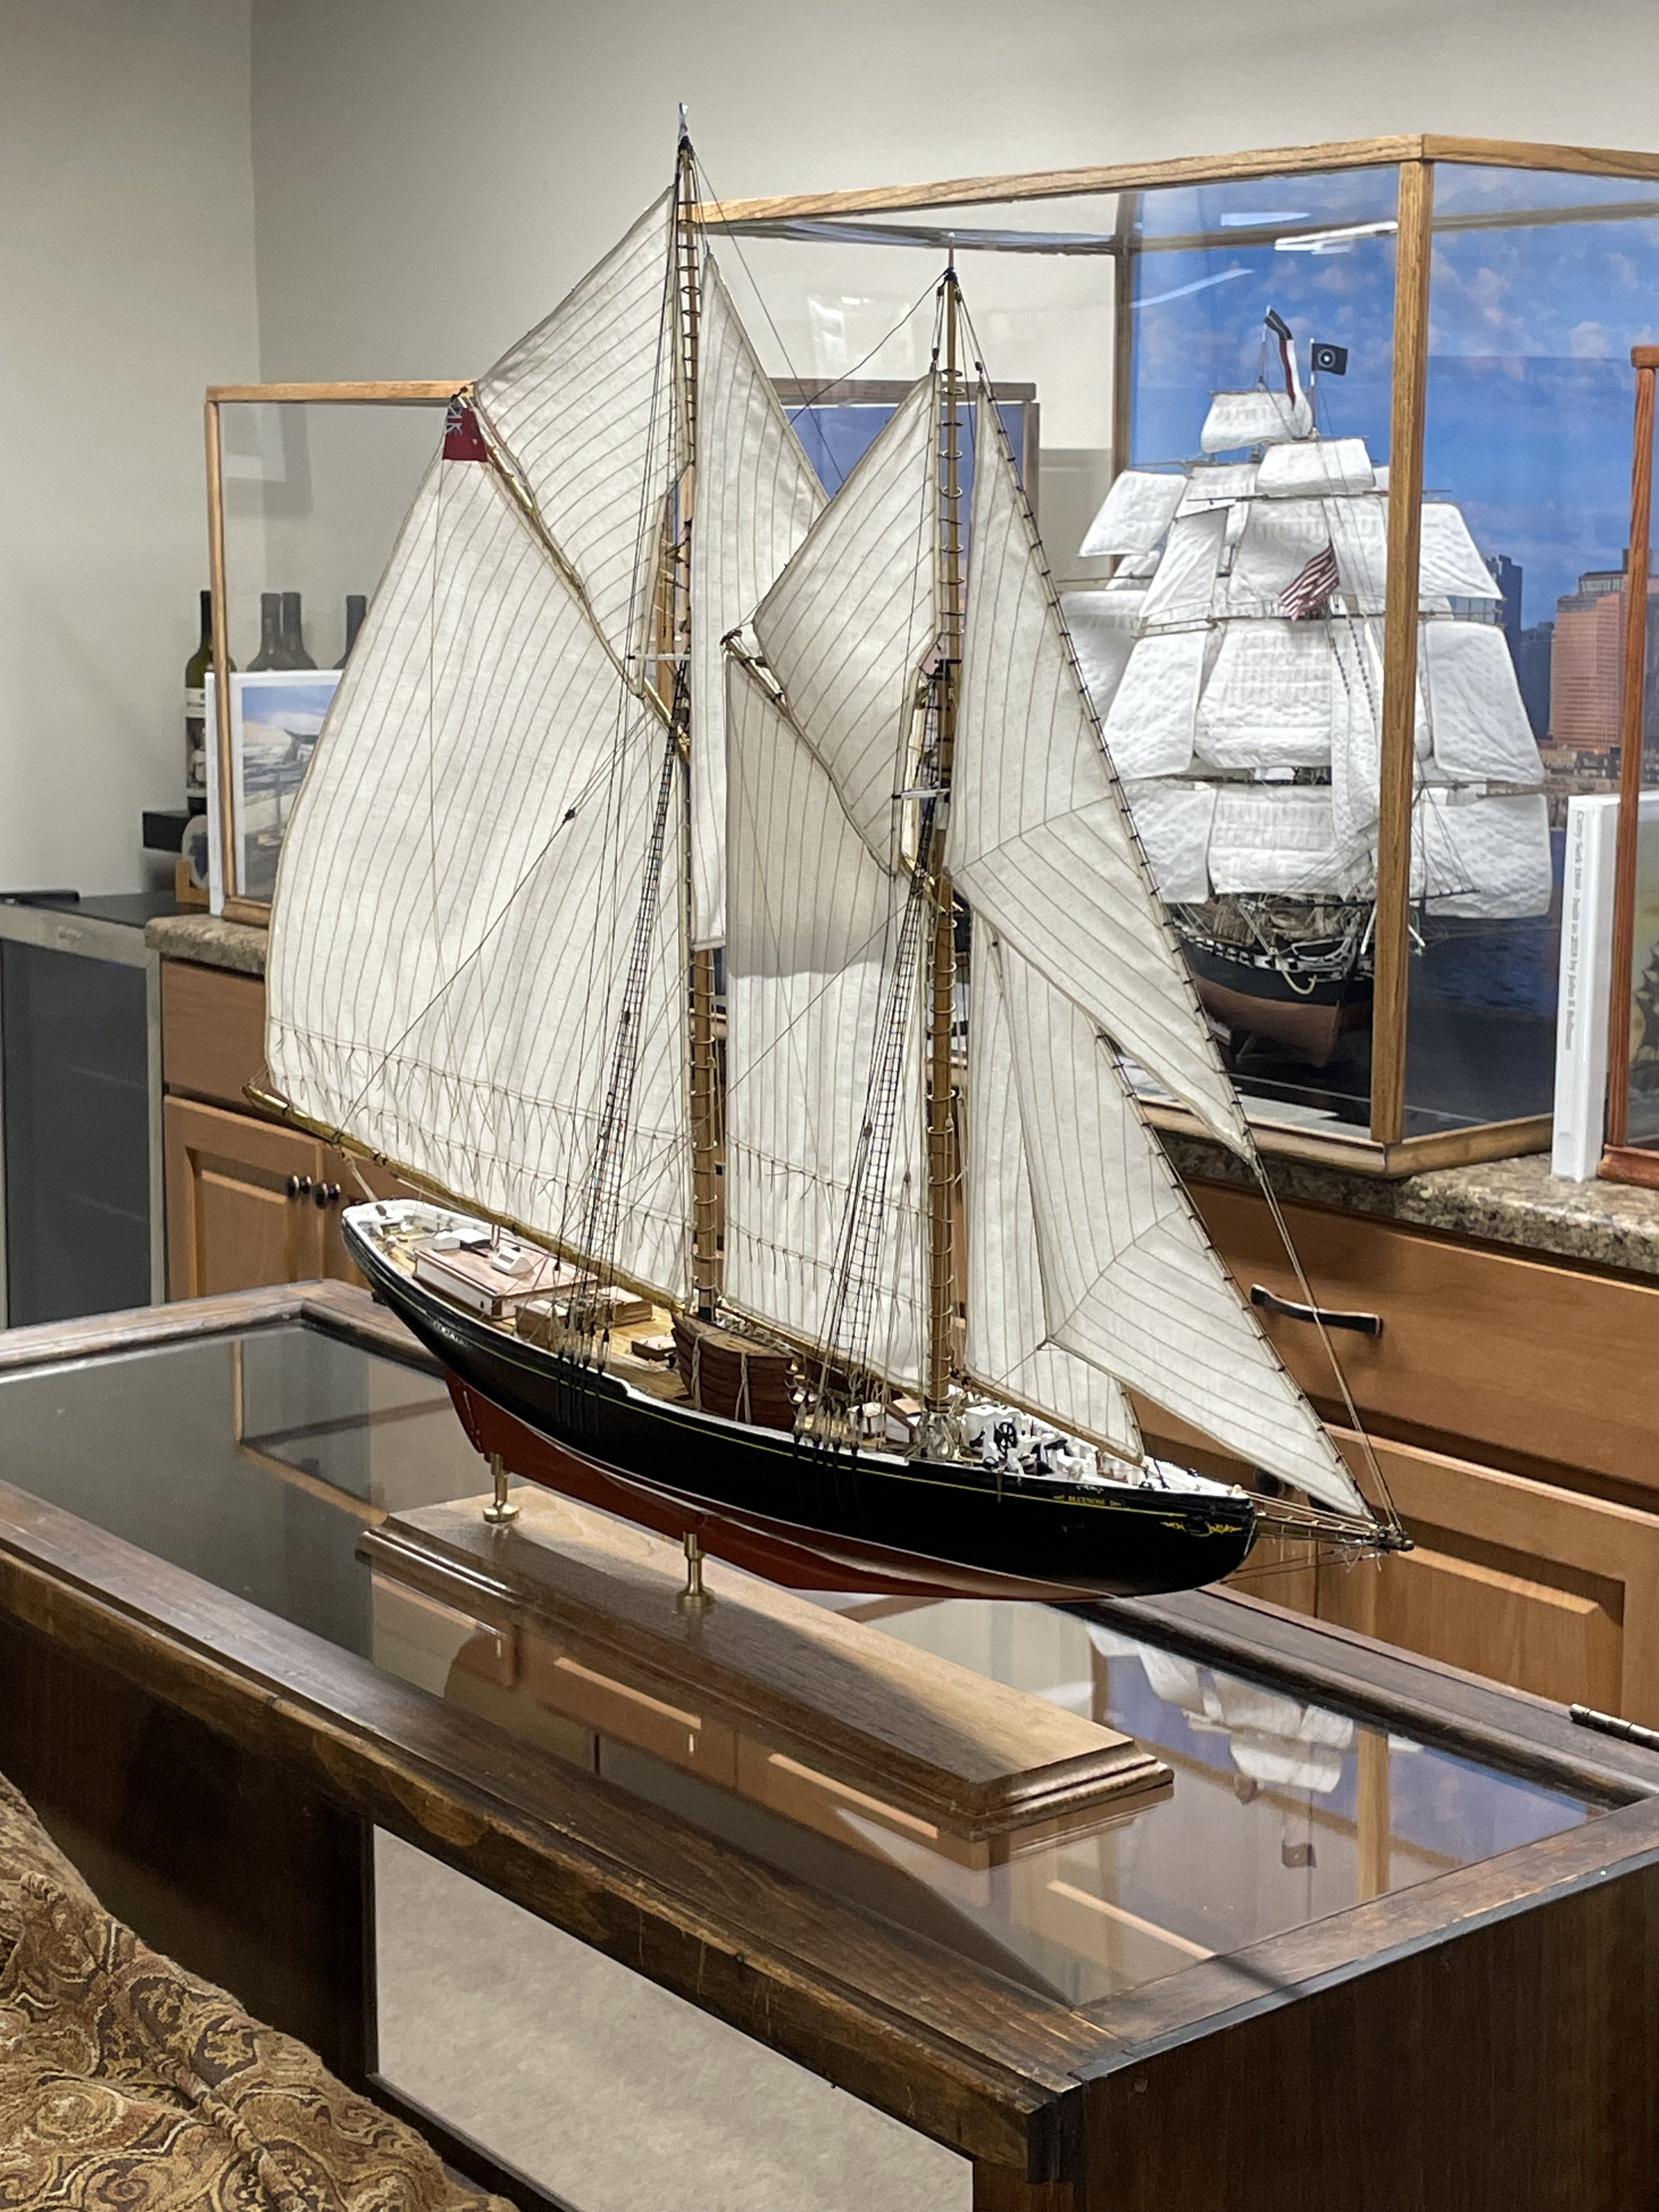
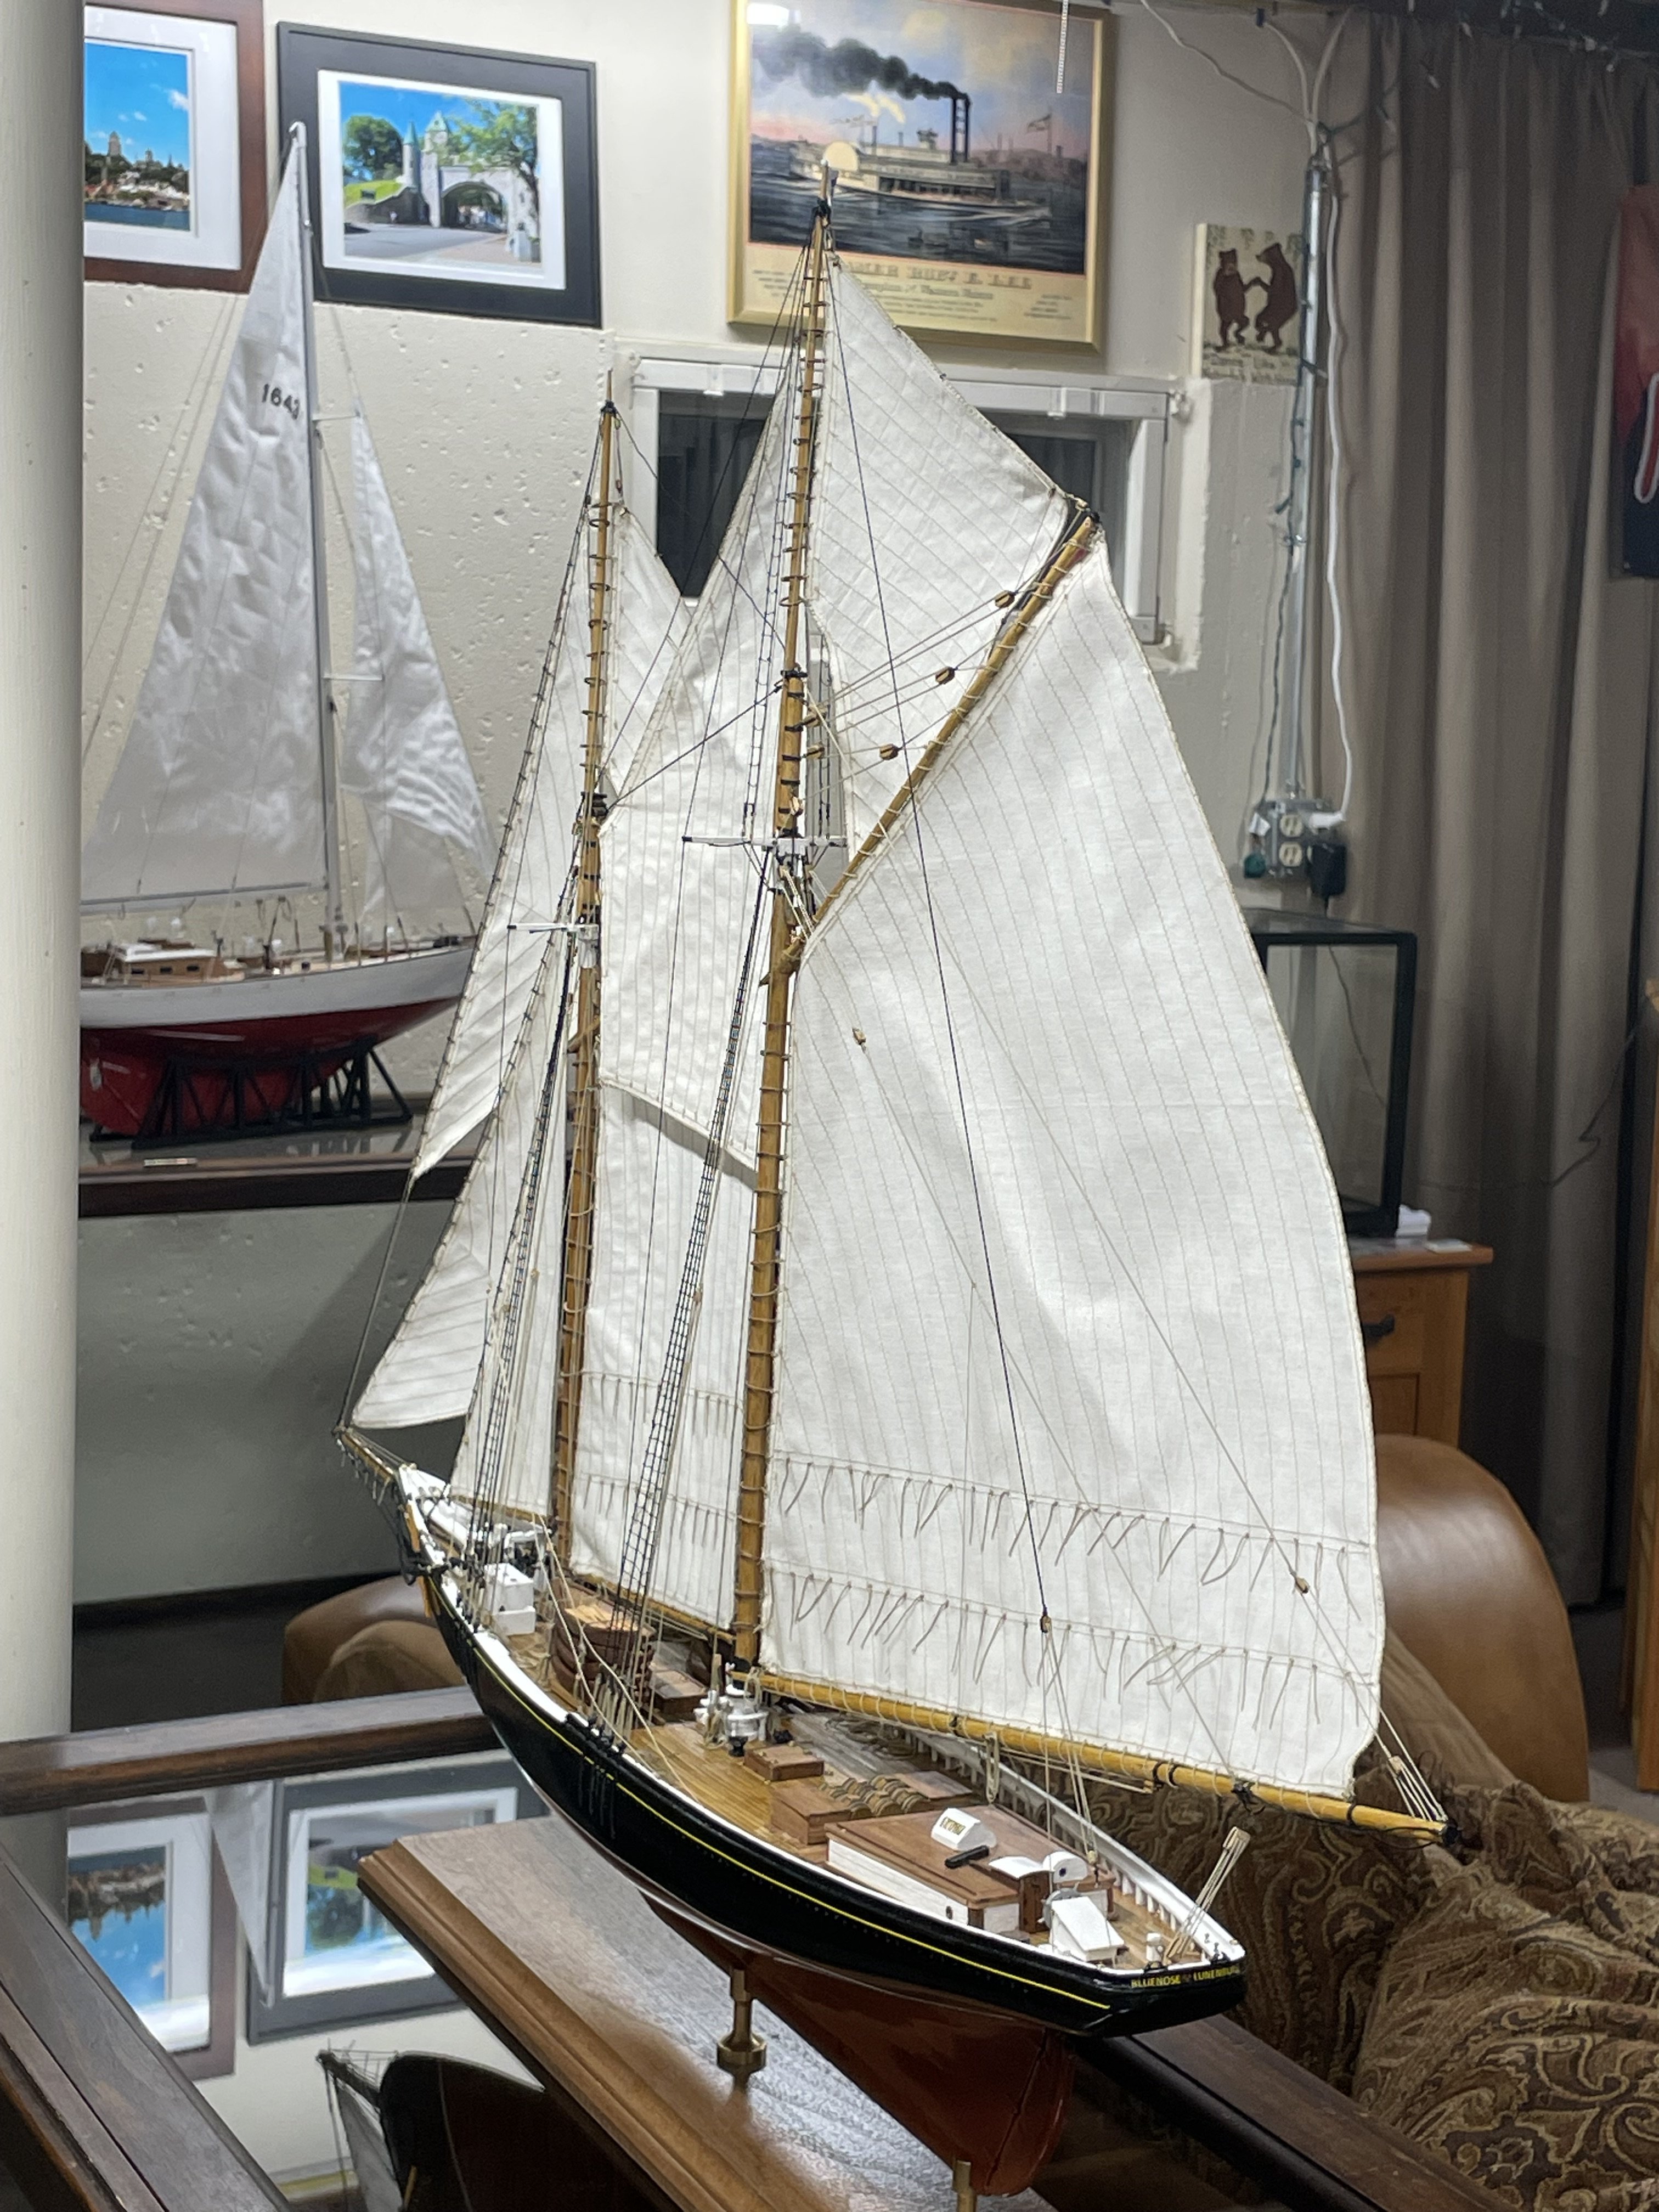
Greg, Thanks for the compliment on my Bluenose Sails. My personal preference has always been to build my ships with a full compliment of Sails. IMHO that’s how a sailing ship model should look. That said, I have built without sails and enjoyed the finished product. The choice is really yours to make. @bhermann Bob the choice between cloth and silk span is really about scale. For my Bluenose I used the thinnest muslin material I could find at Joann’s Fabrics. Most kit supplied cloth is too heavy to look to scale. Carry on Greg, you are doing a great job. John
- 184 replies
-
- 2
-

-
-
- Bluenose
- Model Shipways
- (and 1 more)
-
Greg, Nice work on the shrouds and standing rigging. Your Bluenose looks great. 👍
- 184 replies
-
- 2
-
-
-
- Bluenose
- Model Shipways
- (and 1 more)
-
She’s looking quite beautiful. Nice work, Bob. Perfect 👍
- 207 replies
-
- 2
-
-
-
- vanguard models
- Duchess of Kingston
- (and 1 more)
-
That’s great Bob, I’m glad for your good news. I’ll be watching this build too, she is going to be a beautiful. 😎 Cheers 🍻
- 207 replies
-
- 5
-
-
-
- vanguard models
- Duchess of Kingston
- (and 1 more)
-
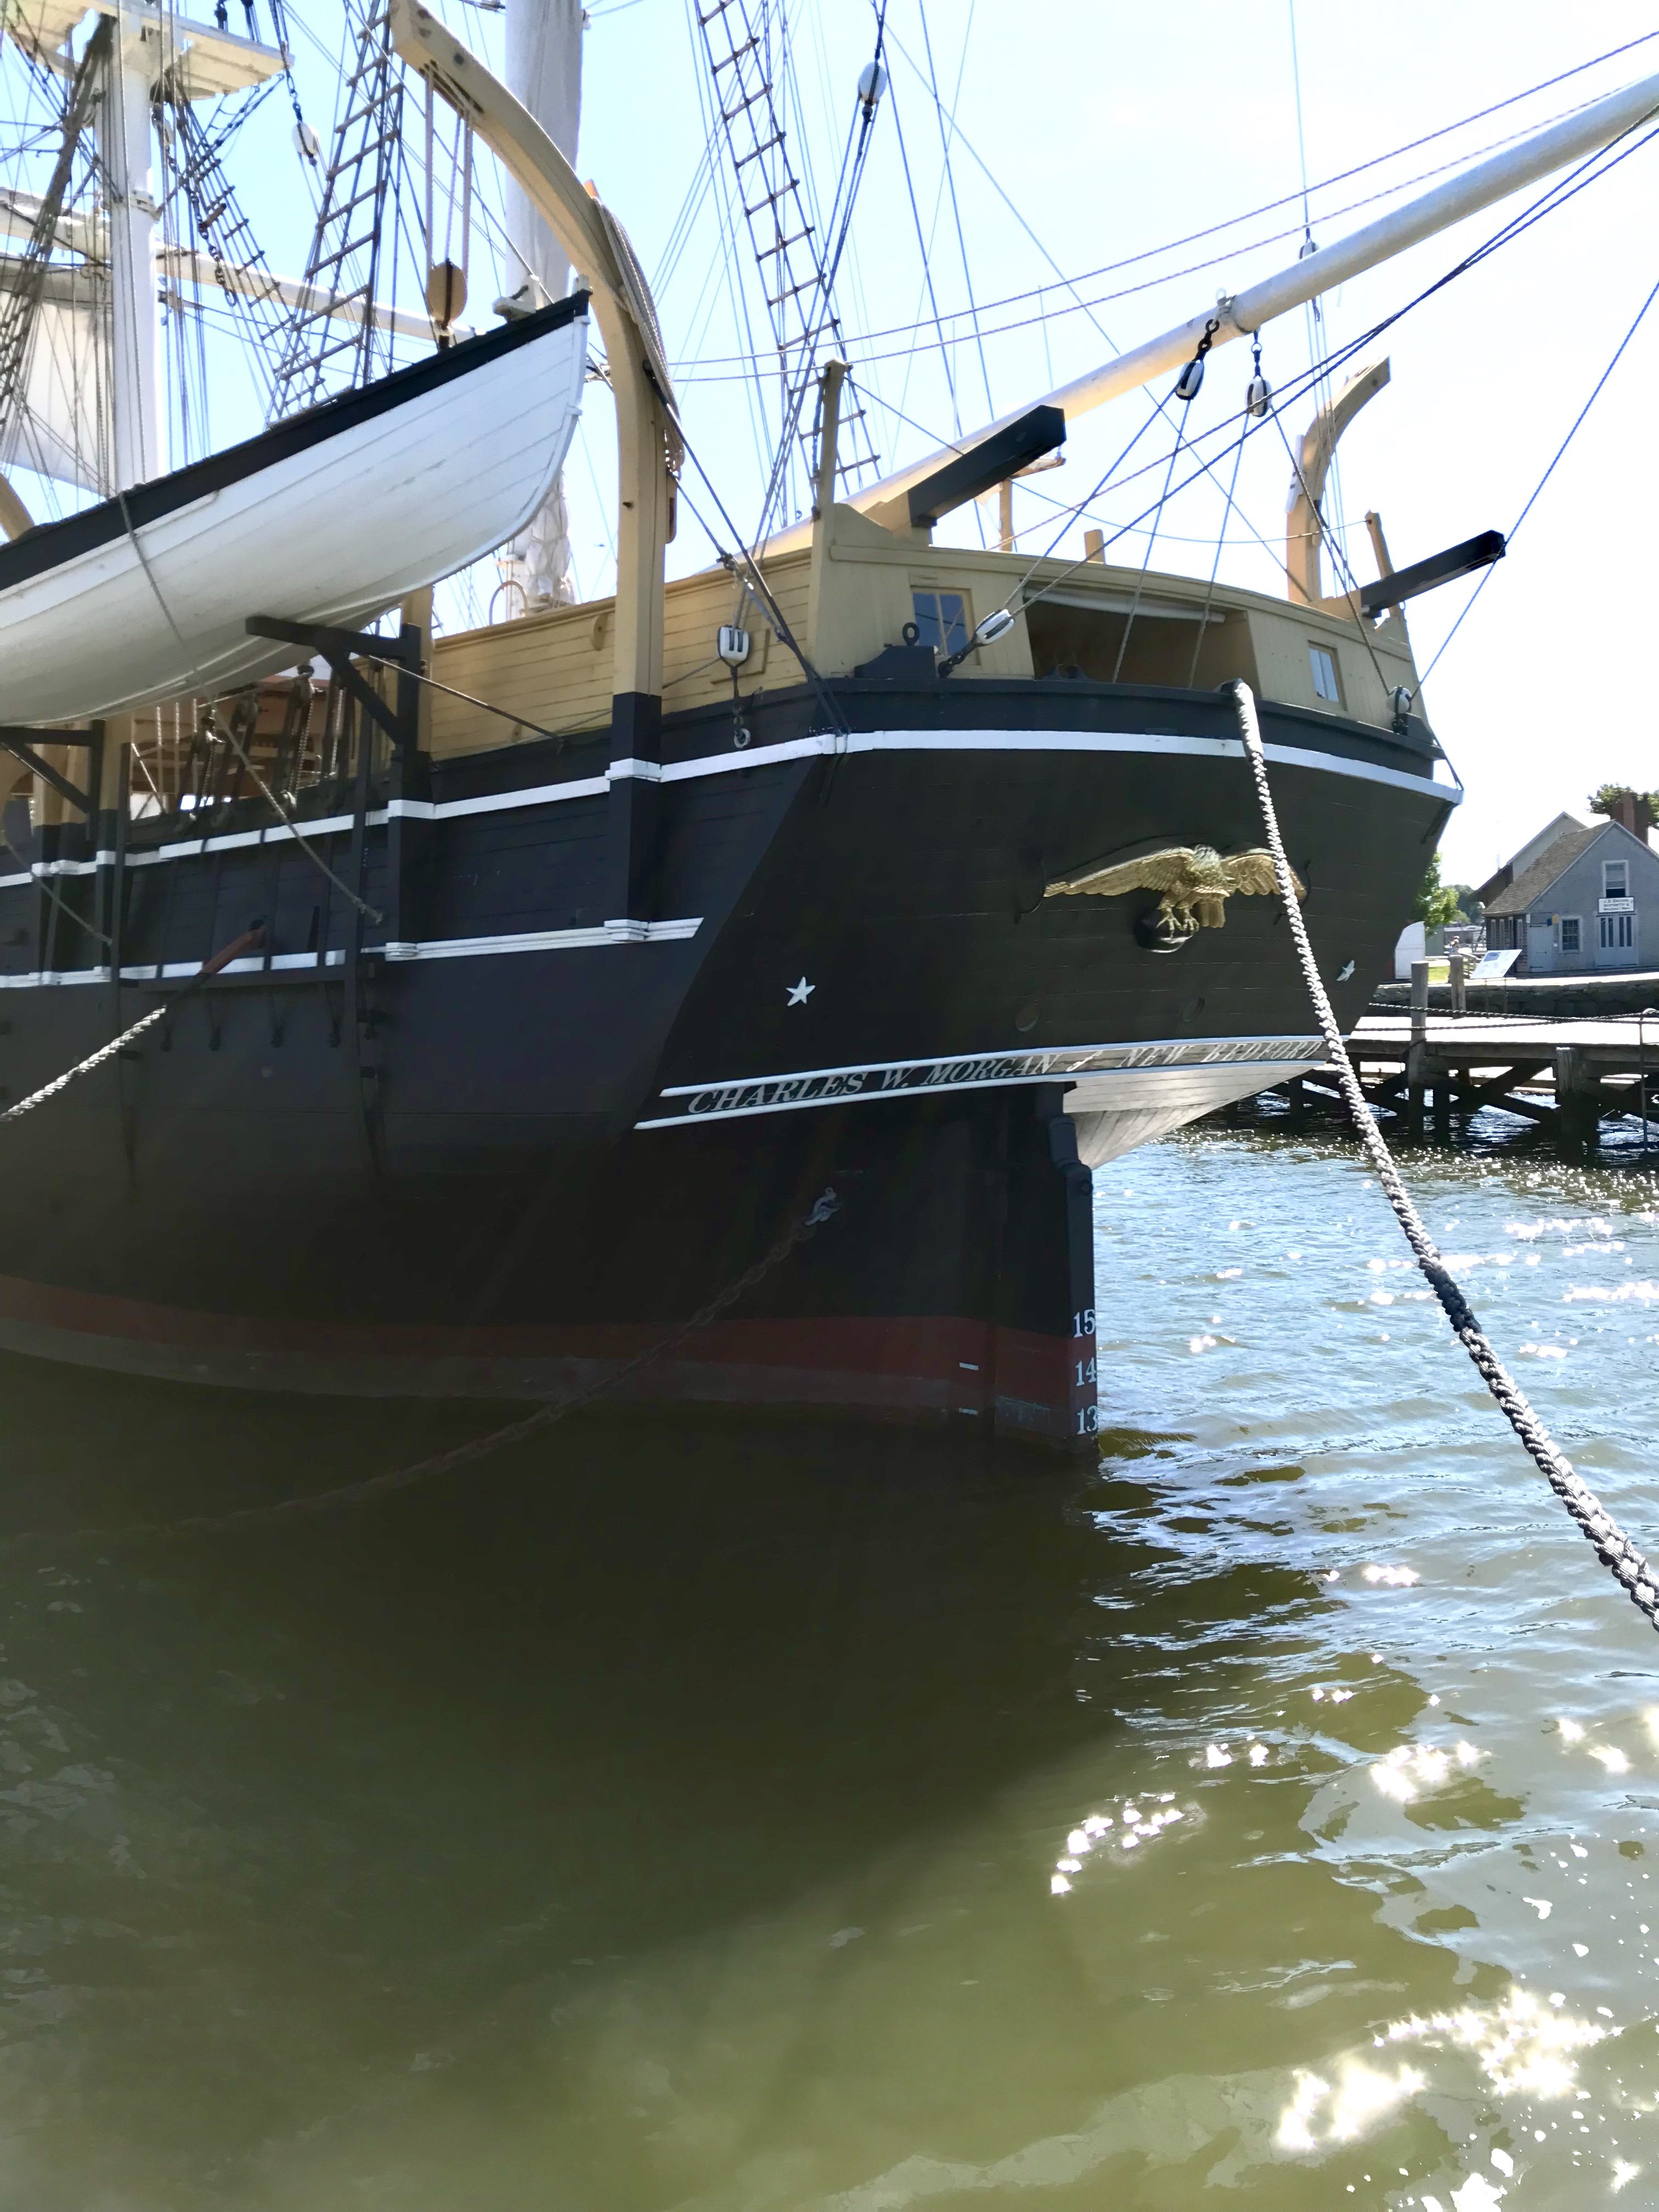
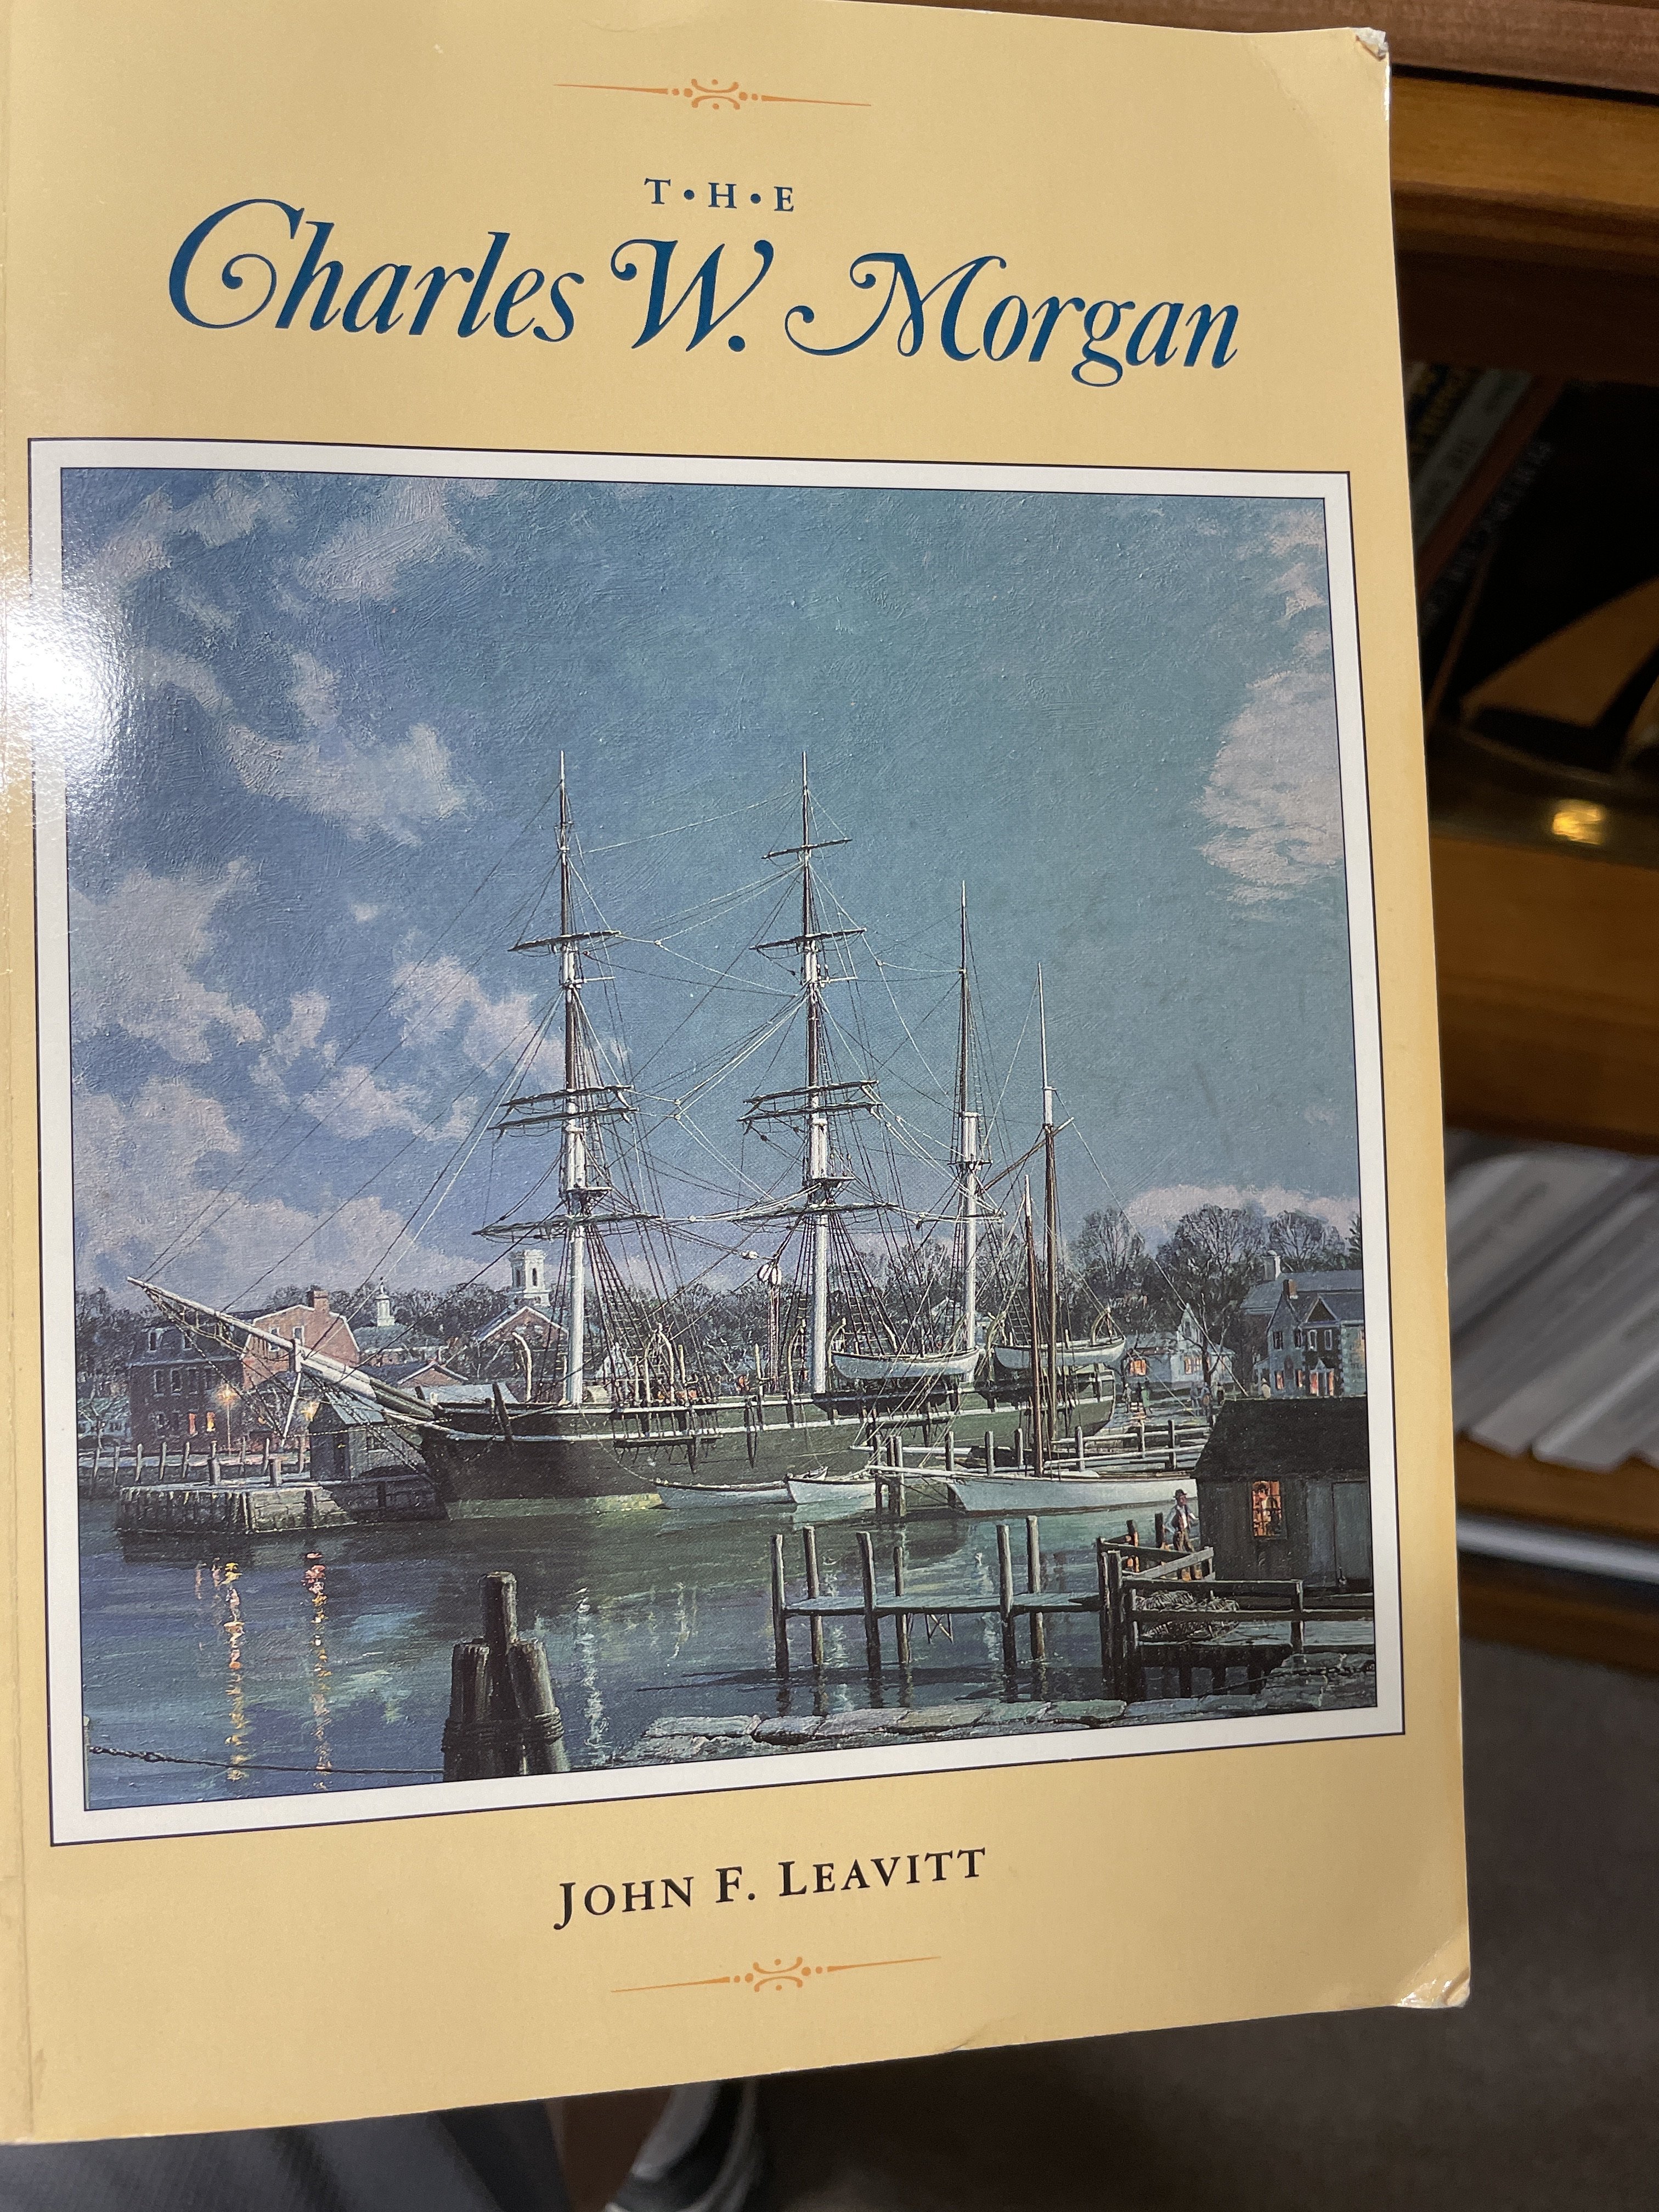
@ClipperFan Thanks for the info I was well aware of her original stern widows, when I chose to build her when I saw her in Mystic Seaport 2019. There is a story of those windows being stove in by a rouge wave while coming around Cape Horn. It’s in Charles W Morgan by John F Leavitt. Thanks again for the information, always nice to know I others are still checking out my build logs. John


- 204 replies
-
- 1
-
-
- marine model company
- charles w morgan
- (and 1 more)
-
Thanks for the kudos… so many boats to build, it’s hard to stay focused. Enjoy your next project, that’s what it’s all about. John
- 87 replies
-
- 2
-
-
- King of the Mississippi
- Artesania Latina
- (and 2 more)
-
Congratulations! Great job… Looking forward to seeing you diorama work. Will you post that here? John
- 87 replies
-
- 3
-
-
-
- King of the Mississippi
- Artesania Latina
- (and 2 more)
-
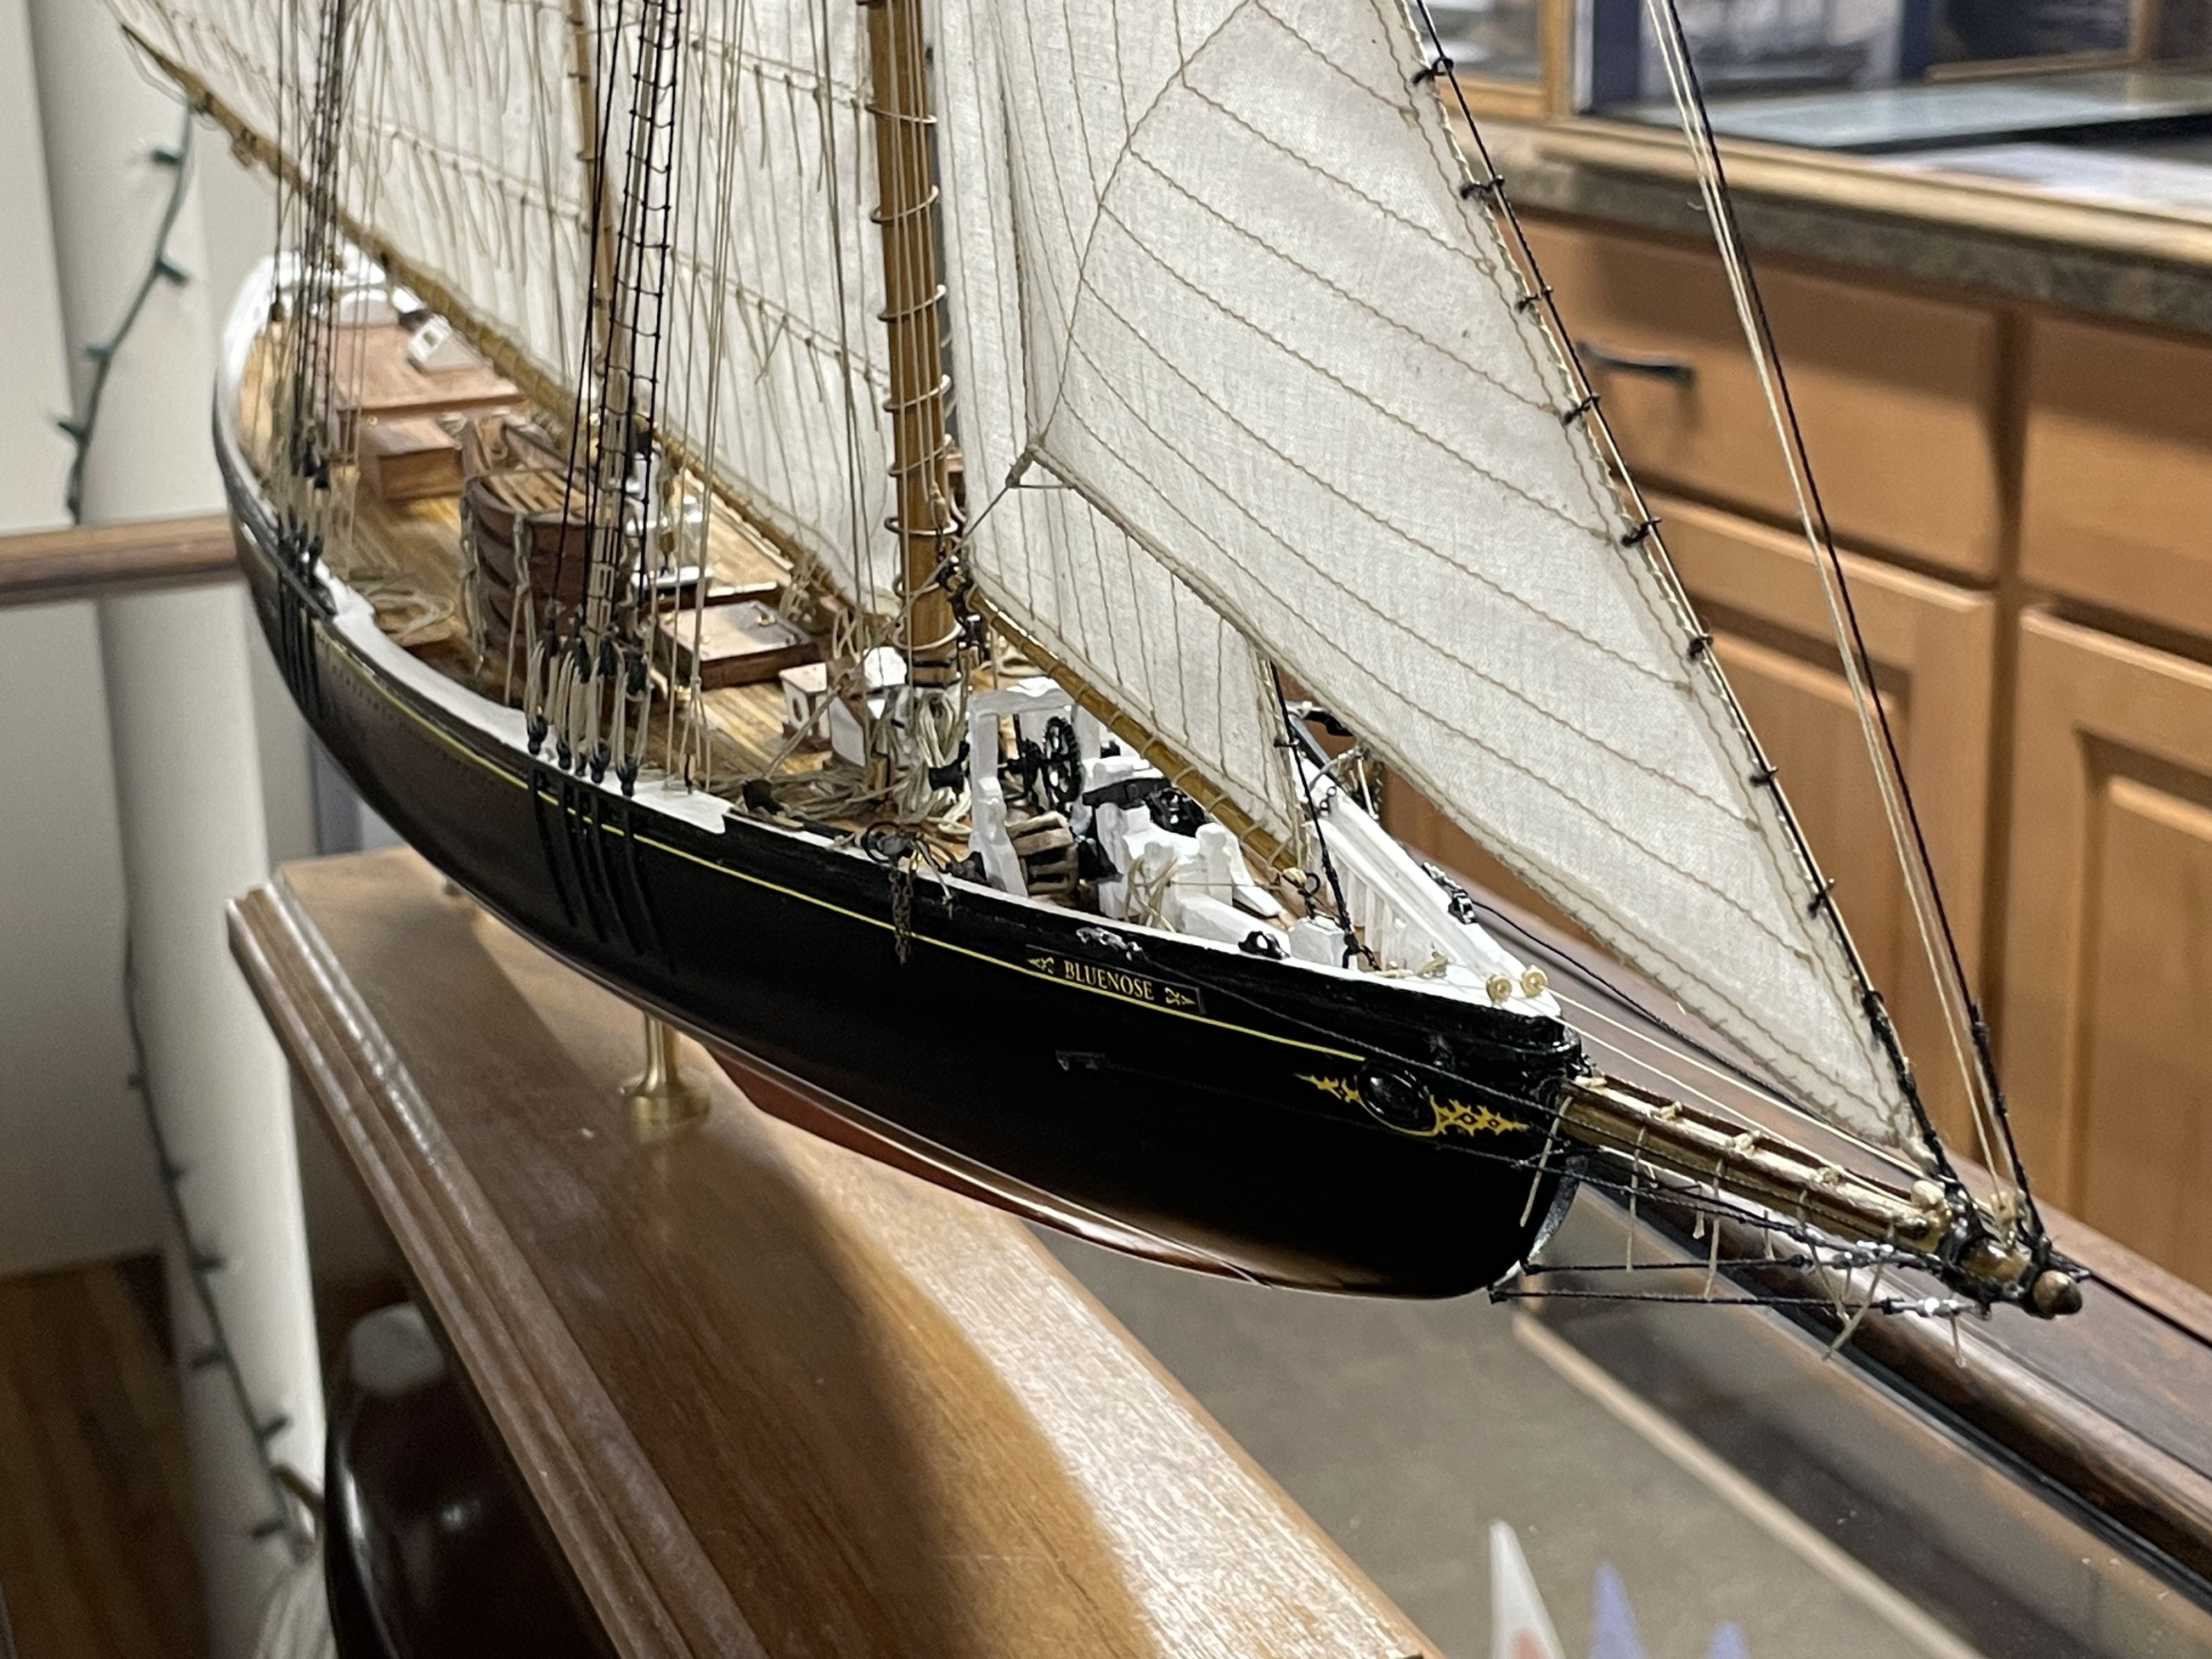
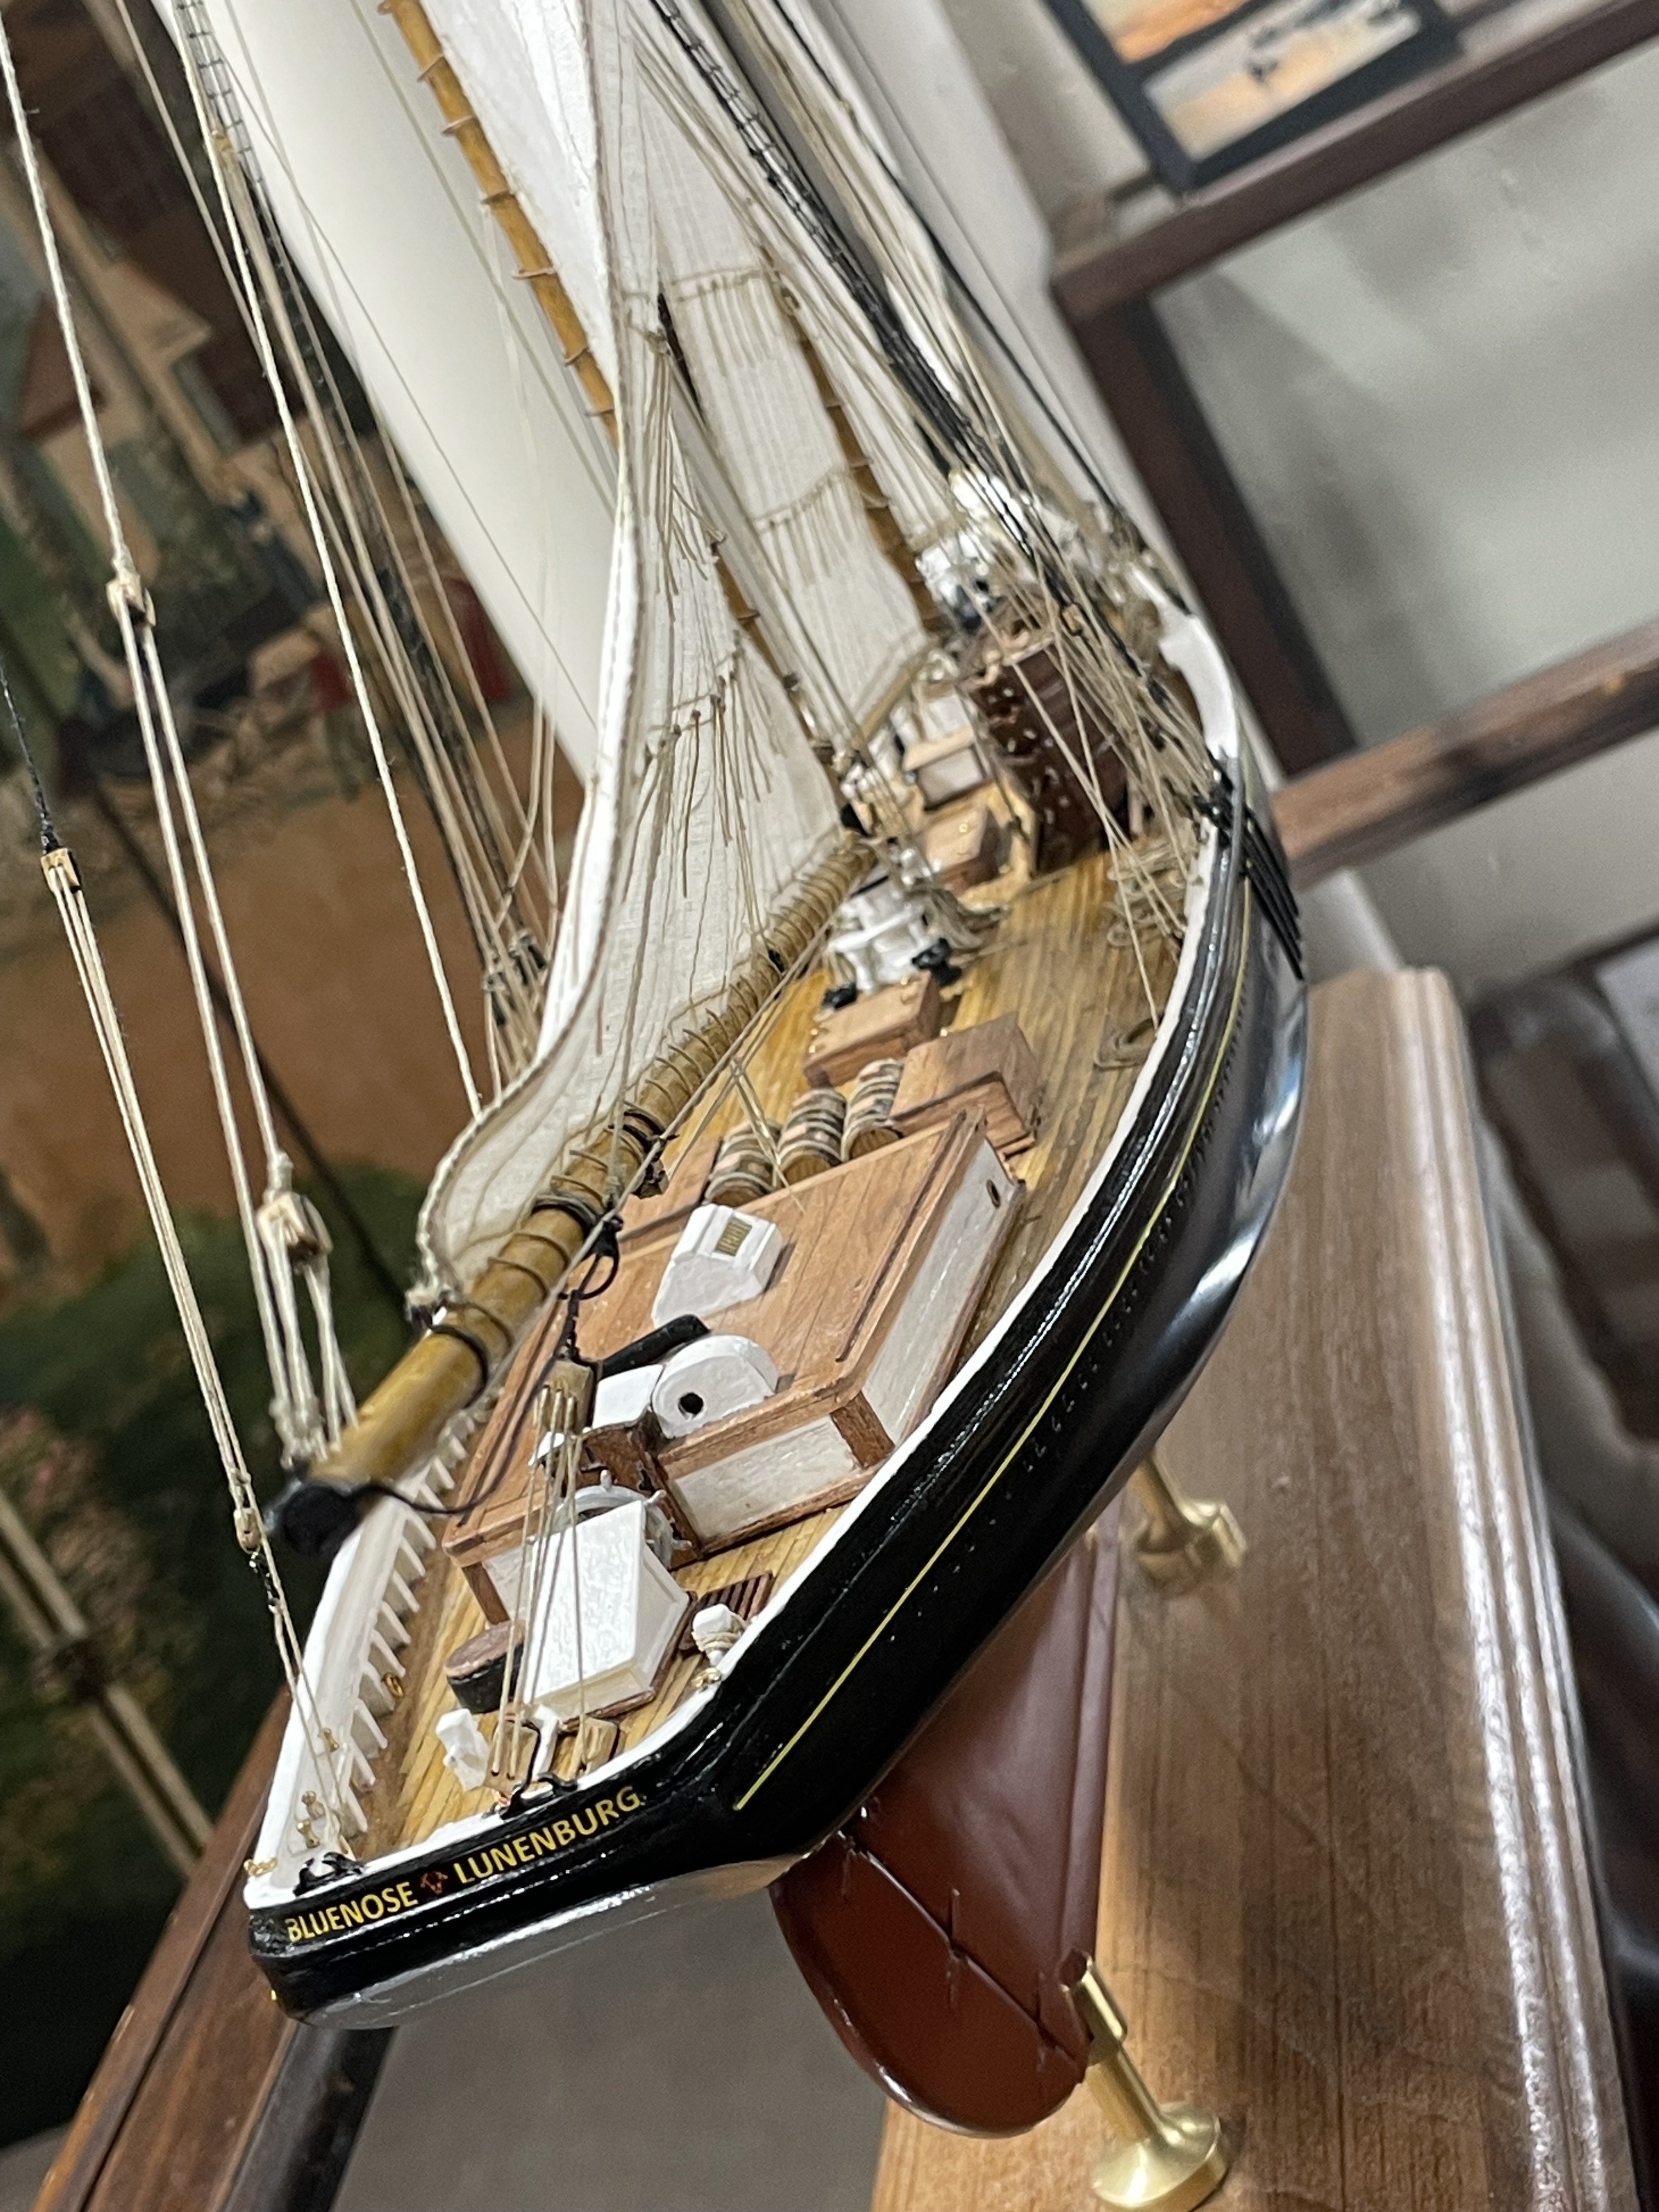
I’m BACK! Now that I have completed my 1921 Bluenose I can focus on my Red Jacket. She has been staring at me wanting attention. First, I decided I could do a better job on the Pin Rails. Darn OCD… And so it goes, one Pin at a time. Cheers 🍻


- 165 replies
-
- 5
-
-
- Red Jacket
- Marine Model Company
- (and 2 more)
-
I disagree Keith, I find anything with a steam engine quite romantic. Love the subject. I’ll follow along I love a good mystery too. Should be an interesting journey. John
-
Thanks Chris… Can’t quit now, there is still room in the Gallery. 😎
- 282 replies
-
- 2
-
-
- Bluenose
- Model Shipways
- (and 1 more)
-
Thank you @MrBlueJacket
-
Thank you… @Snug Harbor Johnny @Knocklouder @Dr PR @Glen McGuire You guys and MSW are all my inspiration, every day. Cheers 🍻
- 282 replies
-
- 1
-
-
- Bluenose
- Model Shipways
- (and 1 more)
-
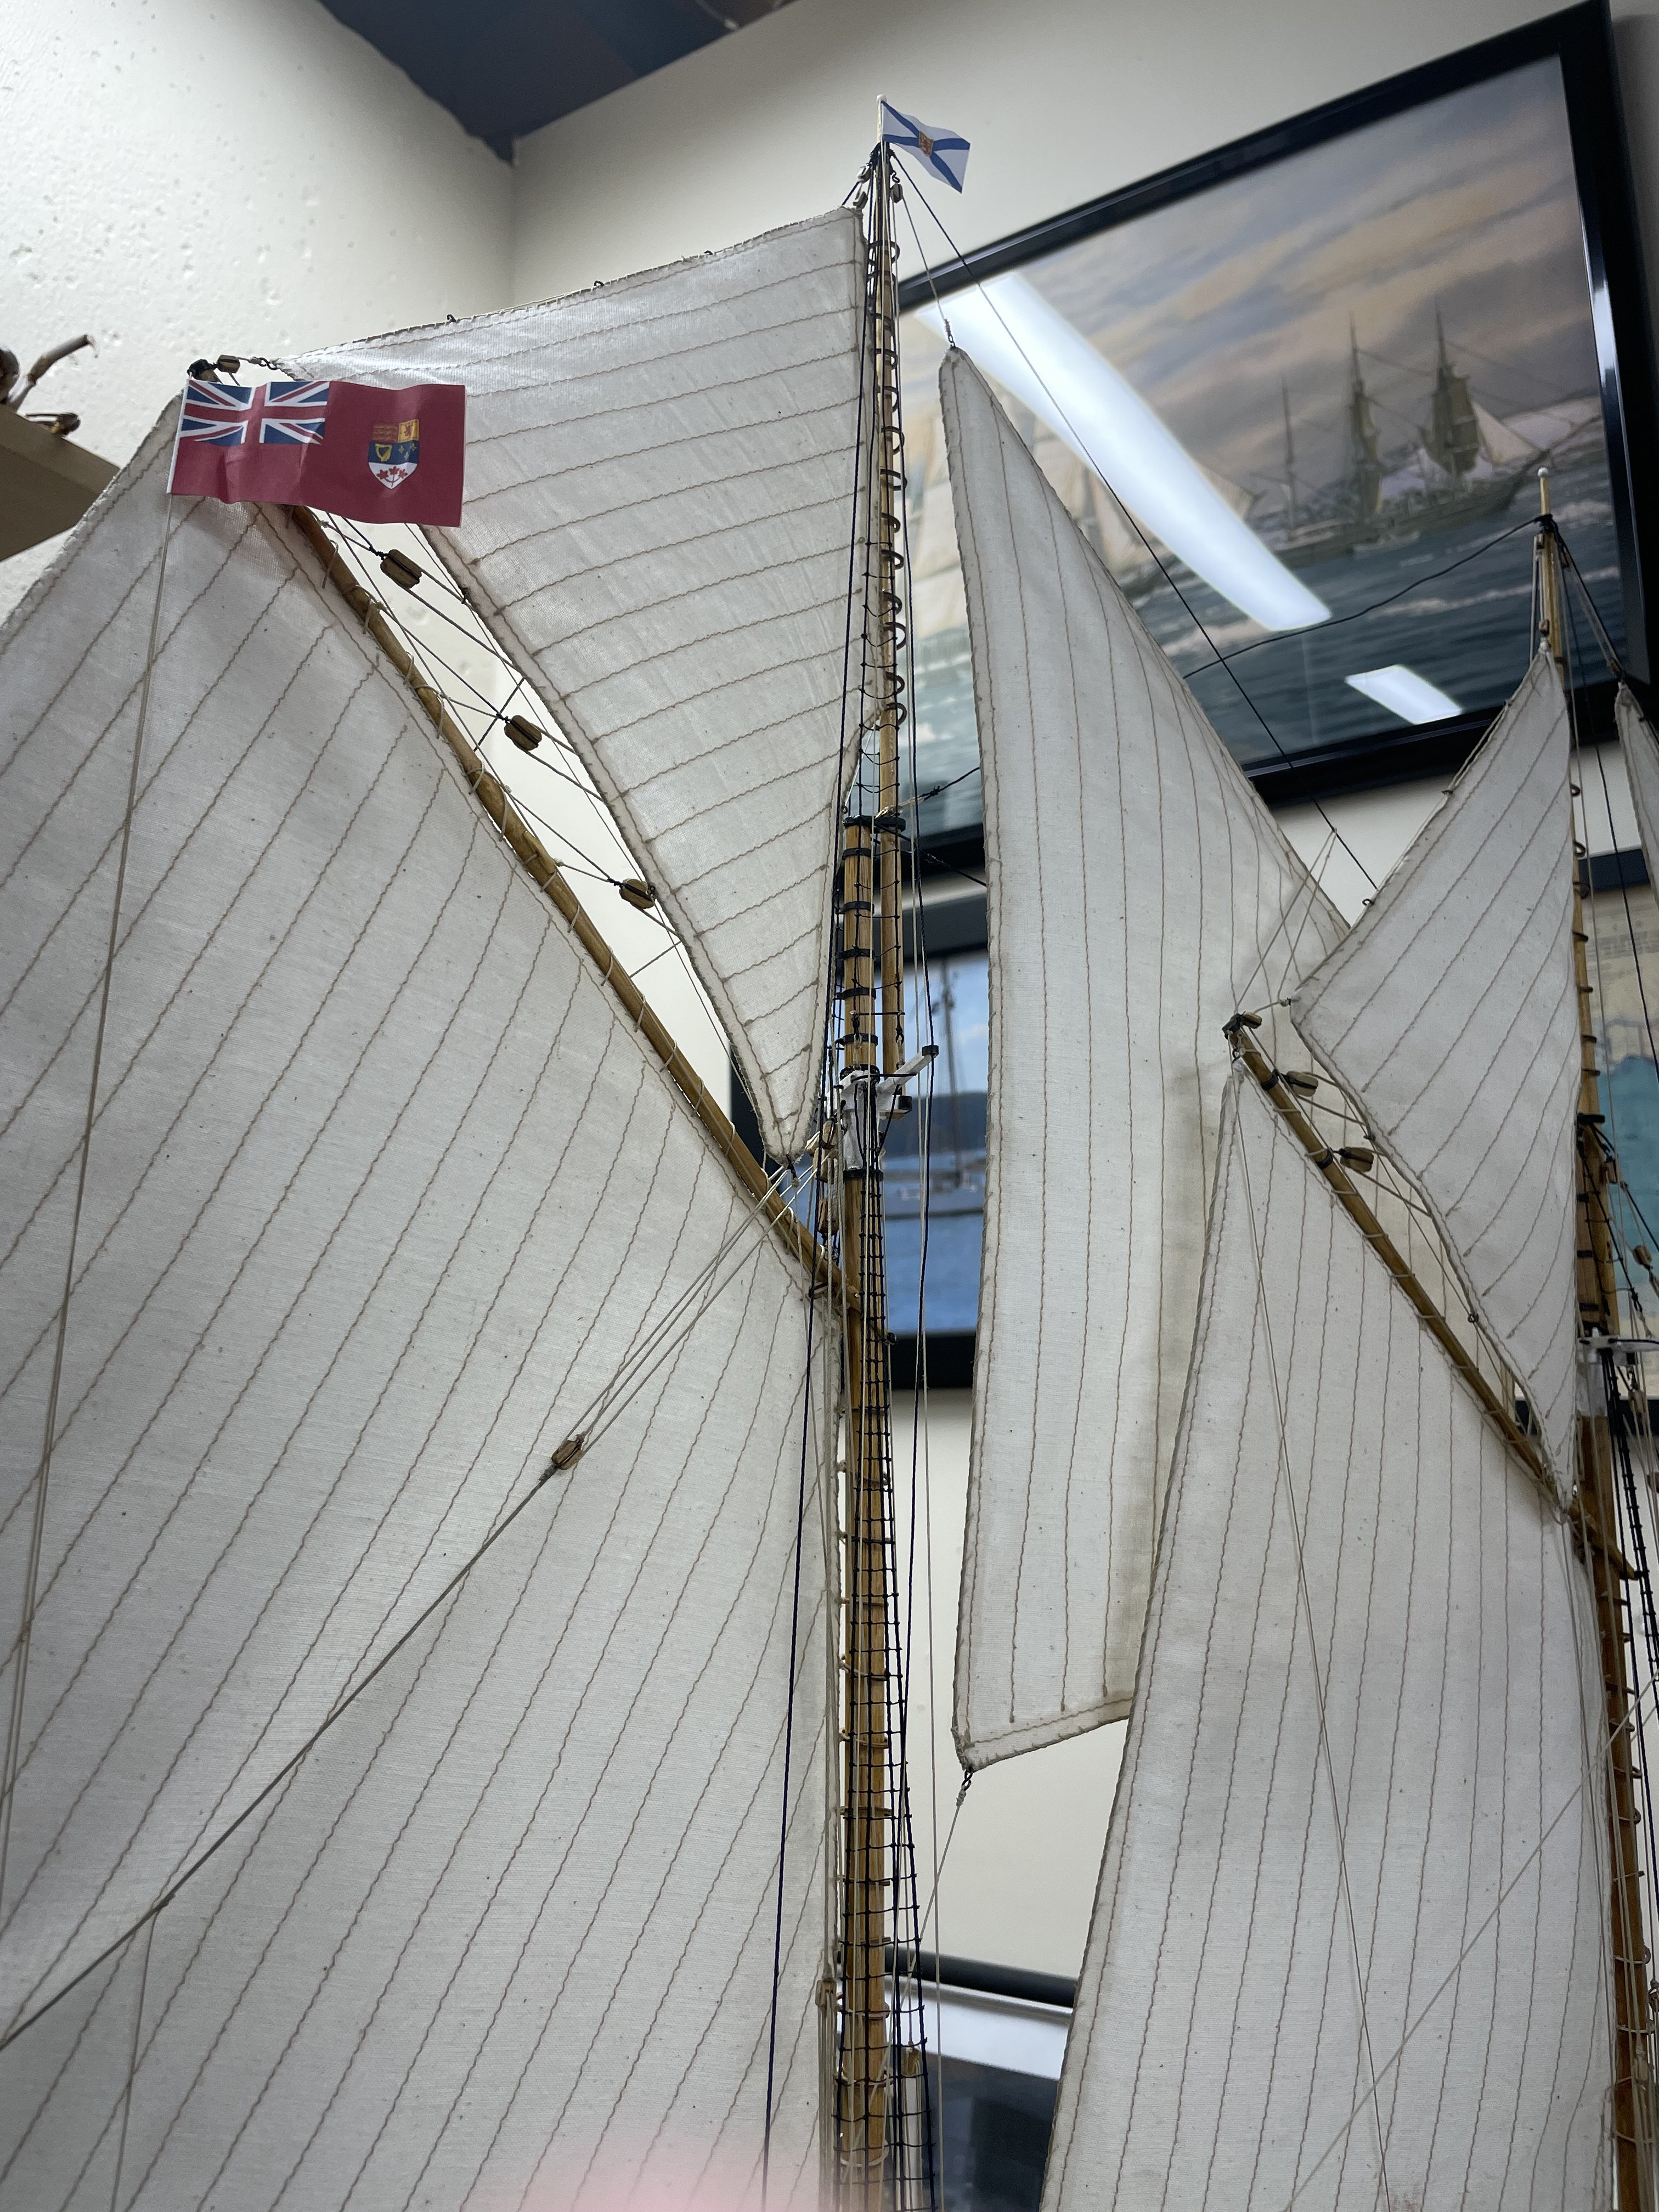
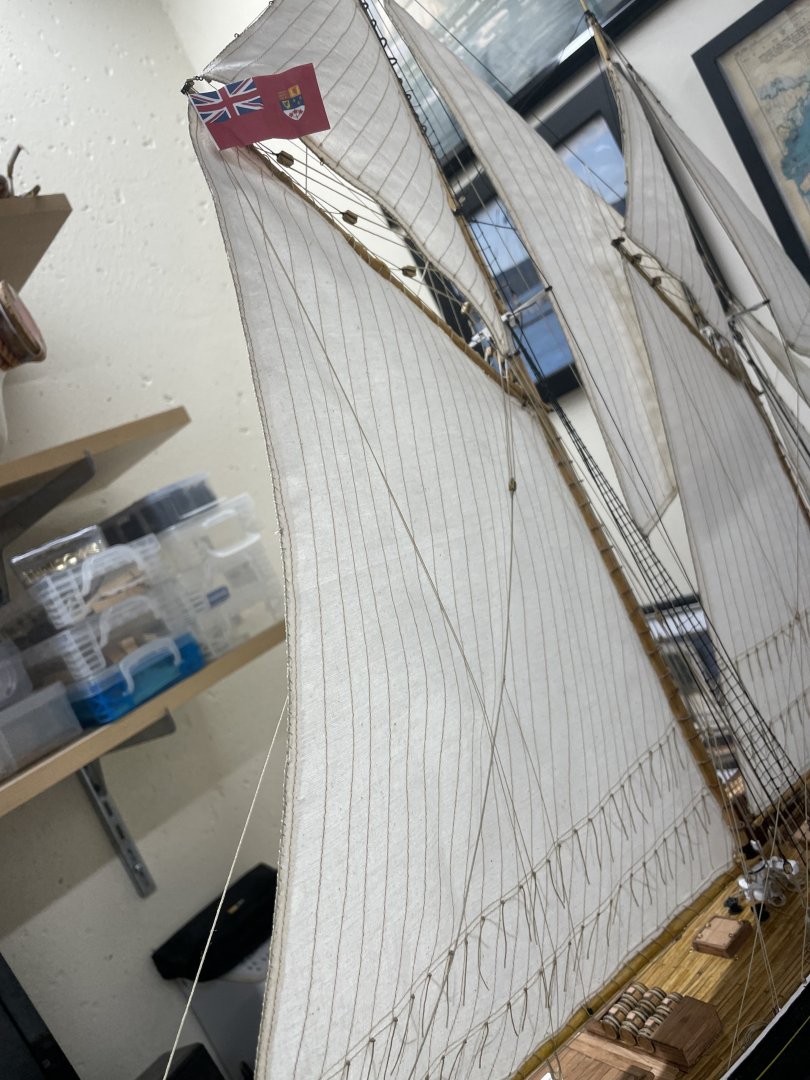
Flags and Flag Halyards… Main Flag Halyard belayed to Cleat on the Main Boom. (Canadian 1921 Flag) Main Top Mast Flag Halyard belayed to Sheer Pole. (Nova Scotia 1921 Flag) FINISHED! 🍻

- 282 replies
-
- 10
-
-

-
- Bluenose
- Model Shipways
- (and 1 more)