HOLIDAY DONATION DRIVE - SUPPORT MSW - DO YOUR PART TO KEEP THIS GREAT FORUM GOING! (Only 20 donations so far - C'mon guys!)
×


John Ruy
-
Posts
1,568 -
Joined
-
Last visited
Content Type
Profiles
Forums
Gallery
Events
Everything posted by John Ruy
-
 Glad to see you back at it, Bob… She’s looking good, onwards one line at a time. 🍻 So much to do and so little time left. LOL 😂 I hear you… Don’t let those Rats get in your rat lines. John
 -
Soldering Success.... Finally!
John Ruy replied to GGibson's topic in Metal Work, Soldering and Metal Fittings
Congratulations 👏 Soldering requires lots of practice as well as technique and the right equipment. Can’t wait to see your success displayed on your bluenose. I’m sure we all struggle to get it right and continue relearning as we go. I know I do… 😆 John -
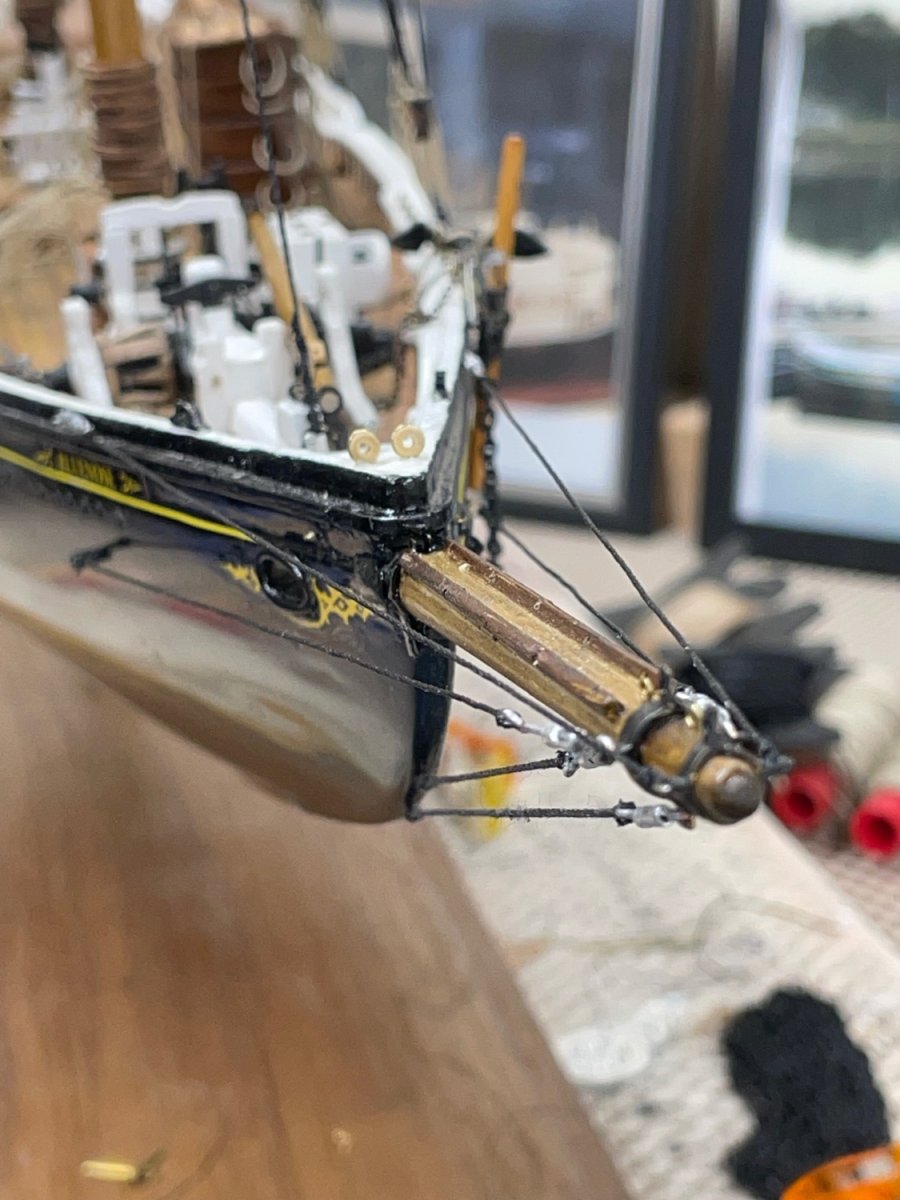
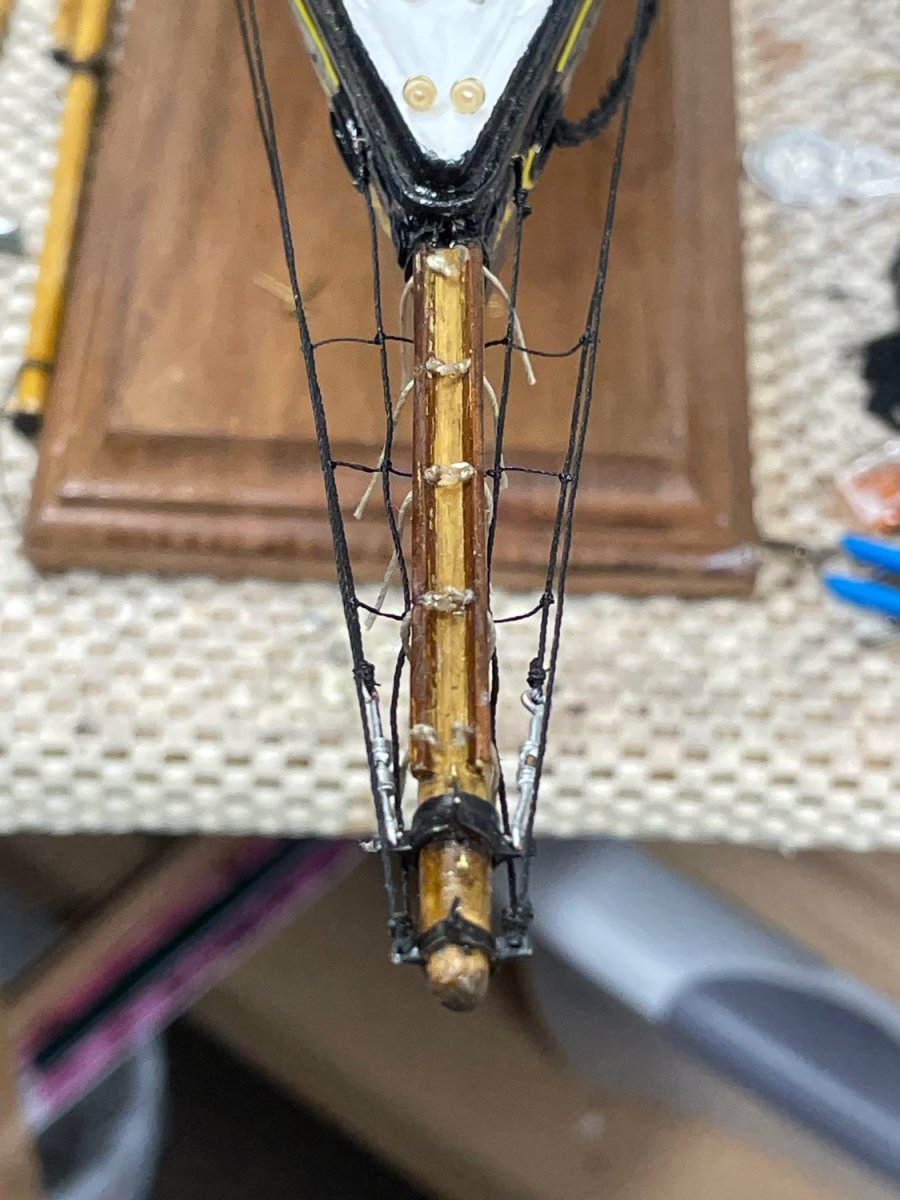
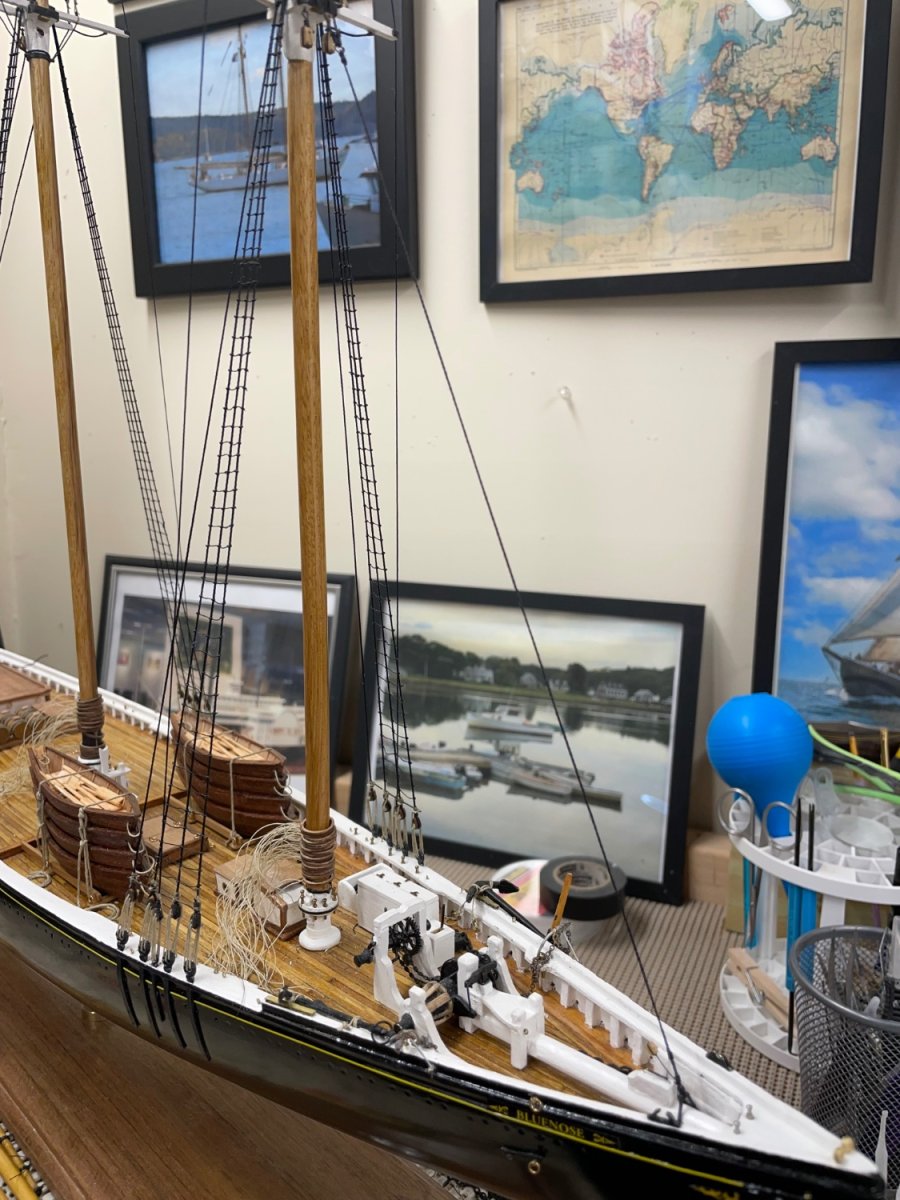
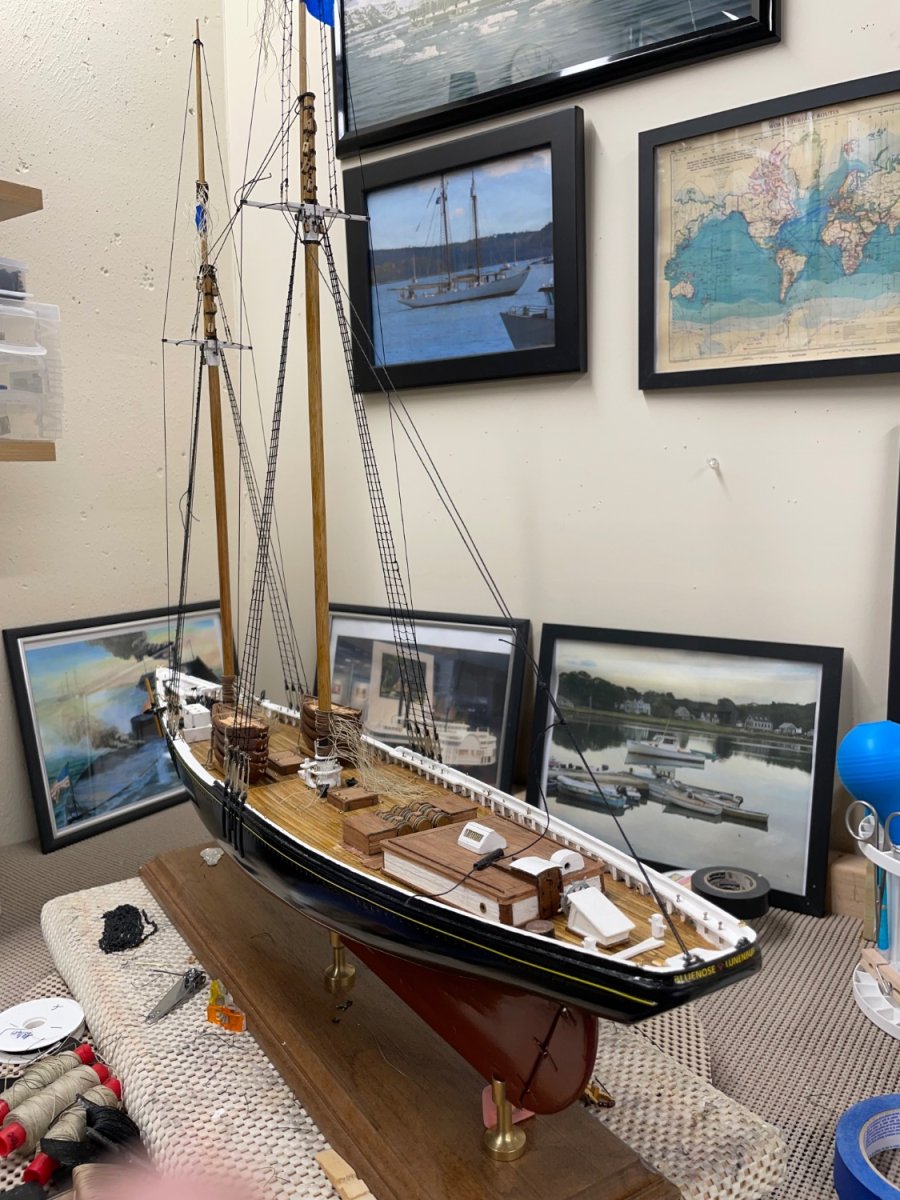
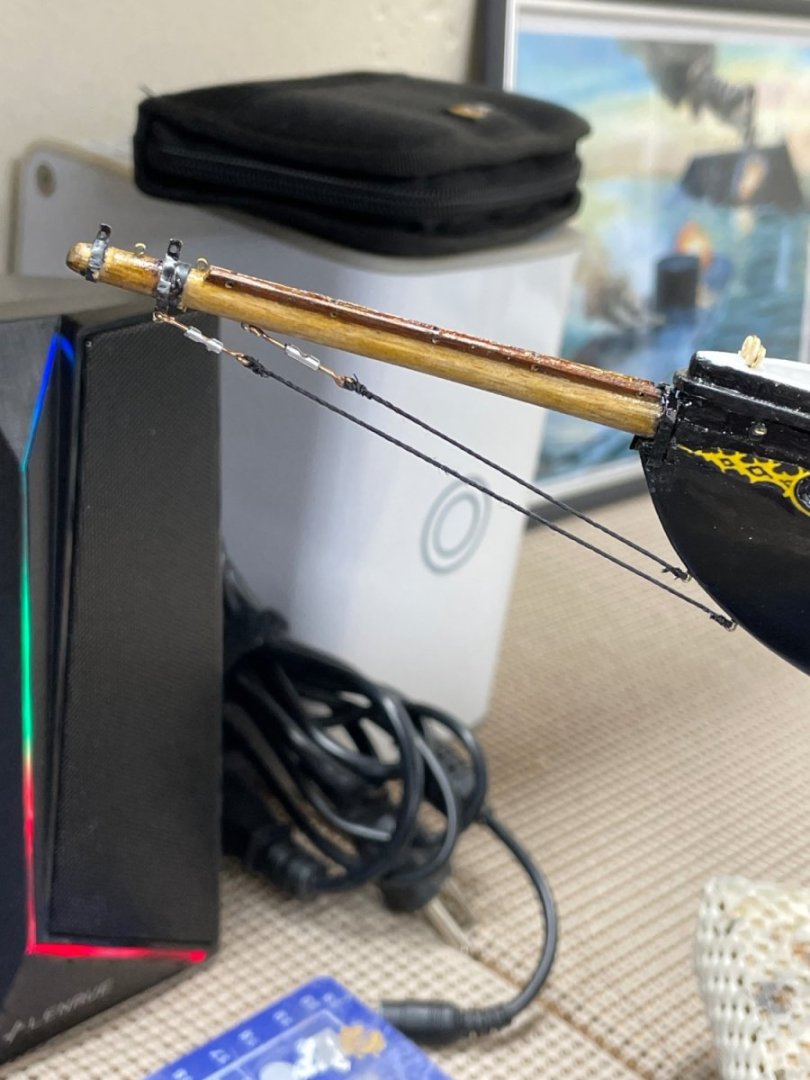
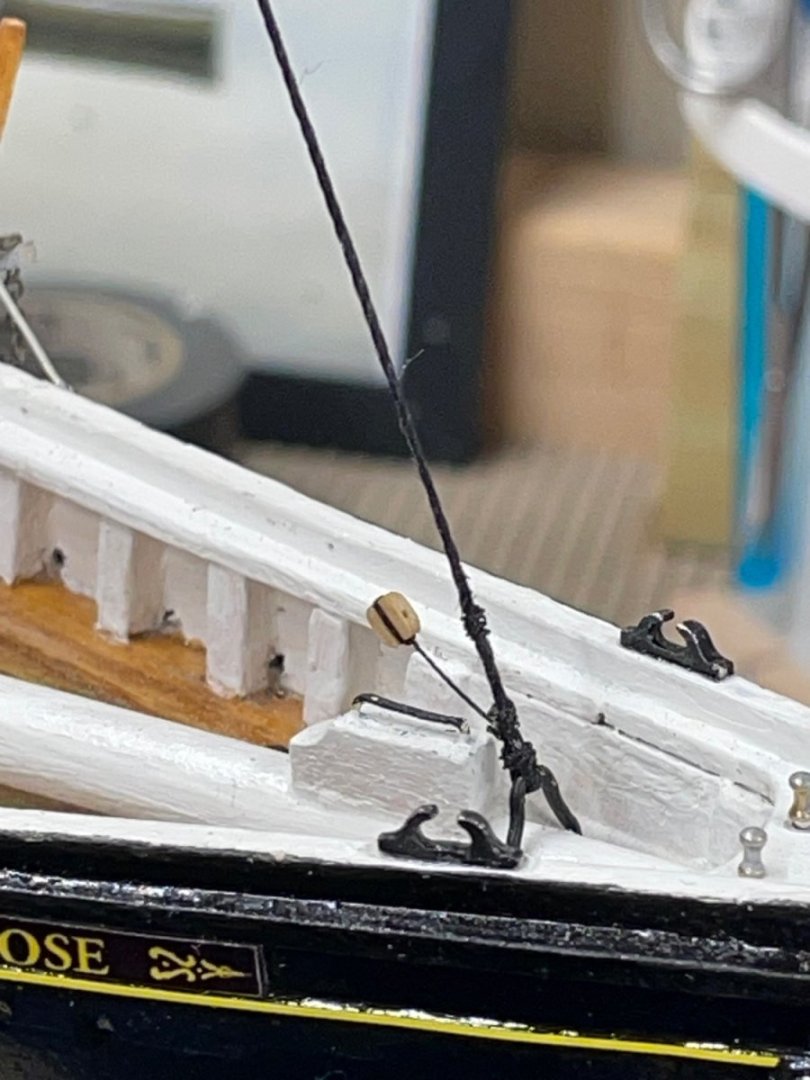
Bow Sprit… Guys and Back Ropes… Foot Ropes… Stirrups… Job Stops… Bow Sprit Rigged, now on to Jib Stays. Onwards 🍻


- 282 replies
-
- 6
-

-
- Bluenose
- Model Shipways
- (and 1 more)
-
Thanks again Greg, I did the same, looks like 6 total all on the Bow Sprit rigging. I also looked up Galvanizing, invented in the late 1800s, so I’m pretty sure the turnbuckles would be galvanized to deter rusting. I’ll dab a bit of aluminum paint on the copper eyelets and I’ll be all set. I probably need to paint all of the belaying pins as well. 😆
- 282 replies
-
- 1
-
-
- Bluenose
- Model Shipways
- (and 1 more)
-
Yep… I believe the 1921 Bluenose would have had galvanized steel. At 1/16” OD it might be a bit over scale, but I think it looks good. I’ll have to search out the detail to find out how many more I will need to make up. John
- 282 replies
-
- 2
-
-
- Bluenose
- Model Shipways
- (and 1 more)
-
Thanks…. Should they be painted black or aluminum to represent Galvanized Steel?
- 282 replies
-
- 1
-
-
- Bluenose
- Model Shipways
- (and 1 more)
-
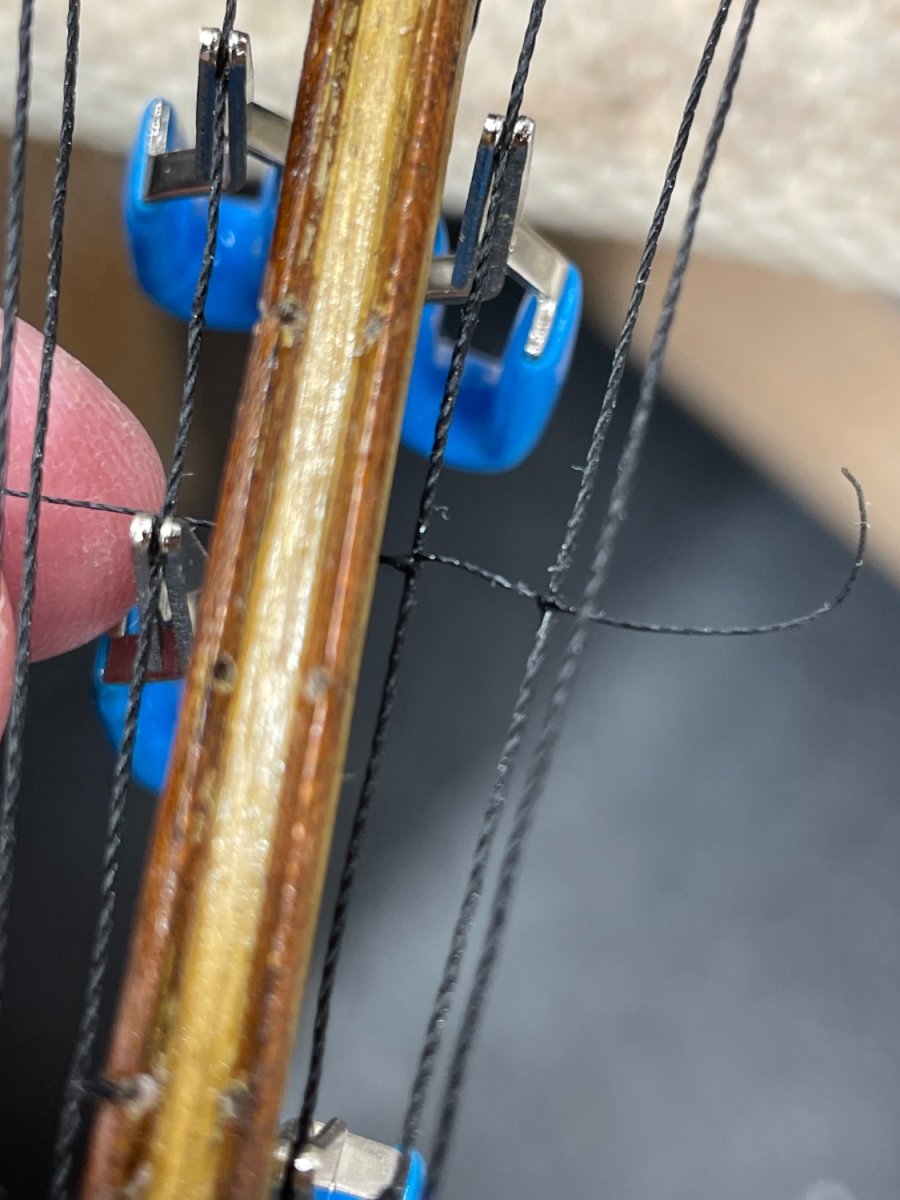
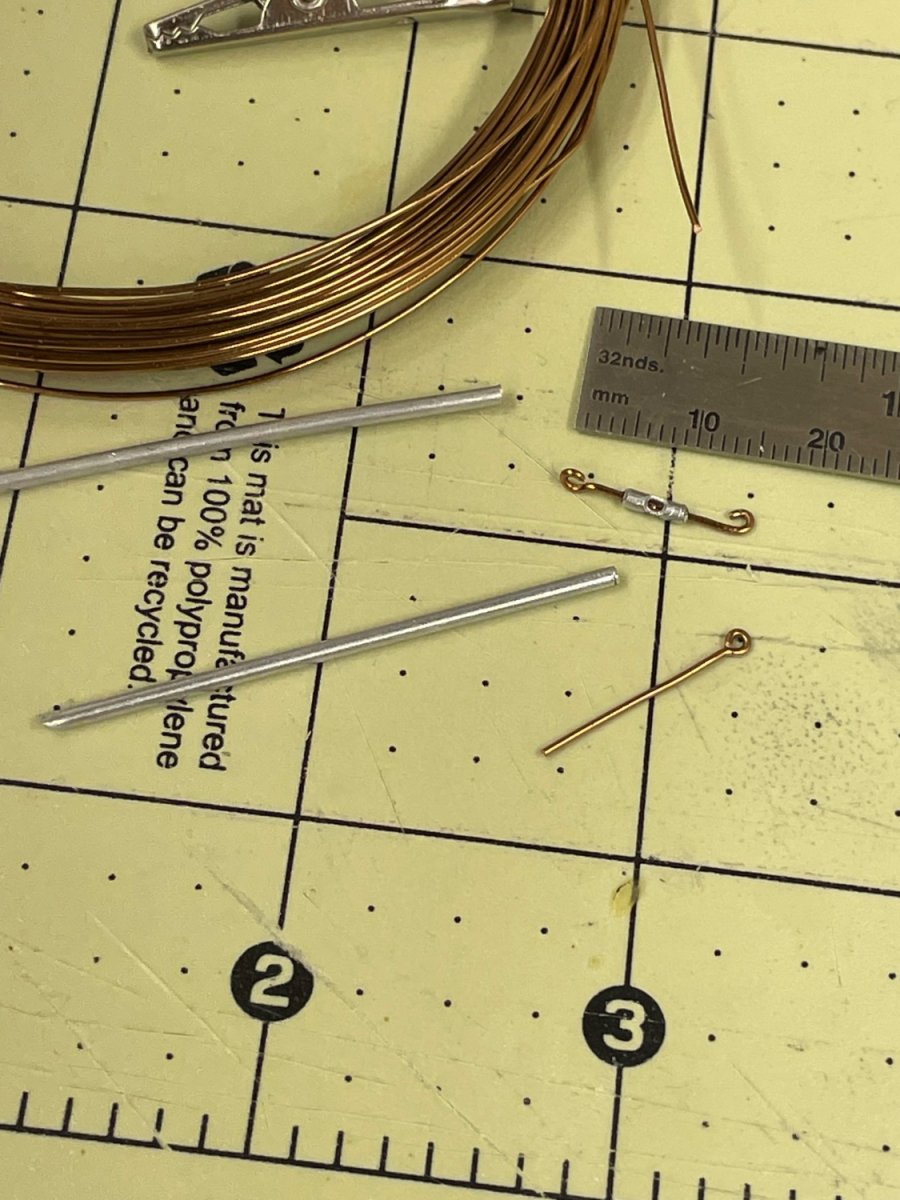
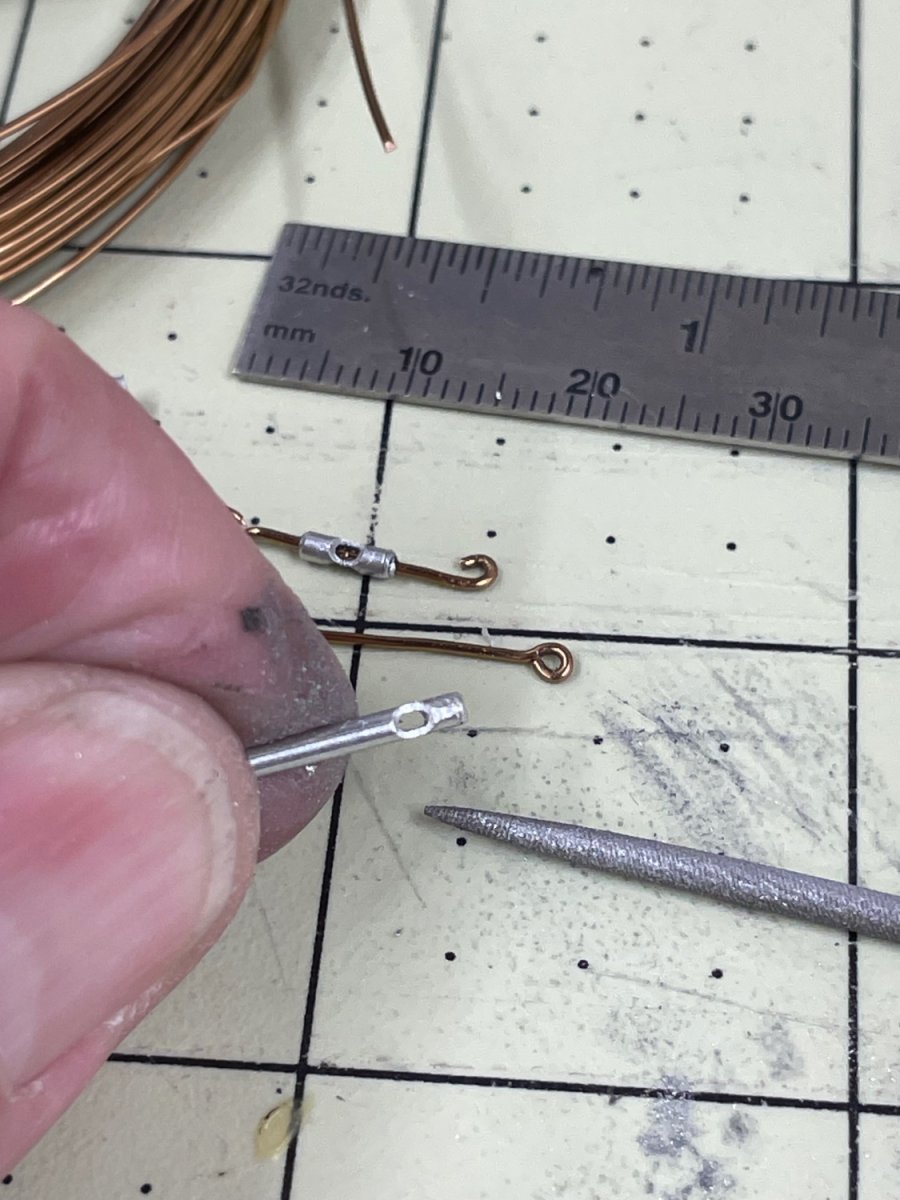
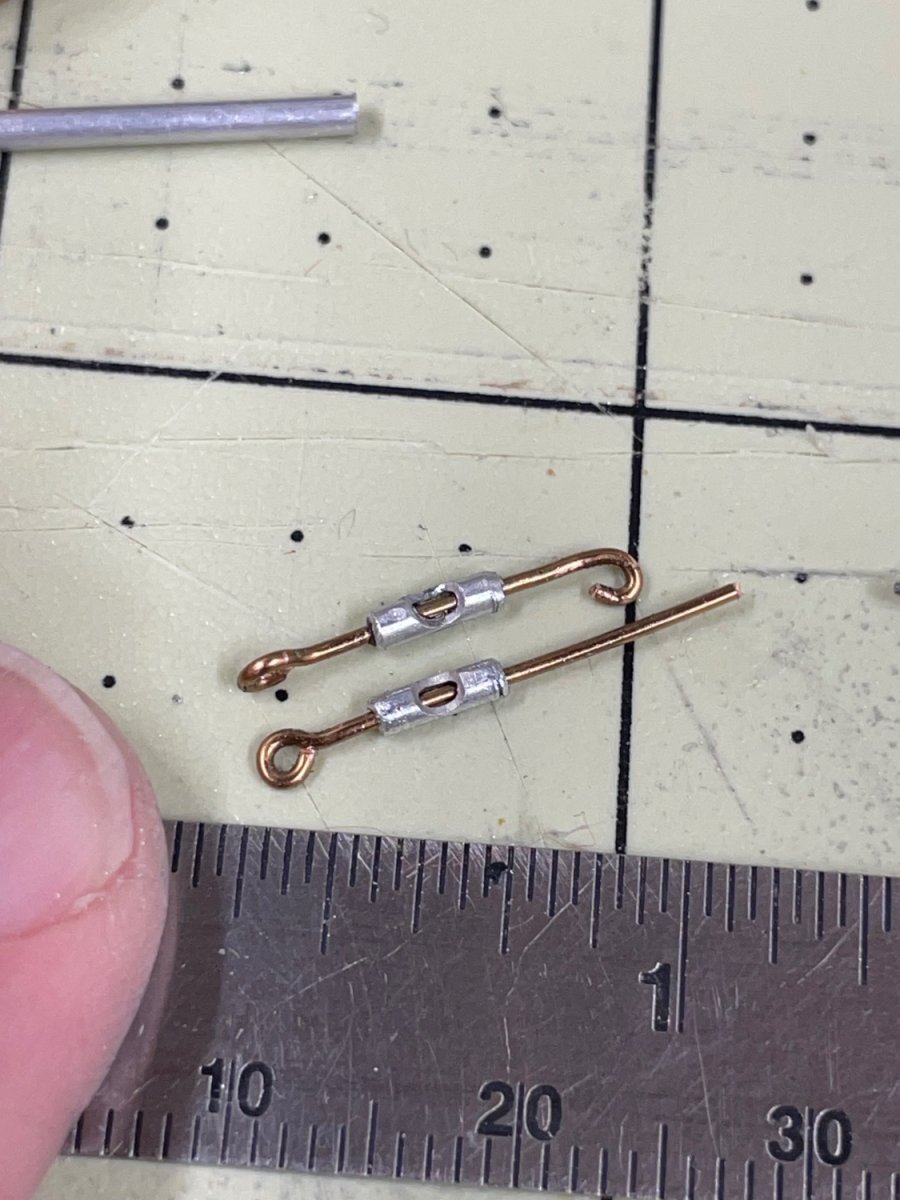
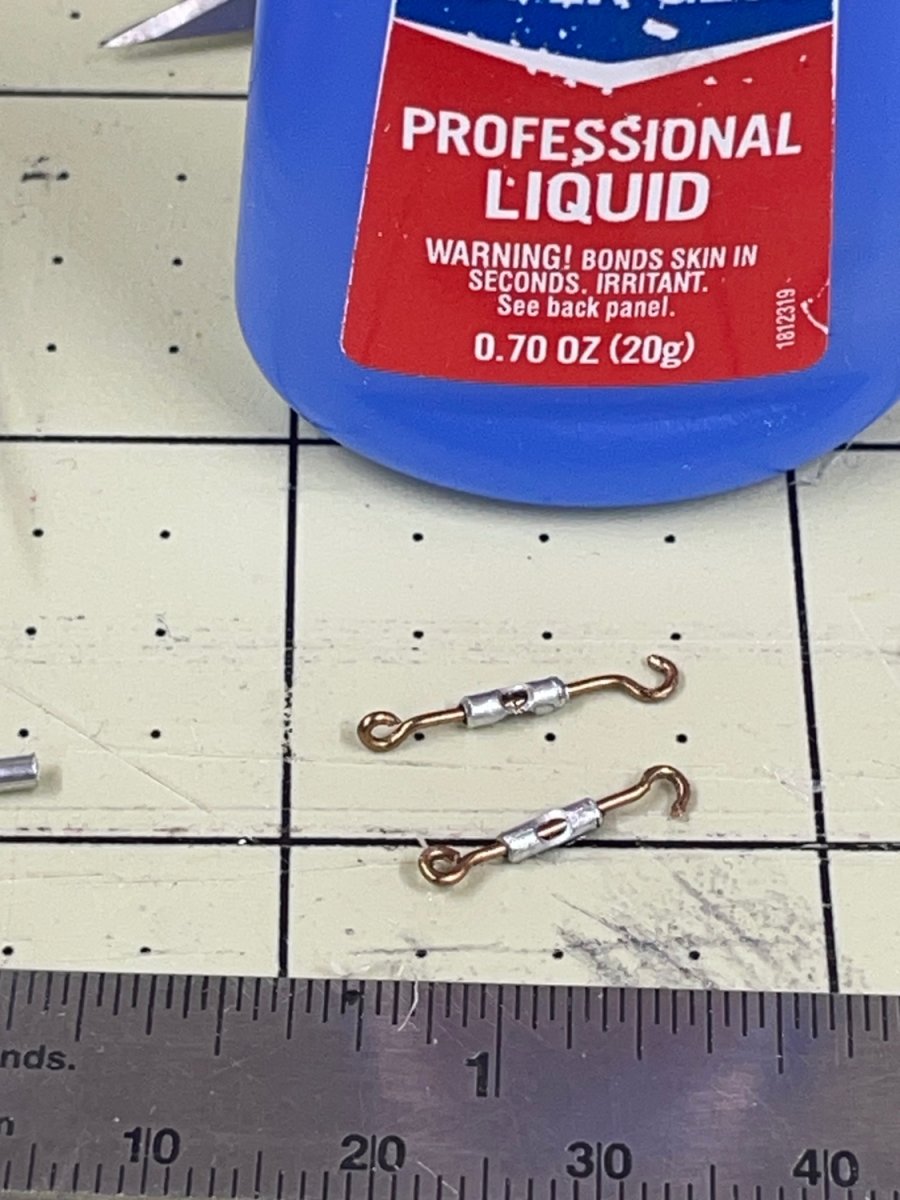
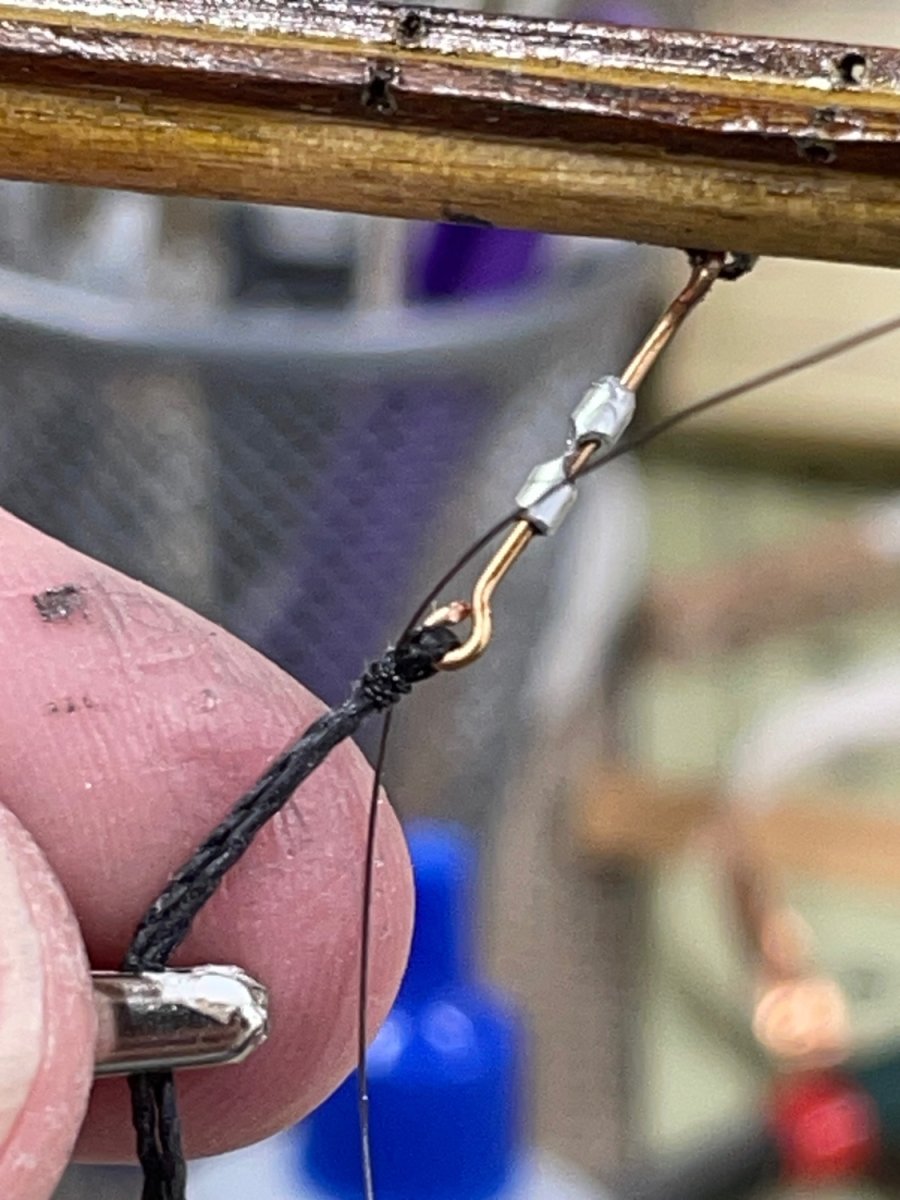
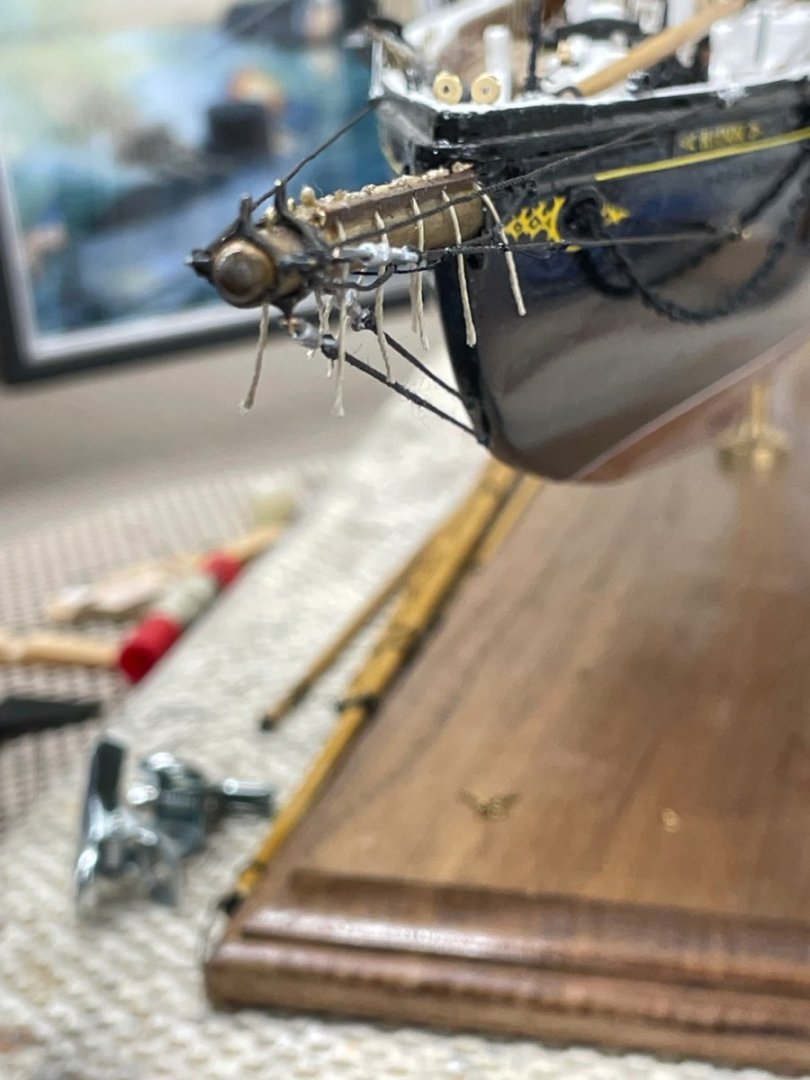
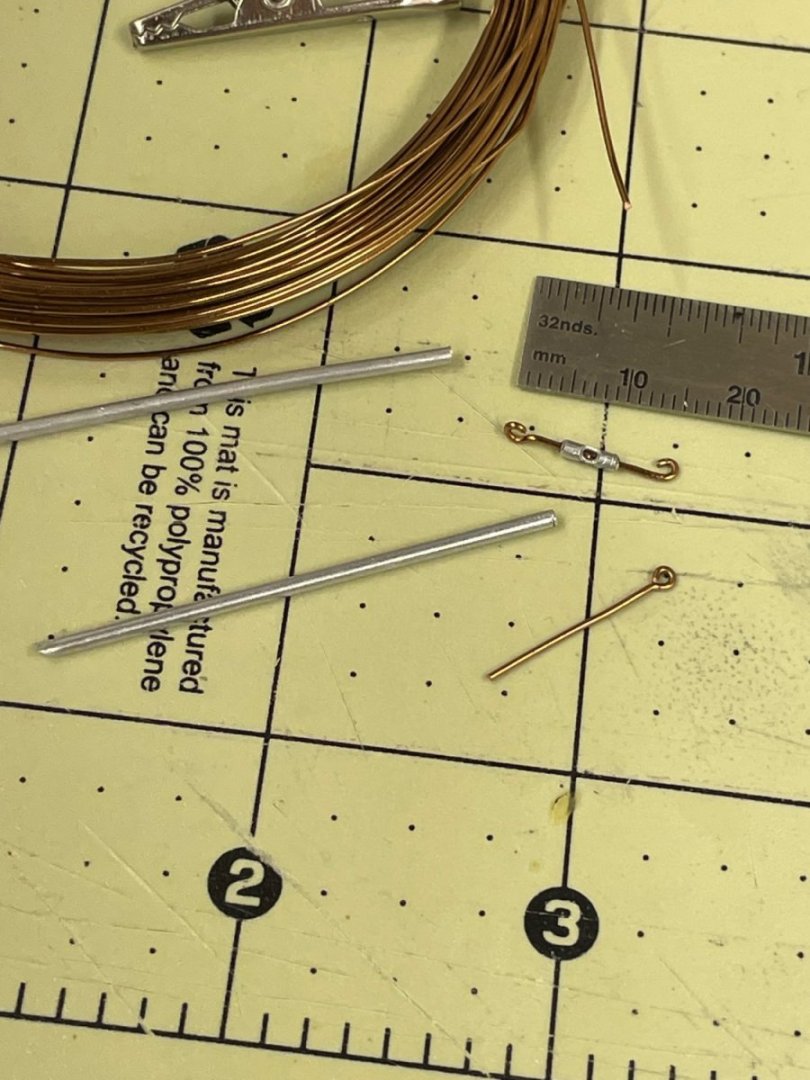
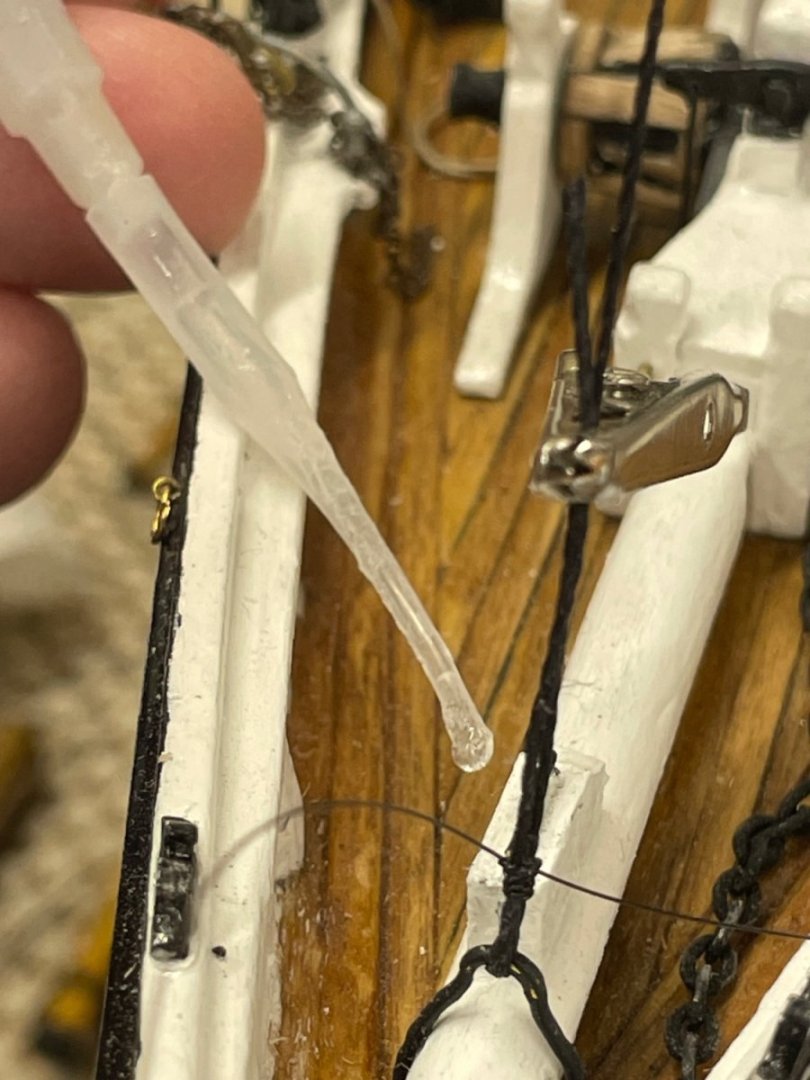
Turnbuckles… I used 1/16” OD Aluminum tubing and copper wire to build dummy turnbuckles. There is no mention of turnbuckles in the instructions. I wanted to try to add this detail and tried to get them small enough to be of proper scale. 😆 Used needle file to cut both sides of tubing. Used Copper wire to fit through the tubing. Turnbuckle body is held in place with a touch of CA glue. Bobstays placed Cheers 🍻


- 282 replies
-
- 7
-
-

-
- Bluenose
- Model Shipways
- (and 1 more)
-
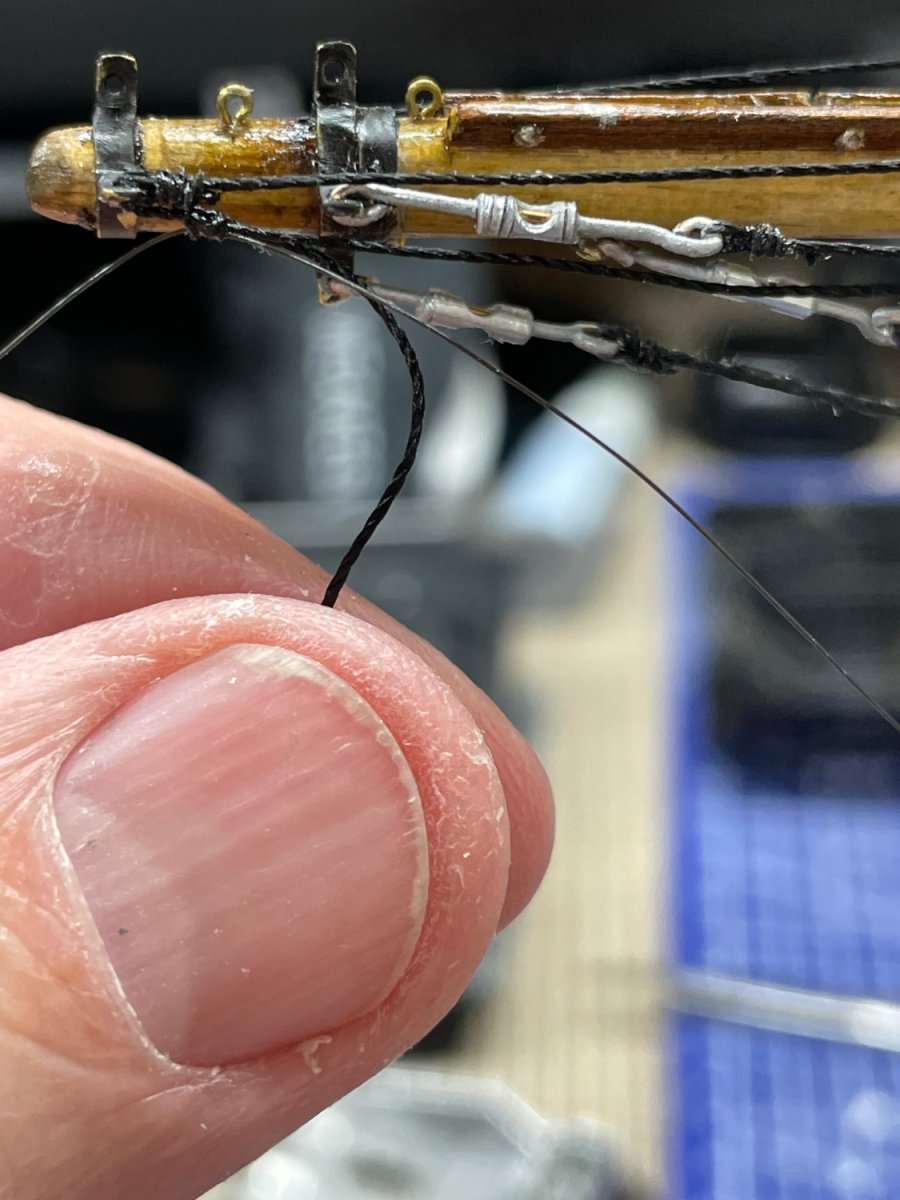
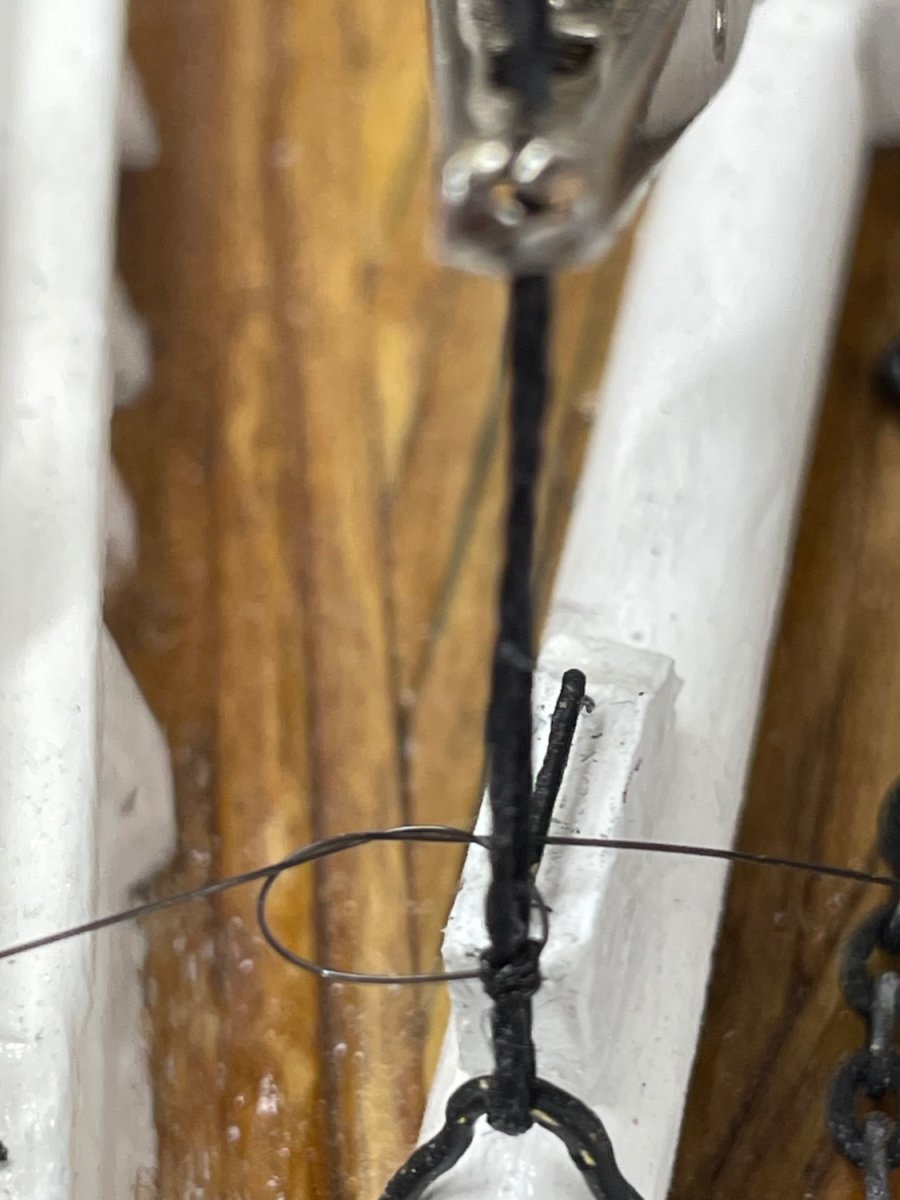
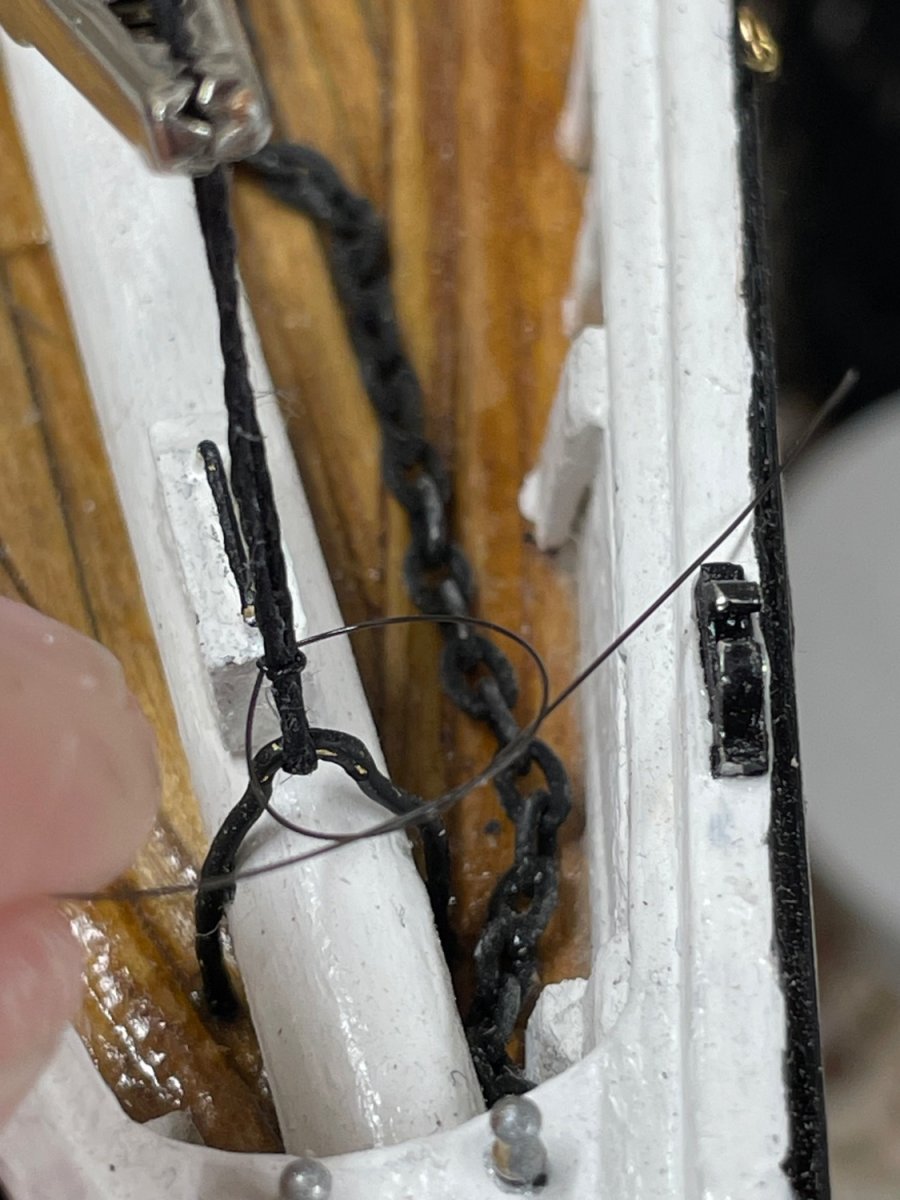
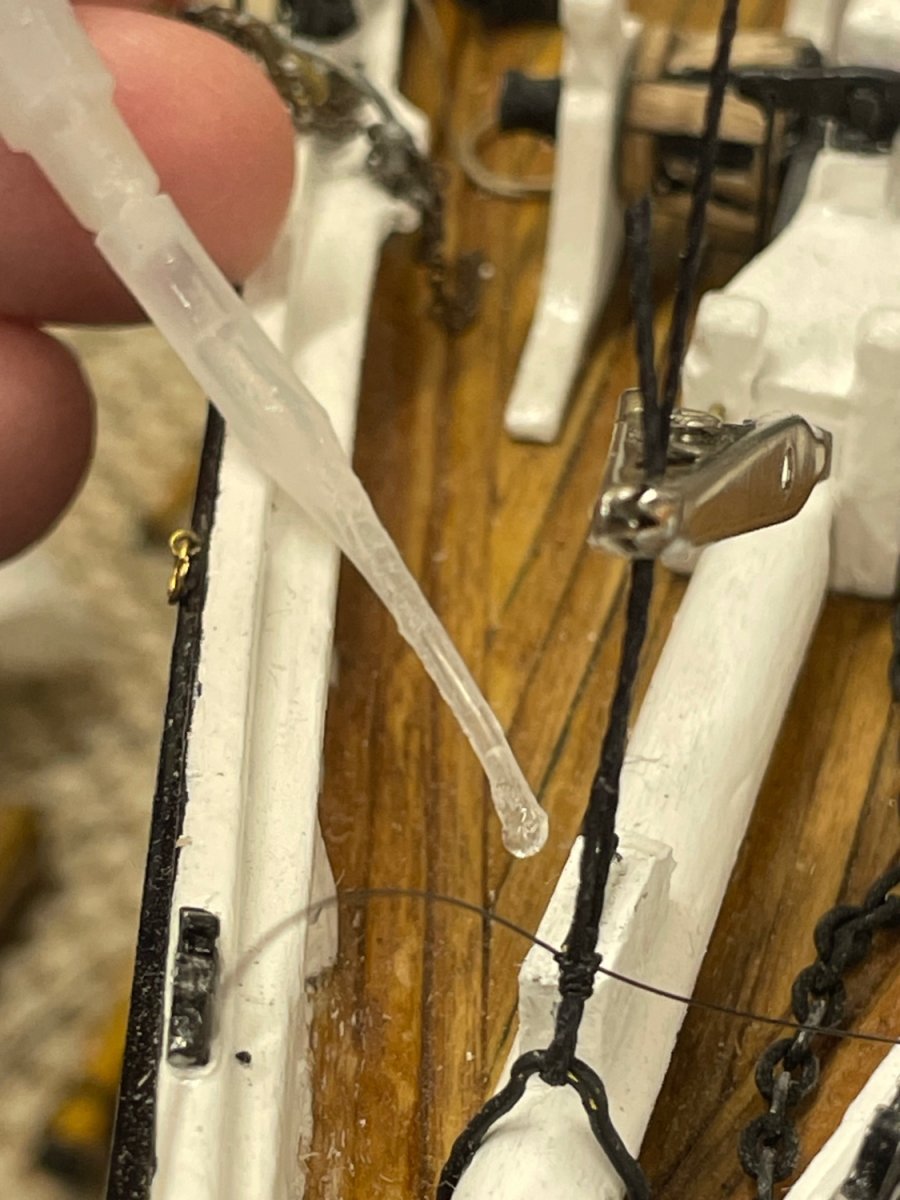
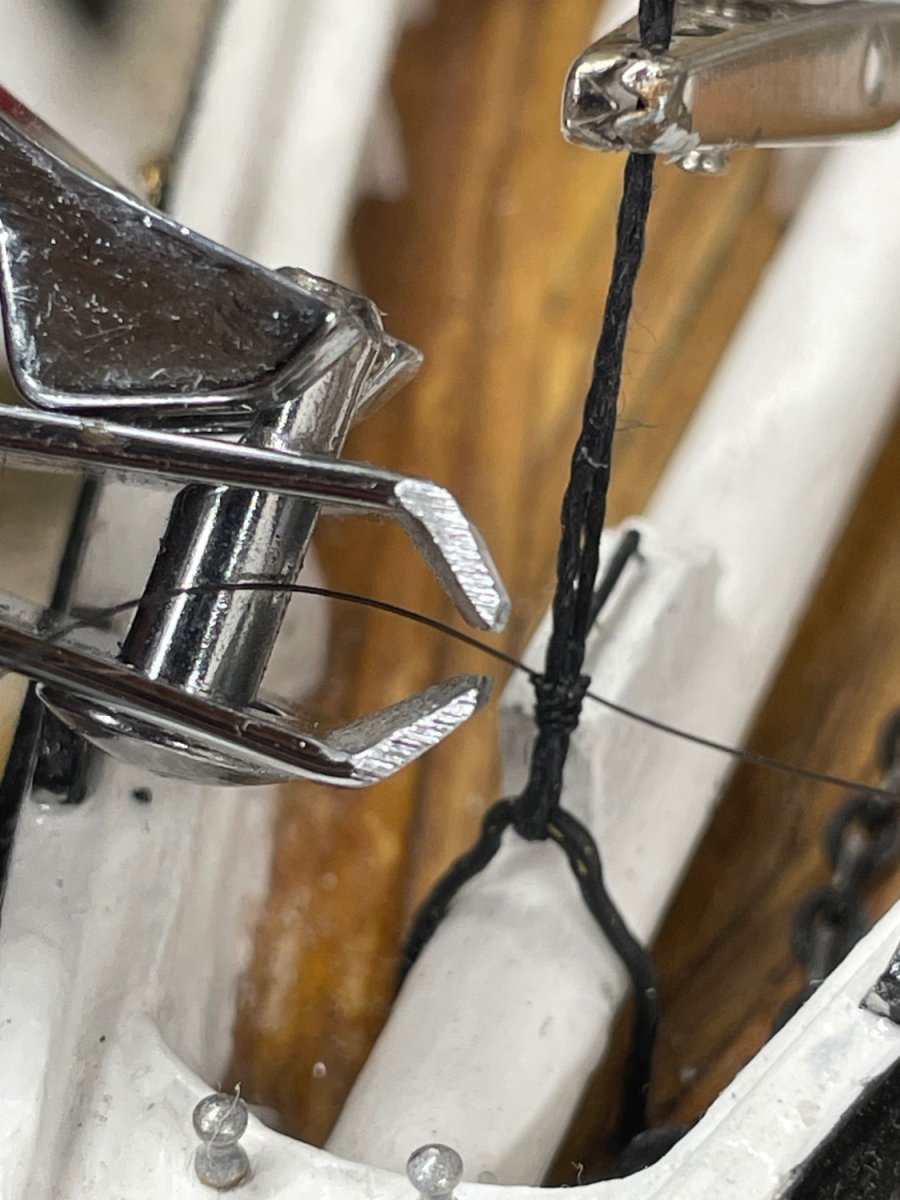
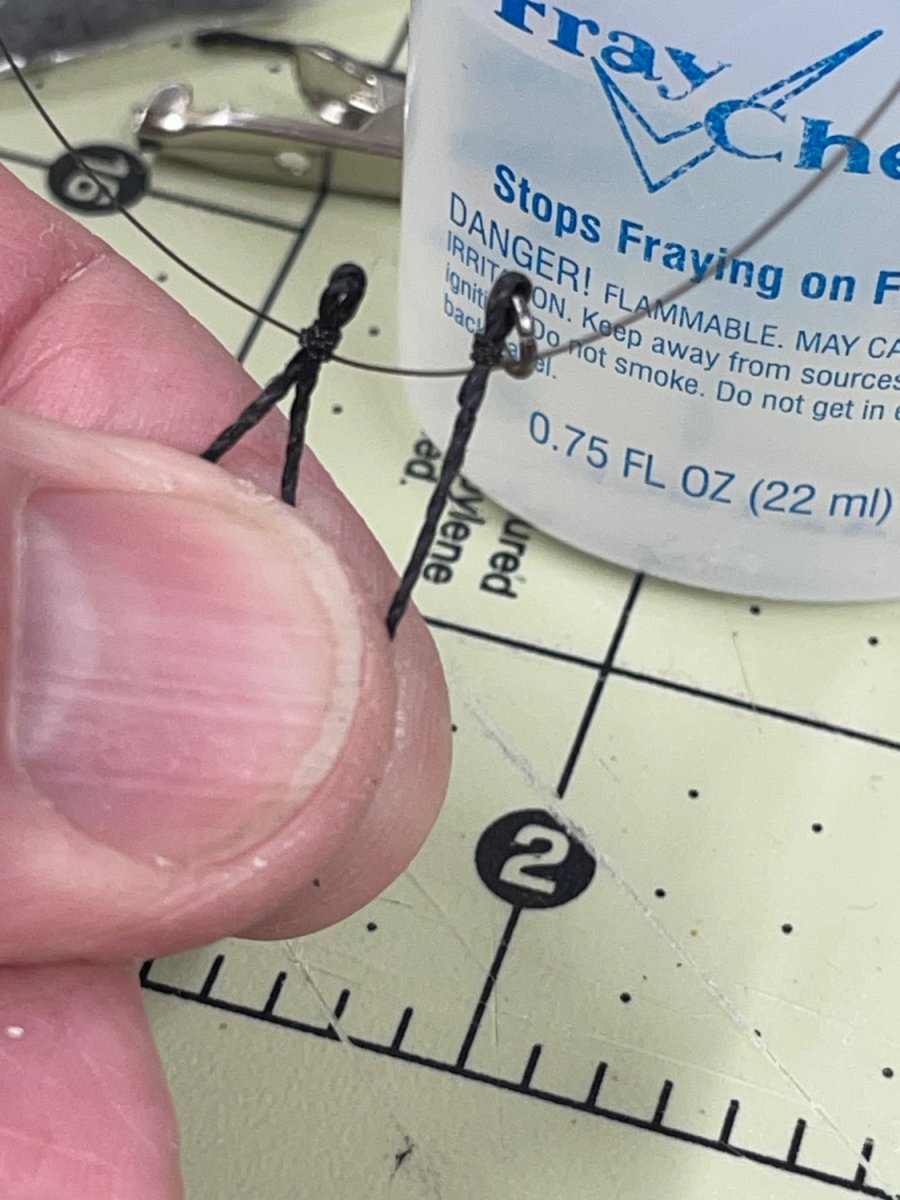
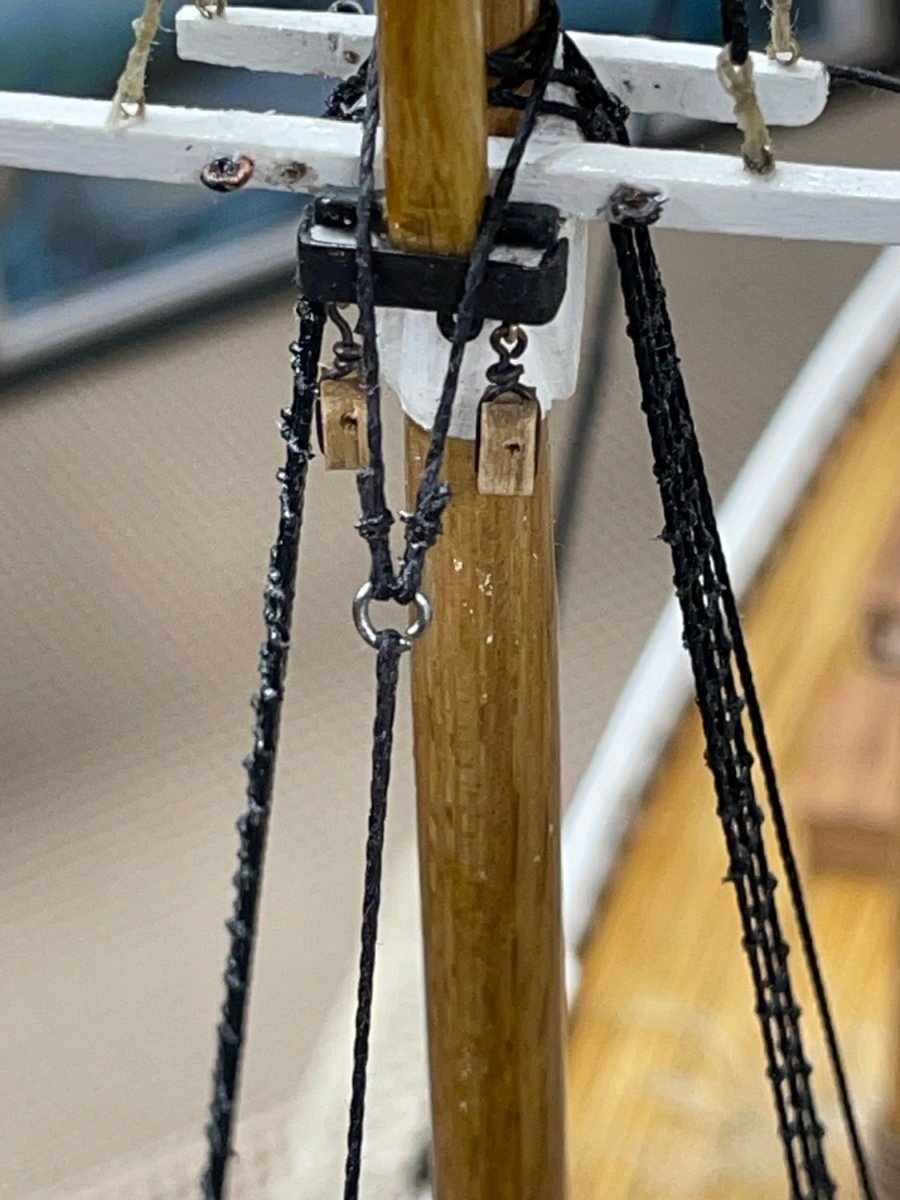
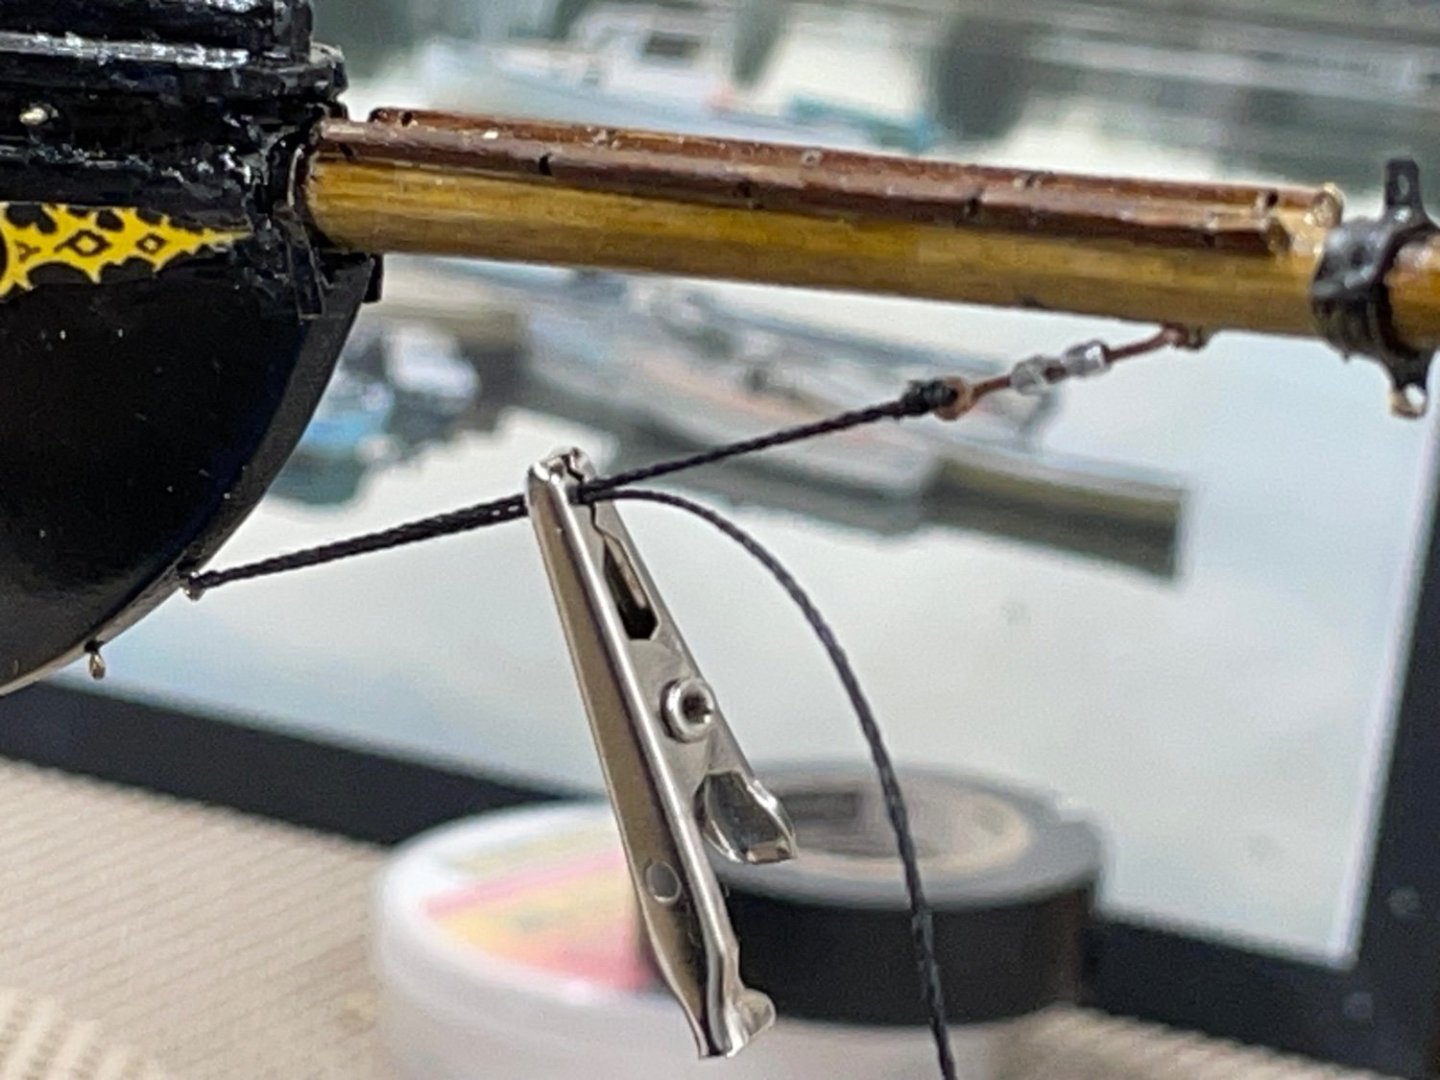
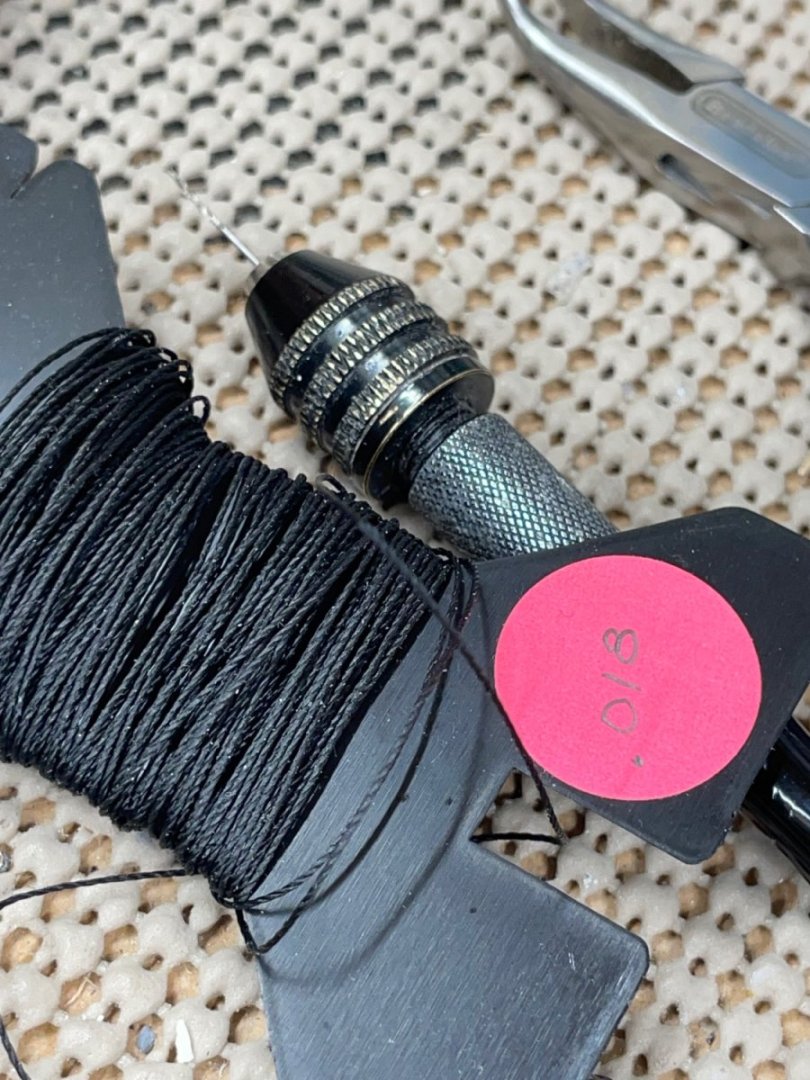
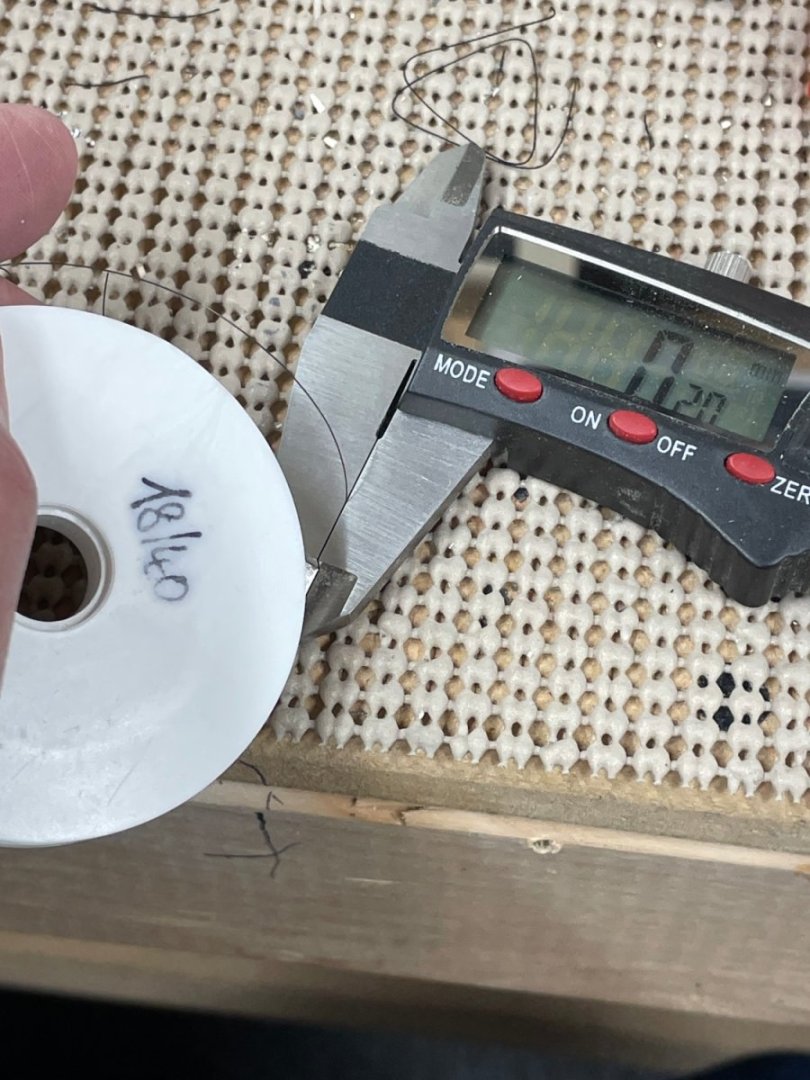
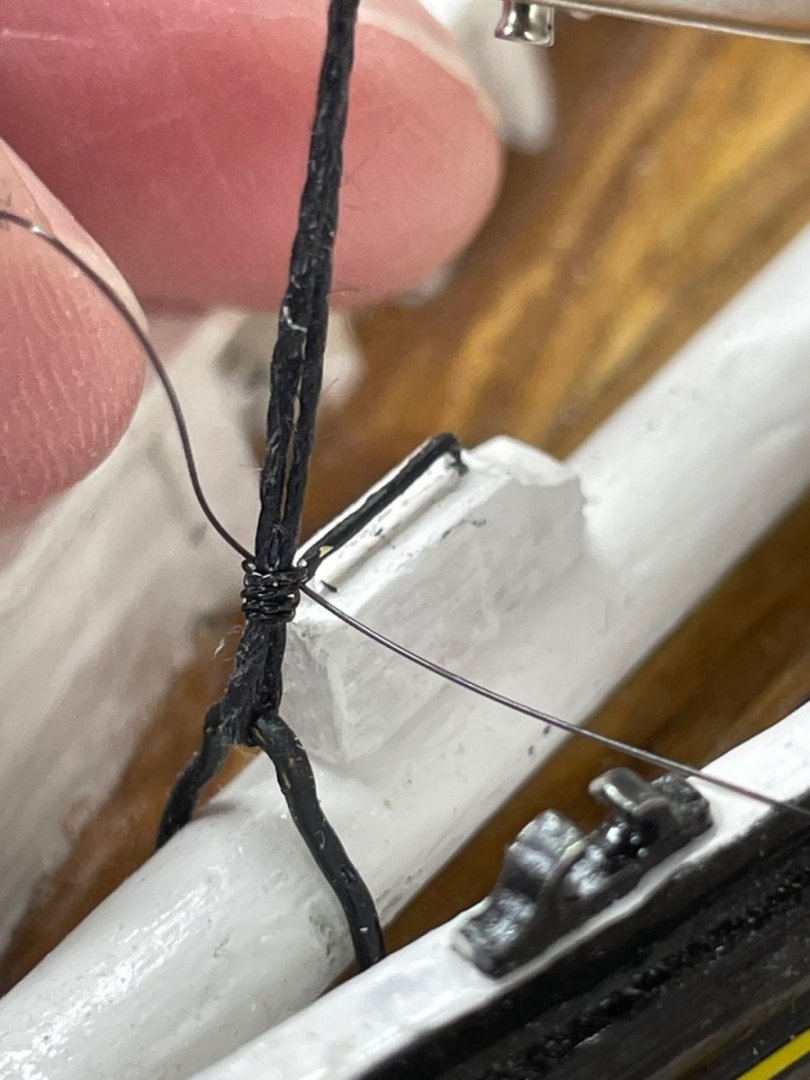
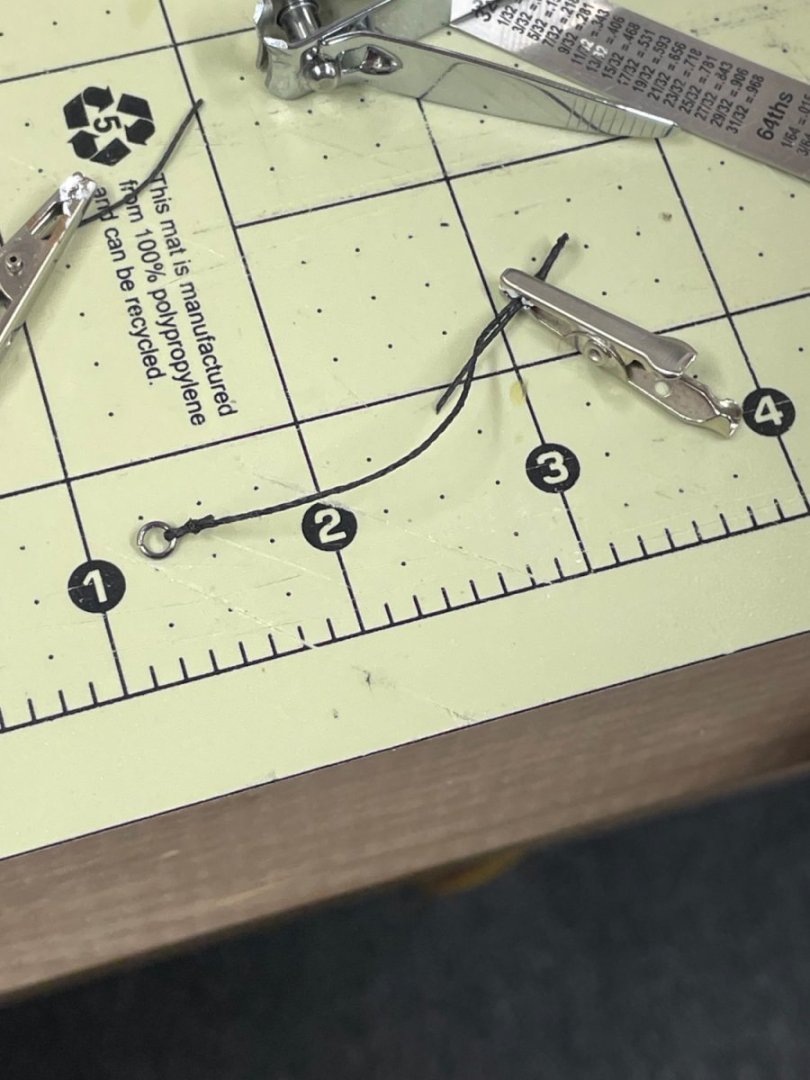
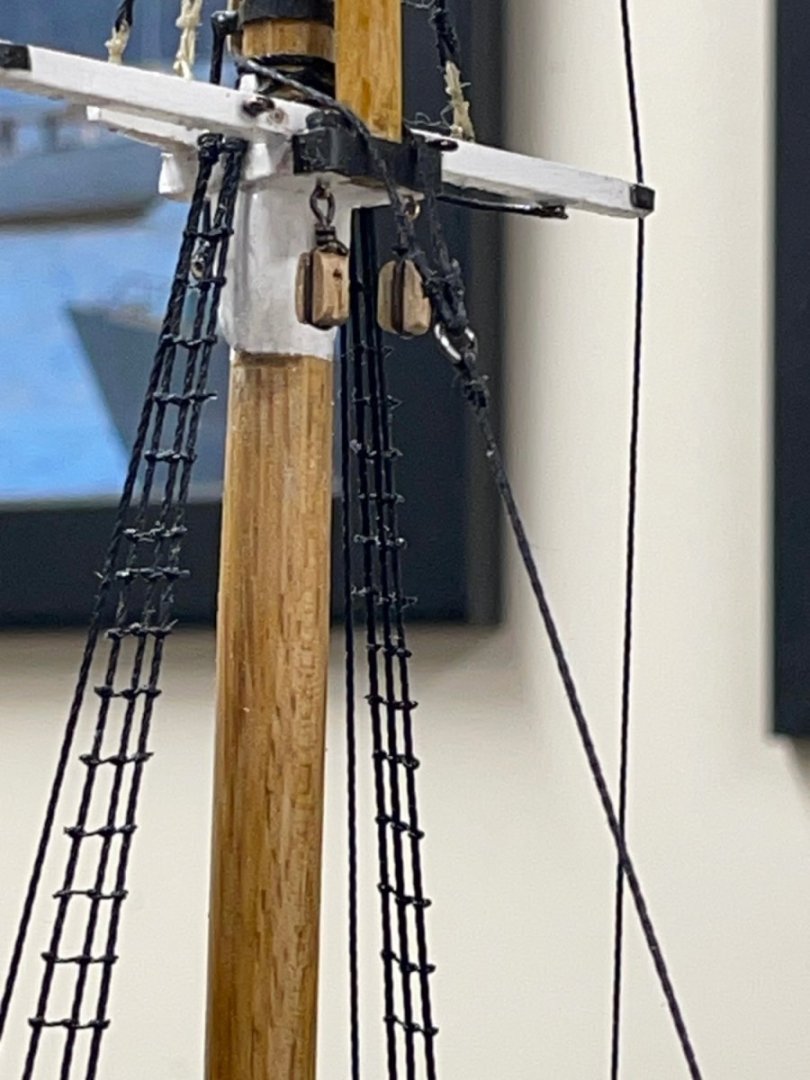
Jumbo Jib Stay… For all stays I am using the kit supplied .021” cotton/ploy line (WP1210) For the lashing I am using .18 monofilament line purchased from HiSModel.com. Lashed up the Stay (including downhaul block to the Jumbo Jib Stay Bail previously placed. Completed rigging the Jumbo Job Stay Bridle to attach the Stay to the Fore Mast. Jumbo Jib Stay completed. Next up is the Bow Sprit rigging, so I can continue placement of the Forward Stays. Cheers 🍻


- 282 replies
-
- 6
-
-
- Bluenose
- Model Shipways
- (and 1 more)
-
That looks good, I’d say you have got a good start there. 🍻
- 282 replies
-
- 1
-
-
- Bluenose
- Model Shipways
- (and 1 more)
-
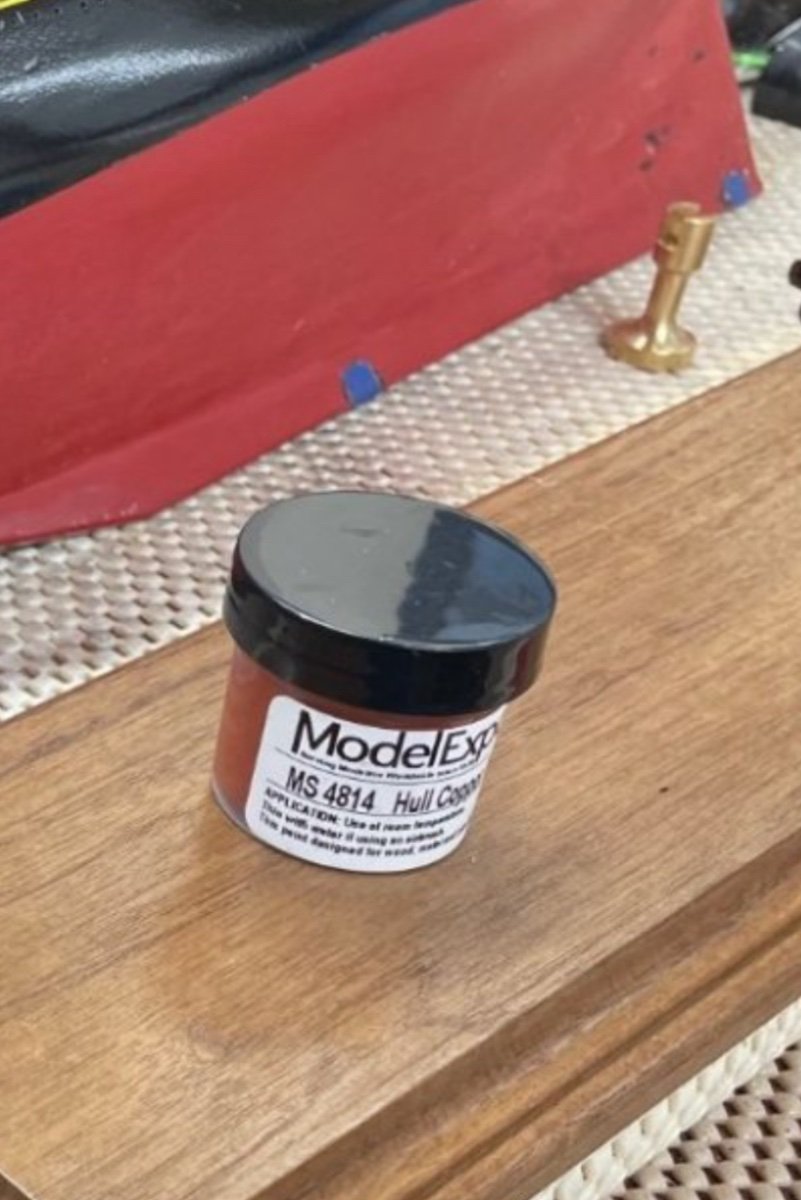
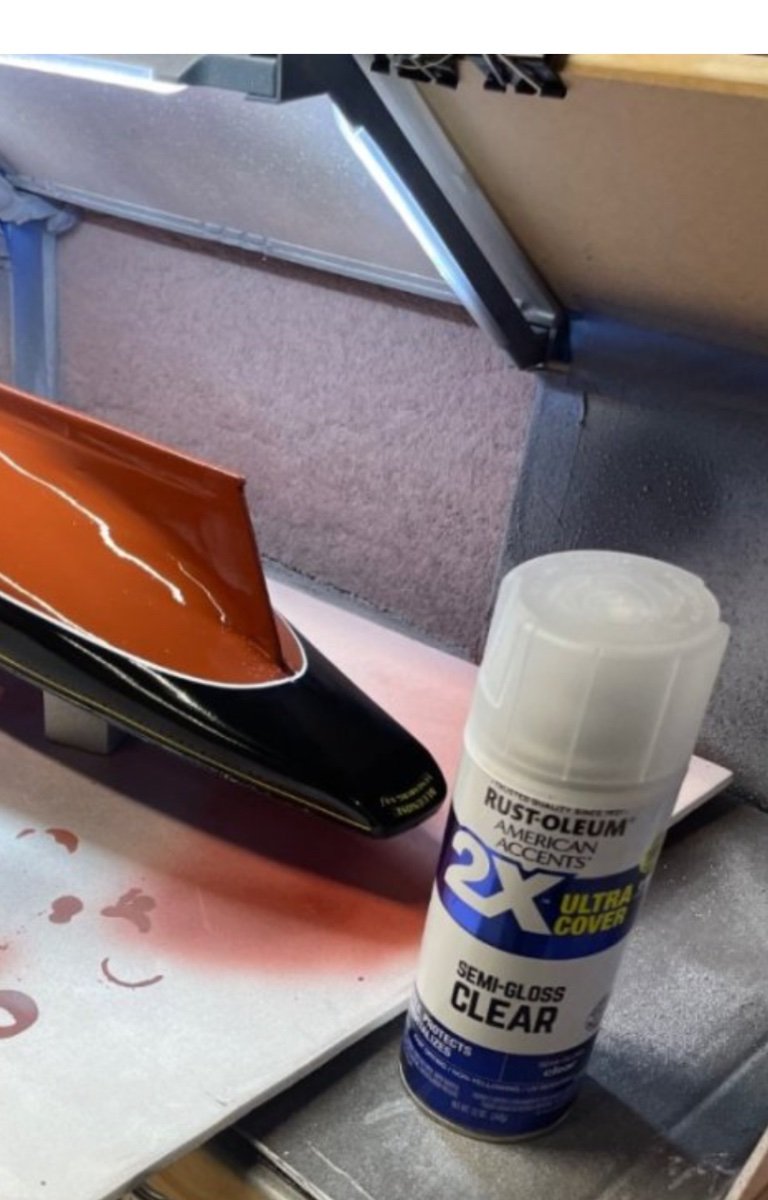
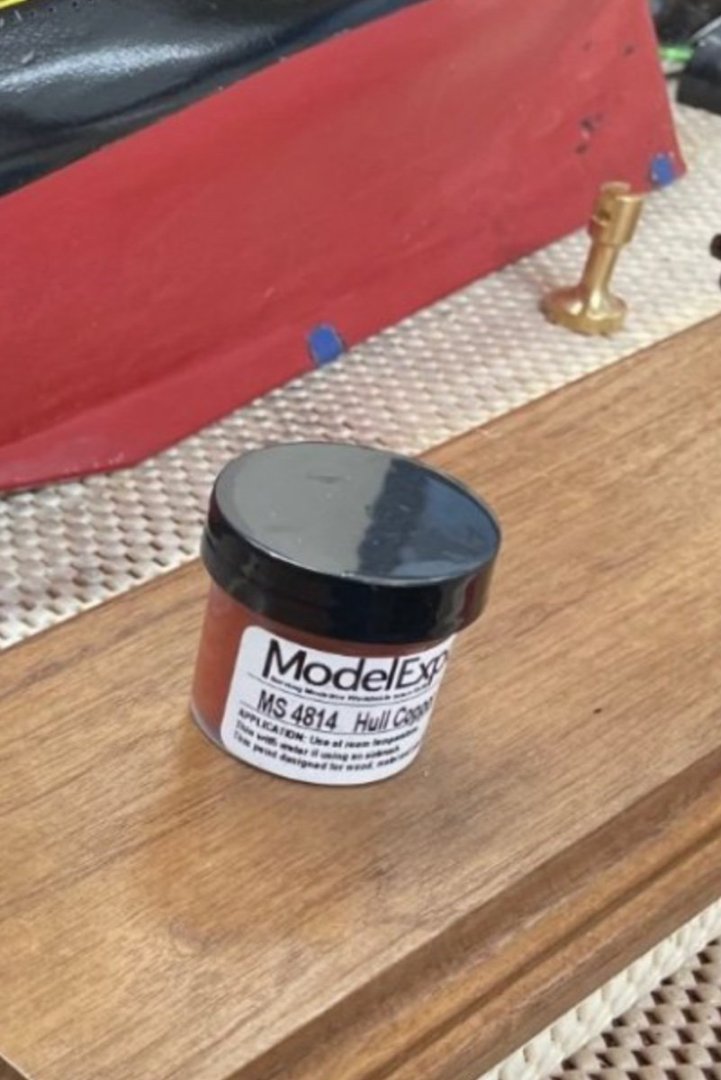
Bob, I airbrushed Model Expo MS 4814 Hull Copper Red and sealed it with Rust-oleum Semi-Gloss Clear. I liked the way it came out. John

-
Decent small clamps
John Ruy replied to bigcreekdad's topic in Modeling tools and Workshop Equipment
You might try these… https://www.ebay.com/itm/155905560329?mkcid=16&mkevt=1&mkrid=711-127632-2357-0&ssspo=us0rbE0ISEa&sssrc=4429486&ssuid=saHjlWAtSV-&var=&widget_ver=artemis&media=COPY -
WOW! I didn’t know you had this waiting in the wings when I walked in on your Pegasus build a few months ago. Glad to see you have sued her off and are going to finish her. Looks NICE… 👍 I’ll pull up a chair and ride along. Good Luck finding all your parts. John
-
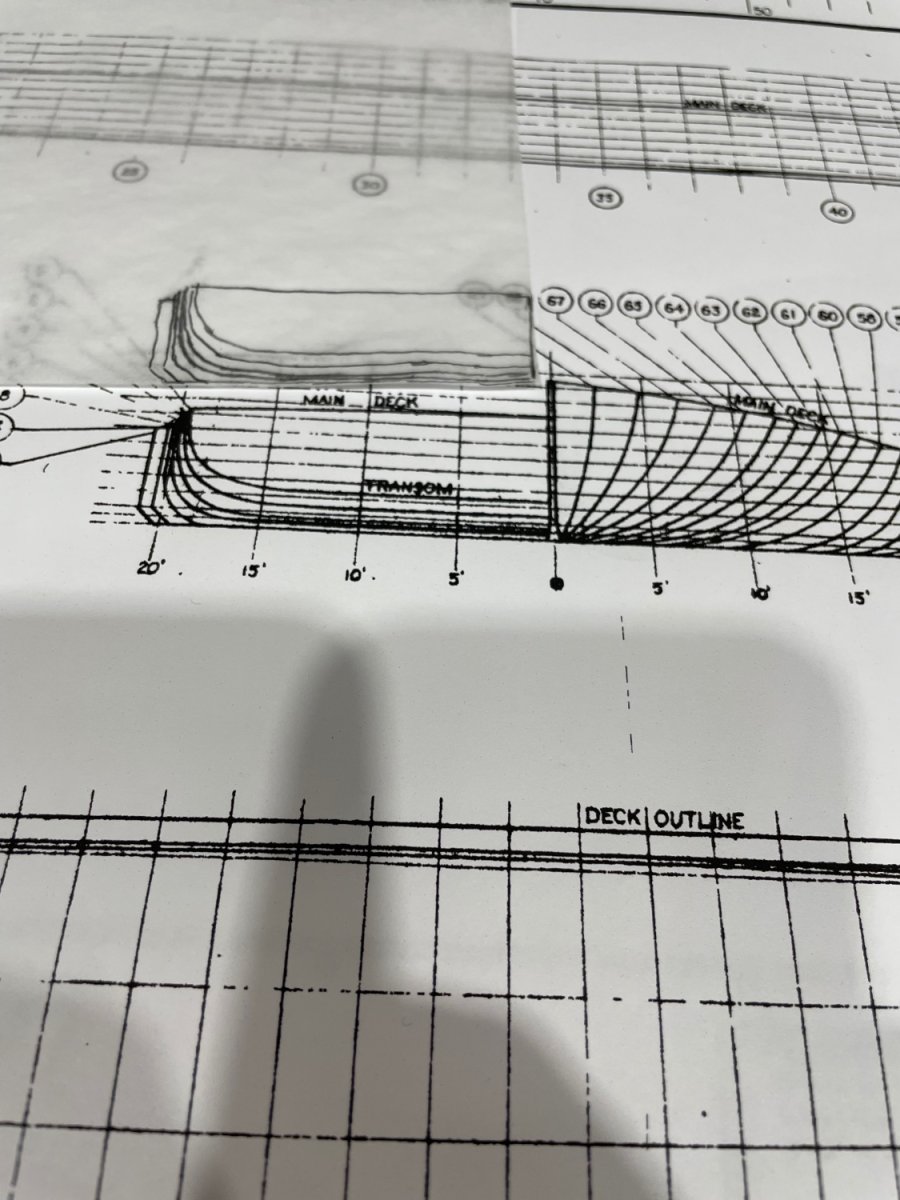
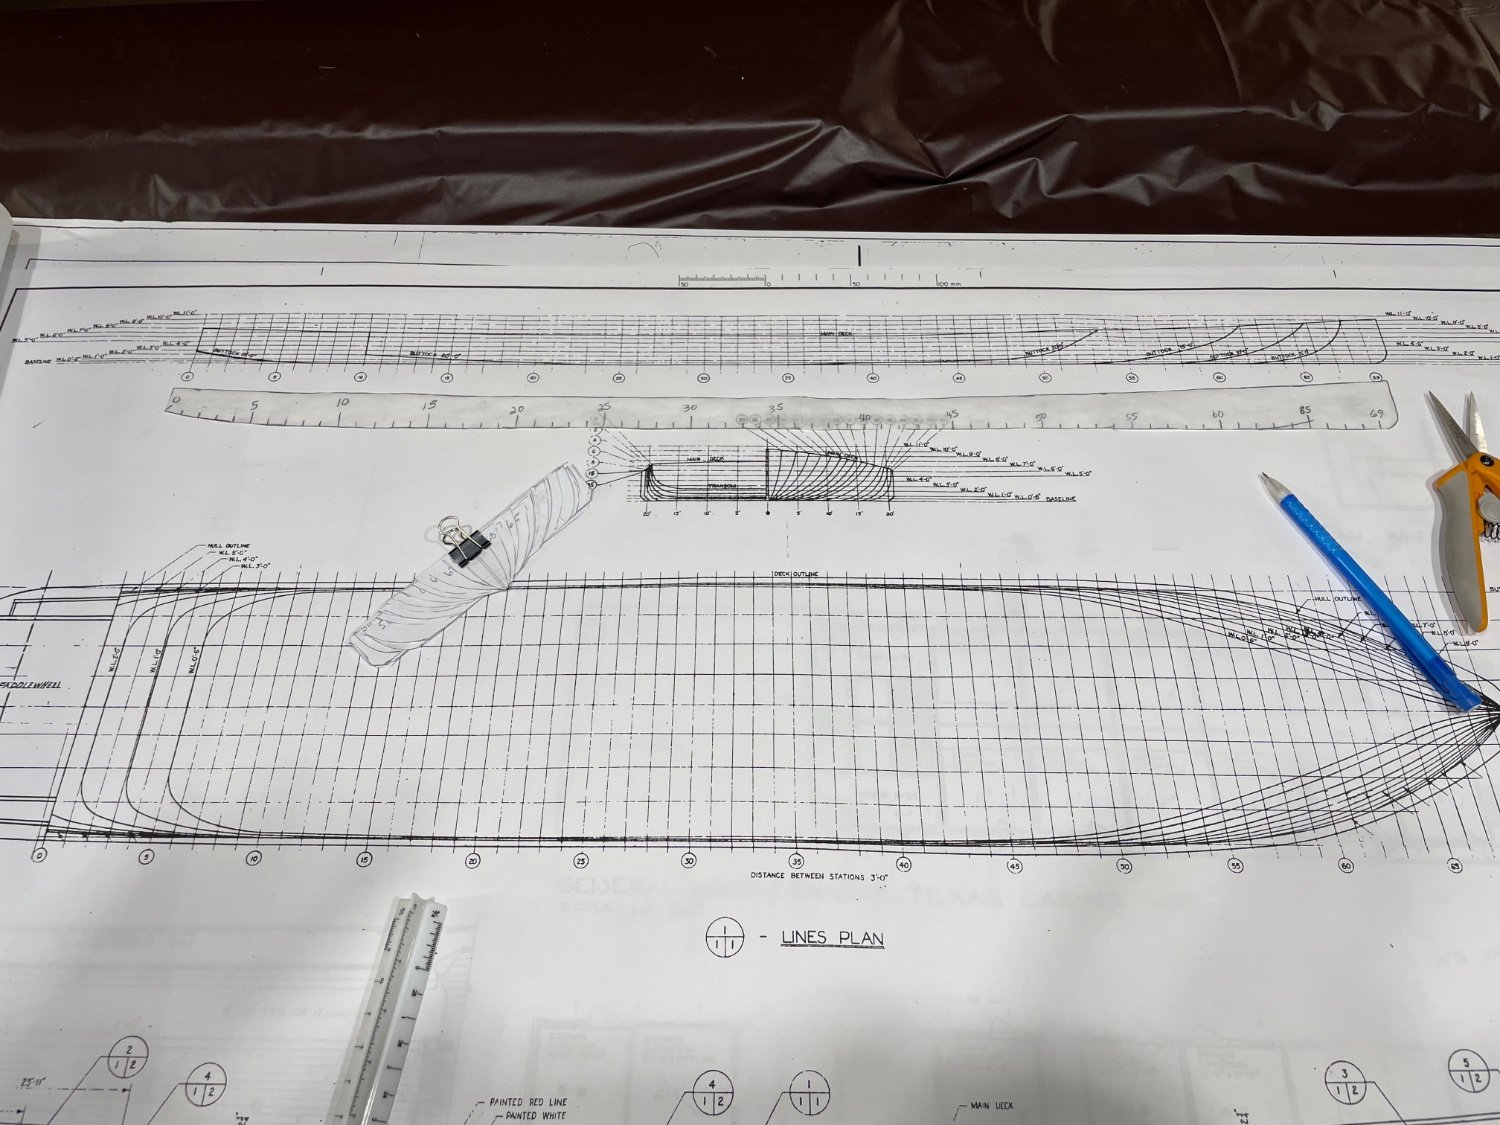
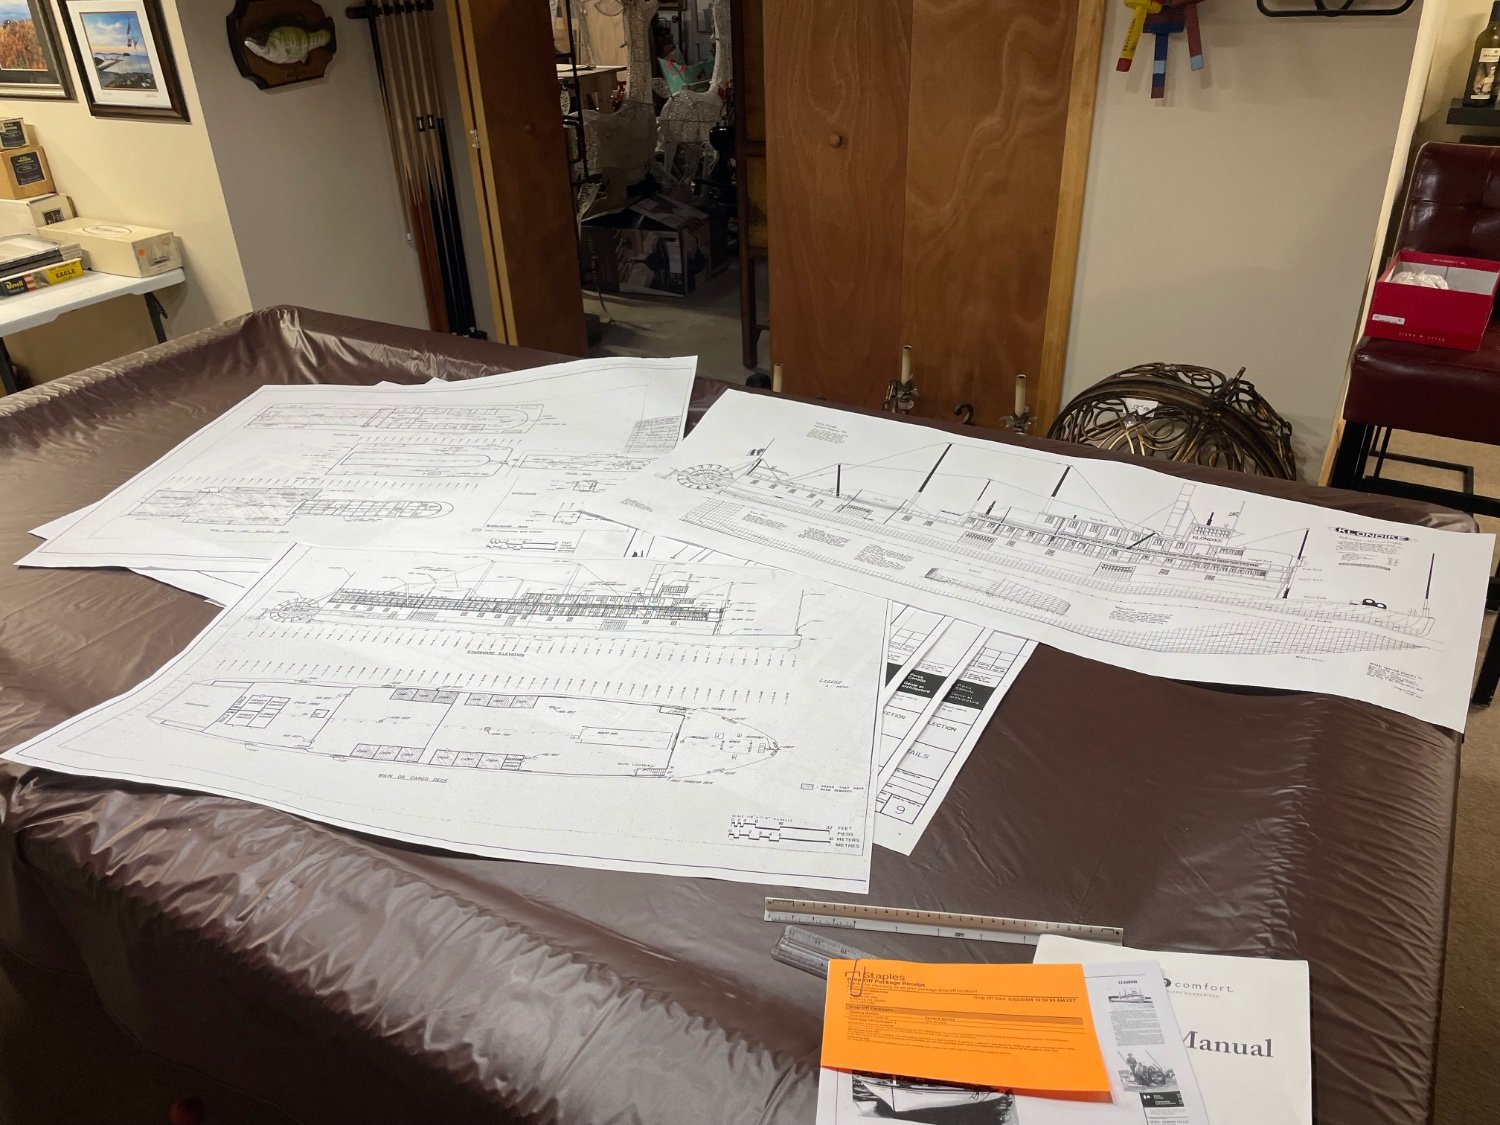
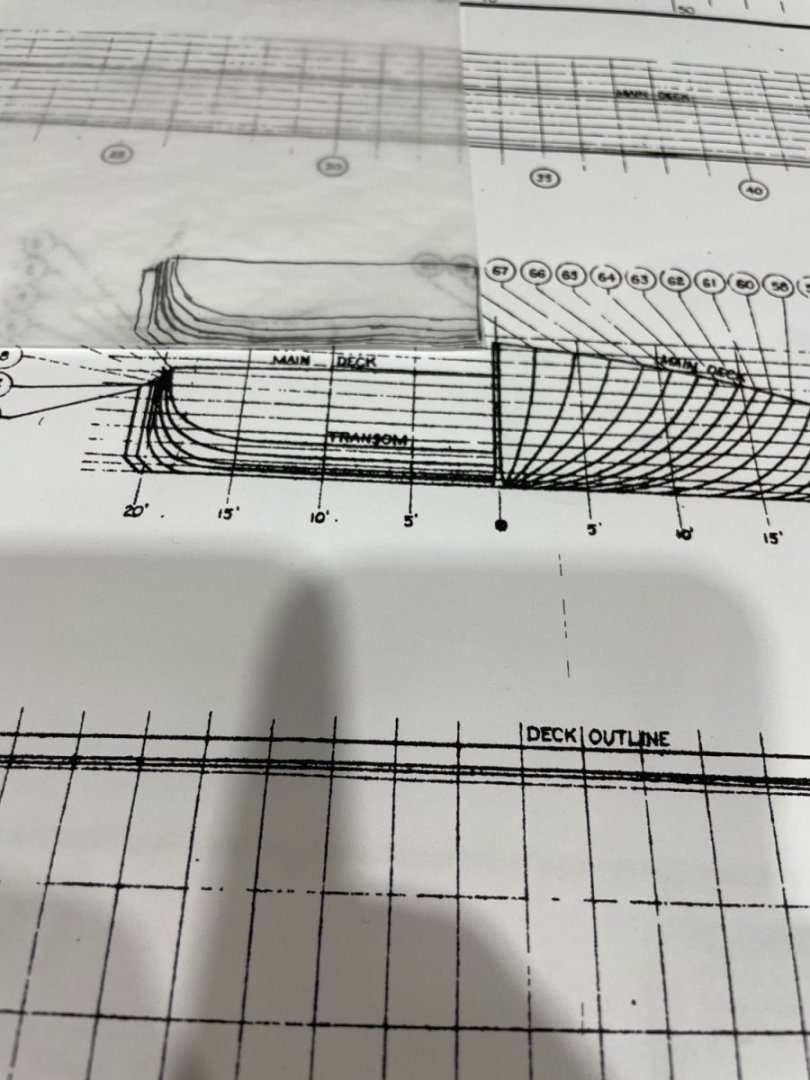
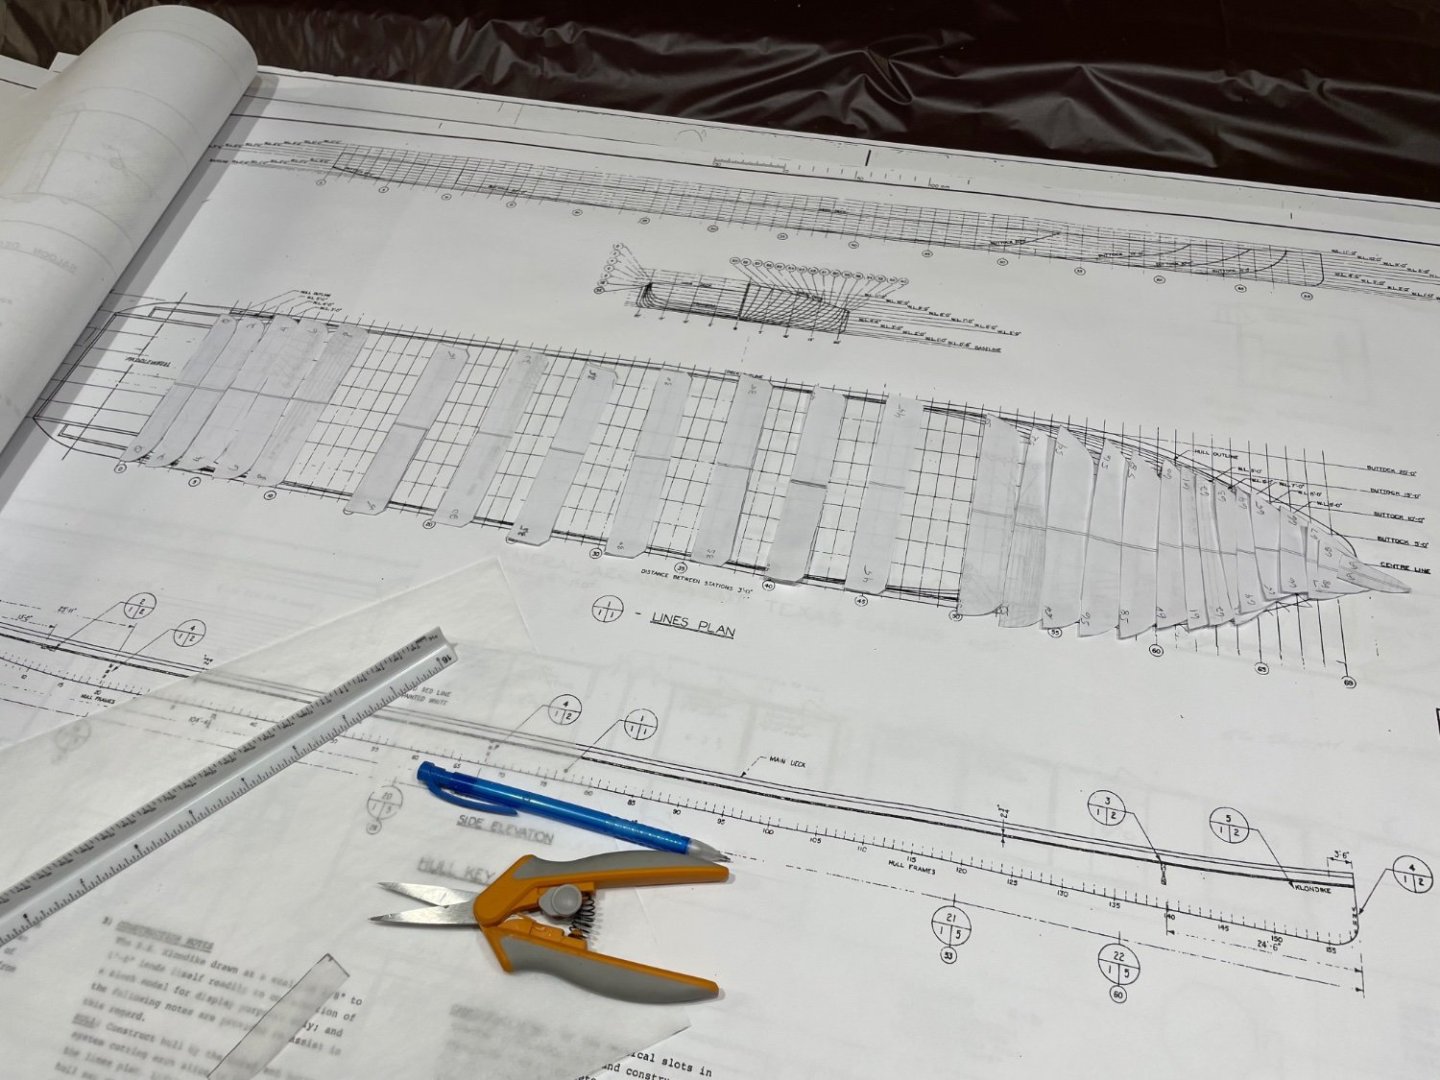
Thanks Mike… That does look like 1/4” = 1’ or 1/48 Scale. The drawing framed behind it is in my set. I believe it’s at 3/16” = 1’…. Thanks
-
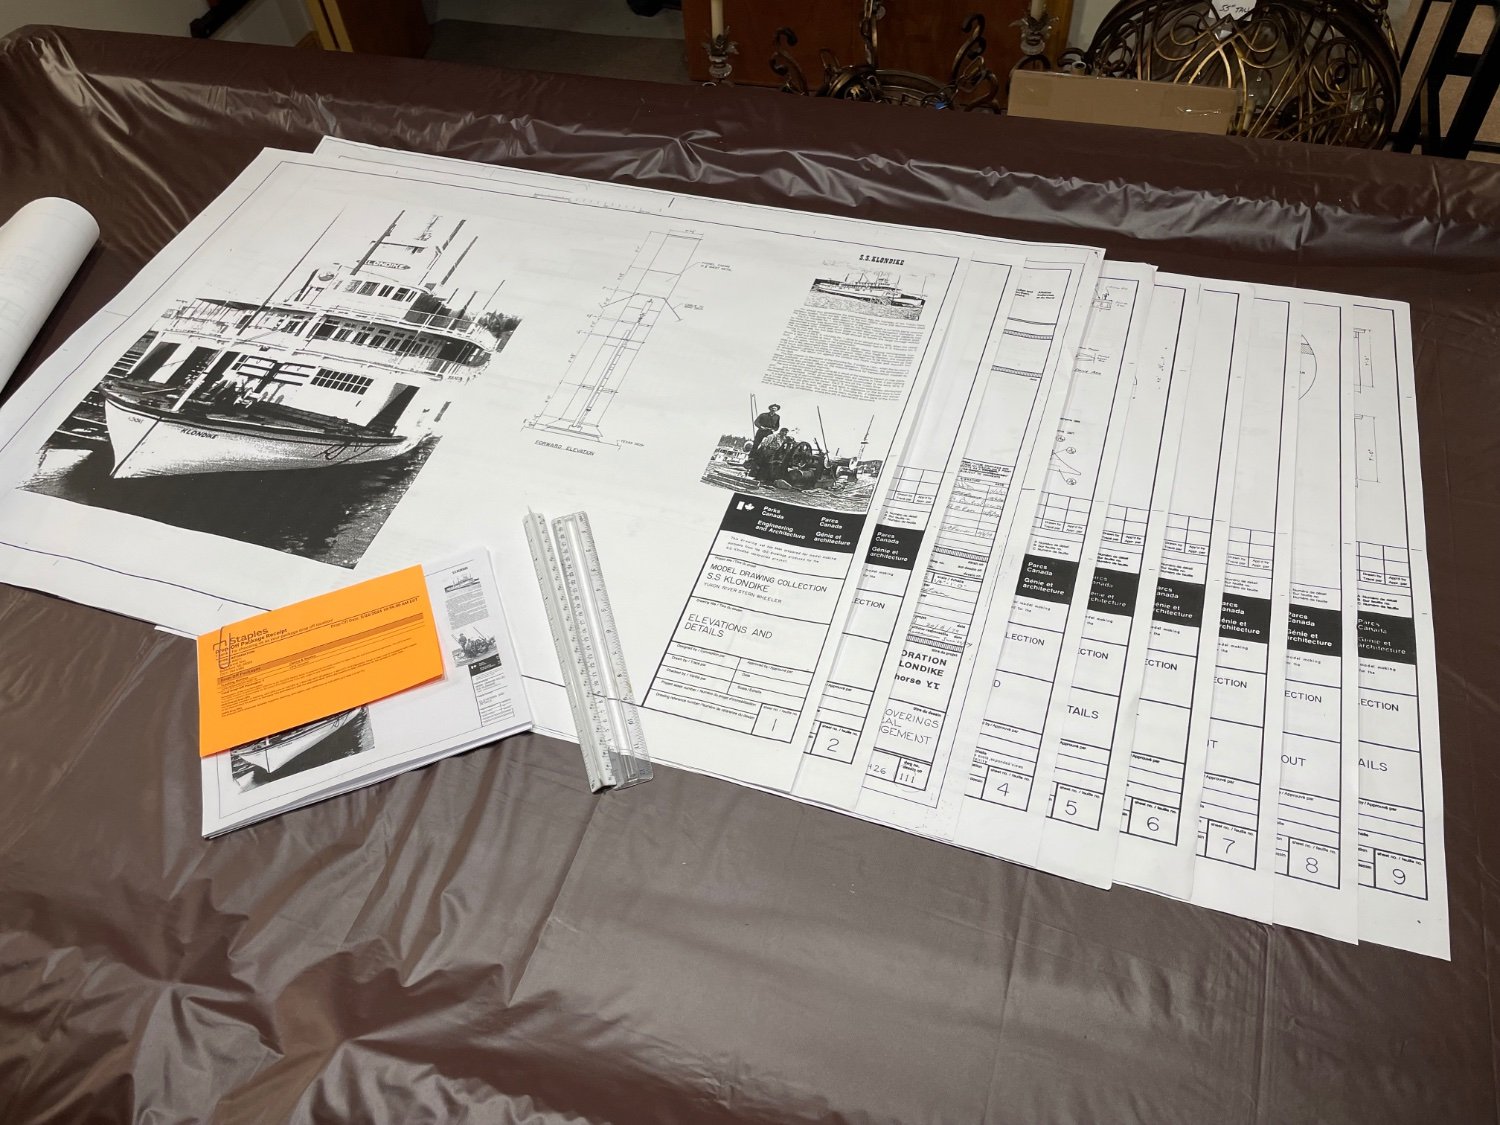
Yes, nice set of plans and some great history. Welcome aboard, thanks for the well wishes. John wanted to share my research… https://ingeniumcanada.org/channel/articles/as-the-world-err-as-the-wheel-turns-or-how-why-ss-klondike-a-cargo-carrying https://ingeniumcanada.org/channel/articles/as-the-world-err-as-the-wheel-turns-or-how-why-ss-klondike-a-cargo-carrying-0 https://ingeniumcanada.org/channel/articles/as-the-world-err-as-the-wheel-turns-or-how-why-ss-klondike-a-cargo-carrying-1 Cheers 🍻
-
Parts 1 and 2… https://ingeniumcanada.org/channel/articles/as-the-world-err-as-the-wheel-turns-or-how-why-ss-klondike-a-cargo-carrying https://ingeniumcanada.org/channel/articles/as-the-world-err-as-the-wheel-turns-or-how-why-ss-klondike-a-cargo-carrying-0
-
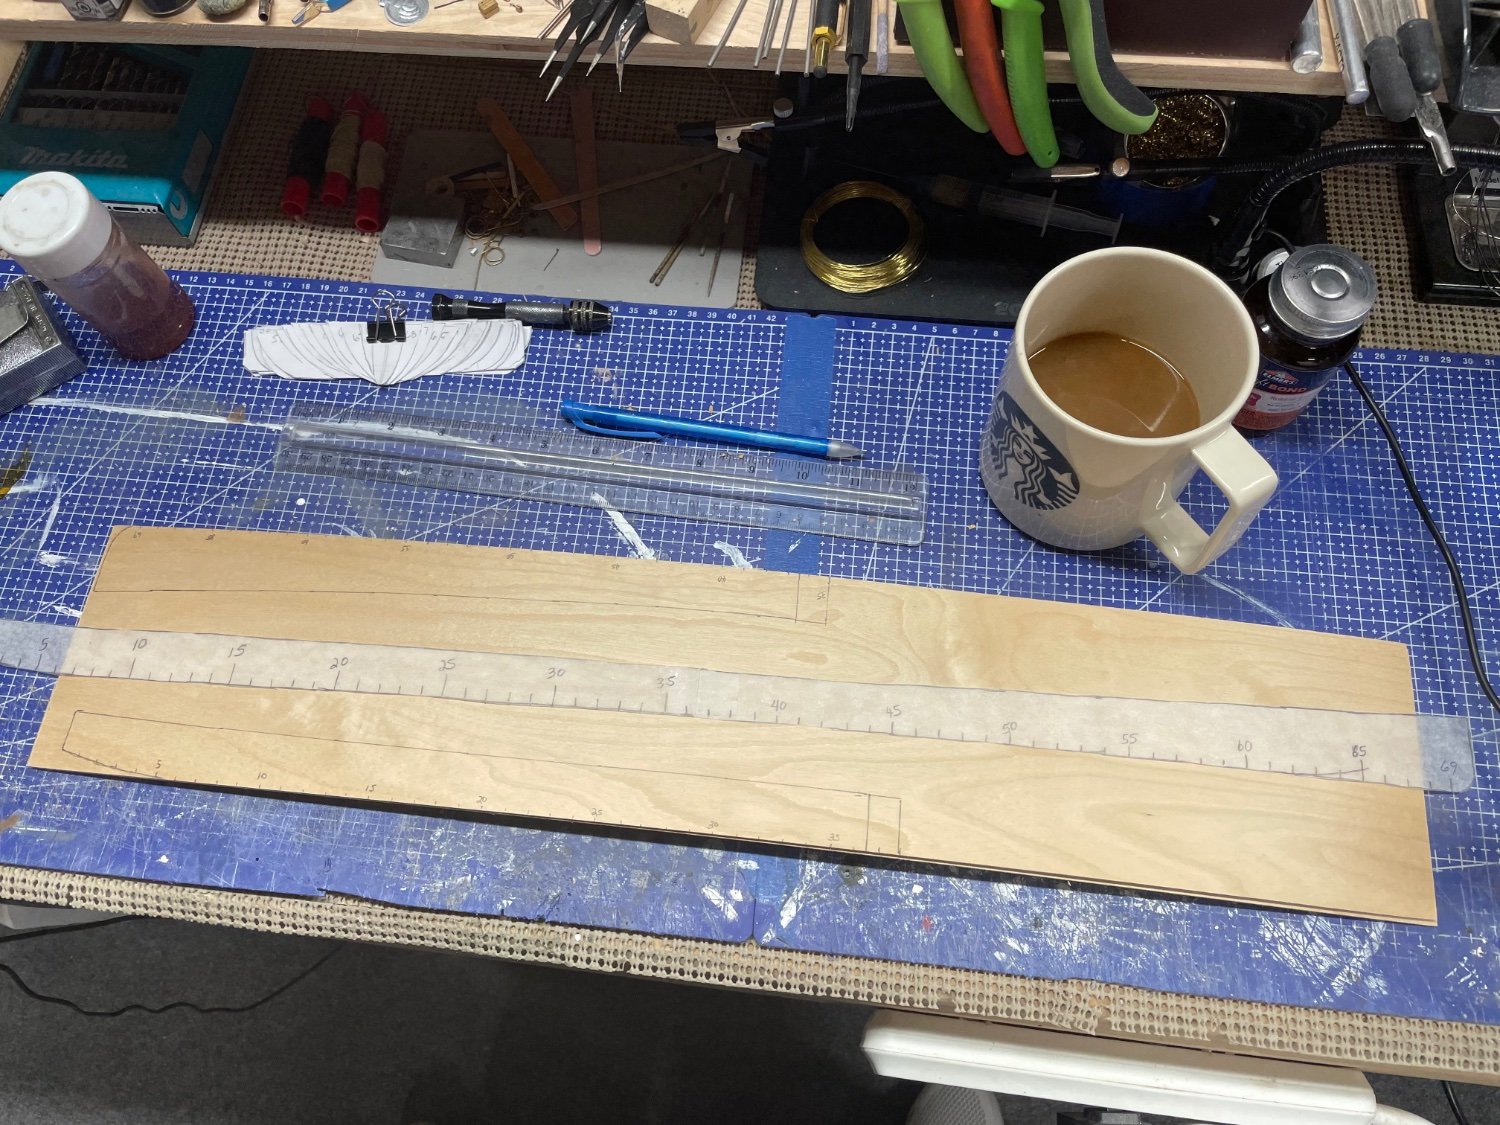
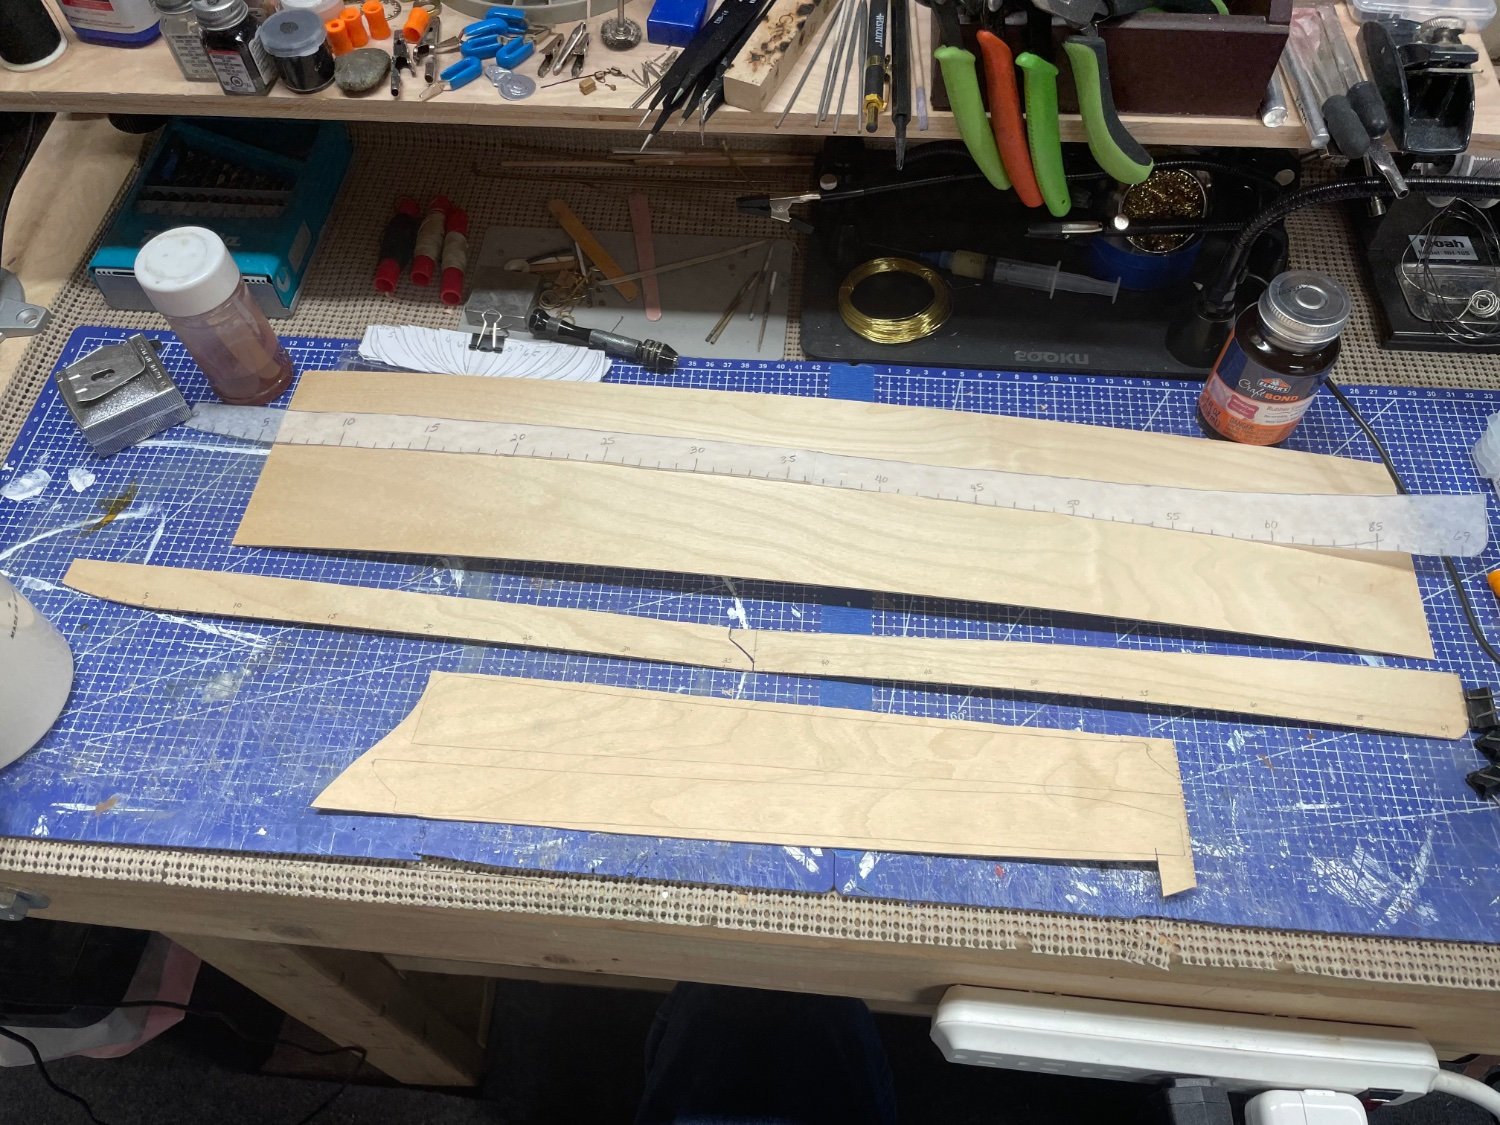
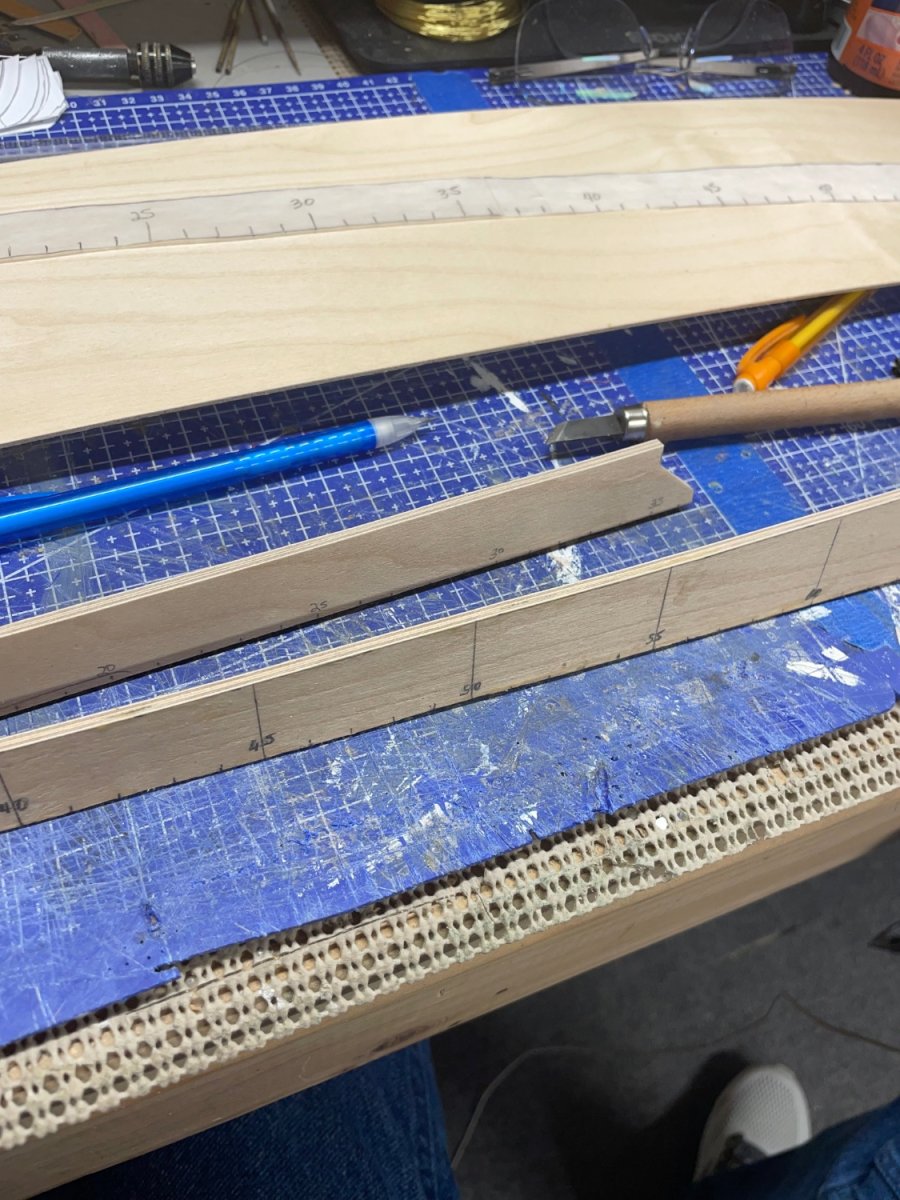
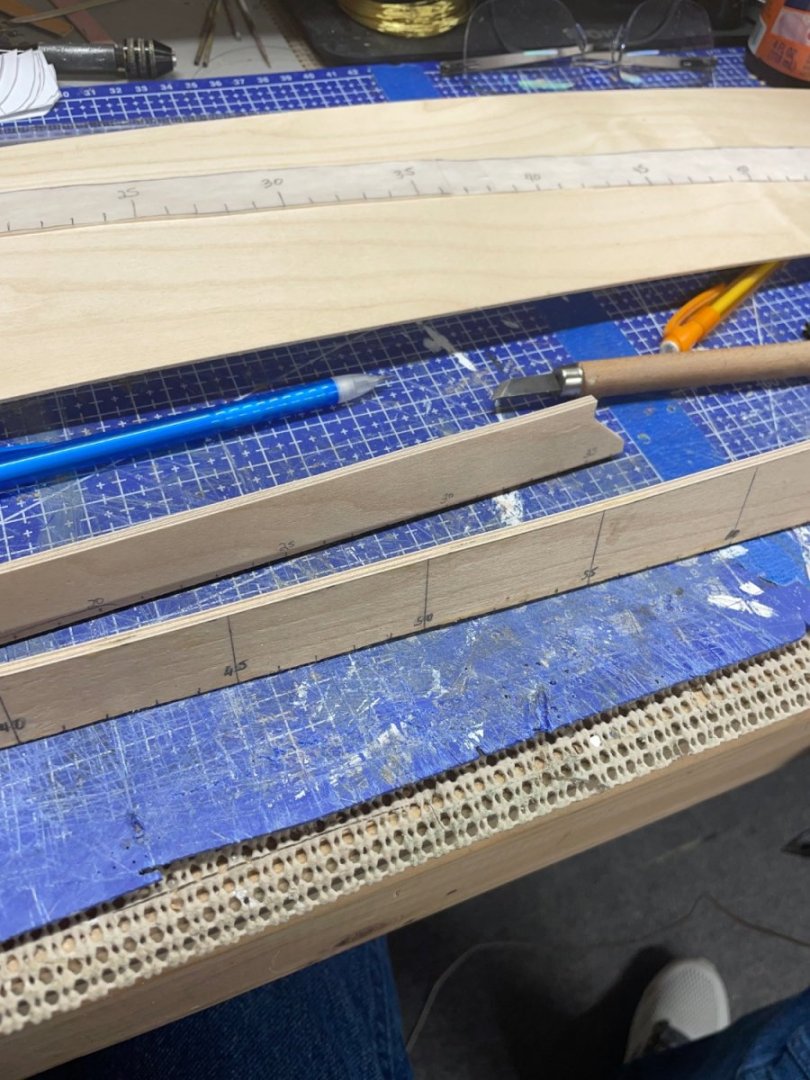
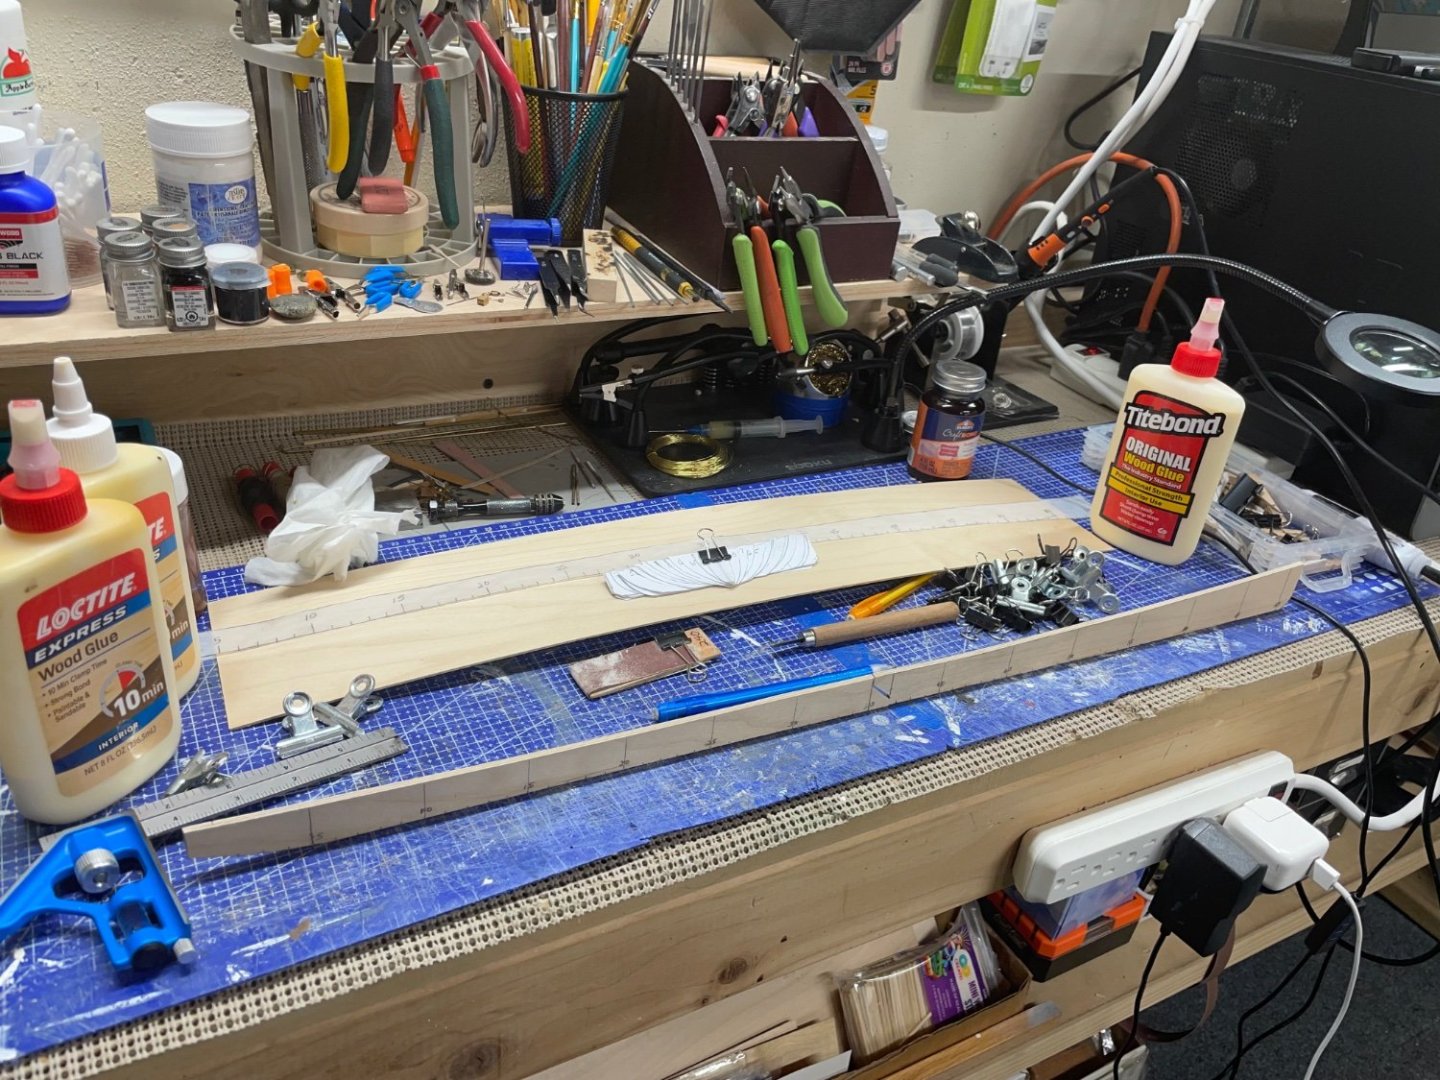
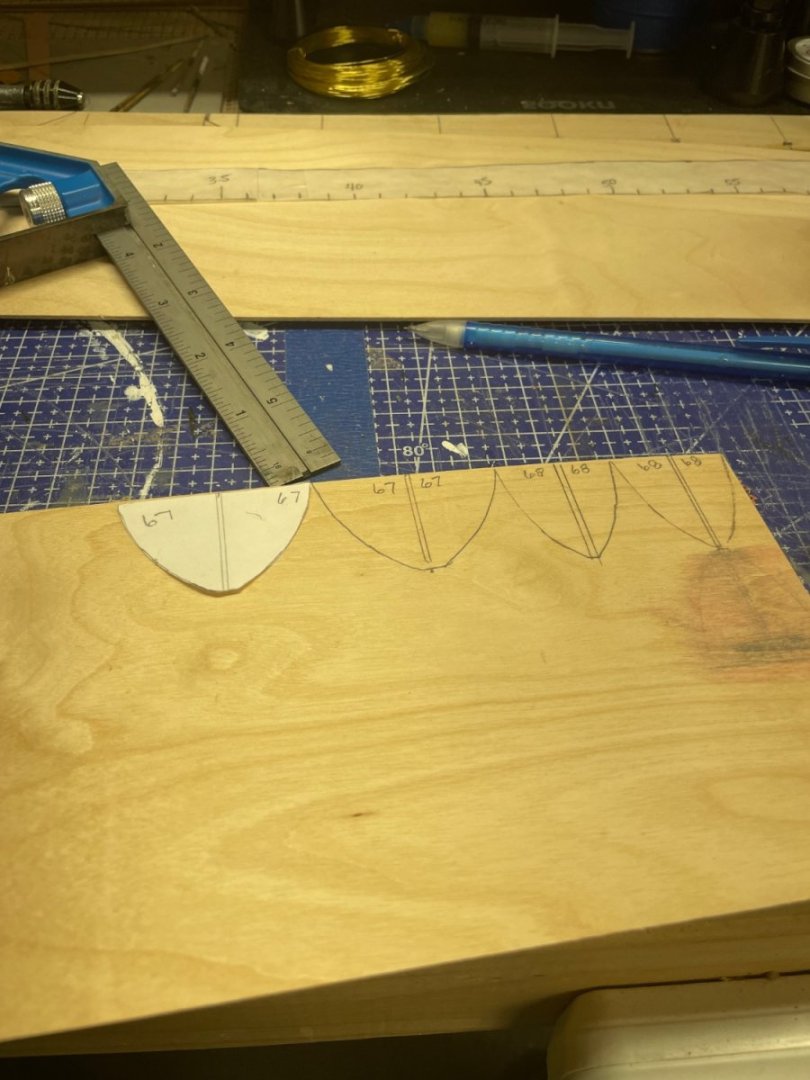
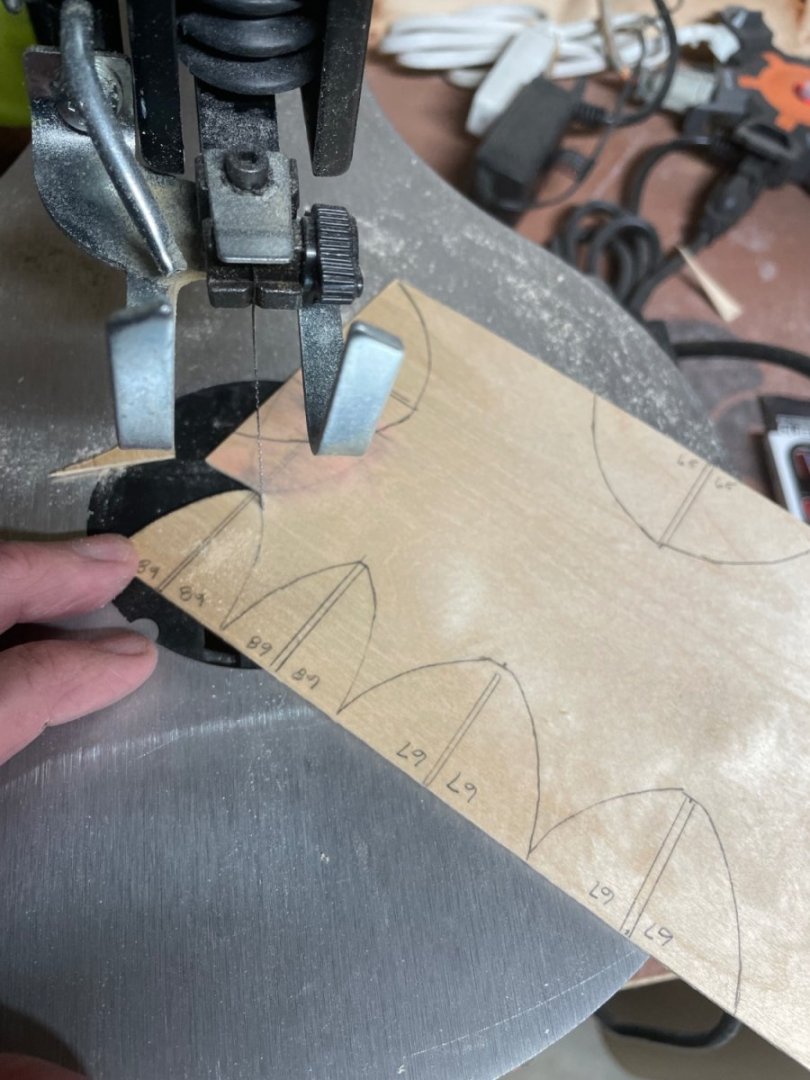
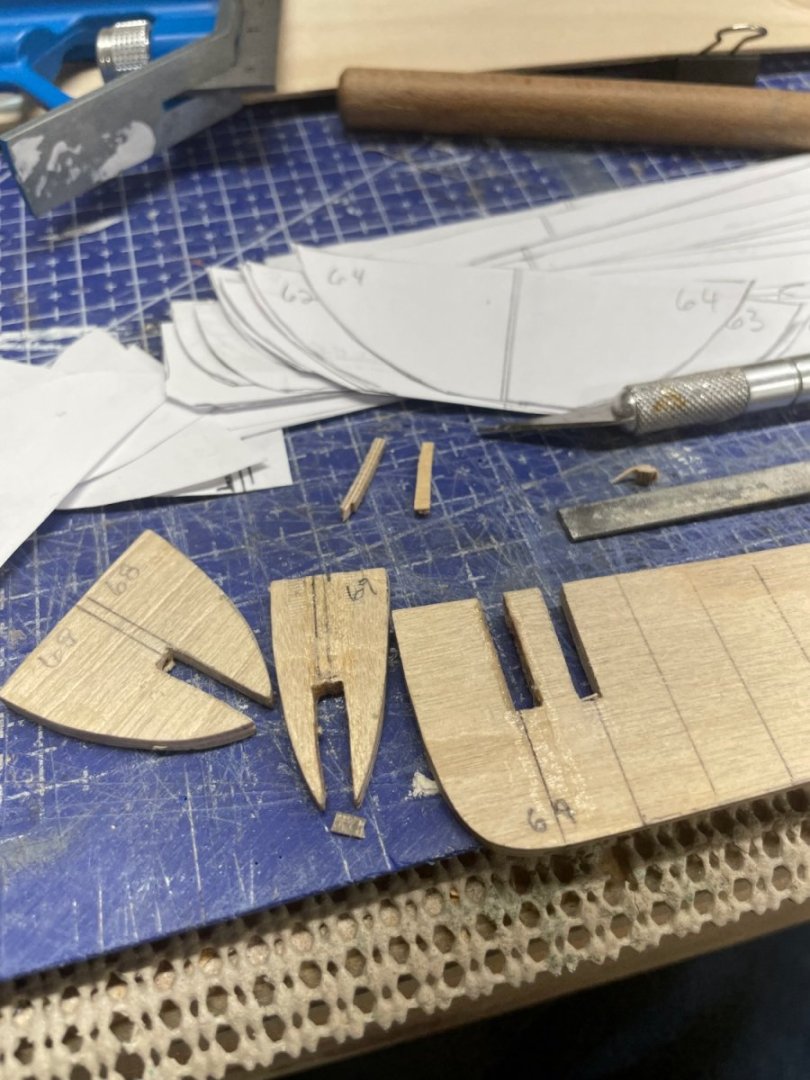
The Hull… Tracing Hull Lines… Cutting out paper Templates… Keel (backbone) formed from laminating two 1/6” birch plywood pieces. Two piece 1/8” ply backbone completed. Now the bulkheads…. Just getting started… Cheers 🍻


-
New build log….
-
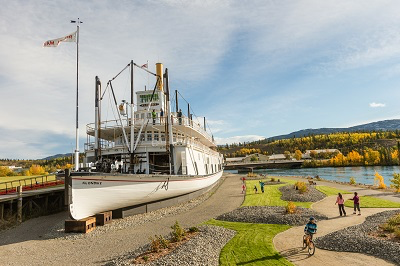
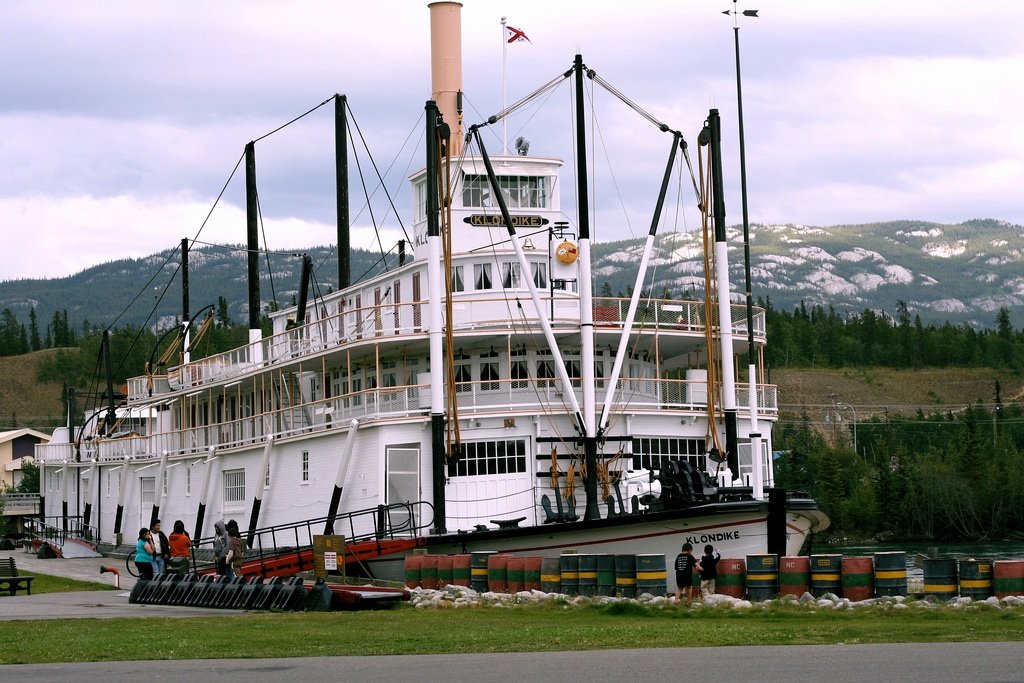
My first scratch build. 😎 The SS Klondike I was launch in 1929 by British Yukon Navigation Co. The Klondike II was built 1937 and now a museum ship and National Historical Site located in Whitehorse, Yukon. https://en.m.wikipedia.org/wiki/SS_Klondike Plans provided by Parks Canada. 🇨🇦 Many thanks to @Kusawa2000 and @Ian_Grant for bringing these plans to light.


-
How / why SS Klondike, a cargo-carrying sternwheeler river boat briefly used for river cruises, became one of Parks Canada’s 1,004 national historic sites https://ingeniumcanada.org/channel/articles/as-the-world-err-as-the-wheel-turns-or-how-why-ss-klondike-a-cargo-carrying-1
-
Interesting article on the restoration of the Klondike. https://www.nationalparkstraveler.org/2022/10/yukon-chat-parks-canadas-only-shipwright Cheers 🍻