HOLIDAY DONATION DRIVE - SUPPORT MSW - DO YOUR PART TO KEEP THIS GREAT FORUM GOING! (Only 13 donations so far - C'mon guys!)
×


John Ruy
-
Posts
1,566 -
Joined
-
Last visited
Content Type
Profiles
Forums
Gallery
Events
Everything posted by John Ruy
-
 Water Slide Decal Paper for dark surfaces. https://www.ebay.com/itm/222172108654?mkcid=16&mkevt=1&mkrid=711-127632-2357-0&ssspo=cyXBUpM9TX6&sssrc=4429486&ssuid=saHjlWAtSV-&var=521012939560&widget_ver=artemis&media=COPY
 -
Thanks Bob, and a Happy New Year to you. It’s good to get back to a regular schedule and a fresh start in the Shipyard after the holidays. Have a great 2024… Cheers 🍻
- 282 replies
-
- 1
-

-
- Bluenose
- Model Shipways
- (and 1 more)
-
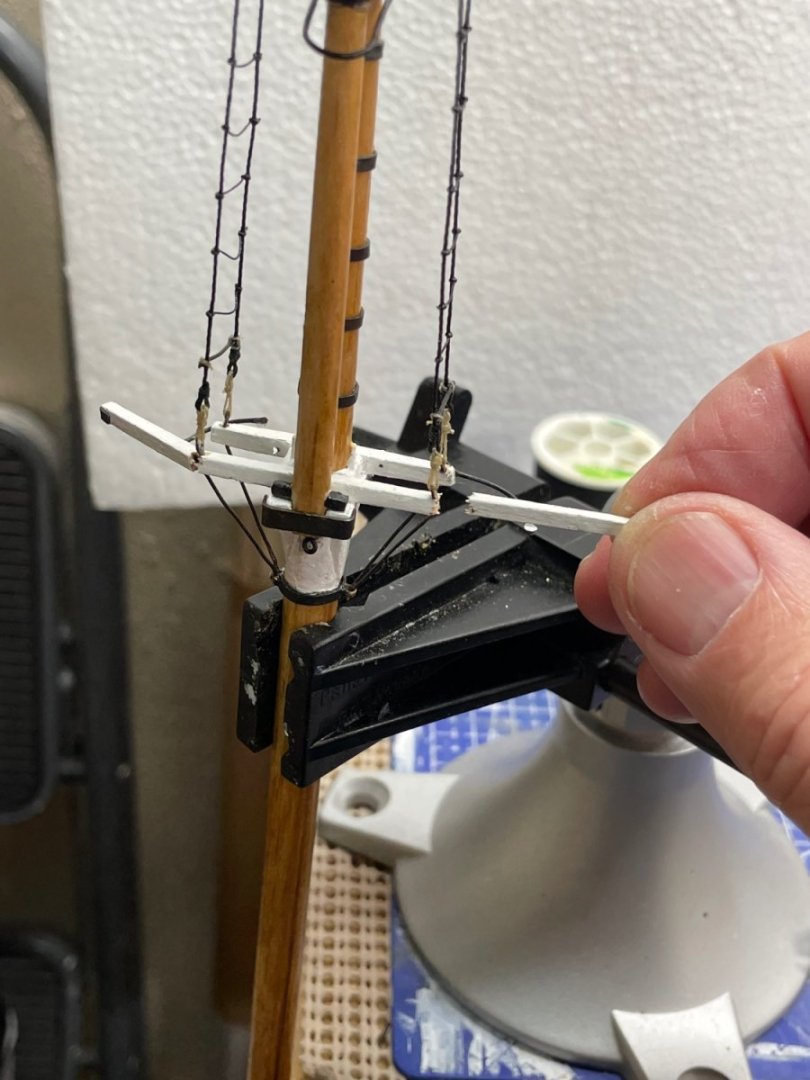
Yep, right out of the MS instructions. Note: They are adjustable. 😆 I set these for 15mm. Thanks Ian…
- 282 replies
-
- 5
-
-
- Bluenose
- Model Shipways
- (and 1 more)
-
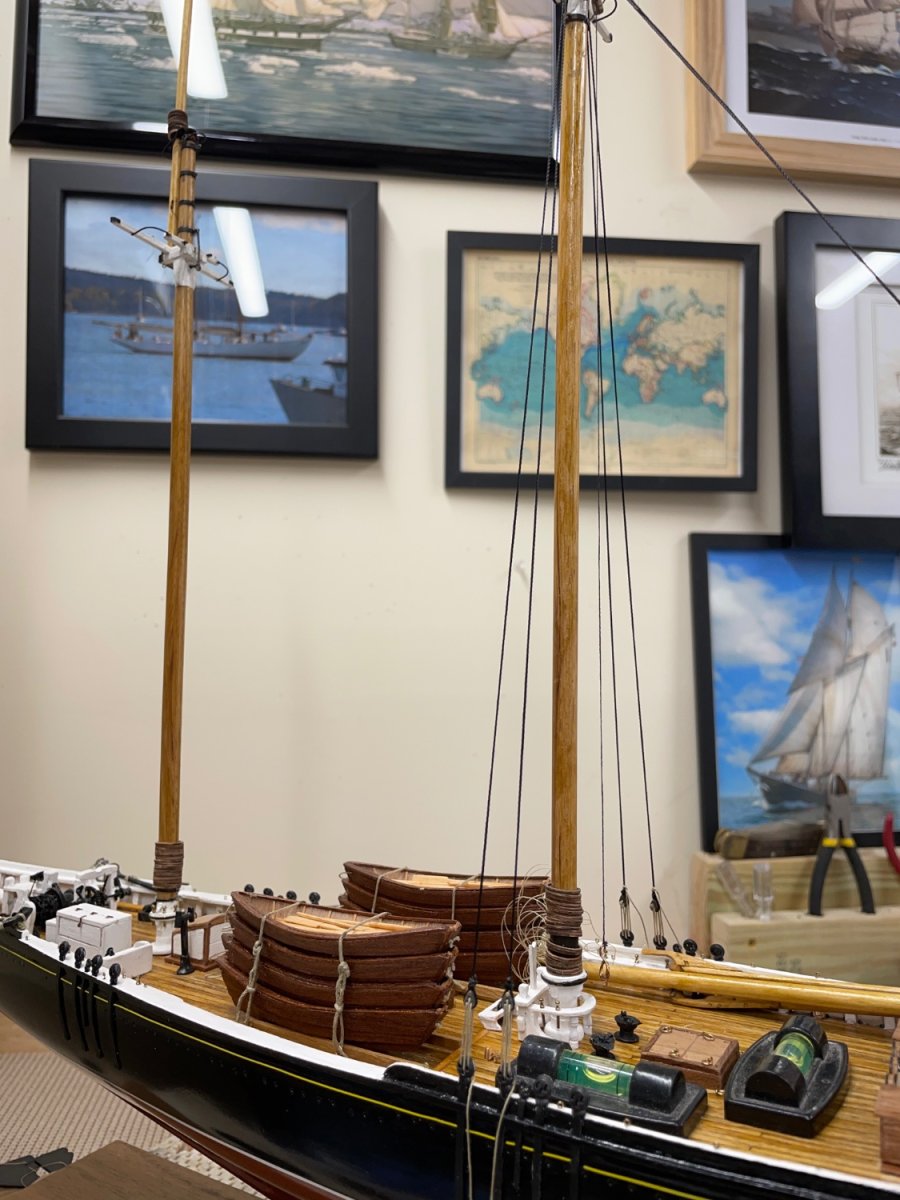
Fore Mast Shrouds continued… On to the Main Shrouds… Cheers 🍻


- 282 replies
-
- 11
-

-
-
- Bluenose
- Model Shipways
- (and 1 more)
-
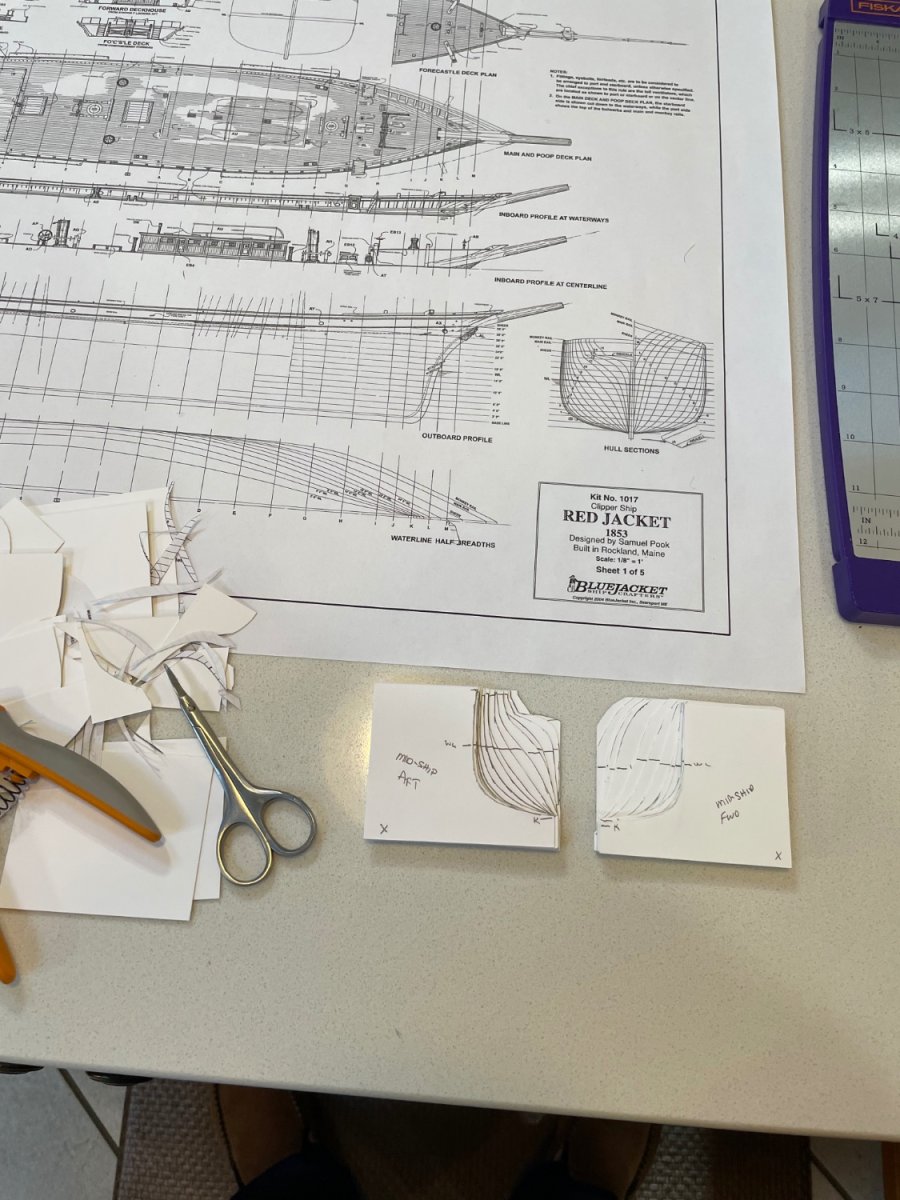
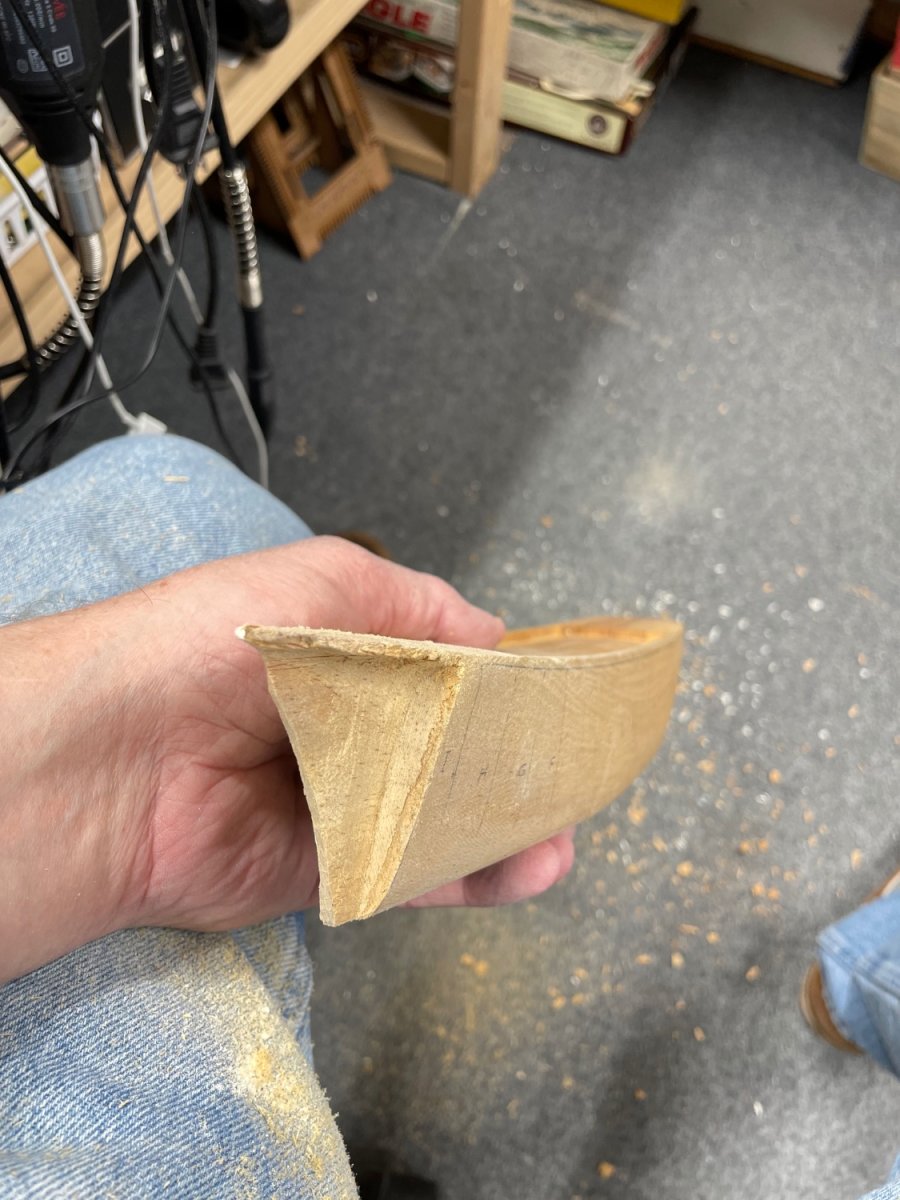
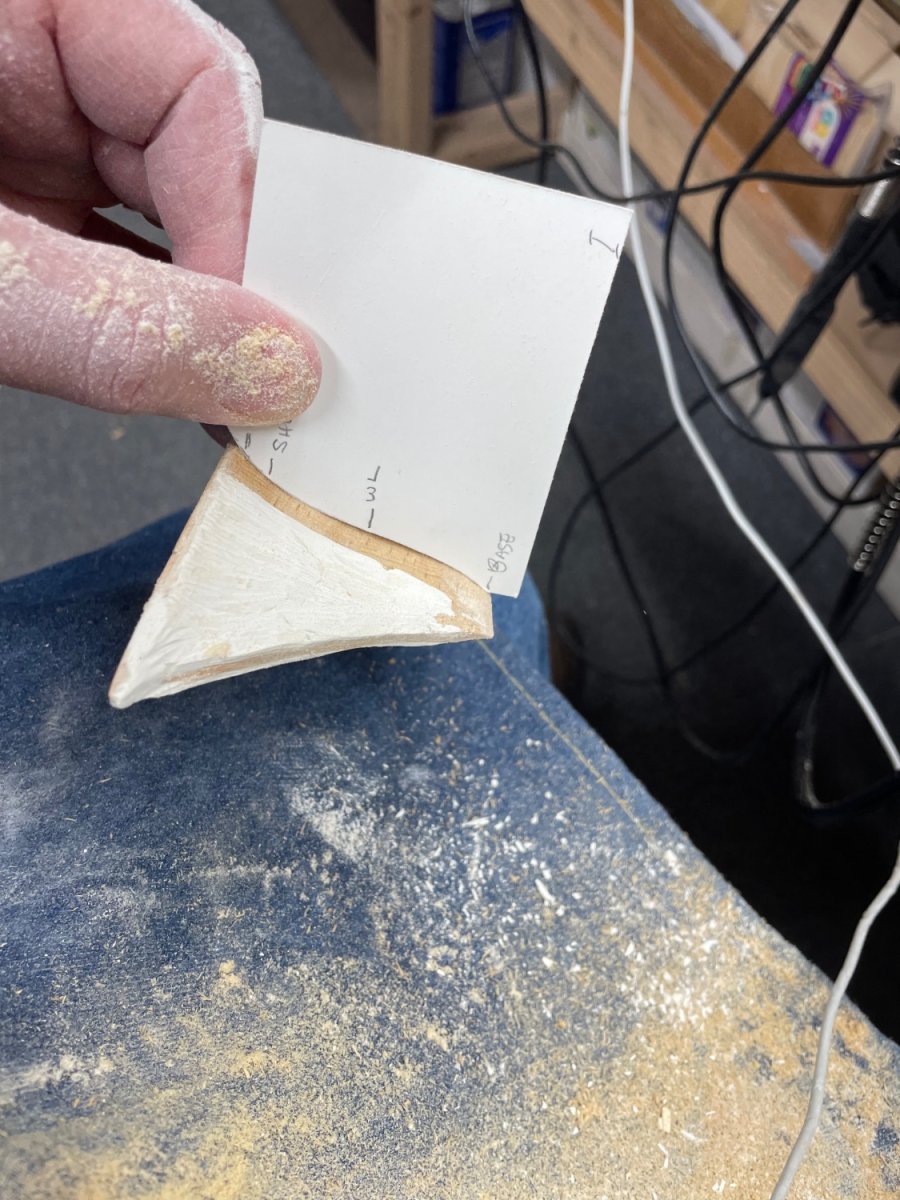
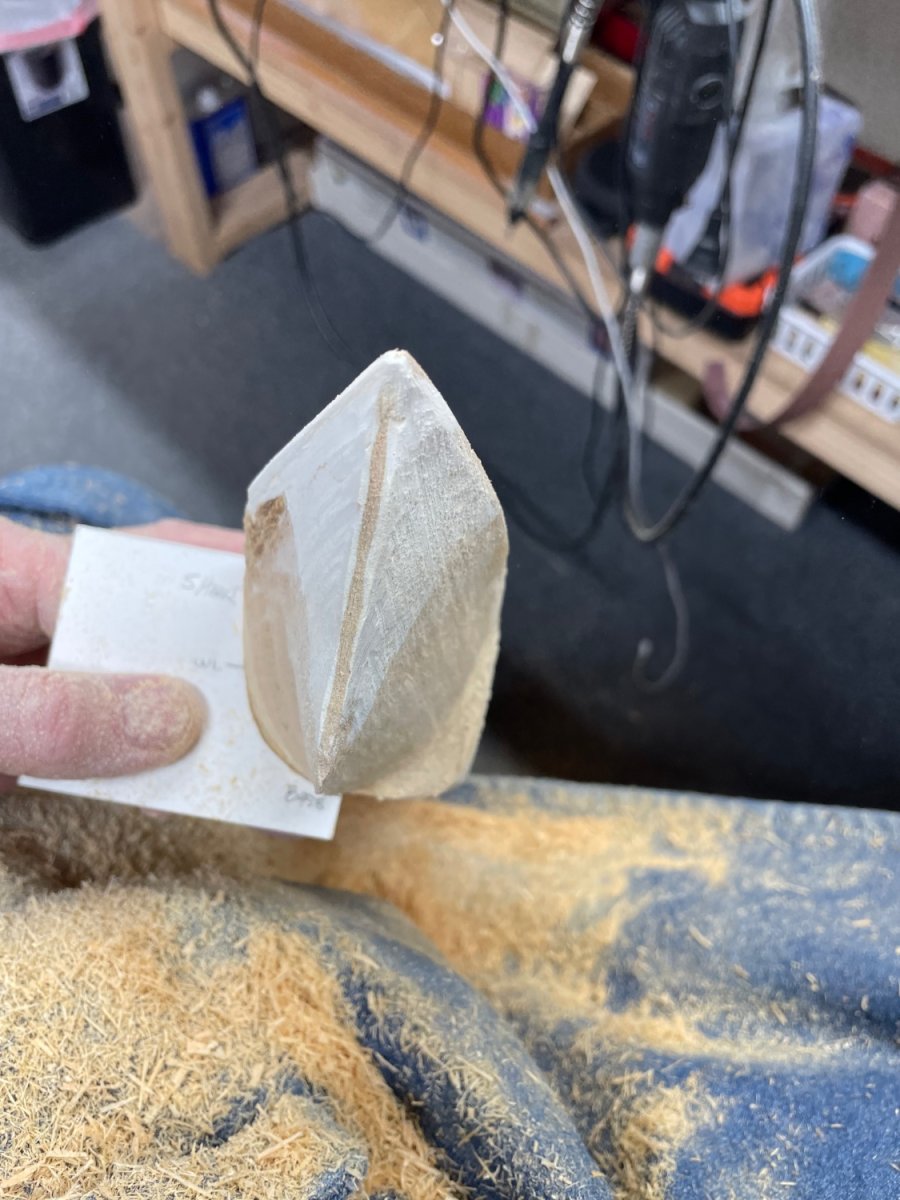
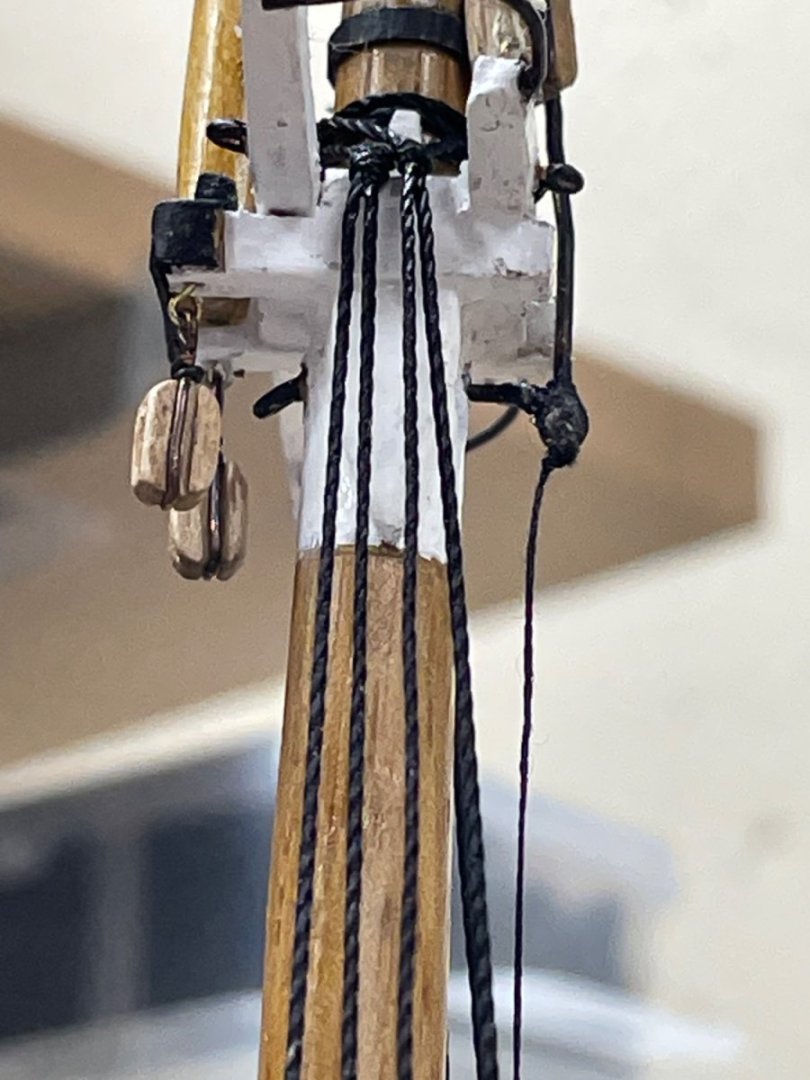
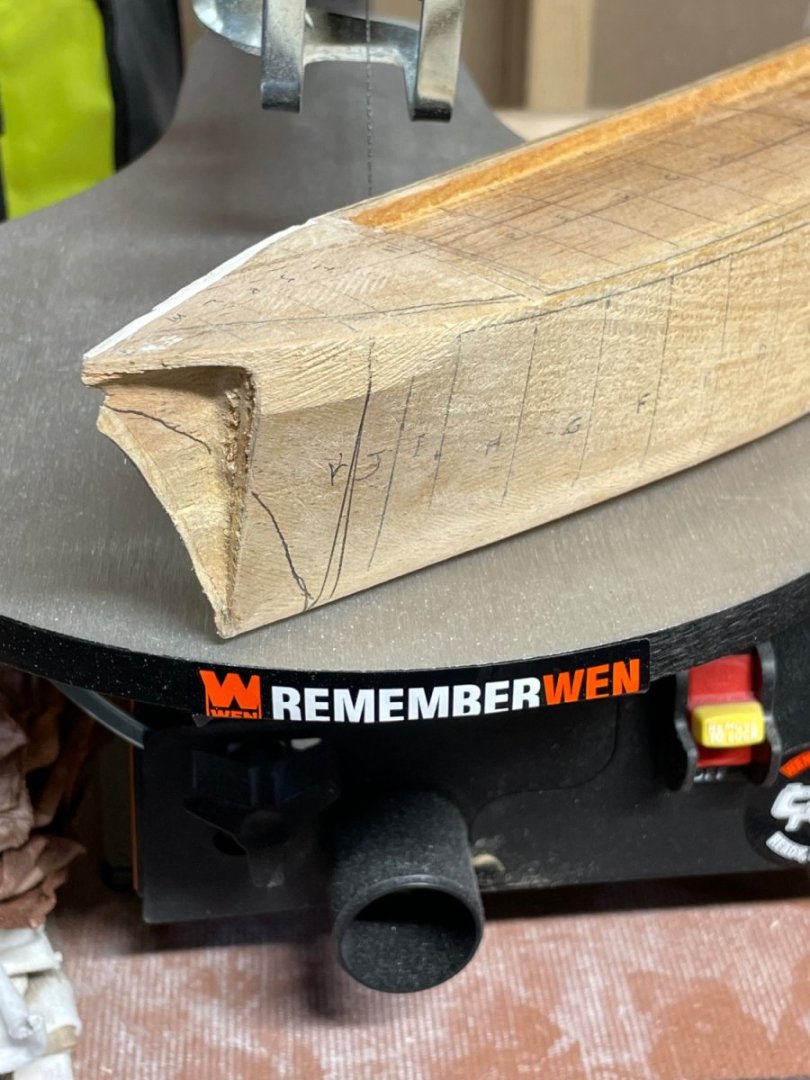
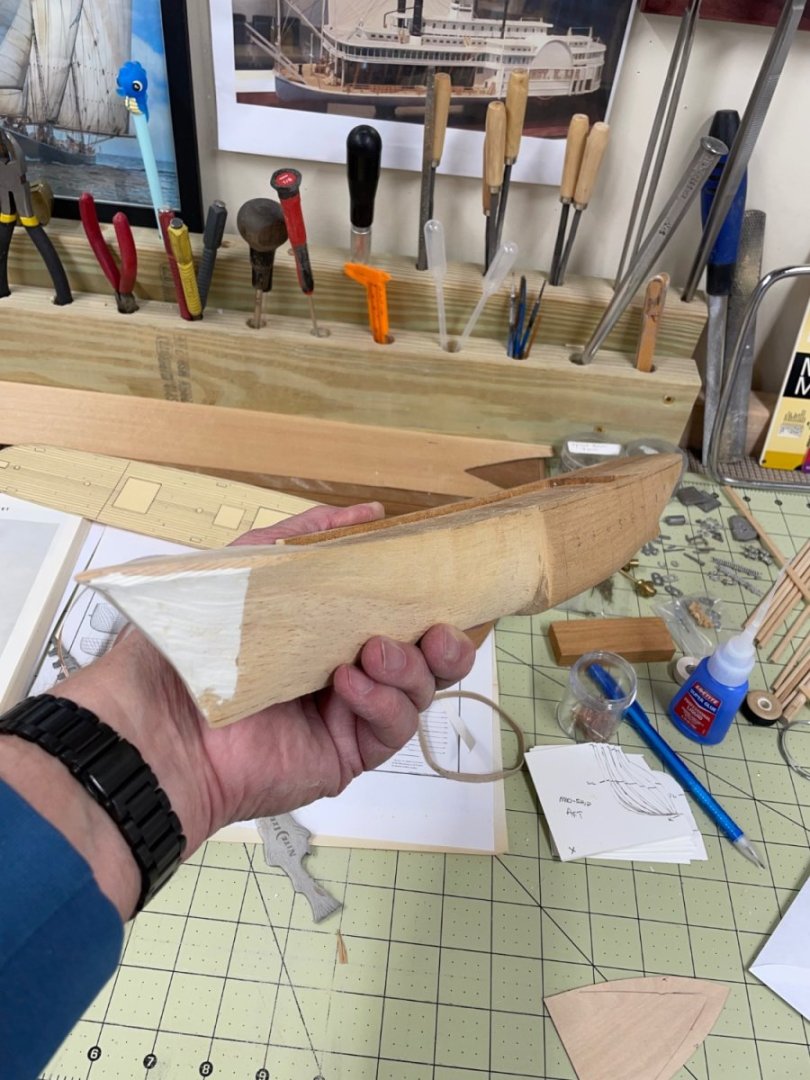
Shaping the Hull… Used card stock to cut section templates of the hull profiles. Carved to mid-ship using router tip and barrel sander on a rotary tool. Cheers 🍻


- 165 replies
-
- 8
-
-
- Red Jacket
- Marine Model Company
- (and 2 more)
-
Yes, but it makes for a very interesting read. I must say, striving for perfection makes for a beautiful representation of a historically accurate model. 👍
-
Beautiful Engine Yves. Nice find… 👍
-
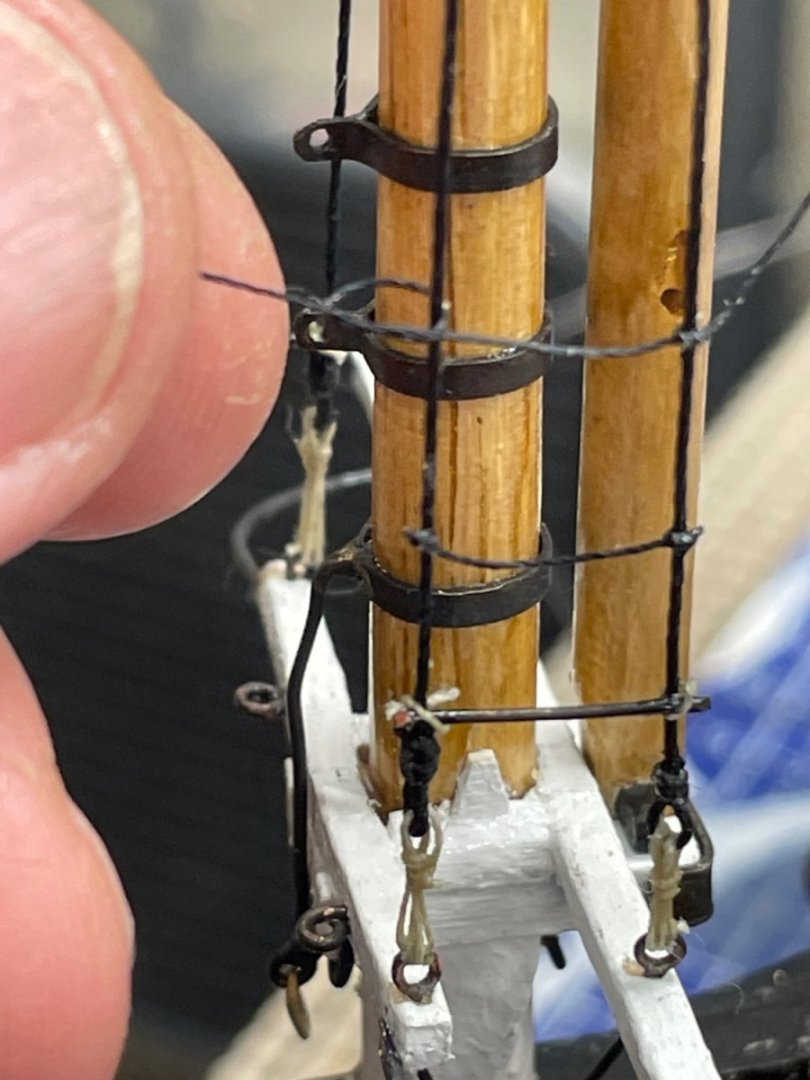
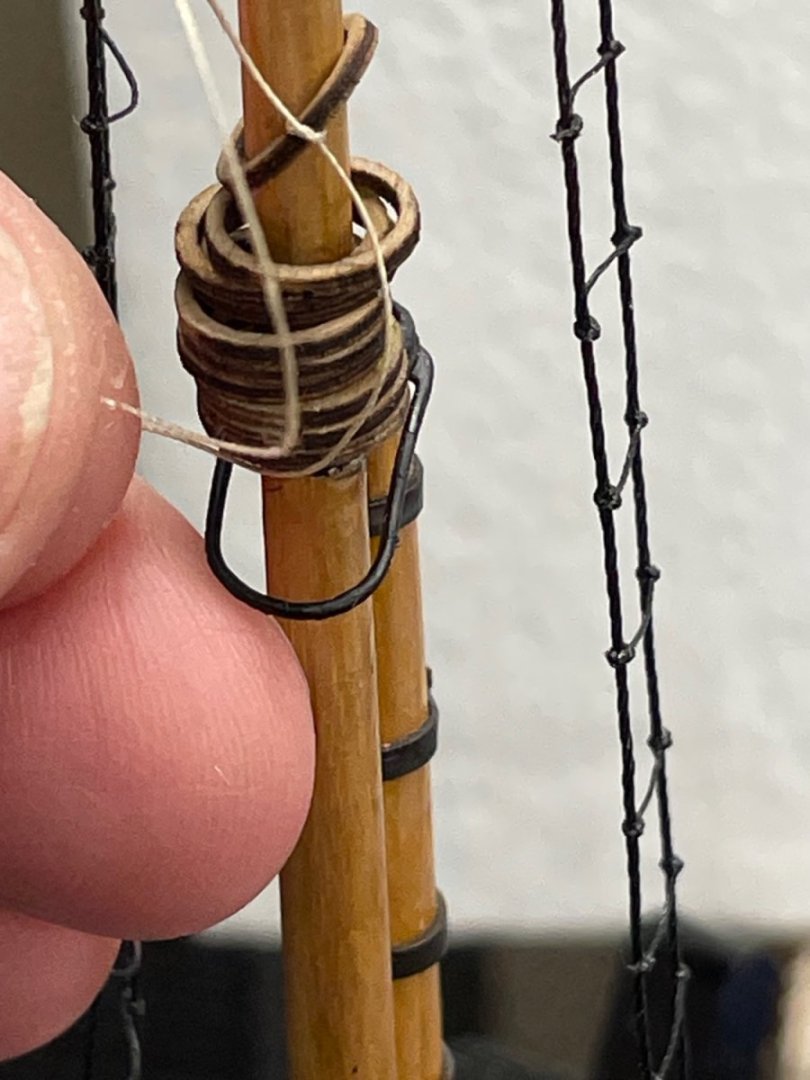
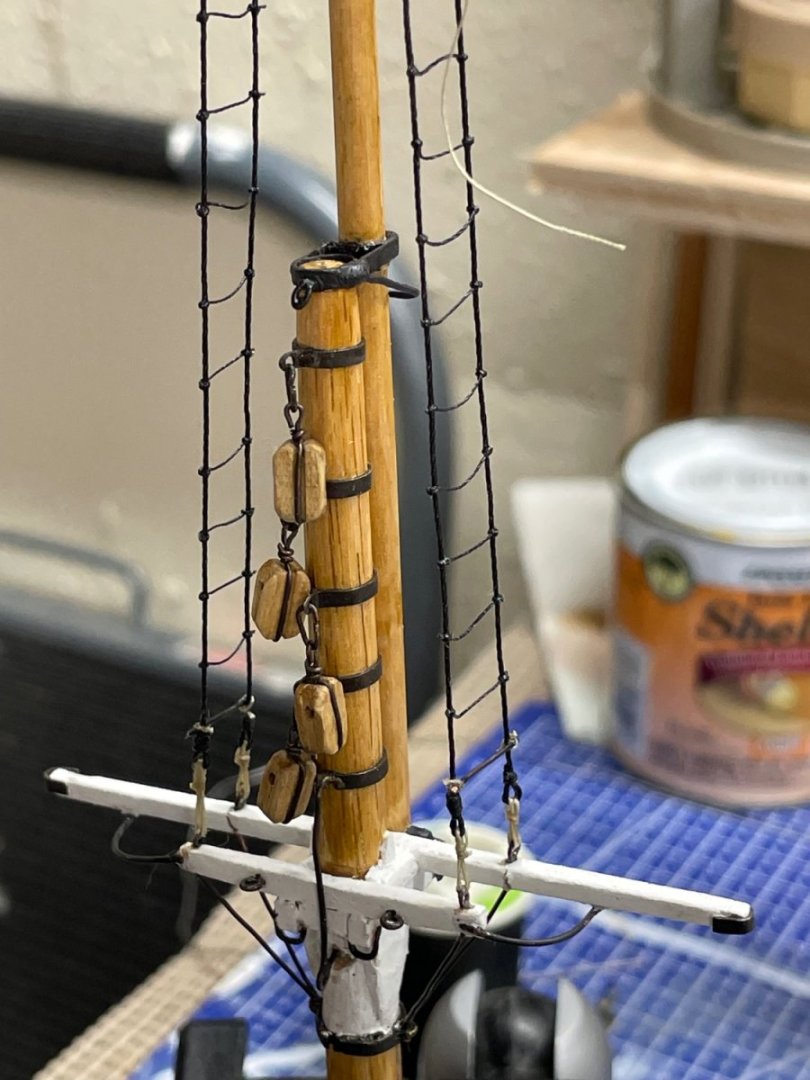
Re-setting the Fore Mast… Brought the Mast back for adding those ties to the mast hoops. Found a few more blocks (5 to be exact) to be hung. Easier to do the now. 😎 Ok… Fore Mast has been set yet again, now I can start on the shrouds. Cheers 🍻

- 282 replies
-
- 7
-
-
- Bluenose
- Model Shipways
- (and 1 more)
-
No, I forgot to tie those on just now. Didn’t notice until you said something. 😬 It’s a lot easier, I’m glad you noticed before I started the shrouds. All I’ll need to do is pull the temporary shrouds and lift the mast to finish up the ties. Another reason for not glue the masts in place. Thanks for noticing… BTW… Yes it seems like a lot, but it makes the eyeballing 👁️ feel better. LOL 😆 John
- 282 replies
-
- 4
-
-
- Bluenose
- Model Shipways
- (and 1 more)
-
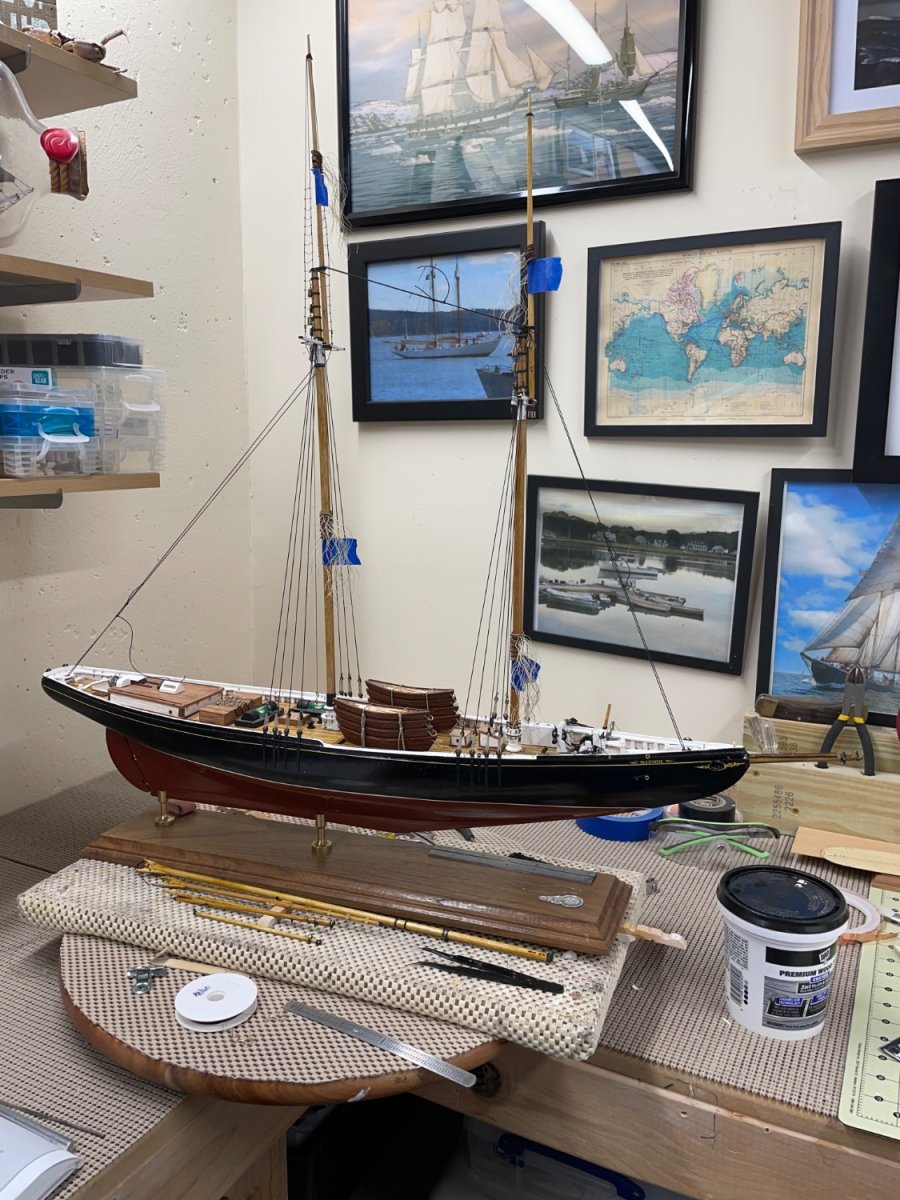
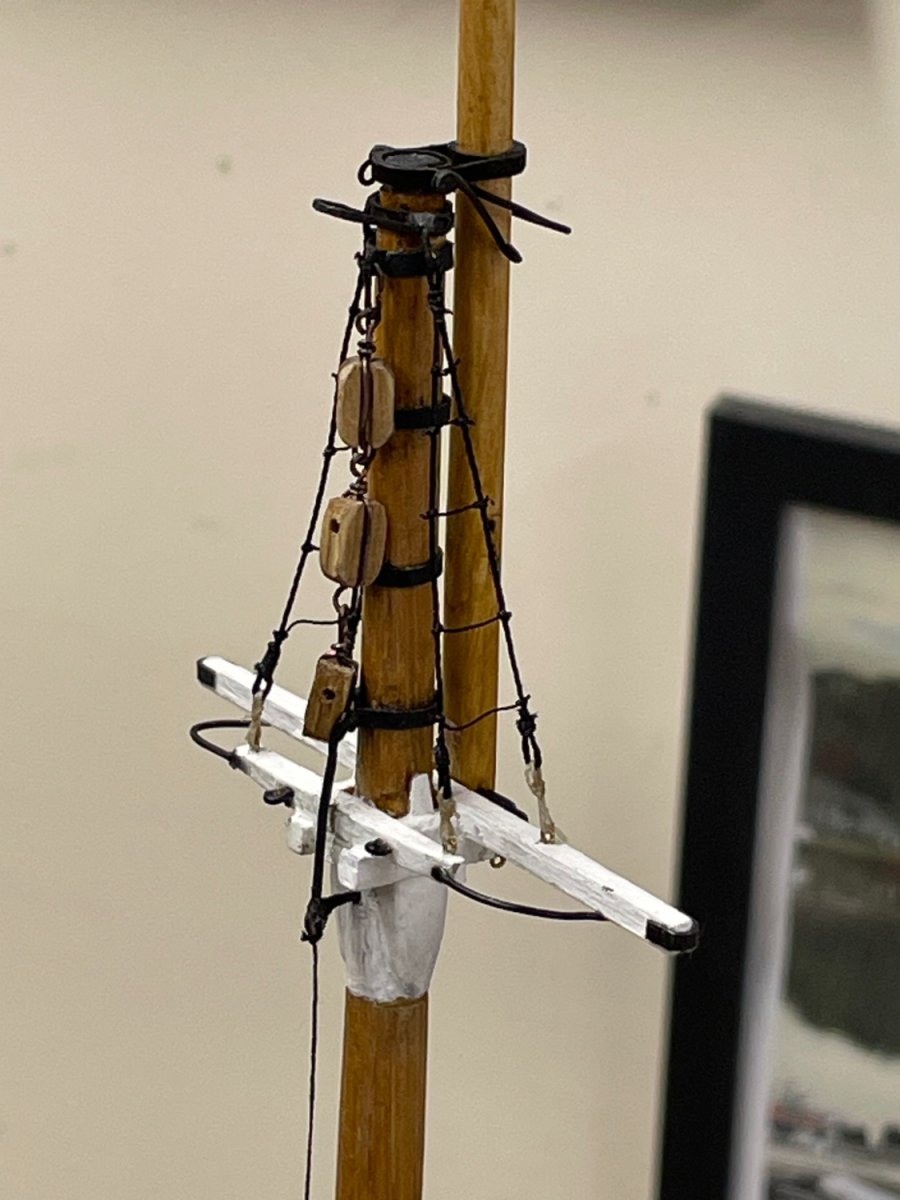
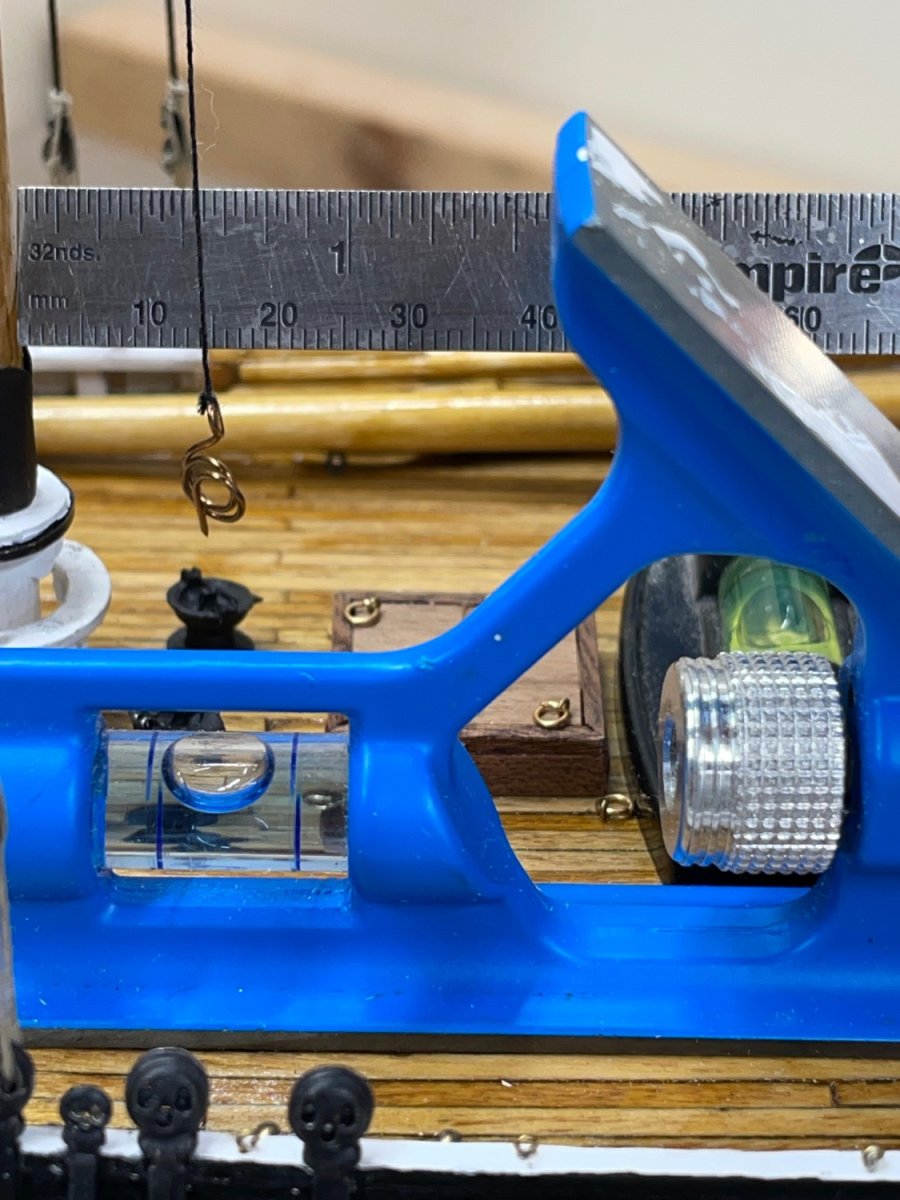
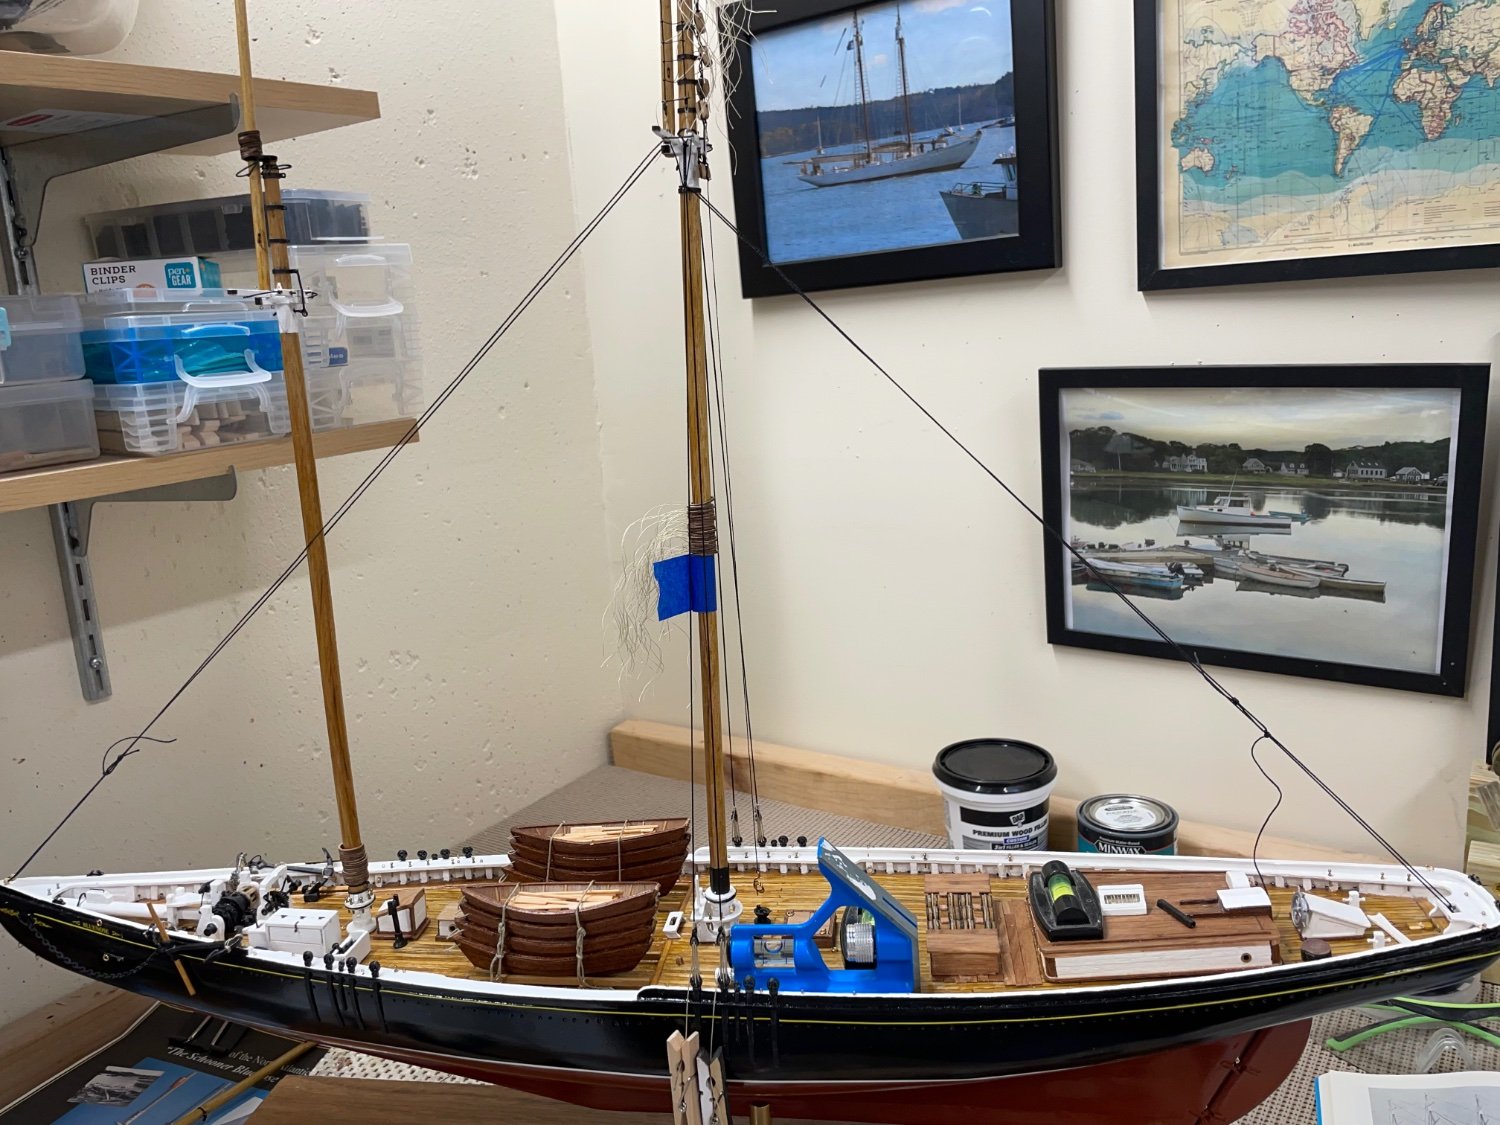
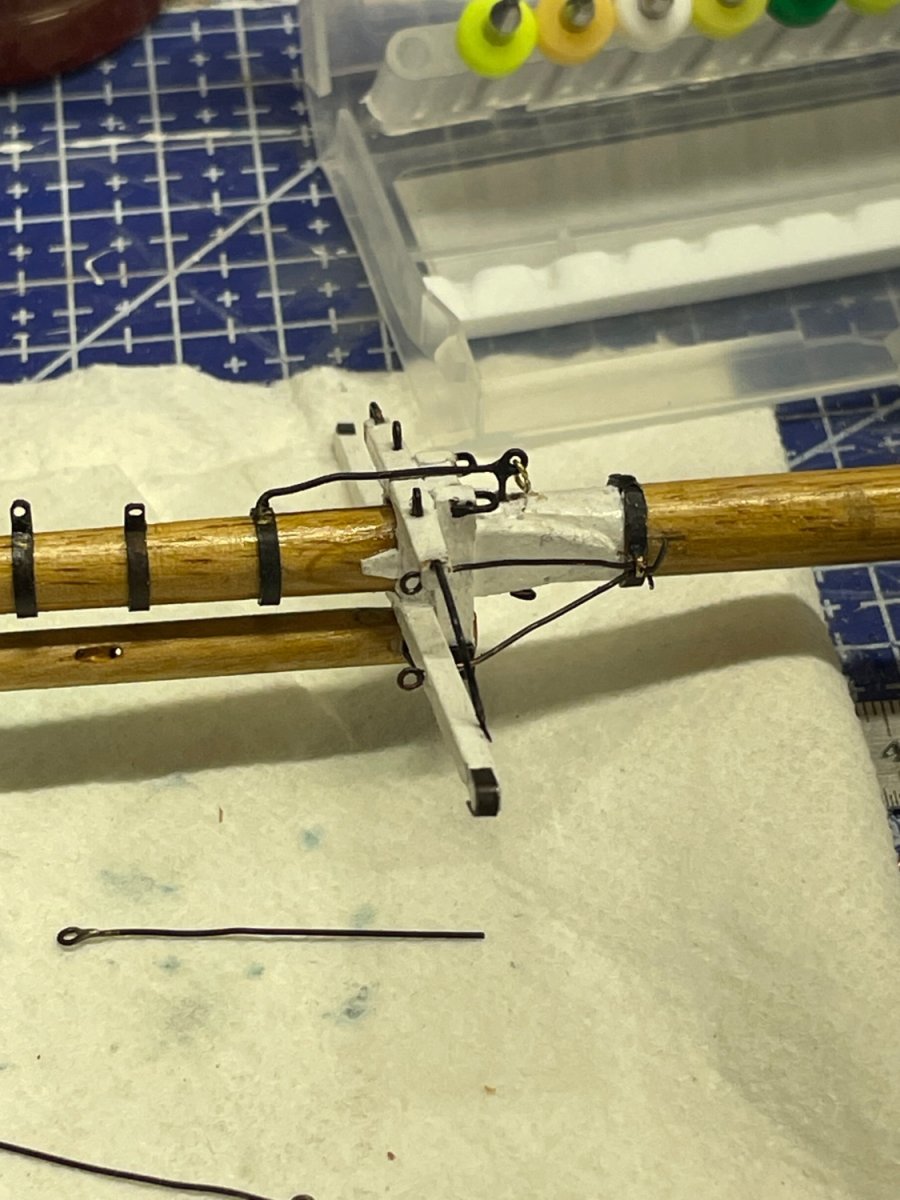
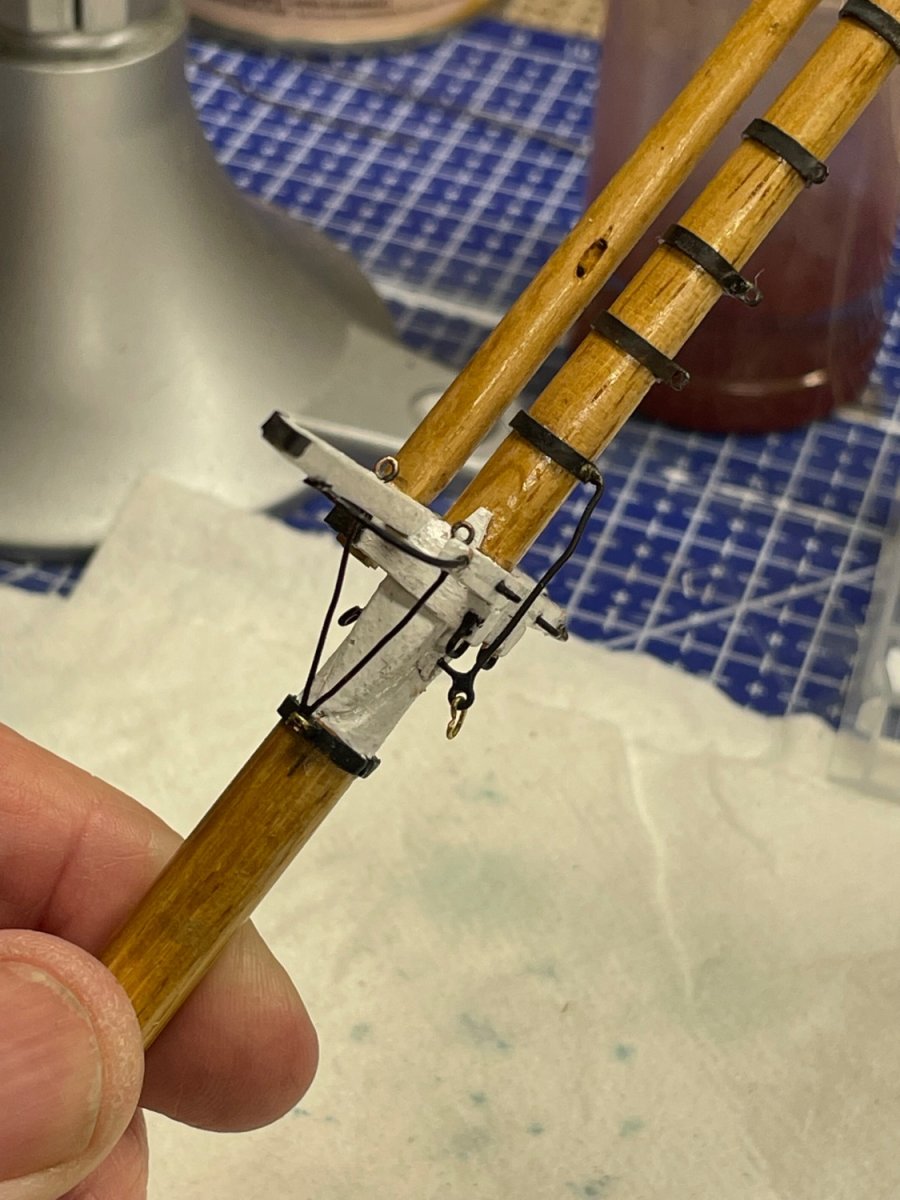
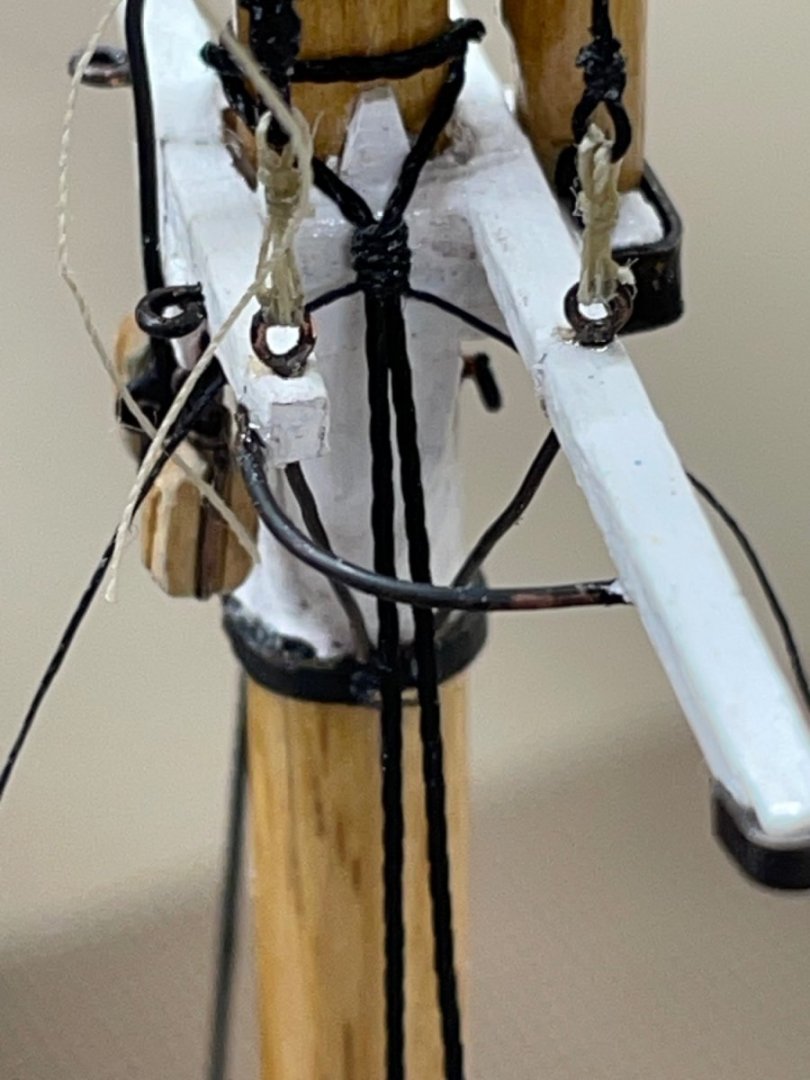
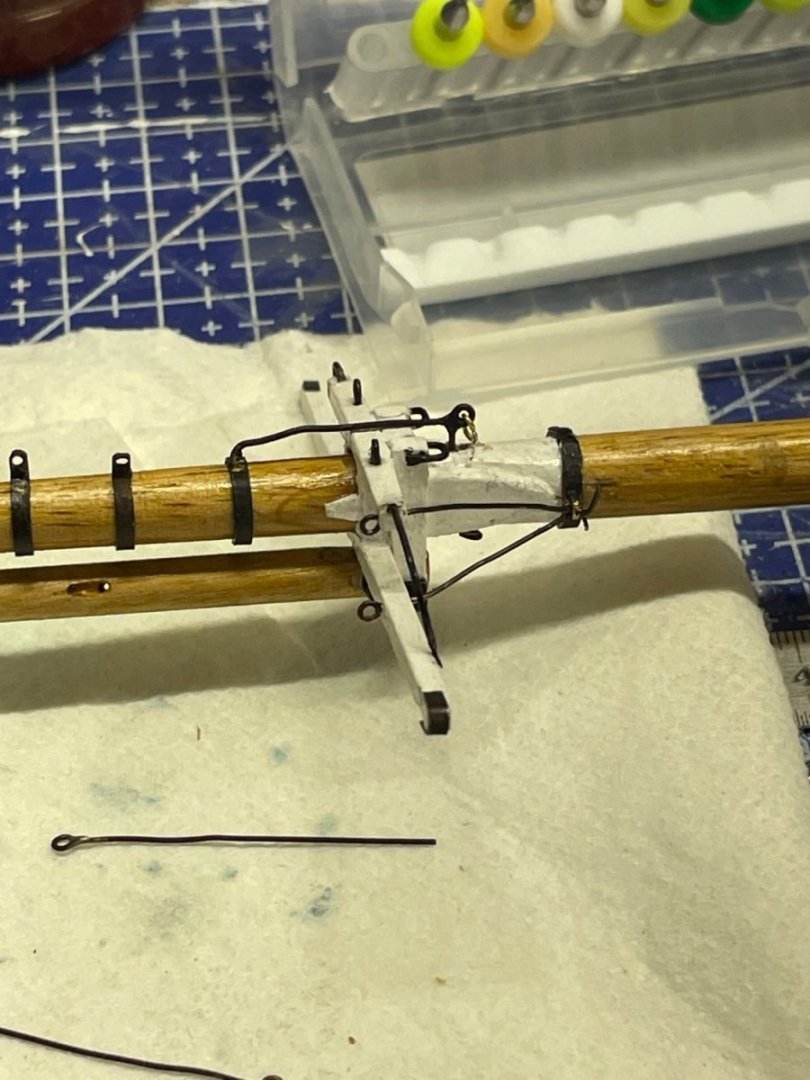
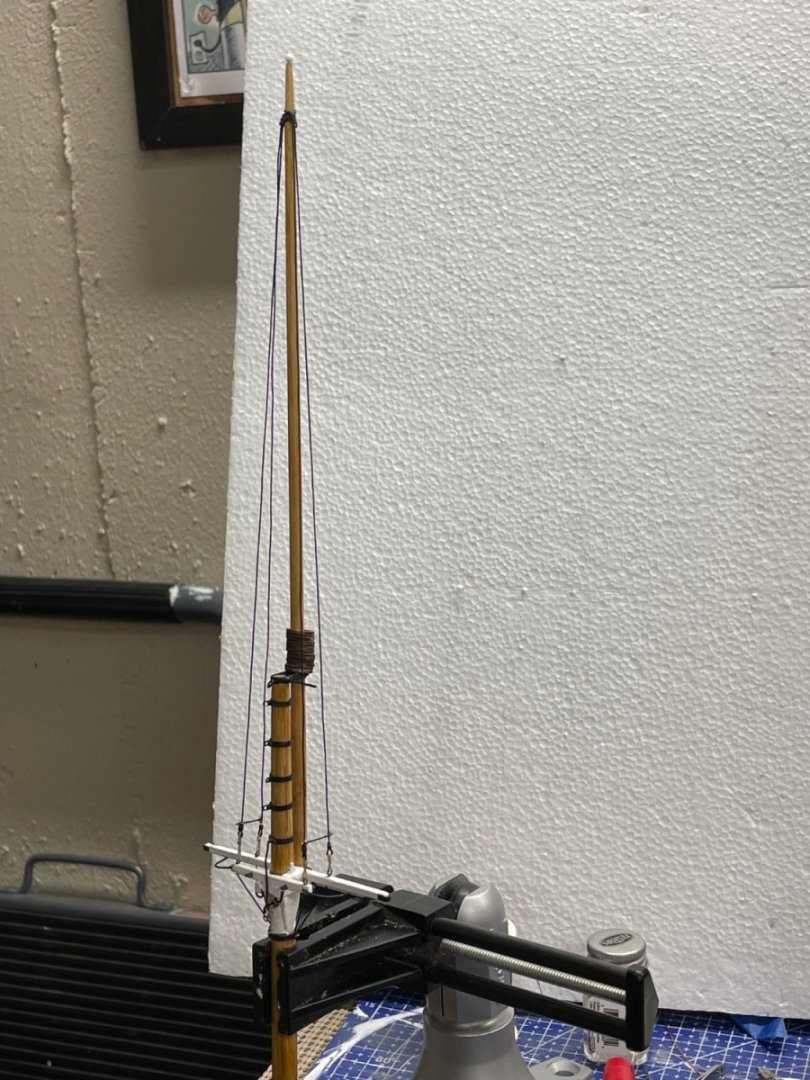
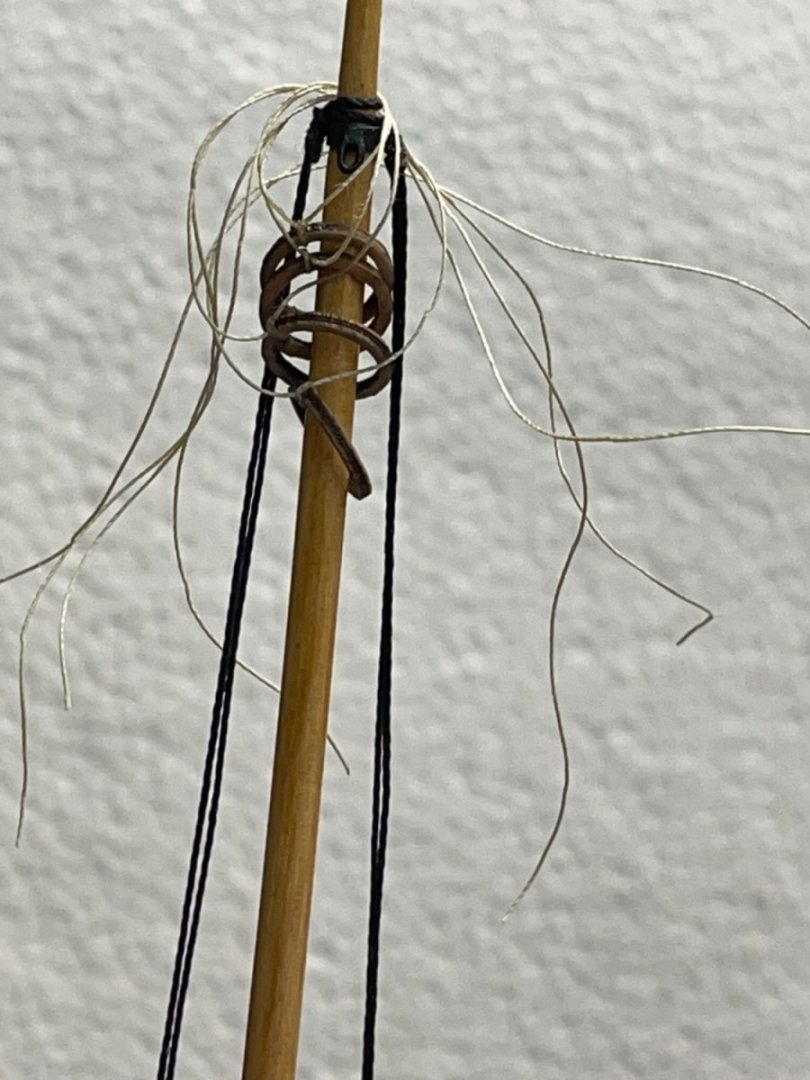
Setting the Fore Mast… Before setting the Fore Mast, I will complete some additional details while I can work with the mast unmounted. Spreader Lifts… Lanyards… Ratlines… Completed Topmast fittings… Setting mast 1% rake with Plumb Bob with temporary stays. Now ready to complete Lower Shrouds with temporary Stays in place. Cheers 🍻


- 282 replies
-
- 6
-
-
-
- Bluenose
- Model Shipways
- (and 1 more)
-
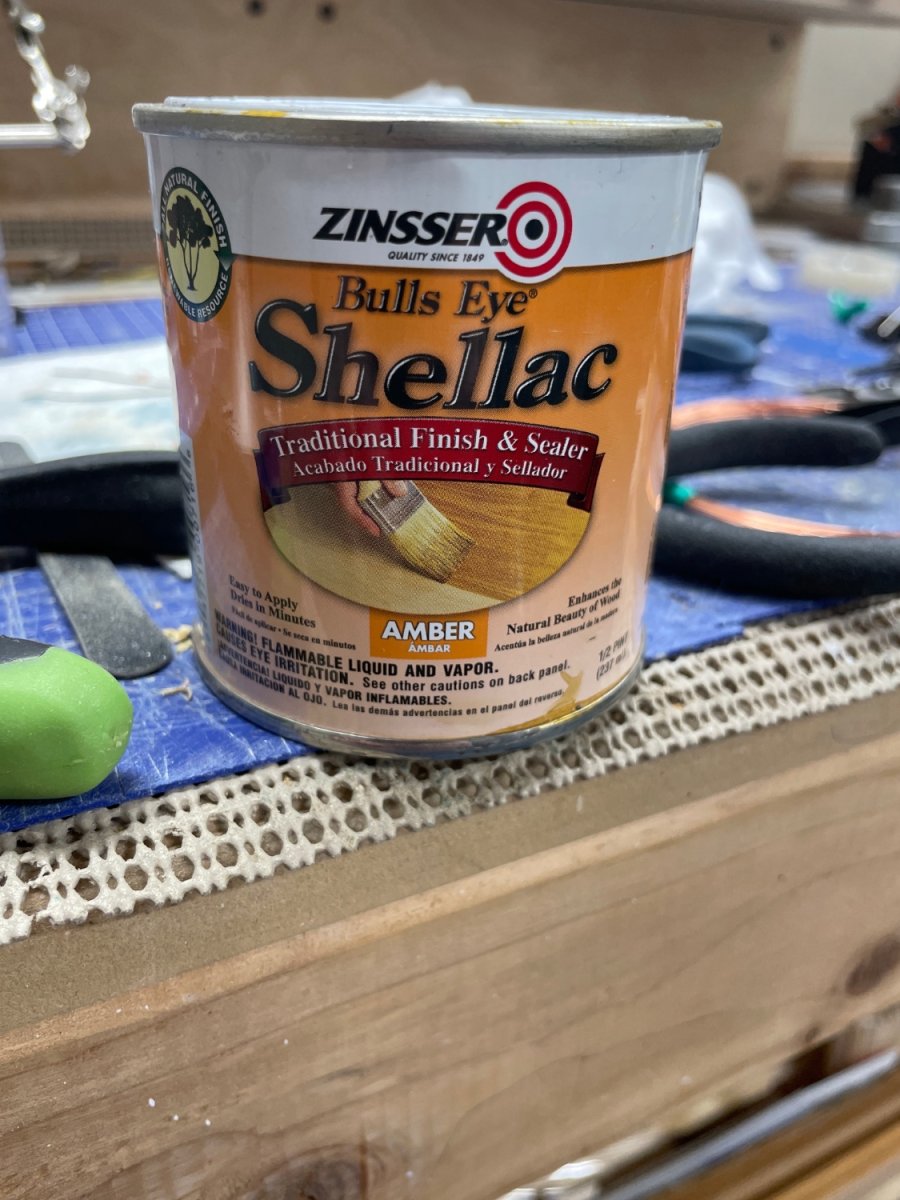
Tony, Here’s the Shellac I use. Found in our local hardware shops. Don’t know about the UK. John

-
Just a thought, you might try Amber Shellac. It seals the wood and (I think) gives it an oiled look. Small parts glue down well with CA Glue. I use it on parts designated to be Natural Oiled. Try it on some scrap wood before you put it on that beautiful deck. John
-
She is really starting come alive now, with all the details. The fun is about to begin with rigging. Looking good! Cheers 🍻
- 254 replies
-
- 5
-
-
- Victory Models
- Pegasus
- (and 3 more)
-
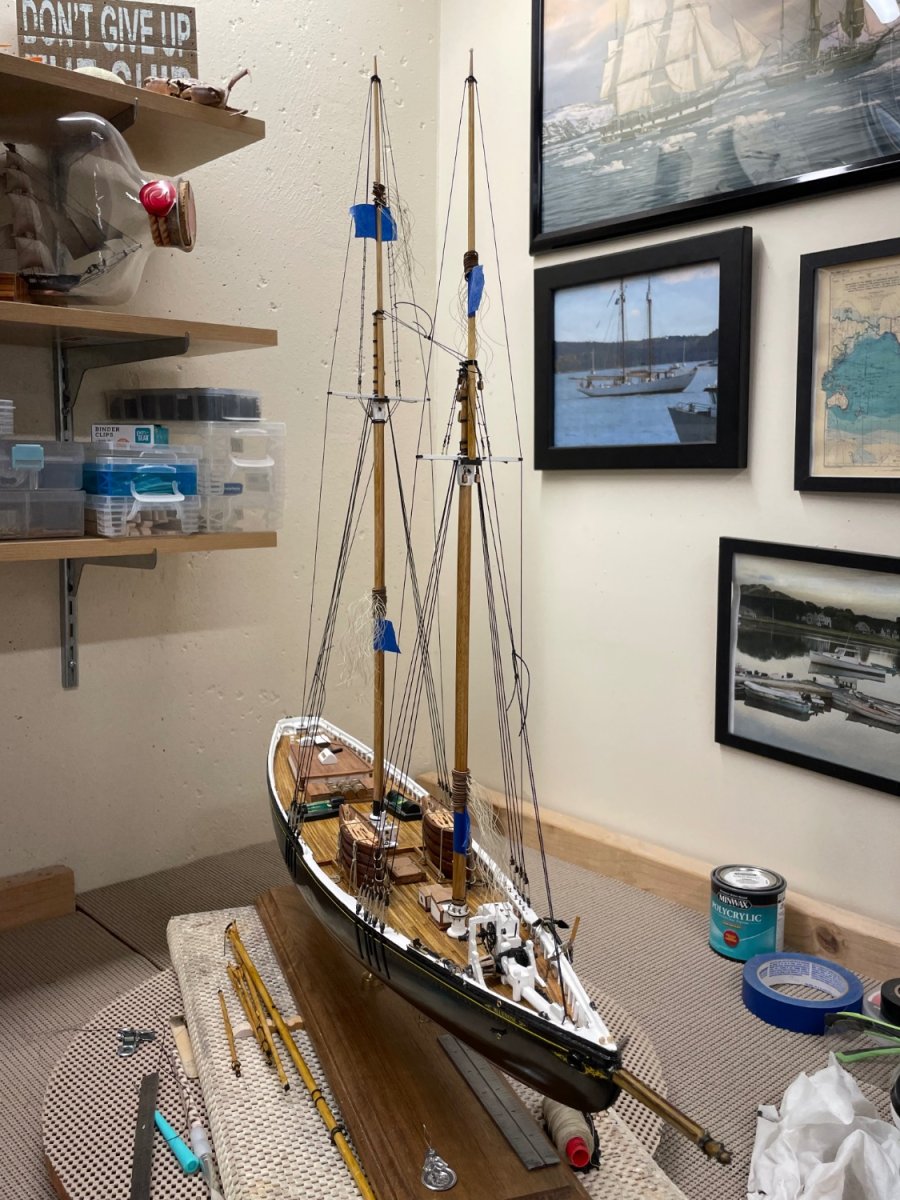
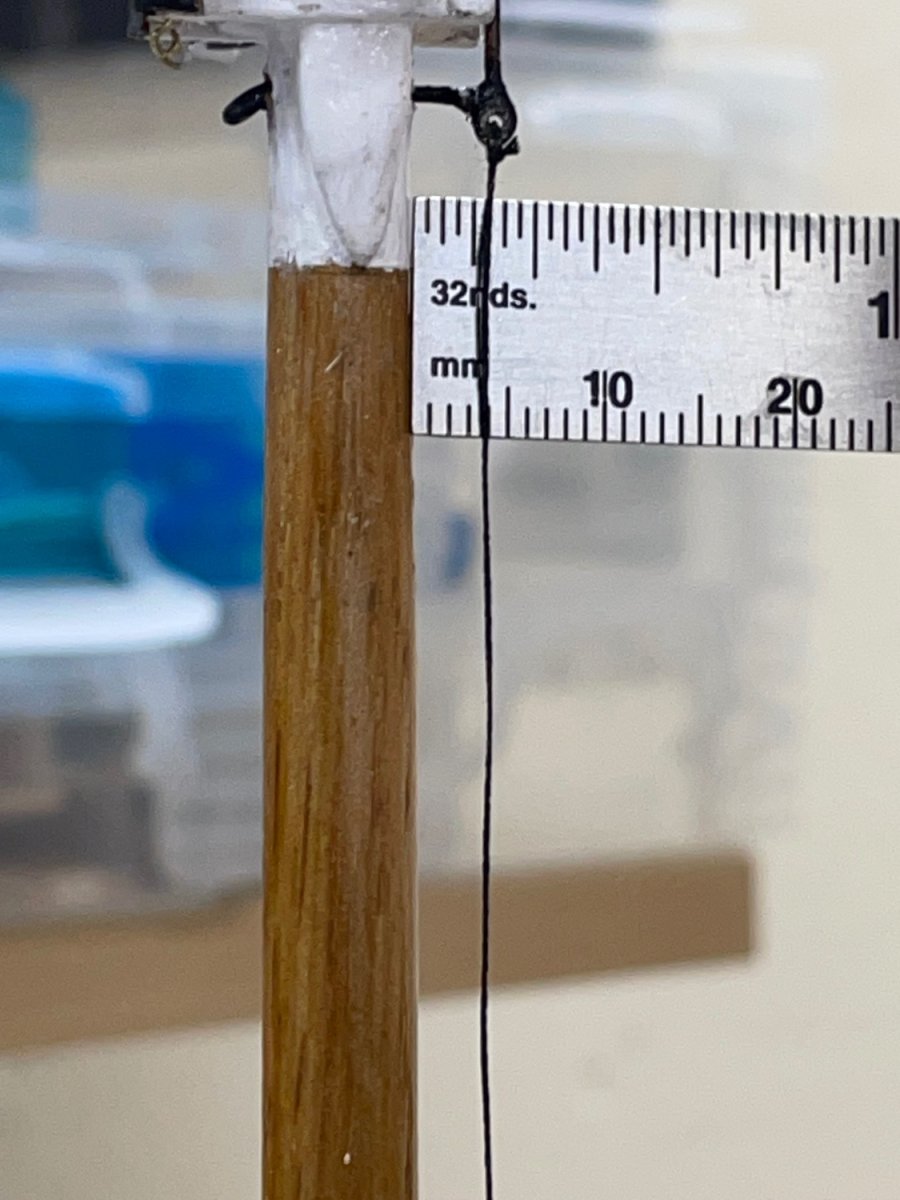
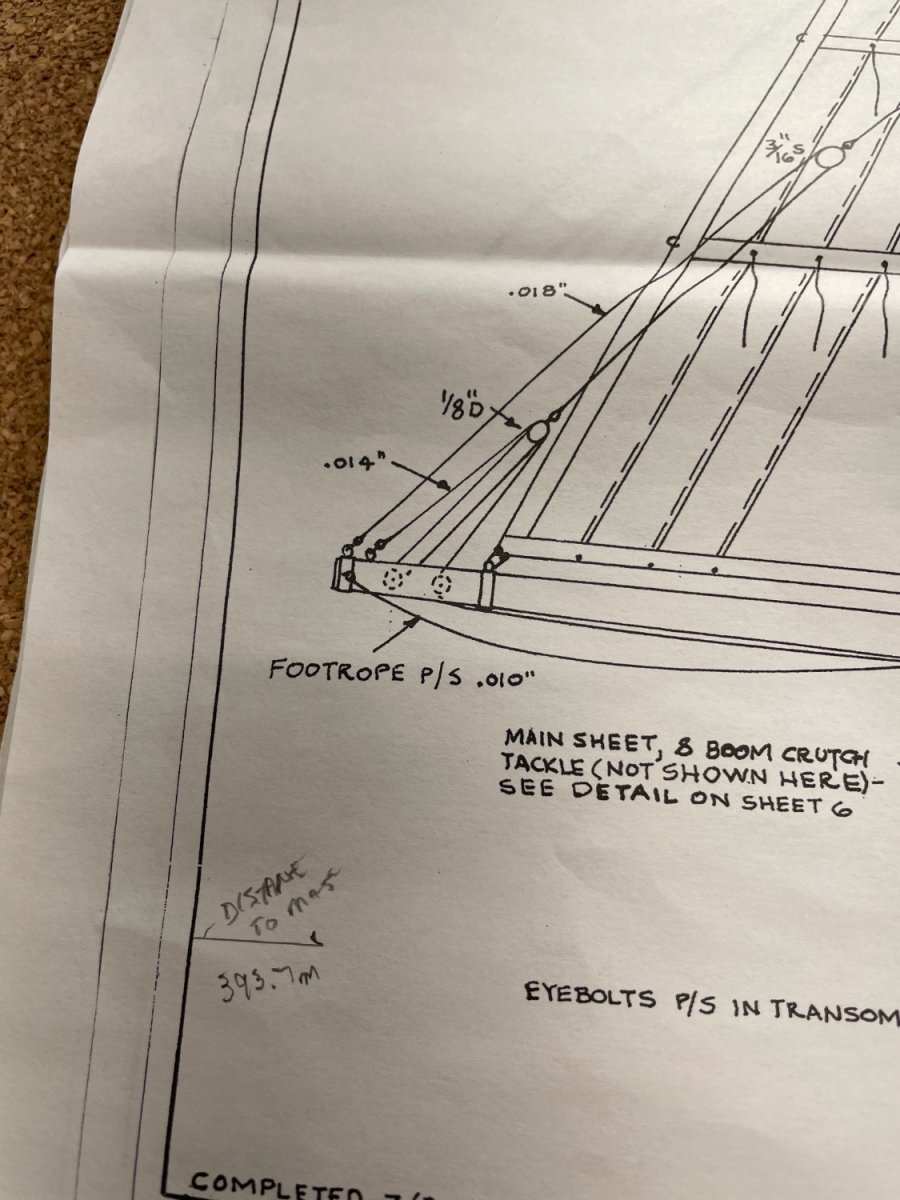
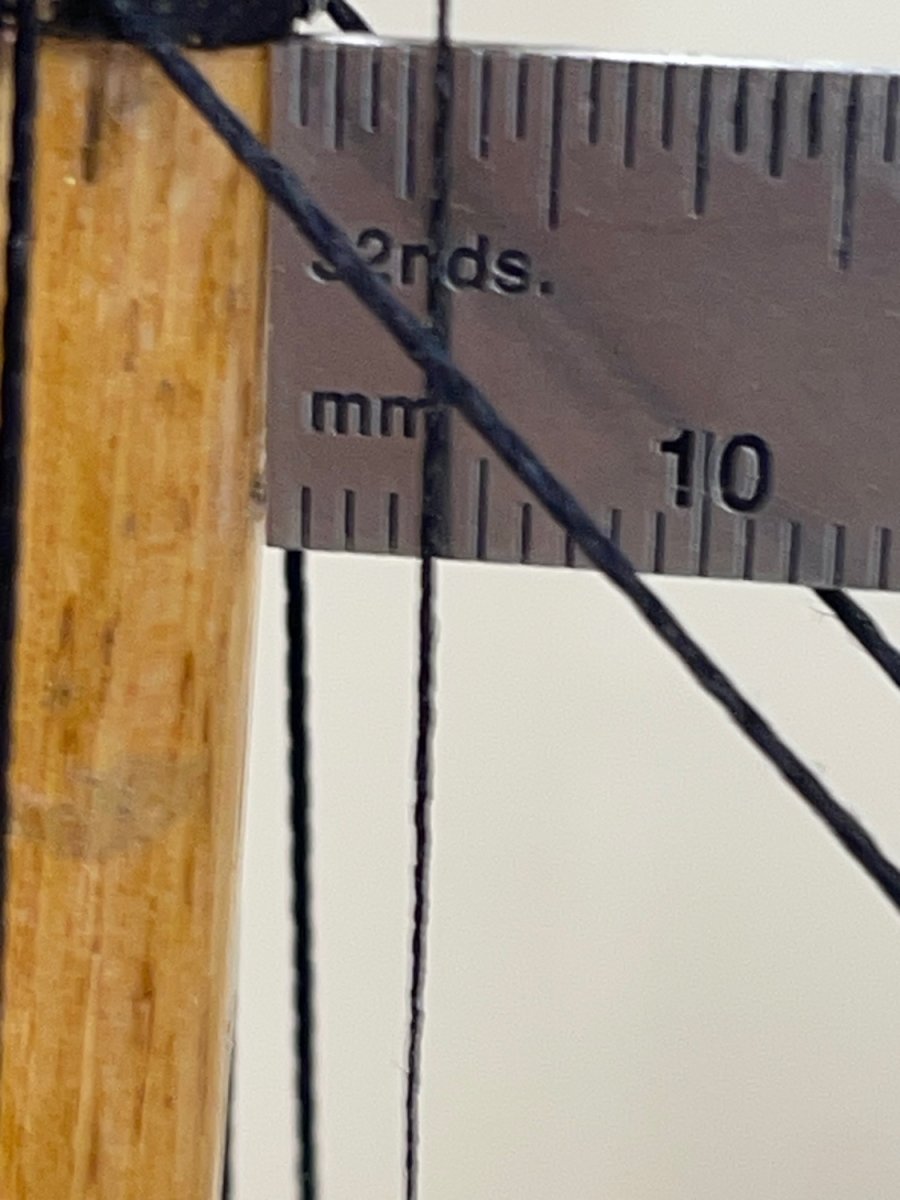
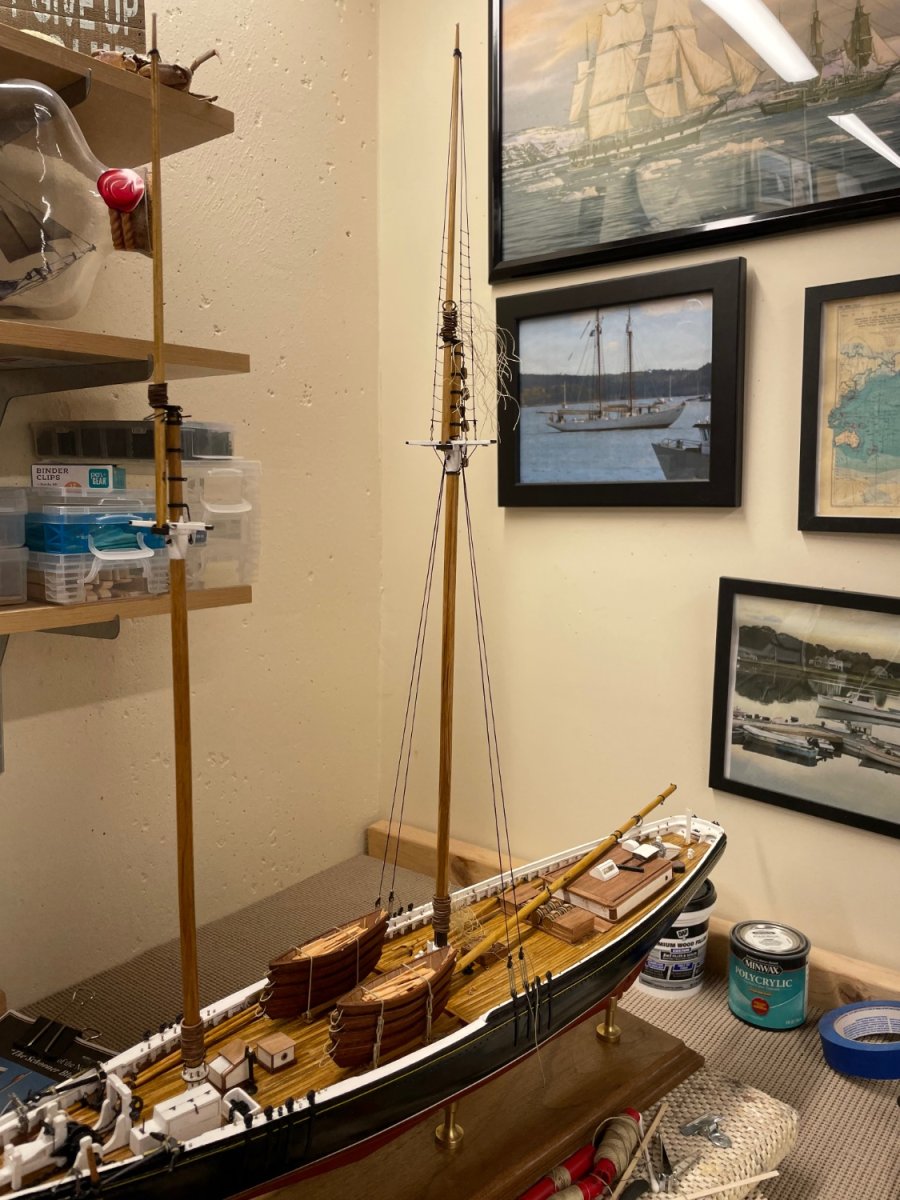
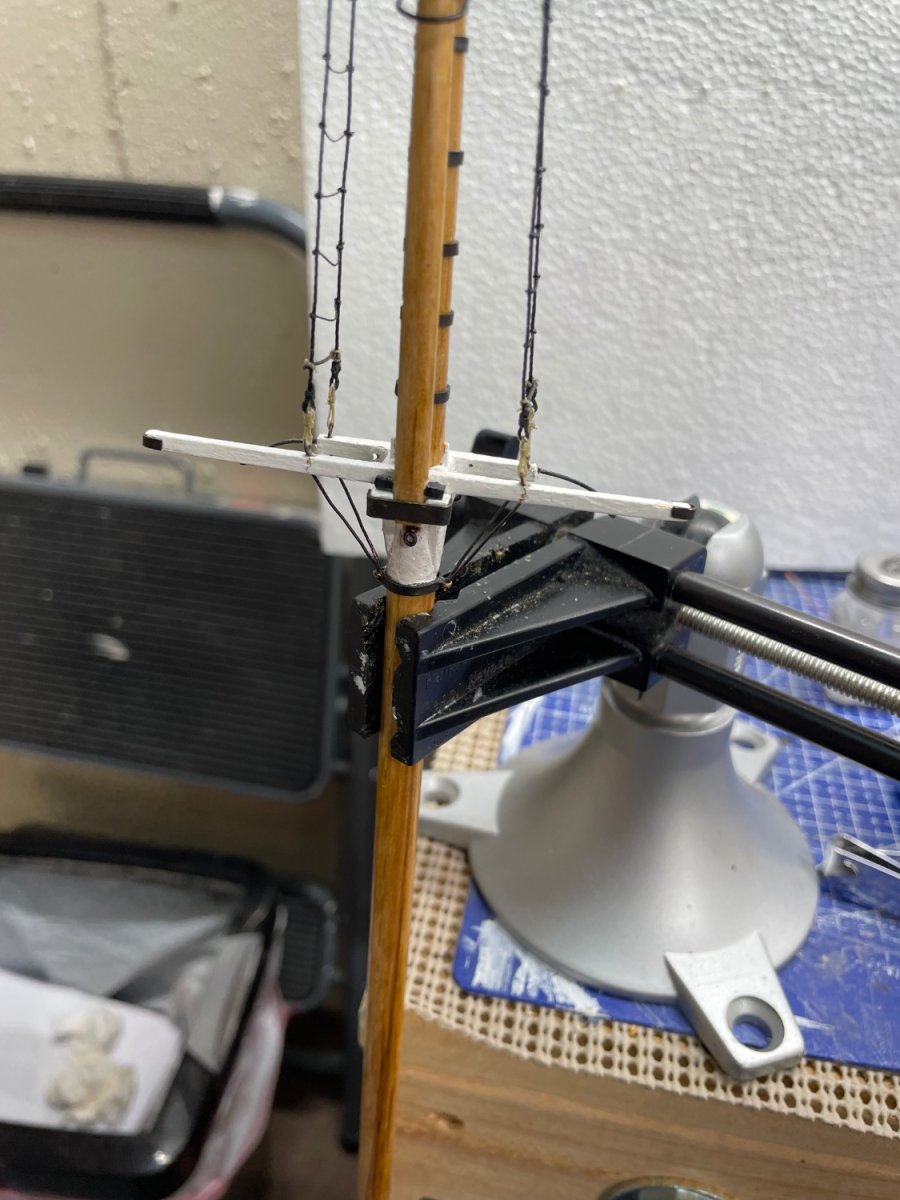
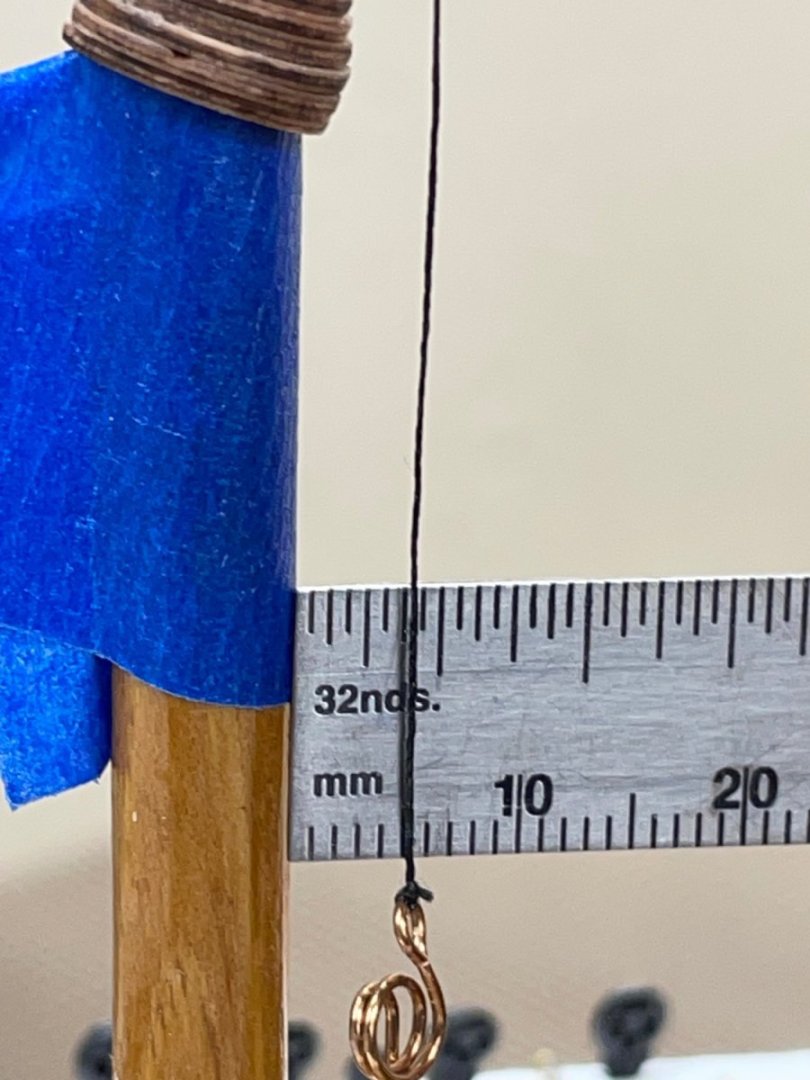
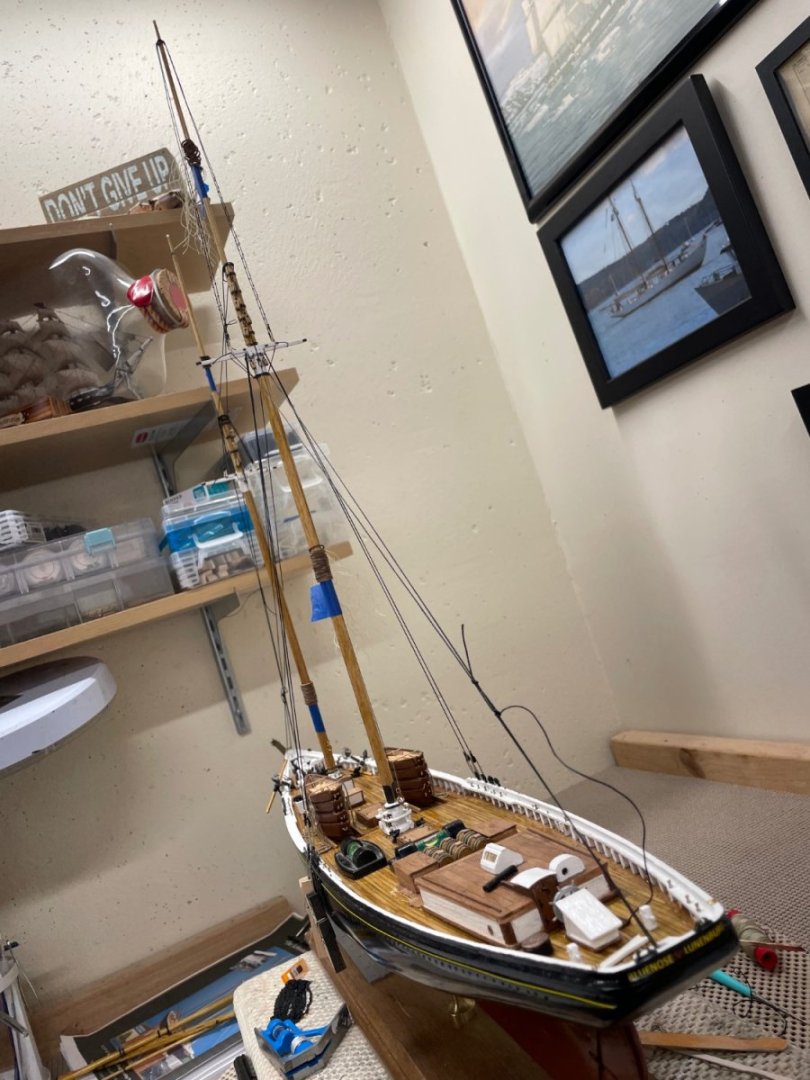
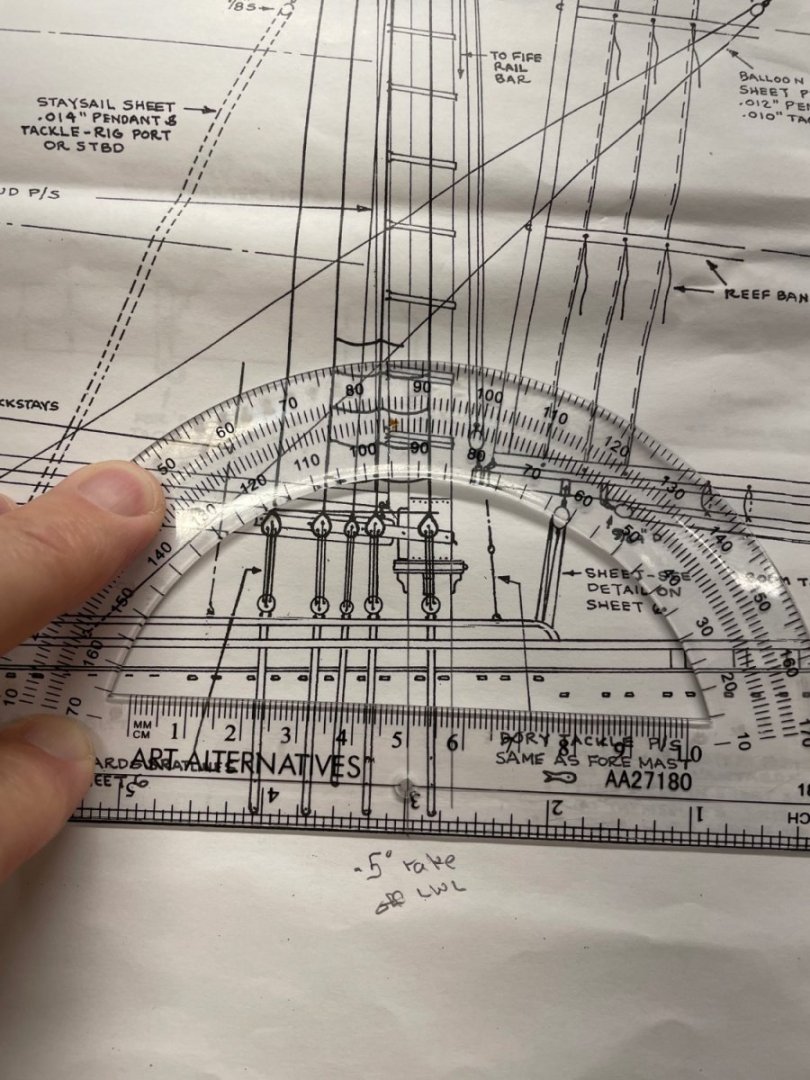
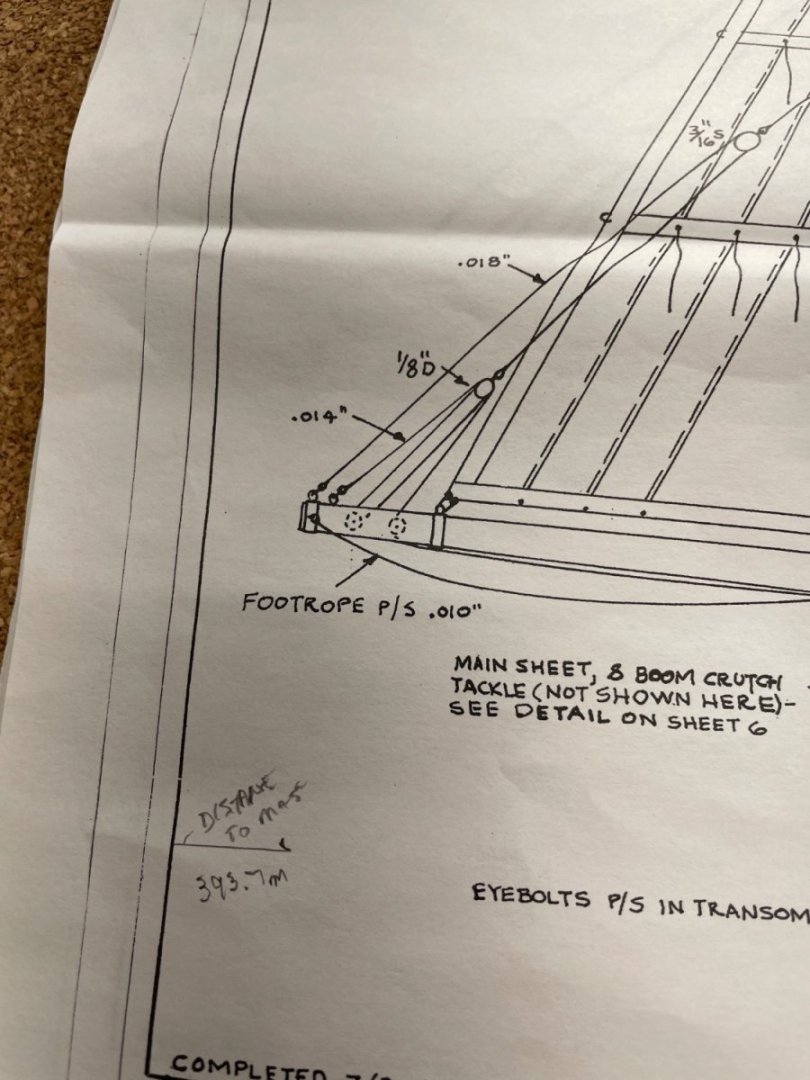
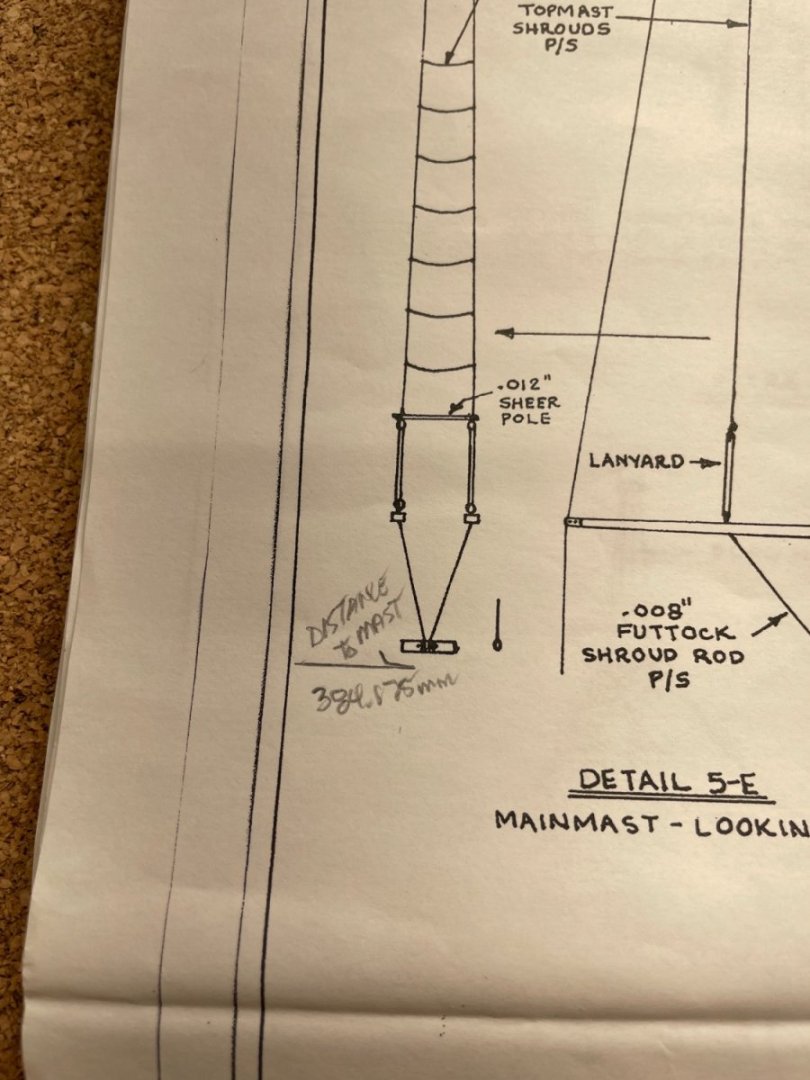
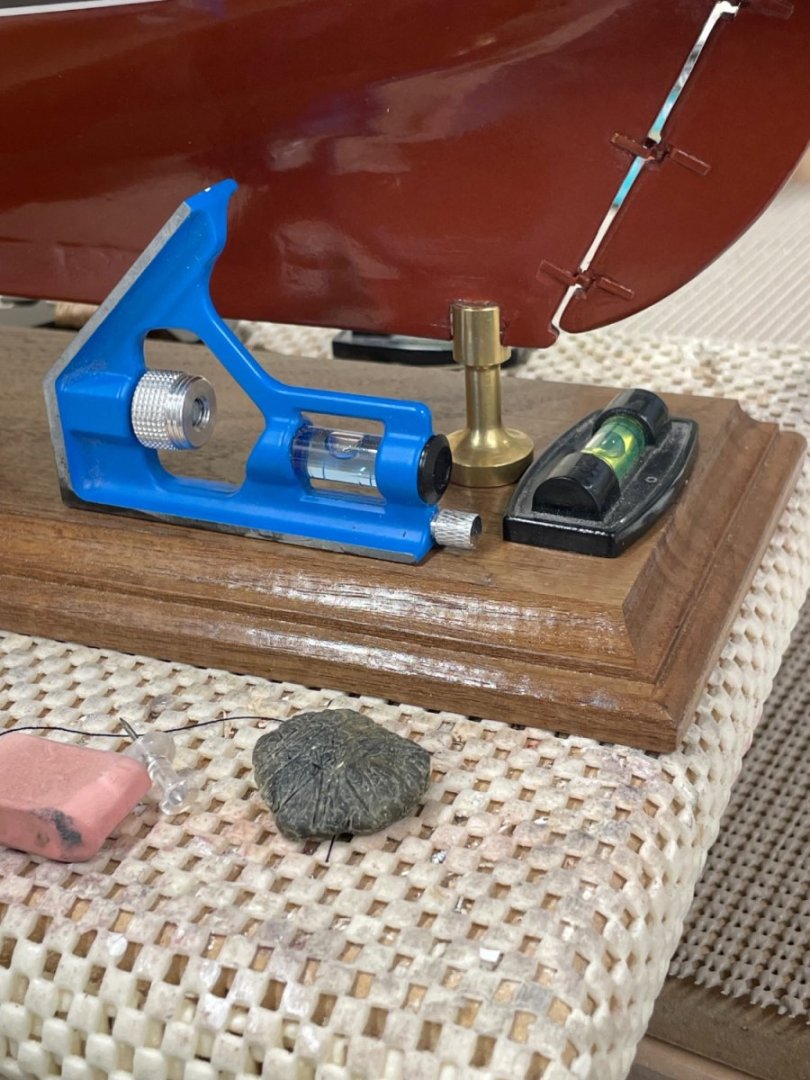
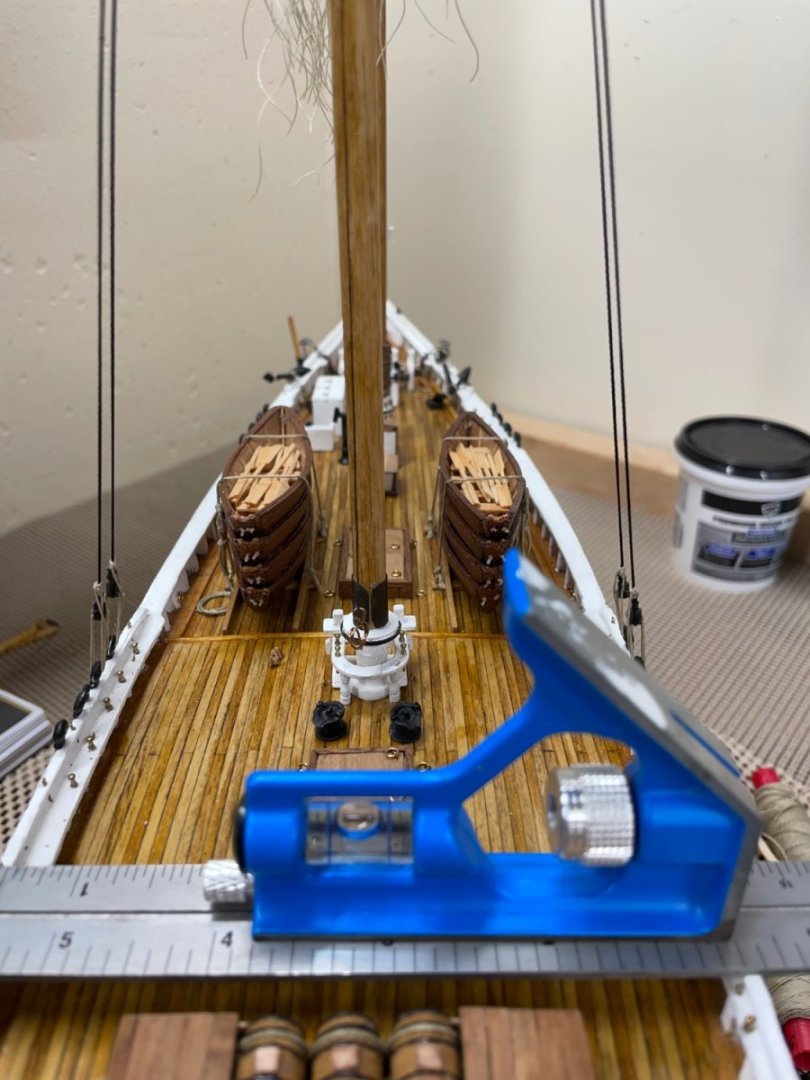
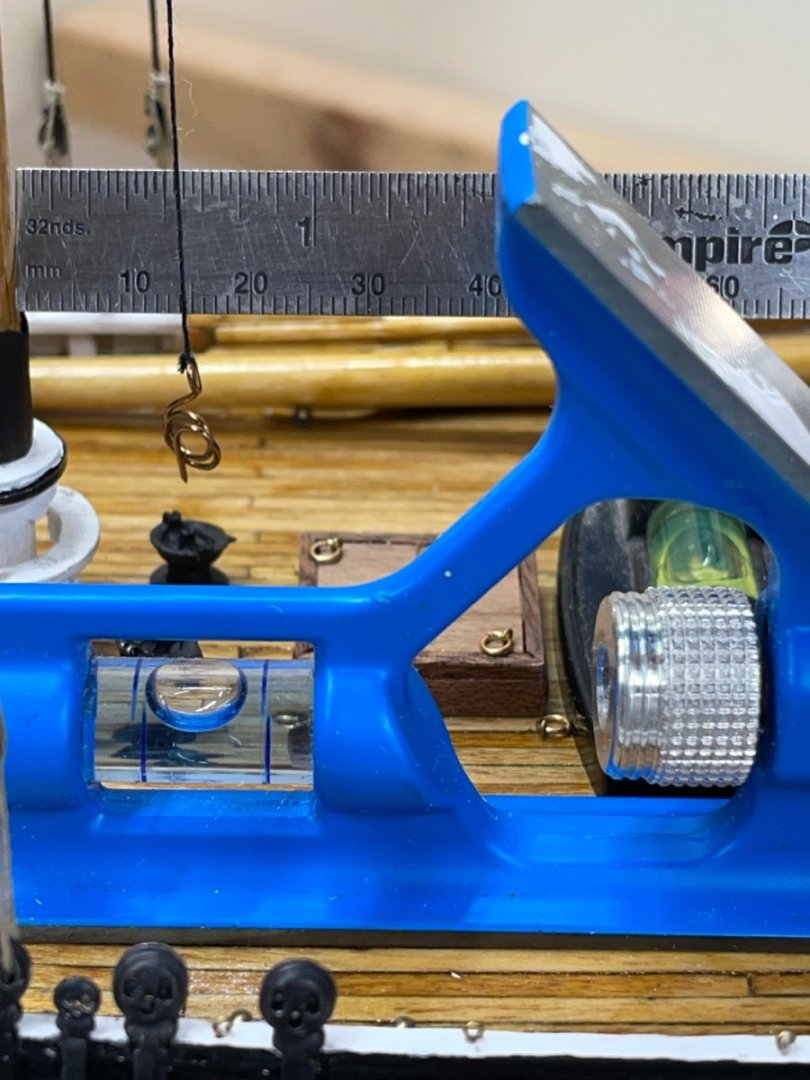
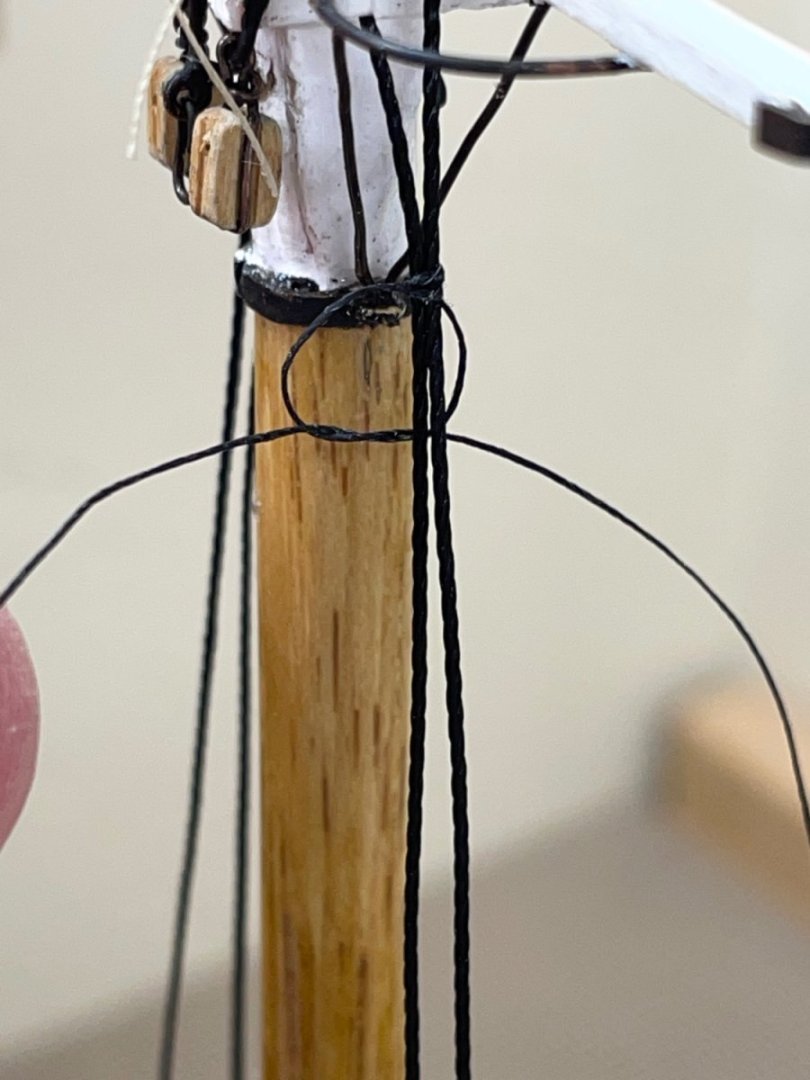
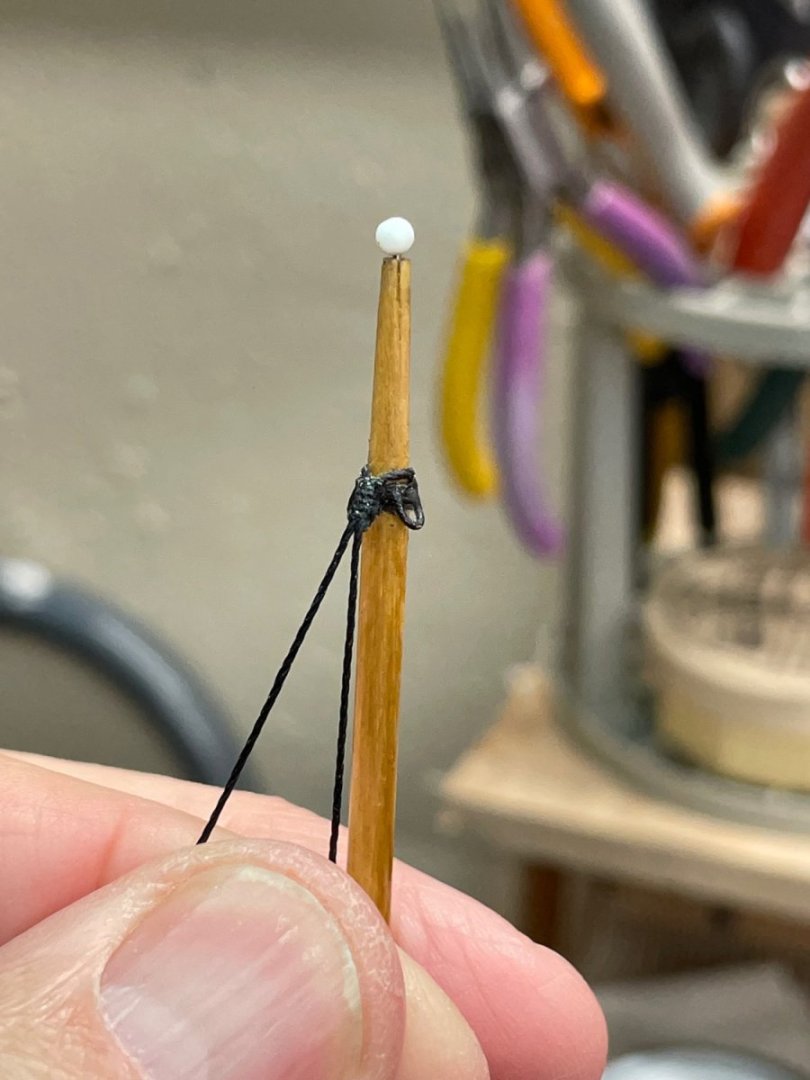
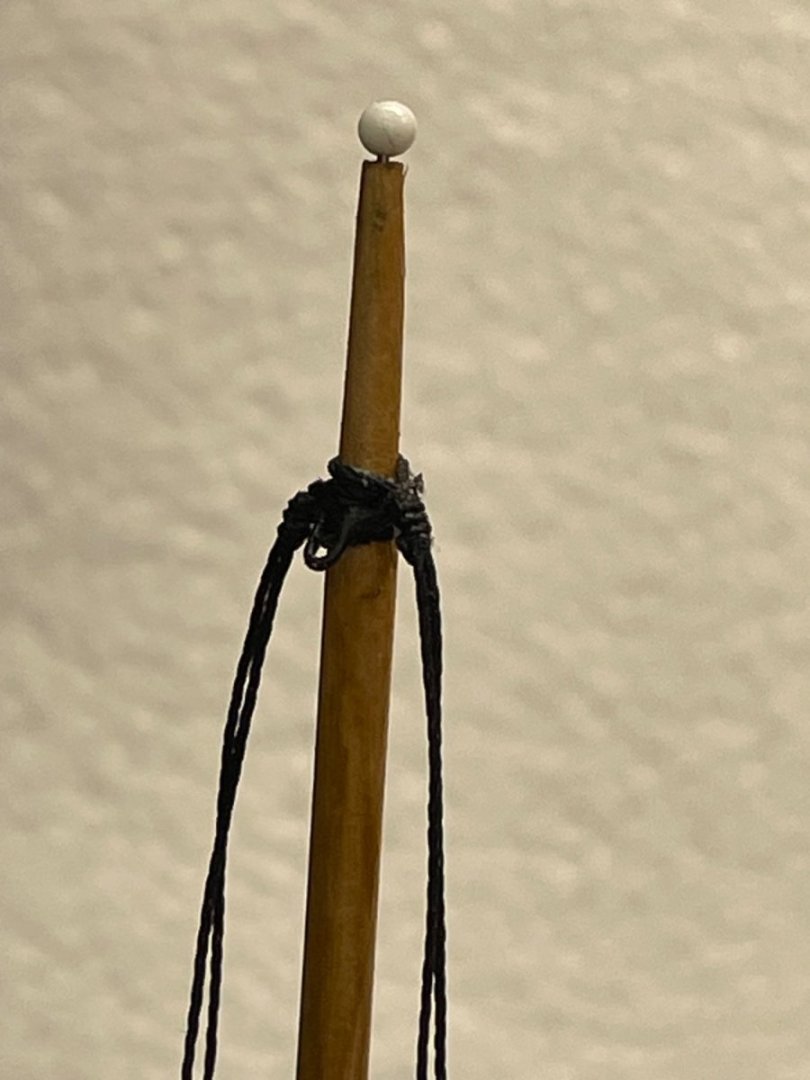
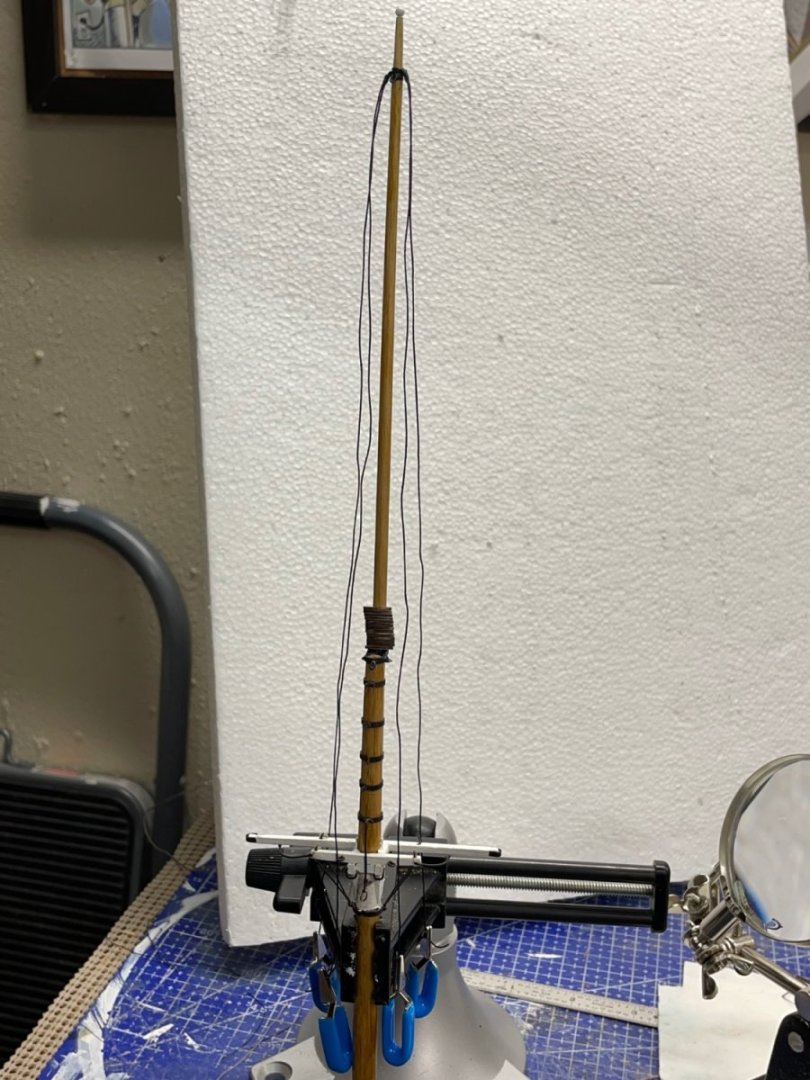
Setting the Main Mast… I came across this Discussion on Stepping the mast. Many thanks to @HardeeHarHar for starting this thread, it was perfect timing for my next task. Many good ideas, from which I devised the following process. On my last couple of builds I have avoided glueing the mast when first step them. Two things here: 1-The mast can be removed to work on the details and 2- It allows the Plumb and Rake of each mast to be set by the rigging. The following process is my take away from our discussions. Using a Protractor I determined the rake of the mast. I then measured the distances to the mast from the edge of the drawing ✍️ I then verified my build board to be level. I used wedges under my base to compensate for the mounting. I hung a home made Plumb Bob from the Throat Halliard Eye to the aft of the Trestle Tree. Compensated the 4mm distance at the top. I used two temporary stays to adjust the rake and adjusted the port and starboard shrouds for the Plumb. Main Mast is now set to add stays and Shrouds. The only thing I would do different is set the Fore Mast first. I’ll have to that before adding the permanent Main Stays. Cheers 🍻


- 282 replies
-
- 9
-
-
- Bluenose
- Model Shipways
- (and 1 more)
-
Stepping the mast with a plum bob...two questions.
John Ruy replied to HardeeHarHar's topic in Masting, rigging and sails
I hear ya…. Your Plumb Bob idea works great. If you look closely the Fore Mast is not Plumb. Using this method I did tighten up the port side shrouds and brought the mast up straighter. Slight adjustment over the eye ball 👁️. Rake can be measured as well. 🤪 Depends how much you want to “worry” about it and will it change as the model ages (probably). LOL 😆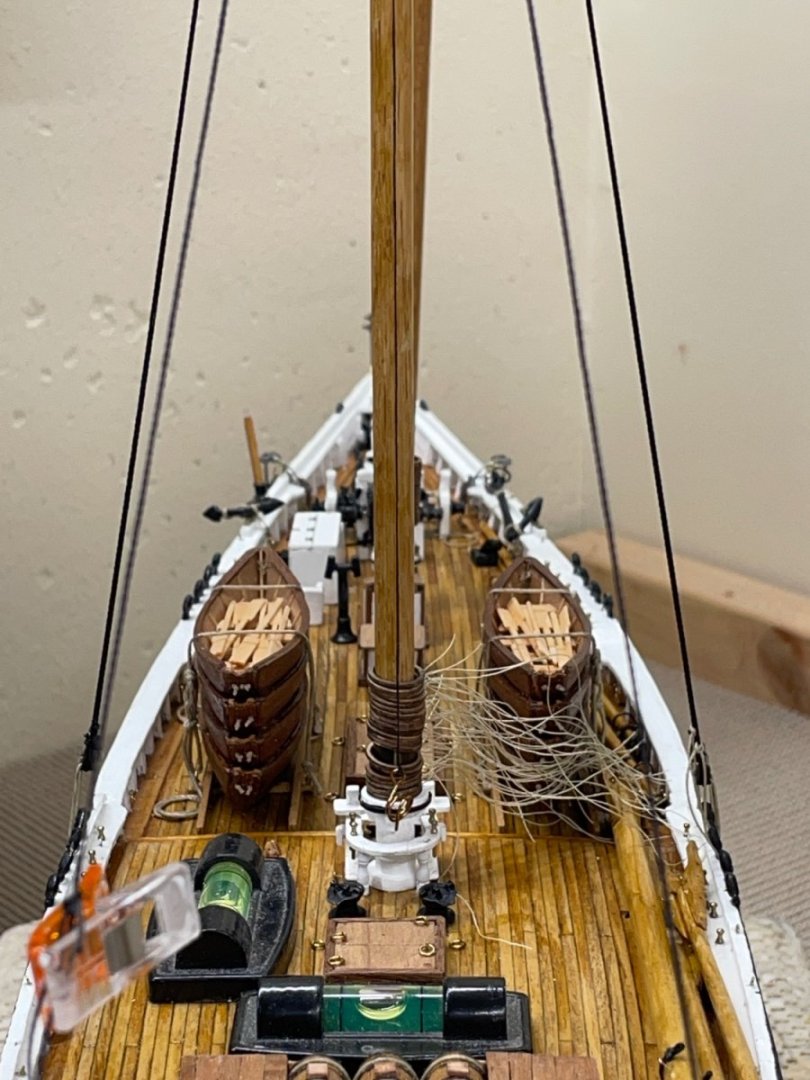

-
Stepping the mast with a plum bob...two questions.
John Ruy replied to HardeeHarHar's topic in Masting, rigging and sails
Hi Brian, Often had that worry myself, eyeballing it just isn’t good enough as I improve my skills. I like the plumb bob idea 💡 sounds like it should work. I’m working my Bluenose Main Shrouds right now and I’ll give it a go. As for gluing in the masts, it was recommended to me (bluejacket instructions) to not glue in your masts and let the standing rigging do its job to hold everything in proper alignment. This way down the line when your historic model needs restoration the masts can be removed. That said the mast alignment is left up to your tensioning of the shrouds and standing rigging. This is where I think your plumb bob idea will come into play, you should be able to calculate the required rake as well. Just hang the plumb bob from the aft of the trestle tree and use your best geometry. Of course we will have to be sure the deck is leveled up. cheers 🍻 John -
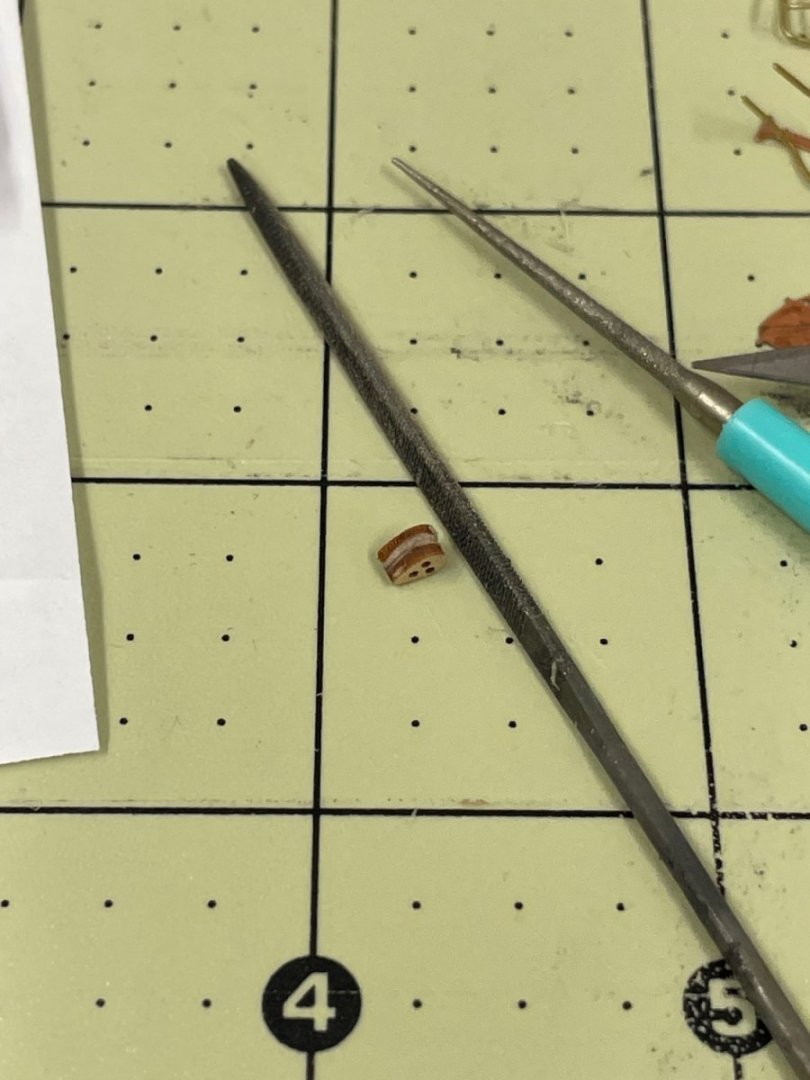
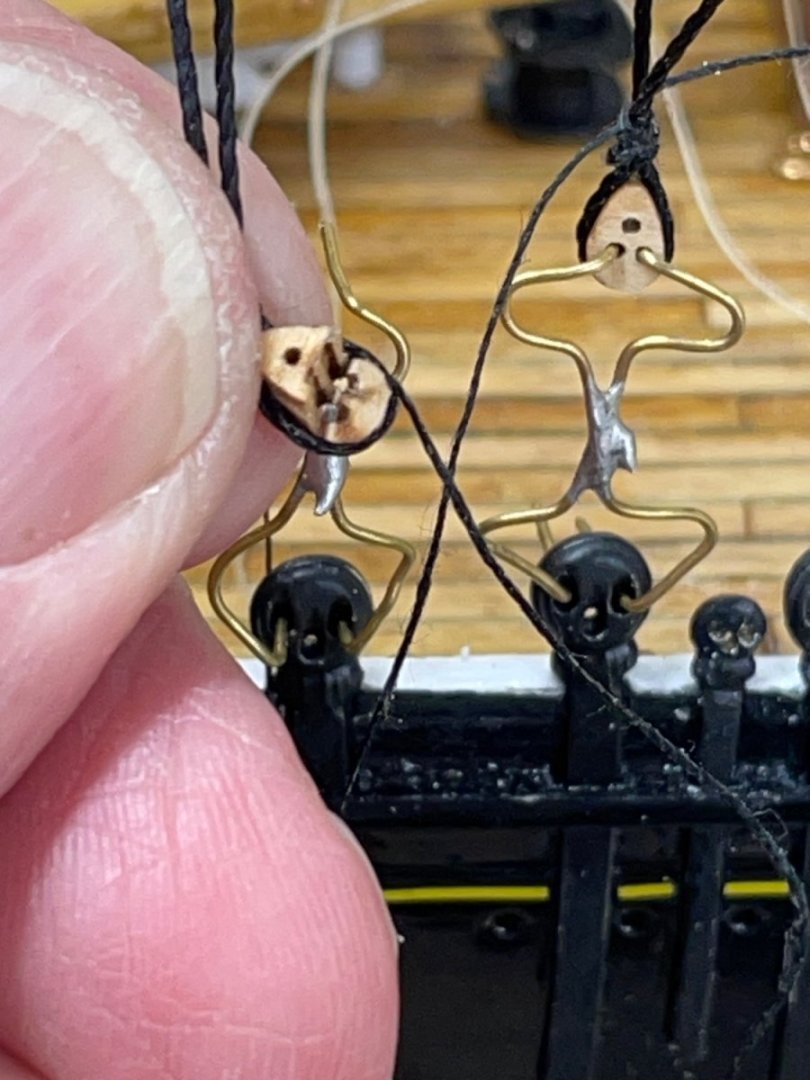
Thanks Greg… Not tight at all. I May have cracked it with a reamer, cleaning the holes. I just hope I have an extra, it would not be fun making one from scratch. 😬 John
- 282 replies
-
- 2
-
-
- Bluenose
- Model Shipways
- (and 1 more)
-
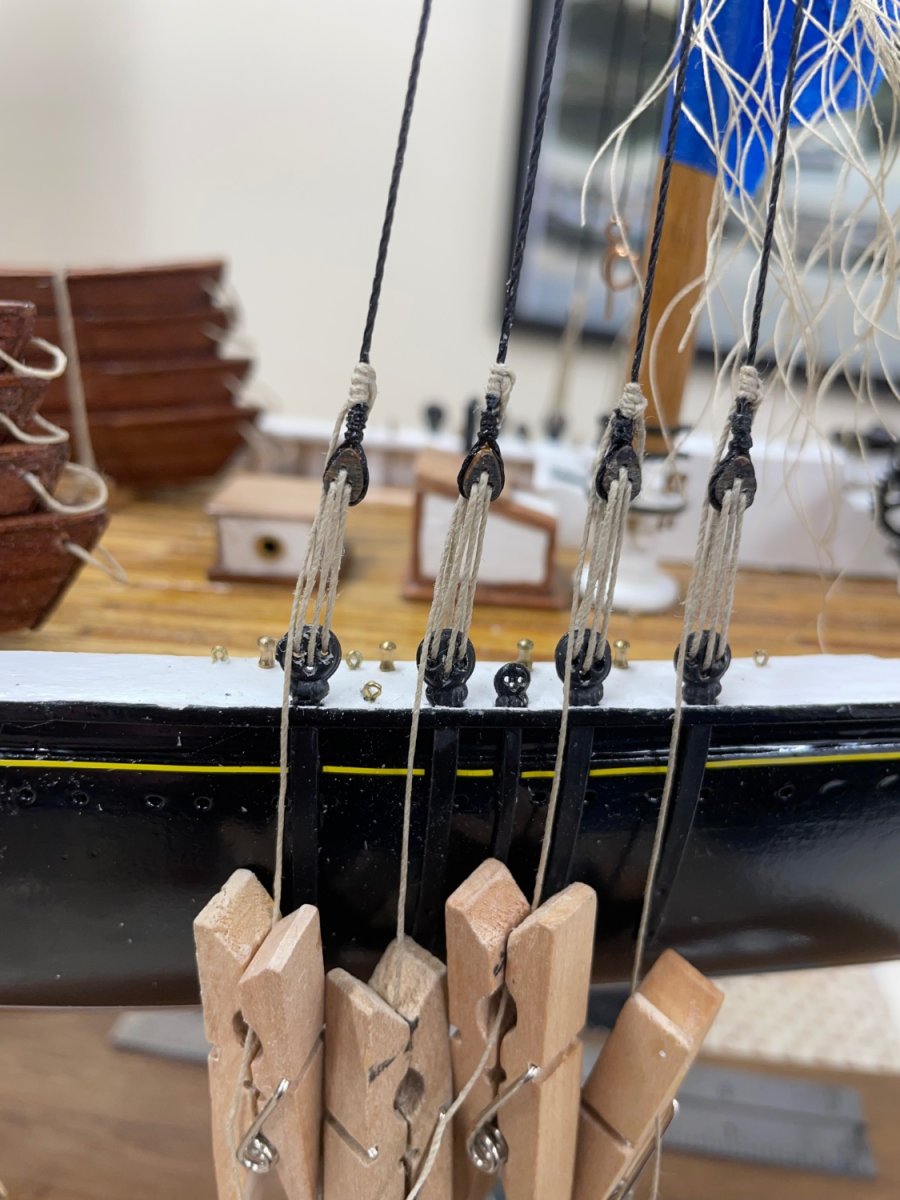
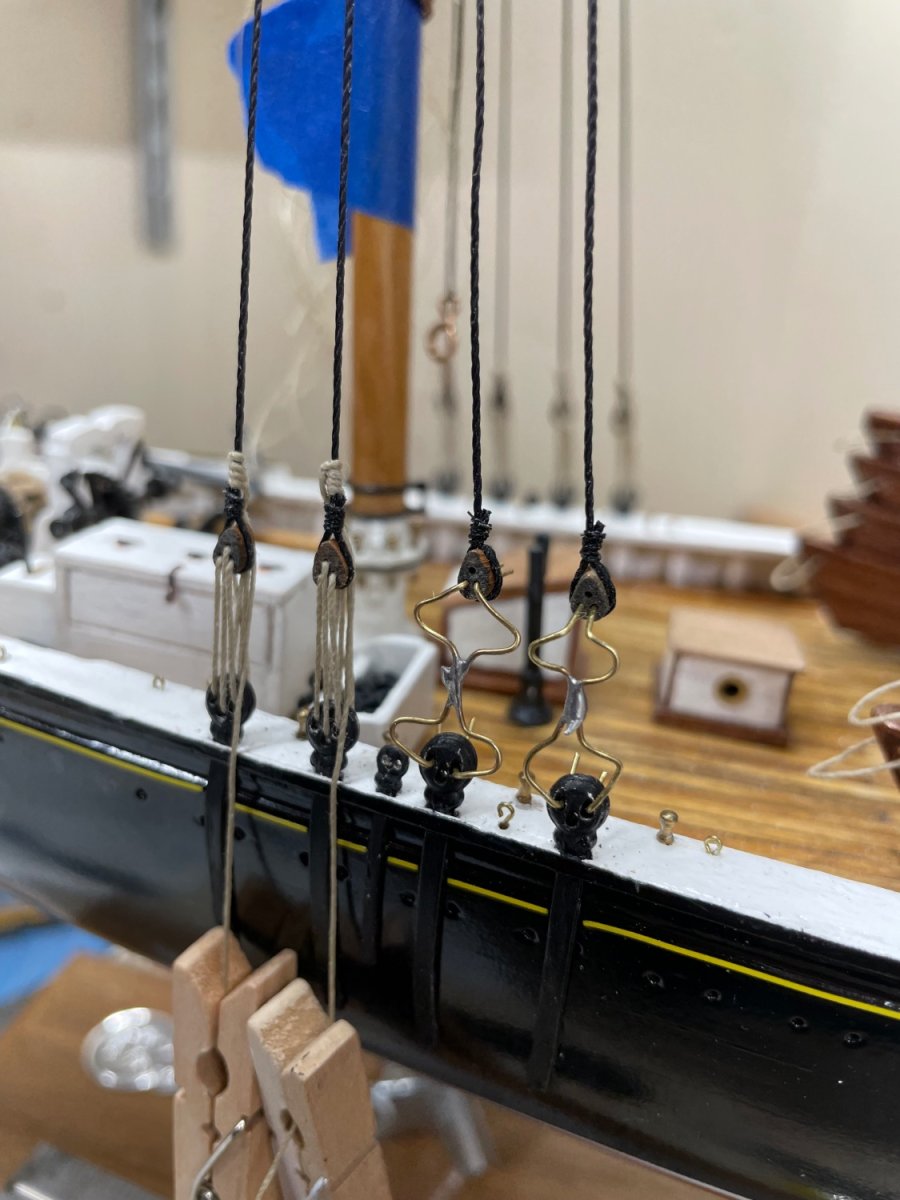
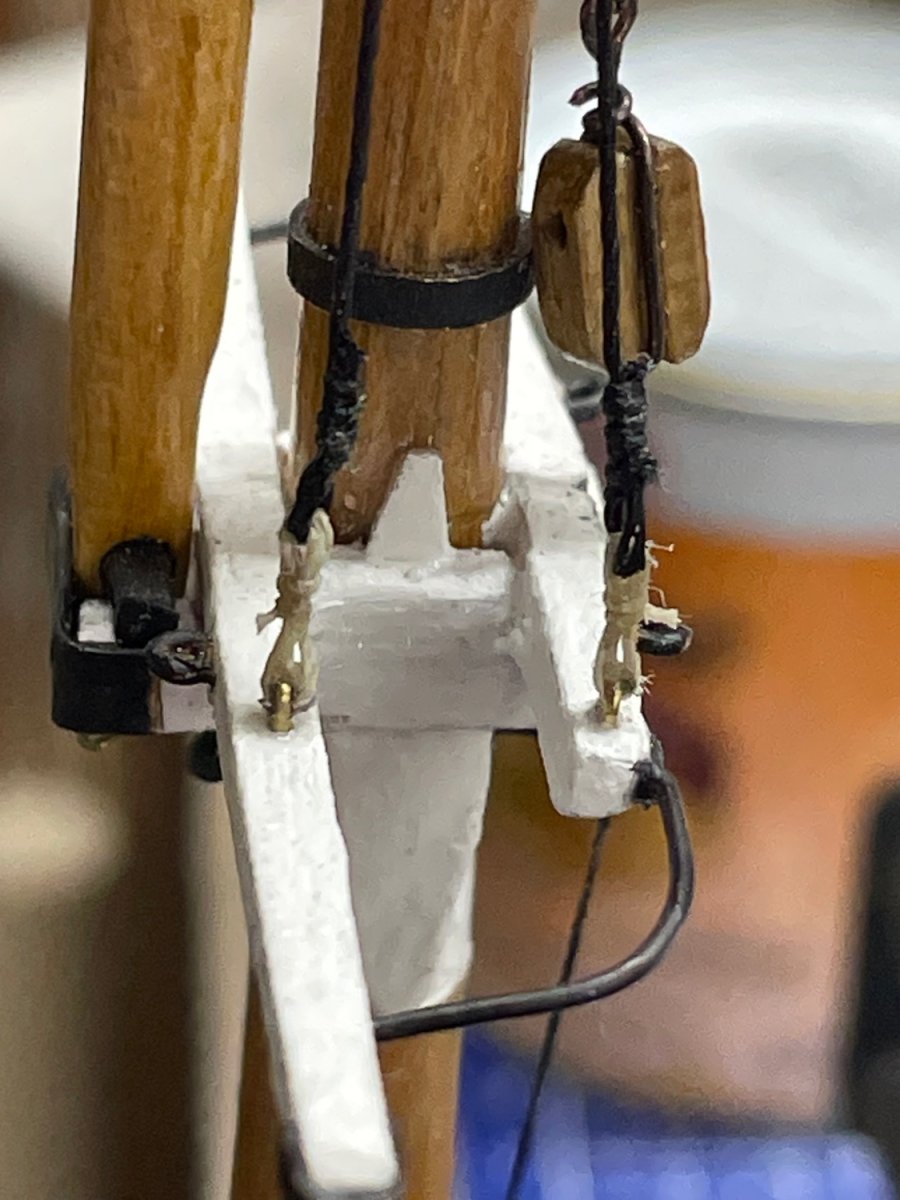
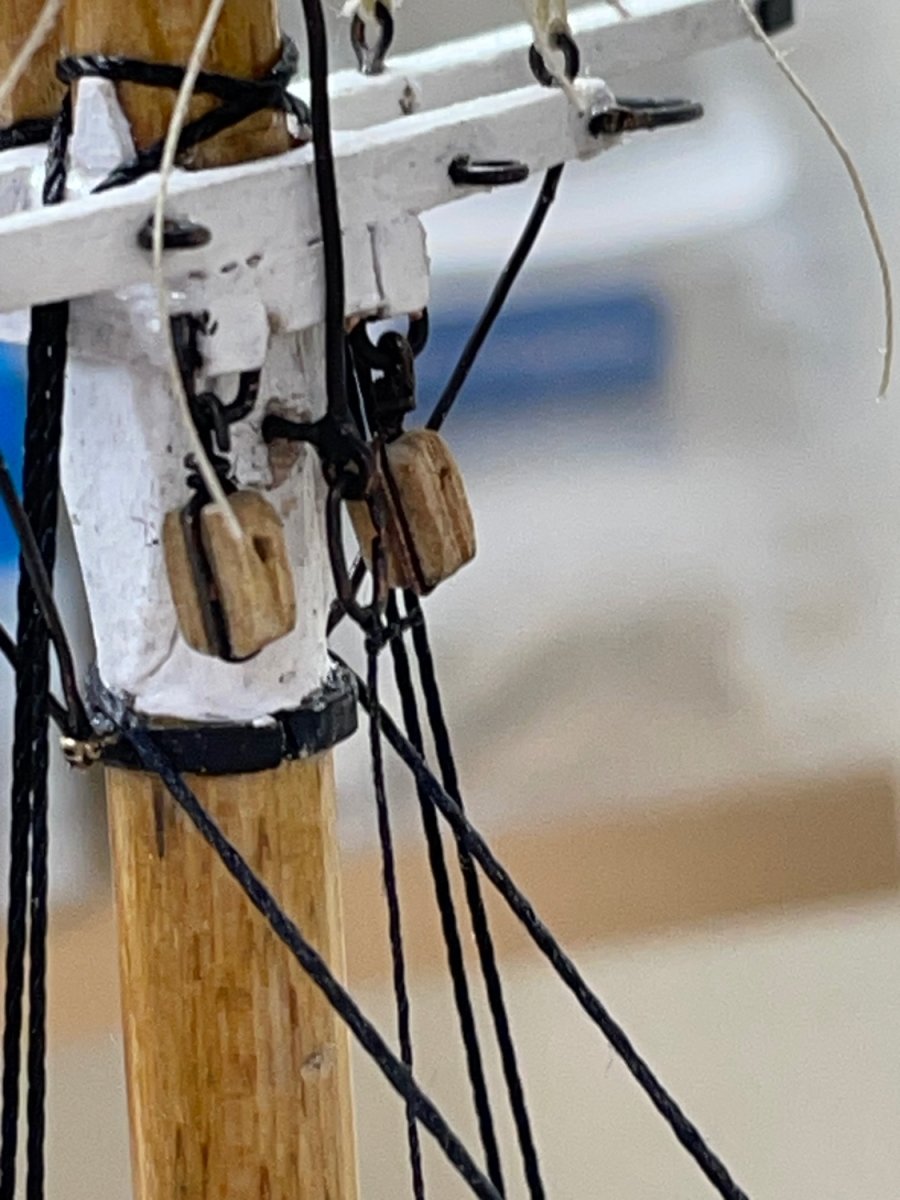
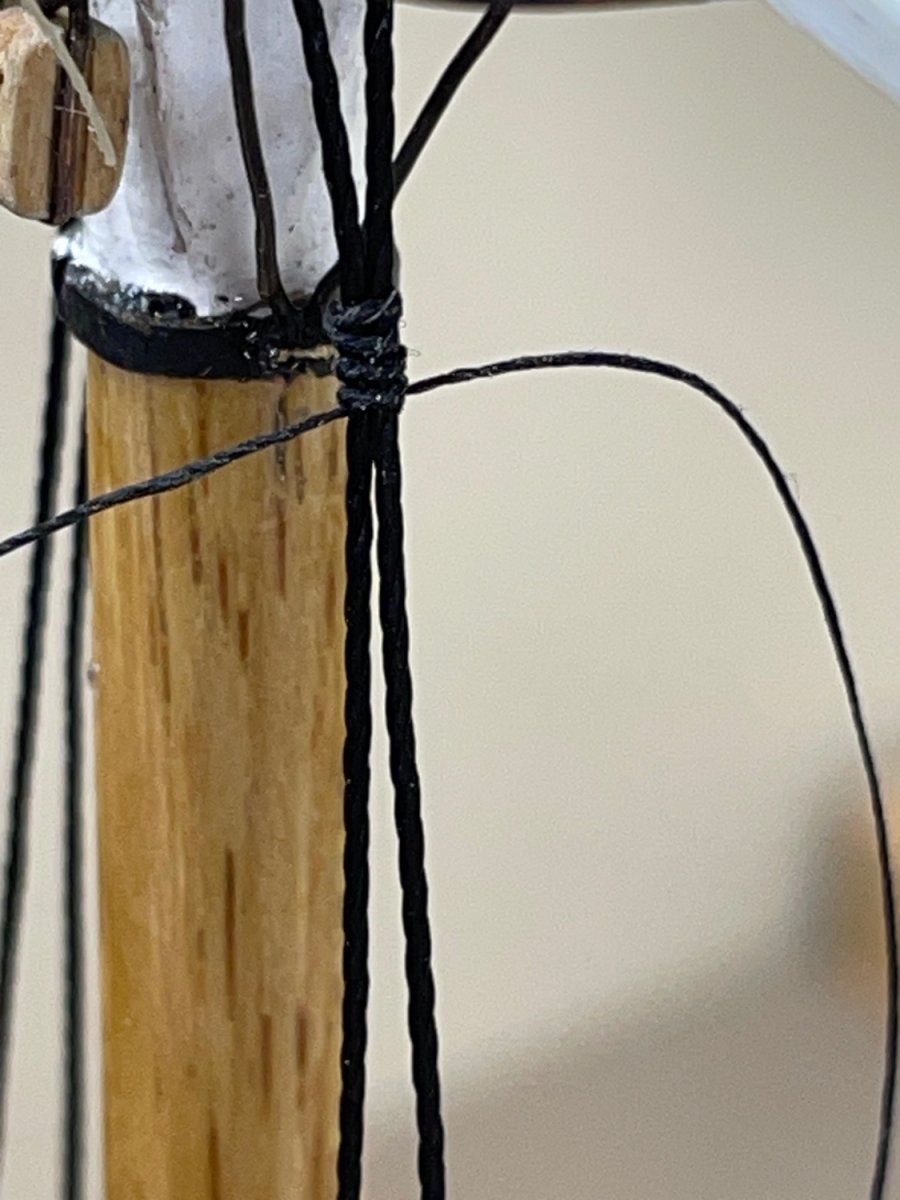
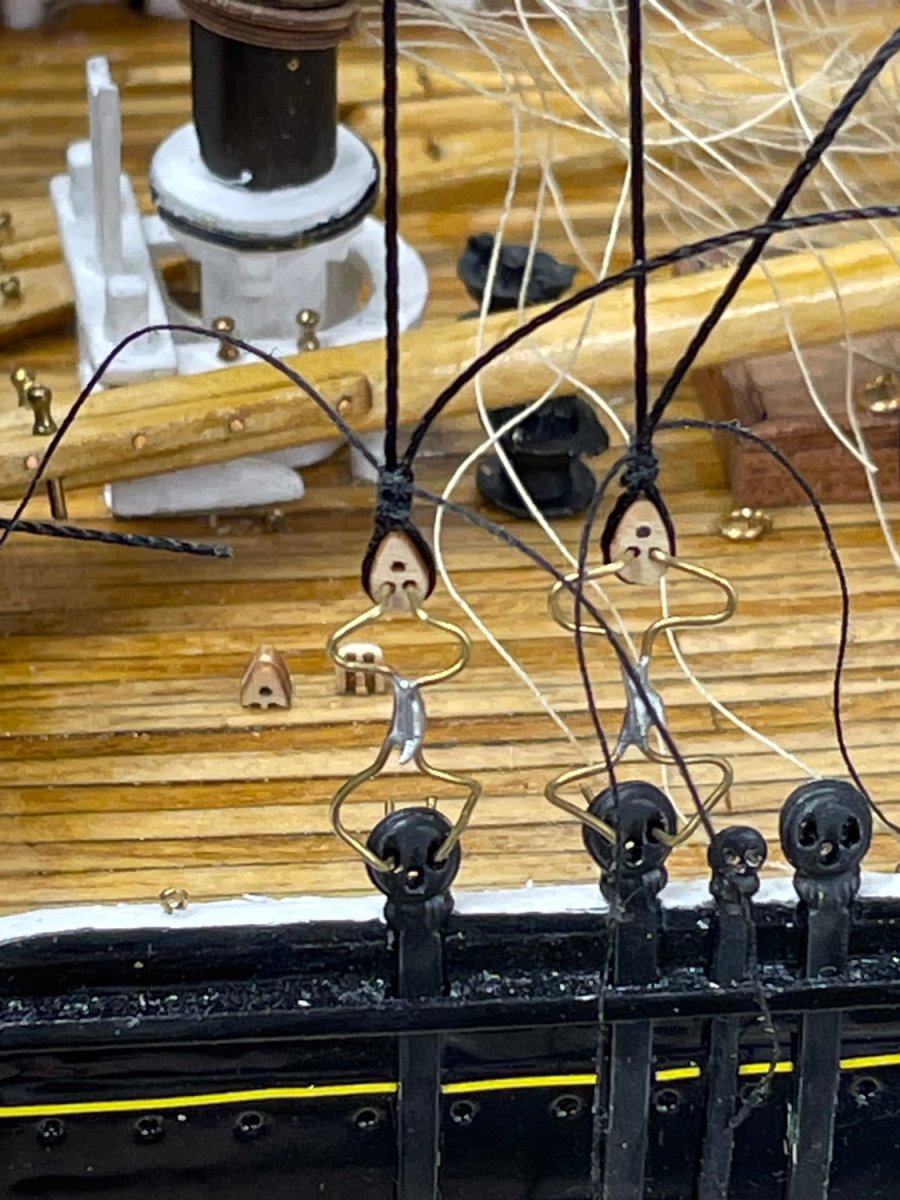
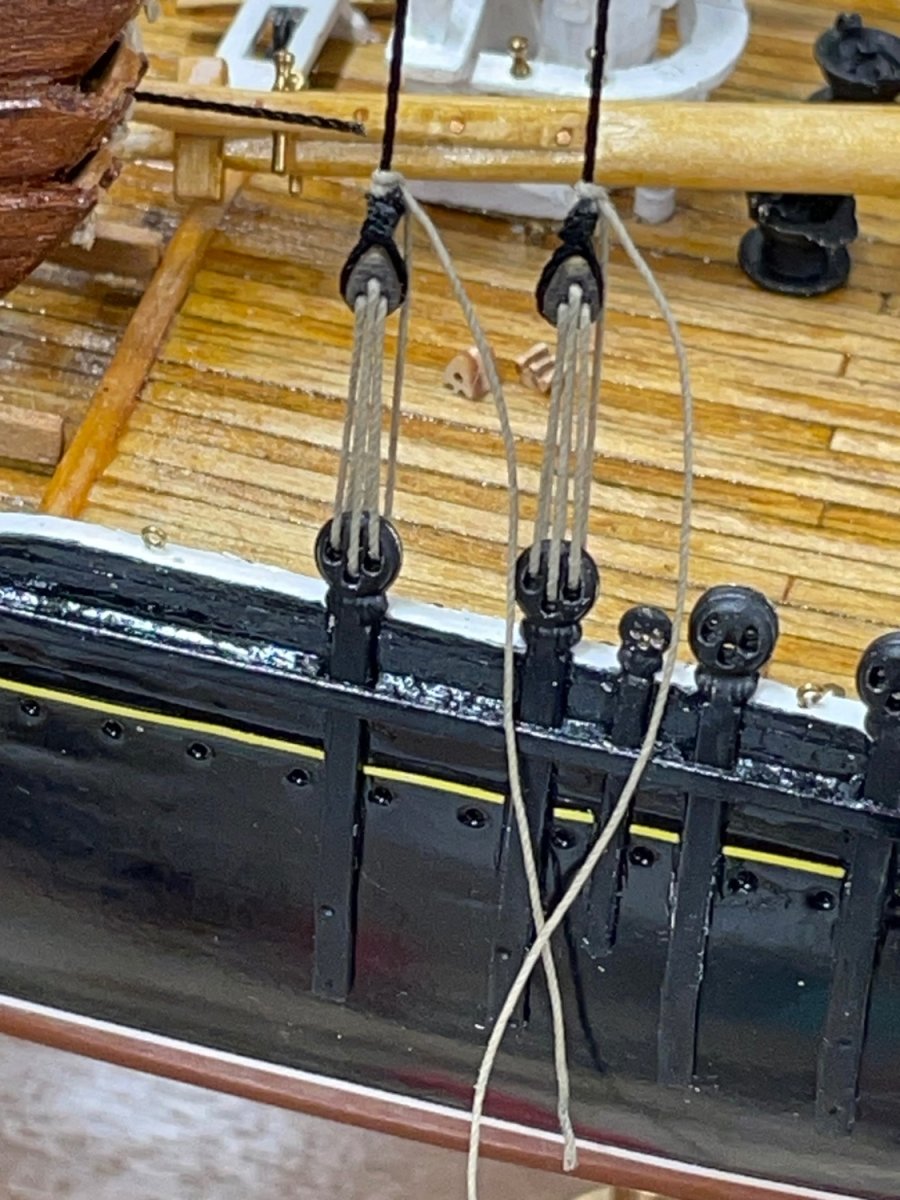
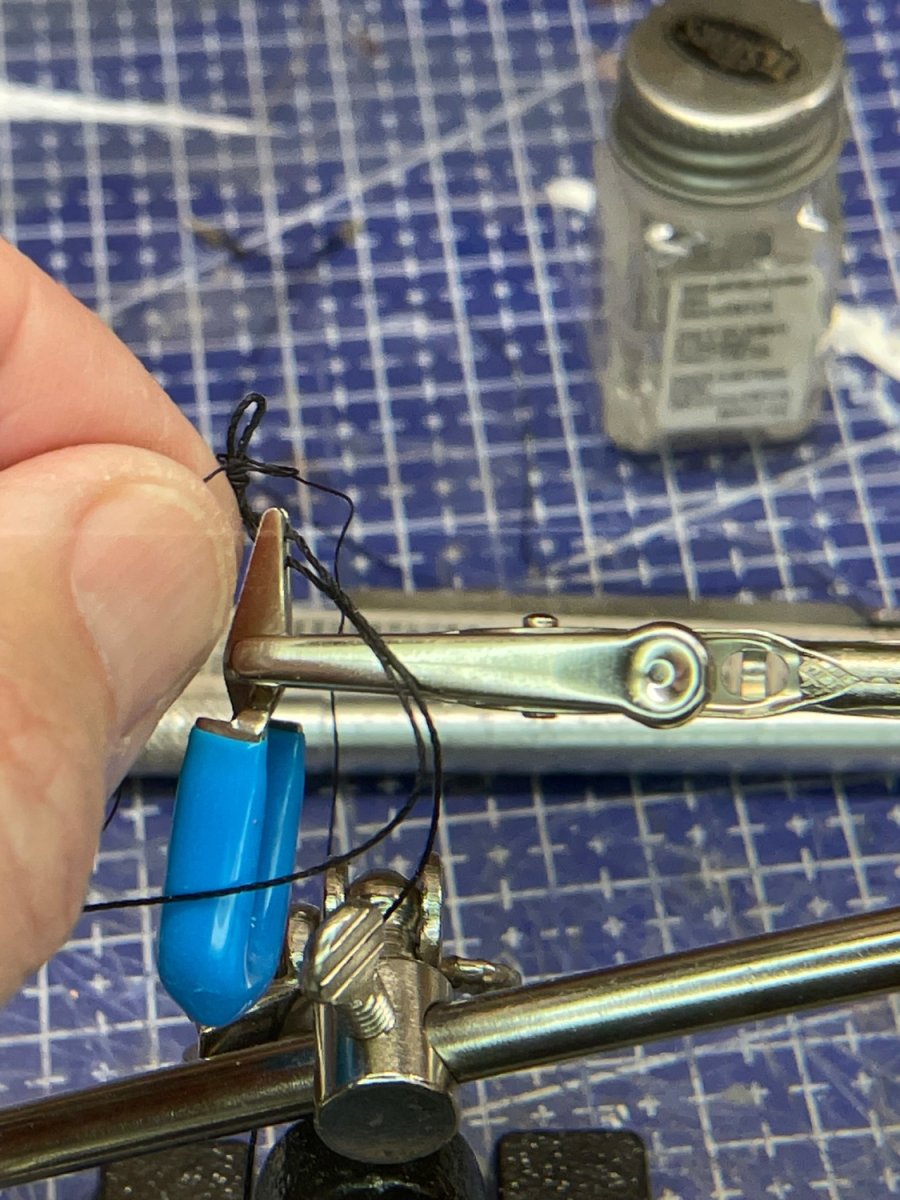
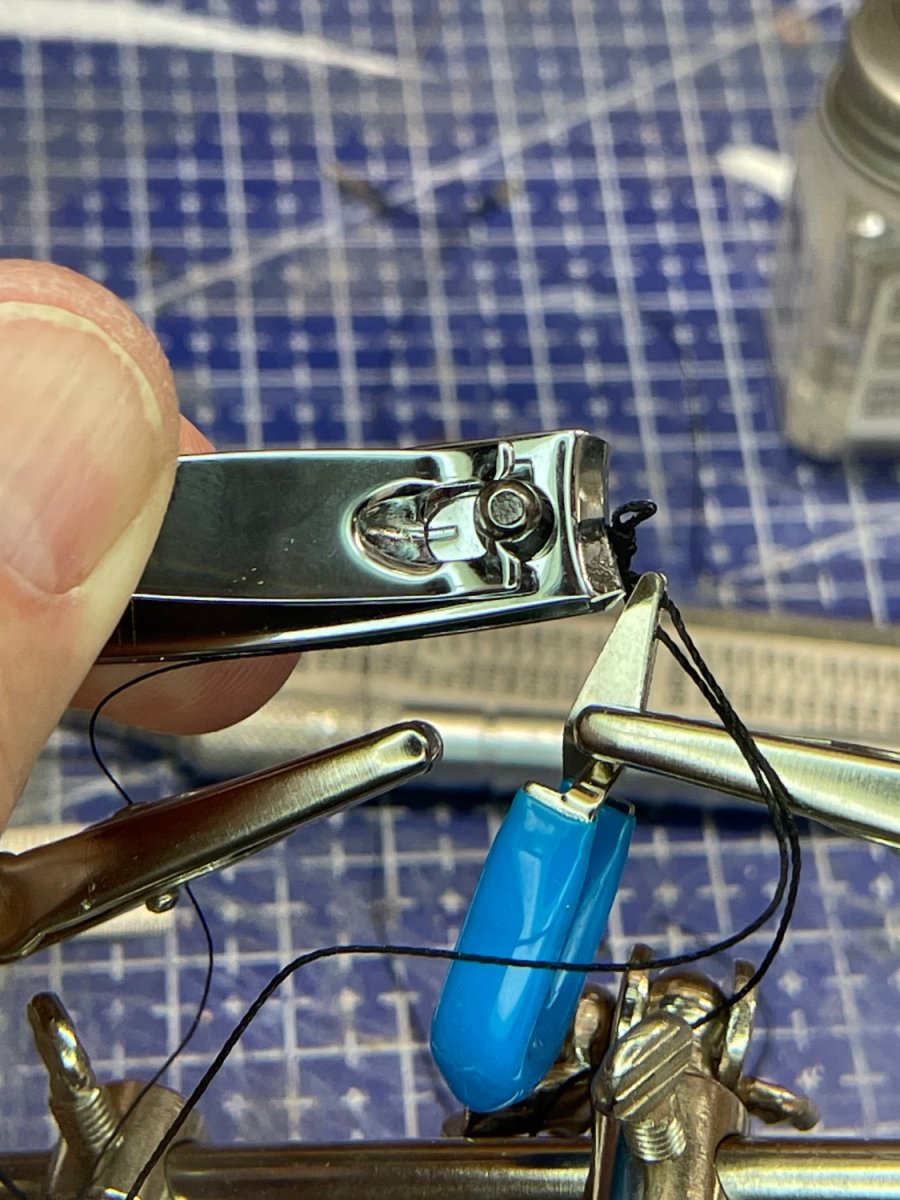
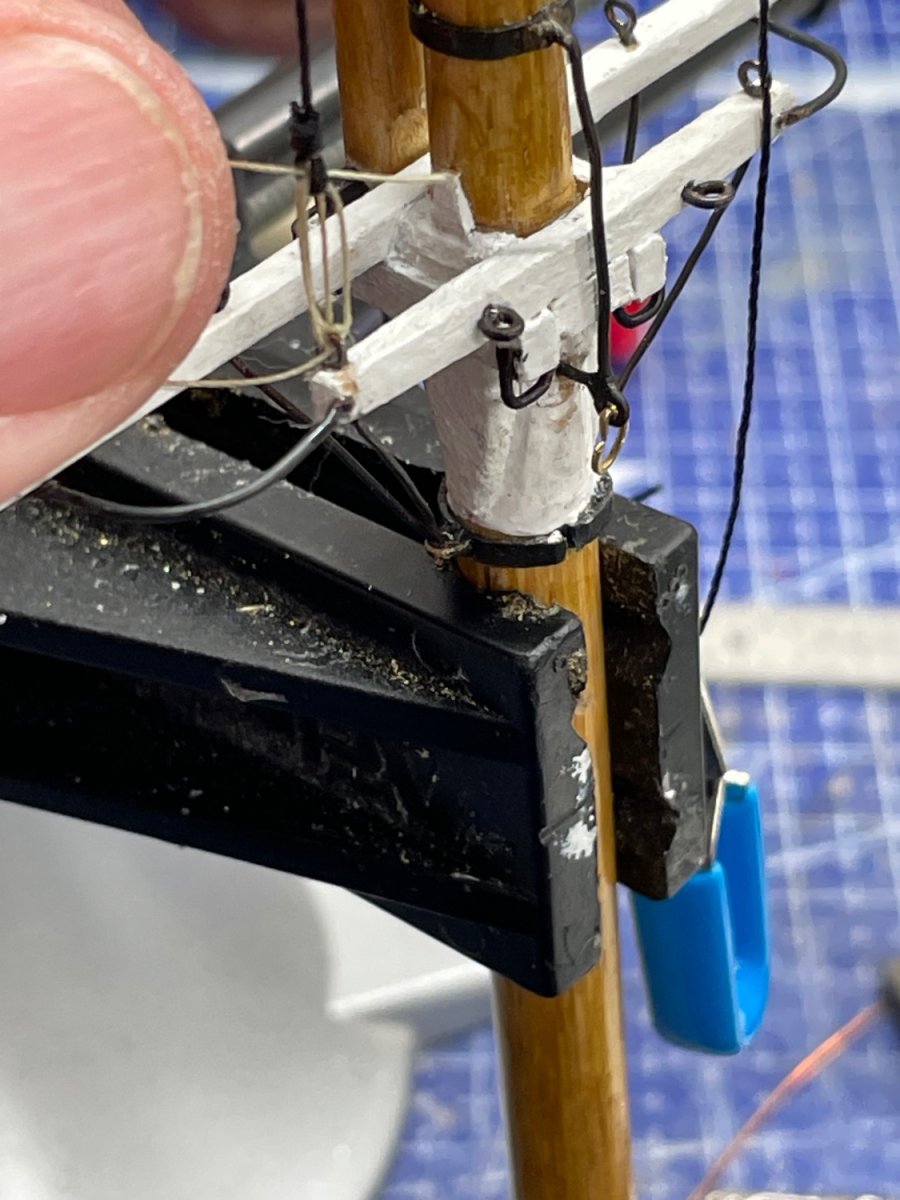
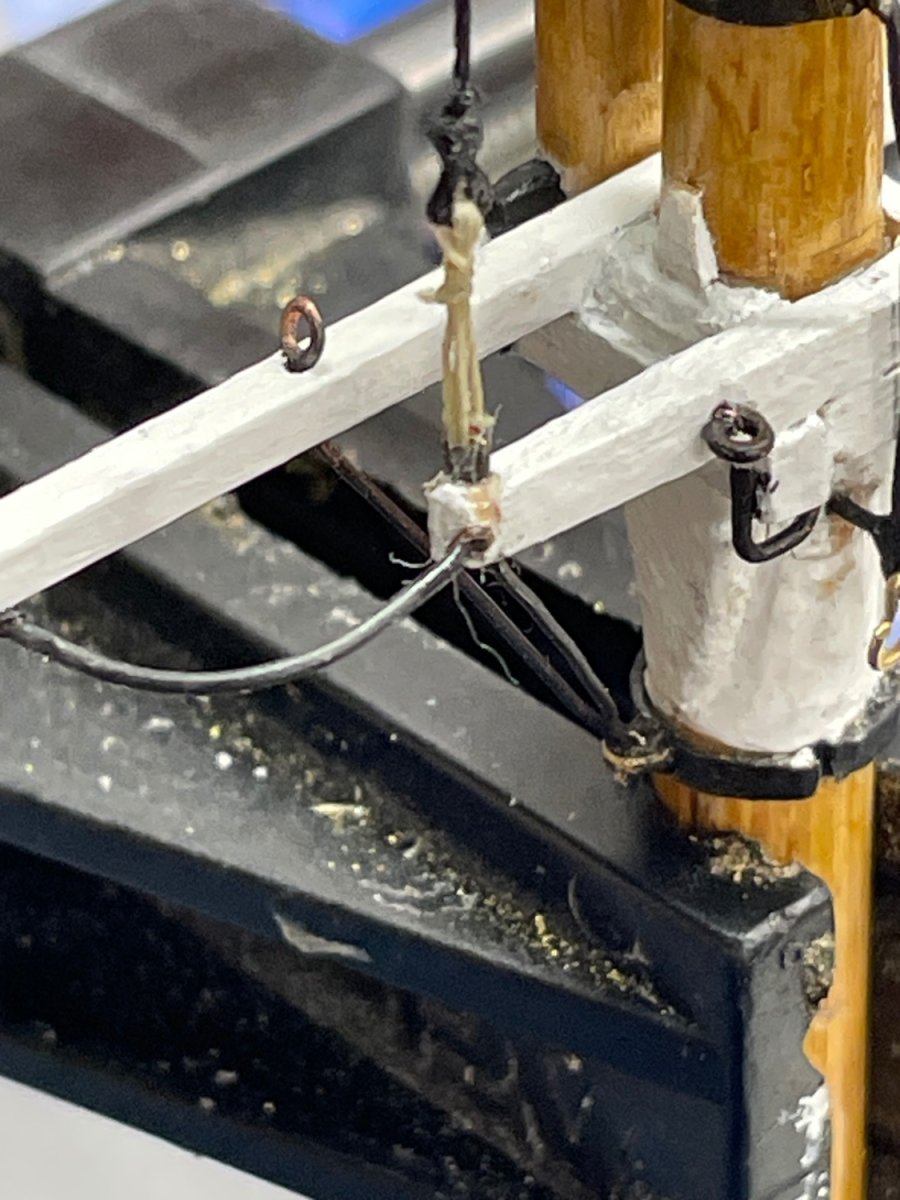
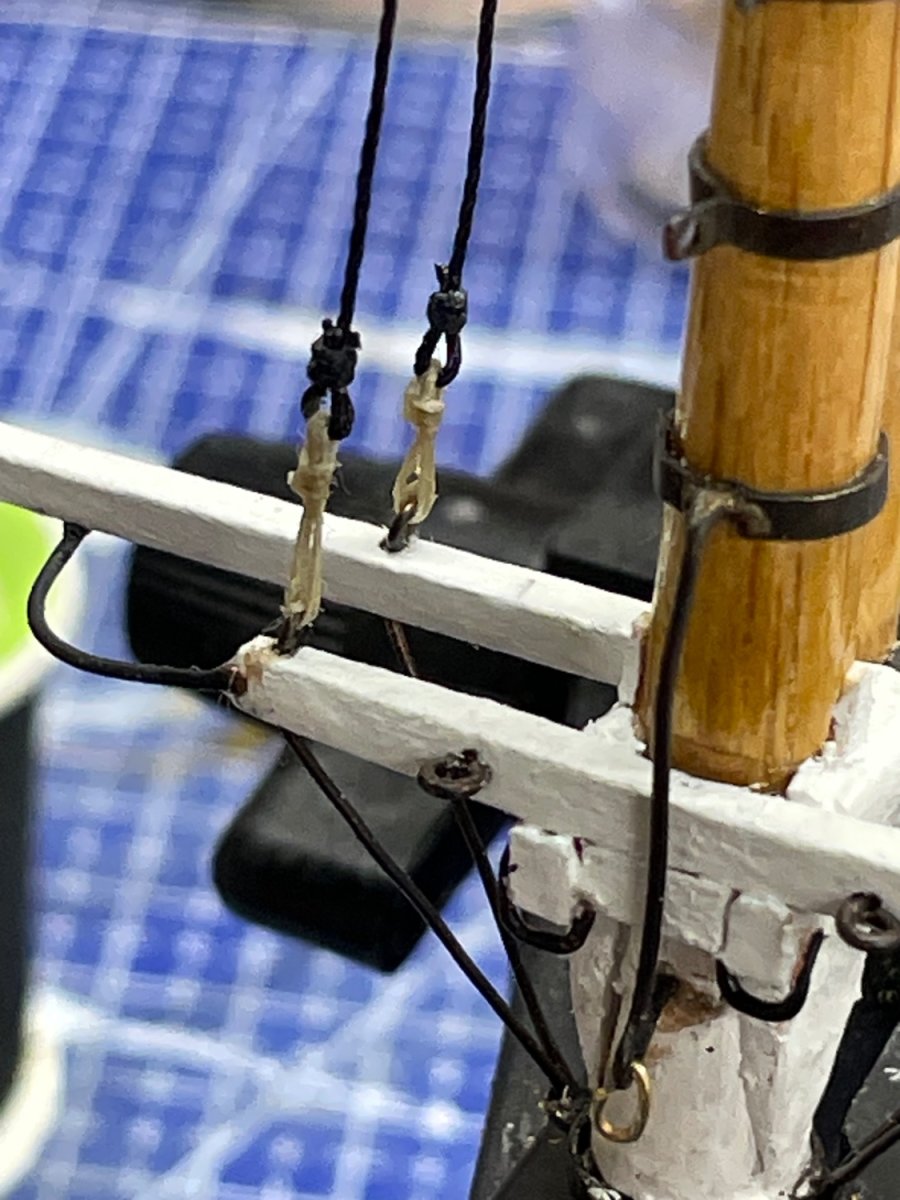
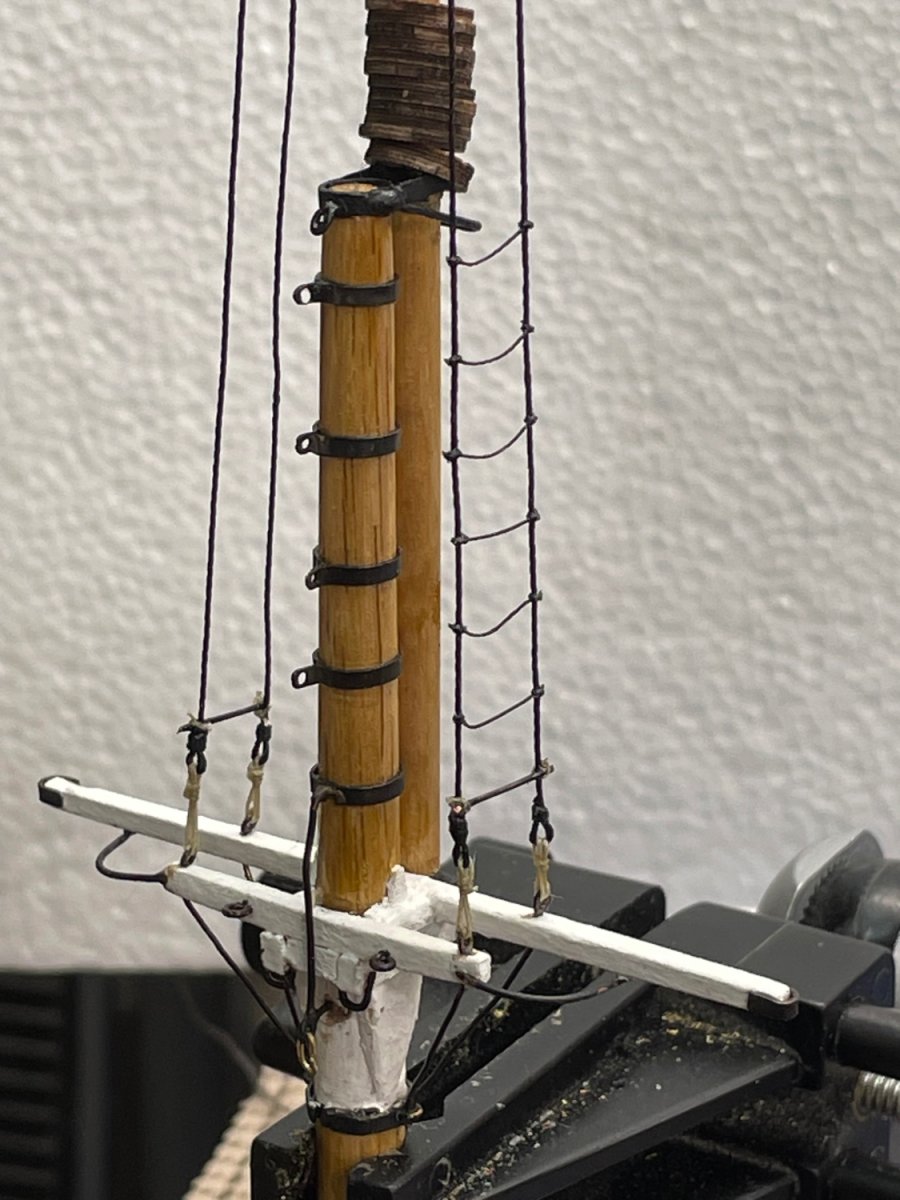
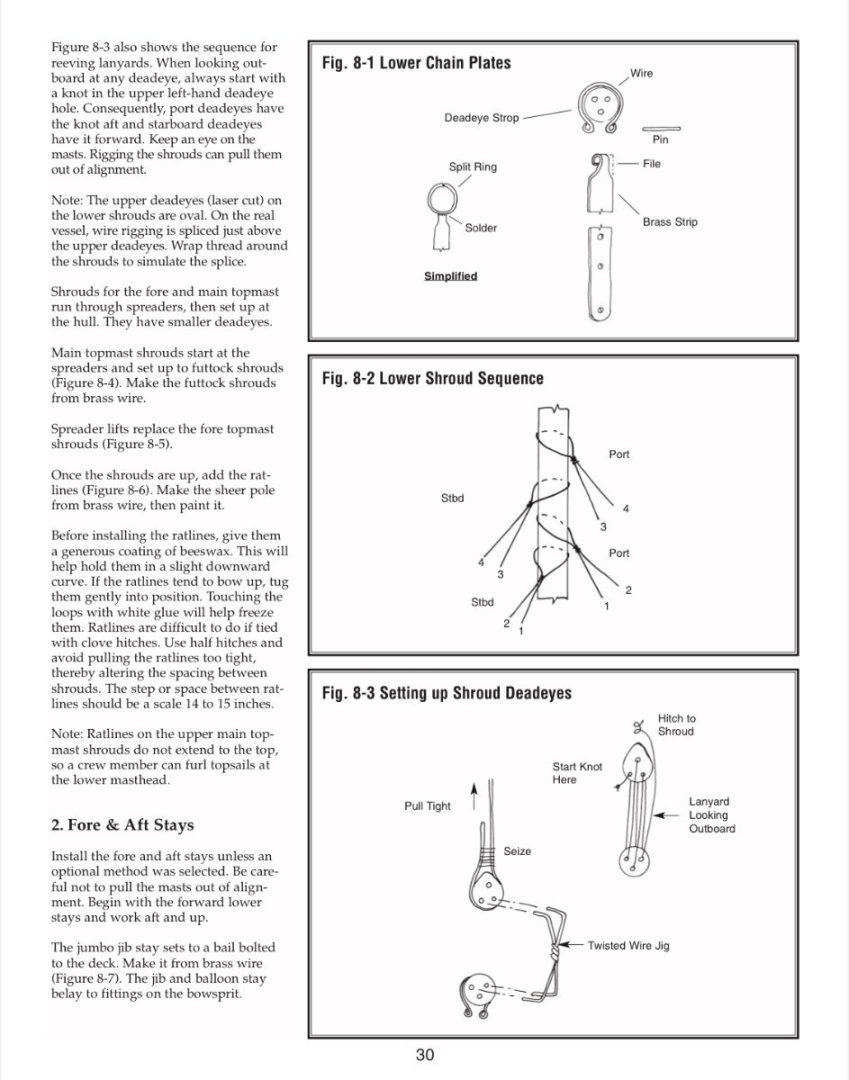
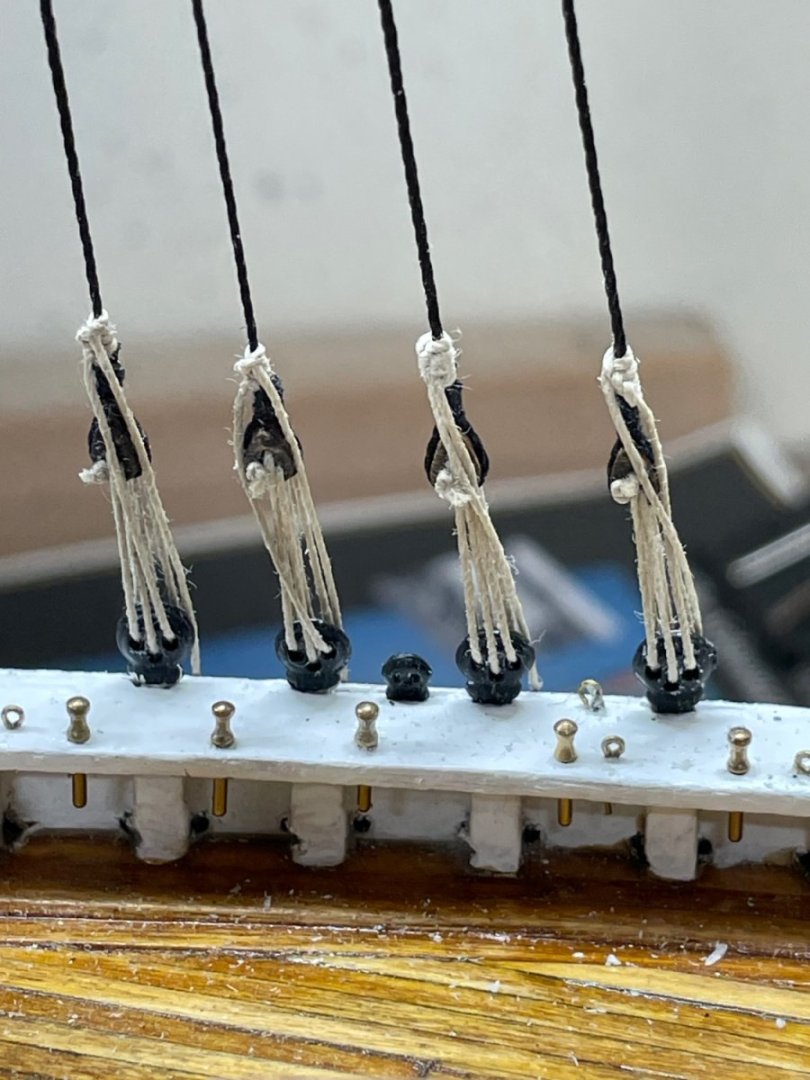
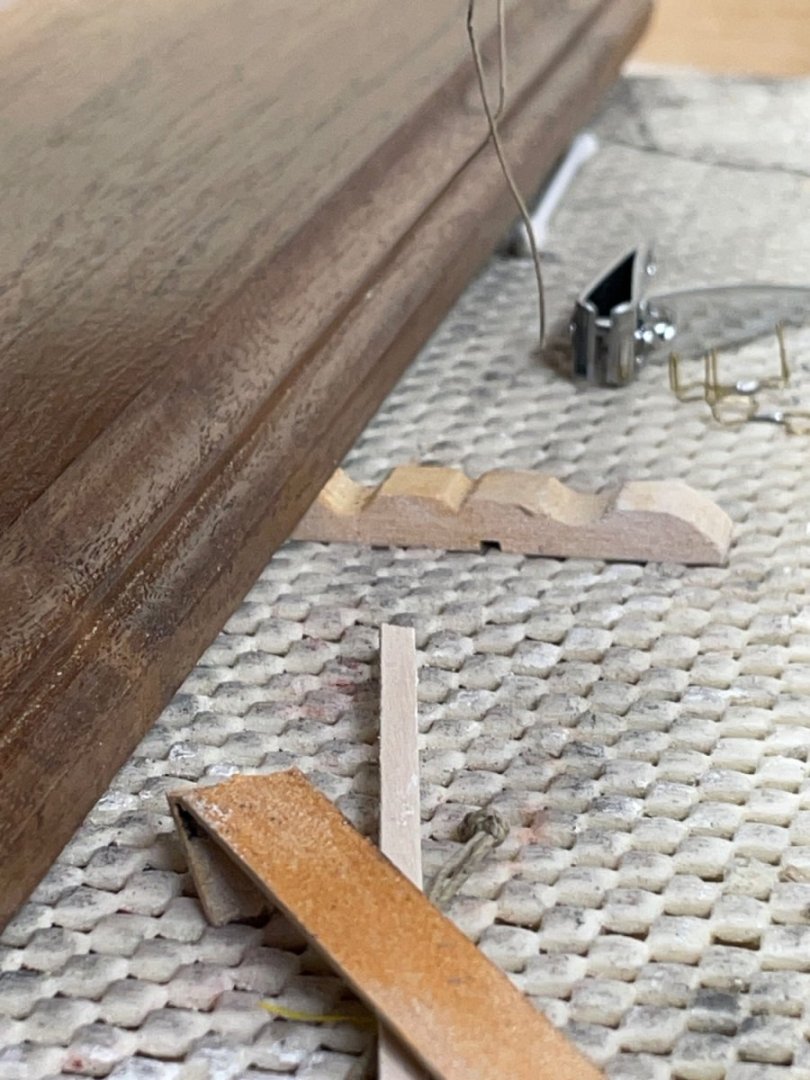
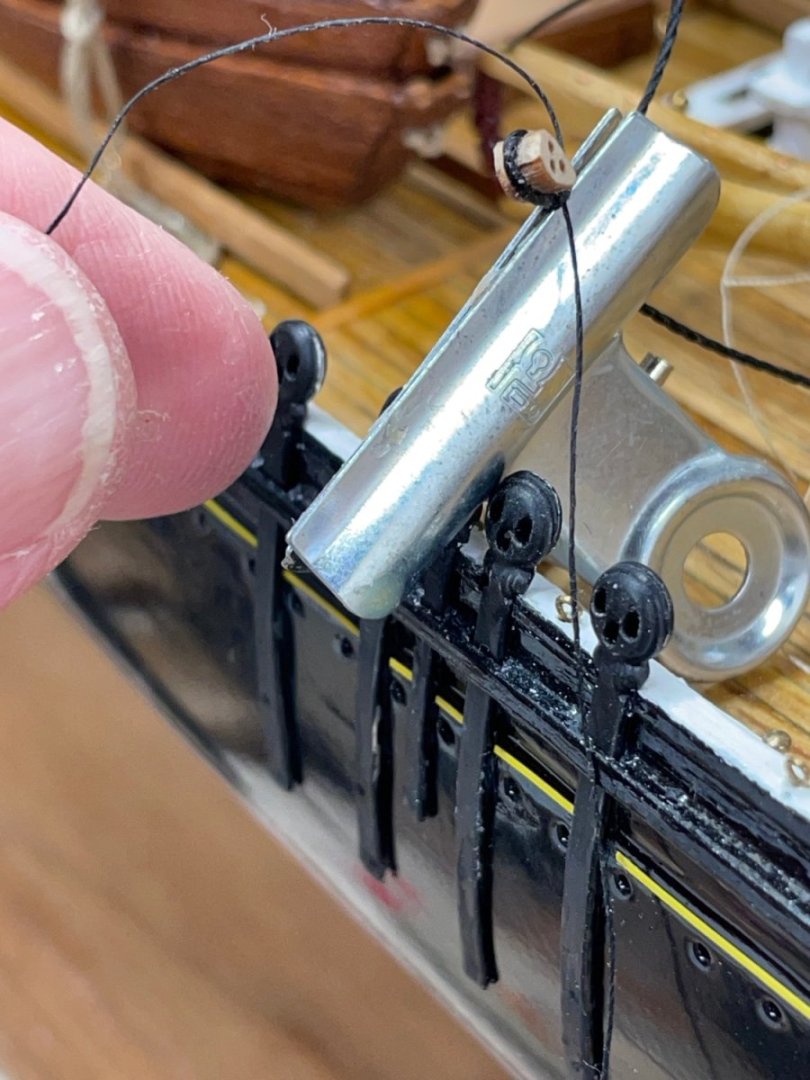
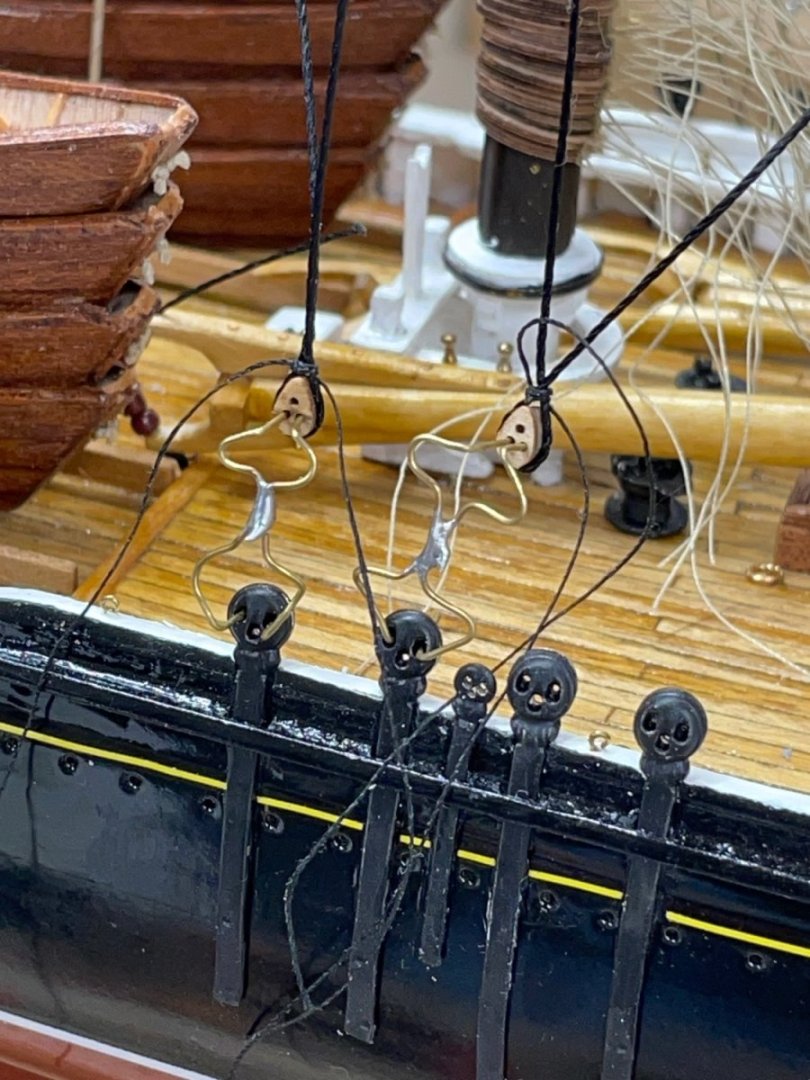
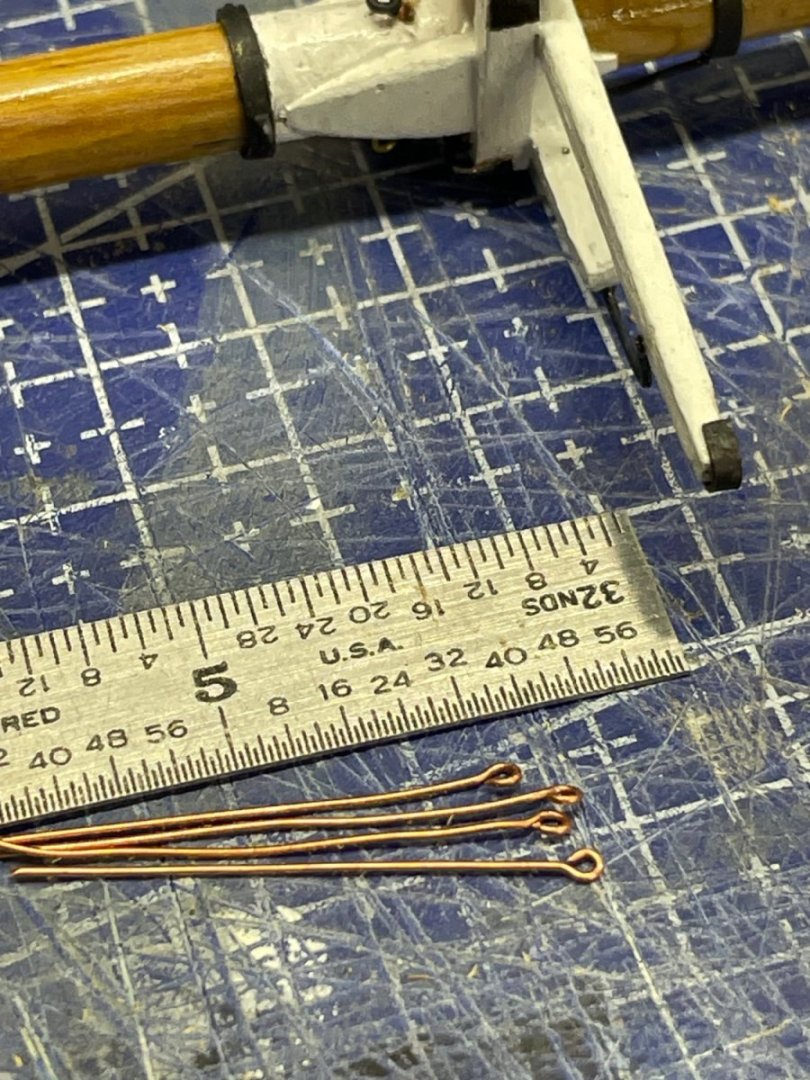
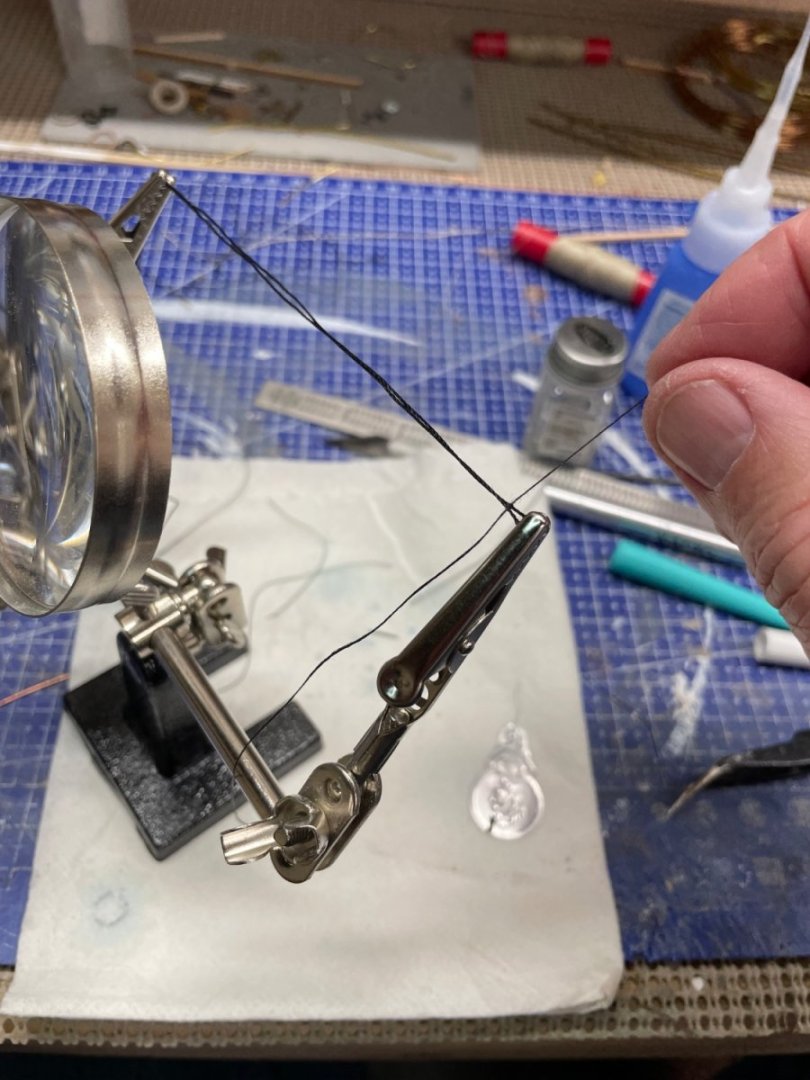
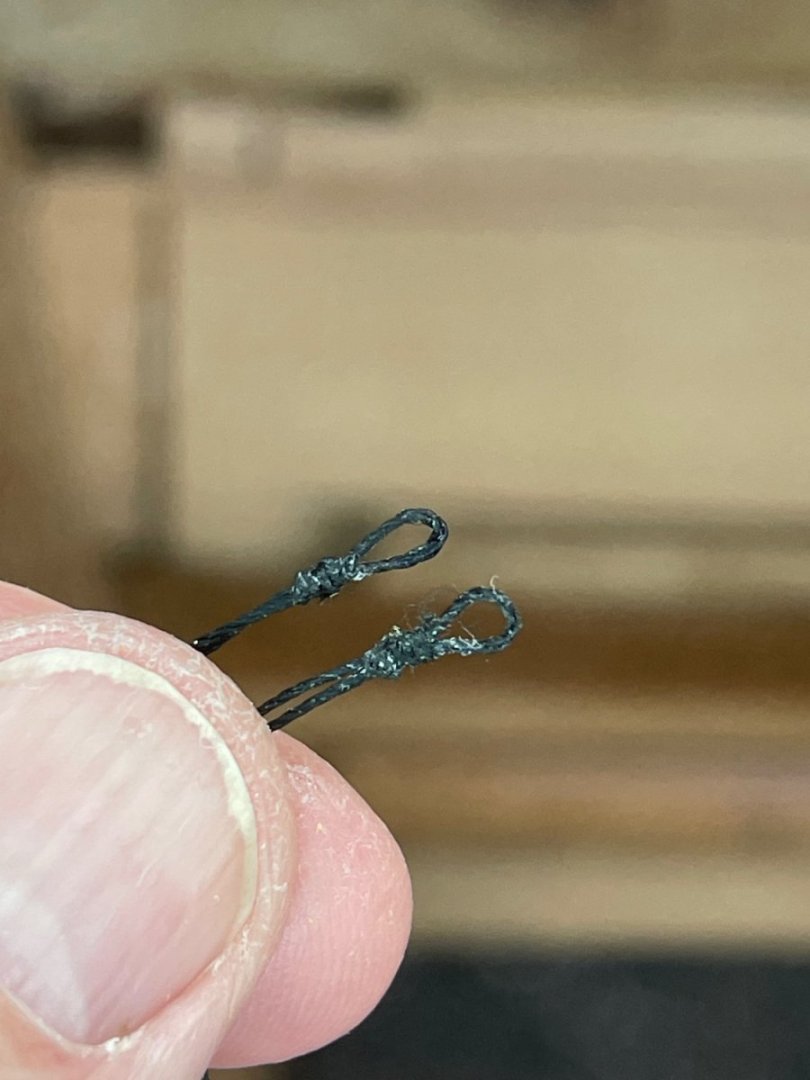
Lower Shrouds Main Mast… Shrouds over Main Mast… Seize Shrouds with series of half hitch knots alternating outside and in. Six knots… Slide up to proper height, repeat other side. Laser cut Deadeyes need grove filed for shroud to attach. Seize Shroud with waxed thread. Do not glue until length is adjusted. Home made wire jig adjusted to 15mm between deadeyes. Hate it when this happens. Let’s hope there are extras. 😬 Lower Shroud Upper Deadeyes Seized and glued in place. Thread lanyards through deadeys. Be sure to maintain proper tautness and centered mast. Easier said than done. Glue these Seized Shrouds so they do not come unraveled. First two Lower Shrouds completed. Cheers 🍻


- 282 replies
-
- 6
-
-
-
- Bluenose
- Model Shipways
- (and 1 more)
-
That’s what it all about… Looking real good. 👍 John
- 254 replies
-
- 6
-
-

-
- Victory Models
- Pegasus
- (and 3 more)
-
Excellent progress there Bob. She’s really starting to take shape. She will be sliding down the ways ready to be rigged, before you know it. Cheers🍻
- 254 replies
-
- 2
-
-
- Victory Models
- Pegasus
- (and 3 more)
-
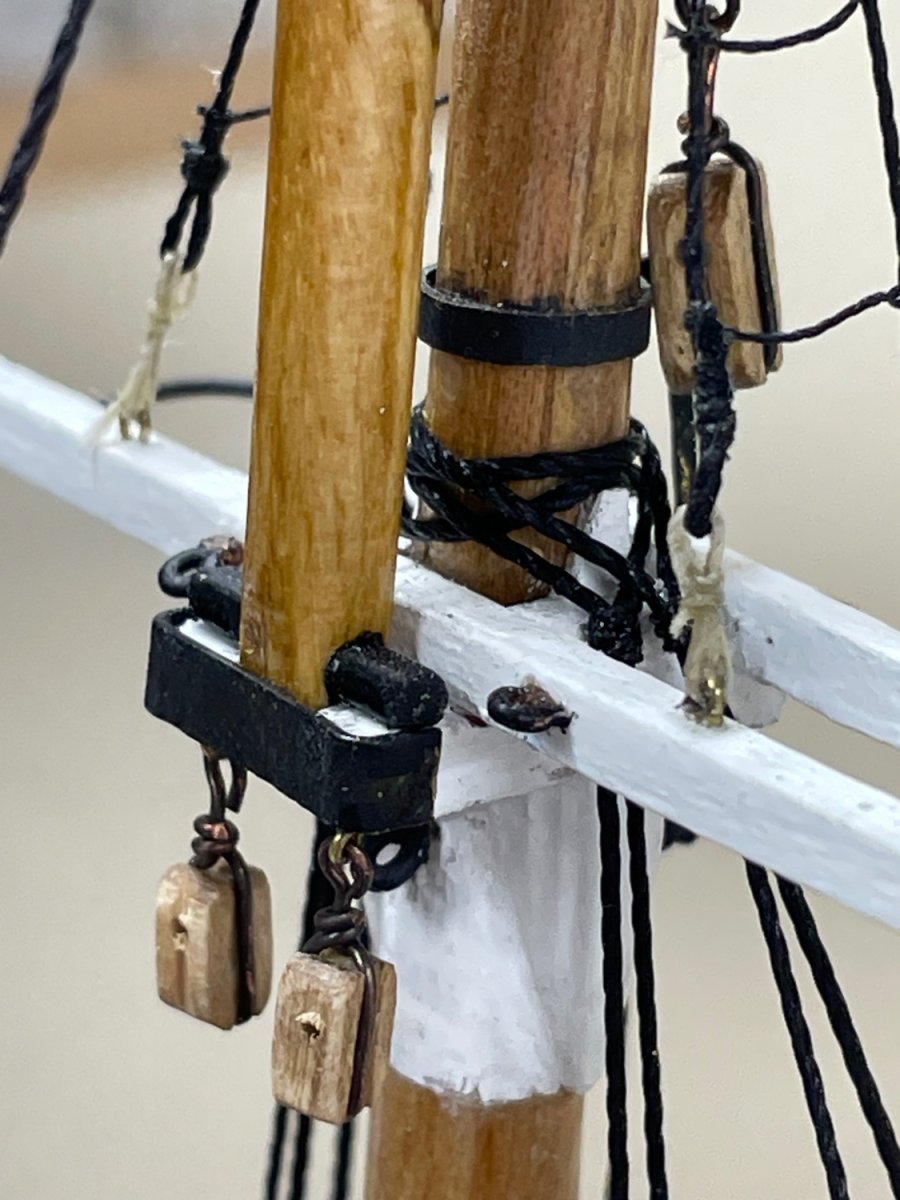
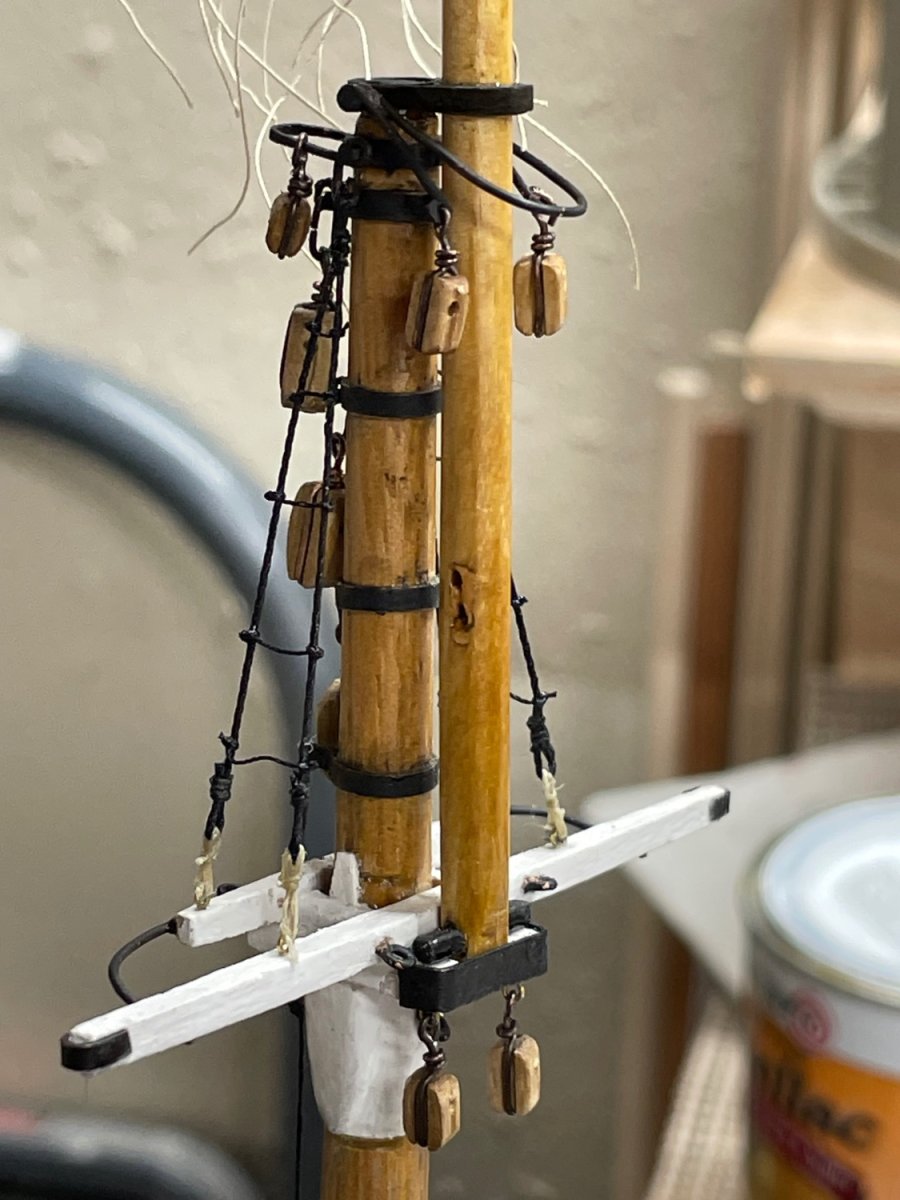
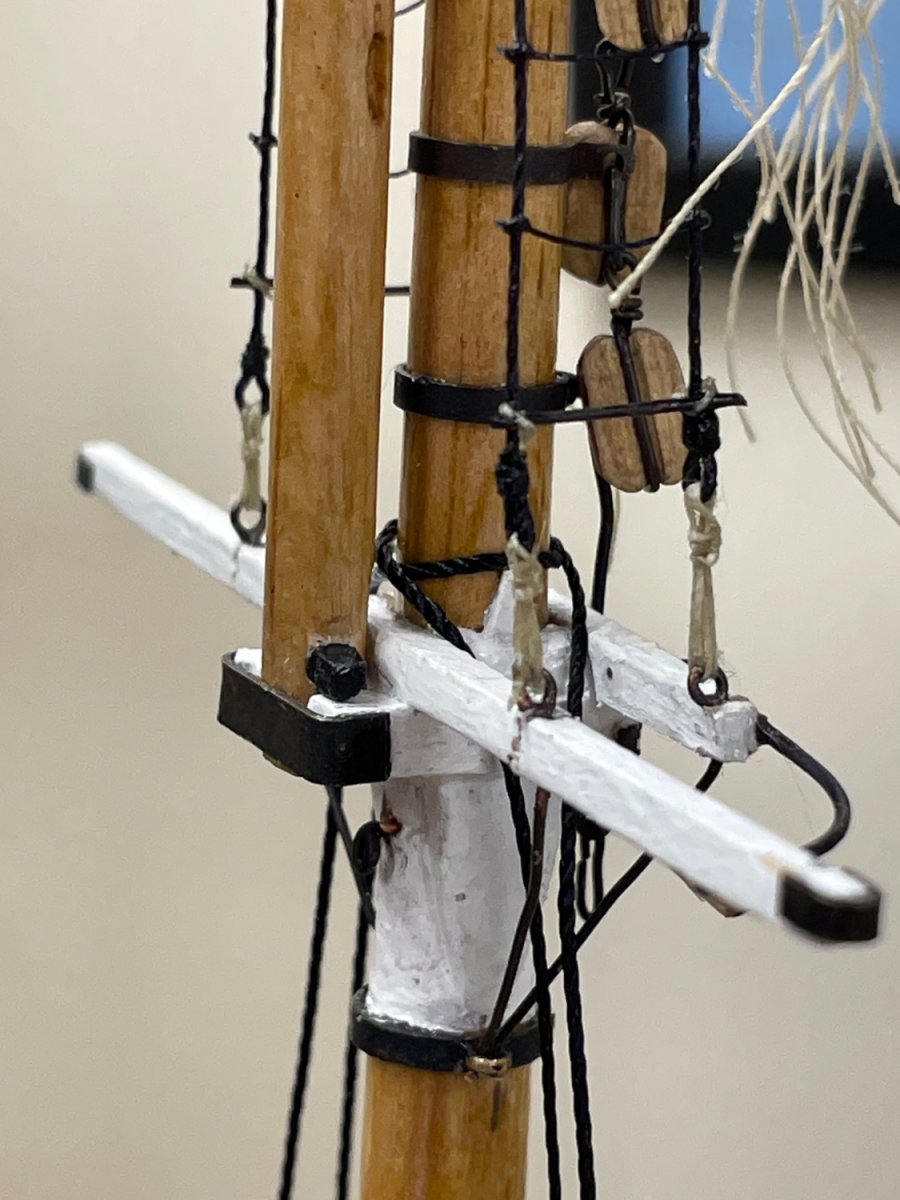
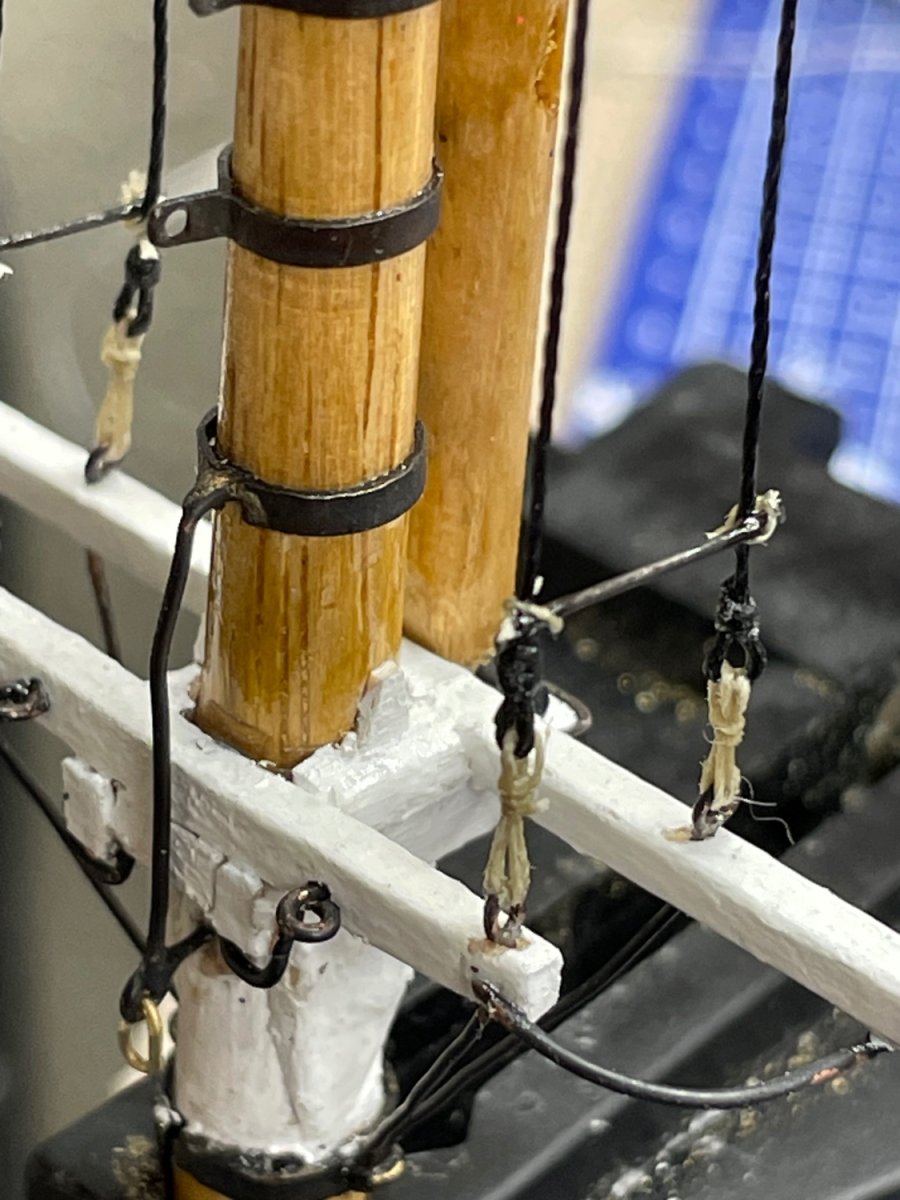
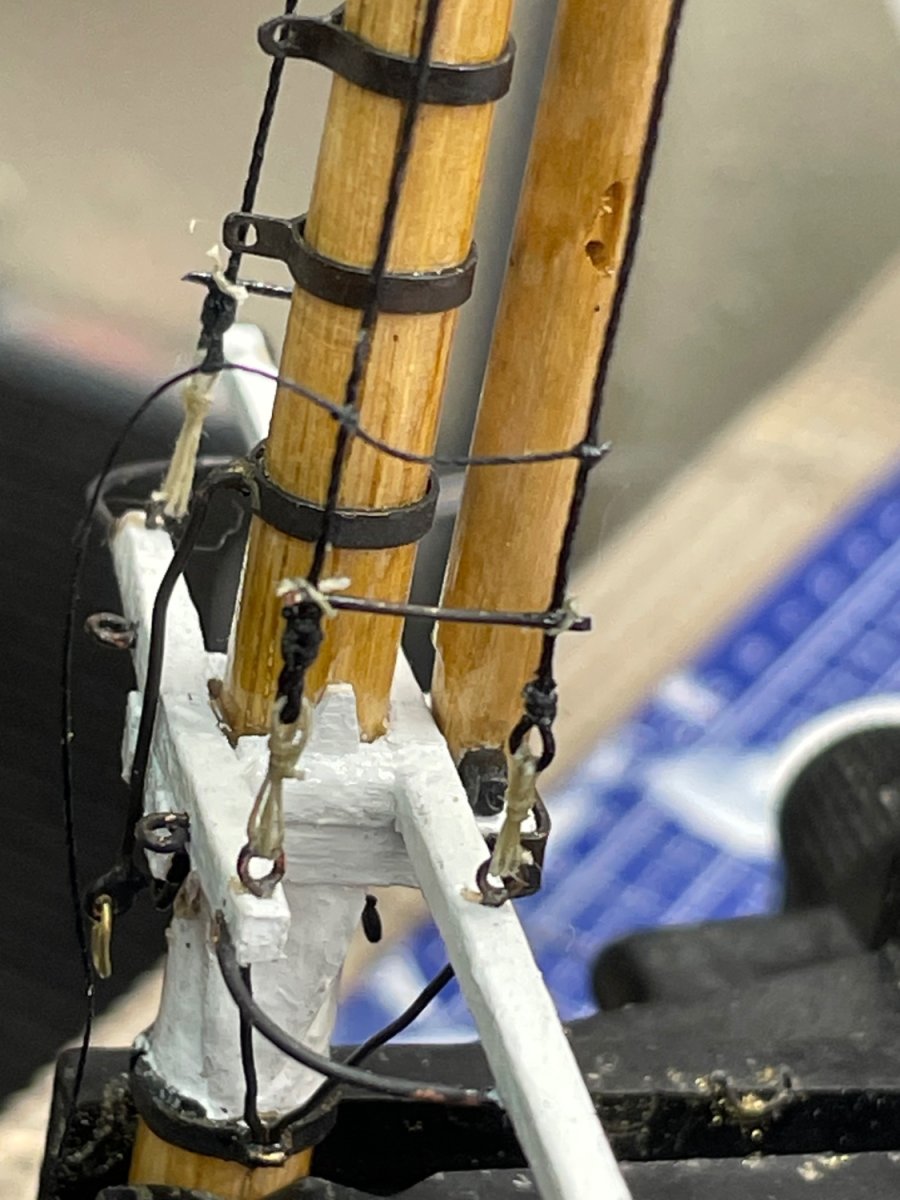
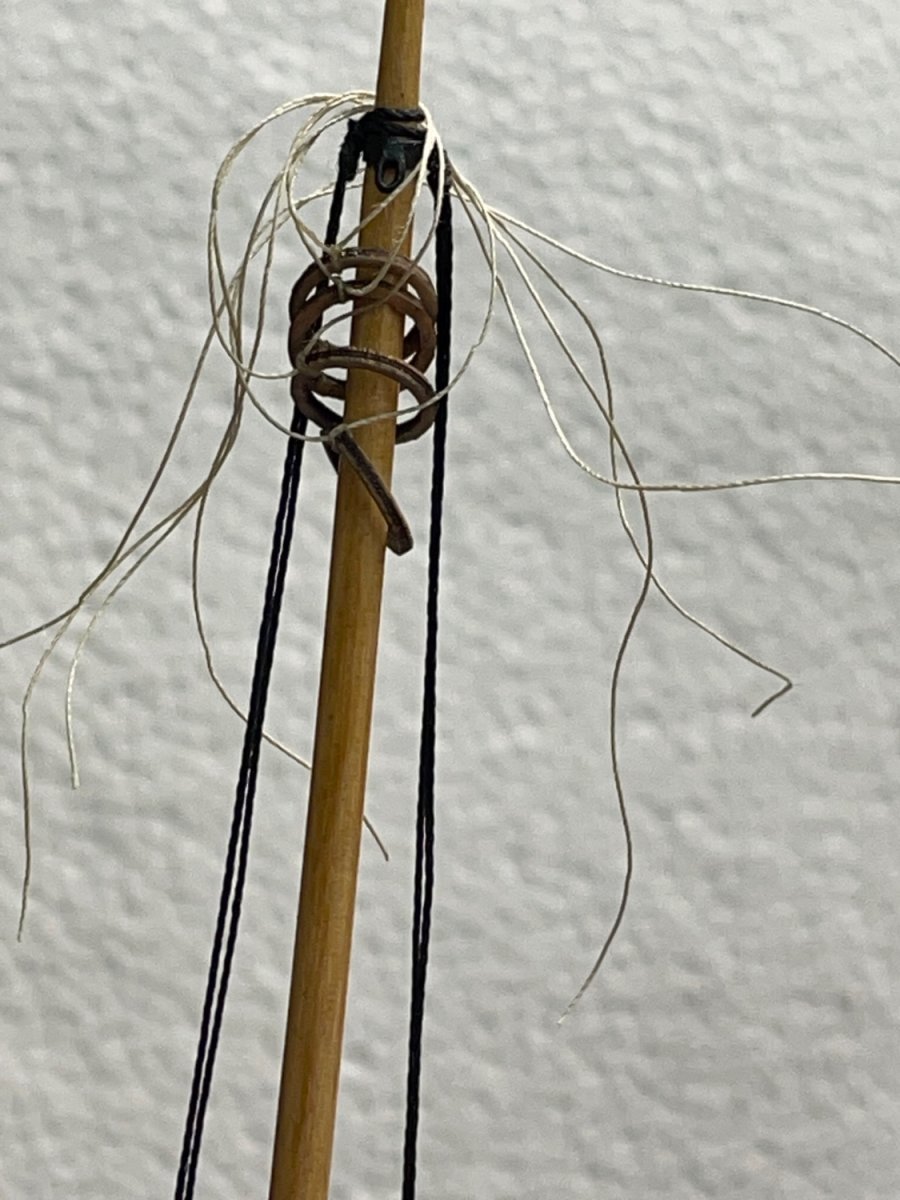
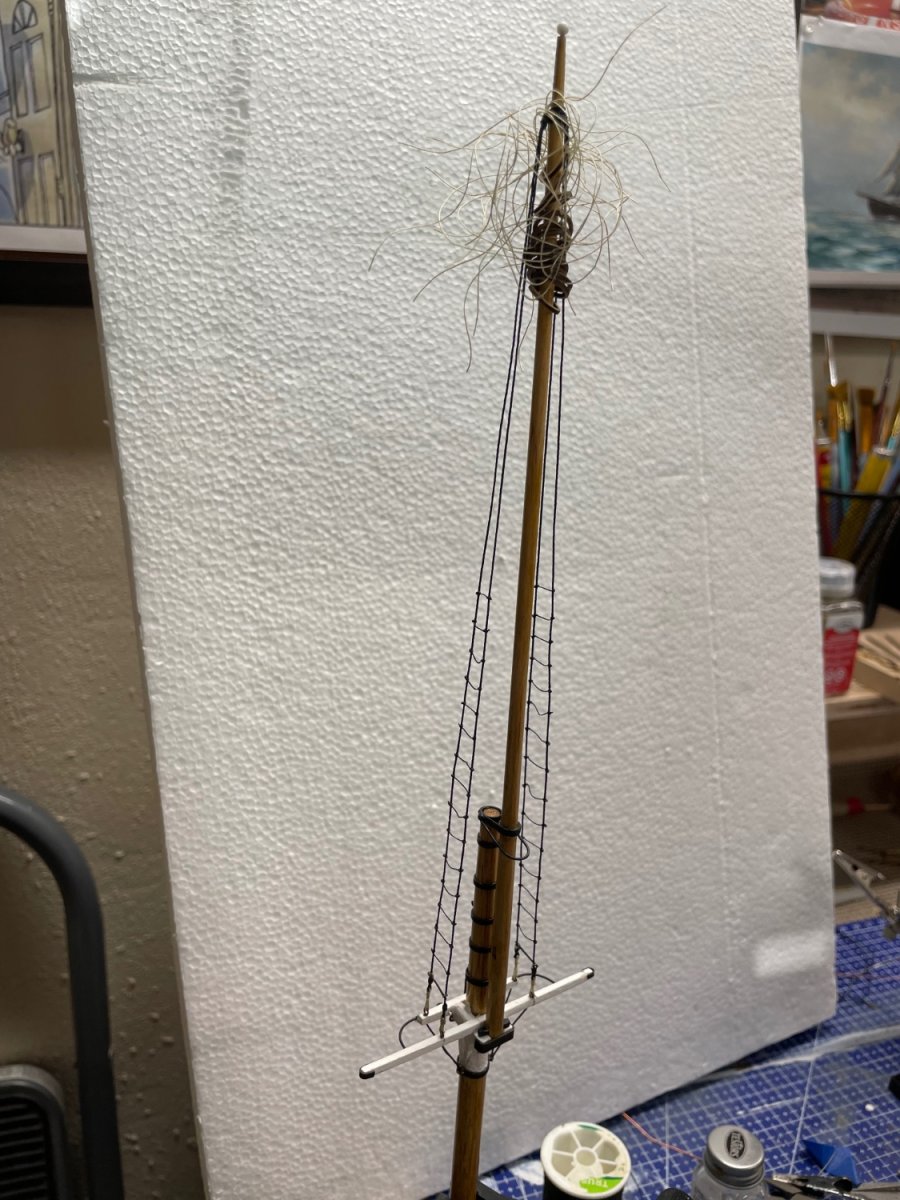
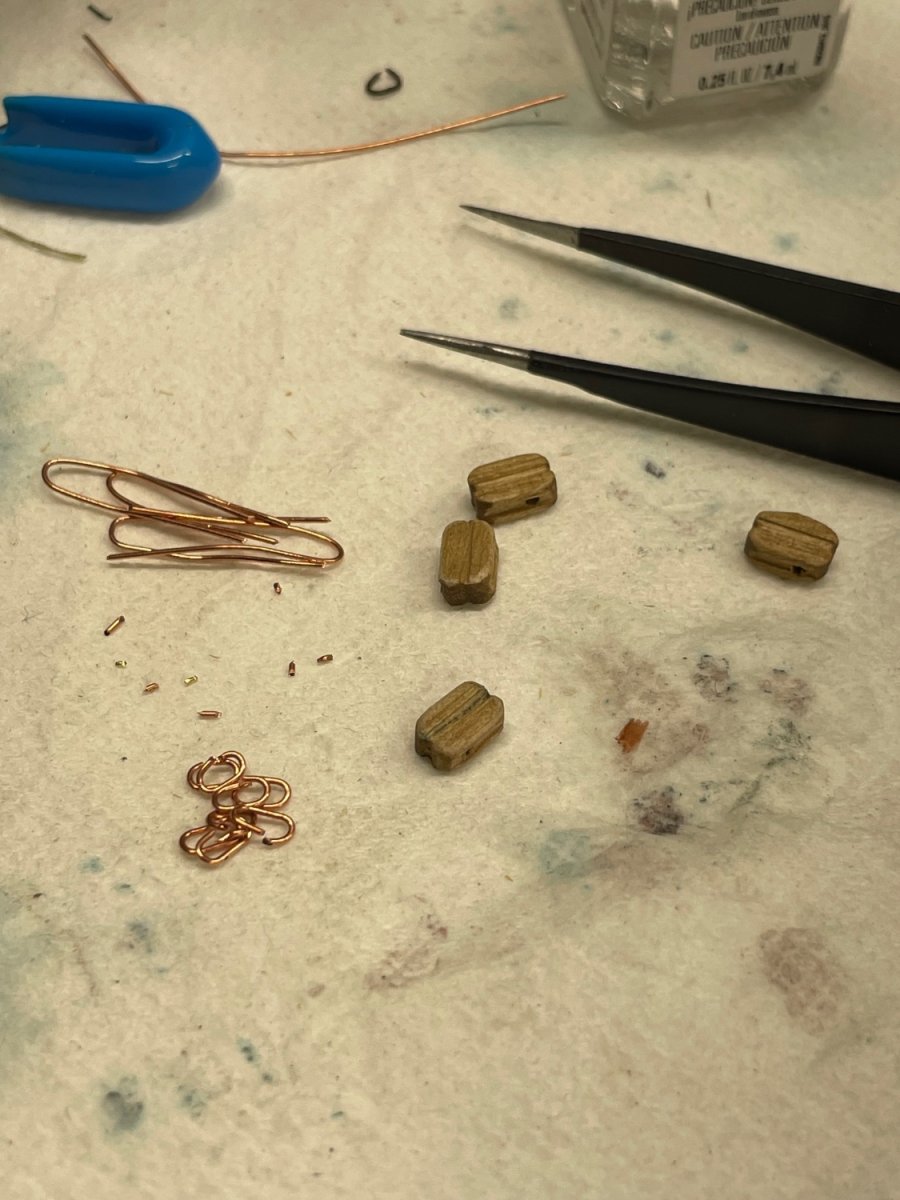
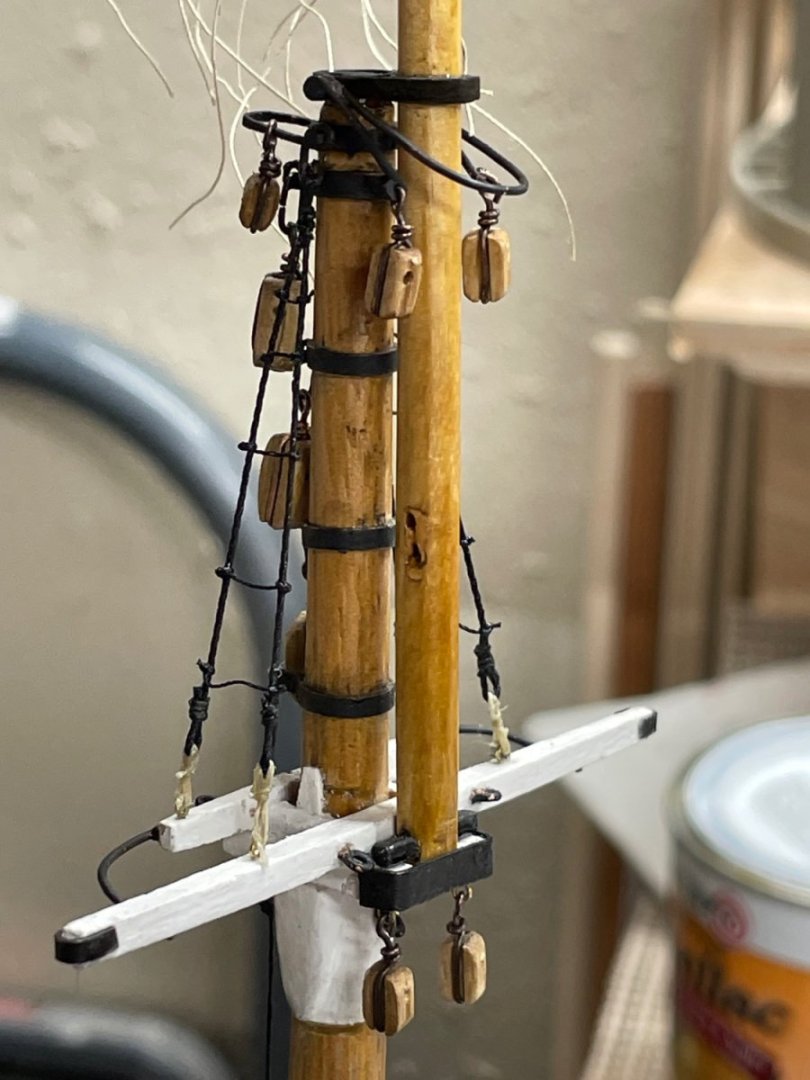
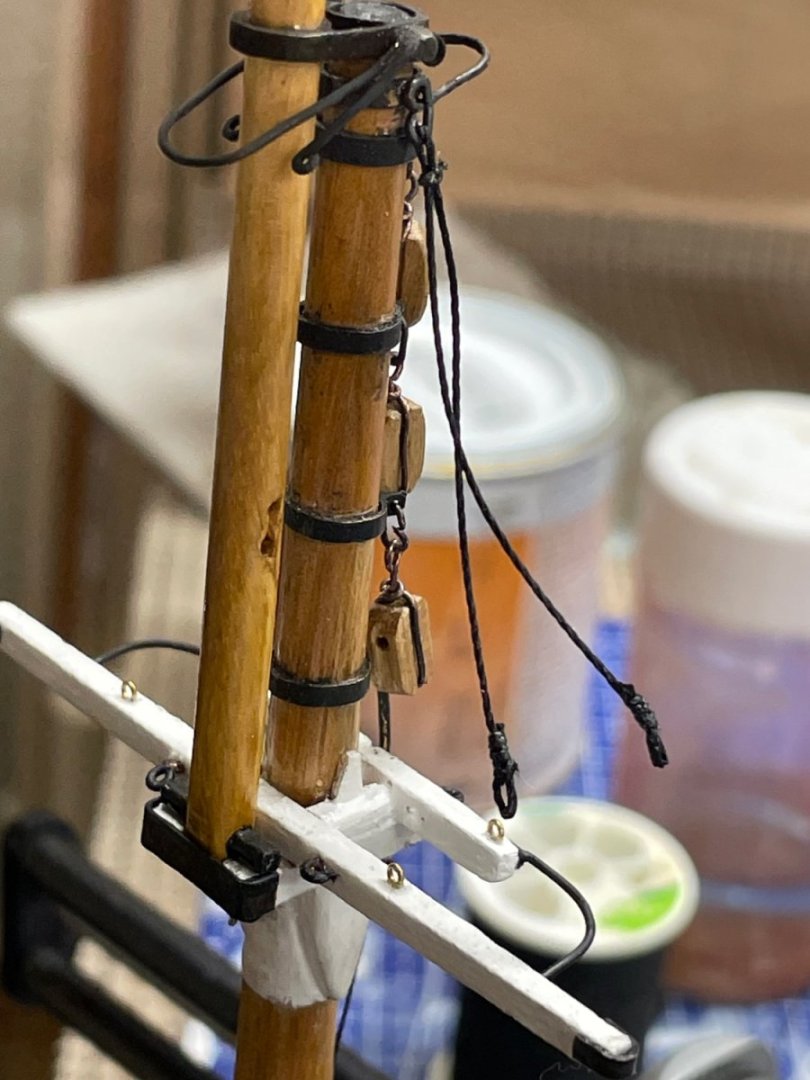
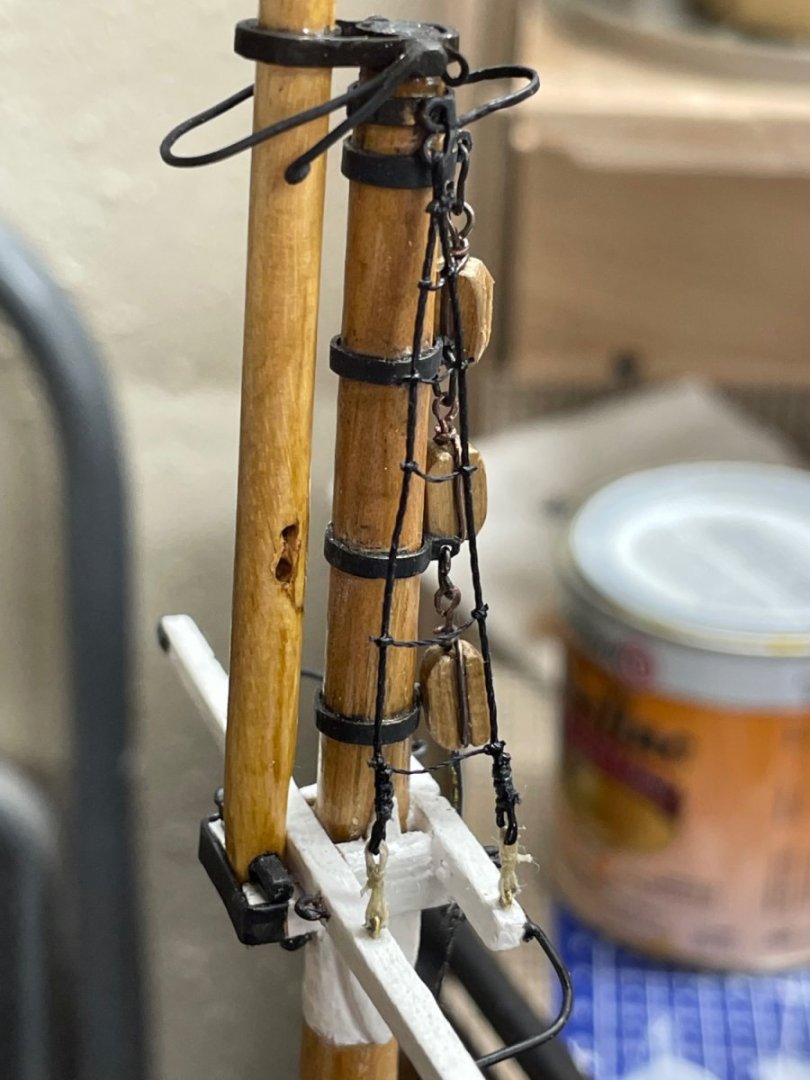
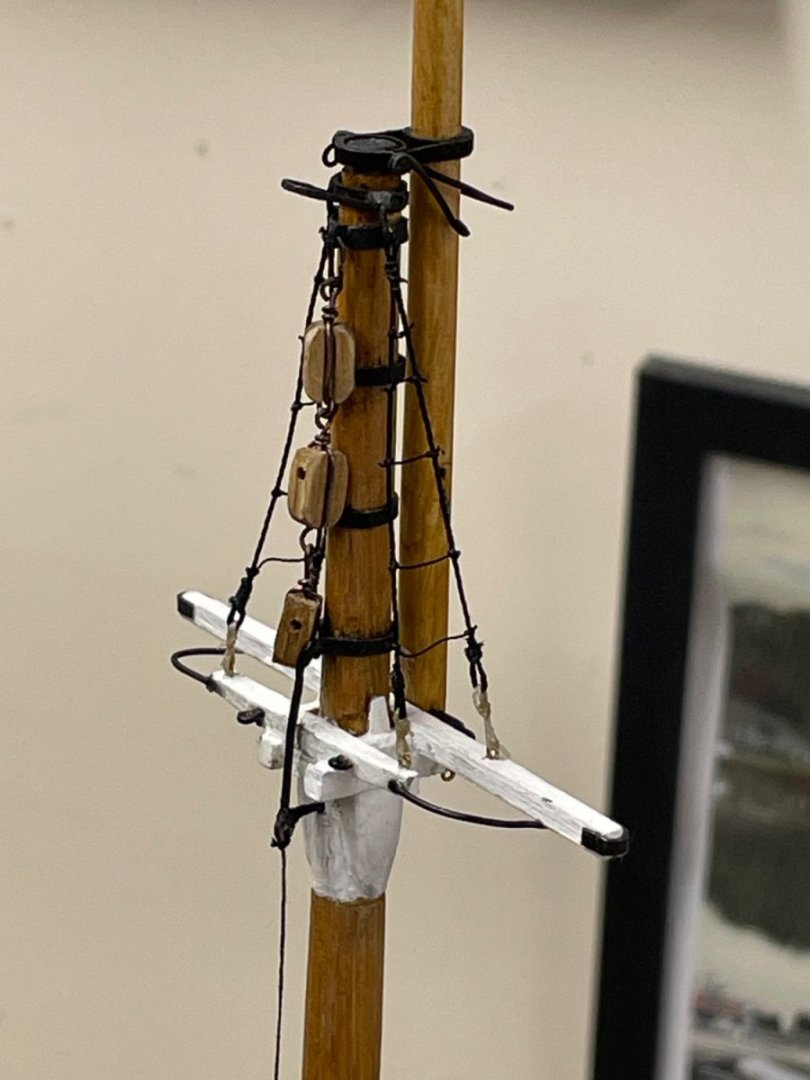
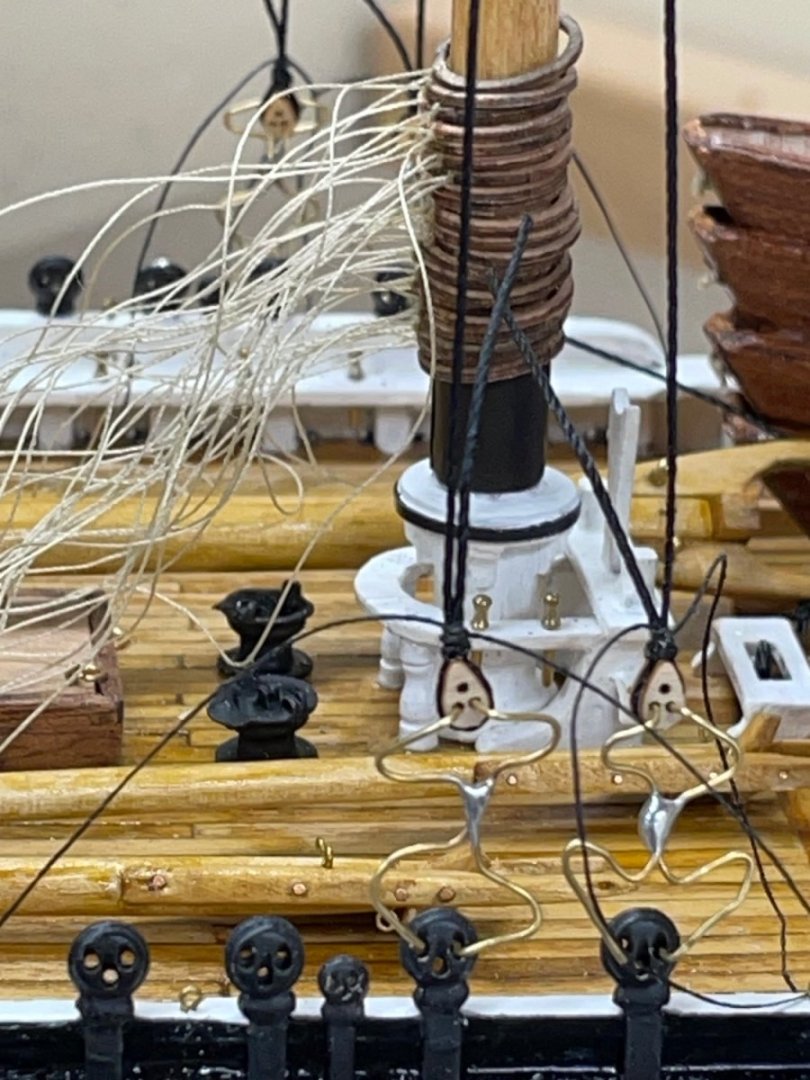
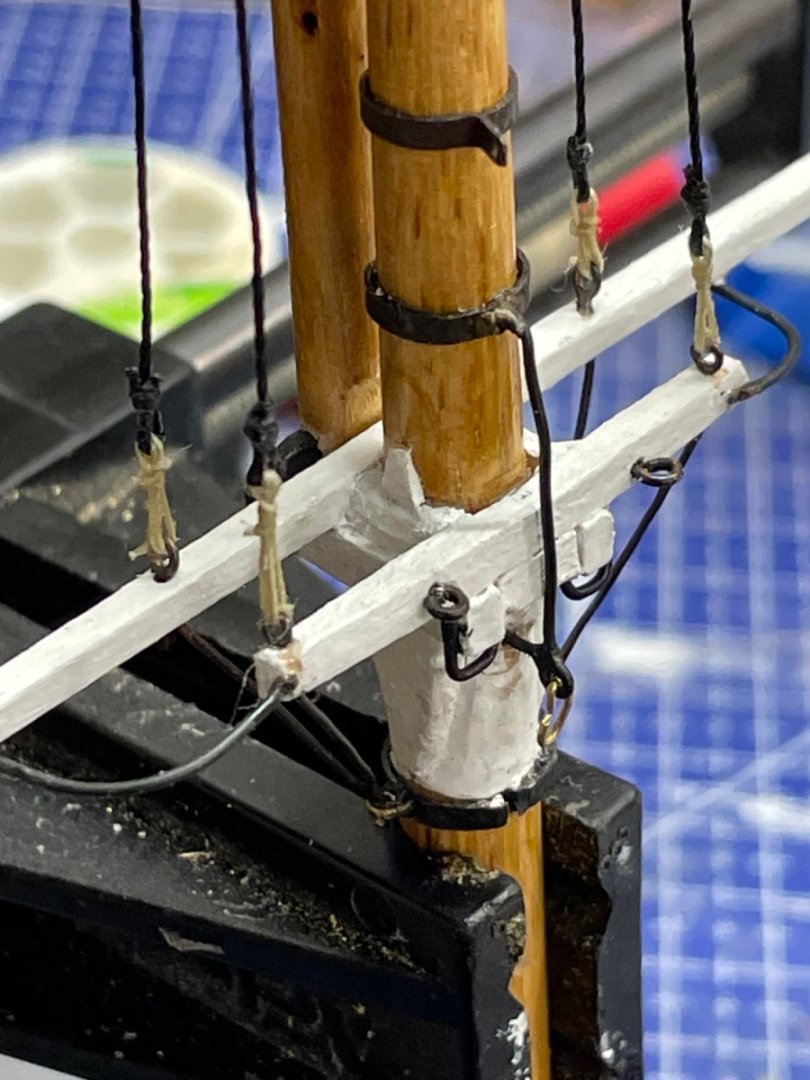
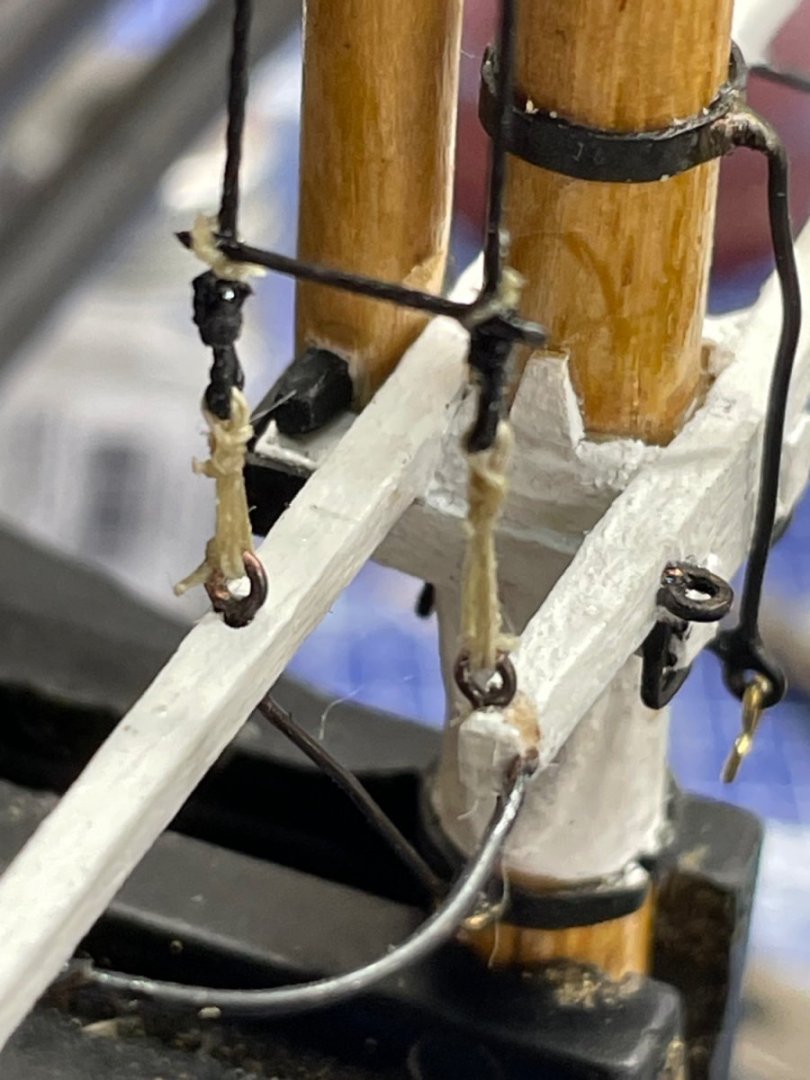
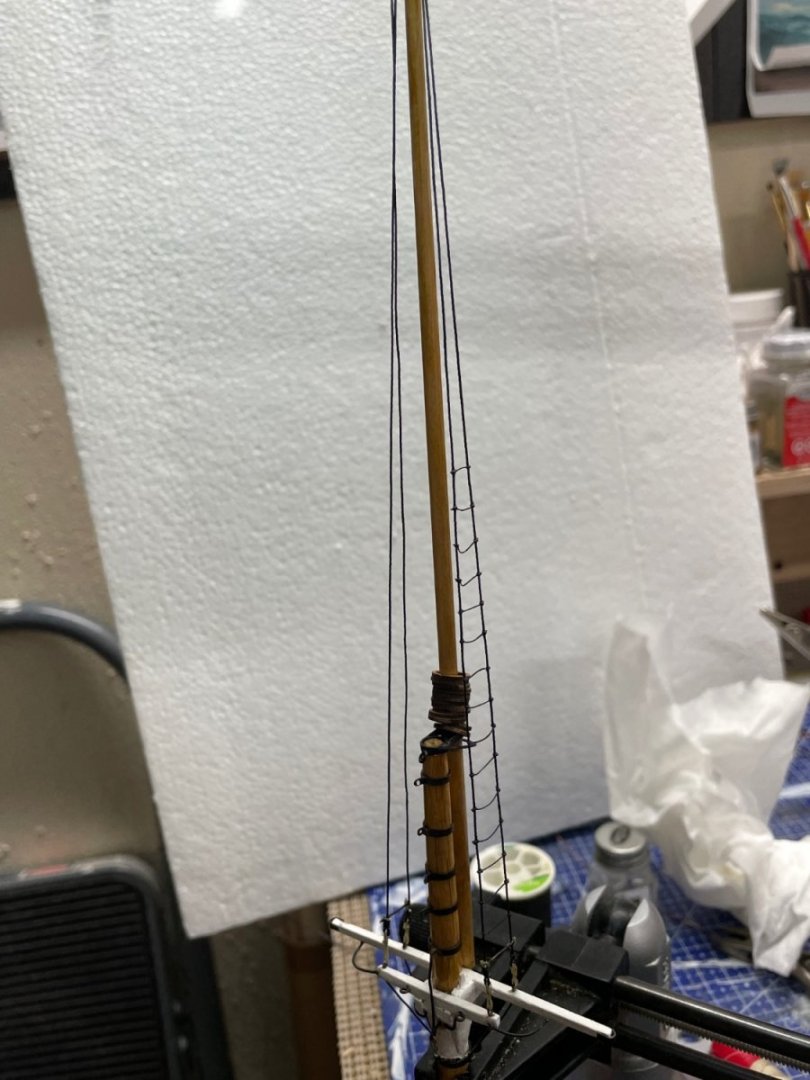
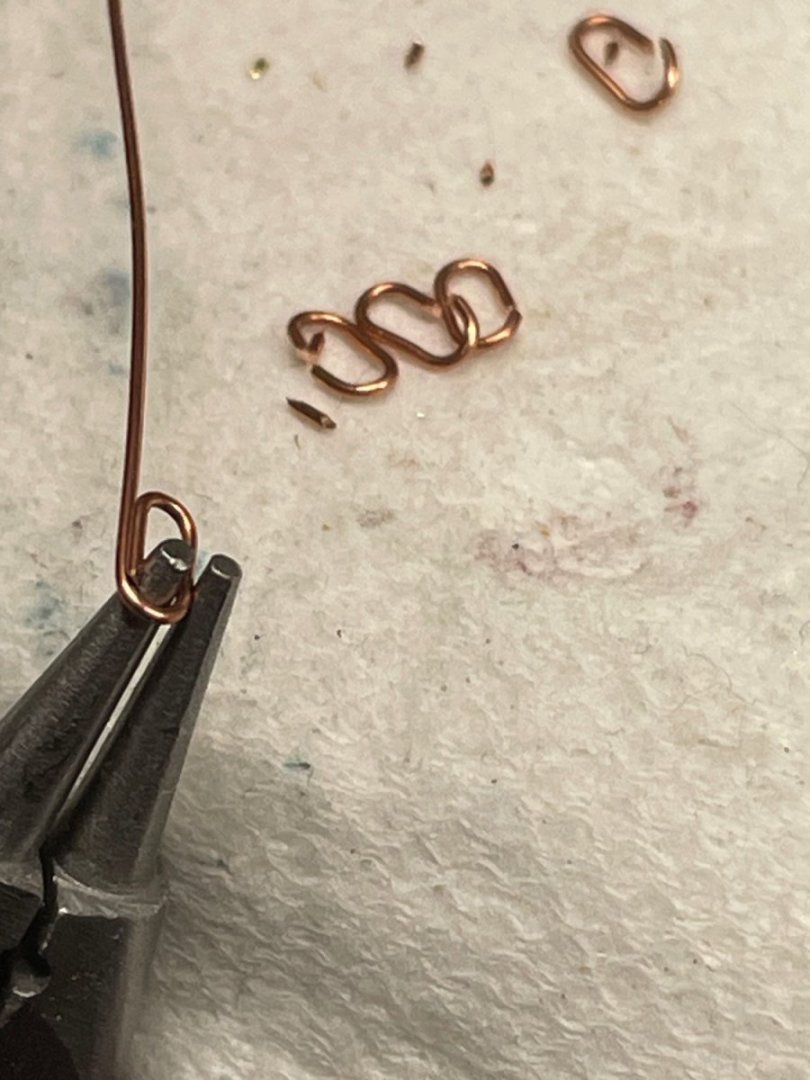
Main Top Mast Futtock Shrouds… Main Upper Shrouds… Lanyards… Main Upper Shroud Rat Lines… Oops 😬 This is what happens when your vice is not mounted. Reached for my coffee and found my Main Mast on the floor. Certainly a panic moment, but a little CA glue and it’s like it never happened…. Adding ties to the Mast Hoops to tie down the sails latter. Links for hanging Blocks… Stroping Peak Halliard Blocks… Onwards… Cheers 🍻


- 282 replies
-
- 8
-
-
- Bluenose
- Model Shipways
- (and 1 more)
-
Tom, Nice job on those battens. They make for really neat Shrouds, but are certainly a Pain to tie. Did you glue yours in place or cross tie each one? Your CWM is progressing quite nicely. John
- 200 replies
-
- 1
-
-
- Whaling Bark
- Charles W Morgan
- (and 1 more)
-
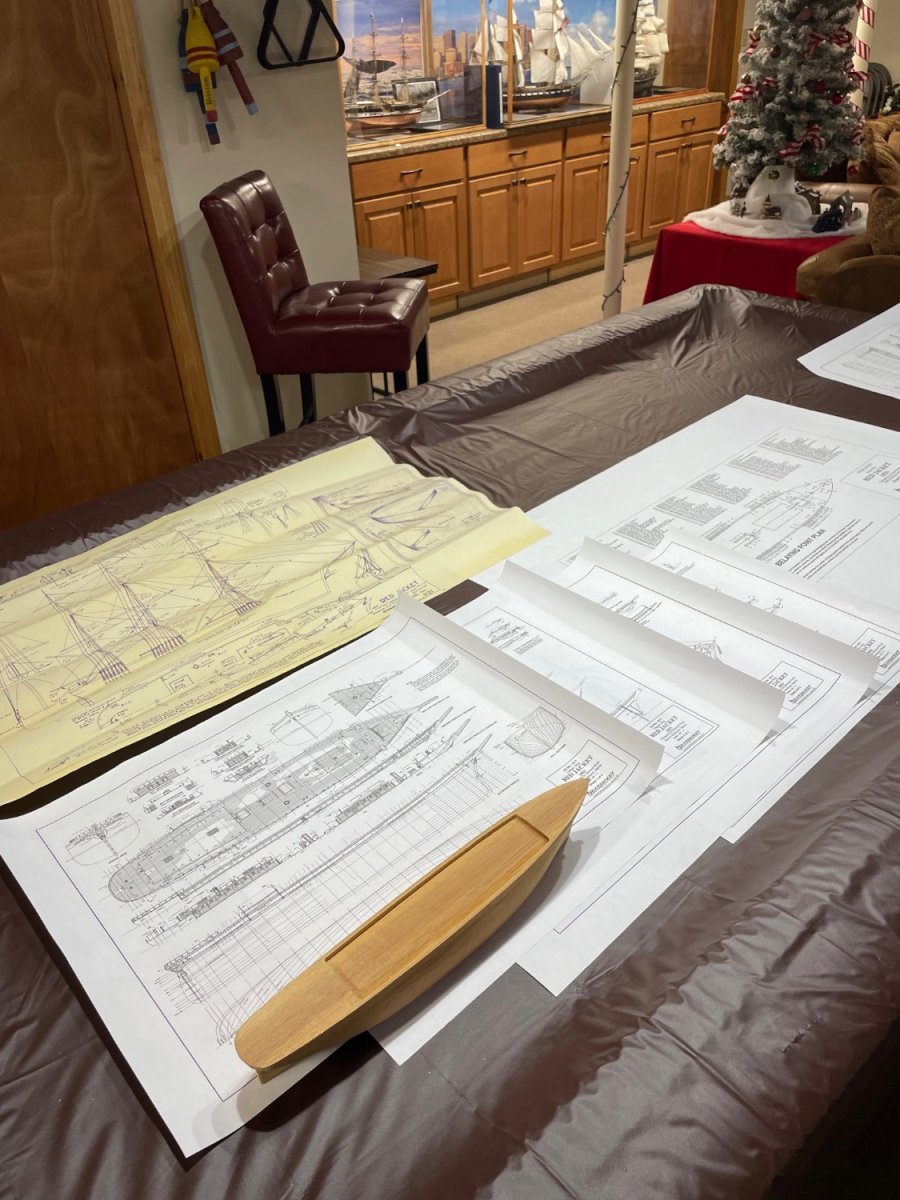
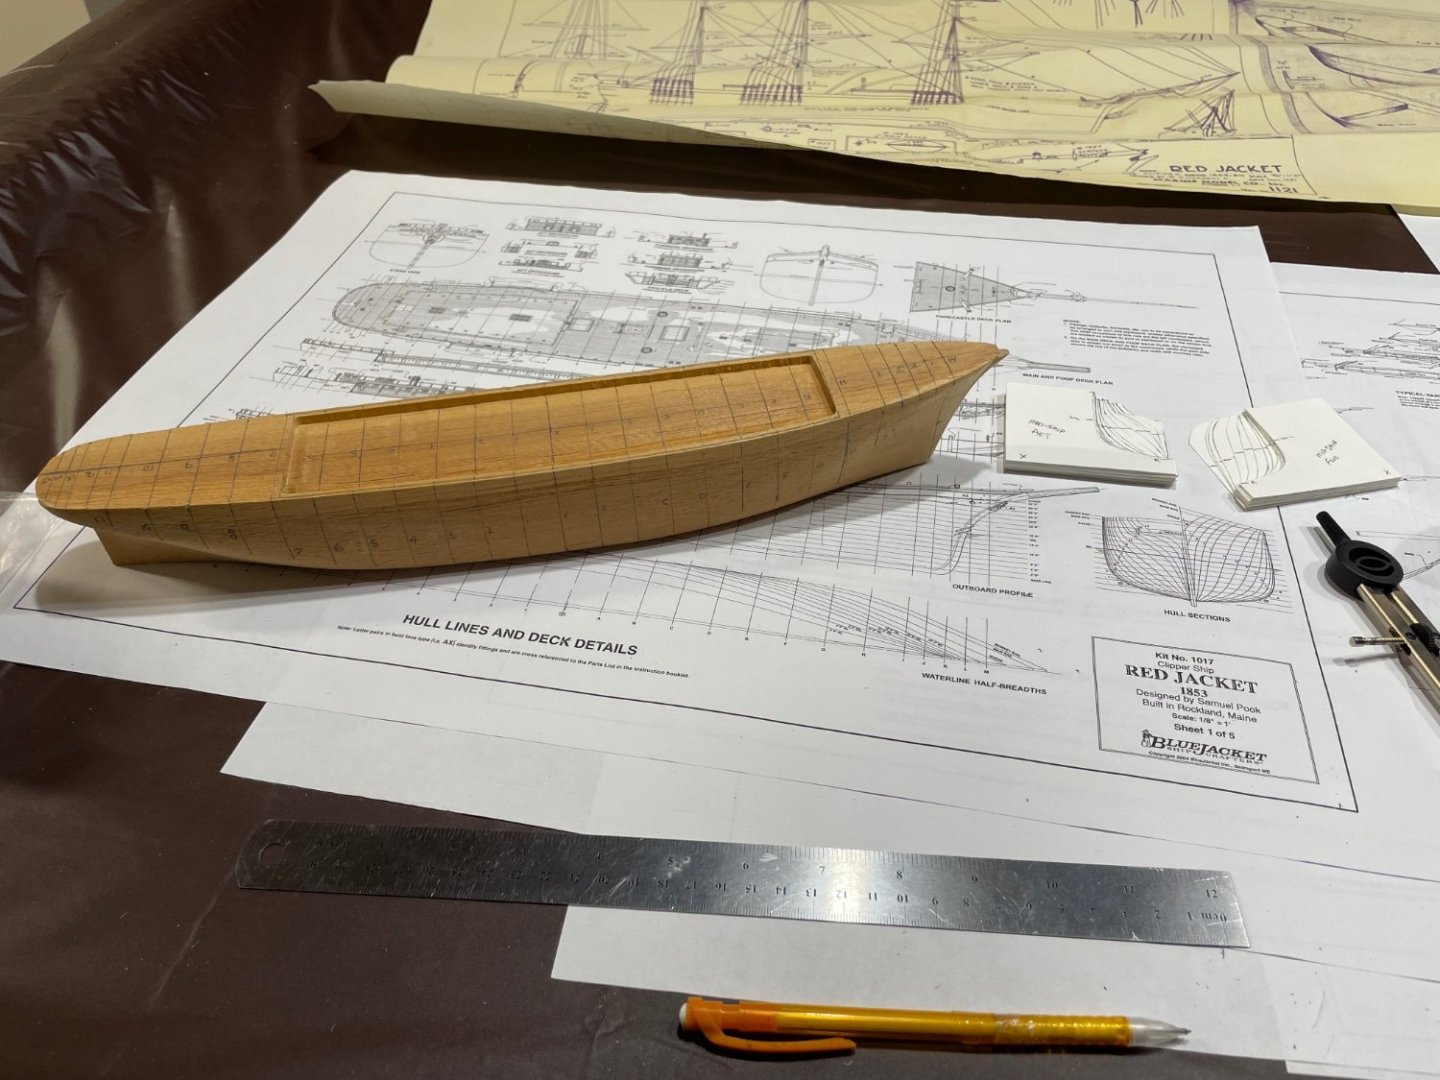
Ok… All that said, back to my First Steps. I purchased the Bluejacket Shipcrafters plan set for the 1853 Red Jacket. I then had Staples copy the plan sheets at 50%. This reduced the scale to 1/16”=1”. These plan sheets also give me a lot more detail than the original Marine Model Company plan sheet. Cheers 🍻

- 165 replies
-
- 3
-
-
- Red Jacket
- Marine Model Company
- (and 2 more)
-
Bruce, Welcome aboard my friend. It will be my pleasure to take on this build for you and your mom. I am sure your Dad, being a craftsman, always wanted to find the time. Time is what it takes, this little boat will probably take me a year or so to complete, but worth the journey. Welcome to Model Ship World. 🌎 John
- 165 replies
-
- 1
-
-
- Red Jacket
- Marine Model Company
- (and 2 more)