HOLIDAY DONATION DRIVE - SUPPORT MSW - DO YOUR PART TO KEEP THIS GREAT FORUM GOING! (Only 20 donations so far - C'mon guys!)
×


John Ruy
-
Posts
1,568 -
Joined
-
Last visited
Content Type
Profiles
Forums
Gallery
Events
Everything posted by John Ruy
-
Thanks Mike… As for the Model, just a good overall shots would be great. As for details, Pics on board the 1:1 would be nice. Anything you think would be useful would be greatly appreciated. 🍻
-
Mike, Did you ever get a chance to check out this SS Klondike model? I am beginning some research and pics are always good. 👍
-
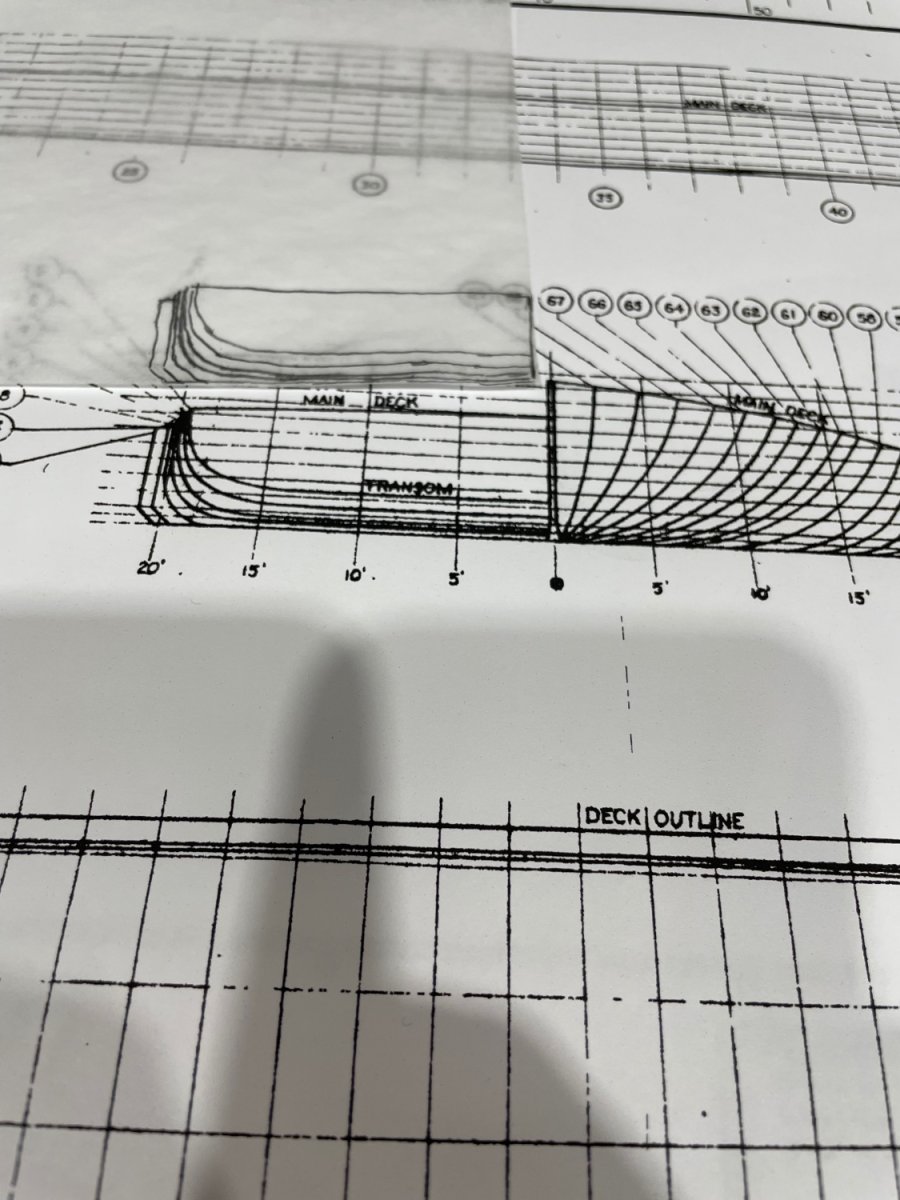
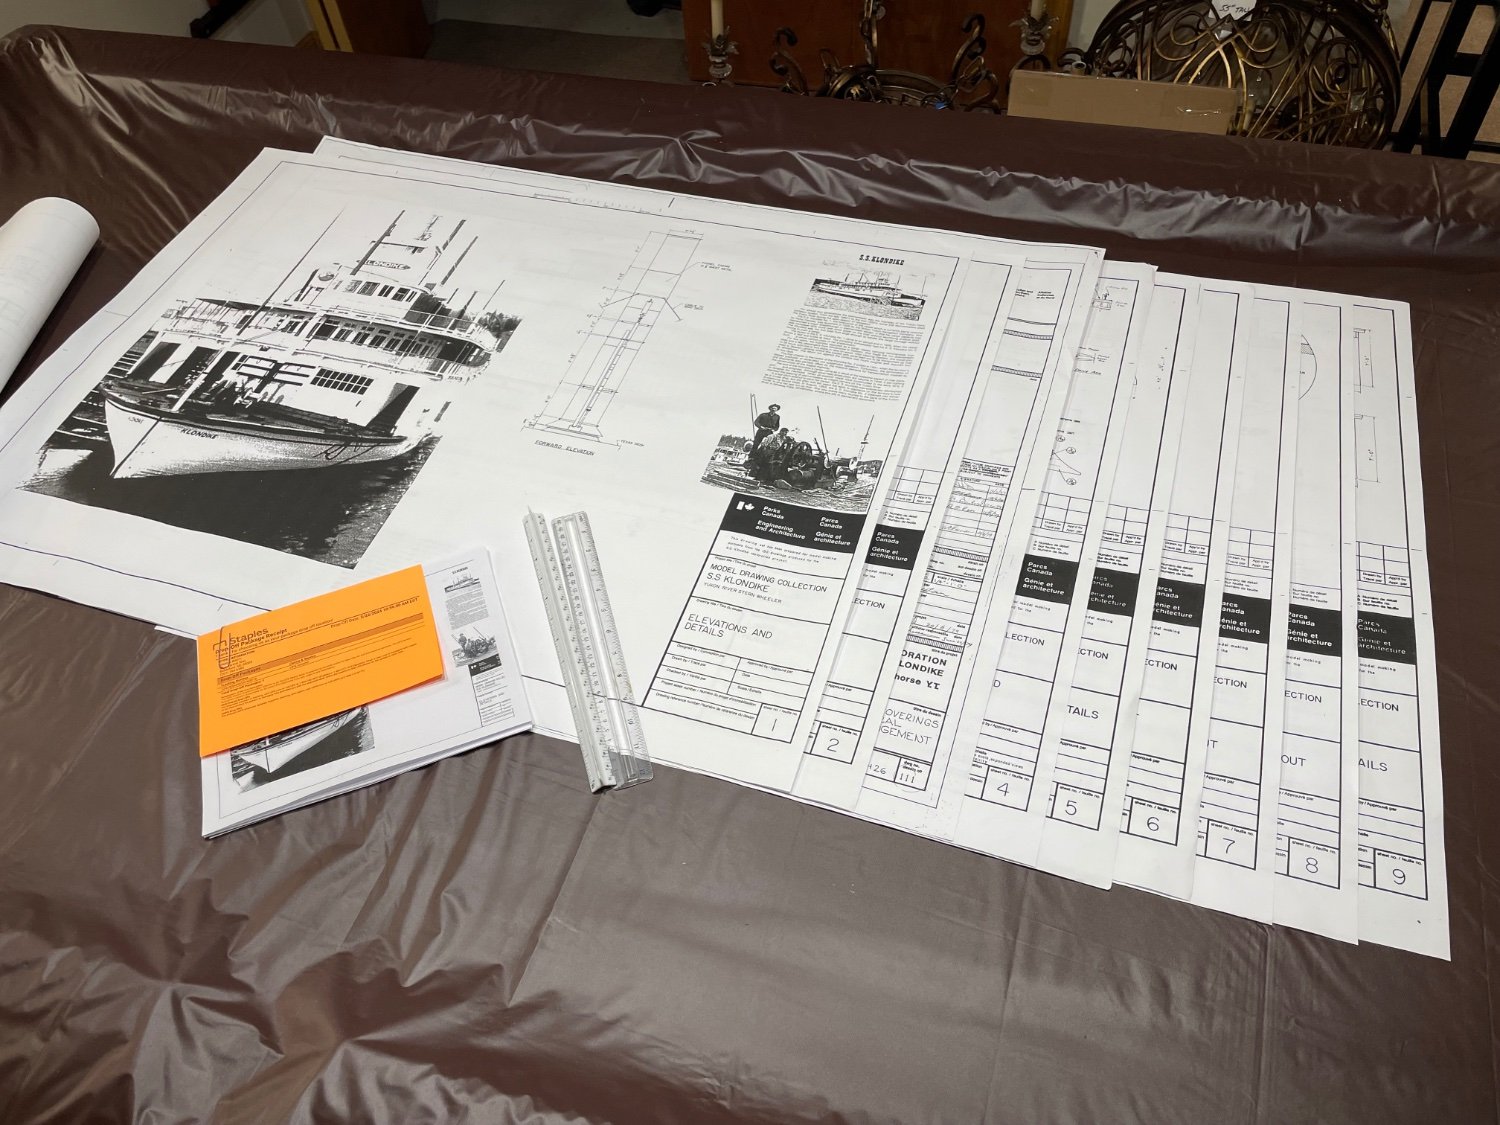
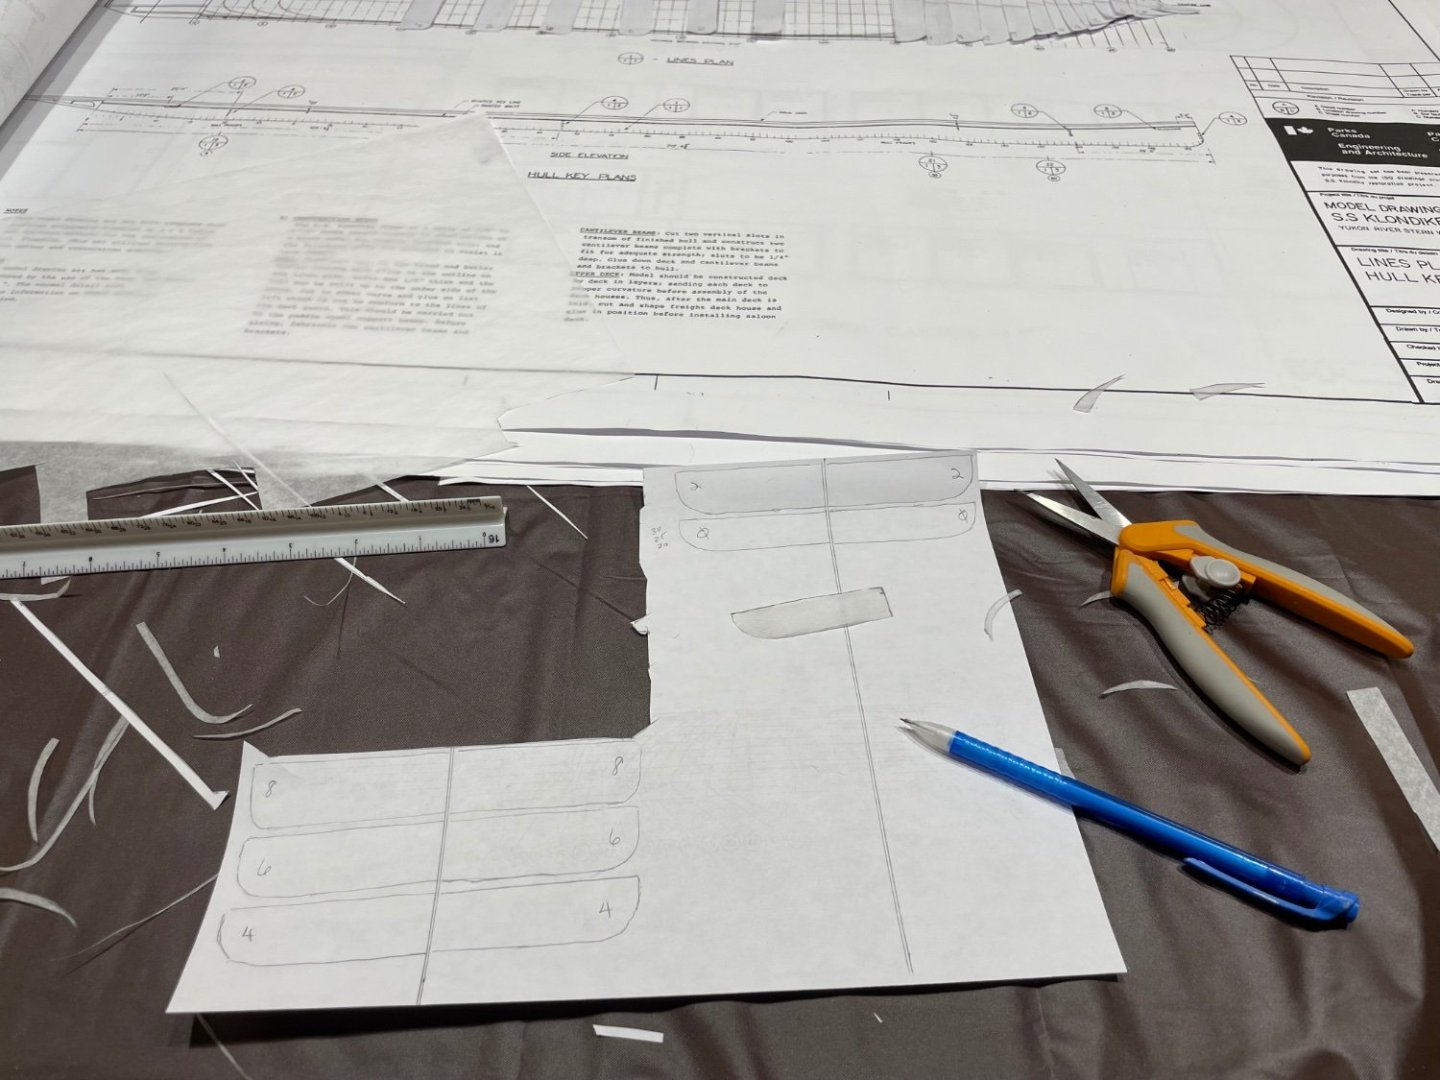
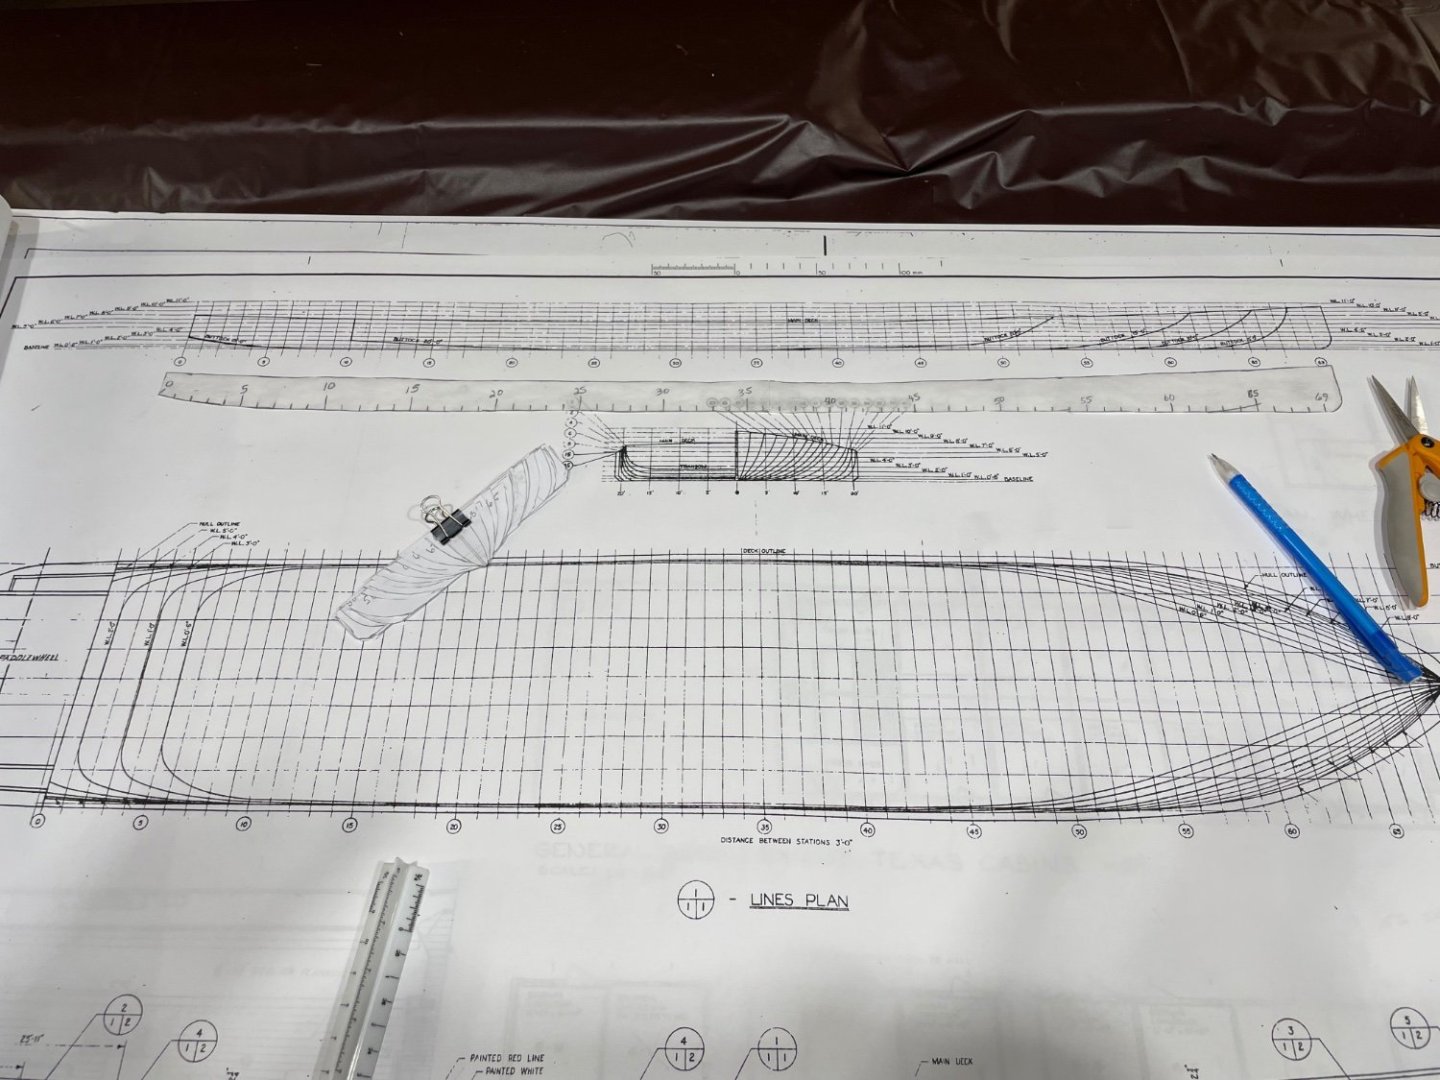
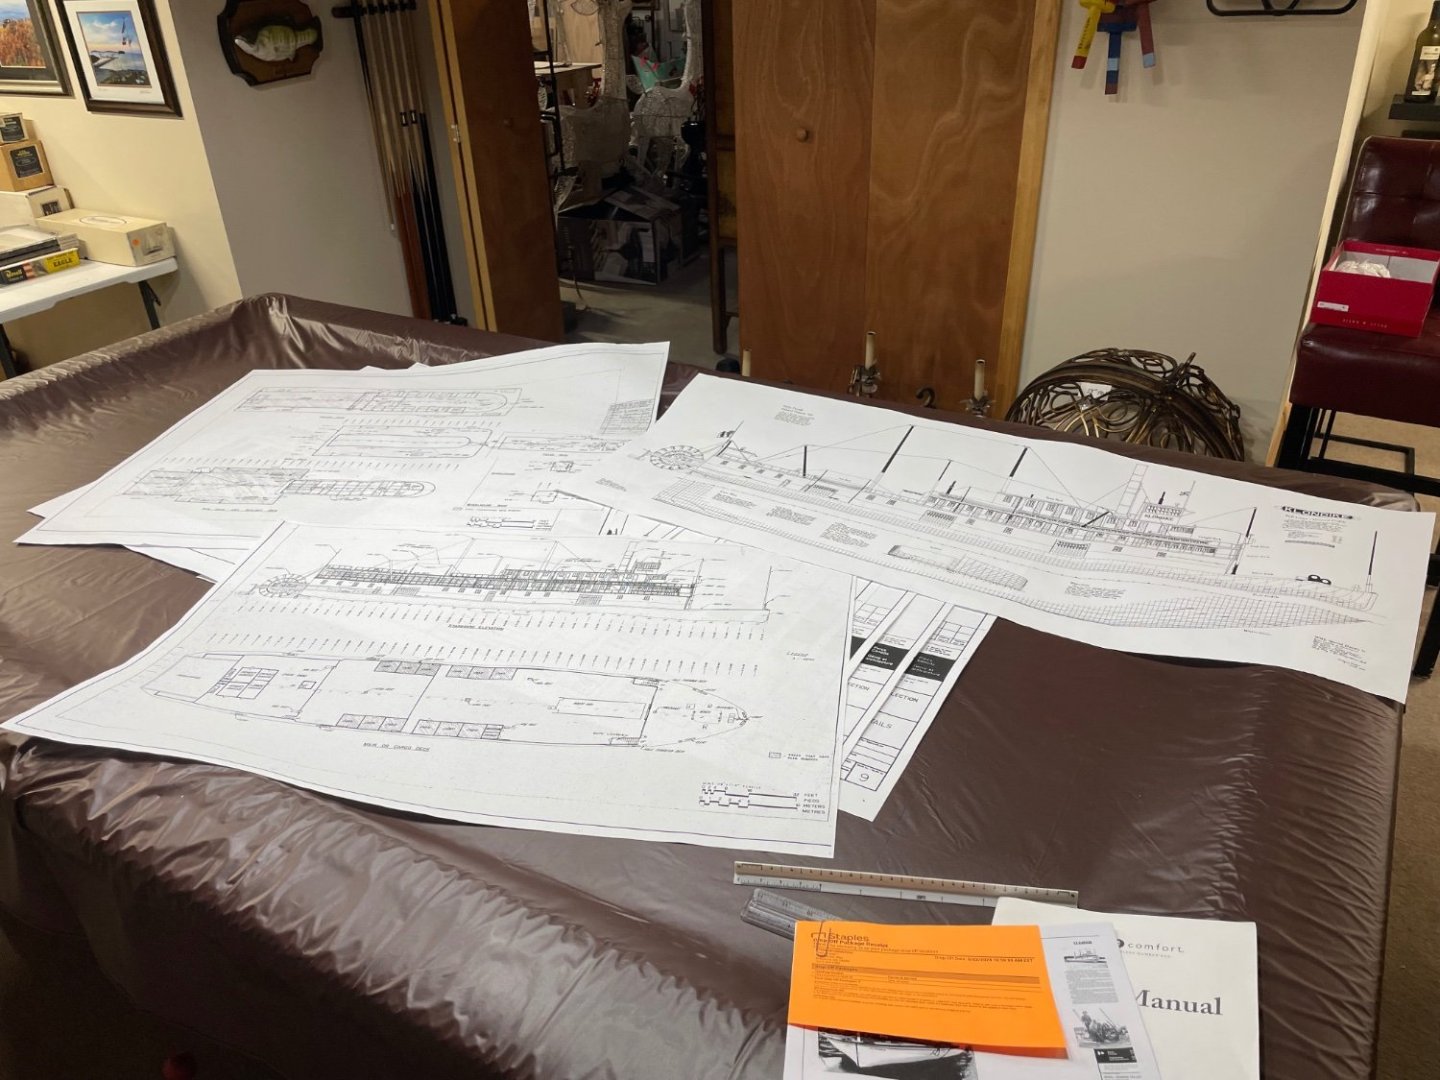
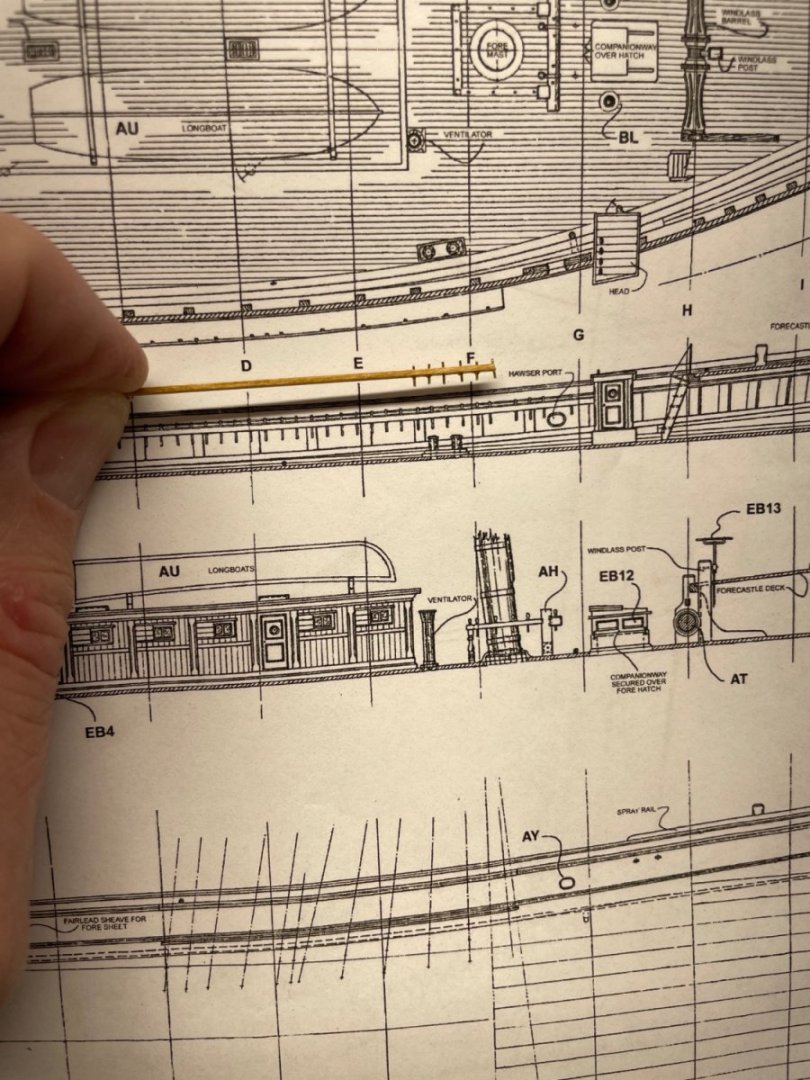
Mike, Yes… Thank you for your research and posting of these plans. I have started drawing up templates to build a Plank on Bulkhead Hull. Nice set of plans. 👍 I will get a build log started, as soon as I get the frame completed. John

-
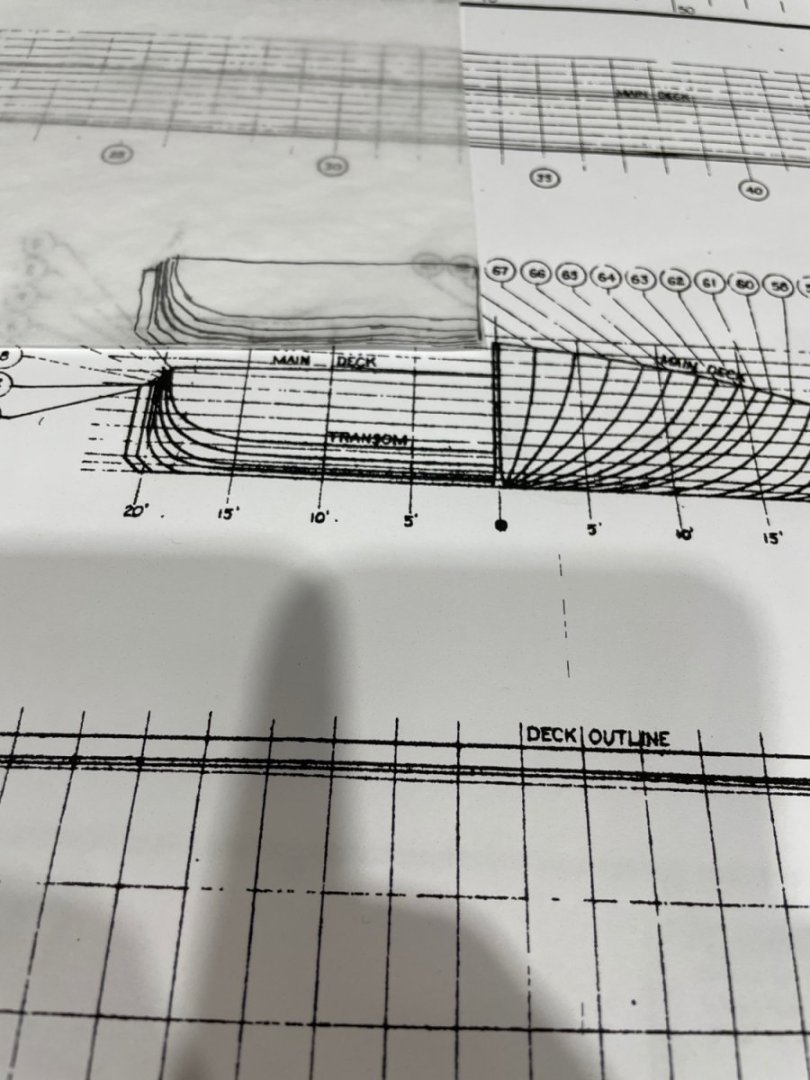
Ian, I haven’t started a build log yet. But I bit the bullet and had the drawings printed at Staples. Nice set of plans. Cost me 70.00 US, so now I’m committed. Drawings are 1/8” = 1’ . Some detail drawings are at 1/4”, 1/2 and 1” = 1’. Very nice detail. 👍 This is going to be my first scratch build, should be an exciting build. I currently have two on the bench, but I can certainly start a third build log and start the planning process and research while I finish up my Bluenose and mini Red Jacket. I’ll post a link to the build here. I think the Admiral just might have me committed. 😜 Cheers 🍻

-

Lift lines on cutty sark ,Revell 1/96
John Ruy replied to Lost and Confused's topic in Masting, rigging and sails
Excellent plan… It’s your model and it depicts your style as well as your research at the time. I look back at my builds and can always find something to be changed or done differently. That’s the OCD in all of us here at MSW. I say Onwards 🍻 -
Lift lines on cutty sark ,Revell 1/96
John Ruy replied to Lost and Confused's topic in Masting, rigging and sails
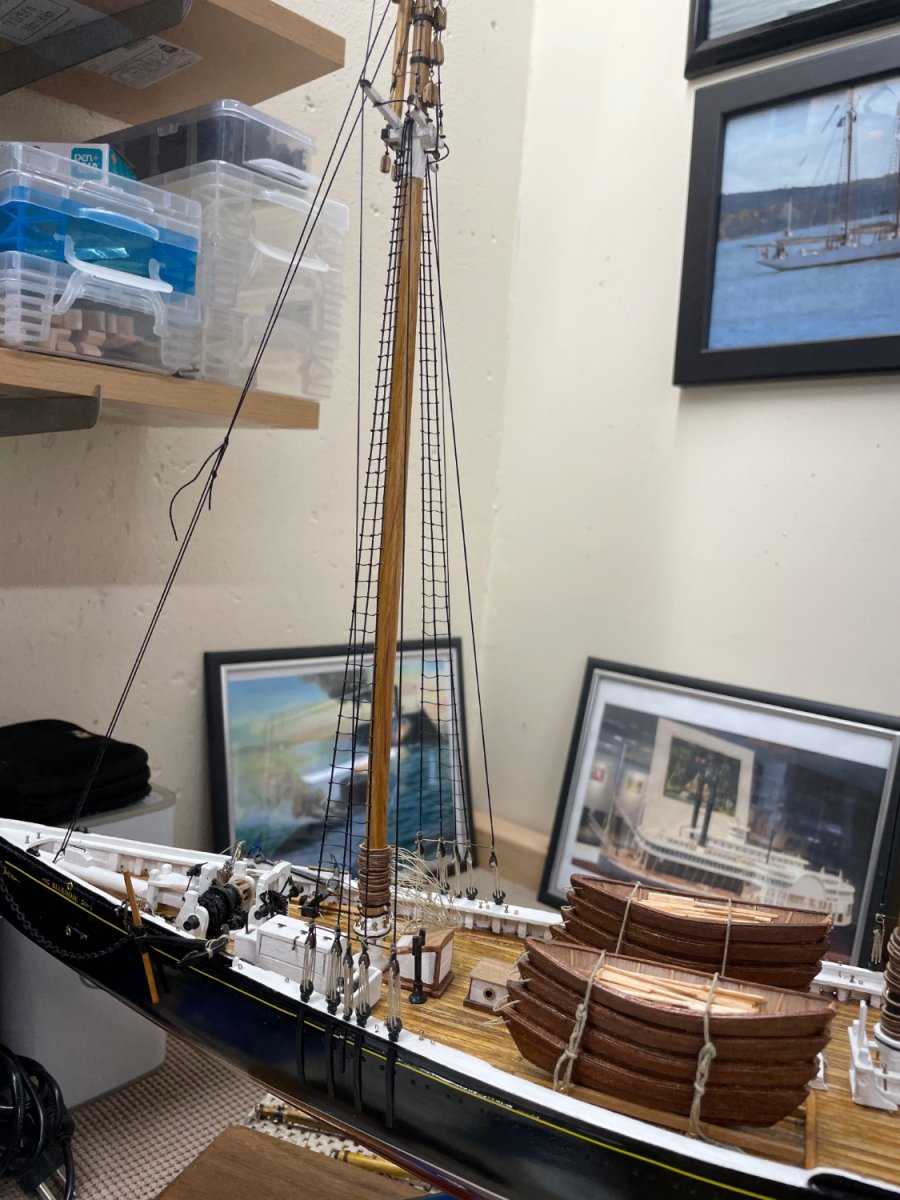
Not exactly overnight… Actually I kept an hourly log of the experience. 😜 It was 687 hours over 15 months. OCD got the better of me. I purchased the vintage kit for 75.00 on eBay. Then another 500.00 to Radimir on Sails, Blocks, Wood Decks and rigging line. Built the case my self, used acrylic sheets not glass. Still costs several hundred dollars. I had to cover it. 😎 -
Lift lines on cutty sark ,Revell 1/96
John Ruy replied to Lost and Confused's topic in Masting, rigging and sails
Yes… I went over the top with “His Model” and I used Anatomy of a Ship the USS Constitution to add lots of detail. That Revell model was my first gallery post here on MSW. Then I got hooked on building wood models. -
Lift lines on cutty sark ,Revell 1/96
John Ruy replied to Lost and Confused's topic in Masting, rigging and sails
I discovered His Model for my second build in my retirement. That was The USS Constitution by Revell, which I built prior to discovering MSW. His Model parts are an excellent way to enhance these kits. Your Cutty Sark is looking grand. Well done so far, I’m looking forward to seeing more on your build log. Let us know here when you get your log started. 👍 -
Lift lines on cutty sark ,Revell 1/96
John Ruy replied to Lost and Confused's topic in Masting, rigging and sails
The purpose of the lifts are to trim the yard to the horizontal position, or can’t one side up out of the way when alongside in dock. This according to Masting and Rigging by Harold Underwood a great reference for Clipper Ship rigging. My first model in retirement (2016) was a vintage Revell 1/96 of the Cutty Sark. I’m working on the Red Jacket at 1/192 scale currently. Good luck with your Cutty, she’s a beautiful Clipper. Do you have a build log, I’d love to take a look. Cheers 🍻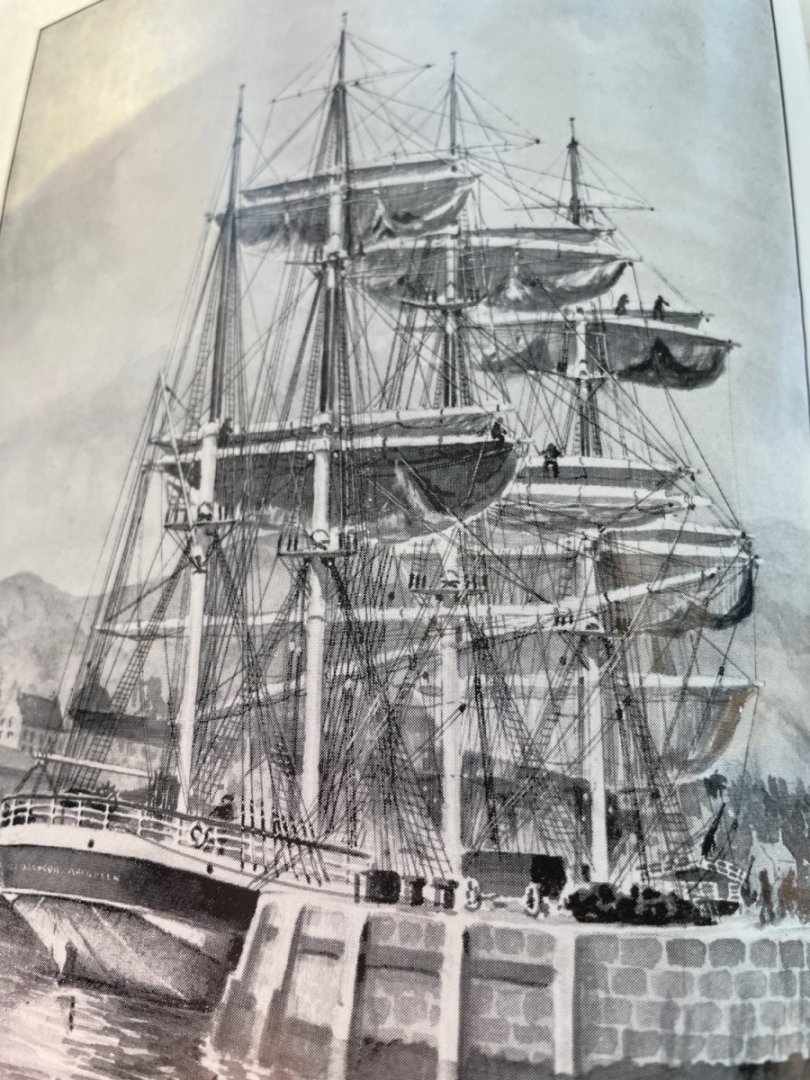
-
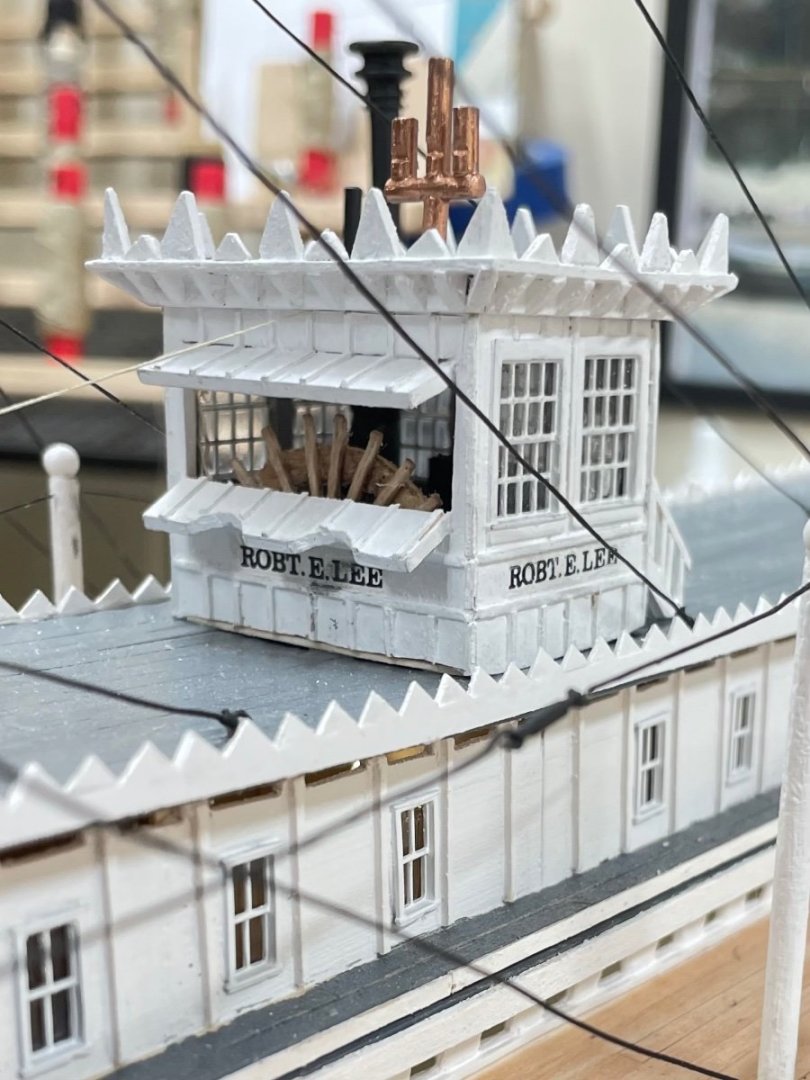
Eric, I used HO Scale windows and doors on my REL. The model railroading windows came with the clear plastic window panes. If you don’t have those windows you could use the clear plastic that is used for packaging. personally I think the detail of missing window panes would be noticeable. IMHO 🤔
-
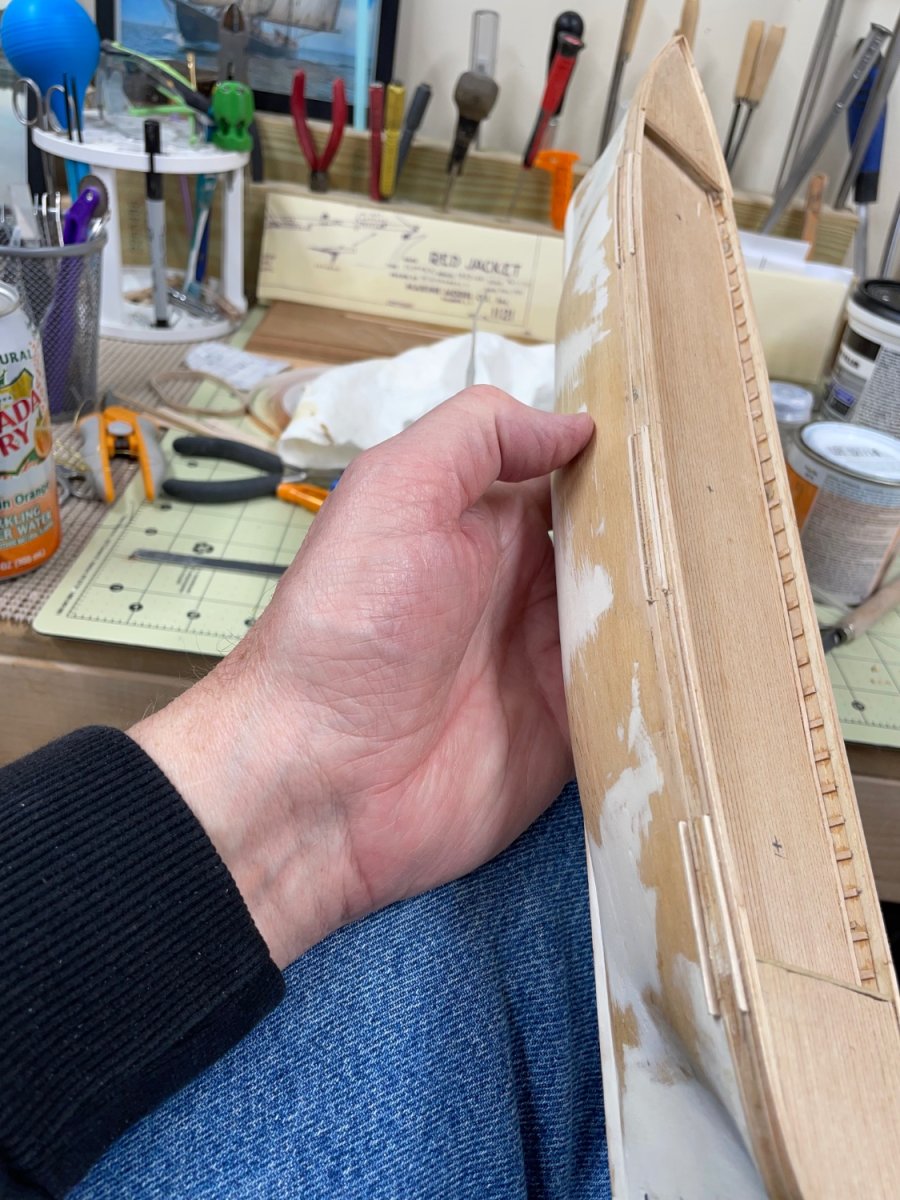
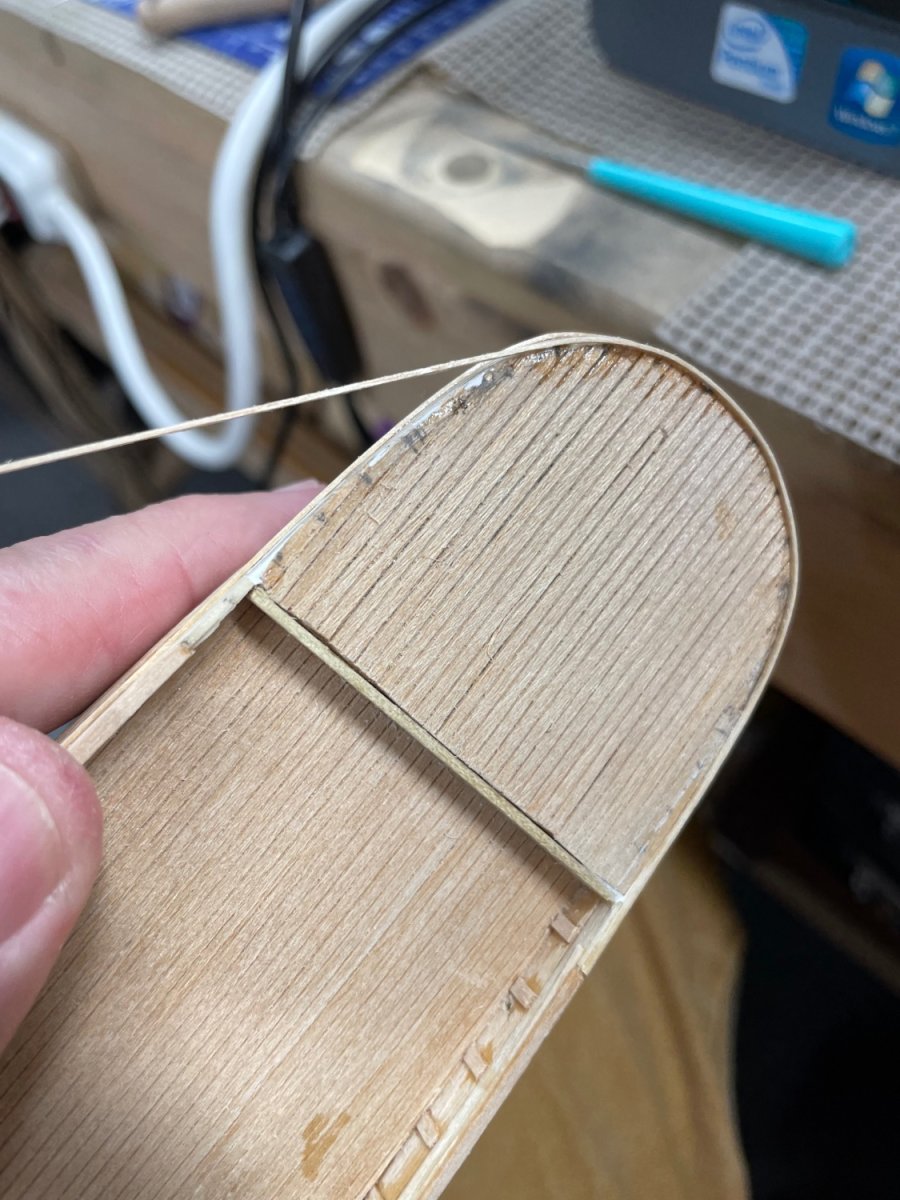
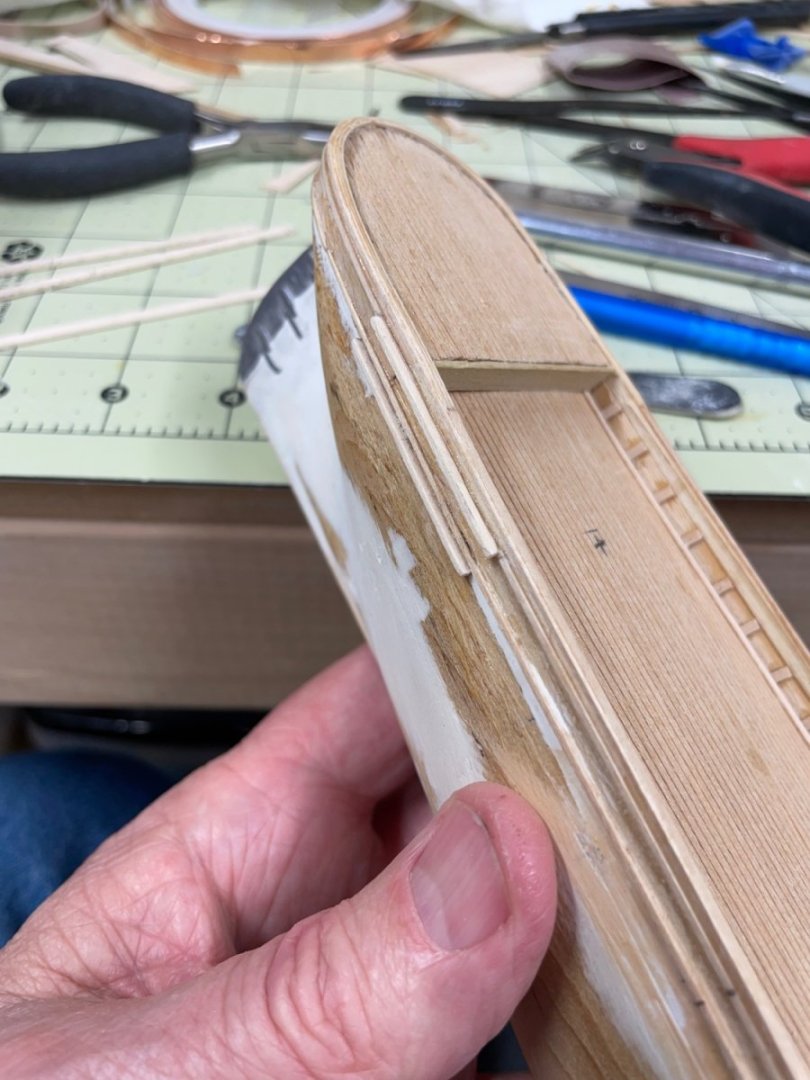
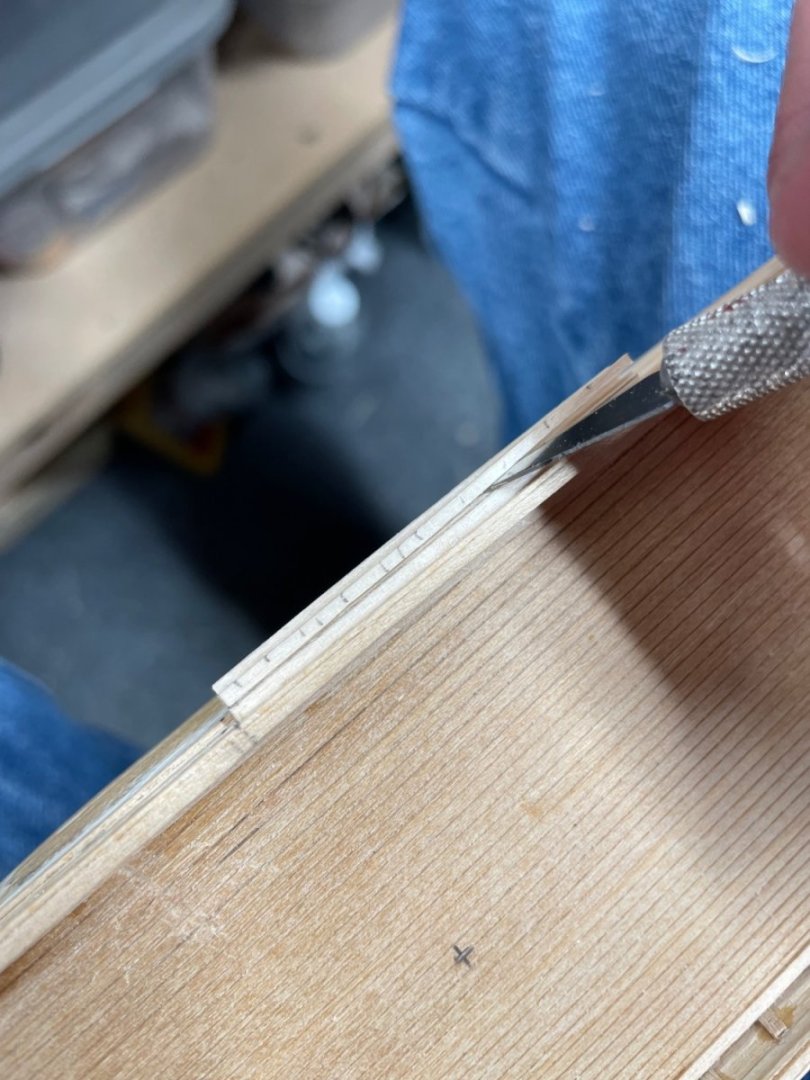
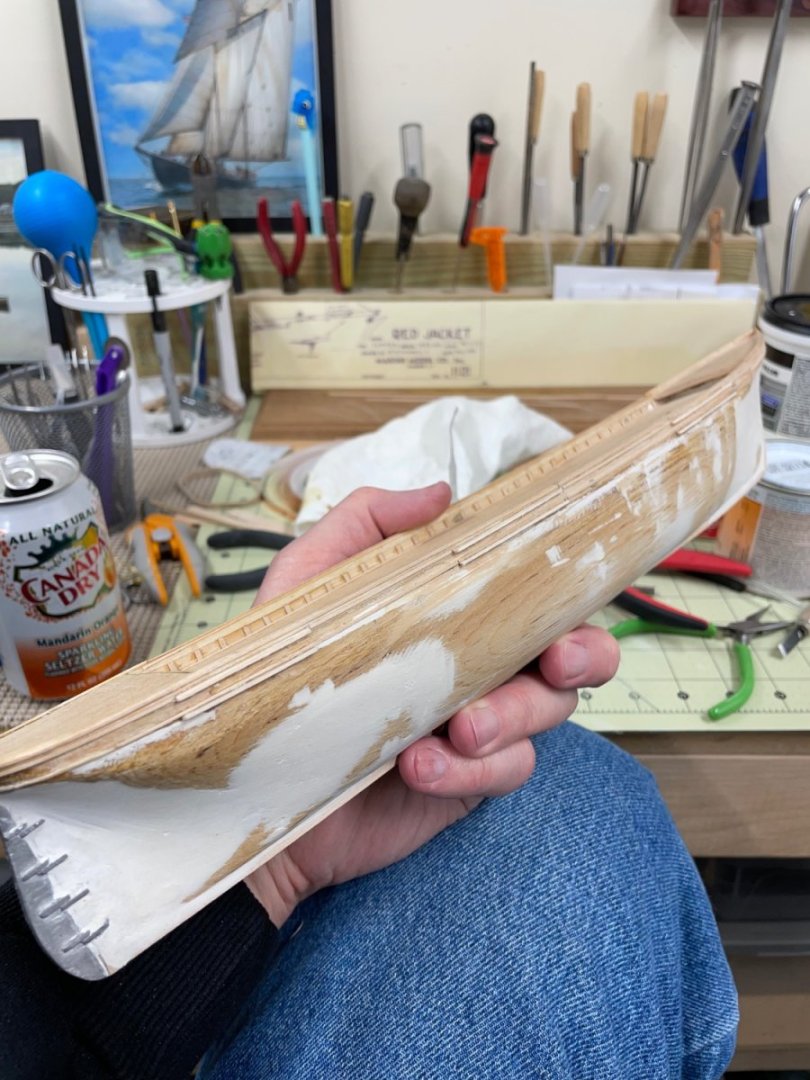
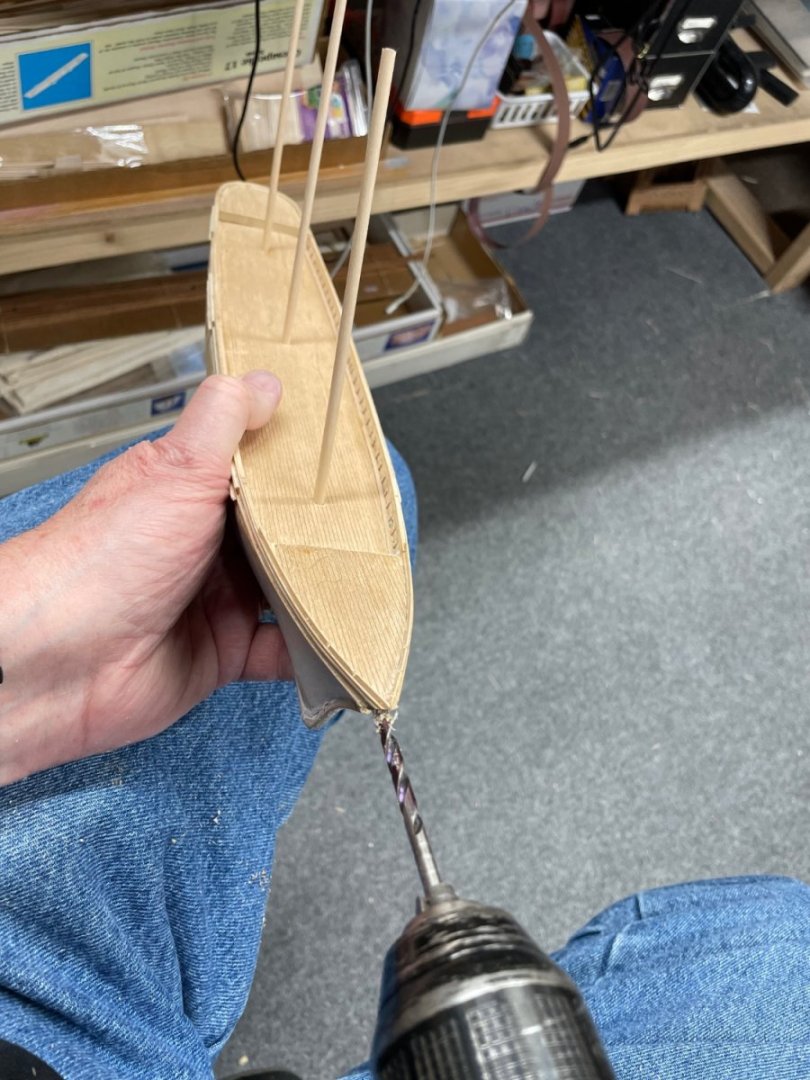
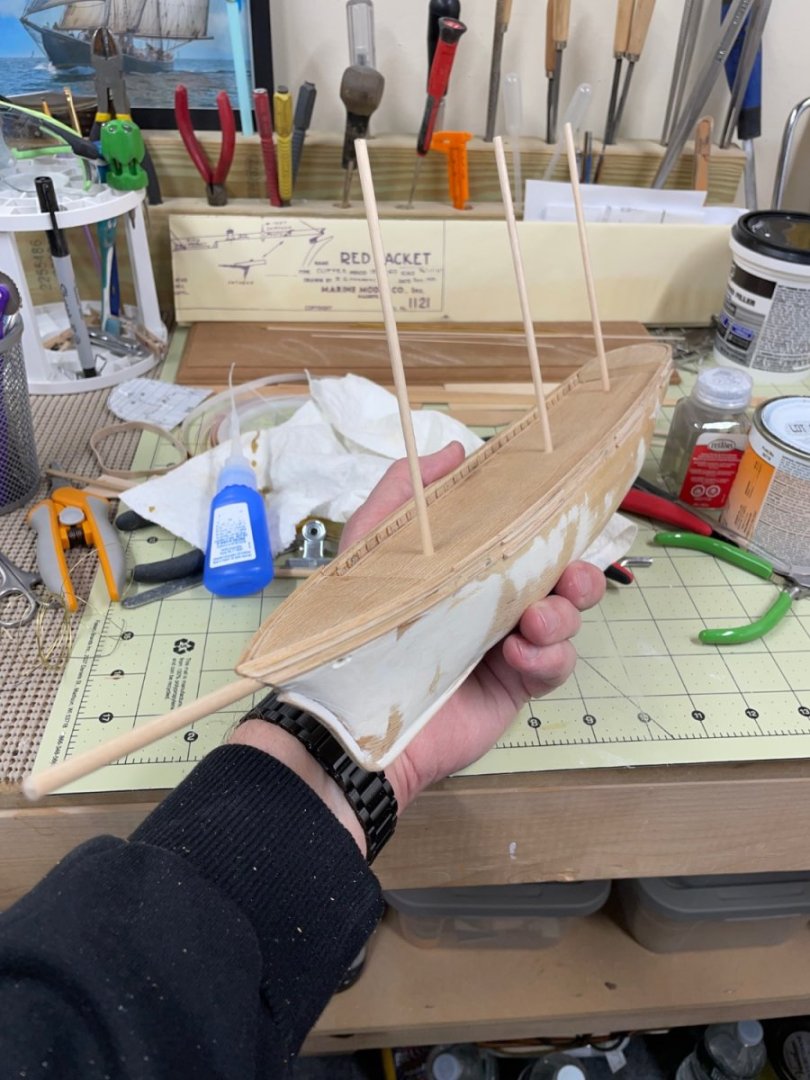
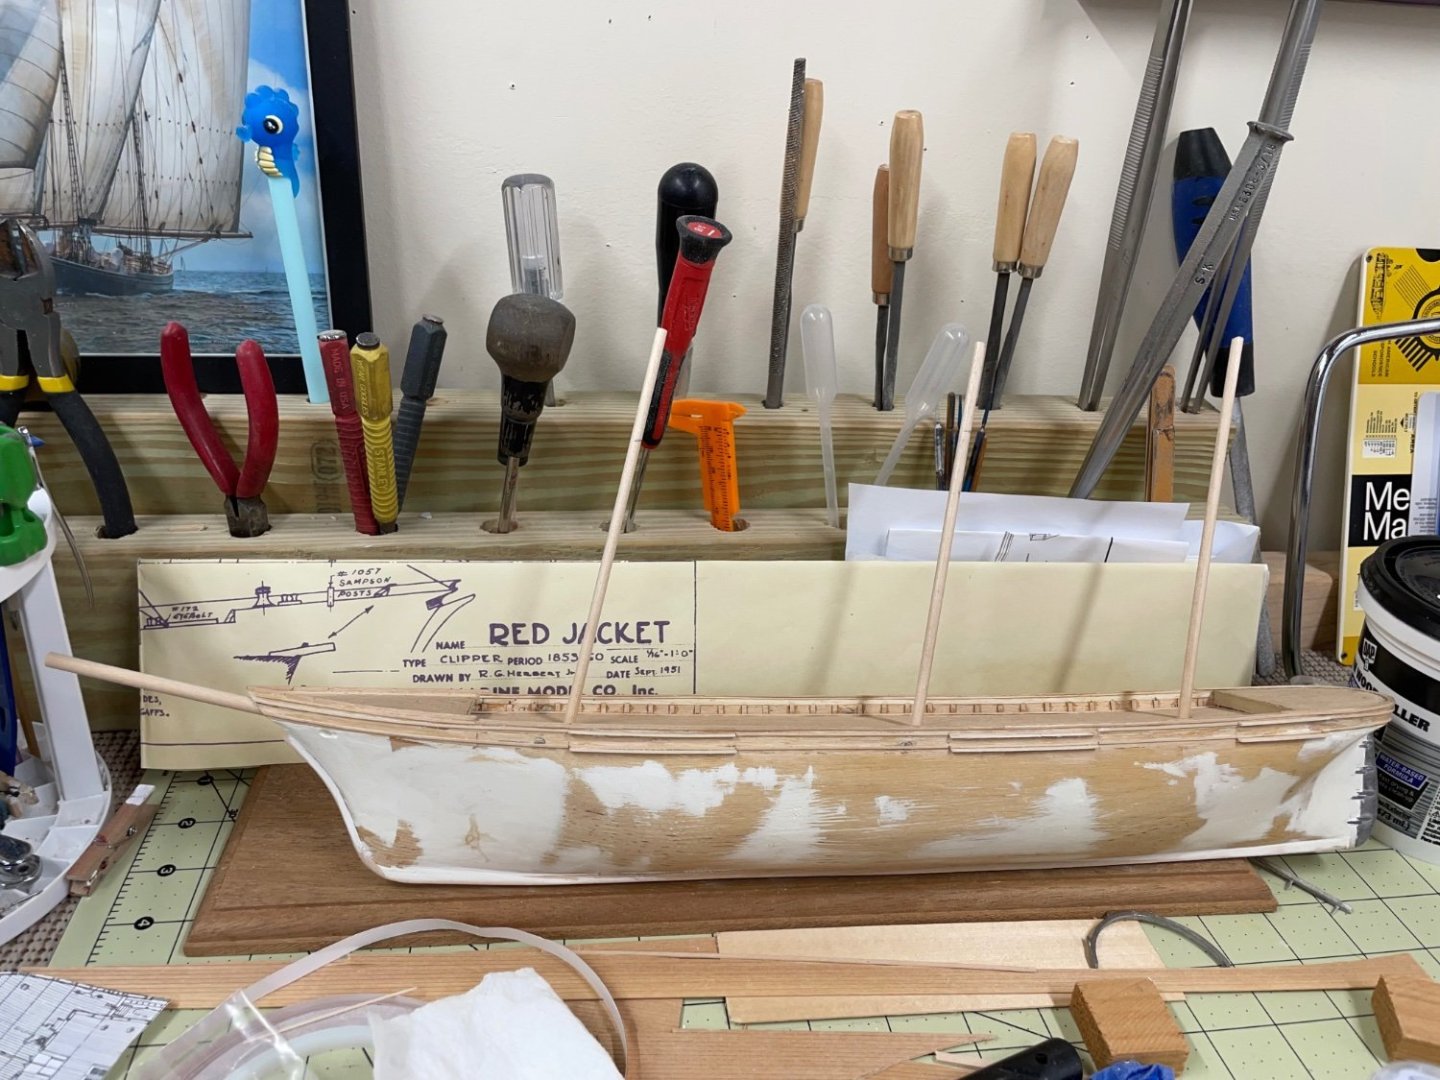
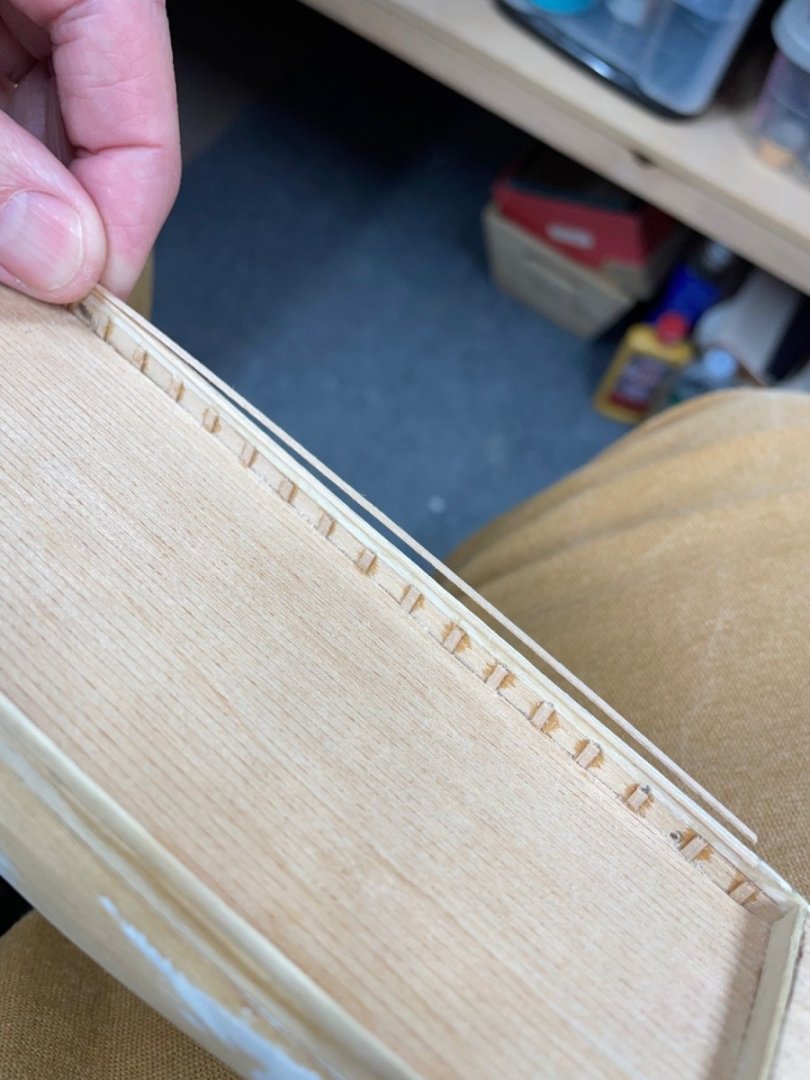
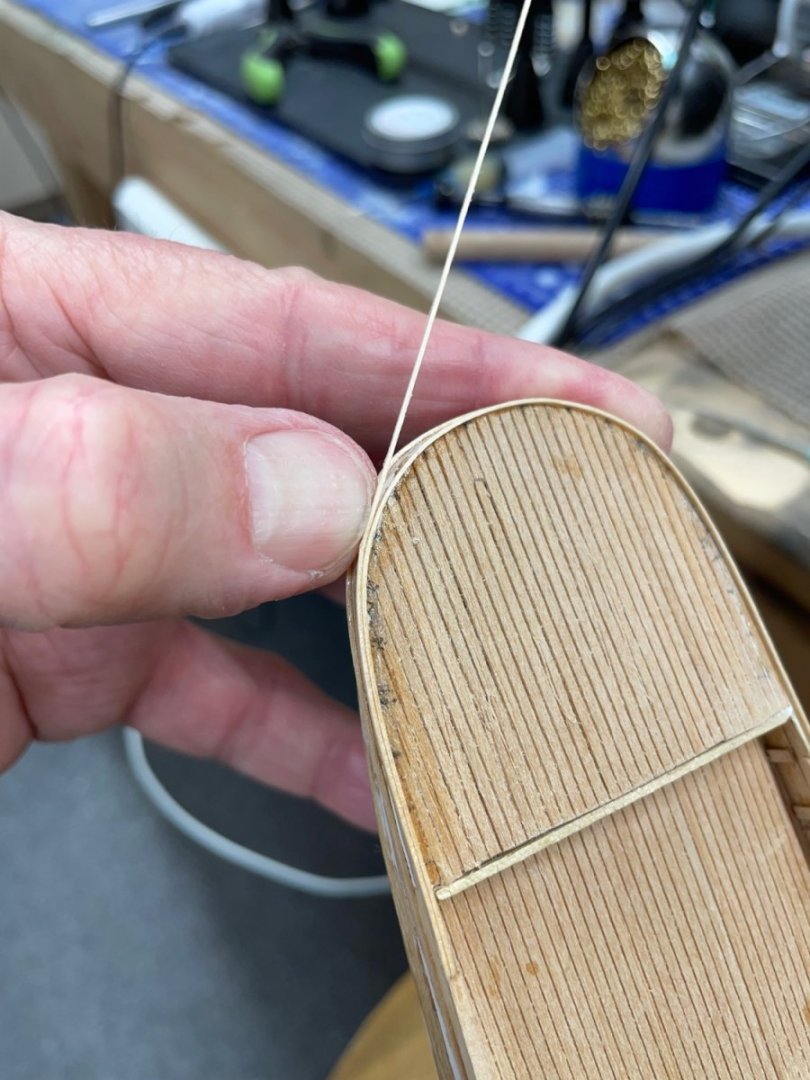
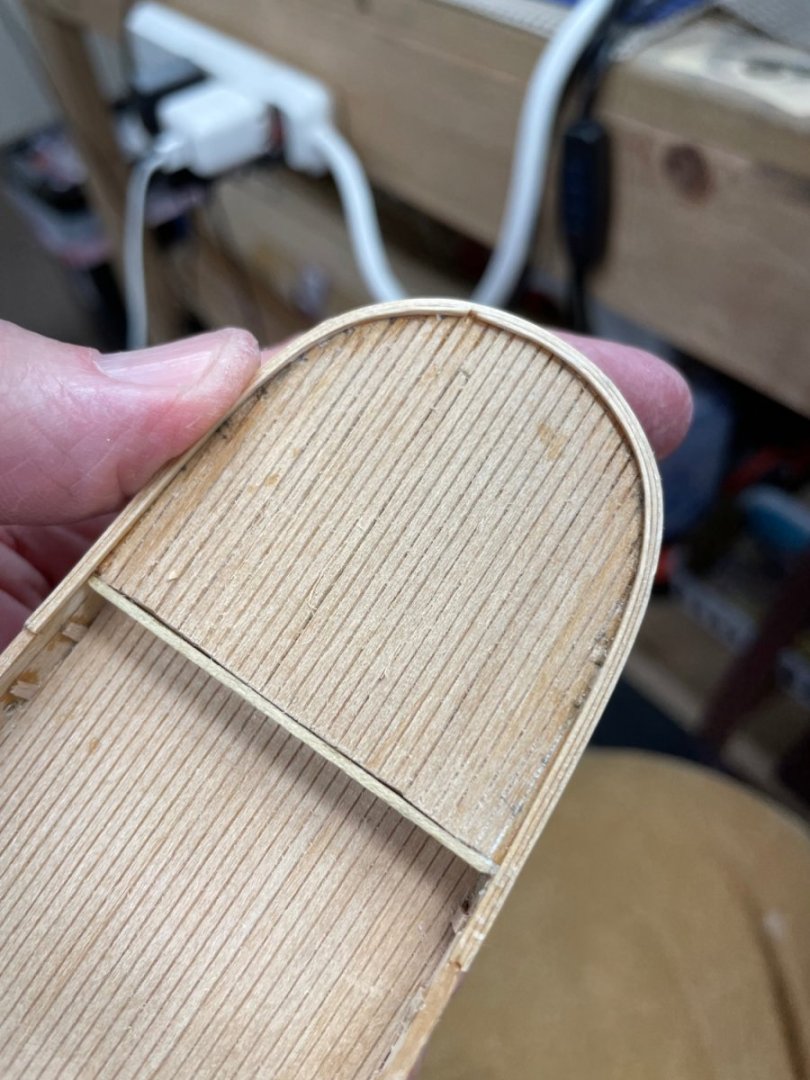
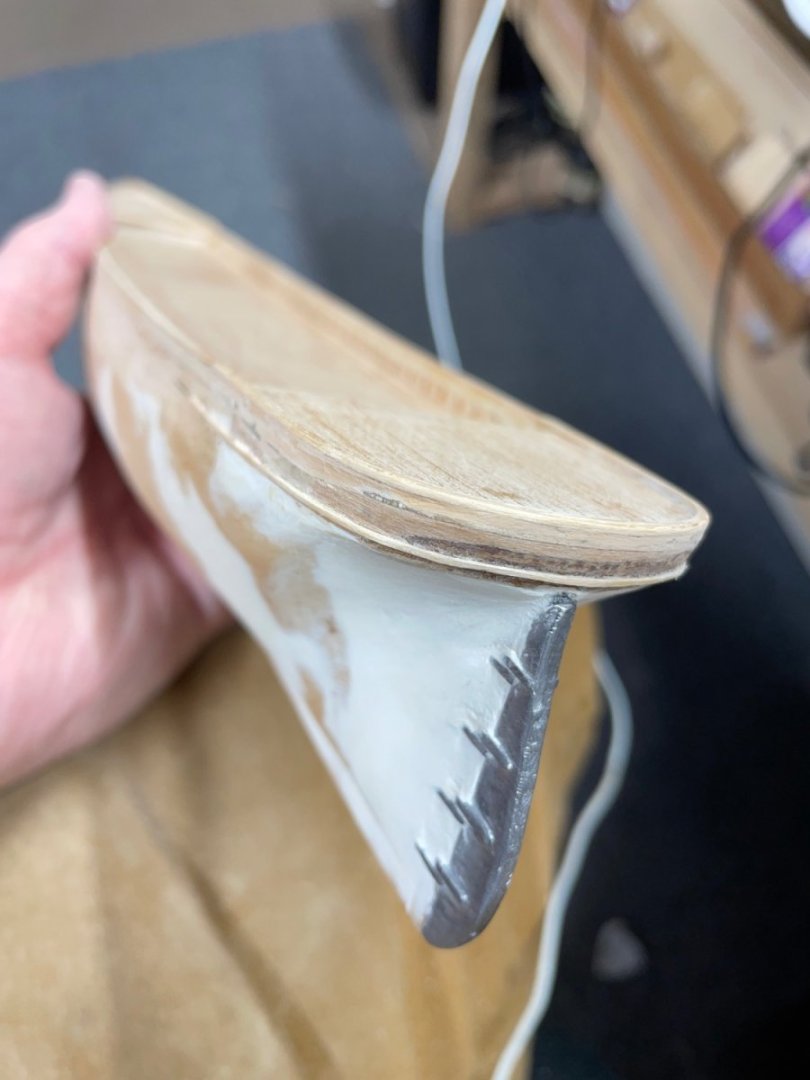
Channels… Drilling for the Masts and Bow Sprit… No glue at this time. Ready to seal and paint the hull and bulwarks. Cheers 🍻


- 165 replies
-
- 10
-

-
- Red Jacket
- Marine Model Company
- (and 2 more)
-
Wow! Nice work on the standing rigging, Phil 👍 Glad to see you are going to add the sails. I personally thing a model is not complete without Sails and it’s associated running rigging. John
-
Welcome to MSW, Bob… Registering here and joining Nautical Research Guild is a great way to get help. There are many build logs here that you can research and find your answers. First thing to do is introduce your self in the new member forum and start your own build log. Start asking away and you’ll get answers from many an expert. Moderators are very good at assisting you as well. Good Luck and have fun with your new hobby. John
-
I’m sure you will find something else to add. 😆 Great job, your narrative is great, I learn something new every time. John
-
Lower Deadeyes… …and so it begins, the “smallest” deadeyes. Pin Rails are going to be so much fun. 😜
- 165 replies
-
- 9
-
-
- Red Jacket
- Marine Model Company
- (and 2 more)
-
Thanks… The idea came from Bluejacket’s build log of the Red Jacket.
- 165 replies
-
- 1
-
-
- Red Jacket
- Marine Model Company
- (and 2 more)
-
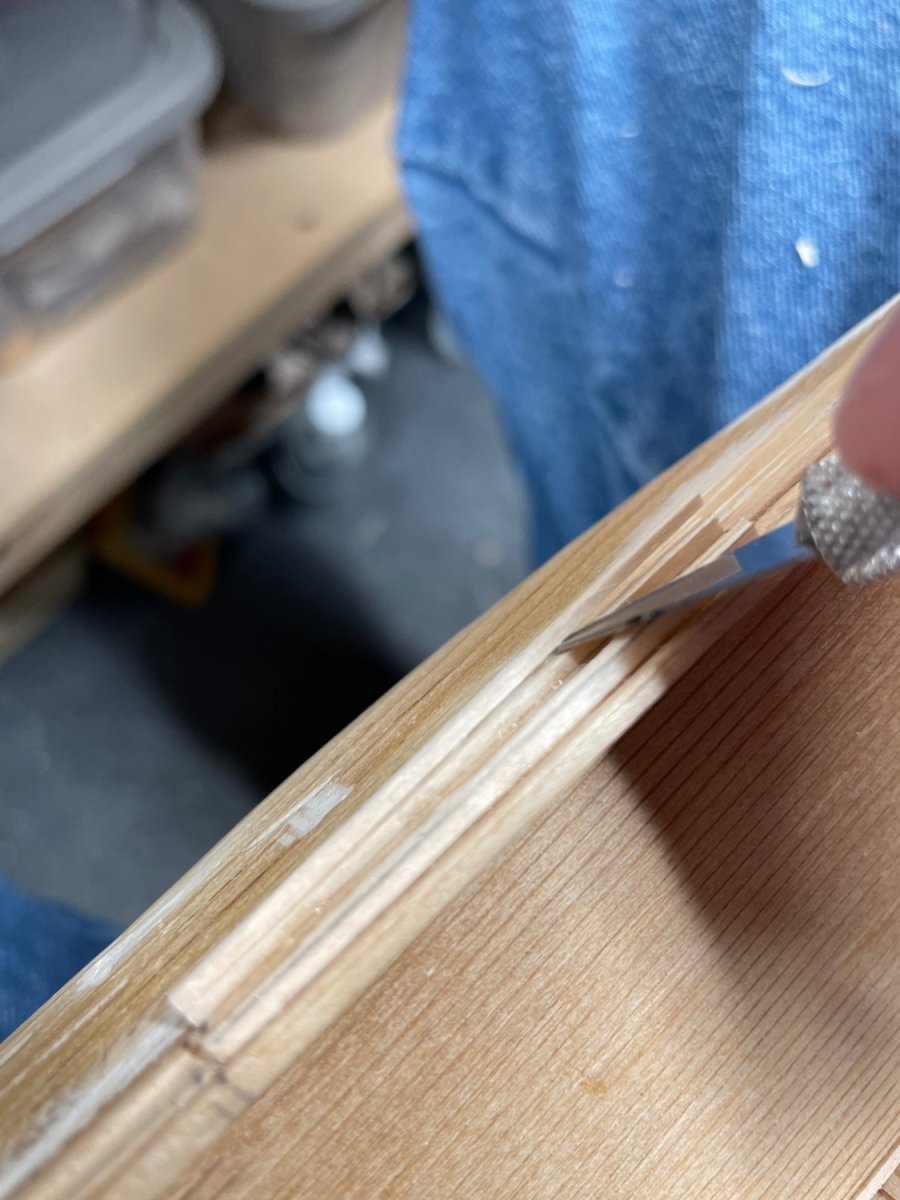
Bulwarks and Rails continued… Placing Bulwark Stanchions… Placing the Monkey Rail… Removed the kit supplied taffrail… Building up Taffrail with strip wood 1/64 x 1/32. Taffrail base completed… Monkey Rails completed… Placing water ways… Monkey Rail, Main Rail and Sheer completed. Onwards… 🍻


- 165 replies
-
- 13
-
-

-
- Red Jacket
- Marine Model Company
- (and 2 more)
-
Thanks Ian for the heads up, I wasn’t following the thread either. 😆 Many thank to Mike for bringing these plans to MSW. The challenge is on, we will have to check back in her when one of us starts the build. Remembering to follow this time. 👍 John
-
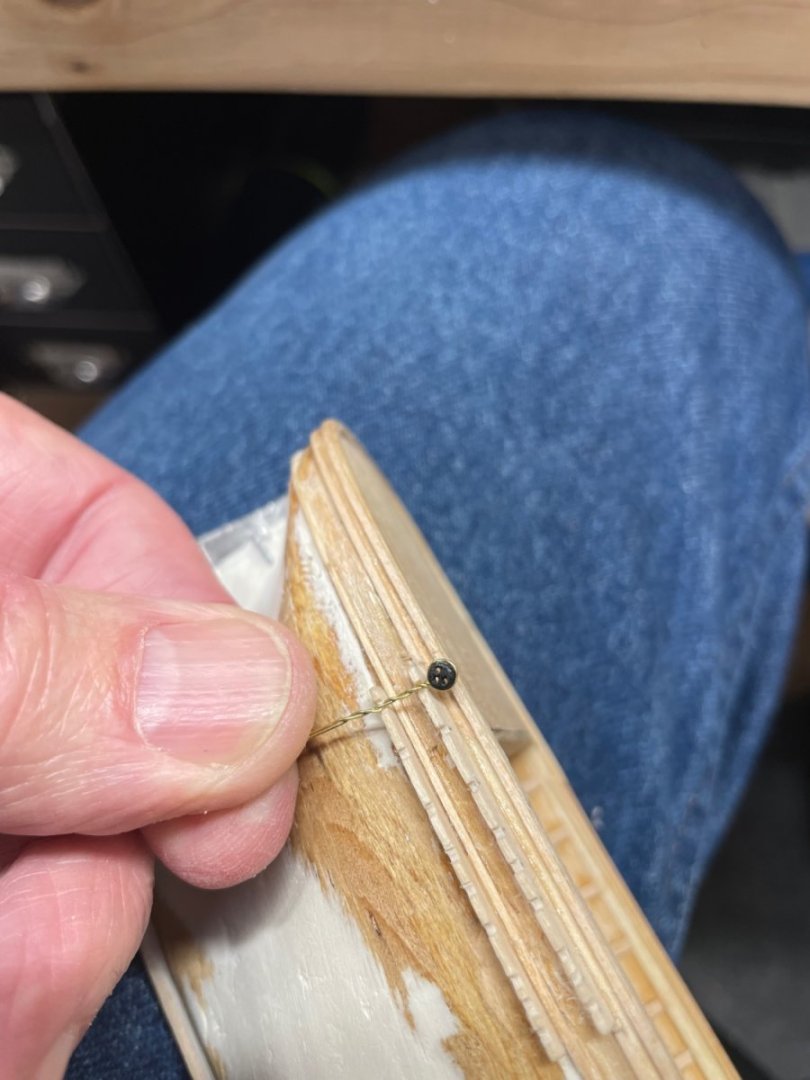
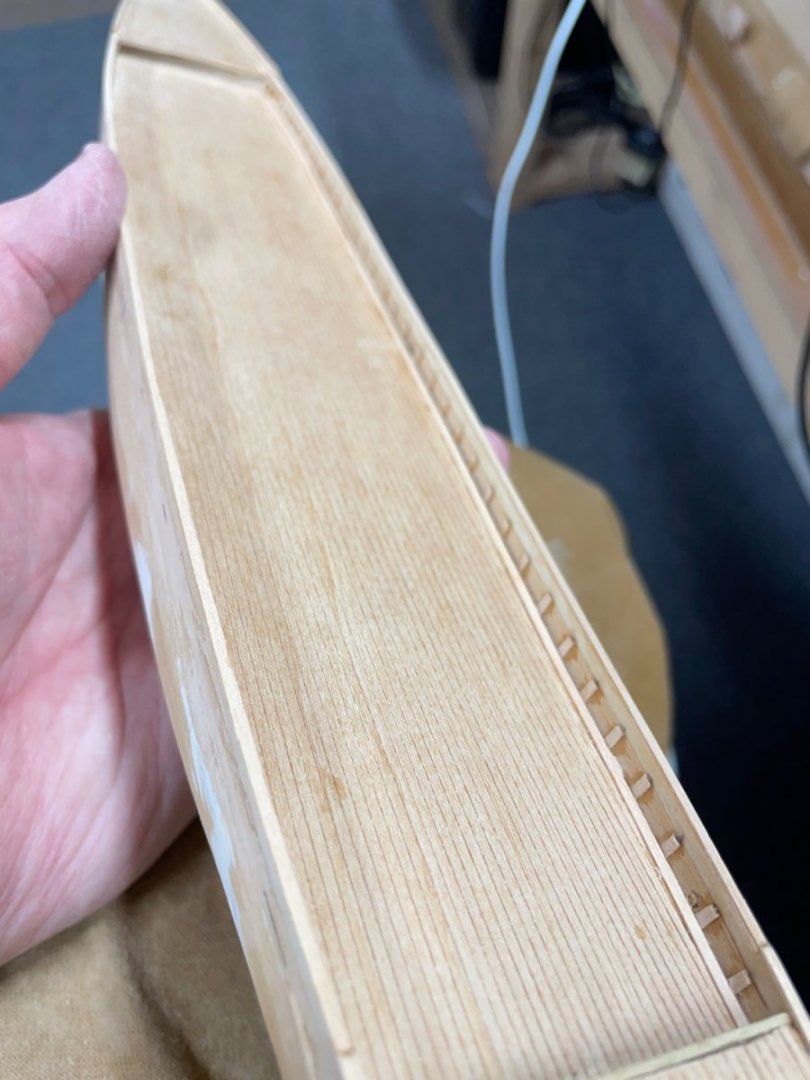
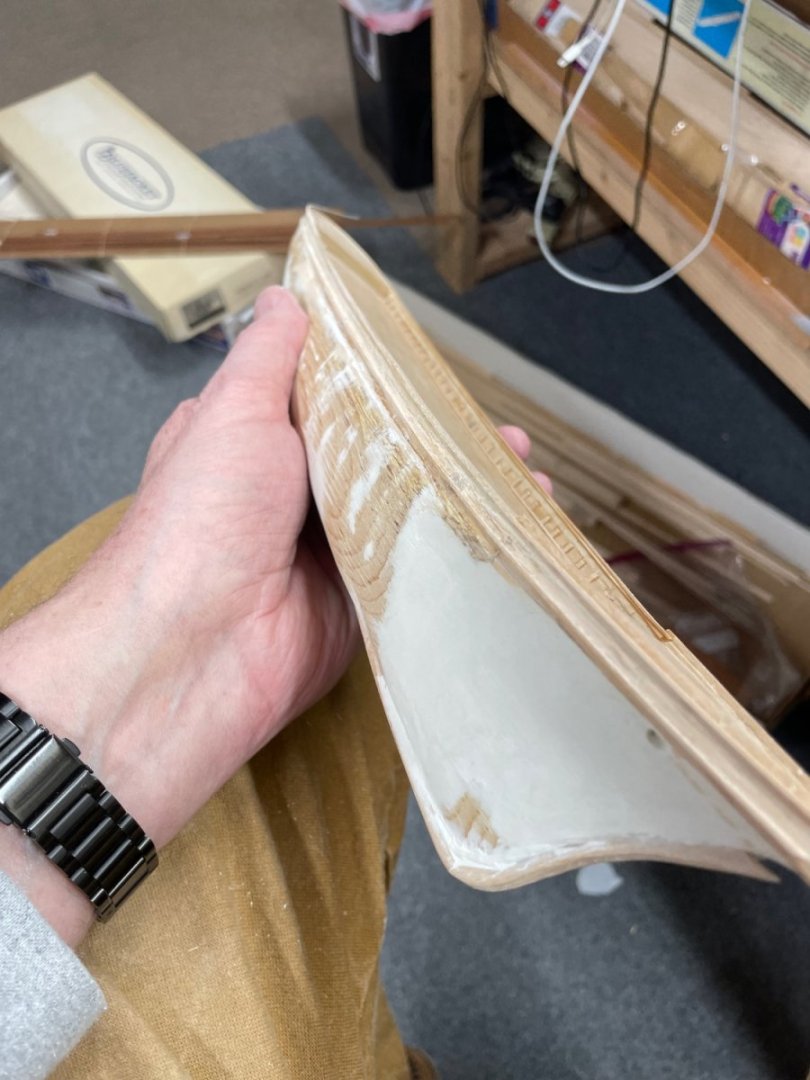
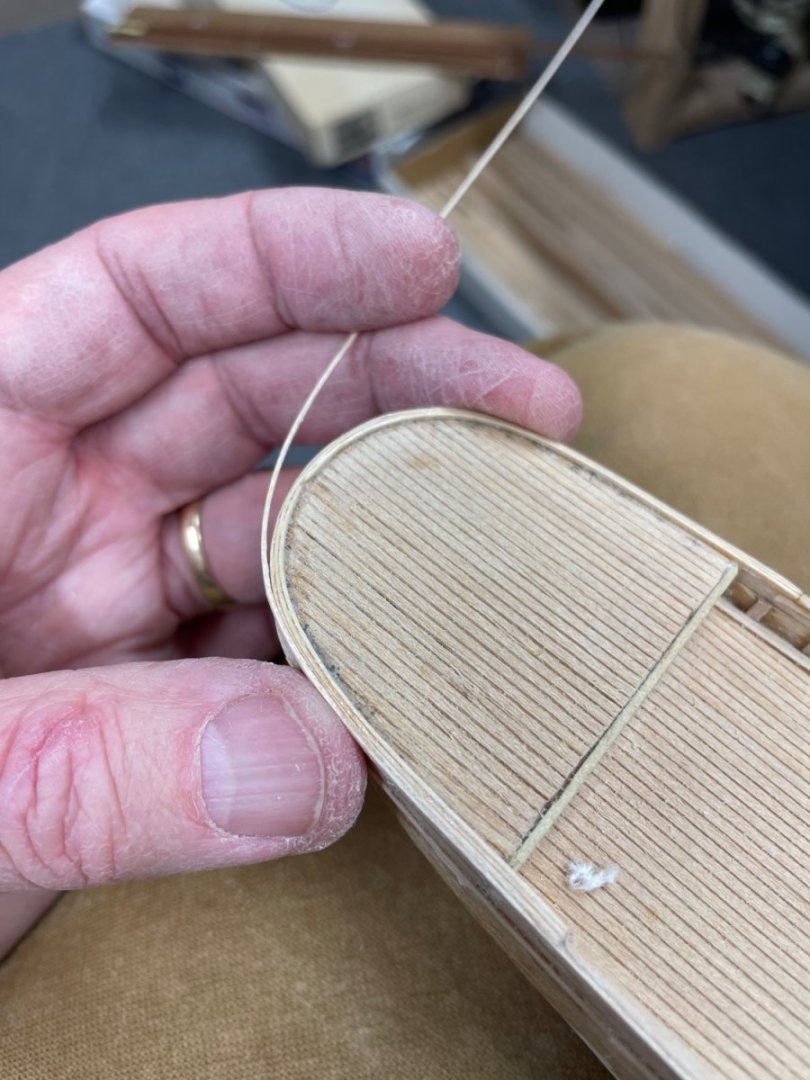
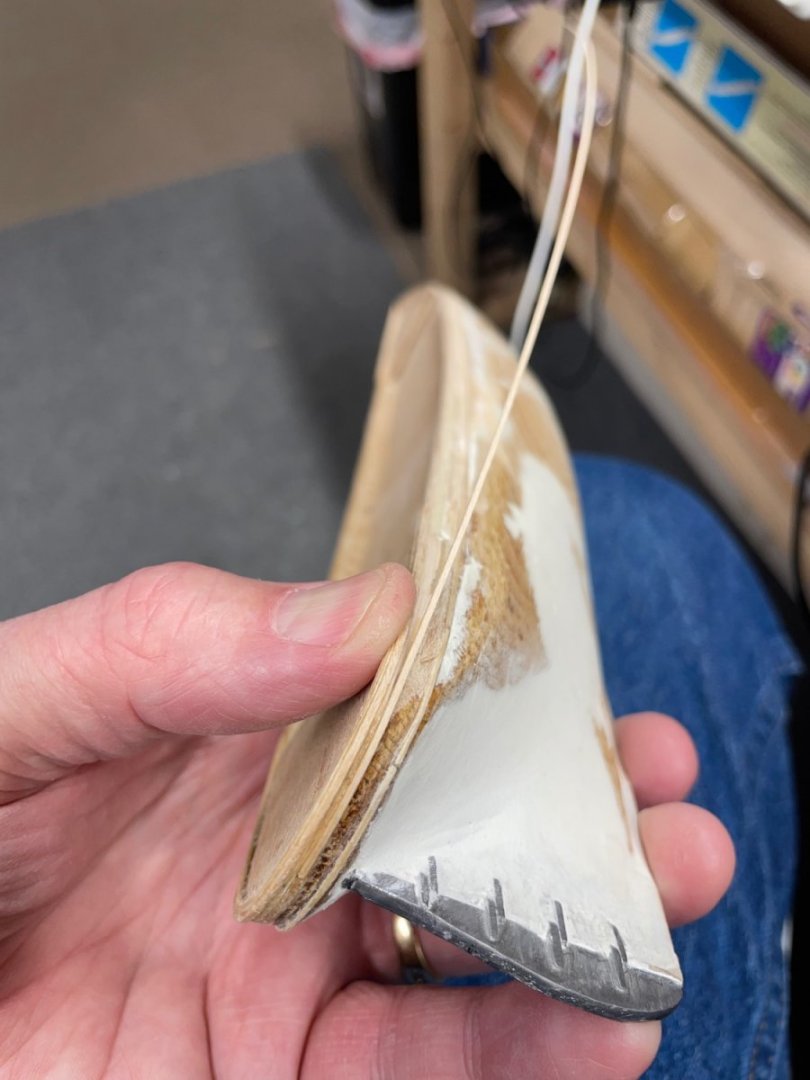
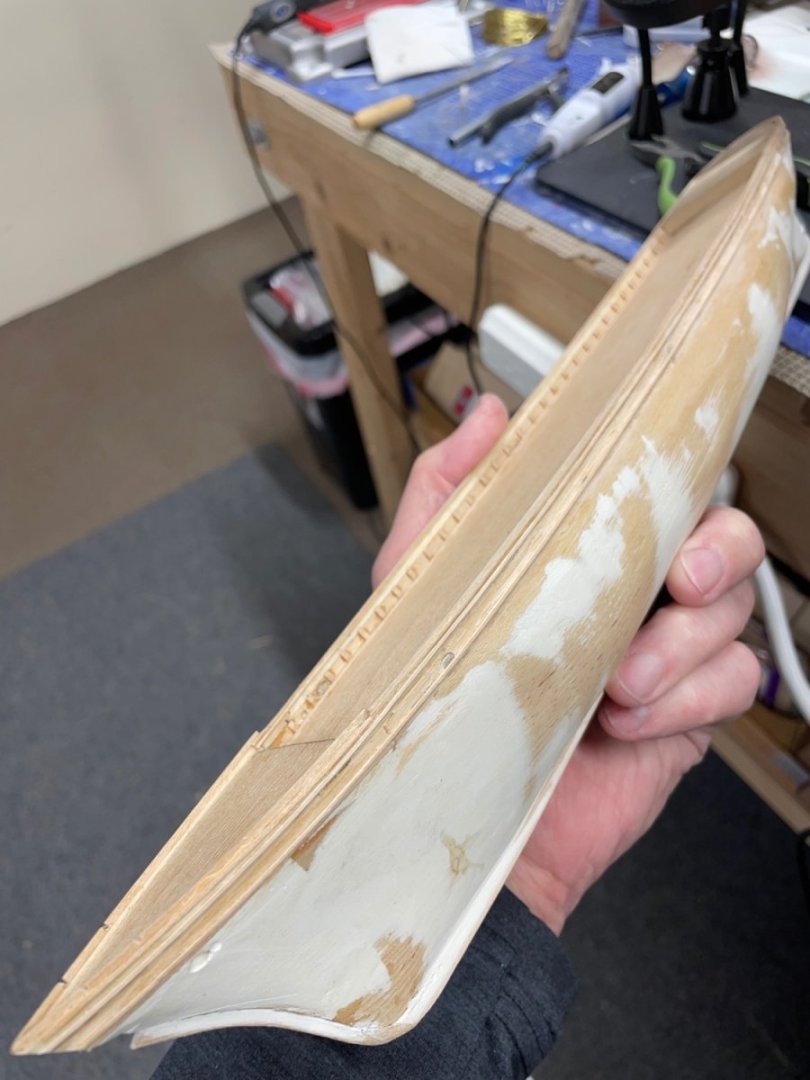
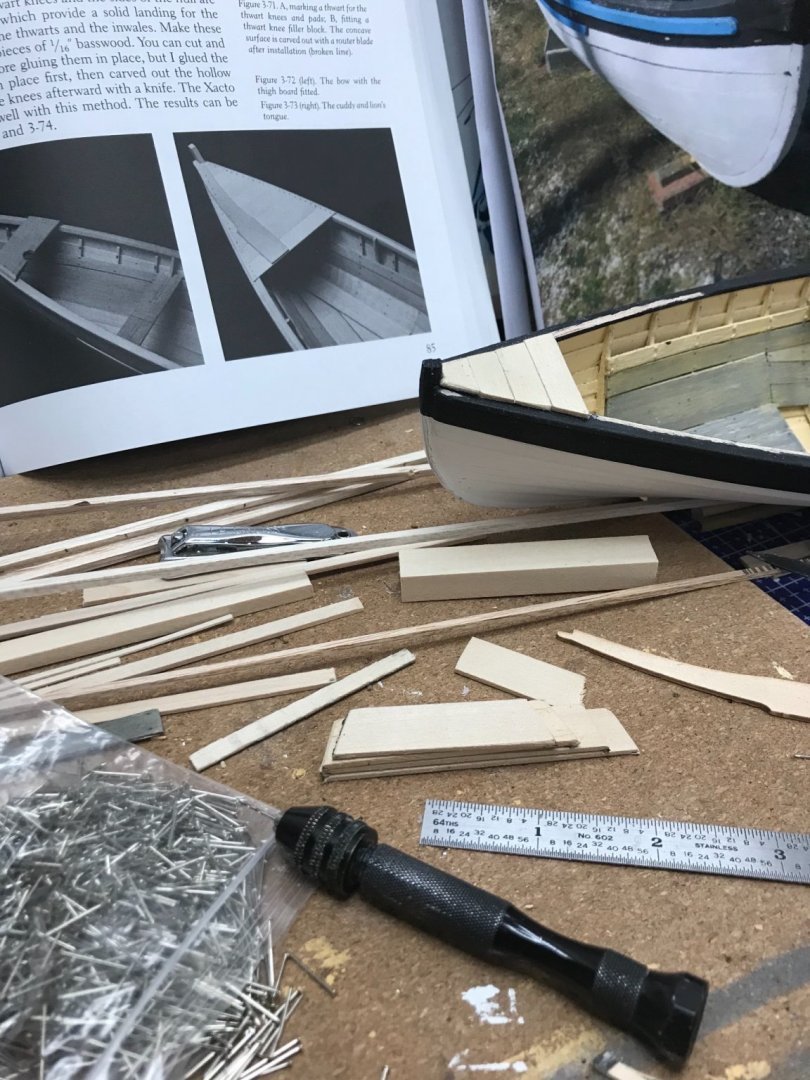
Thanks again for your comments, I’m glad you are finding my build log helpful. Im not sure to what pins you are referring? Would it be the nails I used? They are left overs from previous kits. I didn’t like the copper etched pieces supplied. Try this link, just be careful what size you order. The pins I used were .5 mm diameter, I pre drilled the holes and cut them to length as required. John https://www.aliexpress.us/item/2255801174526891.html?spm=a2g0n.detail.1000014.3.5776q7C6q7C6Sj&gps-id=platformRecommendH5&scm=1007.40000.326746.0&scm_id=1007.40000.326746.0&scm-url=1007.40000.326746.0&pvid=8687fea4-b5c1-40d2-84f7-6cb5de7ff991&_t=gps-id:platformRecommendH5,scm-url:1007.40000.326746.0,pvid:8687fea4-b5c1-40d2-84f7-6cb5de7ff991,tpp_buckets:668%232846%238116%23979&pdp_npi=4%40dis!USD!1.39!0.99!!!1.39!0.99!%402103011017069700467063820e1fff!10000015800220384!rec!US!!AB&search_p4p_id=202402030620467932208329681363973400_1
- 104 replies
-
- 1
-
-
- model shipways
- new bedford whaleboat
- (and 1 more)
-
Greg, your Dories look great. 👍 Very creative alternative solution to those kit supplied parts. You are making very good progress. John
- 184 replies
-
- 2
-

-
-
- Bluenose
- Model Shipways
- (and 1 more)
-
Phil, Excellent work as usual. Nice 👍