John Ruy
-
Posts
1,585 -
Joined
-
Last visited
Content Type
Profiles
Forums
Gallery
Events
Everything posted by John Ruy
-
 Greg, Nice work on the shrouds and standing rigging. Your Bluenose looks great. 👍
- 184 replies
-
- 2
-

-

-
- Bluenose
- Model Shipways
- (and 1 more)
-
She’s looking quite beautiful. Nice work, Bob. Perfect 👍
- 207 replies
-
- 2
-
-
-
- vanguard models
- Duchess of Kingston
- (and 1 more)
-
That’s great Bob, I’m glad for your good news. I’ll be watching this build too, she is going to be a beautiful. 😎 Cheers 🍻
- 207 replies
-
- 5
-
-
-
- vanguard models
- Duchess of Kingston
- (and 1 more)
-
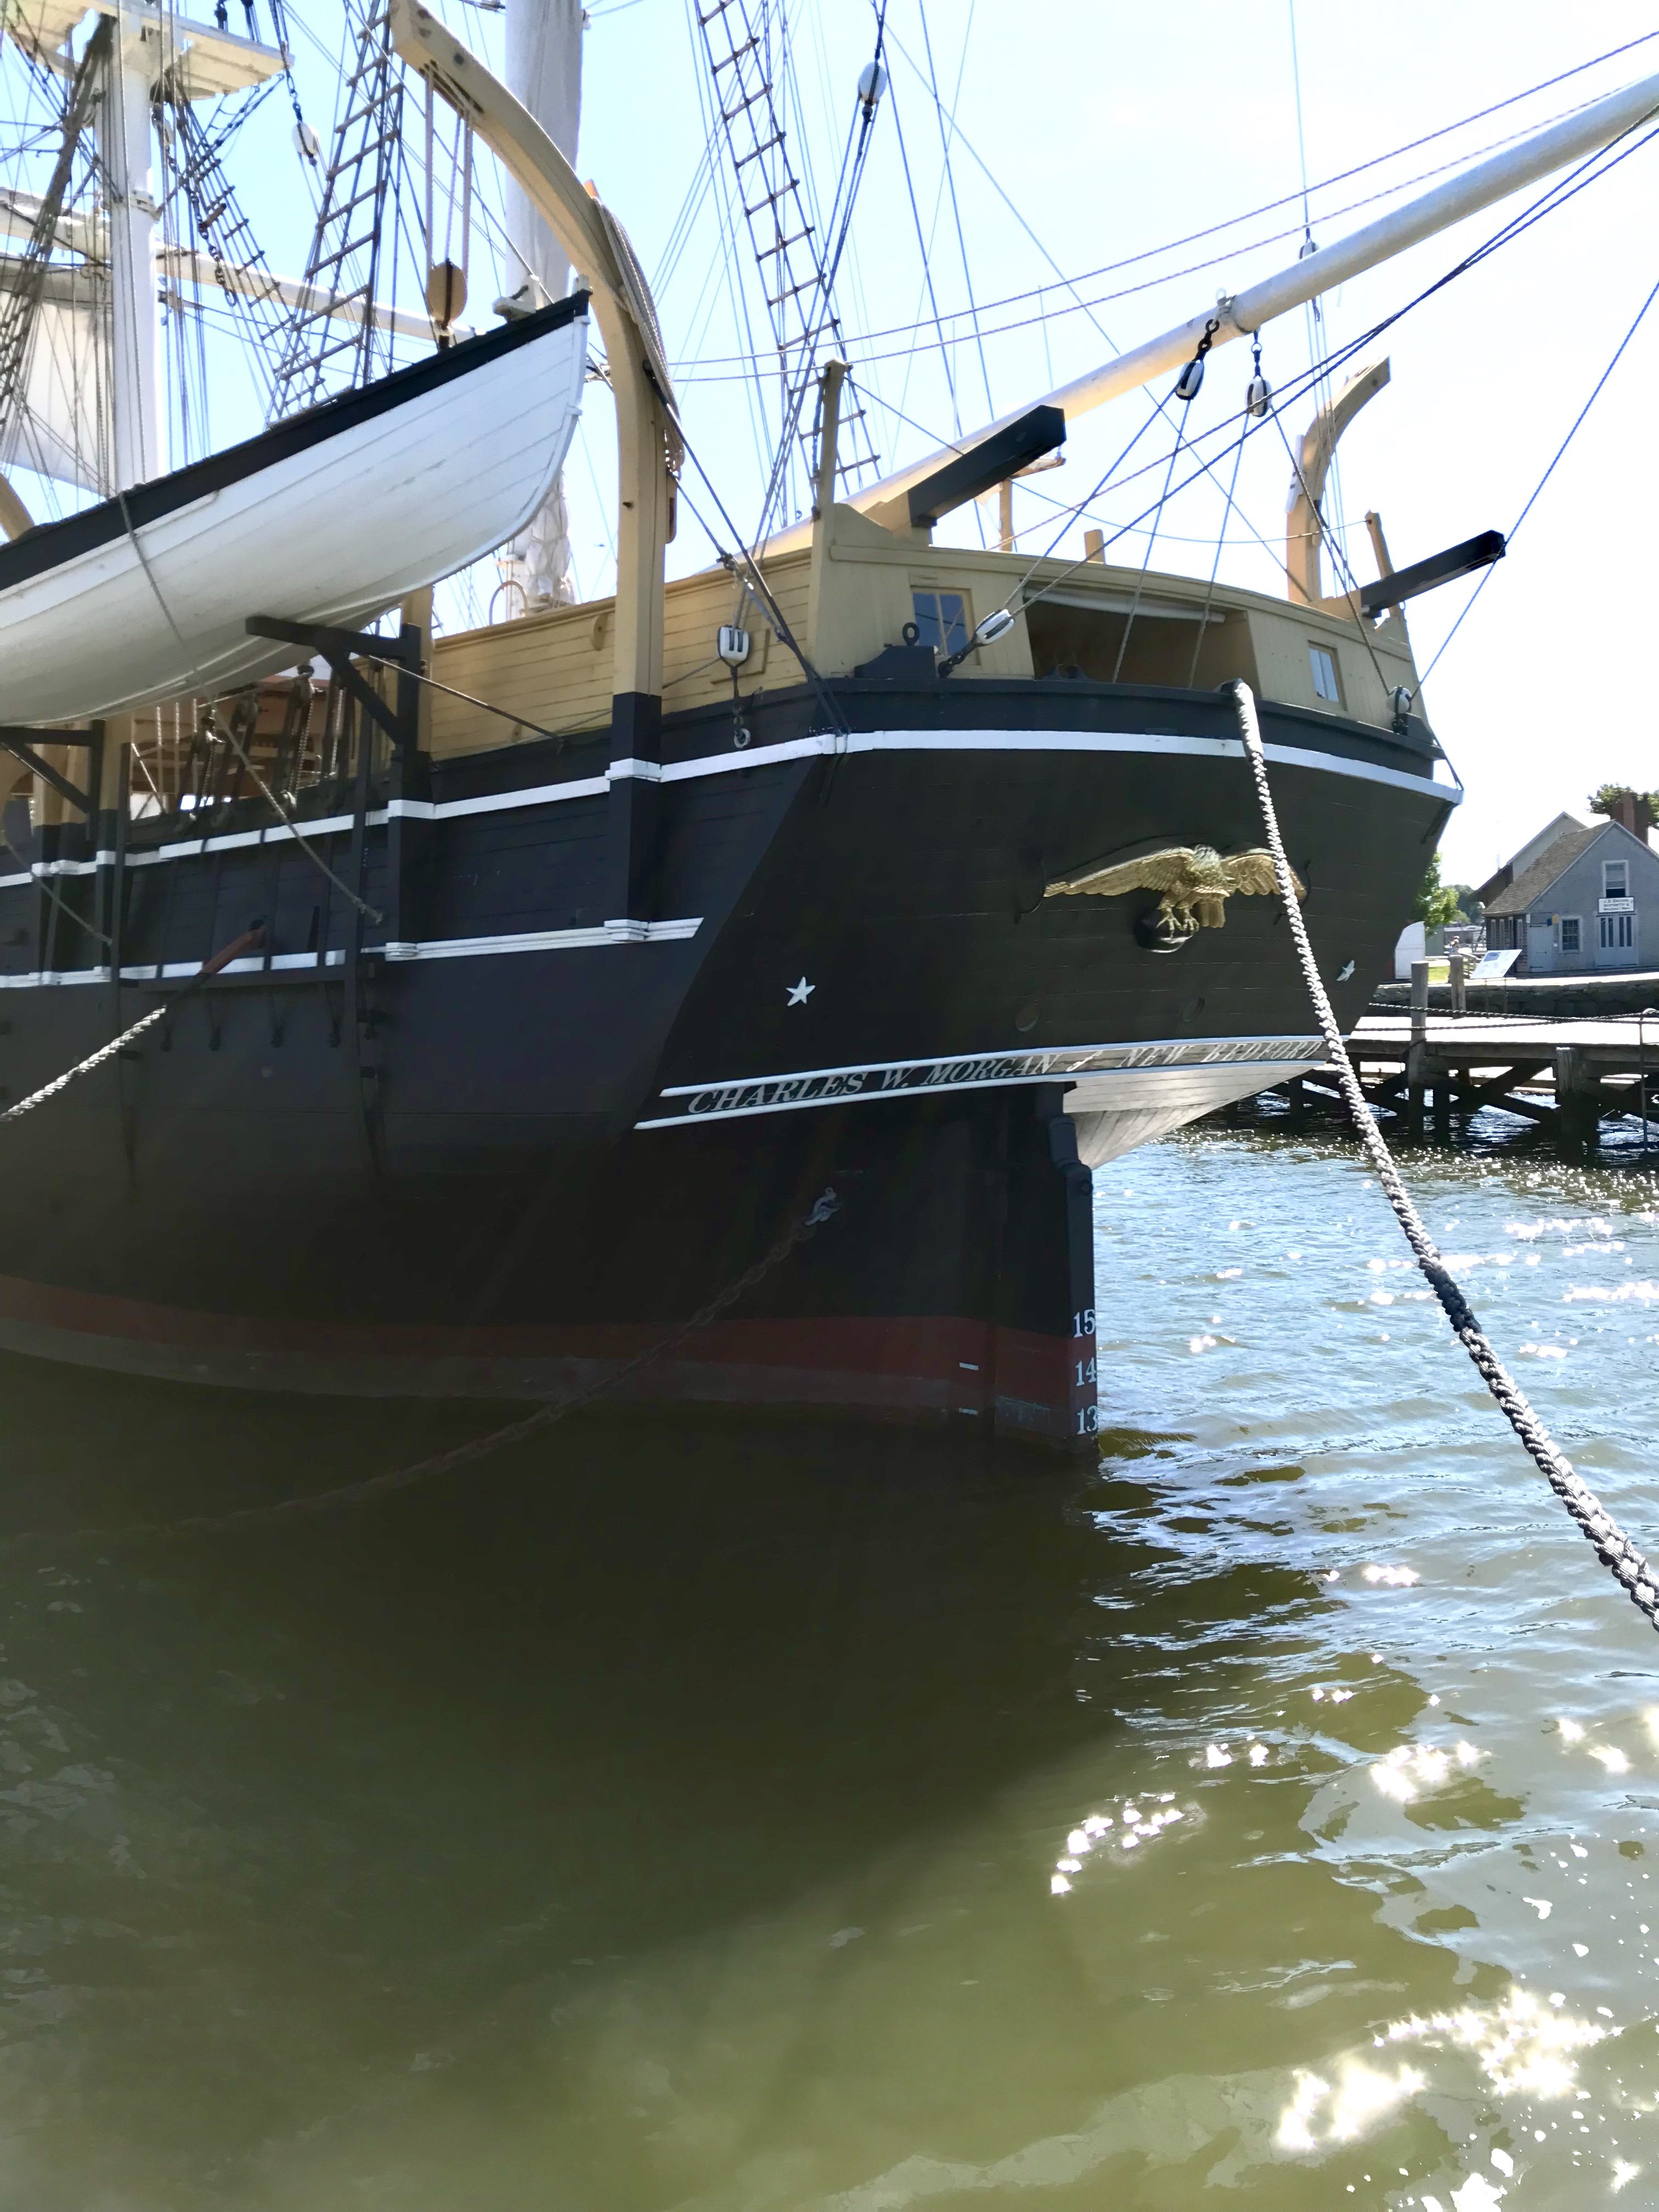
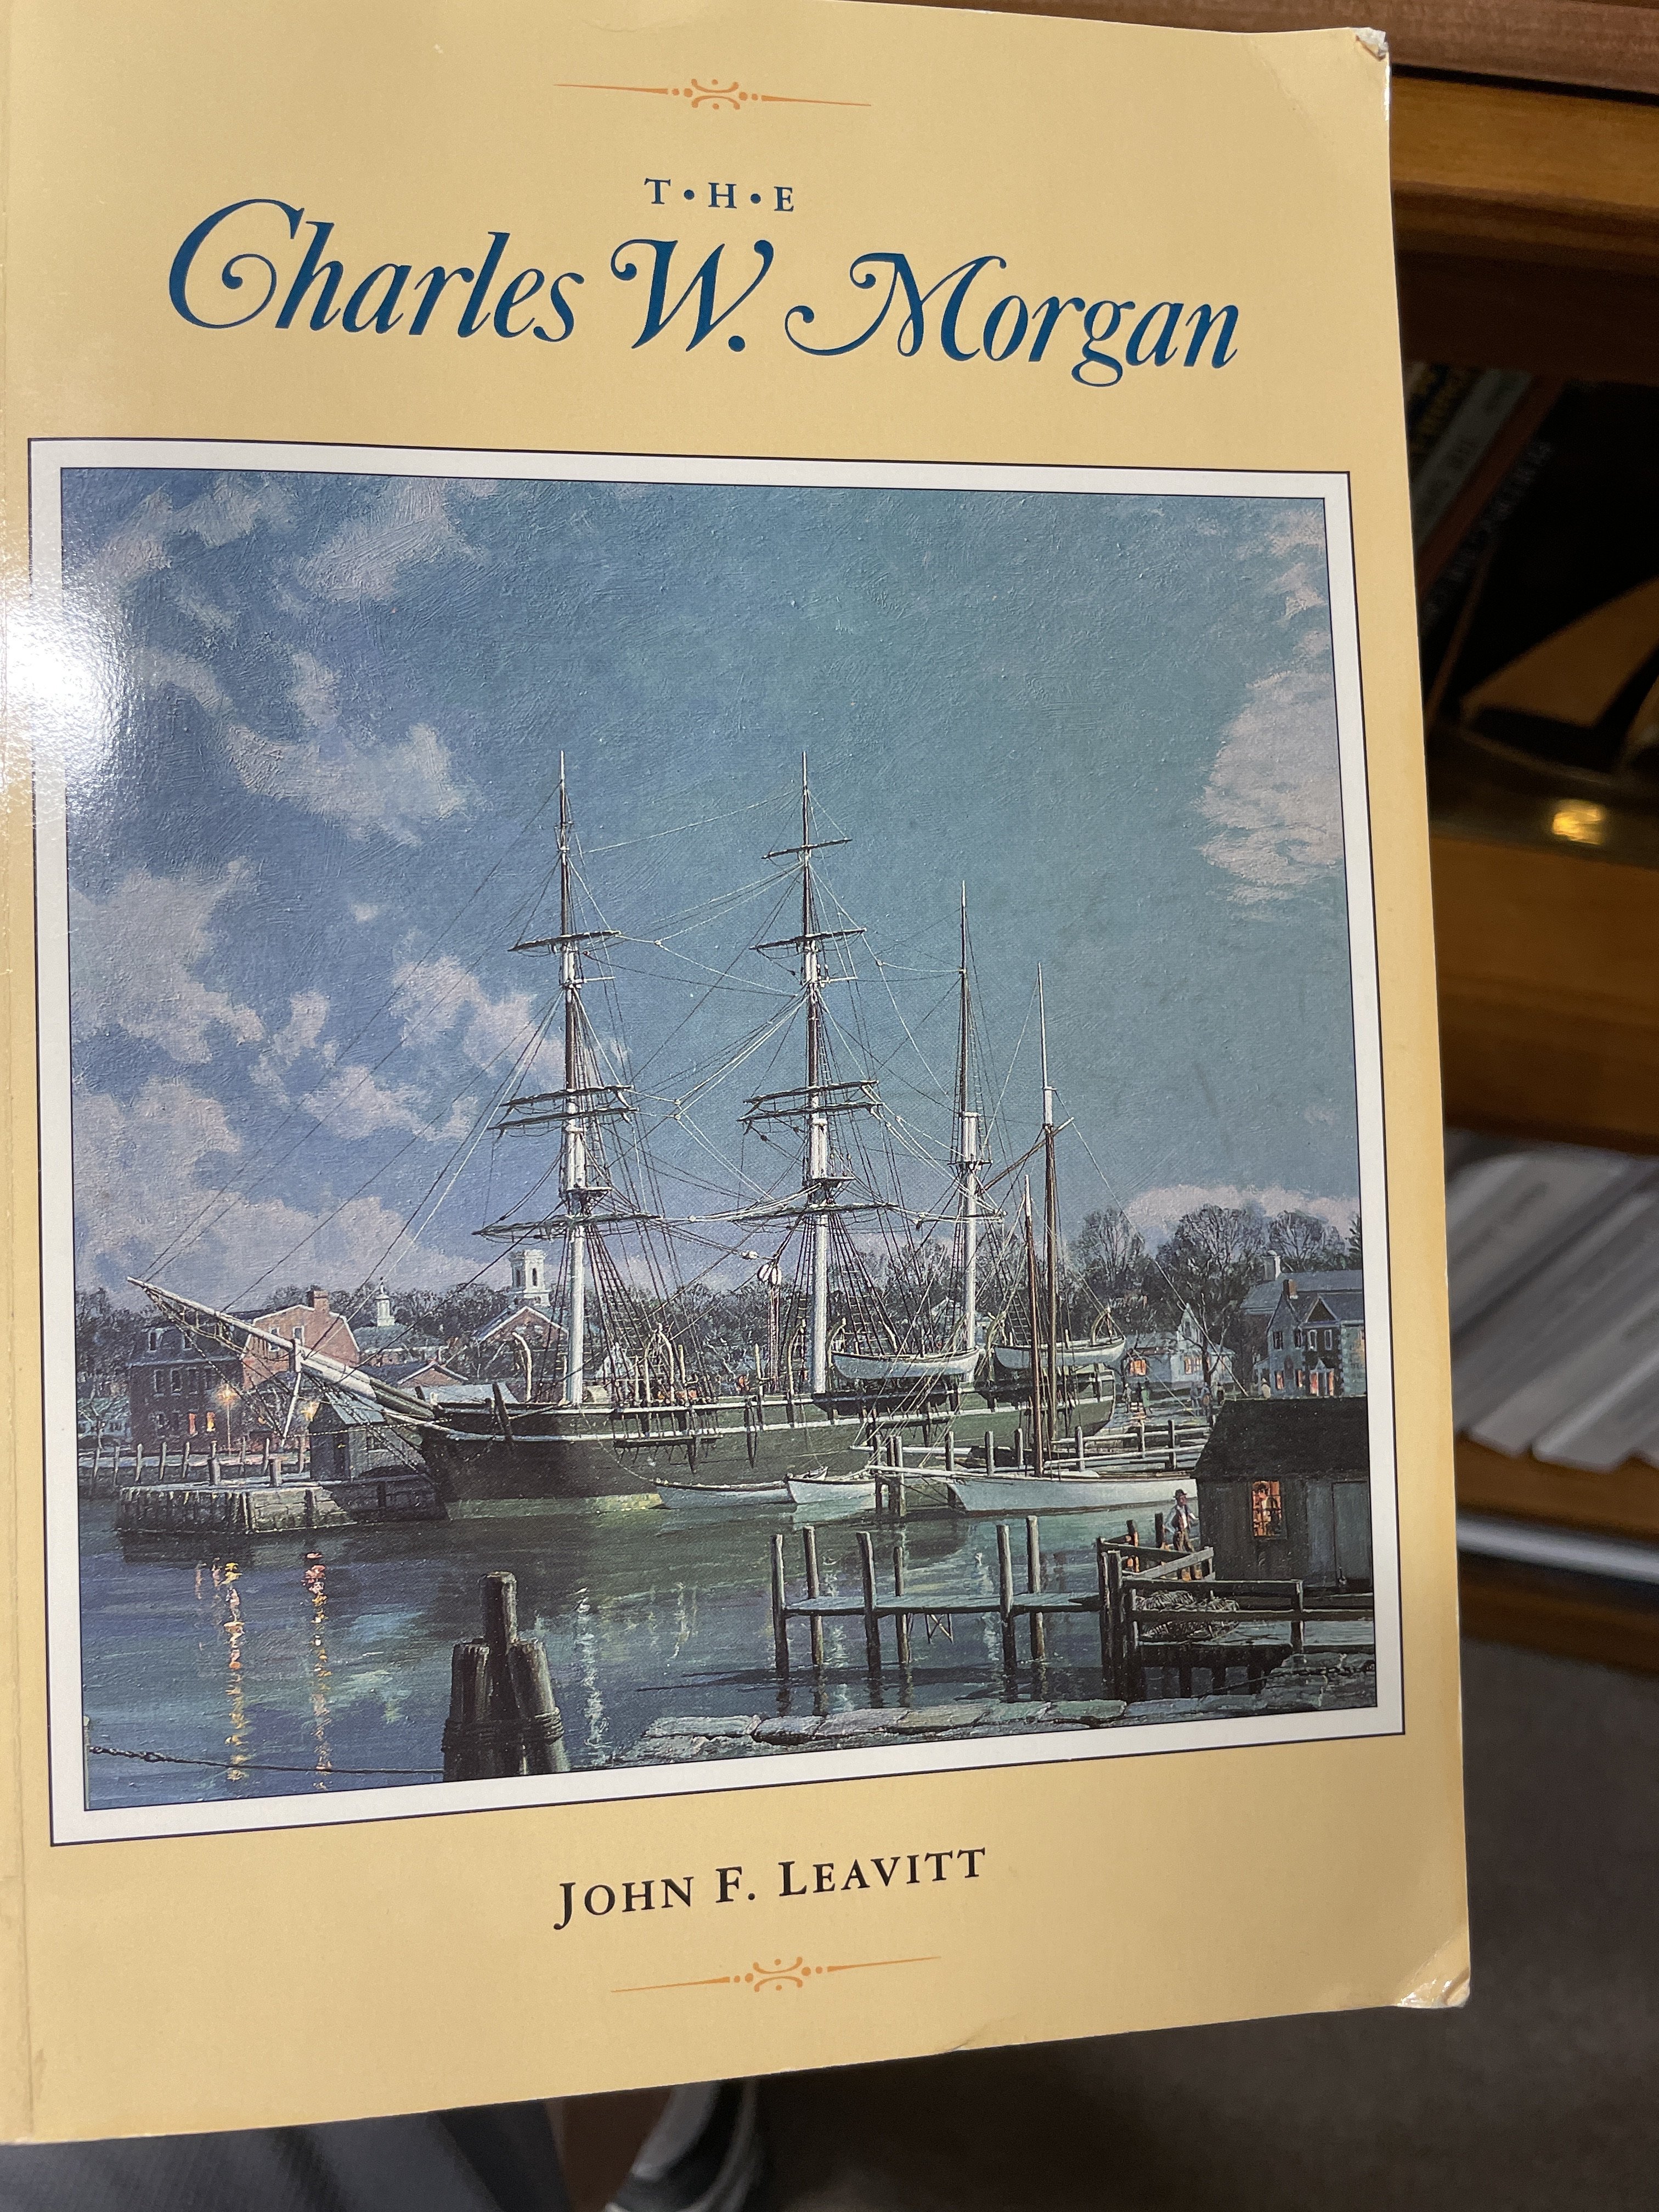
@ClipperFan Thanks for the info I was well aware of her original stern widows, when I chose to build her when I saw her in Mystic Seaport 2019. There is a story of those windows being stove in by a rouge wave while coming around Cape Horn. It’s in Charles W Morgan by John F Leavitt. Thanks again for the information, always nice to know I others are still checking out my build logs. John


- 204 replies
-
- 1
-
-
- marine model company
- charles w morgan
- (and 1 more)
-
Thanks for the kudos… so many boats to build, it’s hard to stay focused. Enjoy your next project, that’s what it’s all about. John
- 87 replies
-
- 2
-
-
- King of the Mississippi
- Artesania Latina
- (and 2 more)
-
Congratulations! Great job… Looking forward to seeing you diorama work. Will you post that here? John
- 87 replies
-
- 3
-
-
-
- King of the Mississippi
- Artesania Latina
- (and 2 more)
-
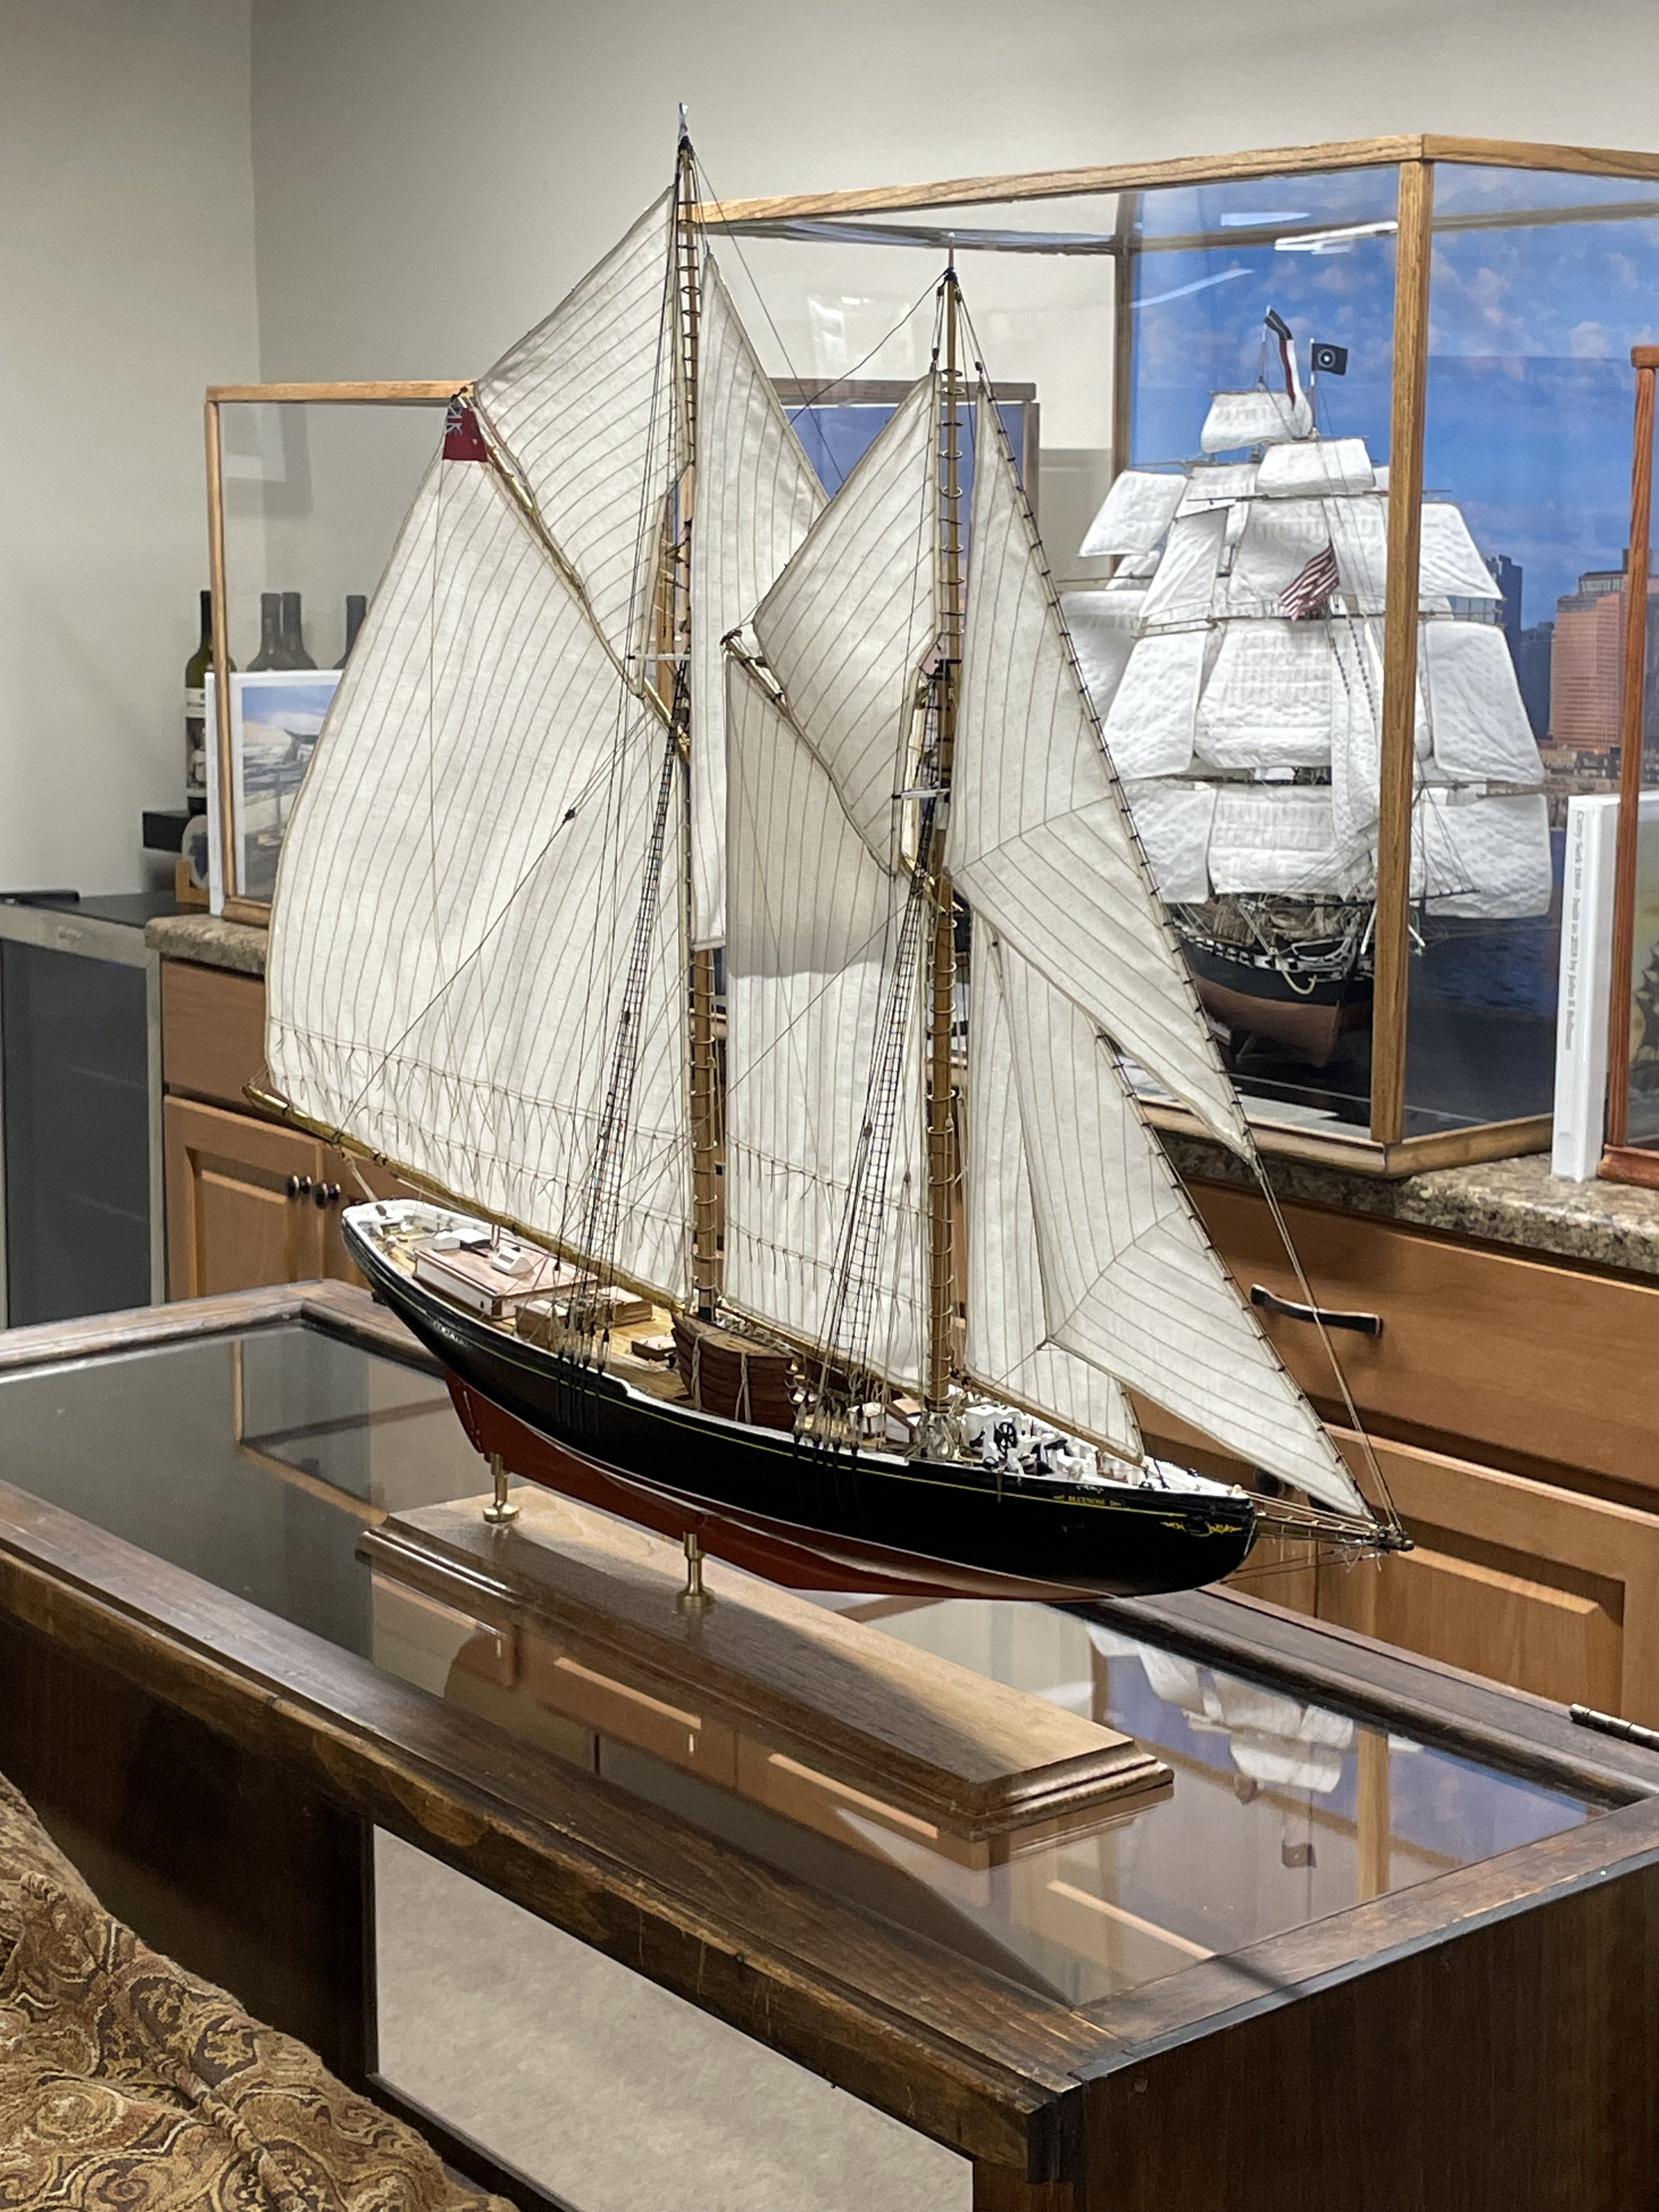
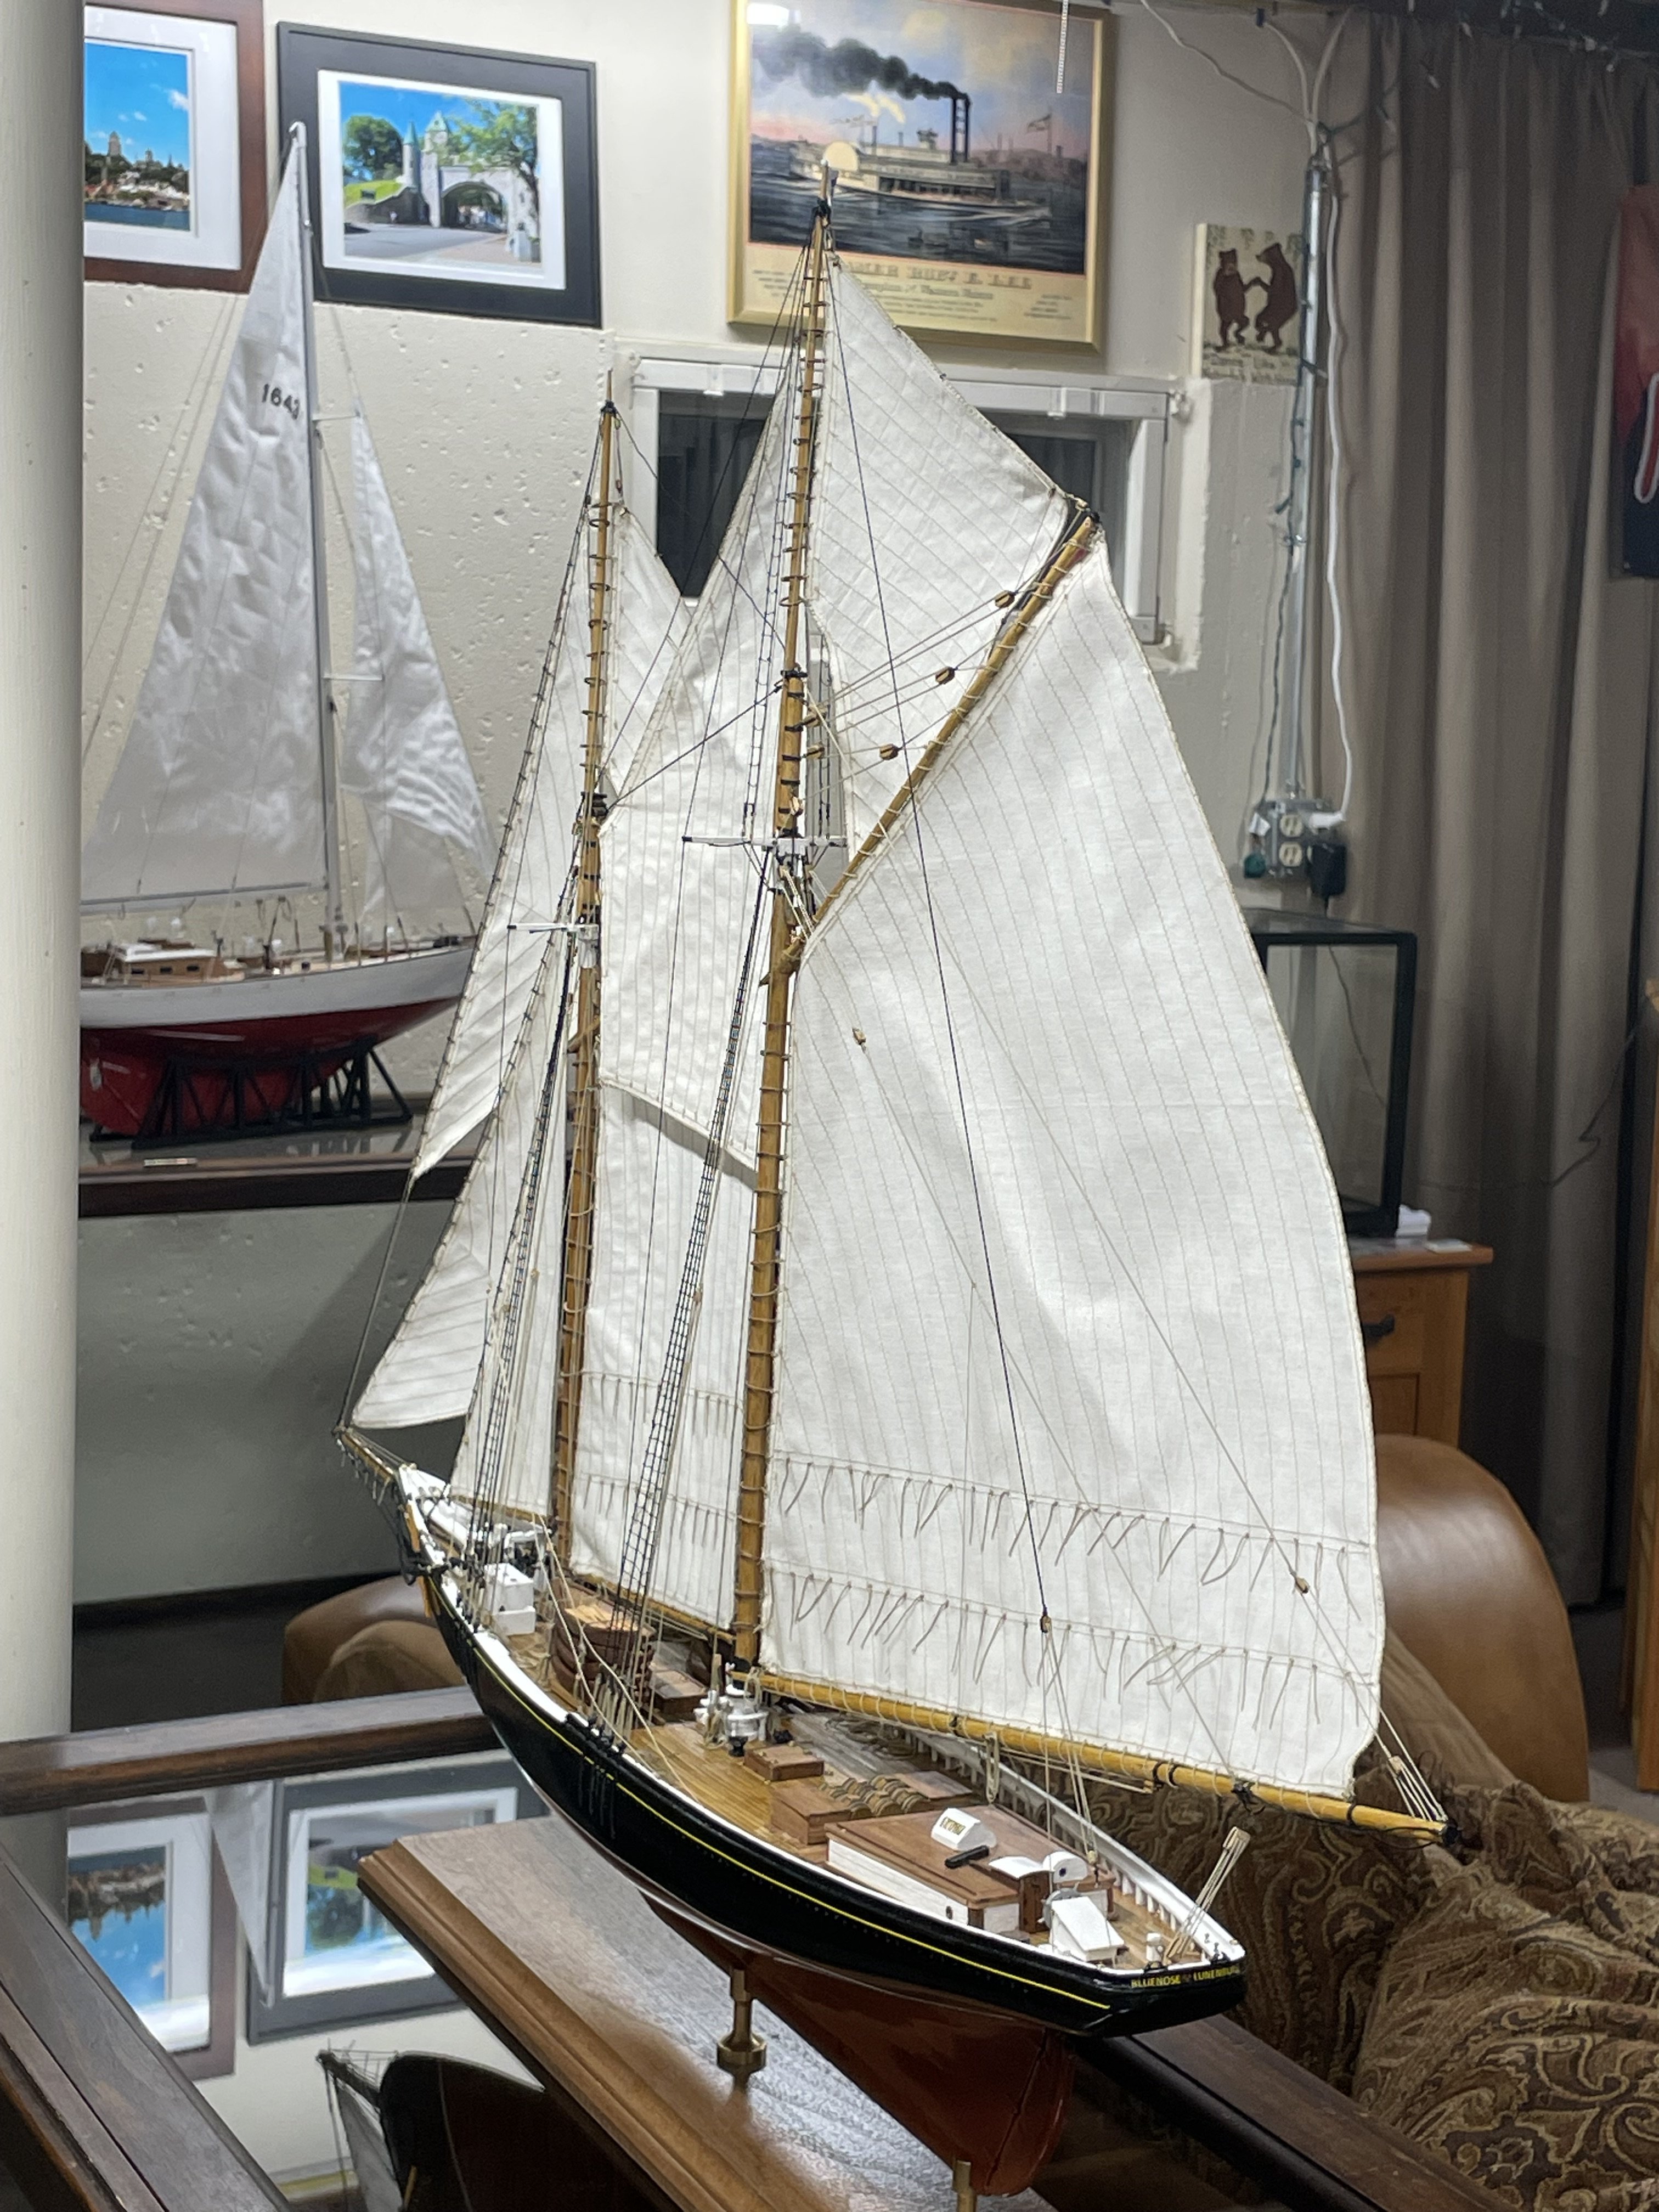
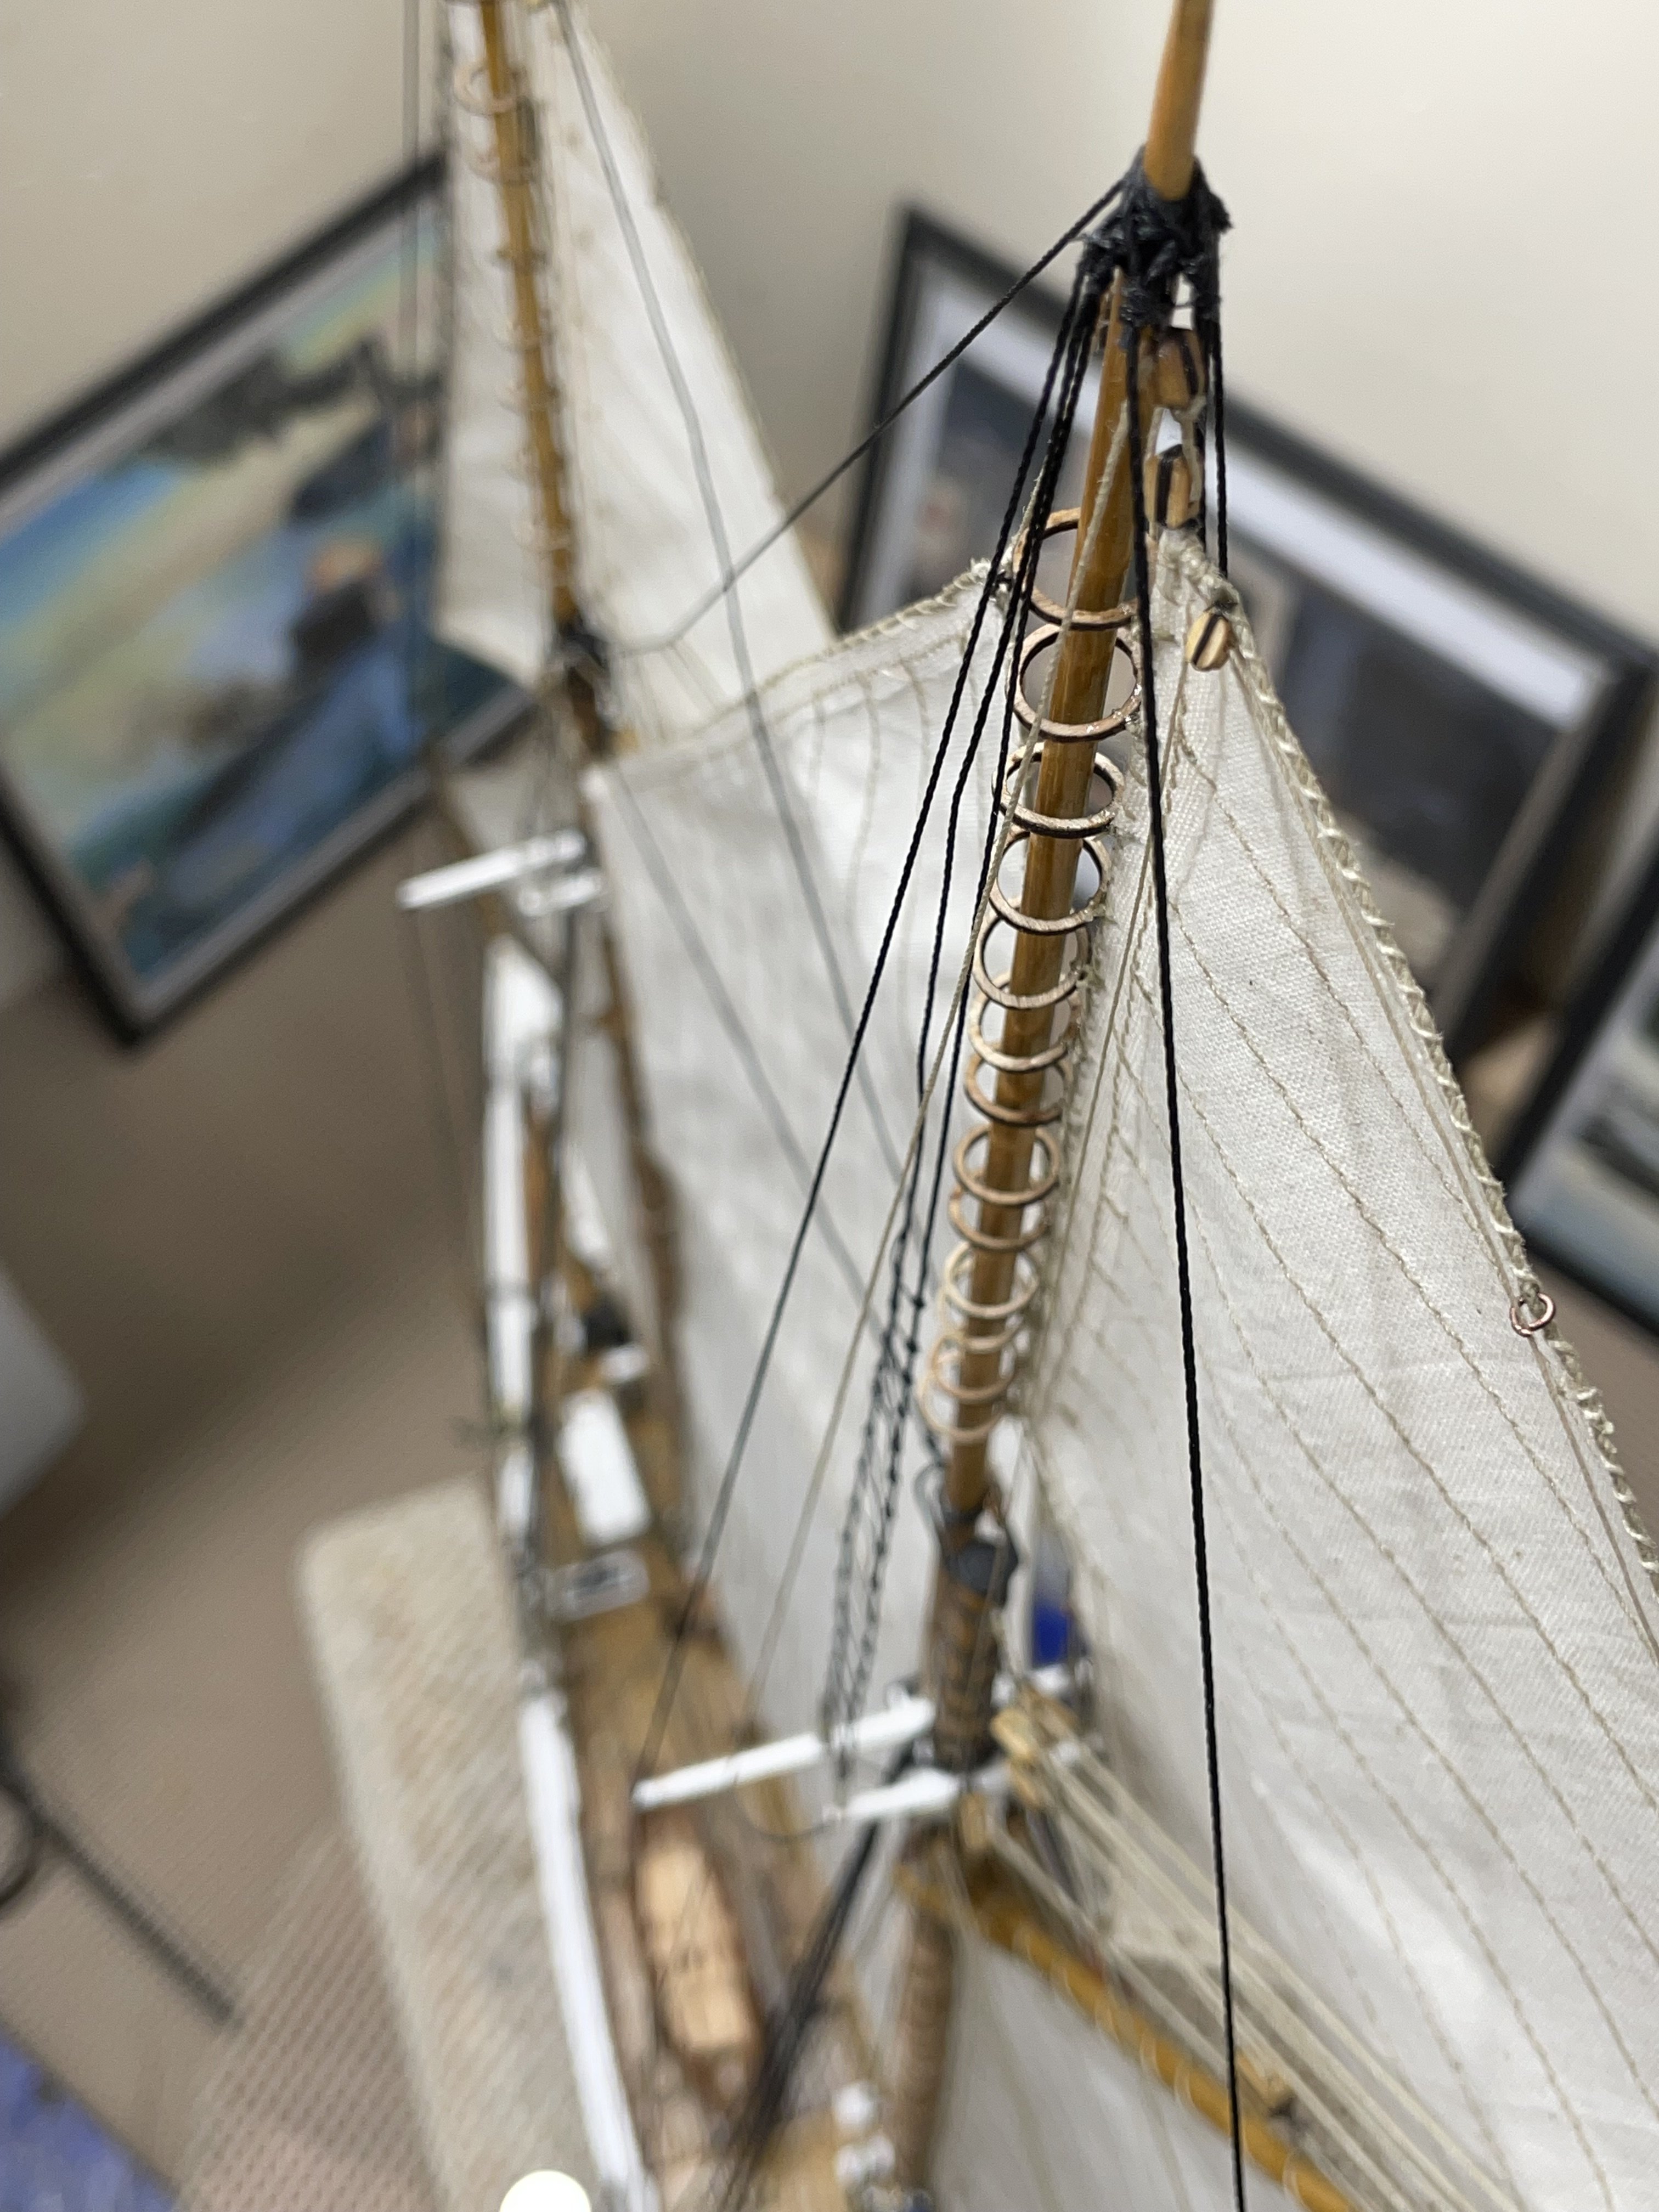
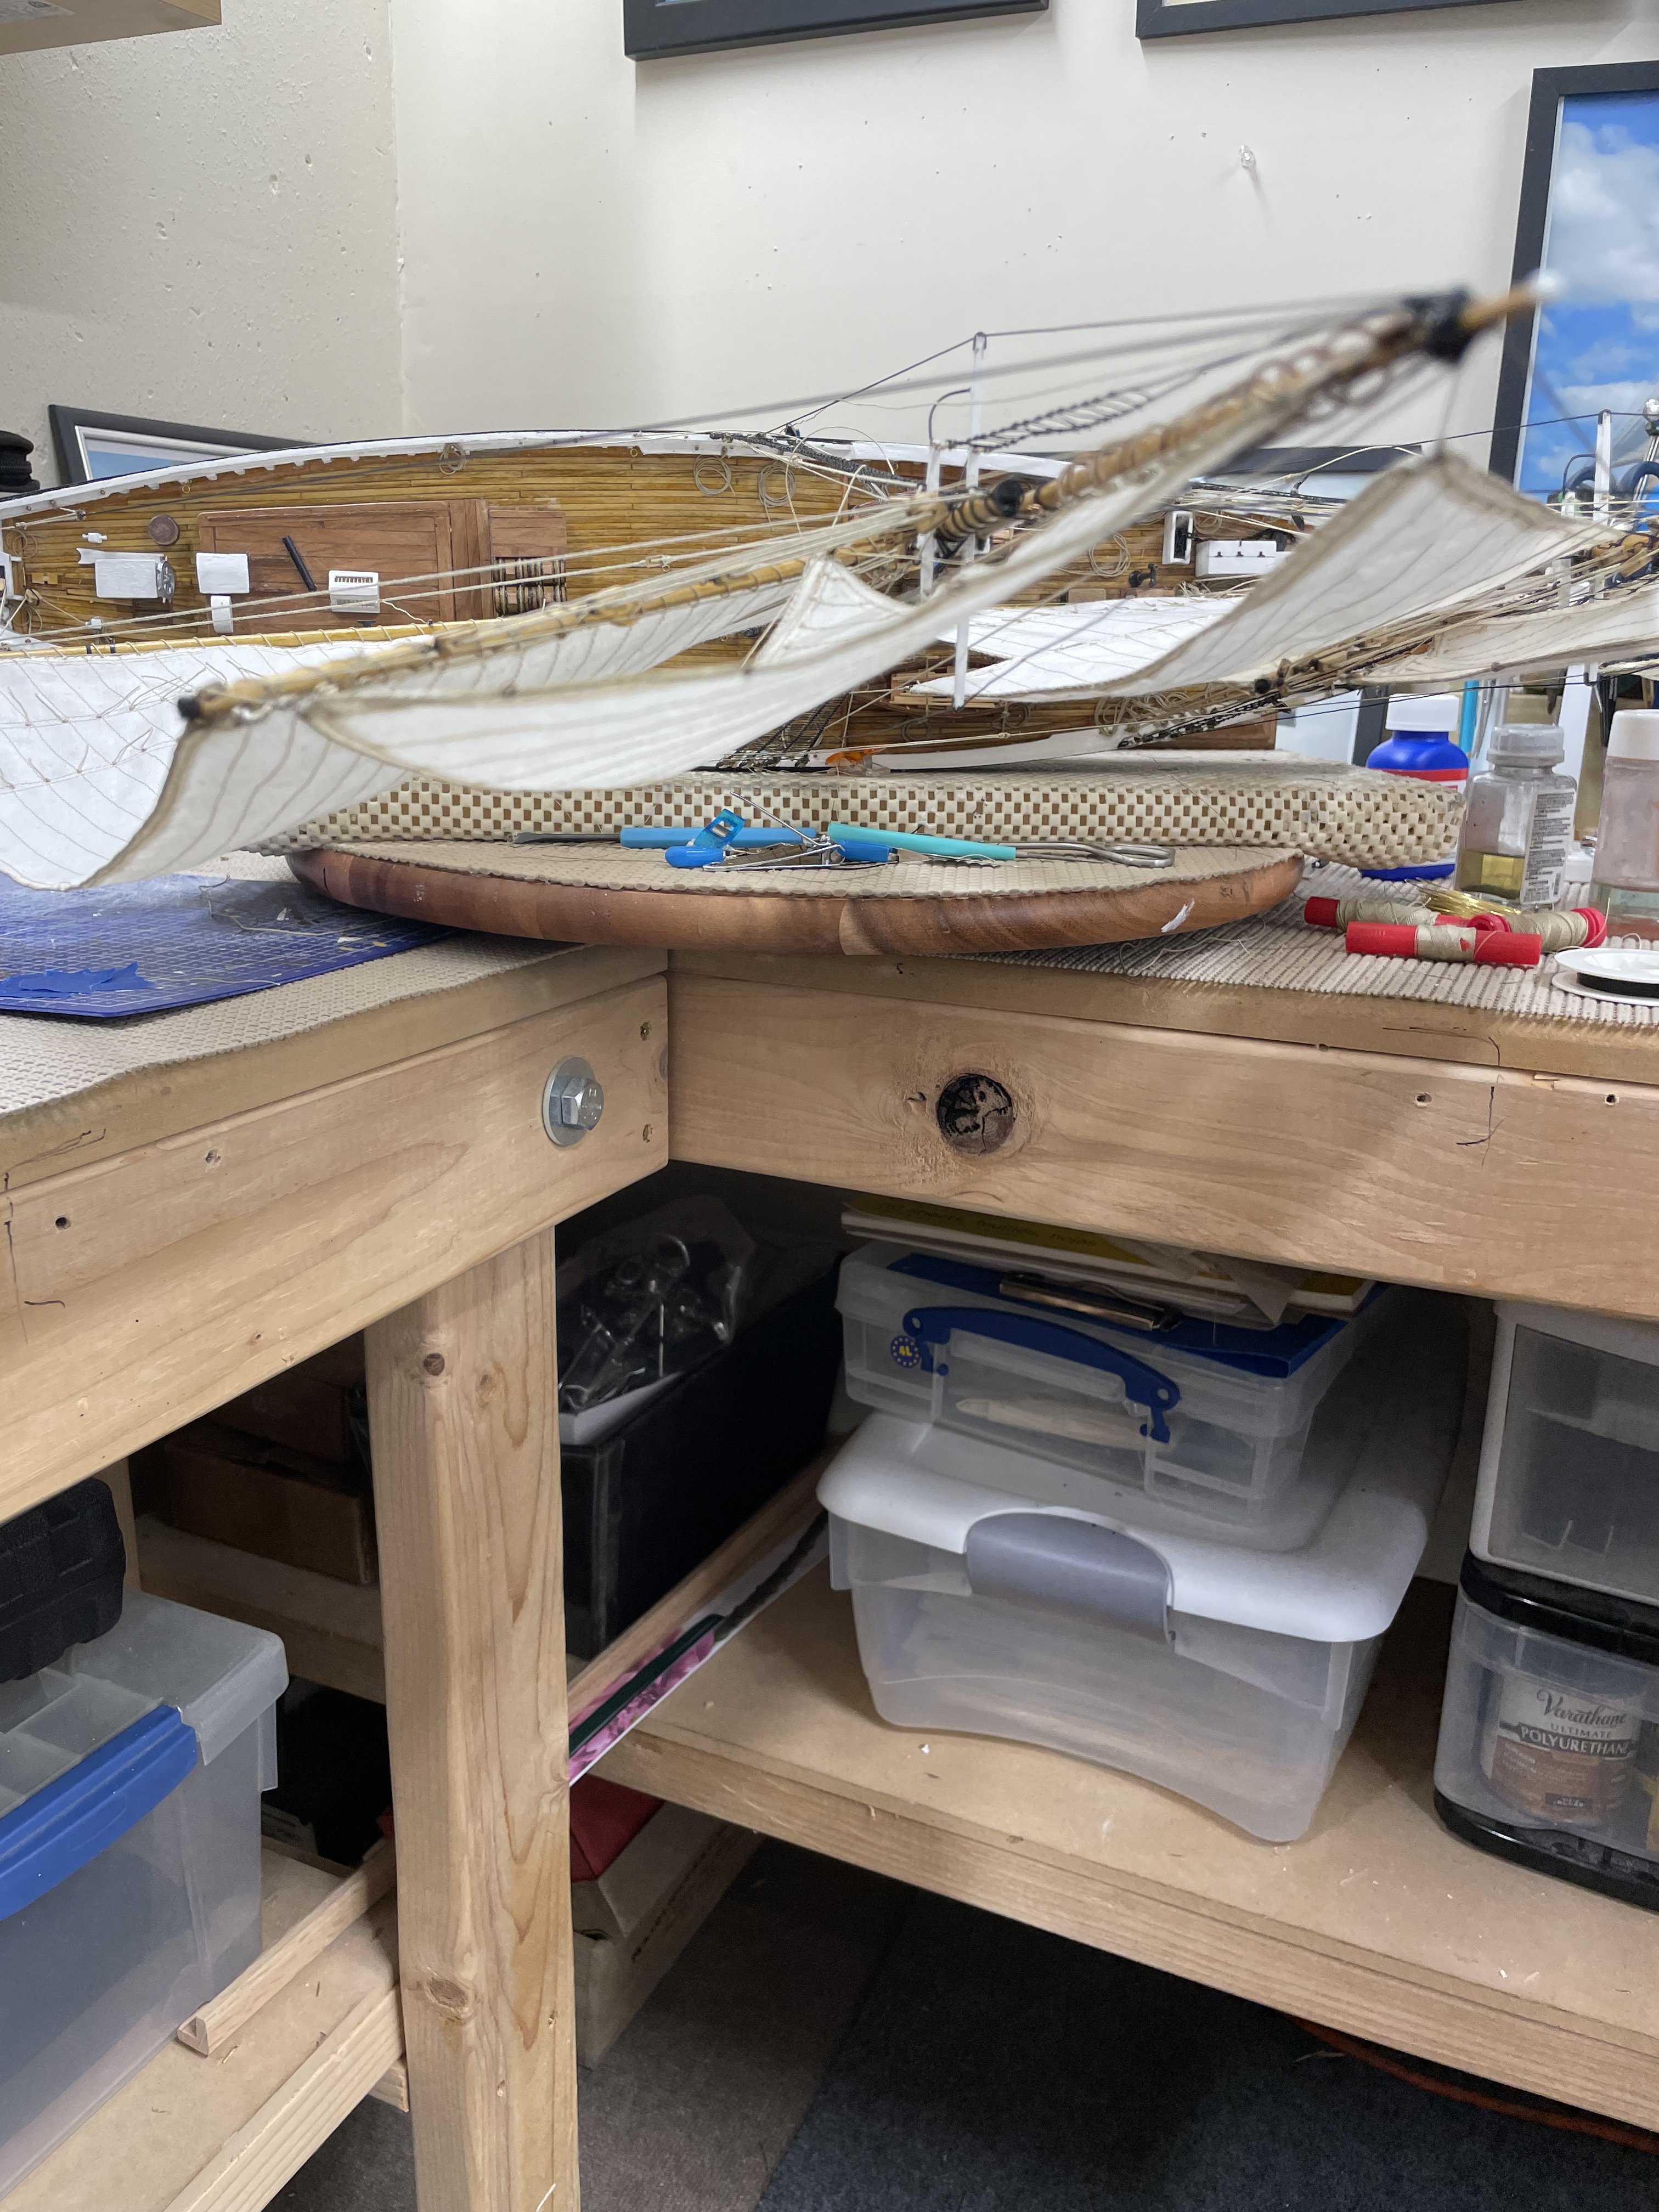
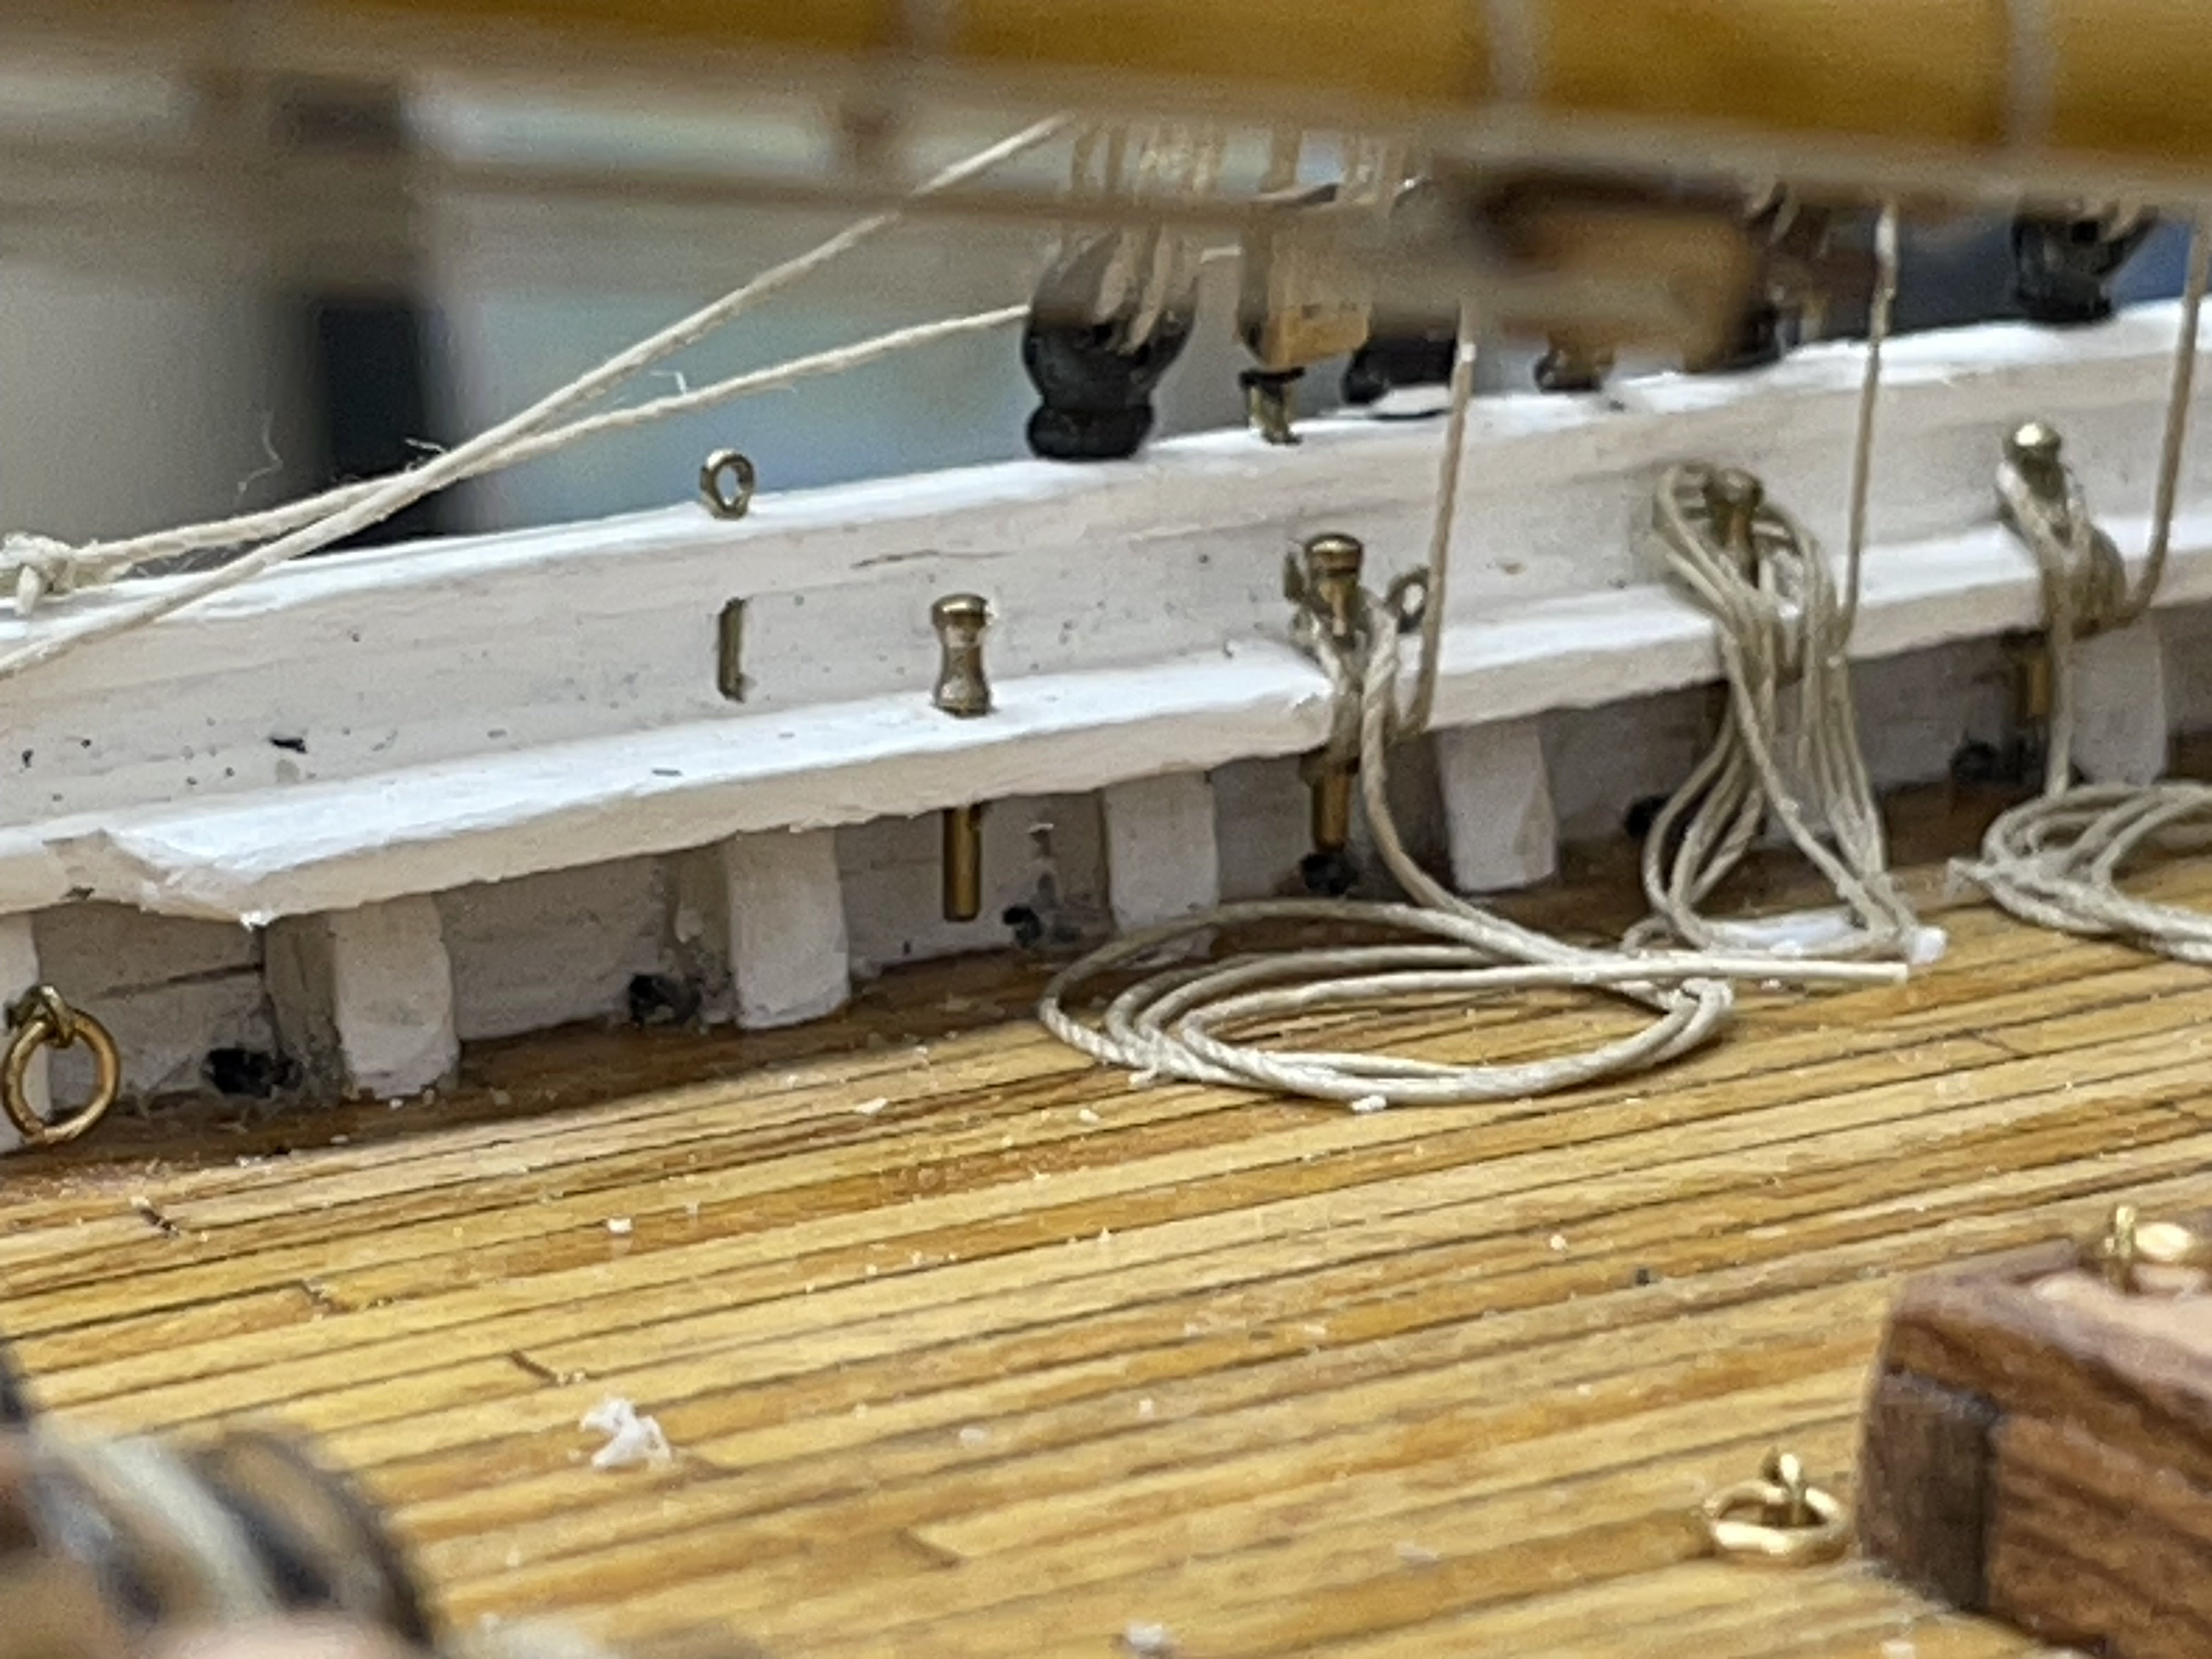
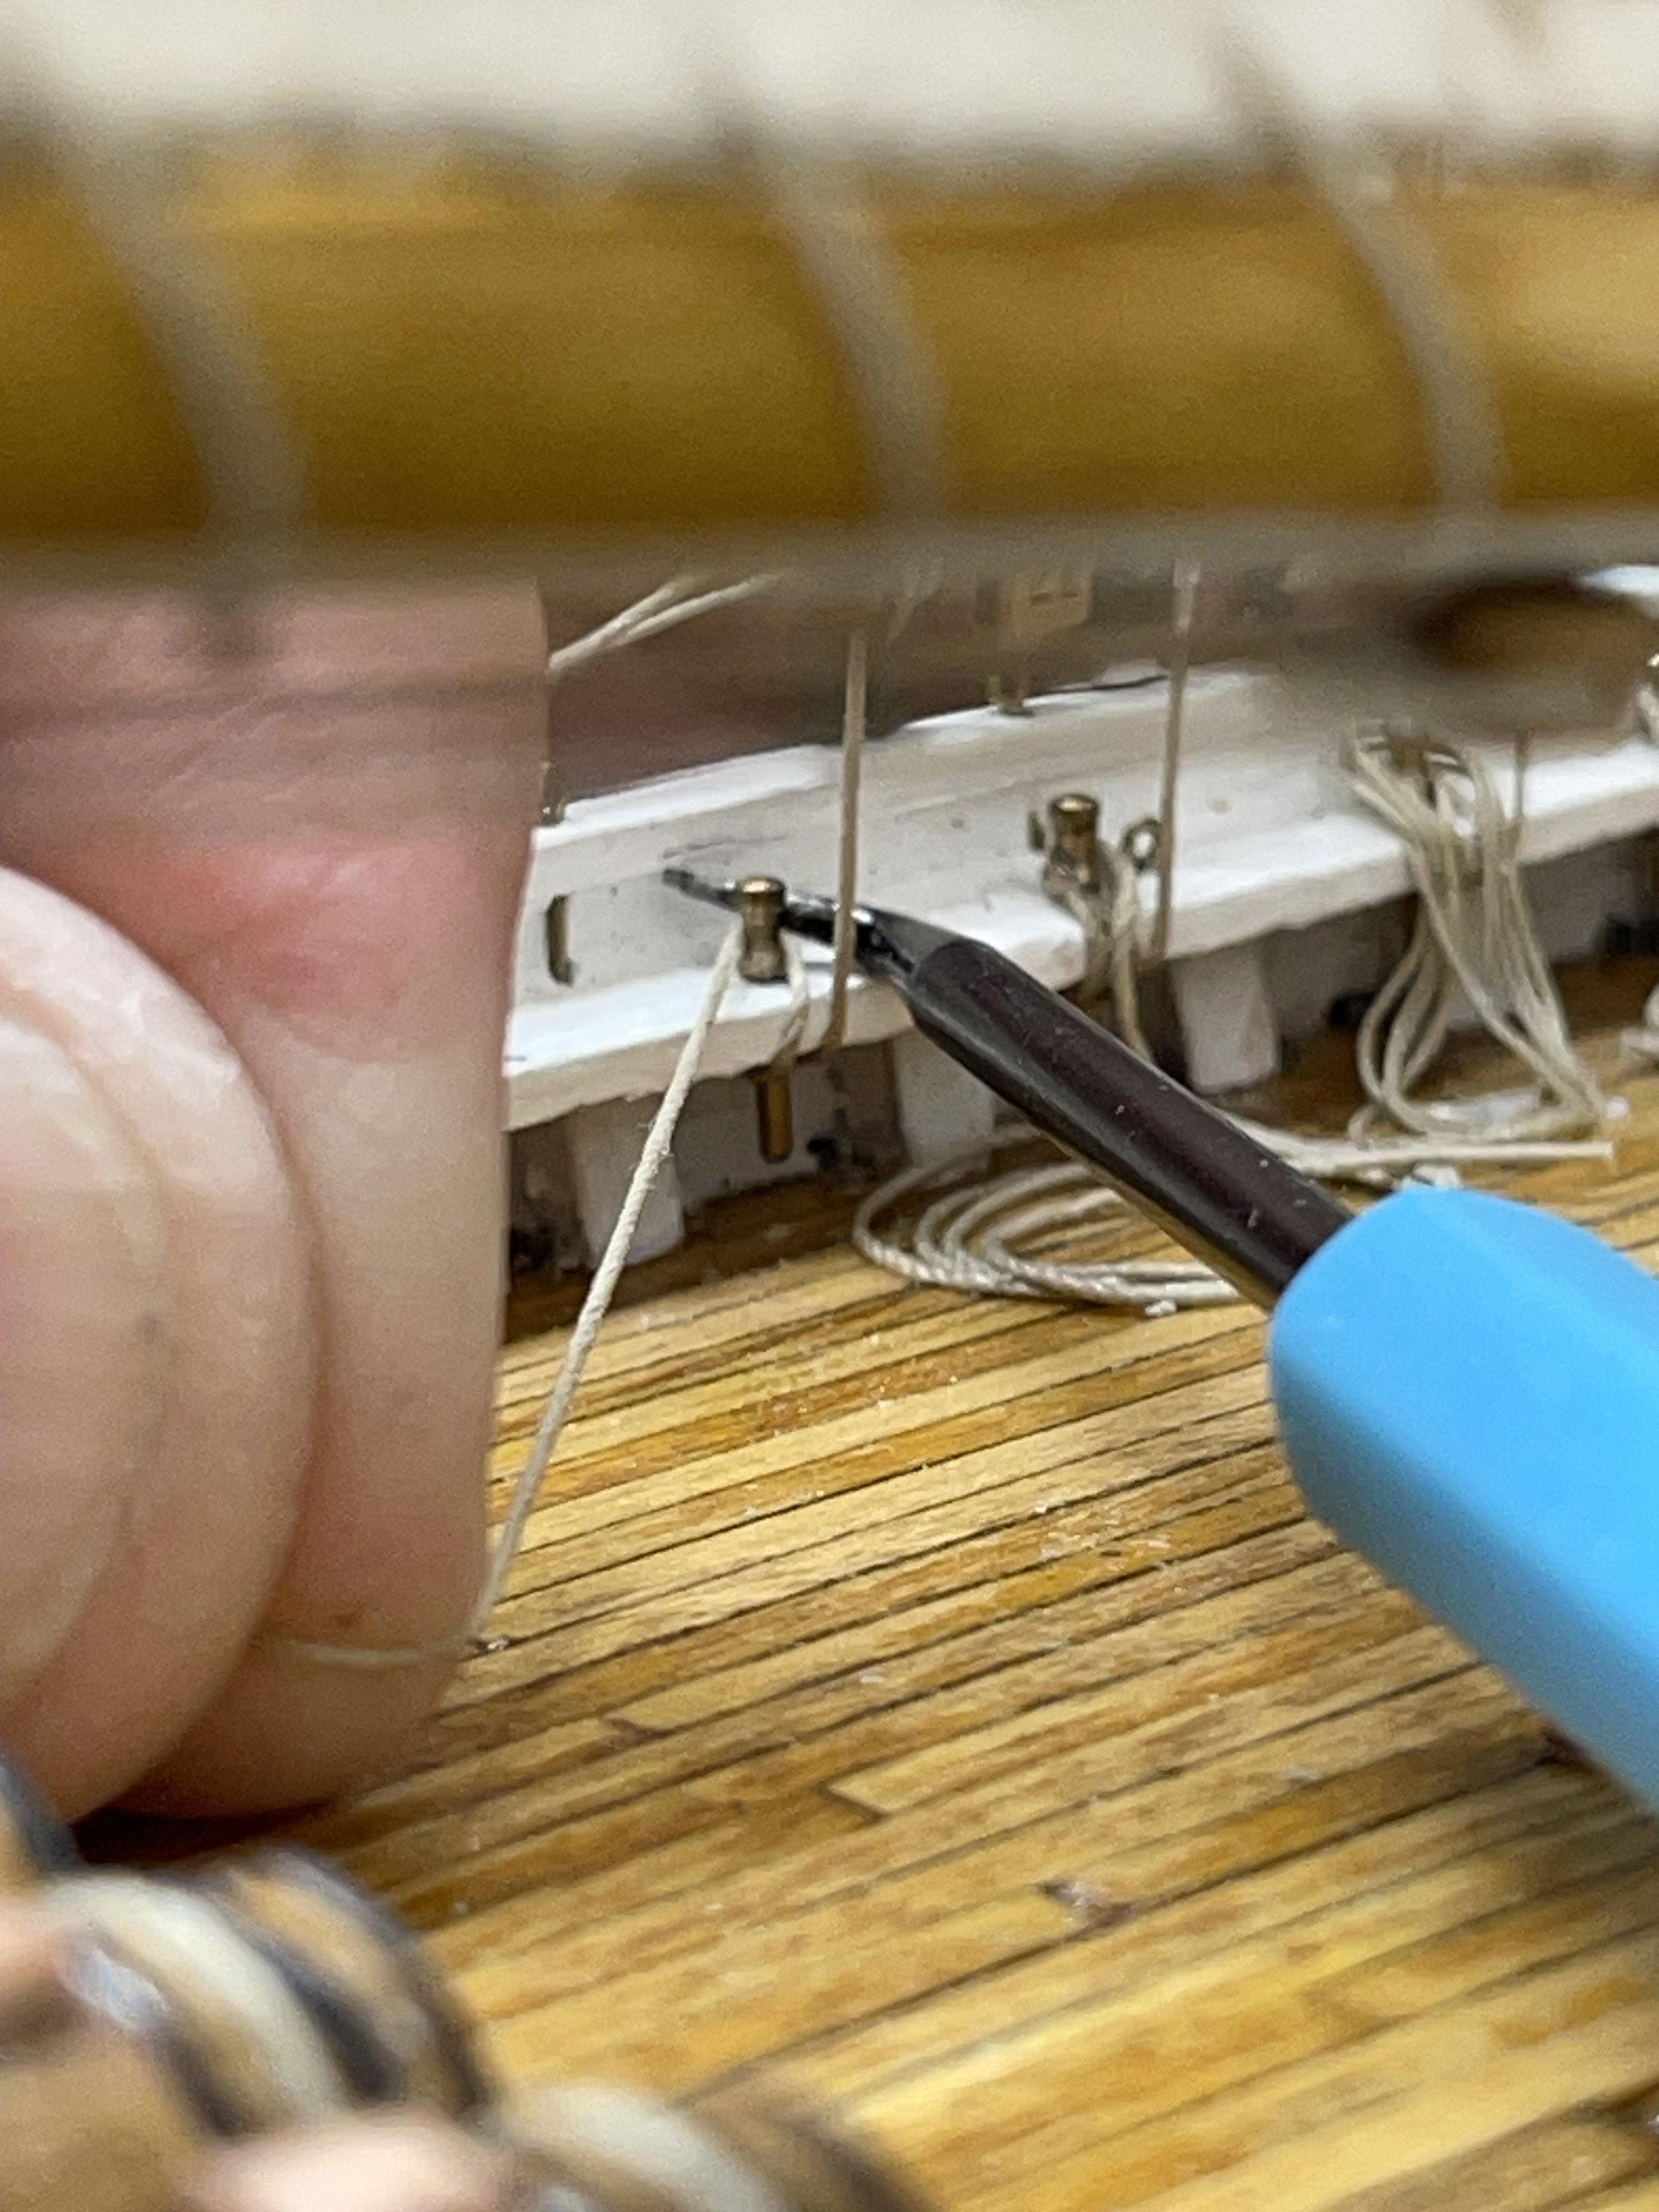
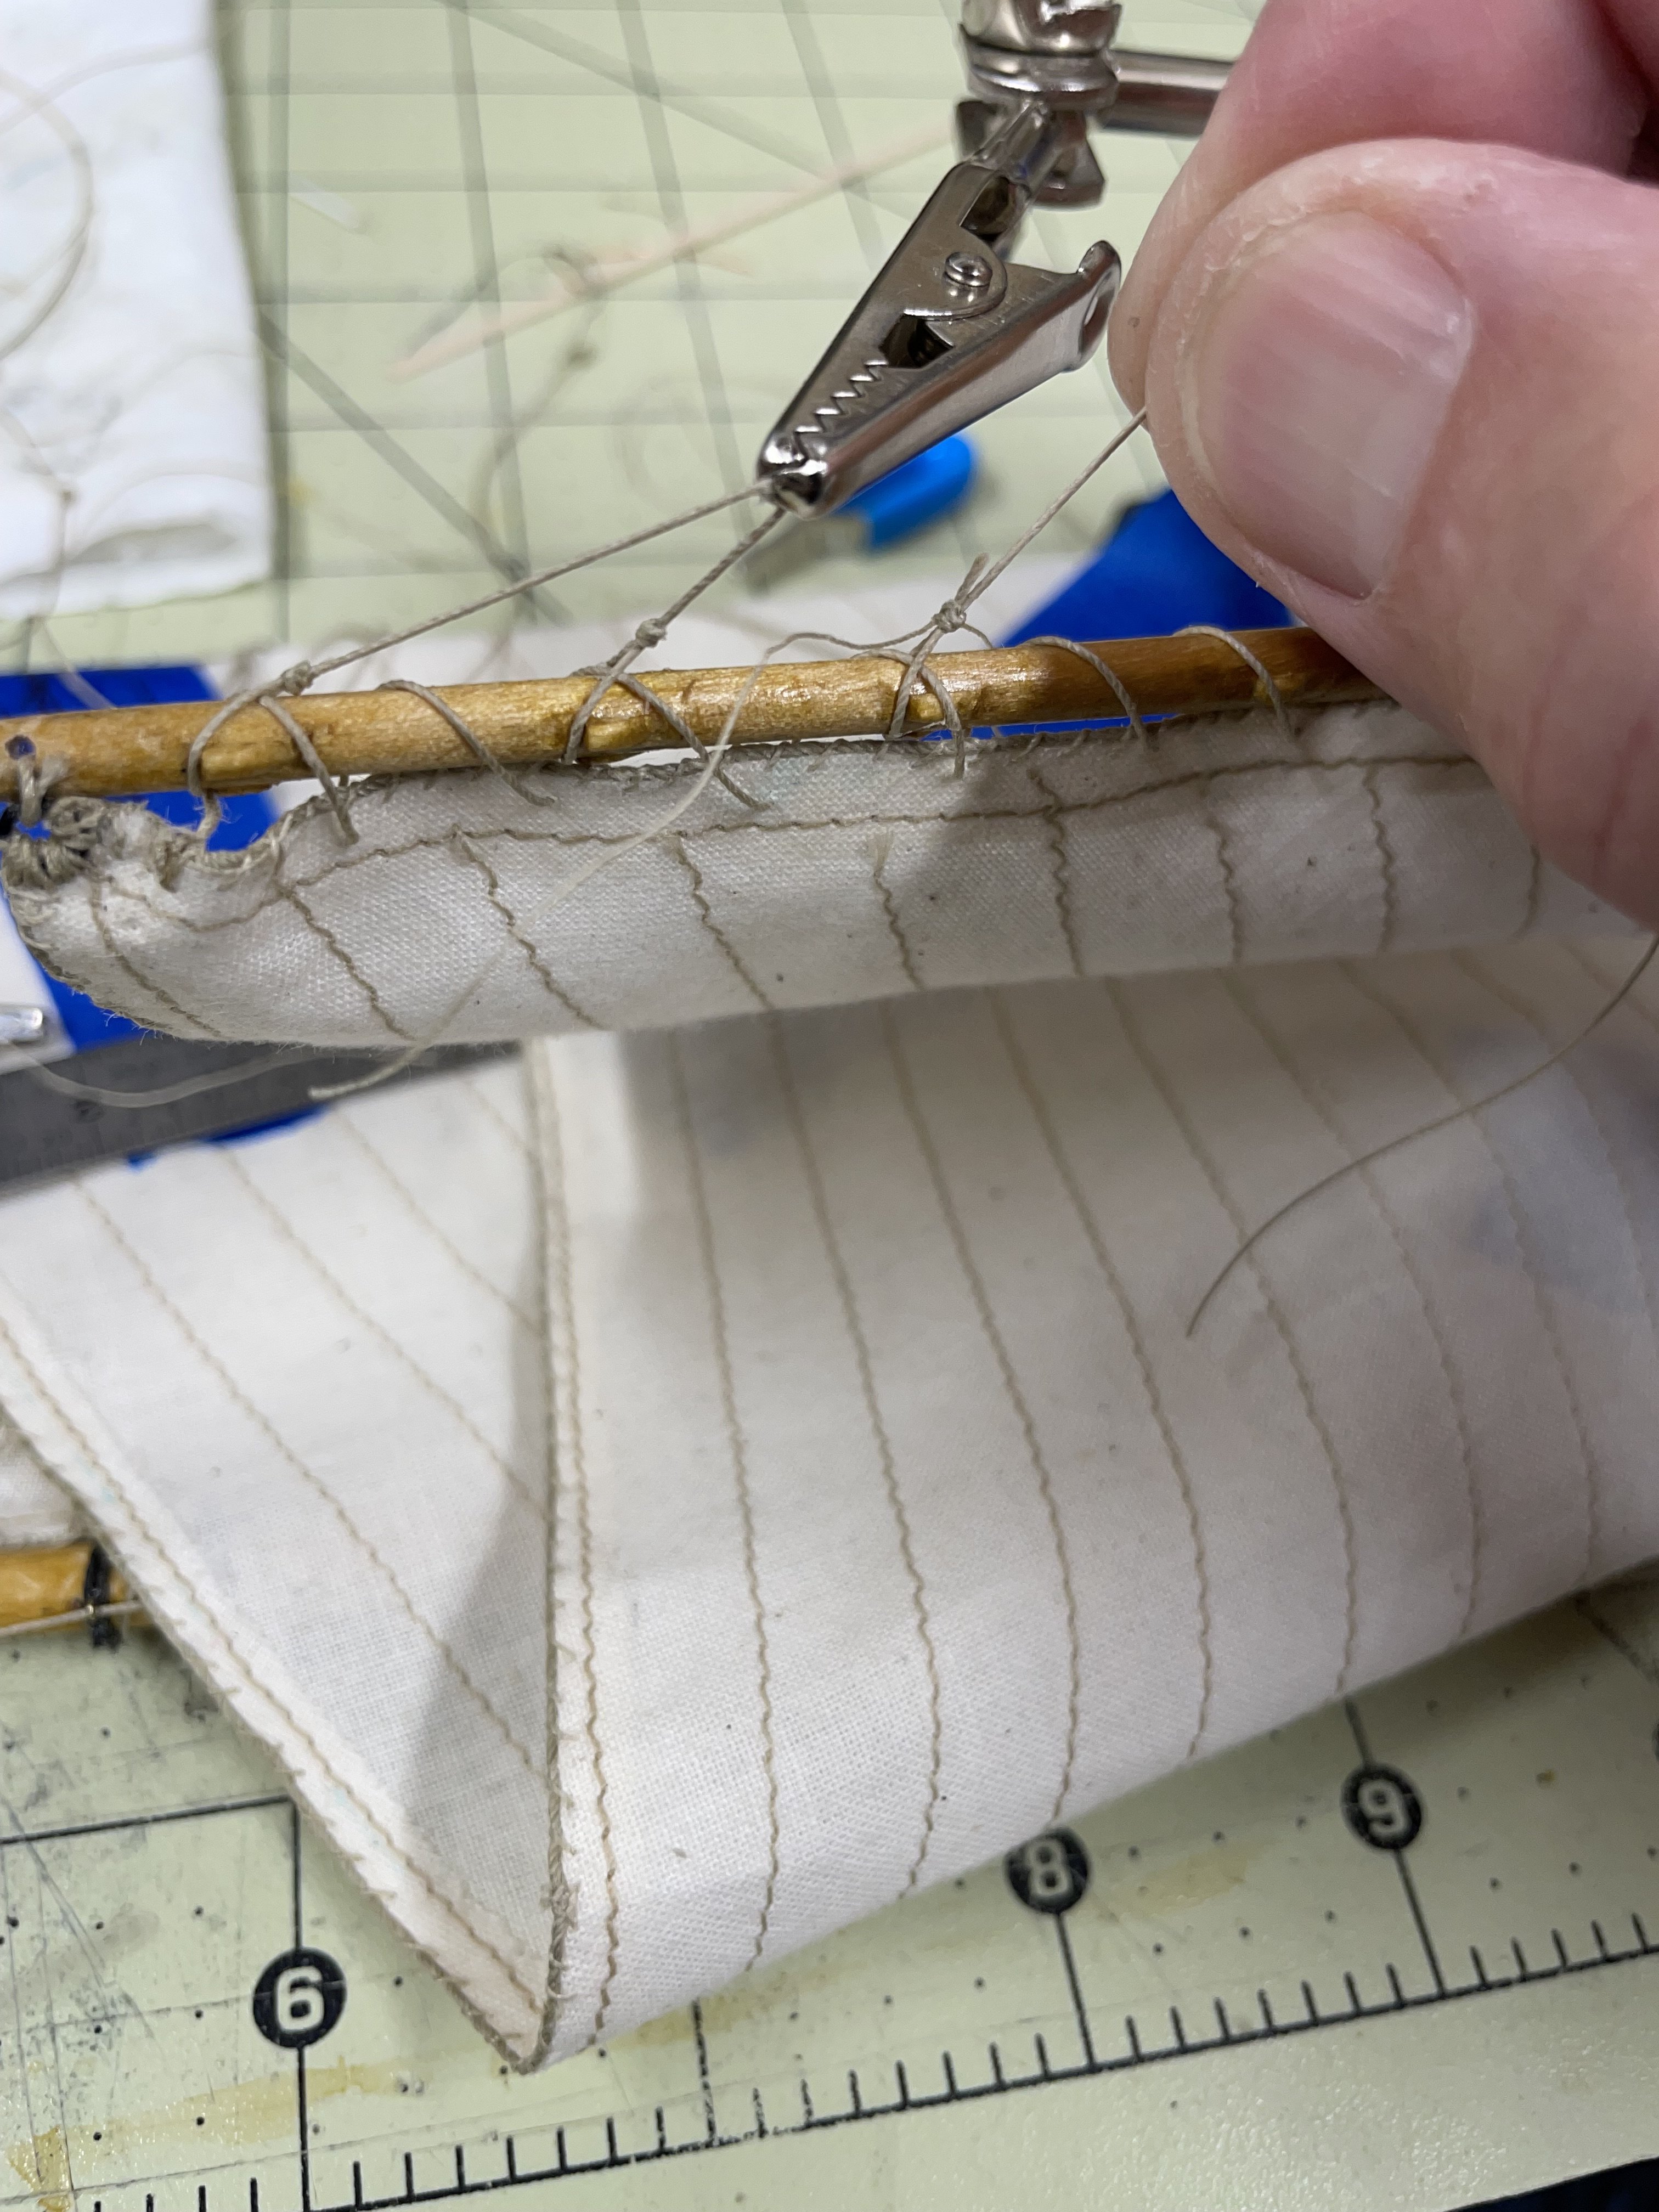
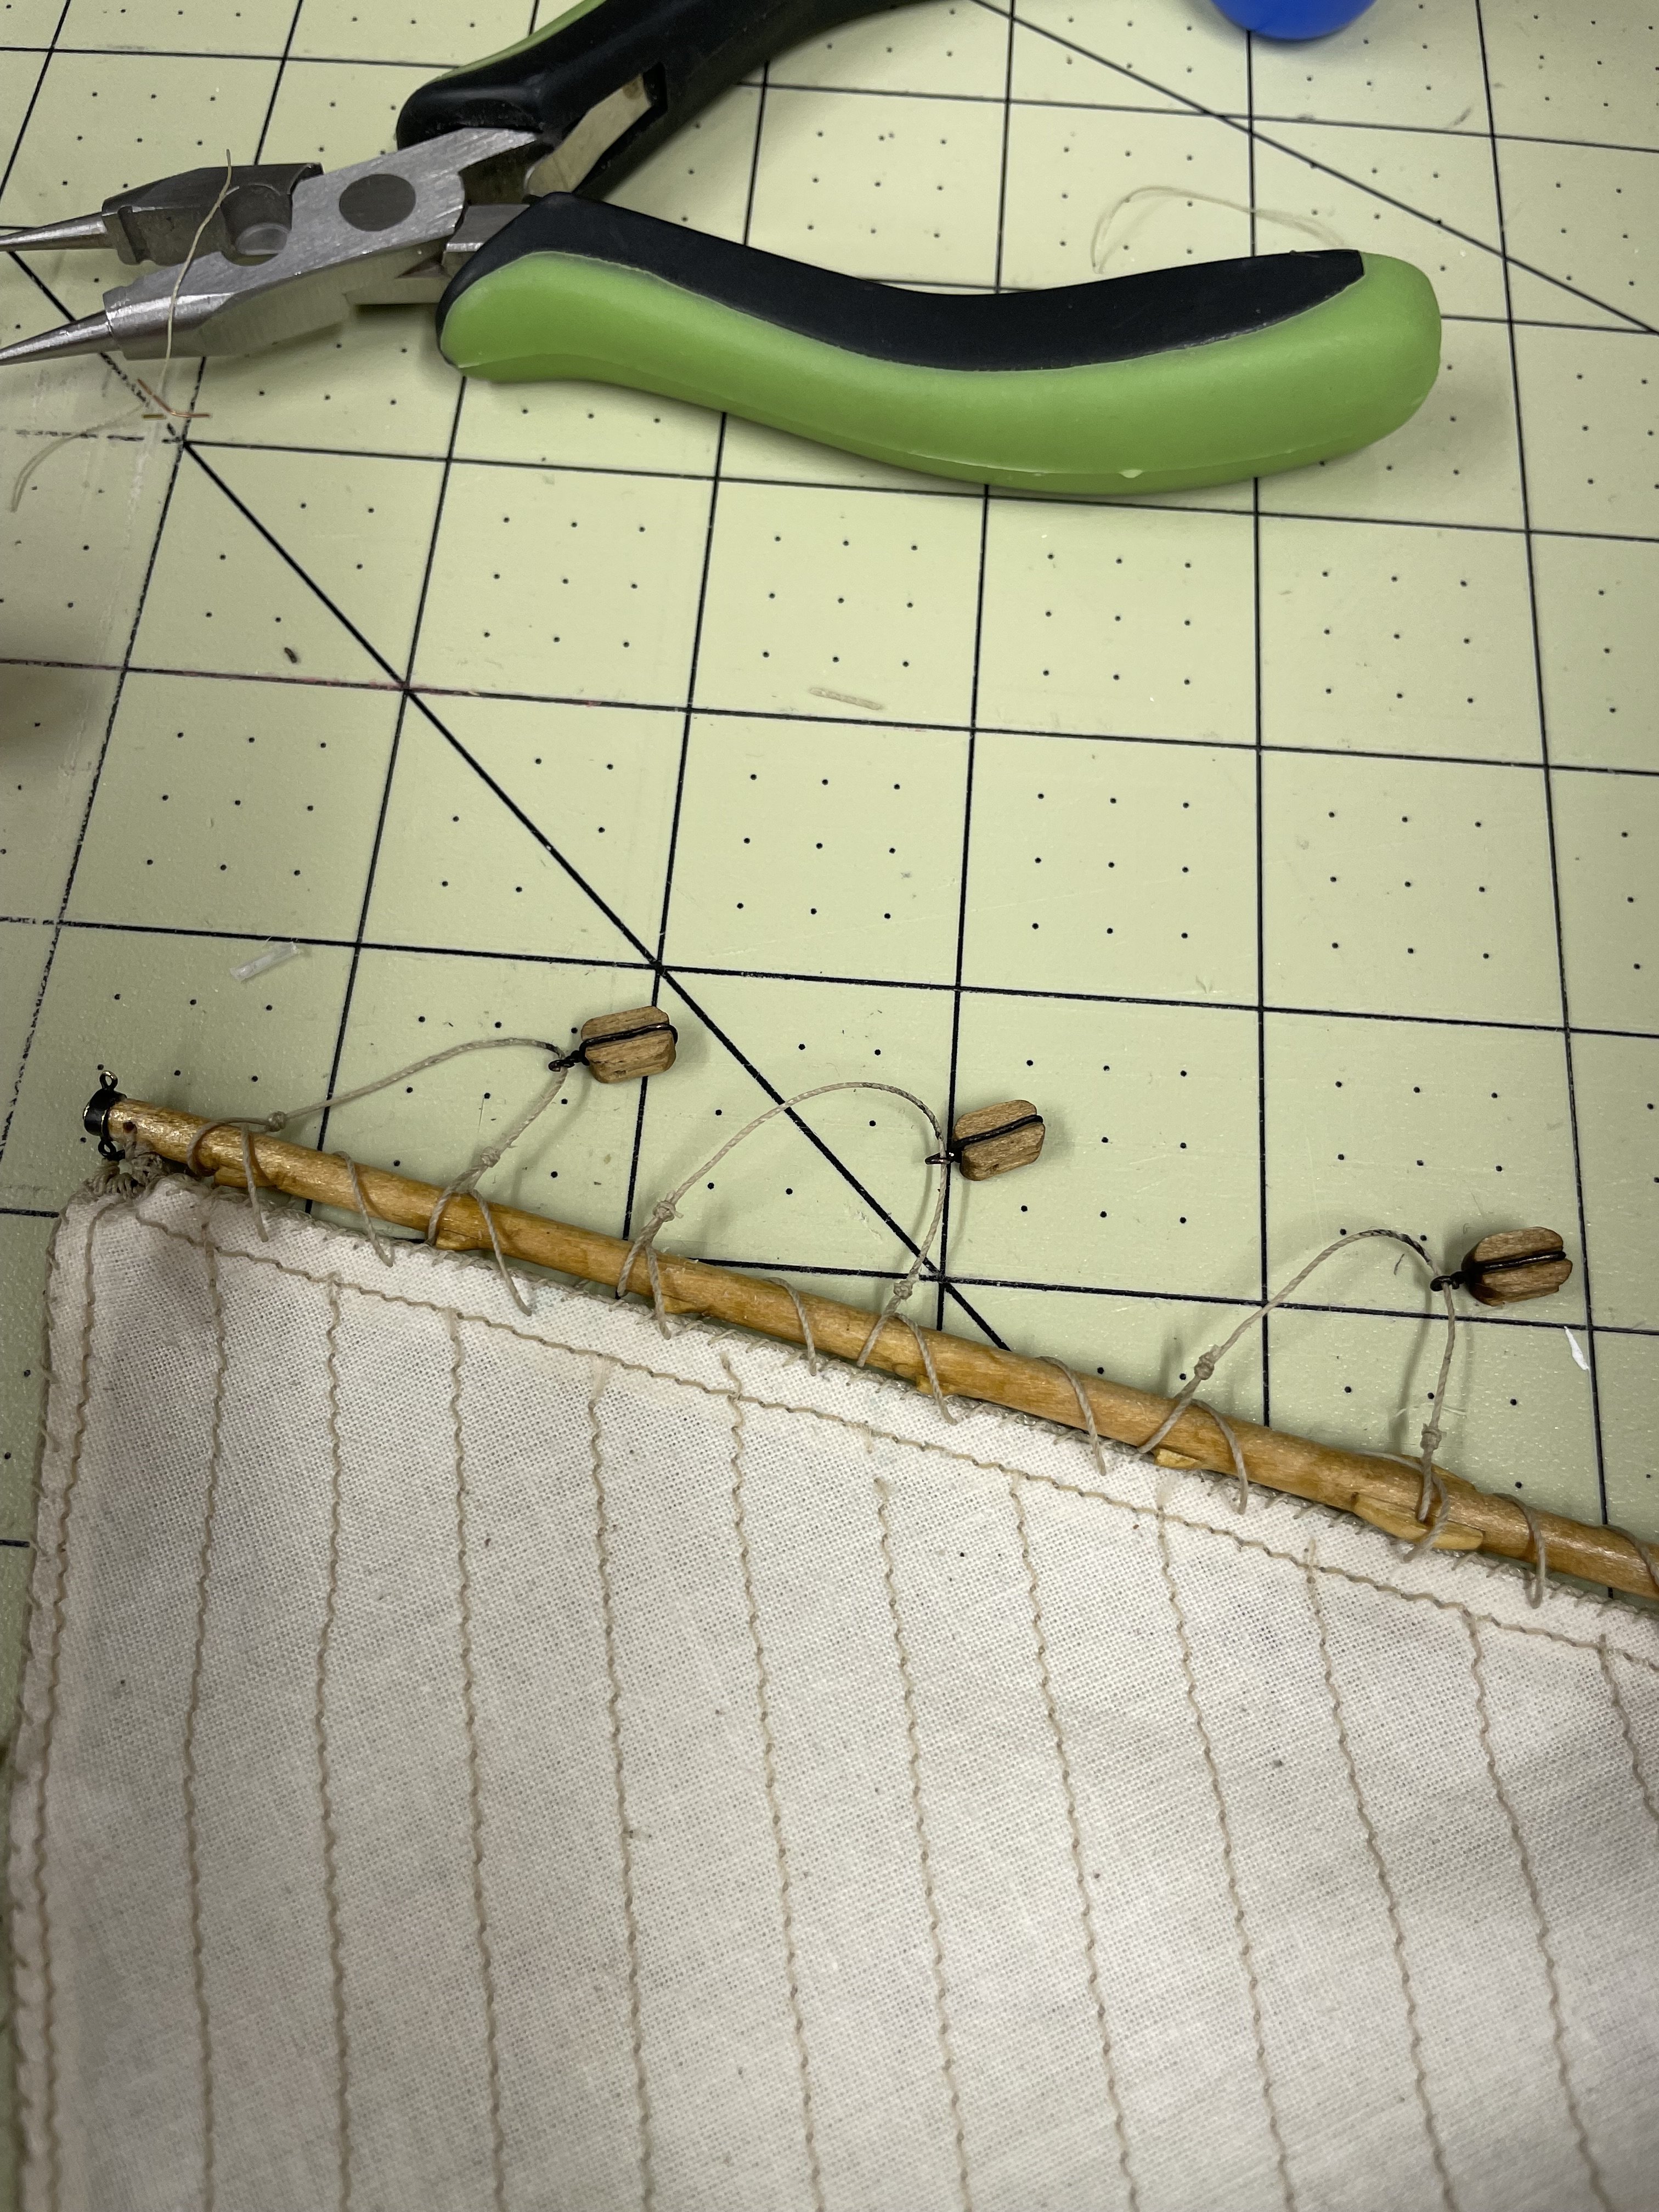
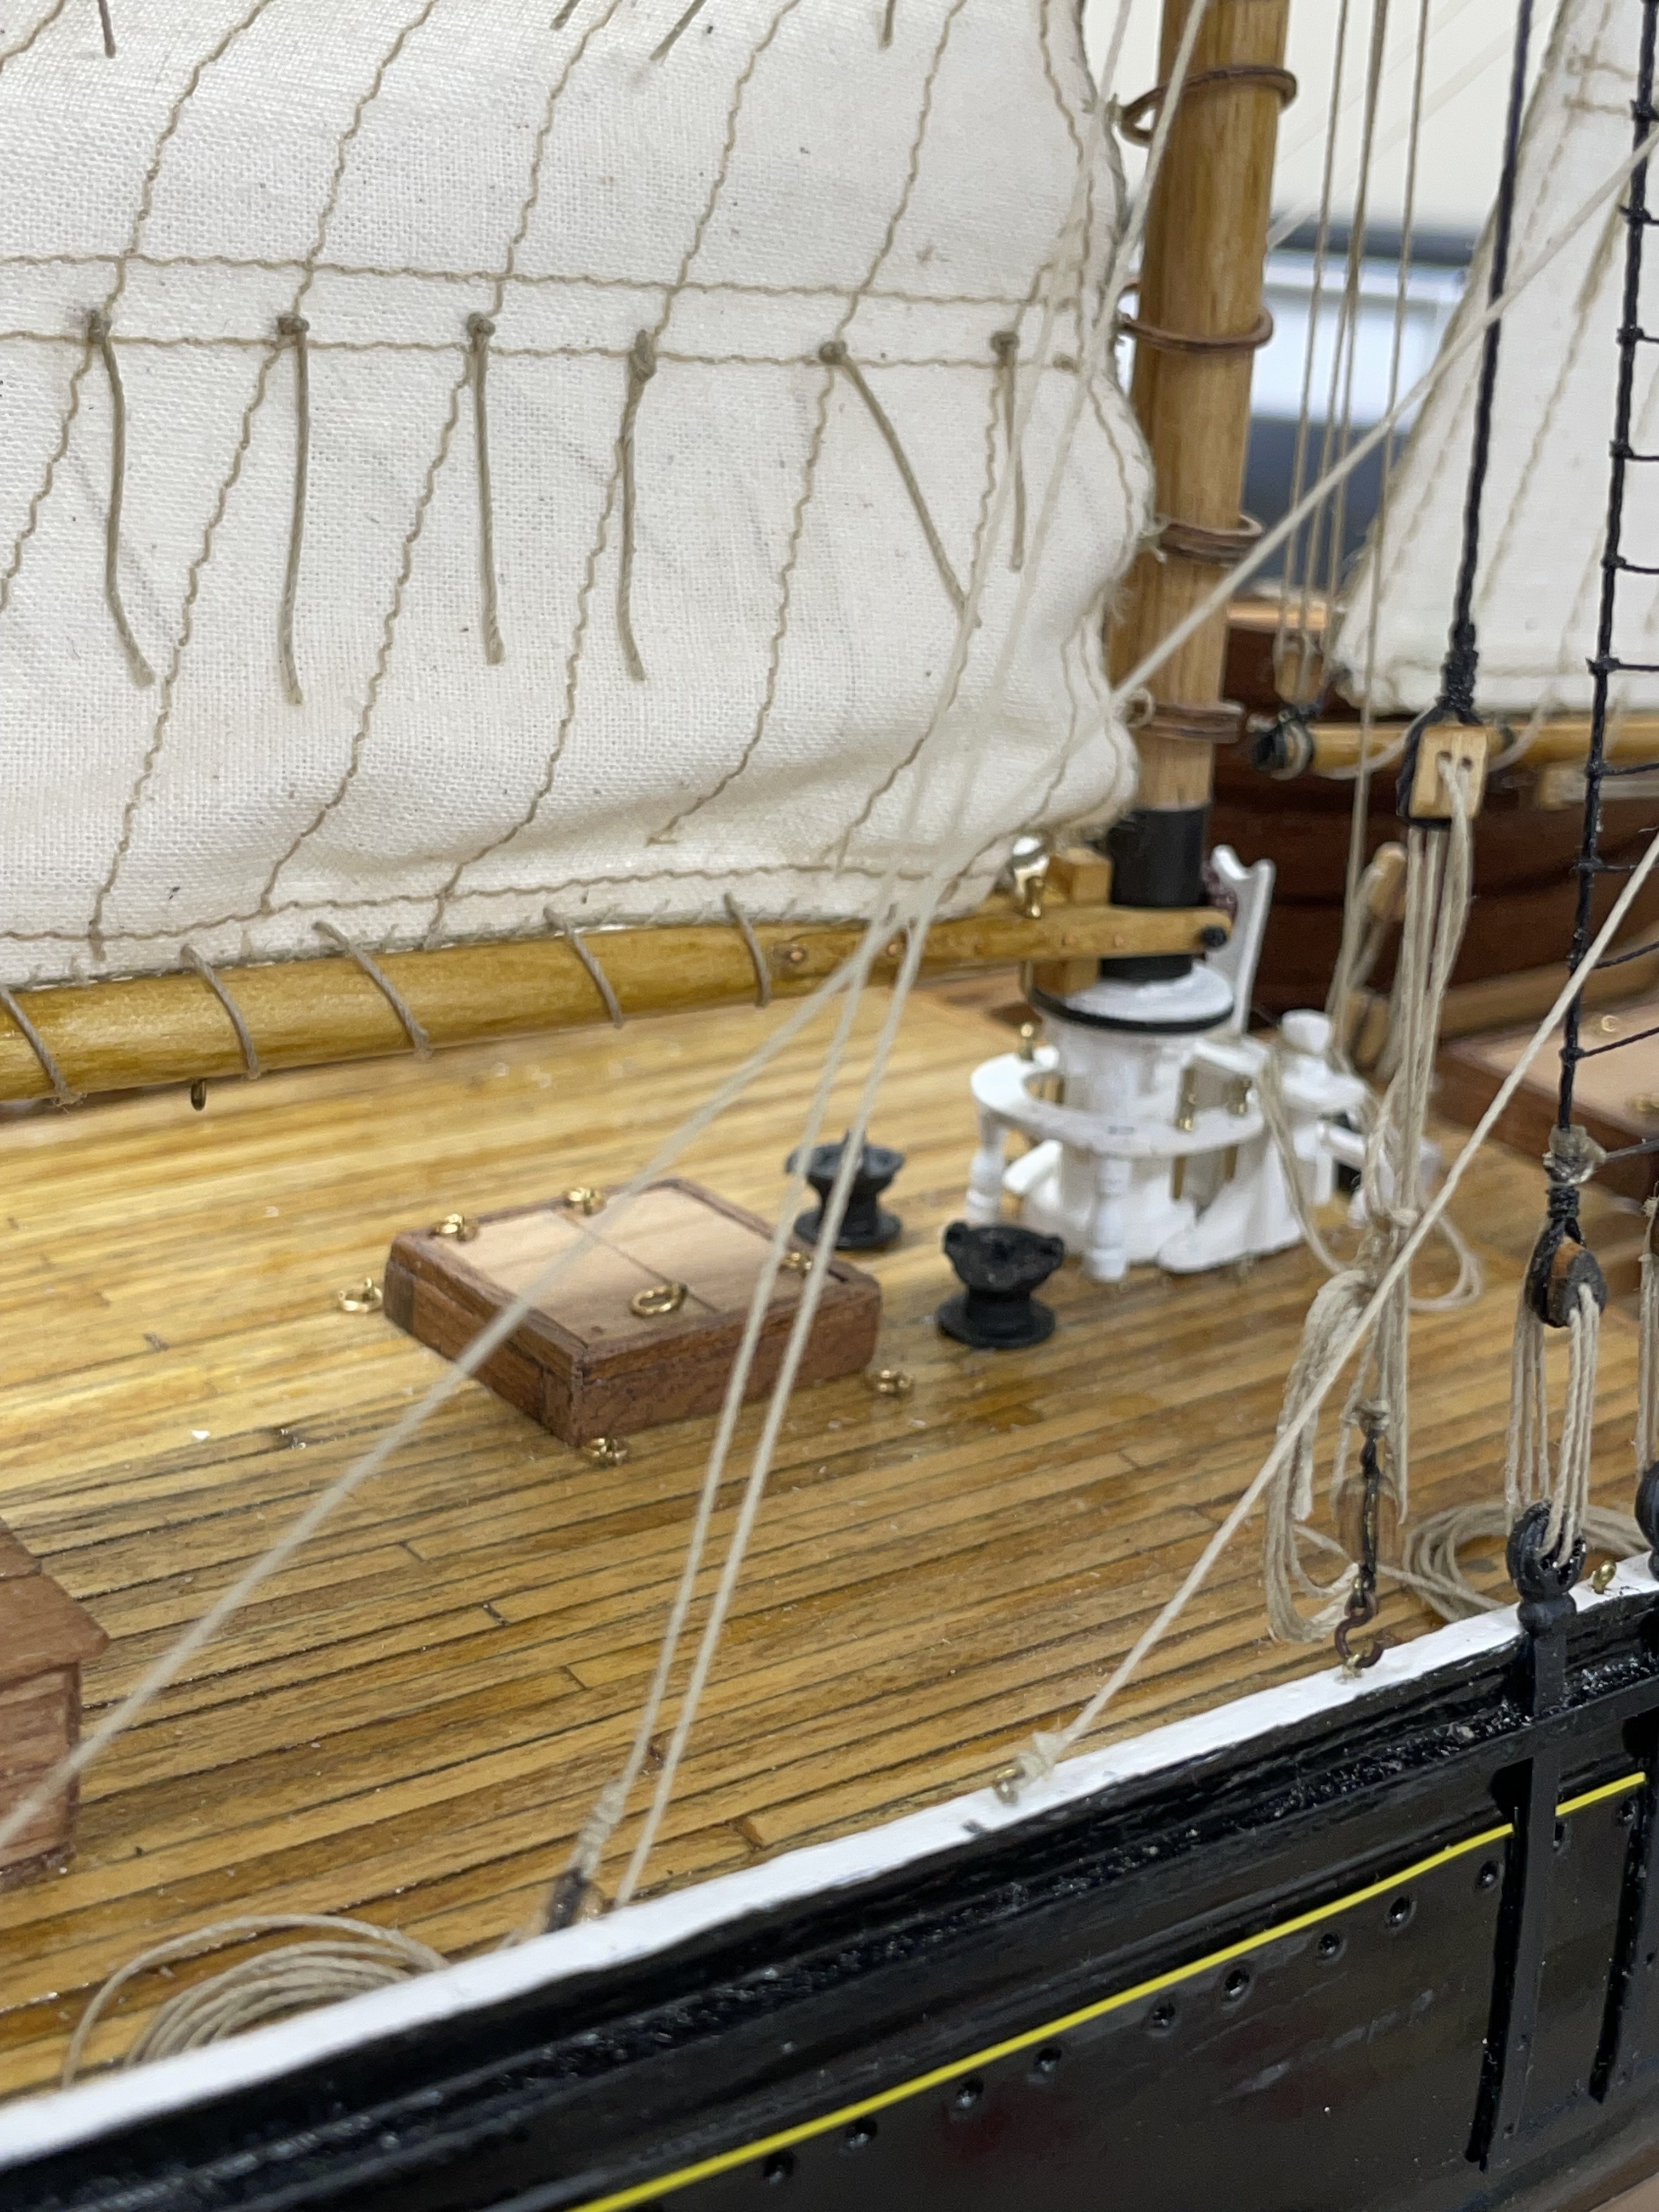
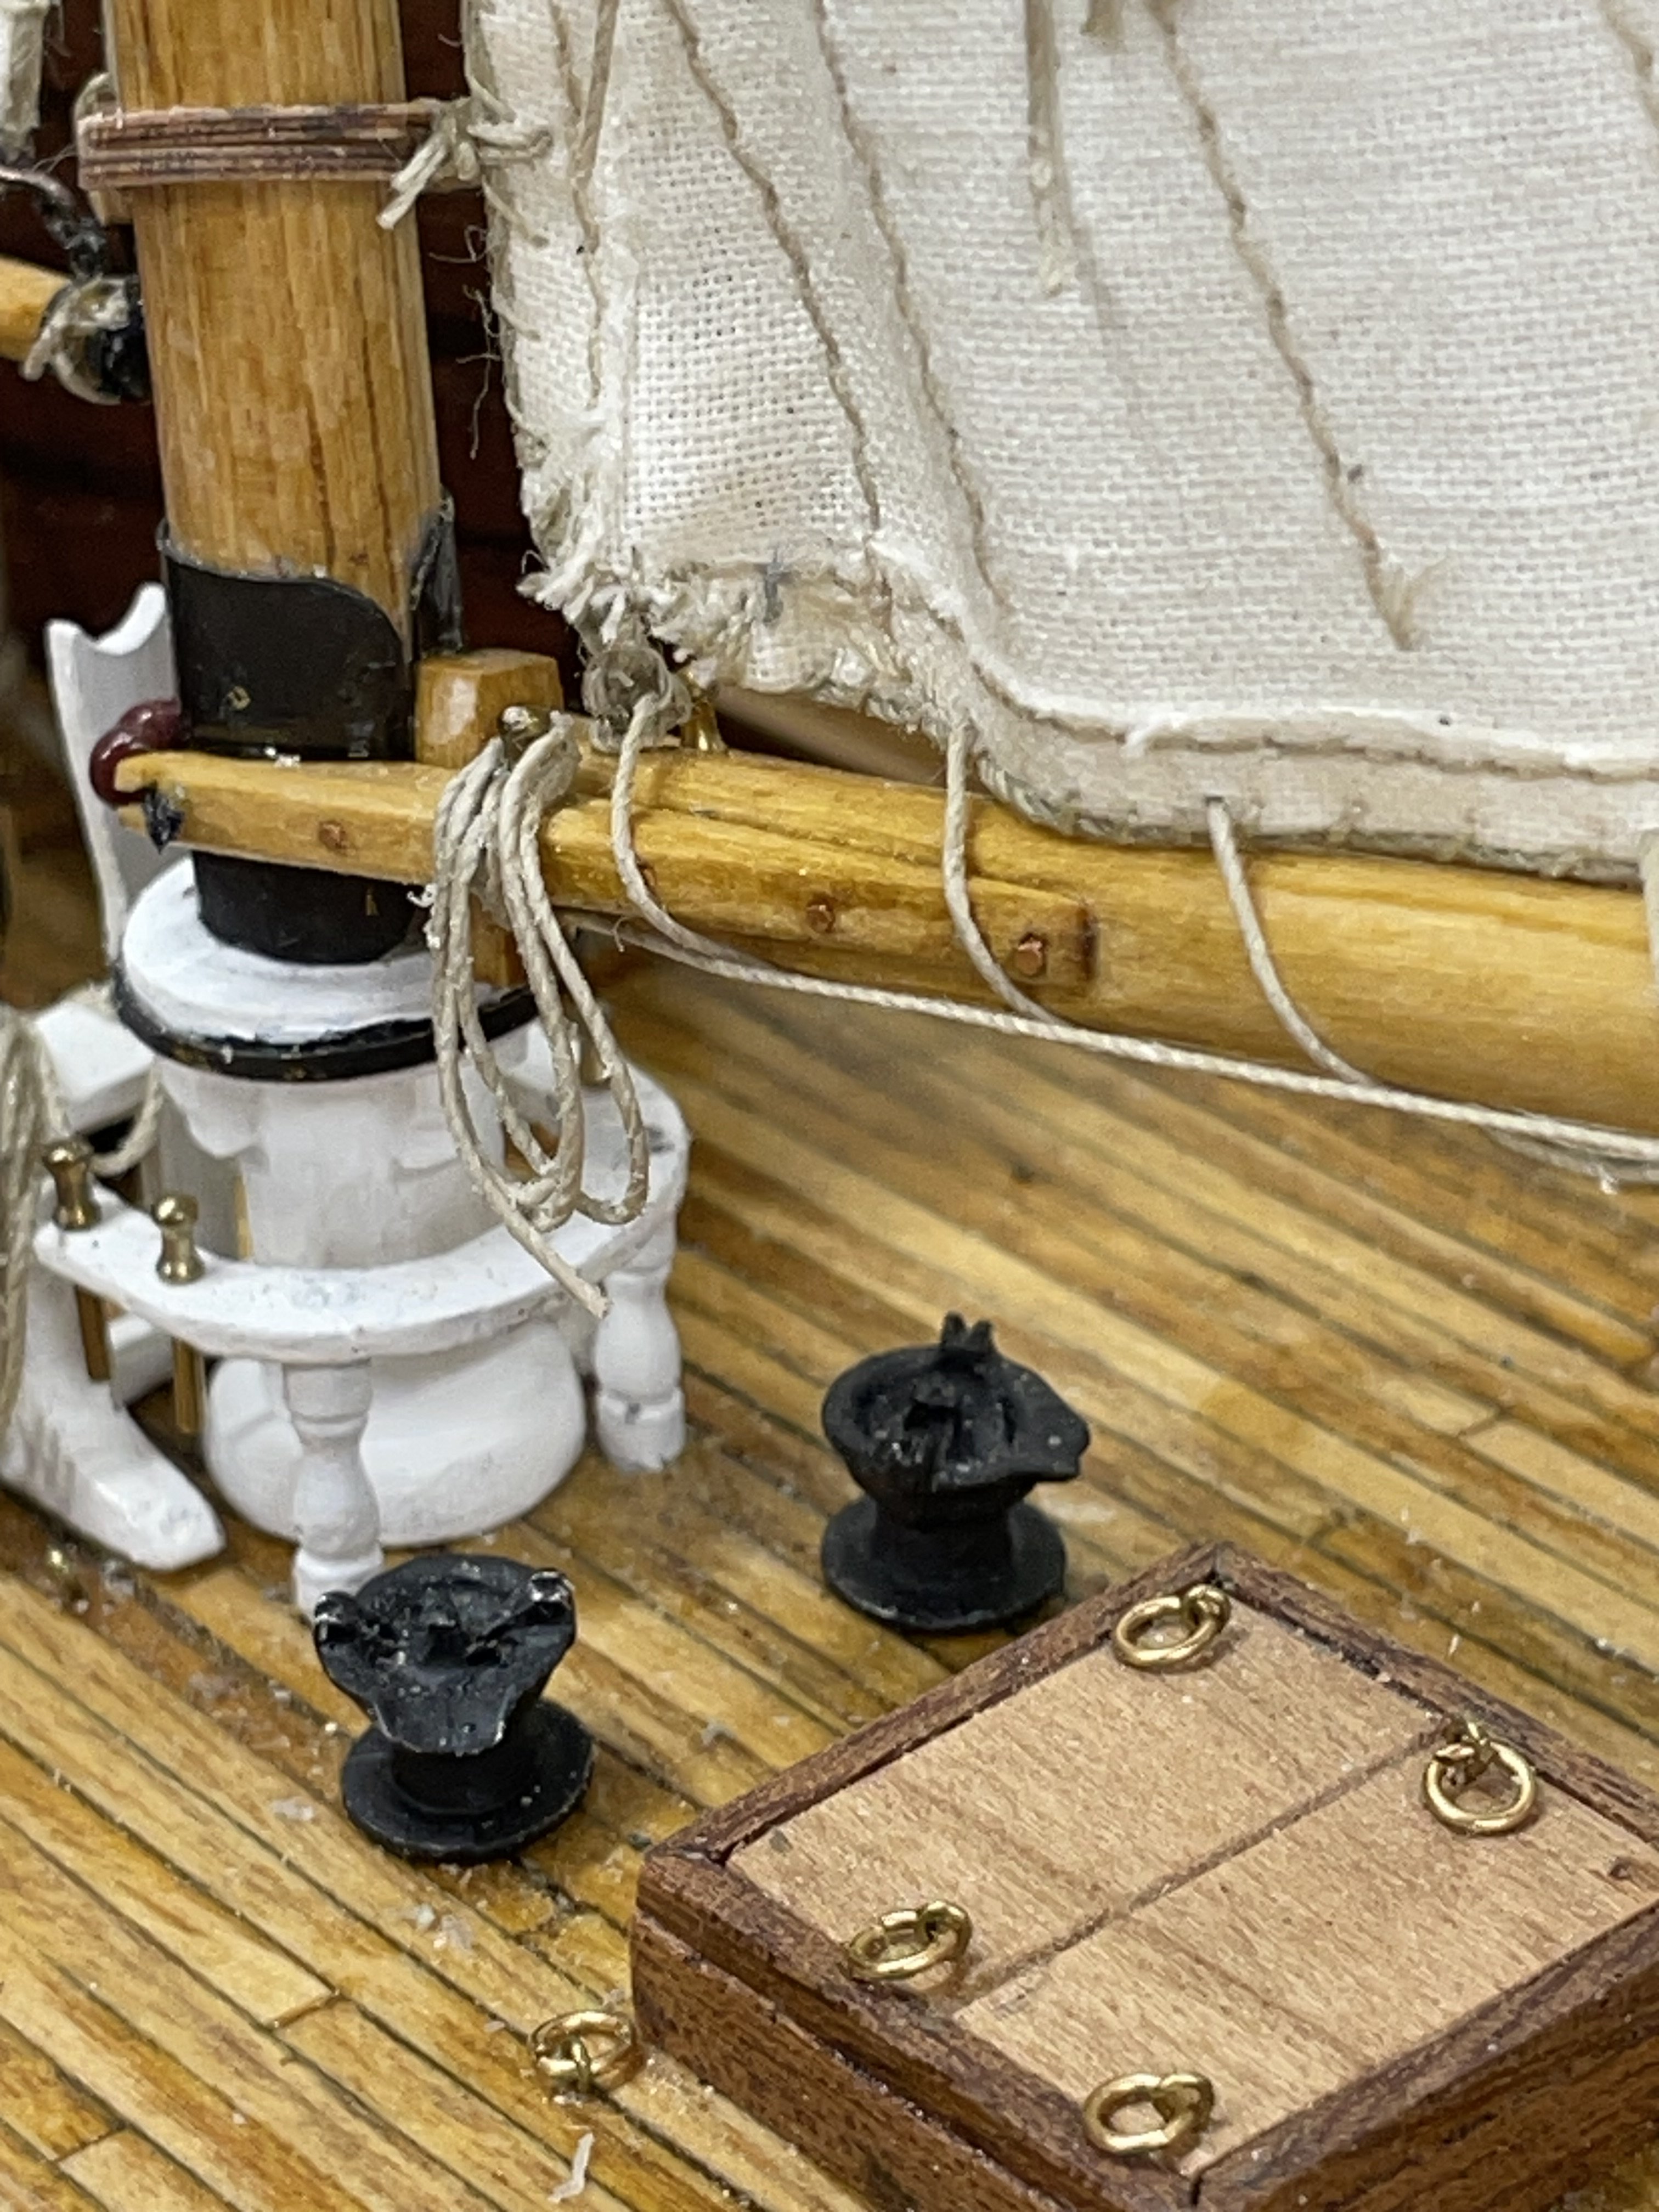
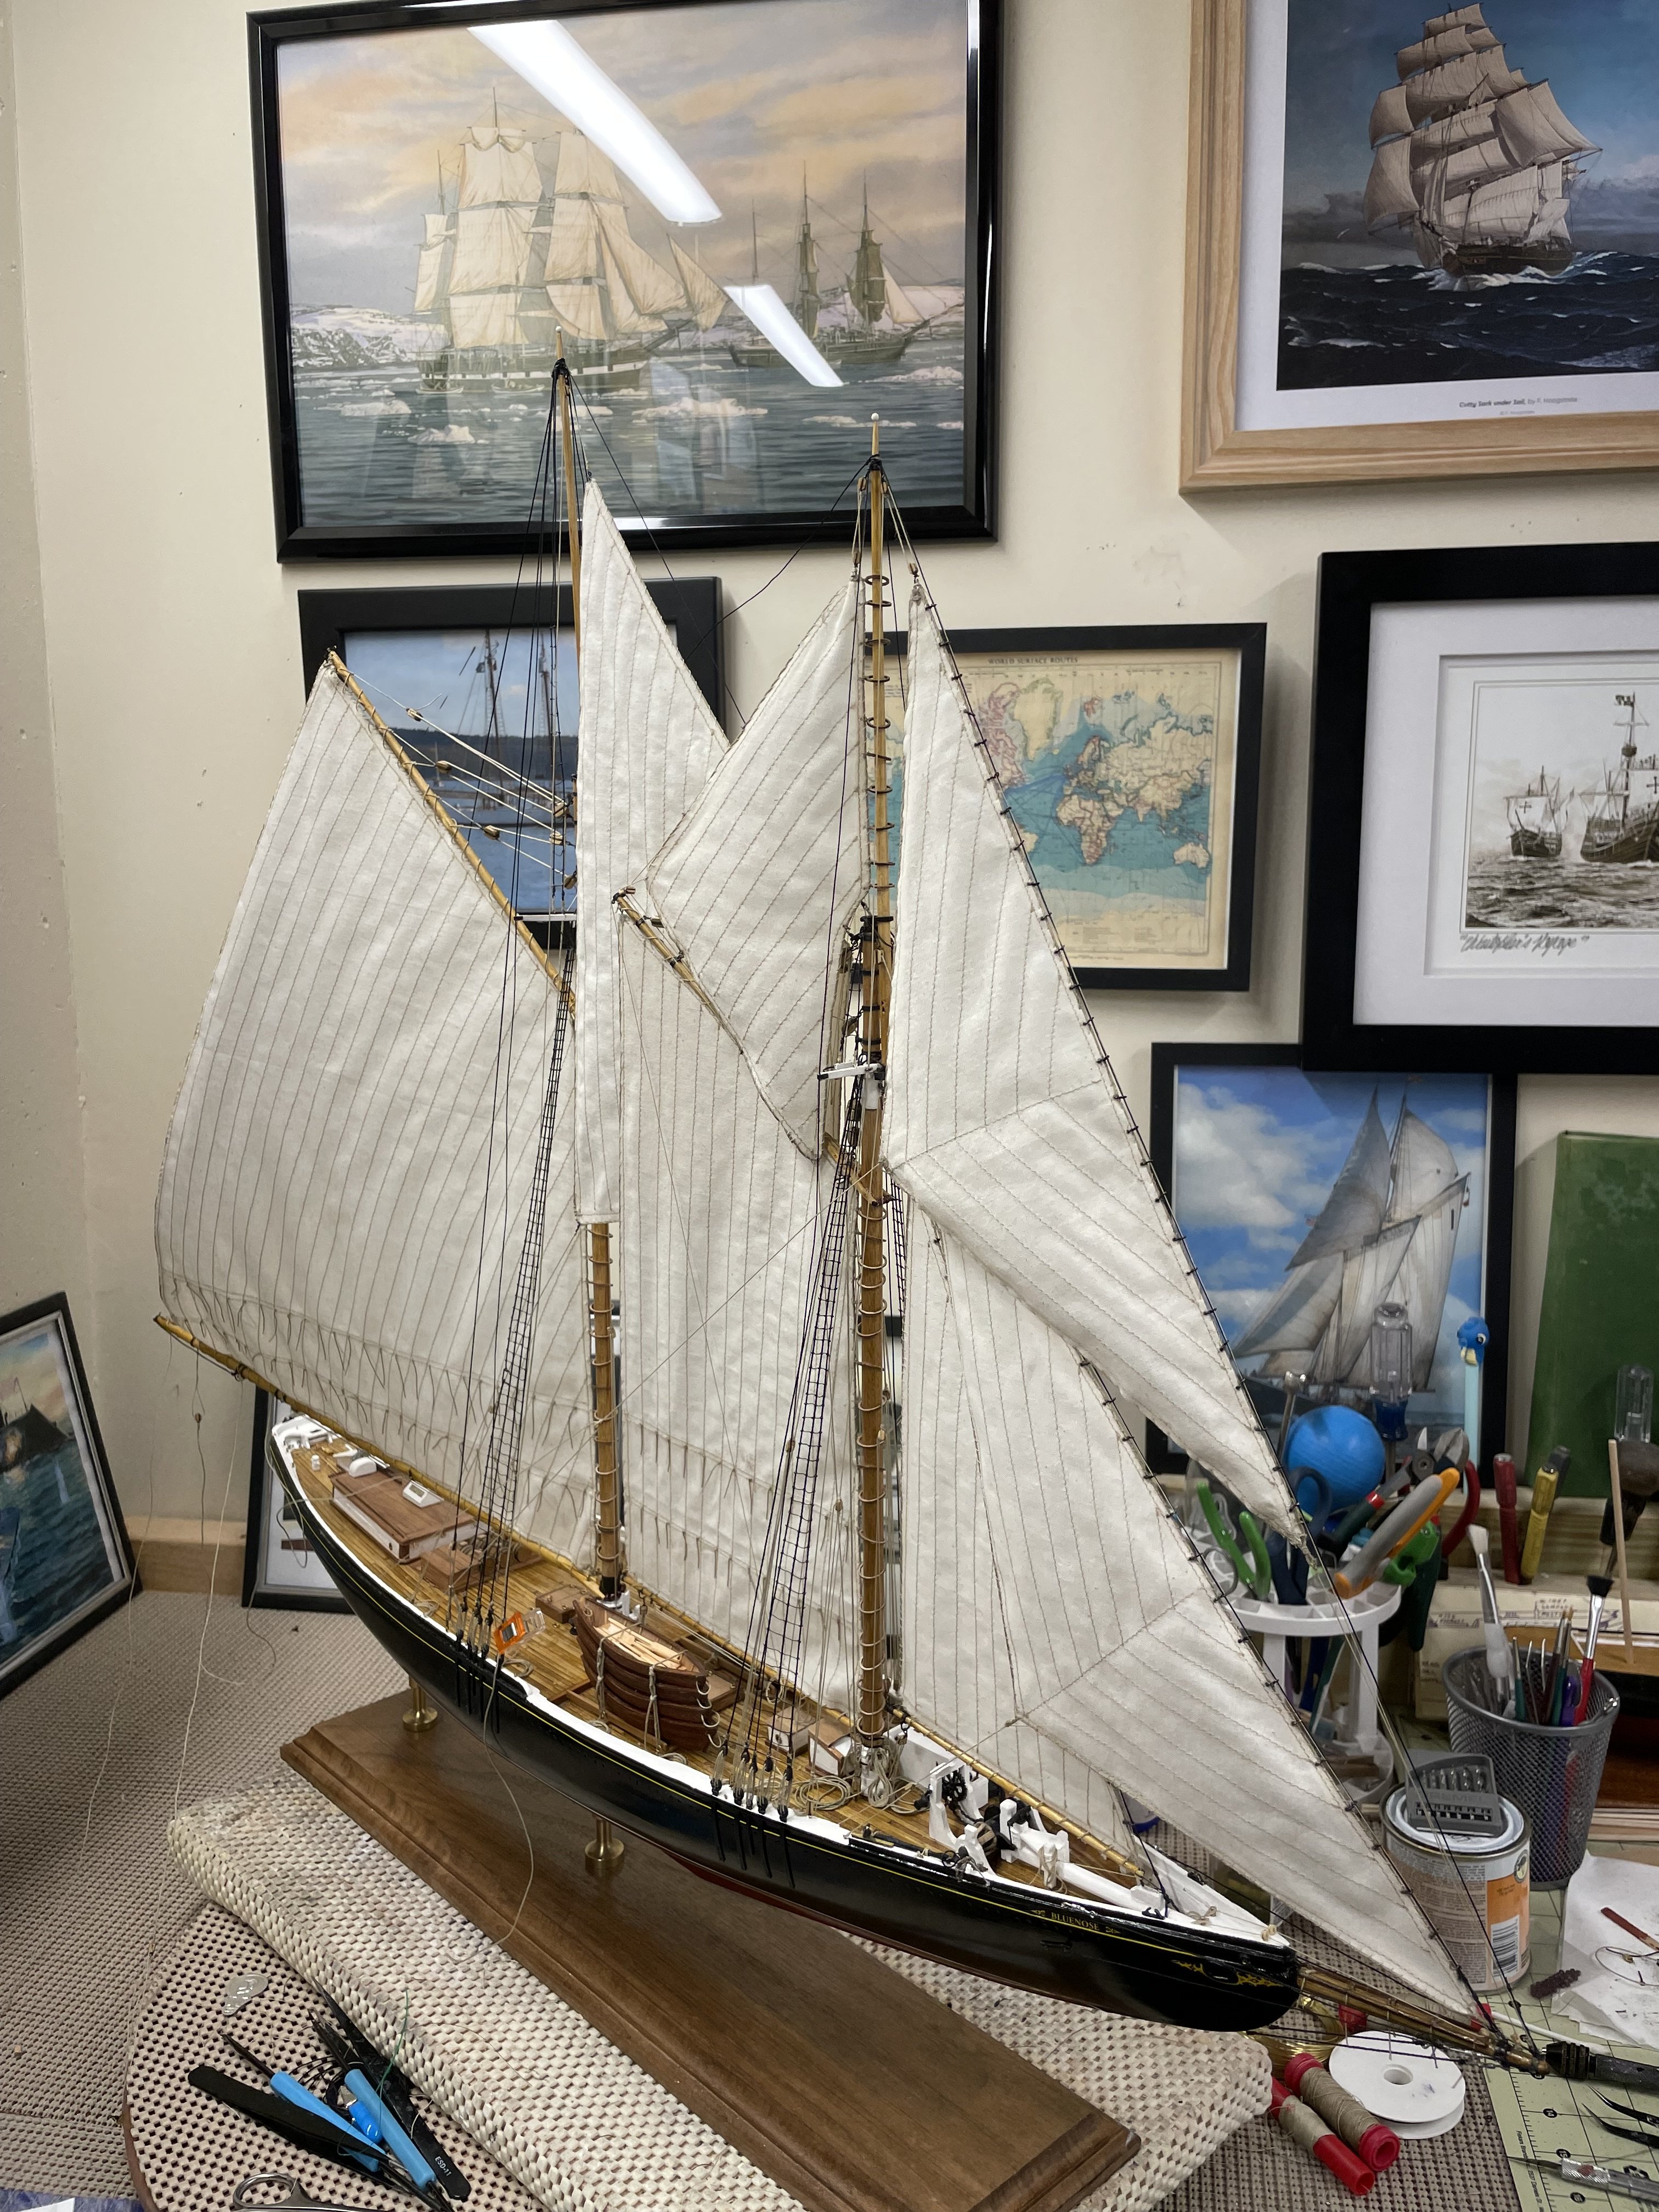
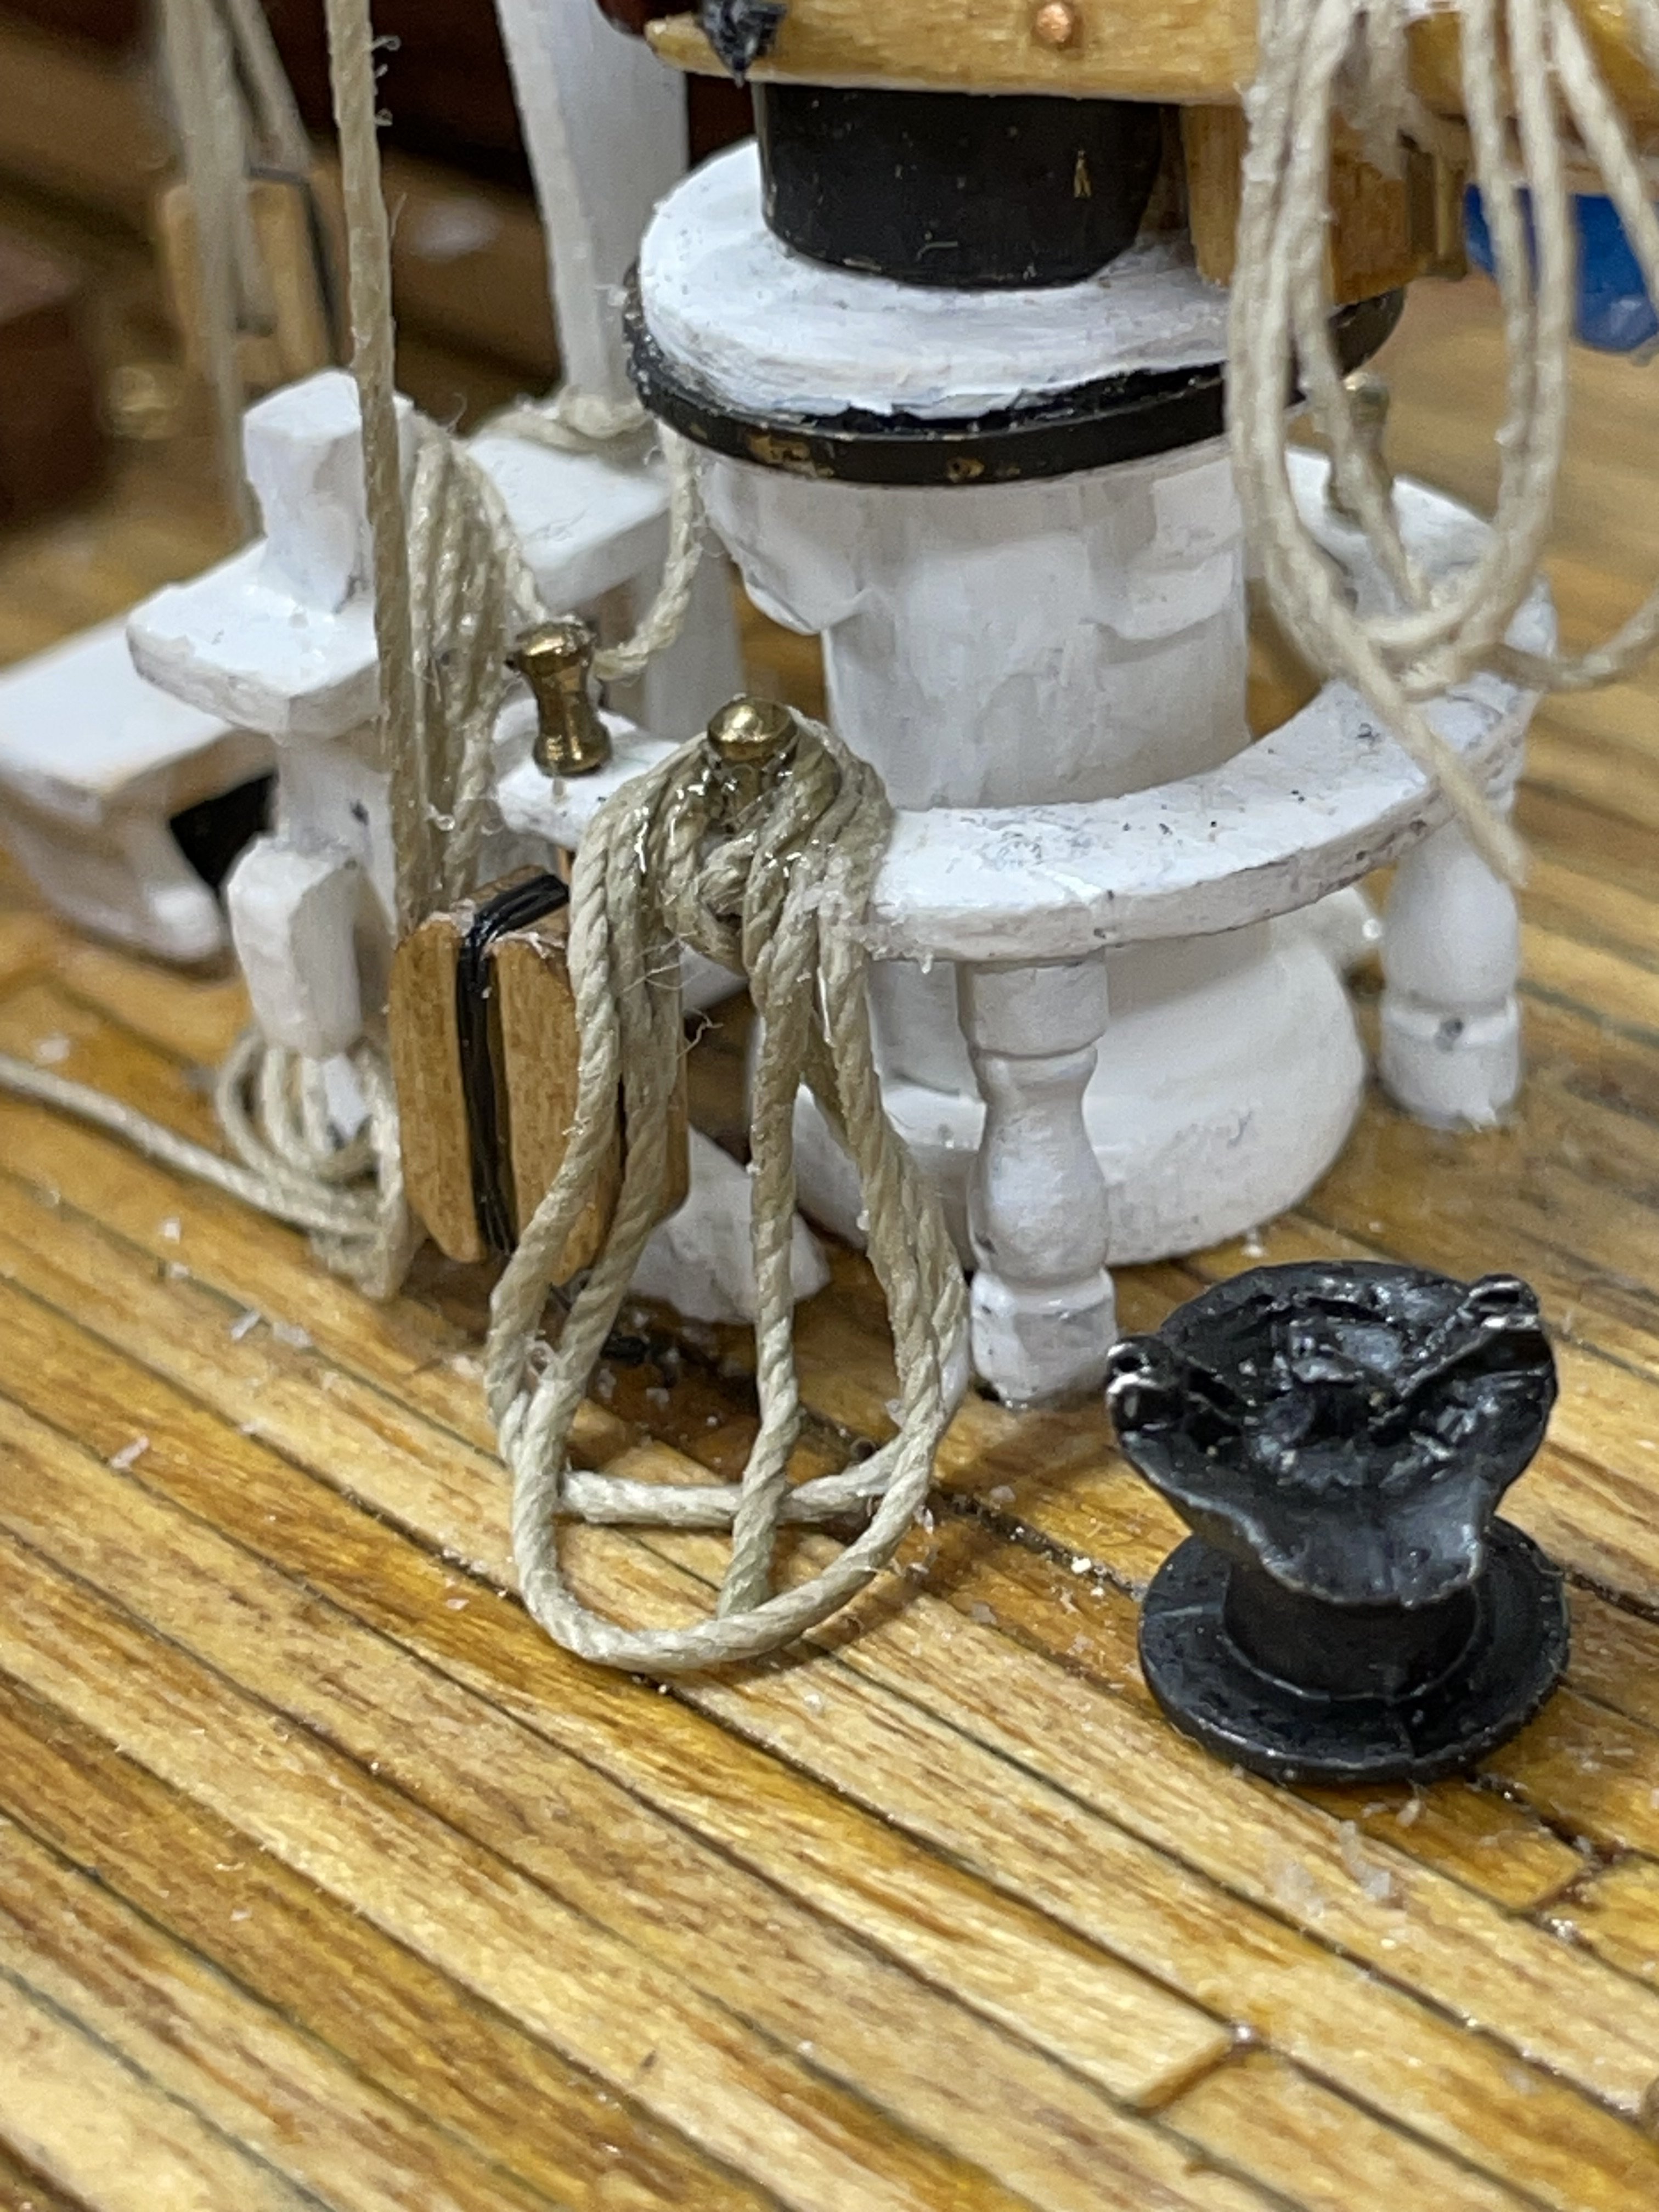
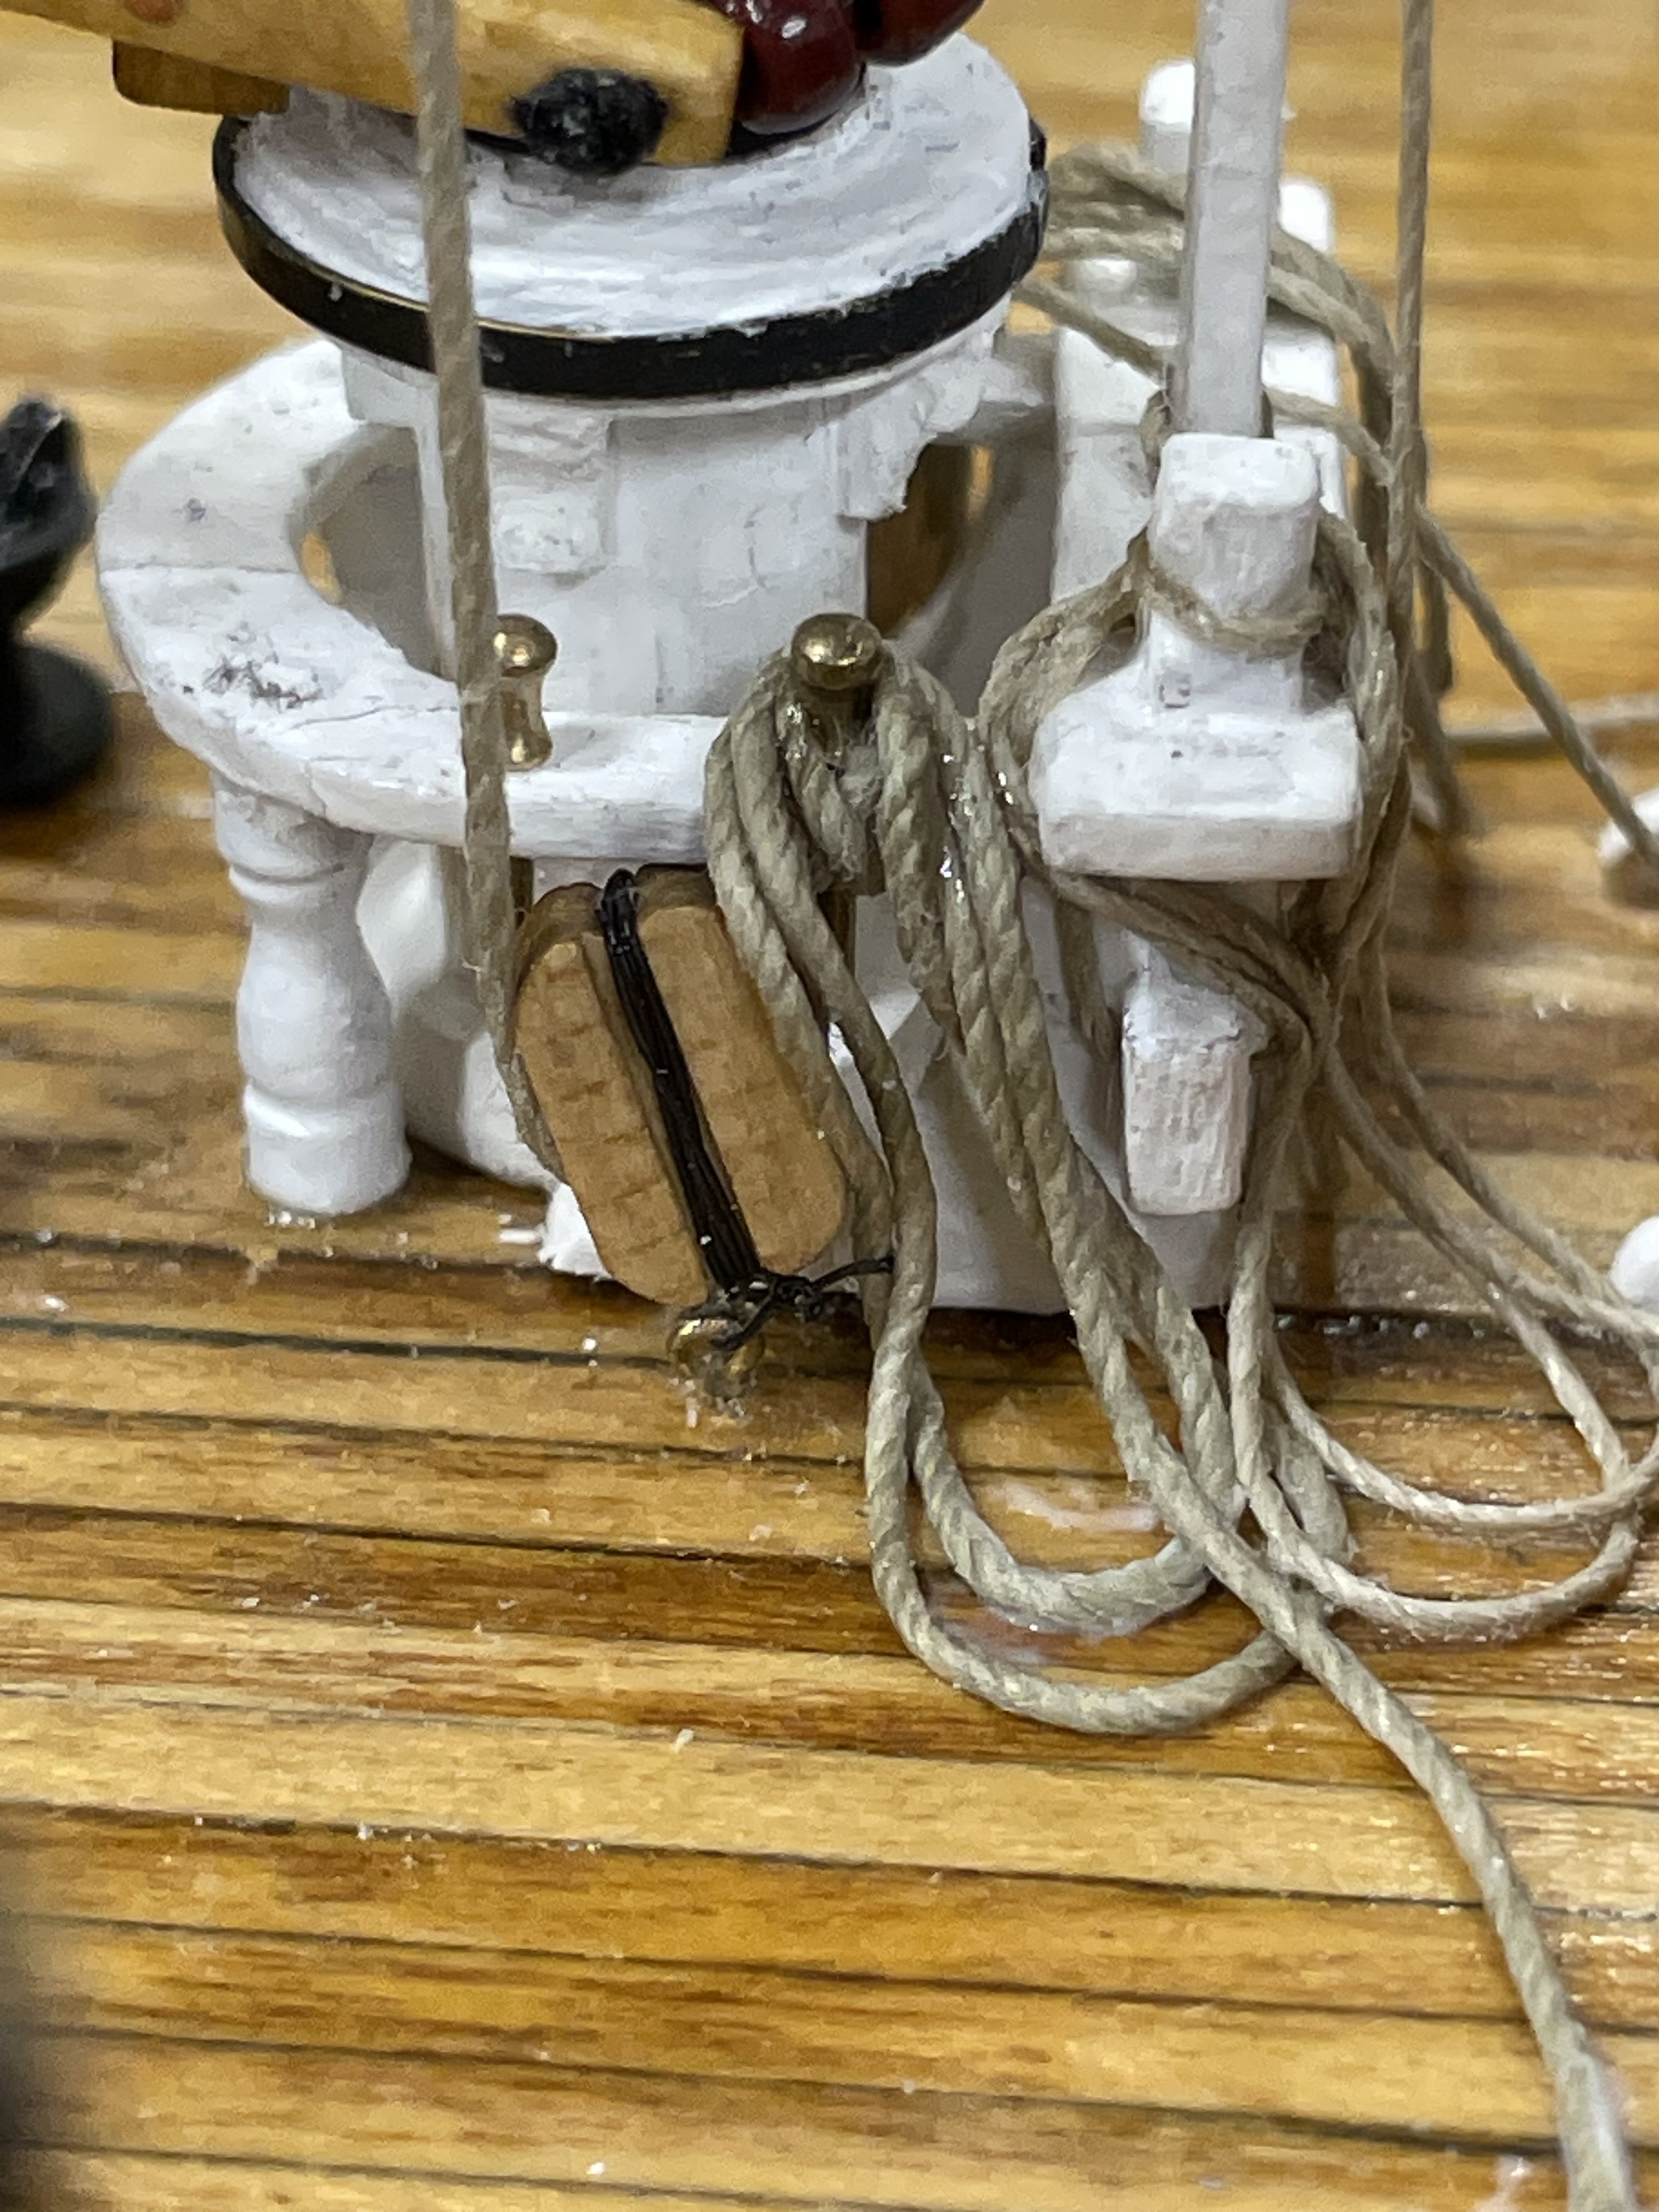
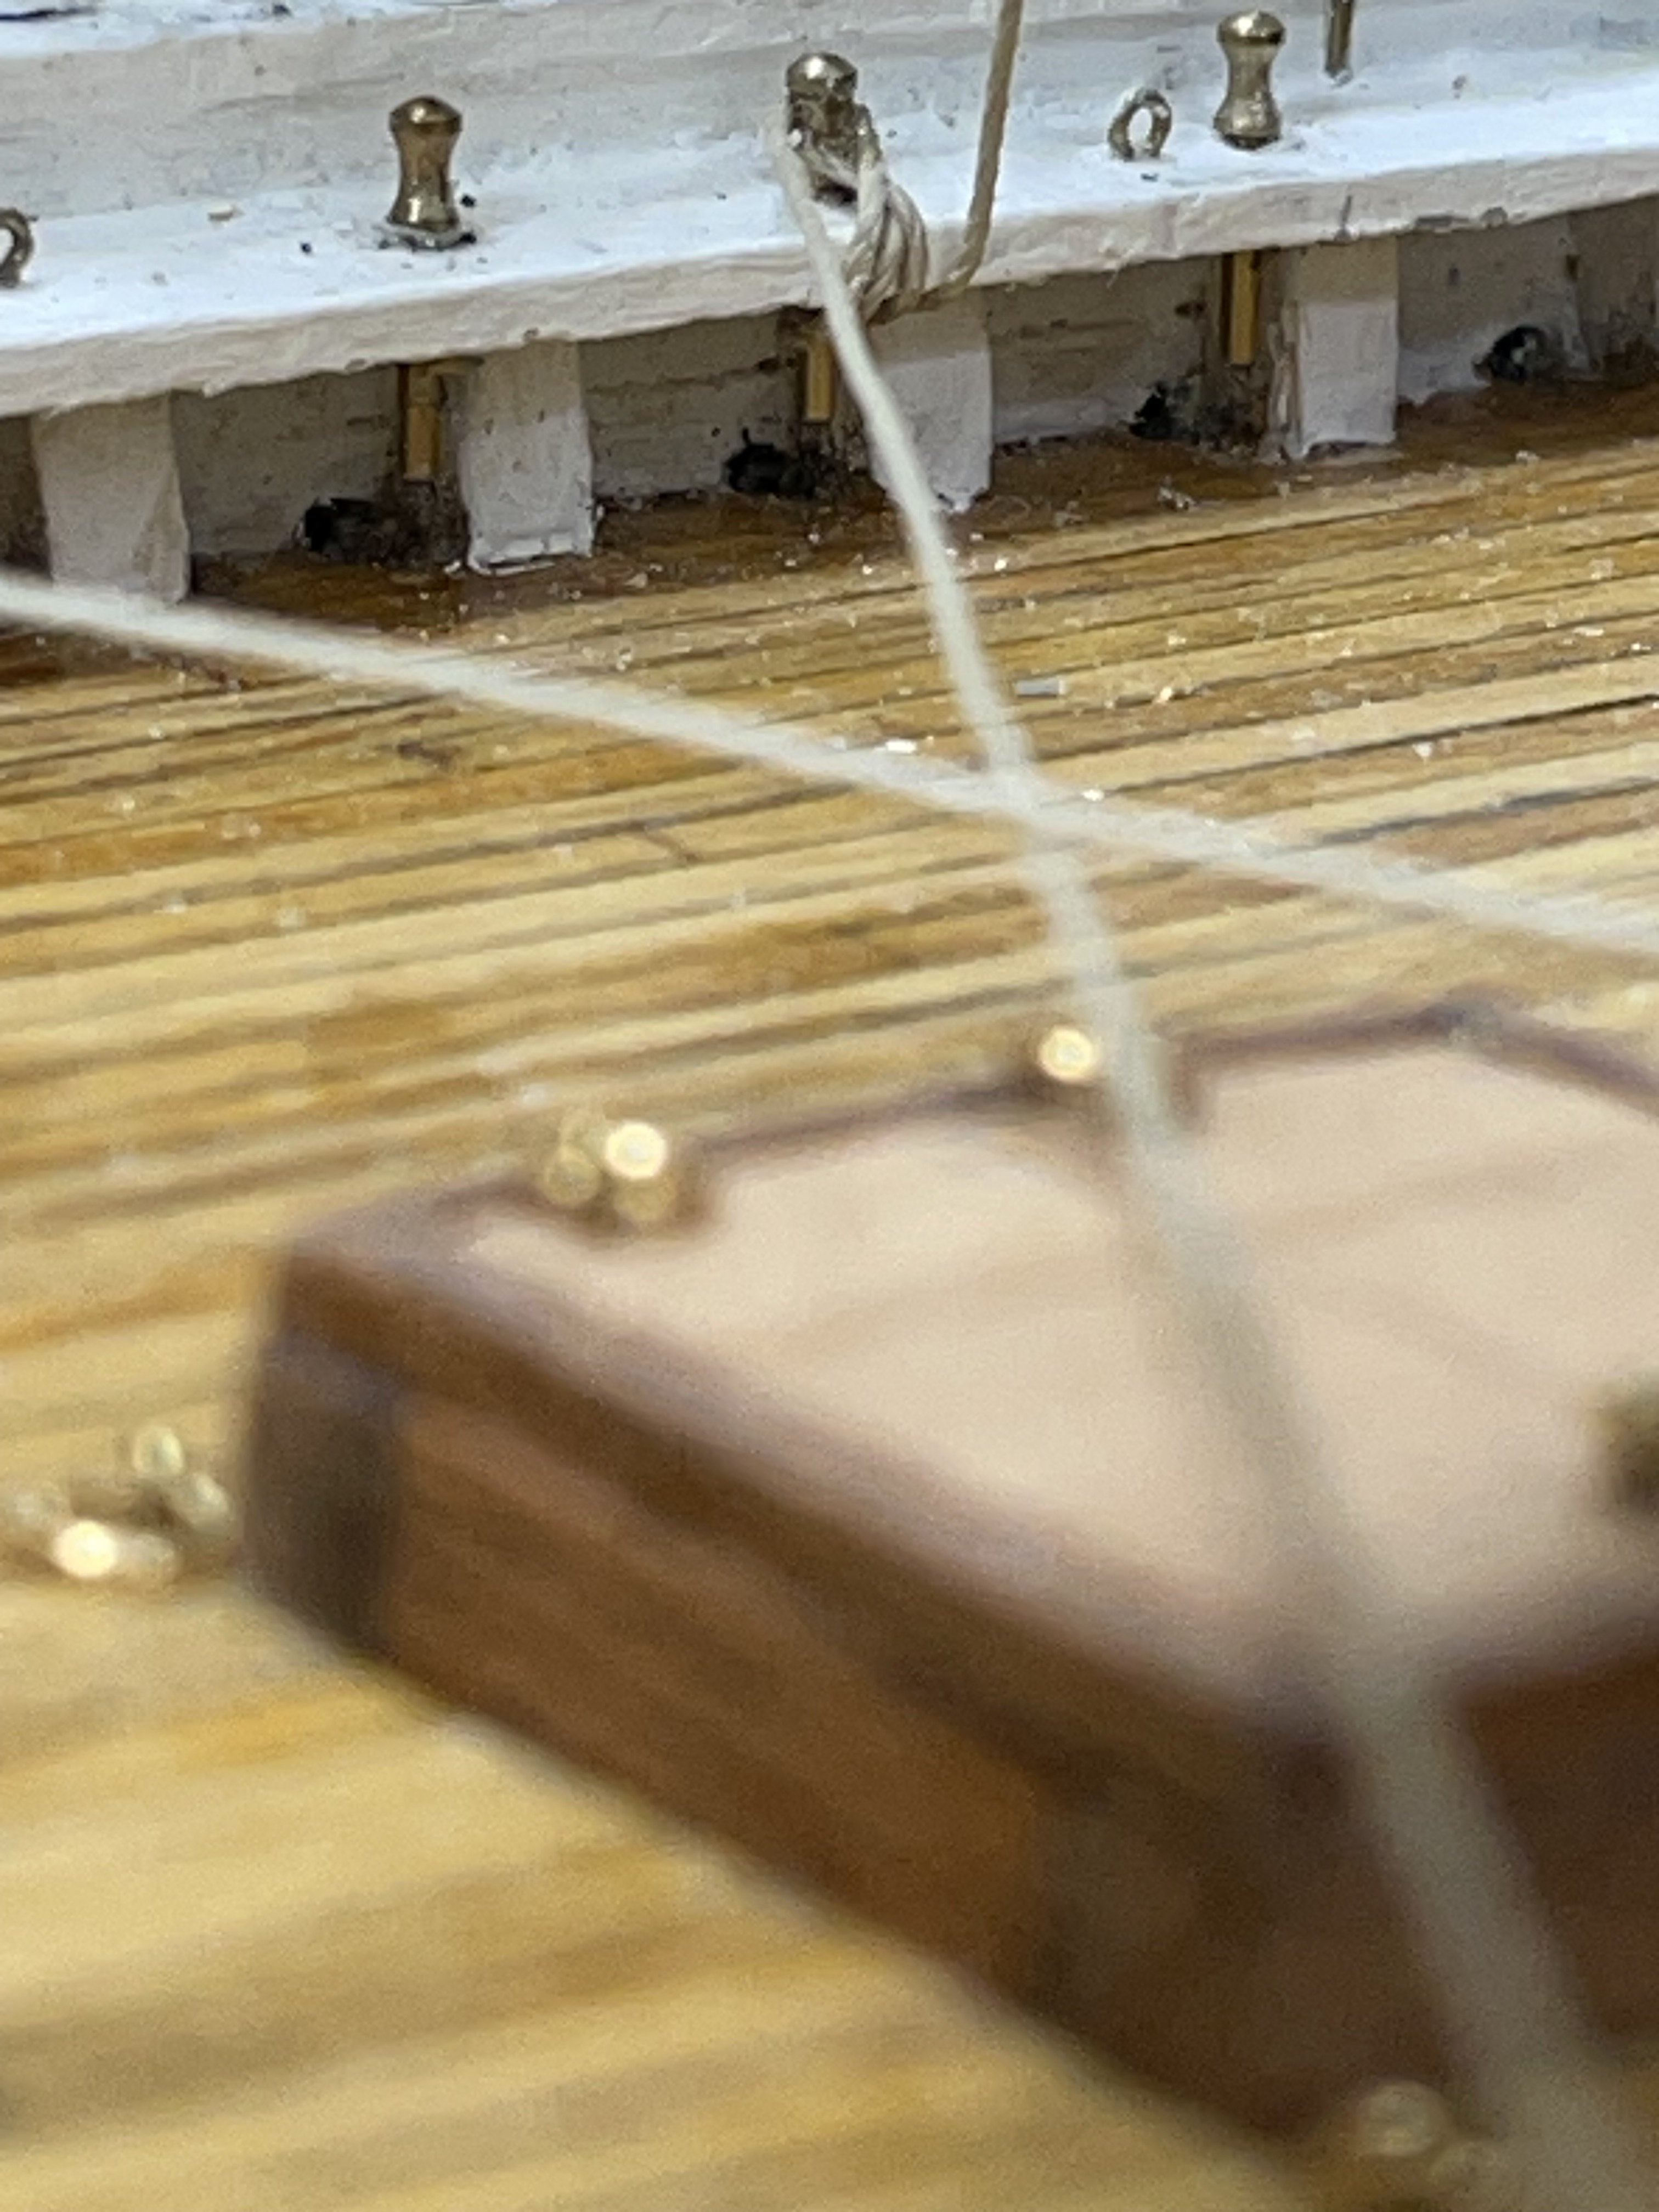
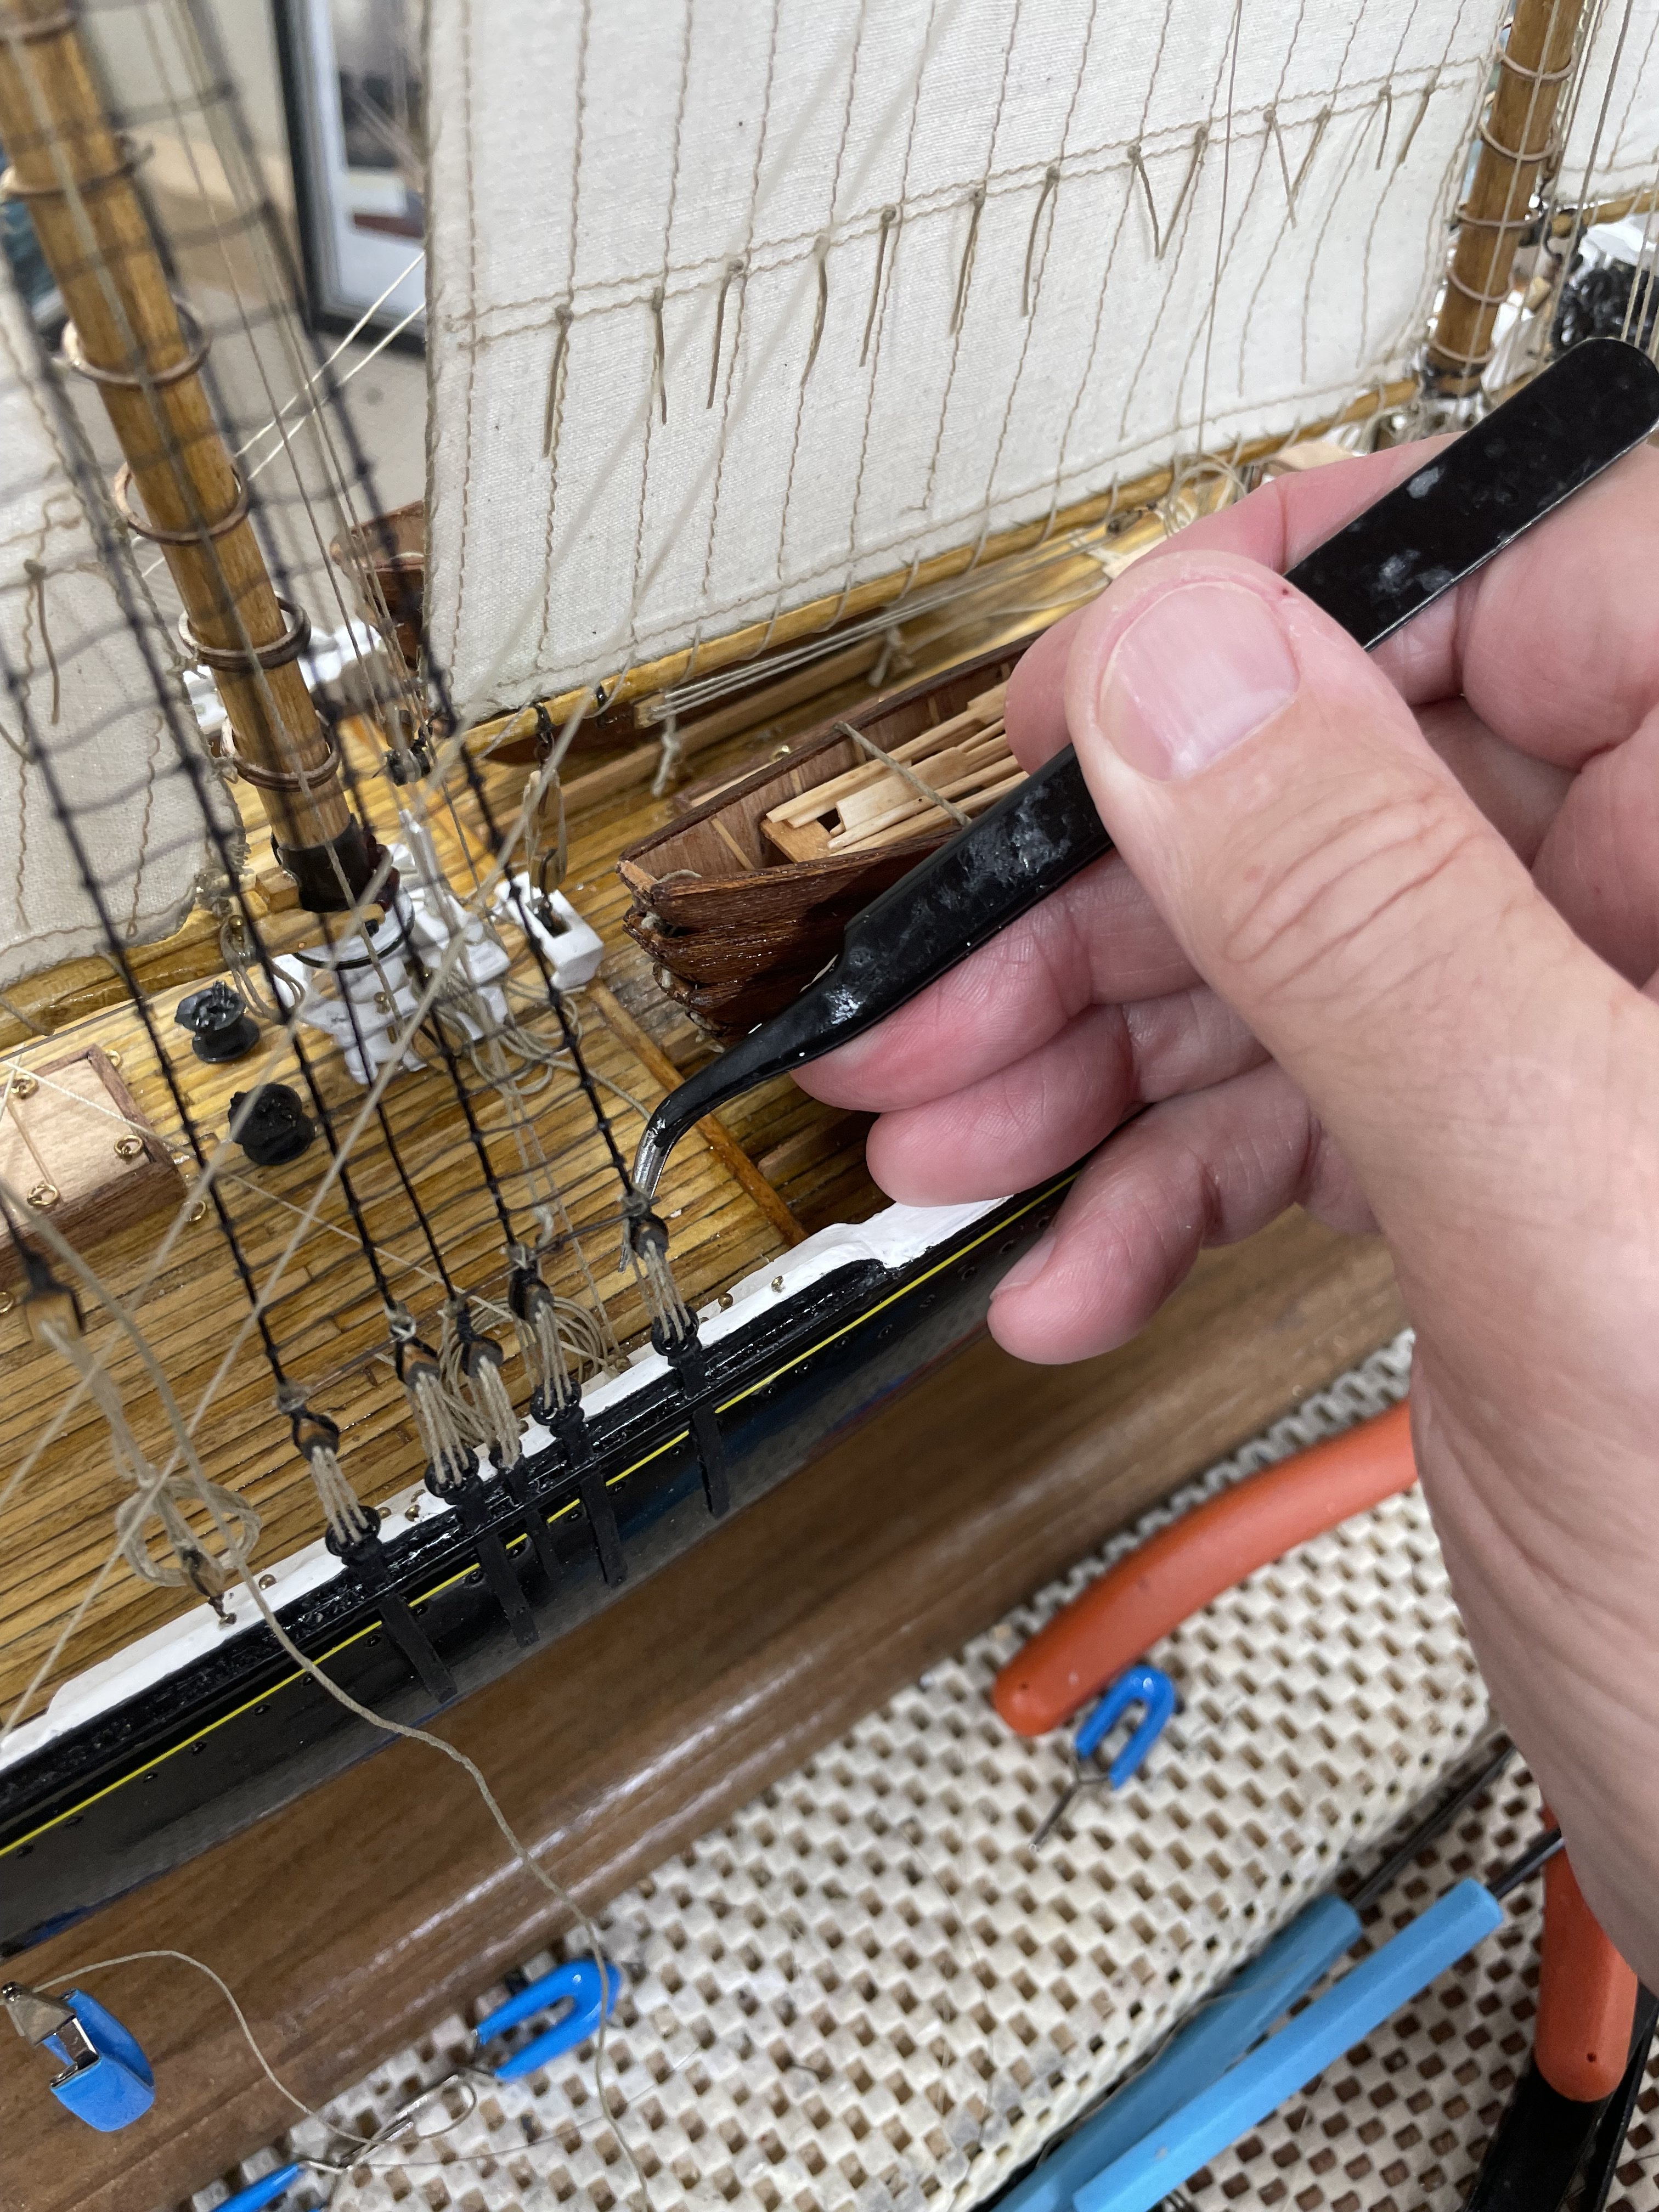
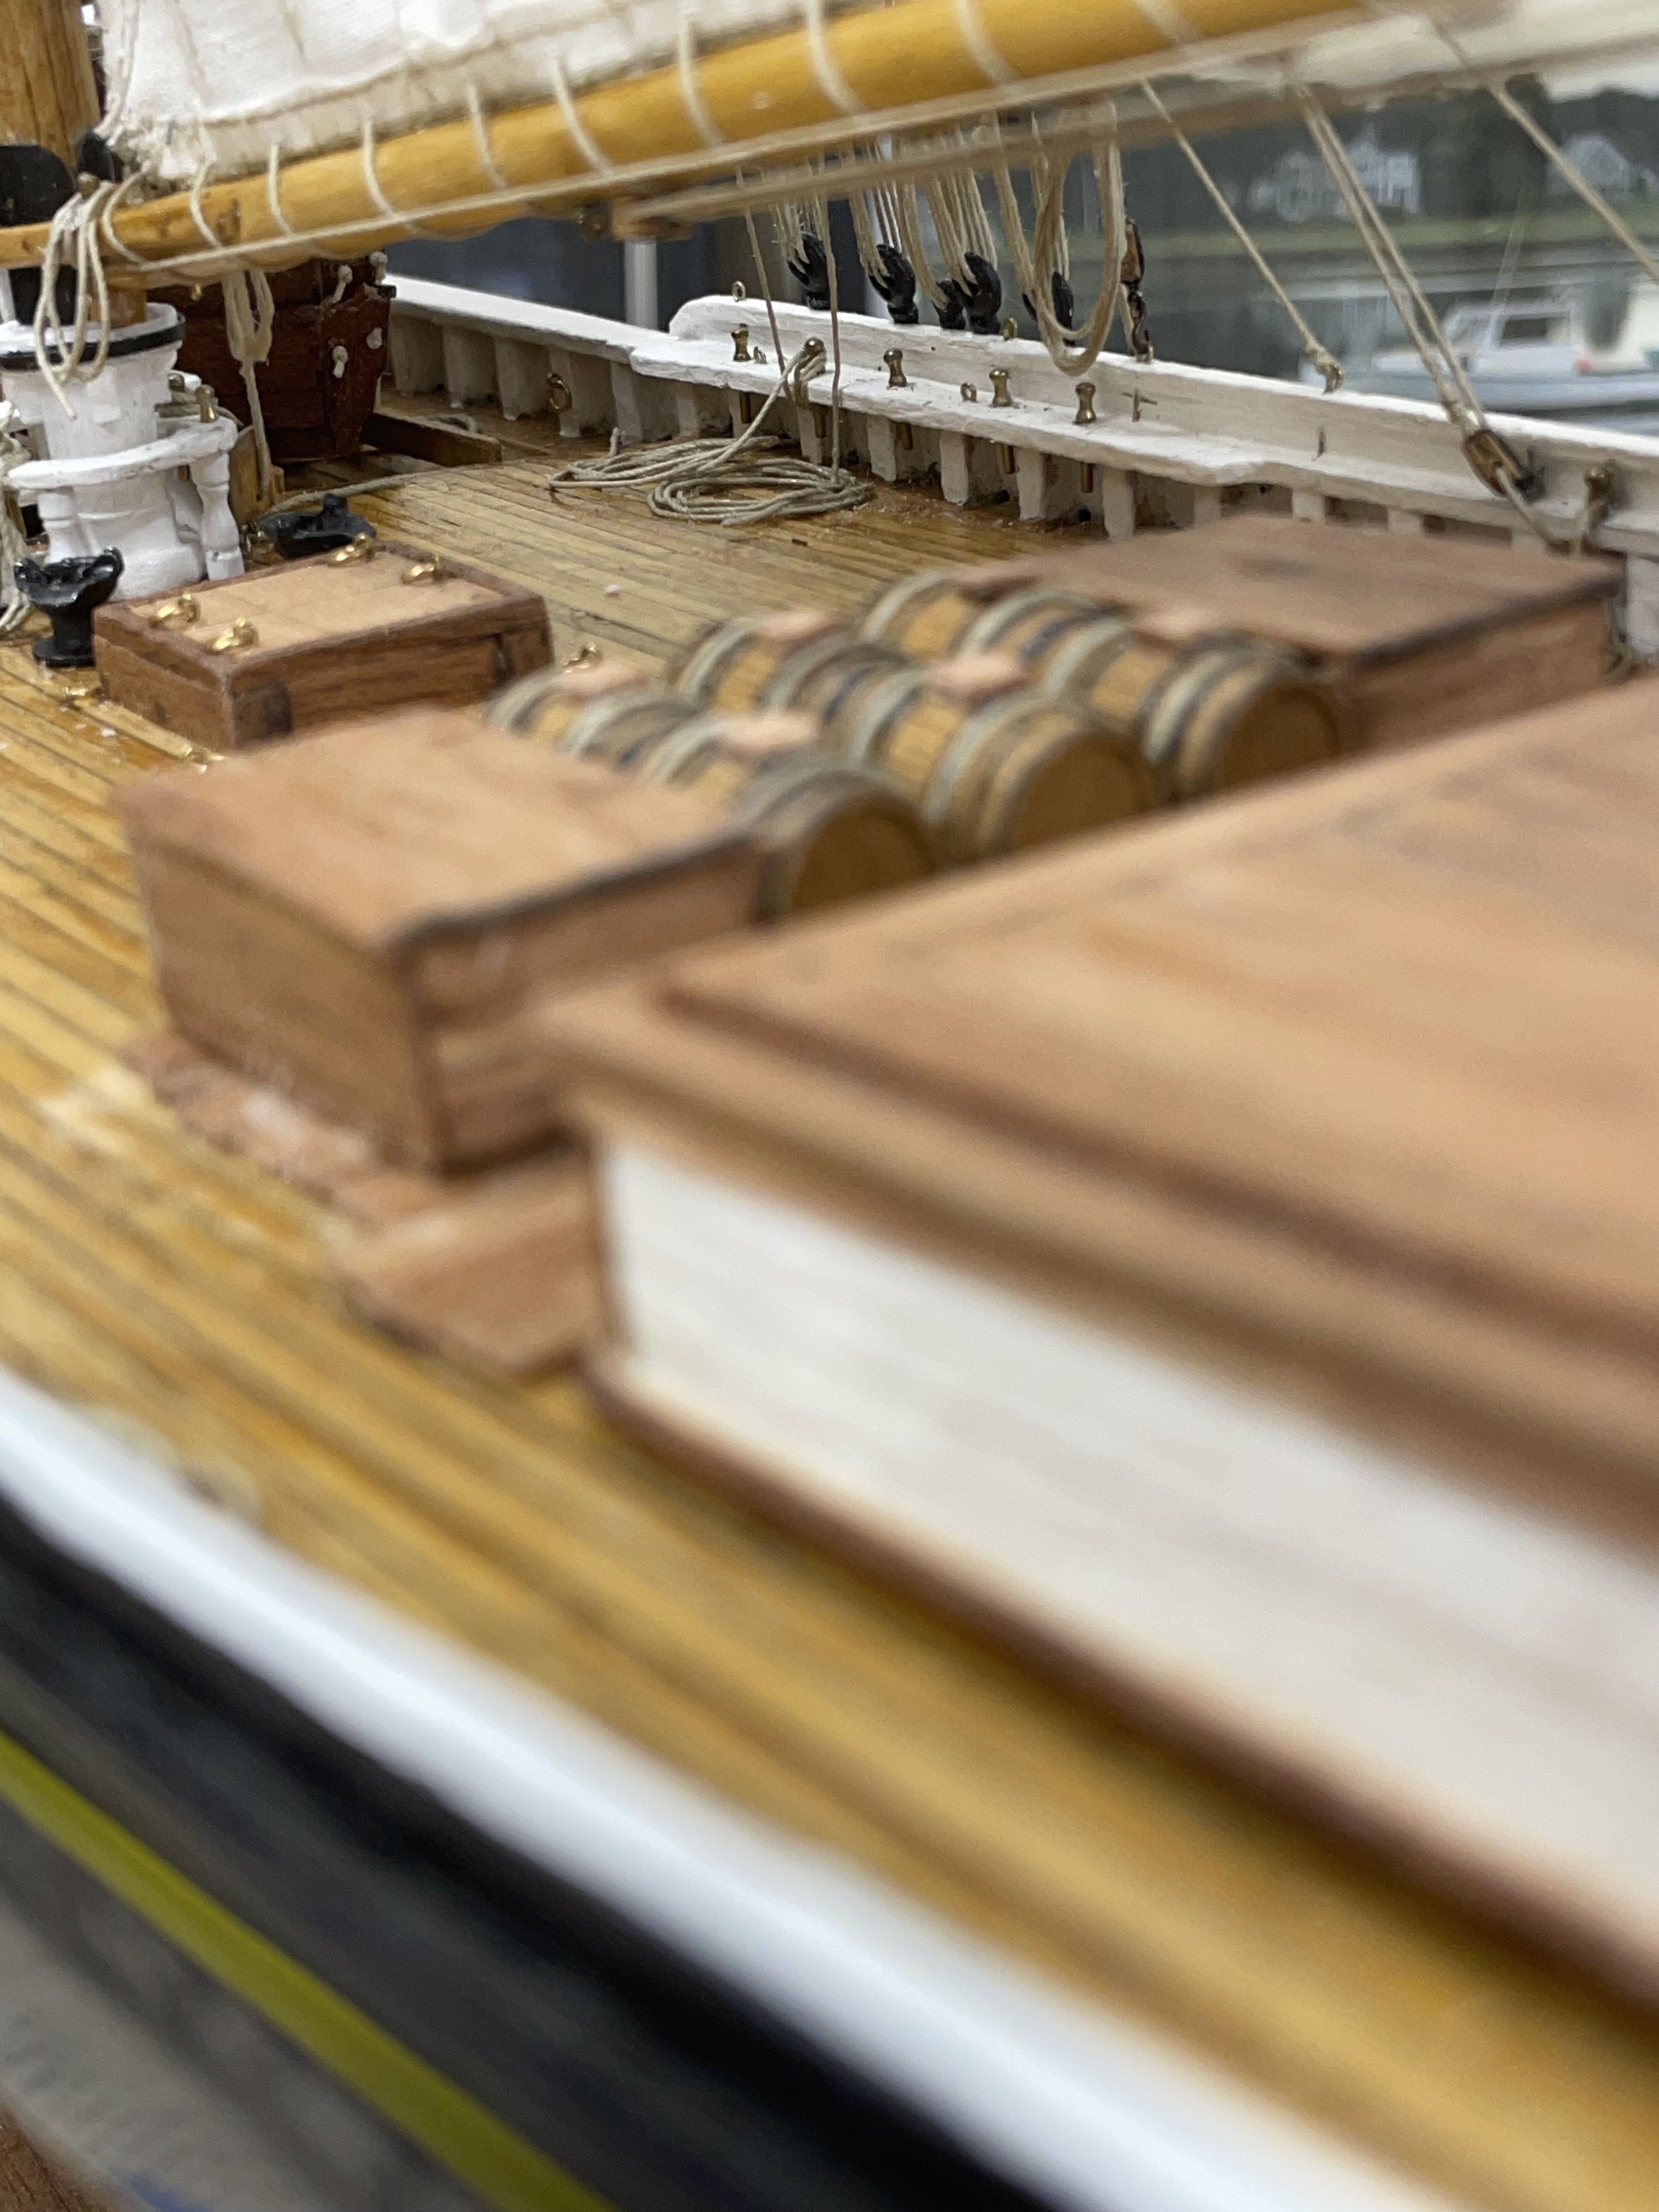
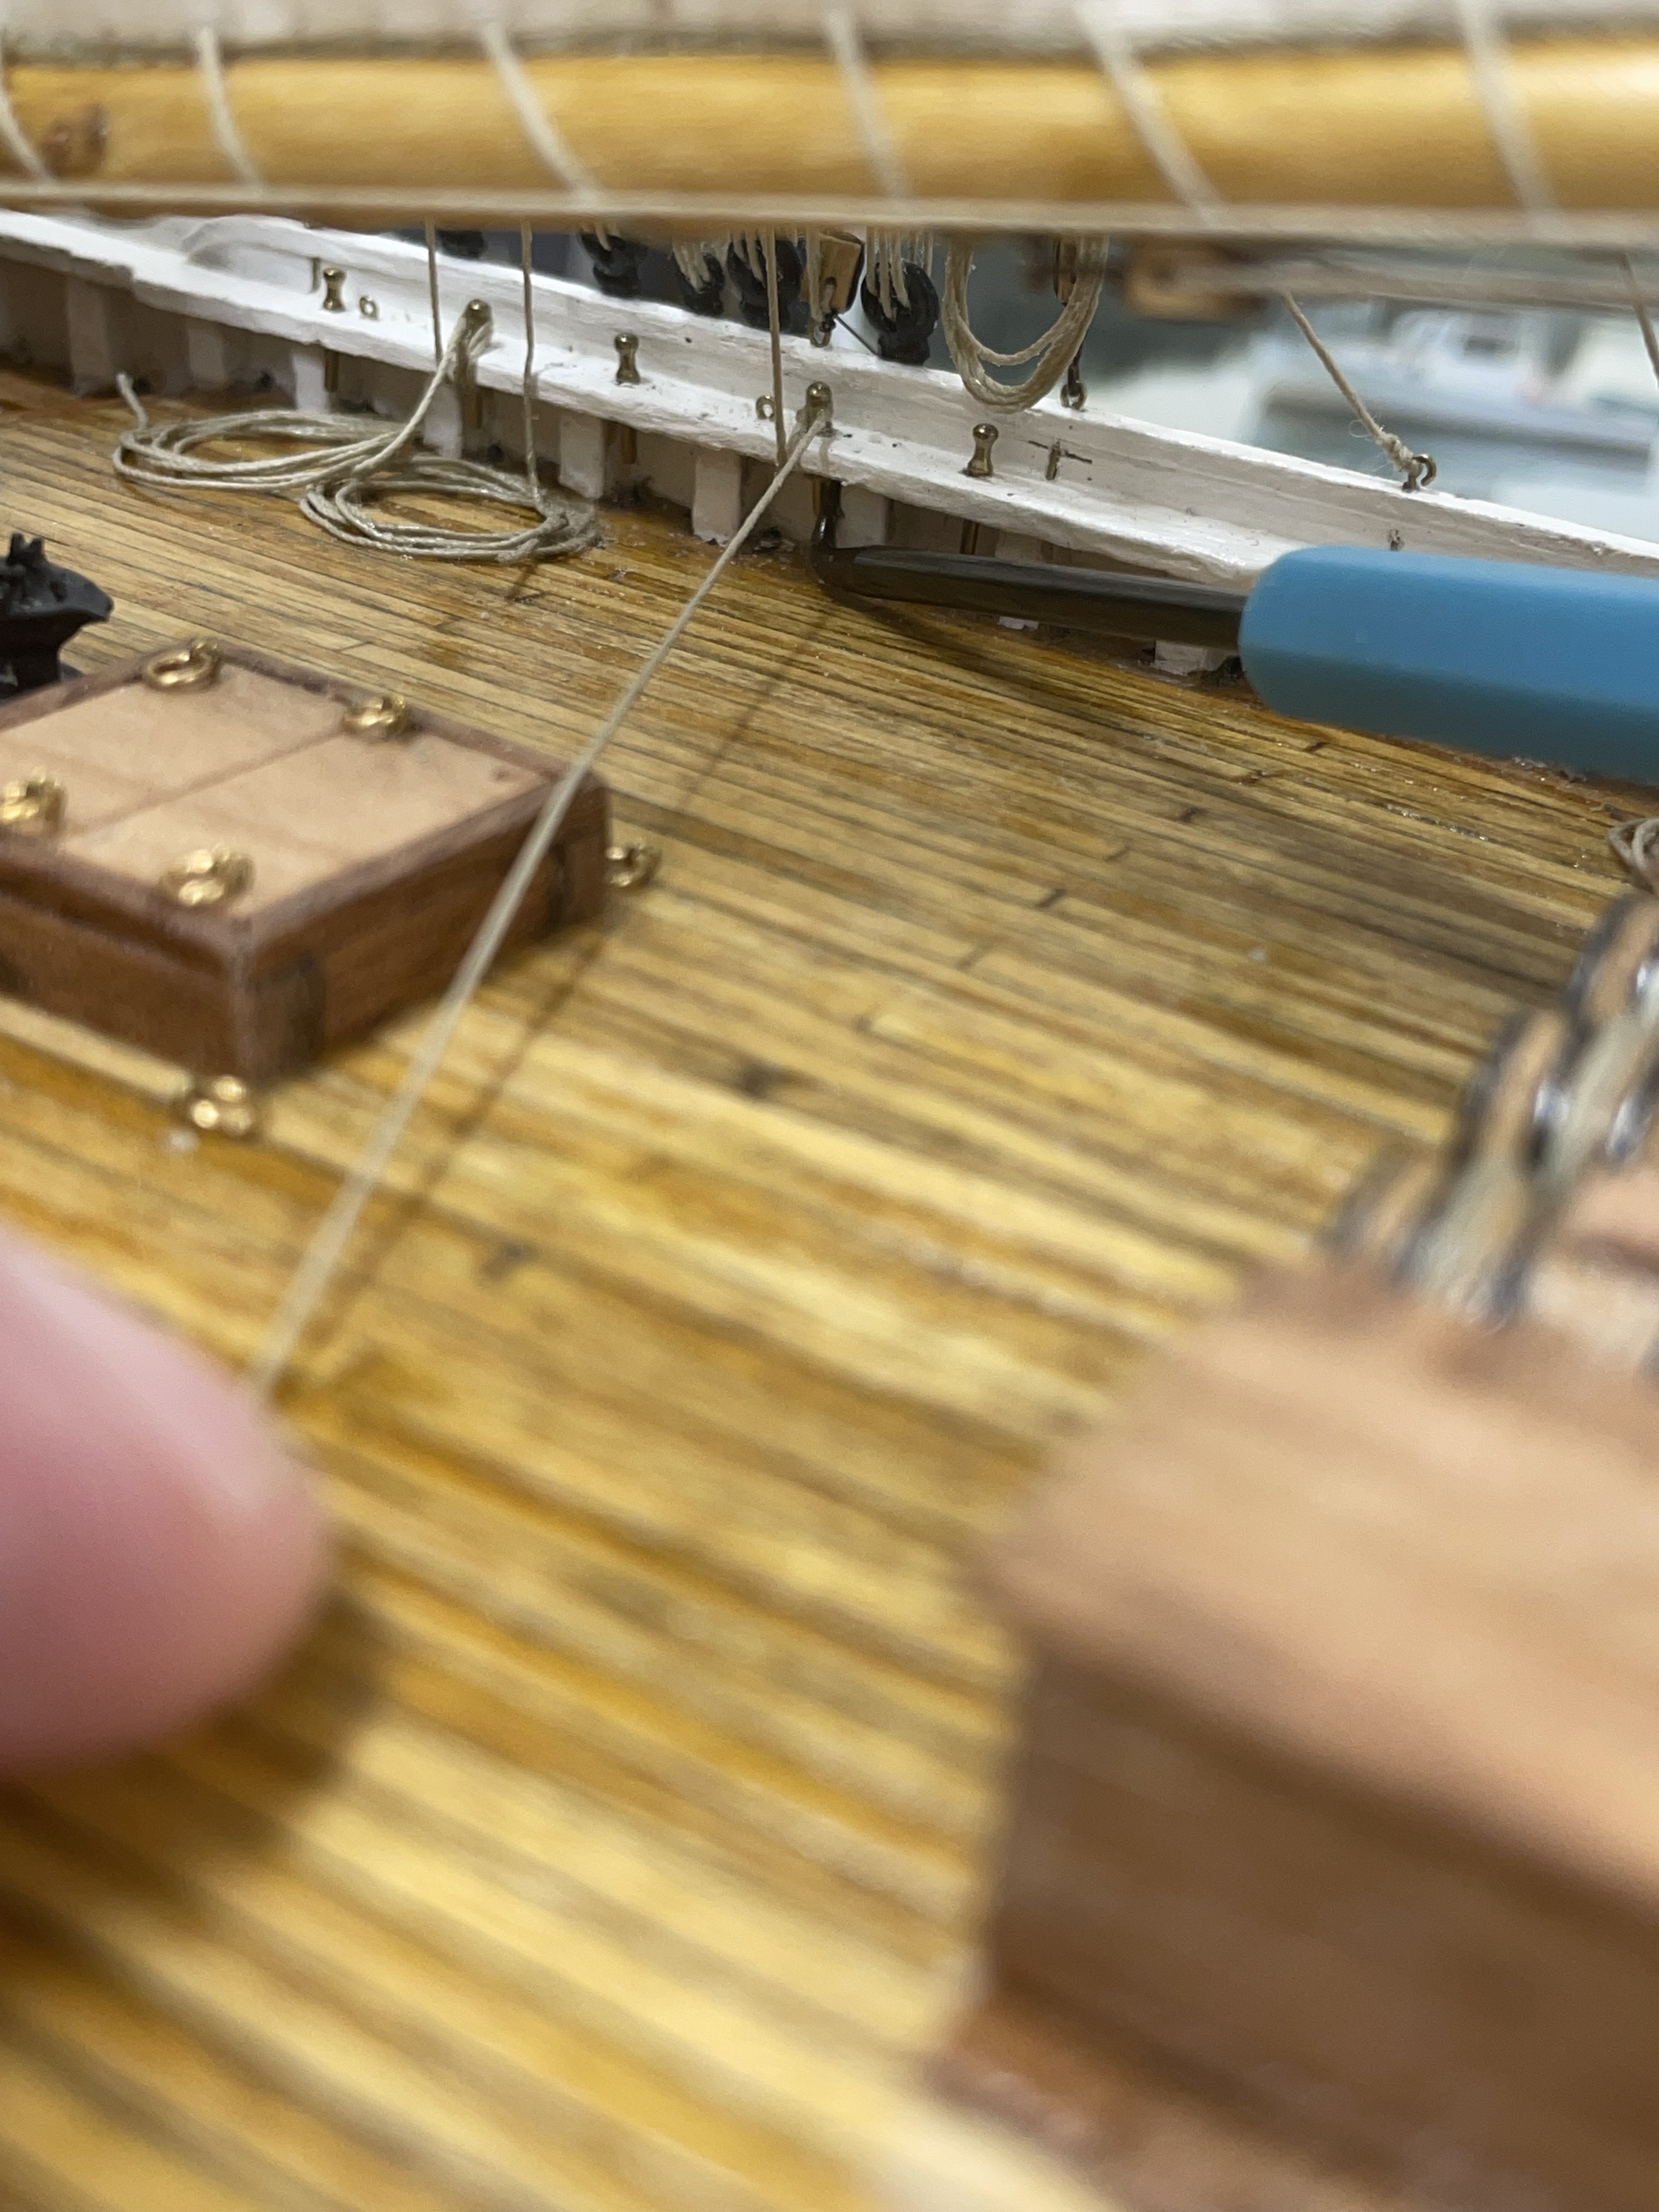
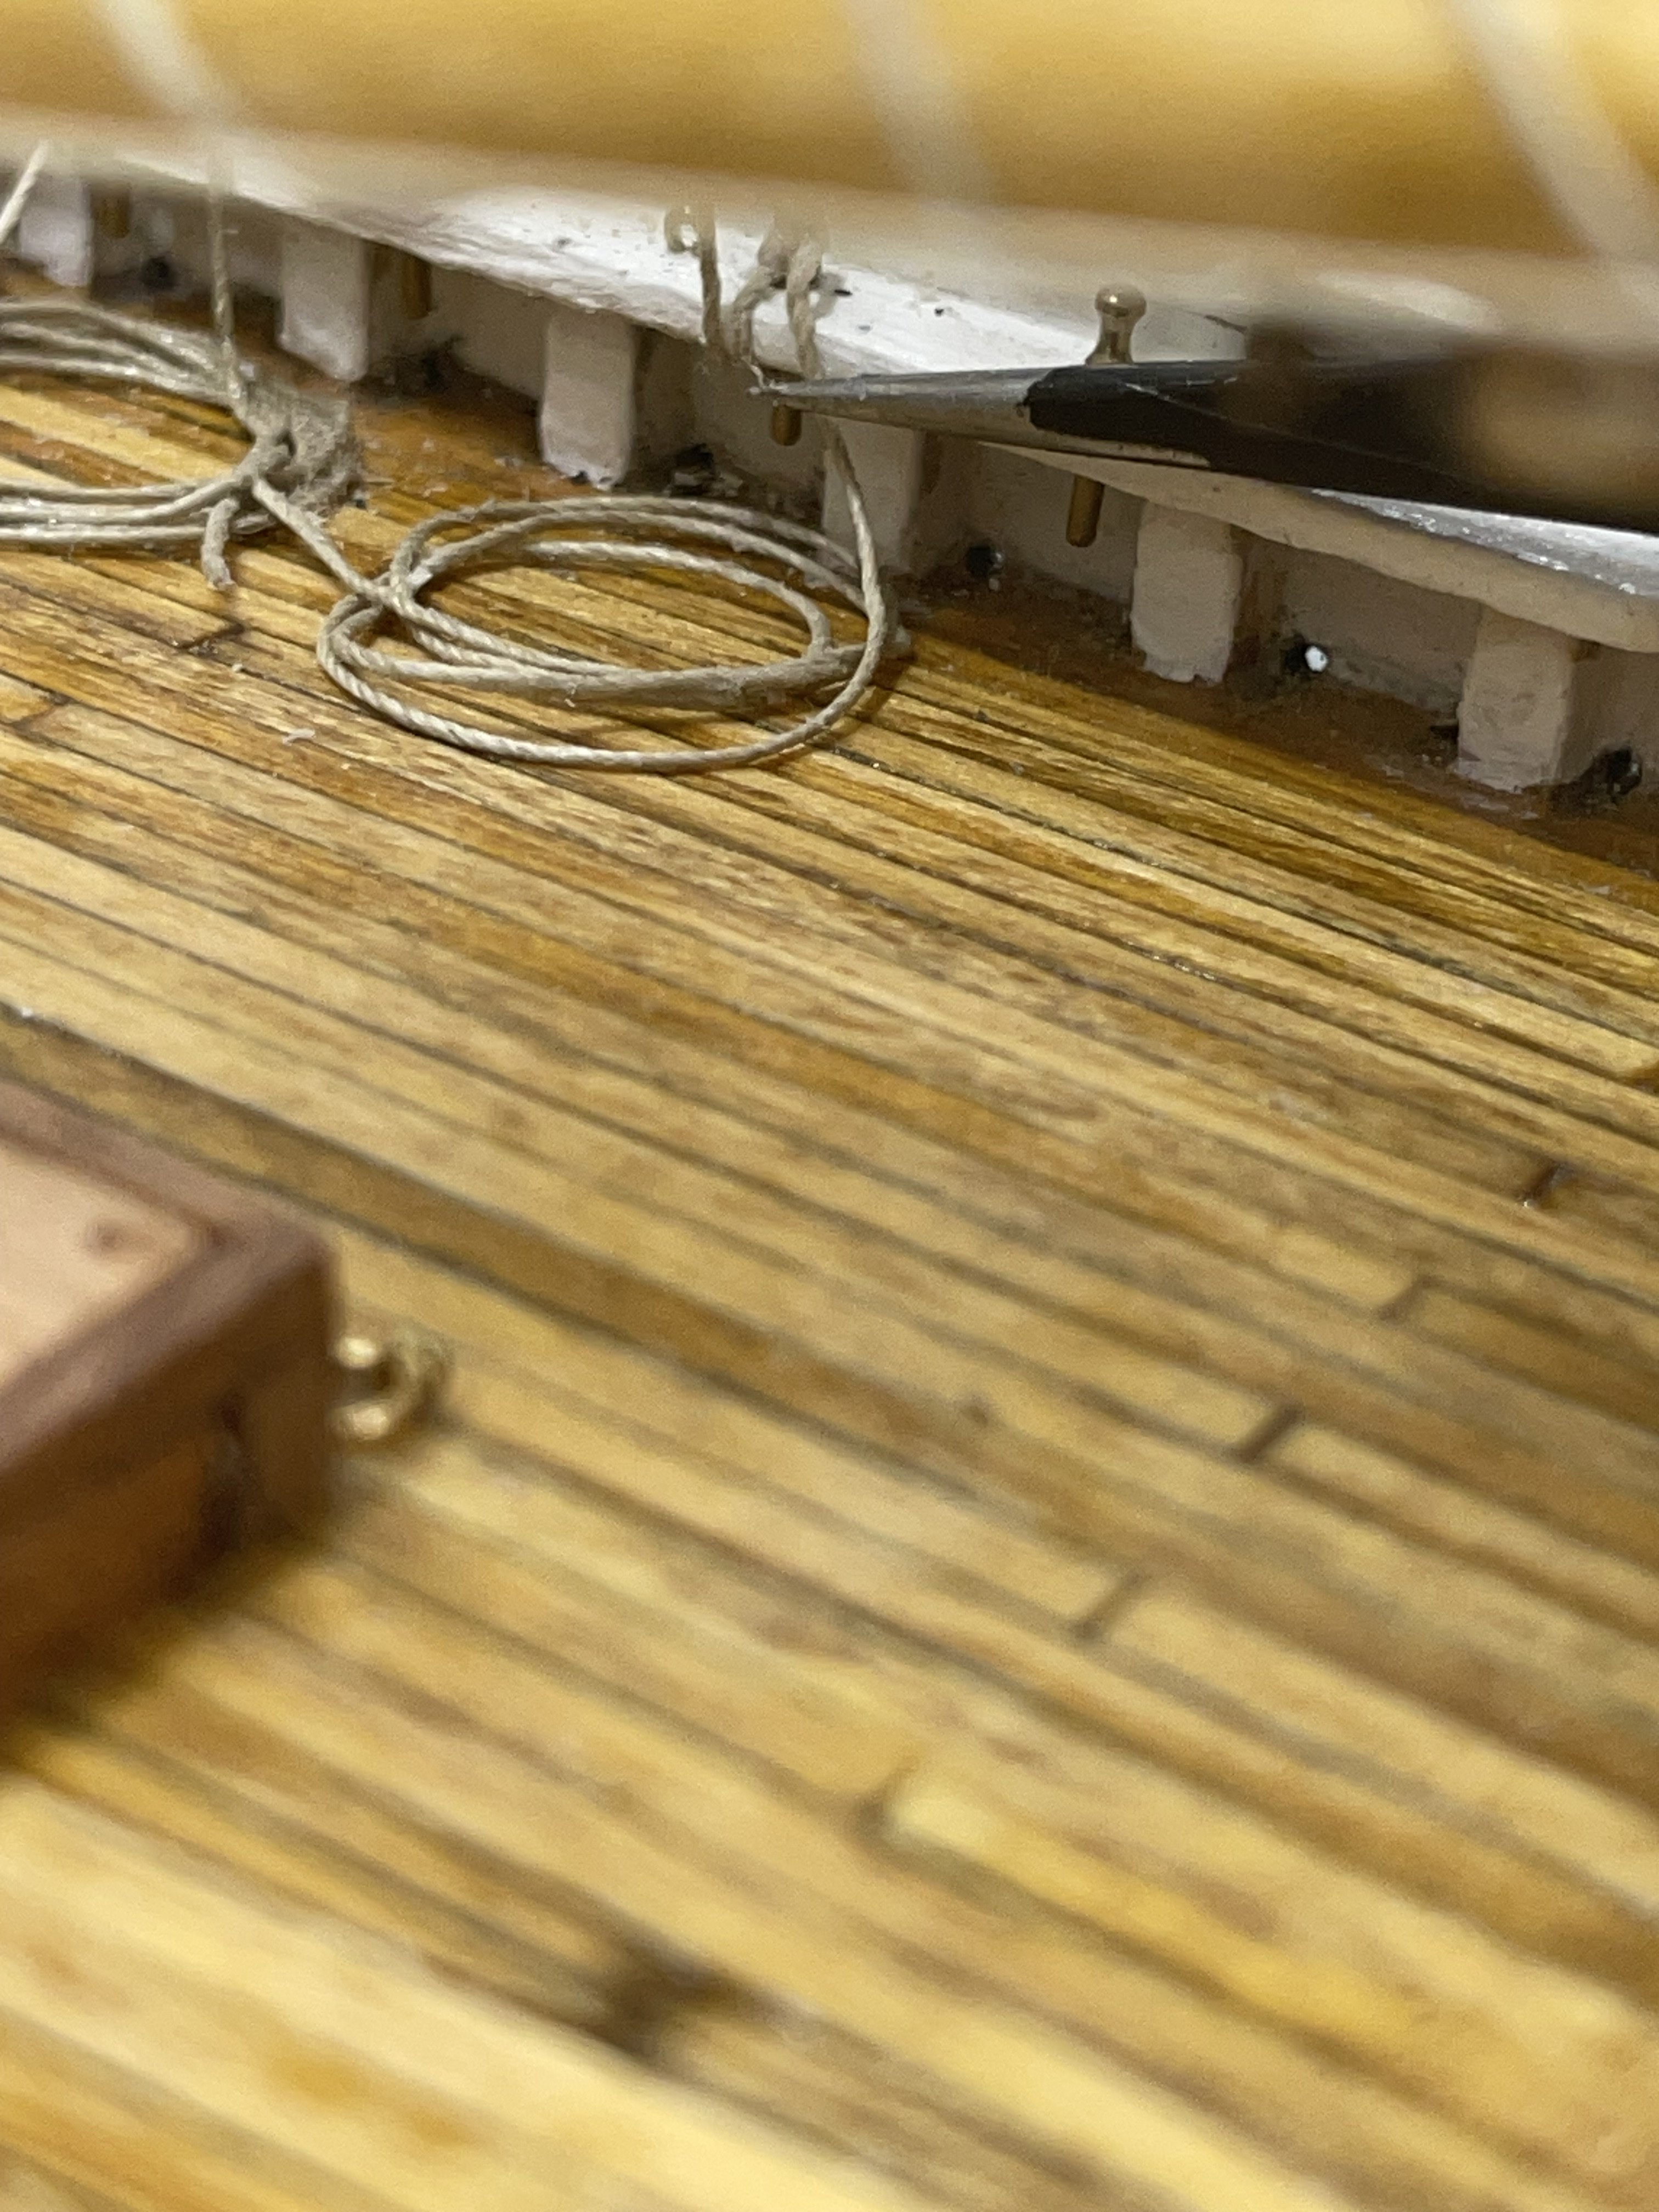
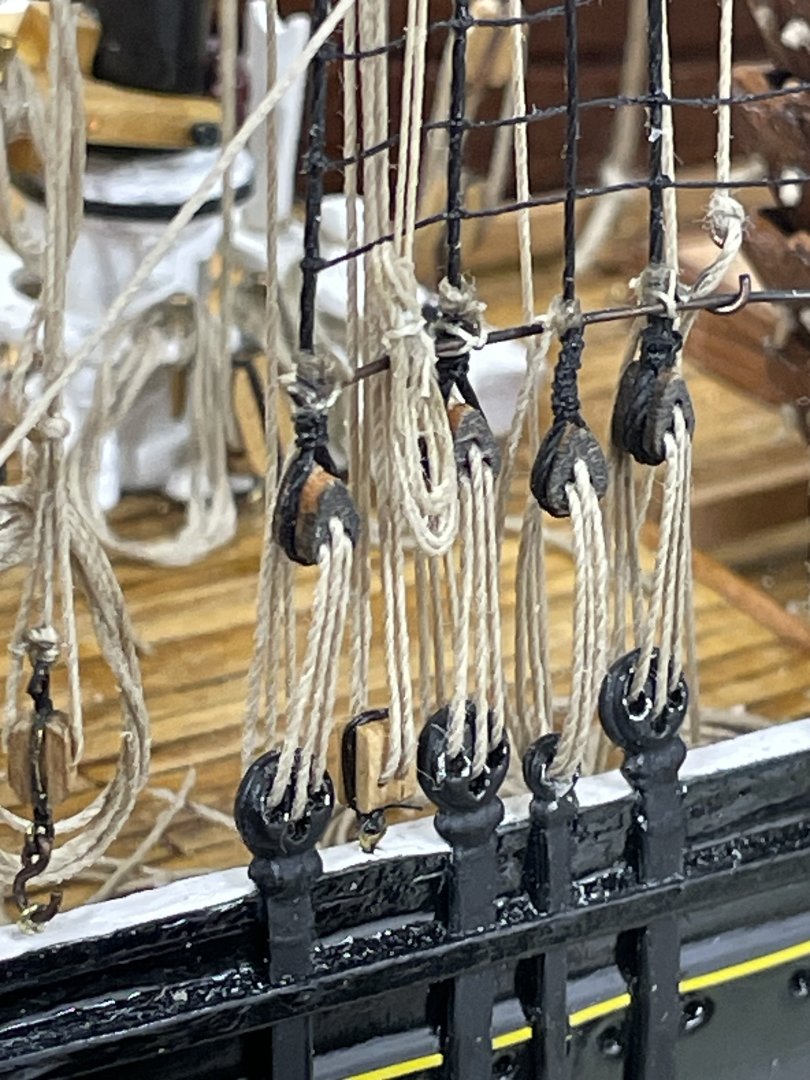
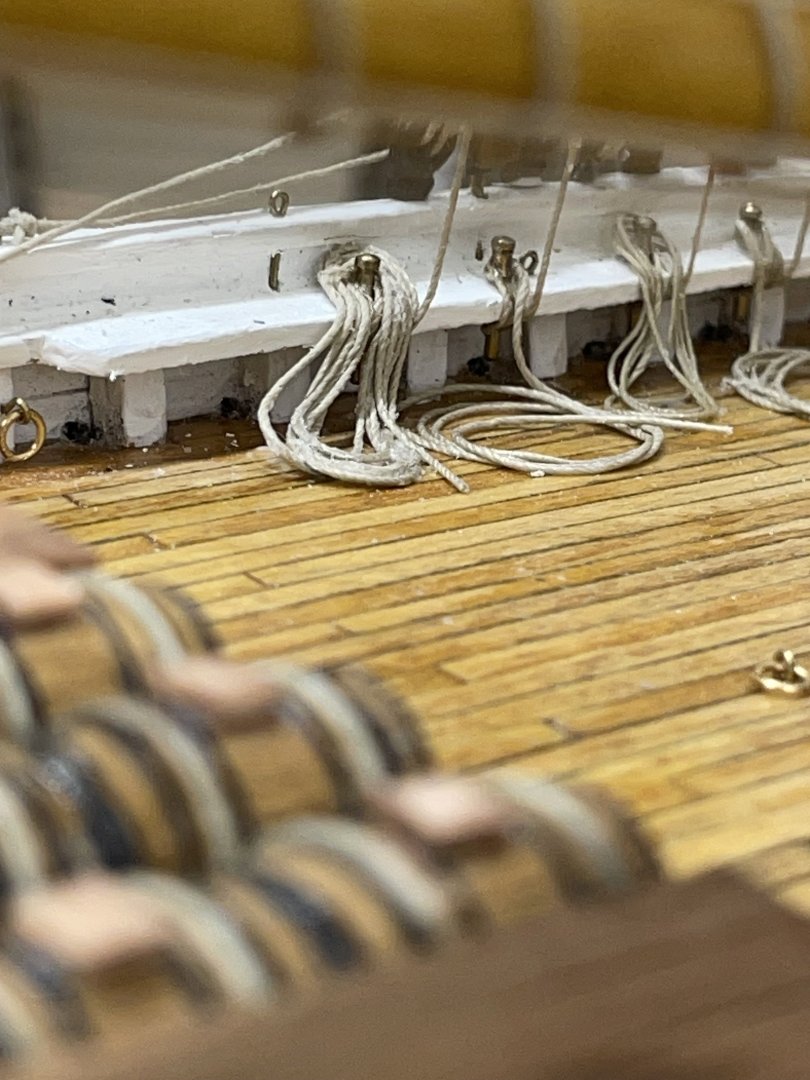
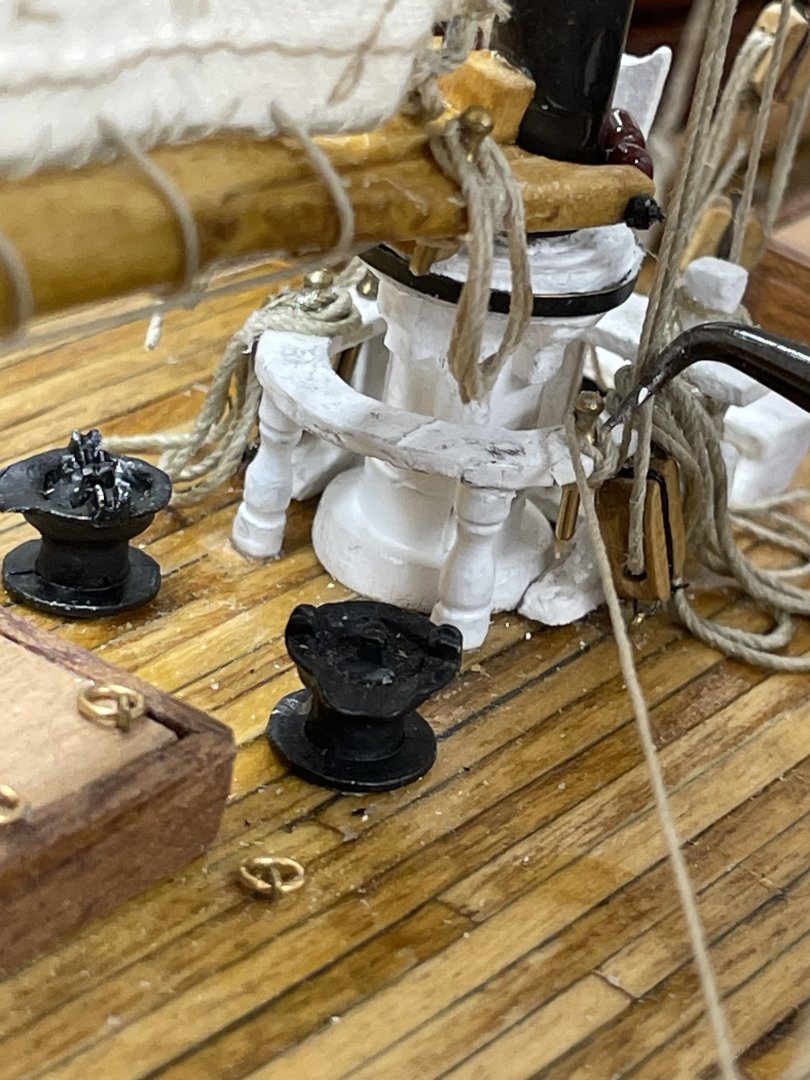
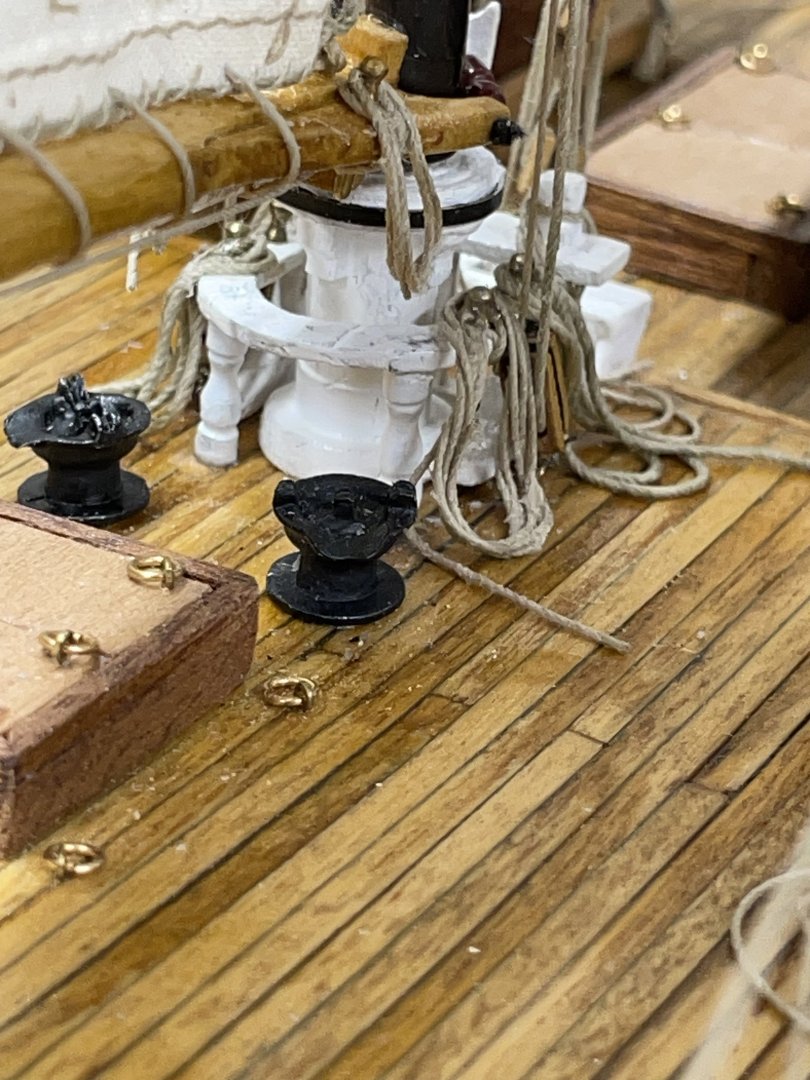
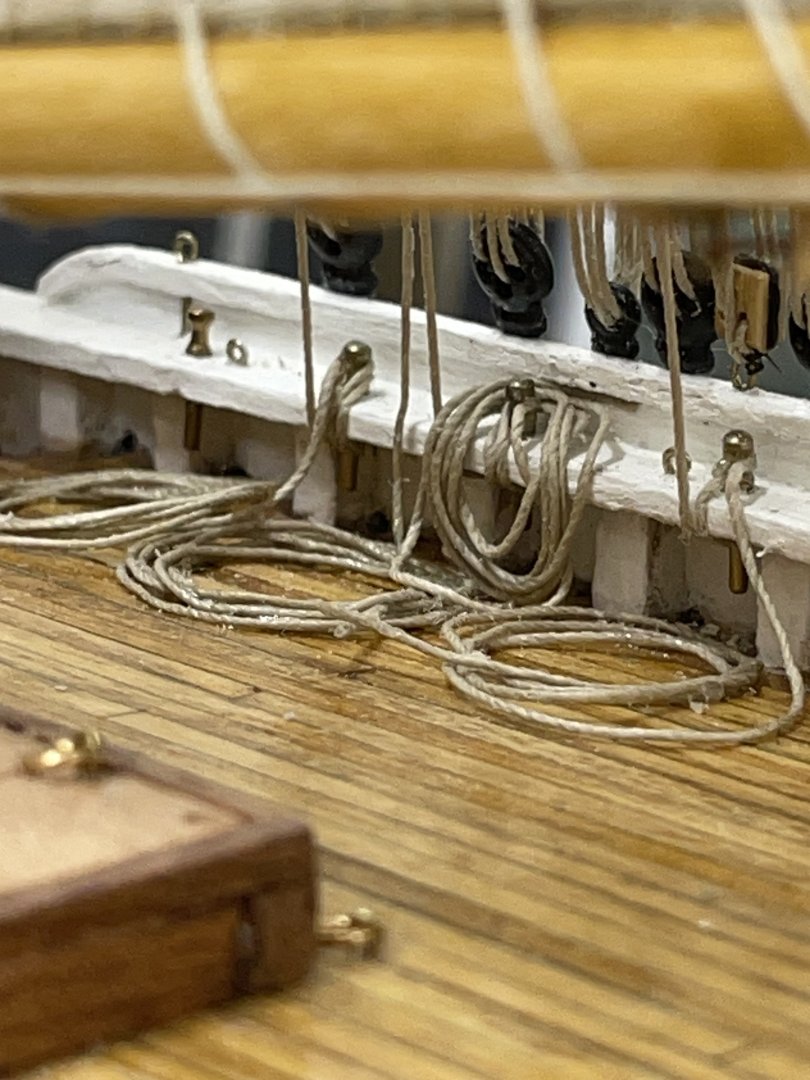
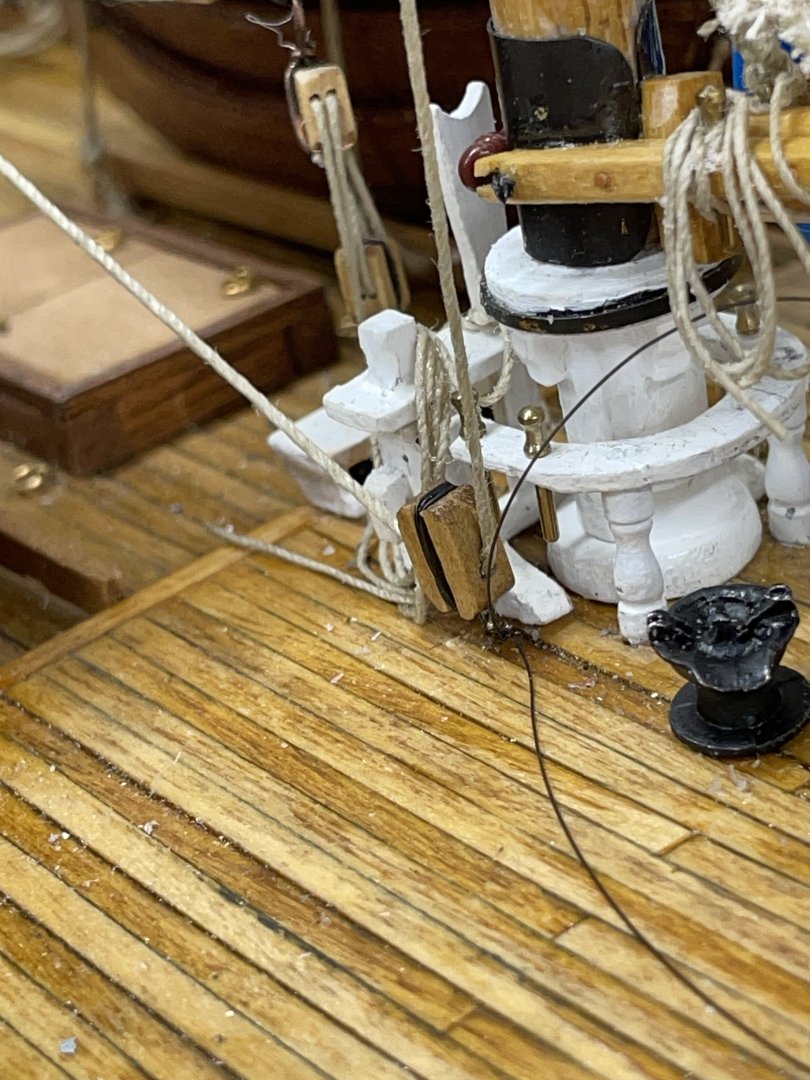
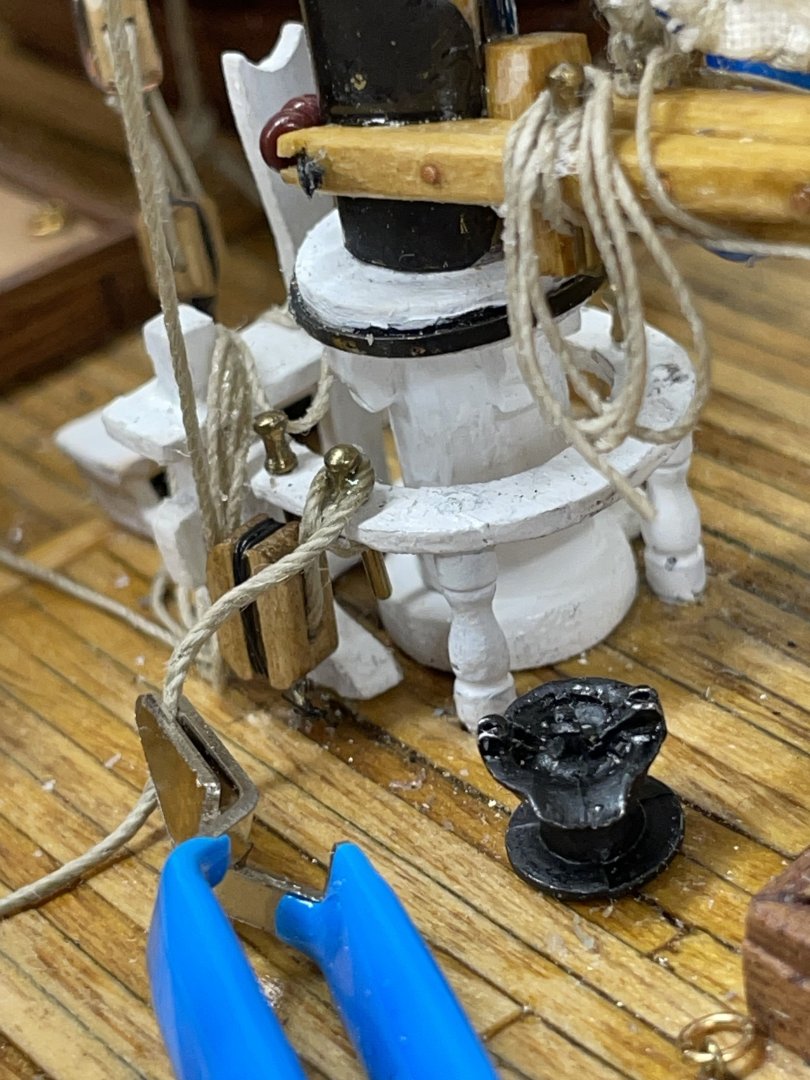
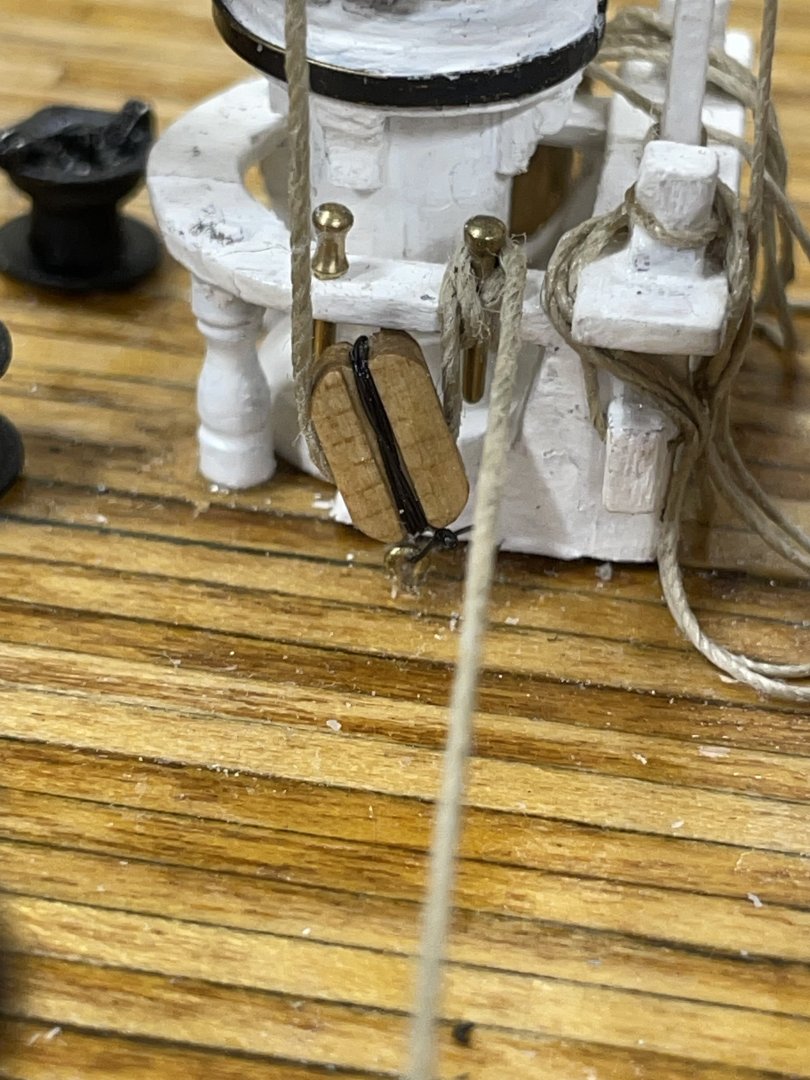
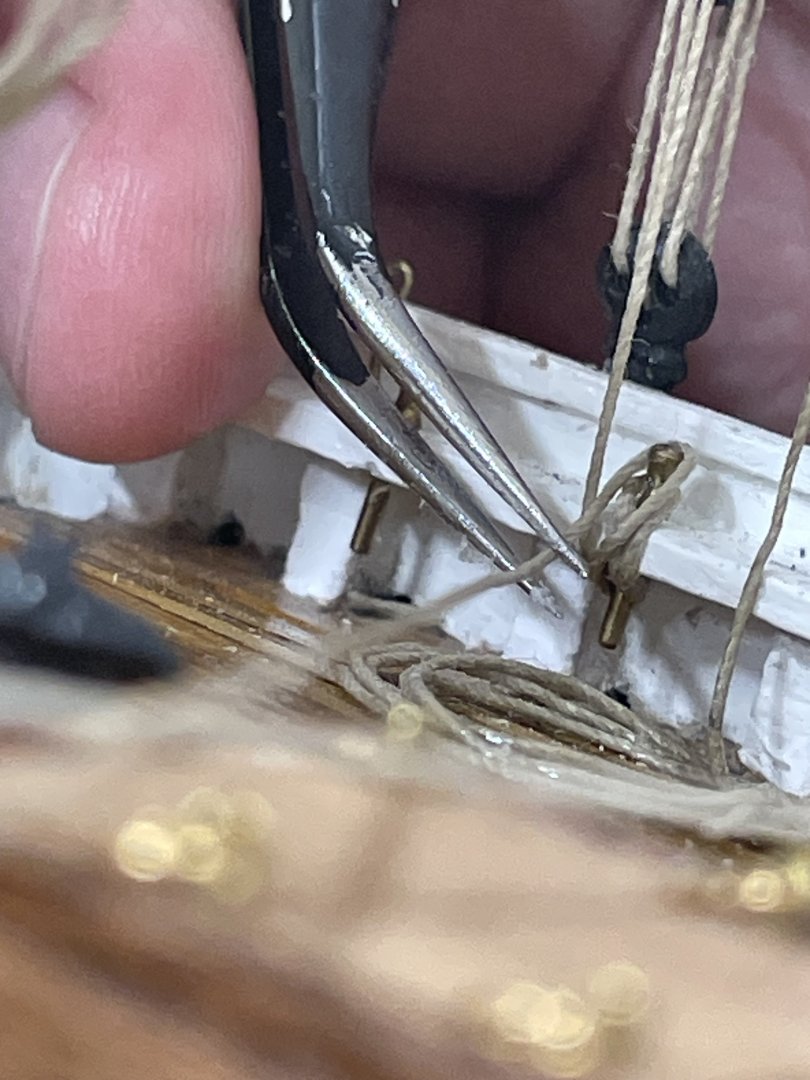
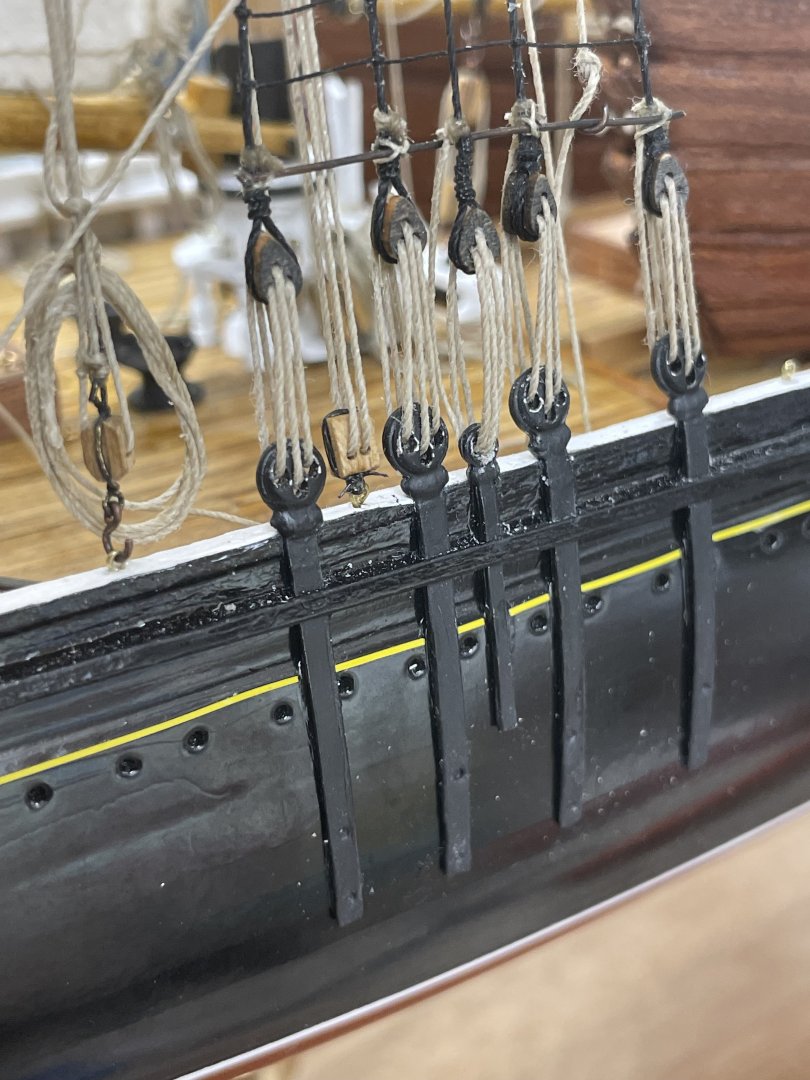
I’m BACK! Now that I have completed my 1921 Bluenose I can focus on my Red Jacket. She has been staring at me wanting attention. First, I decided I could do a better job on the Pin Rails. Darn OCD… And so it goes, one Pin at a time. Cheers 🍻


- 165 replies
-
- 5
-
-
- Red Jacket
- Marine Model Company
- (and 2 more)
-
I disagree Keith, I find anything with a steam engine quite romantic. Love the subject. I’ll follow along I love a good mystery too. Should be an interesting journey. John
-
Thanks Chris… Can’t quit now, there is still room in the Gallery. 😎
- 282 replies
-
- 2
-
-
- Bluenose
- Model Shipways
- (and 1 more)
-
Thank you @MrBlueJacket
-
Thank you… @Snug Harbor Johnny @Knocklouder @Dr PR @Glen McGuire You guys and MSW are all my inspiration, every day. Cheers 🍻
- 282 replies
-
- 1
-
-
- Bluenose
- Model Shipways
- (and 1 more)
-
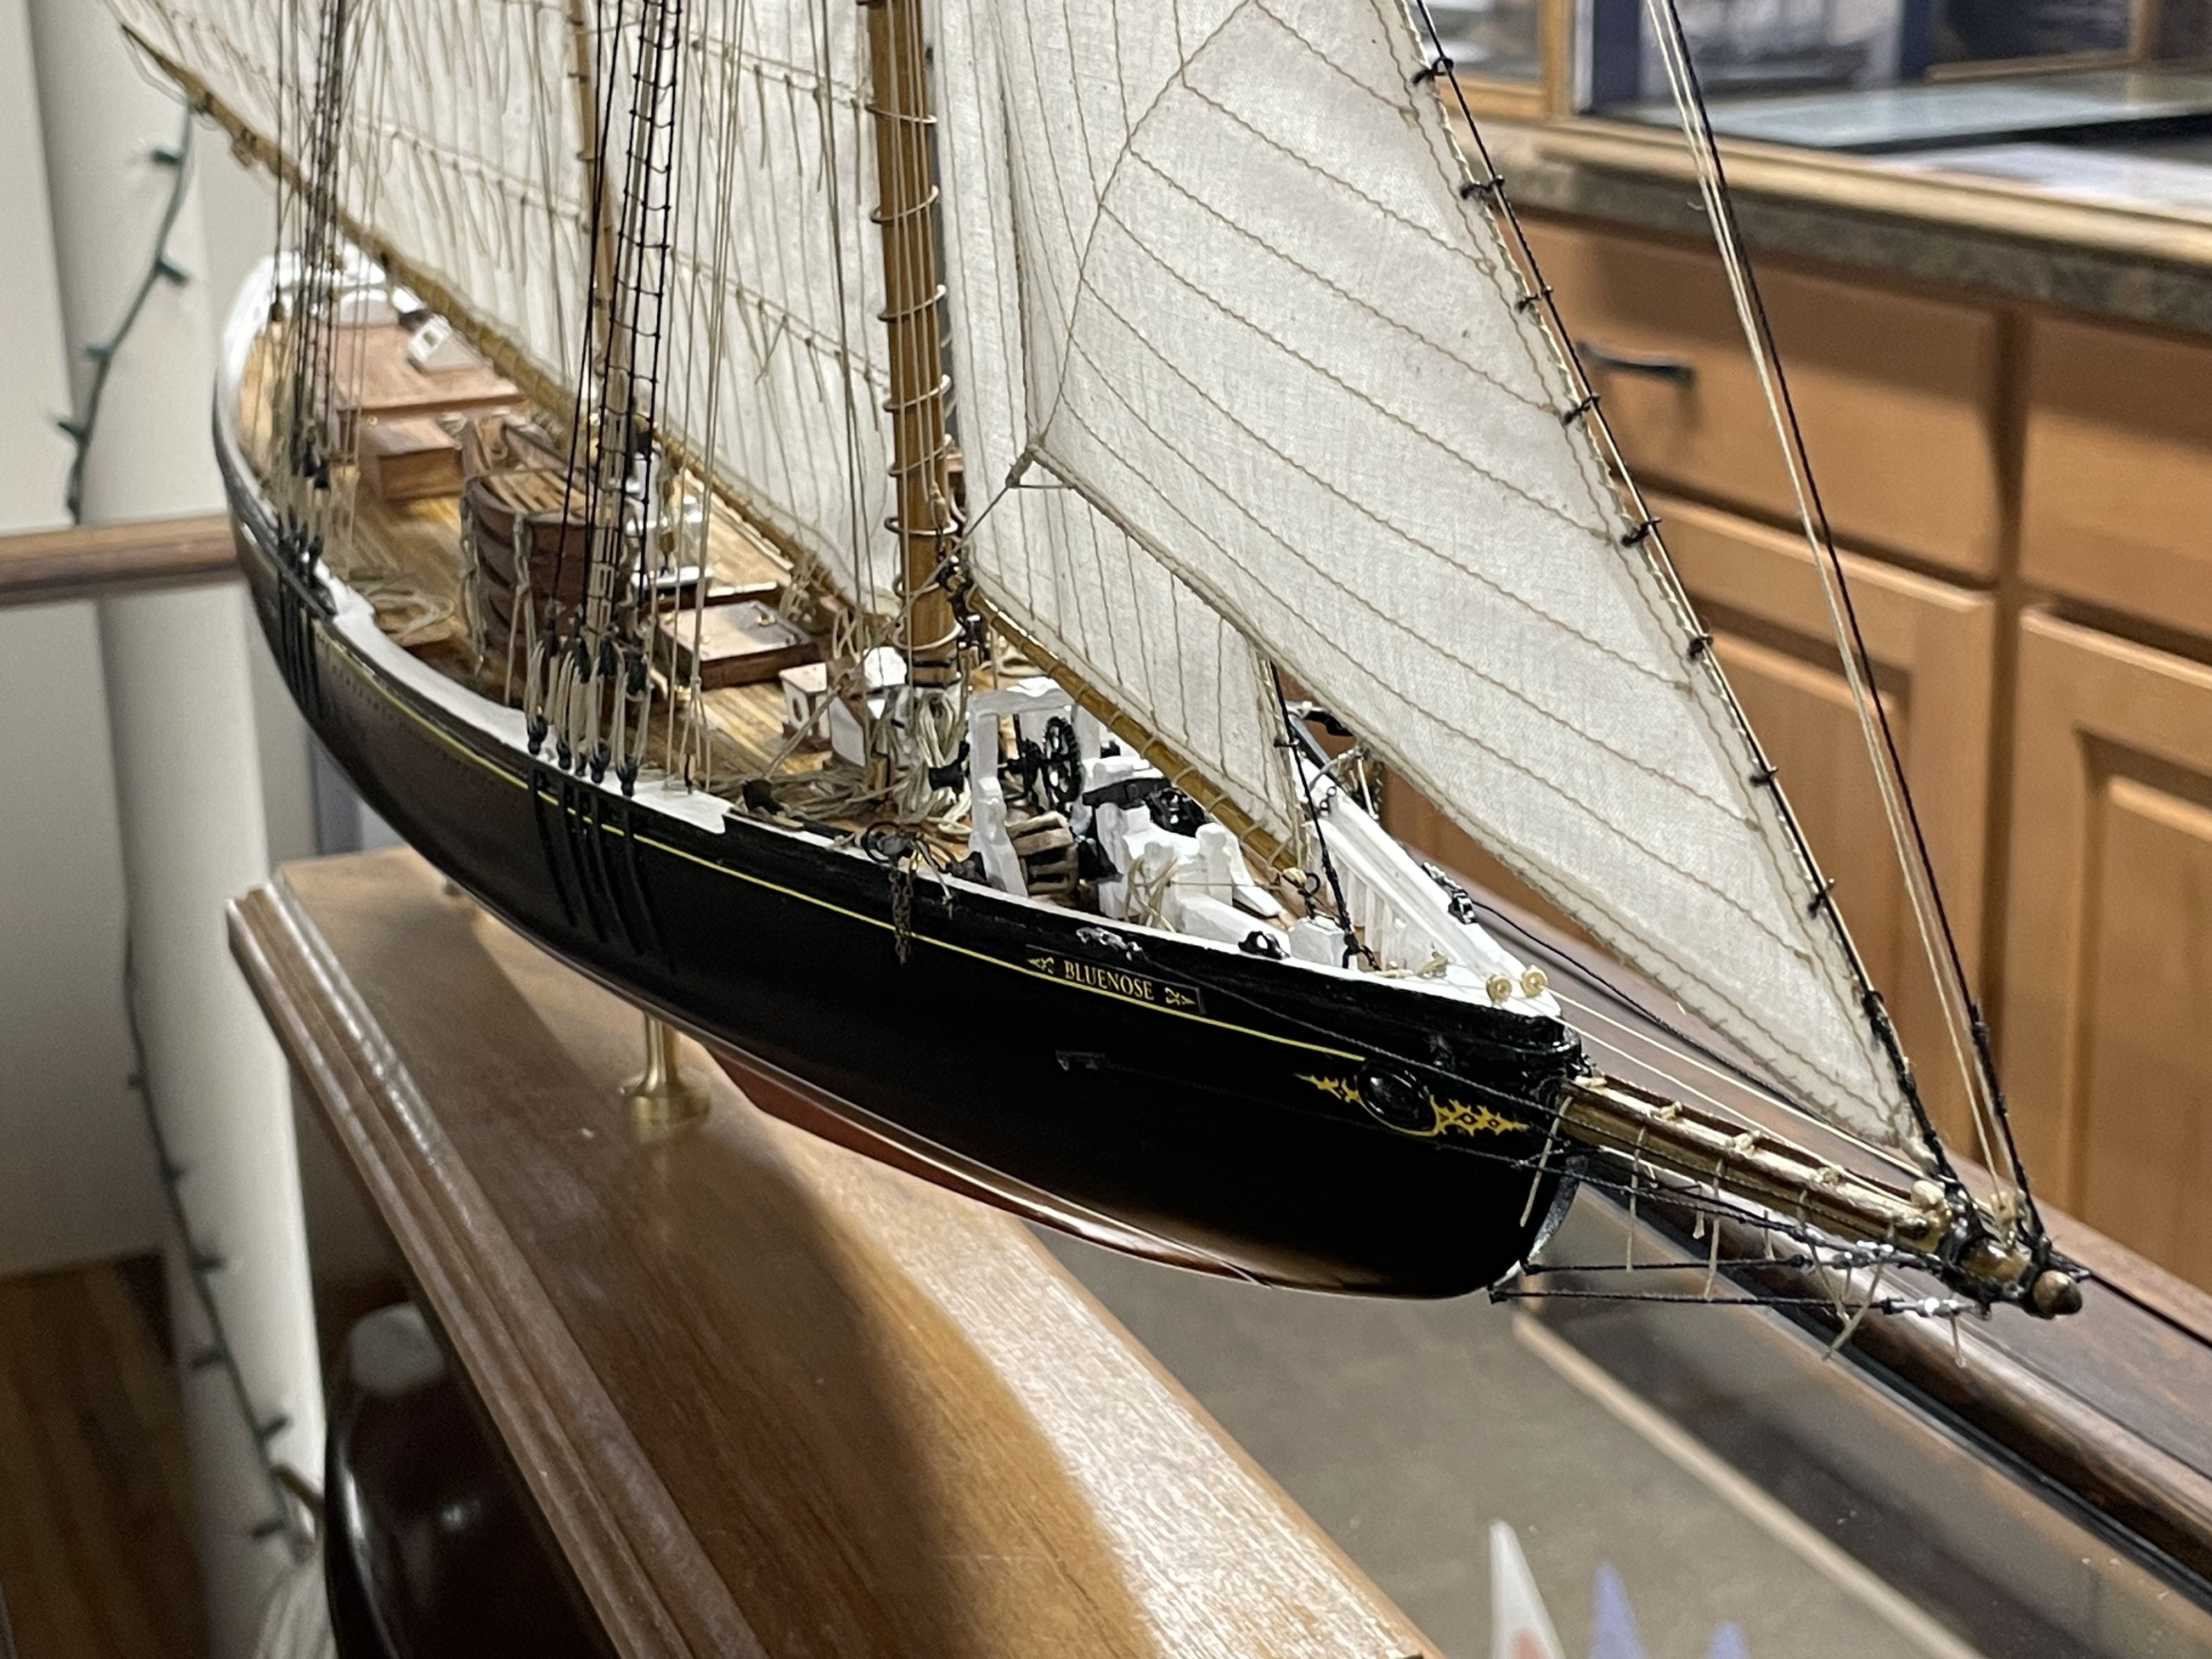
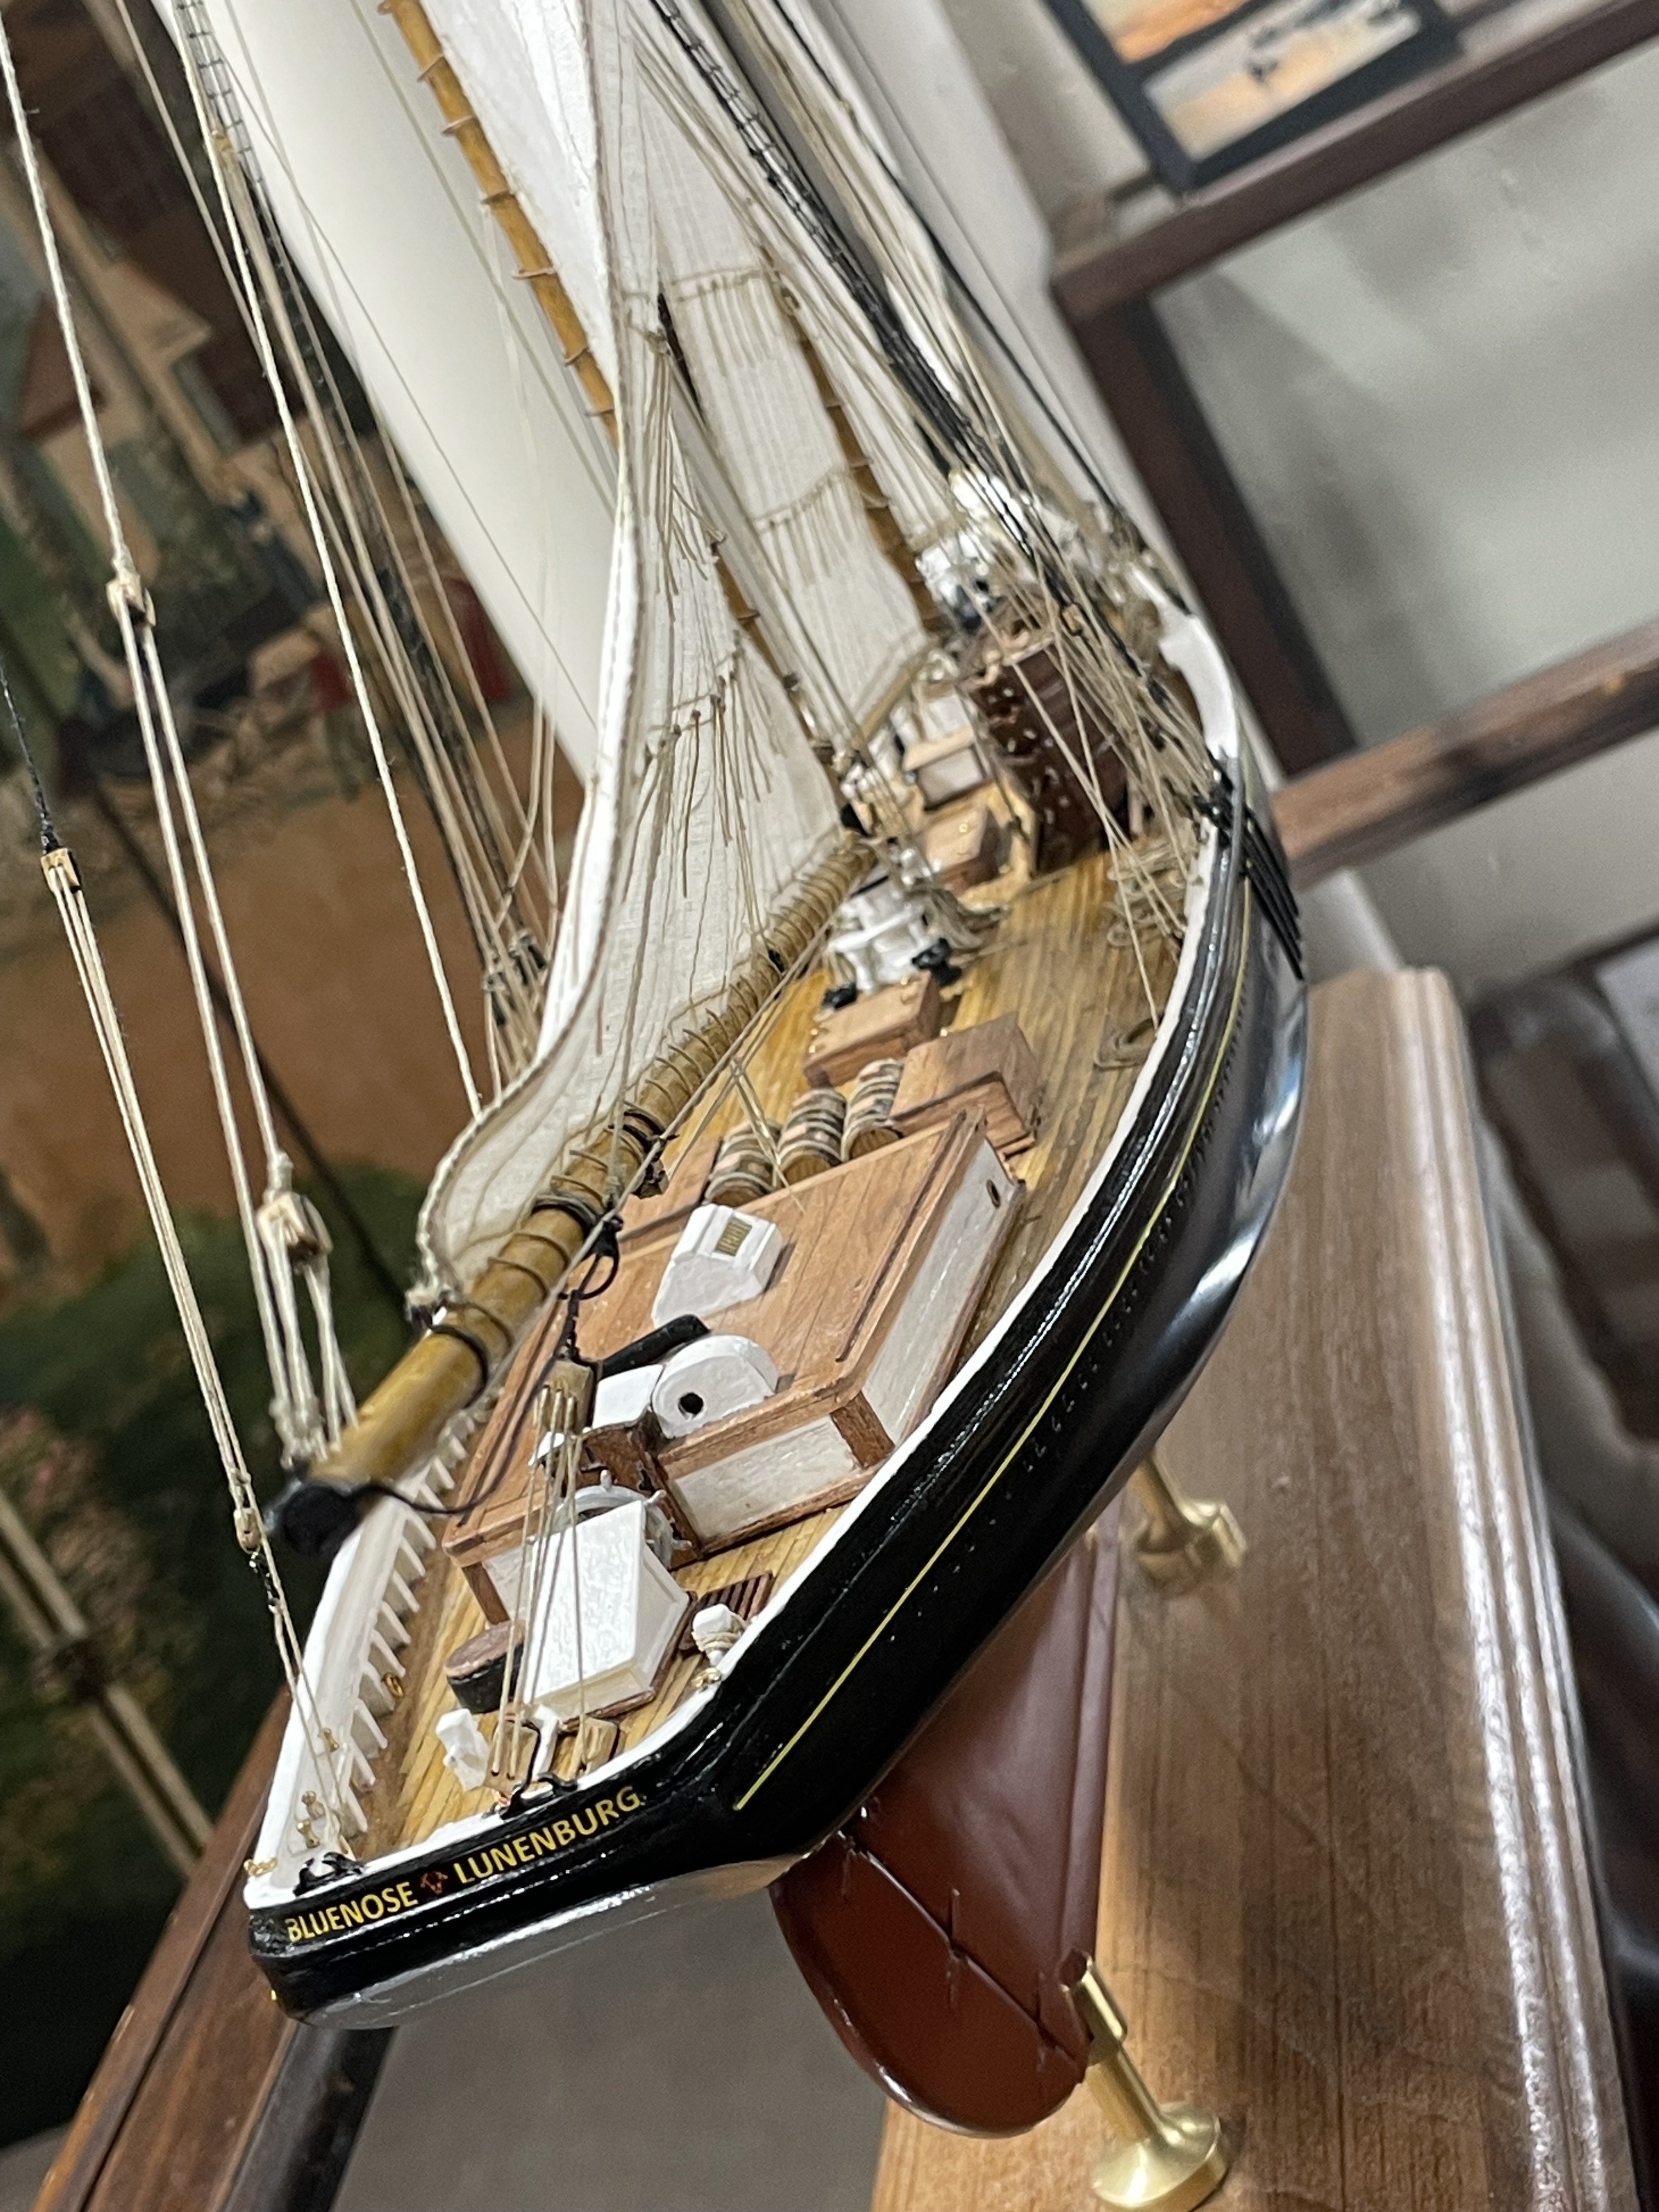
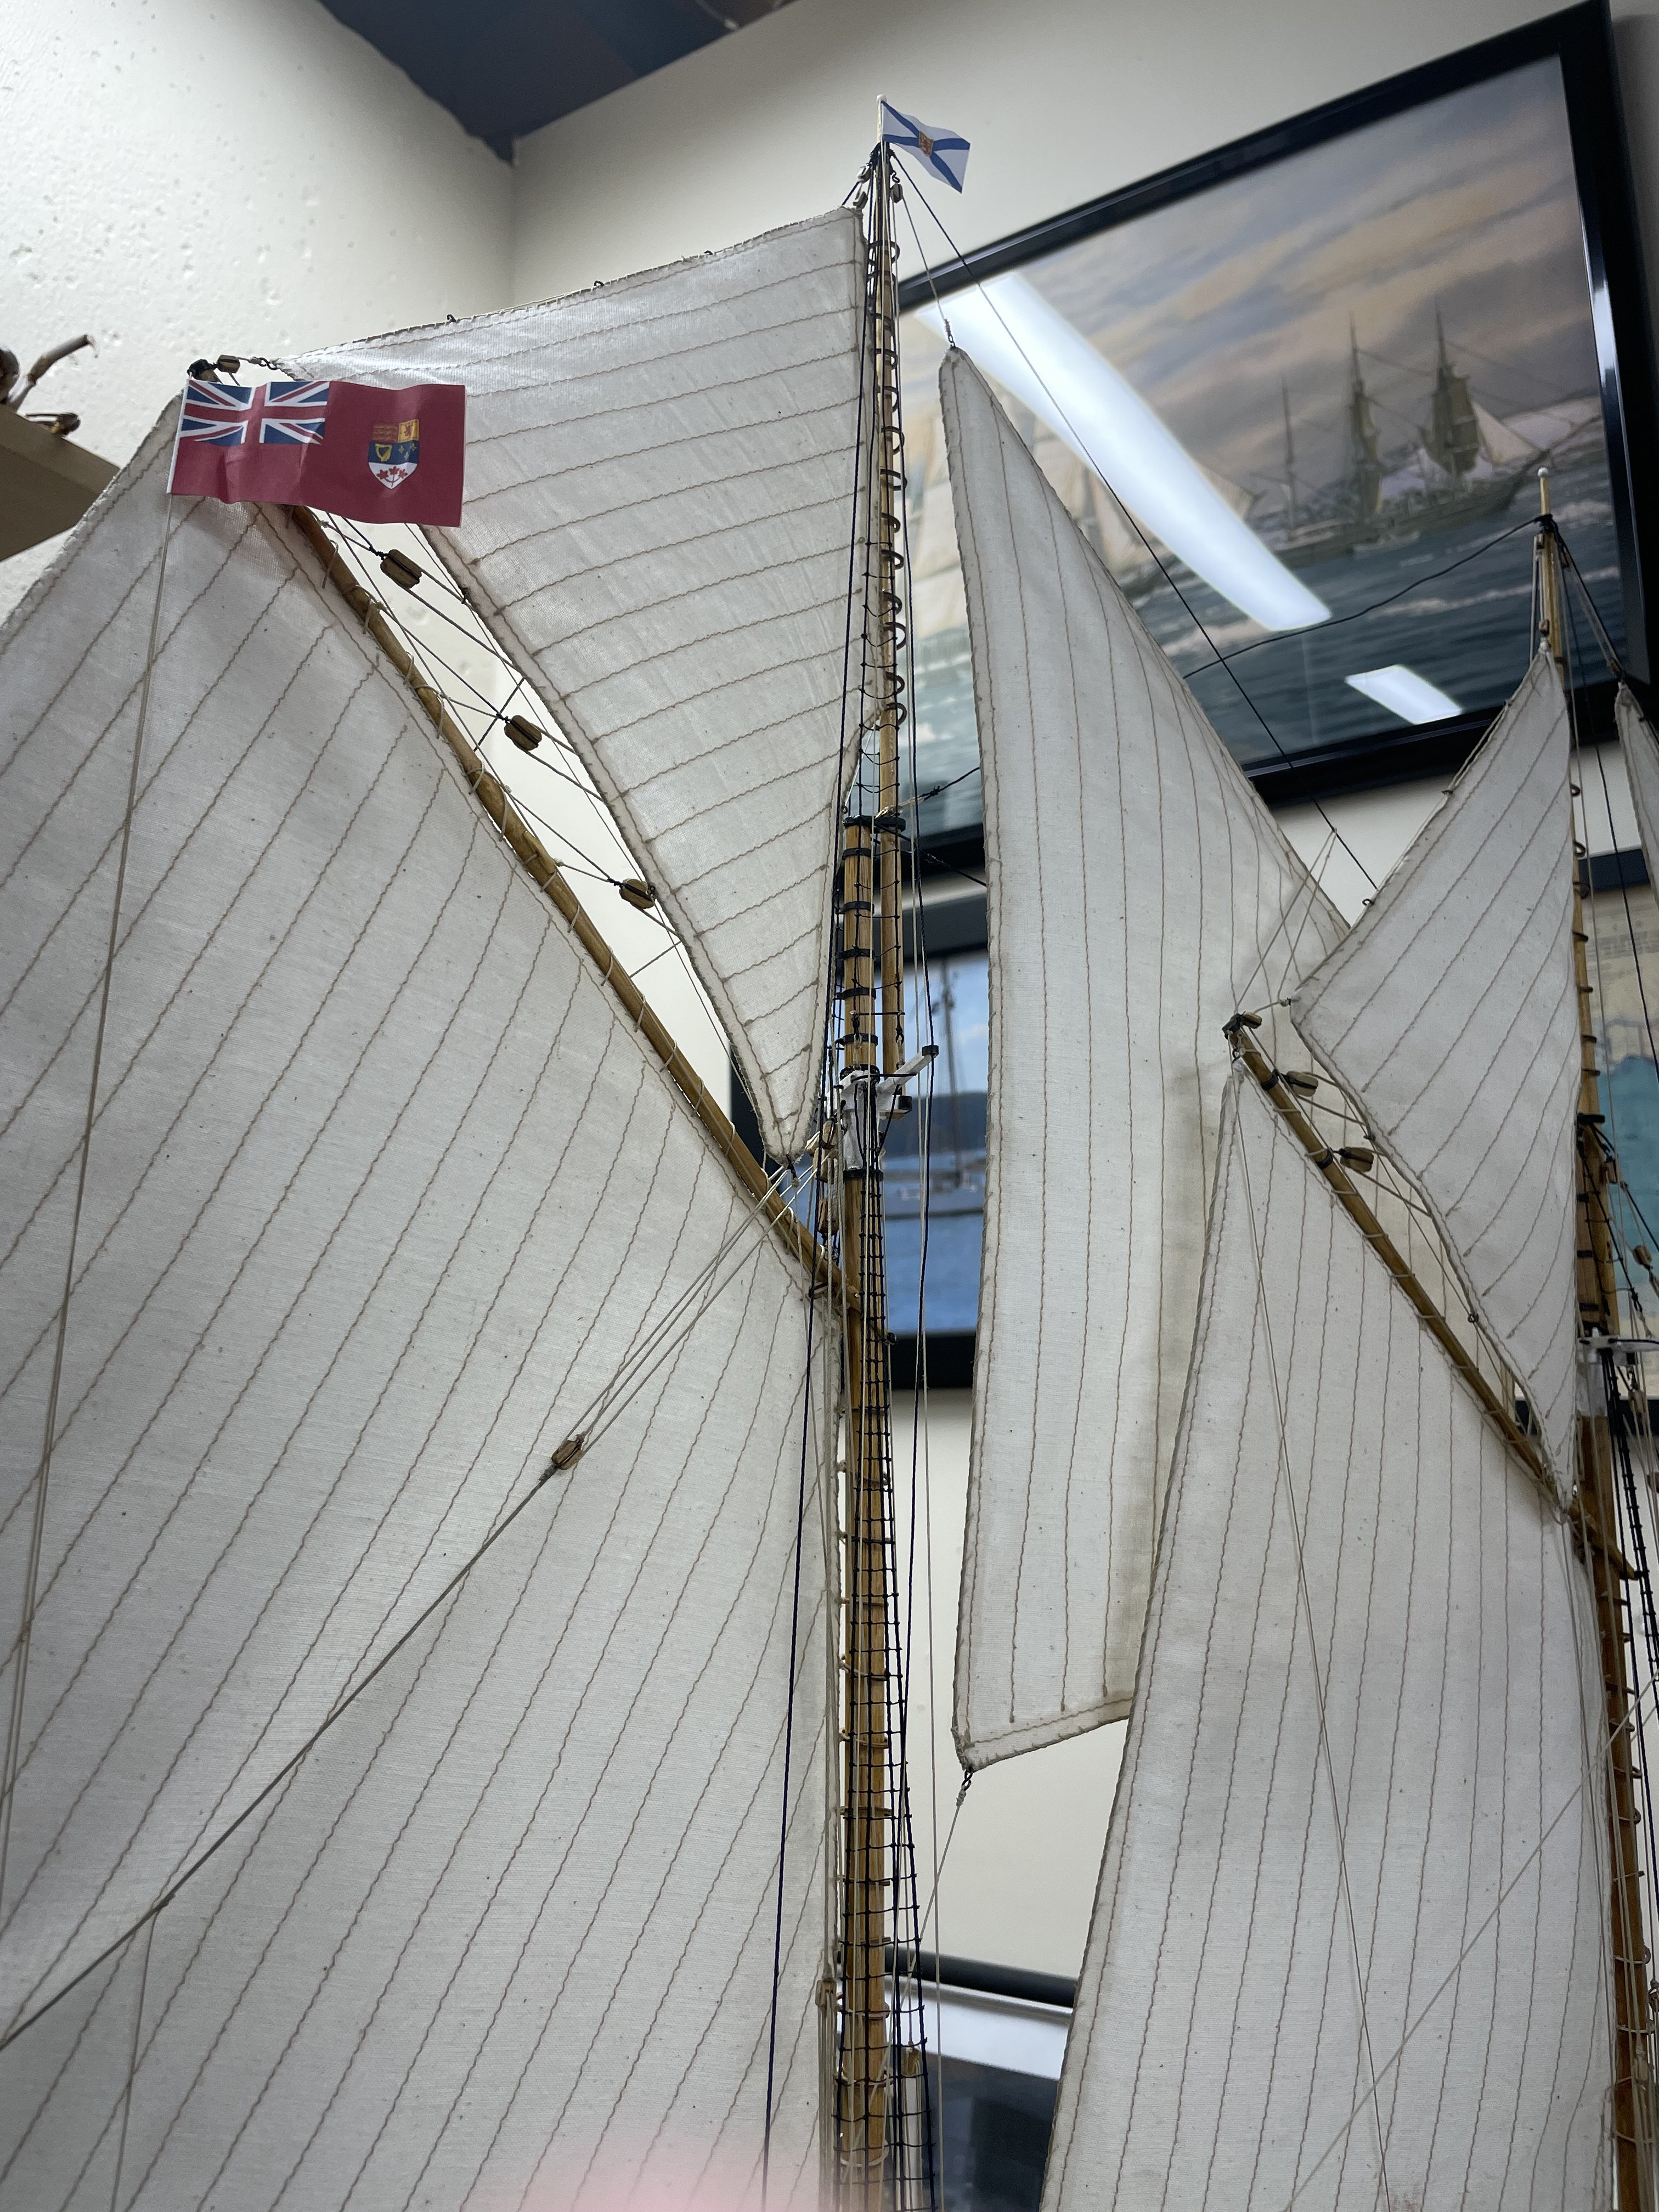
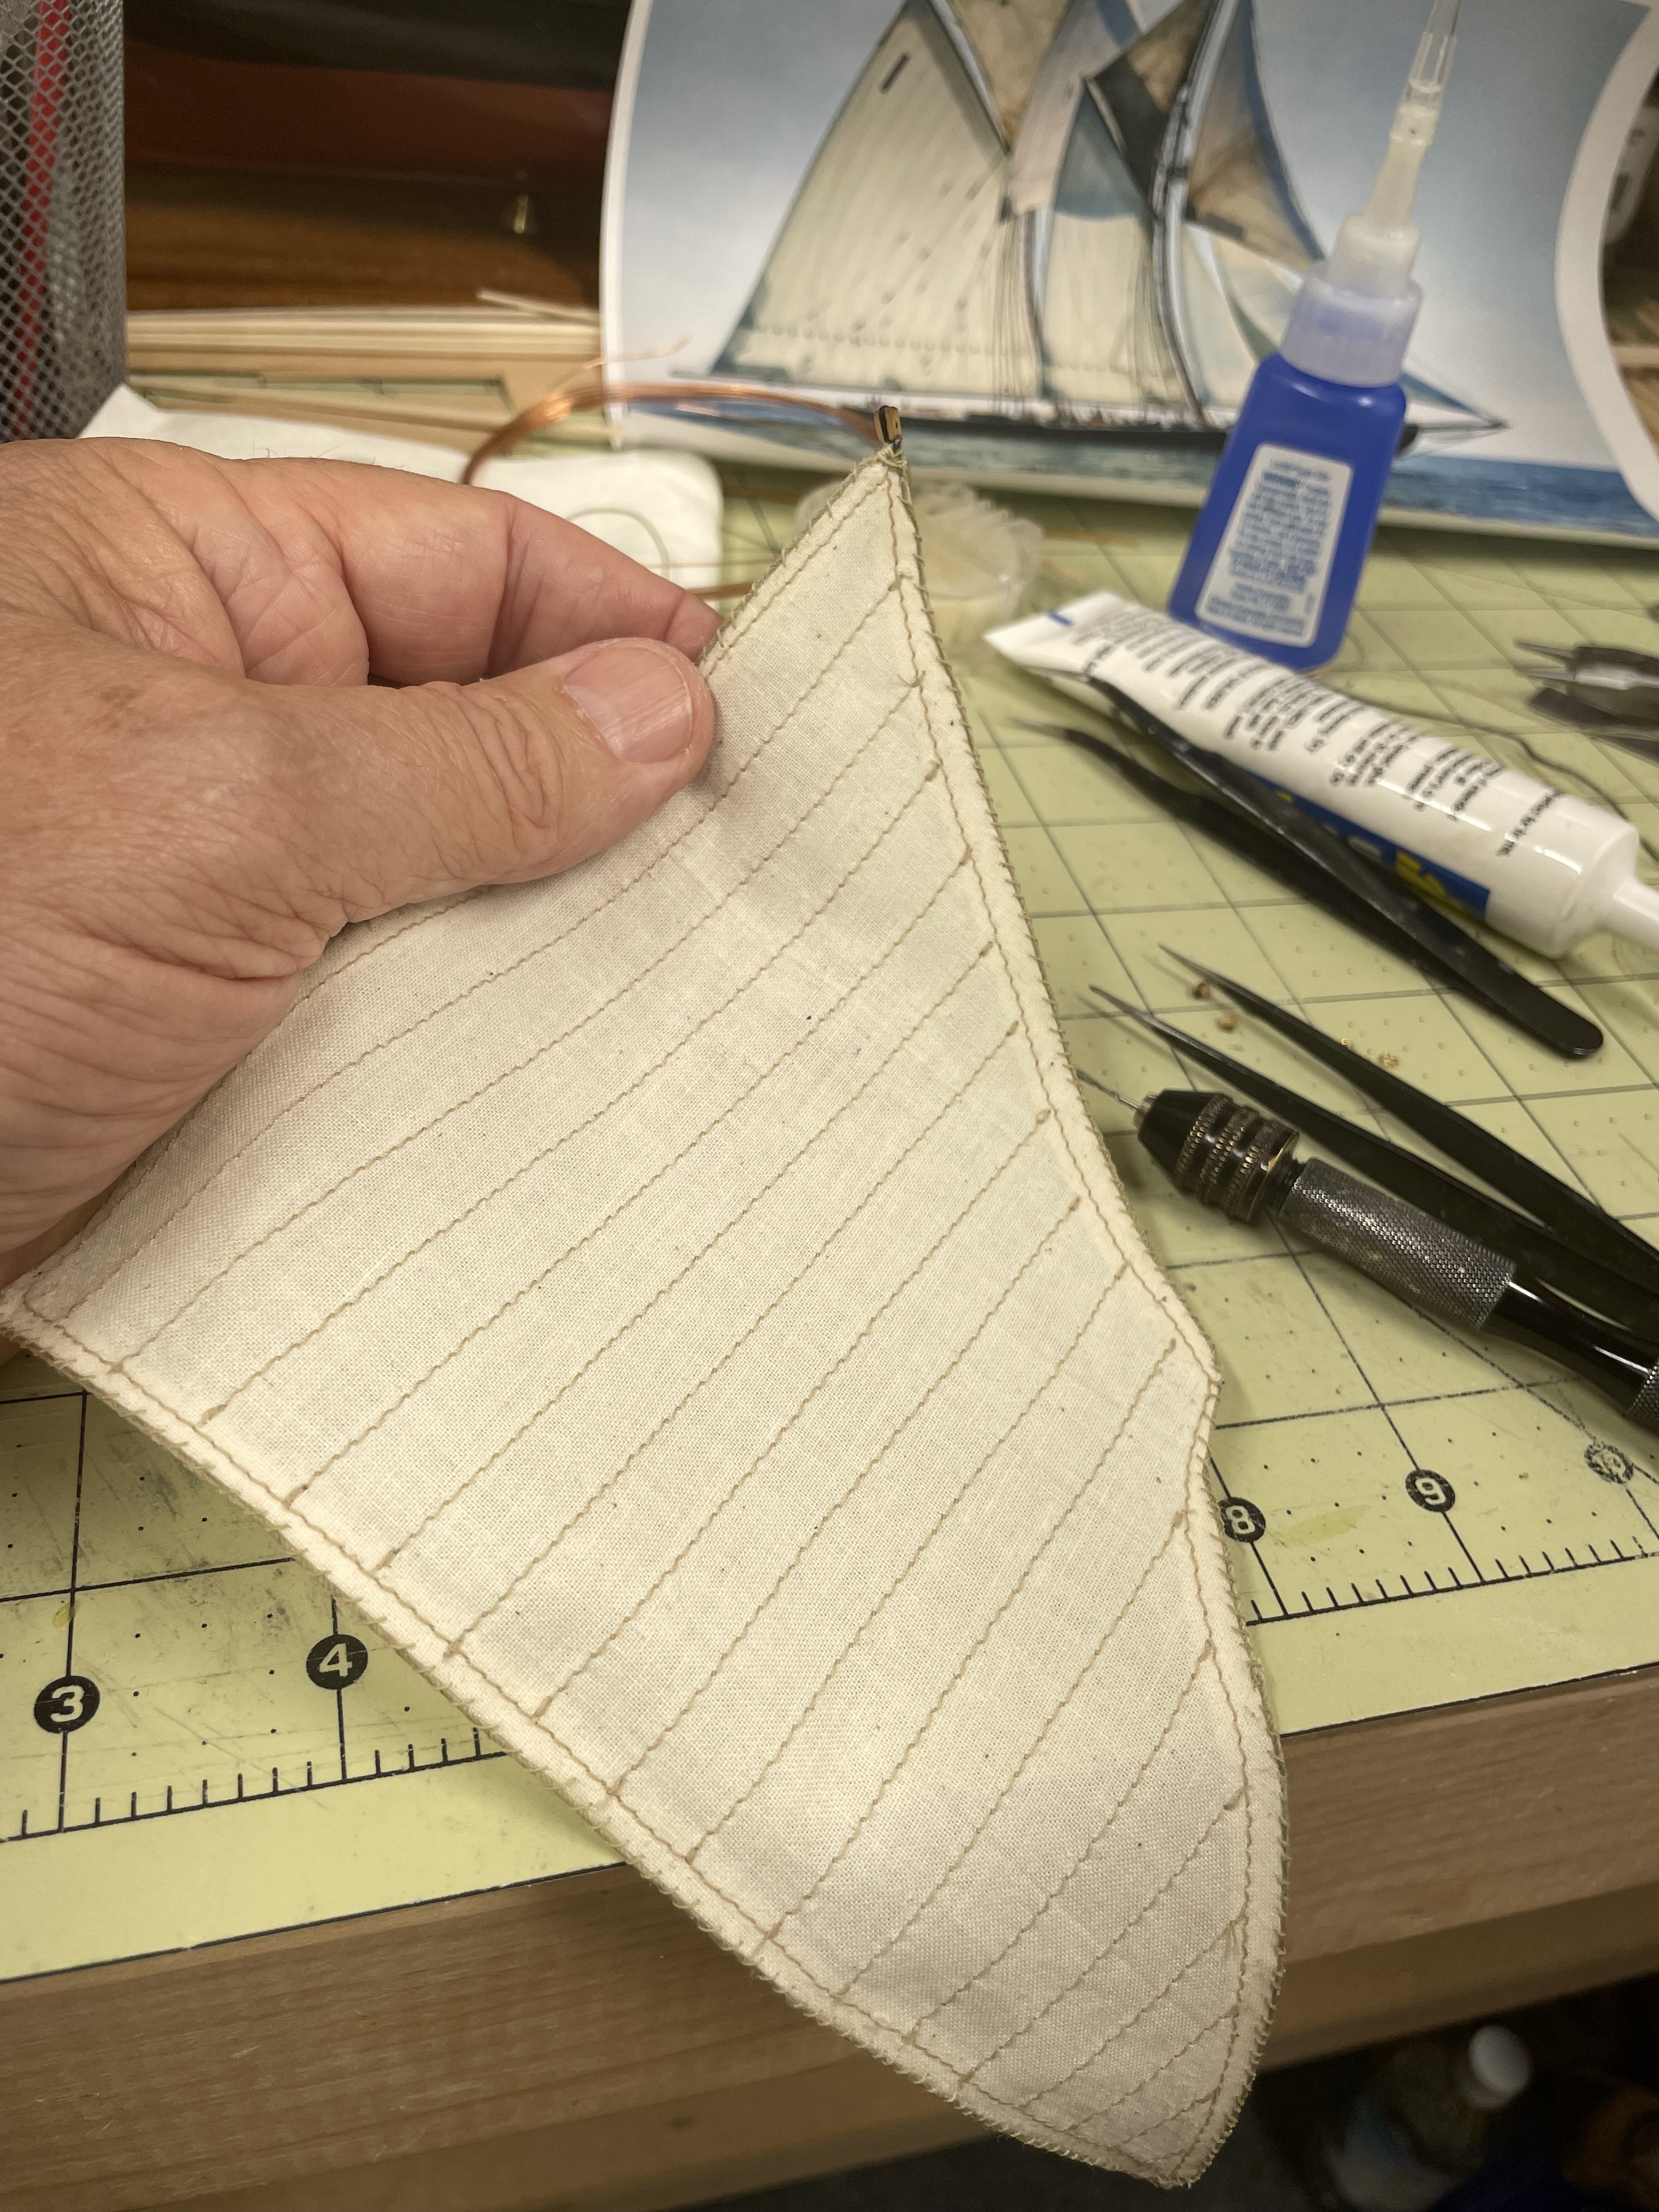
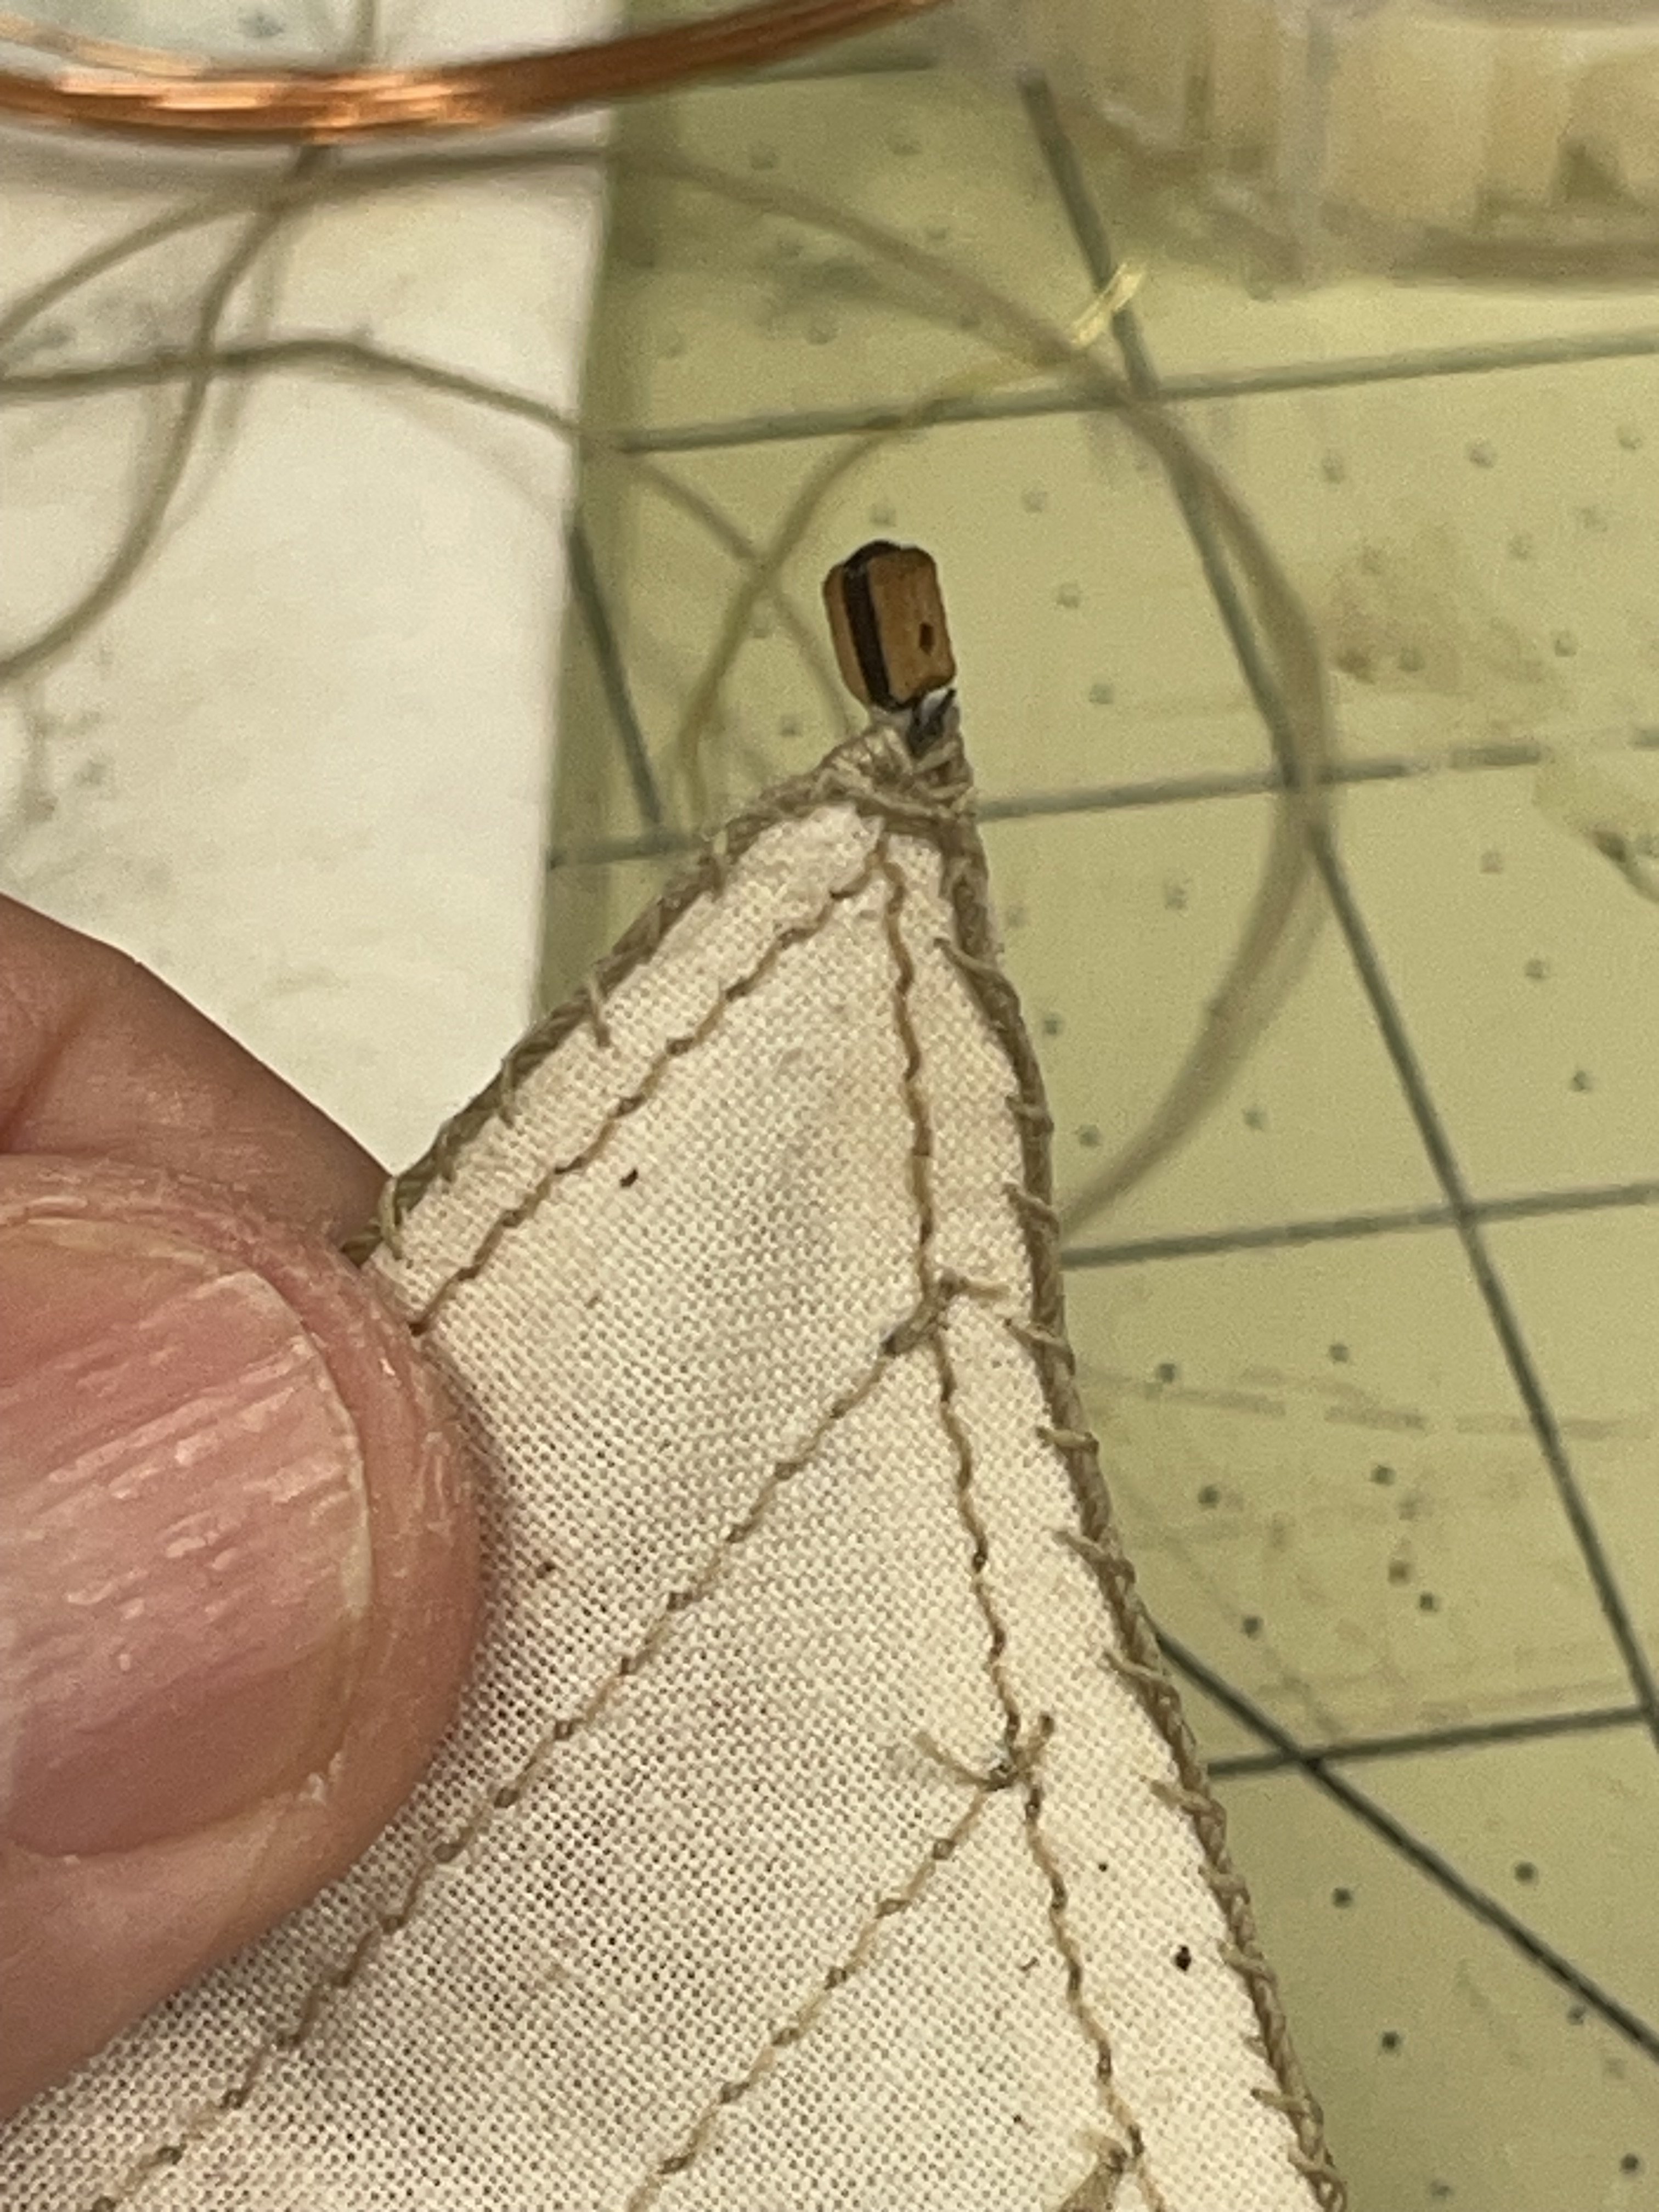
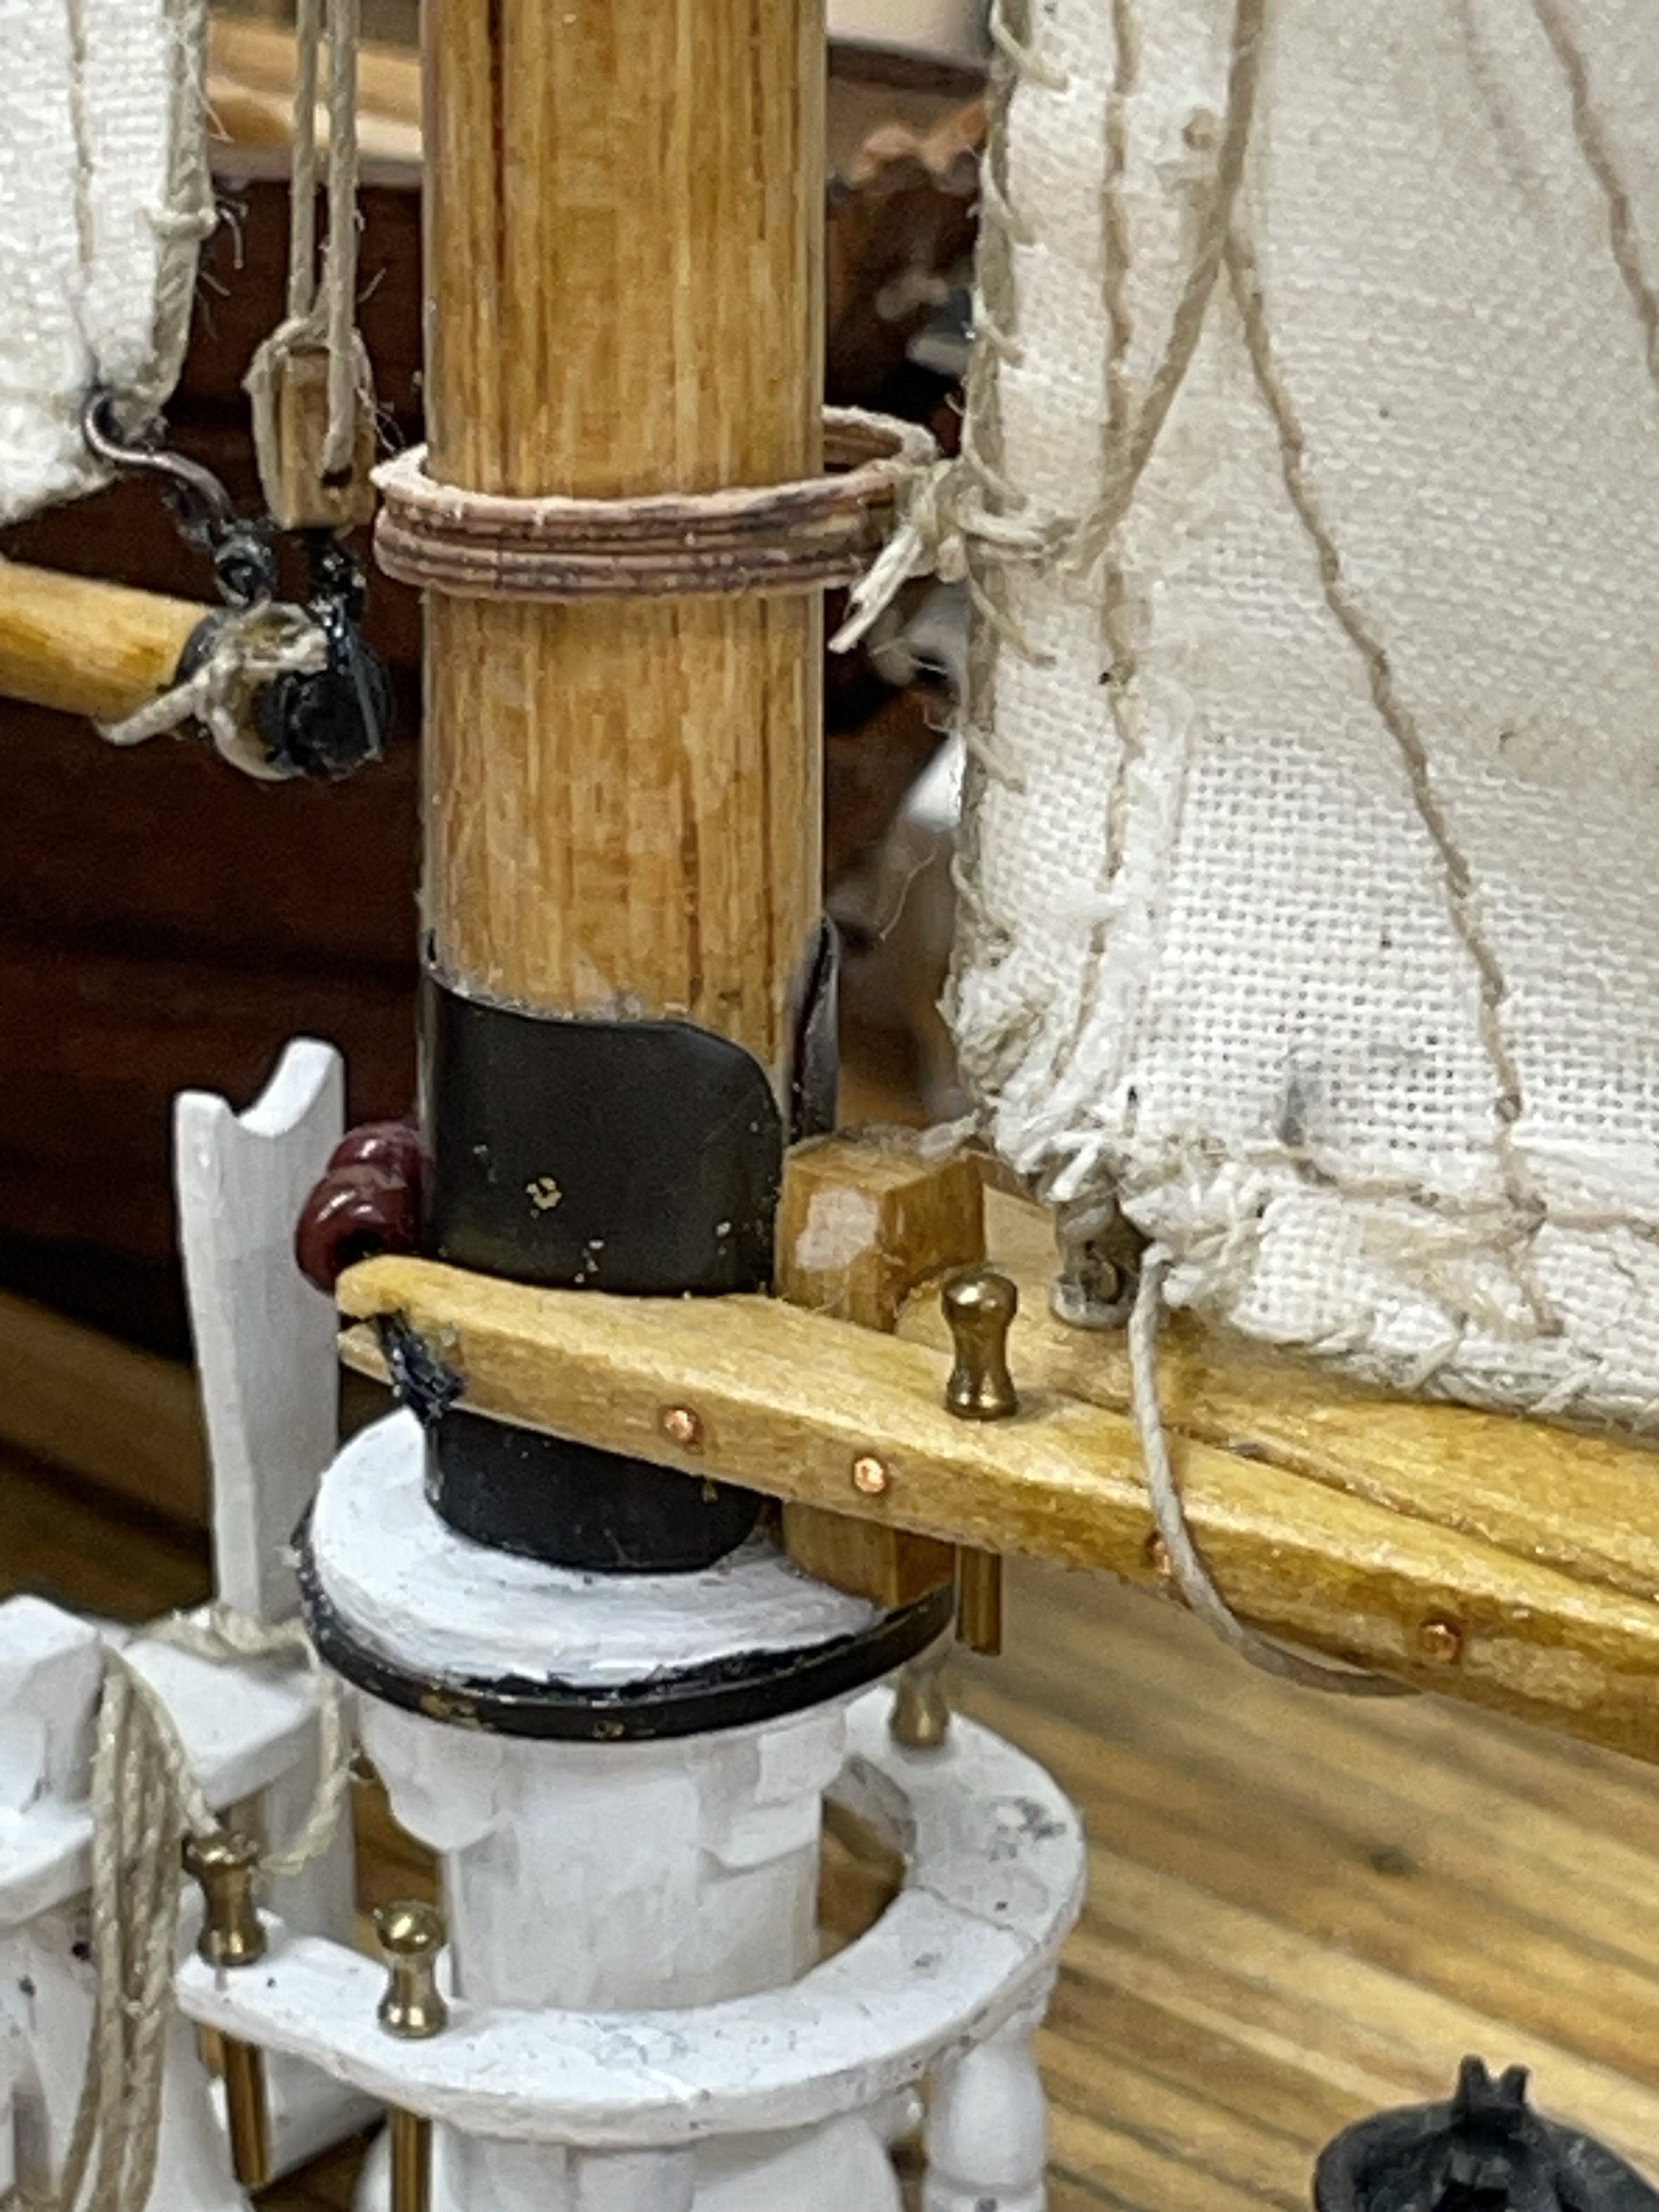
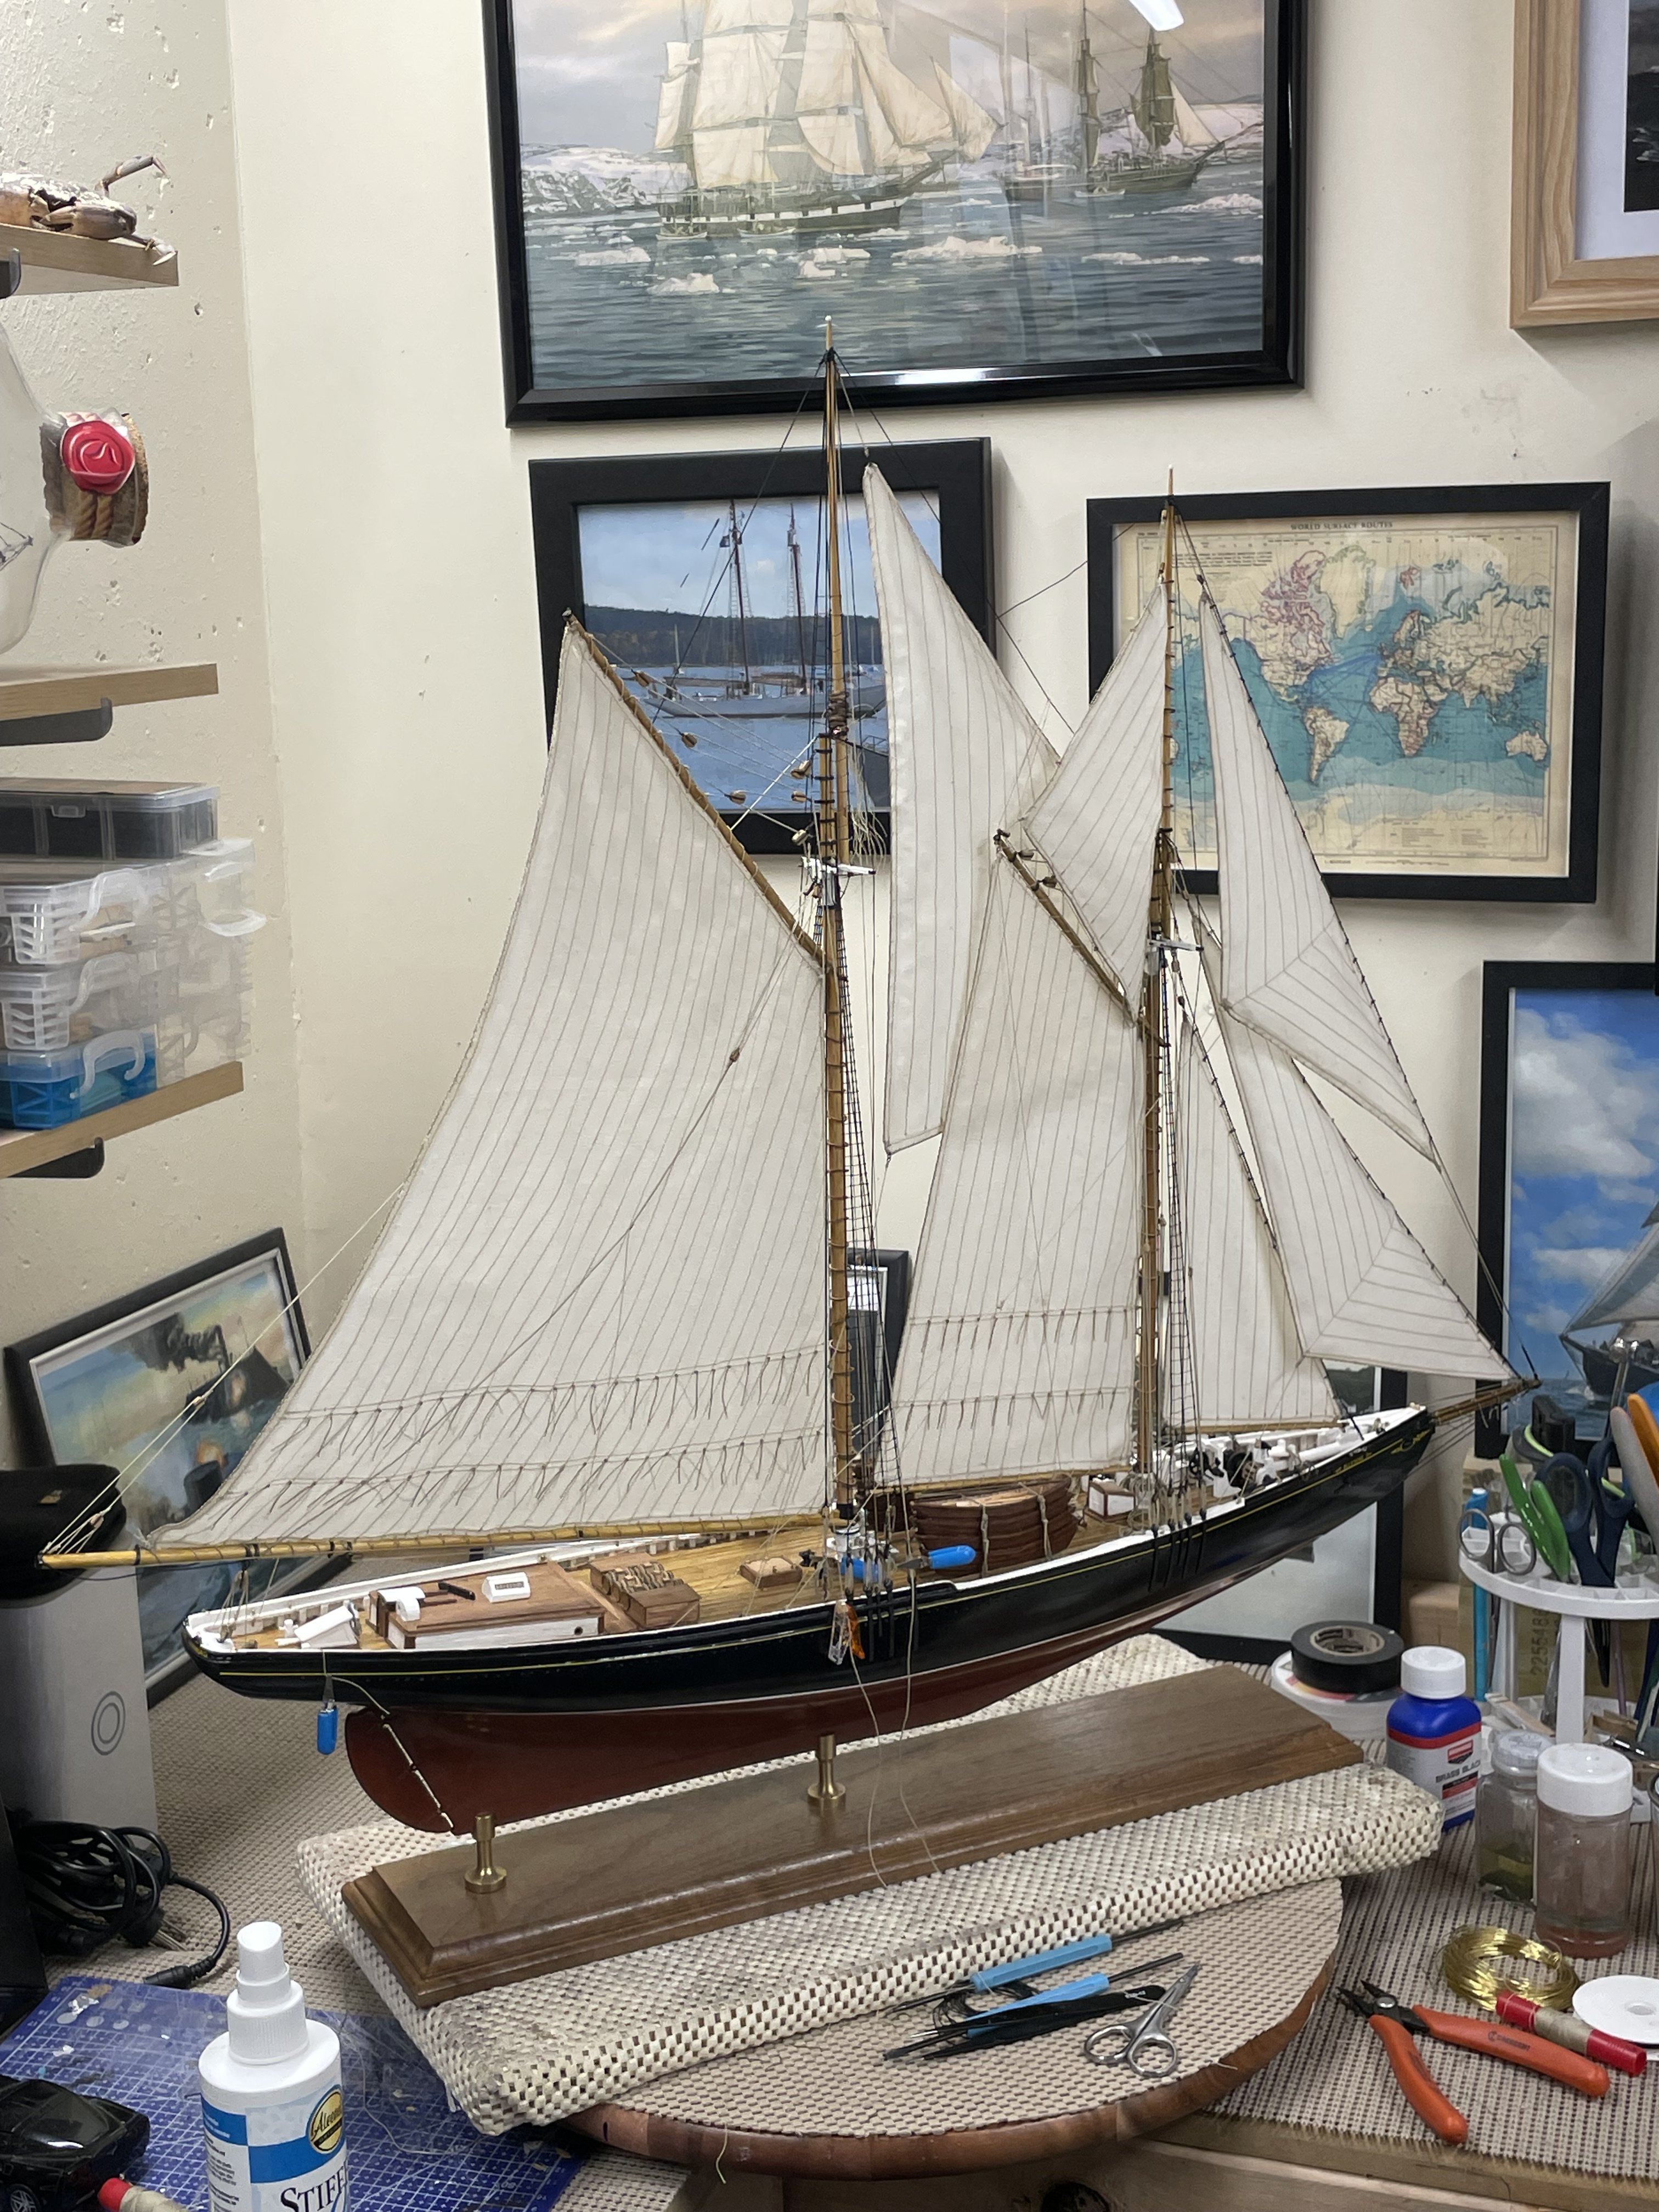
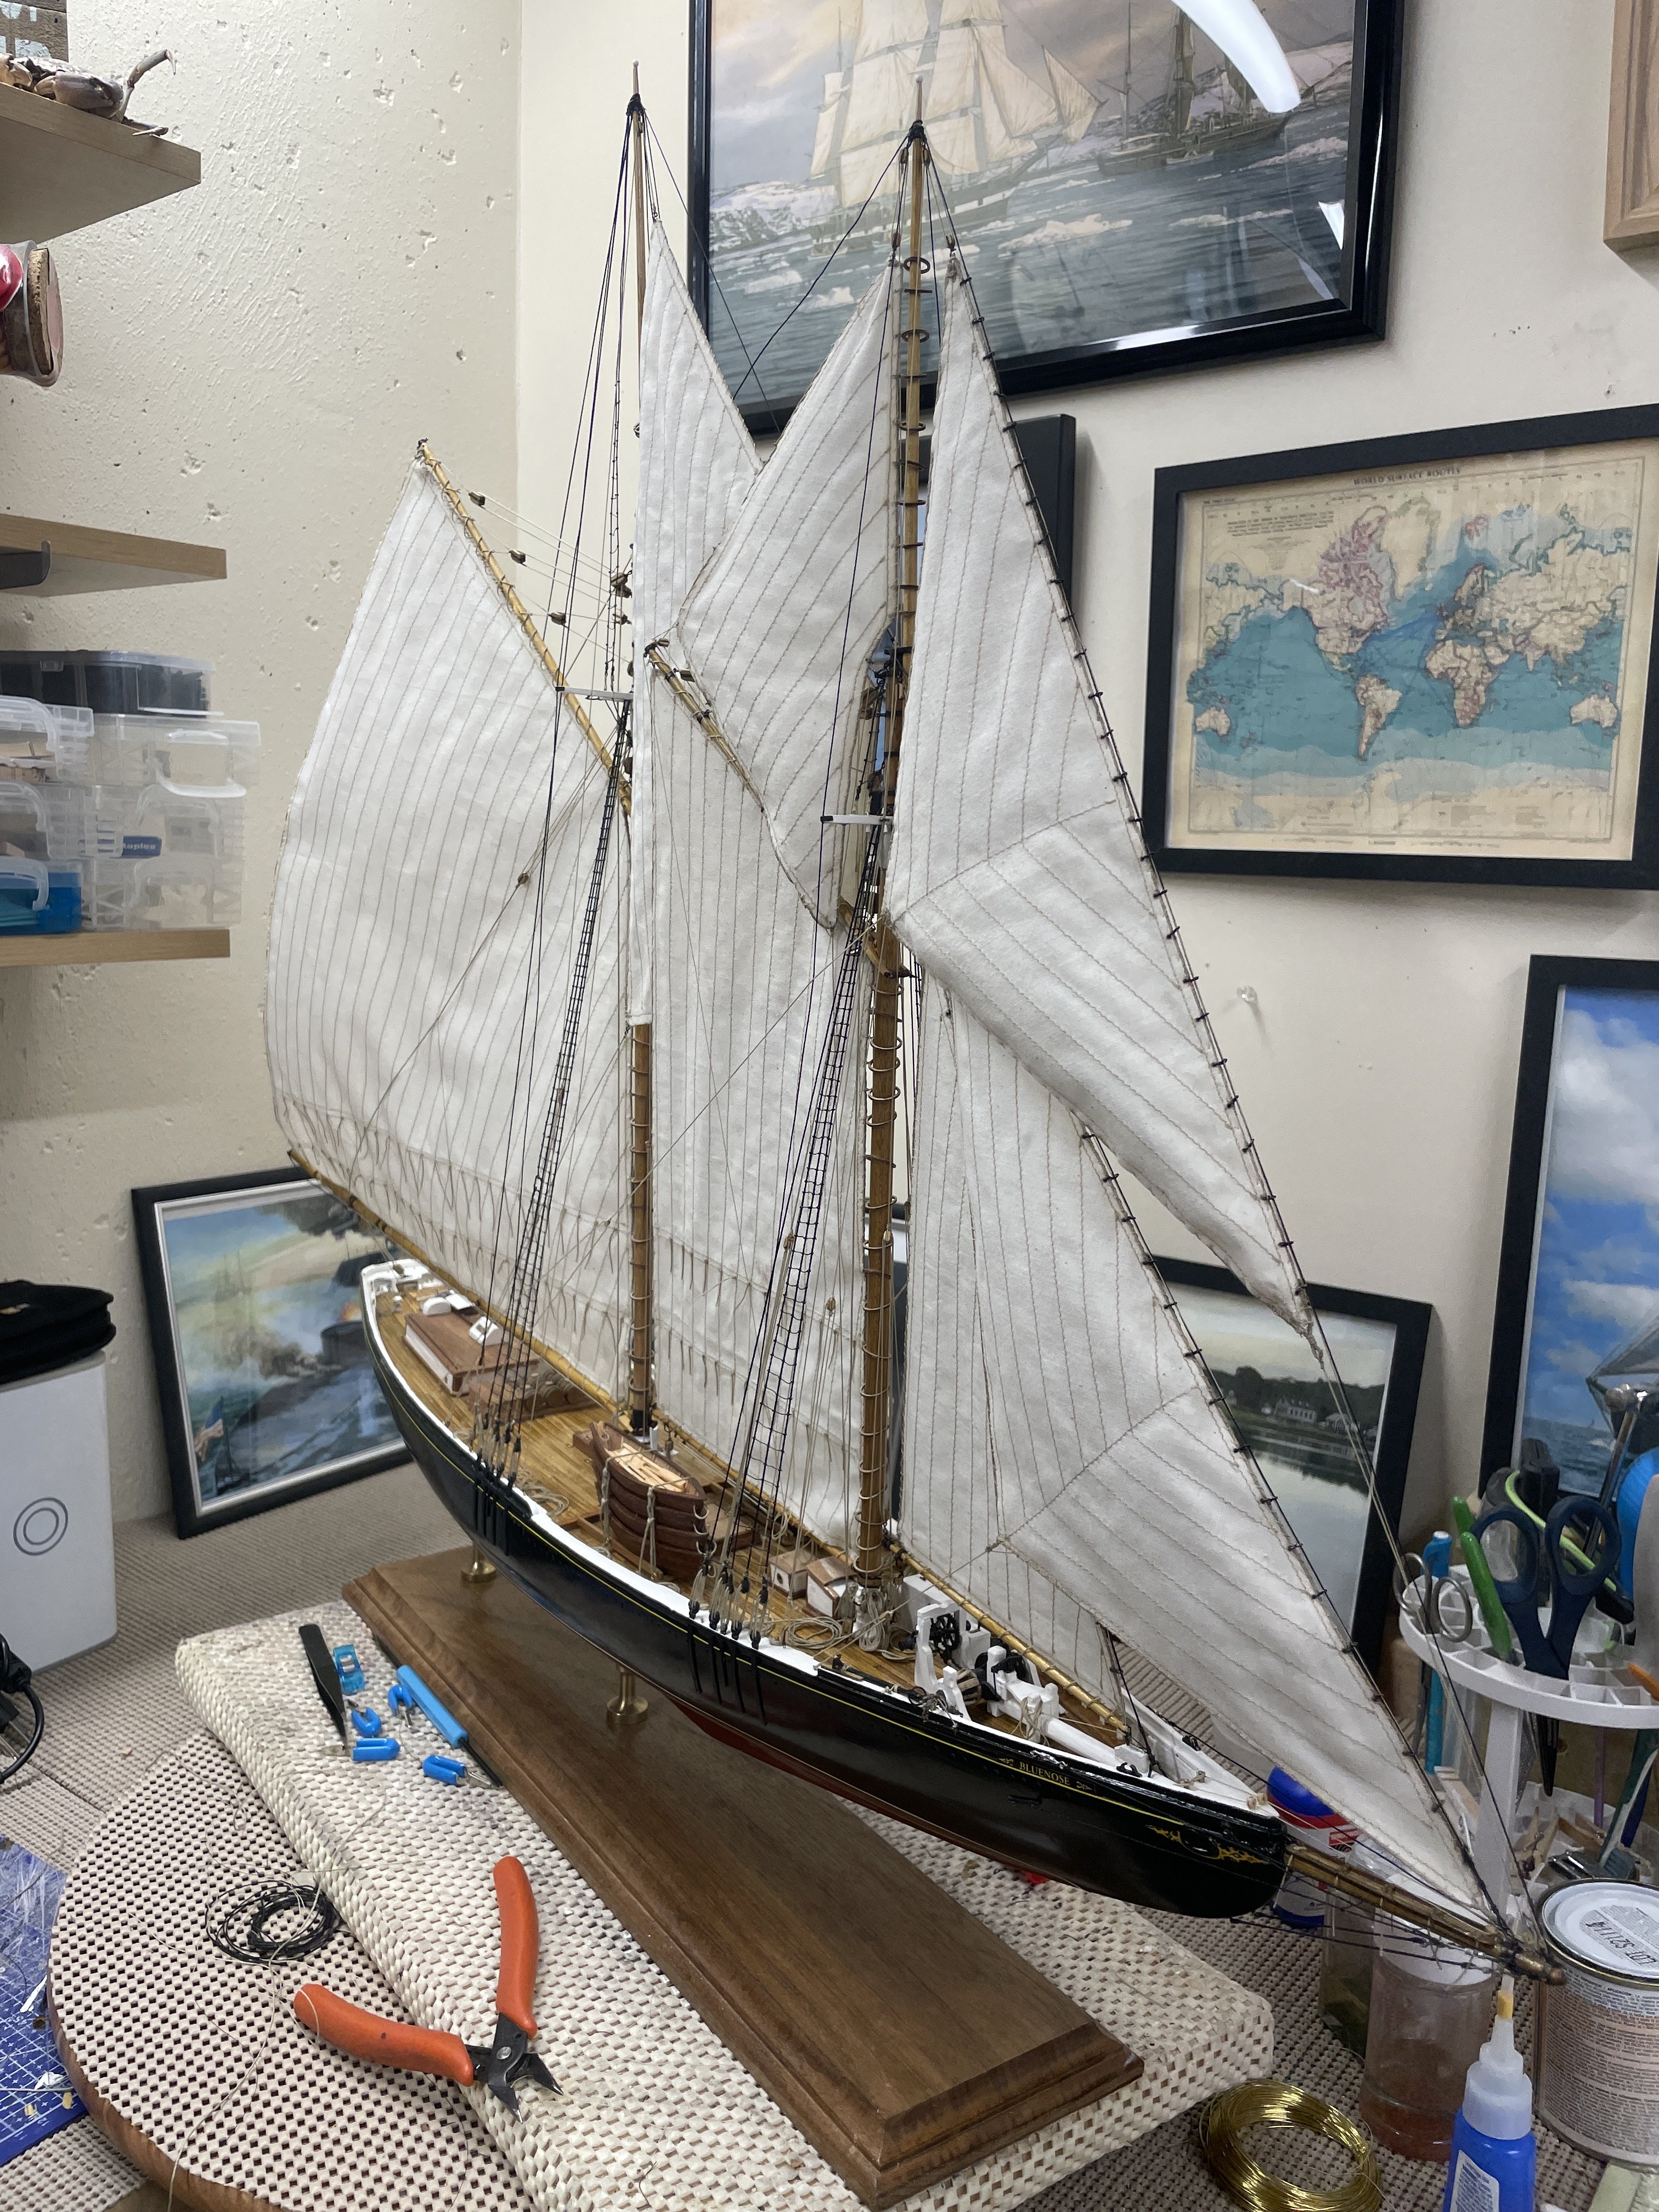
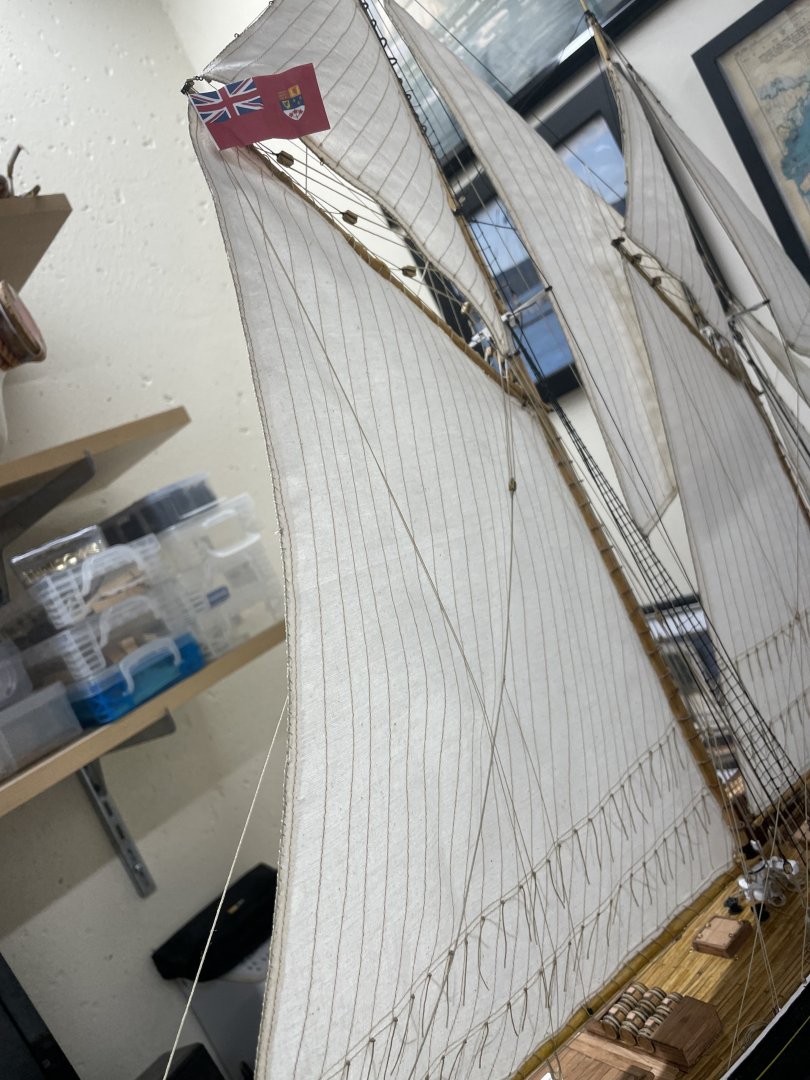
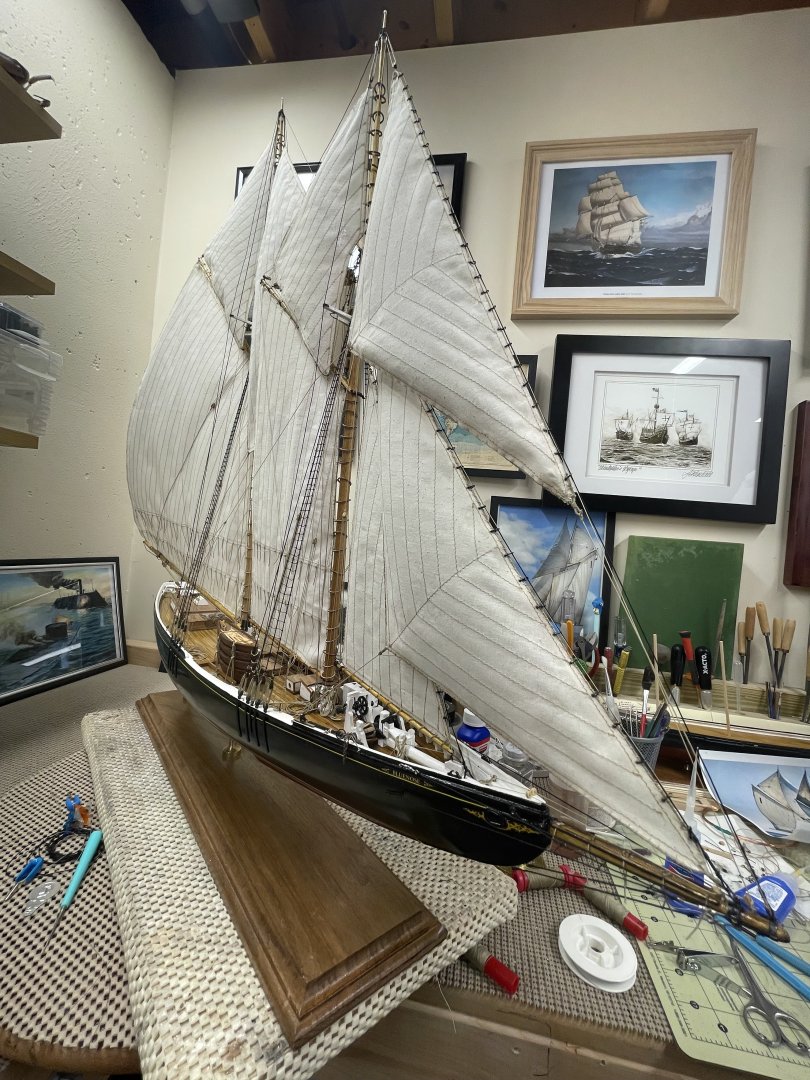
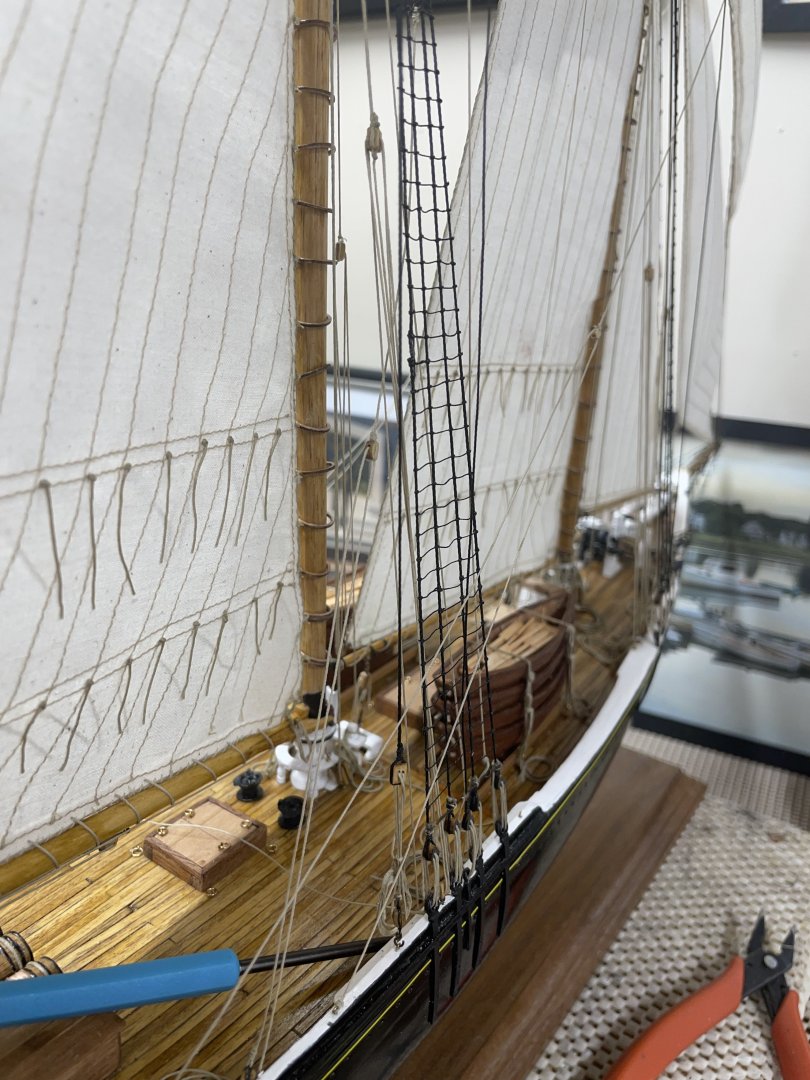
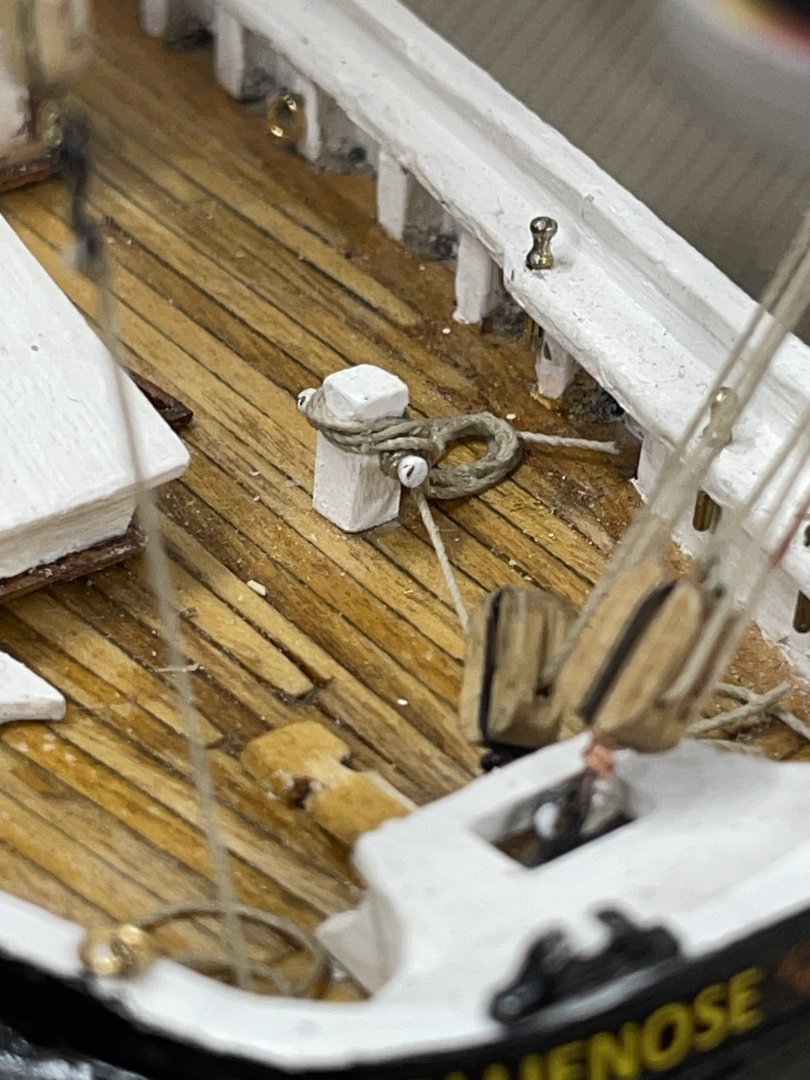
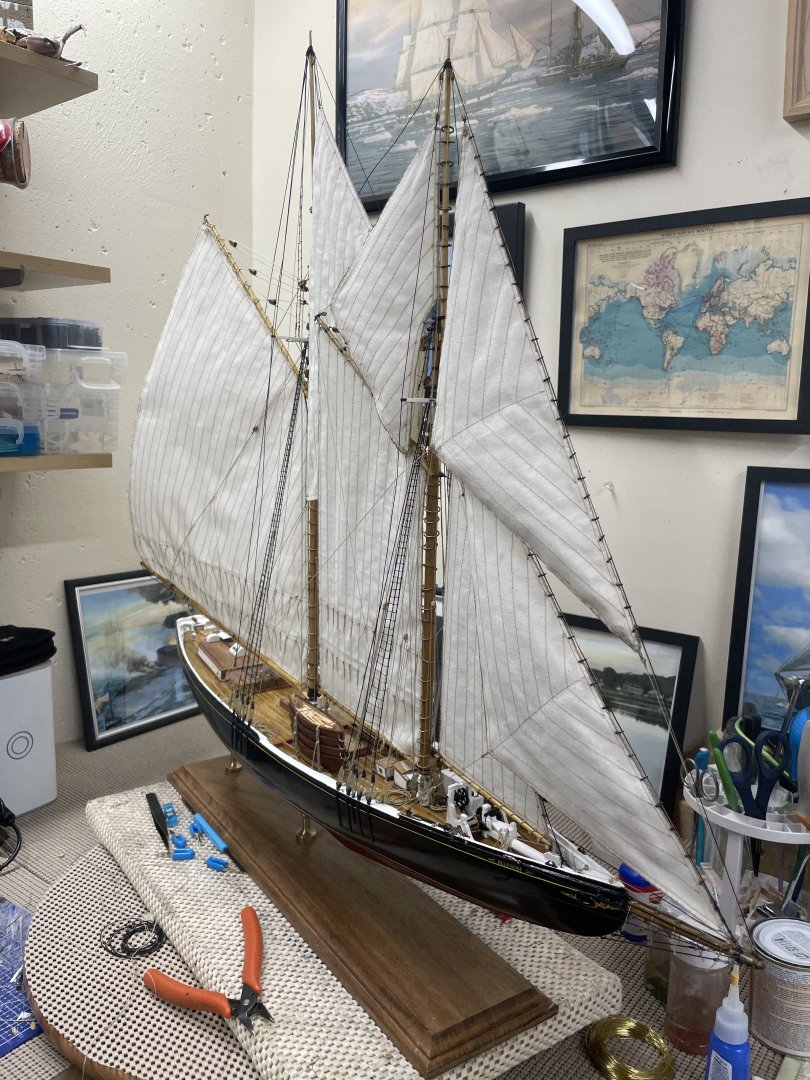
Flags and Flag Halyards… Main Flag Halyard belayed to Cleat on the Main Boom. (Canadian 1921 Flag) Main Top Mast Flag Halyard belayed to Sheer Pole. (Nova Scotia 1921 Flag) FINISHED! 🍻

- 282 replies
-
- 10
-
-

-
- Bluenose
- Model Shipways
- (and 1 more)
-
Incredible work, Eric. Not only are the materials “home grown”, so are your plans. Very impressive. 😎 Cheers 🍻
-
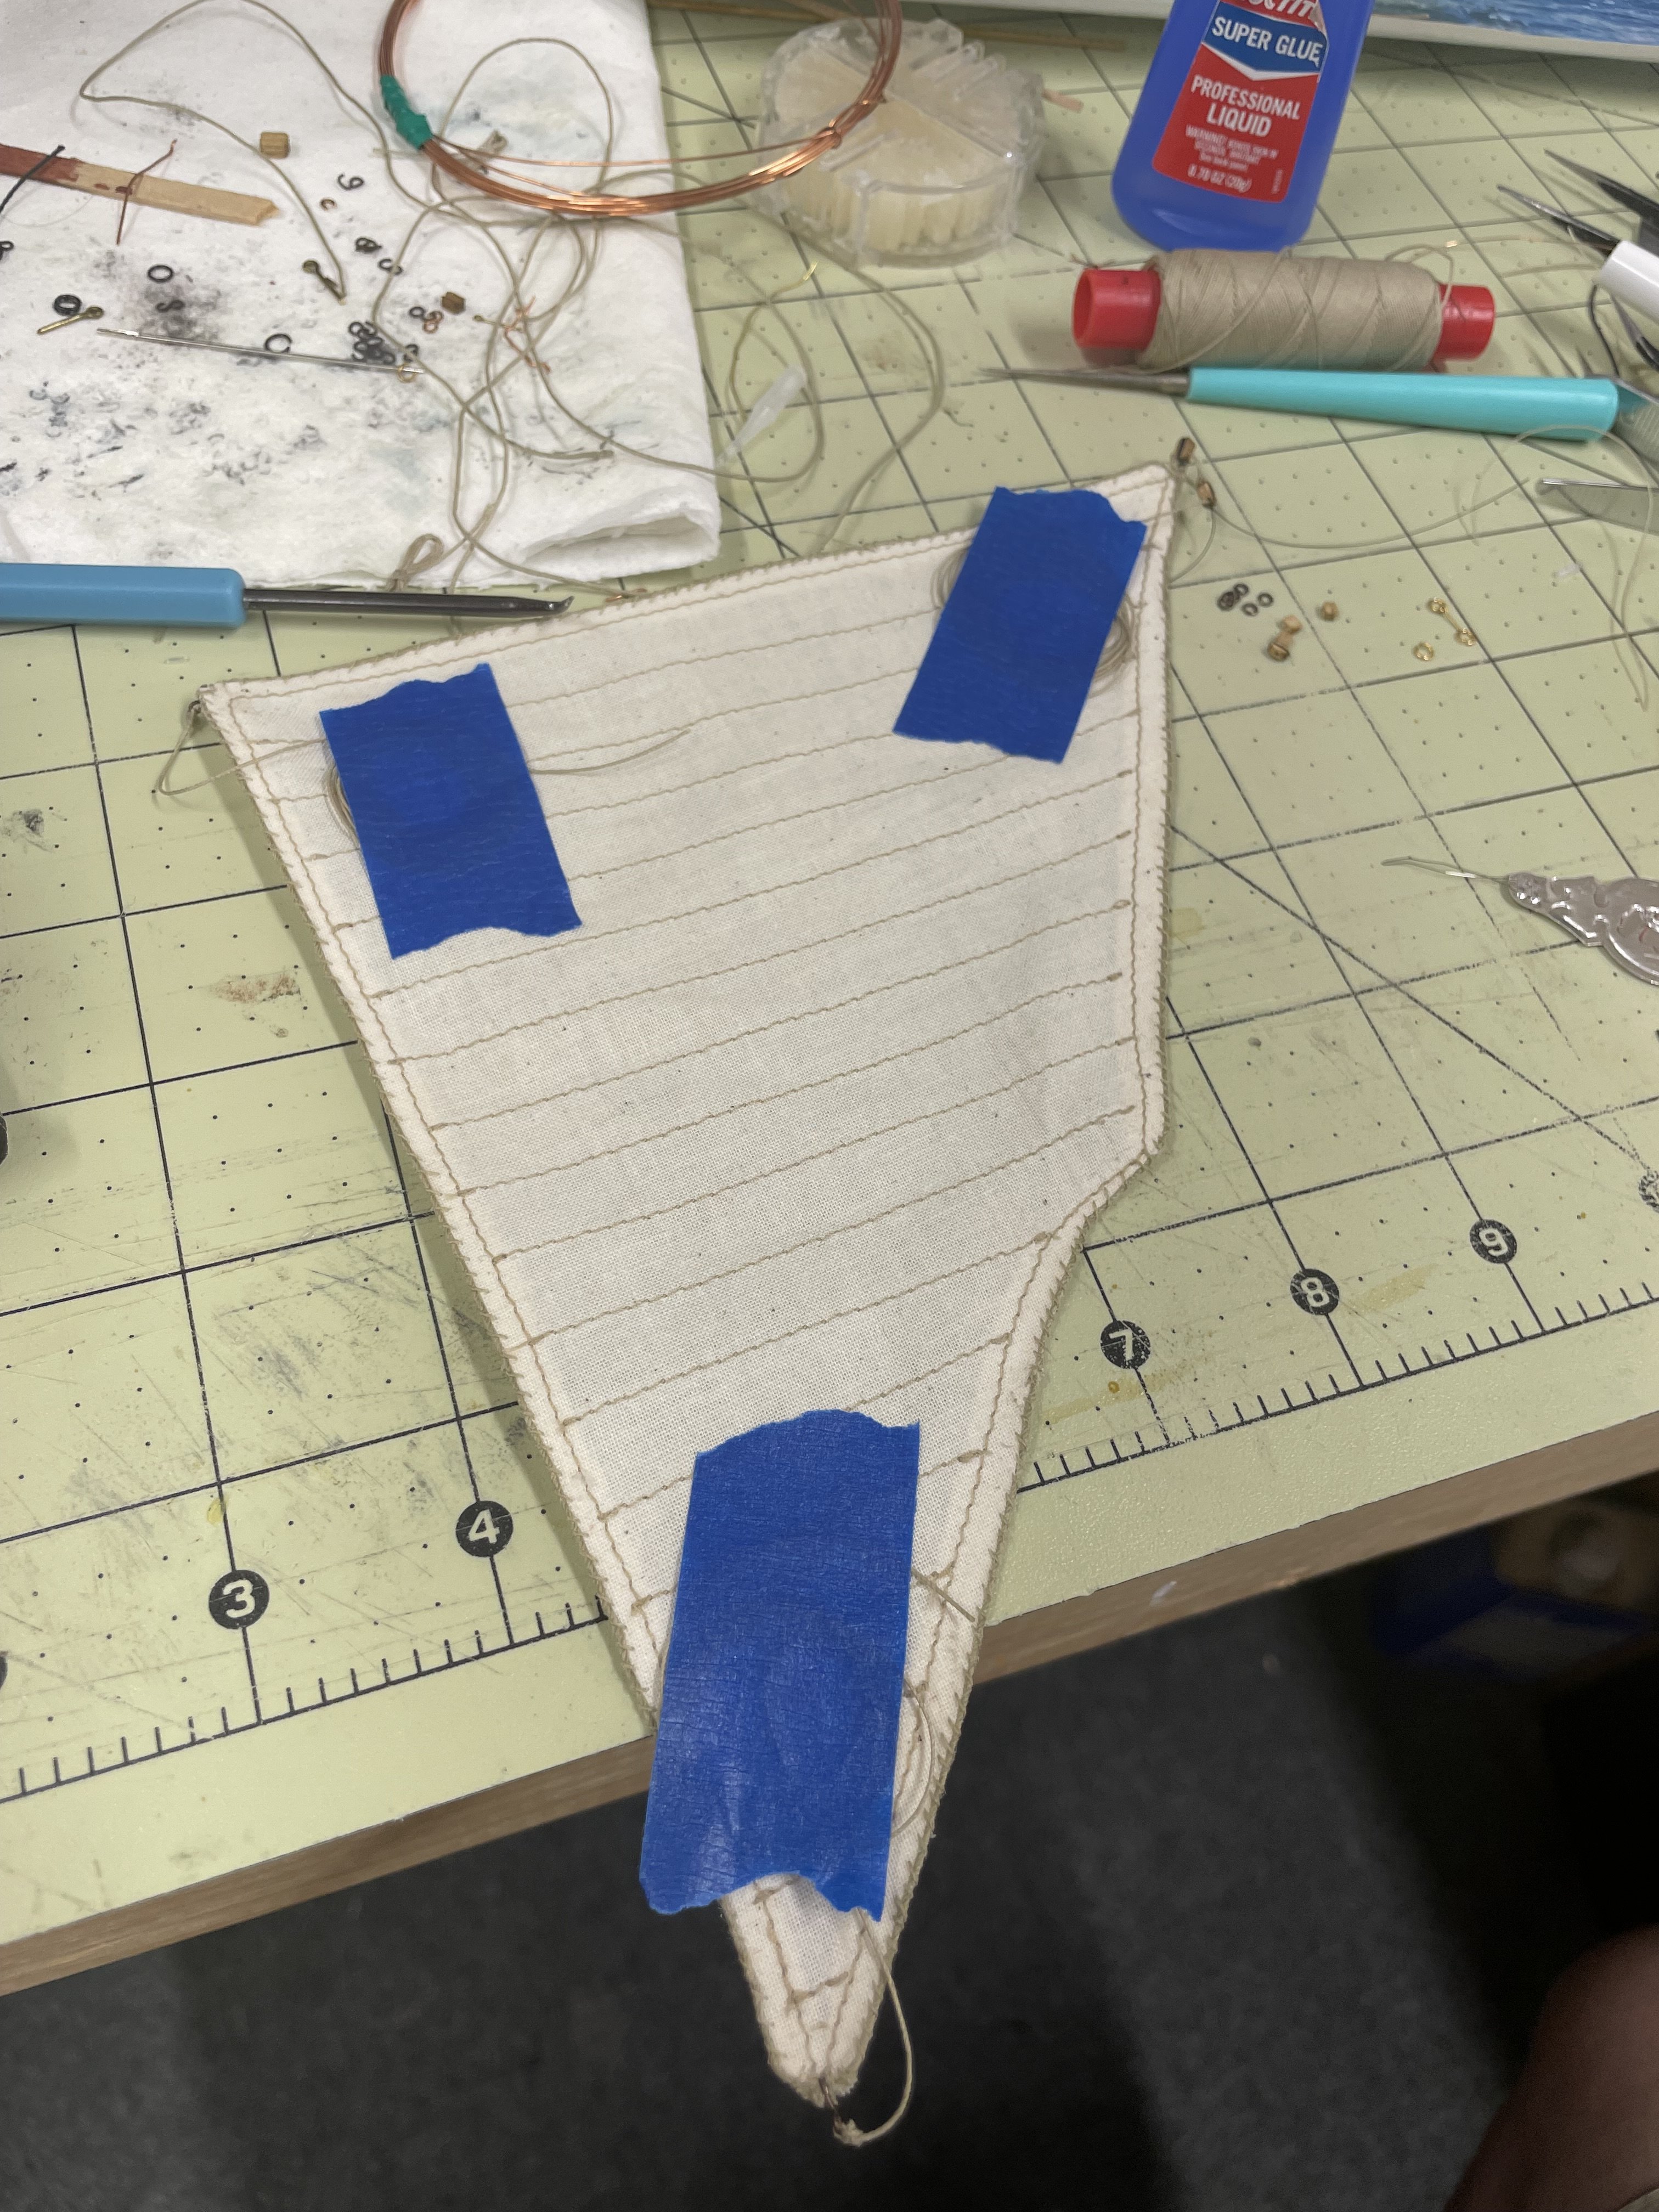
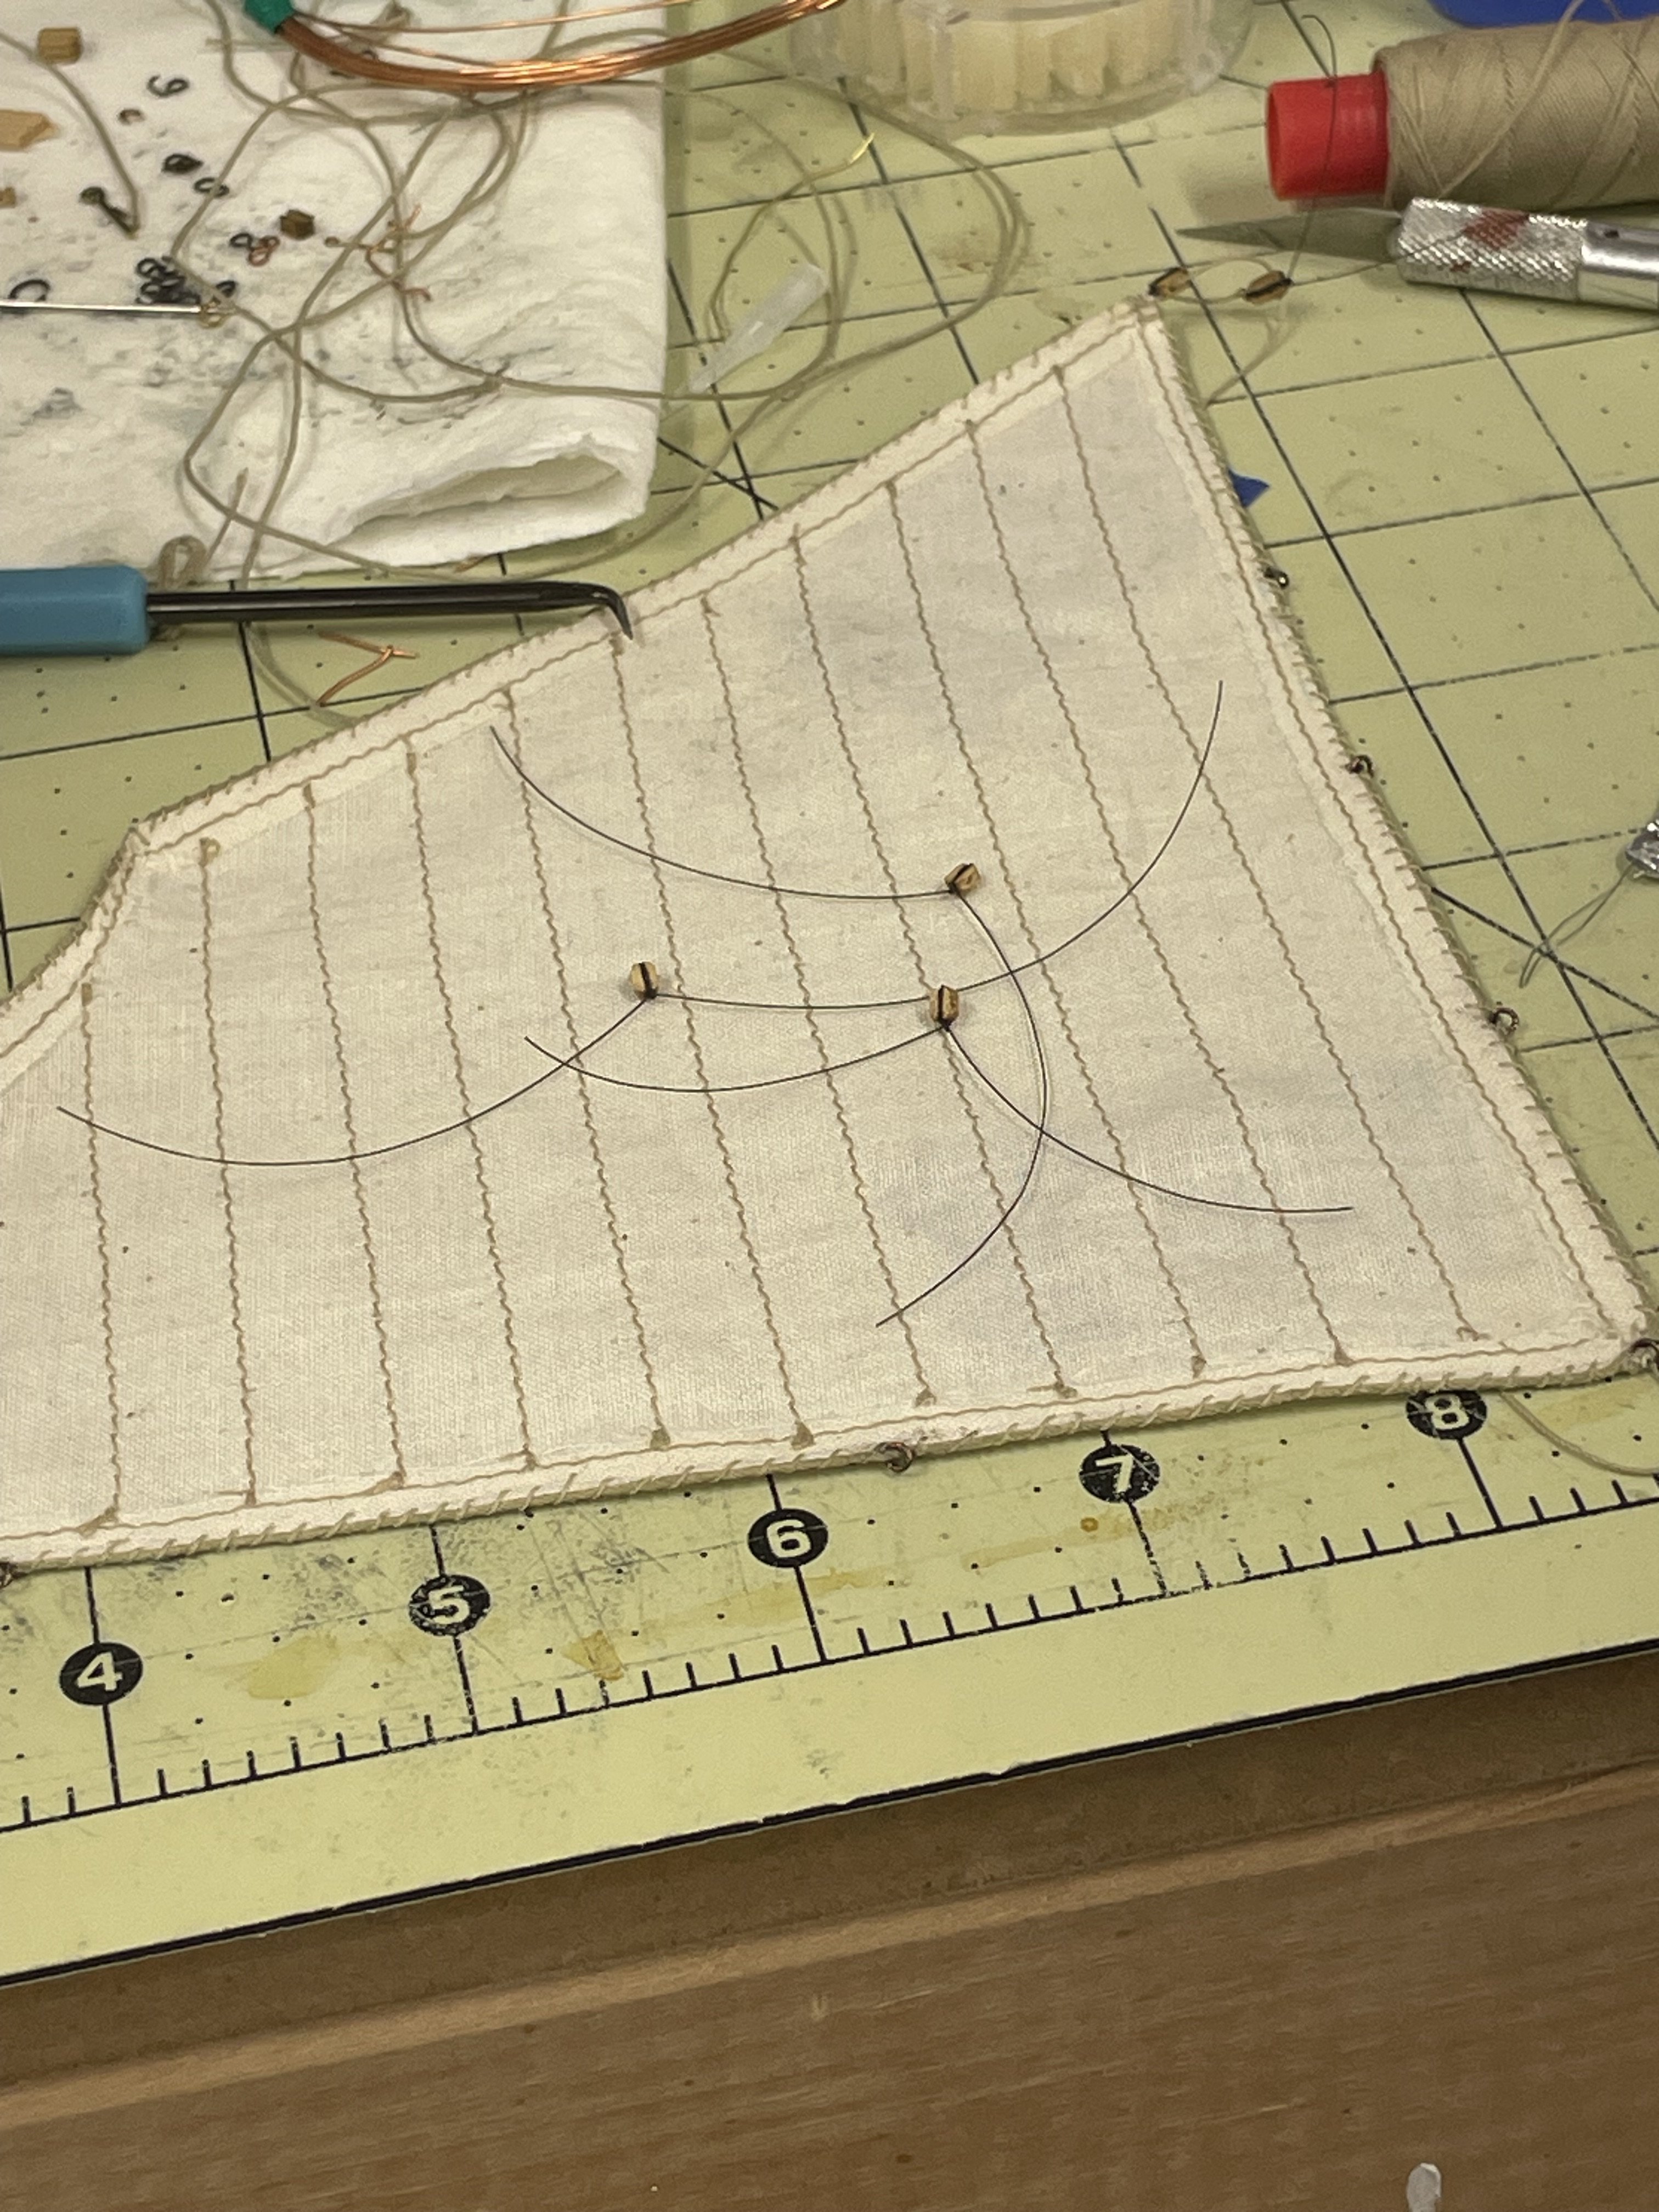
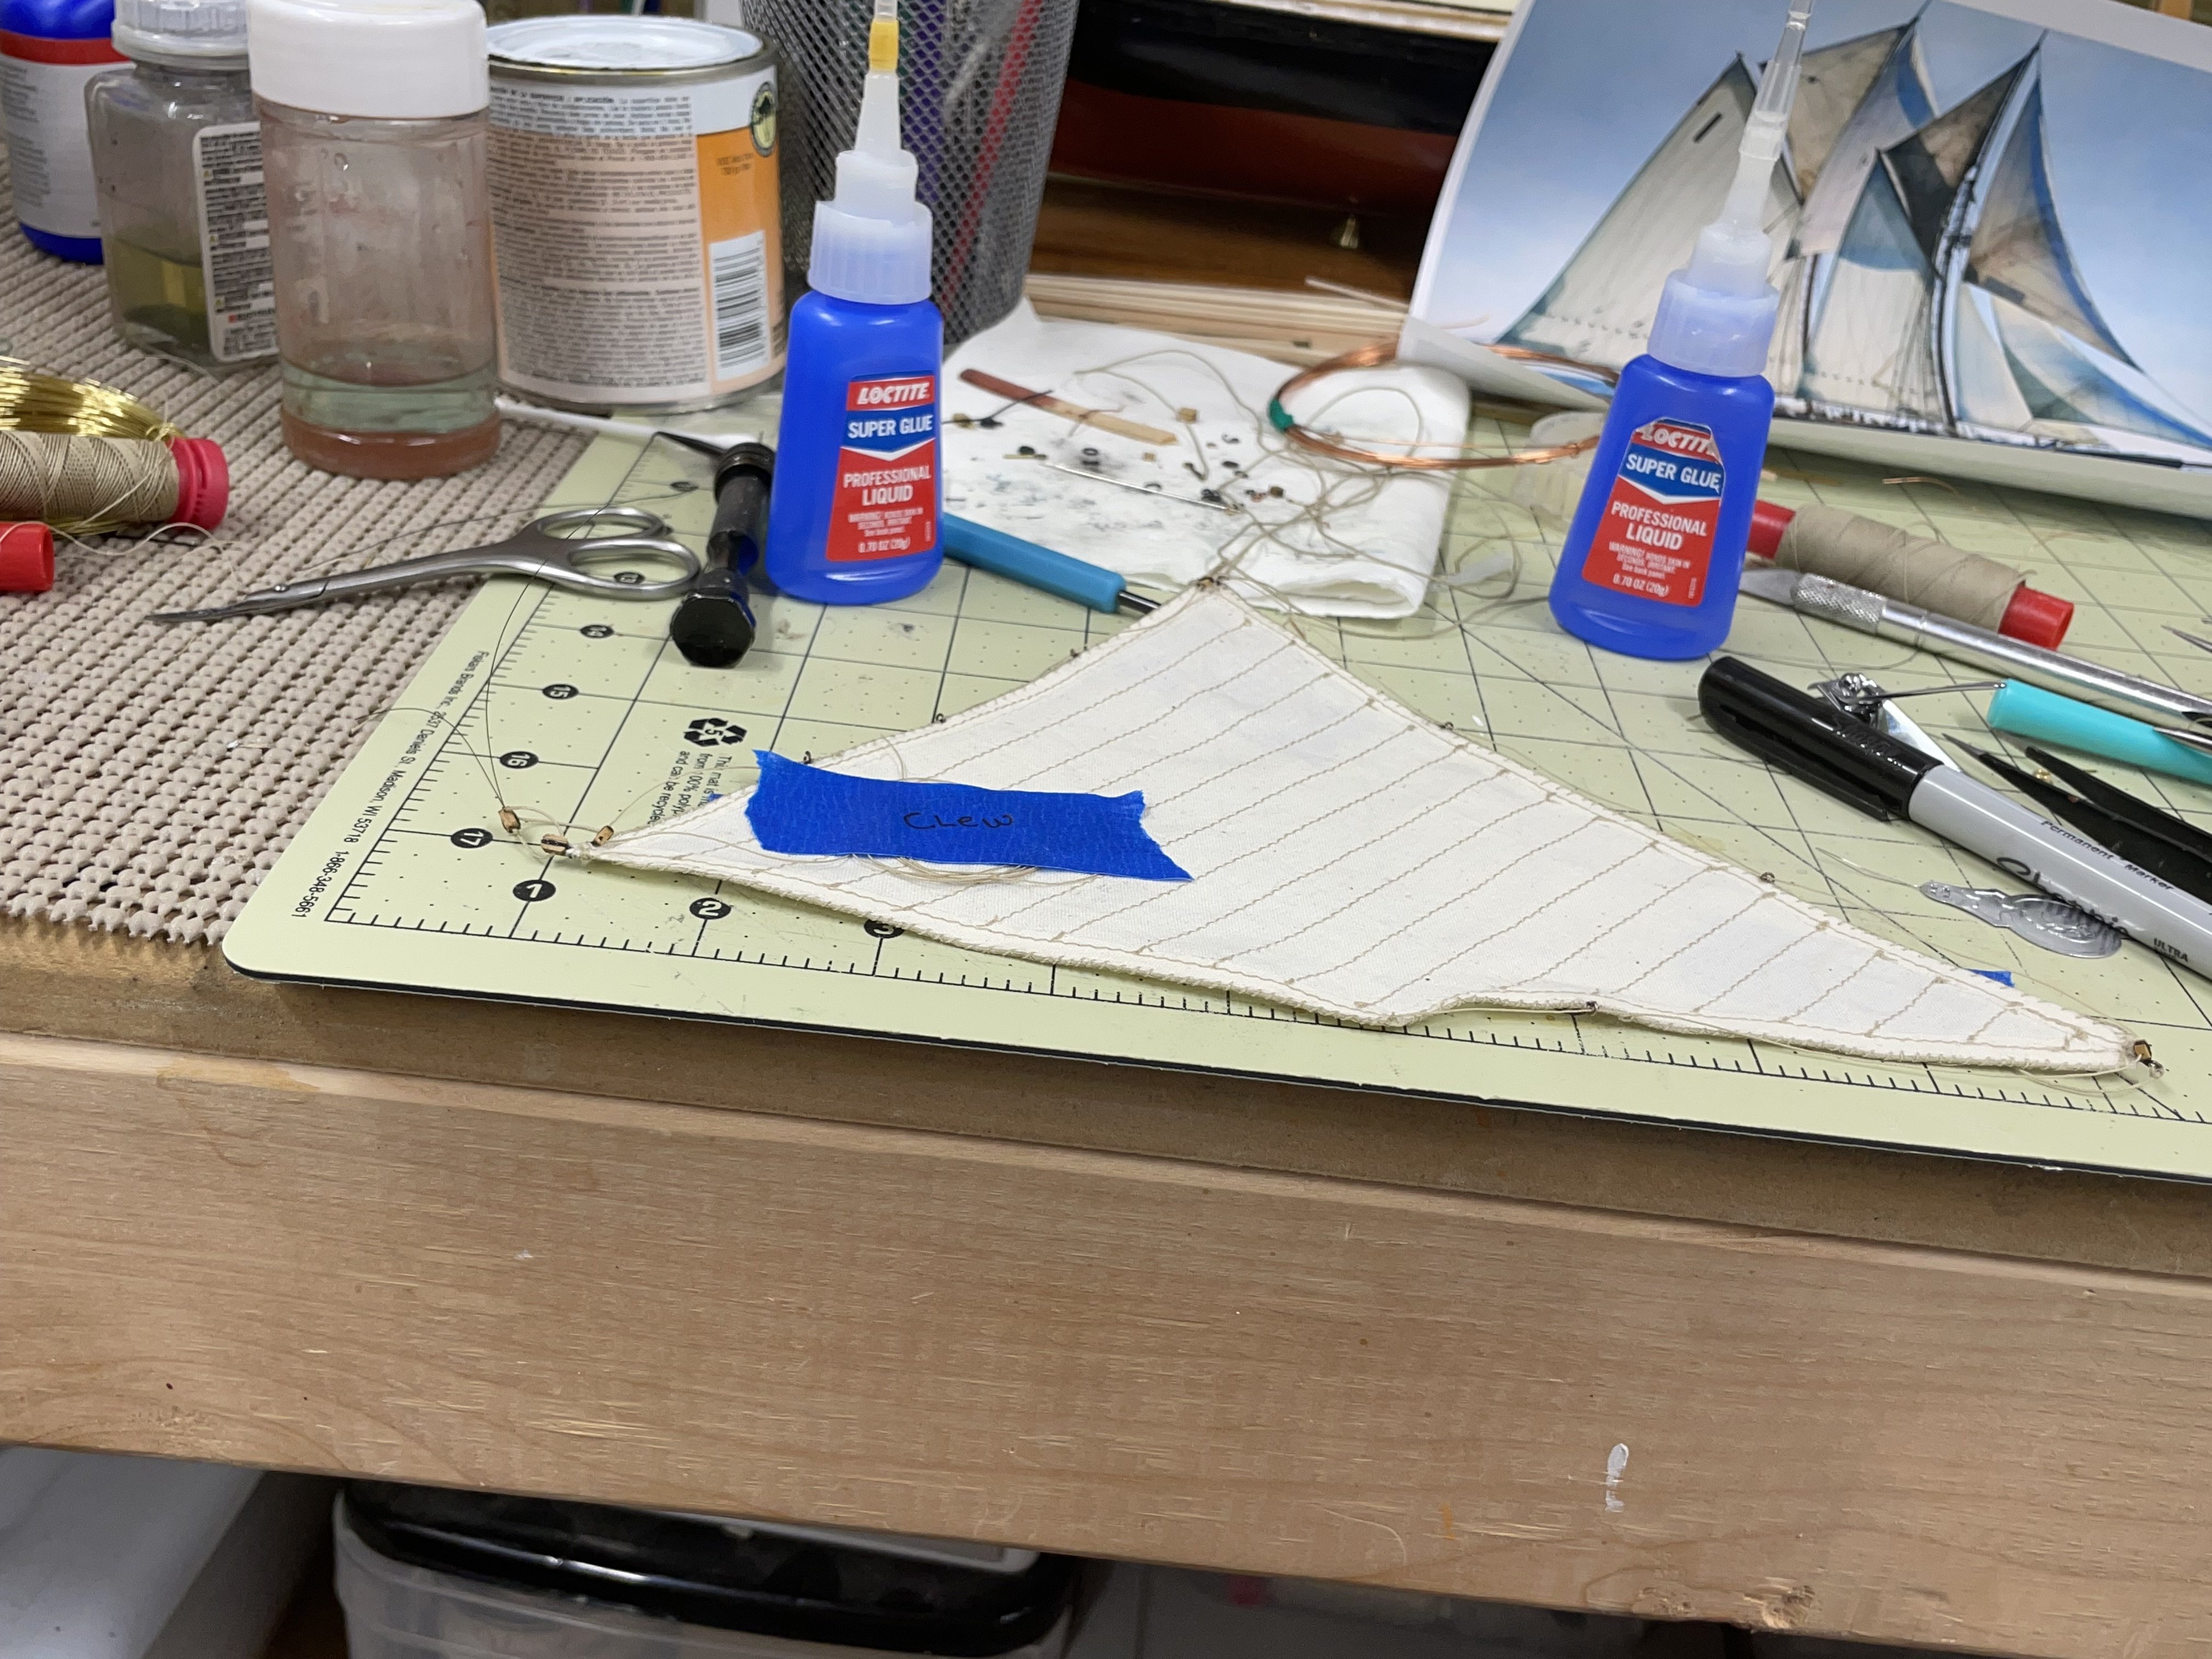
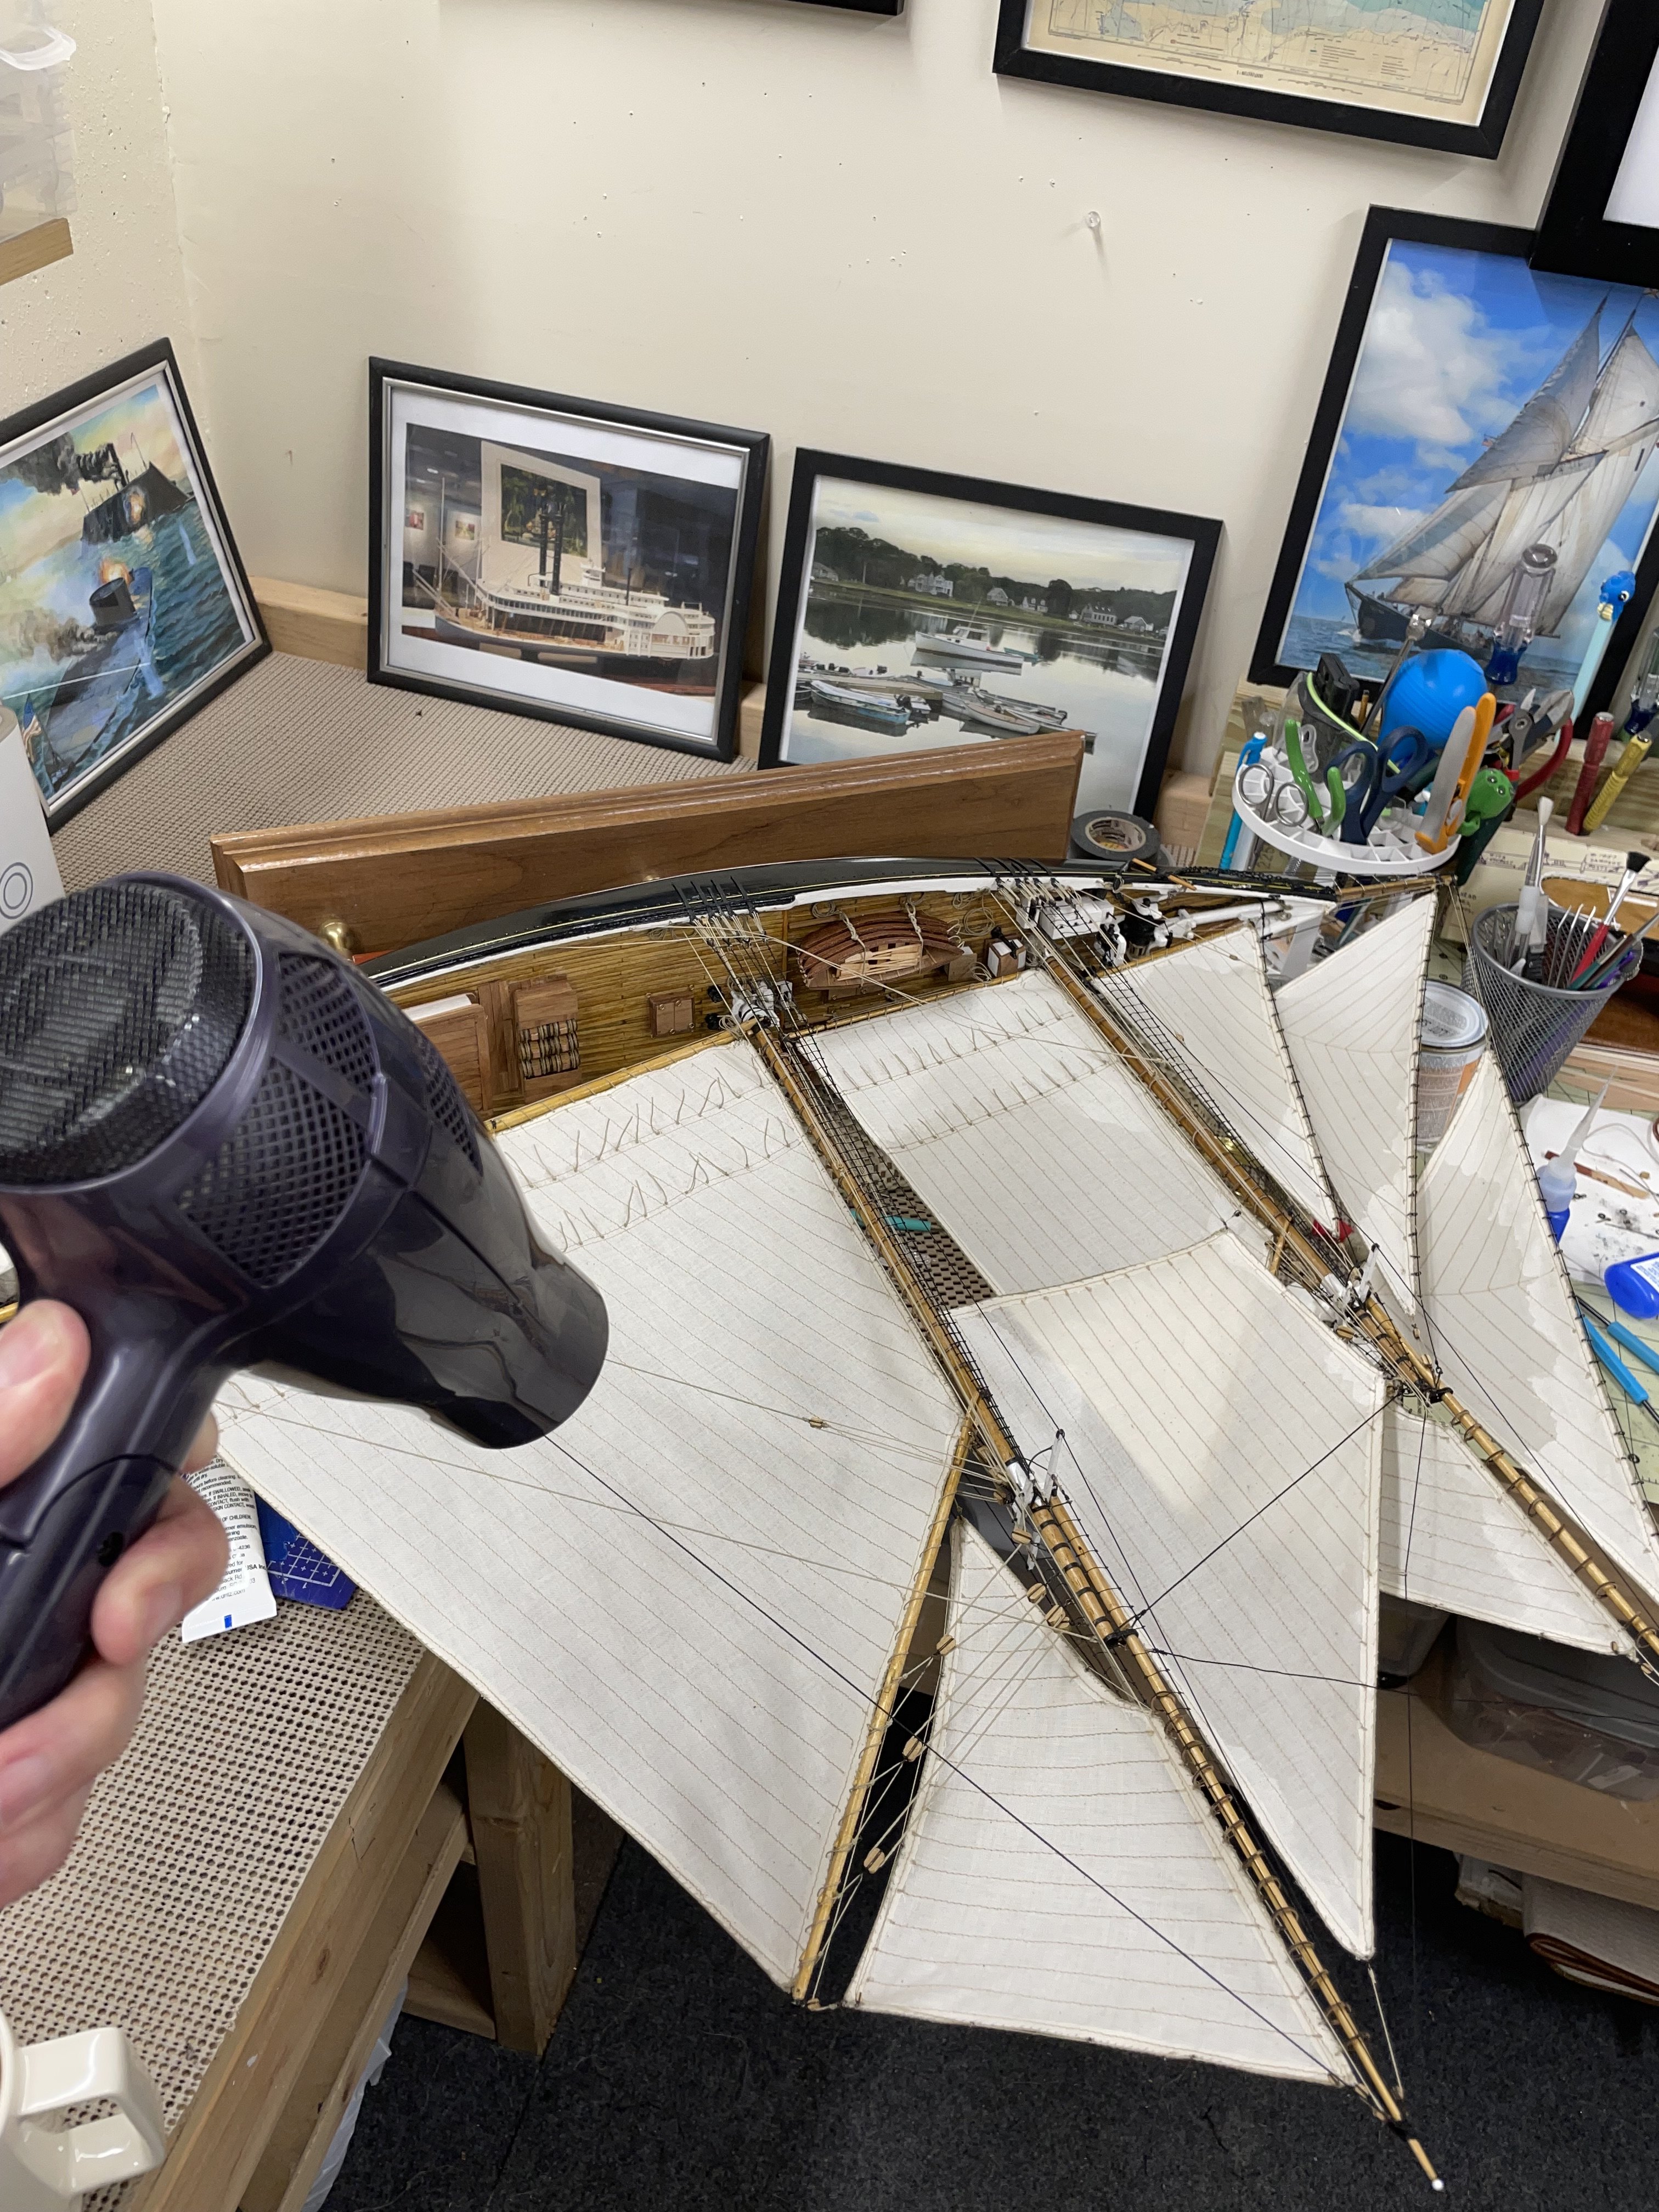
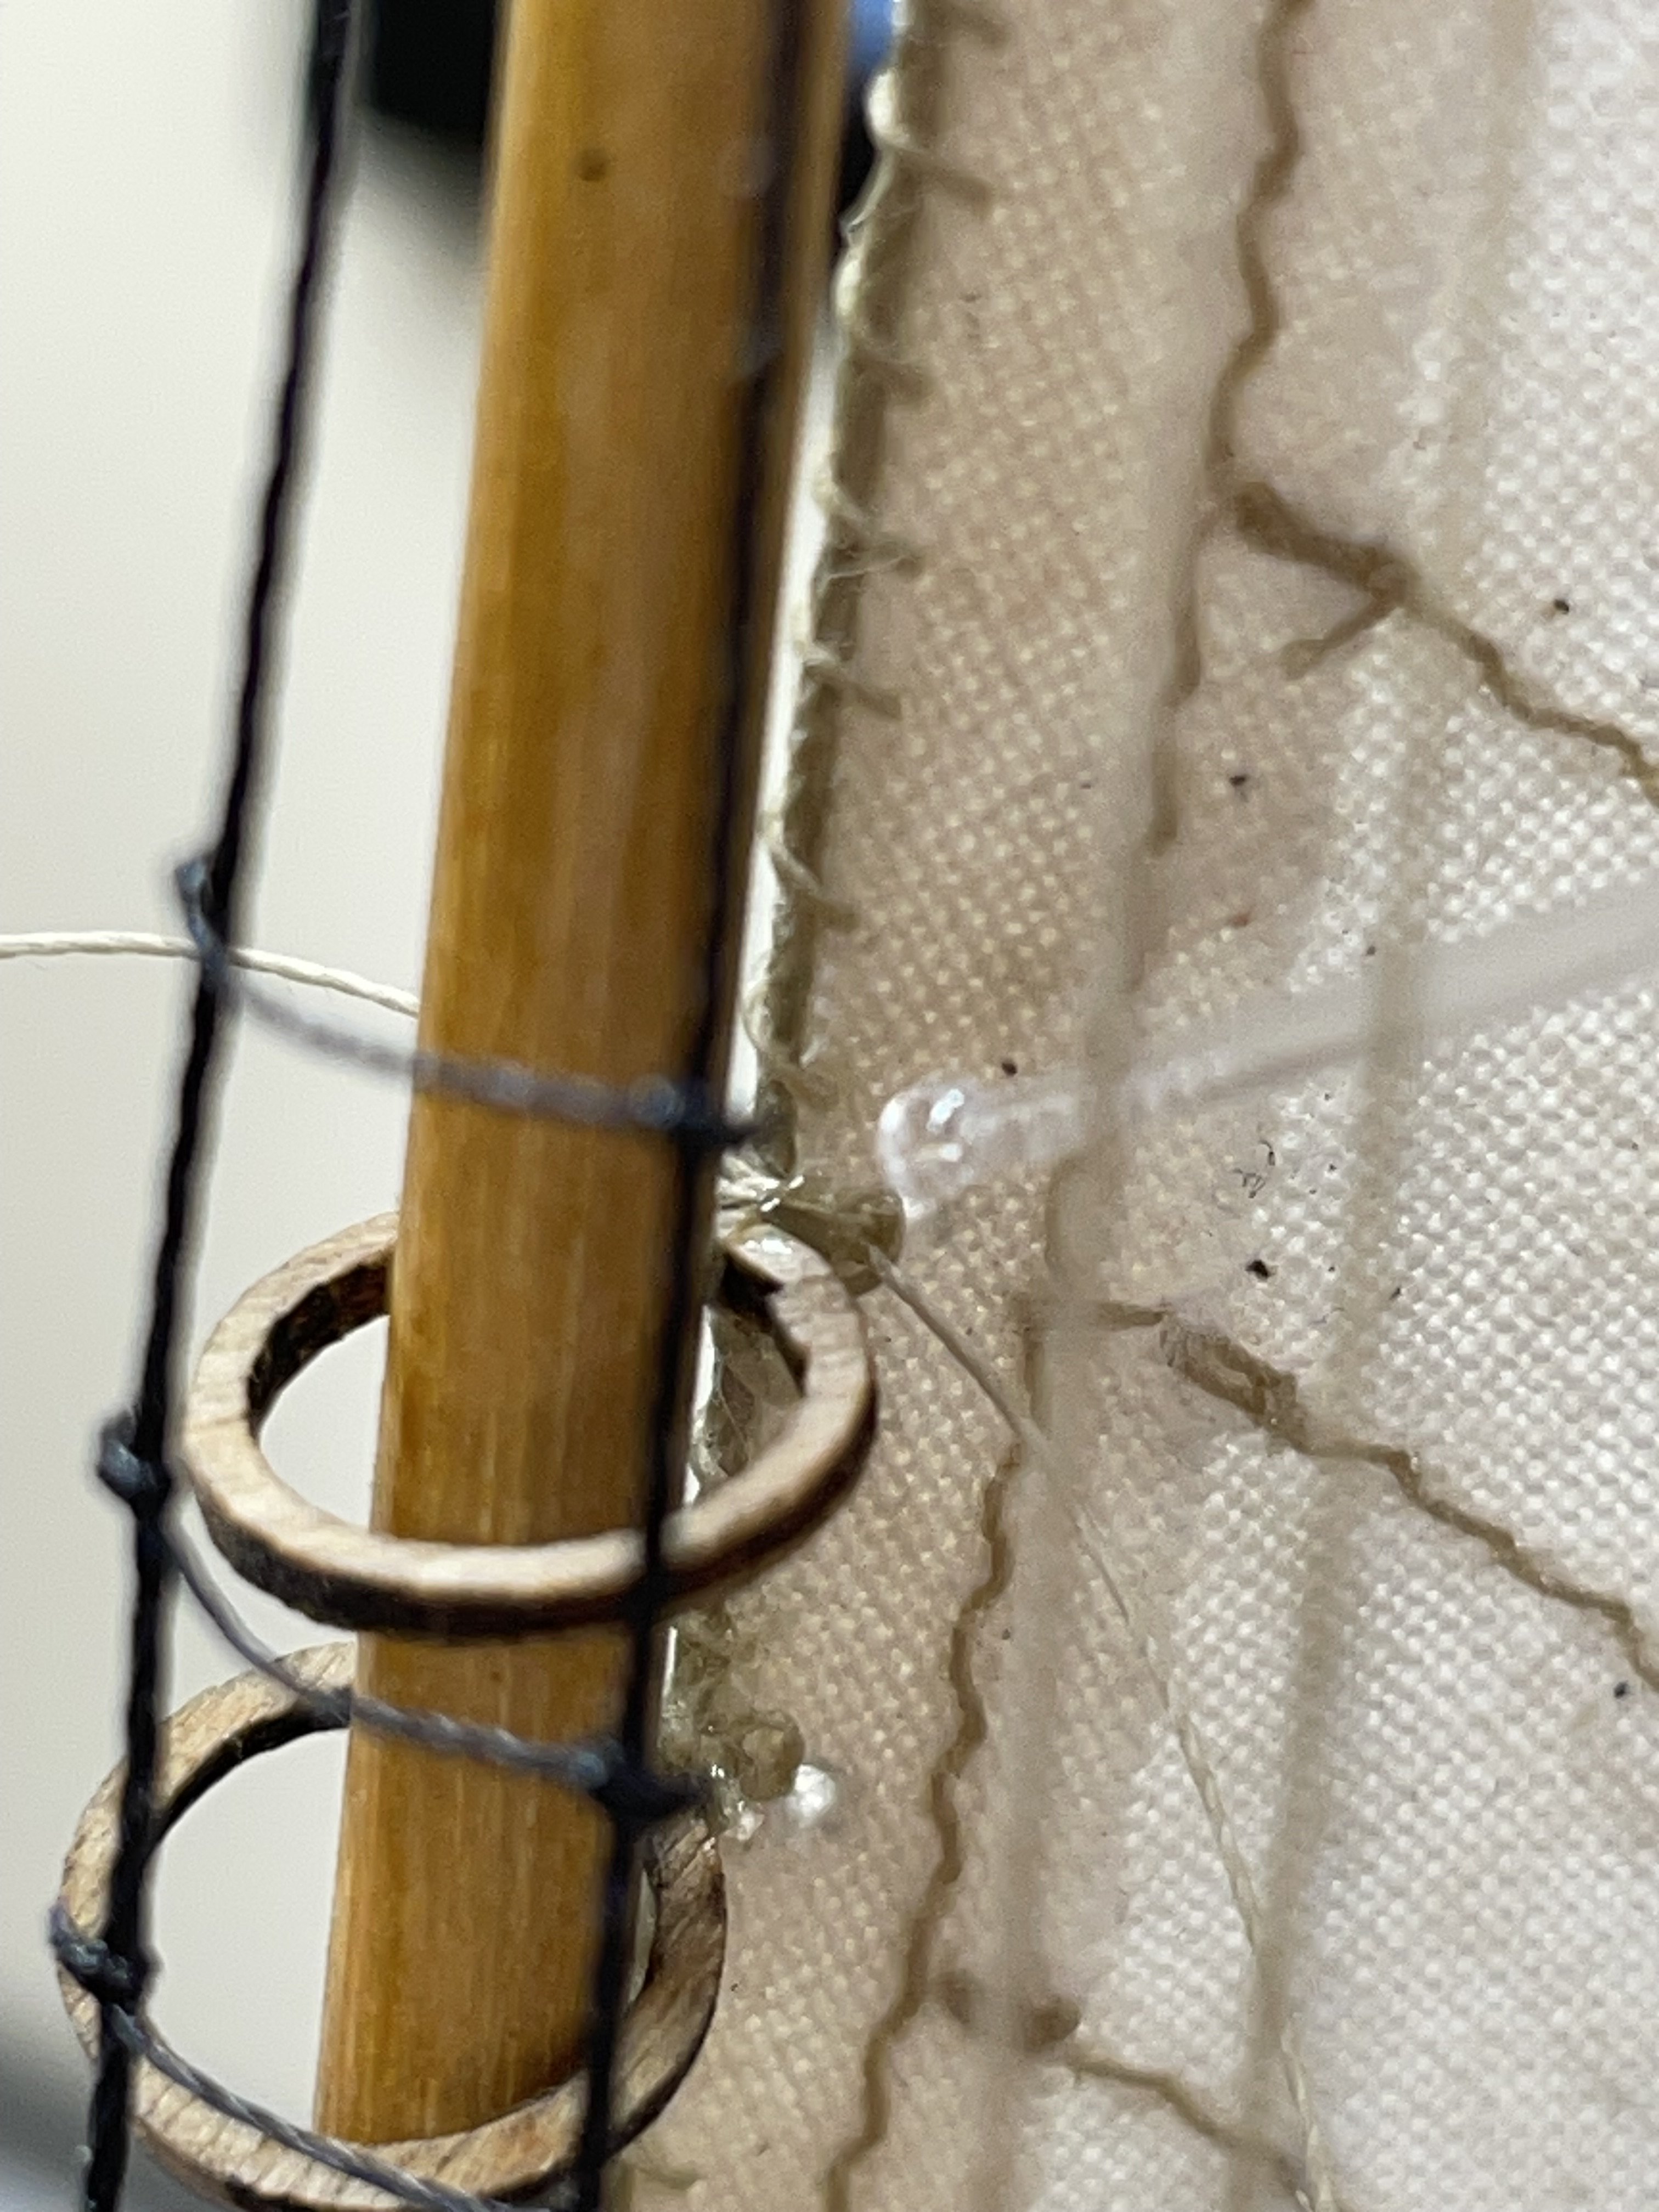
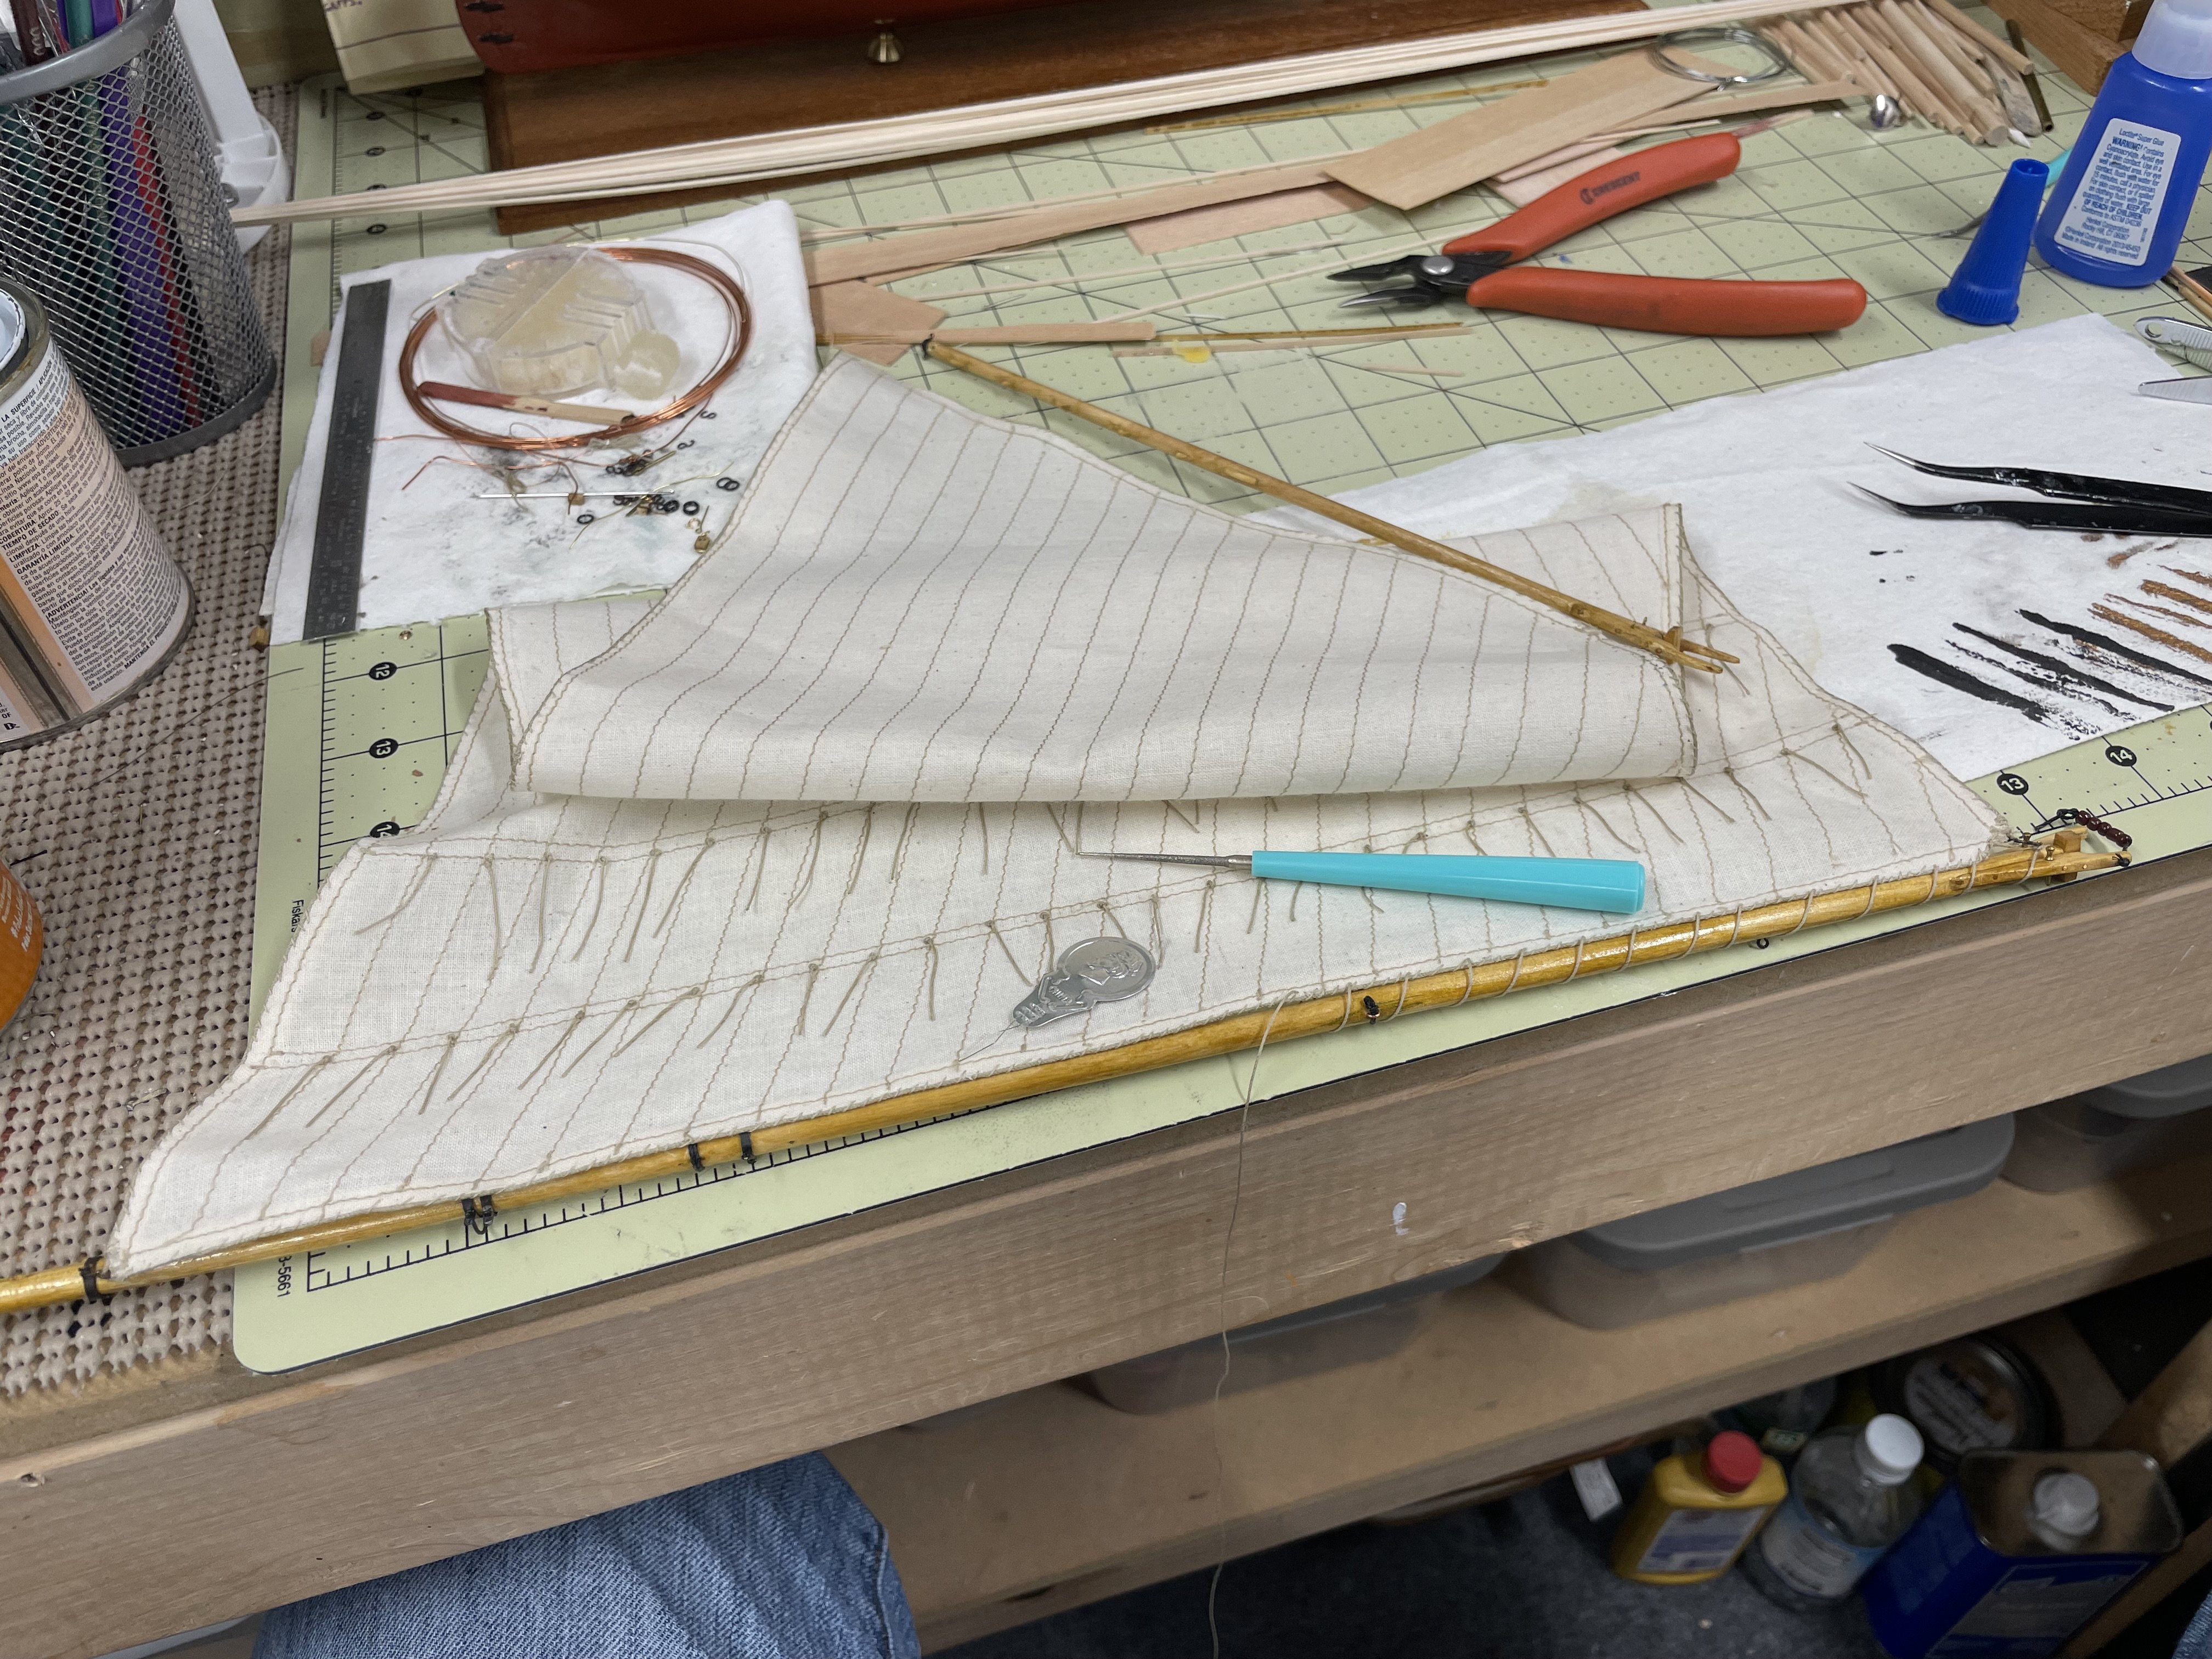
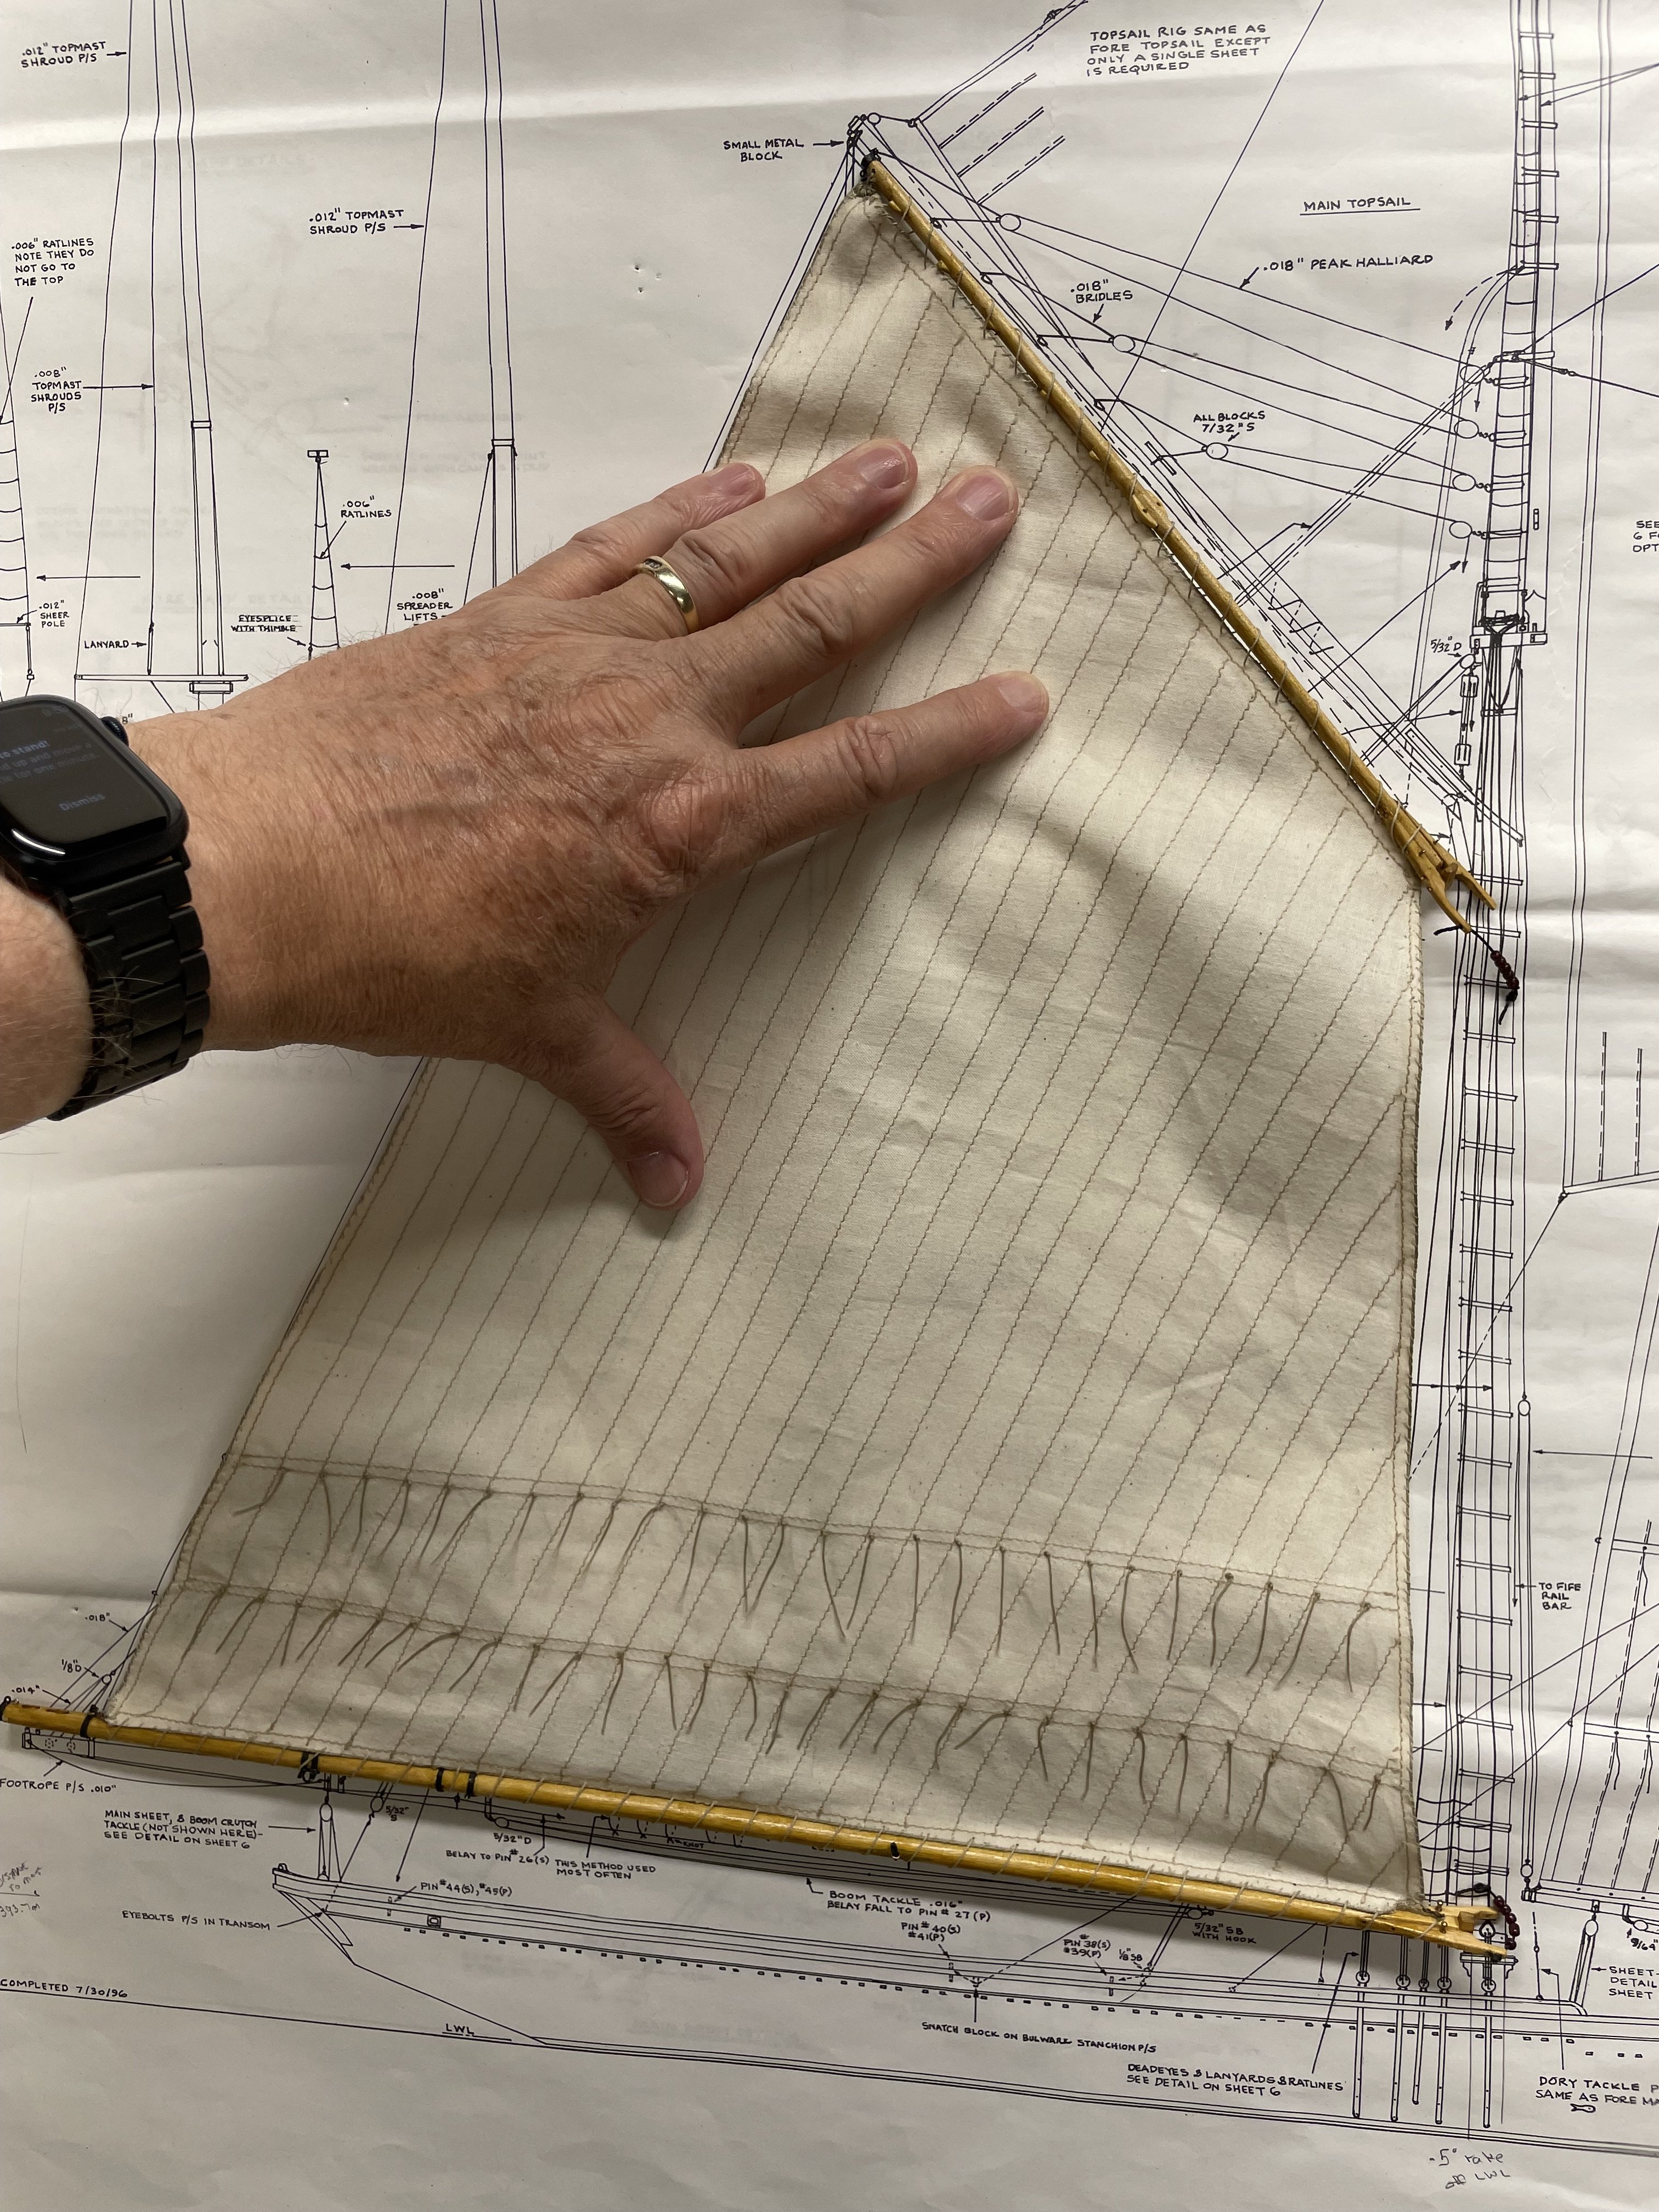
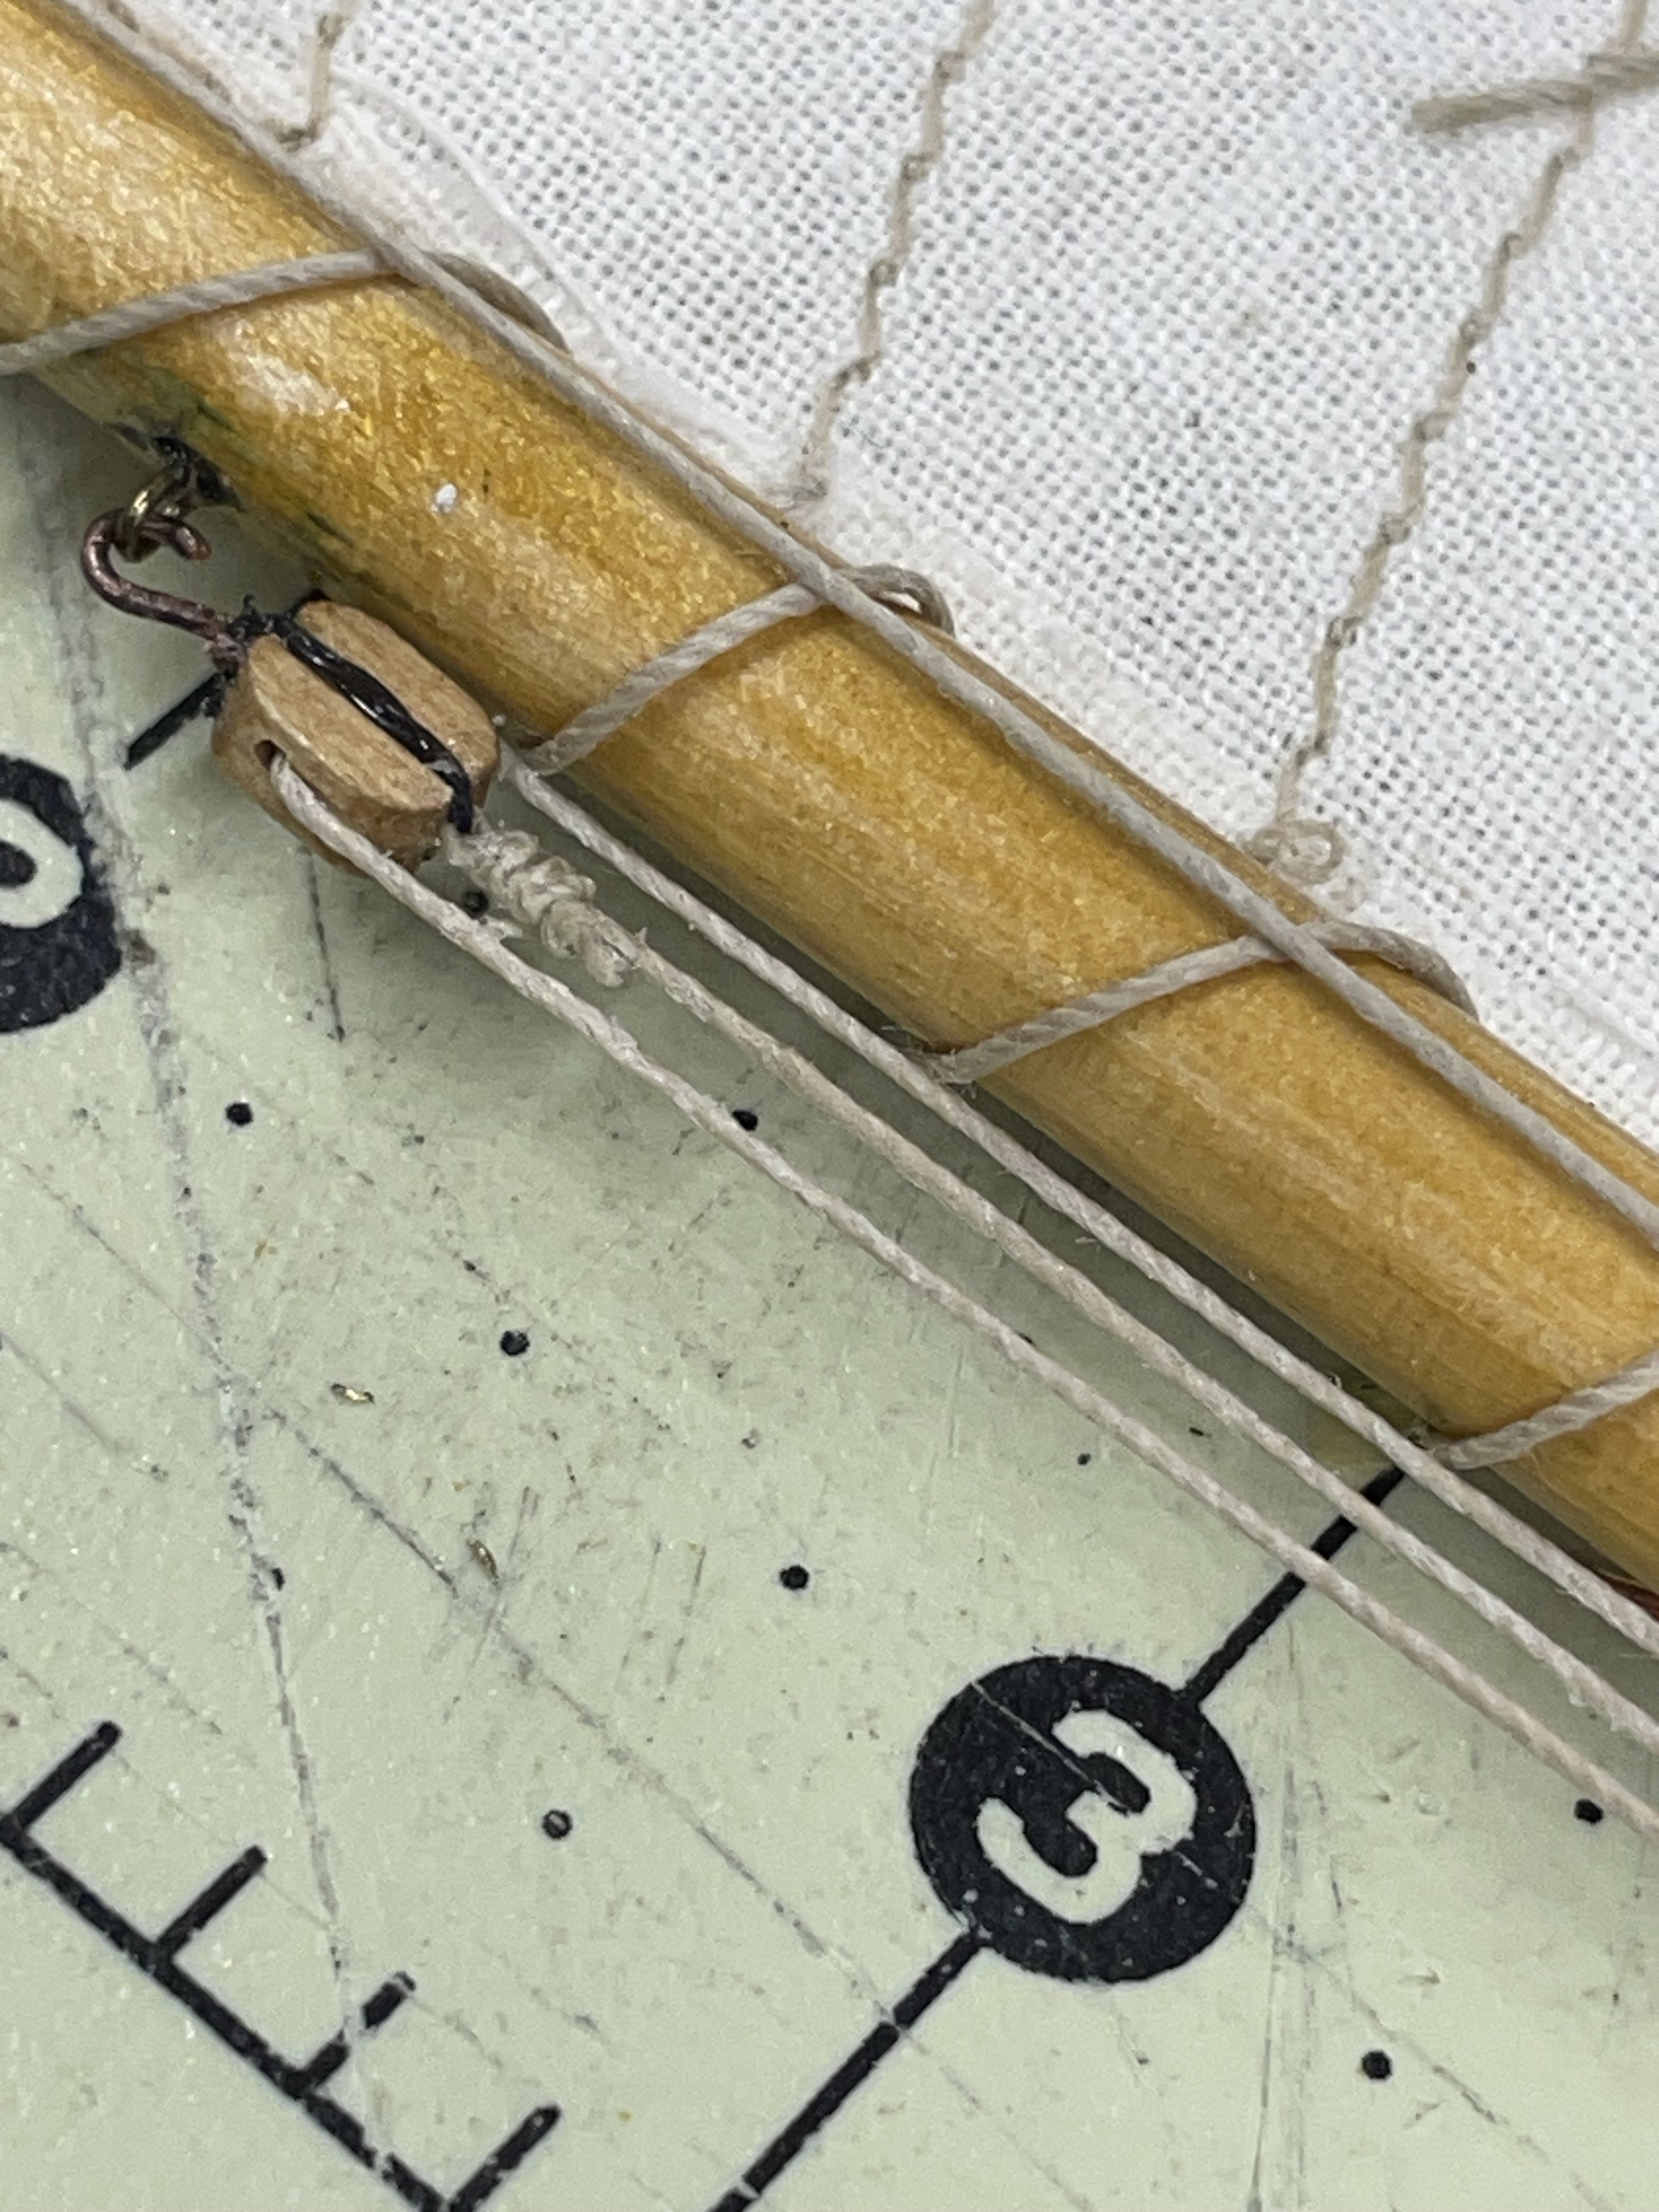
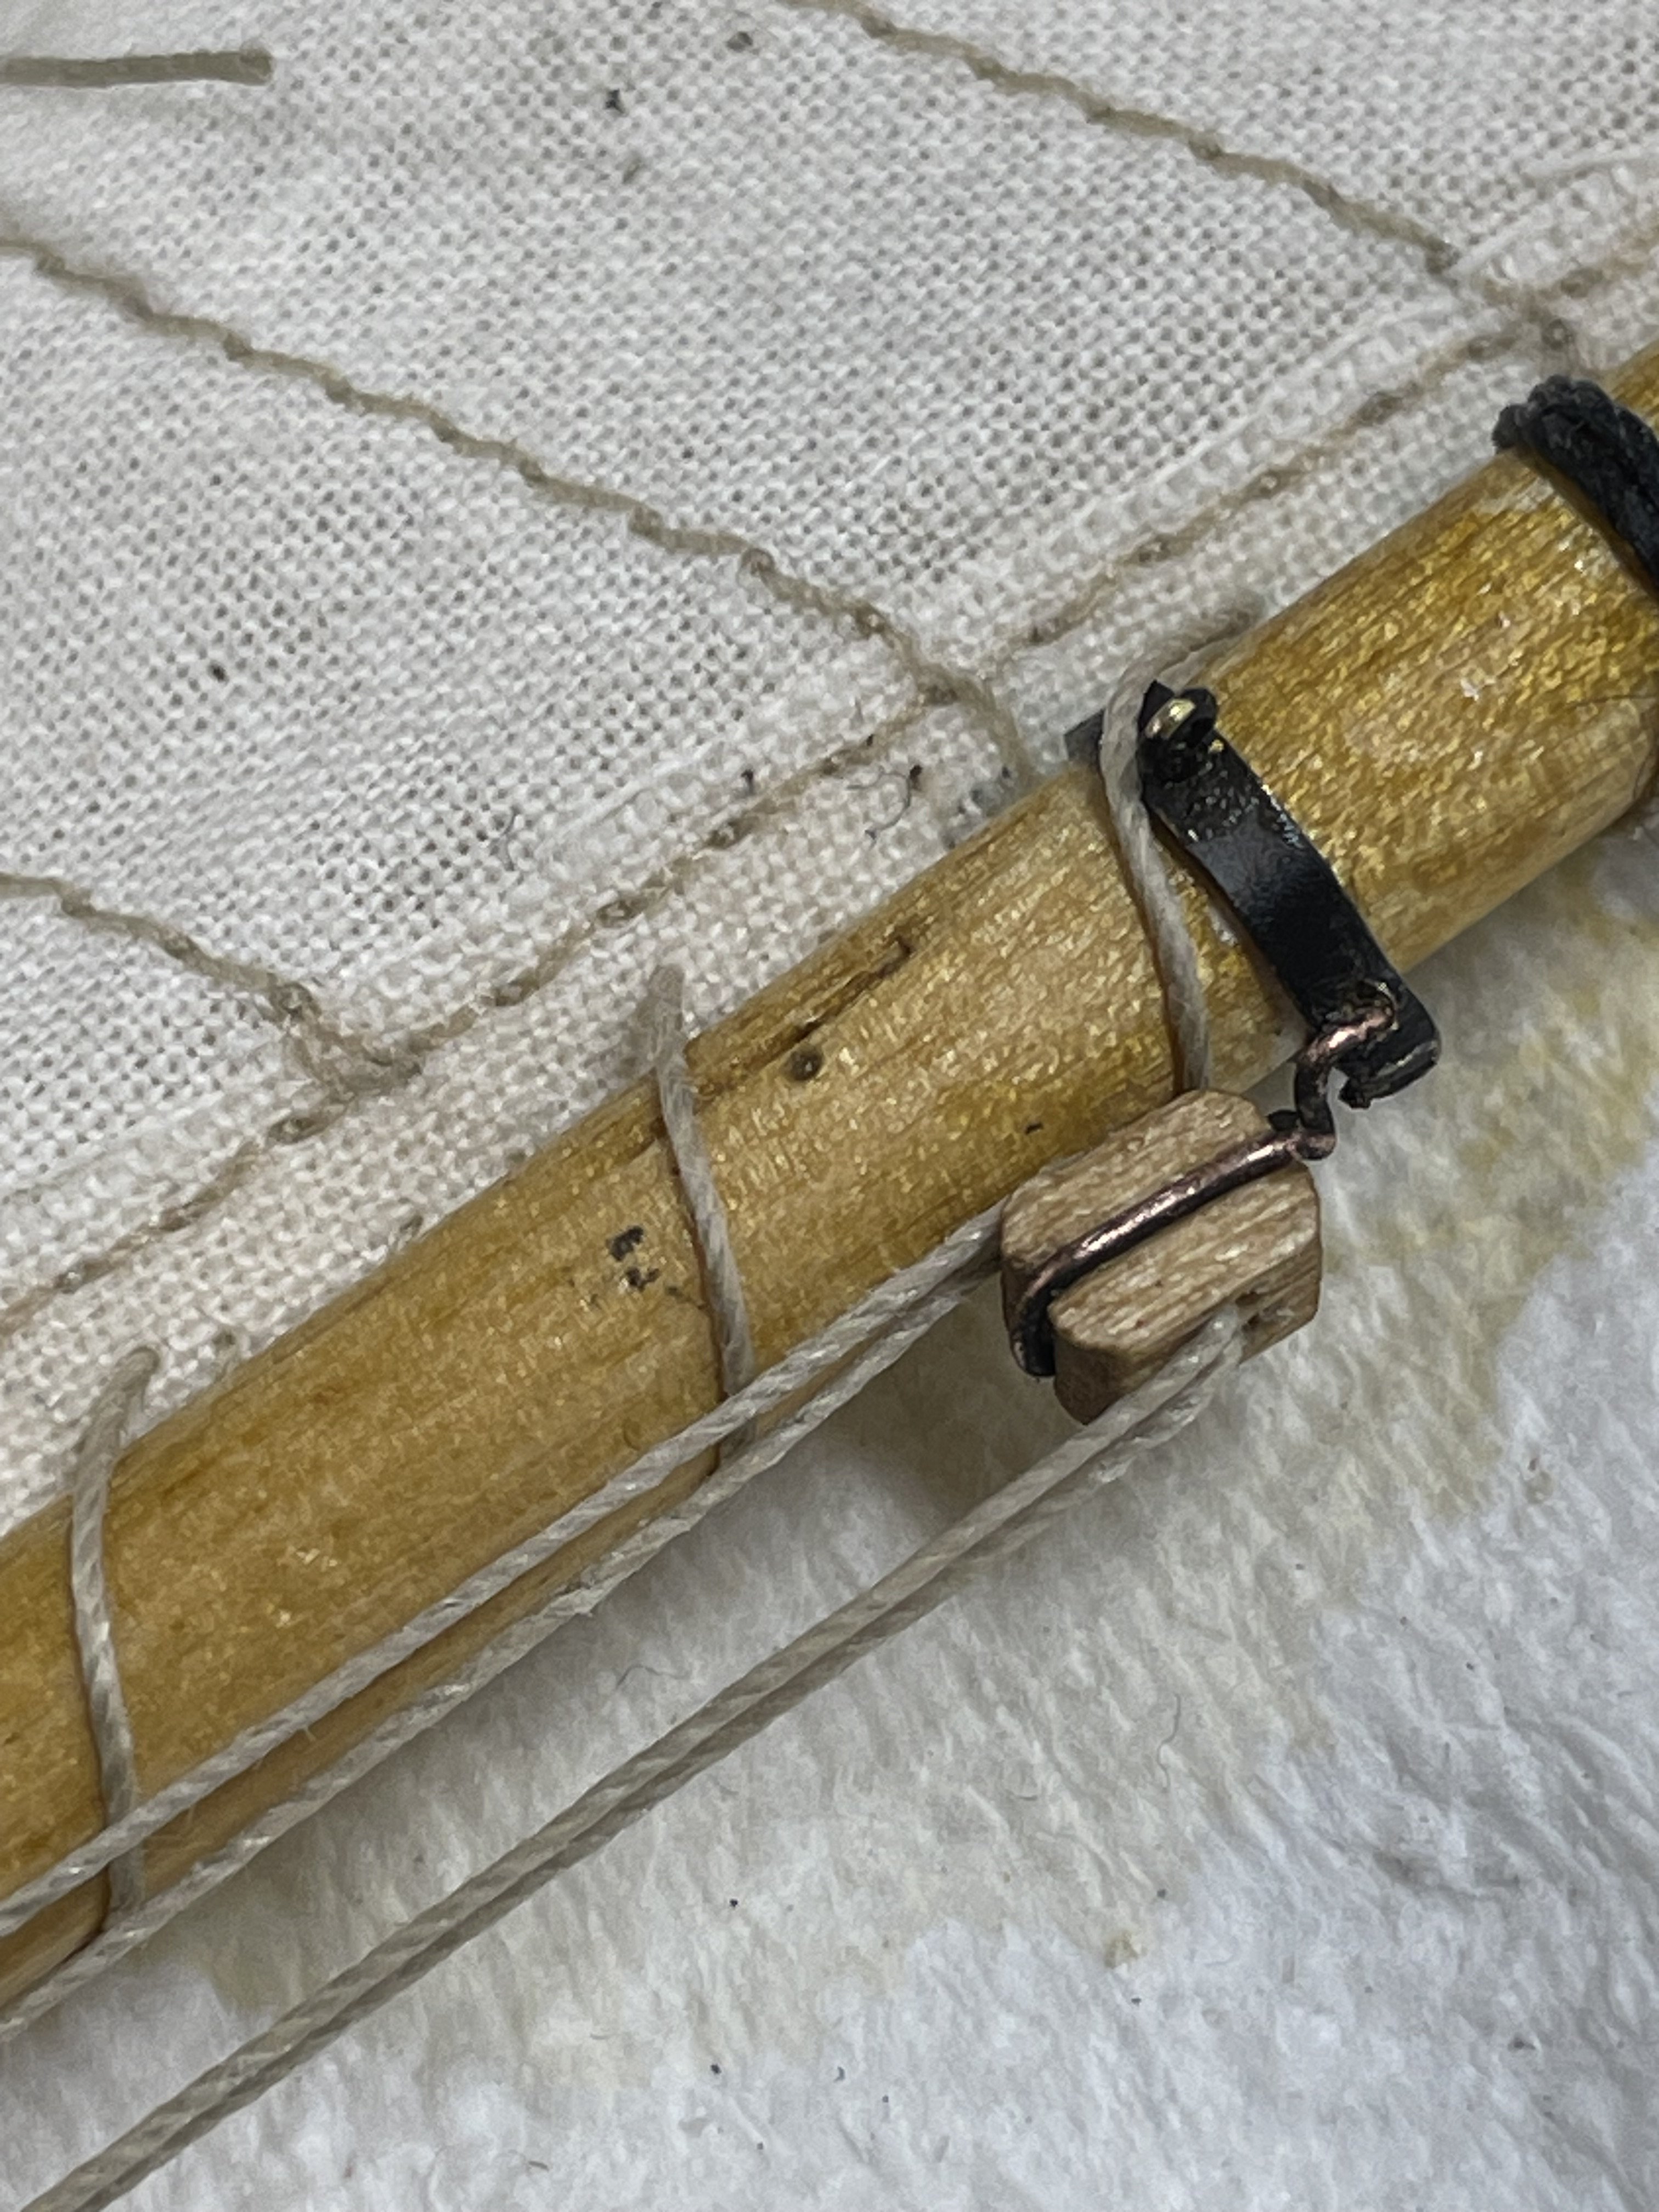
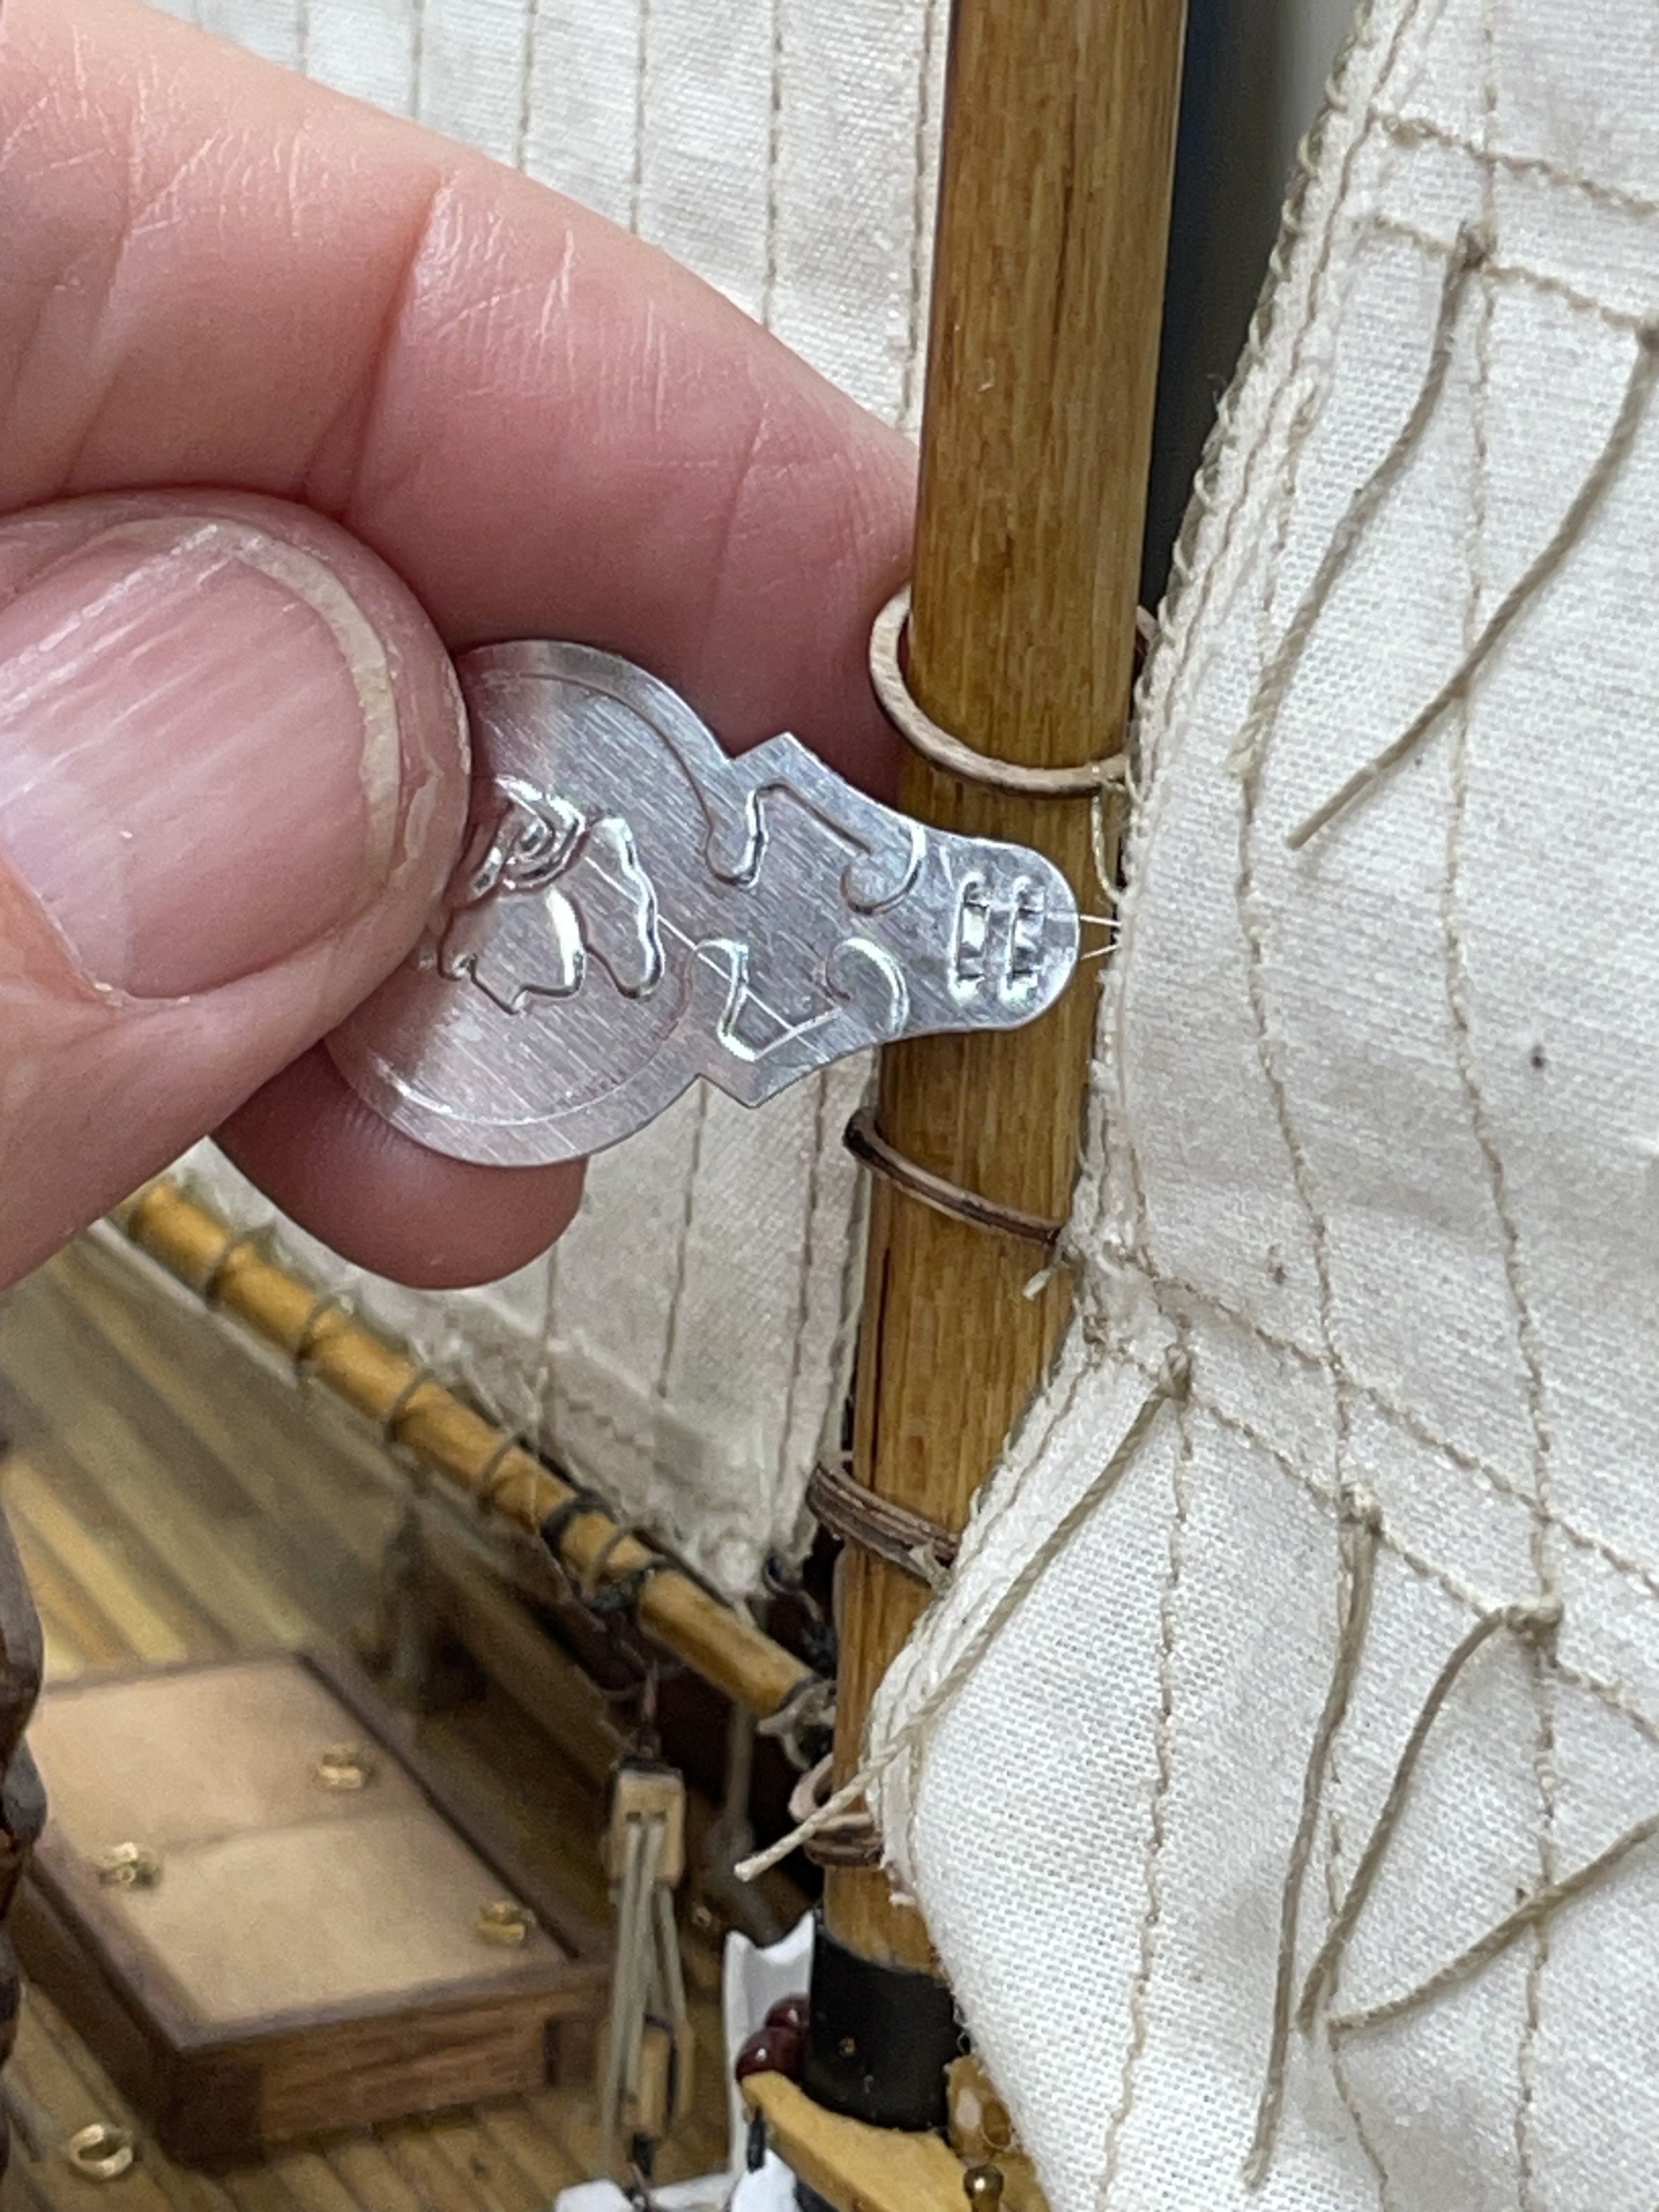
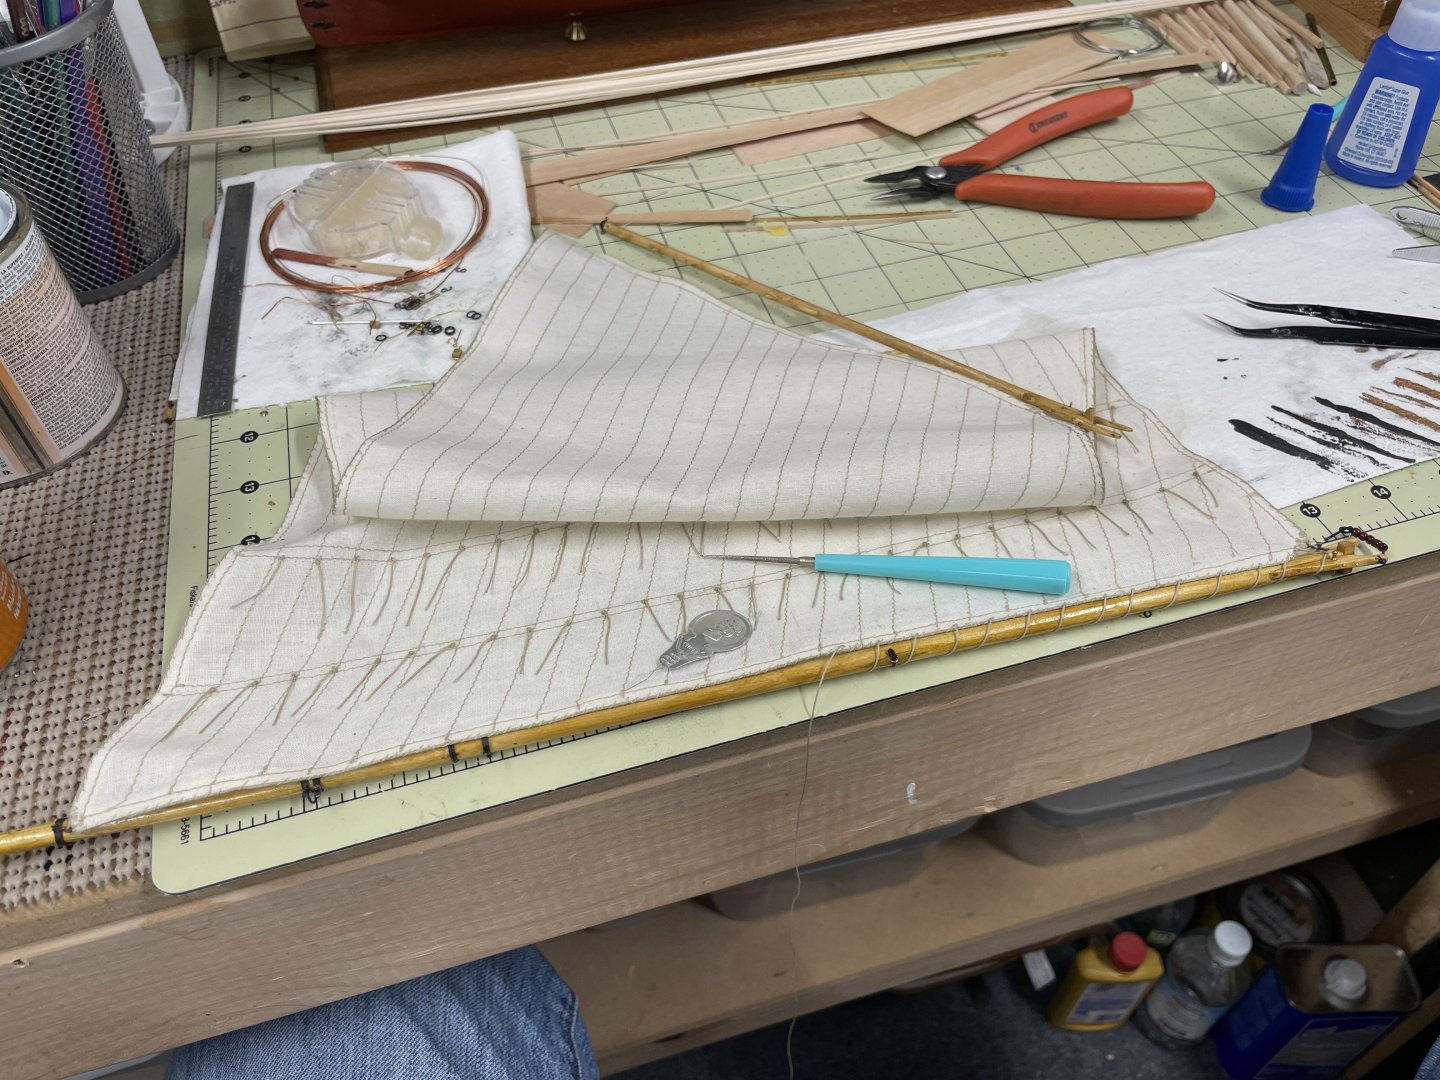
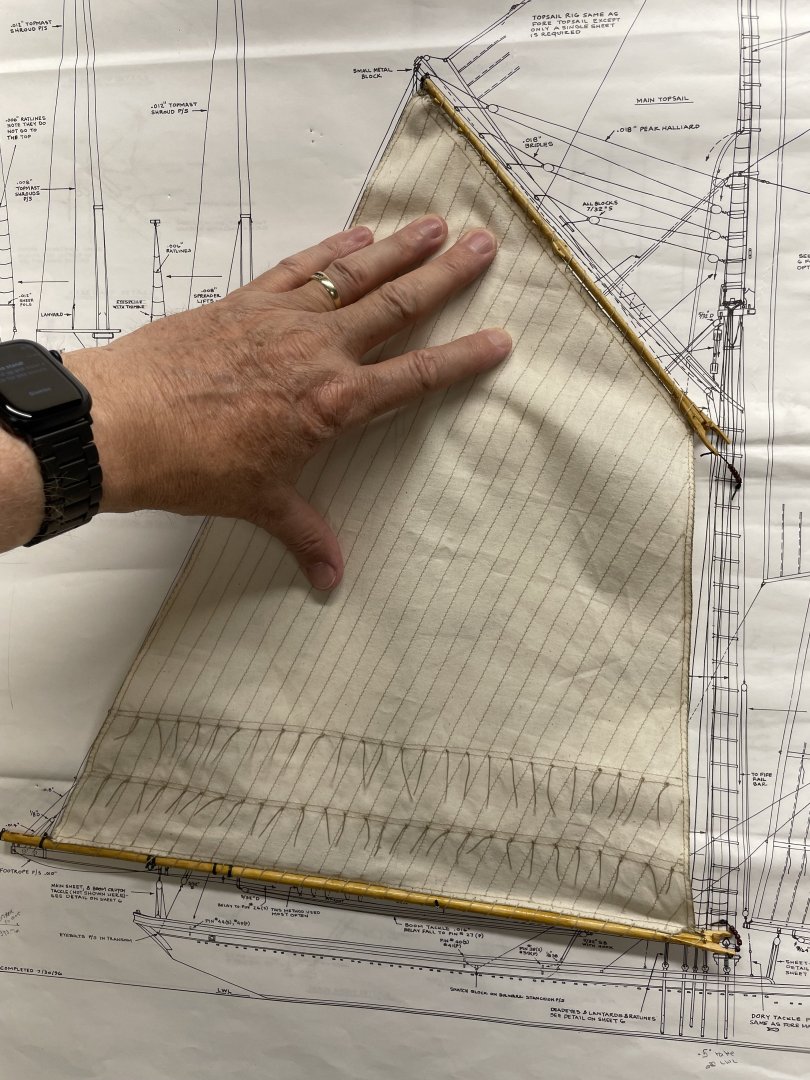
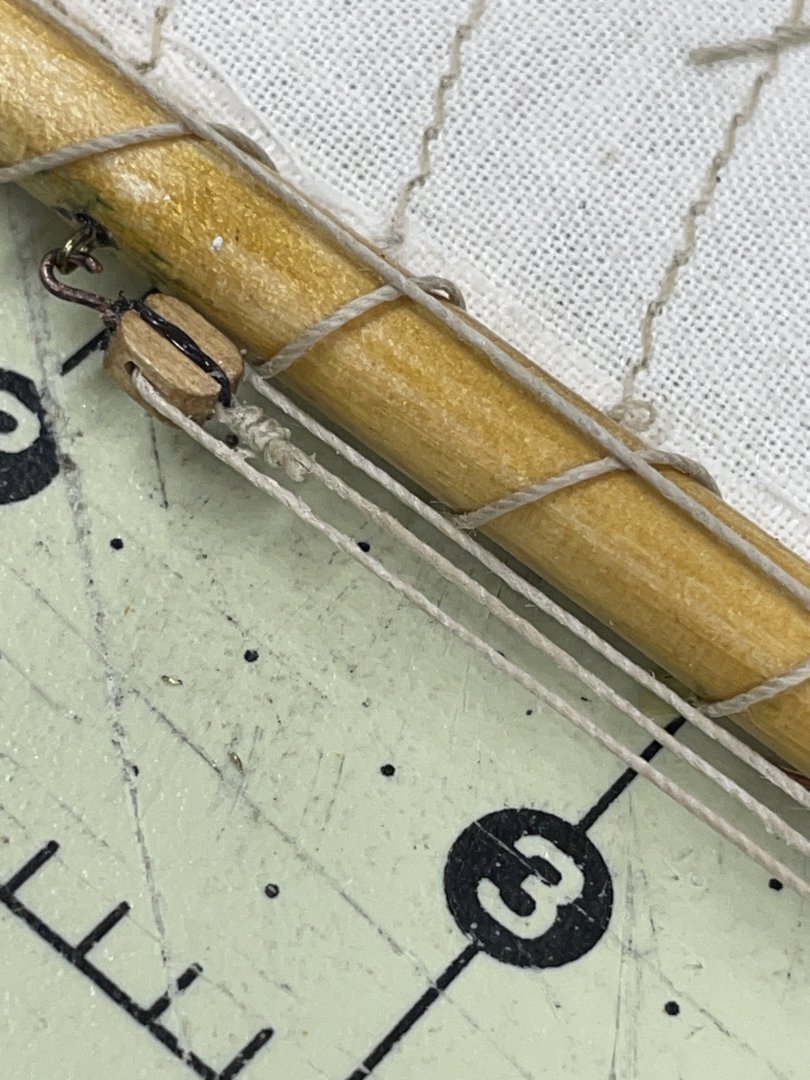
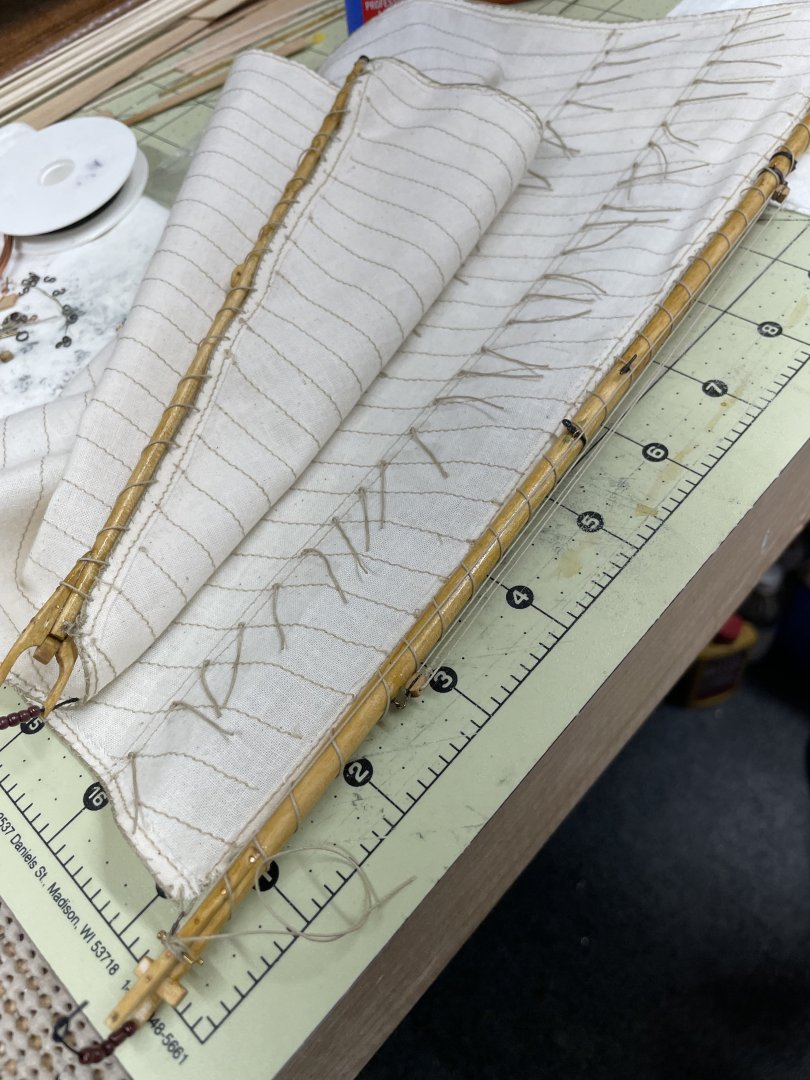
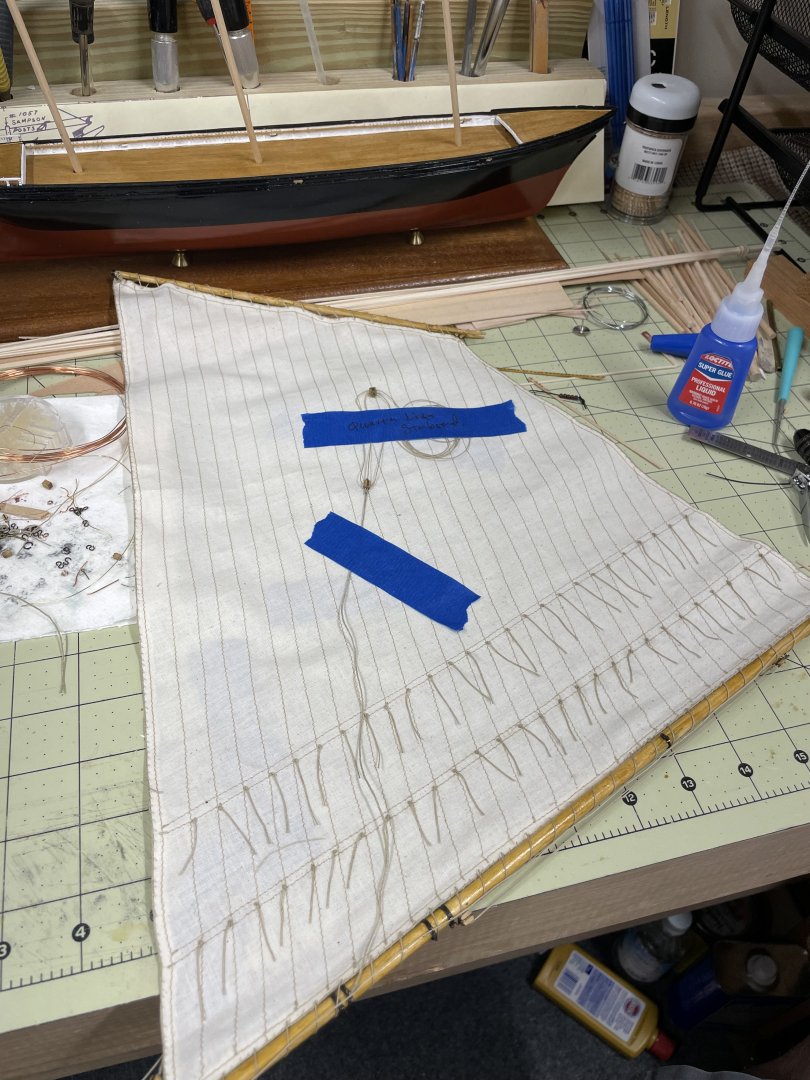
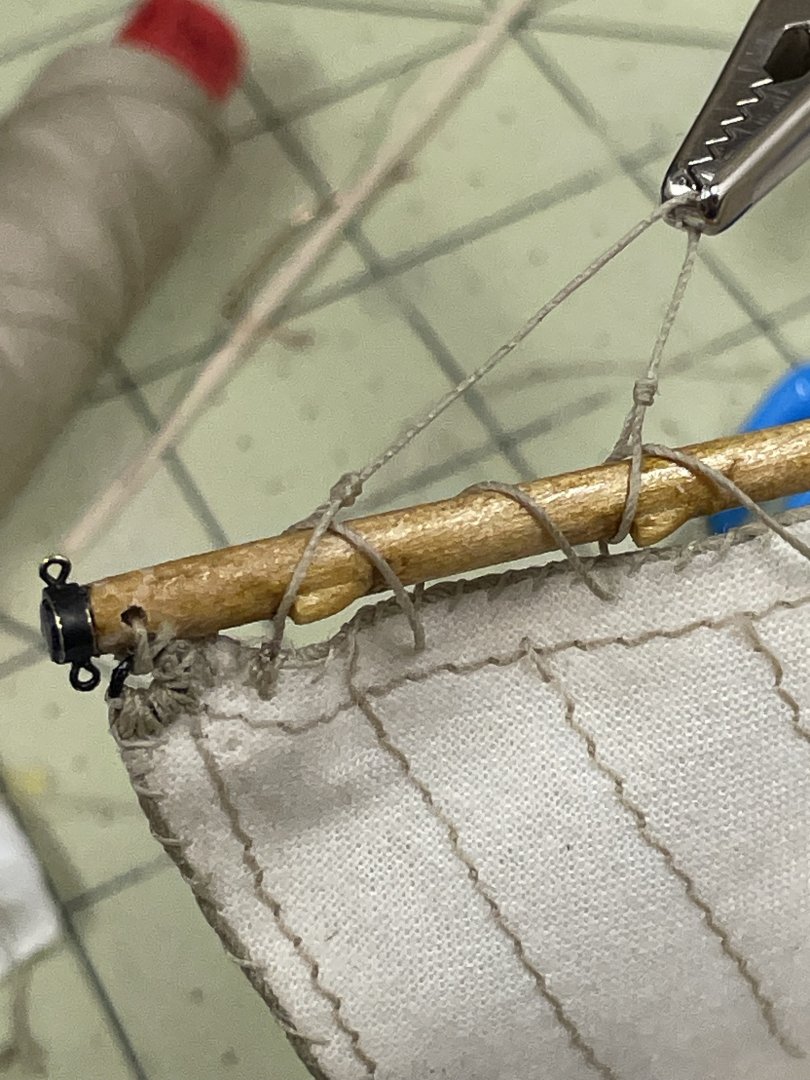
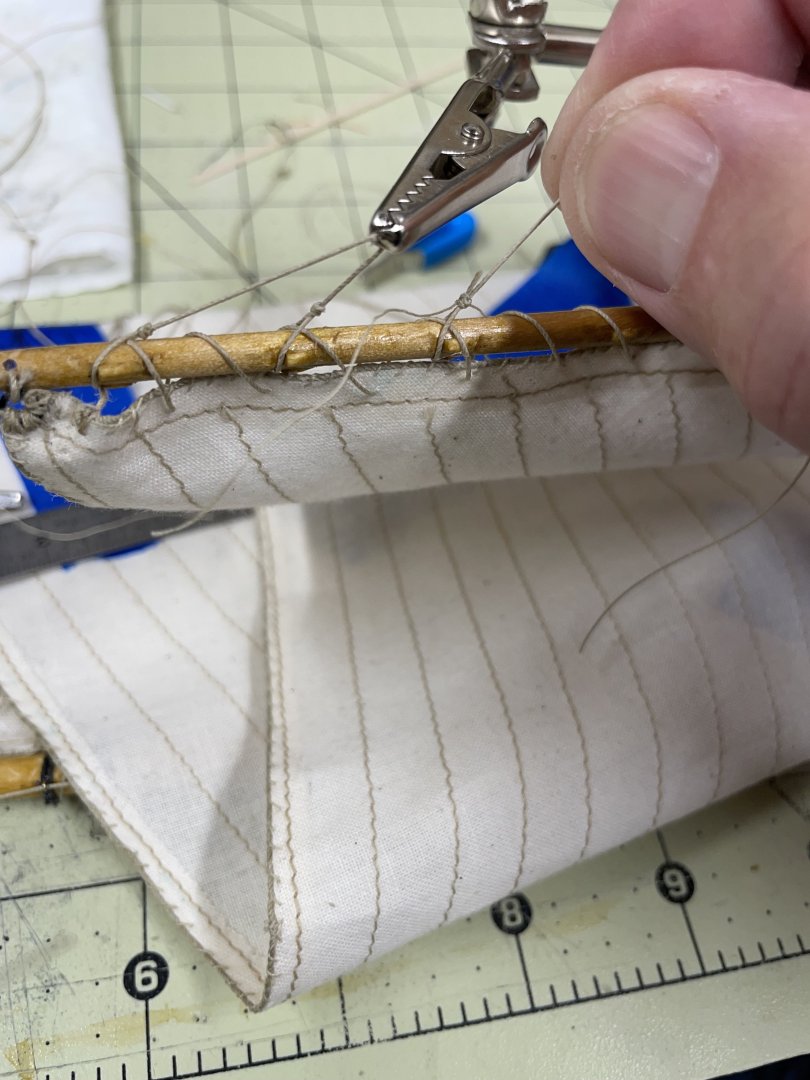
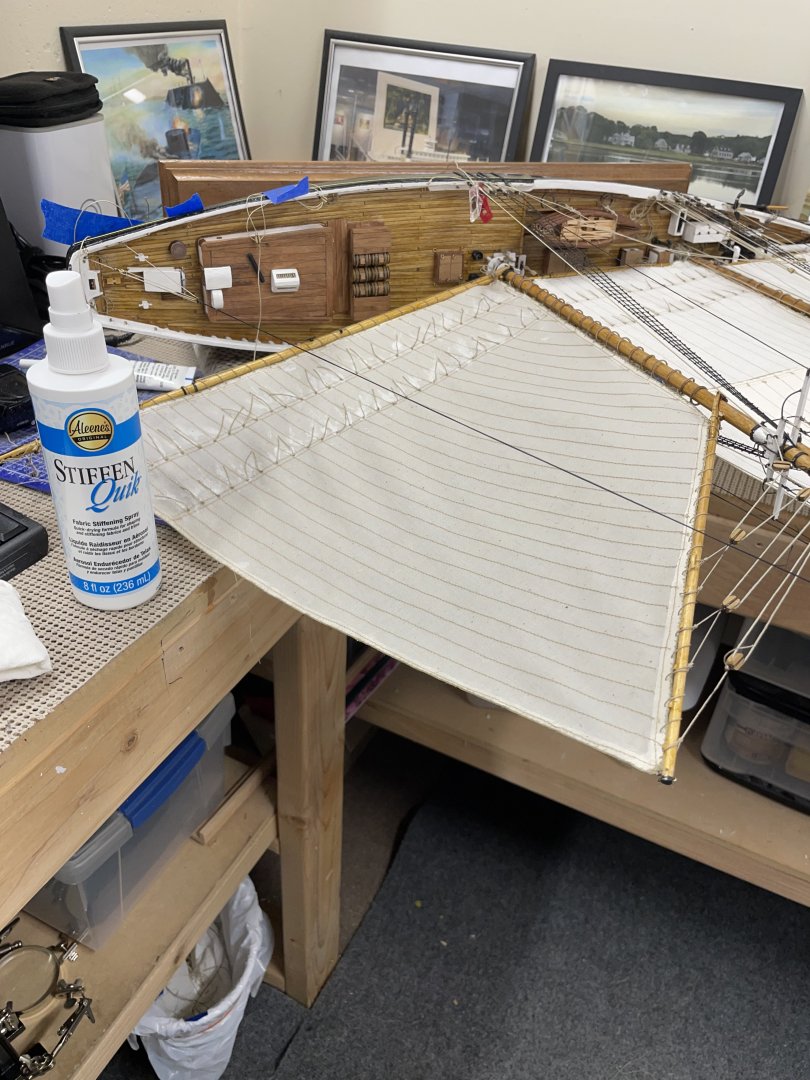
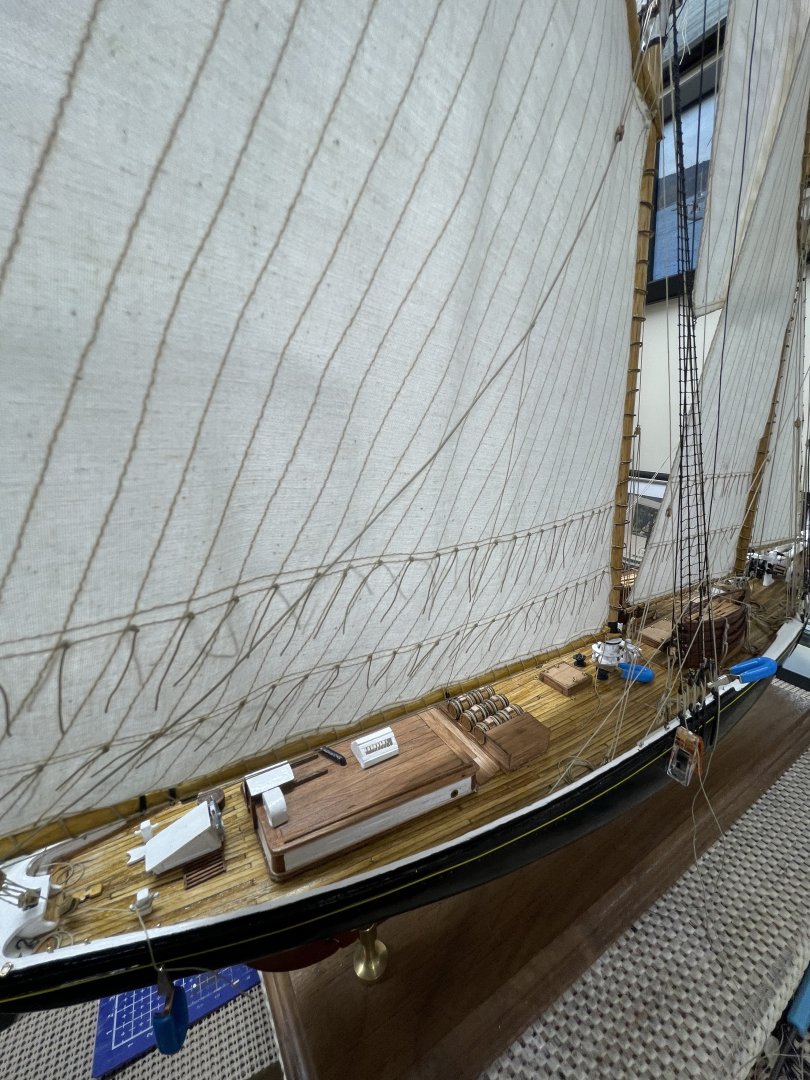
Main Topsail… Bolt Rope, Halyard, Tack and Sheet lines attached. Clew Line attached with fair leads and blocks. Mast Hoops attached… Laid her on her side to spray Fabric Stiffener on the Main Topsail. Clew belayed to pin# 33 Port.. Main Topsail Halyard belayed to Pin# 37 Port. Main Topsail Tack belayed to Pin# 24 Starboard. Main Topsail Sheet belayed to Pin# 32 Port. One more application of Fabric Stiffener using a hair dryer to stiffen the wind into place. 😎 Almost done… Here’s my final punch list. 1. Baggy Wrinkles 2. 1921 Canadian Flag w/halyard on Main Gaff 3. 1921 Nova Scotia Flag w/halyard on Main Top Mast The drawings show a Flag Halyard on the Fore Top Mast. I’m not sure what goes there. Any ideas? Is there anything I have missed? Cheers 🍻


- 282 replies
-
- 8
-
-
-
- Bluenose
- Model Shipways
- (and 1 more)
-
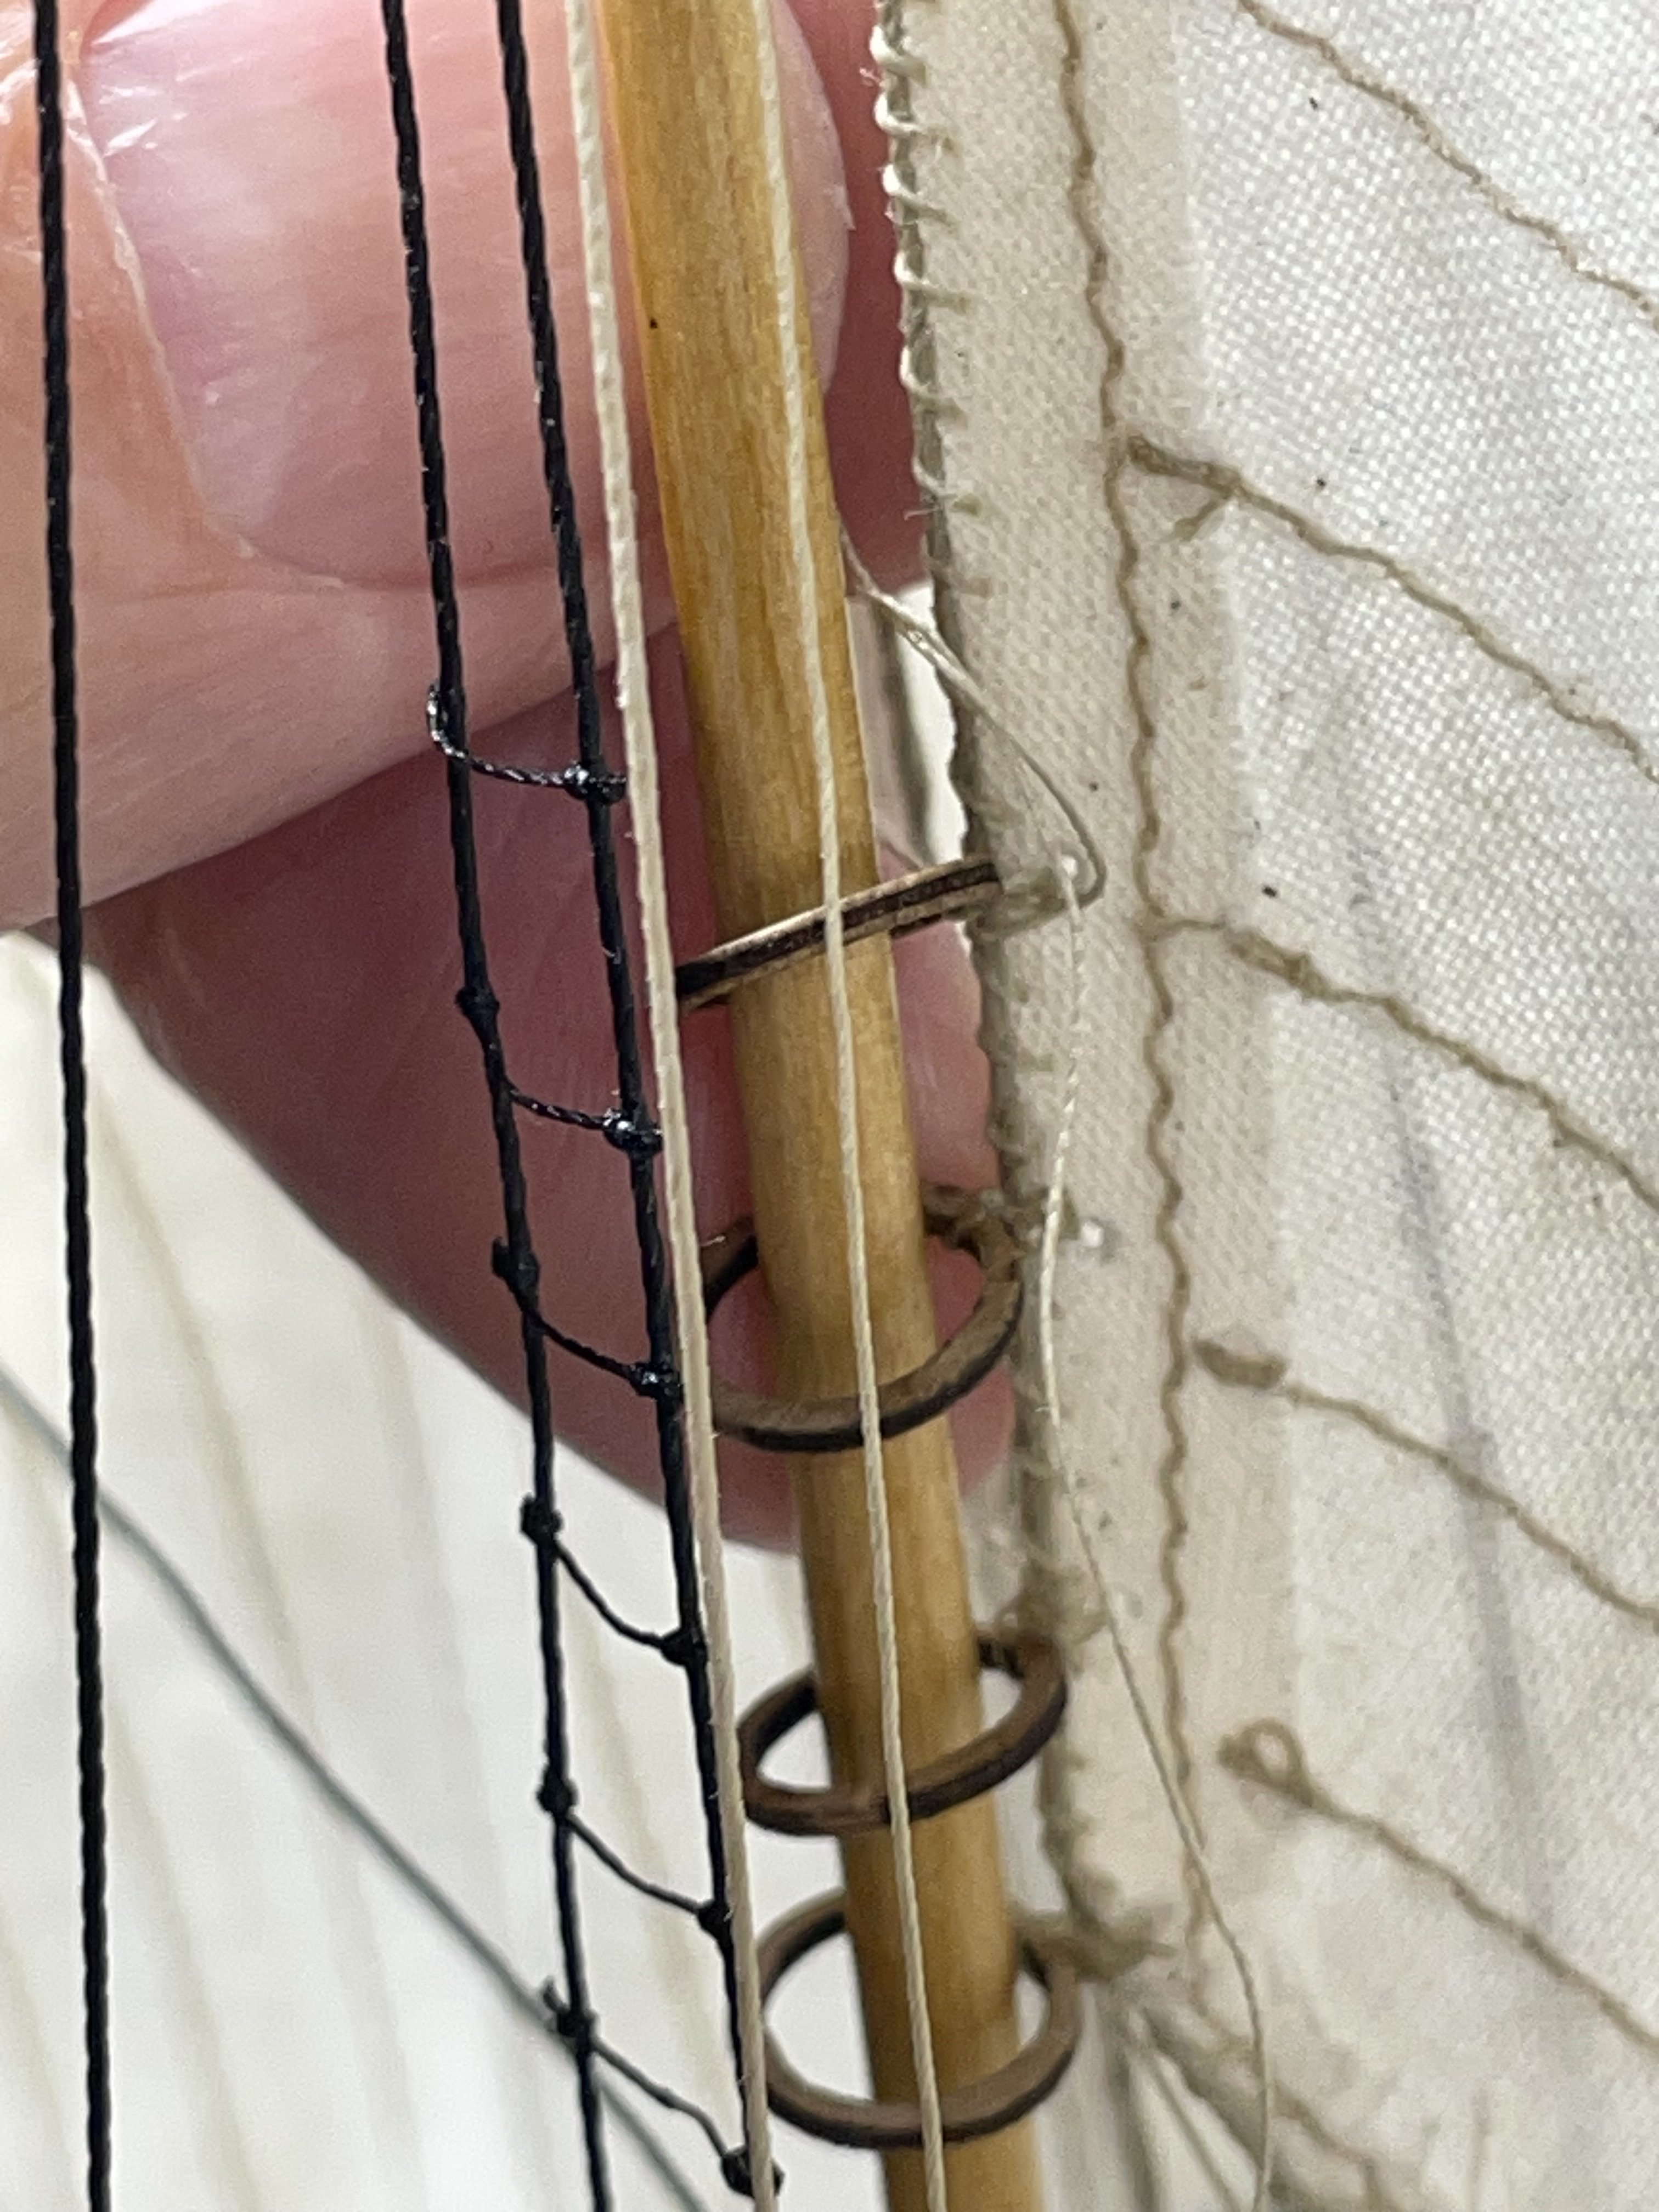
Thanks Gregg, As for holding the Gaff in place while tying the Hoops, I simply use some rigging from the Gaff to the top mast to temporarily hold it up then I rig the peak halyards after the hoops are connected. John
- 282 replies
-
- 2
-
-
-
- Bluenose
- Model Shipways
- (and 1 more)
-
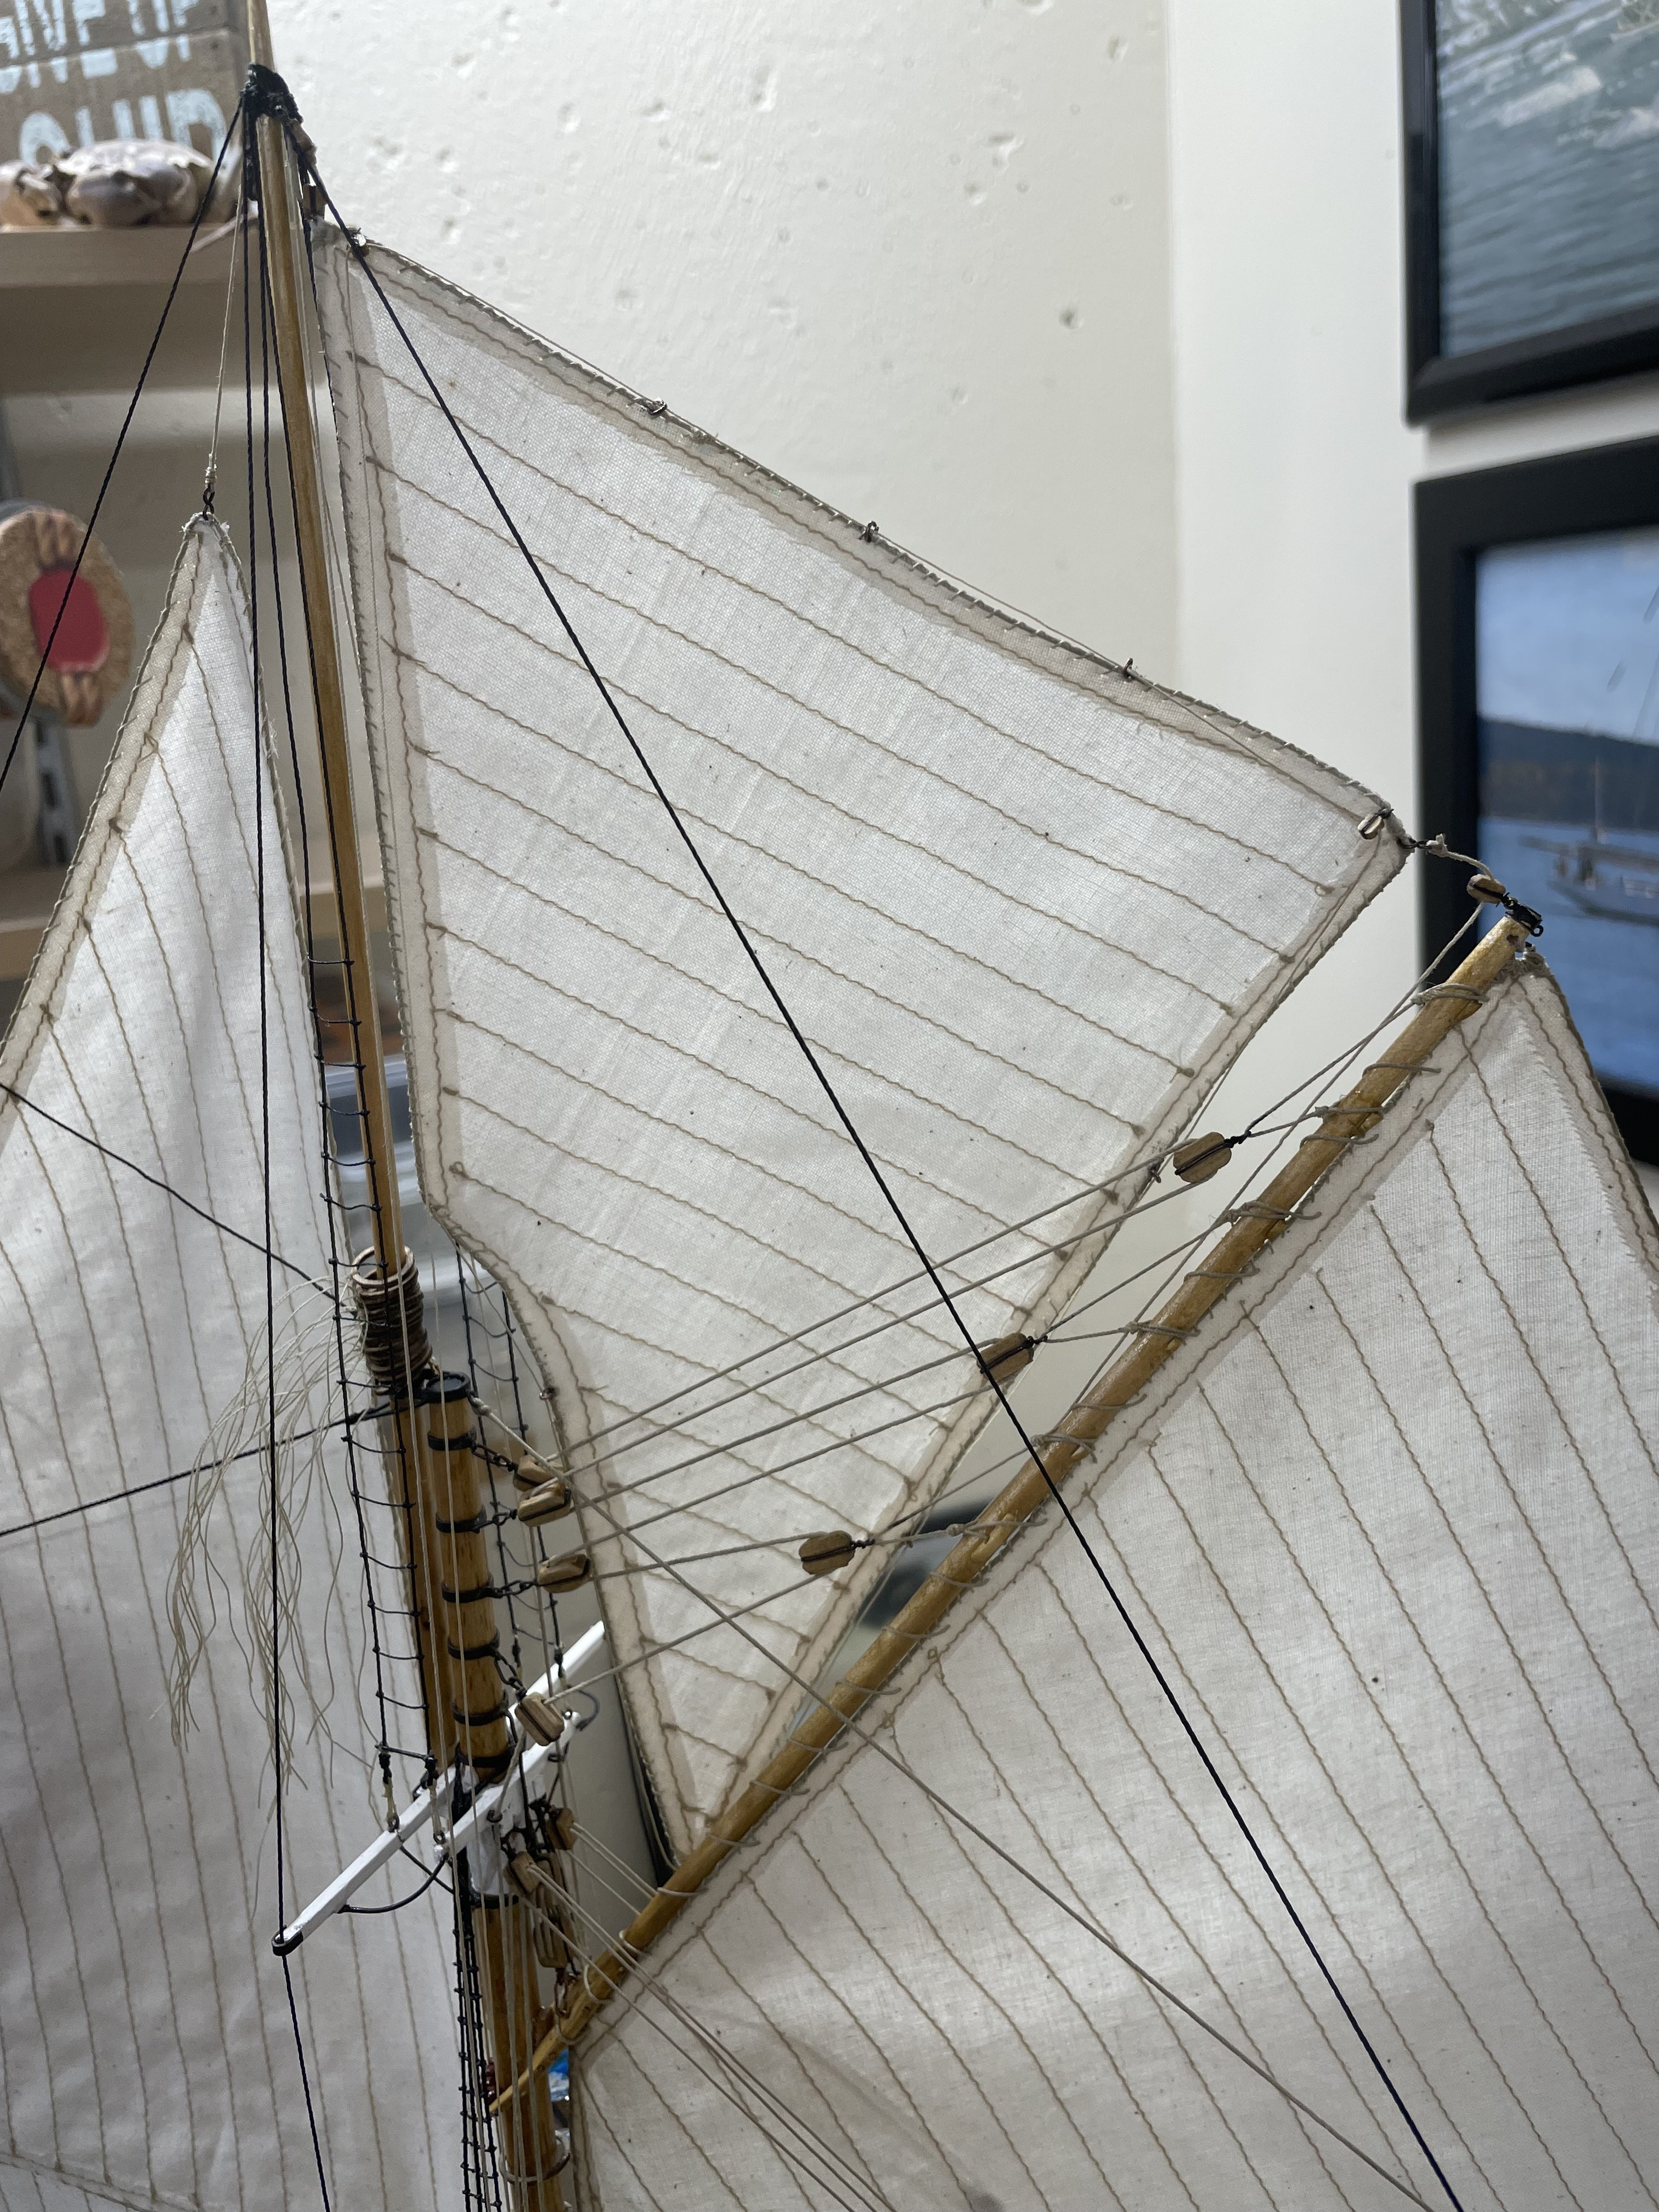
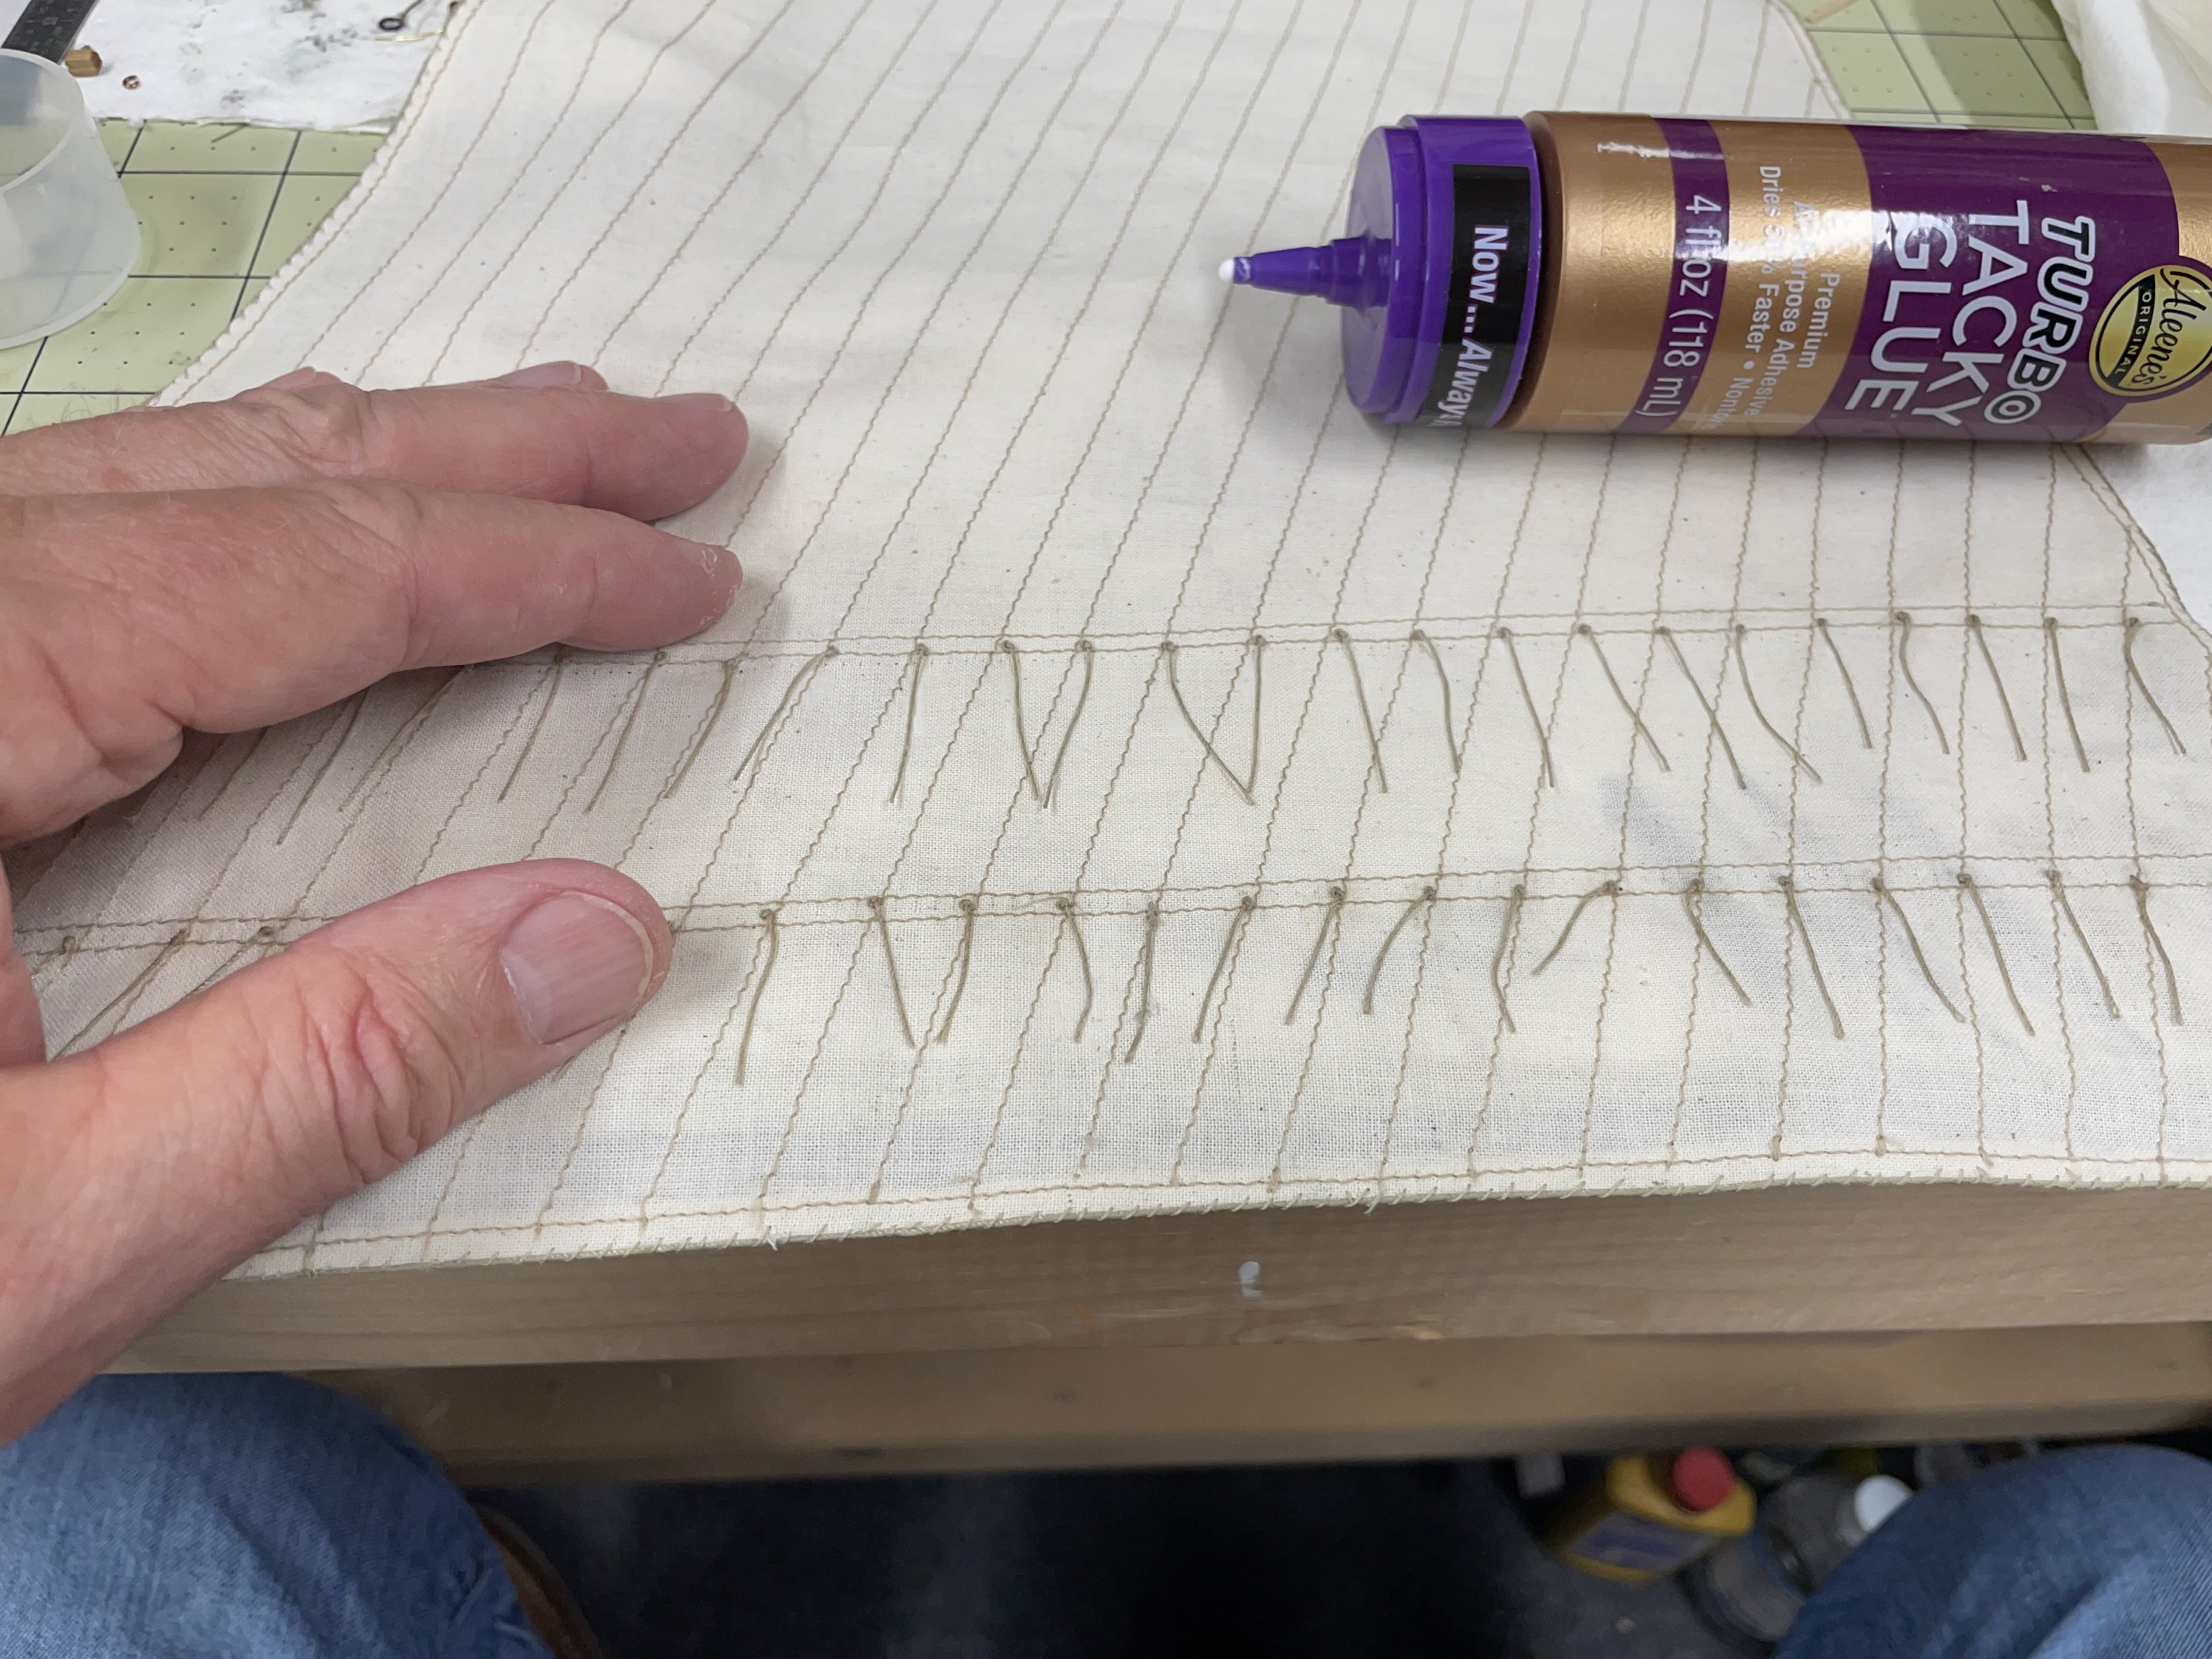
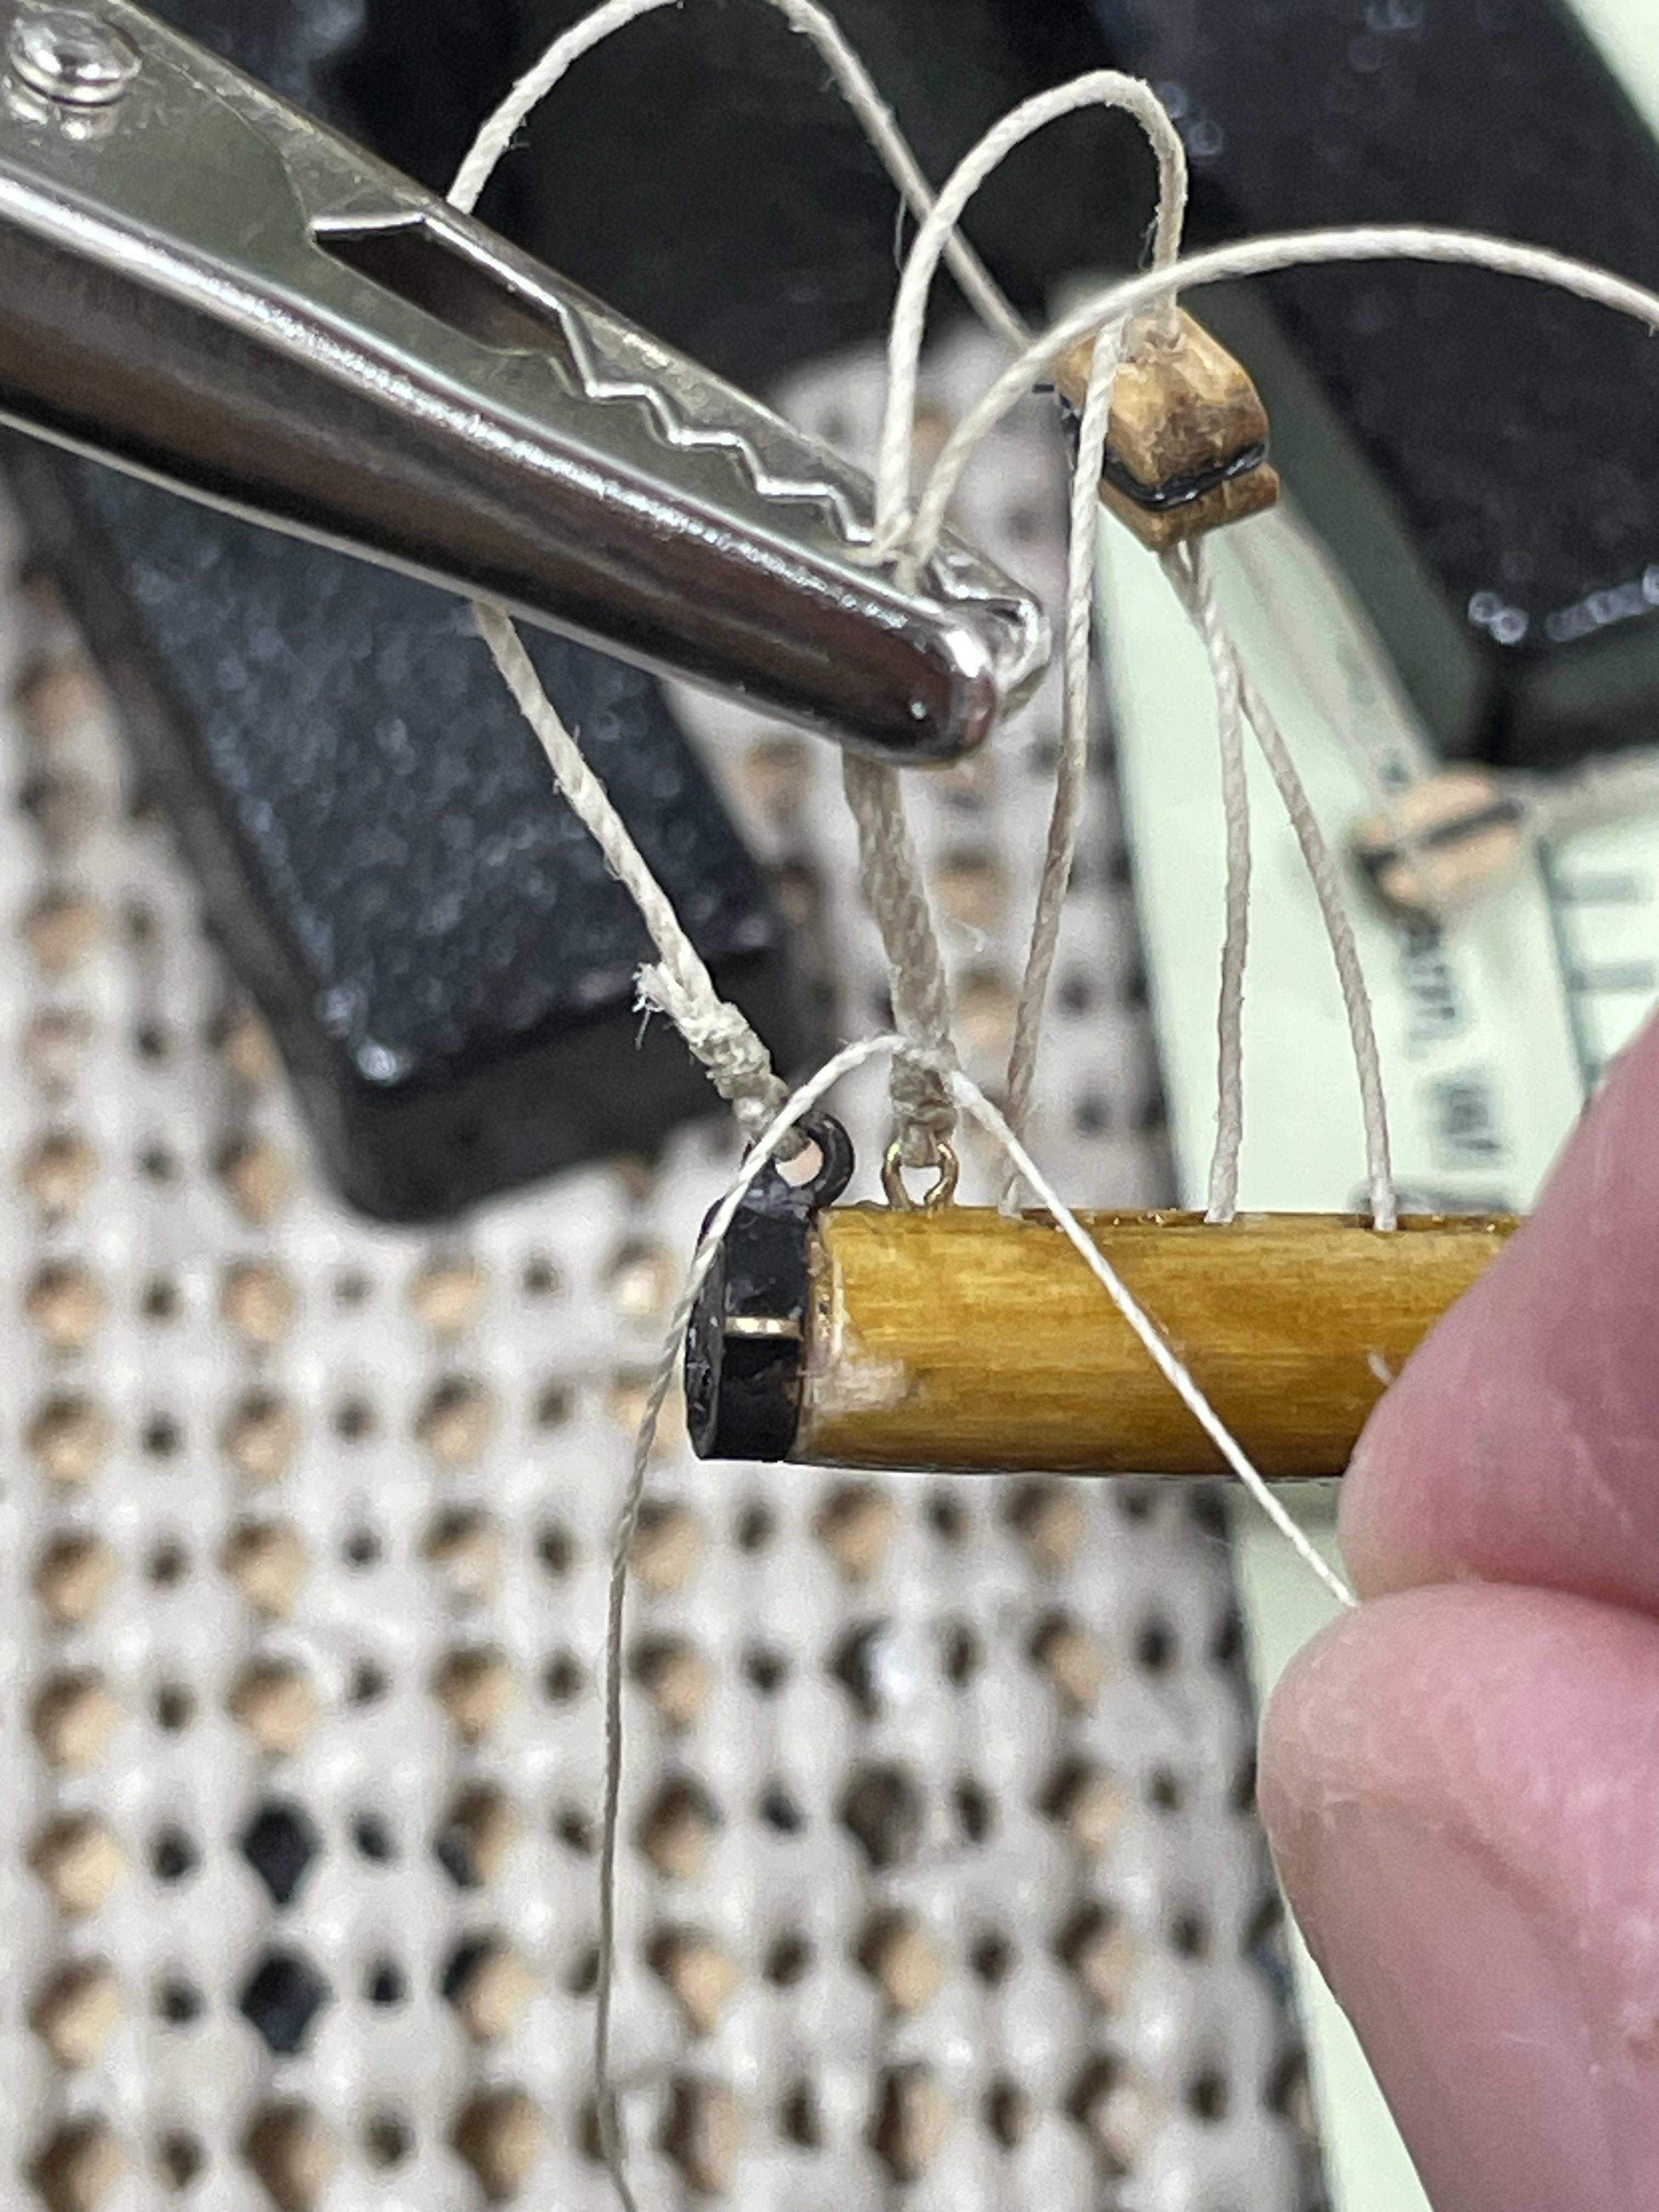
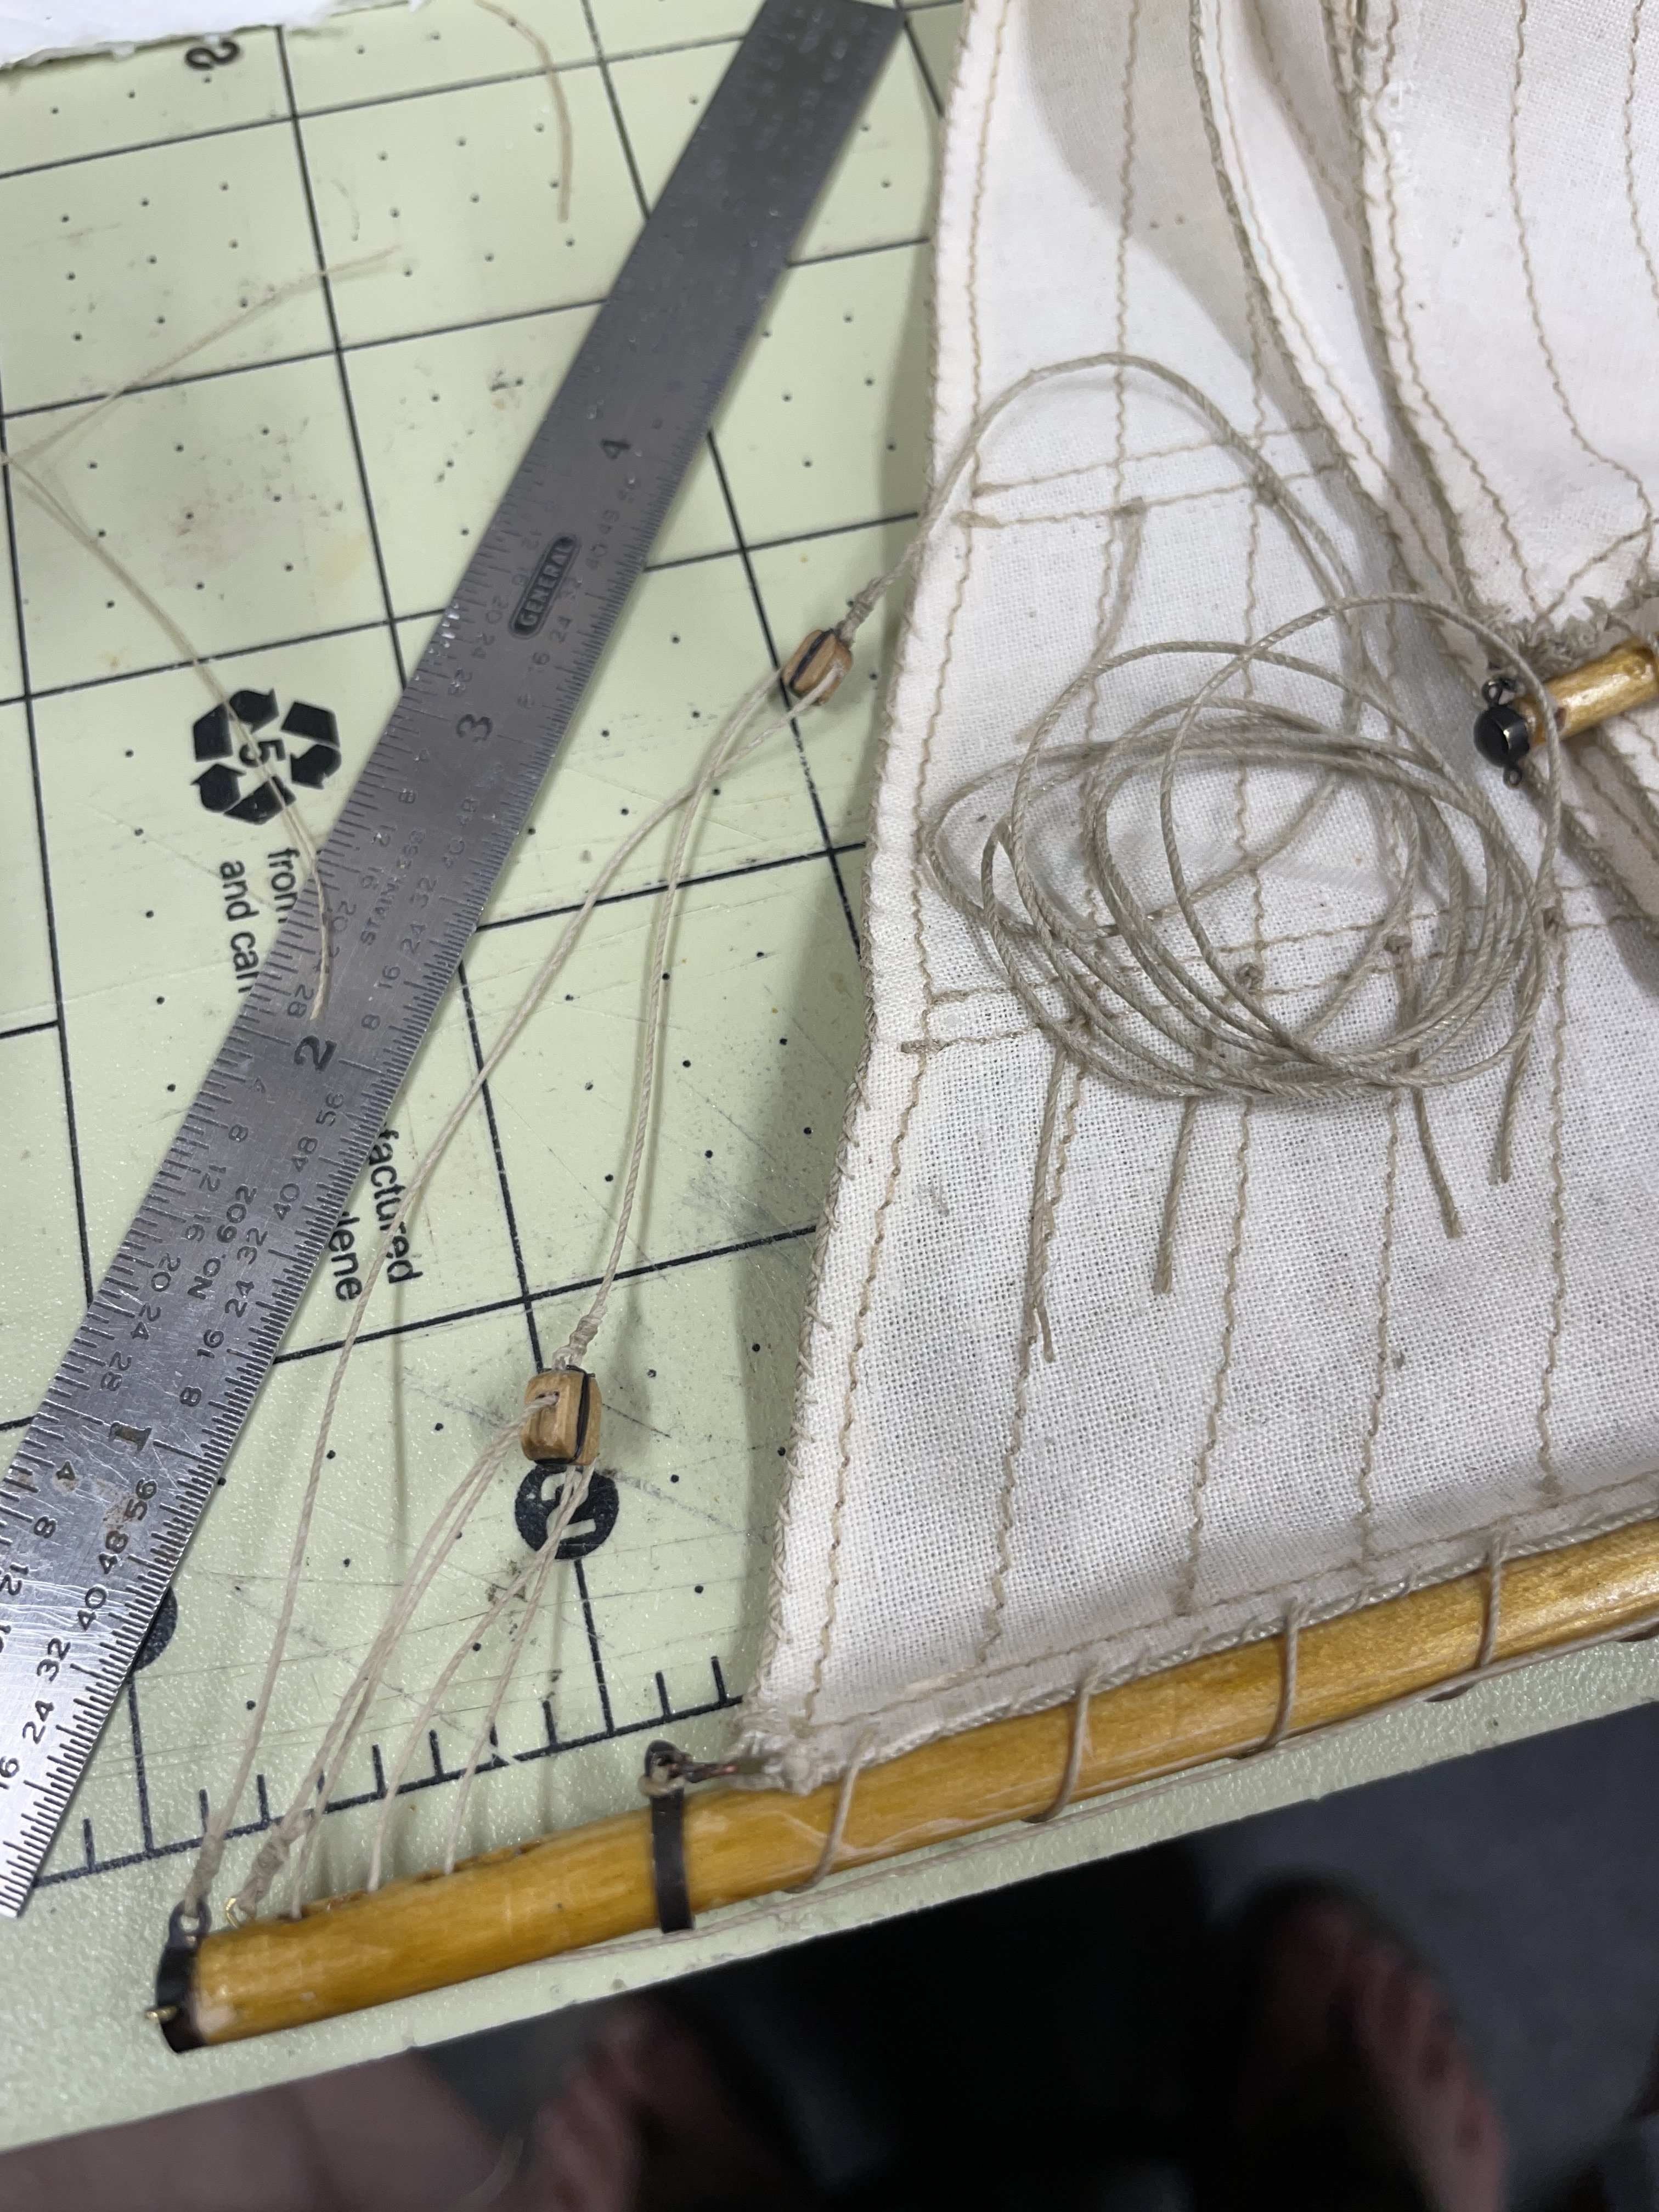
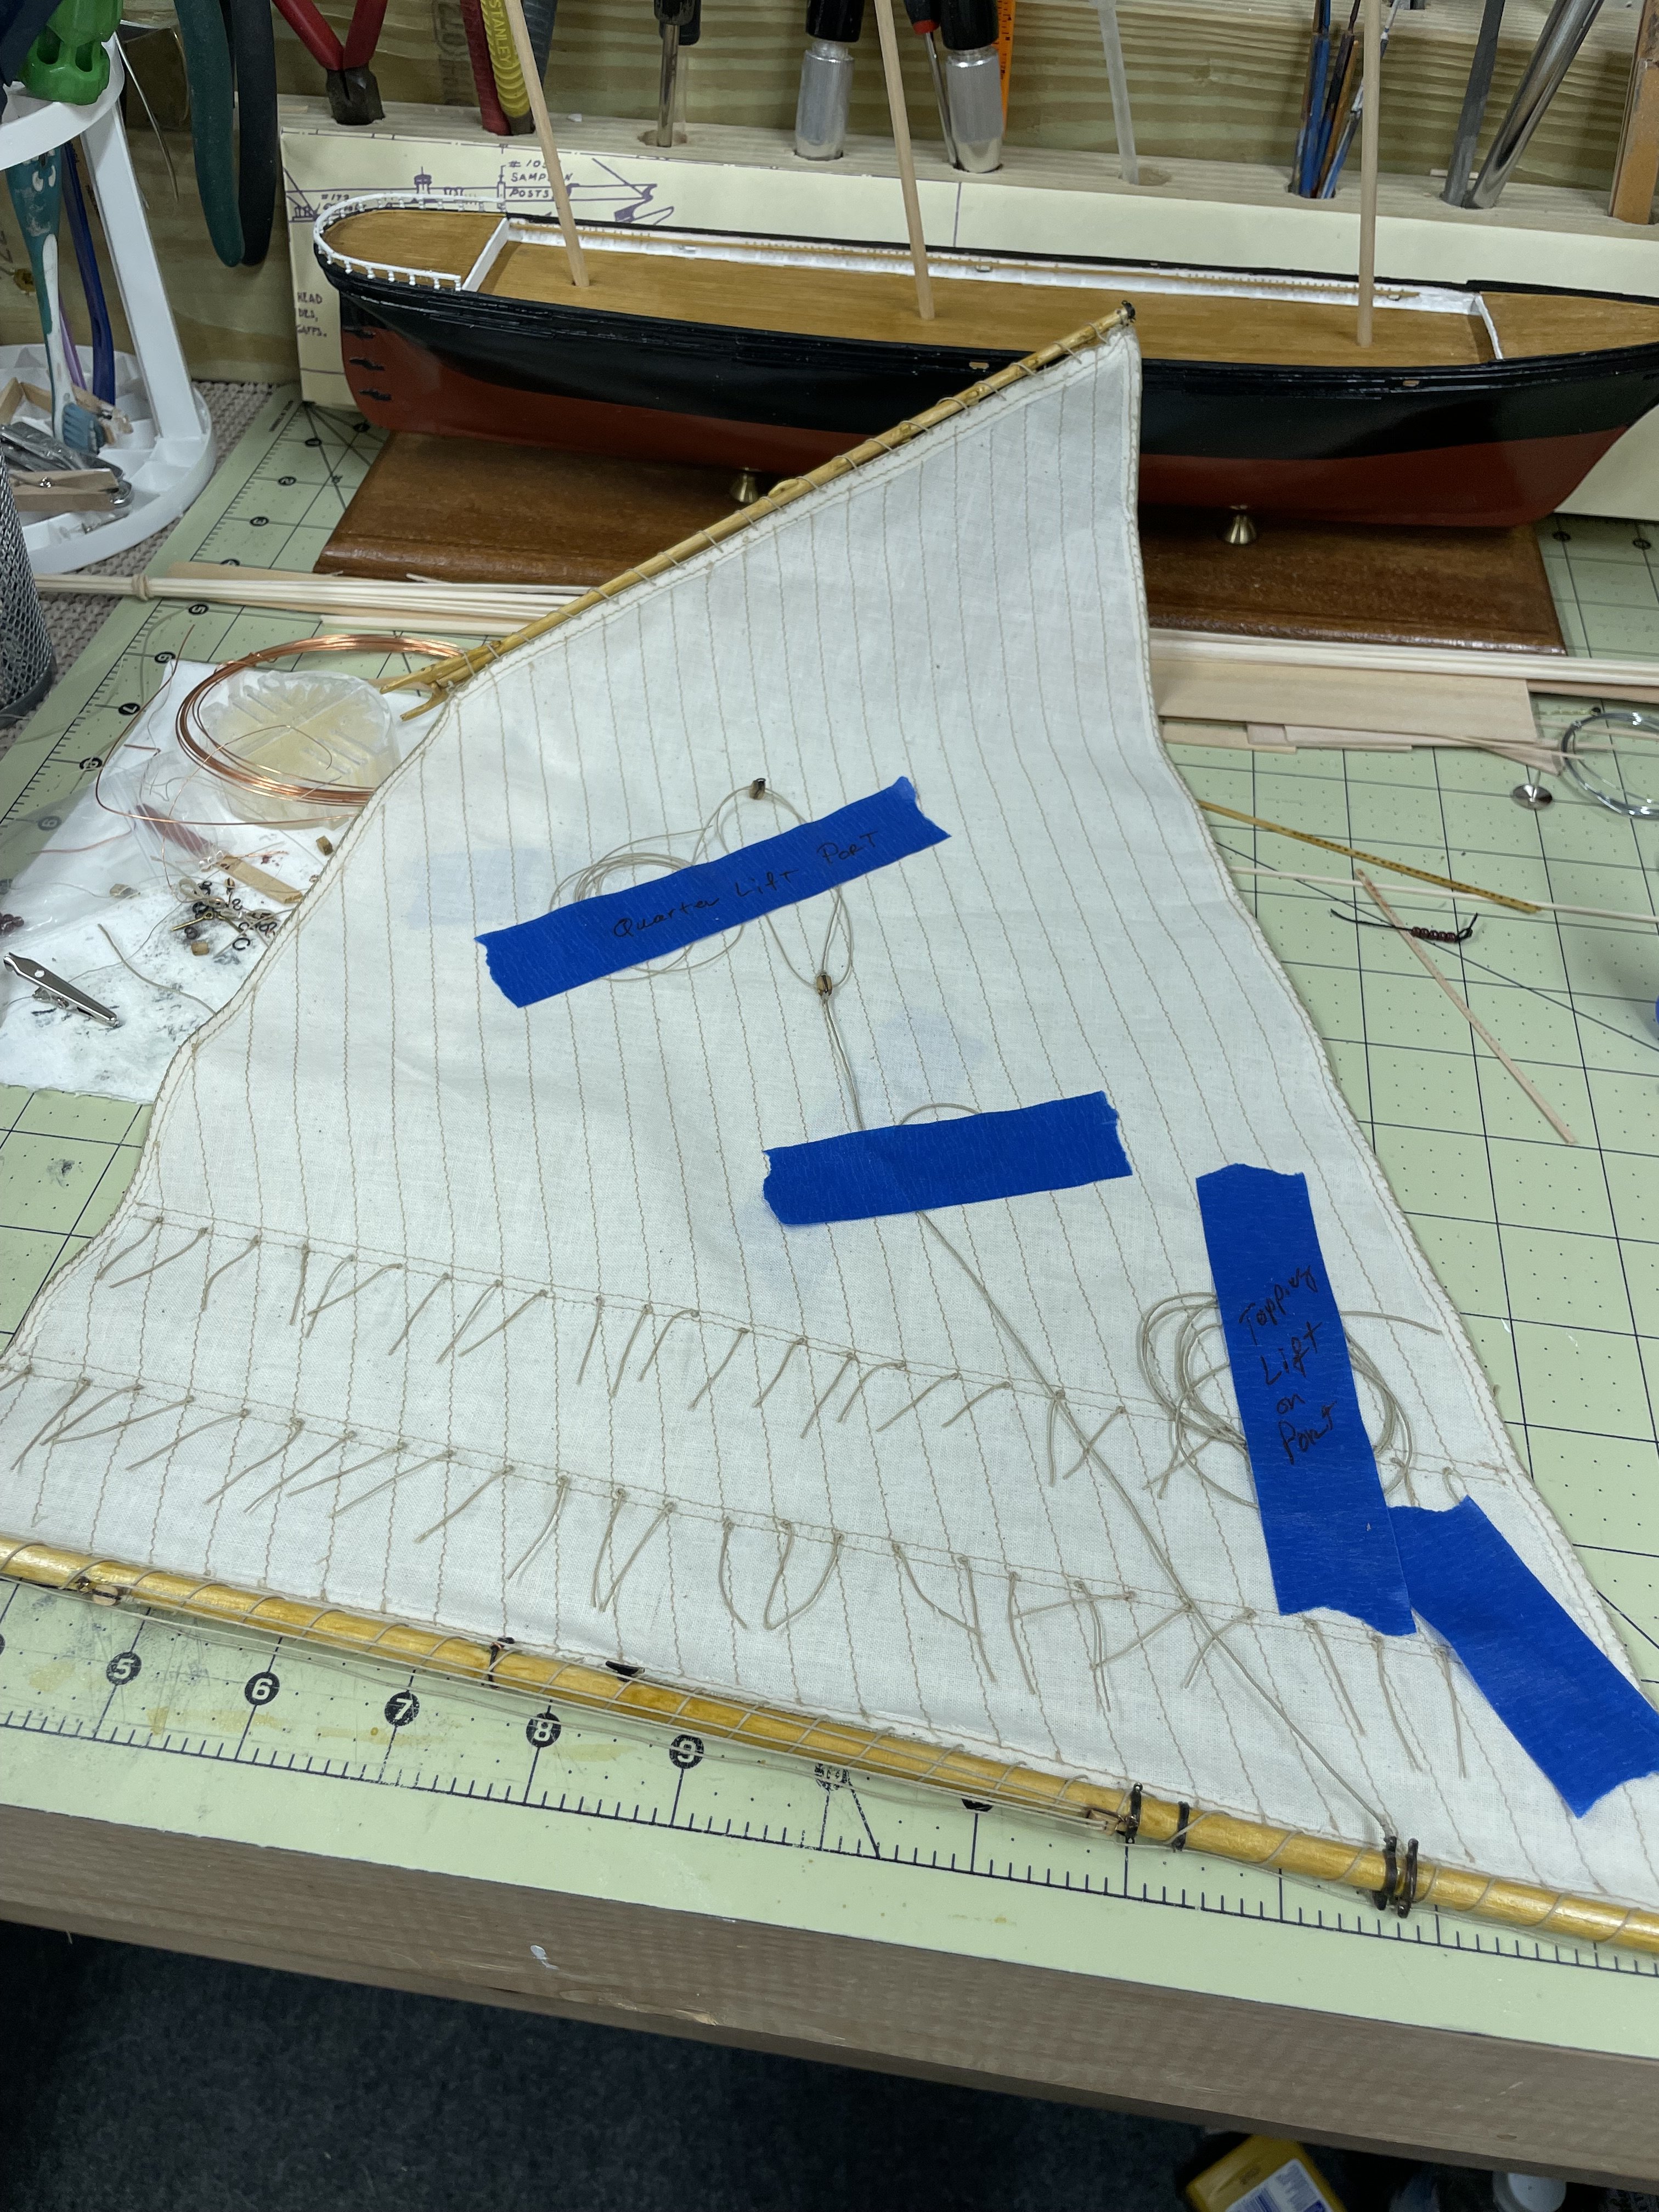
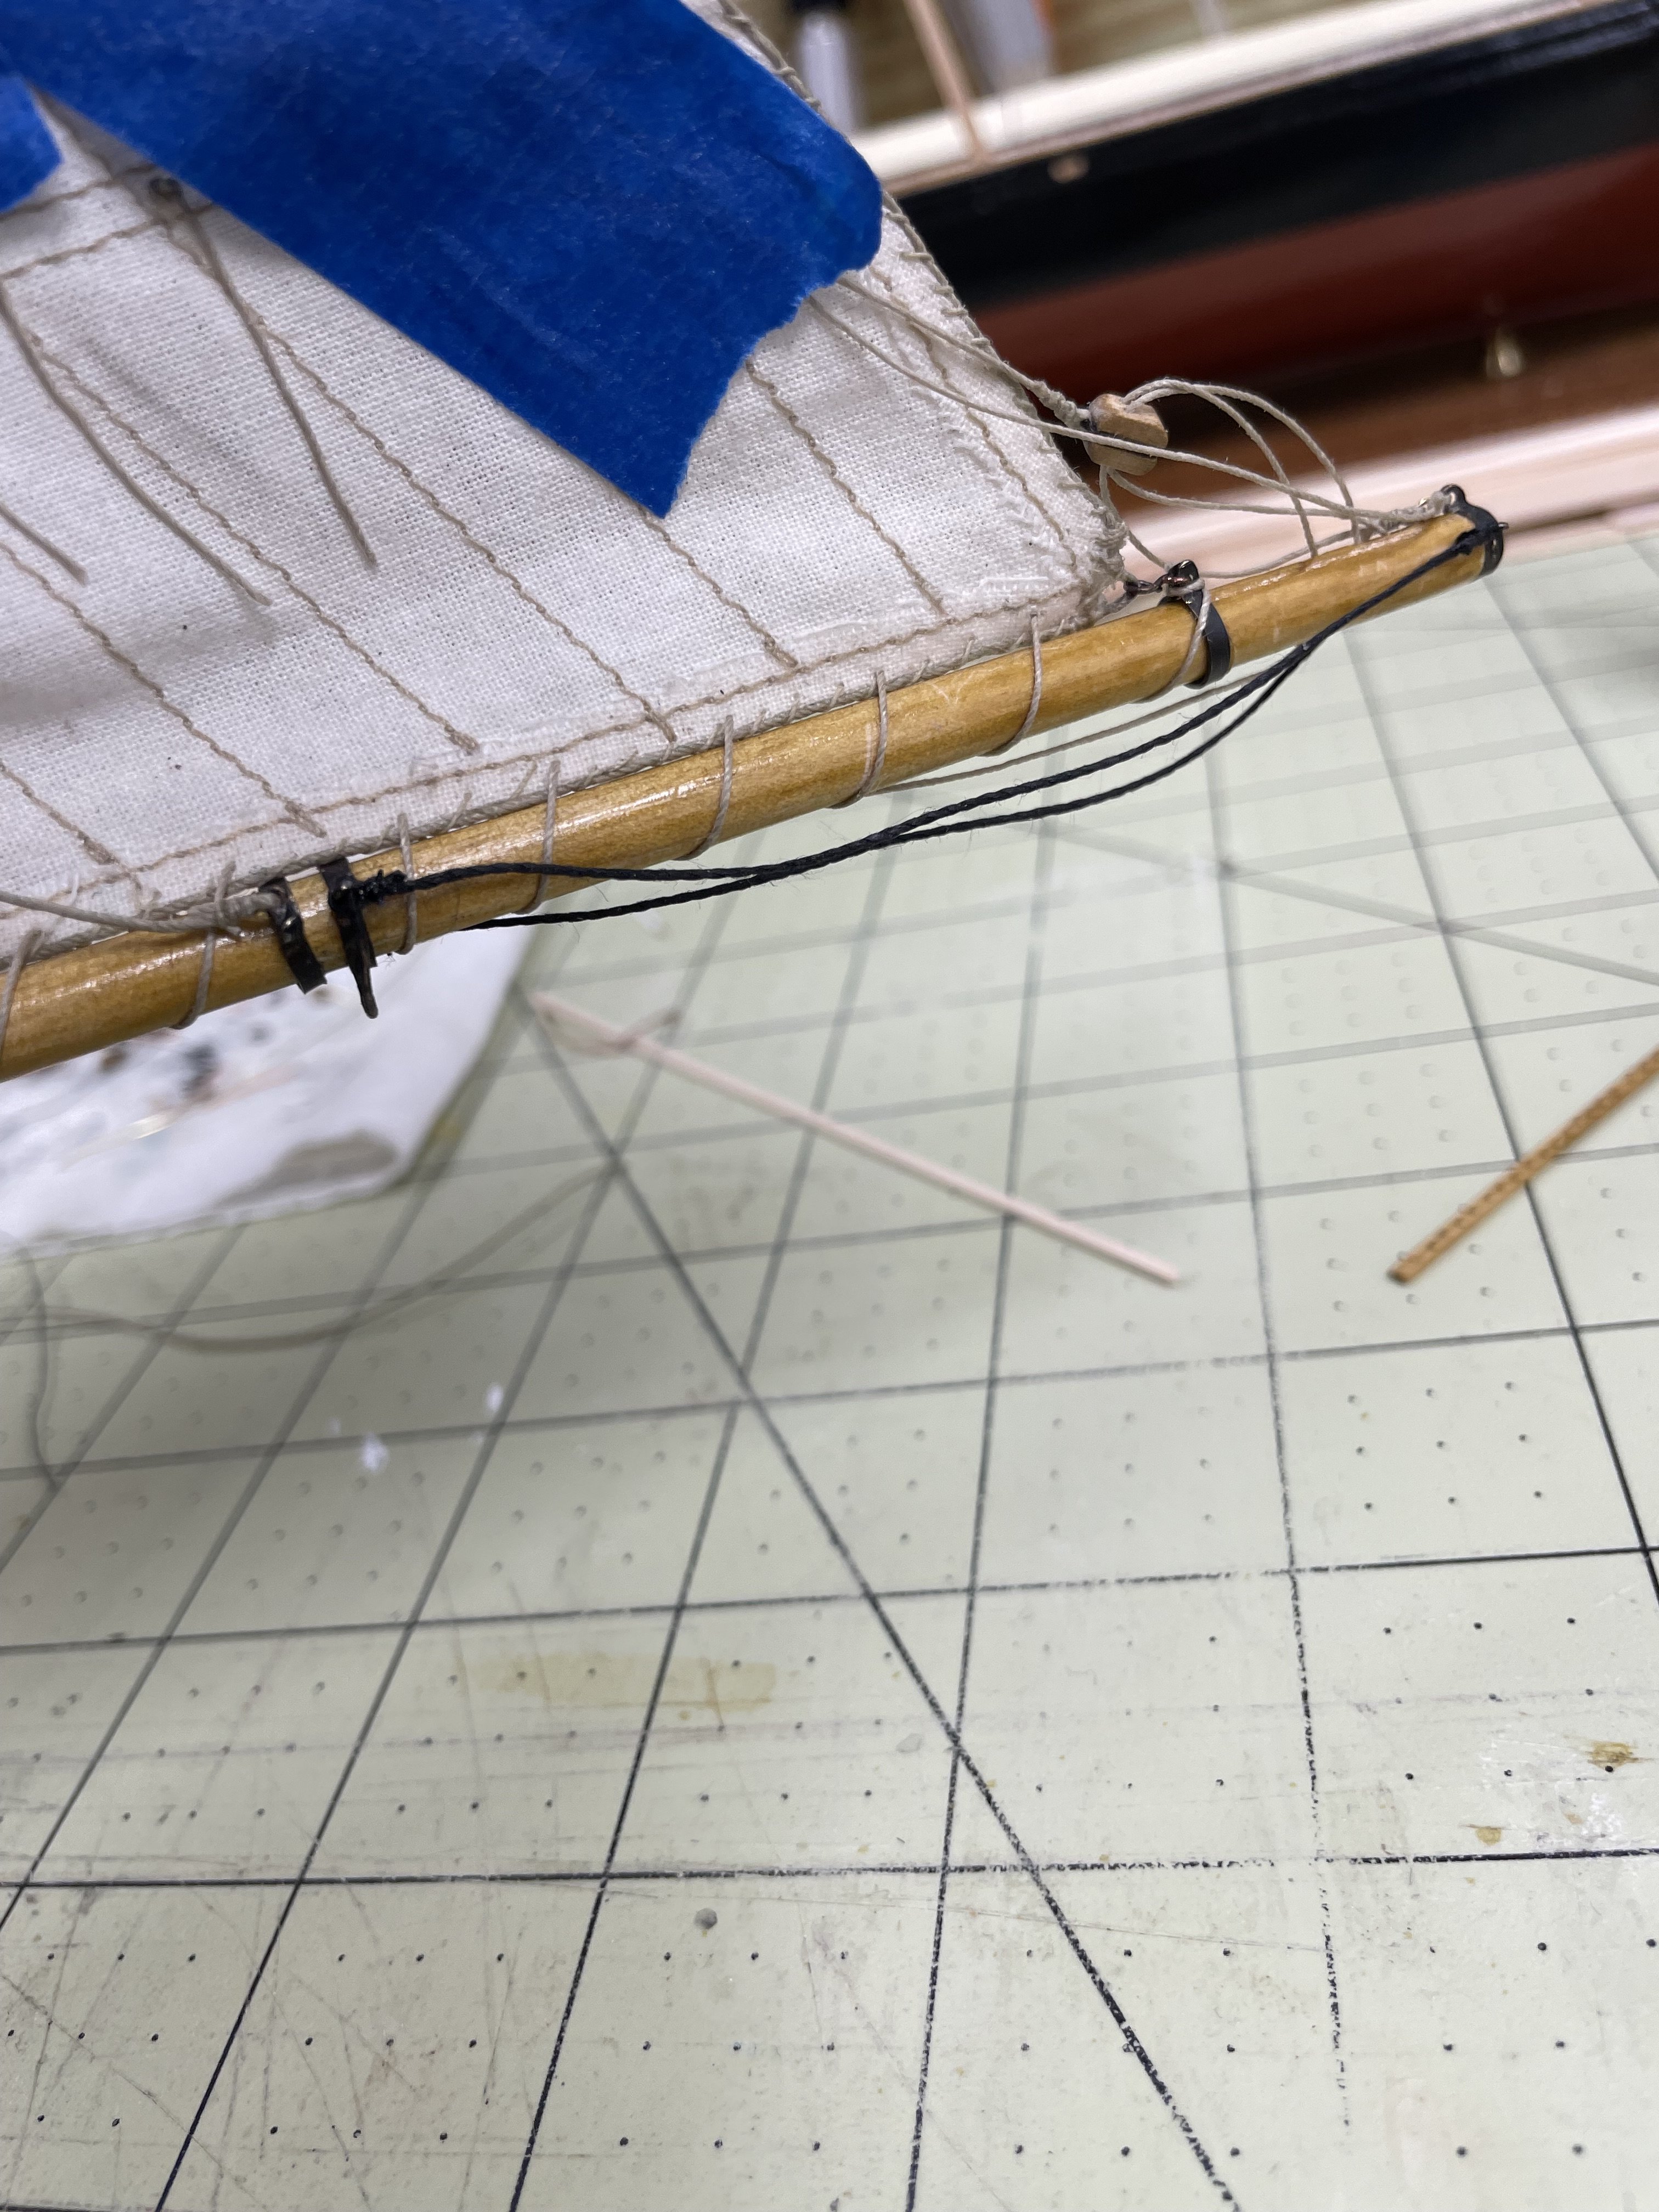
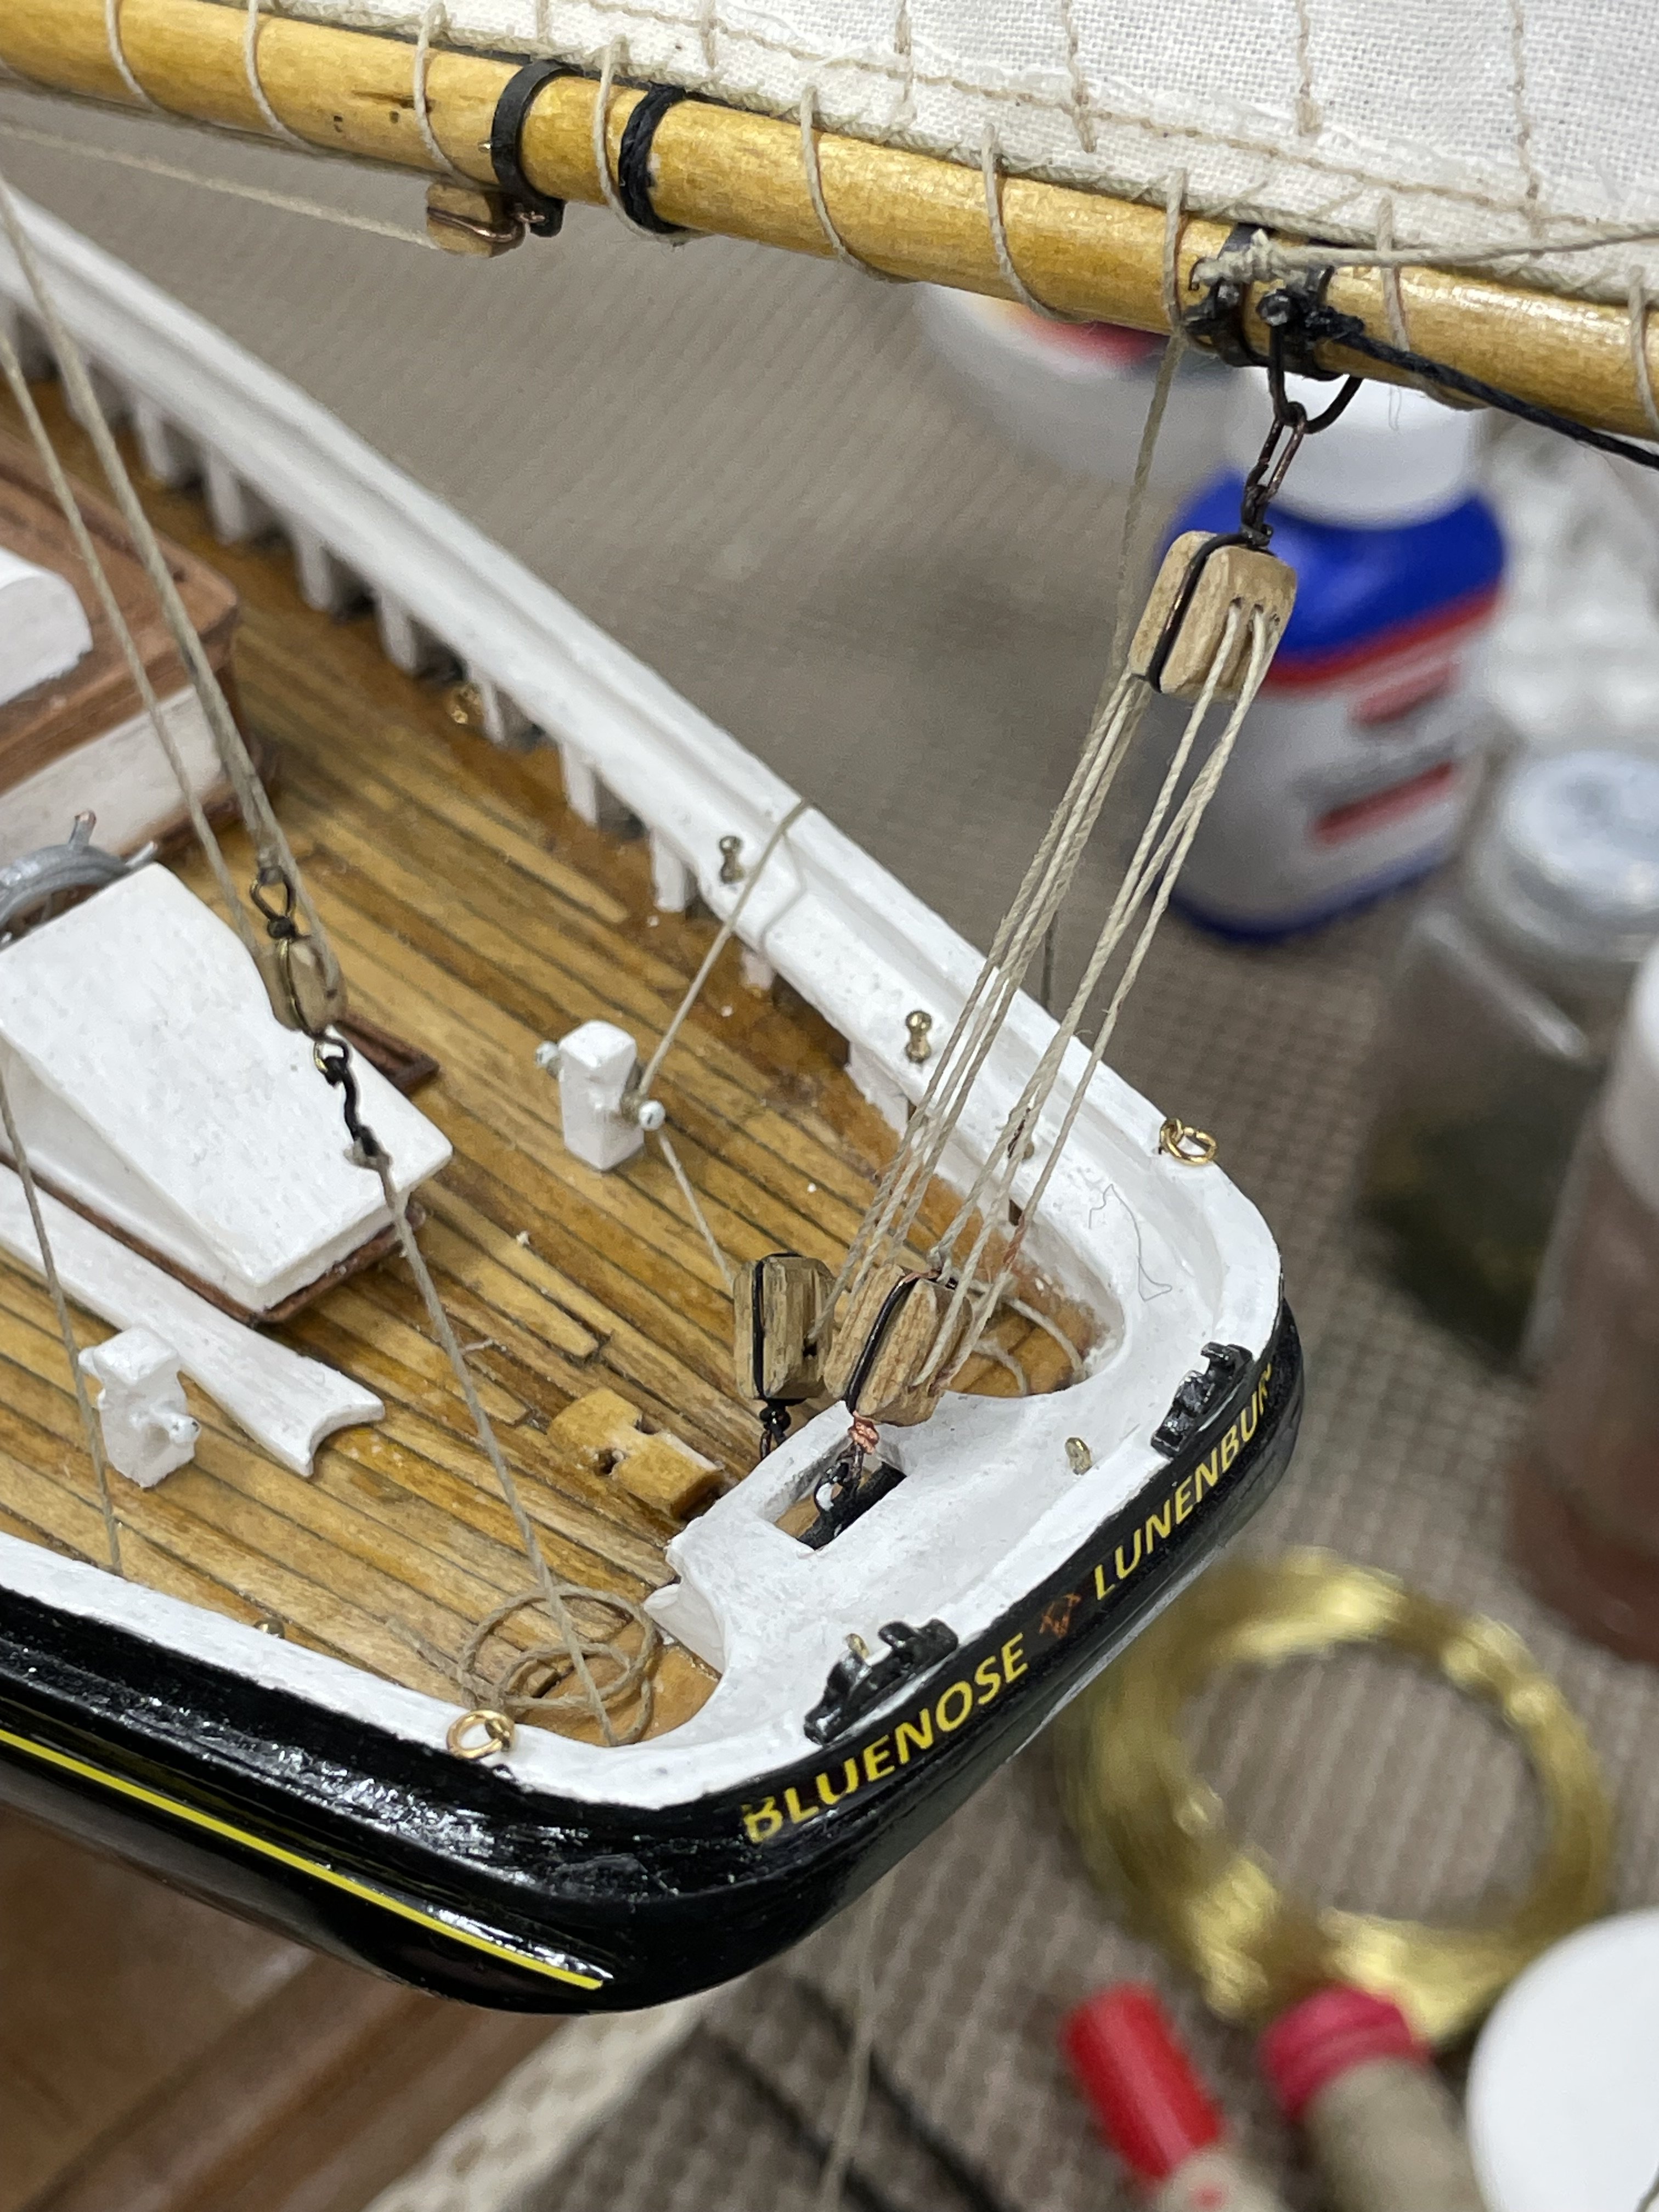
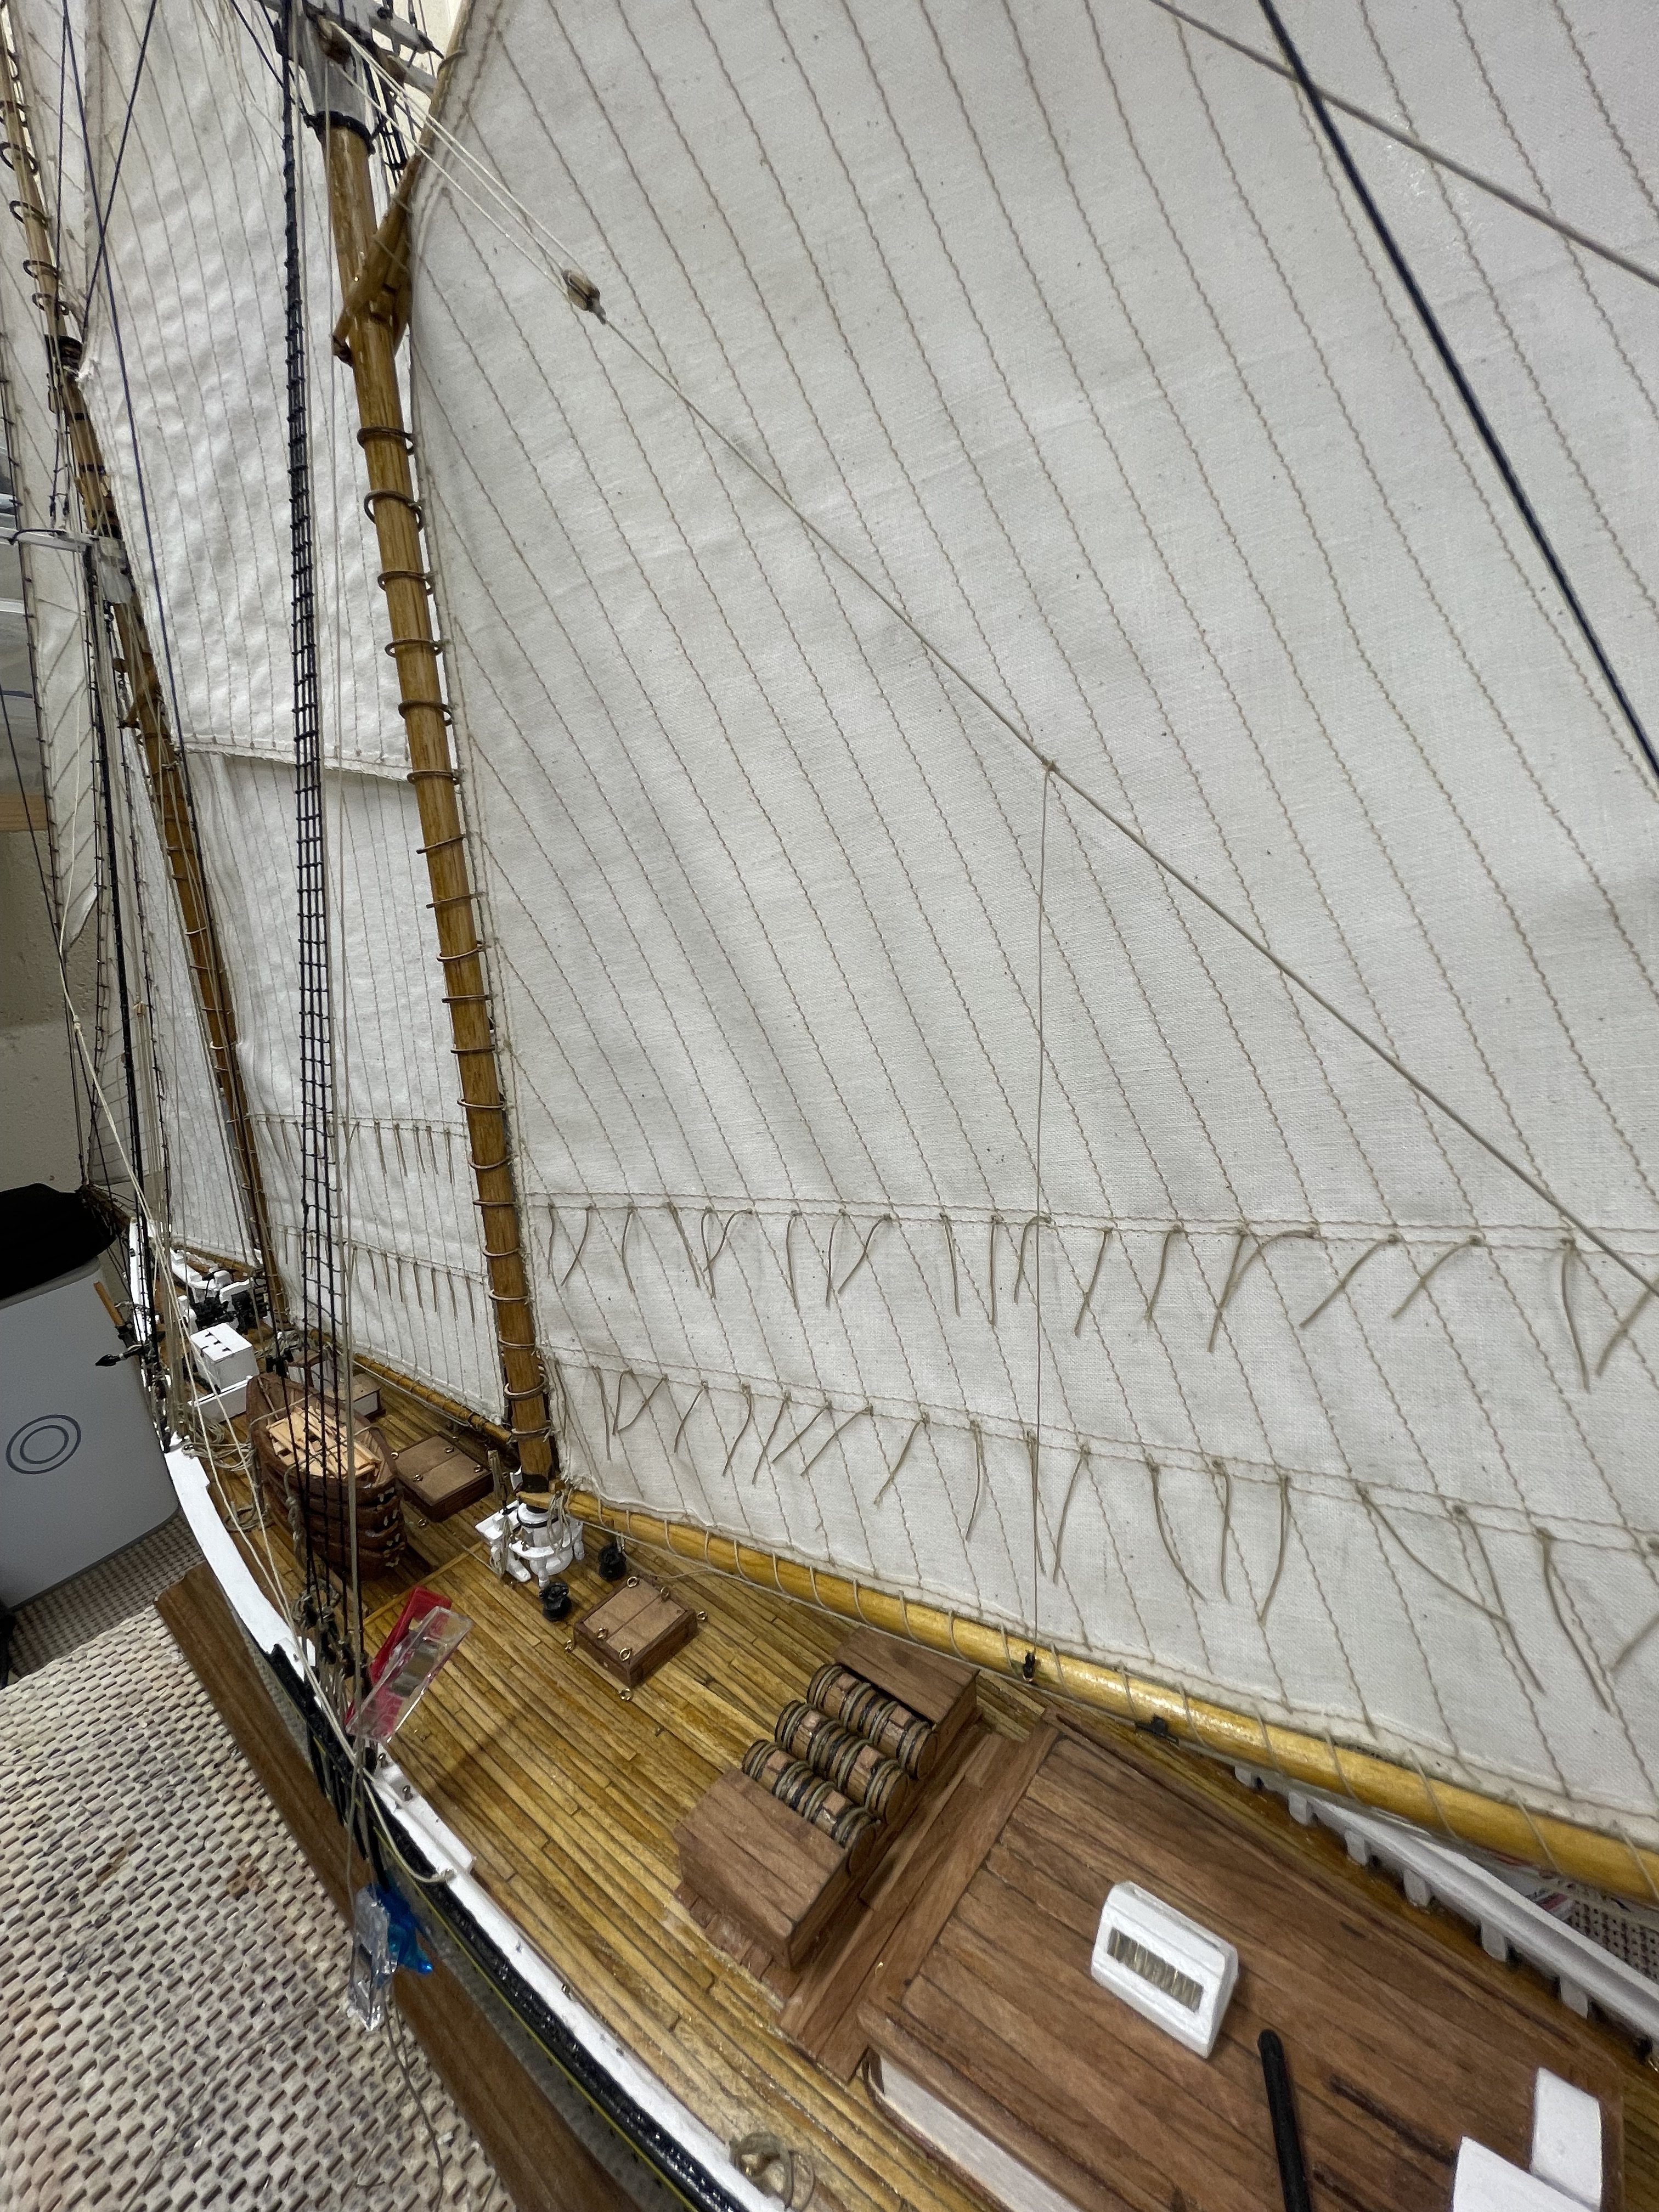
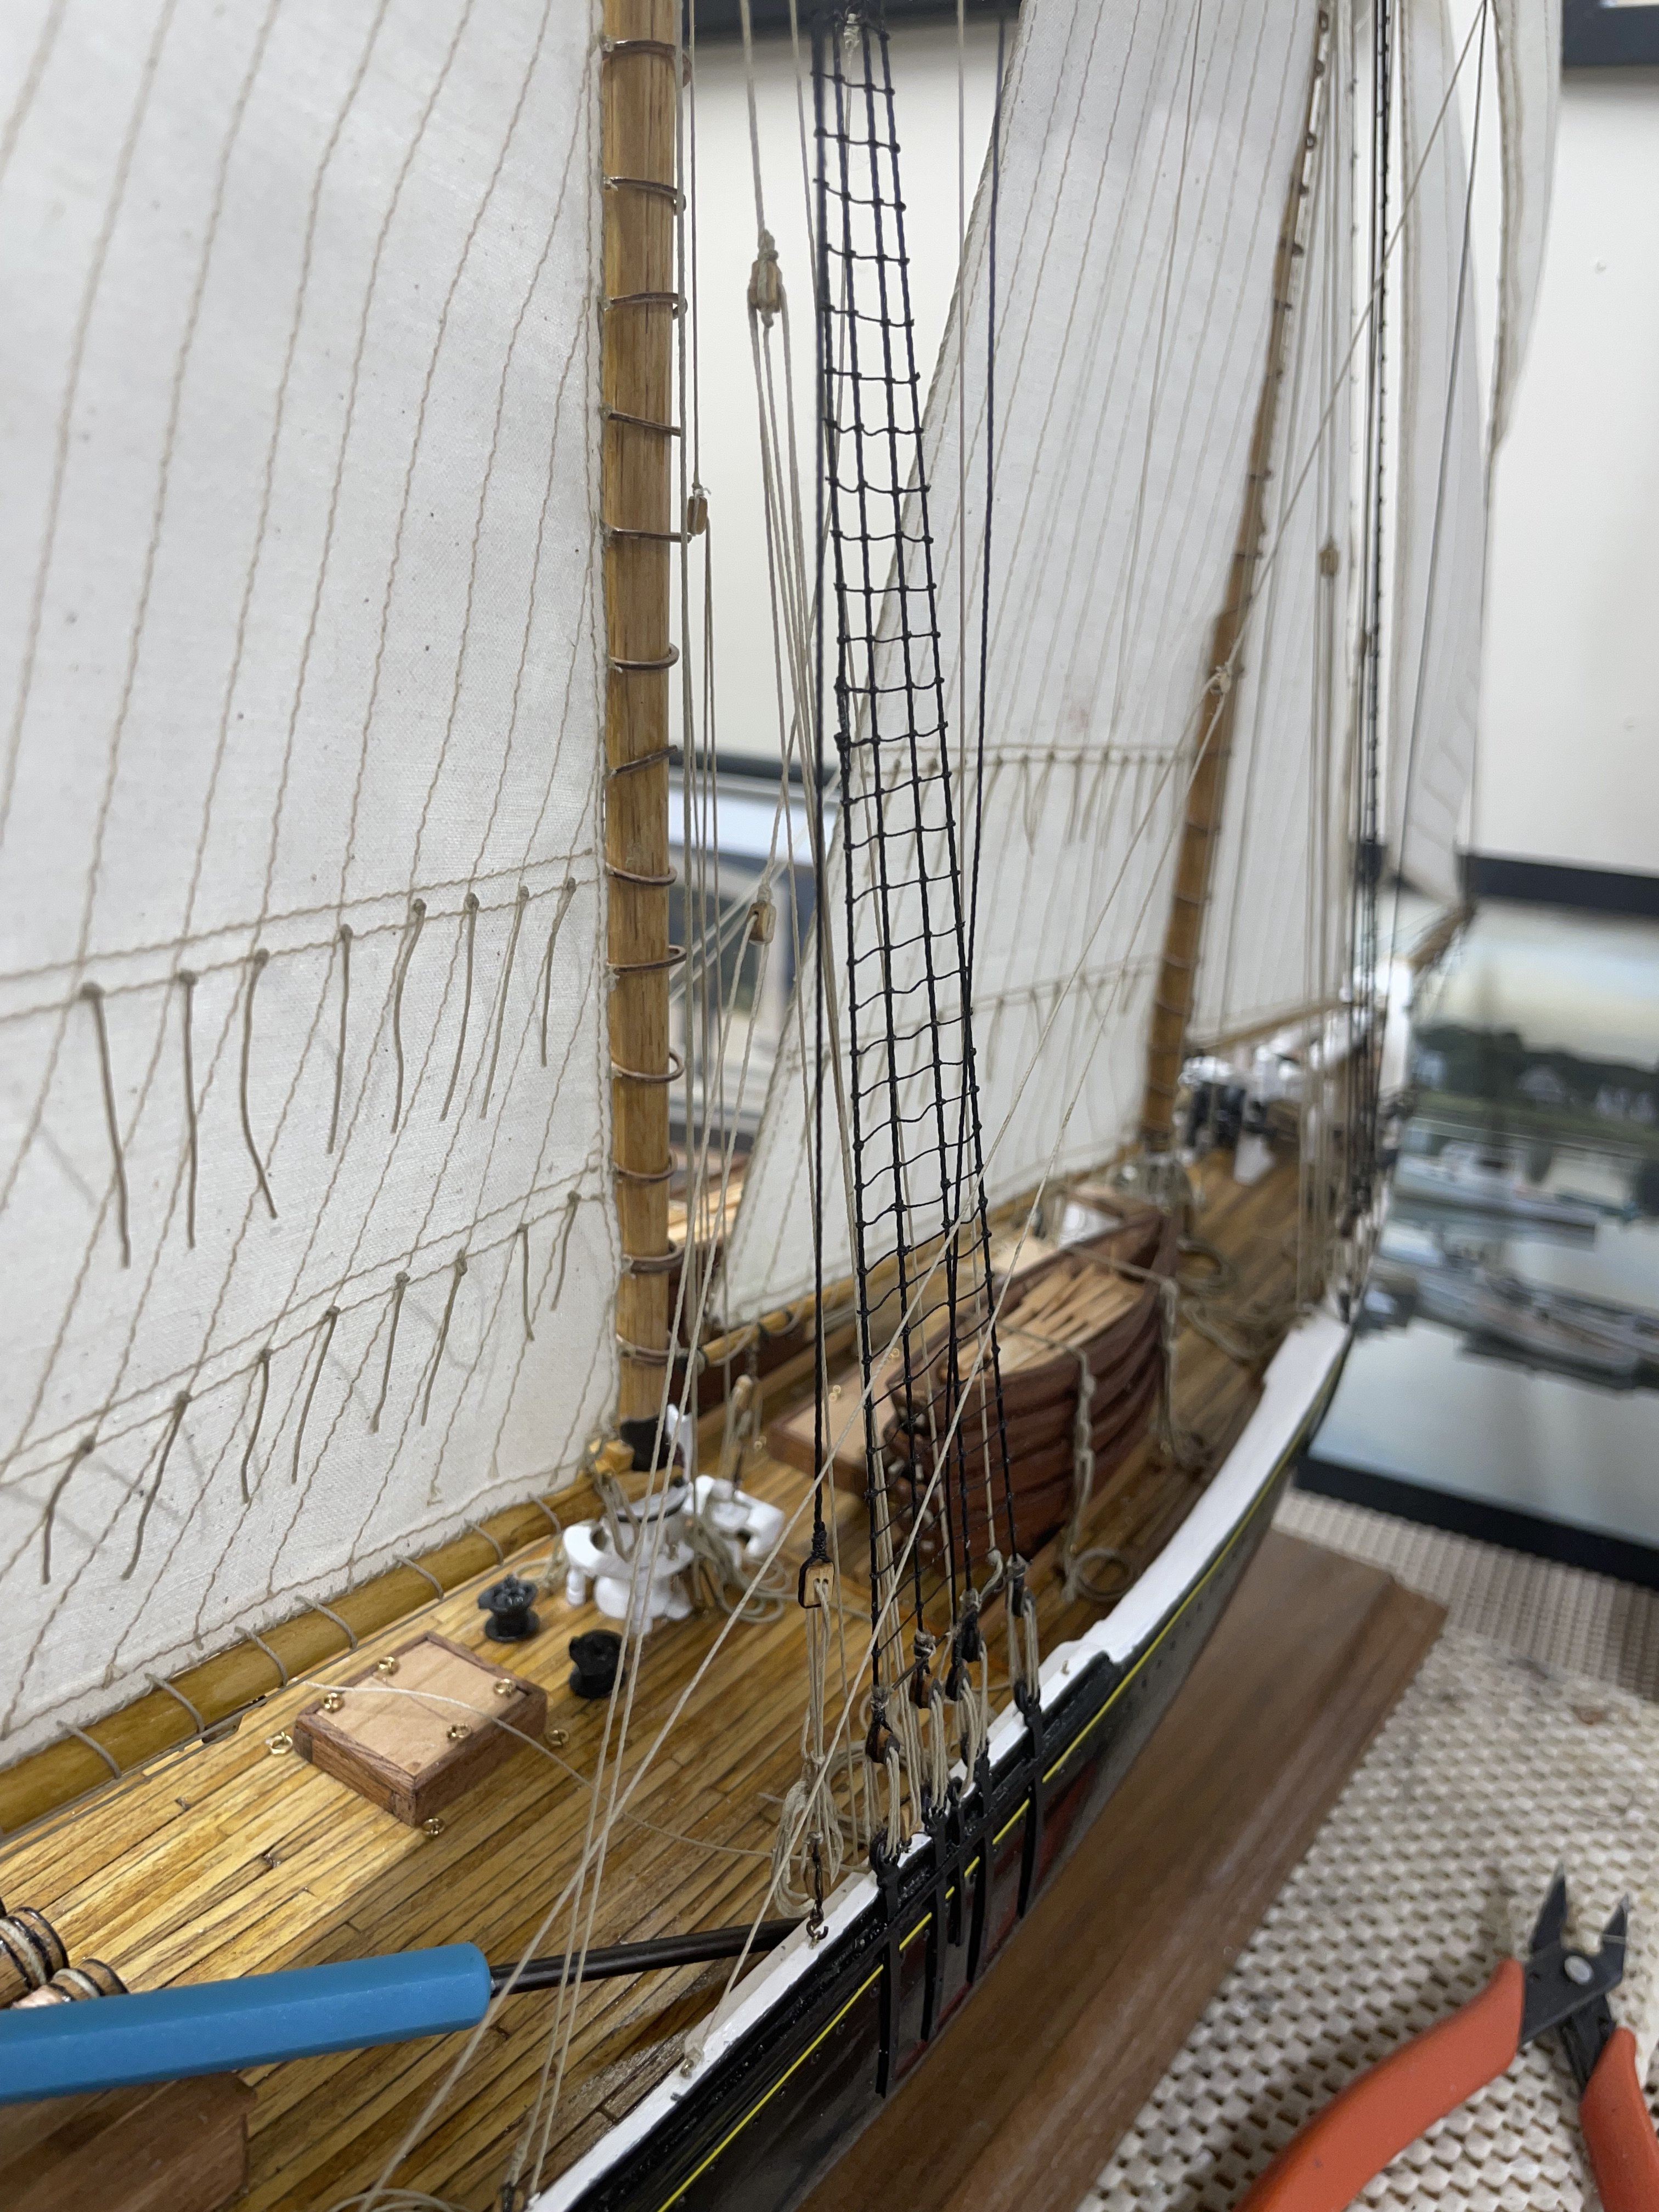
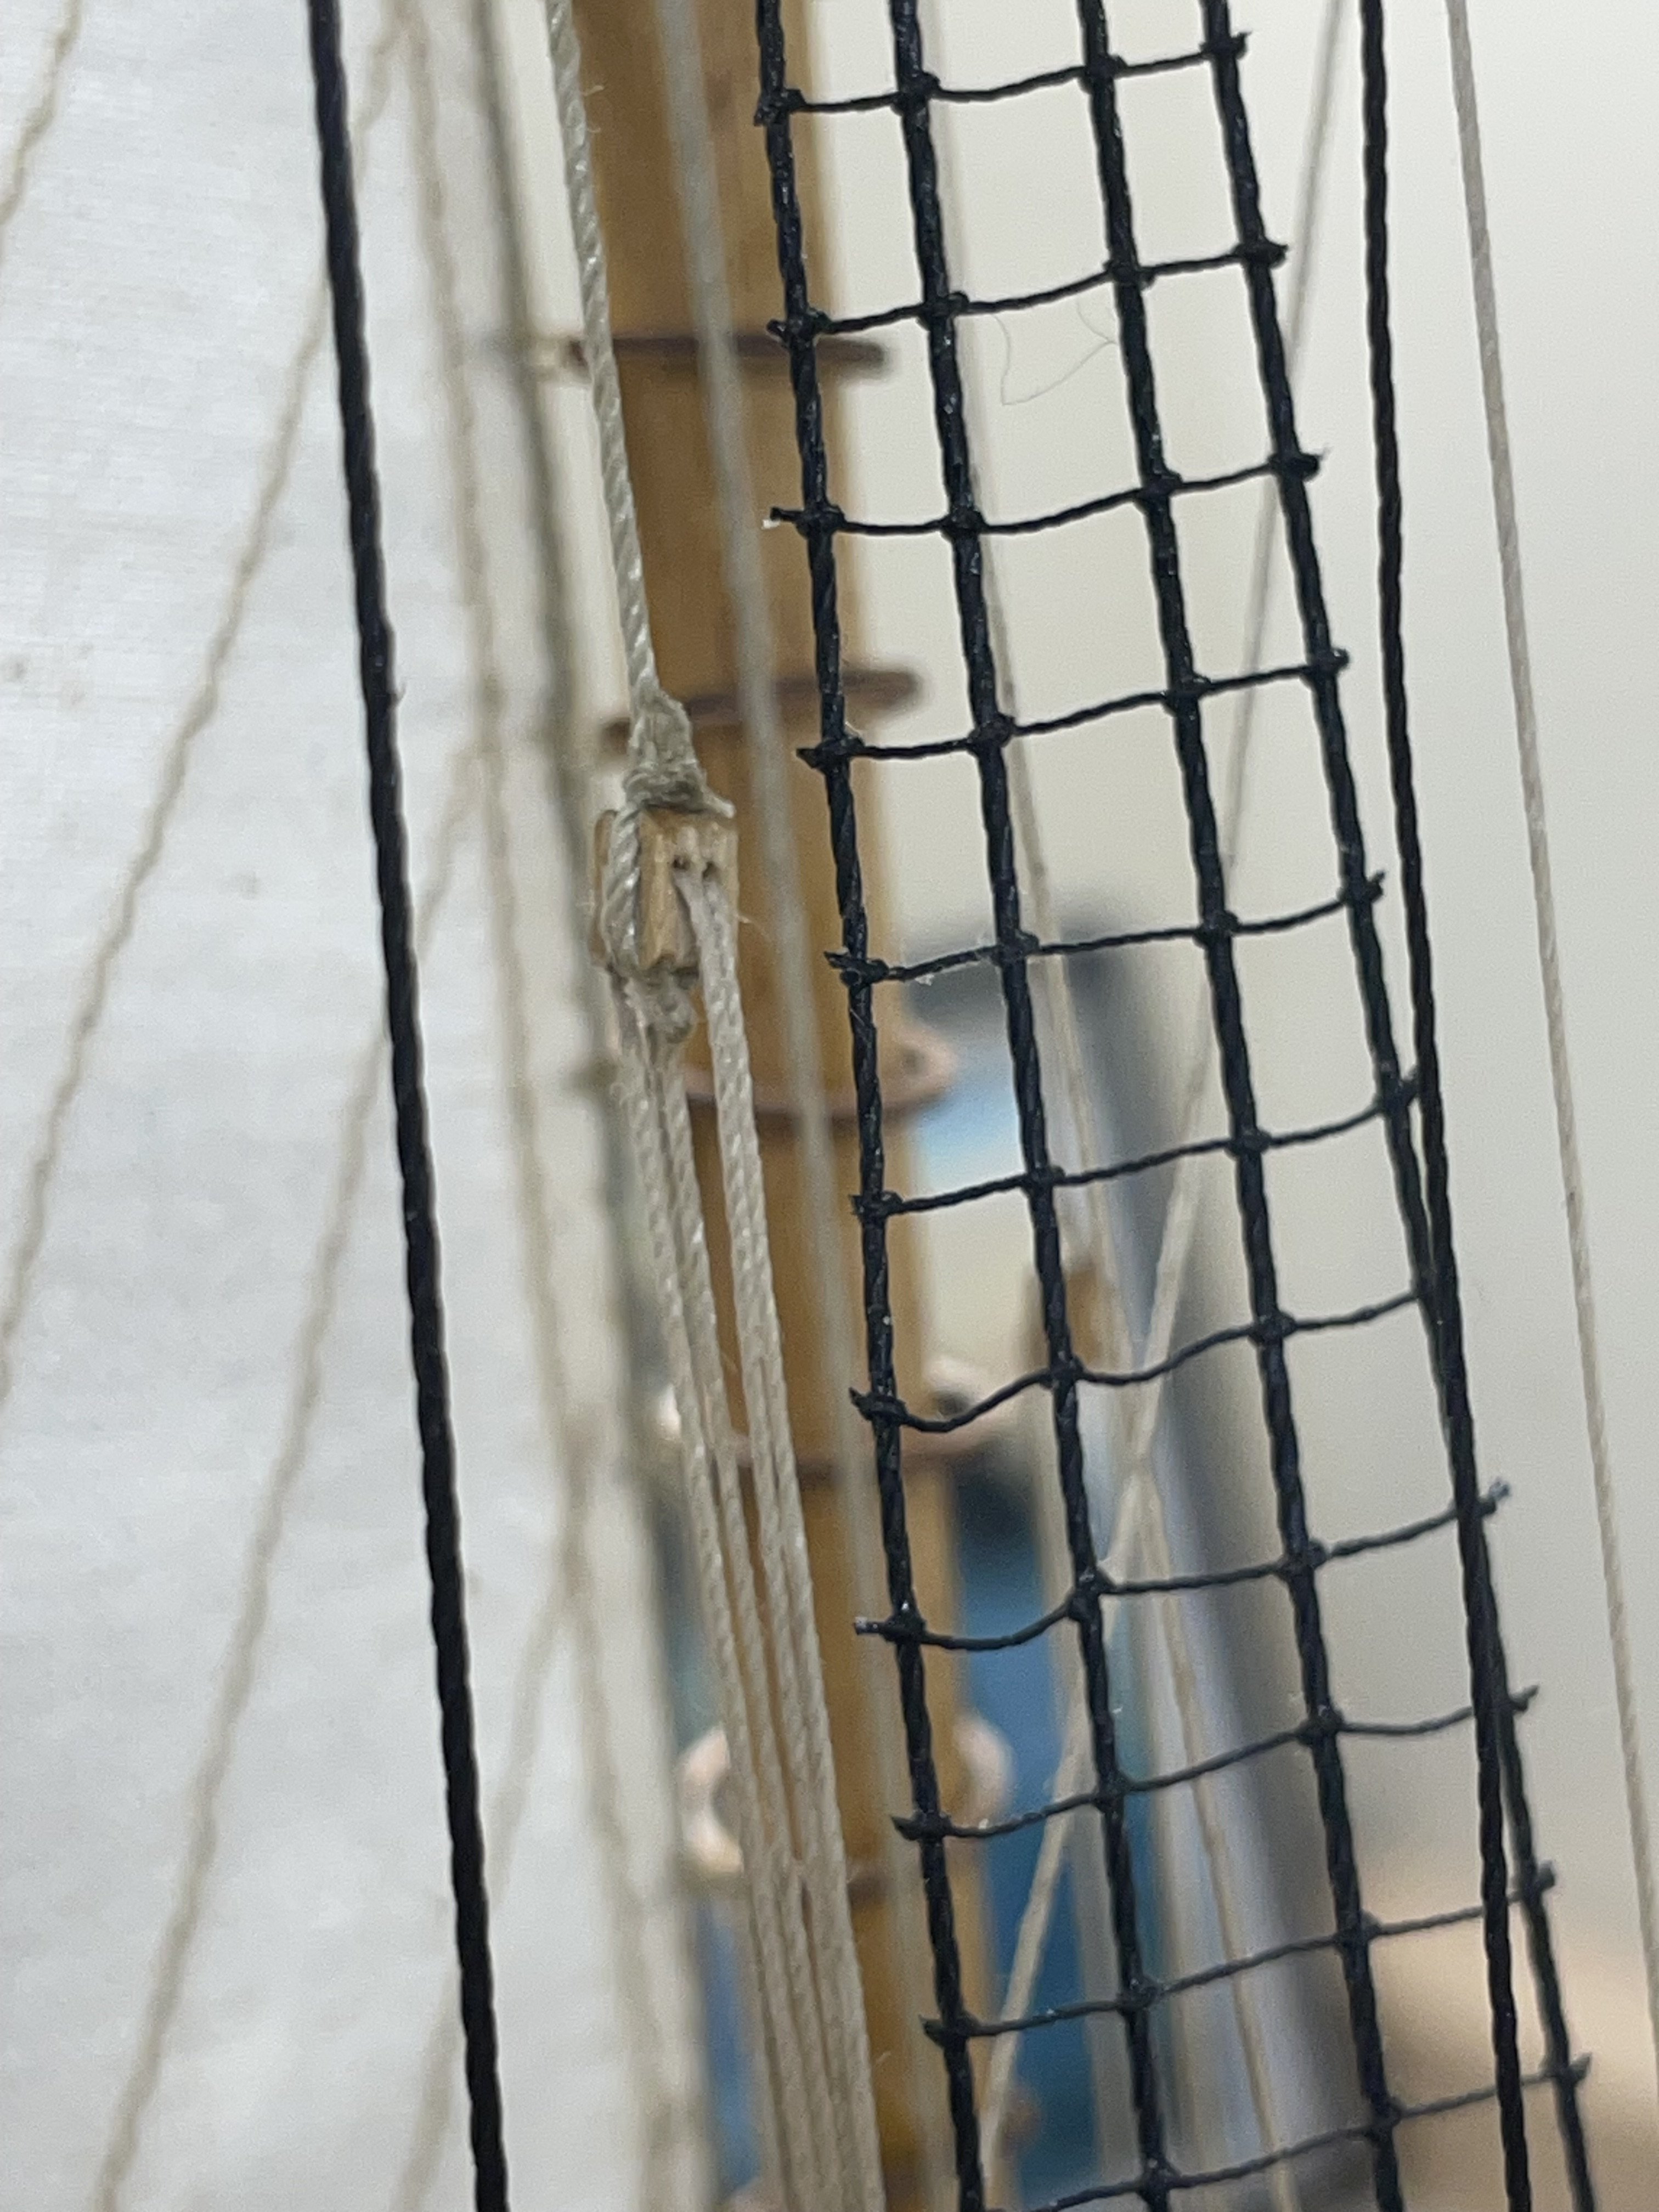
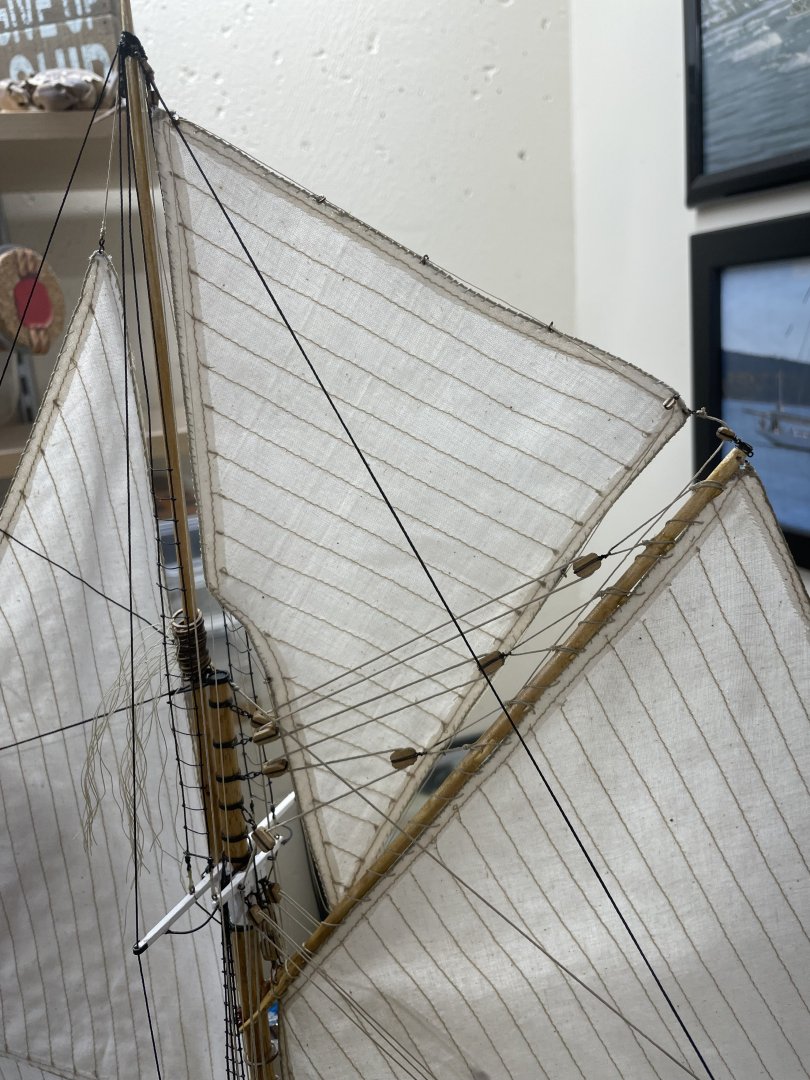
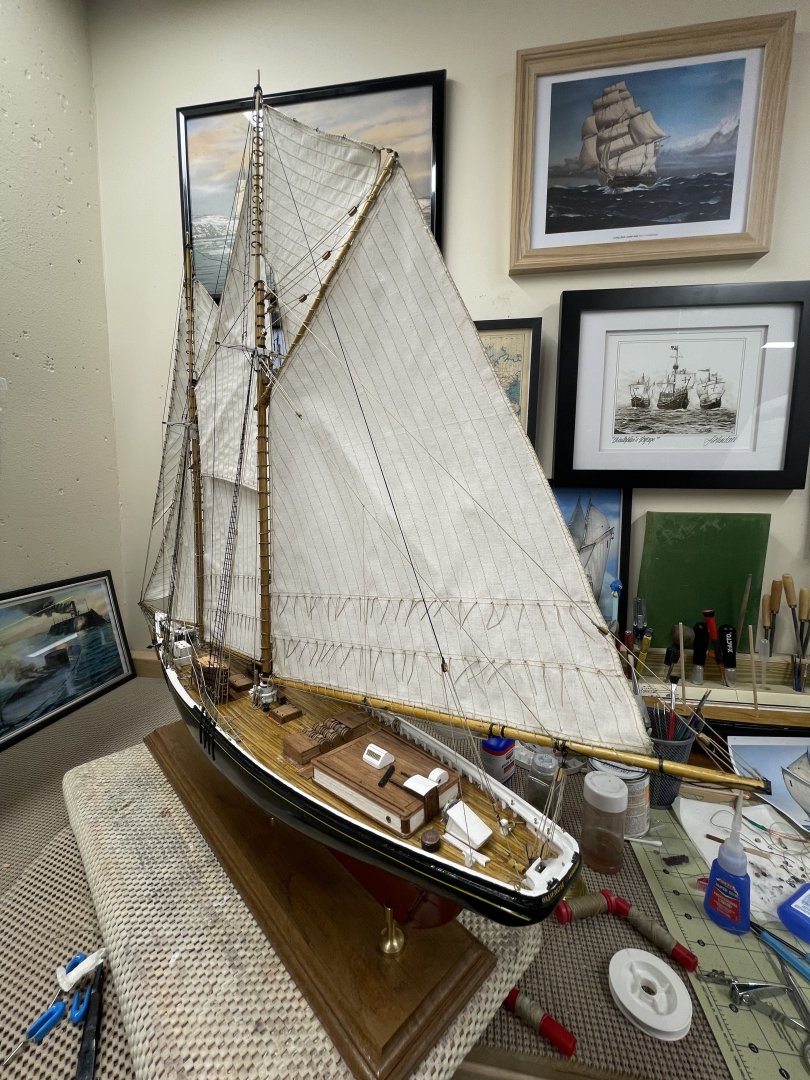
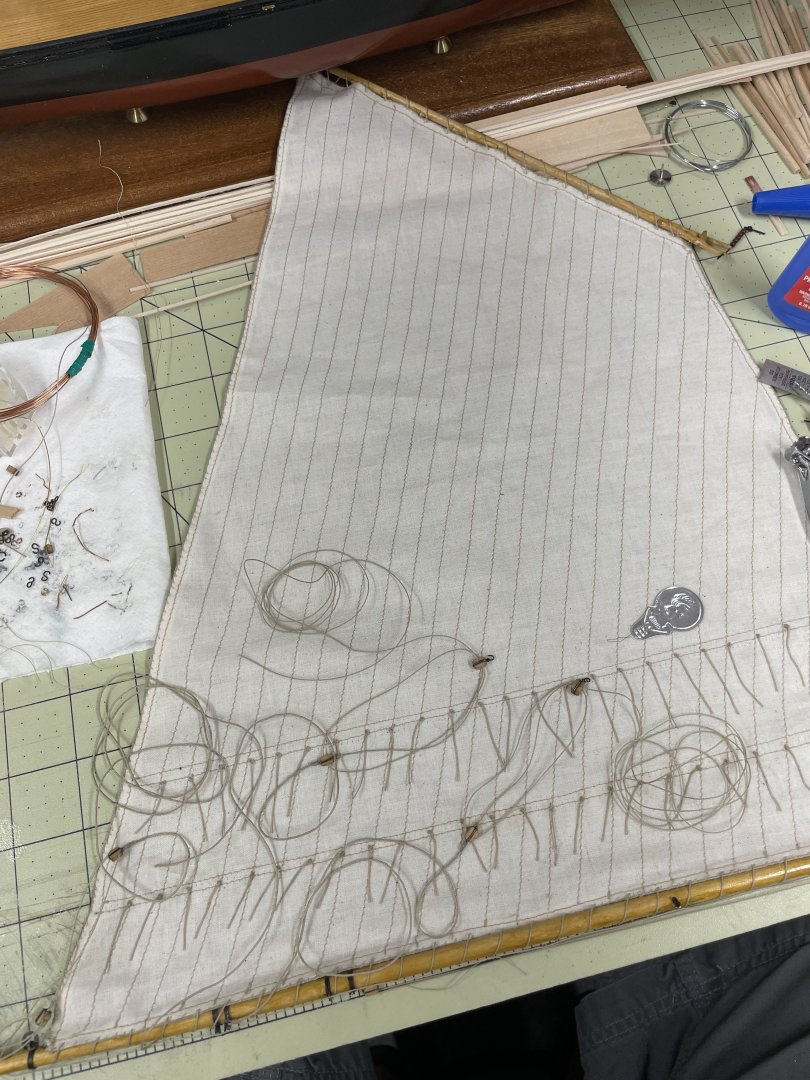
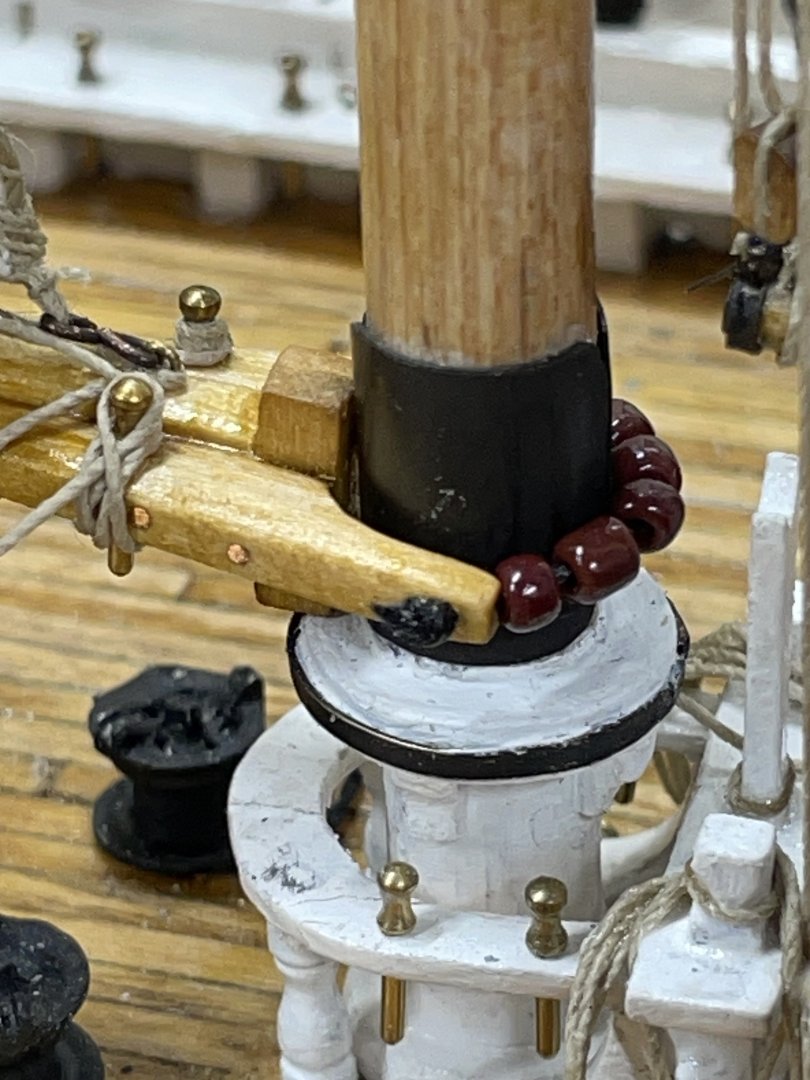
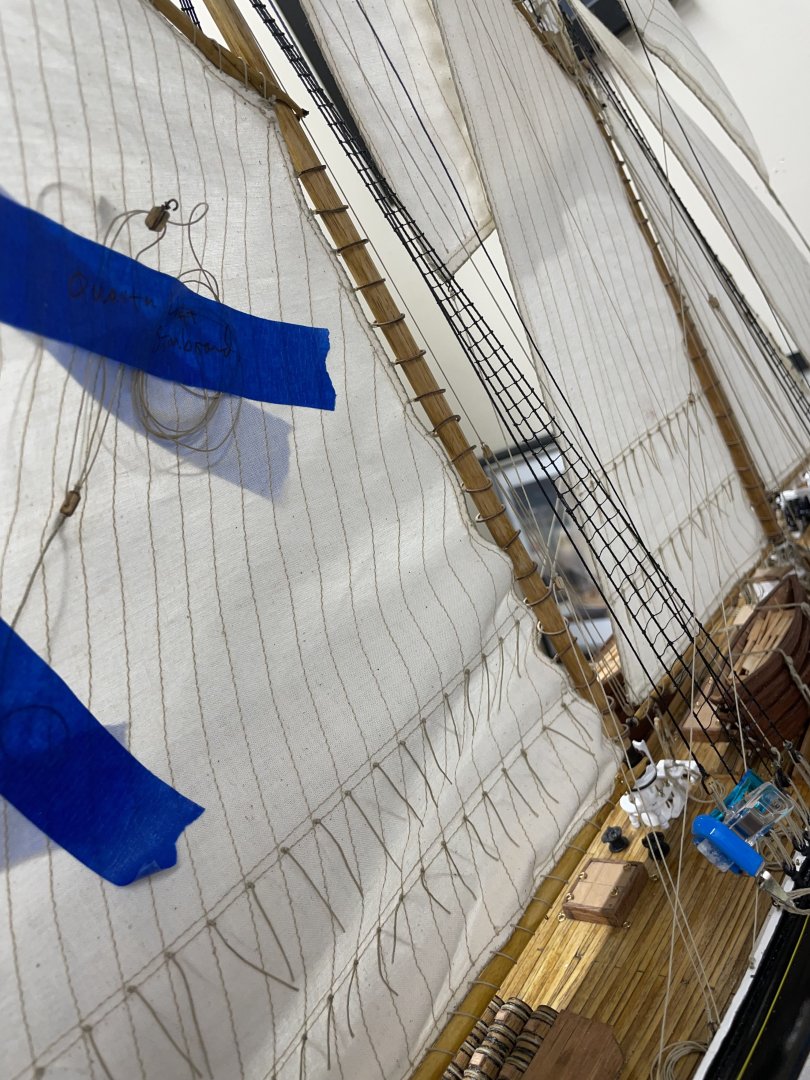
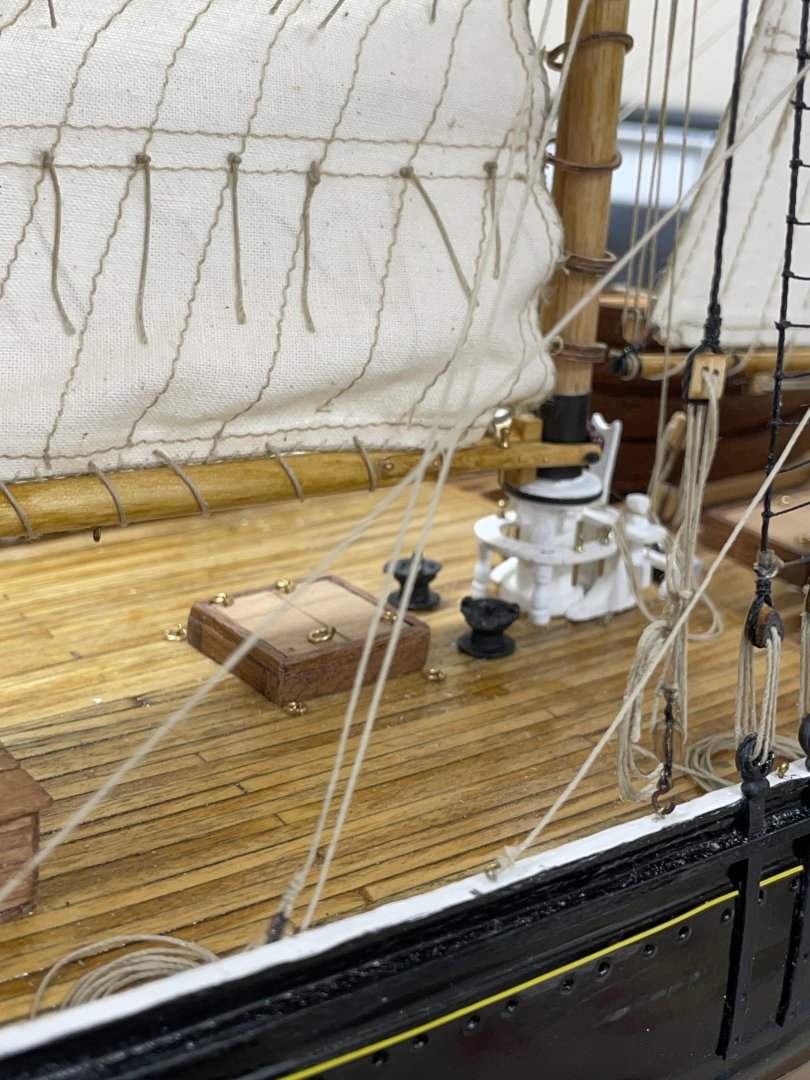
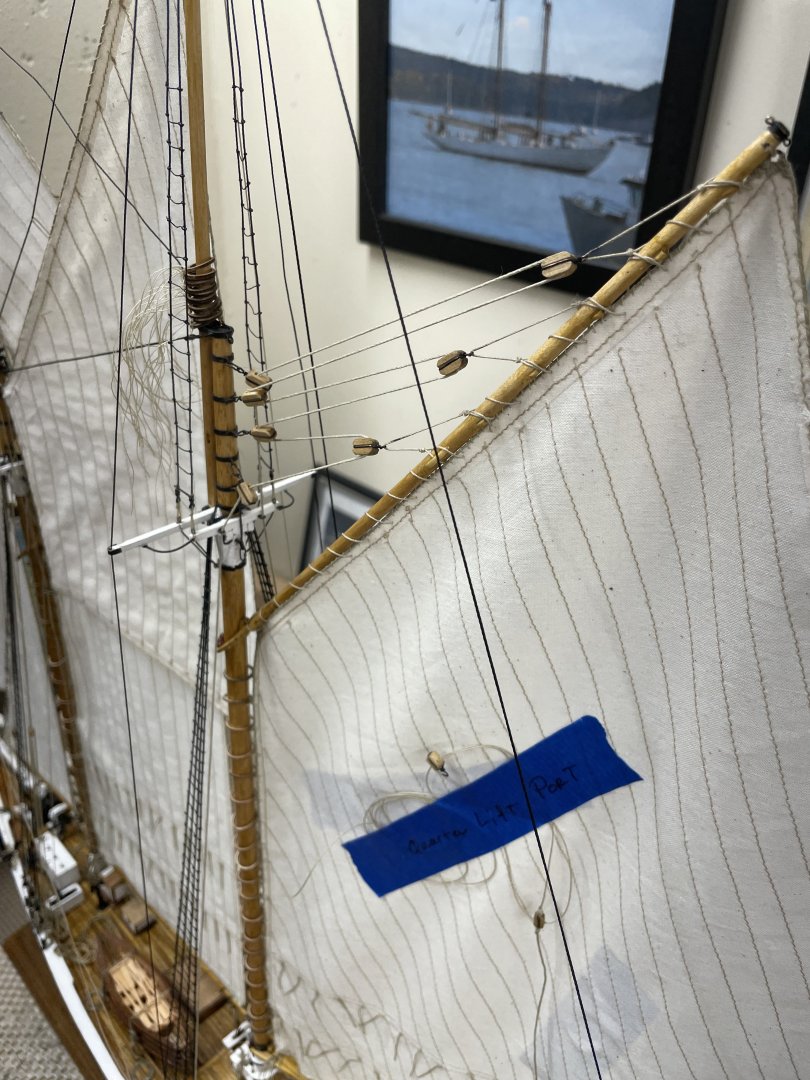
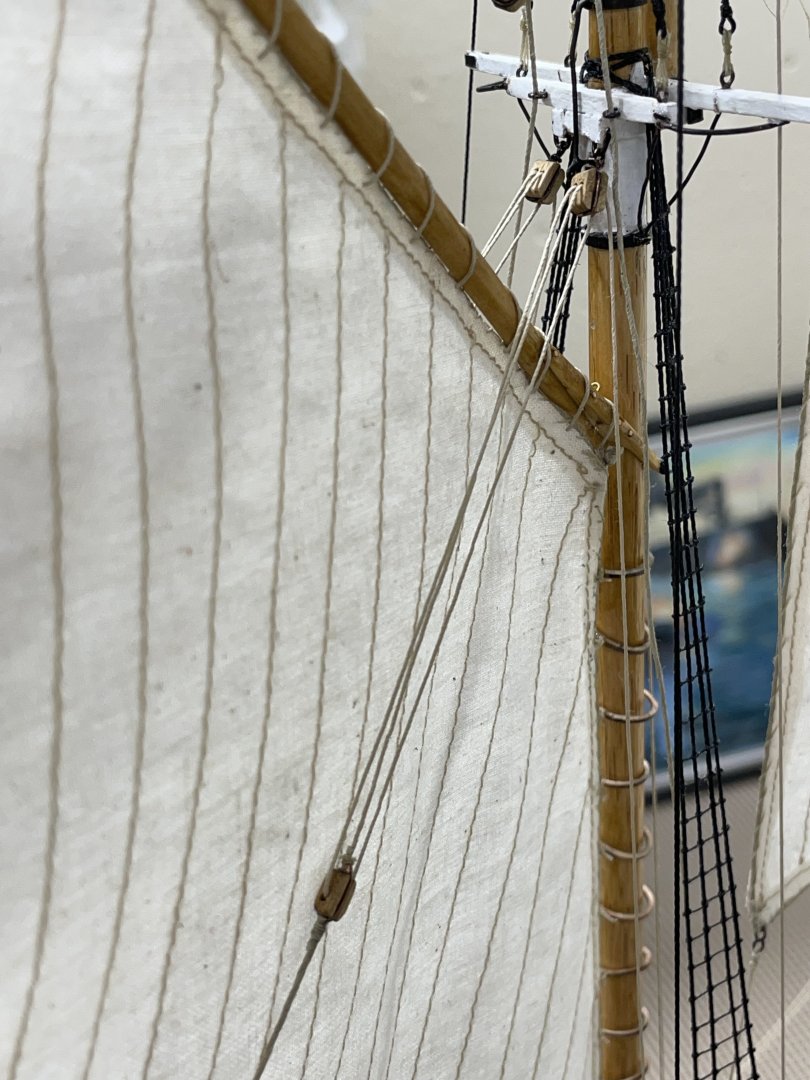
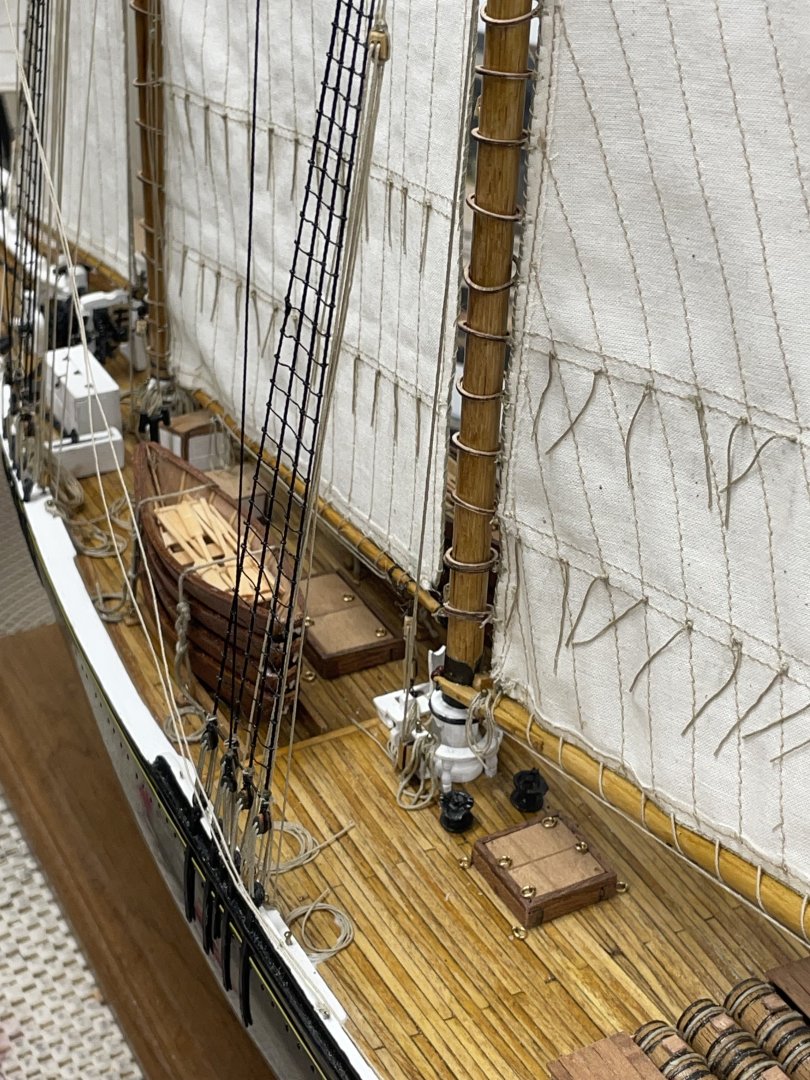
Main Sail… Main Sheet Bolt Rope and Reef Lines completed. Lacing of the Main Sheet to the Boom and Gaff completed. Boom Tackle completed and belayed to Pin #27 Port. Topping Lift Tackle completed and belayed to pin# 26 starboard. Quarter Lifts Pendants completed Port and Starboard. Completed Foot Ropes Port and Starboard. Peak Halyard Bridles completed with Blocks. Boom and Gaff attached to the Main Mast and Main Sail Hoops Attached to Main Sail. Peak Halyard Rigged. She has wind in her Main Sail. Main Sheet Tackle belayed to Bitt on Starboard side. Quarter Lift and Lazy Jack Line installed. Quarter Lift, Peak and Throat Halyard Tackles installed and belayed. Onwards to the last Sail, the Main Top Sail. Steady as she goes. 🍻


- 282 replies
-
- 10
-
-
-
- Bluenose
- Model Shipways
- (and 1 more)
-
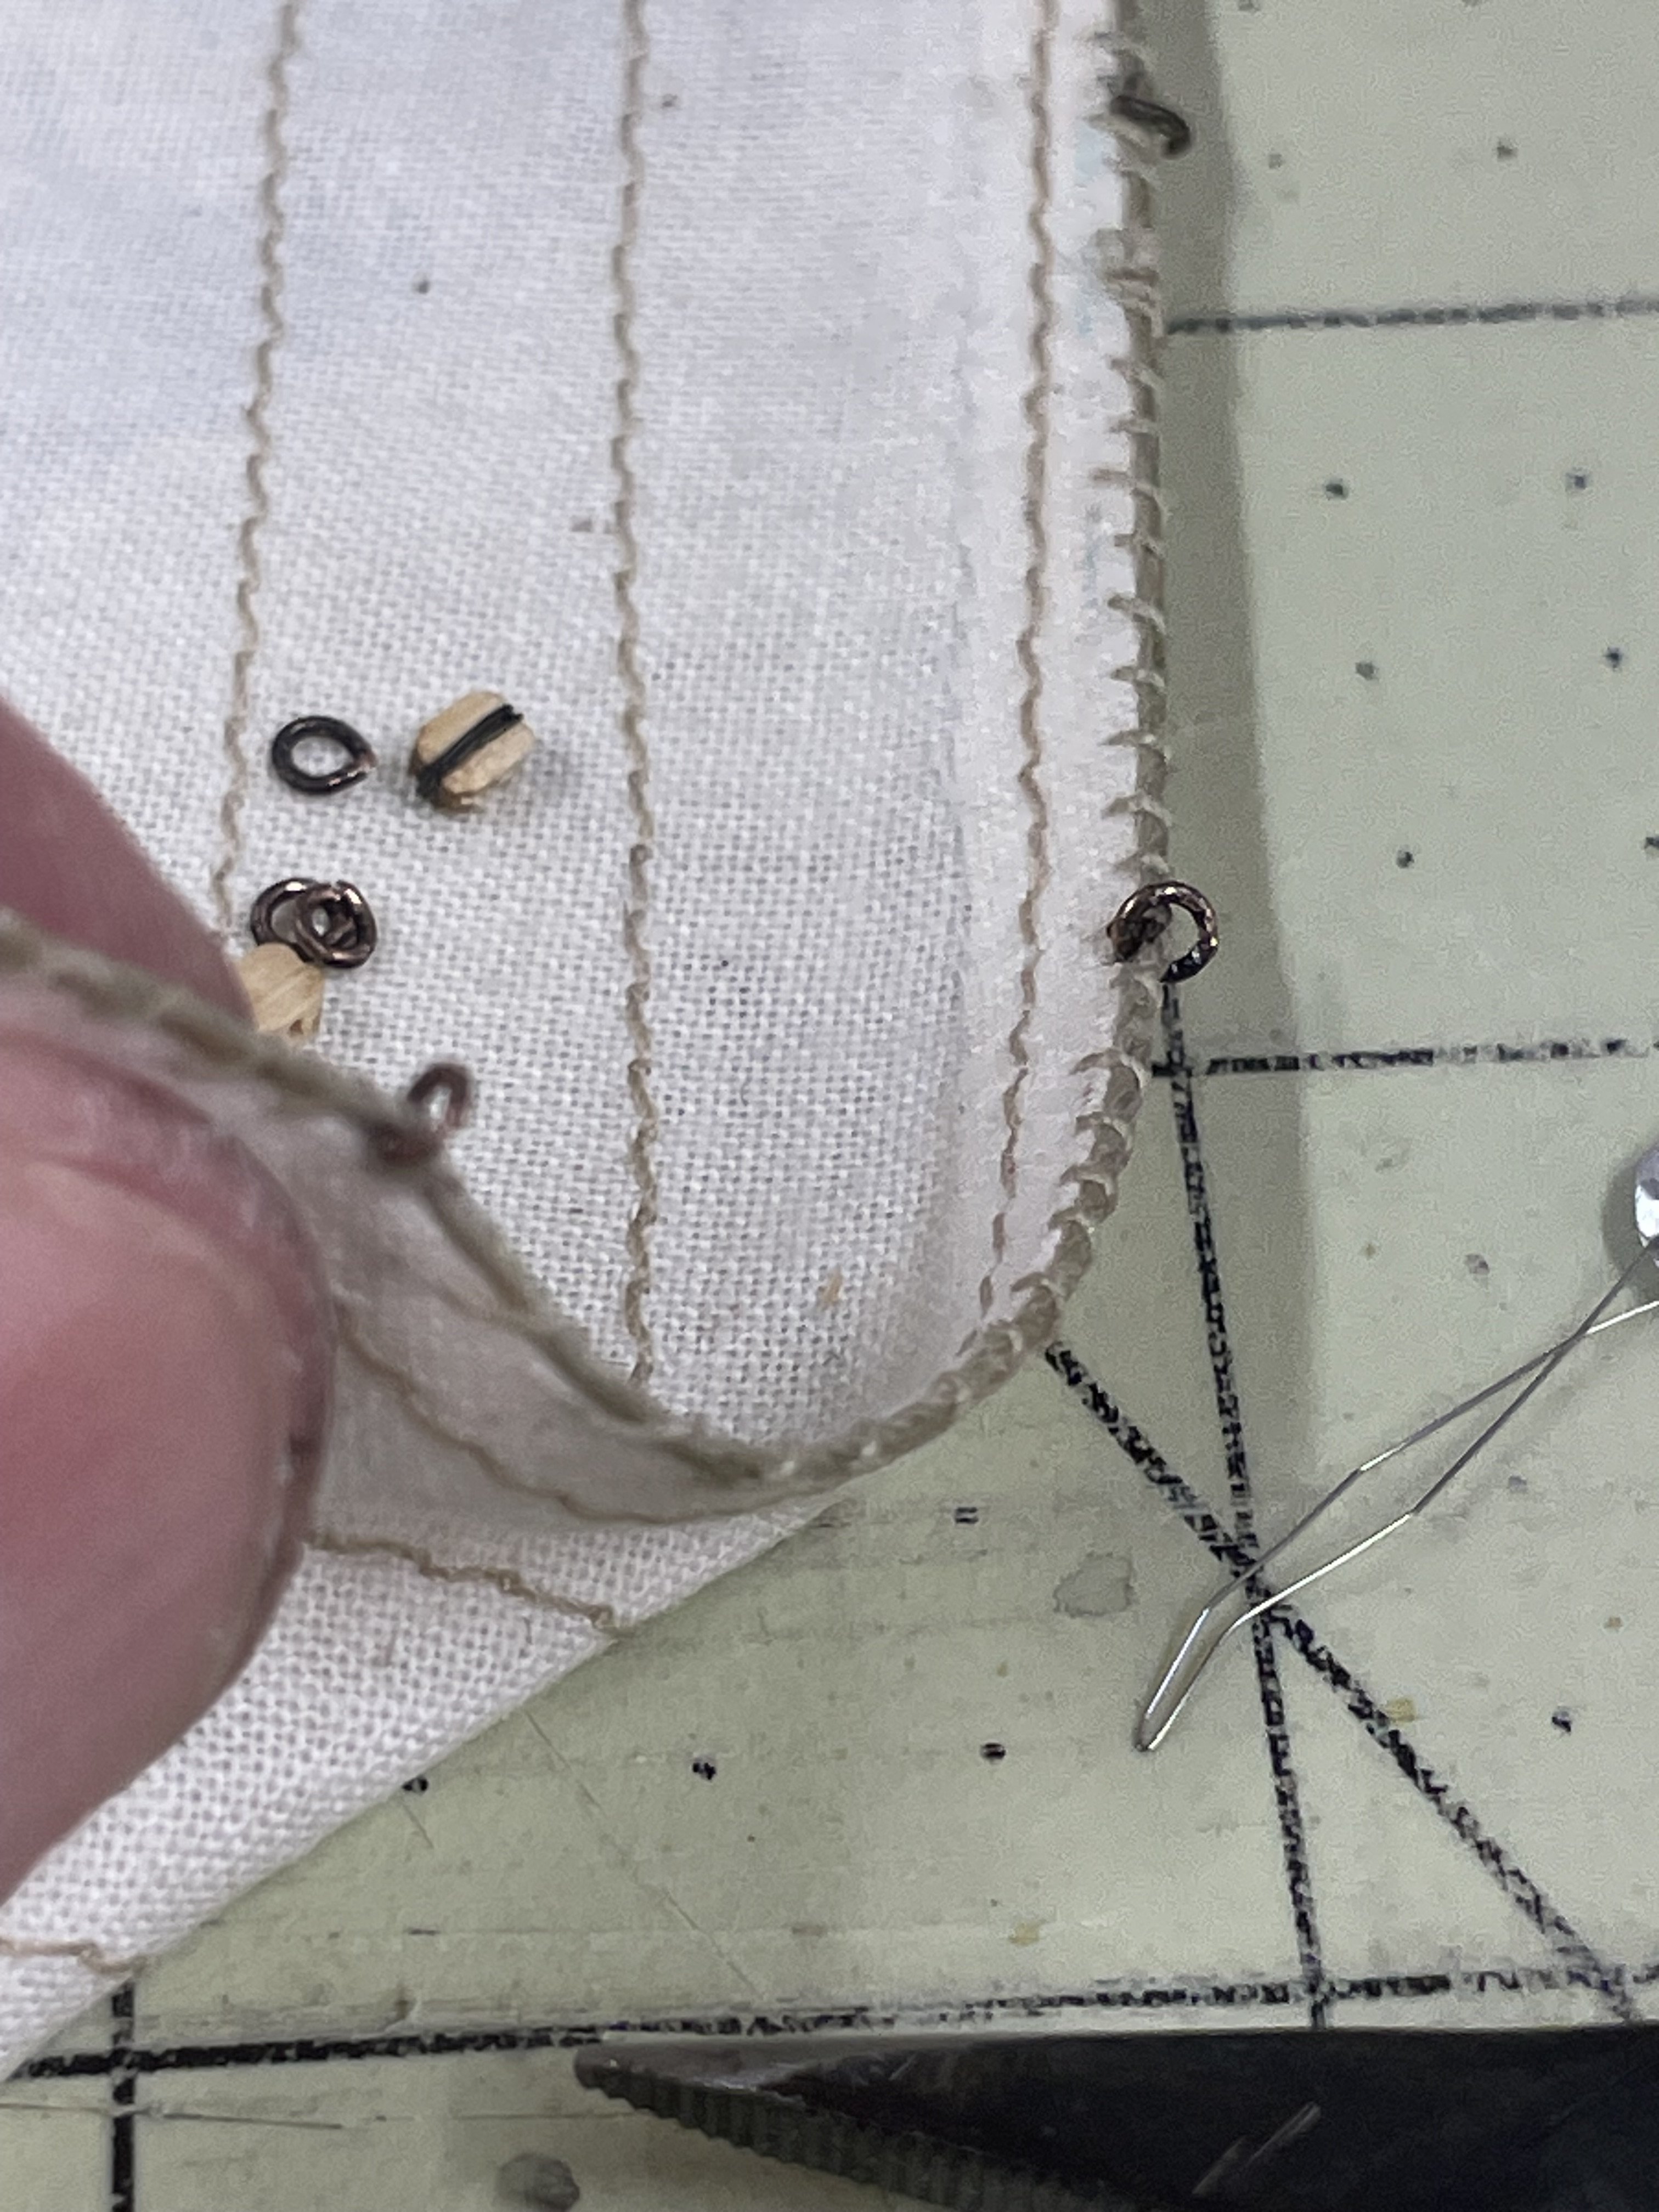
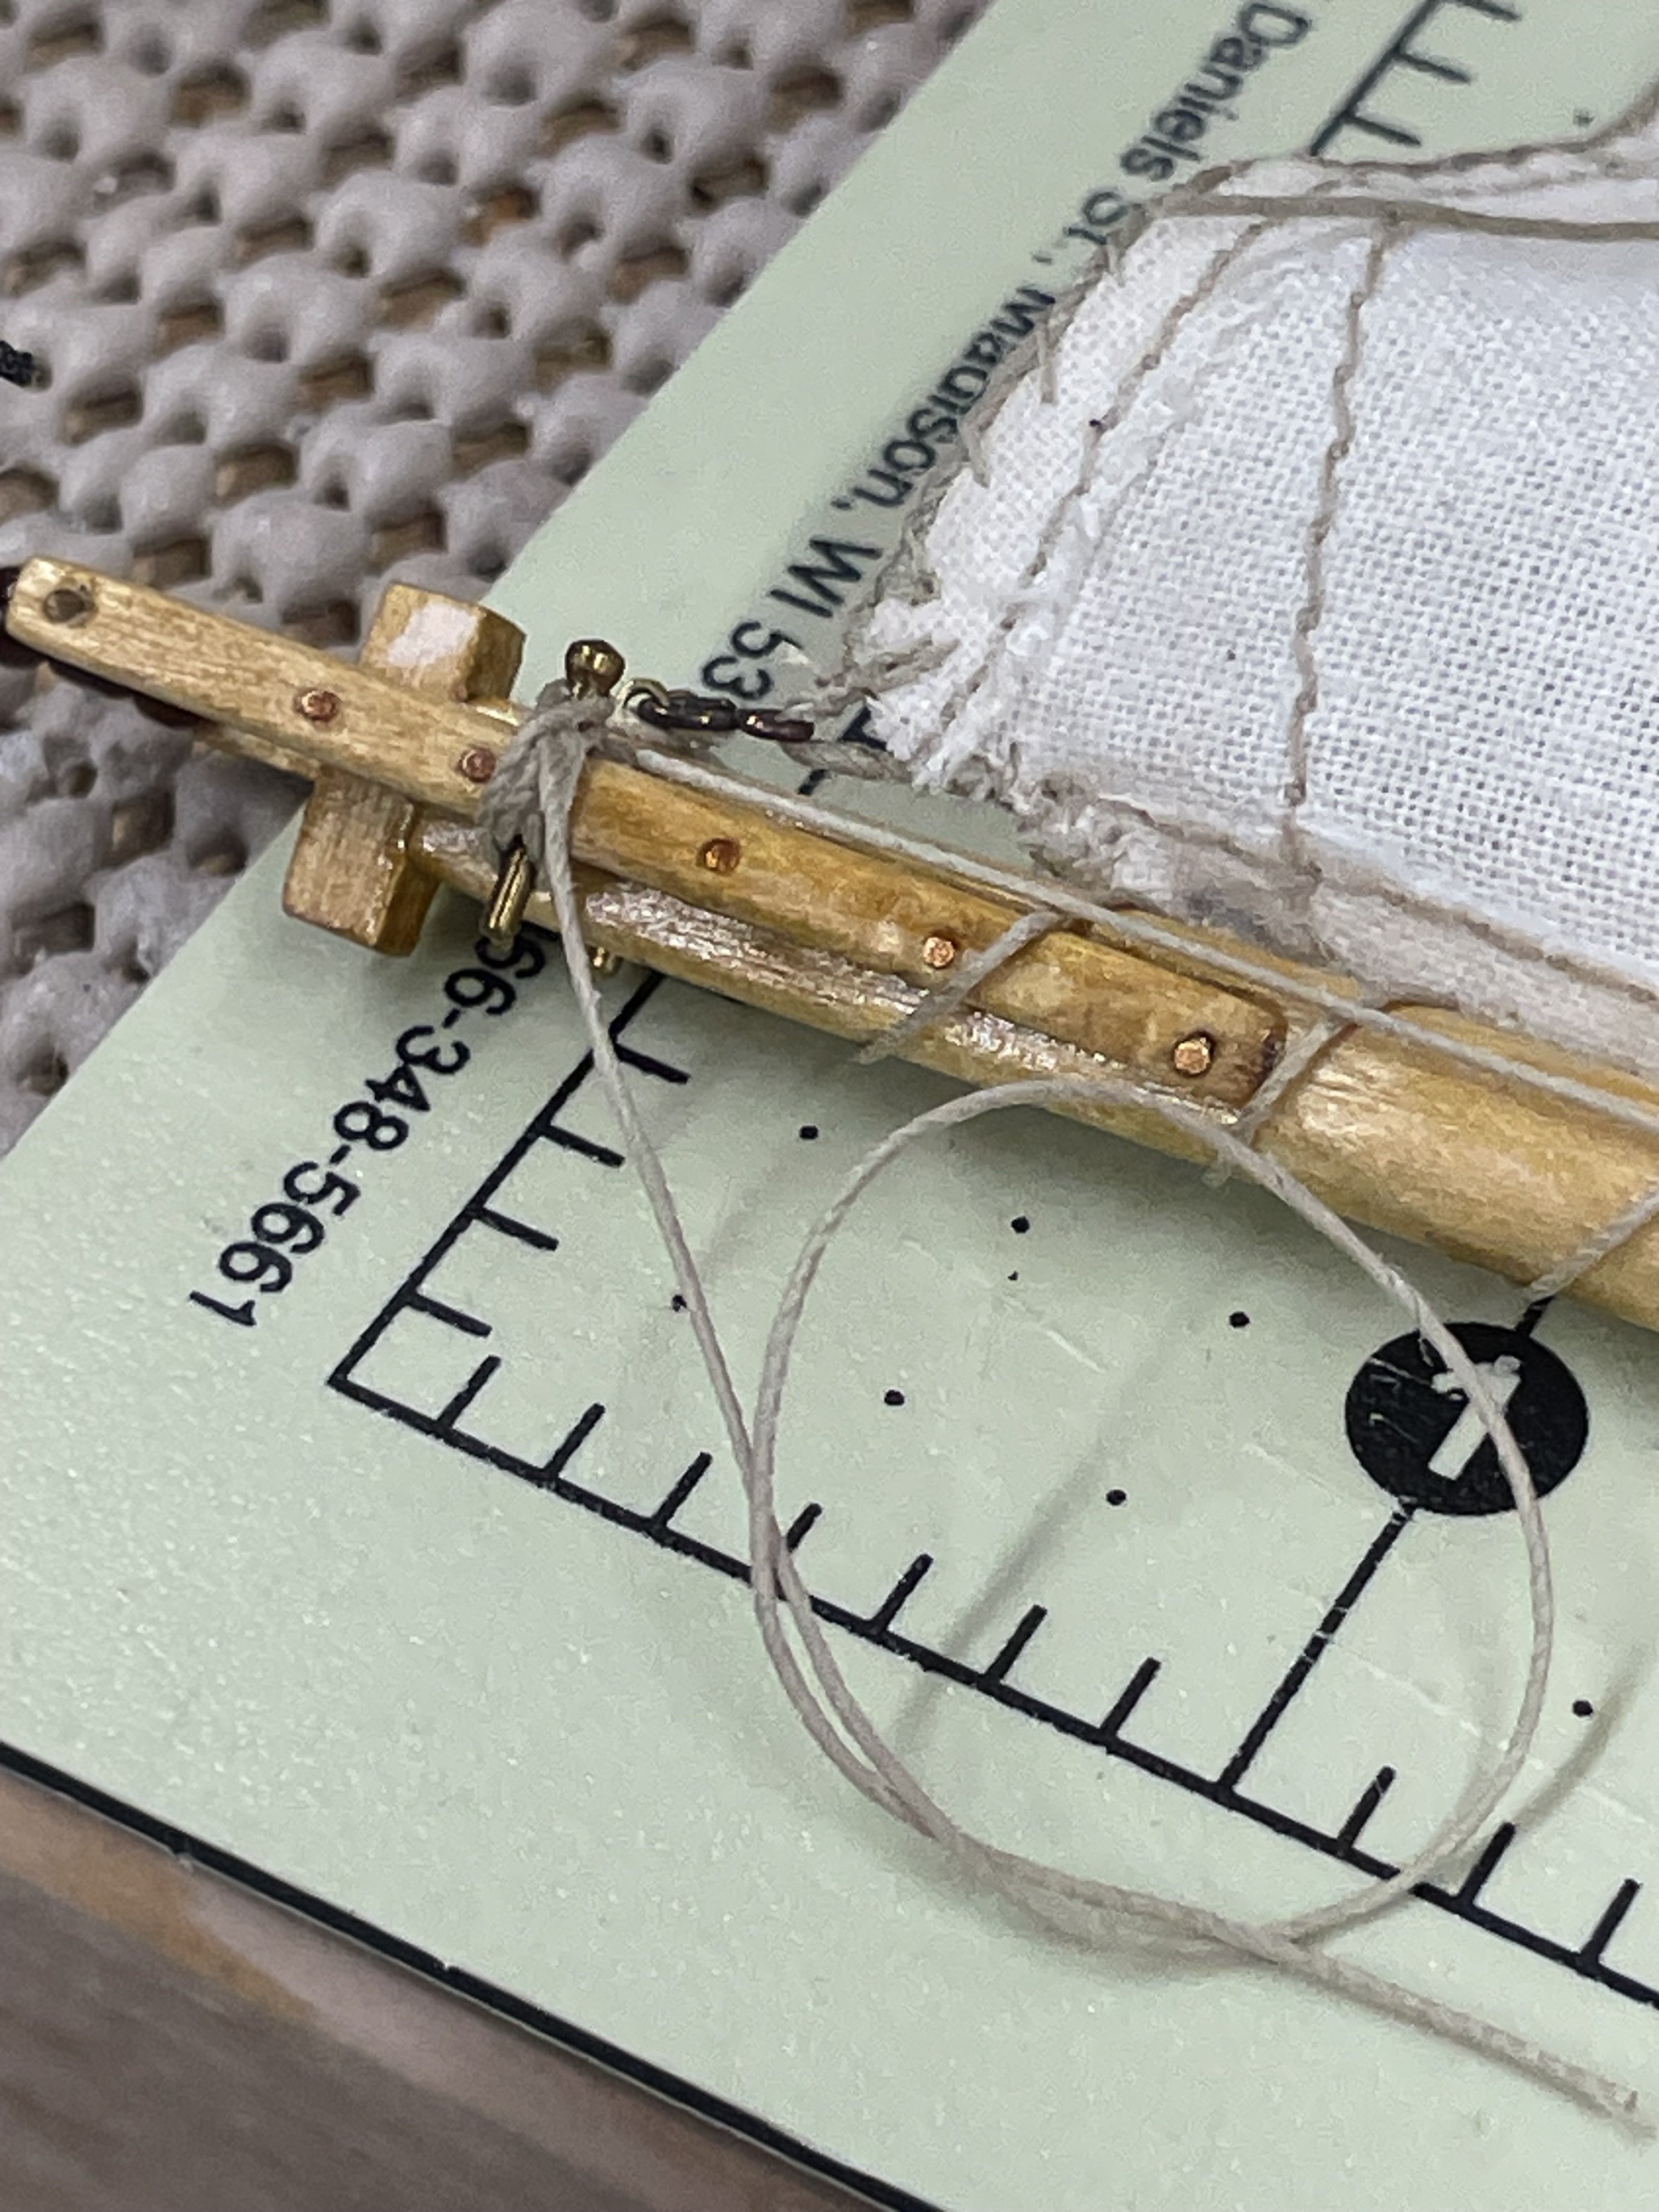
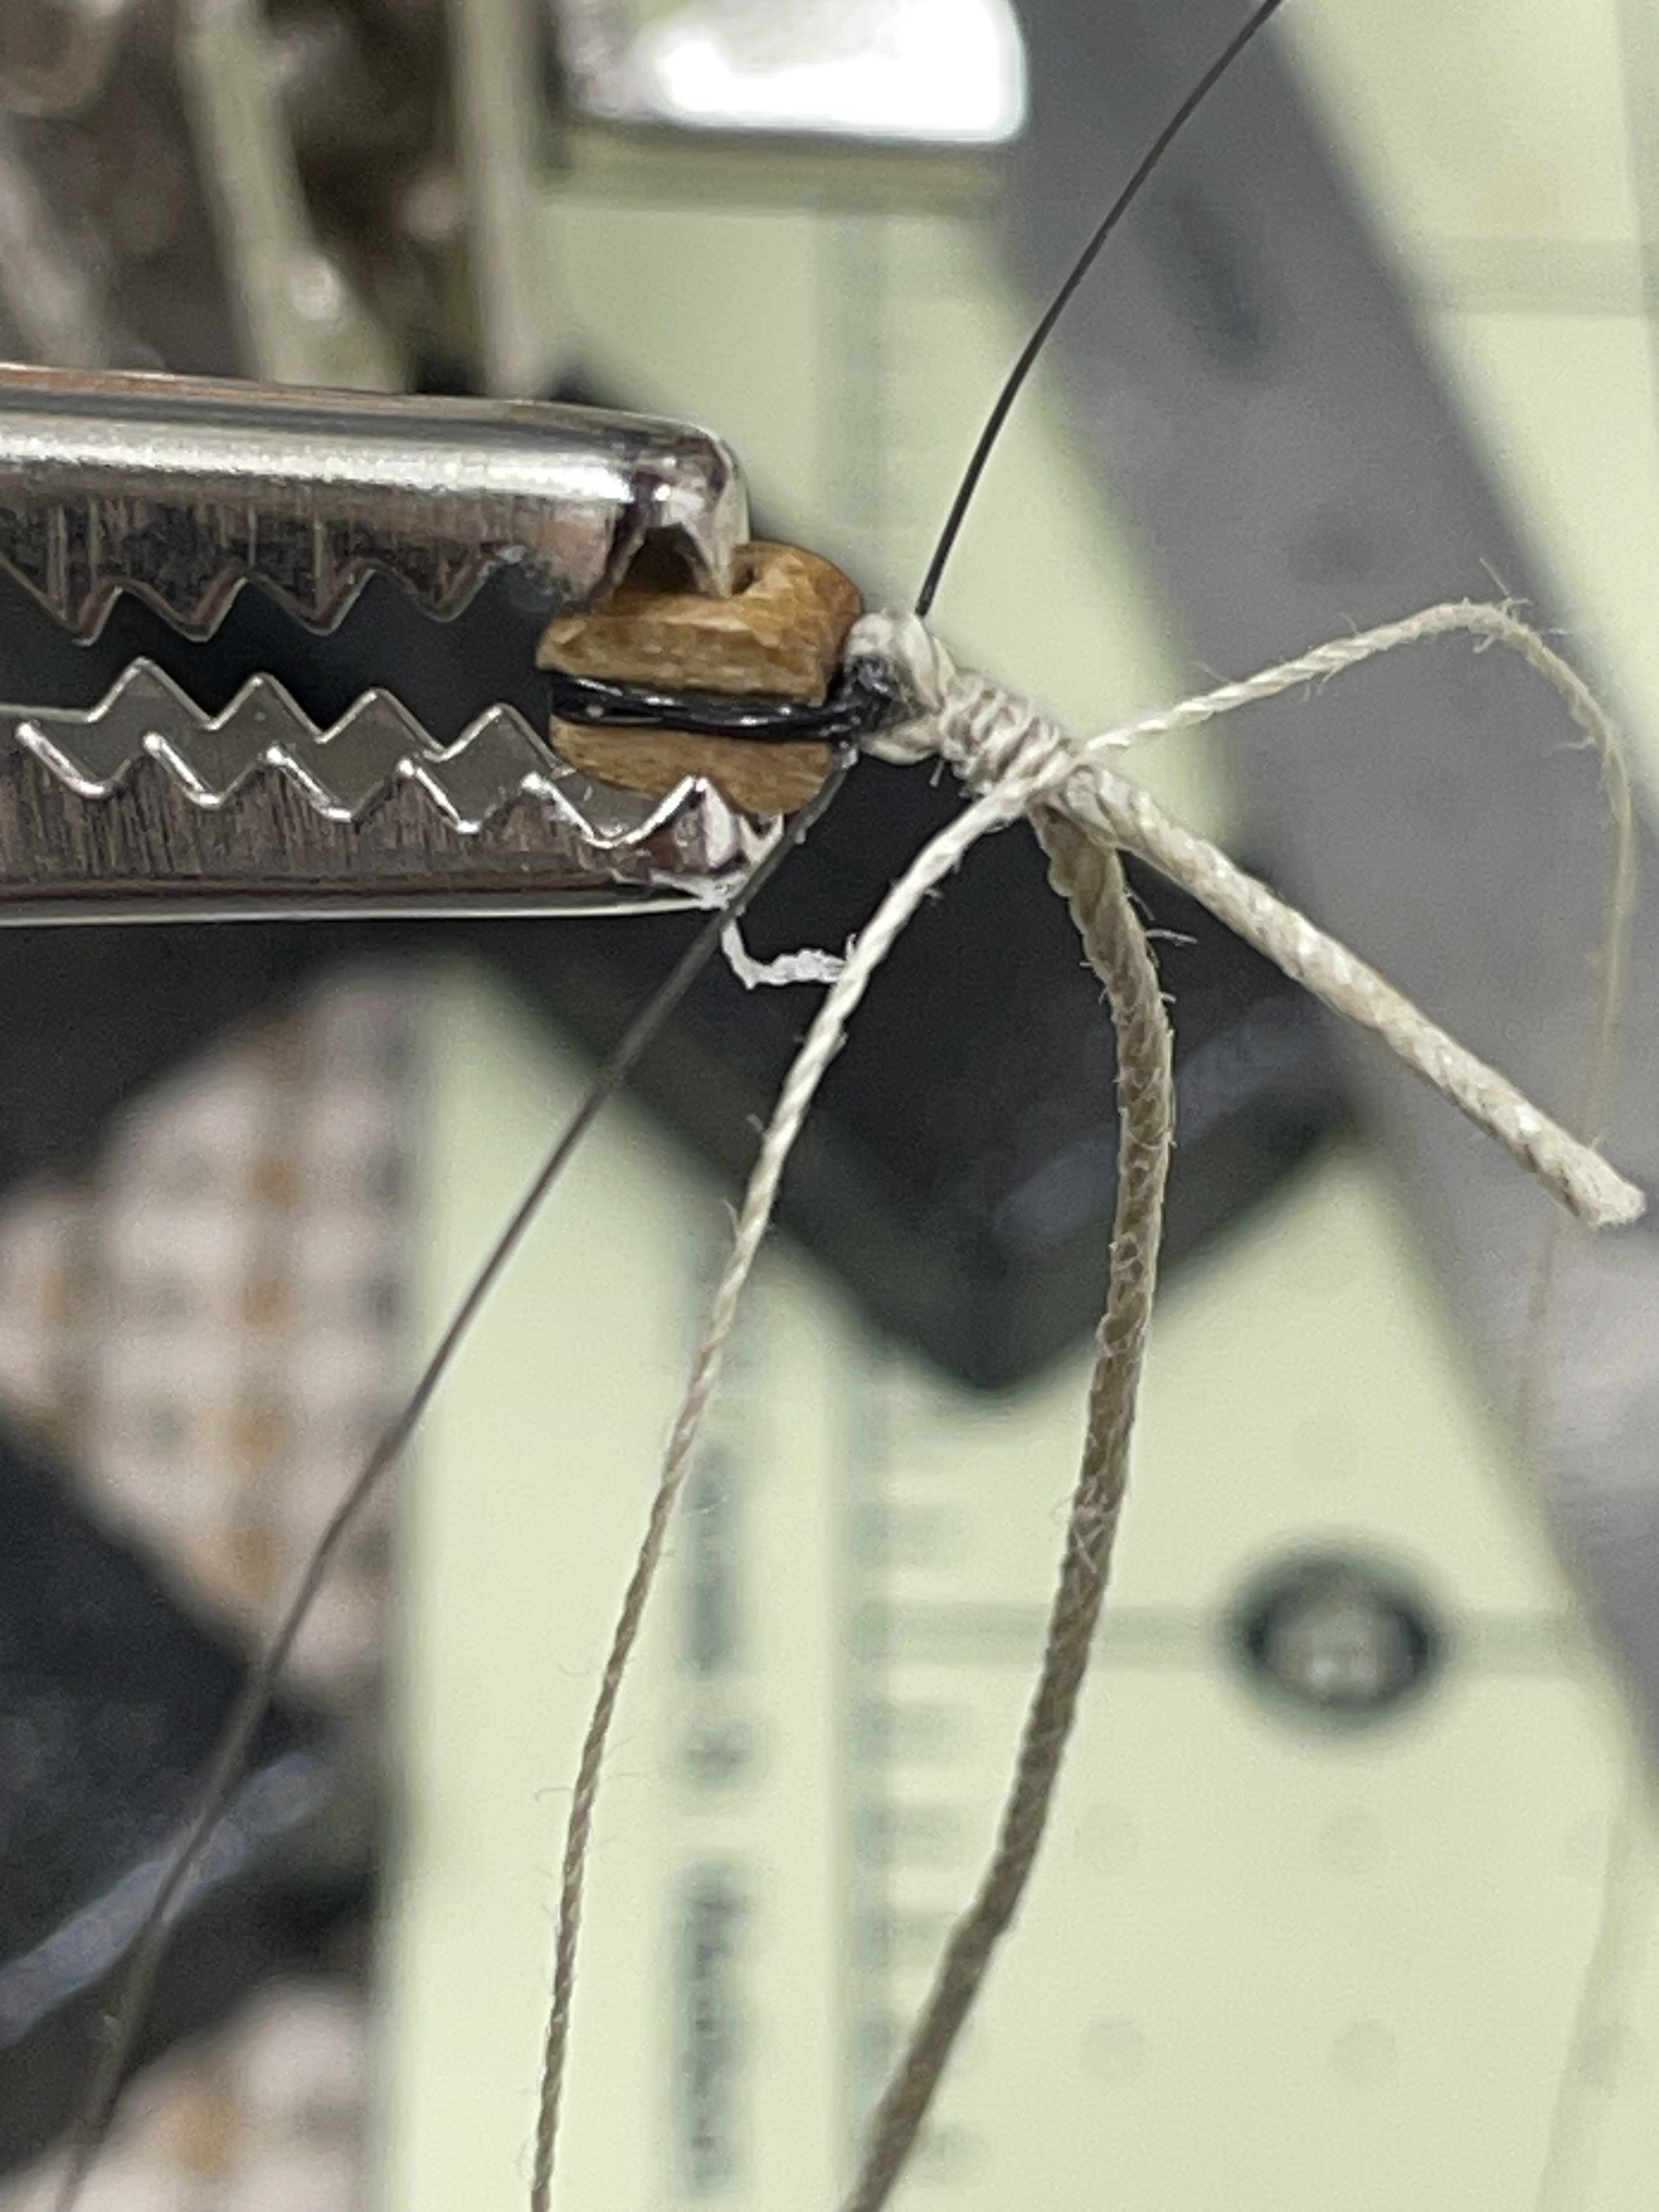
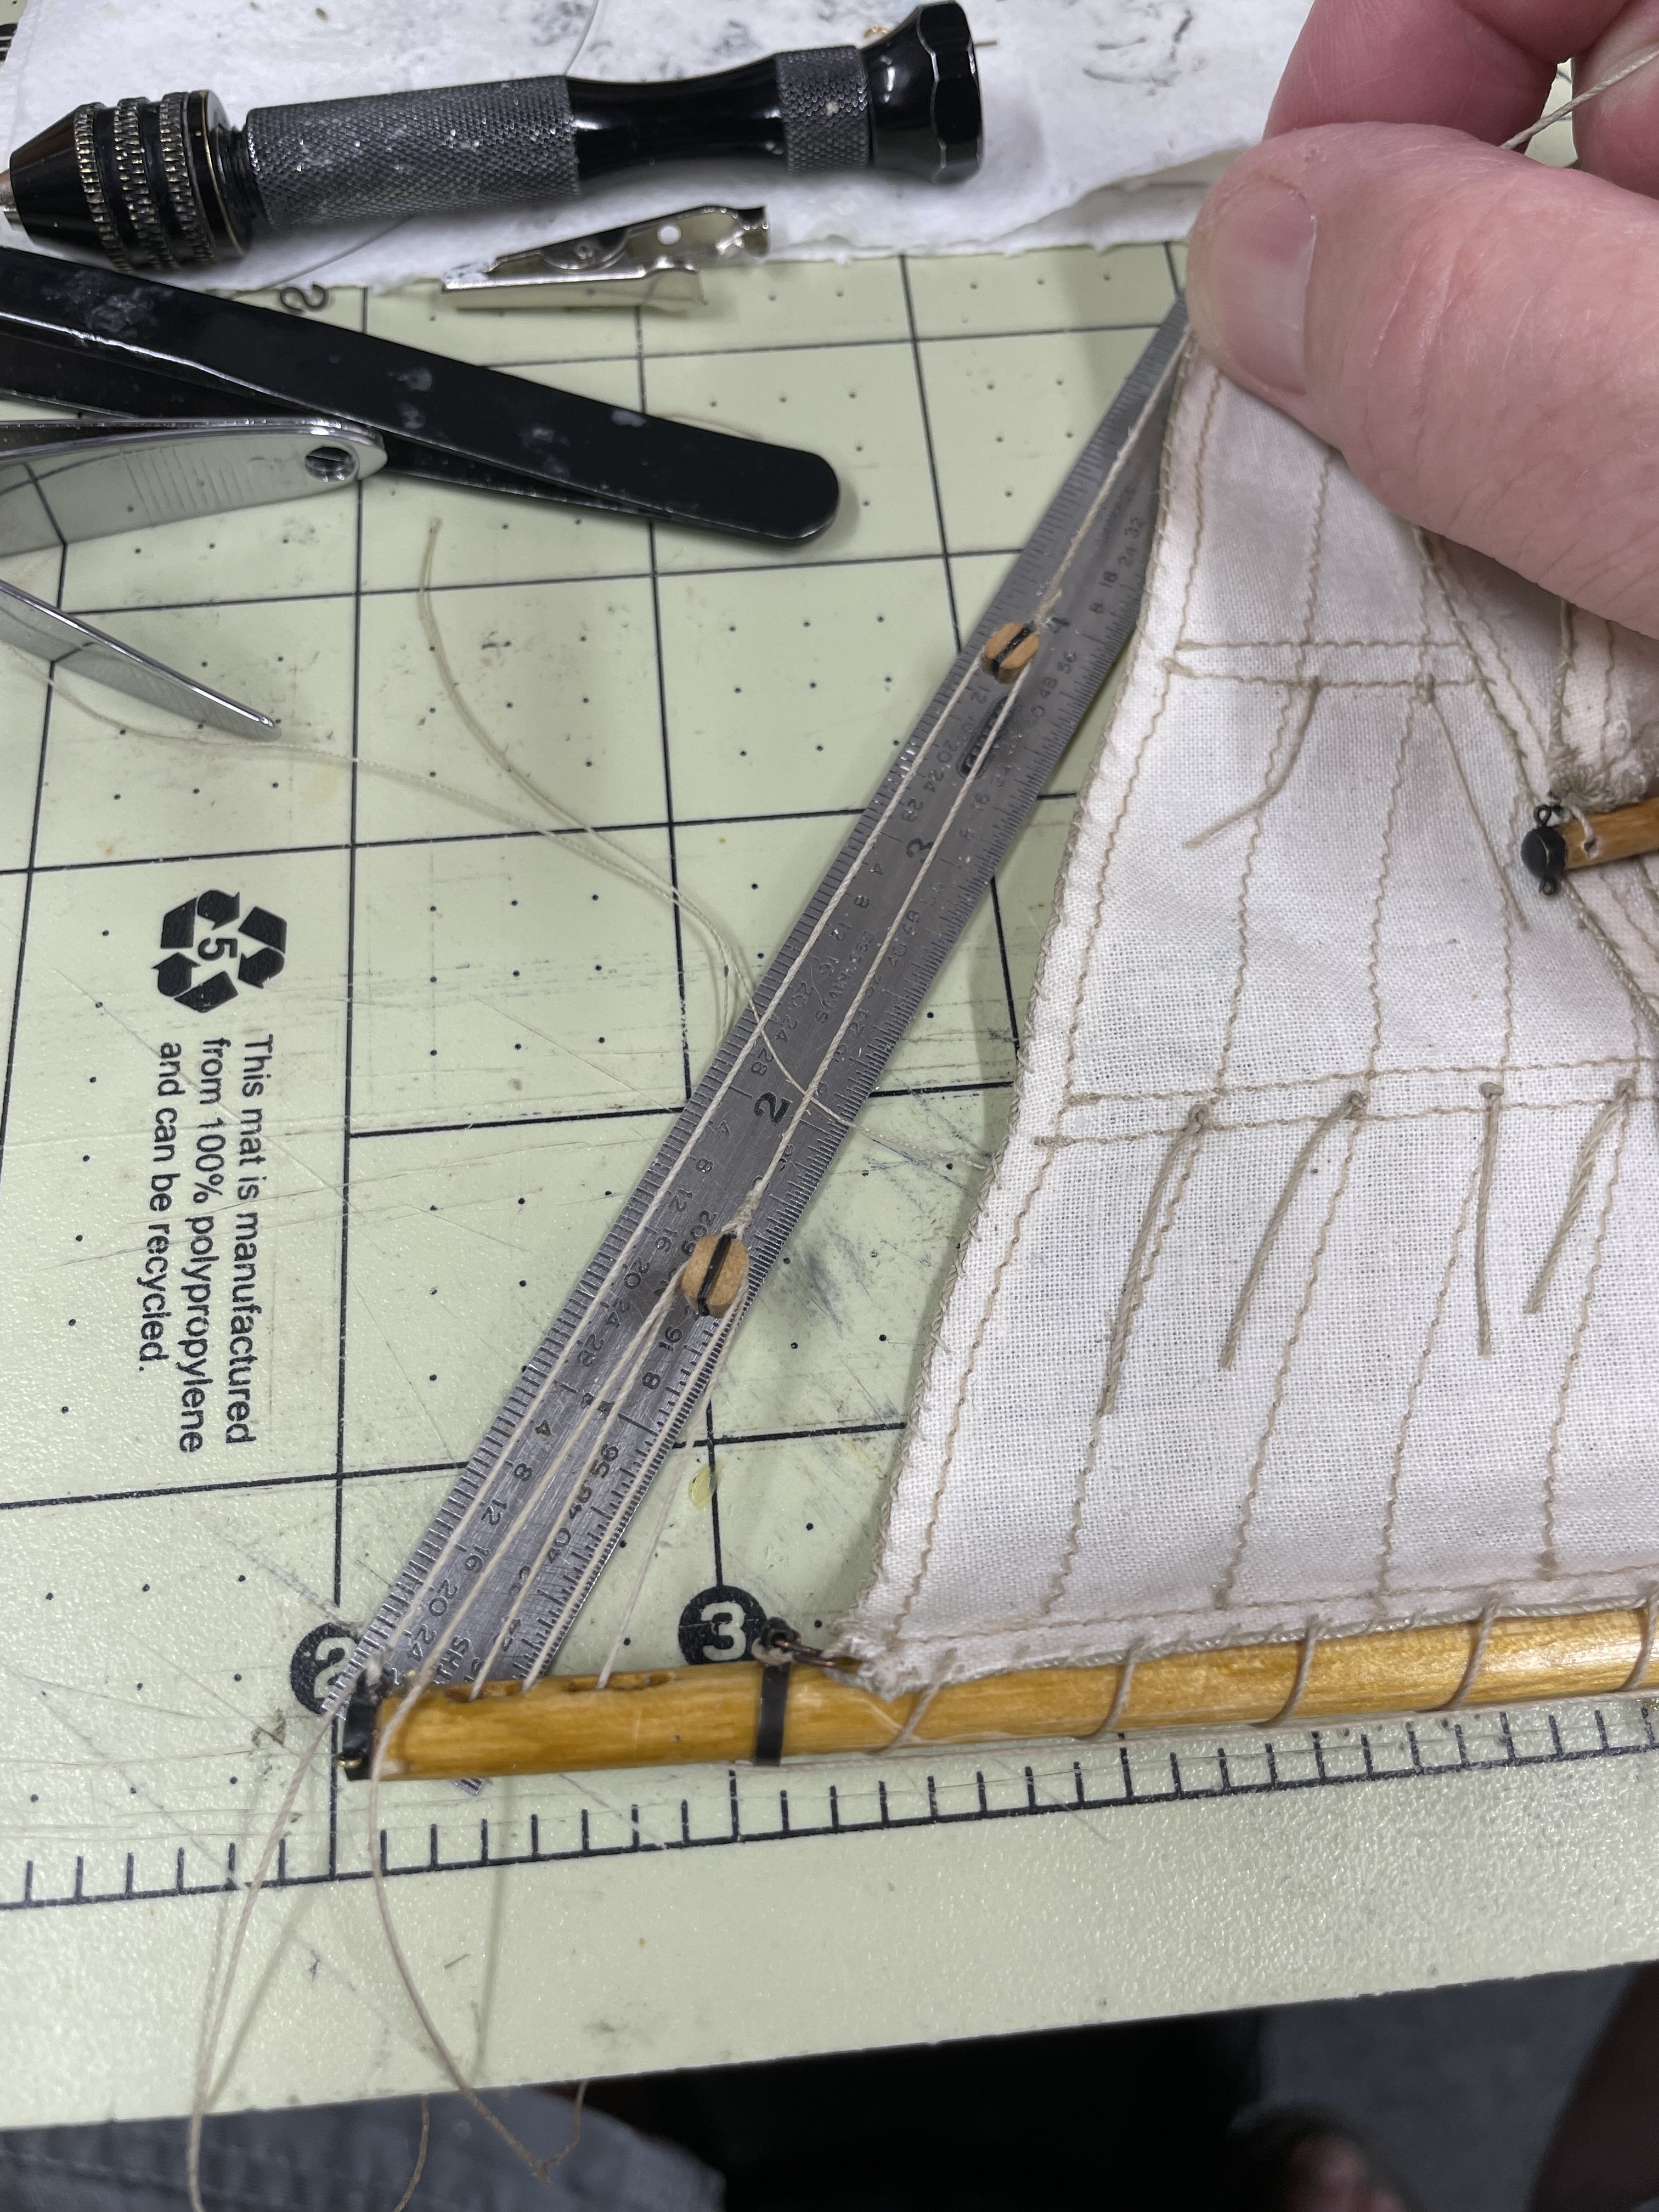
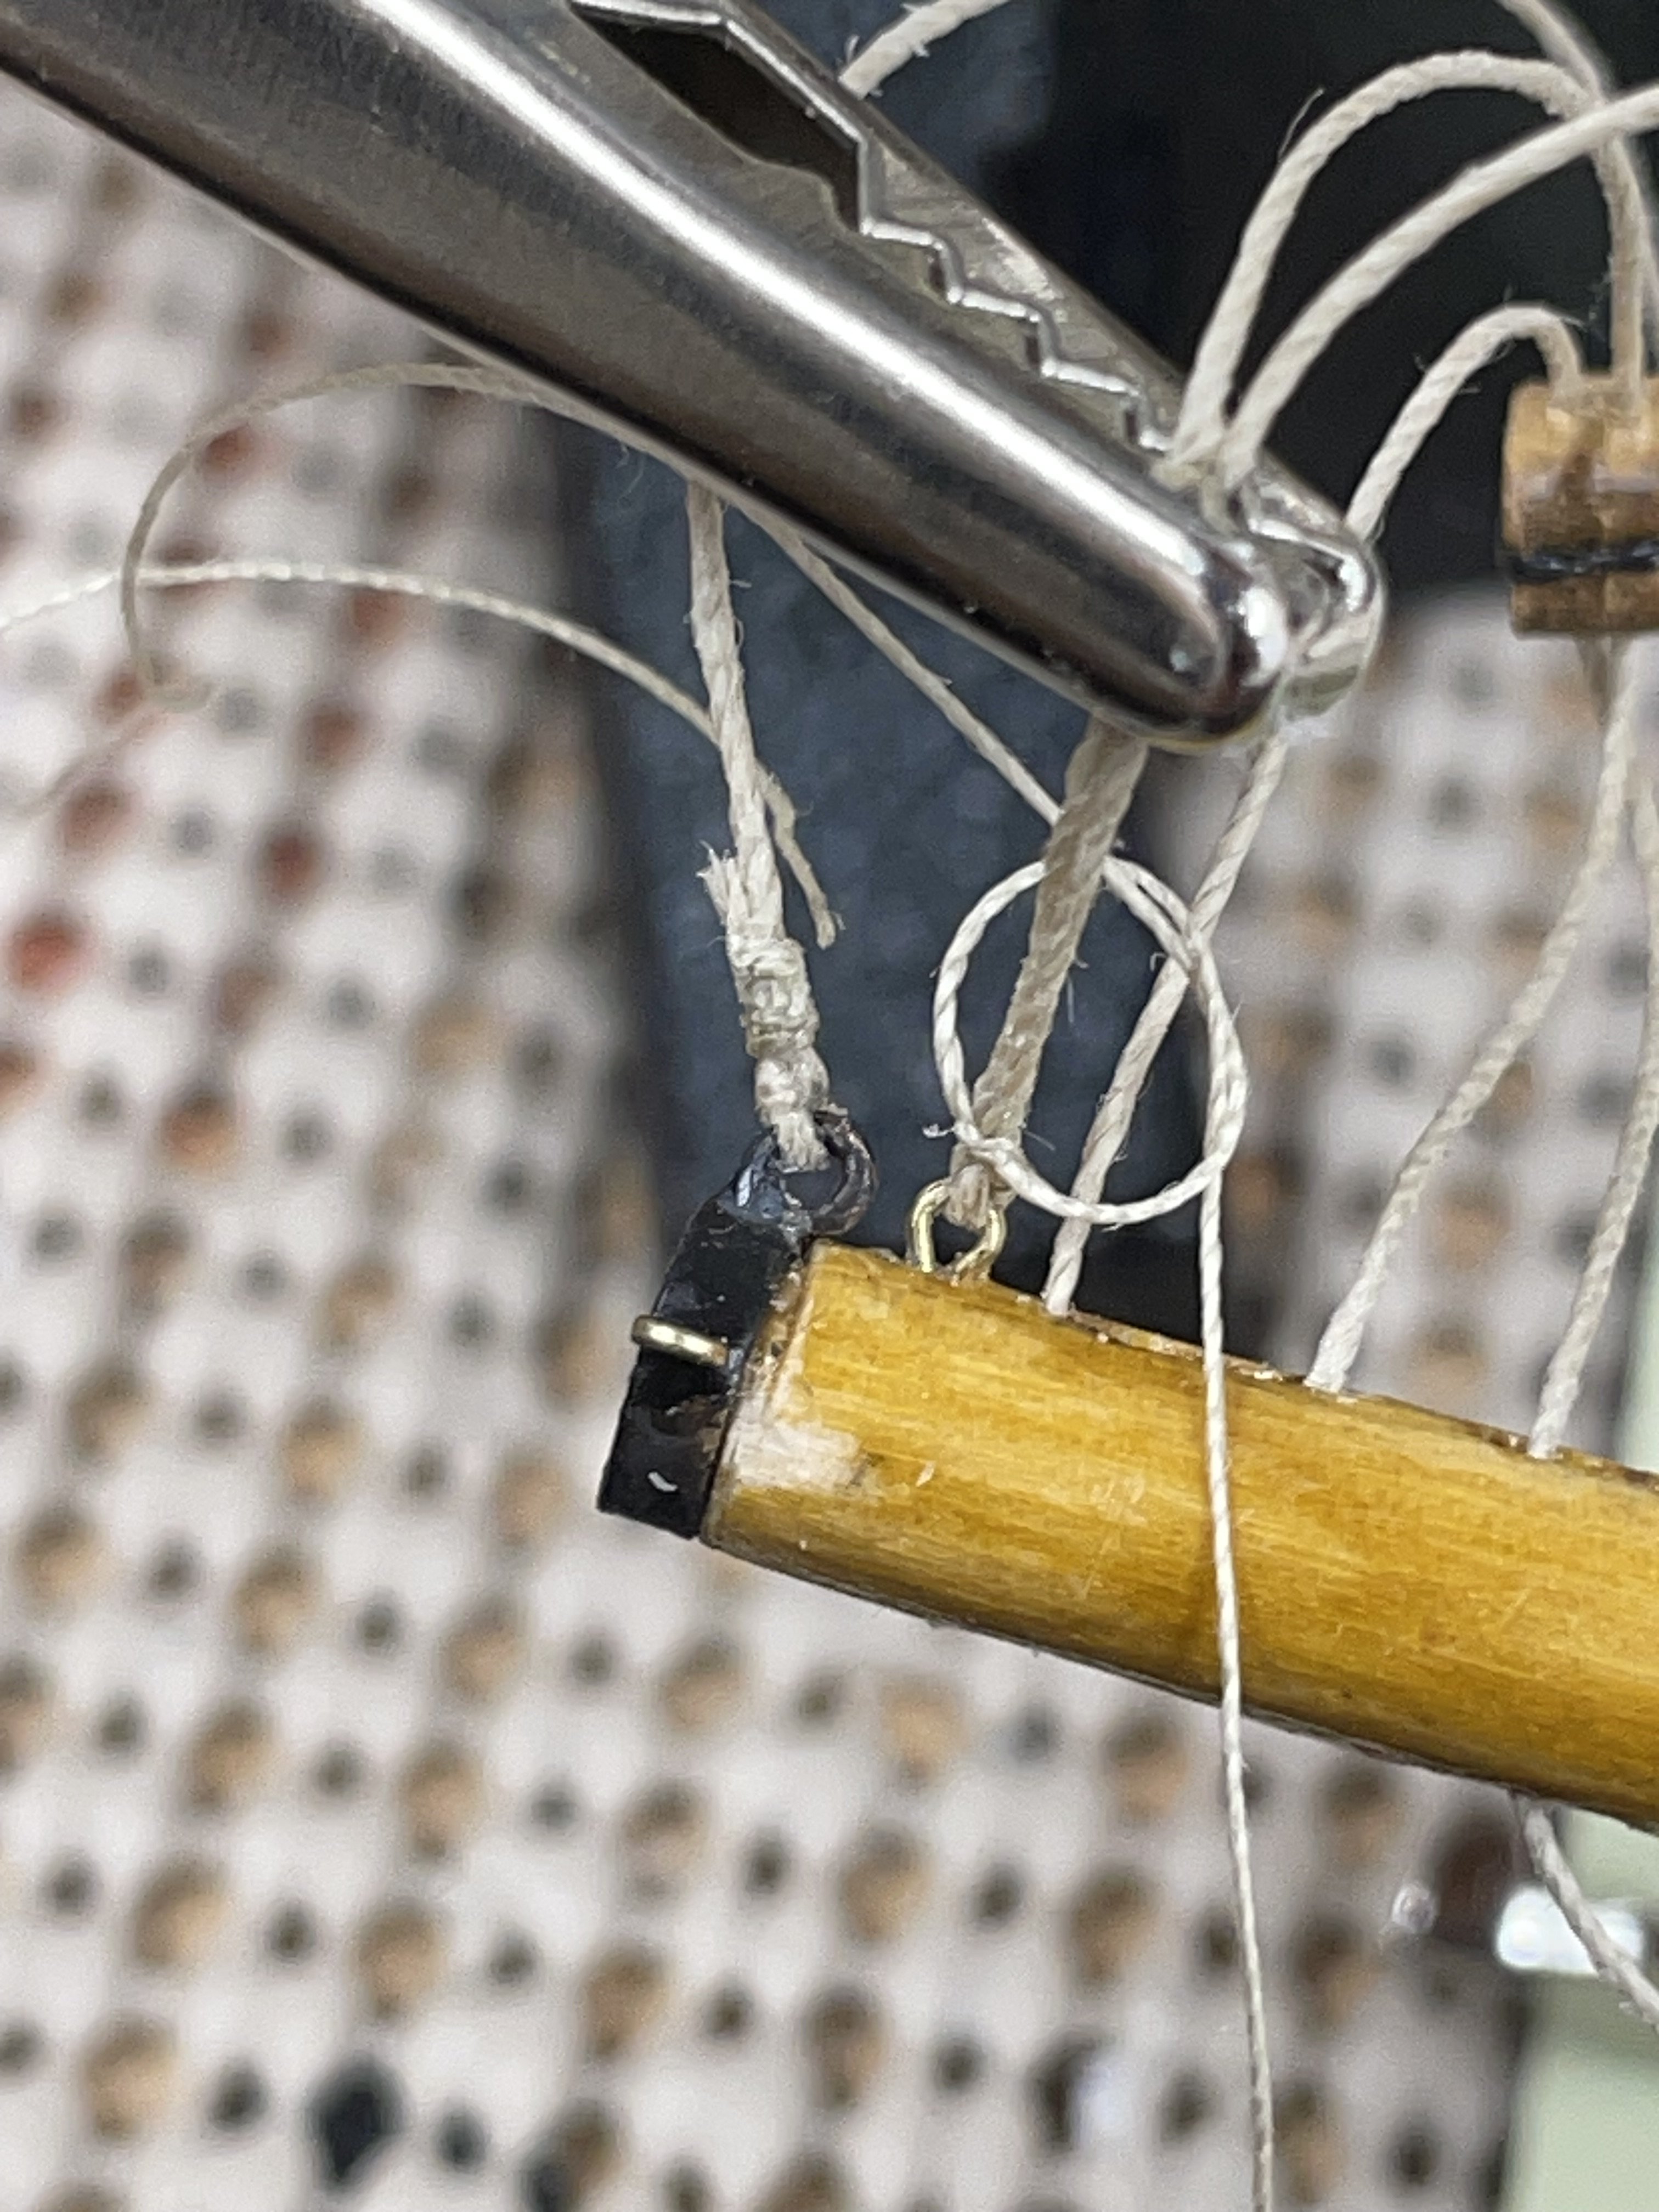
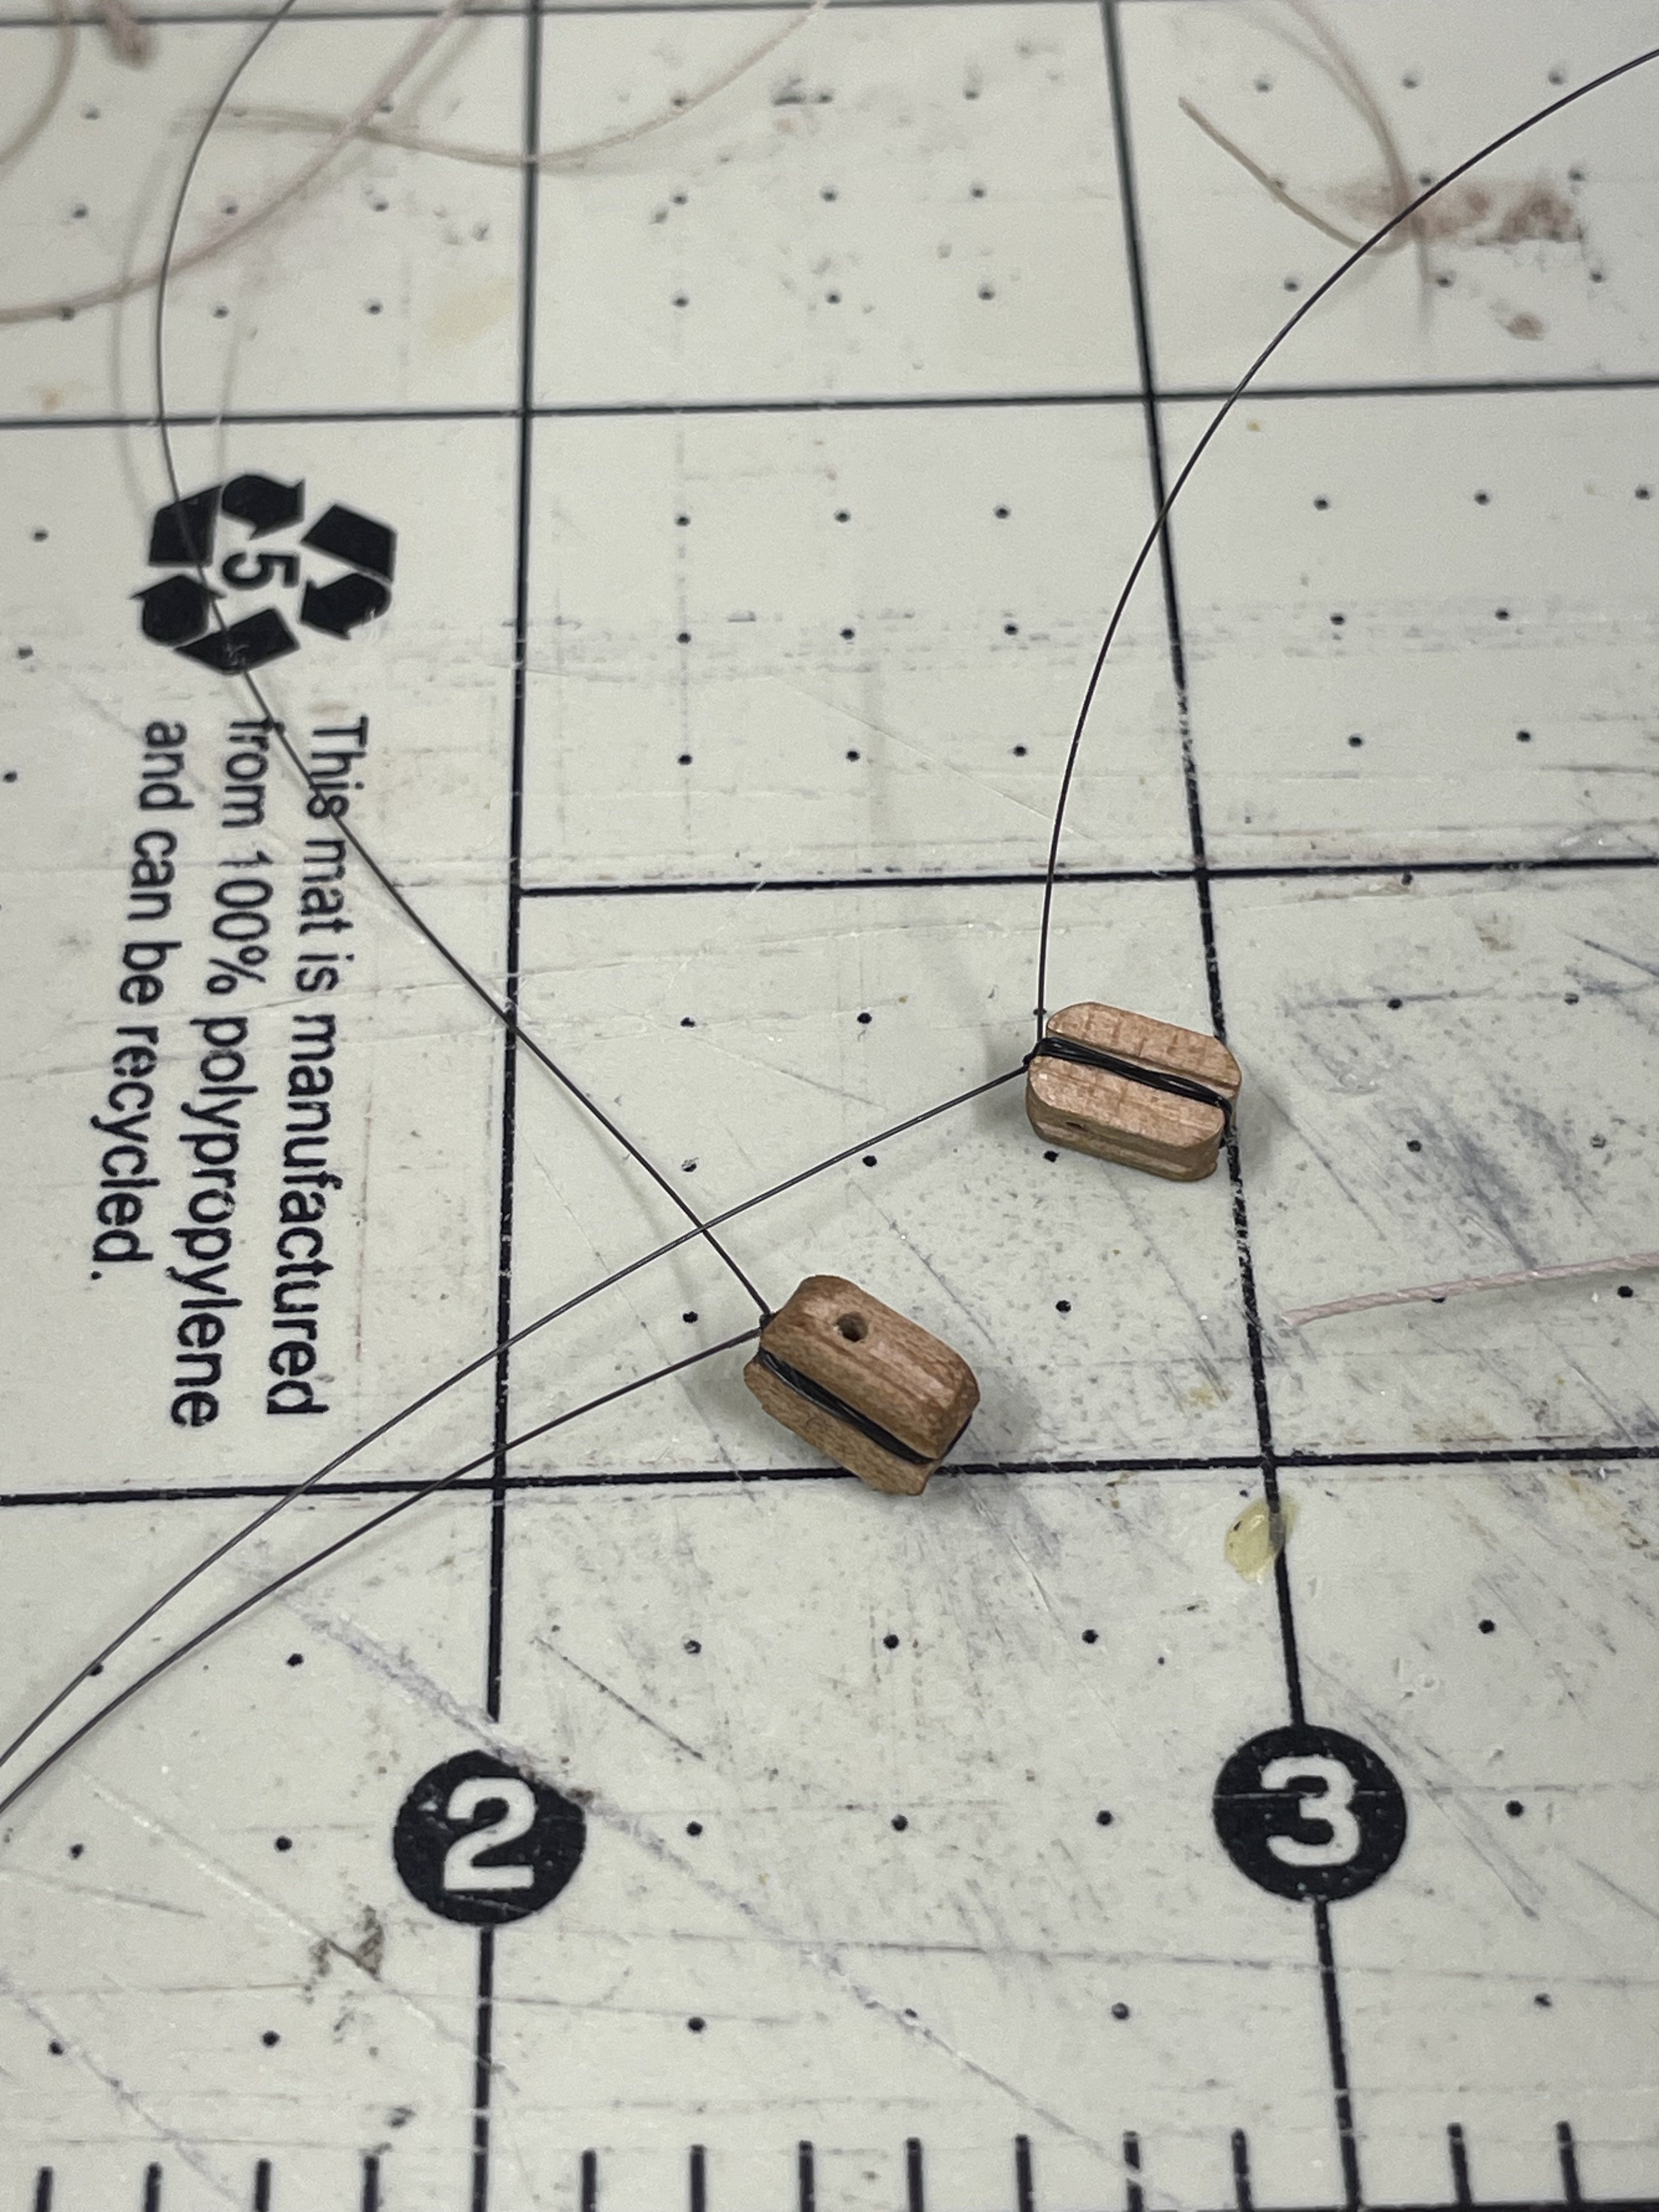
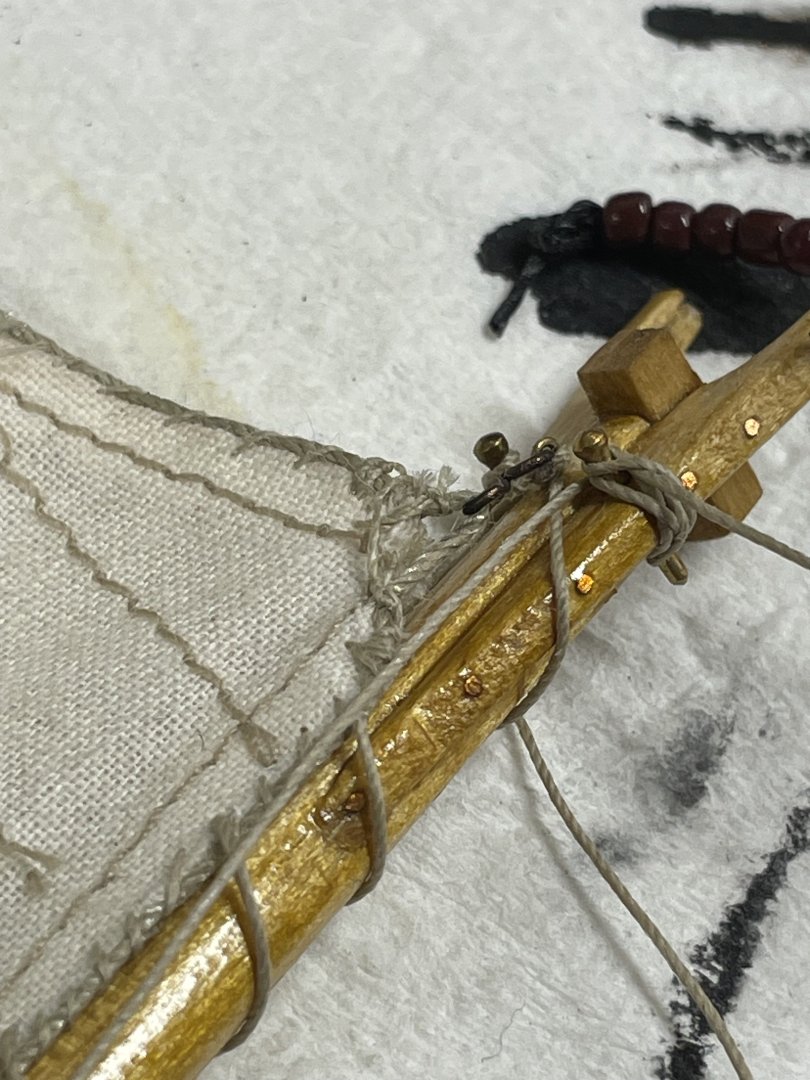
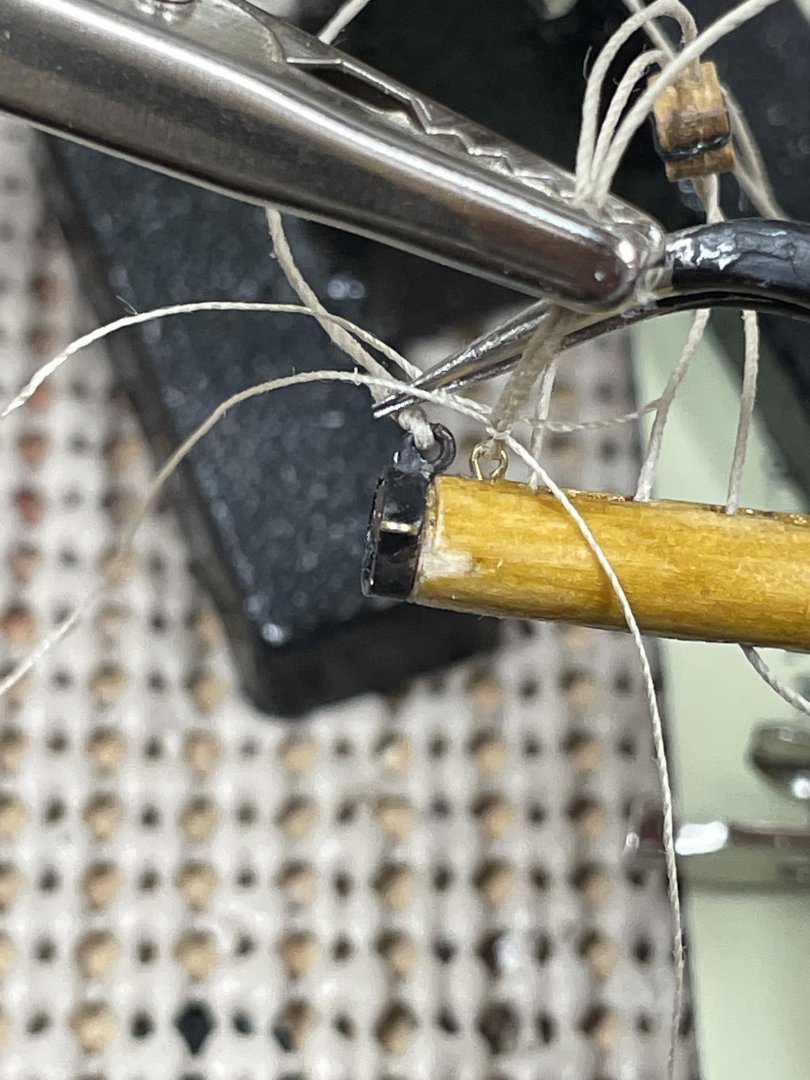
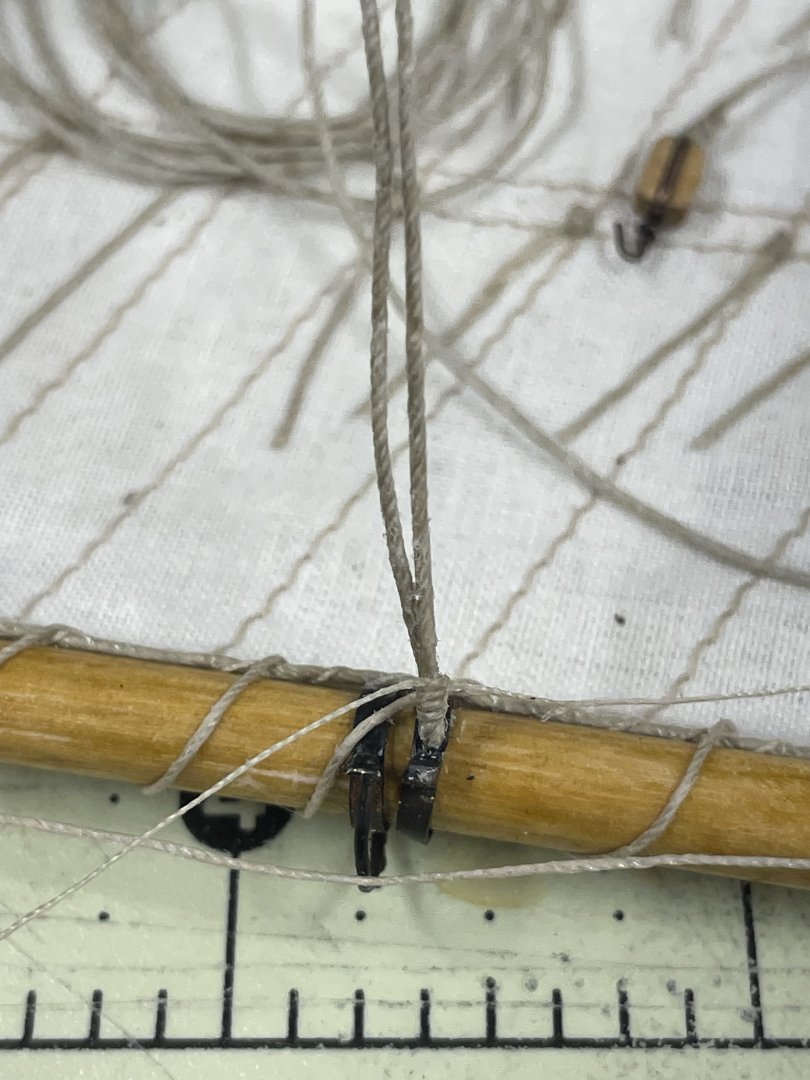
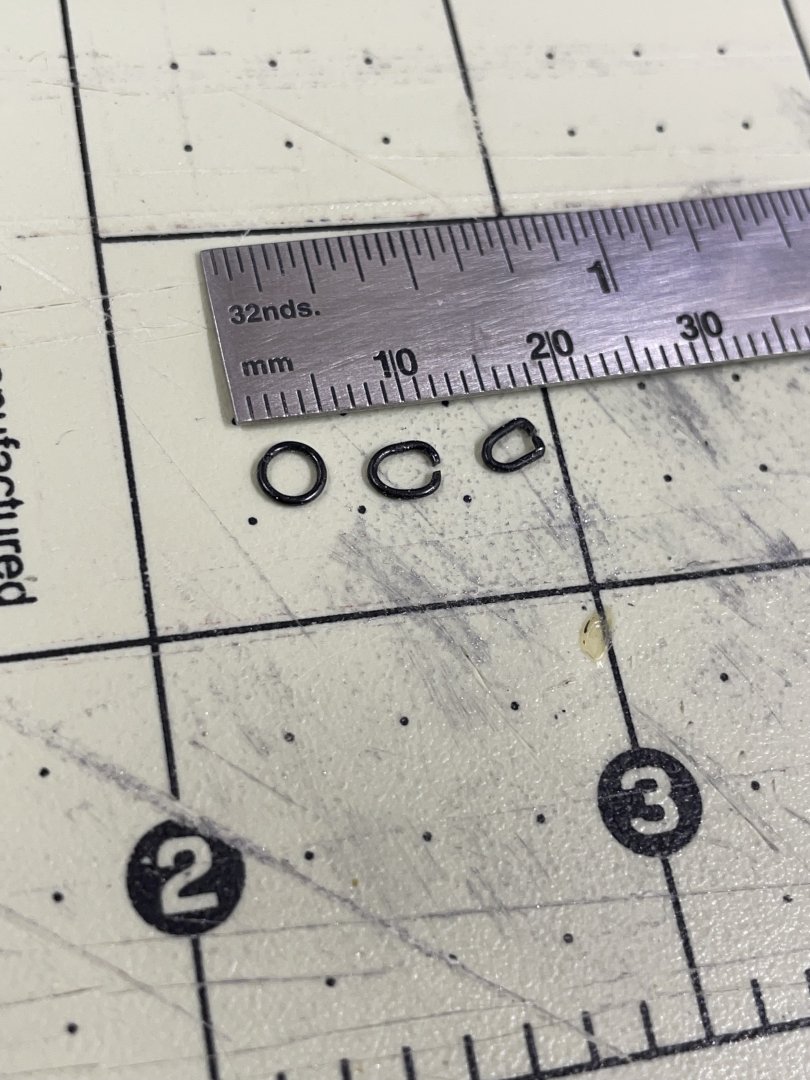
Hi Greg, Nice work. I know progress can seem pretty slow at this point in the build, but you’re doing well. As for shackles, I reshaped some small jump rings. This photo shows the three step process. Hope this is helpful. Carry on Sir, you are doing great. 👍


- 184 replies
-
- 4
-
-
-
- Bluenose
- Model Shipways
- (and 1 more)
-
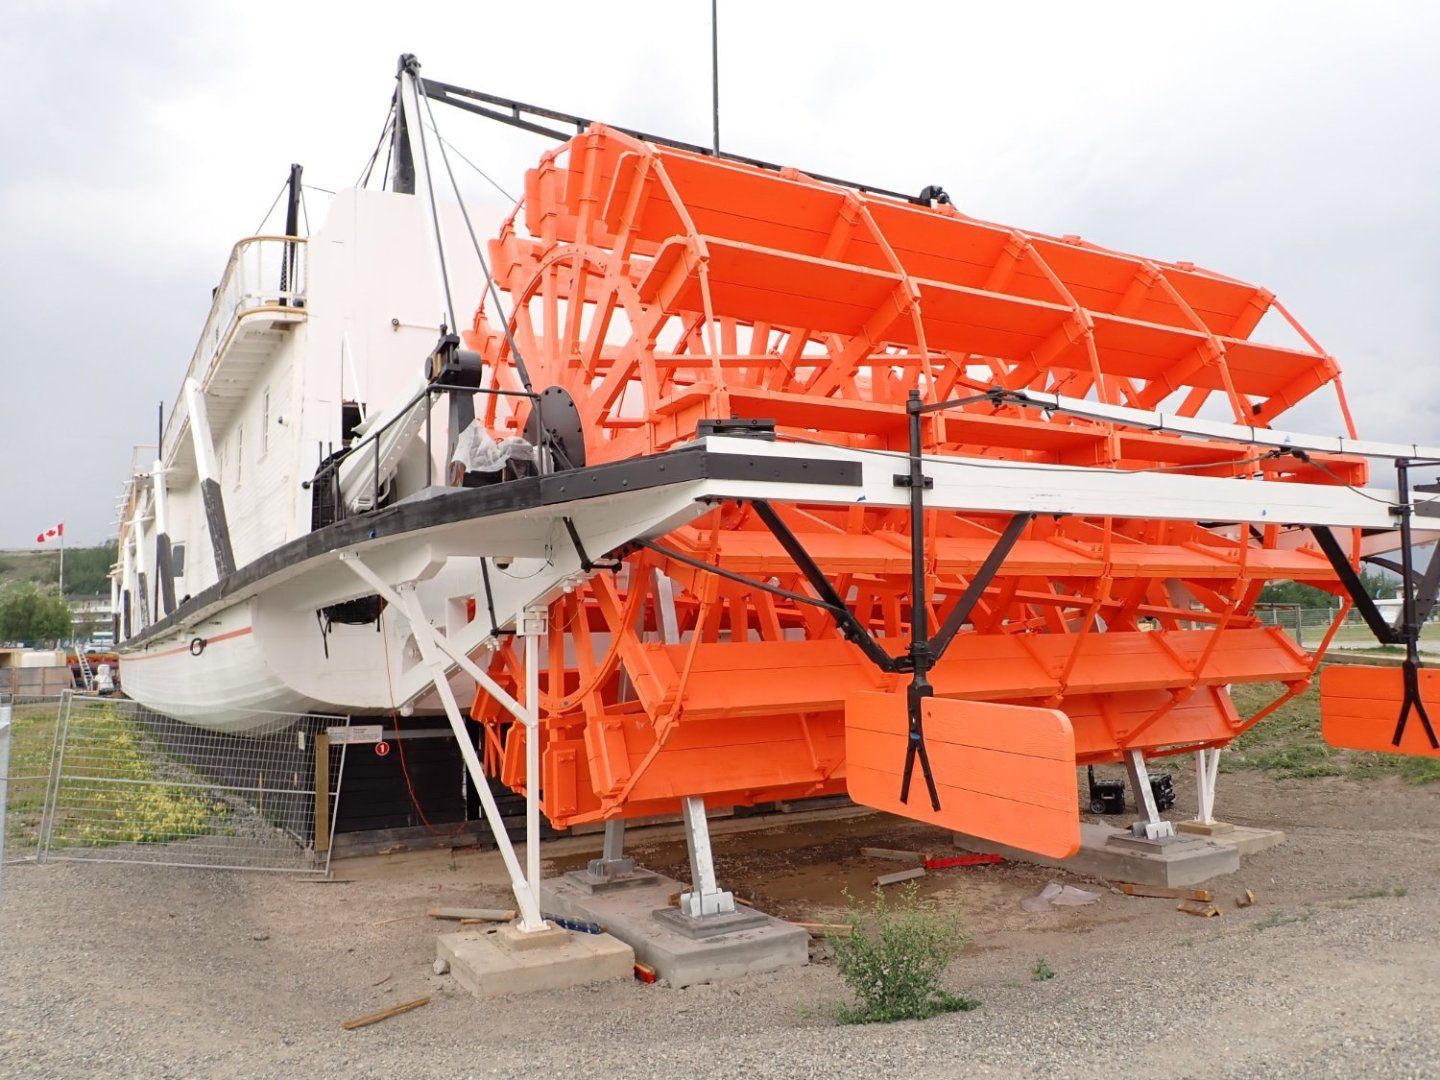
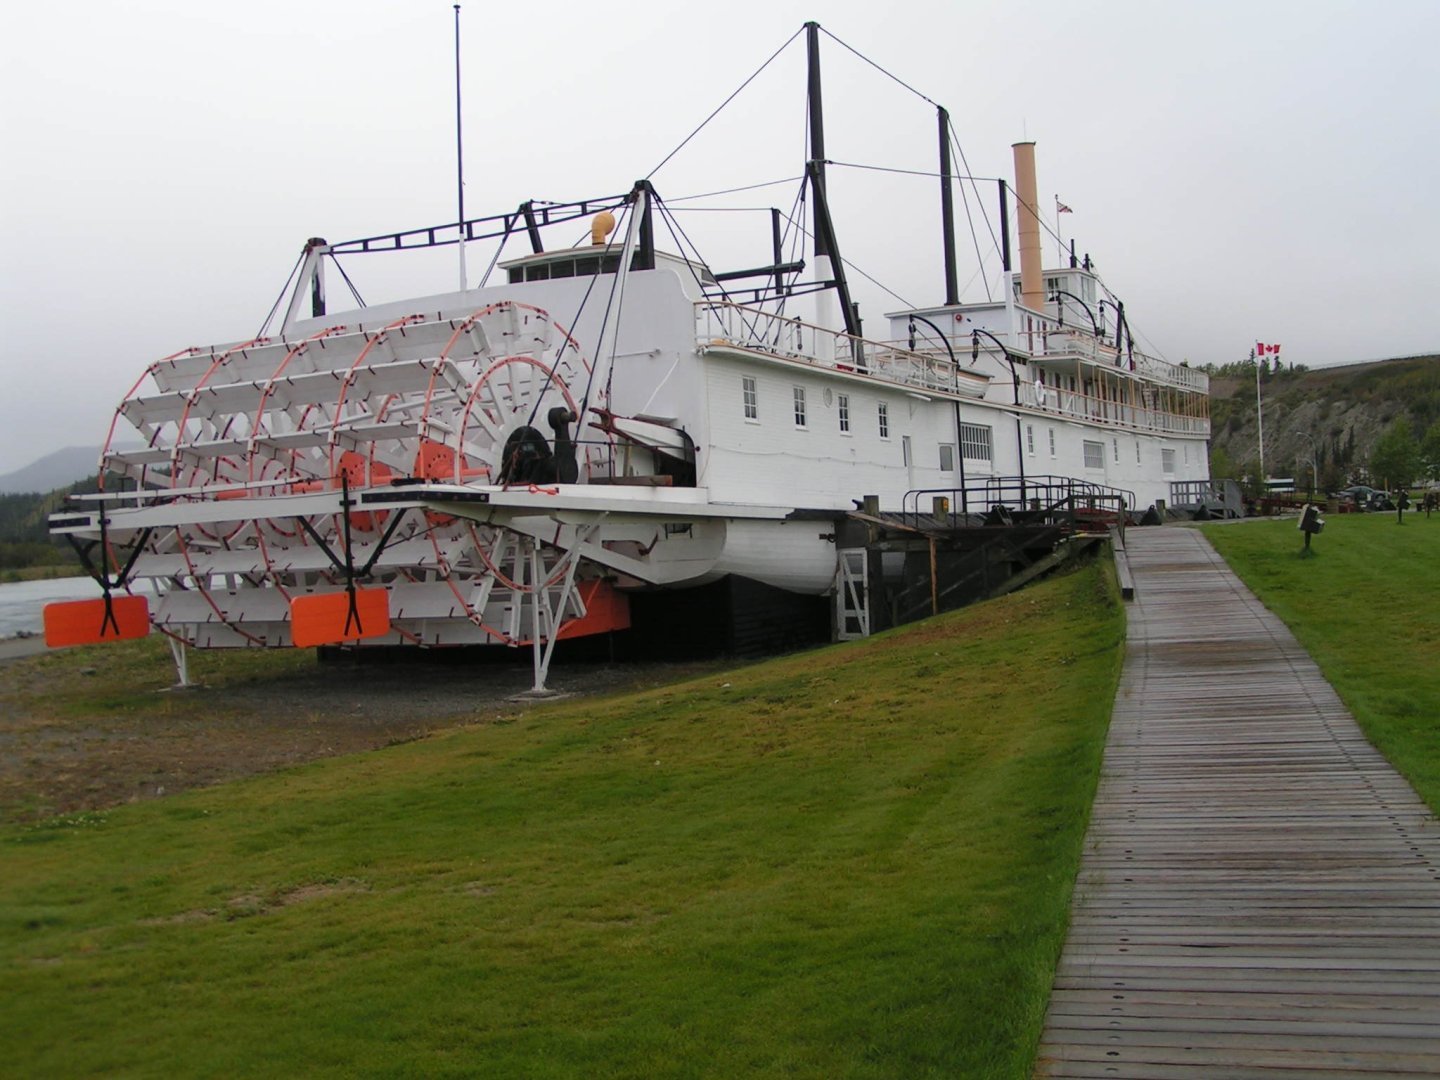
Thanks… I hadn’t picked out those details yet. Obviously the Klondike has been under restoration for years and photos I find are at various stages of that restoration. Your arrows are very helpful. More research as I continue. I love the interior picture as a matter of historical perspective. Not that I will build the interior. Thanks again for sharing. John
-
Yes, I agree it is very interesting 🧐 we will have to see what we can find out about that. I noticed the paddle wheel is totally different from my photos. Perhaps Mike Draper @Kusawa2000 our Yukon local can help us out? @Baker When were your photos taken?
-
Yes… Anything you have would be a great help. I appreciate your sharing.