-
Posts
1,250 -
Joined
-
Last visited
Content Type
Profiles
Forums
Gallery
Events
Everything posted by John Ruy
-
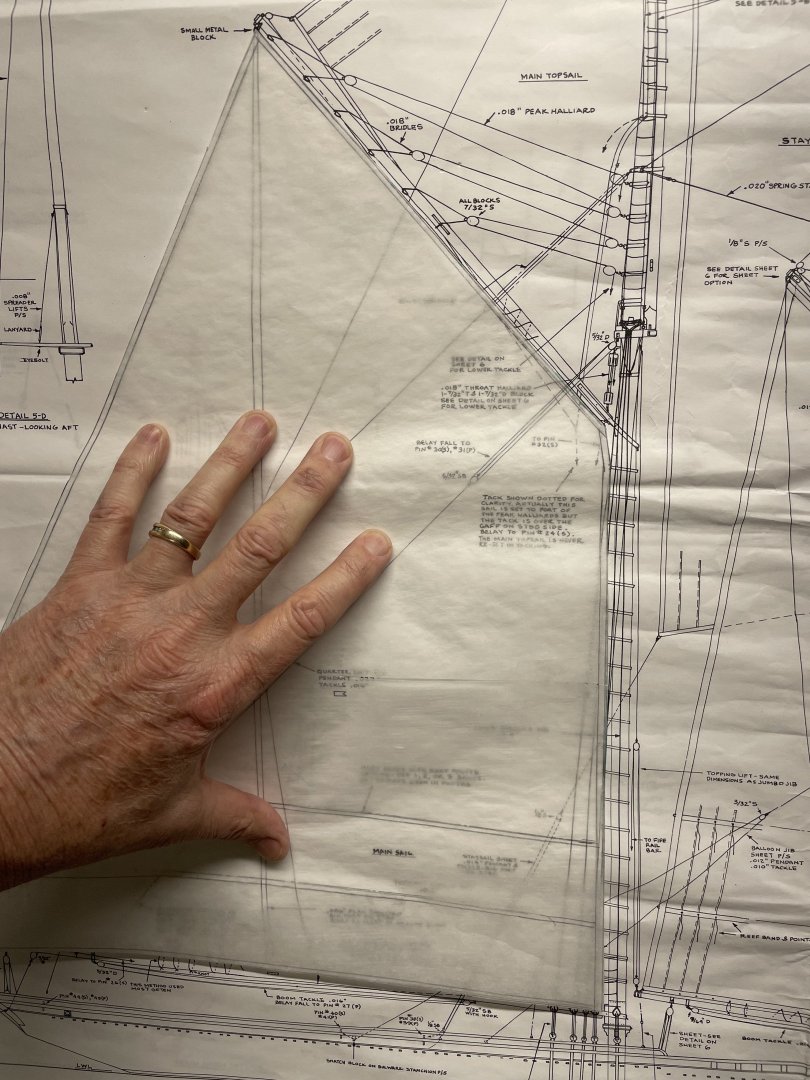
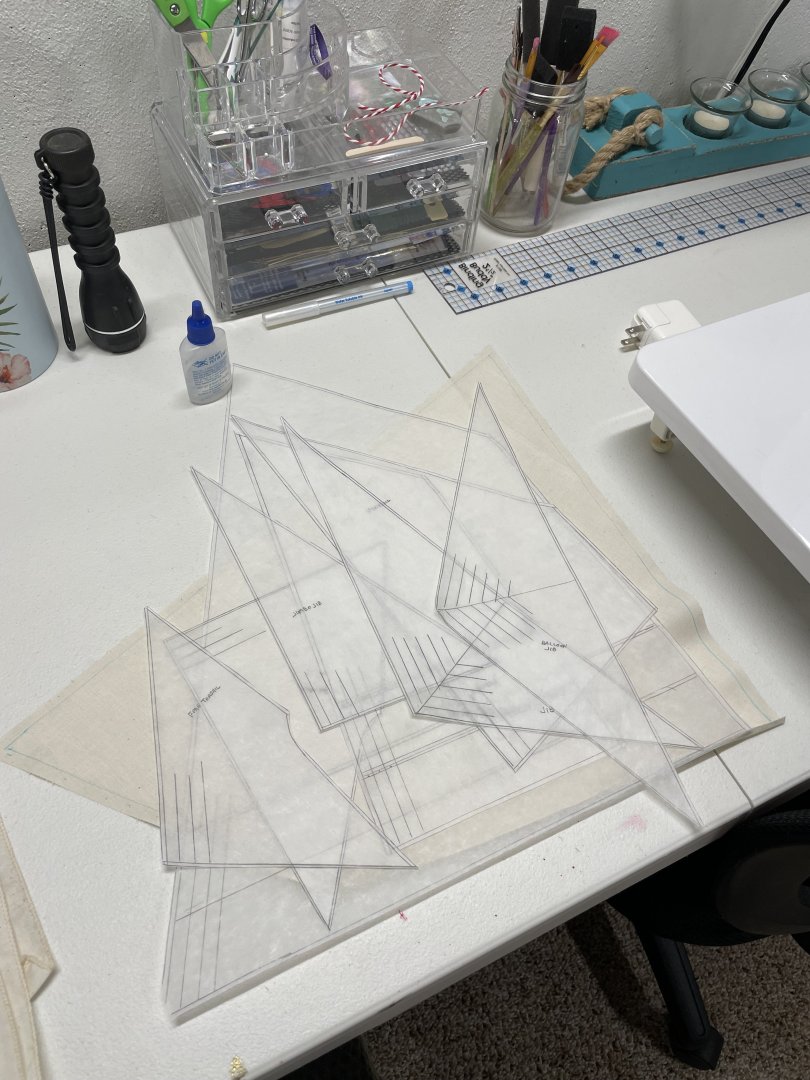
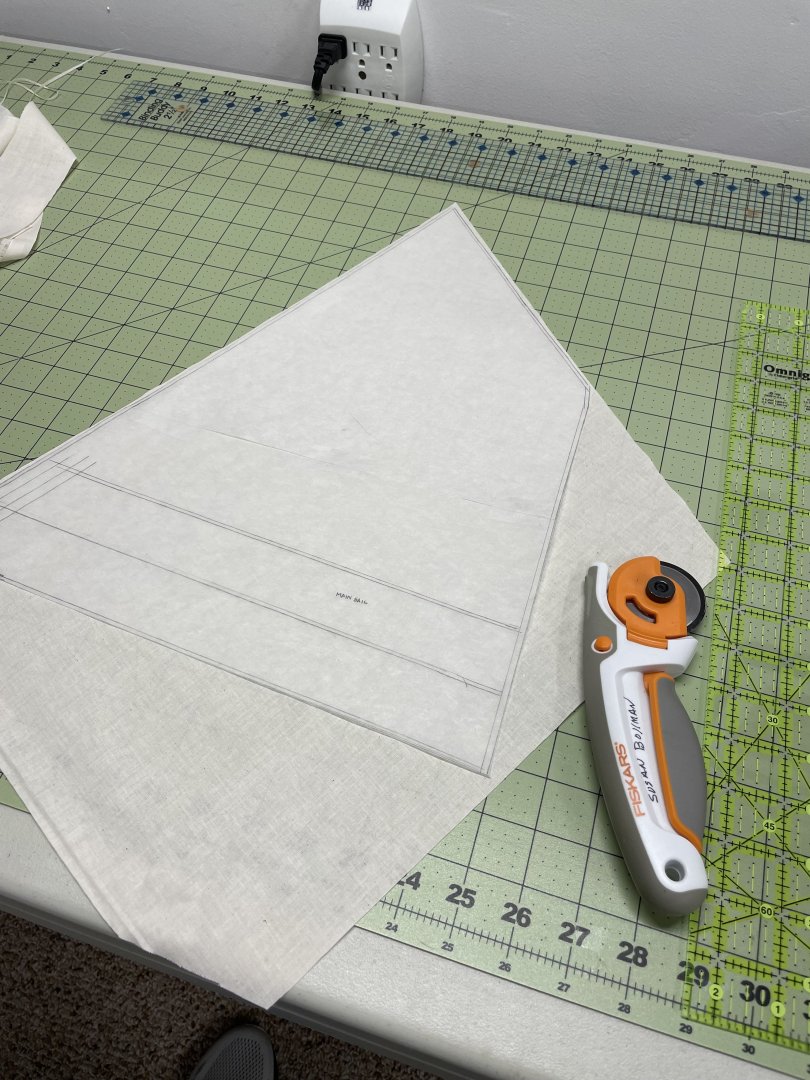
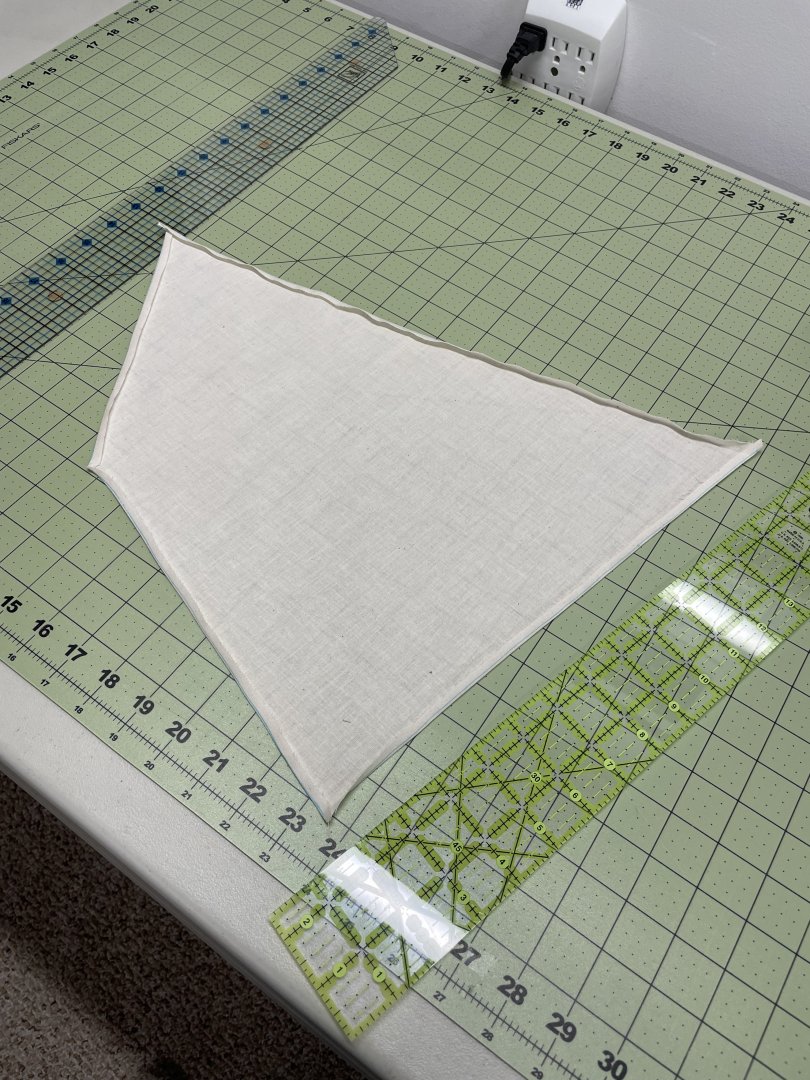
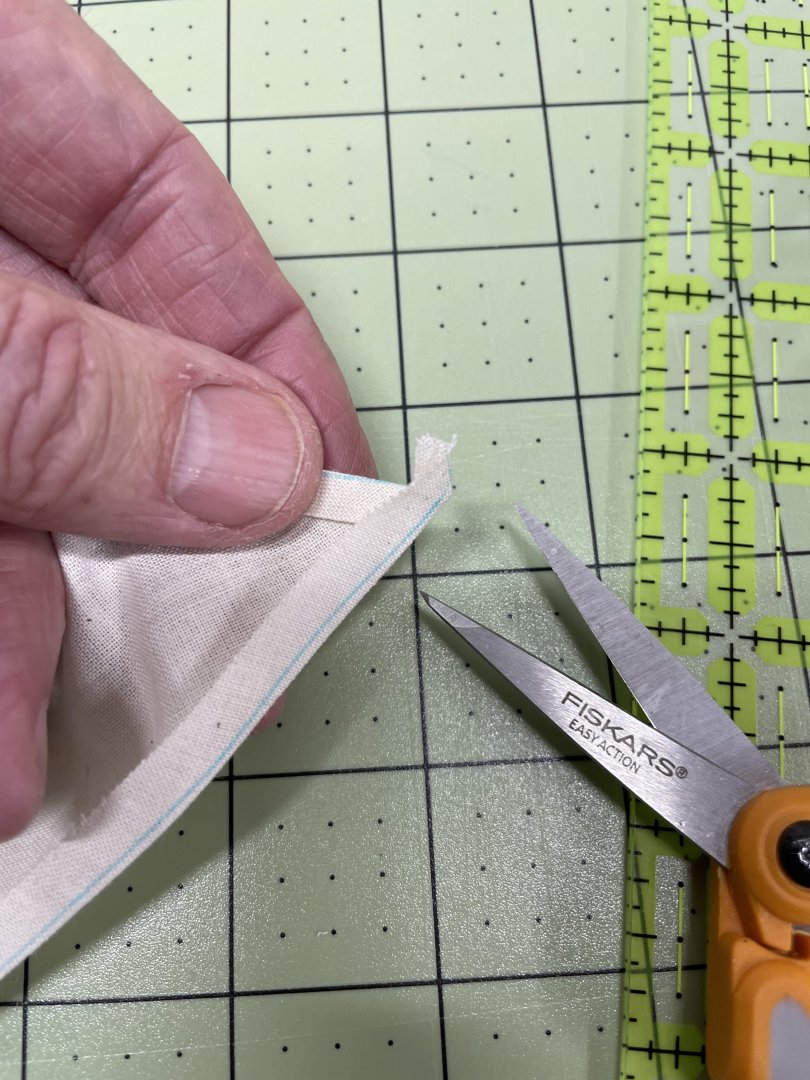
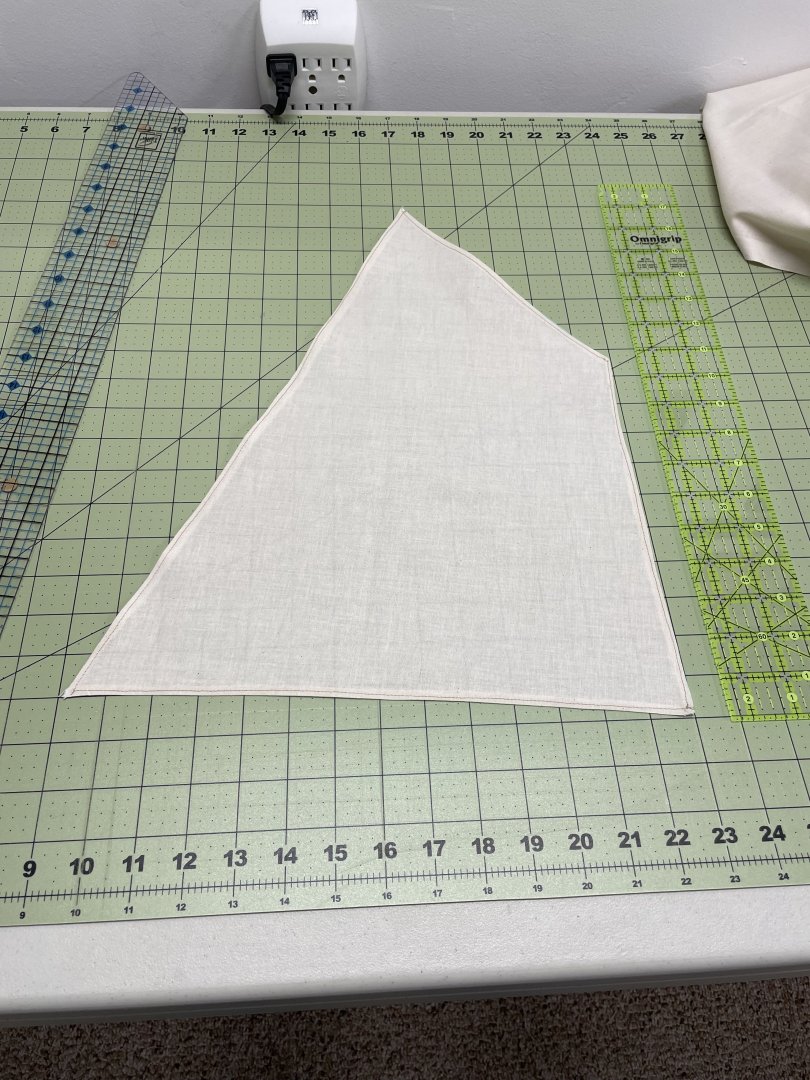
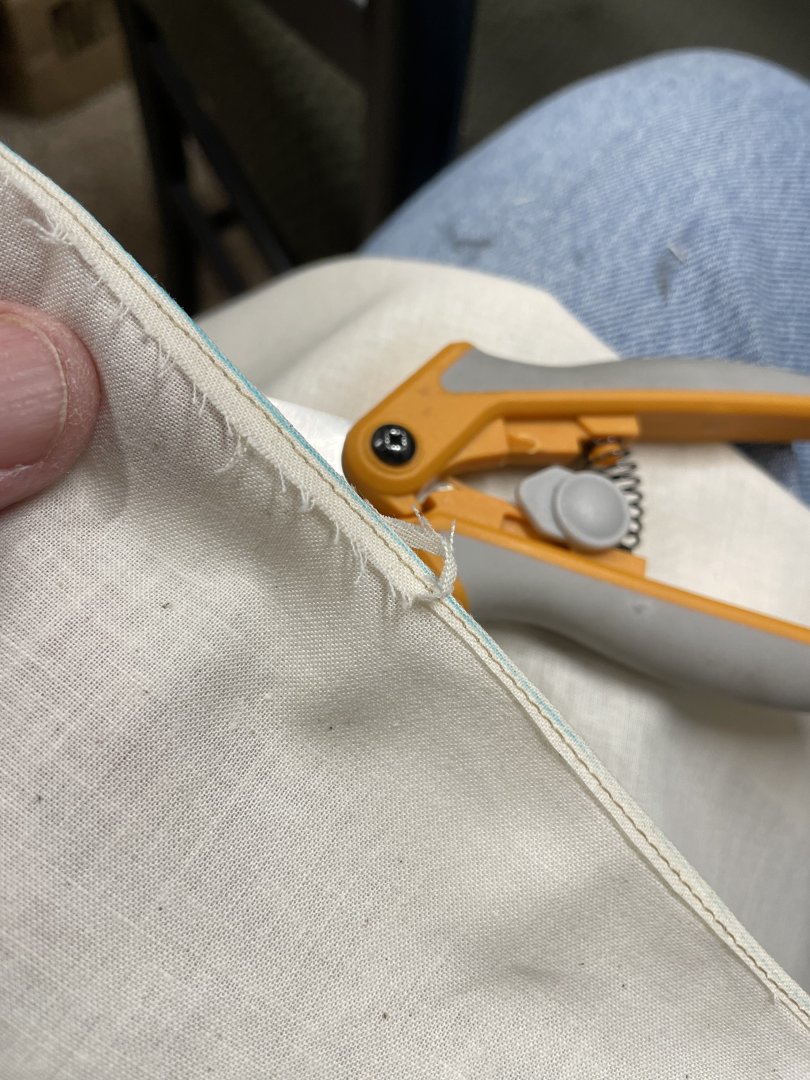
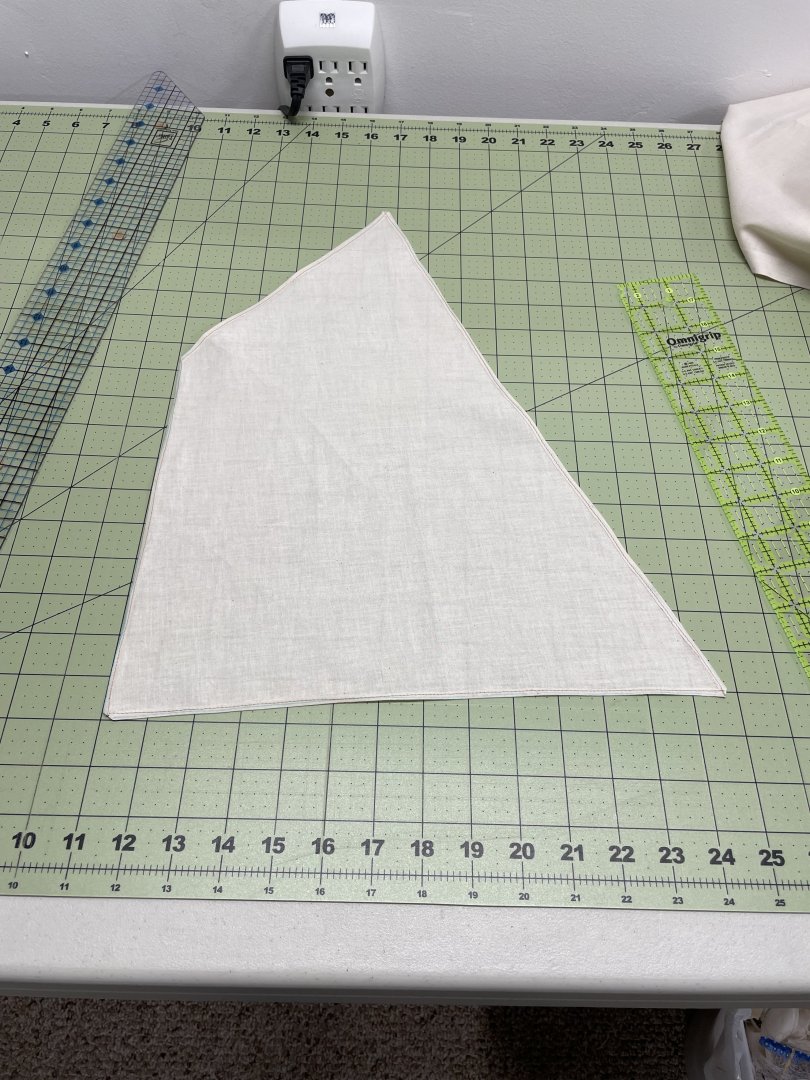
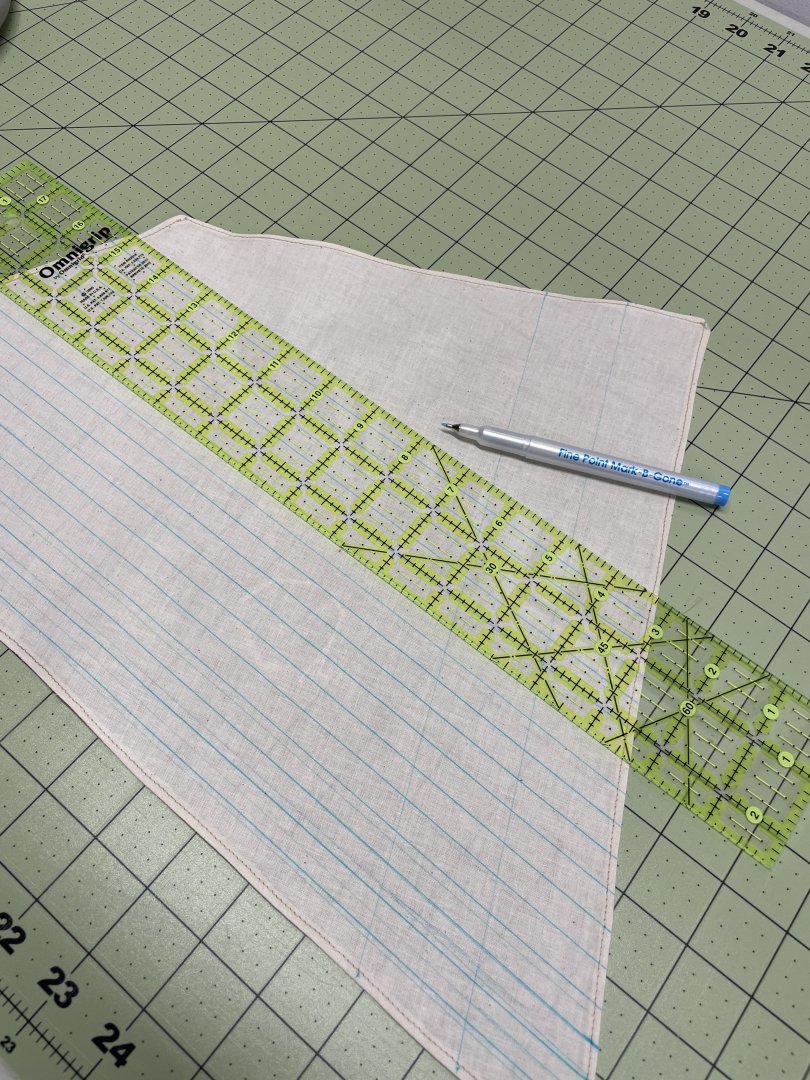
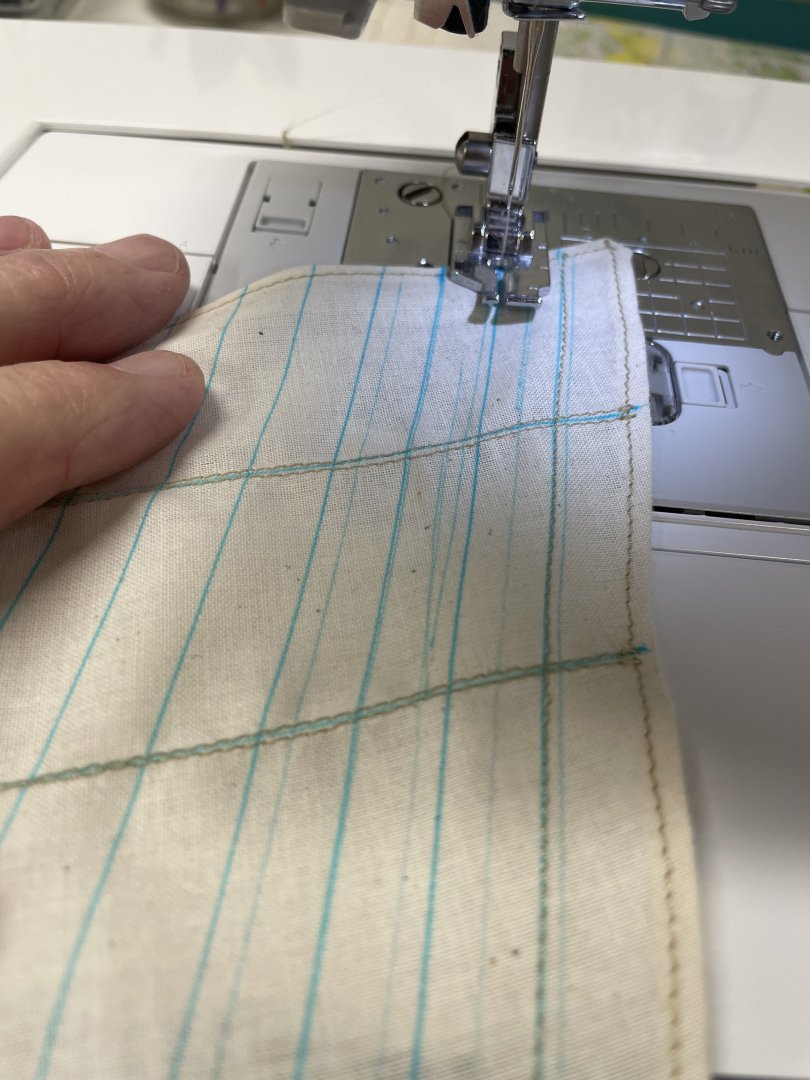
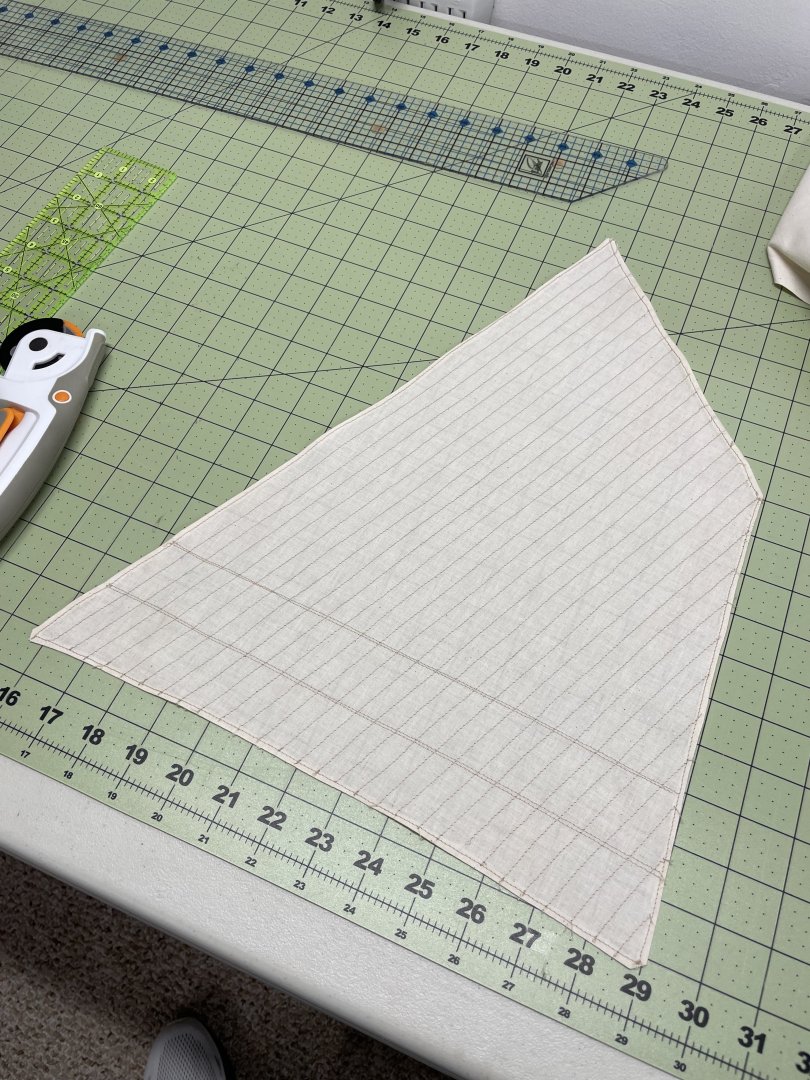
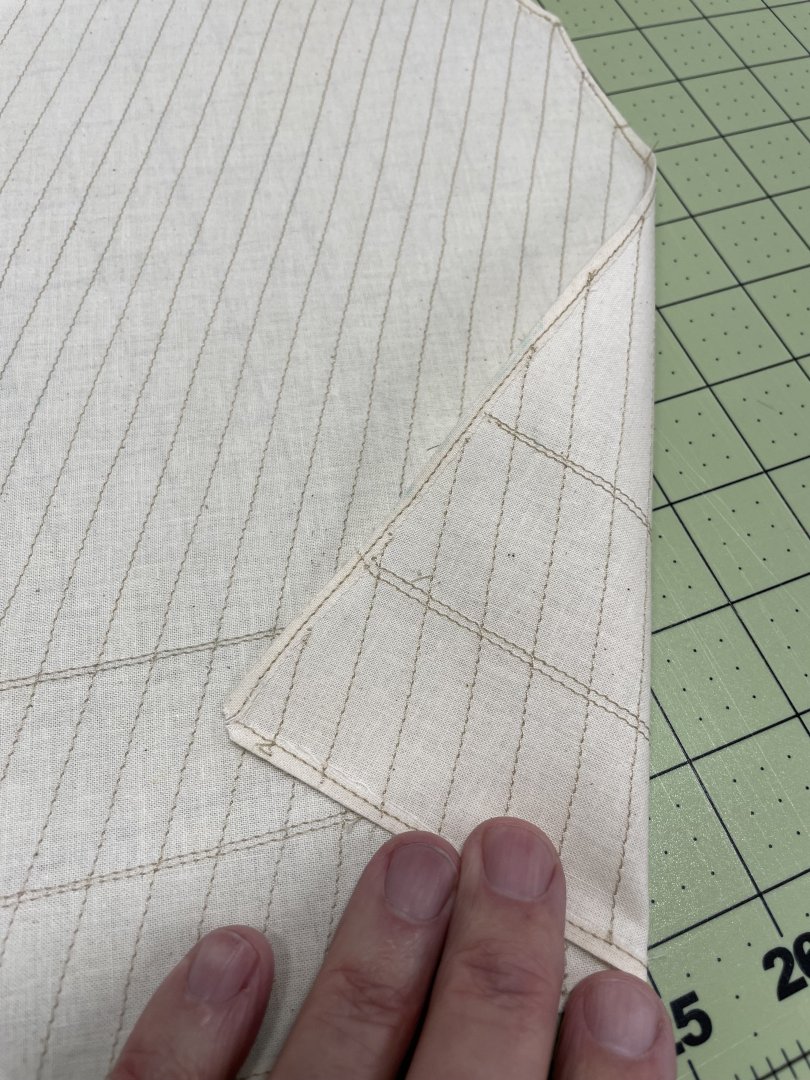
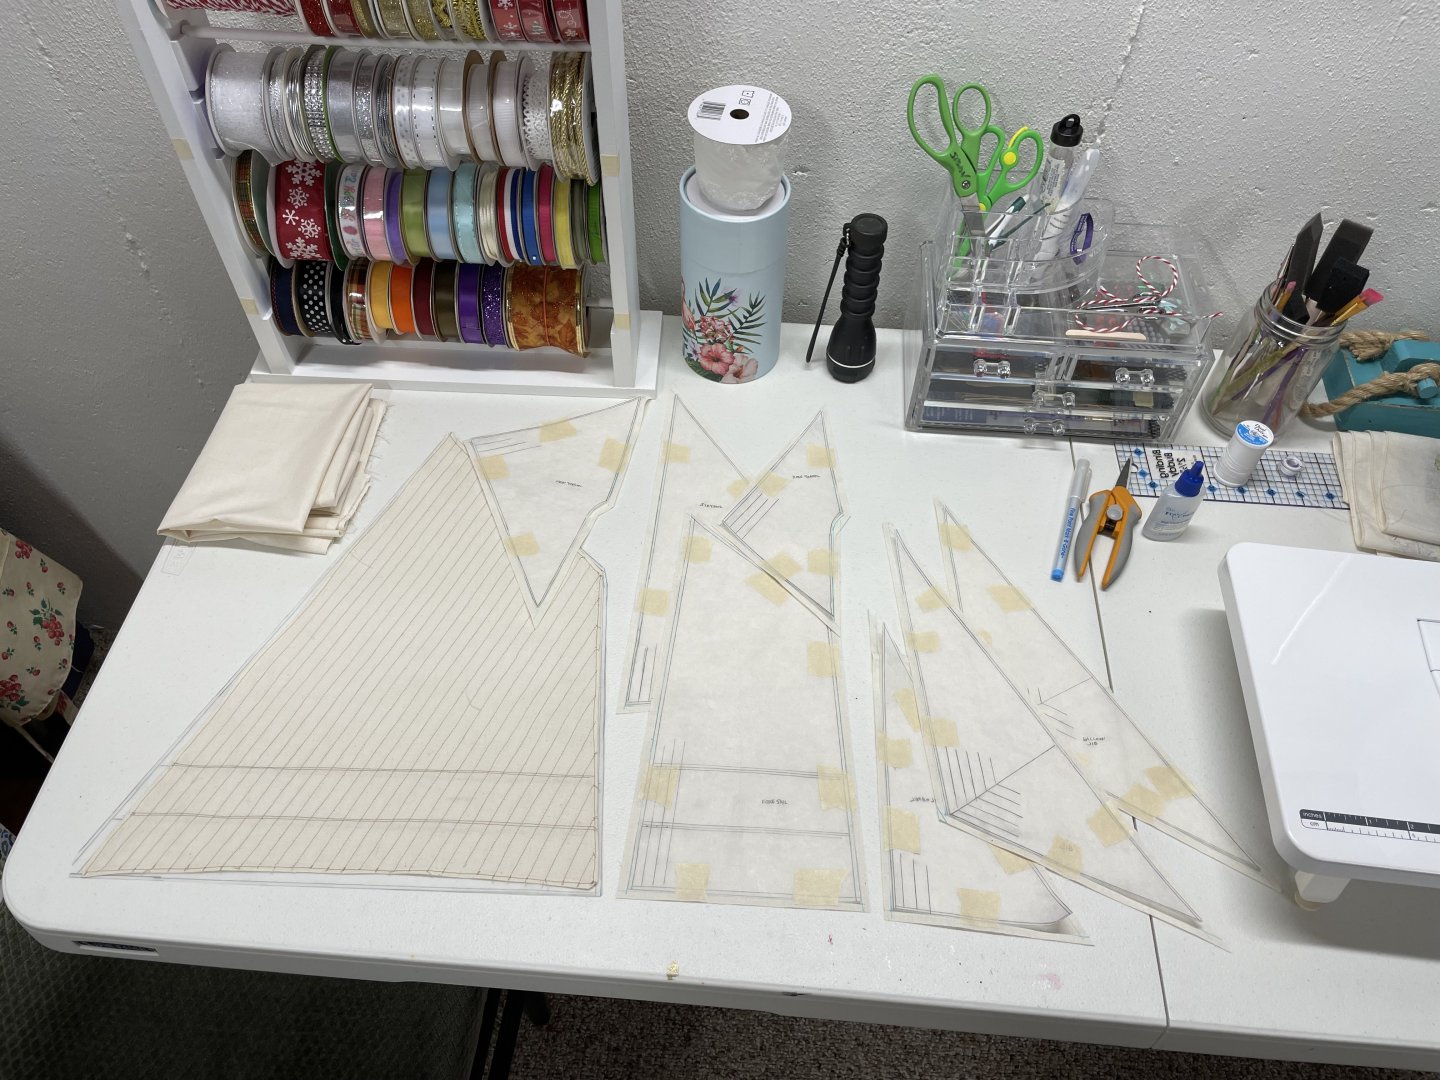
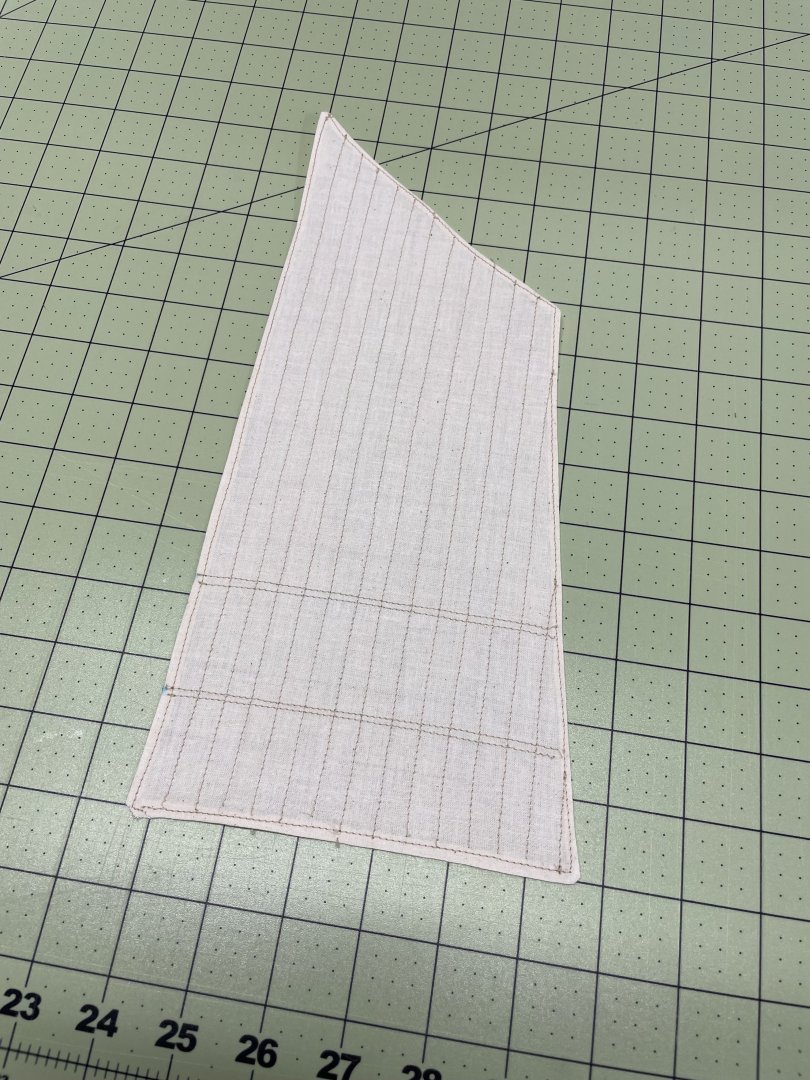
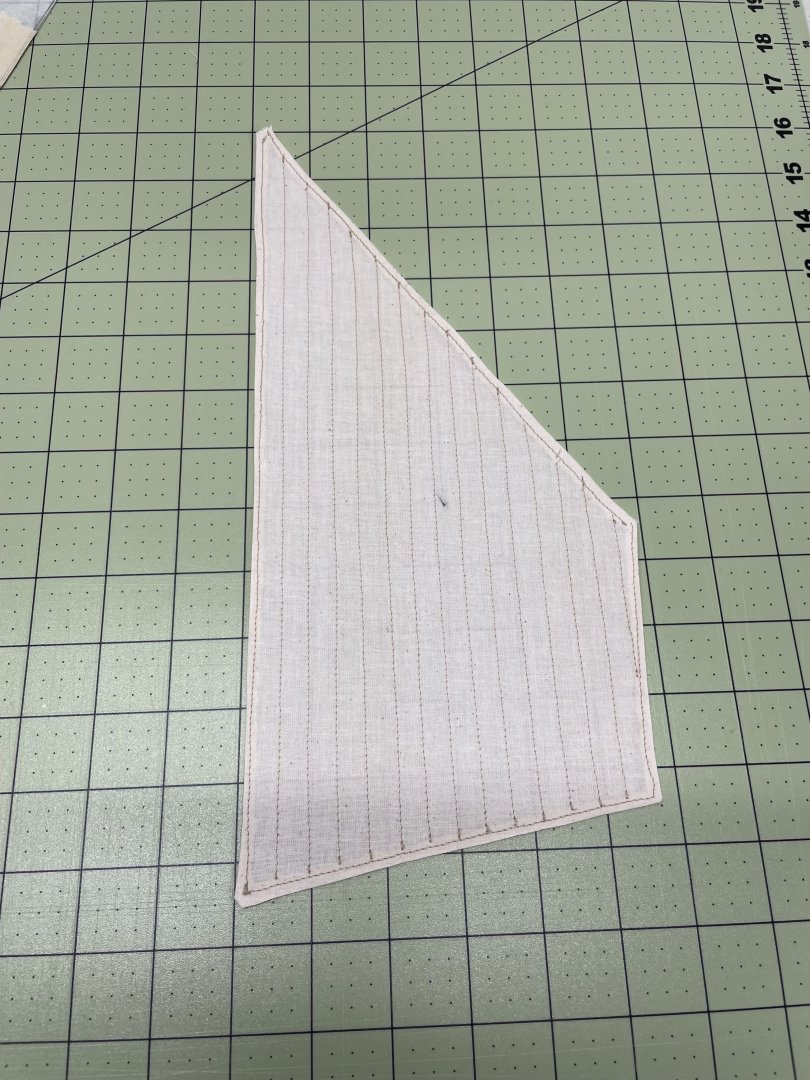
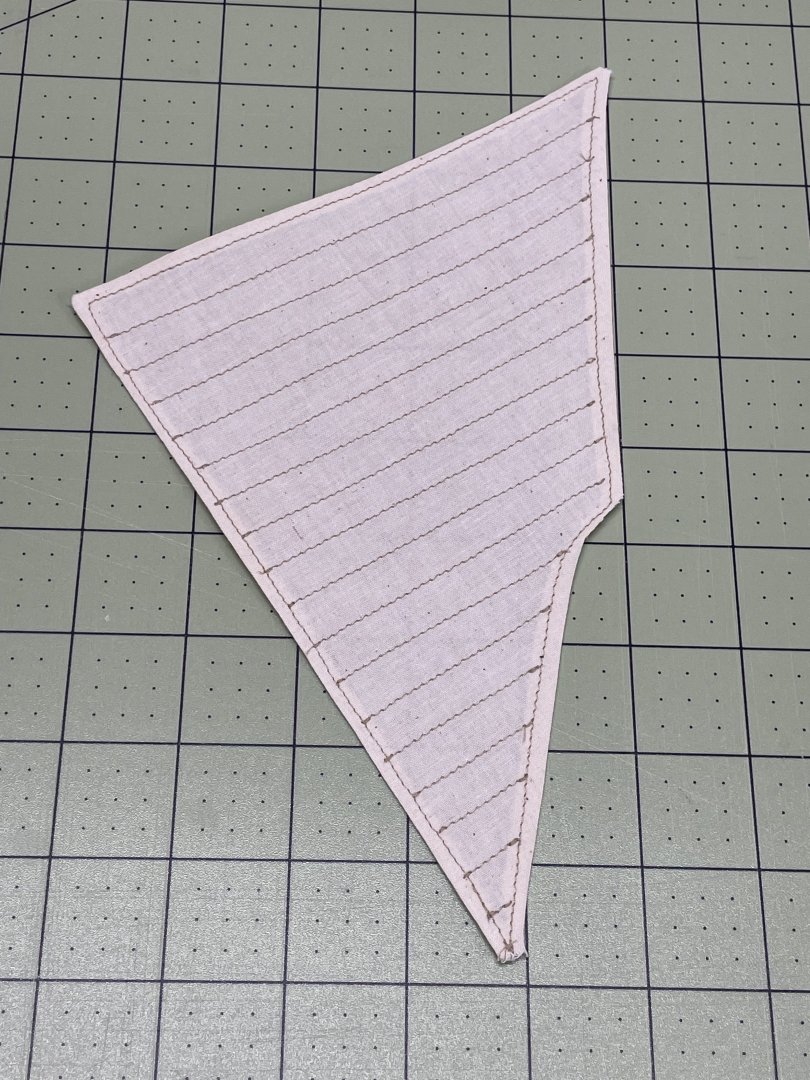
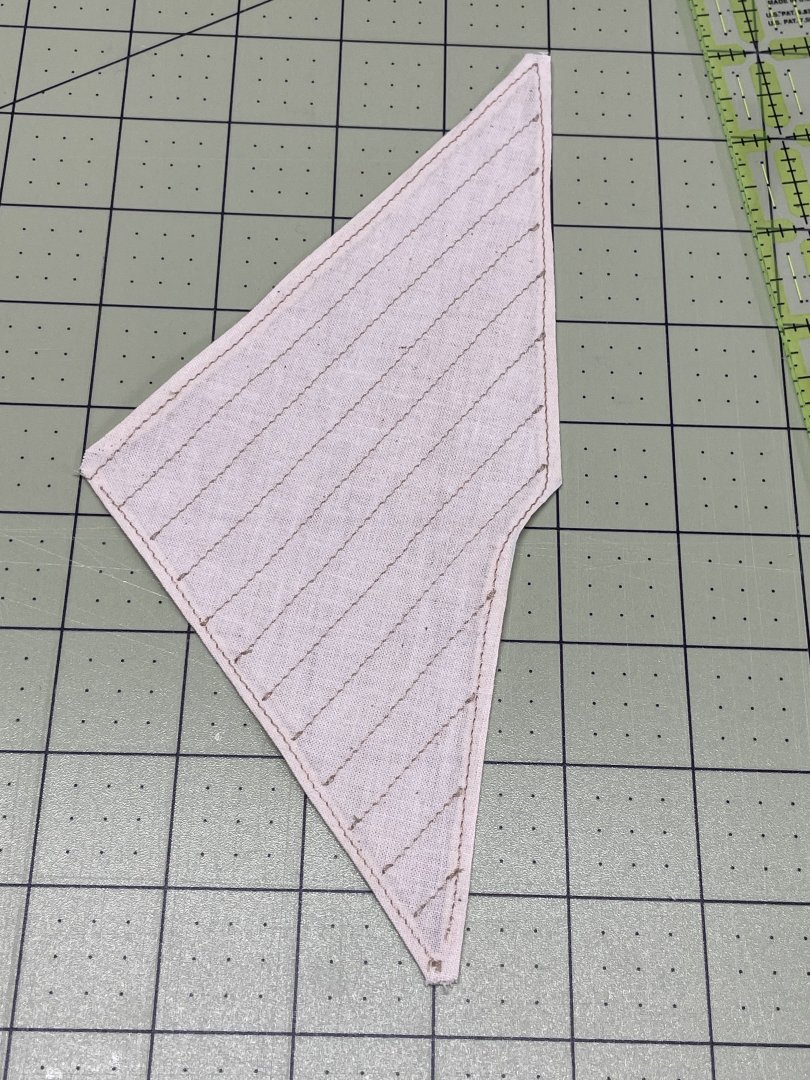
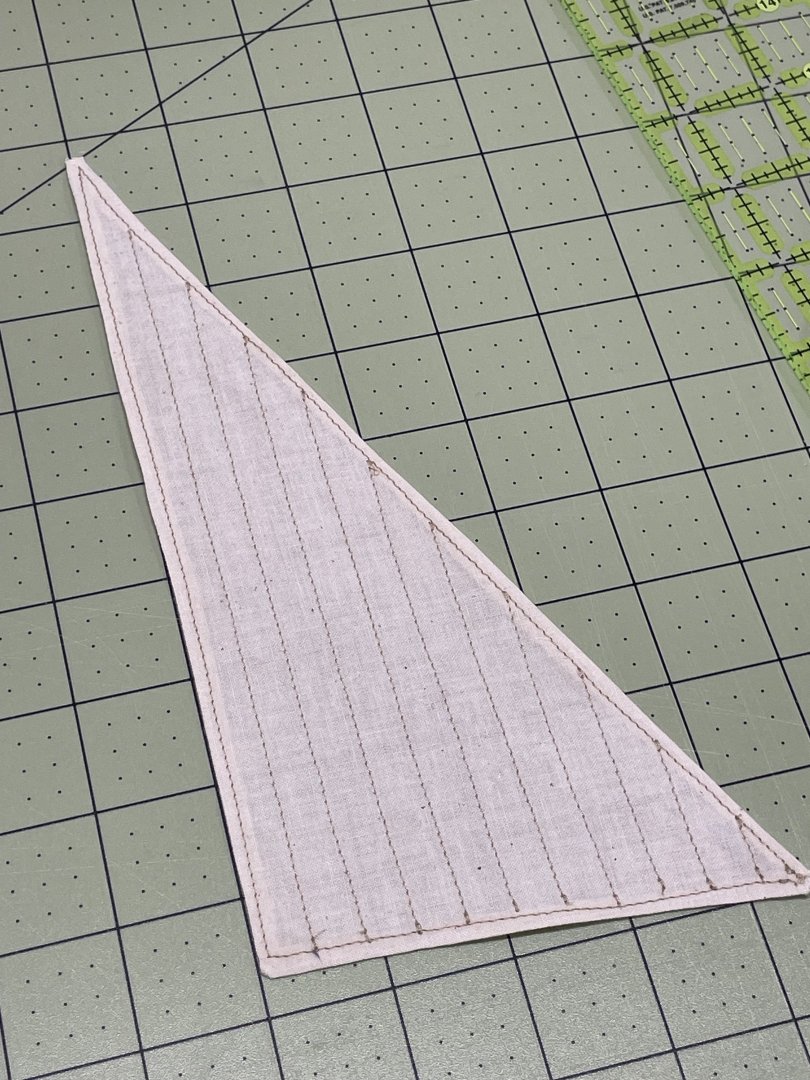
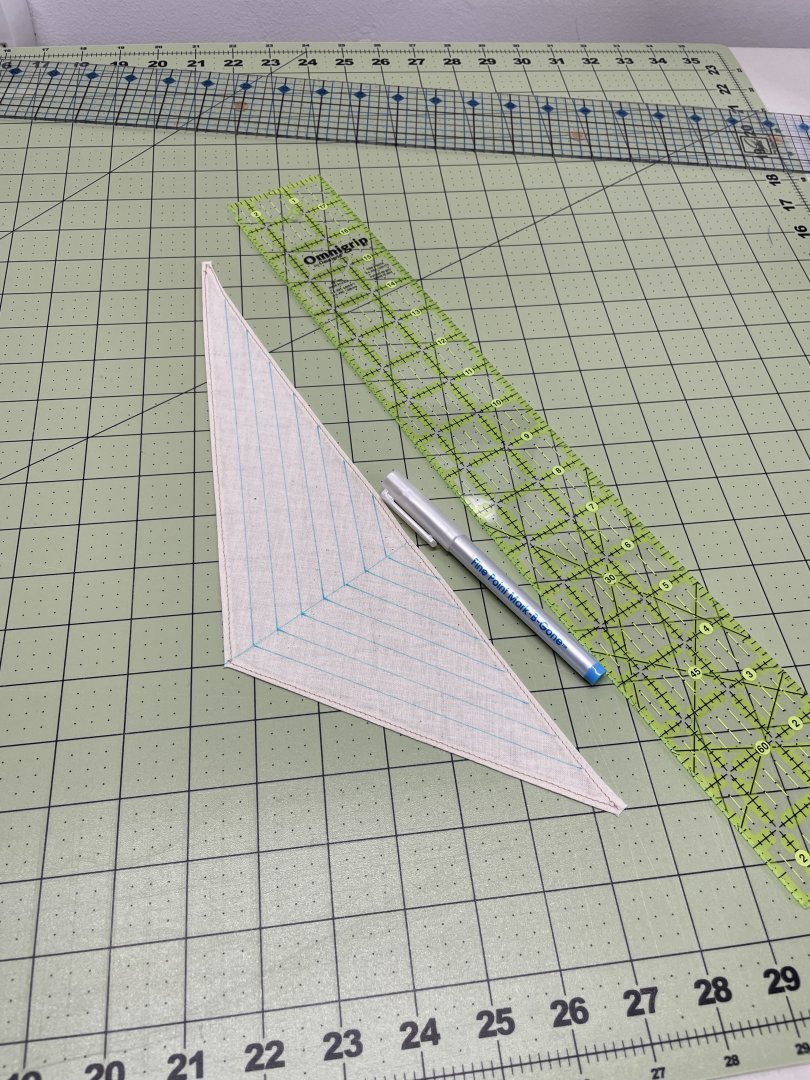
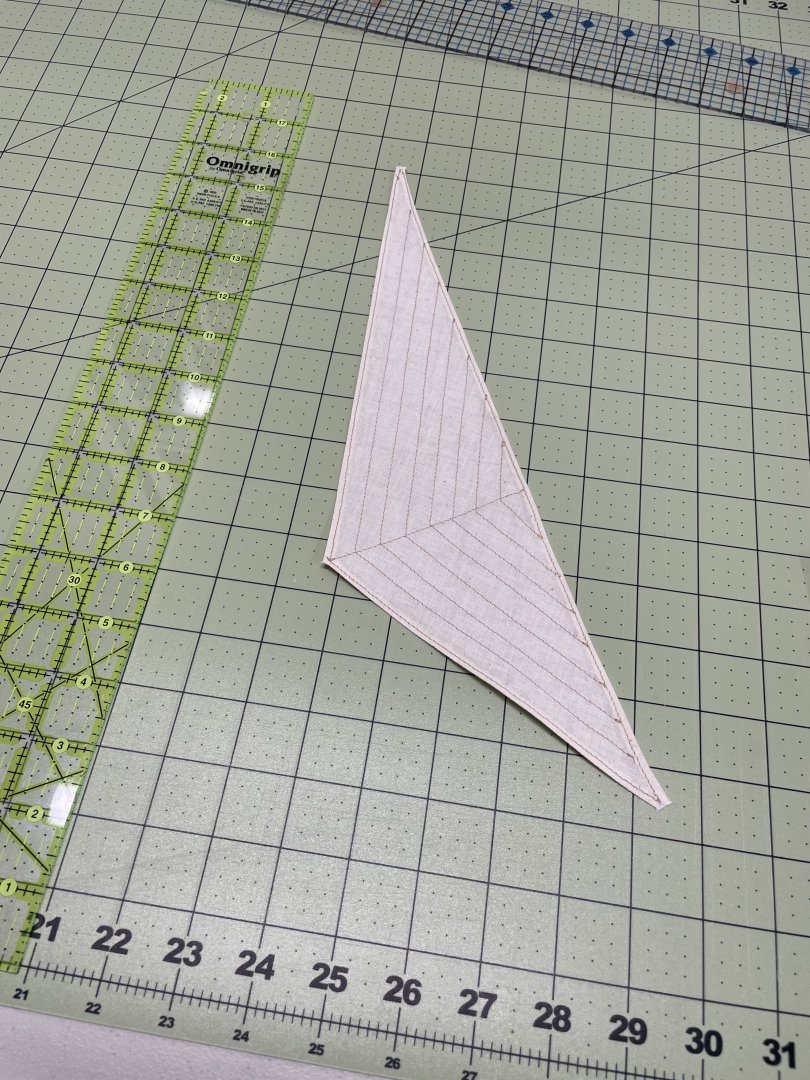
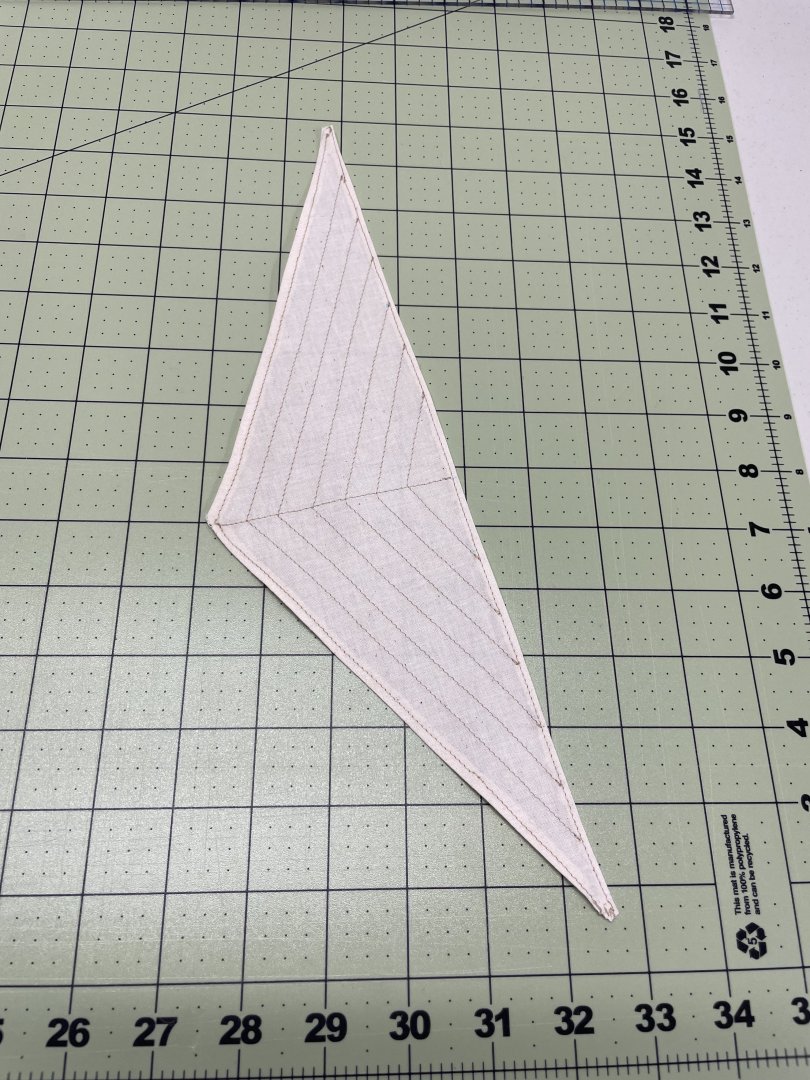
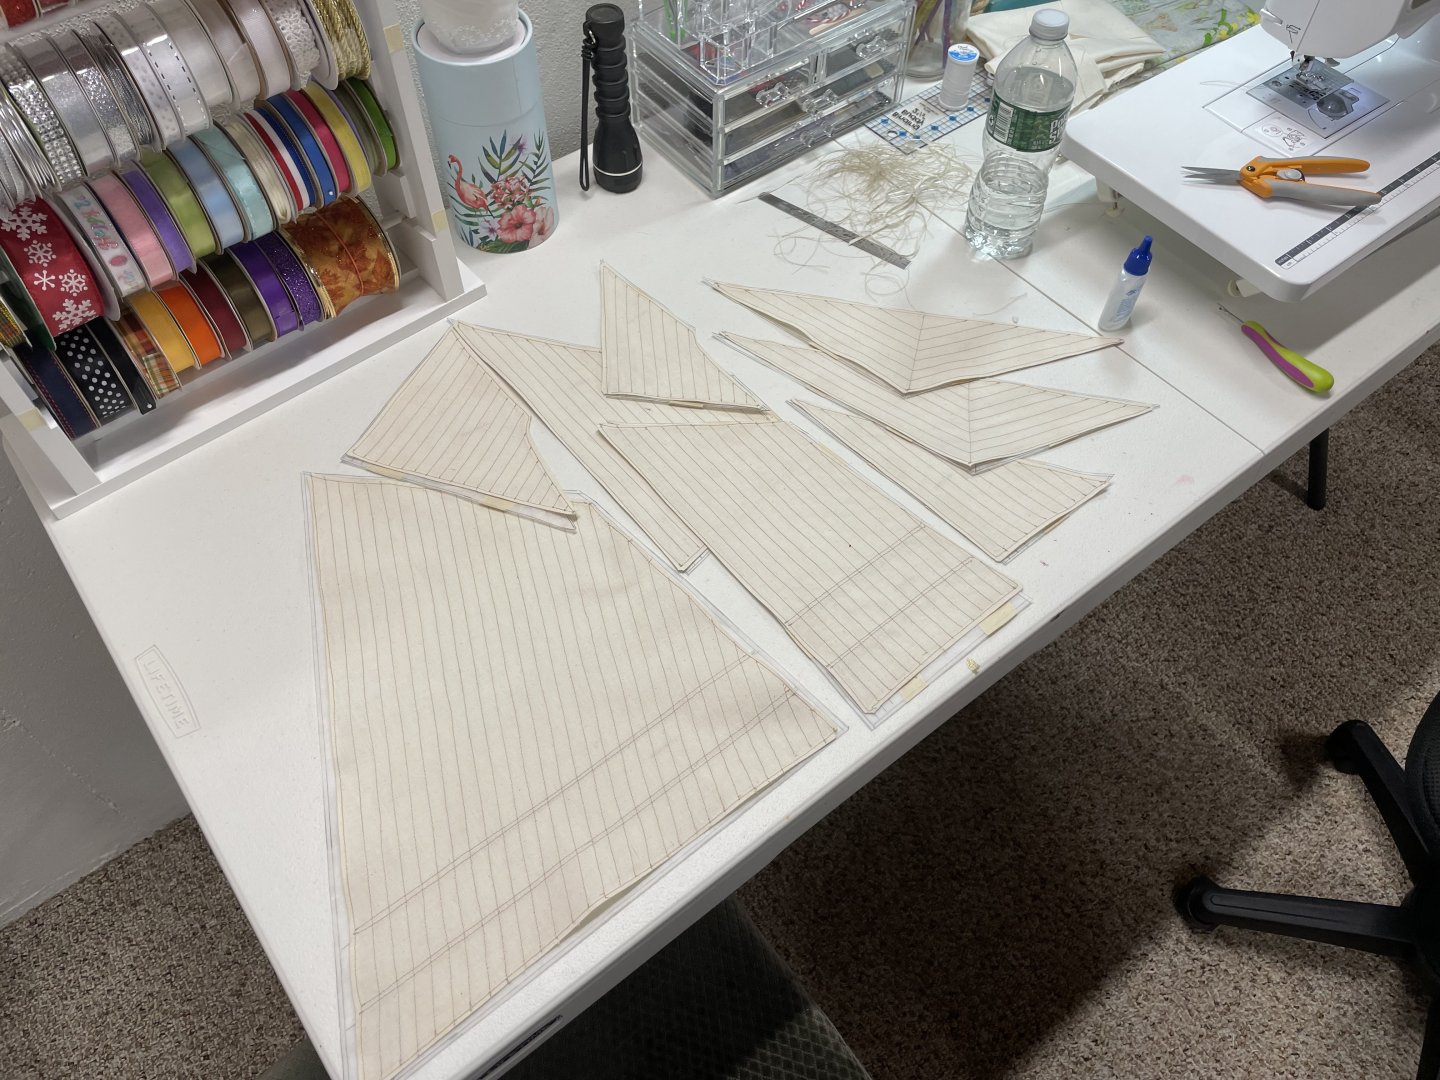
Sails… Carefully trace all sails from drawings. Cut out sail leaving 1/4” to fold over the edge. I use a muslin material purchased at a fabric store. The Kit supplied sail cloth is usually too heavy. Fold the 1/4” edge seam and iron it flat for sewing. Trim corner to lay flat before sewing. Edge seams sewn 1/8” from the edge. Trim the under side, fray check the fabric edges and iron out flat. Mark up seams with water soluble ink pen. (fine point) Sew seams including those for reef points. Main Sail sewn and ready for additional details. Bolt rope, reef point ropes and corner rings. Remaining sails cut out ready for sewing. Fore Sail Stay Sail Main Top Sail Fore Top Sail Jumbo Jib Jib Sail Balloon Jib All Sails sewn and ready for details to be added. Cheers 🍻
-
Eric, I like the canvas decking made with masking tape. Looks great. 👍
- 259 replies
-
Agreed… POF is the way to go, I still have some spot filling and sanding to do here. Many more coats of paint. 😜
- 44 replies
-
- Red Jacket
- Marine Model Company
-
(and 2 more)
Tagged with:
-
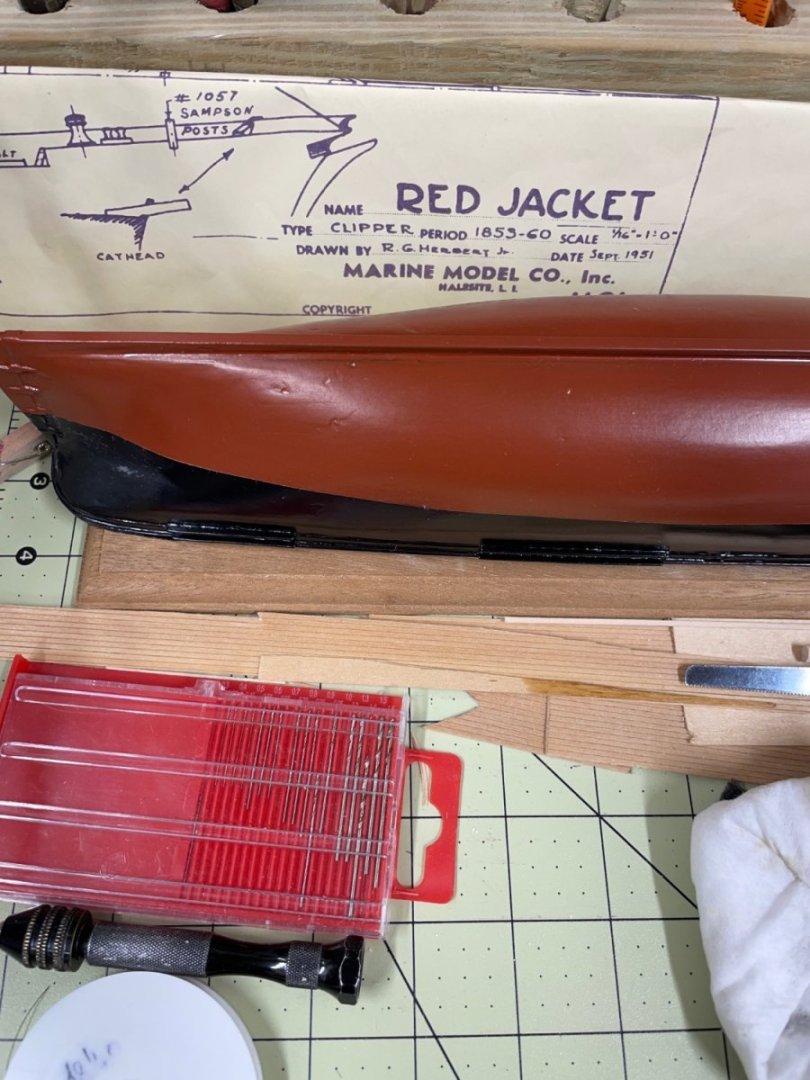
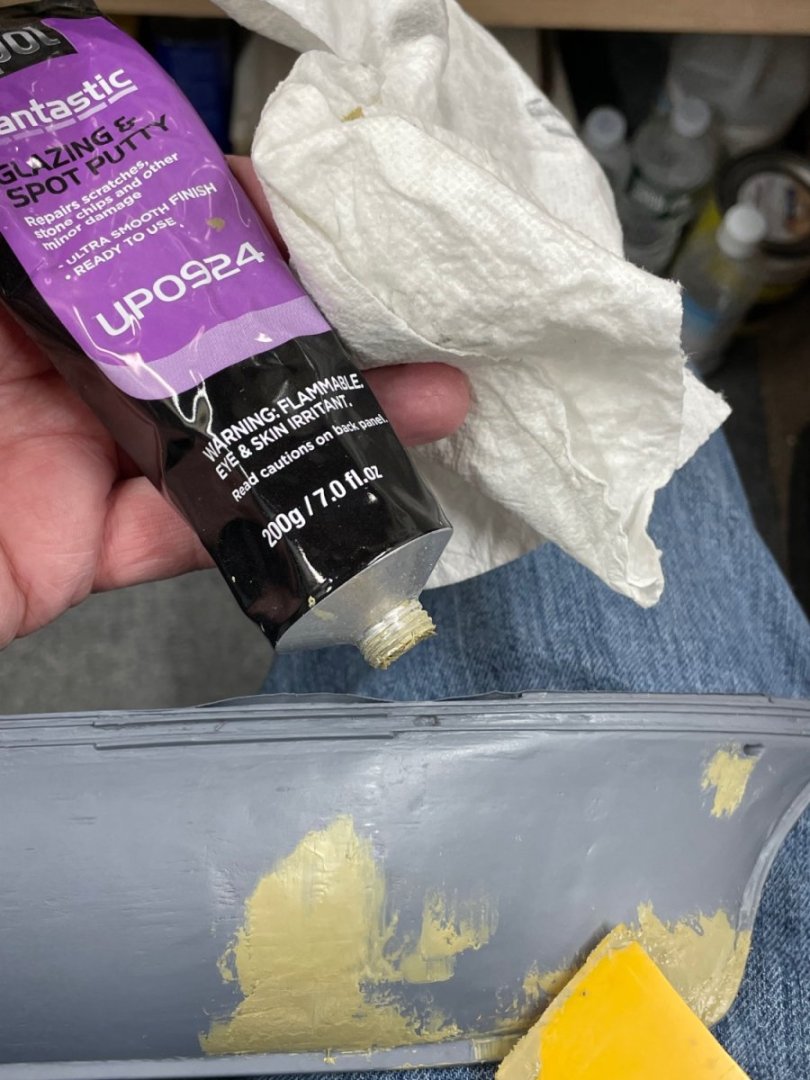
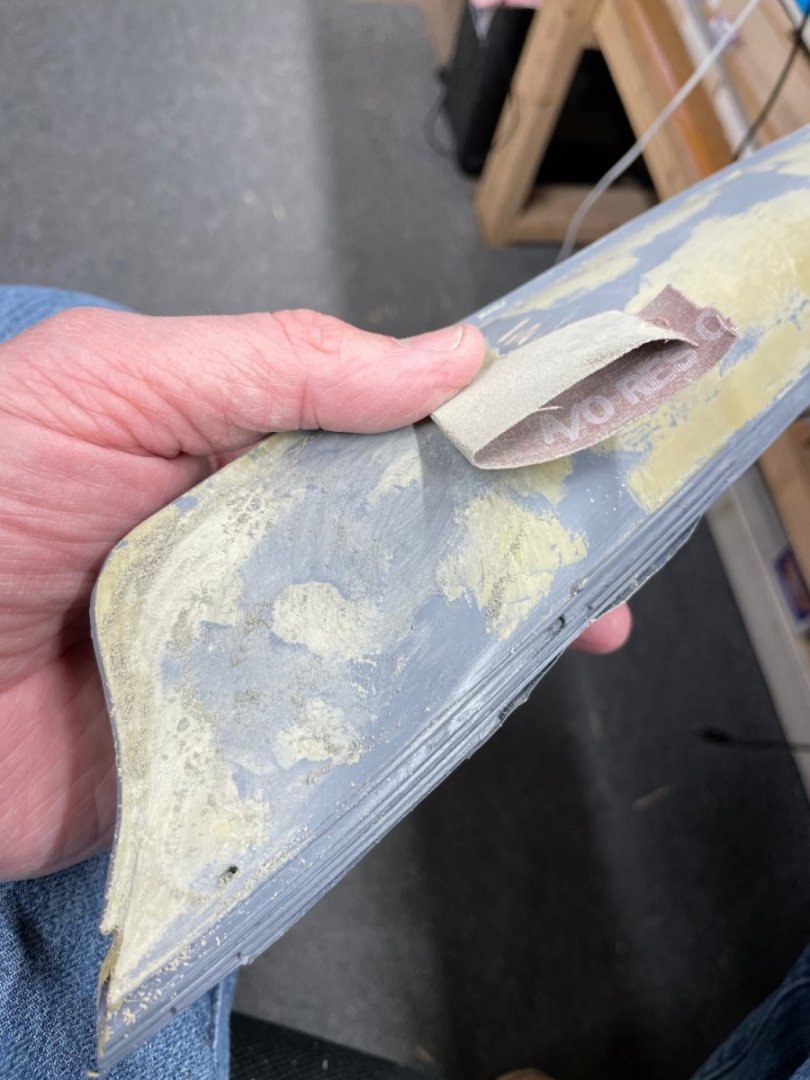
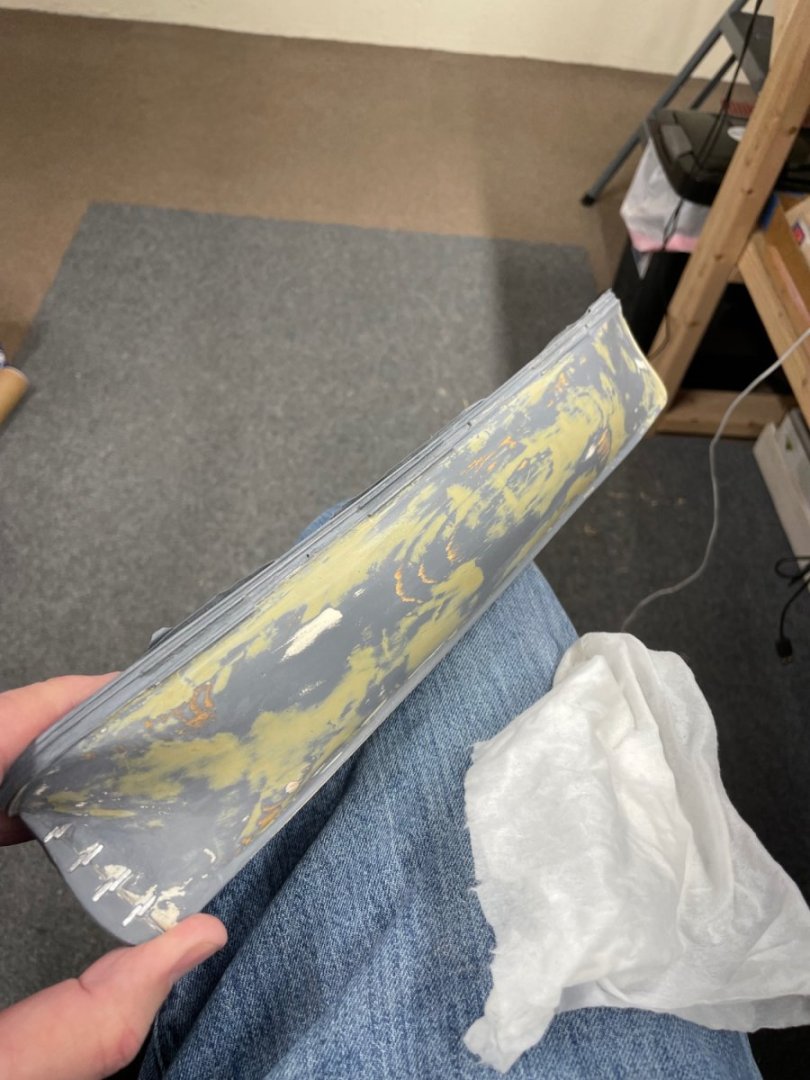
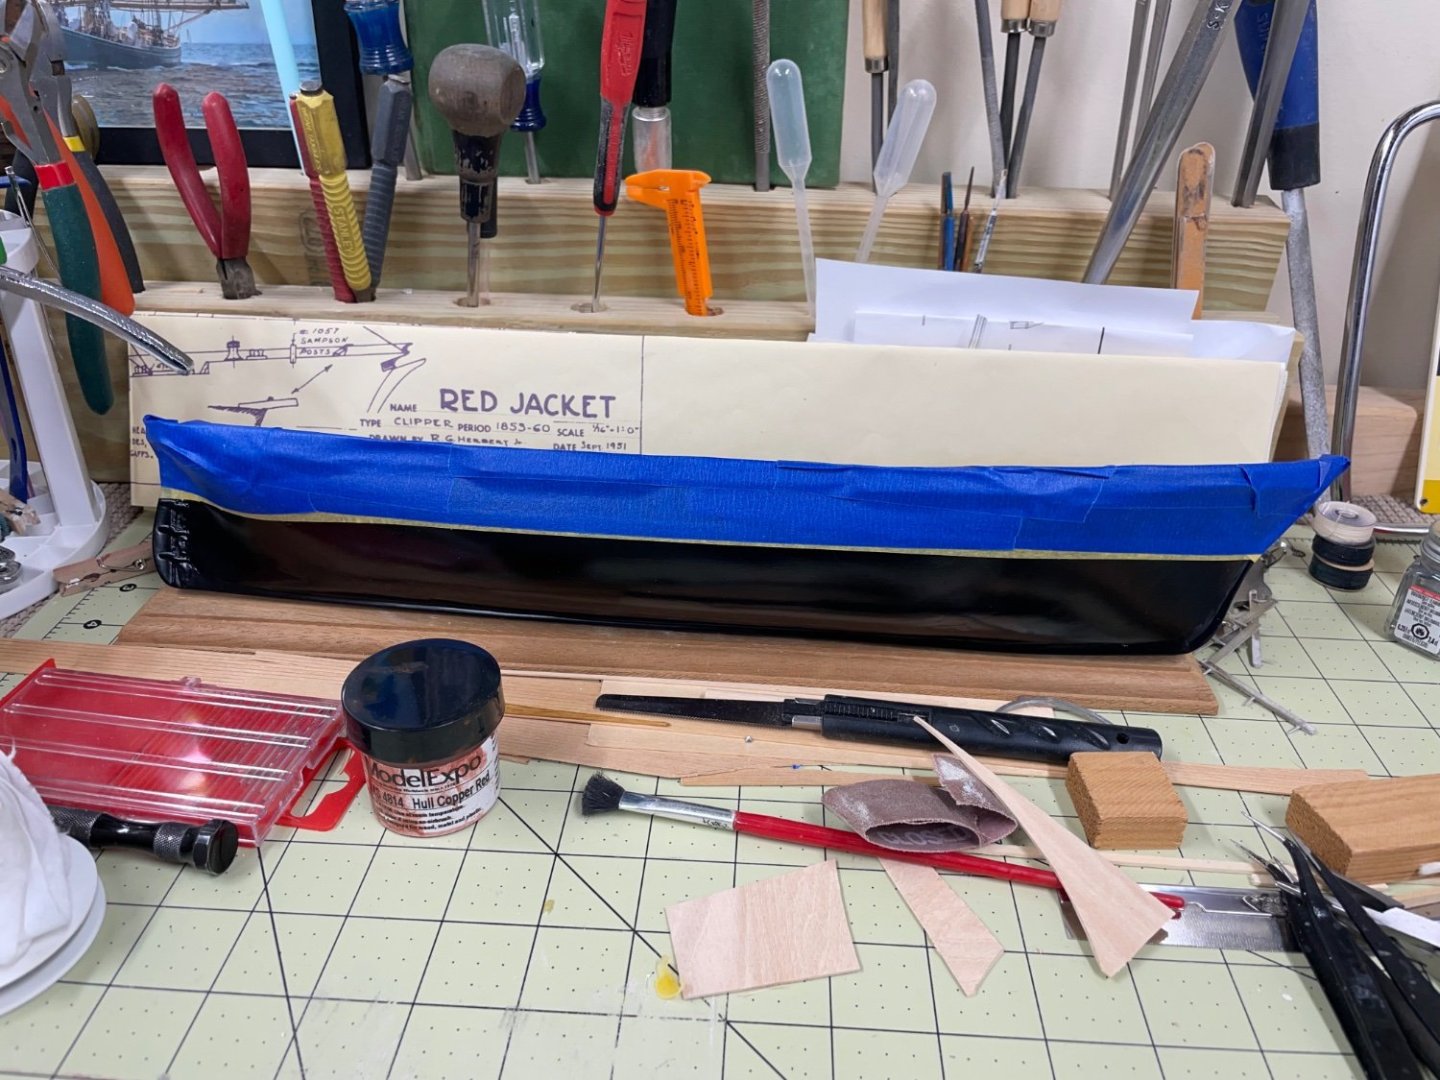
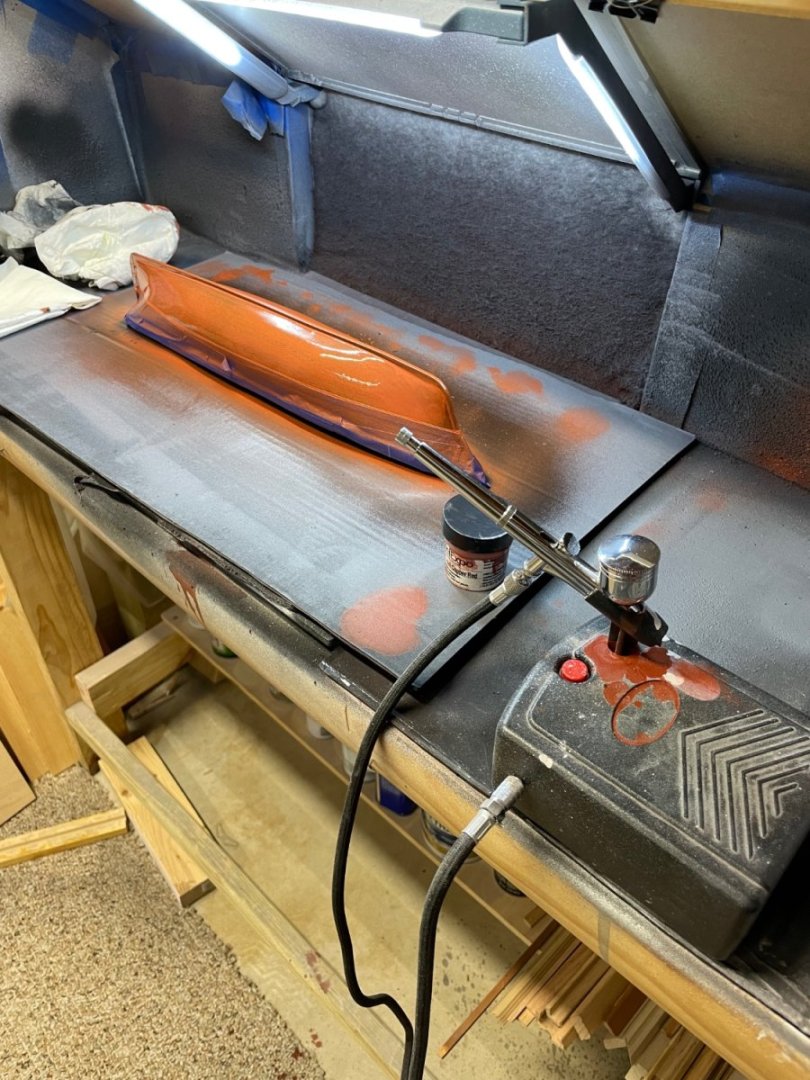
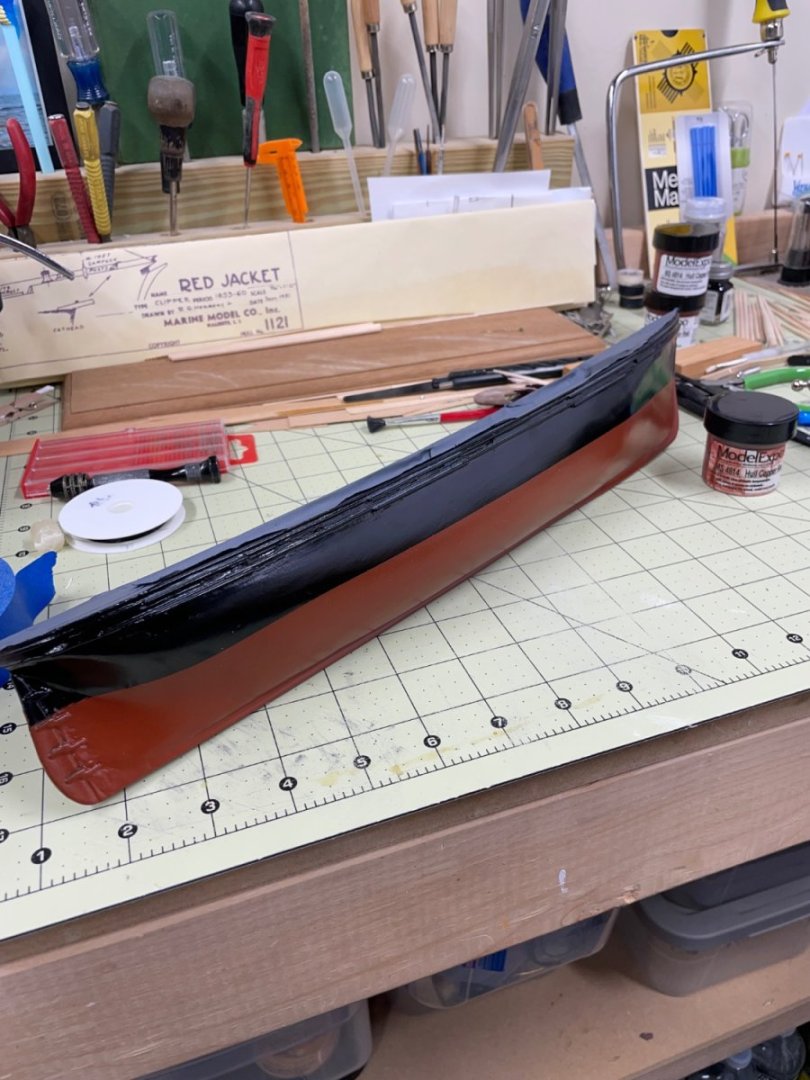
Painting the hull continues… Spot putty and sanding prior to color coats… Painted hull semi gloss black and masked off water line in preparation for Hull Copper Red below the Water line. Air Brushed the Hull Copper Red… Color coats complete, still needs some touch up prior to finishing with Semi Gloss Clear Coat. Cheers 🍻
- 44 replies
-
- Red Jacket
- Marine Model Company
-
(and 2 more)
Tagged with:
-
Excellent… 👏 Nice work Ron, your hard work has paid off. It’s been quite the journey, Job well done. 👍 John
- 294 replies
-
- charles w morgan
- model shipways
-
(and 1 more)
Tagged with:
-
Glad to see you back at it, Bob… She’s looking good, onwards one line at a time. 🍻 So much to do and so little time left. LOL 😂 I hear you… Don’t let those Rats get in your rat lines. John
-

Soldering Success.... Finally!
John Ruy replied to GGibson's topic in Metal Work, Soldering and Metal Fittings
Congratulations 👏 Soldering requires lots of practice as well as technique and the right equipment. Can’t wait to see your success displayed on your bluenose. I’m sure we all struggle to get it right and continue relearning as we go. I know I do… 😆 John -
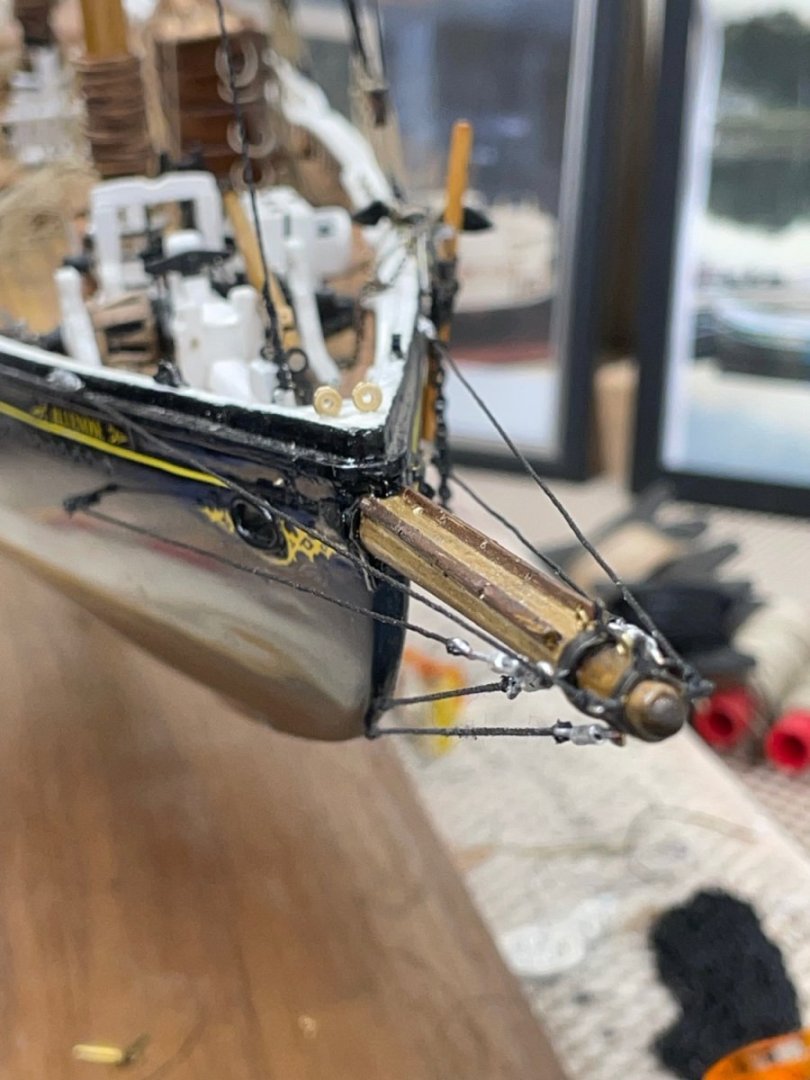
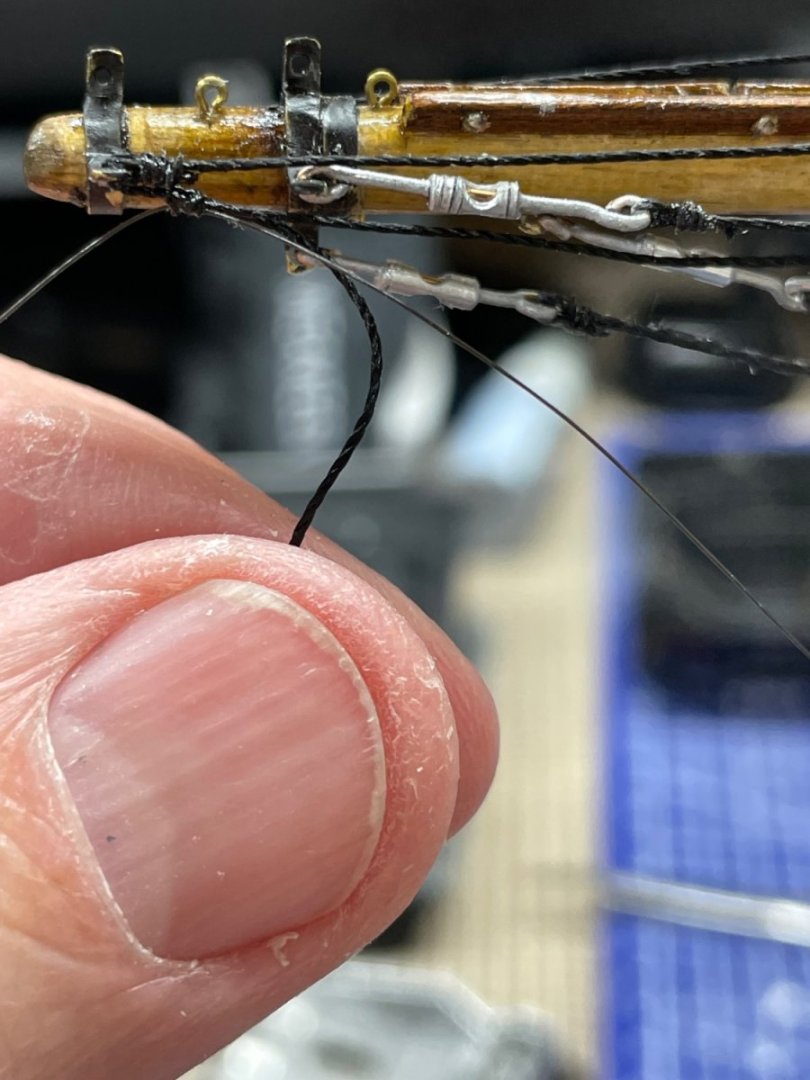
Thanks again Greg, I did the same, looks like 6 total all on the Bow Sprit rigging. I also looked up Galvanizing, invented in the late 1800s, so I’m pretty sure the turnbuckles would be galvanized to deter rusting. I’ll dab a bit of aluminum paint on the copper eyelets and I’ll be all set. I probably need to paint all of the belaying pins as well. 😆
-
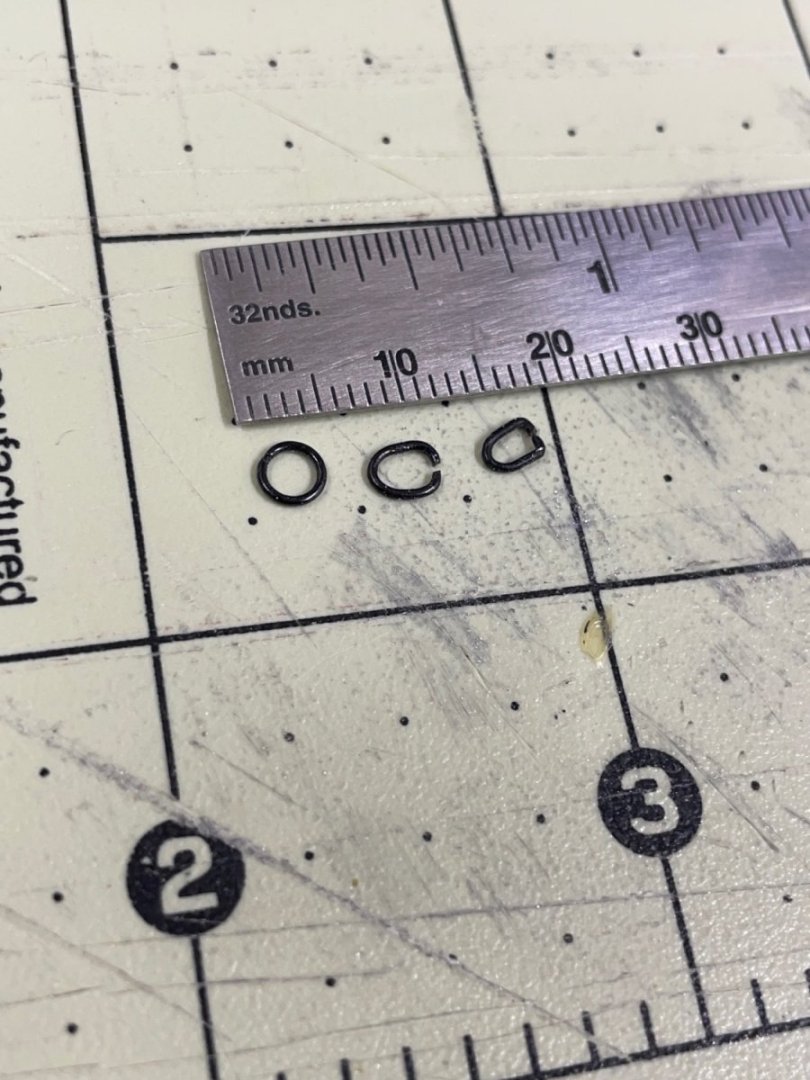
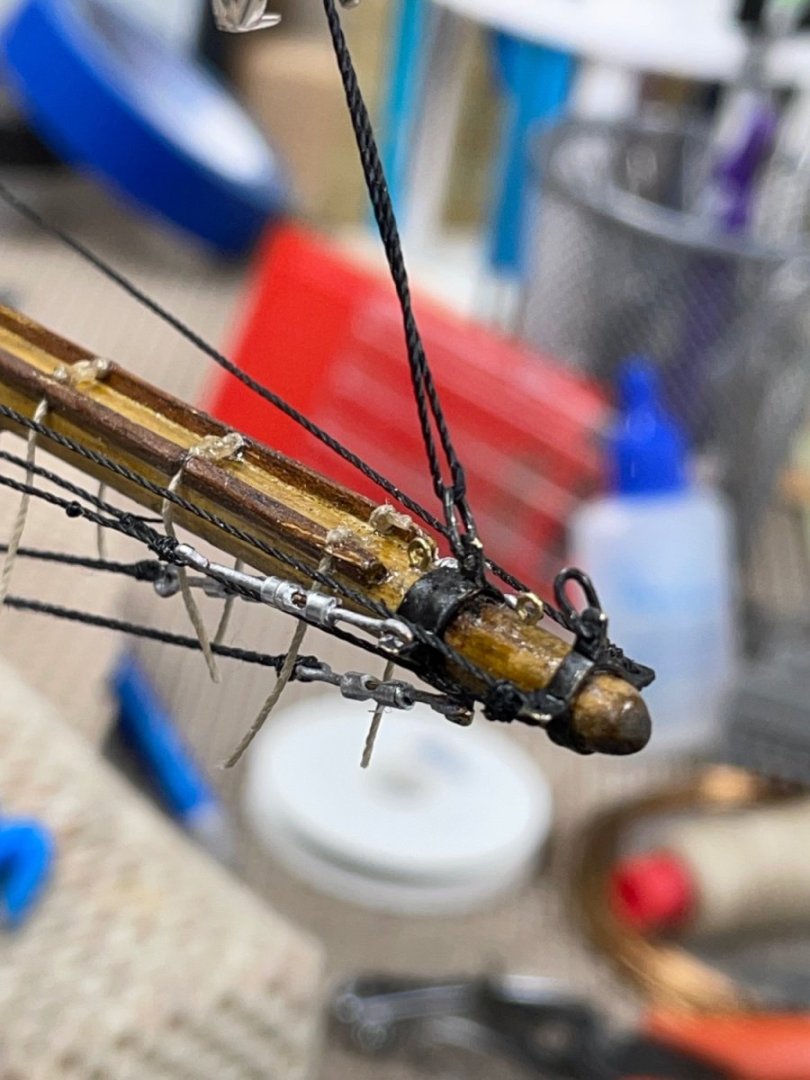
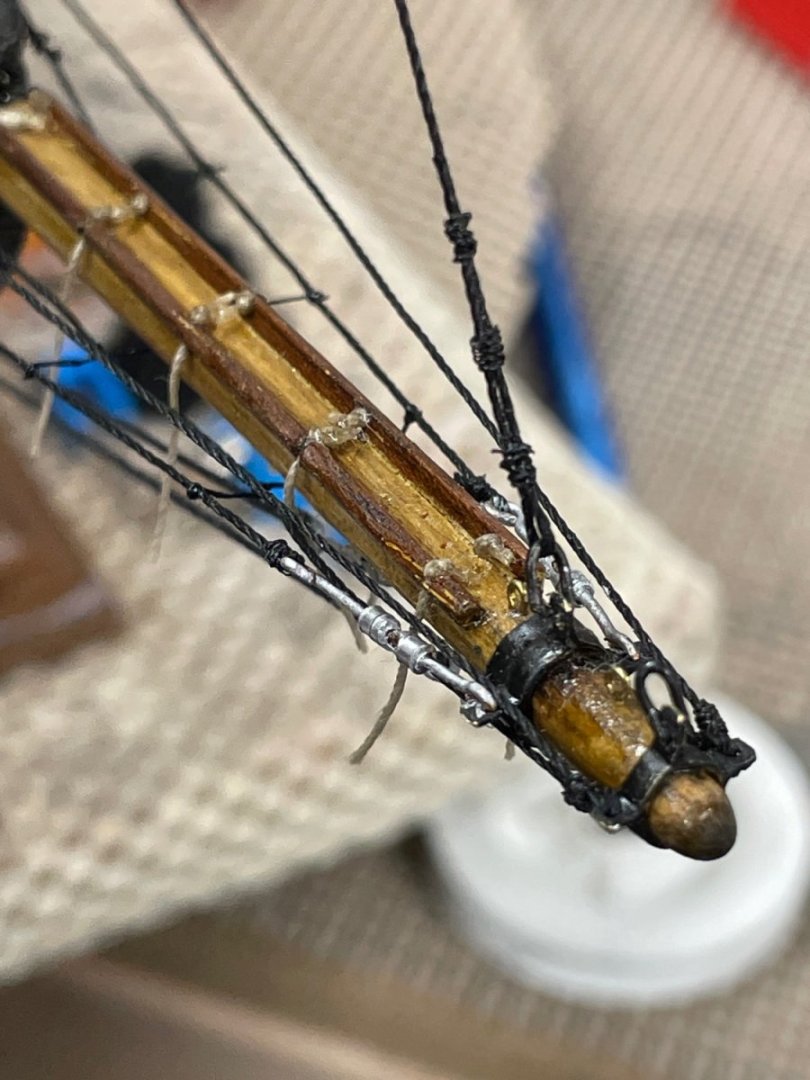
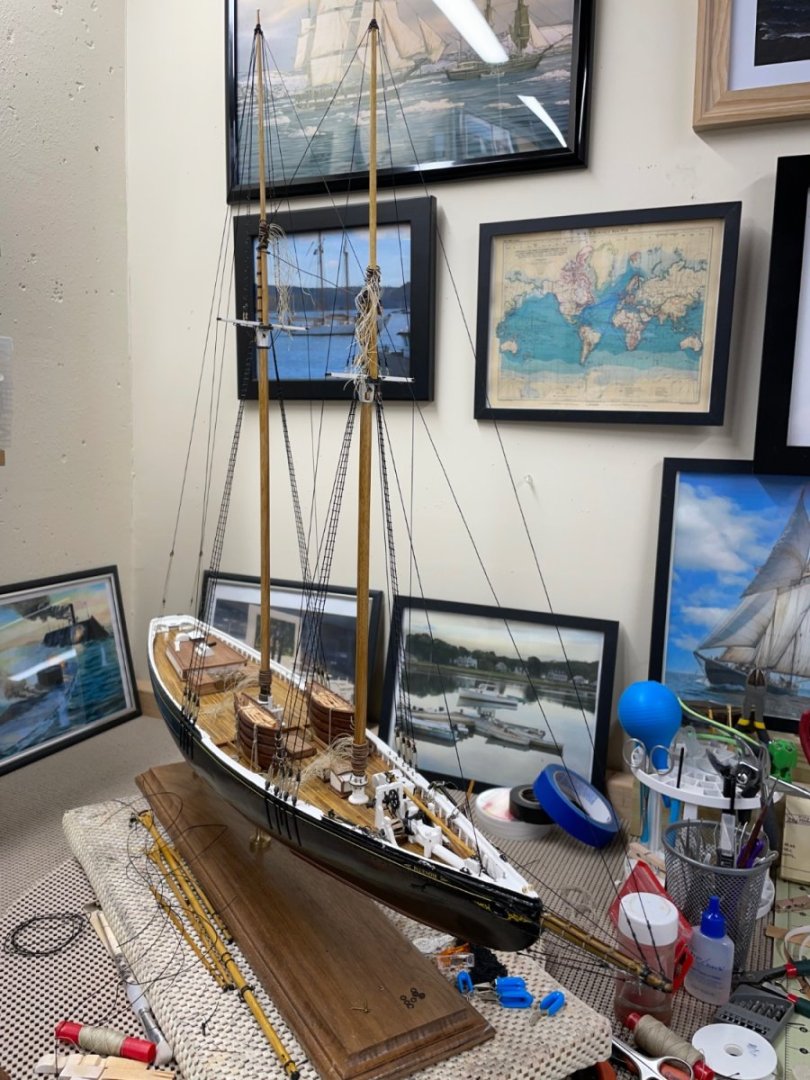
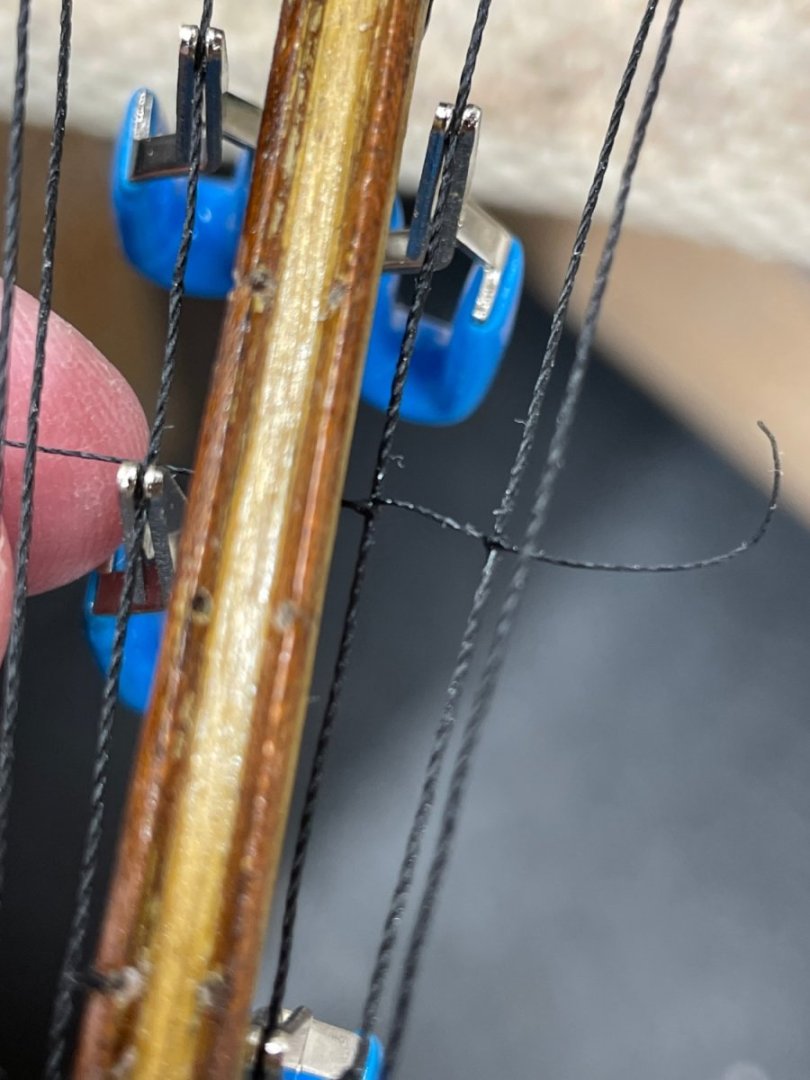
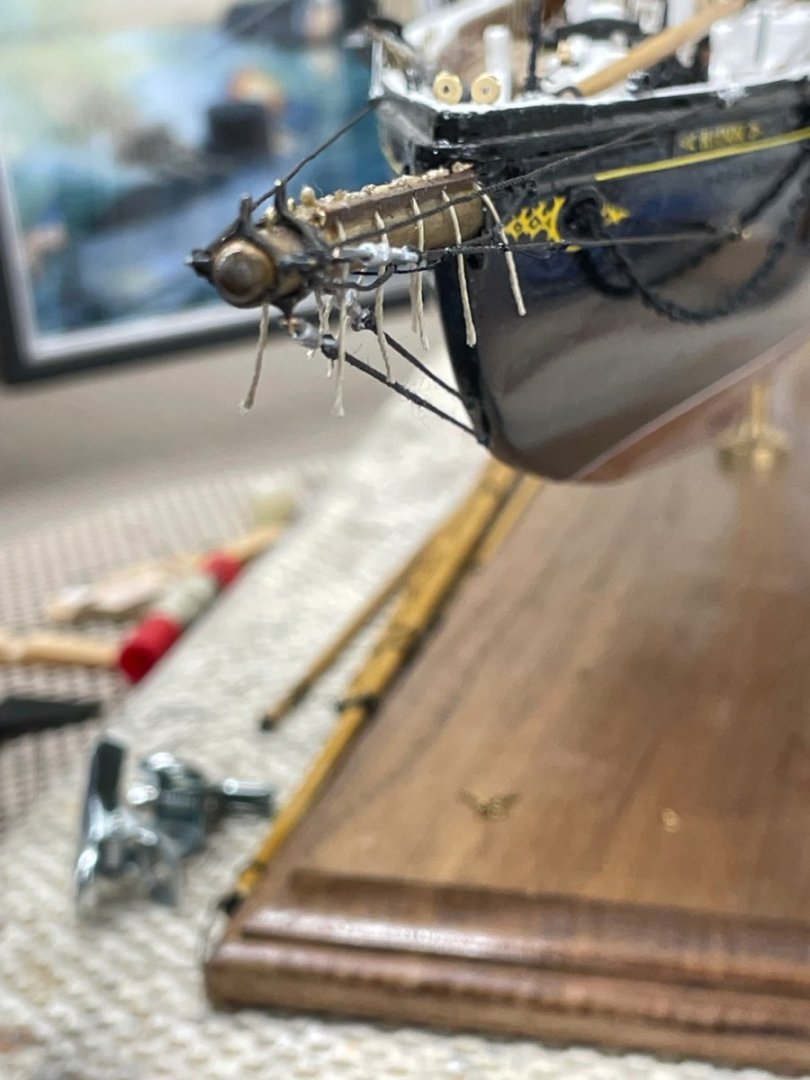
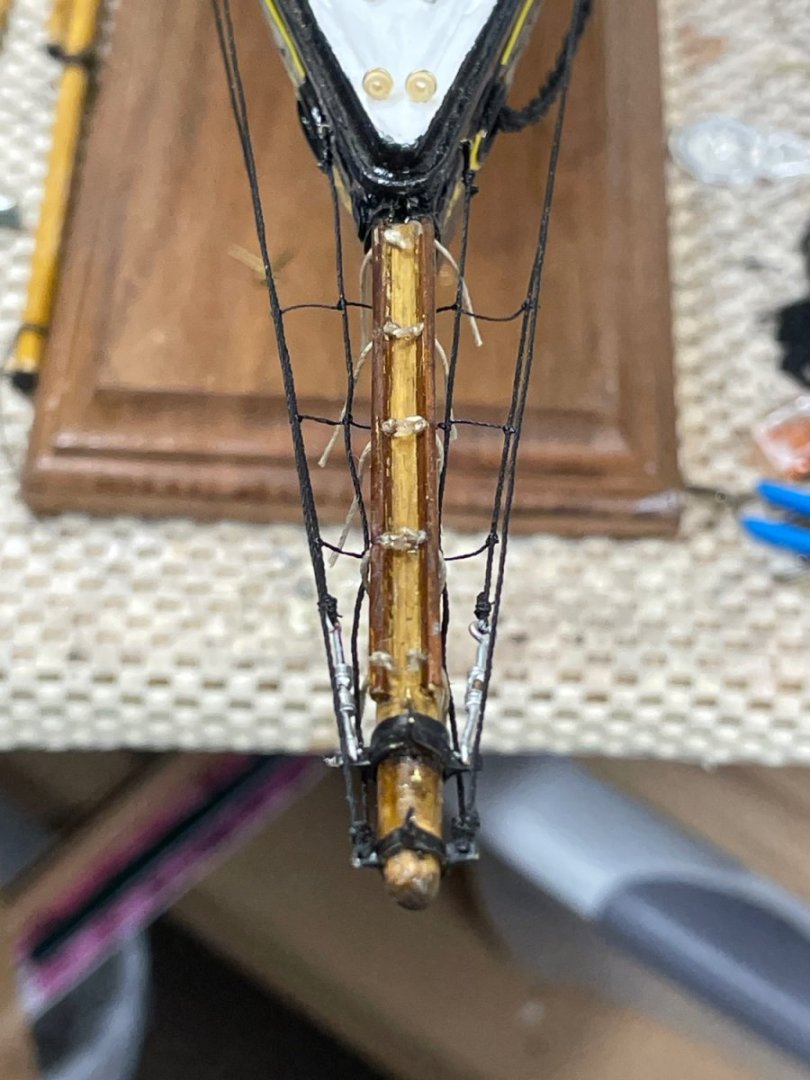
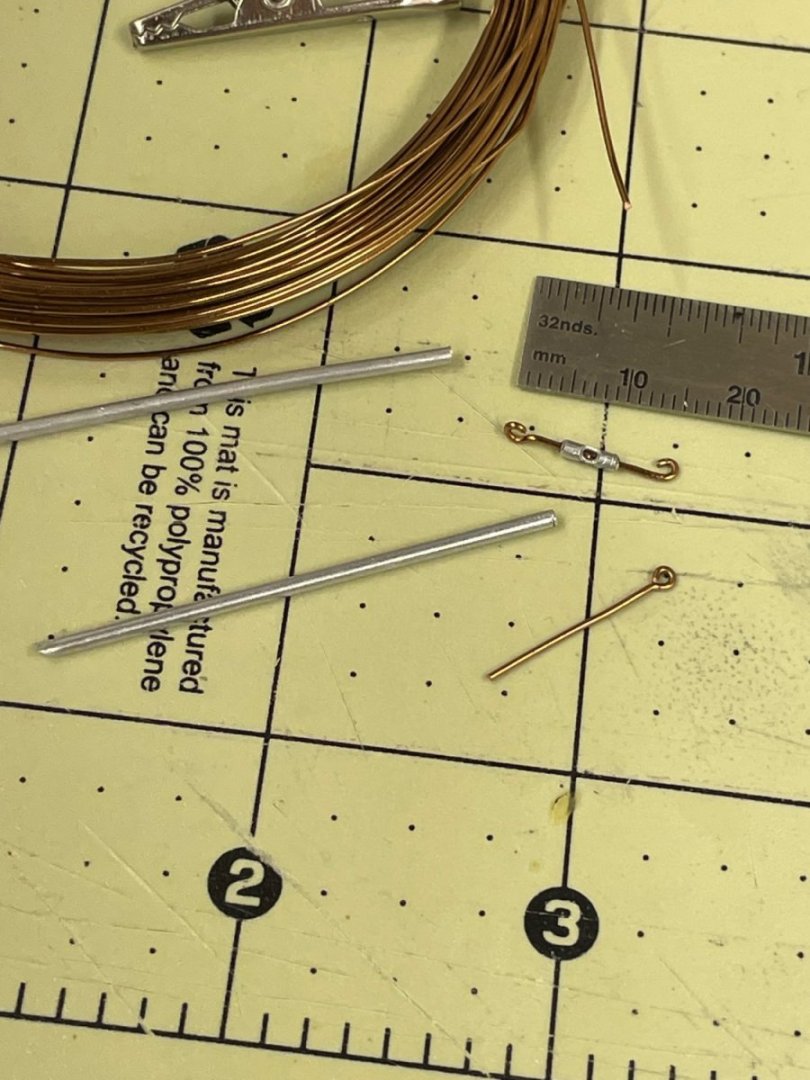
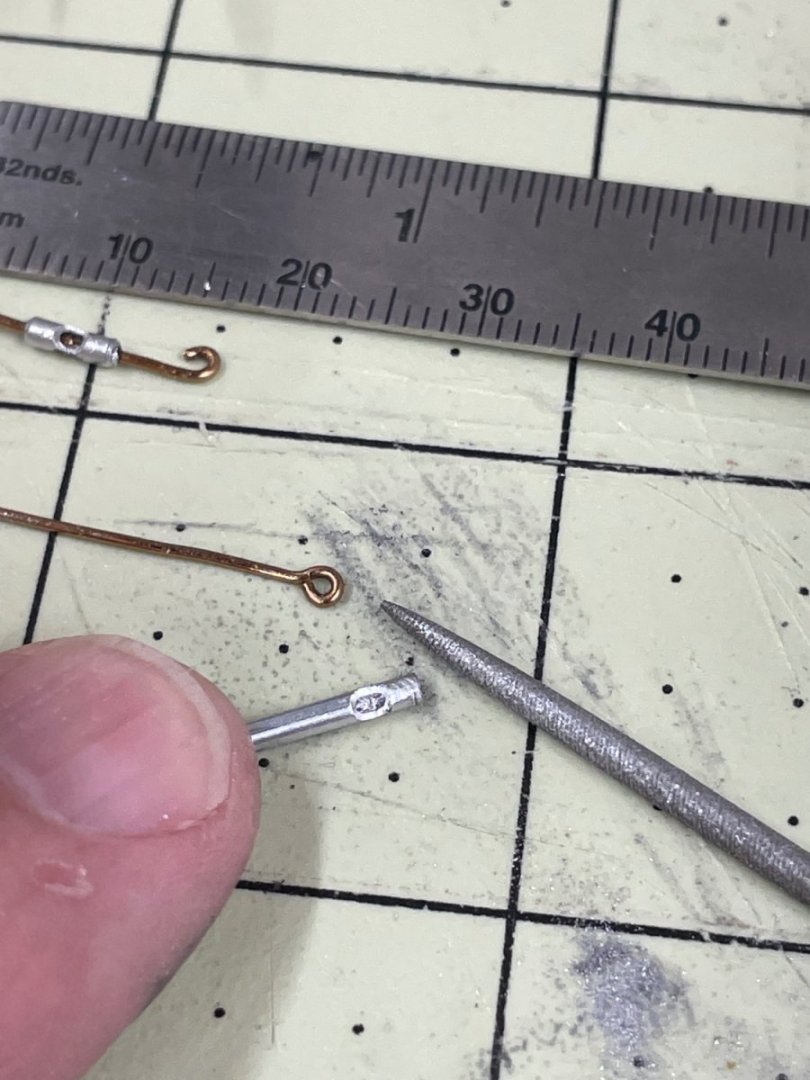
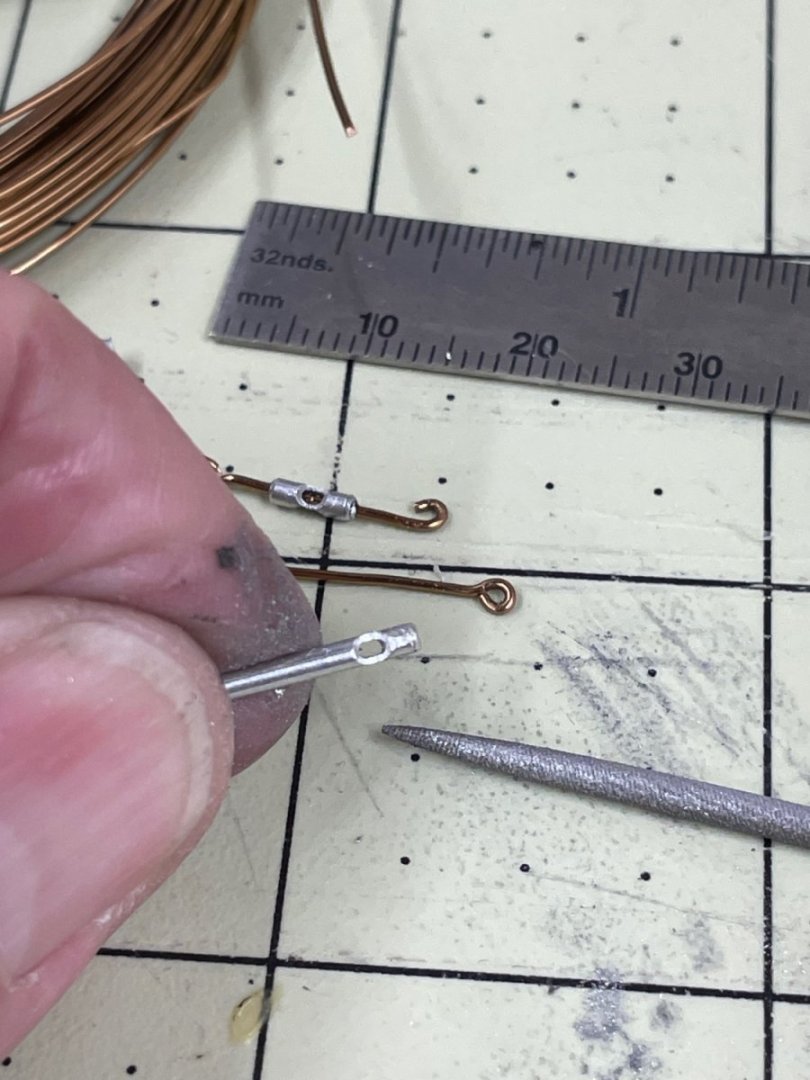
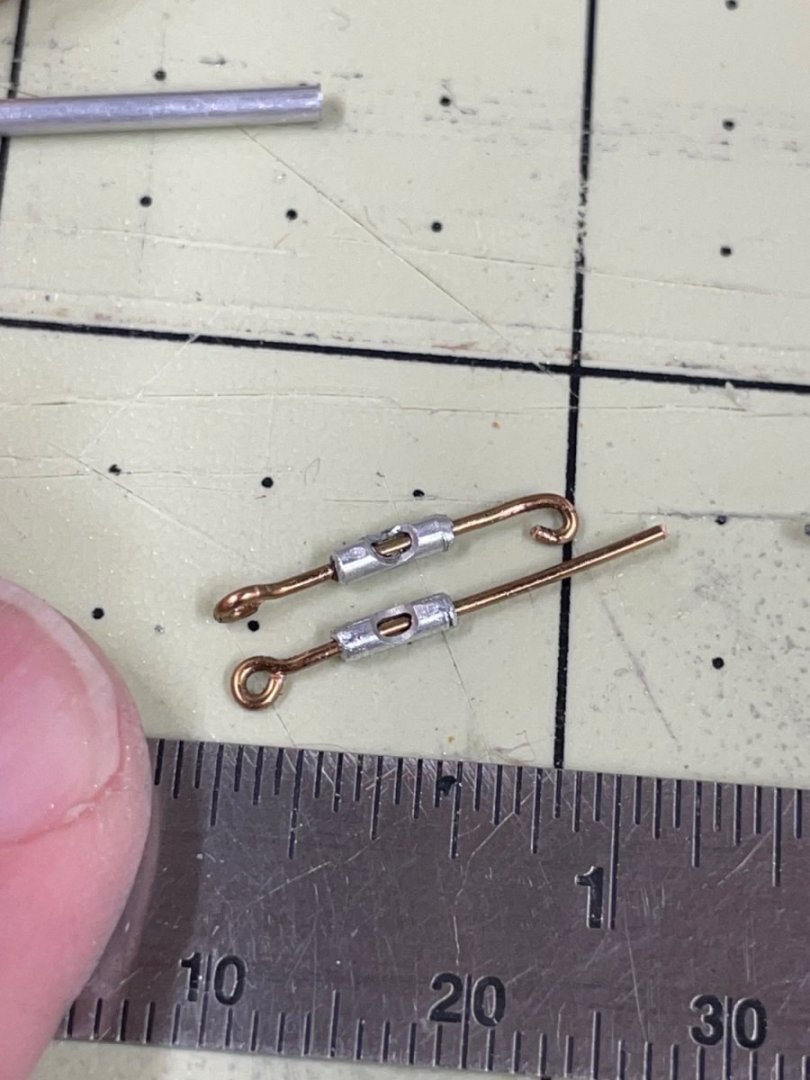
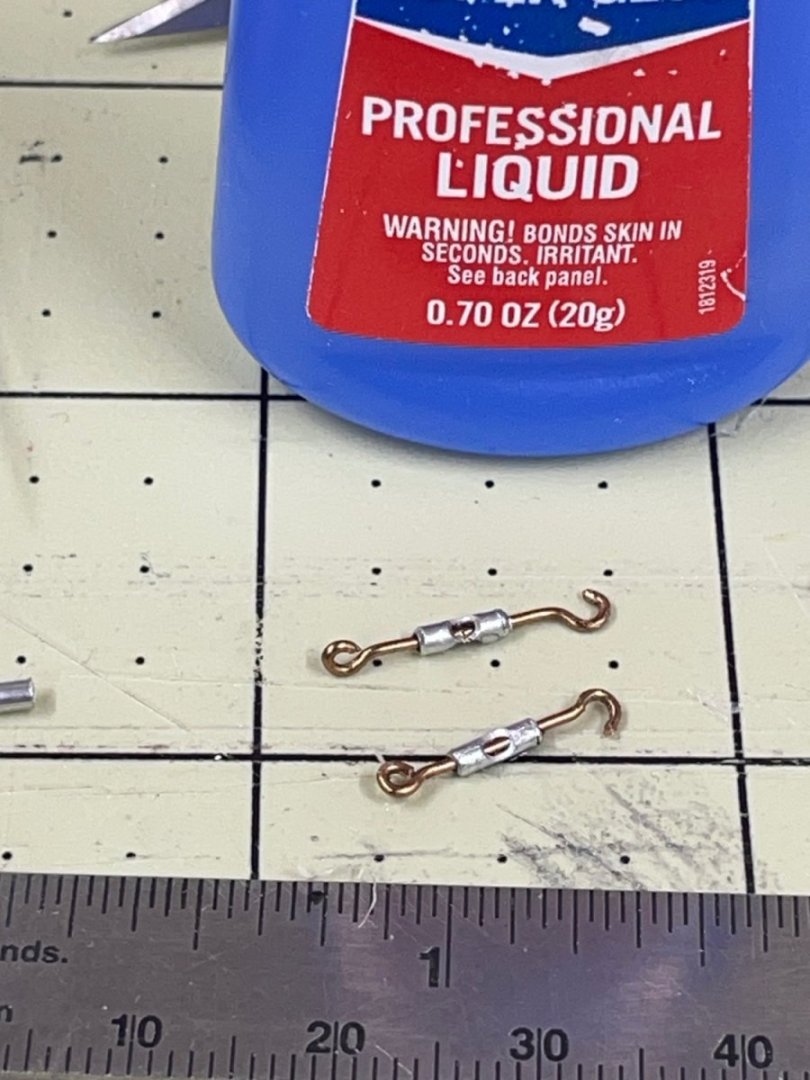
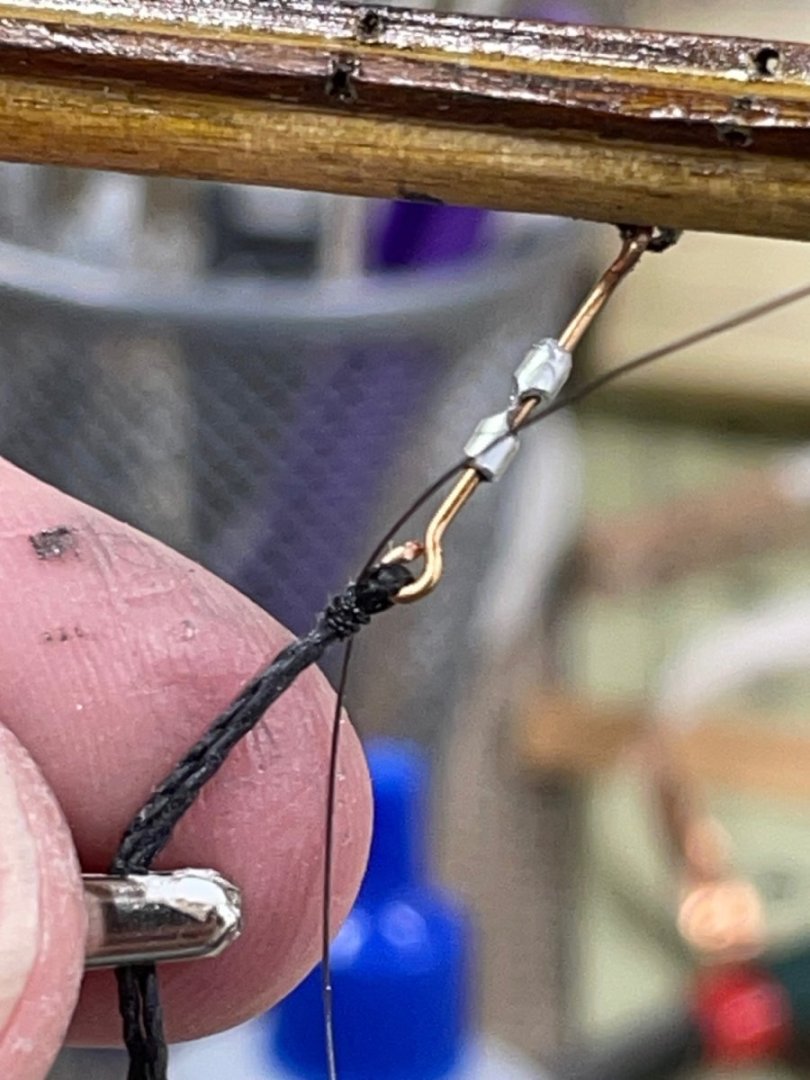
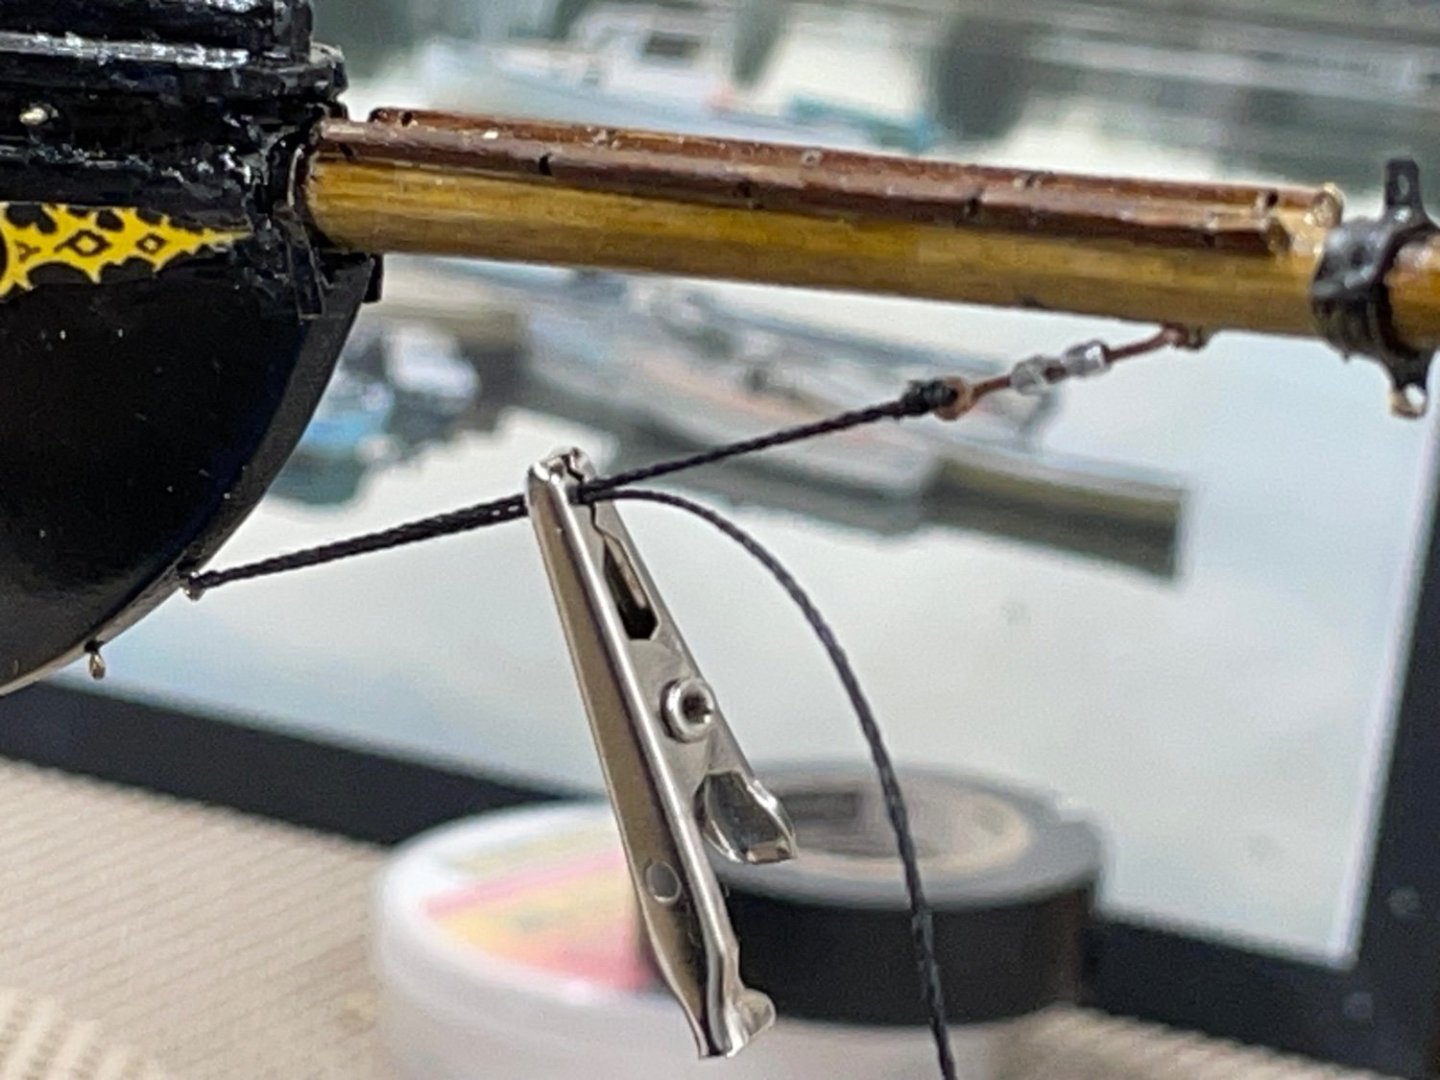
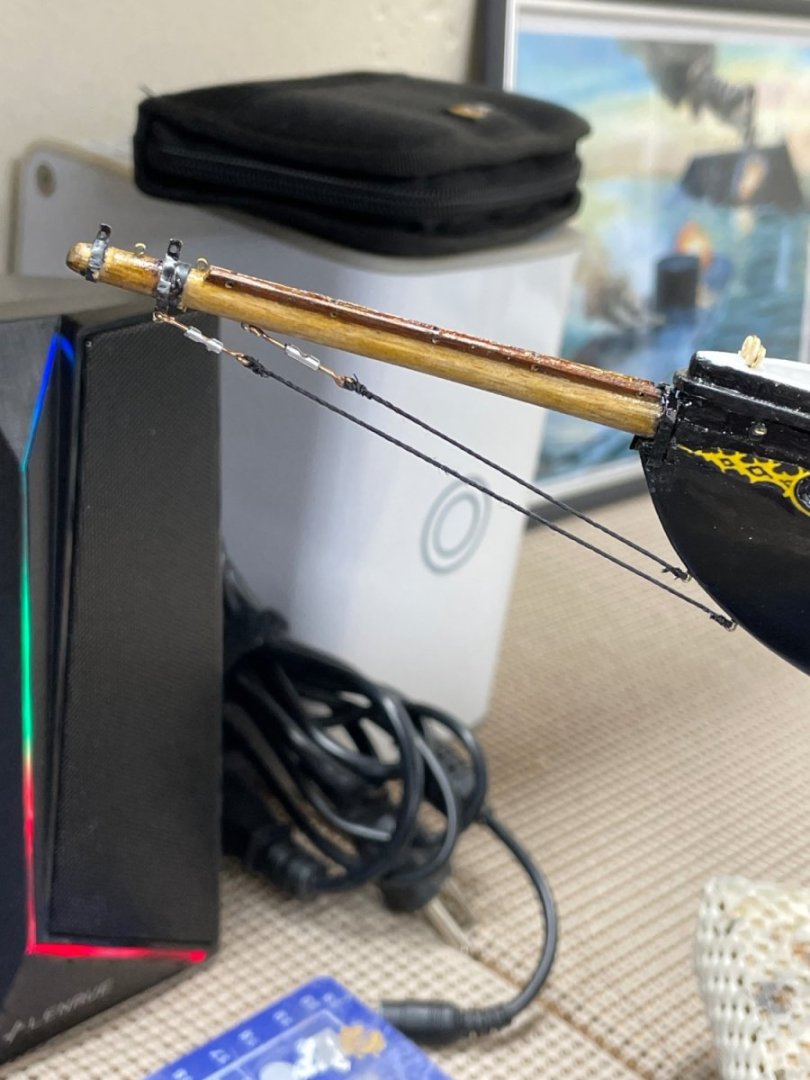
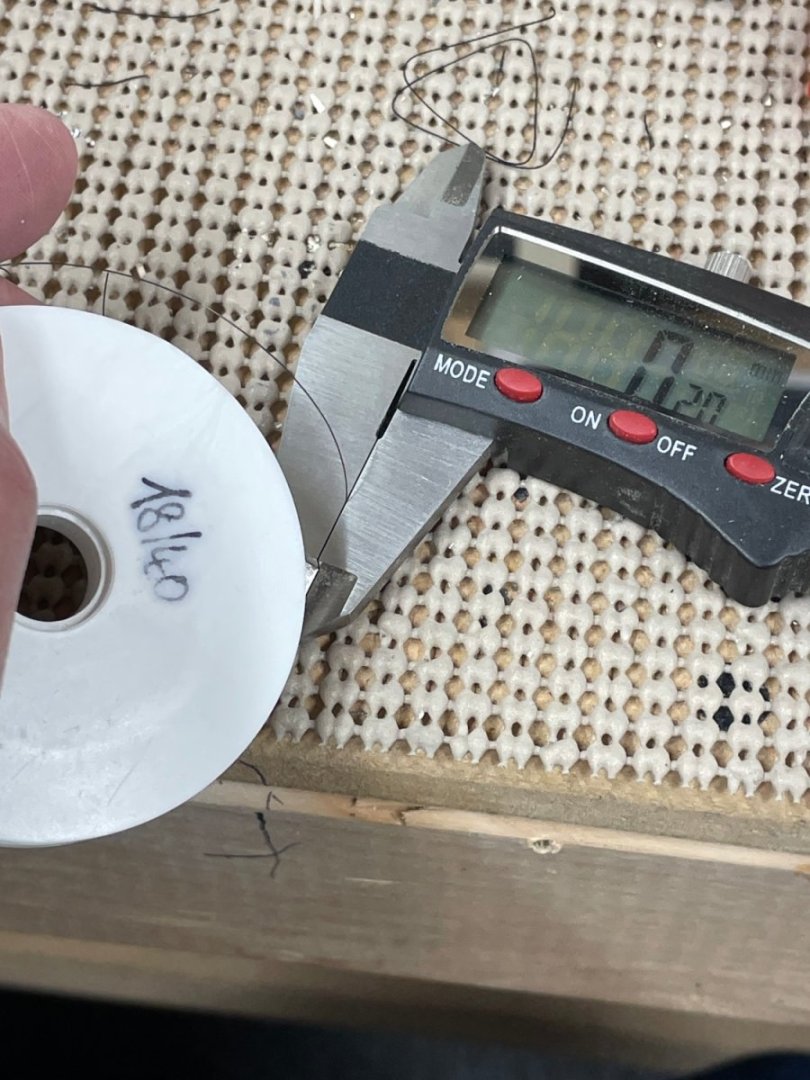
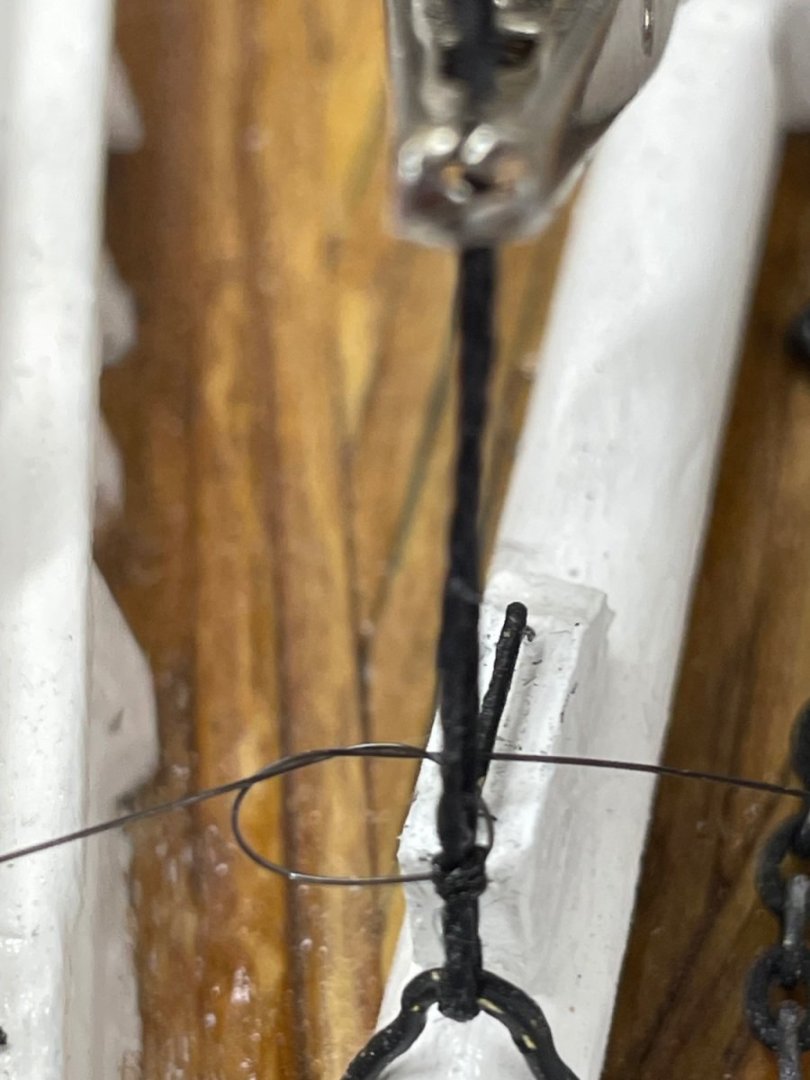
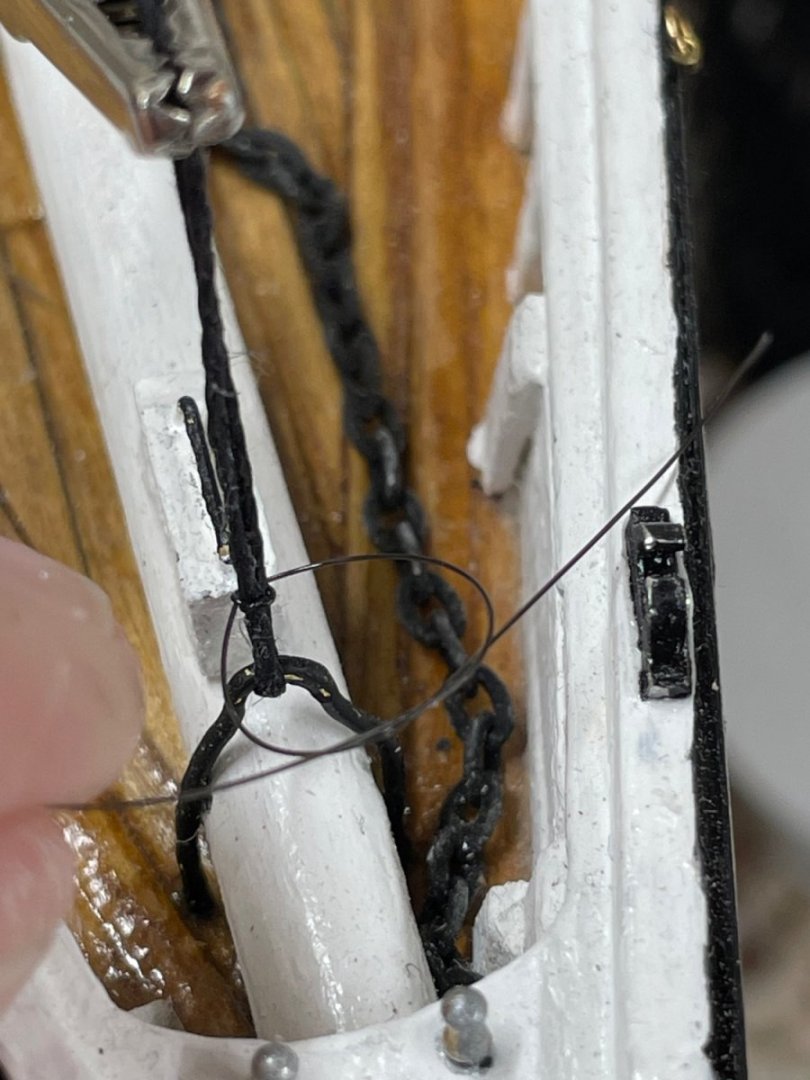
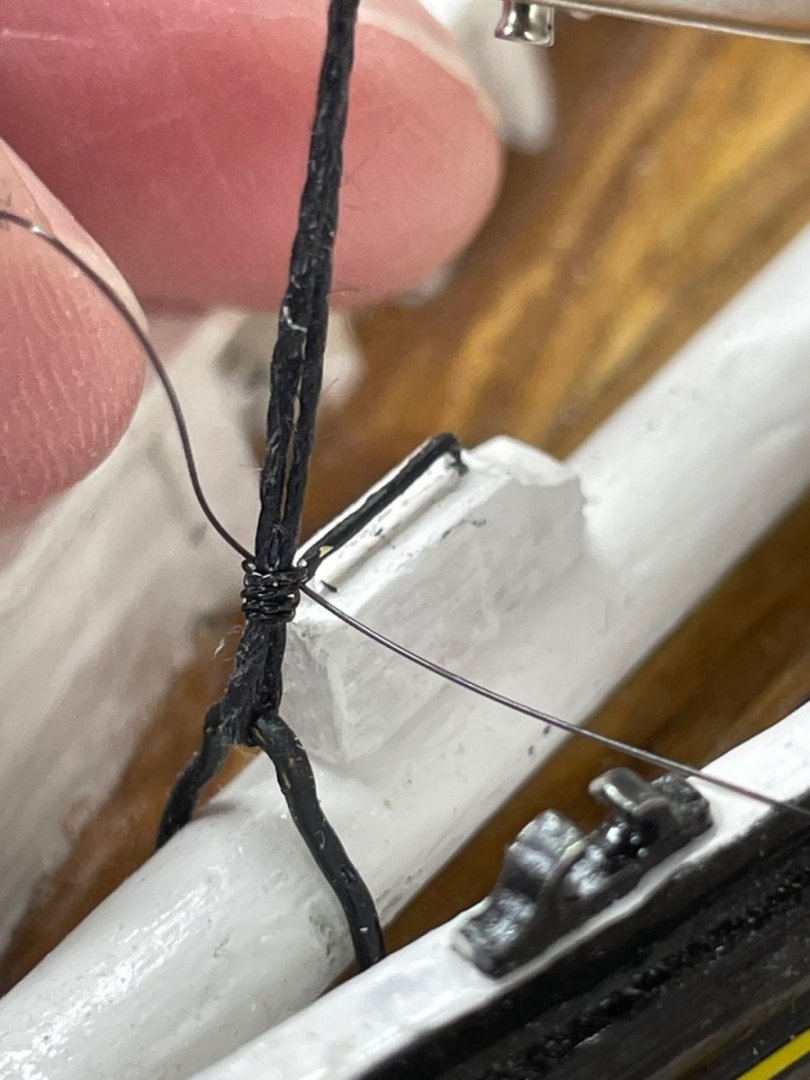
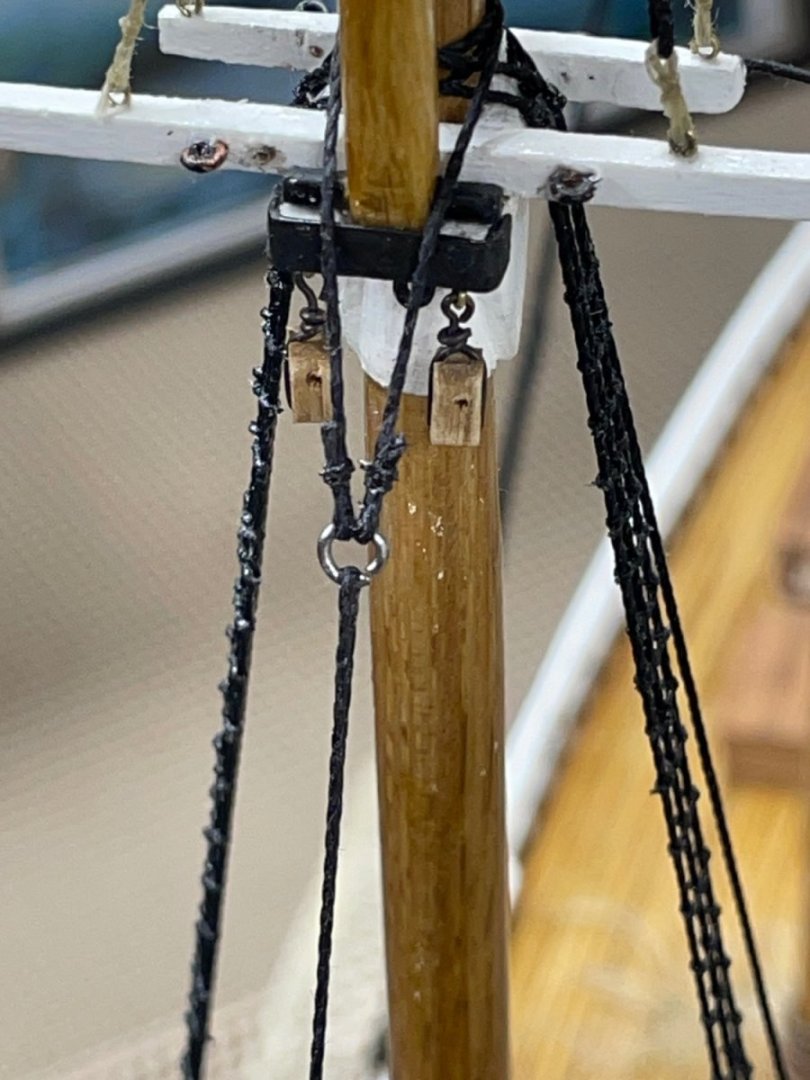
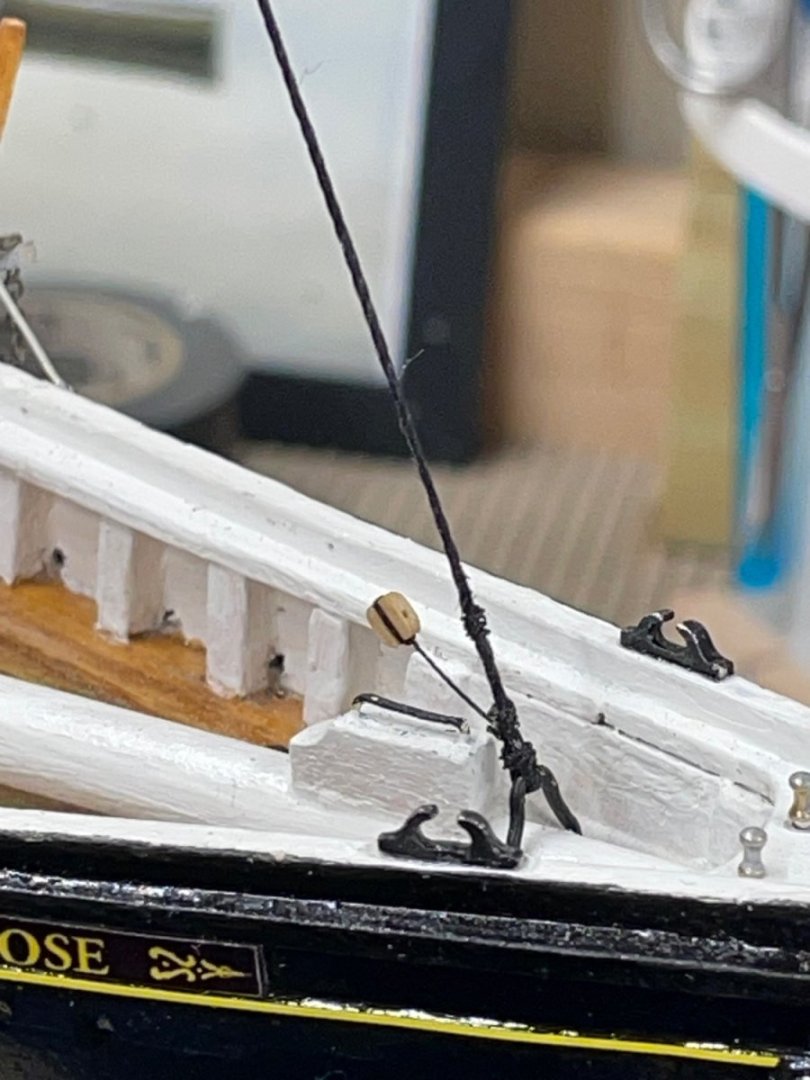
Turnbuckles… I used 1/16” OD Aluminum tubing and copper wire to build dummy turnbuckles. There is no mention of turnbuckles in the instructions. I wanted to try to add this detail and tried to get them small enough to be of proper scale. 😆 Used needle file to cut both sides of tubing. Used Copper wire to fit through the tubing. Turnbuckle body is held in place with a touch of CA glue. Bobstays placed Cheers 🍻
-
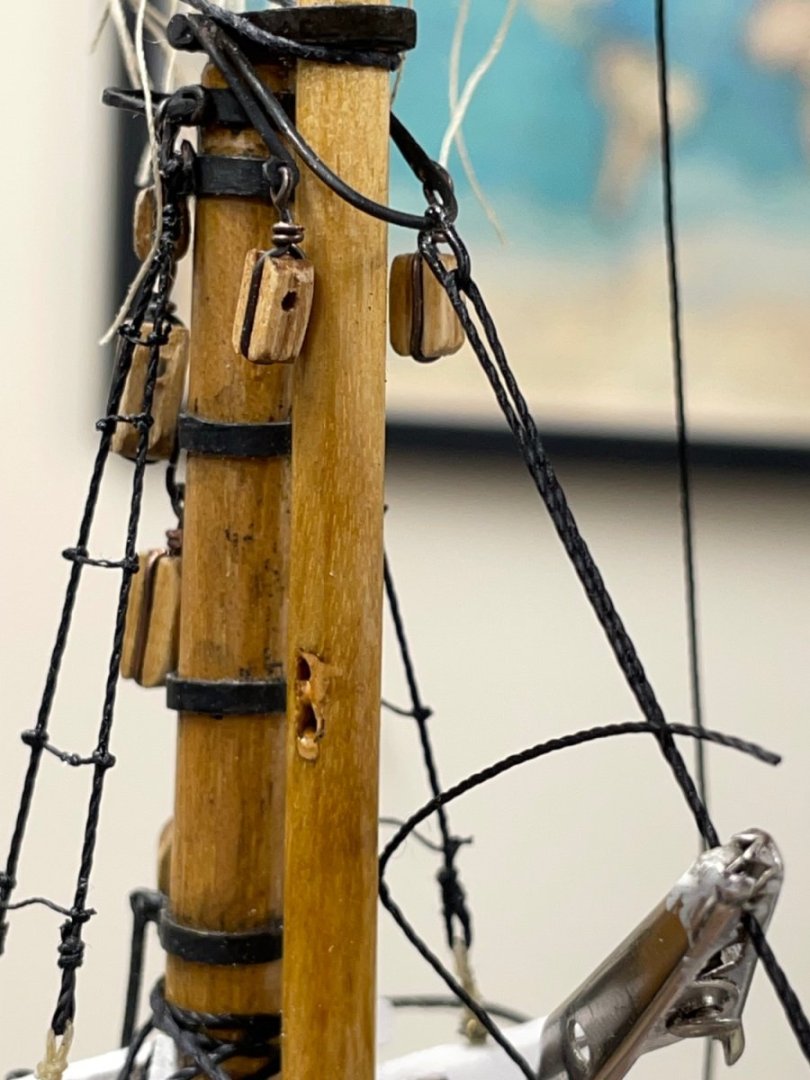
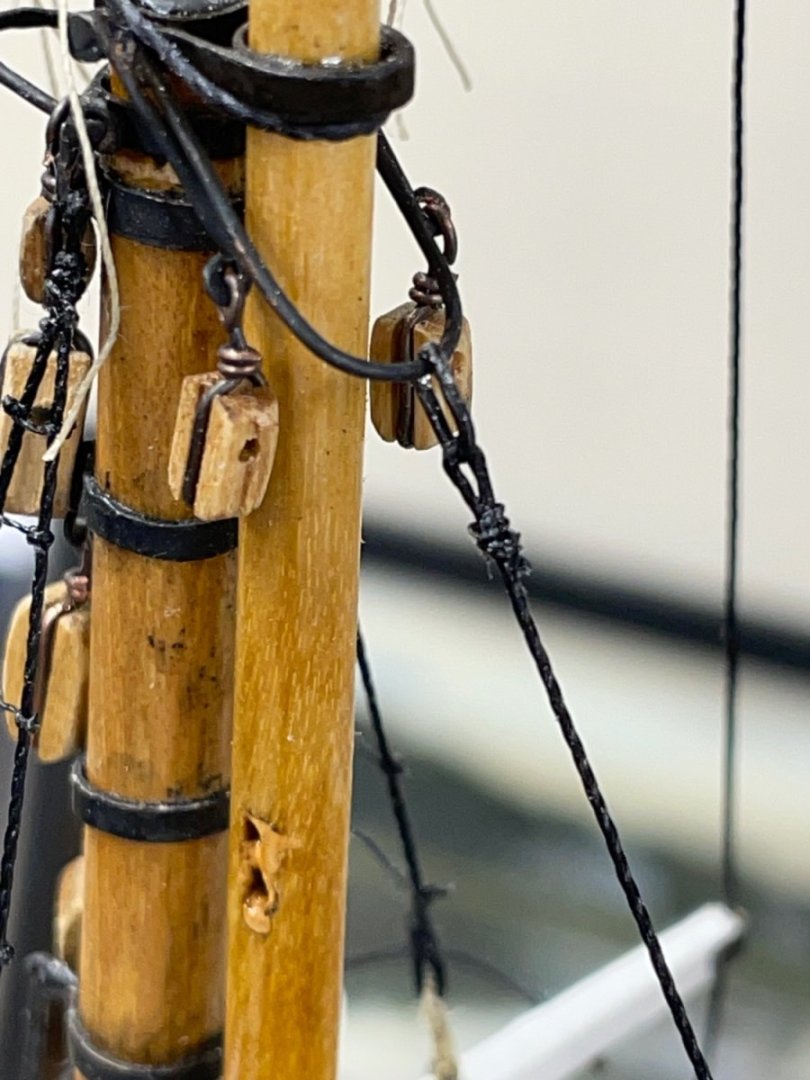
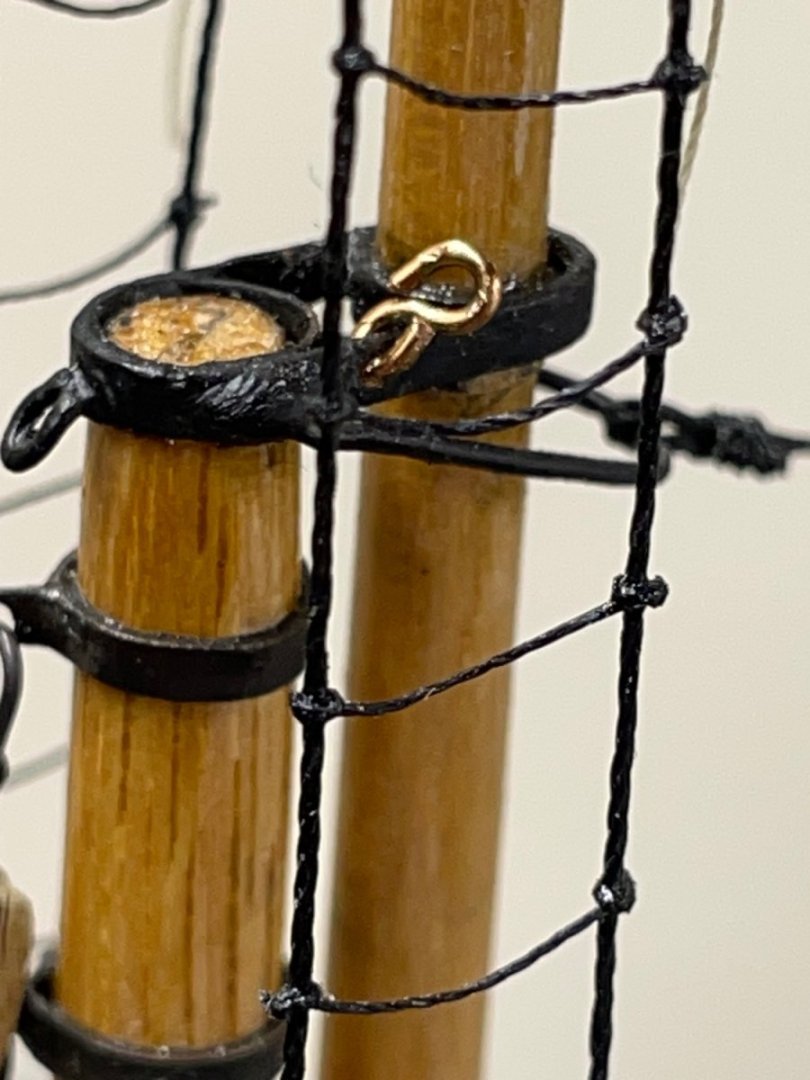
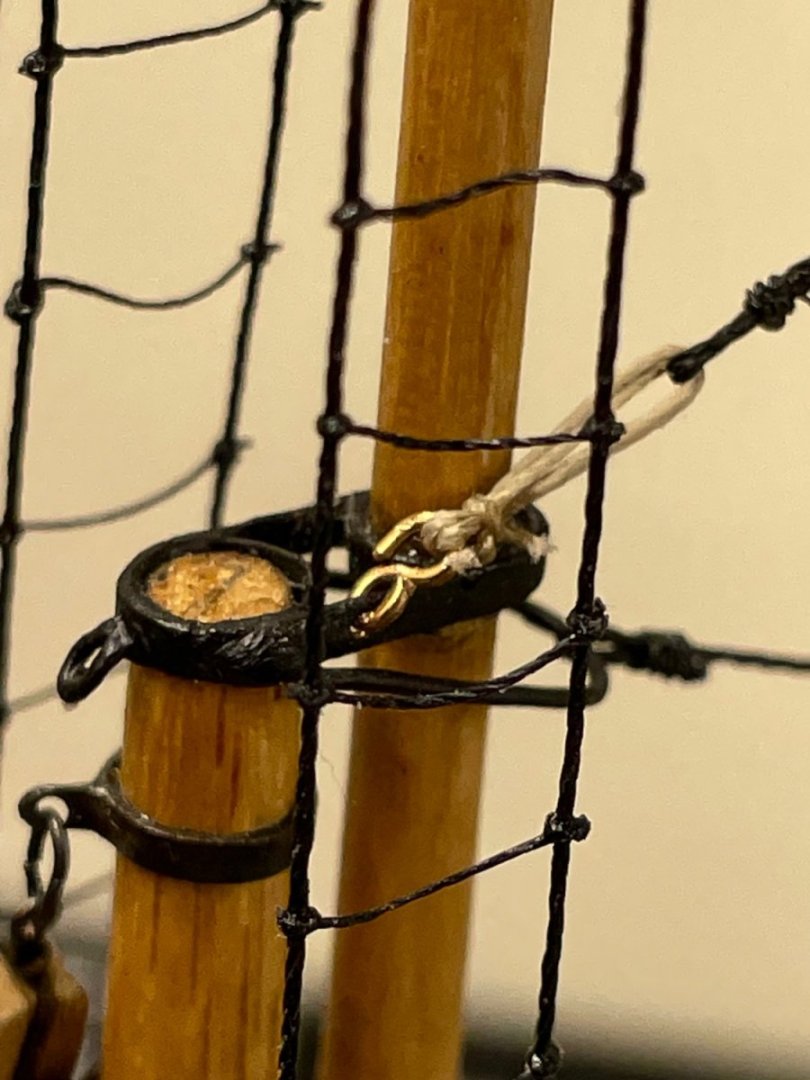
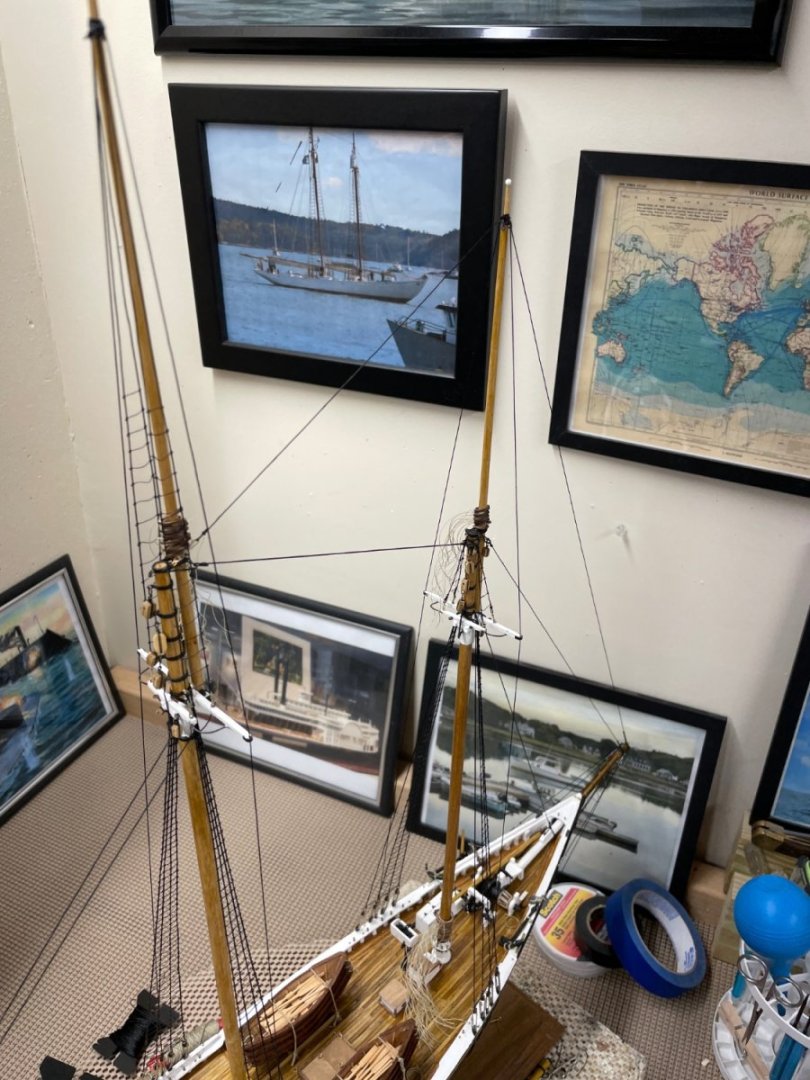
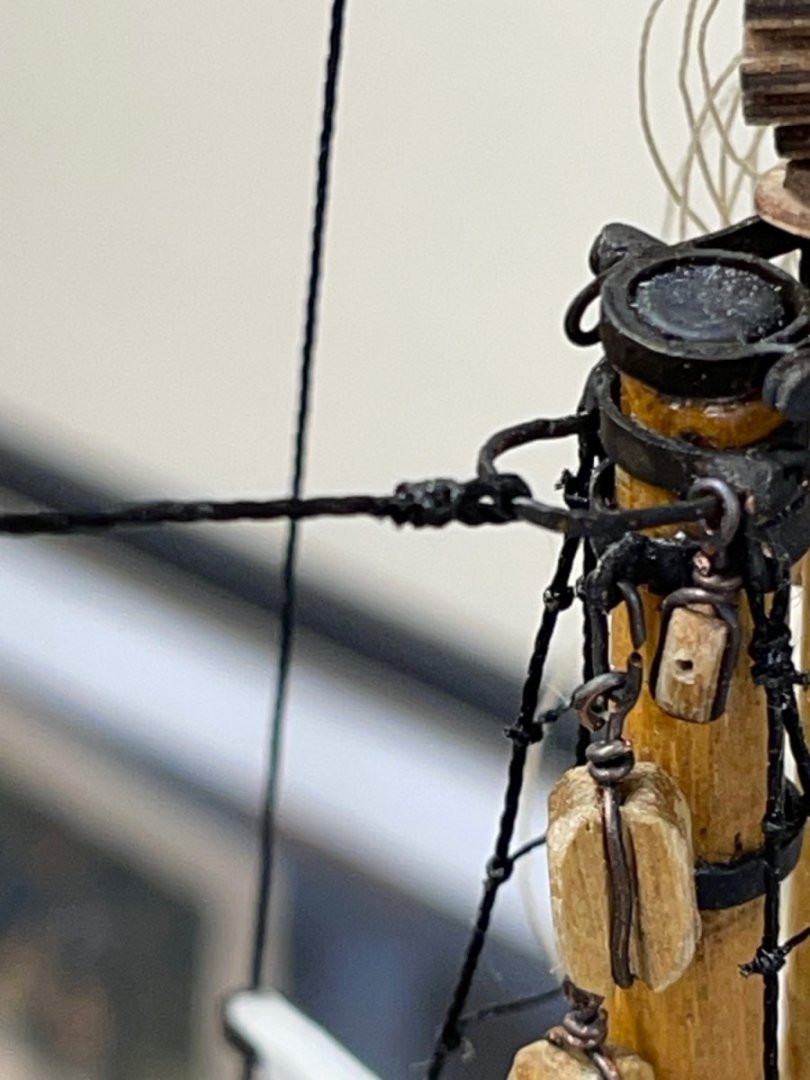
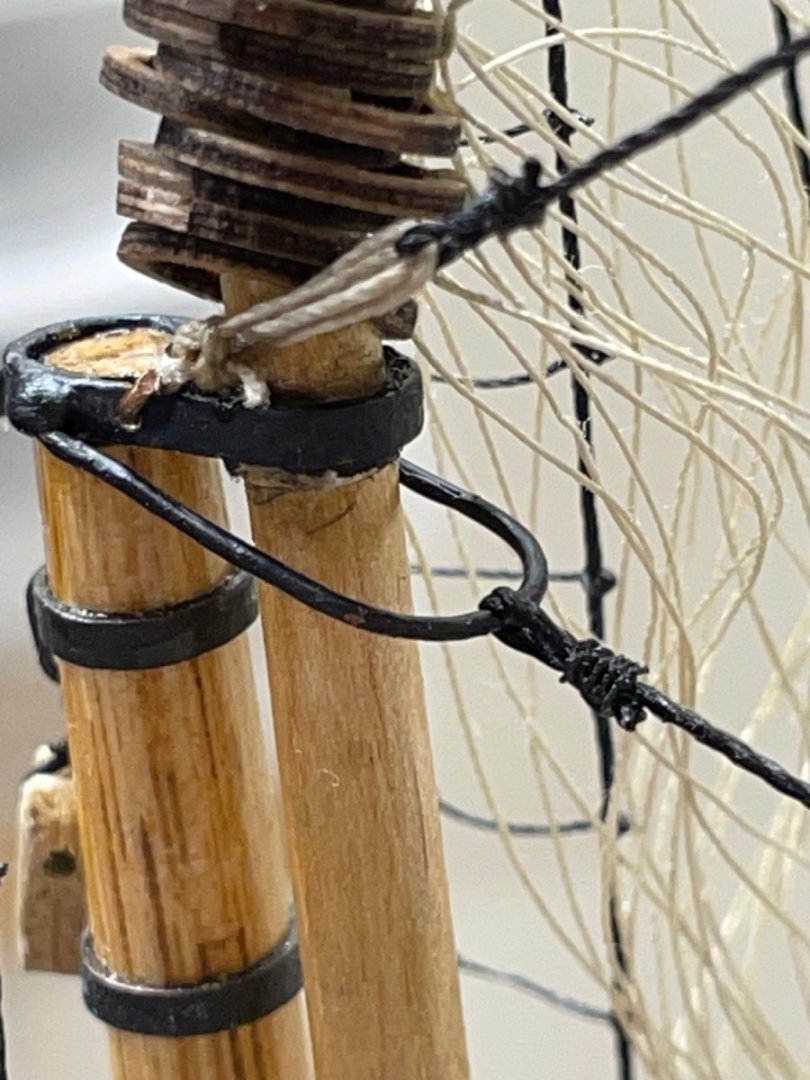
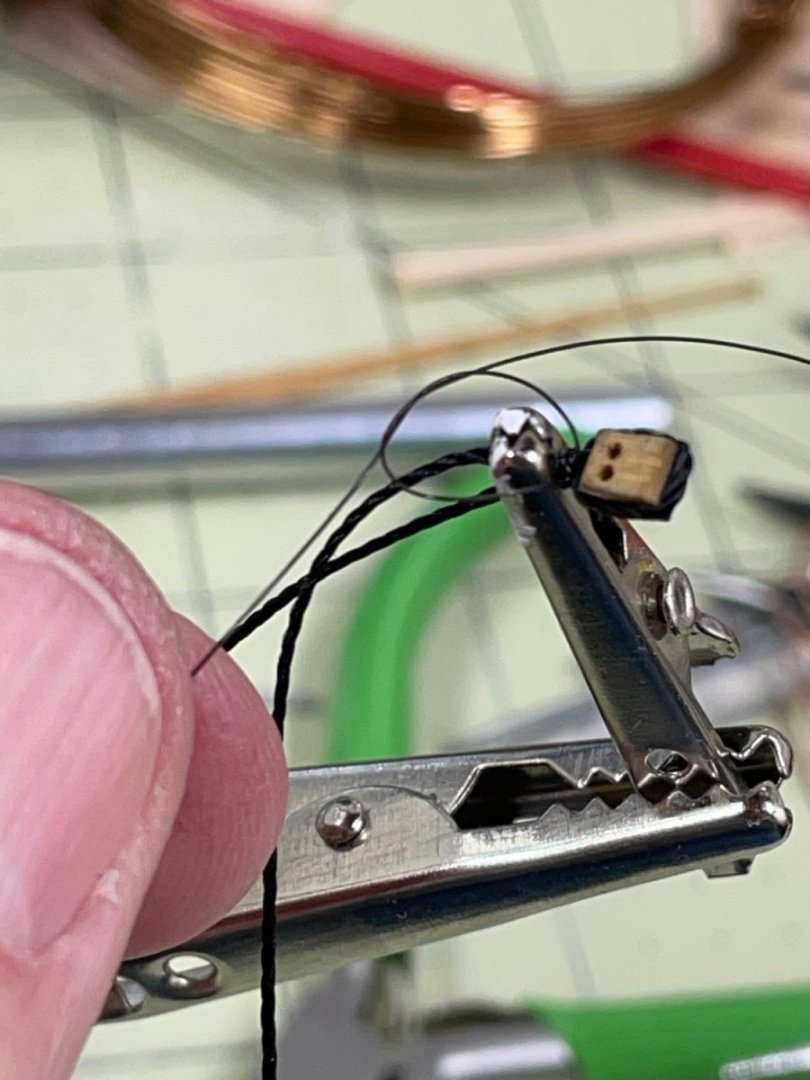
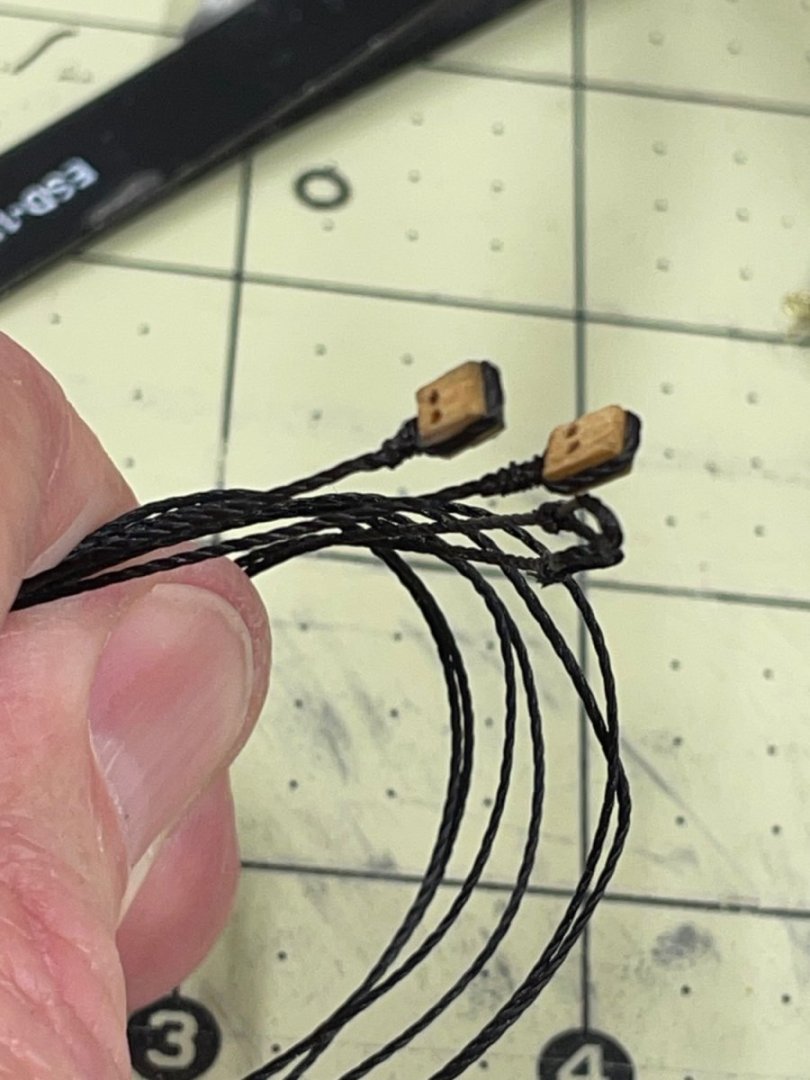
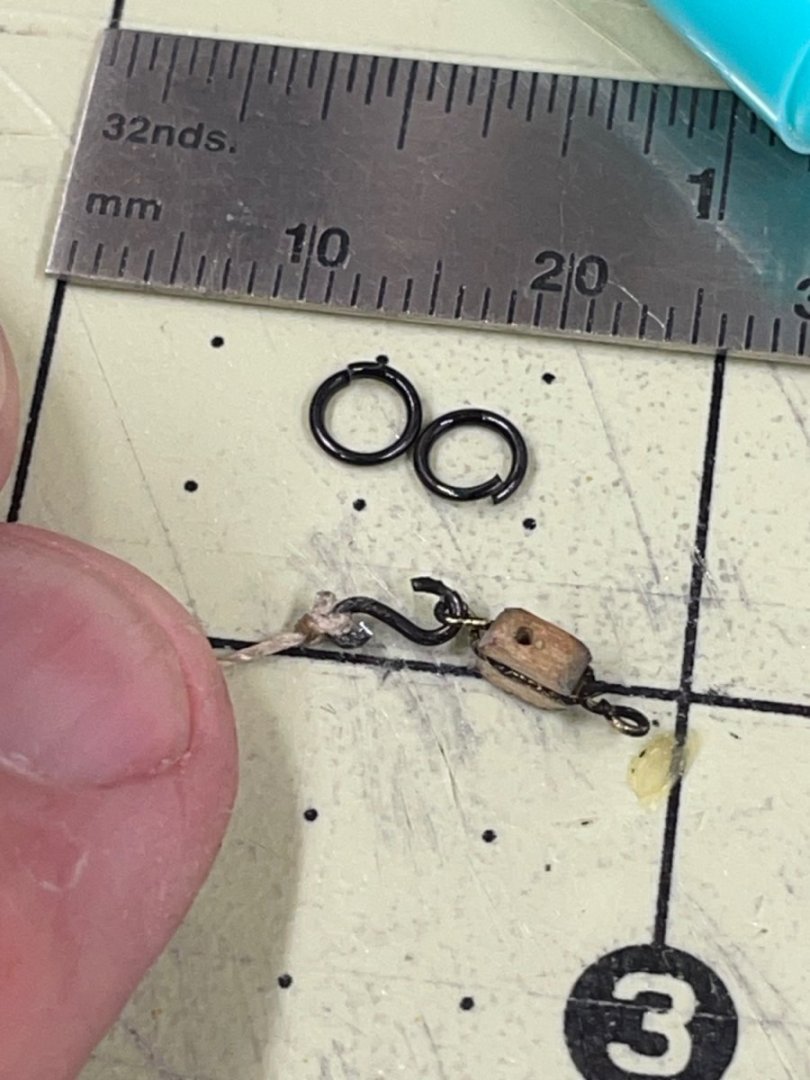
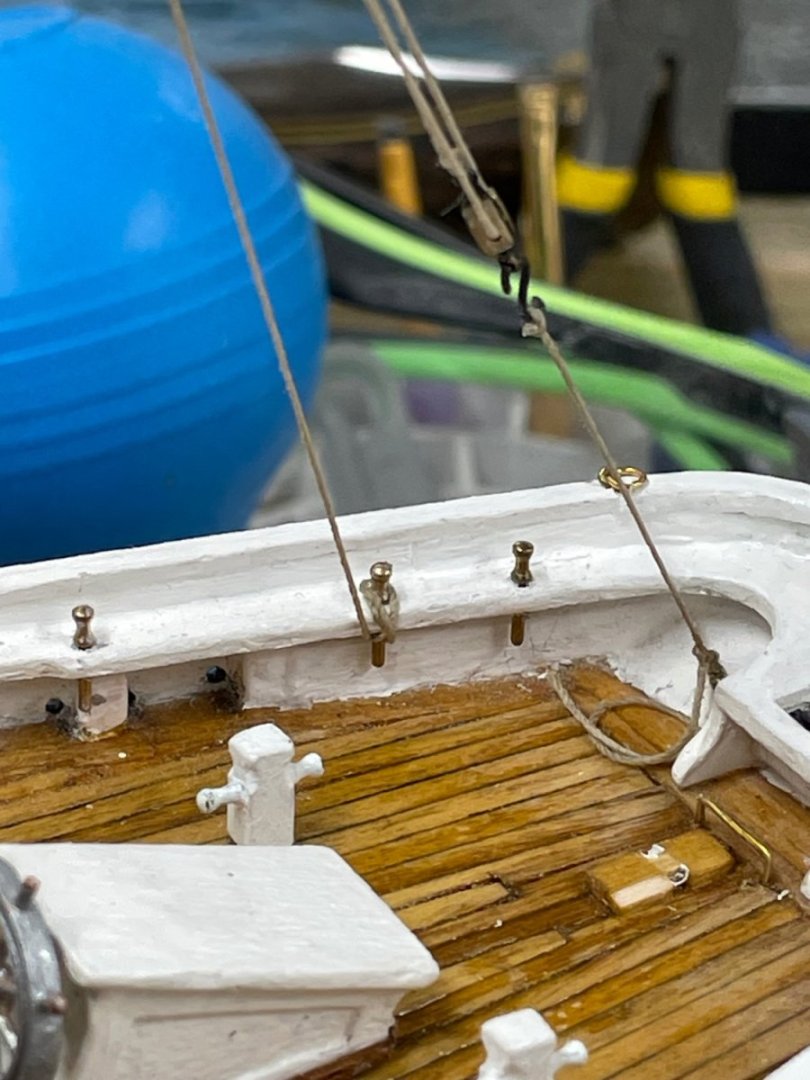
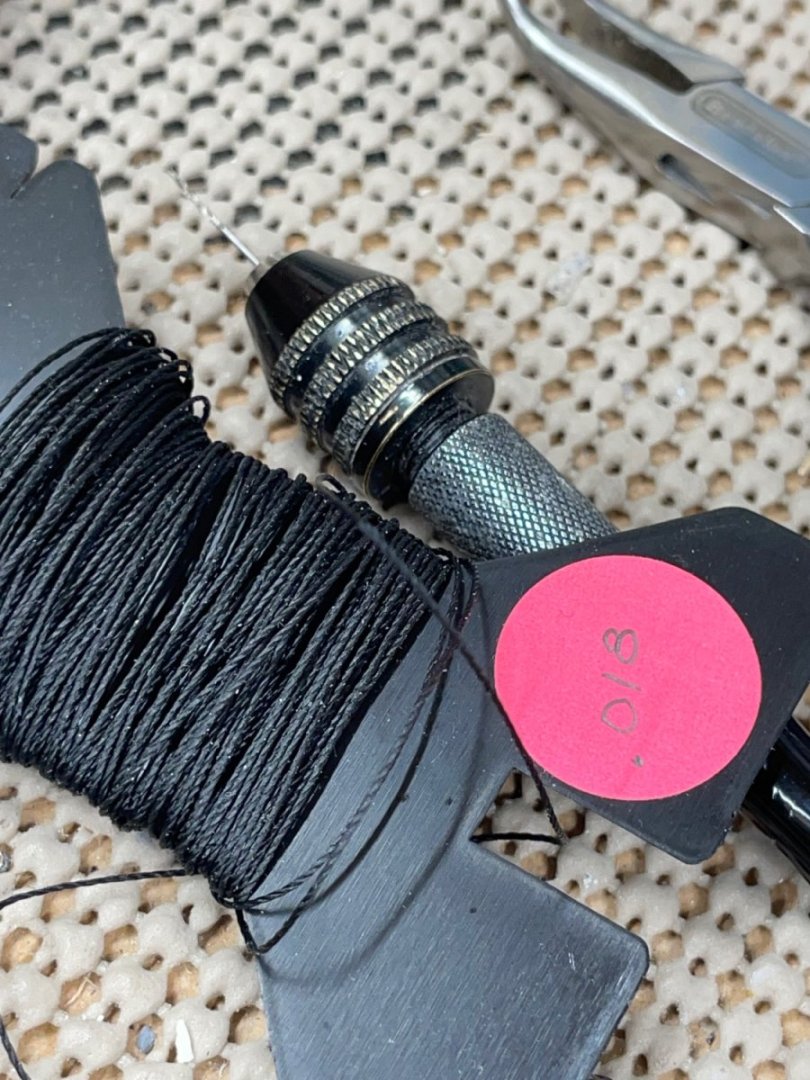
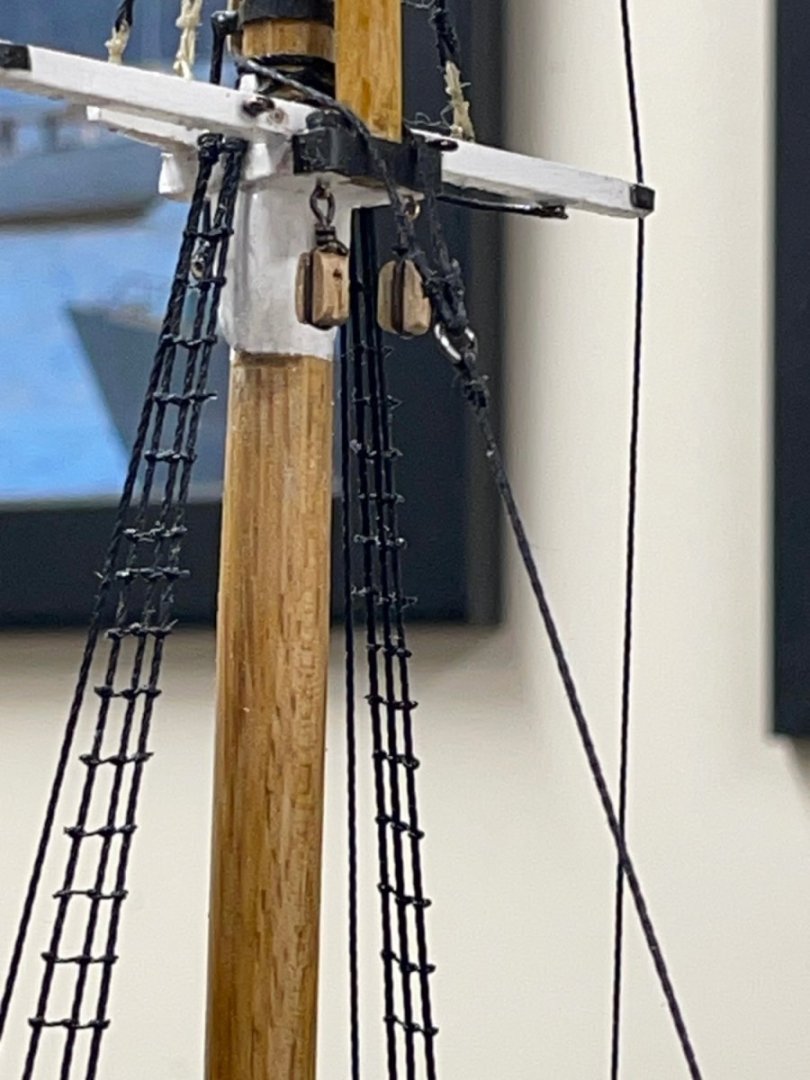
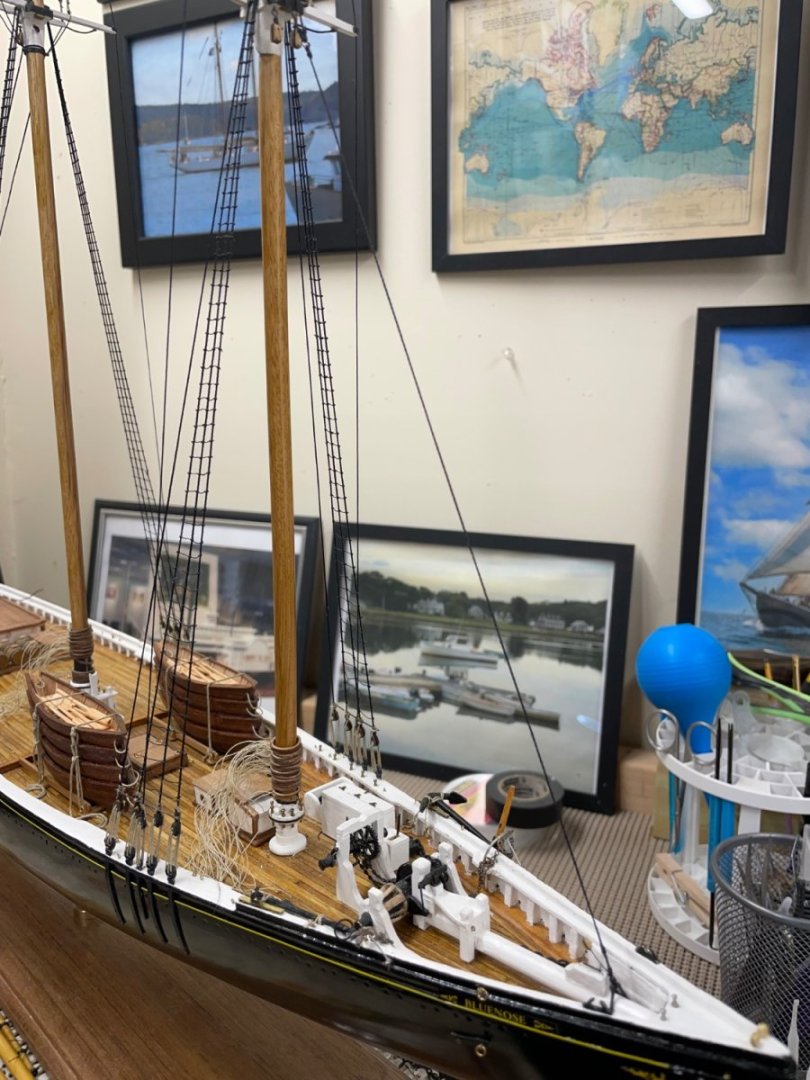
Jumbo Jib Stay… For all stays I am using the kit supplied .021” cotton/ploy line (WP1210) For the lashing I am using .18 monofilament line purchased from HiSModel.com. Lashed up the Stay (including downhaul block to the Jumbo Jib Stay Bail previously placed. Completed rigging the Jumbo Job Stay Bridle to attach the Stay to the Fore Mast. Jumbo Jib Stay completed. Next up is the Bow Sprit rigging, so I can continue placement of the Forward Stays. Cheers 🍻
About us
Modelshipworld - Advancing Ship Modeling through Research
SSL Secured
Your security is important for us so this Website is SSL-Secured
NRG Mailing Address
Nautical Research Guild
237 South Lincoln Street
Westmont IL, 60559-1917
Model Ship World ® and the MSW logo are Registered Trademarks, and belong to the Nautical Research Guild (United States Patent and Trademark Office: No. 6,929,264 & No. 6,929,274, registered Dec. 20, 2022)
Helpful Links
About the NRG
If you enjoy building ship models that are historically accurate as well as beautiful, then The Nautical Research Guild (NRG) is just right for you.
The Guild is a non-profit educational organization whose mission is to “Advance Ship Modeling Through Research”. We provide support to our members in their efforts to raise the quality of their model ships.
The Nautical Research Guild has published our world-renowned quarterly magazine, The Nautical Research Journal, since 1955. The pages of the Journal are full of articles by accomplished ship modelers who show you how they create those exquisite details on their models, and by maritime historians who show you the correct details to build. The Journal is available in both print and digital editions. Go to the NRG web site (www.thenrg.org) to download a complimentary digital copy of the Journal. The NRG also publishes plan sets, books and compilations of back issues of the Journal and the former Ships in Scale and Model Ship Builder magazines.

