MORE HANDBOOKS ARE ON THEIR WAY! We will let you know when they get here.
×

Vladimir_Wairoa
-
Posts
1,566 -
Joined
-
Last visited
Content Type
Profiles
Forums
Gallery
Events
Everything posted by Vladimir_Wairoa
-
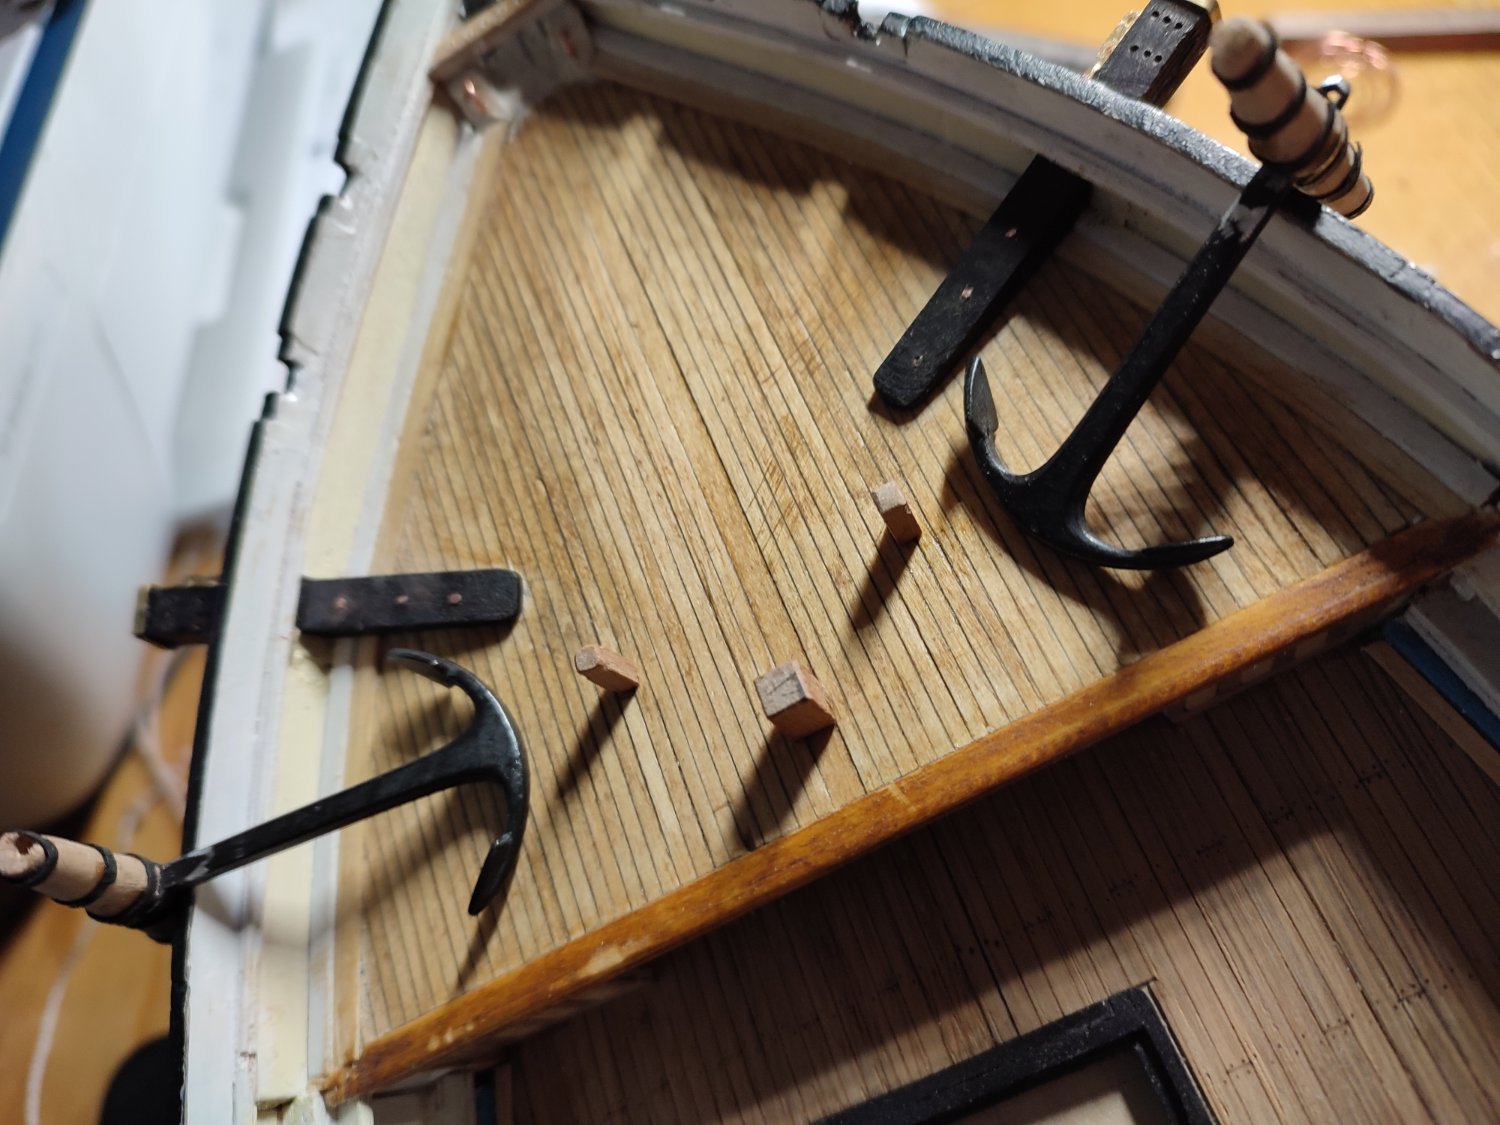
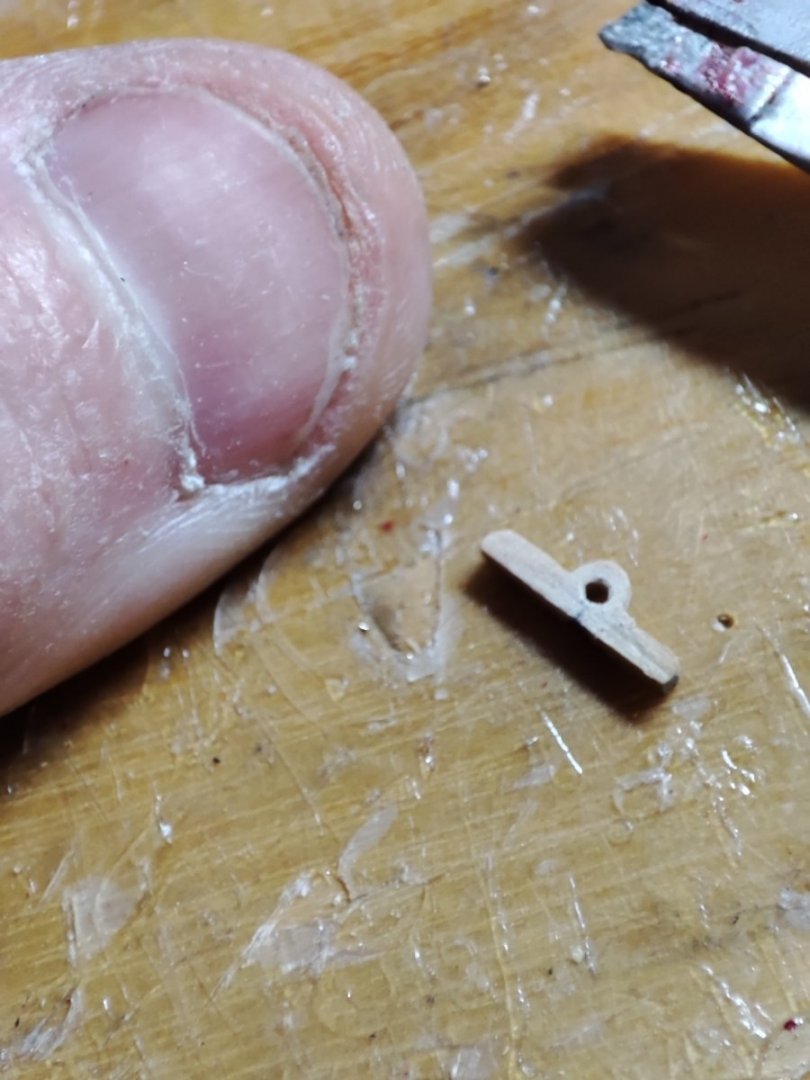
 @ClipperFan @rwiederrich Gentlemen, I have question to ask please. Boat gallows was installed from the beginning IS IT correct? And lifeboats were positioned ať the Captian Cabin overhang where i have now rail...hmm hmm .. I think i Will install only gallow and put Boat on big forward Cabin as long as i dont want to cover Cabin details....or only one. Will see. Do we have pic how davits were installed? From inside of Boat? I would like to make those AS Well. Thanks much indeed , Vlad
 -
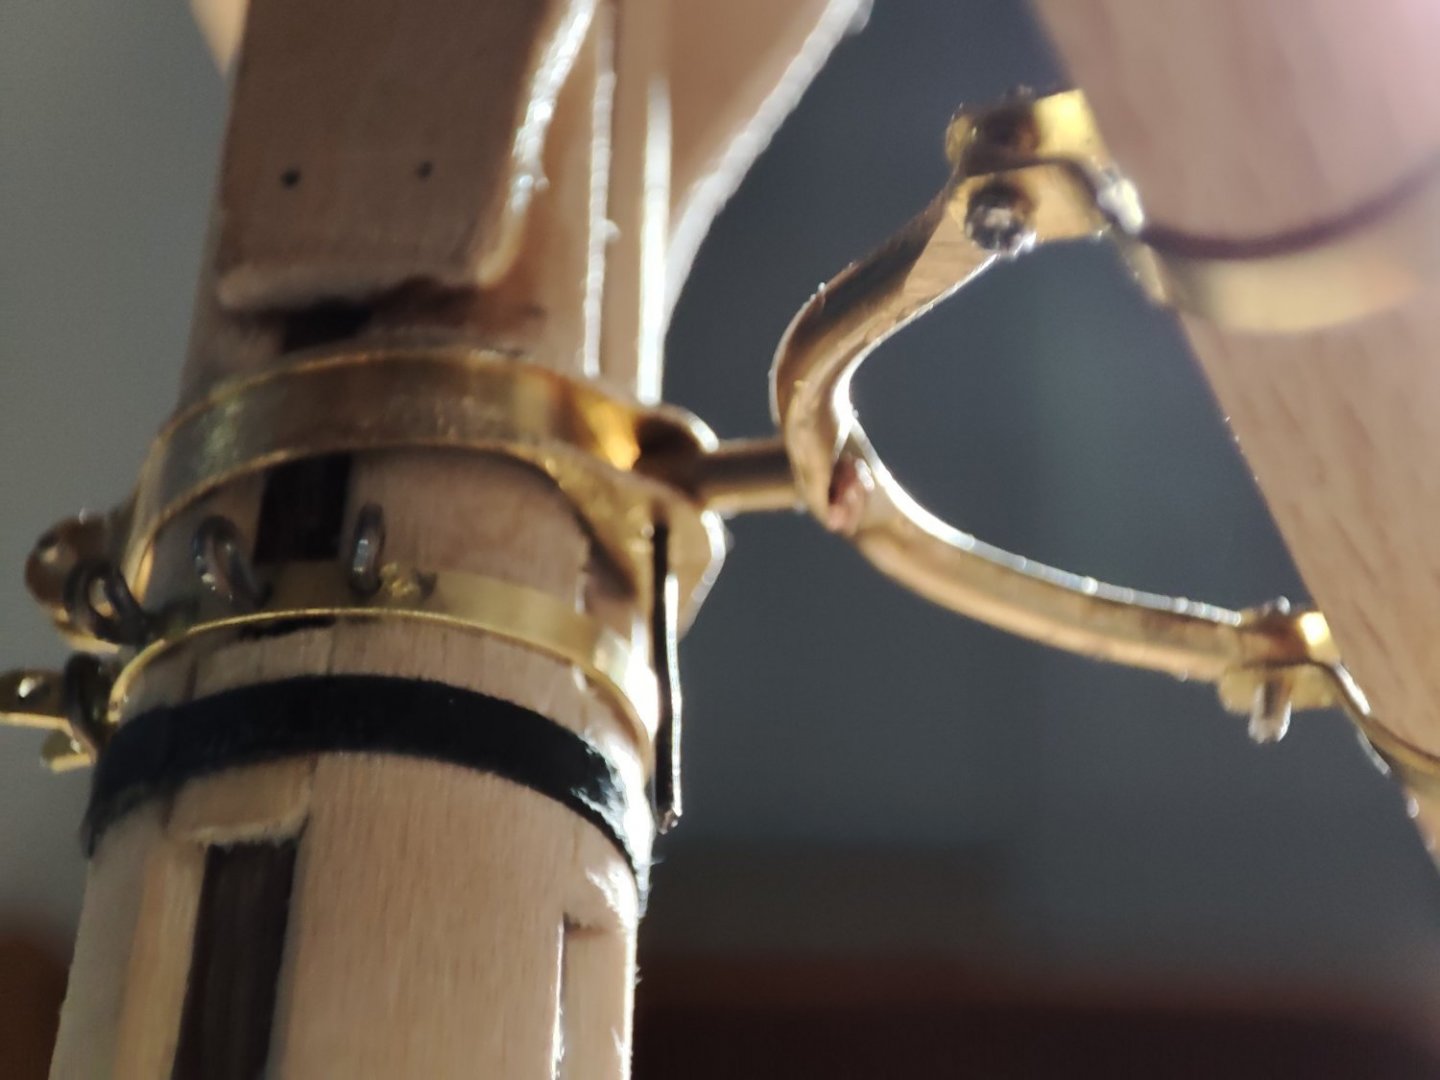
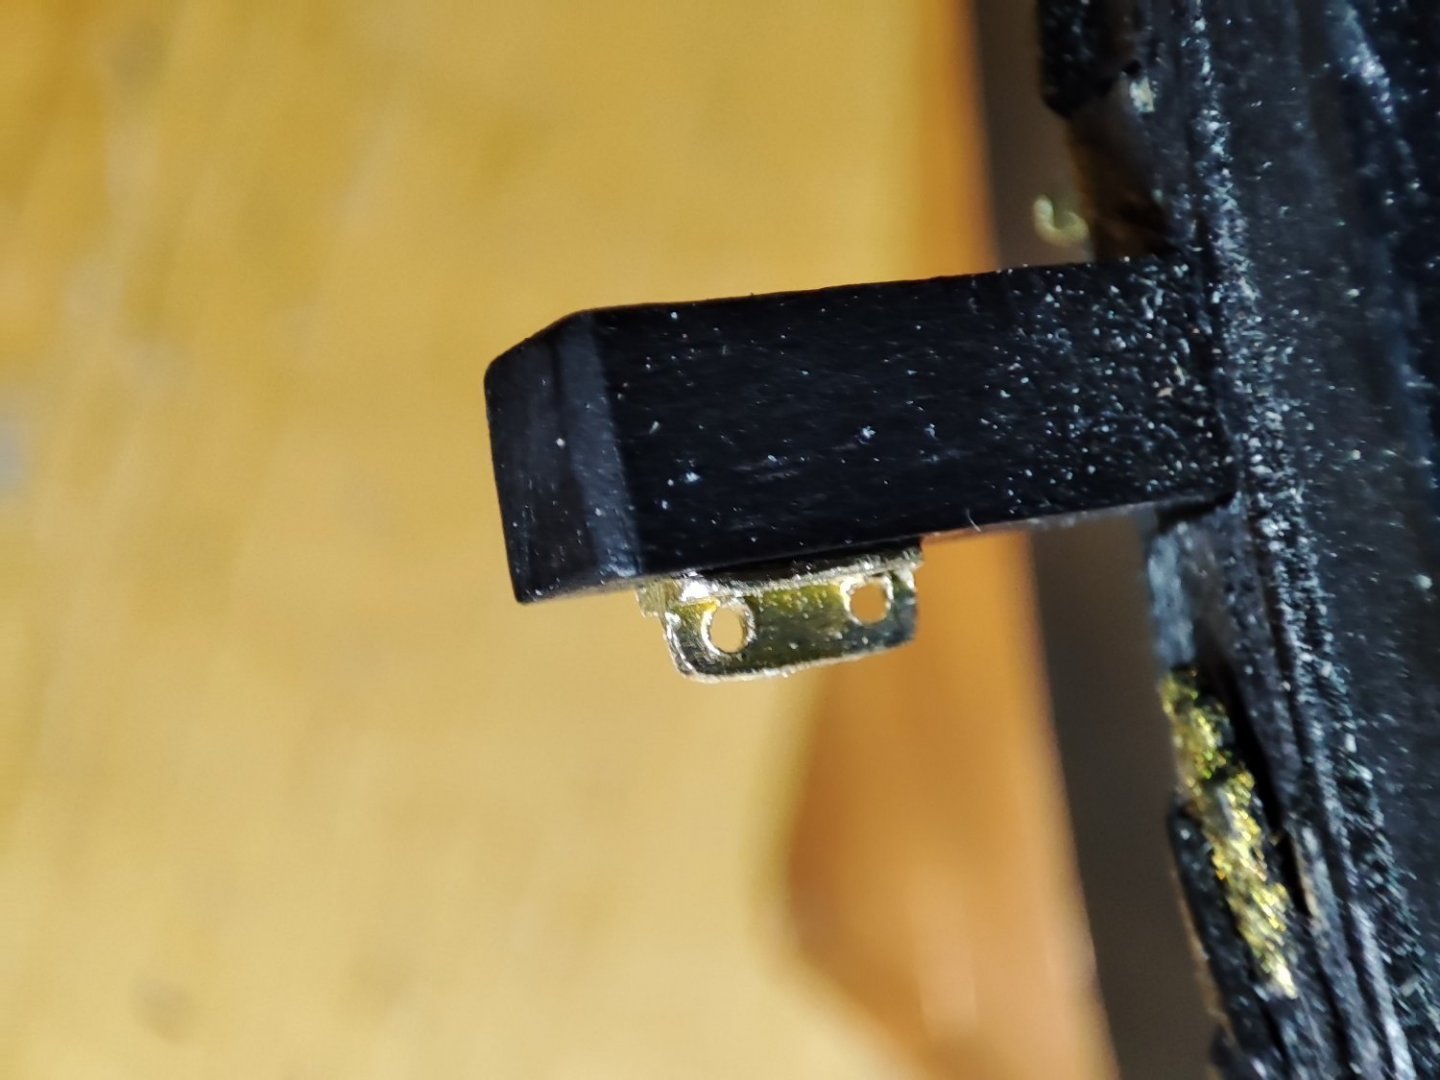
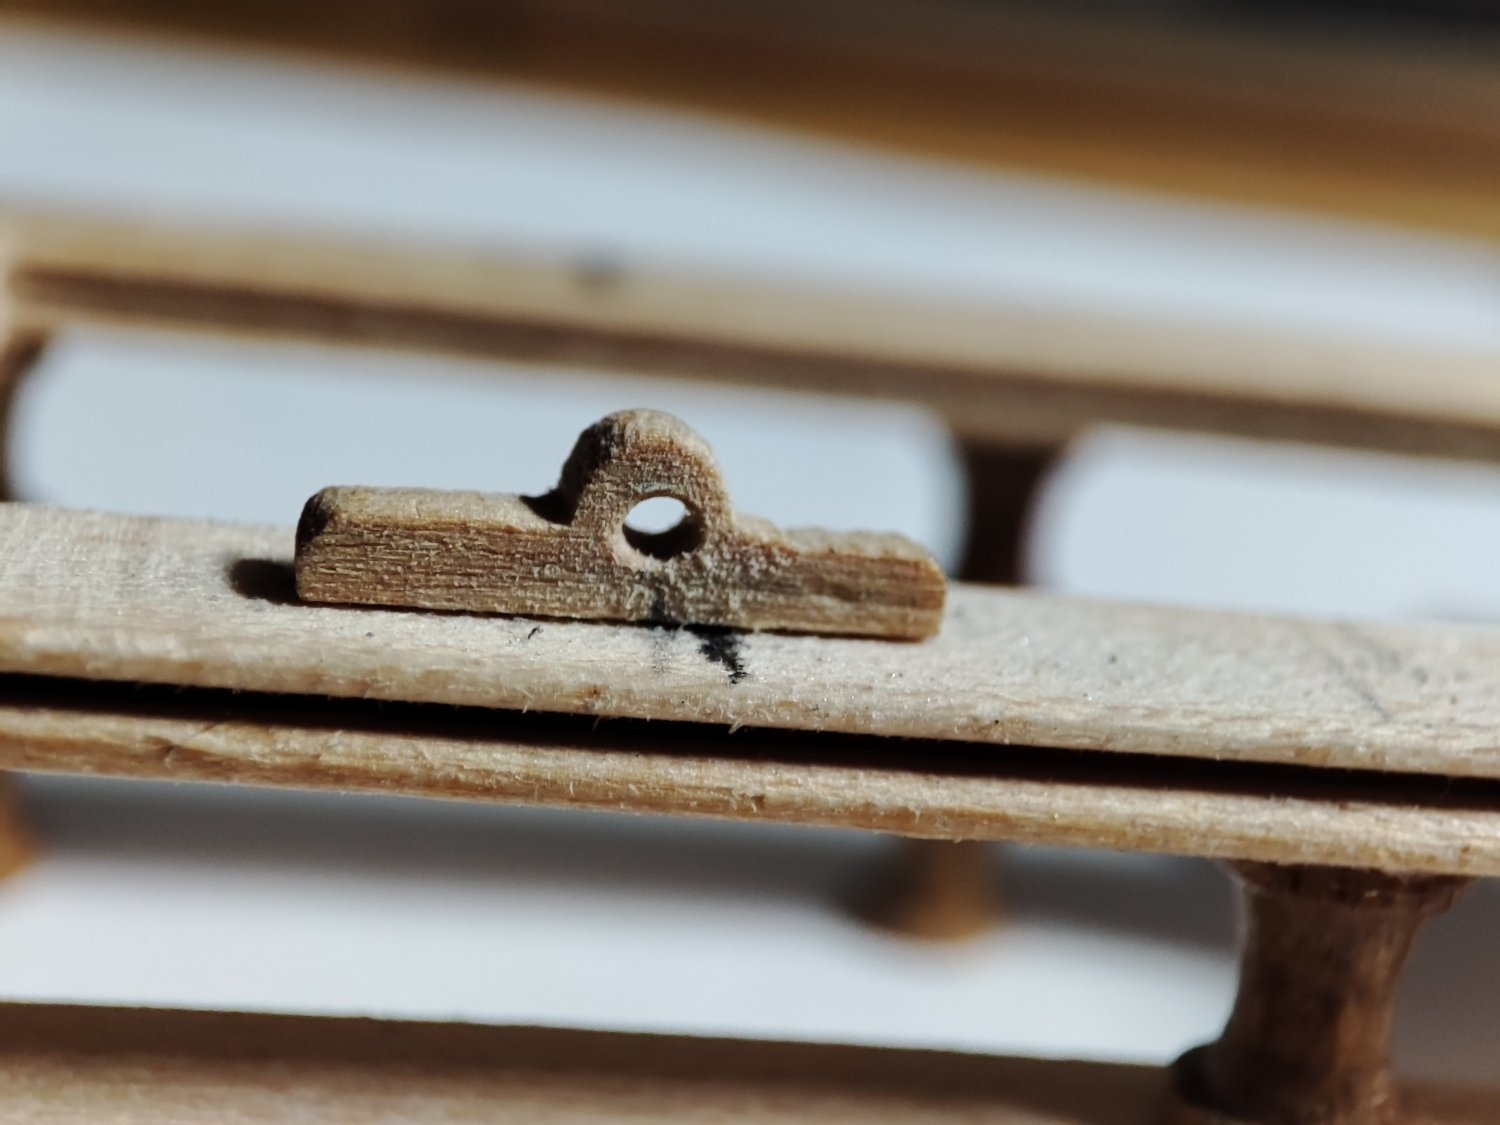
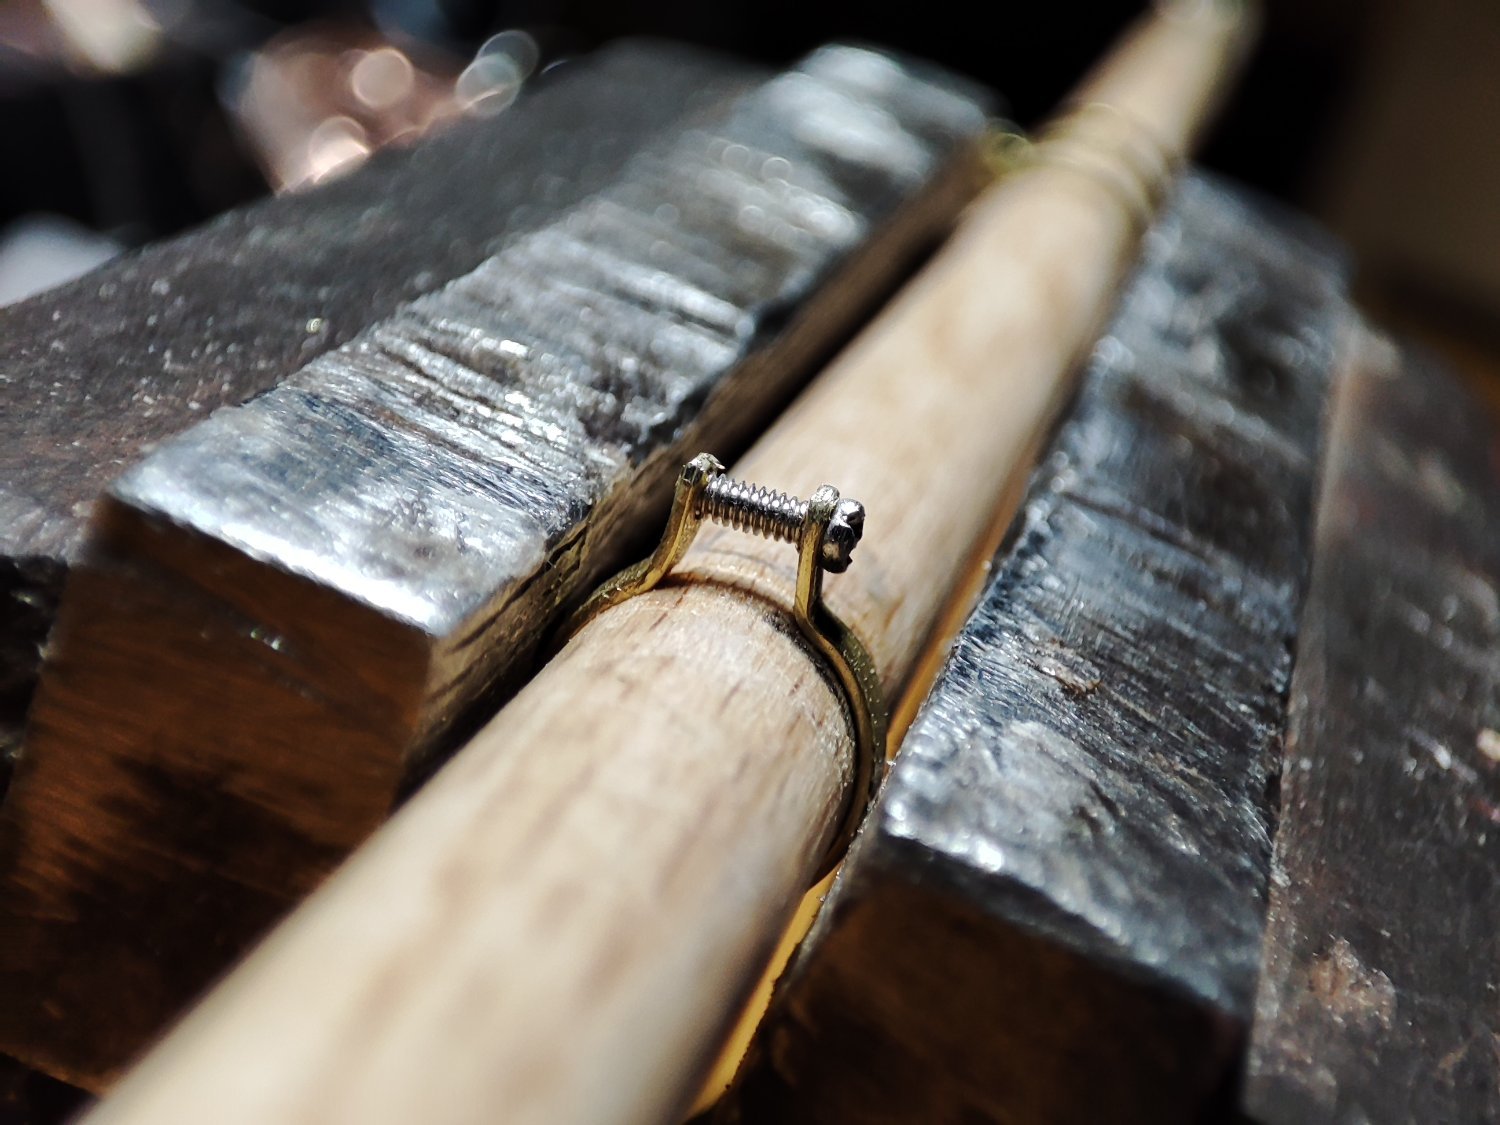
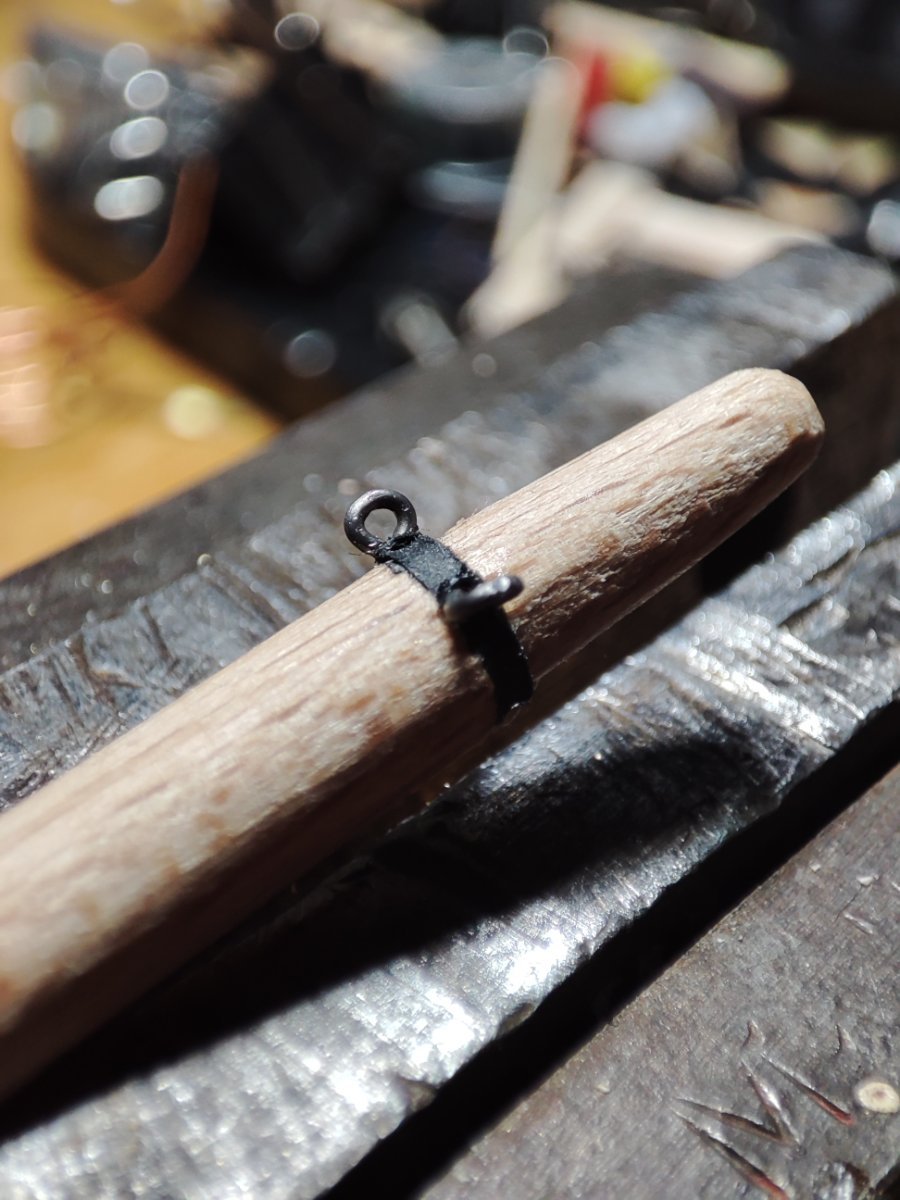
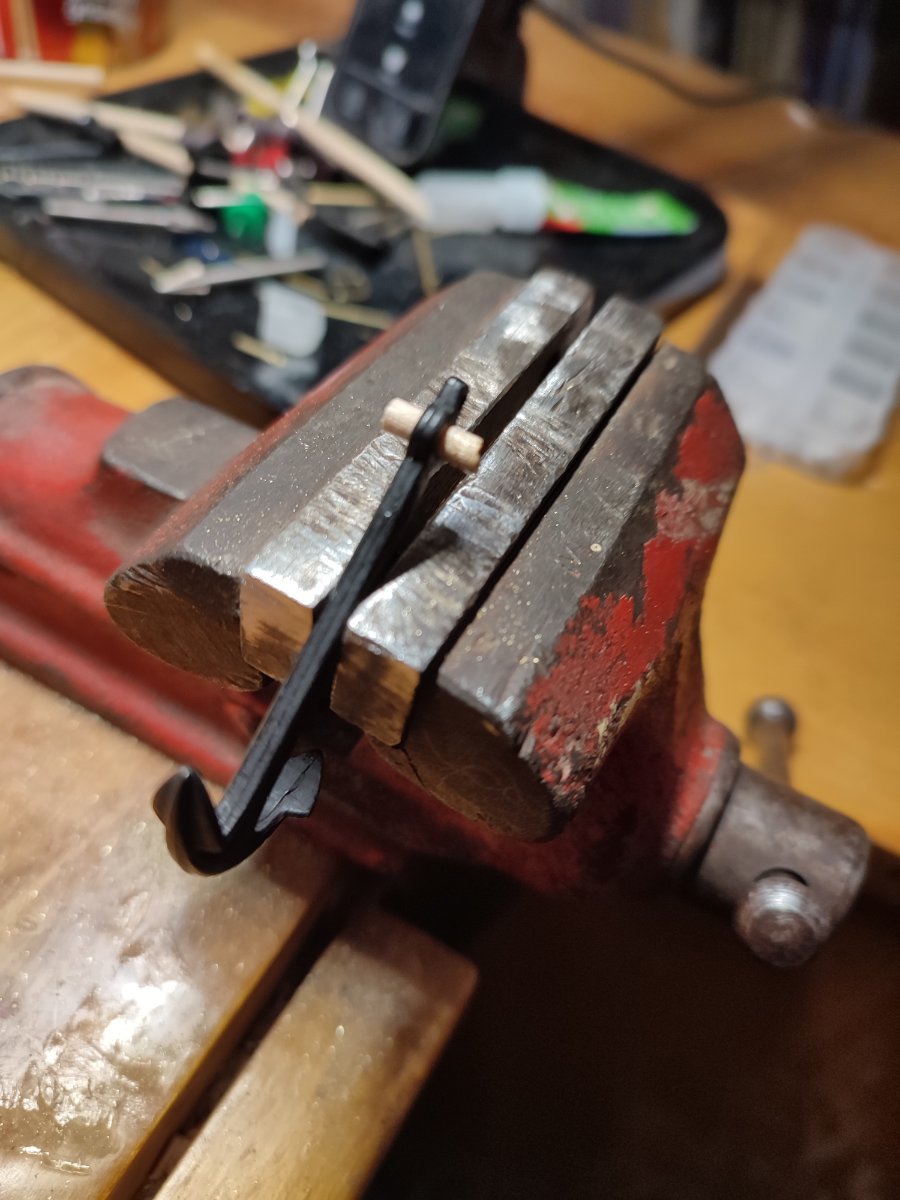
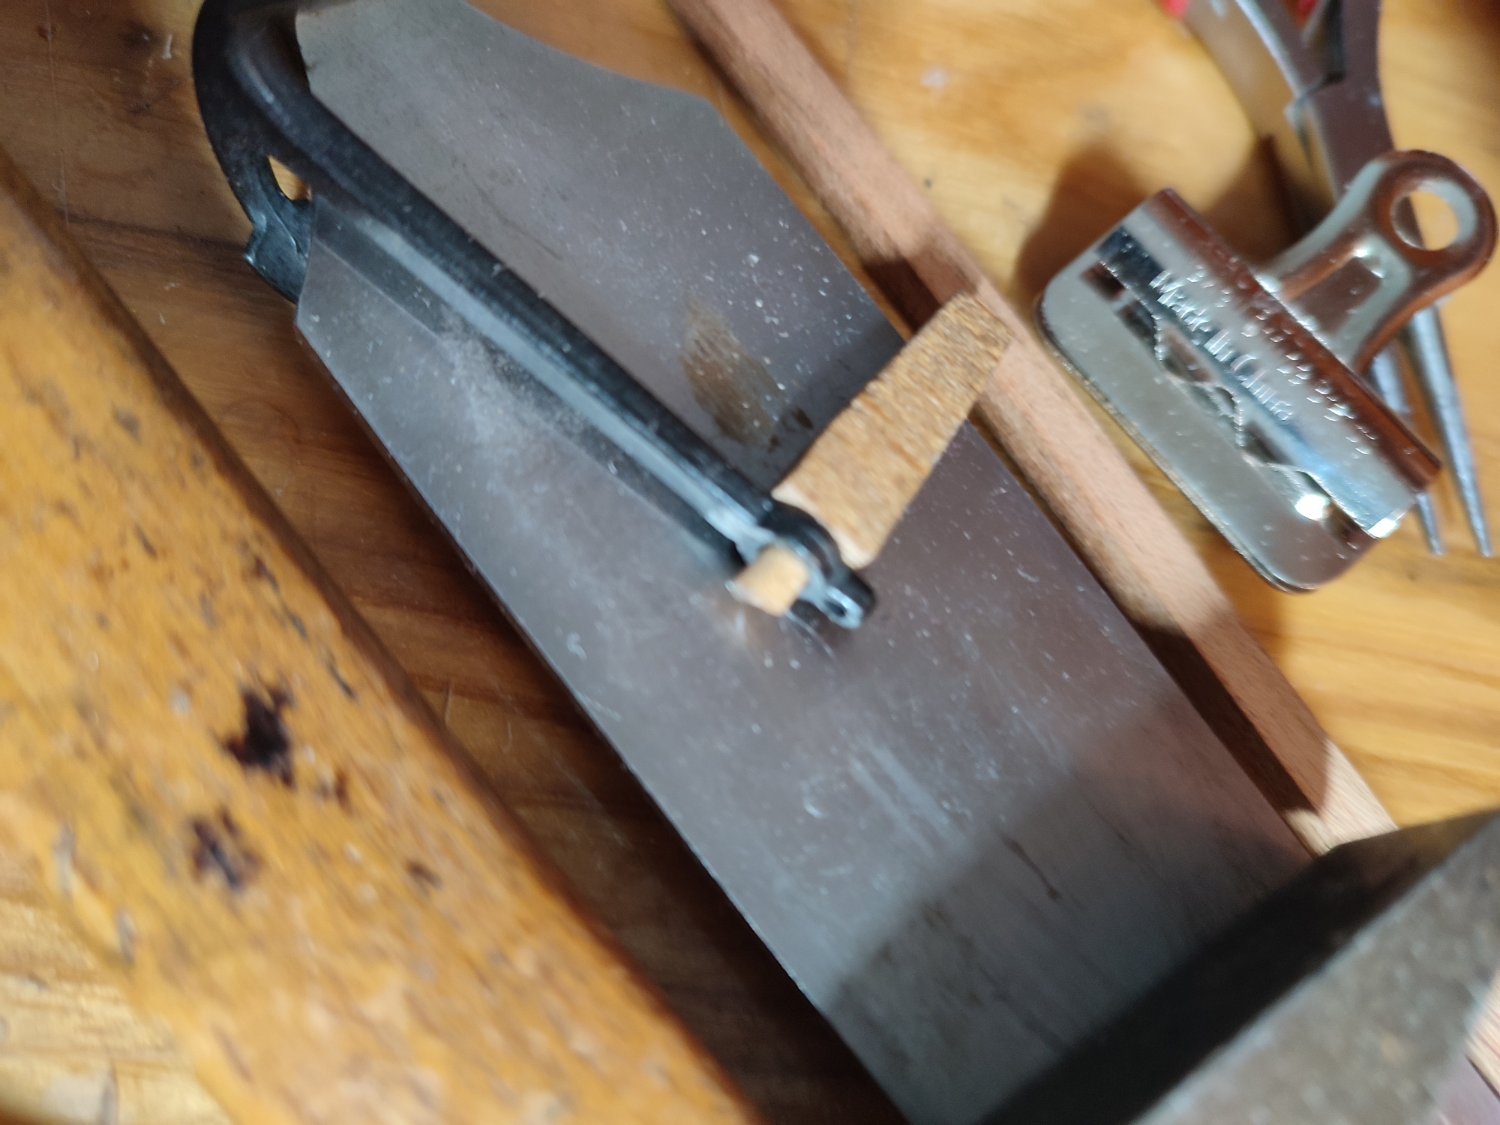
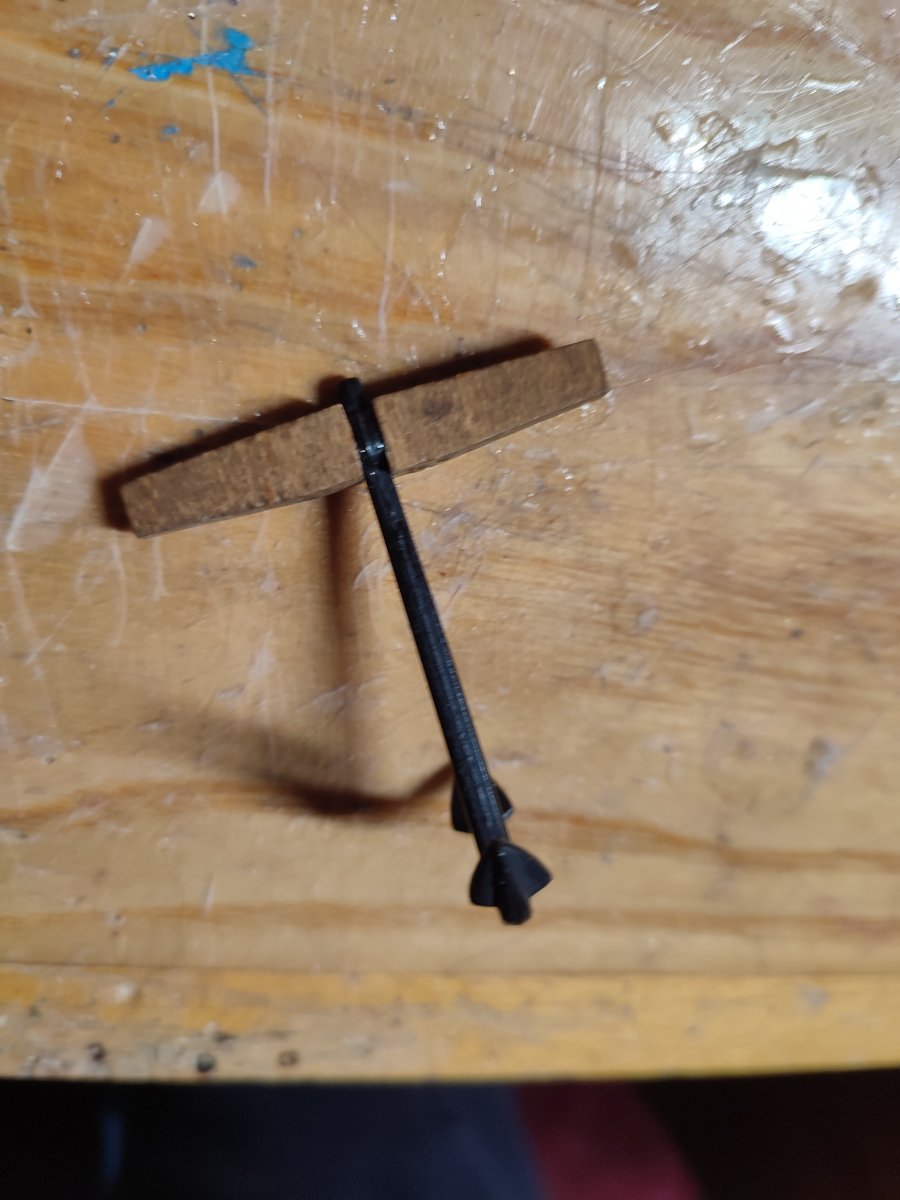
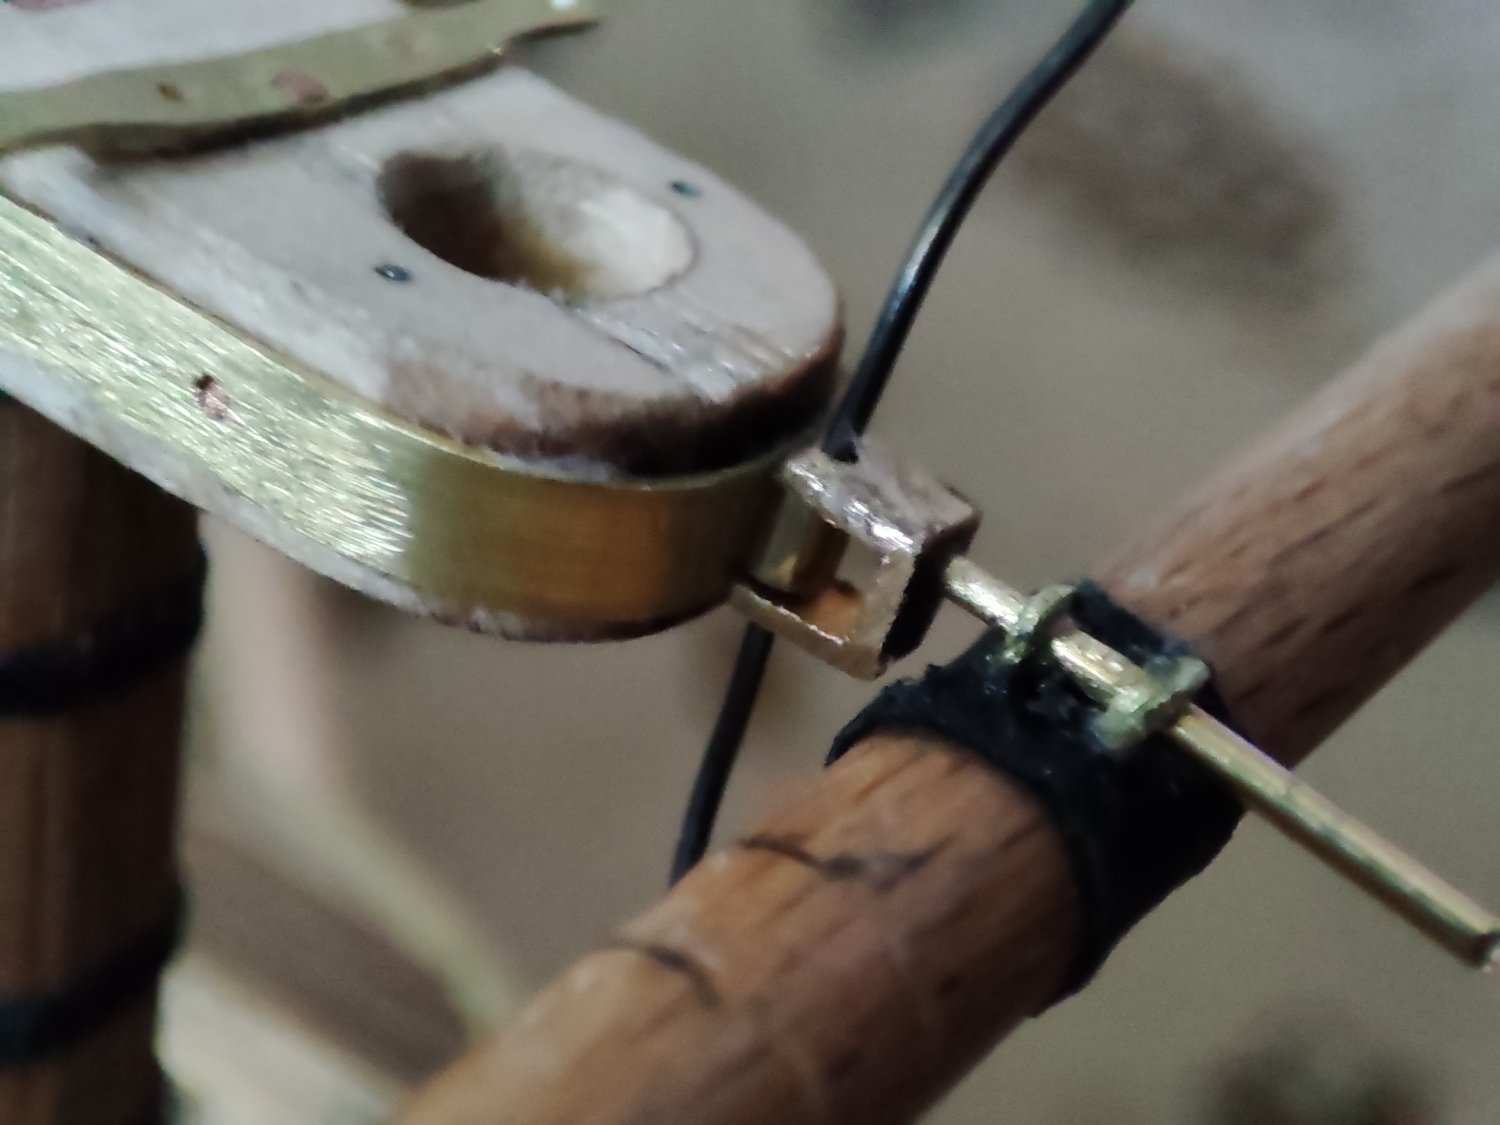
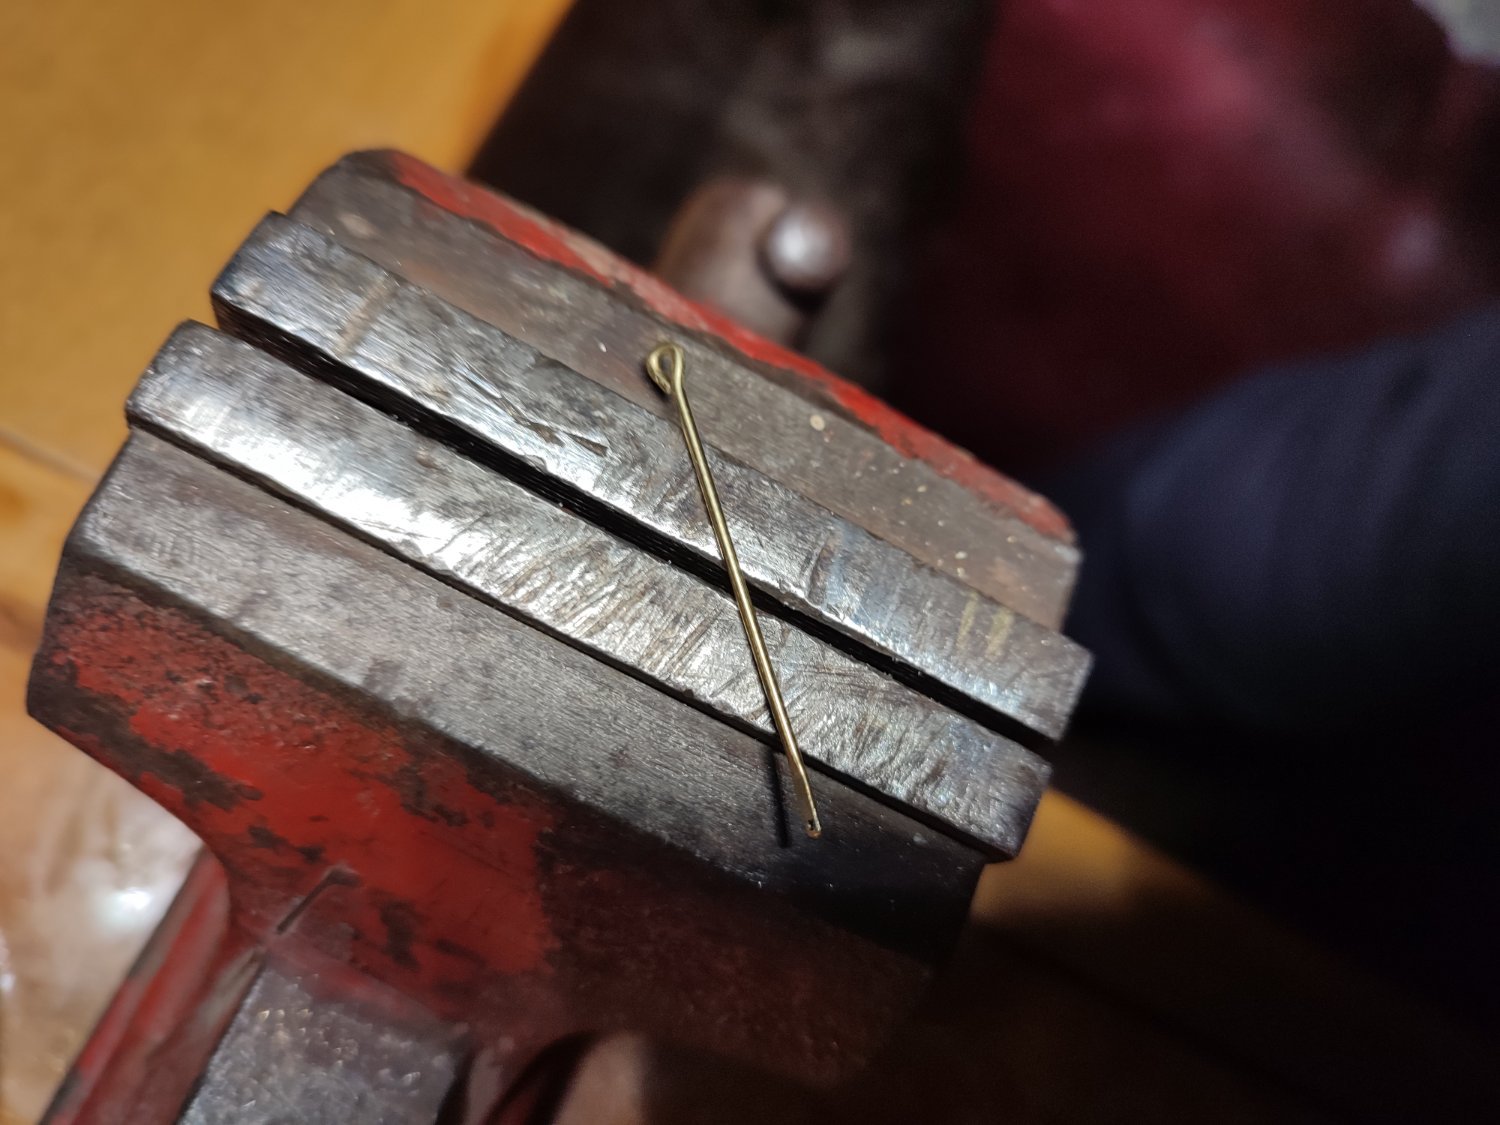
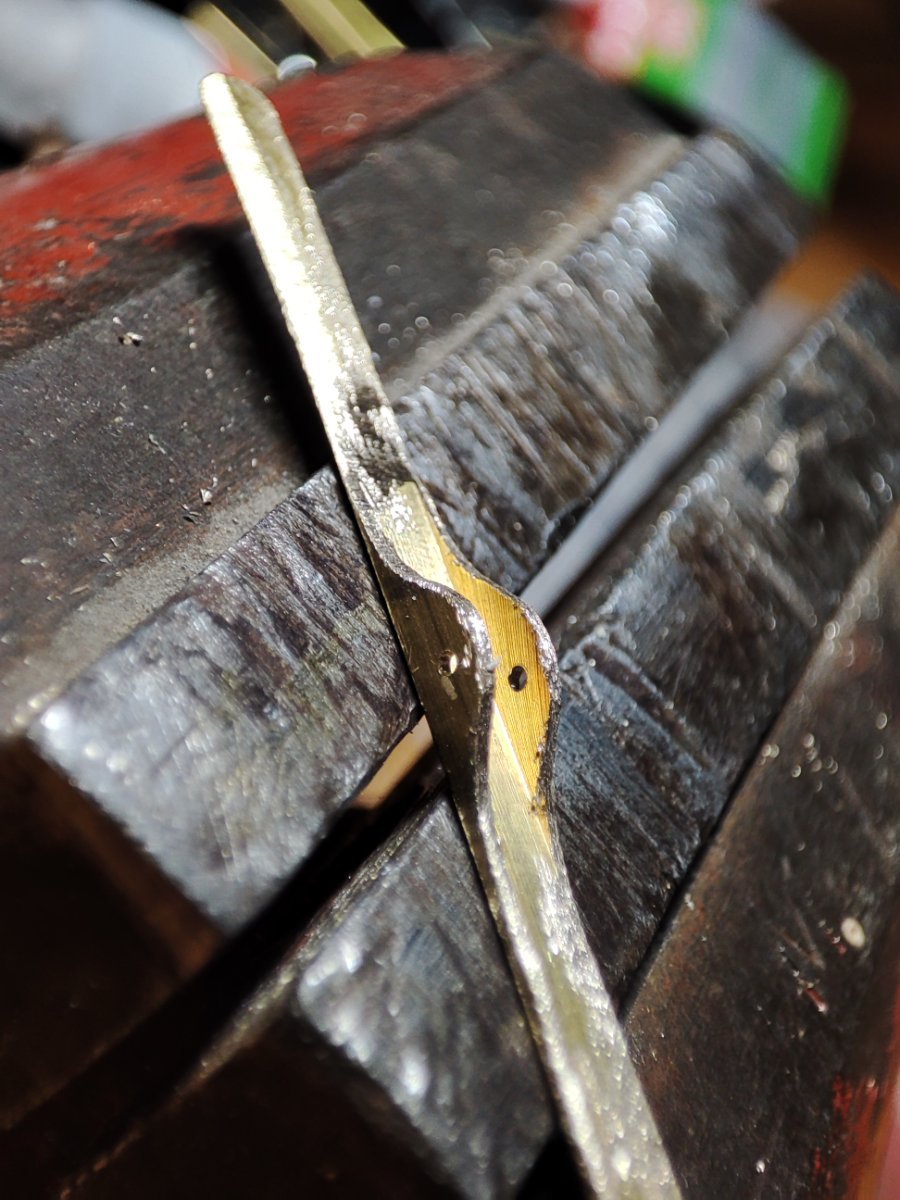
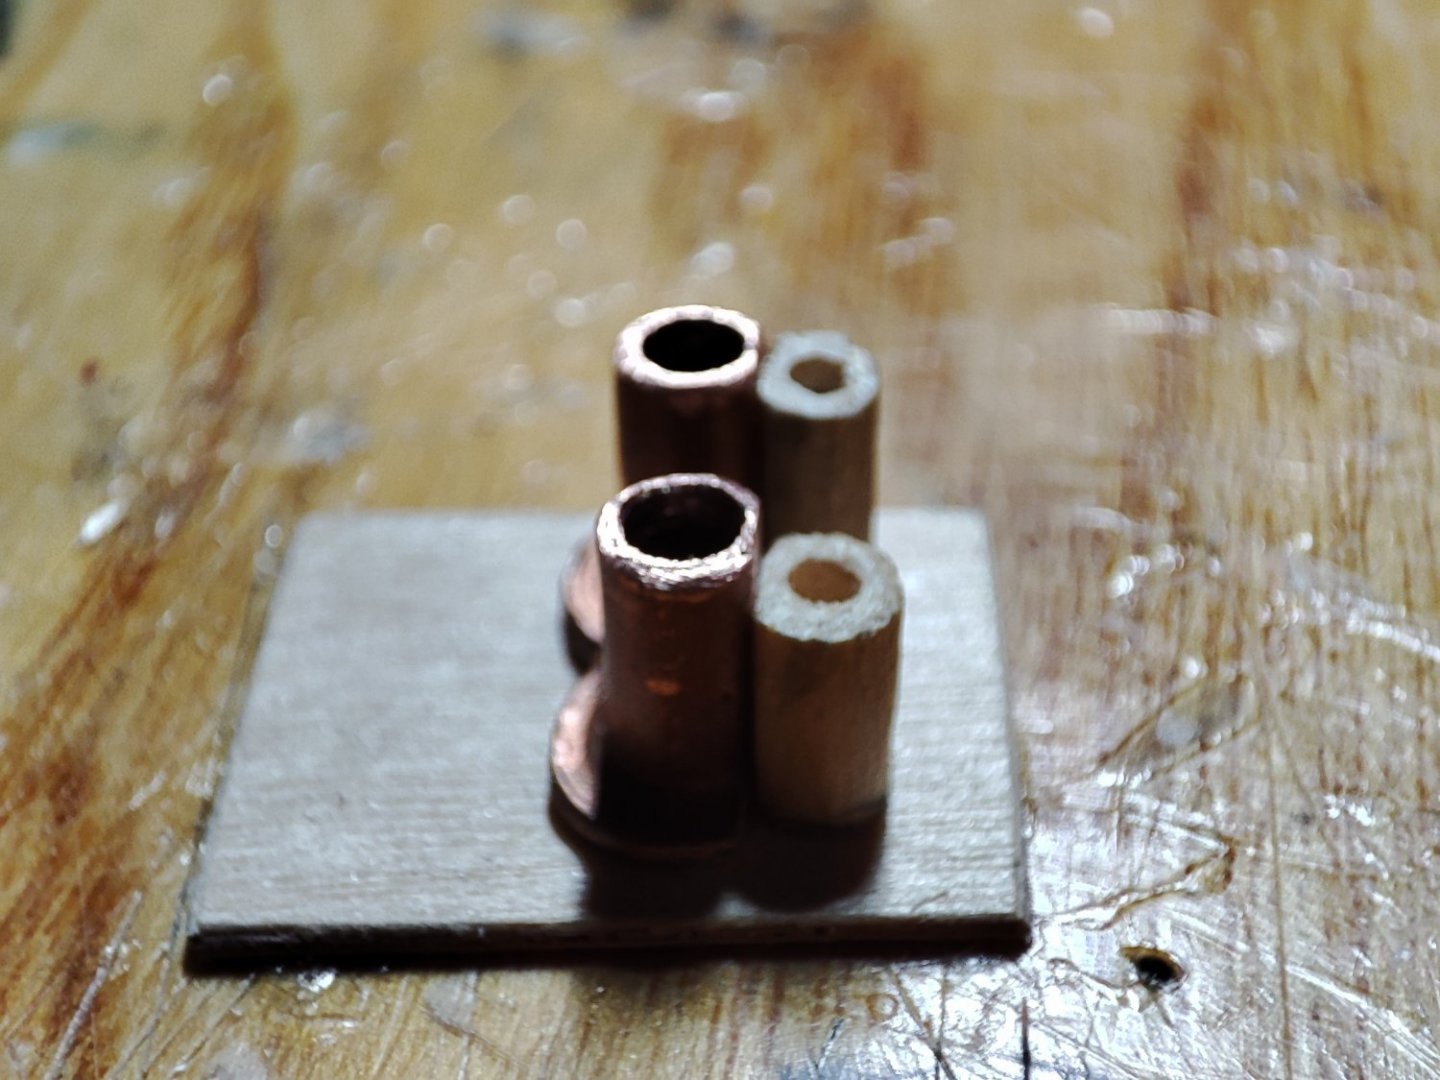
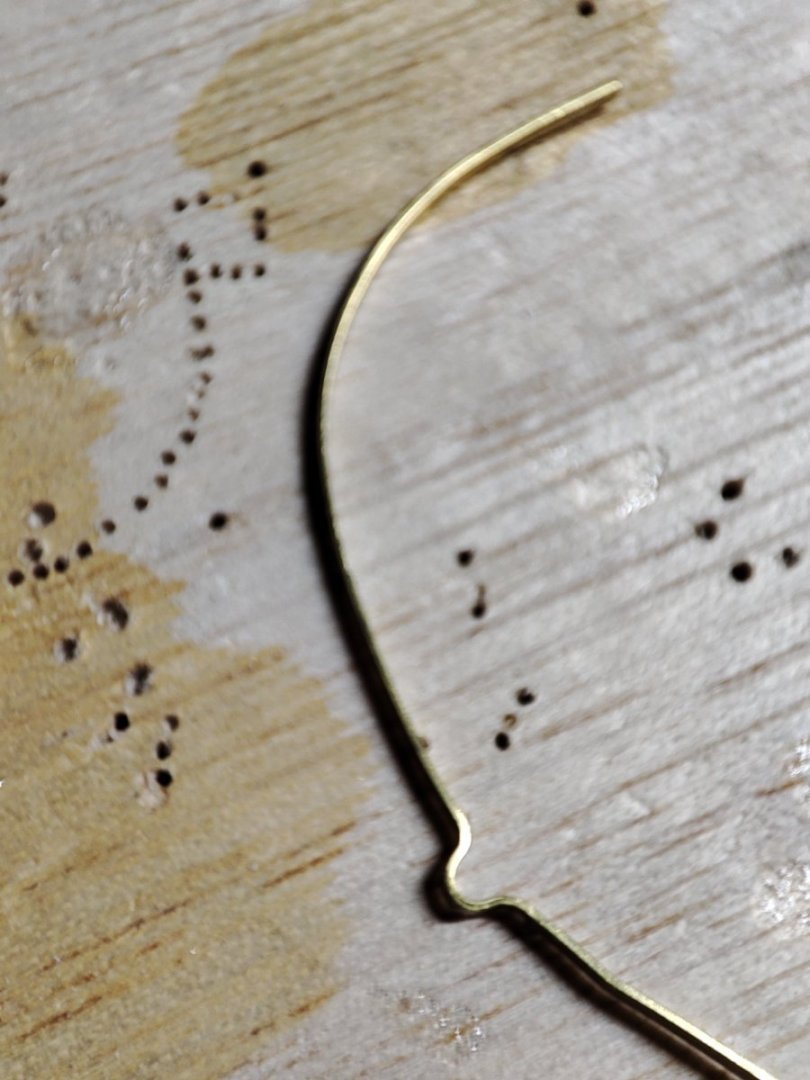
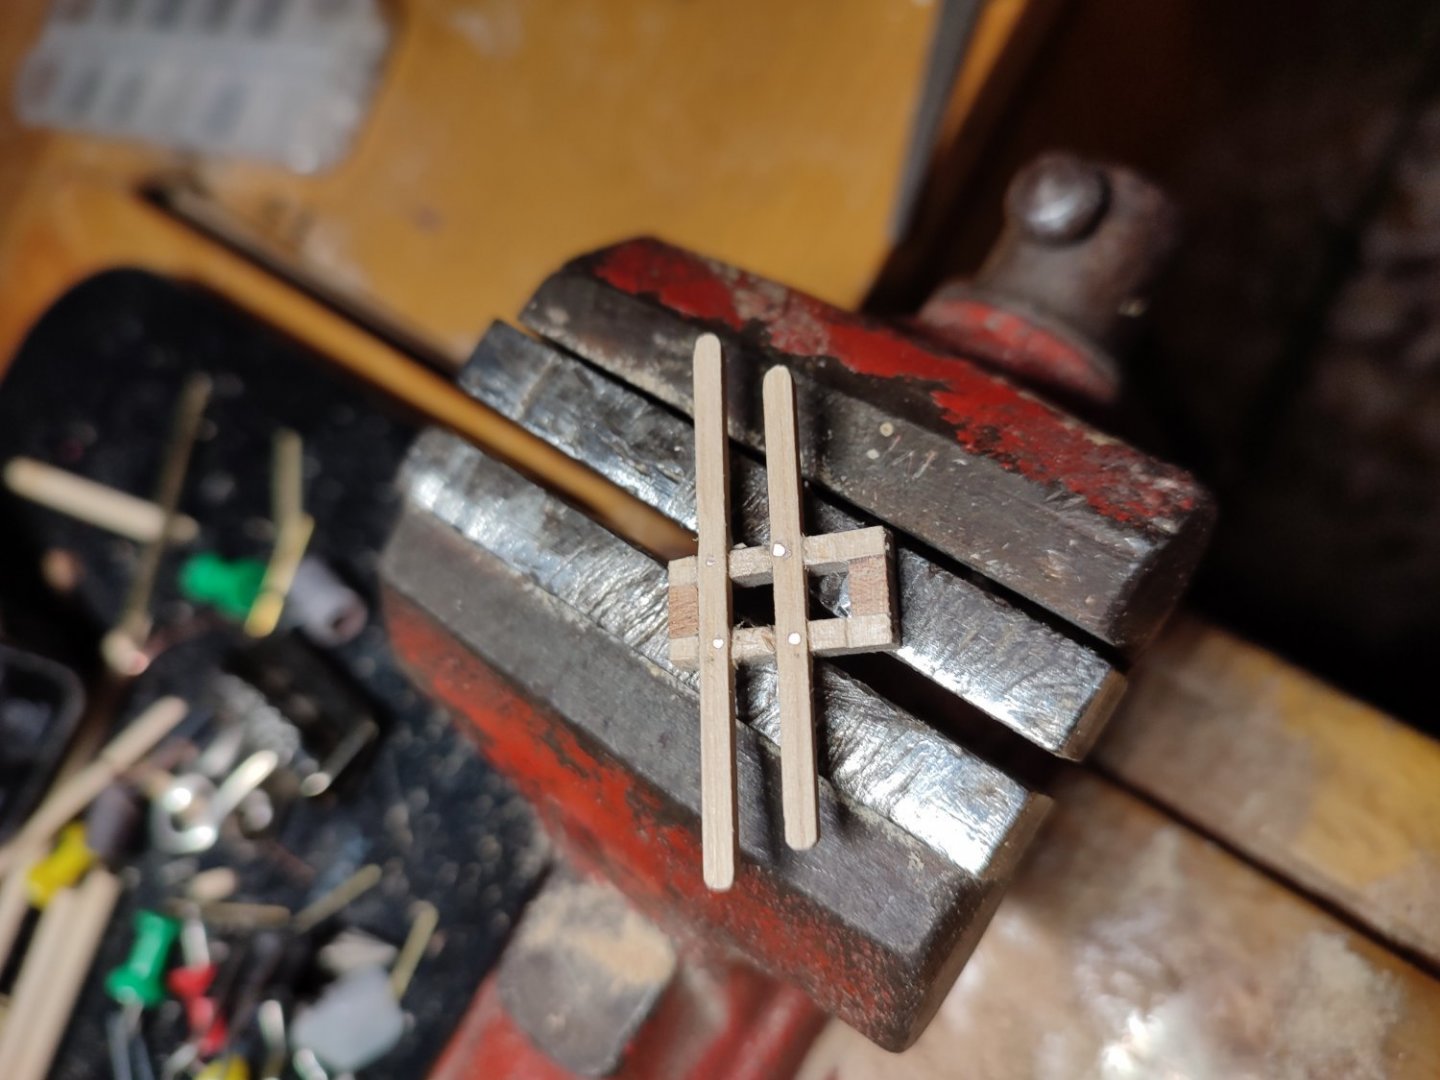
Thanks for comment and fine images Rich, i see those cylinder are a bit different but im glad i depicted overall shape and function. I dont have tools working skills and capacity to go with tremendous details at his scale to make it aby different i Guess. I need to have run doing IT and i had fun thats good enough fór me. Little from yards closure mechanism roupded from one piece. ..I try to keep rounded and Elegant. No hilarious details fór me AS leathered inside etc...i like IT this way enough...:) Simple opening Works like a charm. 3 done 7 more to go.... Exhausting


-
Thank you Rob. oh ok, I relied on Michael Mjelde drawing in book. I will move it out sure. always better to compare photos with pics thanks V.
-
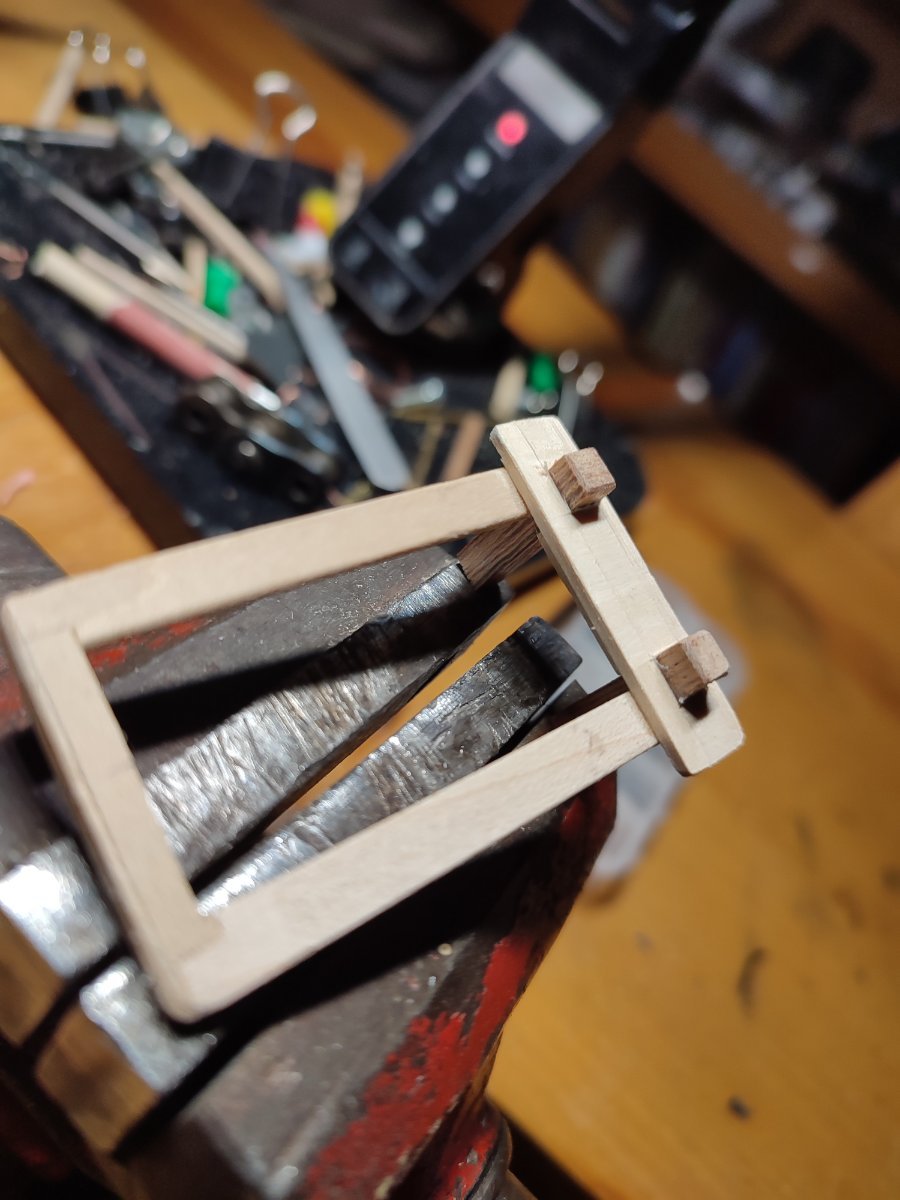
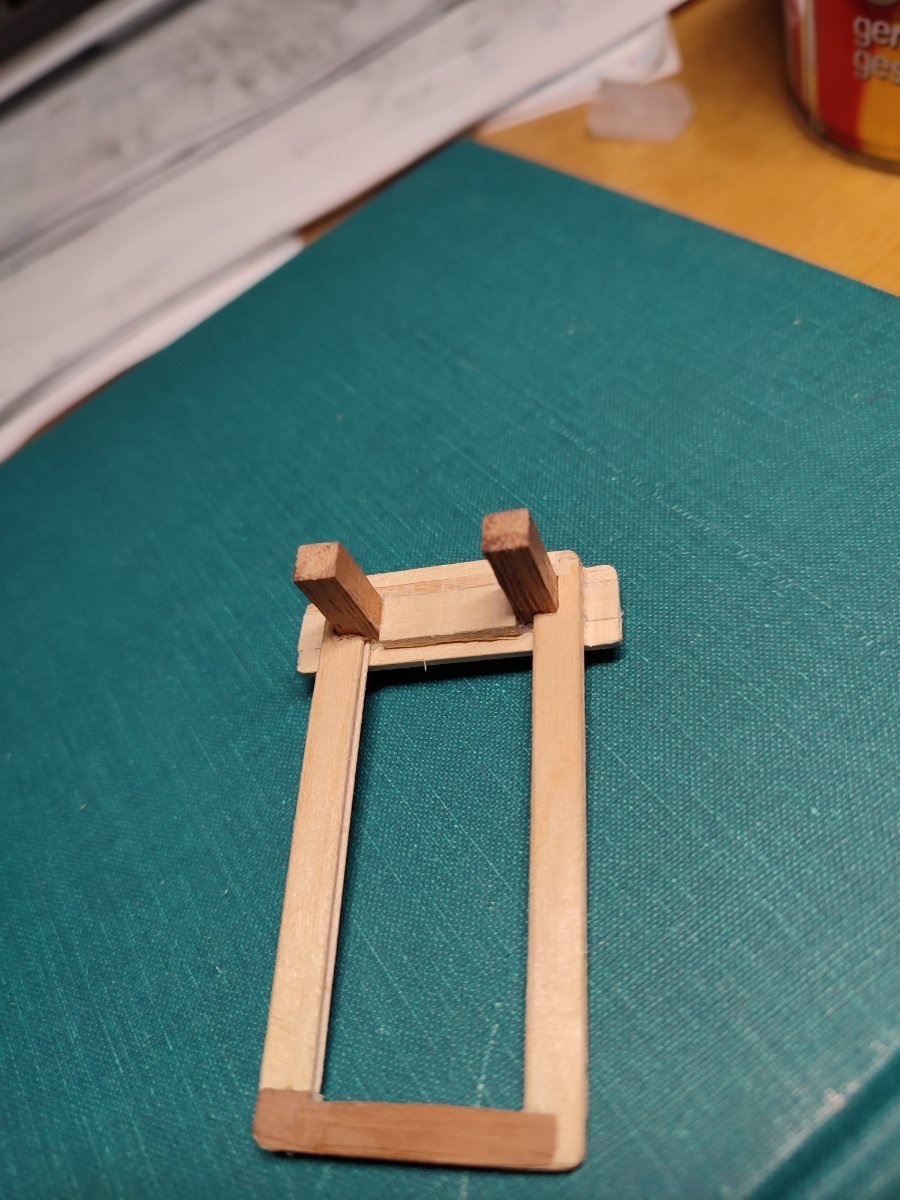
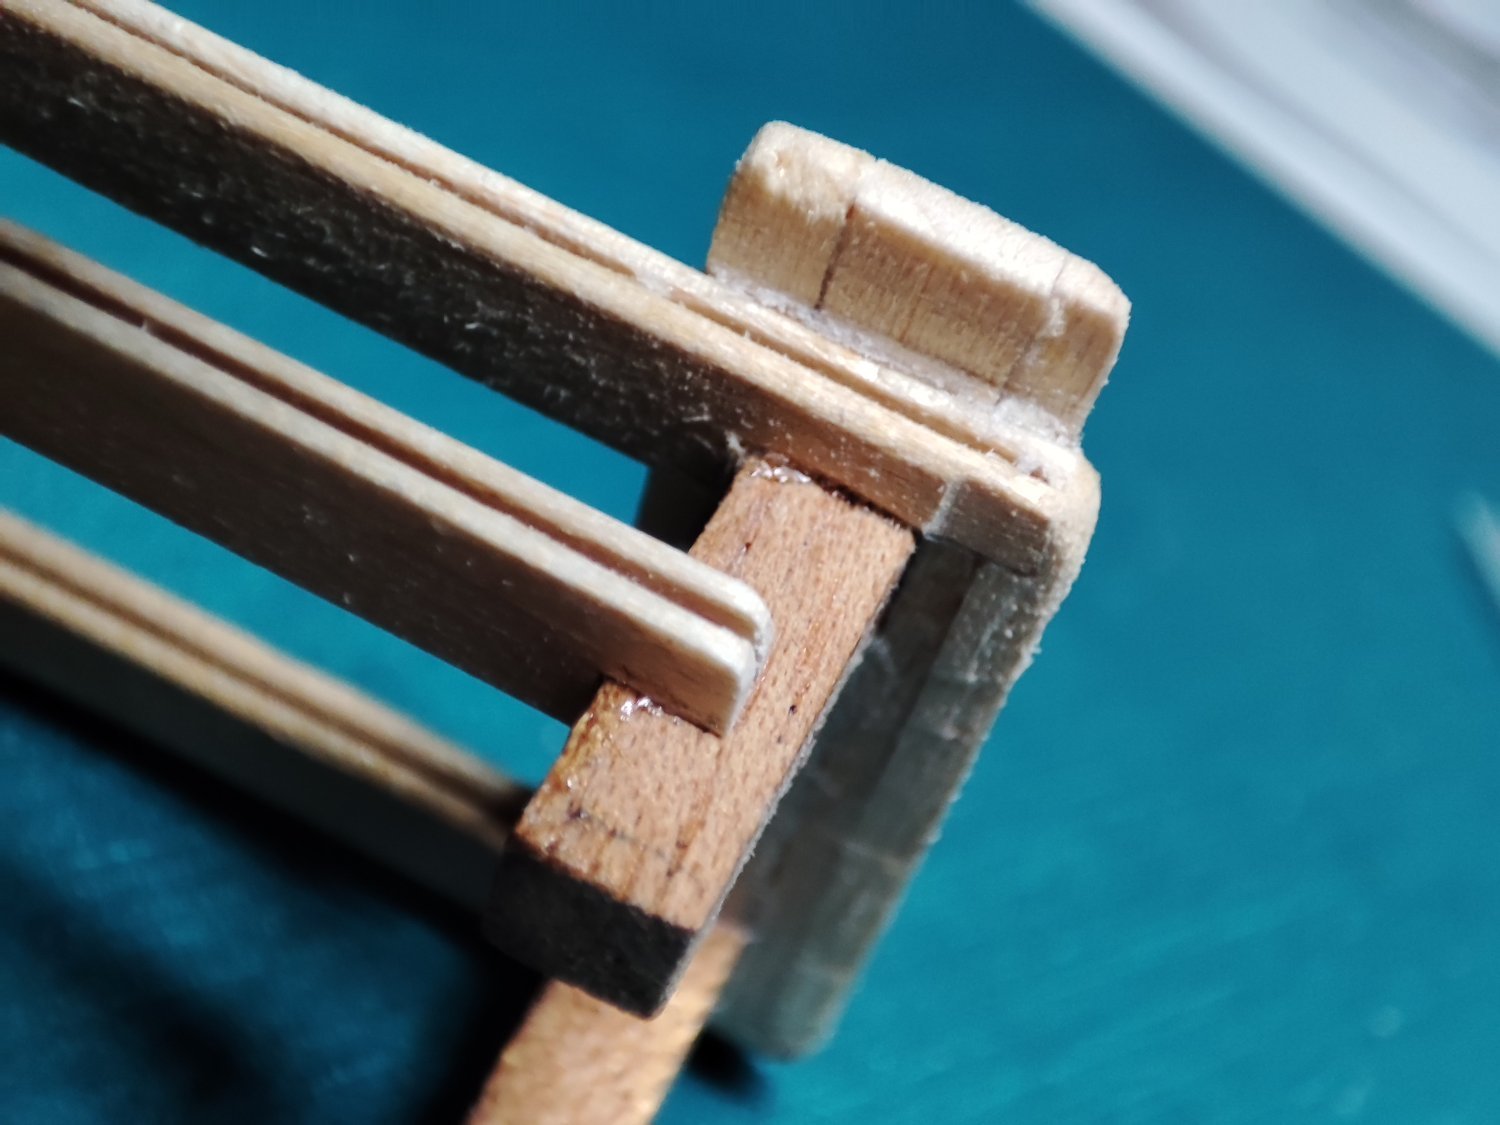
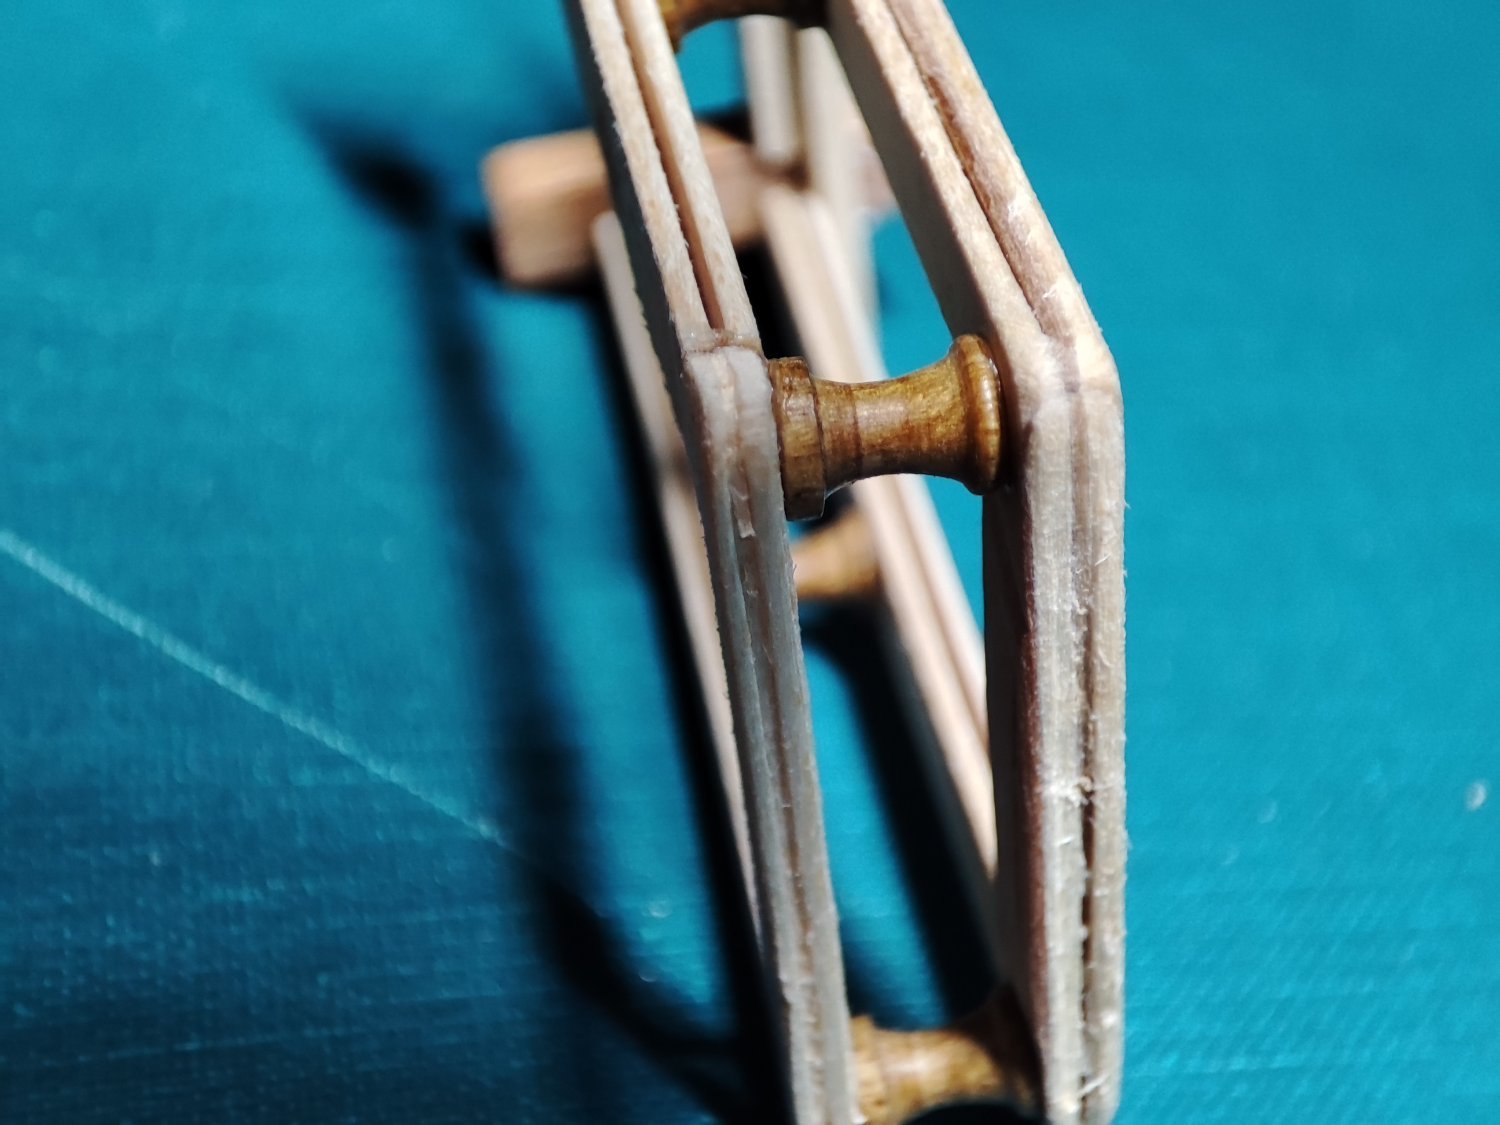
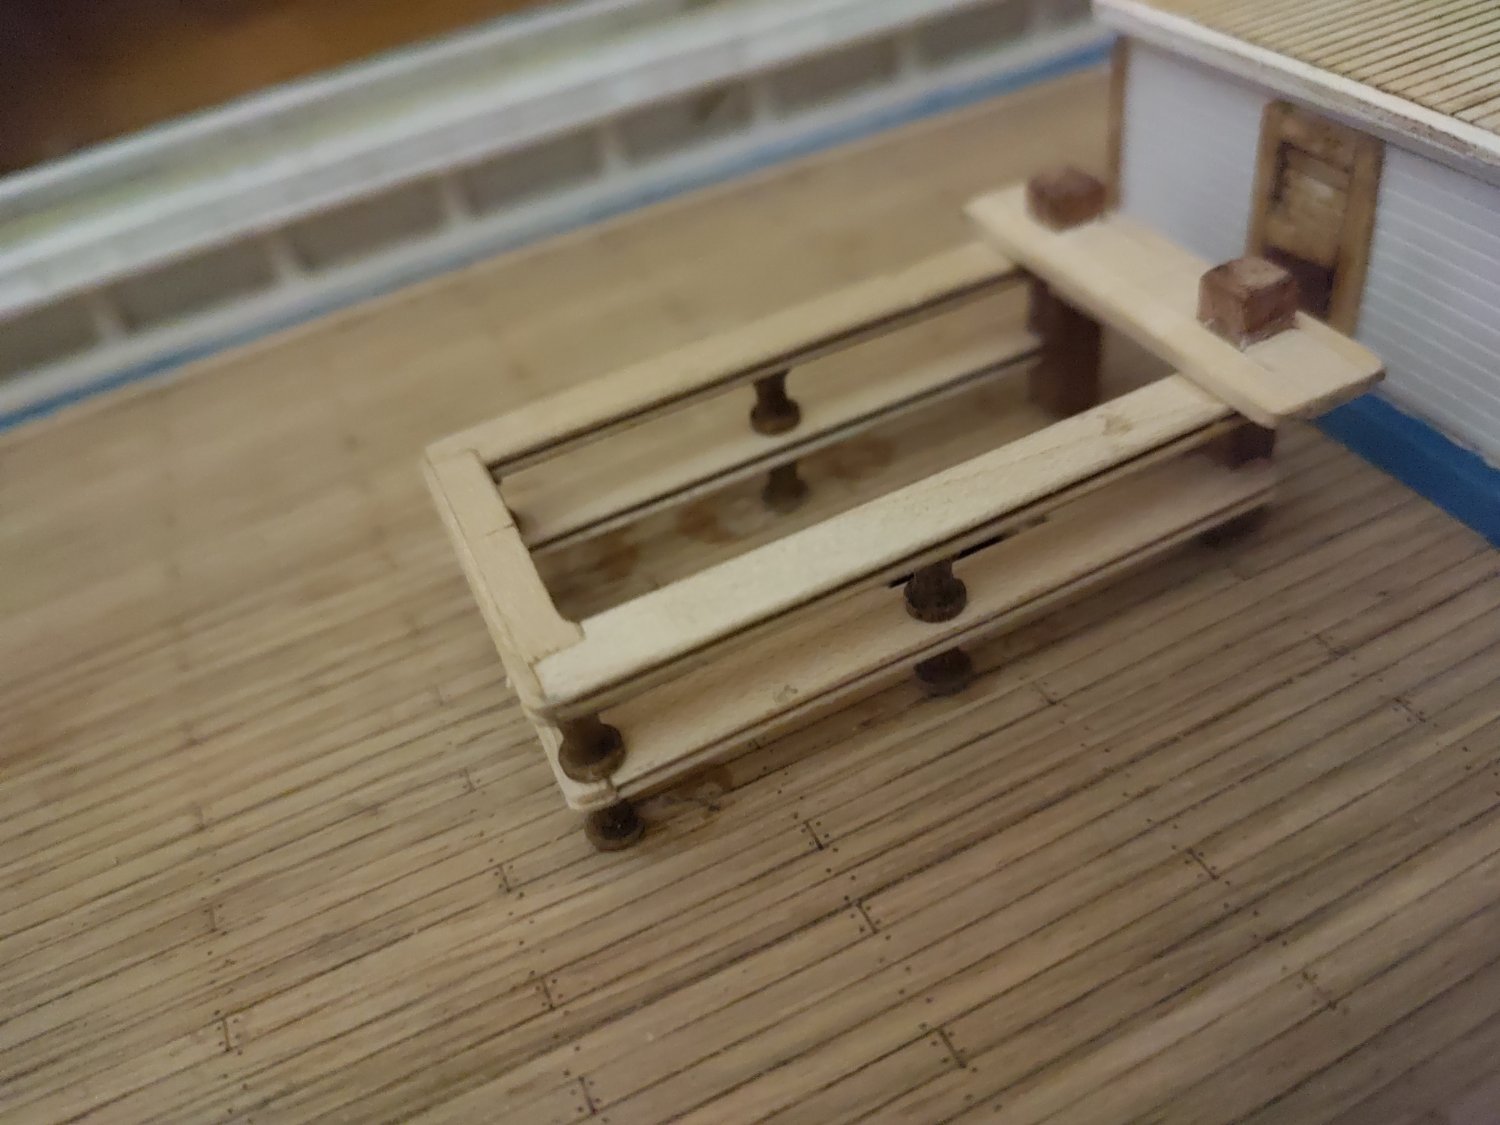
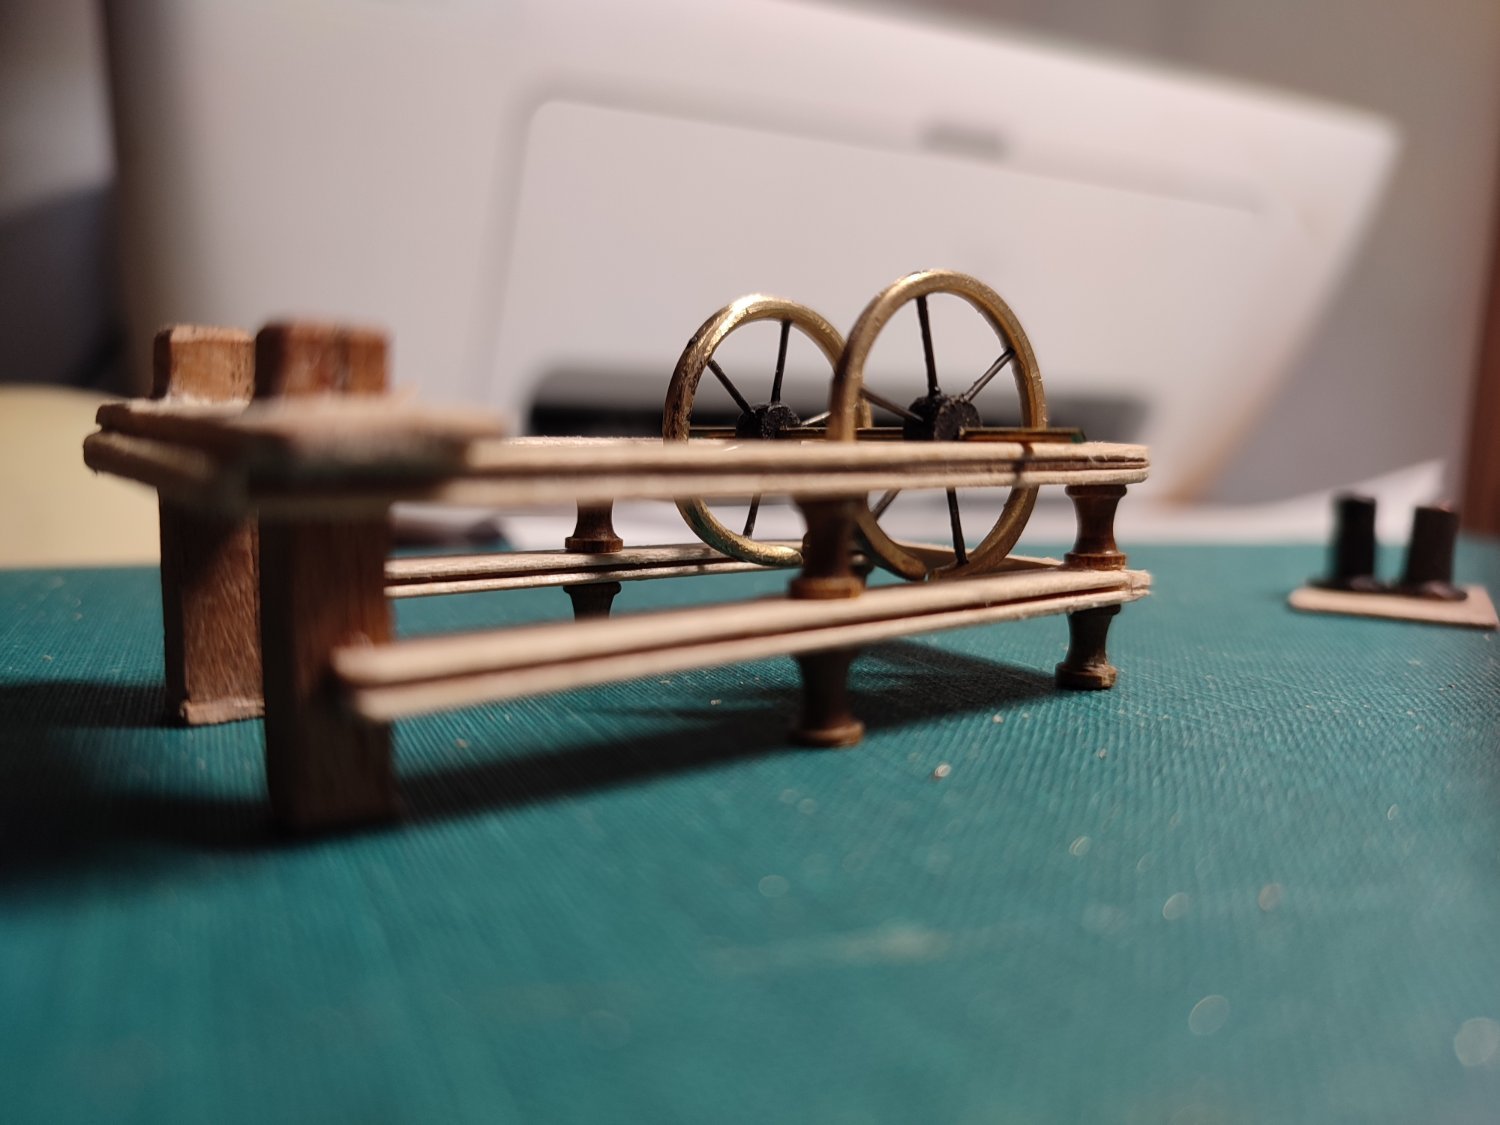
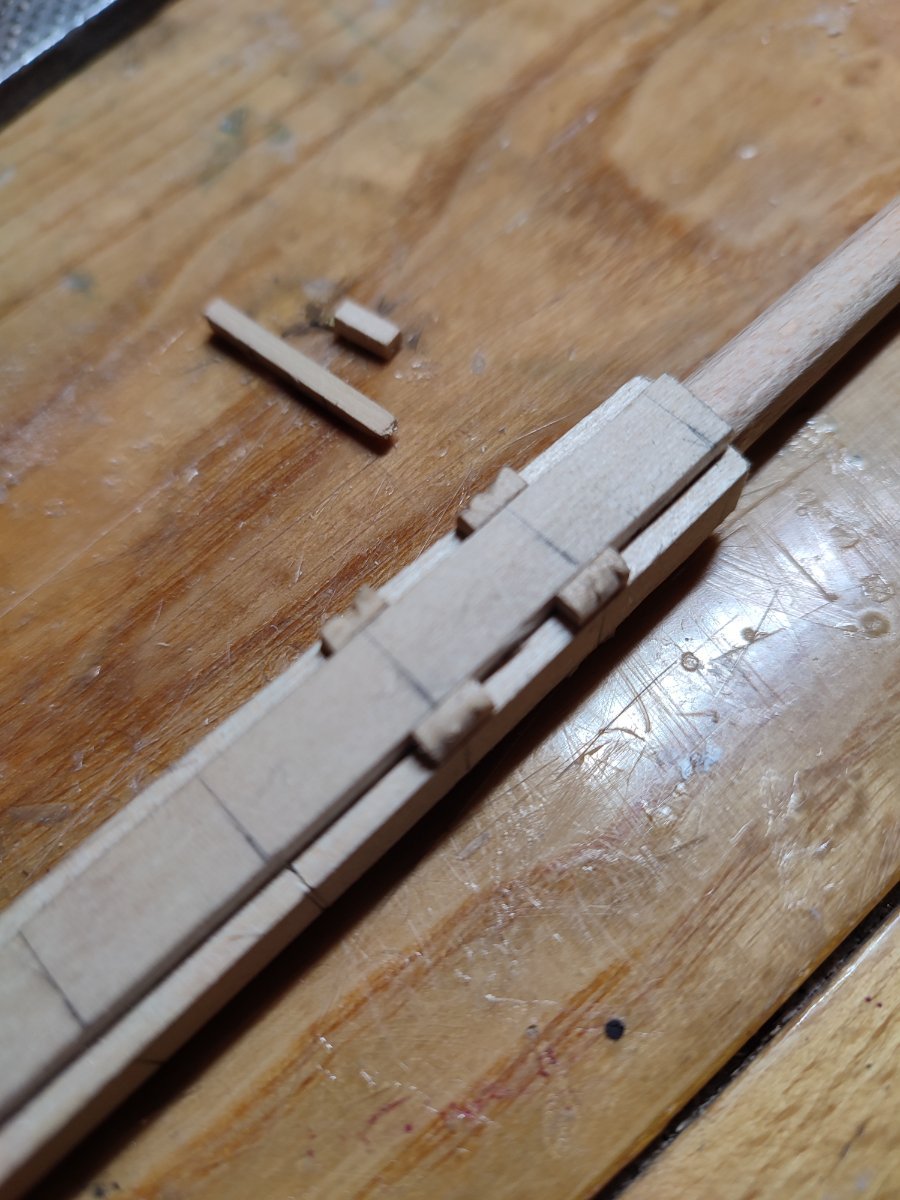
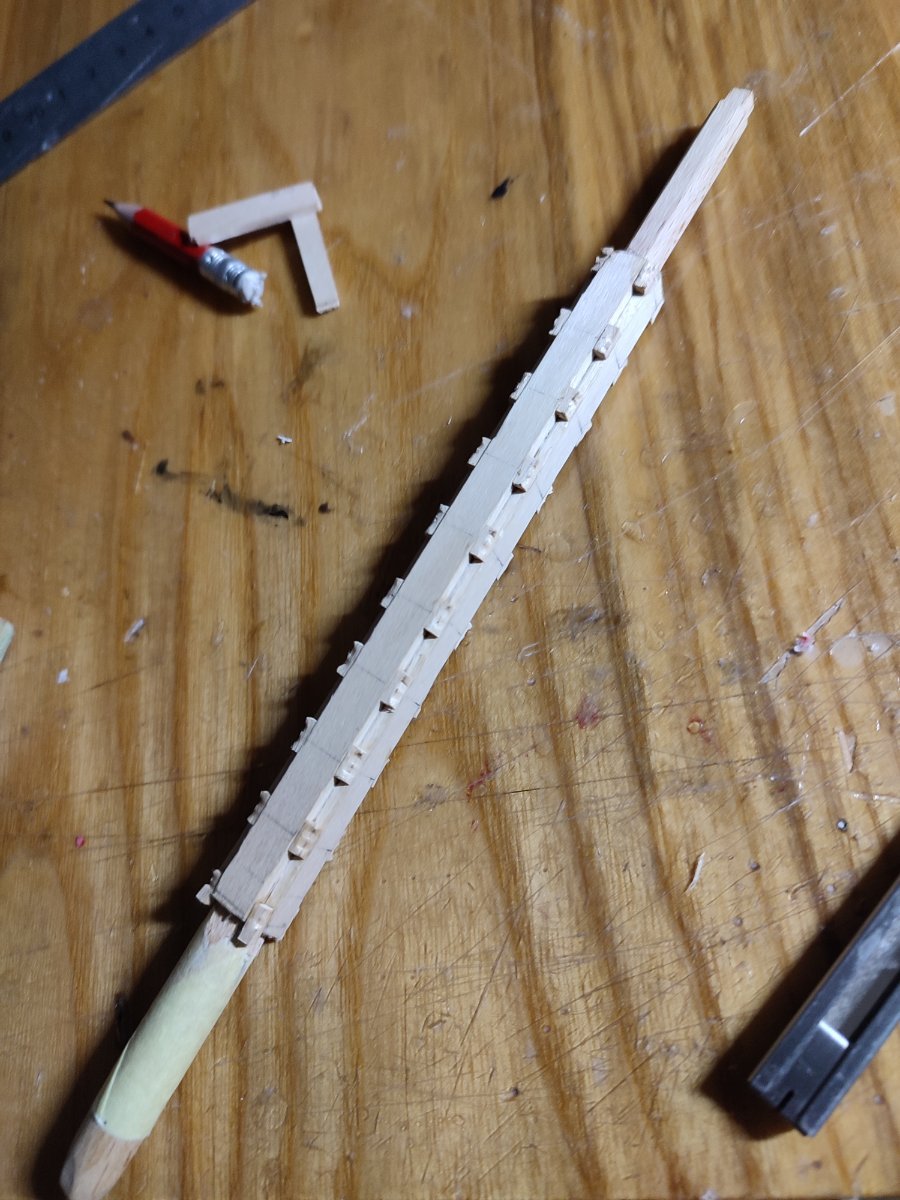
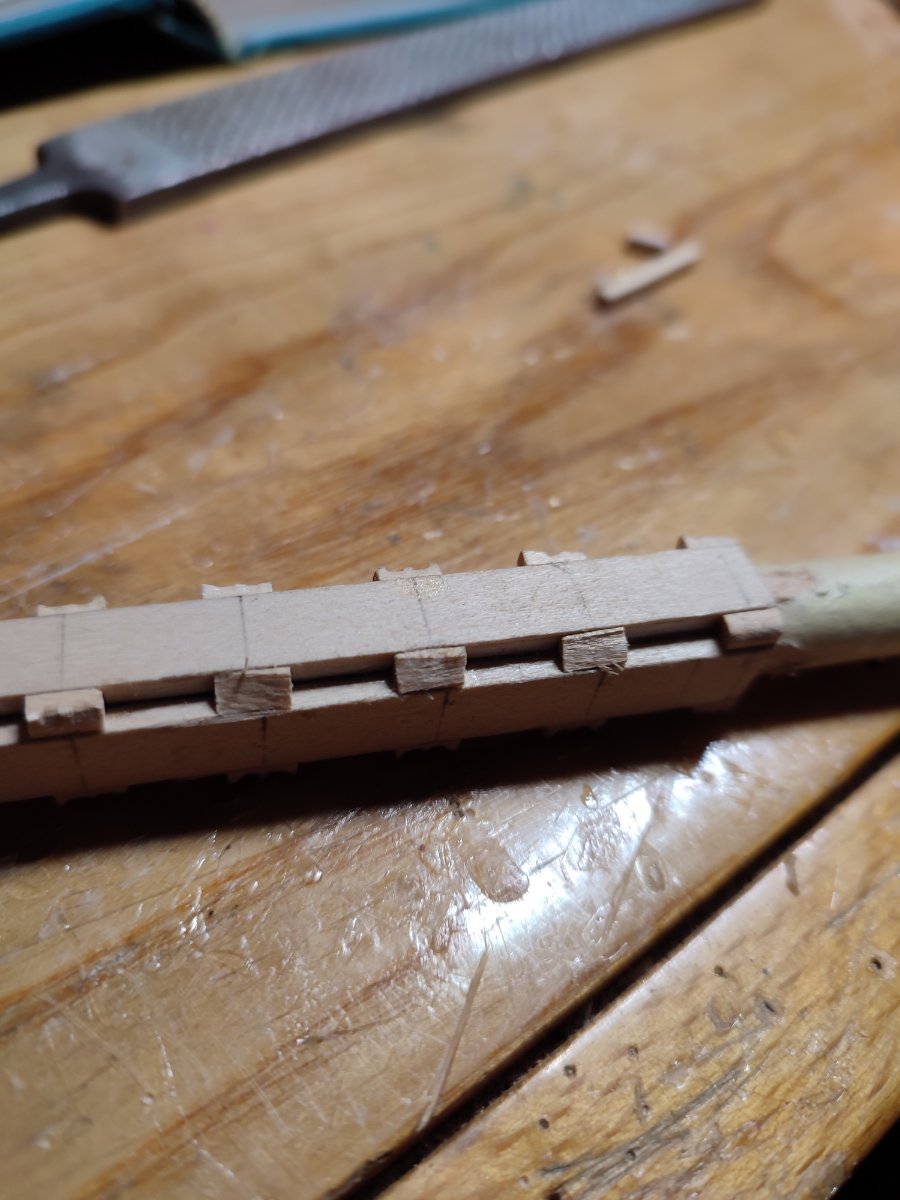
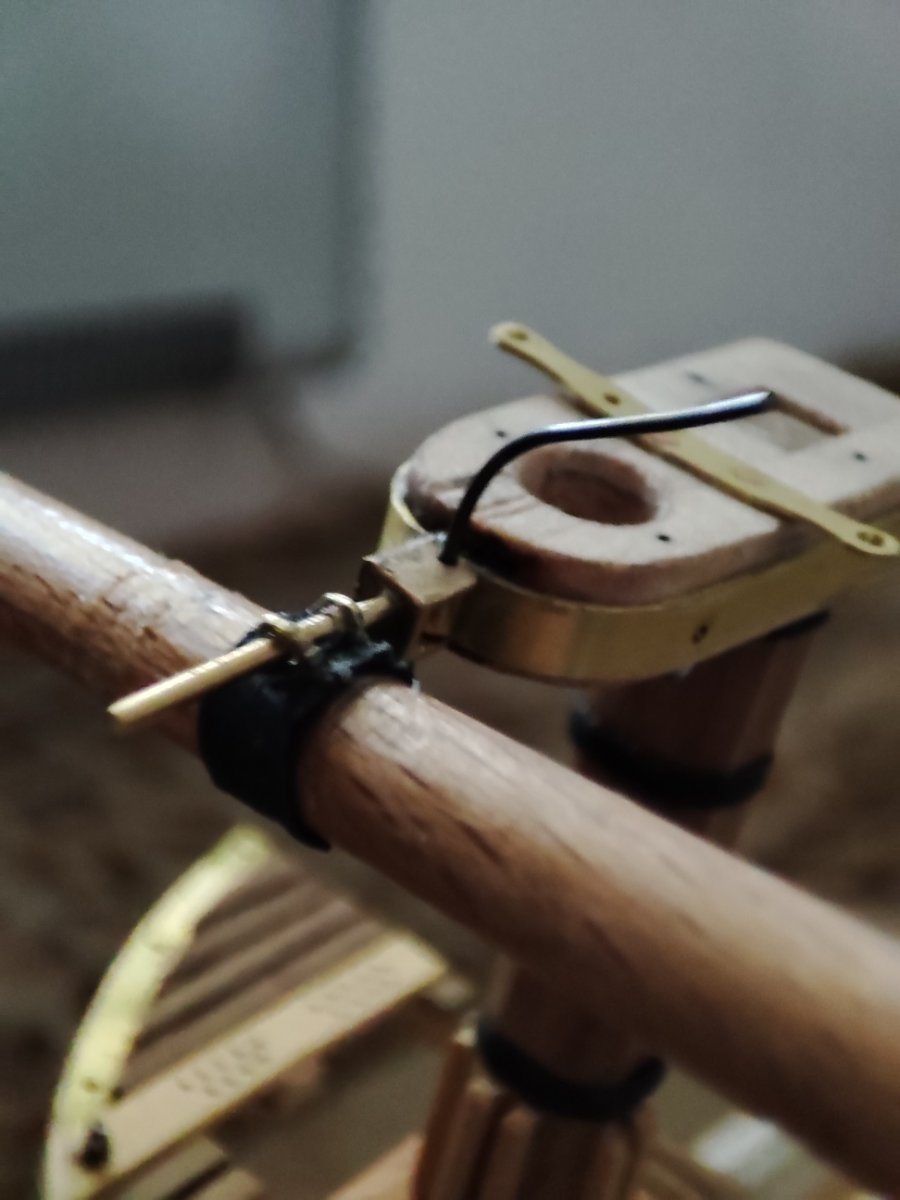
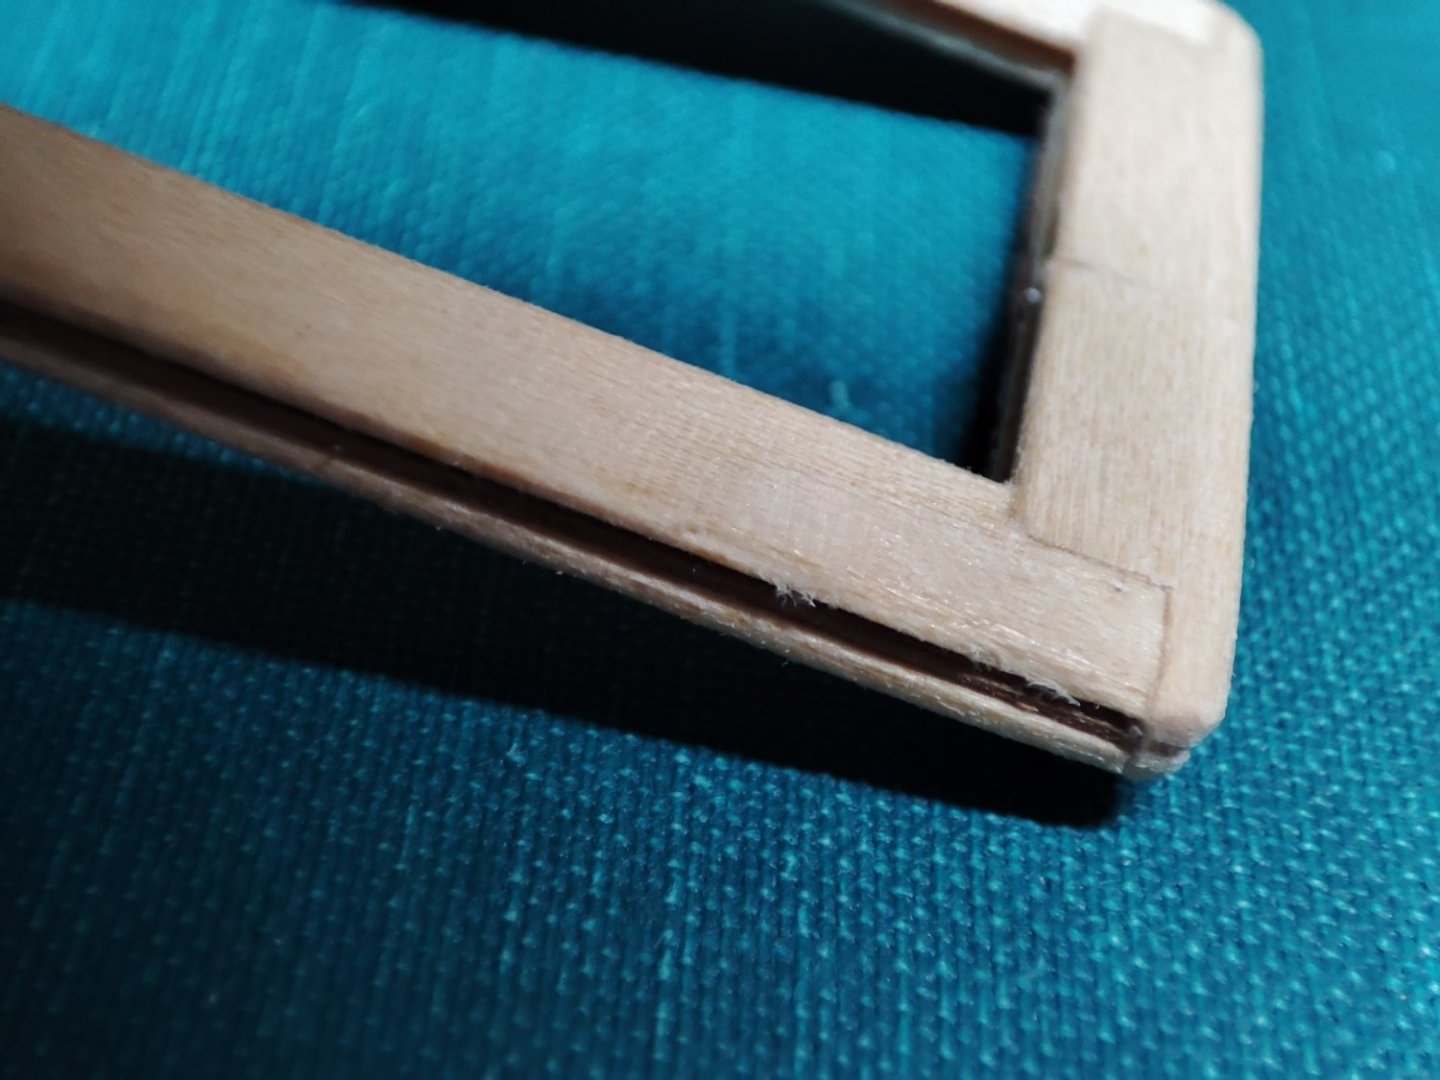
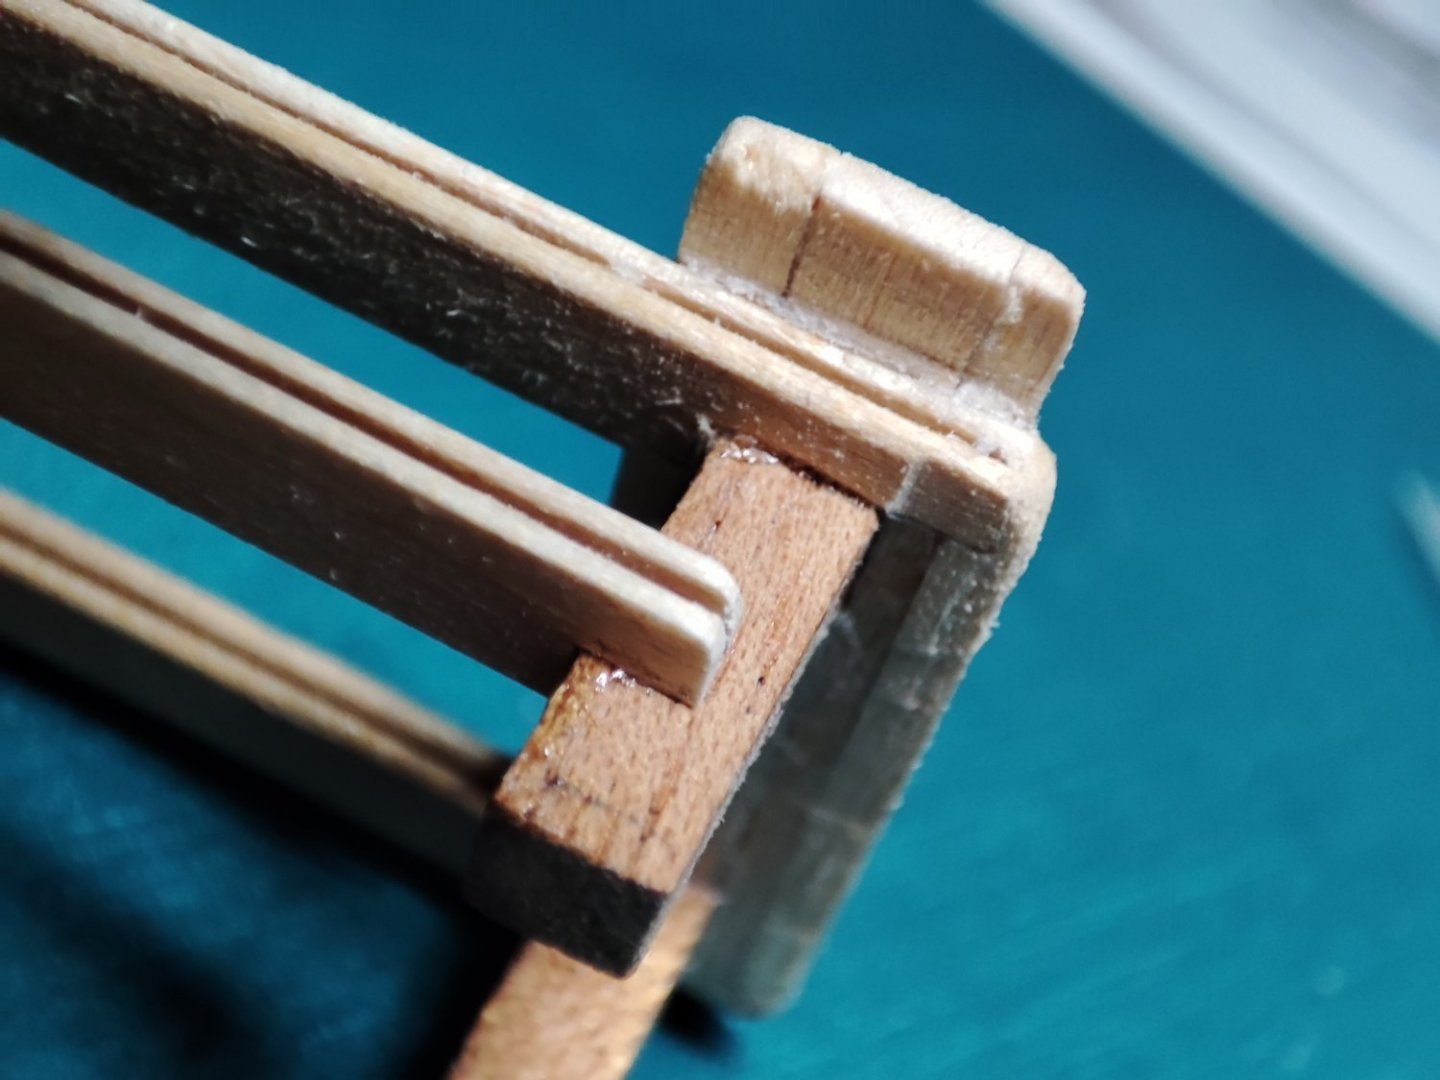
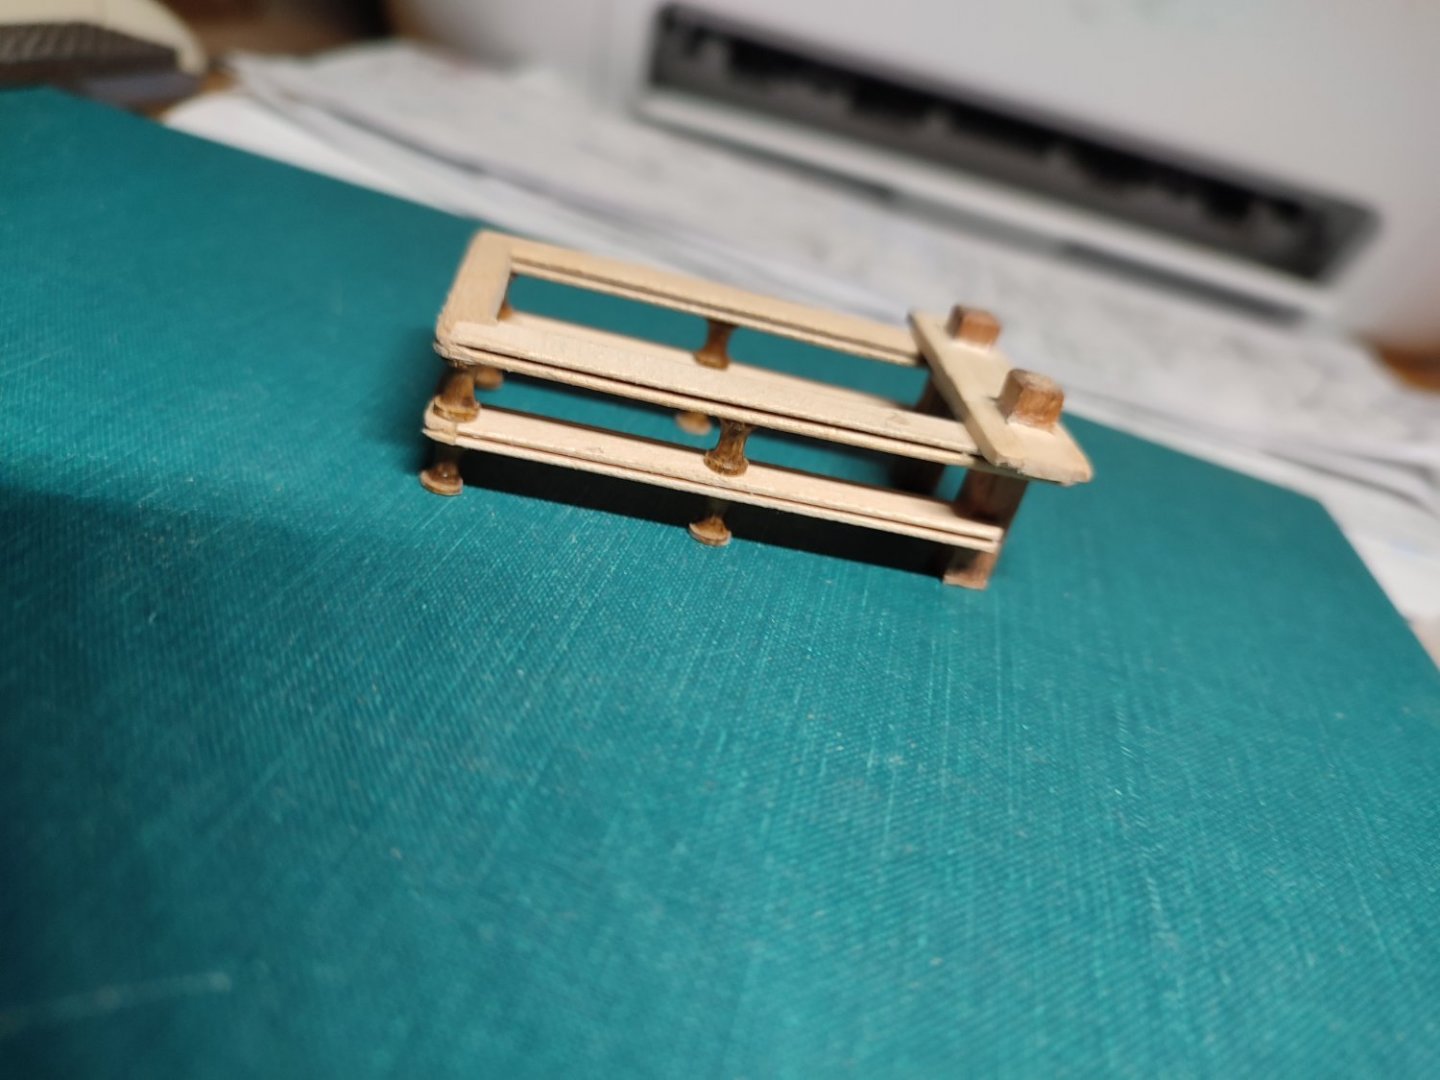
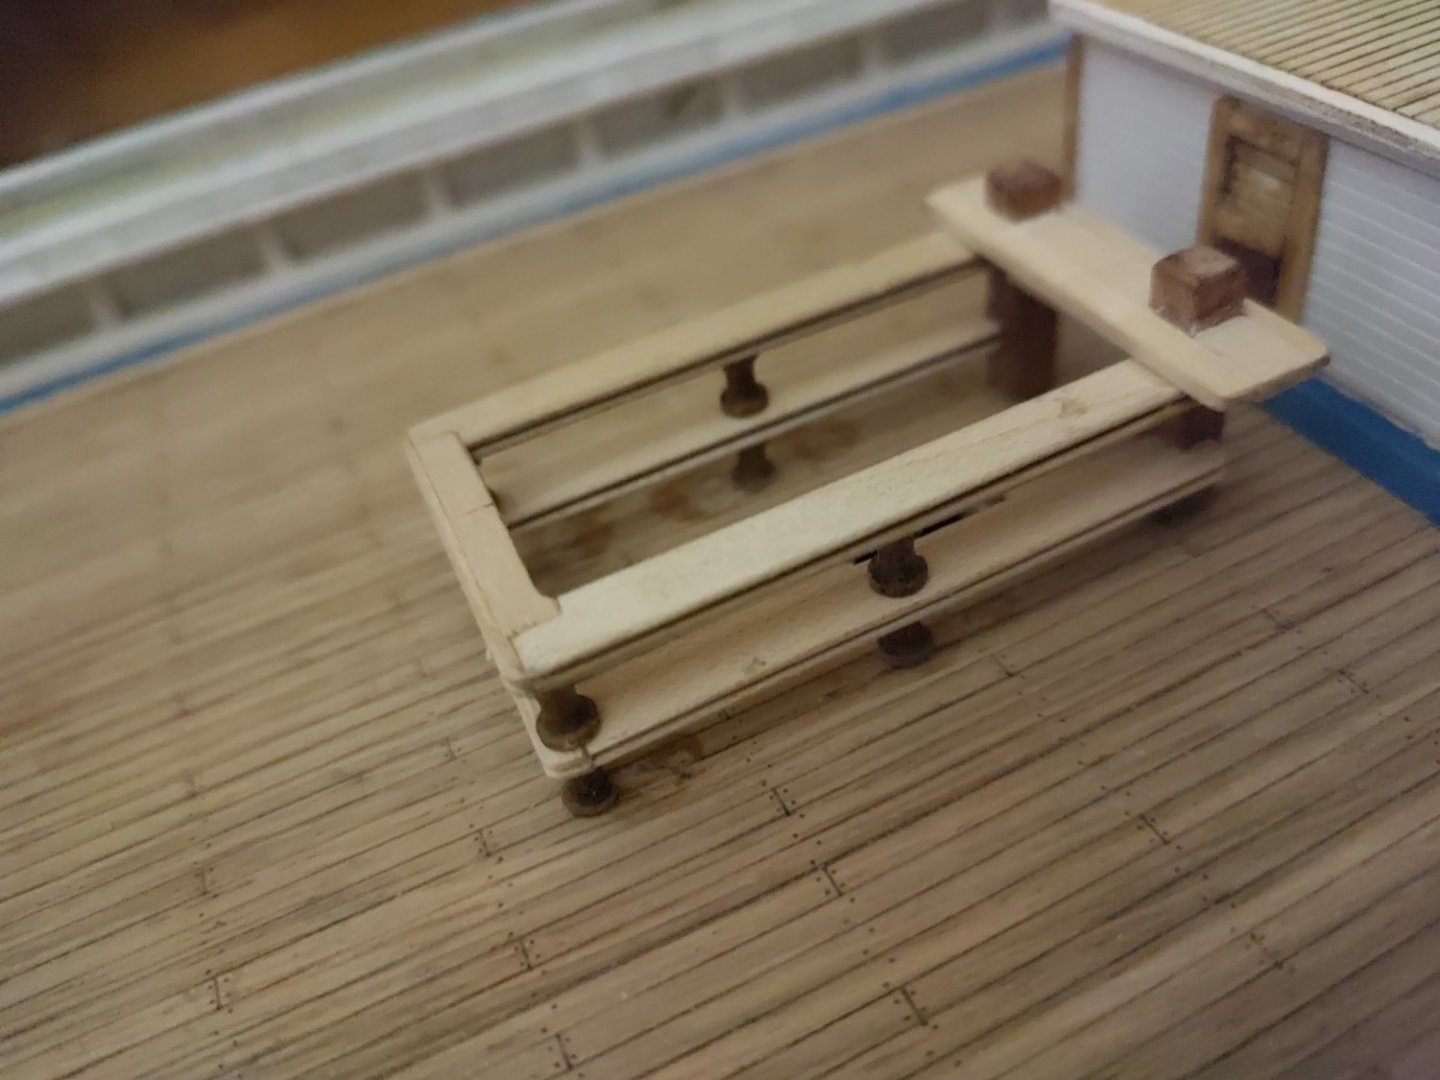
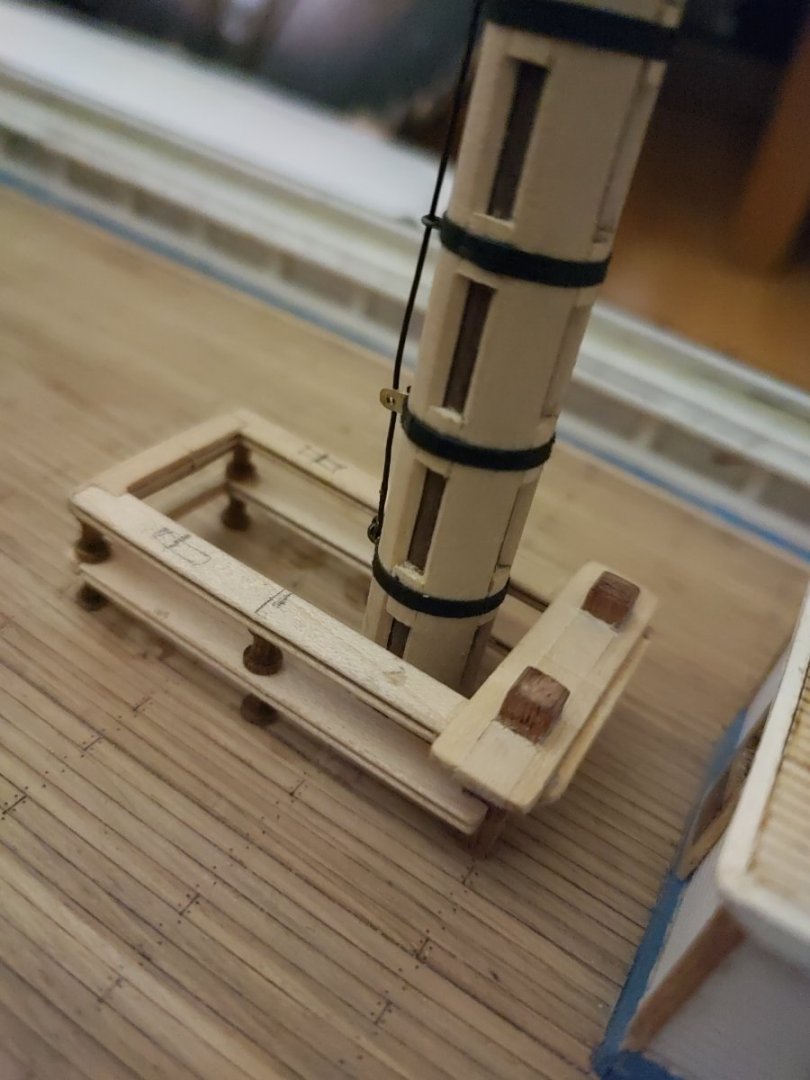
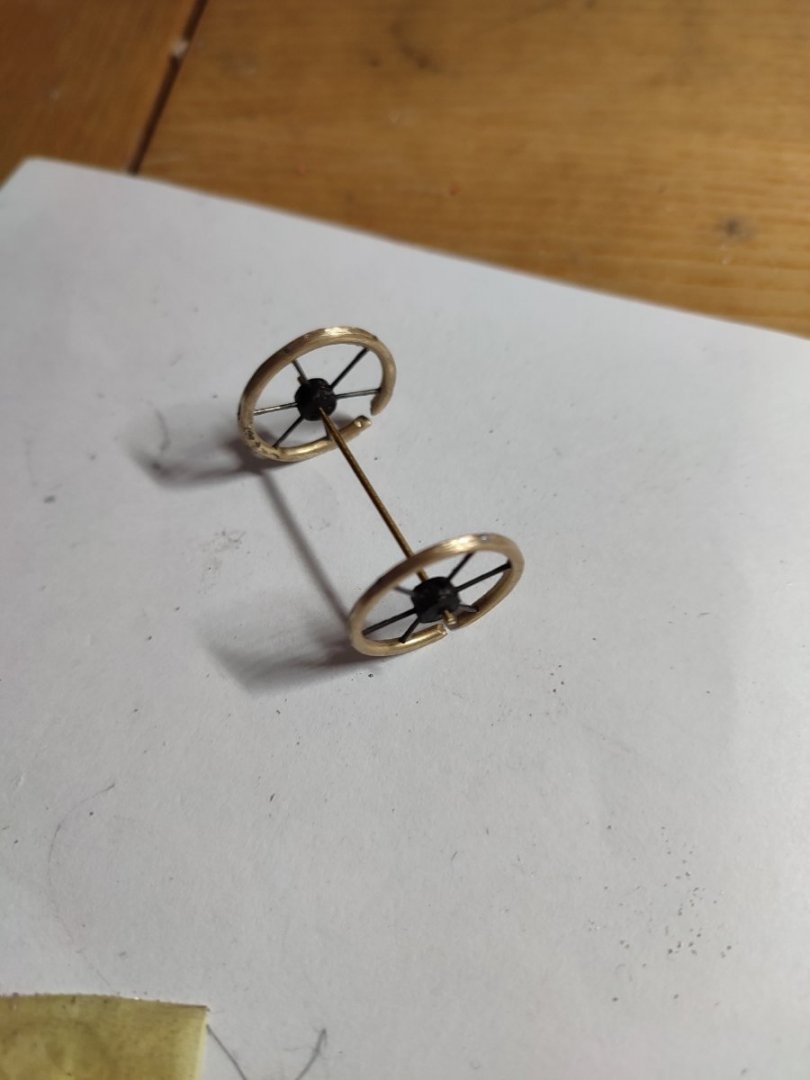
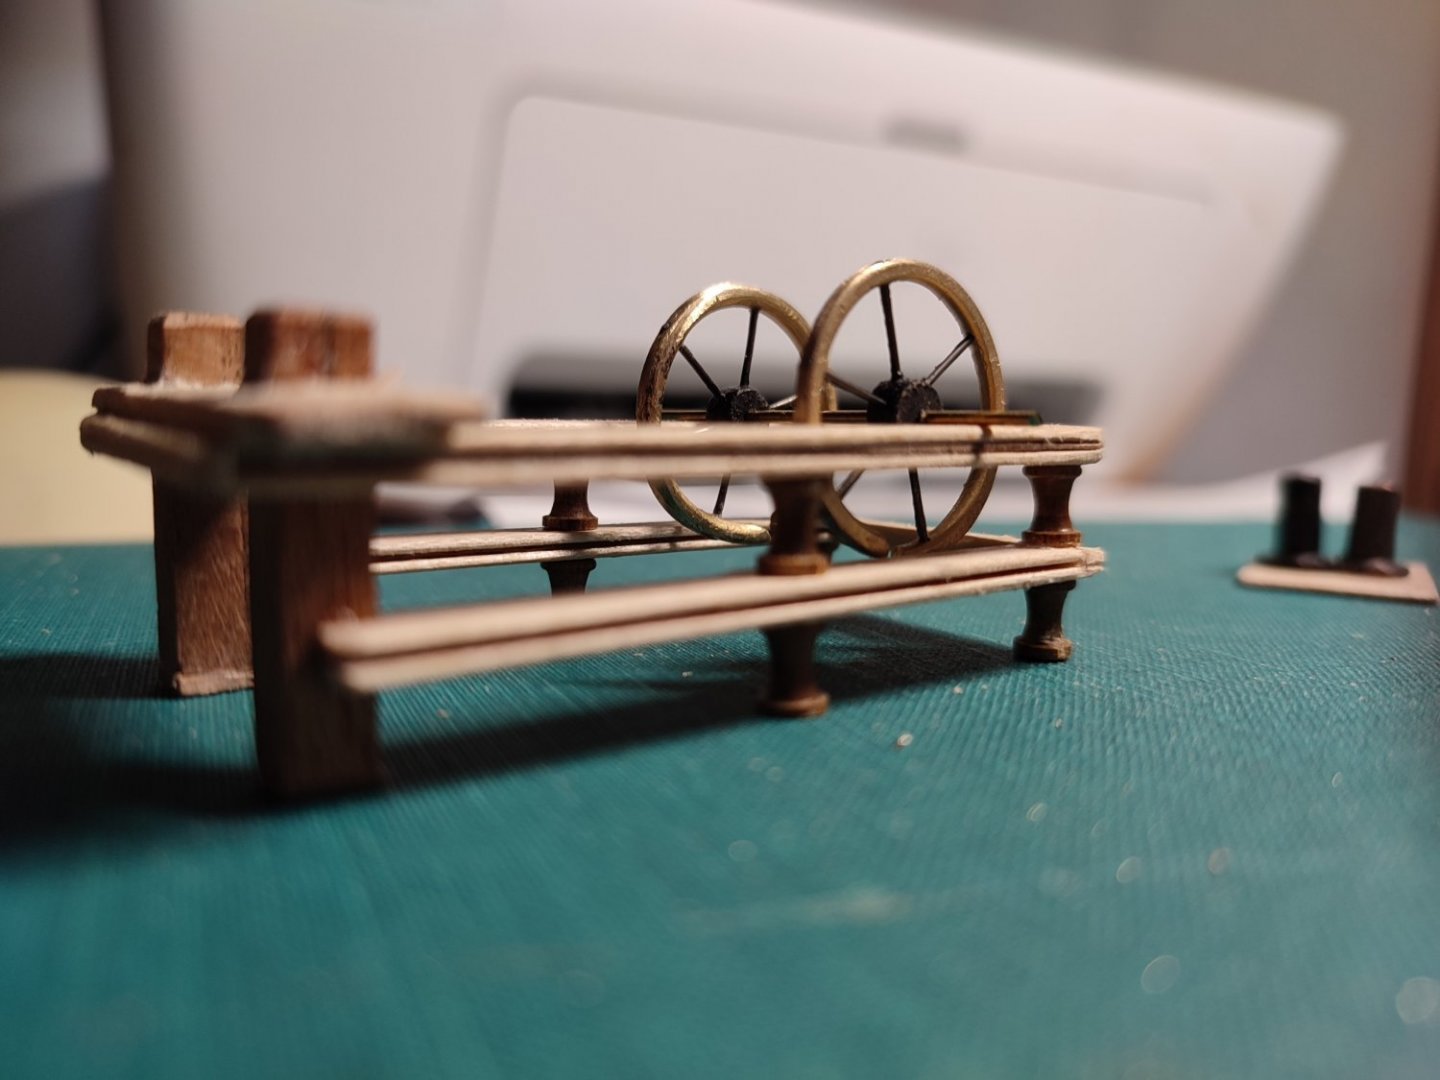
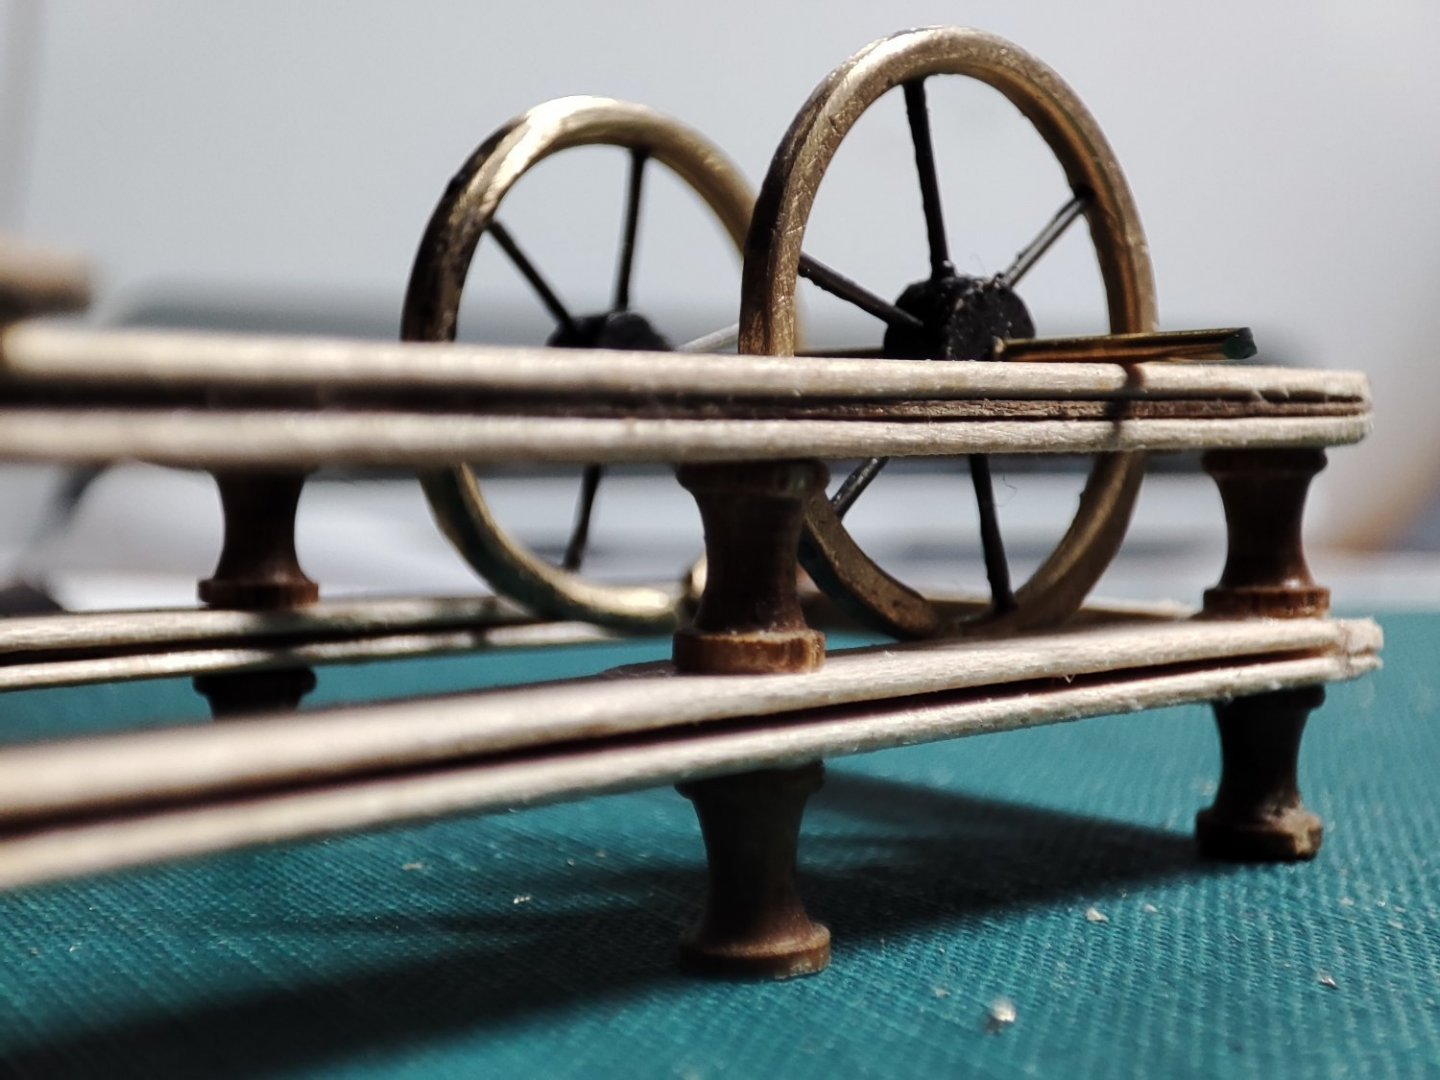
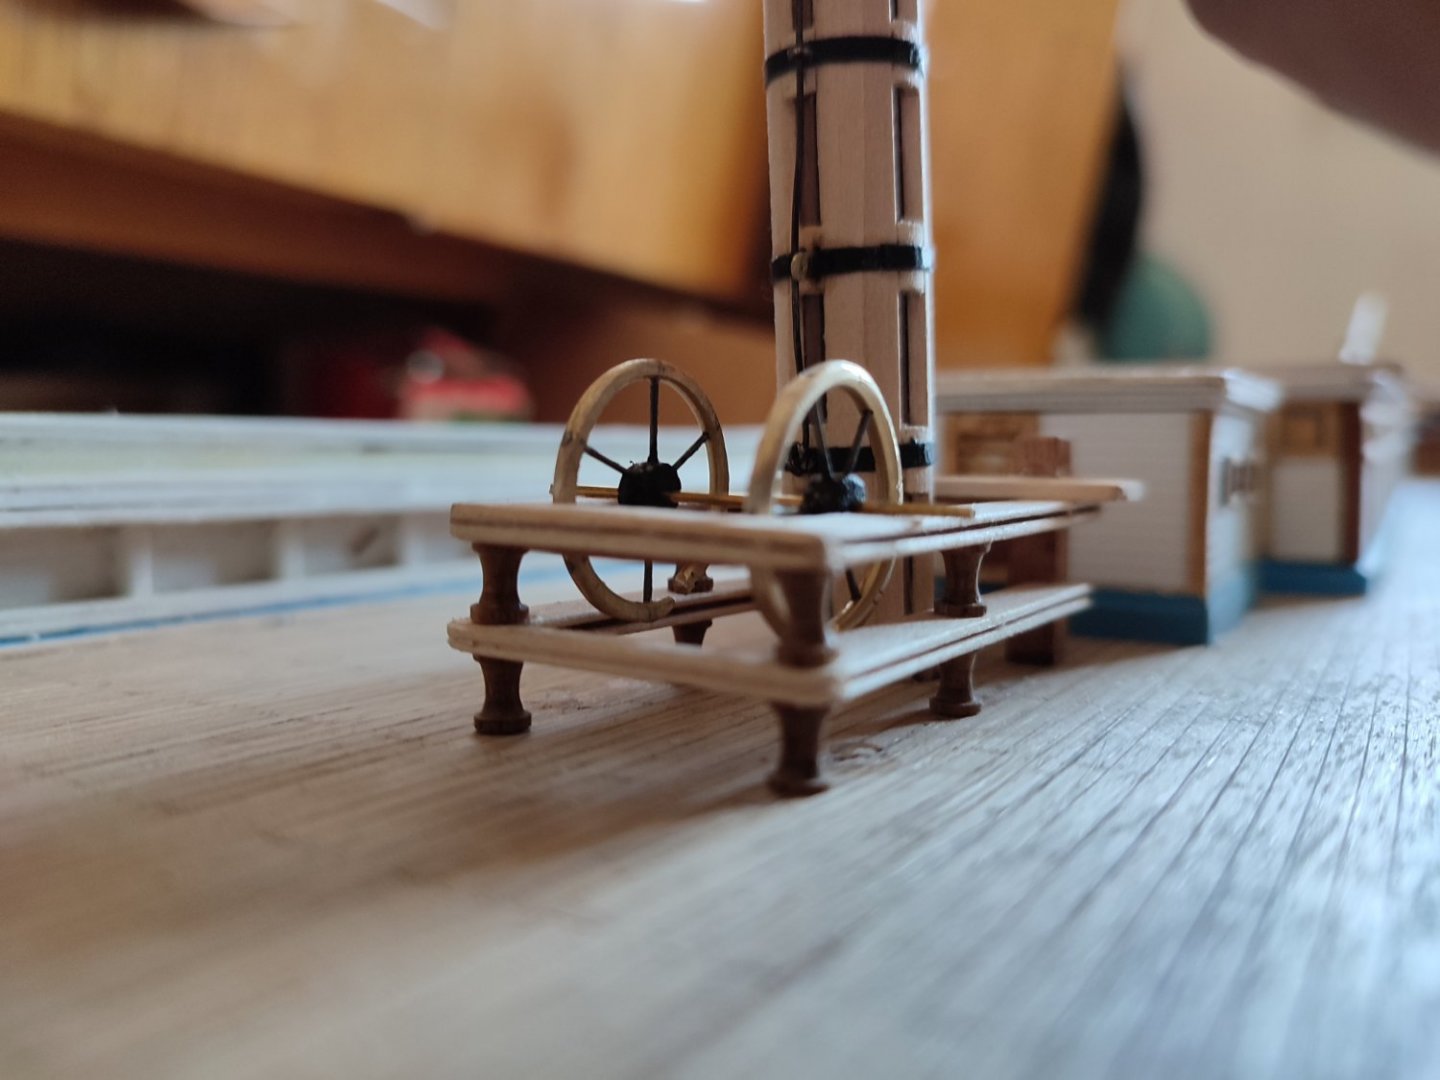
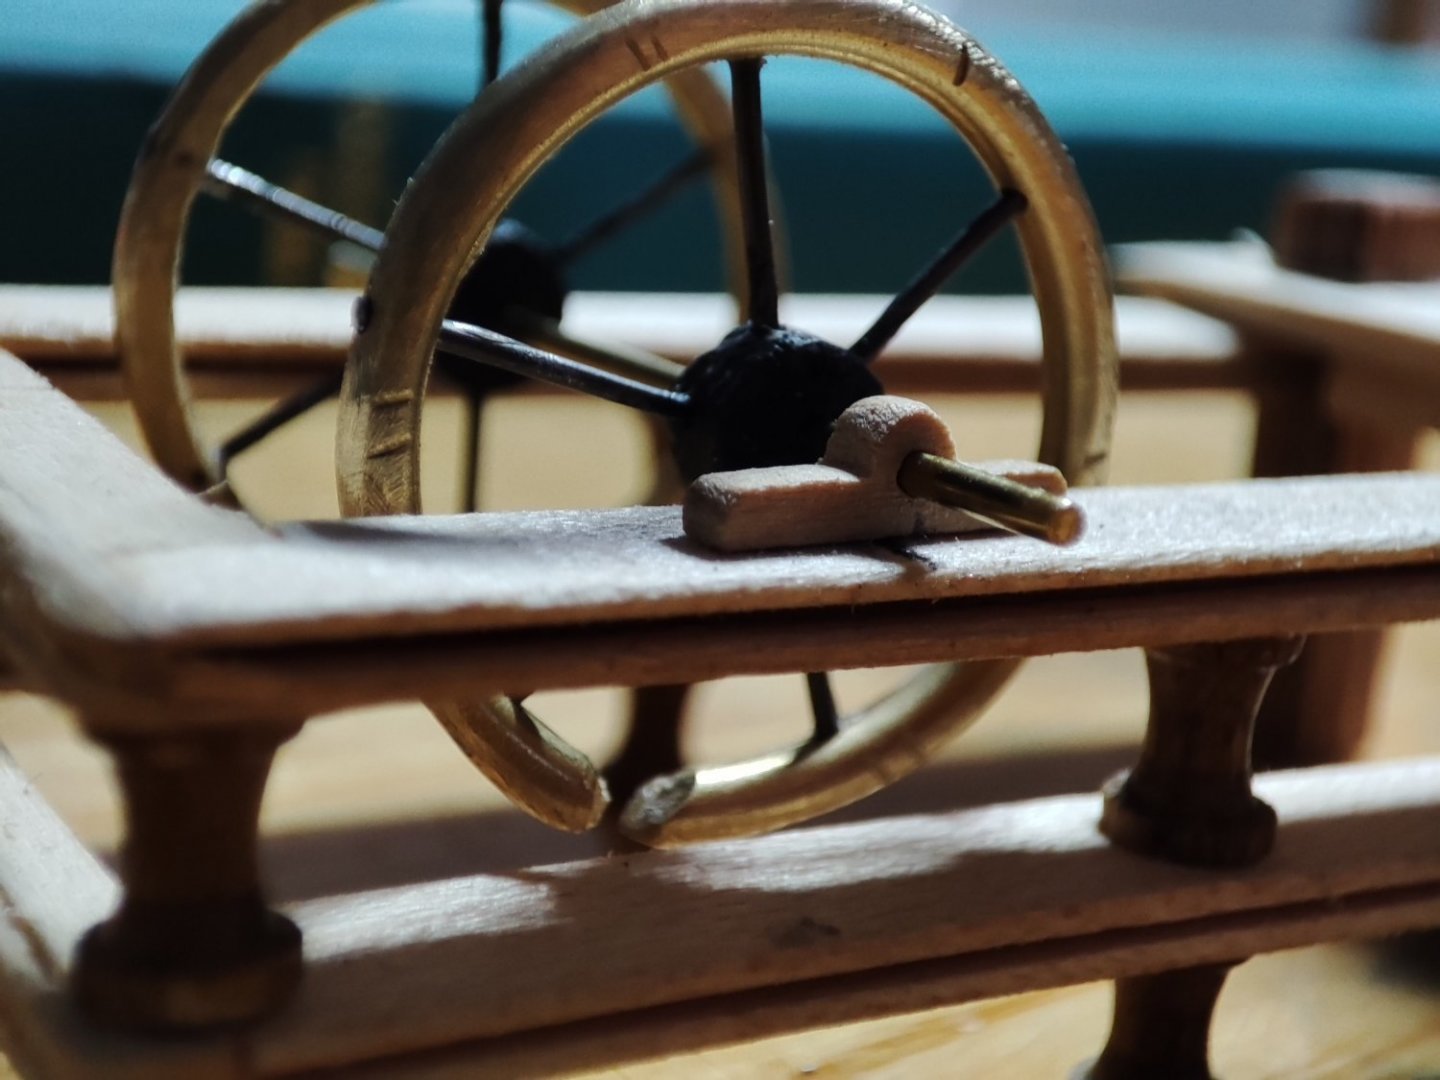
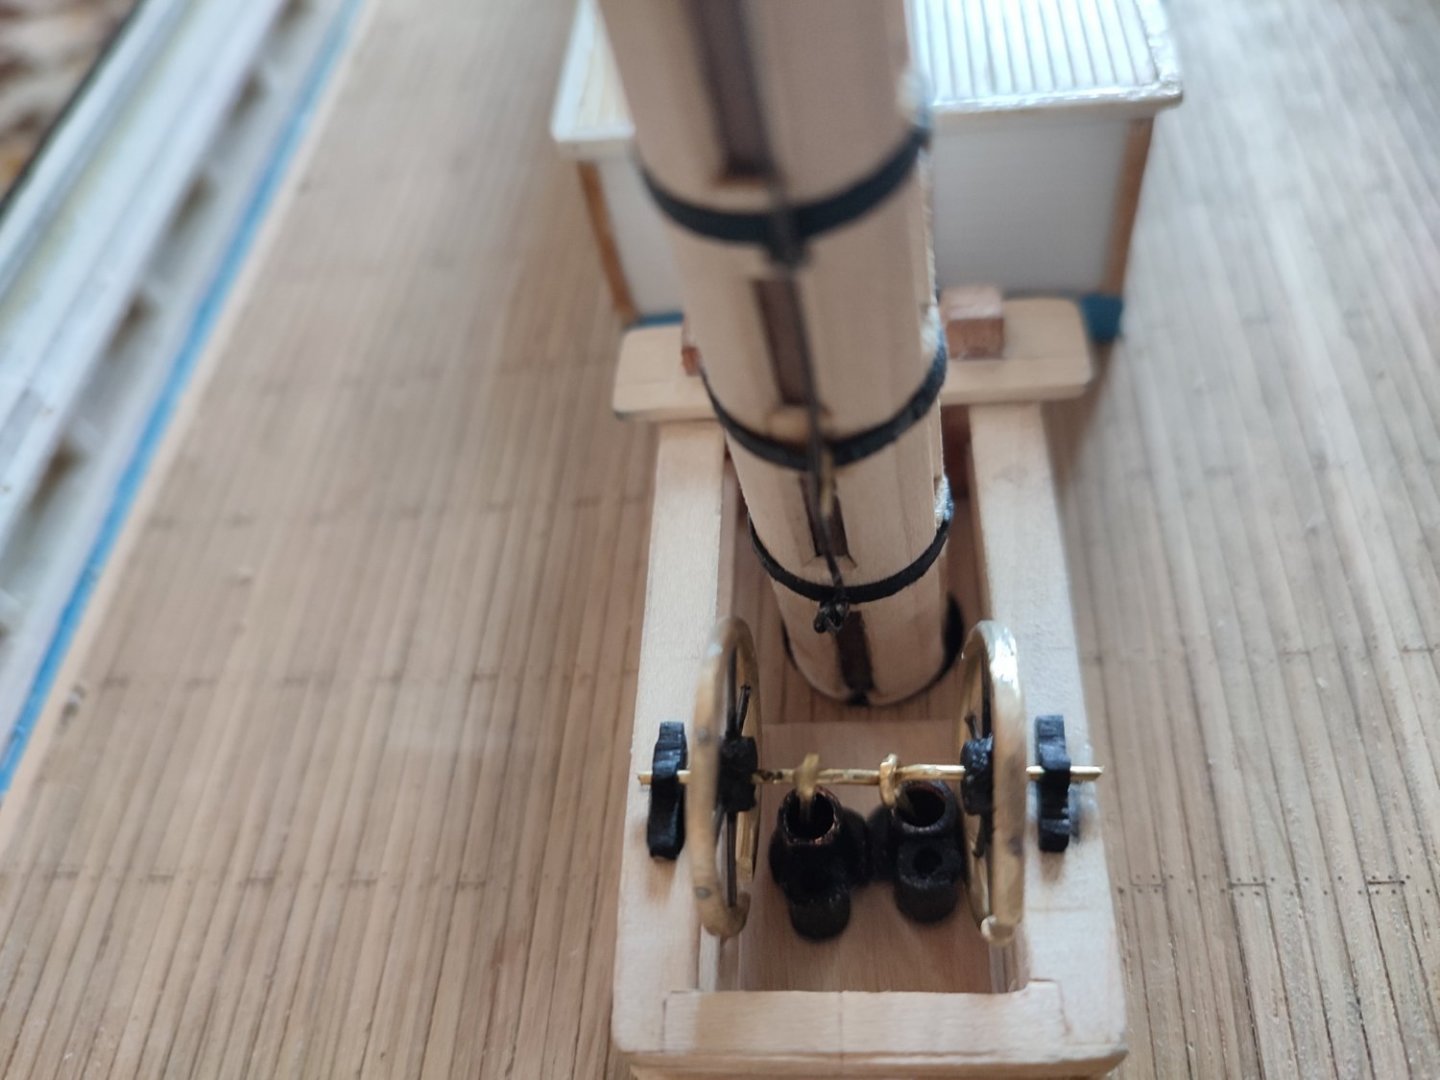
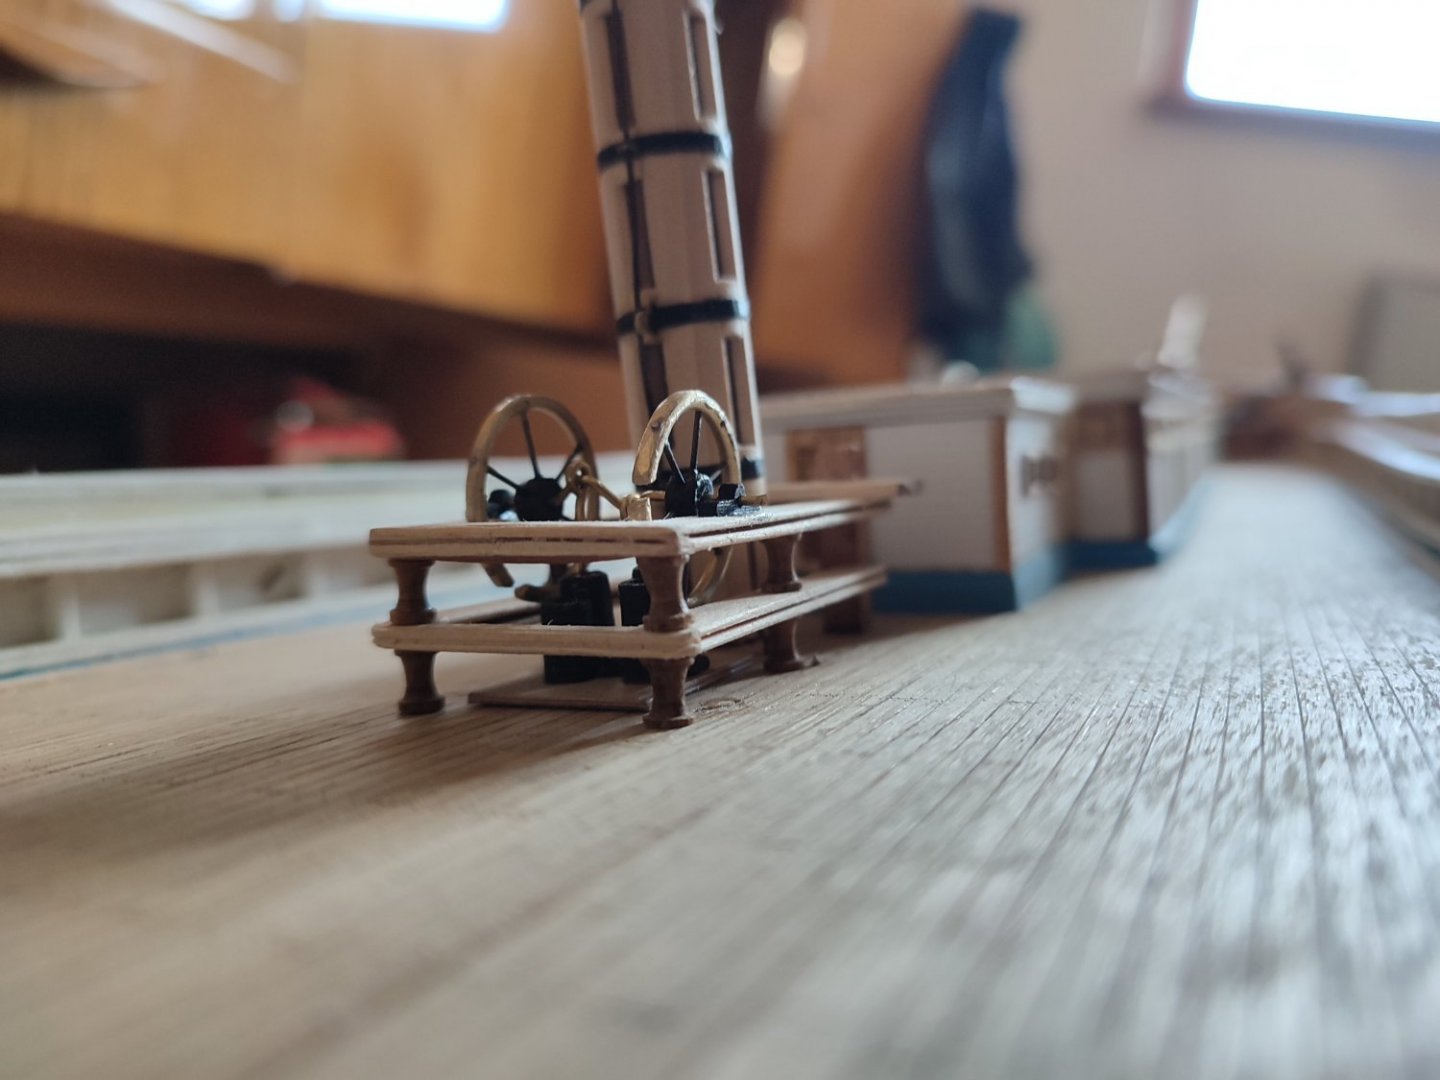
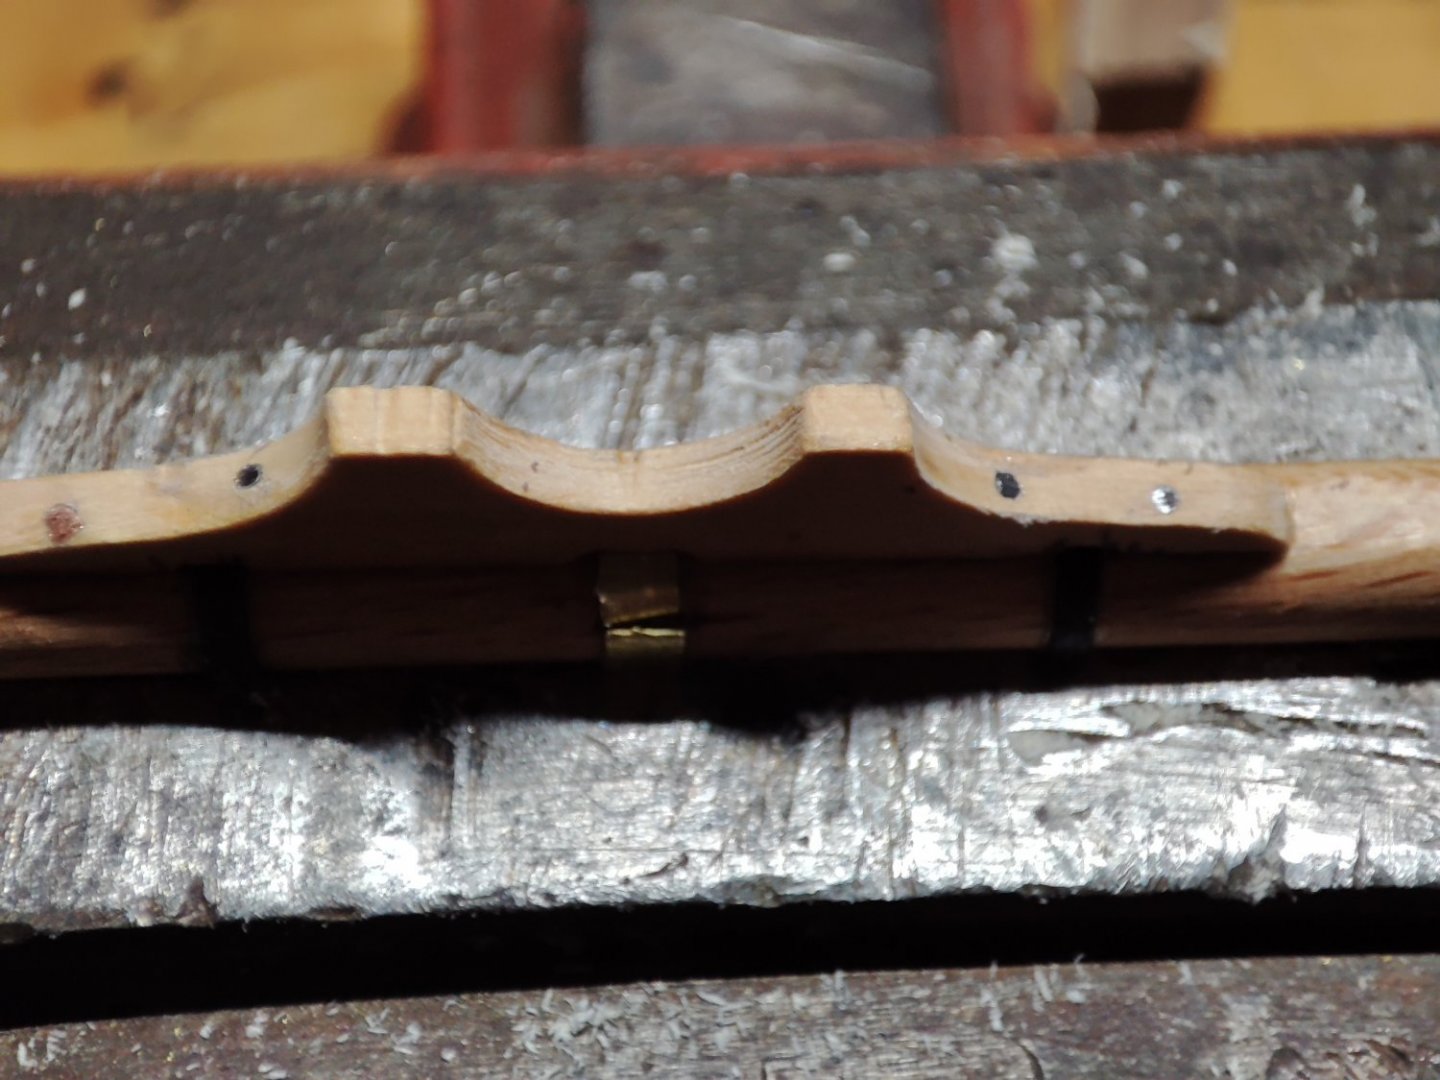
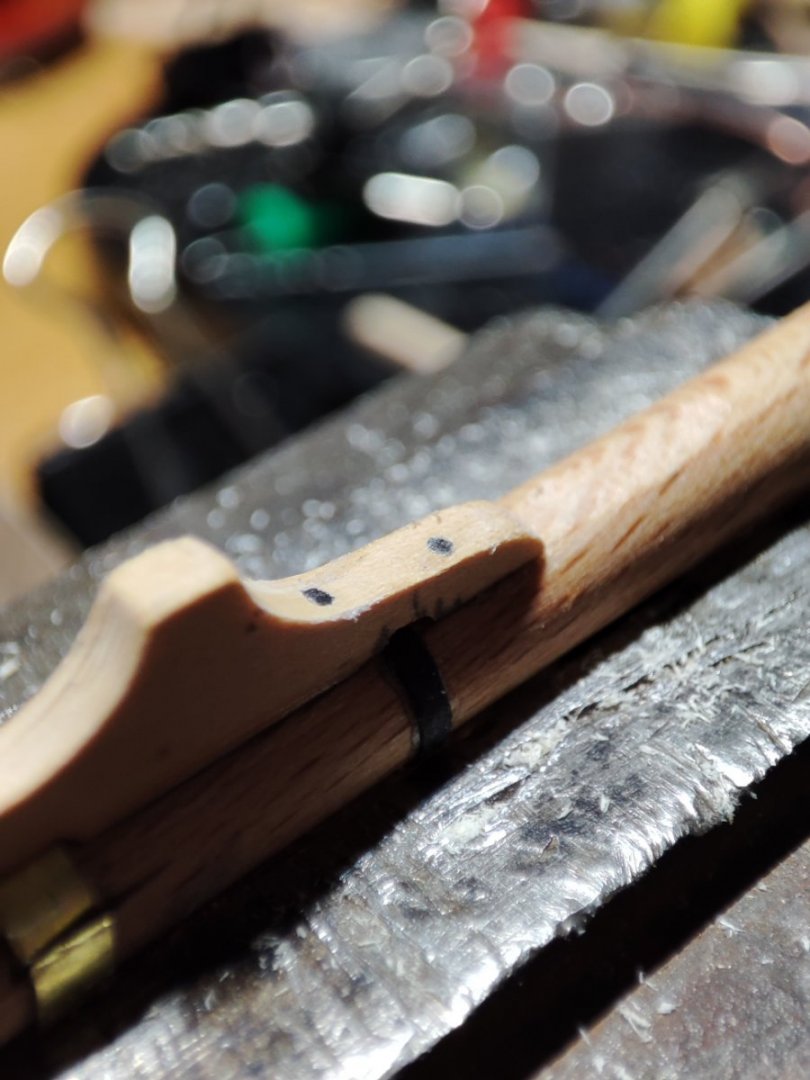
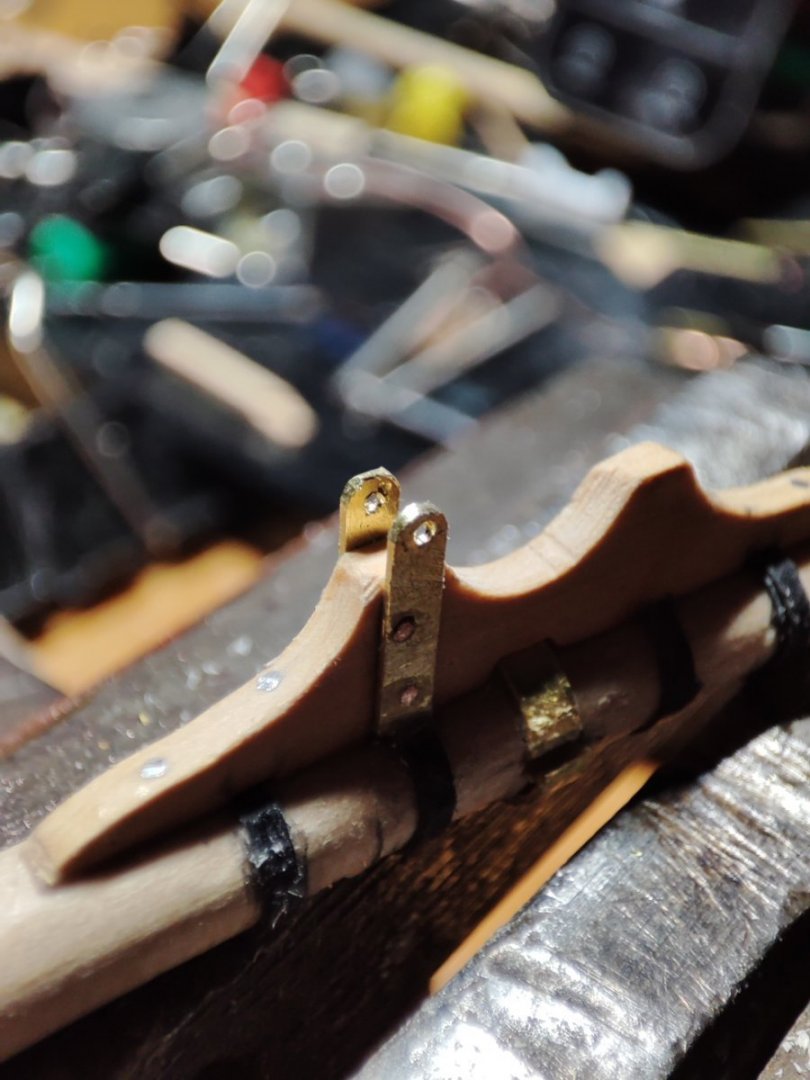
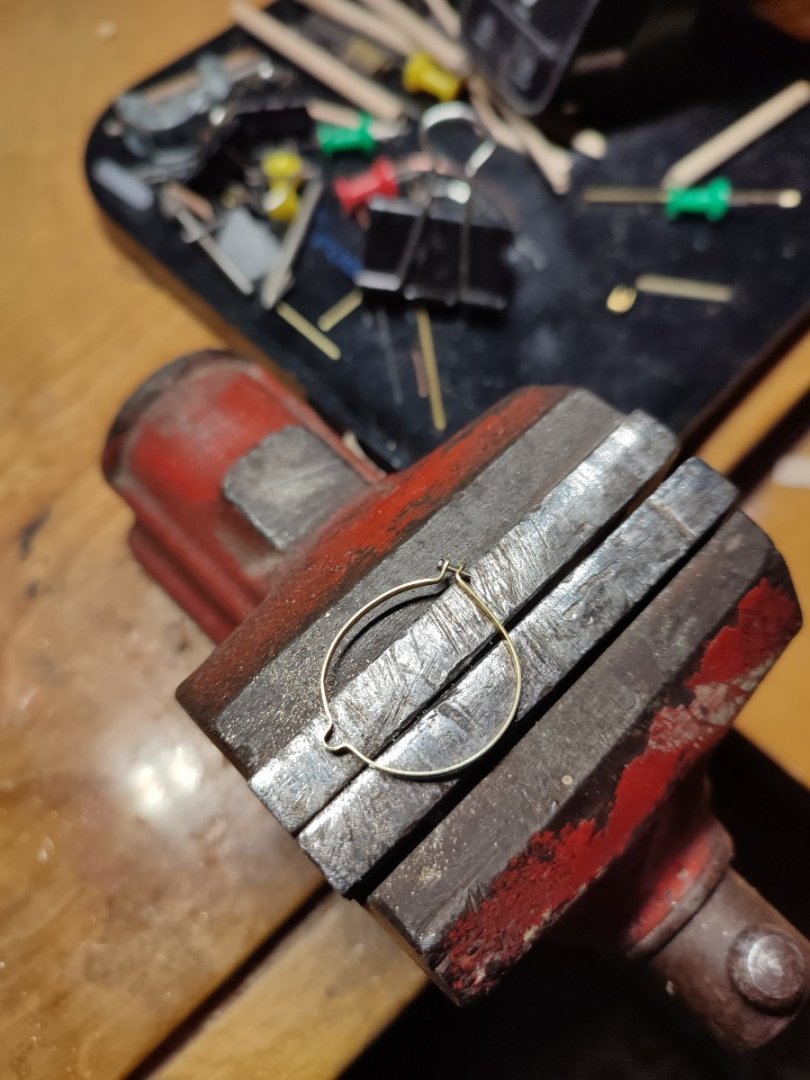
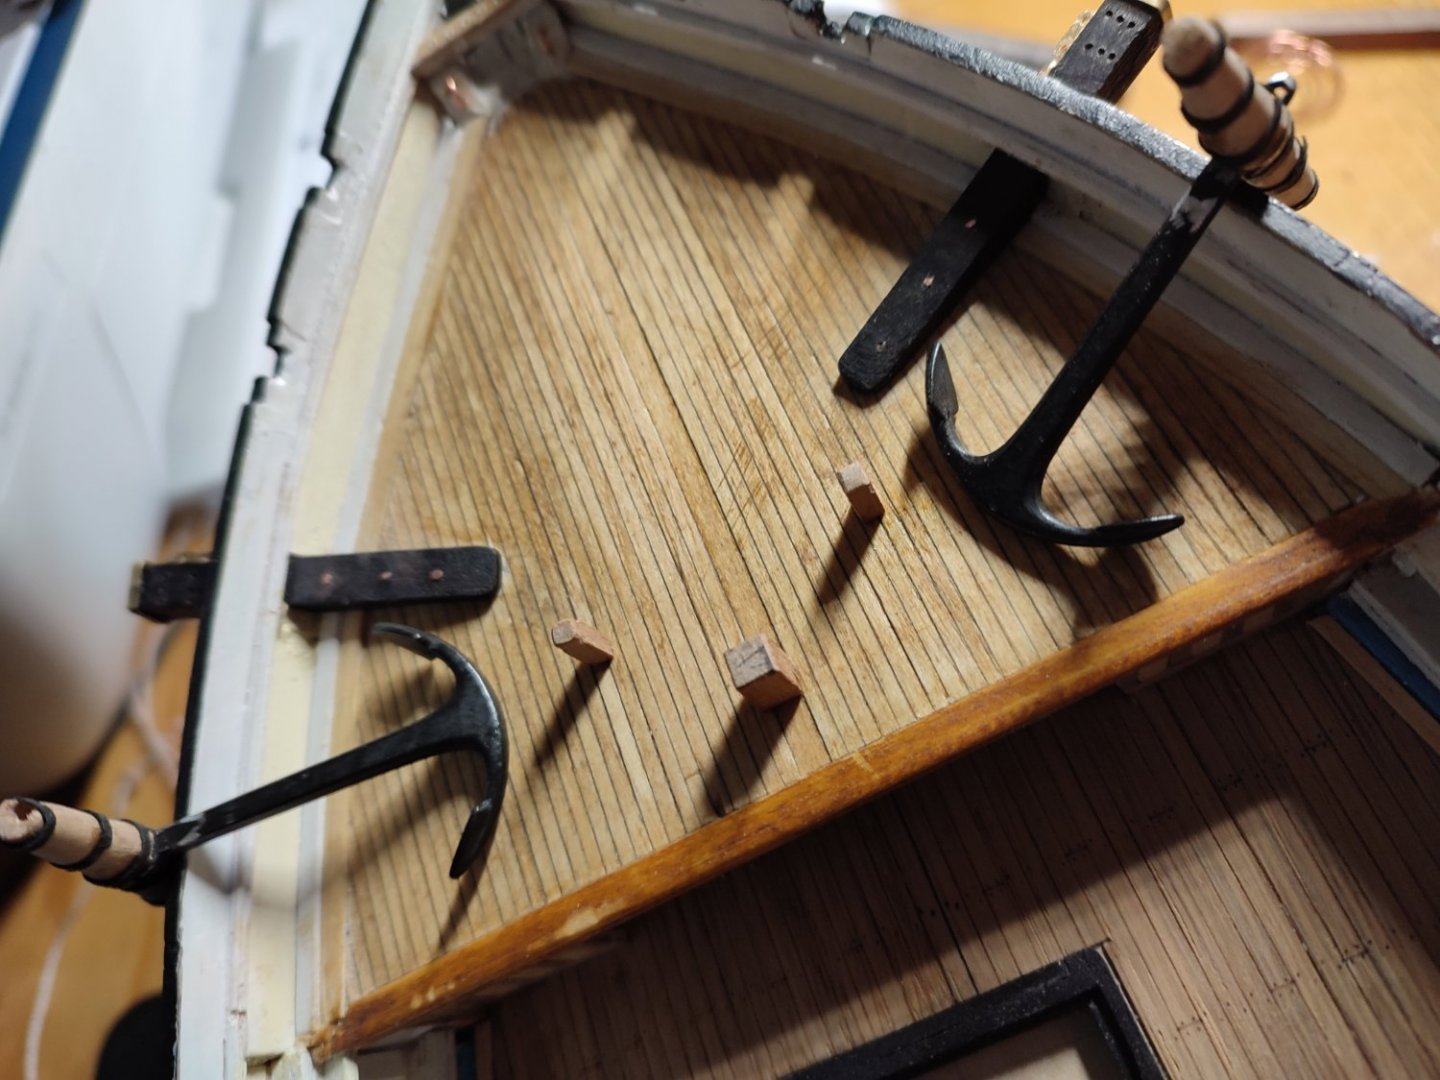
Thanks Rich. I left rigging aside fór a moment and returned to deck. continue with improving stuff on the deck...lifeboats etc... I started with fife rail and bilge pump. ditched old poor one. I tried if i Can make one very simple, without soldering, here IS the outcome.. Nothing special but hopefully Will do the trick. Fife rail was quite complex build around columns as i wanted IT to be rigid as possible. they were Made solid as hell... .thank you


-
Hamlet question. to be or not to be...sailrig or only standing &running. sails or not sails furled or spread:) Im slowly thinking this ahead of time counting blocks needed etc... seeing Rob is already making furled sails. What I would like to achieve is to have her partially sailed, something like towing out to open sea from the ports....topsails spread and rest furled... but at the same time i definitely want to avoid entire mess of full sail blocks attqched though. simplest idea to achieve that is going for only standing&running at most...but as wanted to have few sails up and others furled im not sure i can avoid that ...well anything can be done at least full sails must be rigged properly to show but empty yards with furled sails on them i could spare unused blocks what do you think? this are inspirations im more less after.

-
Now Robs alchemy comes to play doesnt iť? what is it? it looks like dough to me:)) looking good though. will you paint it etc?
-
Bob, thanks for input. I have Crothers book. I wouldnt say its that hard to find in europe. Is widely availble from what I see. Although I was dissapointed with so called hard copy. I dont recommend it over paperback. its more expensive and book is not sawn just simply paperback with hard cover glued over it. i was angry for that.
-
Great work Juraj. Paráda. Vlado
-
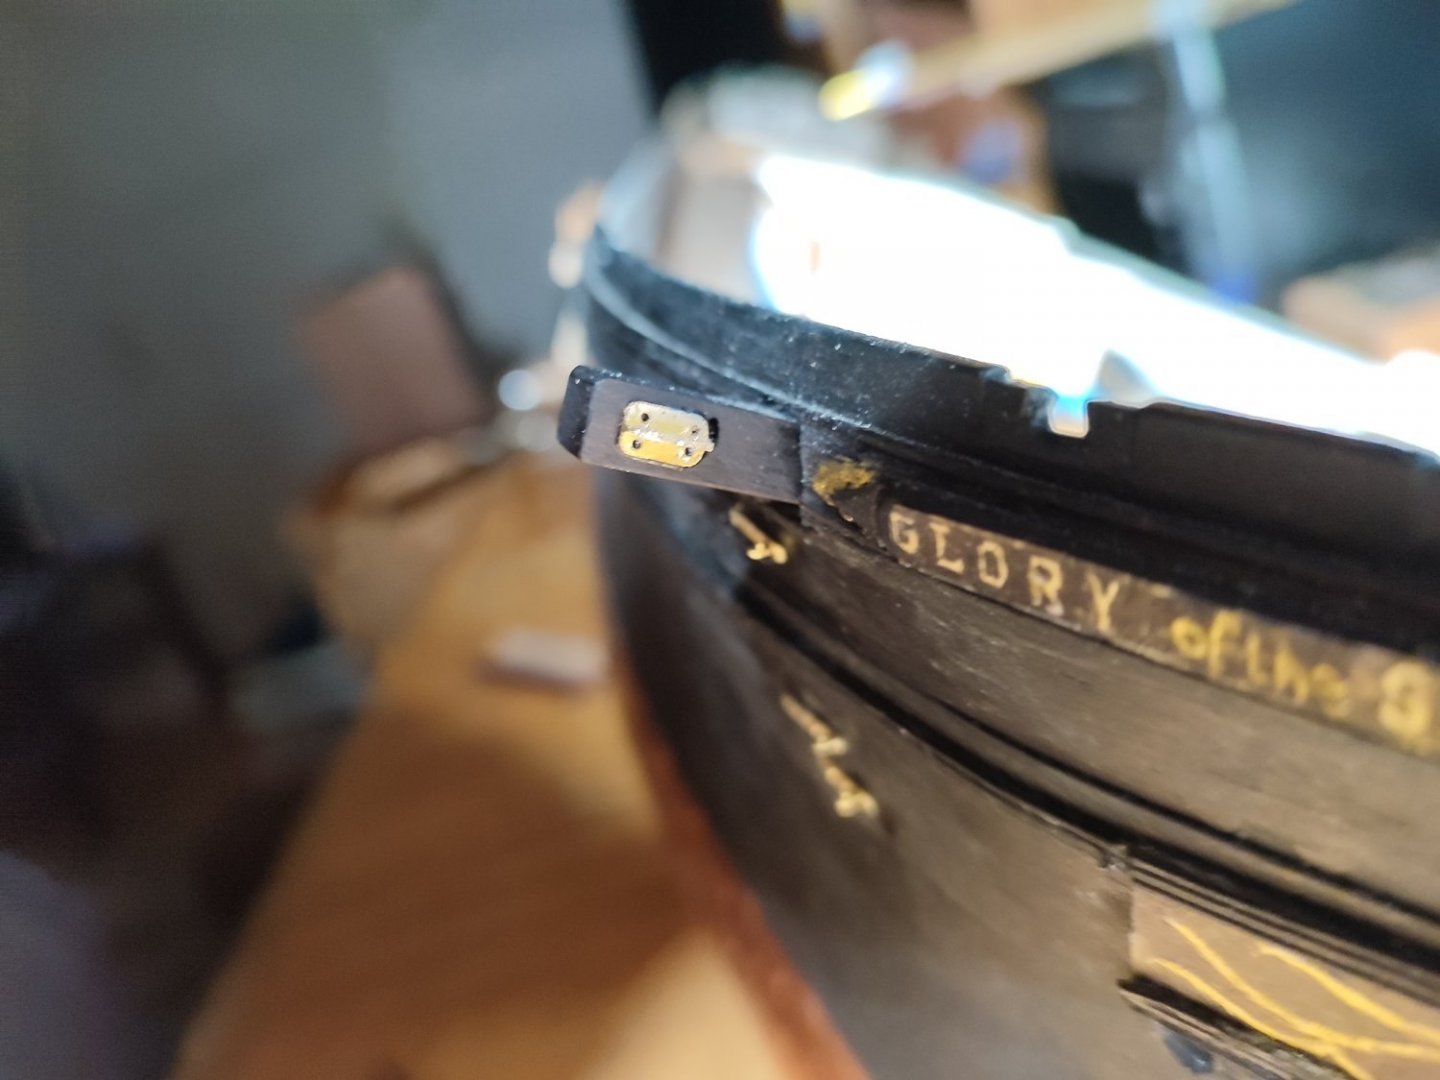
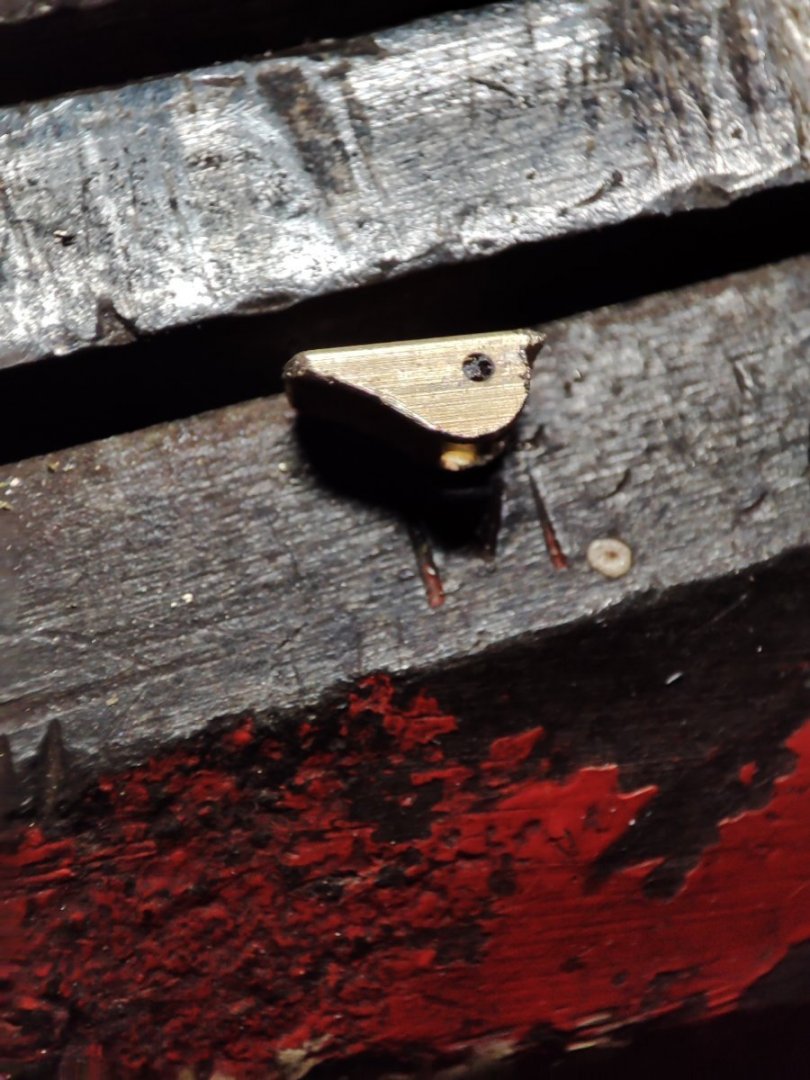
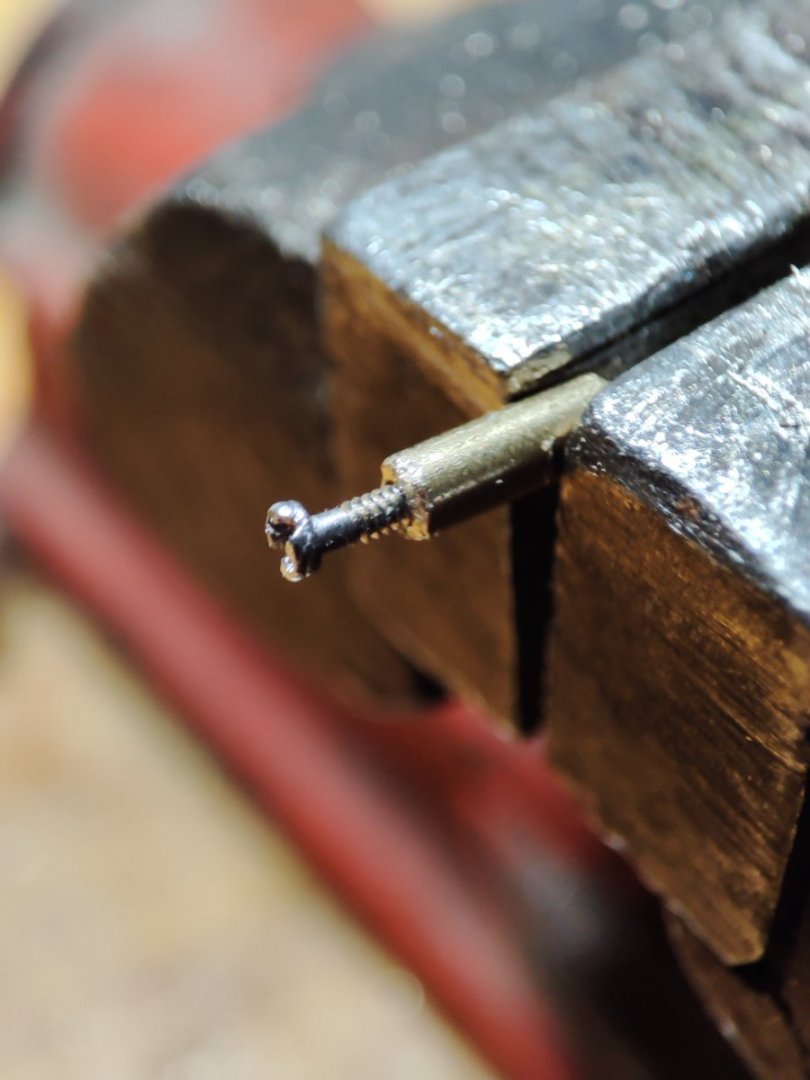
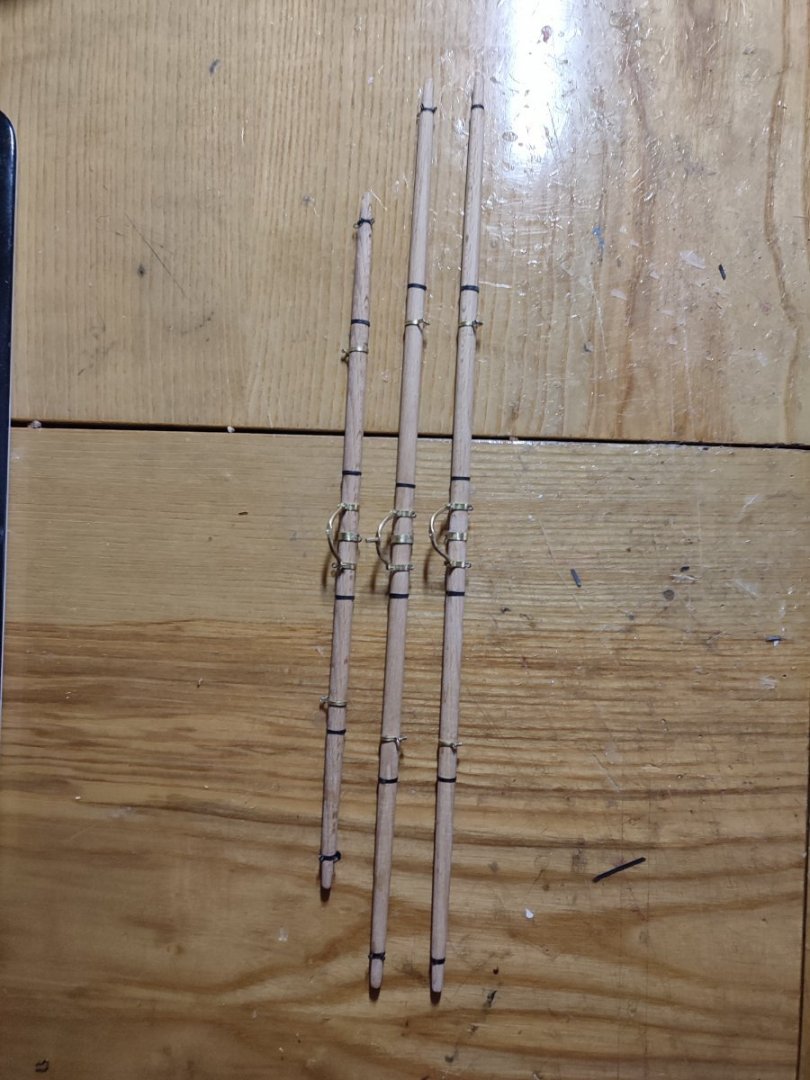
Few from Yardsworks bunch...


-
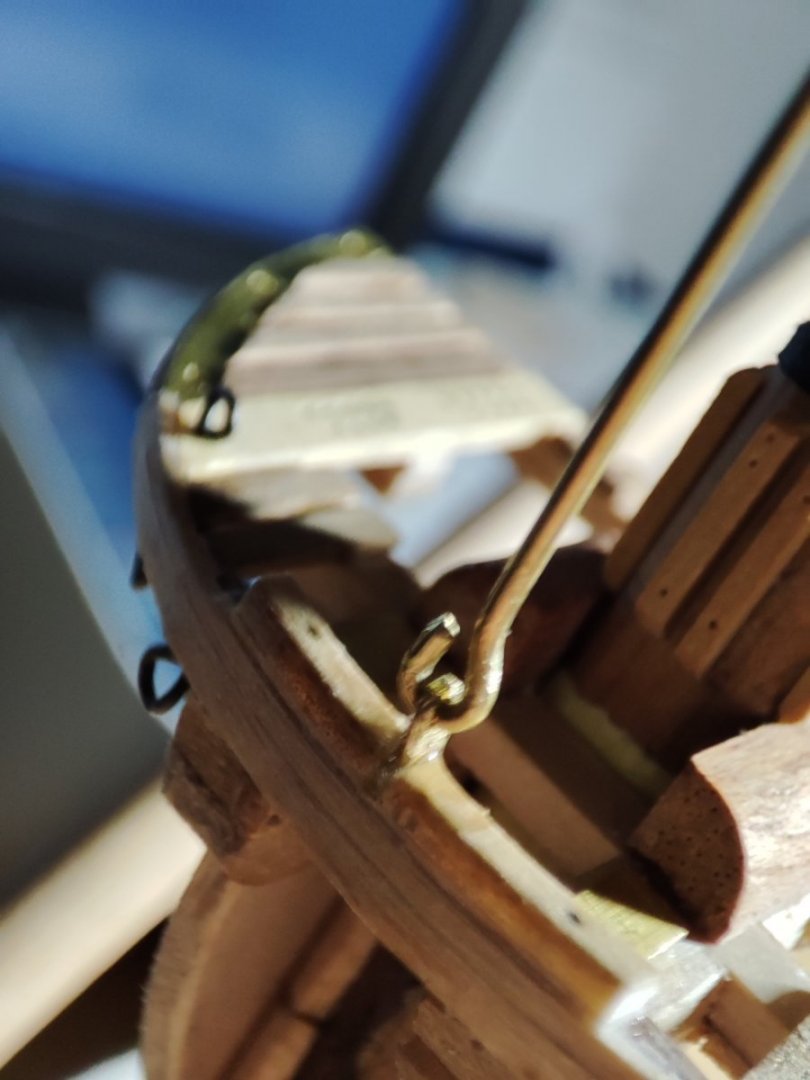
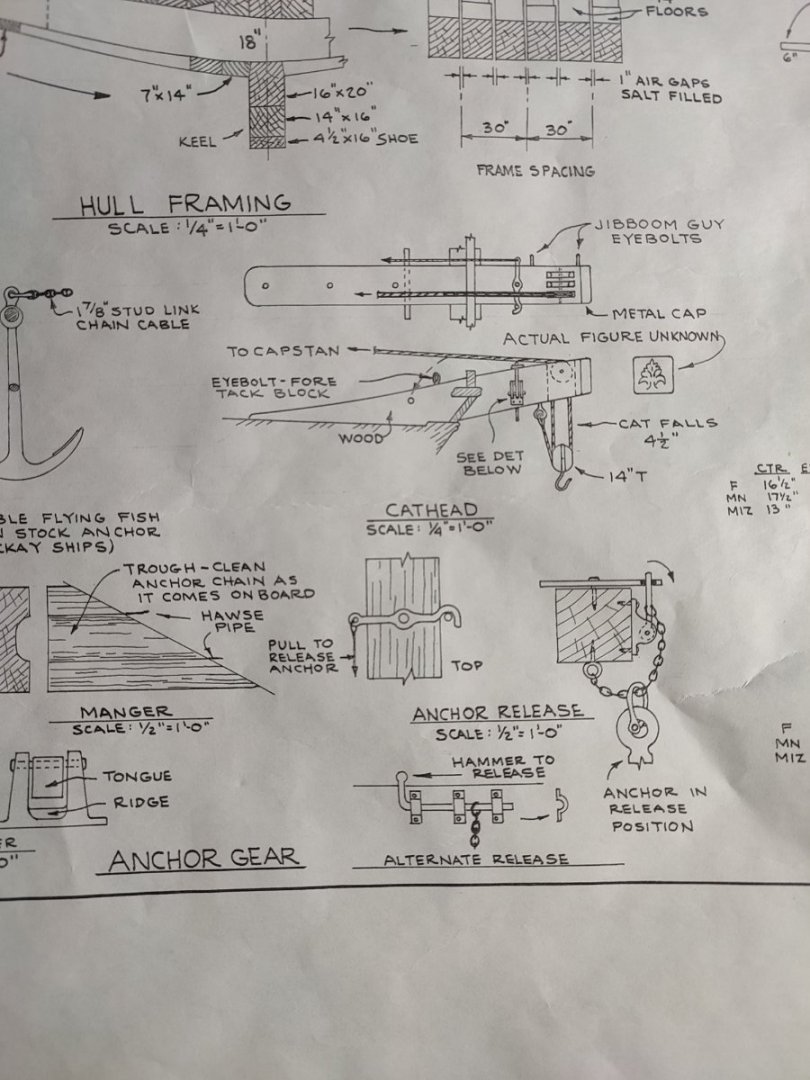
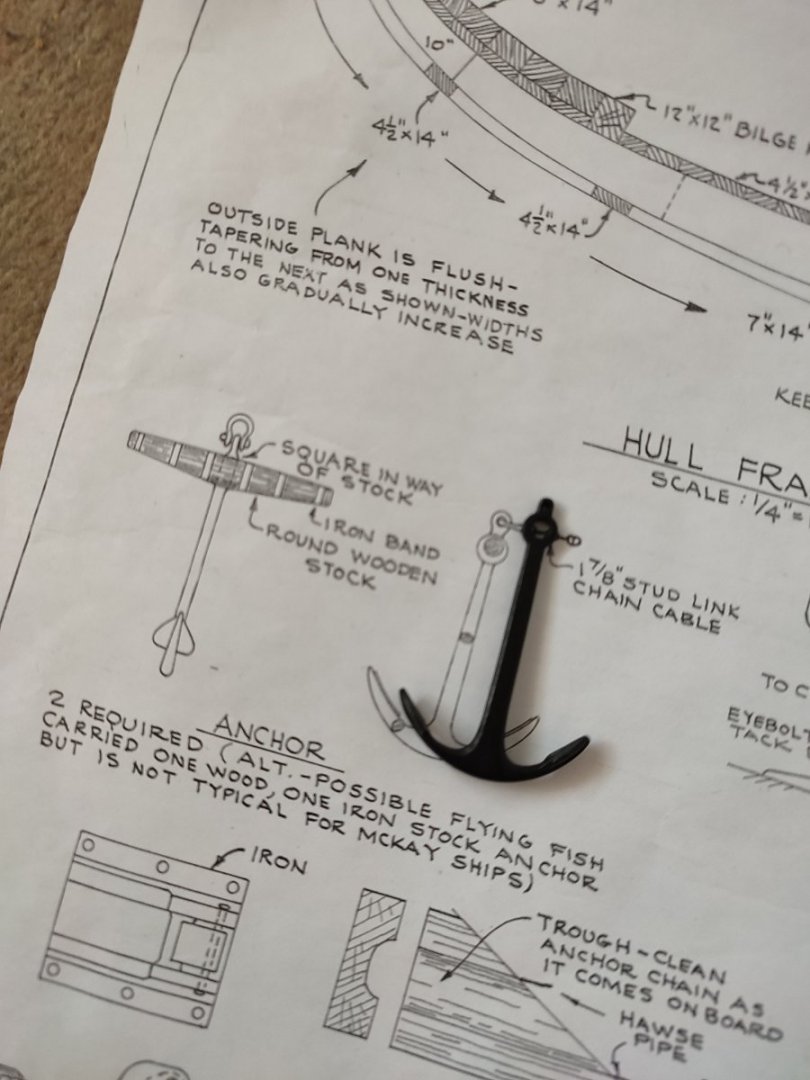
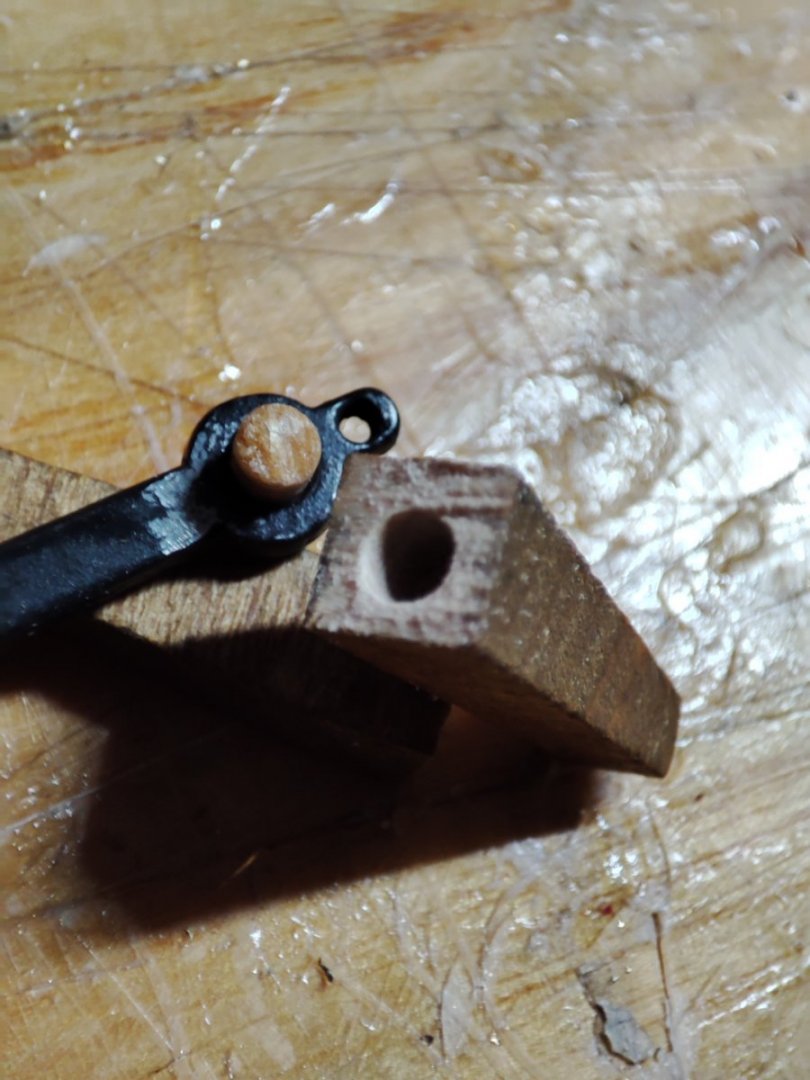
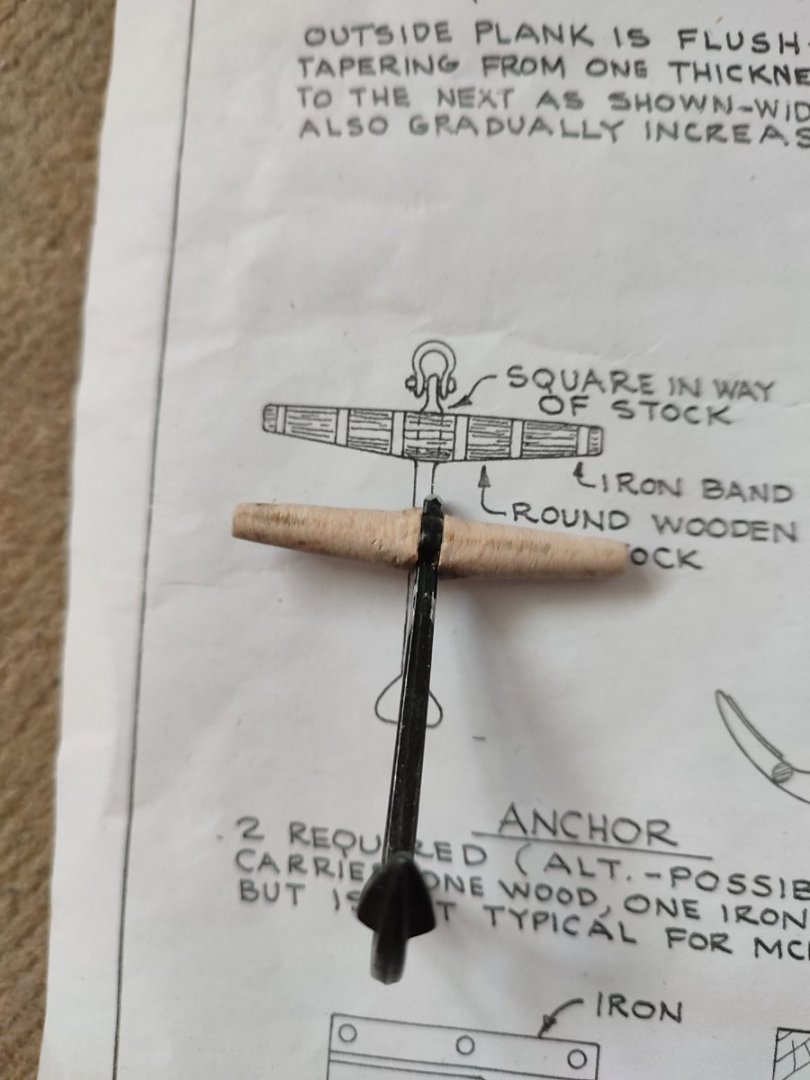
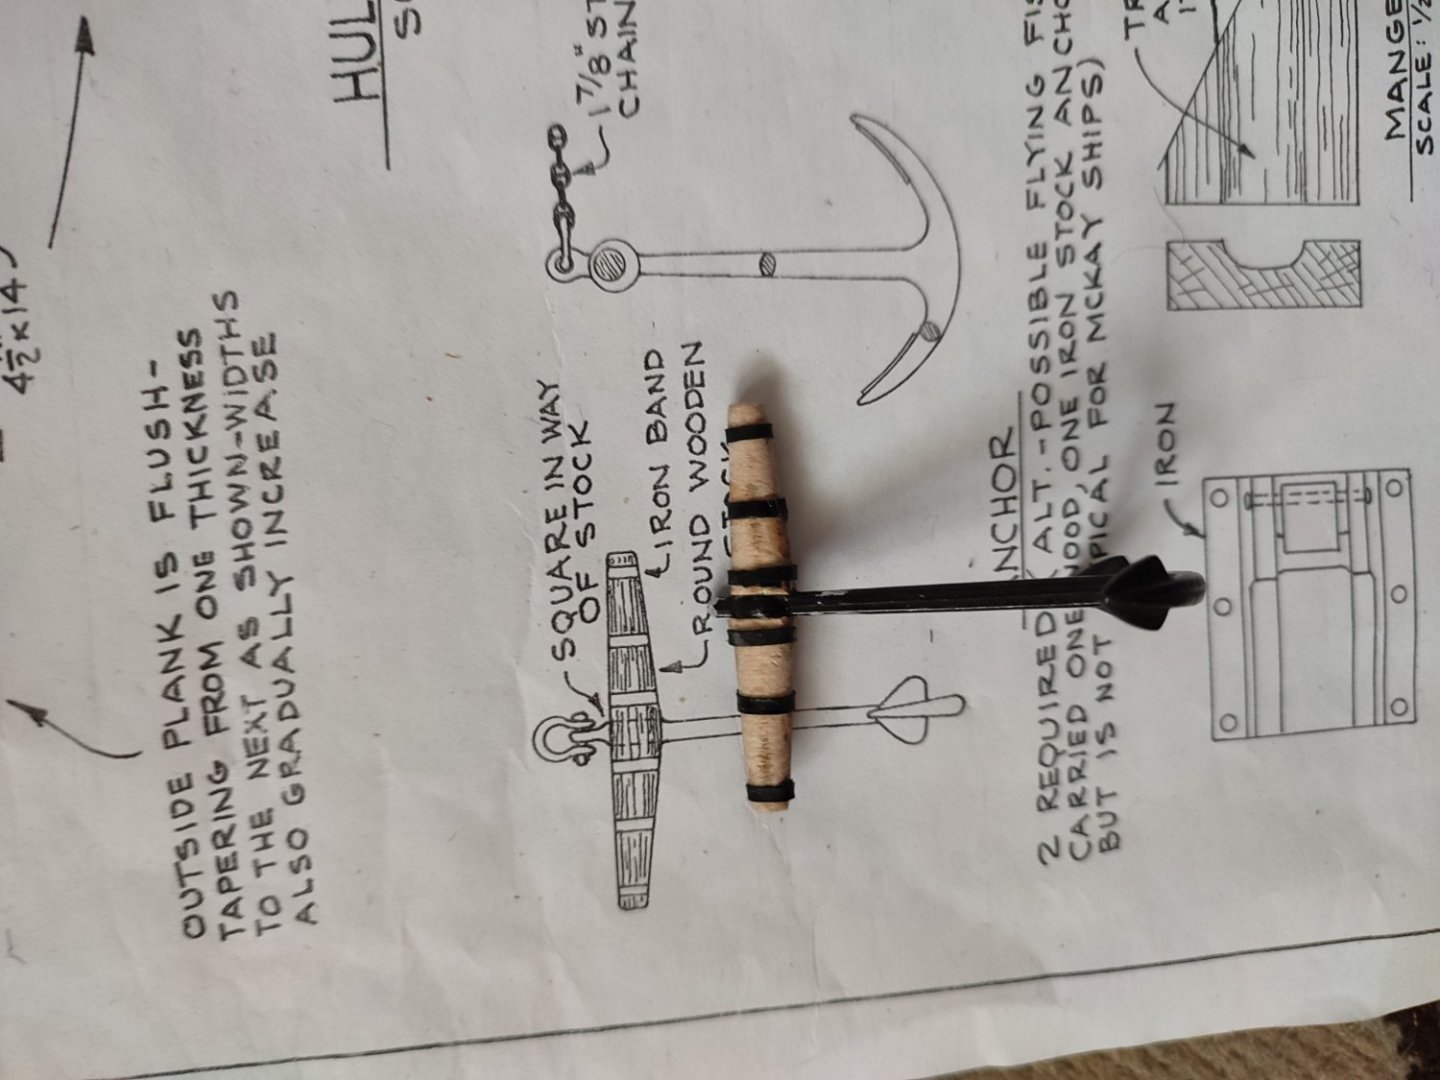
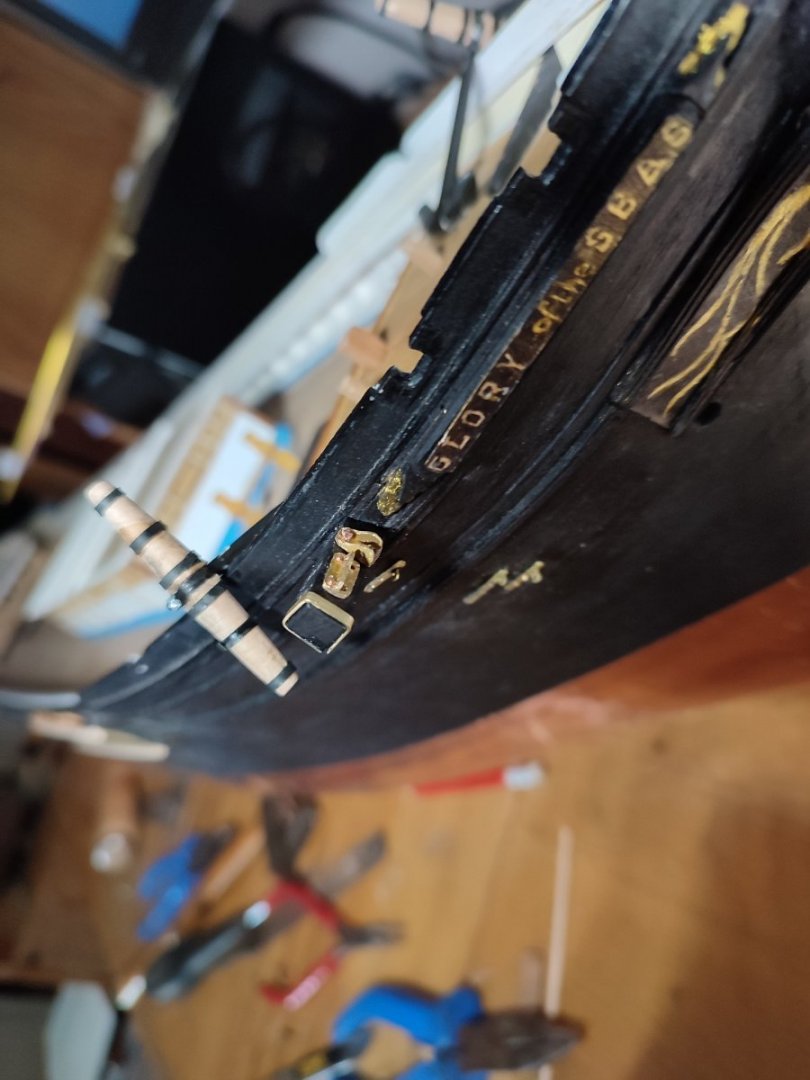
Thanks much Rob. Only to mainast. IS IT wrong? I Will wait for the book to see details now, but I follow rigging in Michaels book where IT IS quite detailed. About cathead. I depicted IT from fish plan...two chain releases are there to choose from though...
-
25 bucks - just ordered from UK yay.
-
Many thanx Rob. I will scout for it
-
@Rob, Folks, could you recommend any rigging book that specializes on american clippers, please? although I expect it a bit pricey ;(. Im not sure if Crothers didnt write one, but if so not sure if not put of print or difficult to find. I know there is few standard recommenation but not so much on late 1850 + clipper rigging and im not interested in british styel atm. just american. I checked books you showed Rob, but a bit tough to get im affraid. I would be thankful. V.
-
Some other pics...

-
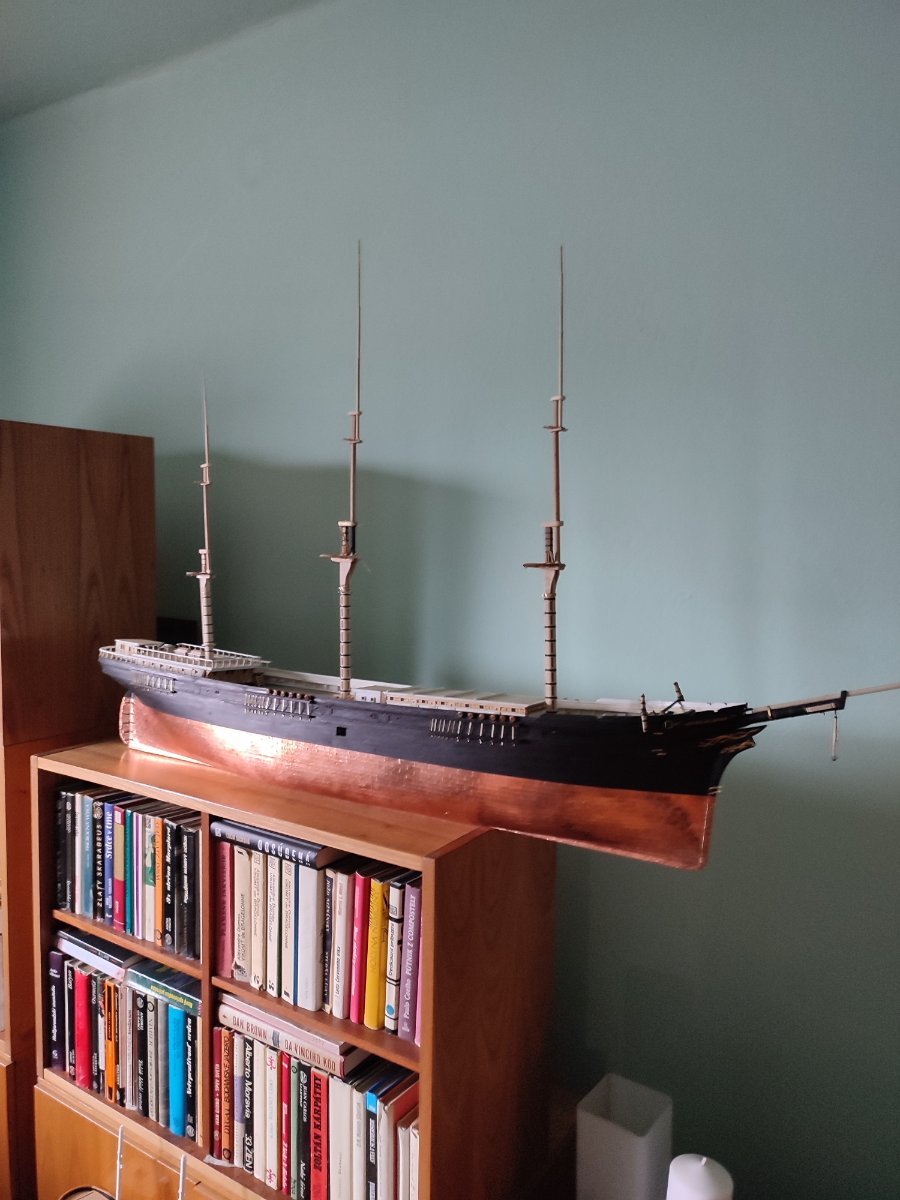
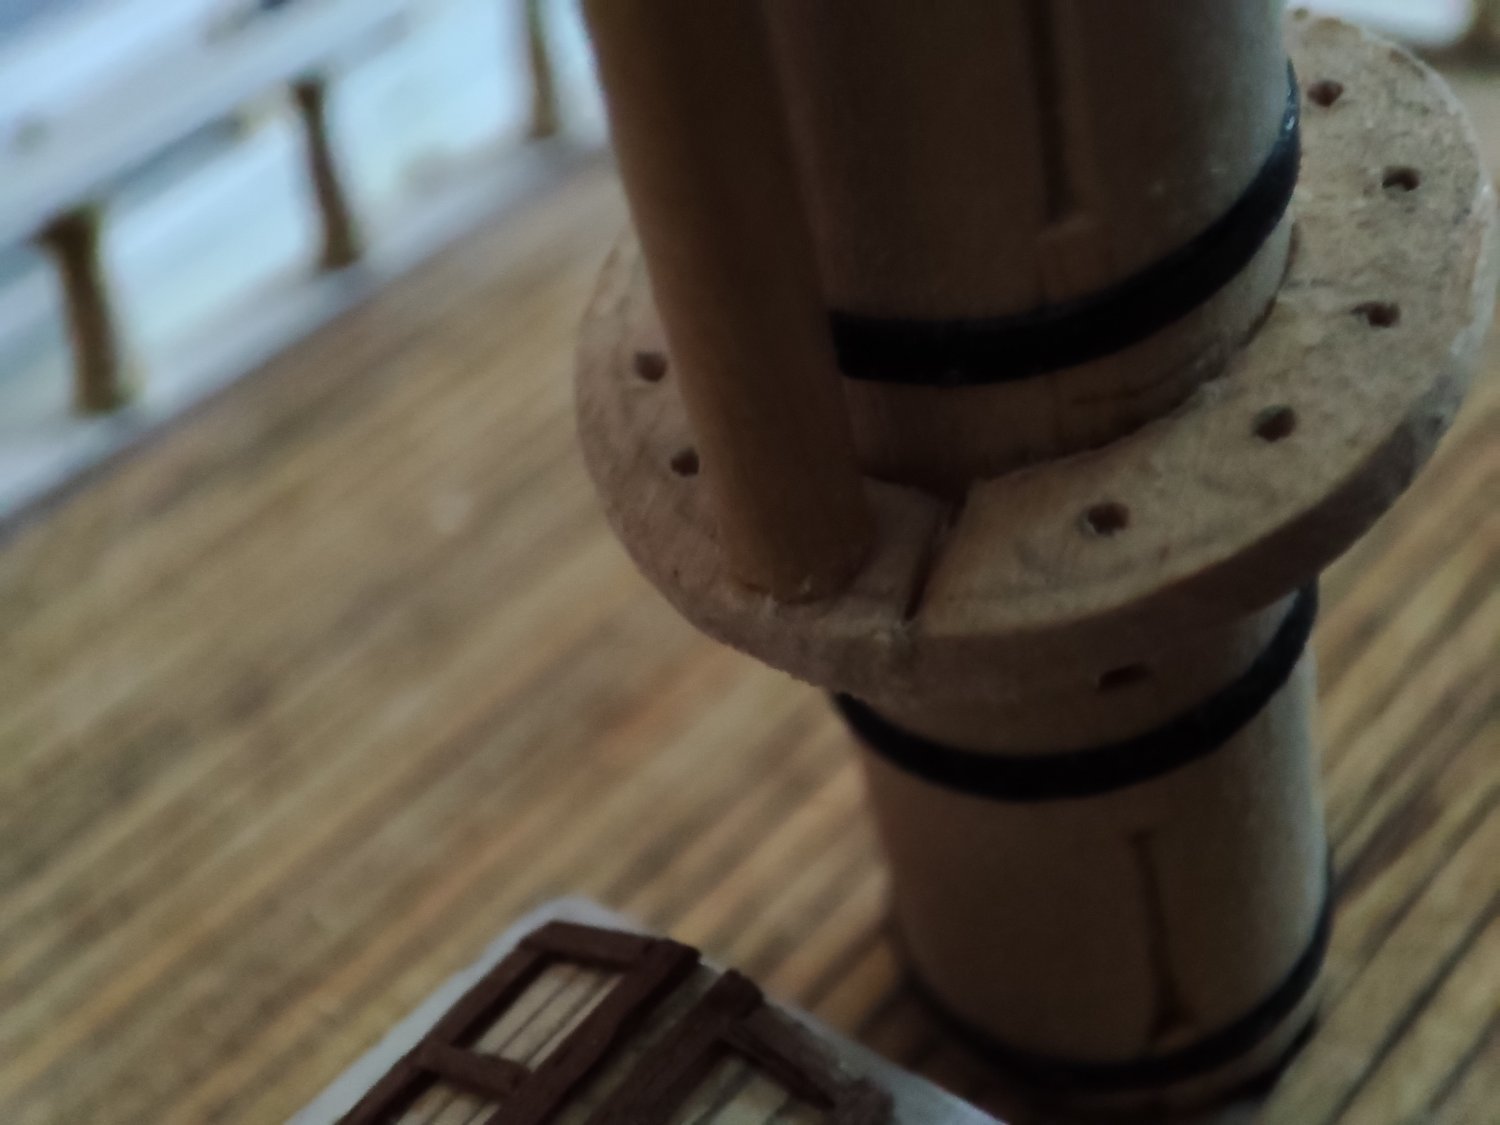
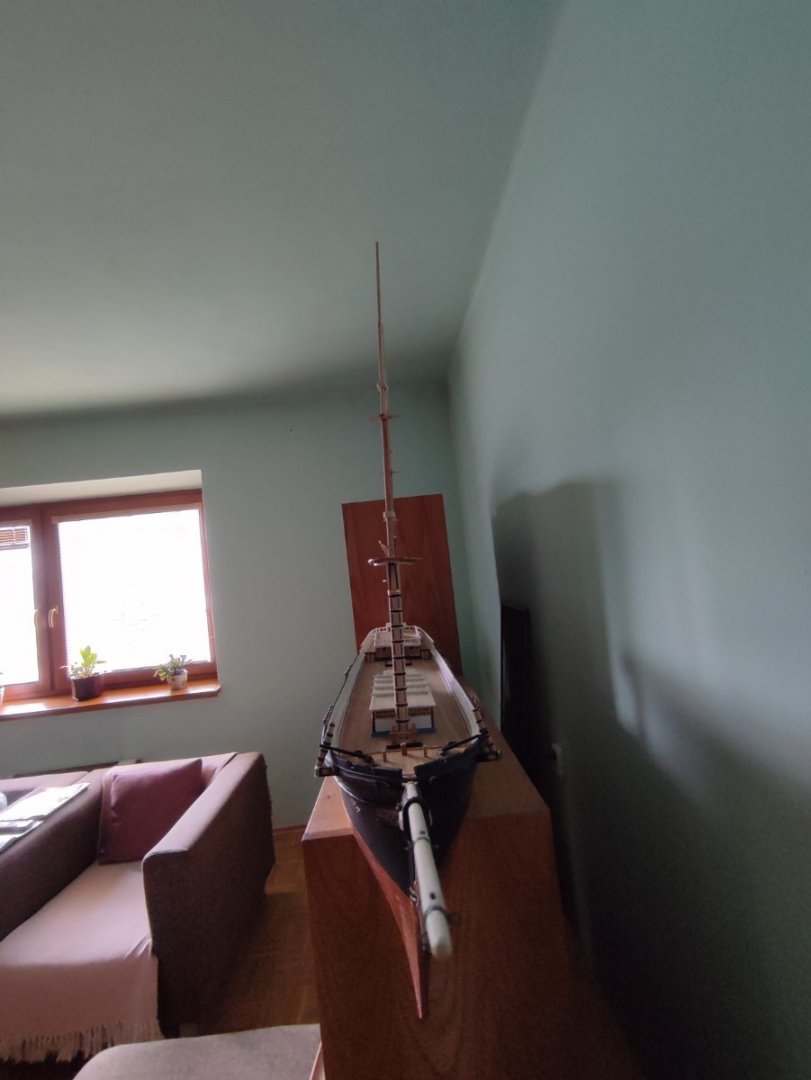
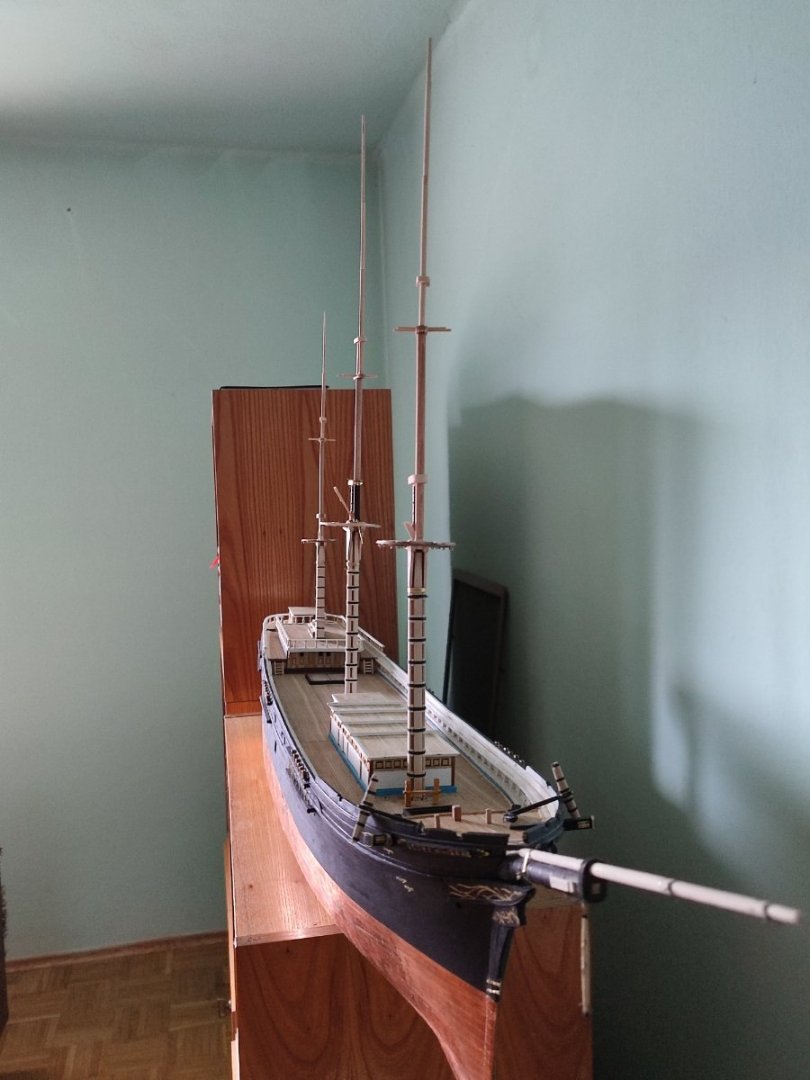
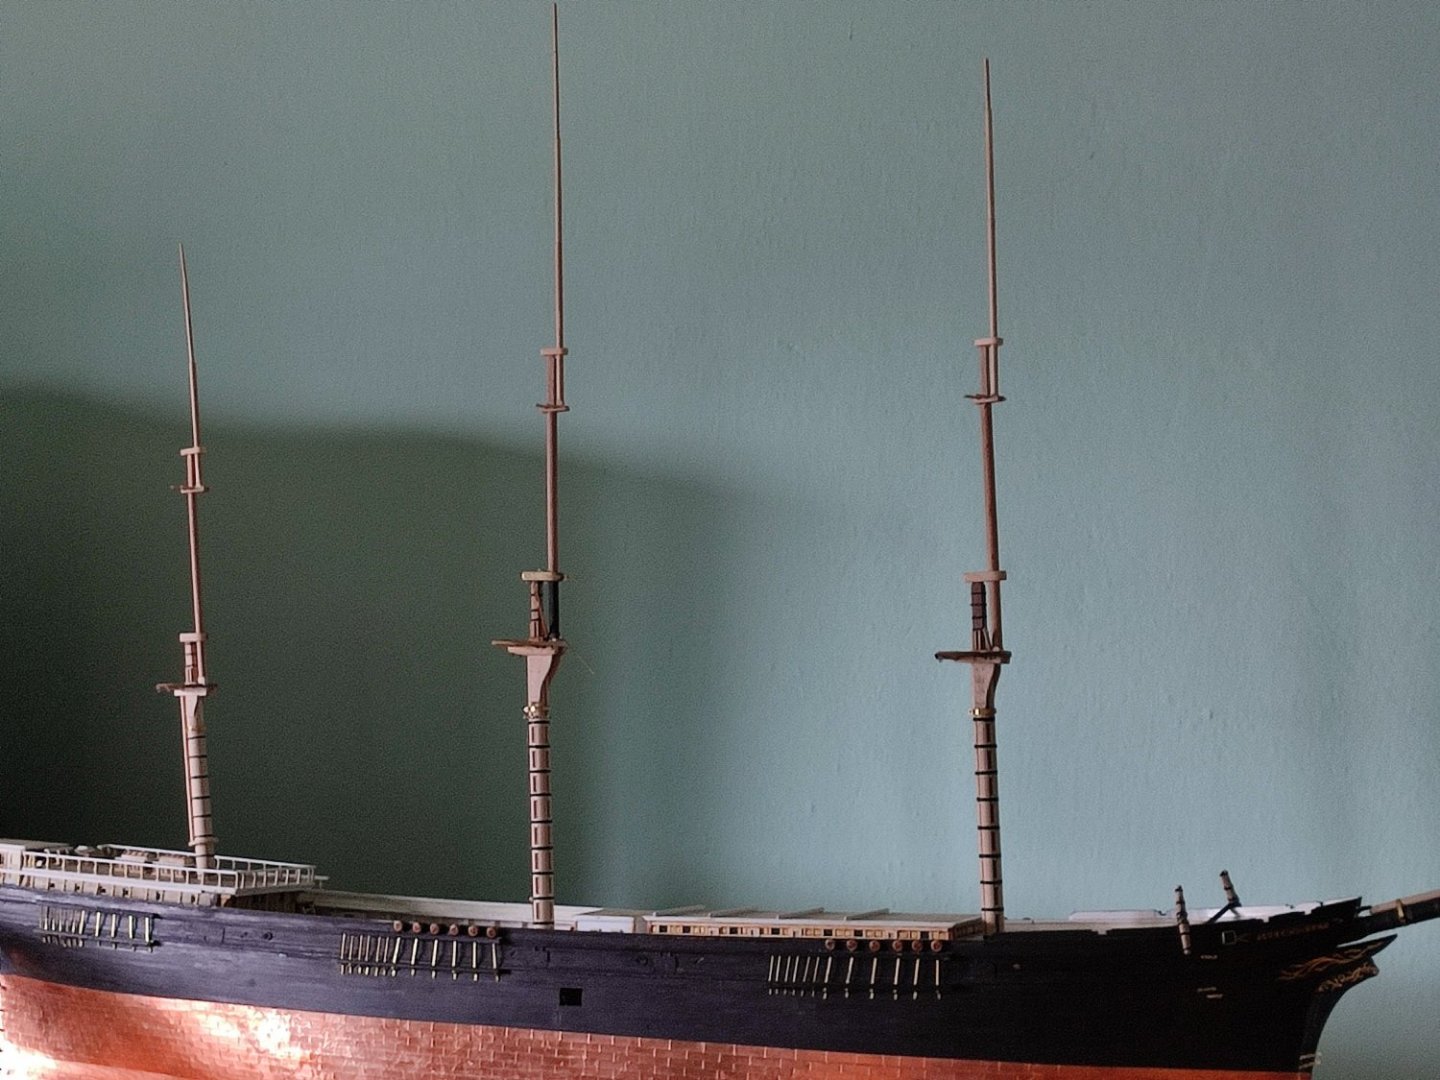
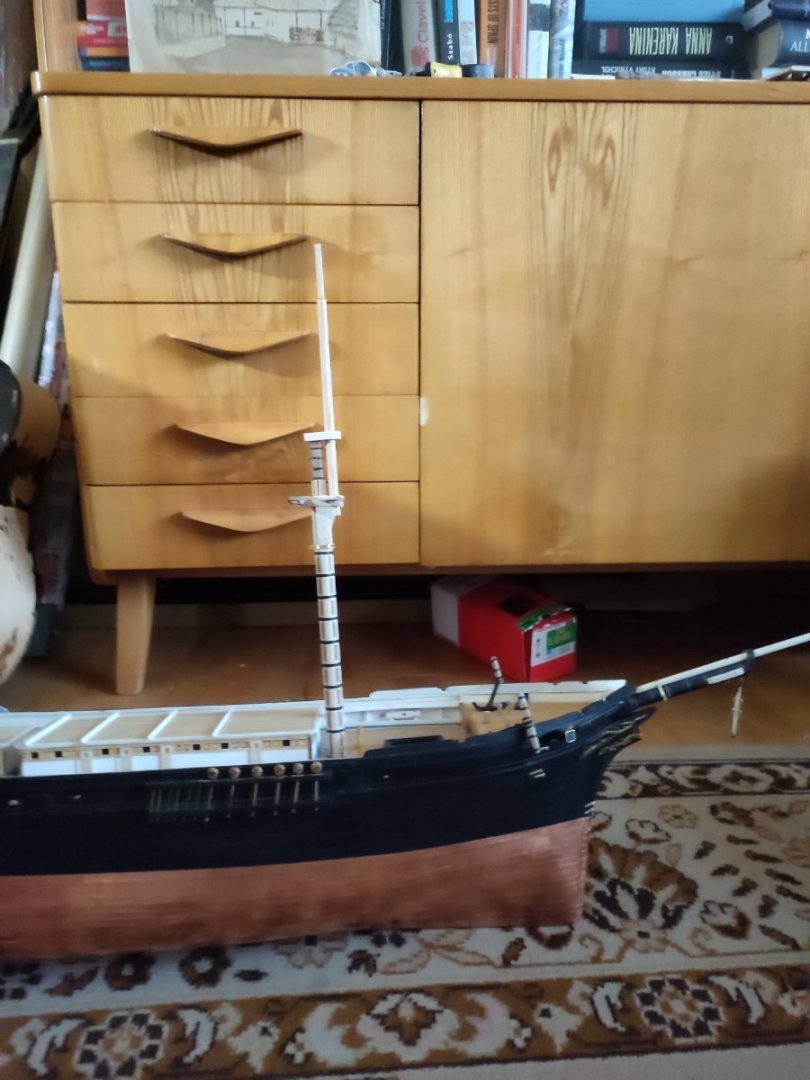
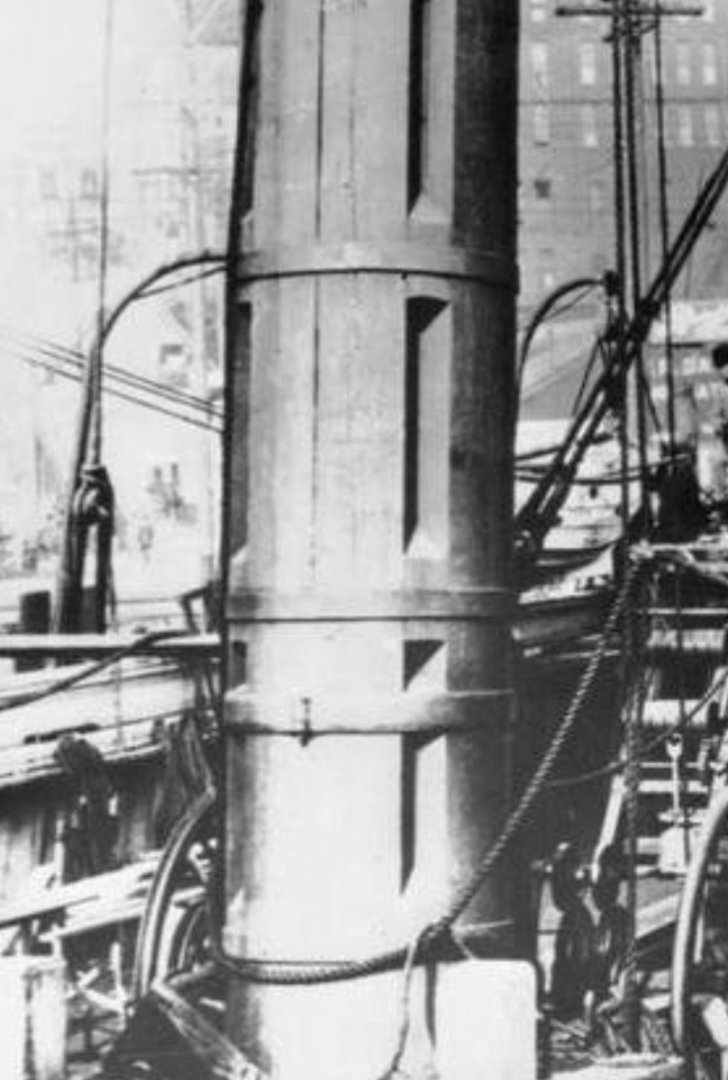
Thanks Rich Rob. Rich , all welcomed. IT Can be two facts. All masts from top Up are not yet glued and exactly positioned in there Holes, just Stick in so some could have Been Lower orvhigher than should... however you can rest easy on your mind I am certain that it is angle and lens distortion as every single mast was recalcualted by online scle converter accordingly after this Michaels chart. probably best view is by front pic where you can see proportional height of tops and caps between main front and mizzen mast. Main topmast is exact same size as front as i know these measures by memory now ... to be exact im going to measure them again but Im posring topmasts dissasembled so you can see how deceiving is all the ship. the fact that ship is tall and i have to use wide angle lens of photo because of its best quality it distorts massively. ill tr to photo her with standard lens. :)

-
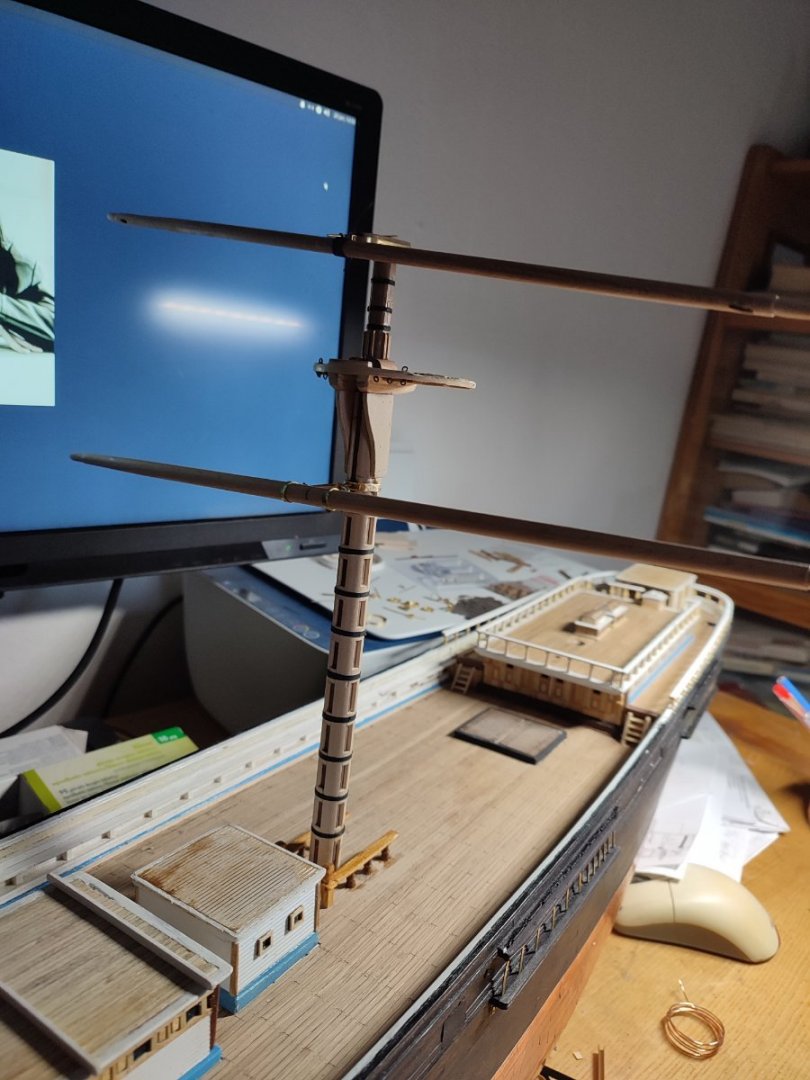
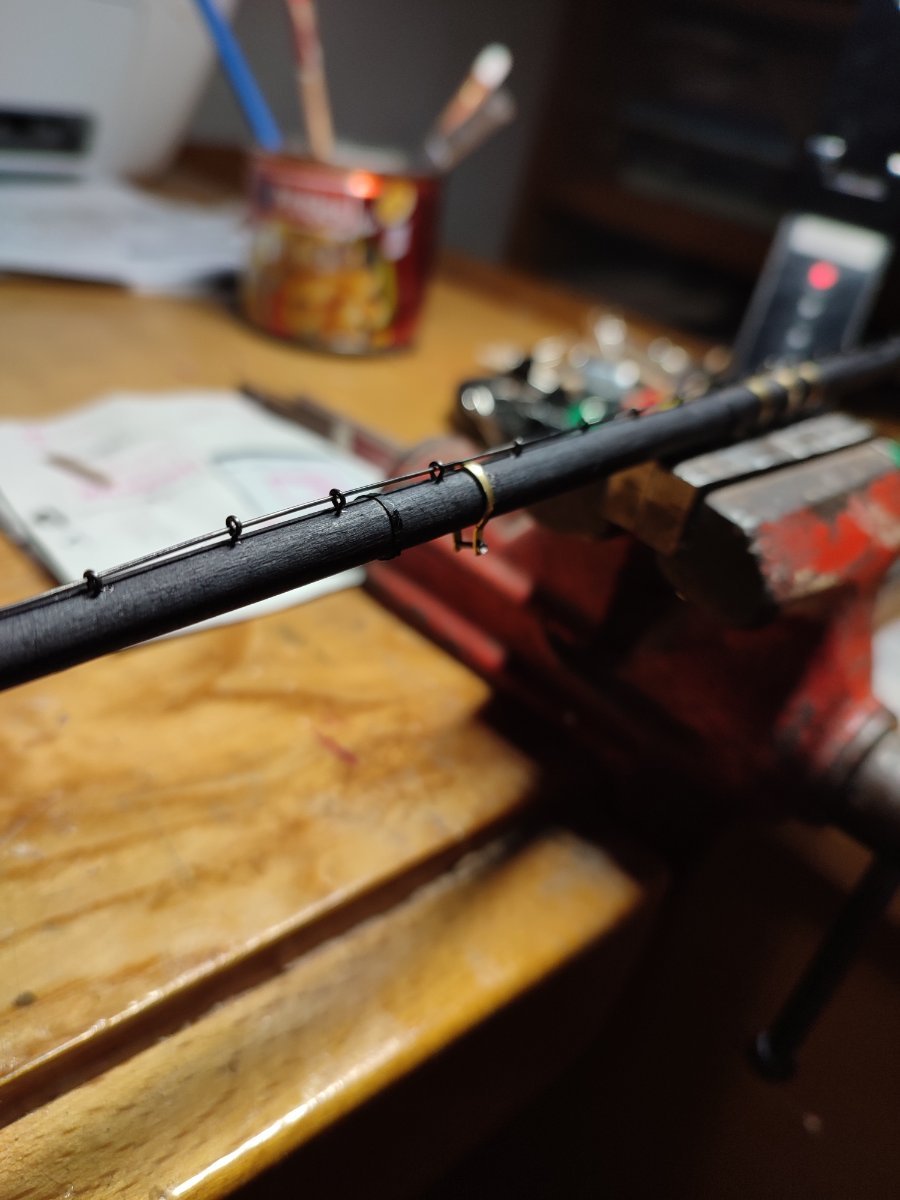
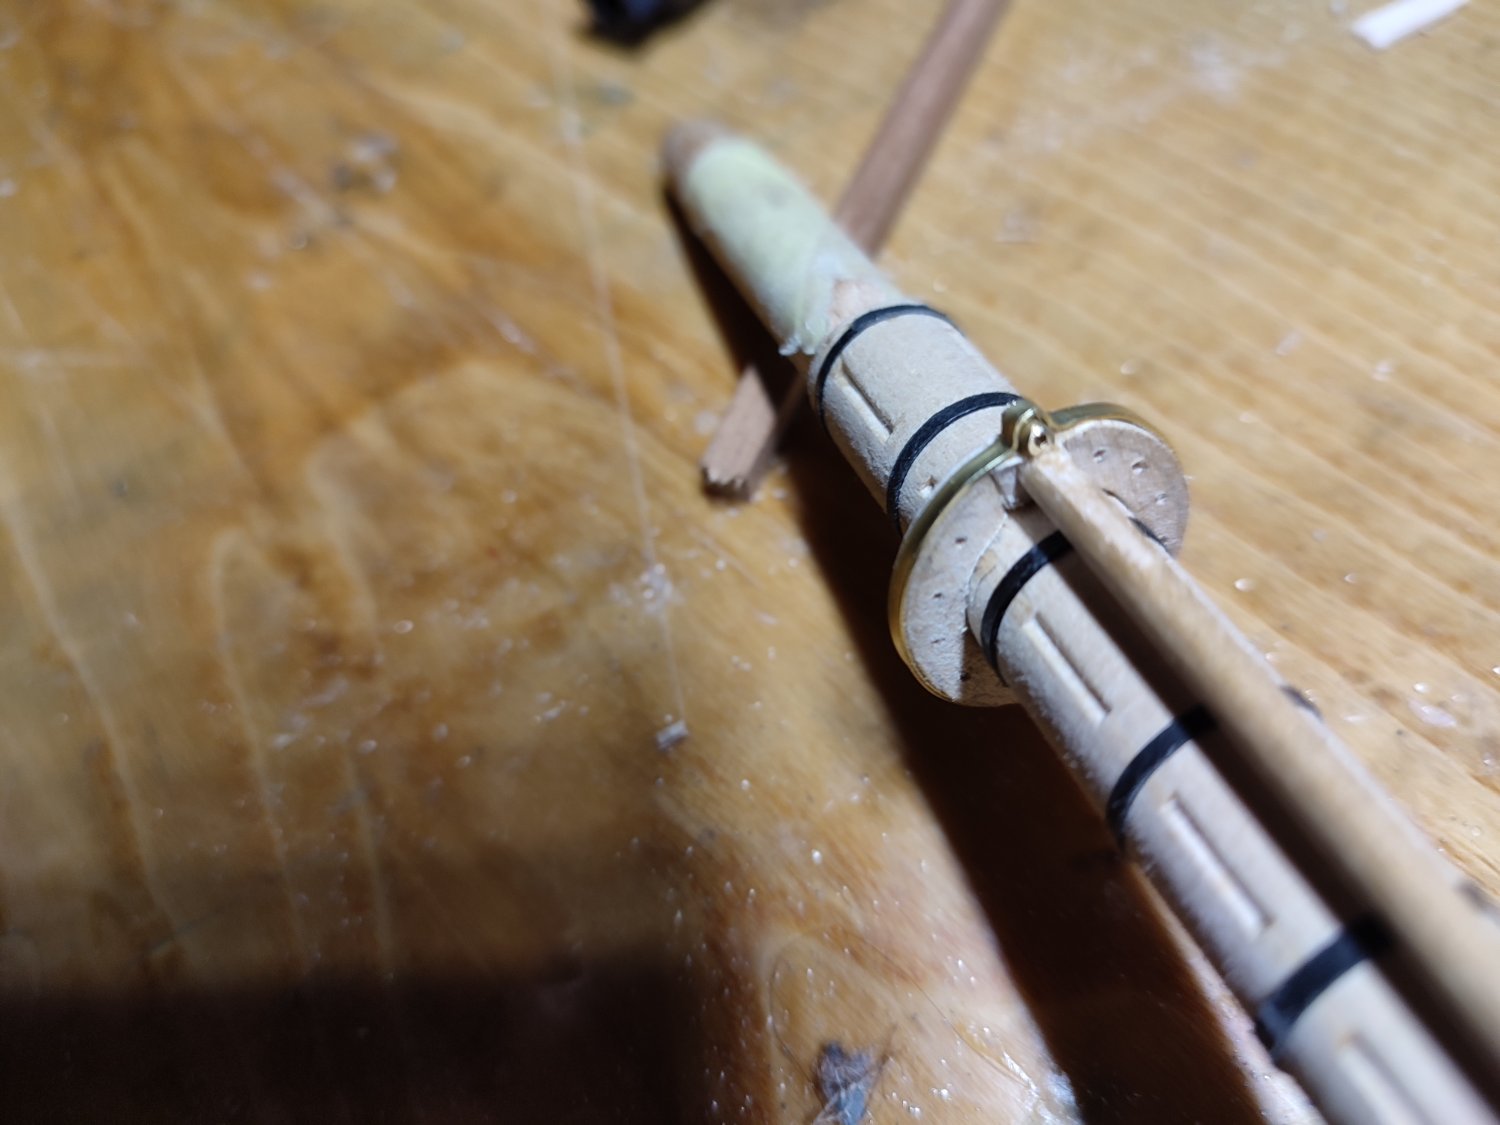
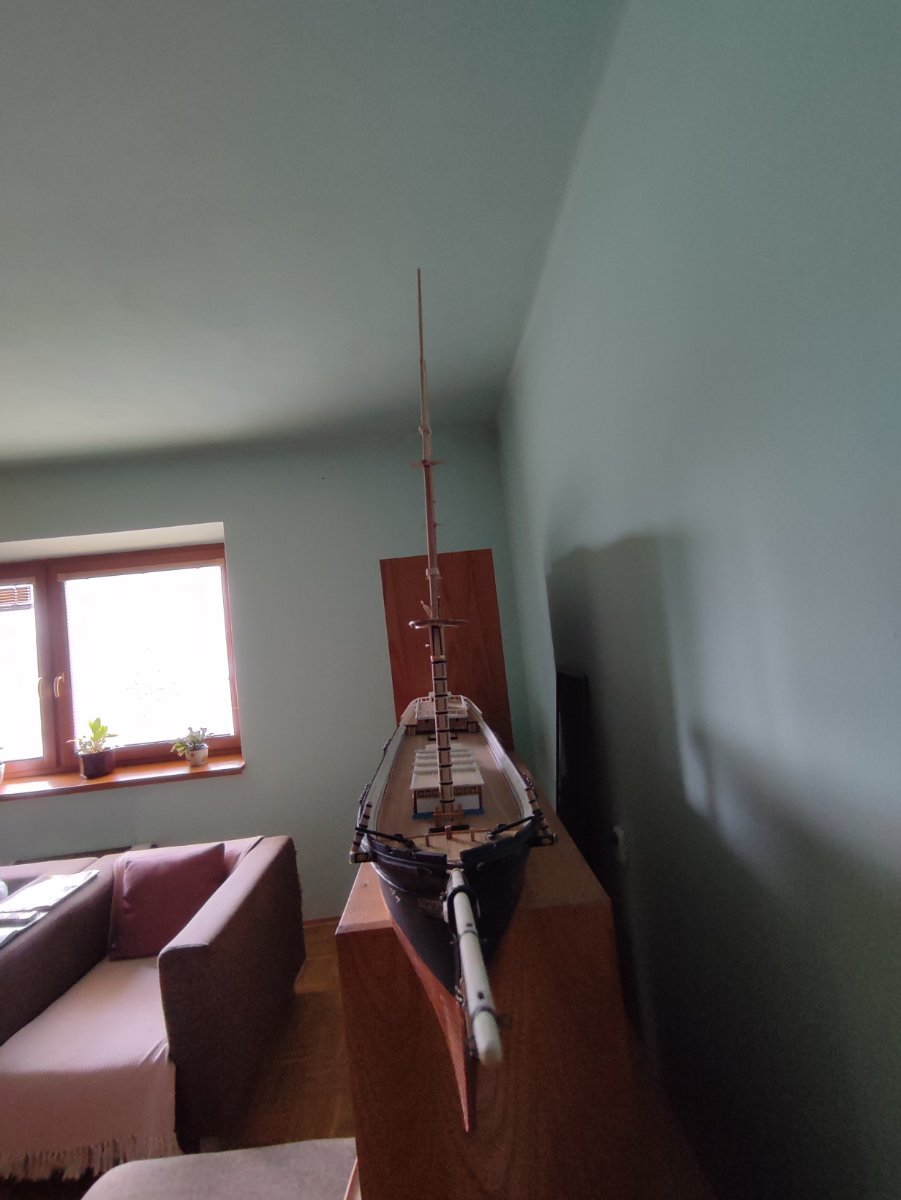
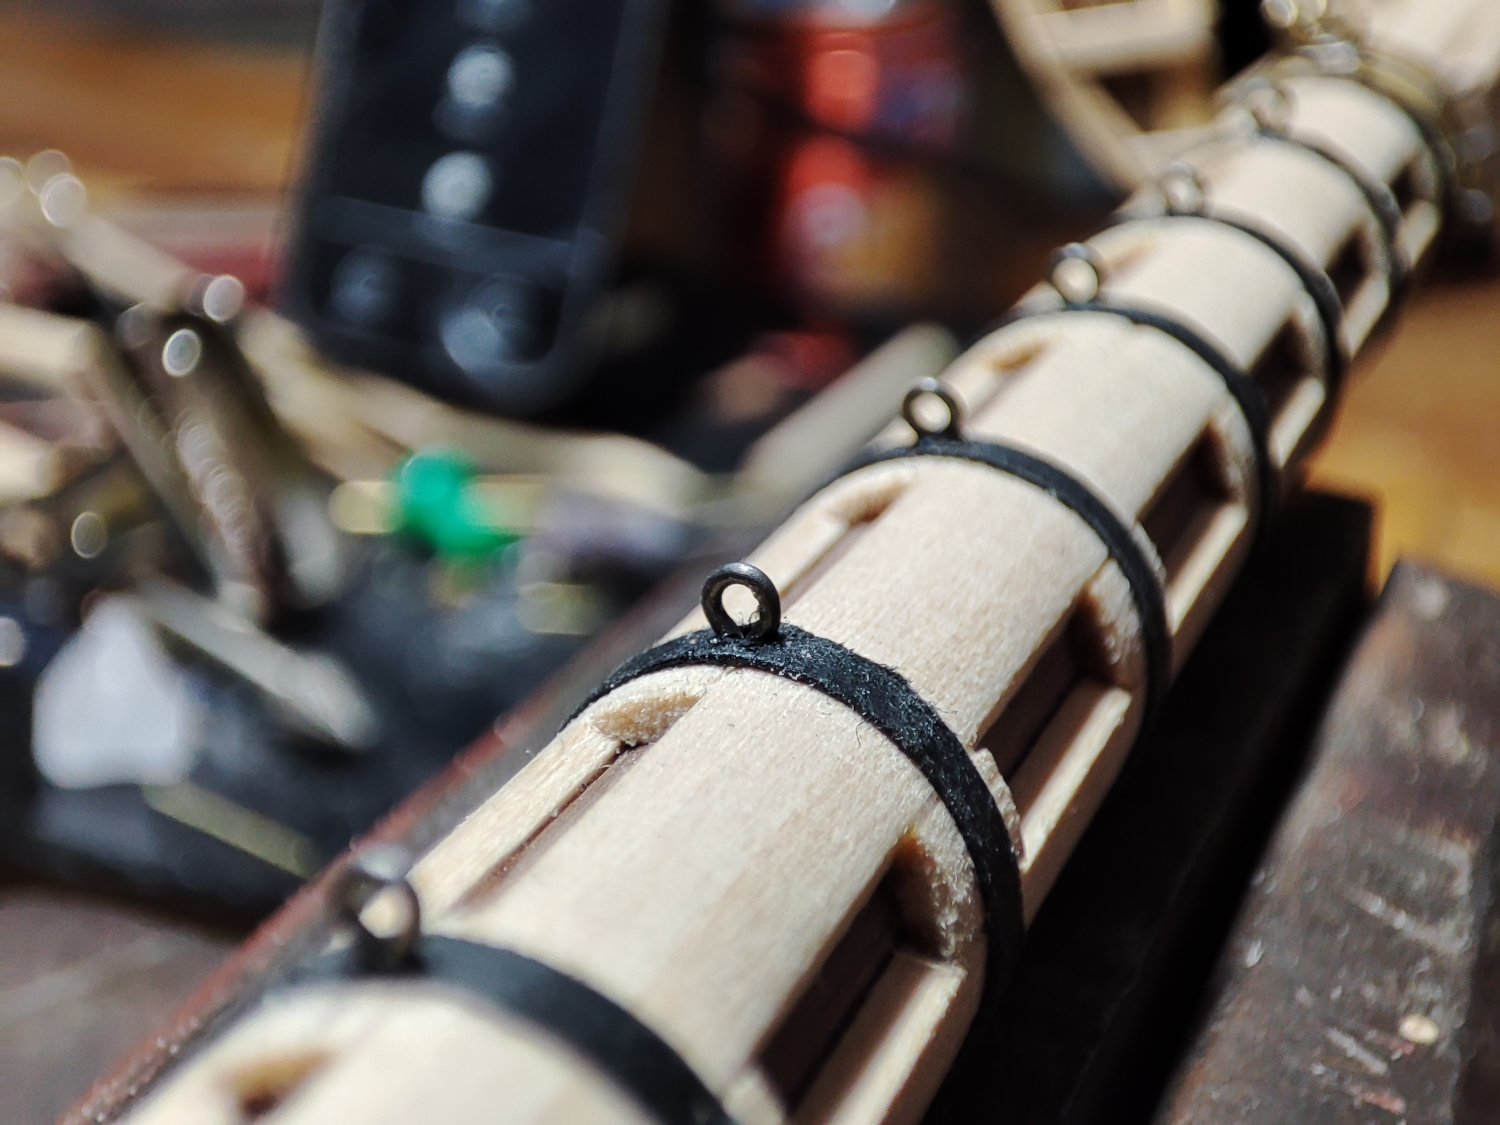
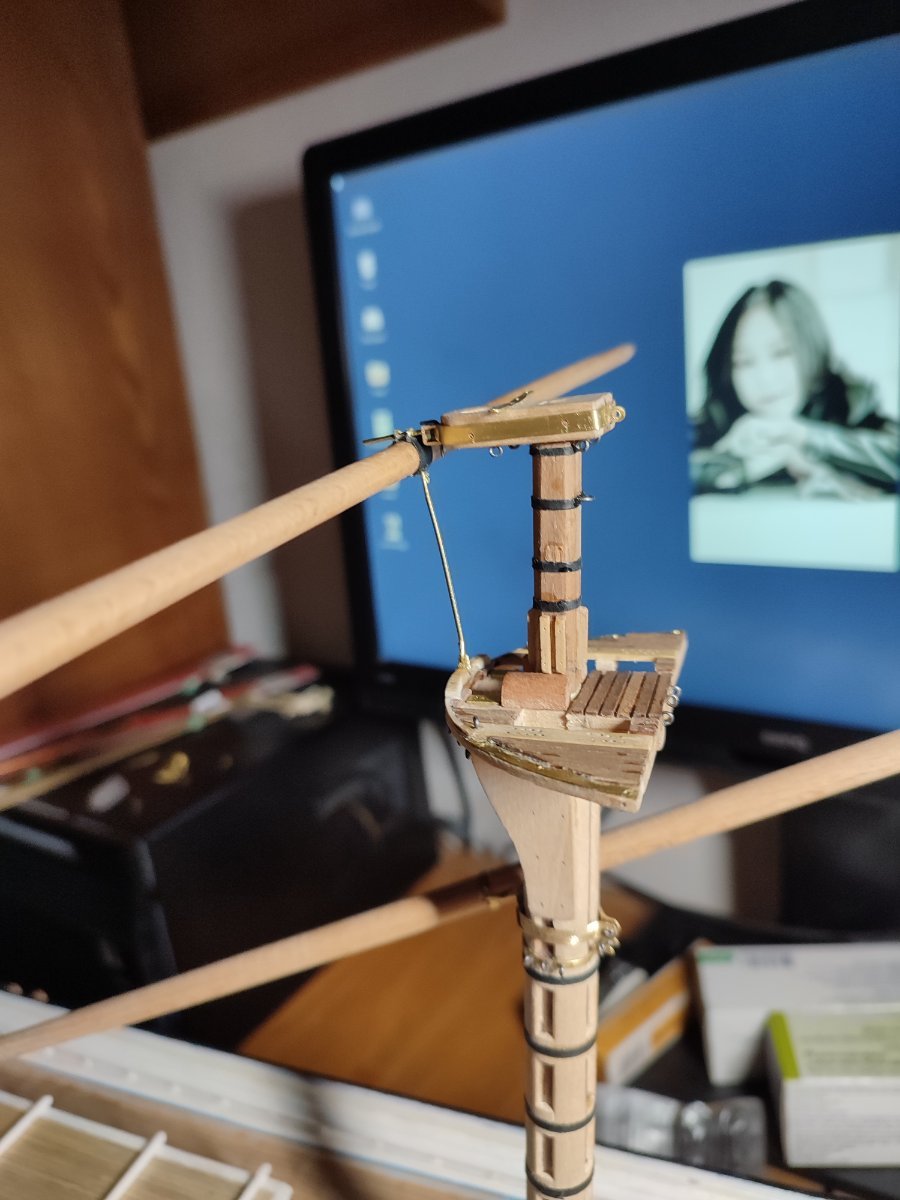
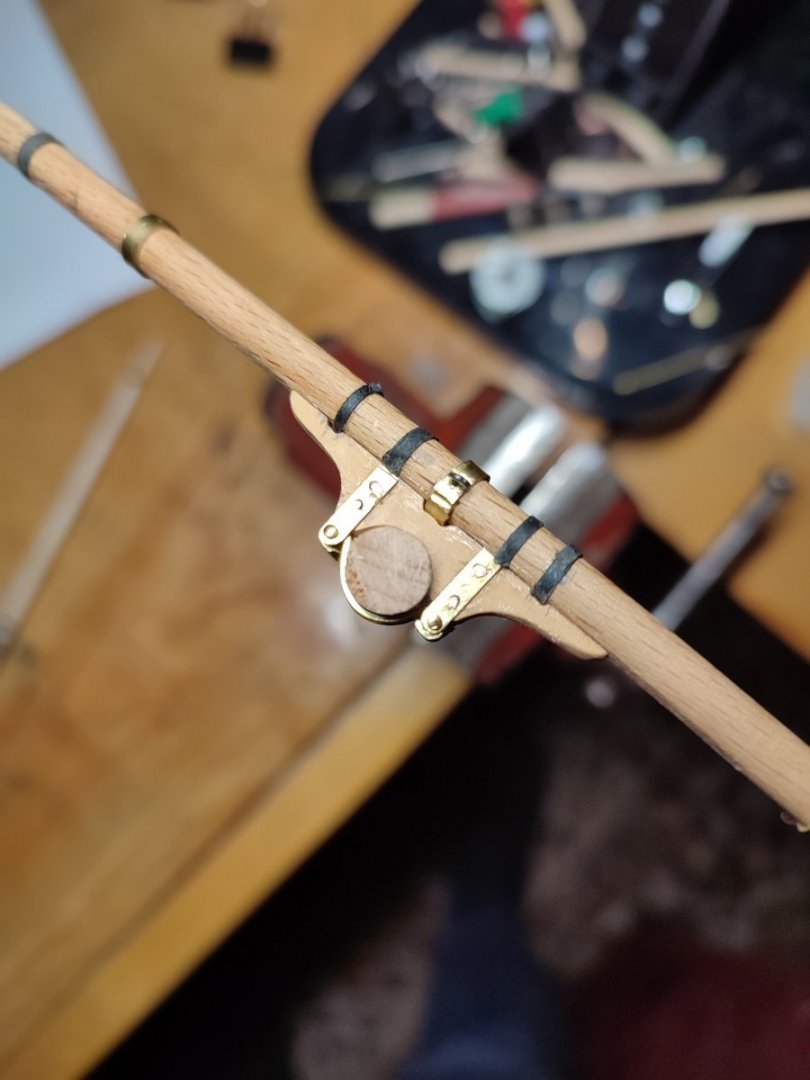
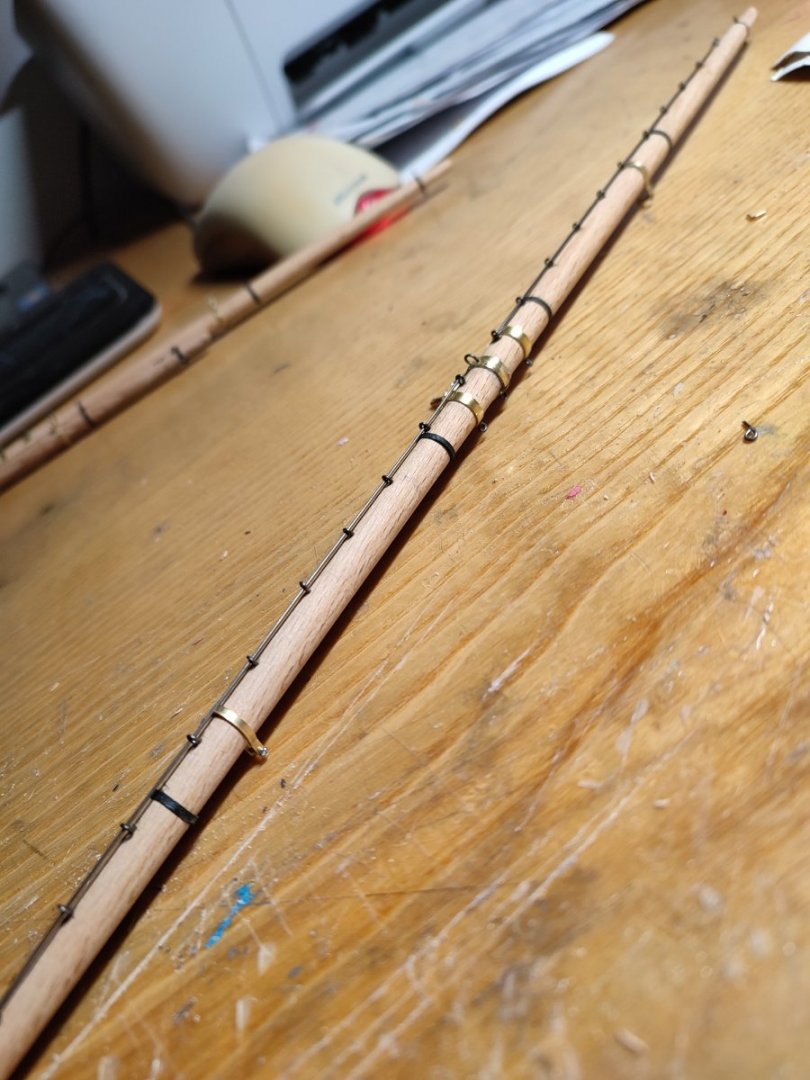
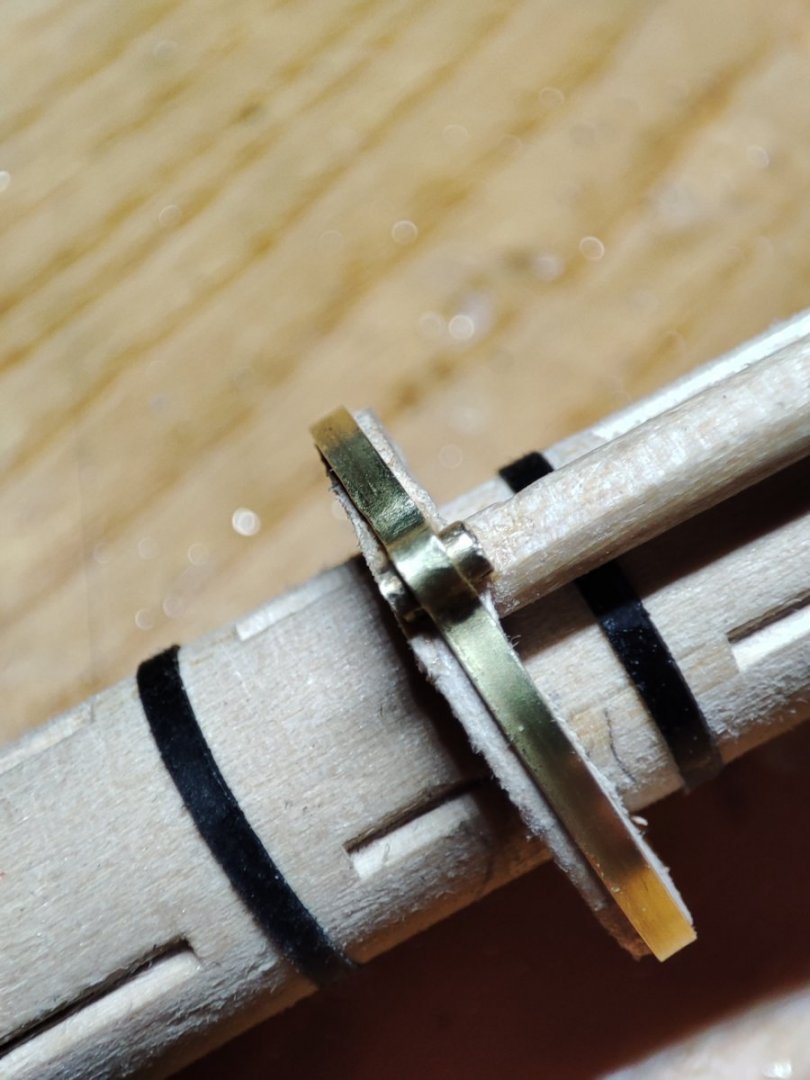
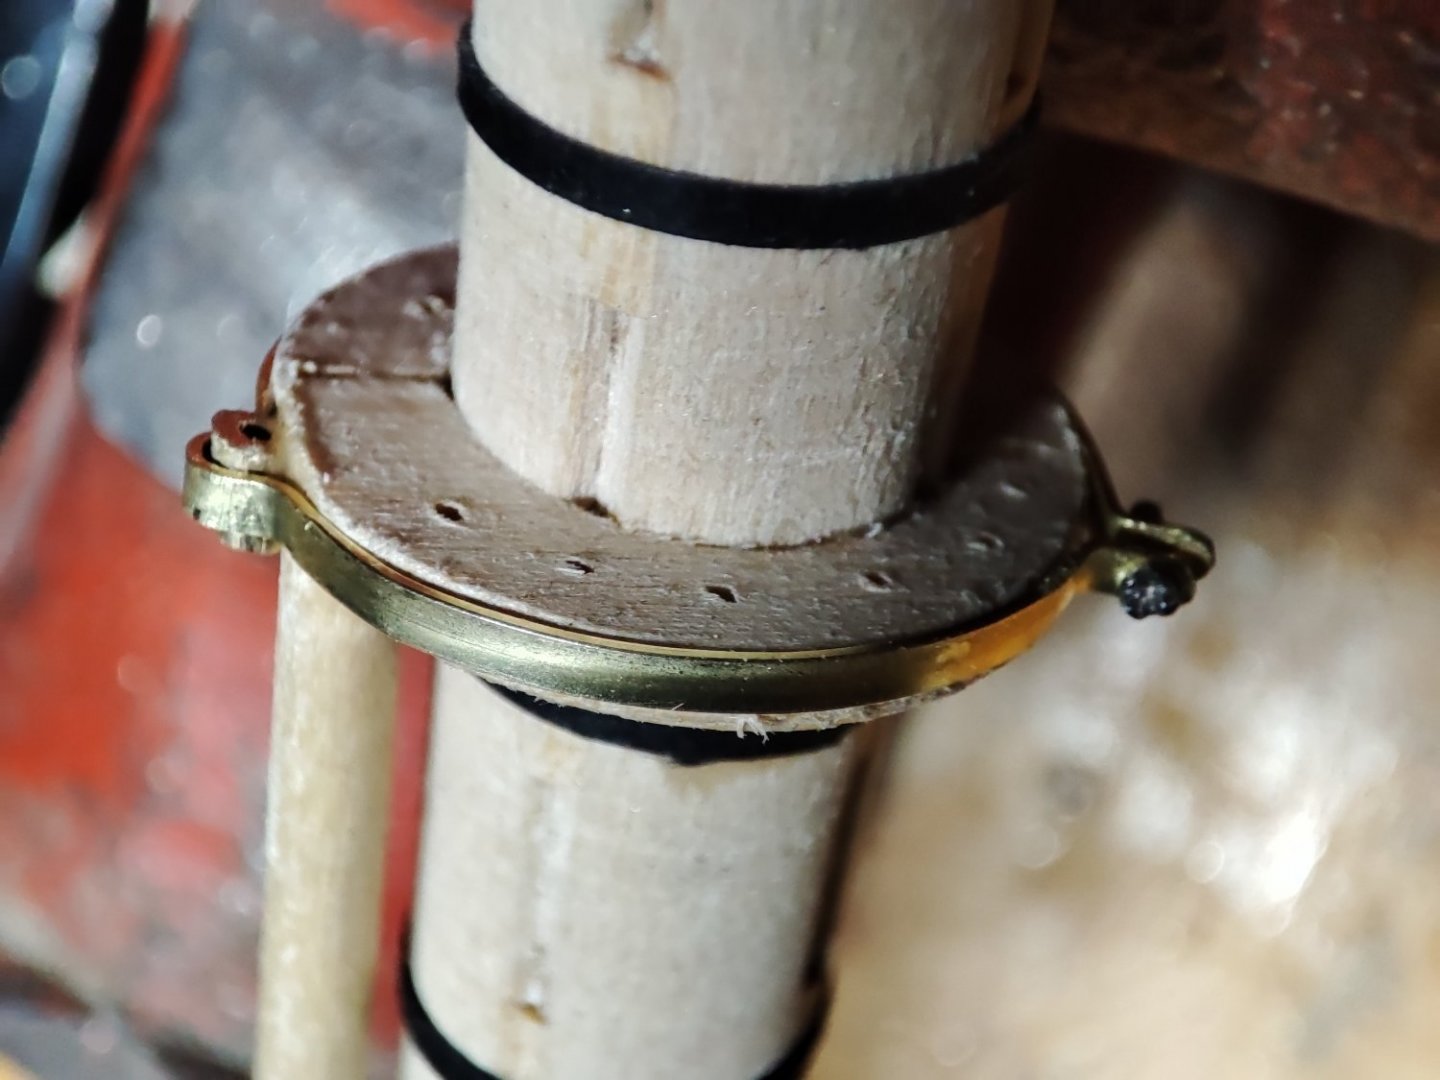
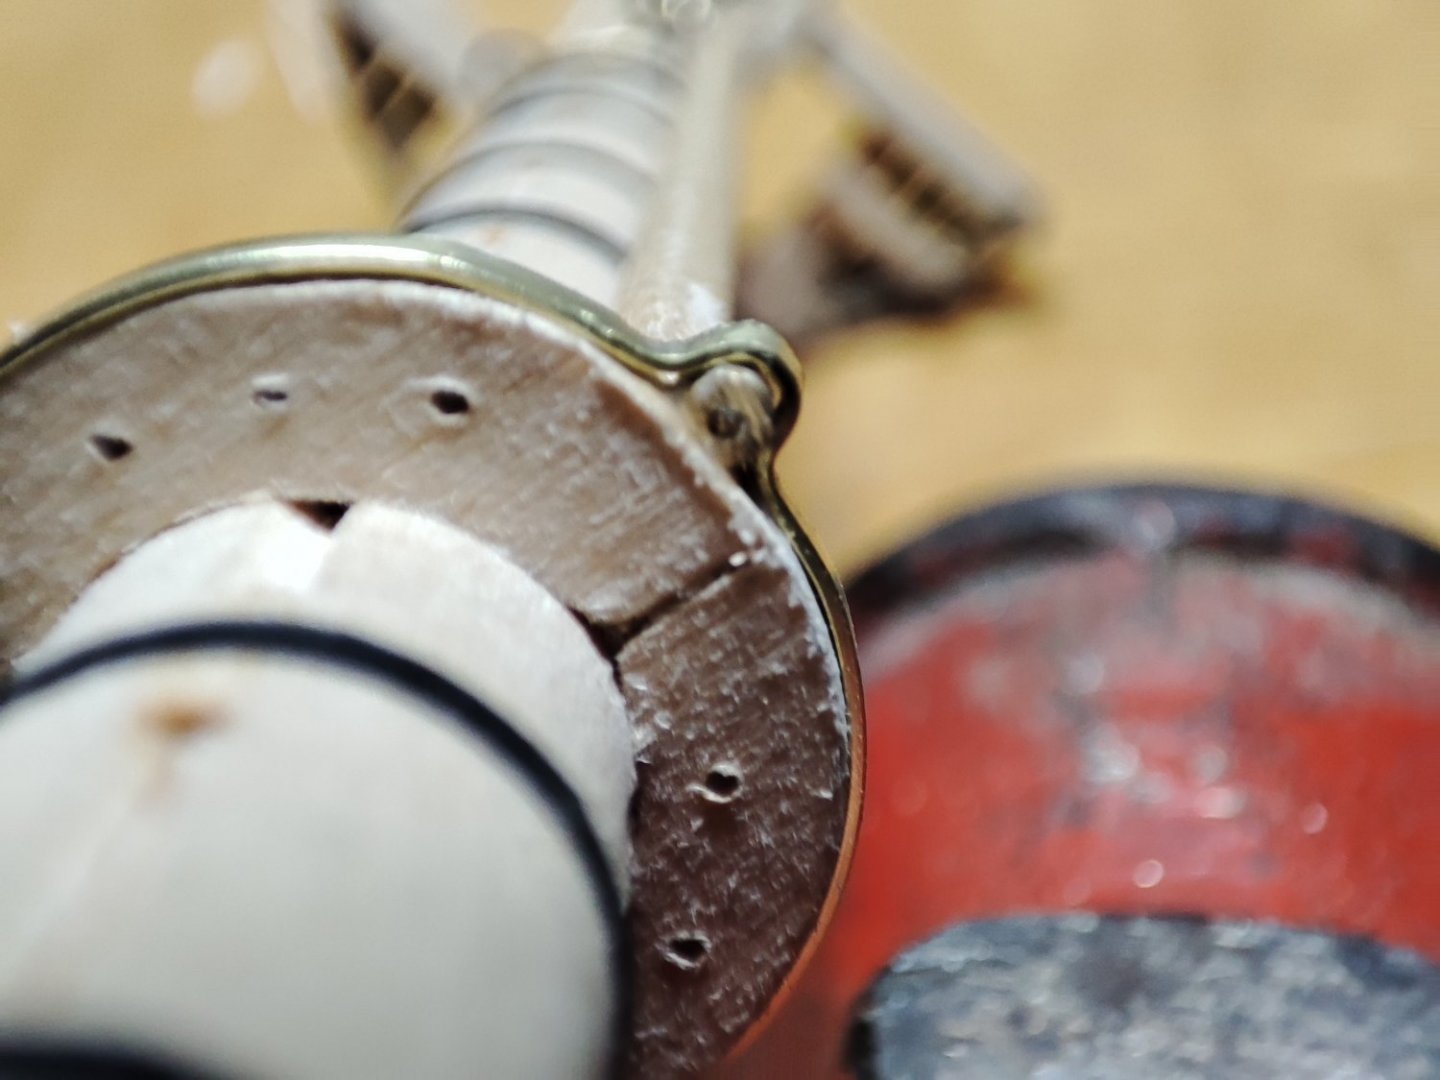
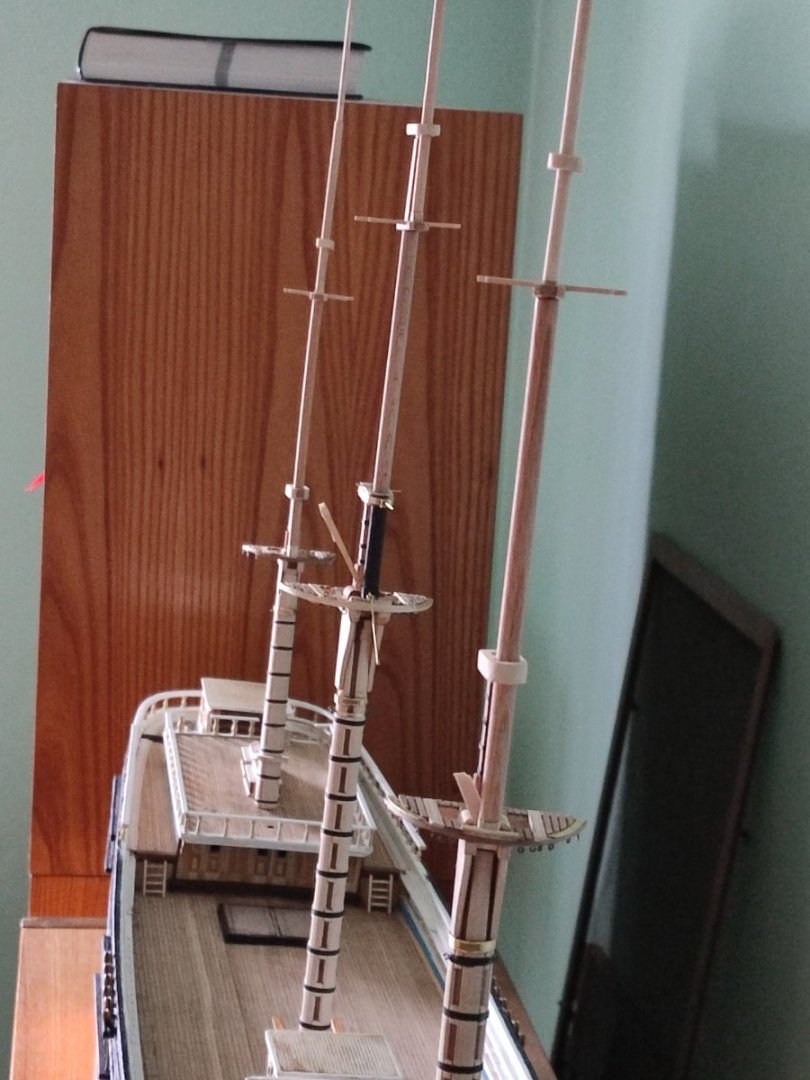
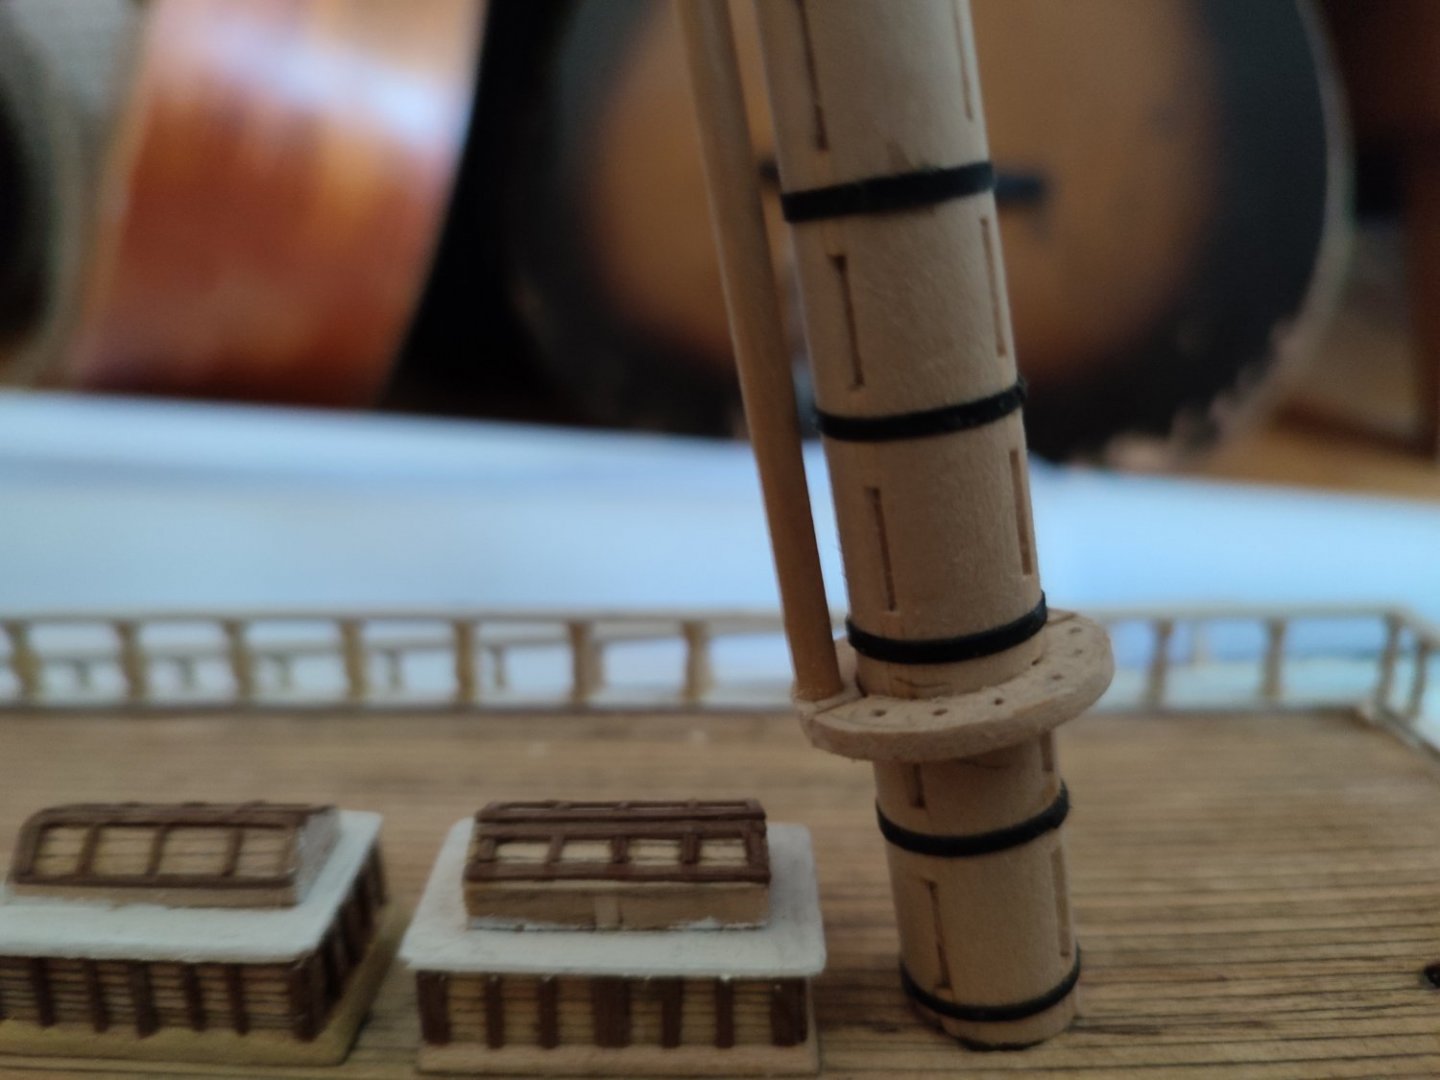
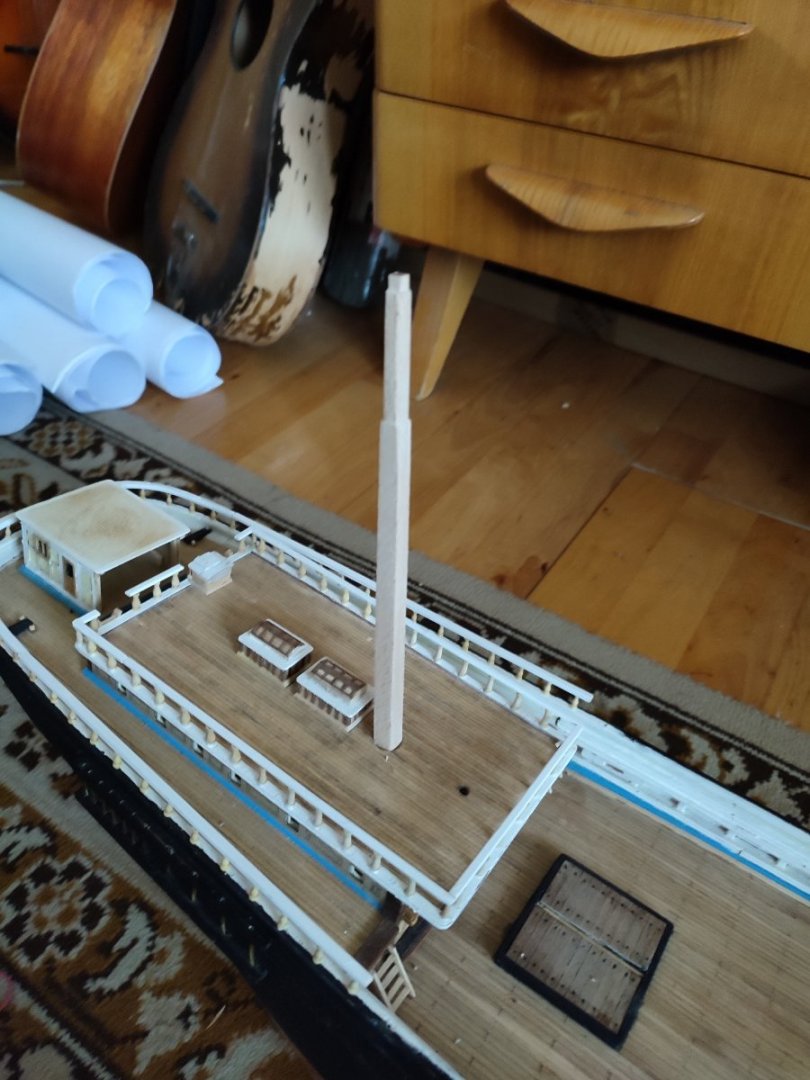
Few pics from work. Im fór little celebration as one milestone IS reached. I only need to finish metal work on crostrees caps and yards and after i Will have a needed break before next chapter. I dont think i would like to masť& rig model fór next Few years now Attachings shrouds and blocks... Checking masts linearity. My gosh She IS tall! Thx fór watching..


-
I think i Will follow your process. So you glue firm each mast Up,hang yards block her Up so you have spcee for IT and after your start rigging? I see shrouds already there.
- 3,560 replies
-
- 1
-

-
- clipper
- hull model
- (and 2 more)
-
Lovely stuff Rob. you moved along wow. Yes, Lower yard took my breath away. Photo probably wont show the effect in entirety.
-
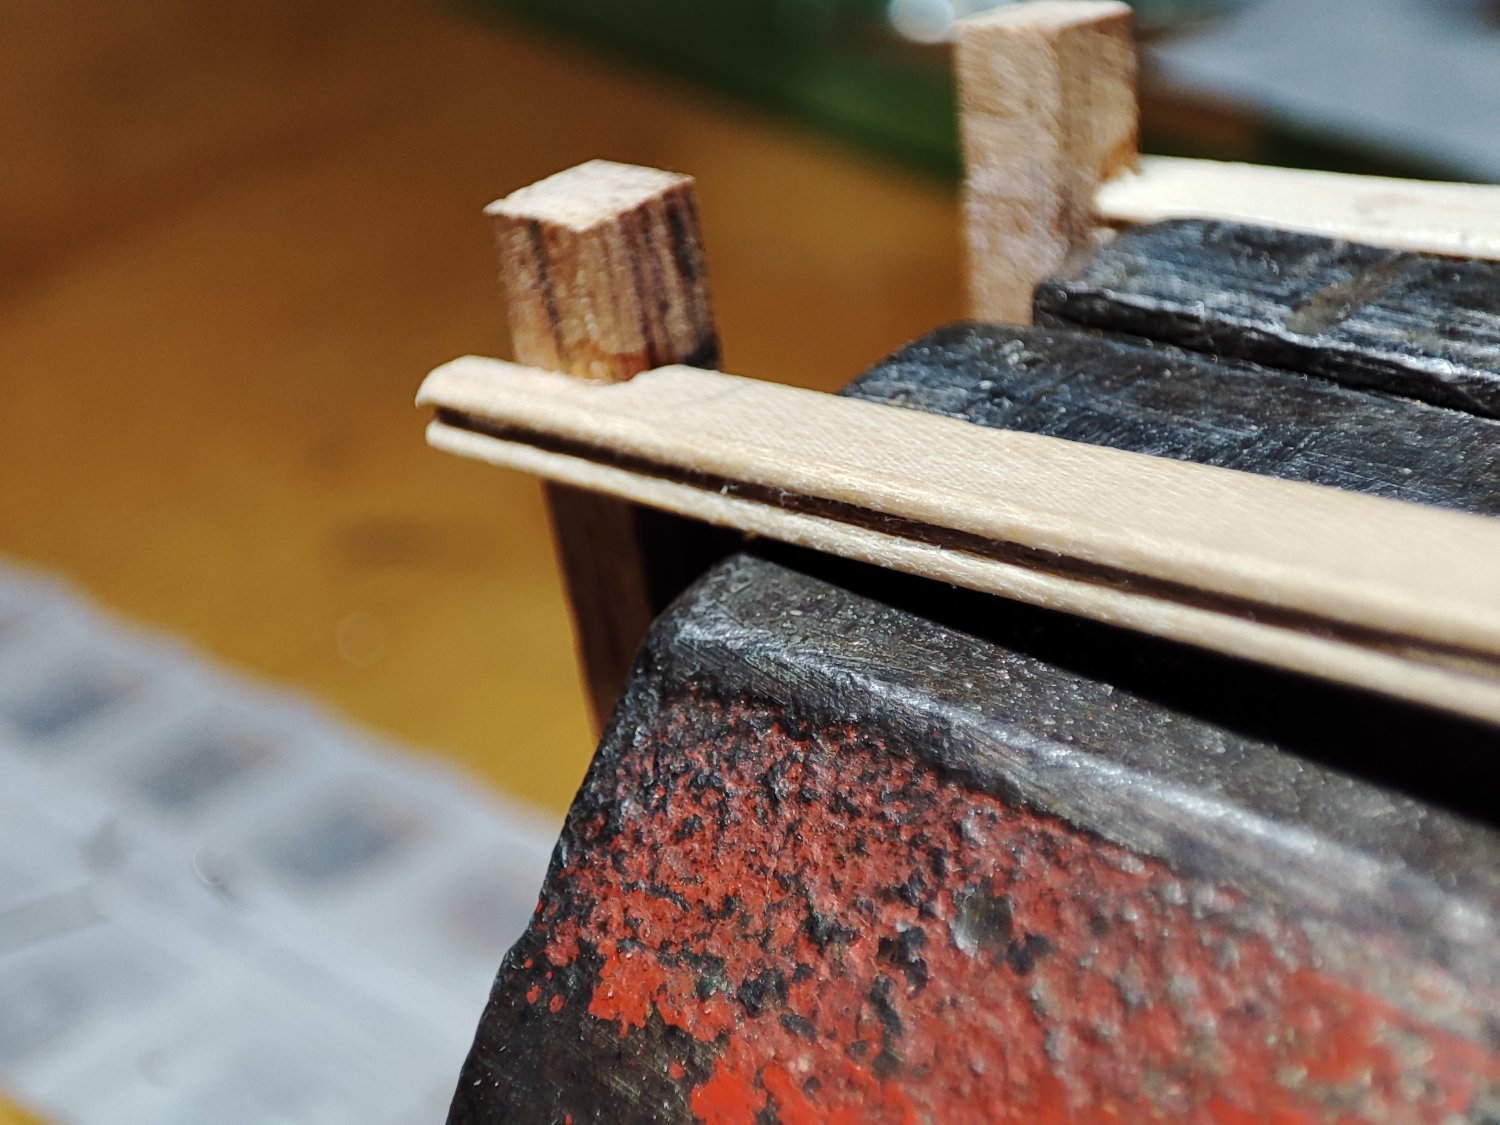
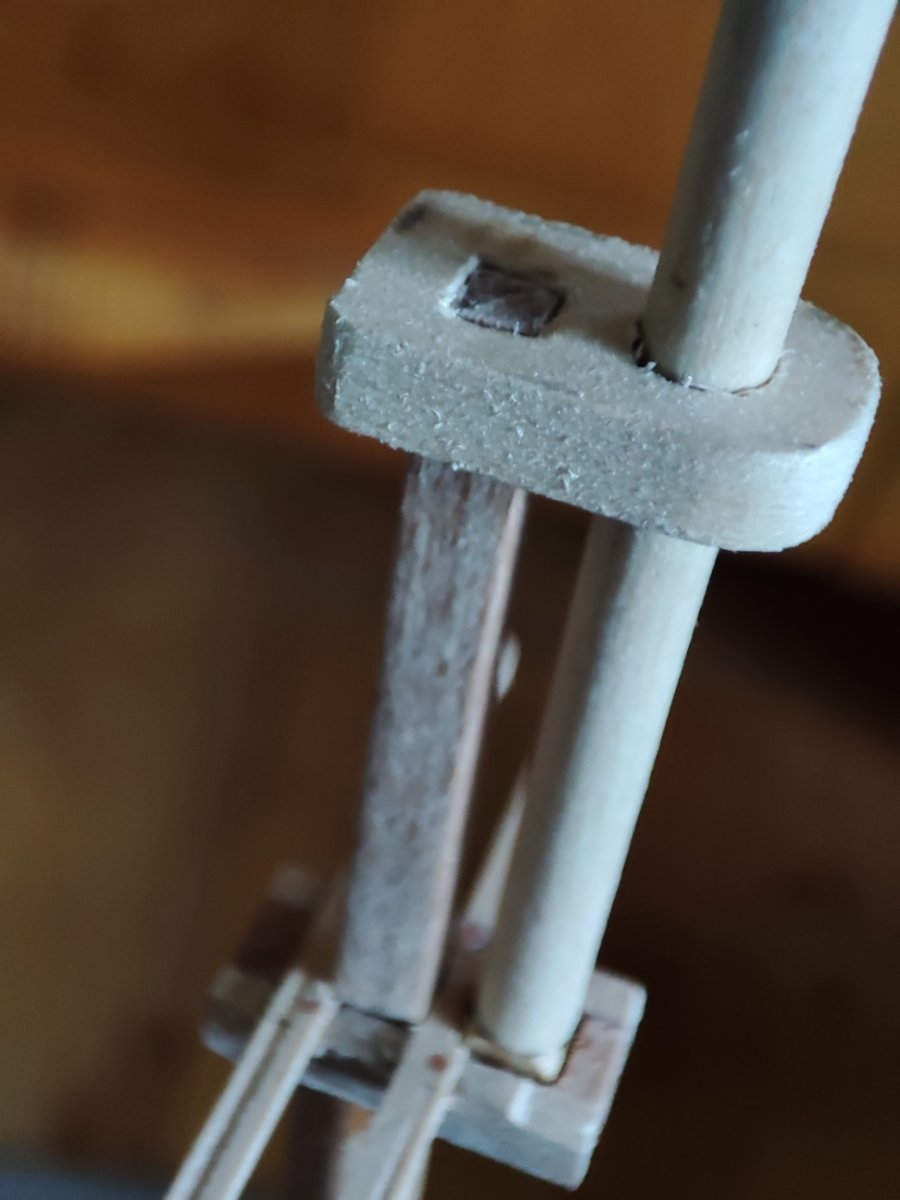
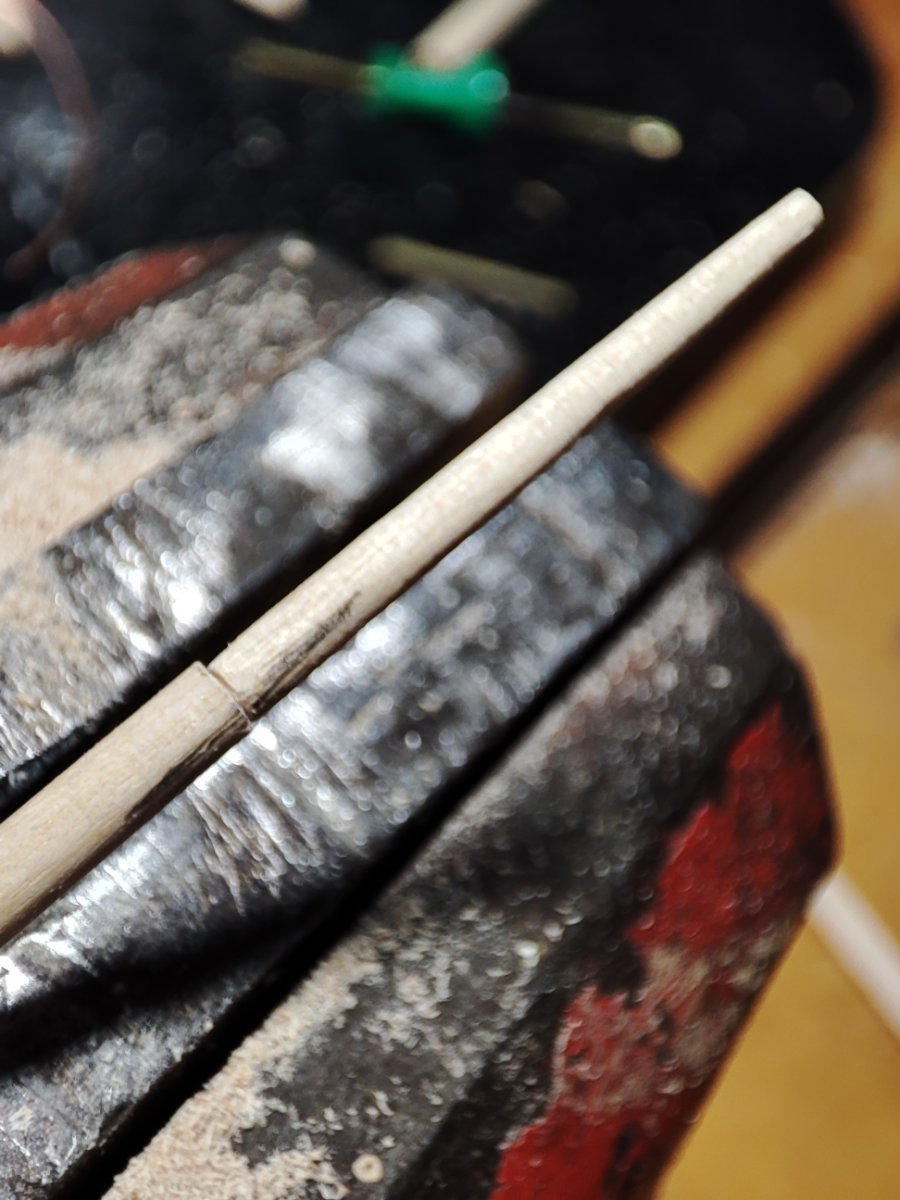
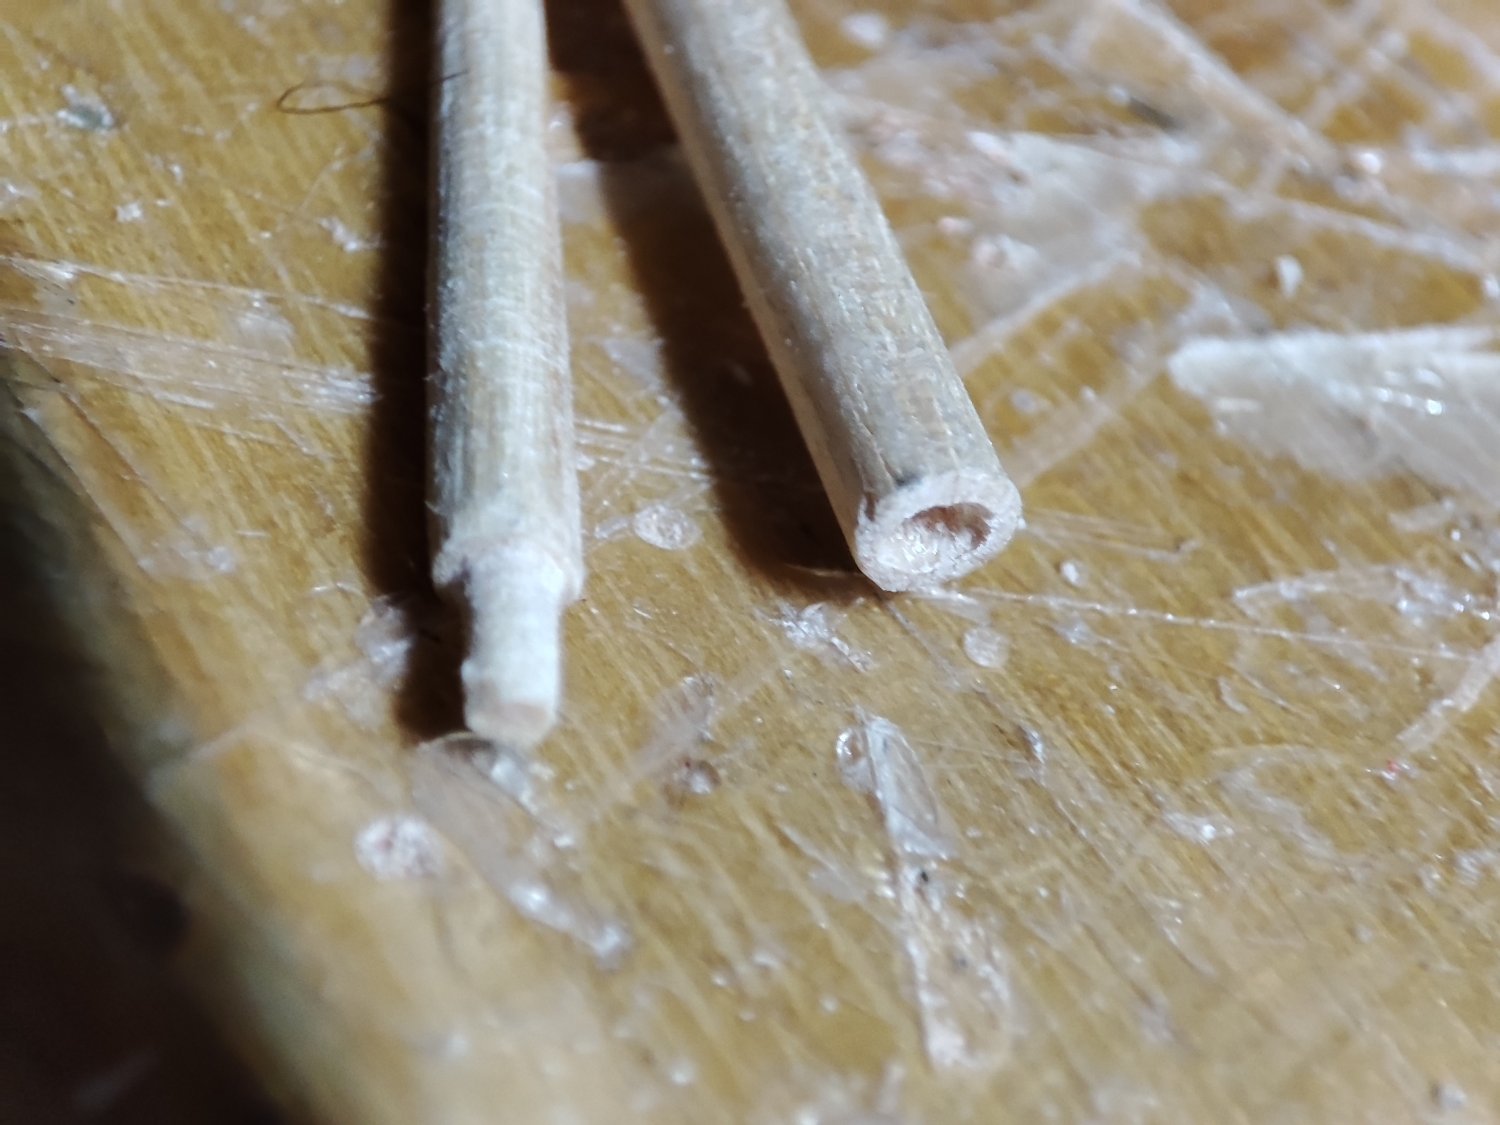
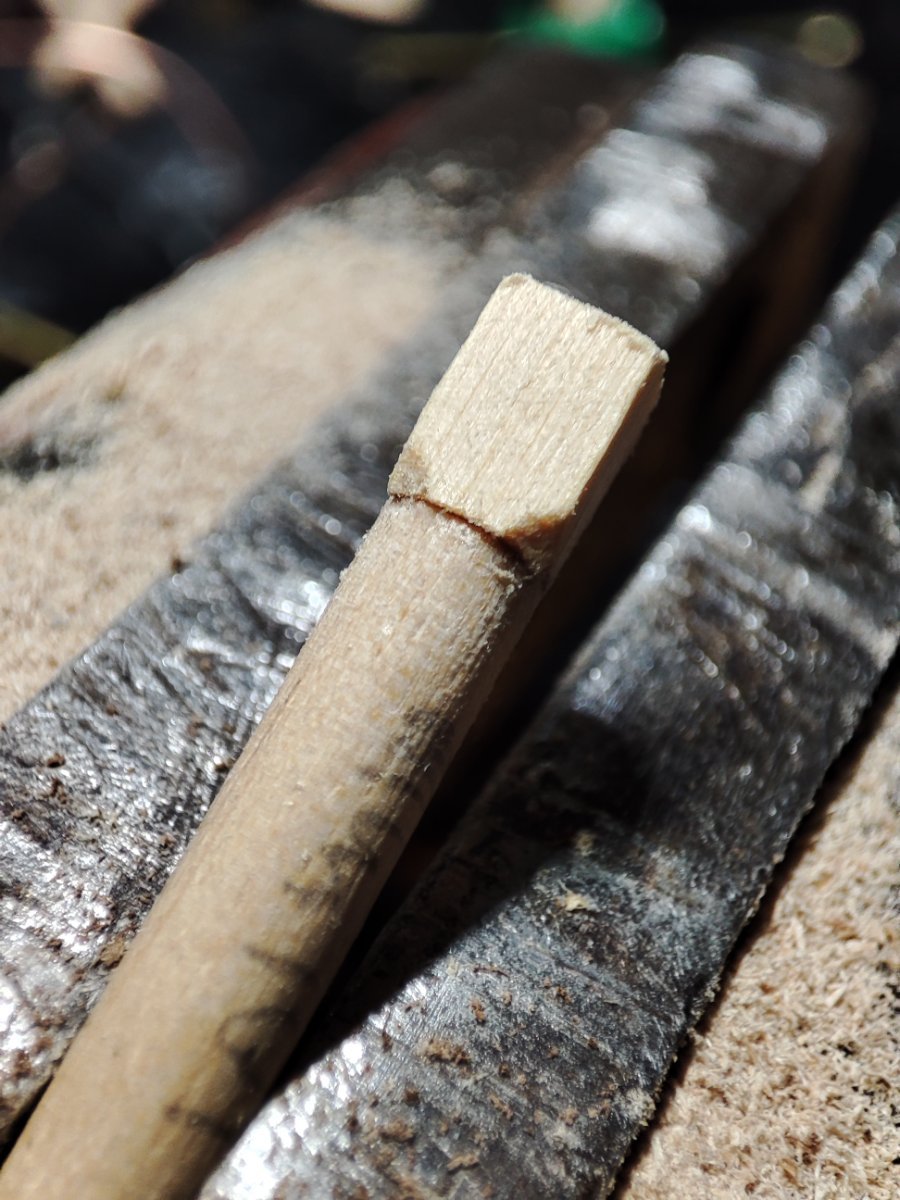
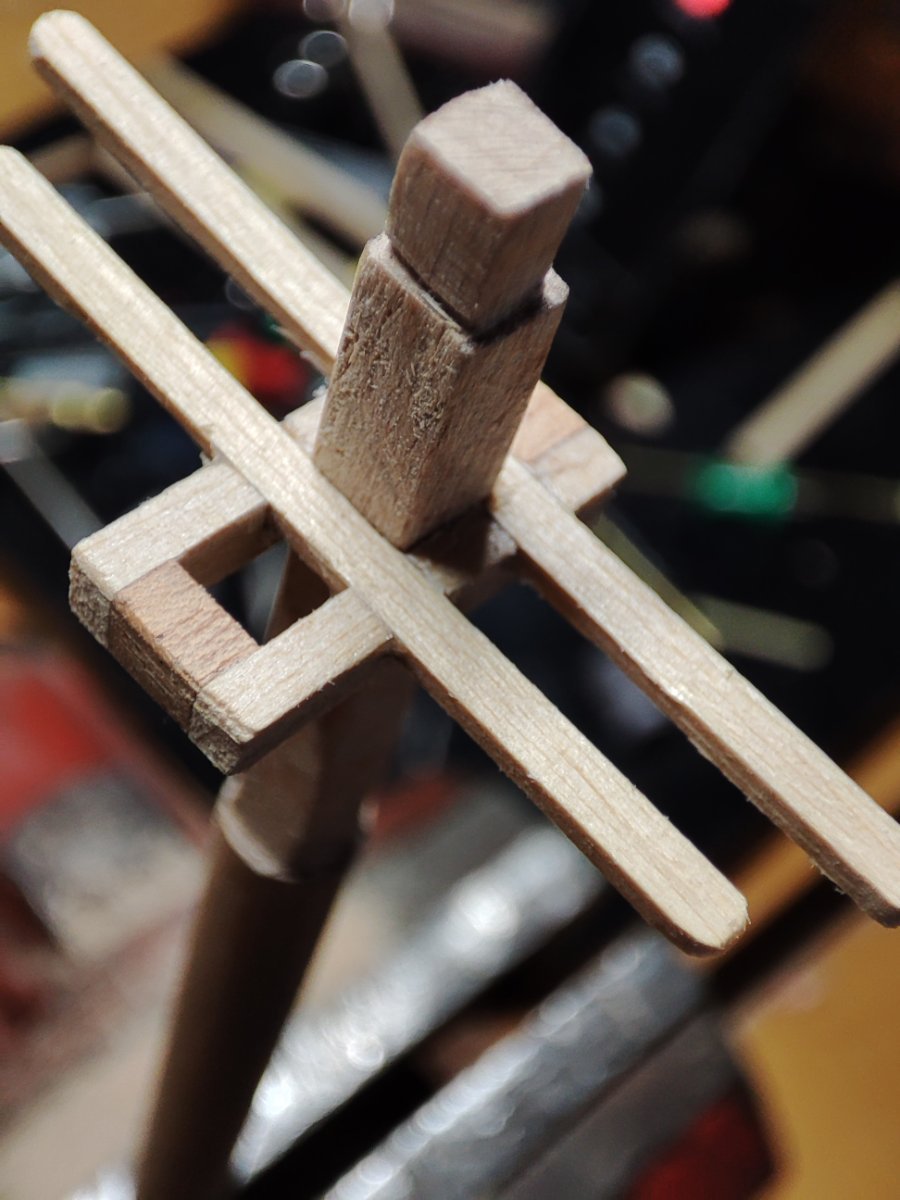
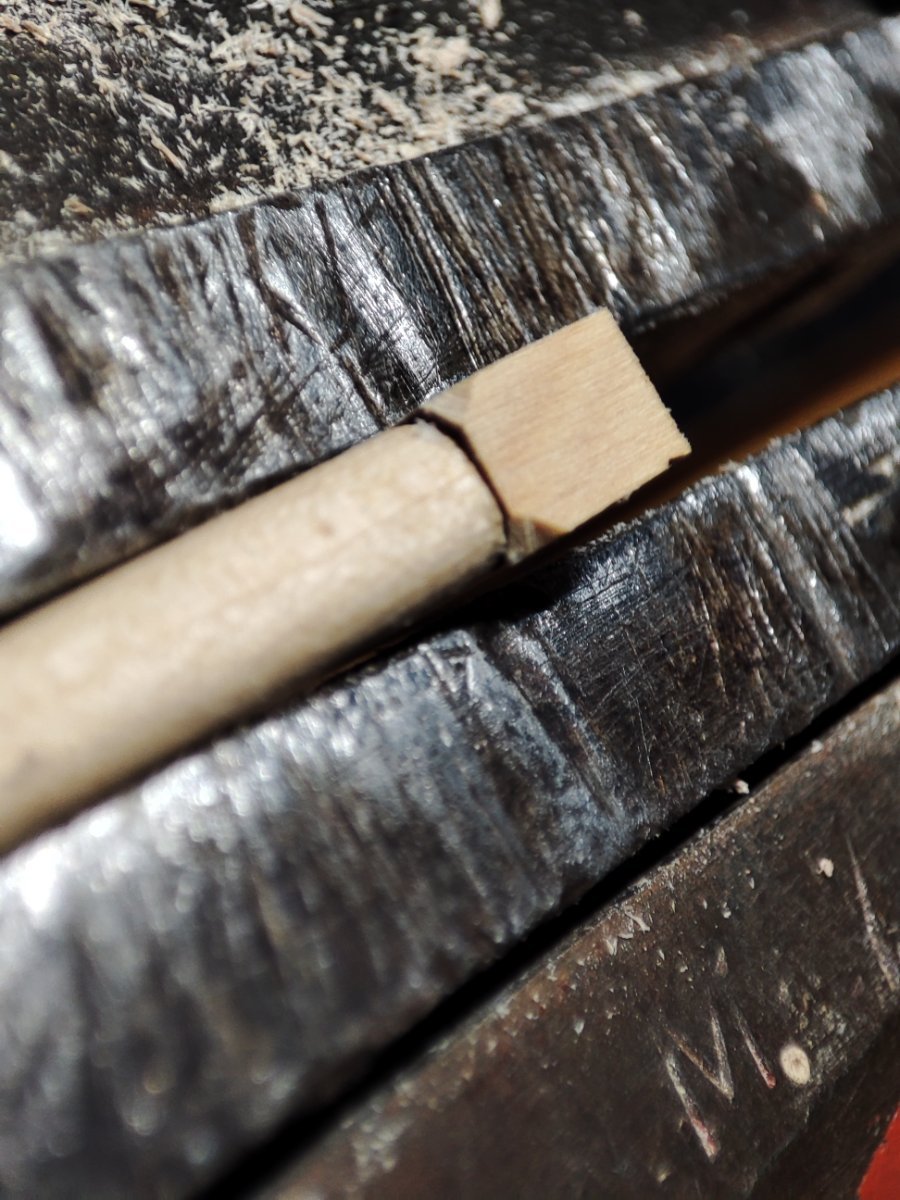
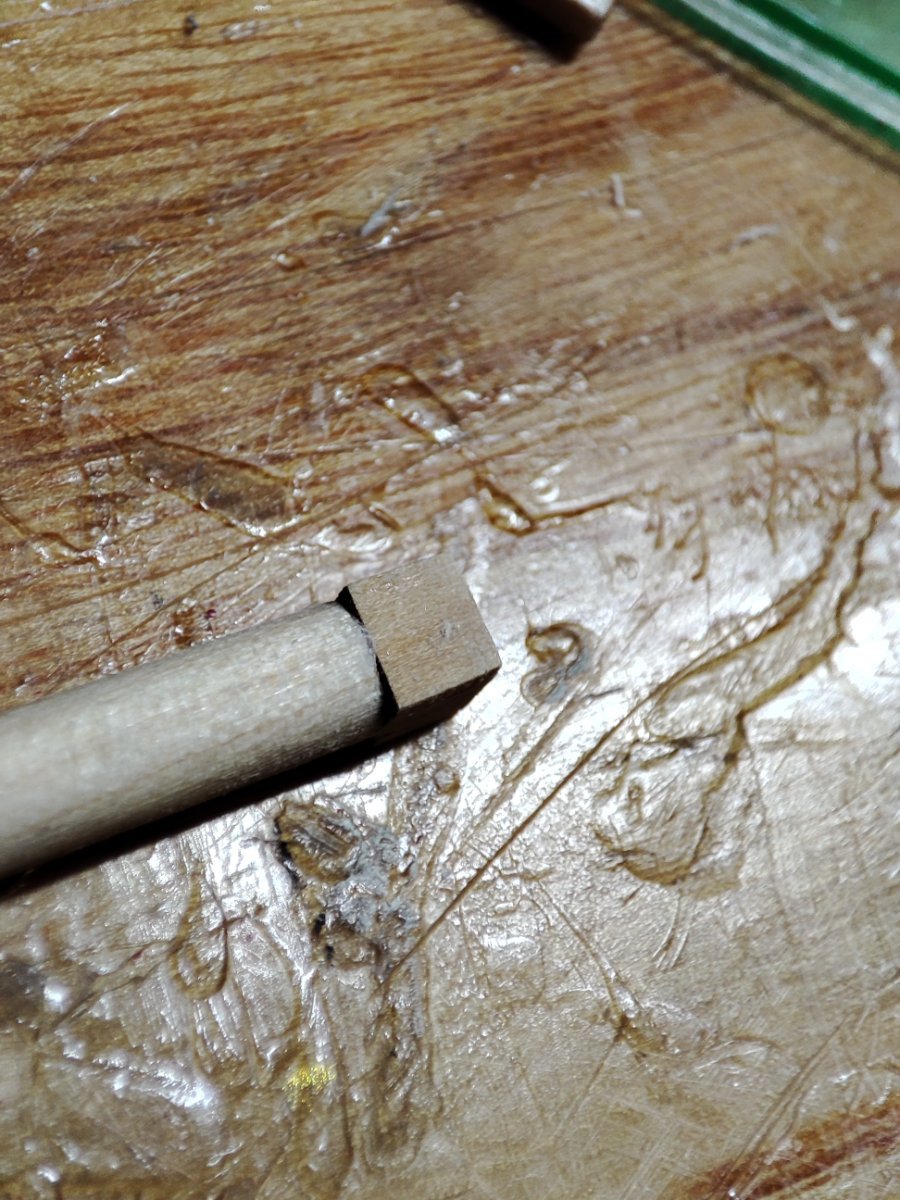
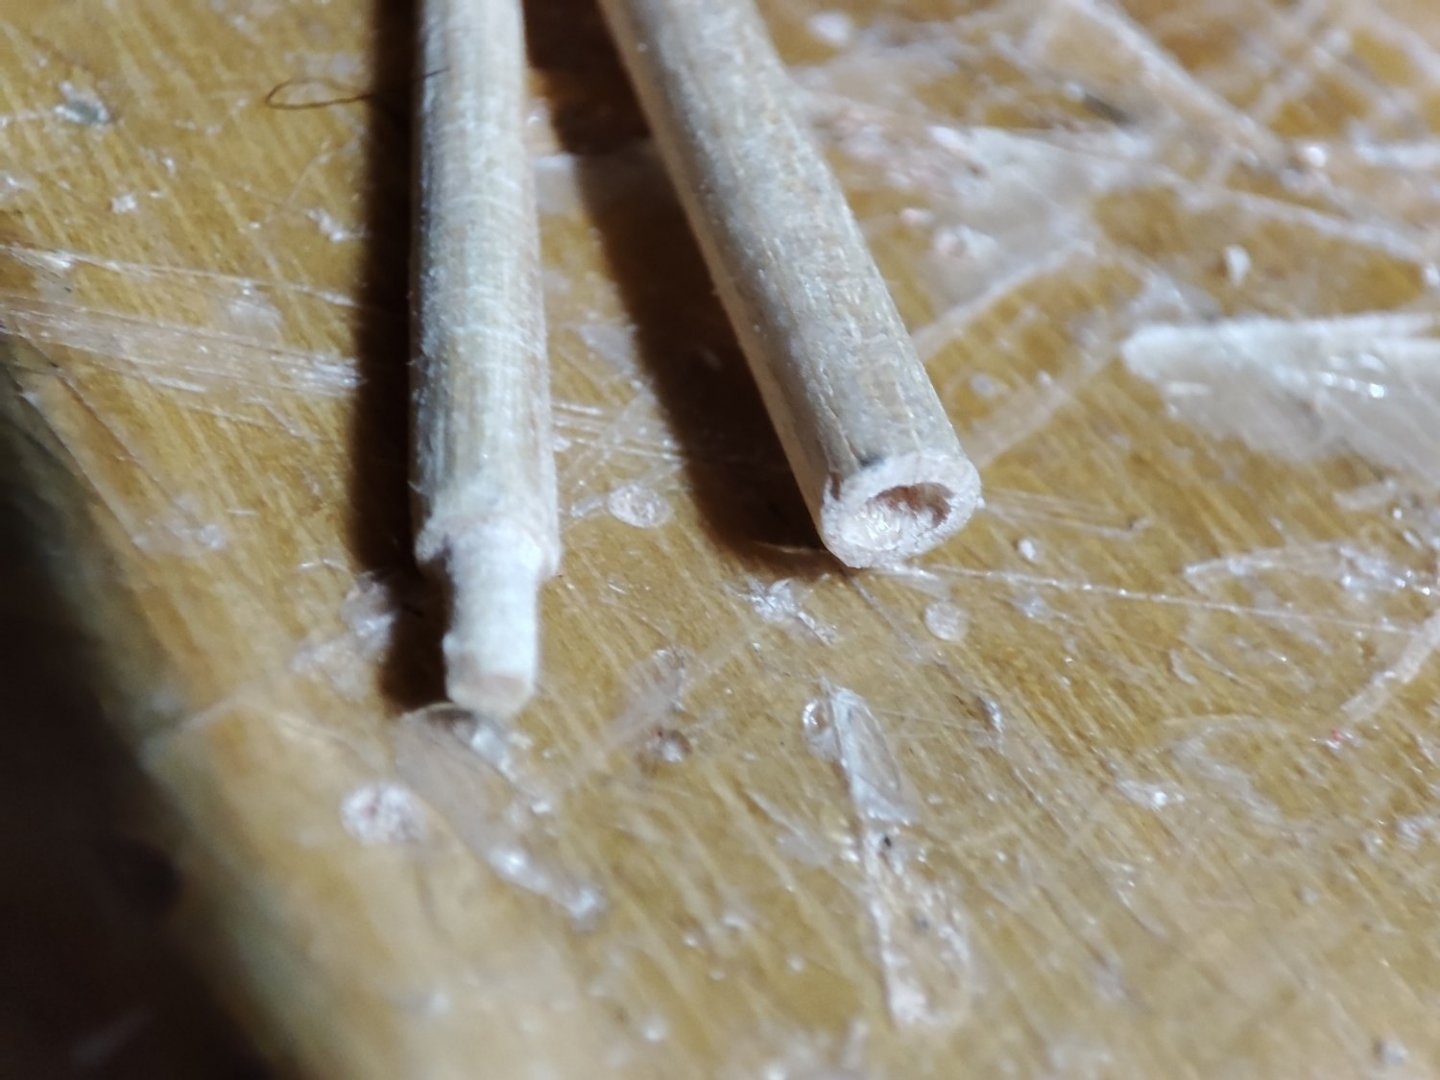
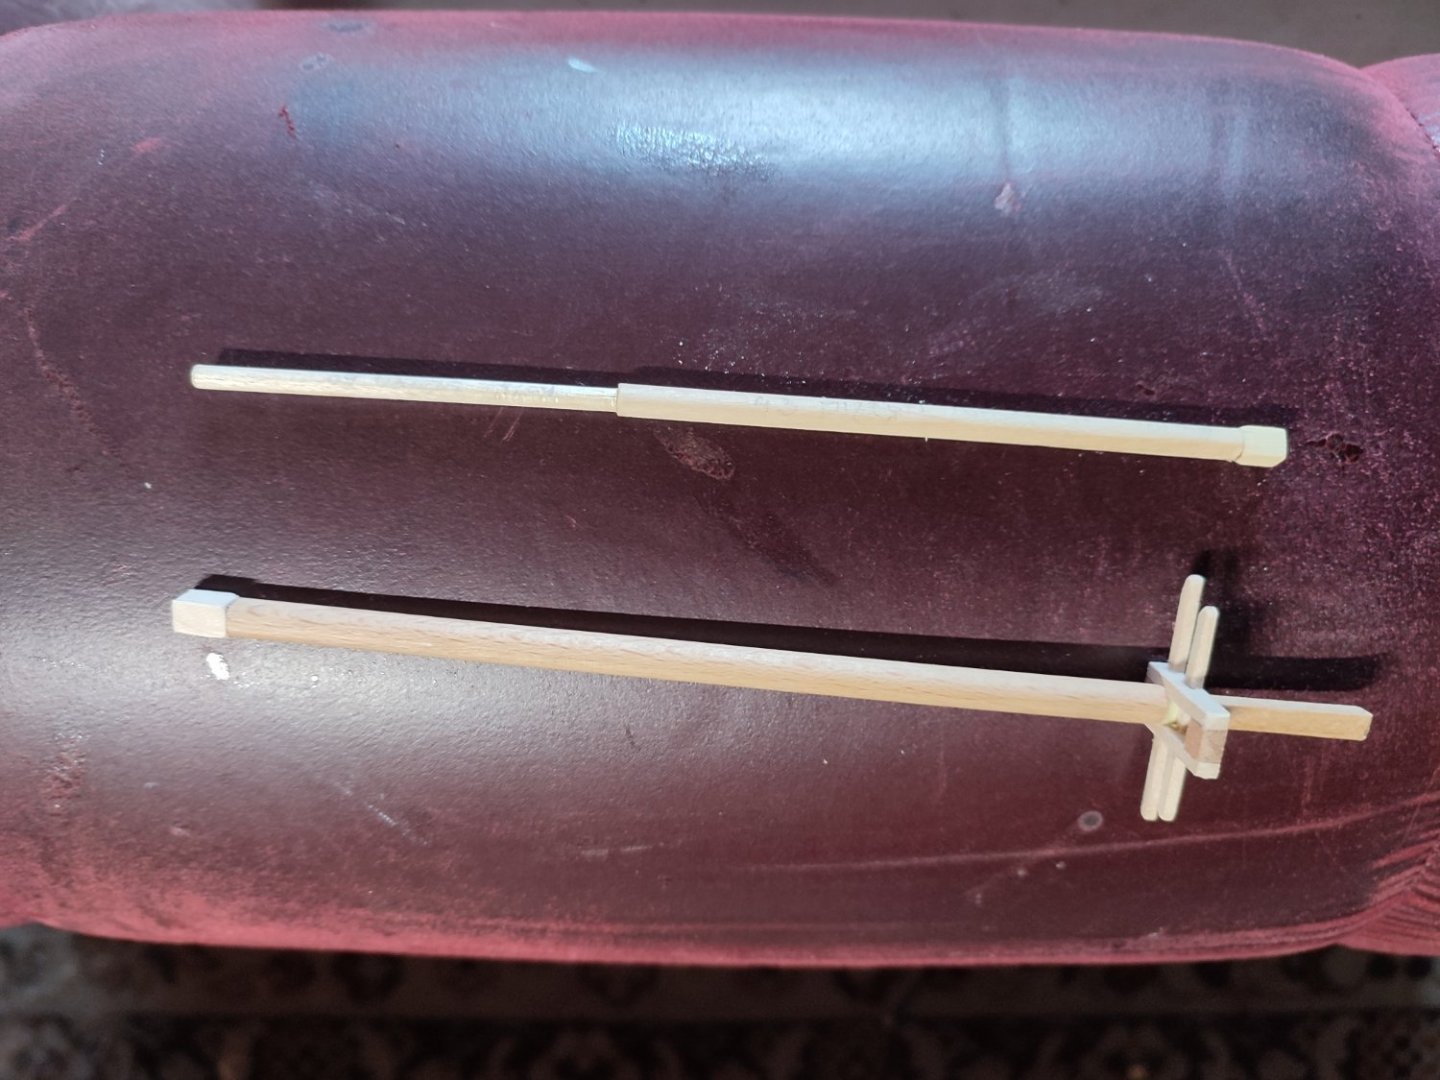
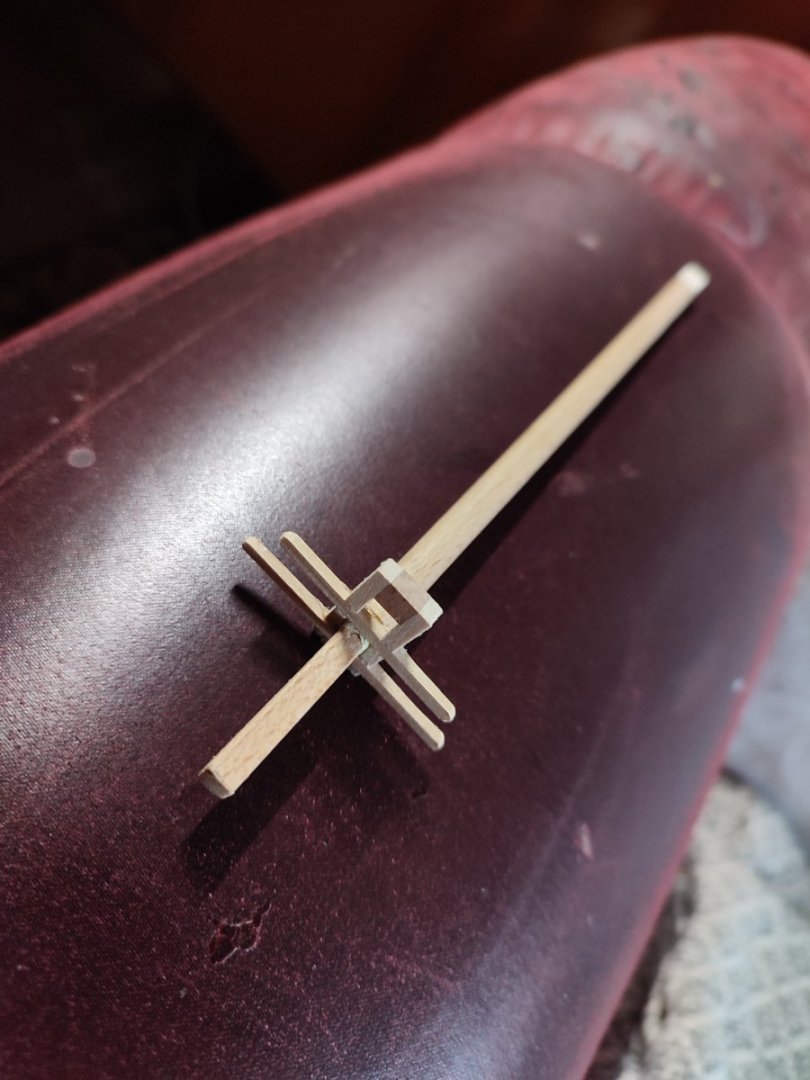
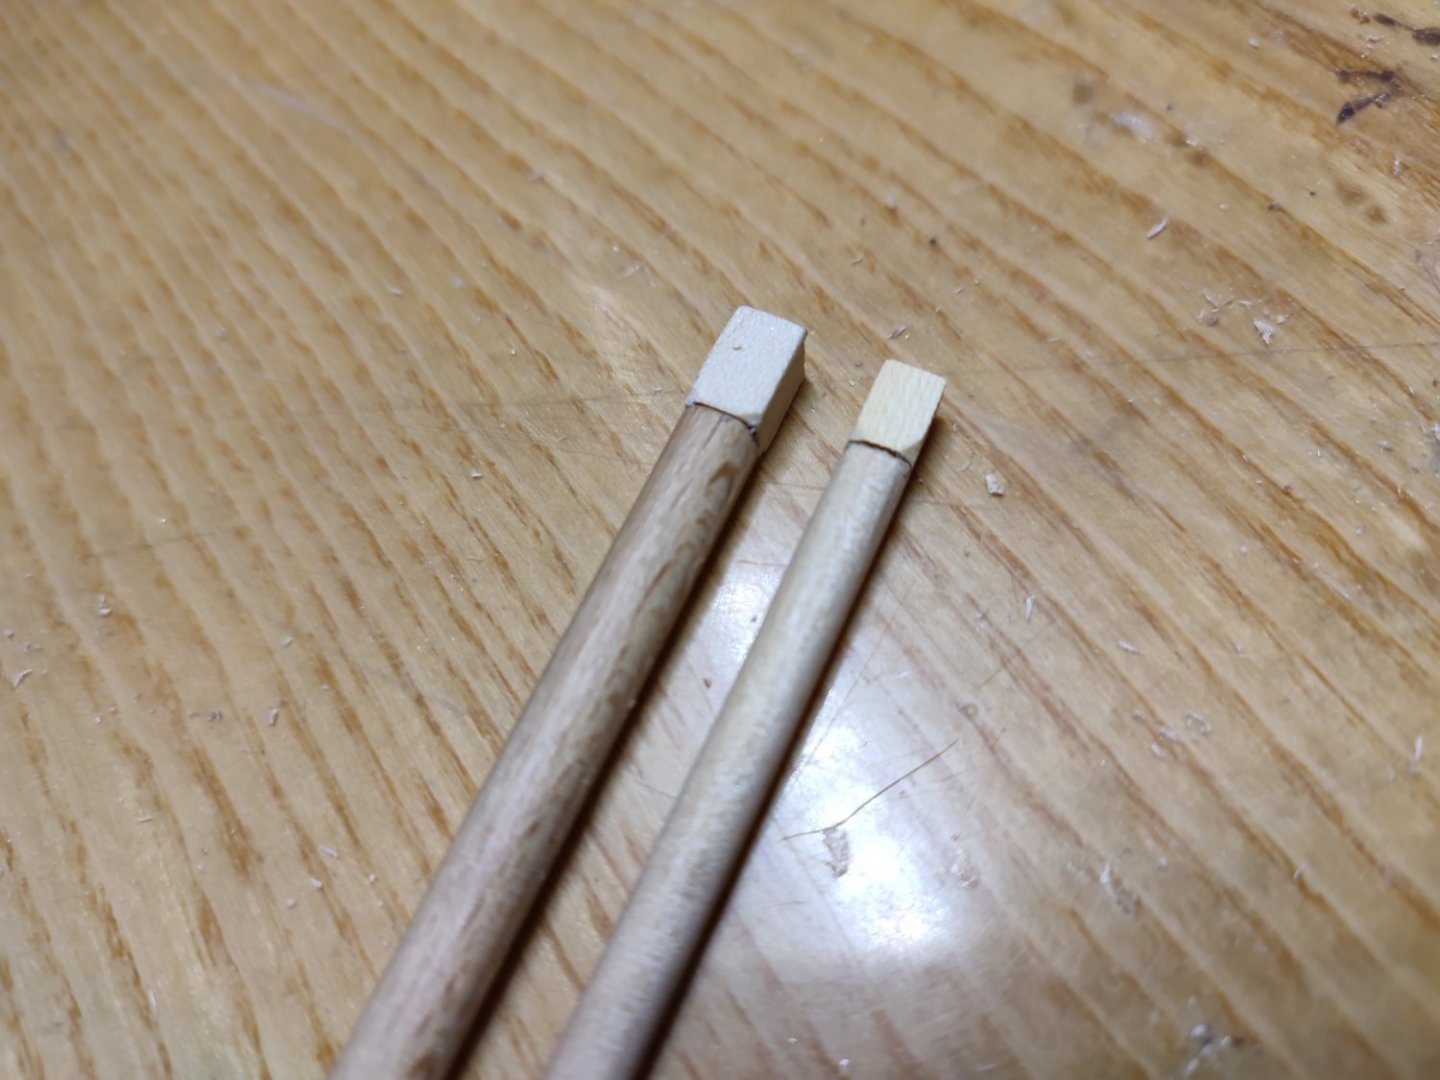
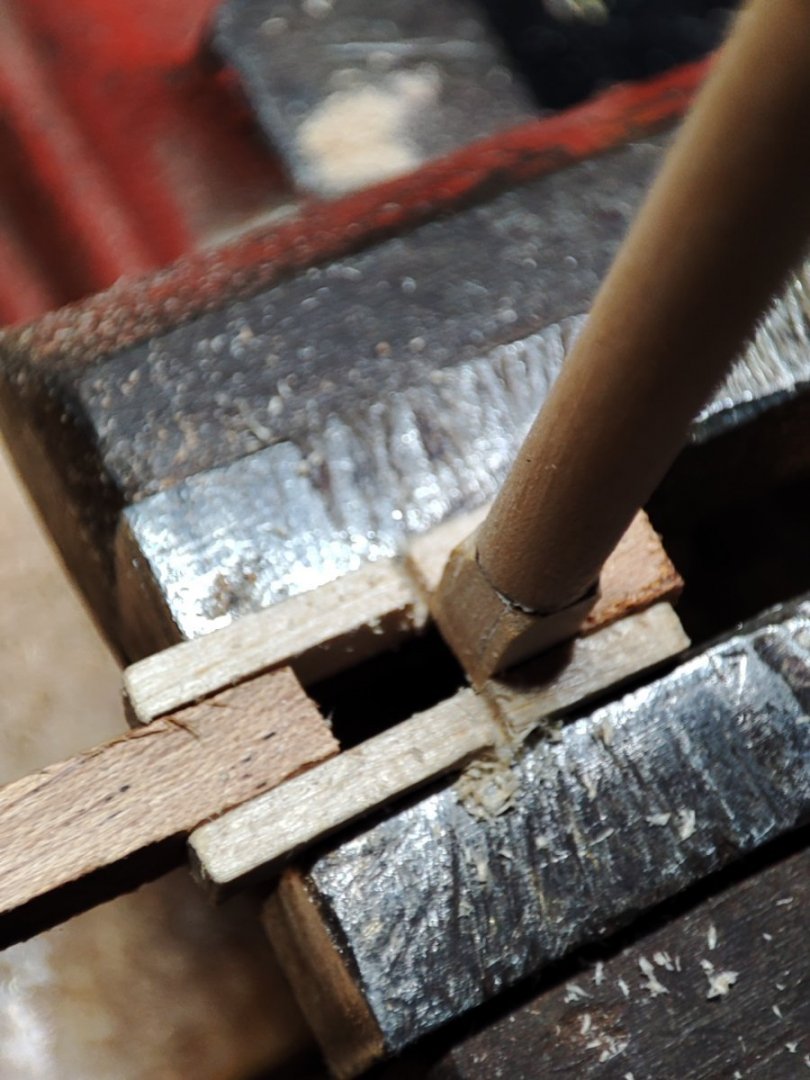
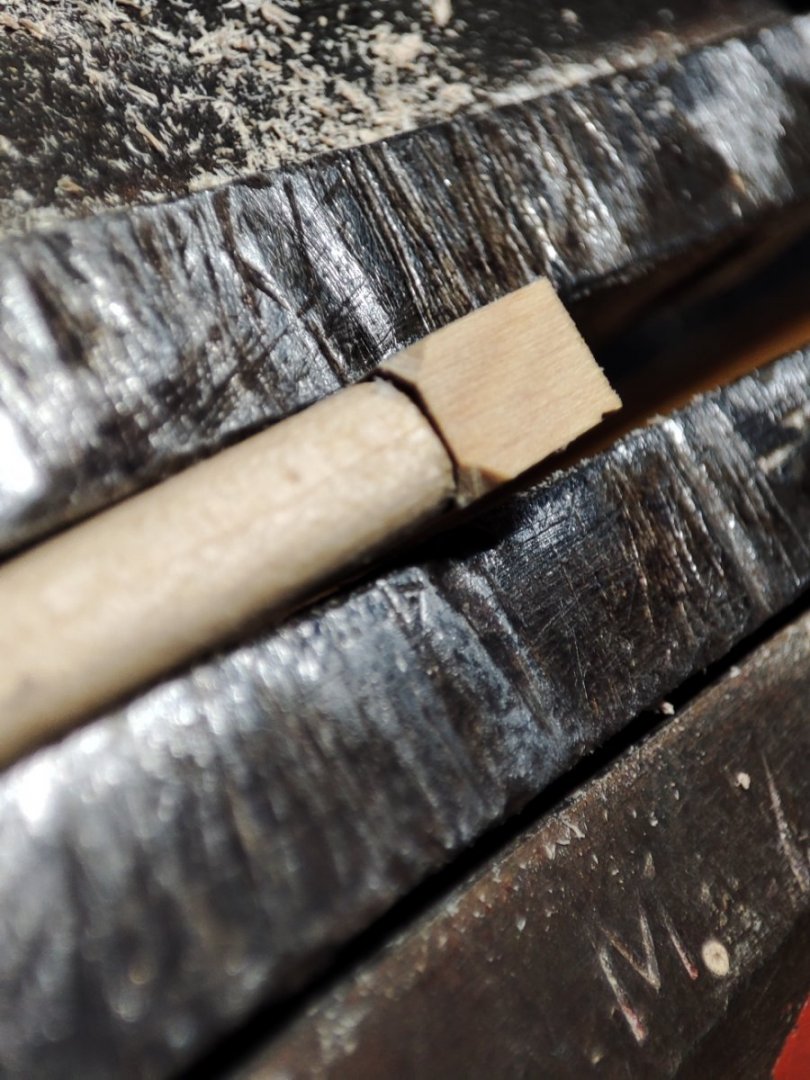
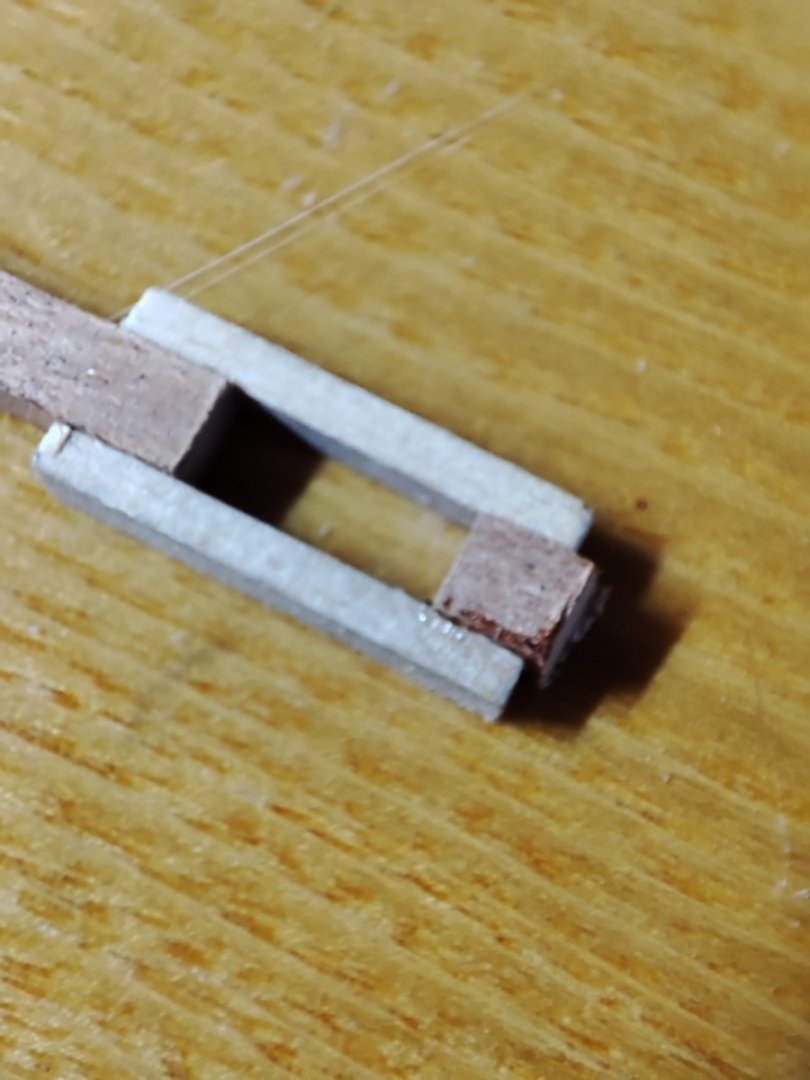
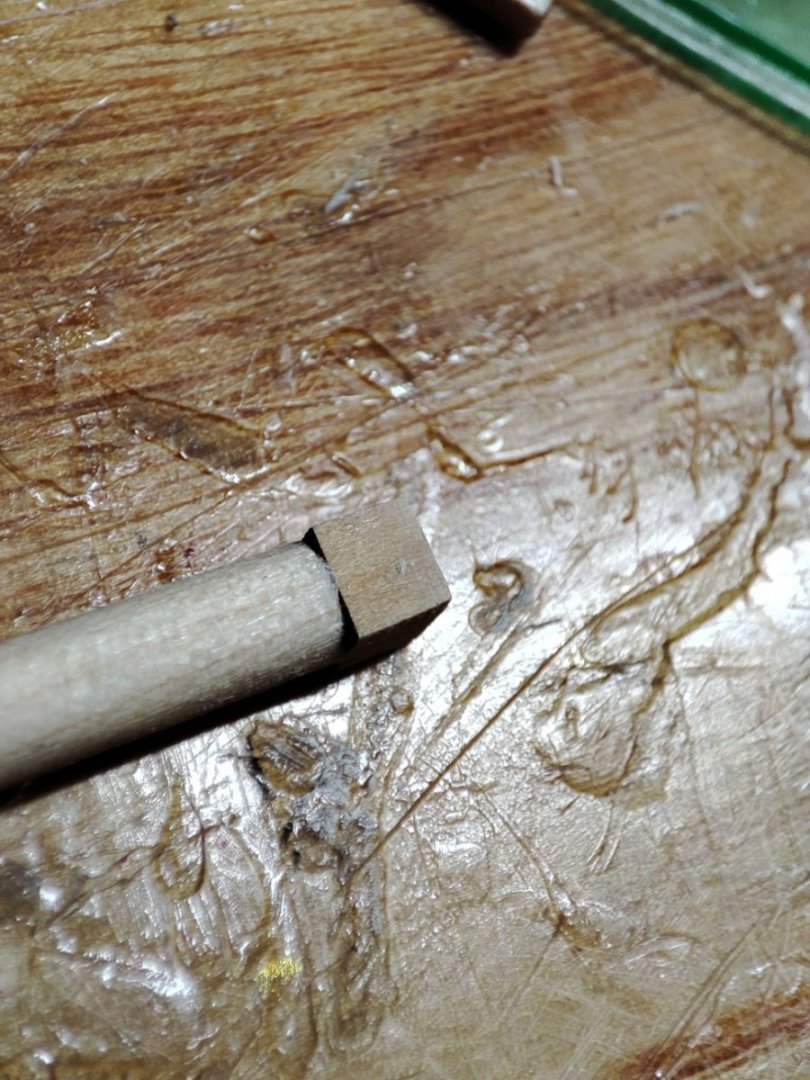
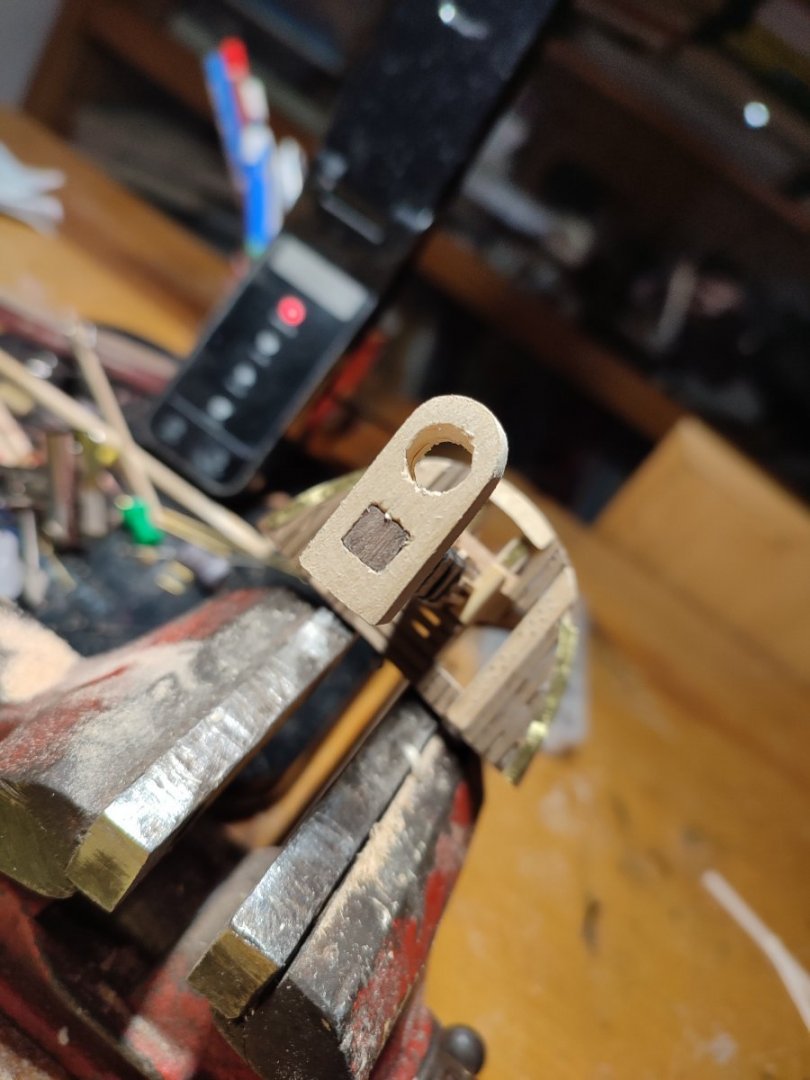
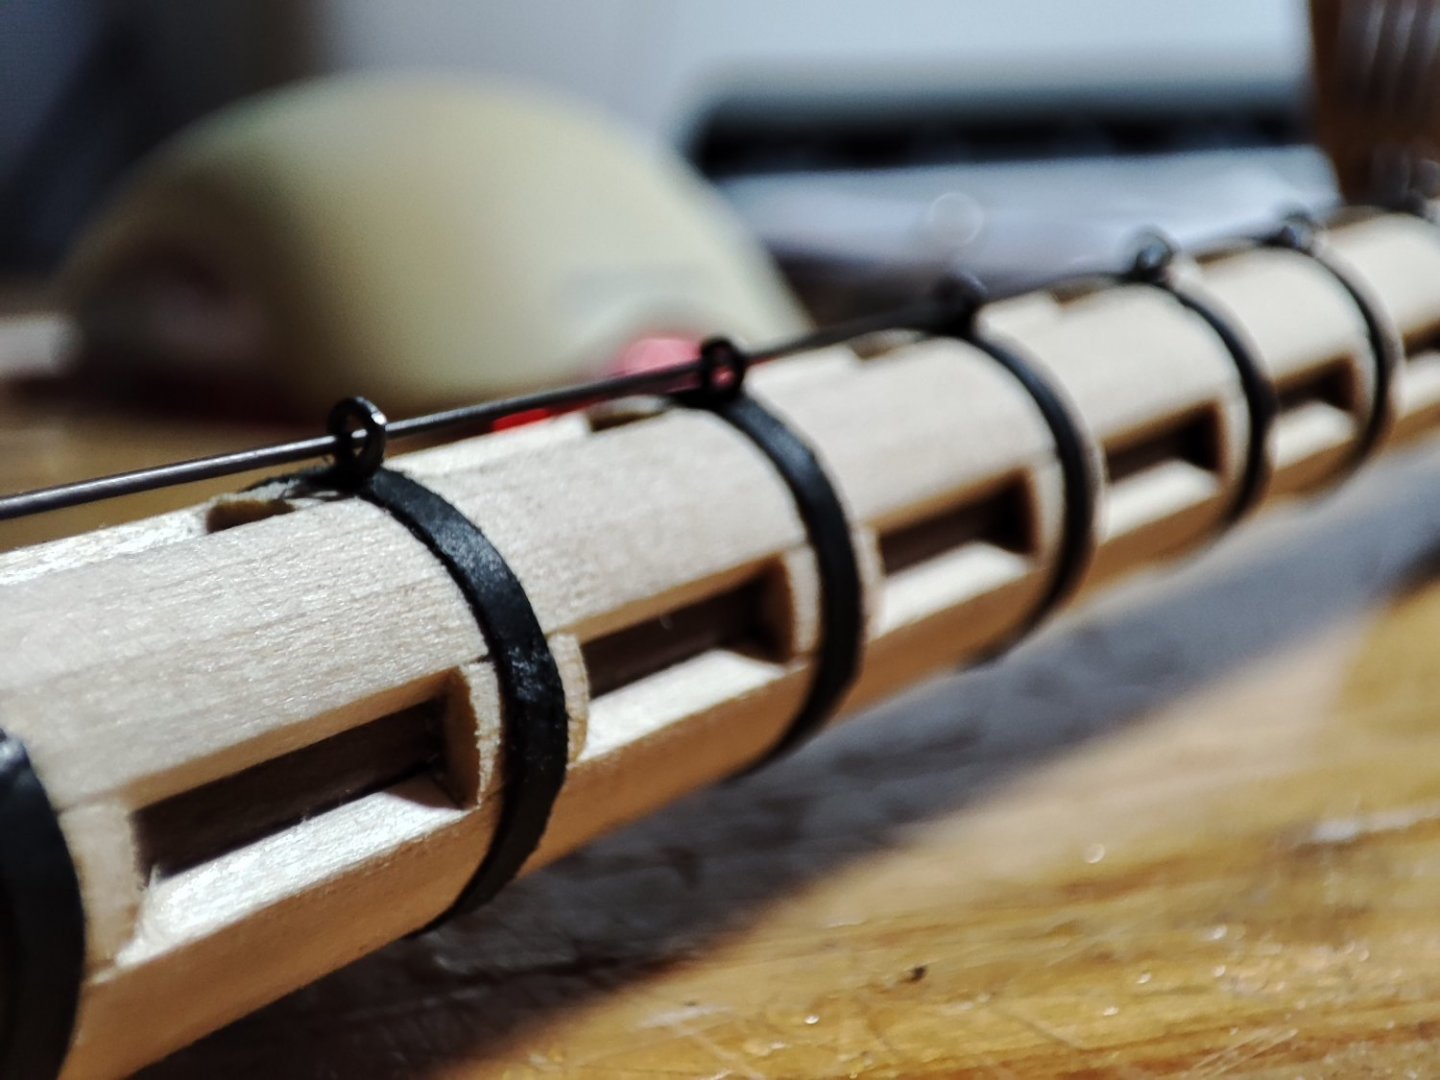
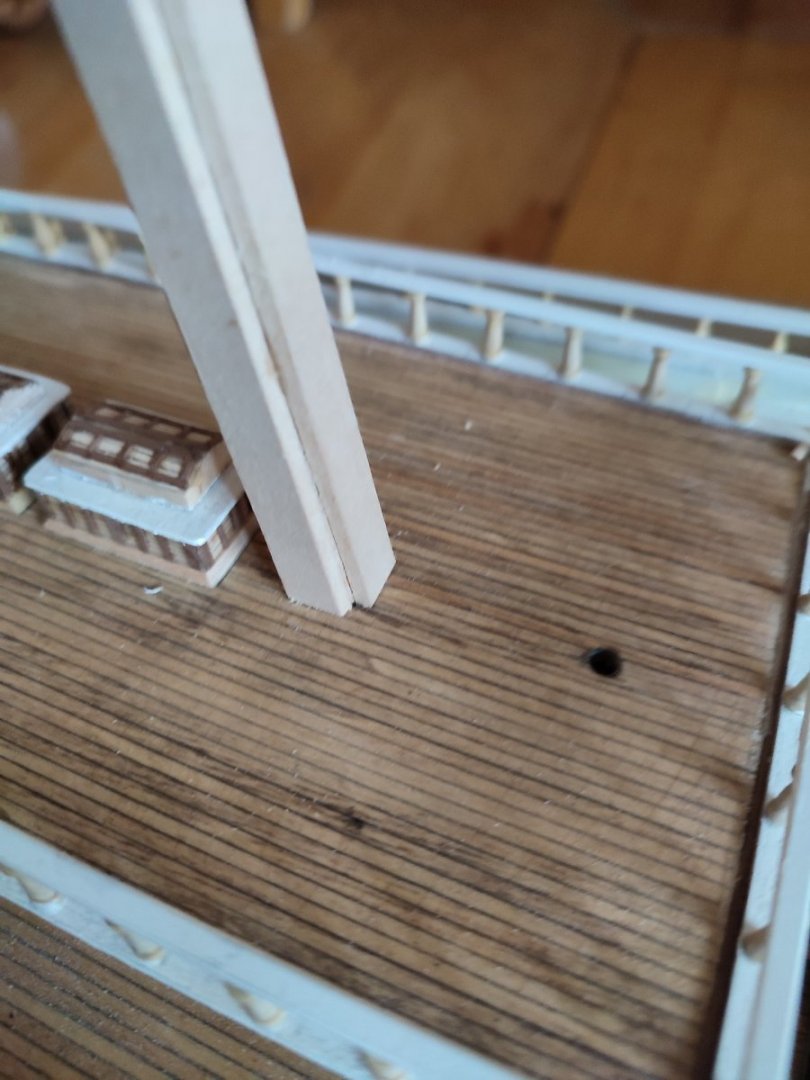
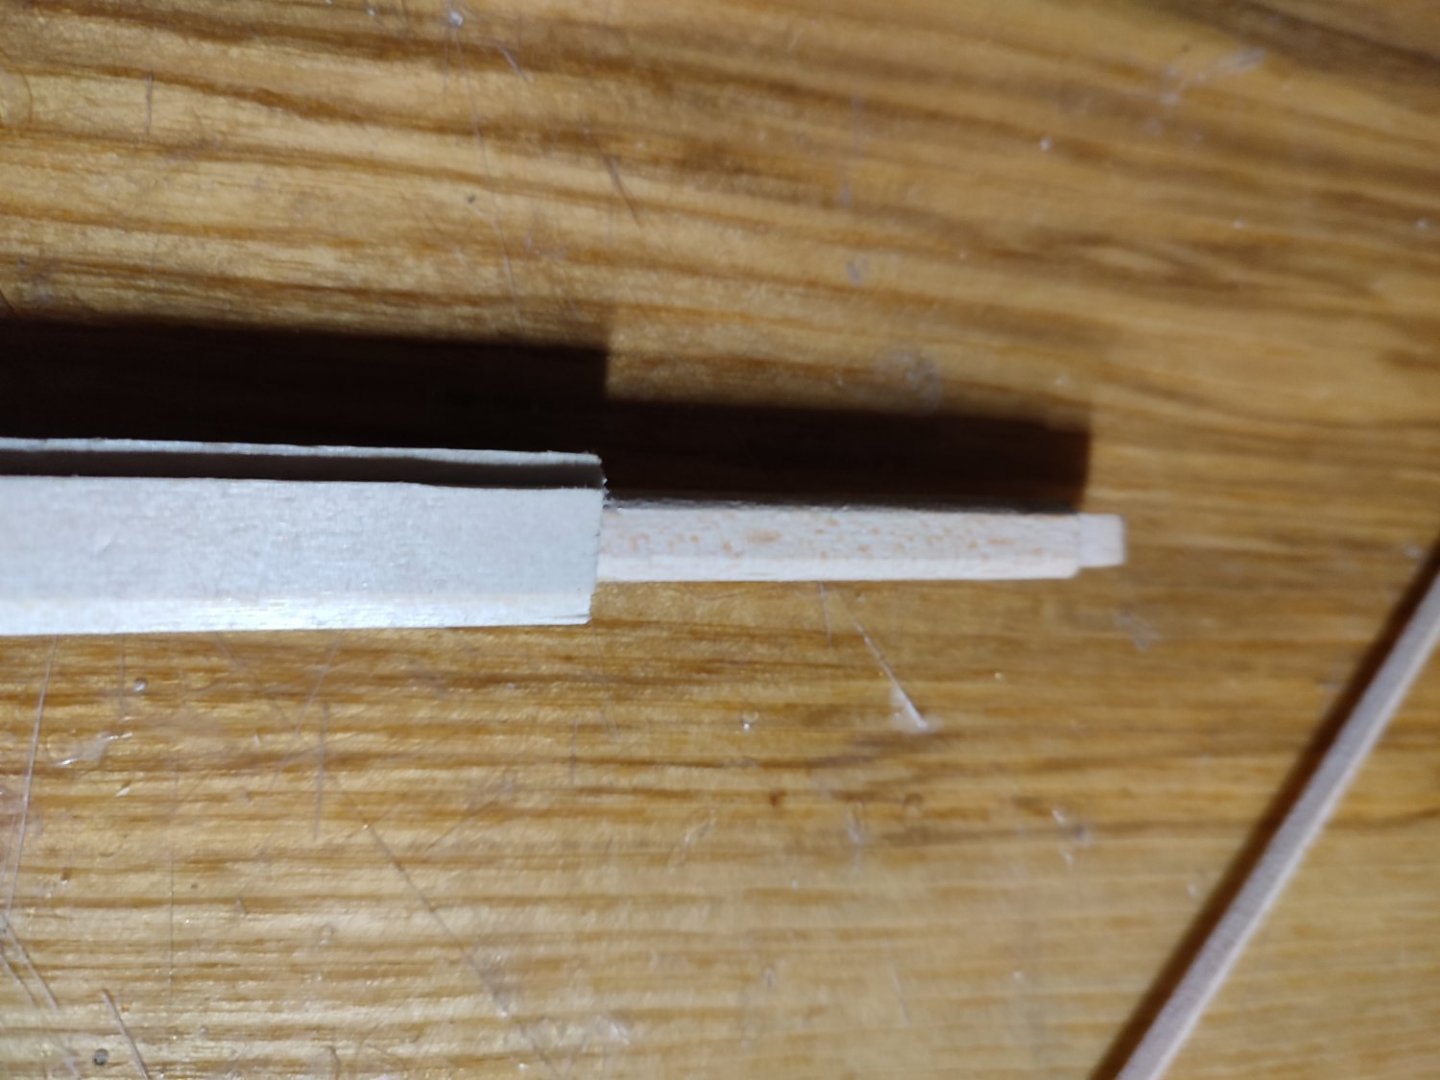
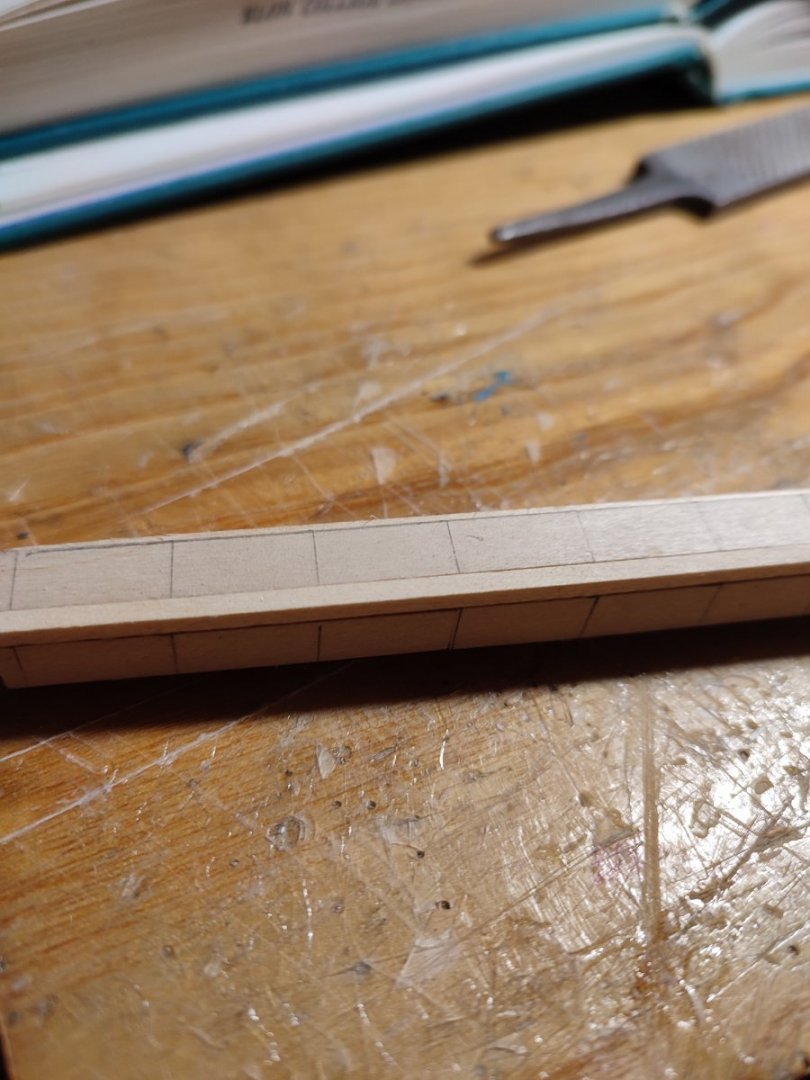
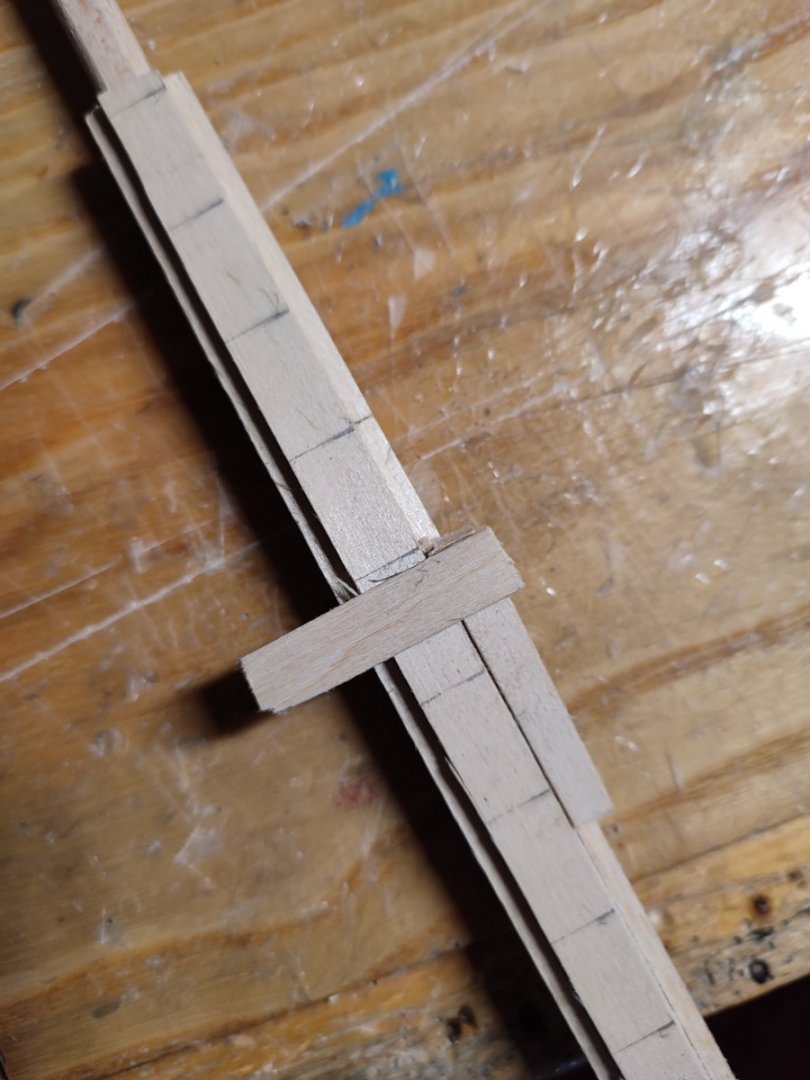
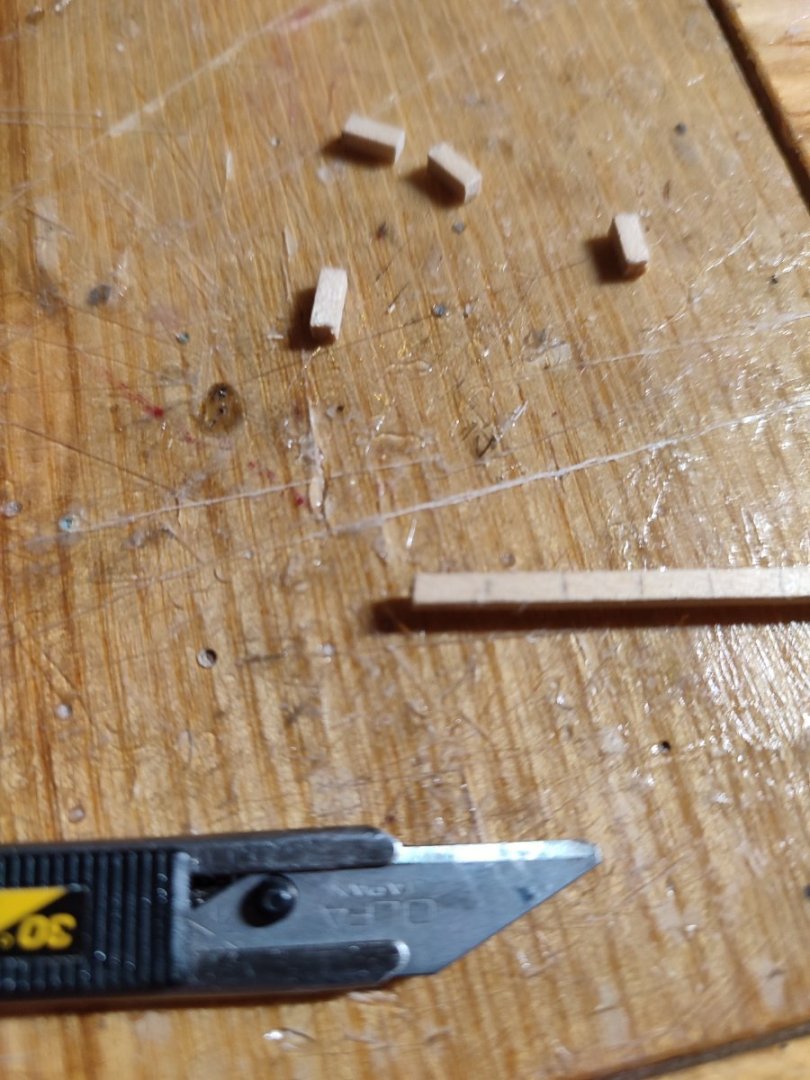
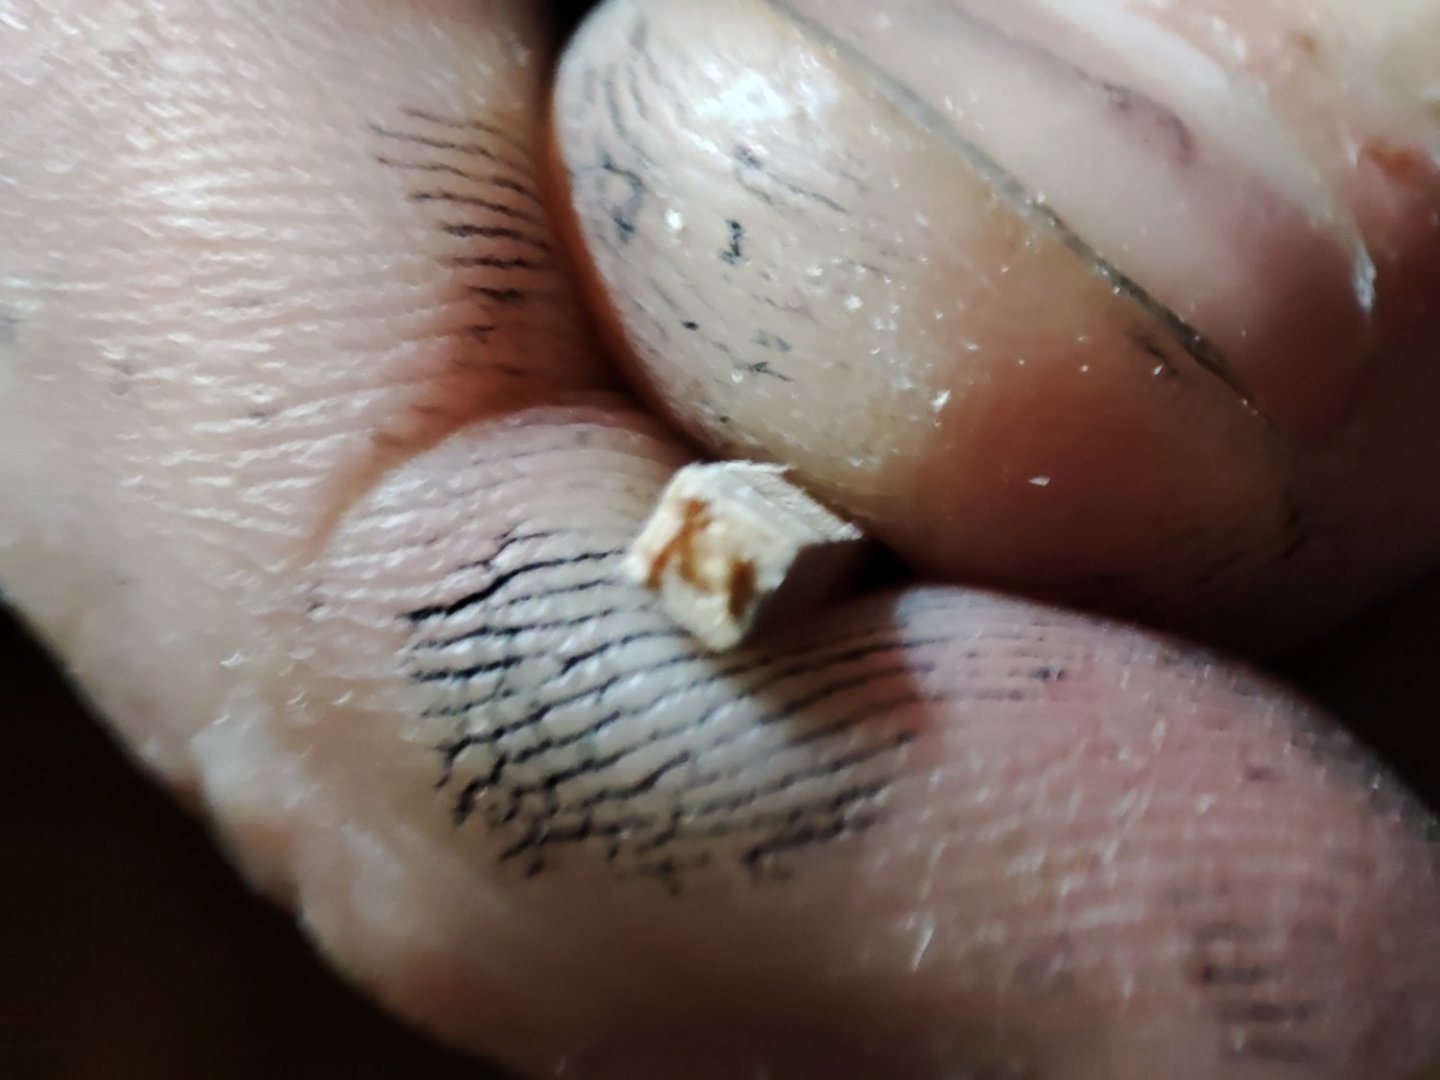
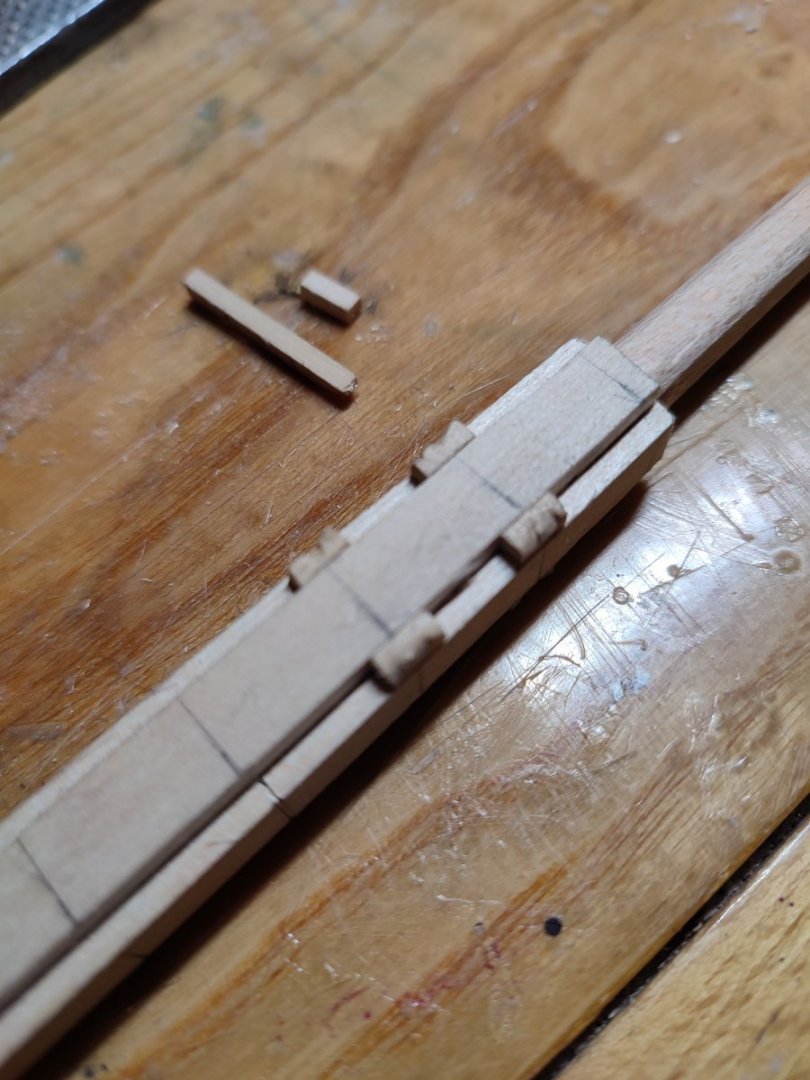
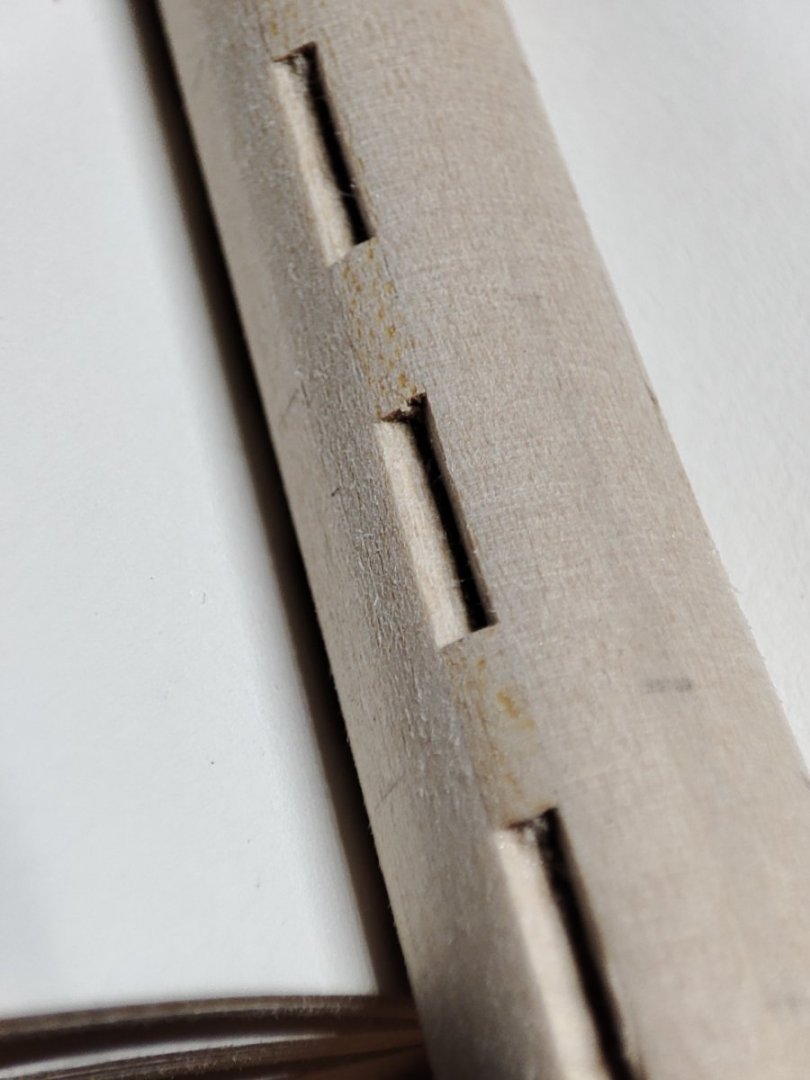
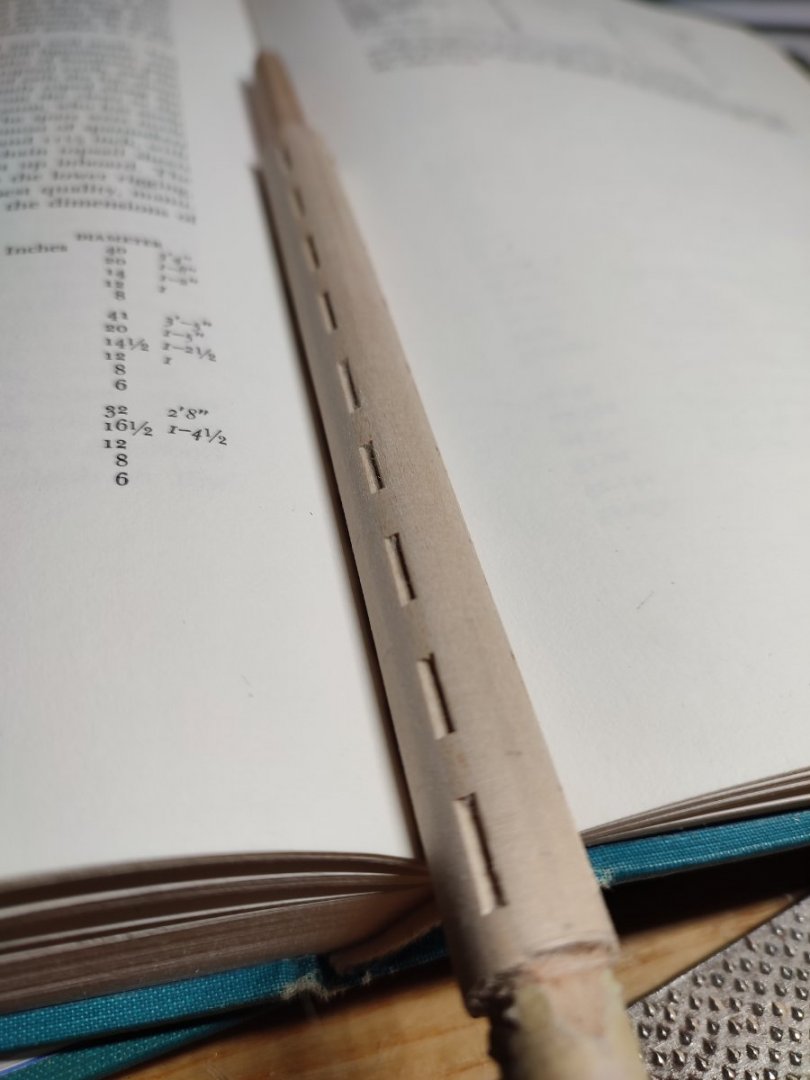
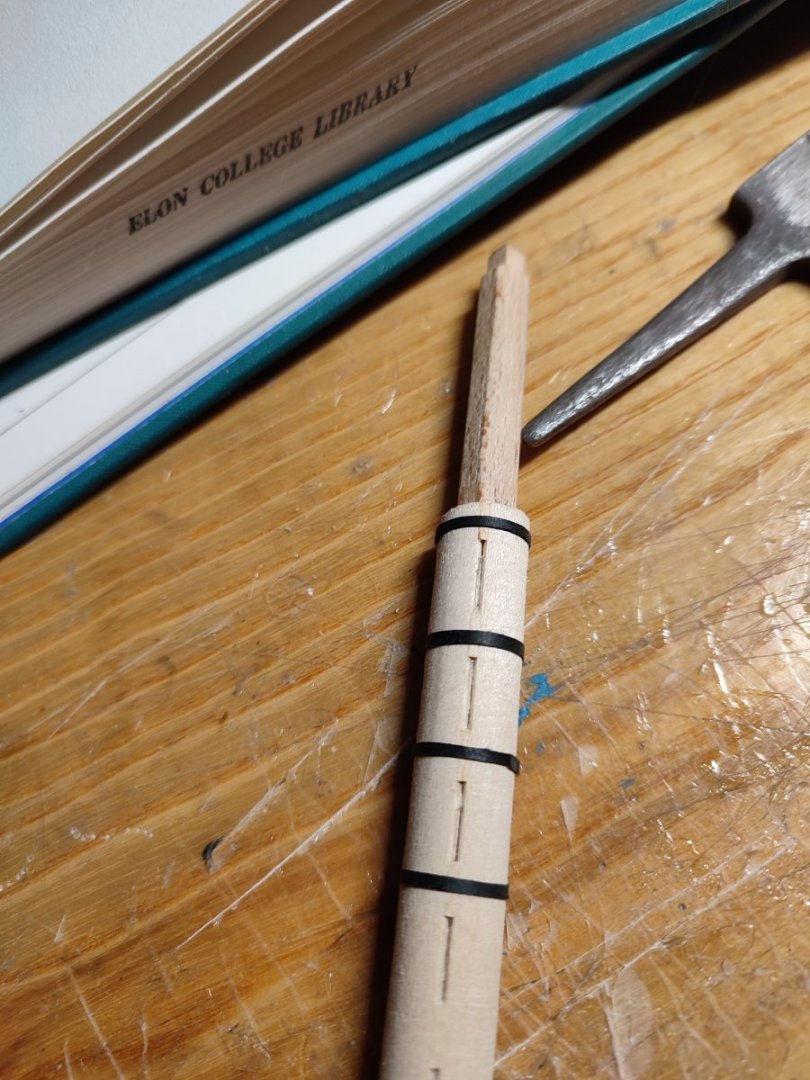
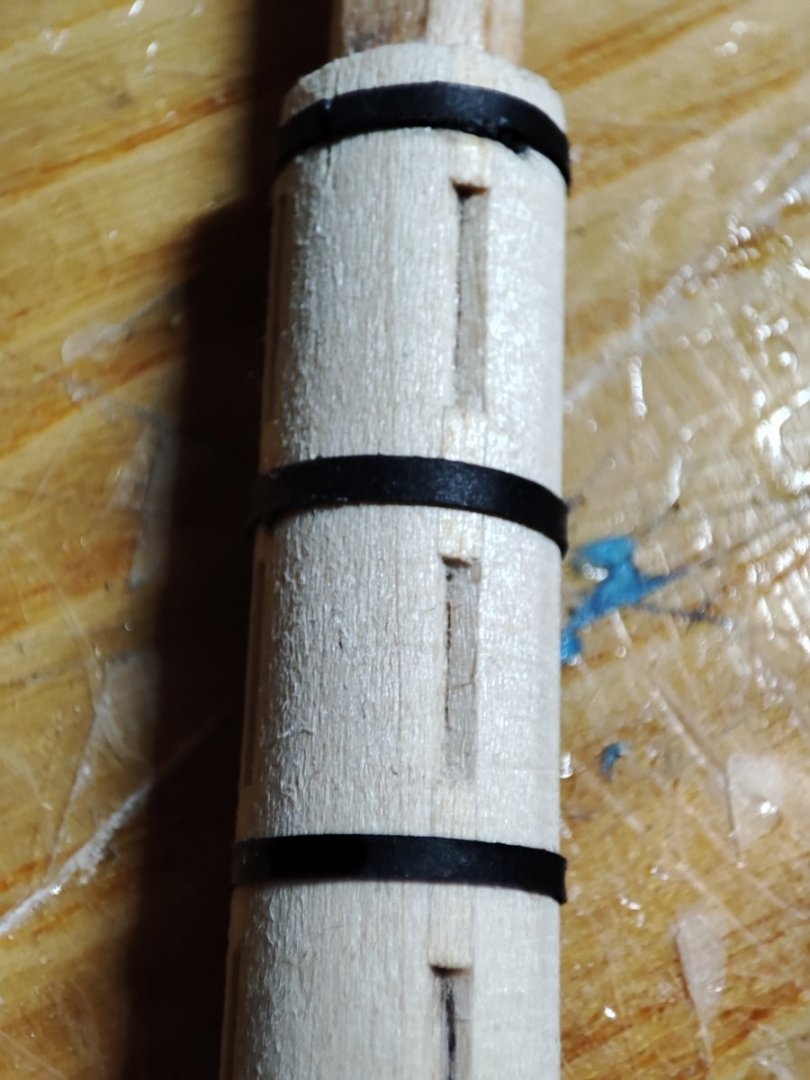
Folks, someone asked how to make composite masting. Im sure there IS many perfect days i Will demonstrate my quick and fairly satisfying way that takes 1 your to make on glory mizenmast . I started from round profile i had to rasp off flush All four sused to make square profile. Who IS doing IT out of square timber, its even easier. No work to be done ať this point Here rasped off - level checked only by eye Moving along i simply glued planks to the place i sanded. Make sure overall thickness with added planks IS just diameter of finishedast or tiny thicker. I always use baswood as its breeze to dané square profile to round by Hand simply with rounded paper in hands... This tíme i used planks corner to corner touching eachother. Who needs more complicatedast corner needs to be chamfered - but making wedges IS thus more complicated This IS eqsiest way looking sharp. Top and Norton IS angled AS mizzen IS quite "Pisa tower :)" i Made All from lefrovers. - All planks cut by knife from 3 MM thick plank in my case. Now i Made or found premade square strake just to fit to the corner "hole". You Can see just attached IT here... Oh by the way _ marking . I Made miniature right angle helper and aftereasuring IT gave me line to each súde. Measure miggle line where band IS - and inzerát wedges very vageuly to the center of line. Very quick. After this - simple. I cut square inserting strake by 6 MM iny case, having 10 MM insertions holes...whatever measure you decide I cut IT by knife simply rounding knife as Saw would be thick fór IT. Than i break strake and sand center flush. IT Can be done by Saw, any way possible Than gluing with eyeing fór center Mark ....i roughly pushed them - IT Will be cut off anyway as showed so IT wireless mg unglue and Will be sanded easier. Last step. I round sanding paper to the Palm of hand and move only perpendicular to the masť - Twist. never along the mast. With tough paper perfect round IS fairly quicky done, finishing with smoother one. Than i malé bands from black paper thats IT. Simple isnt IT enjoy folks. I was scared to do IT before...or struggled Finished:


-
nice work George. Briańpn, no need to be put off, i was myself u till i figured it out my way. its fairly easy and even enjoying and quick - 1 hour work even without any need of power tools. ill post method on my build. Vlad
-
Thanks everoyne.
-
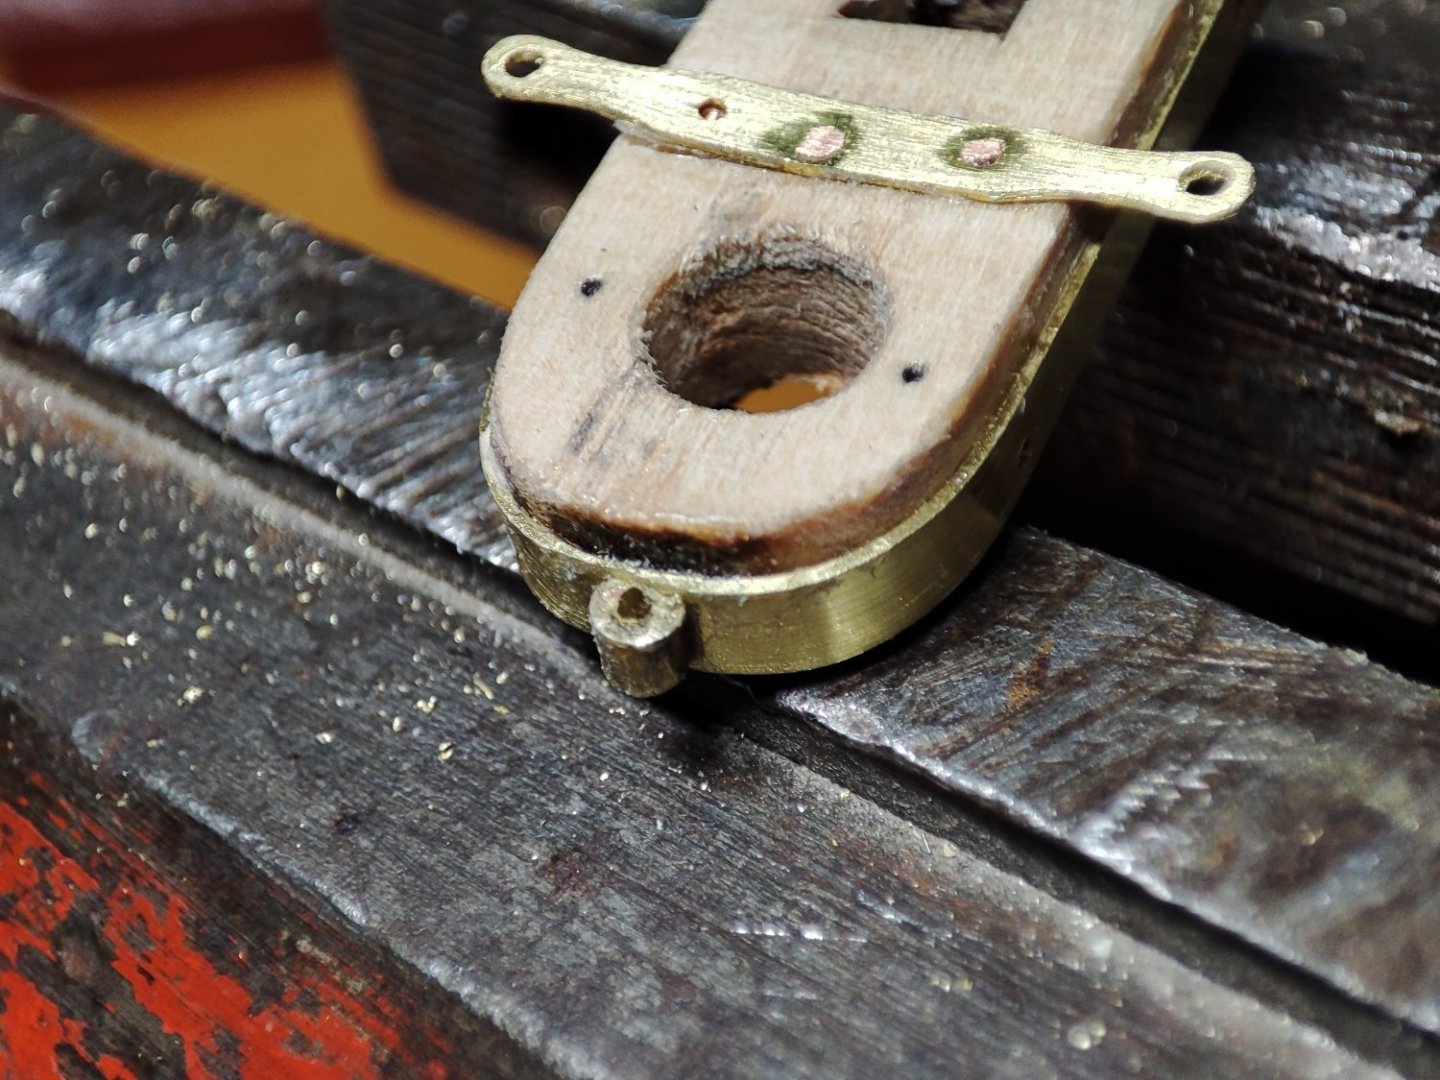
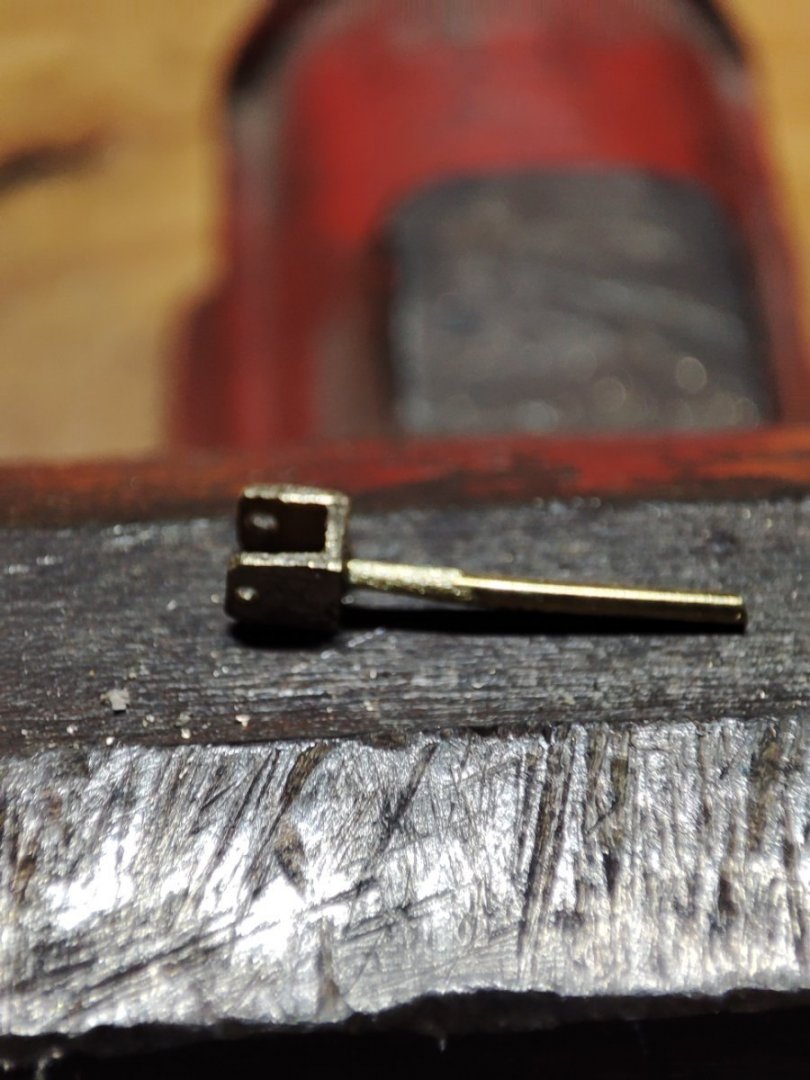
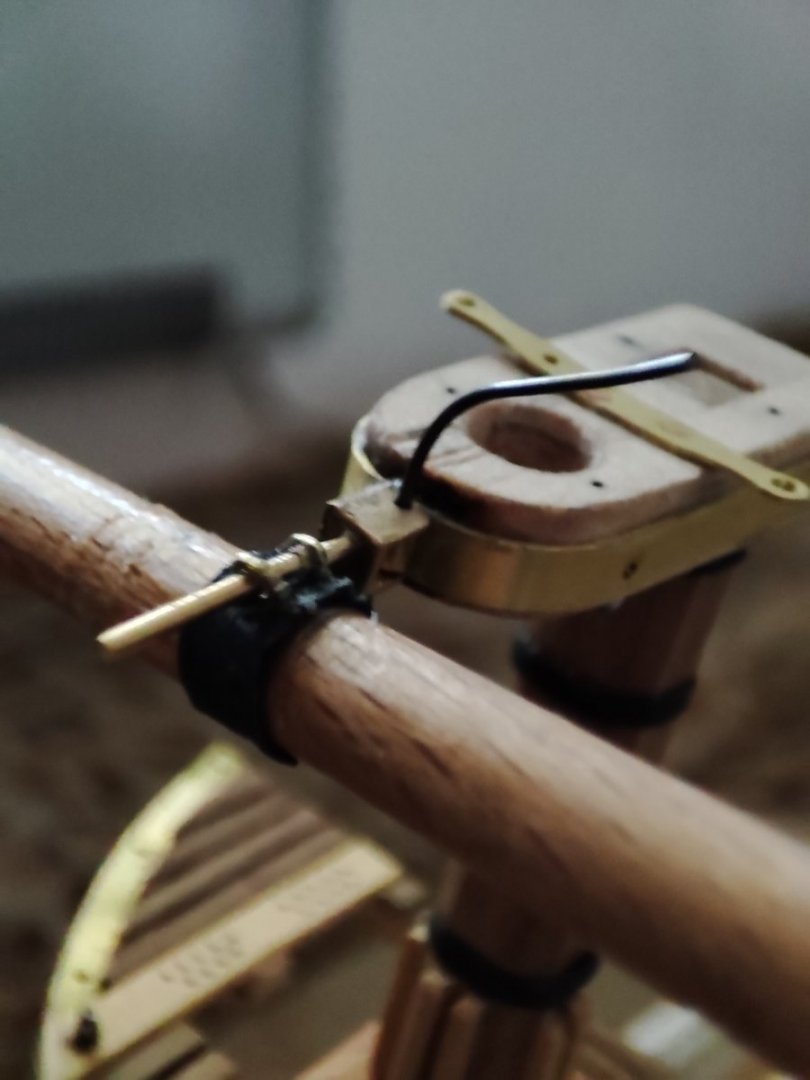
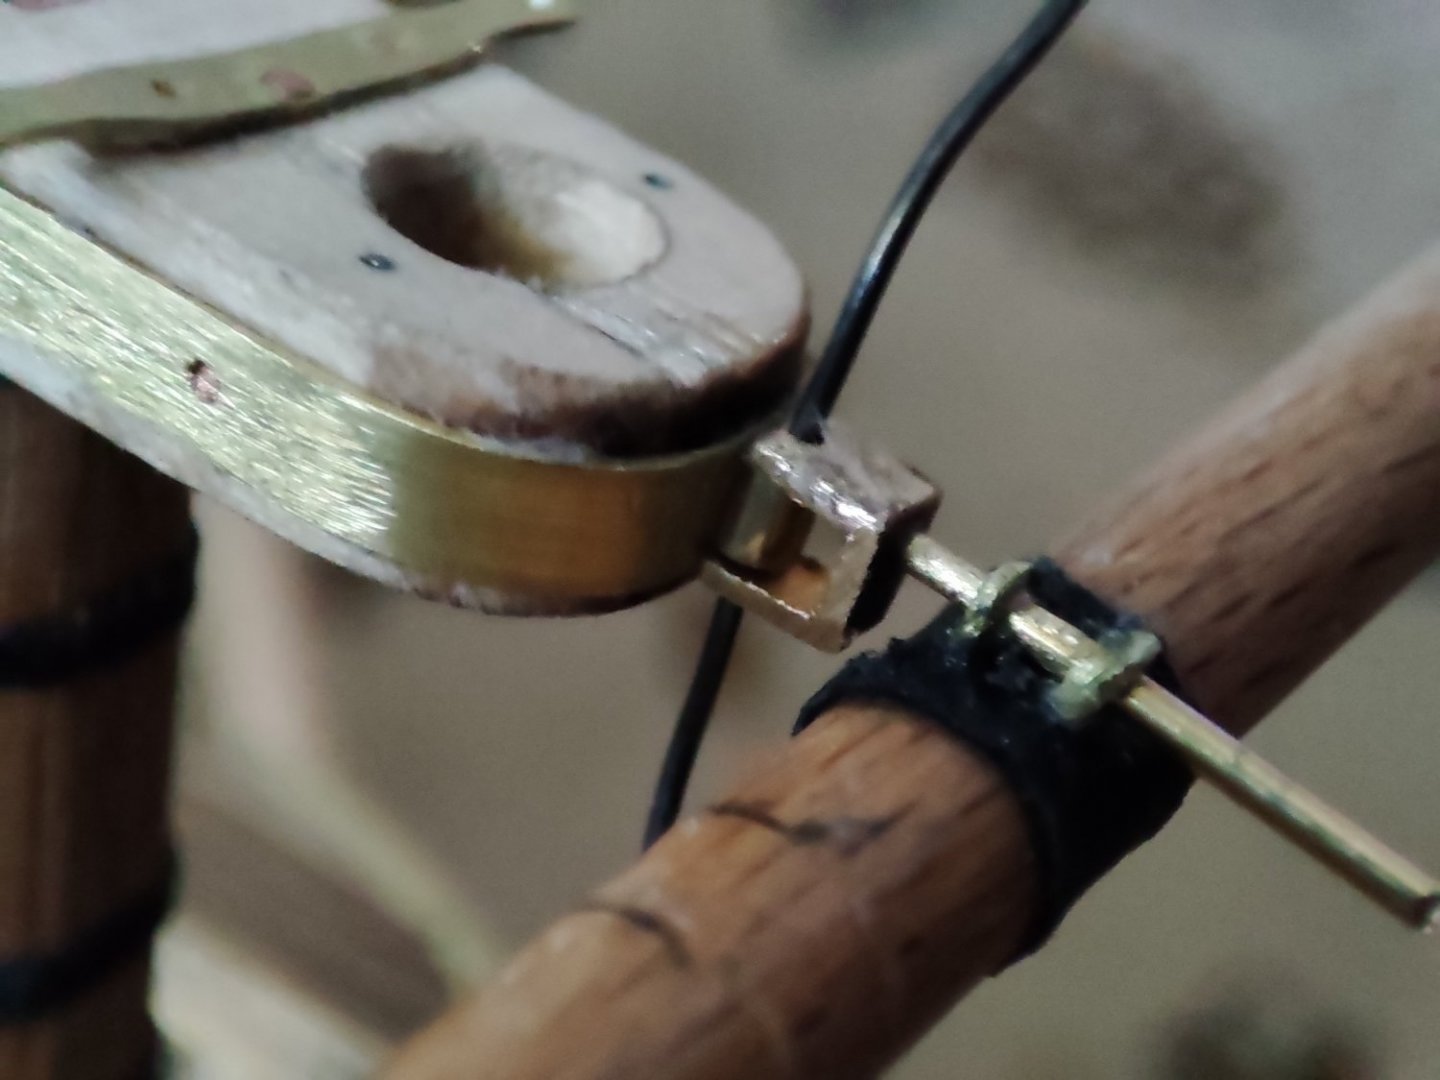
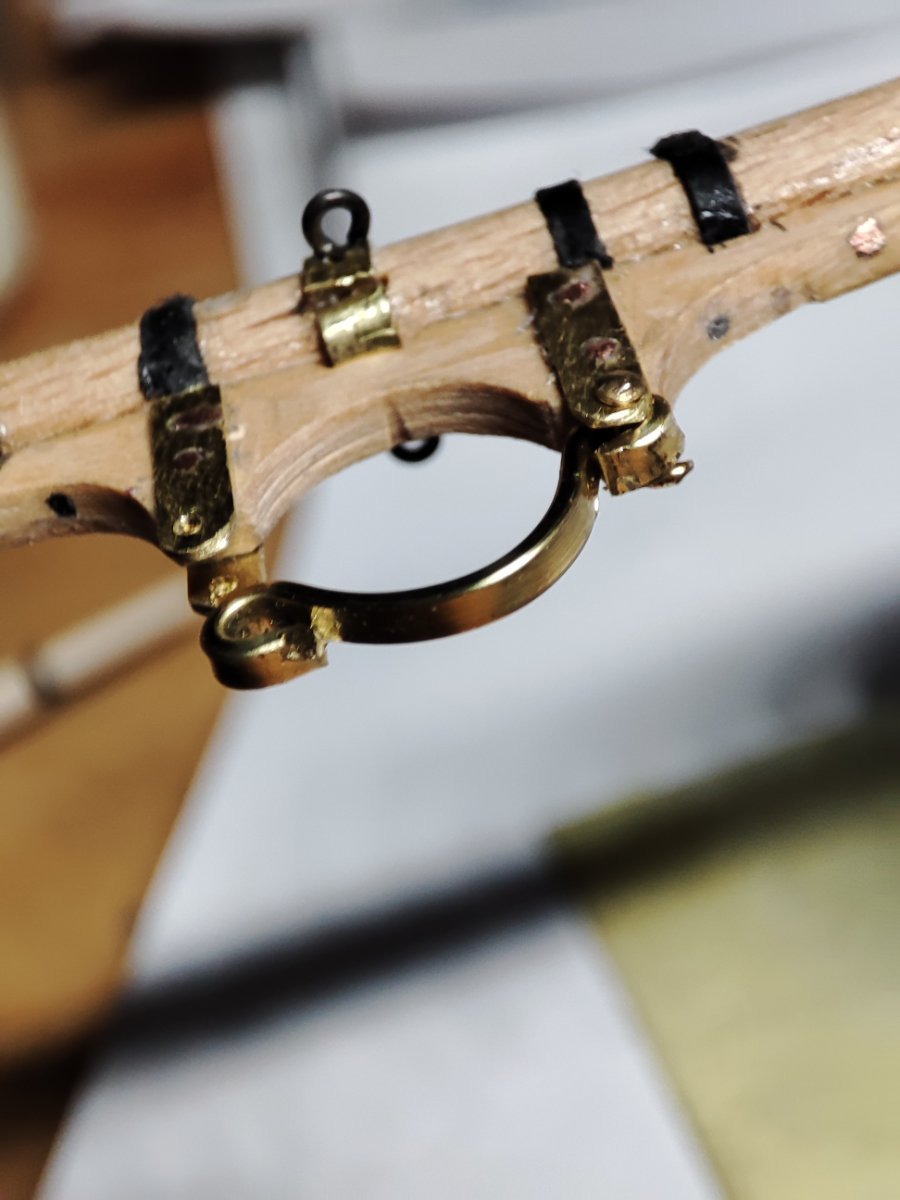
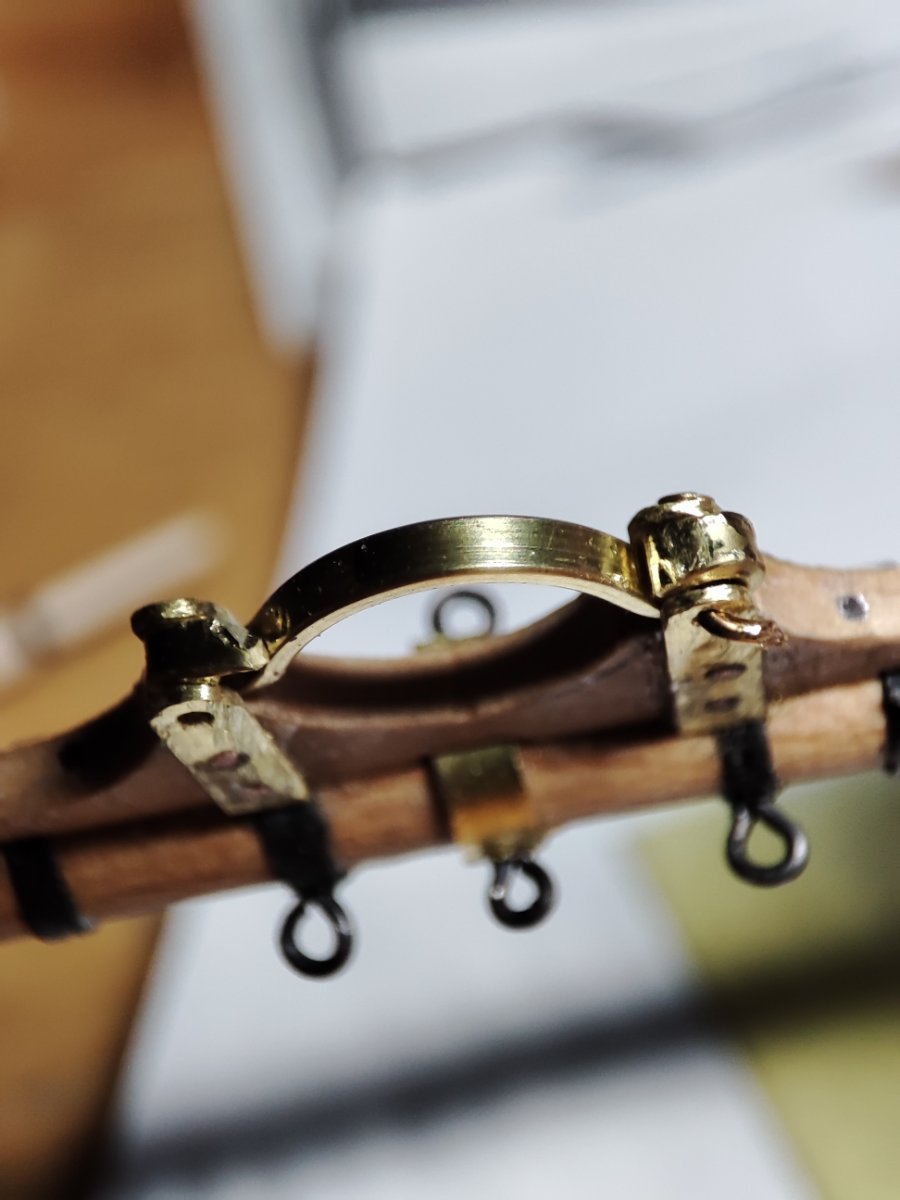
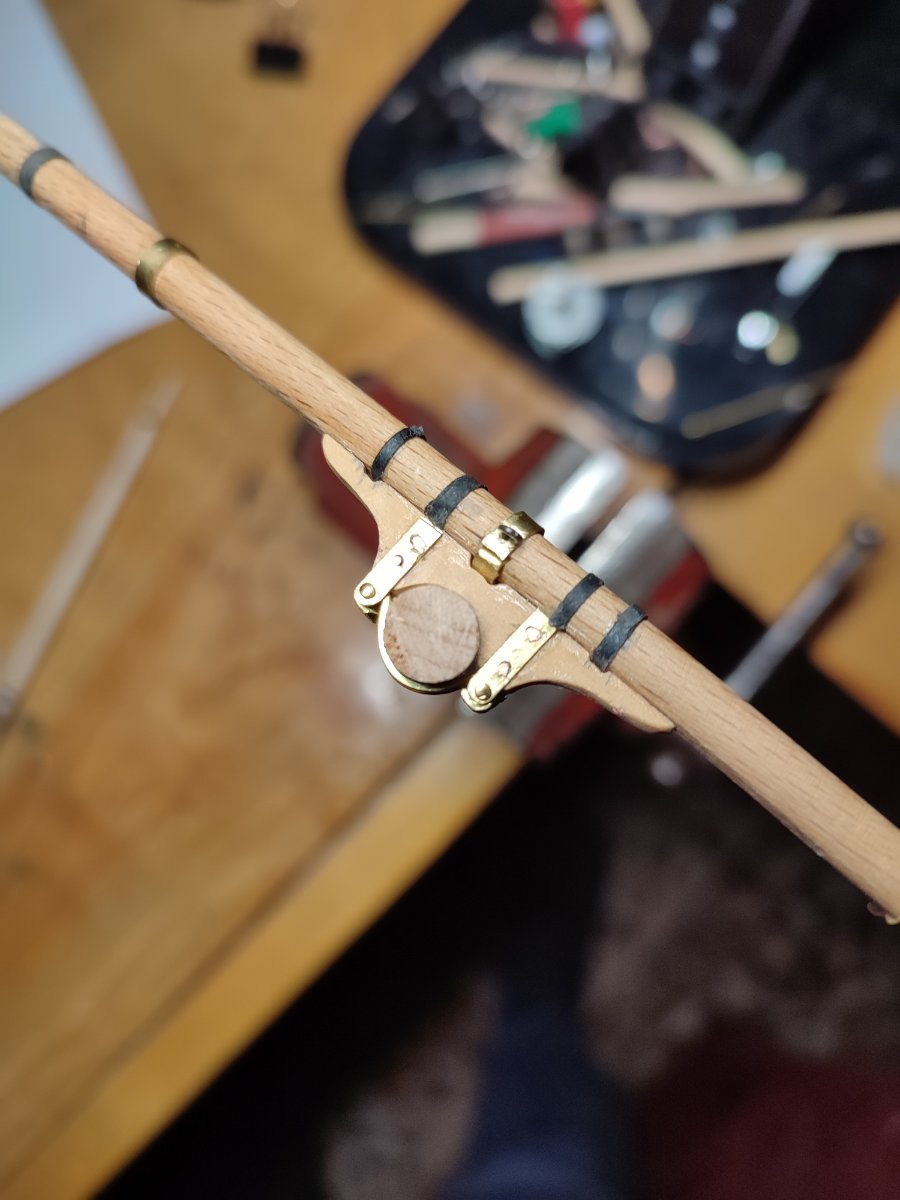
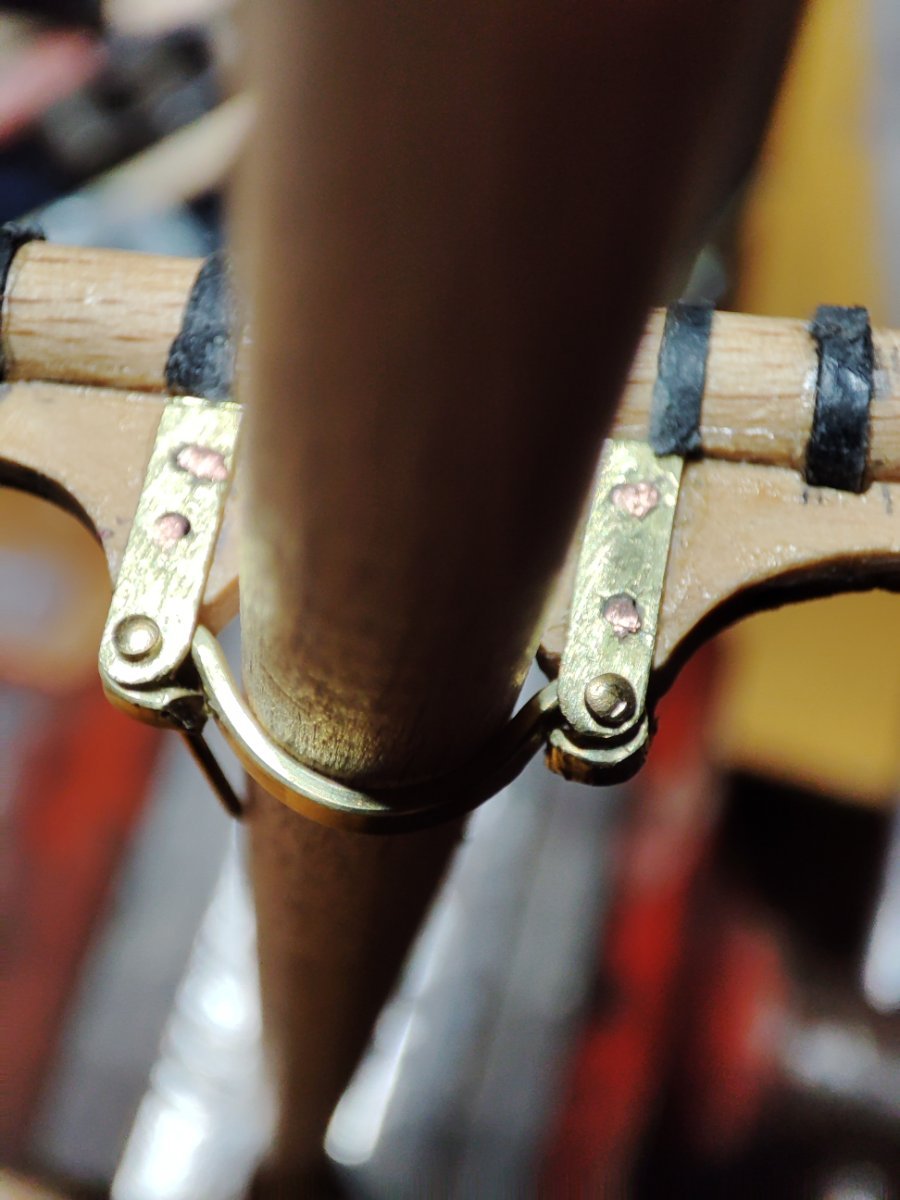
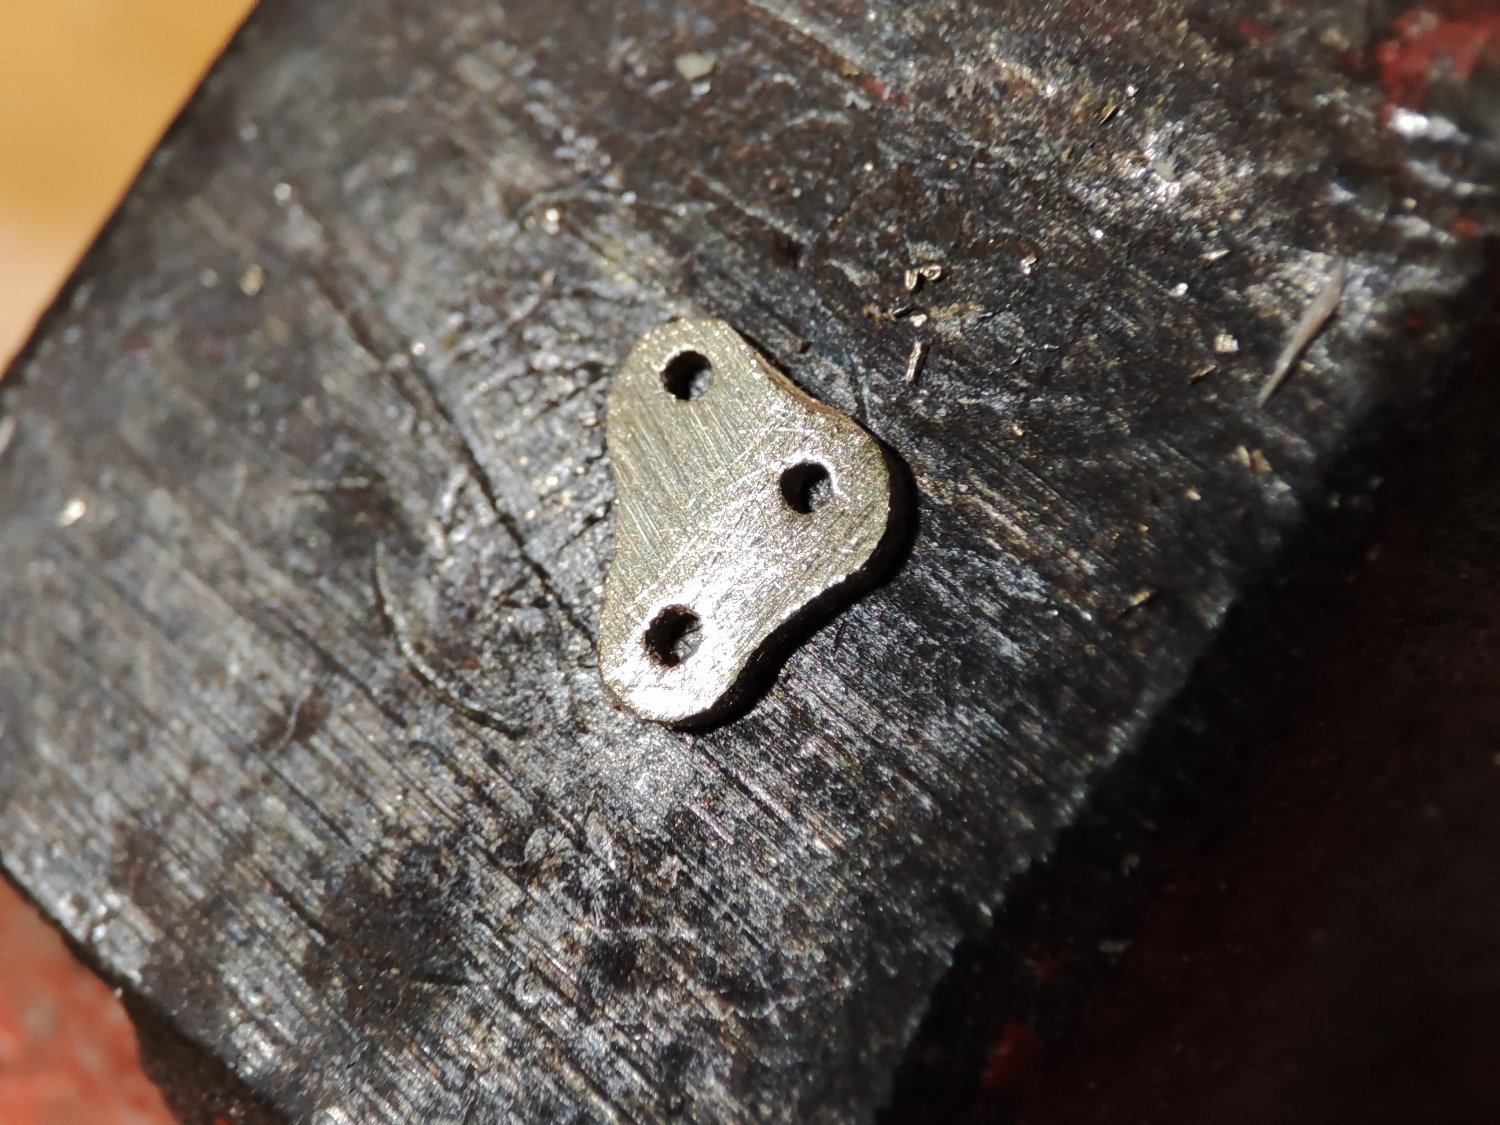
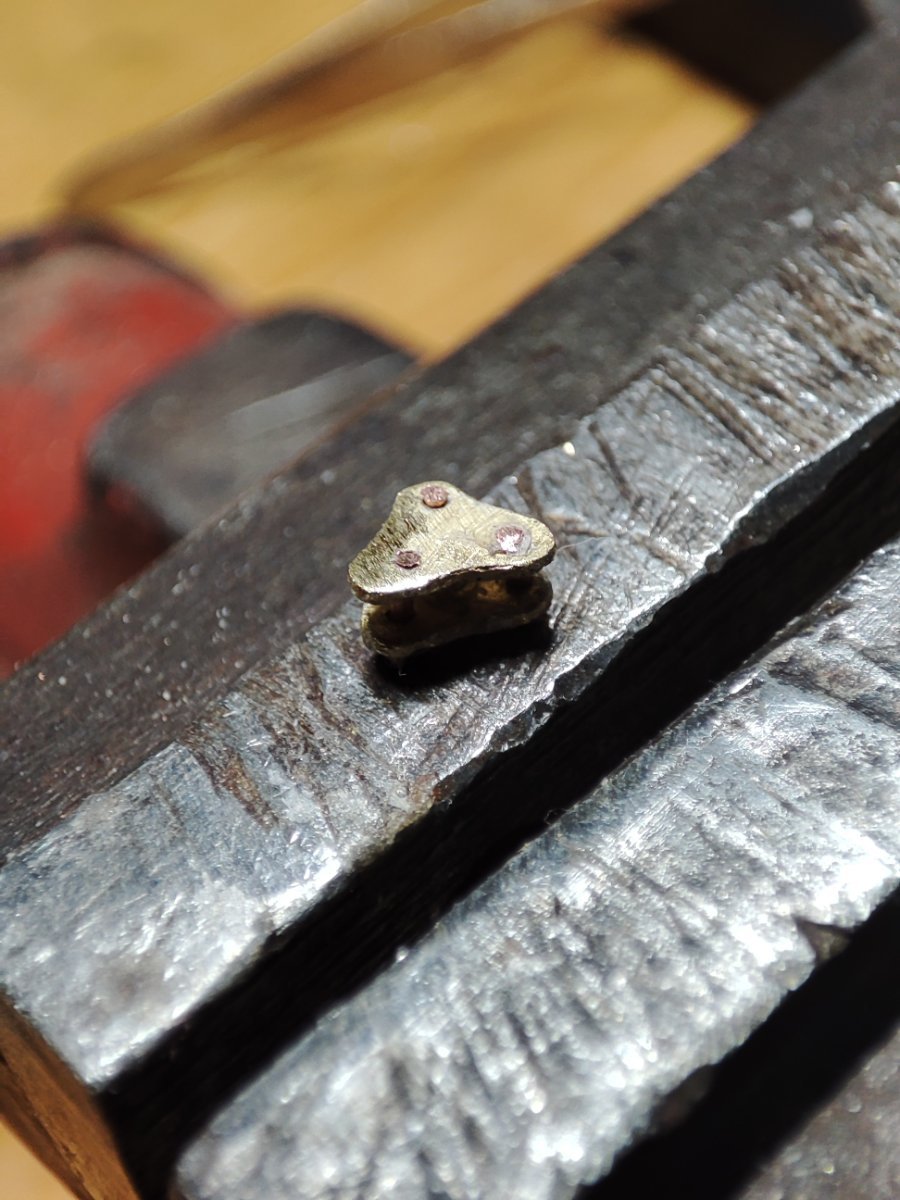
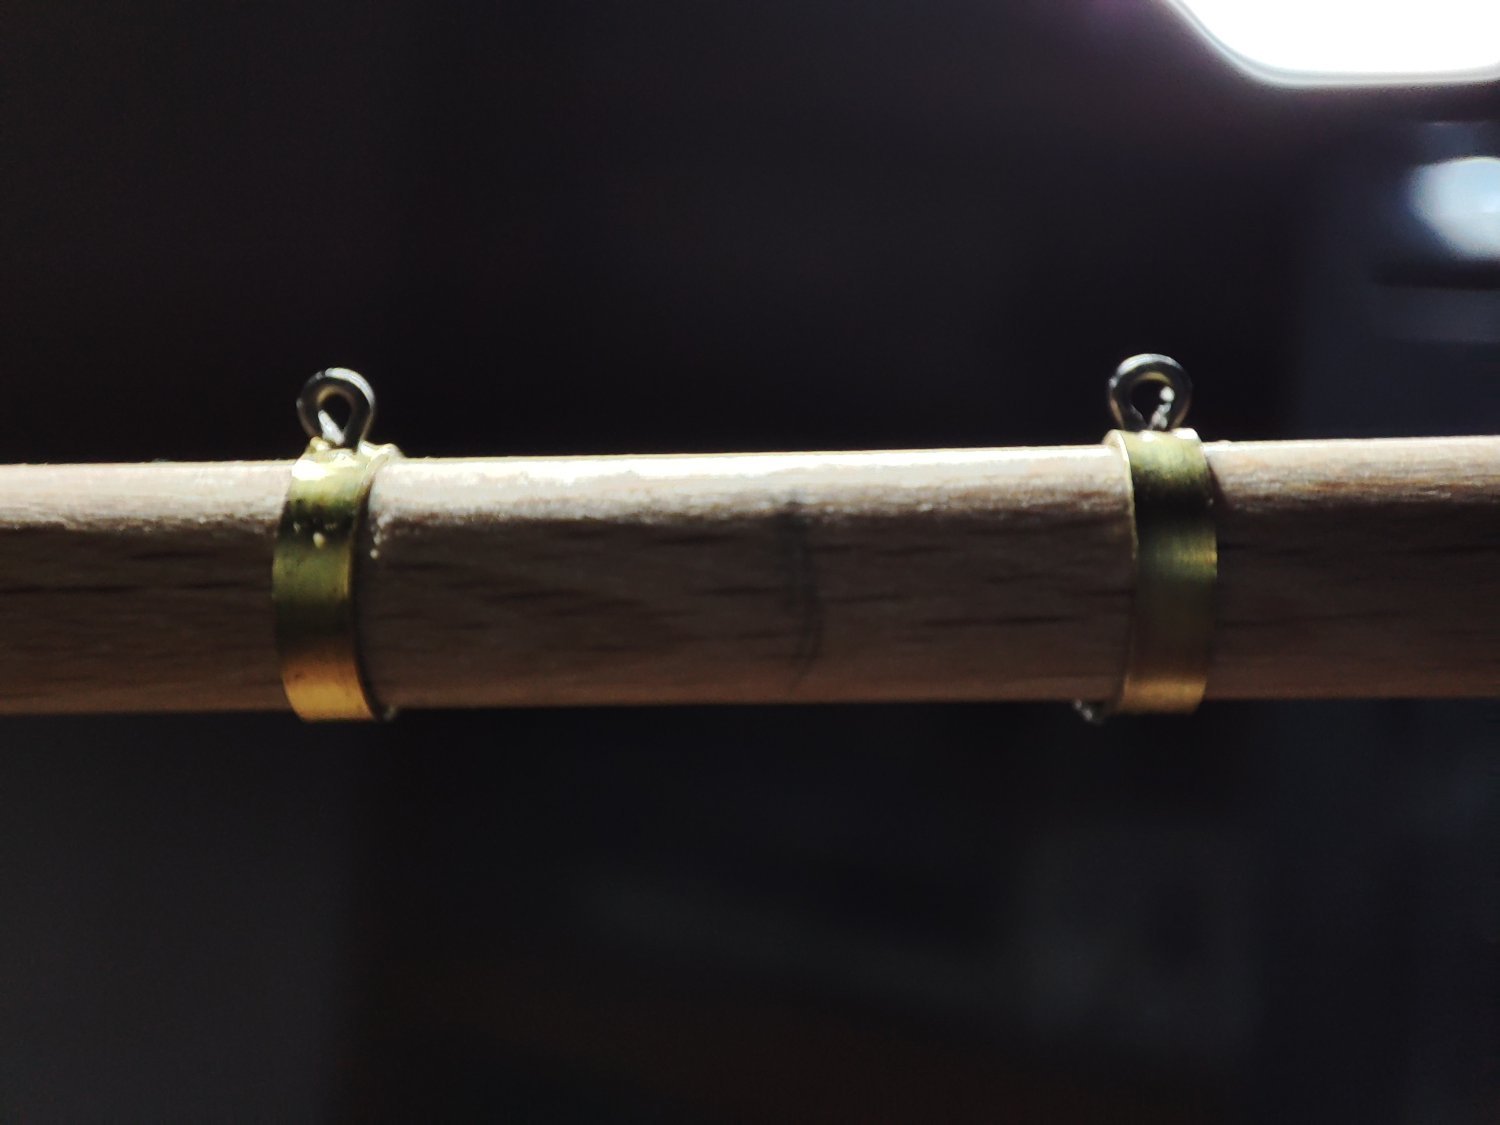
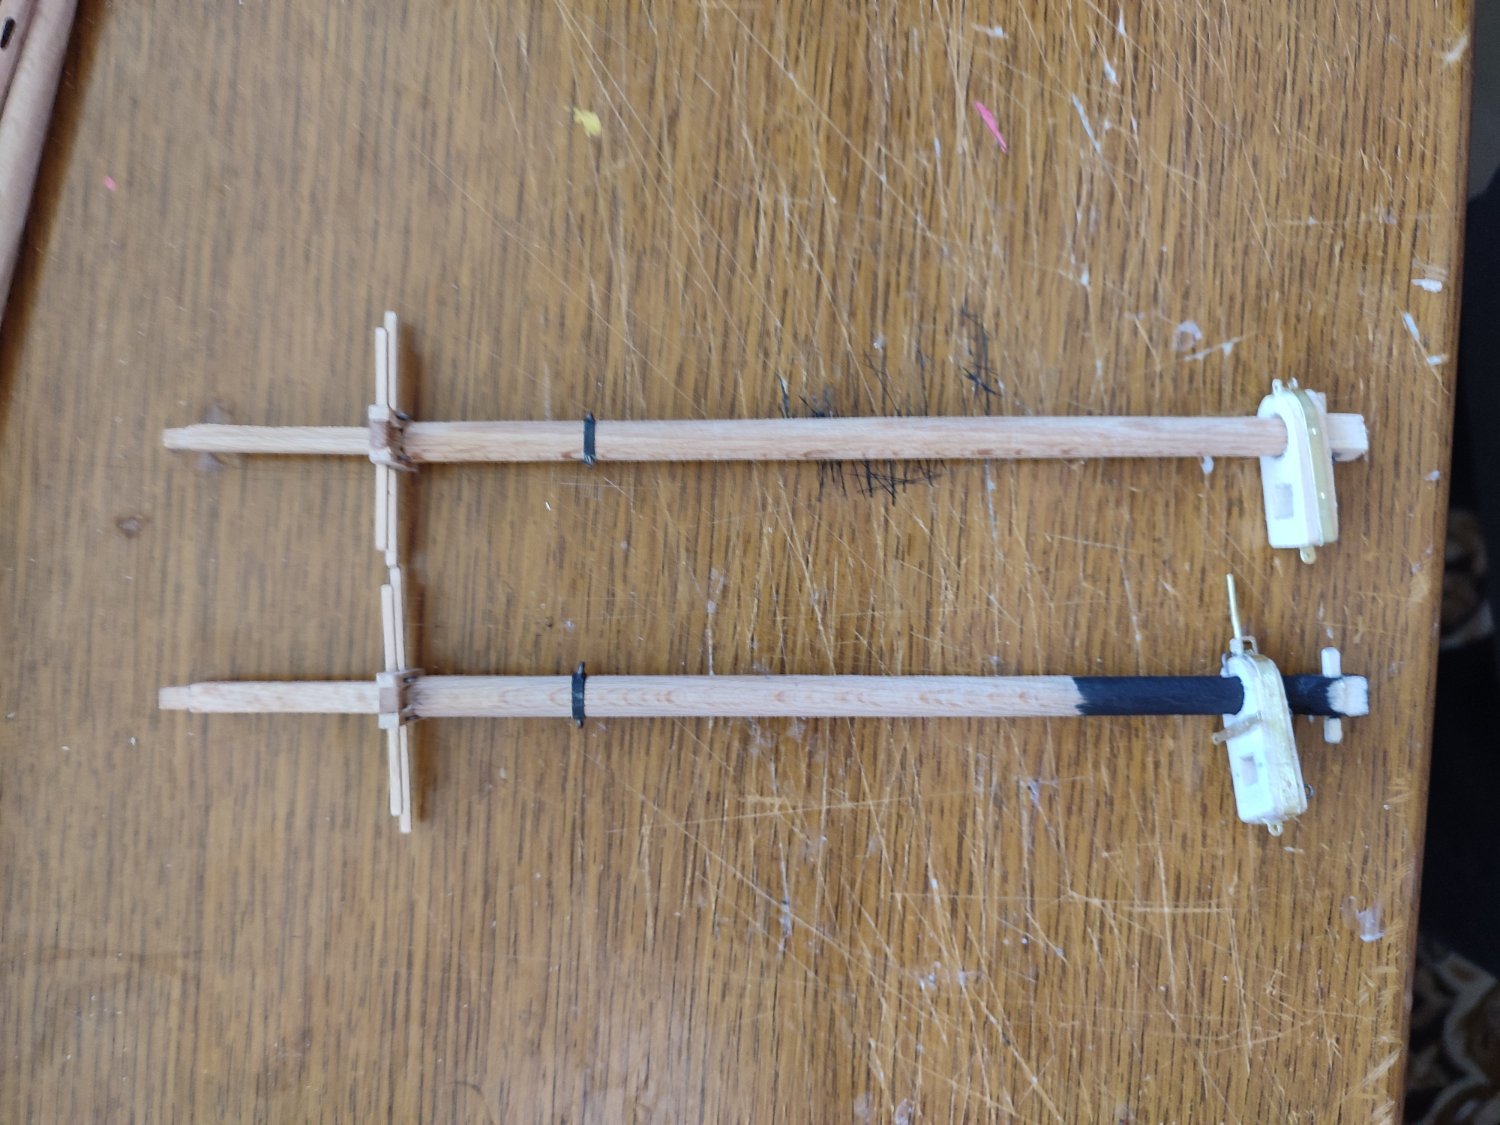
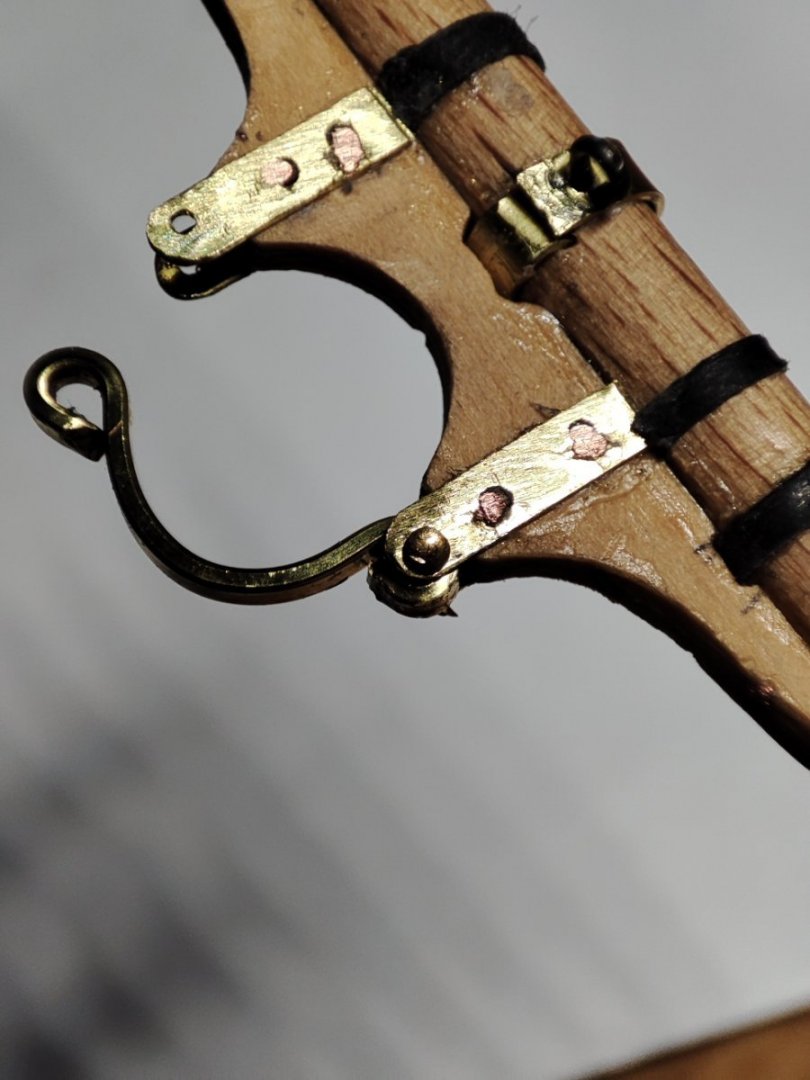
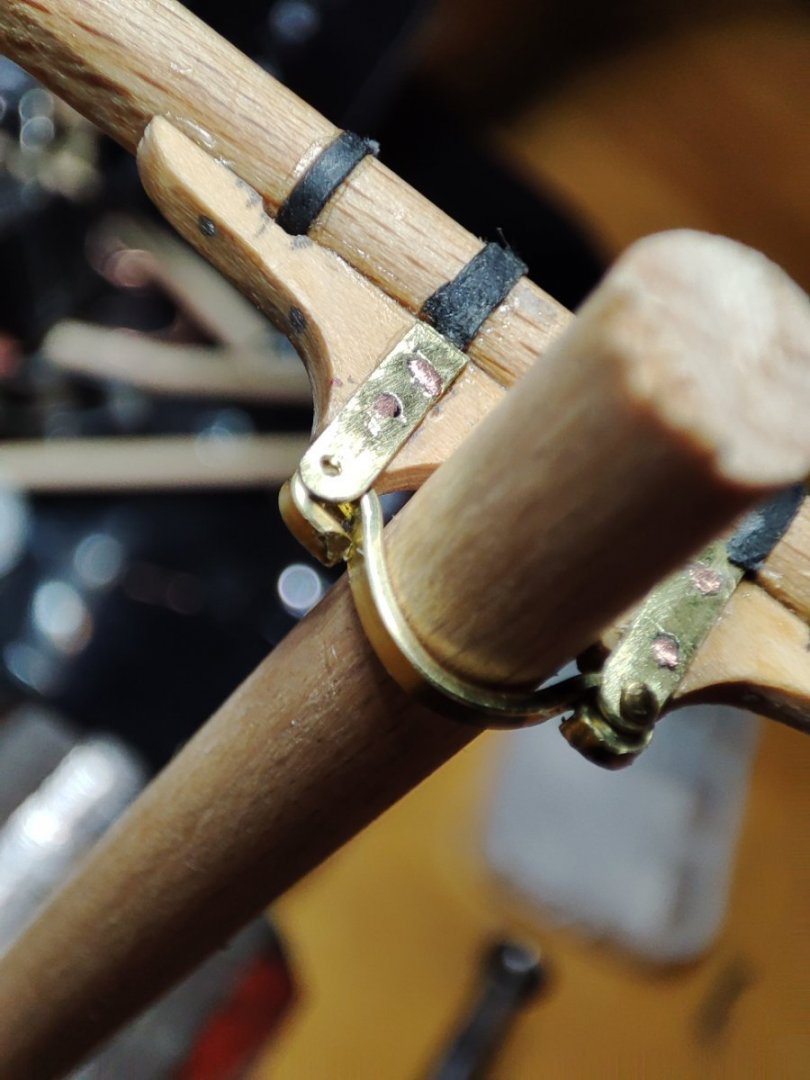
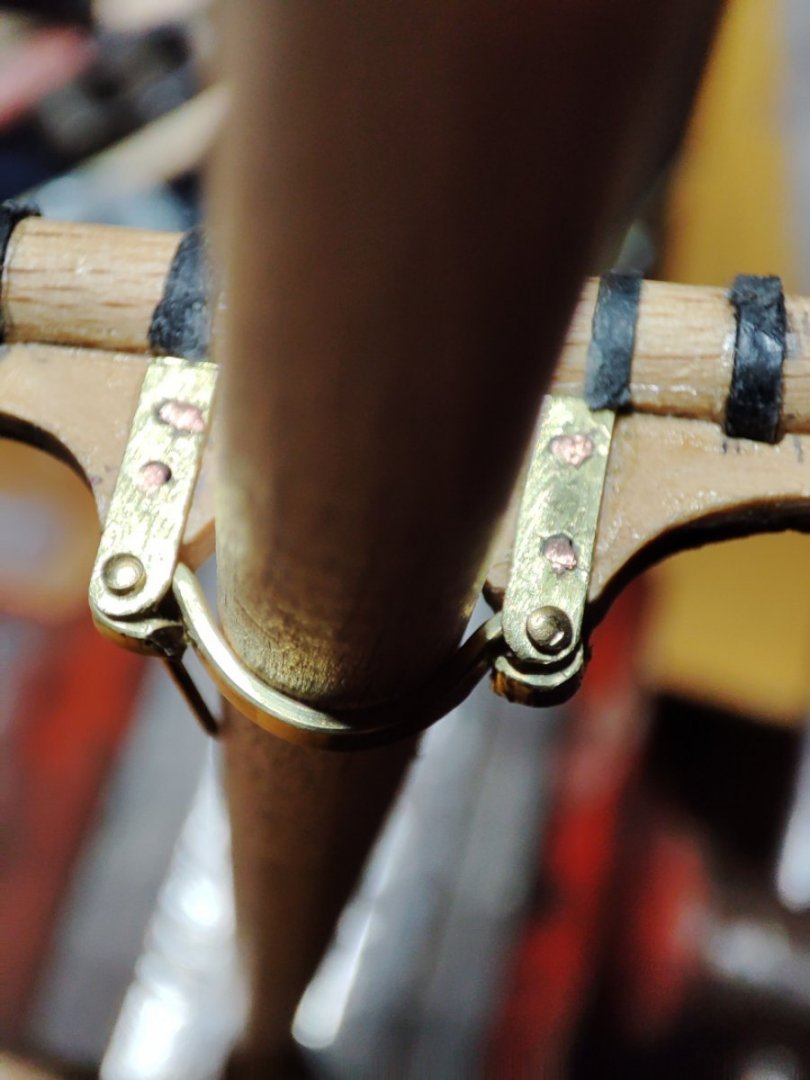
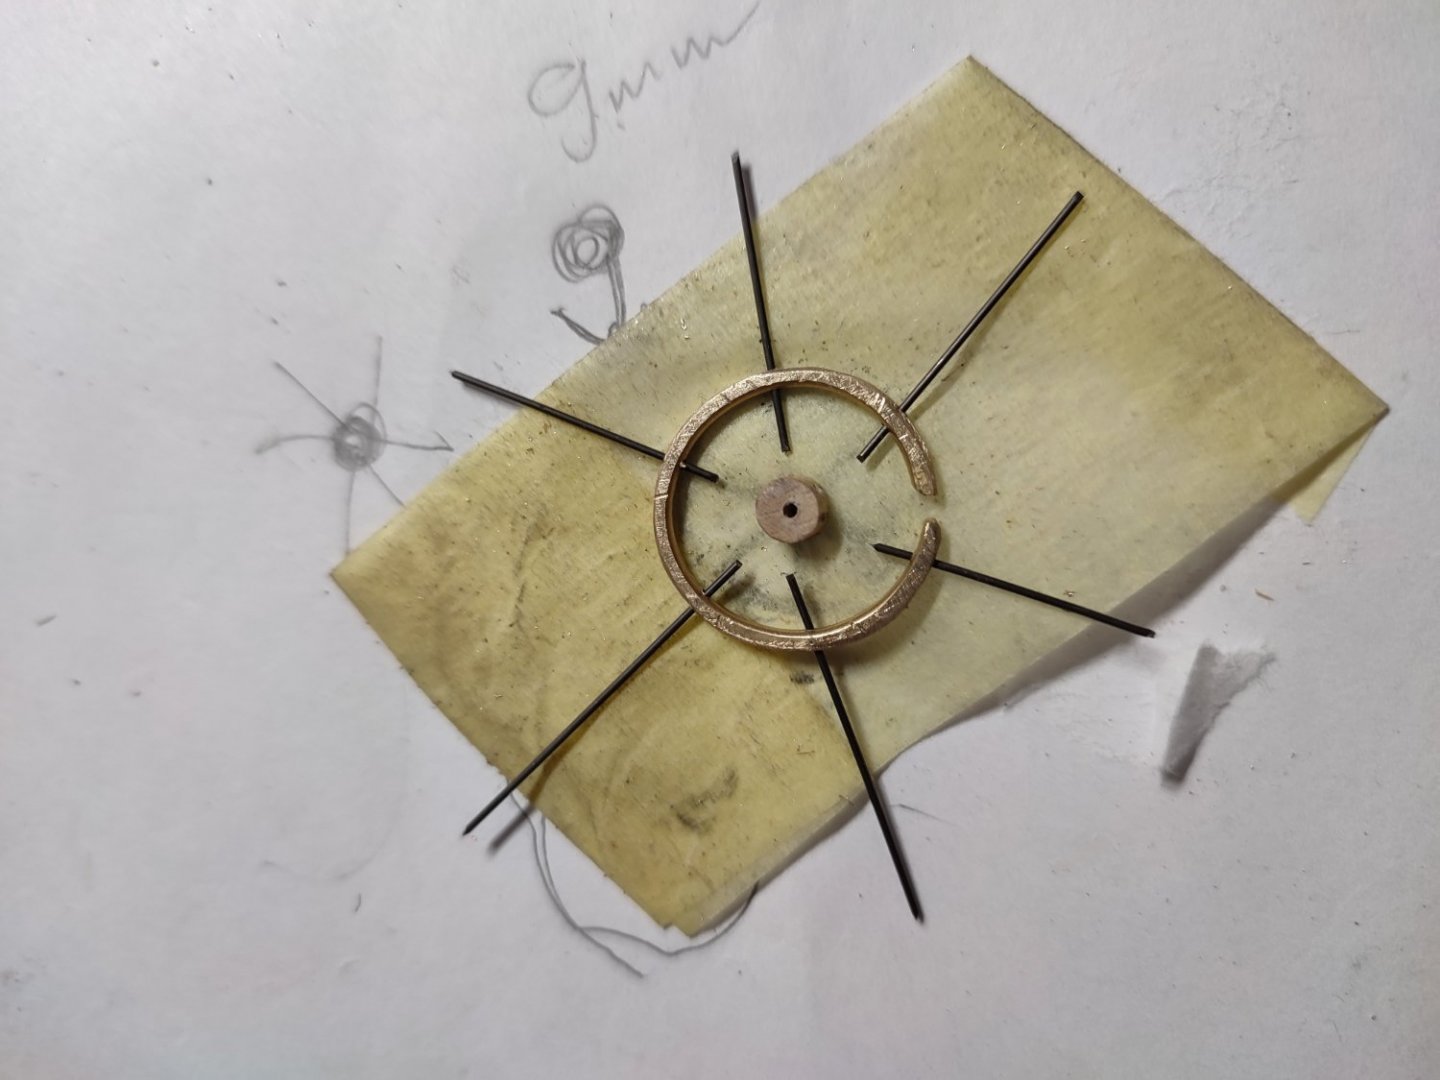
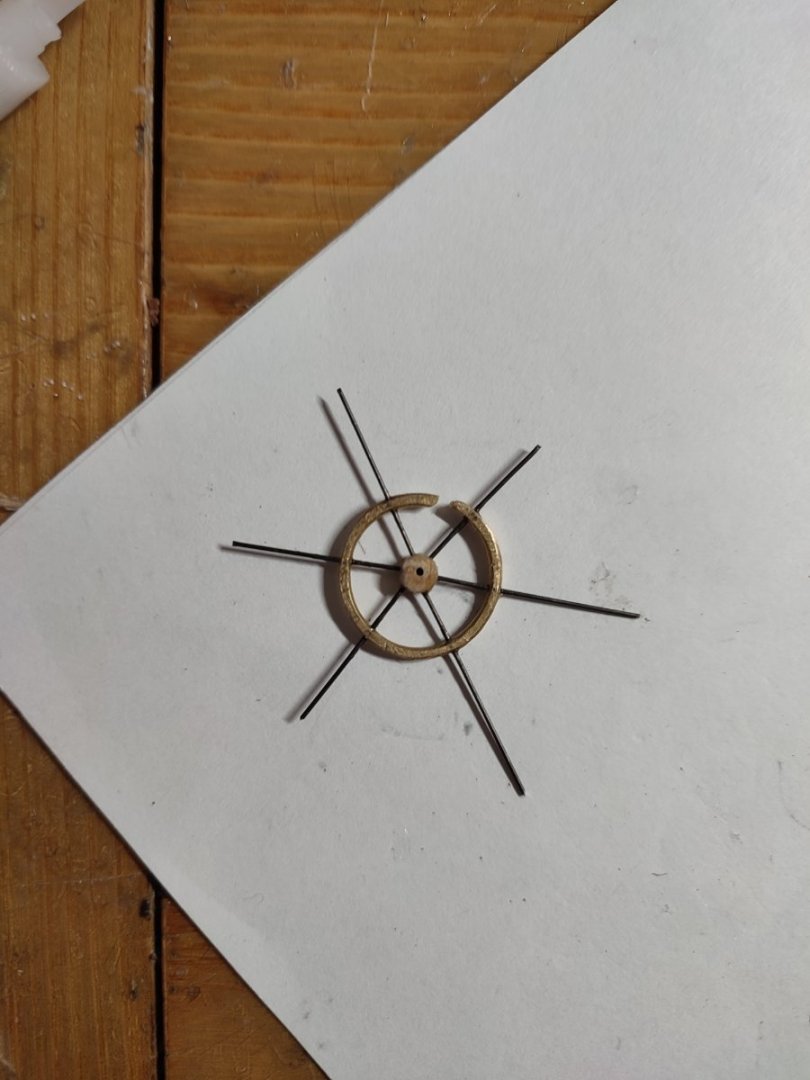
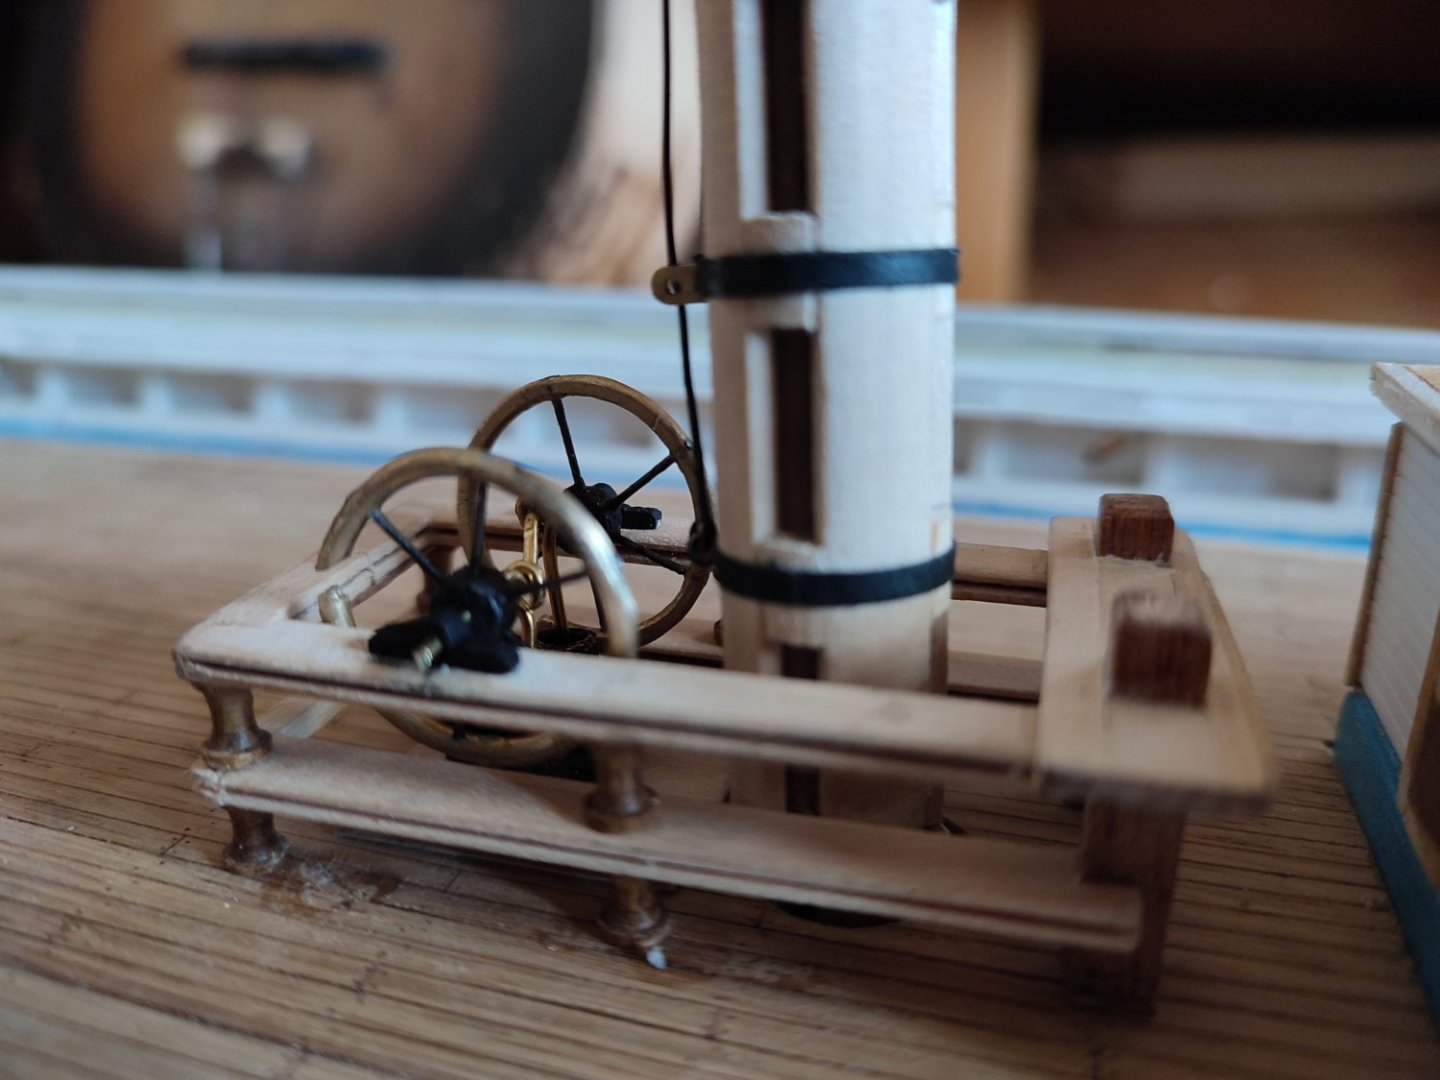
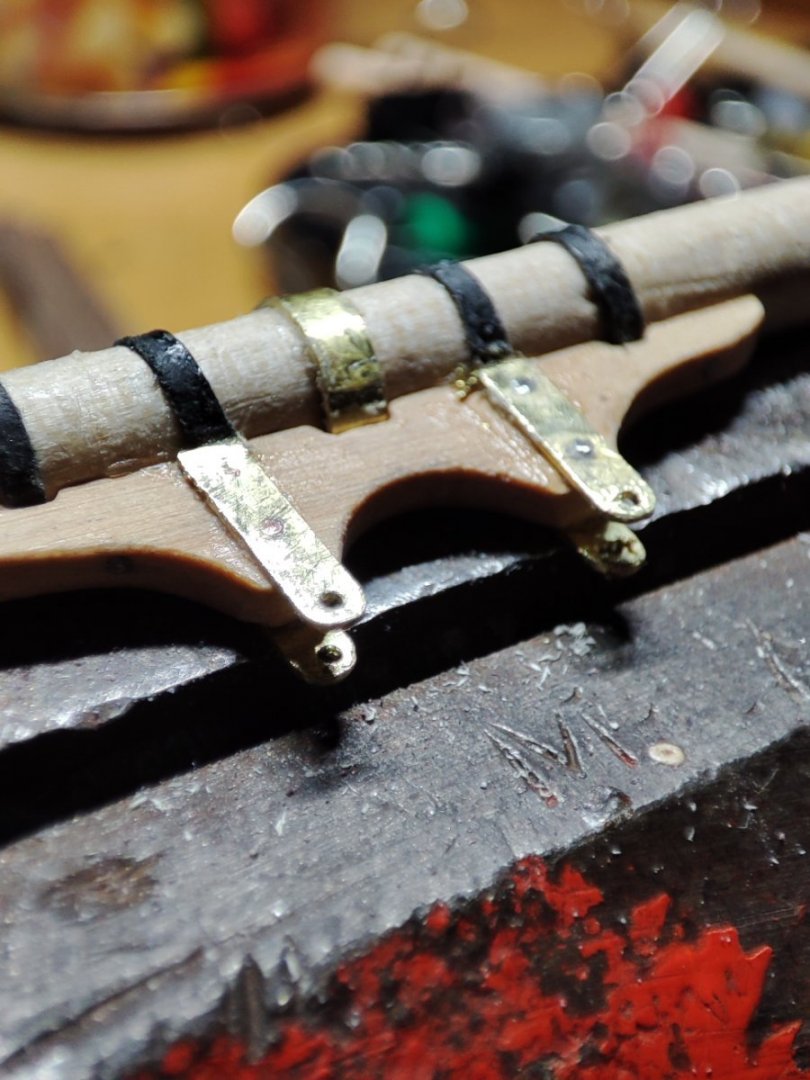
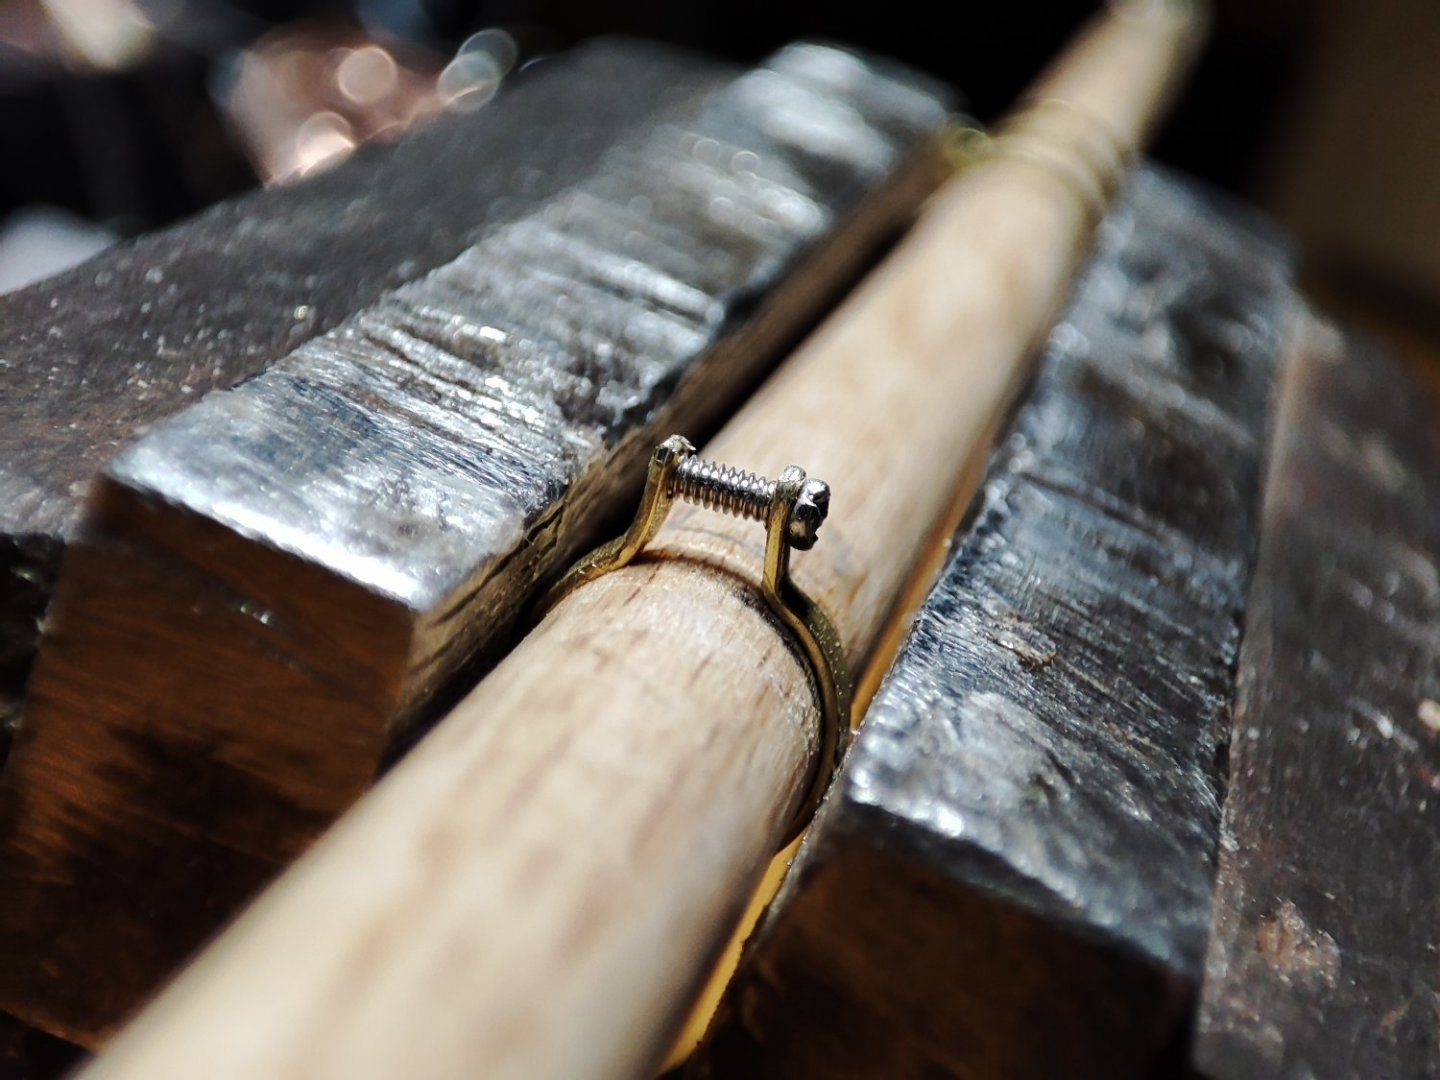
...metalwork continuation. Lower yard band, Howes topsail rig etc ...thanks for watching...