

Vladimir_Wairoa
-
Posts
1,566 -
Joined
-
Last visited
Content Type
Profiles
Forums
Gallery
Events
Posts posted by Vladimir_Wairoa
-
-
wow, that black toprail is extremely exciting...
-
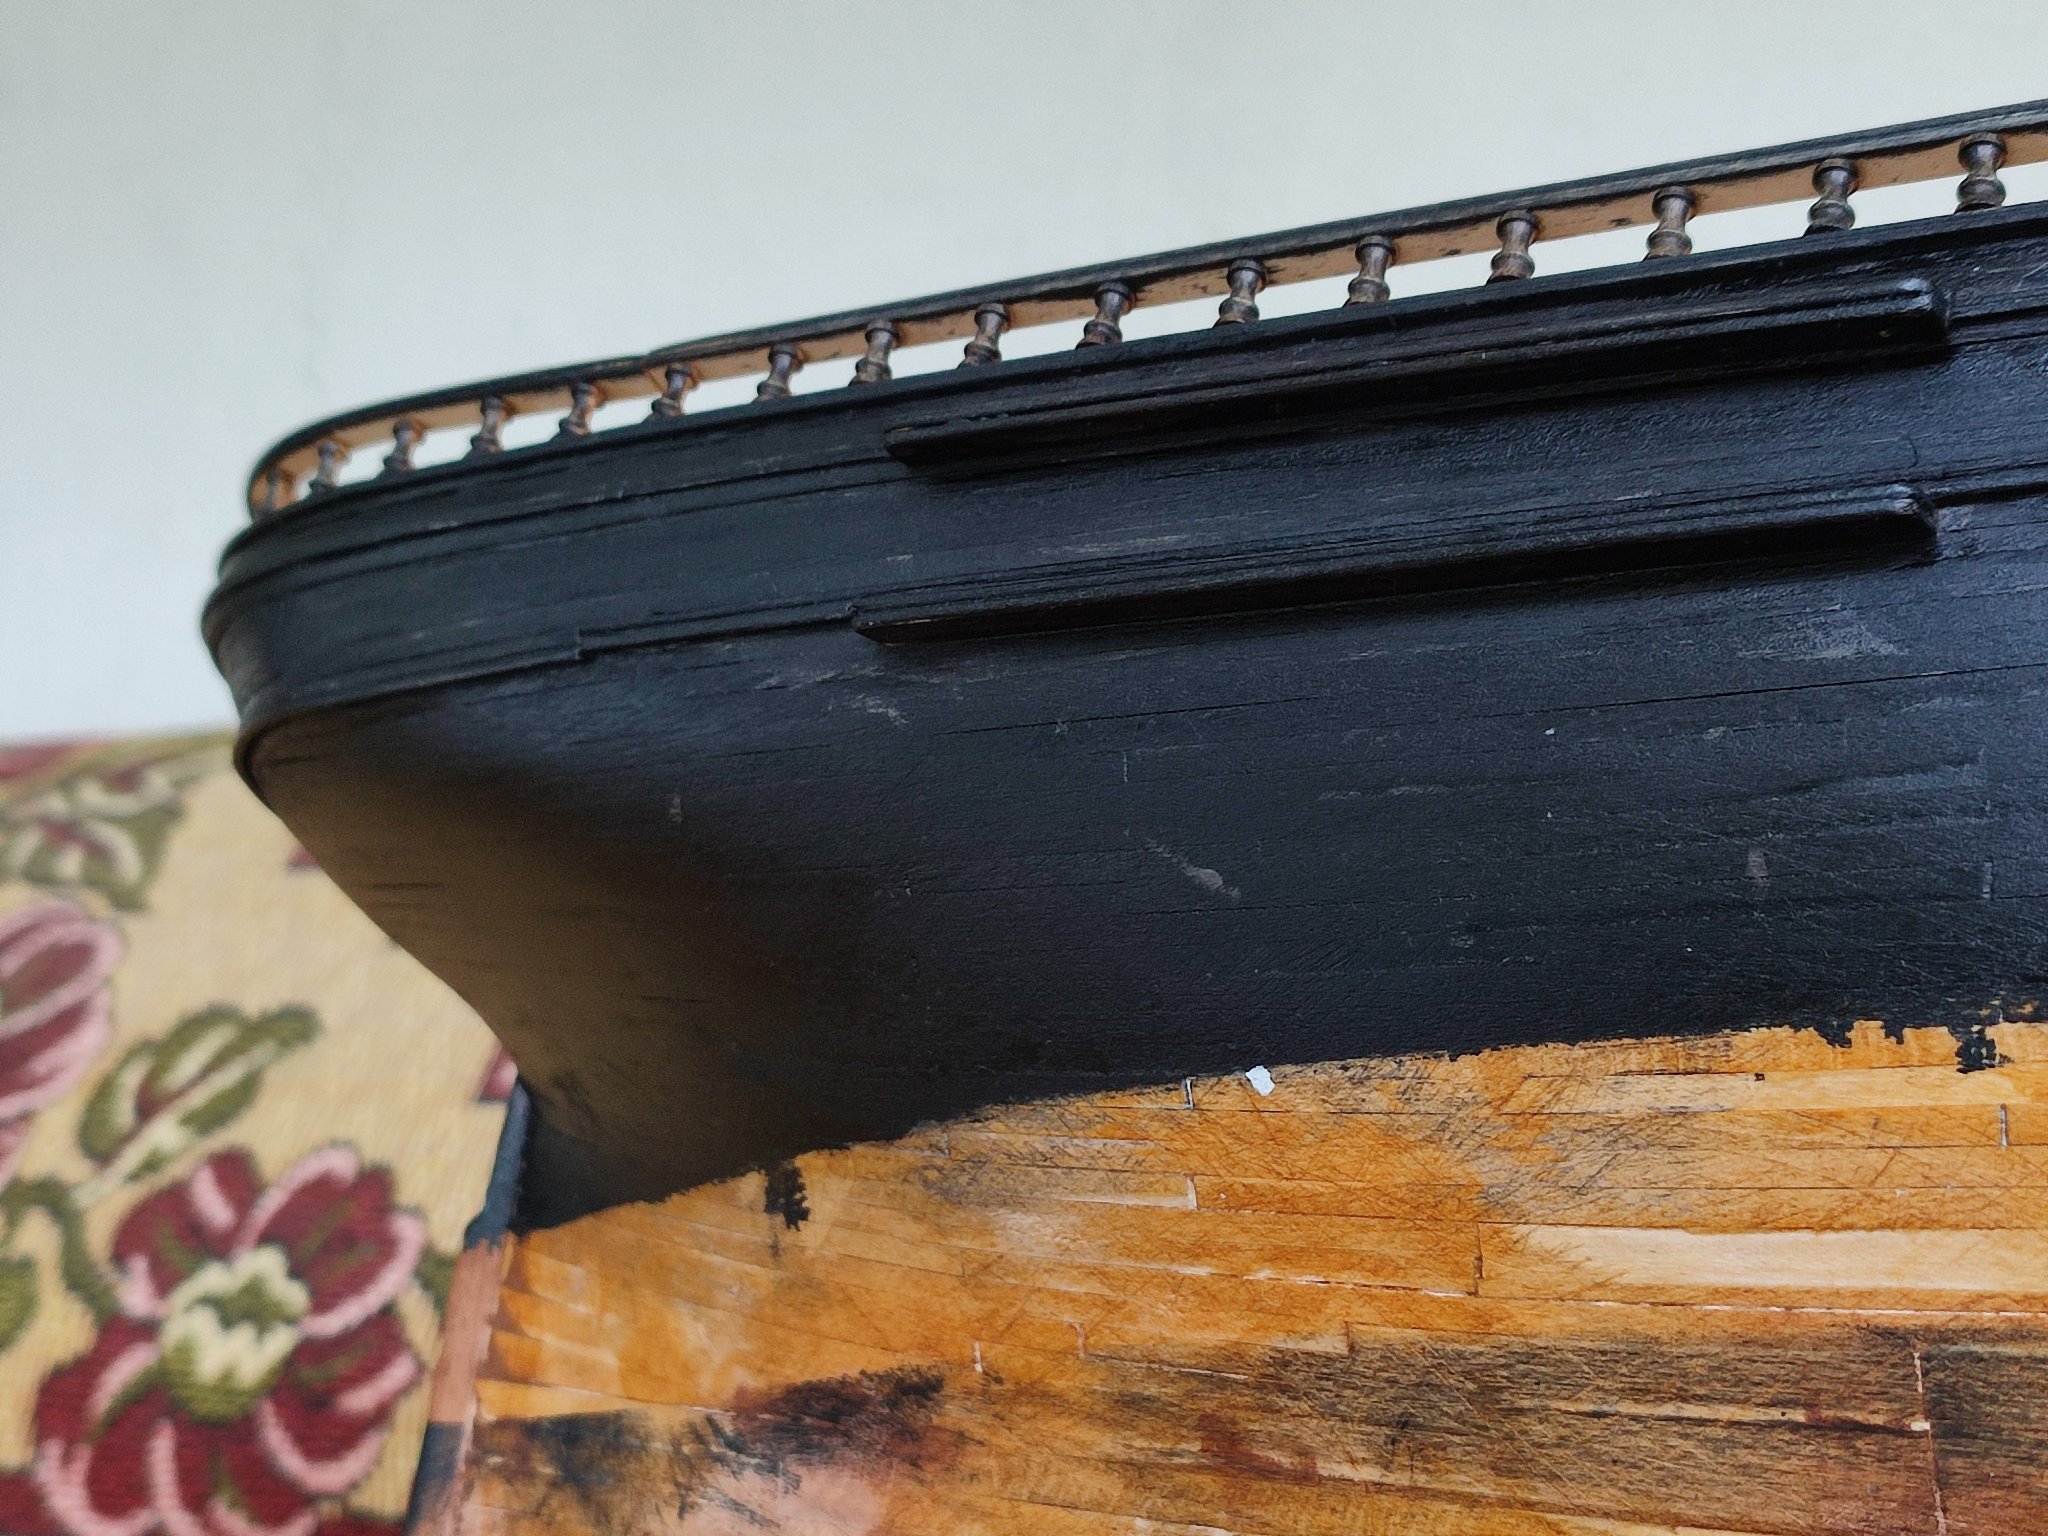
Few photos of painted glory. ...
I couldnt paint bulwarks pearl as i would ruín IT. So u leaved monkey rail pearl only. I like the single contrast. Its probably a bit on beige side but color dried stronger than wet mix. Painting already assembled pieces IS recipe fór disaster or pain. So much pain. I did my hardest to Keep IT clean
building Up multiple thin layers...apology fór many pics i tried to see various overall feel and details ...still some places to finish...i still see some uneven blotches inside bulwarlks between columns... its very difficult to get brush inthere...hopefully one aldt coat there....
Thanks for any input etc...V.


- Tigersteve, druxey, GrandpaPhil and 2 others
-
 5
5
-
19 minutes ago, ClipperFan said:
Vladimir, When it comes to highlighting "big, big rectangle windows" you're going to be disappointed. Other than her two large approximately 6' skylights in her rear house, all other windows on Glory are on the small side. In a 45' space on the sides, it appears the few windows are tiny, about 1' wide each. That's deliberate, in order to minimize potential for water from heavy seas entering inside her dwelling areas. The same goes for doors. You'd think in a 24' house, doors would be at least 3' but from what I can tell, they were 2'.
Its tremendous help Rich, your contribution. Pretty Near convenient fór modelmaking I myself just také screenshot of IT scale it to my measures and i Can start making outline and paneling...
From the photofraph IT looks to me that Windows follows profile are not truly square but curved deck ríše towards center line structure from both sides what do You think?
-
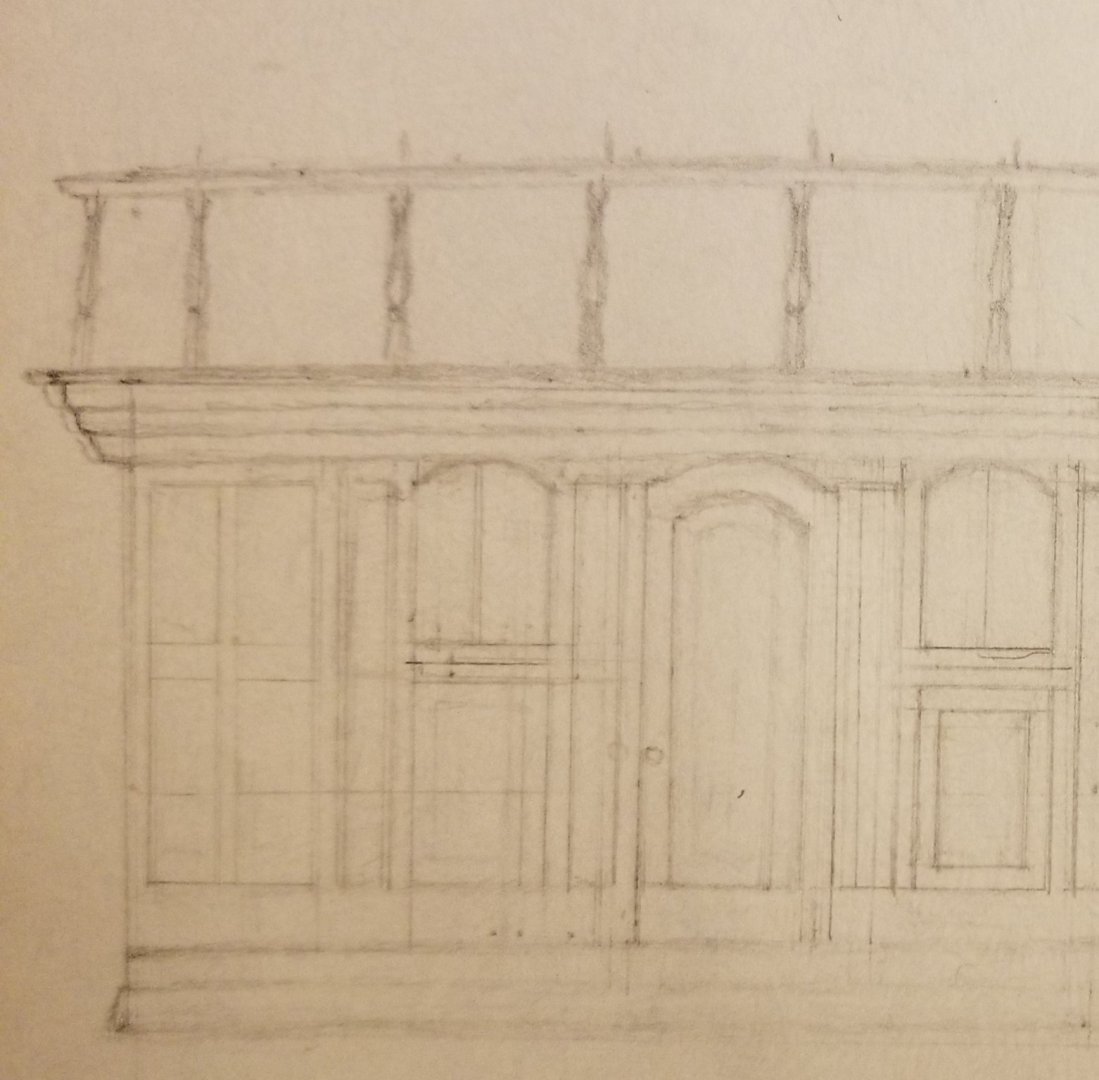
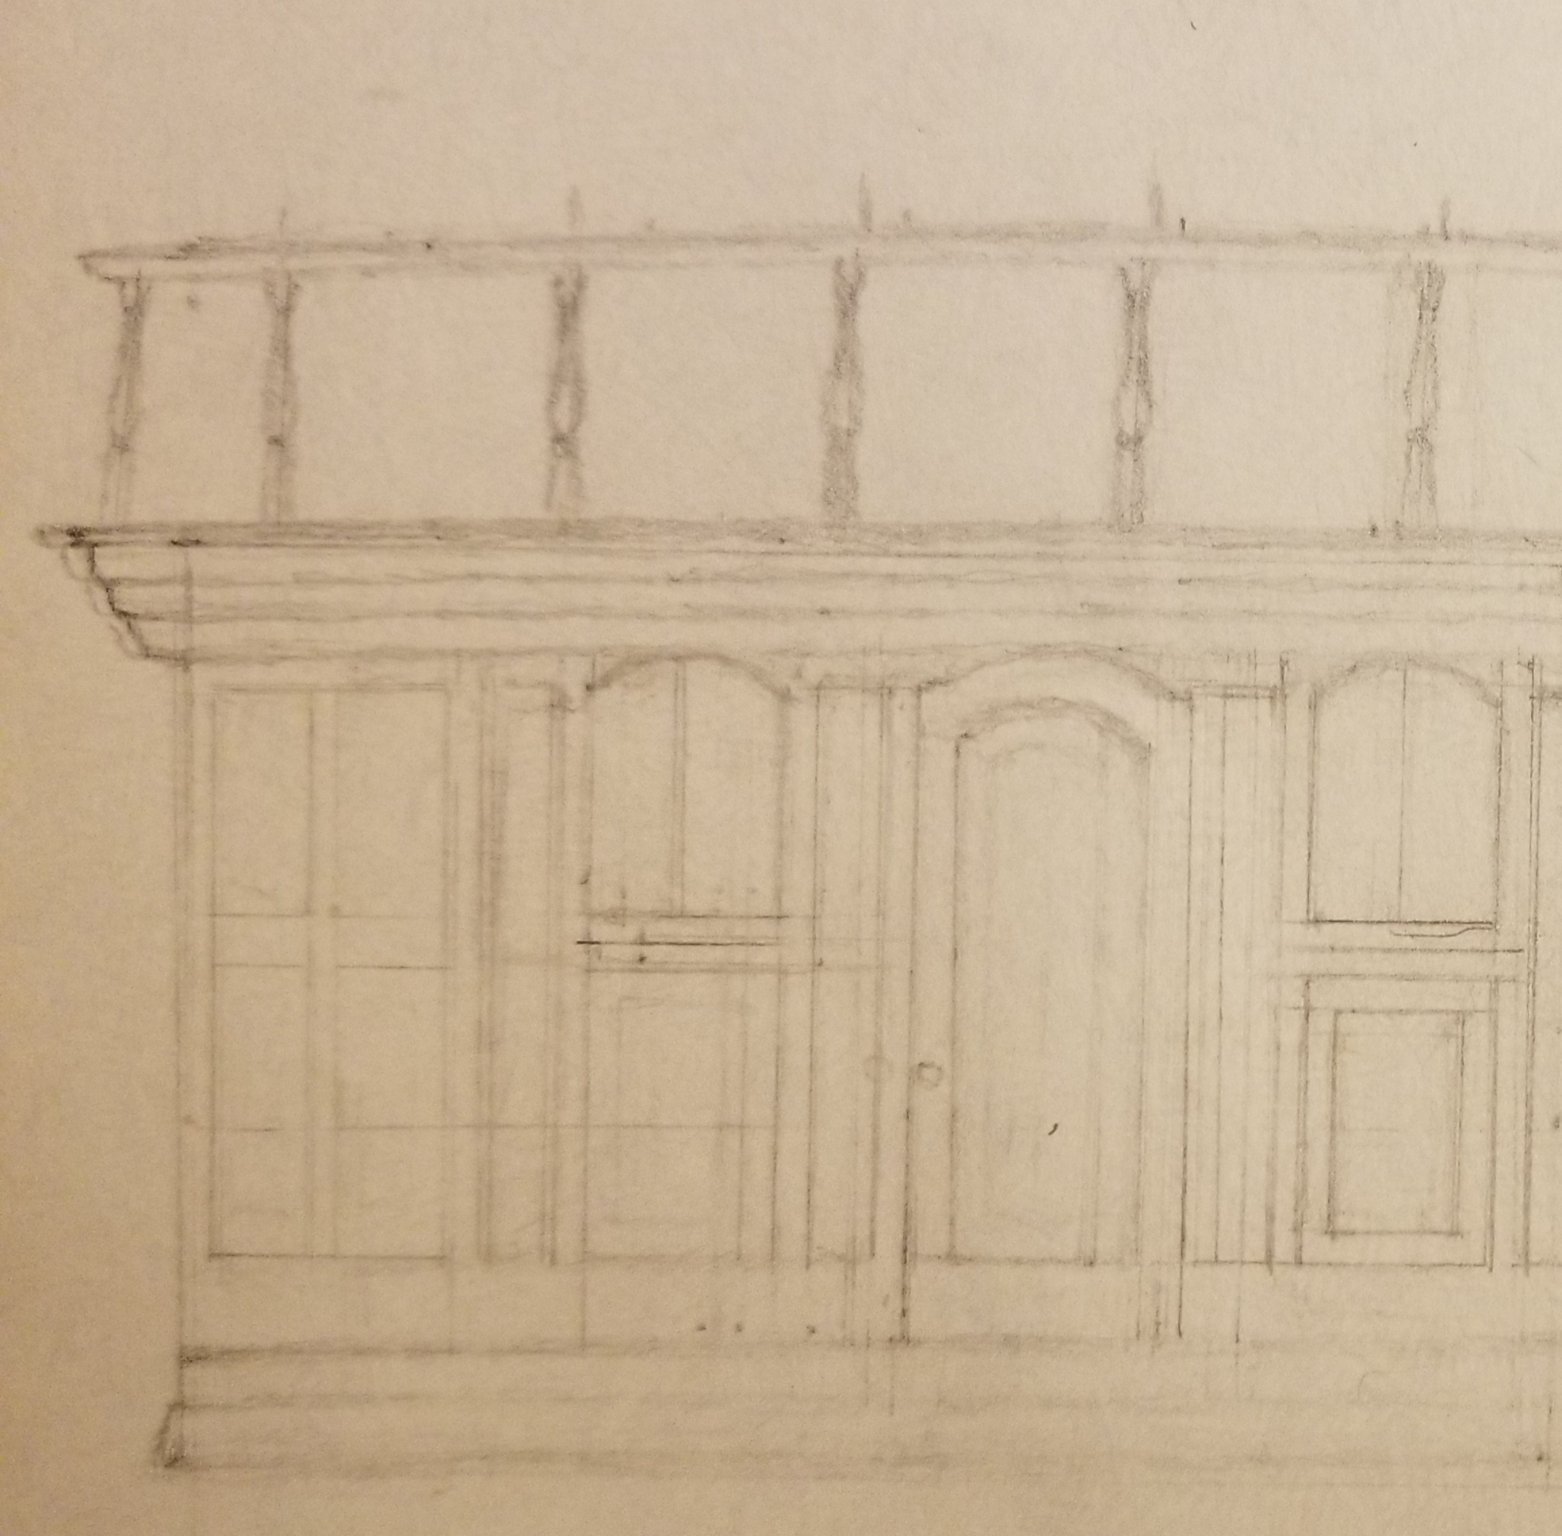
5 hours ago, ClipperFan said:
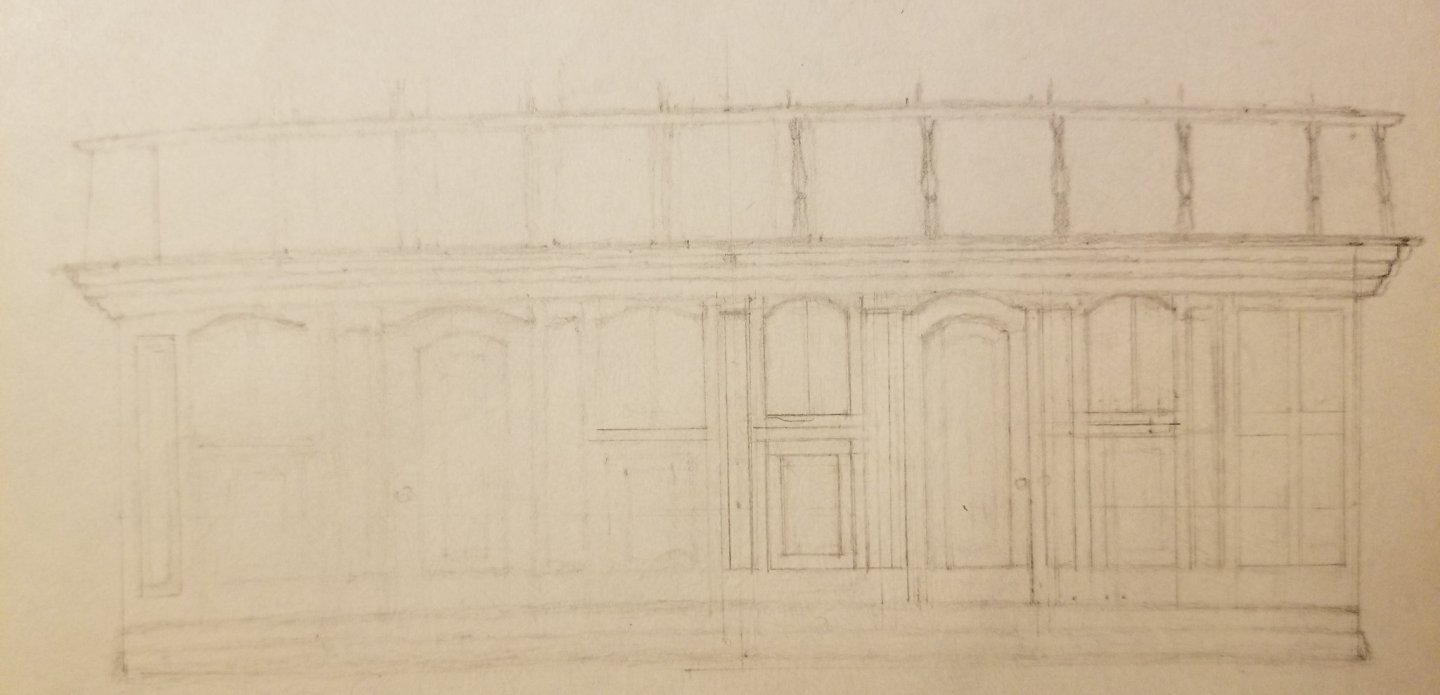
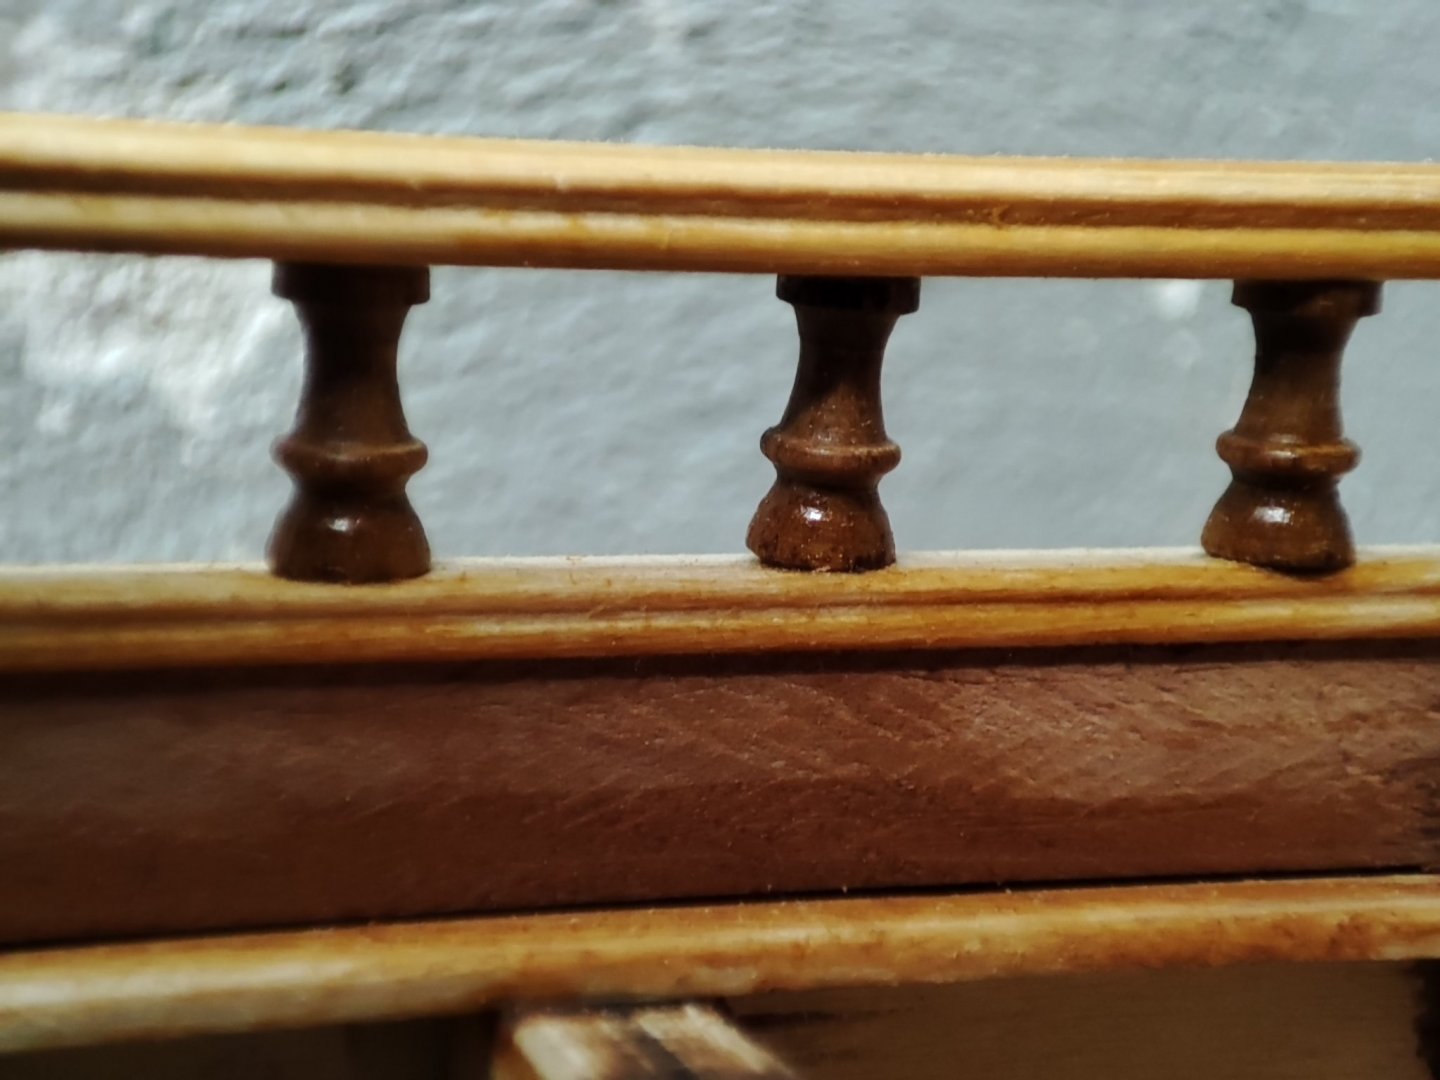
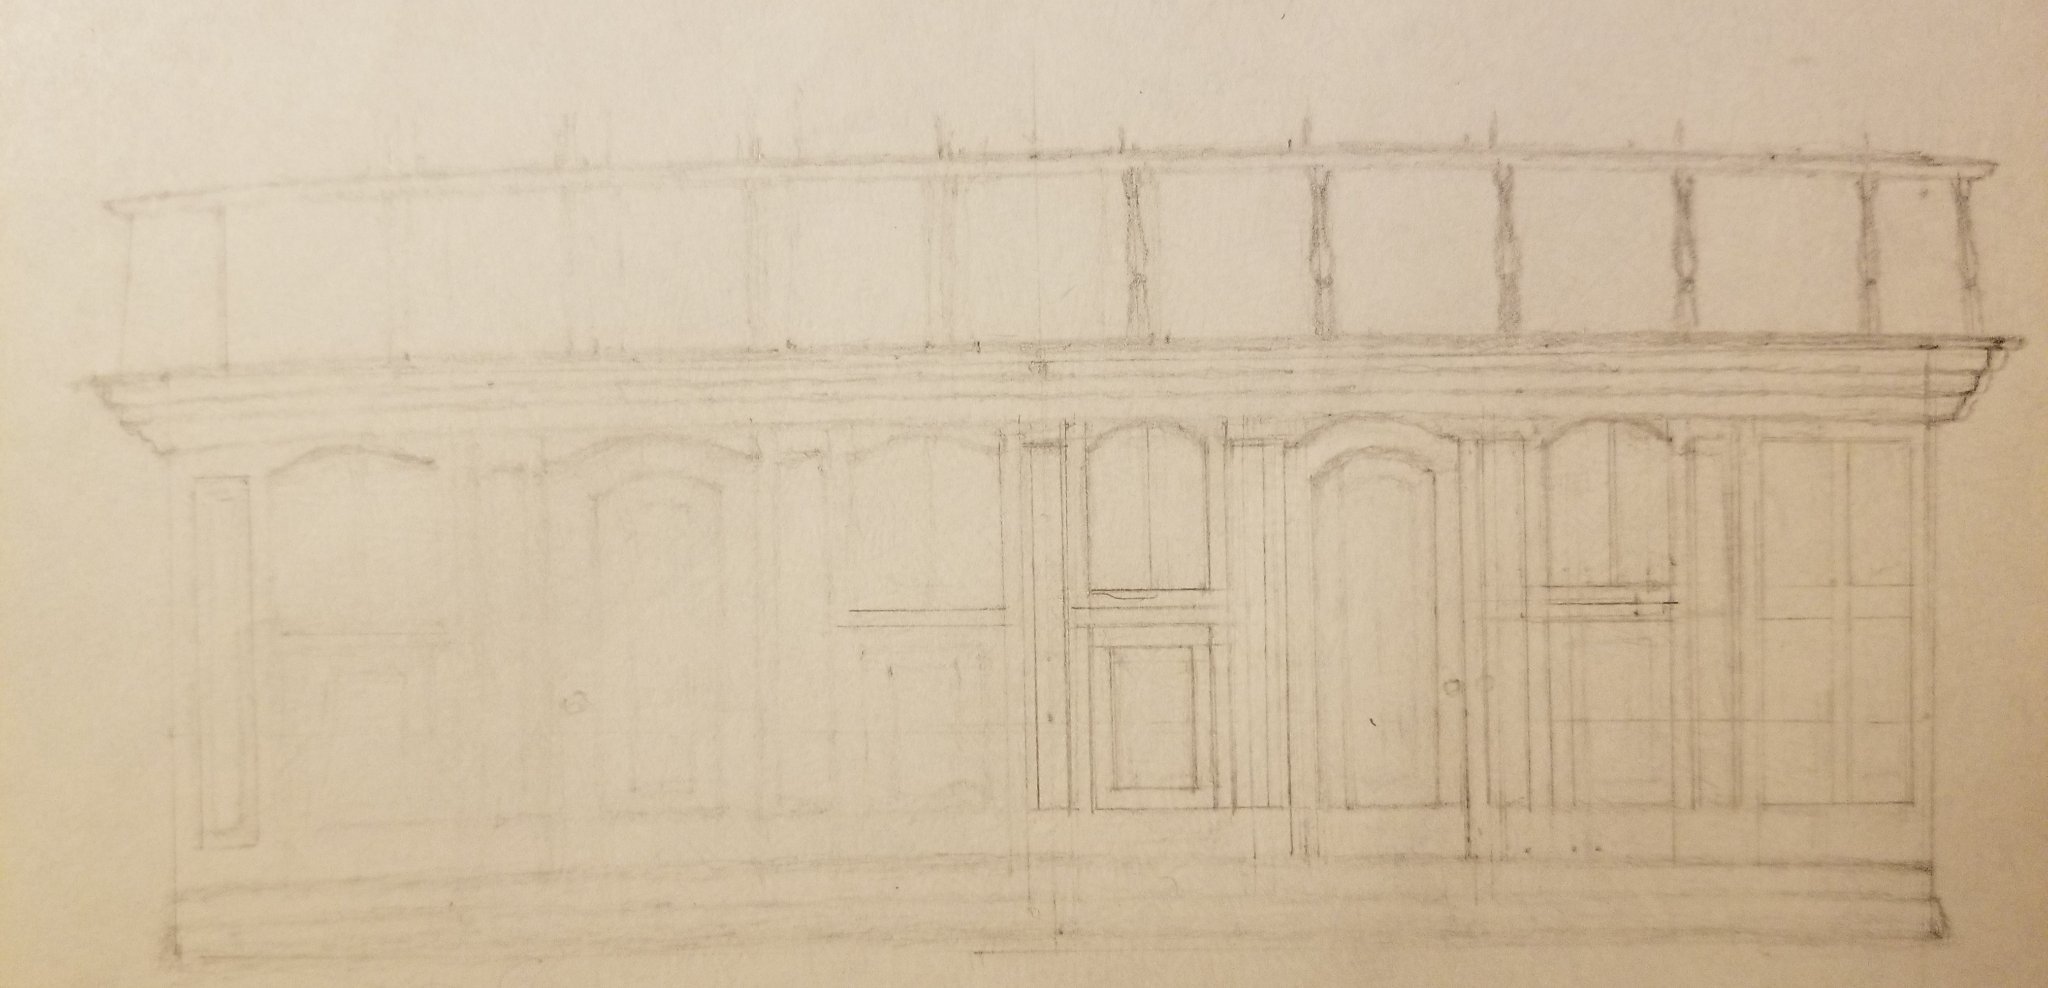
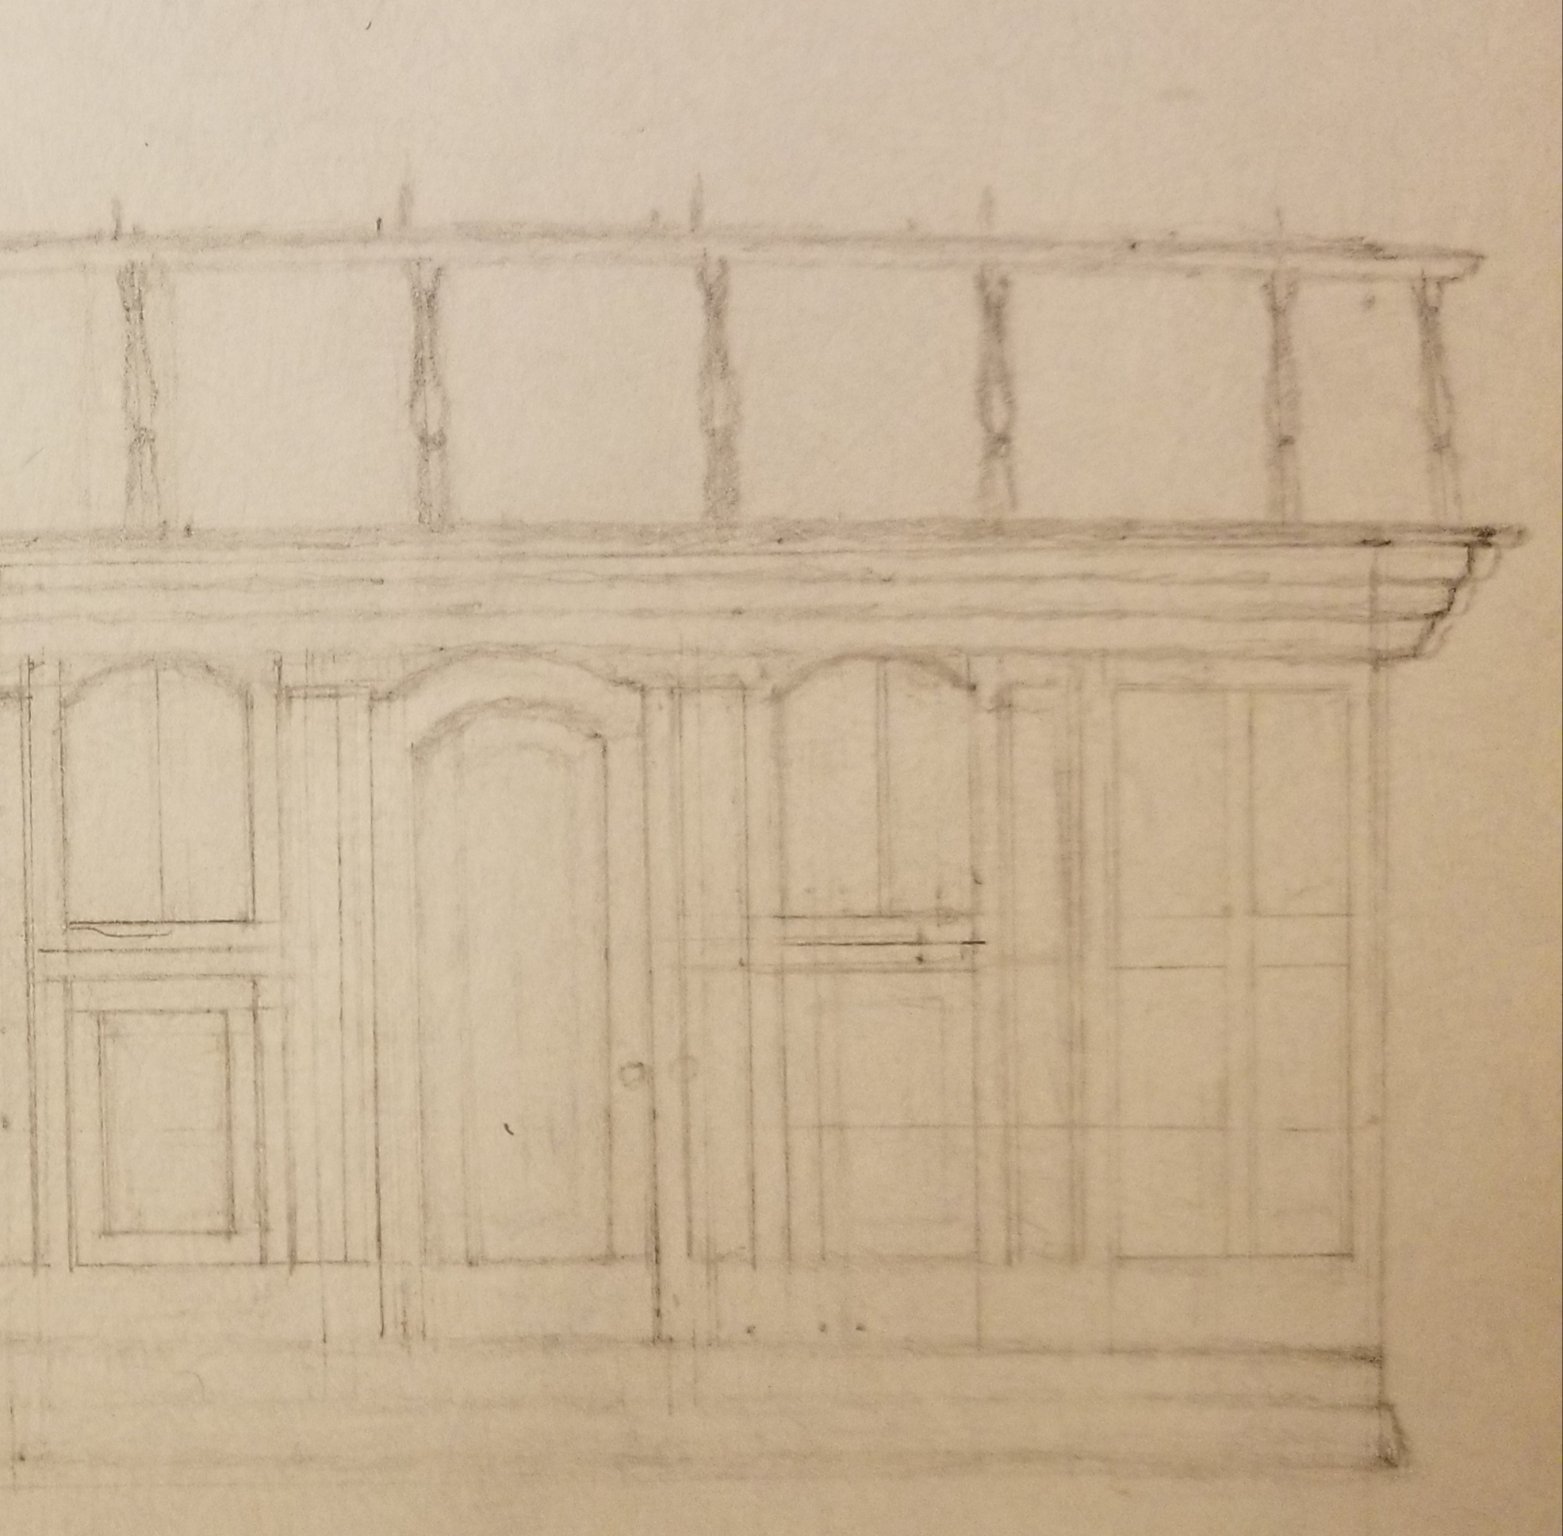
Rob & Vladimir, here's my preliminary sketch of the somewhat ornate front face of Glory's rear 'Carriage' house with her upper turned stanchion rails. MacLean's stats say this house was 45' long x 24' wide × 8' high. Pictures show the house had a roughly 3' overhang. Contrary to expectations, the turned stanchions are not strictly verticle, nor all evenly spaced. It appears the 3 central stanchions were 2 & 1/2' apart, the remaining 6 on either side were 2 & 3/4' apart and the last 2 were 1 & 1/2 feet apart, for a total of 12 stanchions in all.
The 4 windows appear to be 1 & 1/2' wide and both door seem to be sliding, not pivoting and are only 2' wide each. The left side slid out towards the left (as can be seen in this photo. I would expect the opposite door would slide out to the right.
At the base is a double molding, the lowest appears to be painted blue, the upper would most likely be white, being a raised surface. All recessed areas would have been pearl and highlights white.
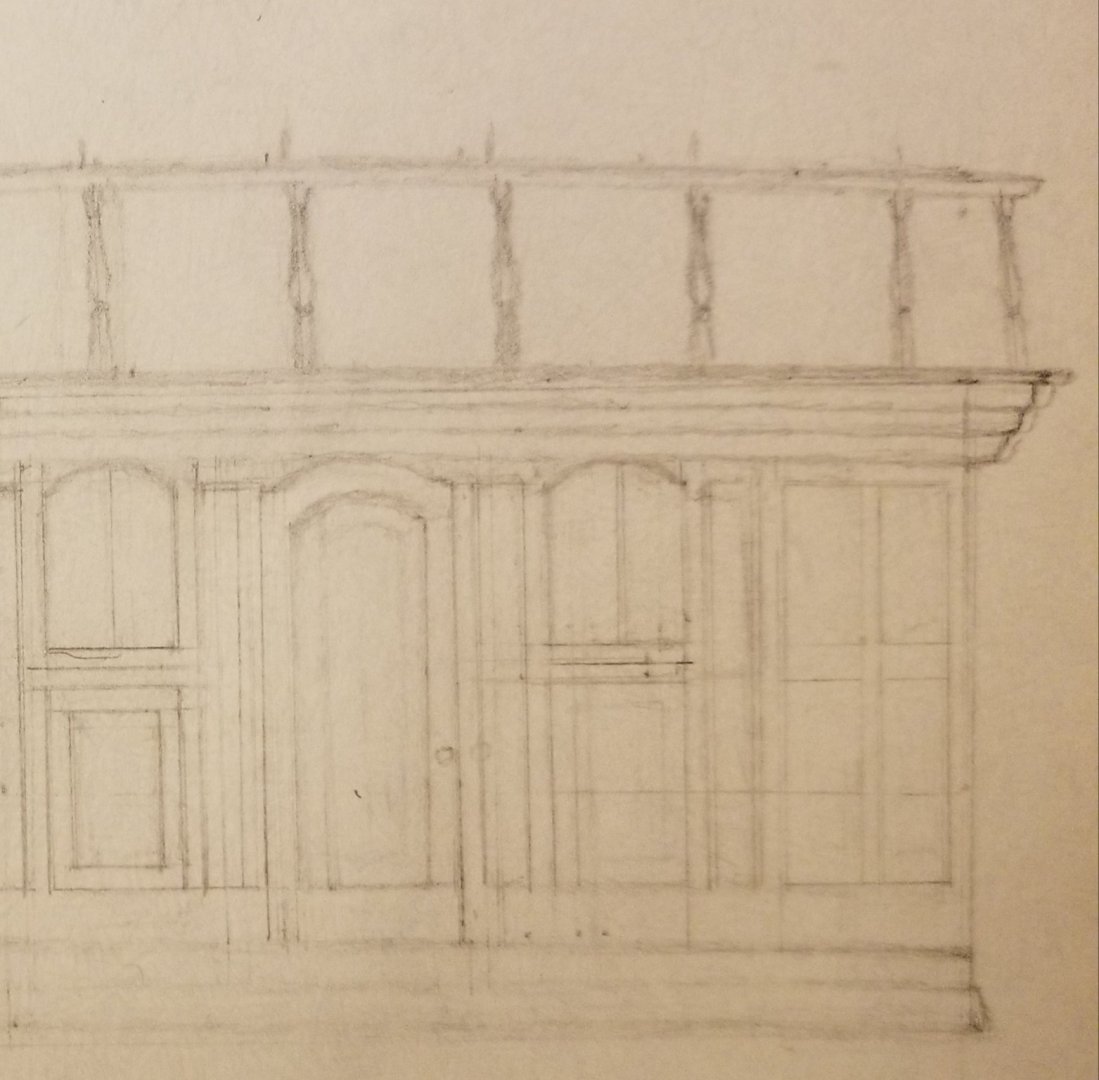
The left side of my sketch is inaccurate, done before I realized how truly narrow the windows and doors really were.
So to make things easier, I cropped the right side & flipped it to create a corresponding identical left one.
This is excellent Rich, brilliant ! those numbers are huge value for us.
for the most part of the build i was looking forward most for this chapter.
i want to highlight big big rectangle windows that remings more of a country or town house than vessel. so much light in an it must have been something. !
one tiny remark from me, i guess you little simplified roof layering - good fro 1:96 indeed to three even pieces itsa bit more compex and beautiful grooves there . probably not possible for Rob to recreate it...anyway thanks a lot Rich.
-
12 minutes ago, rwiederrich said:
Beautifully done. Nice sheen. She is a true replica.
Great job Vlad.
Rob
Thank you Rob. im glad it apeals. im cautious of painting as its easiest way how to ruin it all....learnt from experience.
-
Moment od Truth.
Im forever apprentice in this business. Painting mg IS my nightmare...
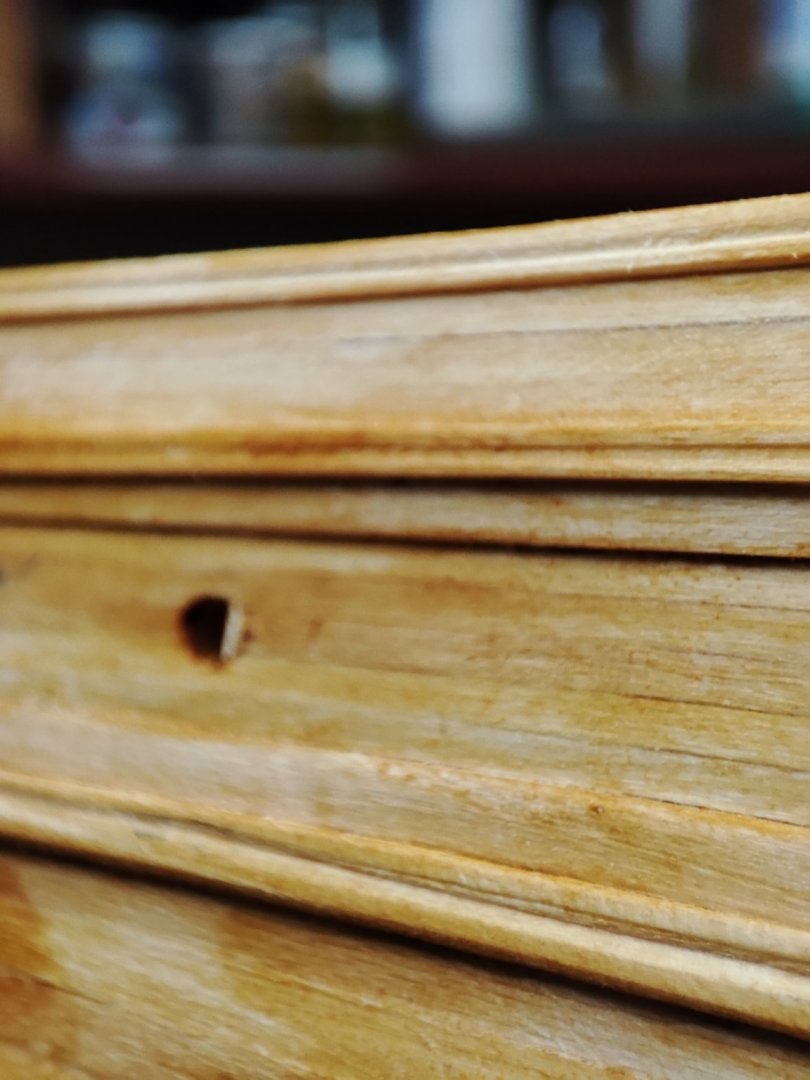
Will only highlight everything. Glue, sandingscrapes, holes , etc..This IS as far as i was able to to...used fiebing dye made in USA and i mušt say this Will be my only thing from now.
Im becoming more critical to my work so i dont like visible imperfections. But I built her with speed & those corections in mind...fillers of holes etc...
I like very deep mat black with tiny touch of Satin to give IT a little Spark.
Thanks for viewing ,any comment etc....


- ScottRC and GrandpaPhil
-
2
-
1 hour ago, ClipperFan said:
Vladimir, what you've illustrated would be correct, as far as I can tell. All flat surfaces would have been pearl and all raised ones would have been white. There had to be enough of a difference in contrast to justify the added investment. Donald McKay's Clippers and even his Packets were all renowned for their top of the line quality, both of craftsmanship and ship's fittings. After all, Donald McKay was the main American contributor to the British James Baines Line, supplying 4 principal vessels to his franchise.
Before British Regulars embarked to India to suppress a revolt, Queen Victoria paid a Royal visit to the vessels "James Baines" and "Champion of the Seas." She's known to have marveled that the British Empire had such magnificent vessels.
Thanks Rich, tomorrow IS the day
")
-
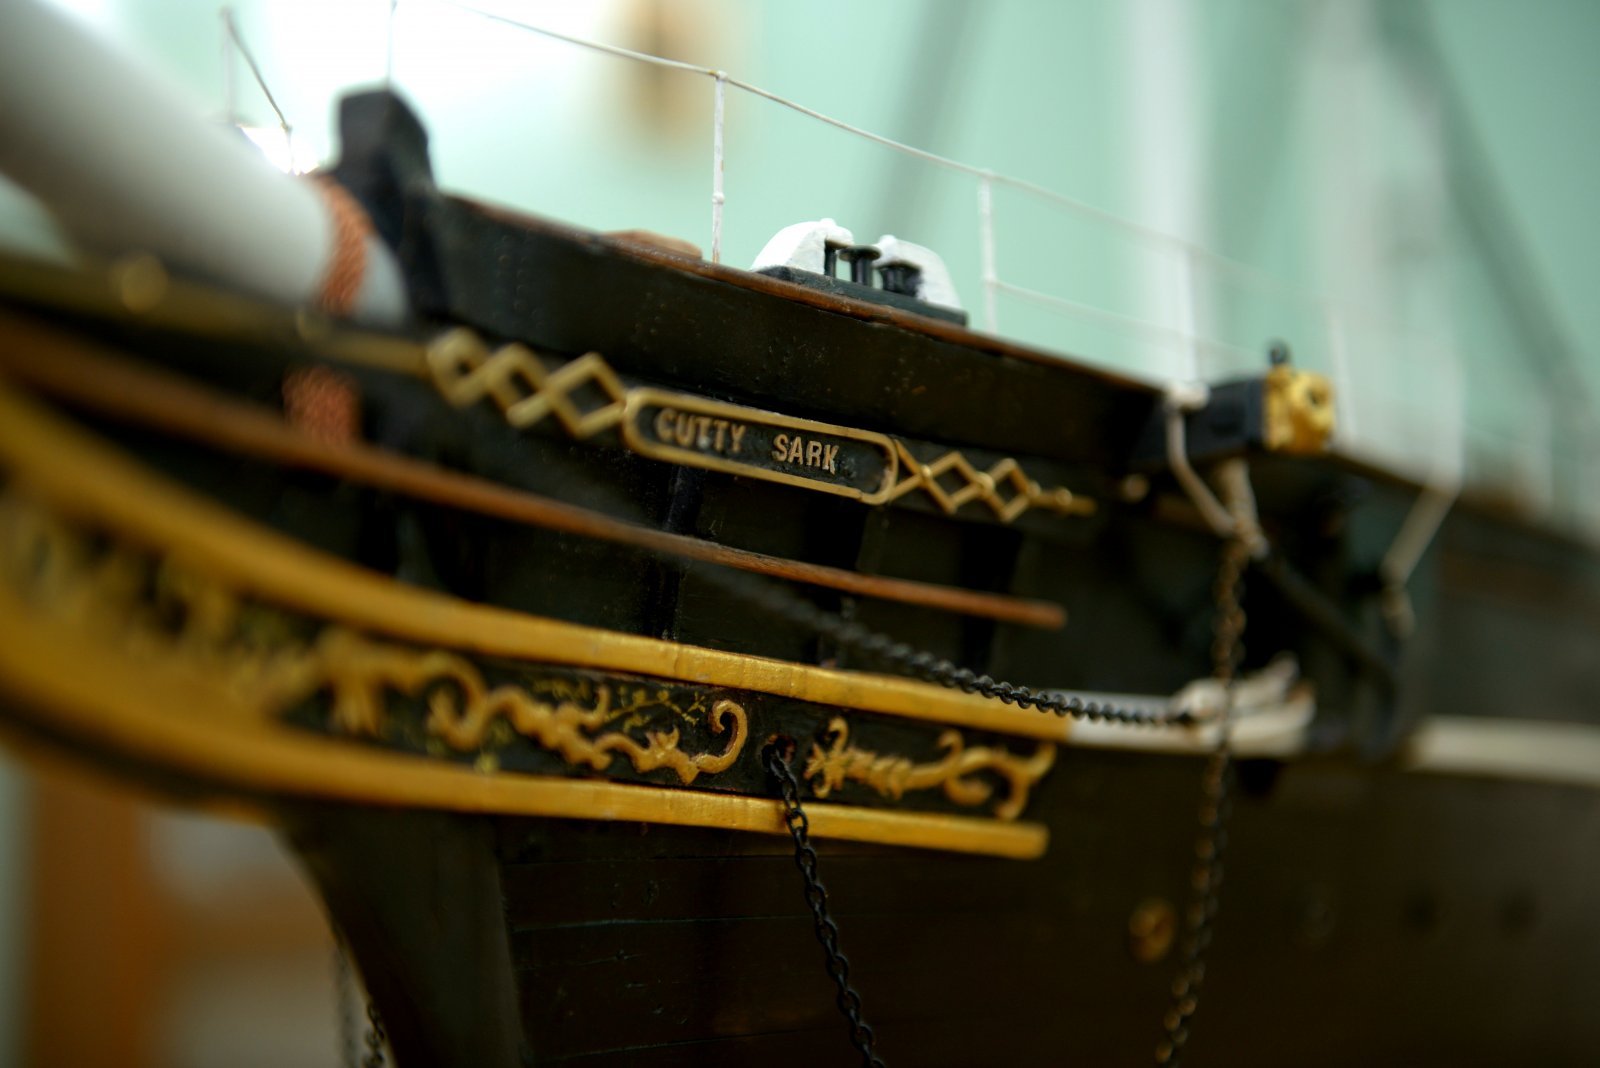
4 hours ago, rwiederrich said:
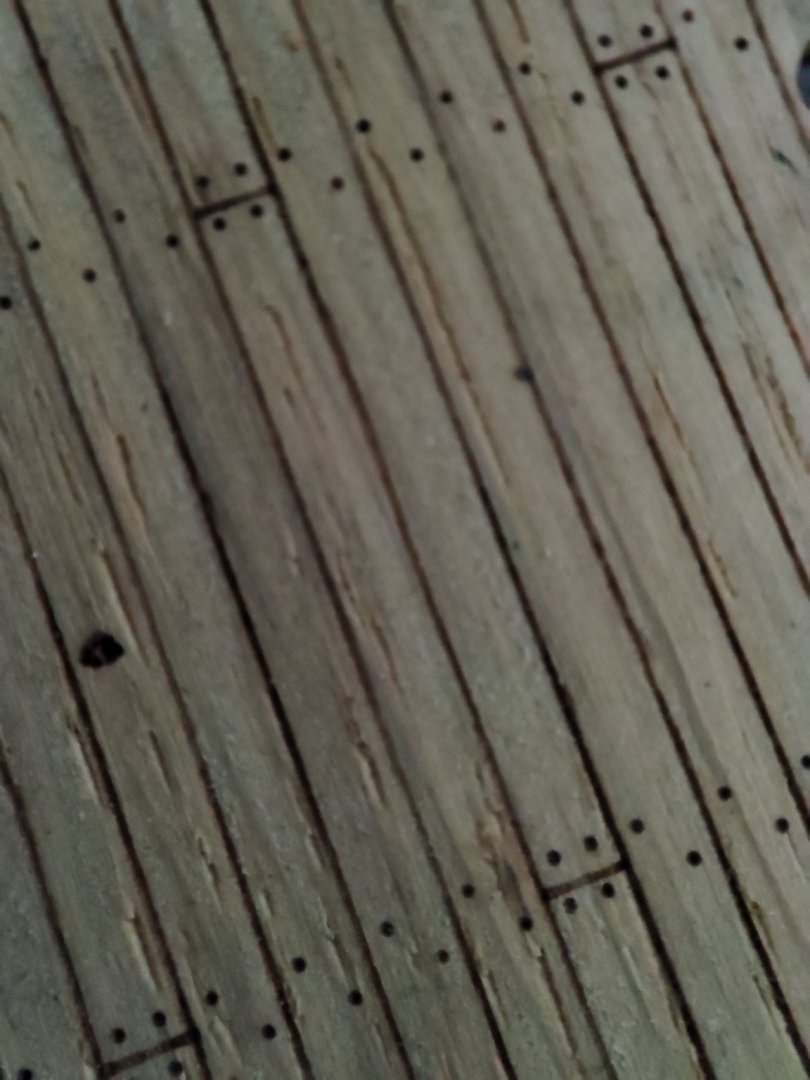
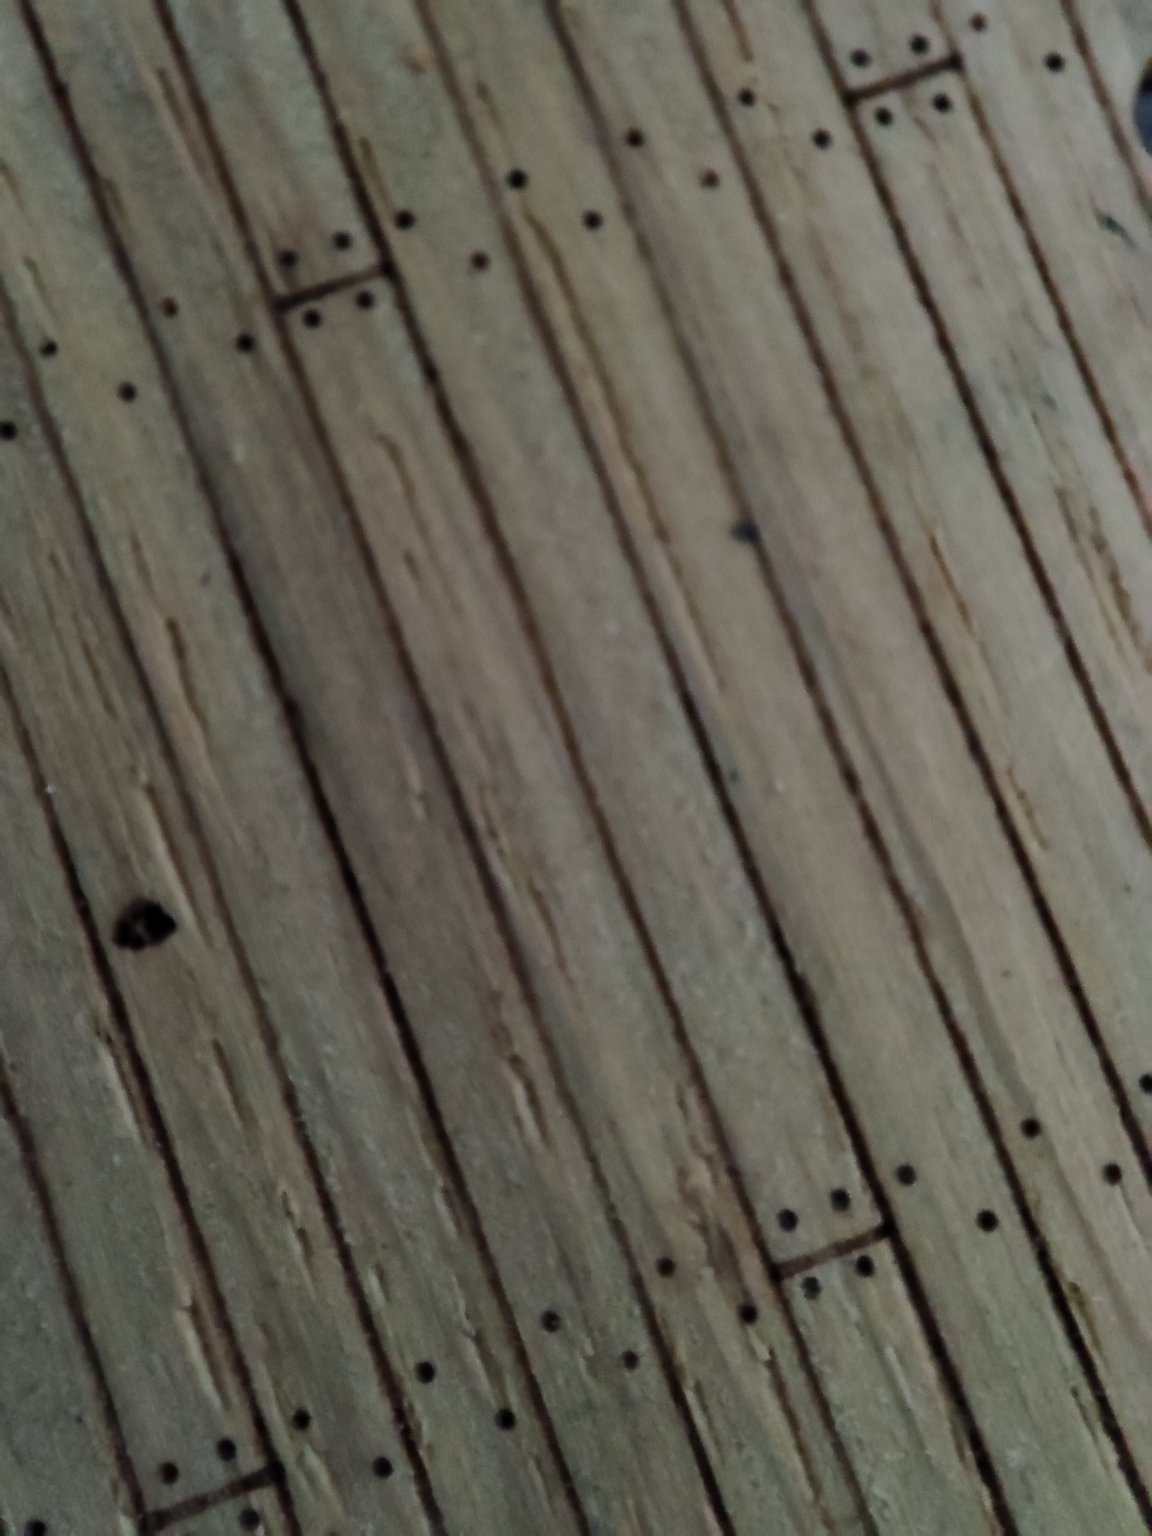
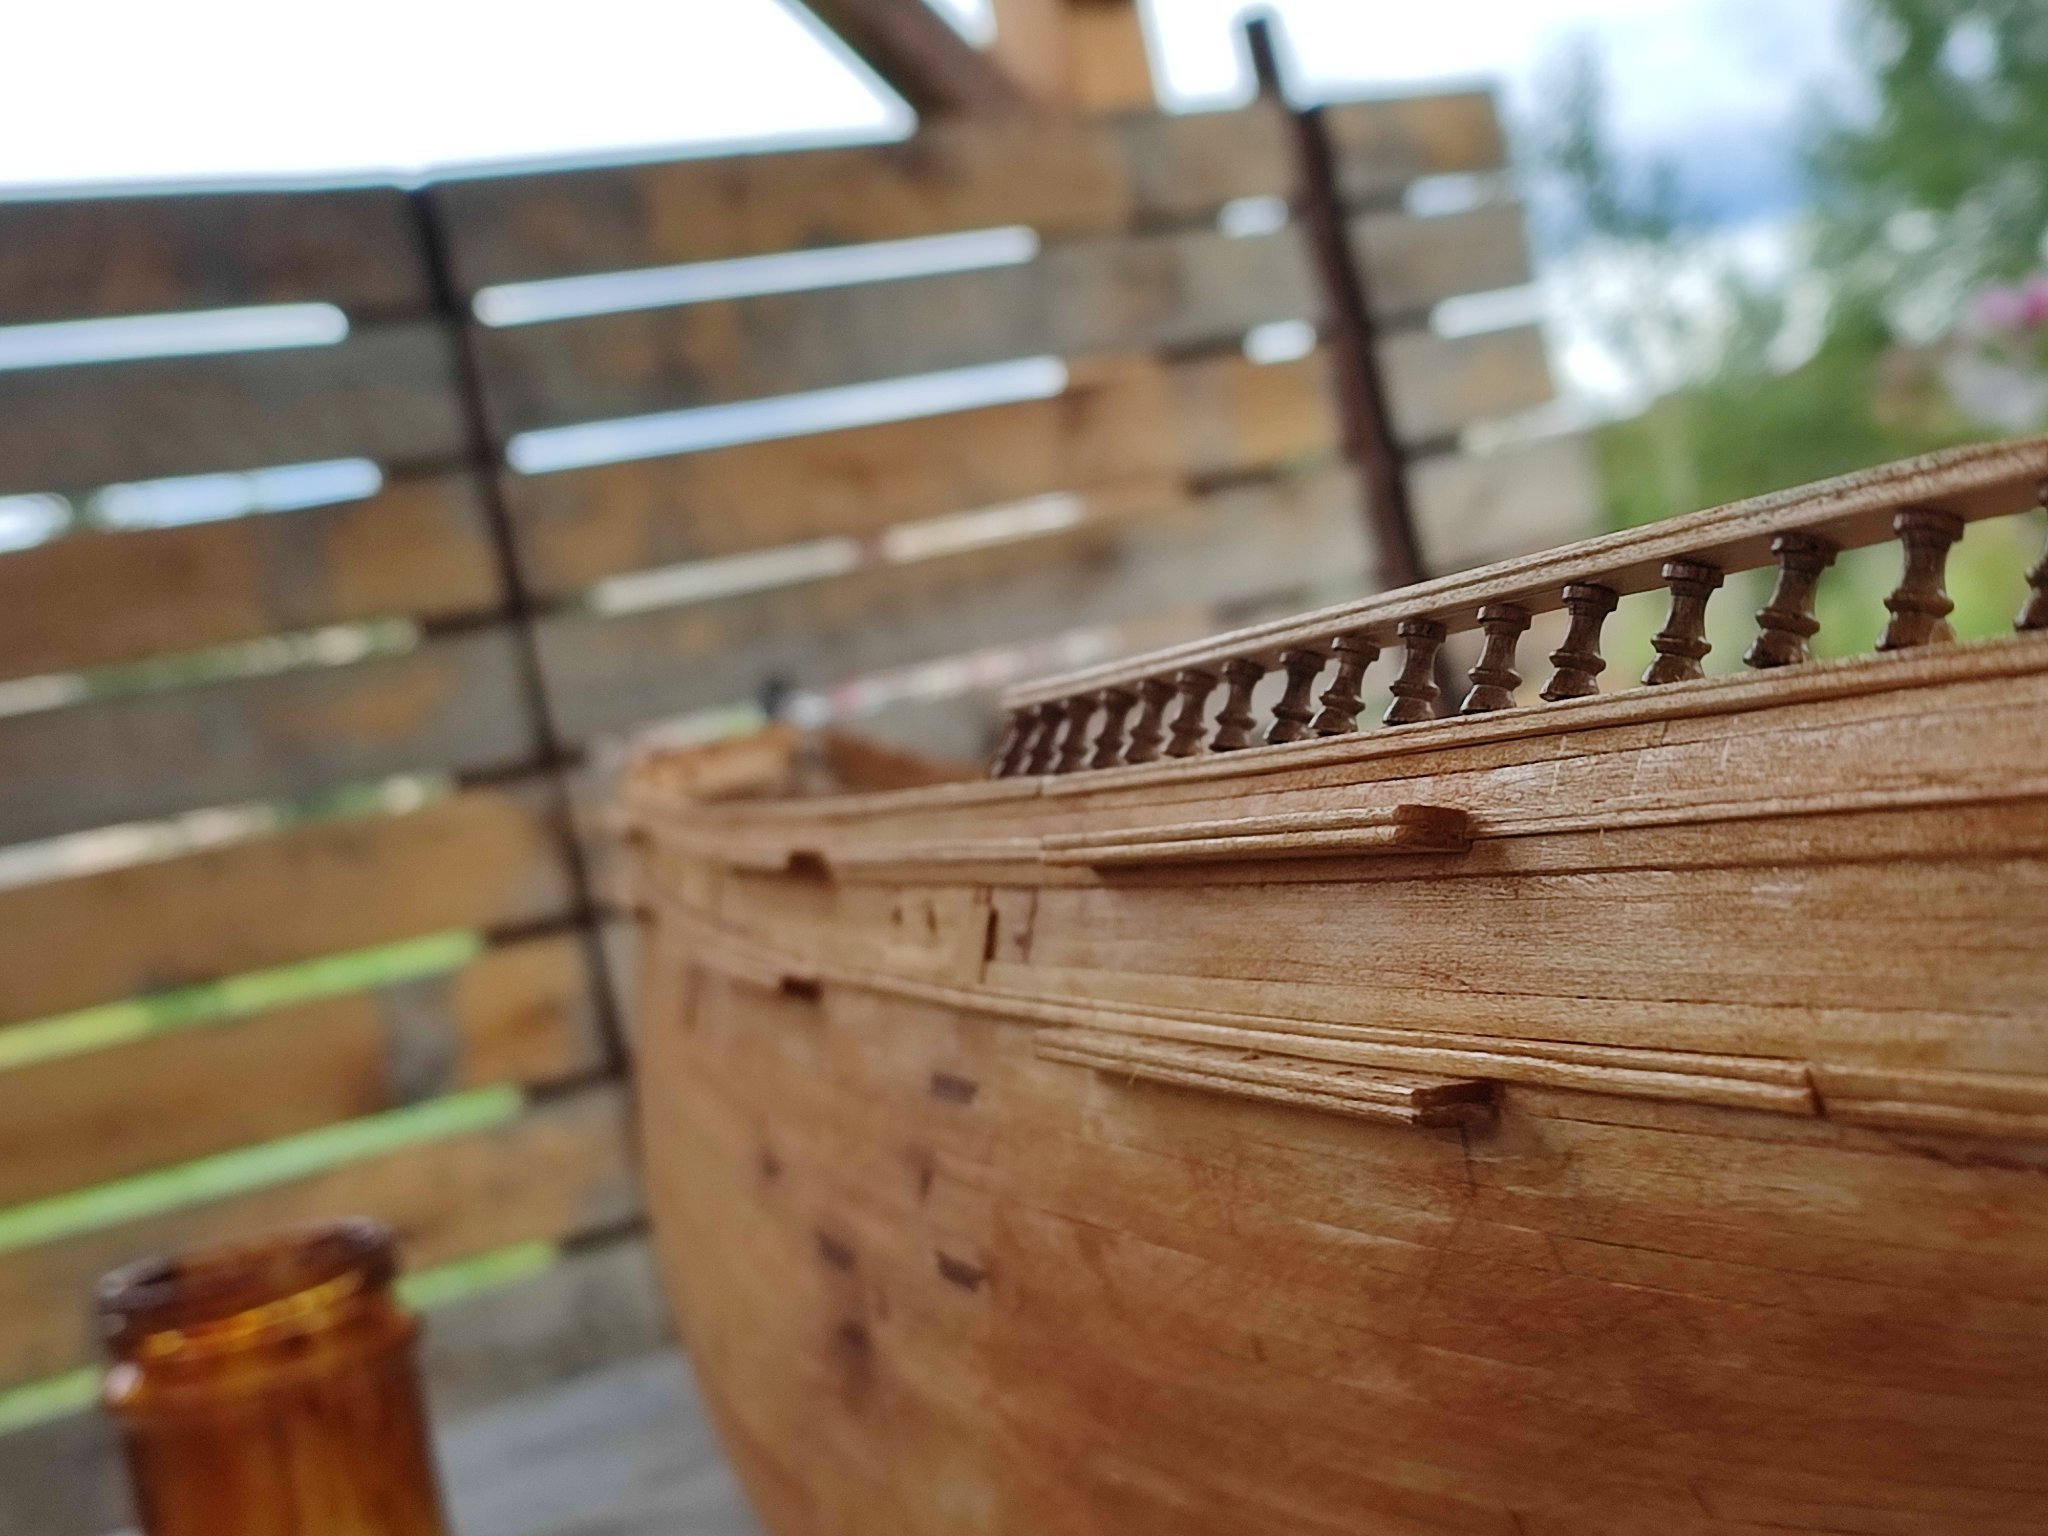
Vlad...is that printed on the wood? the caulking seams and treenails are extremely neat and clean...for sucha grainy wood?
Rob
Rob, yes its deep printed on 0.2 mm oak veneer, underglued with thin protective foil. Its what i used fór 1/96 cutty sark. I Will have to cut off ofv these so i Will see how IT goes....
-
i like what Crothers weites abot colors... interesting read...
some excrepts: MacLean describing flying fish remarked that "her hull is balck outside...a color peculiar to clippers and the clergy"....
...first, to state it in oversimplified fashion, balck is black. This is very true until one black is compared side by side with another, in some cases difference almost amounts to two different colors. in paints of the period, lampblack was standart pigment used in the mixing of black paint. very consistent deep one value hue. .
another advantage was that no mixing of pigments was required to achieve desired value. ...
..."combine one pound lamp black mixed for paint, one pound red lead, one gallon paint oil, half poznd litharge, and half an ounce of indigo boiled for half an hour, and stirred at intervals. Care should be taken that the composition boils that length of time. after it has cooled a little, add one pint of spirits of turpentine; apply when warm, and it will dry in a short time with a beautiful gloss and be perfectly limber...
black of itself is not a color to excite ones interest...however its aplication to the hull of a clipper ship resulted in grand silhouette when viewed against a backdrop of sea or sky. Capt Clark made a point commenting on the stately beauty of the American clipper fleet as it lay at anchor in the harbor of Hong Kong during the autumn of 1858.
.......
oh my, i wish i could travel back in time...!
-
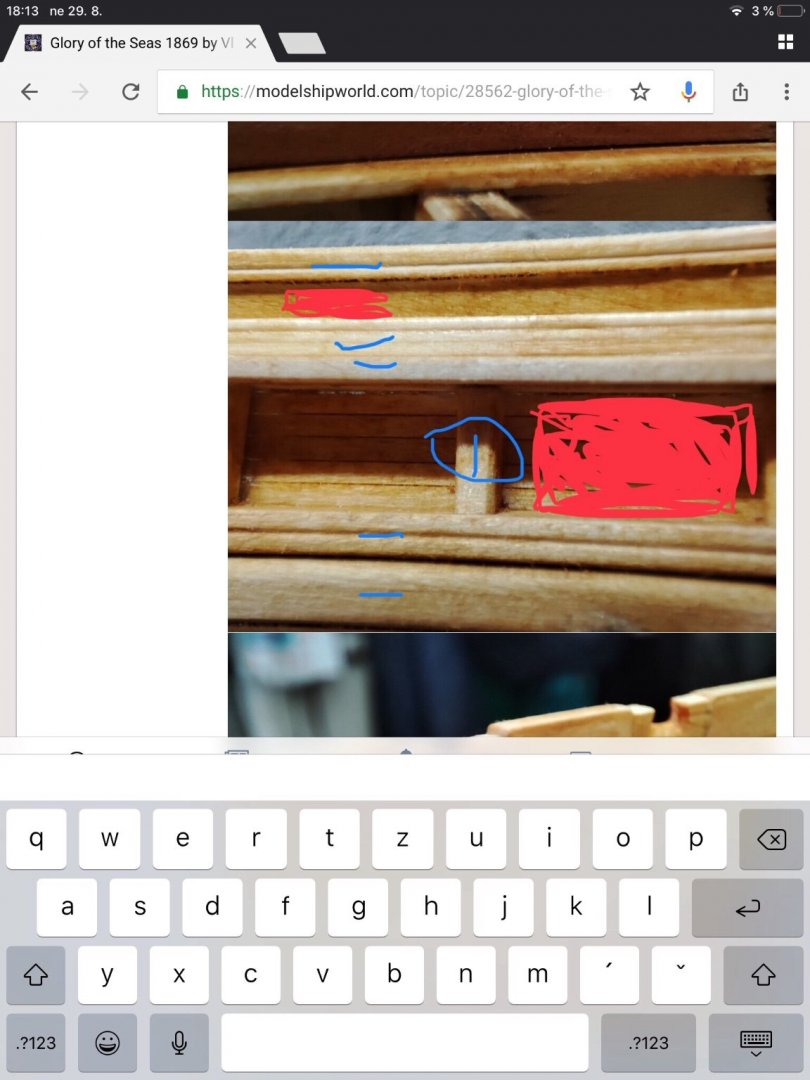
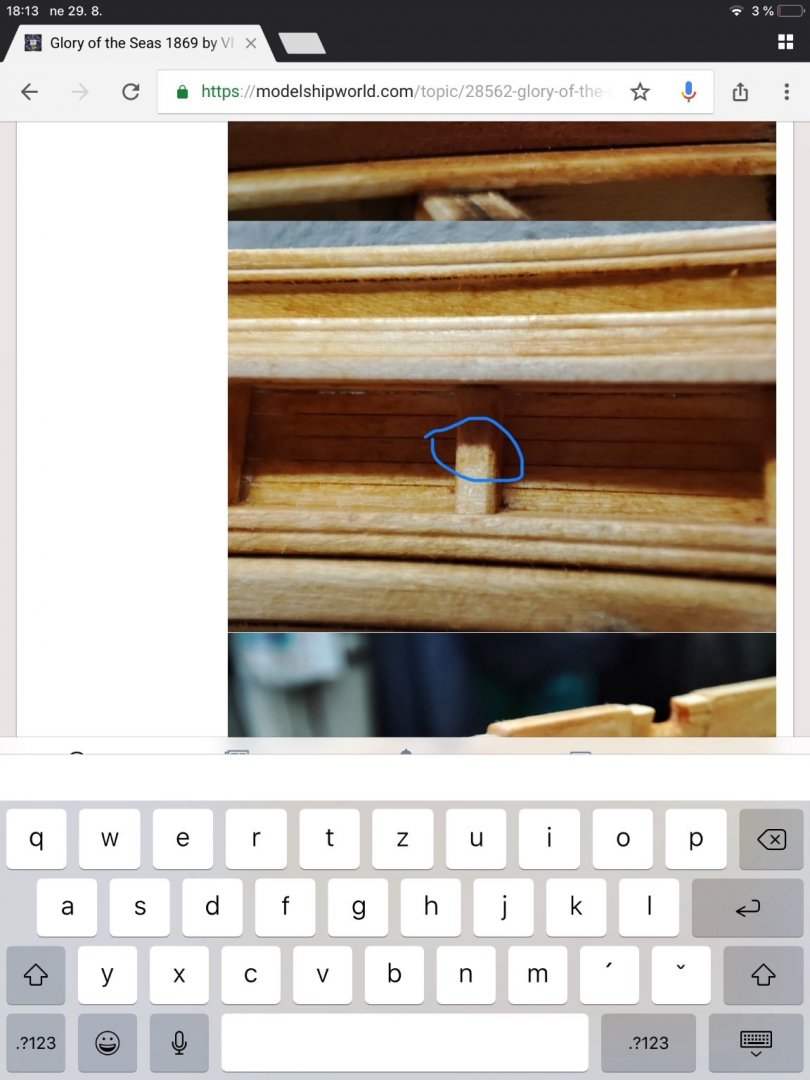
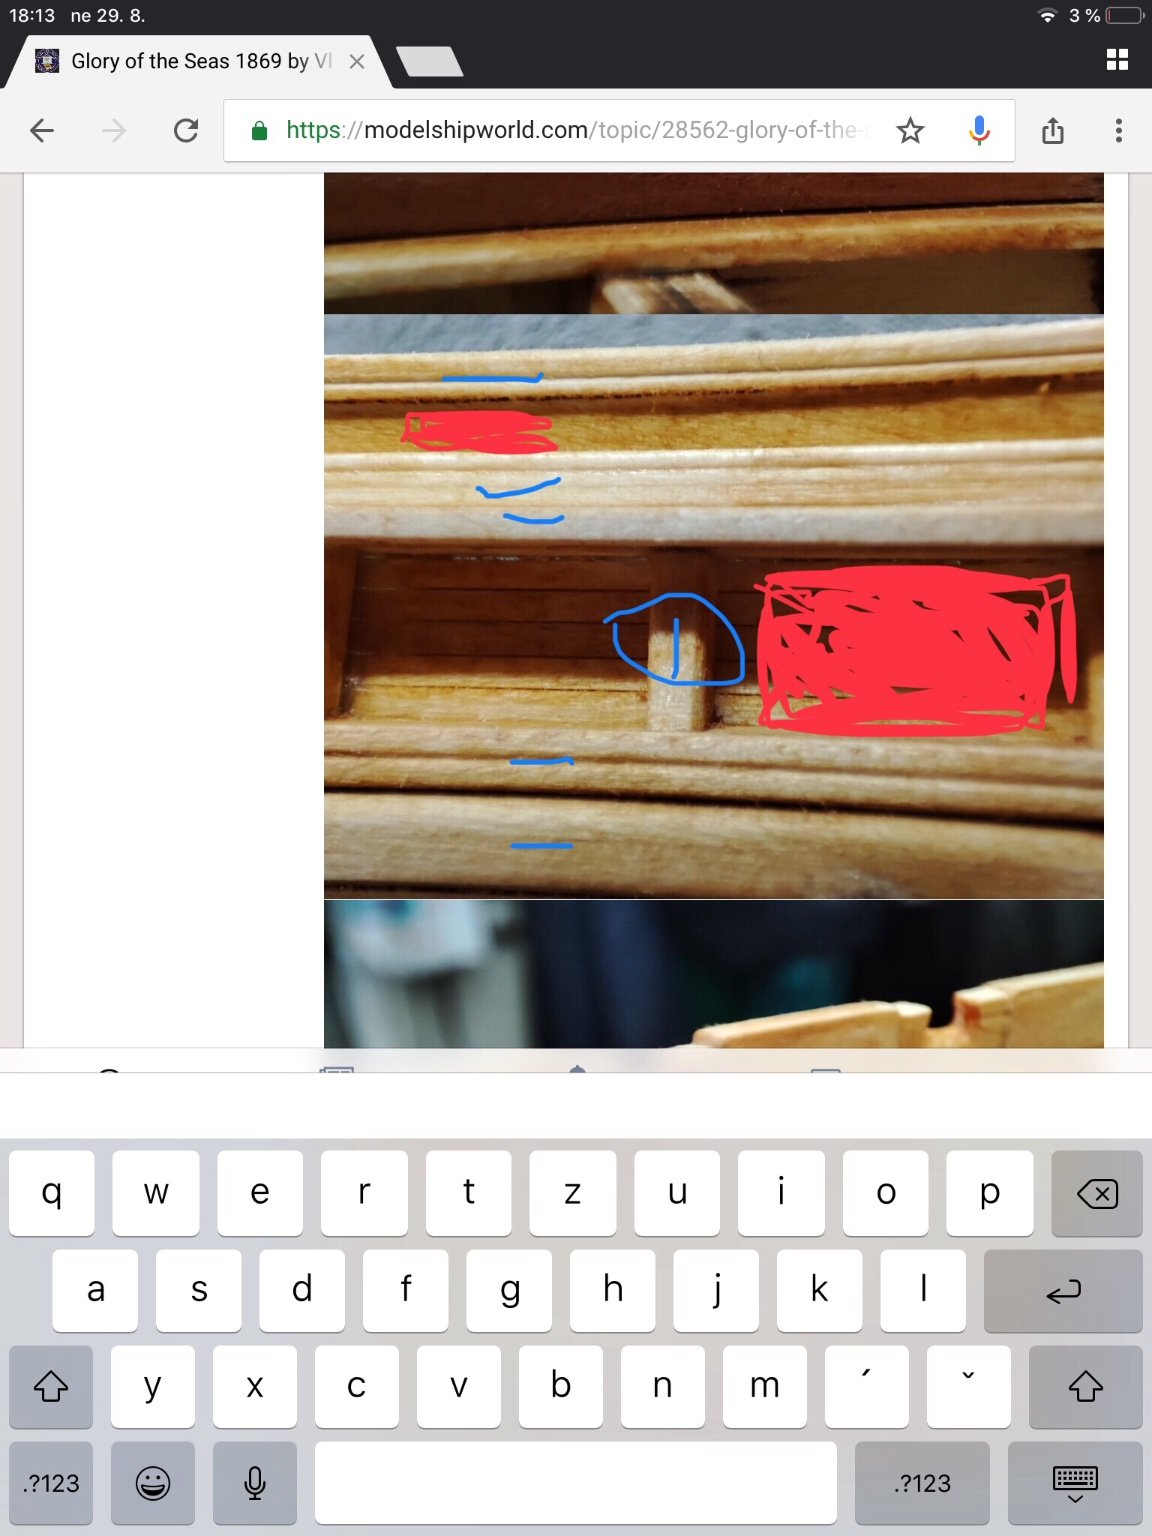
This IS what IT looks like ..
-
Rob, Rich,
did i get it right?
if not dont bother with me anymore looks like there is one person quite dump !
blue - white ( i typo ***** but corrected :D) ! except waterways very below that blue of course
red- pearl
by the way i ordered beautiful deck from friend from czech republic who gave me 60 percent discount ! who does this in this times ? :)) i will post a hint!
-
1 hour ago, ClipperFan said:
Vladimir, frames or futtocks would have been painted white (relieved with white) to me the pearl shade would be all the flat surfaces not including blue waterways.
huh im starting to loose ground im clearly not educated in nautical "terminology of this sort" what relieve means etc.... glad to have you folks. so that means that futtocks are white not pearl? started to be a bit colorful than. pla nks behind frames pearl columns white interesting. im thankful and i would rather ask before.
is stanchion white and surrounding pearl? thank you. aV. sorry if i got you wrong. or did you mean inner futtocks and these are nto extensions but stanchions inserted in ?
-
6 minutes ago, ClipperFan said:
Vladimir a while ago I was curious as to exactly what "pearl" color would have looked like in the 1850s & 60s. A Google search for that era pearl resulted in this shade which I think is a good match.
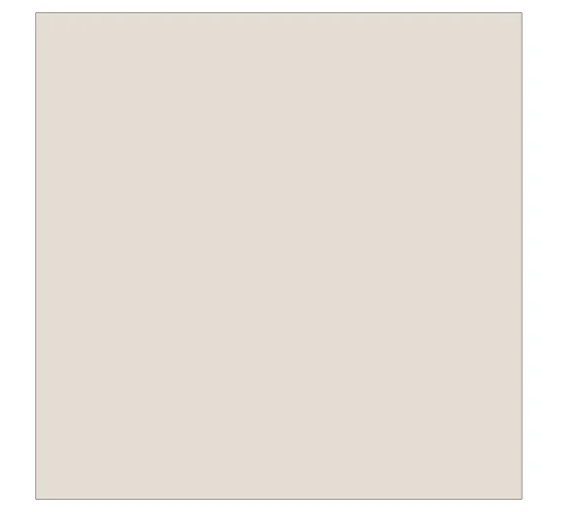
yes i suspected that kind of ivory. will go for that kind of dubtle shade and i will post samples prior painting a i dont want to face comments like - go again Vlad
 .
.
-
58 minutes ago, ClipperFan said:
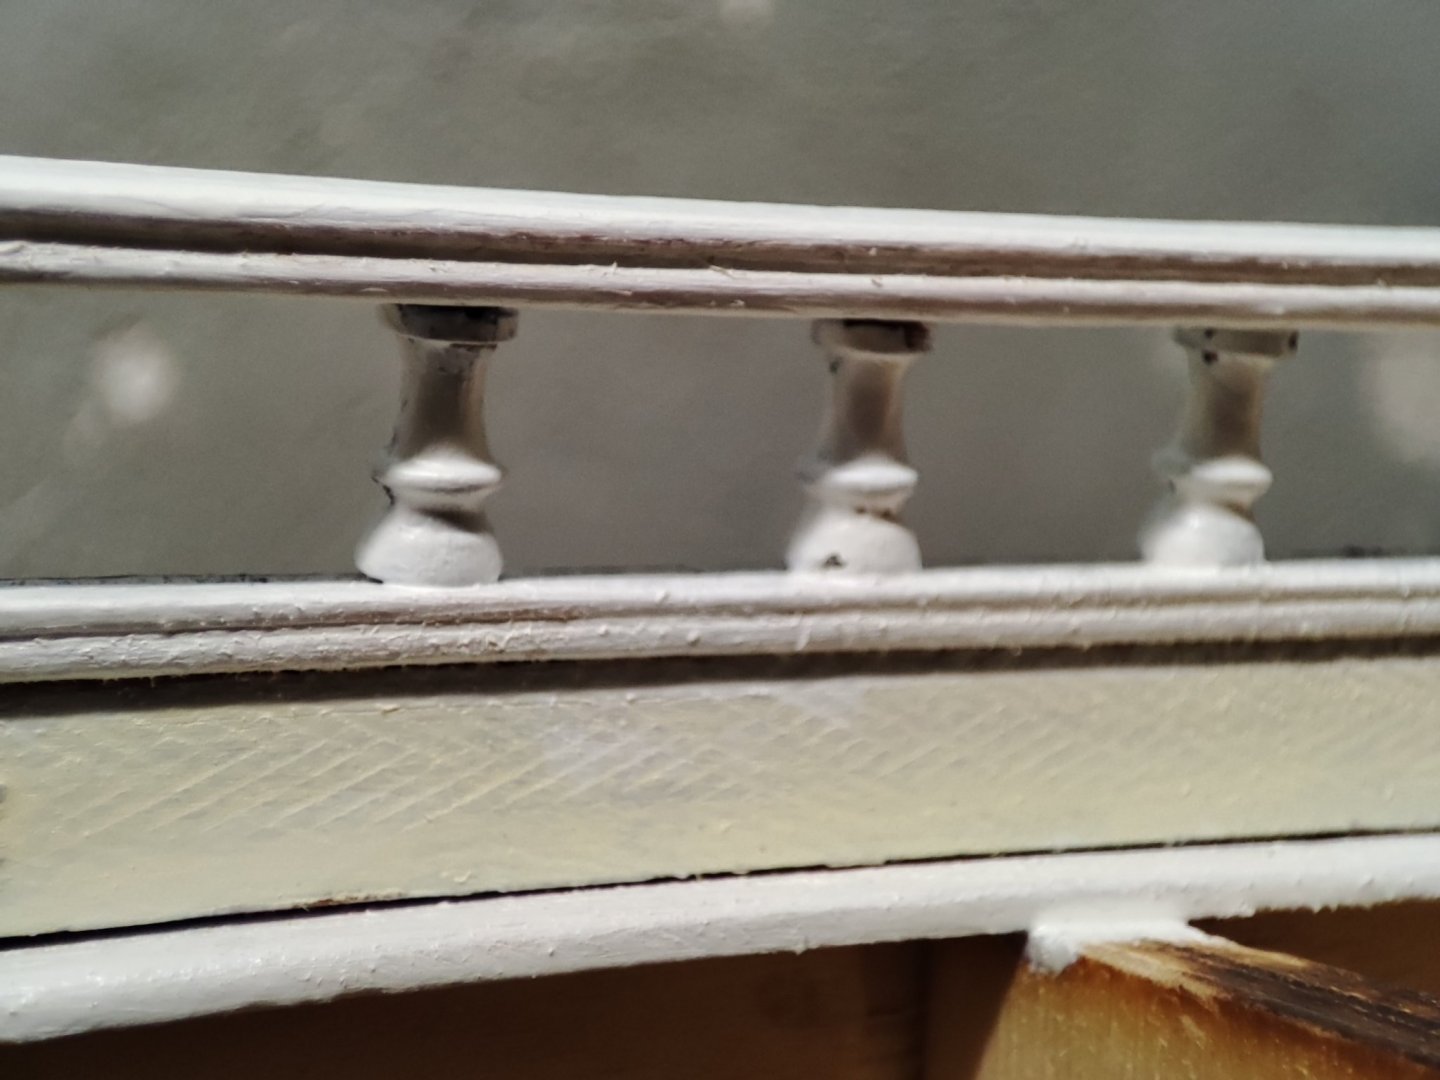
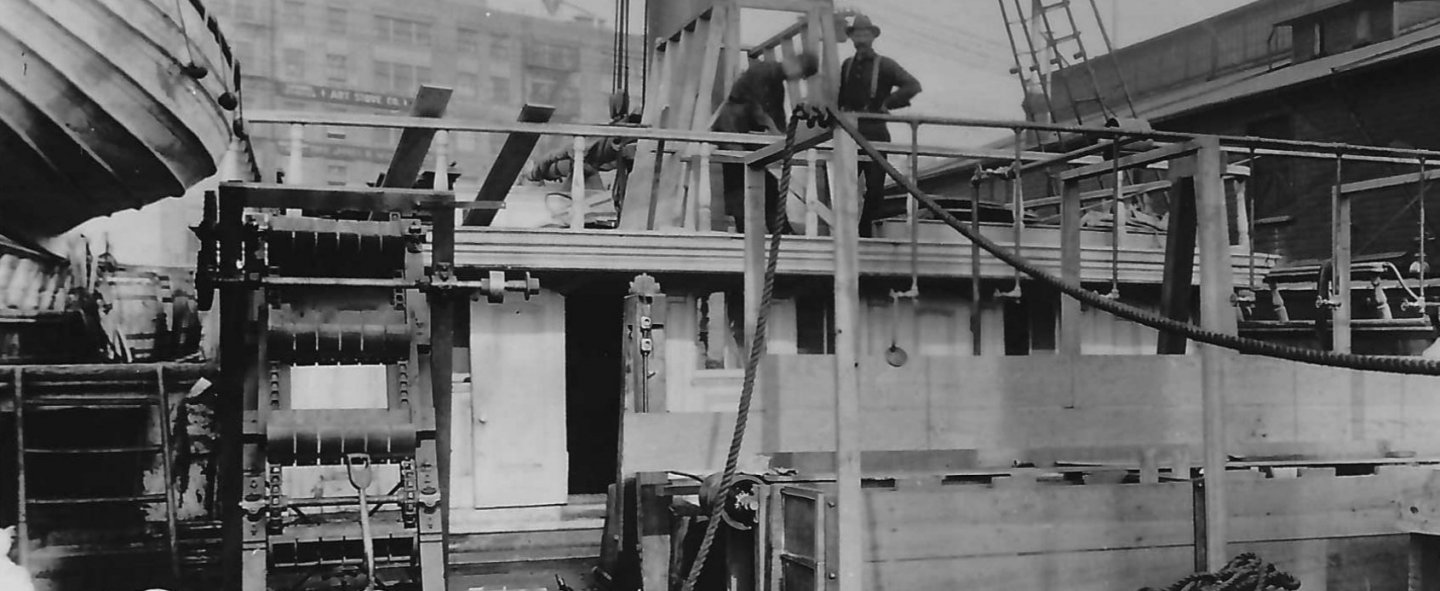
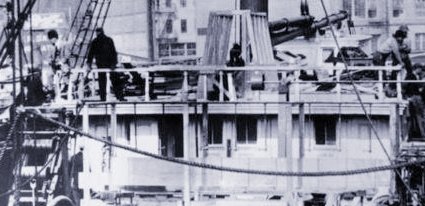
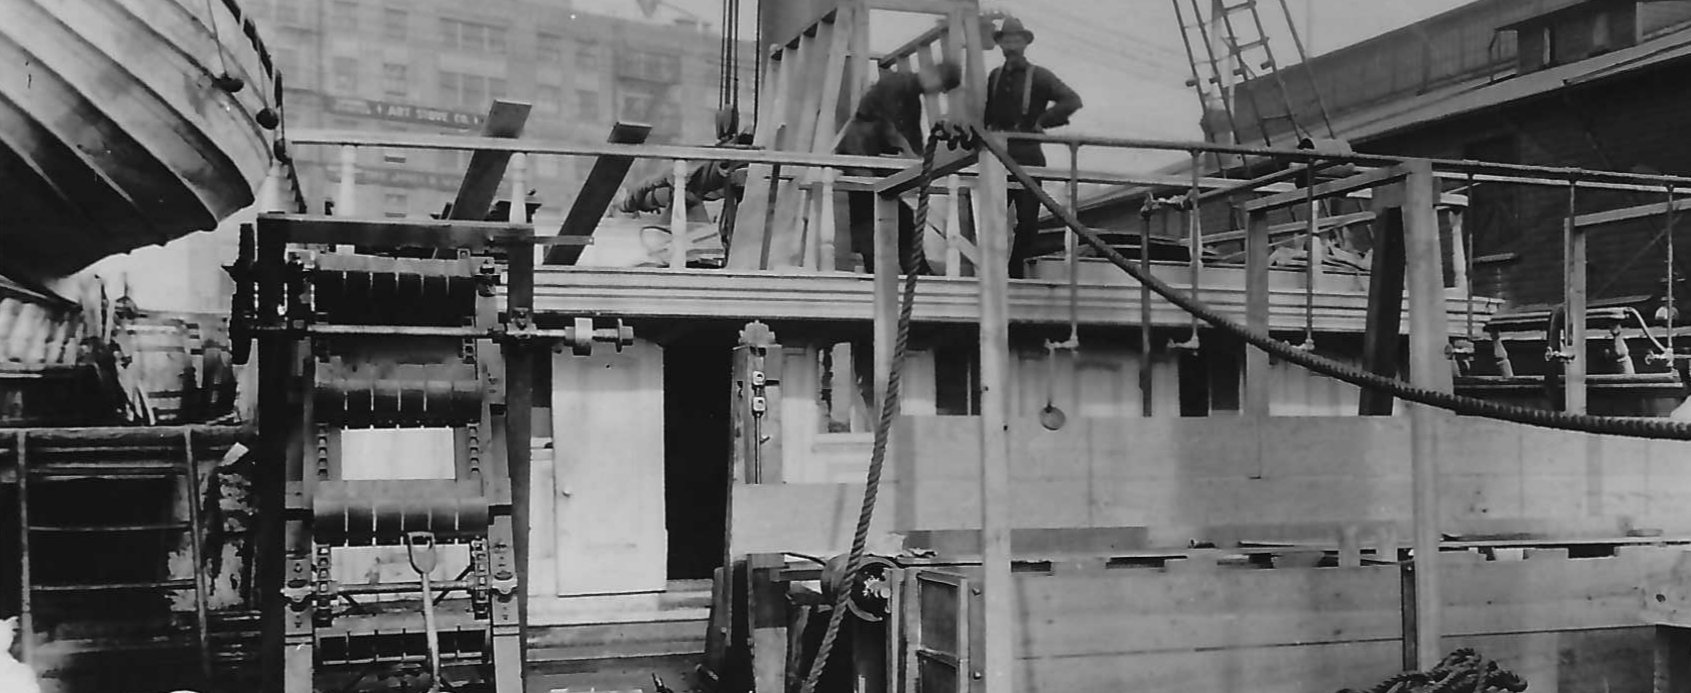
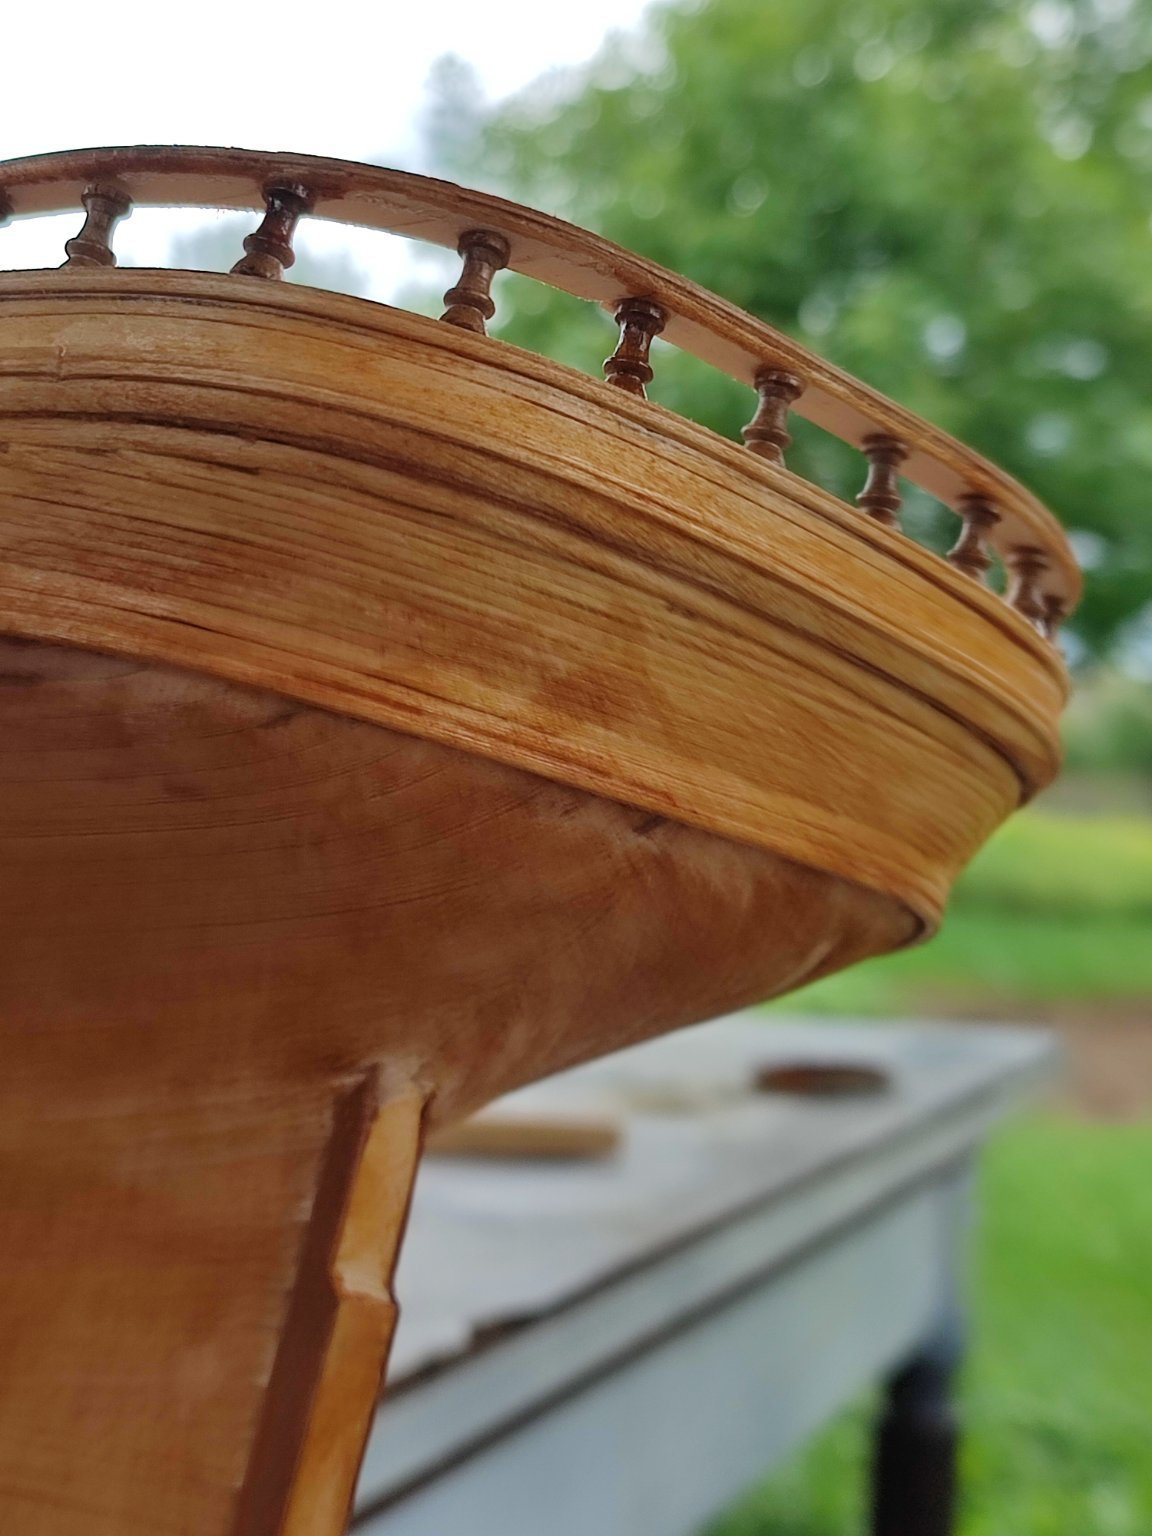
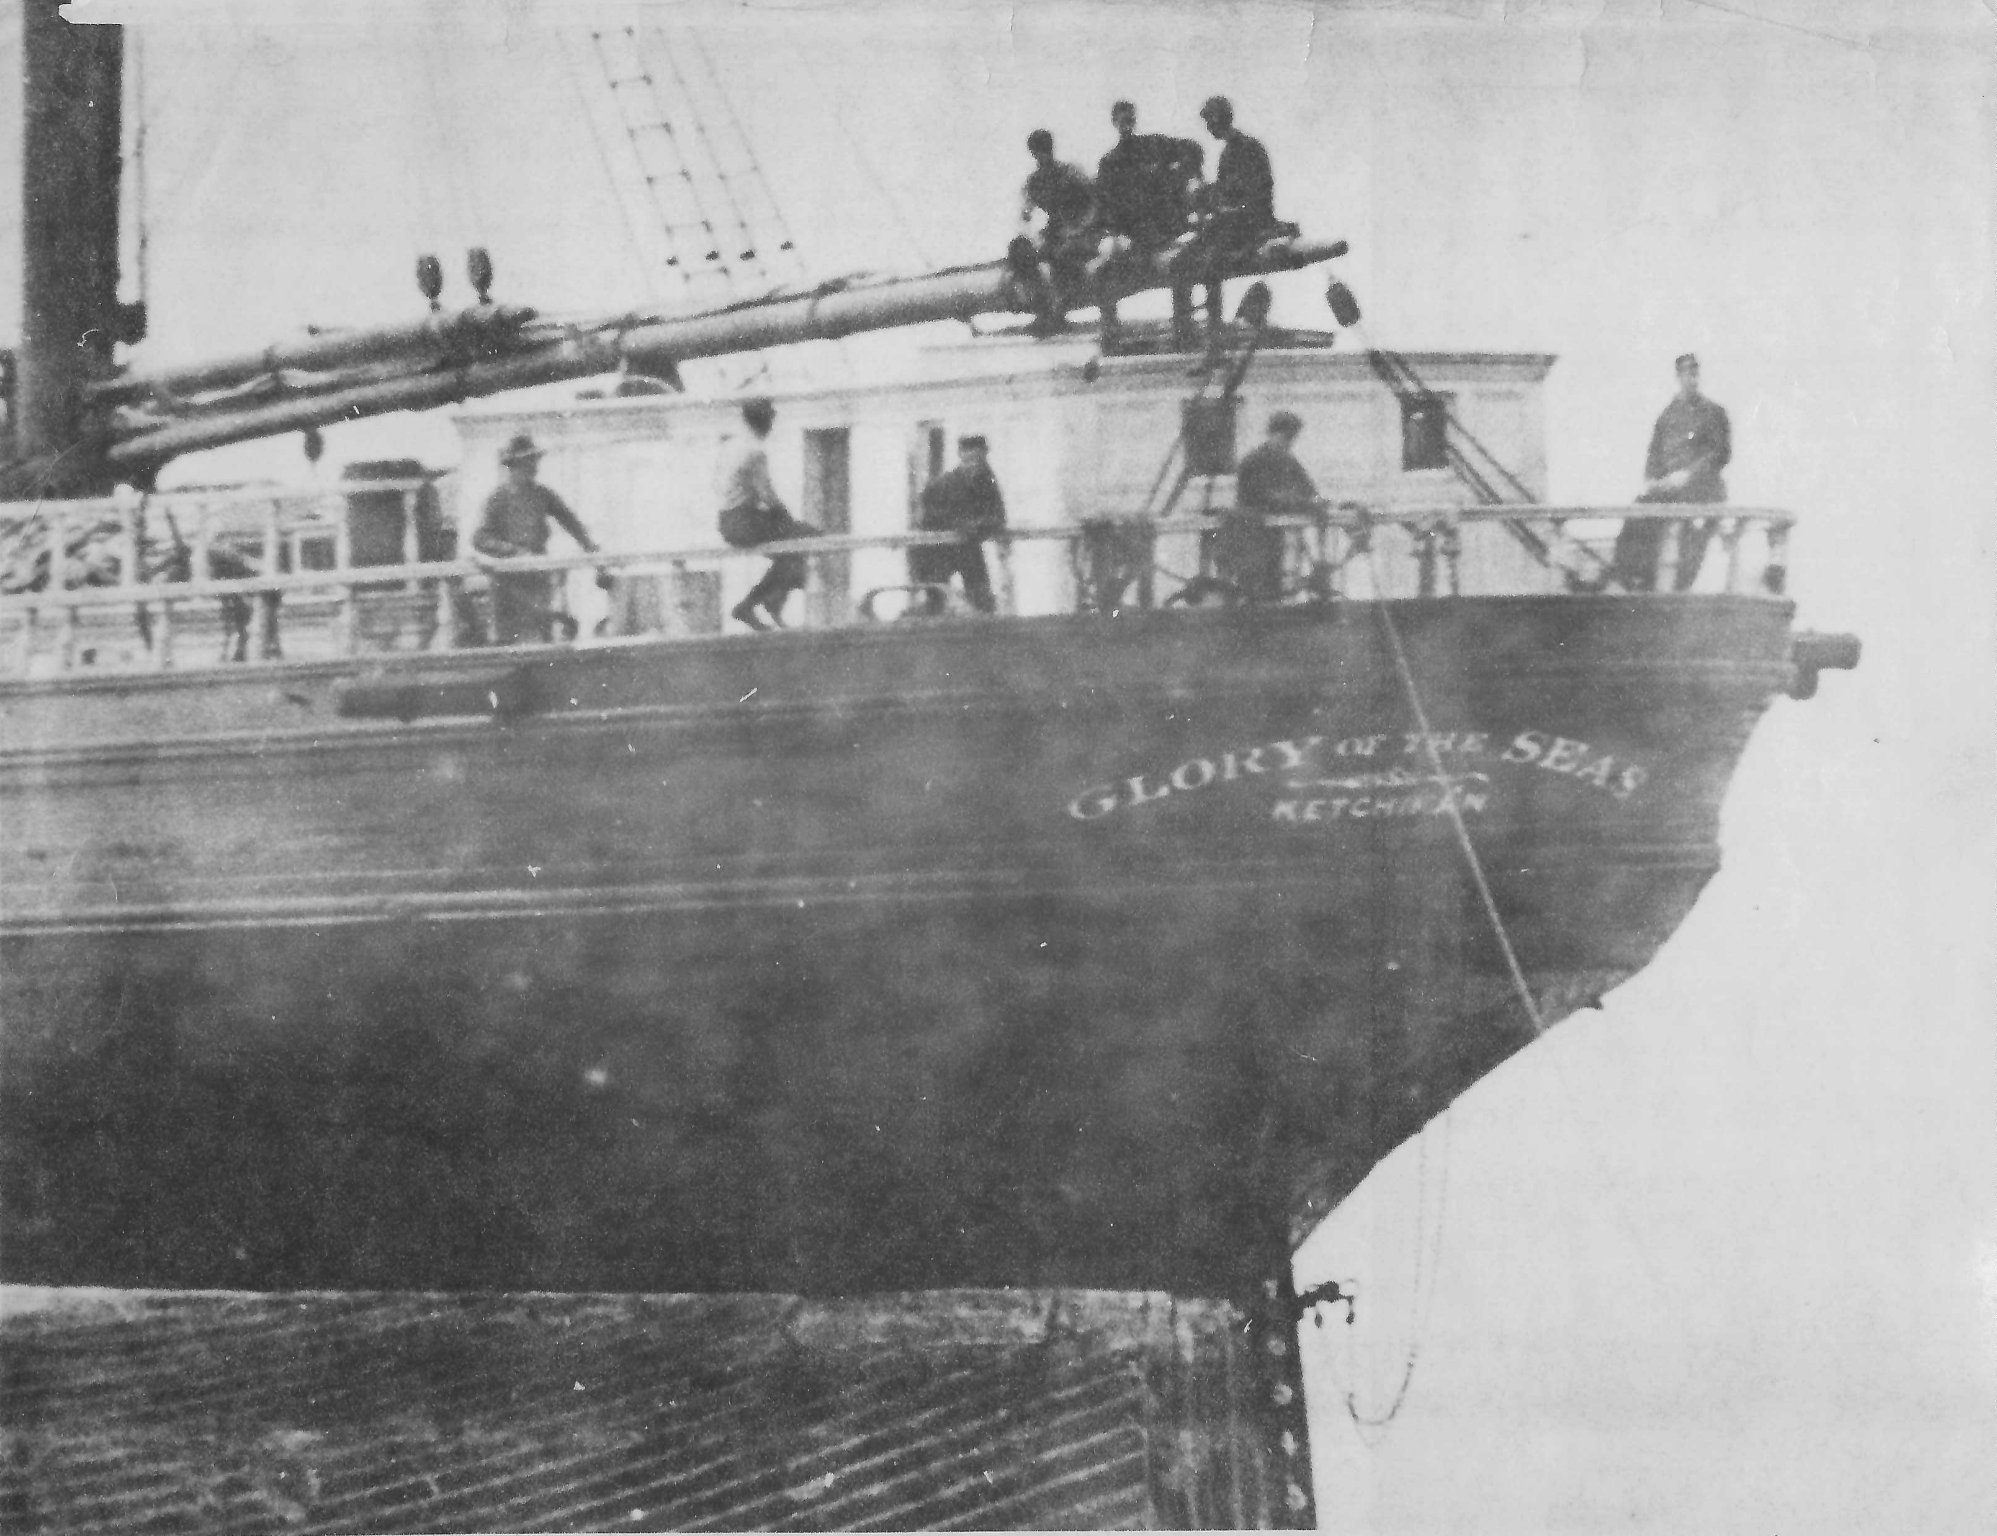
Vladimir, in nautical terms "brightwork" literally means naturally finished wood. Of course, it would actually be varnished too, in order to protect it against the elements. My guess is it would most likely be mahogany too. Since MacLean didn't distinguish between poop deck or rear house surrounding turned rails, I'd suspect all rails were left natural varnished. From my favorite painting by Samuel Walters the top of the rear house railing is white while the turned rails are brown. What's even more confusing is the ship's actual appearance from her 1869 fitting out in East Boston it looks like all turned rails including poop rails and rear house all seem to be painted white, since you can see the contrasting light shade versus the men standing behind them. Since that's clear photographic evidence I would go with that. MacLean's descriptions, I suspect were given to him by the Shipyard and the photos apparently don't match.
Thanks a lot Rich, but..you mean also frames extentions being left natural along all boat or we talk only turned stanchions?
i tend to leave poop stanchions batural as they are beautifuly made. i would have ruined them even painting white. i will try to paint cover white - how that woudl look.
-
Gentlemen
i found this in inner color description.
" and inside she is pearl color relieved with white, except the outlines of the bulwark stanchions !!! which are bright and varnished. "
i suppose those are poop stanchions not deck ones....what do you think?
in tat case i could leave poop stanhions natural although those are dark brown not bright...sigh...
hovewer i will try to mix some pearl with white. although we know 10 subtle shades of pearl e.g. beige or gray or pinky and everything between being rather metallic... body and overtones... so i will mix white and a tiny bit silky silver and silky beige to see if i can manage some nice shade. will post.
v.
-
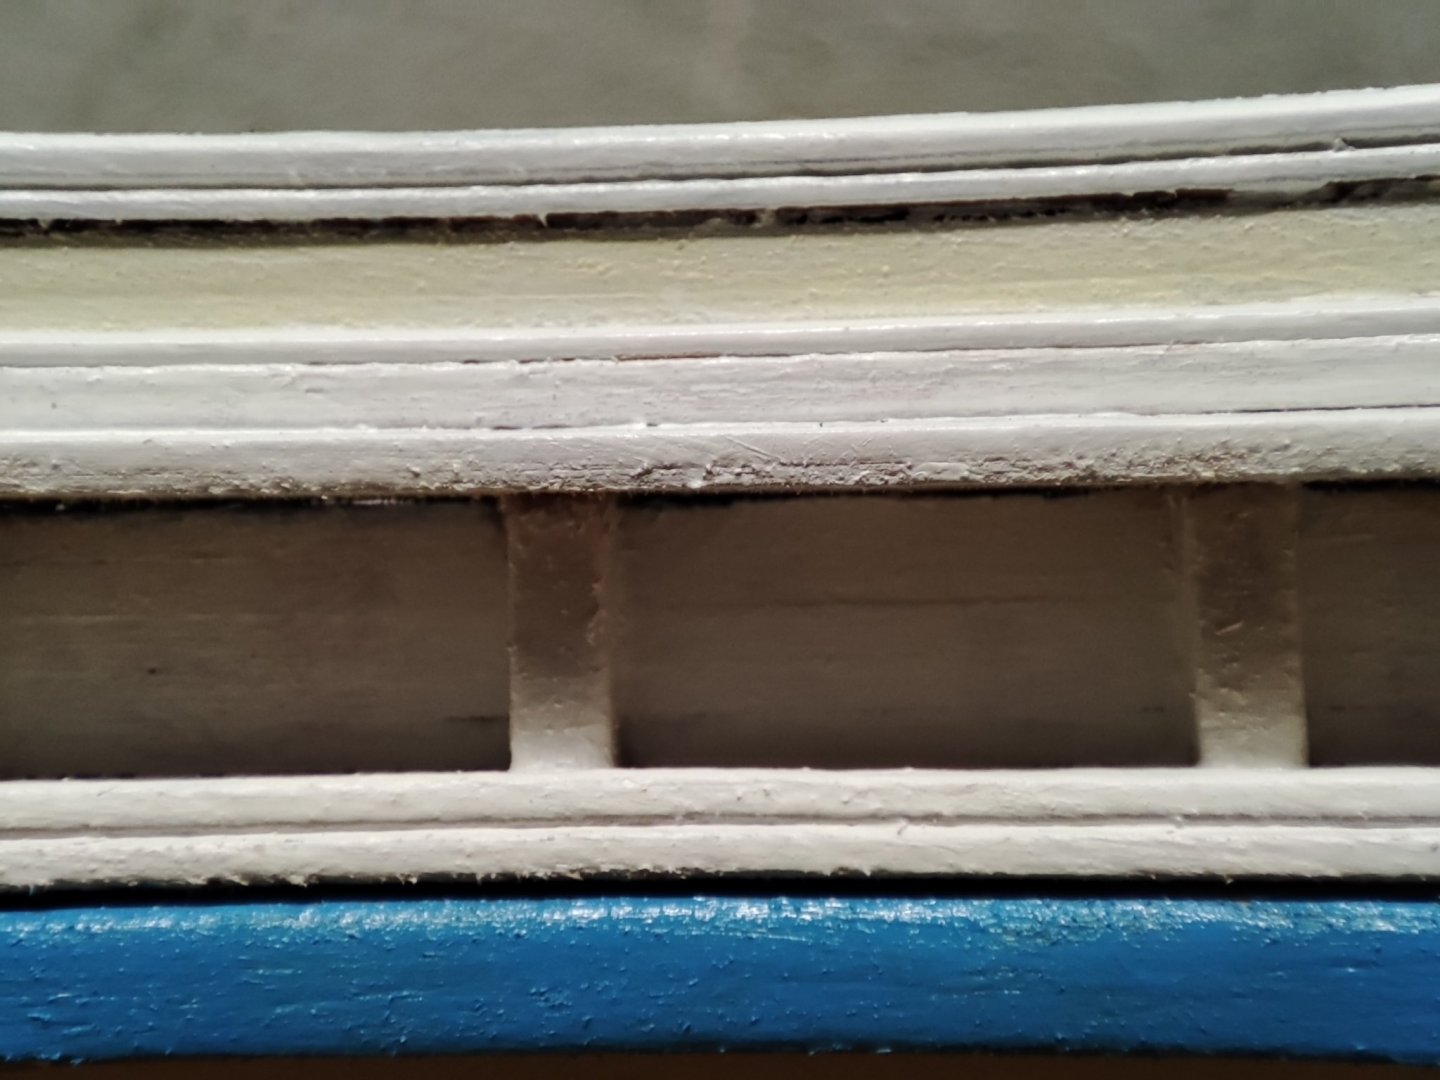
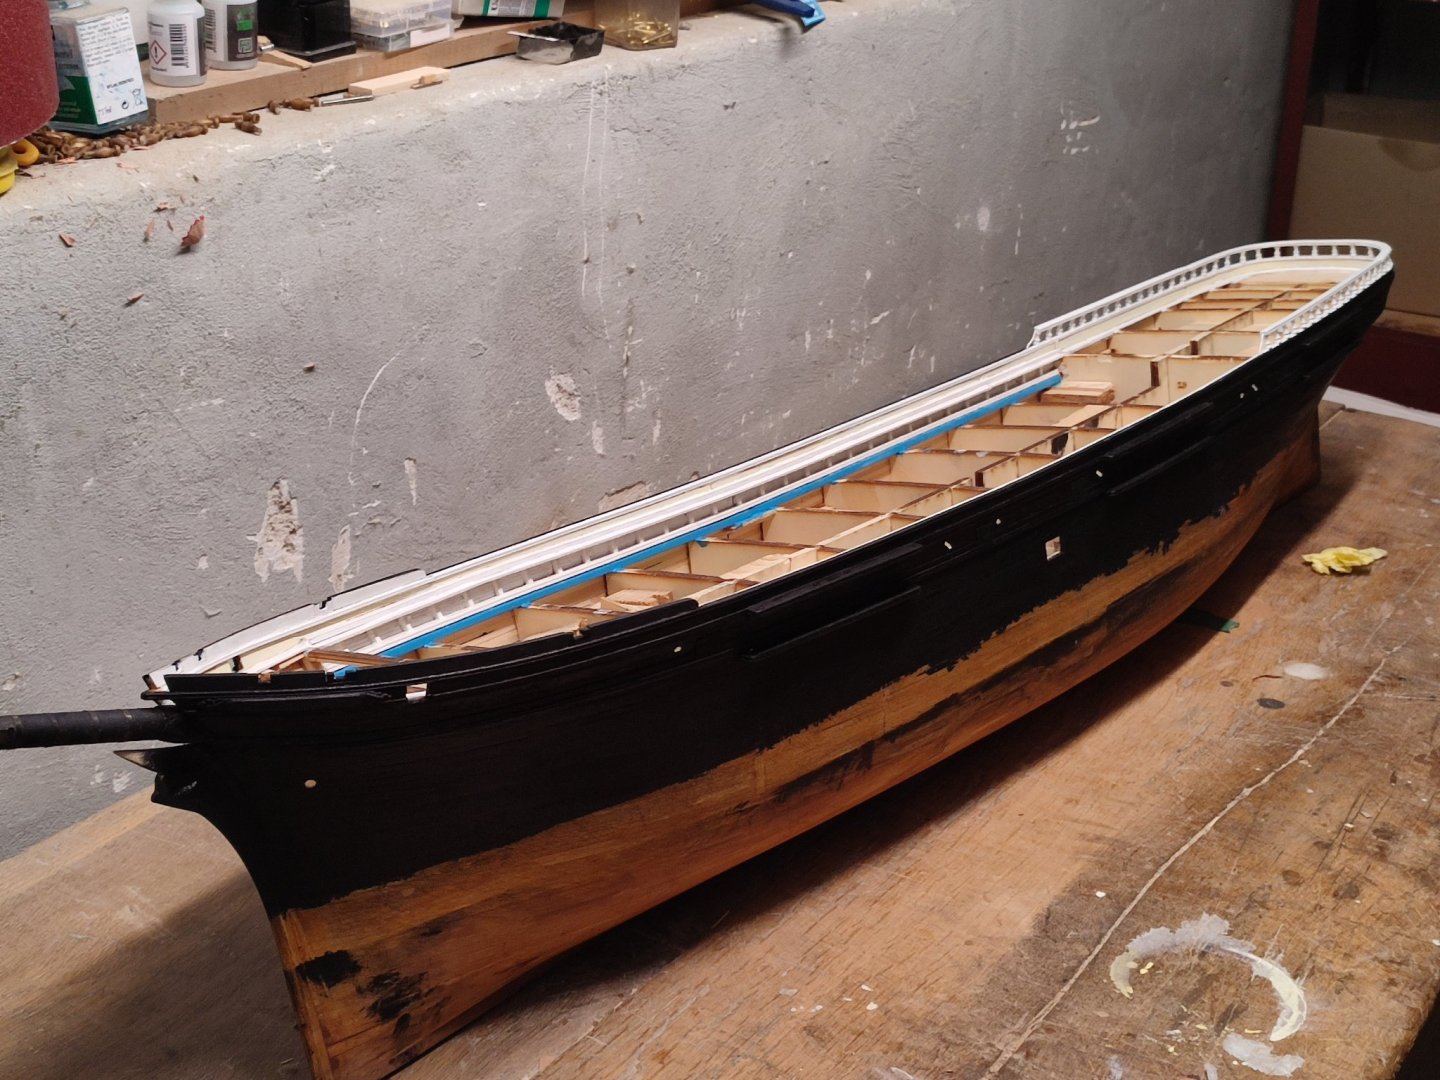
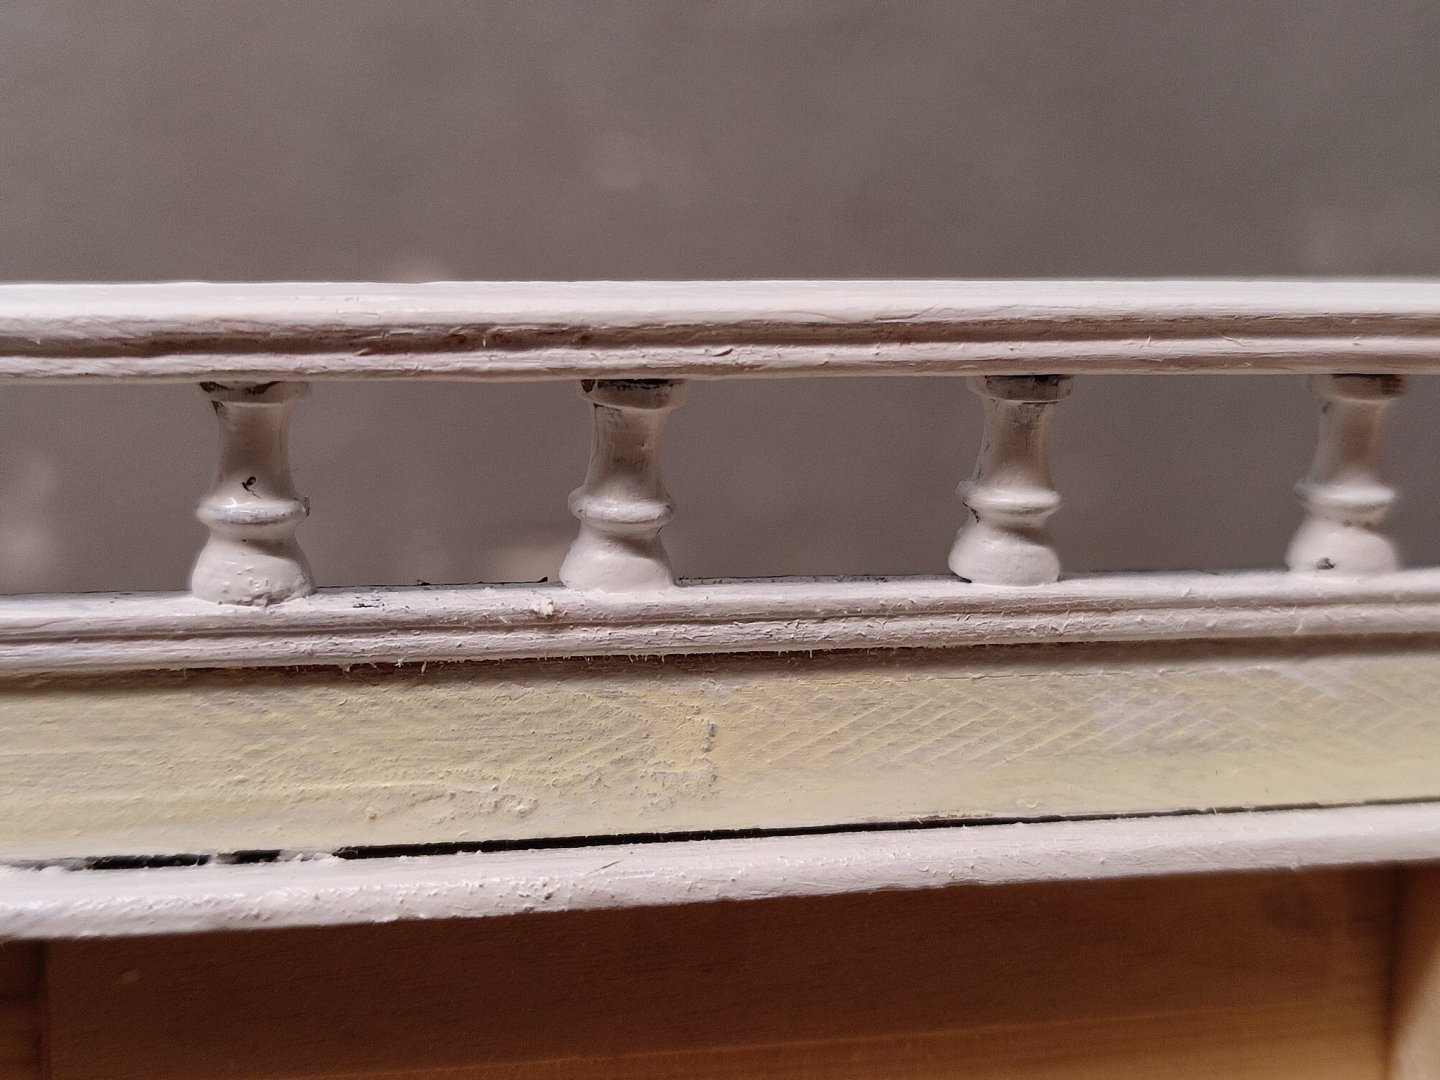
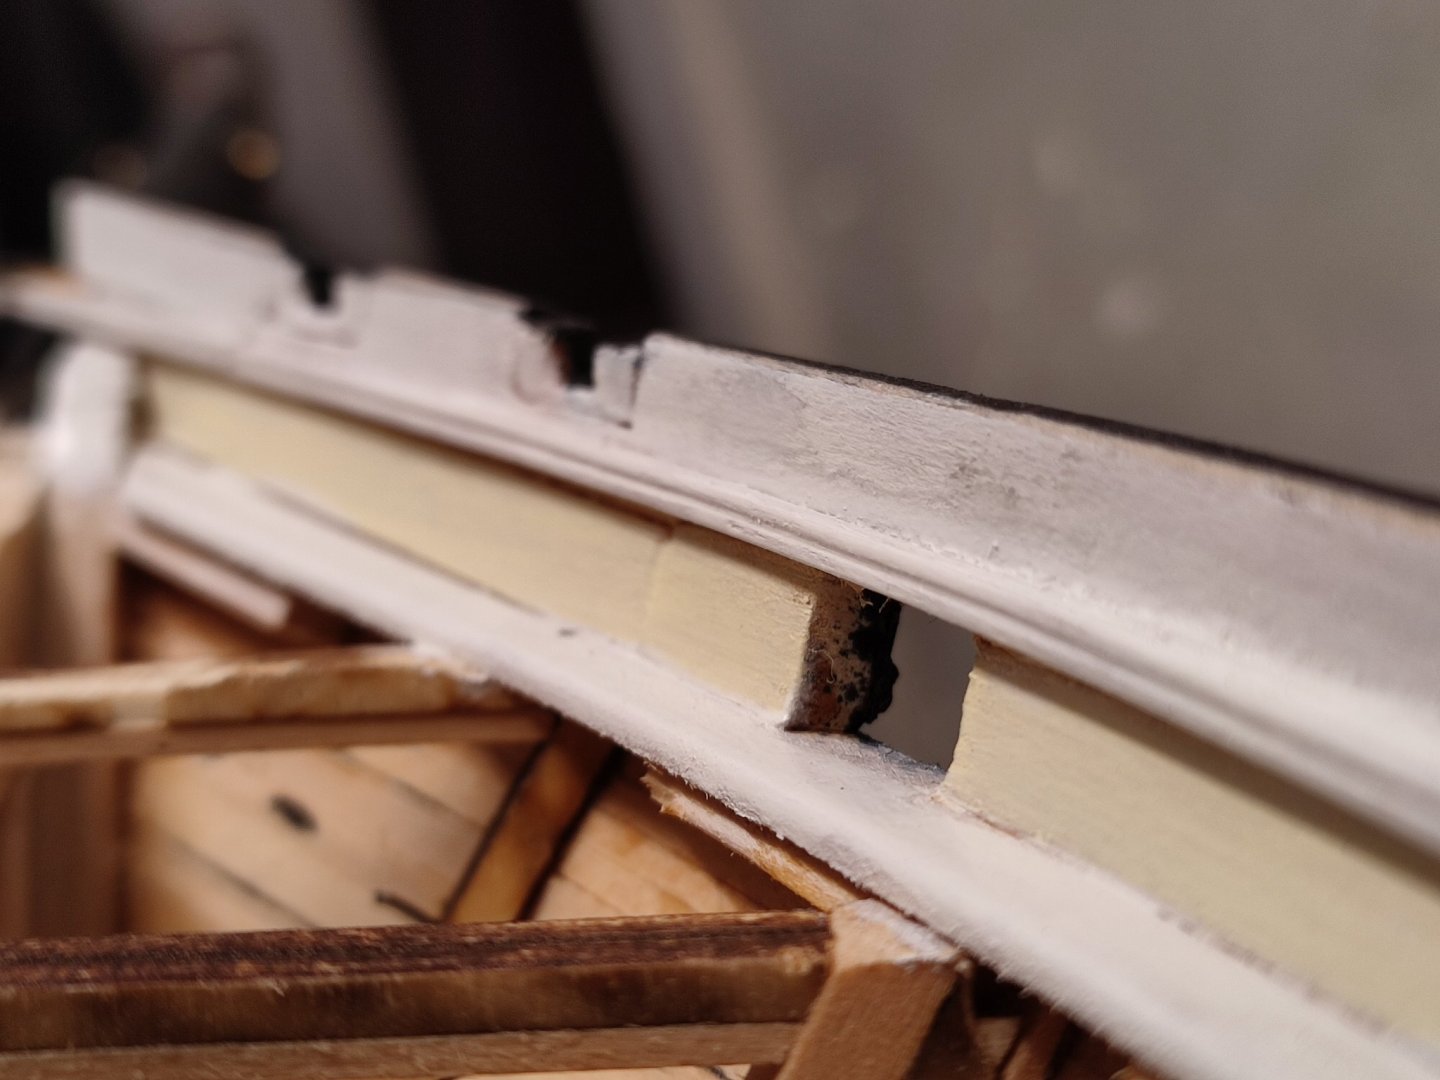
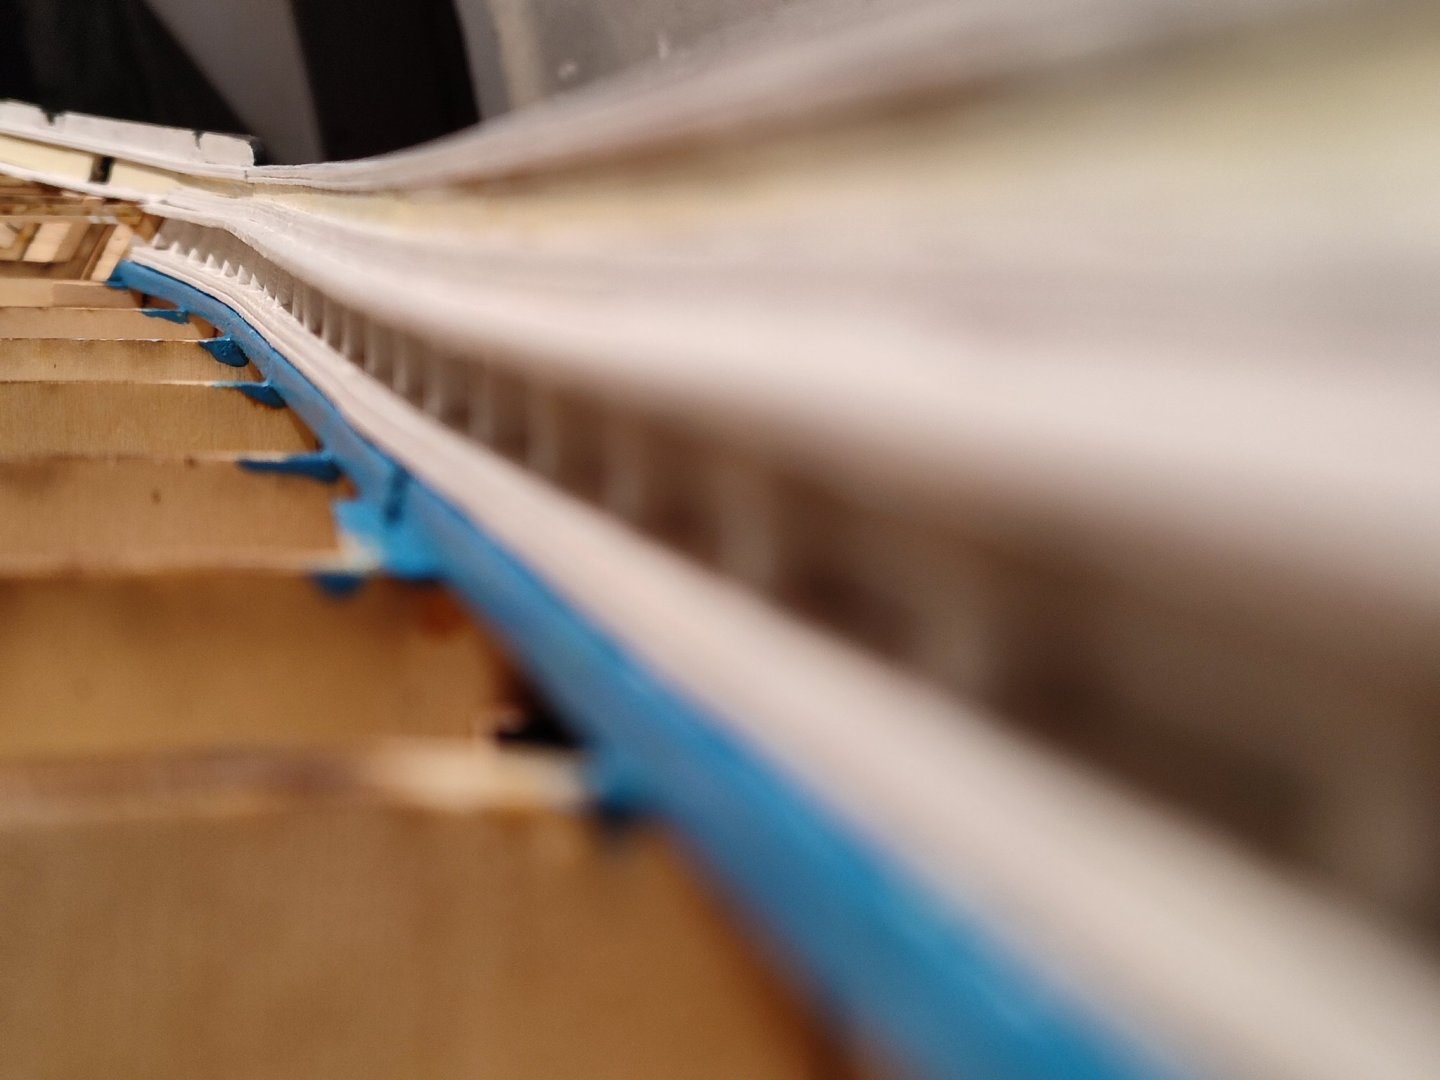
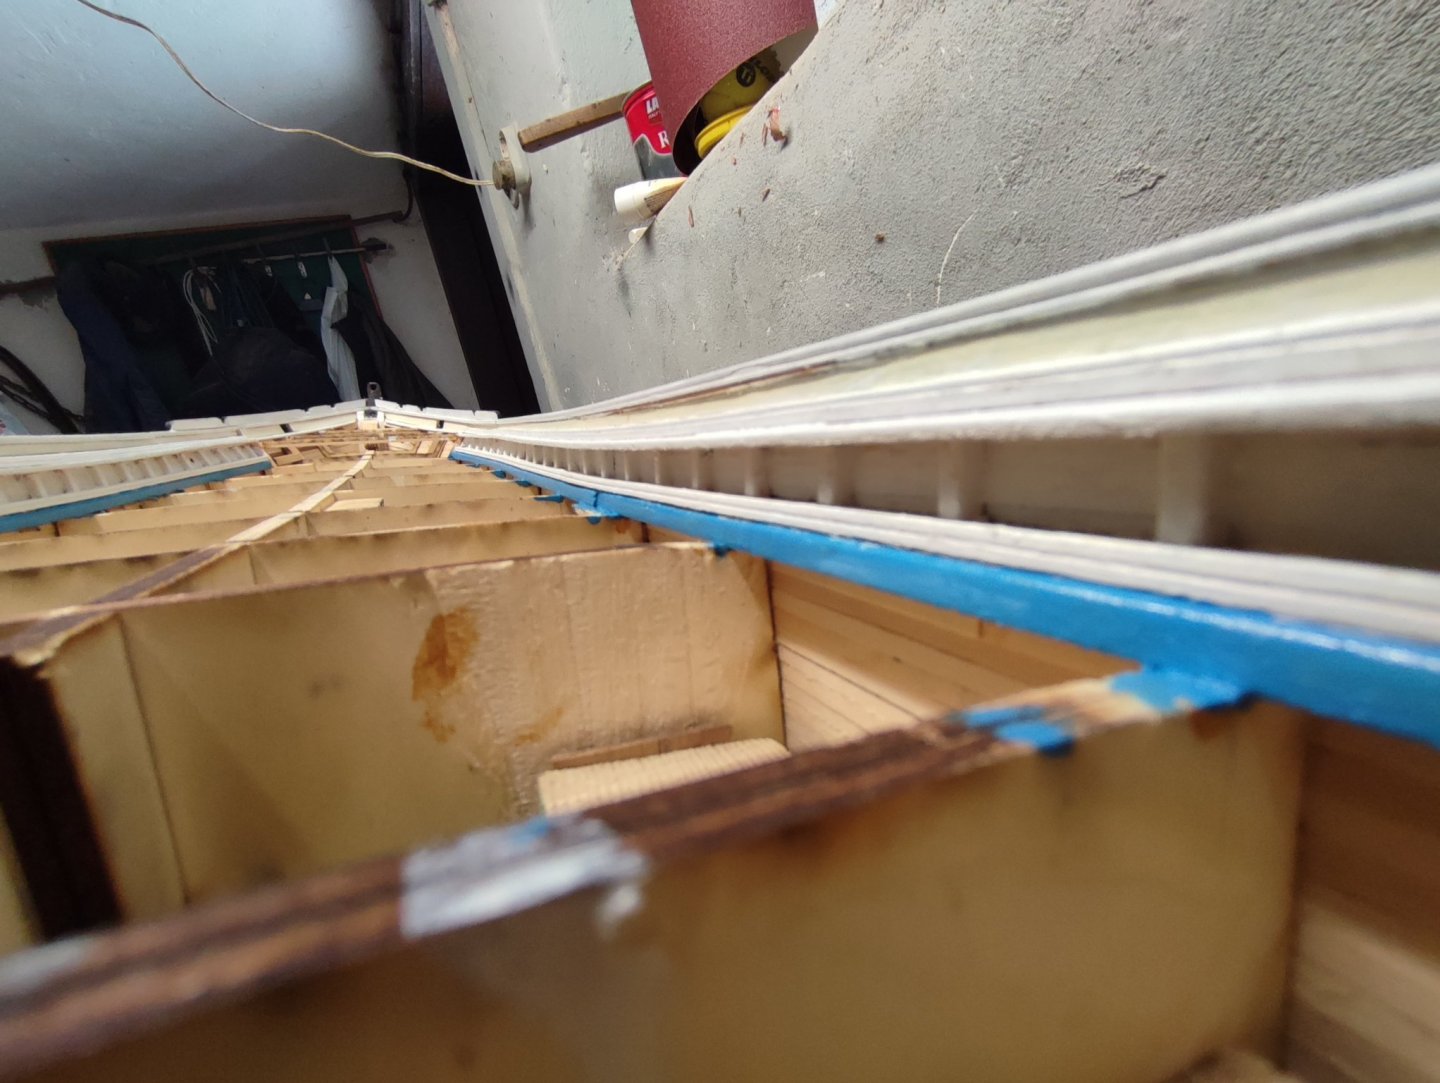
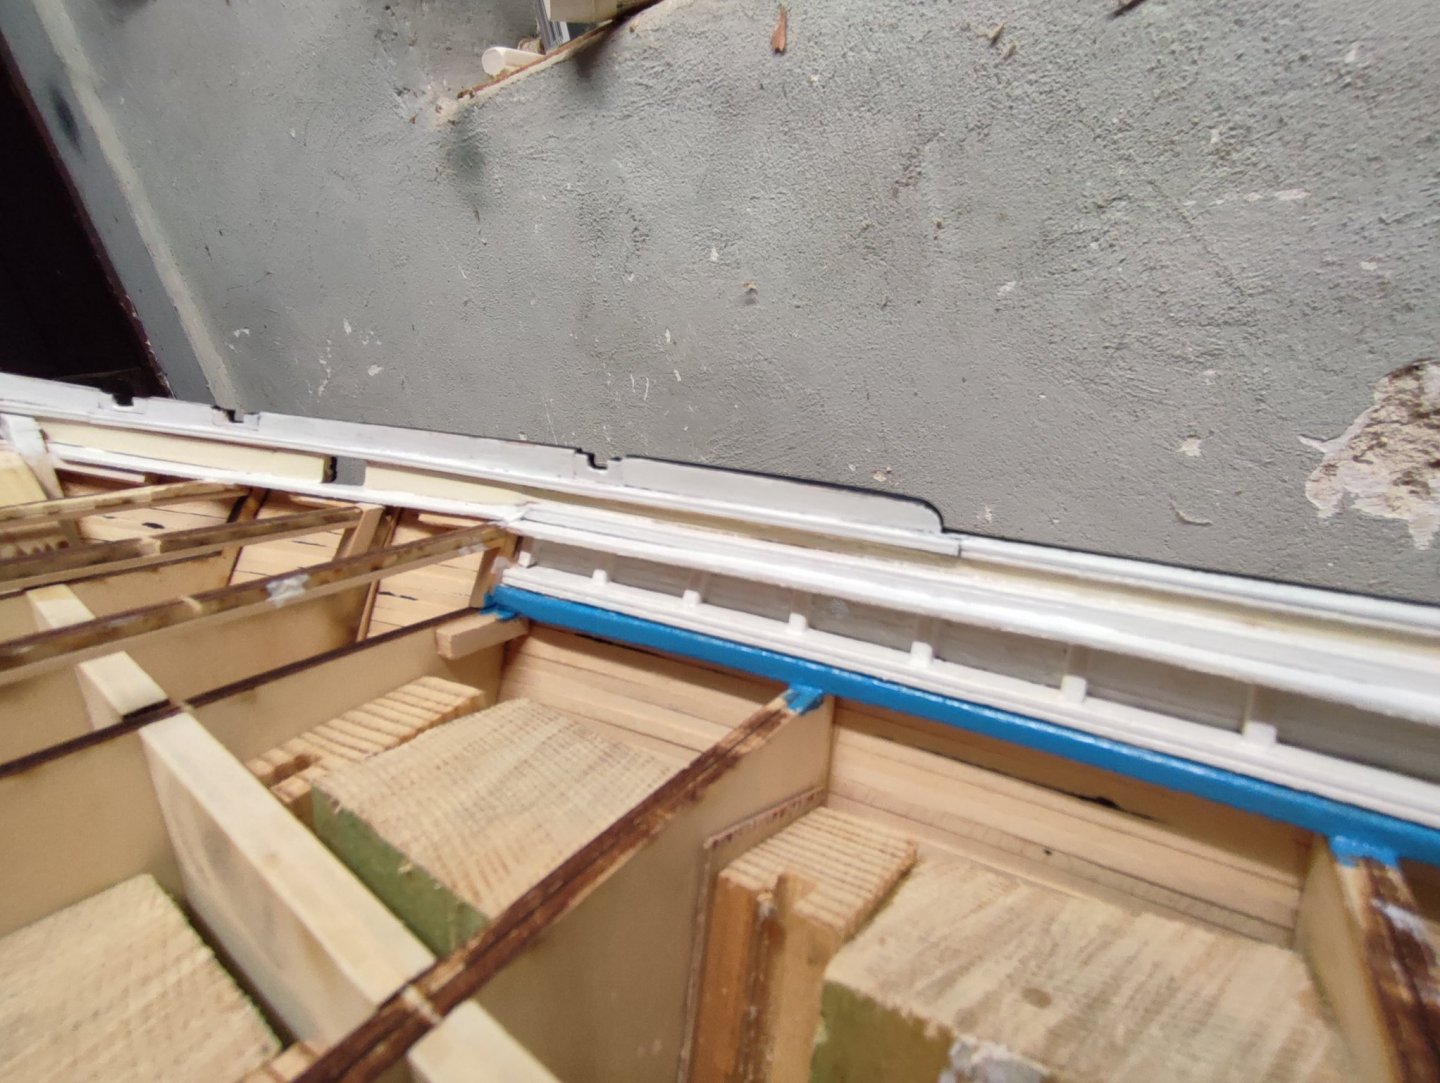
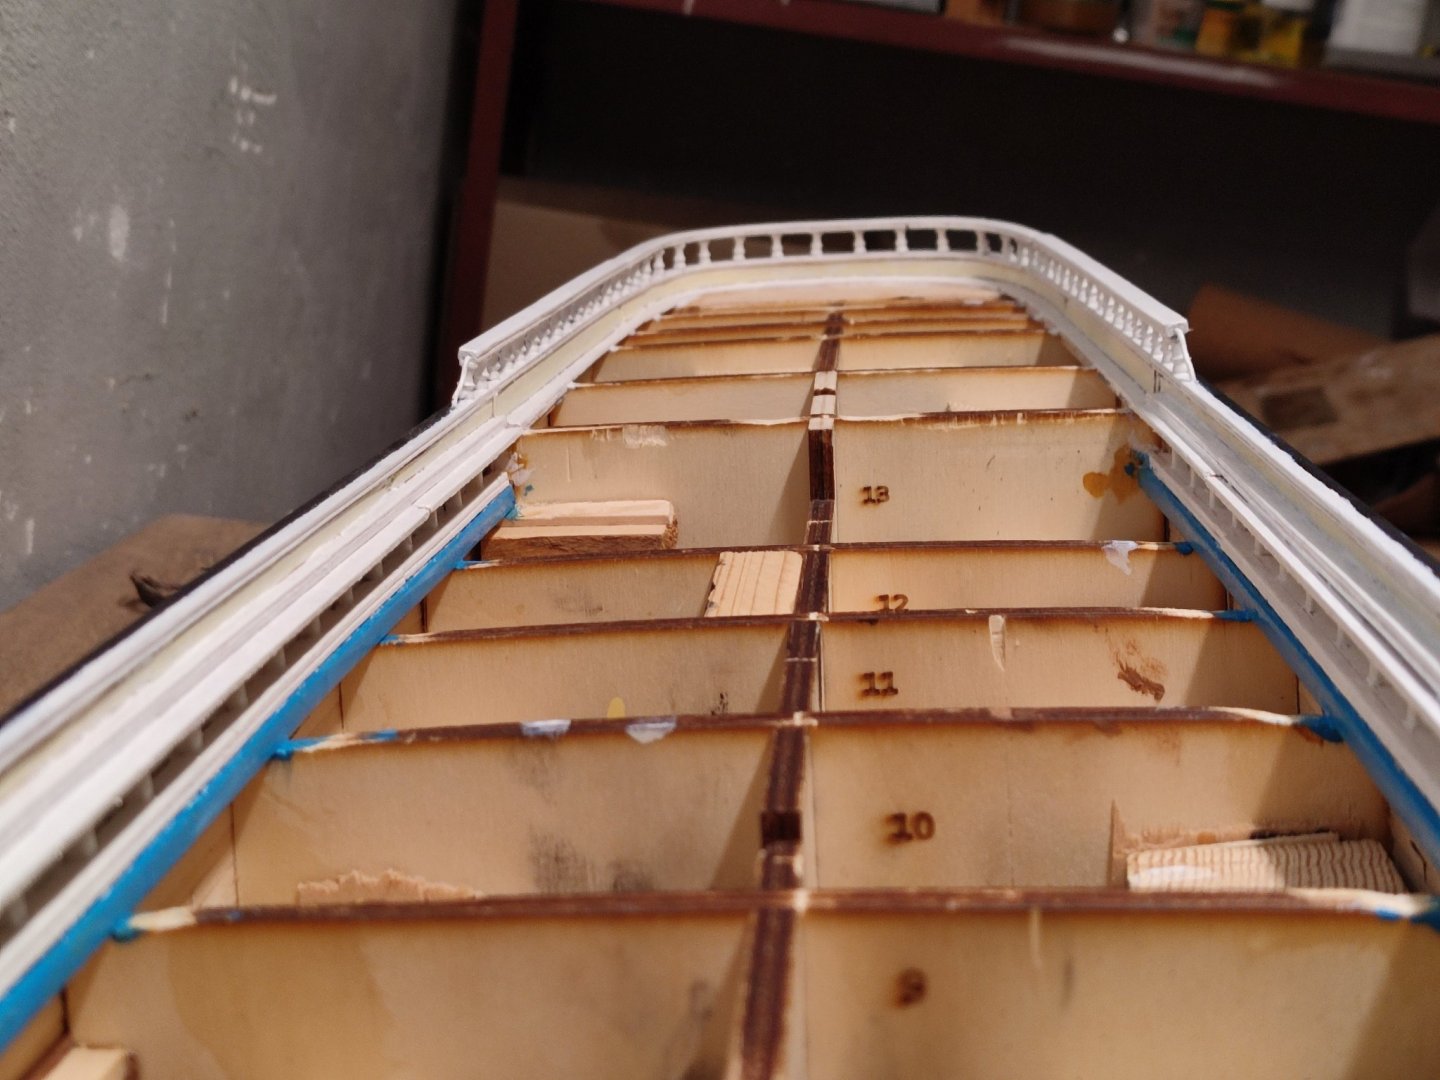
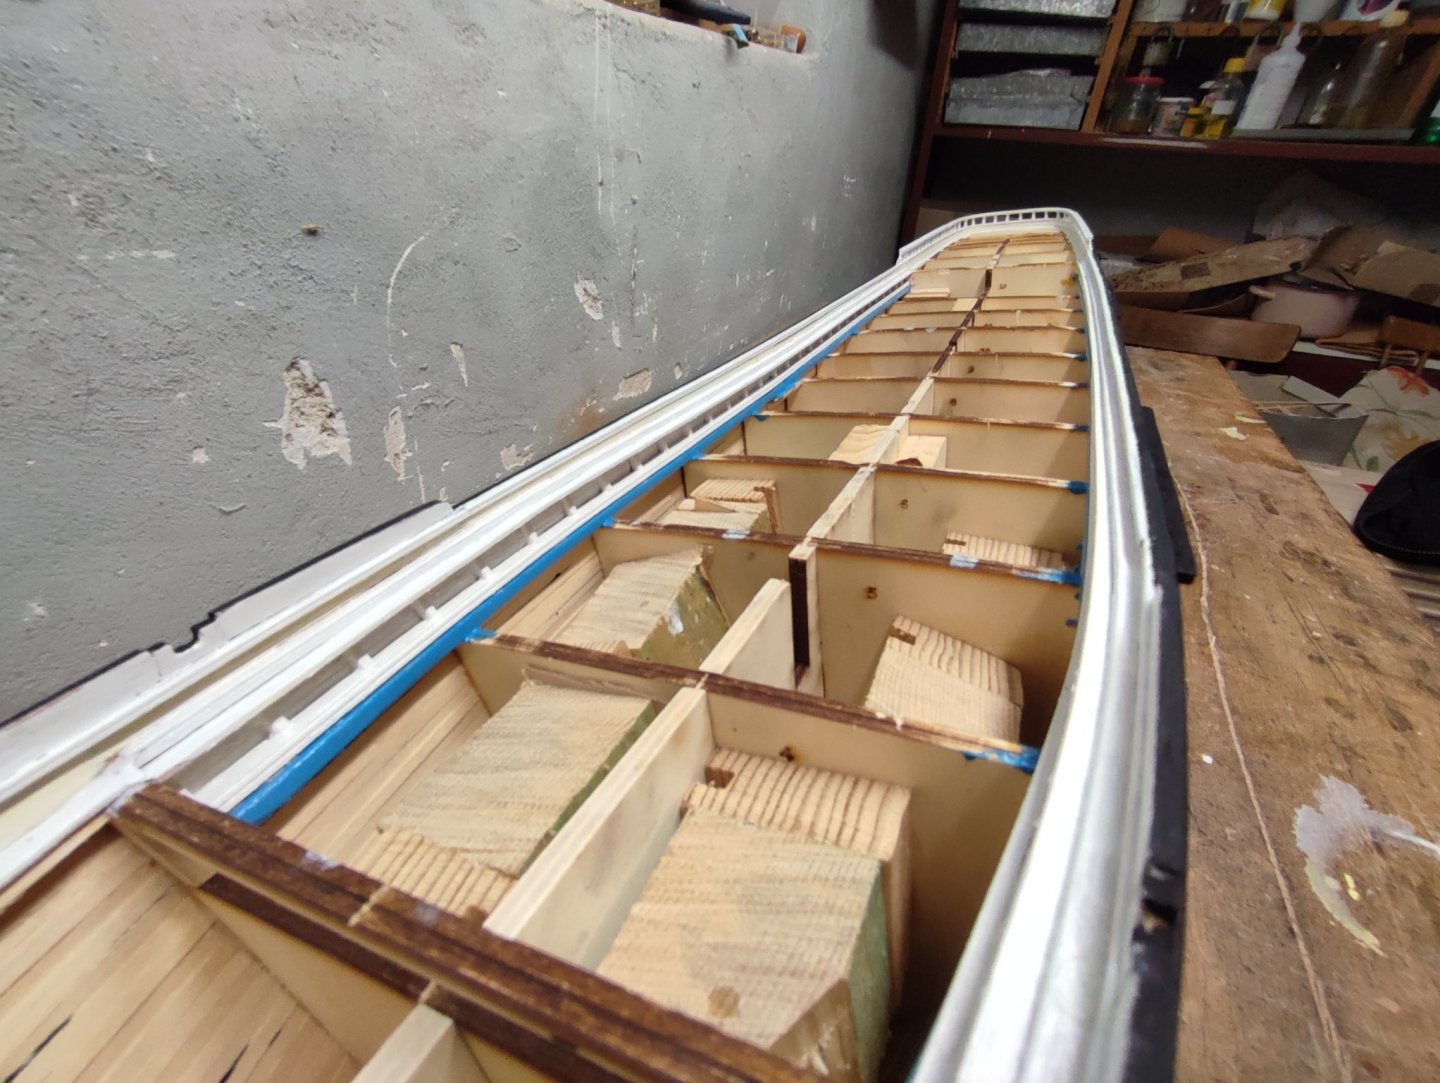
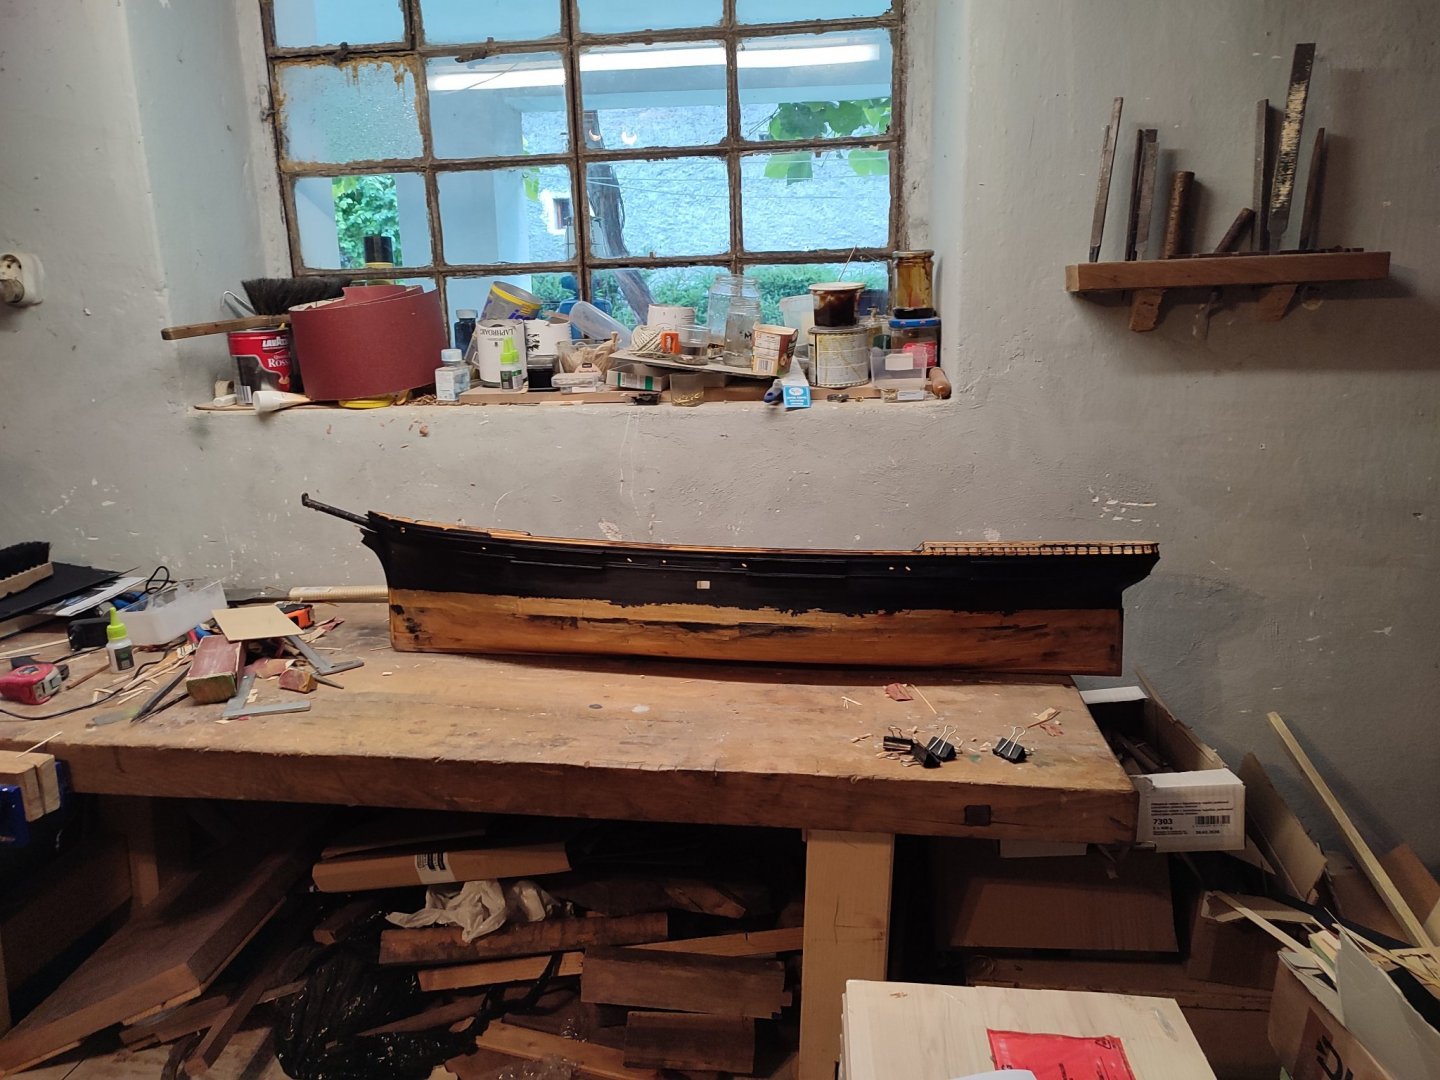
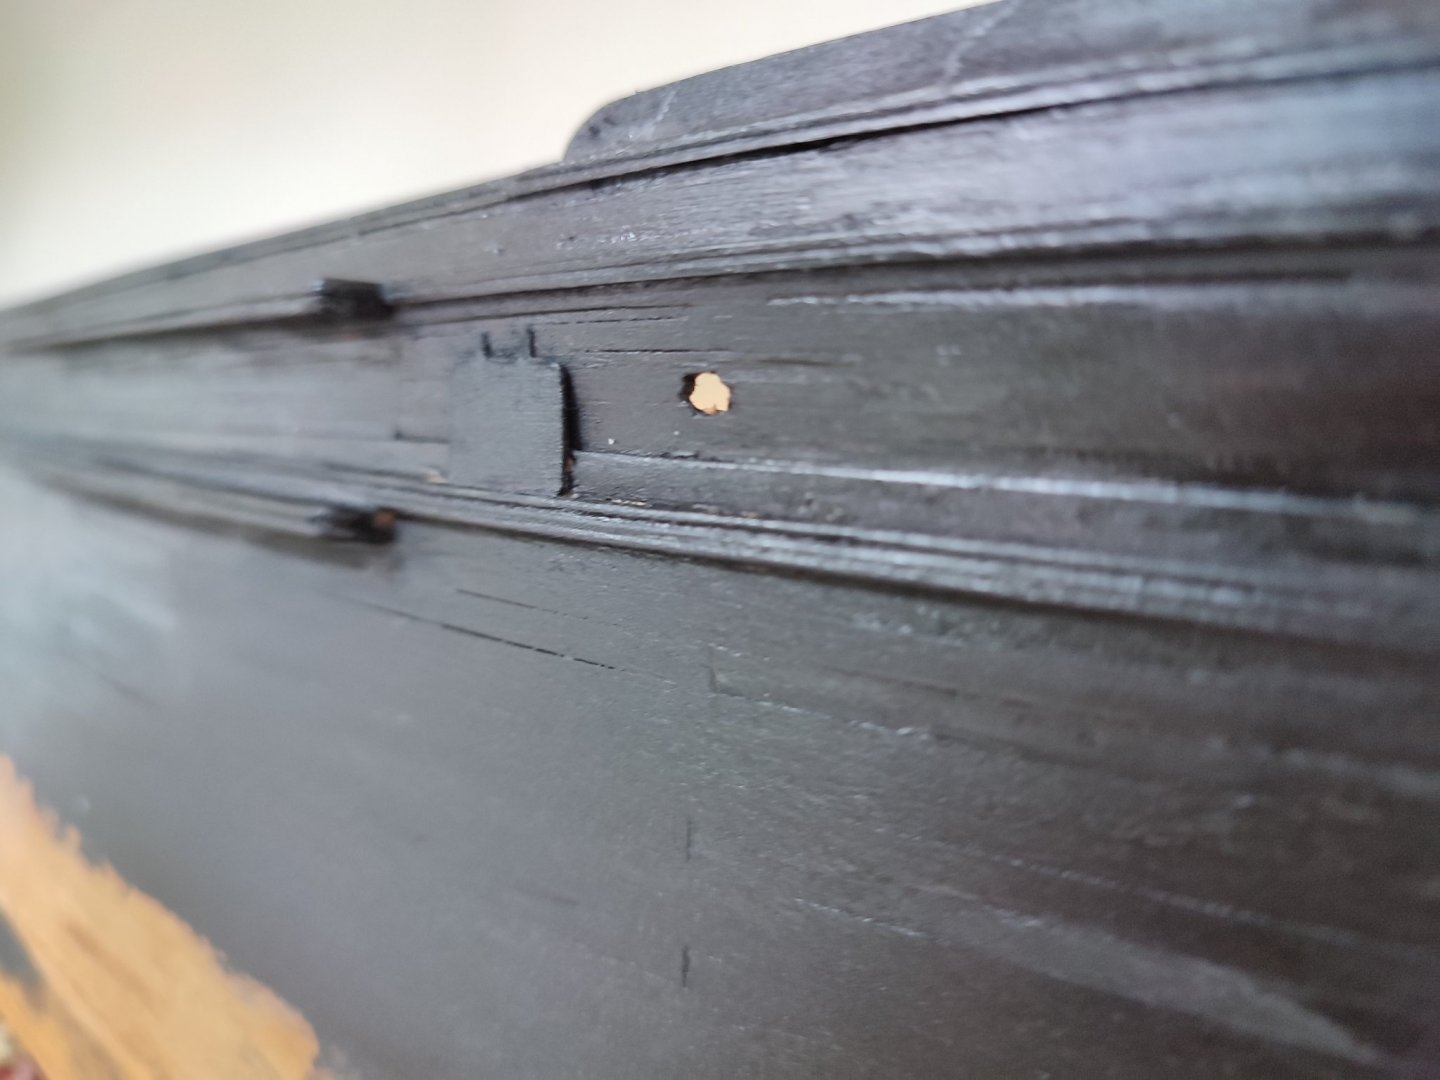
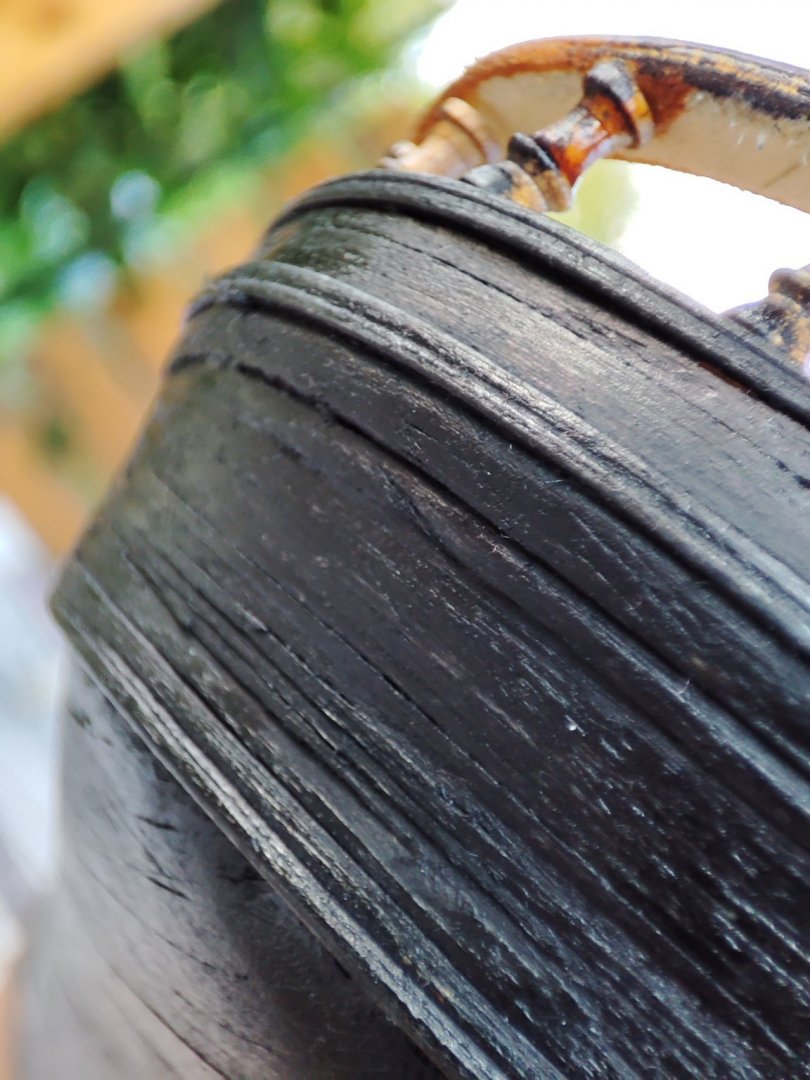
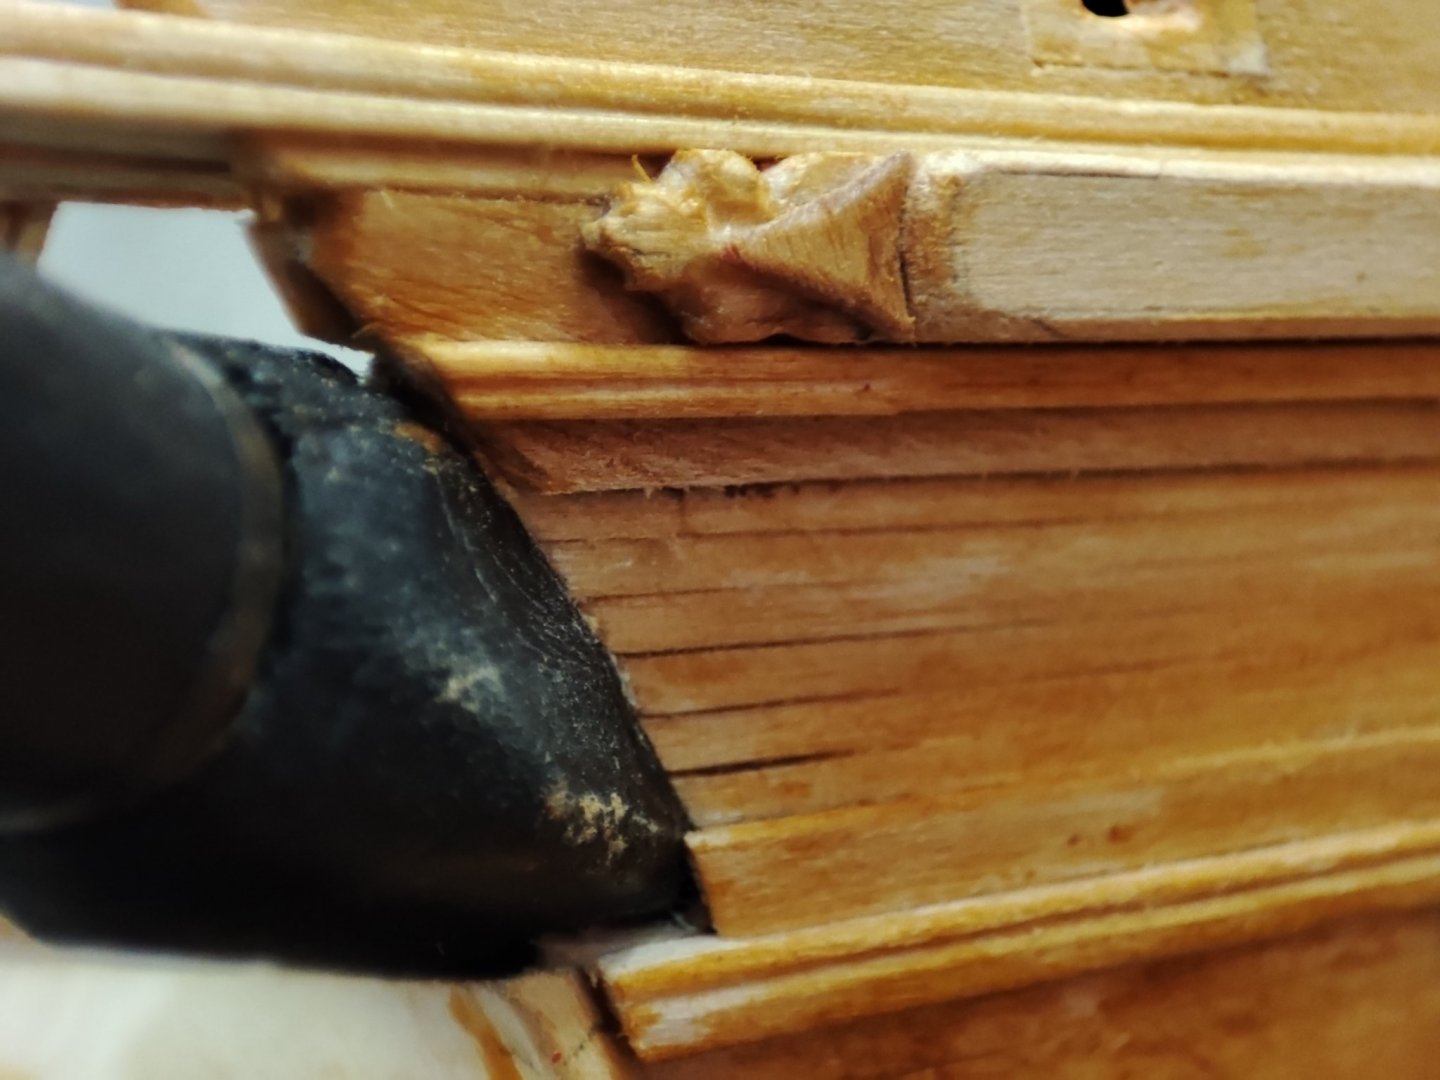
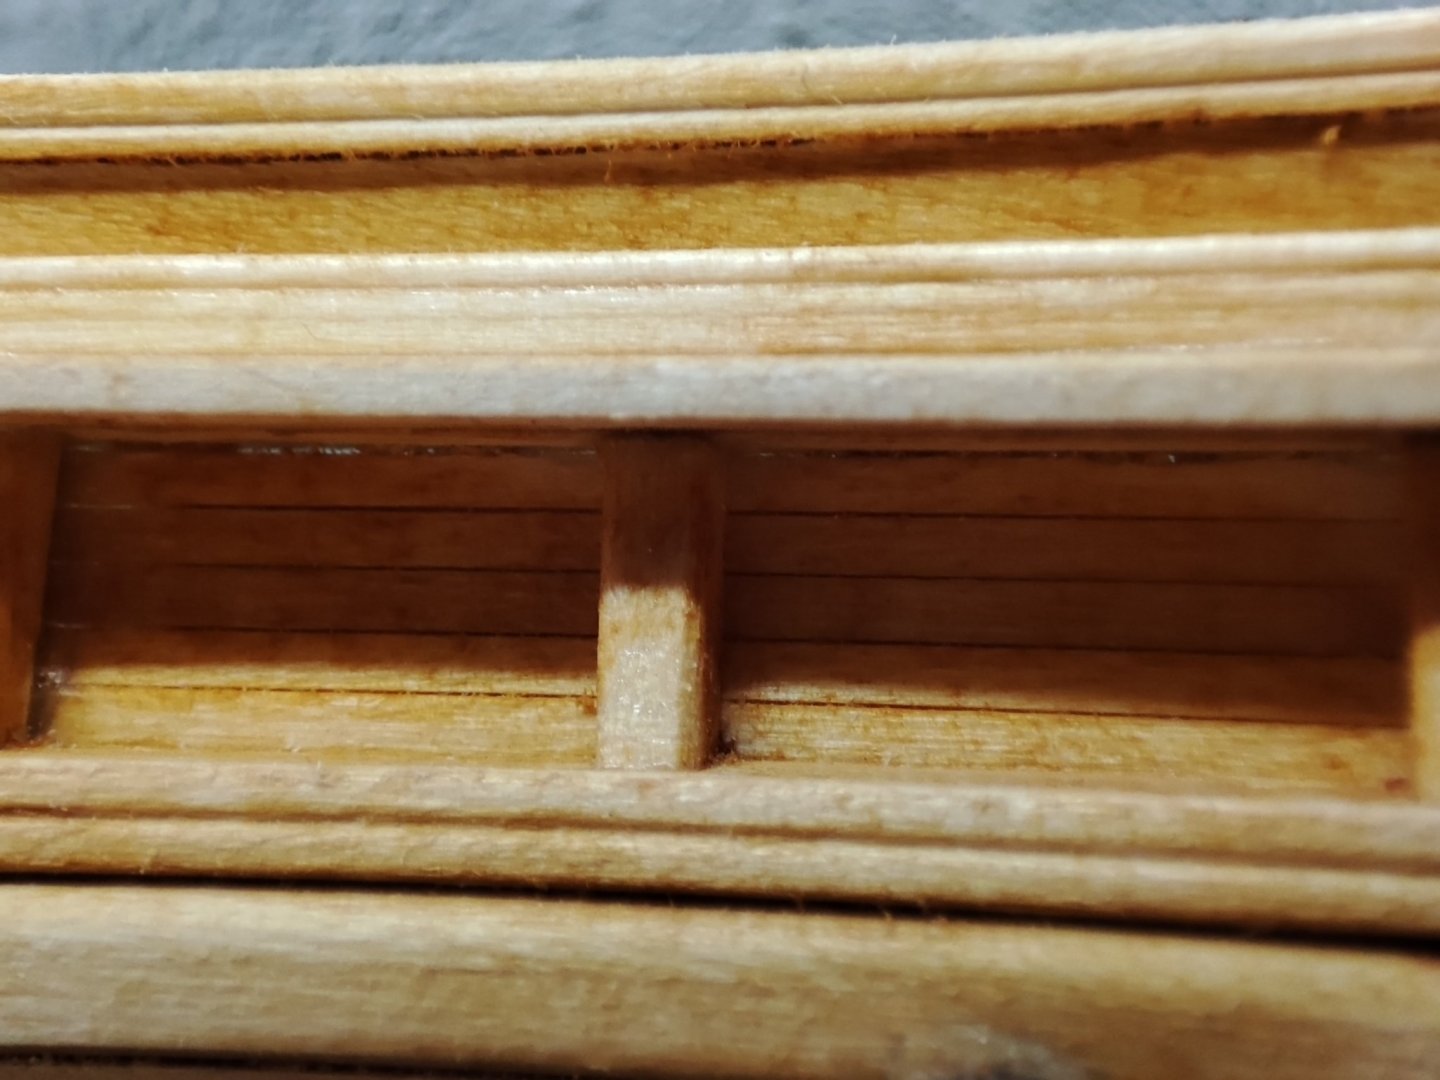
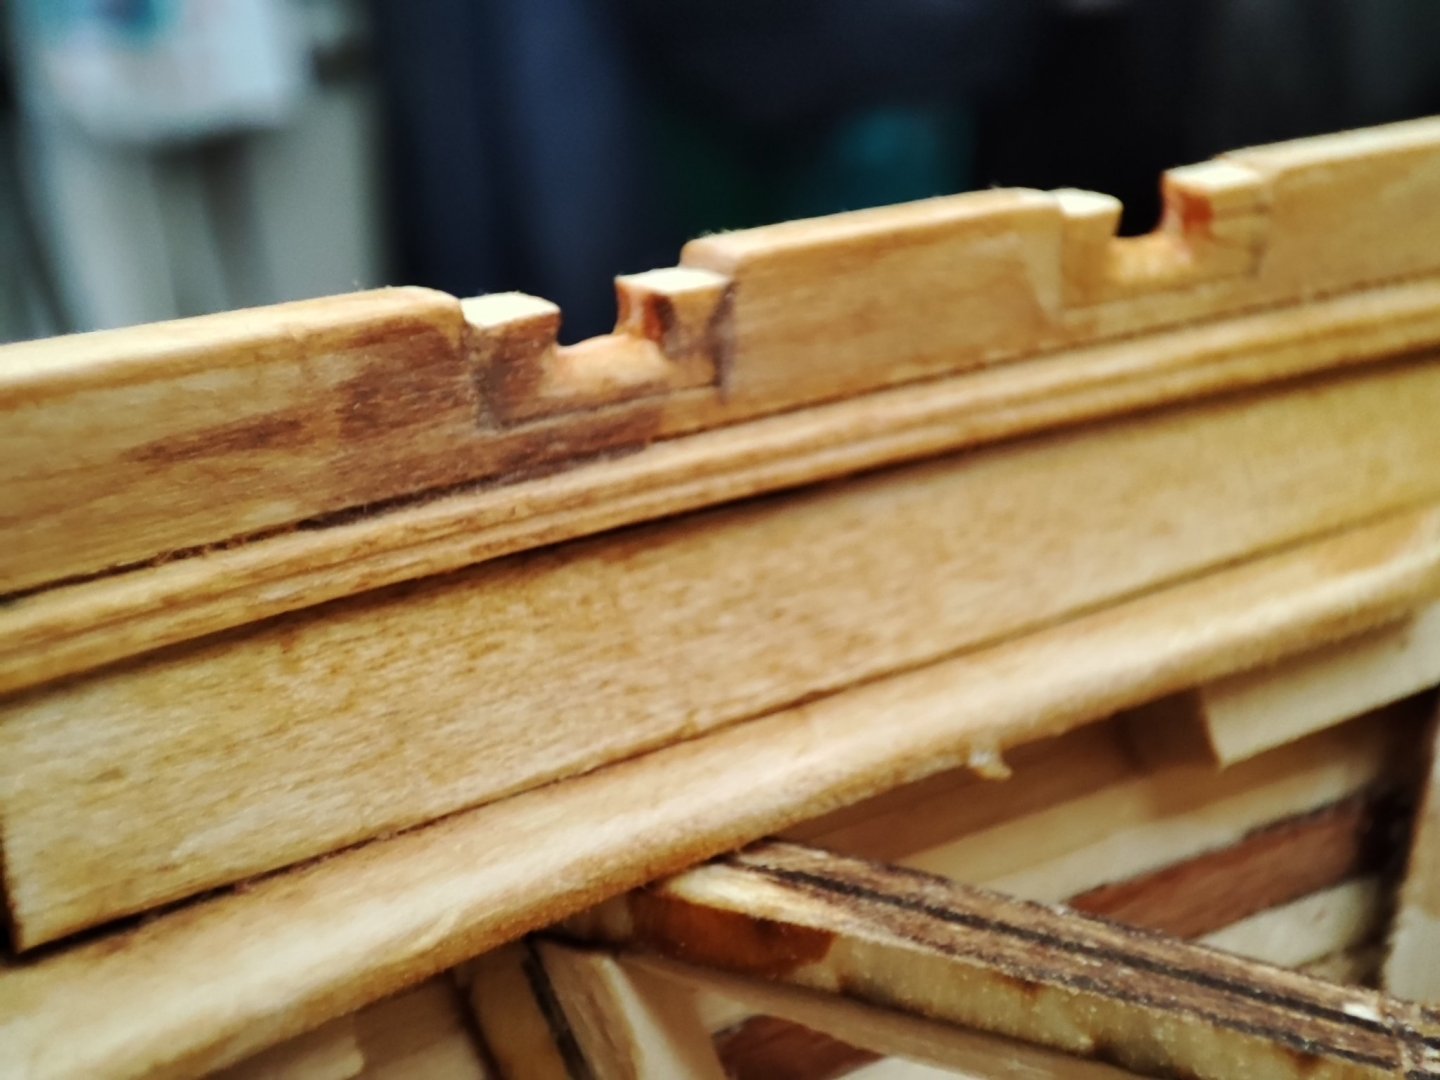
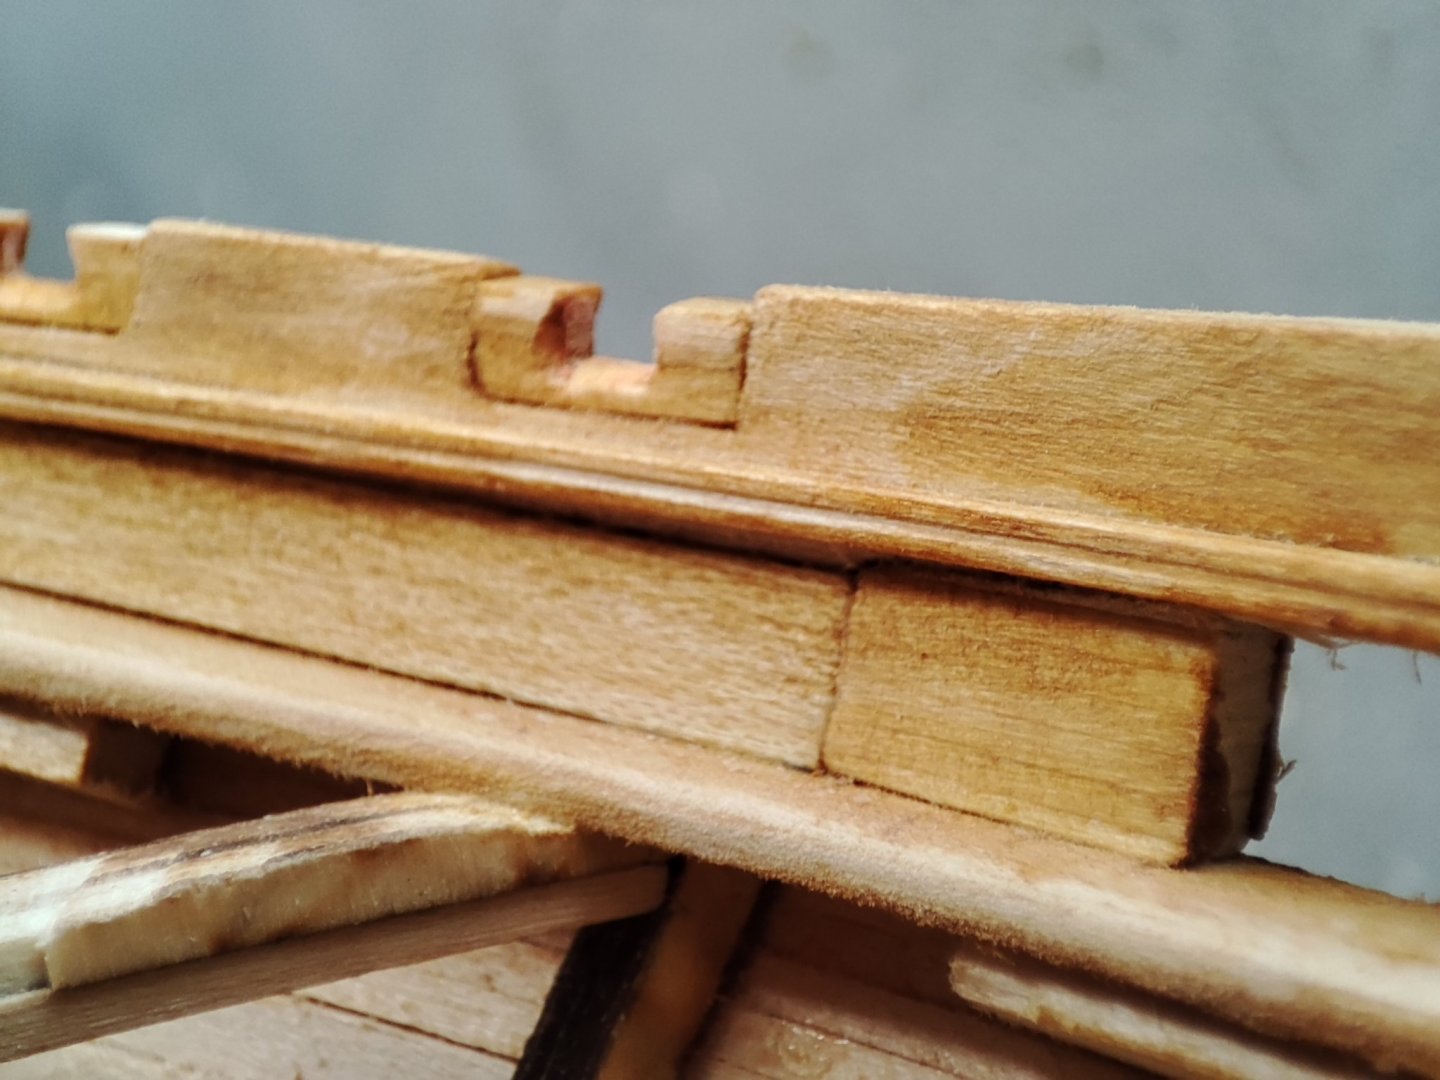
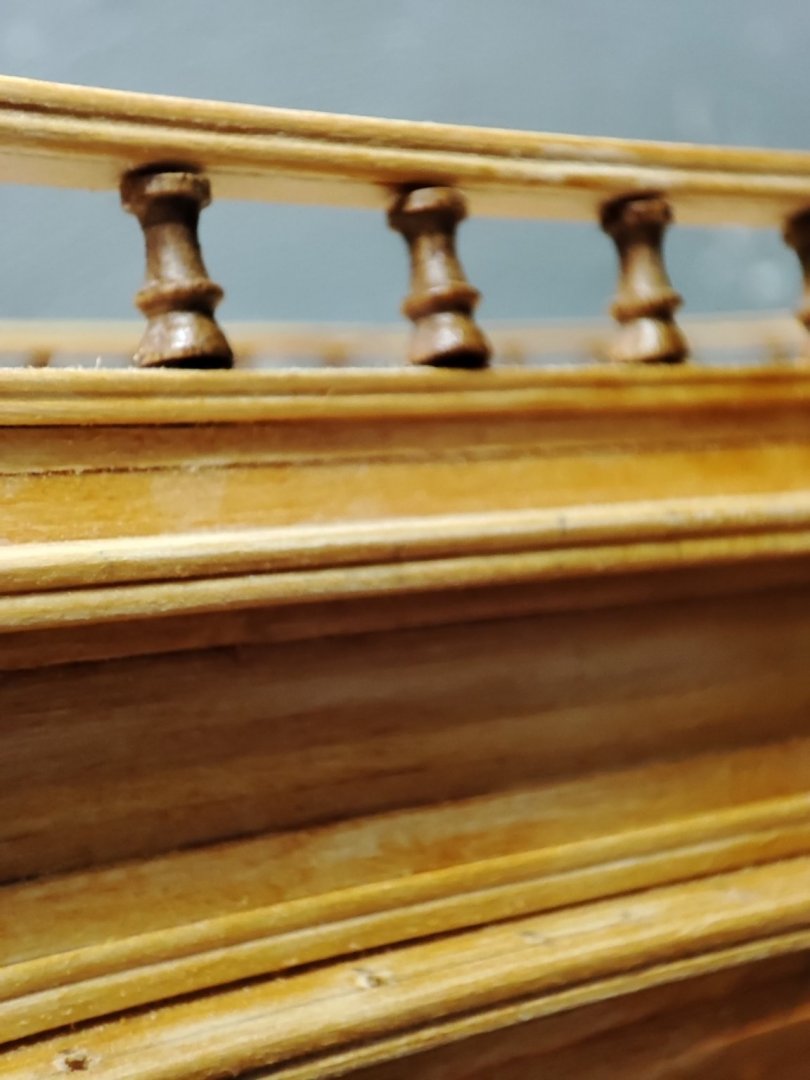
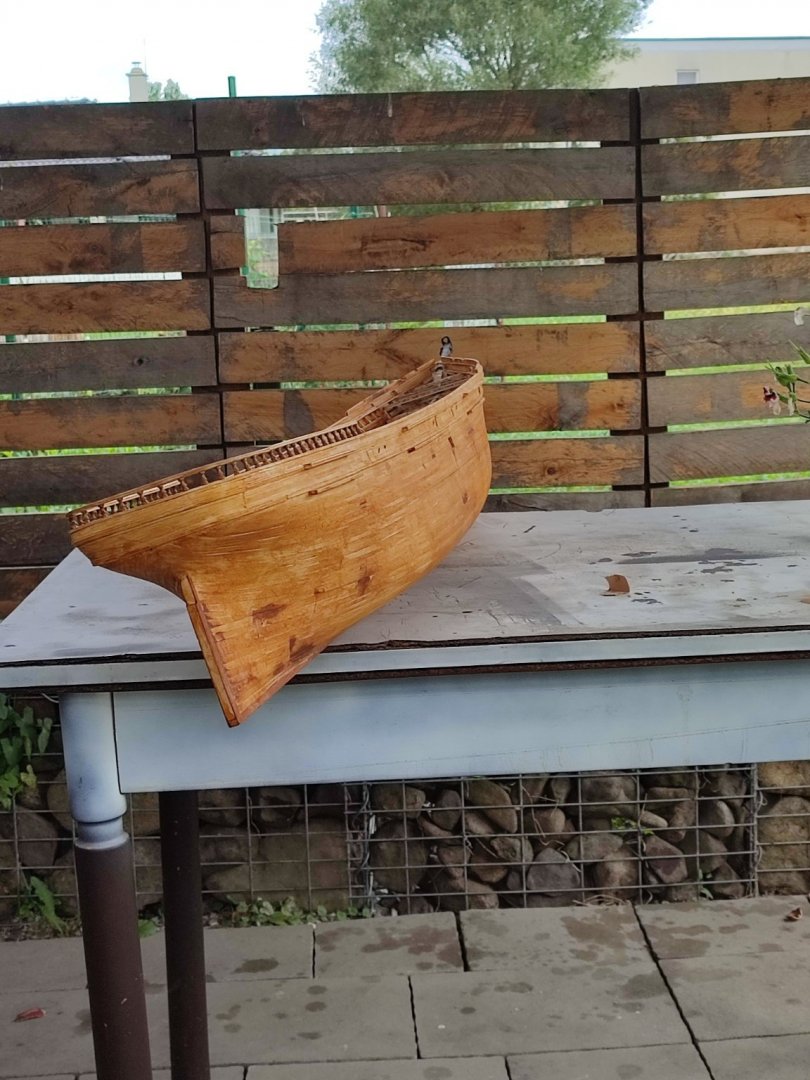
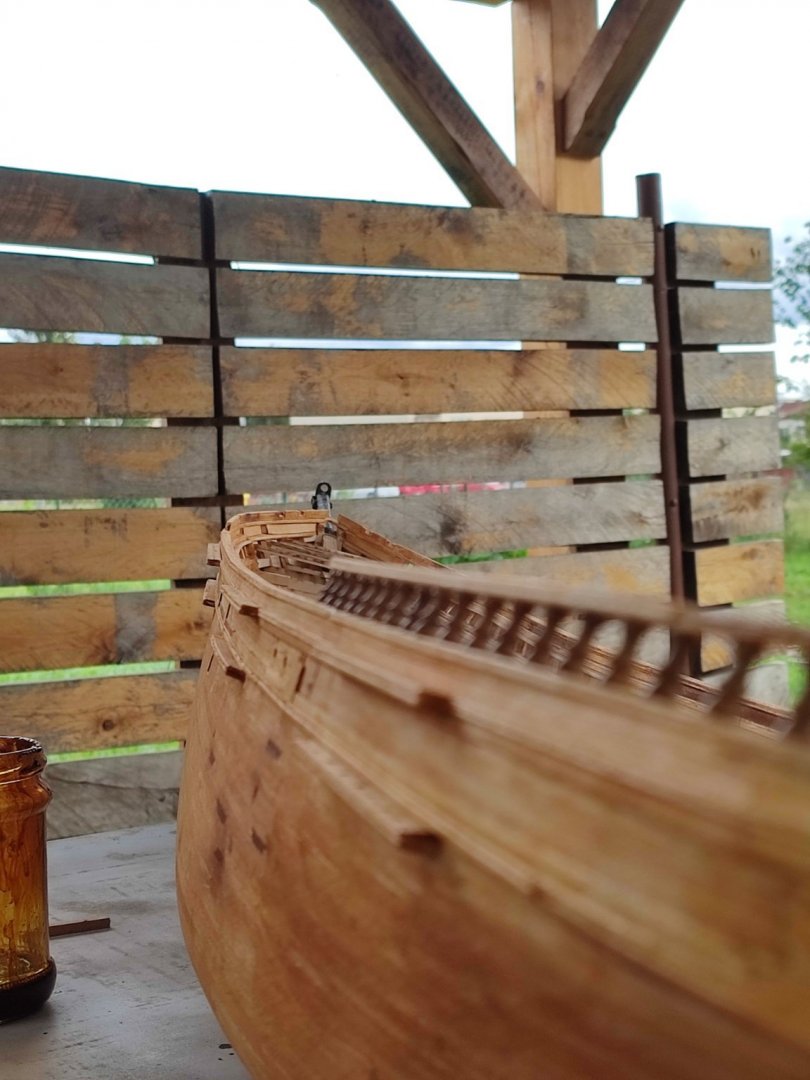
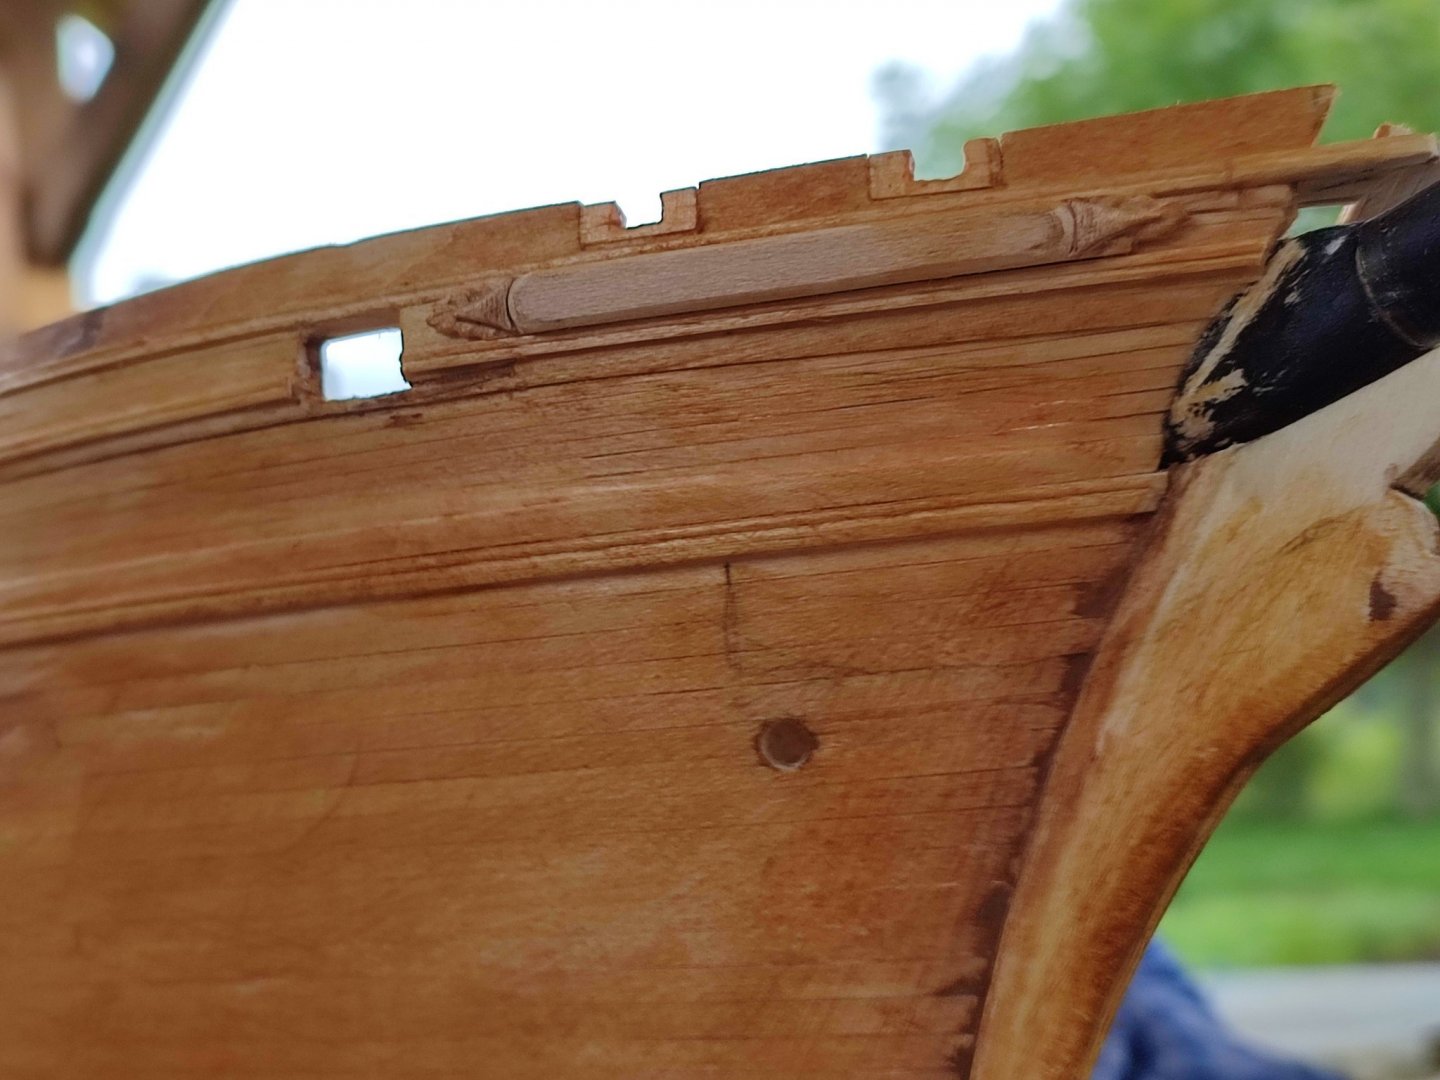
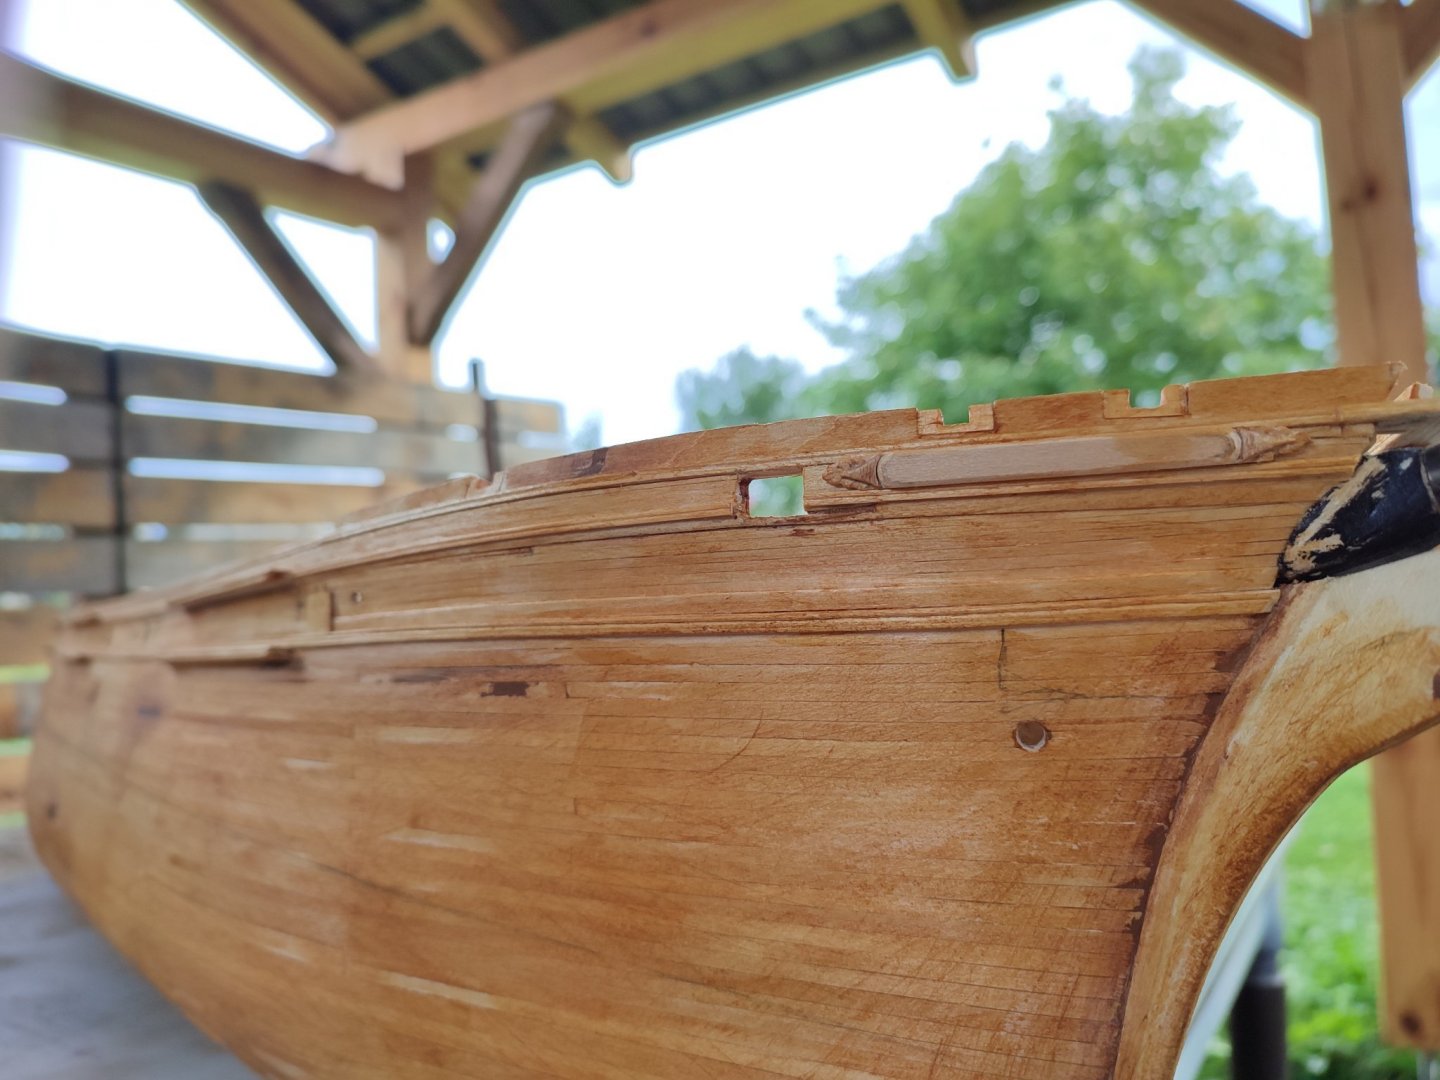
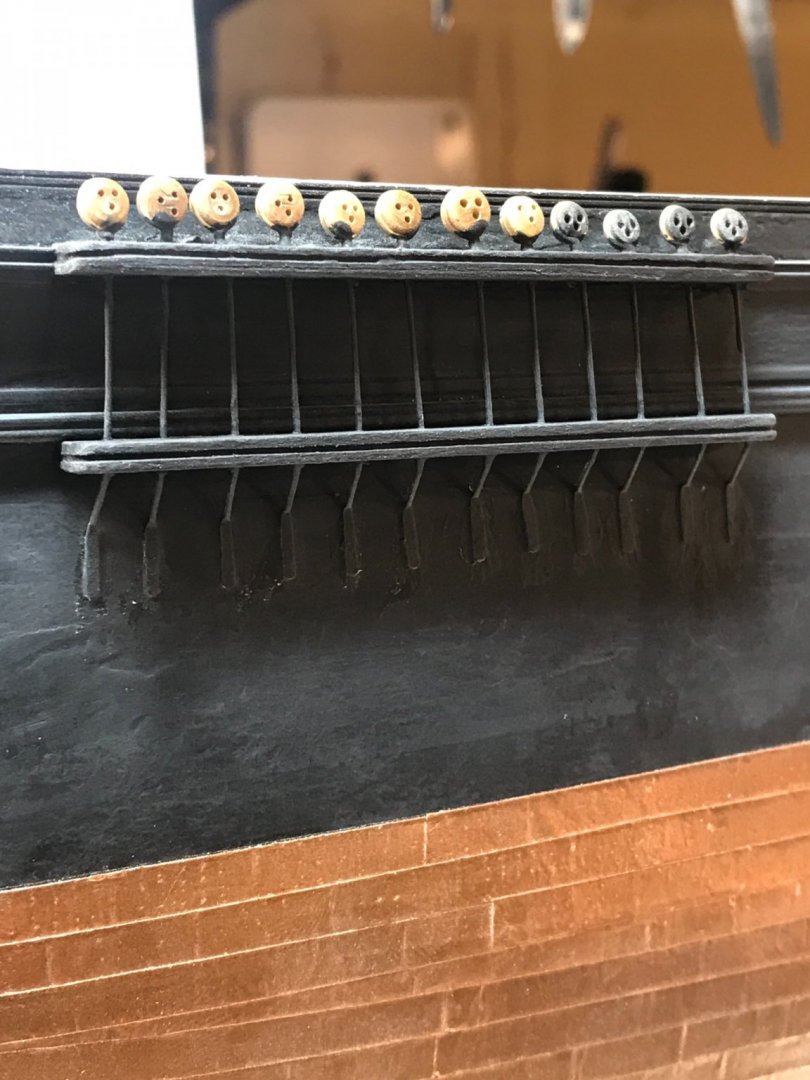
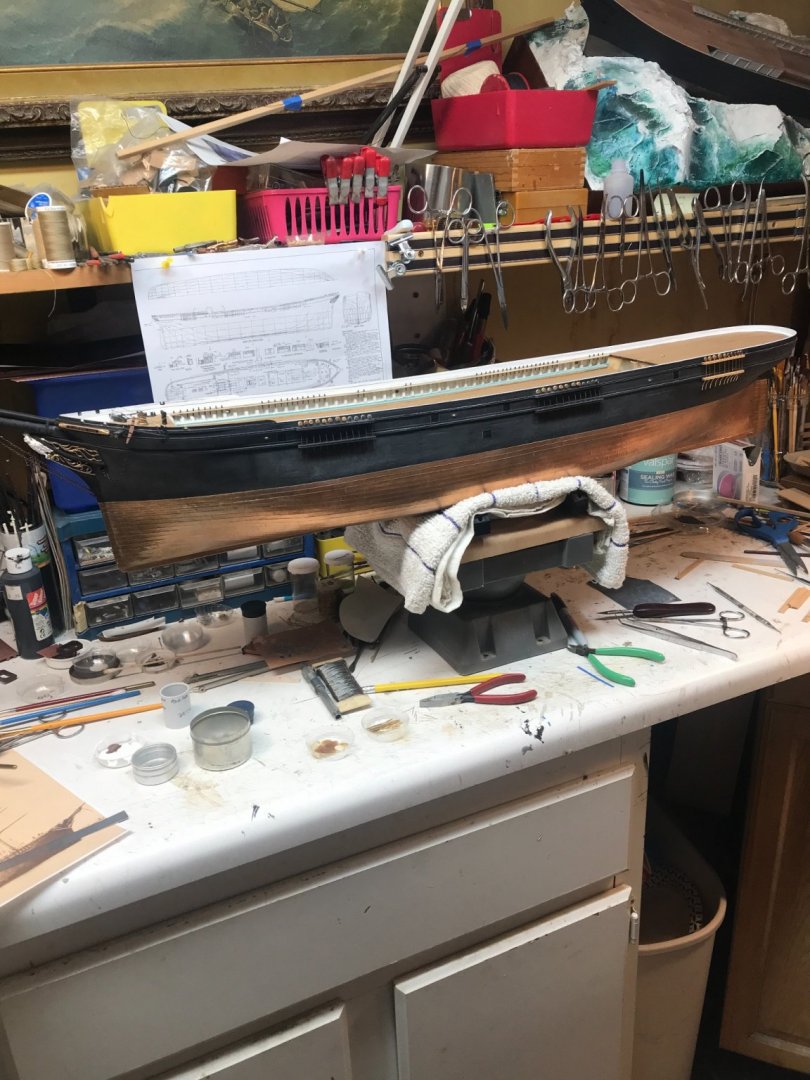
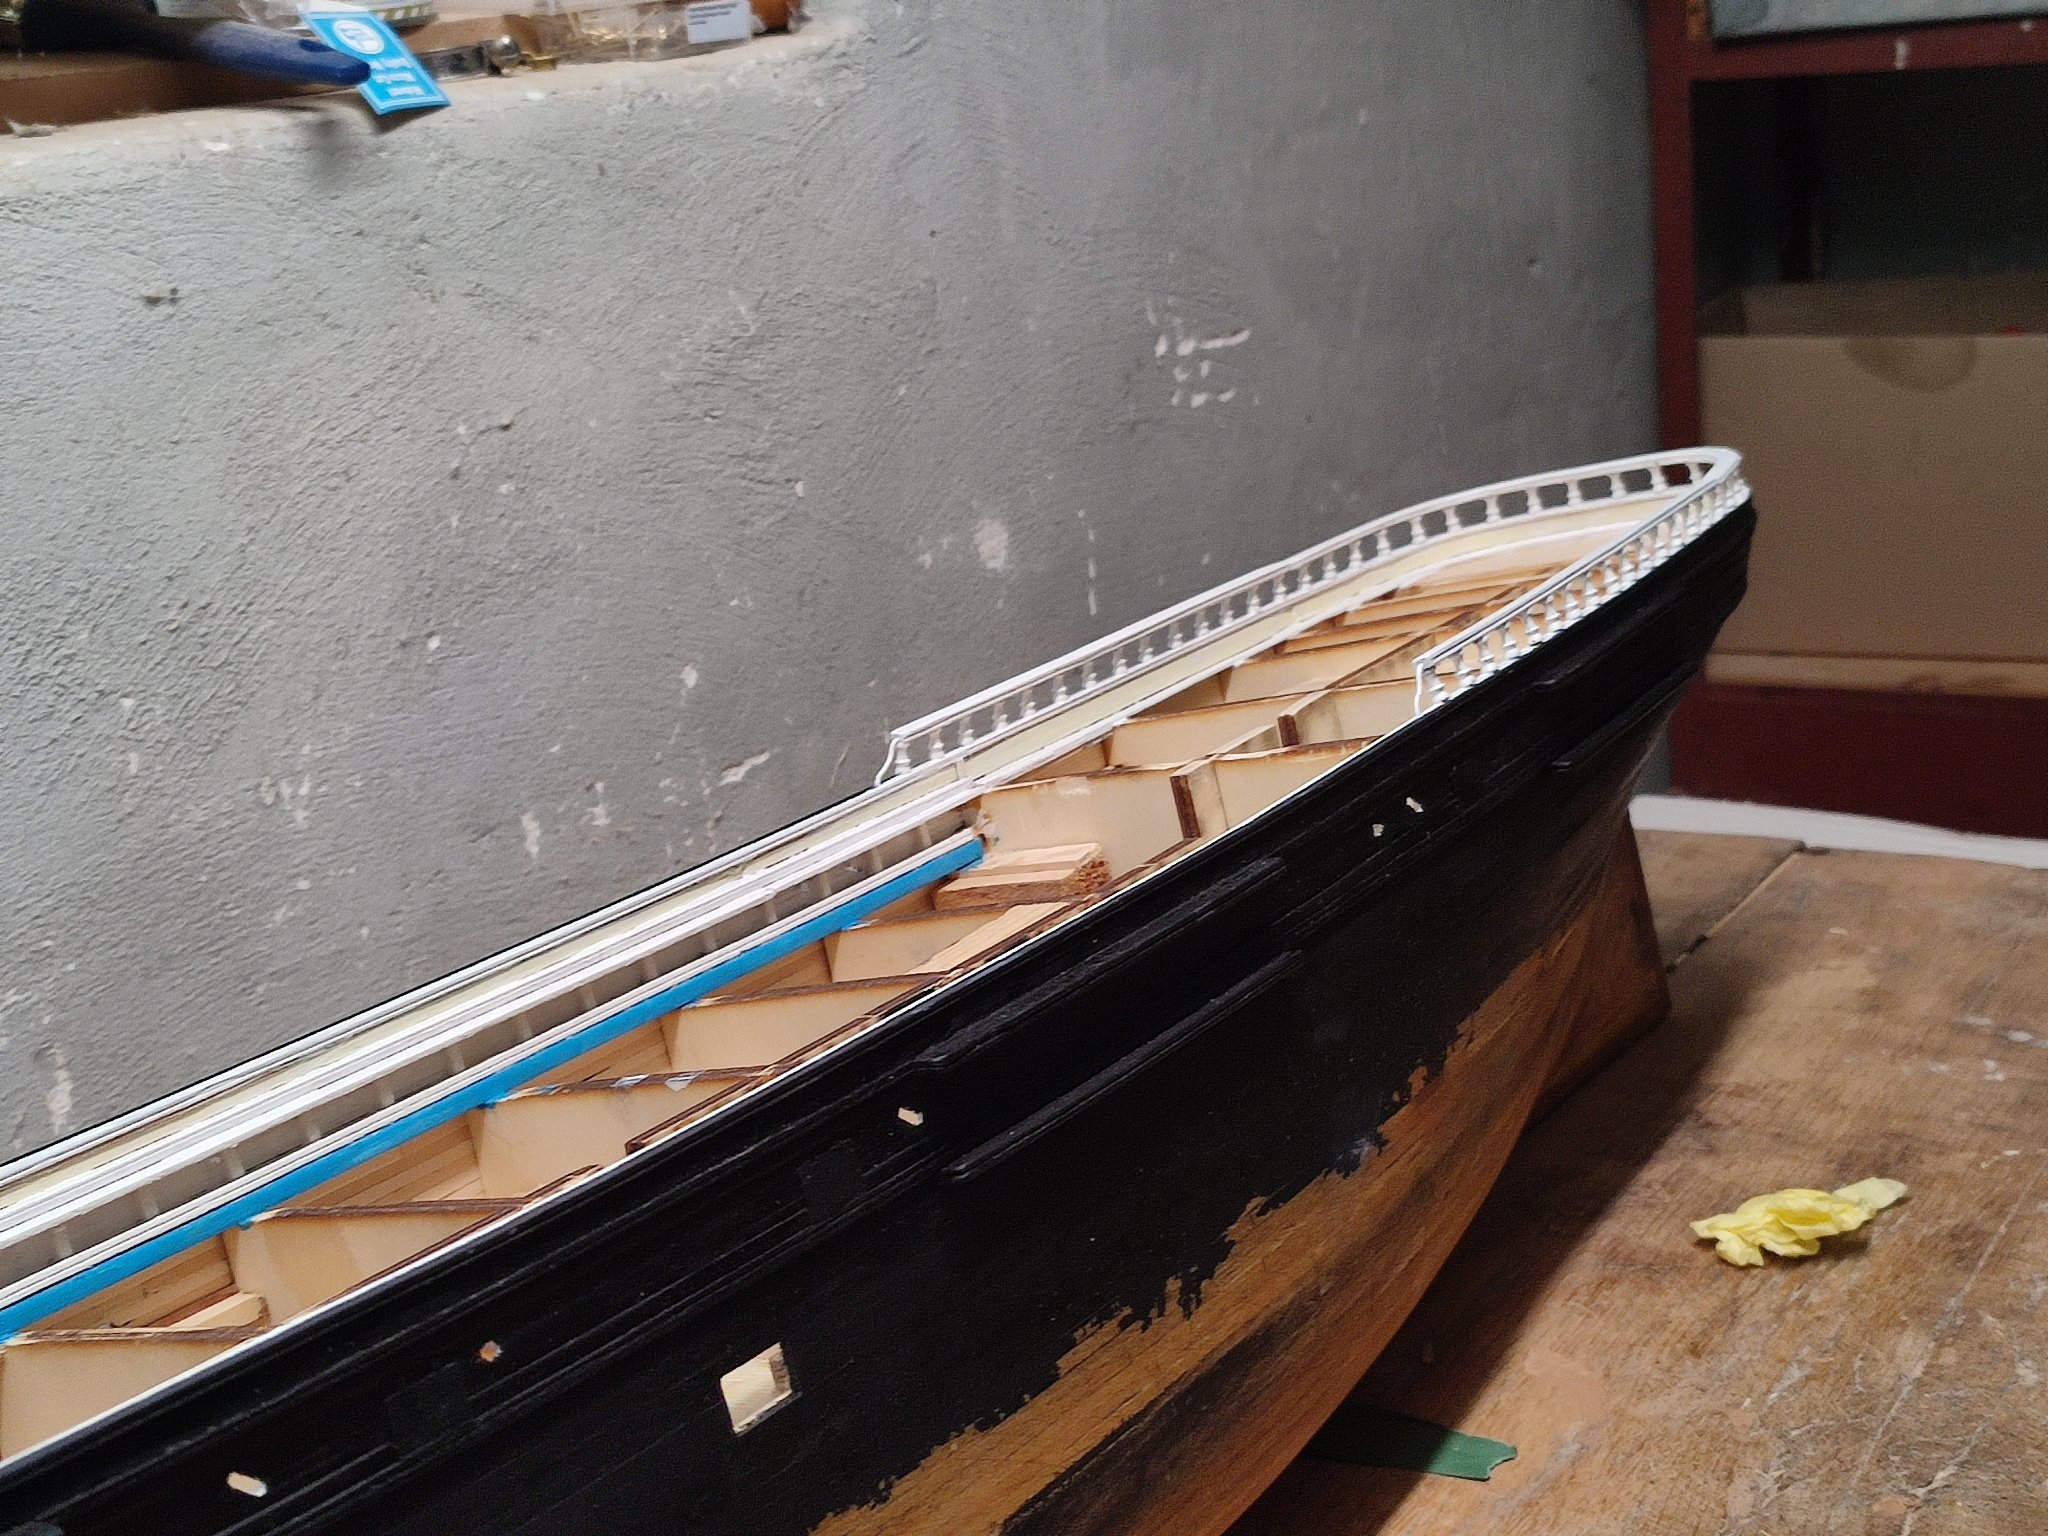
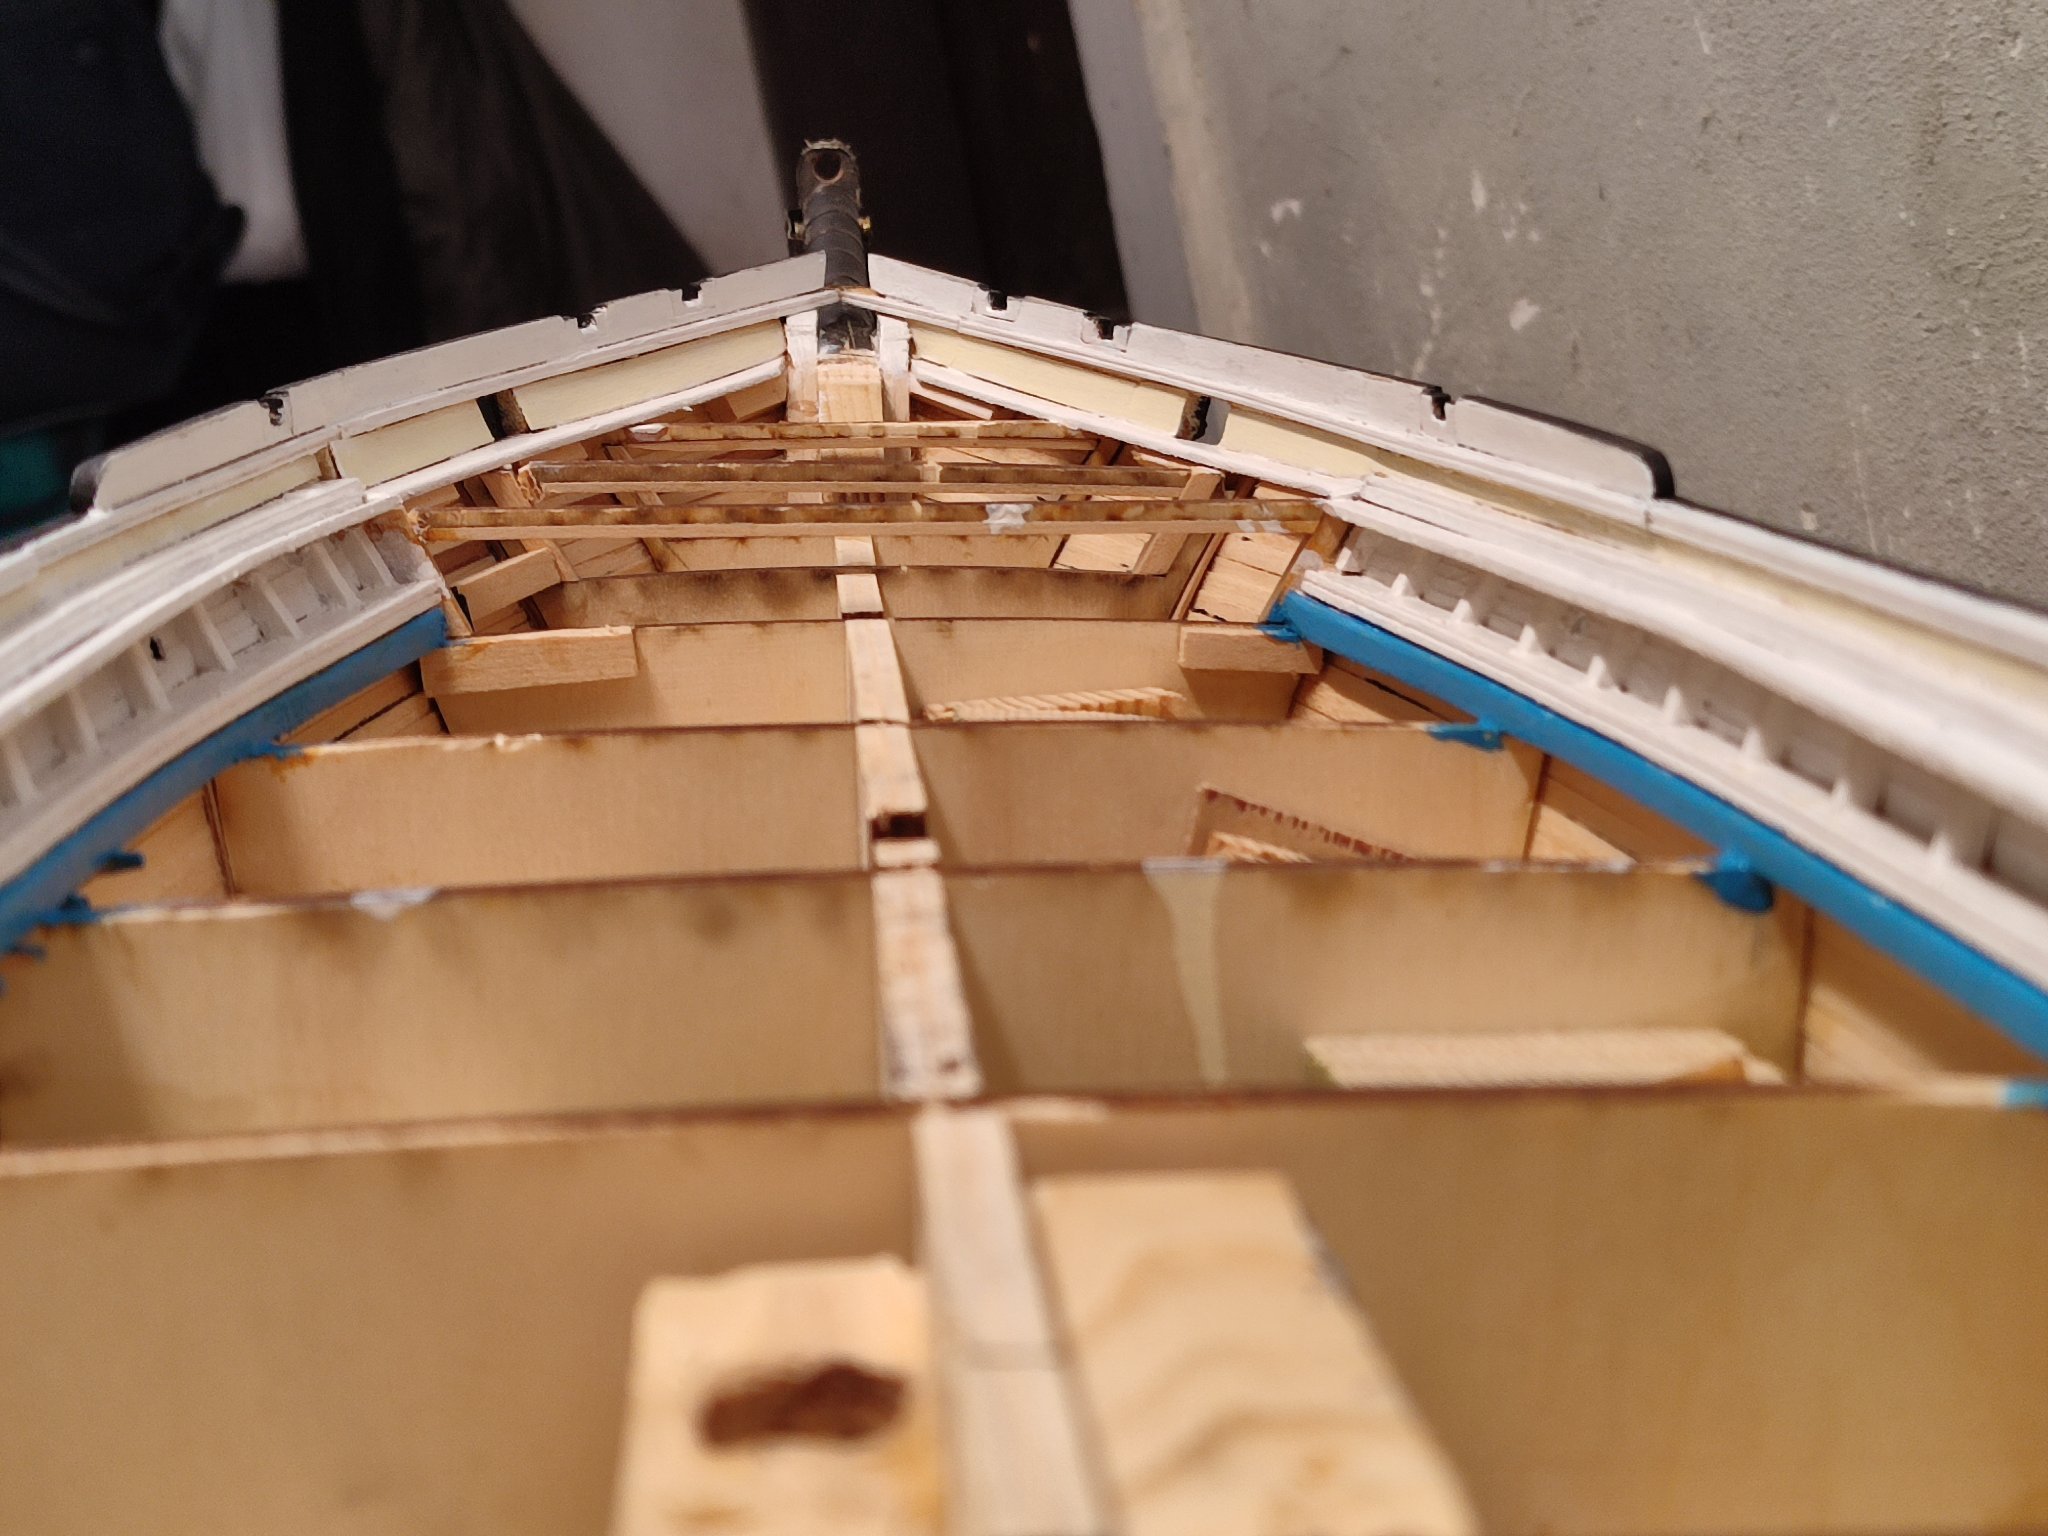
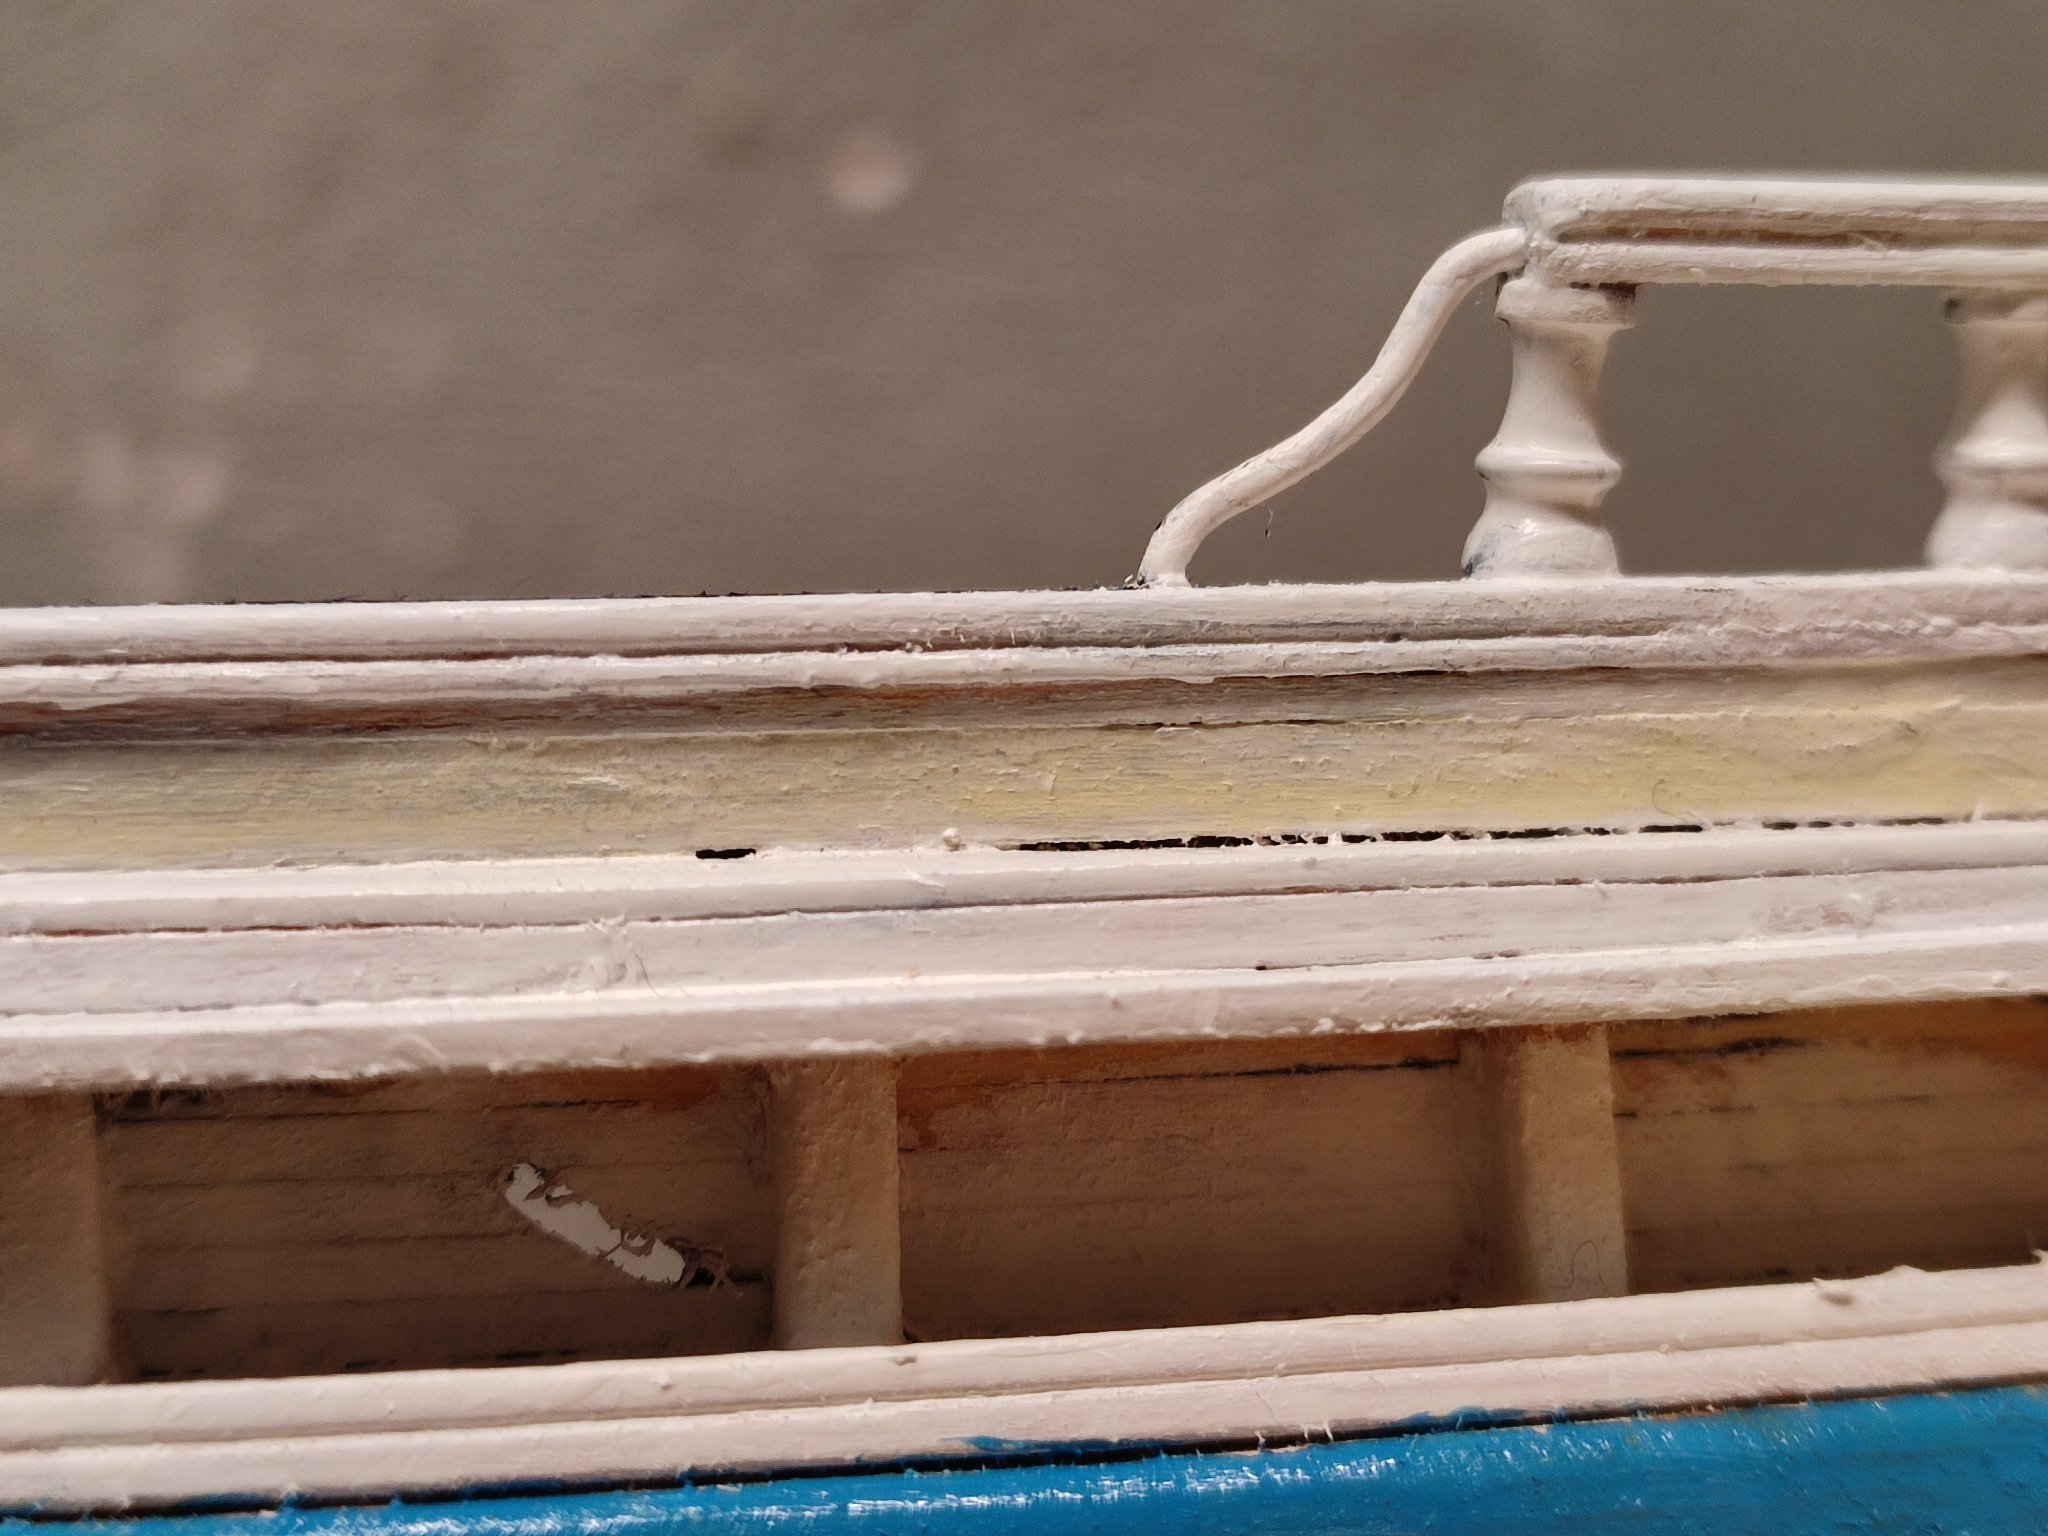
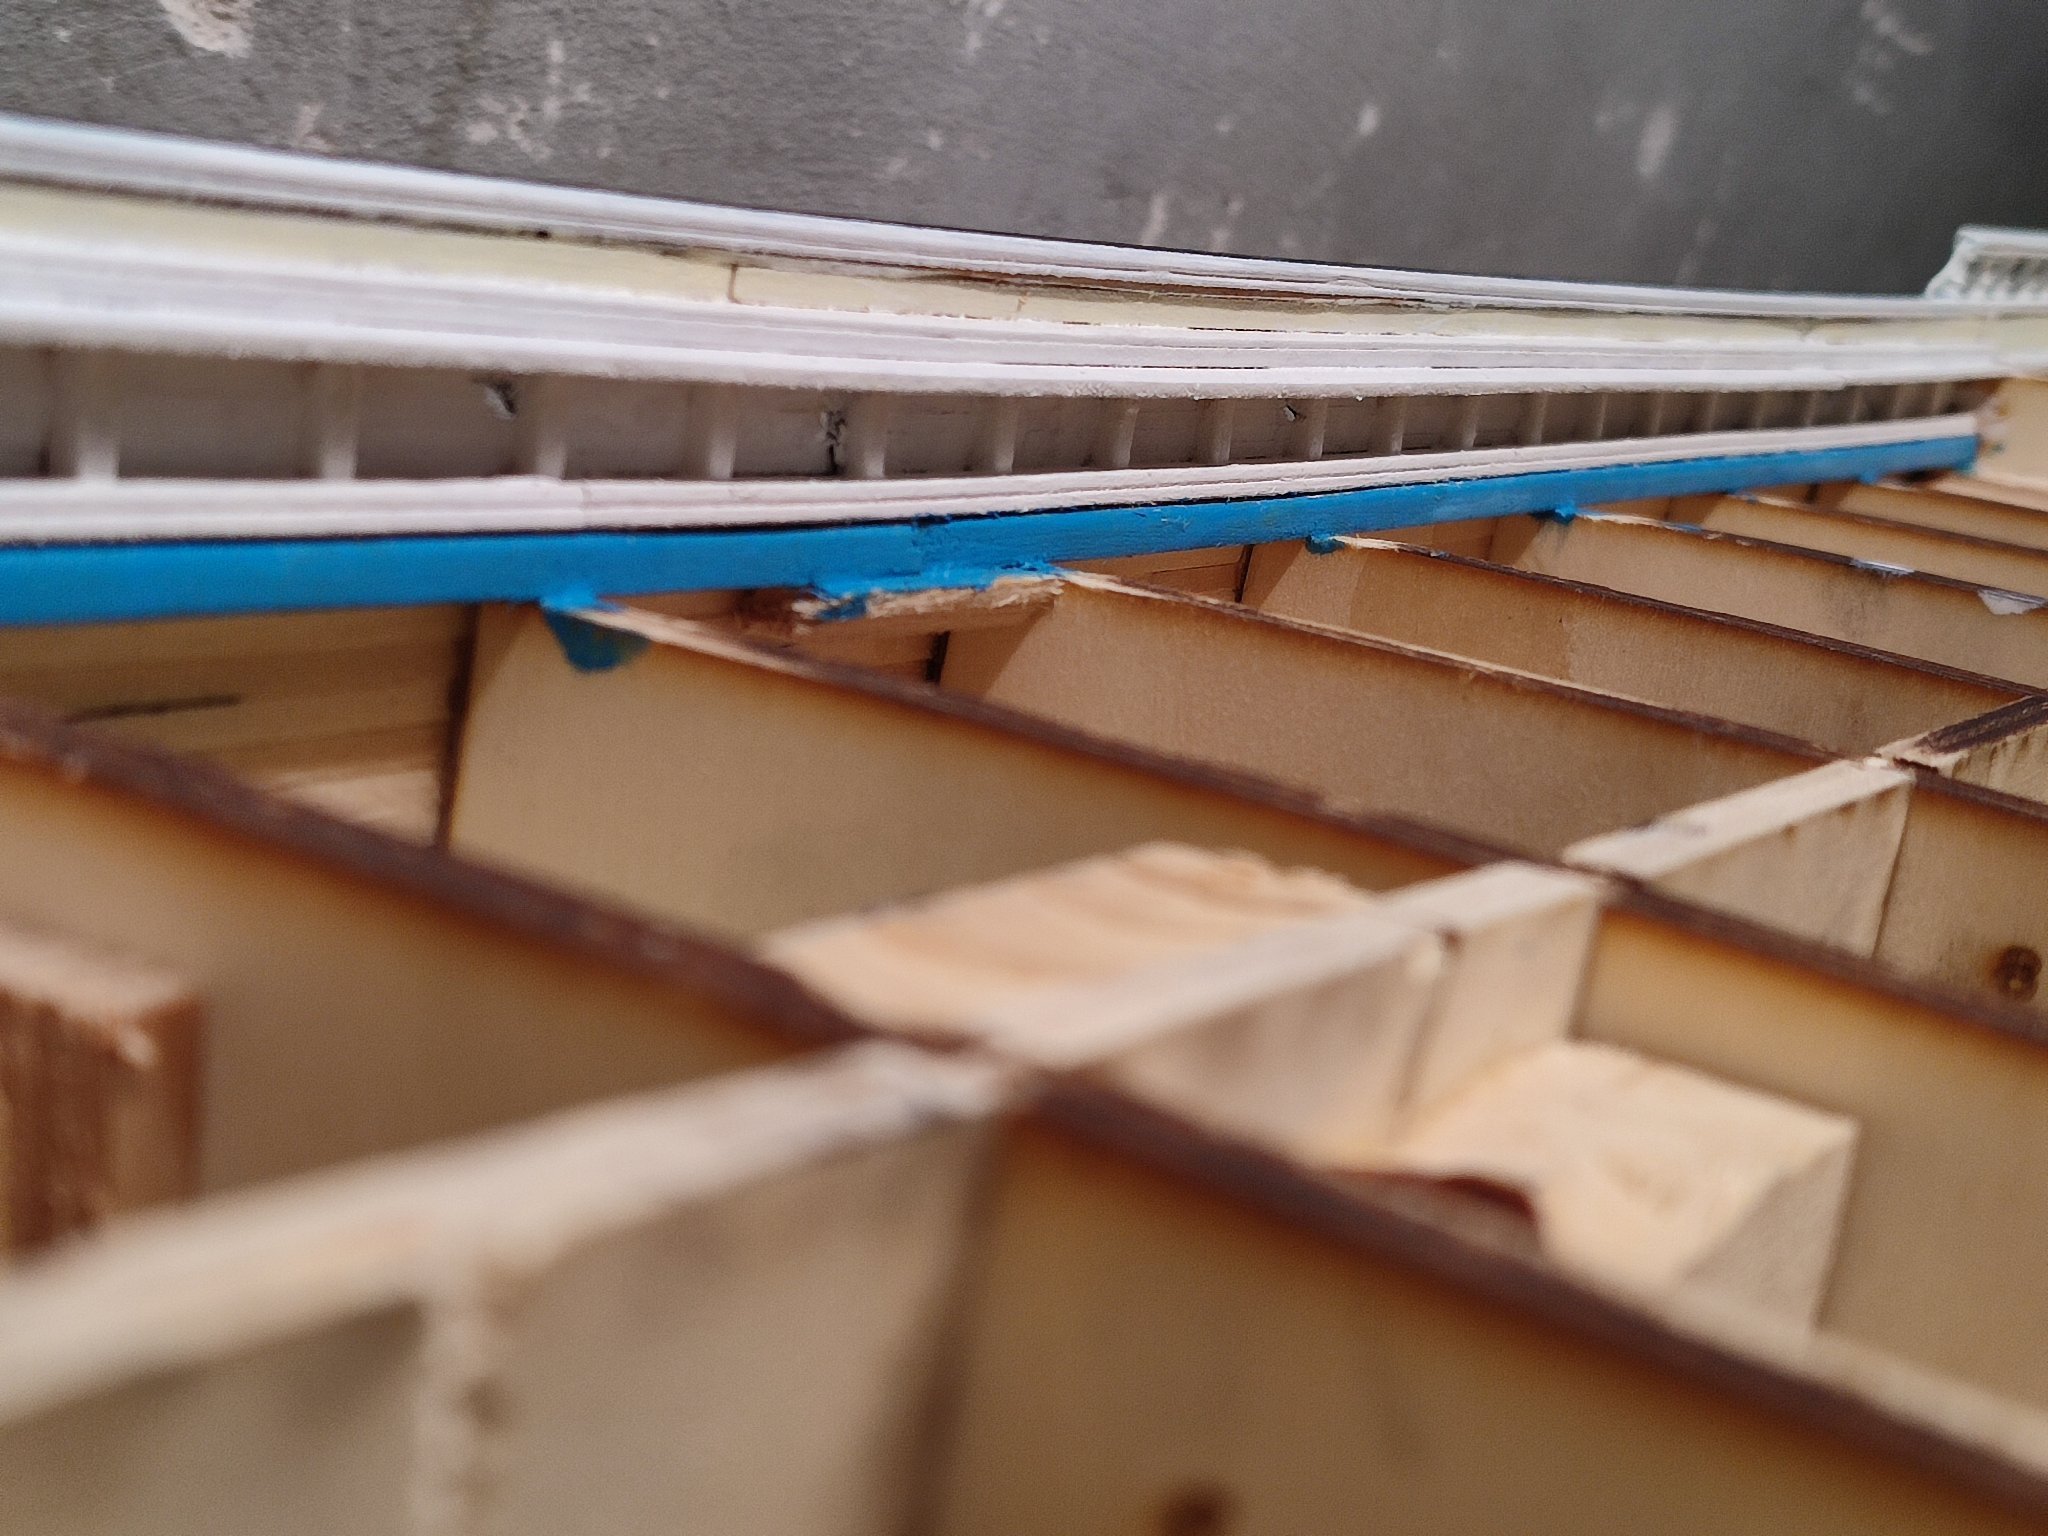
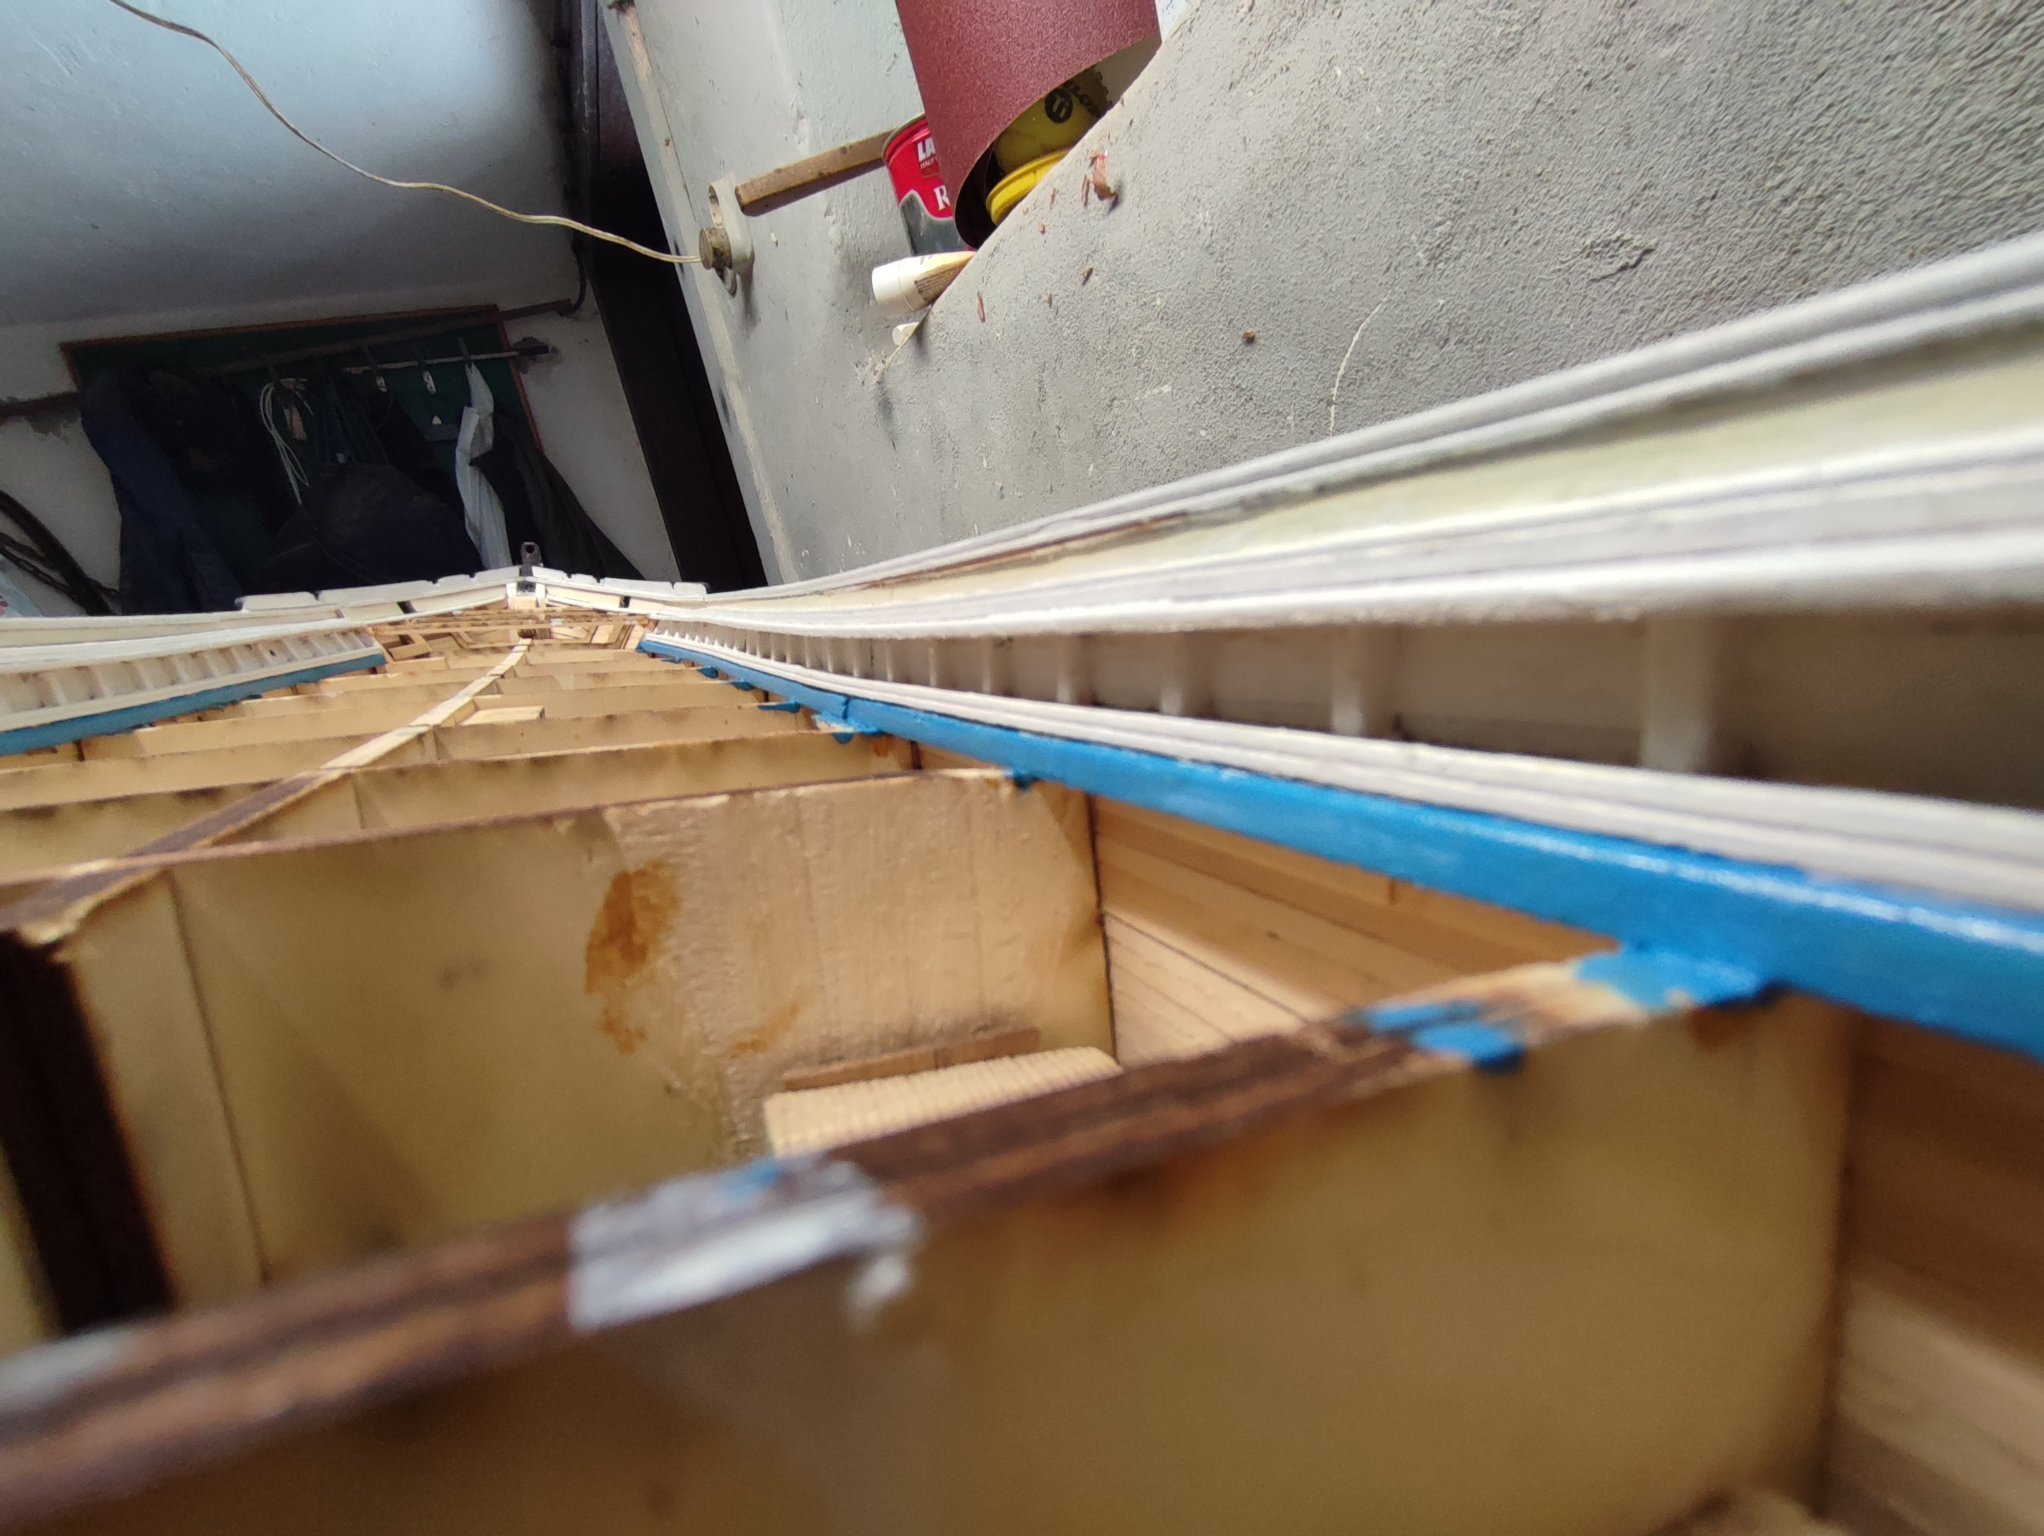
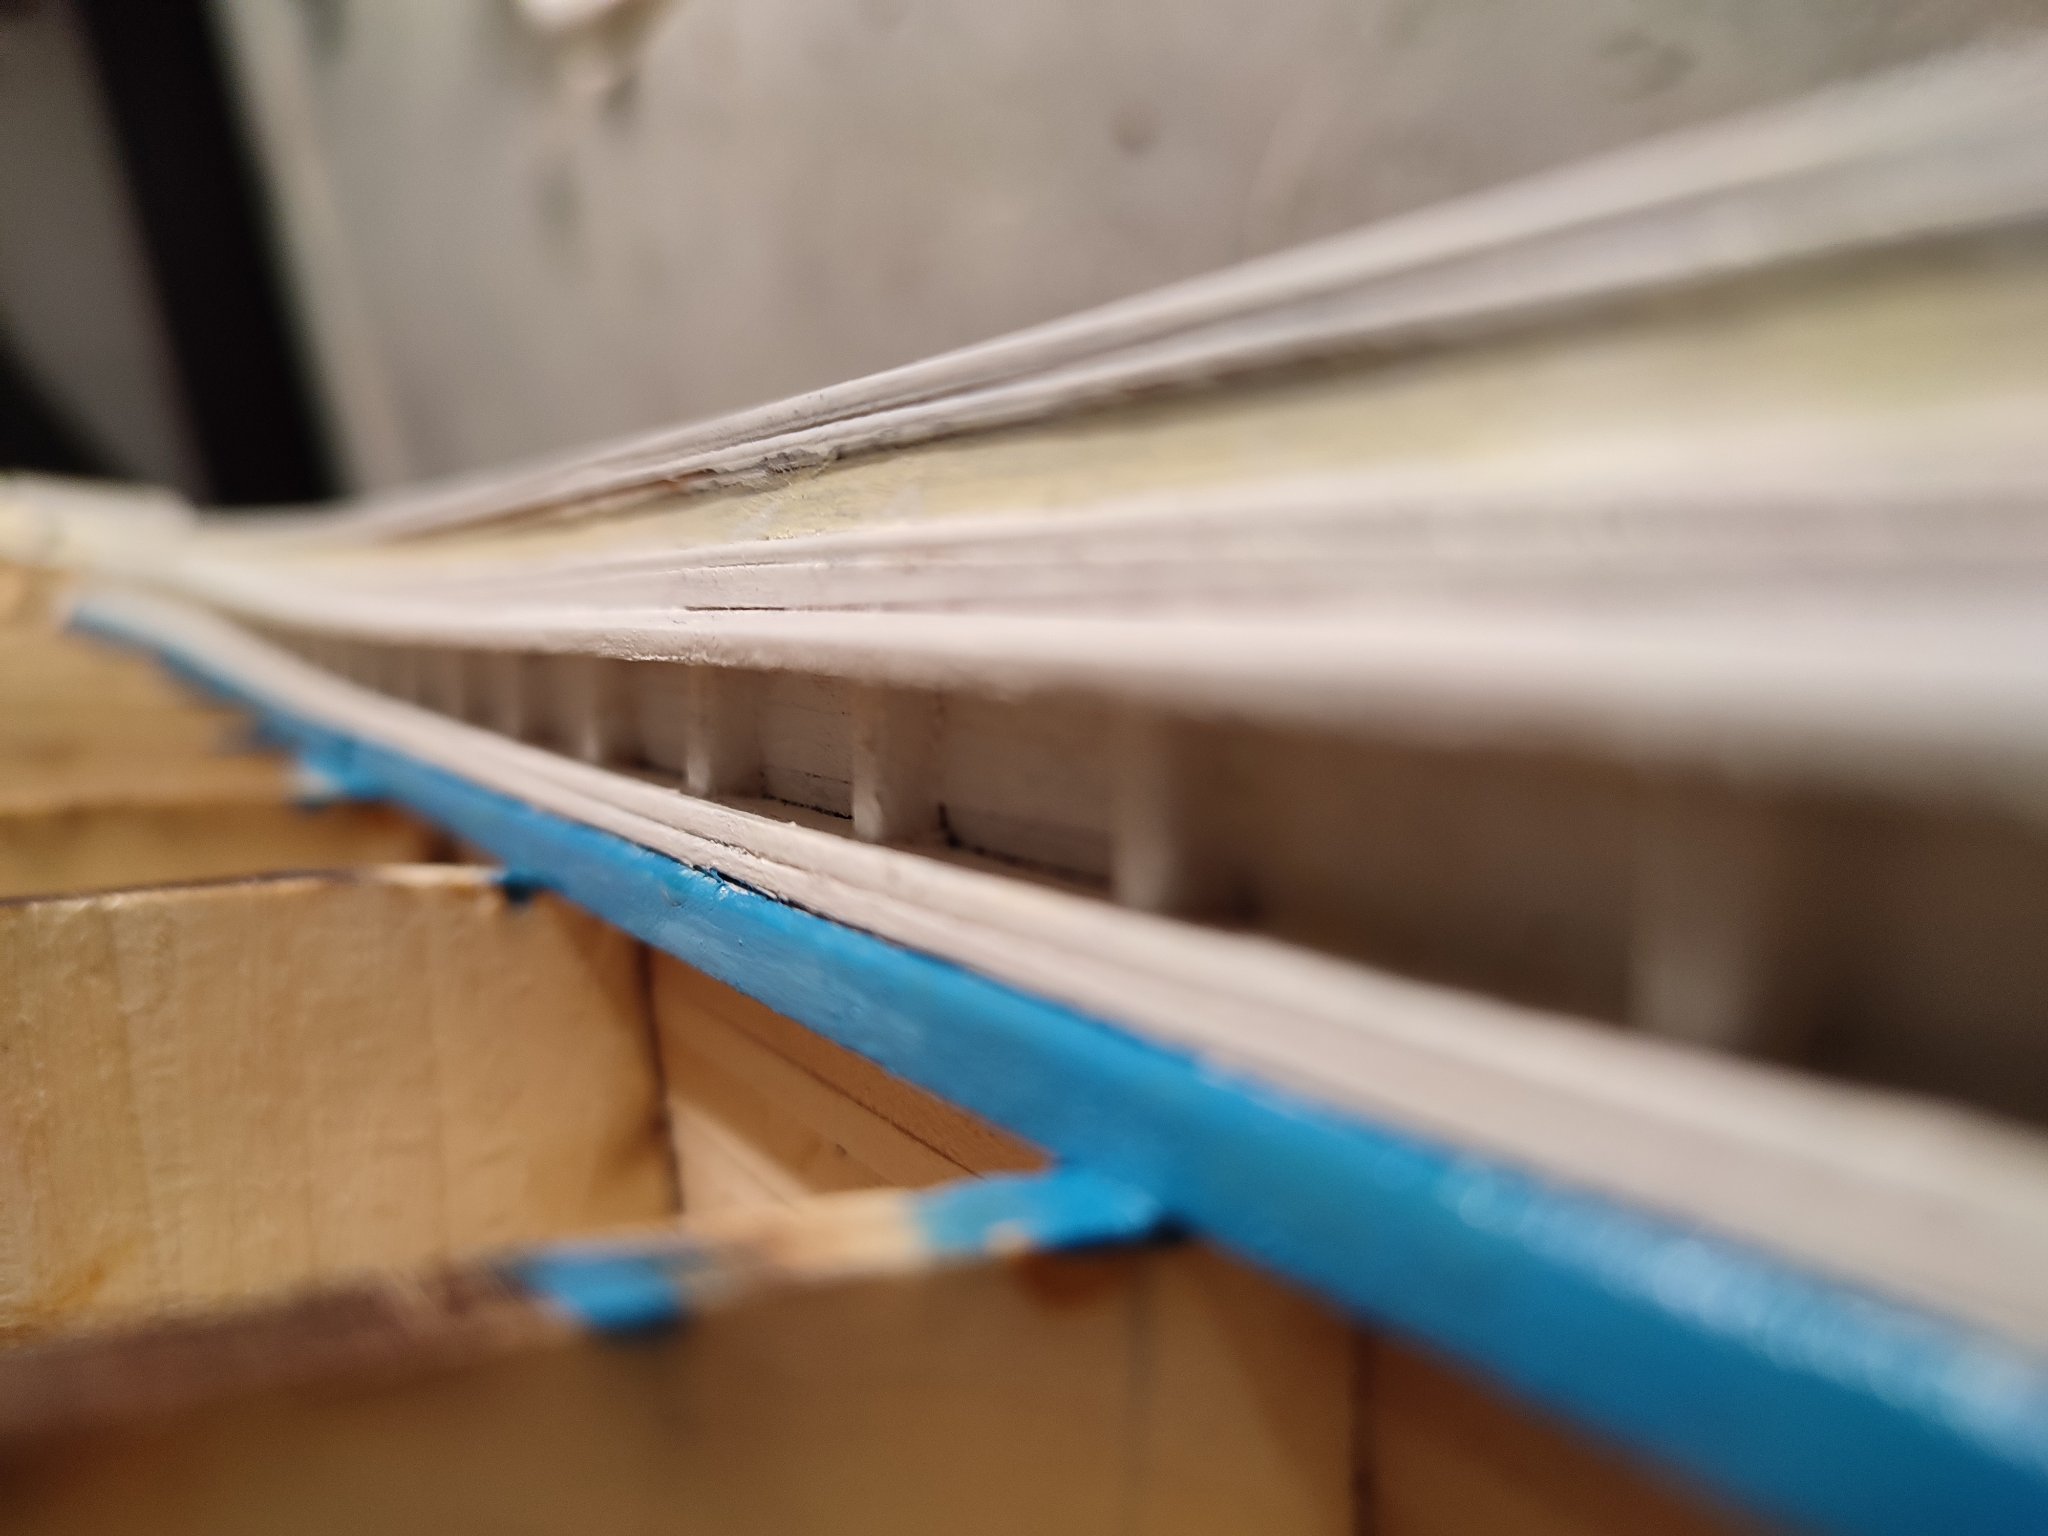
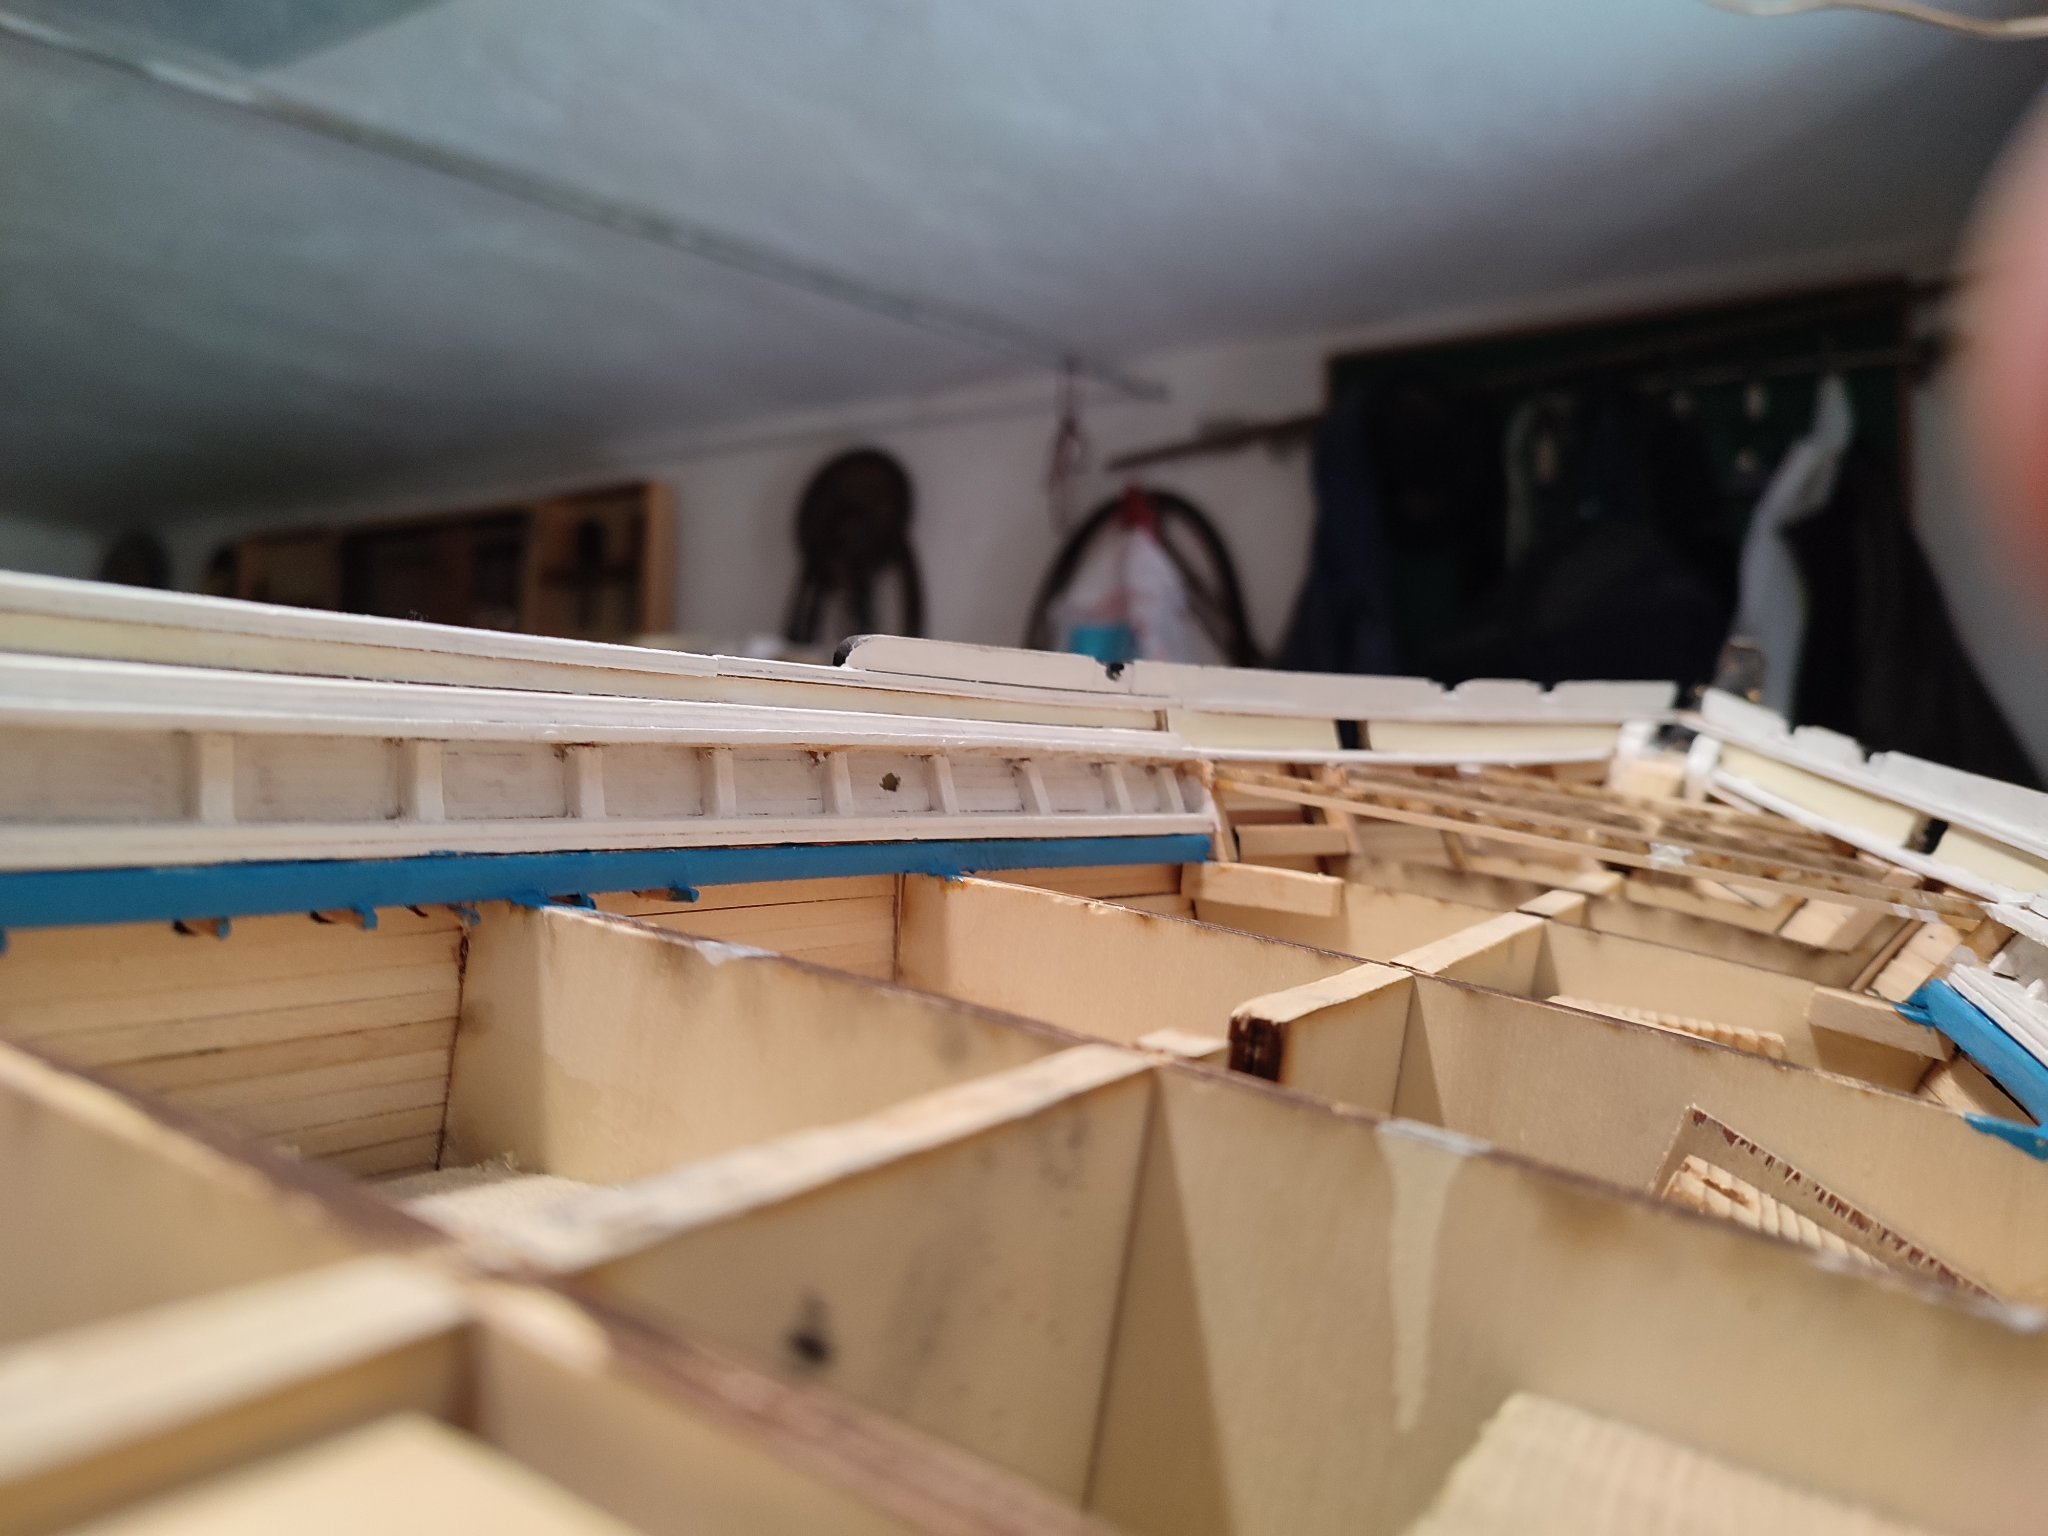
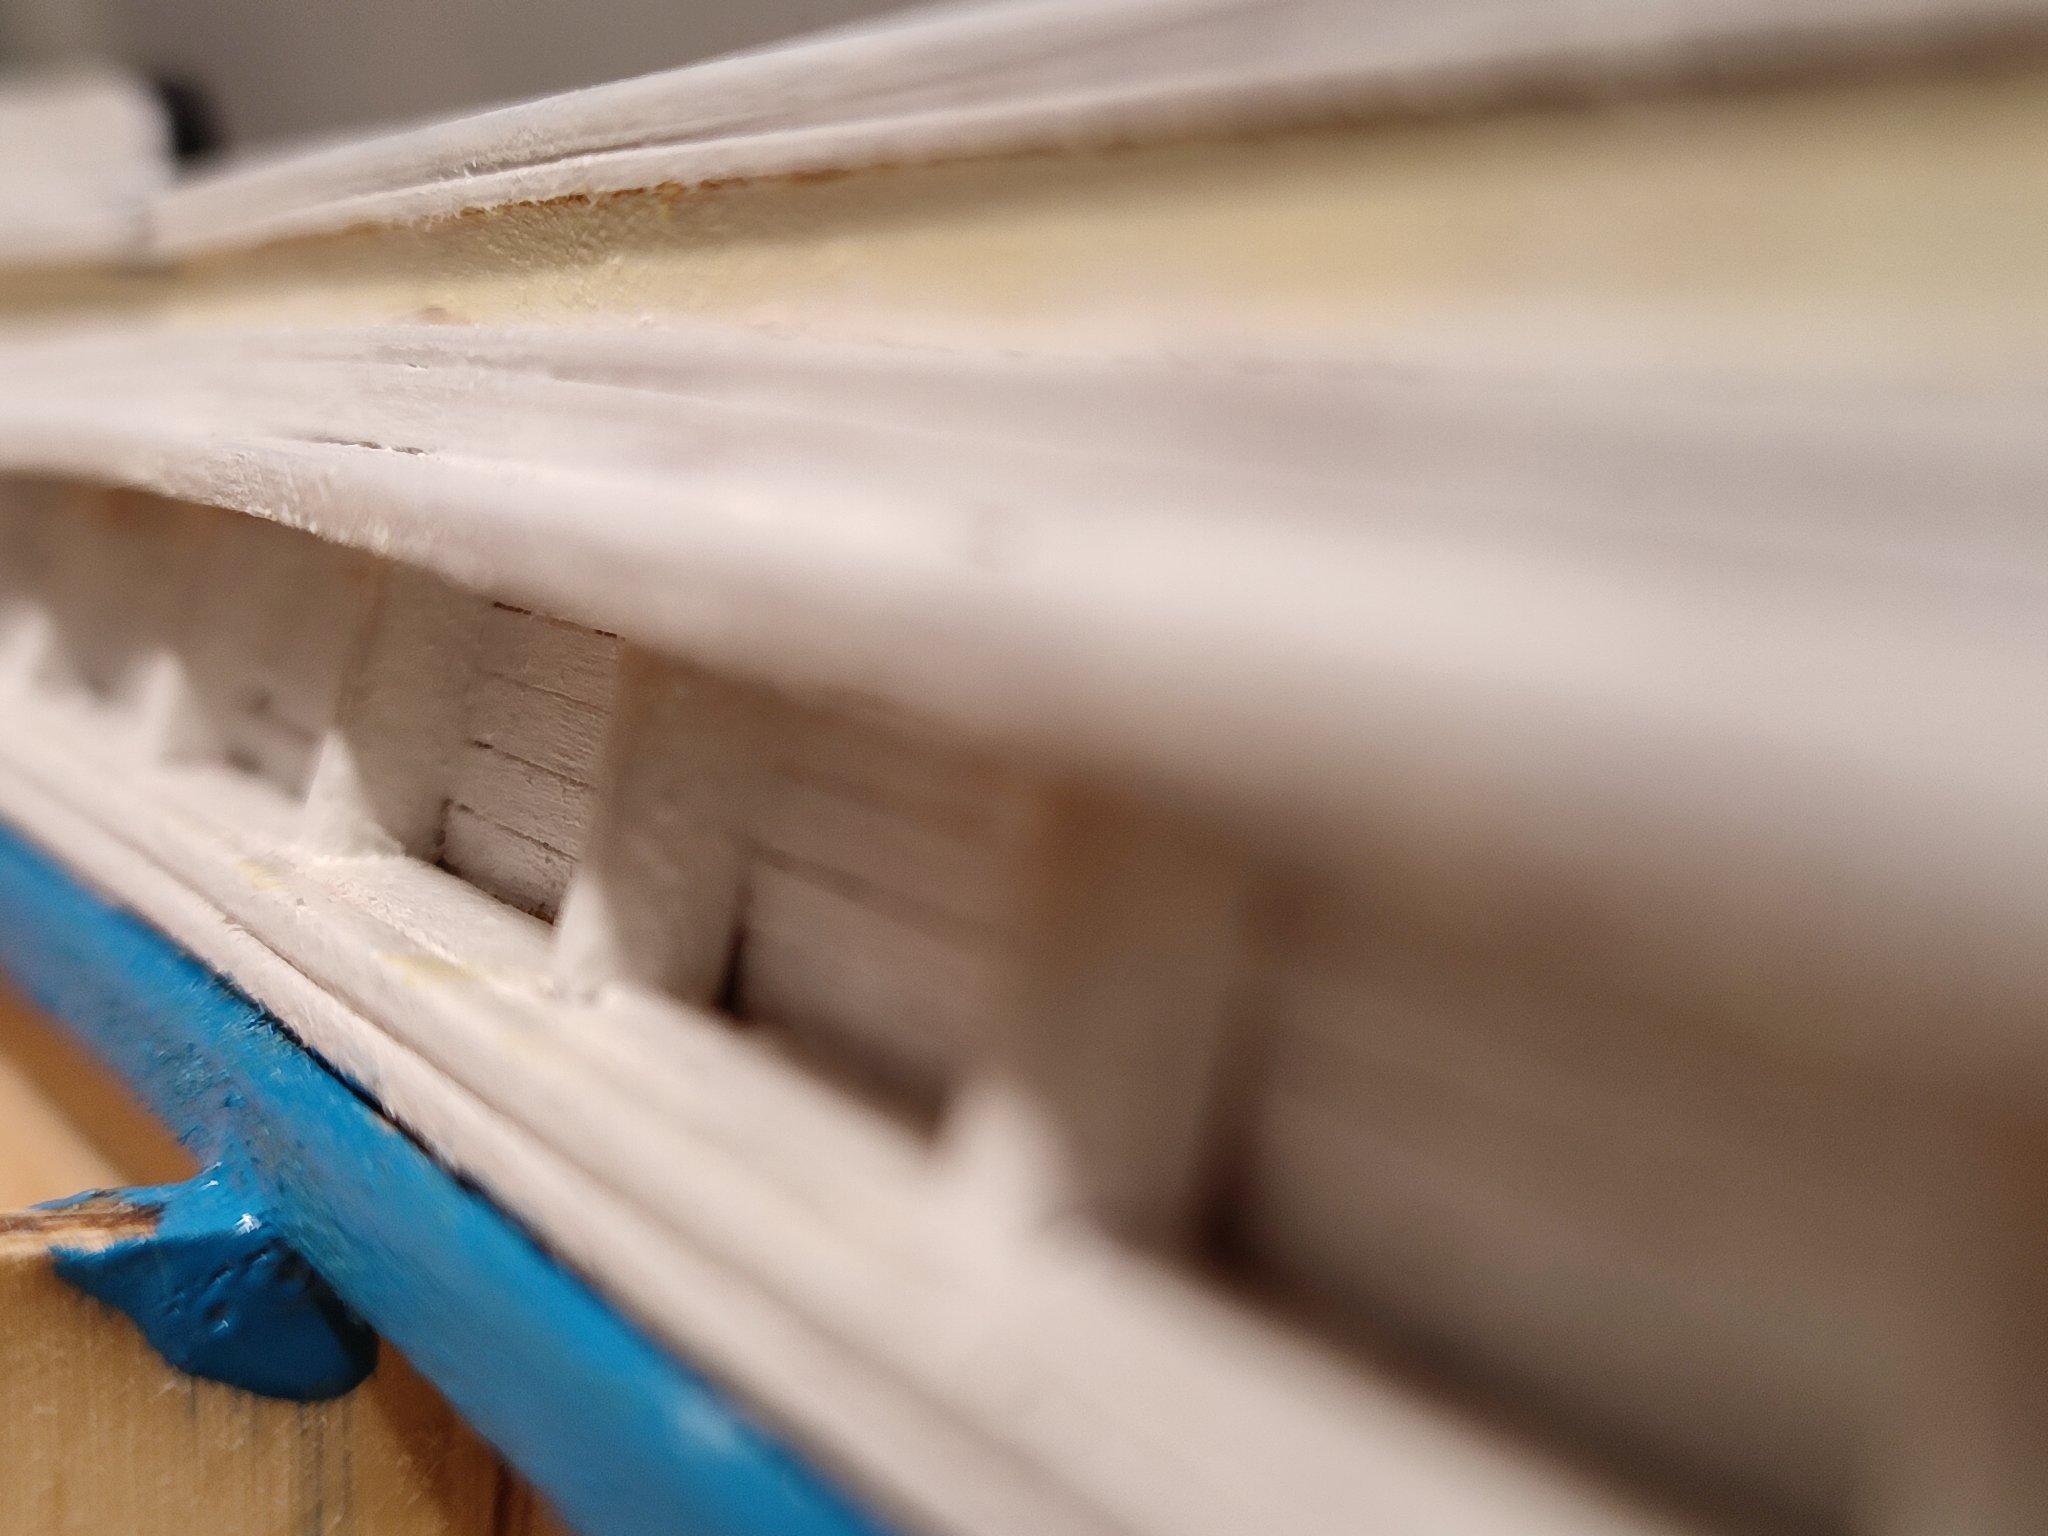
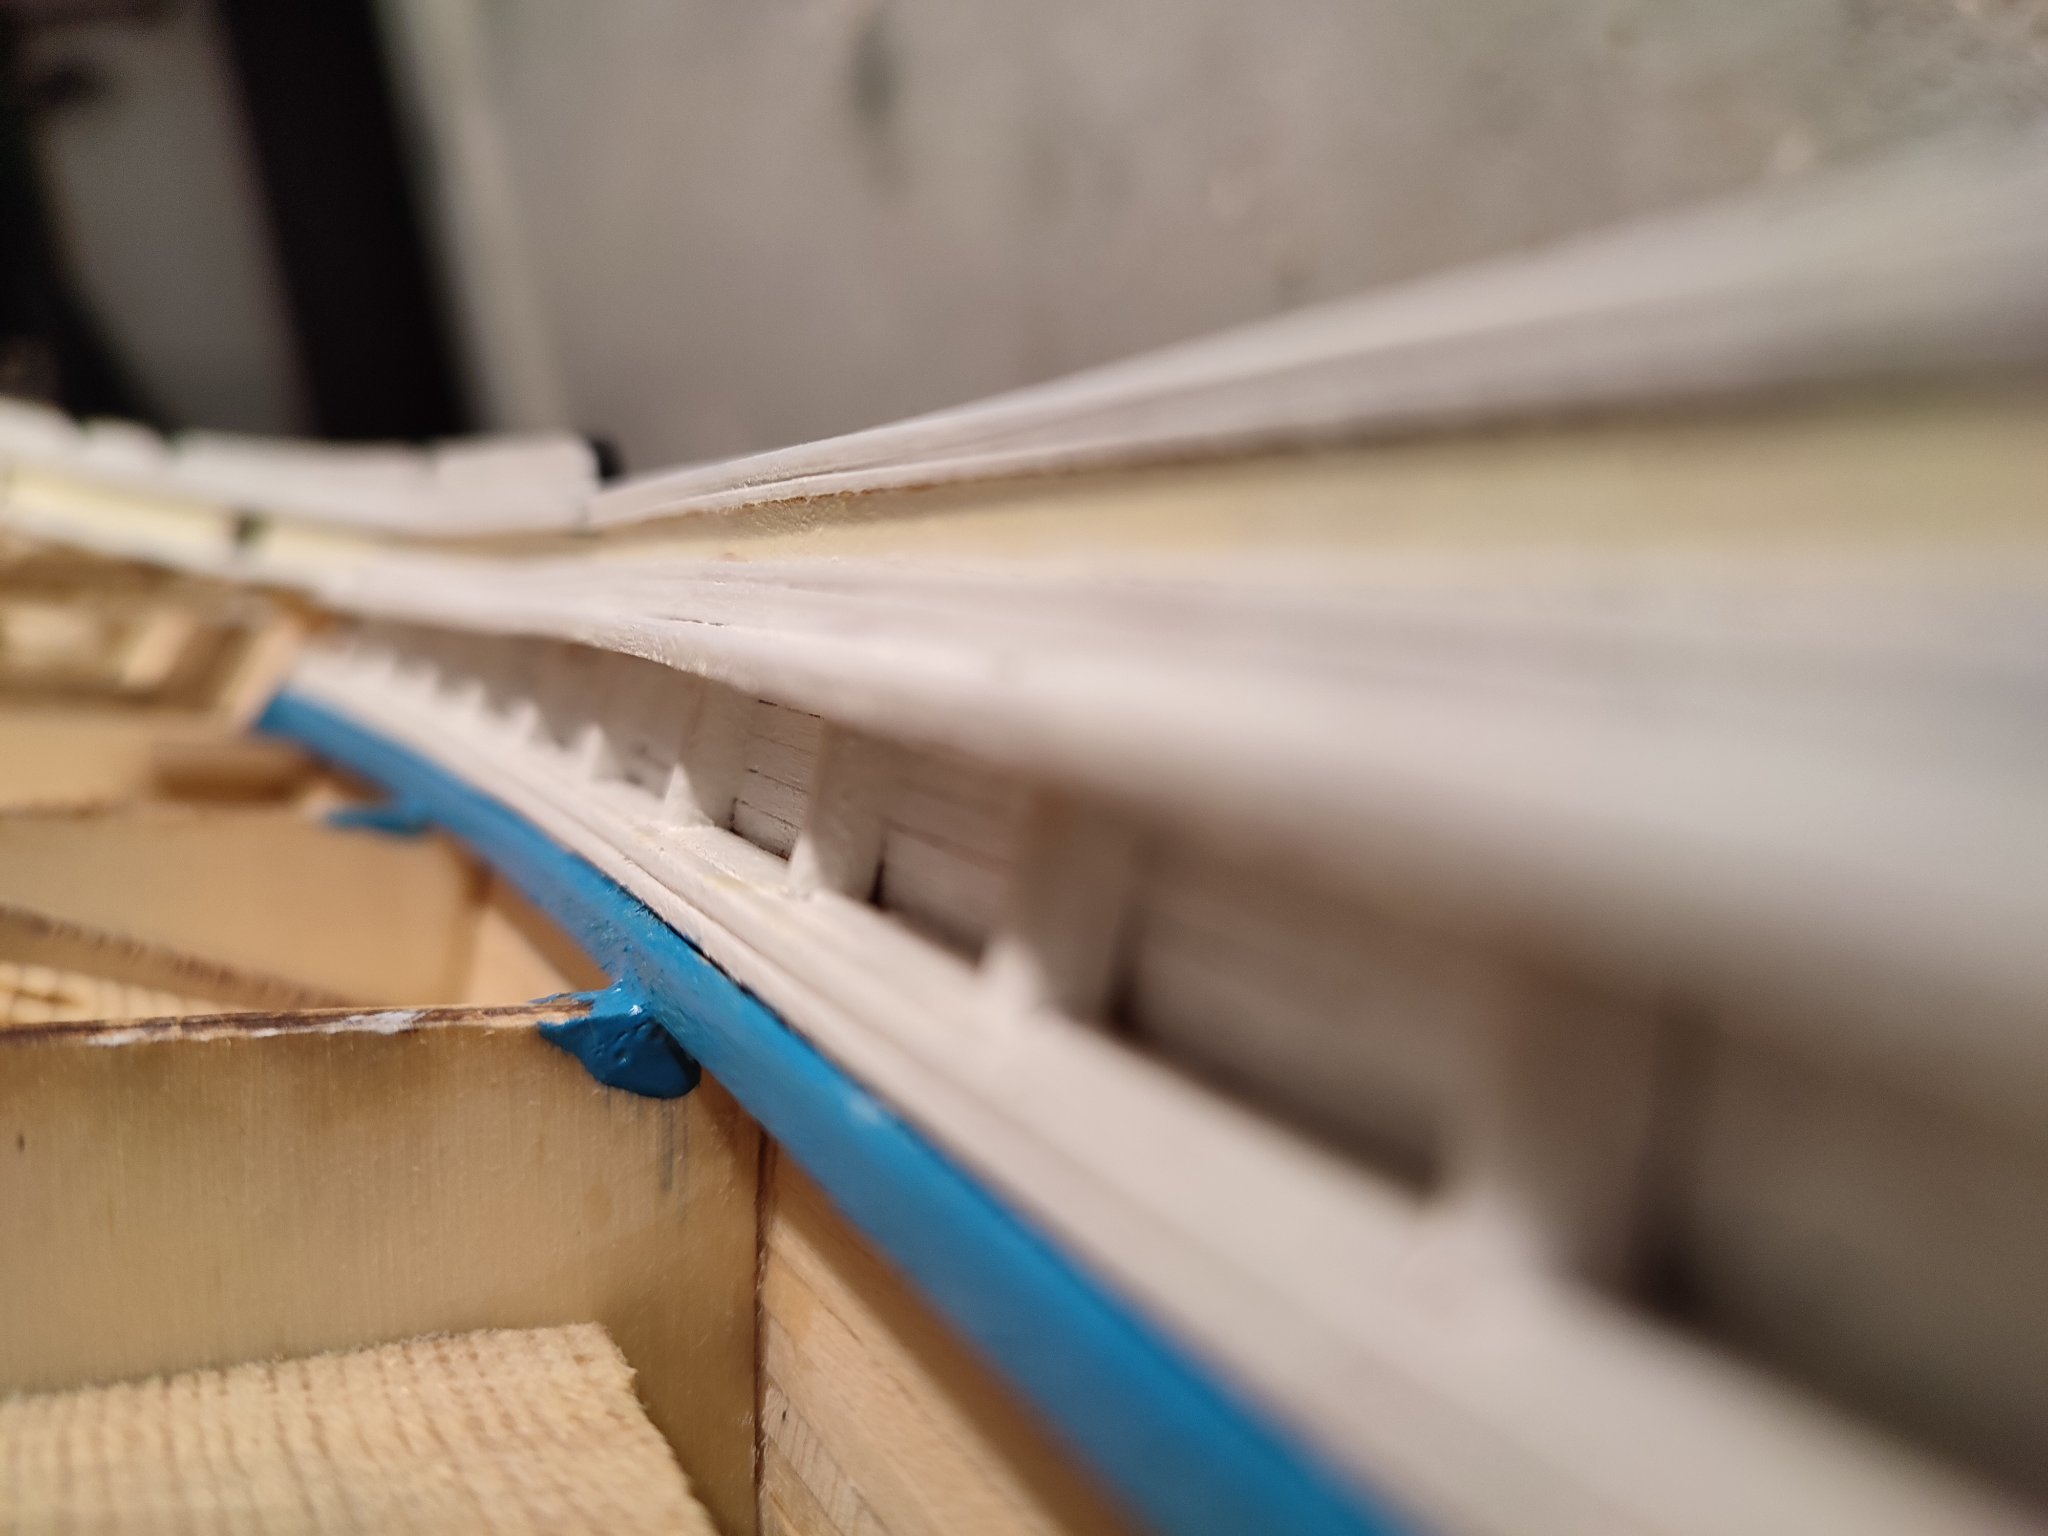
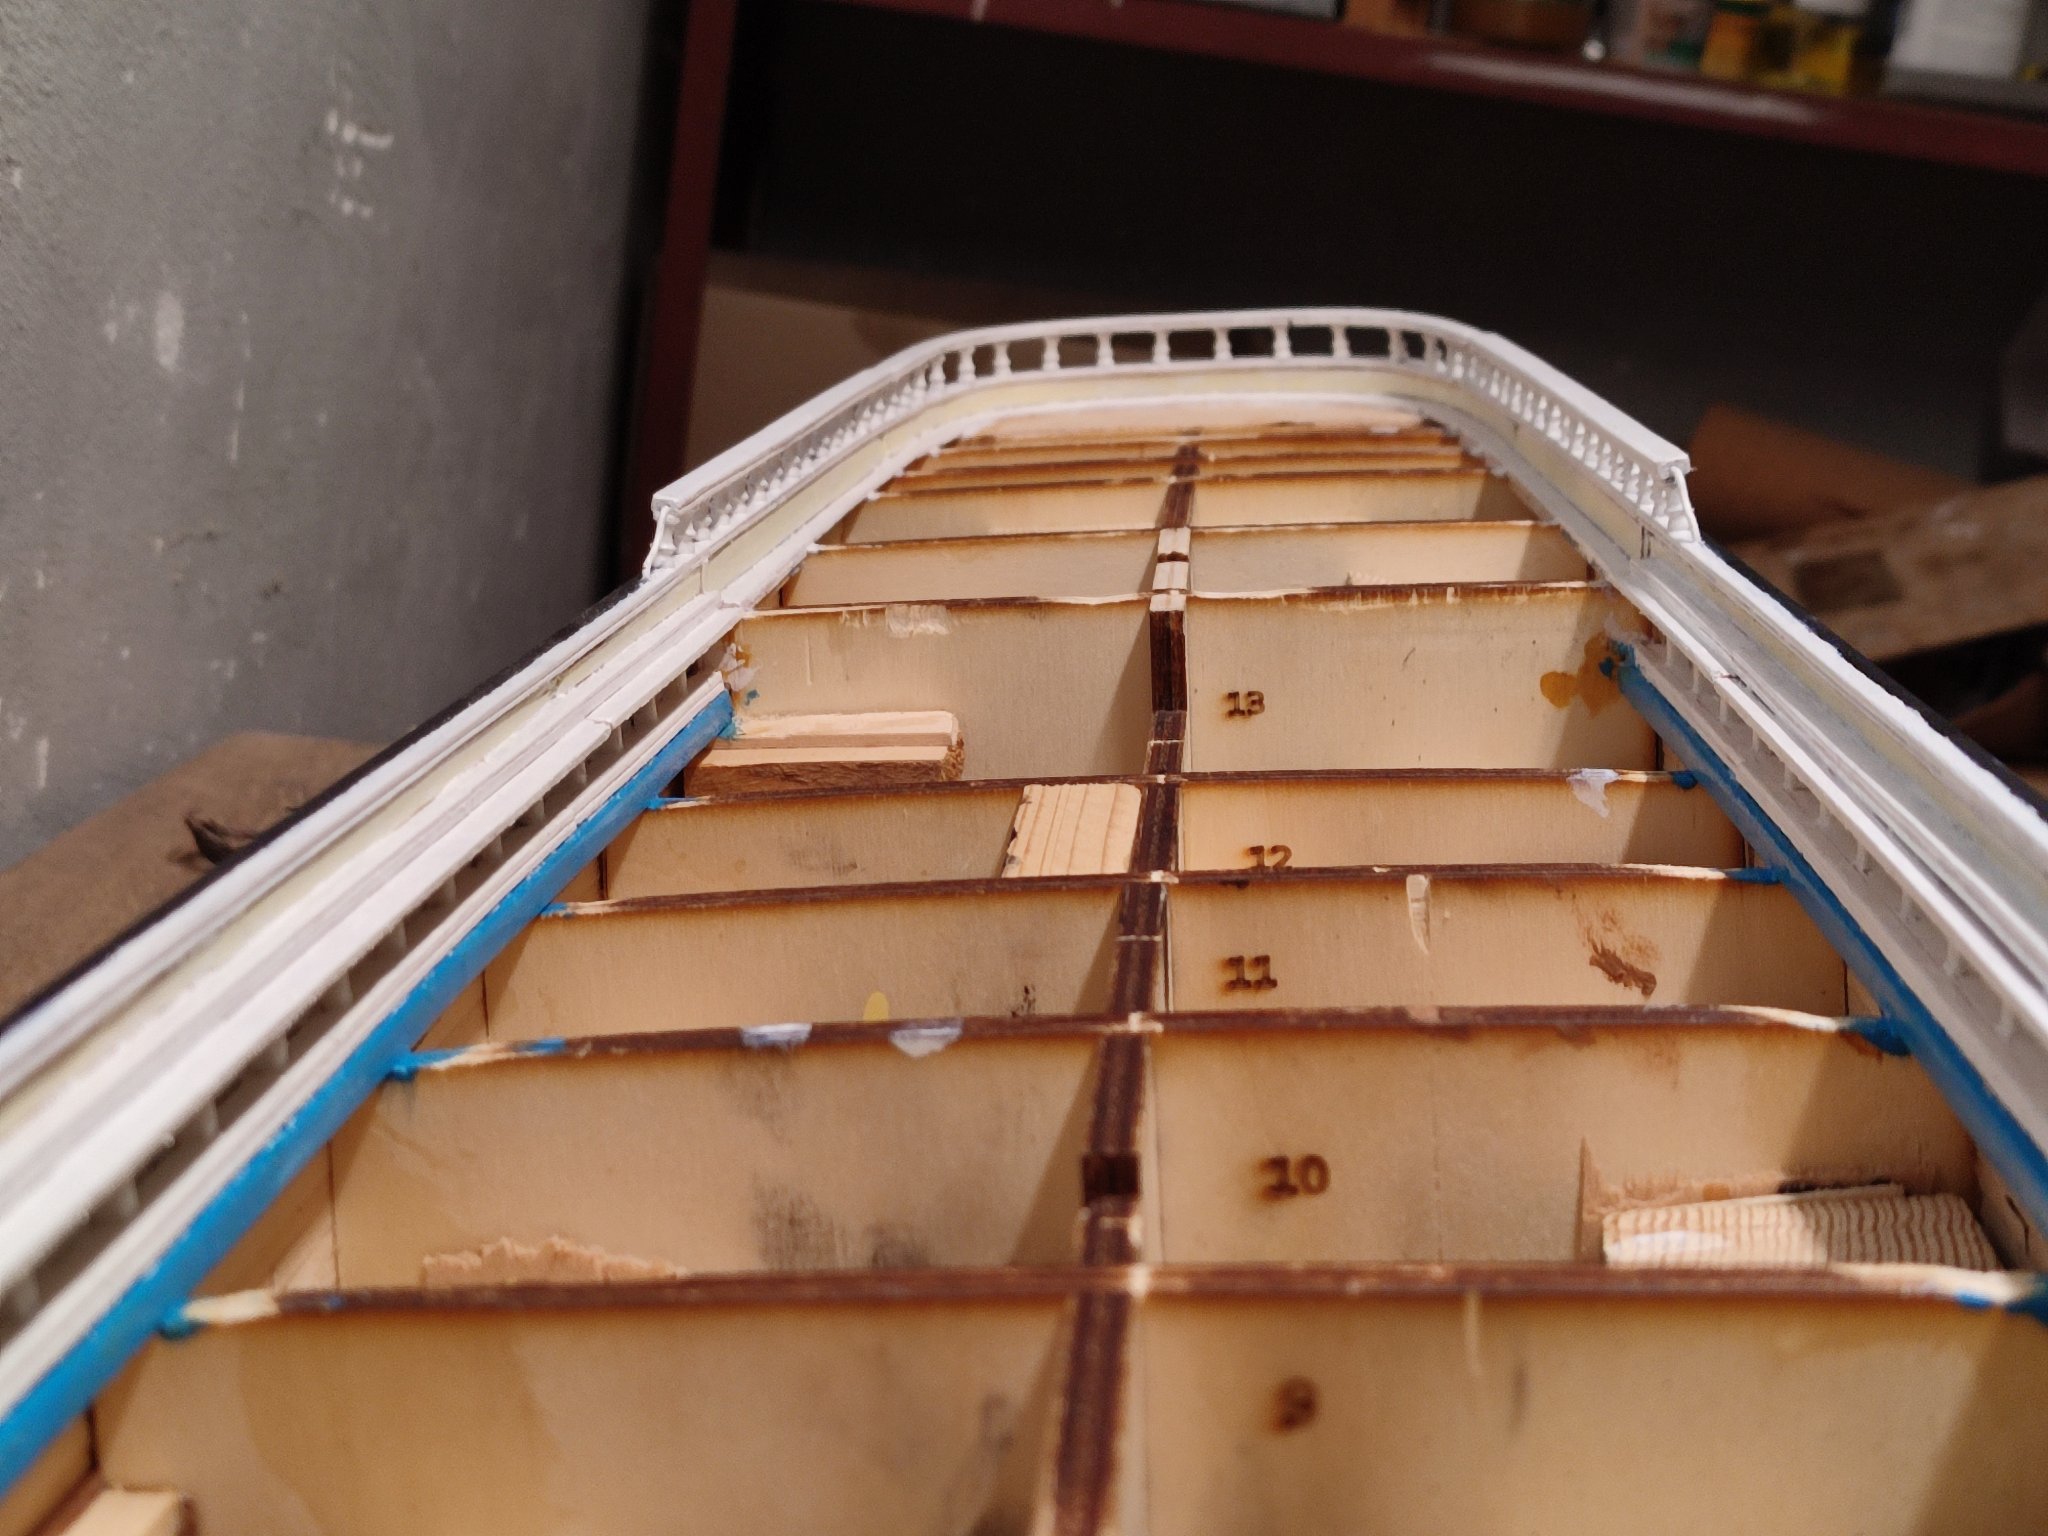
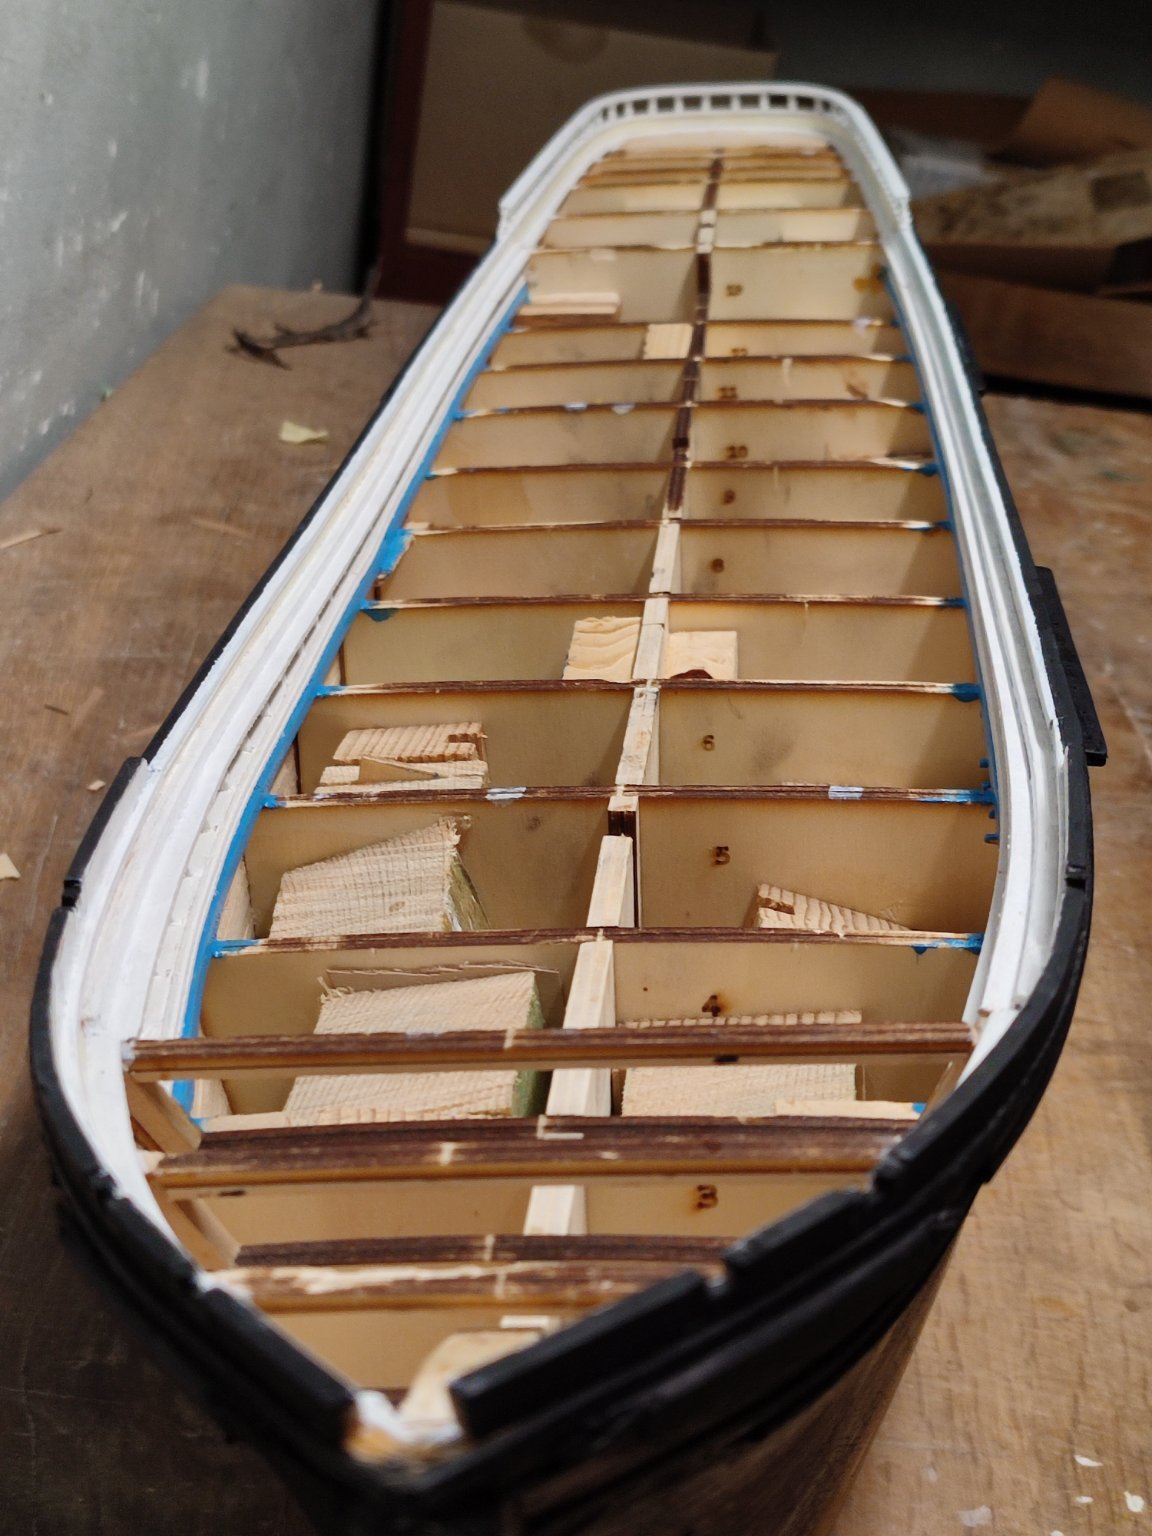
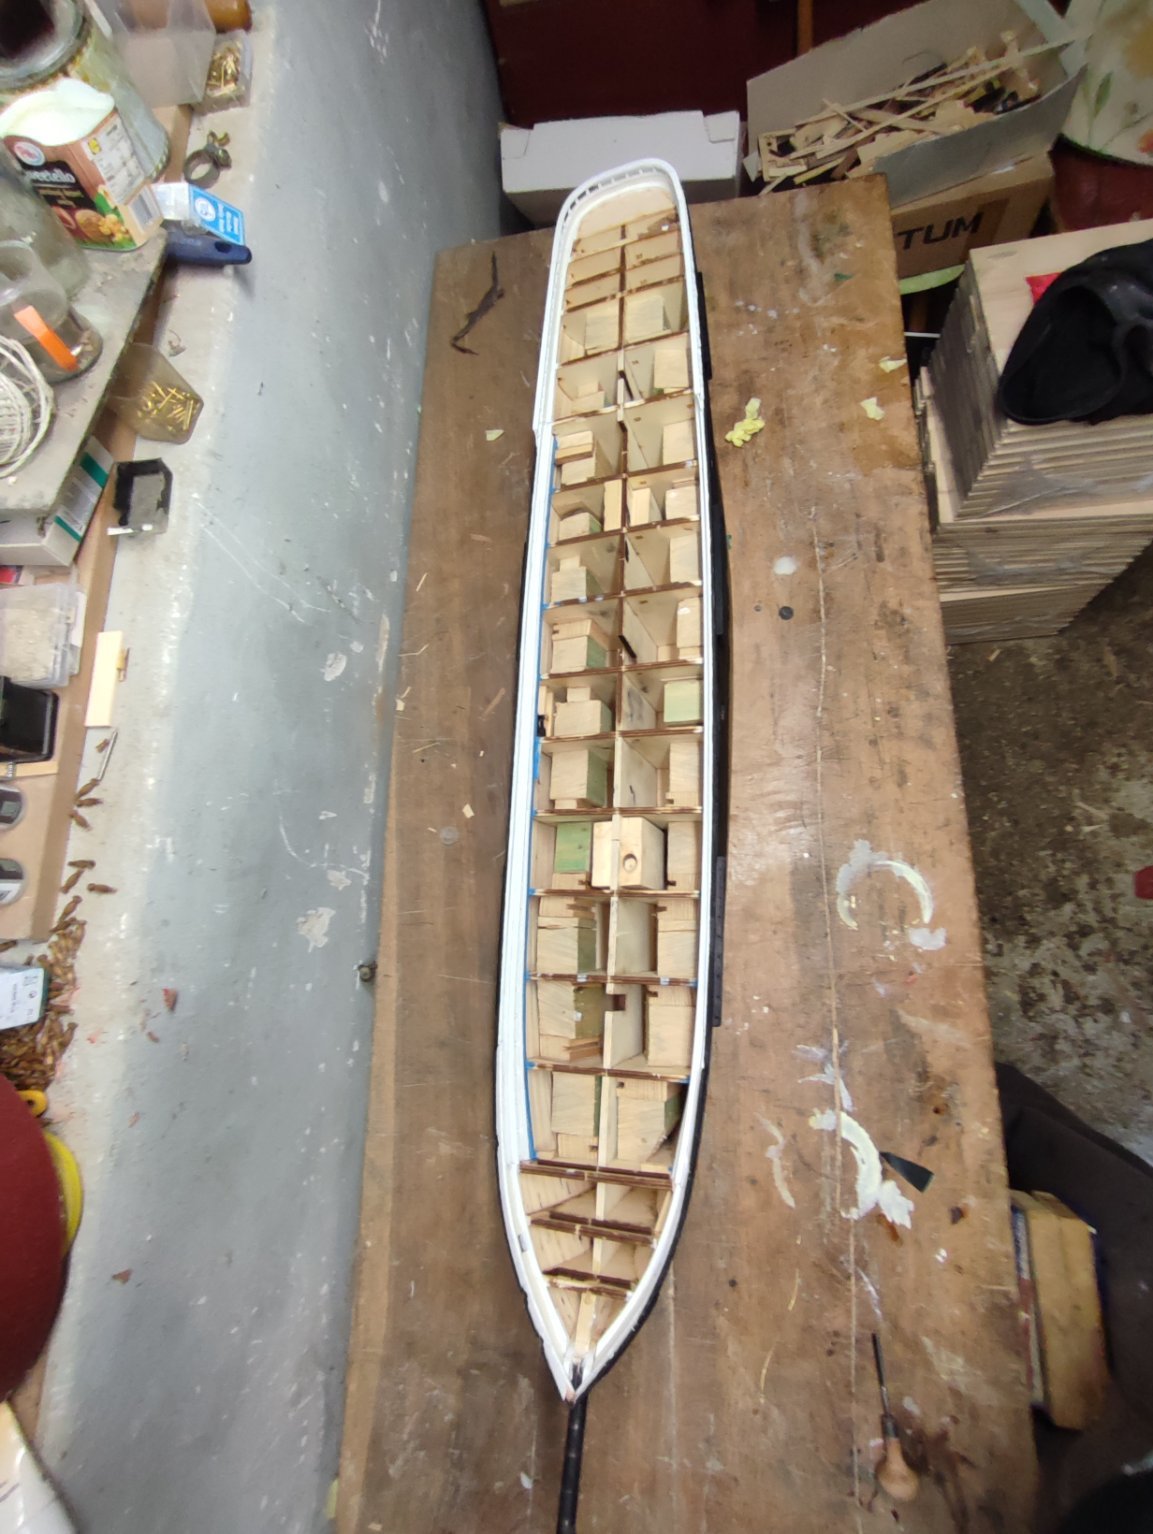
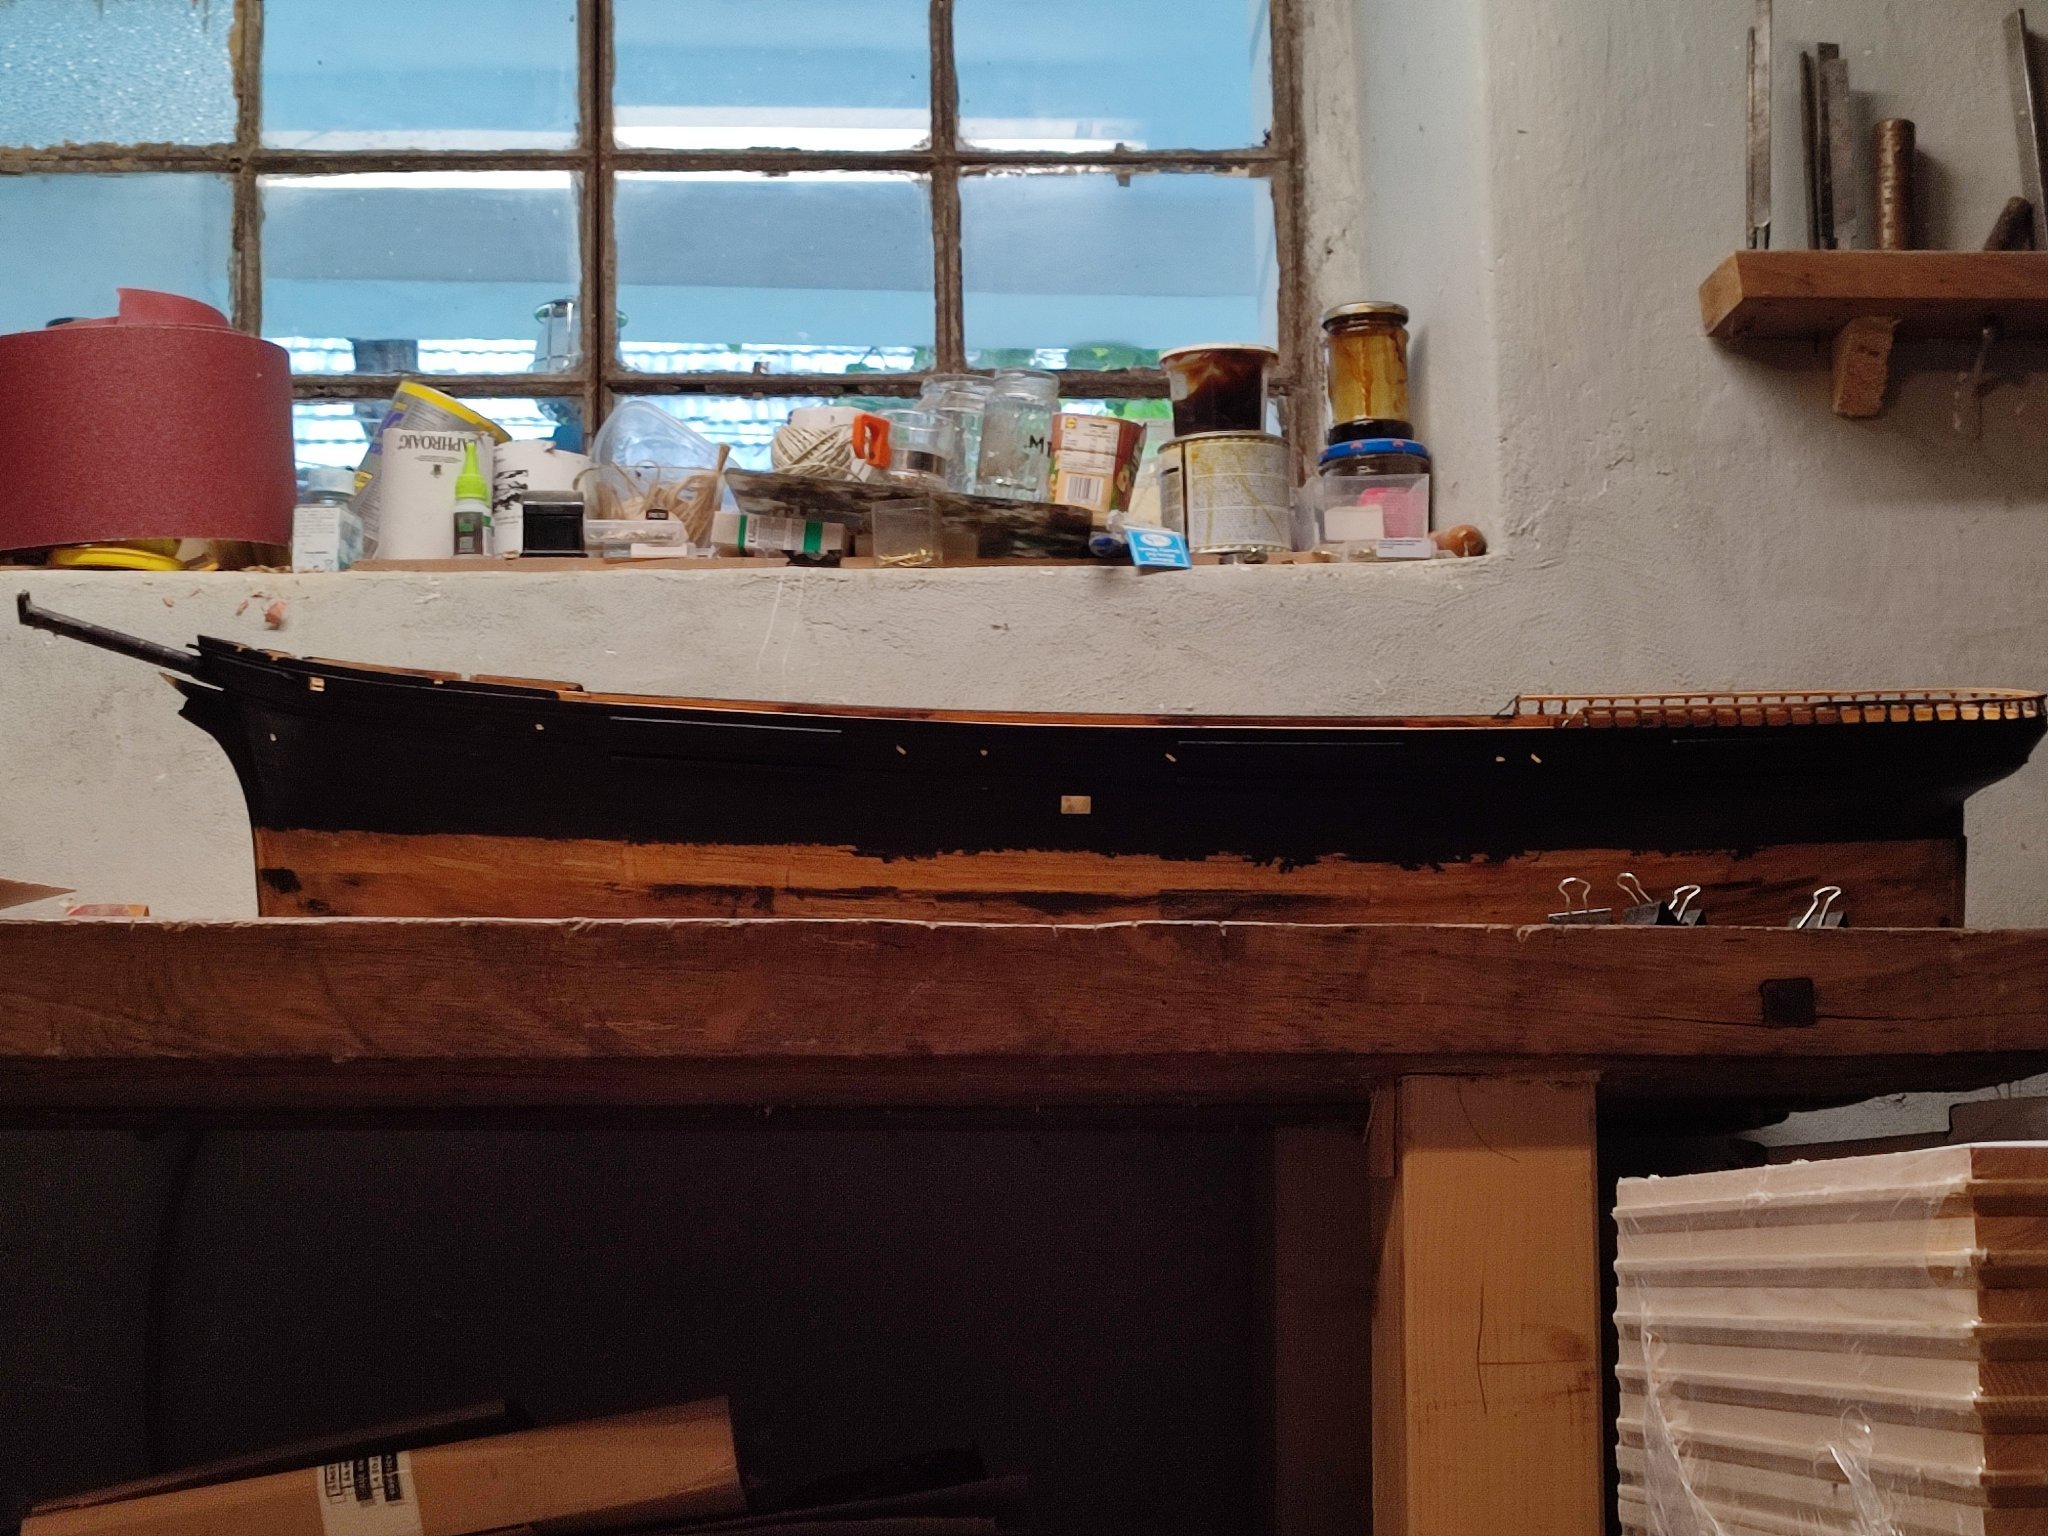
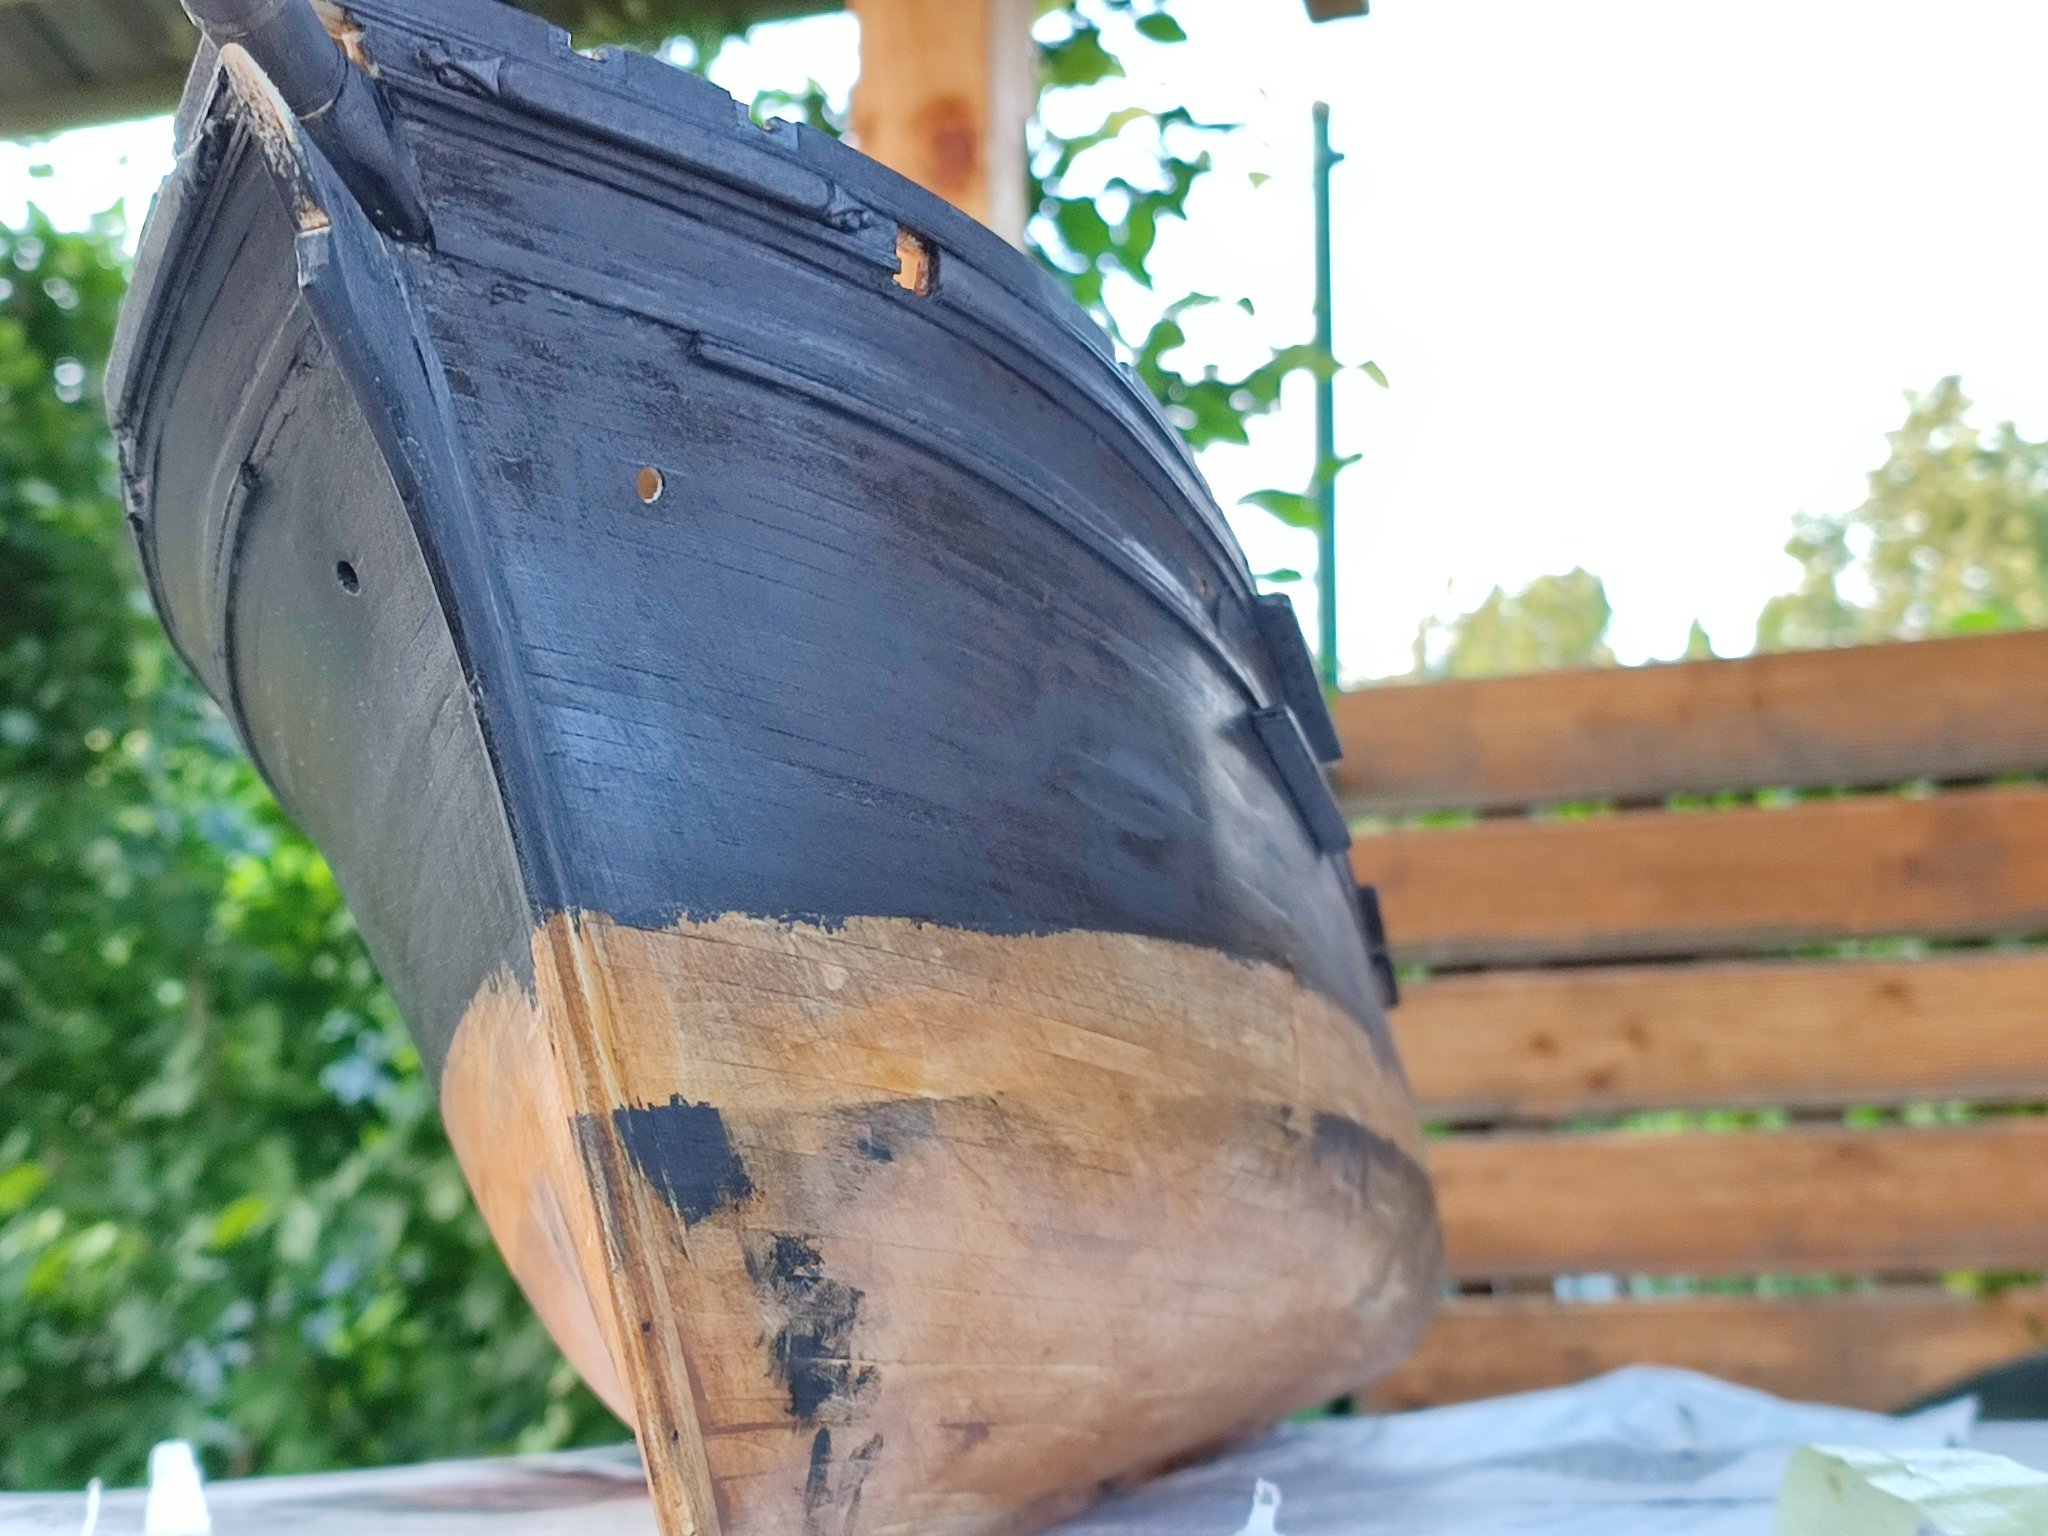
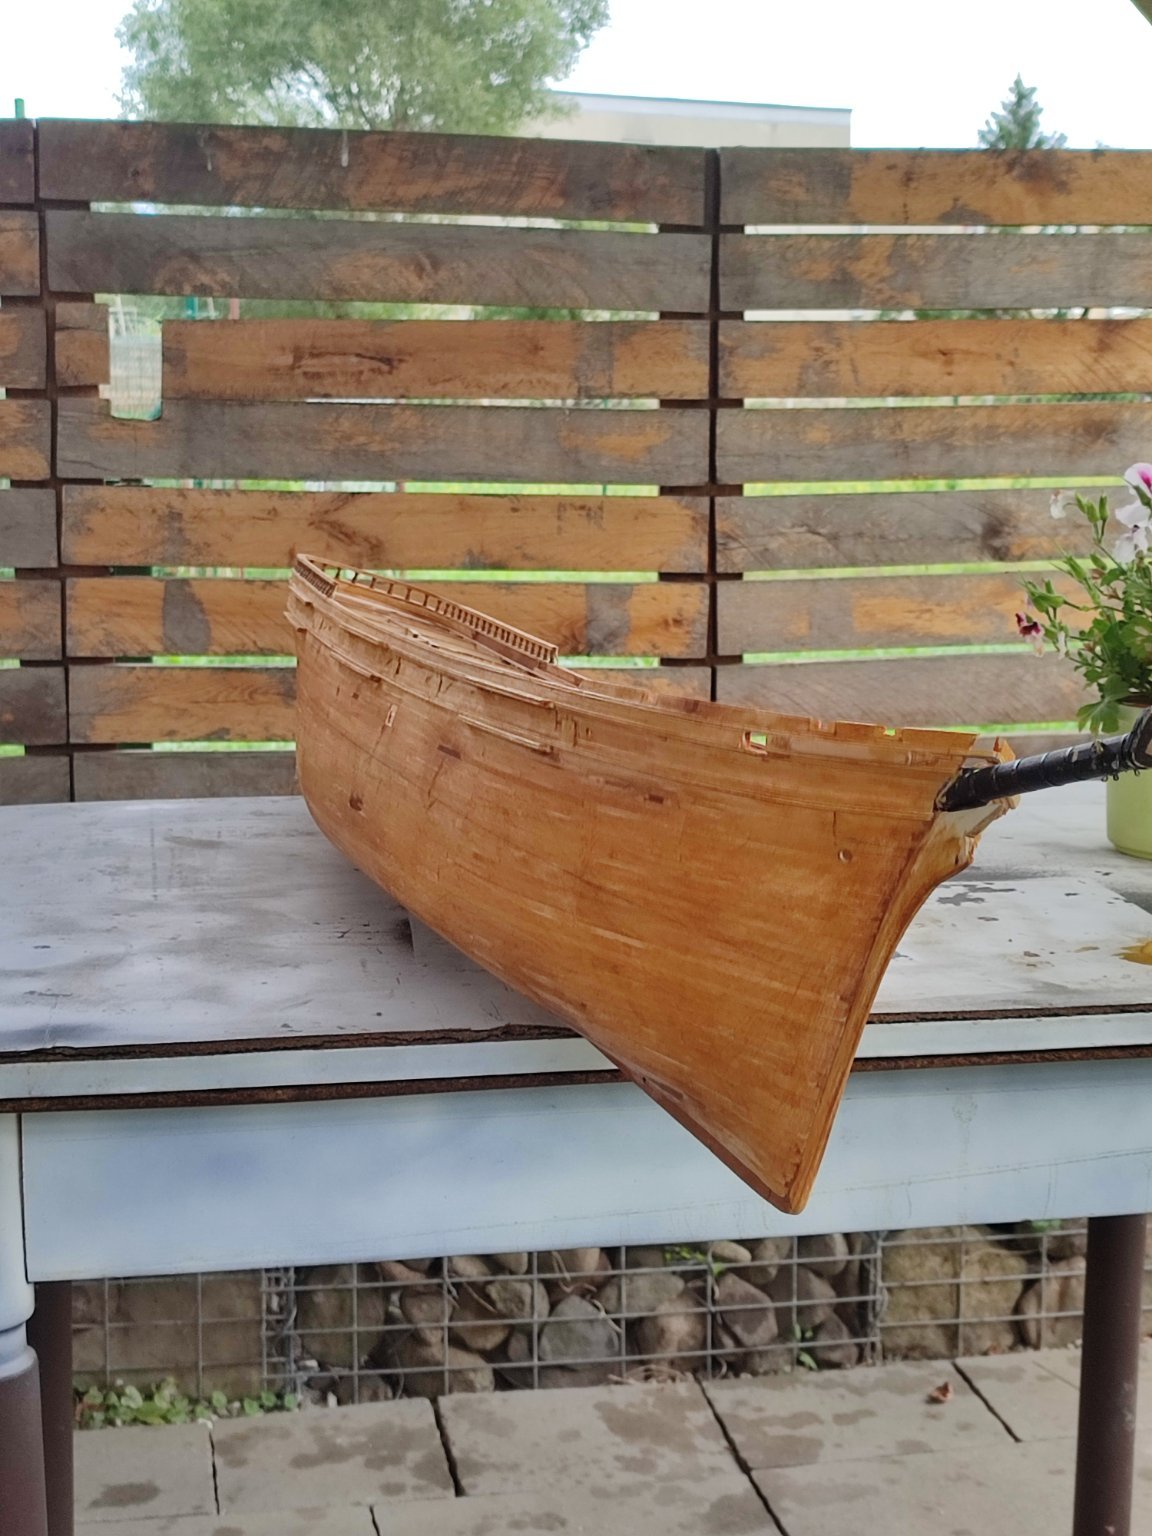
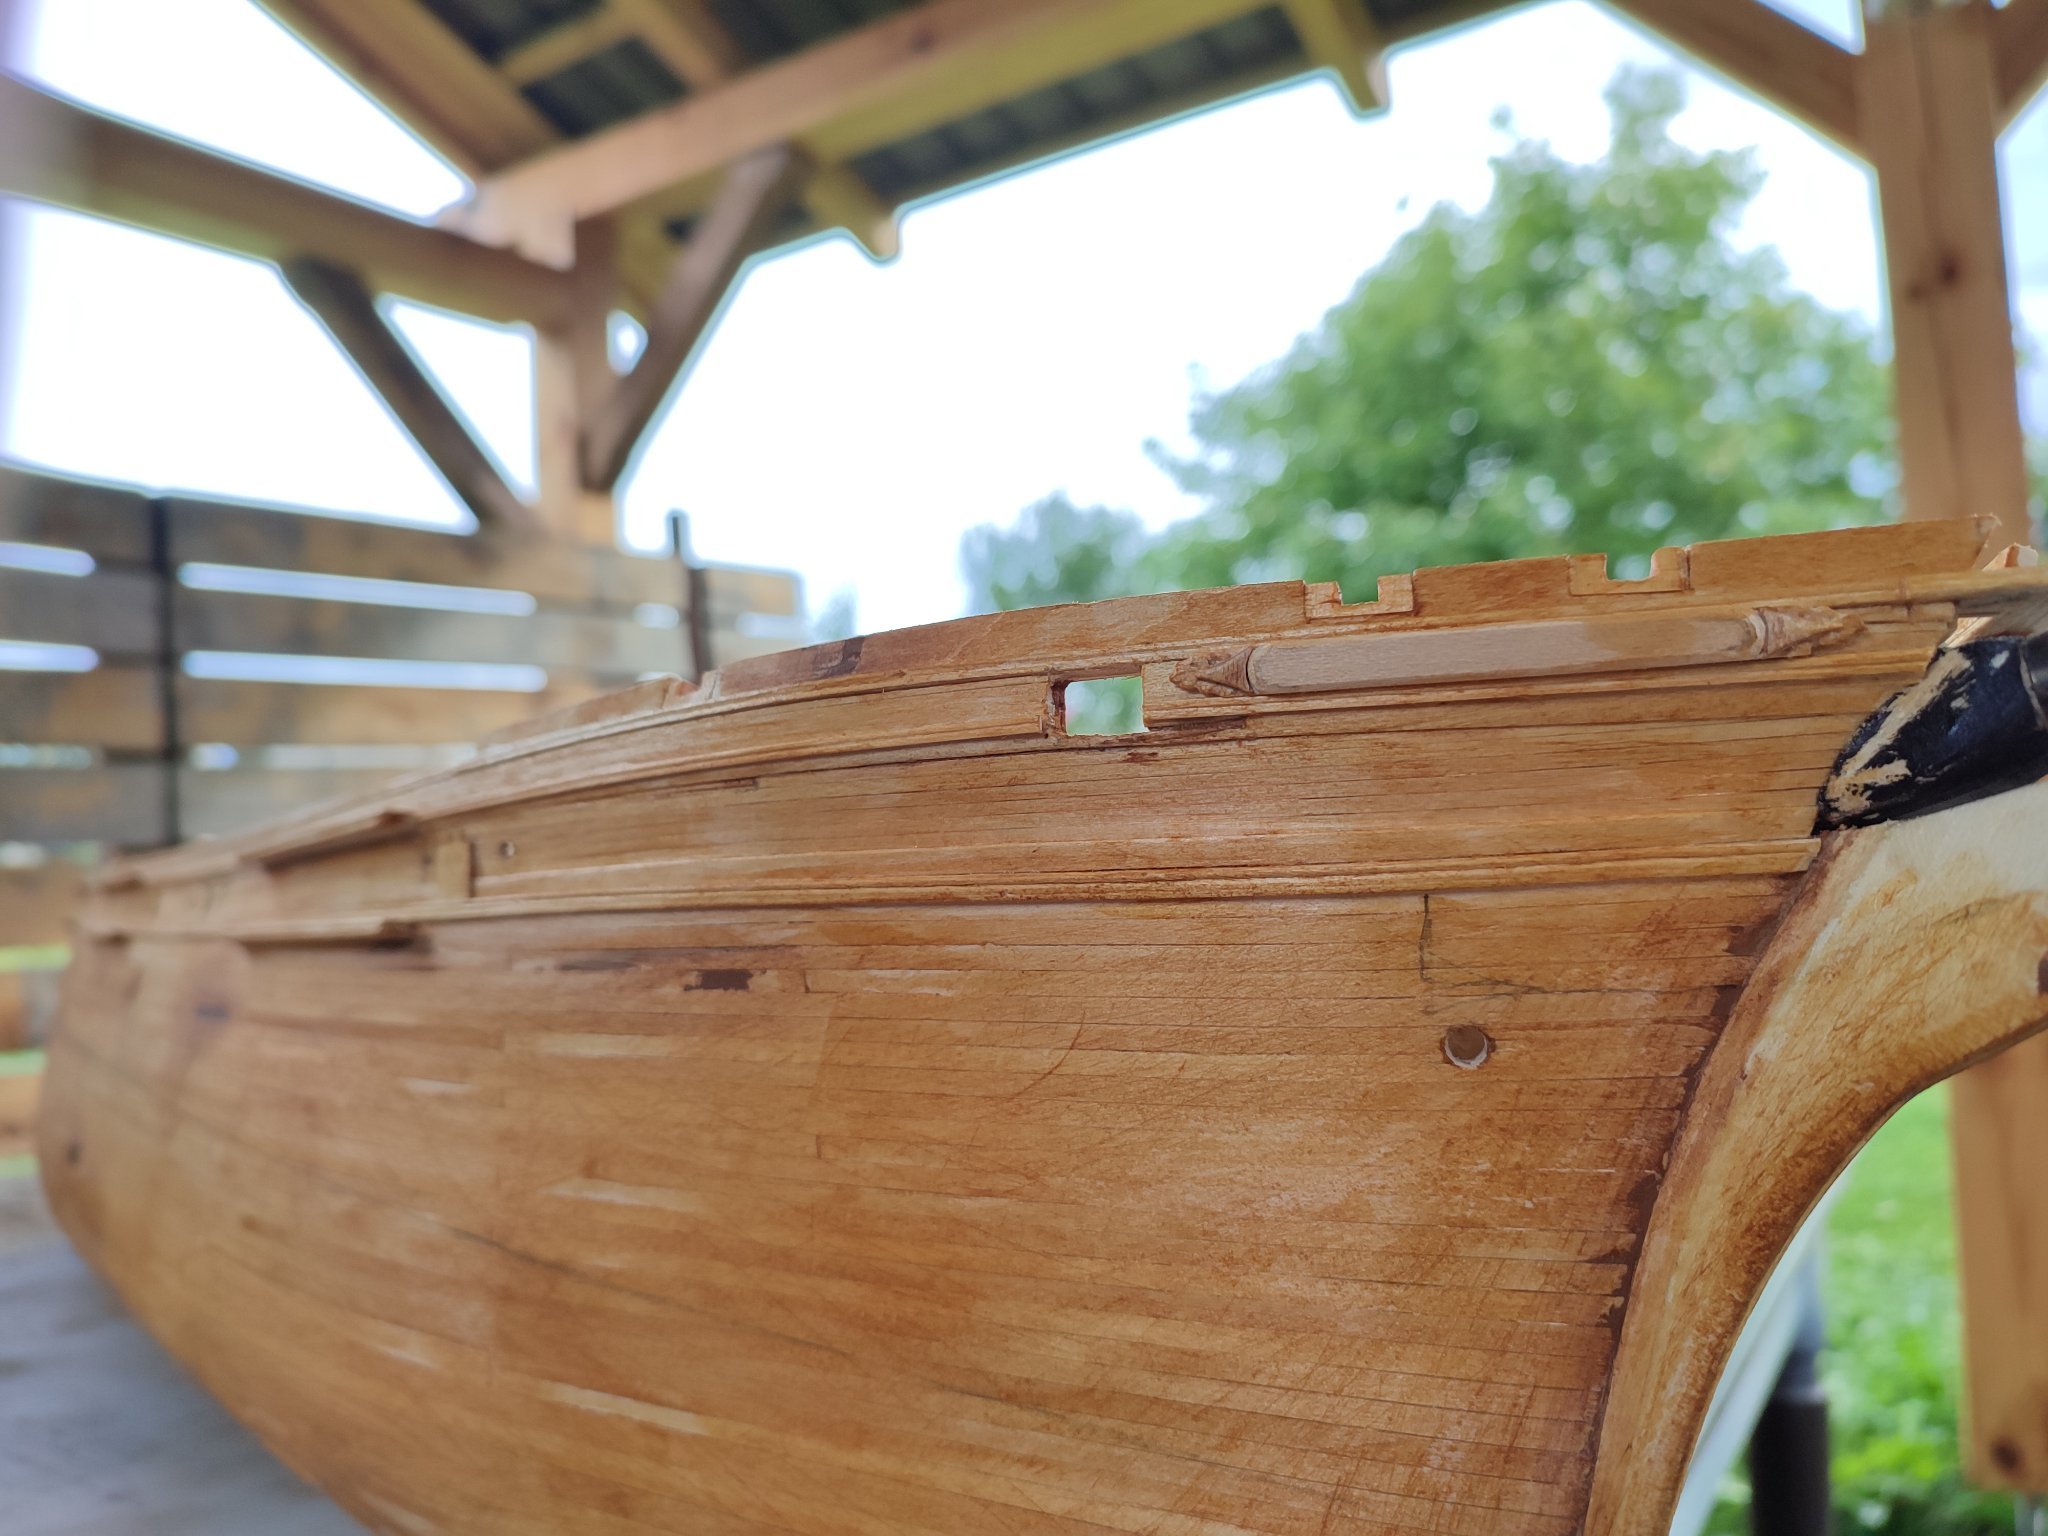
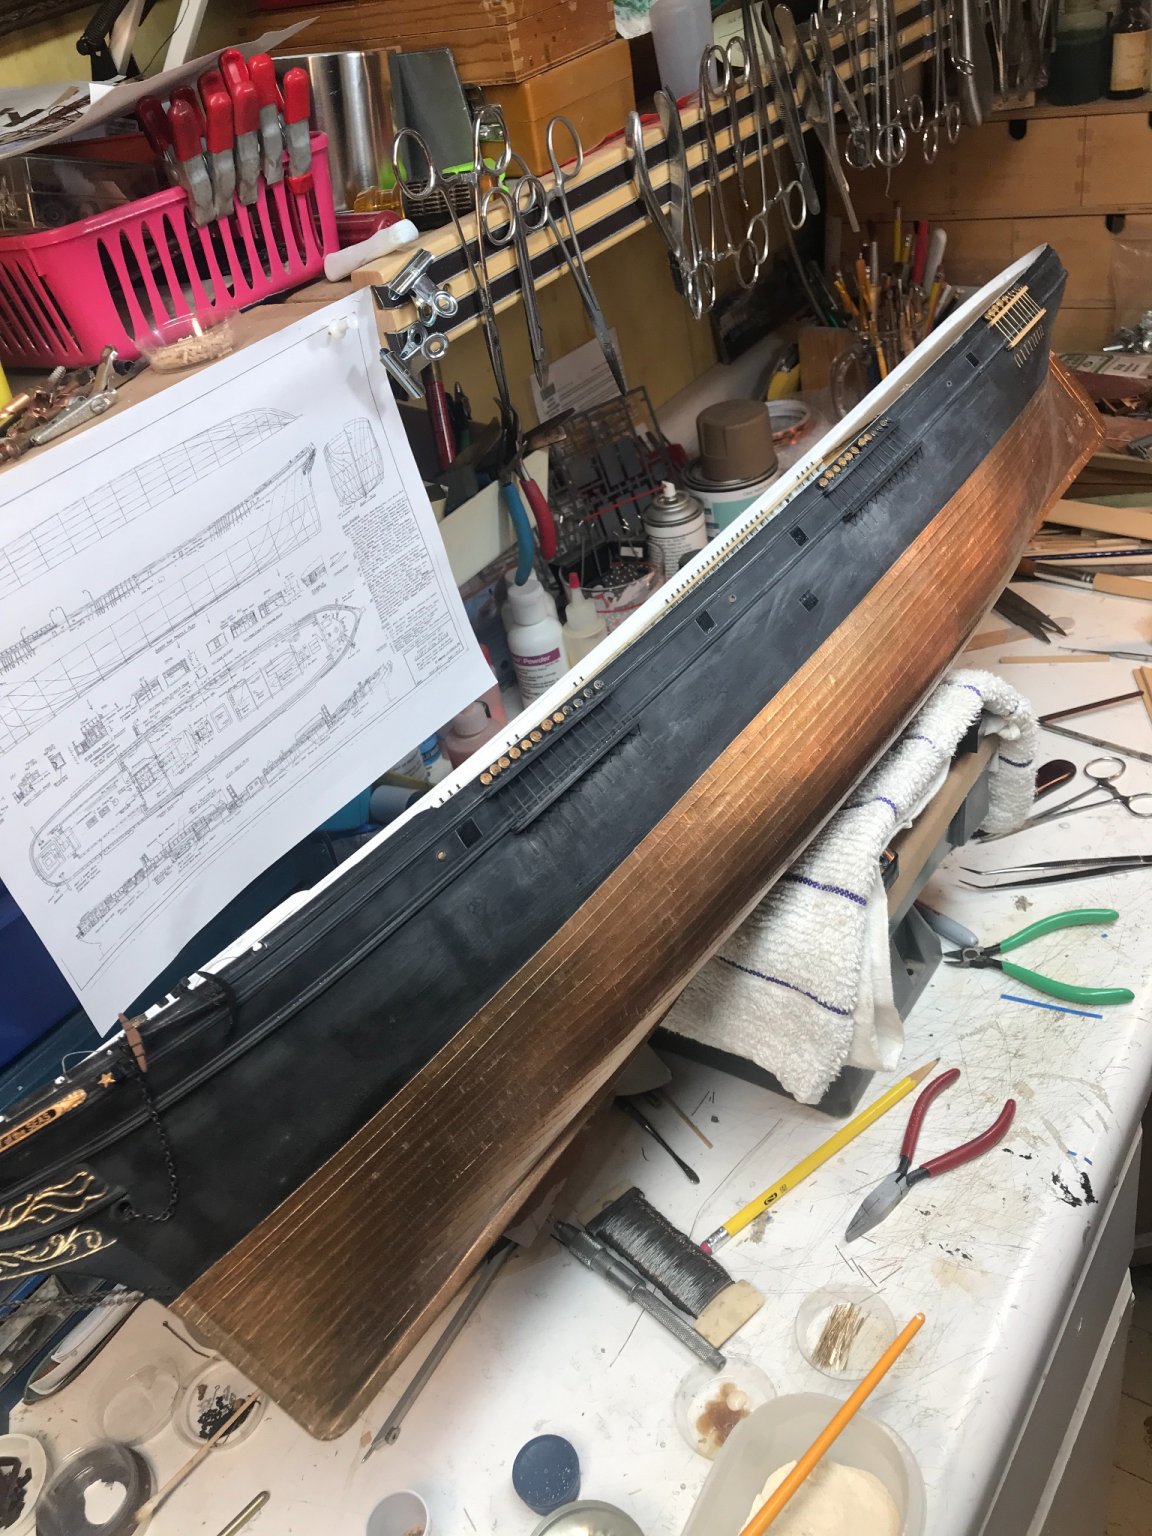
After tiny shellac coat i ran each grove and All surfaces again with 400 -600 grit paper as shellac conserved Also some fuzzy edges coarses, precisely what i wanted to get rid off...
As you Can see now Massive difference IS visible comparing to bare Wood before shellac.
Now someone tells modeling IS easy. My gosh...


- Tigersteve, mtaylor and GrandpaPhil
-
3
-
10 hours ago, ClipperFan said:
Vladimir, I love how these images of your model reflect scenes of the real vessel. Each time I see these uncanny resemblances it reinforces that we really got our homework done with a very high degree of accuracy. Well done, Vlad!


Joined effort
! Thanks much.
-
14 minutes ago, rwiederrich said:
Beautiful, just beautiful.
Is this the final color you’re settling on?
Rob
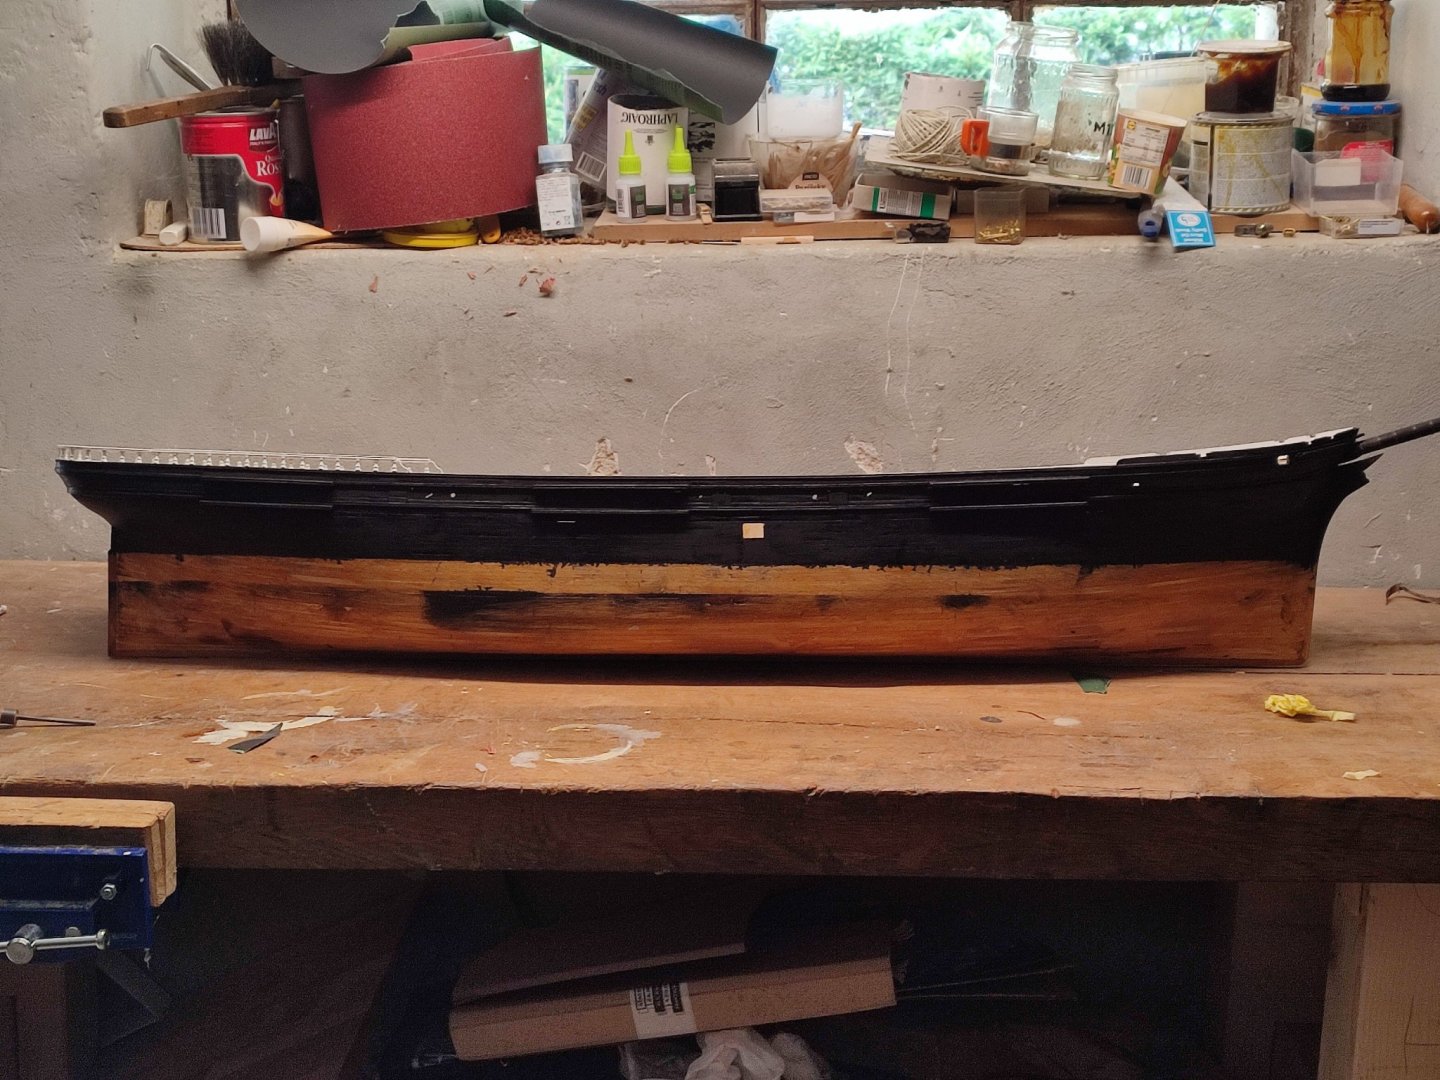
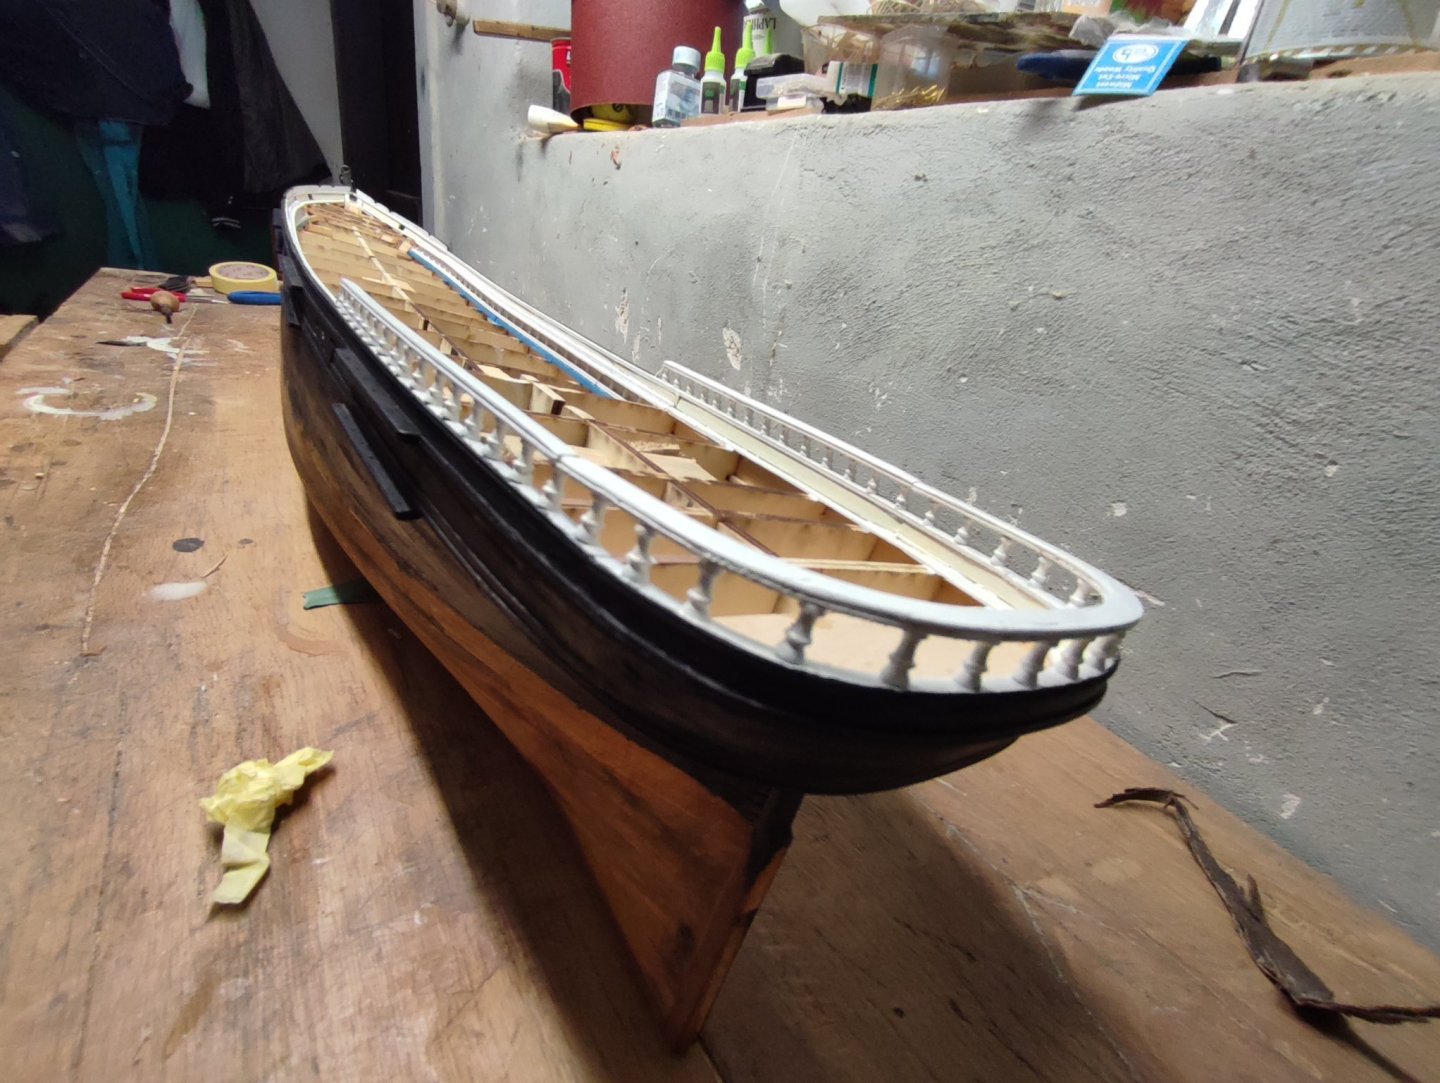
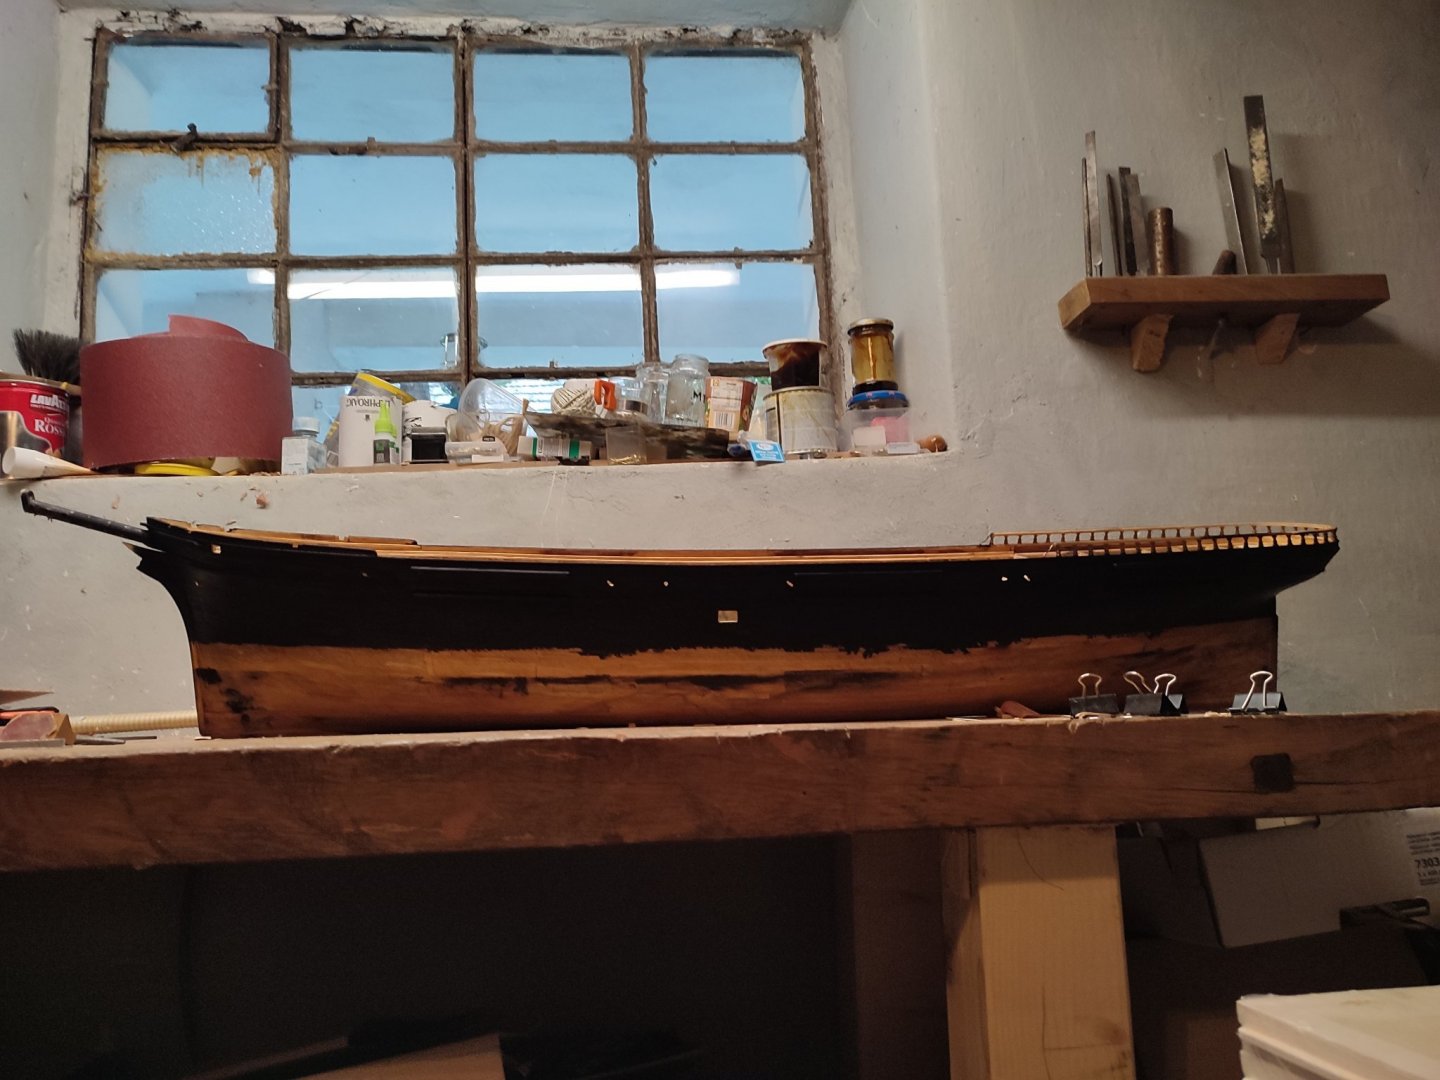
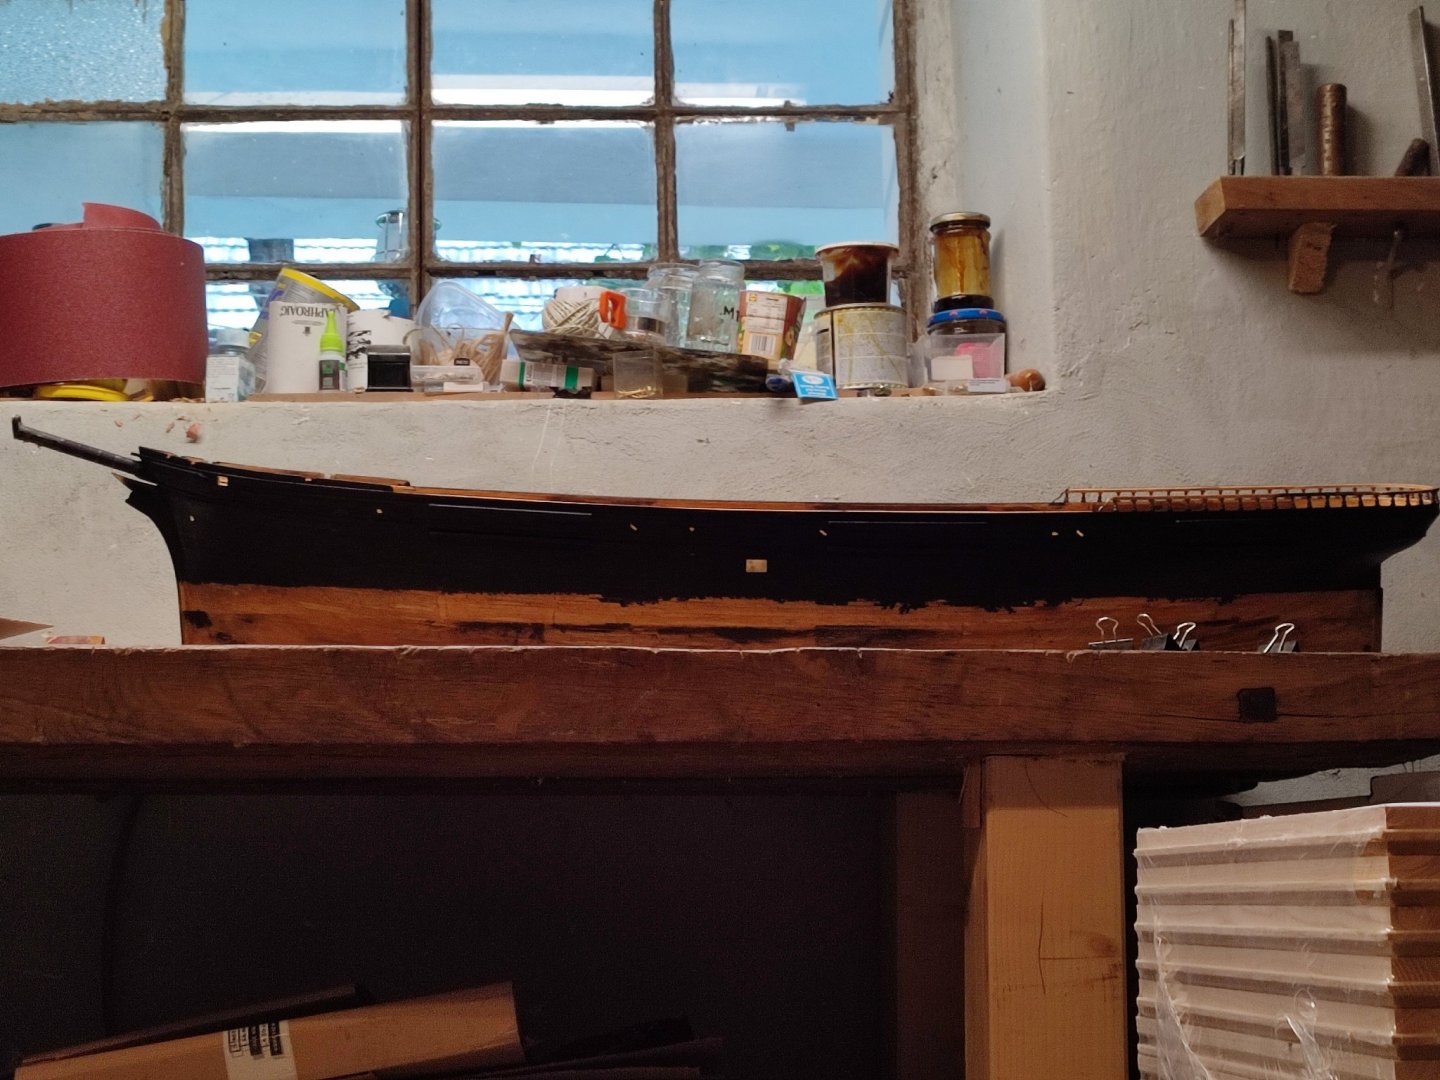
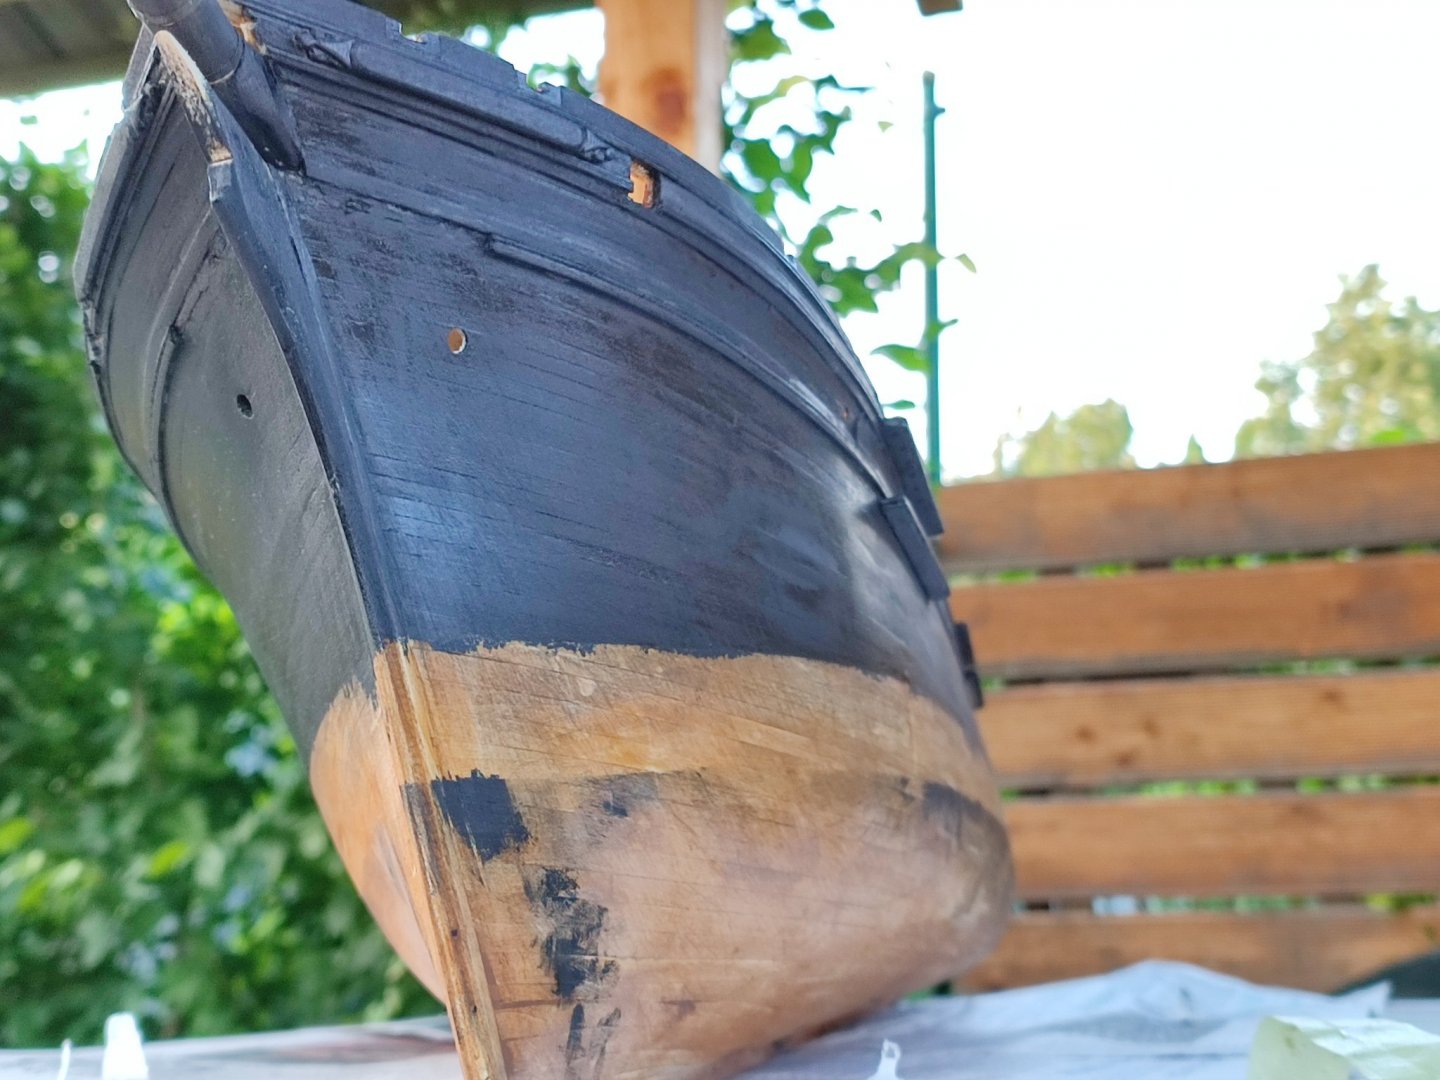
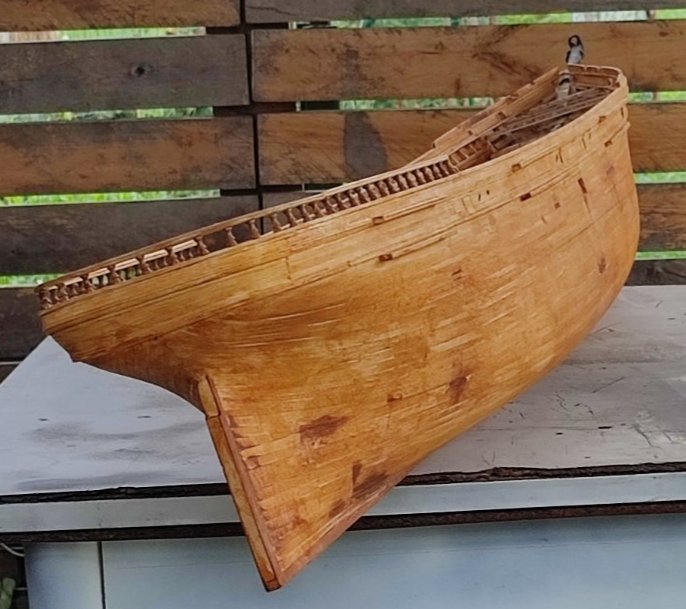
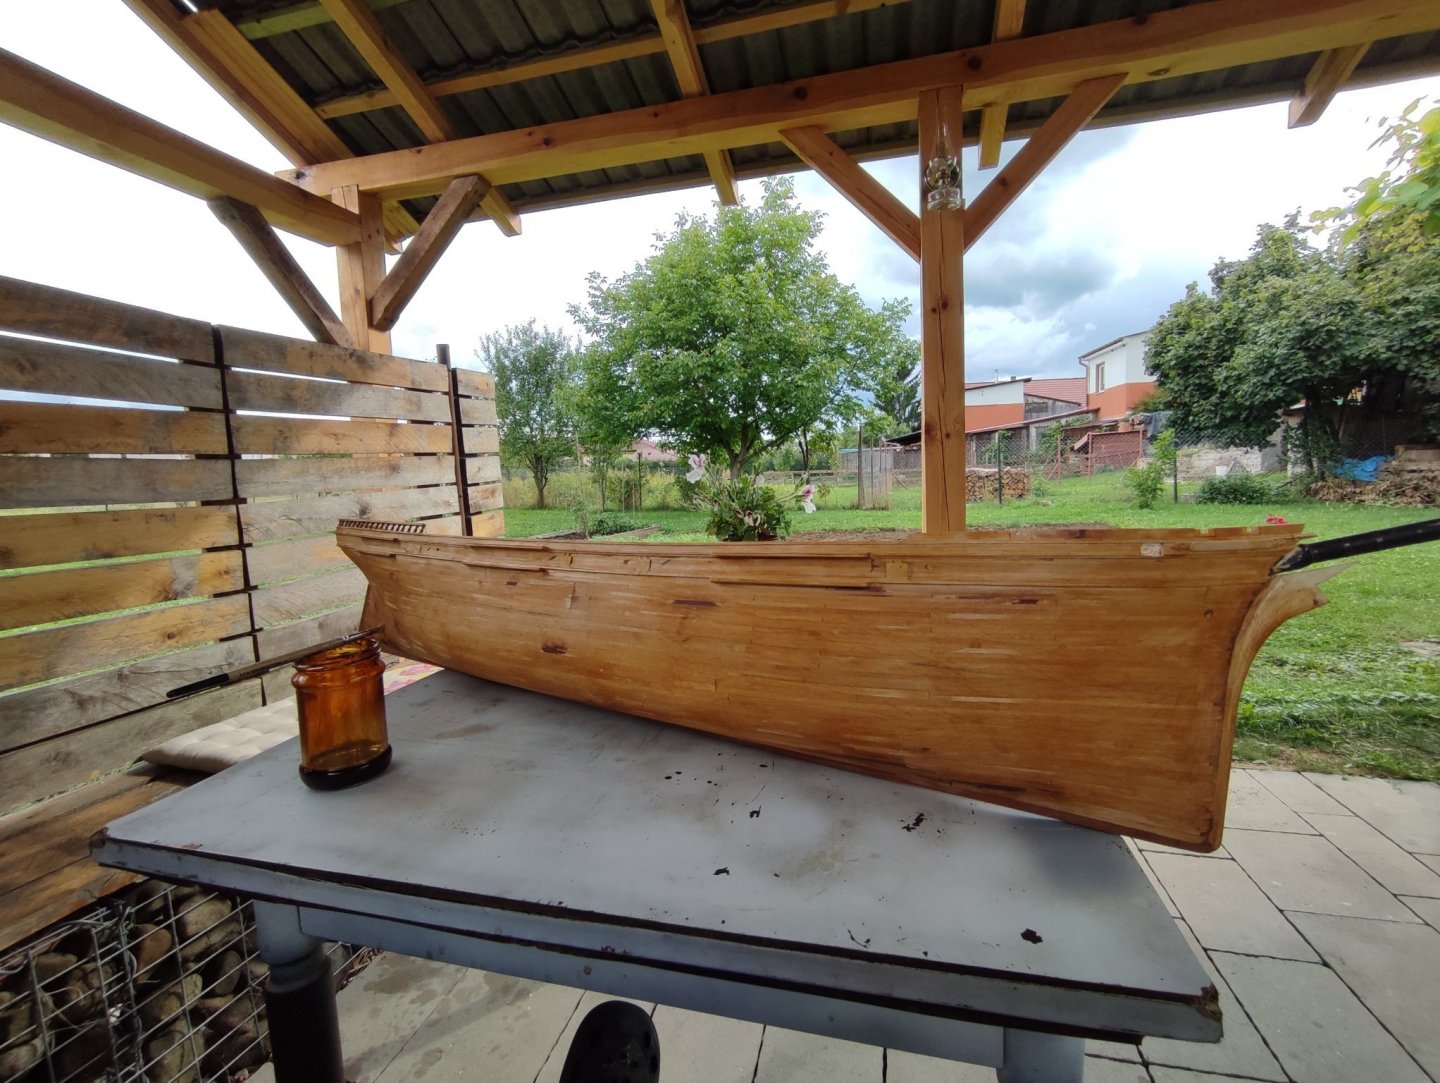
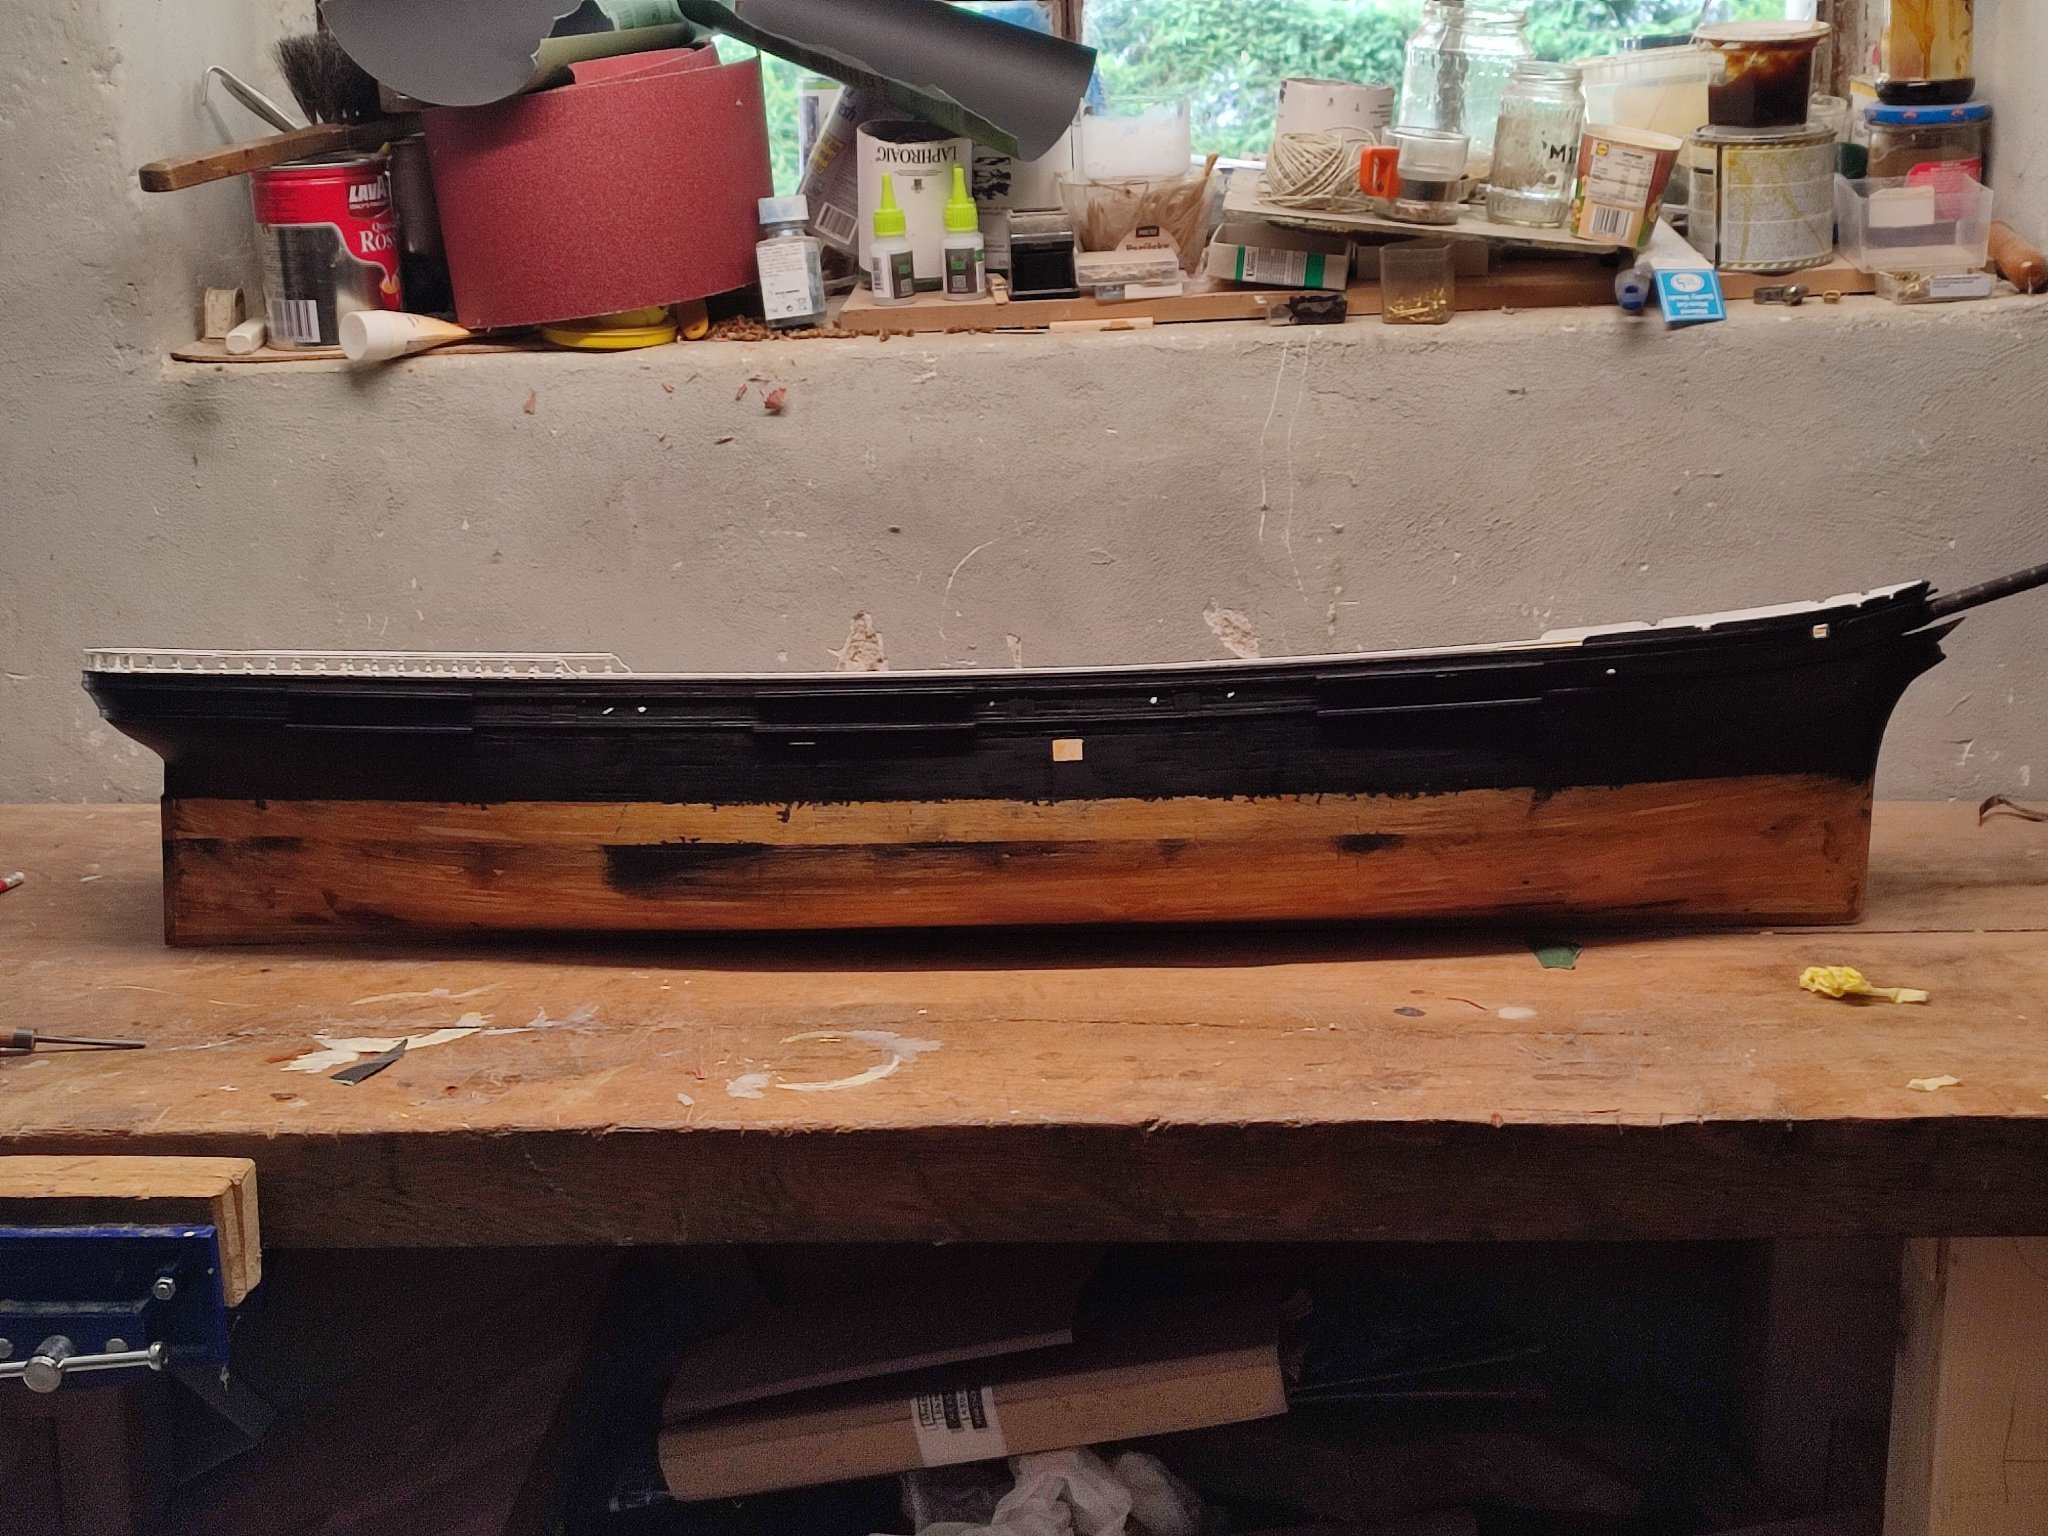
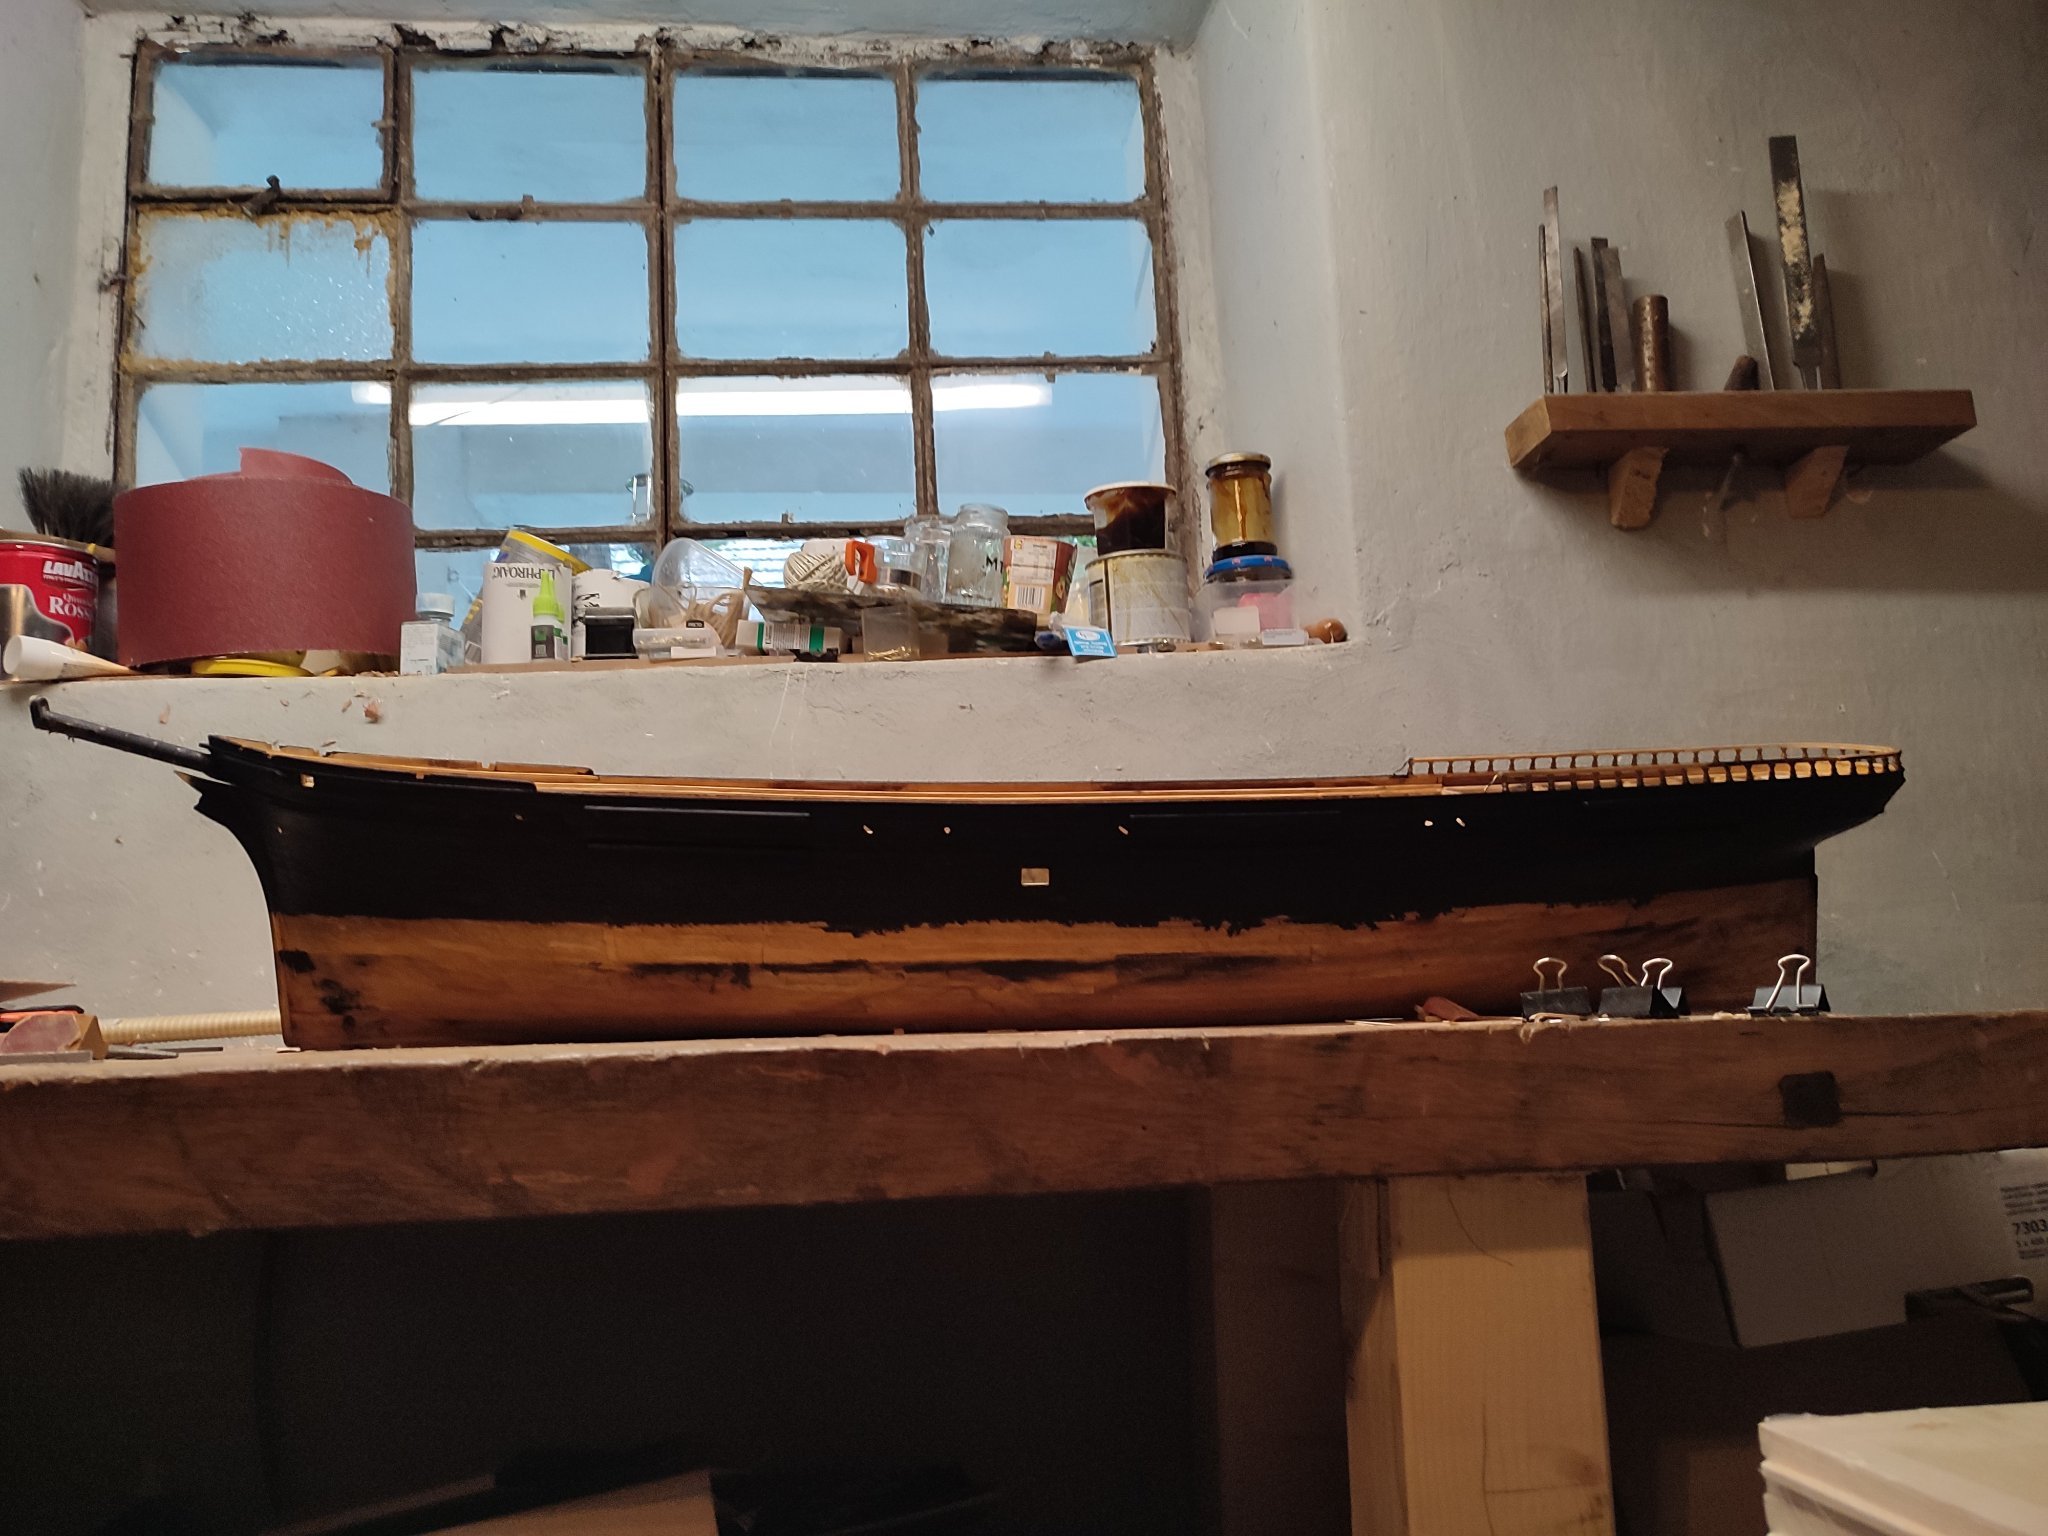
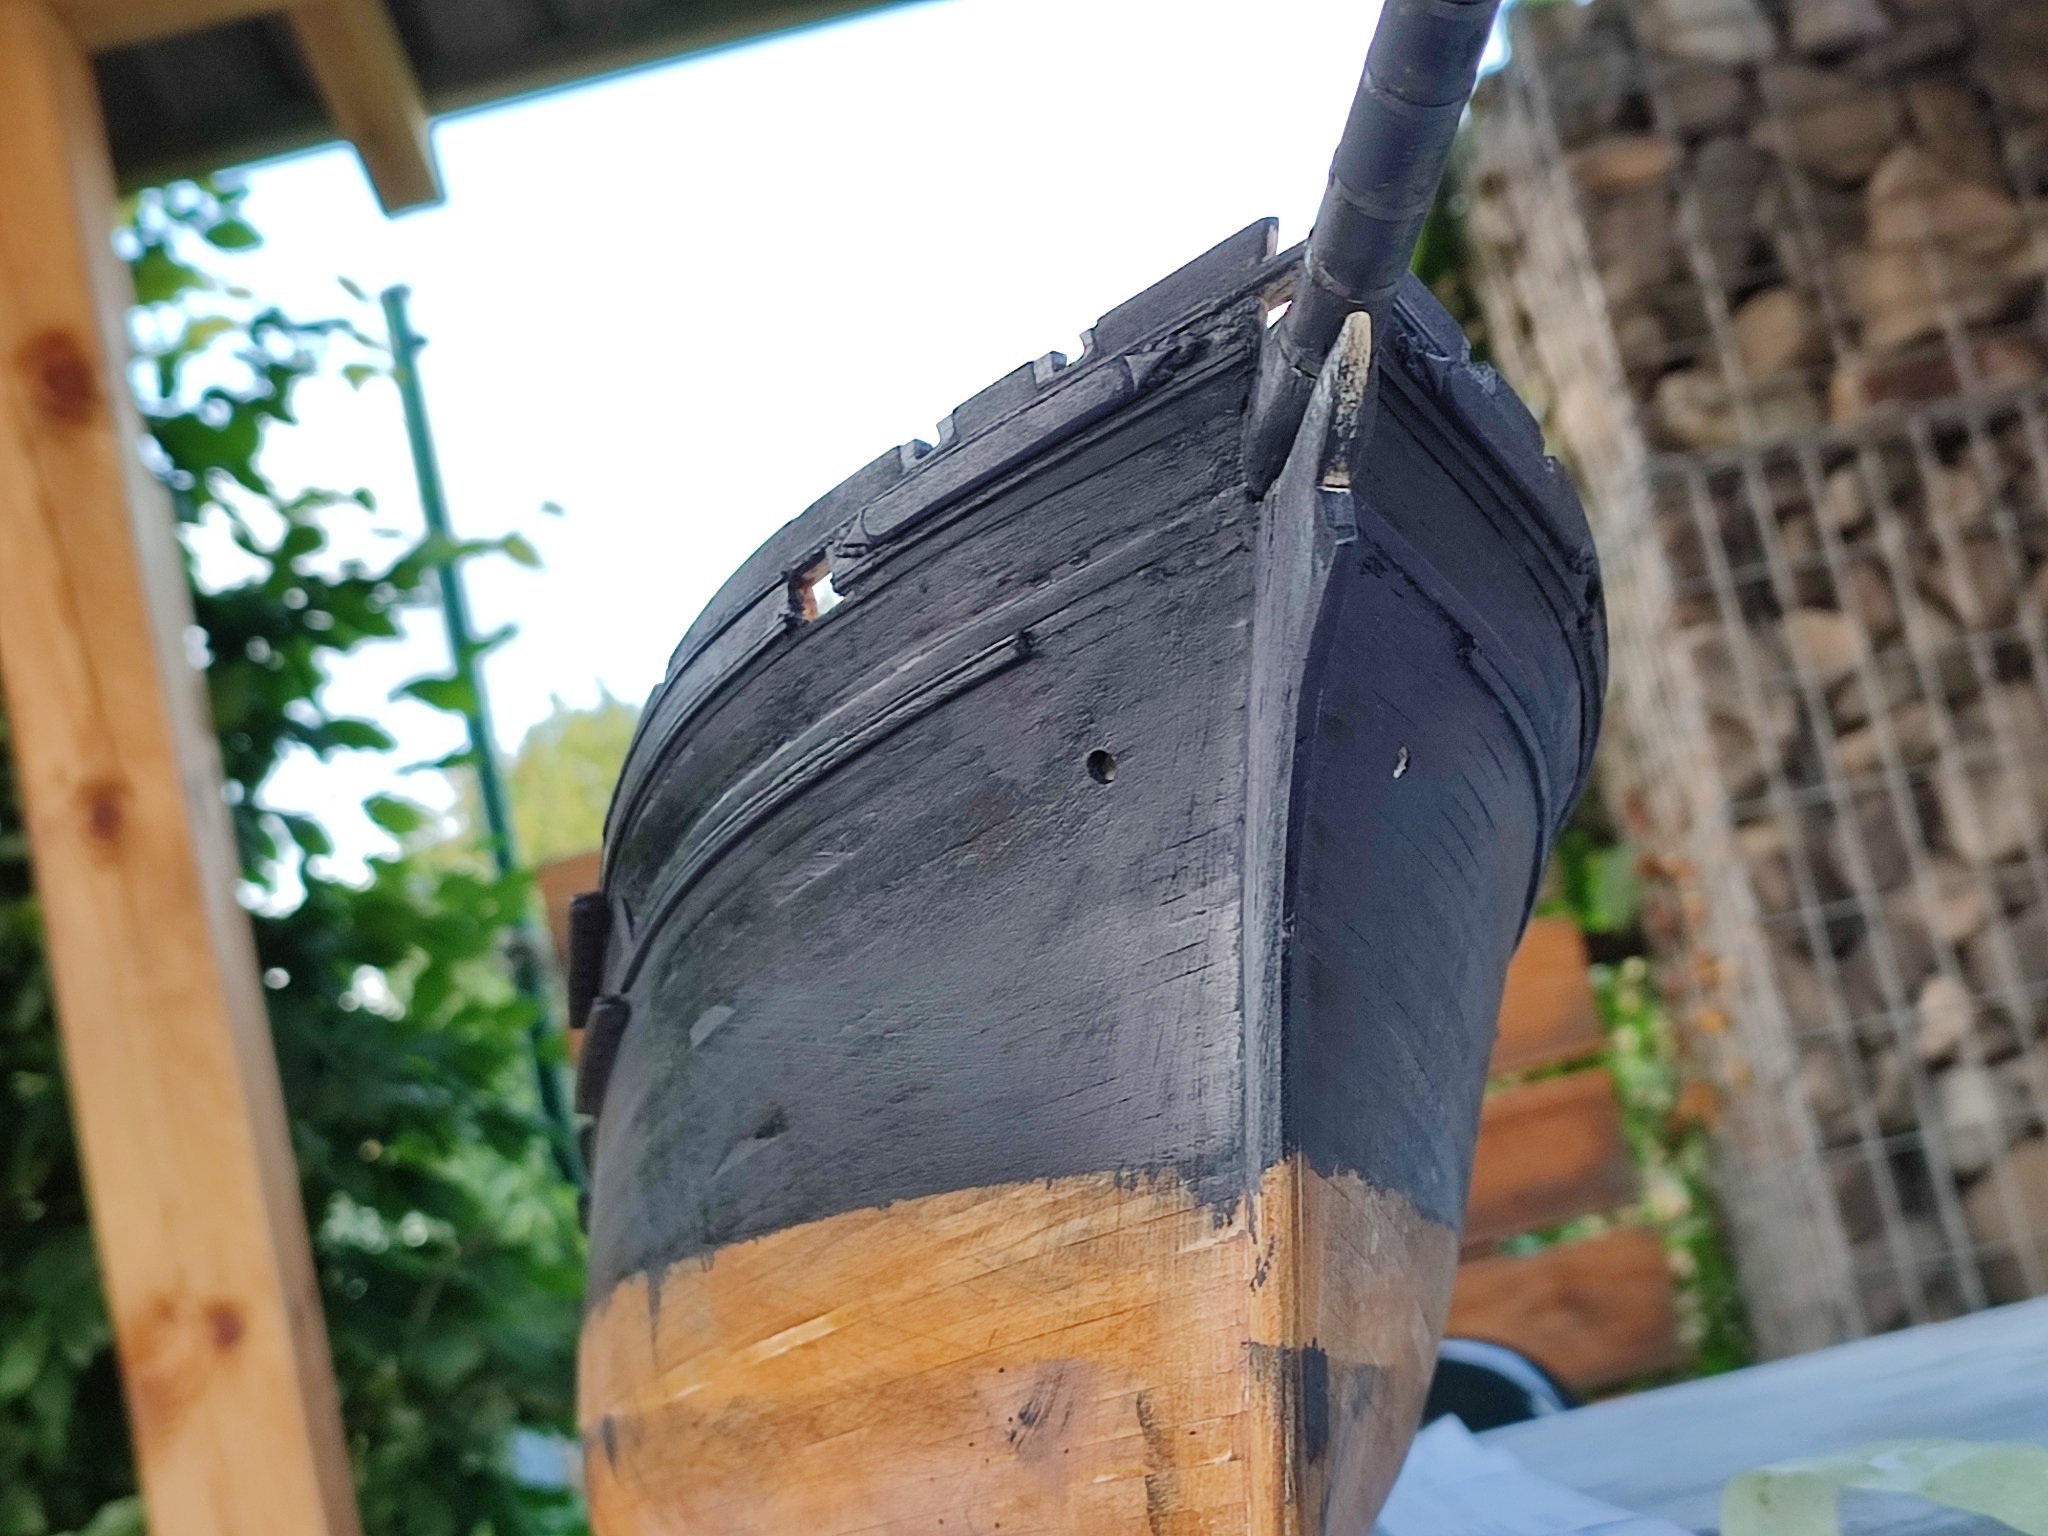
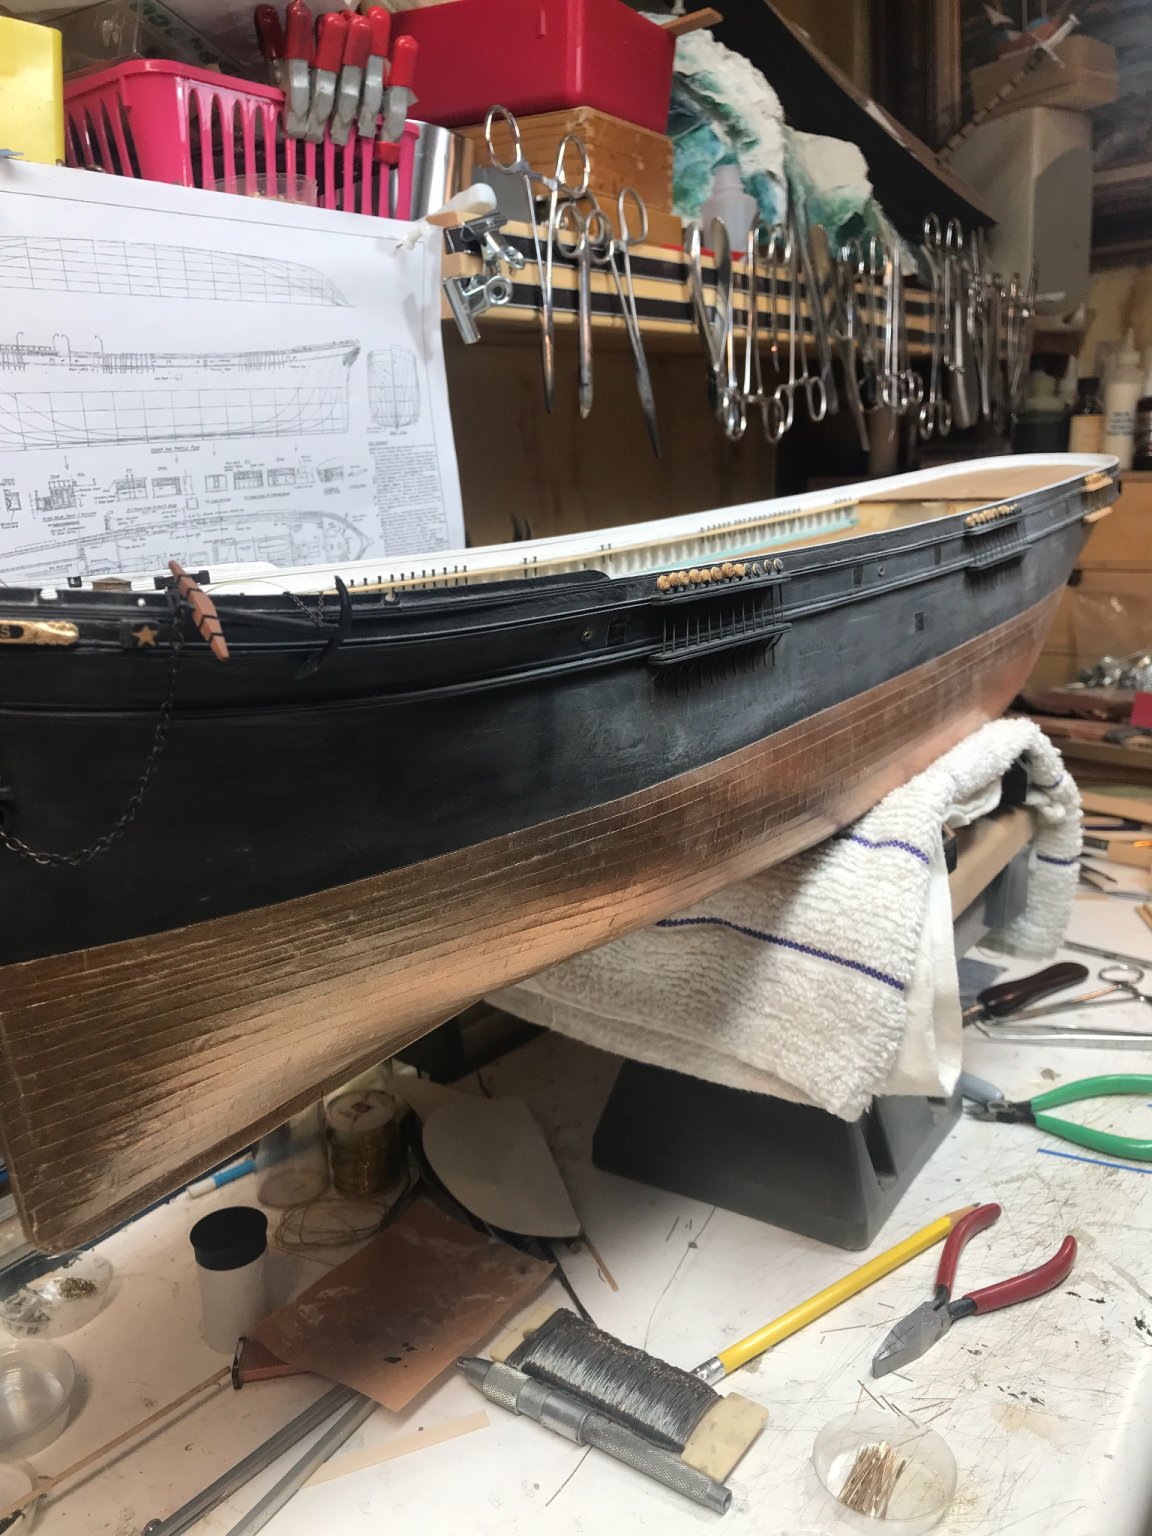
Rob thanks for flattering comment- oh no its only primer undercoat. Having built boat to perfection i would have prefered natural color like that but you can see the spots etc...she will go proper black and white with sheathing below. i already found out how to make deck so i will prepare that. like a train !
ma family told they never saw me to care so much for anything when moving or replacong her...:D they obviously only guess how much hard work is behind it...:)) still waiting for navalhood pieces...next update hopefully blue waterays next week. good weeekend everyone. one thing i struggle to find is mooring chockes or pipes...not sure how to sort it out.
-
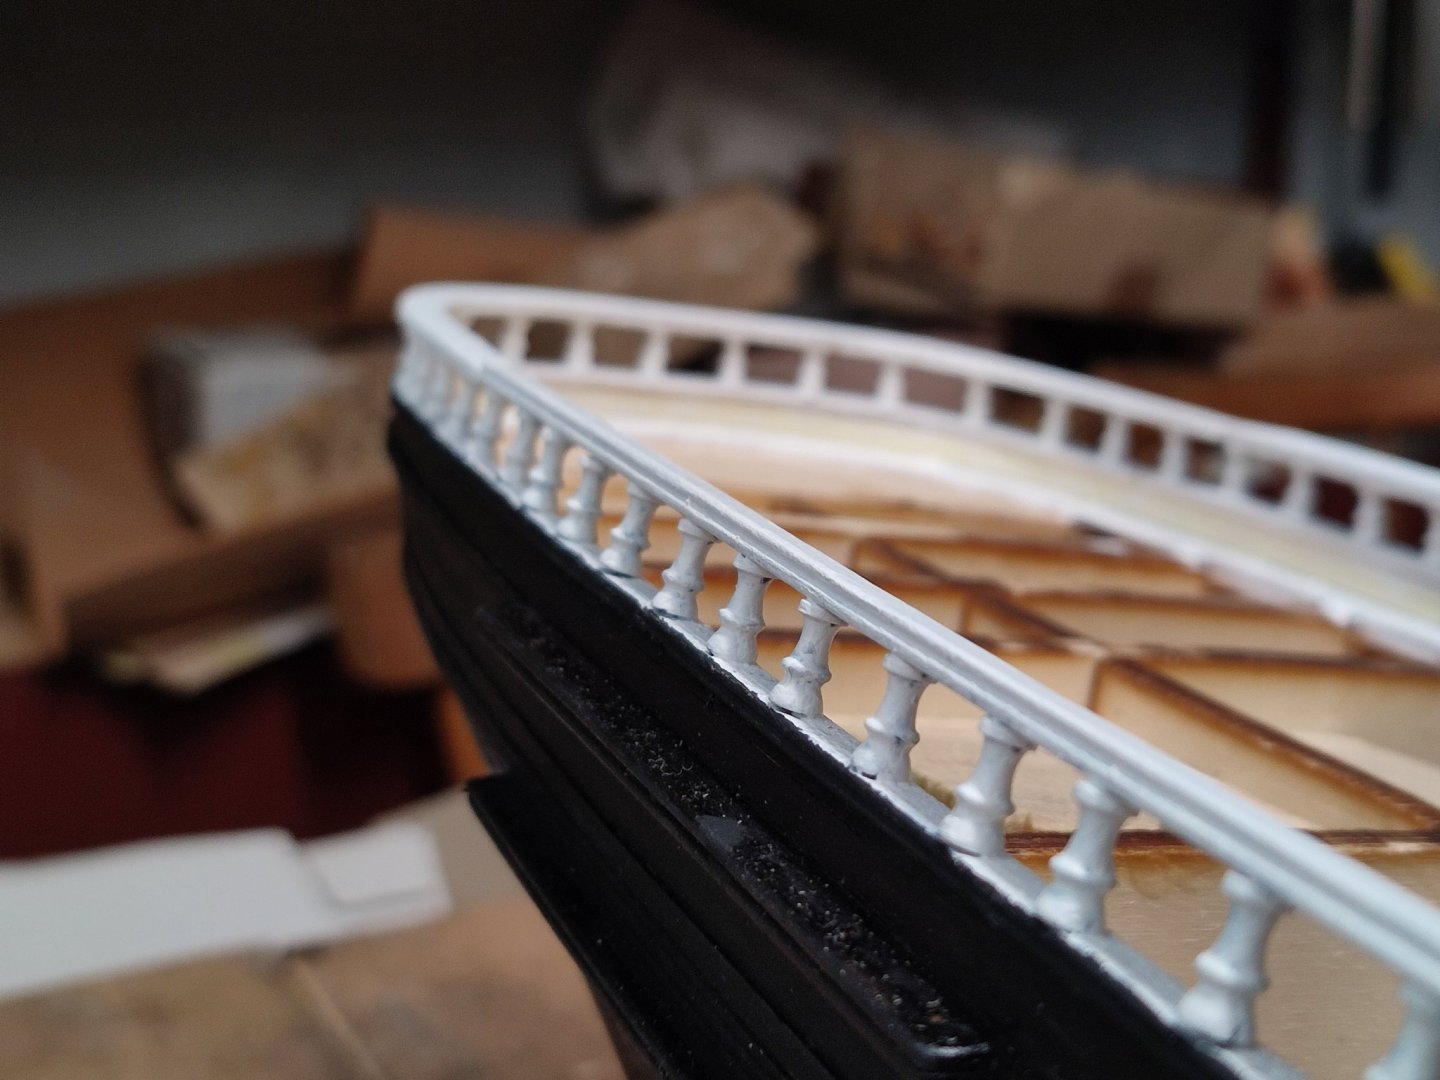
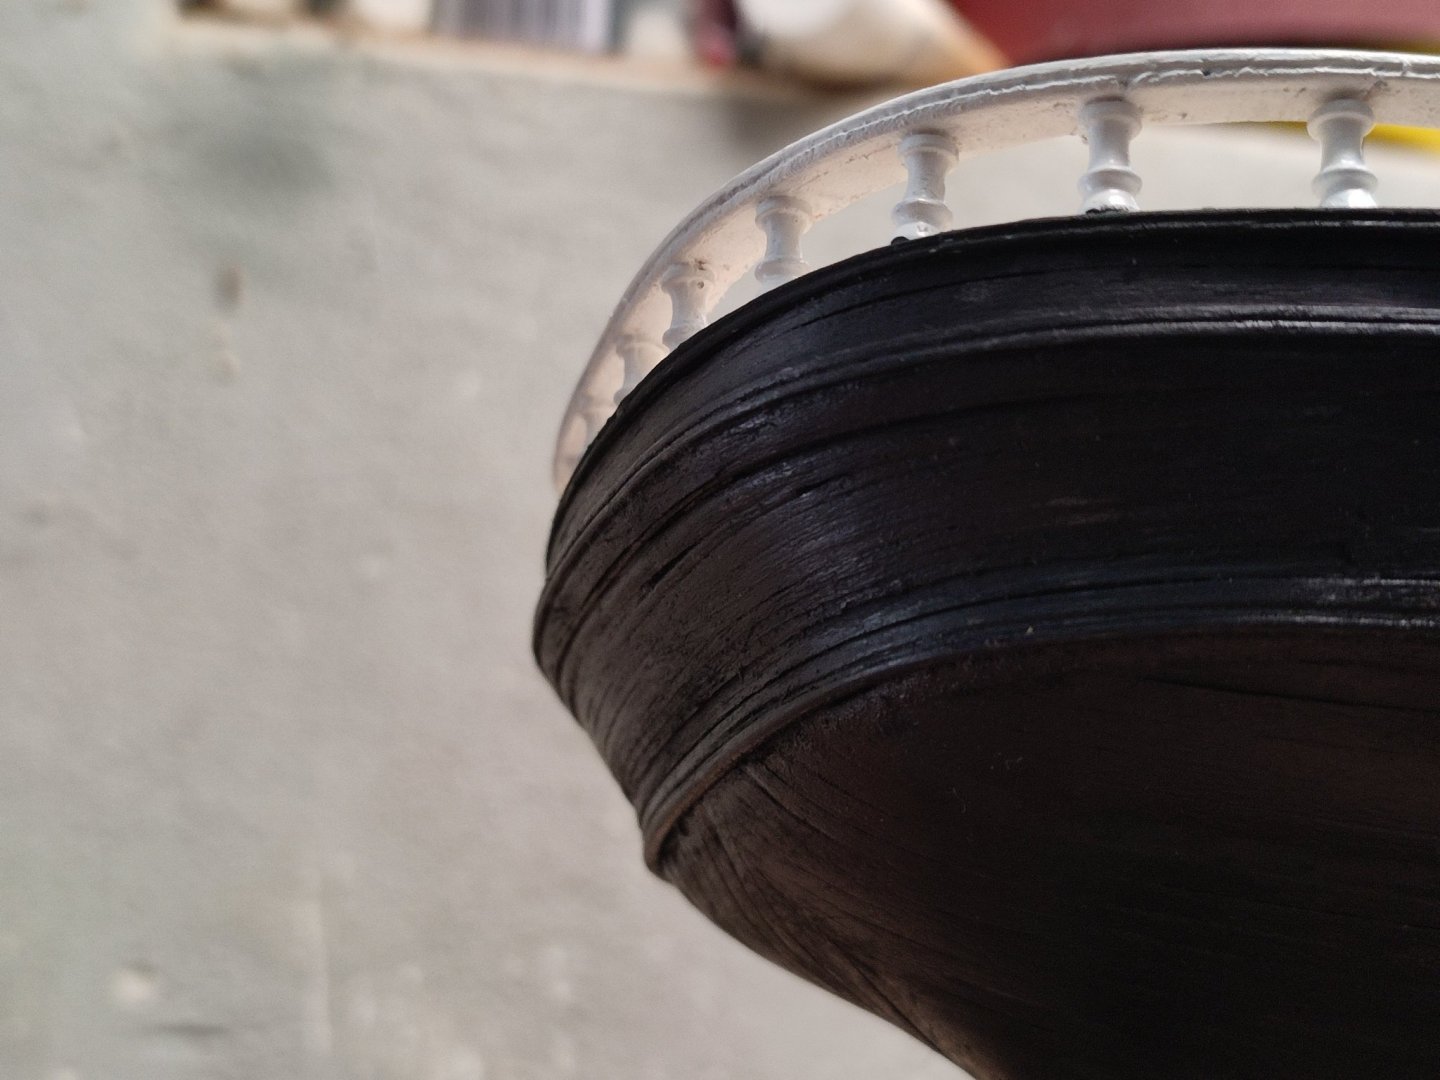
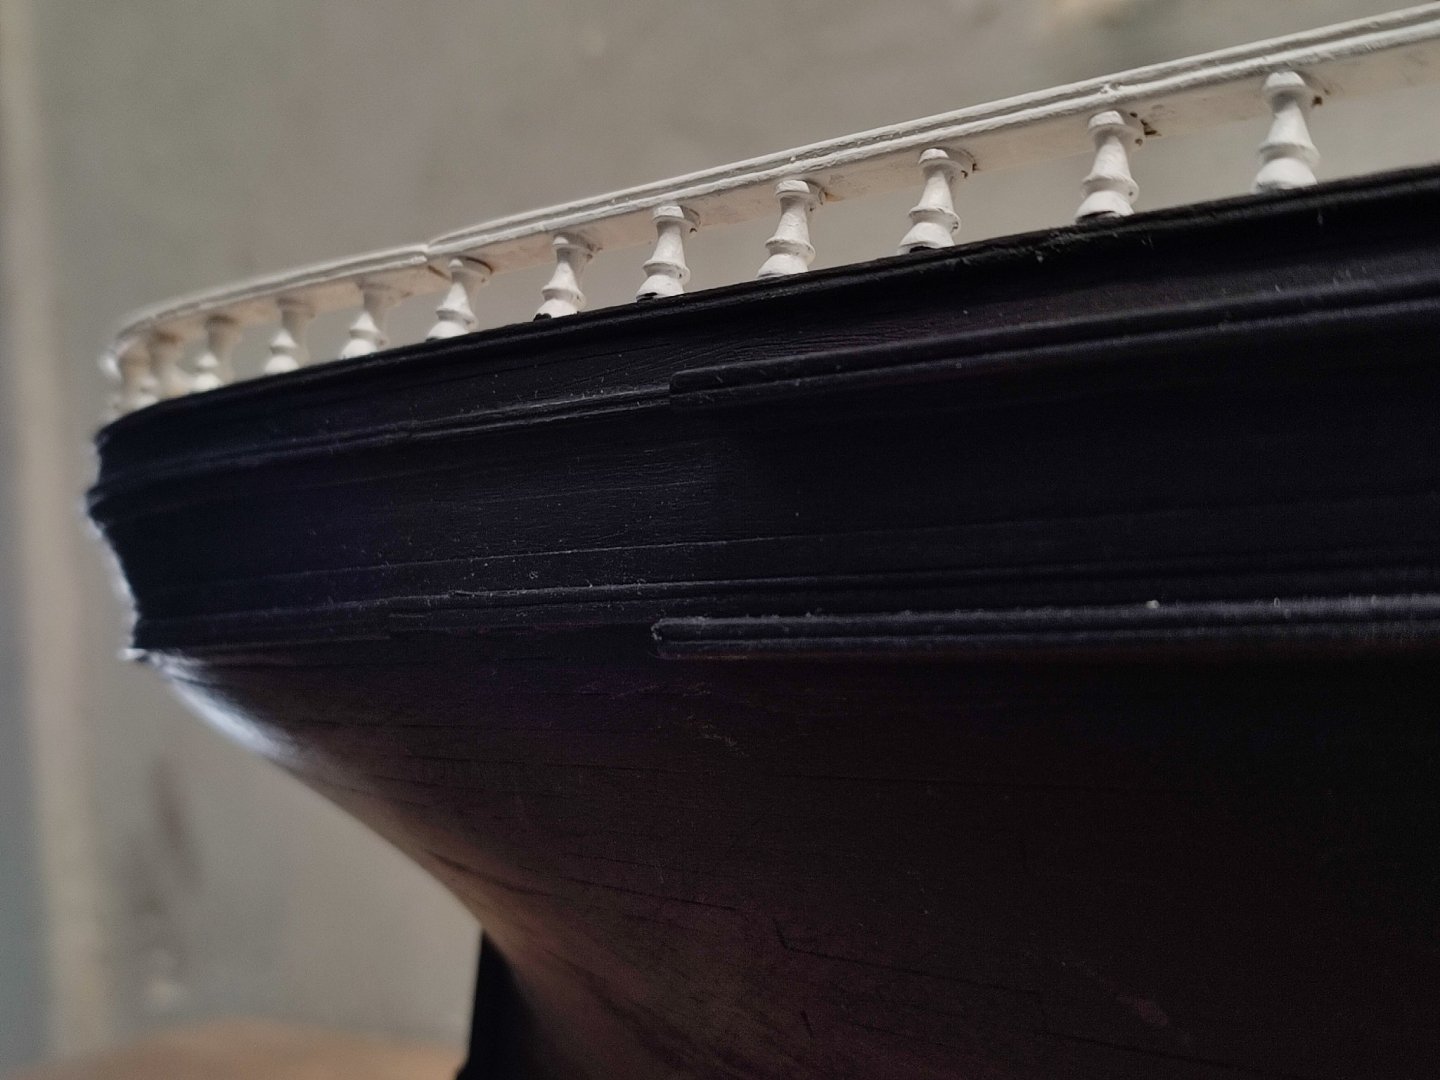
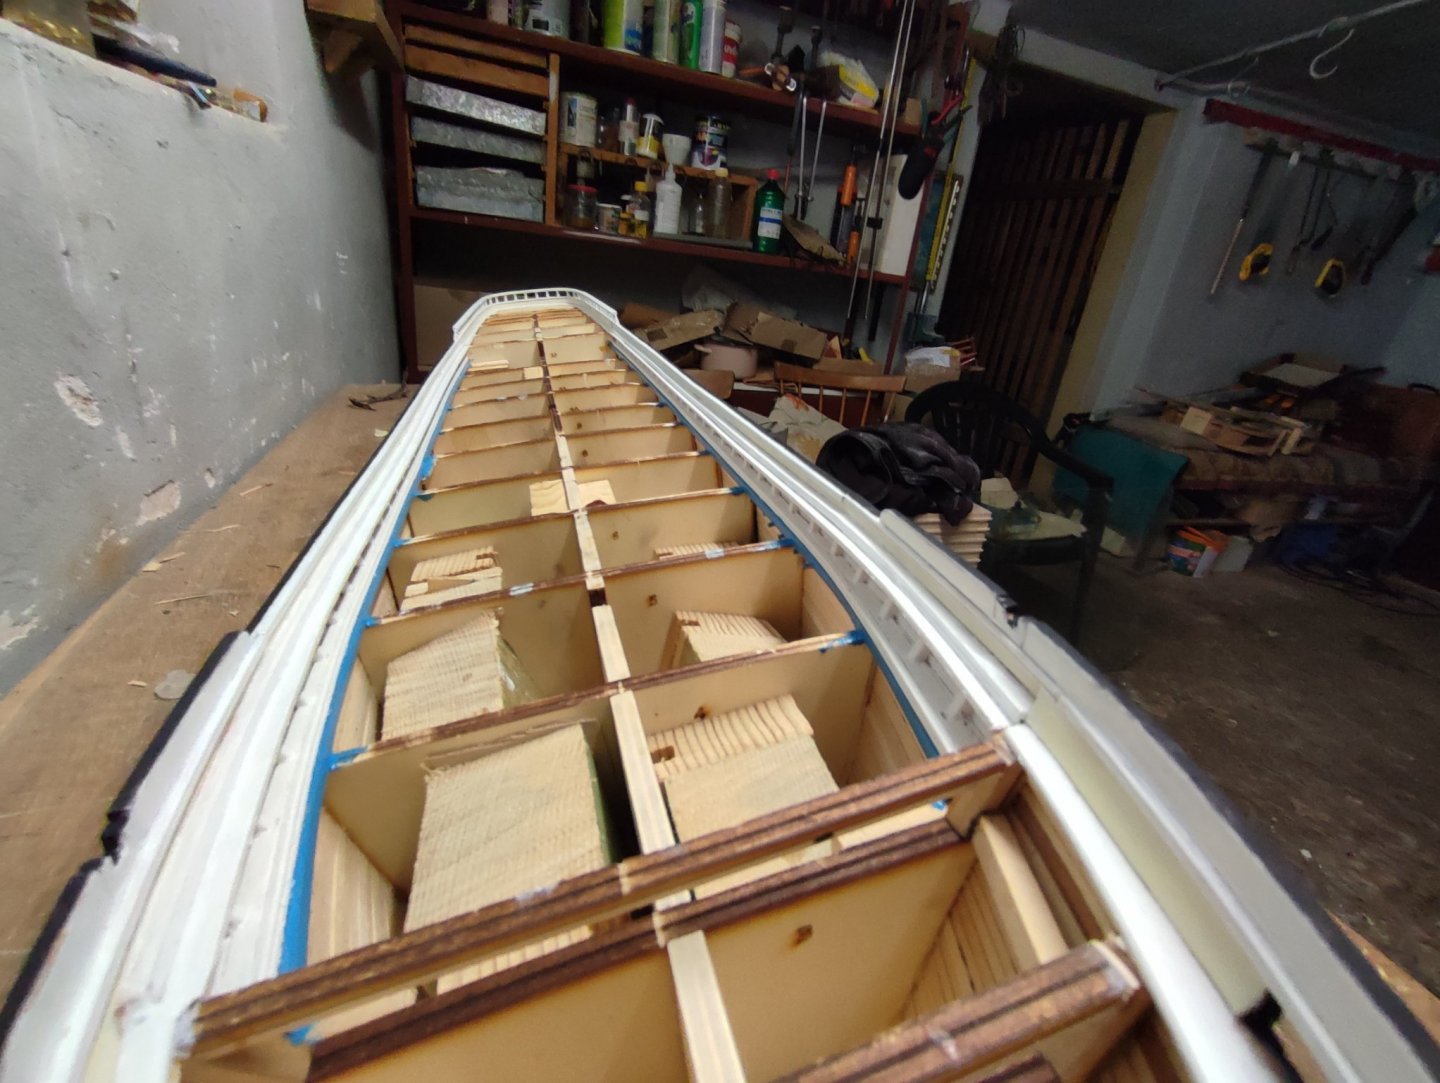
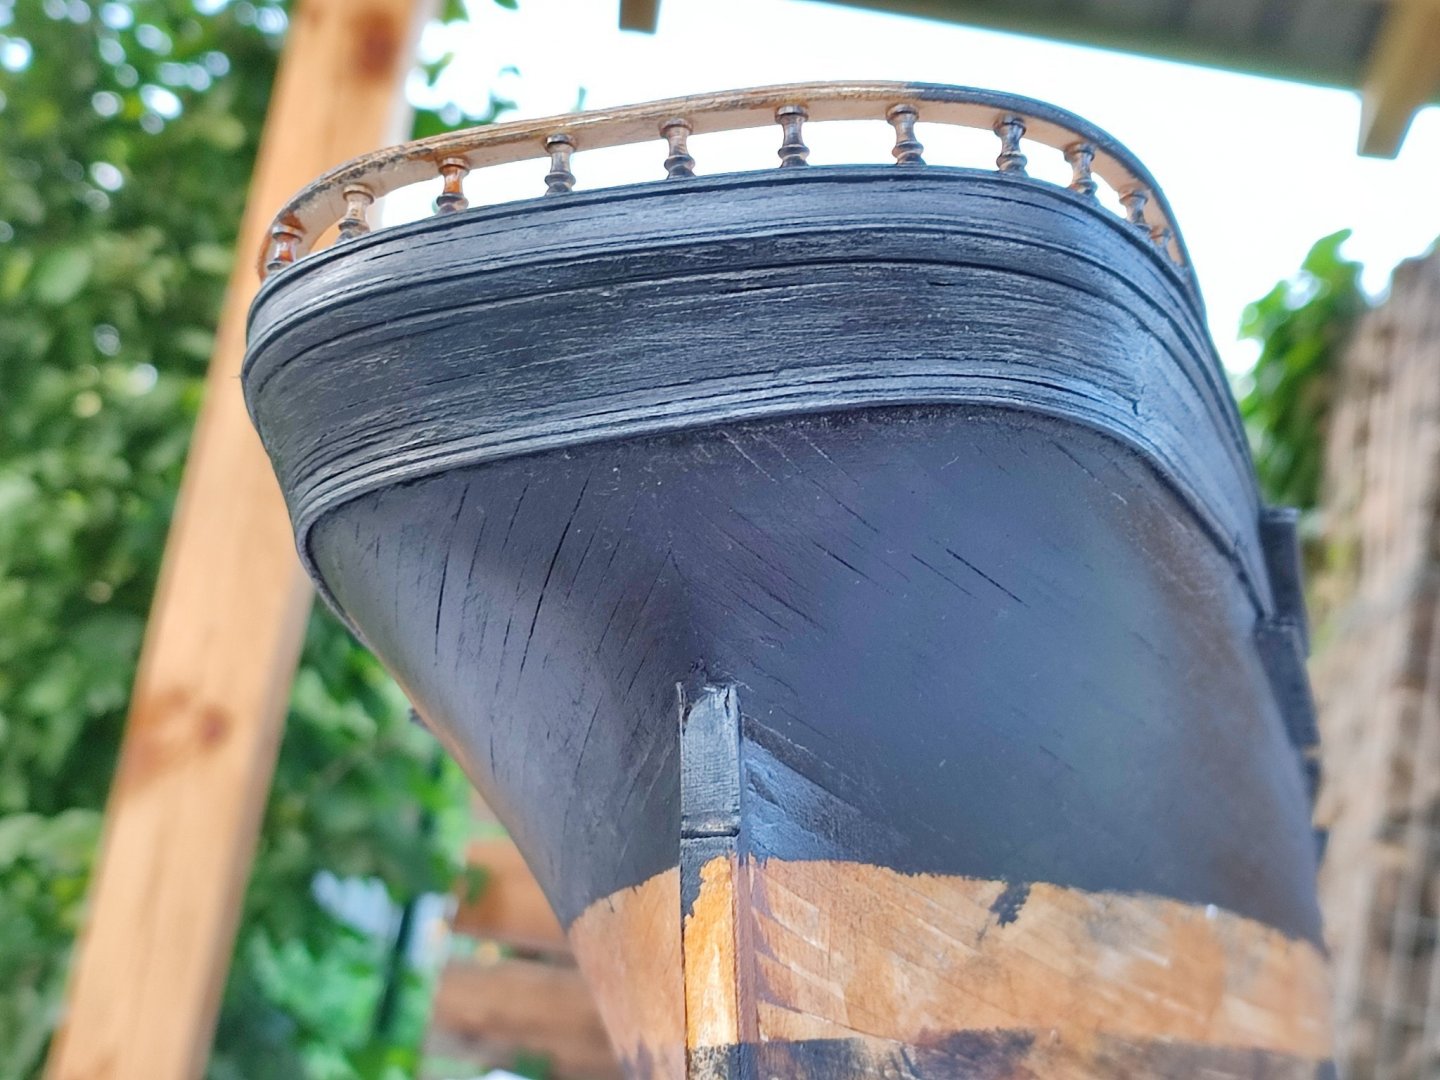
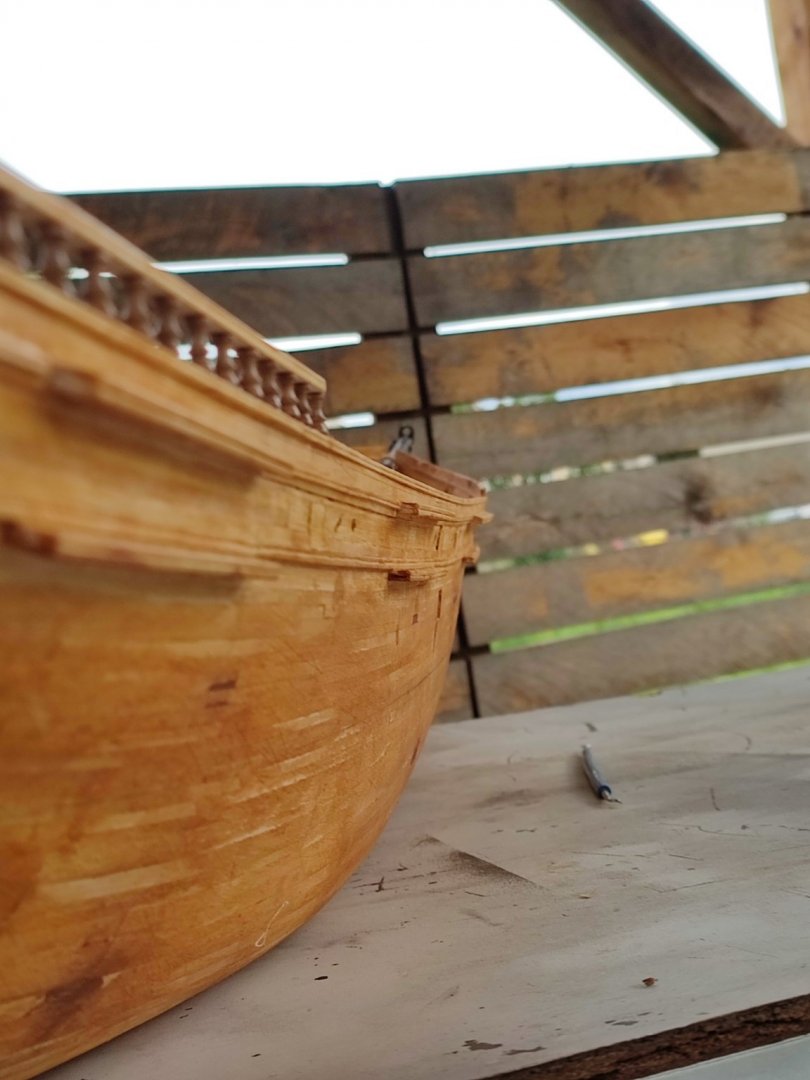
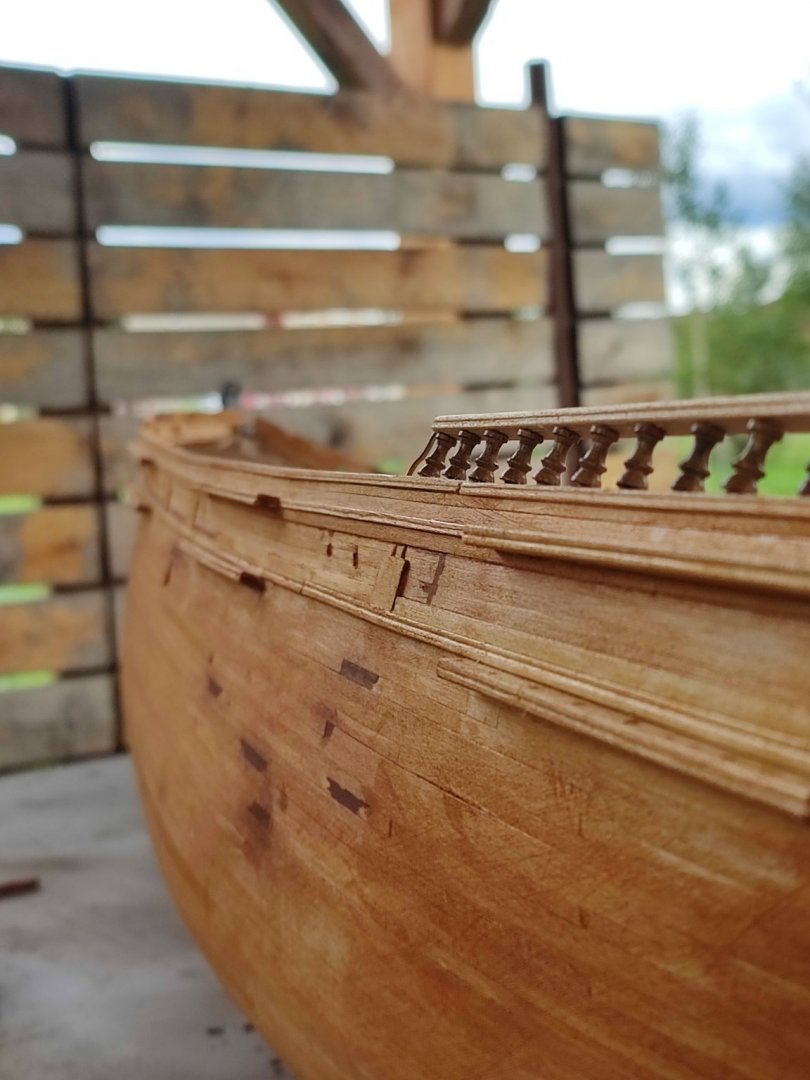
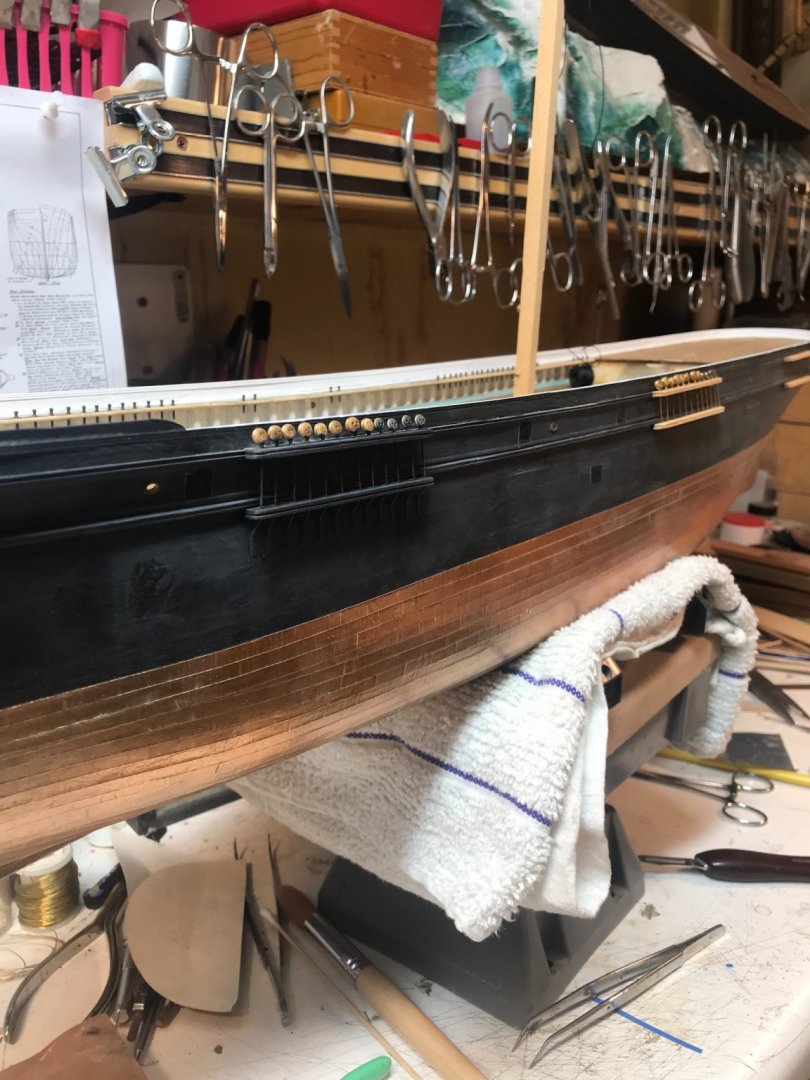
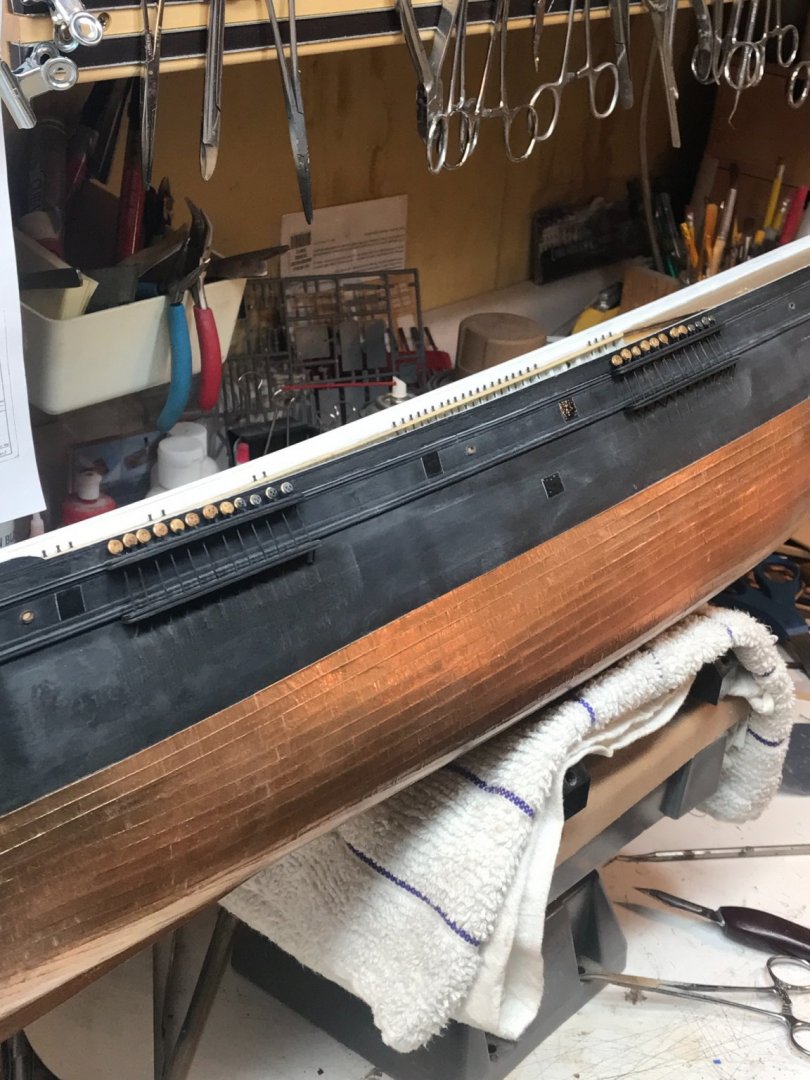
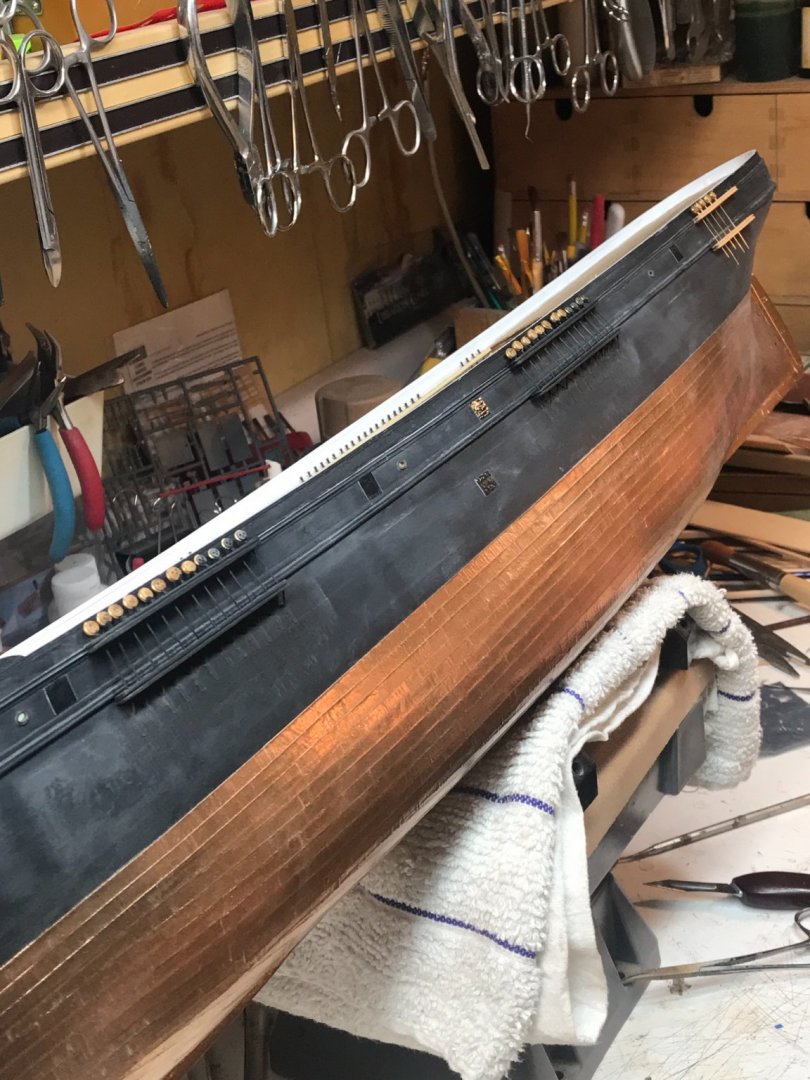
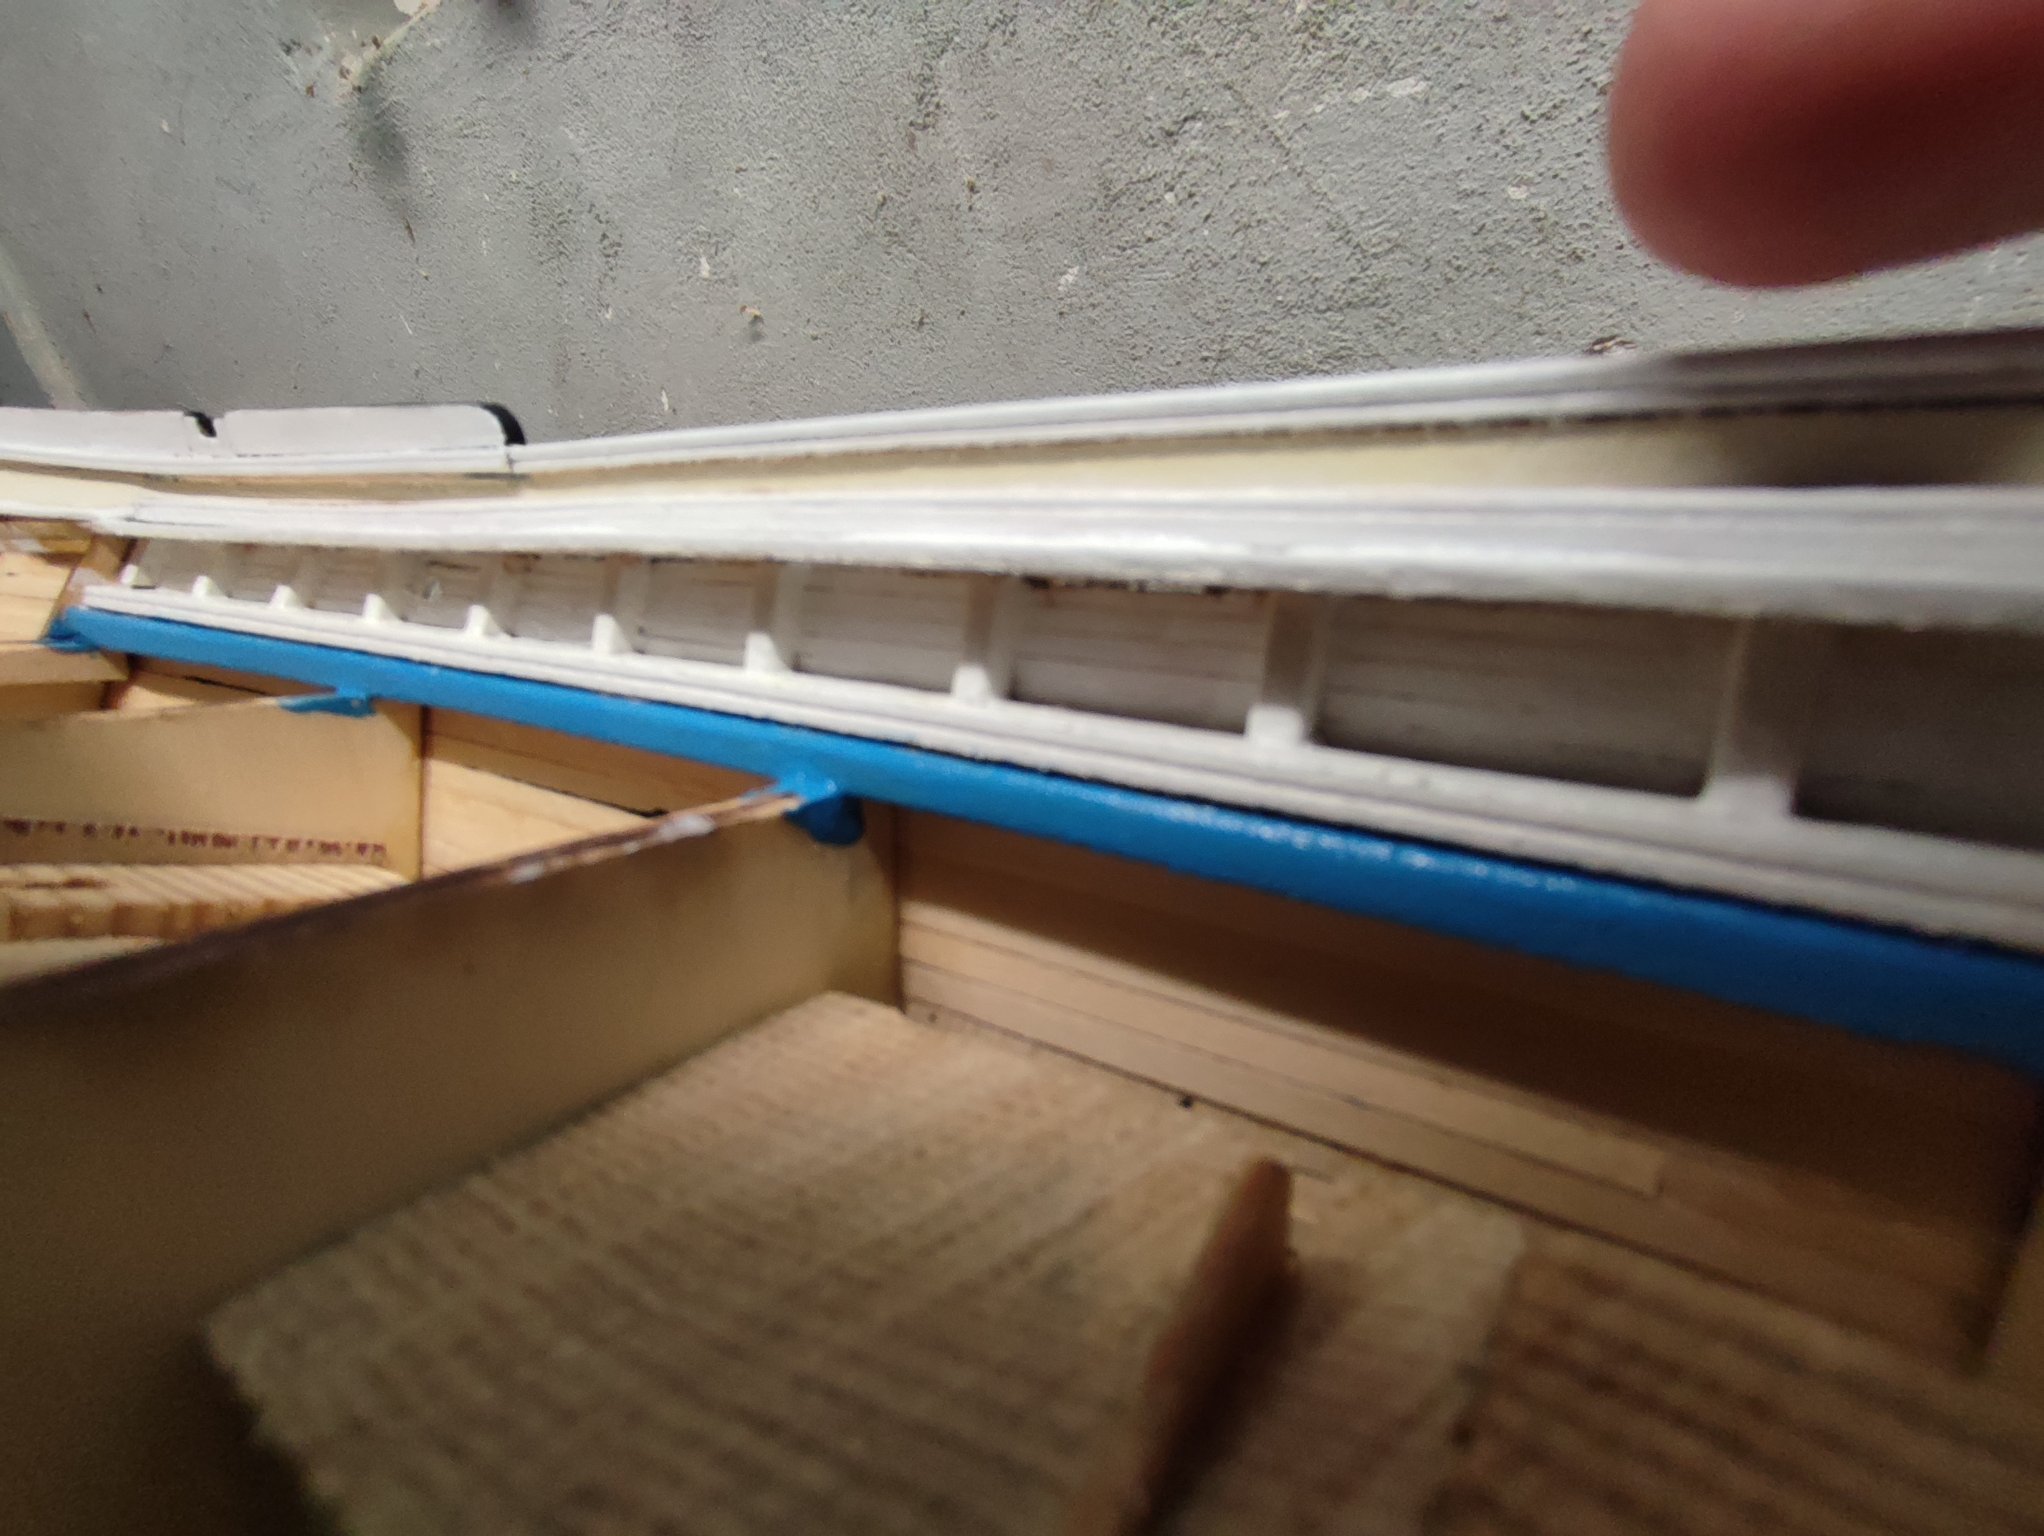
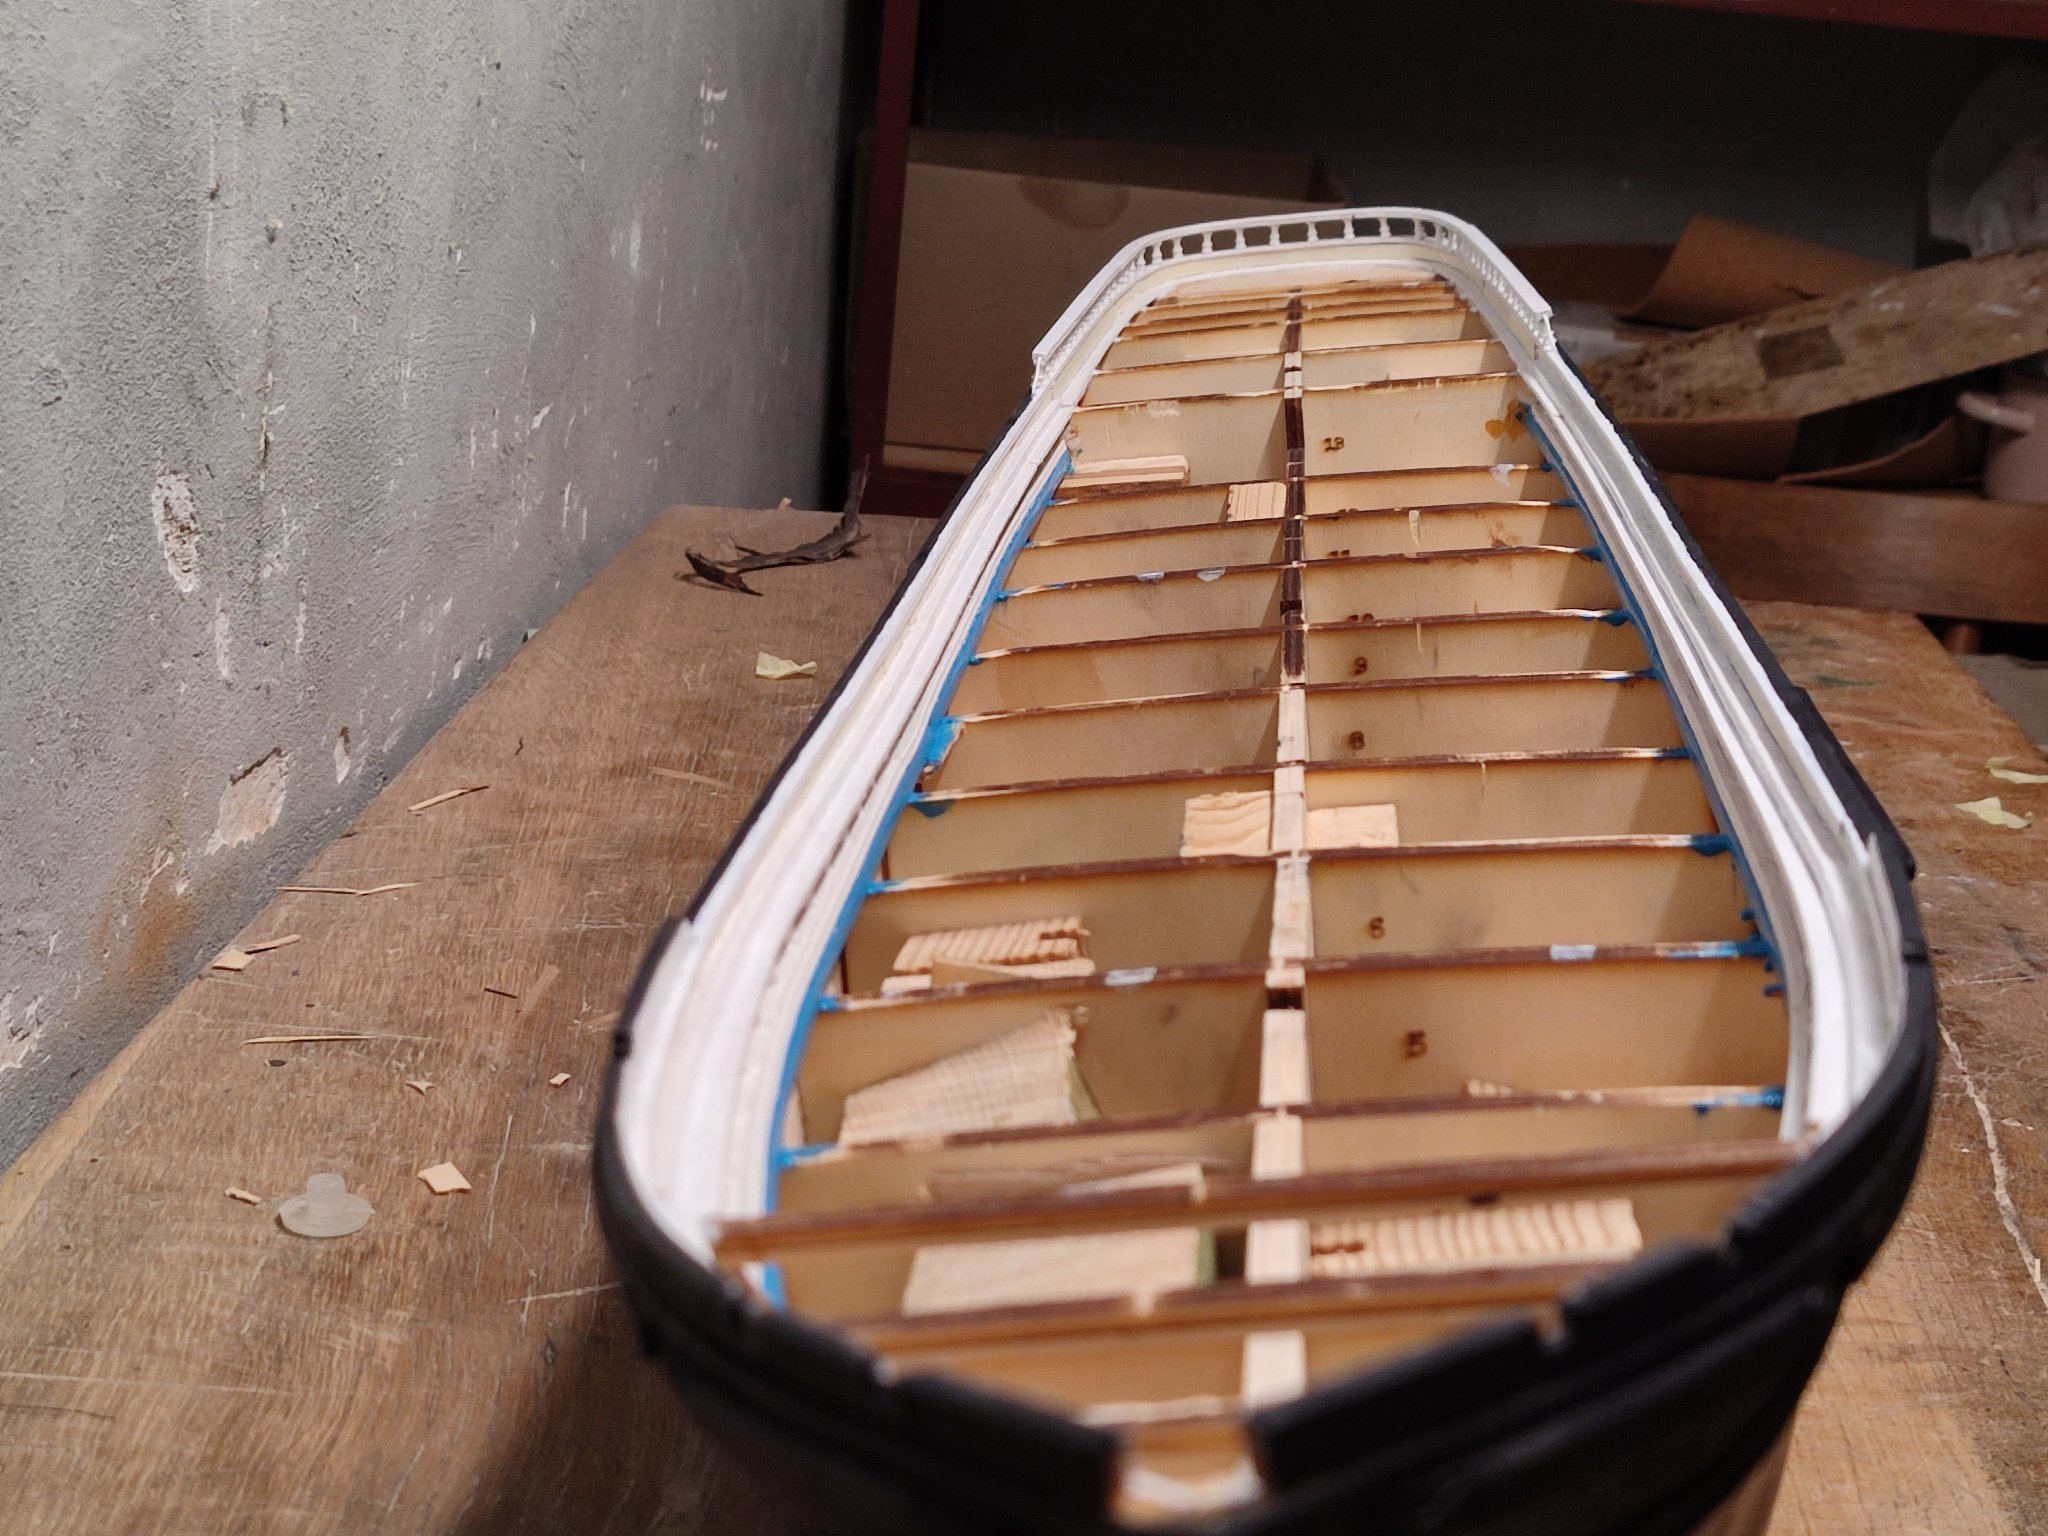
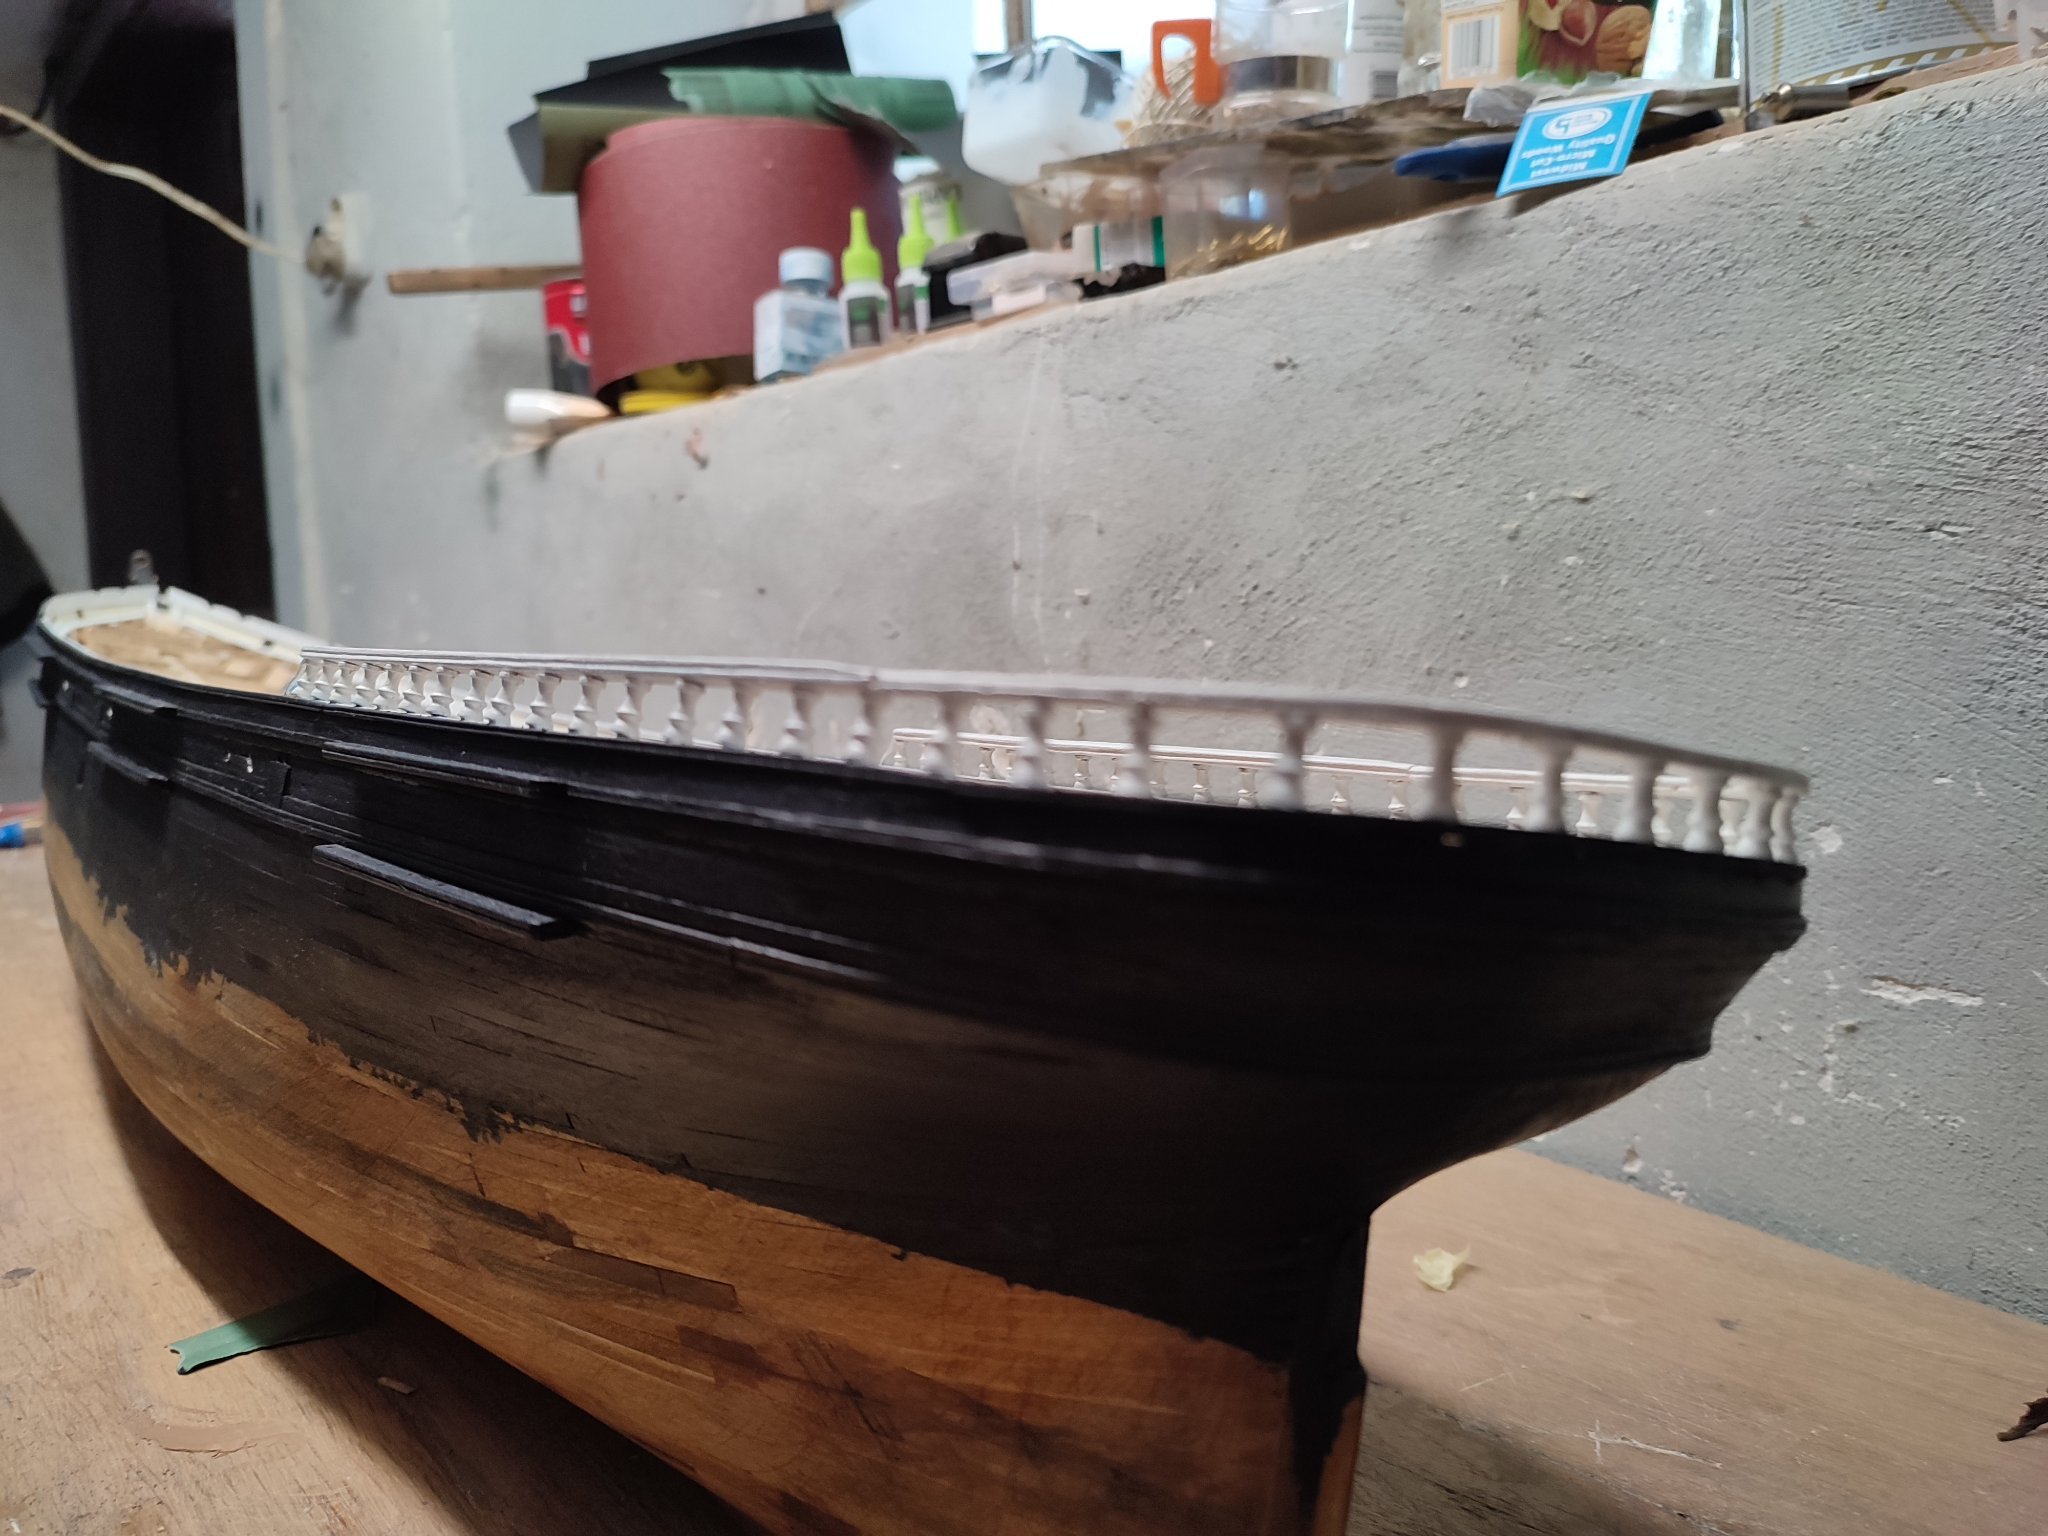
I sealed boatv with shellac Prior painting so that grain Will not rise anymore. I changed All damaged moldings before, and polished ship details overall. Now only to tape water level line..thanks for watching.


- GrandpaPhil, druxey and Tigersteve
-
3
-
1 hour ago, rwiederrich said:
I plan the mast out....but will not add them until the deck is furnished out first. Houses and all. I had originally intended to fully build my version. Masts, rigging...the who ball of wax......😁
Are you using the same dye method you used on your CS build......or are you trying something different? Will you be adding the chain plates and deadeyes as well....or just the channels?
Rob
Completely different Rob. I plan to use Fiebings oil dye. not alcohol based one. i never used it before but seen guy staining electric guitar baswood and few model boats and i fell in love with it. i will try a sample first on shellac primer.... so no painting. i will paint dilluted acrylics white on inner white though. ses i plan to put chain plates and deadeyes as i have spare small onefrom cutty sark. so far im using all wood i have at home not buying nothing but i will have to buy probably mooring pipe covers of proper size....i think even if not masted i plan to assemble masts to some height...i think deadyes would look ok. i think how to do deck first
with houses V.
-
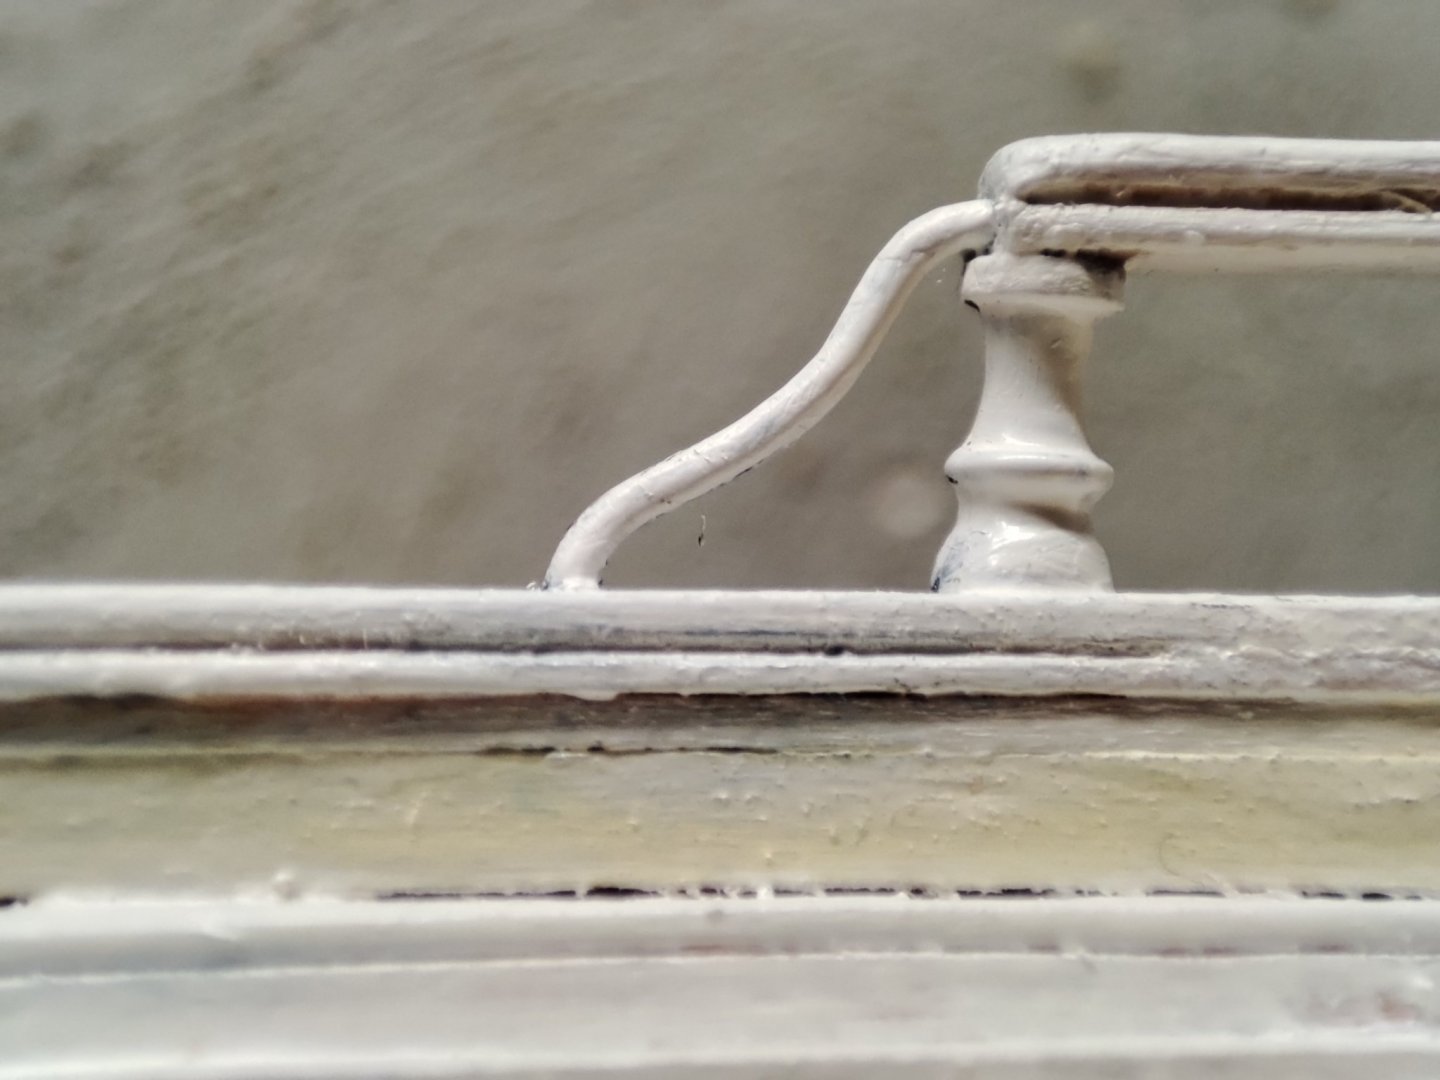
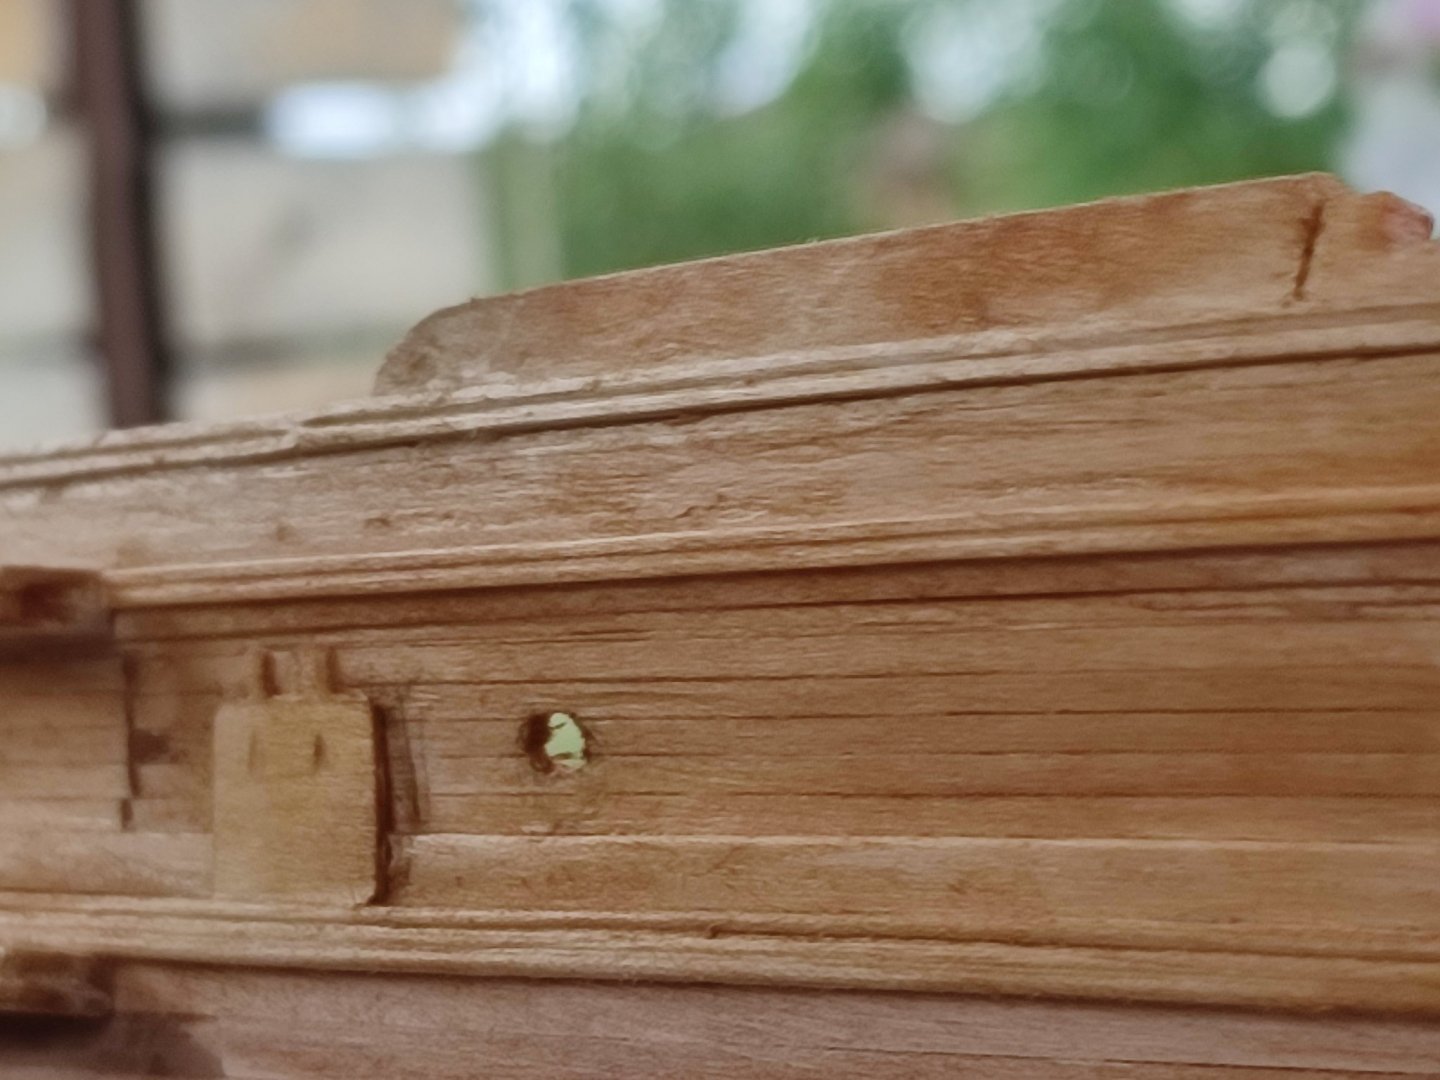
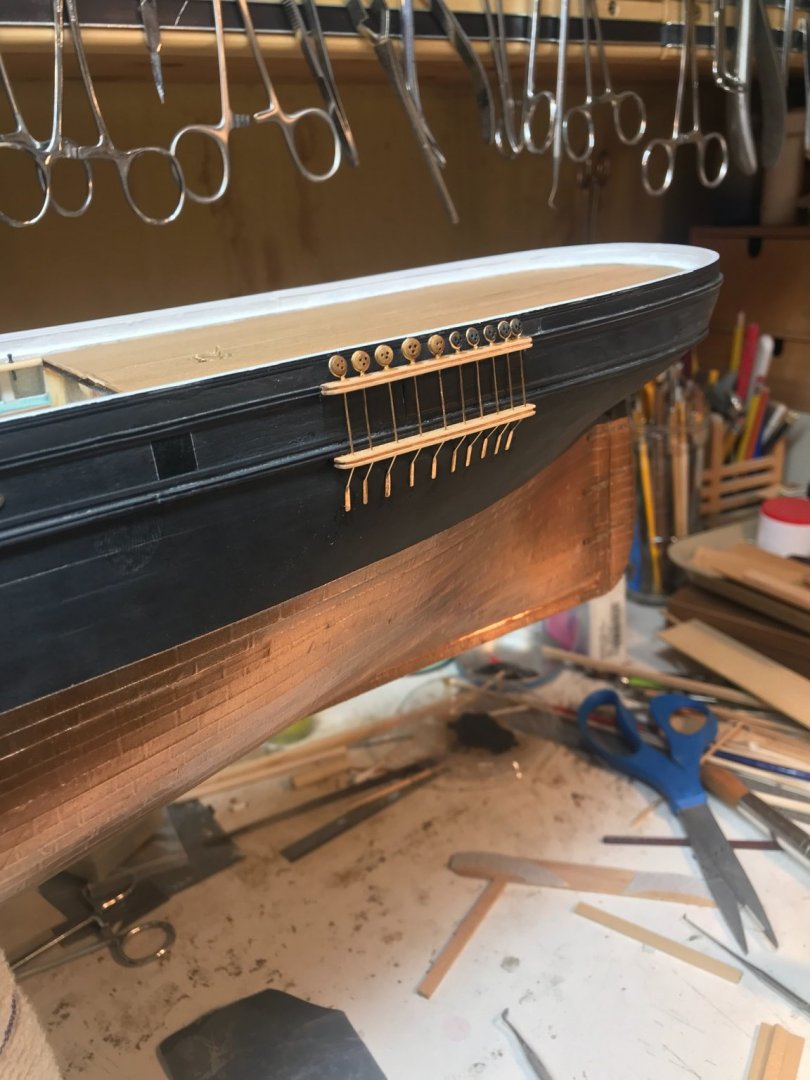
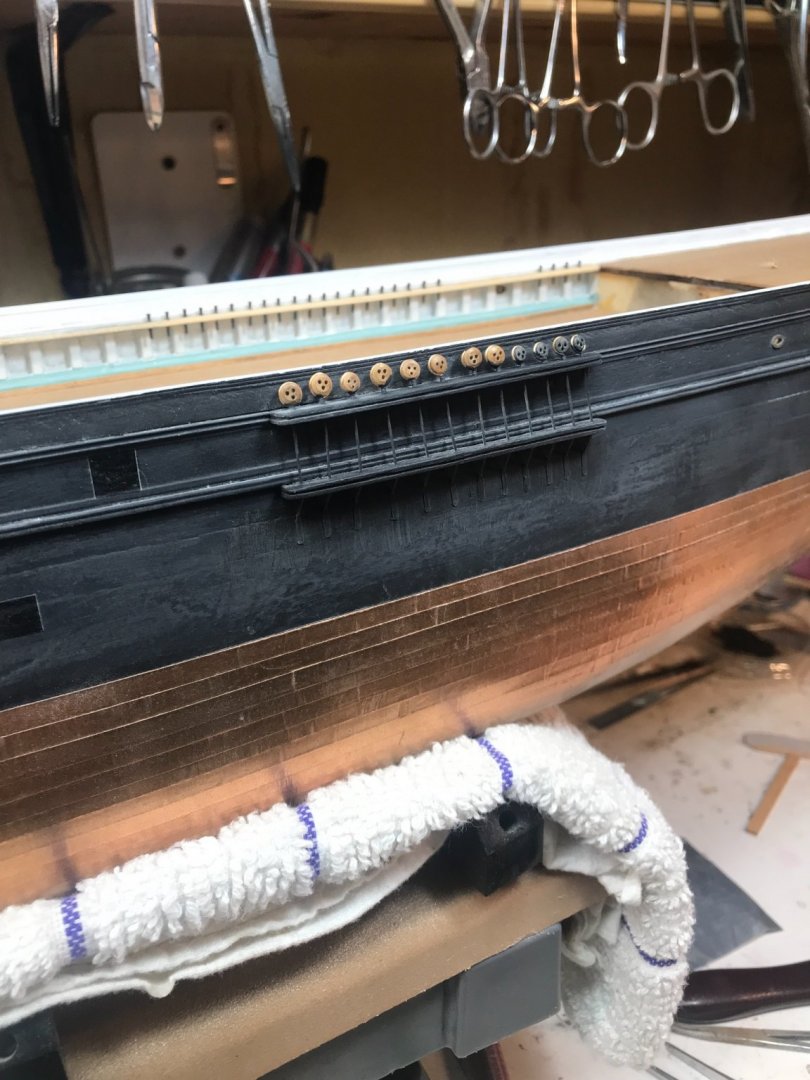
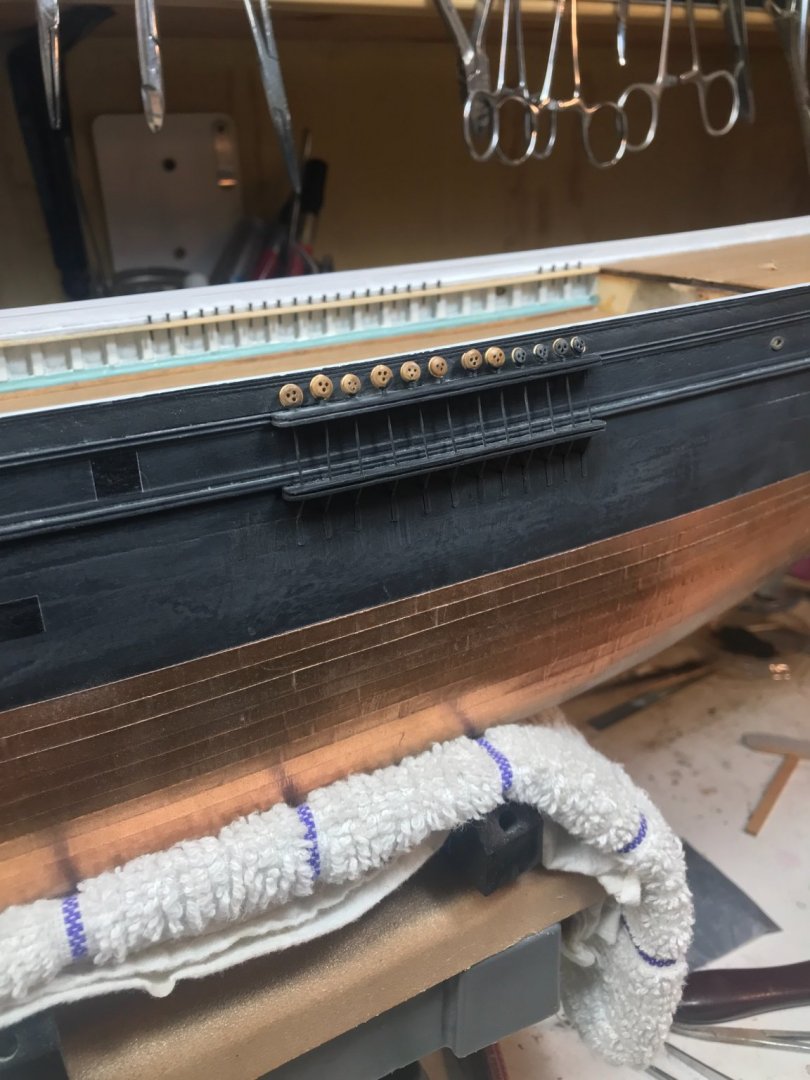
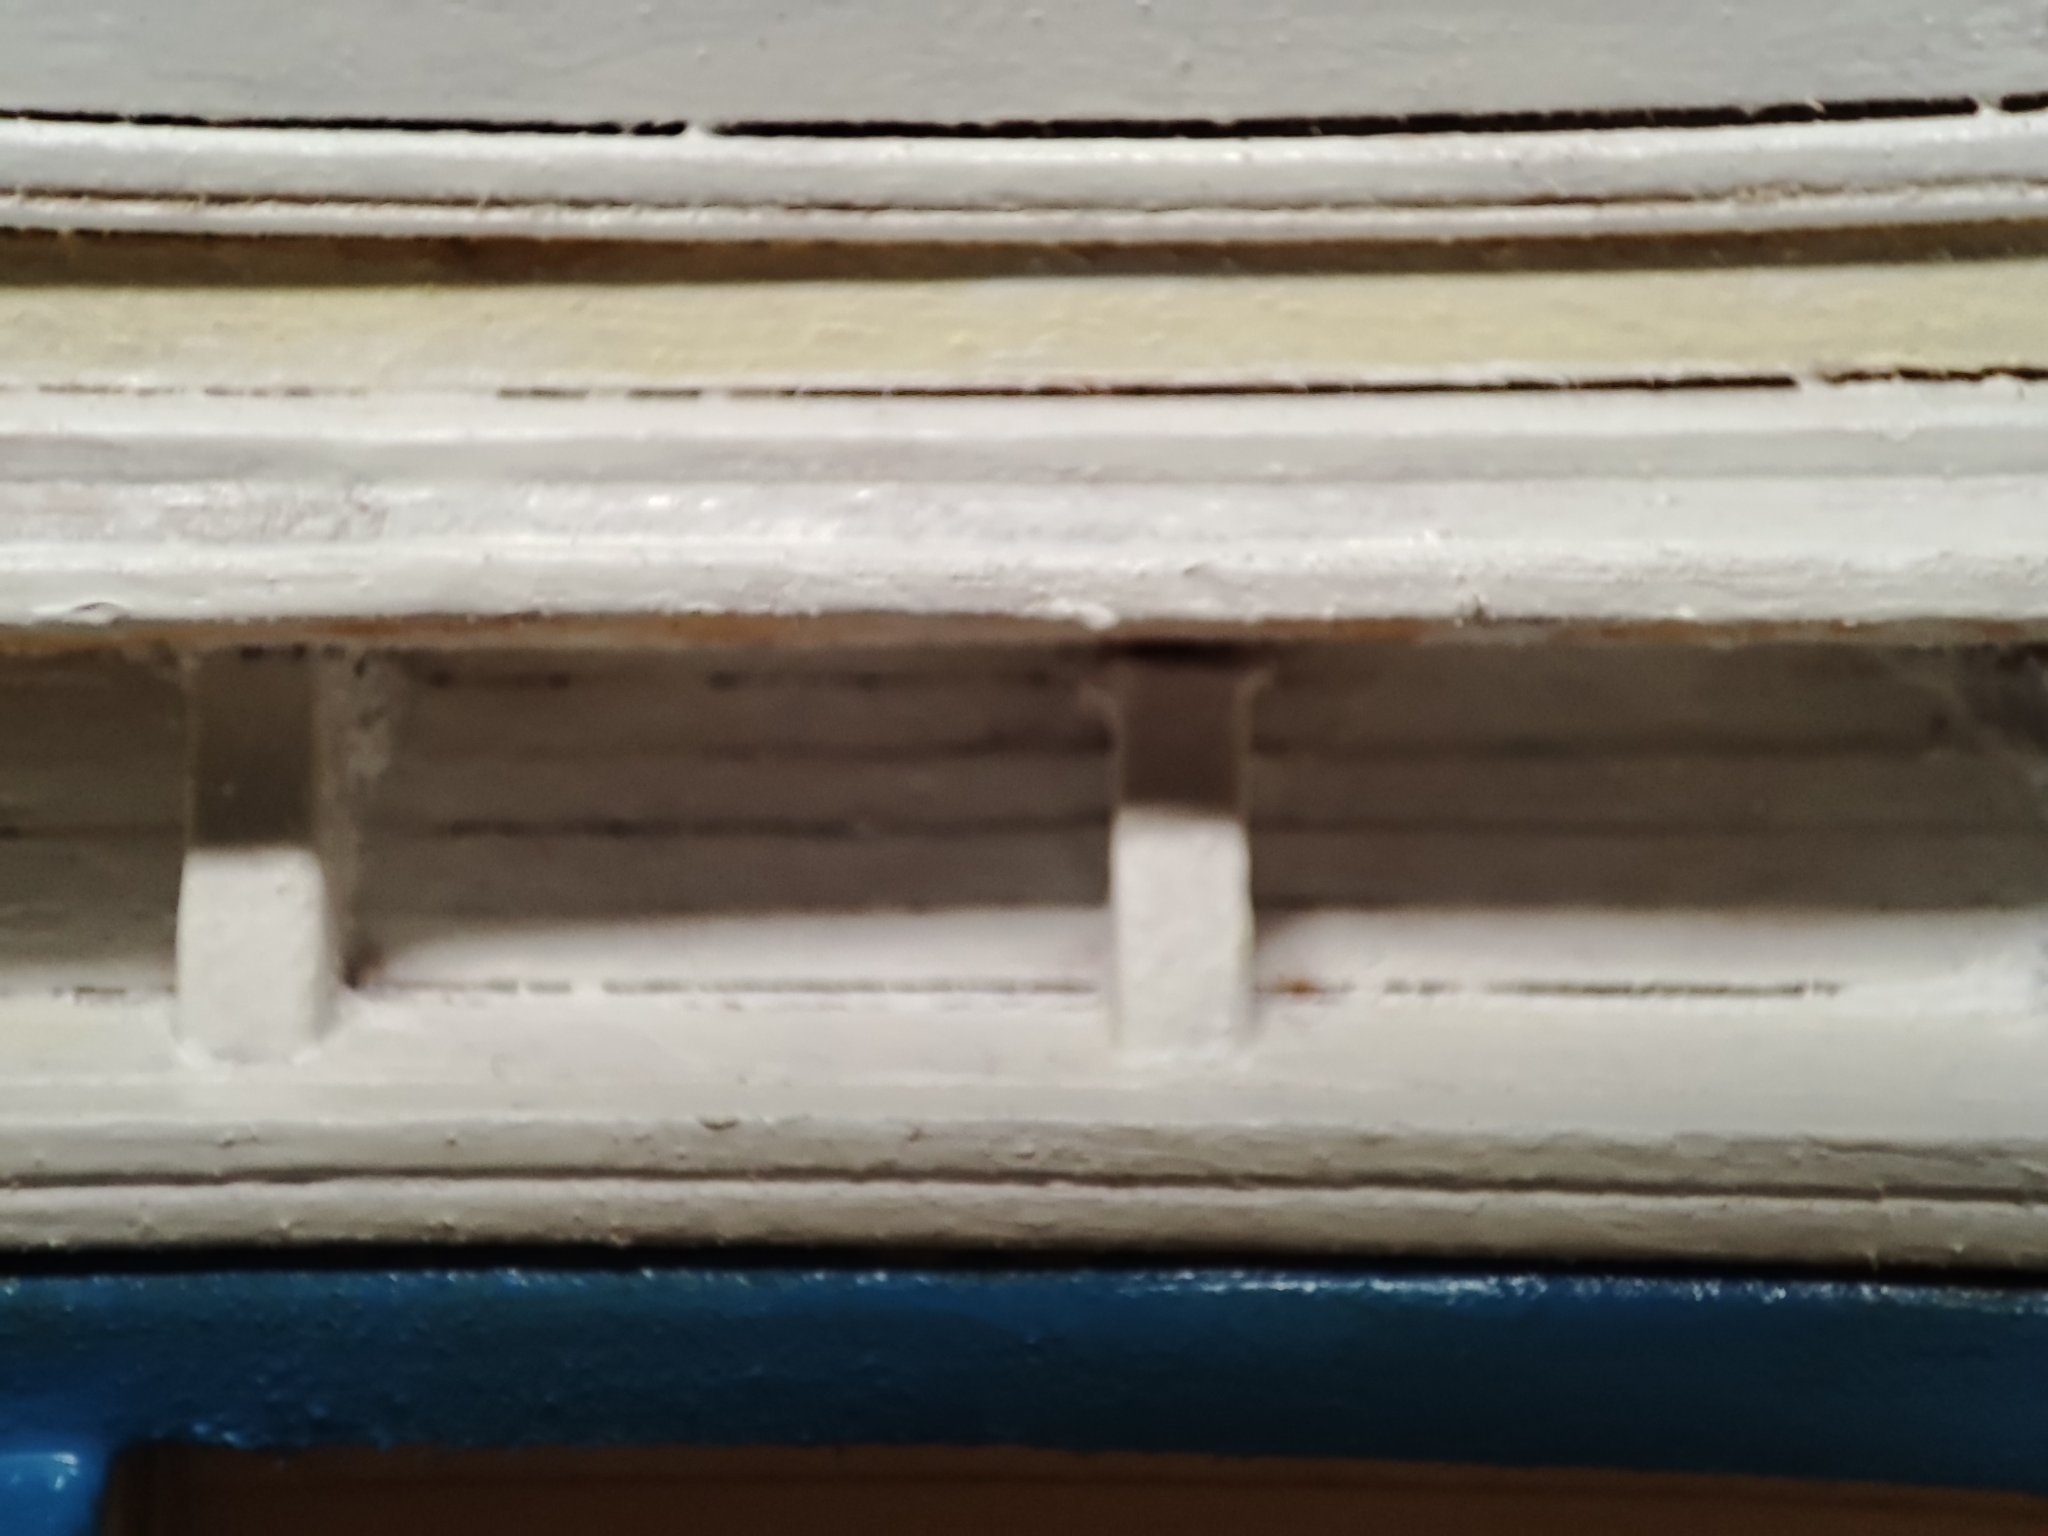
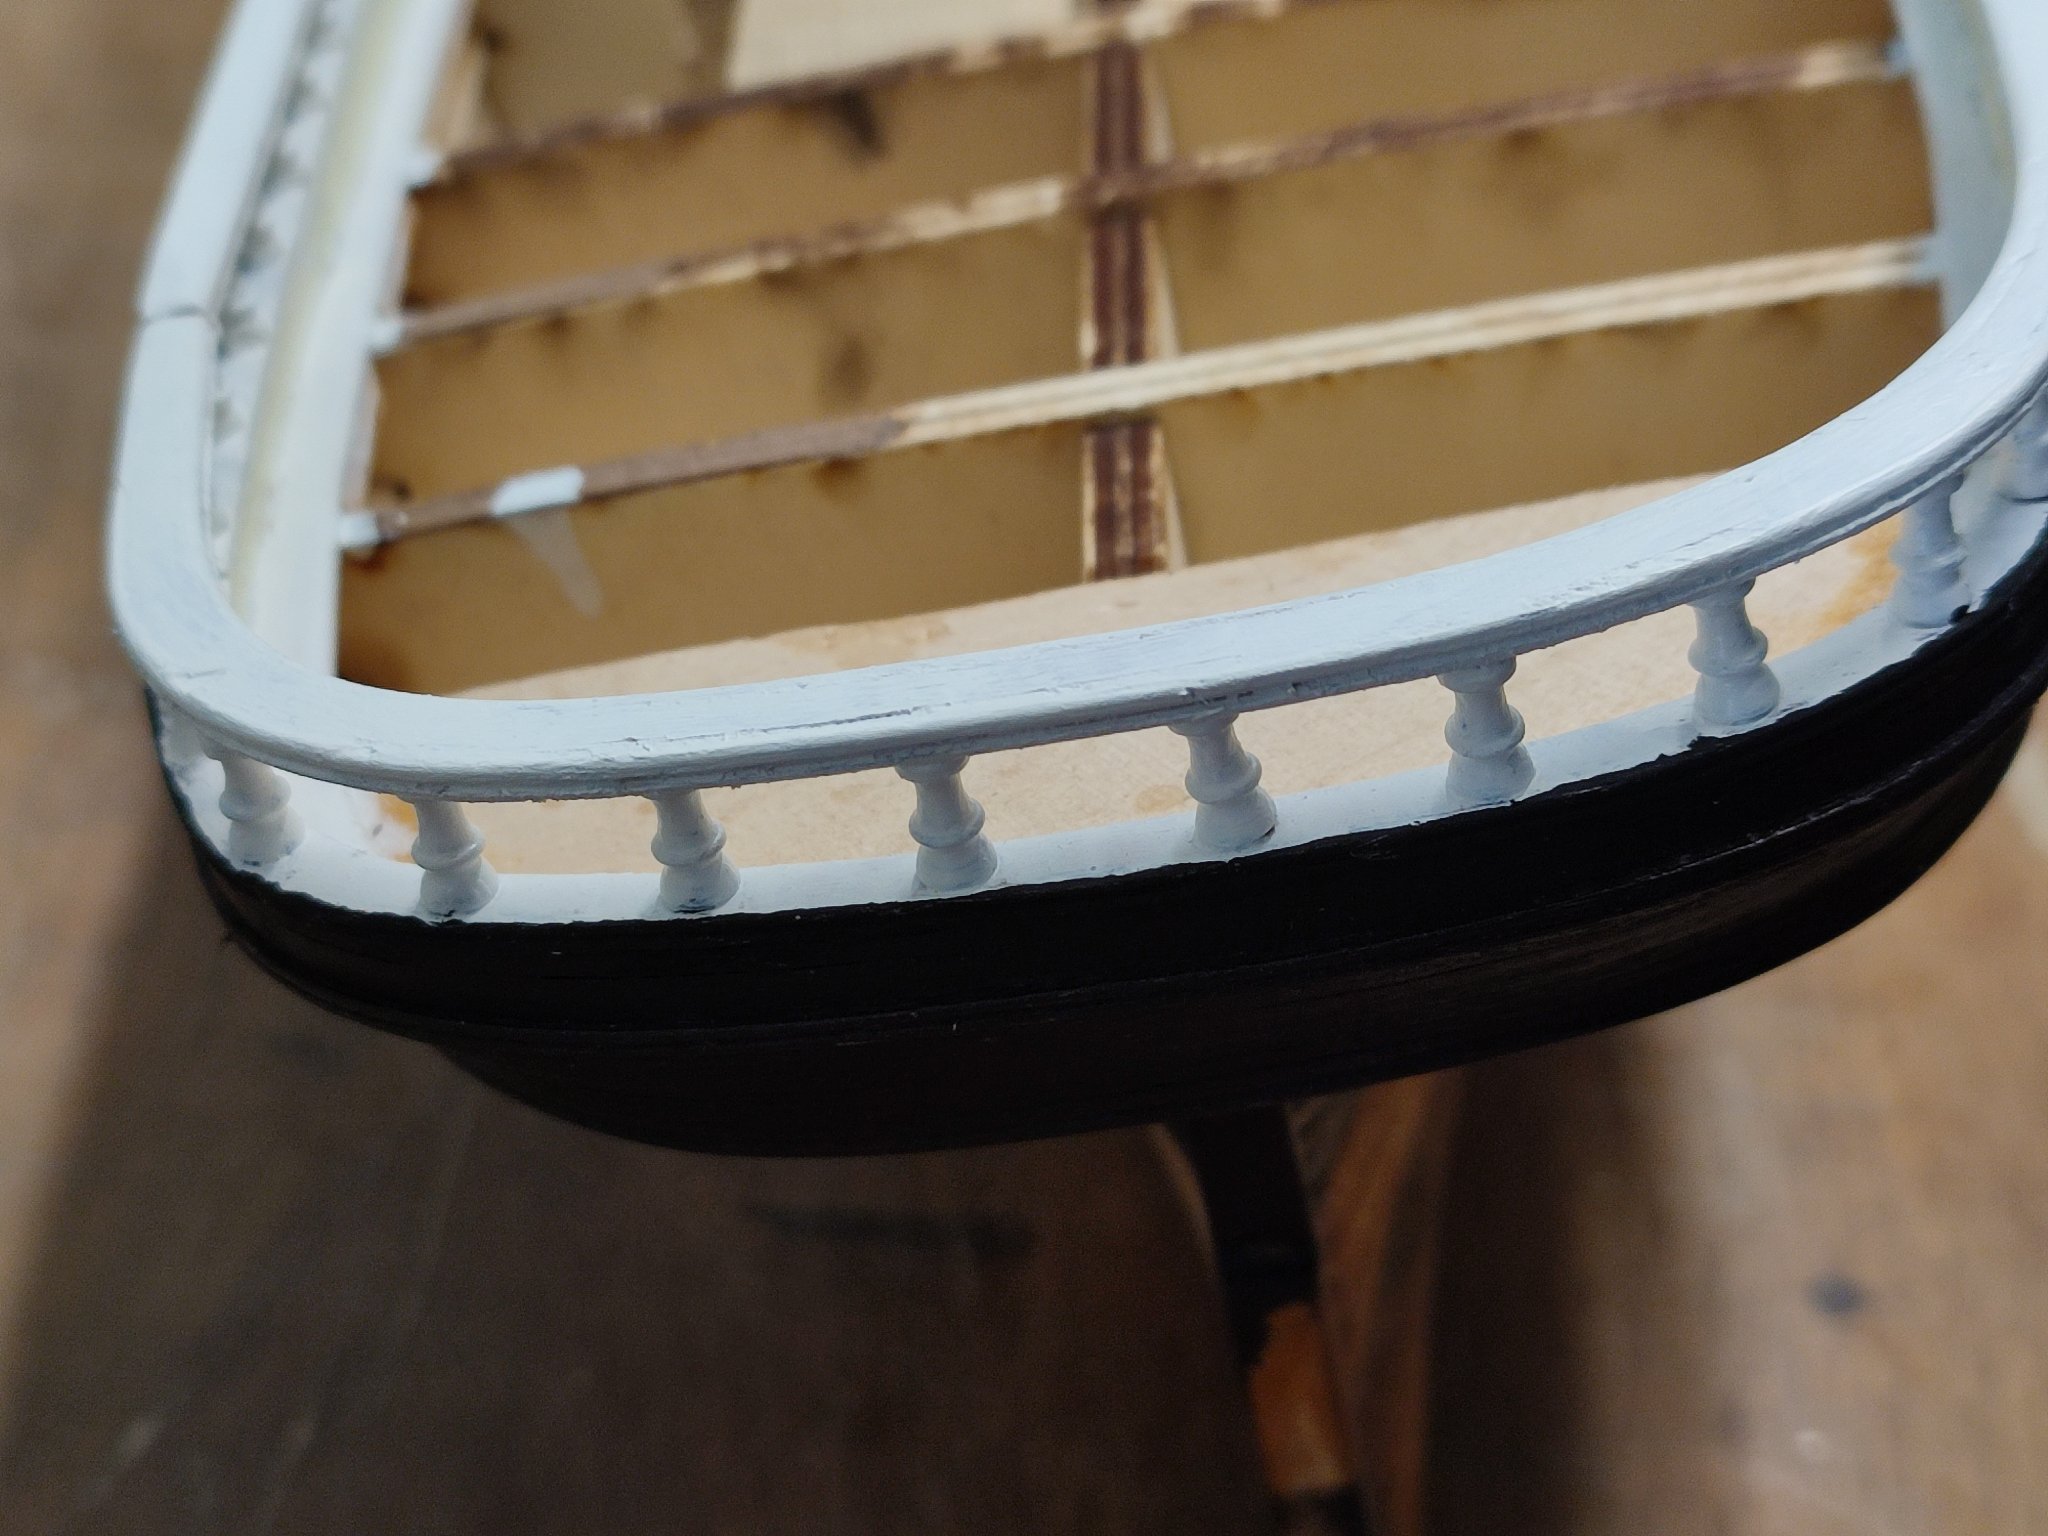
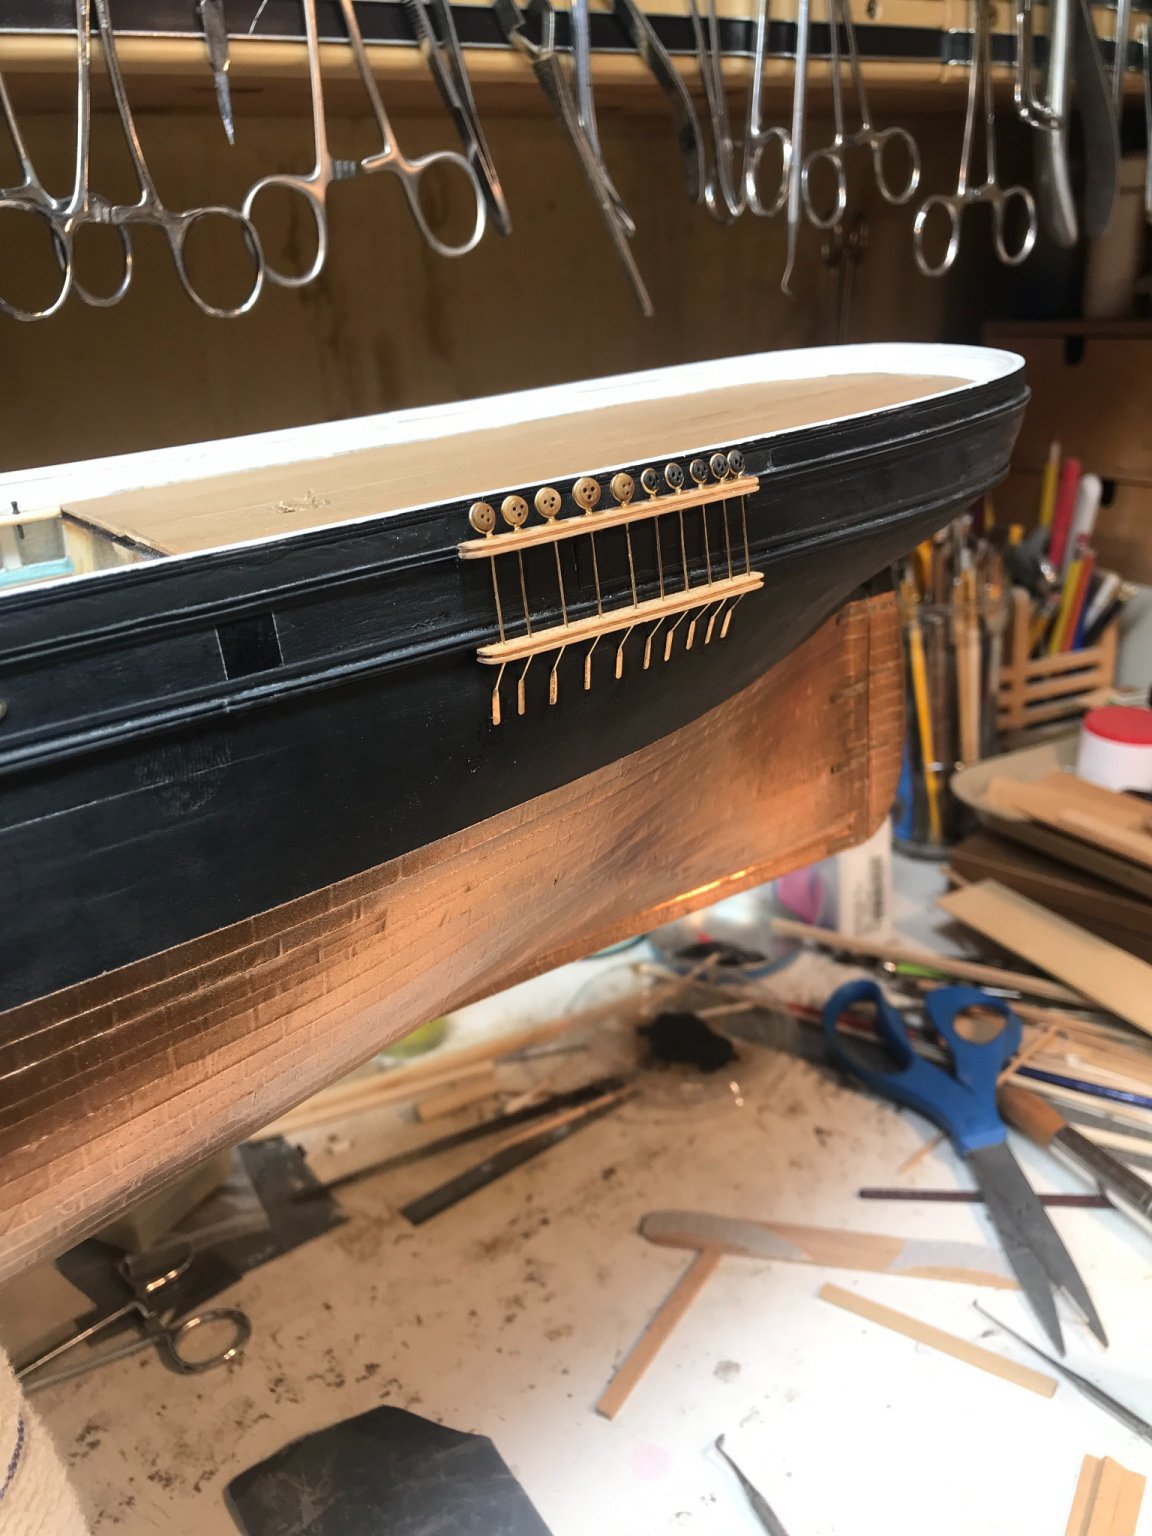
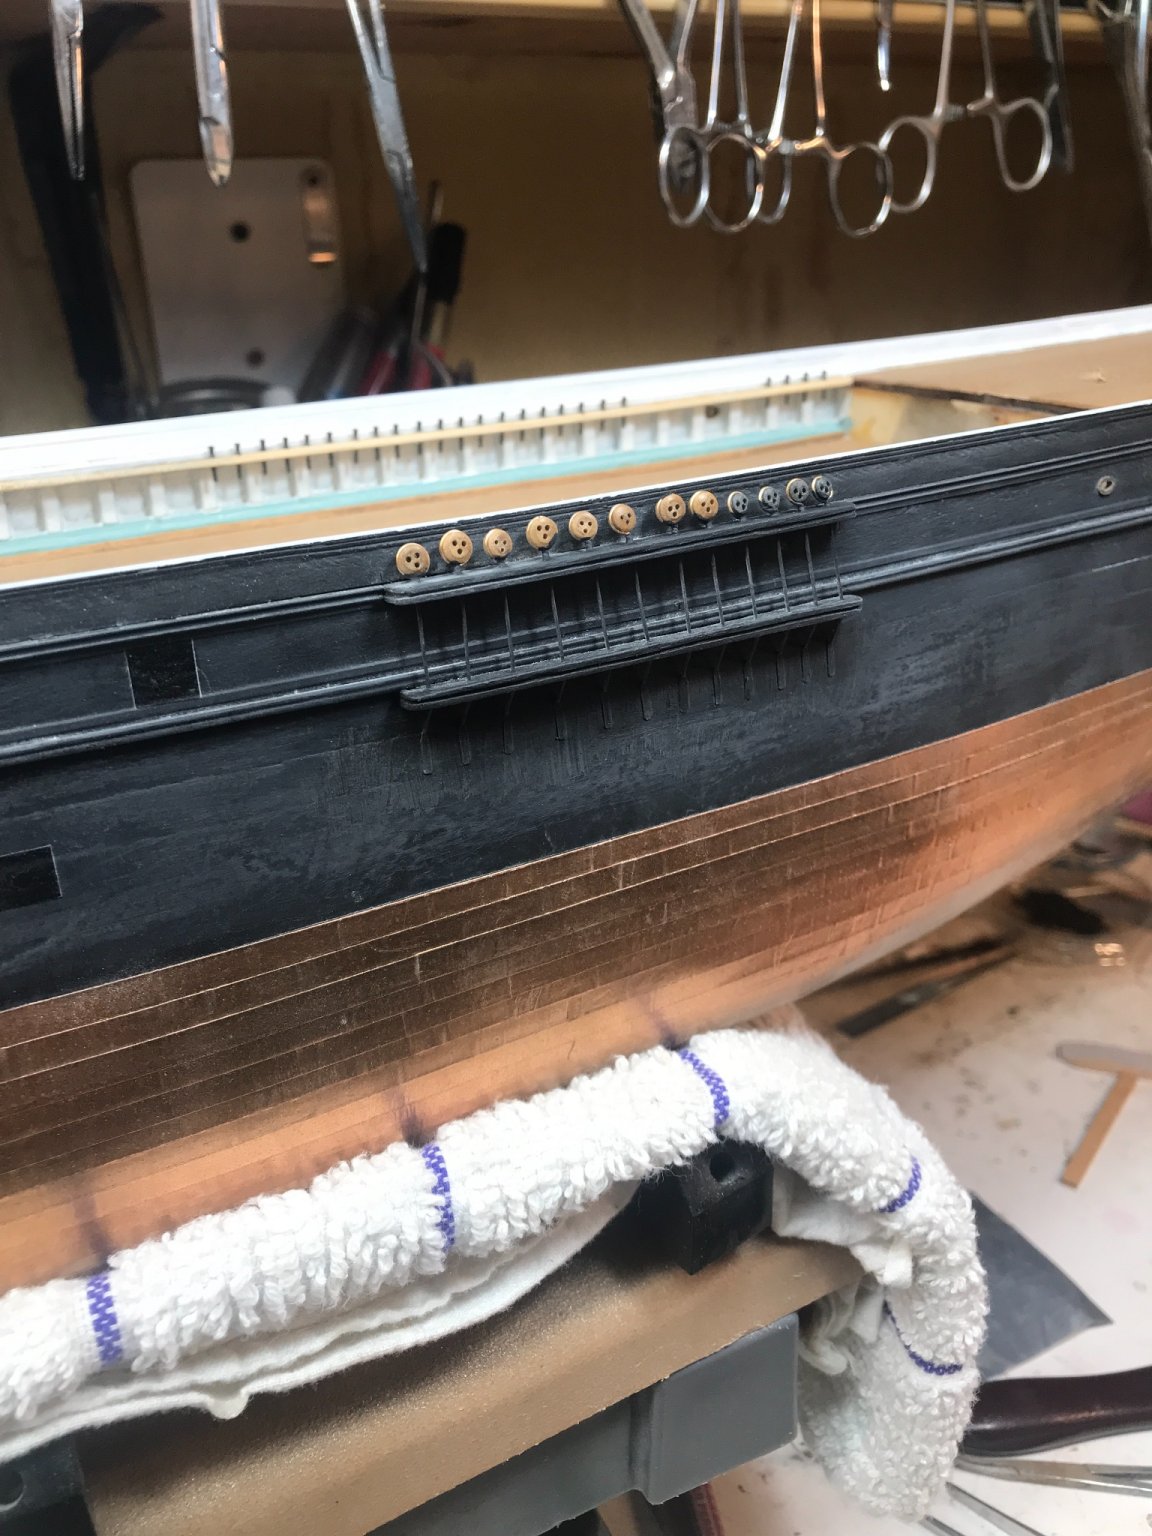
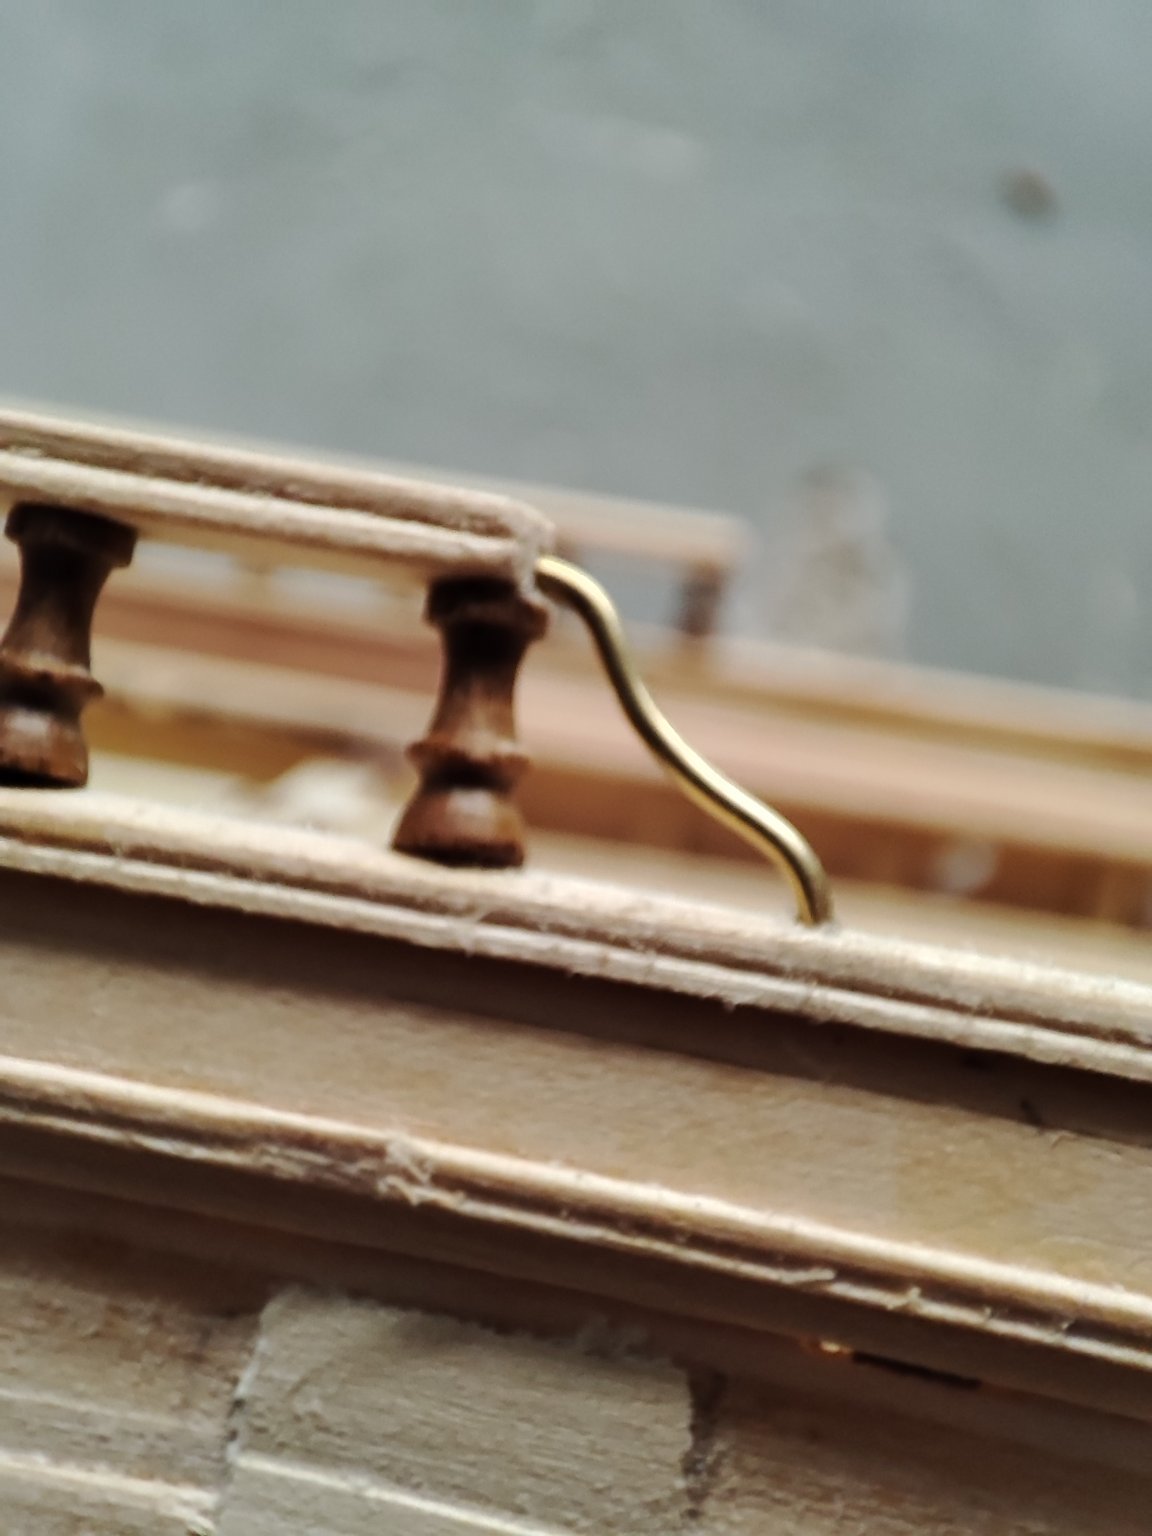
1 hour ago, ClipperFan said:
Vladimir nicely done! Isn't that a unique feature of Glory? It was a pleasant surprise to literally stumble on that neat little detail. I think you've captured it just about perfectly.
yes I love it Rich. i suppose it was modern back in a day.
-
3 hours ago, rwiederrich said:
Everything is looking smart Vlad...your nameboards are looking amazing.
Funny..my nameboards are about half your size. I'm surprised 1/72 is so different in scale to 1/96.
One reason I think I prefer 1/96 is that finer details can be *blured*, if you desire...and if you're like me, you prefer to tackle them. Plus, space is at a premium. since you are not masting your model...you have more options for display. but if you did mast her...you'll need an entire wall space to display her. I just don't have that kinda space myself.
Your progressing very fast and I'm quite impressed...great job.
Rob
Thanks Rob, yeah Im finishing outer Works ahead of painting inner side white blue and outer to be oil dyed black with dye. IT should come by monday. Im looking fwd to IT but first i have to try Sample and repair some damaged parts of moldings. Than i Will stand her on temporary stand so She wont nové or damage anymore...i see youre going with masts now interesting. I thought houses first..
.:) Good luck
her.
I had to sand a bit from them ( nameboards) to fit between moldings though...
-
13 hours ago, rwiederrich said:
Spent a little time working the fore, main and mizzenmast channels and chain plates.
Rob
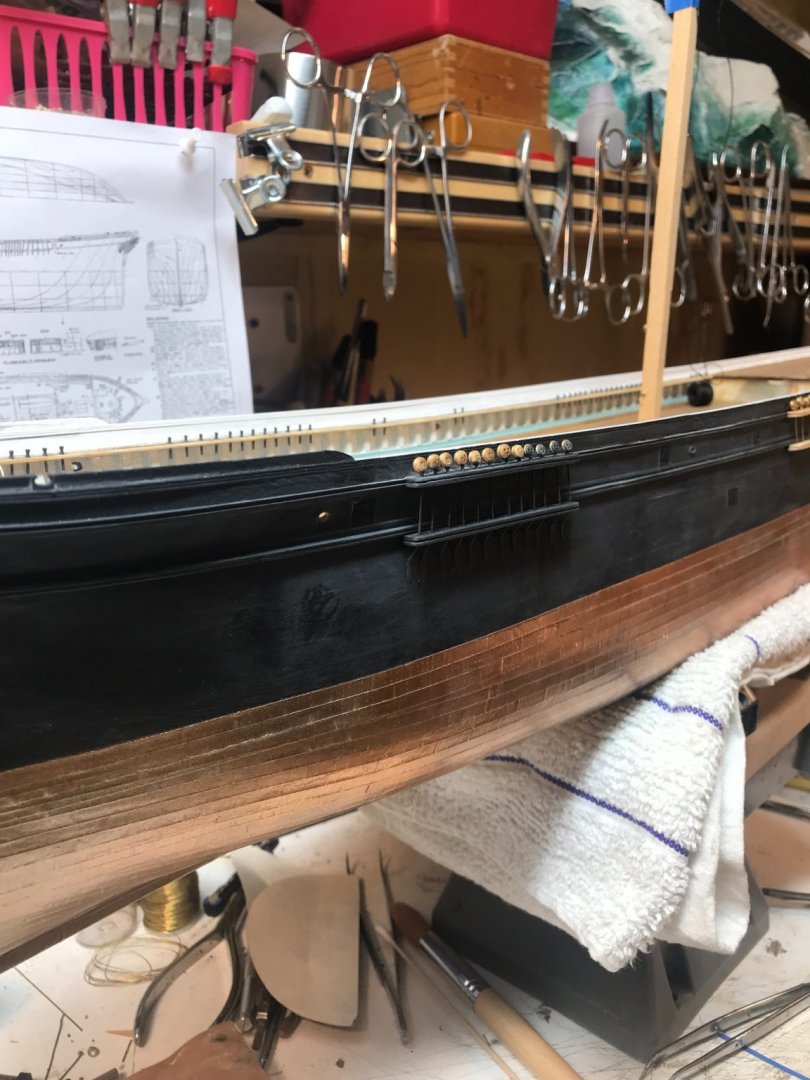


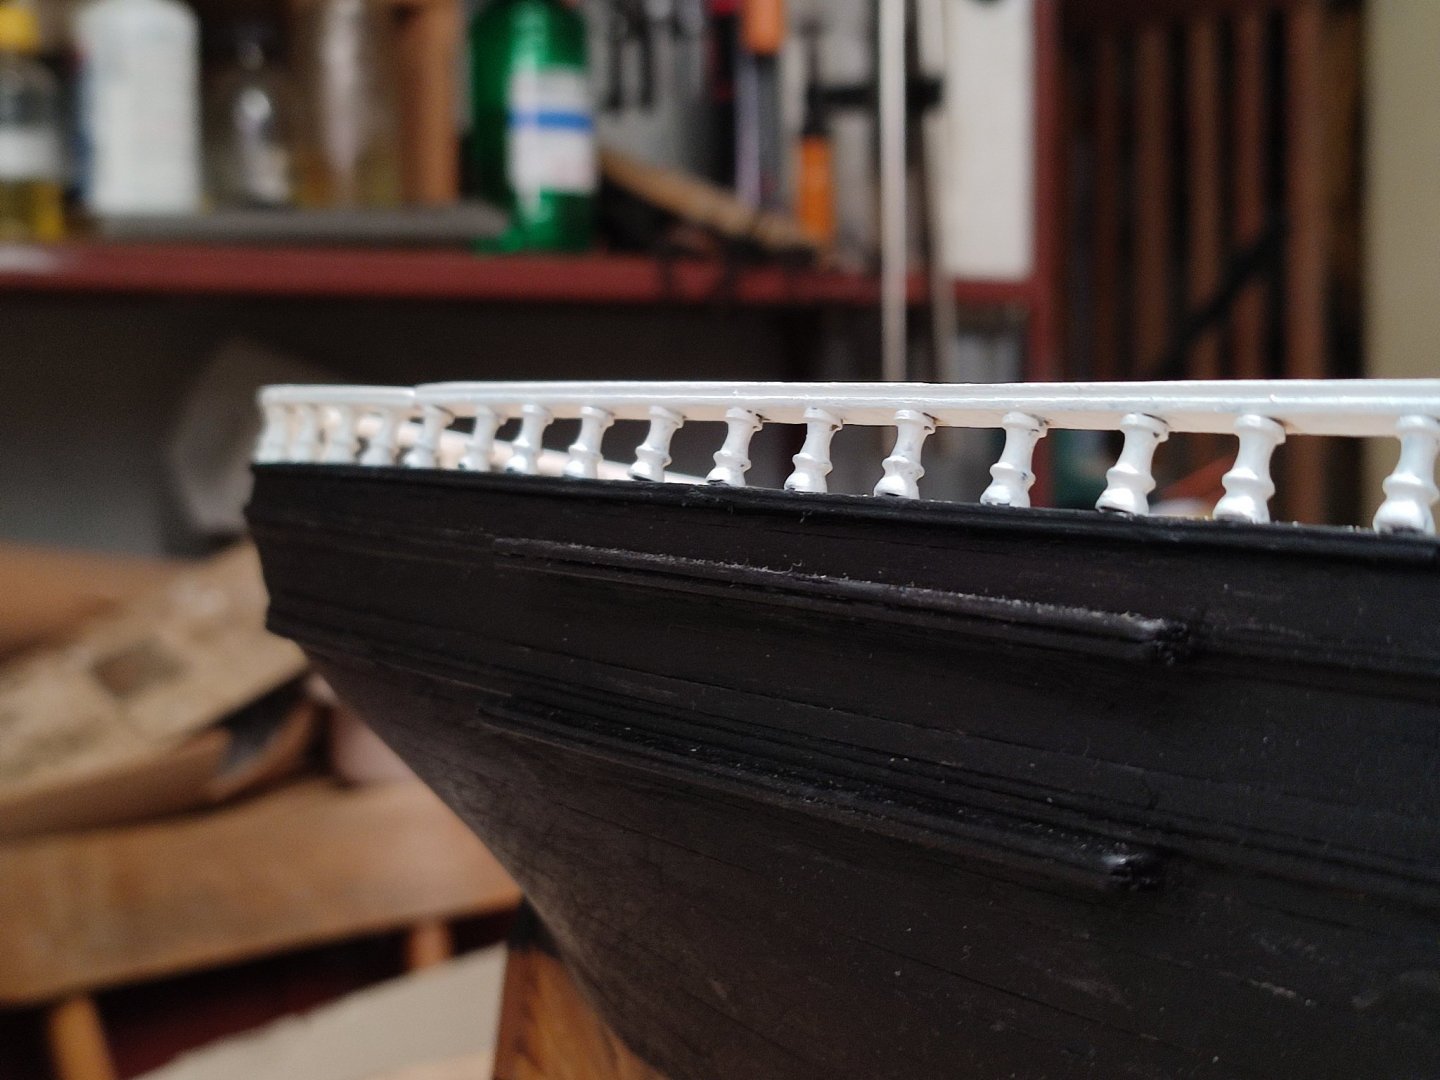
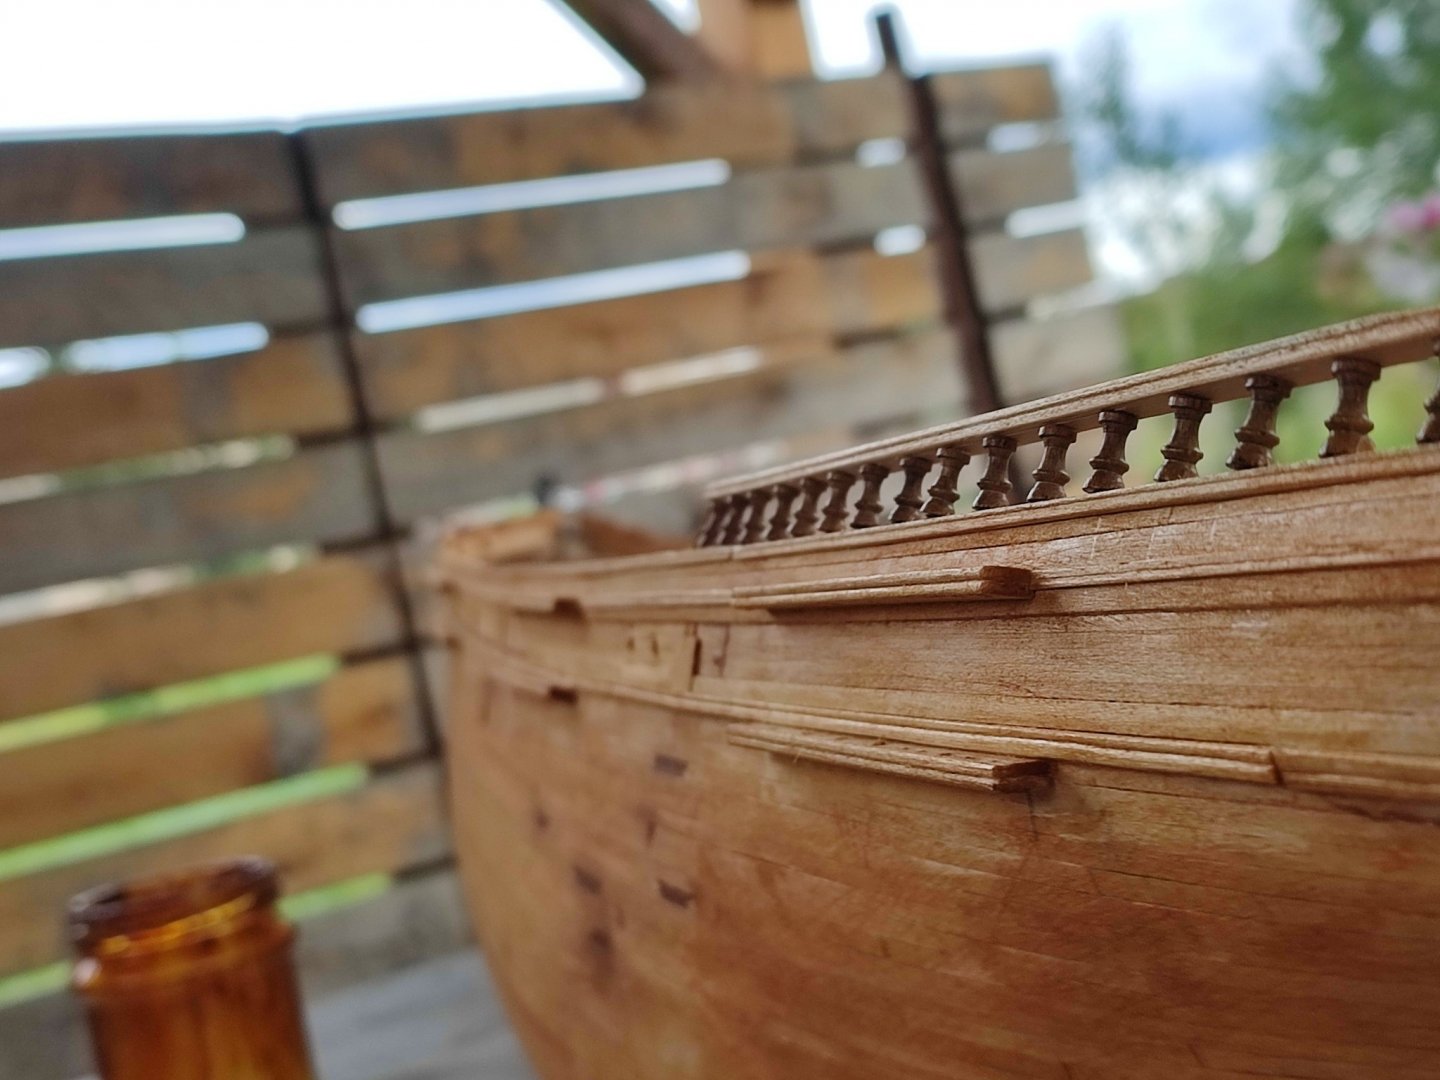
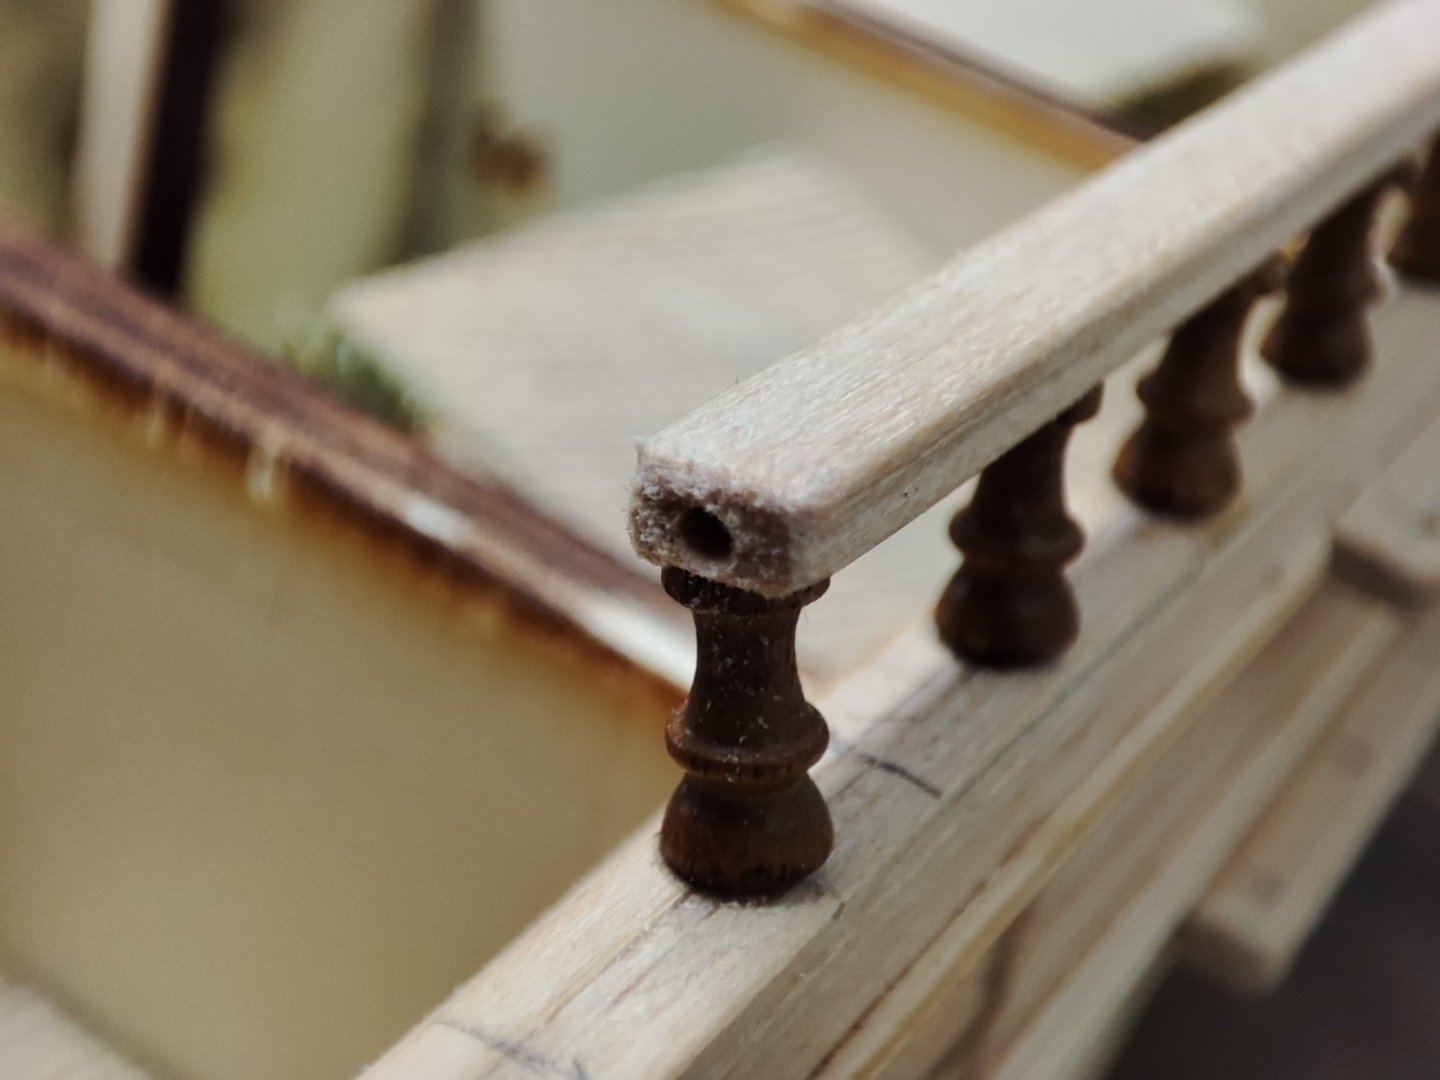
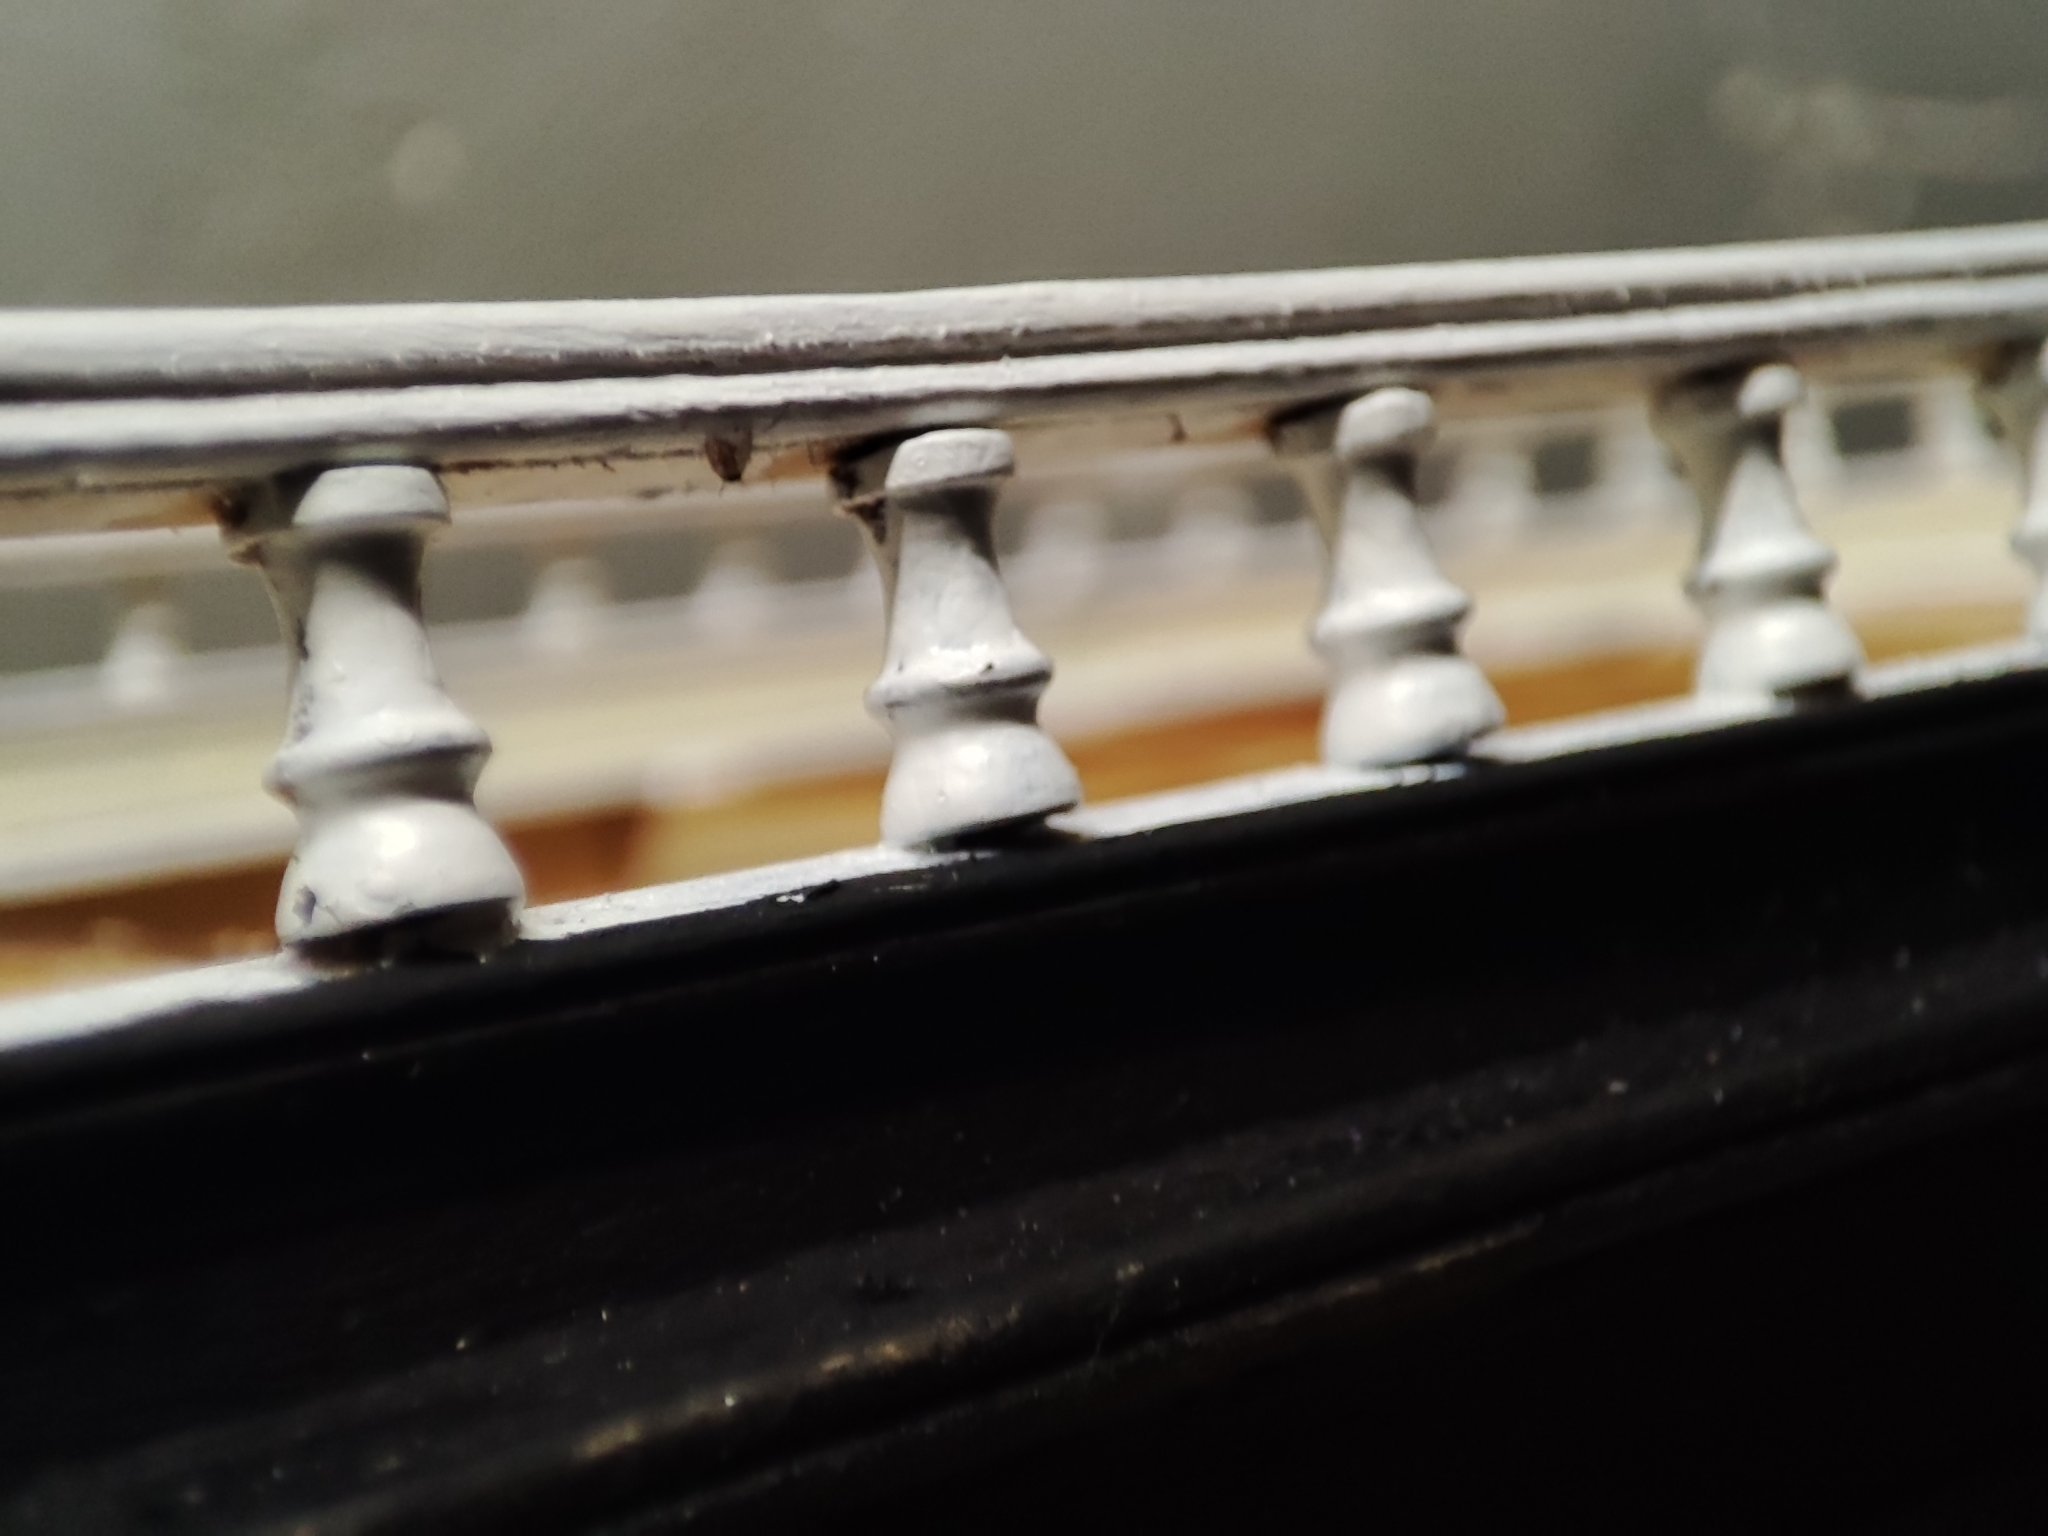
im slow to catch on your speed Rob. shes perfect. by the way, what color is top of fancyrail, very upper side? its white and black is touching it from outer side? seems quite tricky to me. thanks V.
-
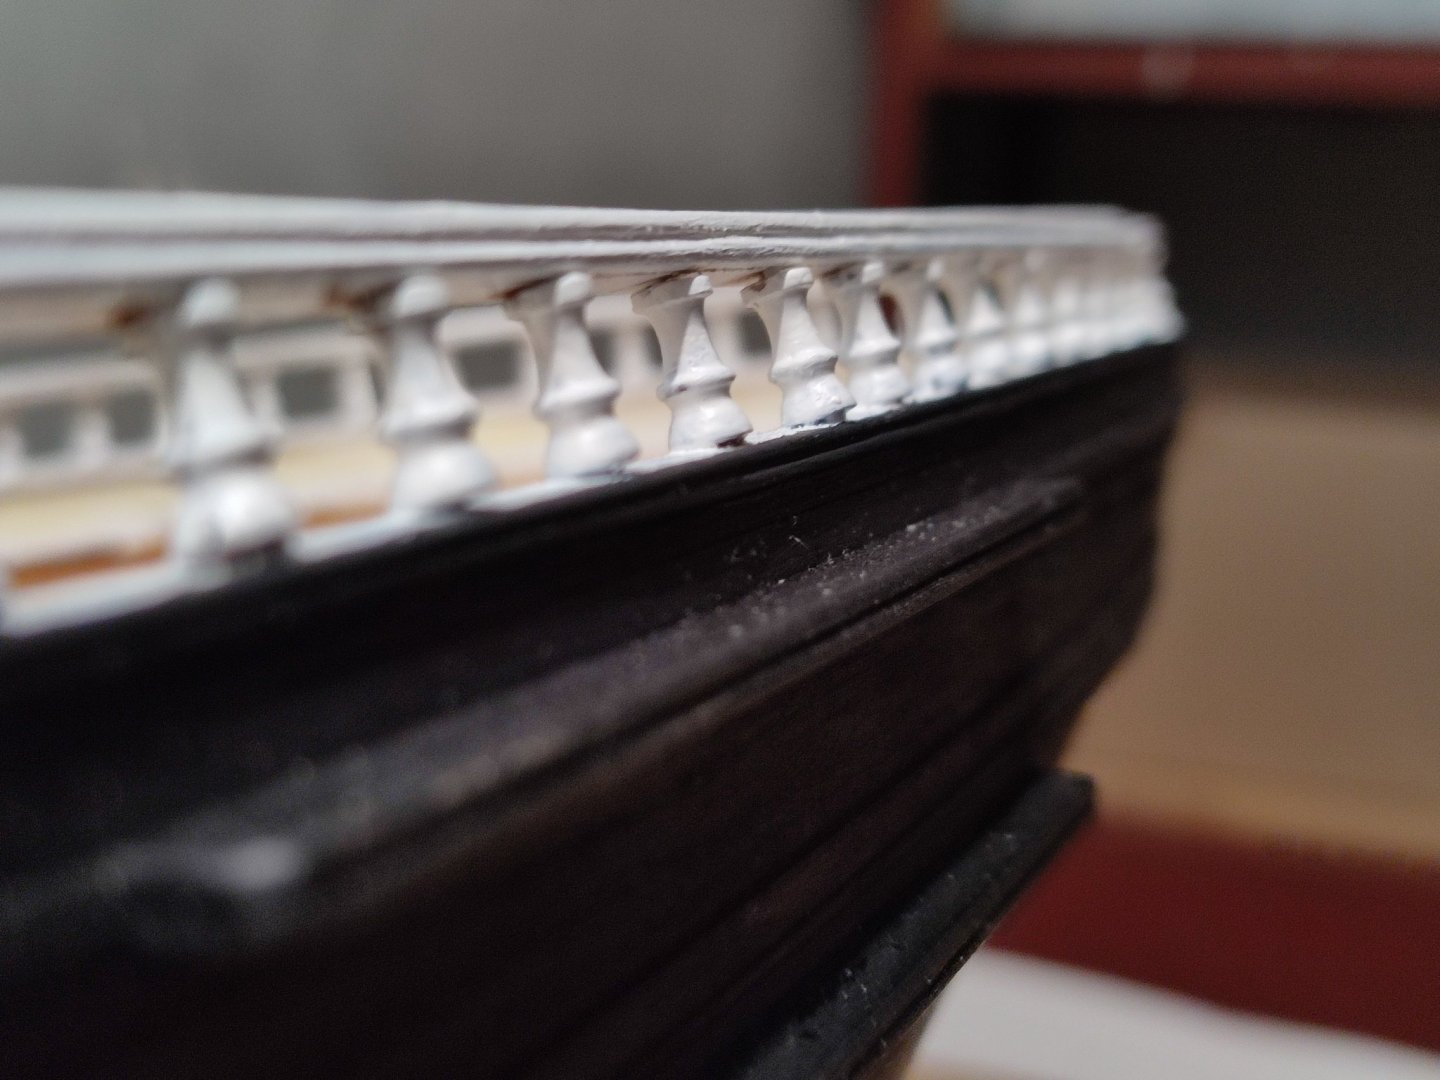
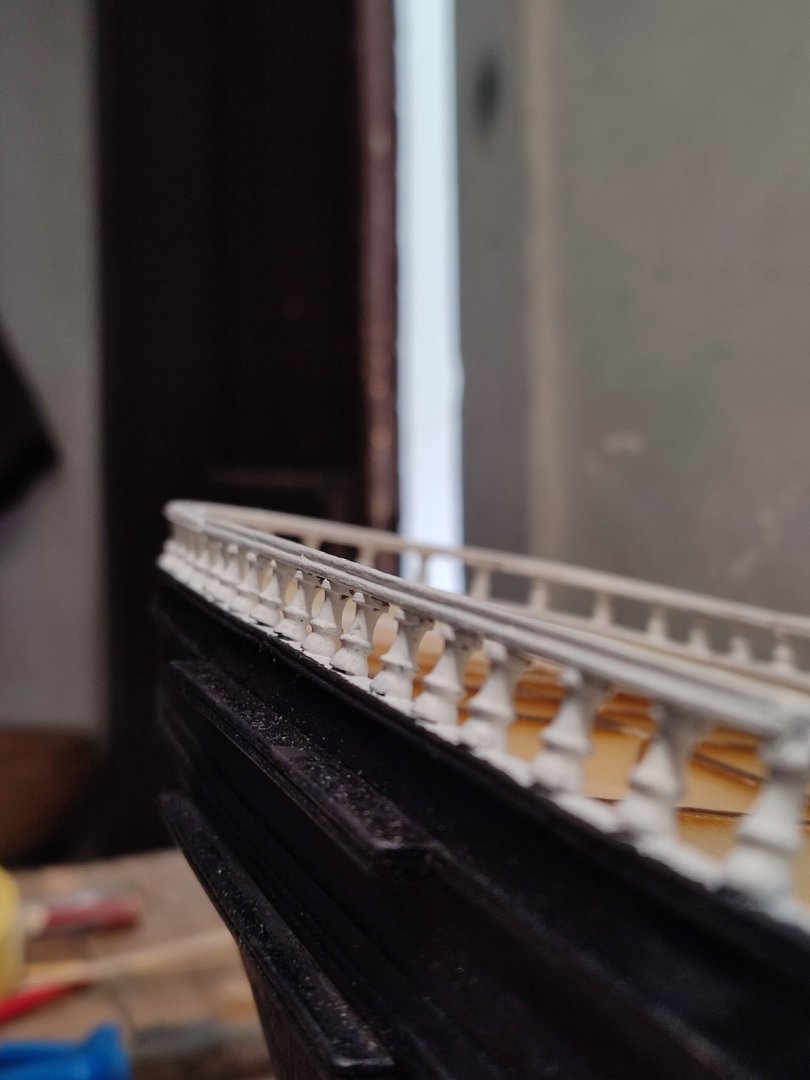
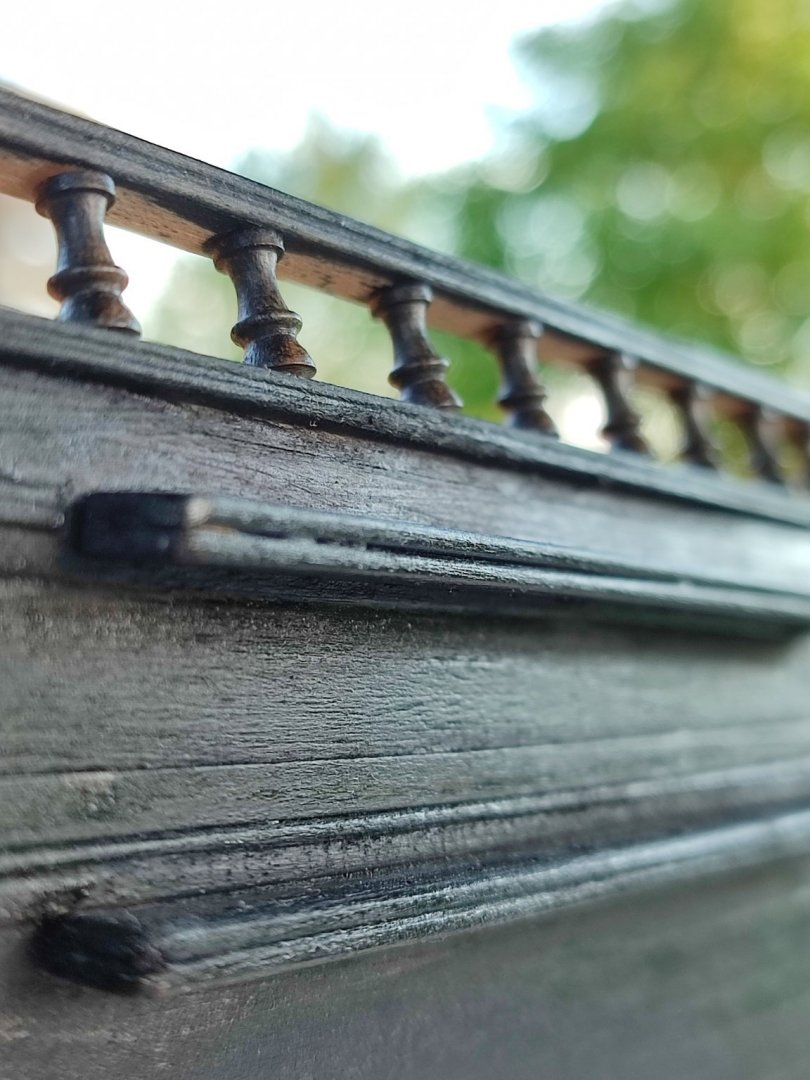
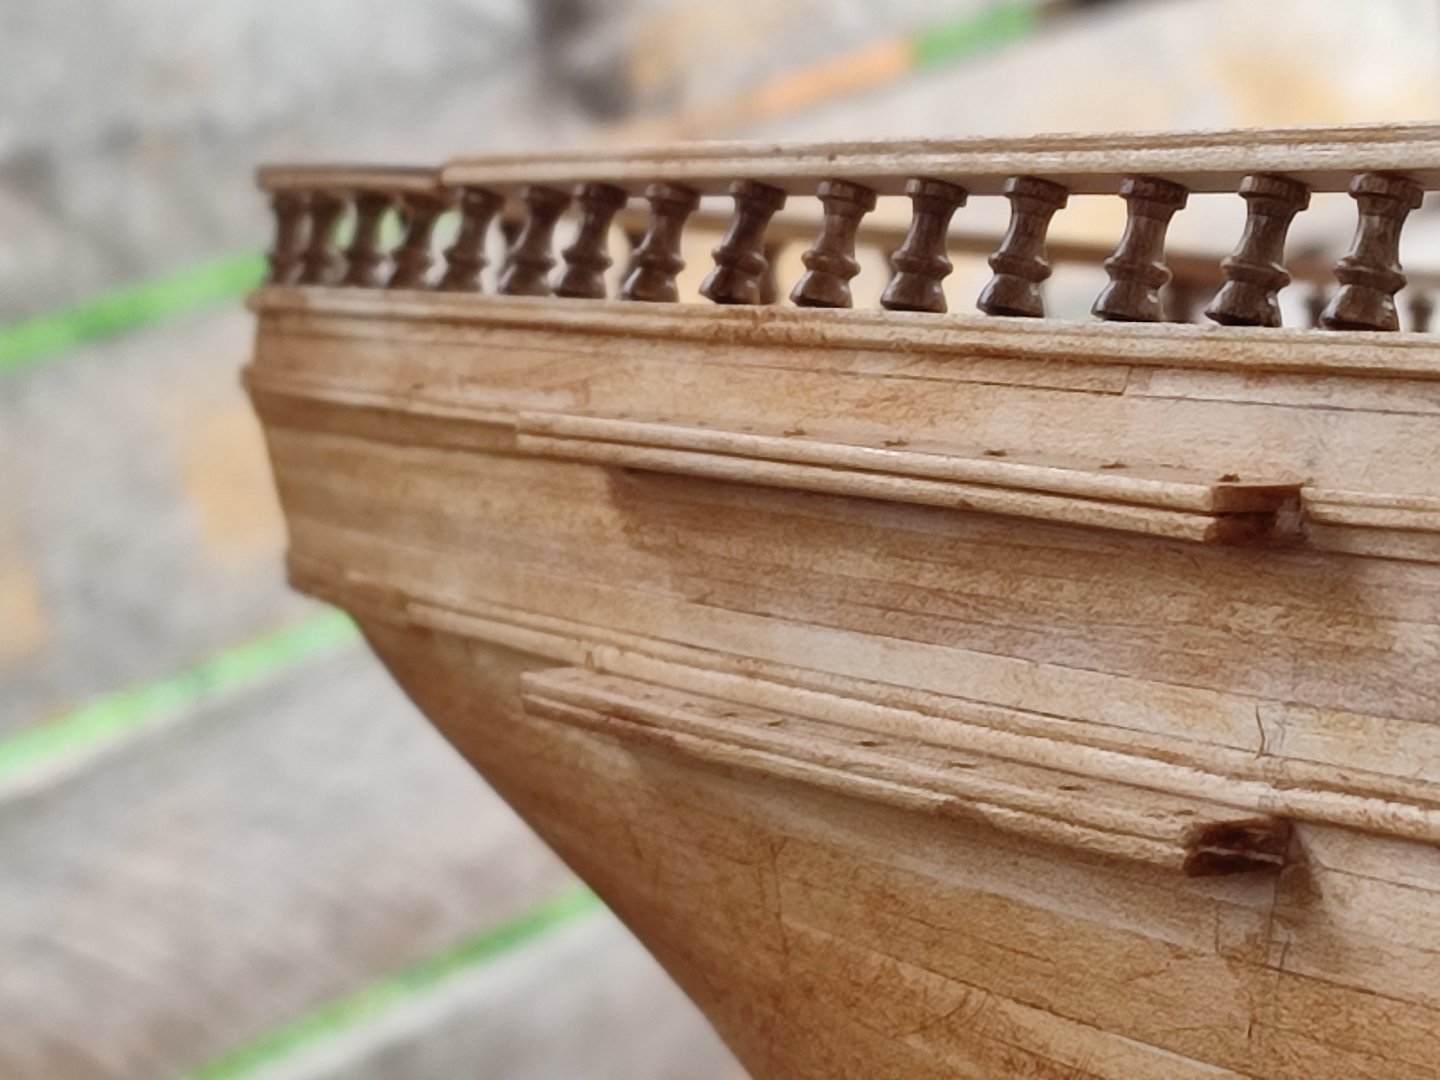
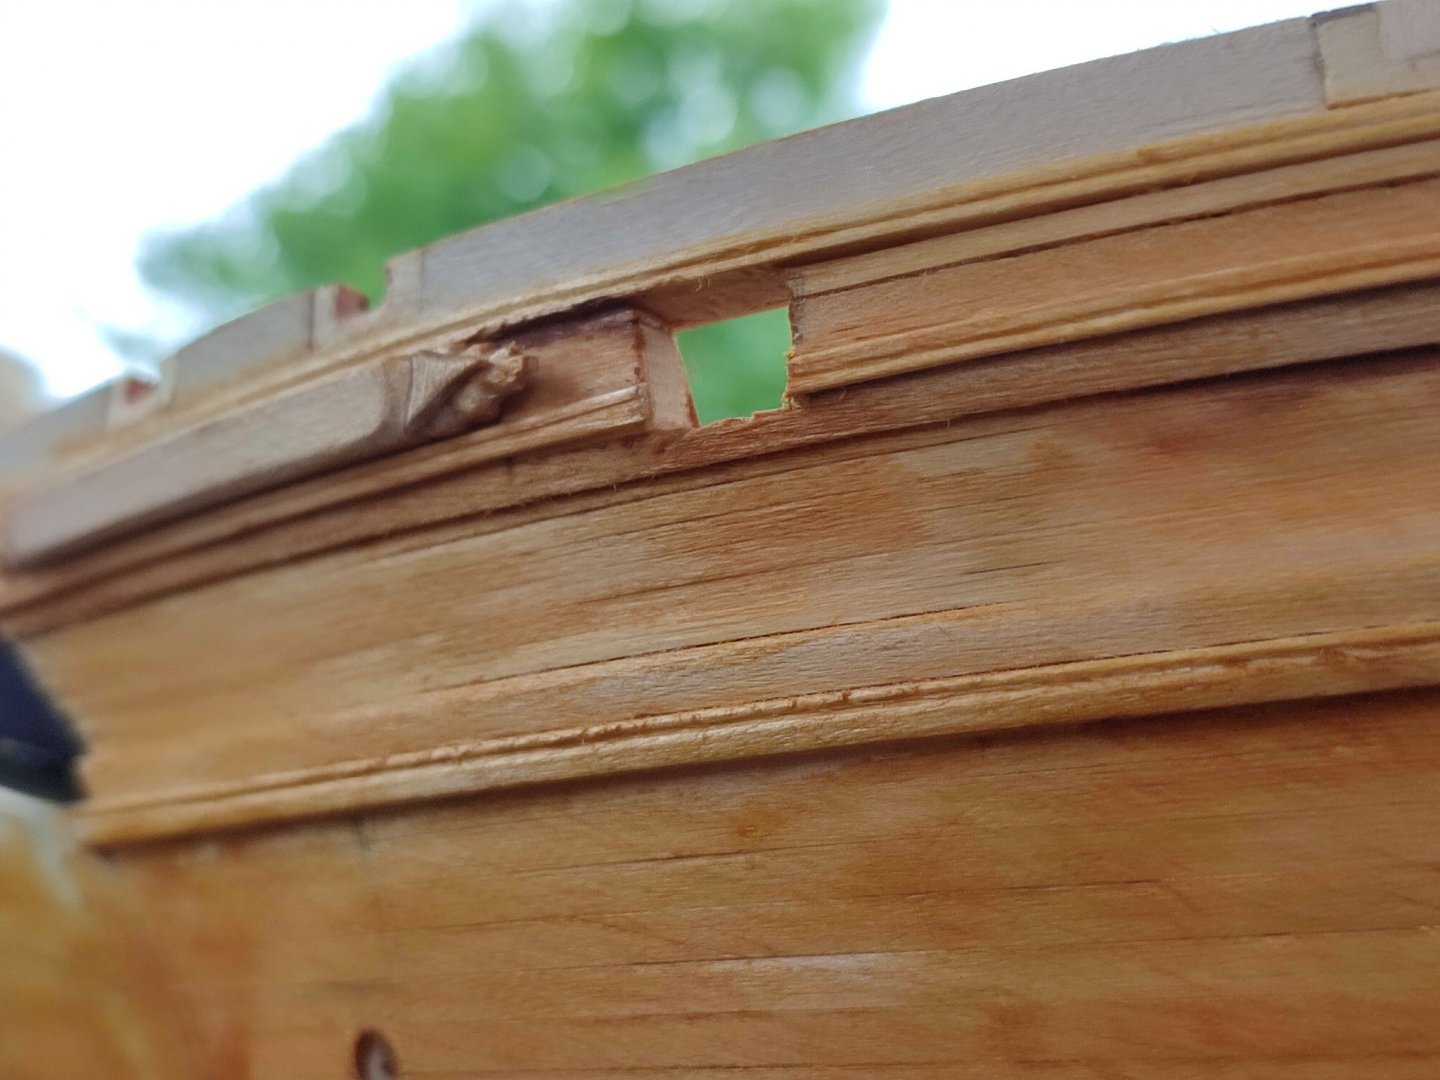
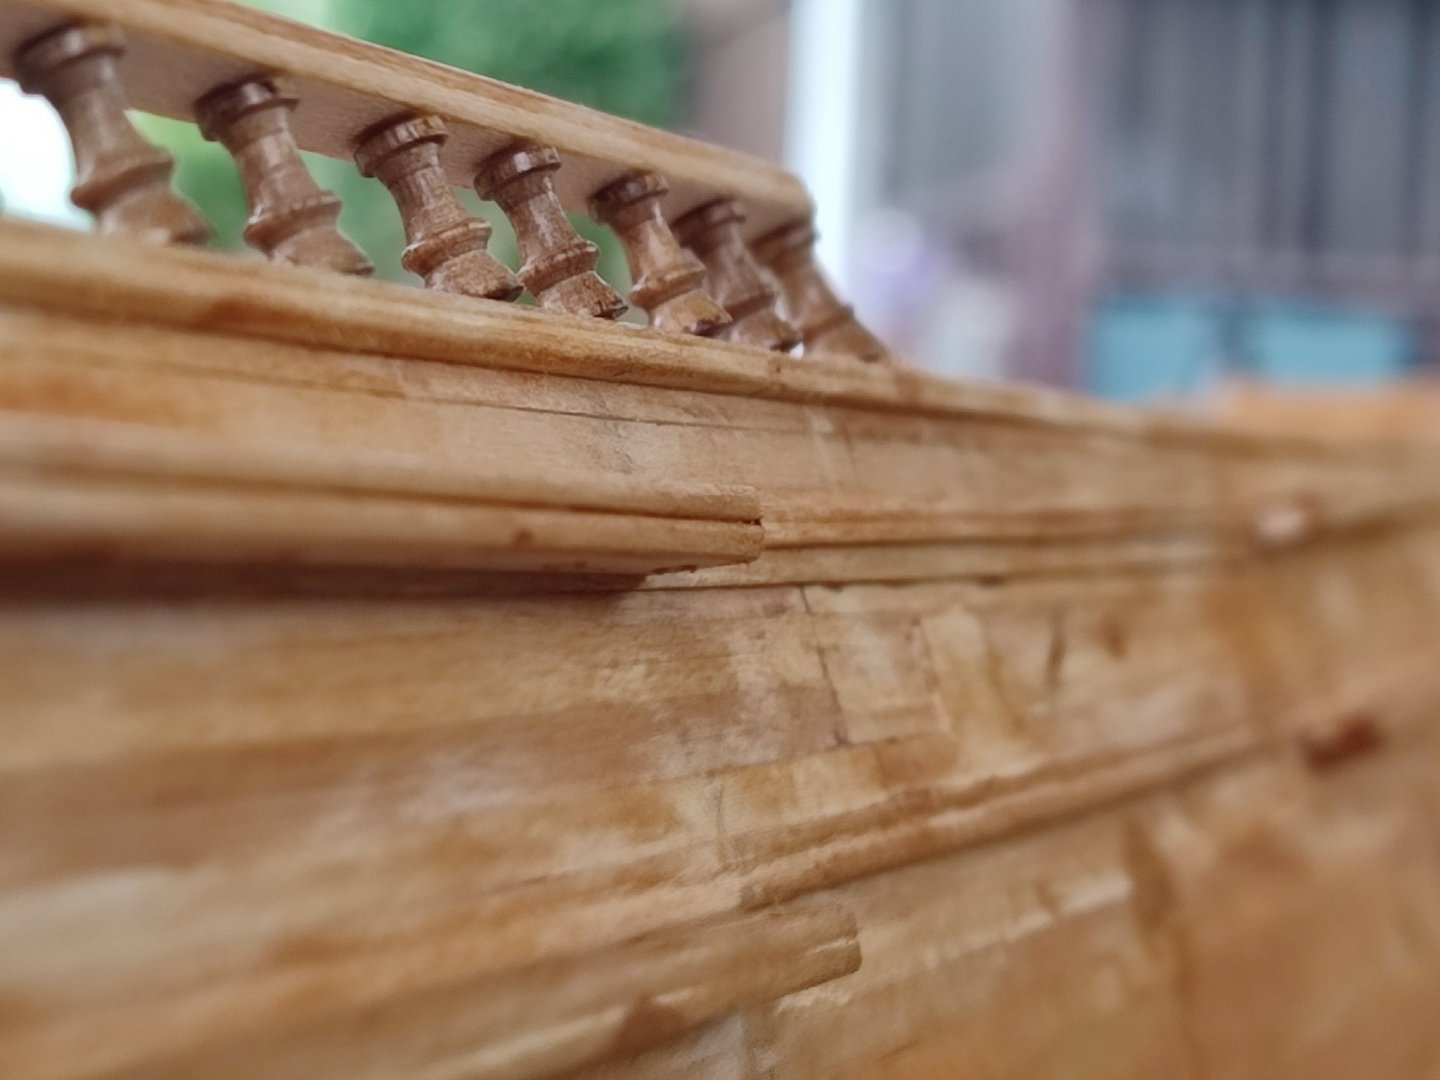
Thanks Rich, rail was not finished yet...
Its Been smoothered since than...
Exactly Rob i found this scale k st about perfect fór me. I Can xhoose what
To detail and what not. Although my nameboard IS little outward facing. Will see...


Glory of the Seas 1869 by rwiederrich - FINISHED - 1/96 - medium clipper
in - Build logs for subjects built 1851 - 1900
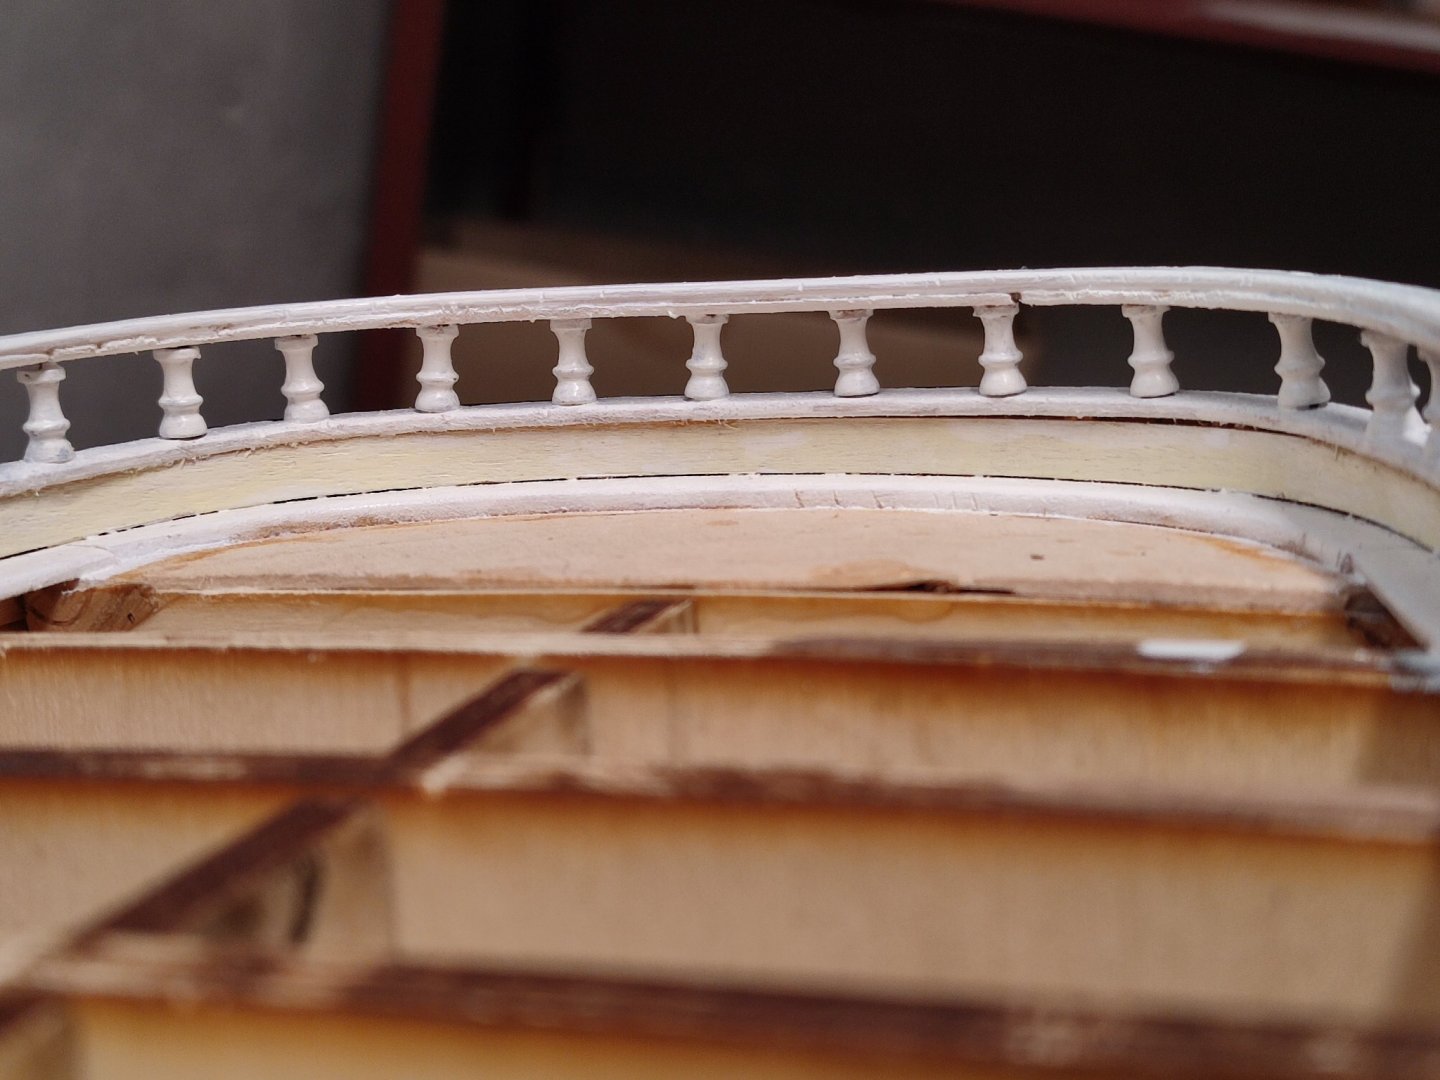
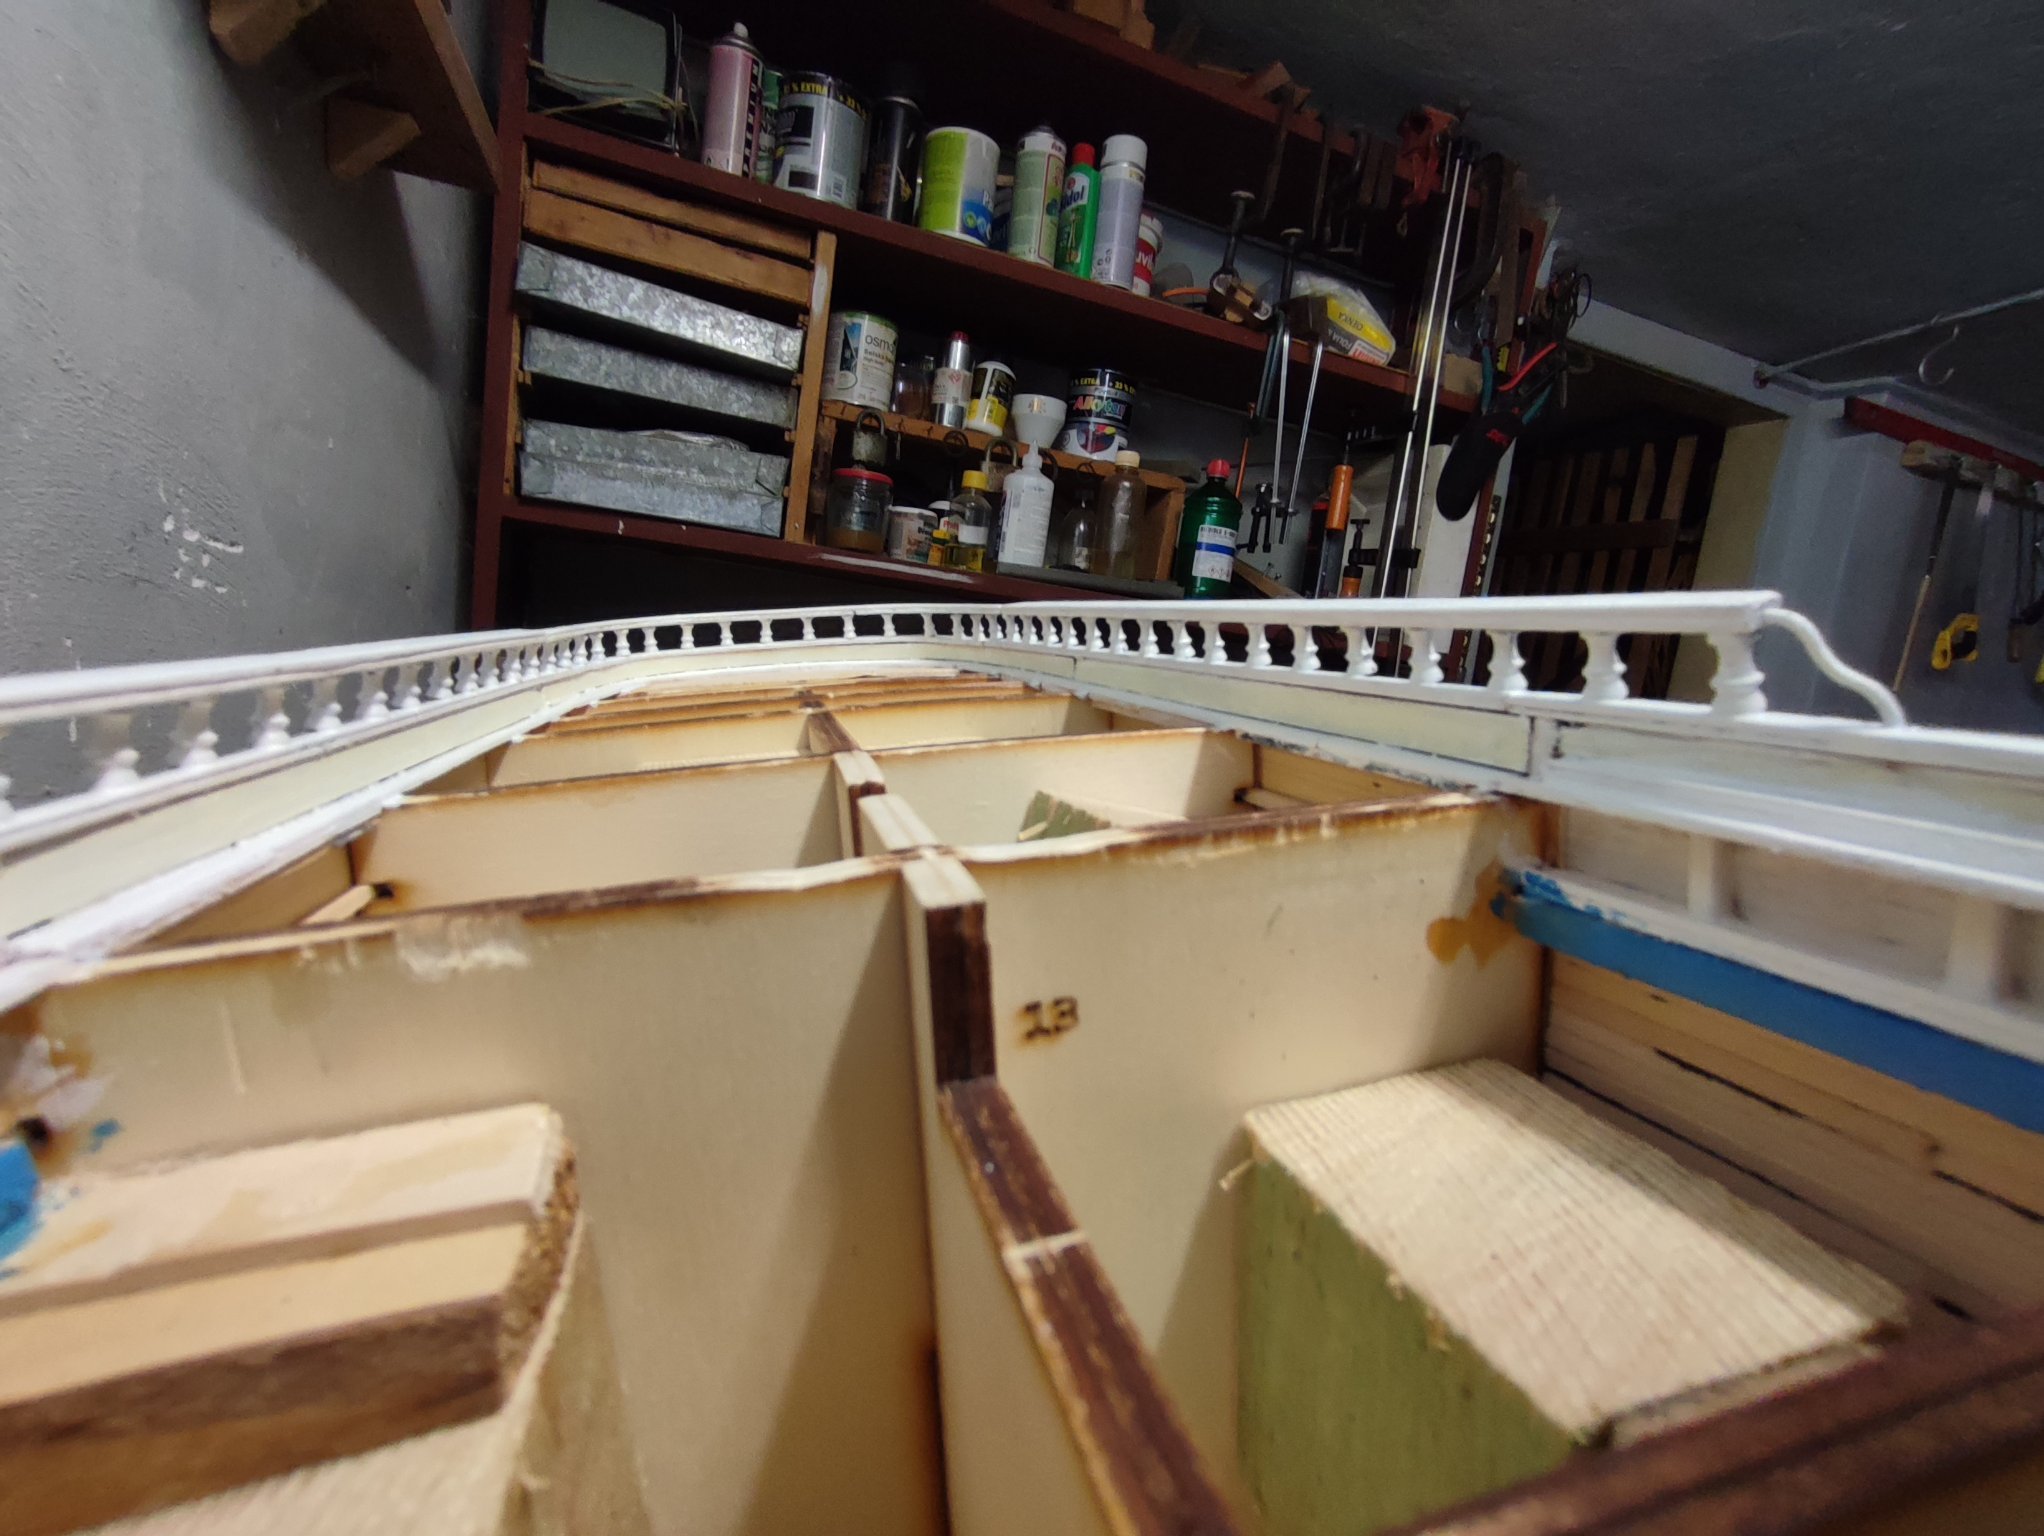
Posted
Rob, Rich, lovely updates indeed. thanks. That building view gives me enough headache to think how to incorporate those details into reality...:)