

Vladimir_Wairoa
-
Posts
1,512 -
Joined
-
Last visited
Content Type
Profiles
Forums
Gallery
Events
Posts posted by Vladimir_Wairoa
-
-
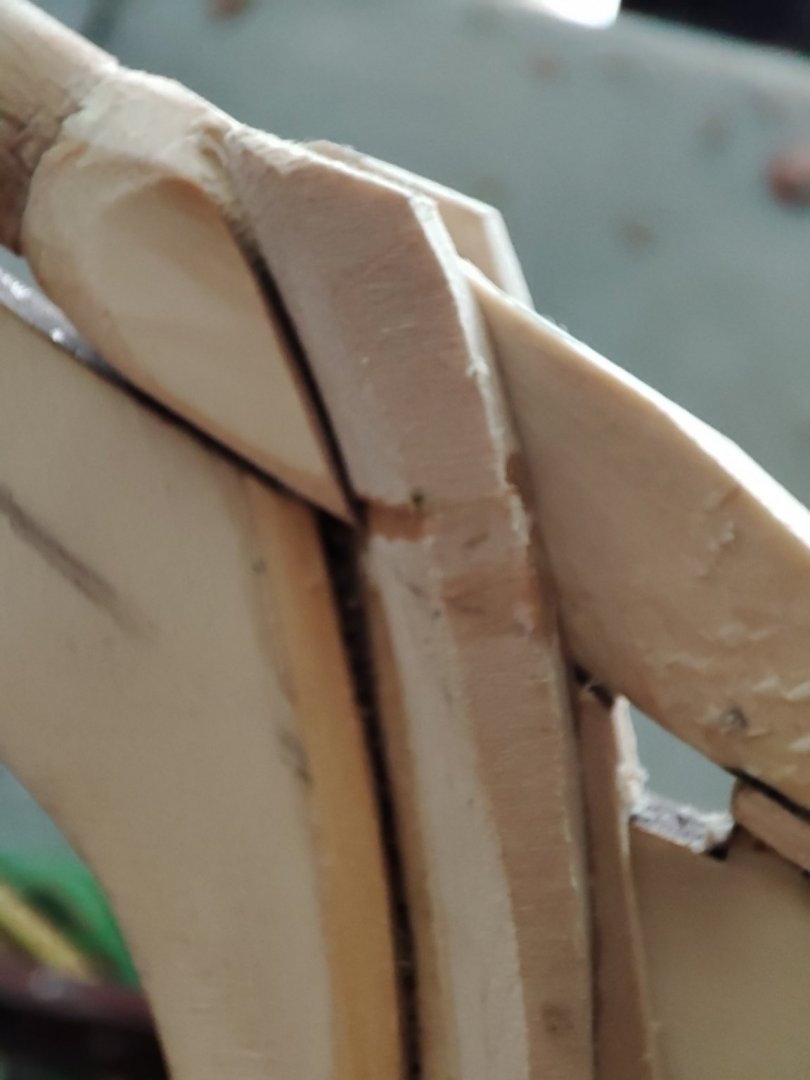
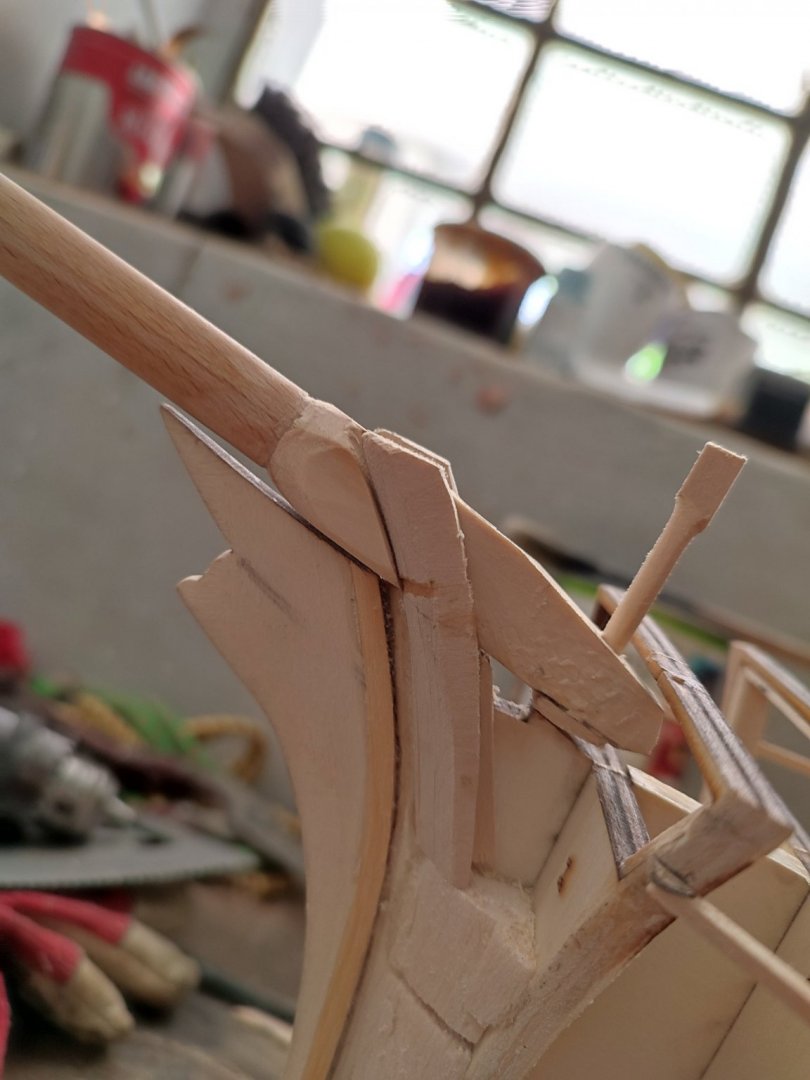
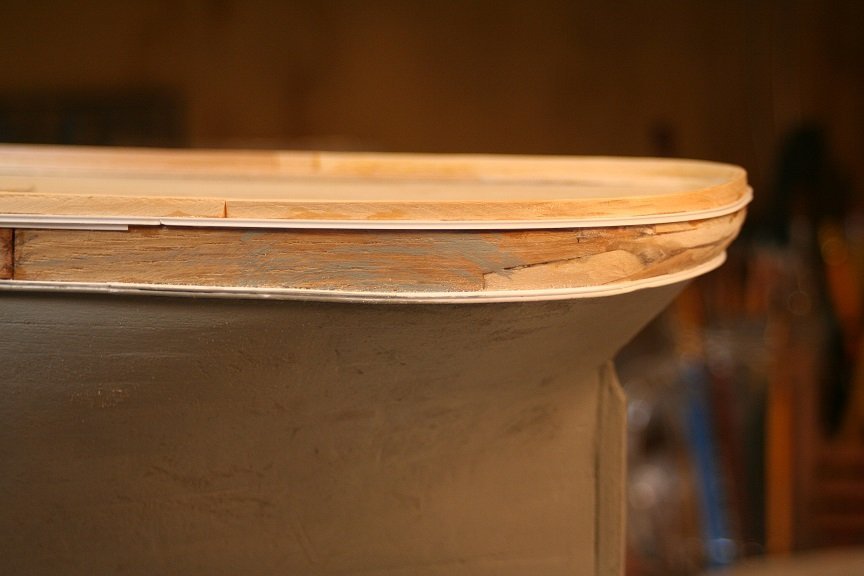
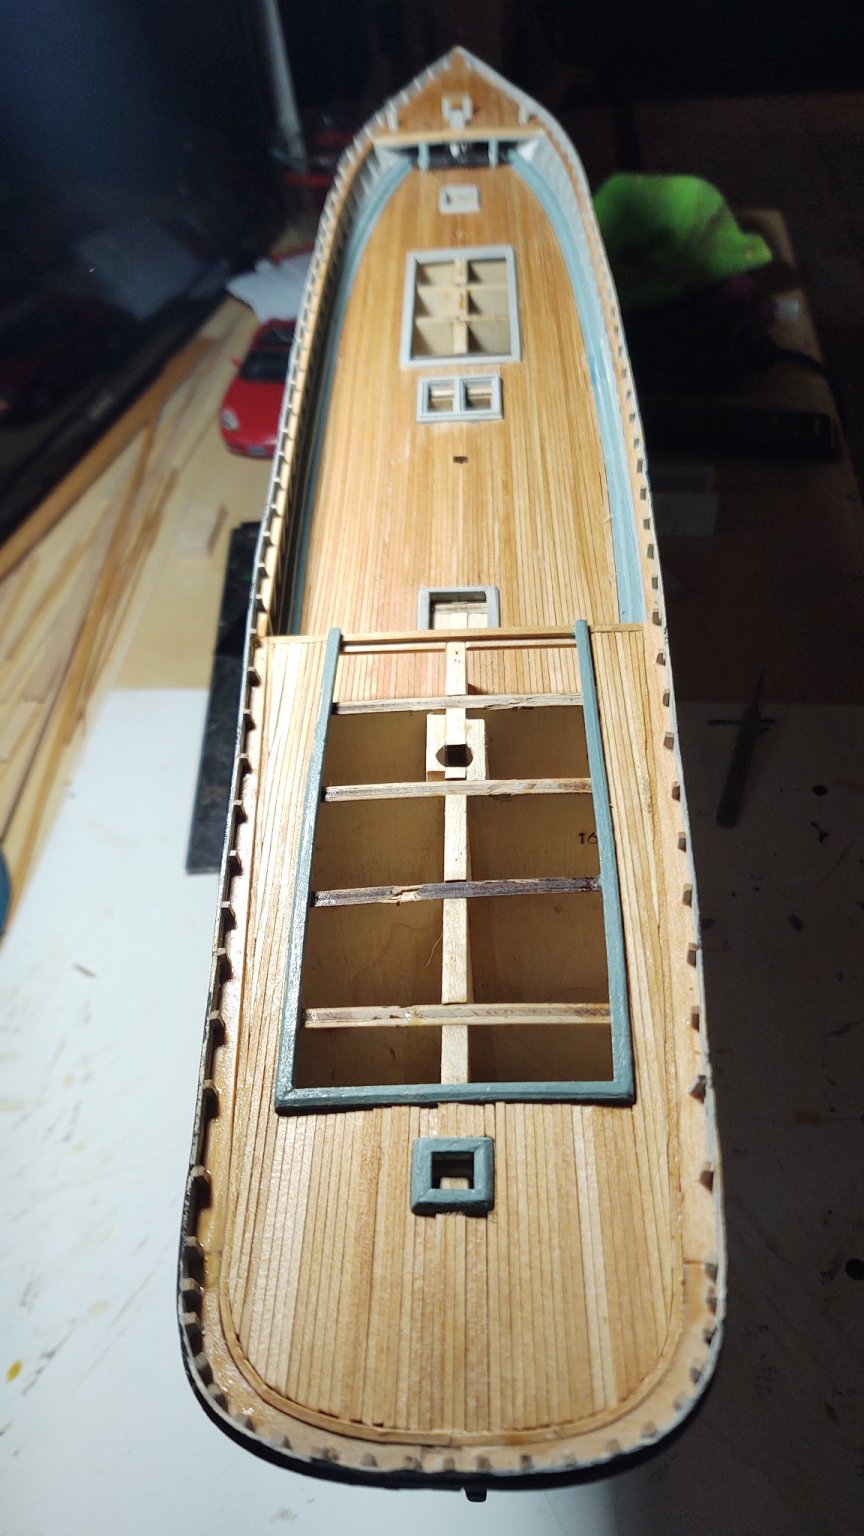
Continue...tried to angle elegant curves on cap...its a little smaller but i Will leave IT as such....brass bands Will go on top of cap and on bowsprit itself etc..

- mbp521 and GrandpaPhil
-
 2
2
-
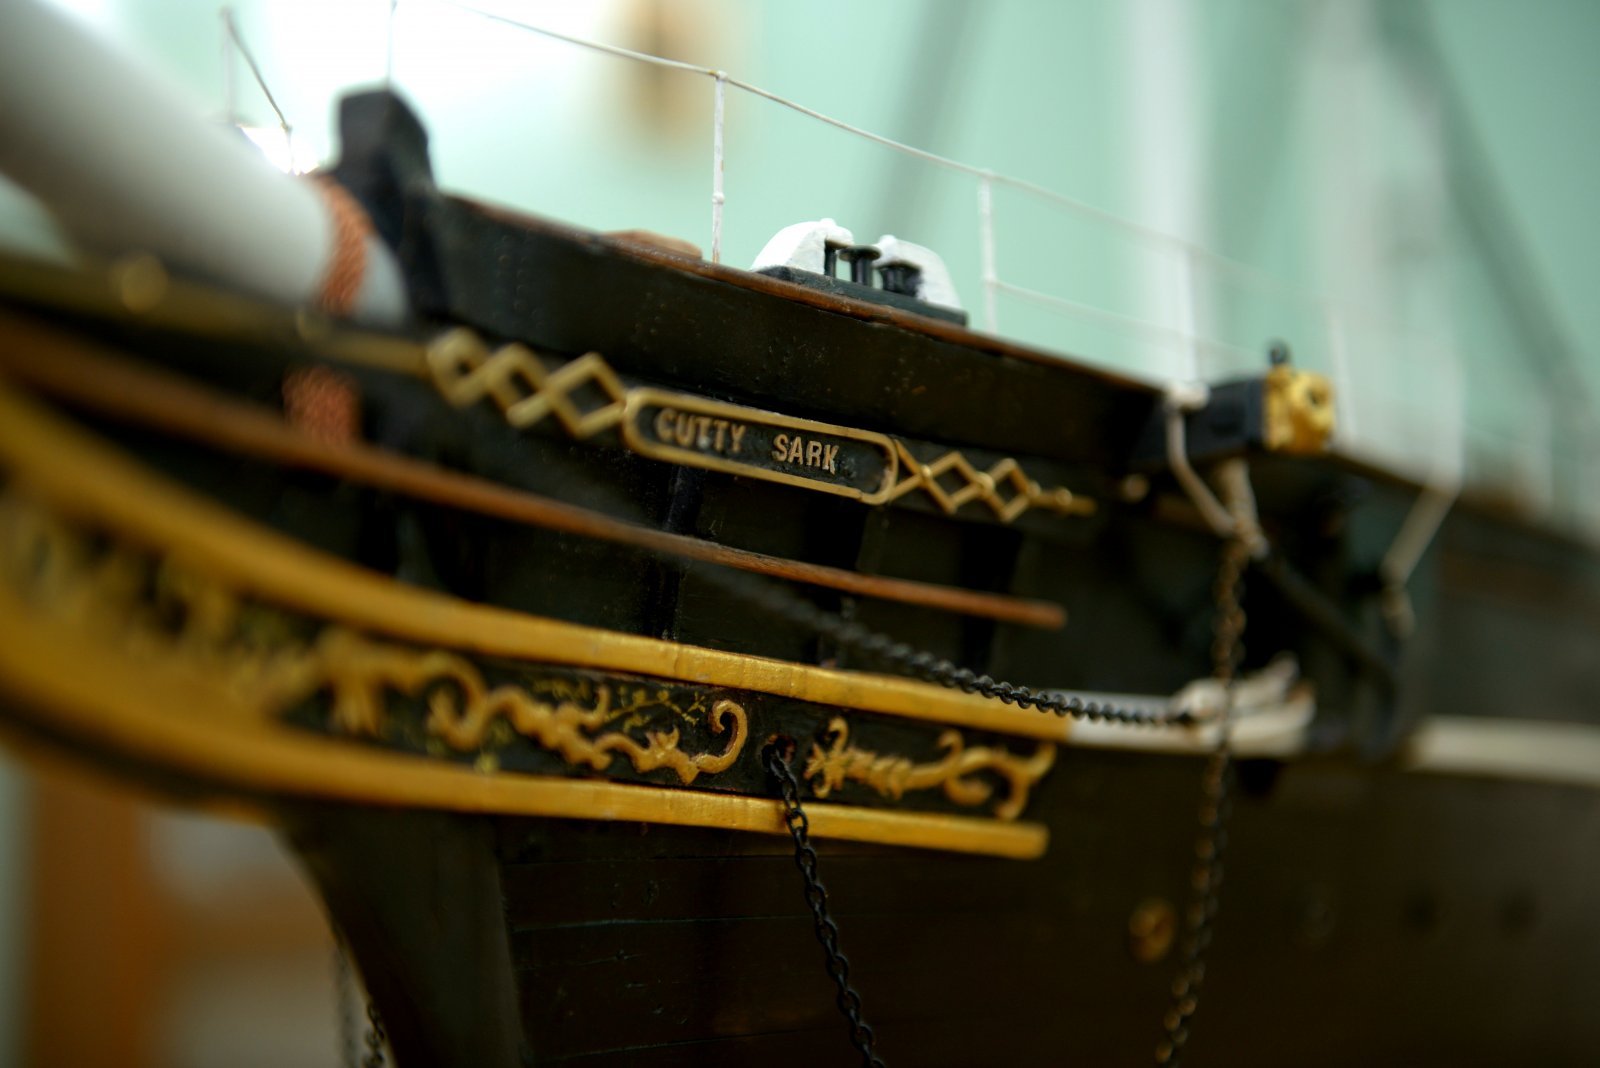
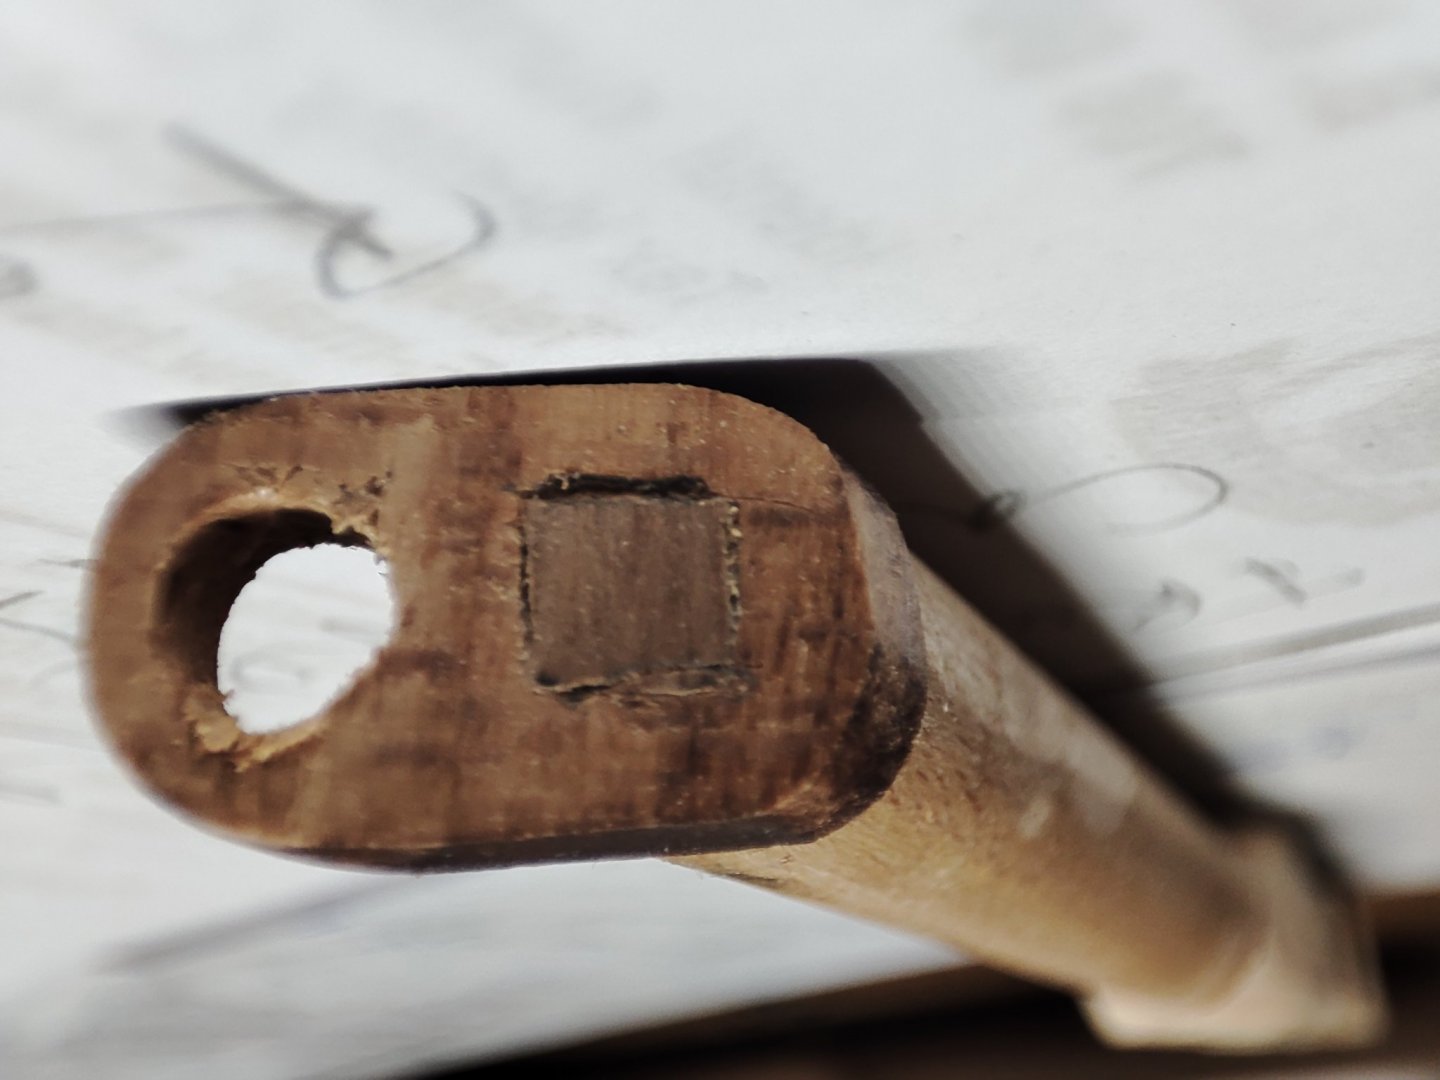
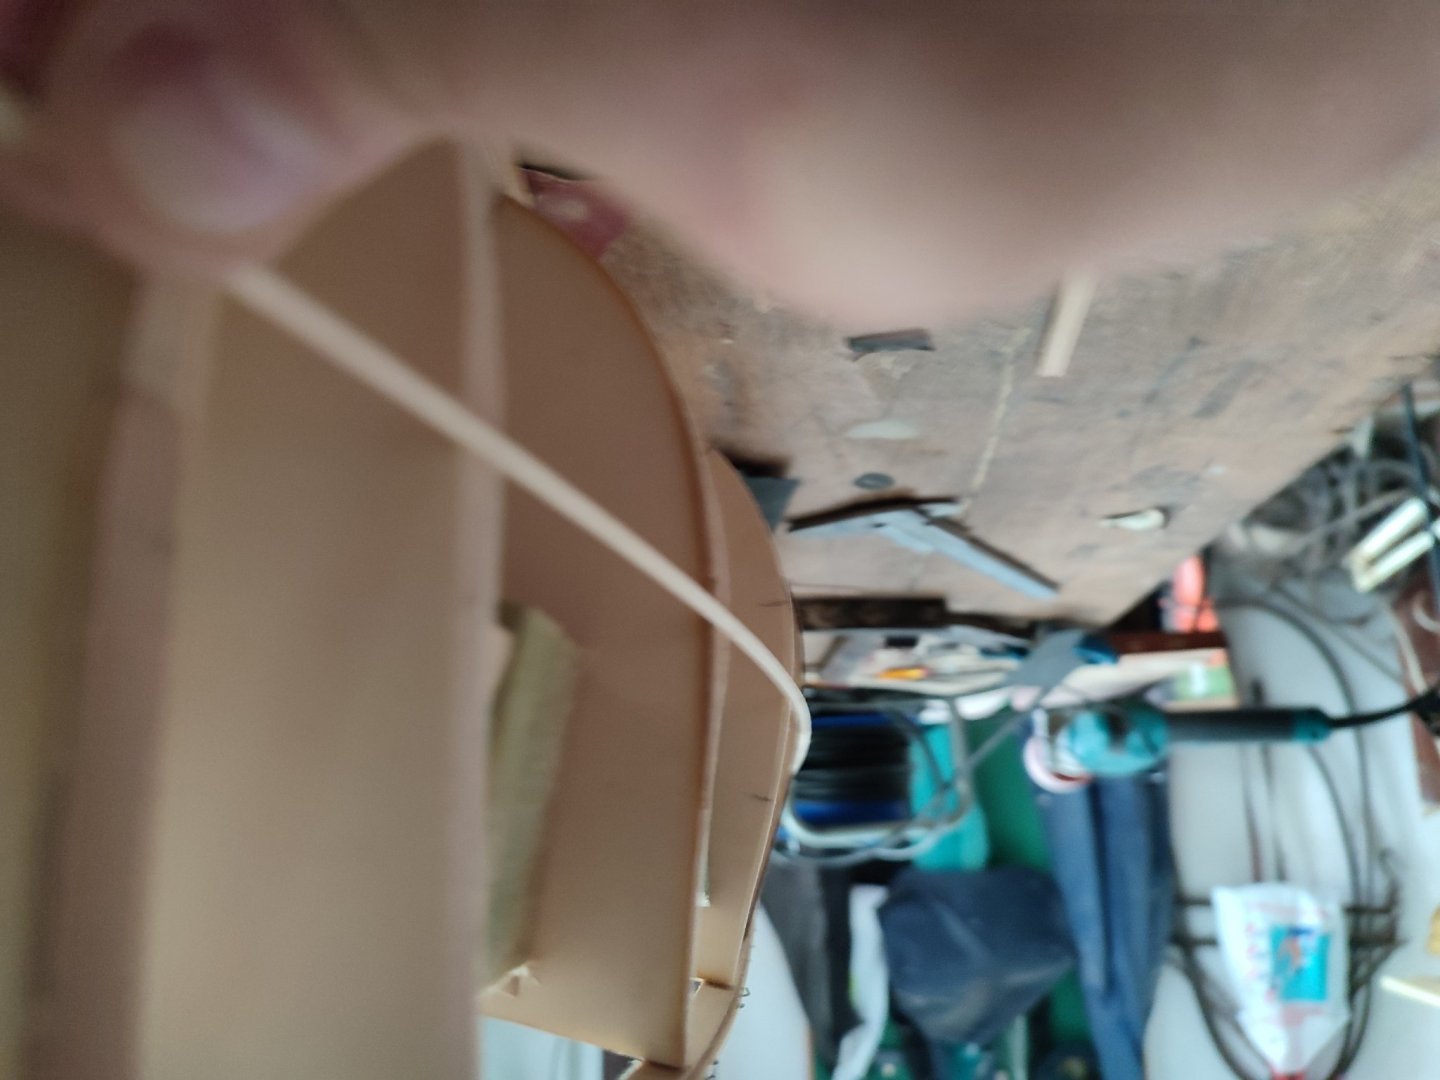
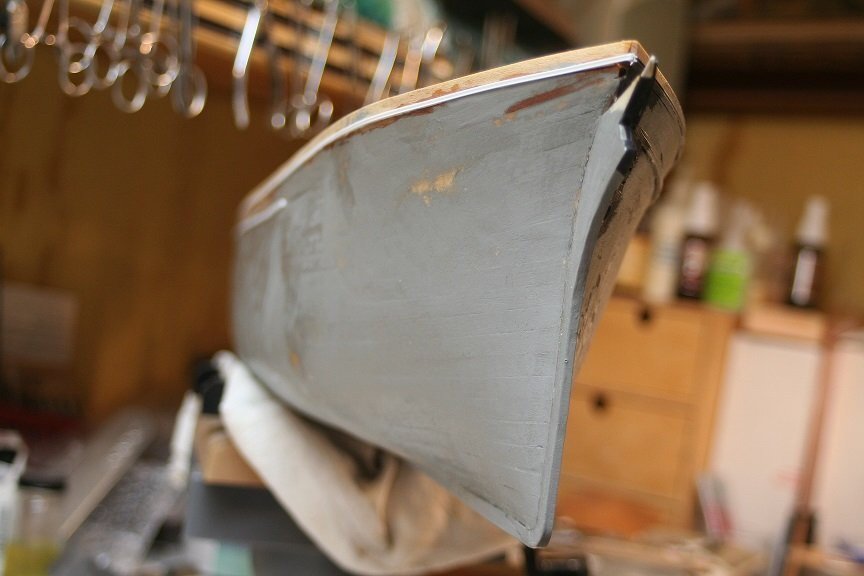
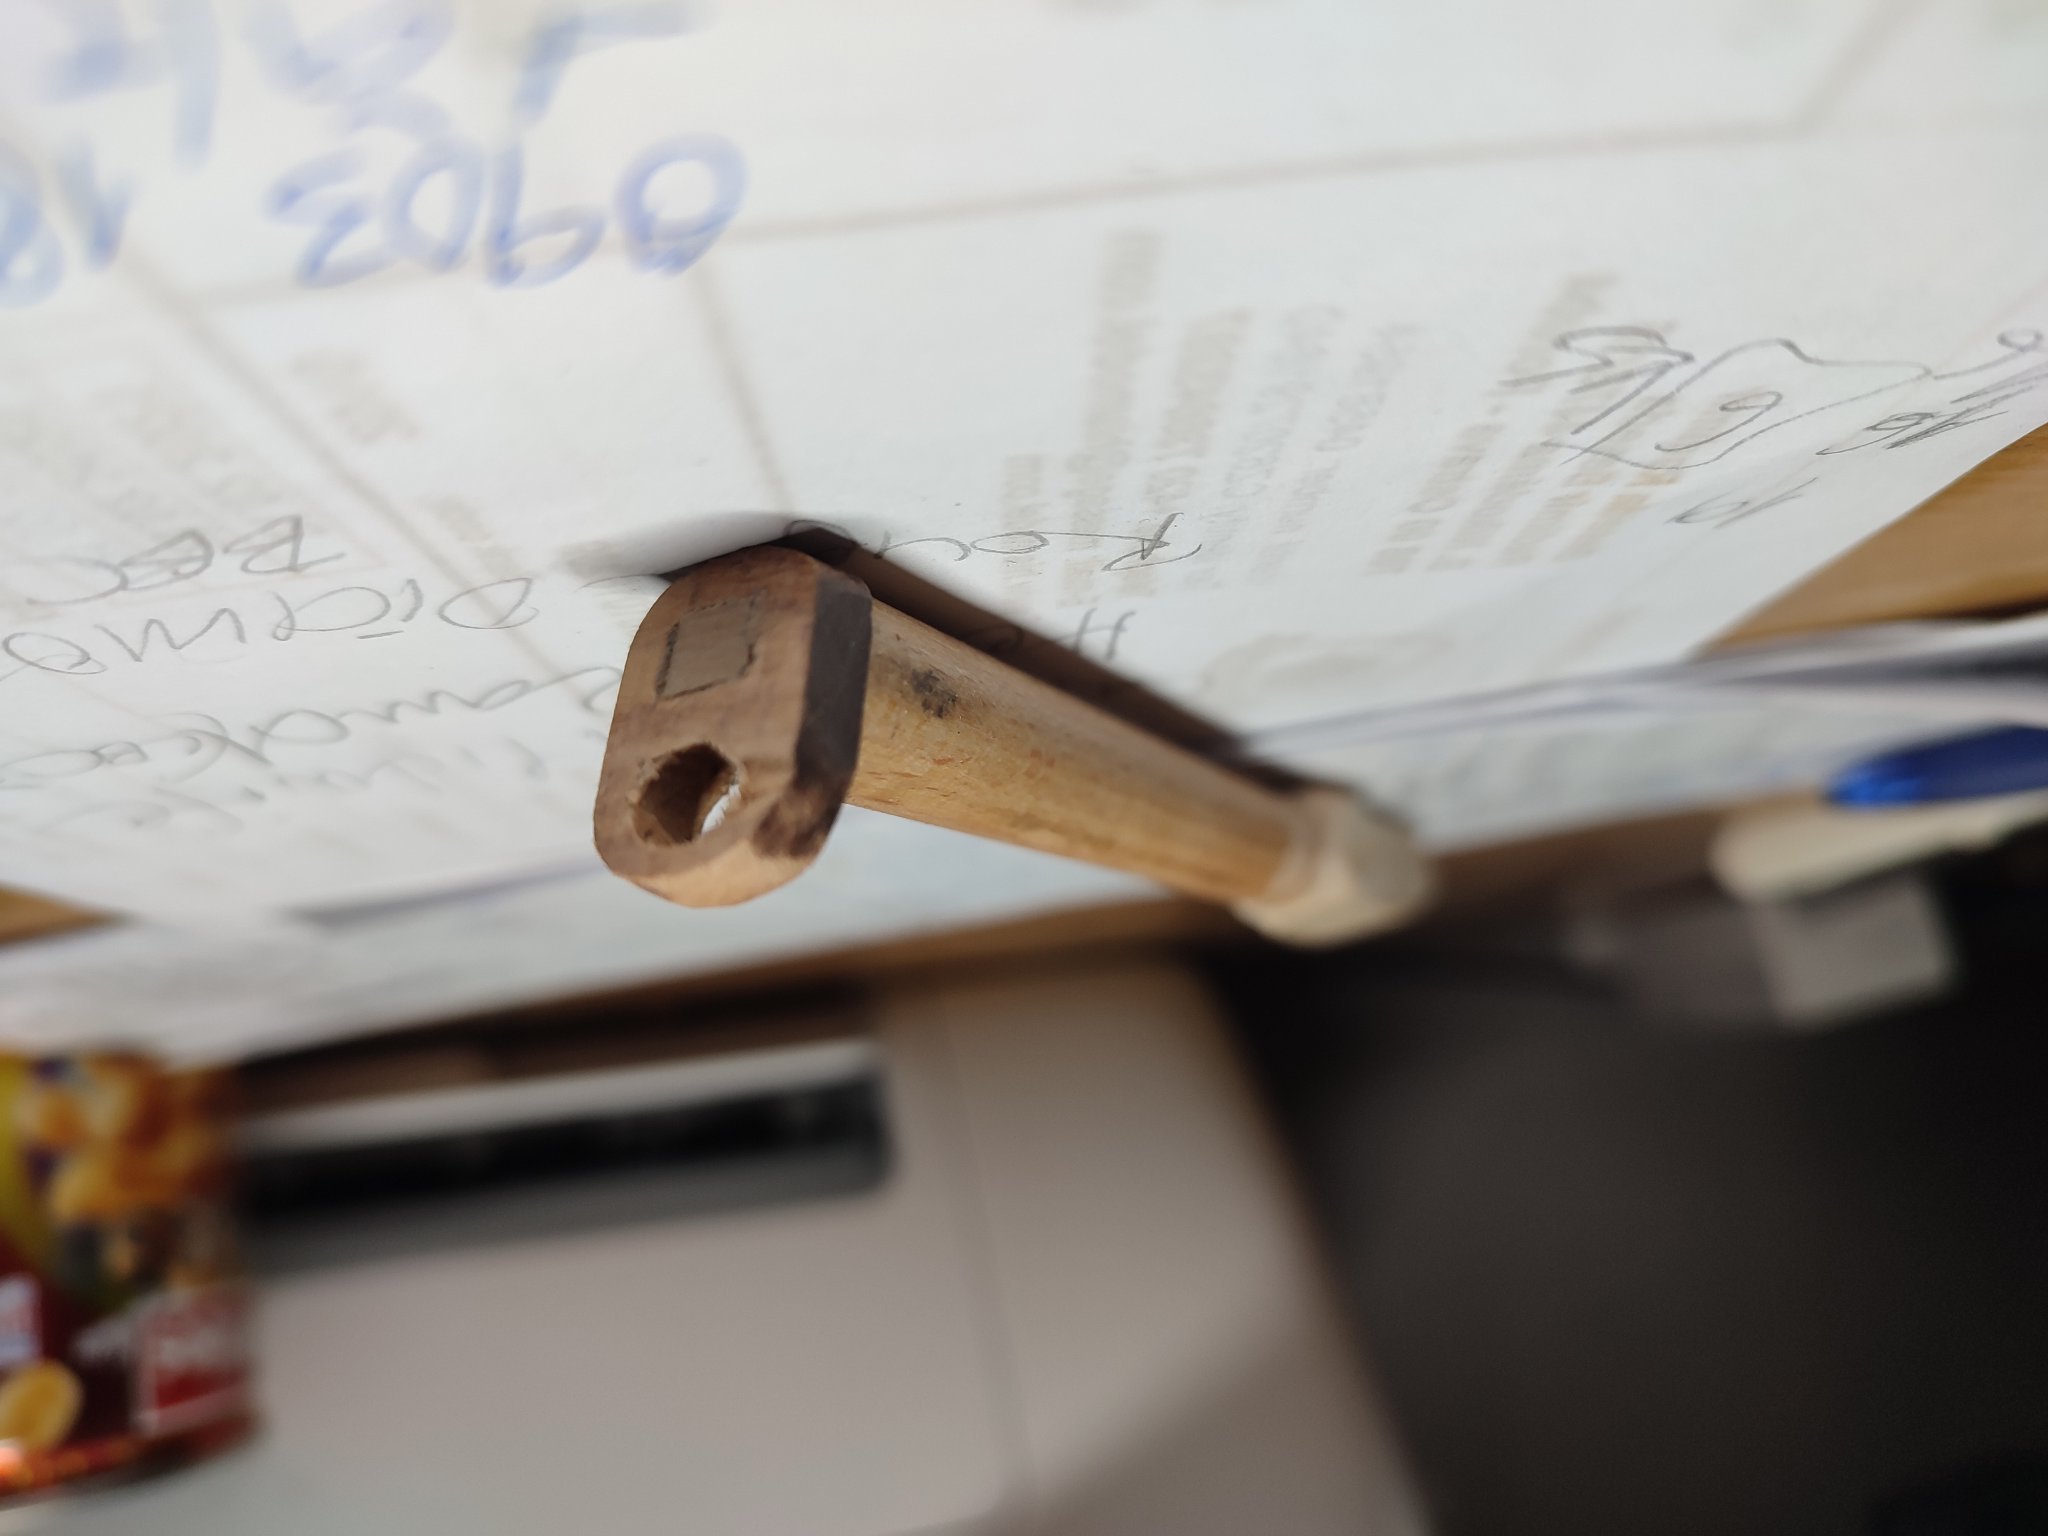
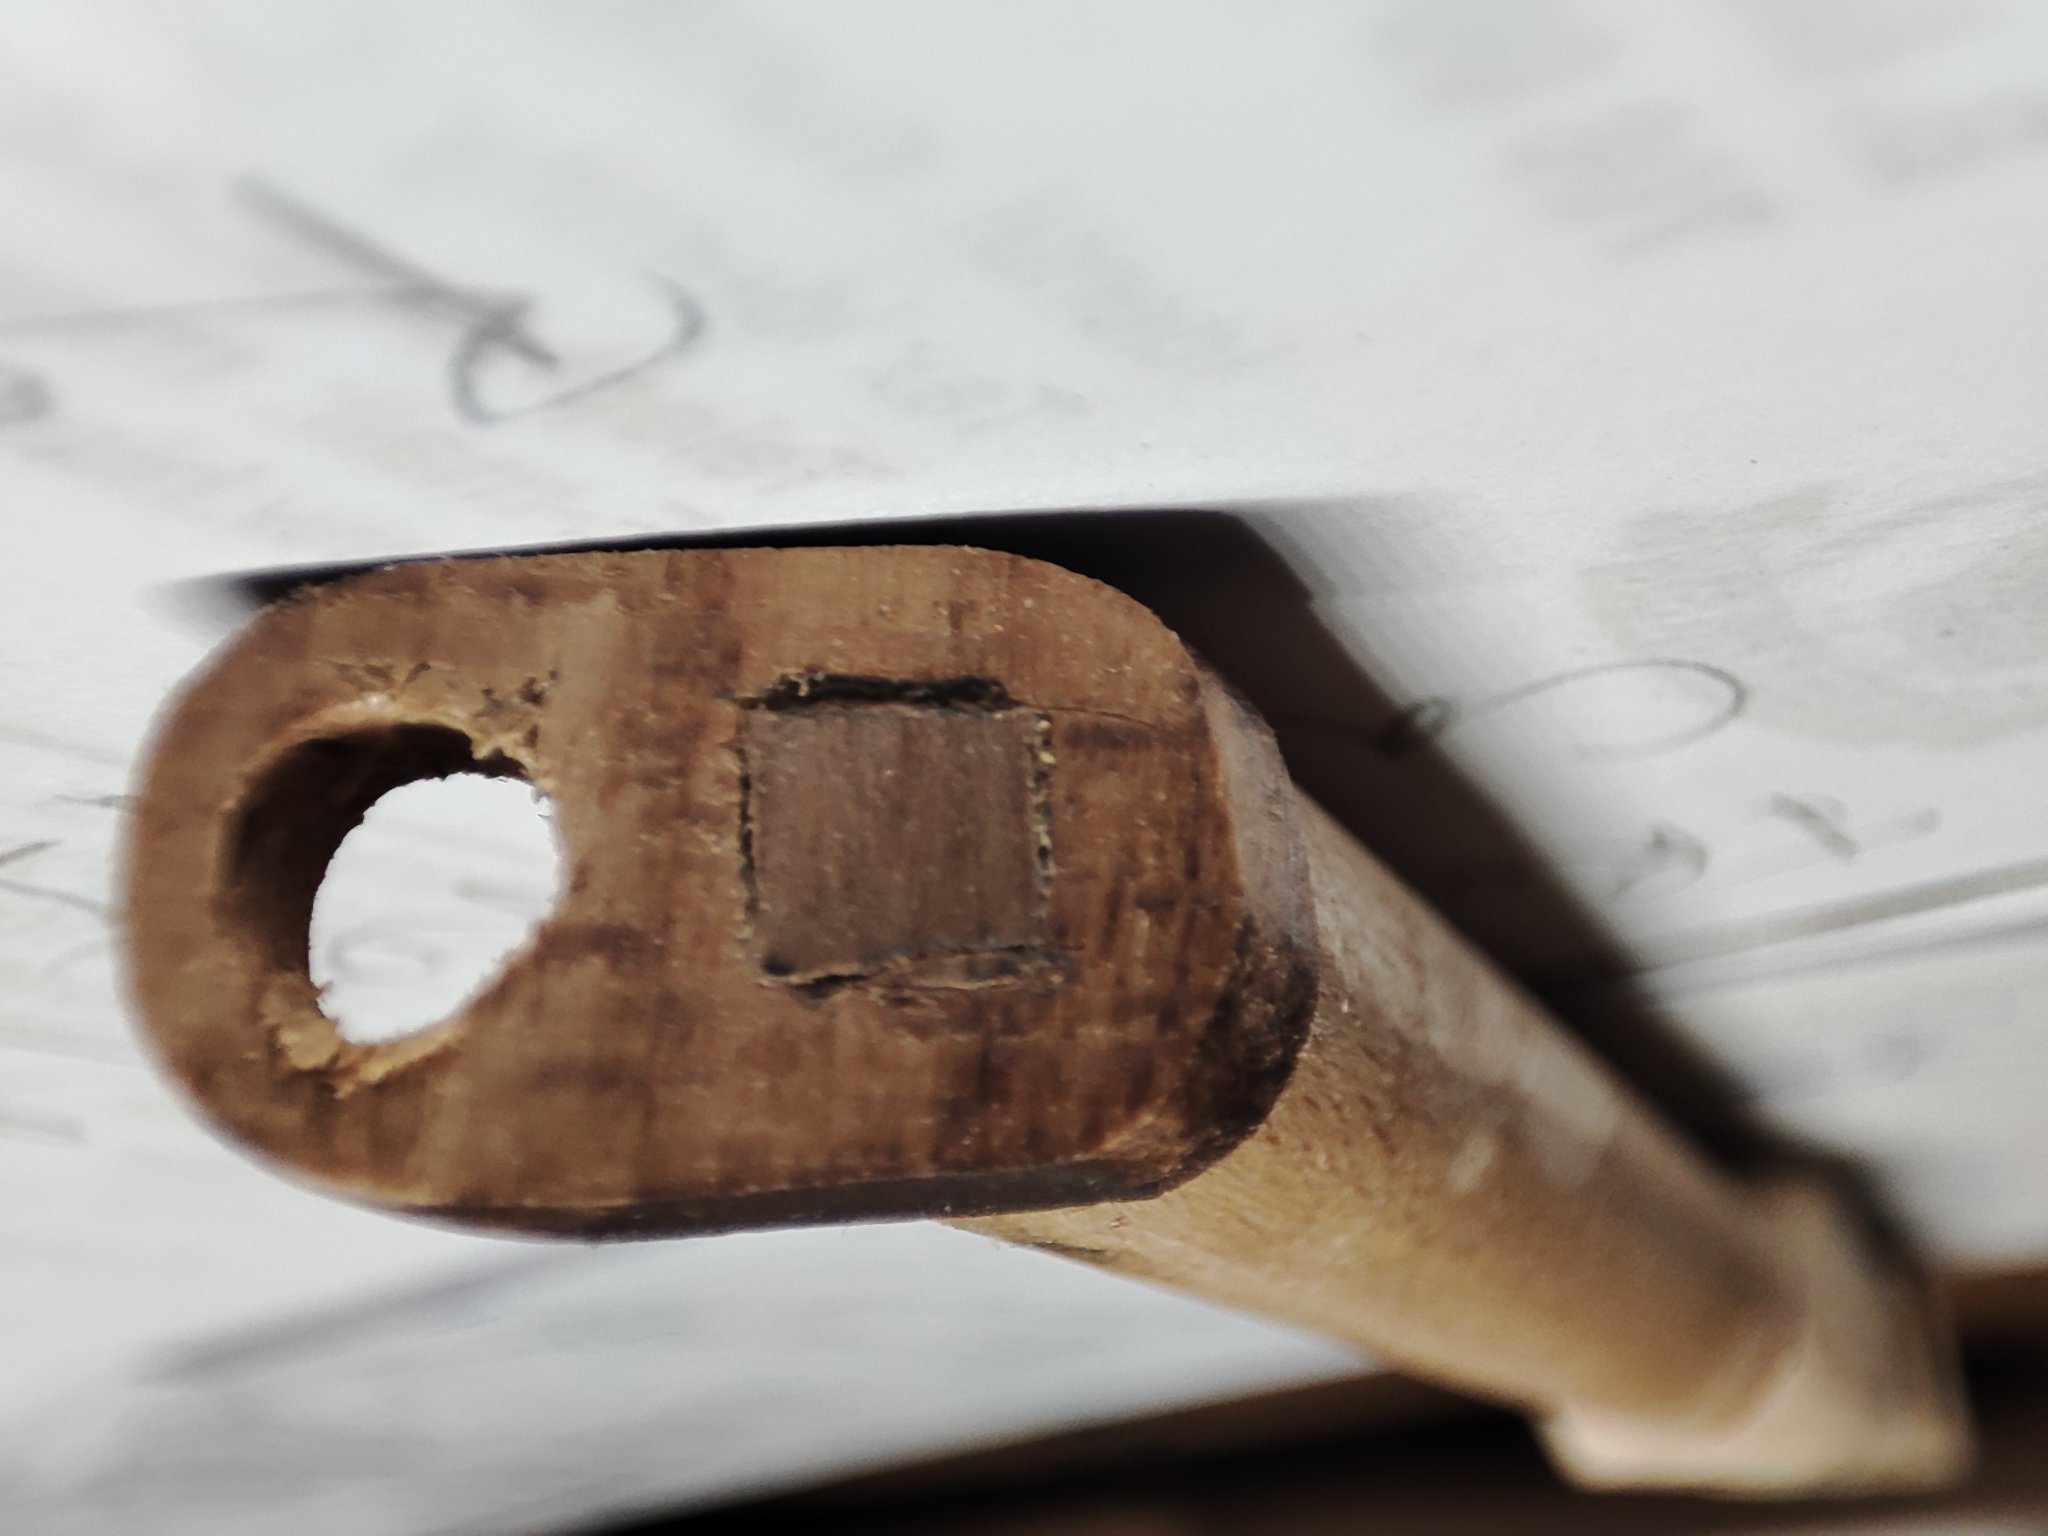
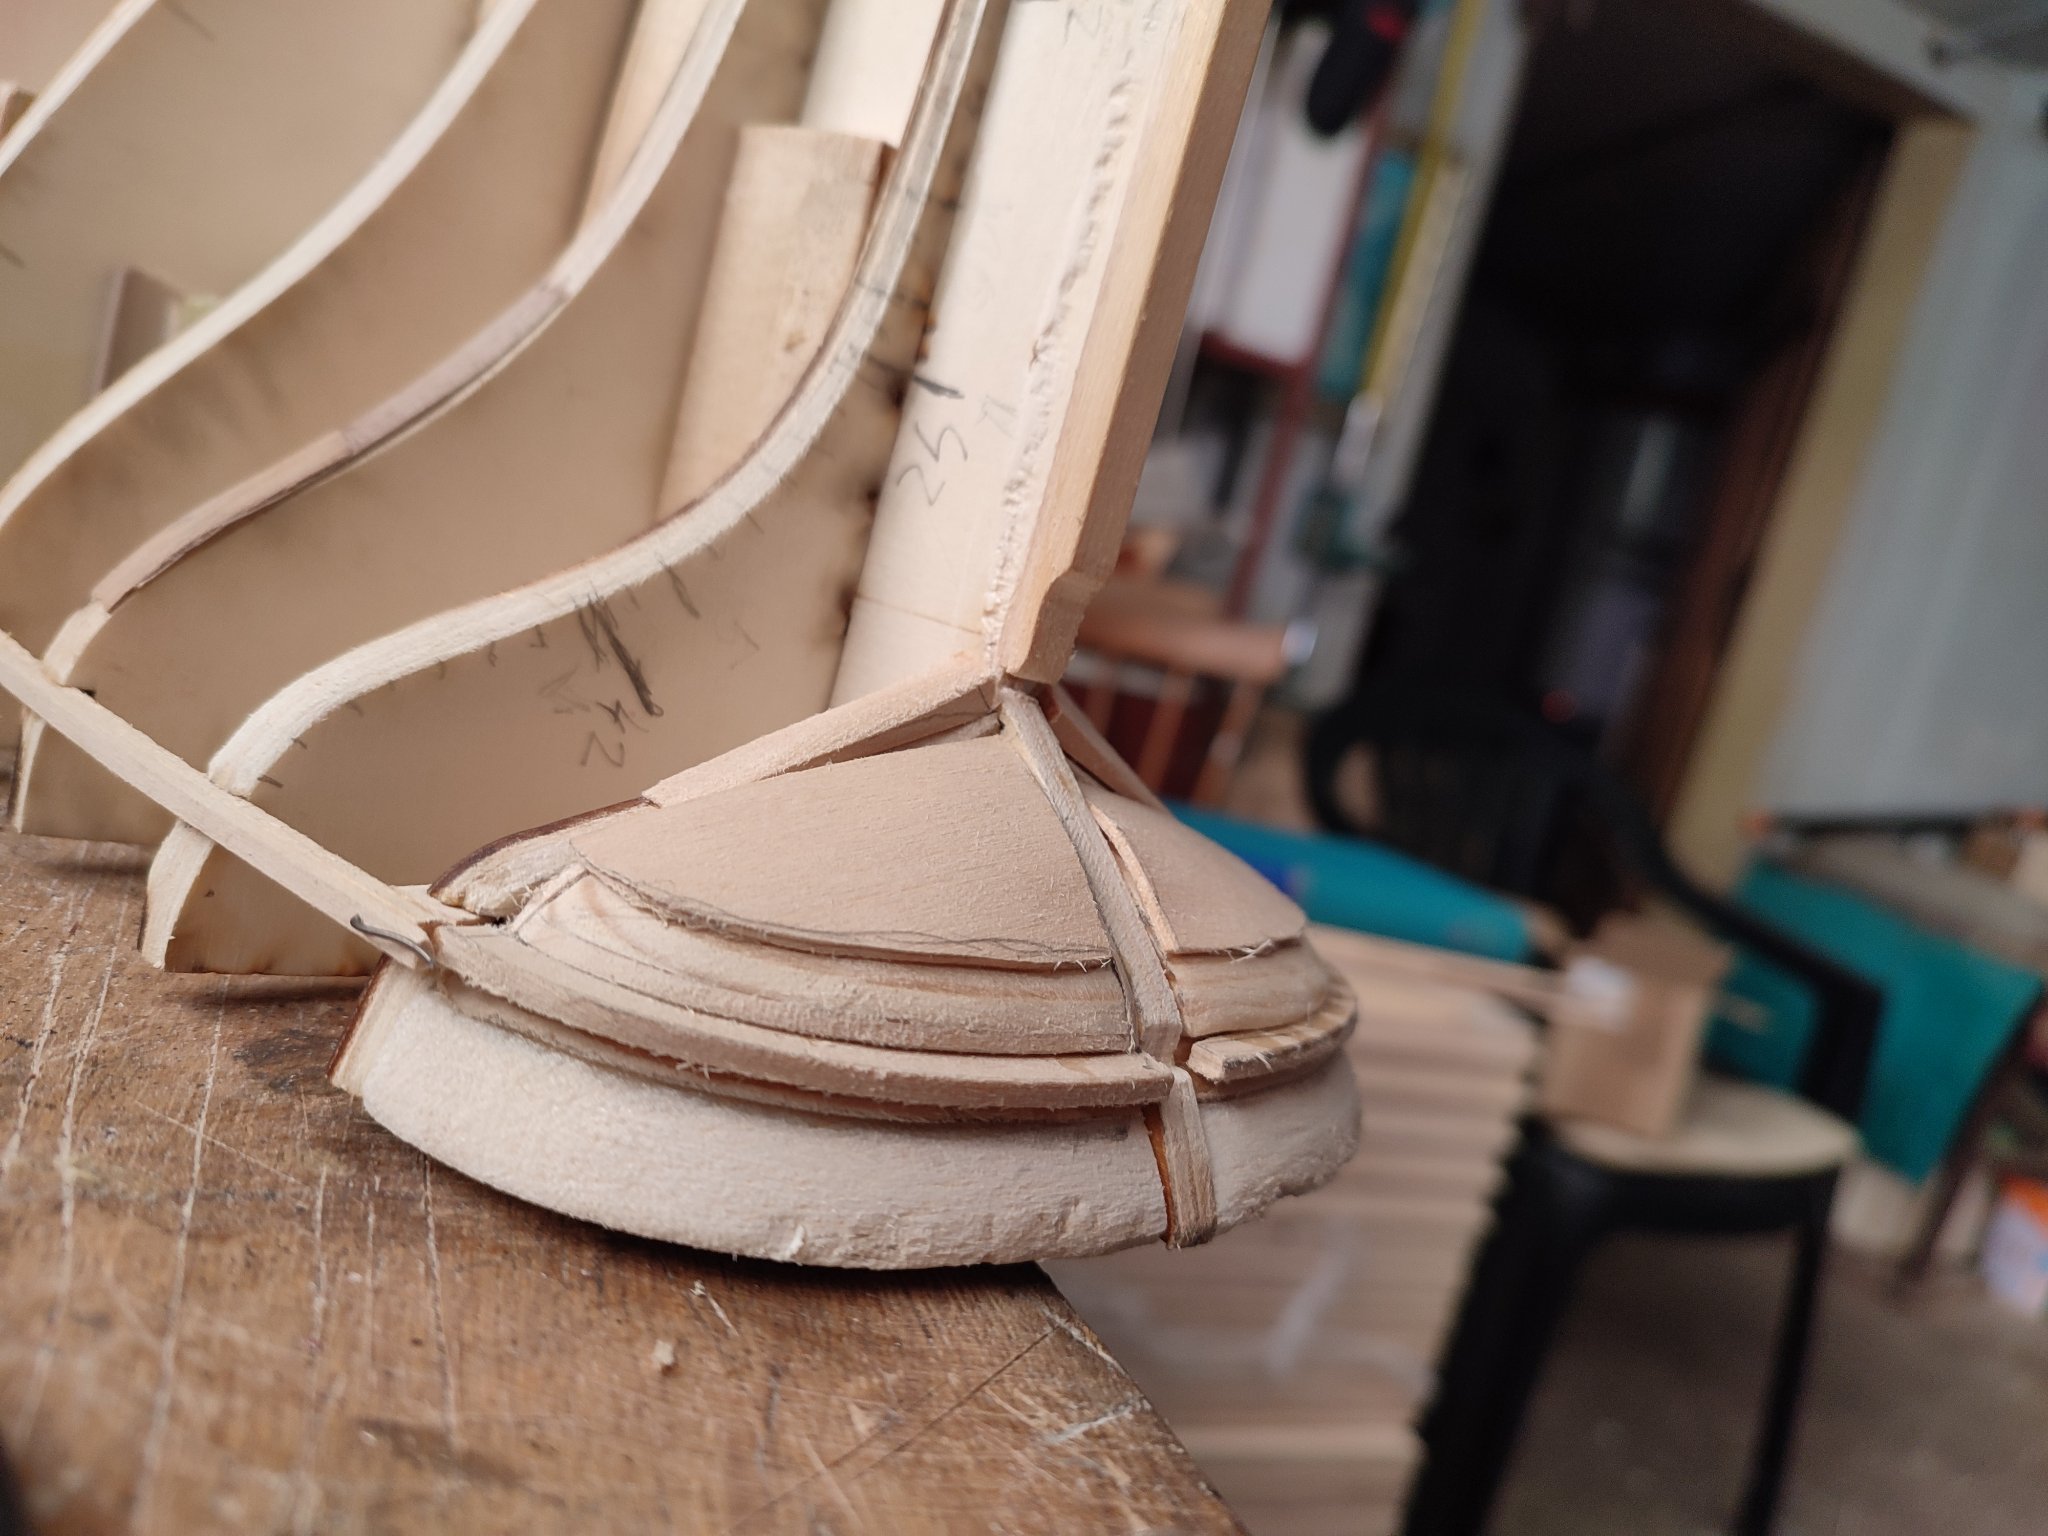
Bowsprit.
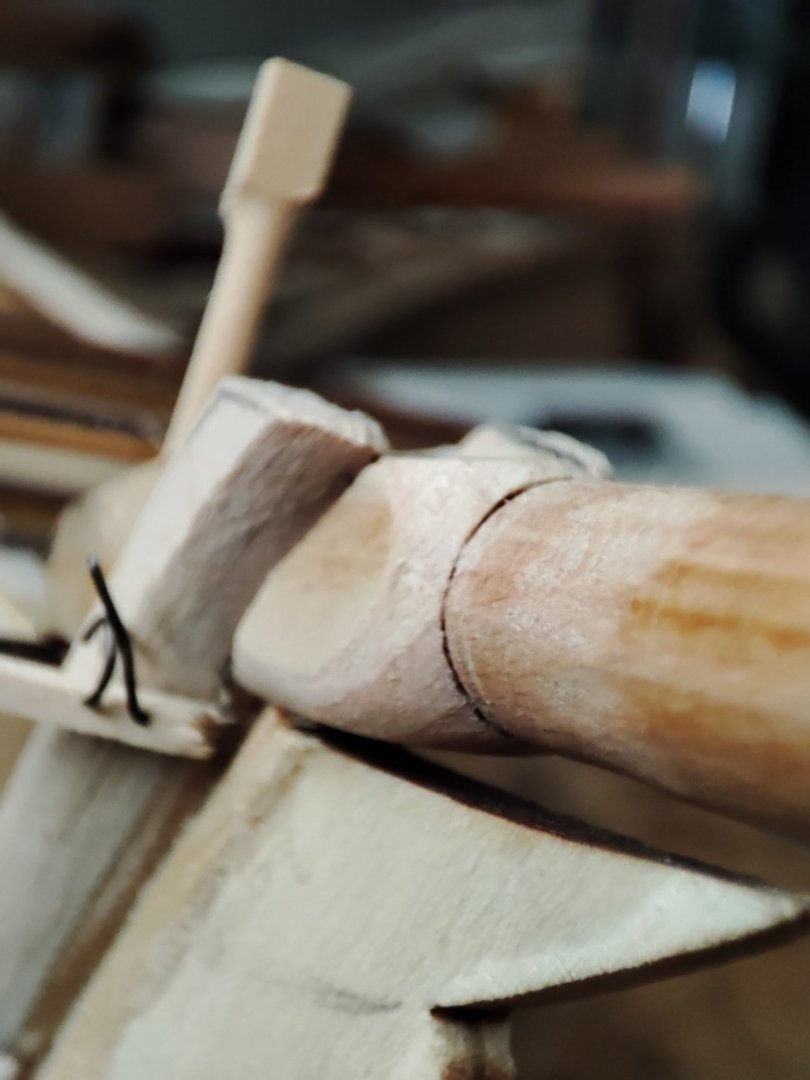
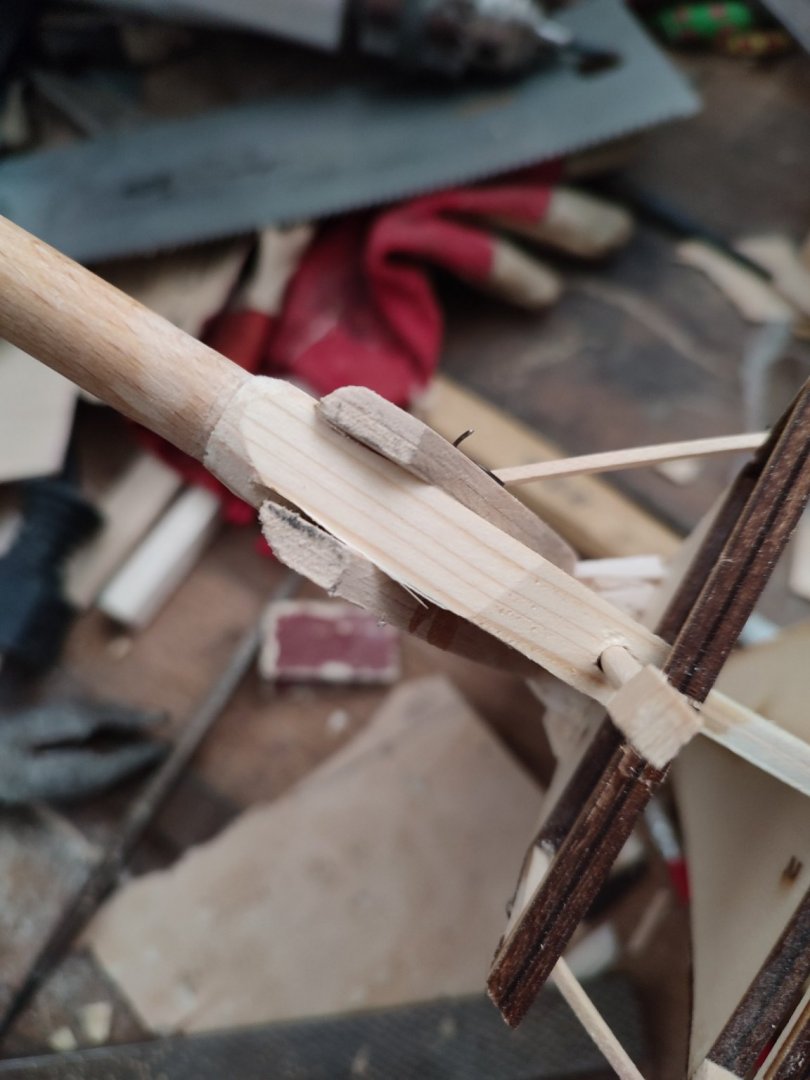
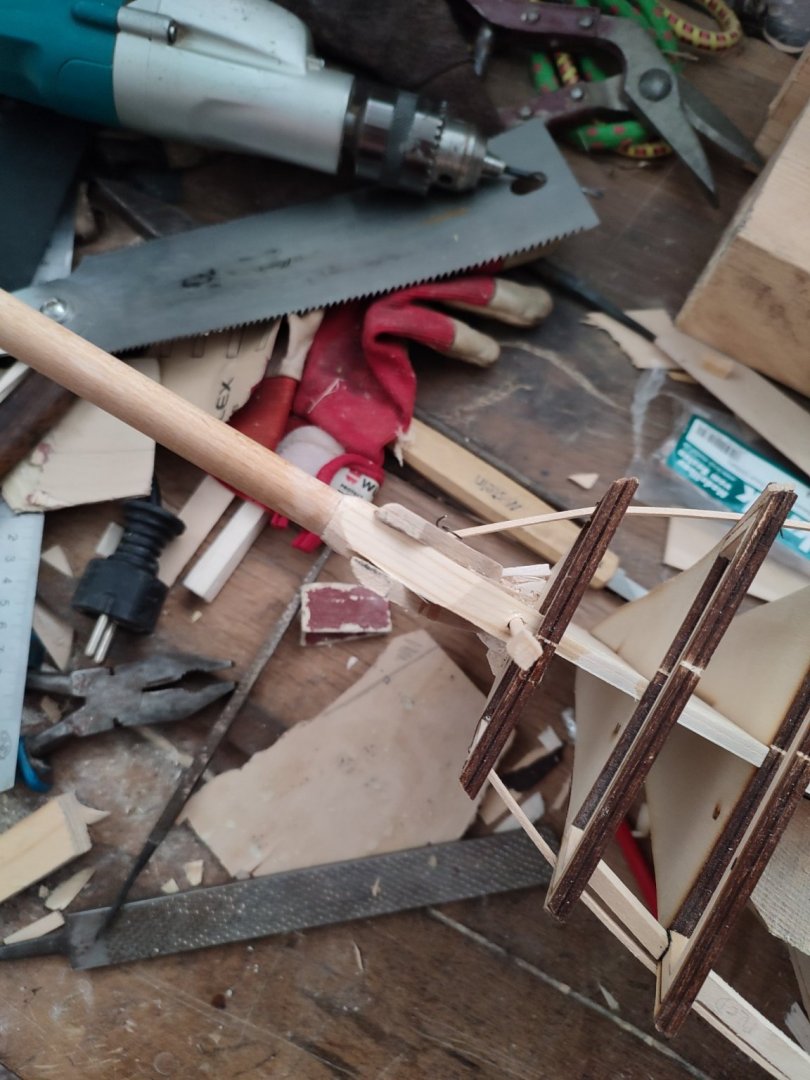
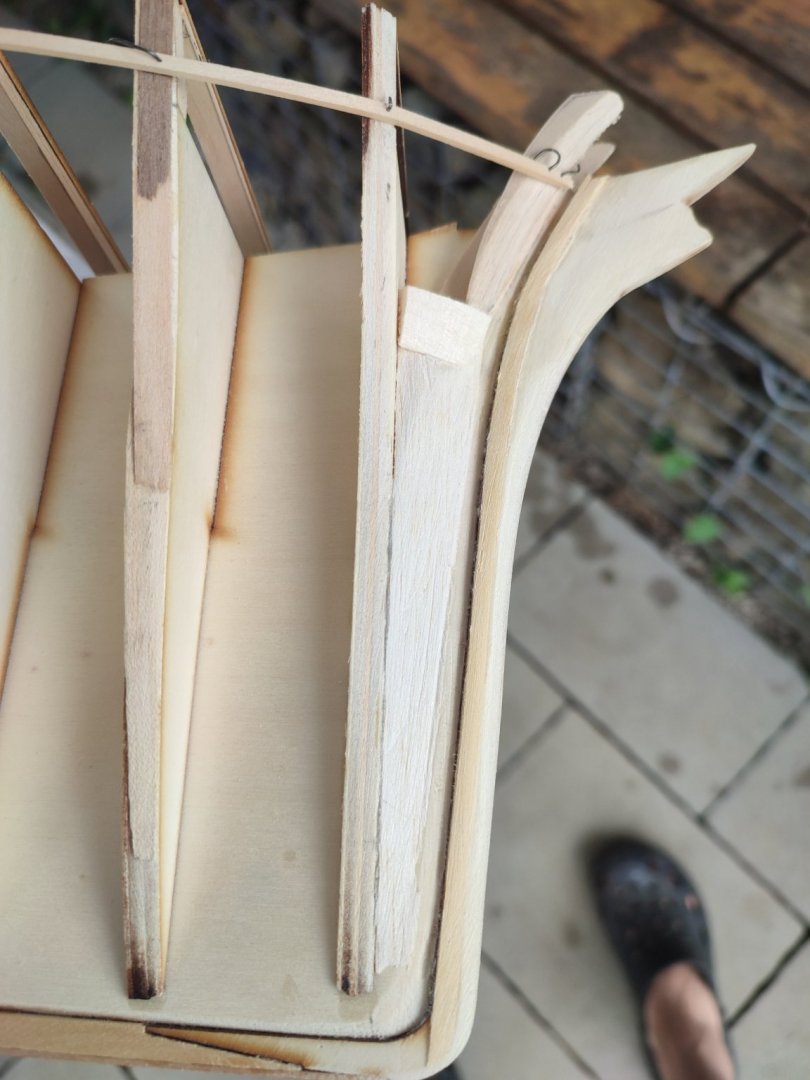
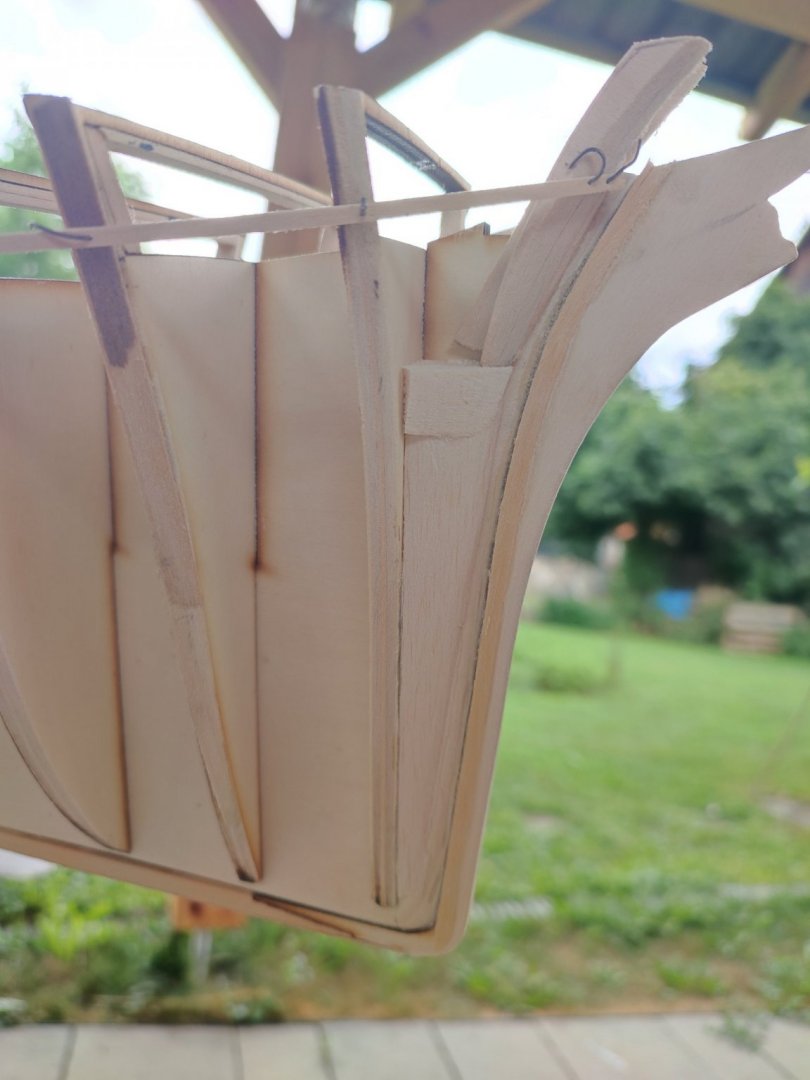
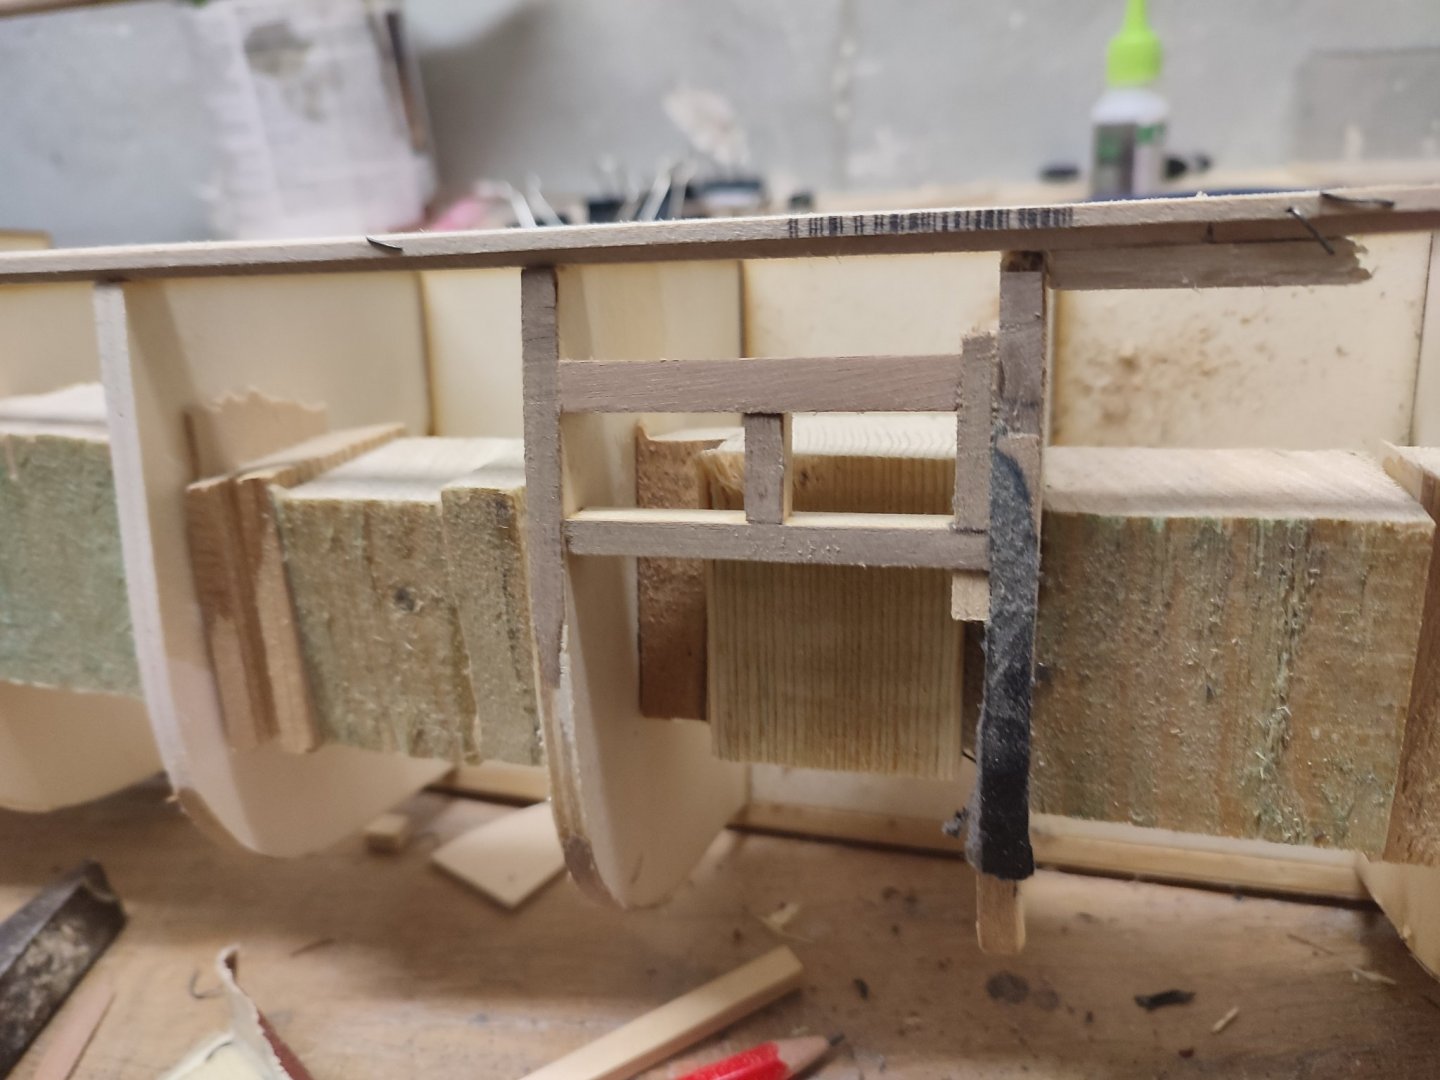
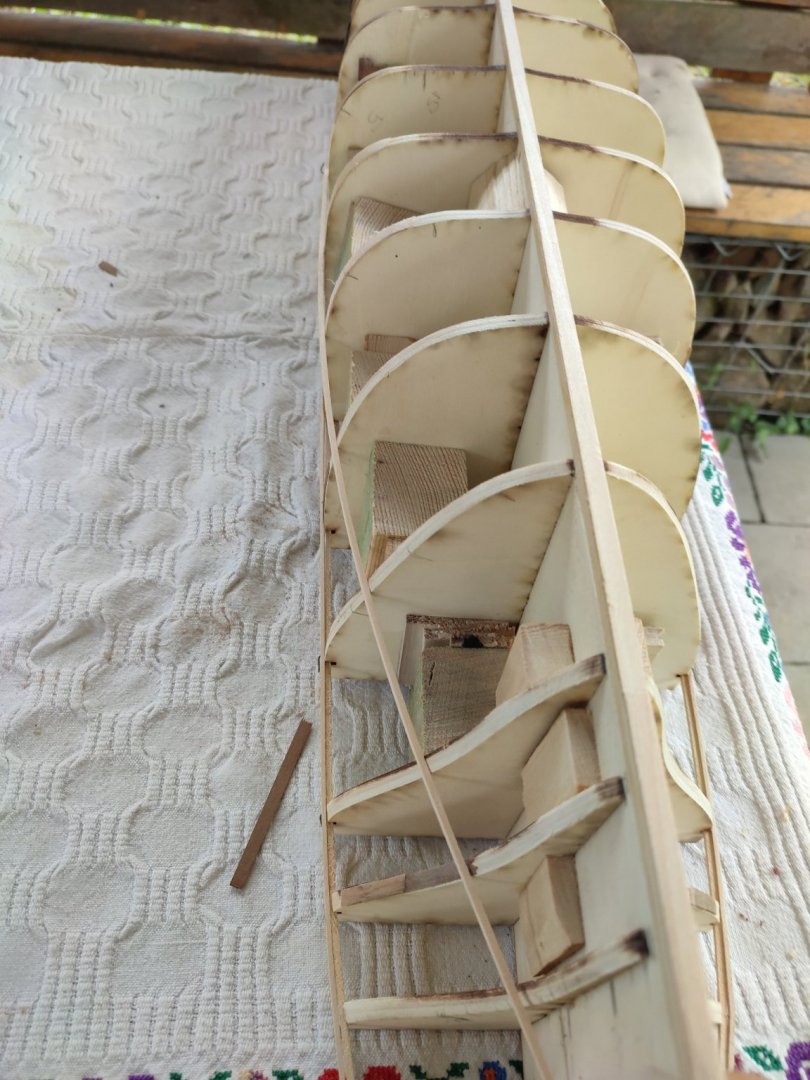
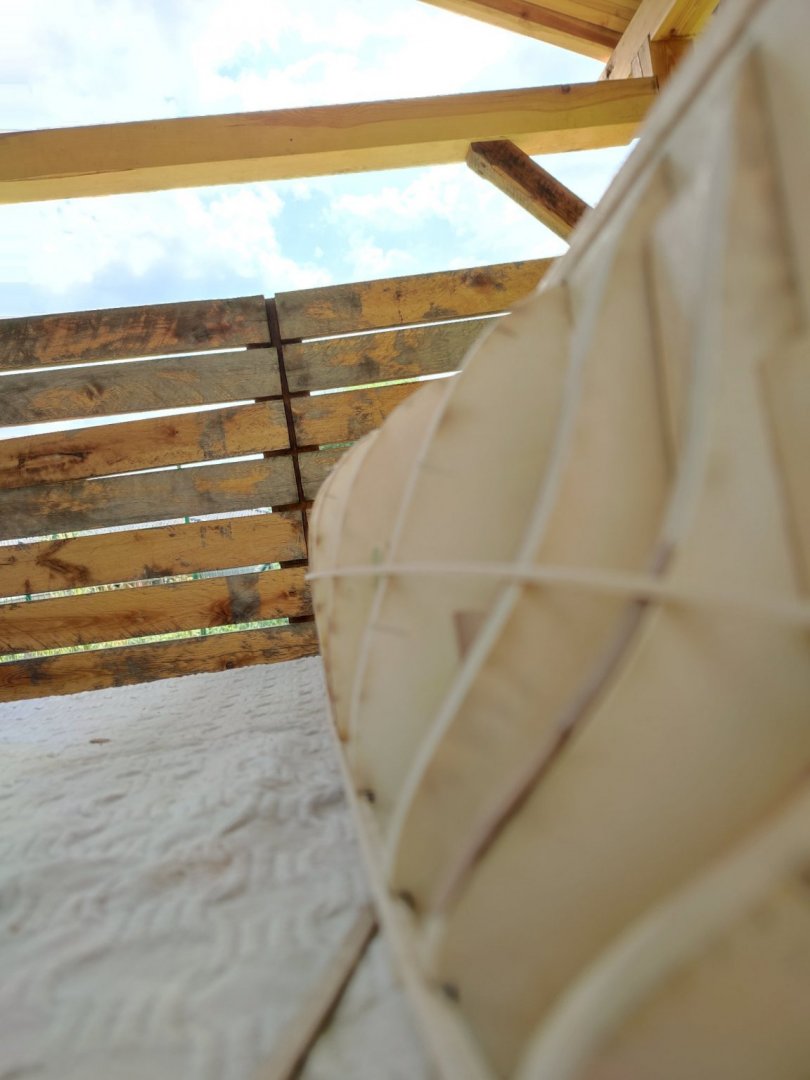
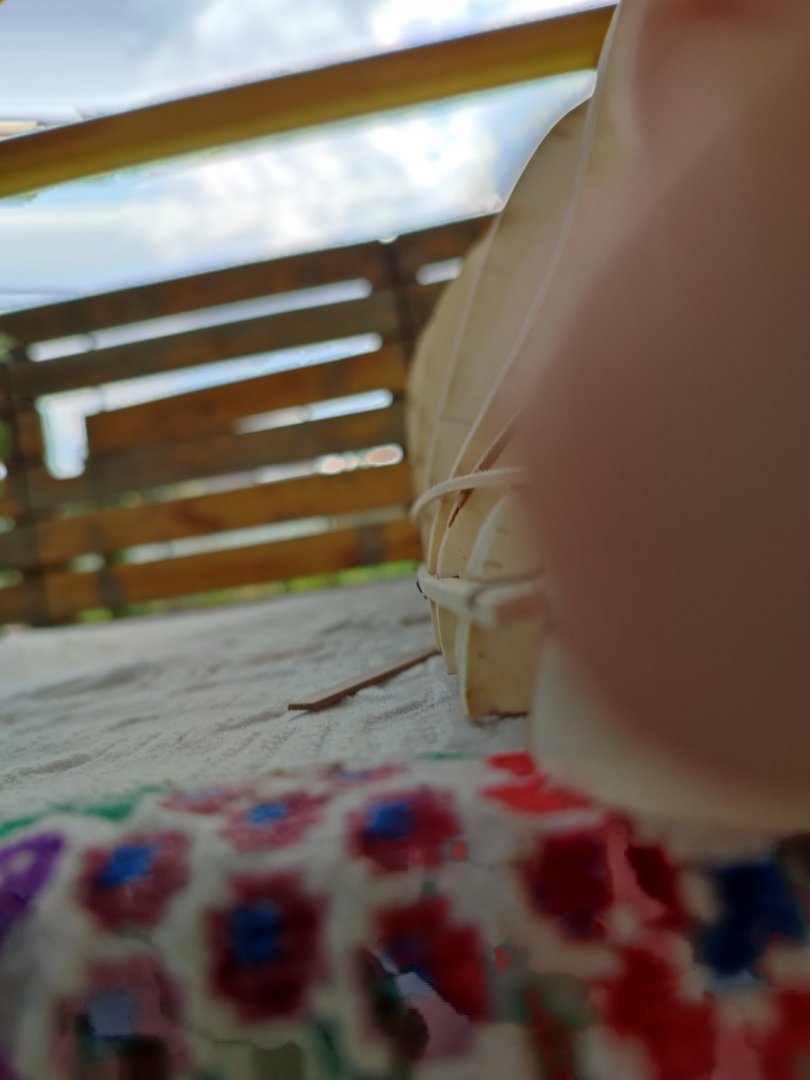
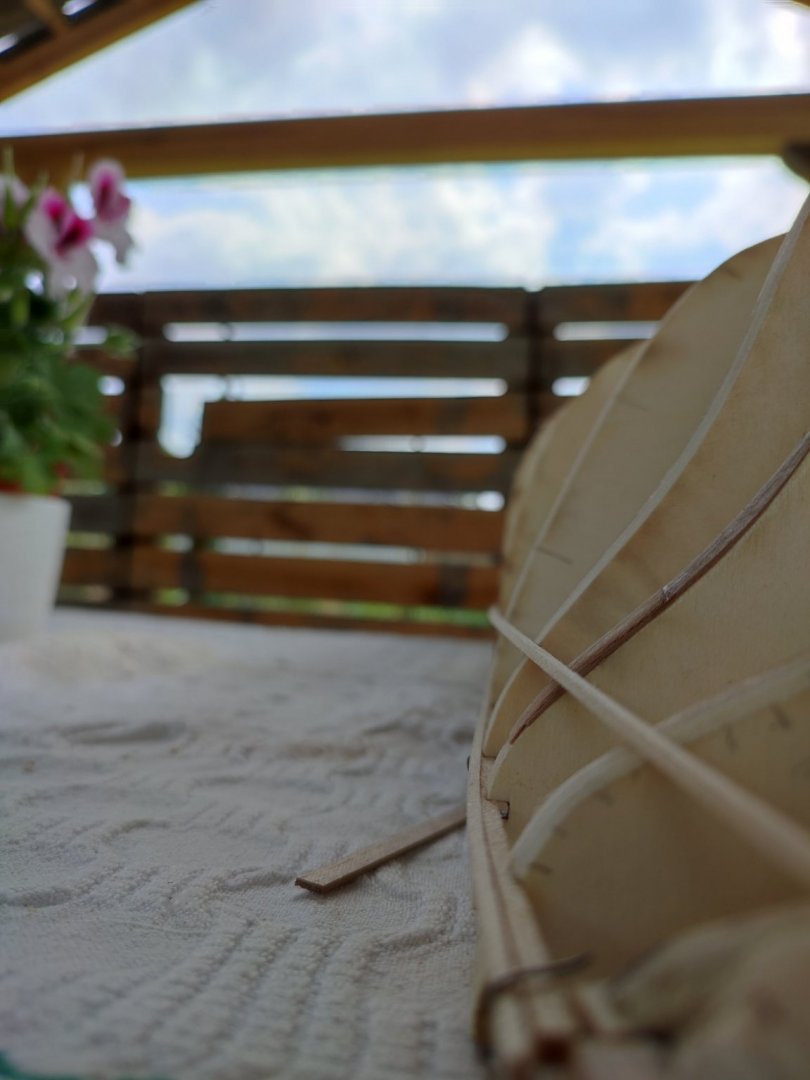
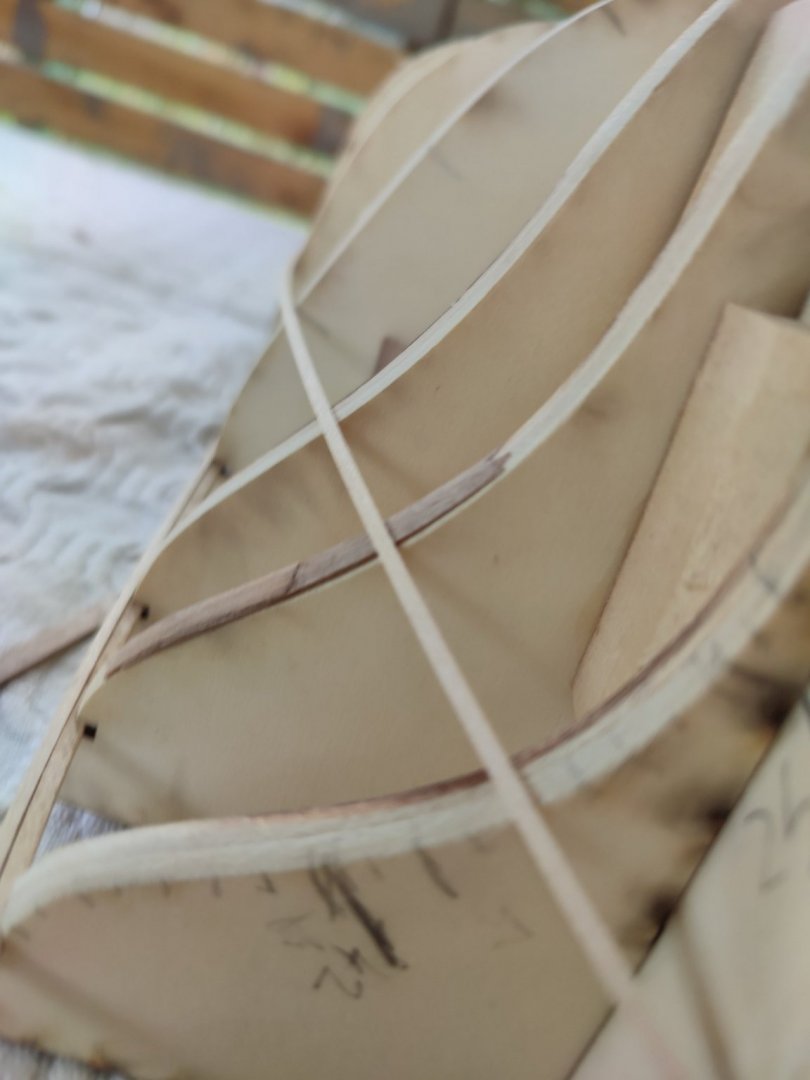
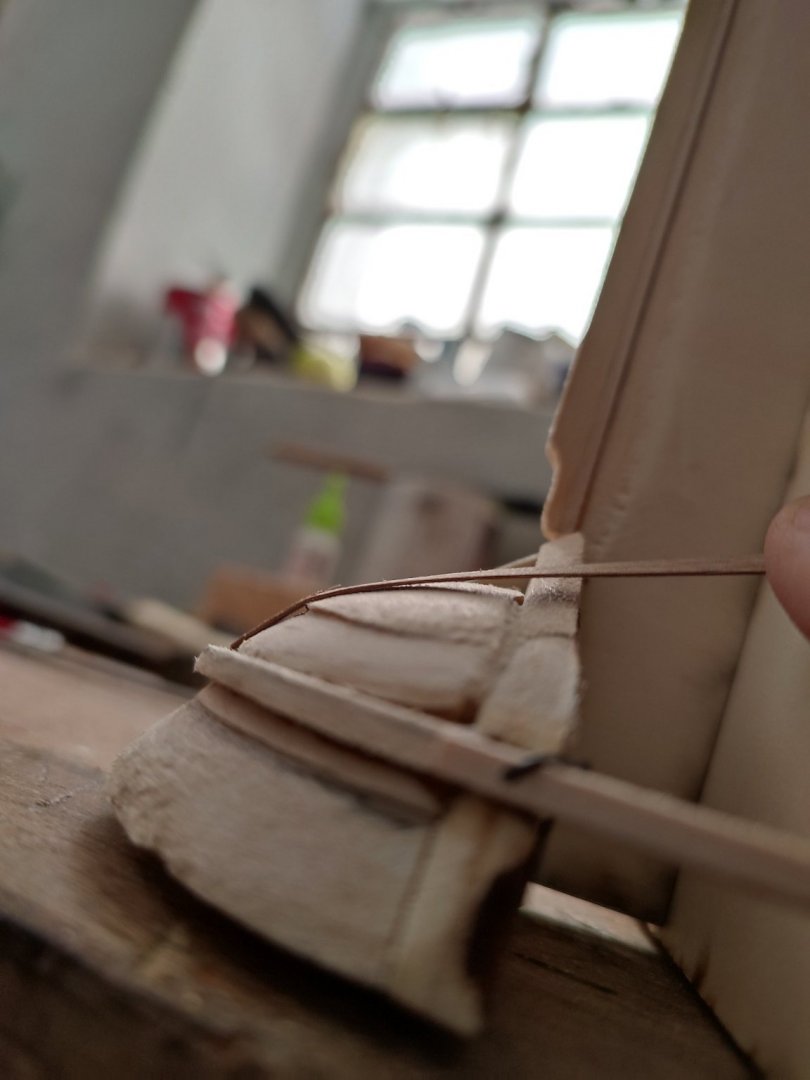
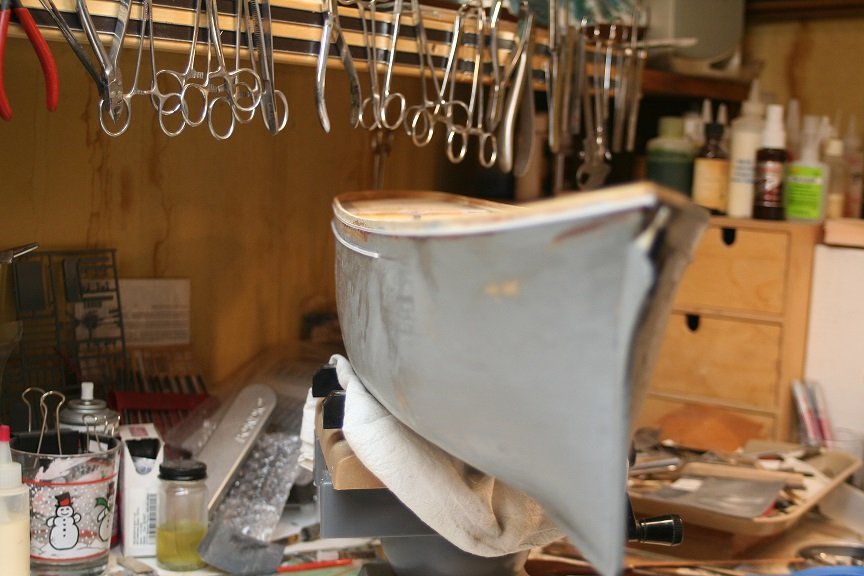
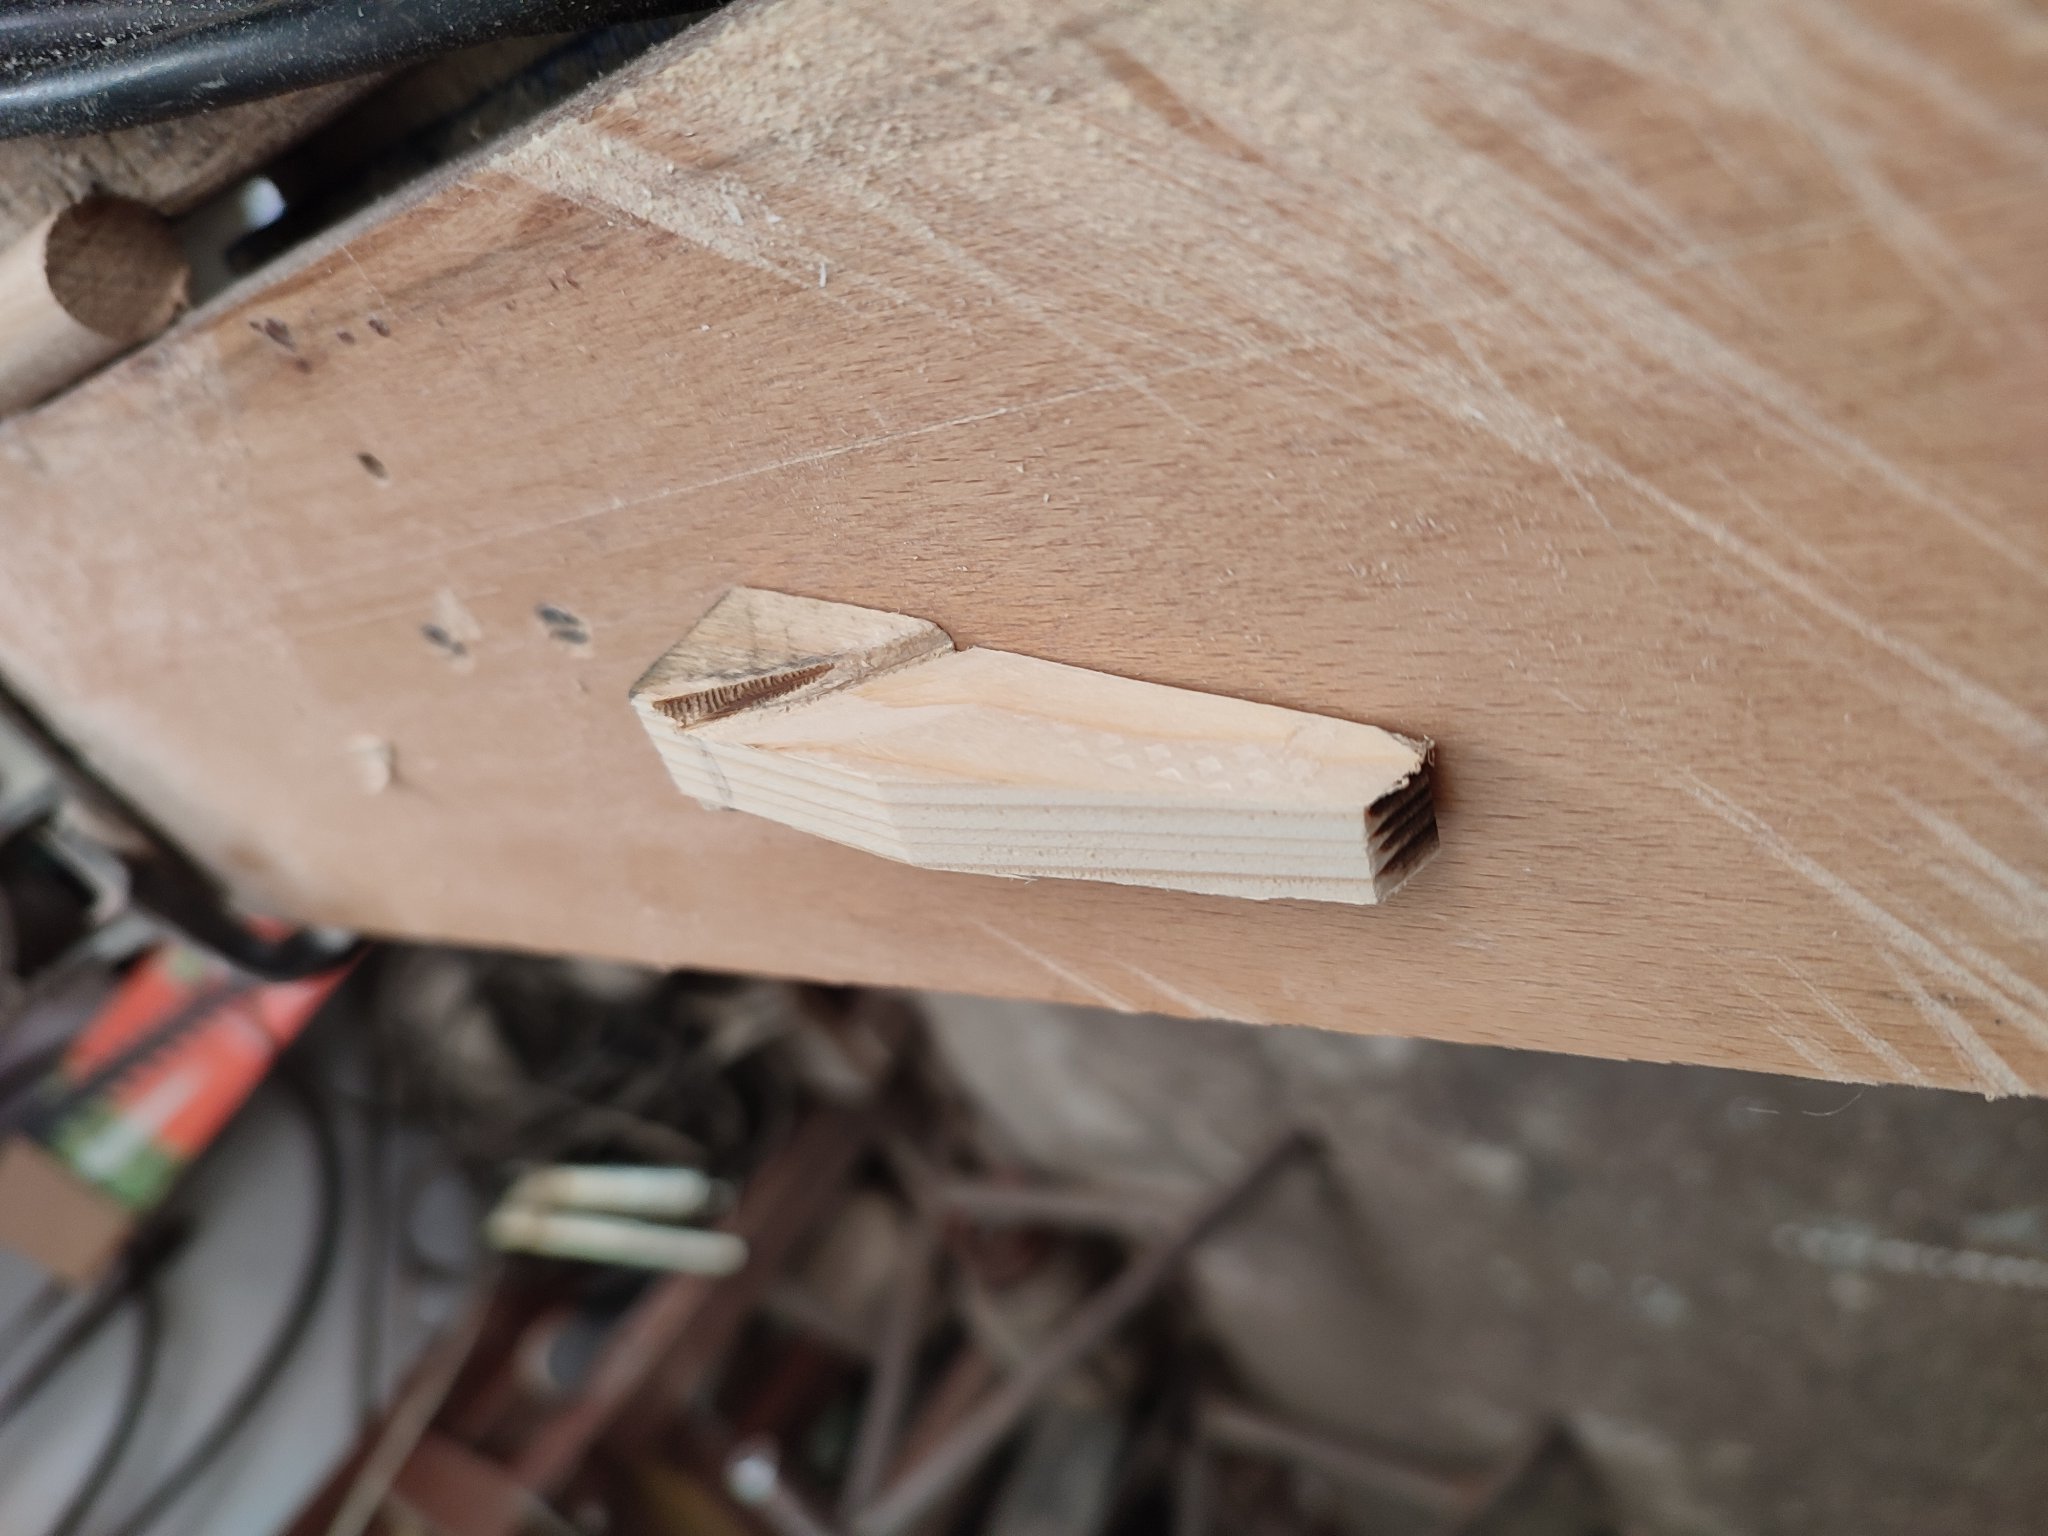
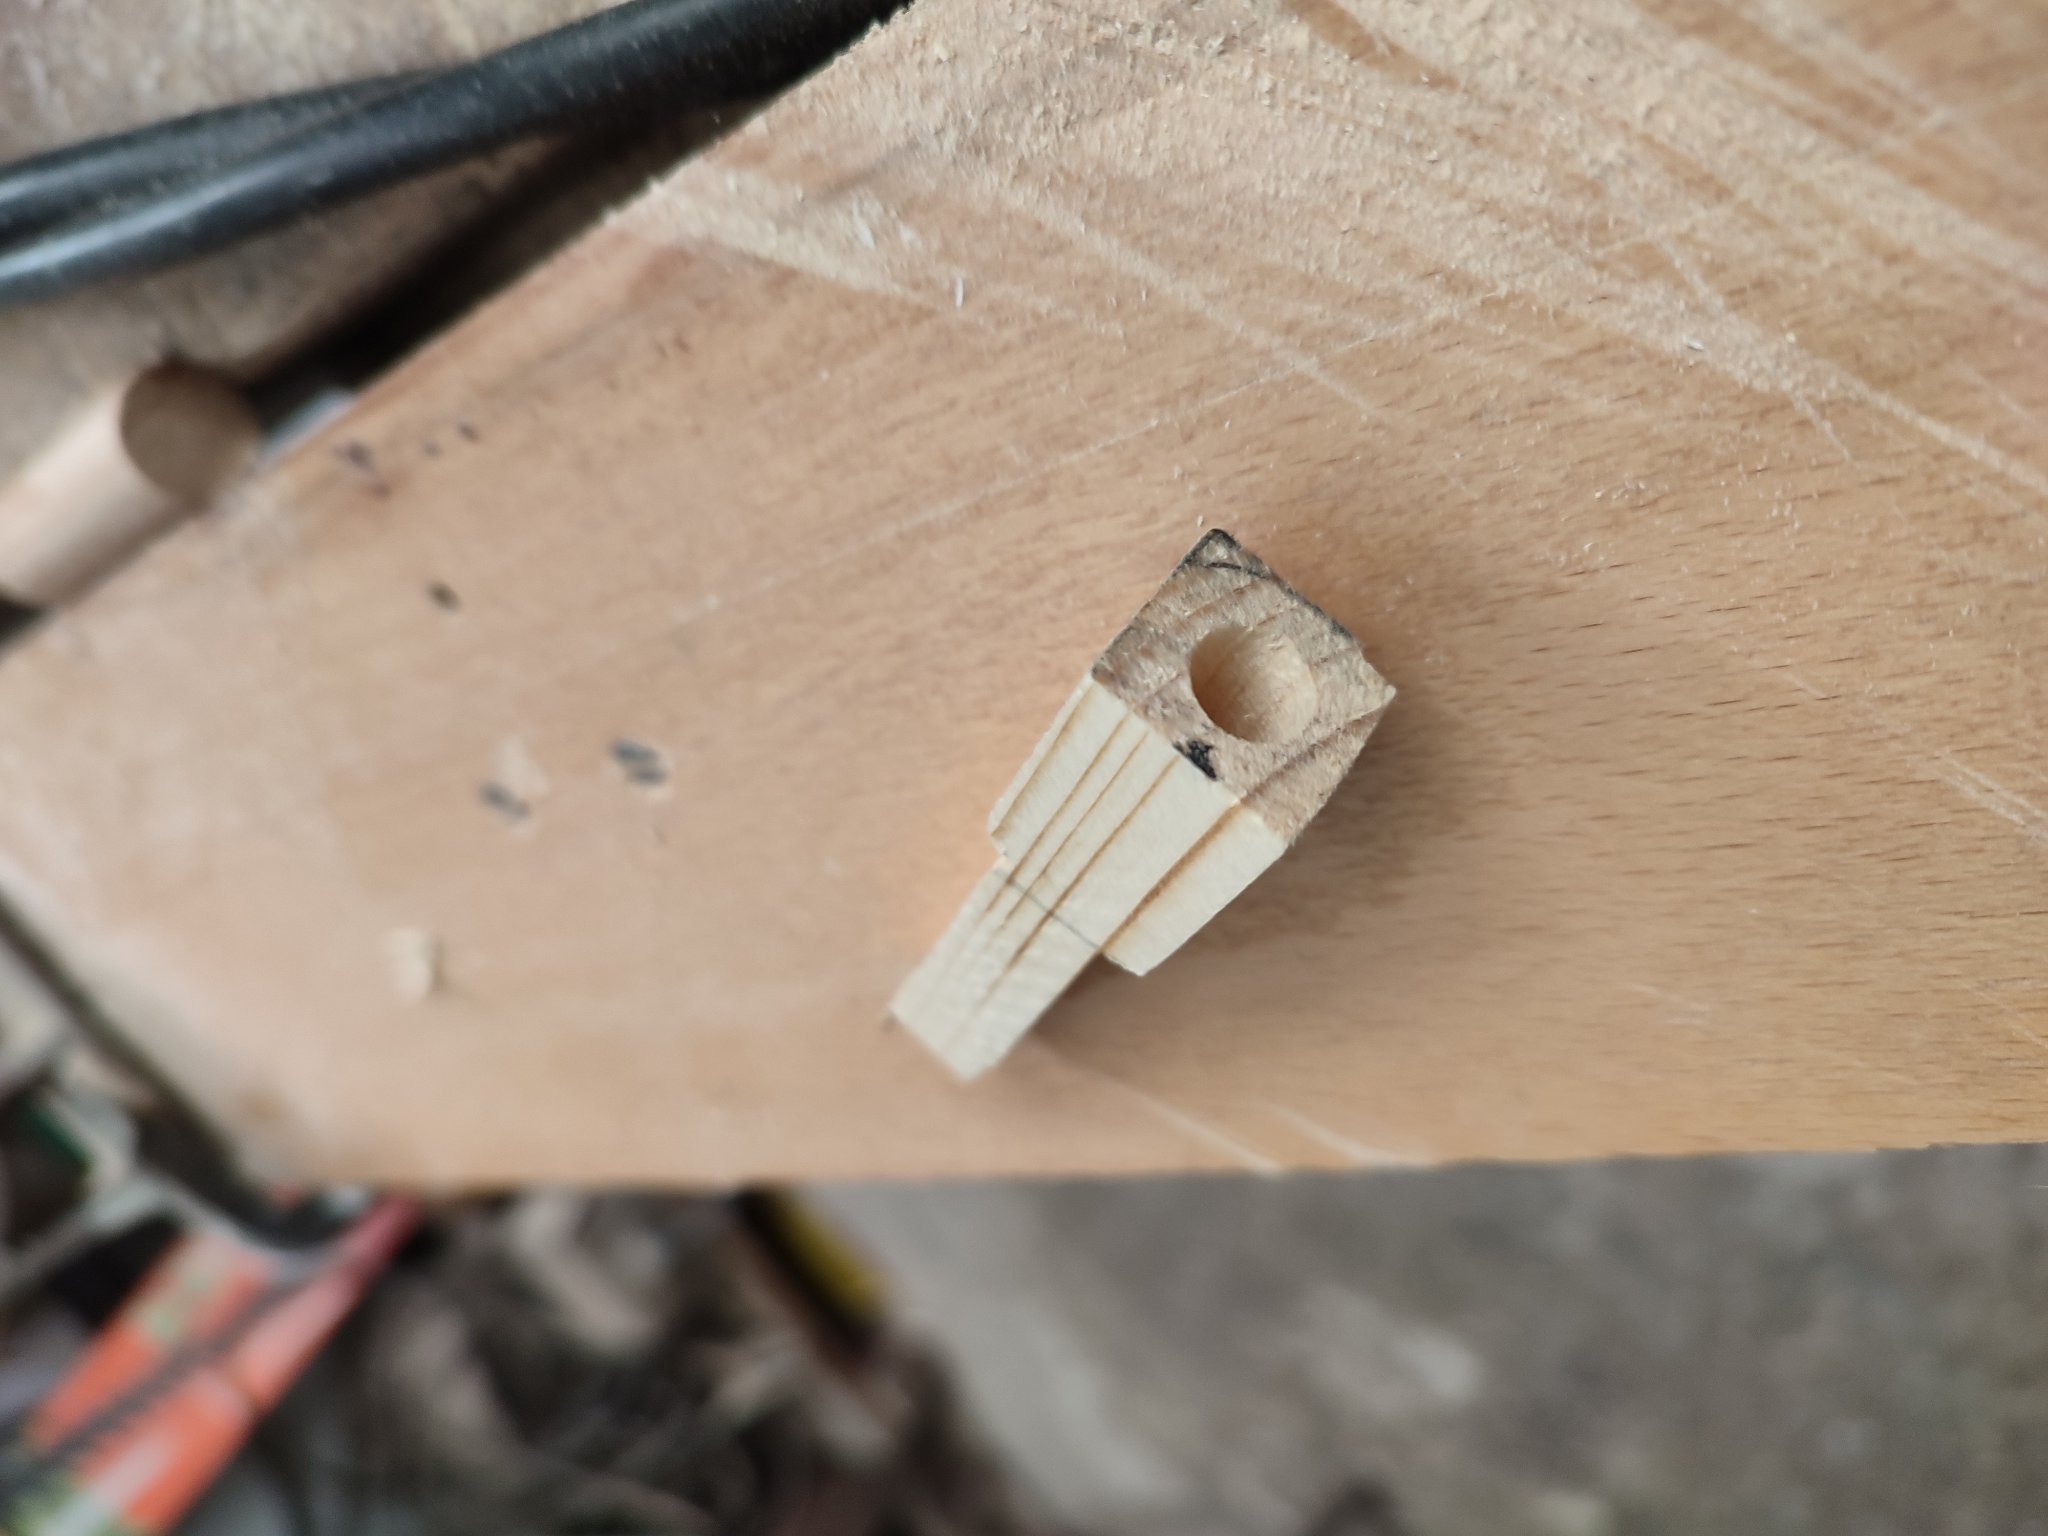
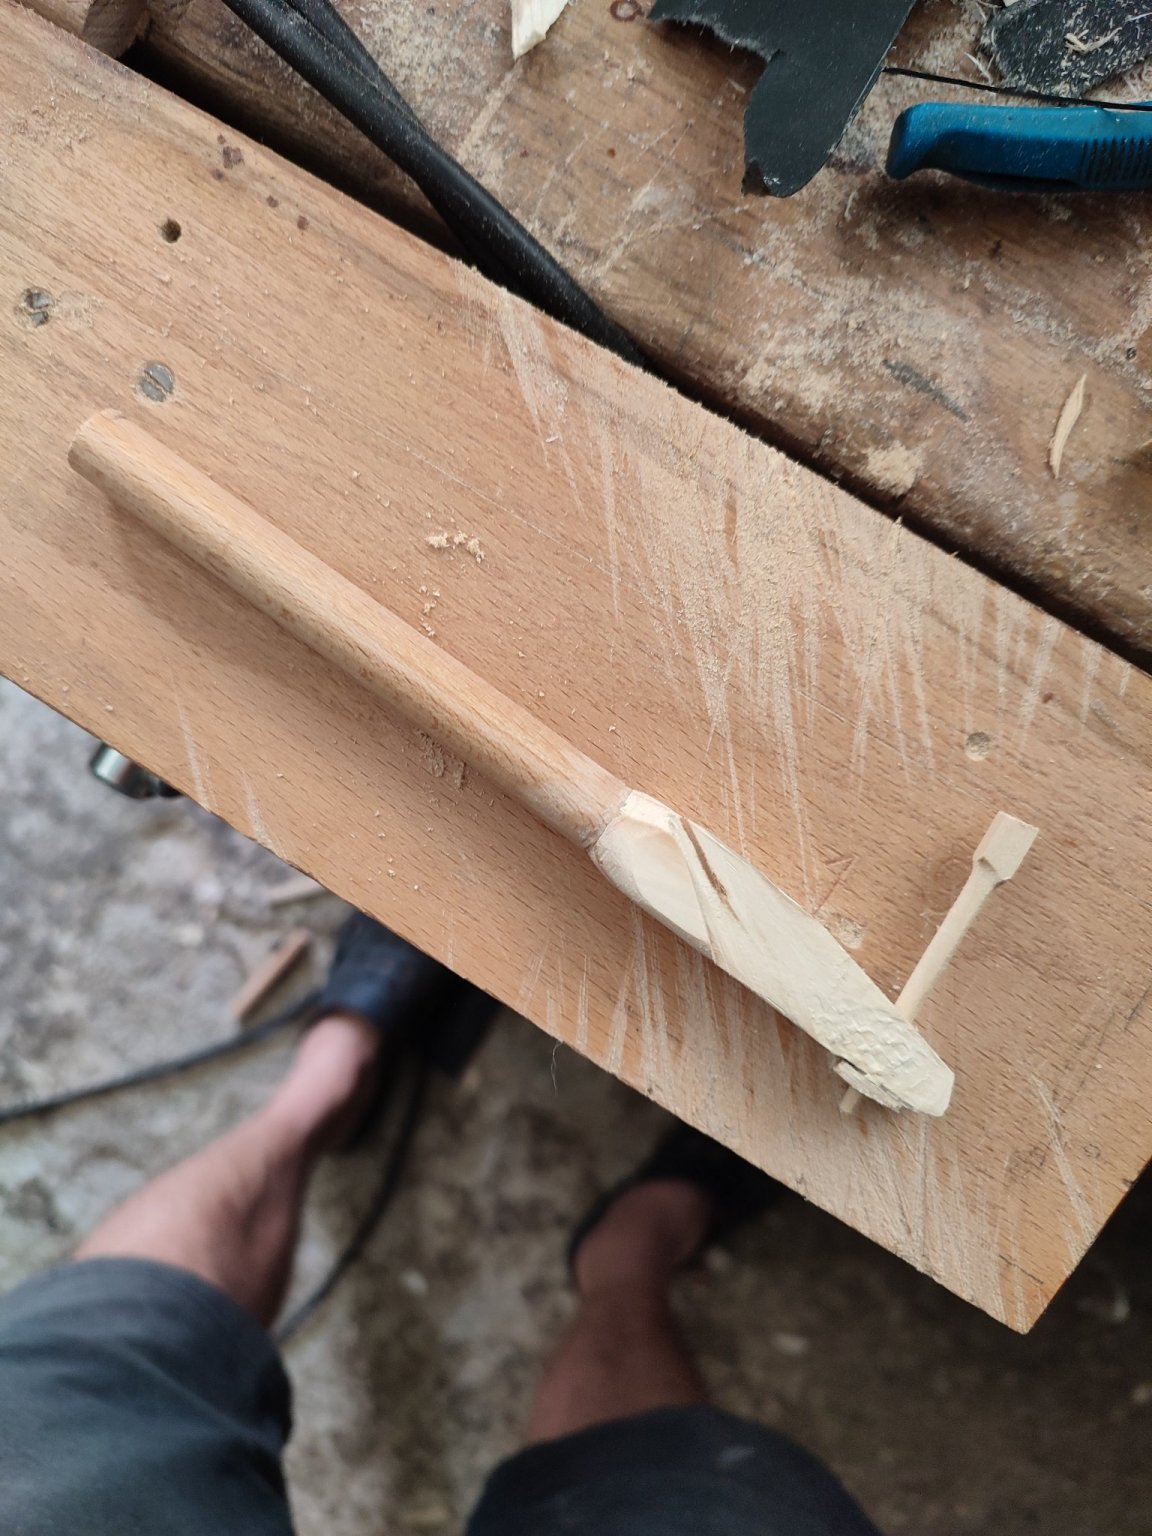
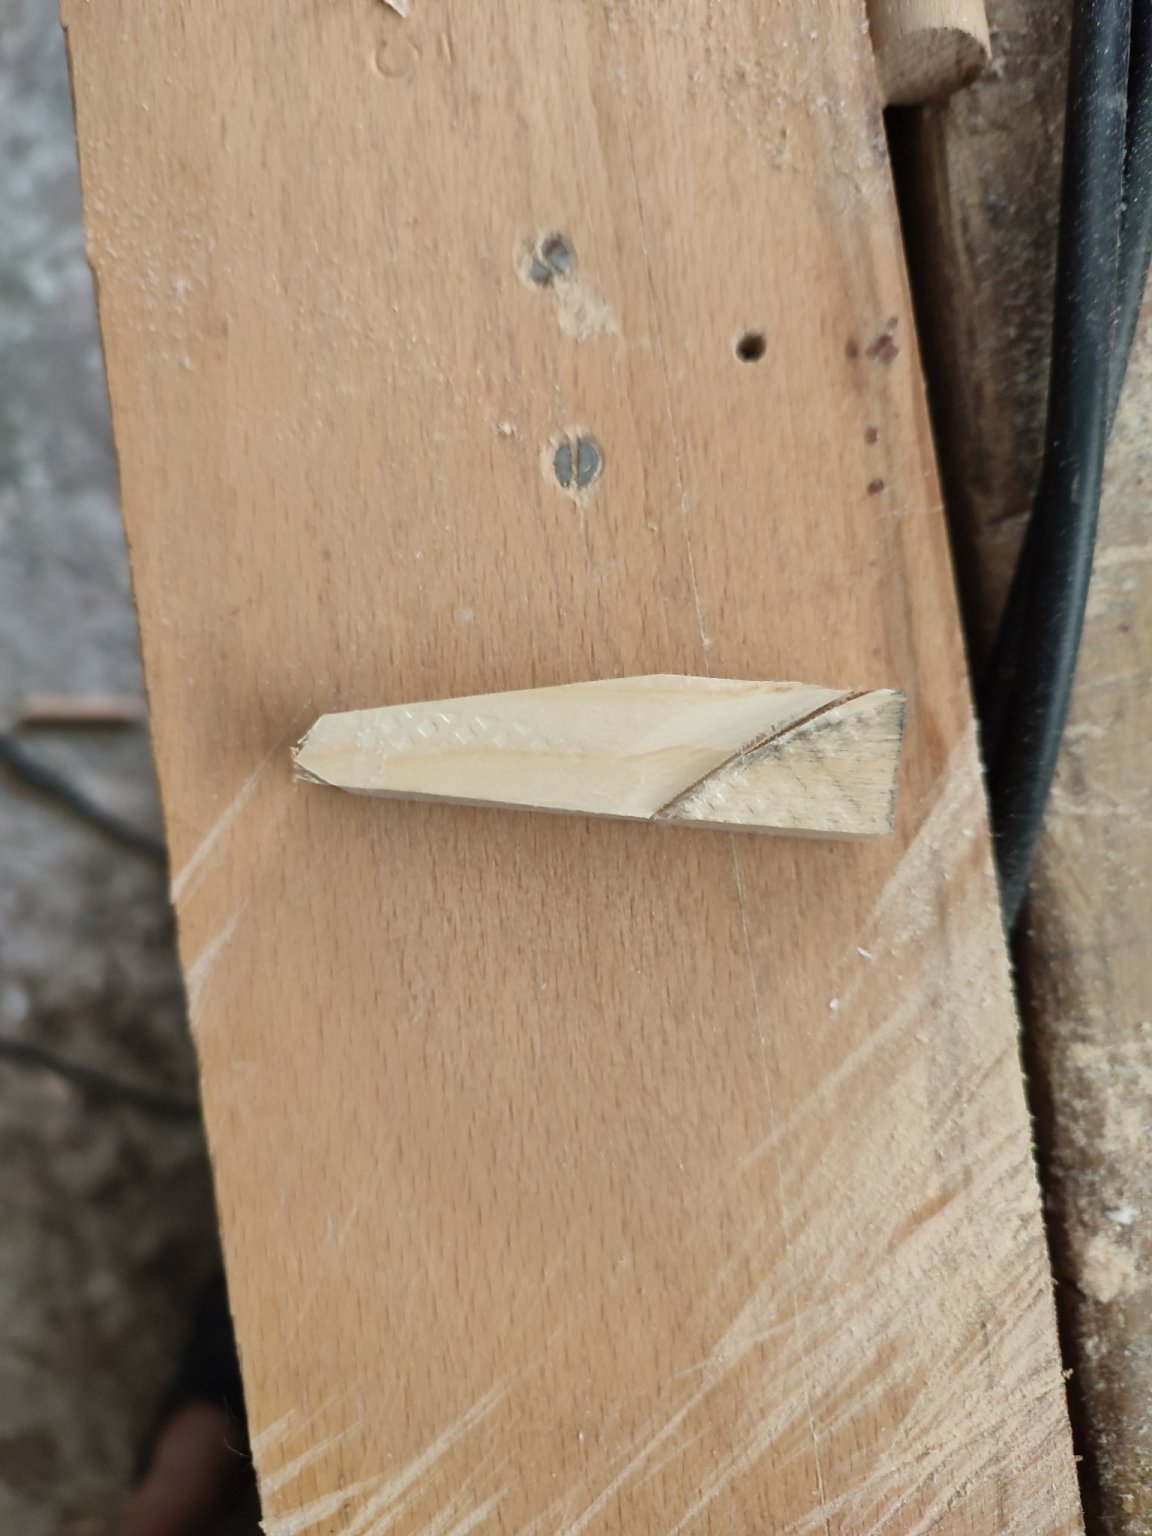
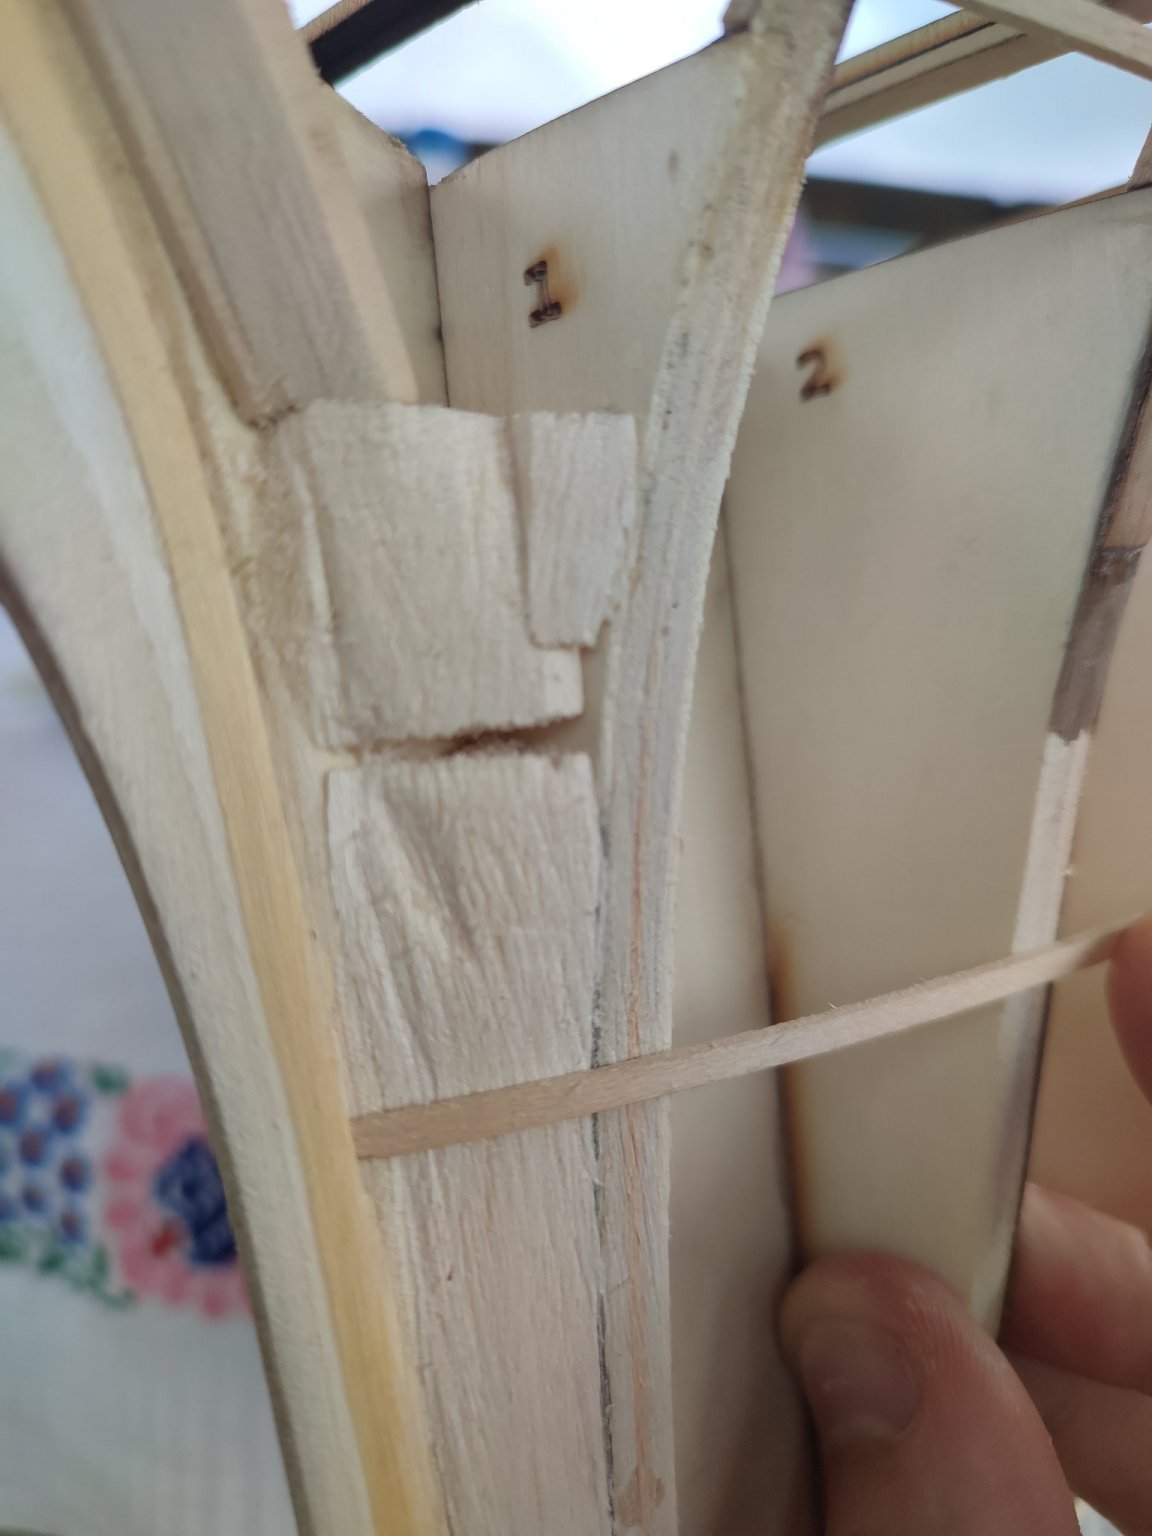
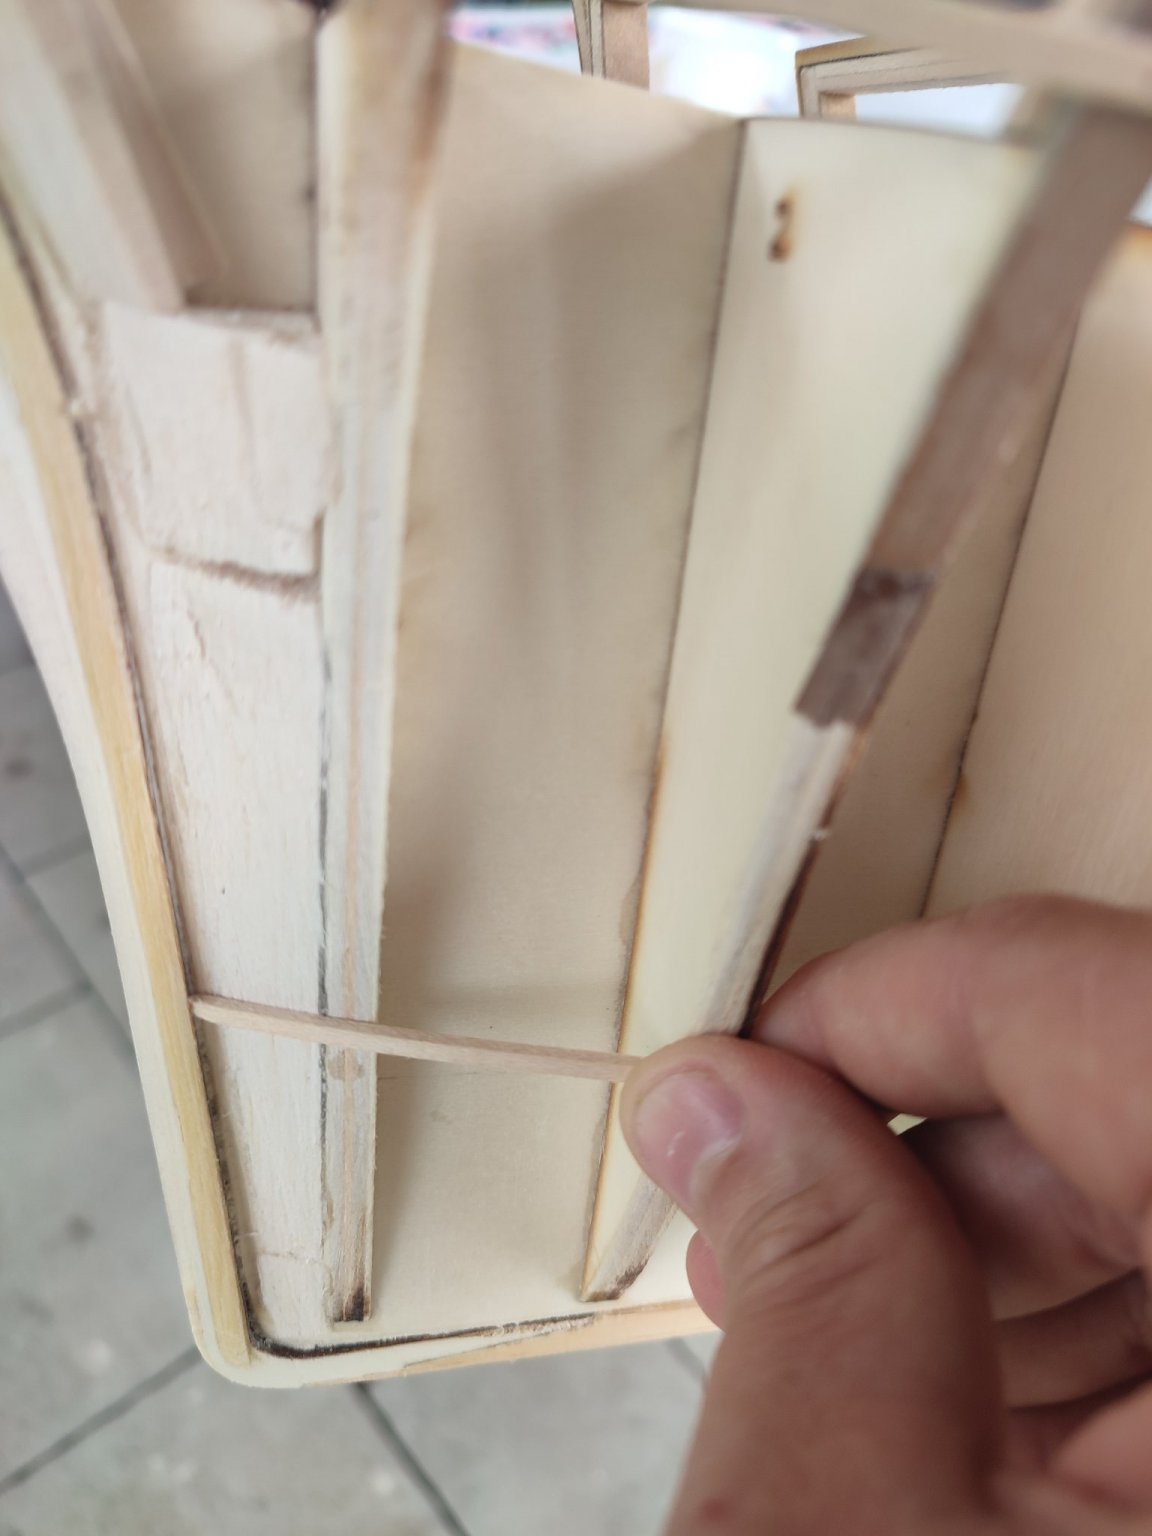
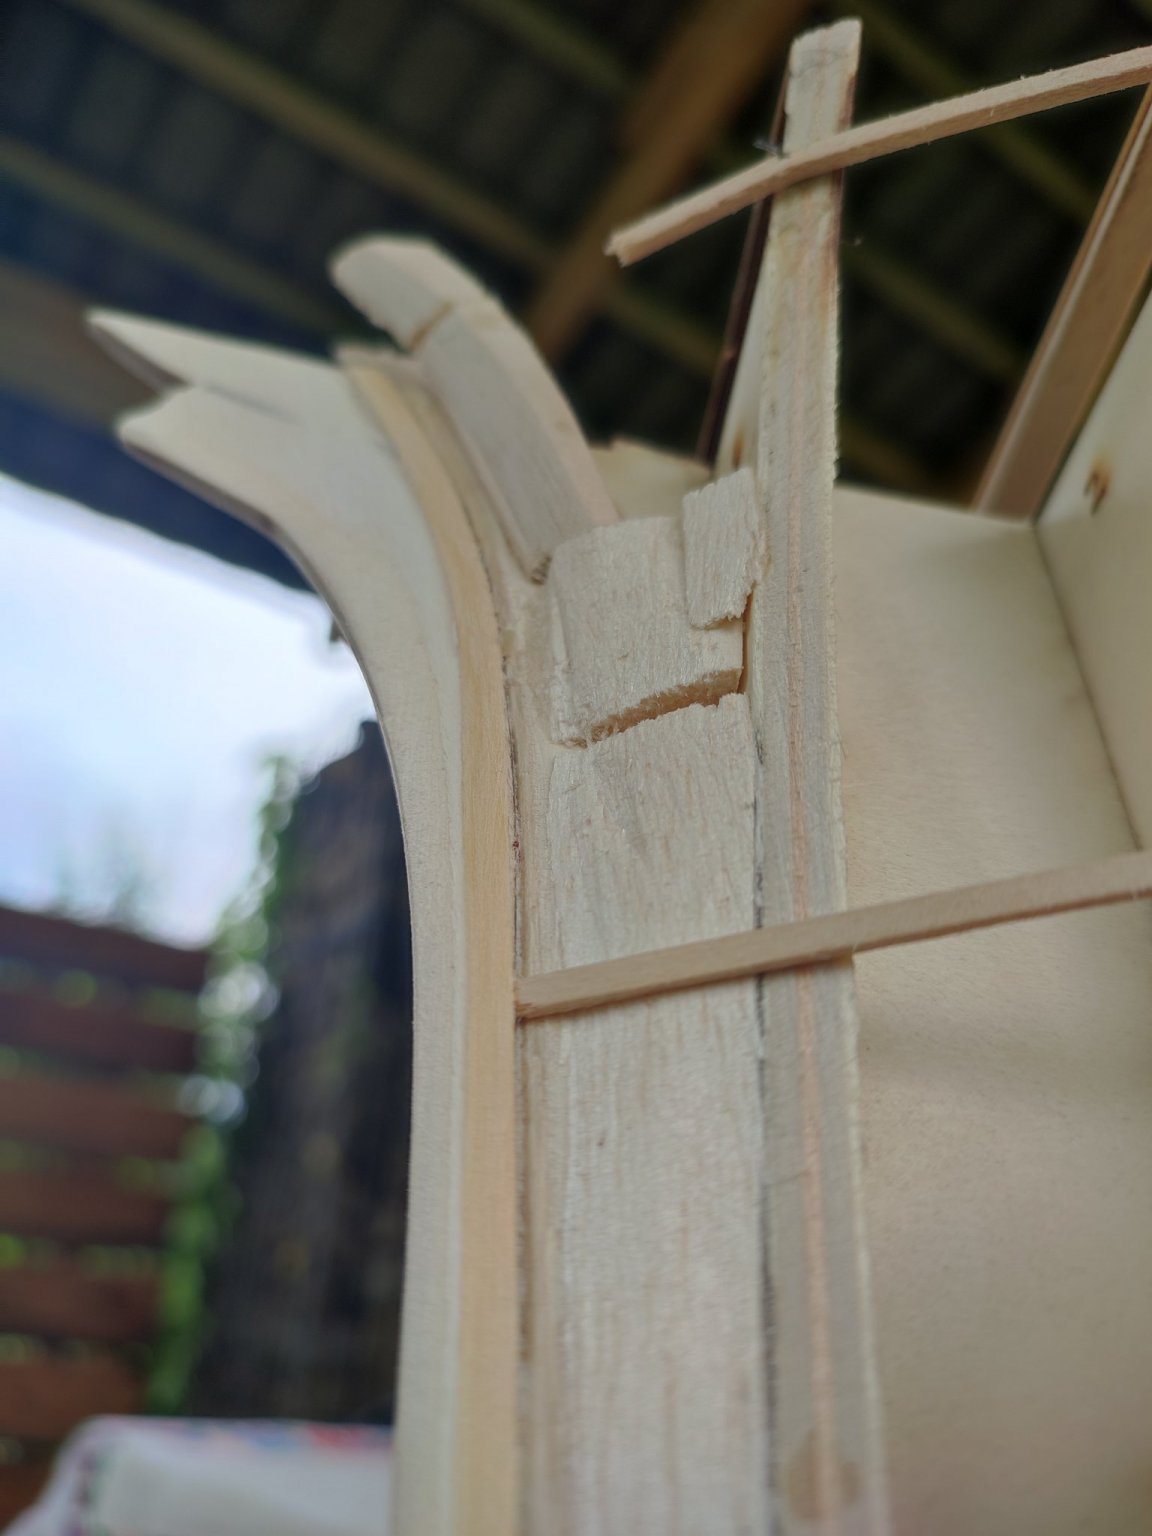
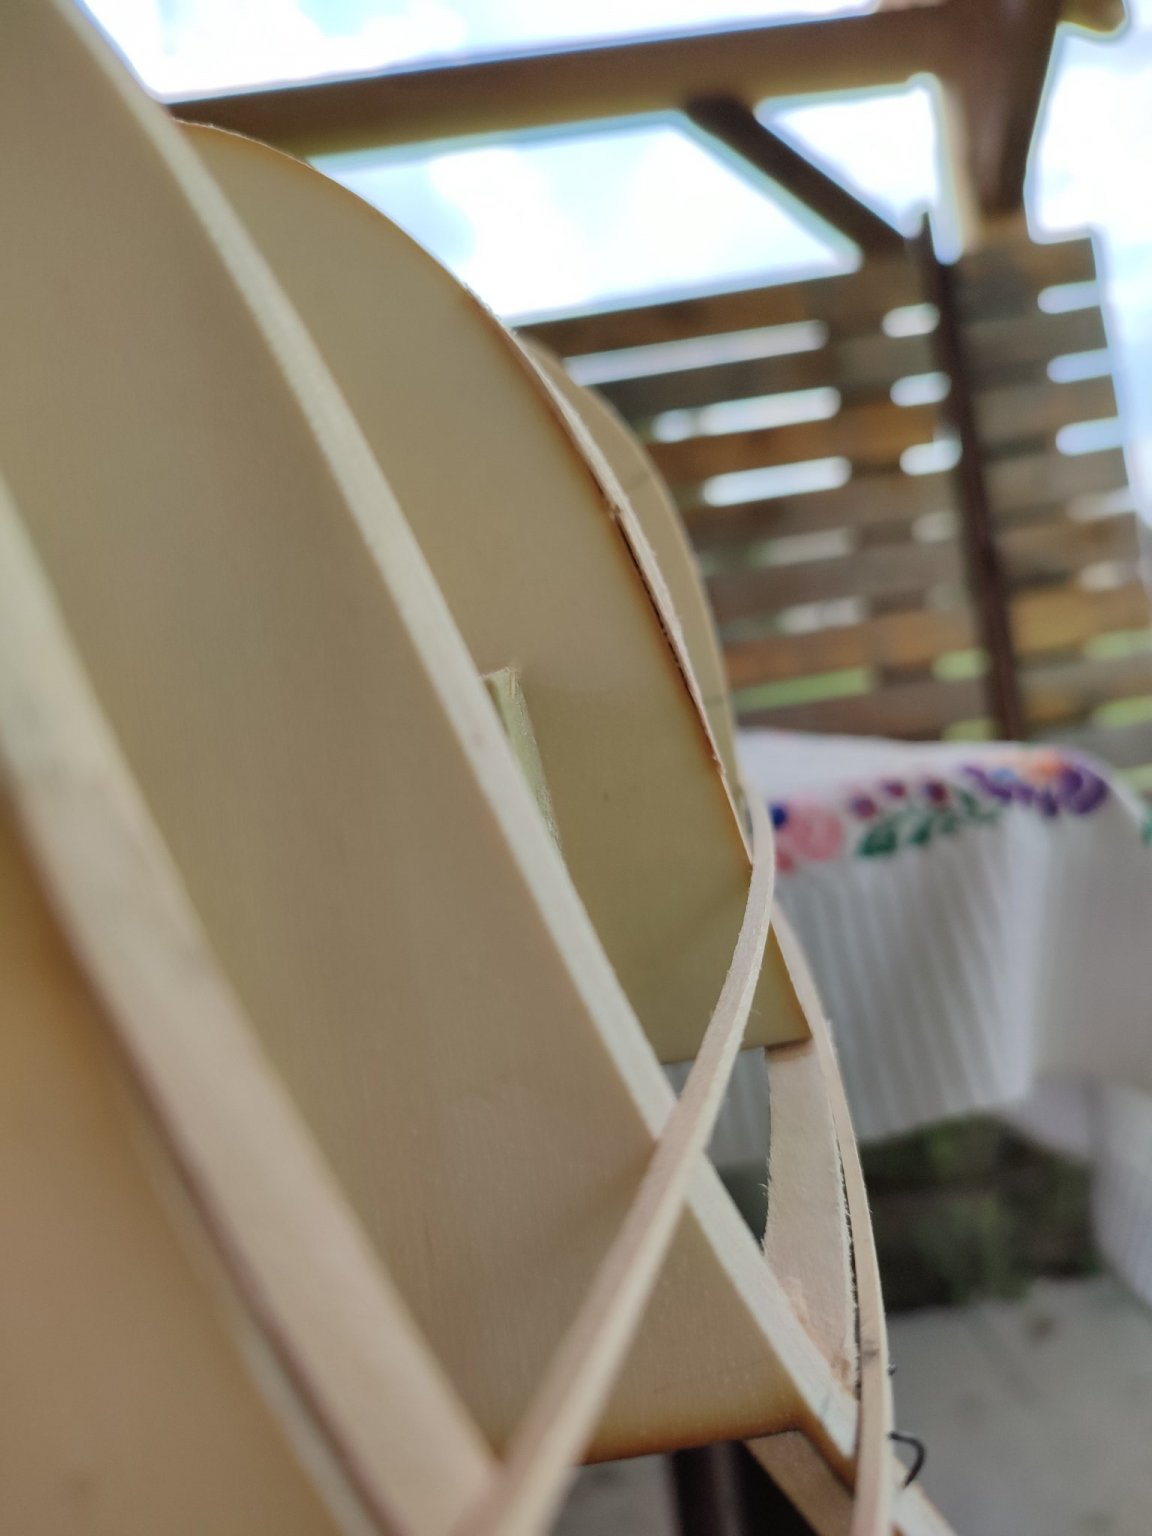
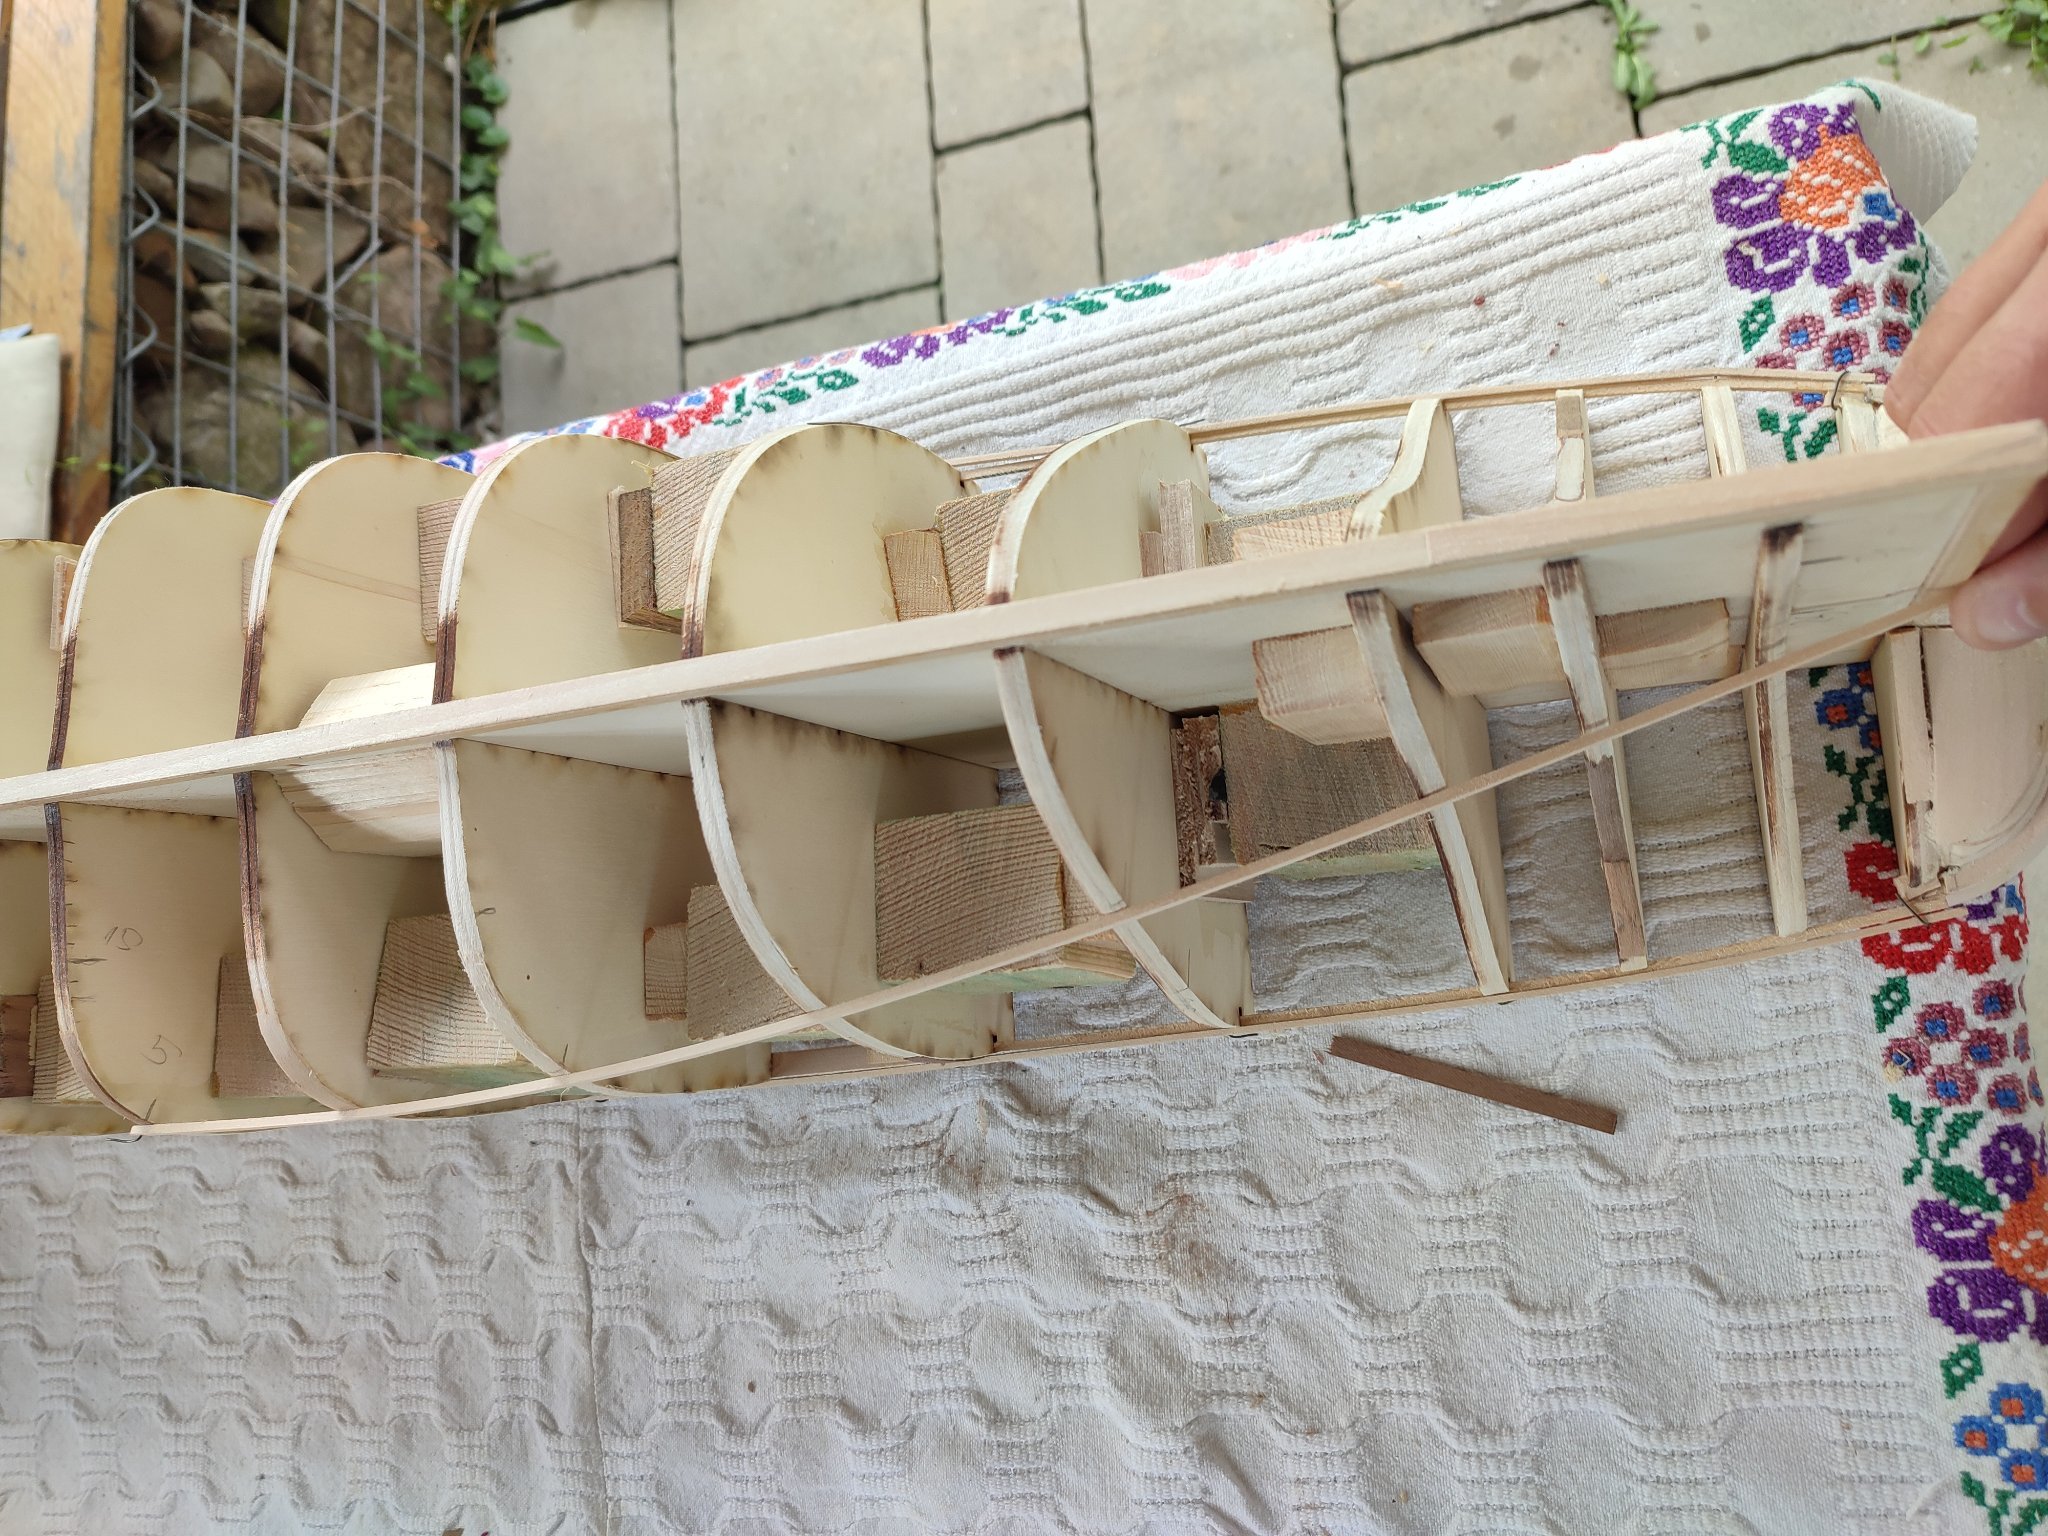
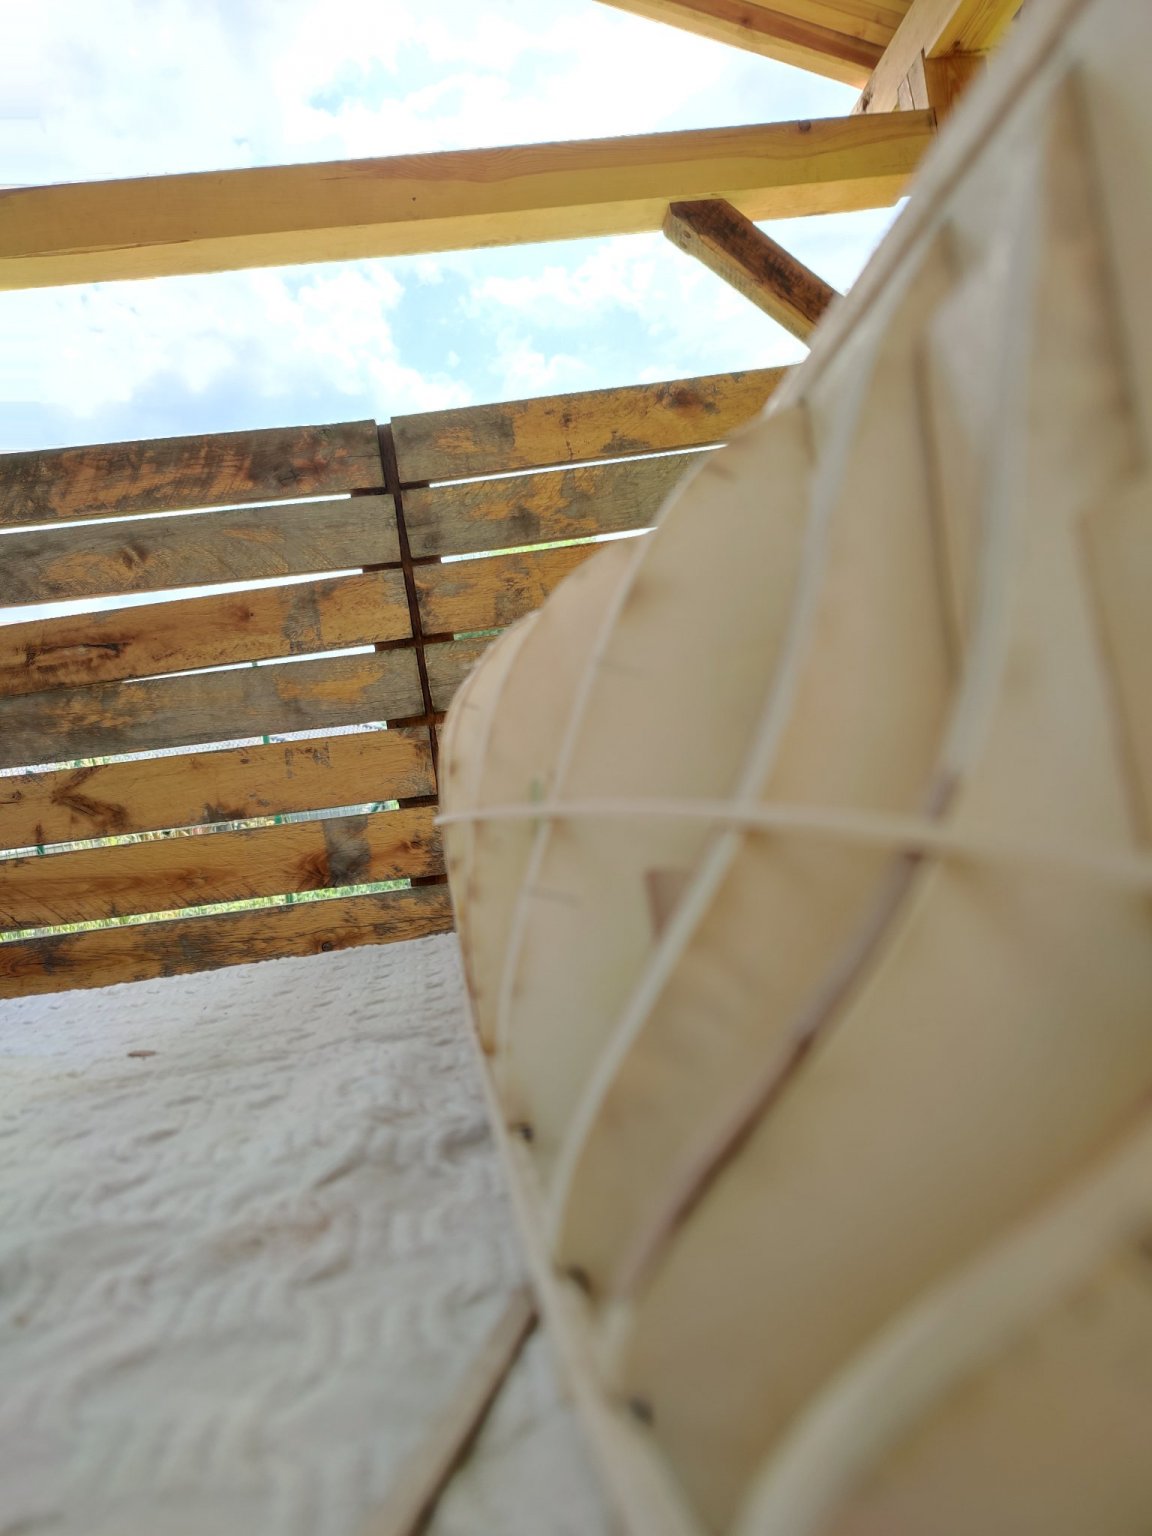
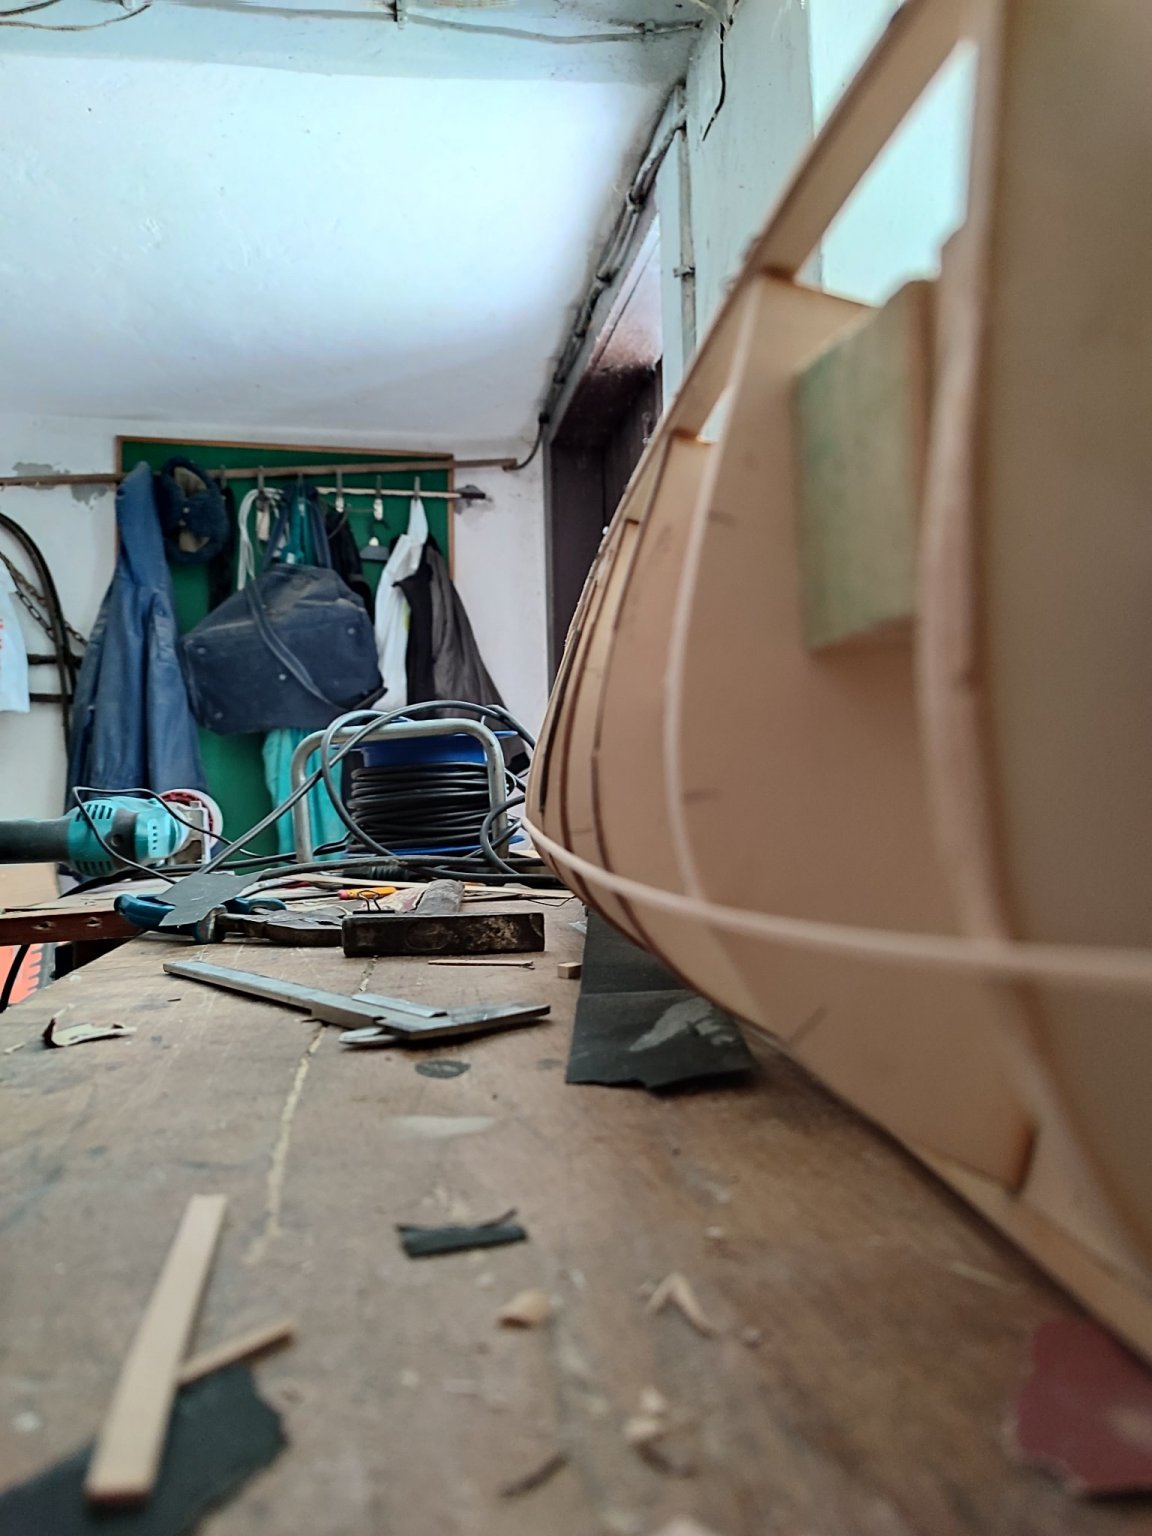
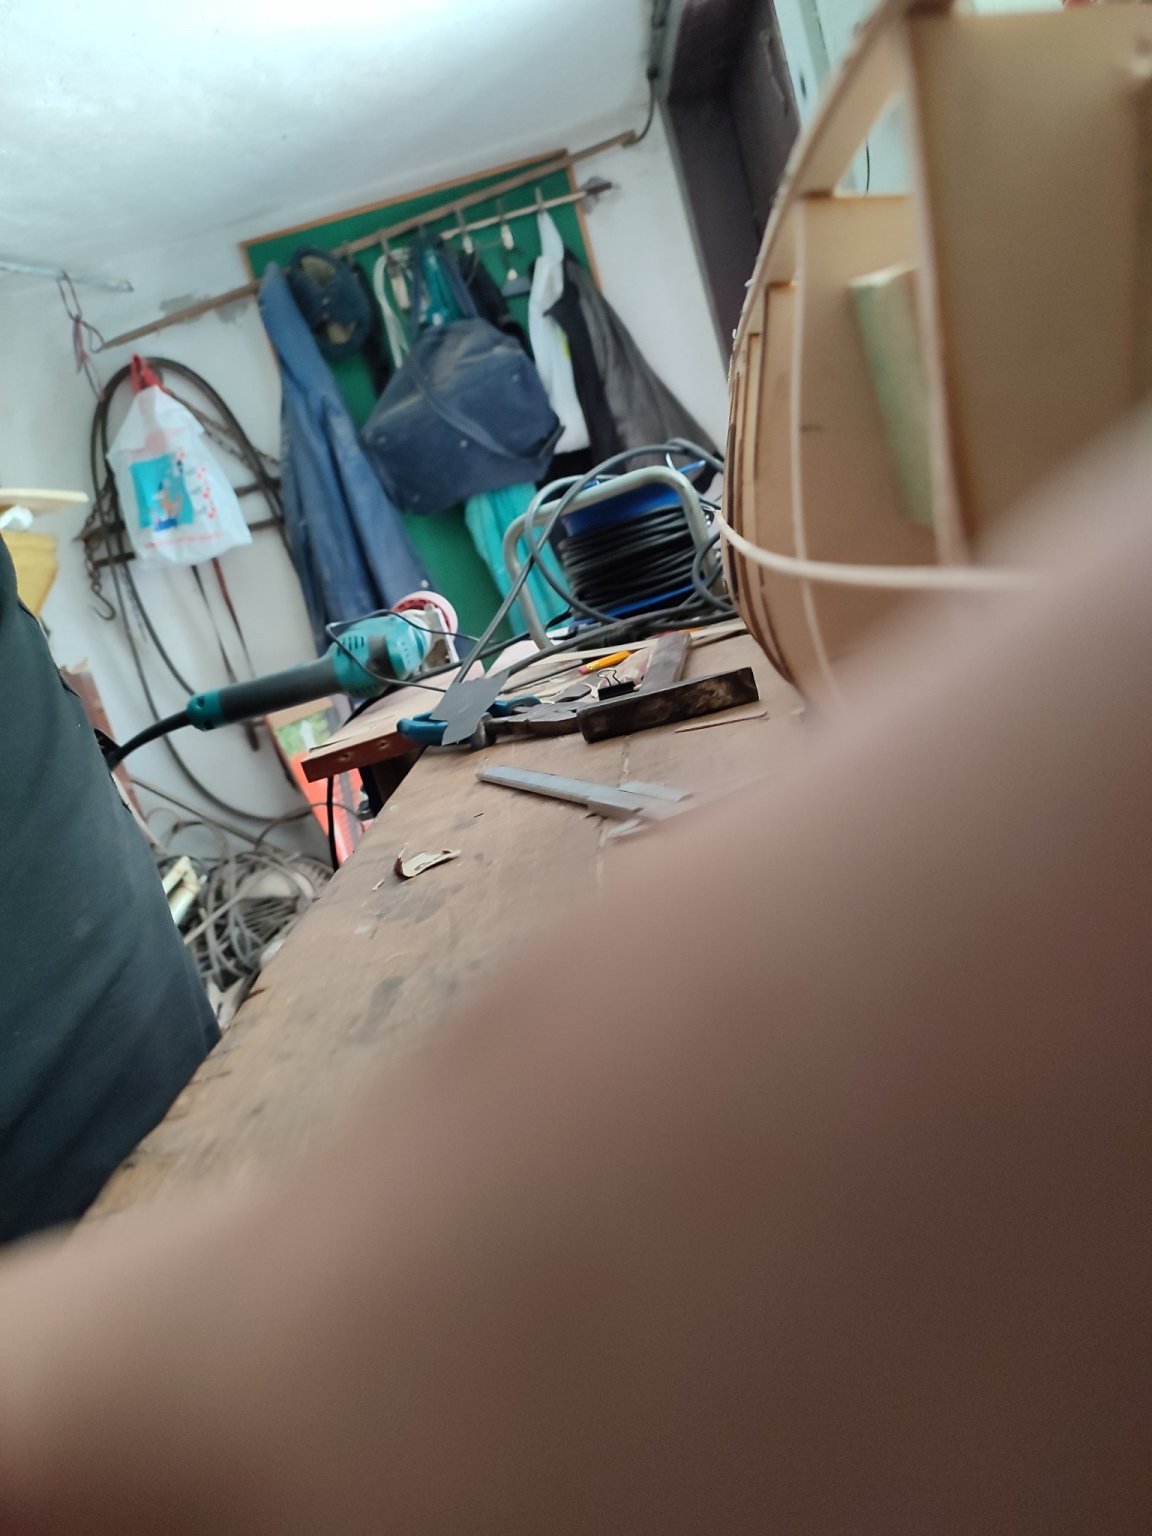
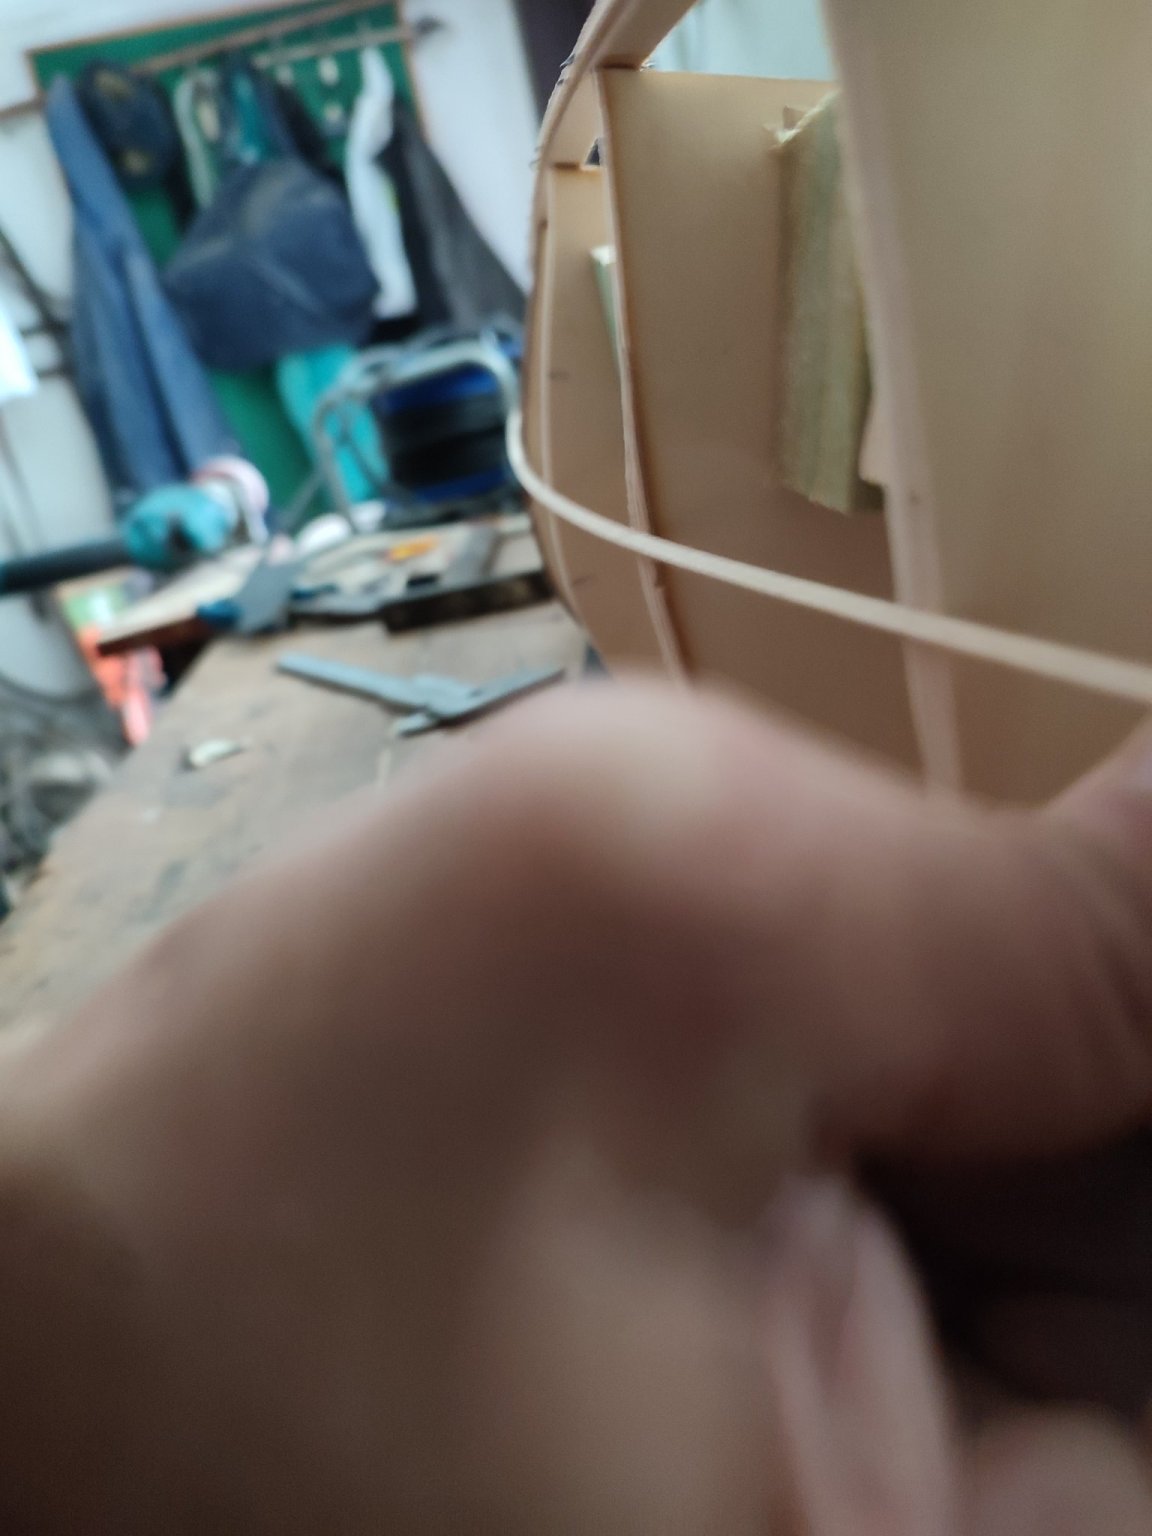
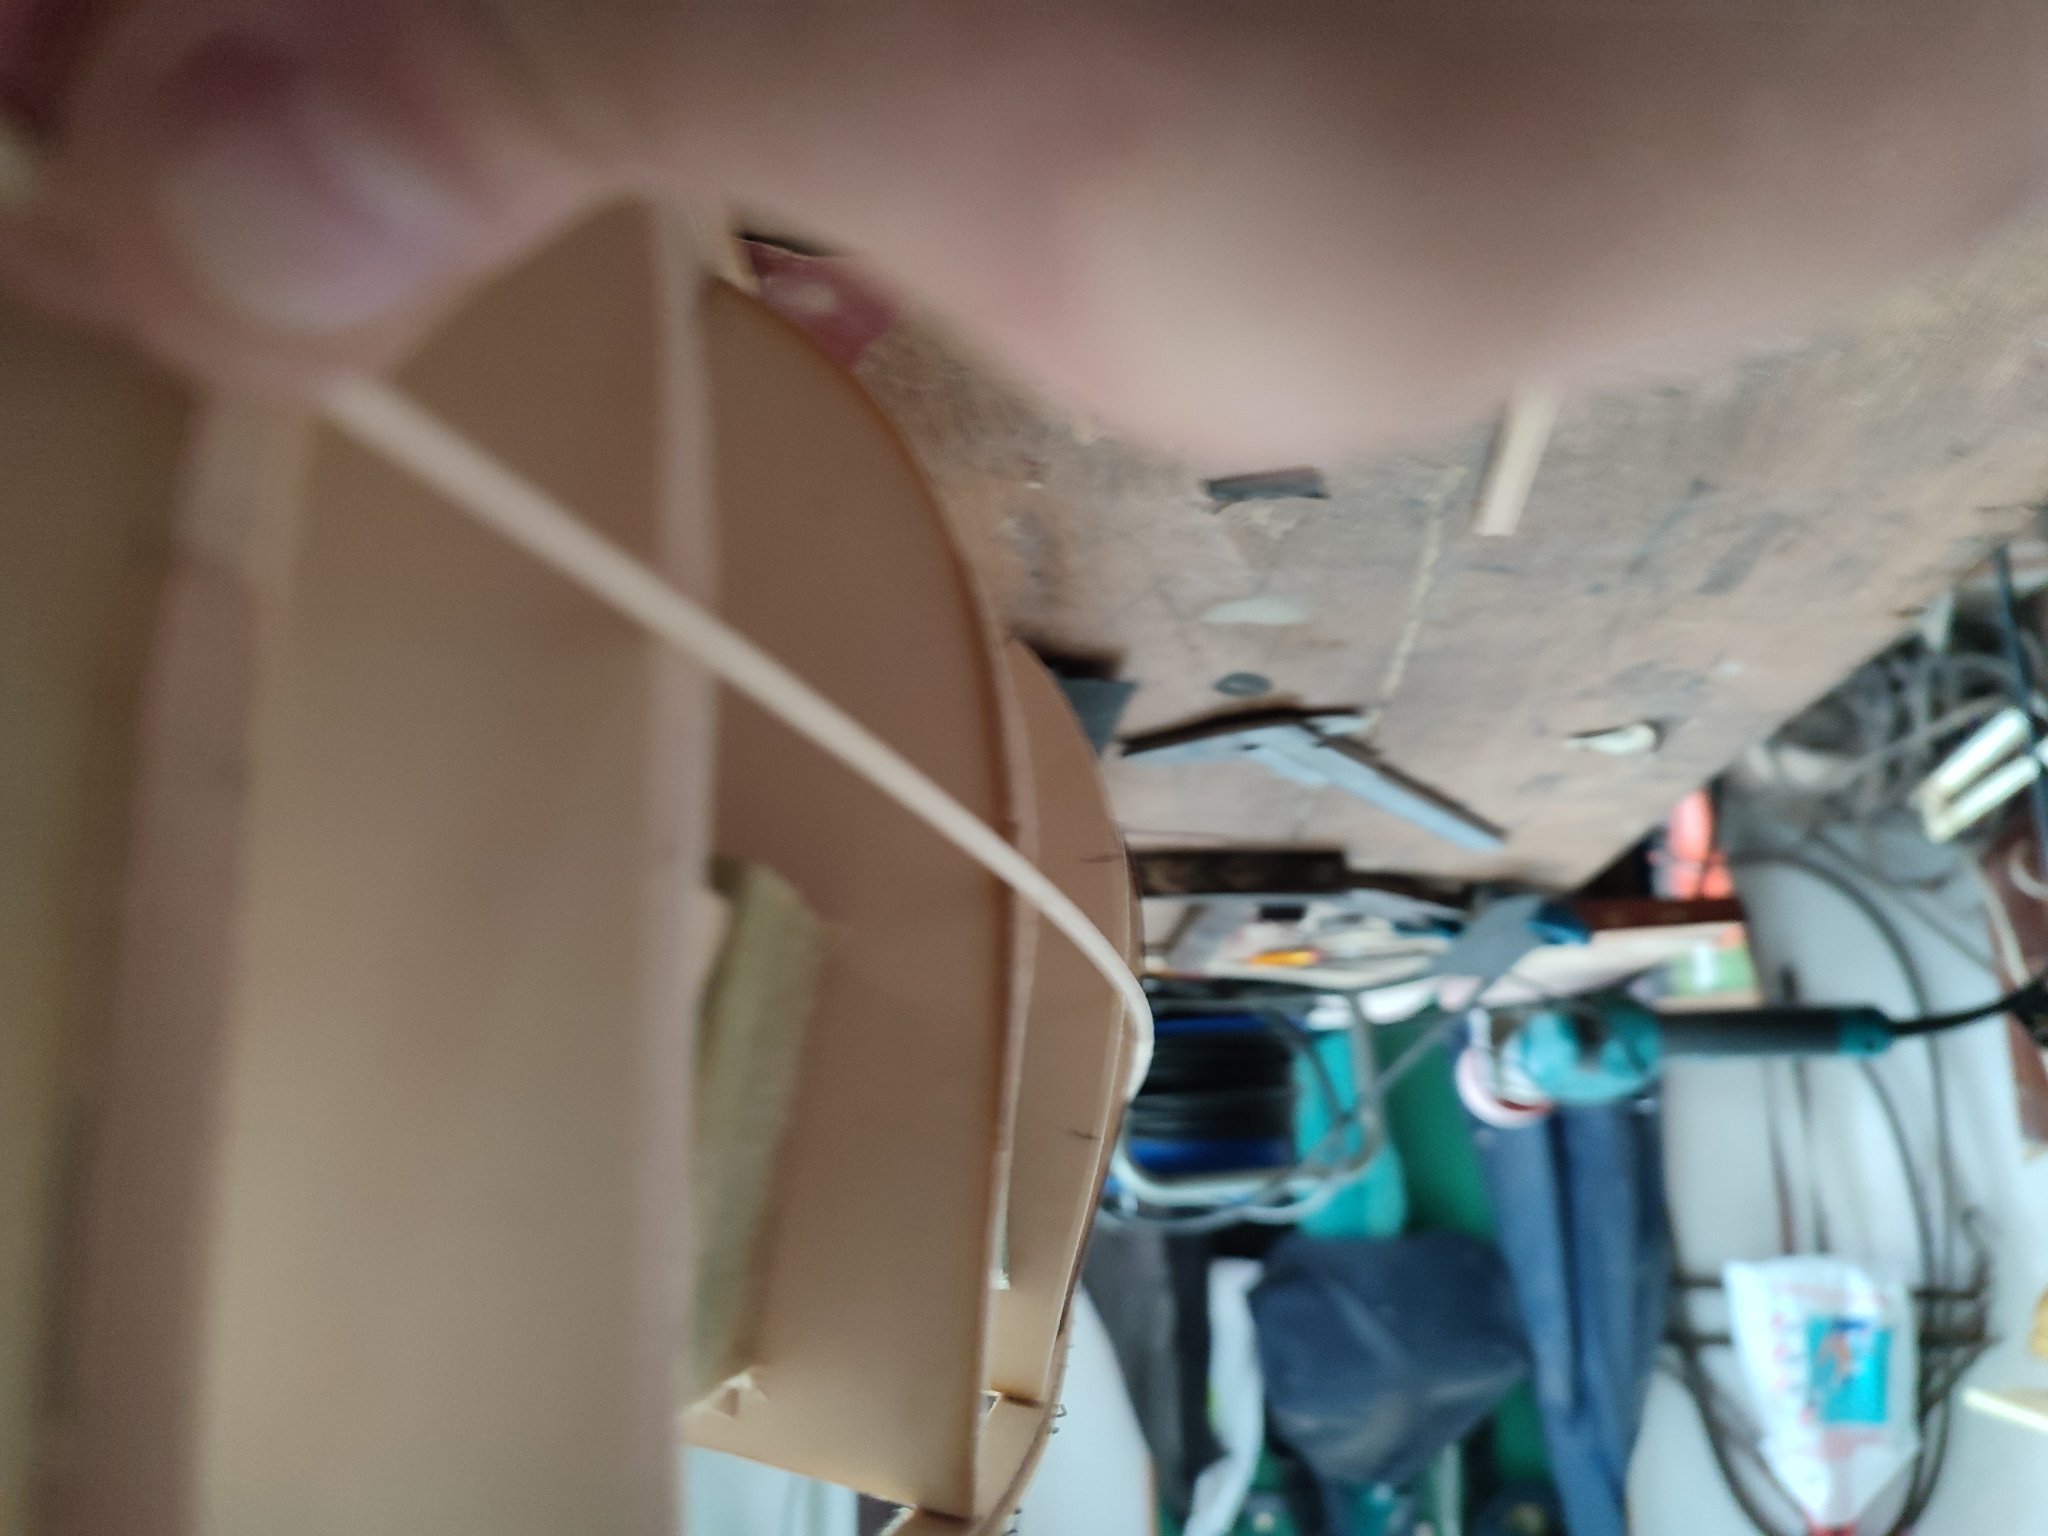
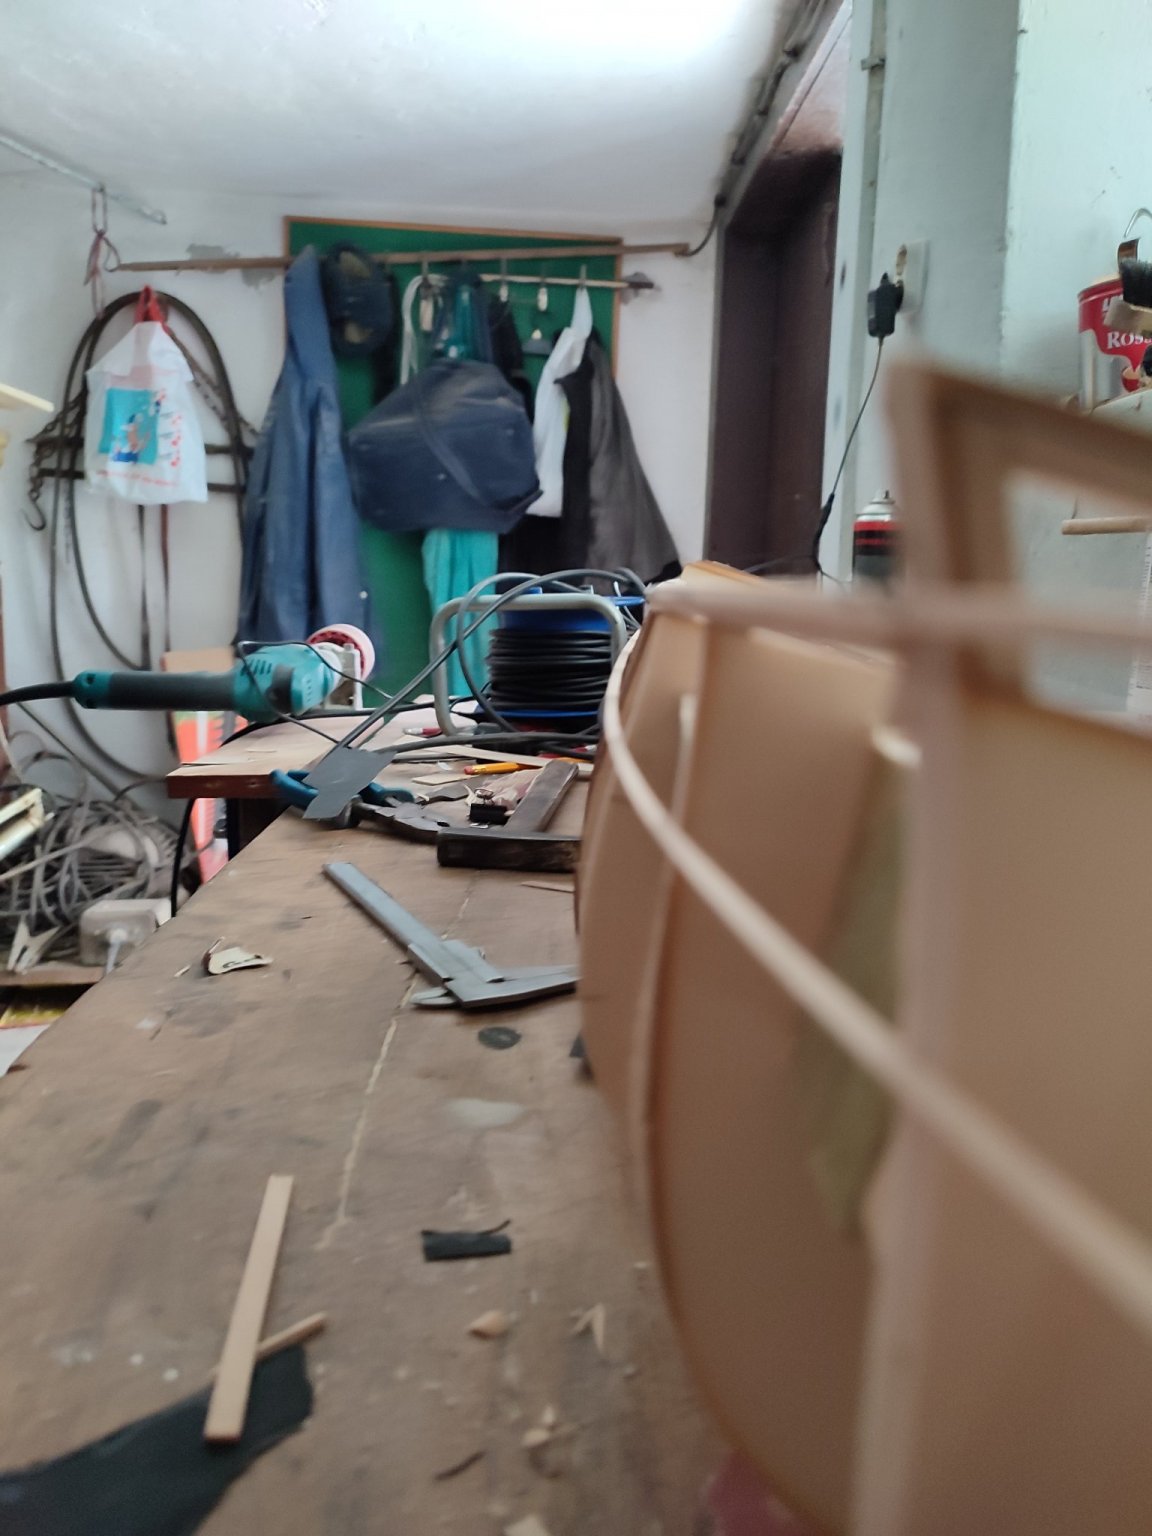
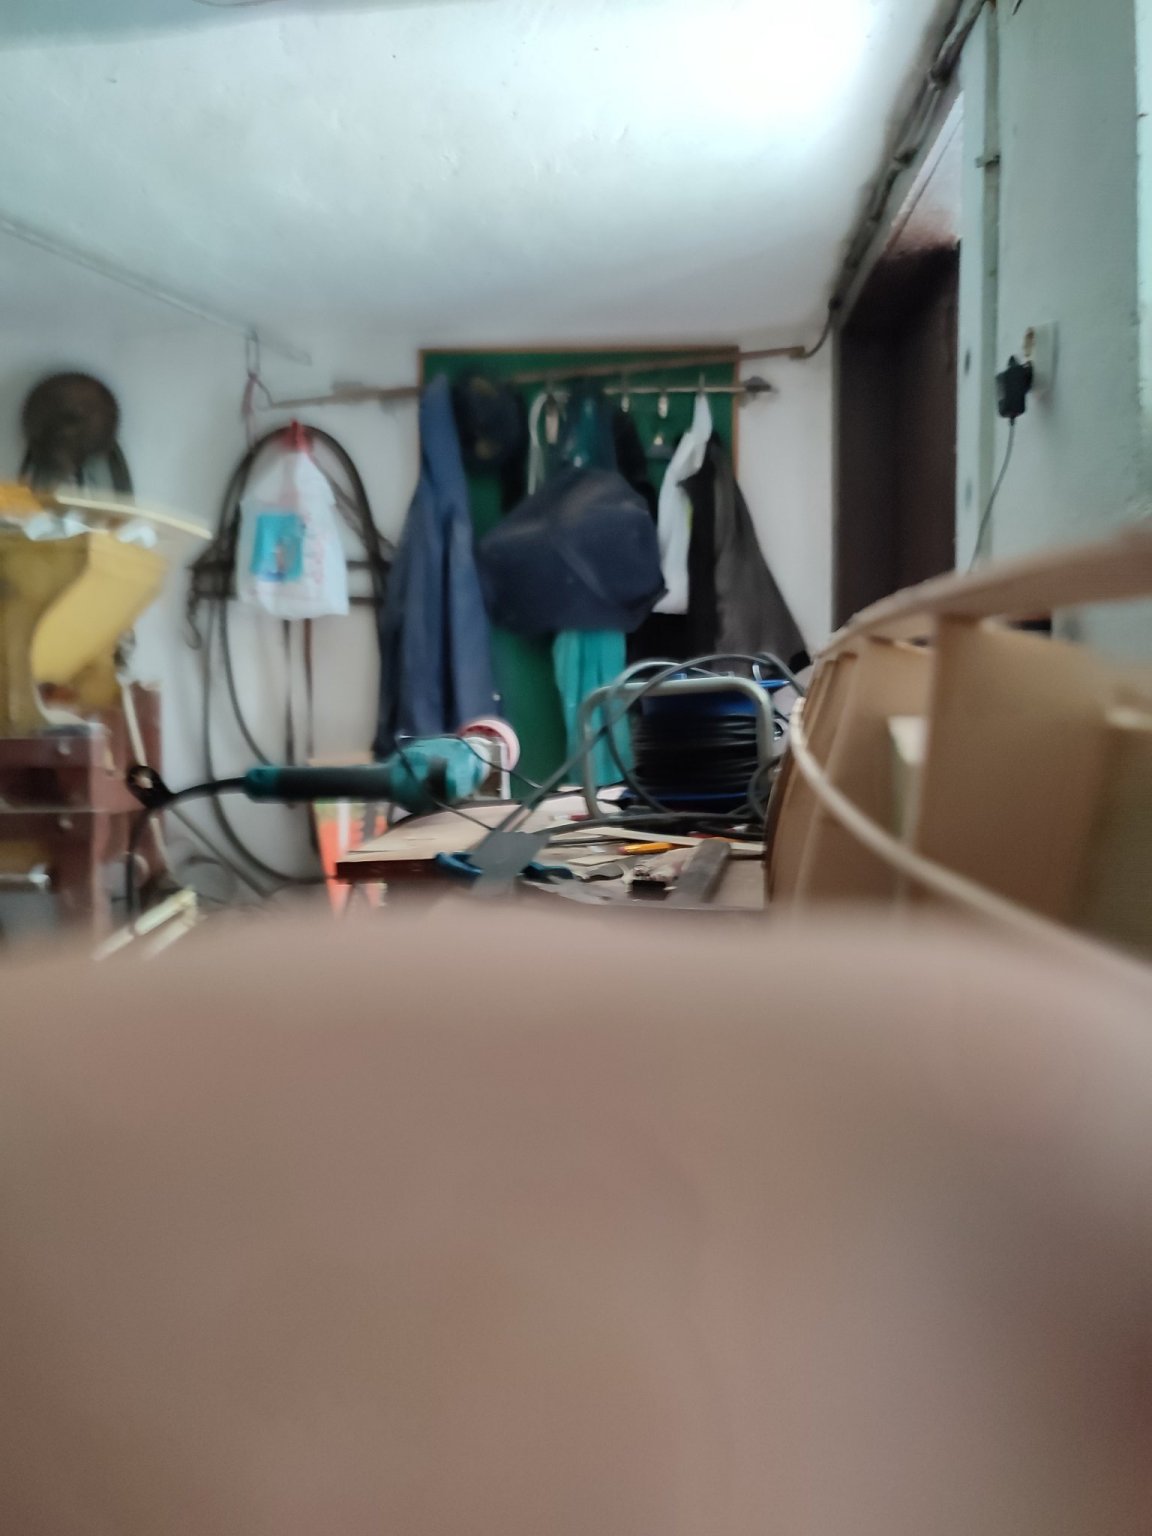
I decided to make IT as its discussed atm so its convenient to hlave All infos ať hand and i would need IT secured firm before planking wales as i made knightheads foolishly fragile.
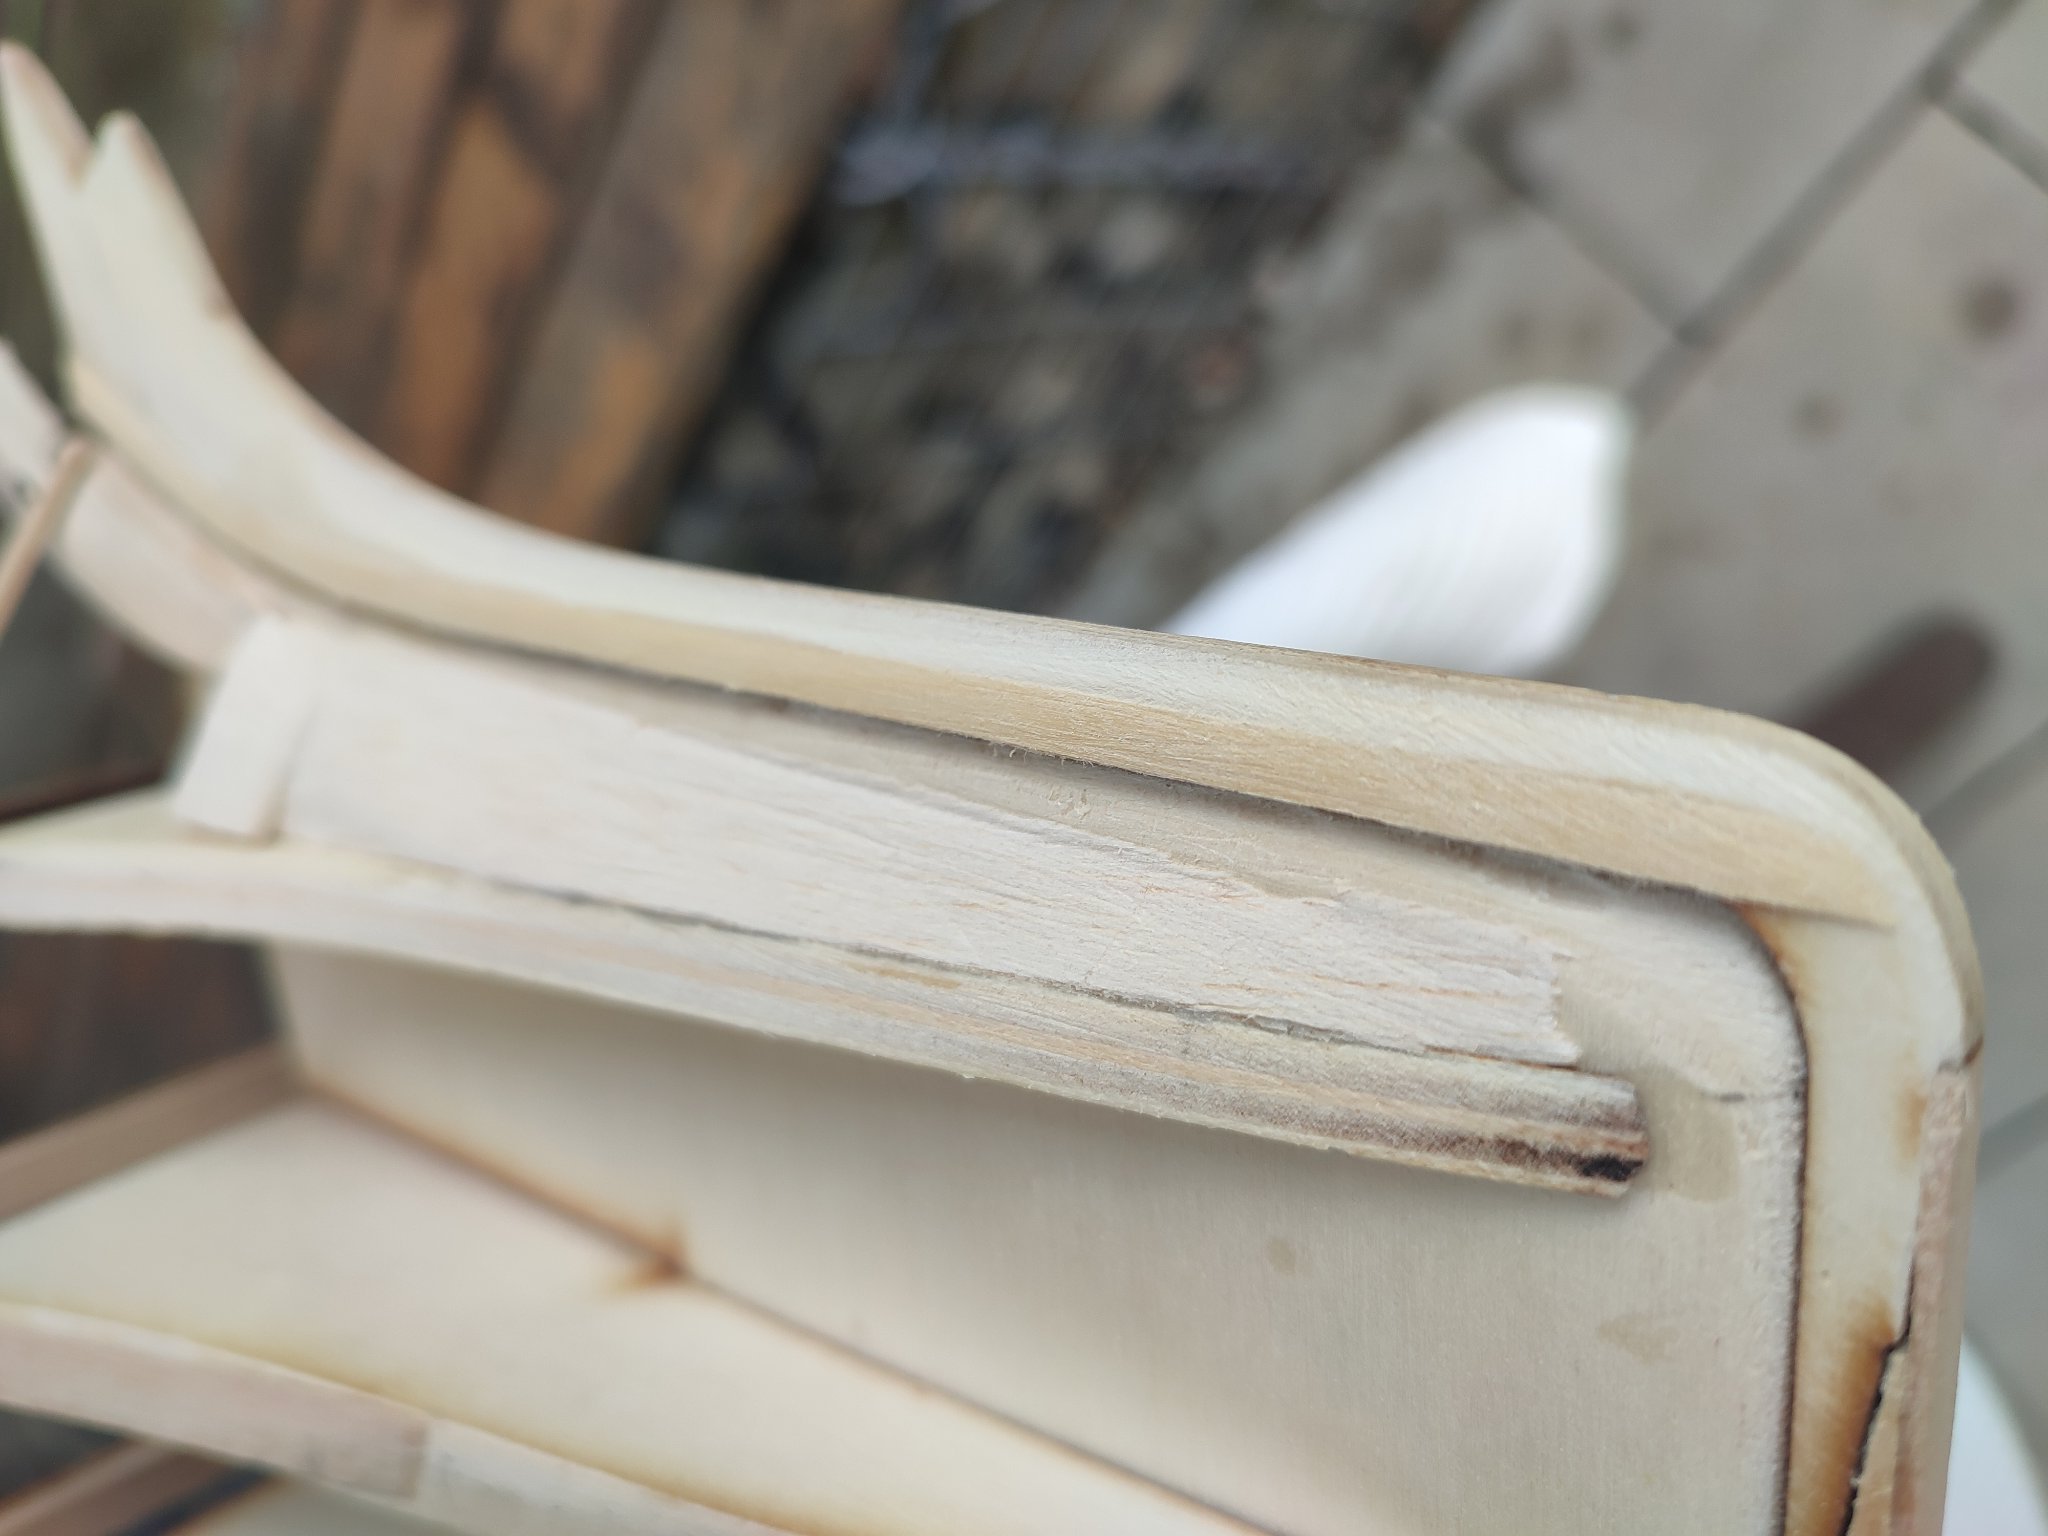
Now i Made bowsprit quite complex. To achieve square boot out of knightheads and to fit in i Made IT out of two woods. Round and square Stuck into each other from some rubbish Wood i found around. I just say IT was pure fun what i like ať modeling the most. Inuendo of how to contruct things myself. I Made first a bit Bad around knightheads but second fit i think. Its temporary as angle Will sa bit steeper. As center line suggest. Its maybe not that Elegant as Robs but when painted black i guess IT would suggest one piece of Wood. I tried some macro photos. You May note that planks touchijg owsprit Will be offset back from planks below knightheads. Now i need to continue with bowsprit maybe. Maybe later
") who knows:)) any comment or remark welcomed. V.
who knows:)) any comment or remark welcomed. V.


- GrandpaPhil, mbp521 and mtaylor
-
3
-
-
3 minutes ago, rwiederrich said:
Good news....Now I can fill the bowl with buttery popcorn and take a seat.
Rob
youre welcome. though i am a bit scared when seeing that avatar of yours looking with unforgiving determination !

-
15 minutes ago, rwiederrich said:
I'm with you. Personally I tend not to set dates for myself. I tend to have long periods of silence then moments of sheer construction madness.

I will be making composite lower masts for my version....I think that was a significant detail and I want to mimic that. I have identified so many more details that I will be incorporating in this version that I failed to do on my last version.
I also plan to fully mast her and rig her....but probably without sails this time. We'll wait and see.
Rob
I work similarly. sometimes not sometimes when having time. good news Rob. Just got message from parcel that my planks are heading to me. looks like this week finally . yay !
-
31 minutes ago, rwiederrich said:
I like that idea. My first build of her was as she was originally constructed by McKay.....but because she had sucha lengthy life and plenty of mods....any time frame of her will be accurate. I just want to choose the busier time frame...the one with the most mods. I still have my original for comparisons....
Rob
I like Also idea being actually very far from that. Speaking of - ID be Happy to finish hull deck planking, bowsprit and outer stanchions by end of year. Than i Can put a flag and celebrate with famous photo
I would like to start studying decko houses around autumn, but watching yours ahead and what we hlave in amichaels books i think it Will be great help and much easier than hull construction...:) If i event put masts on her, im sure IT Will be composite so ..probably not latest éra...i Wish spending more tíme on houses detaile as possible as could be dome similar as with cutty but this tíme more properly. I eant to také really slow pace with her...this tíme
-
1 hour ago, rwiederrich said:
I muddled over this myself. Knowing that perception is everything...deciphering what, *painted pearl, relieved with white* means was a challenge.
Modelers license permits me to actually paint as I see fit(with some direction...blue waterways).
But as you describe....*what color of blue*? I've seen models with dark blue waterways and others with light blue(Mine included).
IMV light blue transitions better to the pearl/white....hence my choice.
All said and done....if one was to paint their model in a weathered fashion(such as I).....the paint would take on an entirely different character. Weathering actually releases you from the scrutiny of exactness....since the *HINT* of what it might have looked like is covered up with the natural grime and distortion of every day use. My coat of arms.....
Rob
youre right Rob. as we are utterly different I naturally lean towards her photograph at yeard even almost before compeltion... my choice is clean colors as possible.
-
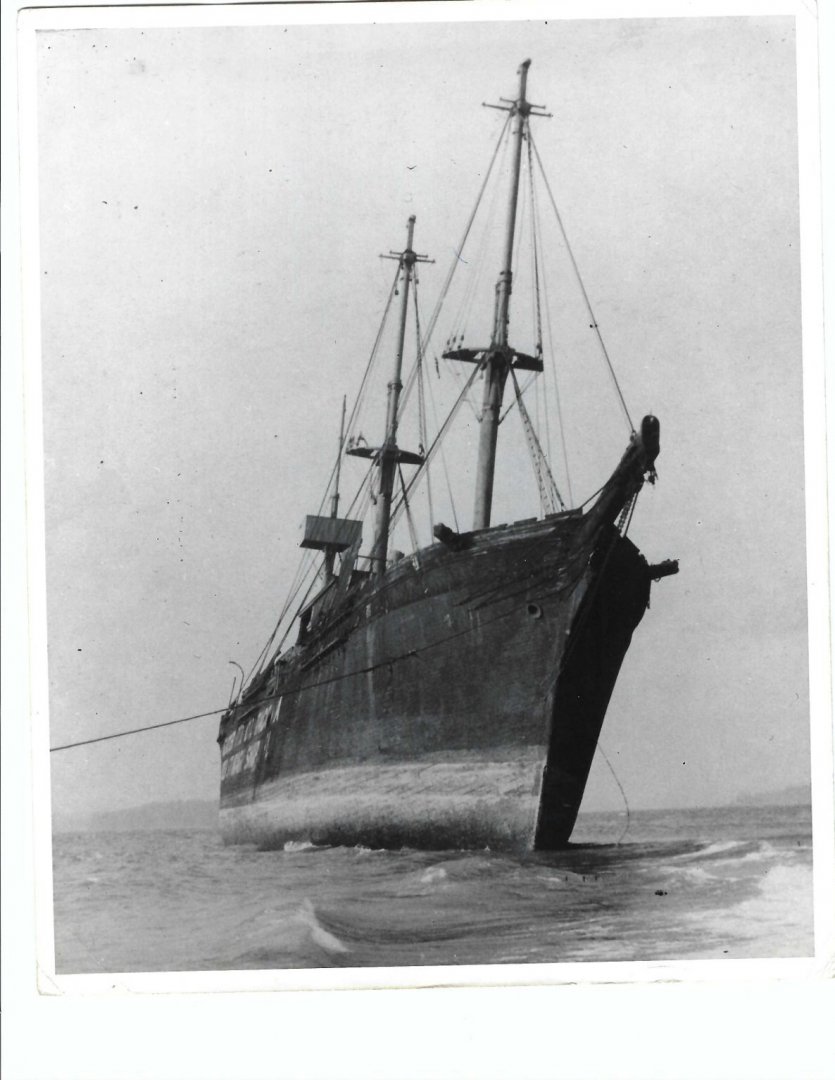
1 hour ago, ClipperFan said:
Vladimir, all I do to ease your concerns about authenticity is rely on the published details, as few there are from contemporary descriptions and paintings of "GLORY of the SEAS."
Duncan MacLean while employed by the Boston Daily Atlas apparently was more of what we today refer to as a publicist. I doubt he arrived at all his very detailed descriptions of the many Clipper Ships he described by actually measuring them out. It's far more likely he was given highly detailed specs by the Shipyards themselves. Likewise he also gave great details about how these great vessels were decorated, even to describing interior fittings as well as selections of paint colors.
When she was launched in 1869, her paint scheme was described in MacLeans announcement. Exterior from top down to where she as clad in yellow metal, she was black. From all visual sources even the moldings appear to be uniformly black. As an aside, just due to the intense activity of a working ship, I suspect, but have no proof, her topmost molding might have been left natural varnnished and polished wood. As for gold leaf embellishment, whenever I looked at her 1869 scene on the ways, I always figured that all 3 rail moldings would originally have been 24kt gold leaf. That would include both upper & lower Naval Hood moldings as well as the single ropeline molding of the arched Cutwater. This lovely, expensive embellishment would of course terminate at the base of the Naval Hoods. That's my impression of how her impressive Bow would have been originally decorated. From a design aesthetic it just looks more complete that way.
As for her Grecian Goddess 'Athene' figurehead, which has been referred to as the epitome of such carvings, again, this is entirely subjective but besides being painted overall white, I believe she was also gold leaf embellished. She has a modest crown at the tip of her forehead, a fairly impressive necklace and two bracelets. Besides that, if you look very closely you'll see her gown also has thin double lines near the very bottom. It has been known that such items on other Clippers were highlighted with gold leaf trim. There was also quite elaborate & impressive gold leaf embossed carving that went clearly around the Stern up and over her great lettering. A small amount of it is barely visible on her Stern Quarter.
Her Bowsprit and probably the inner portion of her Jibboom inside the cap was most likely black, with the outboard portion of the Flying Jibboom being varnished, polished natural wood.
Her interior recessed areas were pearl, relieved with white, which to me means the raised bulkheads. Her waterways were blue but it doesn't say if that was light or dark blue. Contrasting to pearl, it makes sense it would be more towards the lighter side.


Oh Rich, you make it all simple for us with encyclopedic knowledge i feel sometimes guilty as using this up without making effort to study those things myself - or read them up from books. well anyway, this is the say i will put the coat on! I love idea molding being black with golden entrance and upper rail natura varnished. Hay ho! Not that far as of now as my planks are on the way to me! by the way, guys, i settled on this- I decided to plank her as close to origina las possible ( but not entirely) meaning i will use 3 mm wide planks ( 2.44mm woudl be original thicknees as of 1:72 scale. from sheer downwards approx half of vessel where i would continue with 5 mm for fact i will cover it with yellow metal replication. i hope after sanding those aoudl be good enough to paint finally black.
-
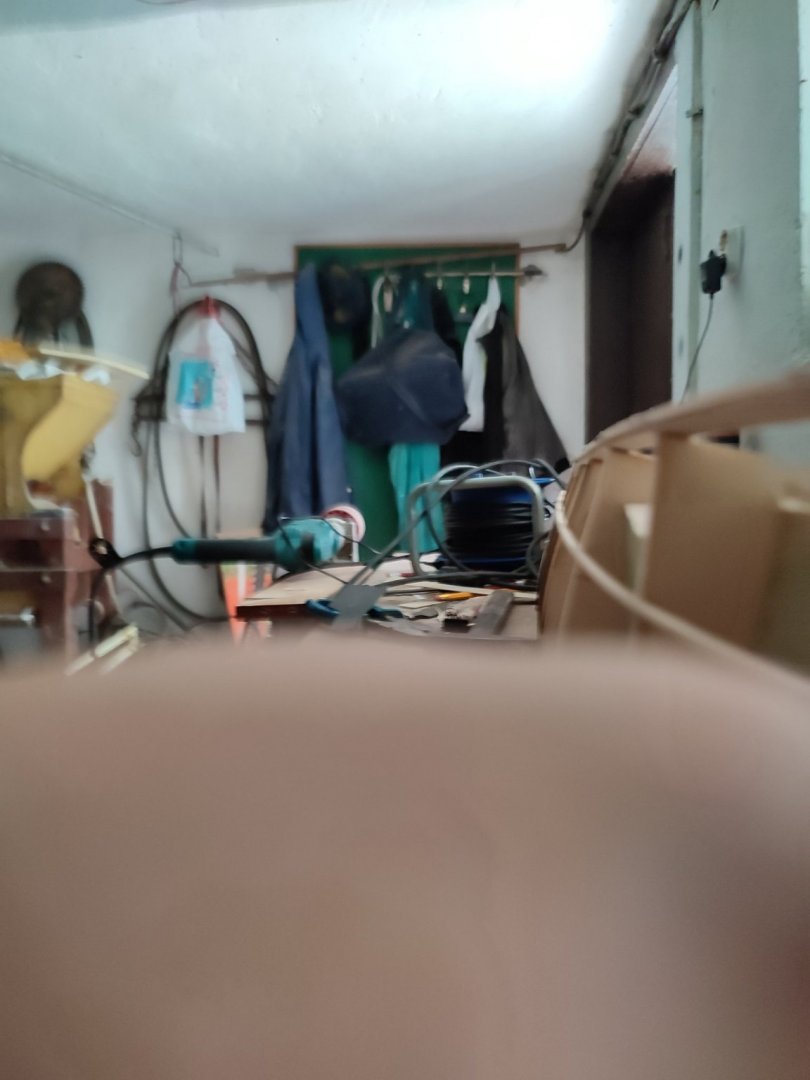
Still preparations....
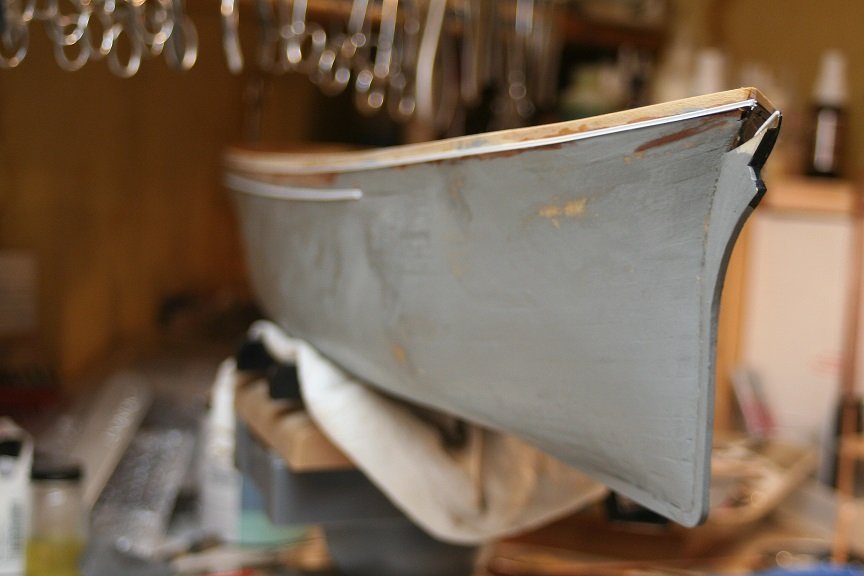
Hi. Asi i went for thick planks 1.5 mm, I decided i hlave to widen glue sticking area as mjuch as possible fór planks meeting stem. Because rabbet line was too shallow to acomodate such planks I widened stem at the planks side by adding strip of alaskan cedar and sanded IT flush following stem Arrow and left wide at the rabbet back side. I used soft Wood to fill space between first planks and rabbet so planks are glued tight. Will hlave to do poassibly same to sternpost but IT Will be arranged as planking goes. Hopefully its All for preparations. Thanks for watching . V.


- GrandpaPhil and gak1965
-
2
-
Rich, Rob would you mind guys a shed a little light about outer moldings and ornamental colors?
i admit i am a bit confused myself feom various photographs seems to me well of course for each captain all splendor was individual if i remember correctly from Michaels book.
speaking of it ahead of planking which is going to happen very soon! i spoke today with guy from czech republic ( funny i get magerial from another country but thats just best shipmodel shop i know off in nearby europe though:)) it might help me to decide overall picture of the ship.
as Rob stressed probably first is to be determine timelap to where the ship is to be buidl ! well at ghis point im not even sure i will mast it because im set on spending this winter again drawing houses and deck instalation on computer and than laser cut it etc.... so, just from my persepctive - i must admit apart of beautiful golden leaves, i like myself also subl almost "no splendor of simpel uncolored or water splashed color? im not sure wood as seen on various photographs also with outer sheerlines uncolored ...well its b&w pictures but i assume white would contrast to the point it would be clearly visible on bw photographs...headache headache:)))
-
-
36 minutes ago, ClipperFan said:
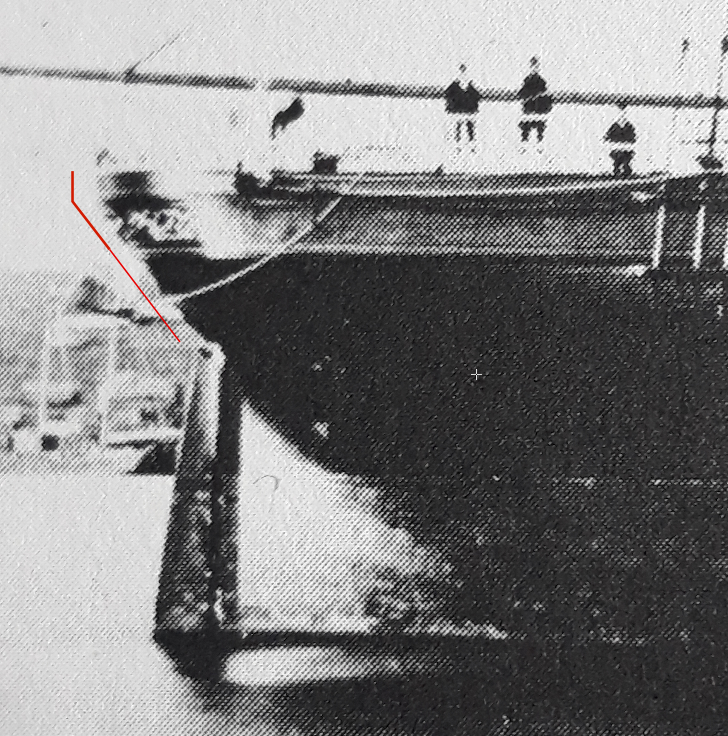
Vladimir, your framing looks spot on! I don't know if you're going to welcome this nit-pickey detail or curse me instead. The 1869 "Glory of the Seas" on the Ways is clear enough to count her strakes. For the Starboard side, I count exactly 4 strakes to make up the side of that loading port. As each strake was 6 1/2" wide, the height was exactly 26". My best guesstimate for width is 3' as the port is definitely wider than it is tall. From her 1869 Fitting Out scene we can see that the loading port appears to be 2/3rds closer to the Mainmast and seems to align with the rear wall of the large house just behind the Foremast.
Thank you Rich Thats exactly what i needed. youre safe bet.
I think its too low now will have to redo.
-
53 minutes ago, ClipperFan said:
Vladimir since your vessel is 1:72nd scale, she must be 4" shy of 4'. At that large scale, it's even more critical to be as precise as possible, since mistakes become magnified. From the pics you've shared, it looks like you're doing an impressive job, fairing her out.
I remember when reading Ed T's "Young America" build, how he made frequent references to getting the angle of each bulwark accurate in reference to the others or else planks wouldn't sit just right and unsightly bulges would be the result. It was fascinating reading.
So it looks like your approach is in very, very good company, my friend!
53 minutes ago, ClipperFan said:Vladimir since your vessel is 1:72nd scale, she must be 4" shy of 4'. At that large scale, it's even more critical to be as precise as possible, since mistakes become magnified. From the pics you've shared, it looks like you're doing an impressive job, fairing her out.
I remember when reading Ed T's "Young America" build, how he made frequent references to getting the angle of each bulwark accurate in reference to the others or else planks wouldn't sit just right and unsightly bulges would be the result. It was fascinating reading.
So it looks like your approach is in very, very good company, my friend!
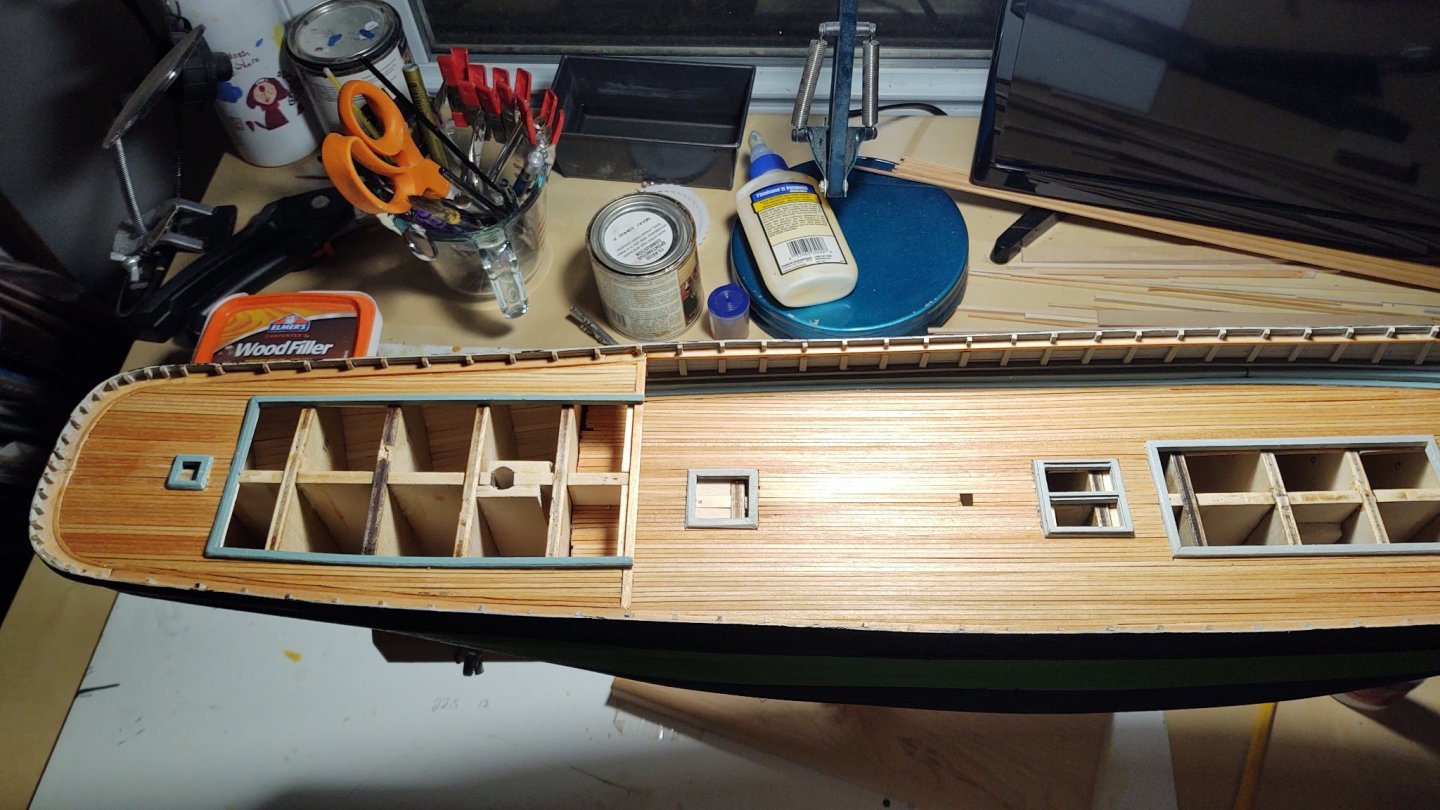
Rich, thats right with her size. but to me she looks small or perfect after 1:24 cutty. Today I constructed port opening on port side, tried to locate it from Michaels book.
I outdoneyself today So now both sides are faired and planks are on the way.cant wait...
- mtaylor and GrandpaPhil
-
2
-
26 minutes ago, Snug Harbor Johnny said:
'Just love your fairing technique ... running stringers at different angles and taking the 'long view', since the eye can see any 'wobble' in the line. I'm learning all sorts of techniques and tips from different builds so when I get into the next ship I can do a better job of it. Slatki kak sacha. Spasiba ! ... Johnny
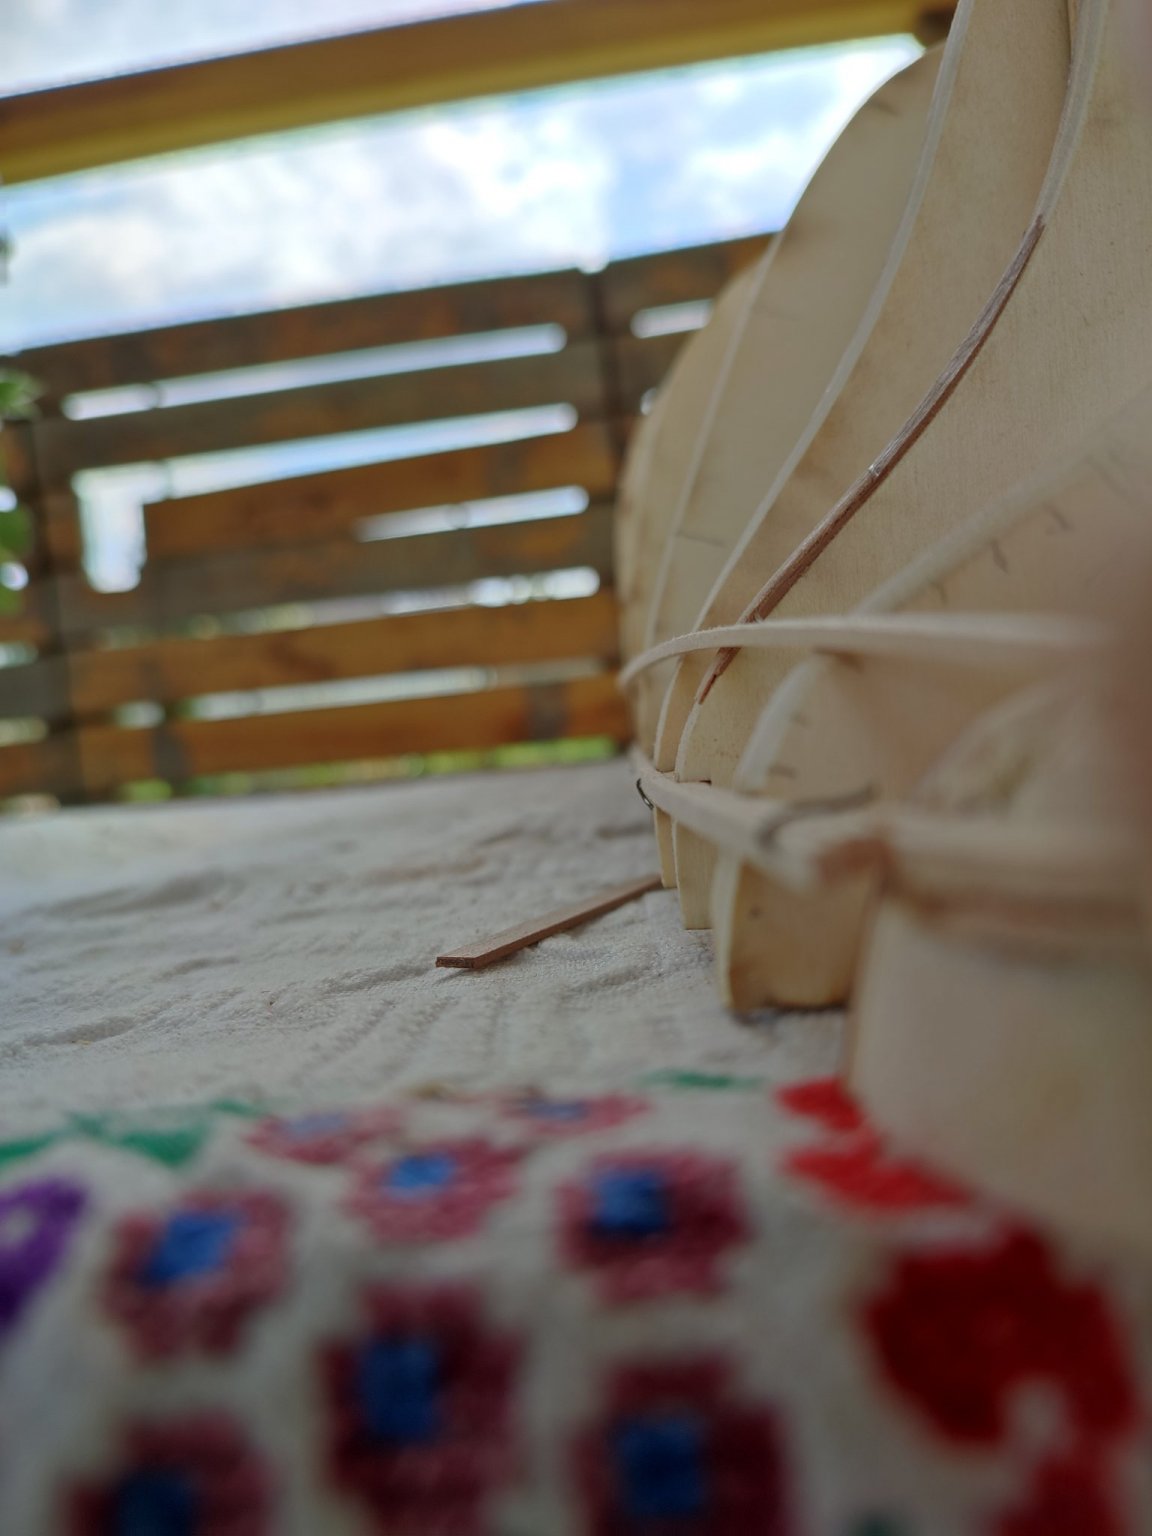
Thanks Johnny for comment. Yeah this method worked fo me previously so i stick with it. i do it exactly as you wrote I lay it across so it gives grace curve and search for hole between bulkhead it the is one. all throughout the hull. V.
-
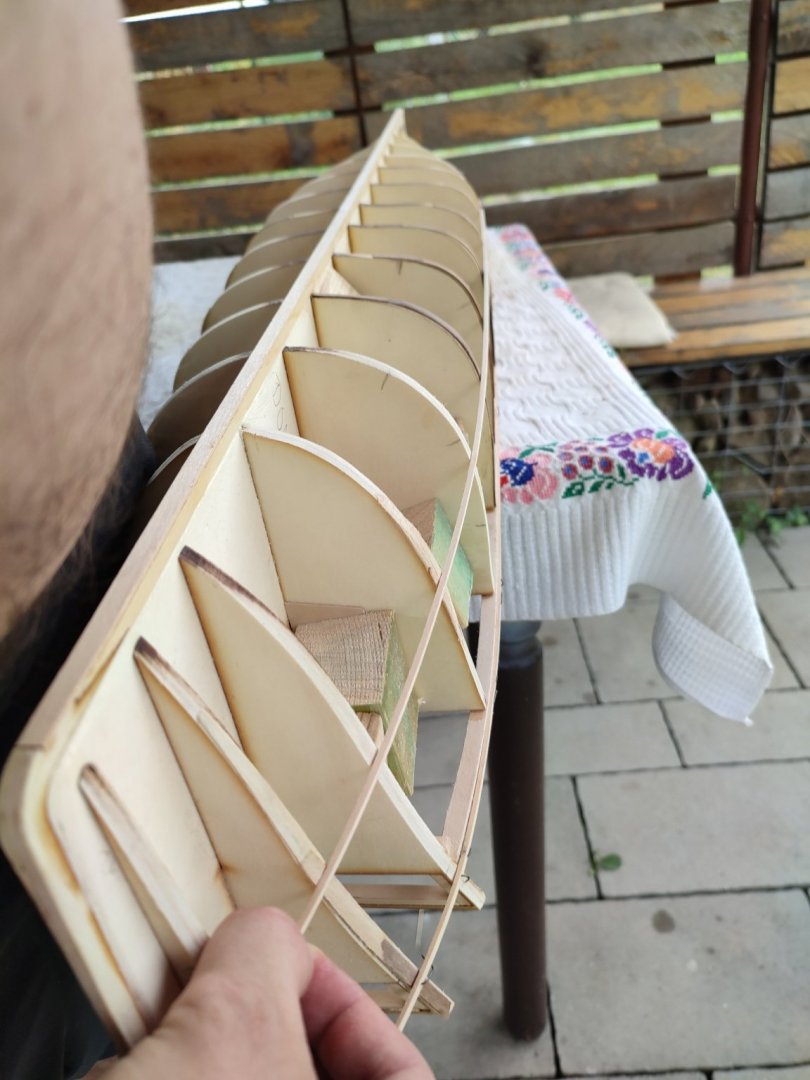
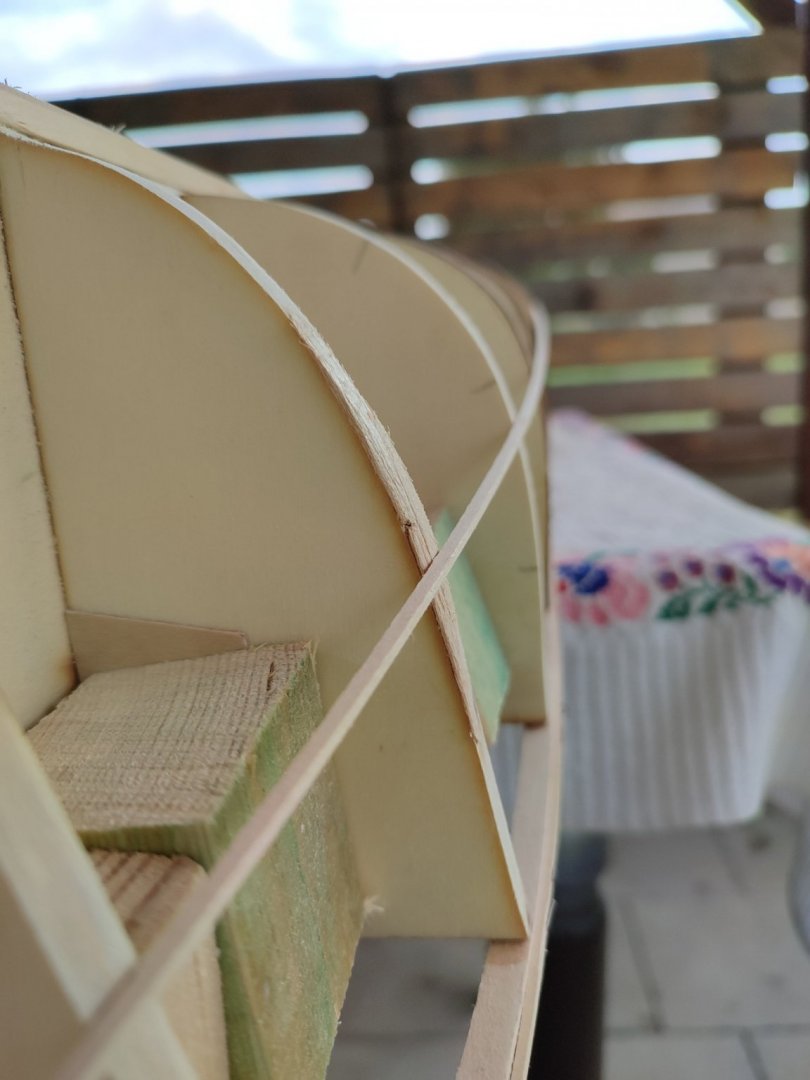
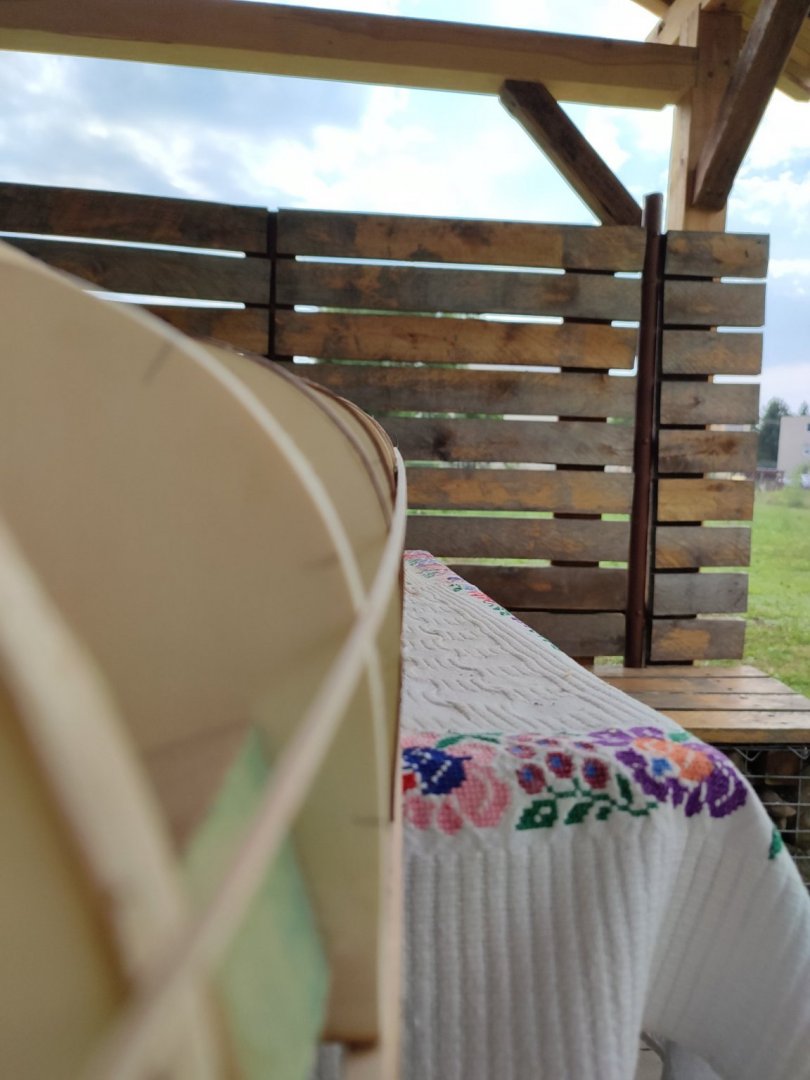
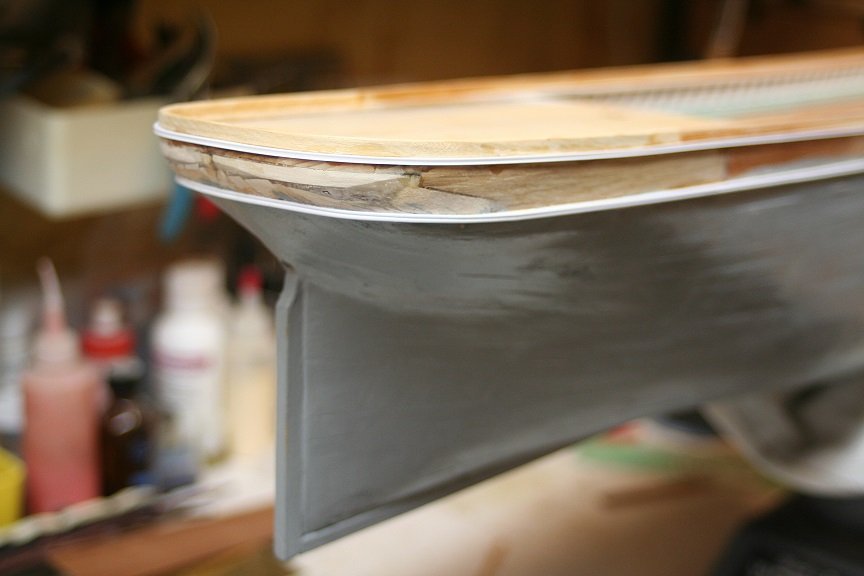
Fairing fairing...
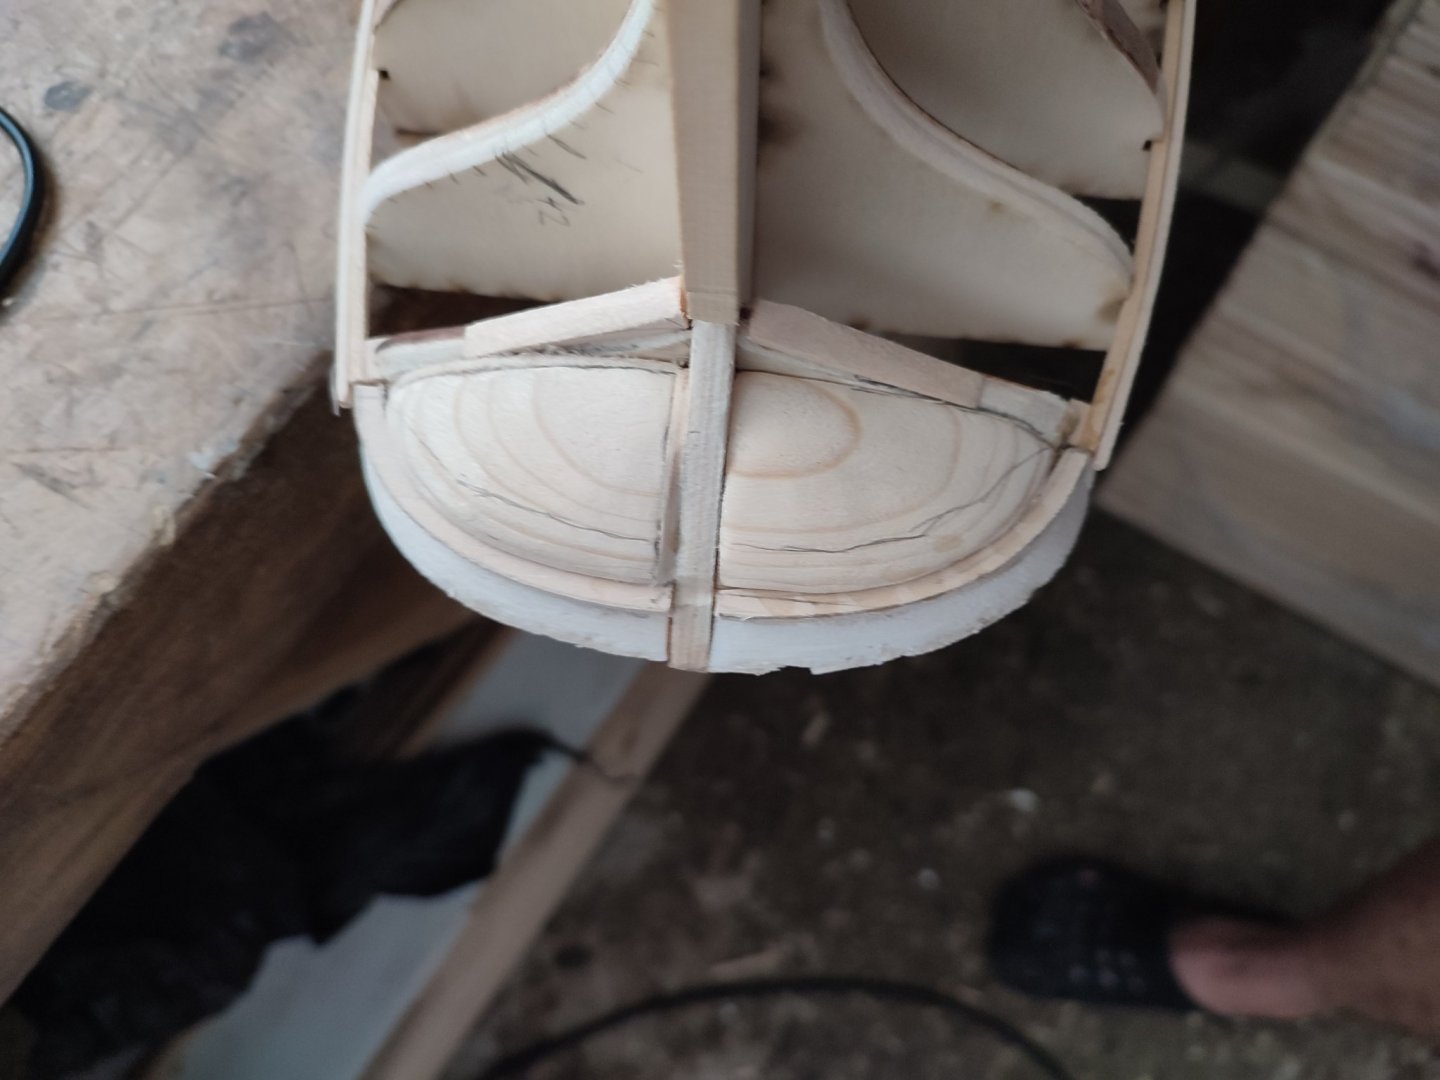
I returned to Hulk again. Its never ok with boats to say ship shape..
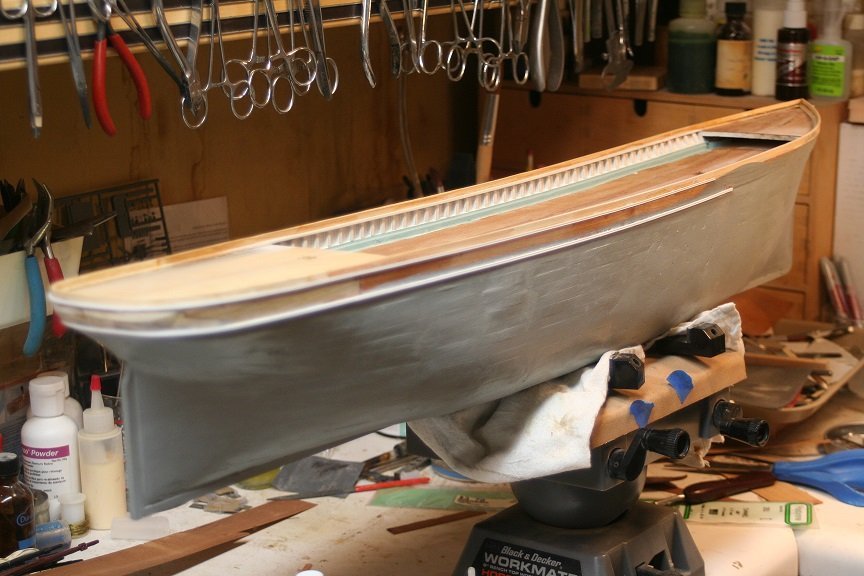
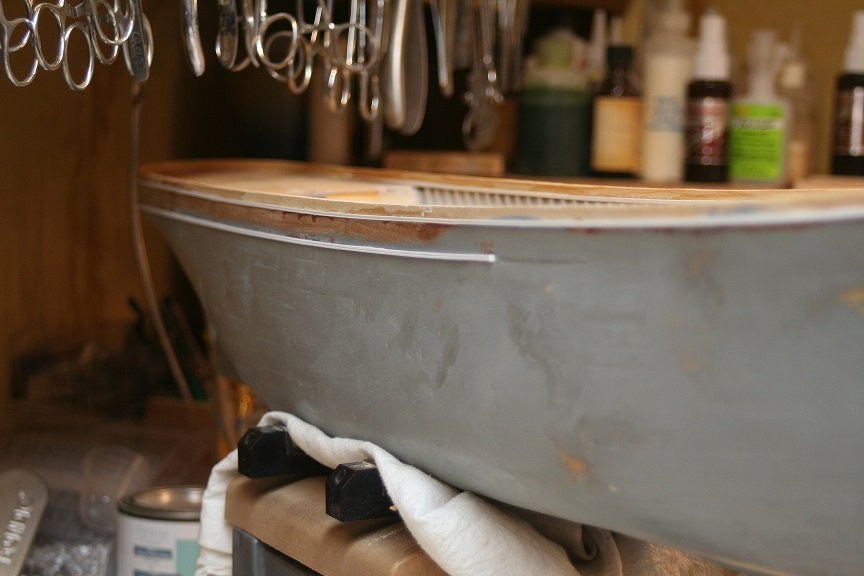
But finally i finished starboard side to pointa i Can say good enough by eye and by photos. Portside to be completed gopefully next week and Bull Will be definitely ready for planking. ! I work different say fromRobs, i domy want to put woodfiller or cemented layers to event bumps so i need to make sure Hull IS sa much good as possible beforehand.
After planking with 1.5 mm thick planks i plan put another thin coat dyed with liberon ebony dye to ensure black on wanlut strips. Will try first. Photos from checking smoothness of Hull...thank you for watching...


-
On 7/9/2021 at 3:39 PM, ClipperFan said:
Vladimir, CONGRATULATIONS!!! on the Cutty Sark Museum request to display your impressive, large scale model. While you no longer possess this magnificent creation, I encourage you to contact whoever holds it to see if they might like to honor the Museum's request. Knowing how most collectors feel, it's almost a sure bet they too would appreciate the opportunity to see their miniature in display at the home of the actual vessel herself. If nothing else, besides raising monetary value for any potential future resale, bragging rights alone would also be a positive motivator. If you haven't informed the new owner, I strongly encourage you to do so. They might be thrilled and thank you for letting them know. Good luck!
Thanks tou Rich , im aloe to read my own thread oh, i did exactly what tou wrote.
-
15 hours ago, gak1965 said:
A very brief update. I've completed the poop deck, and added the doubler for the capstan on forecastle. Next up, the coamings for the extension of the after deckhouse and the vents. The deckhouse extension vents are the only ones that are sitting on the deck, rather than having the decks butt up against them. I didn't want to have to deal with maintaining the camber of the deck given where the coamings would be sitting on the bulkheads, but I think that I could have probably done it in retrospect. Something for the next build I suppose. A couple of pics, and as always, thanks for looking in.
George


very nice indeed George.
-
7 minutes ago, rwiederrich said:
Vlad...that is a unique method to create the effect. Great job. I have a feeling your hull will be magnificent.
Greater detail can be incorporated in your scale.
Rob
Thanks Rob i should really start planking though still waiting for planks.
") i believe such subtle detail is probabl even better obtainable bu sanding off finished planked hull if planks are thick enough to allow it. well...
i believe such subtle detail is probabl even better obtainable bu sanding off finished planked hull if planks are thick enough to allow it. well...
-
10 minutes ago, Vladimir_Wairoa said:
Rob, we know Ruch and his determination.
I surrendered many times before ( poking fun here) so we Can tell ourselves that we are not buidling POF models with futtocks :). :)))
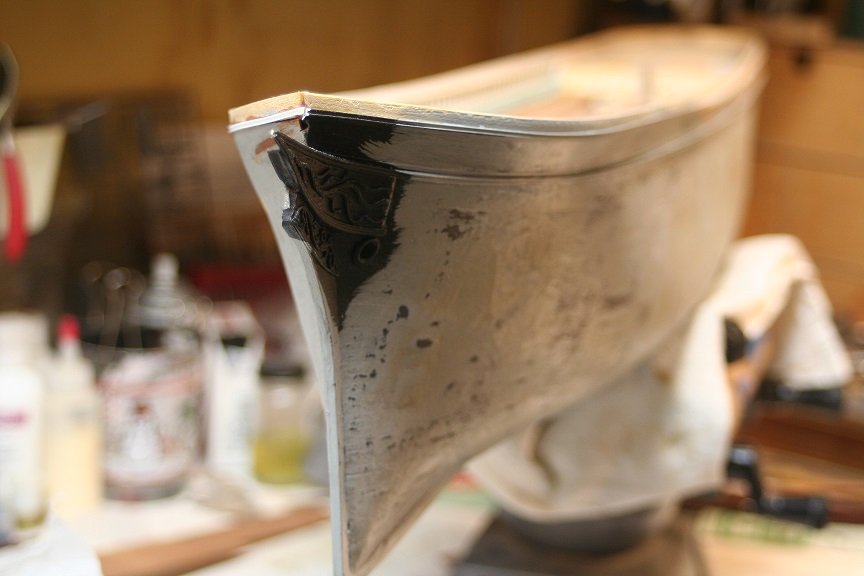
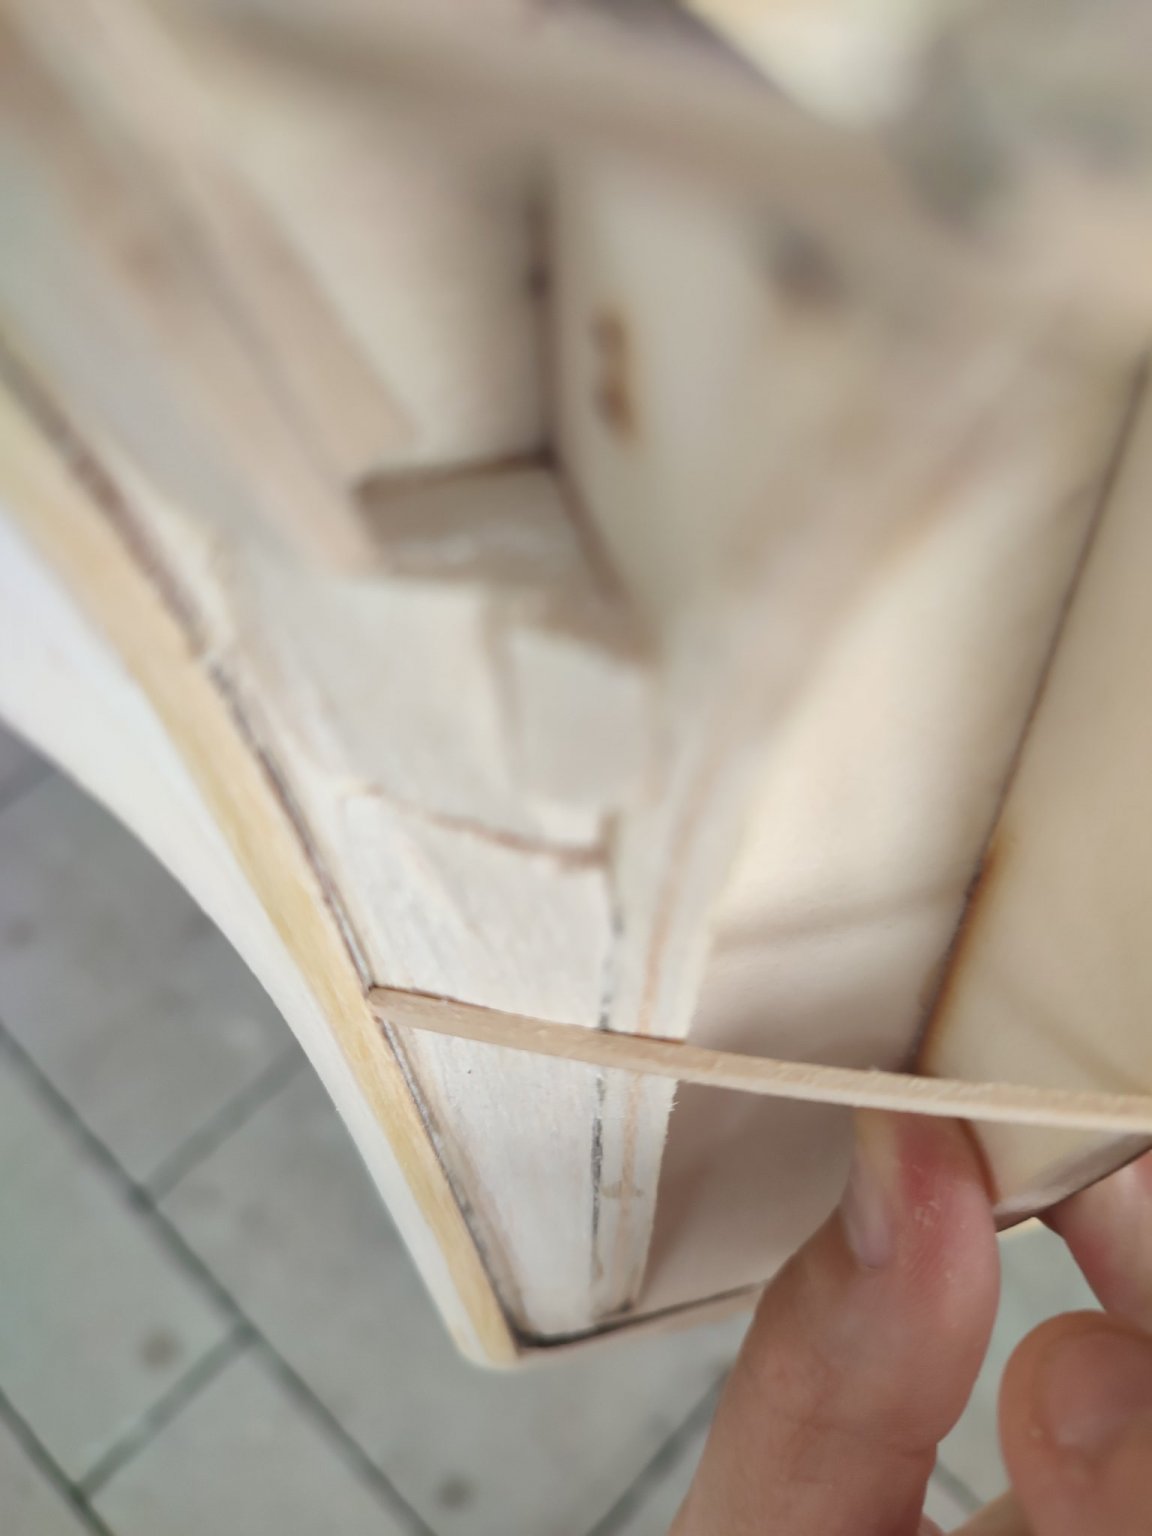
byt for the sake of discussion i put another layerof complexity to stern in hope that line Will be perfectply visible by sharp bent of planks.you can see in photos how. Lets hope It will work.


Oh looking at last Rich post i do IT worngly. Its Vice versa. So redoing IT.
-
Rob, we know Ruch and his determination.
I surrendered many times before ( poking fun here) so we Can tell ourselves that we are not buidling POF models with futtocks :). :)))
byt for the sake of discussion i put another layerof complexity to stern in hope that line Will be perfectply visible by sharp bent of planks.you can see in photos how. Lets hope It will work.
-
17 hours ago, rwiederrich said:
Having this example we can see in this drawing the area in question. the item you are talking about is most likely the second deck area
.jpg.ec355aa1768494d74bf75531aac5bf4d.jpg)
Yes Rob I also believe its celarly post timber angle but i would say it is more complicated than that. Even Crothers bible ! is not showing one stern with full convex stern frames of latest era only very convex ones like on this picture. Thus i believe that bump is very delicate and almost impossible to spot certainly not visible from very far. as it Almost almost drive beautiful curvy line. but it is there therefore it is not easy to make it perfect on model even for bigger scales. ill try to photograph it today on my stern. V.
-
1 hour ago, rwiederrich said:
Indeed, I noticed the anomaly some time ago myself, but I gathered it was a structural issue and not a signature of the shipwright. Personally I wasn’t sure it was worth trying to replicate in this scale. I’m sorry I strayed from replicating this unique feature. I suppose our year of research has finally been breached by my lazy oversight. I hope Vladimir will include this detail on his model. Good eye.
Friends I follow this one with interest i fully agree with Rob, it would have been impossible on his scale from planking thickness eprspective etc..
Im fully aware of that sharpish curvature and hopefully it will be pronounced on mine stern i will try to photograph it. thx Rich for keeping esharp eye. V.
-
5 hours ago, rwiederrich said:
I did the rail work at the same time as the painting but one had to be before the other....I guess.
Next images are of the planksheer and rail molding being added. I also worked on touching up small blemishes in the hull on both sides.
Some of the images are taken to mimic some of the images of Glory on the beach and such.
Next thing will be to add the starboard naval hood and its trim. Enjoy the images.
Rob

beautiful stern ! you can be as proud as possibe Rob. classy work in every aspect. clapping hands.
-
1 hour ago, rwiederrich said:
Comparative hulls
my gosh its her !


Glory of the Seas 1869 by Vladimir_Wairoa - FINISHED - 1:72 - medium clipper
in - Build logs for subjects built 1851 - 1900
Posted · Edited by Vladimir_Wairoa
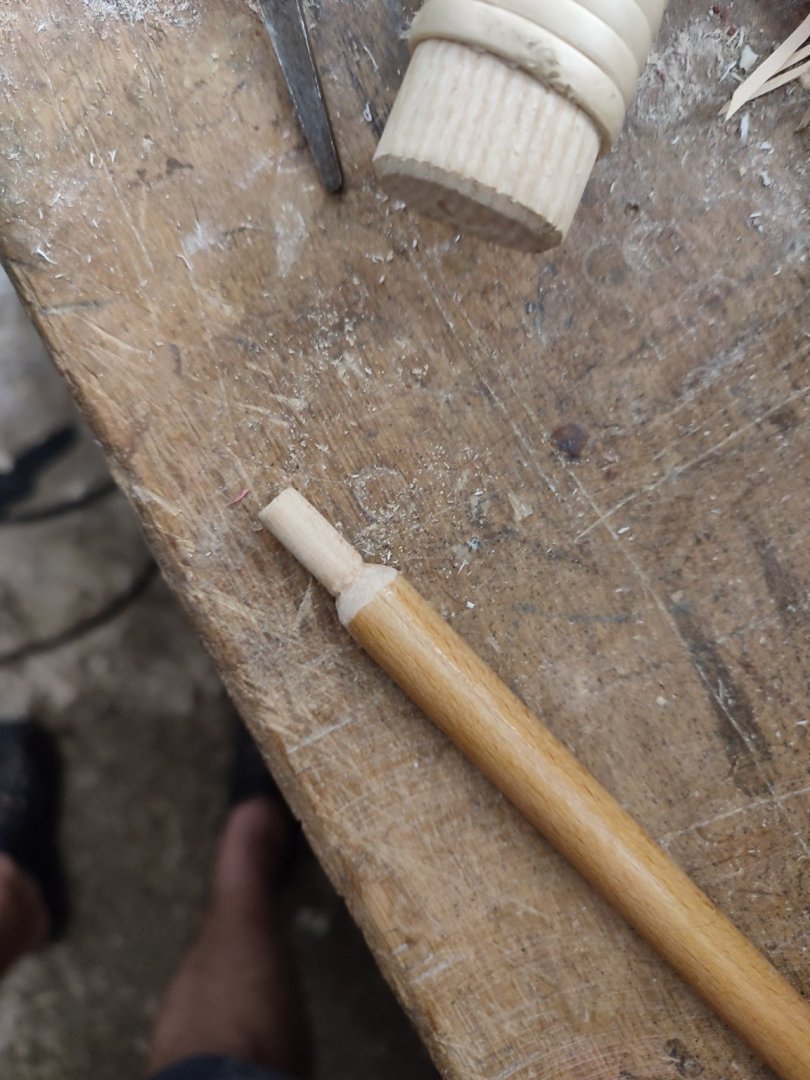
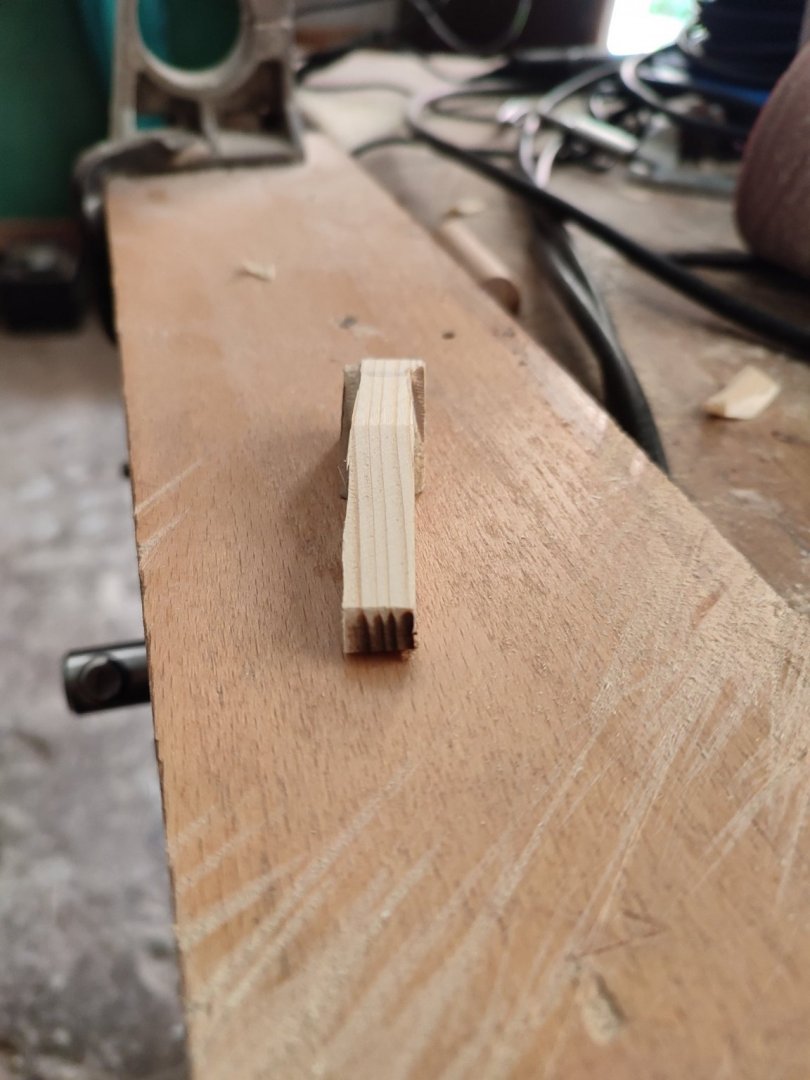
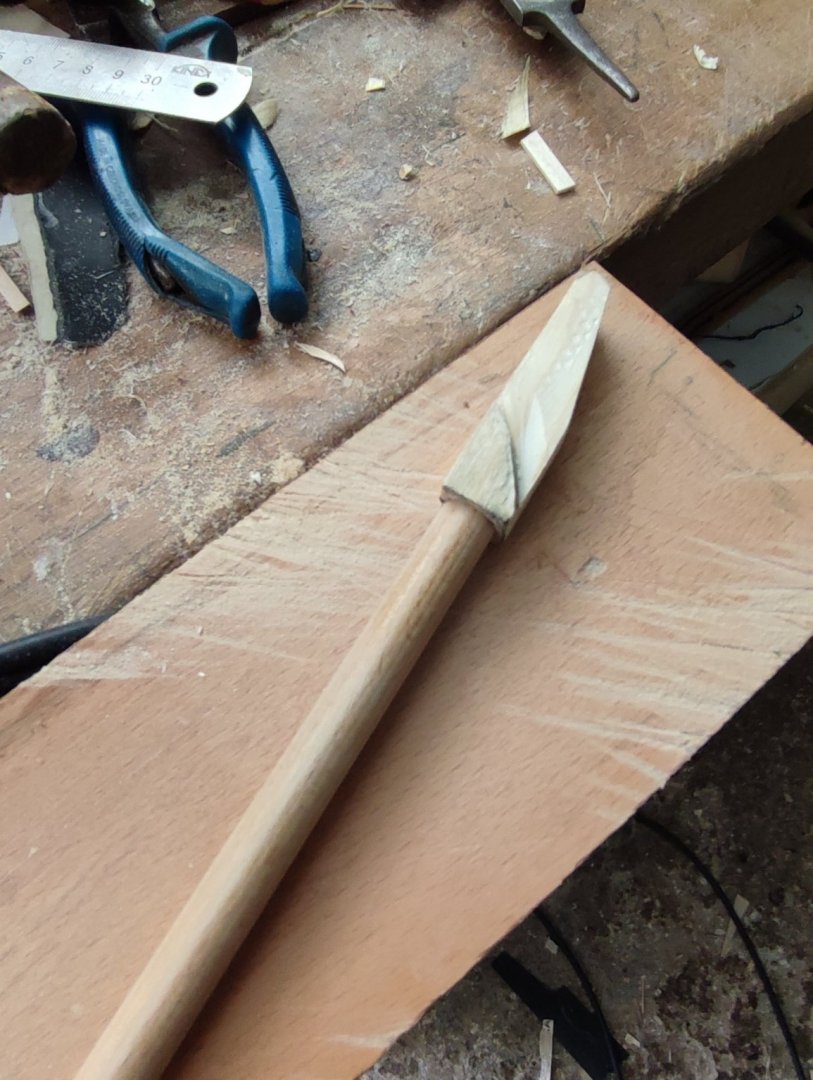
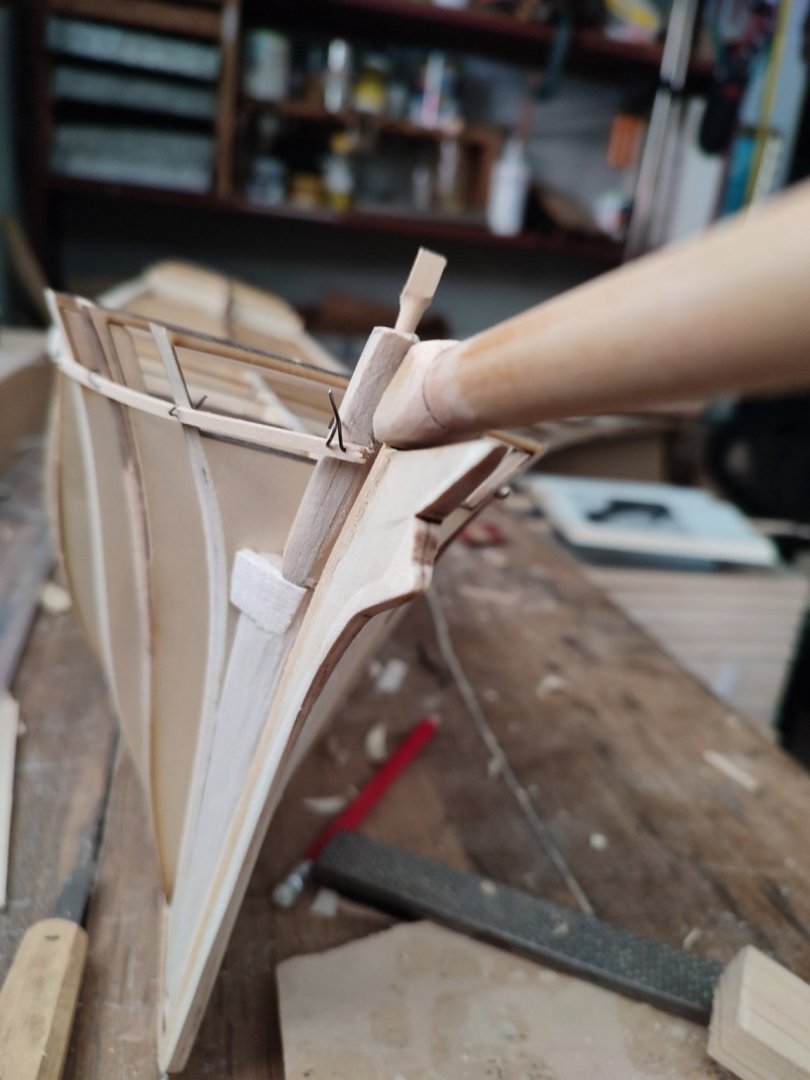
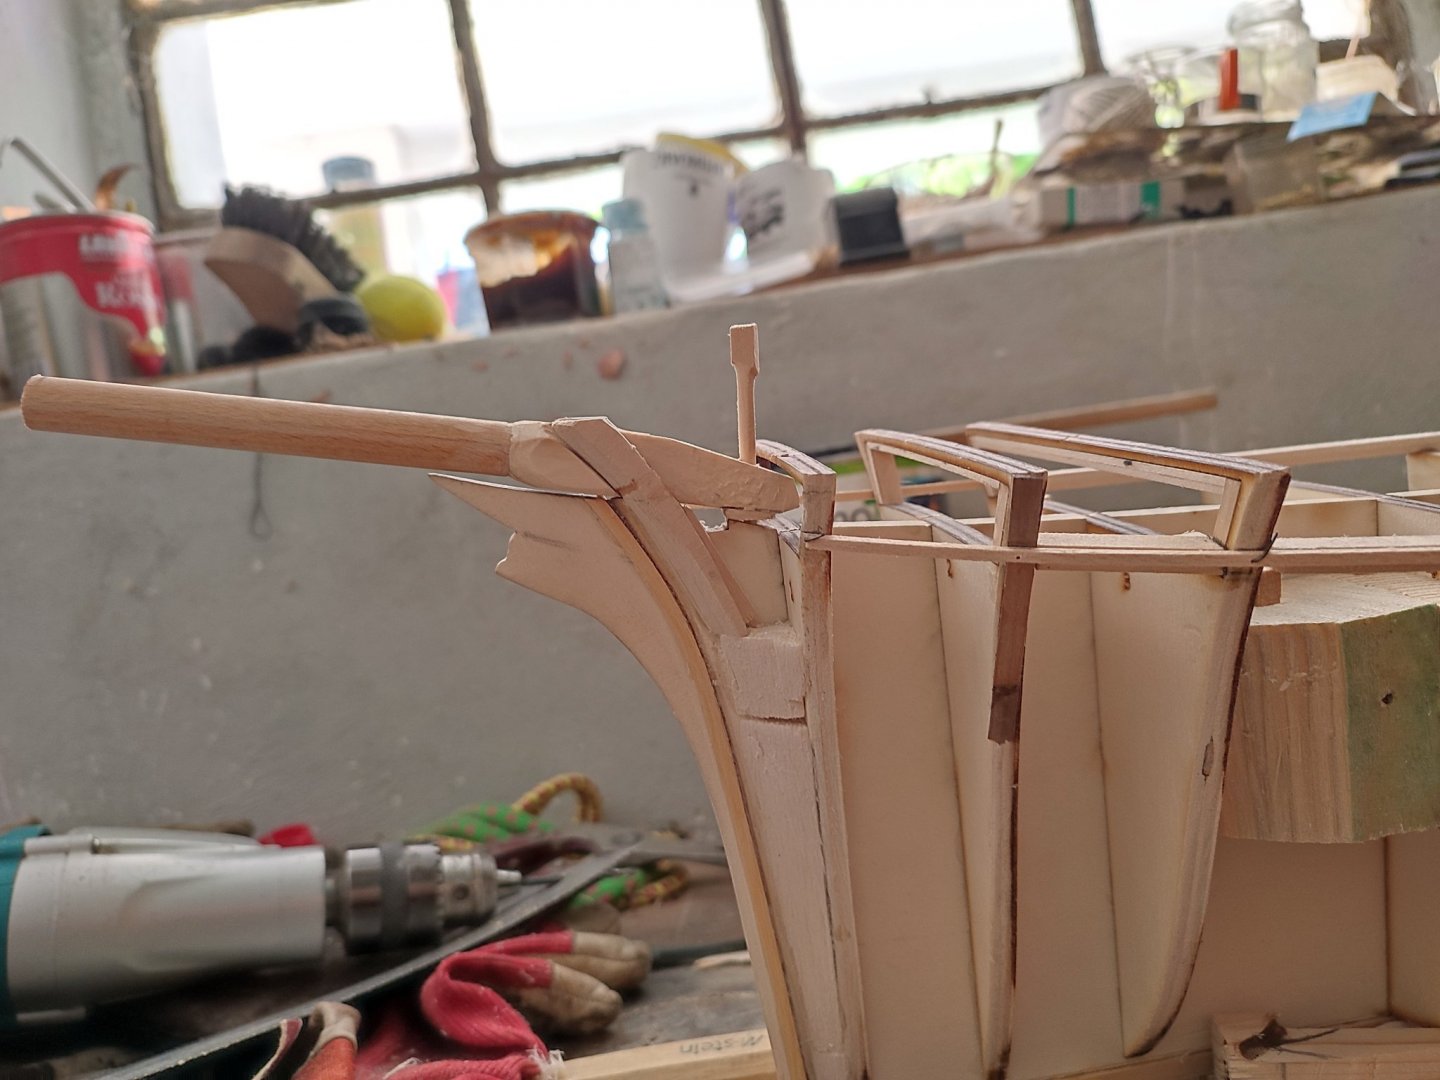
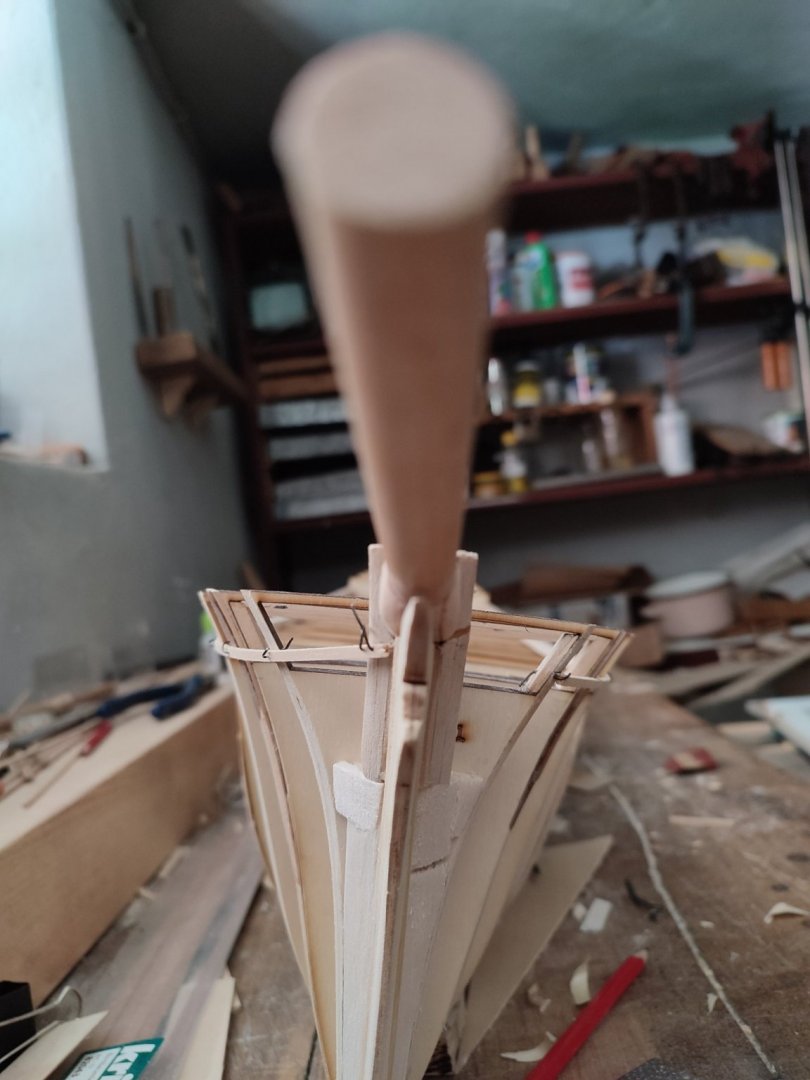
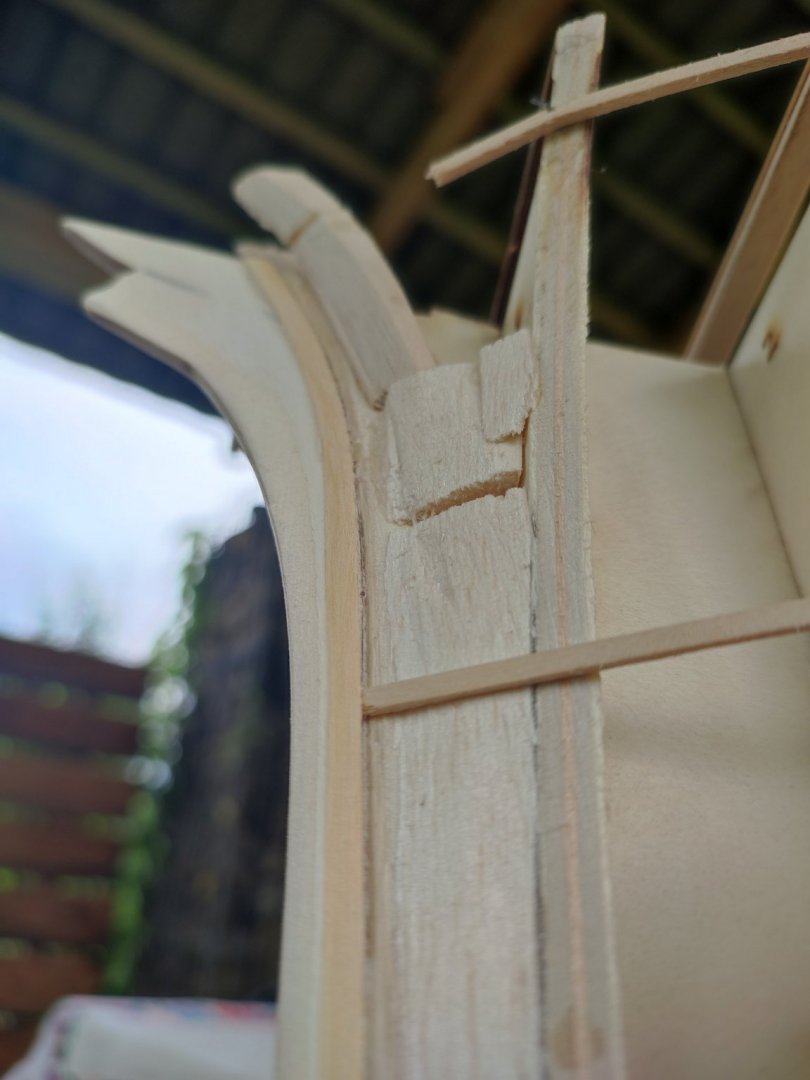
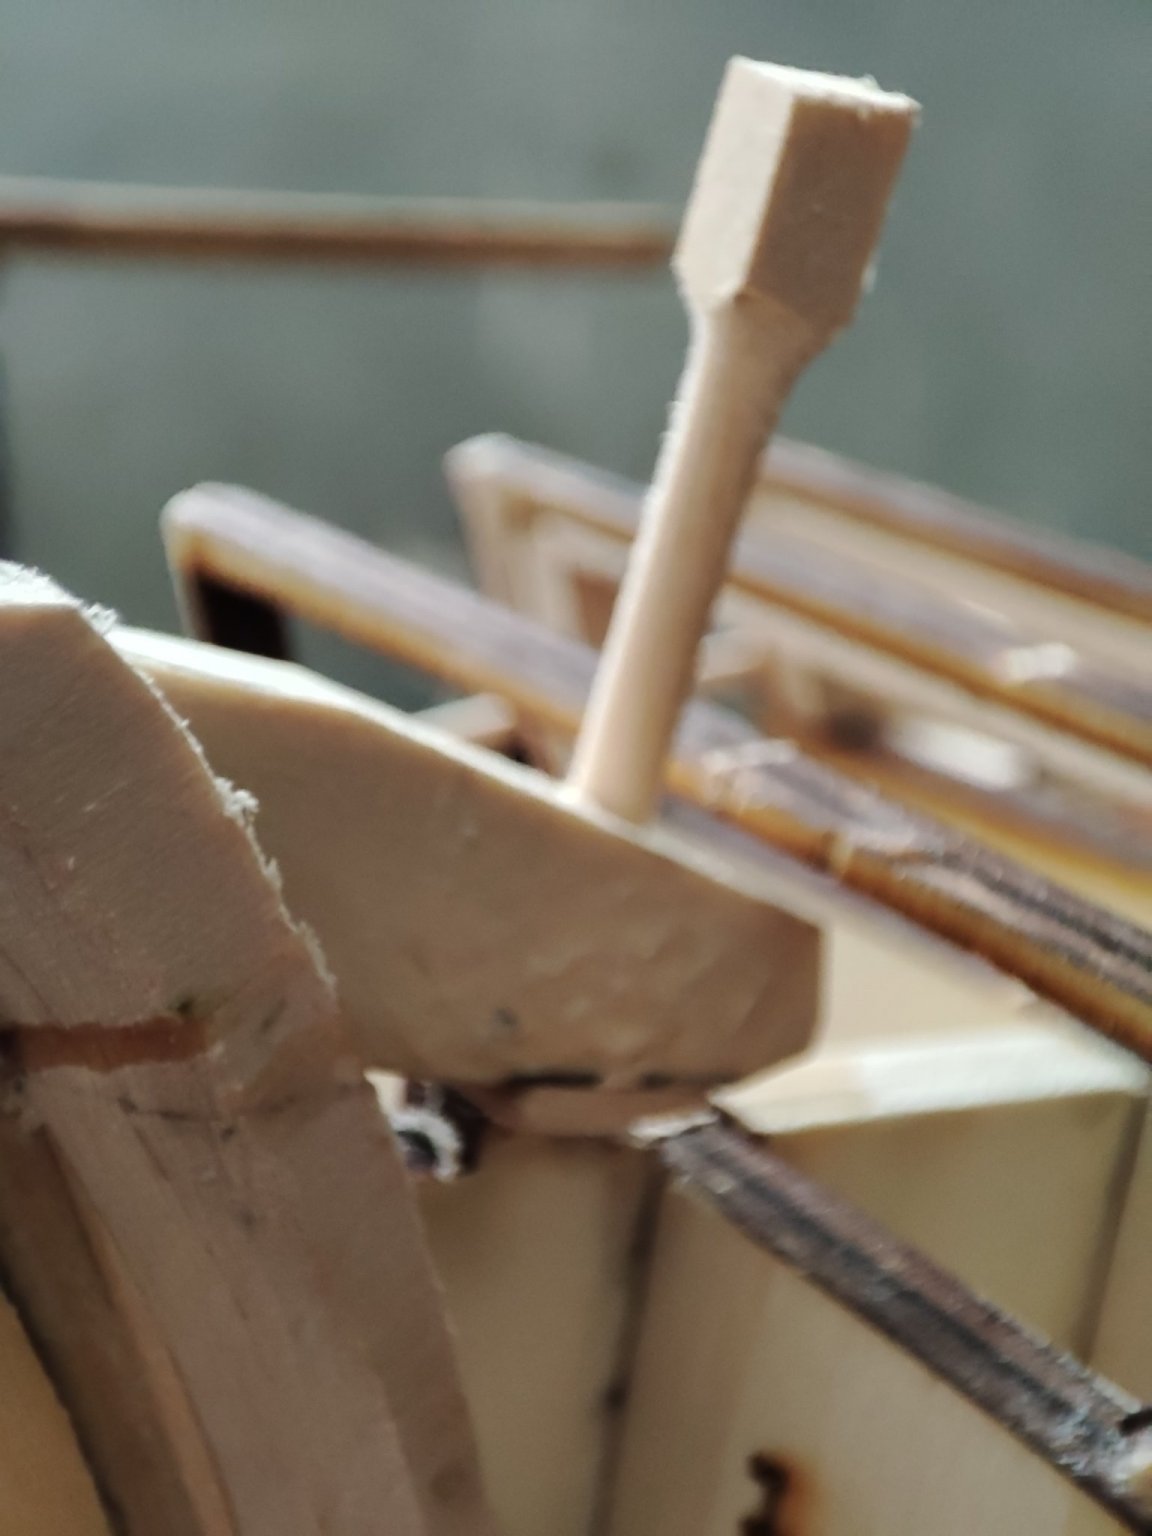
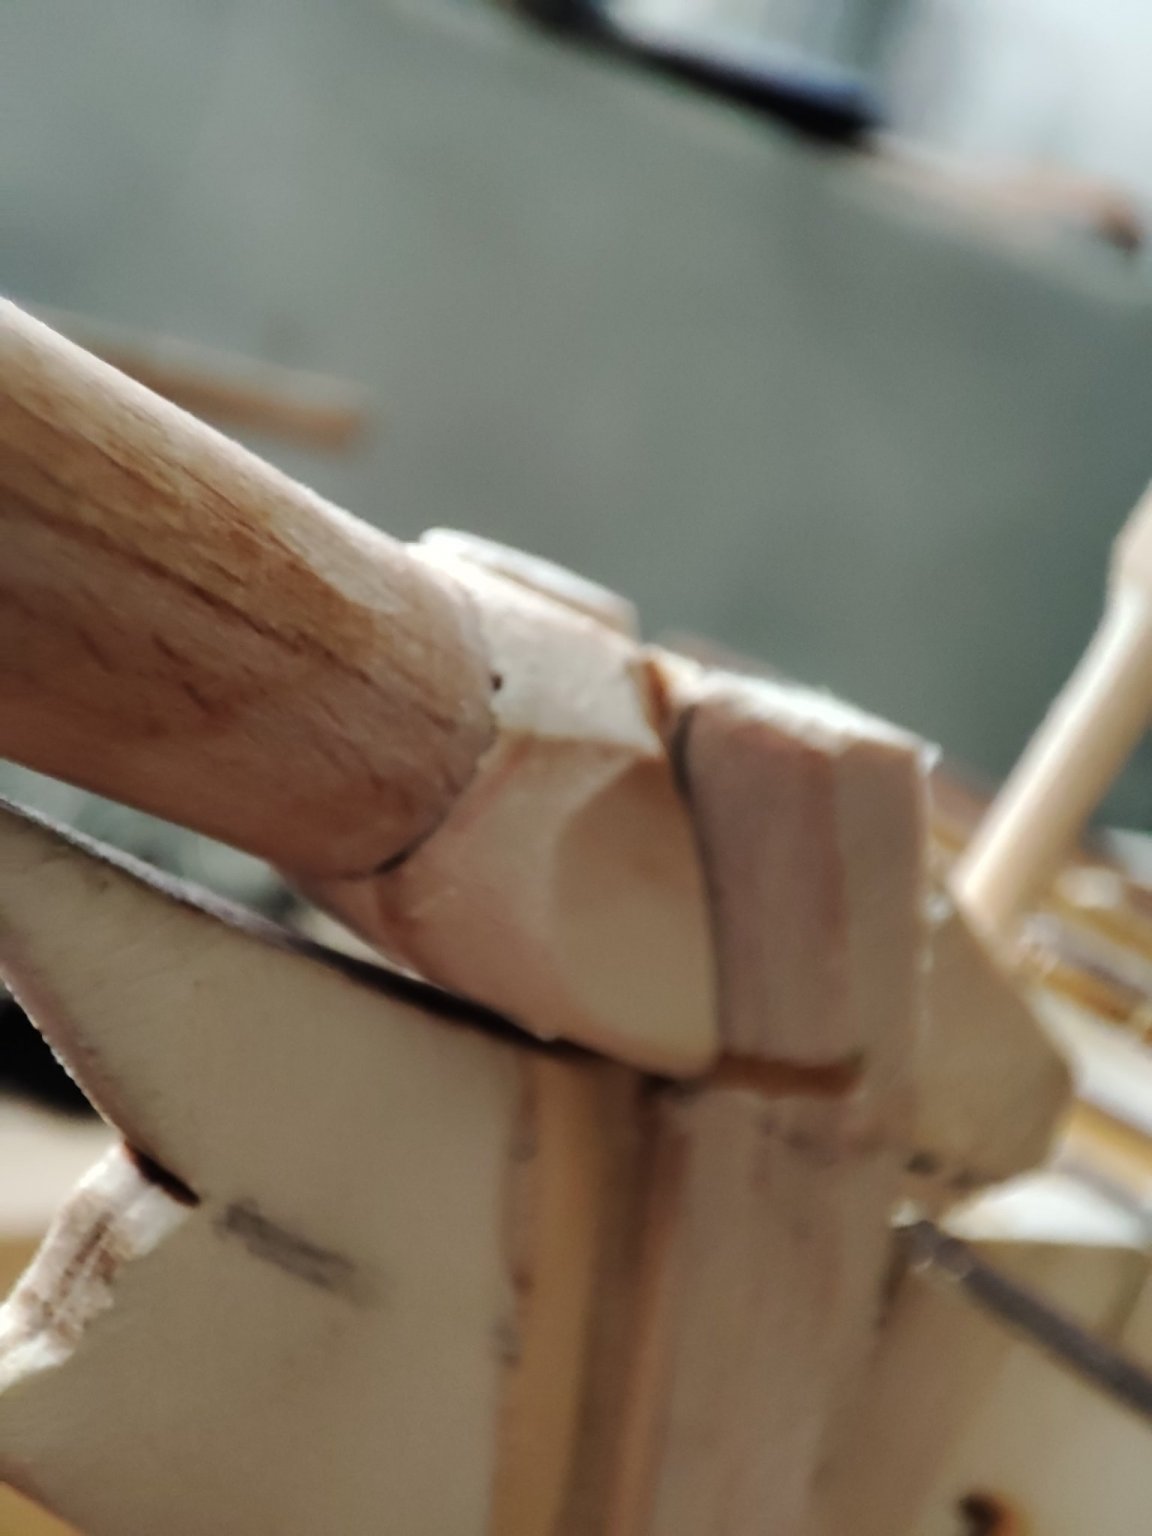
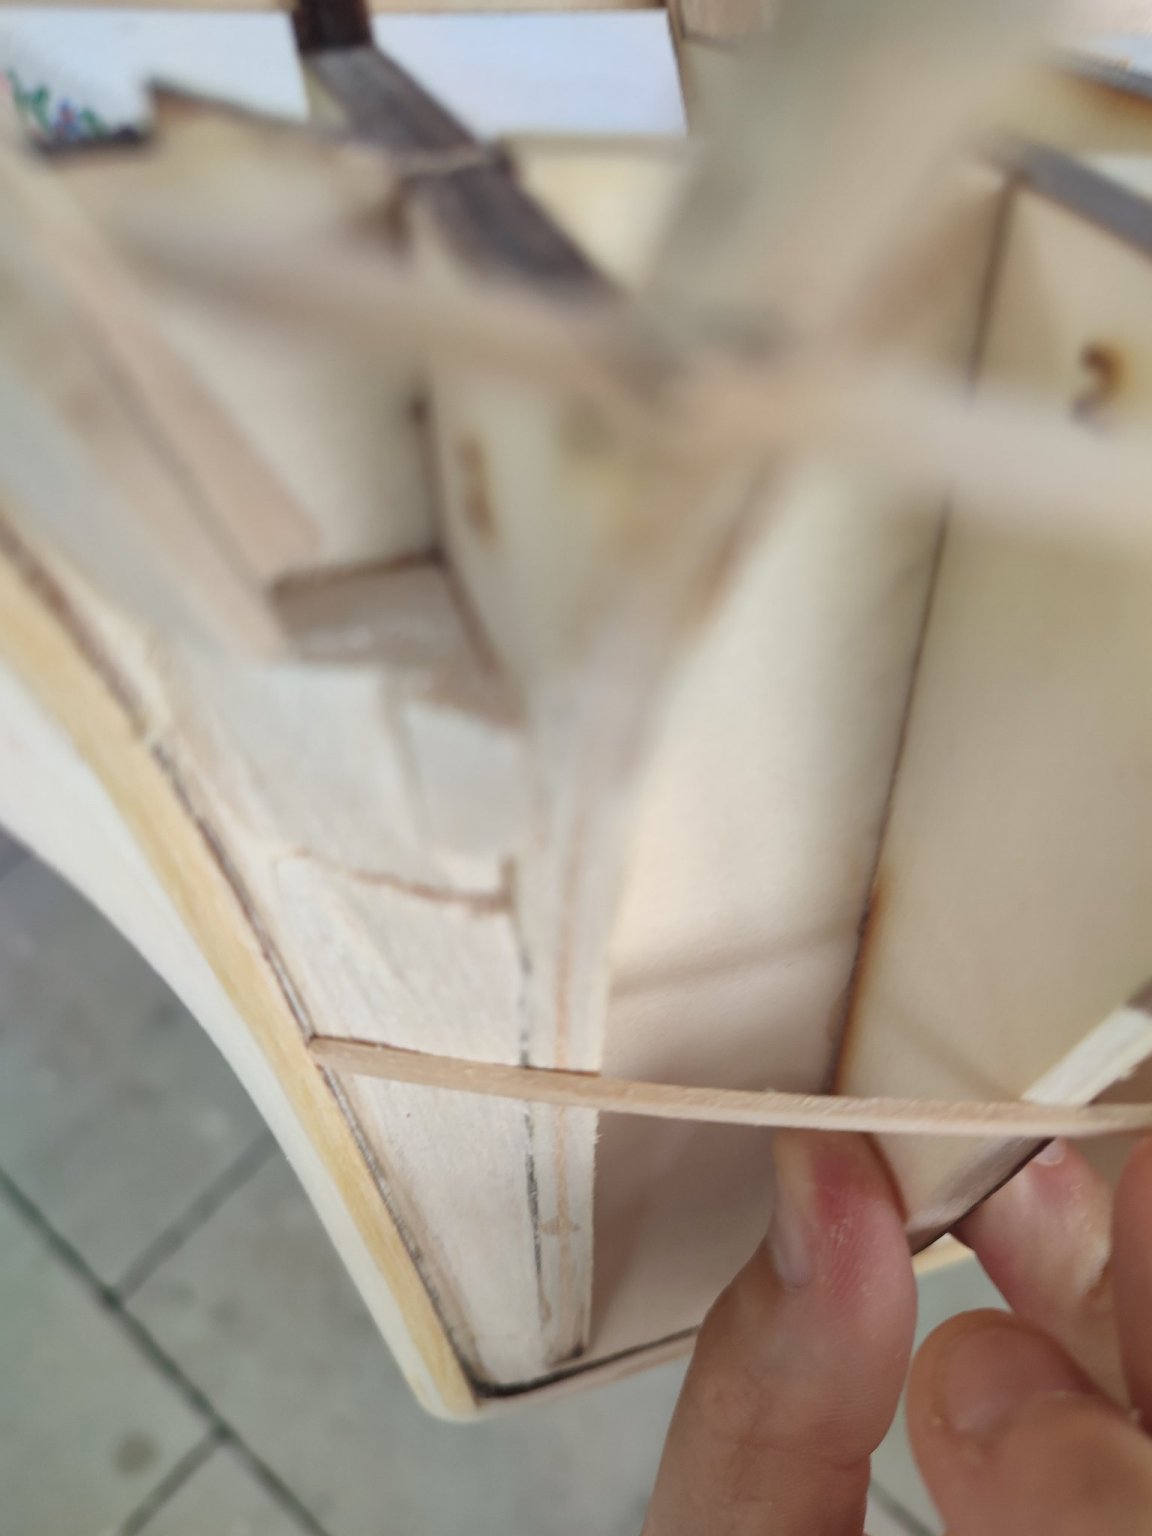
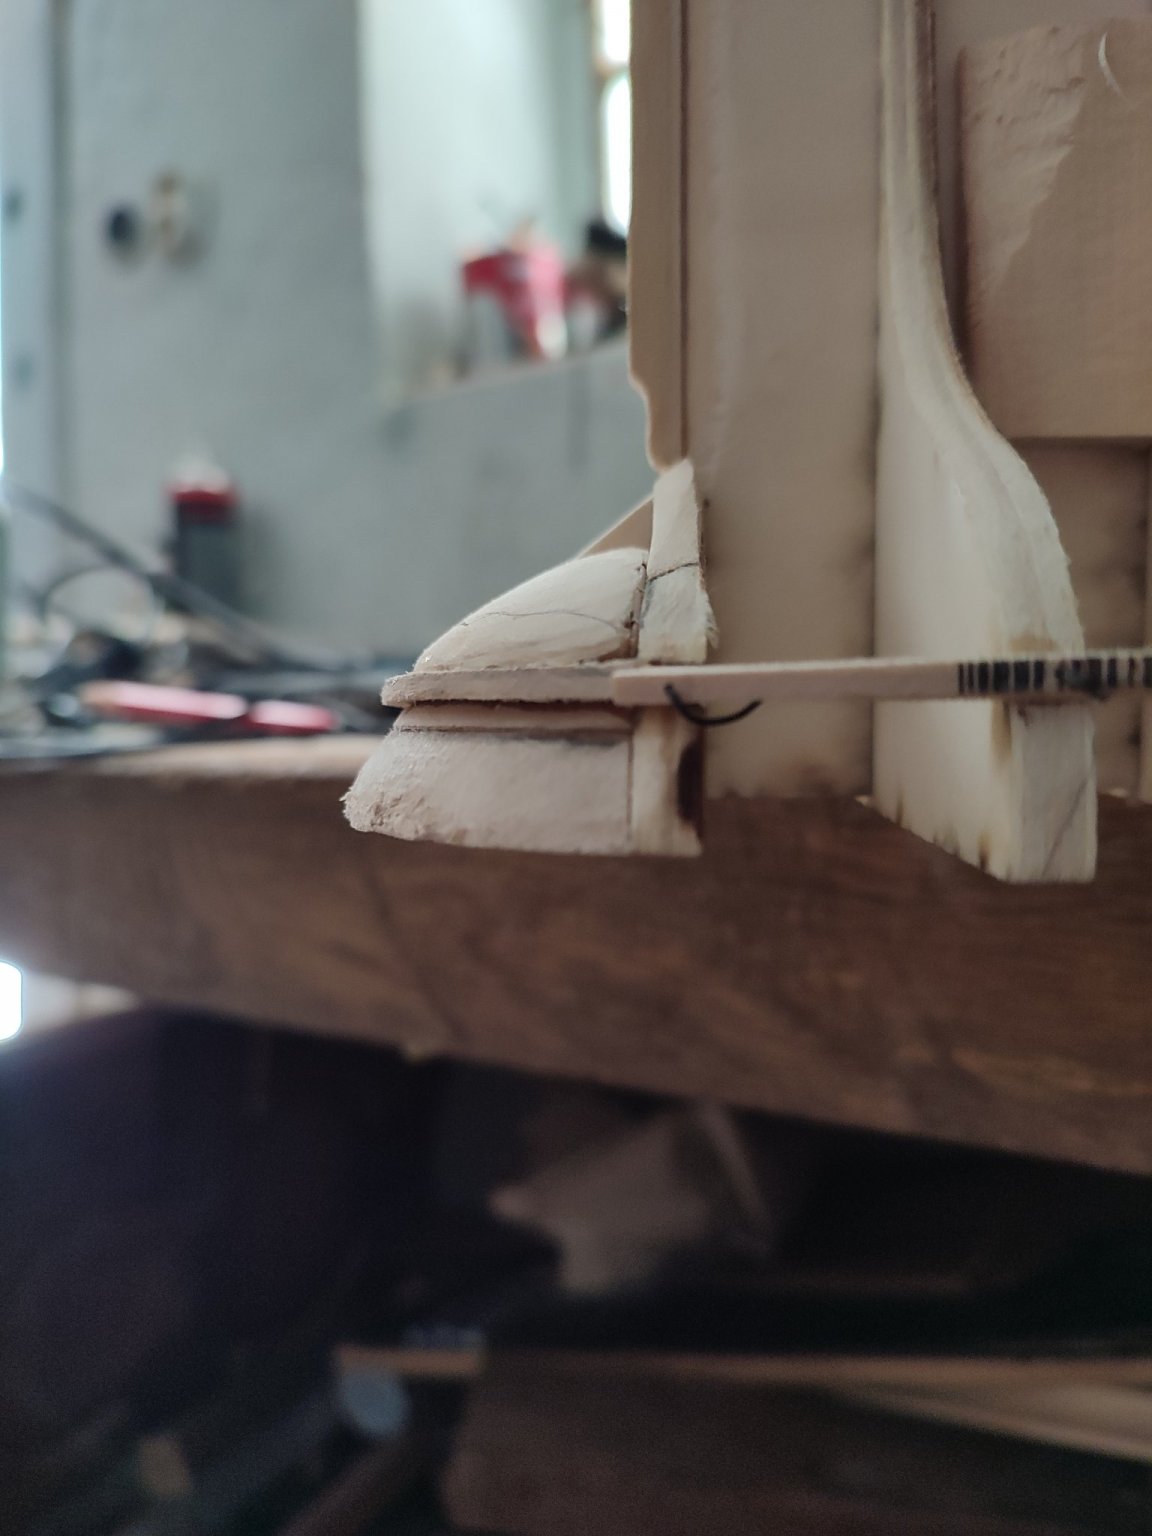
Continuation...well im not that good ať making miniatures. ..i just say its really challenging. ...herpes the outcome ....and bowsprit Has Been assembled and firmly fastened, wedge drew trhu and glued to knightheads.")