

Vladimir_Wairoa
-
Posts
1,512 -
Joined
-
Last visited
Content Type
Profiles
Forums
Gallery
Events
Posts posted by Vladimir_Wairoa
-
-
6 hours ago, rwiederrich said:
I think the only detail I don't pay close attention to is when my wife cuts her hair.
Sorry for the confusion and that you had to find humor in an a supposed oversight.
And I did check out your build, (I check it probably 10 times a day), you are making great progress and your trim work is spot on. Are you *scraping* the wood with a tool?
Rob
Rob, sometimes writing is not perfect thing for communication specifically if one is not extremly cautious when putting words - myself i mean. I didnt find humor in oversight but in Rich way of using words and commenting ... ( in an easy humorous tone I suspect.)....no offence meant. V.
-
1 hour ago, rwiederrich said:
Using tooling steel, I made all the scrapers I needed. Just way to small to find any generic stuff.
I have another approach I will be doing to form the house moldings and the inset trim. The aft poop railing will be a trick and will need special math to make....along with a great deal of paying attention to details of its fit/form and function.
Rob
looking forward to see it. good luck. V.
-
-
10 minutes ago, rwiederrich said:
I think the only detail I don't pay close attention to is when my wife cuts her hair.
Sorry for the confusion and that you had to find humor in an a supposed oversight.
And I did check out your build, (I check it probably 10 times a day), you are making great progress and your trim work is spot on. Are you *scraping* the wood with a tool?
Rob
Rob, there IS certainly no need to be sorry. Yes i scrape with old artesania latina scrapers. Modified. Im finding Way how to scrape even those not fitting in...v.
-
-
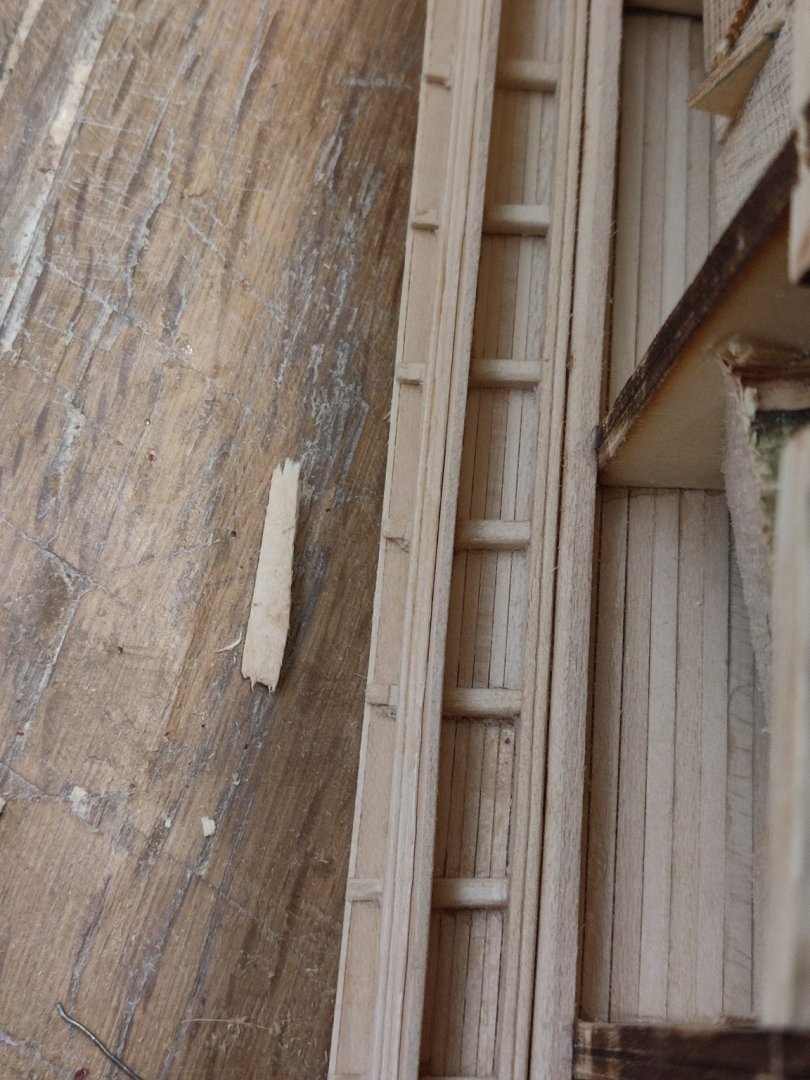
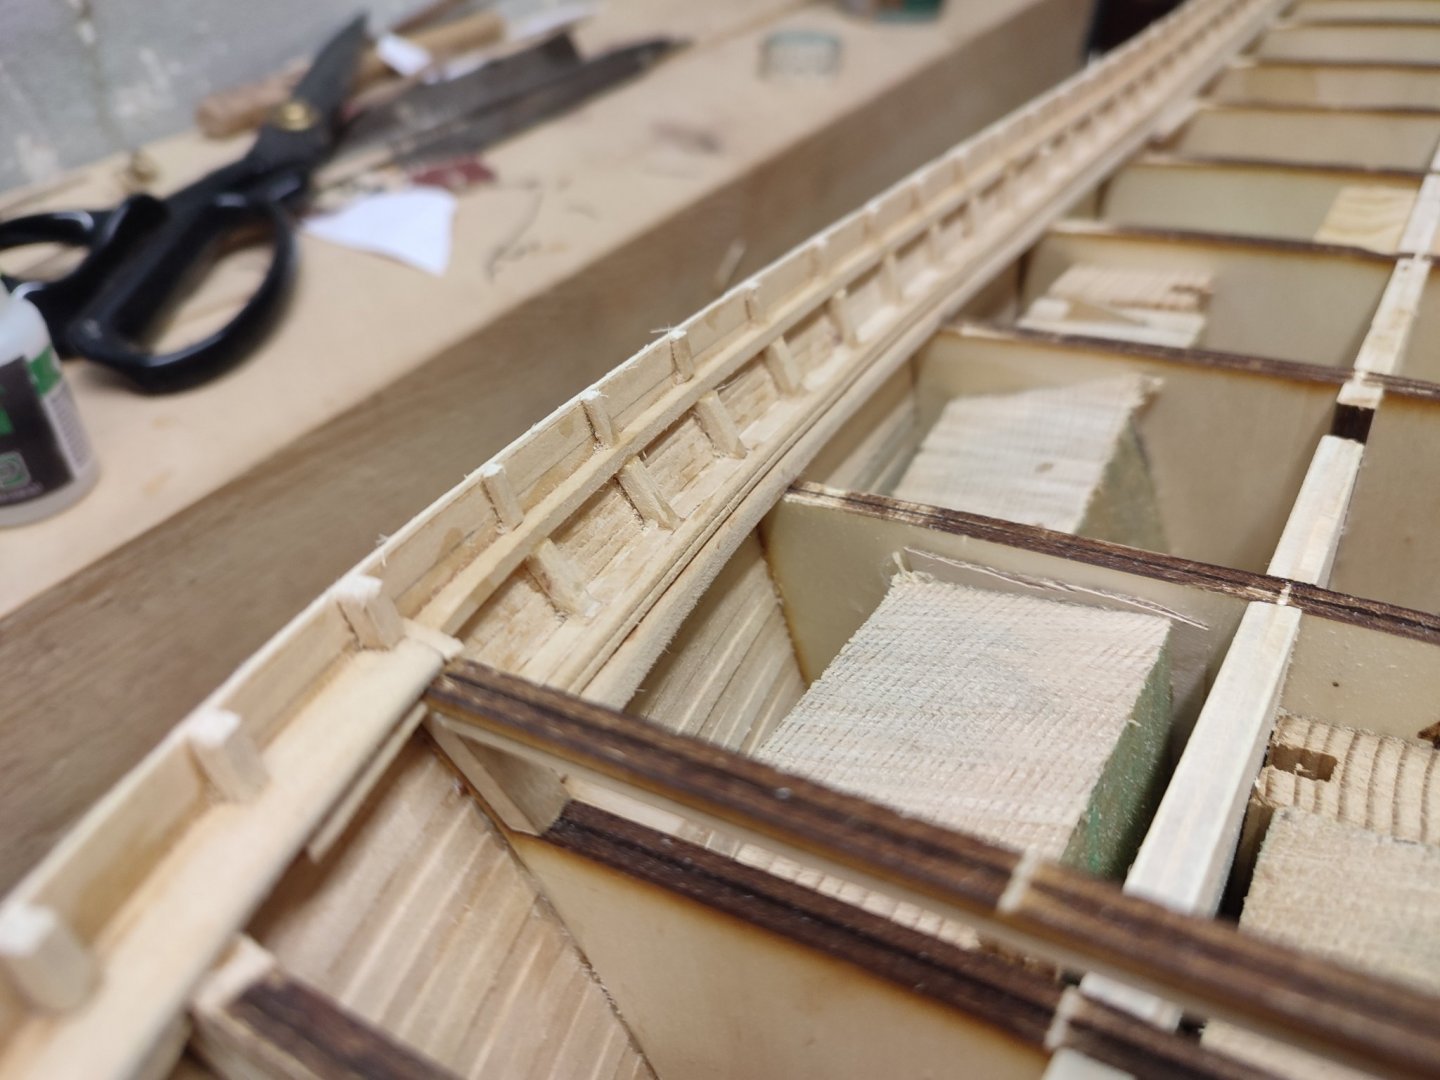
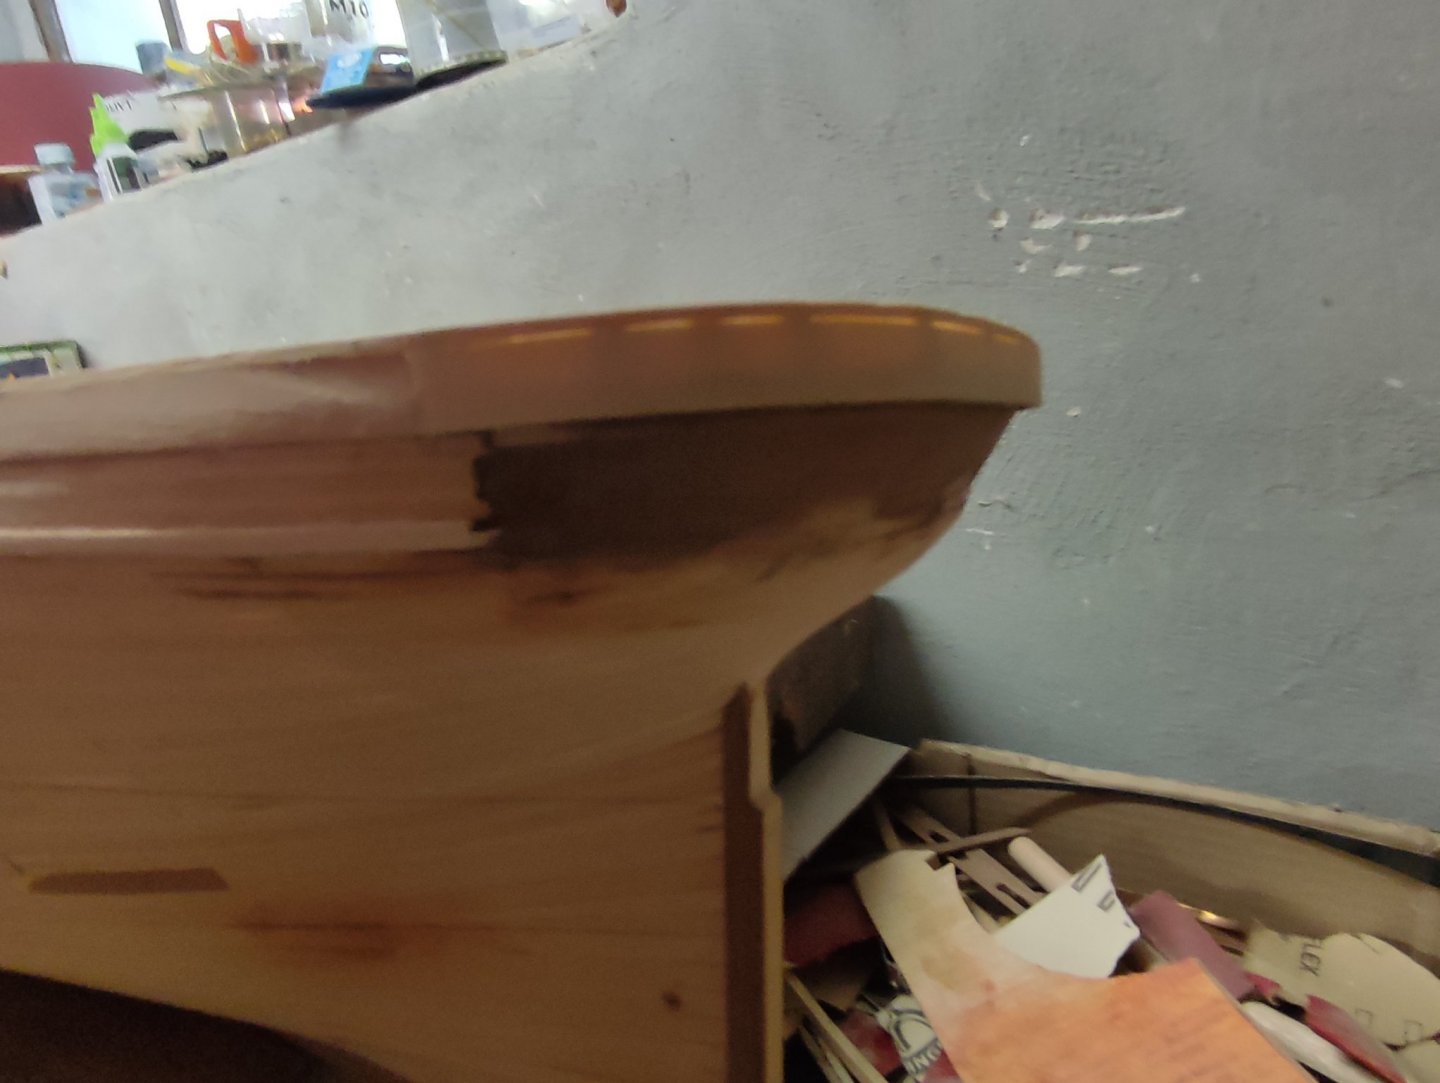
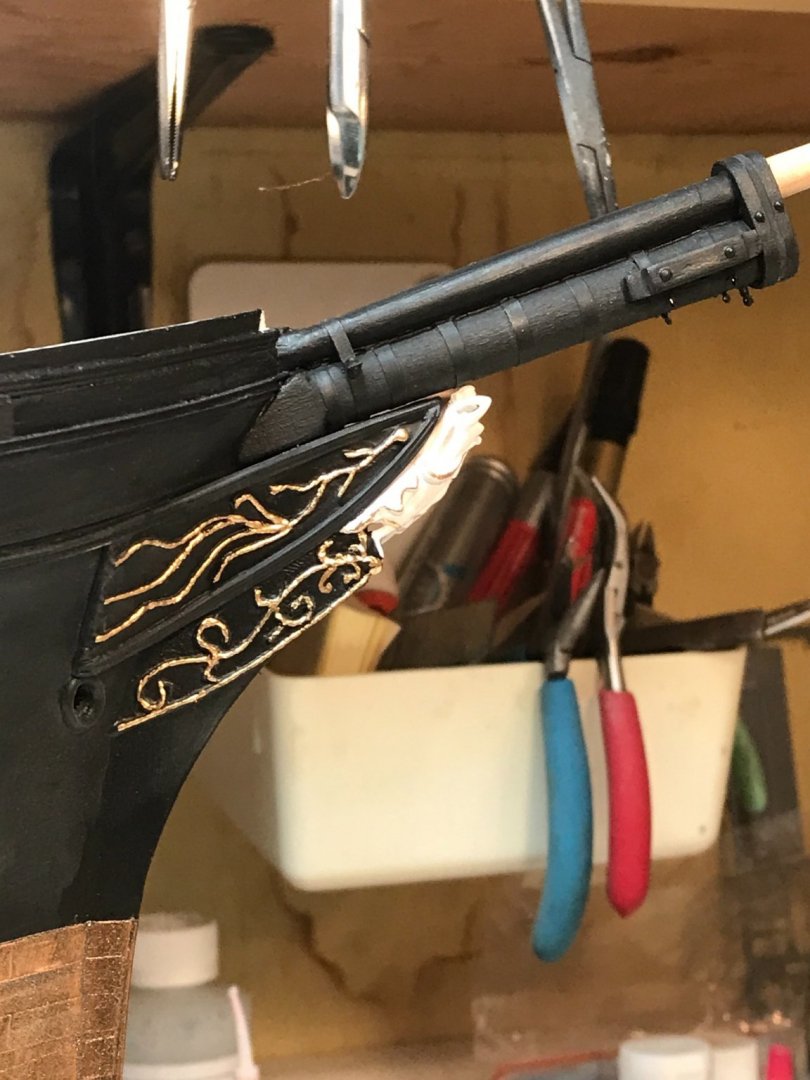
Complete look Up from waterways, sheerline, big Columns, pinrail, main rail, fancy rail and cover....without fancy rail inlays and upper cover decoration on mold. Layerv upon layer..
Ať this point i start thinking She was overdecorated. Nope,
Ohh i love it. Starting fancy rail inner decoration...
-
12 minutes ago, ClipperFan said:
Rob, your gratitude while welcome is misdirected. You left poor Vladimir out in the cold, like a forlorn wet puppy in the rain, while sending appropriate acknowledgement of his rightly correct observations to me, who was probably slumbering at the time he replied and certainly don't deserve to steal his thunder...even as lightly as it may have clapped ;-)
Having said that, Vlad of course is right, you consistently do beautiful work. Oh in the future, you might want to look for the letter "V" which is how Vlad usually finishes his sentences.
What i like about life IS IT gives me a good laugh sometimes.
") In agood way .
In agood way .
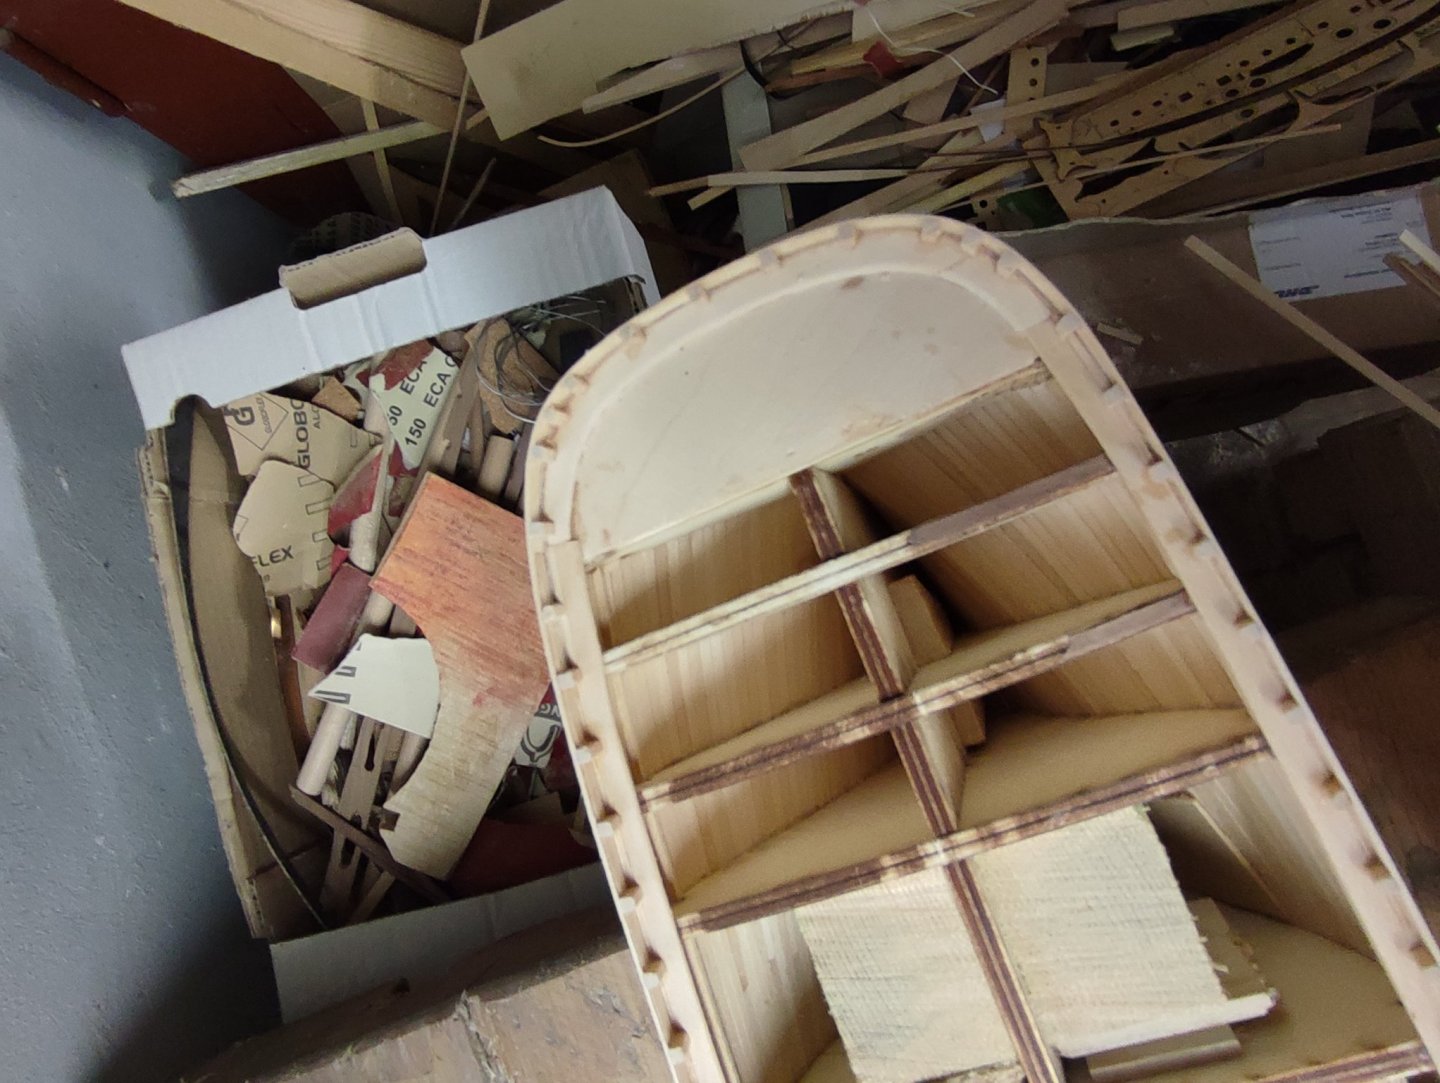
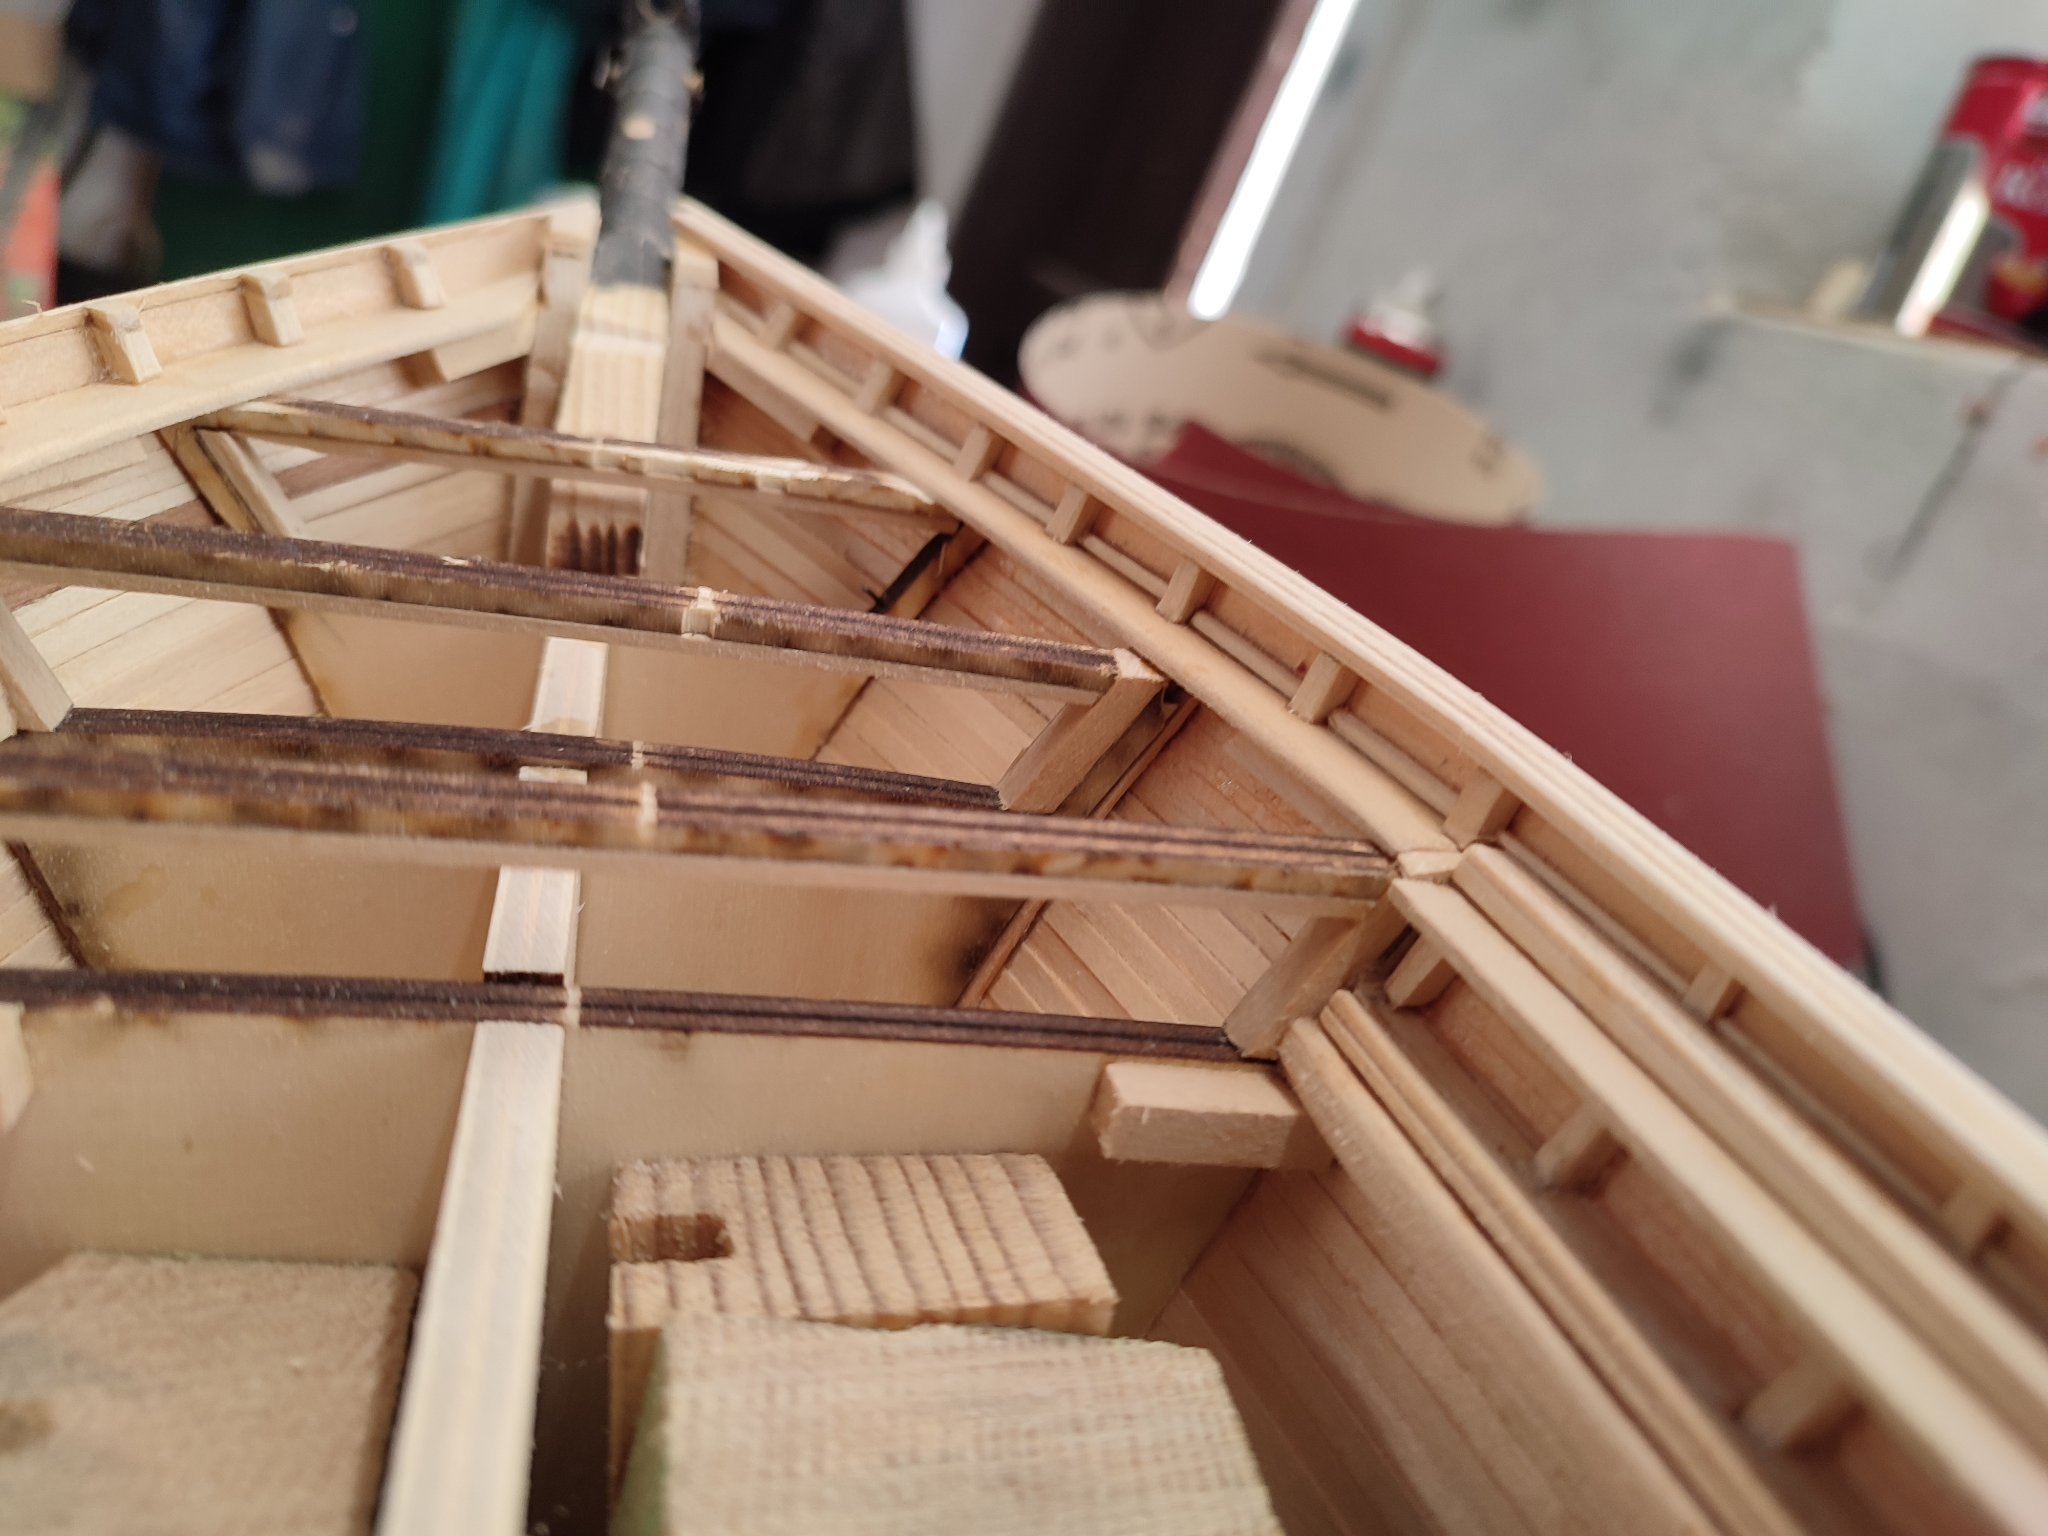
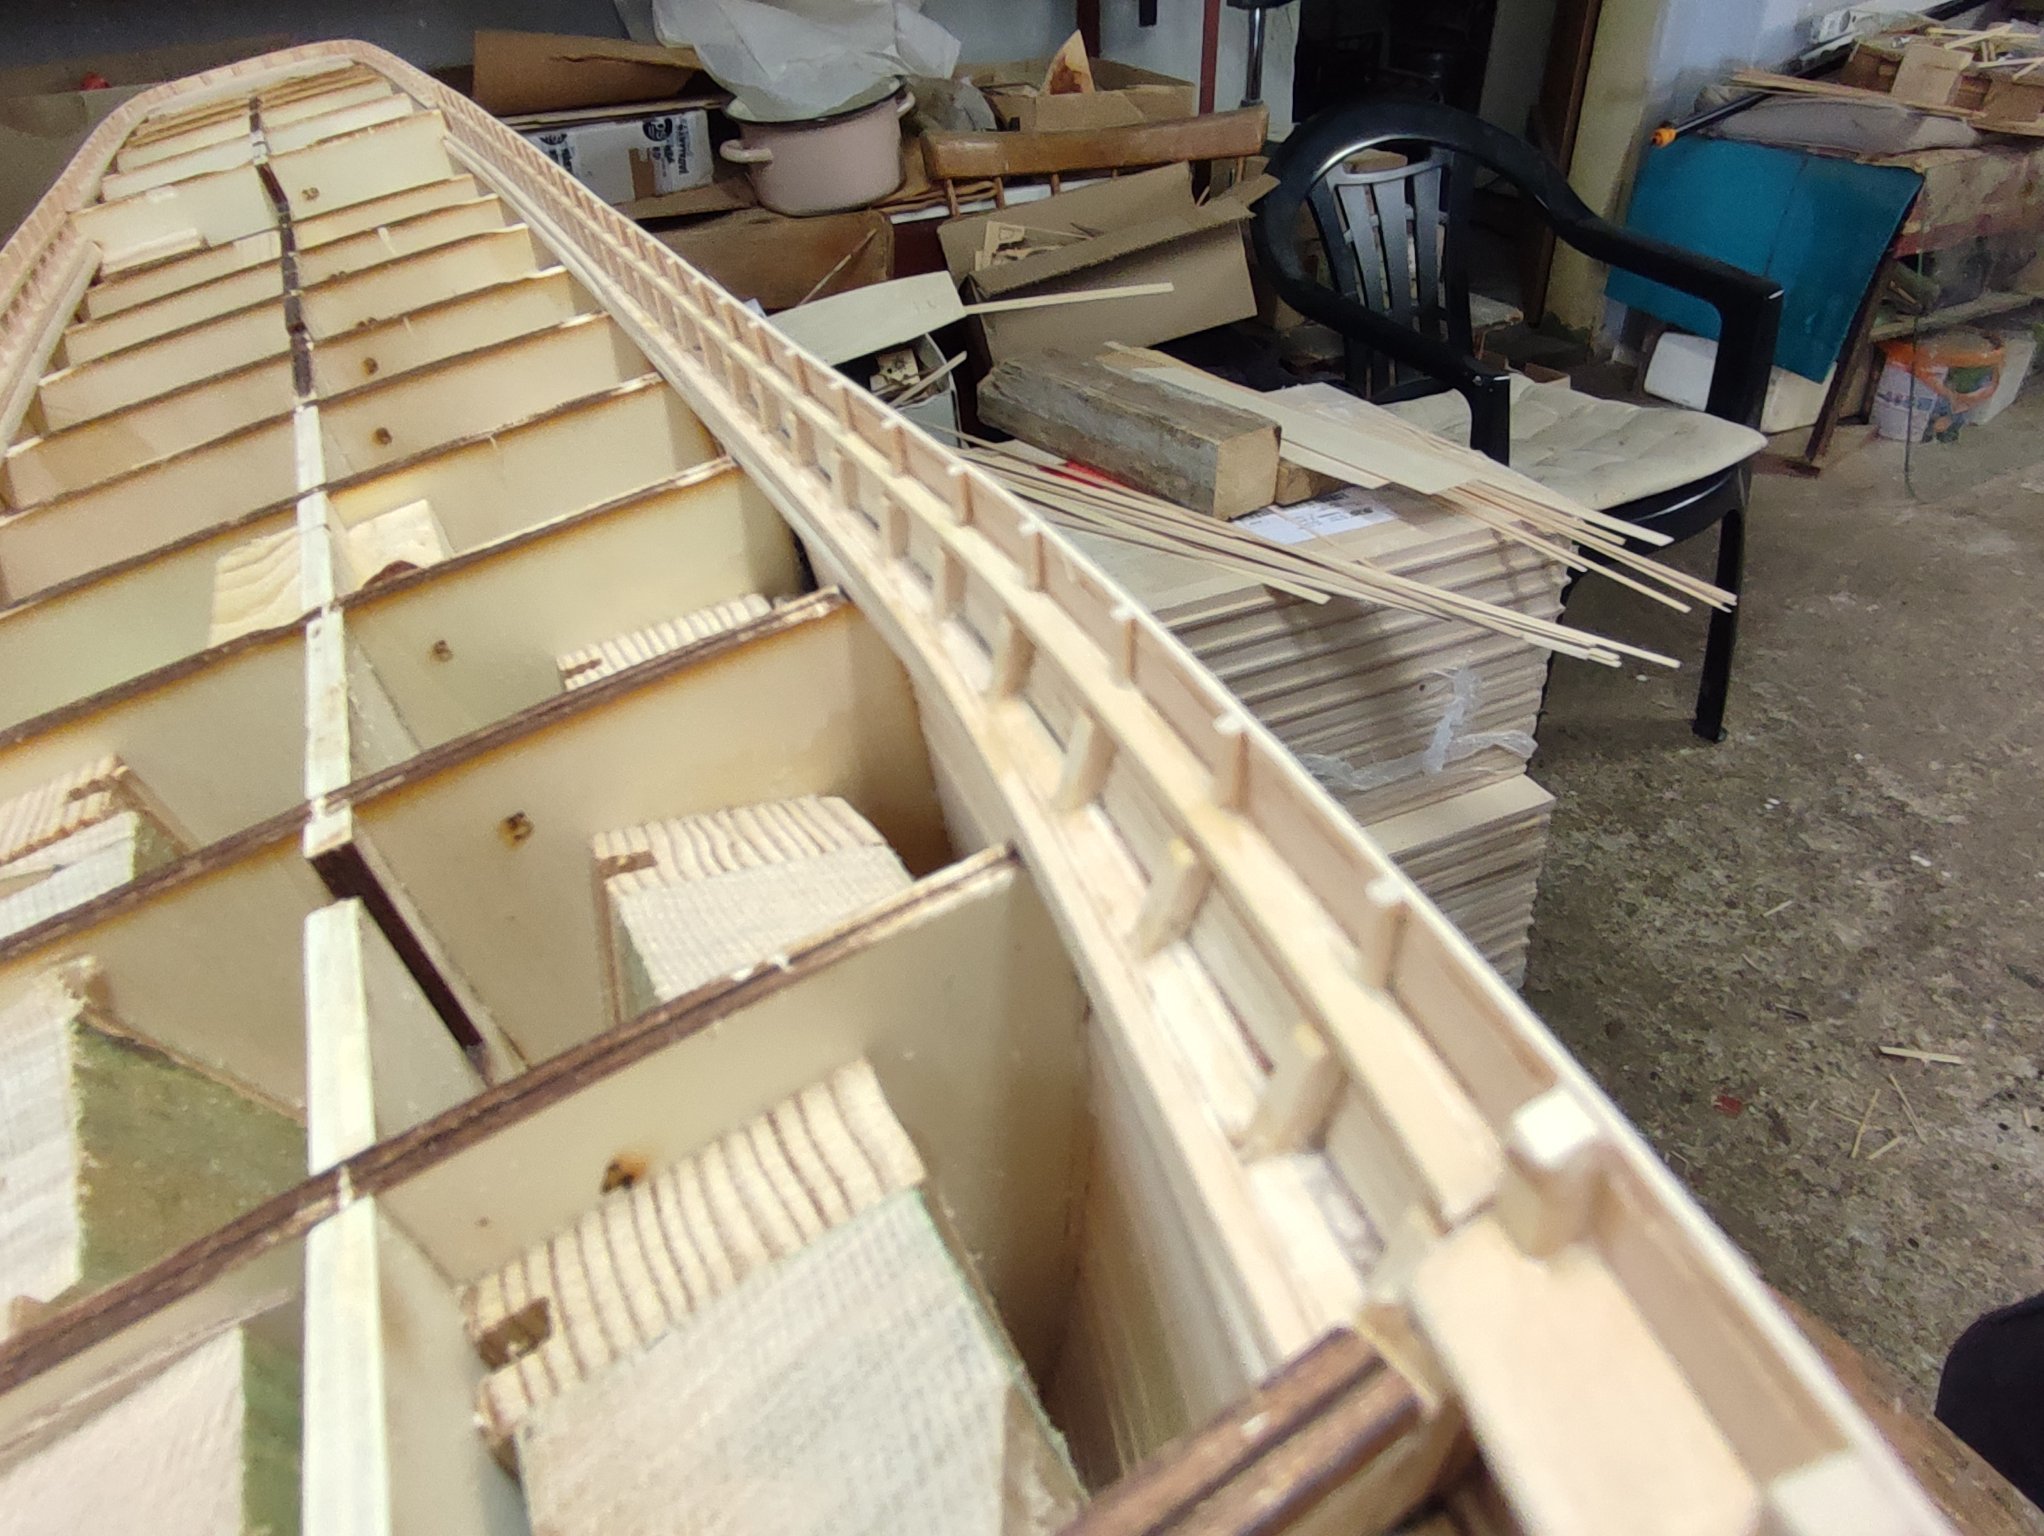
Its perfectly norl we sometimes dont päť attention to details etc. By the way Folks you May check progress on inner bulwarks
") V.
V.
-
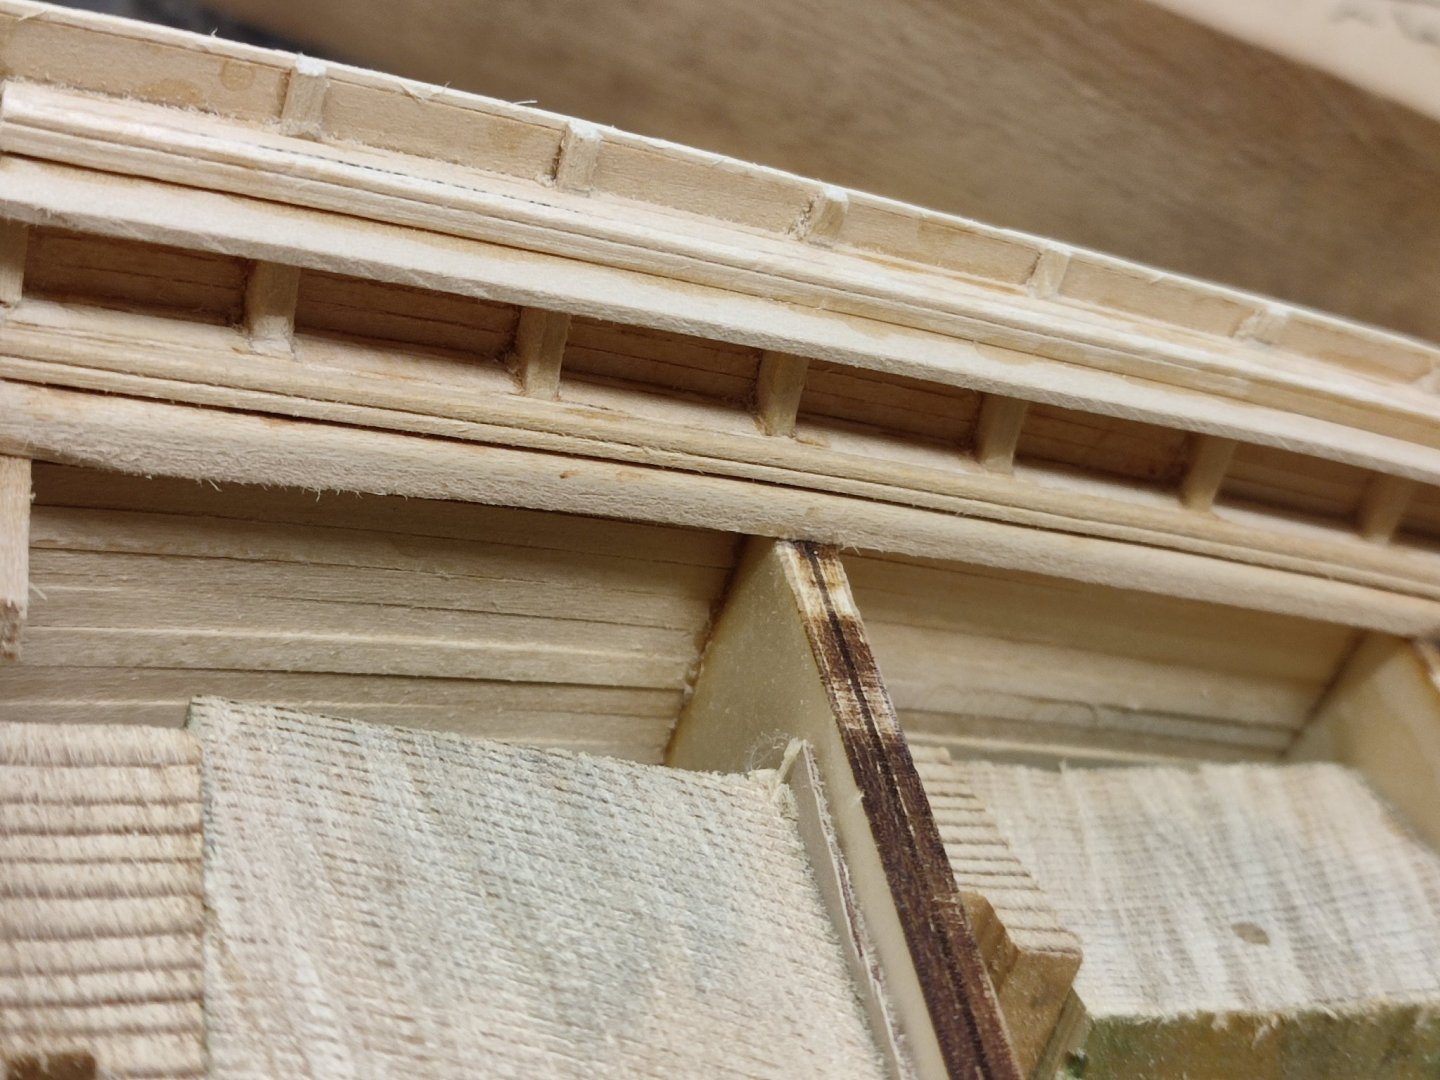
This IS how IT Will be..
So many gaps to fill around Columns...its already line upon line ..but IT looks quite a lot real to me. I Made main rail mold scraping pattern ...thick and thin strakes...
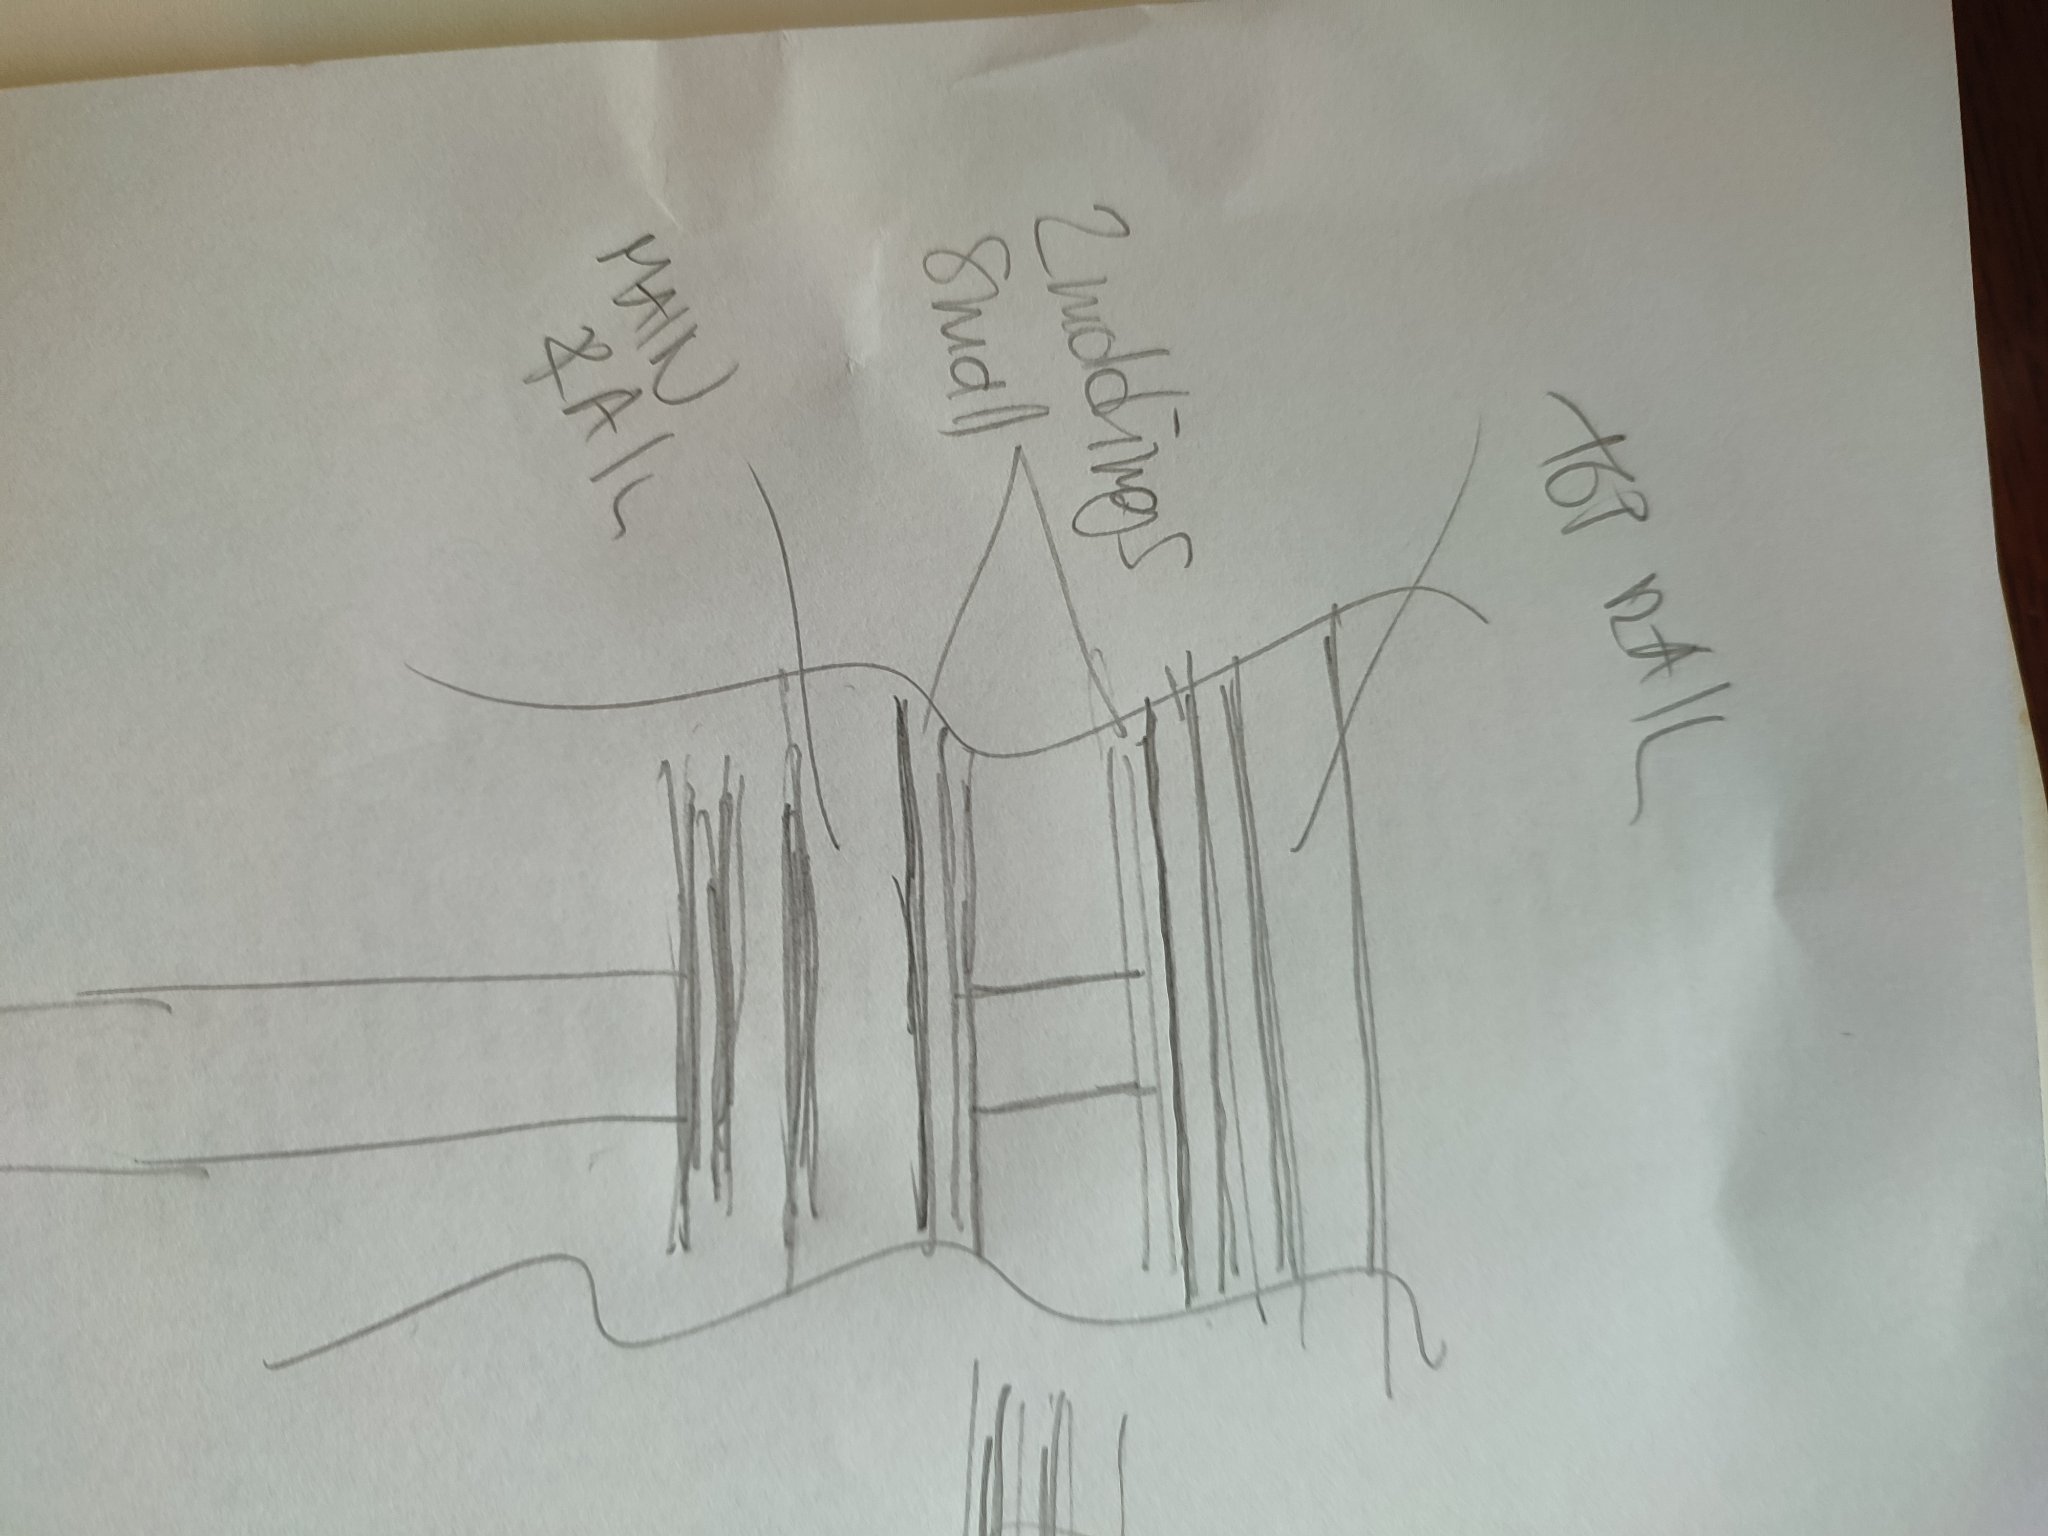
Main rail and thinmer pinrail below attached. Im trying smallish molding on monkey rail how IT Will look like. Not sure...looking from above when top cover Will be added there wont be visible a tímy bit on topgallant rail but from deck perspektíve pretty much .....what you think? V.


- GrandpaPhil, mtaylor and gak1965
-
 3
3
-
1 hour ago, rwiederrich said:
Thanks Rich……that is very nice.
I did a little work on the forecastle.
Rob


it was not Rich !
-
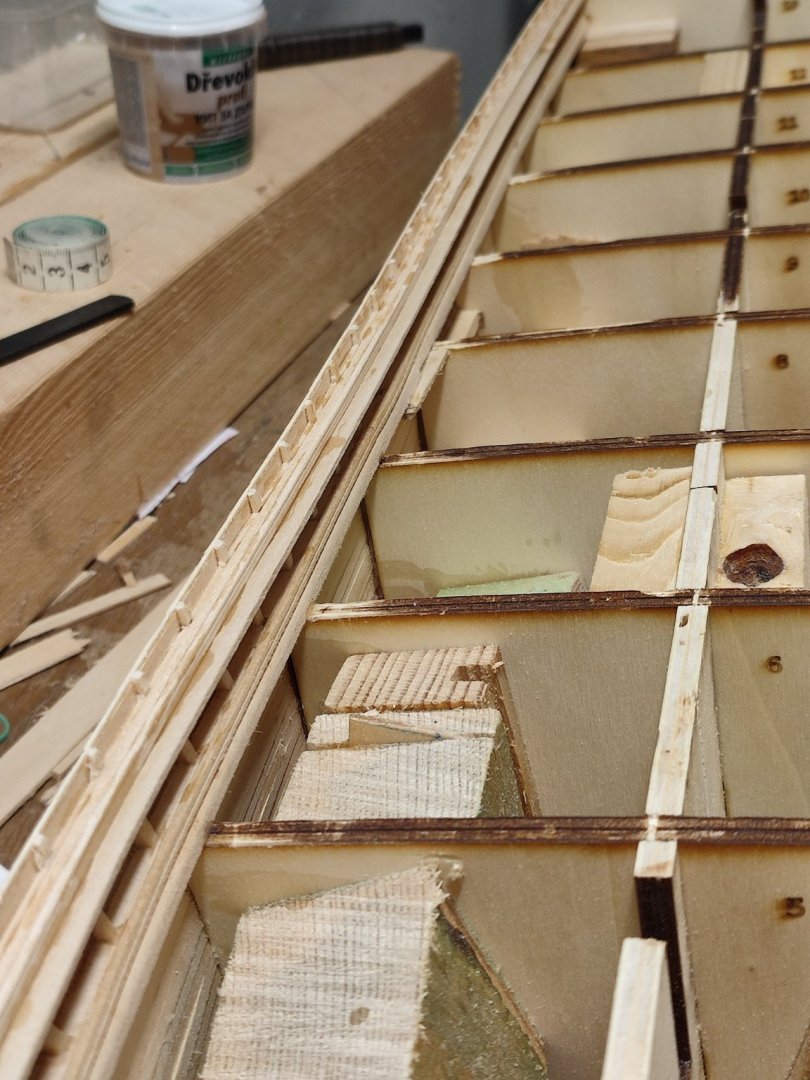
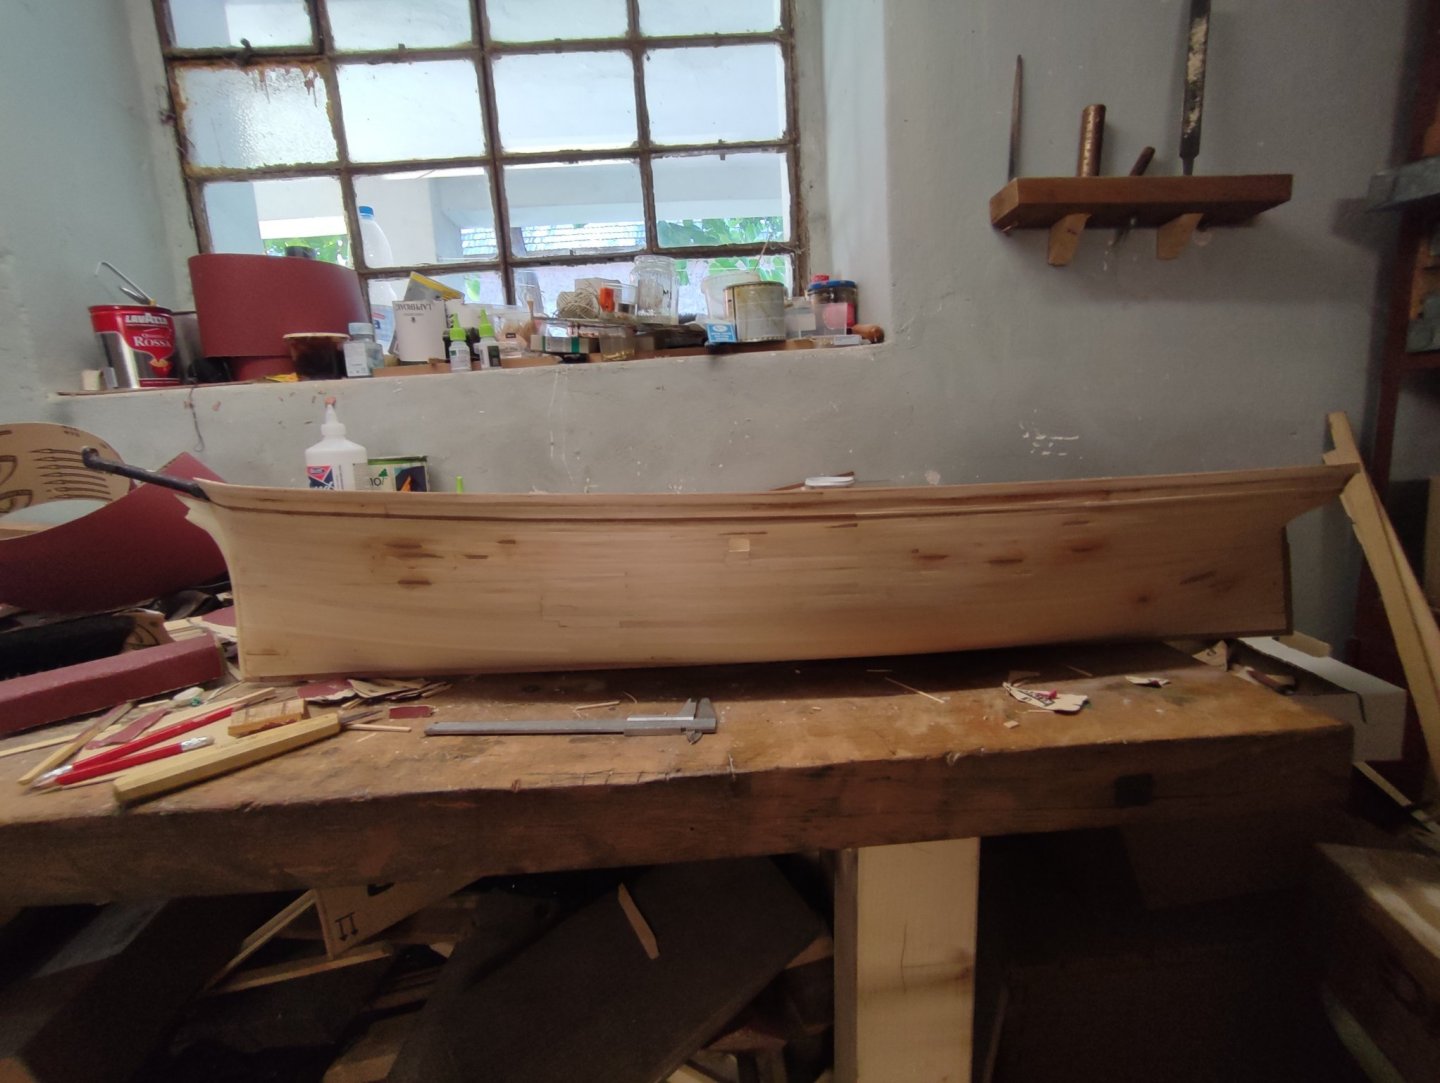
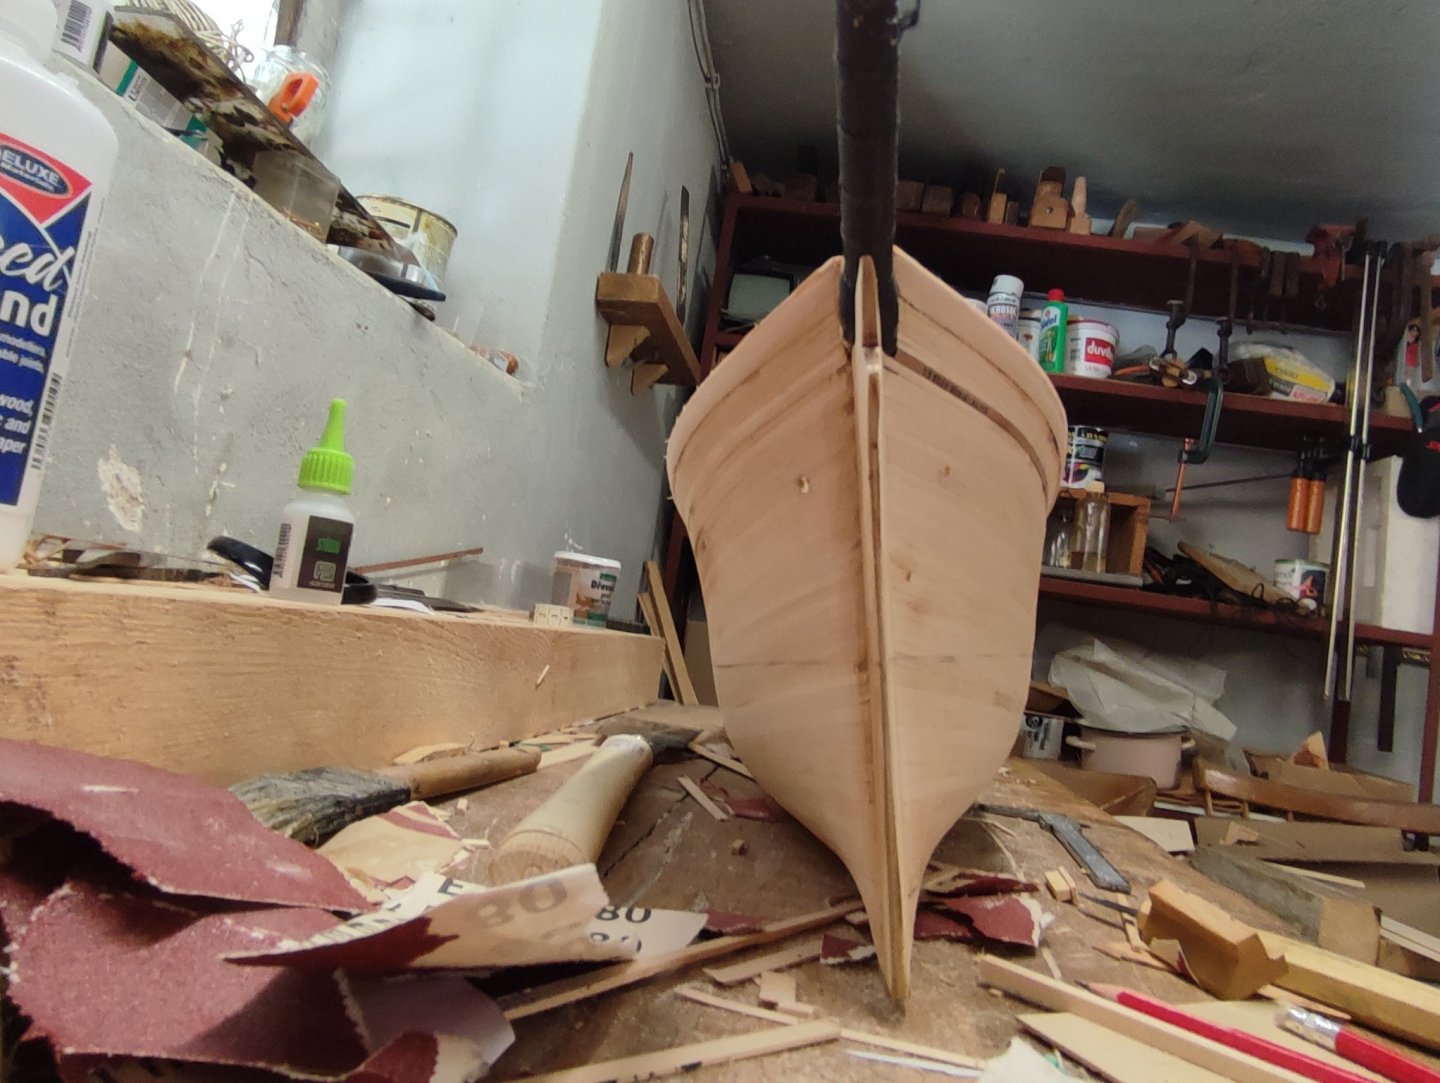
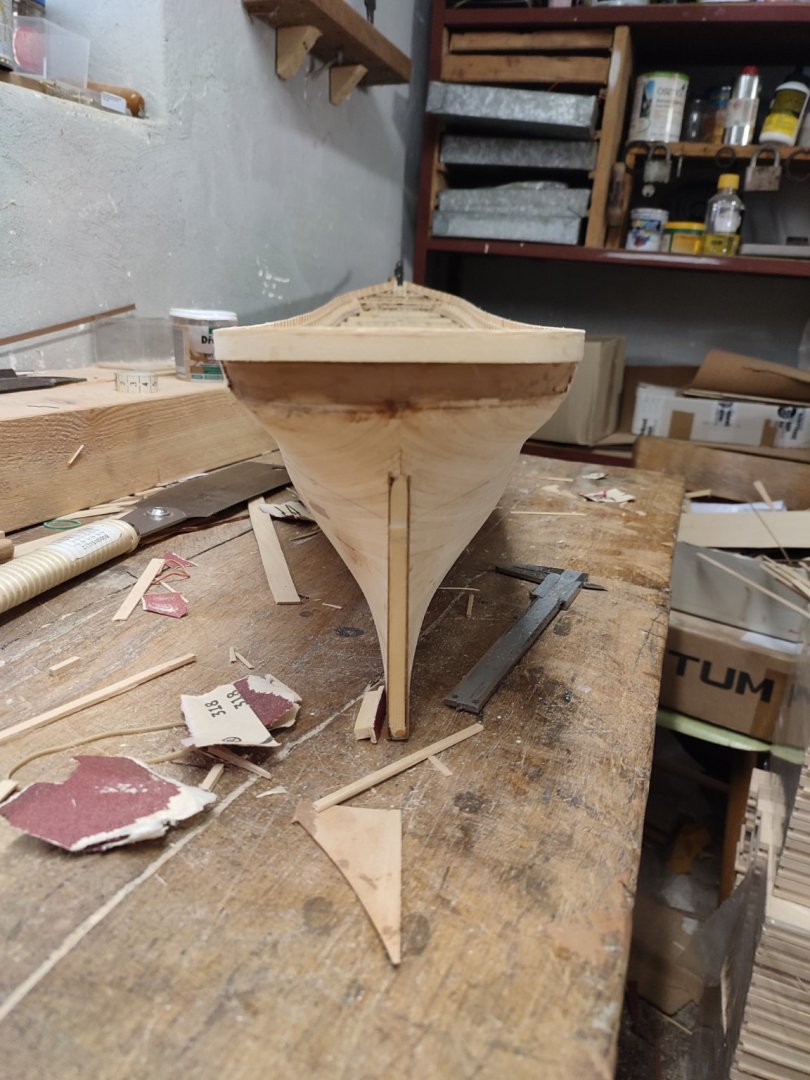
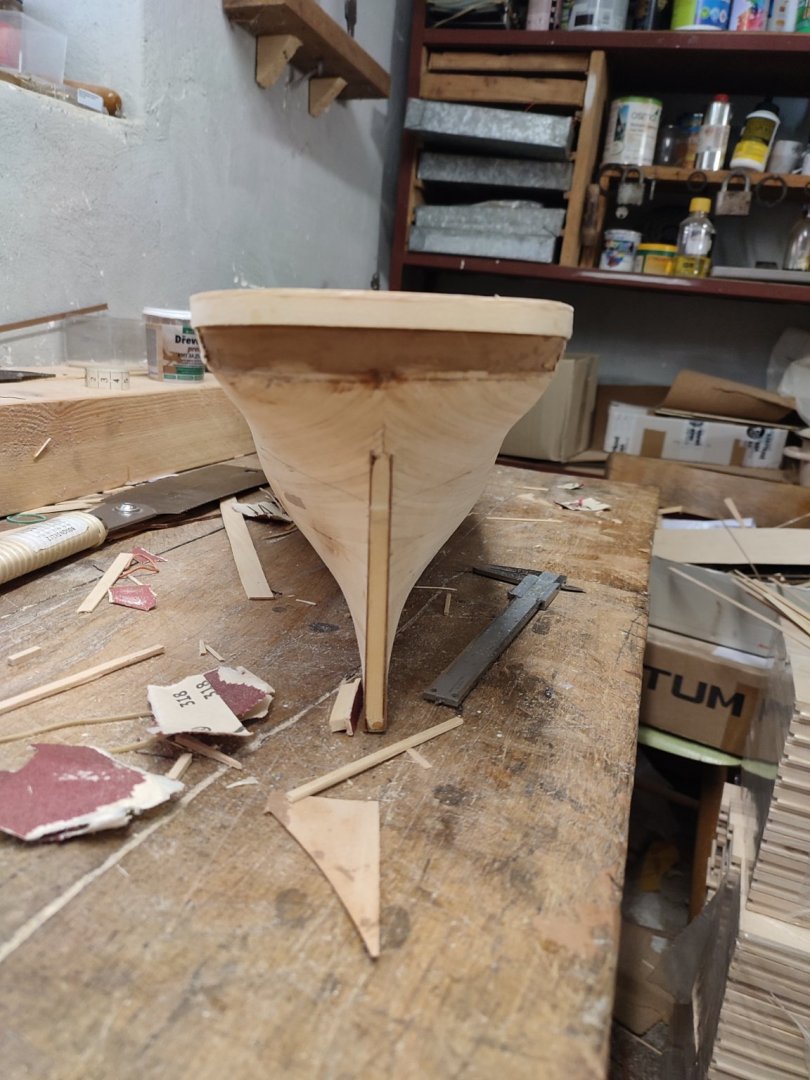
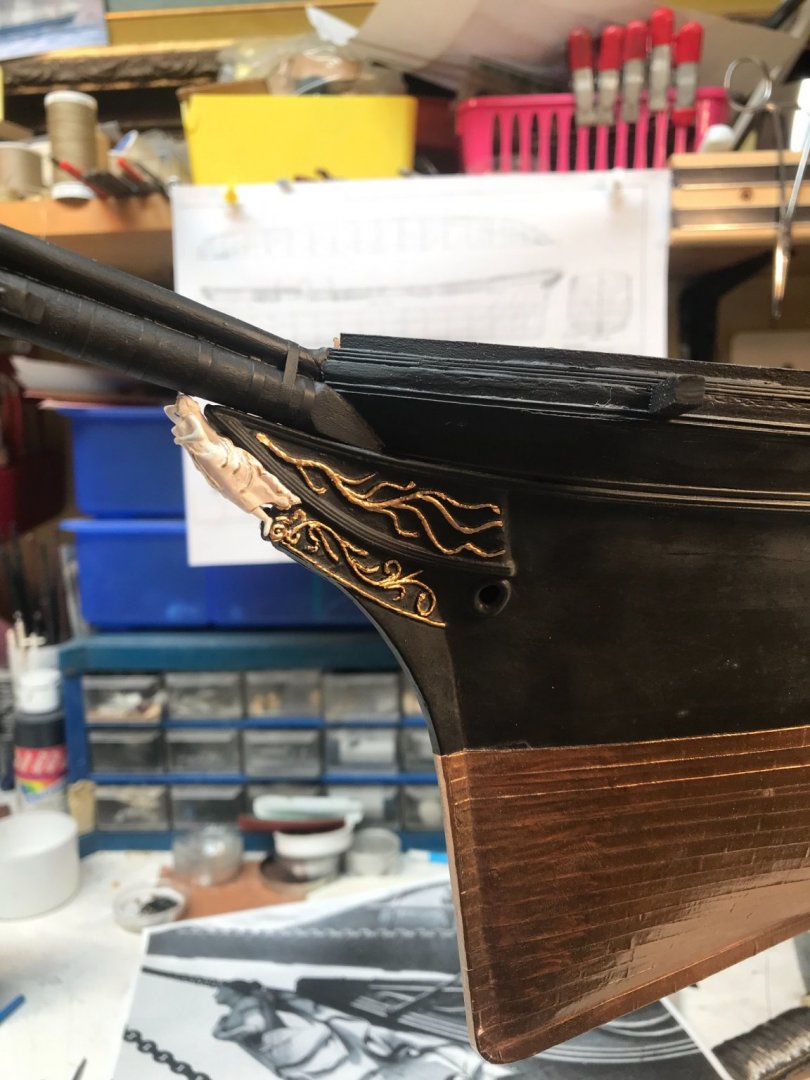
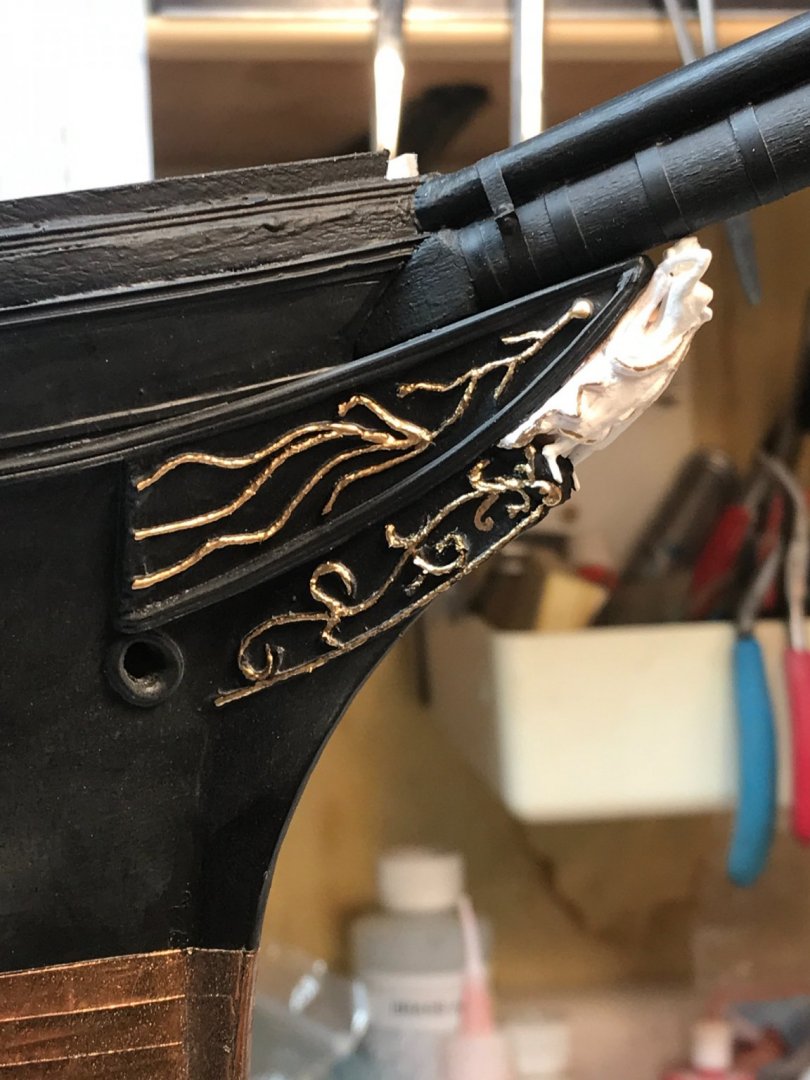
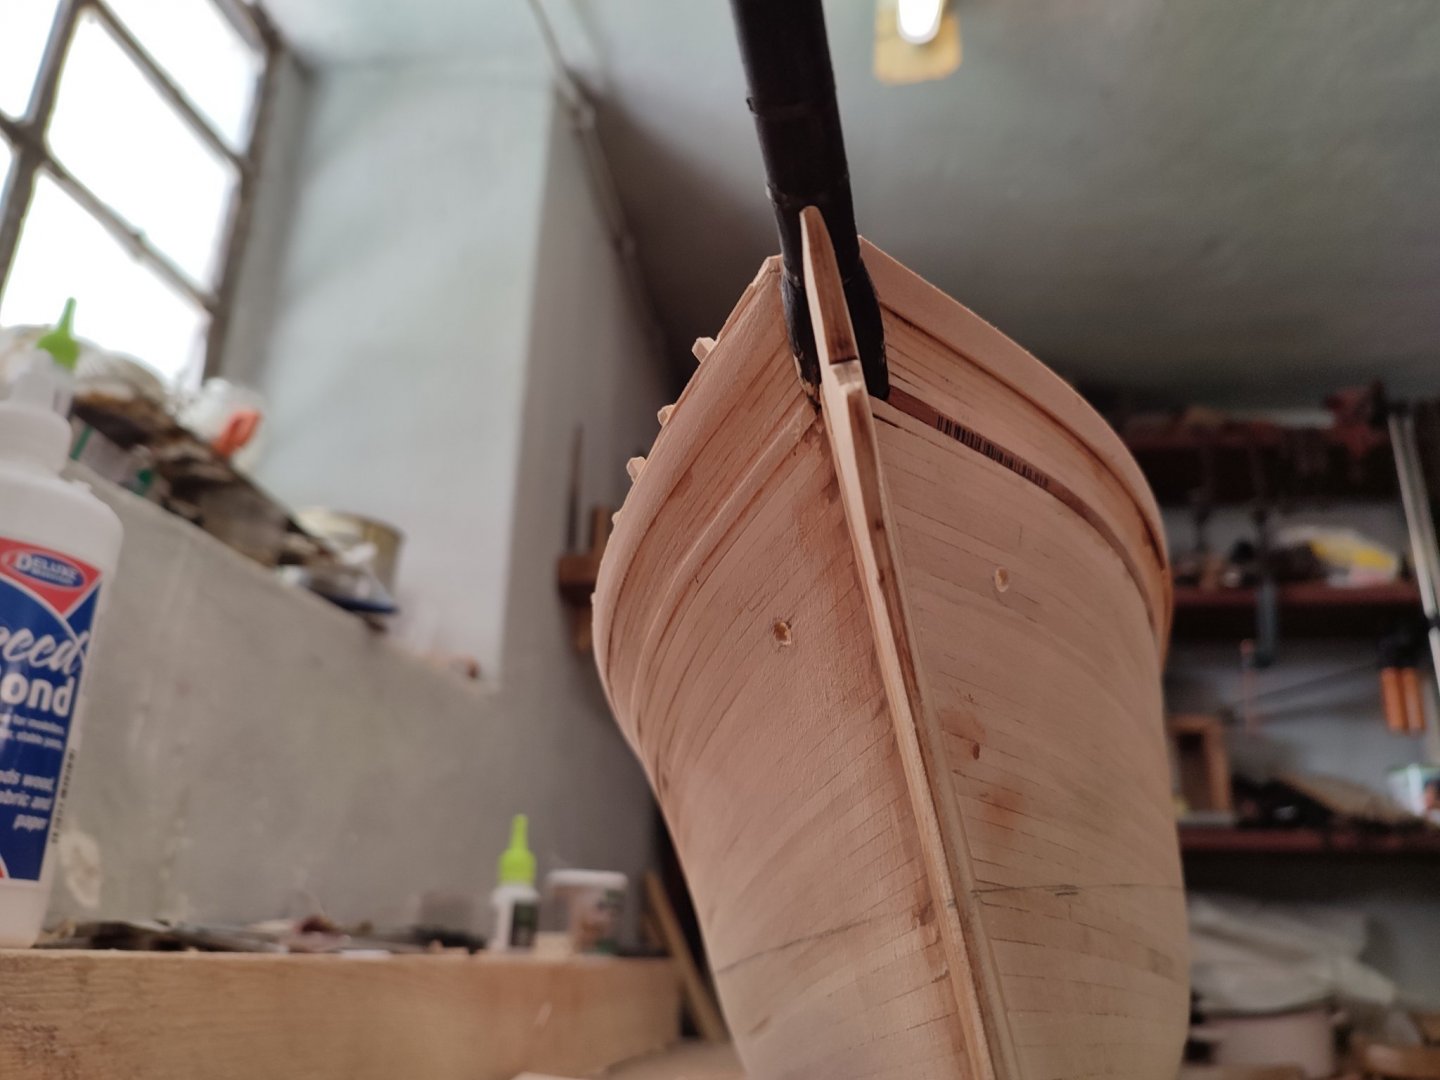
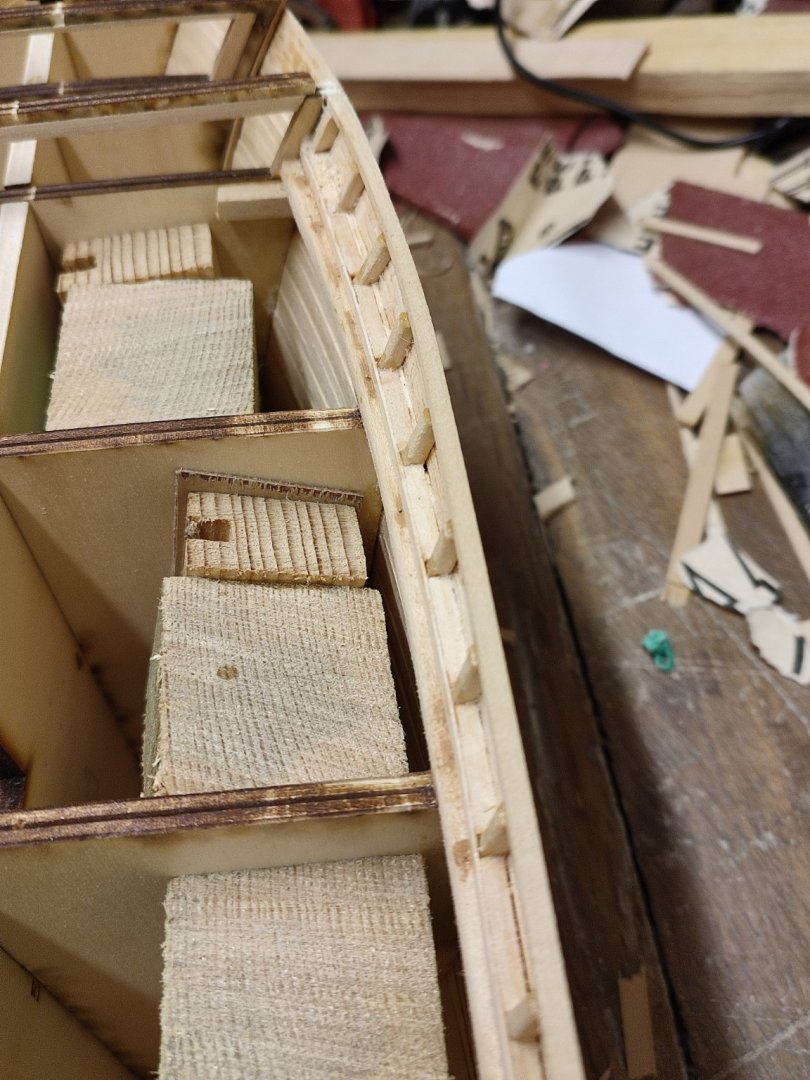
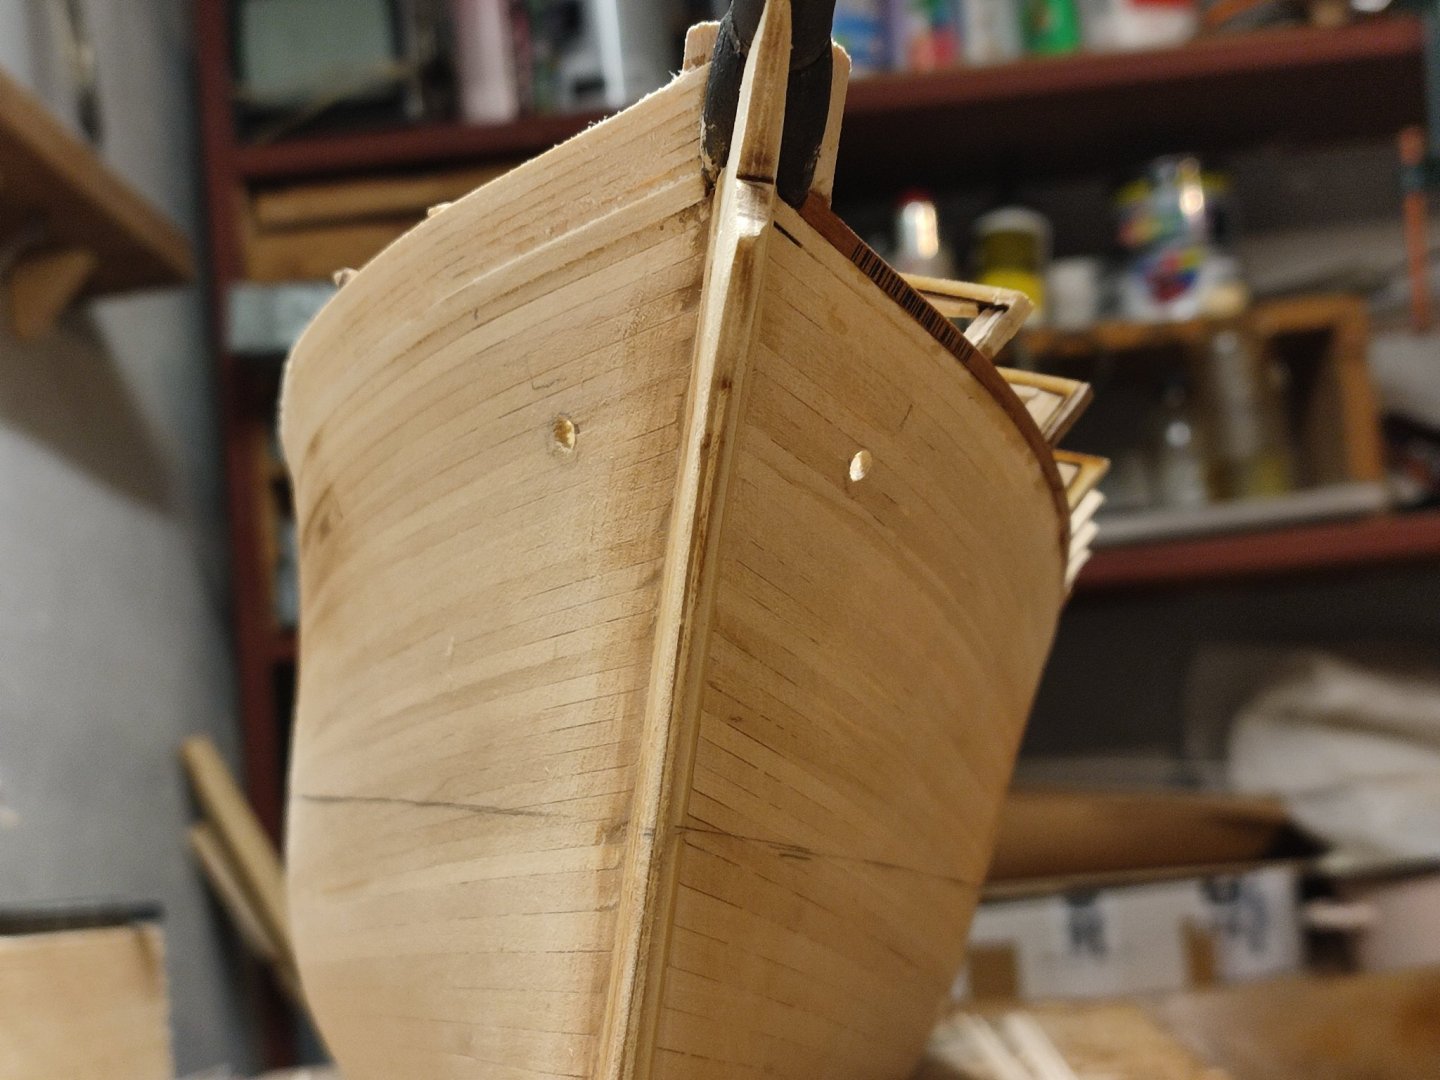
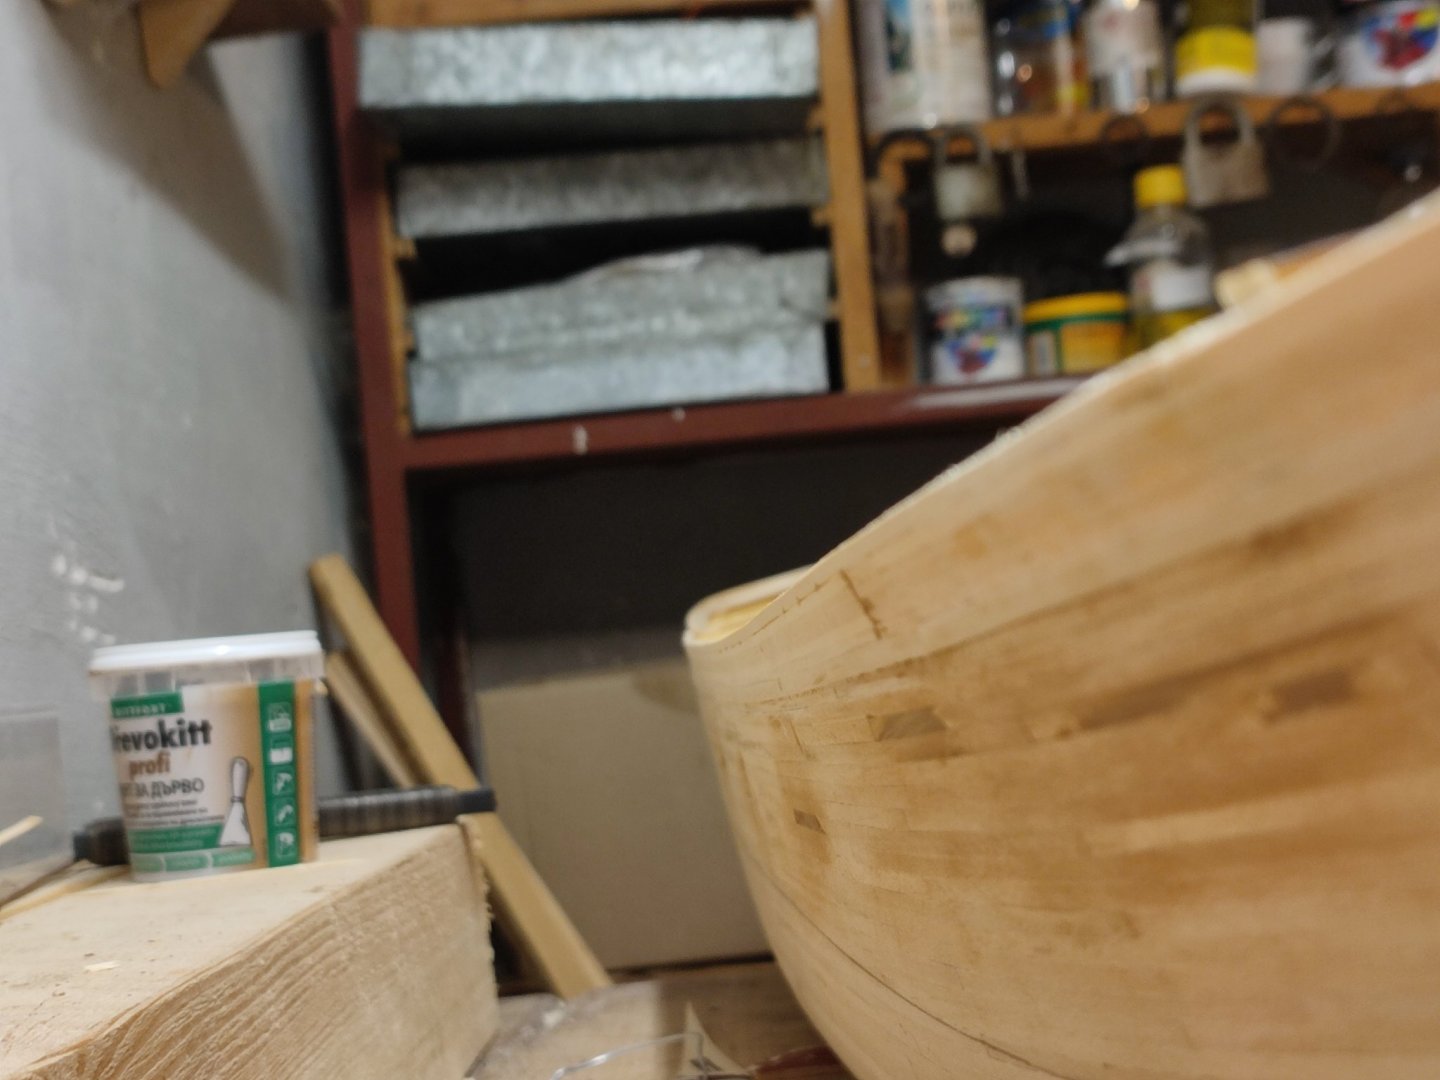
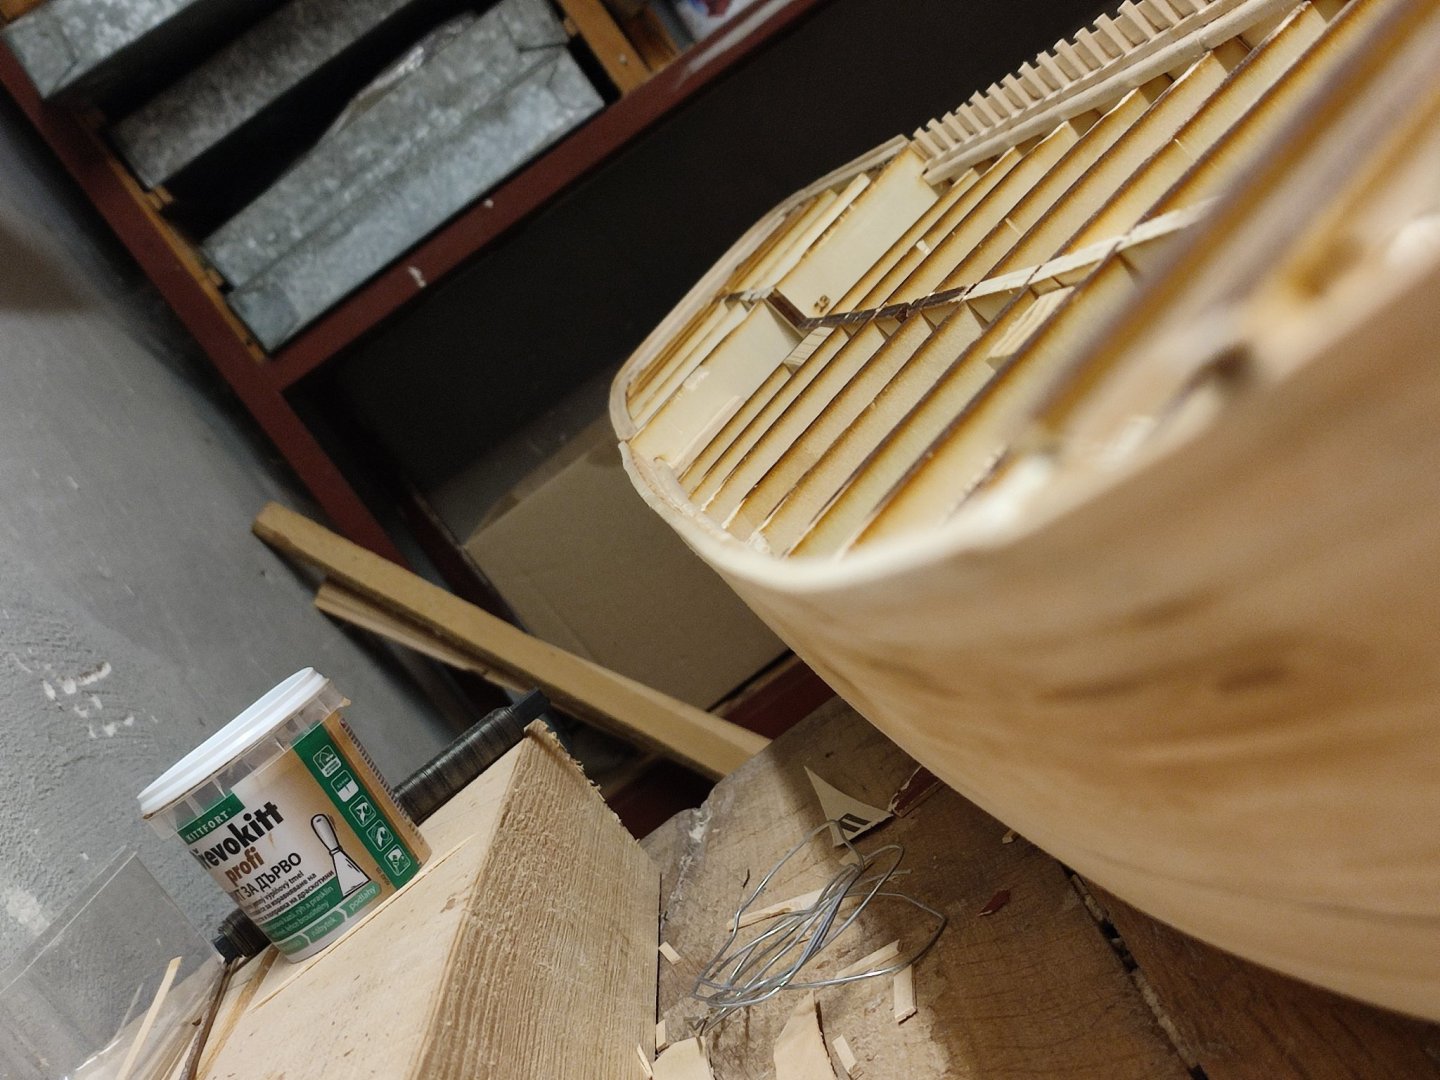
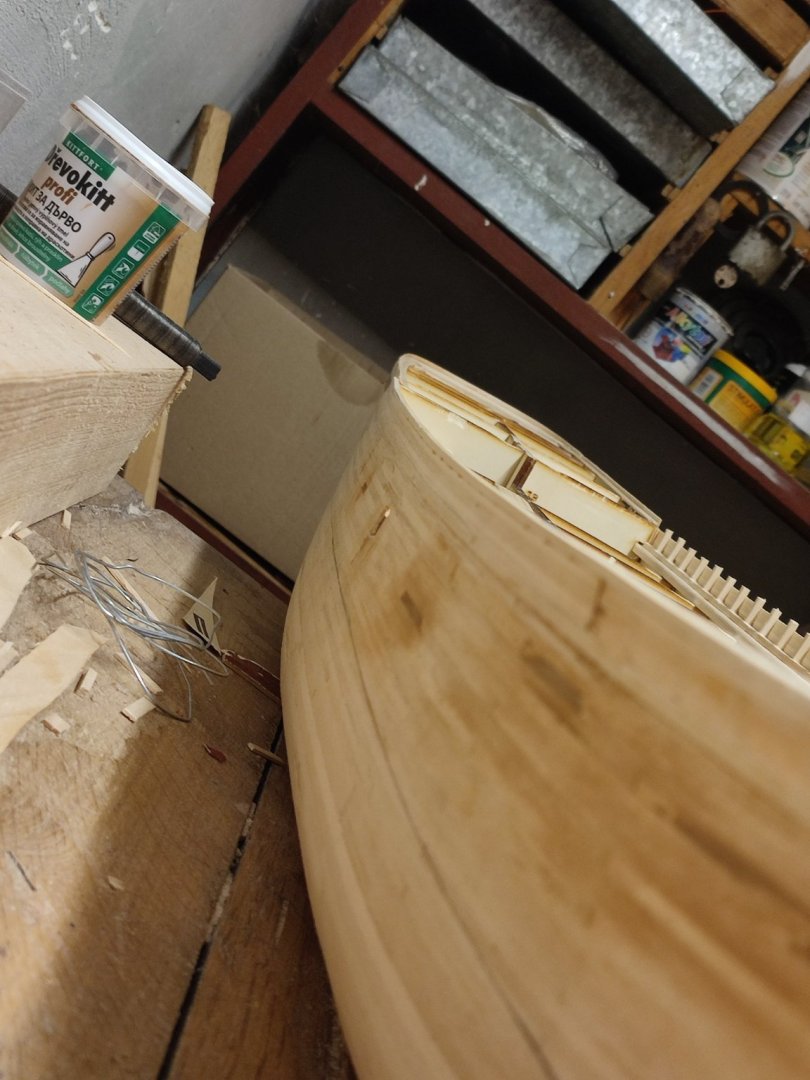
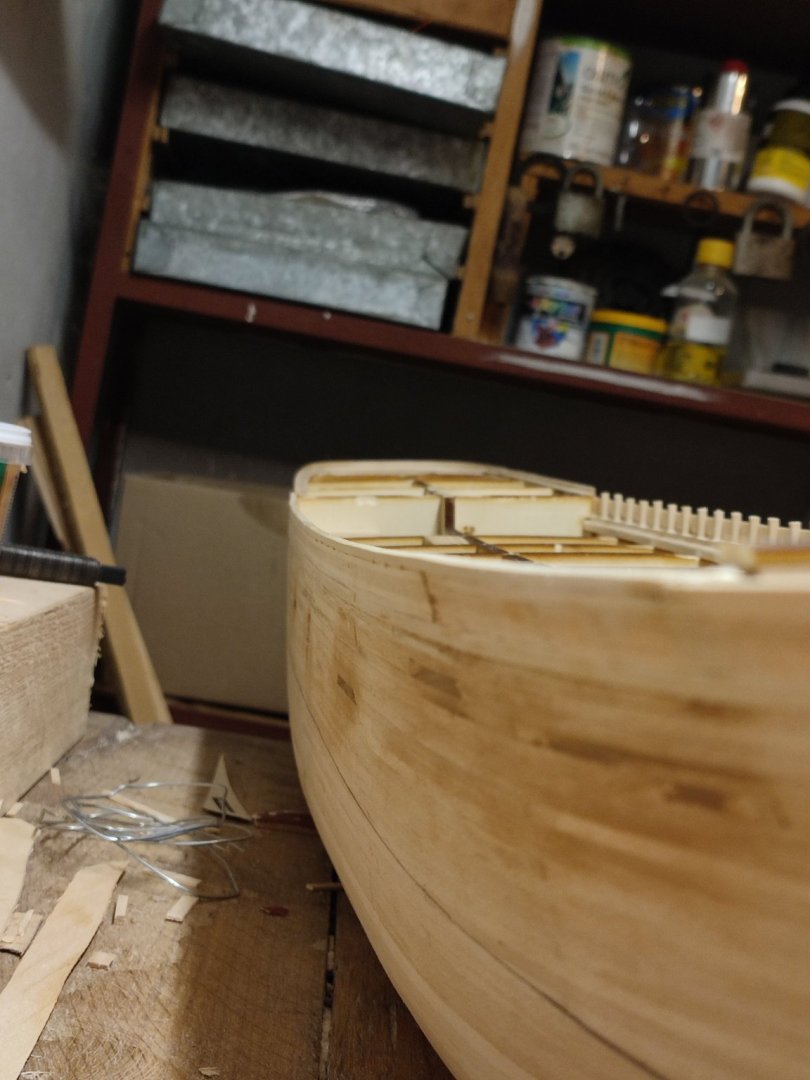
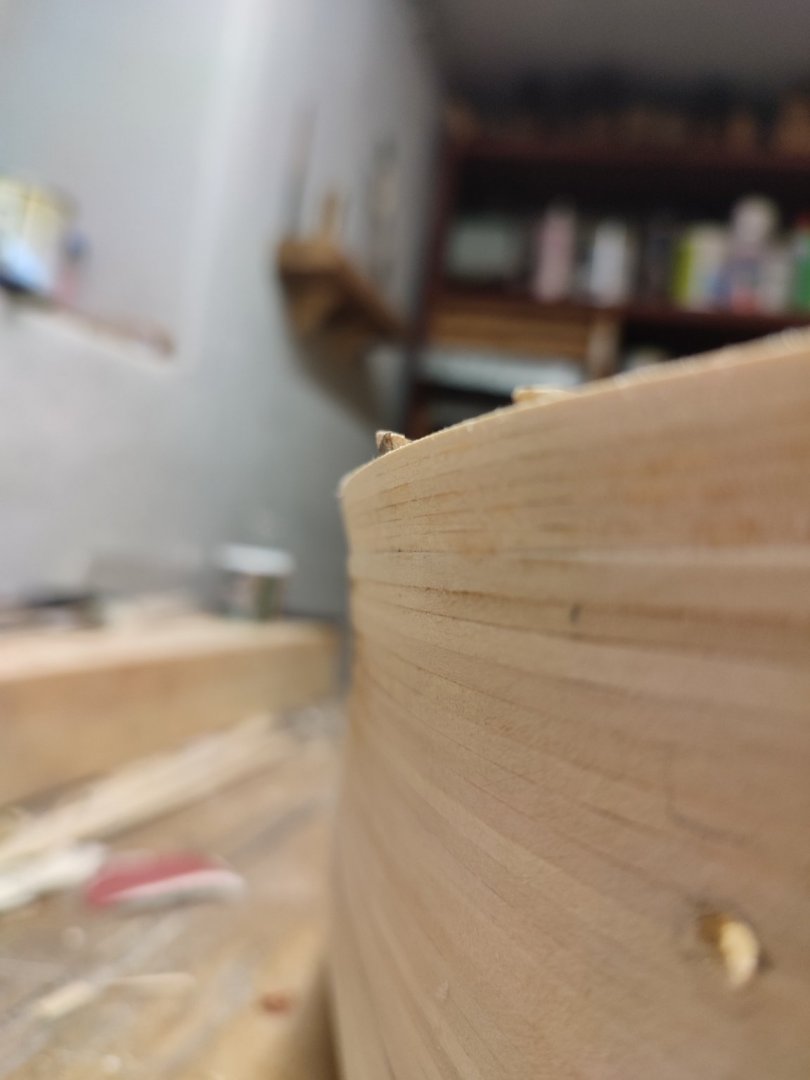
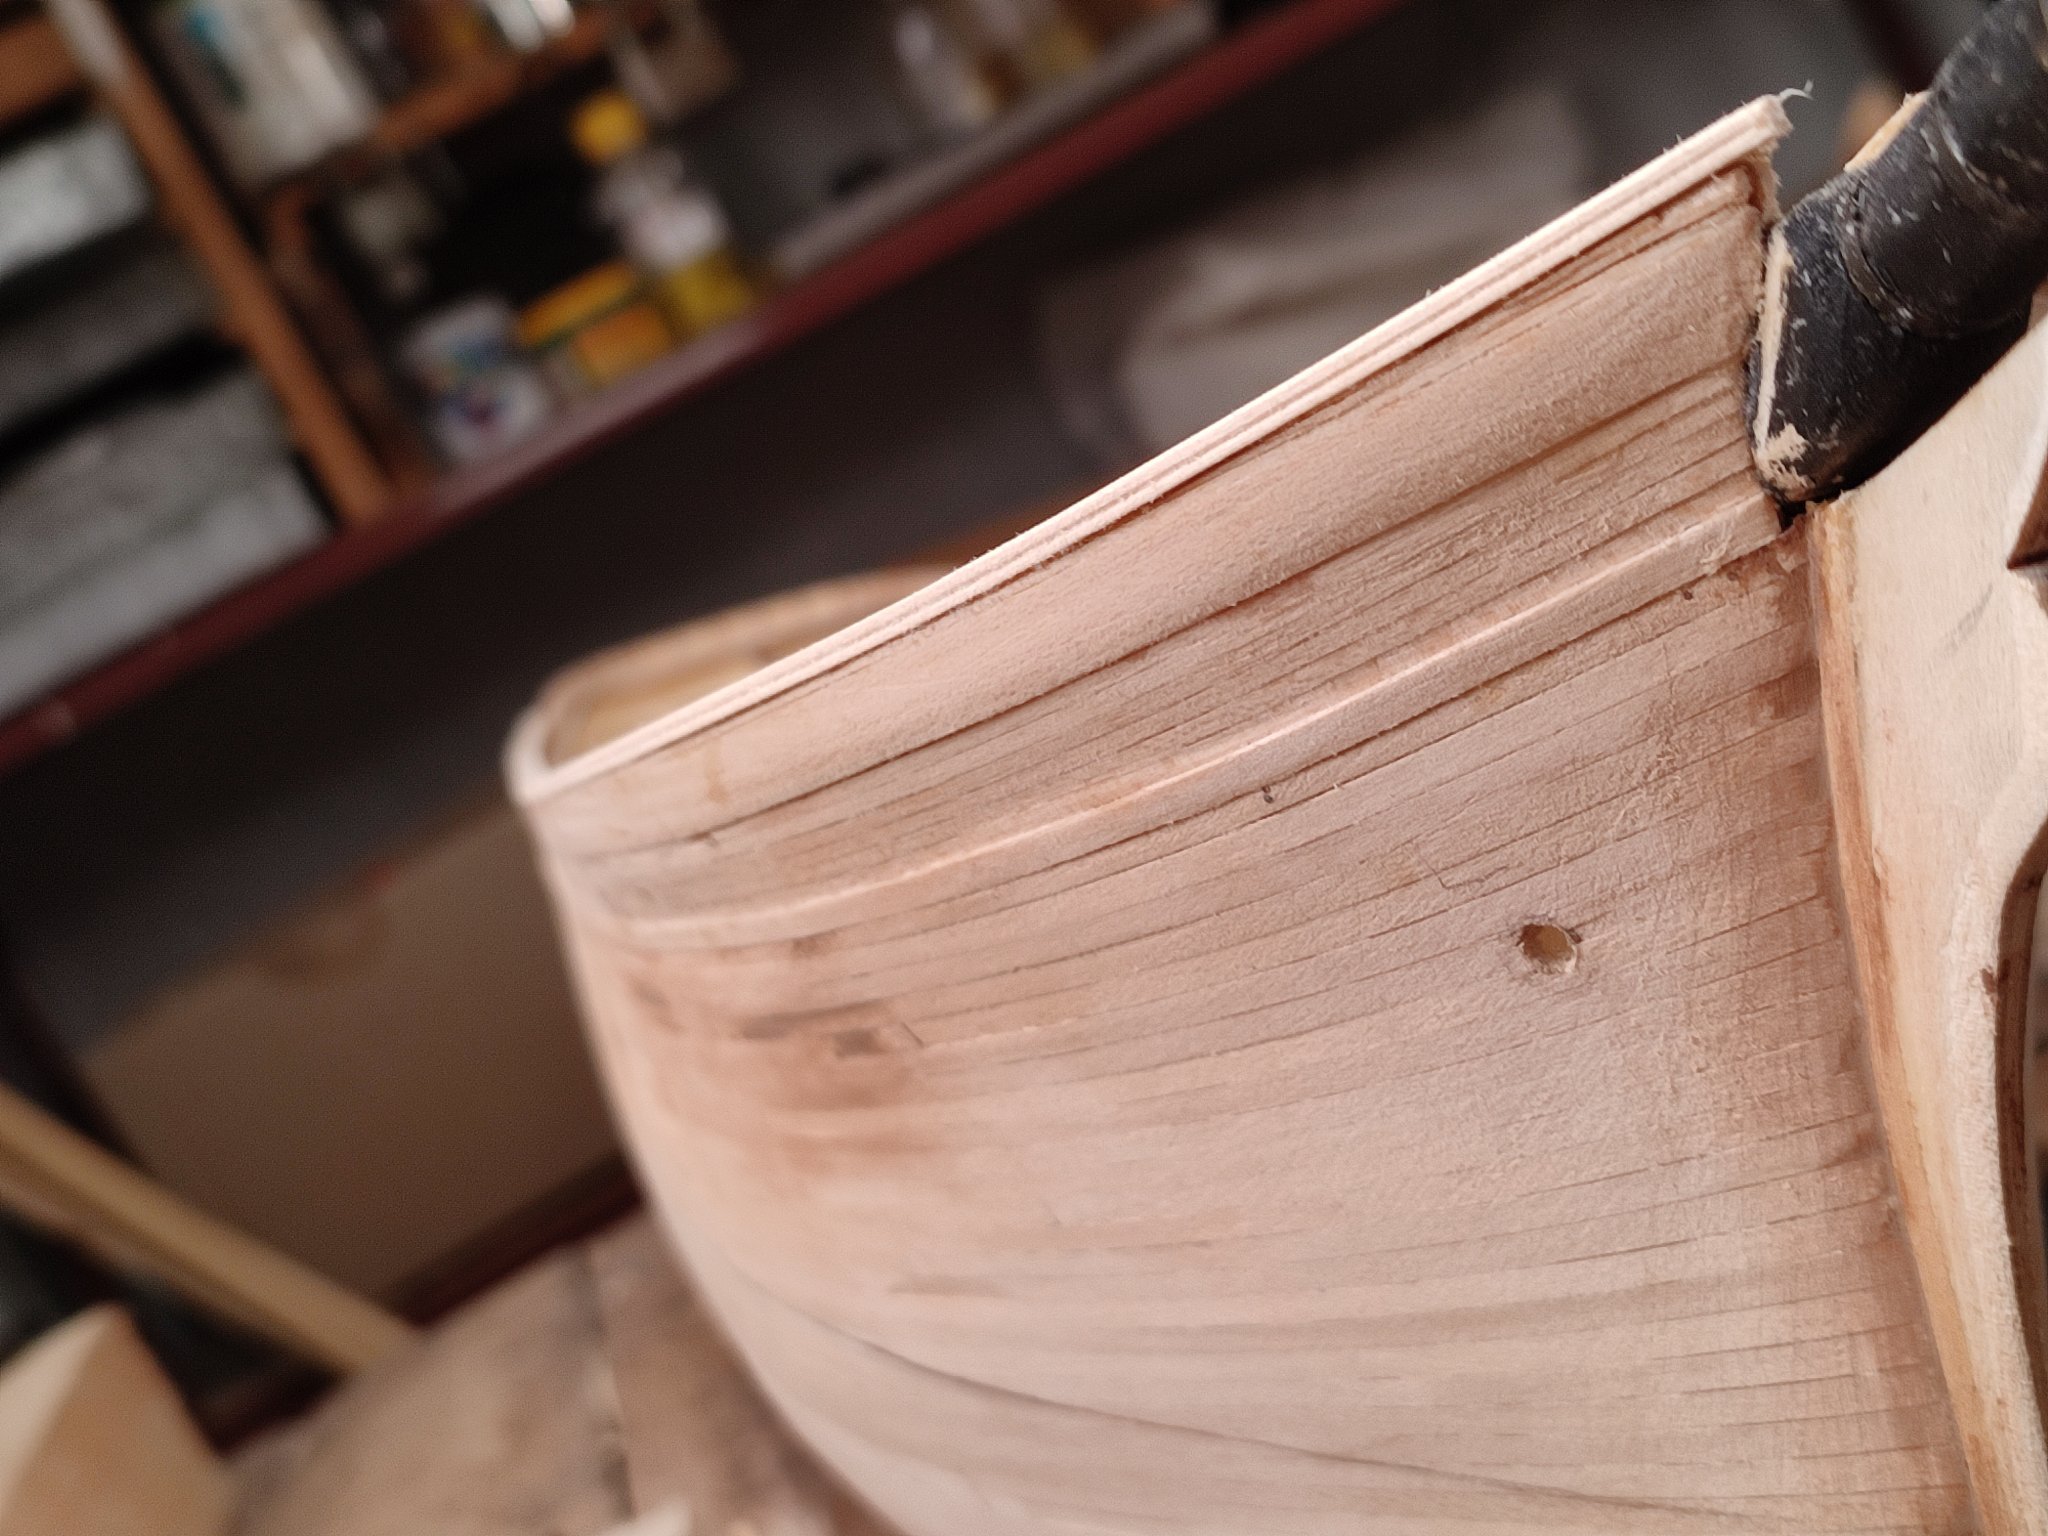
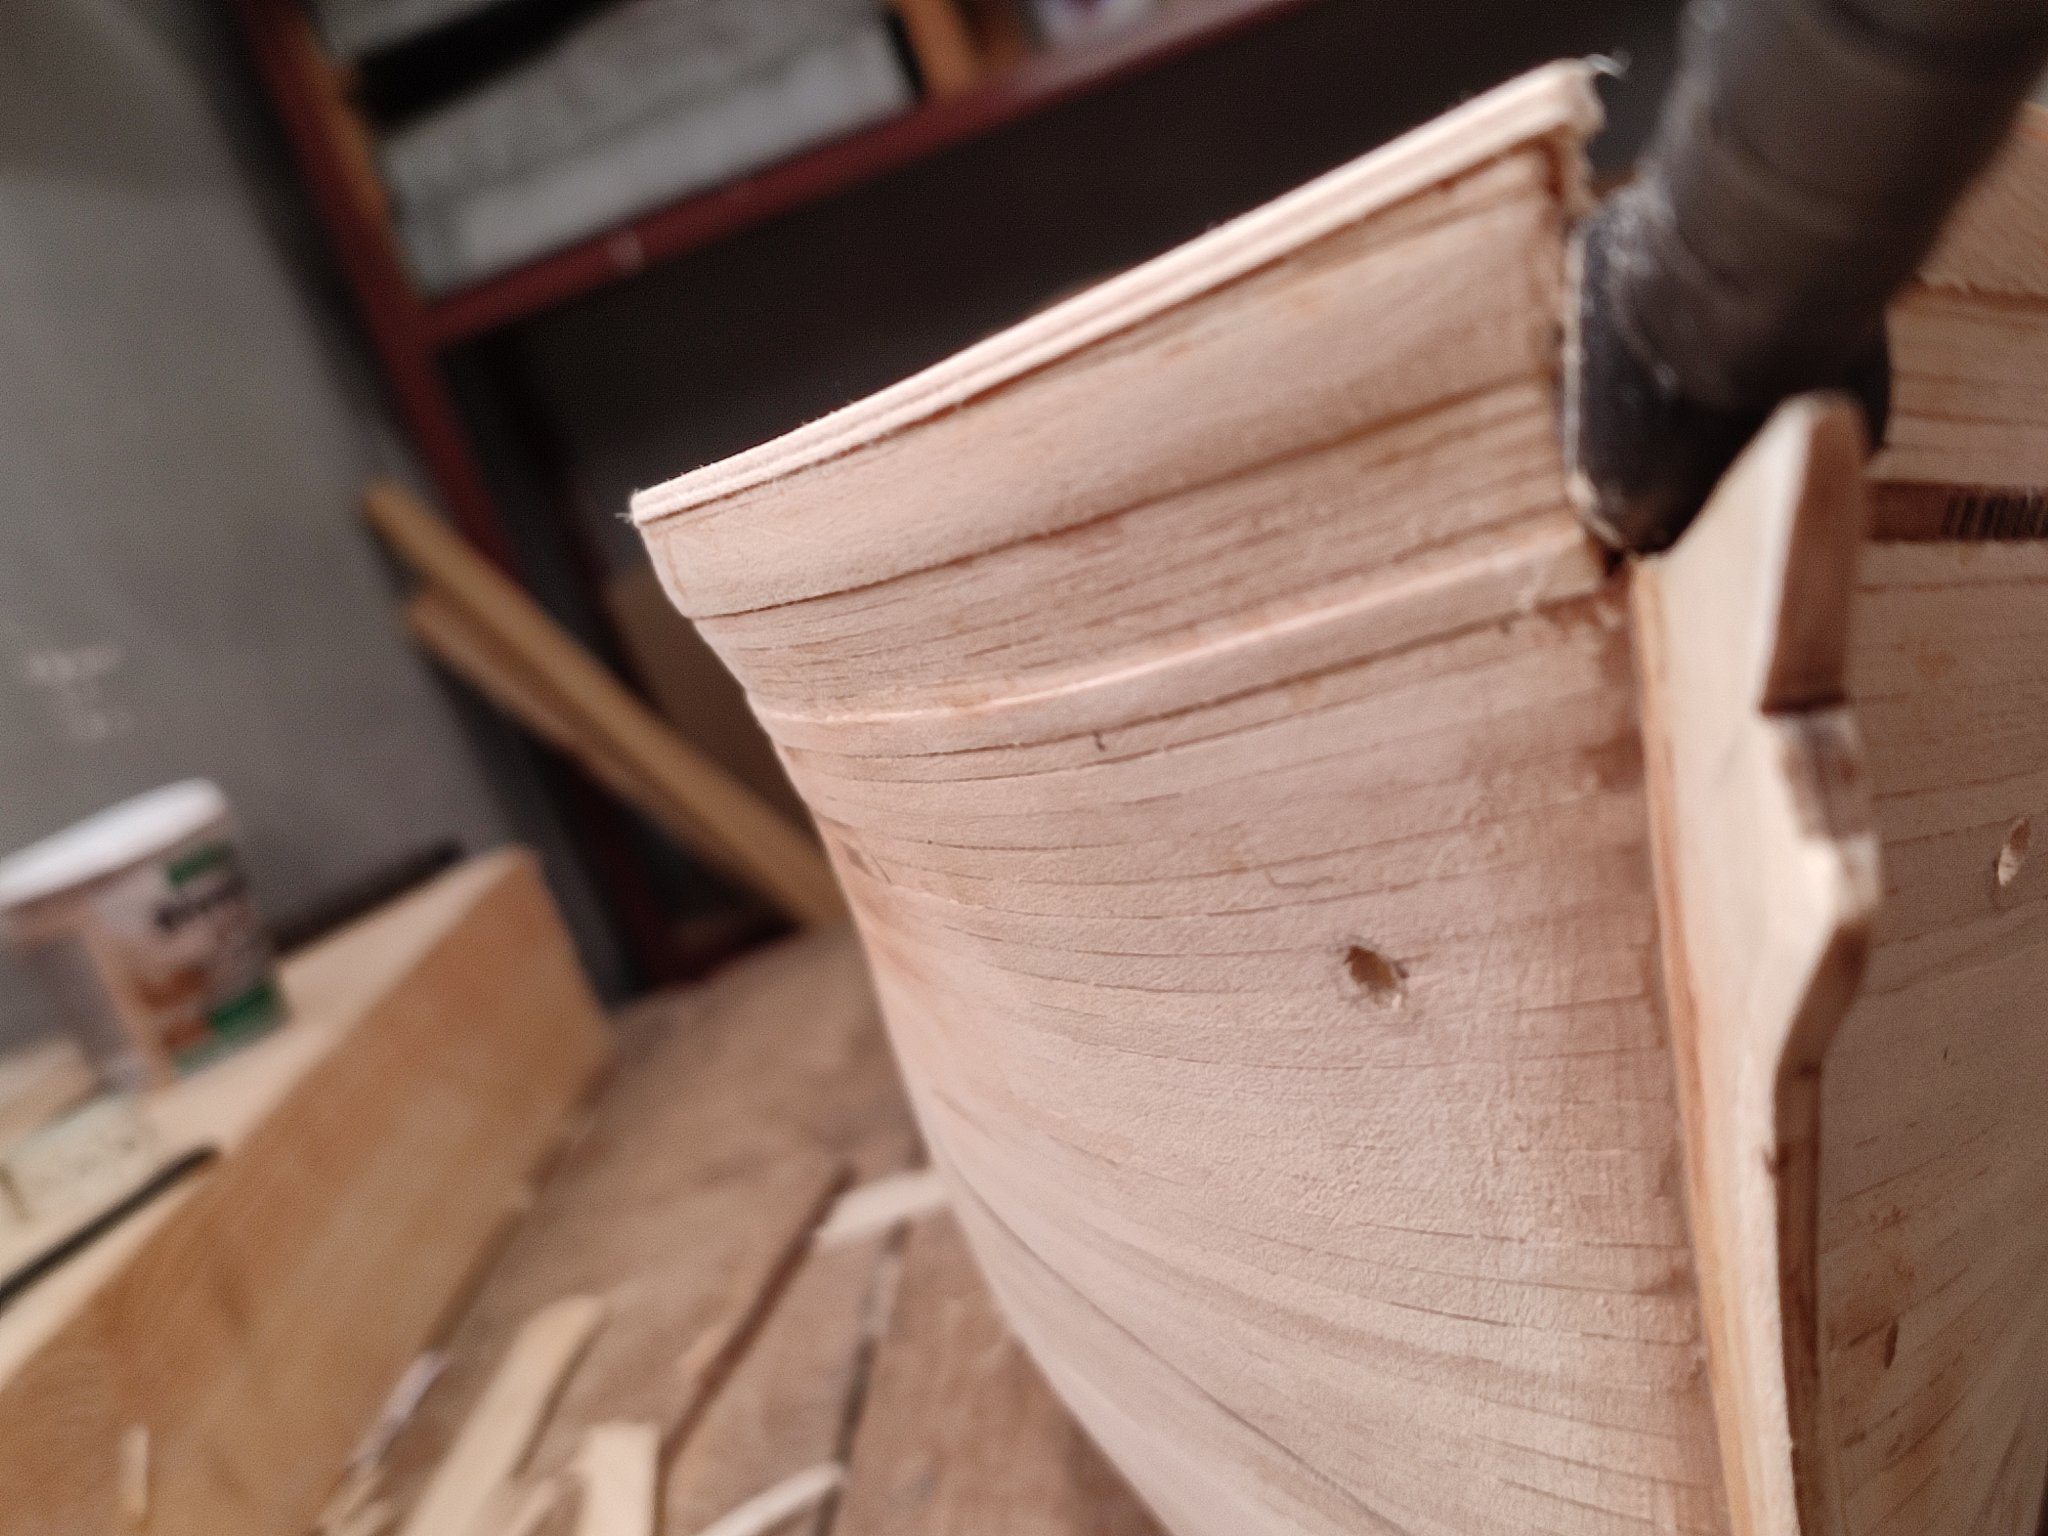
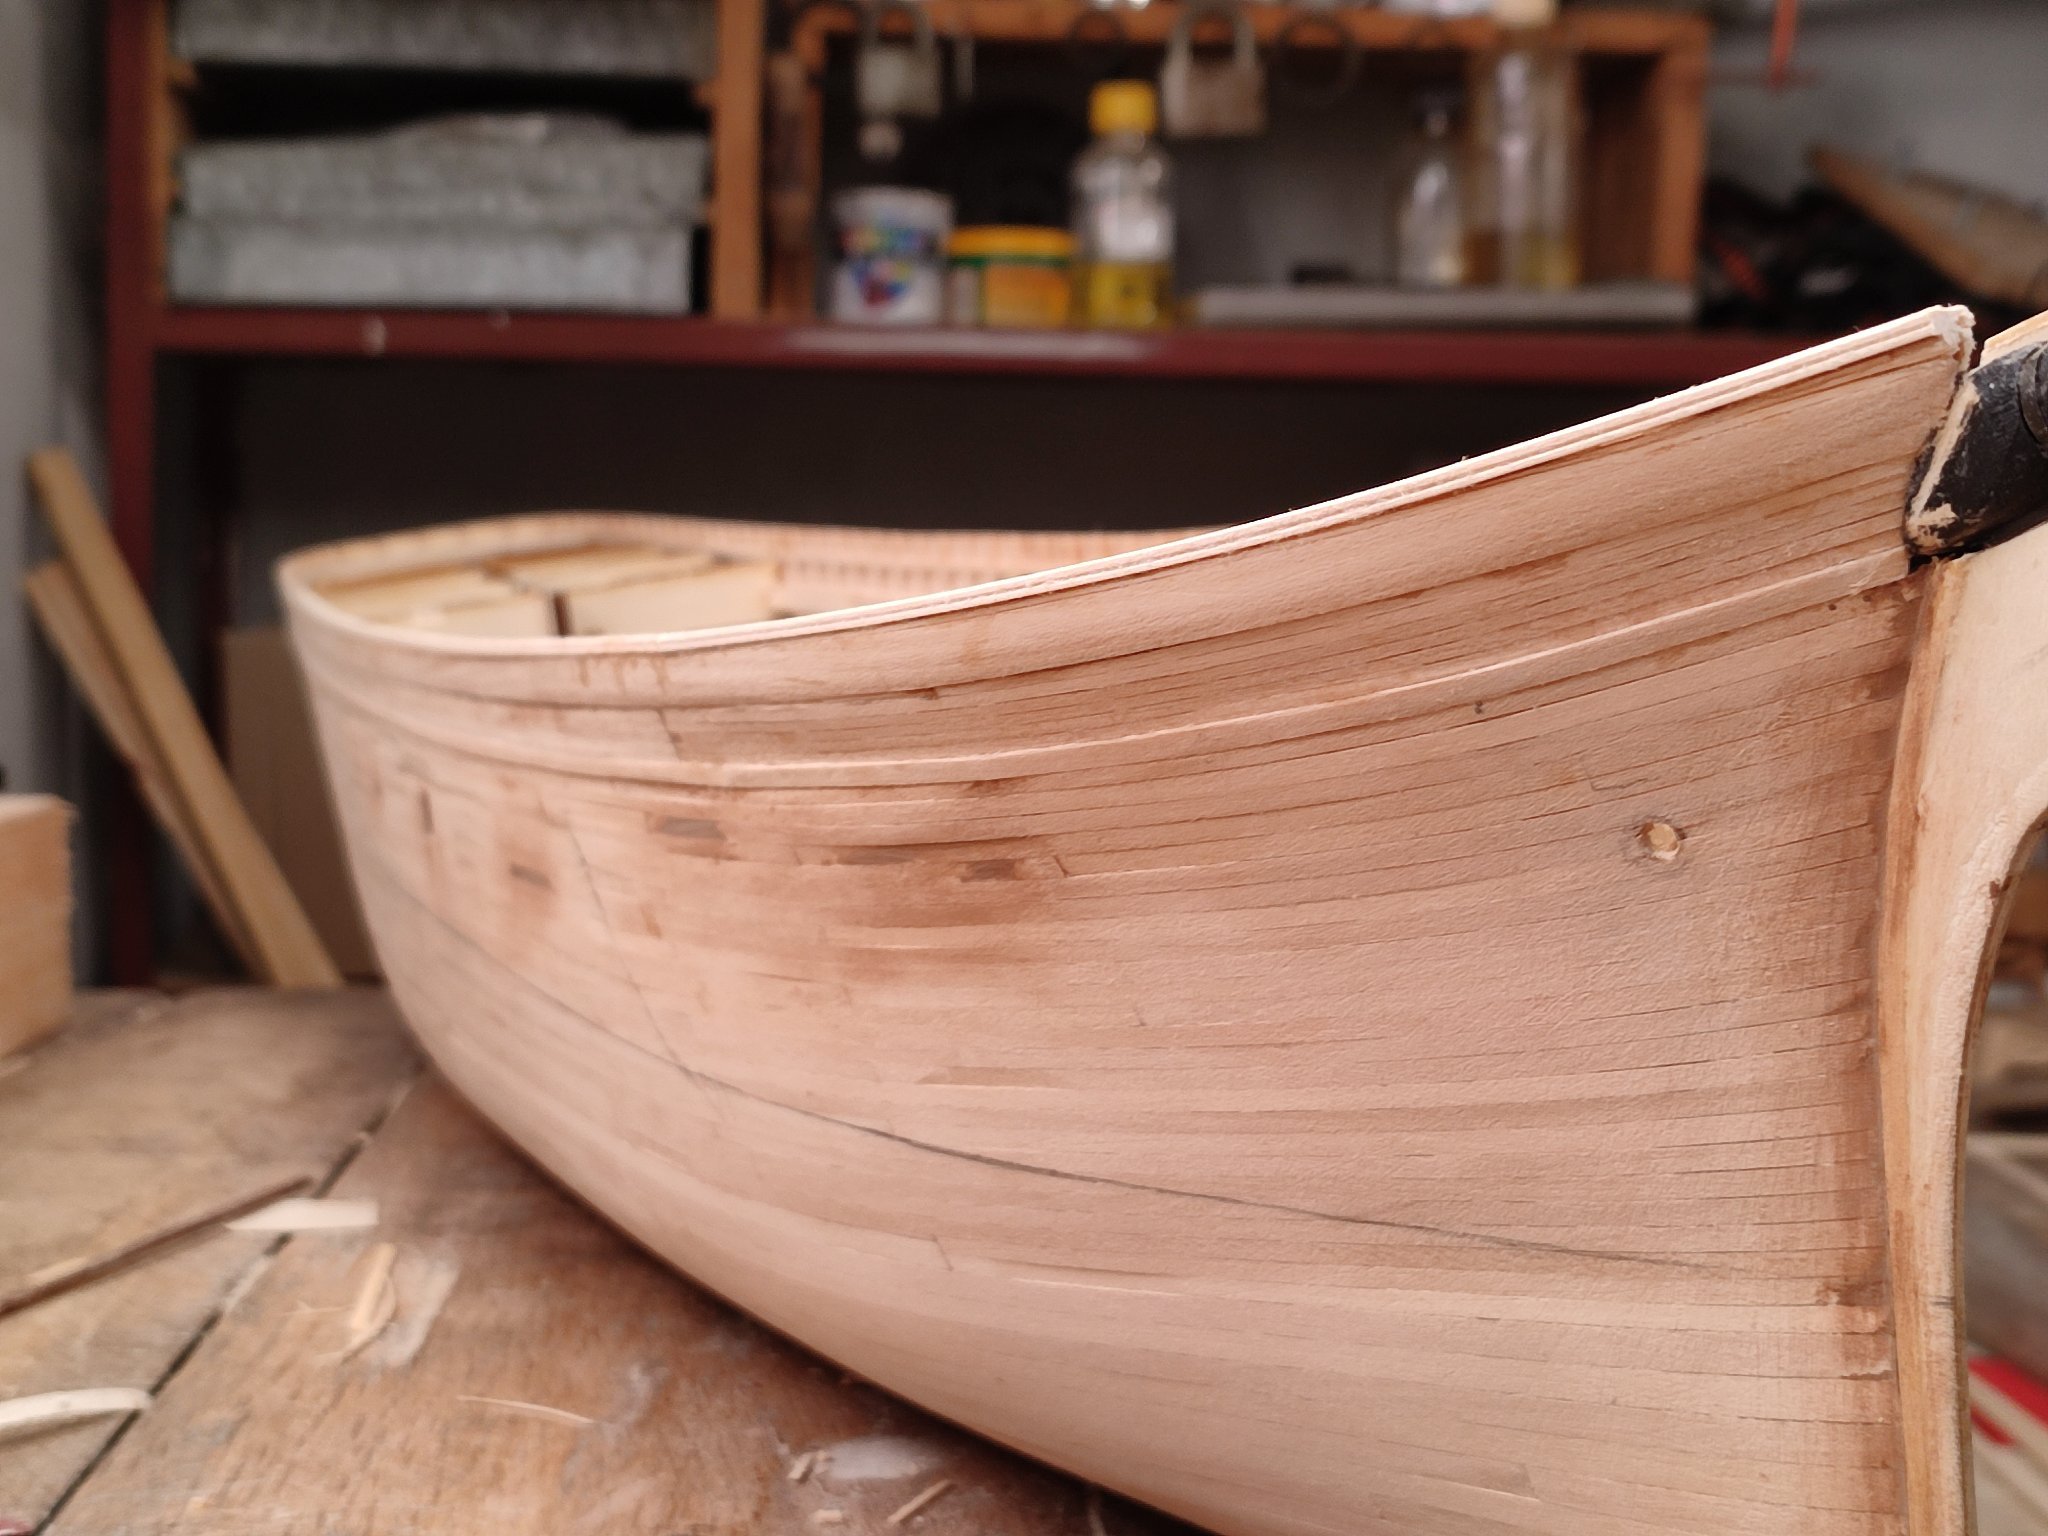
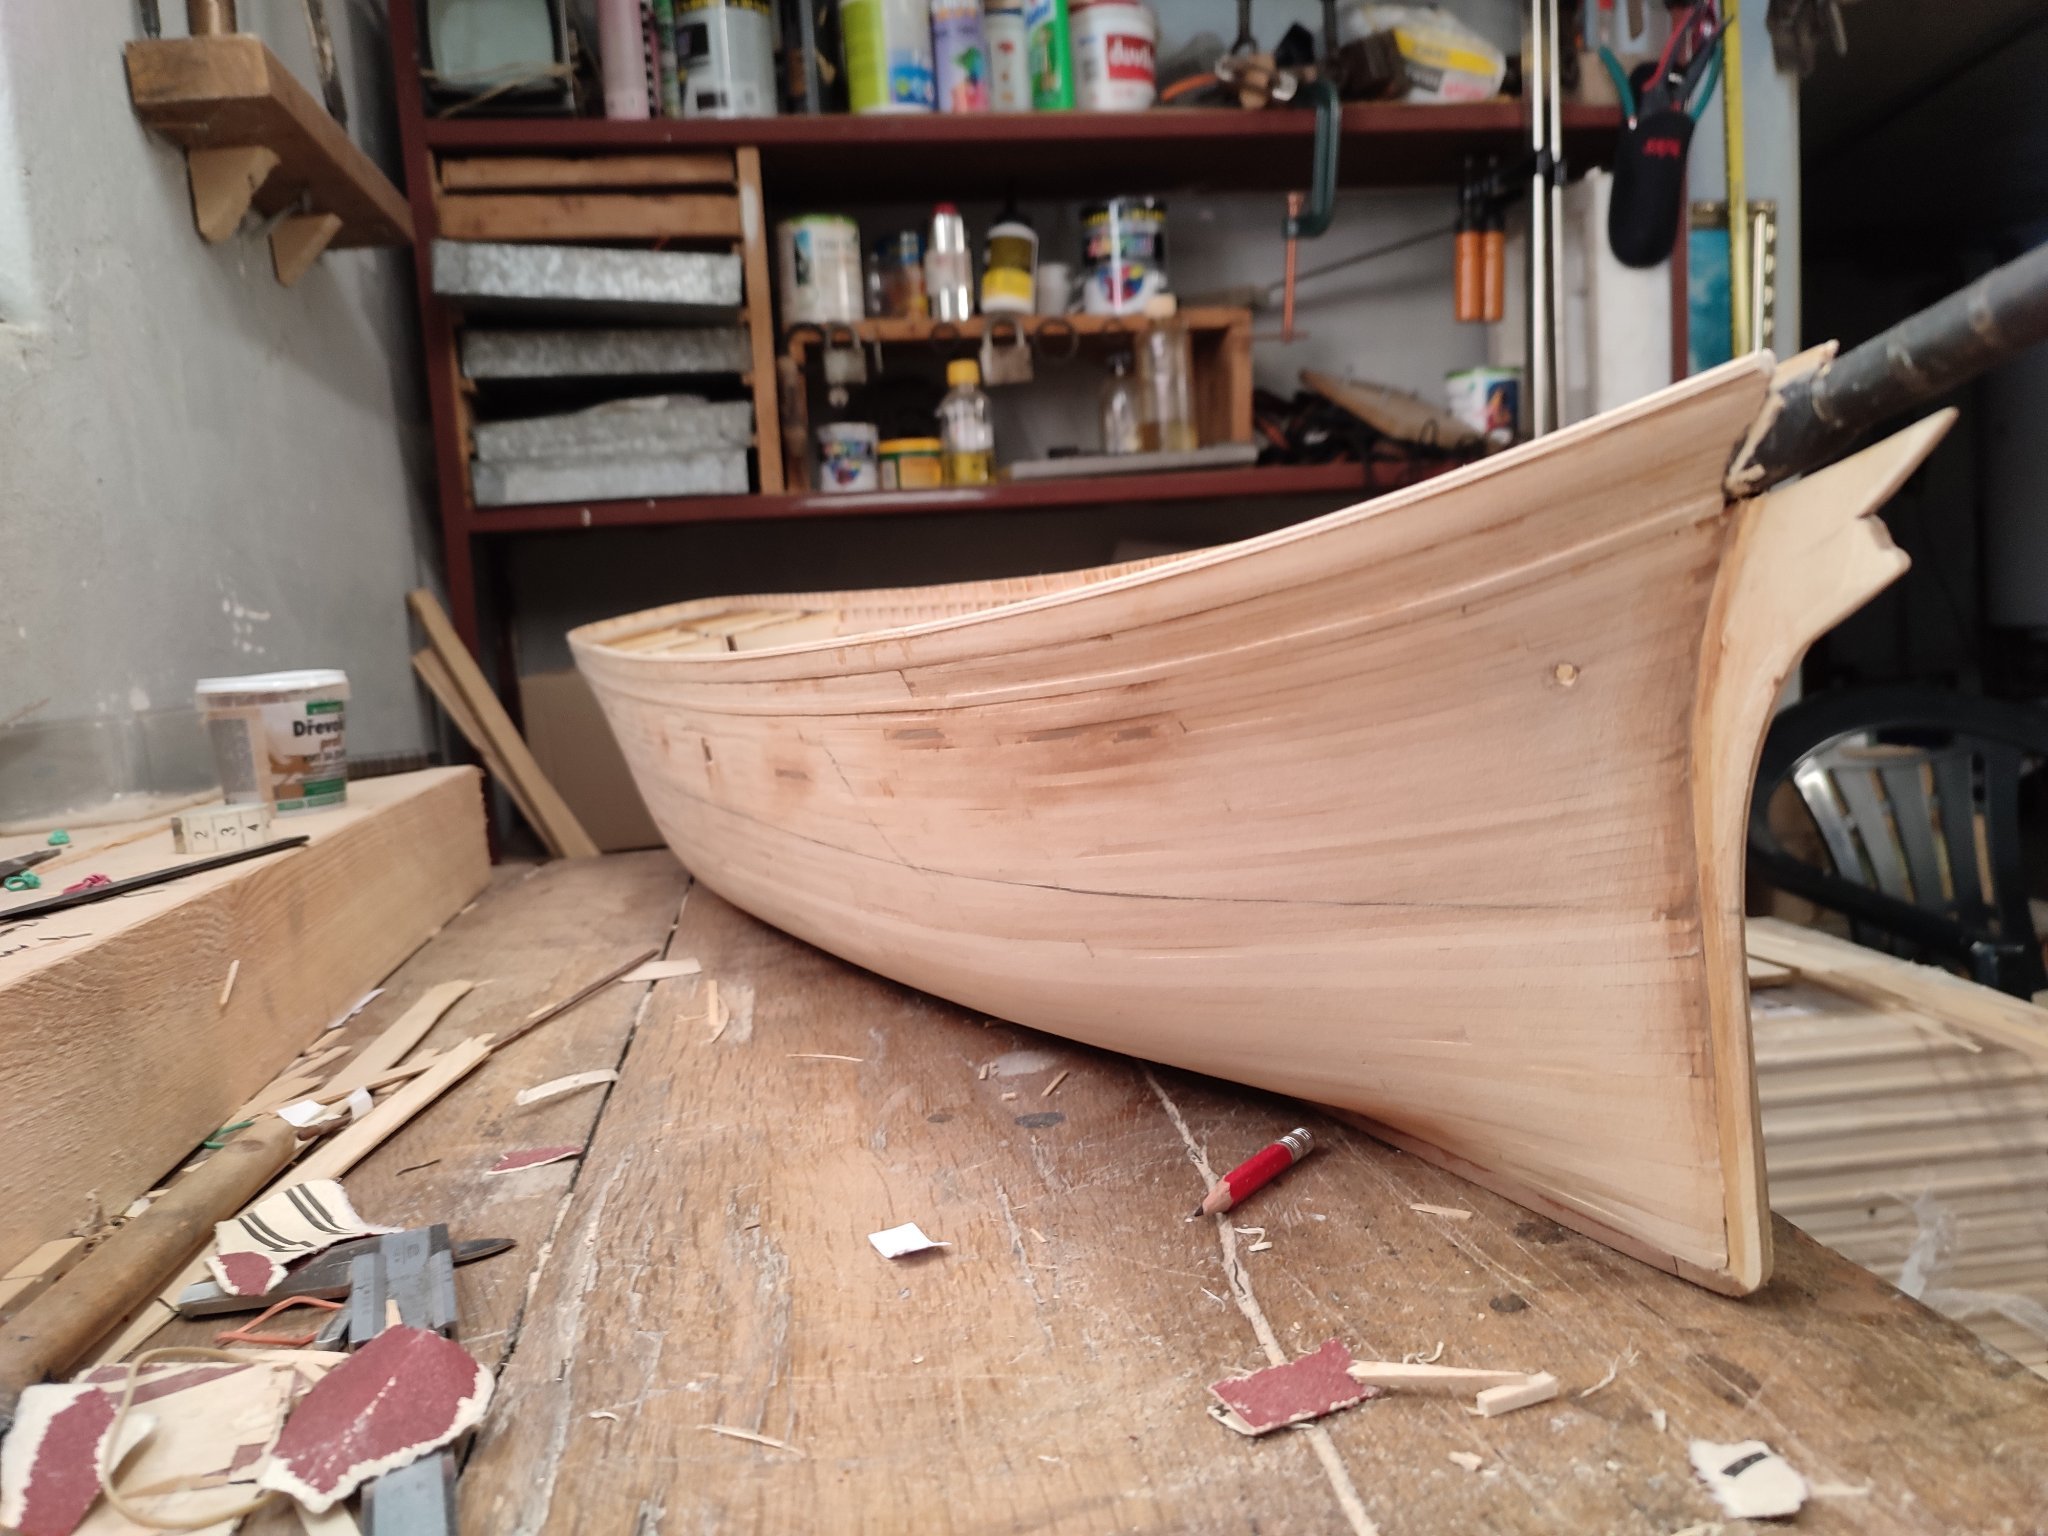
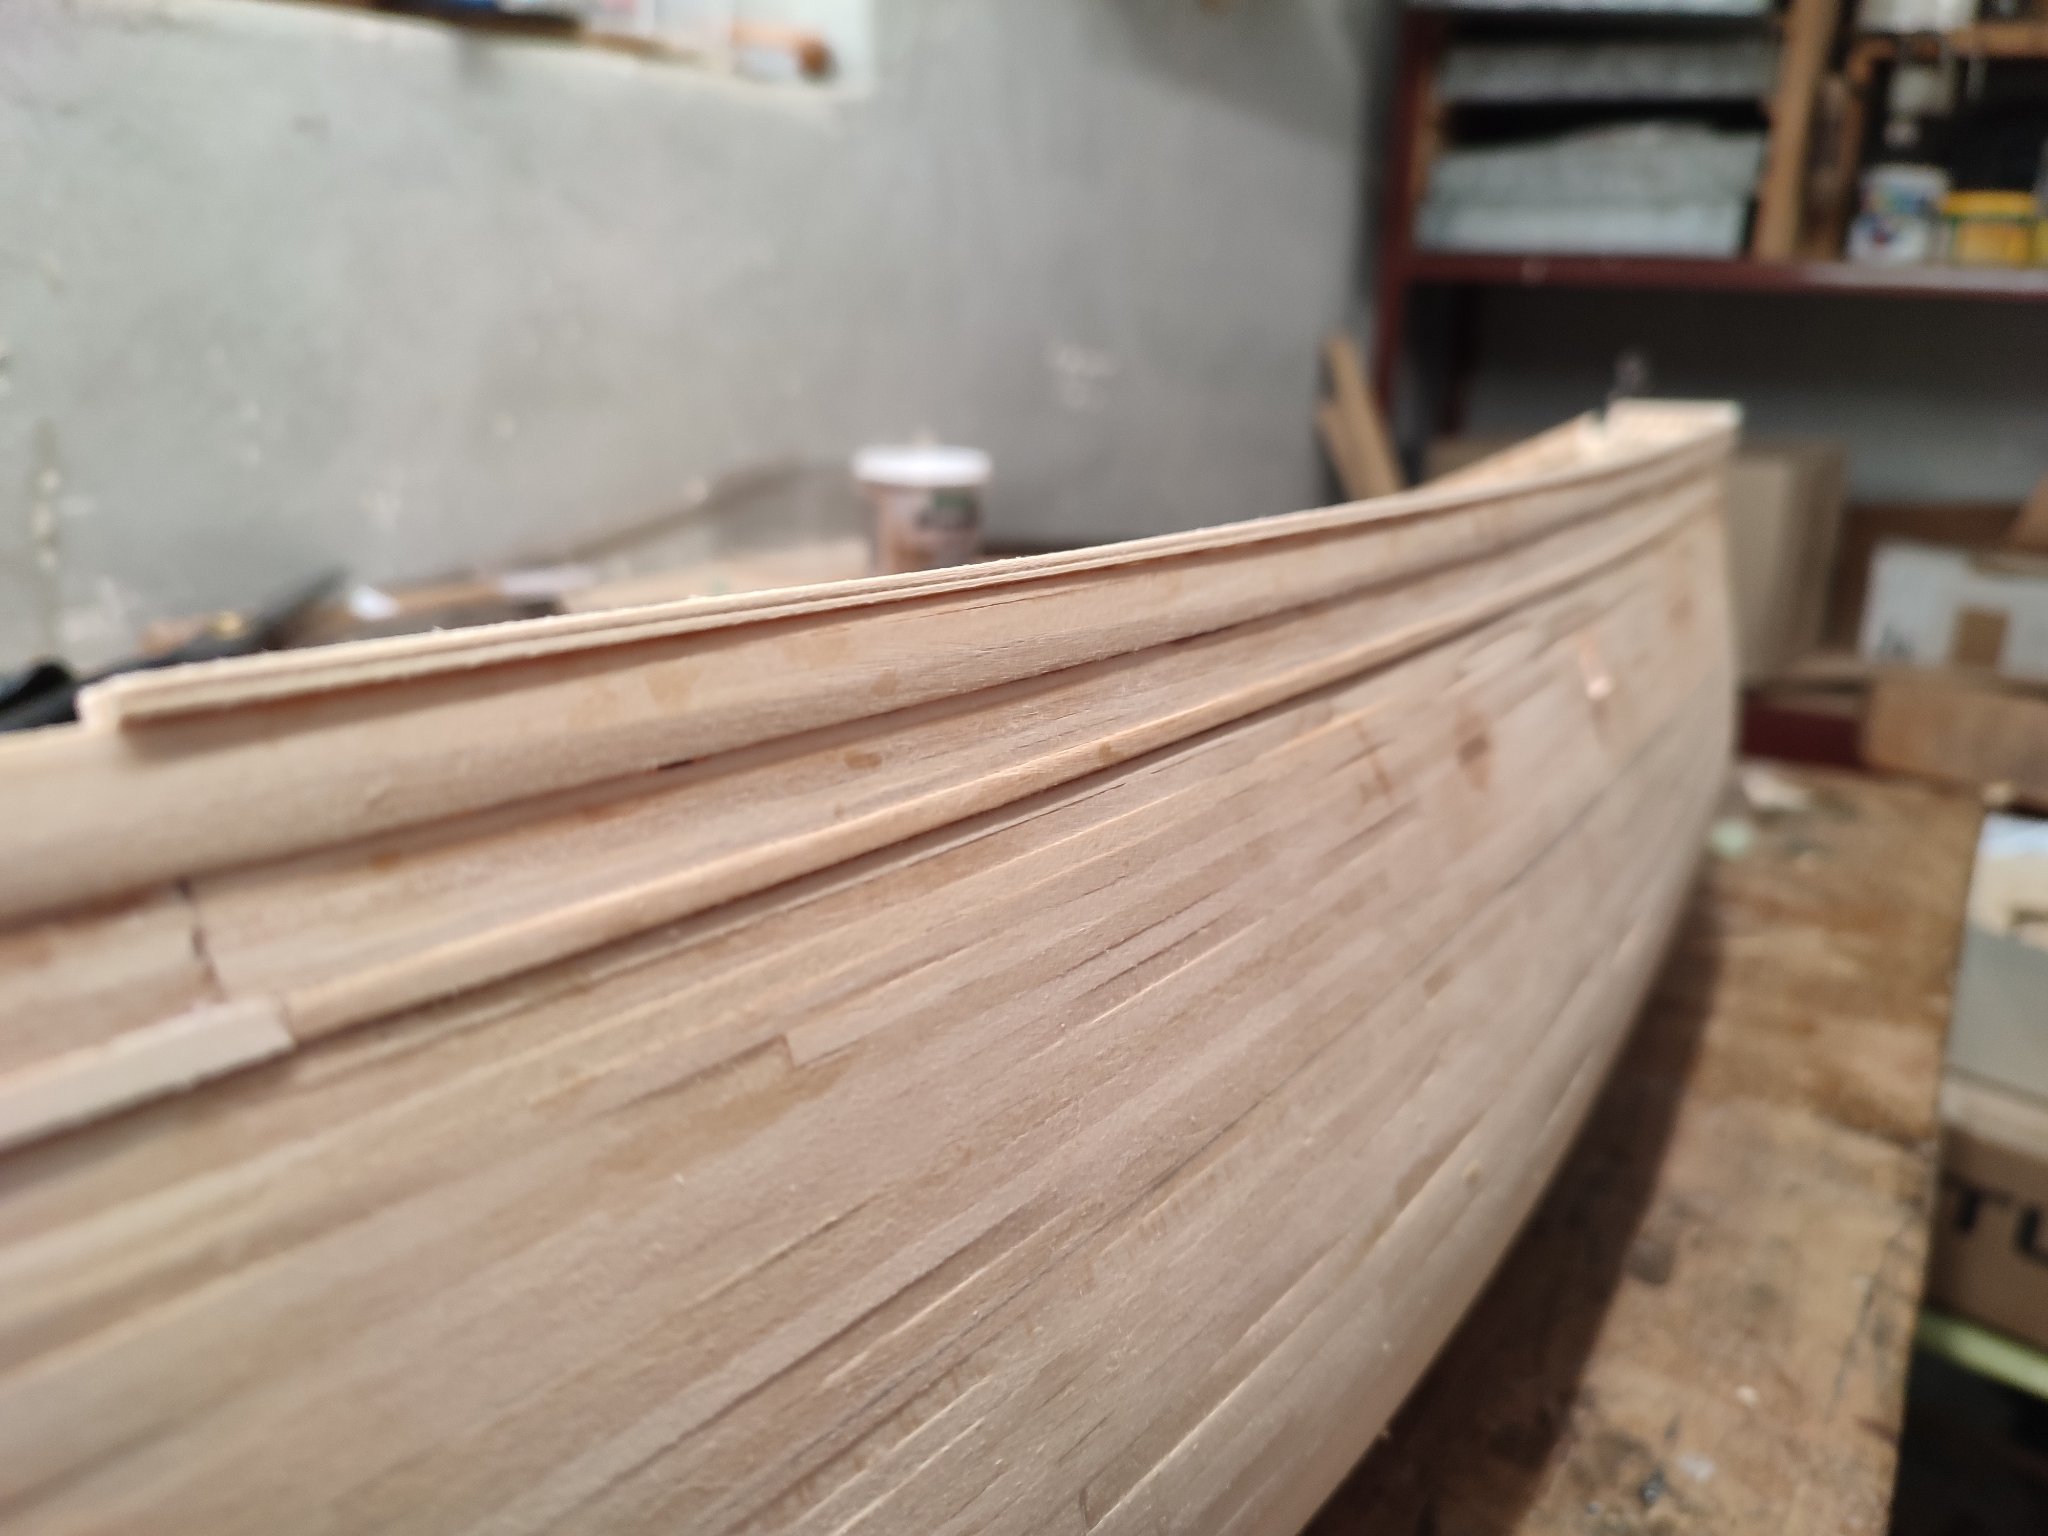
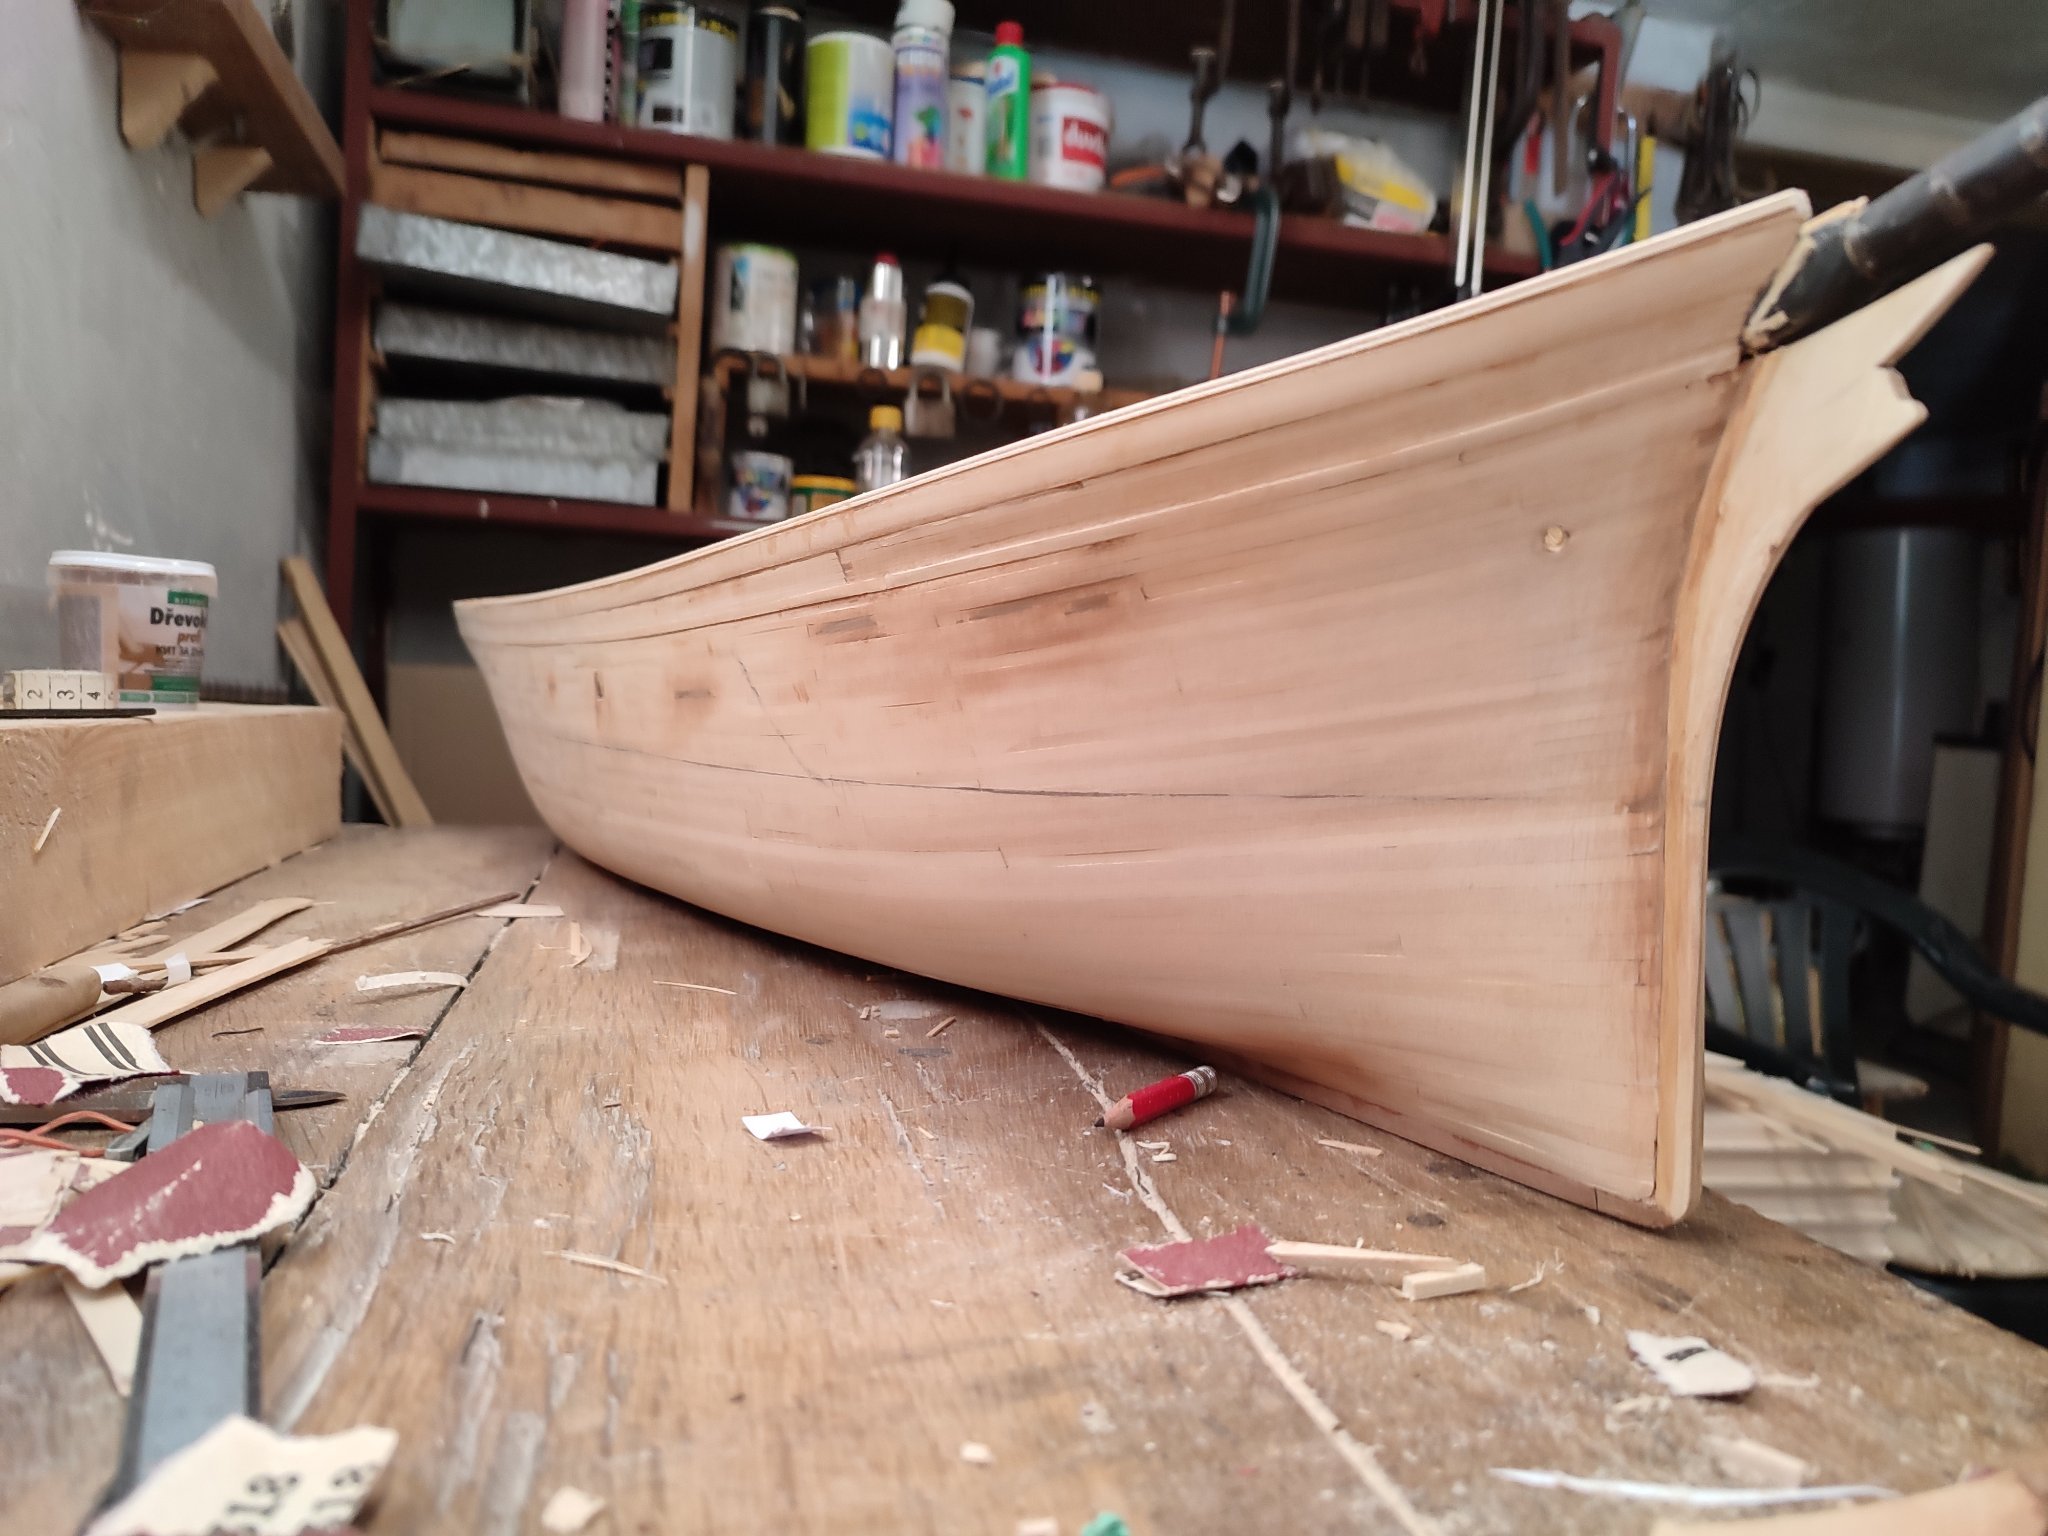
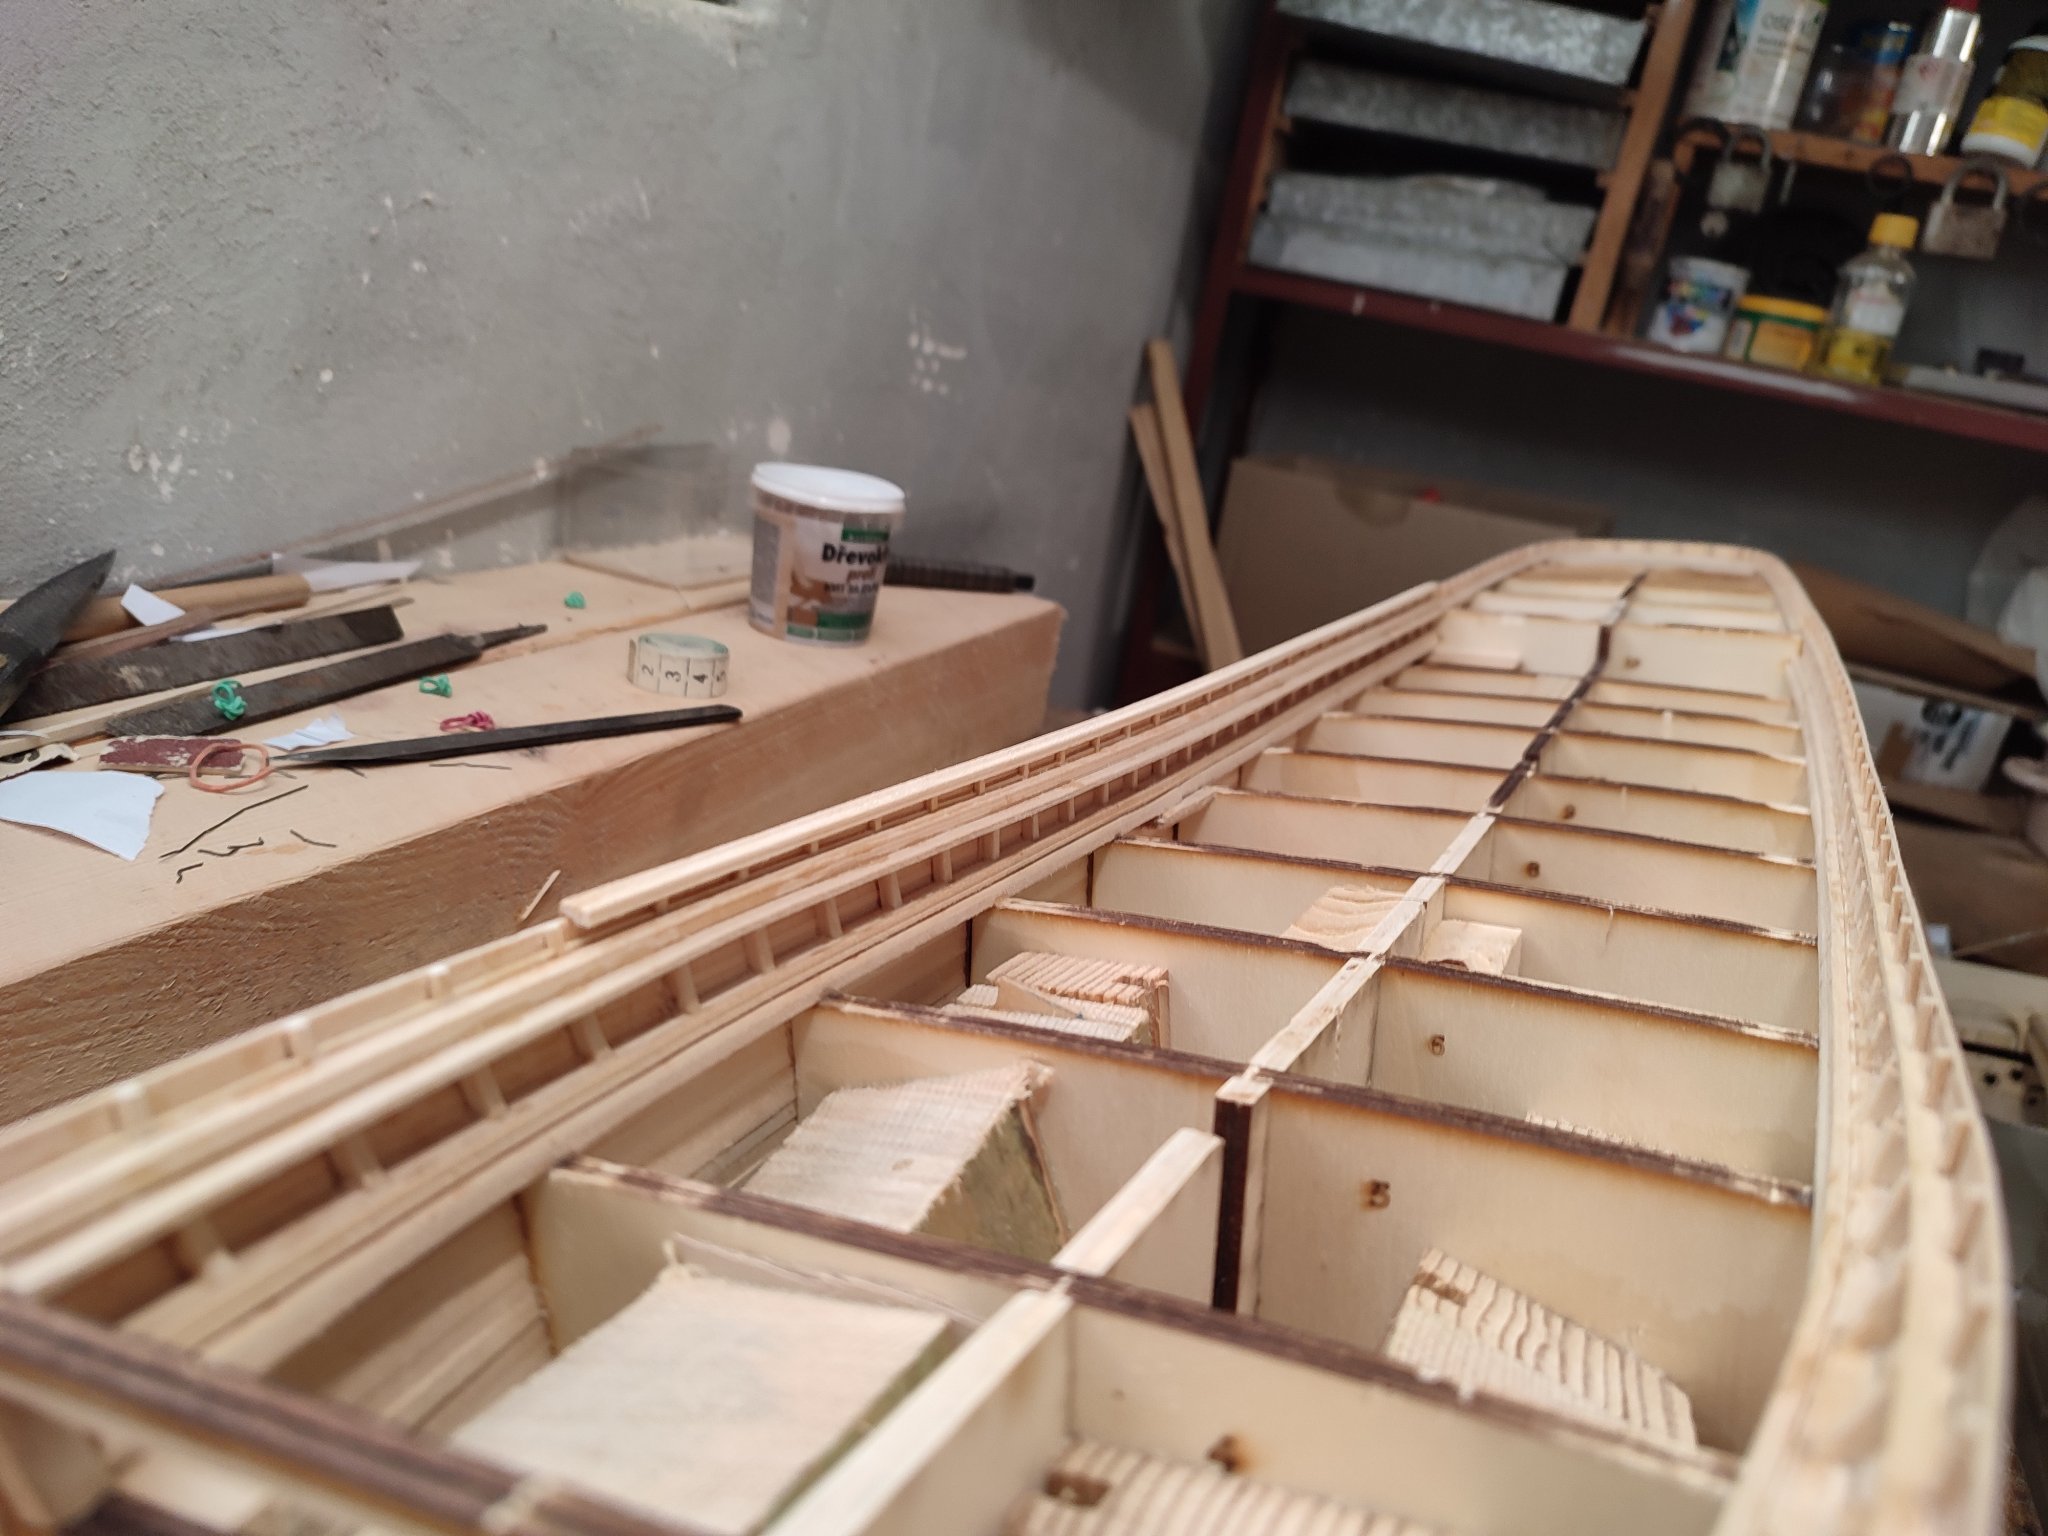
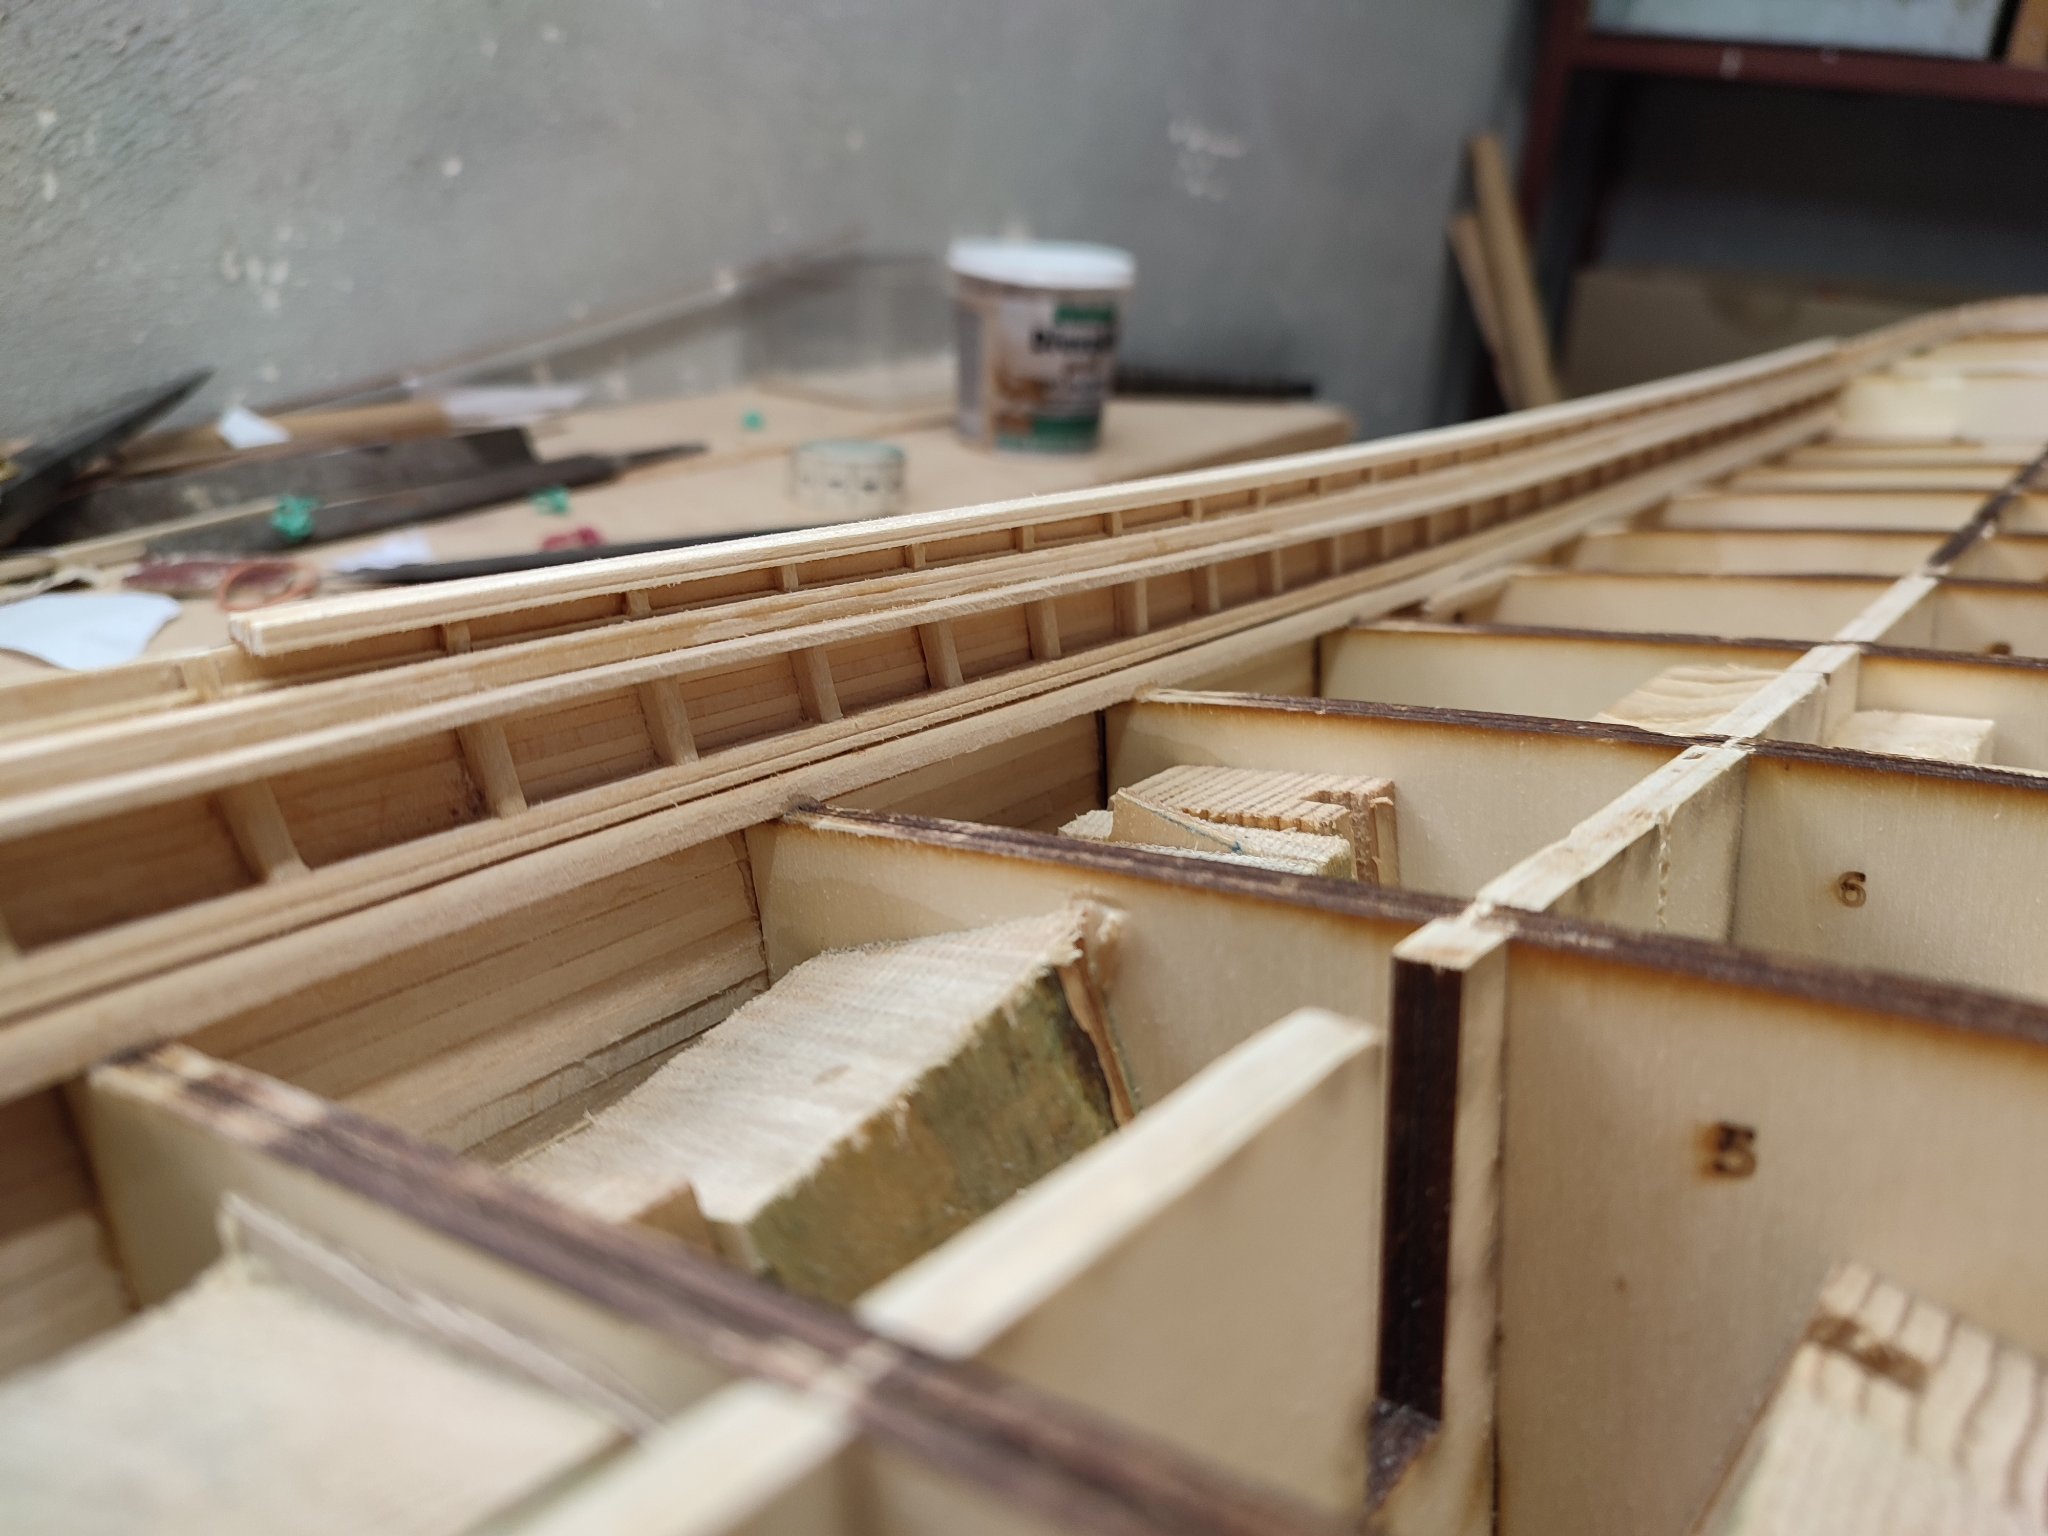
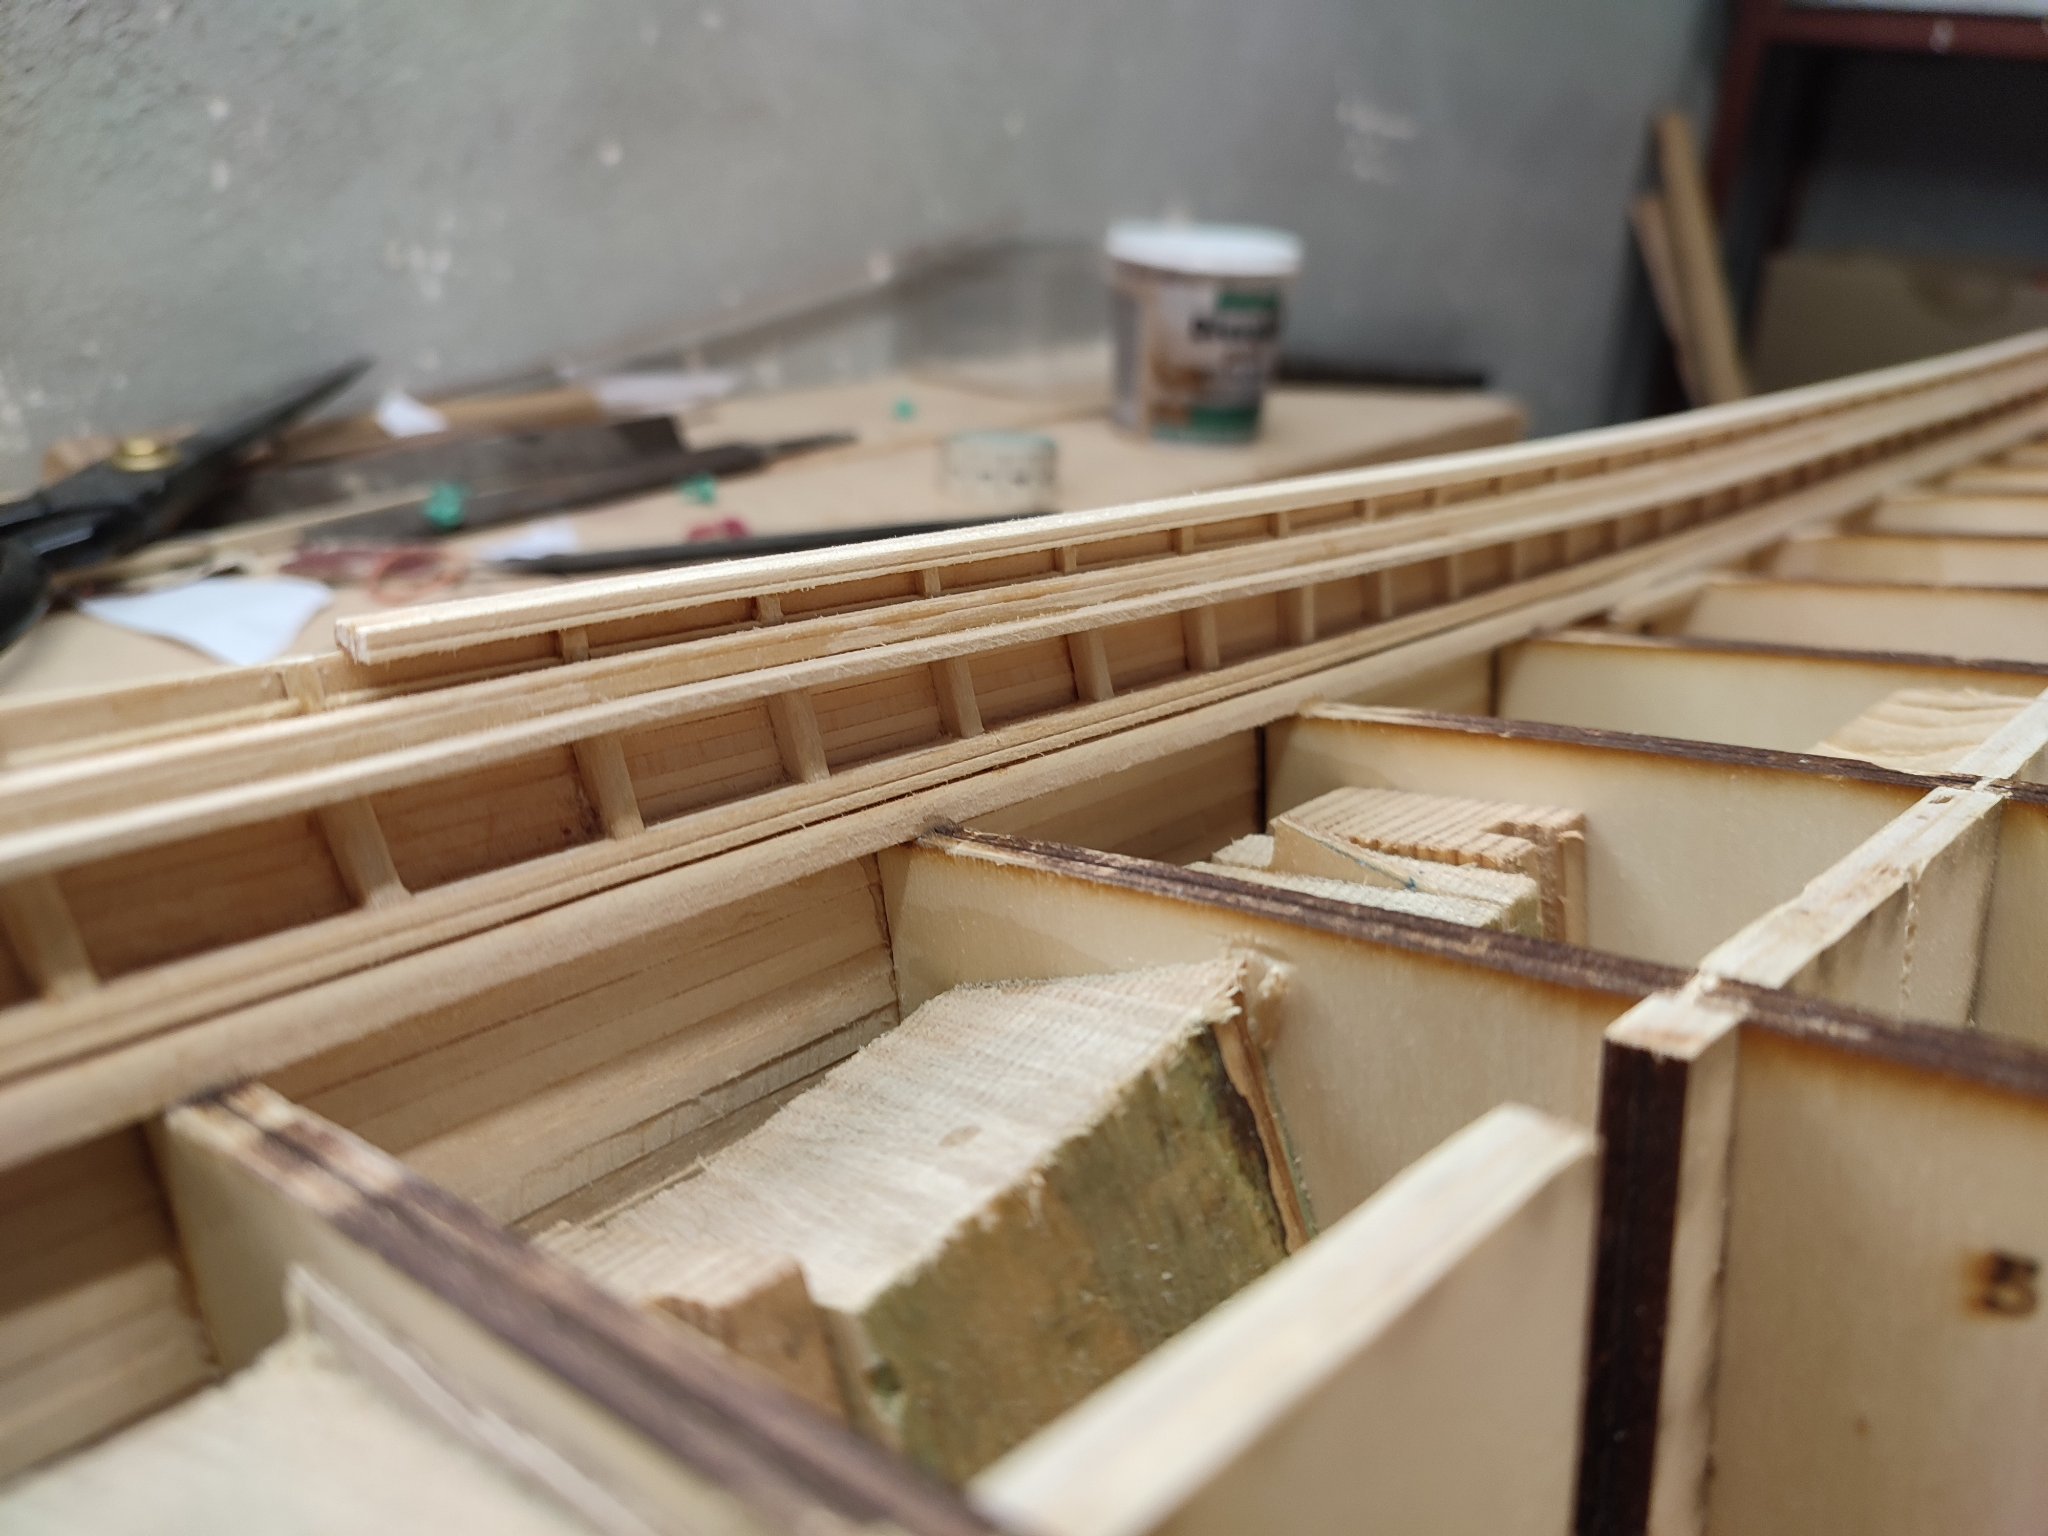
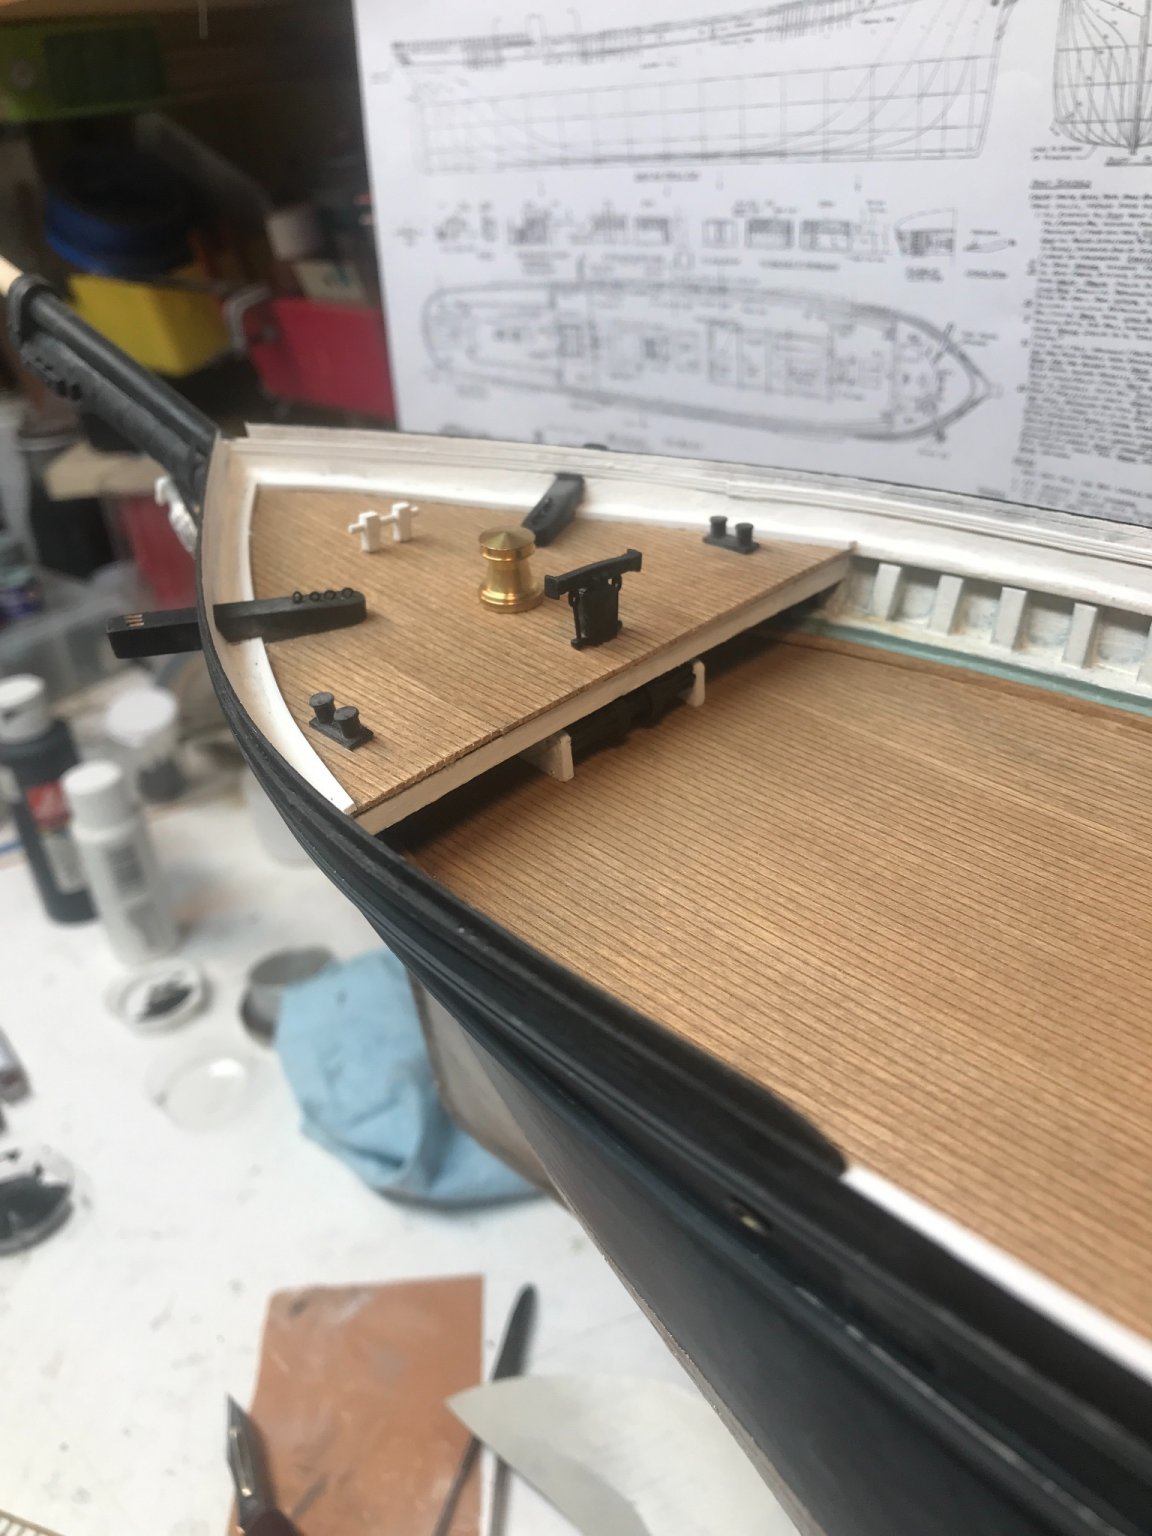
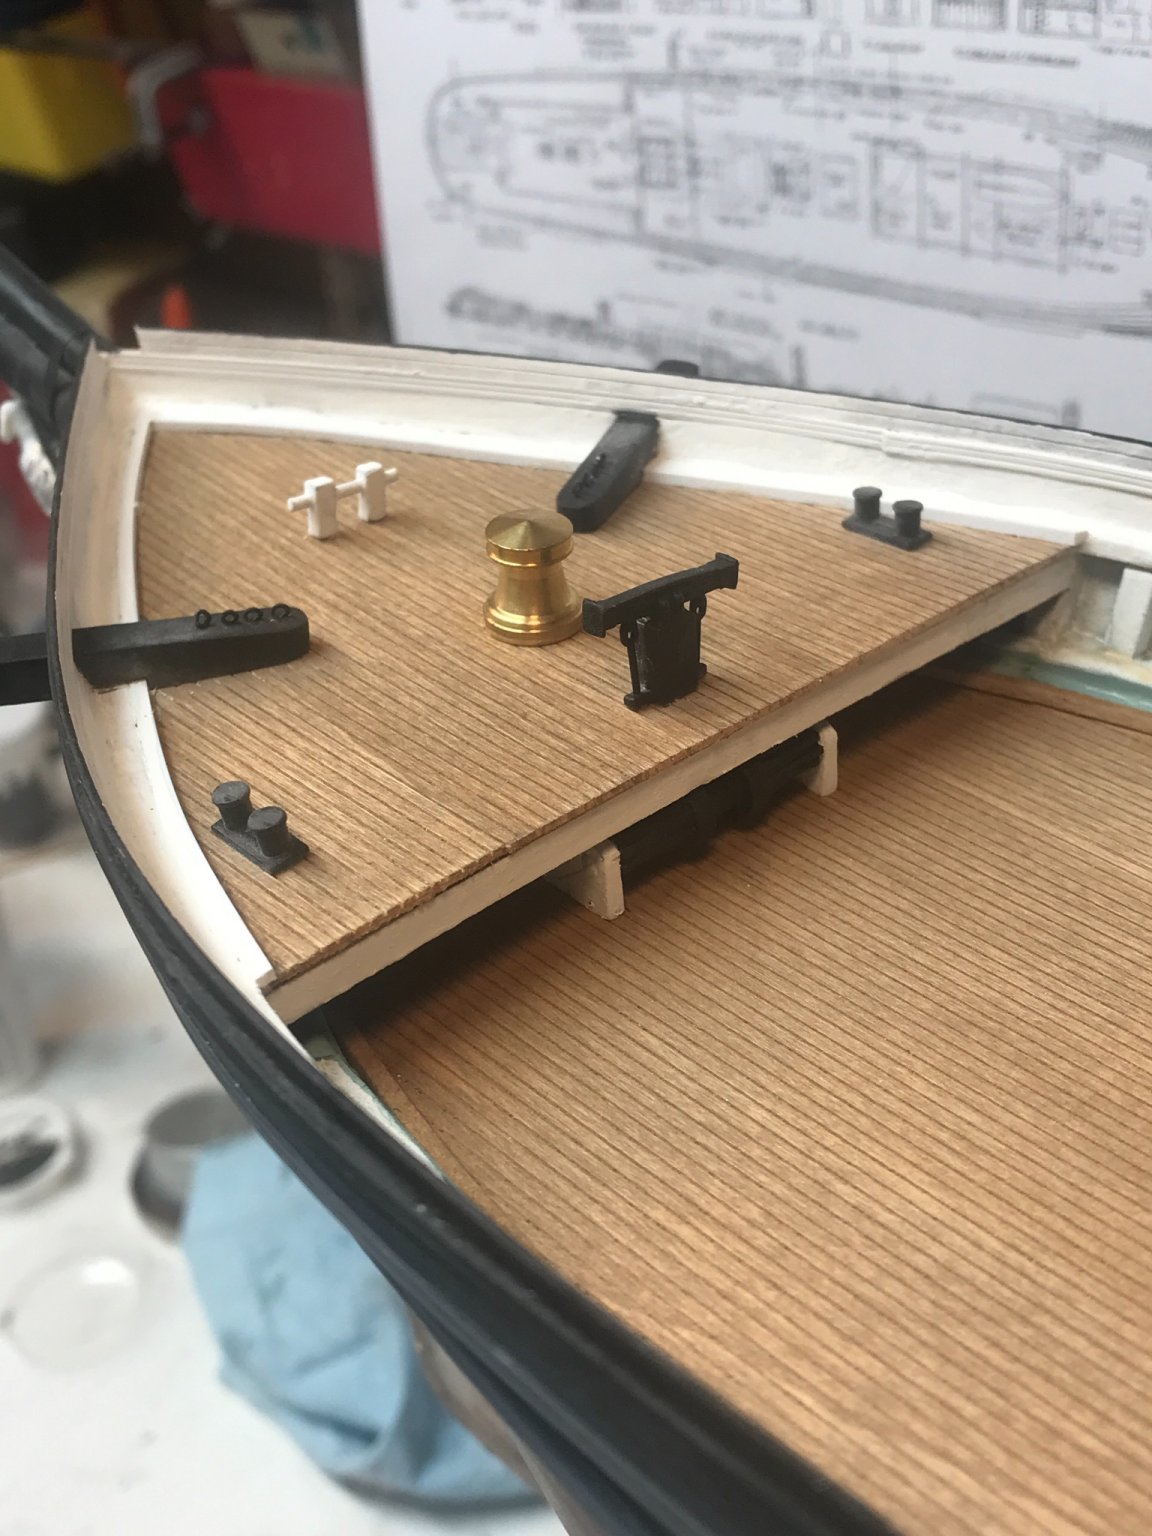
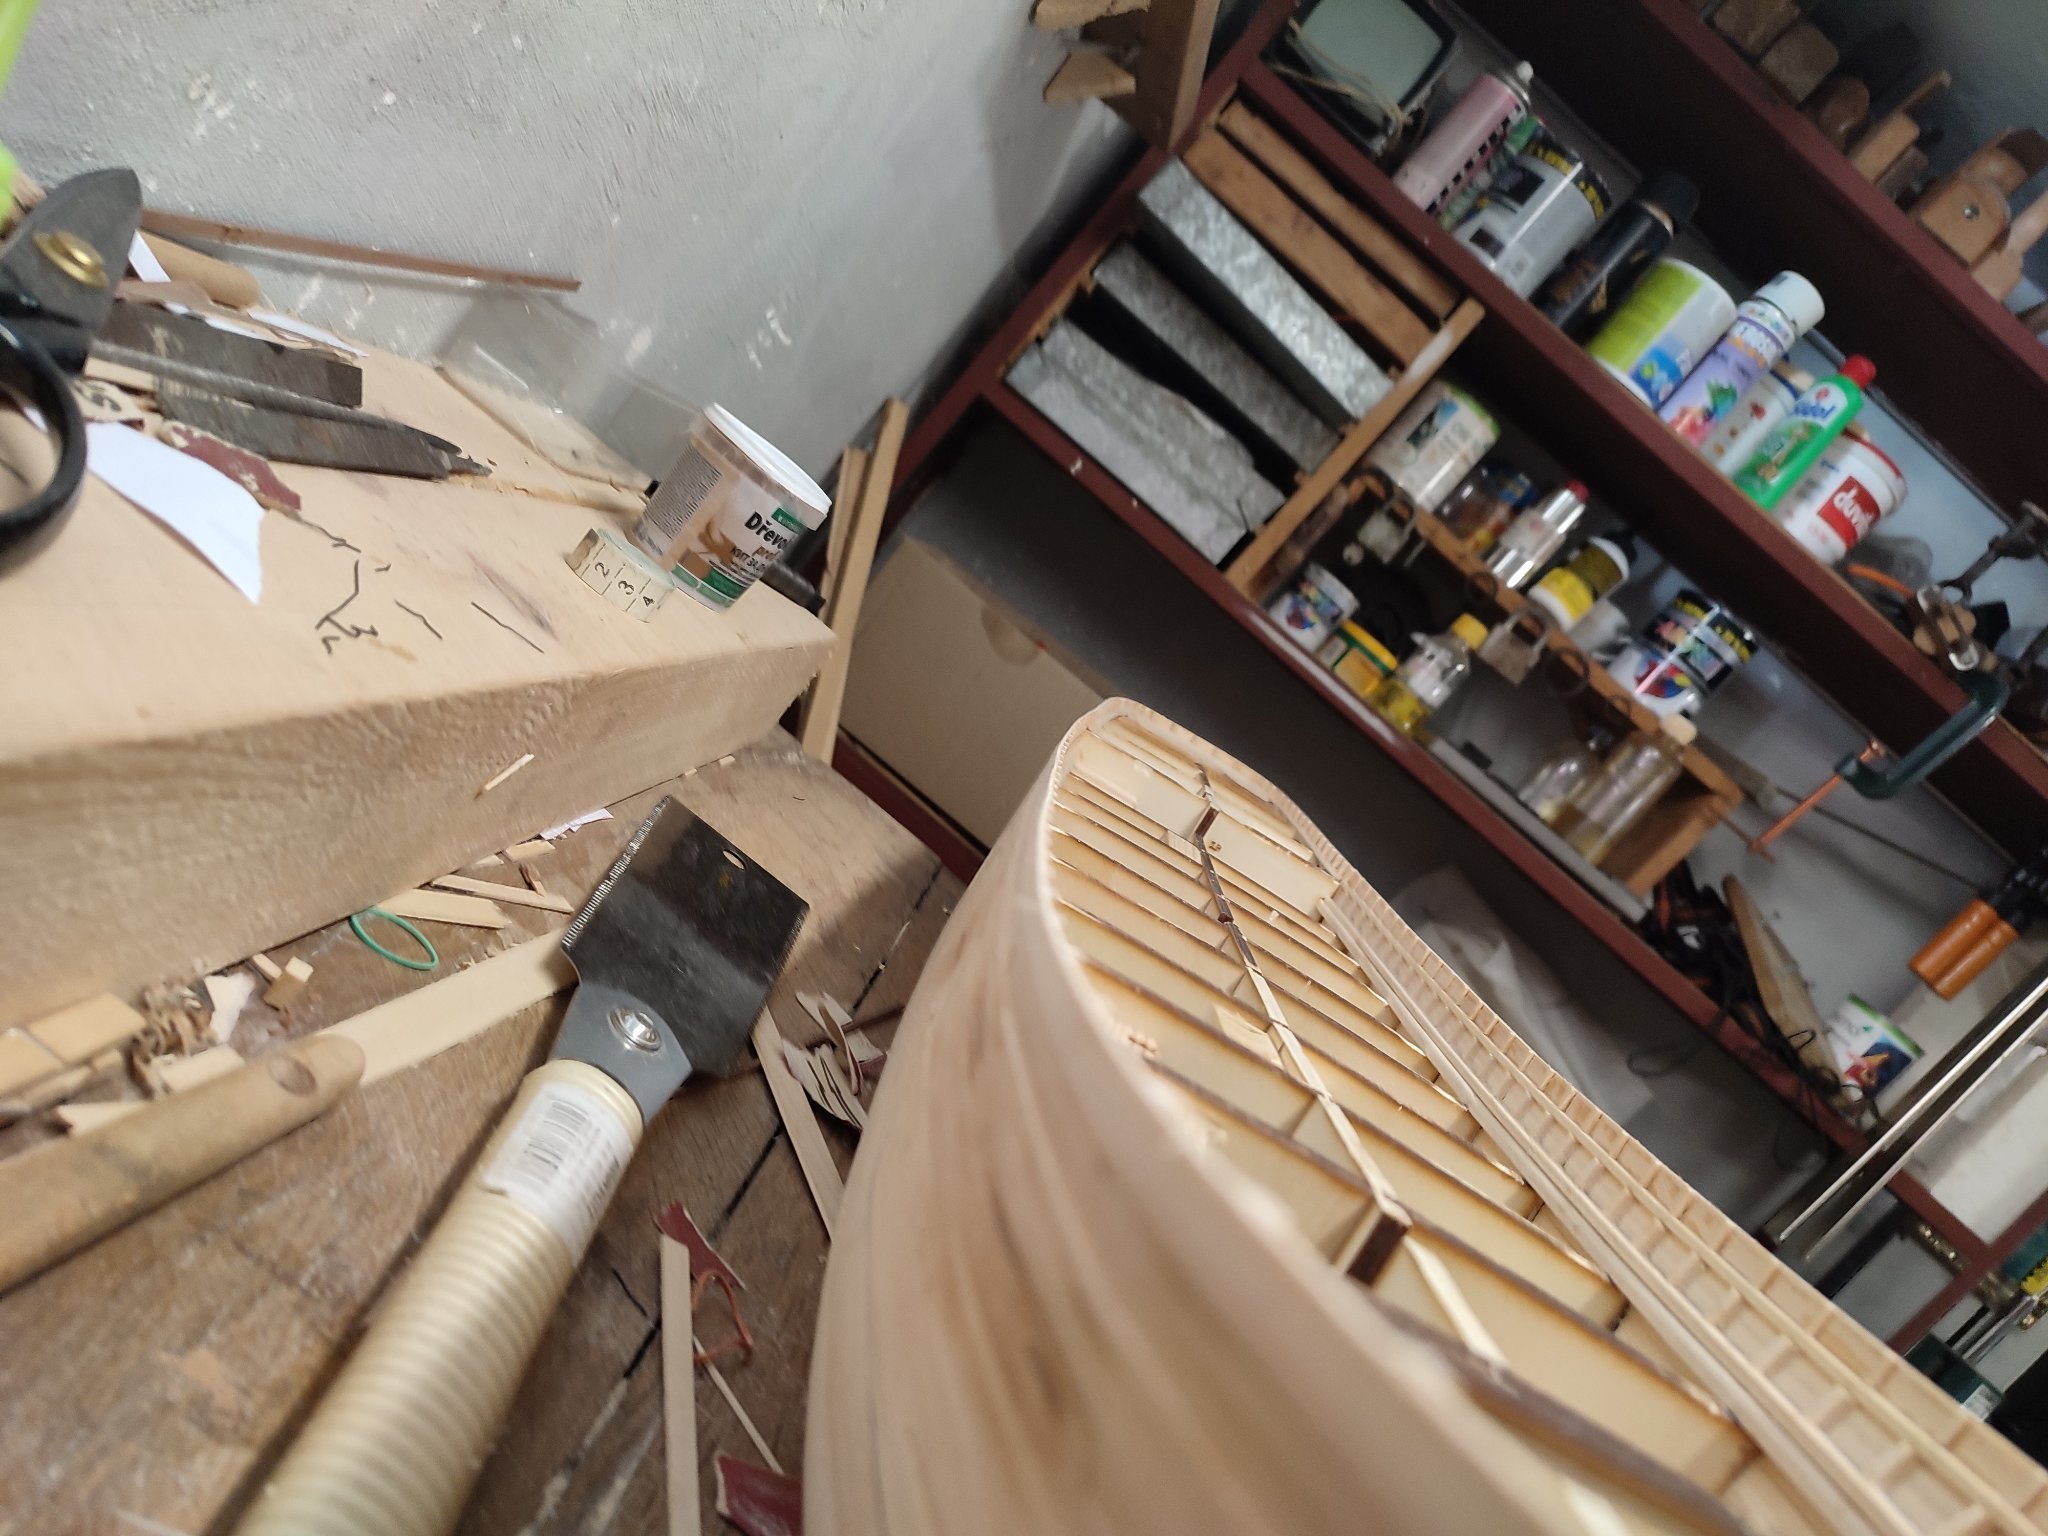
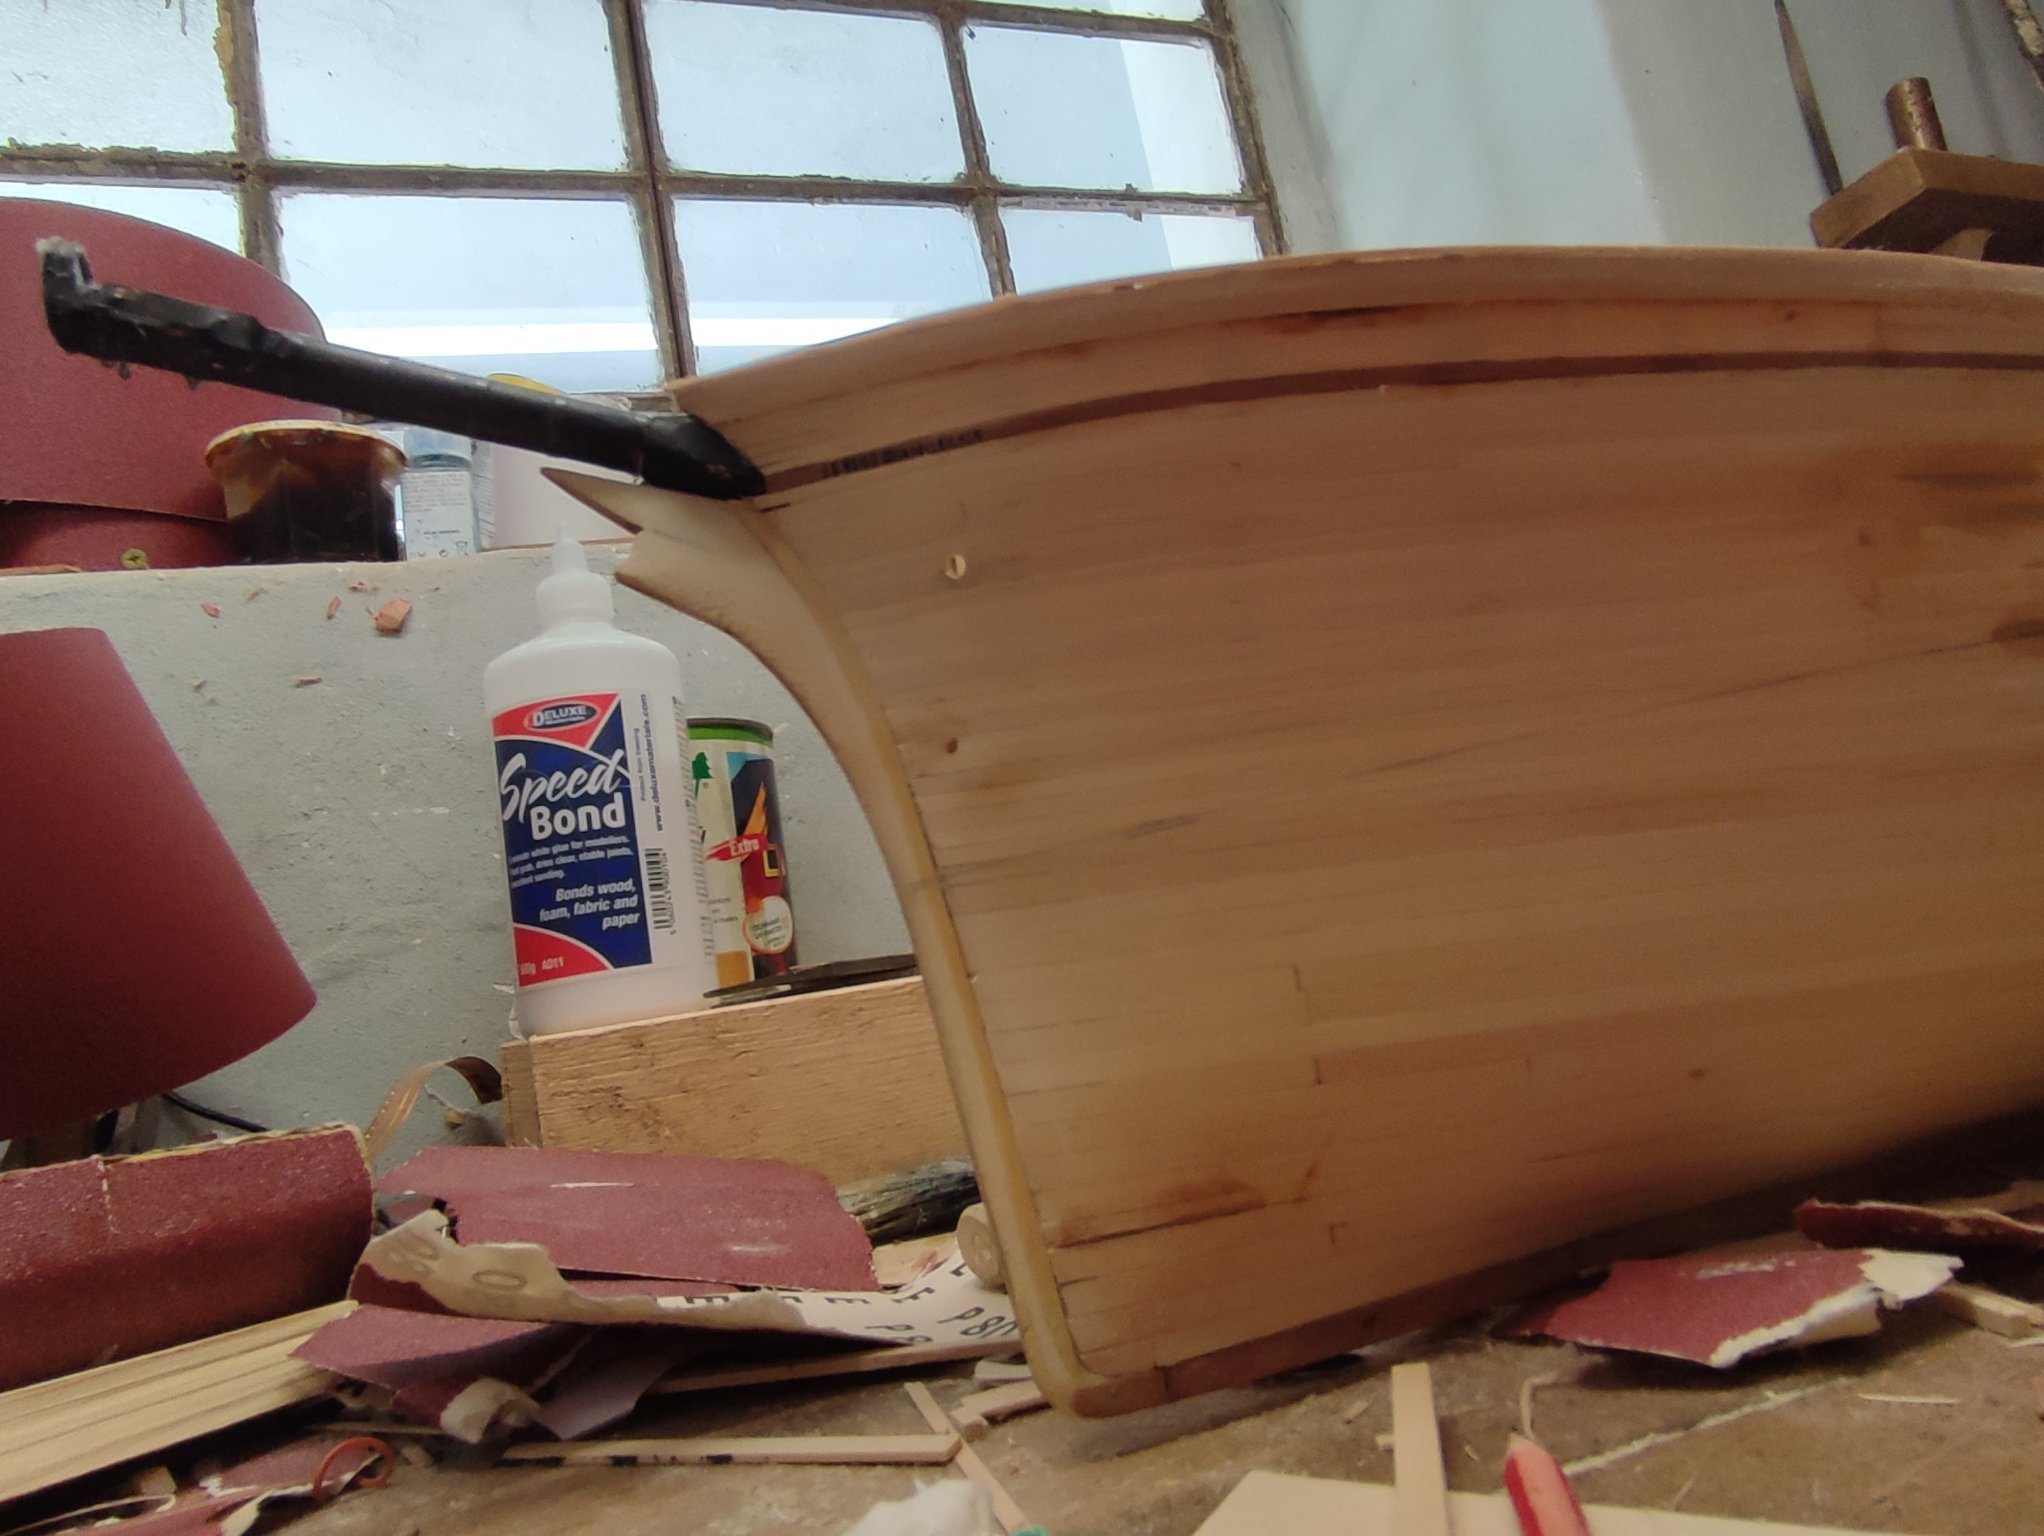
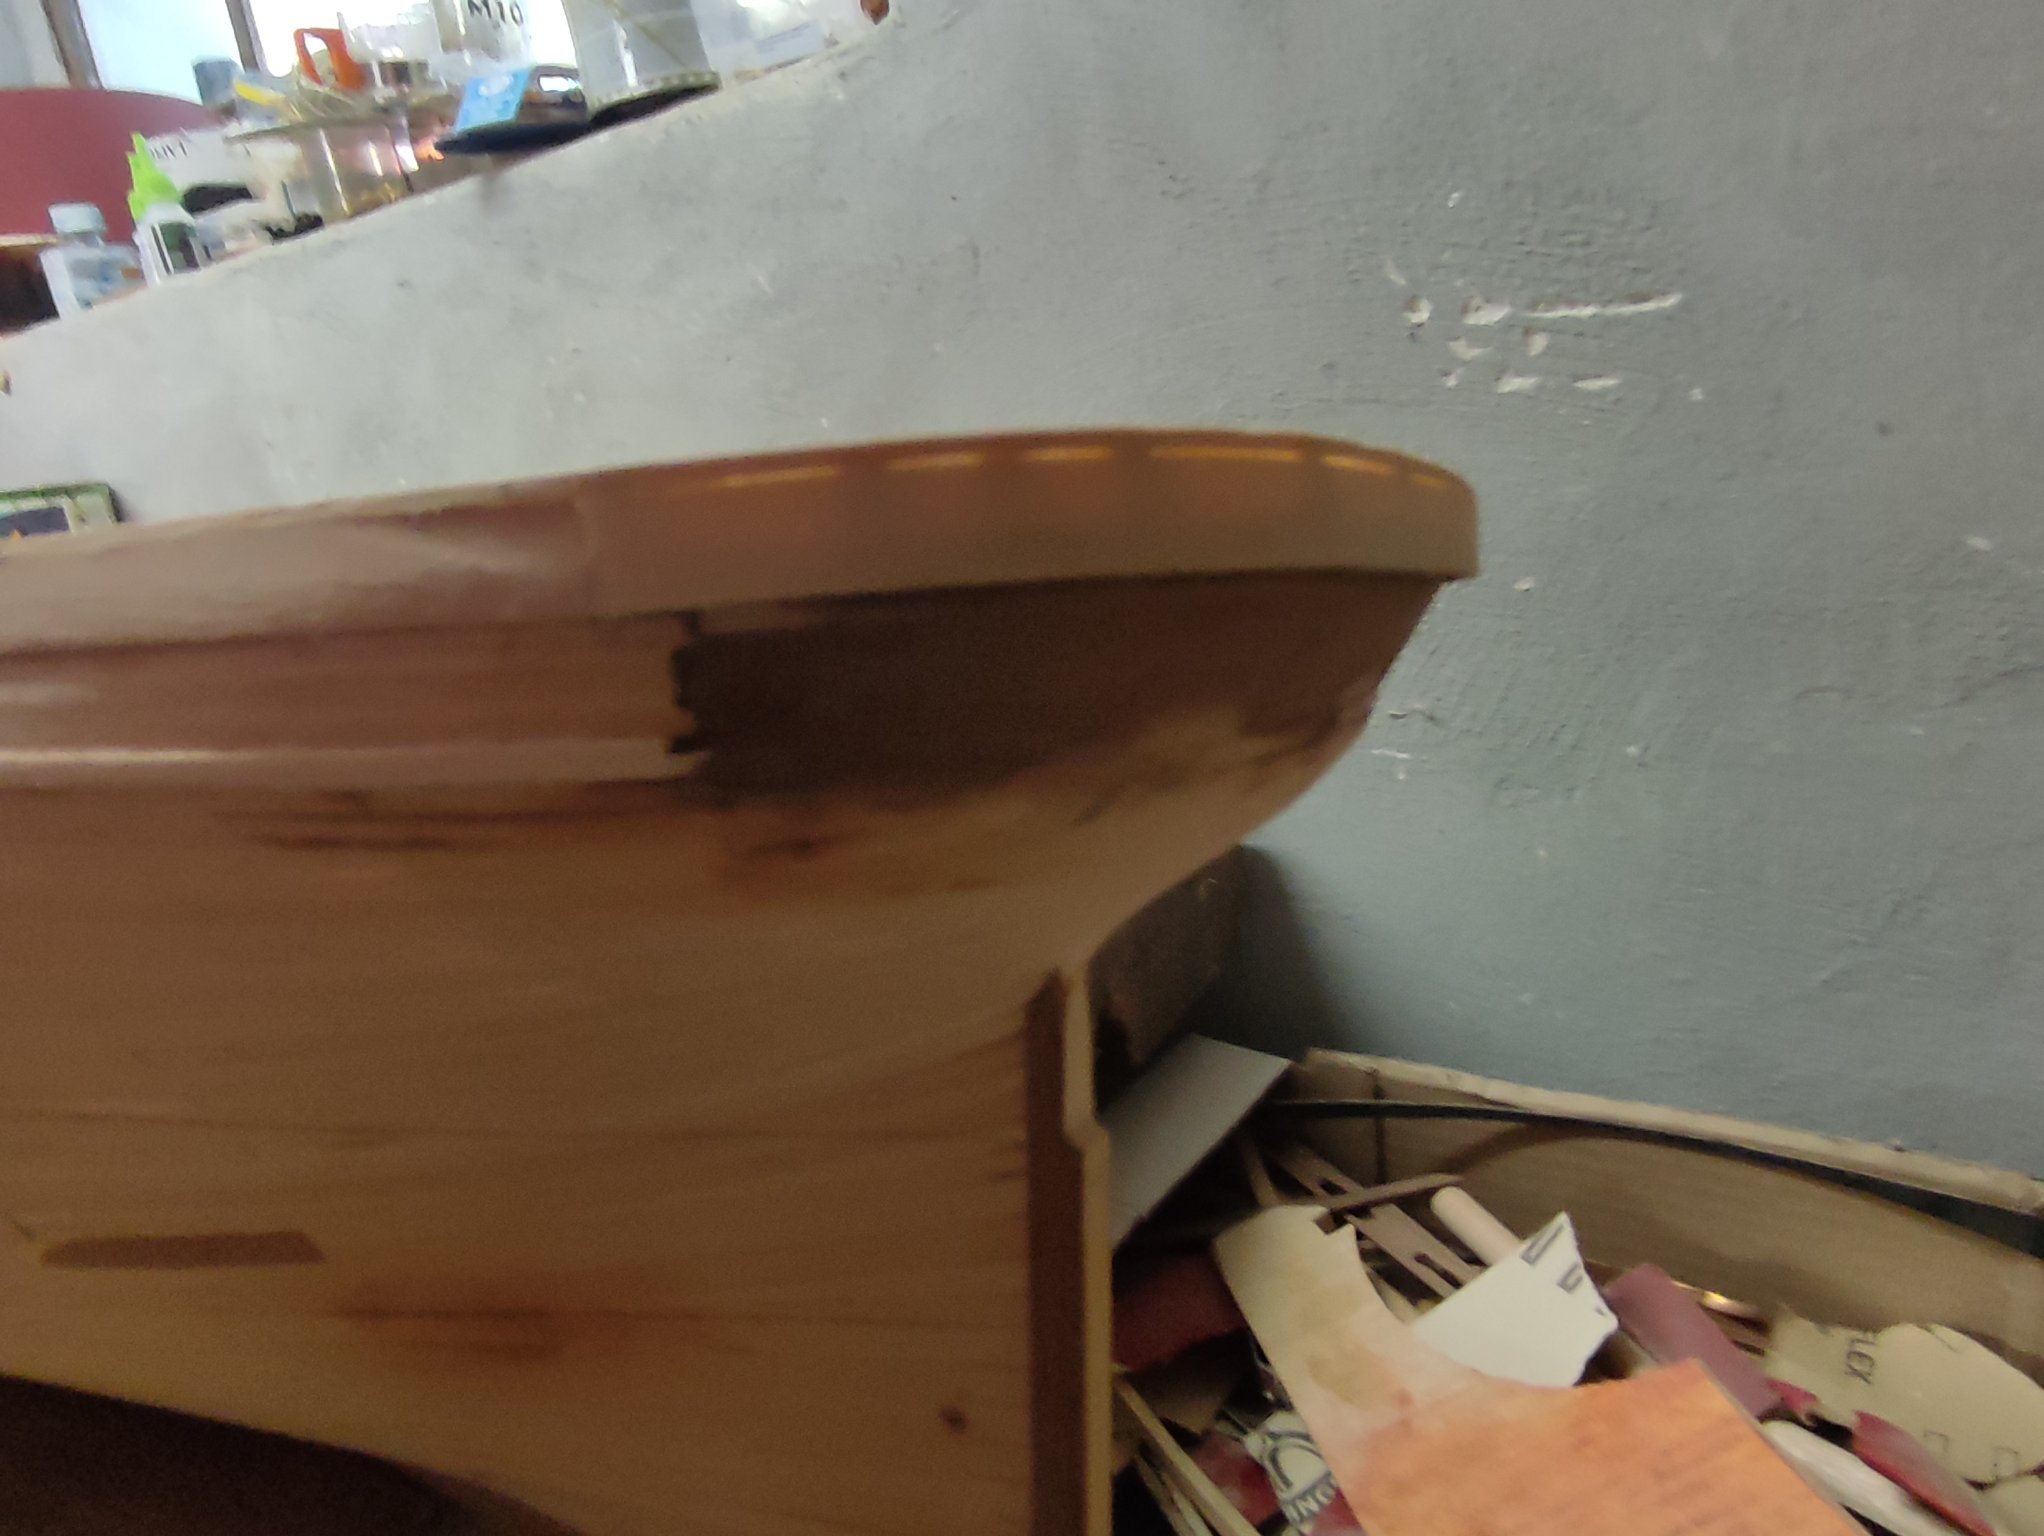
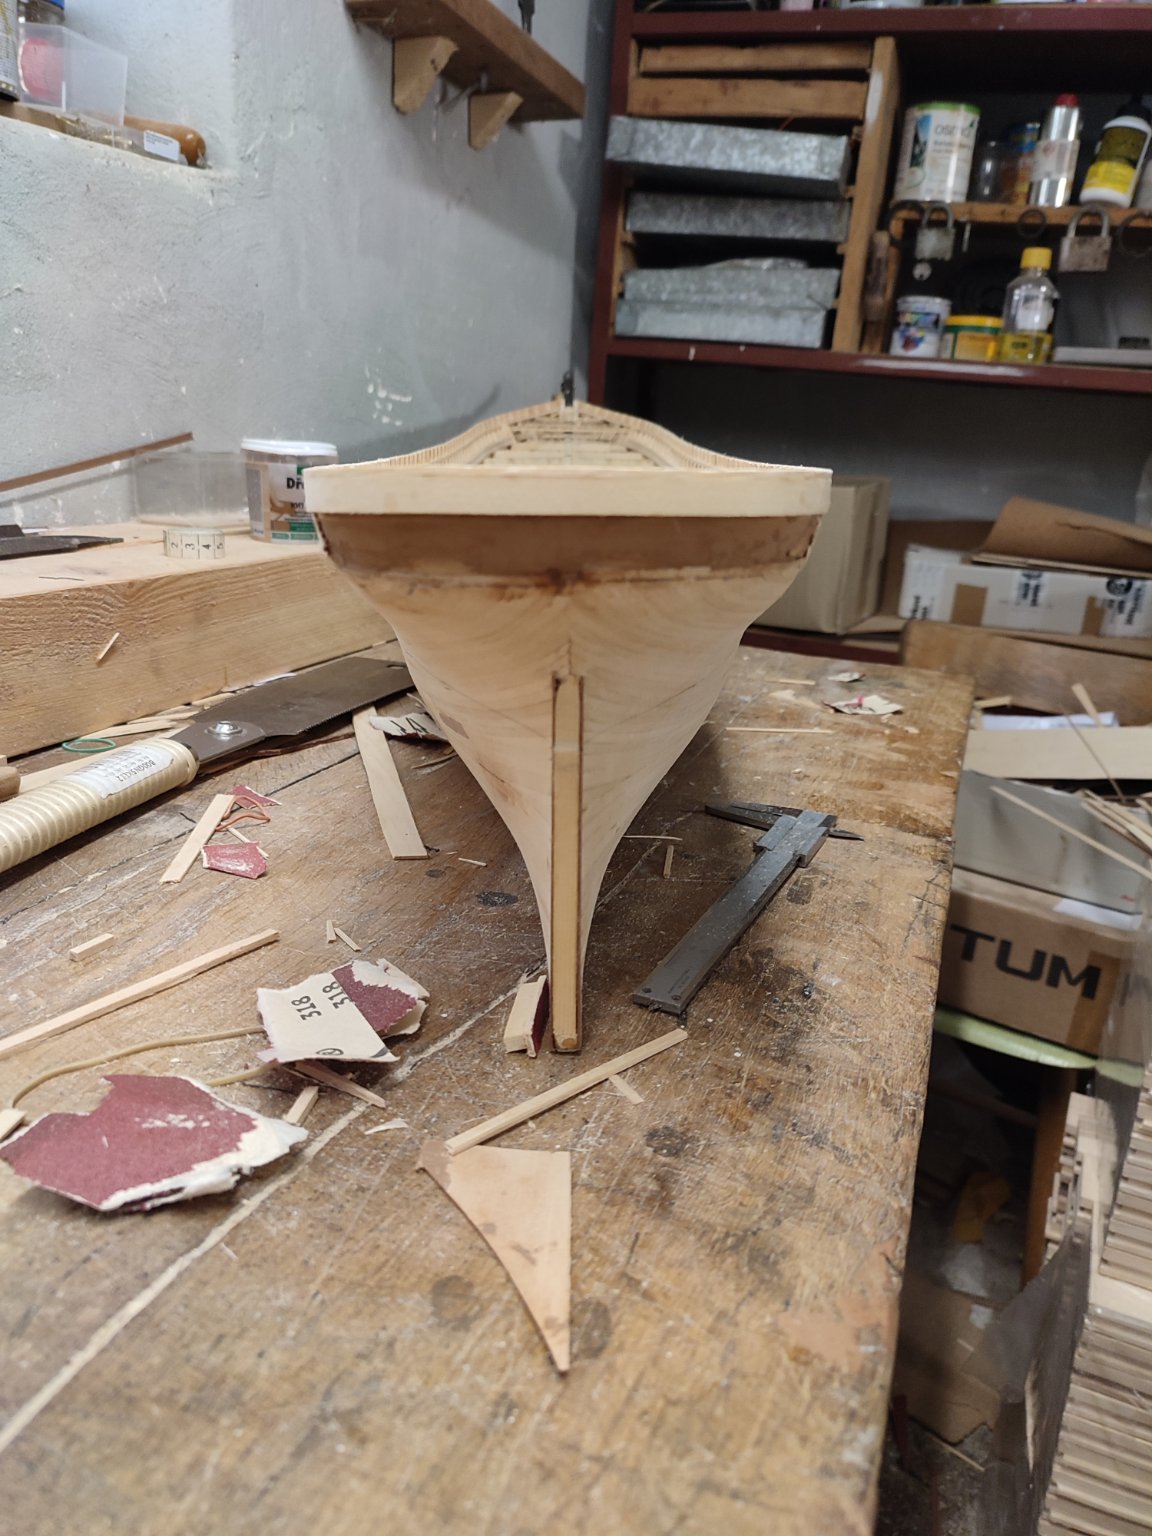
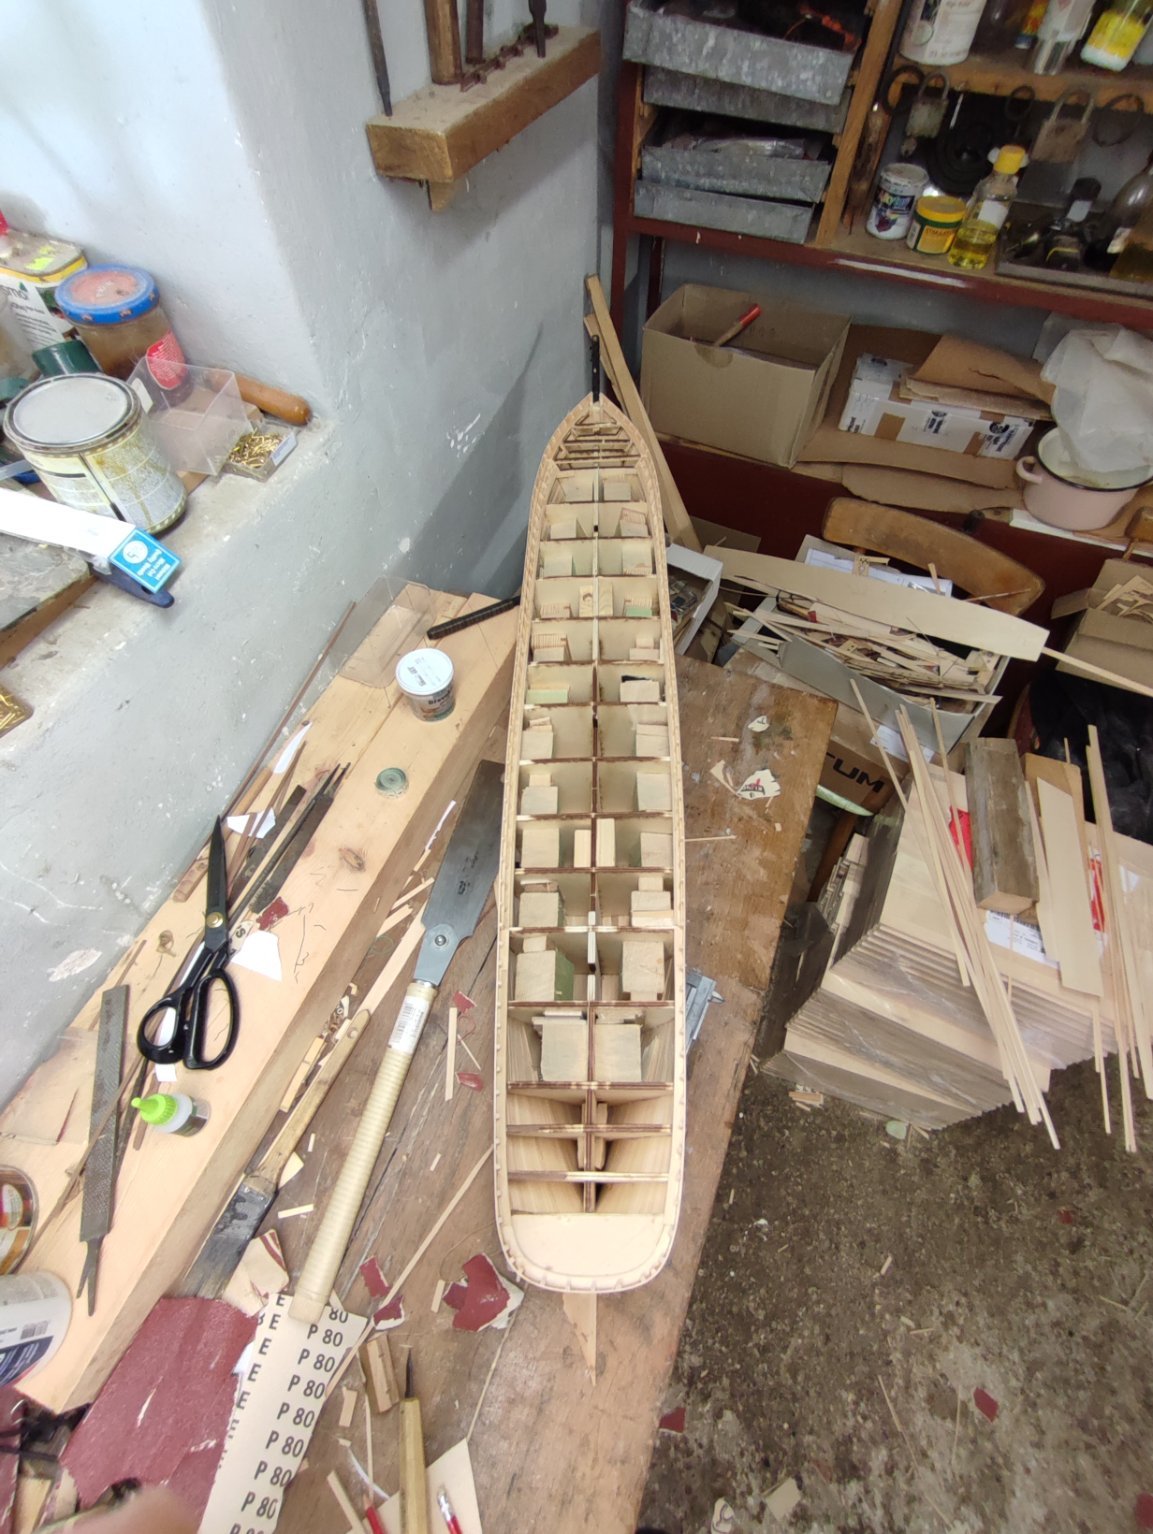
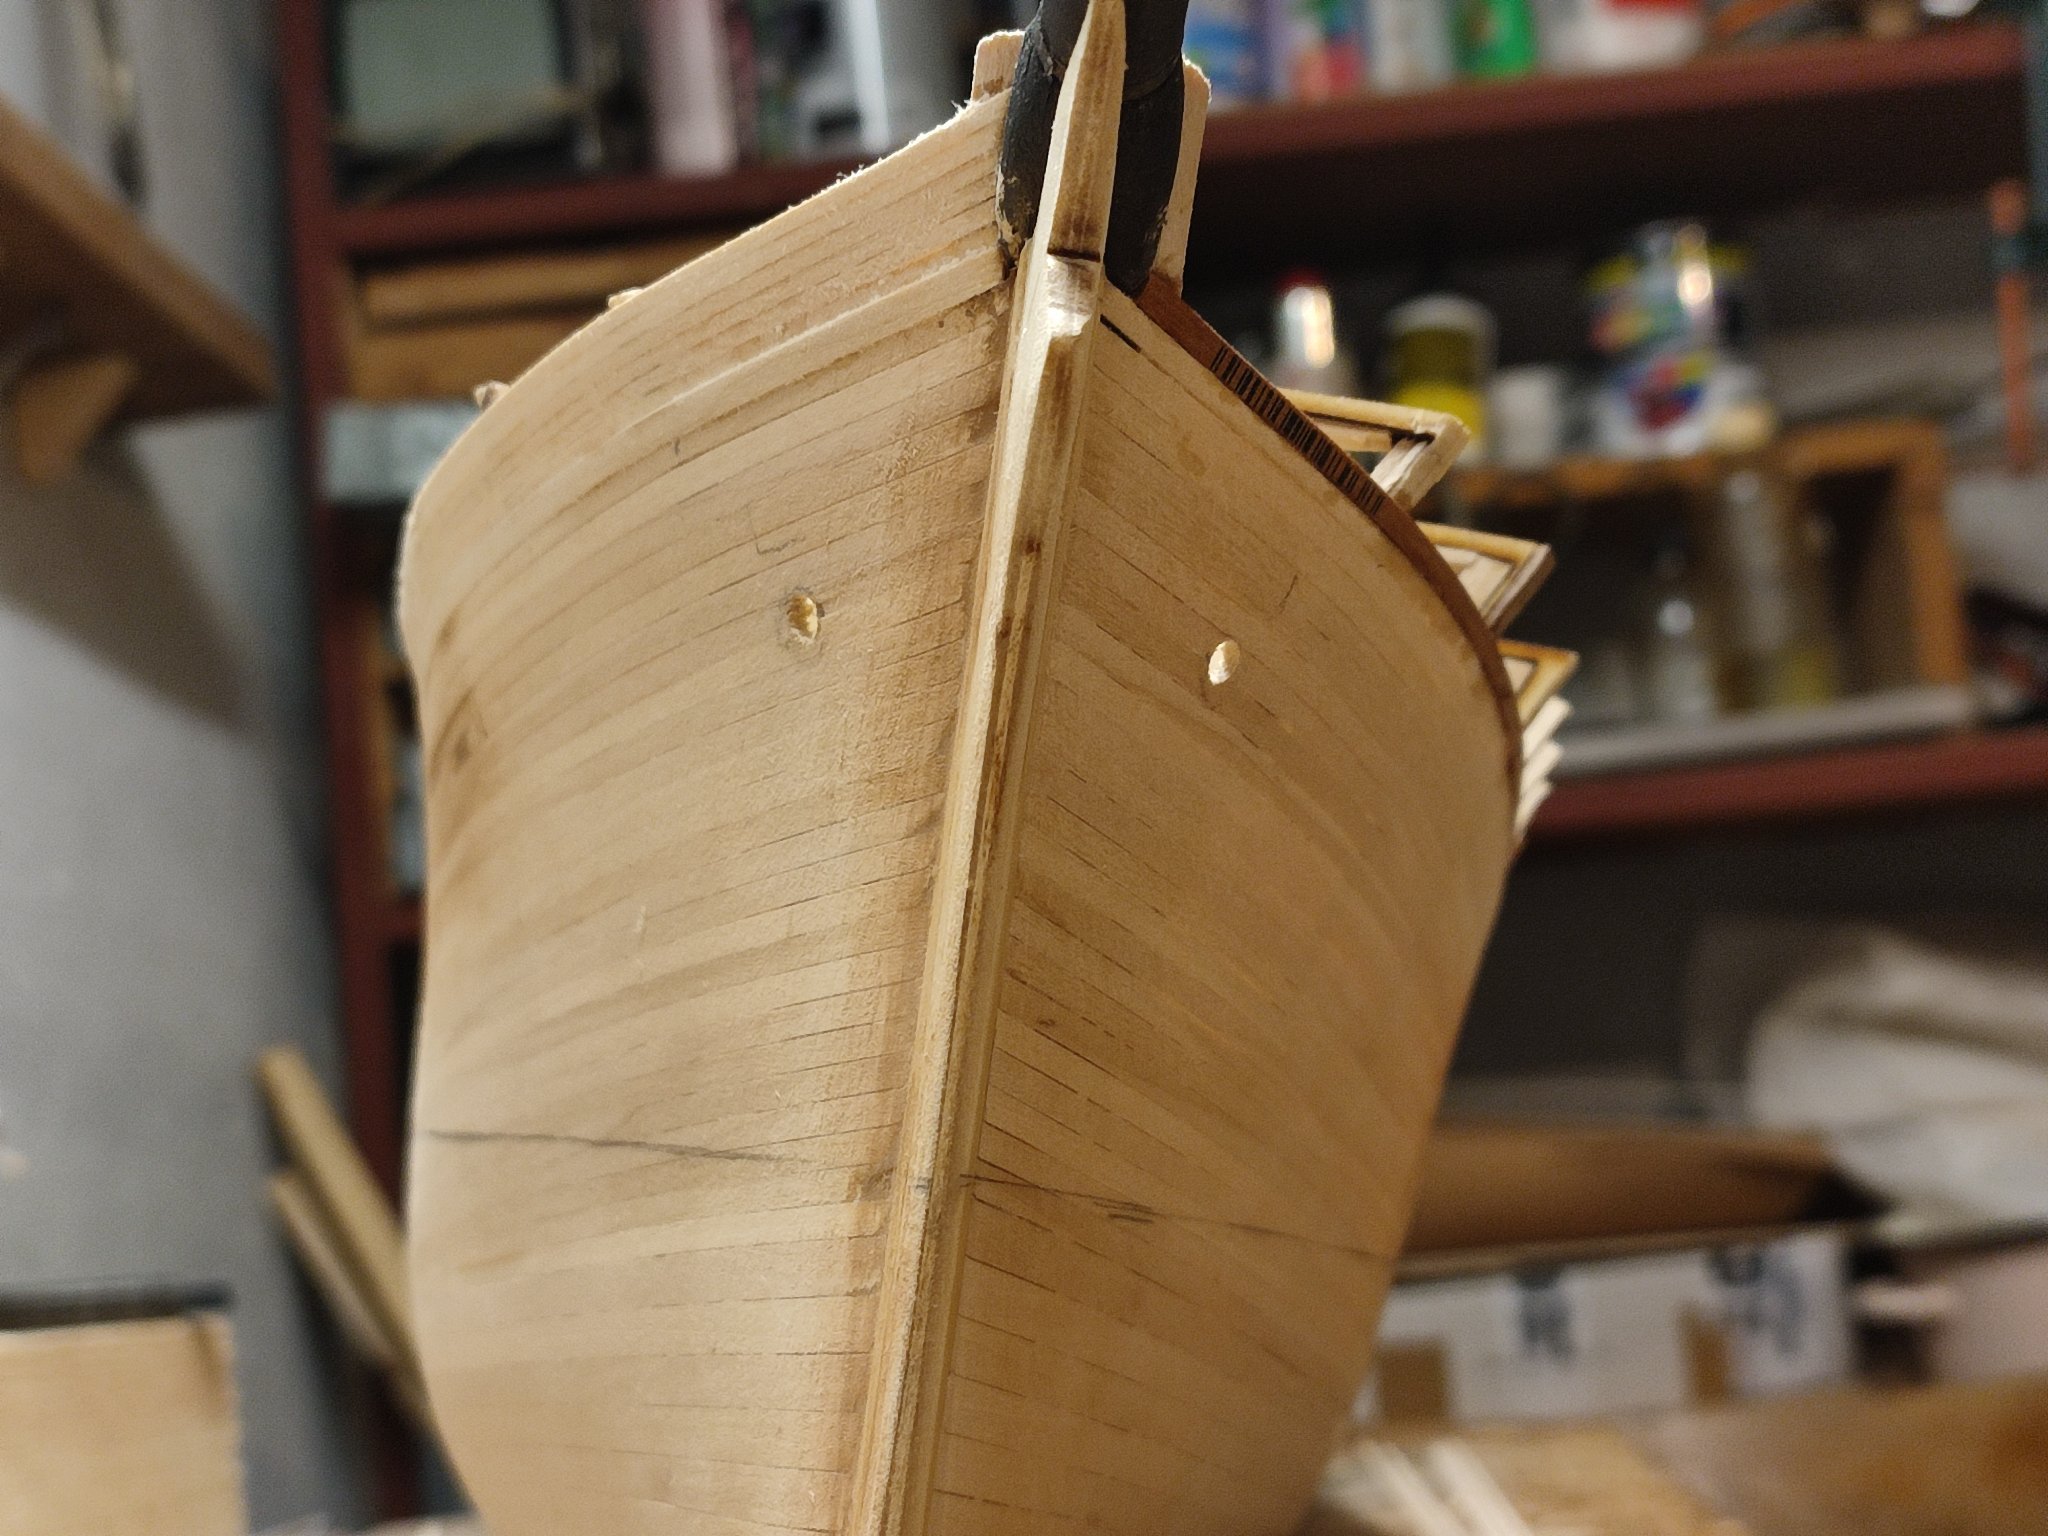
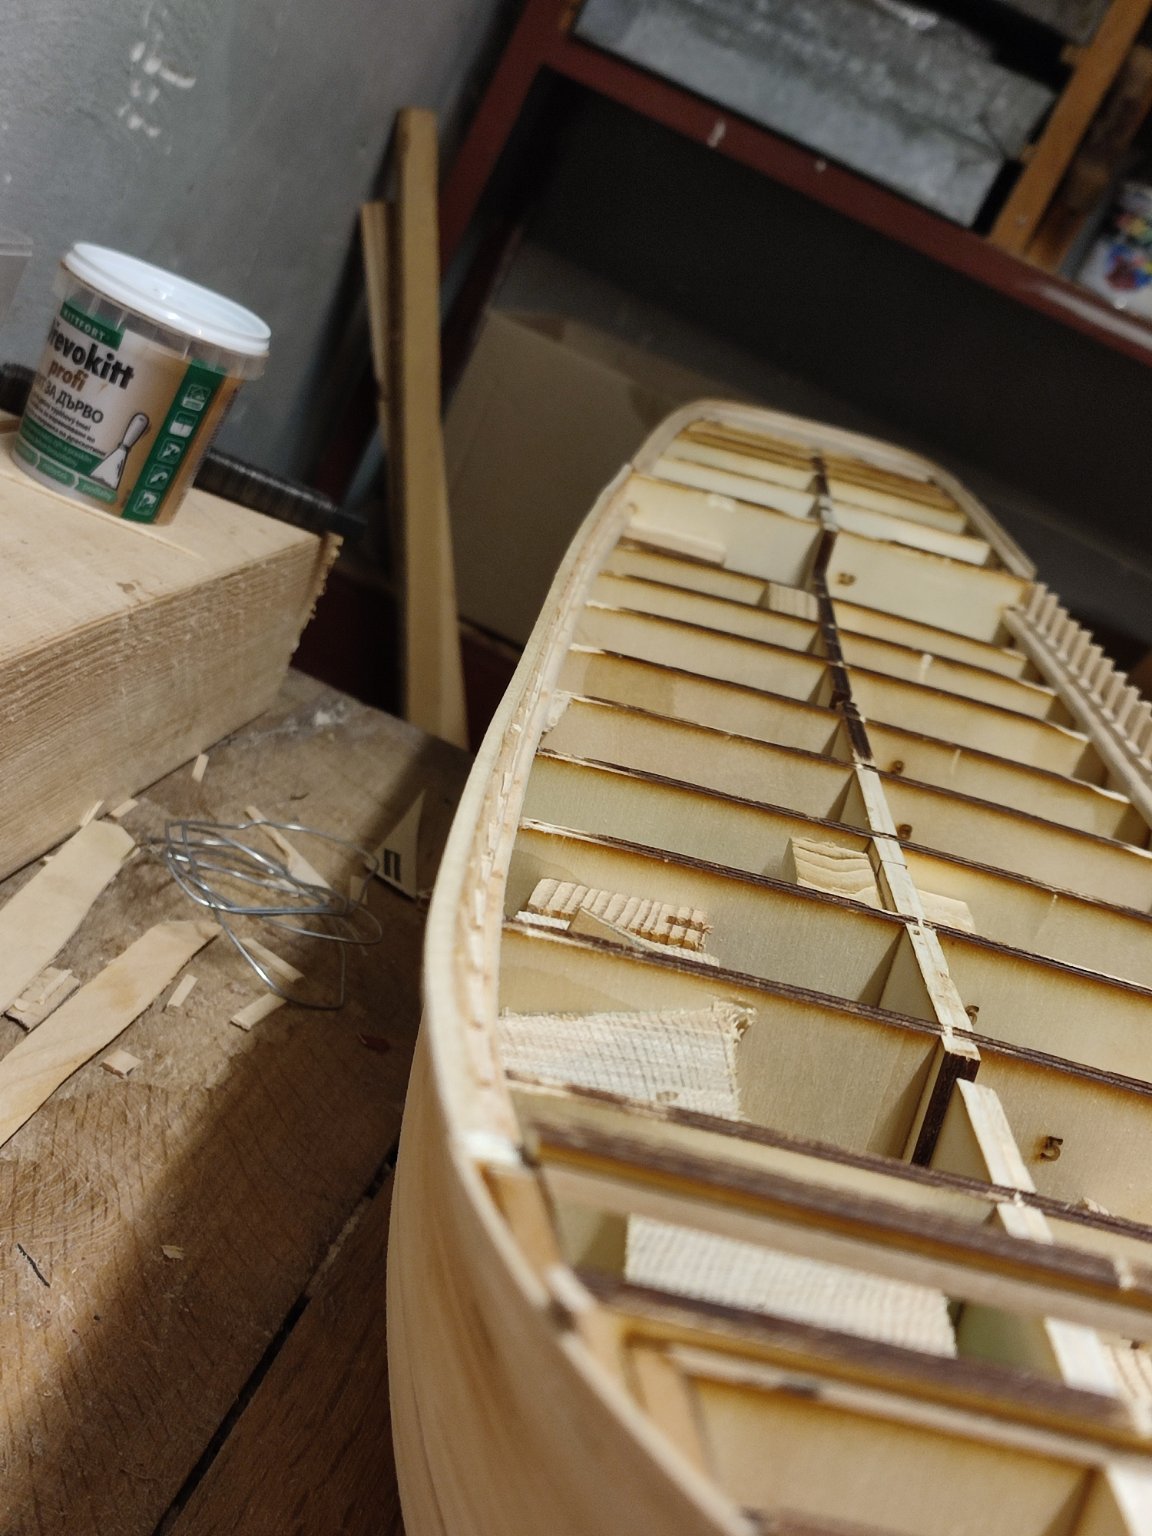
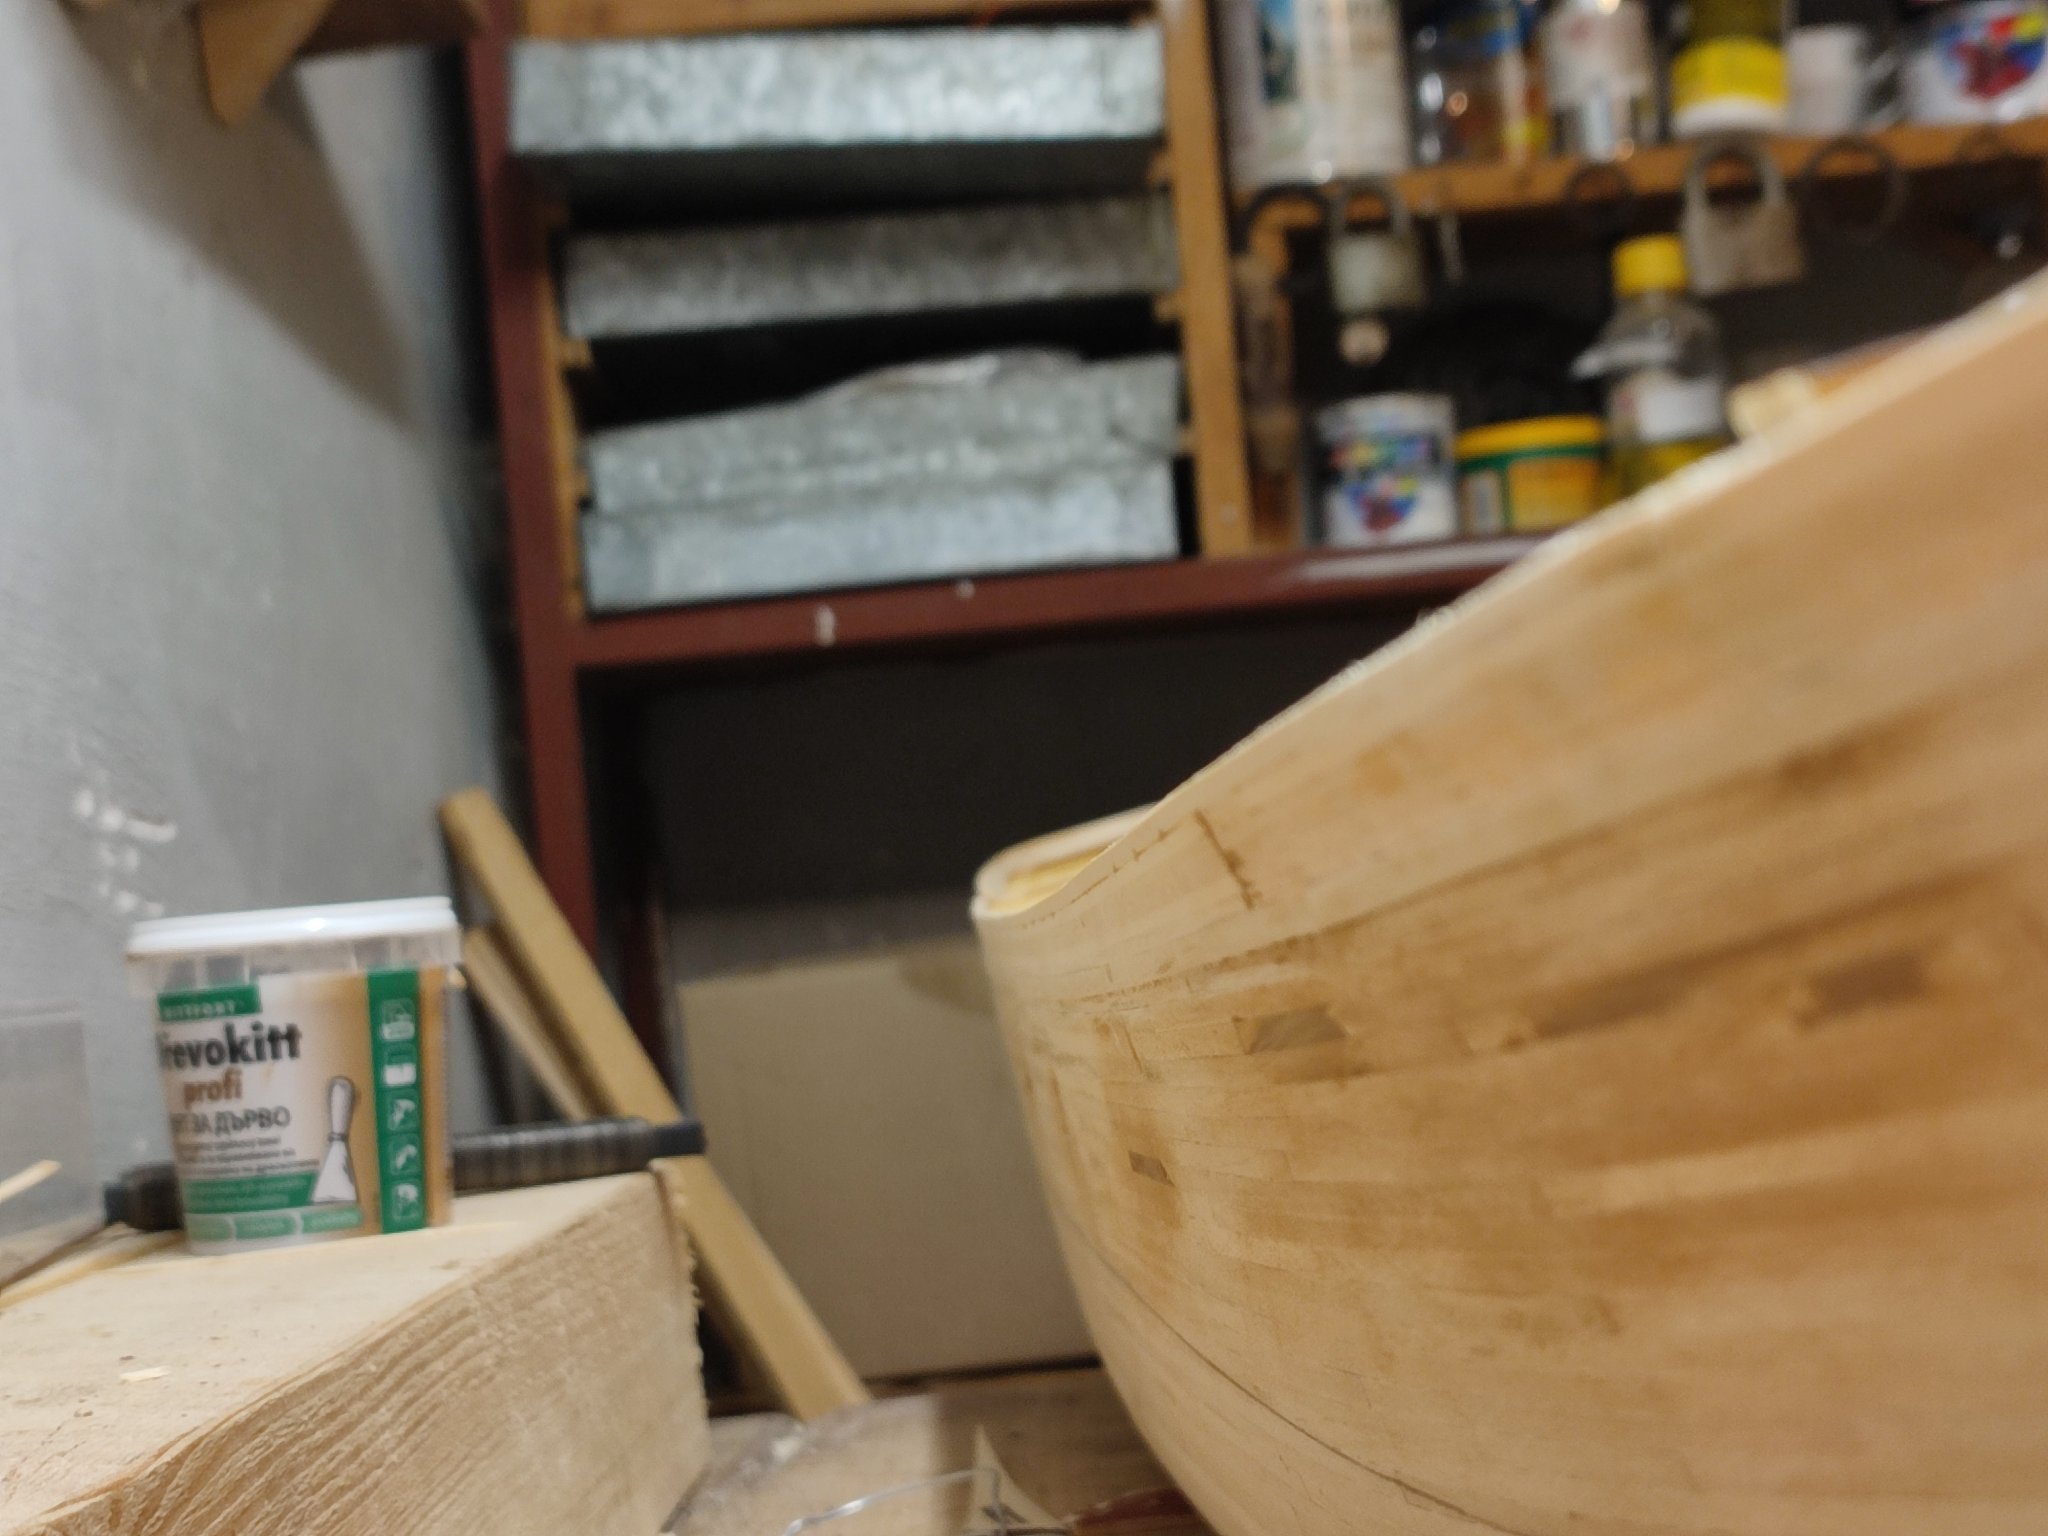
Hello, Some update here.
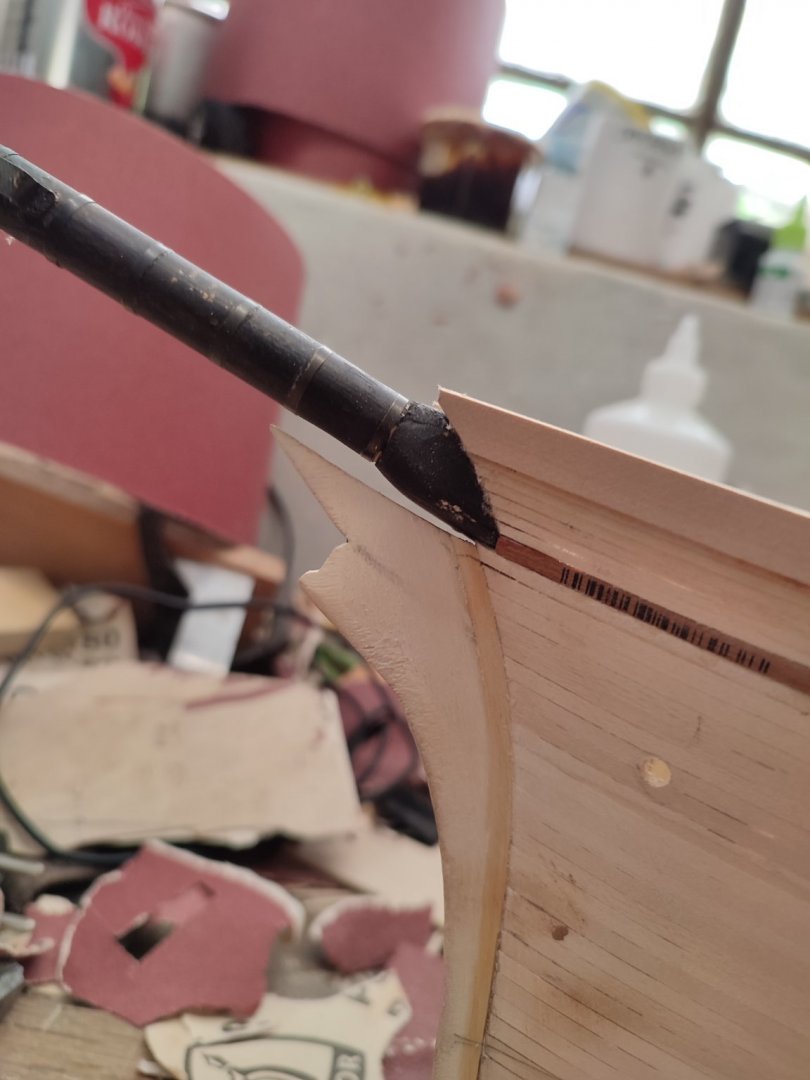
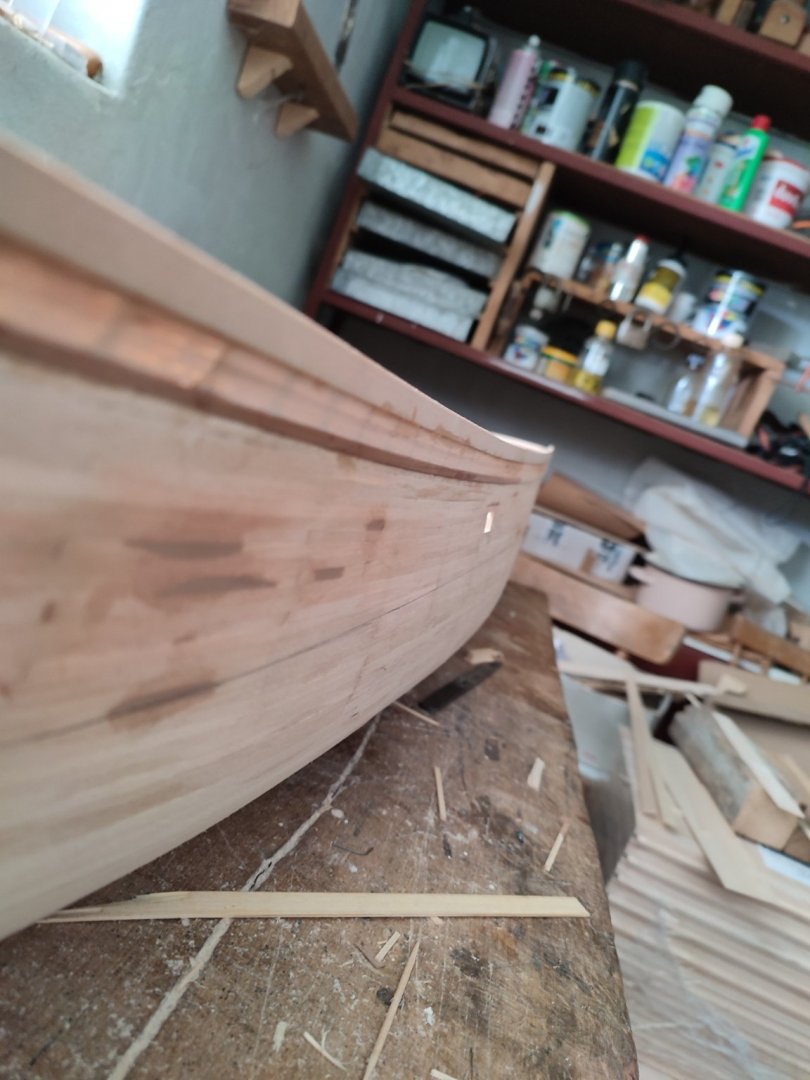
Basically, after tremendous work , body od the ship IS practically finished with Minor work to do finishing planking stern counter. I must say it was really challenging journey for me, i wouldnt complete IT as my first or second model no Chance. I must say im so Happy i didnt use any tool for bending - was not necessary! Fór the way i did IT. At this point glory profile IS finished Up to the monkey rail....m id like to stress few adjustments. I widened fcastle and poop rail Columns for simple reason - topgallant cover must sit on something thicker than or 1.5 milimeter surface.
I plan to start with decorative moldings tomorrow so hopefully there Will be a lot to commemt ( gopefully not swear
anyway i plan to use Also miniatures molding on fancy rail for same very reason - widen surface to sit the top on IT...I made little sanding toop to sand famous 8 planks Strike IT Worked.
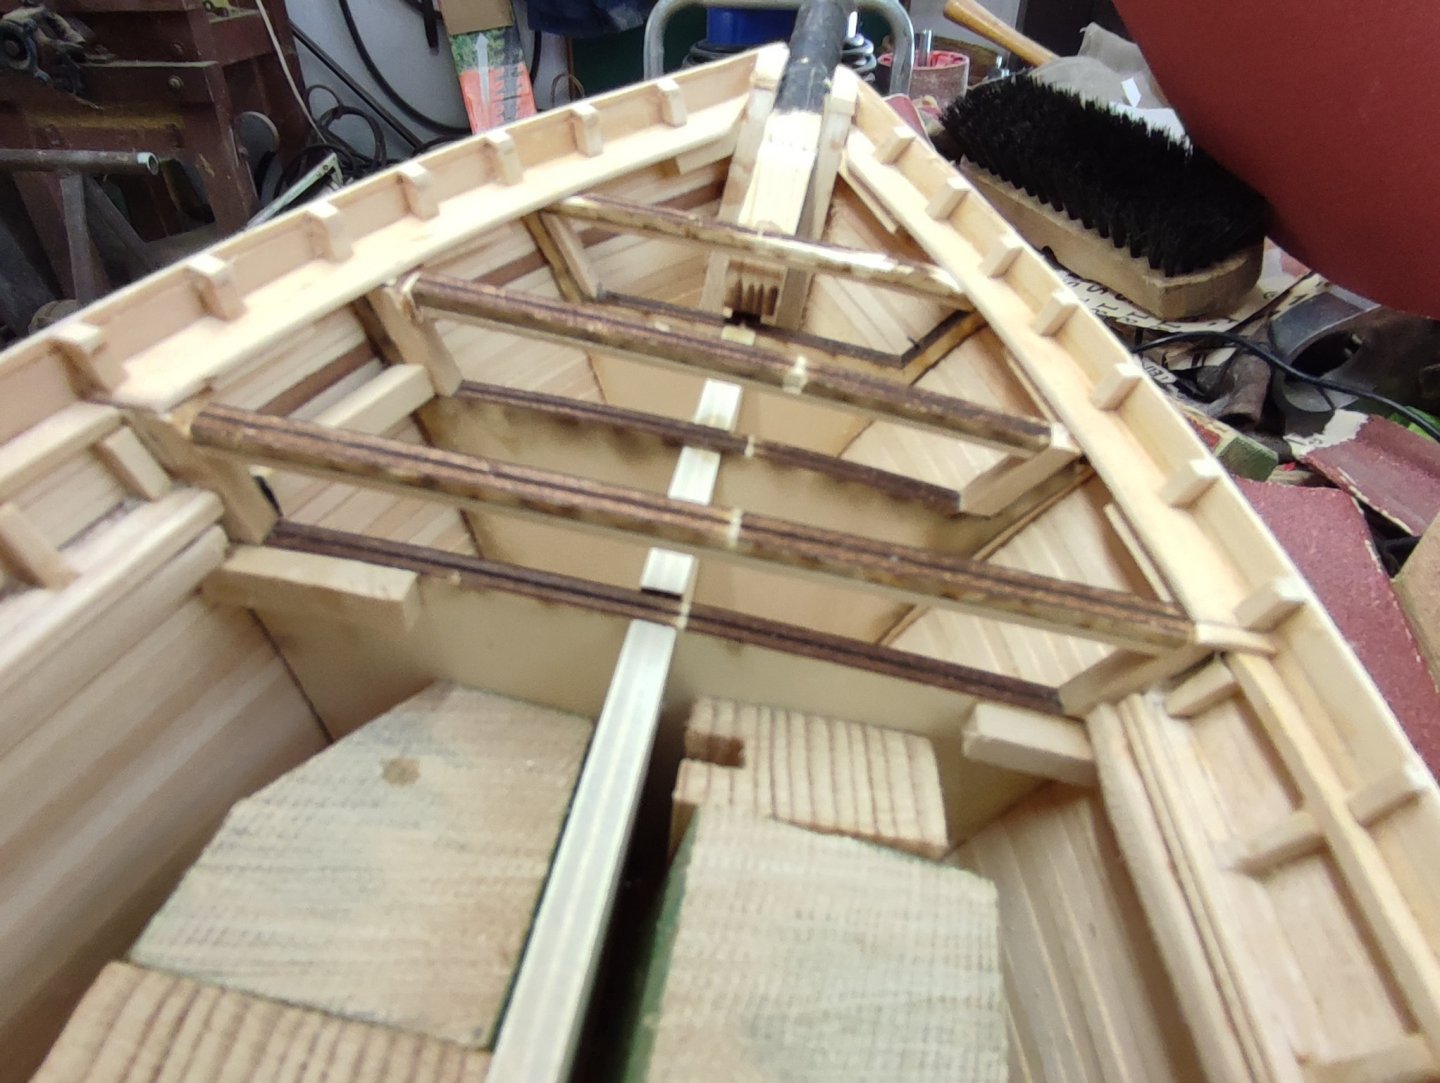
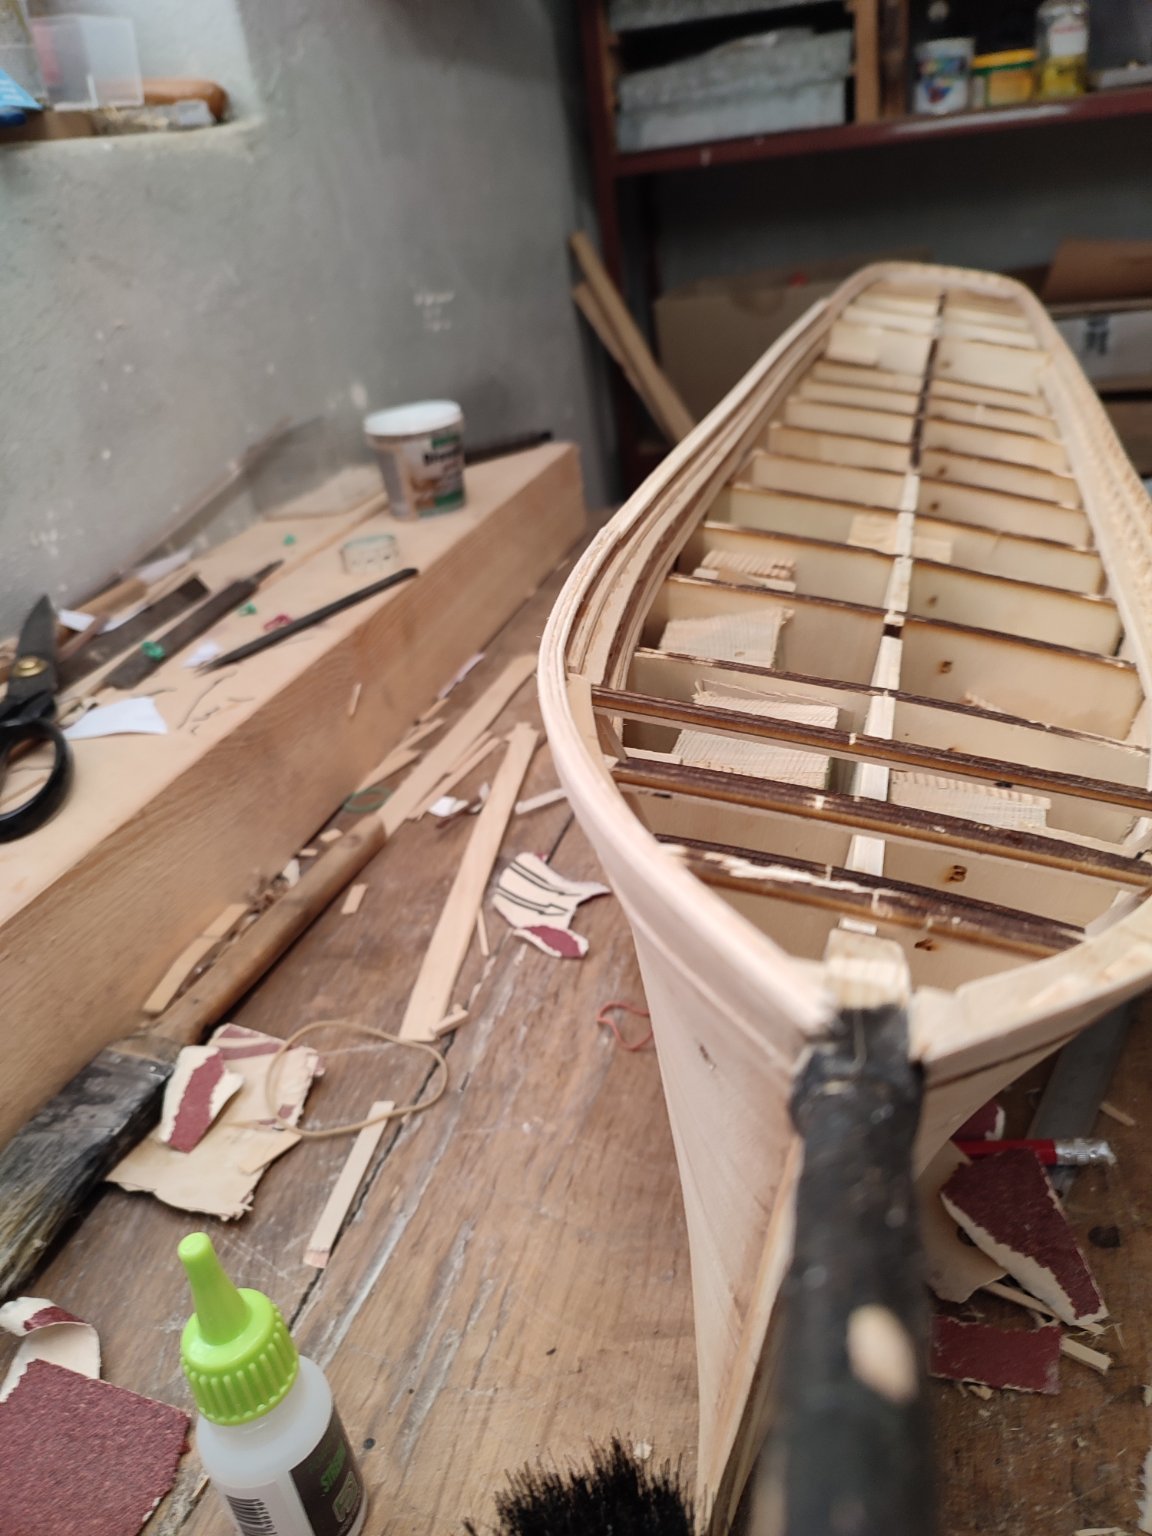
Sheer profile from inner side already decorated. I know i know that pattern. I Will try better....anyway, i ditched idea of expensive boxwood. IT Will be painted so Well Worked like Wood makes almost same output with fraction of cost...
Fingers crossed as adding pirails main rail and monkey from the innner side.
Few pics from now. V.
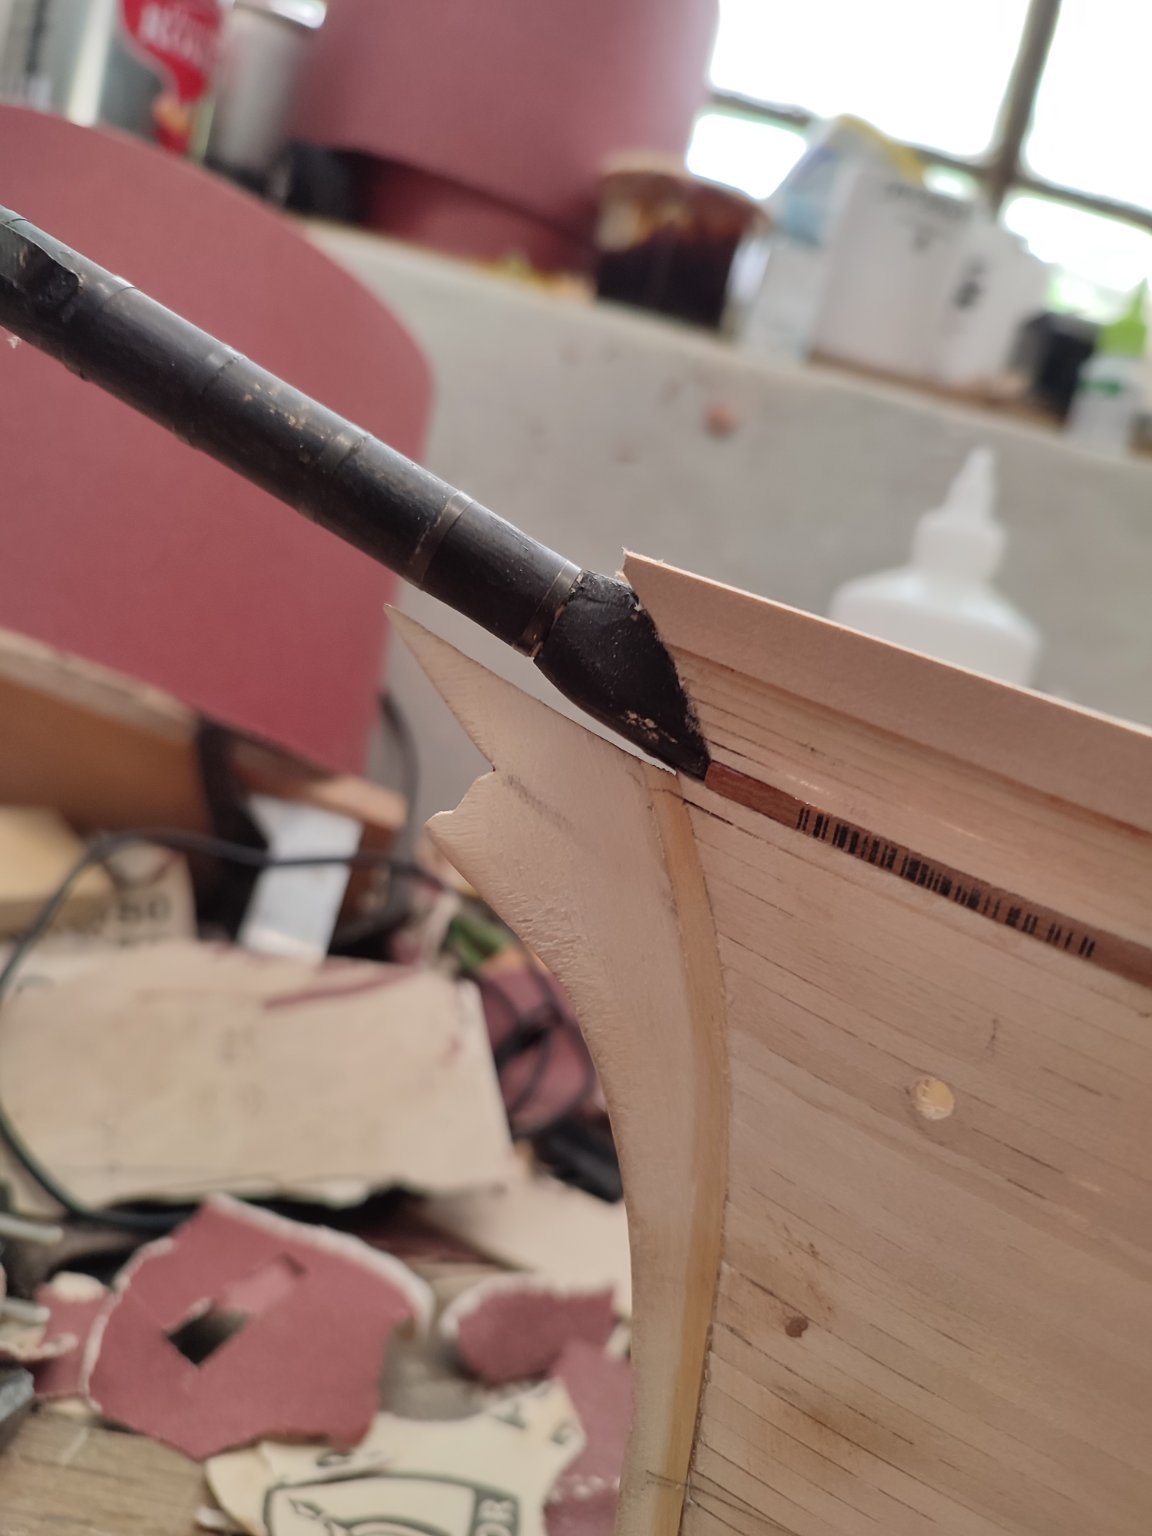
Oh as you Can see i practically almost destroyed bowsprit at this point - Will have to repair IT. No Chance i could work on stand. I have to hold the Boat many times , turn IT vigorously when sanding i coundnt work otherwise.
and sometimes crash IT....


- mtaylor and GrandpaPhil
-
2
-
12 hours ago, rwiederrich said:
I spent a little time in the shop working out the figurehead getting her mounted and painted here’s a few pictures.


Rob I cant emphasize enough how beautiful your work and outcome is. I admire it very much in your scale is simply wow. . amazing to look at her just beautiful. V.
-
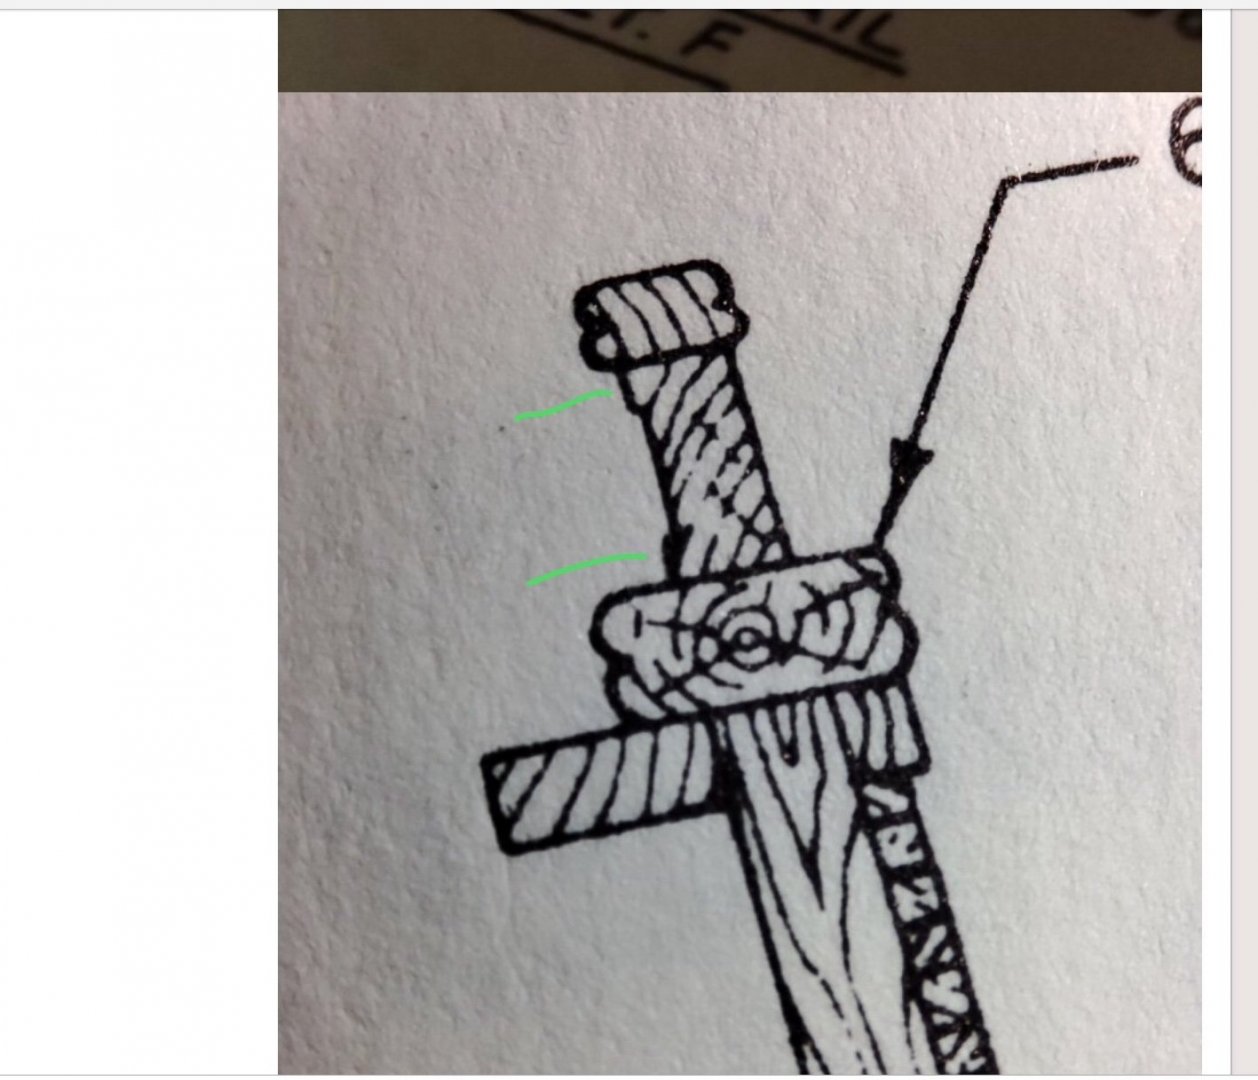
14 hours ago, ClipperFan said:
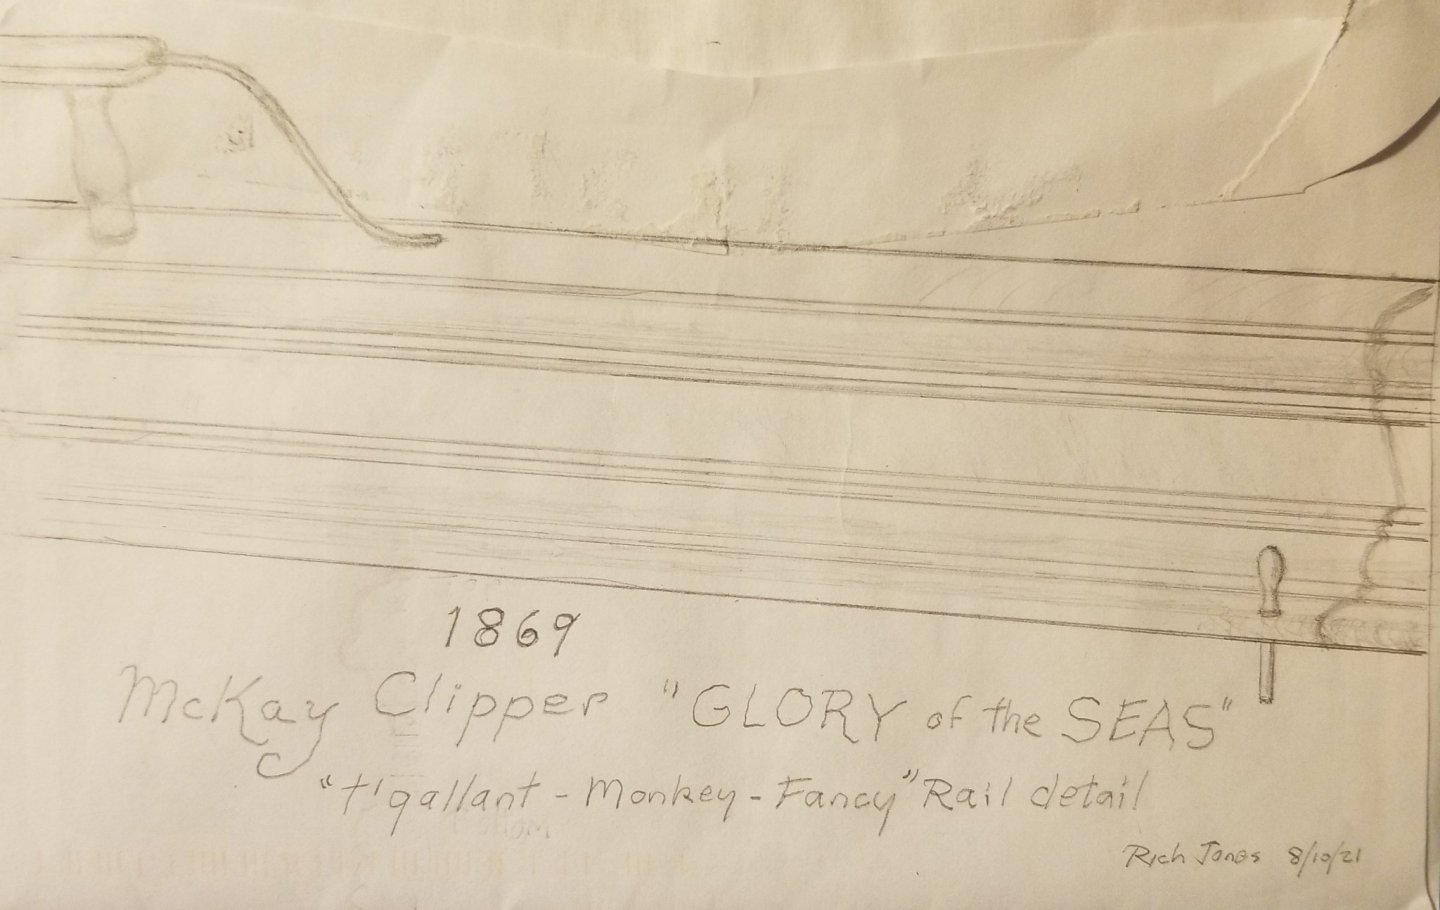
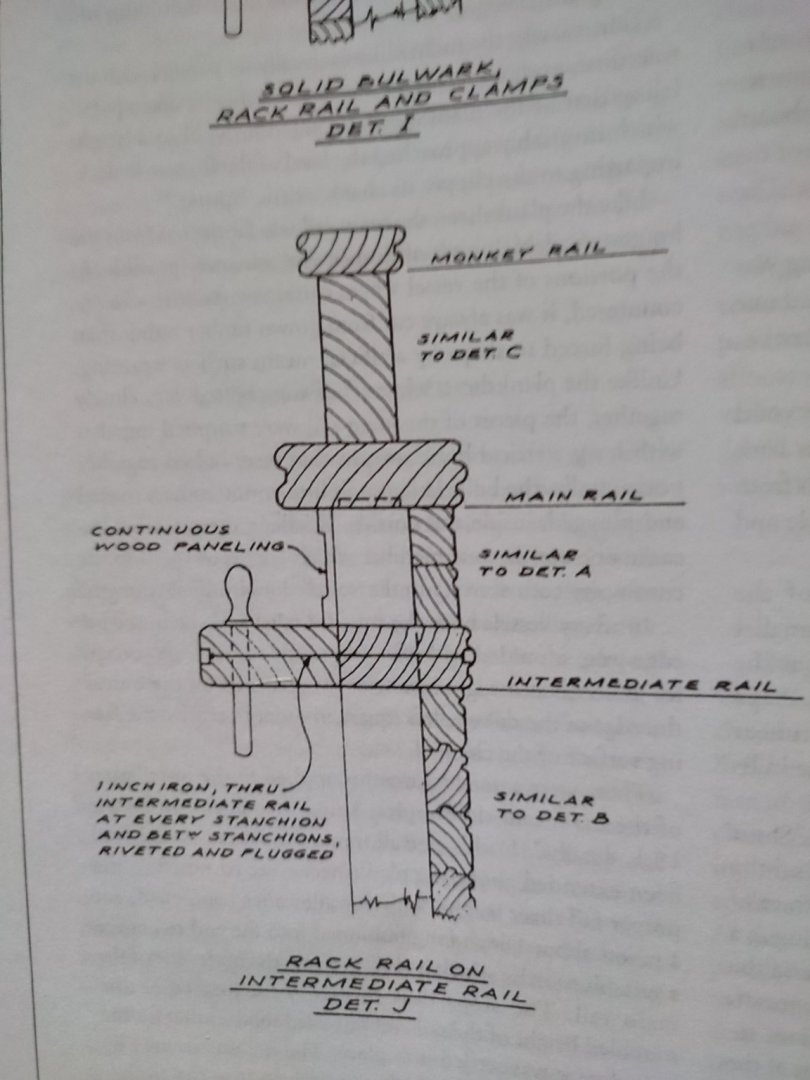
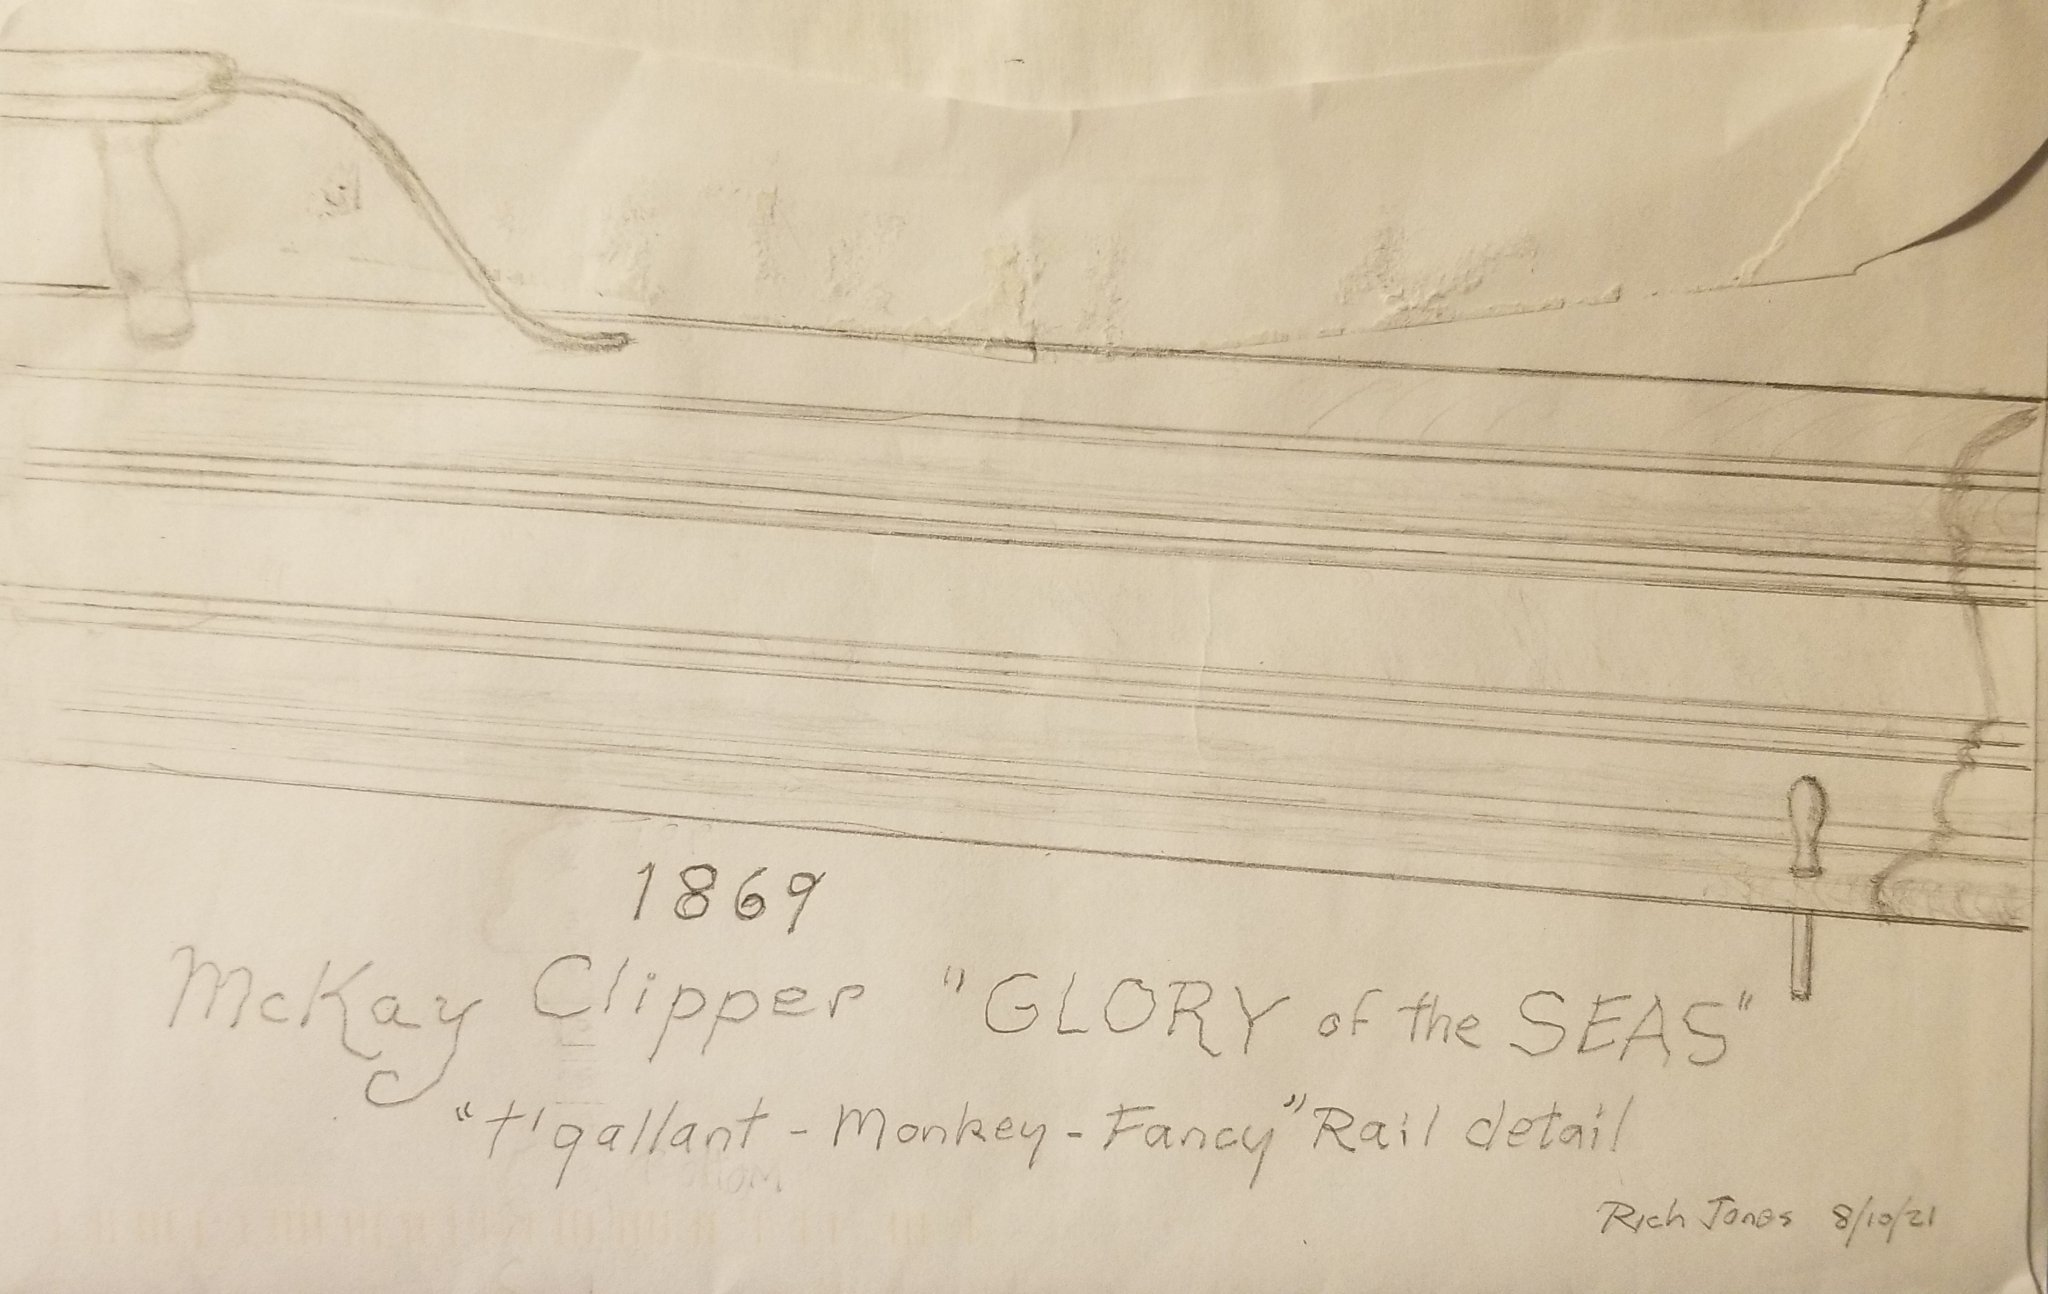
Vladimir as promised, here is my, ahem revised Artist's impression of Glory's somewhat troublesome and confusing "T'gallant...Monkey...Fancy... Rail" as I can interpret it through somewhat limited images we have of this area of the ship.
I have also added the curved Iron Rail which can be seen at the start of her Poop Deck turned Stanchion Railing. Indented line of the rail itself is visible in the picture as well as the inclined angle which is also accurate. It appears the Stanchions follow the curve of the Hull below. They begin slightly chanted inwards, straighten up as they run alongside the Rear Carriage House then cant just slightly outward as they go around the curvature of the Poop itself.
Another tricky detail I missed before until Rob pointed it out: the last molding is actually the Pinrail mounted just below the upper Main Rail Molding. It doesn't project much at all, apparently just enough to allow belaying pins to fit inside.
Of course, how much, if any of this fancy work you actually want to replicate is entirely up to you. I'm just trying to provide the most accurate information to assist you in your goals to model Glory in all her wonderful details.
Rich have i mentioned how much i like your artistry/ drawing? if not i do again. its really something. so clear with littel shading. if you are for it and patient enough with me im so looking forward to time when we discuss cabins ...and there is plenty of those artistry oh ....
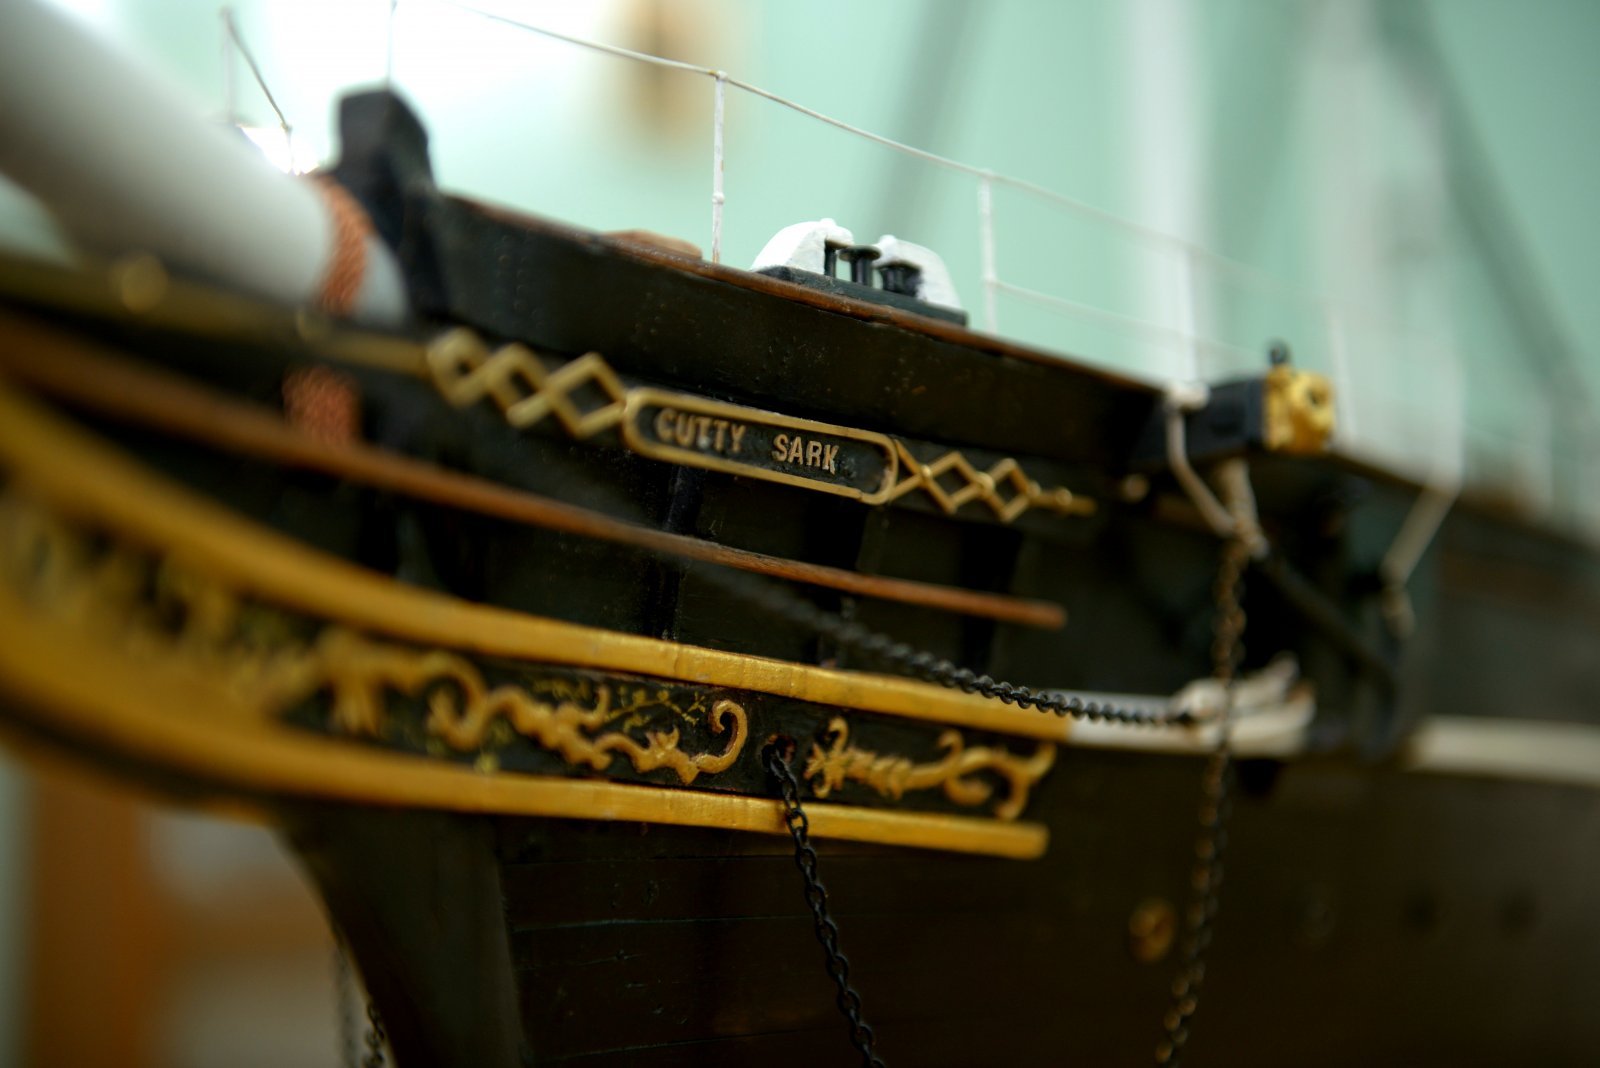
steel endidng of rail is surprising to me did they copy cutty sark ?
joking it was probably fancy modern eelgant feature of late 18 century throughout continents apparently. gosh i have headache those inner moldings believe or not make 1 milimeter in my scale ! now it is impossible to make line in middle ( i bet no problem for Rob ! but im not that good in miniatures so i will try what can i do. ) it looks astounding on paper.
-
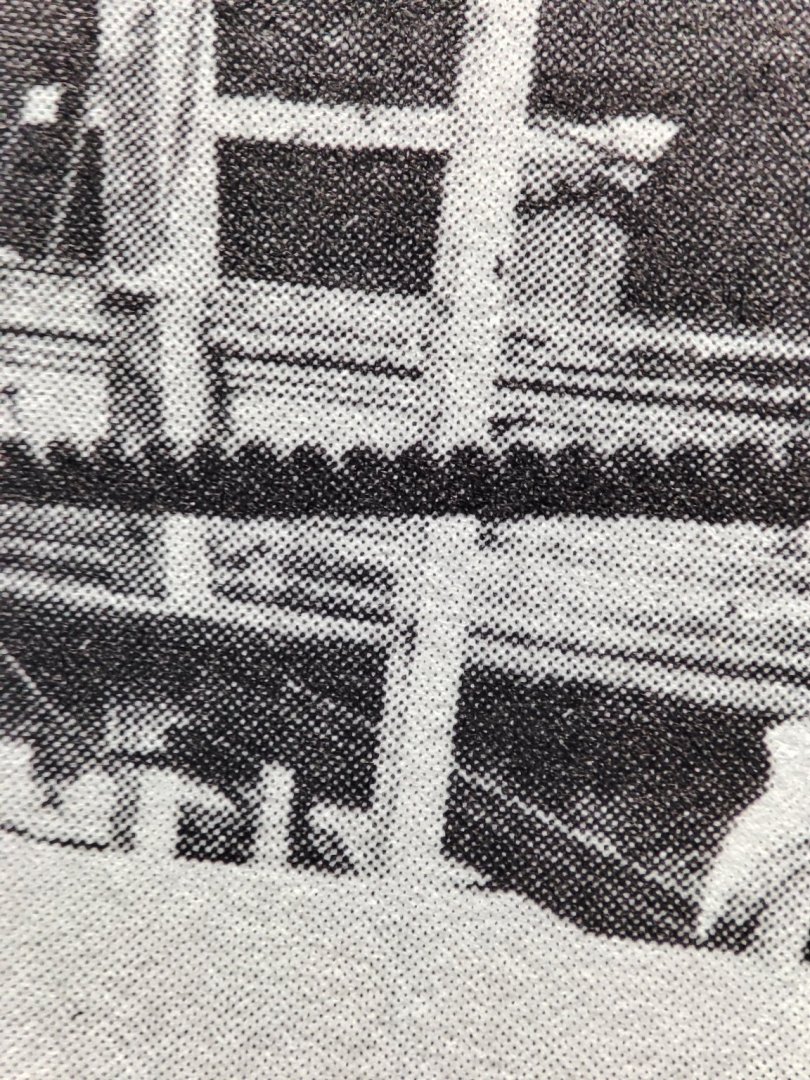
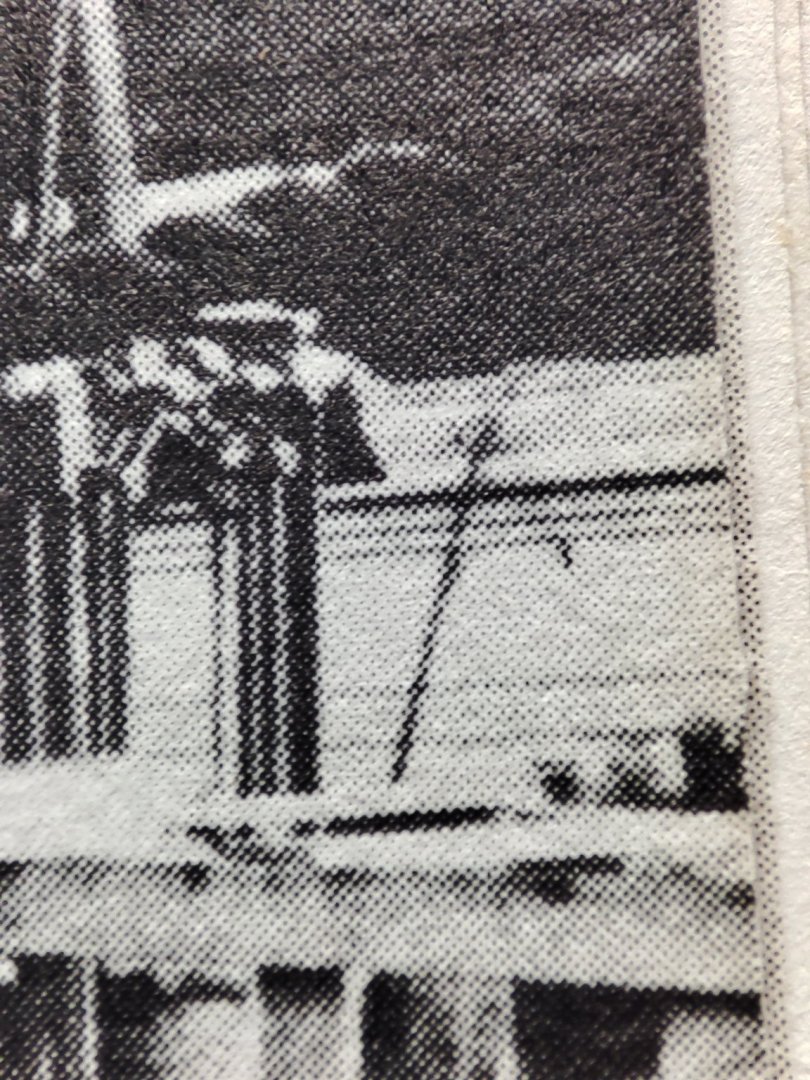
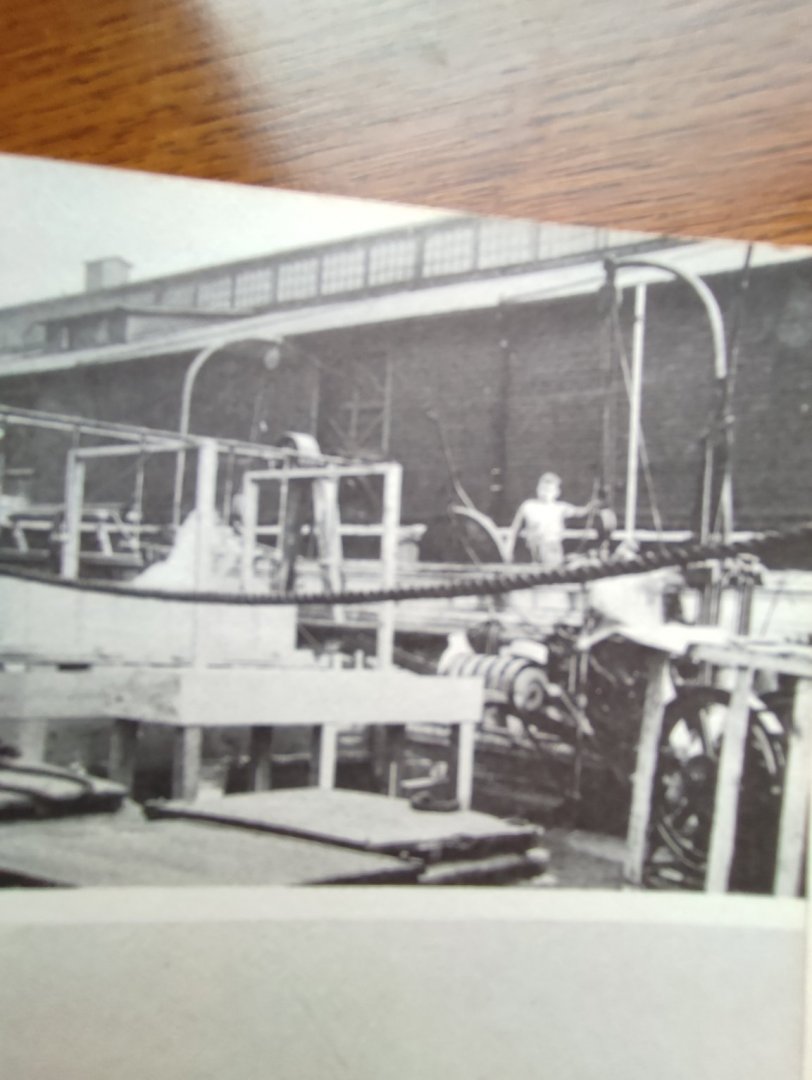
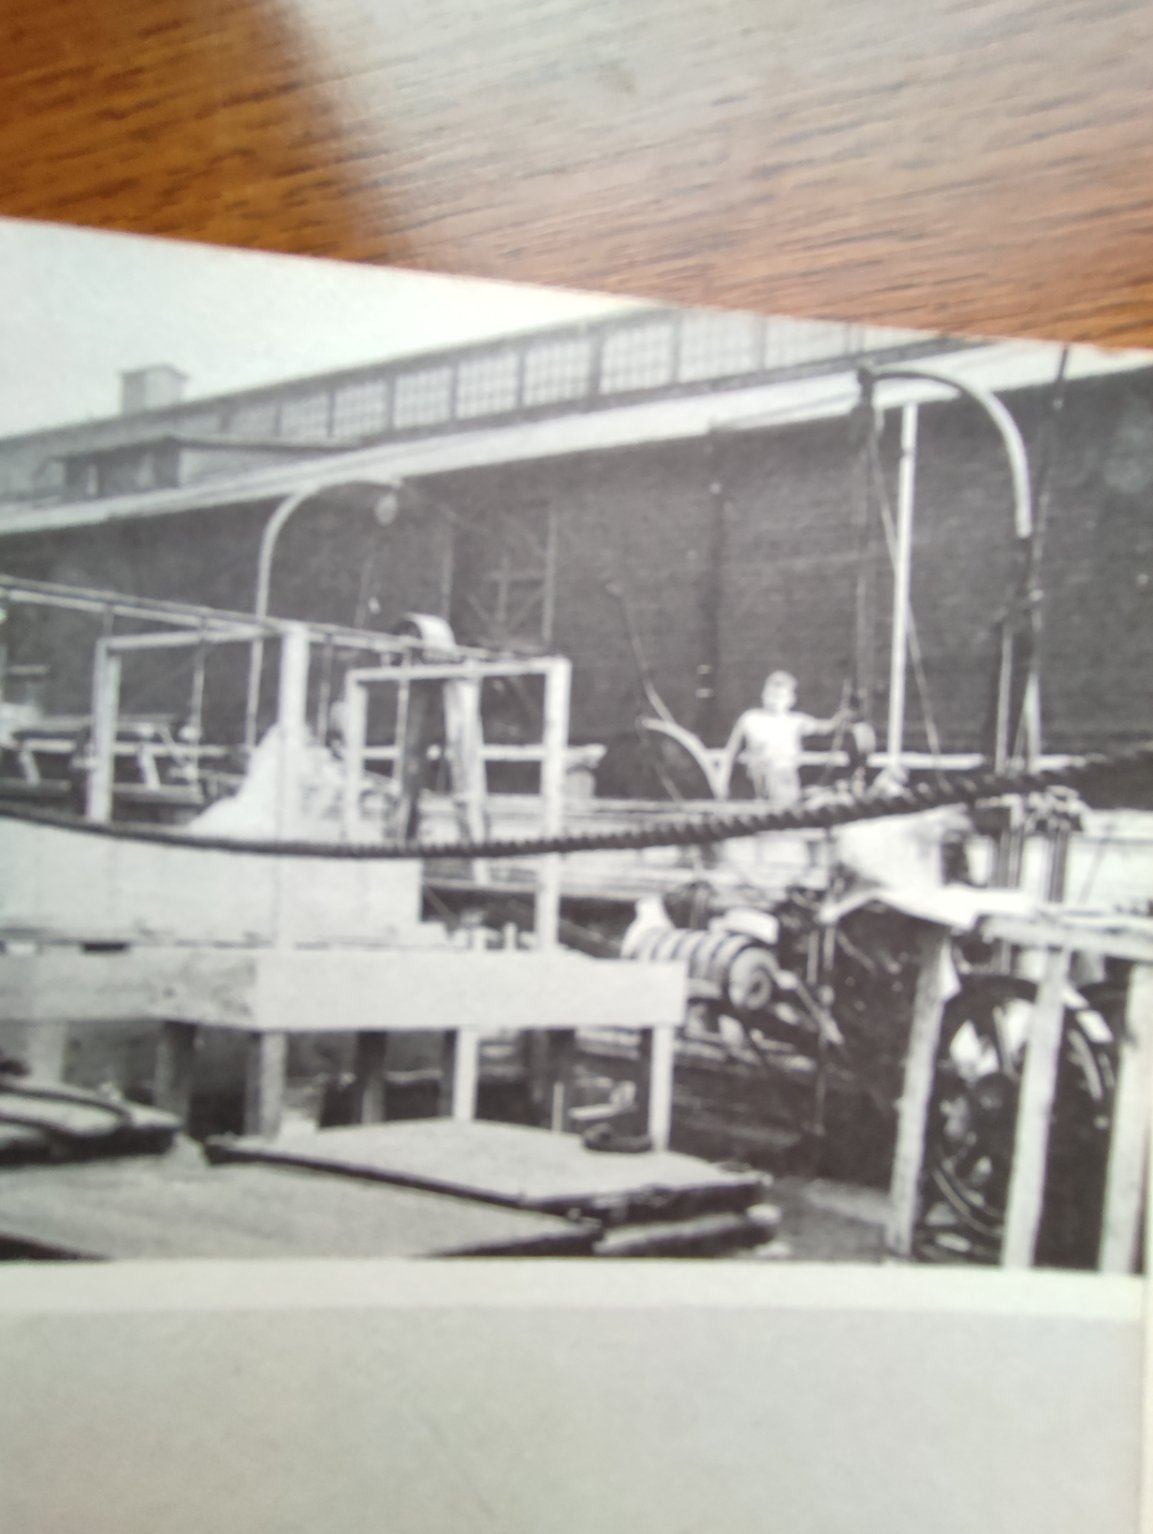
3 hours ago, rwiederrich said:
Indeed.
Your image of the bulwark with the boy is exaggerated by being out of focus.....look at this image and zoom in on it, it is much clearer and it definitely shows the topgallant and all its details along with the main pin rail.
Rob
.jpg.325644f025f5ee20dbb8ff3e738010a2.jpg)
Oh yes.thanks Folks. No need to apologize Rich, besides i didnt work on IT yet. I see clearly now that main mold Has only two ! Ornamental Lines, one below IS pinrail attached. Samé topgallant. Looks All settled now. Thanks much.V.
-
Some quick Updates...plenty to work on.
-
46 minutes ago, ClipperFan said:
Vladimir, great observation. You are of course correct, interior moldings are even more ornate than exteriors, which is amazing. I will try to sketch them from the enlargements you've shared.
As for the Pinrail, it strikes me that it would run across the Bulwarks of the main deck, starting at the Bow just behind the end of the Quarter Deck and terminating at the beginning of the Poop Deck. When you think of it neither of those other decks have need of belaying pins as much as the main deck would. Rob can correct me if I'm wrong.
Rich this would be very great as i constructed it the way it would g oalong from q deck to poop.
it seems Michael did included those little moldings in his book or drew their position ! superb. im not sure yet how or if to include those as those would be miniatures. should I try ?
V.
-
11 minutes ago, rwiederrich said:
Just beautiful Vlad...wonderful.
Rob
Thanks much Rob, i must say this monkey and rails part its most difficult so far. Challenging to keep all measures true and curvature and so on... still made few small mistakes i will elaborate on later but overall its not so shabby i hope. i will add more pics tomorrow. V.
-
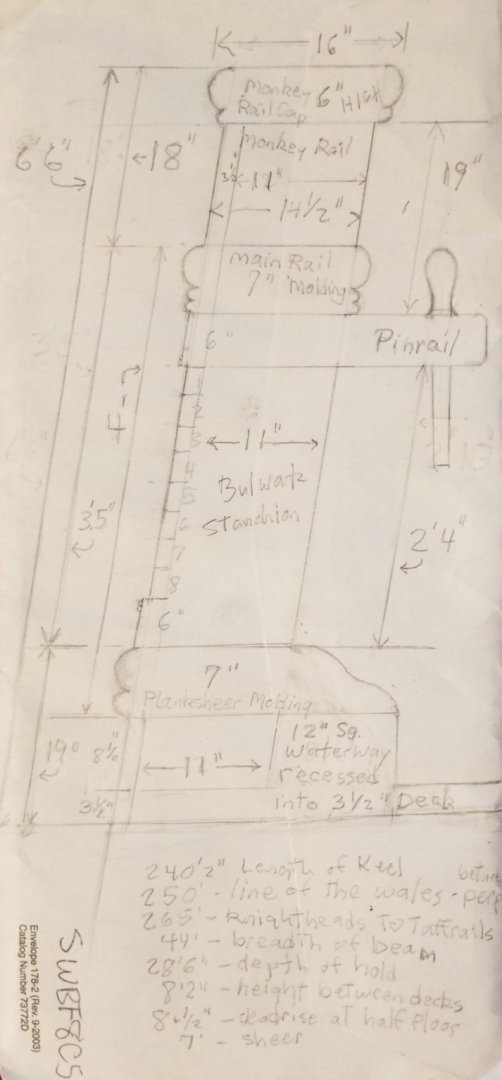
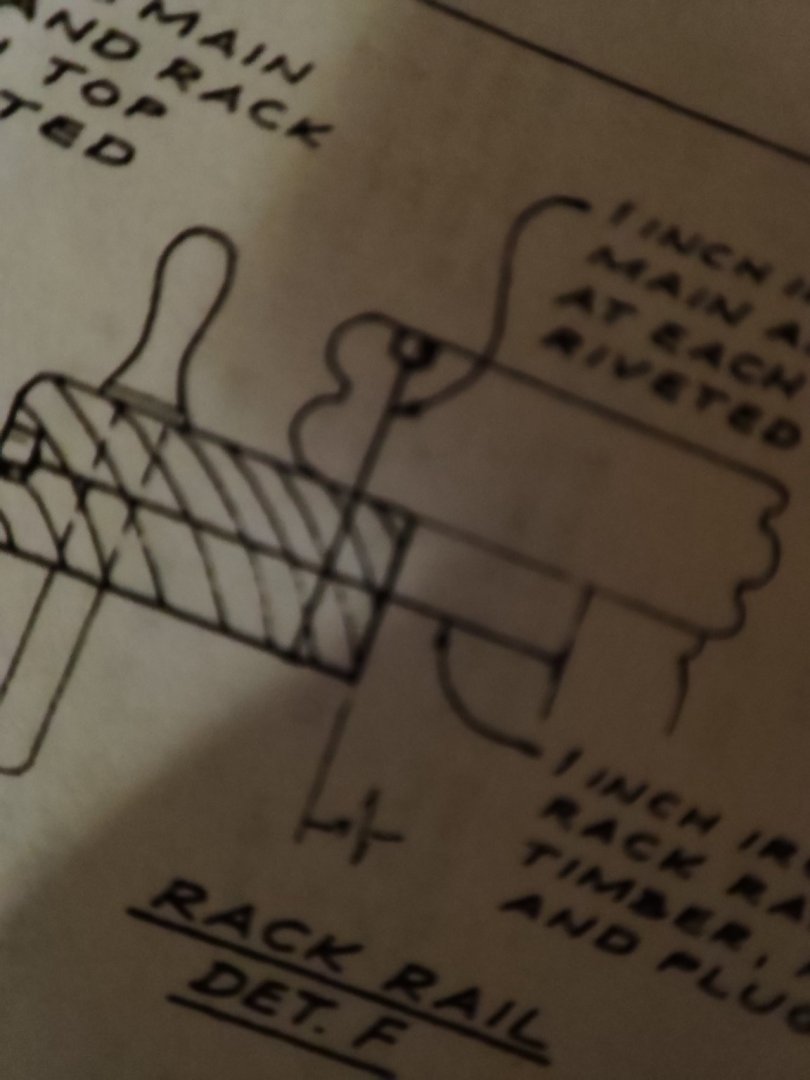
3 hours ago, ClipperFan said:
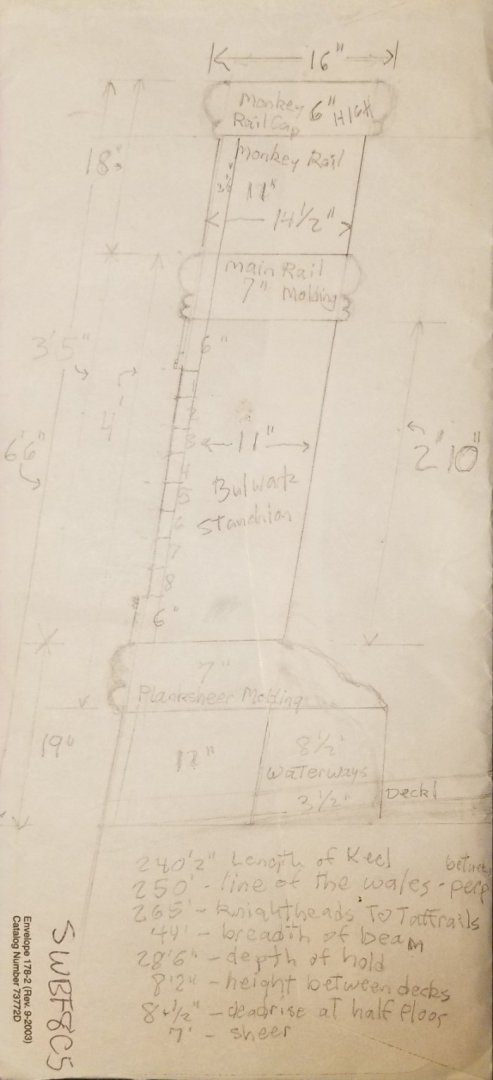
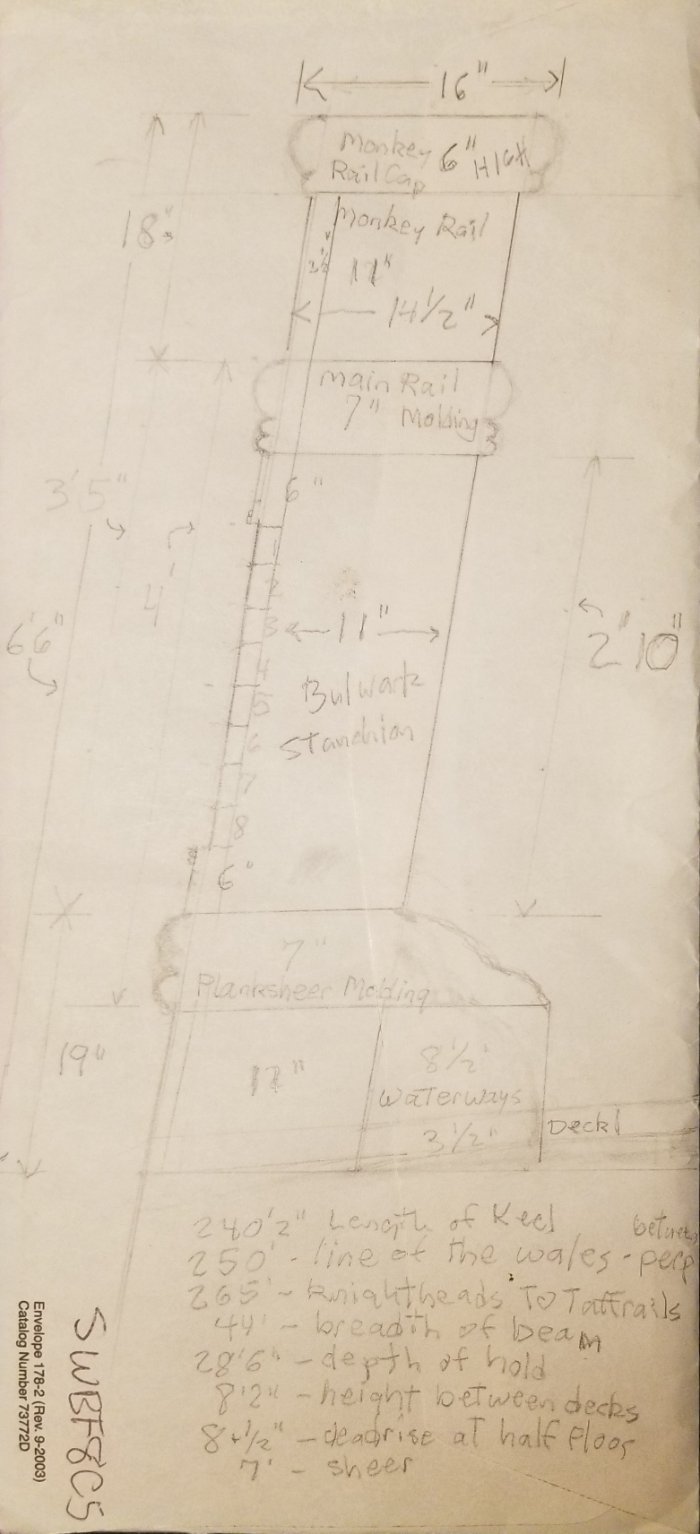
Rob, per your confirmation of Glory's Pinrail location, submitted here for your review is my revised bulkhead cross section with appropriate Pinrail included. I also cleaned up some of the dimensional call outs to be less confusing.
And.... wouldn't you know it, as soon as I posted this sketch, I spotted an error. So it's been re, revised to indicate more accurately that from the exterior, the Planskeer Molding is actually 8 1/2" above the deck line, since the Waterways are recessed 3 1/2" into the Deck Beams.
Amazing.
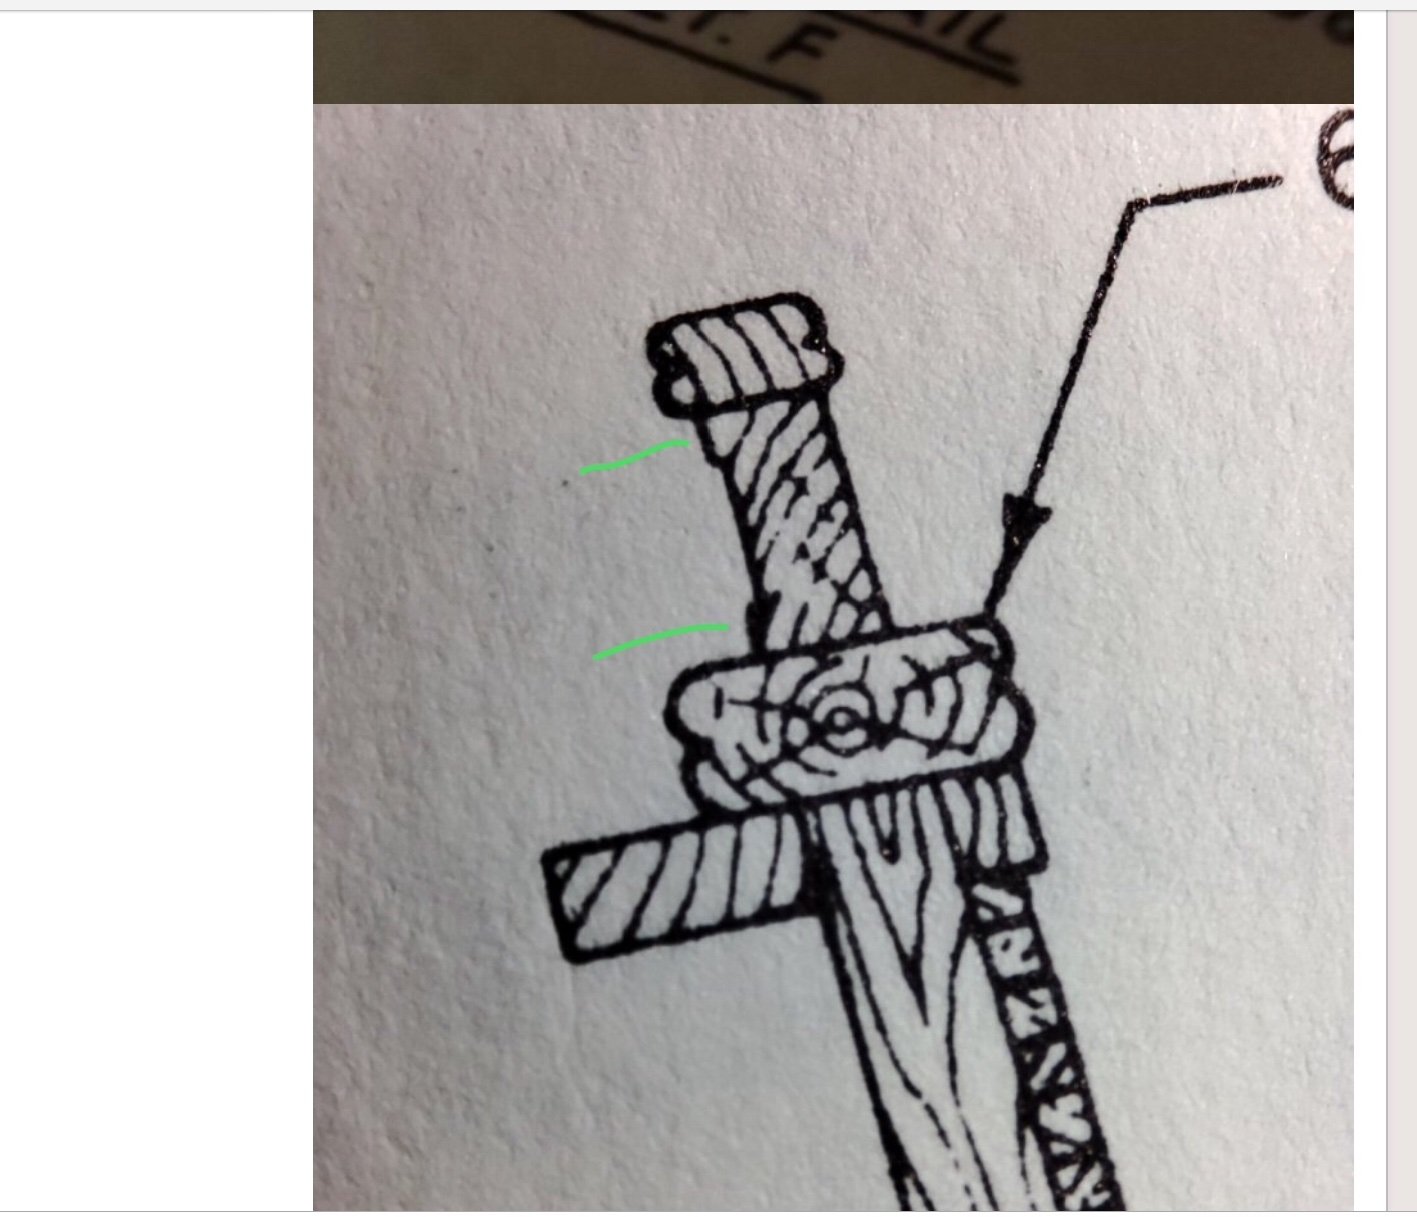
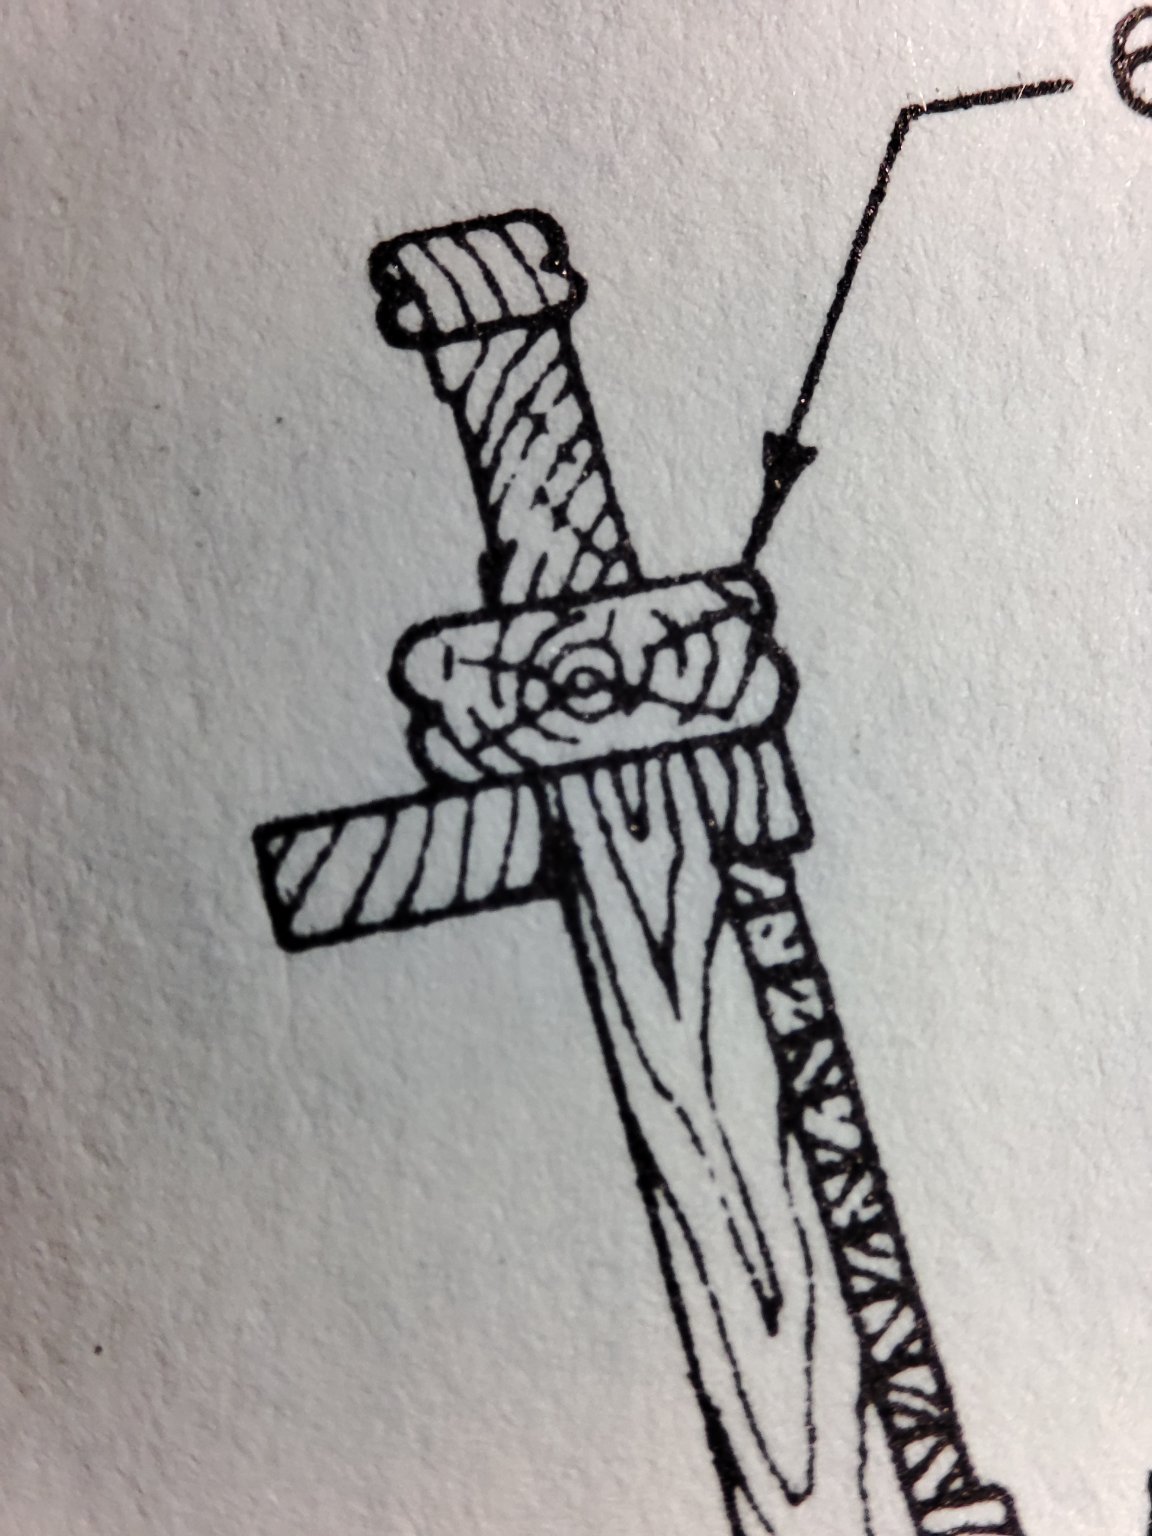
I found another tricky hidden ornamentals detail showing that glory was really overwgelmed by ornamentation. There IS another couple of small molding from immer side od monkey rail which IS clearly visible when looked closely at photo. Its really something .
Sorry for quality of drawing i Also magnified detail.
I have one question my friends - pinrail follows All line along bulwarks or IT IS just in places around masts? Sorry my english IS terrible. Thank you.

-
-
-
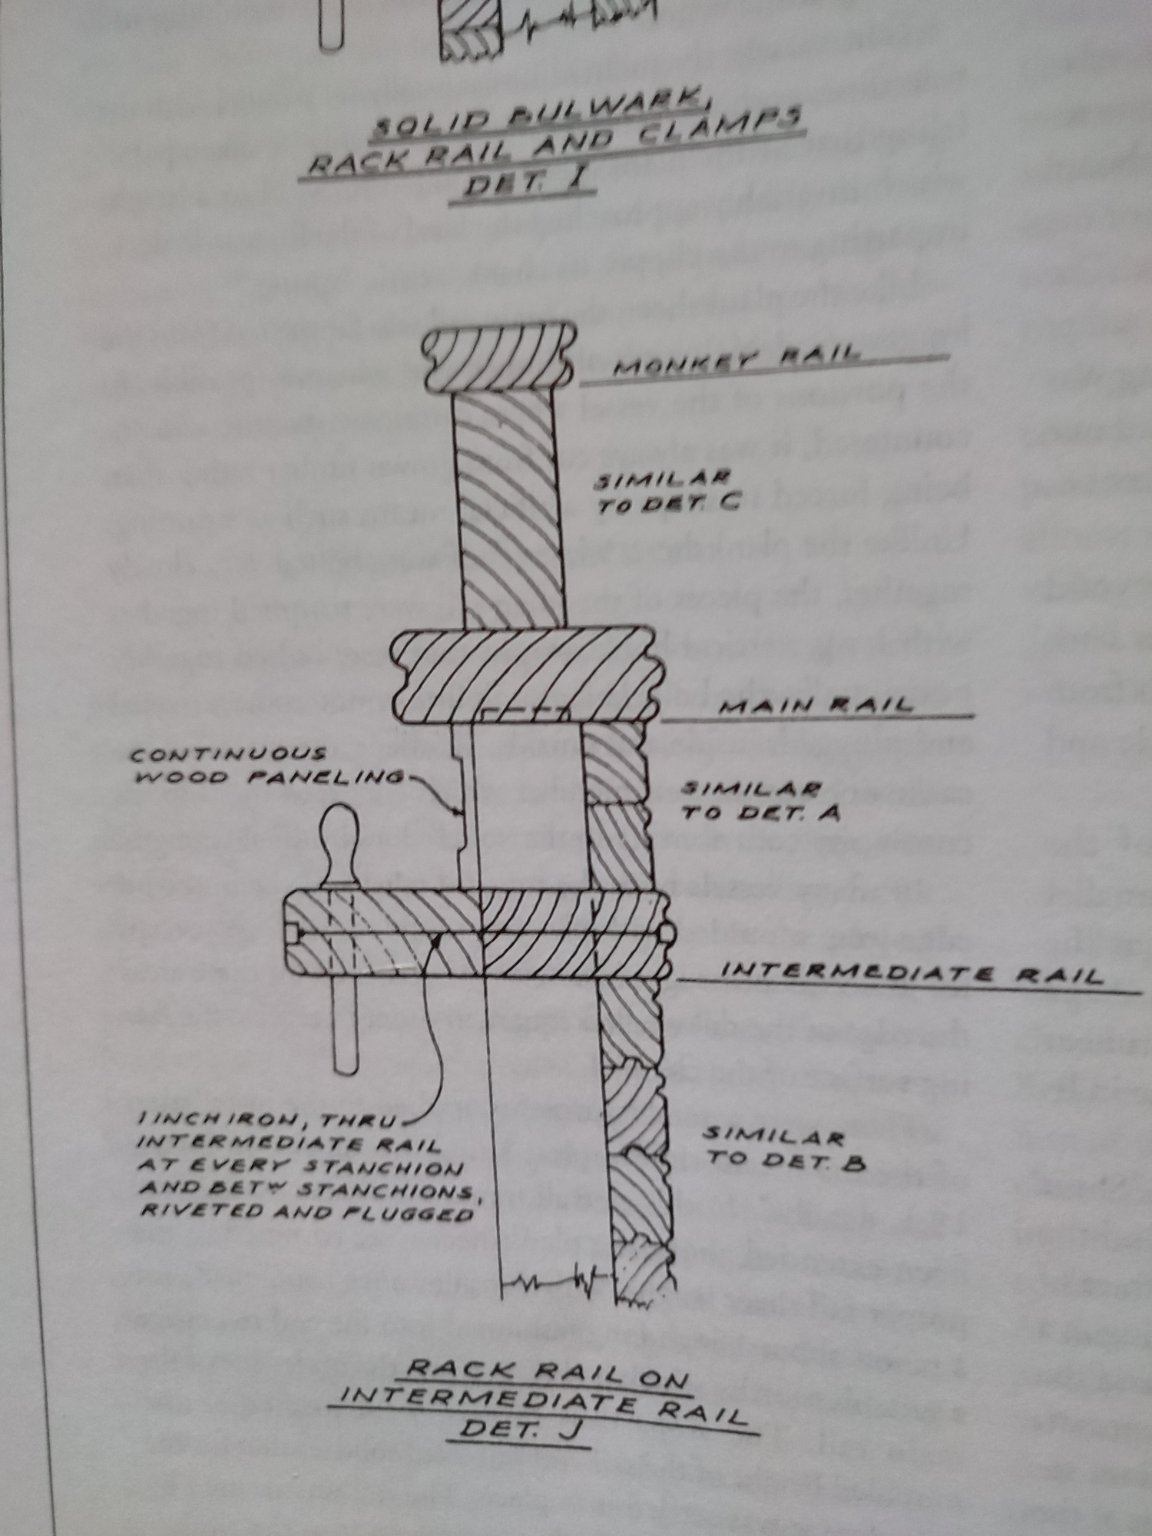
Rob, Did glory get these instalments ? Seems to me from Michael book.

- GrandpaPhil and druxey
-
2
-
1 hour ago, ClipperFan said:
Vladimir now for something completely different. Since you mentioned doing the Sheerline moldings, I thought you might appreciate seeing this.
Here, as best envisioned by me, is a cross section of Glory's Port side bulwarks looking Foreward, with interior dimensions on the right and exterior on left. I tried to incorporate every visible molding as can be determined by many photos available. Interestingly enough, when the 3" wide Main Bulwarks strakes are counted, there are exactly 8 visible between the 2 6" wide shelfs (for lack of a better description) which mirror each other top and bottom. All dimensions are, as usual taken directly from MacLean's 1869 highly detailed specs most likely supplied directly by McKay's Shipyard.
Rich, Rob You are helping me a great deal thanks a milion. I already have those numbers in head by now, its very useful. I must stress one thing though.
There are compromisses in build and those include there instalments, not in measures but in style. There Will be less than 8 miniatures strakes but 6 little wider - butvthose are still in my scale ratio as main planks are Also wider than original. Hovewer I definitely want to maintain aestetic and form structure with 2 6" outsided planks from hull.
I always jave to Keep eye on sheer line profile from back to bow and install on IT strakes with samé thickness so i could sand Bulwark Columns correctly...
When it comes to moldings decoration,
Im not there get. I want to Keep IS as beautiful and faithful as possible doing IT with boxwood. As ornamentals are from both sides of main rail and top rail, im installing middle wood to that i Will glue molded strakes from both sides. But IT wont be soon i dont have such Wood but found a suplier in hrany so ...far from IT yet. Gopefully i Will complete rails this week and poden structural form od Boat hull Will be pretty much completed.this IS today progress.
I run to one issue though. Forecaatle bulkheads appear little Higher than shpuld be so i have to cut those and lower them a bit nothing tragic.
Here IS the progress. Always thanks for looking in etc....i took magnified photo by my macro feature from book to check molding detail


- mtaylor and GrandpaPhil
-
2
-
11 hours ago, gak1965 said:
Looks great. I was wondering how to eventually replicate the pre cut planksheer that MS makes when I start Discovery, and I think that your method is the answer
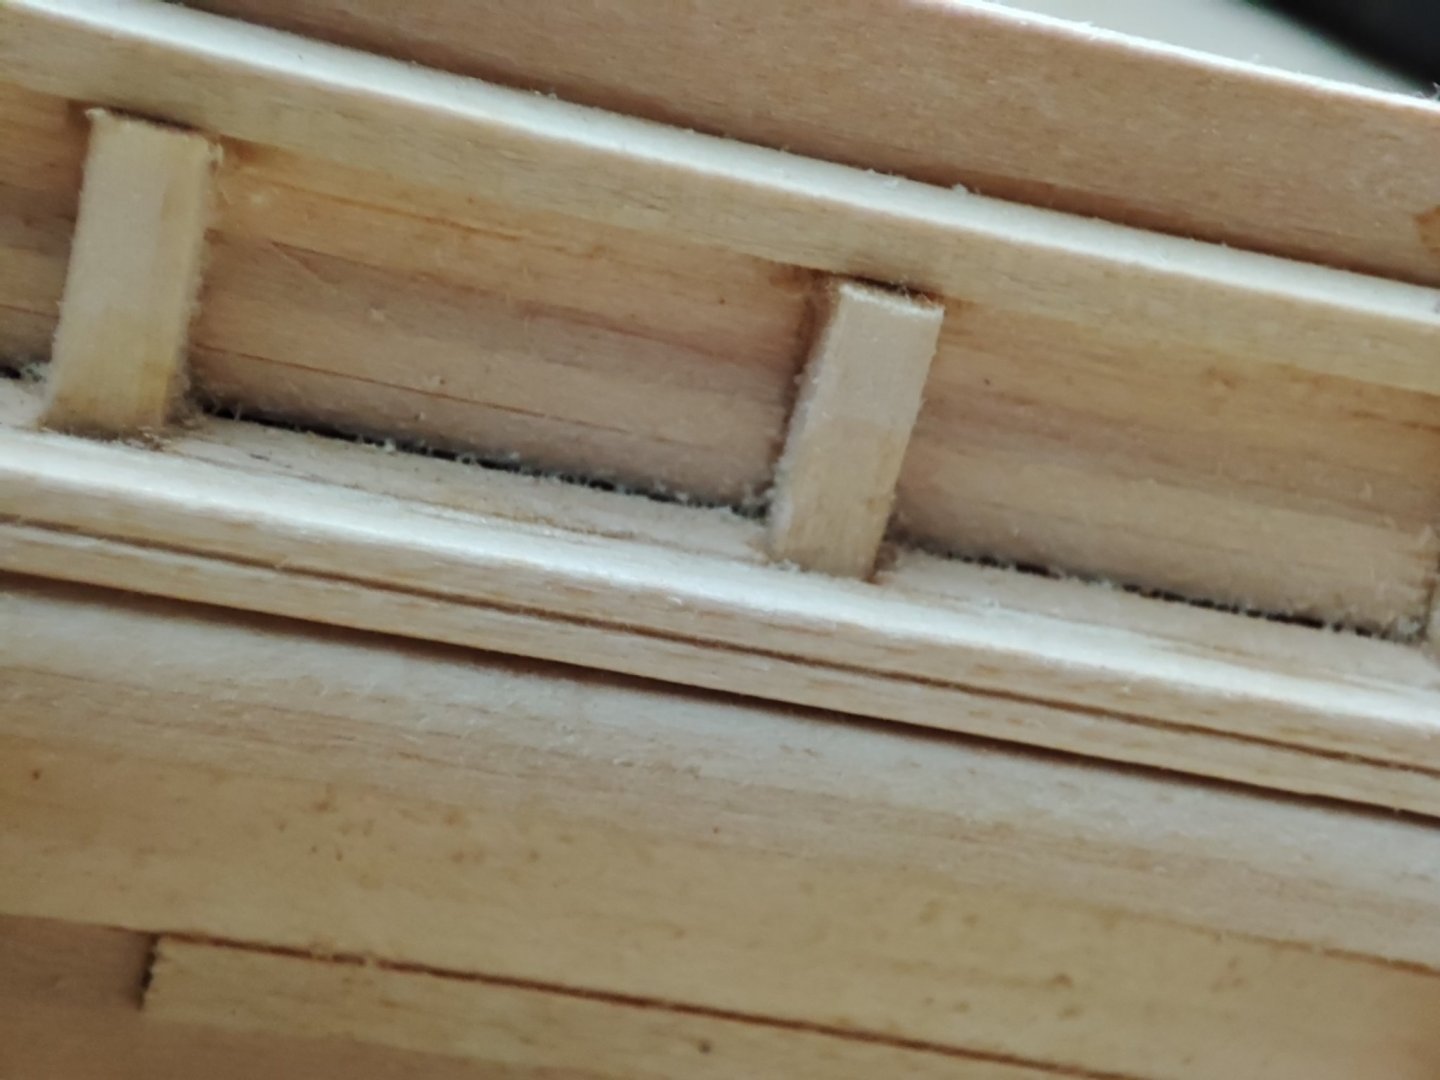
George I was looking at planksheer on plan myself not sure how to replicate it. i didnt know how untill i tried to experiment. at the end i fou d out i can run 2.5 mm strip to proper angle and fix it temporarily with thin wire not gluing. once fastened i run precut horizontal pieces along so that i glue one and than i make a gap by sticking false dolumn and follow next border with glue pushing it firmly towards column - iat the end column is difficult to take out and another to insert which ensures snug fit for angled clumns. so far im pretty satisfied it works perfectly. V.
-
11 hours ago, gak1965 said:
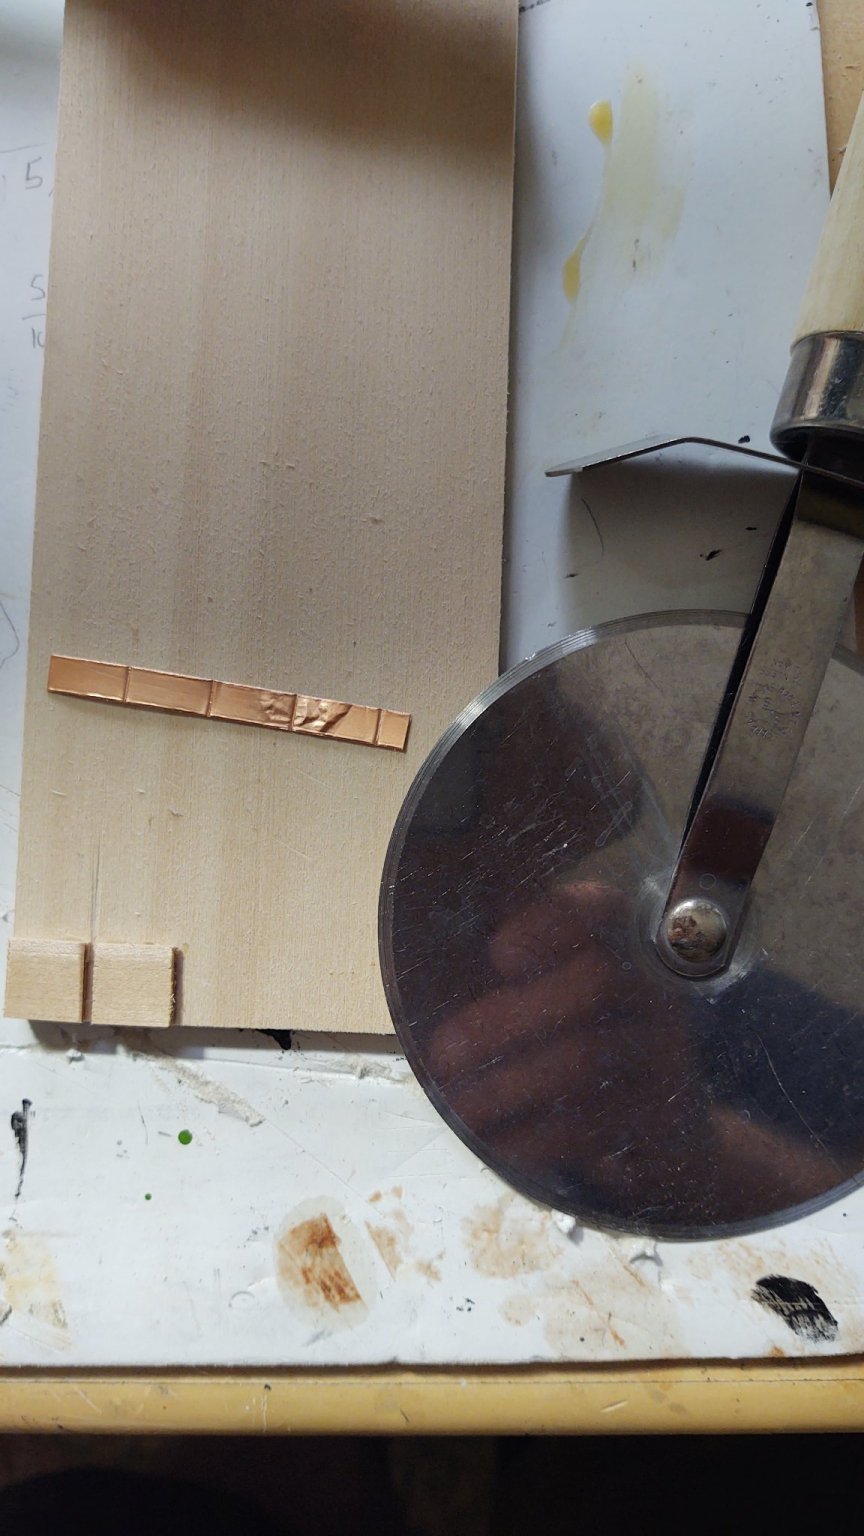
Well, broke down and started working on the copper. Ultimately decided to go with the unadorned look given the scale. These are the tests with some 1/4 inch copper that isn't going onto the ship. The plates were made in my extremely high tech plate making apparatus, made from a bit of wood scrap and a pizza cutter. I used that to score the tape, which is then cut out into 6 plate sections. A sample section from a bit of damaged tape also shown. These plates at scale are 24" by 48", correct length, incorrect height. As you will see, the tape itself seems to have a bit of a raised edge, which I think can usefully serve as approximating a line of nails which would be about 0.4 mm wide at scale.
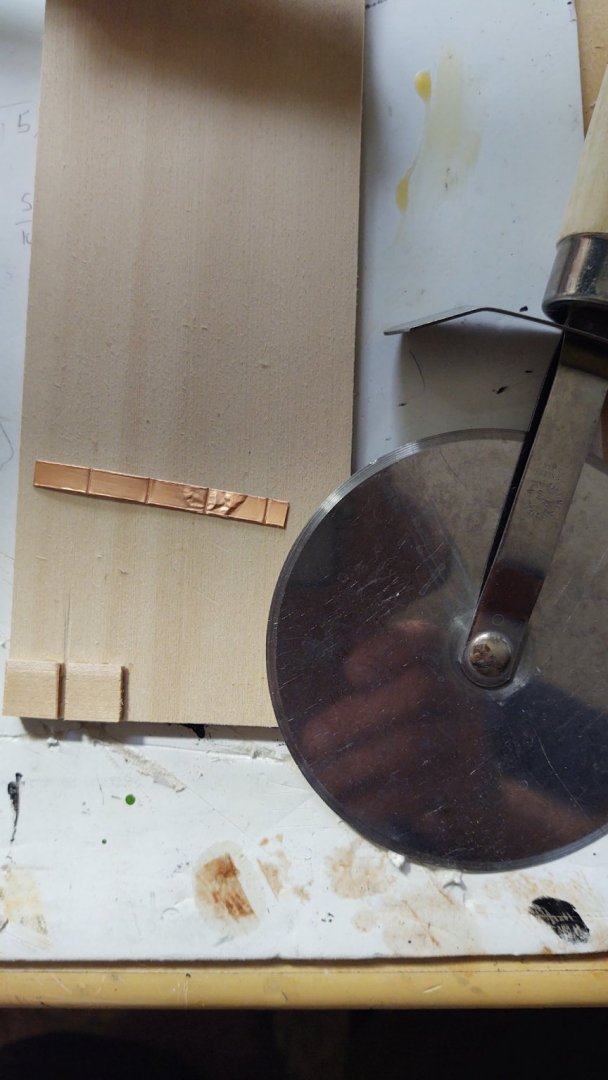
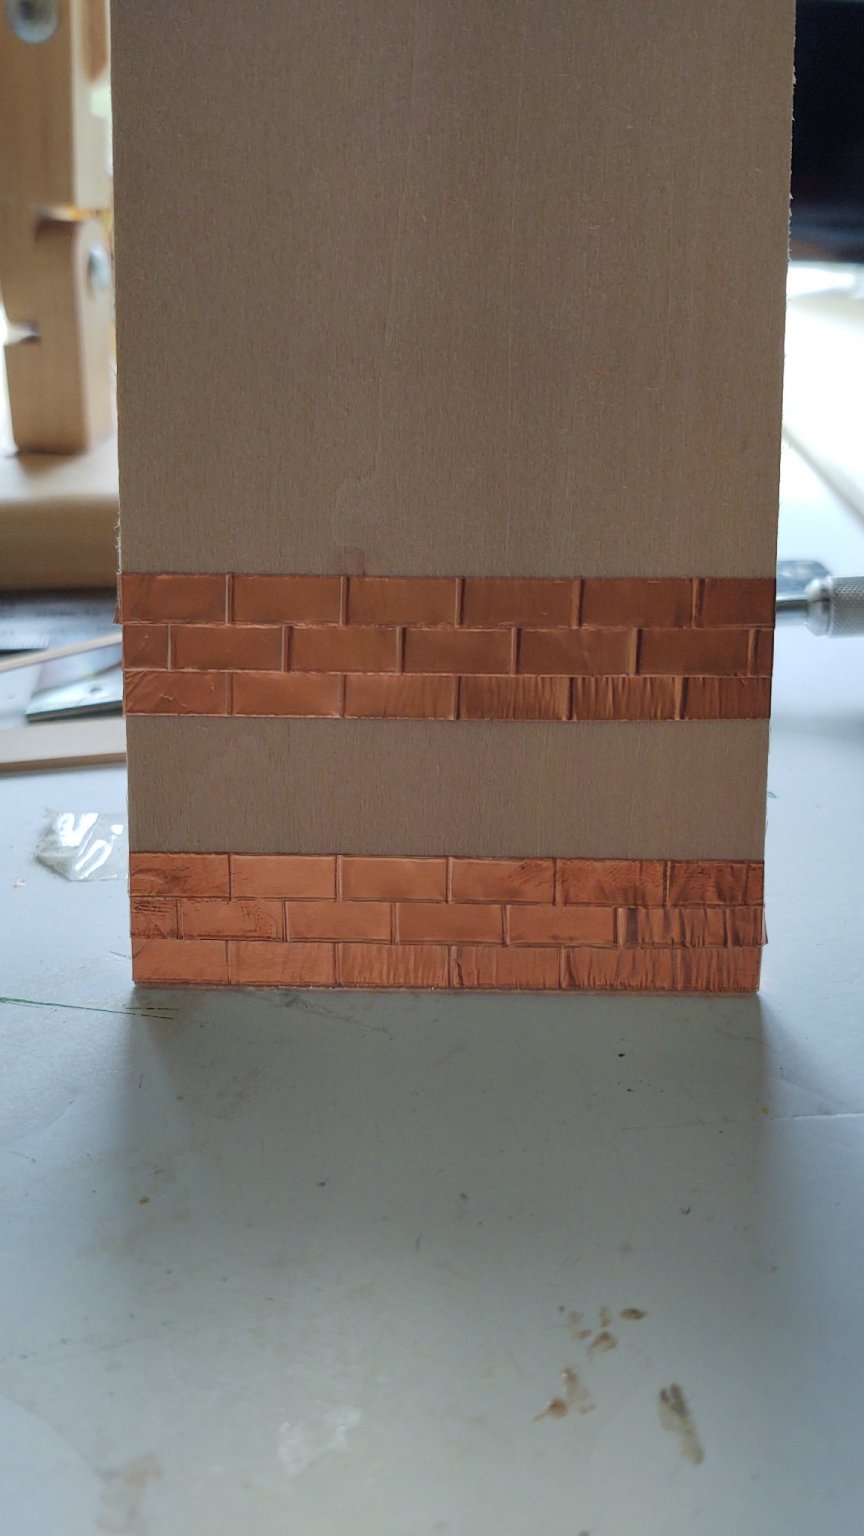
I put together a couple of experiments below, the top rows were scored on the back, yielding a raised edge between the plates, and the bottom set were scored on the top of the plate. Both produce a pleasing effect, but I think that I will go with the variant with embossed from above as the plates seem more "separate" to me.

I started from the bottom, and got better at applying the six plate segments as I progressed, so the top set is a lot cleaner looking (and the top row of the lower sections is better looking than the bottom two rows). The key is to hold the end of the strip down and peel off the paper backing without letting it curl up. Although I am going to use 3/16 tape on the ship, I may use some of the 1/4 to copper the keel, as it will fully cover it and allow cleaner overlaps than the 3/16 segments will (and it will allow me to get some value from the kit tape).
As always, thanks for looking in.
George K.
great idea George. I wish you patience and firm nerves.
but outcome will compensate the effort. V.
-
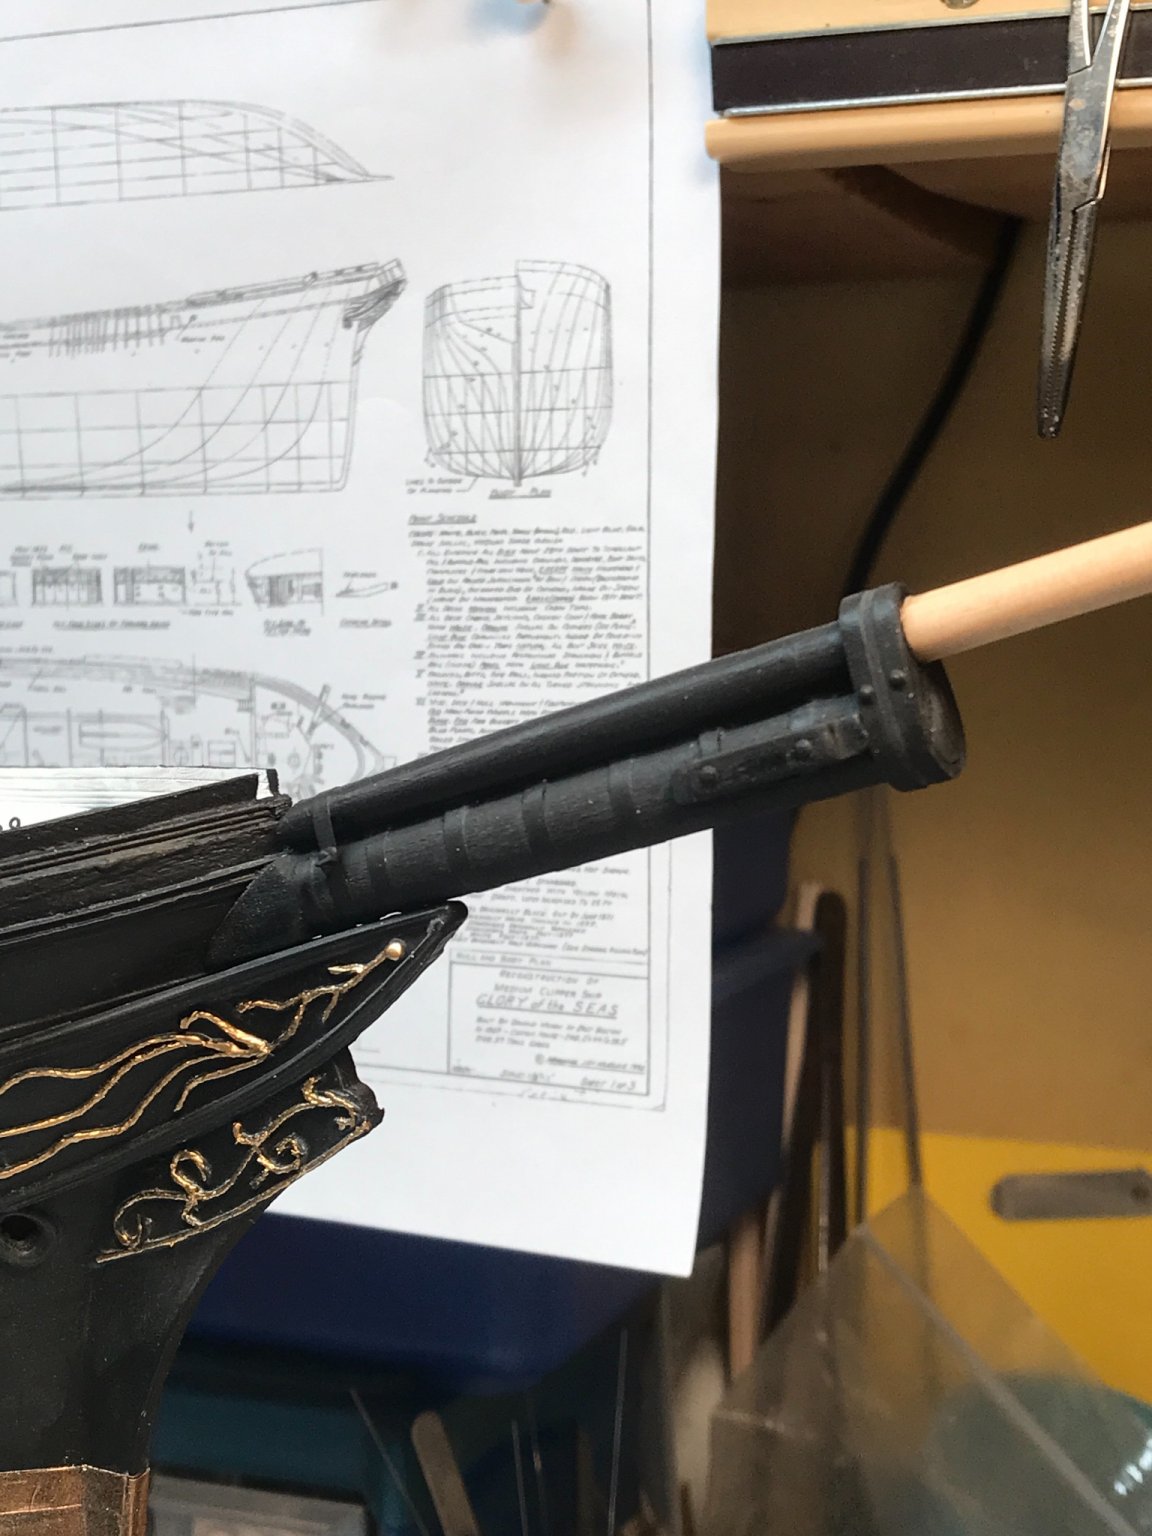
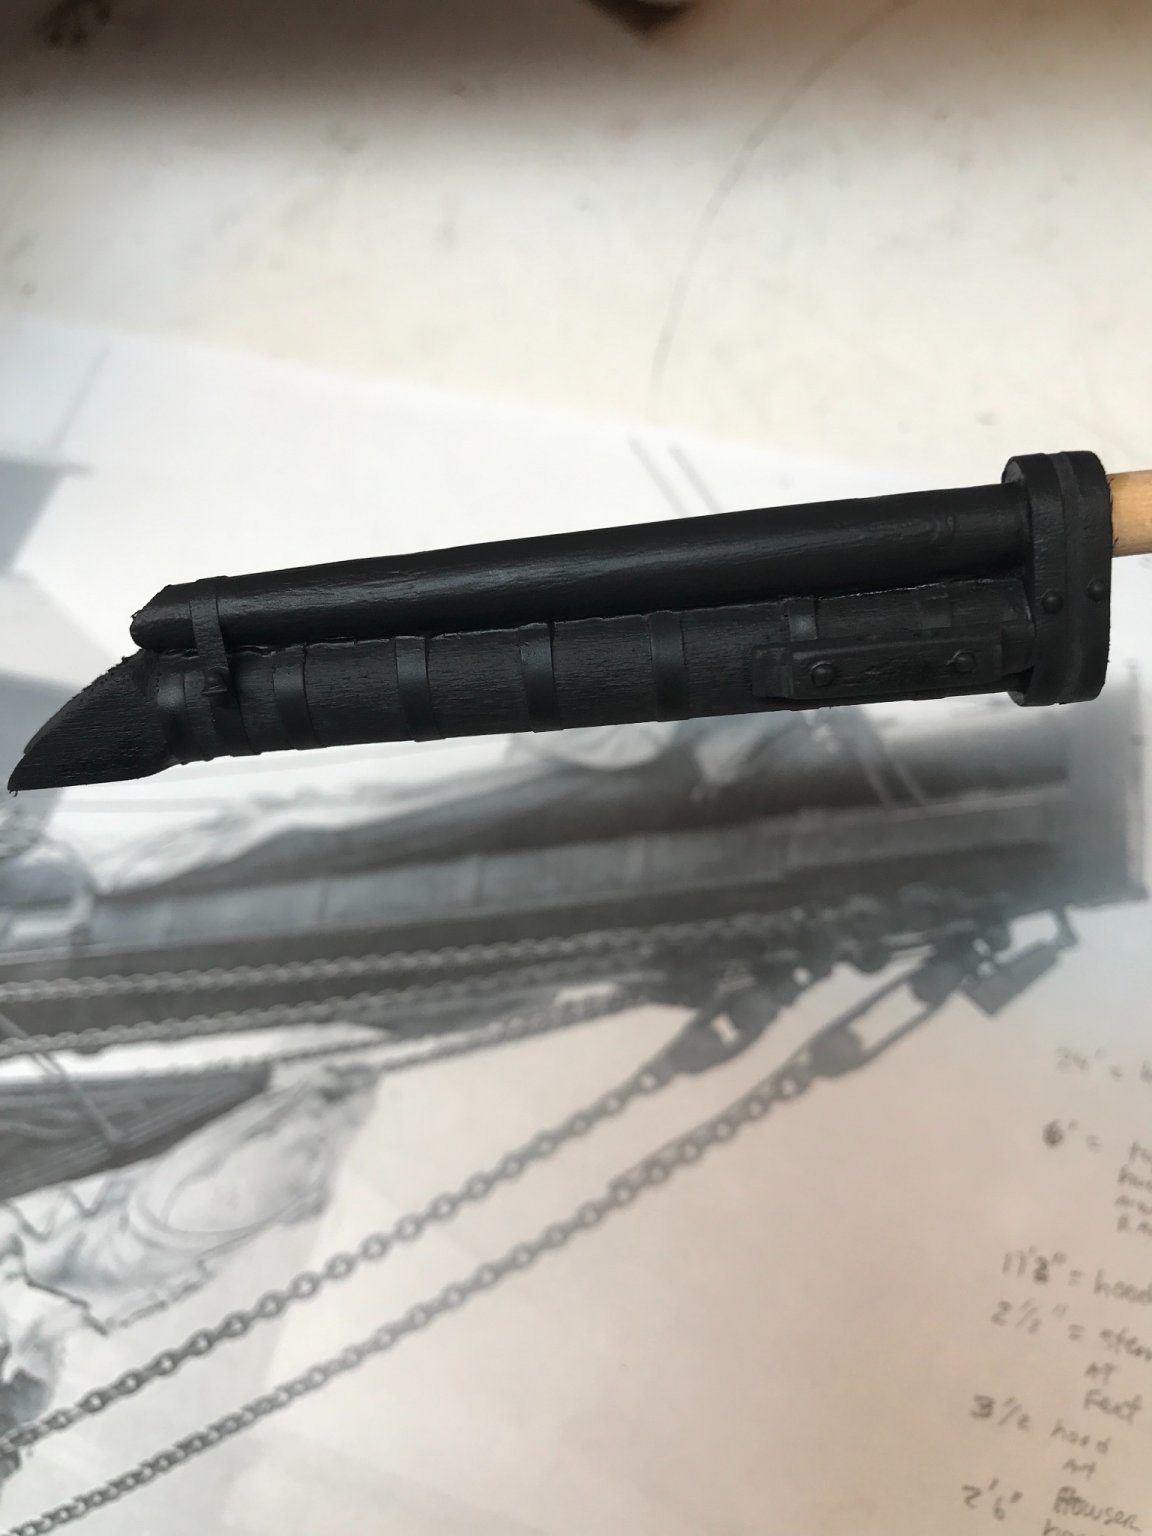
1 hour ago, rwiederrich said:
Well I worked on the bowsprit this morning and did some finalizing and repairing and I think I’m pretty close the attachment needs to be modified a bit but I think it’s looking pretty good.Well I worked on the bowsprit this morning and did some finalizing and repairing and I think I’m pretty close the attachment needs to be modified a bit but I think it’s looking pretty good.


very pretty Rob.


Glory of the Seas 1869 by Vladimir_Wairoa - FINISHED - 1:72 - medium clipper
in - Build logs for subjects built 1851 - 1900
Posted · Edited by Vladimir_Wairoa
Add
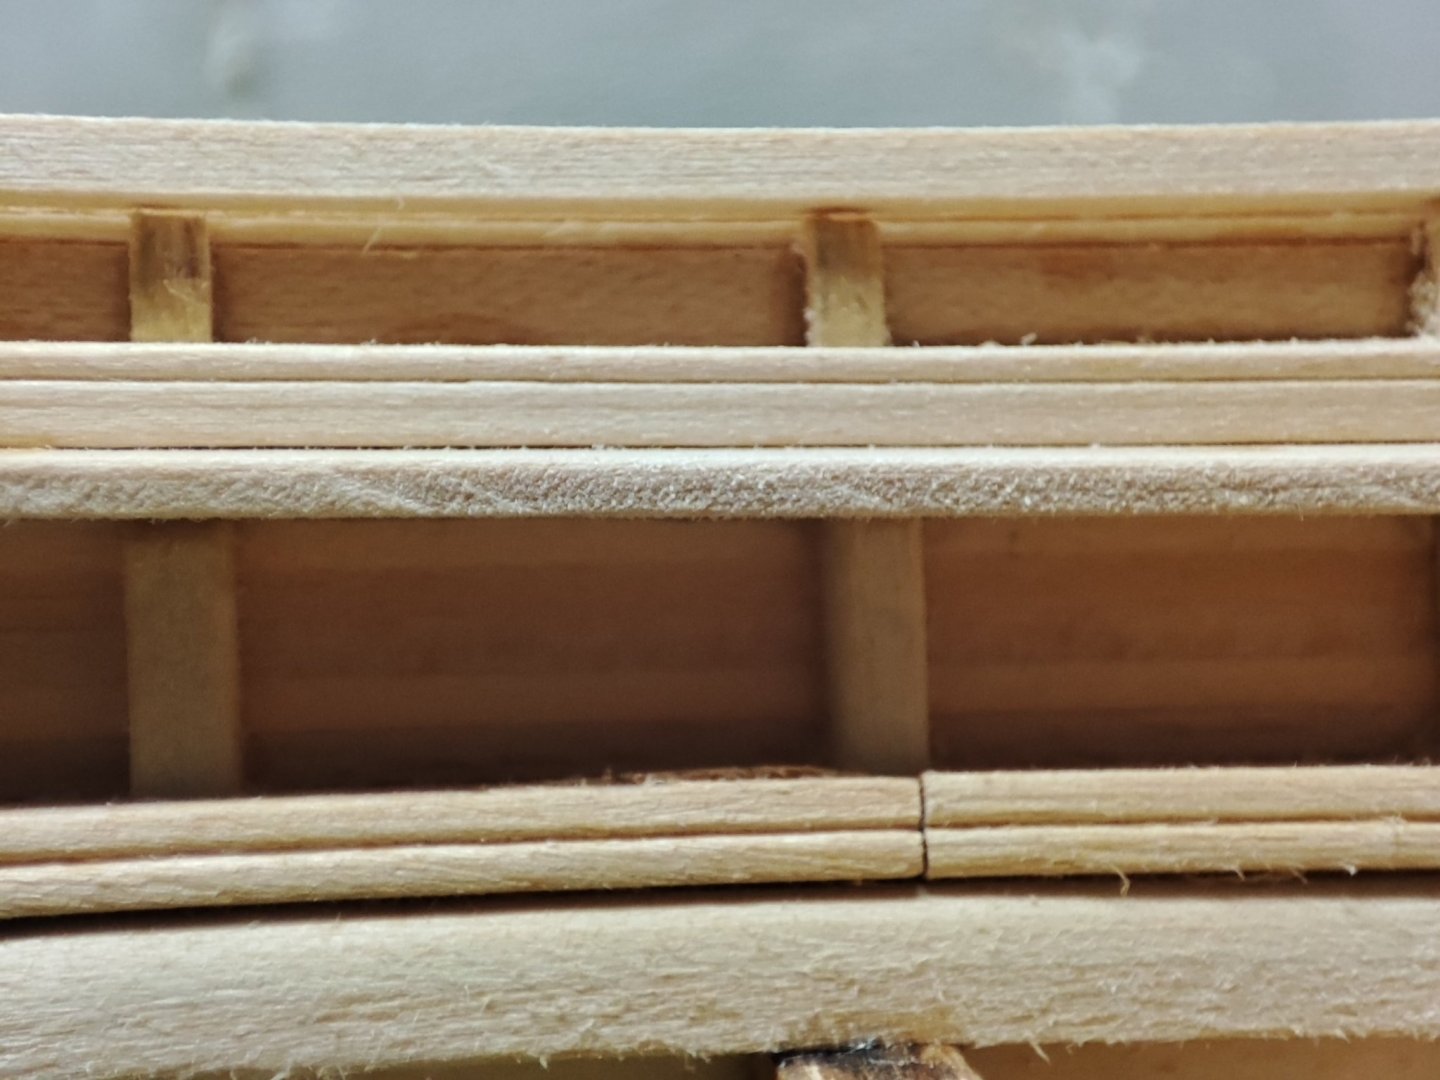
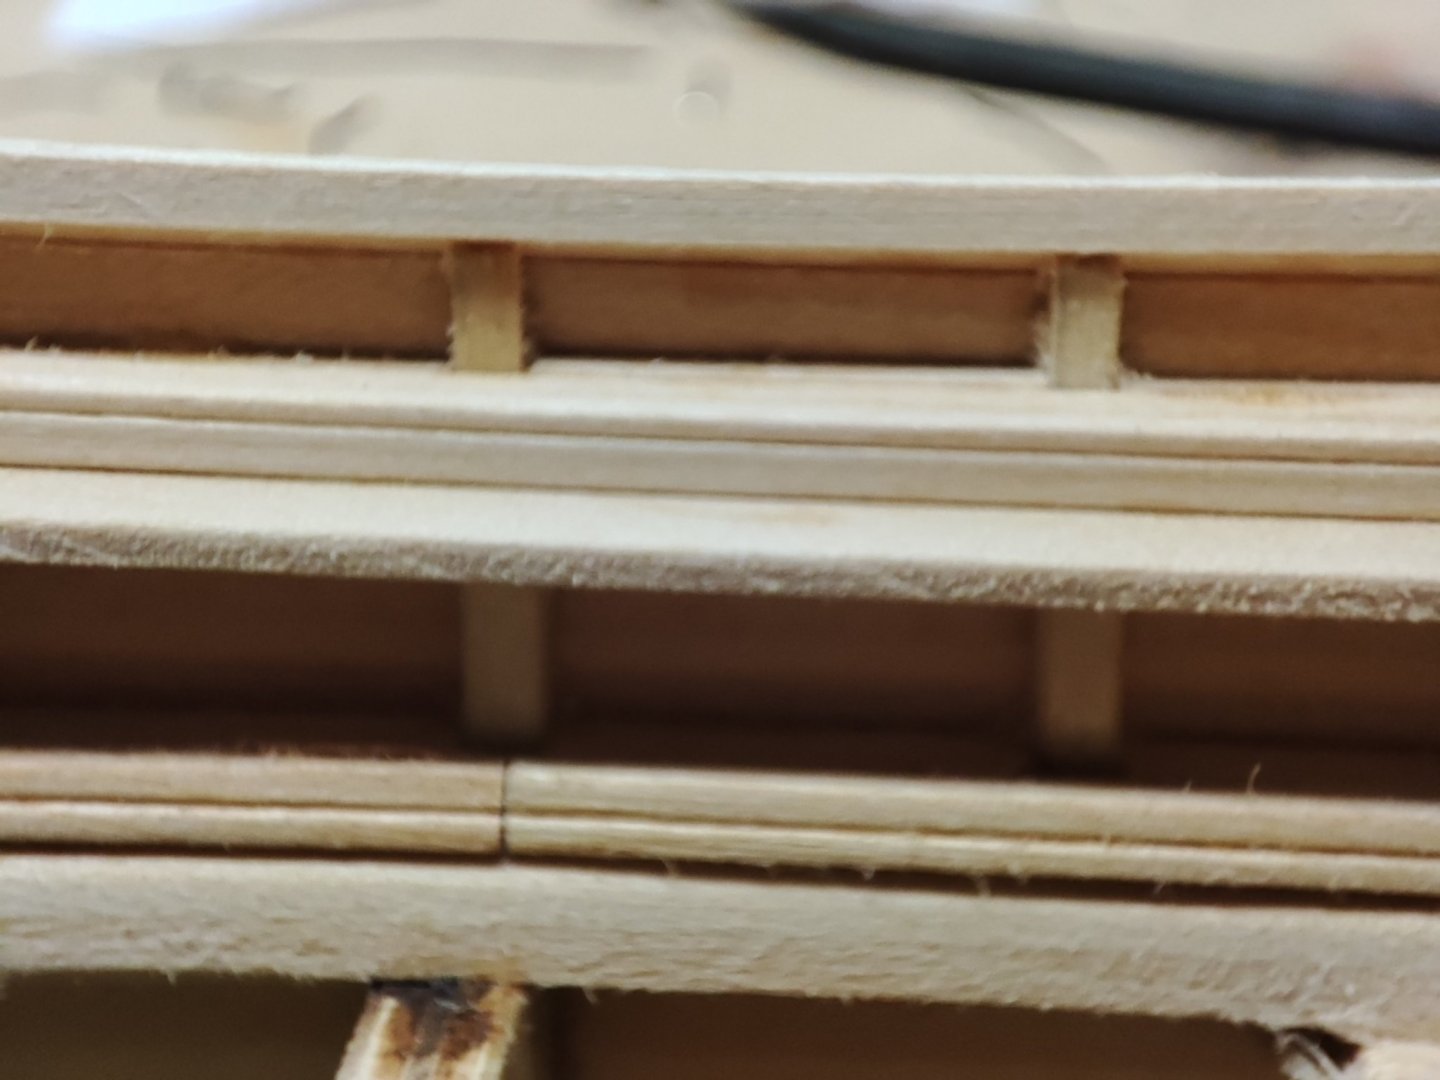
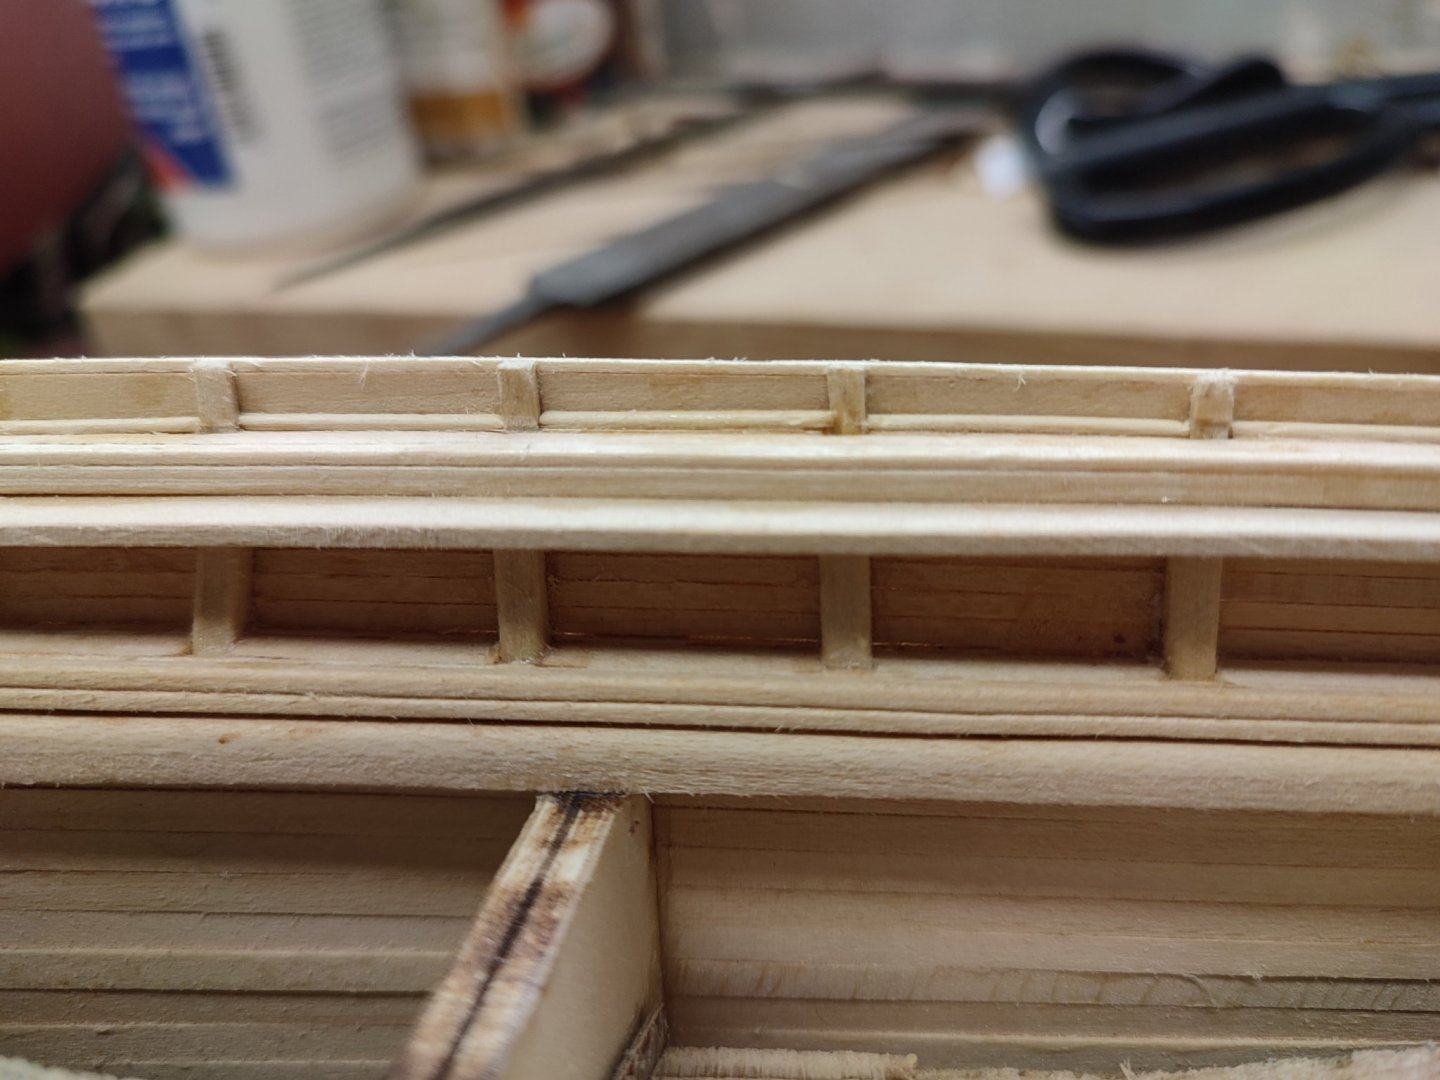
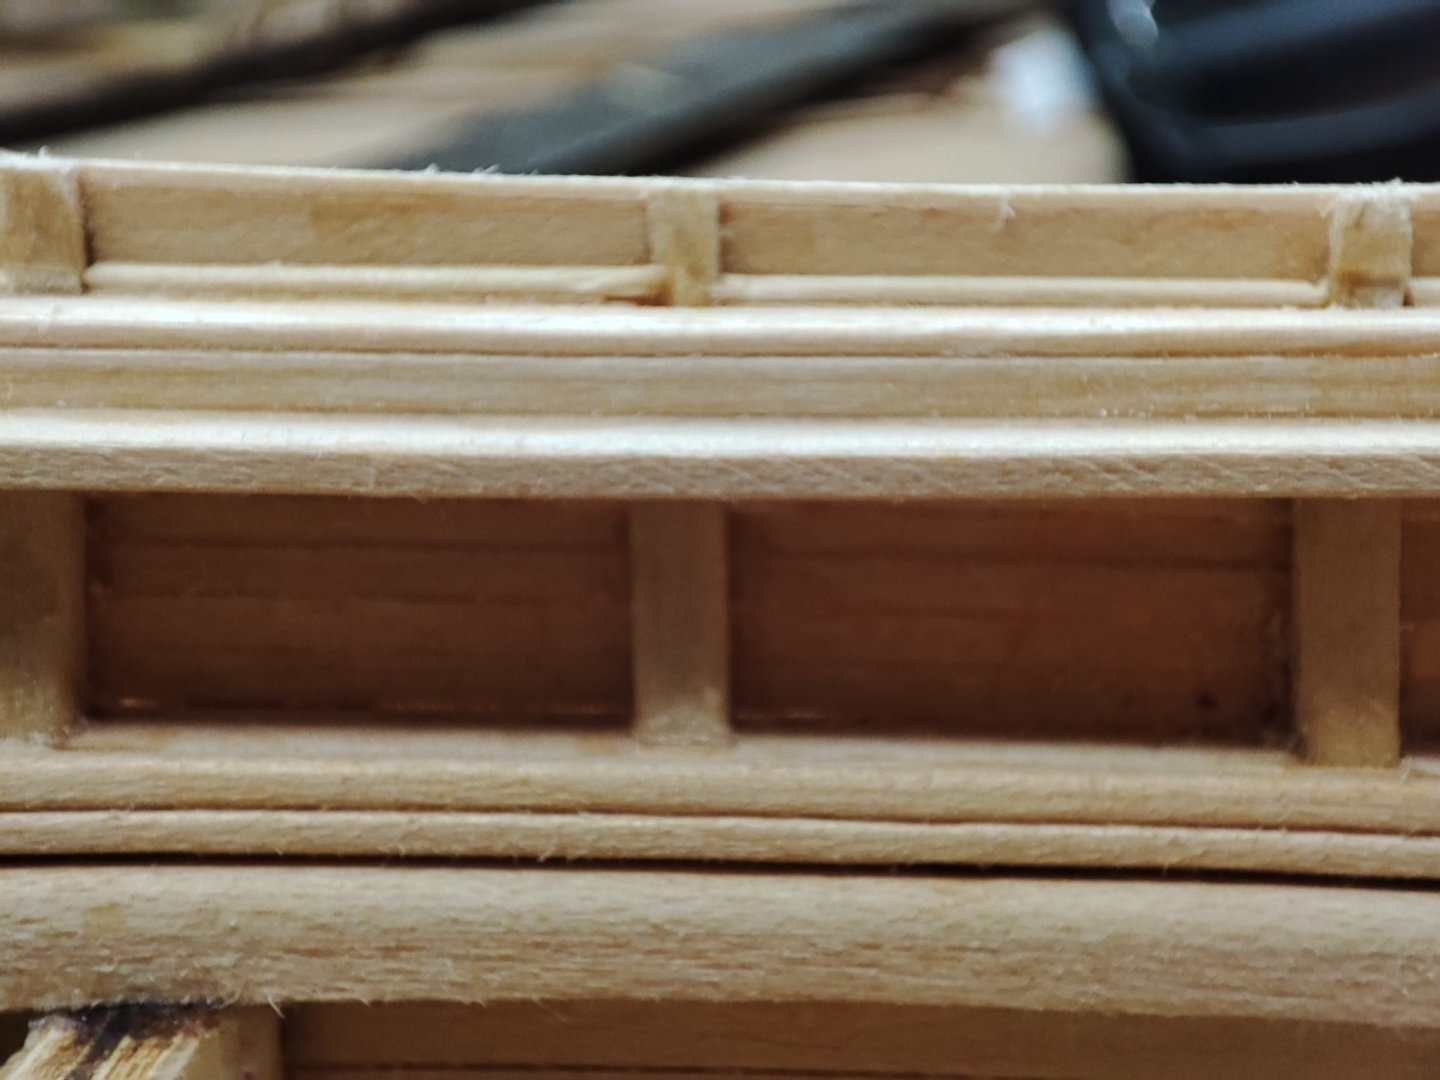
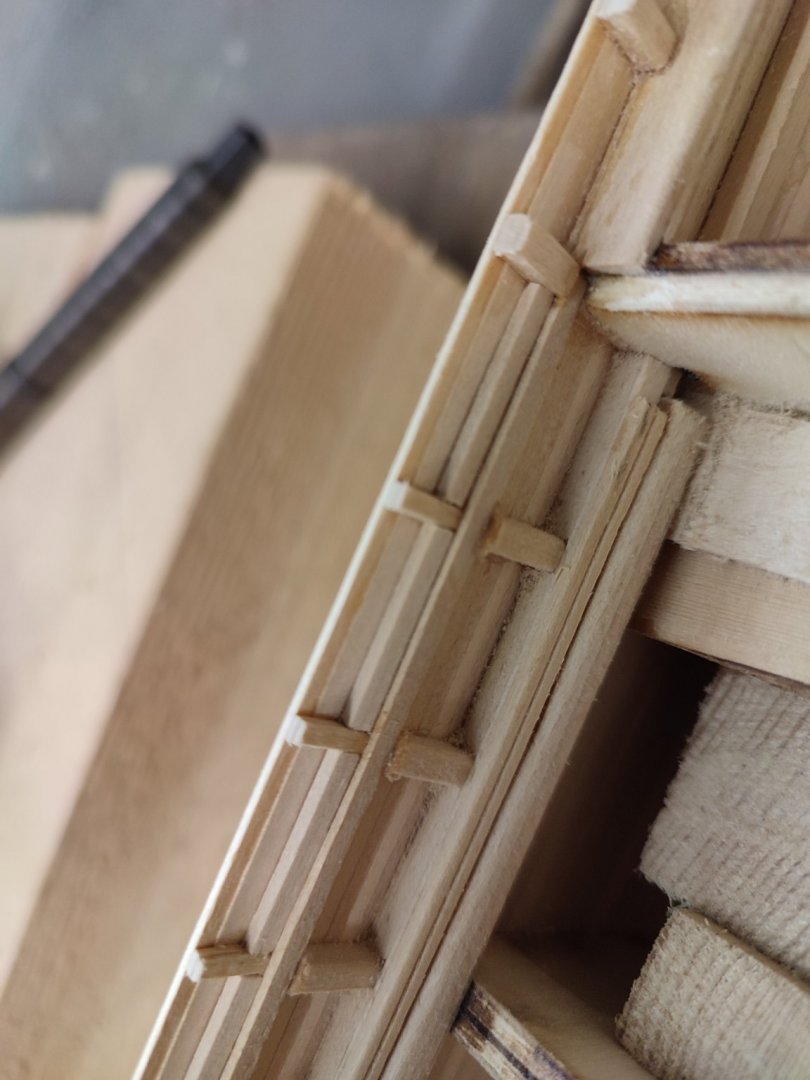
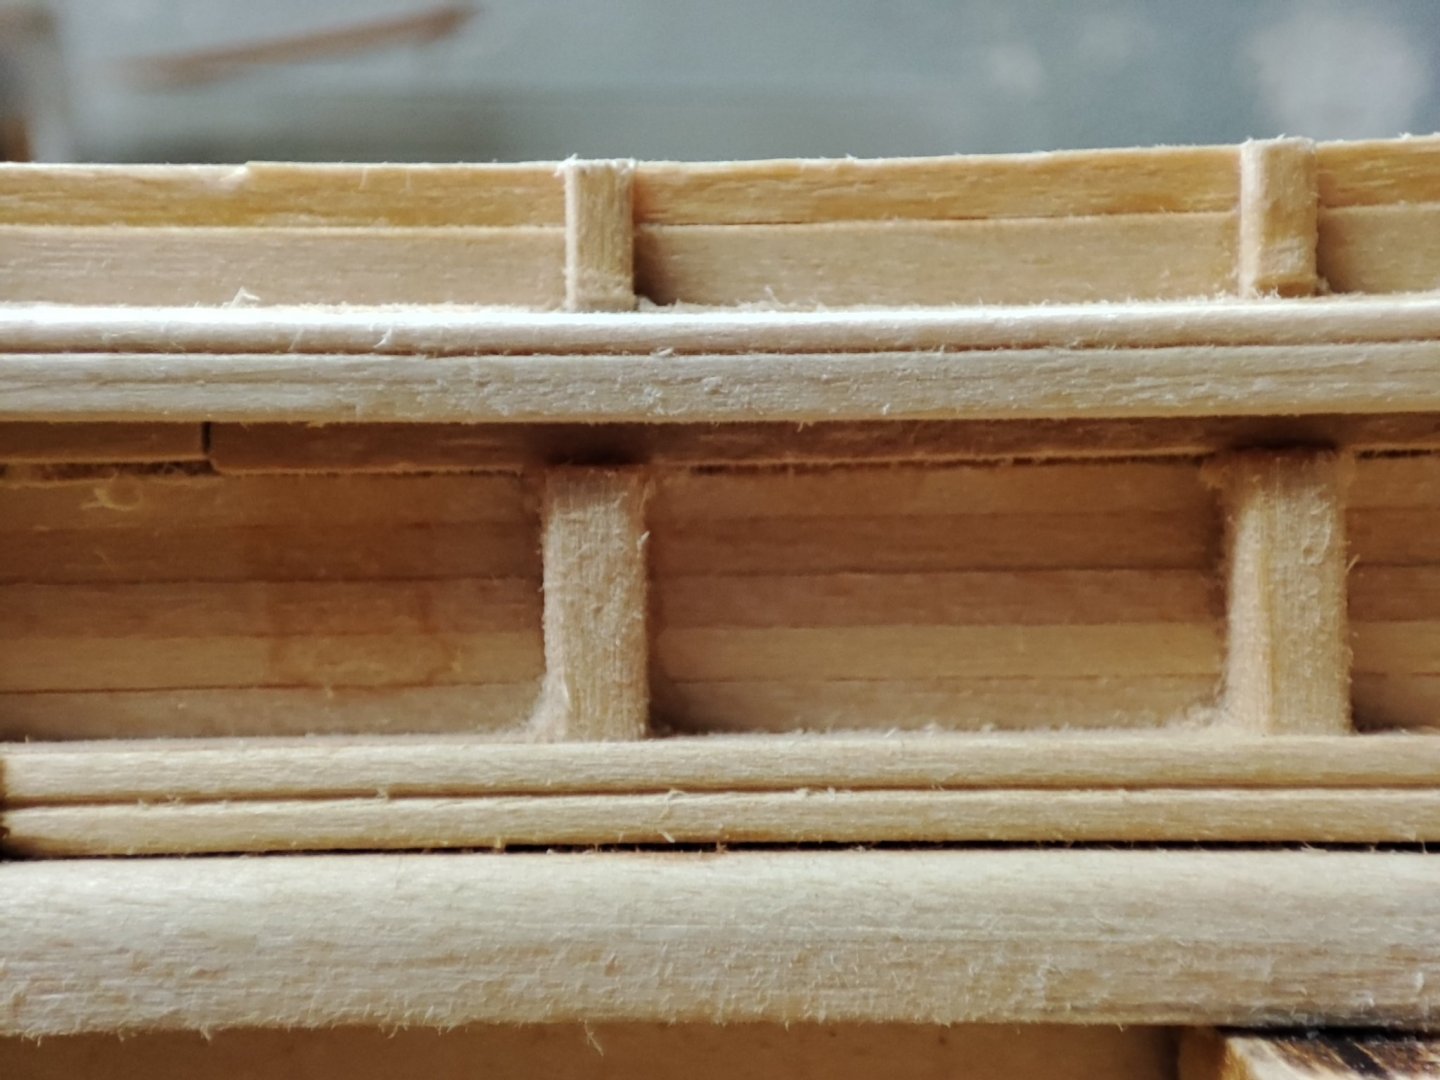
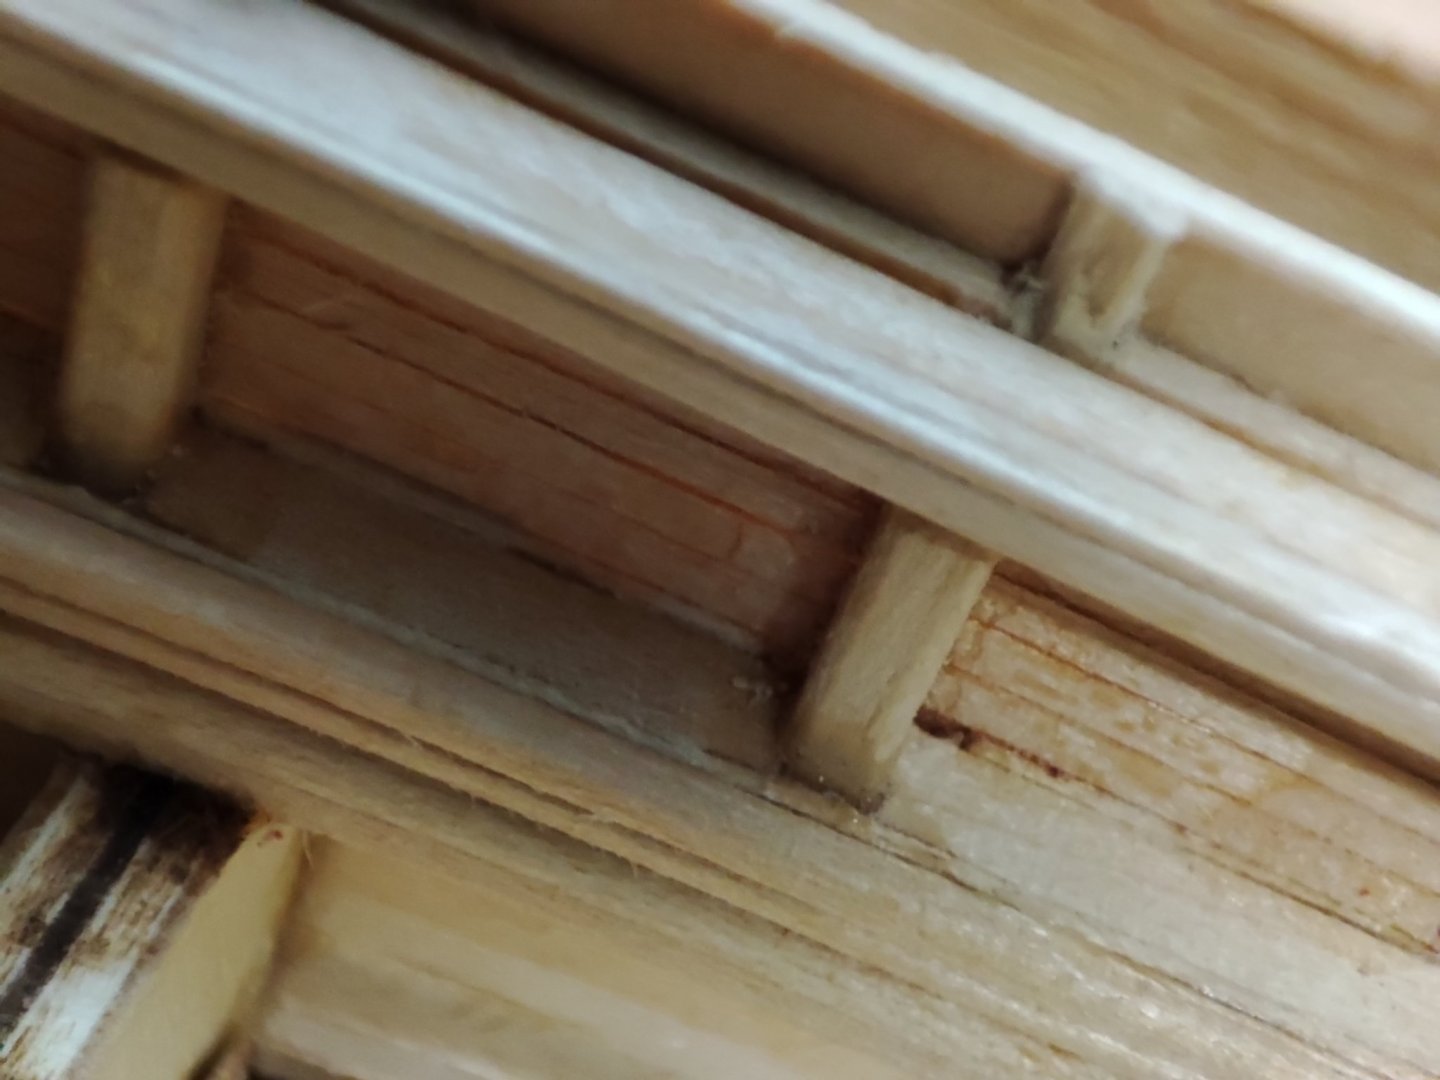
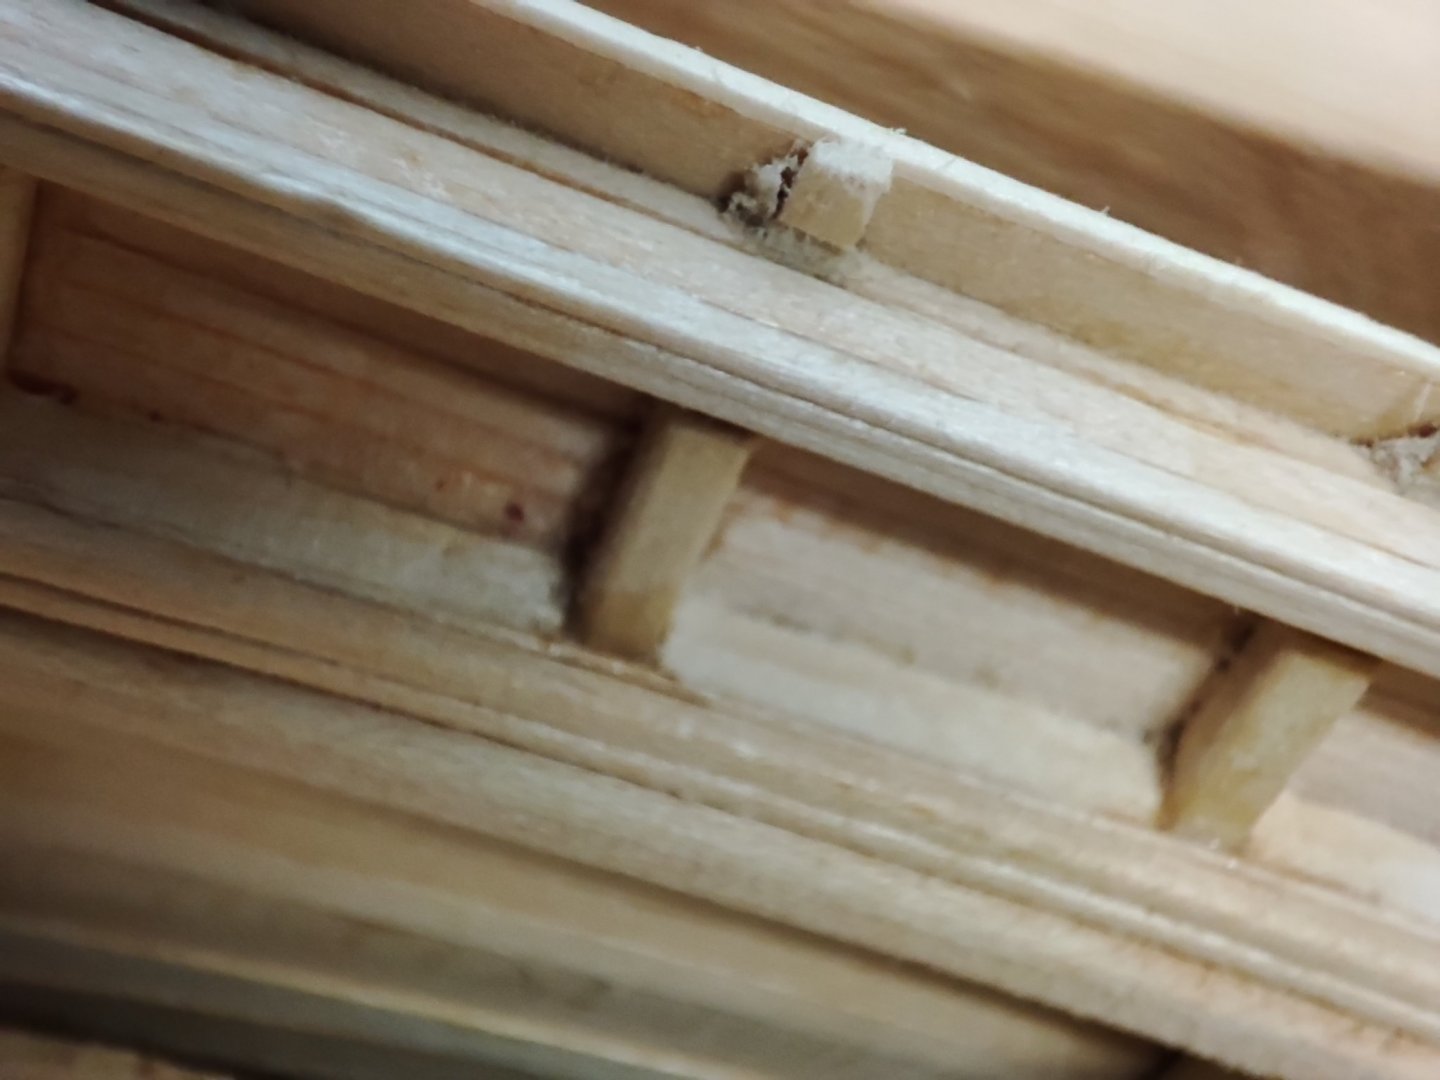
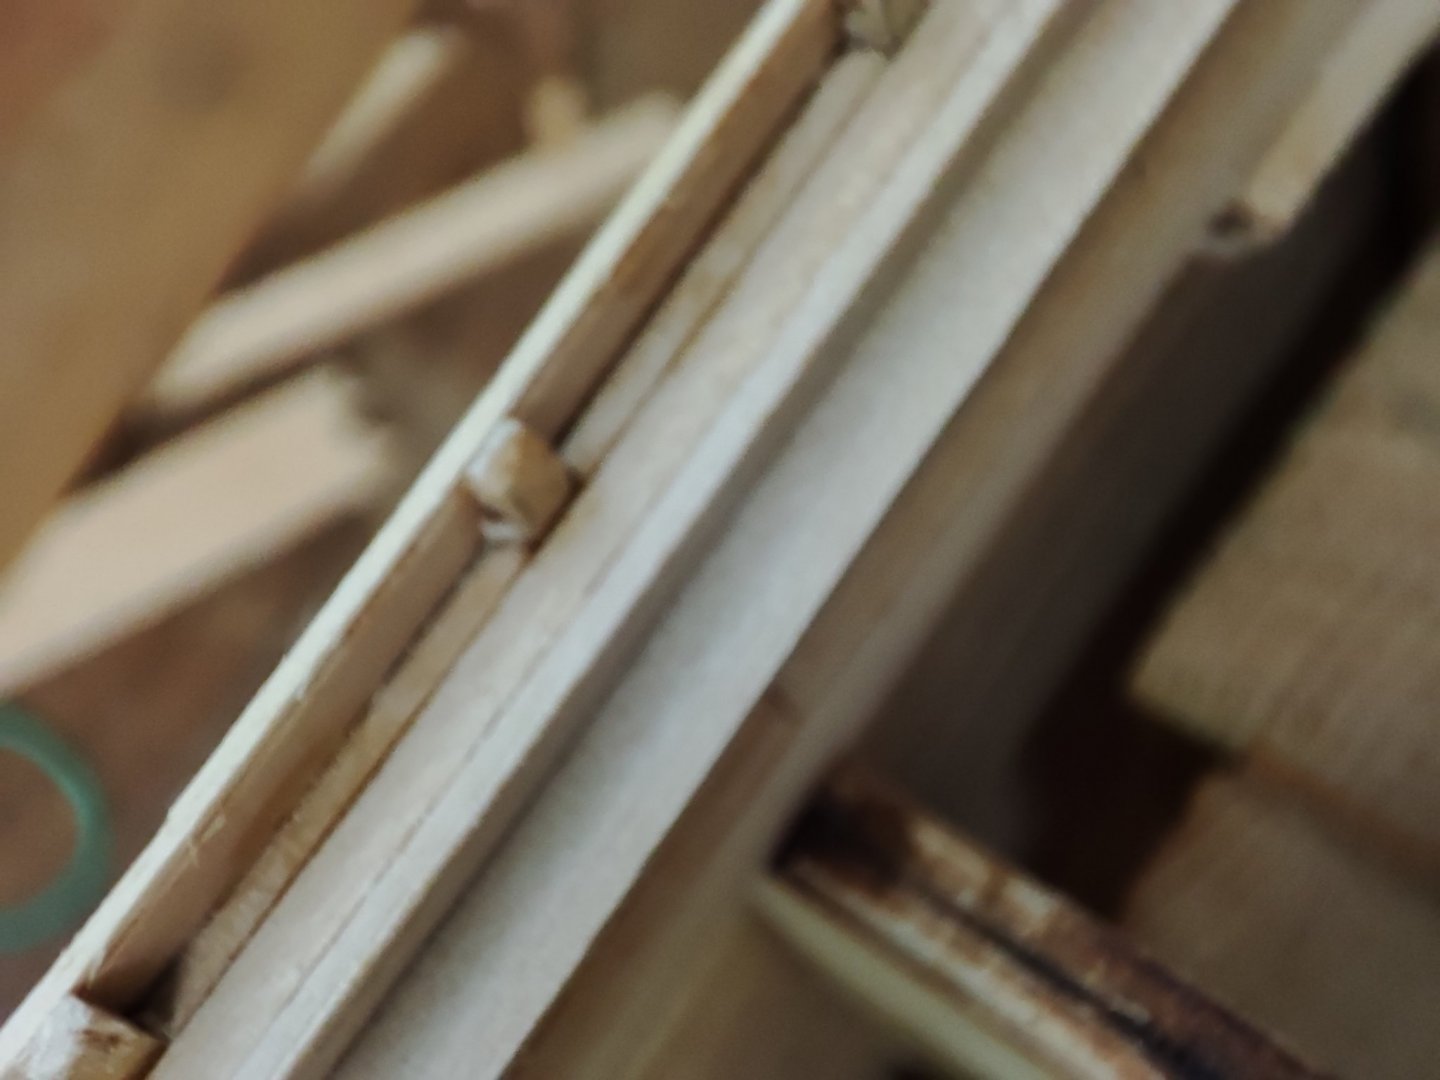
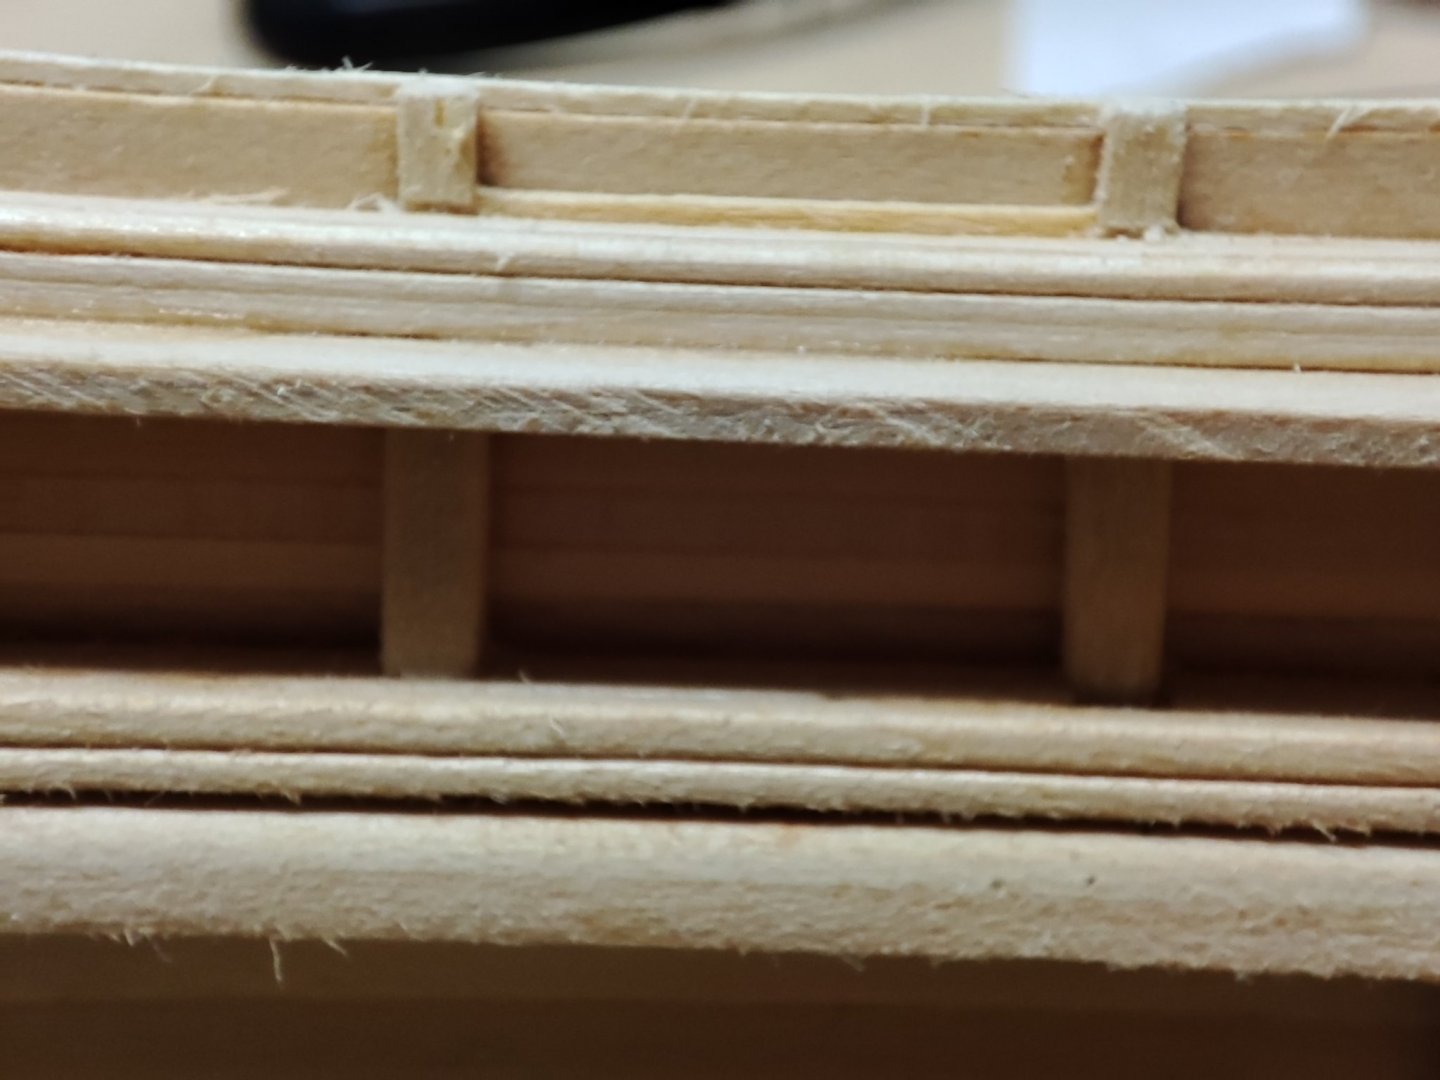
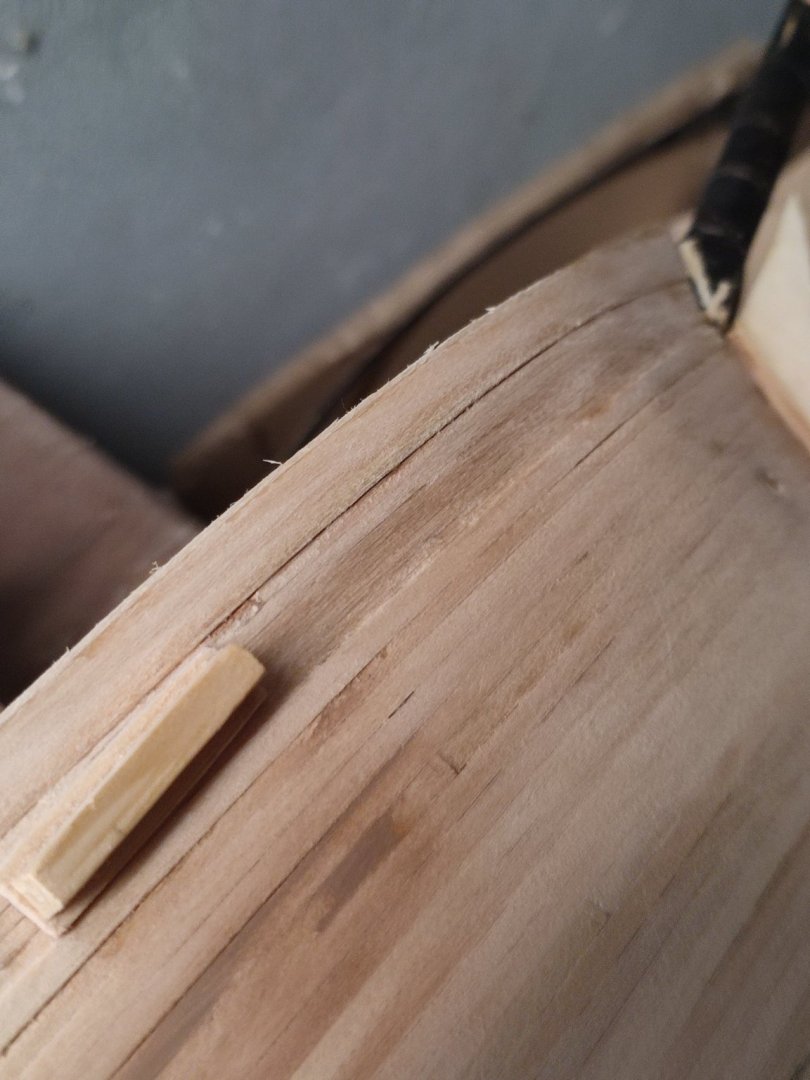
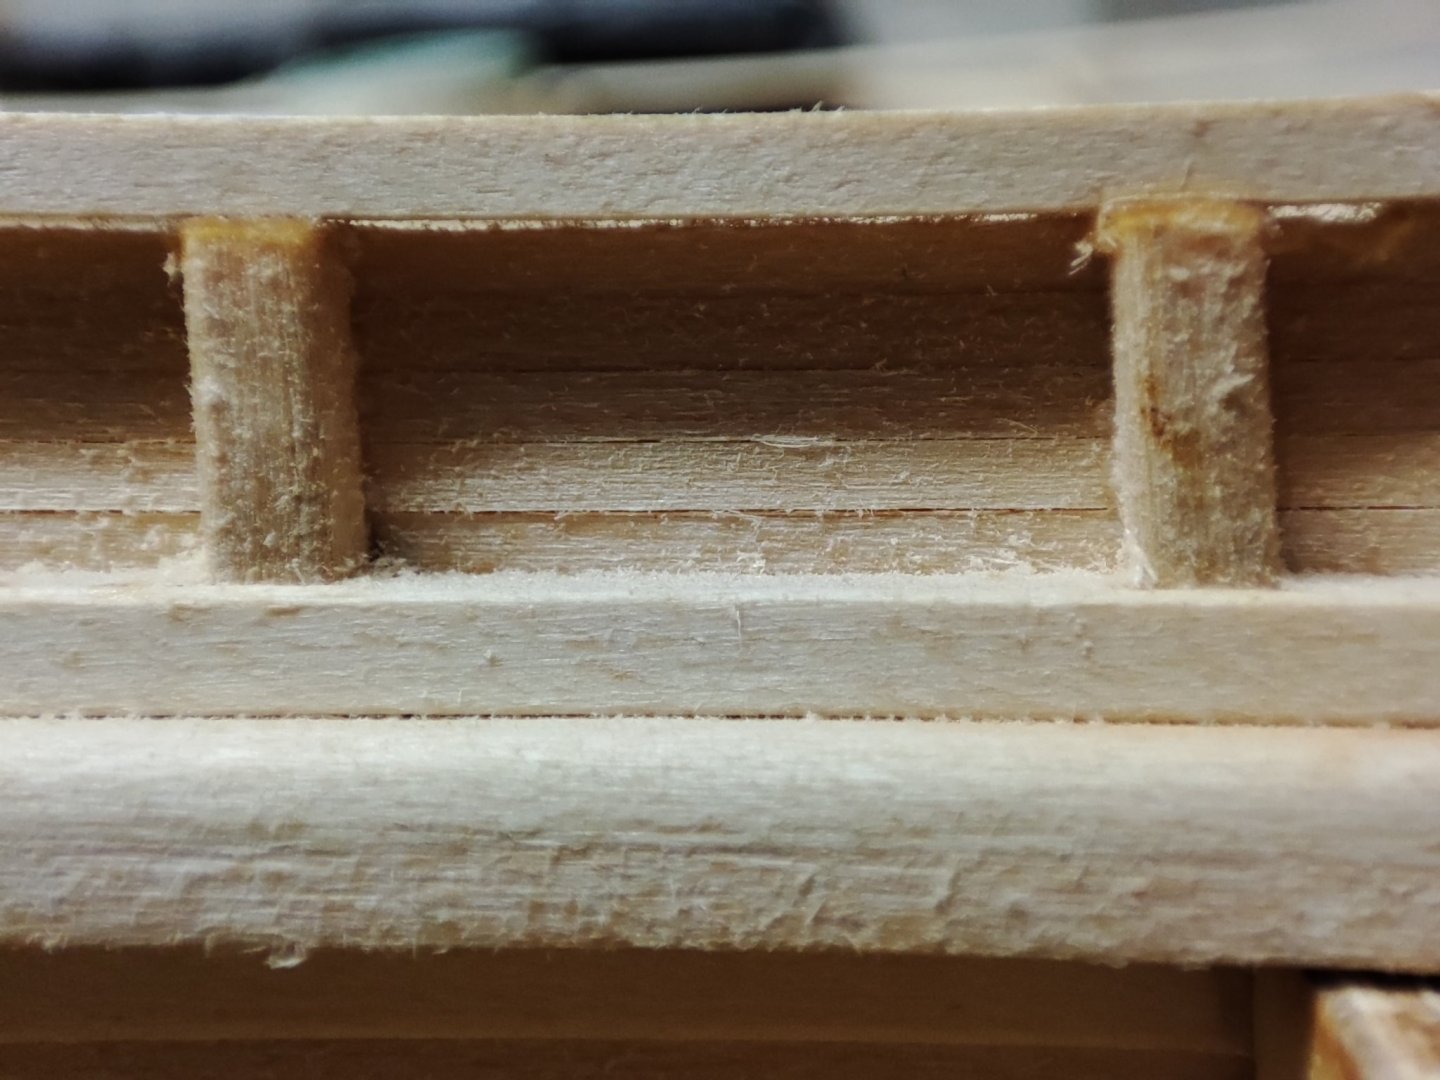
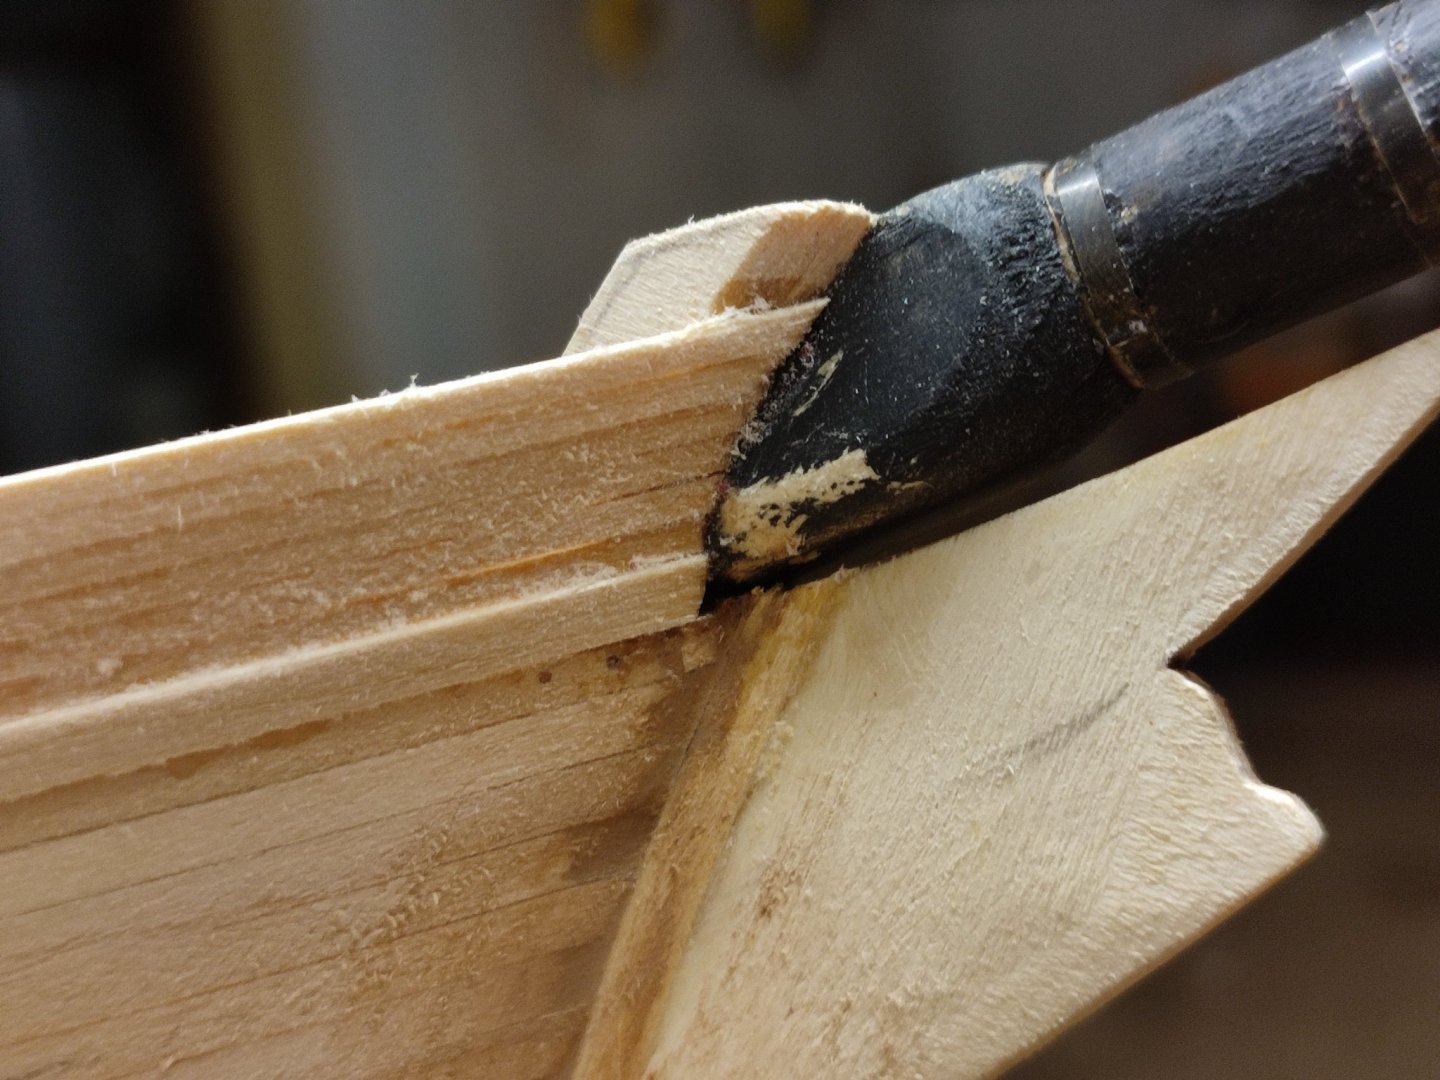
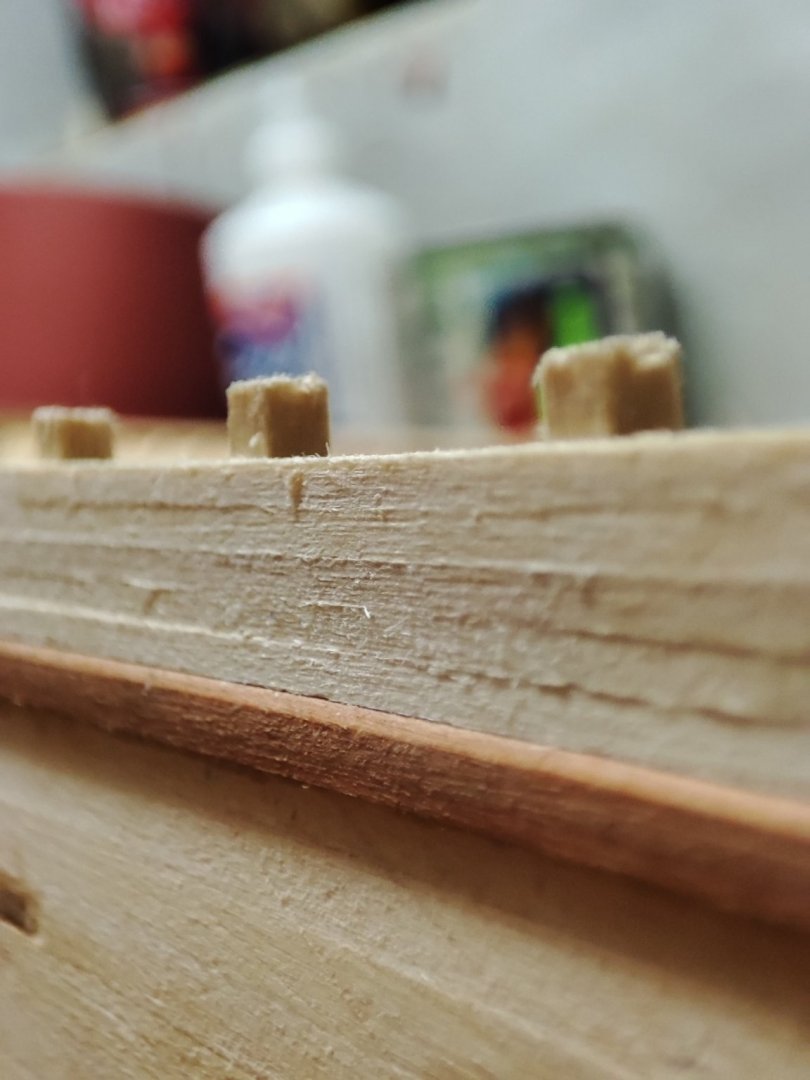
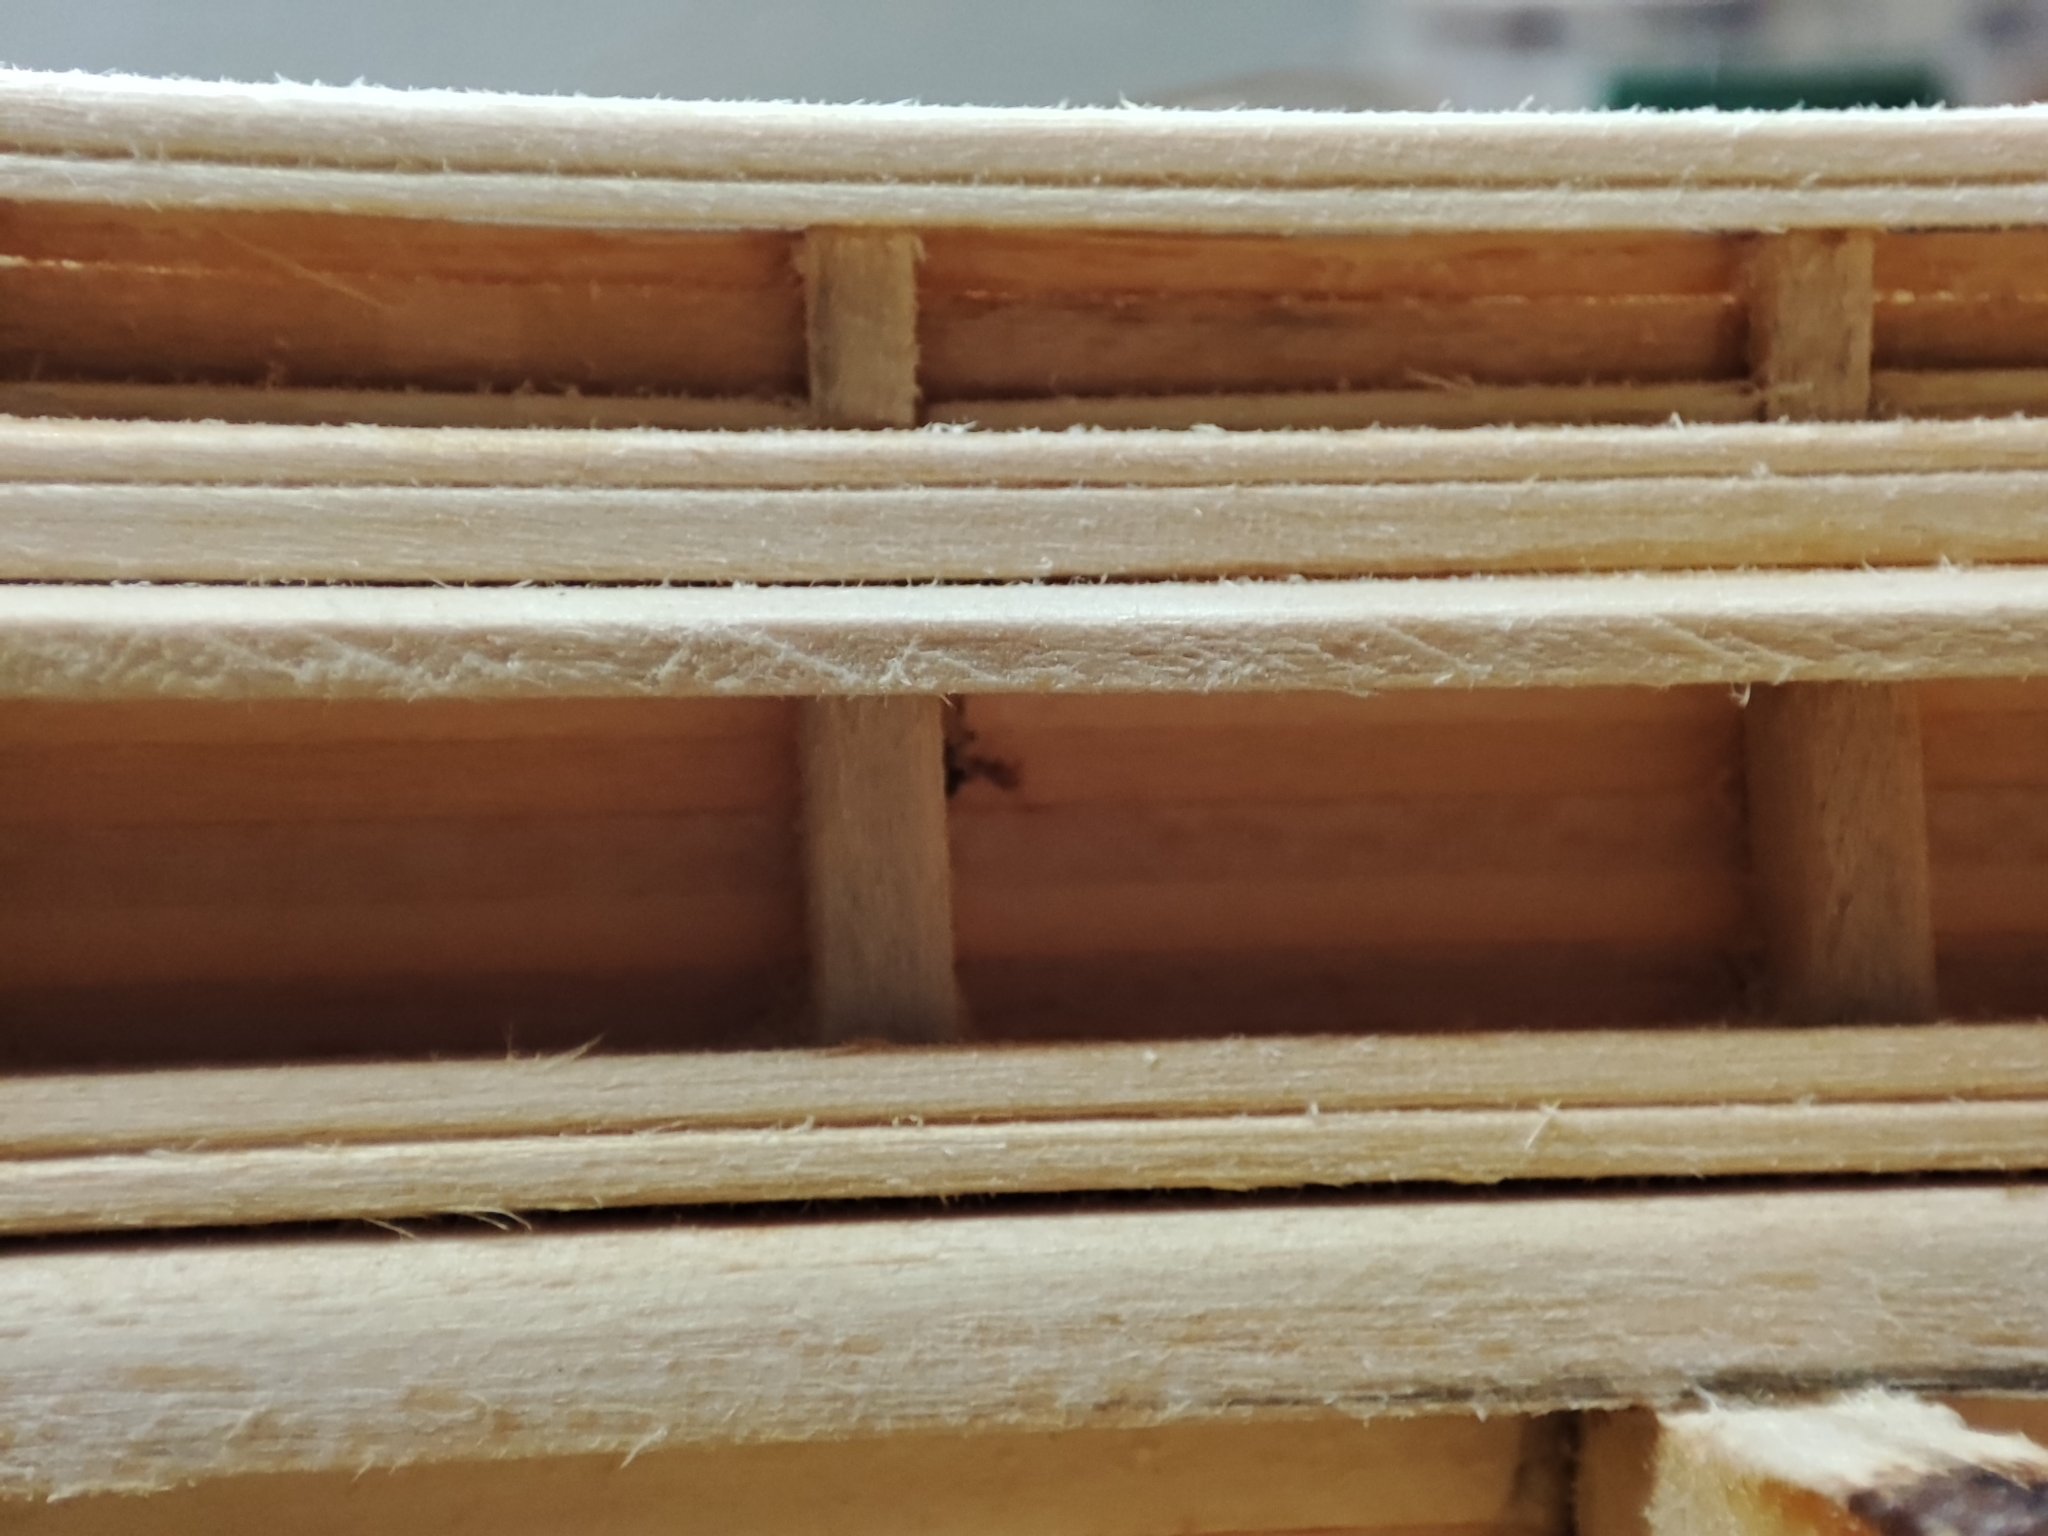
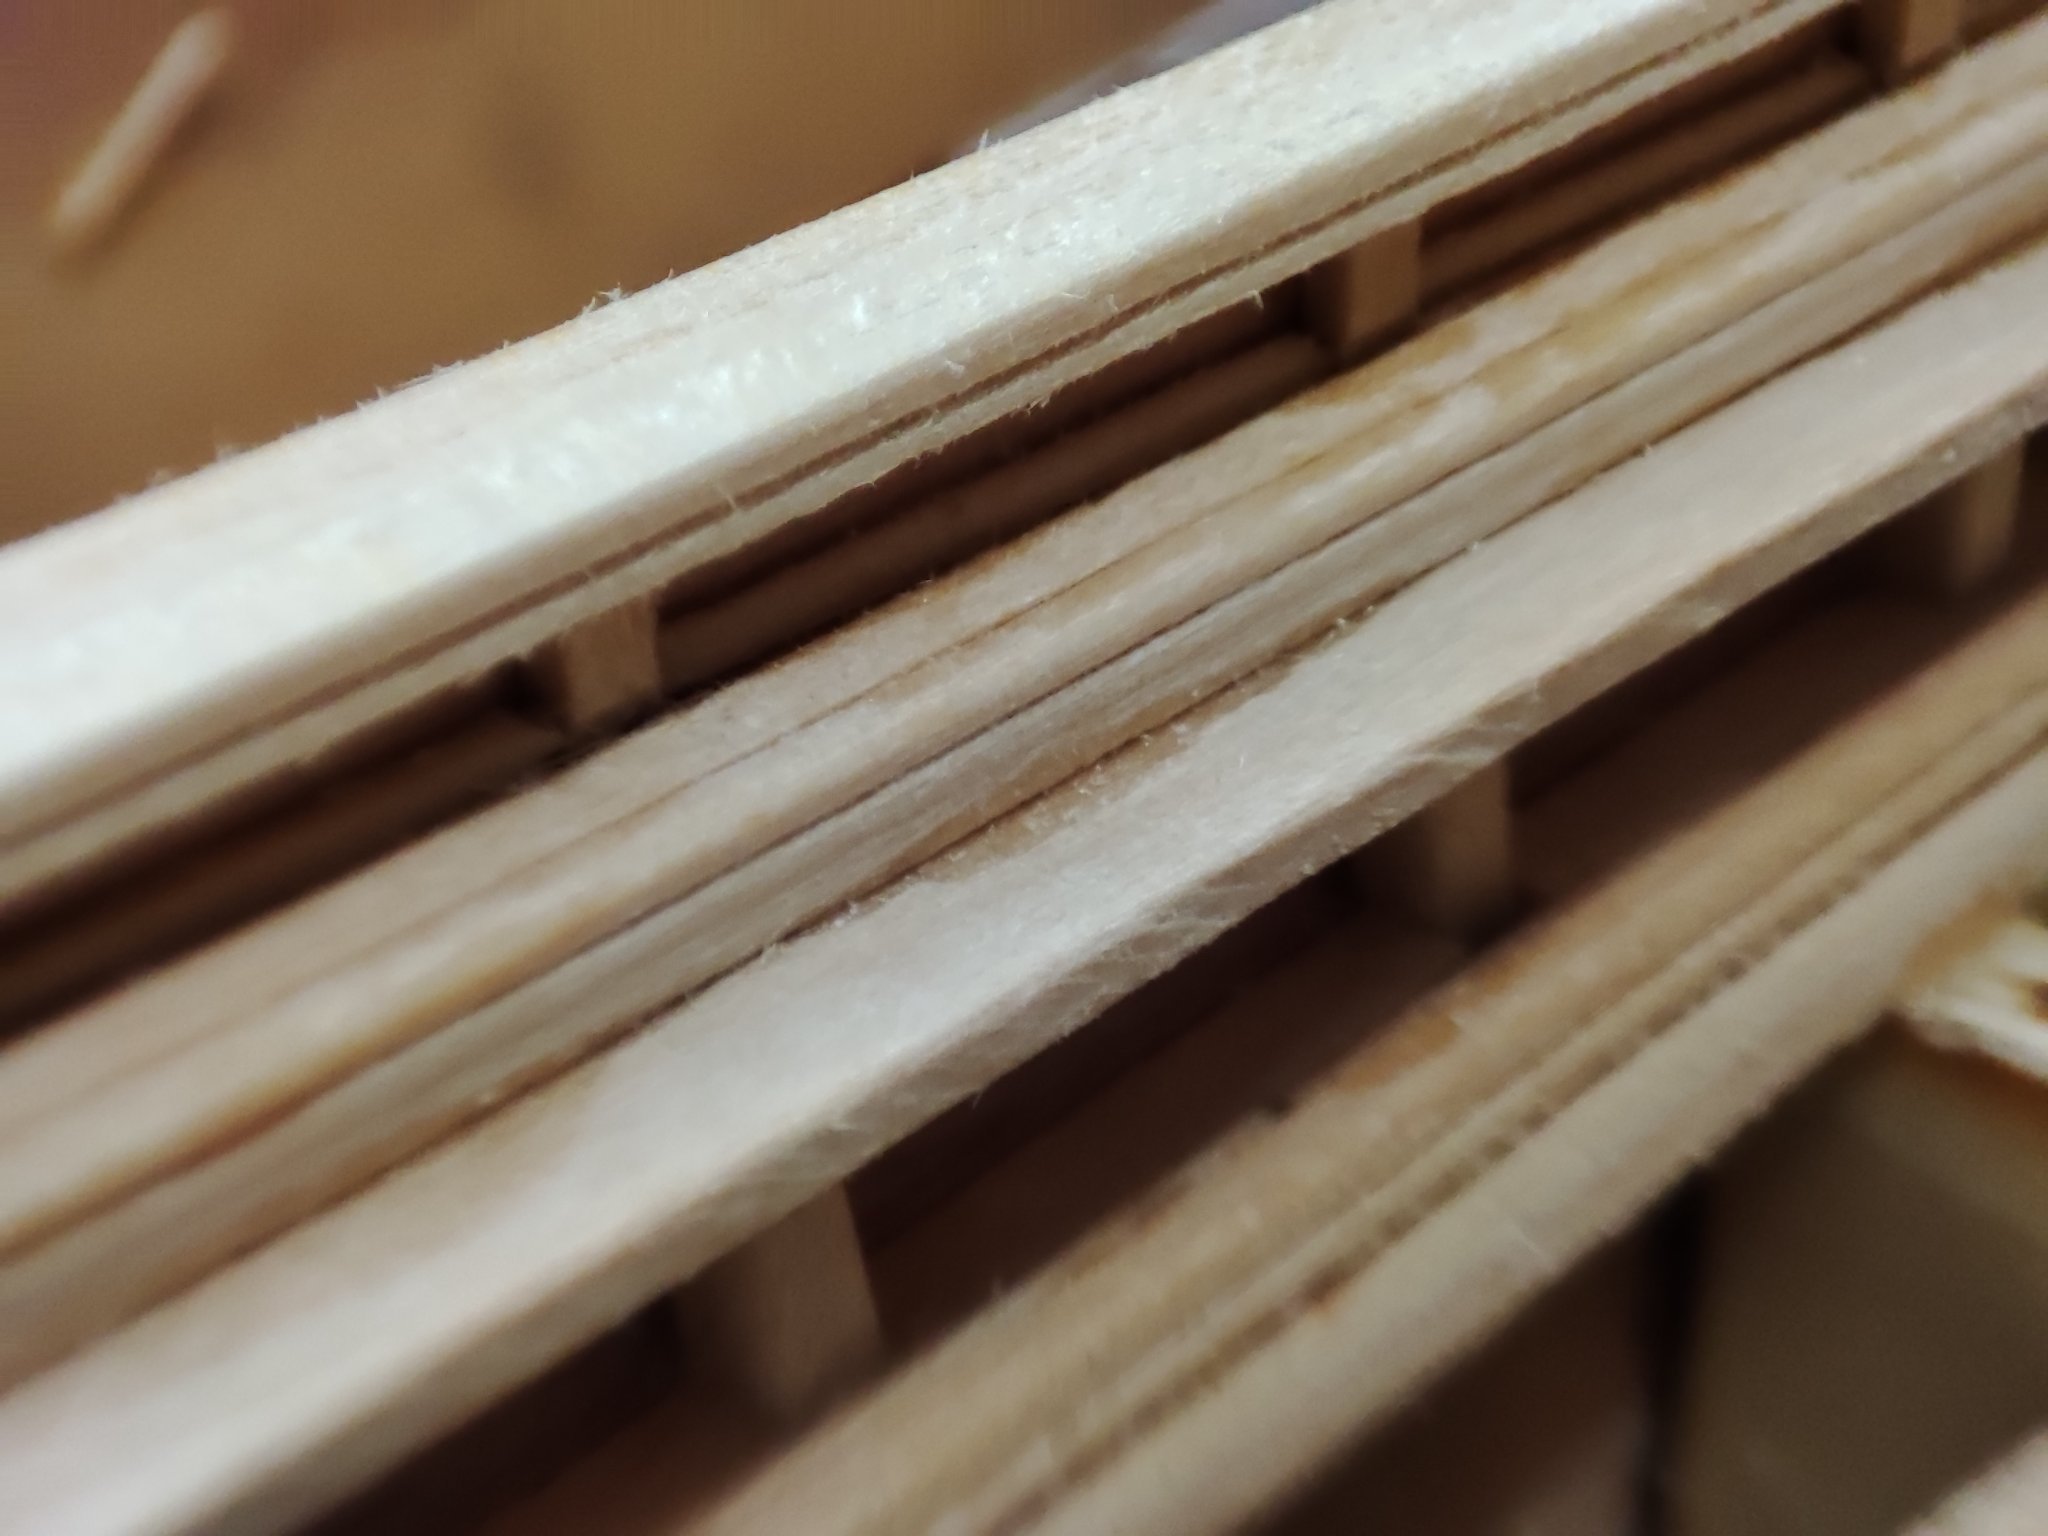
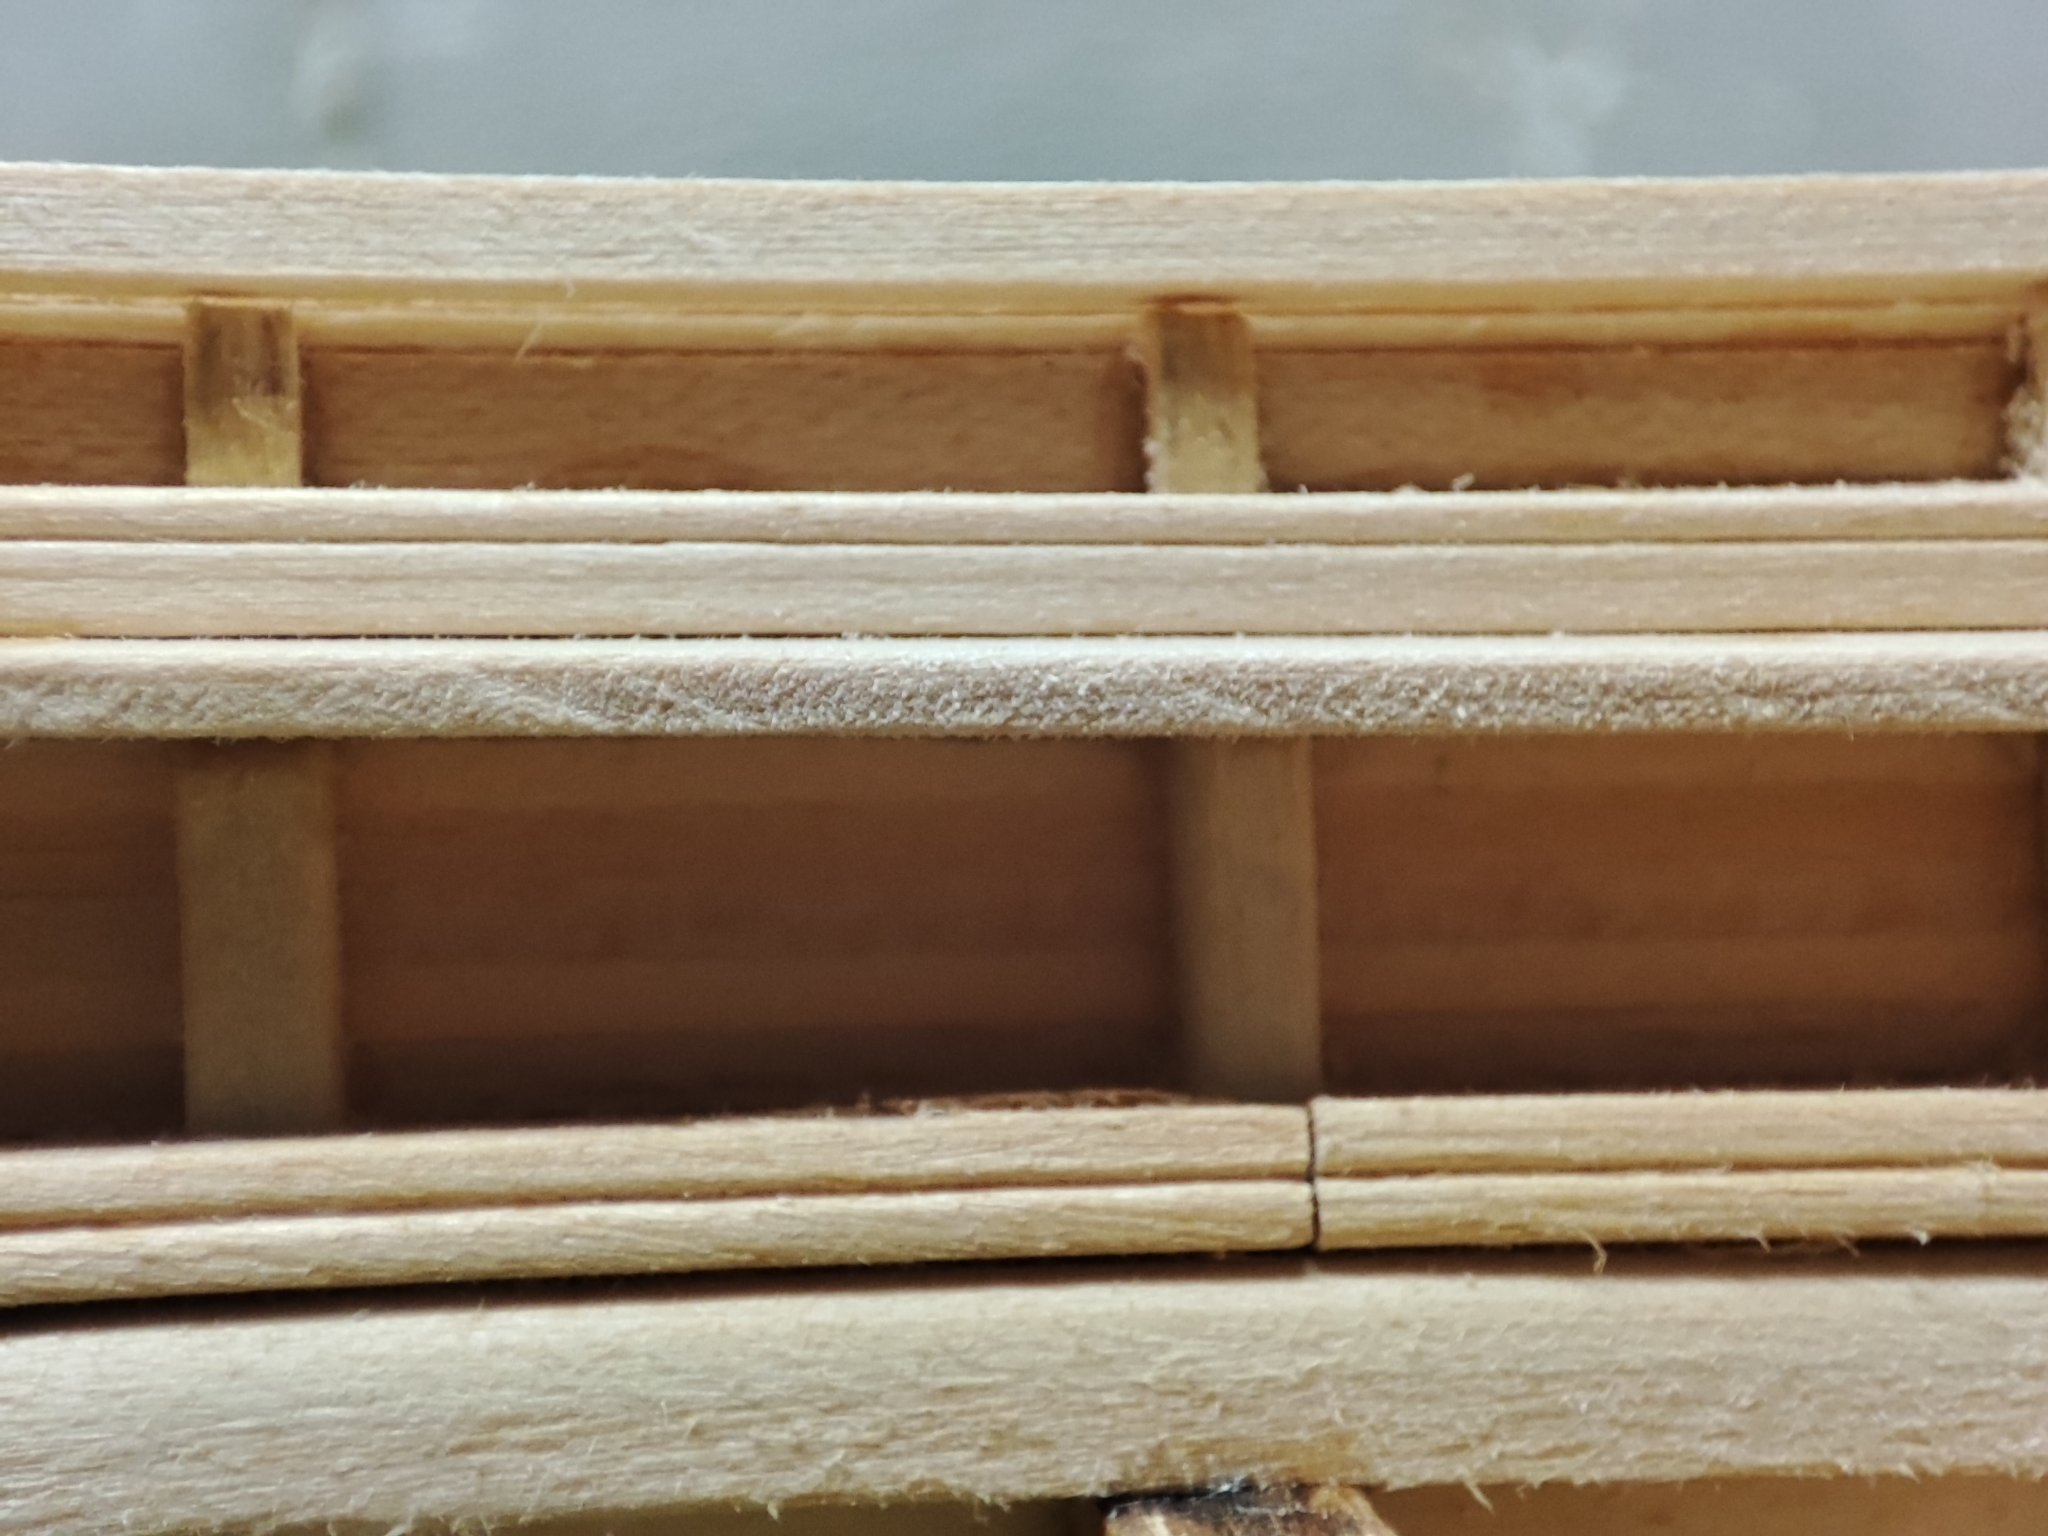
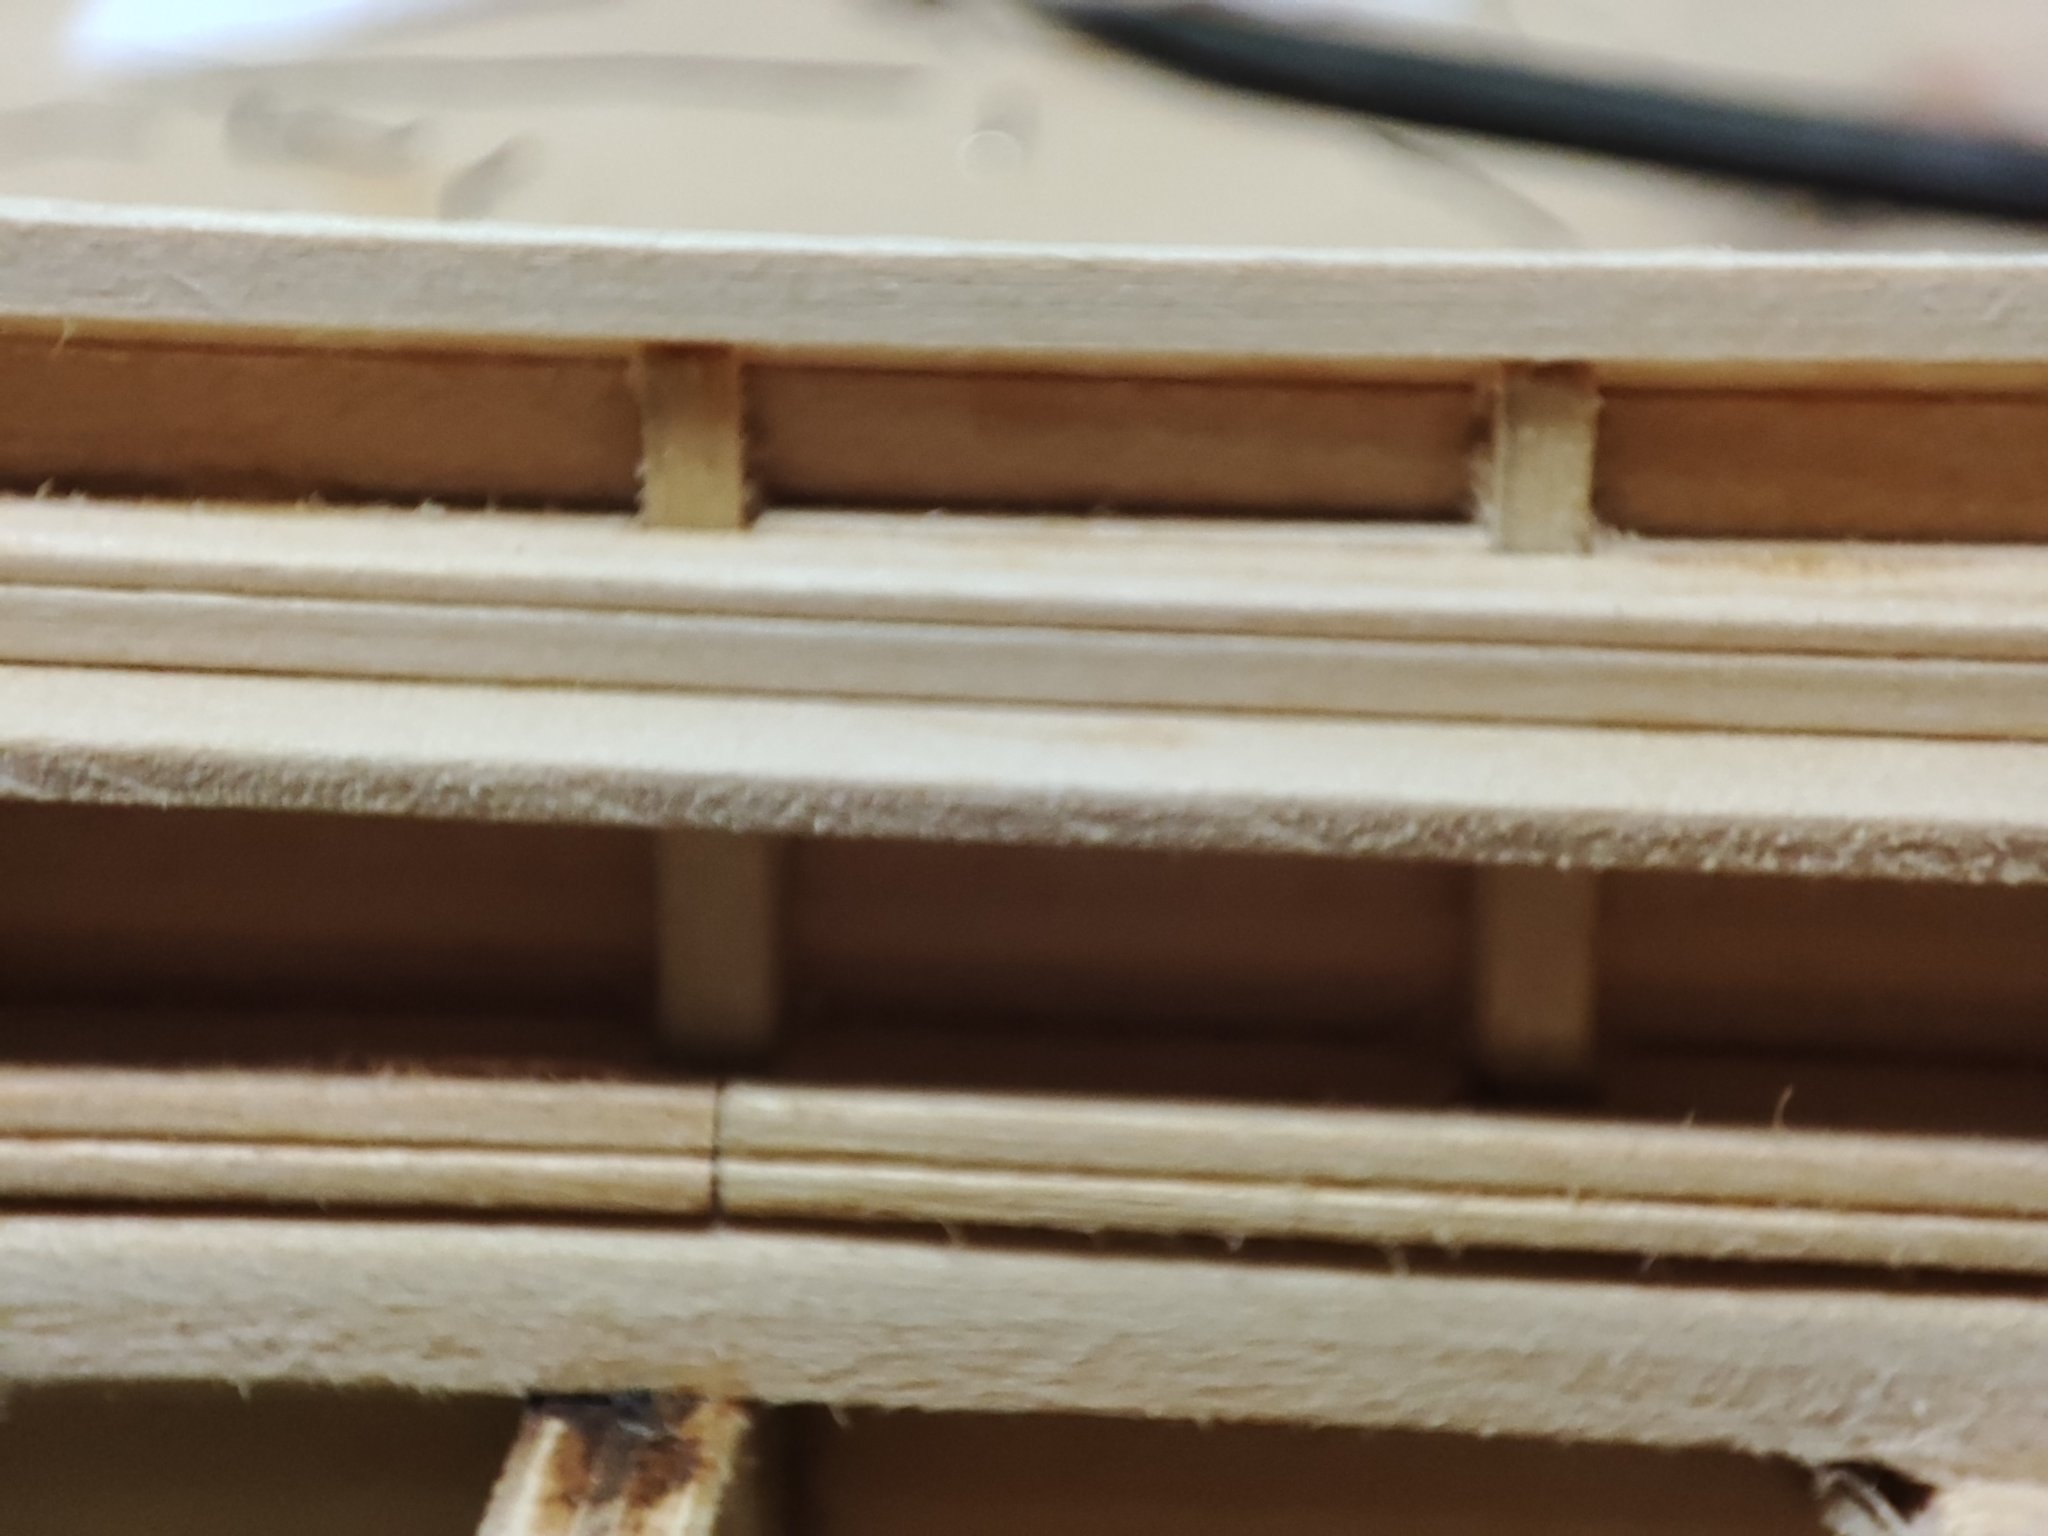
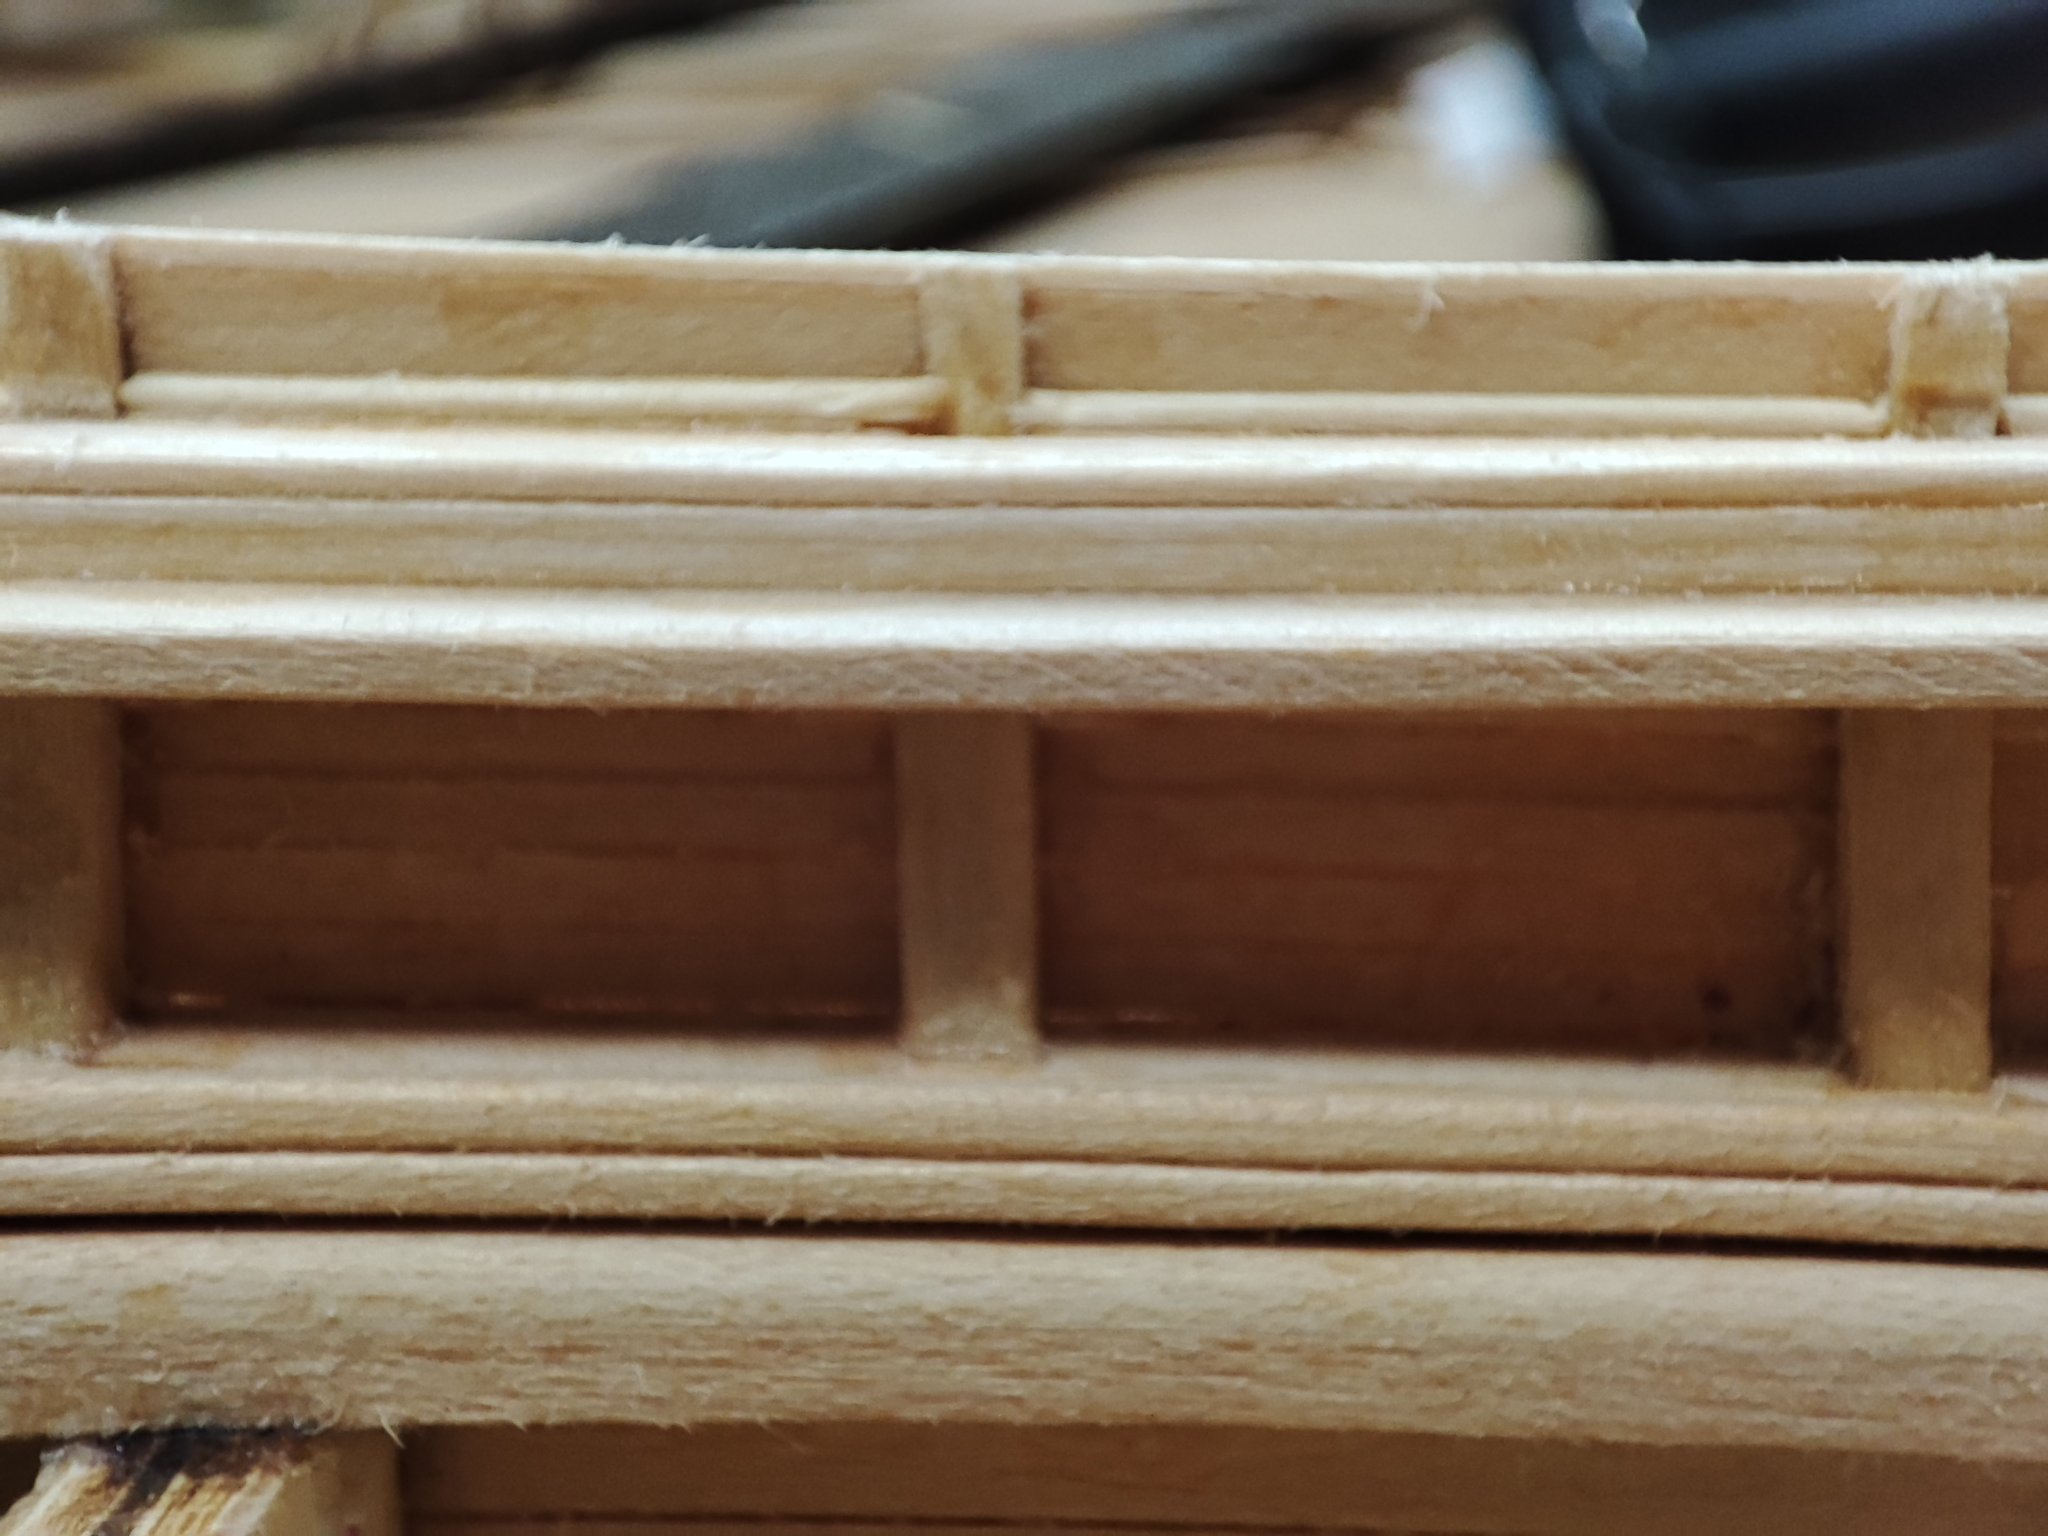
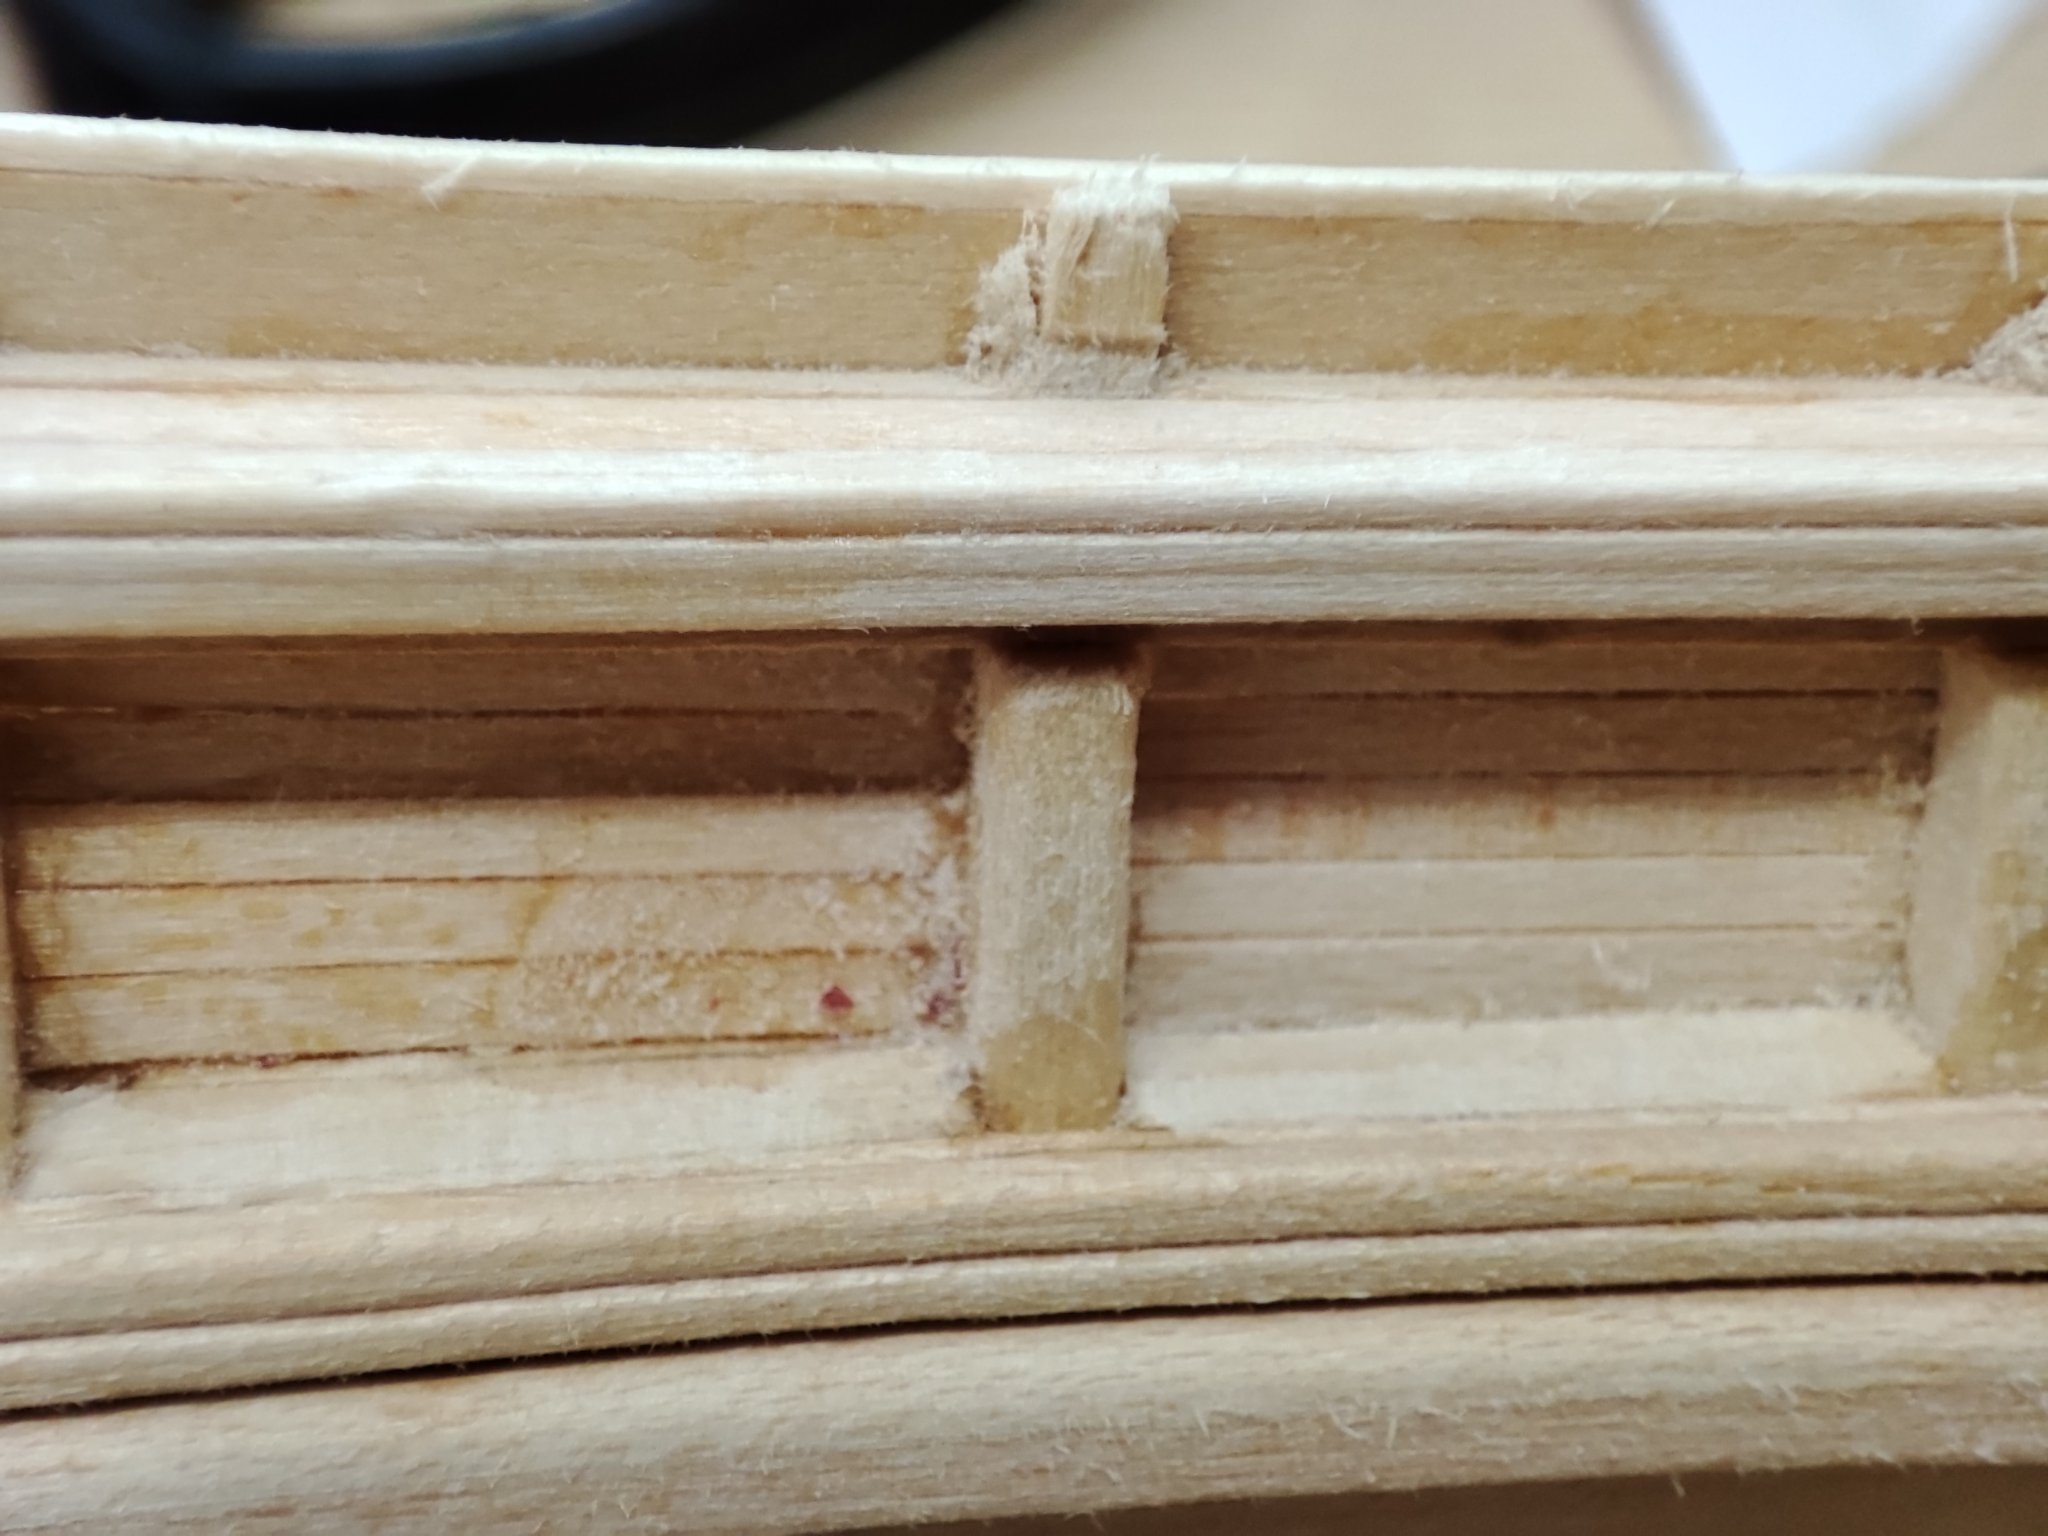
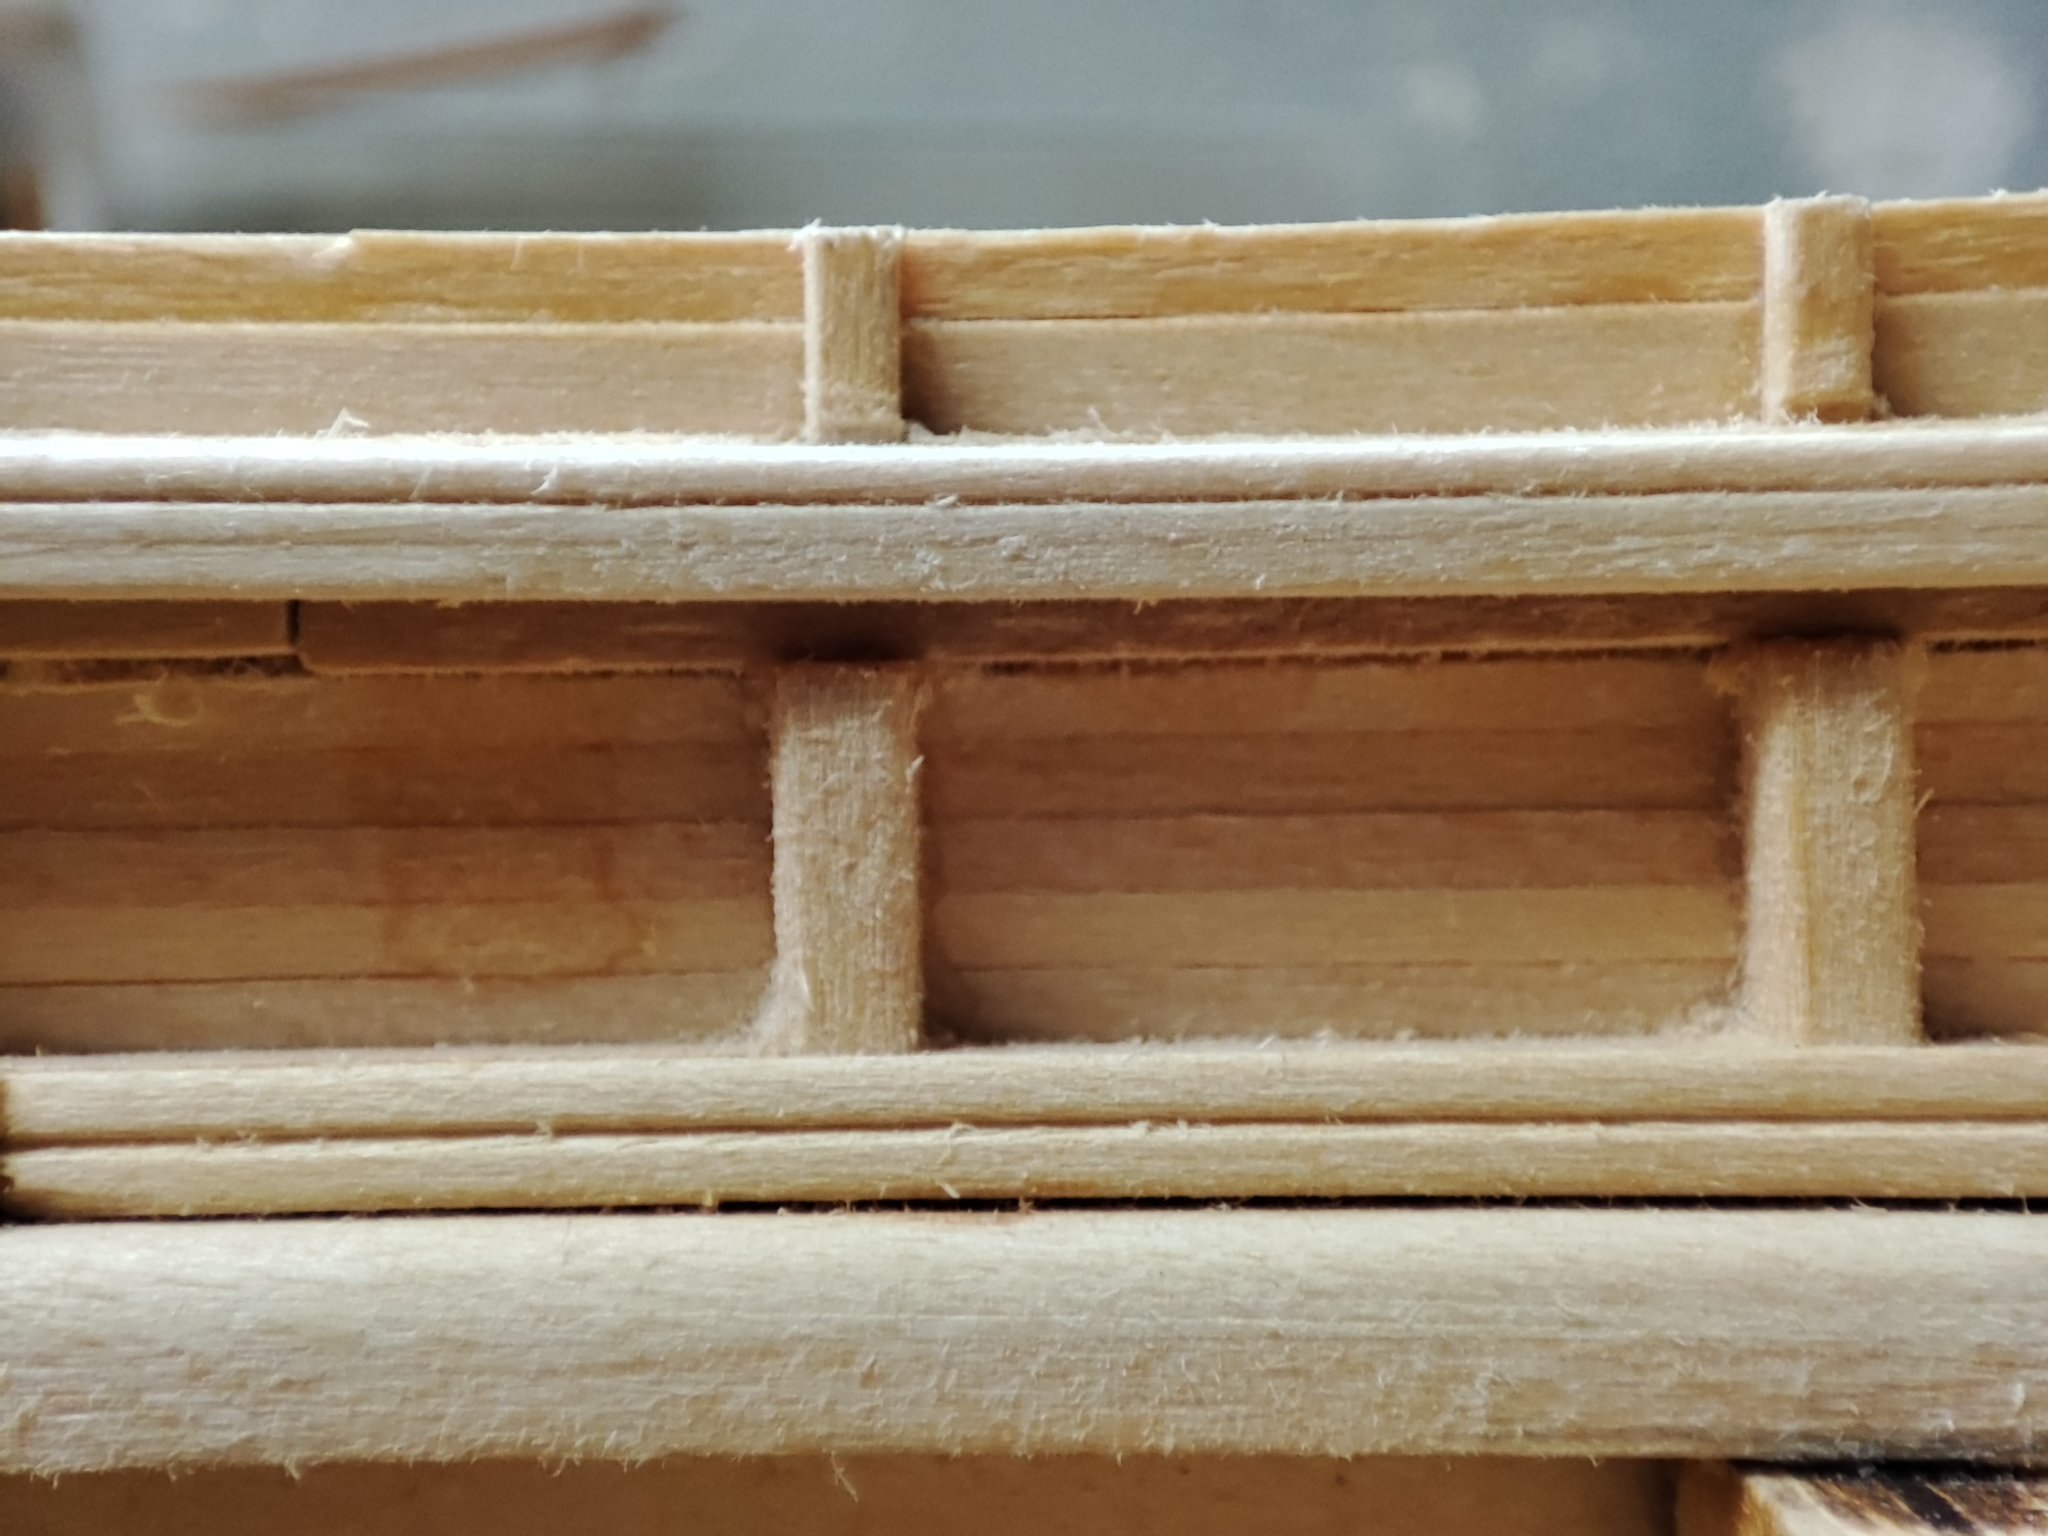
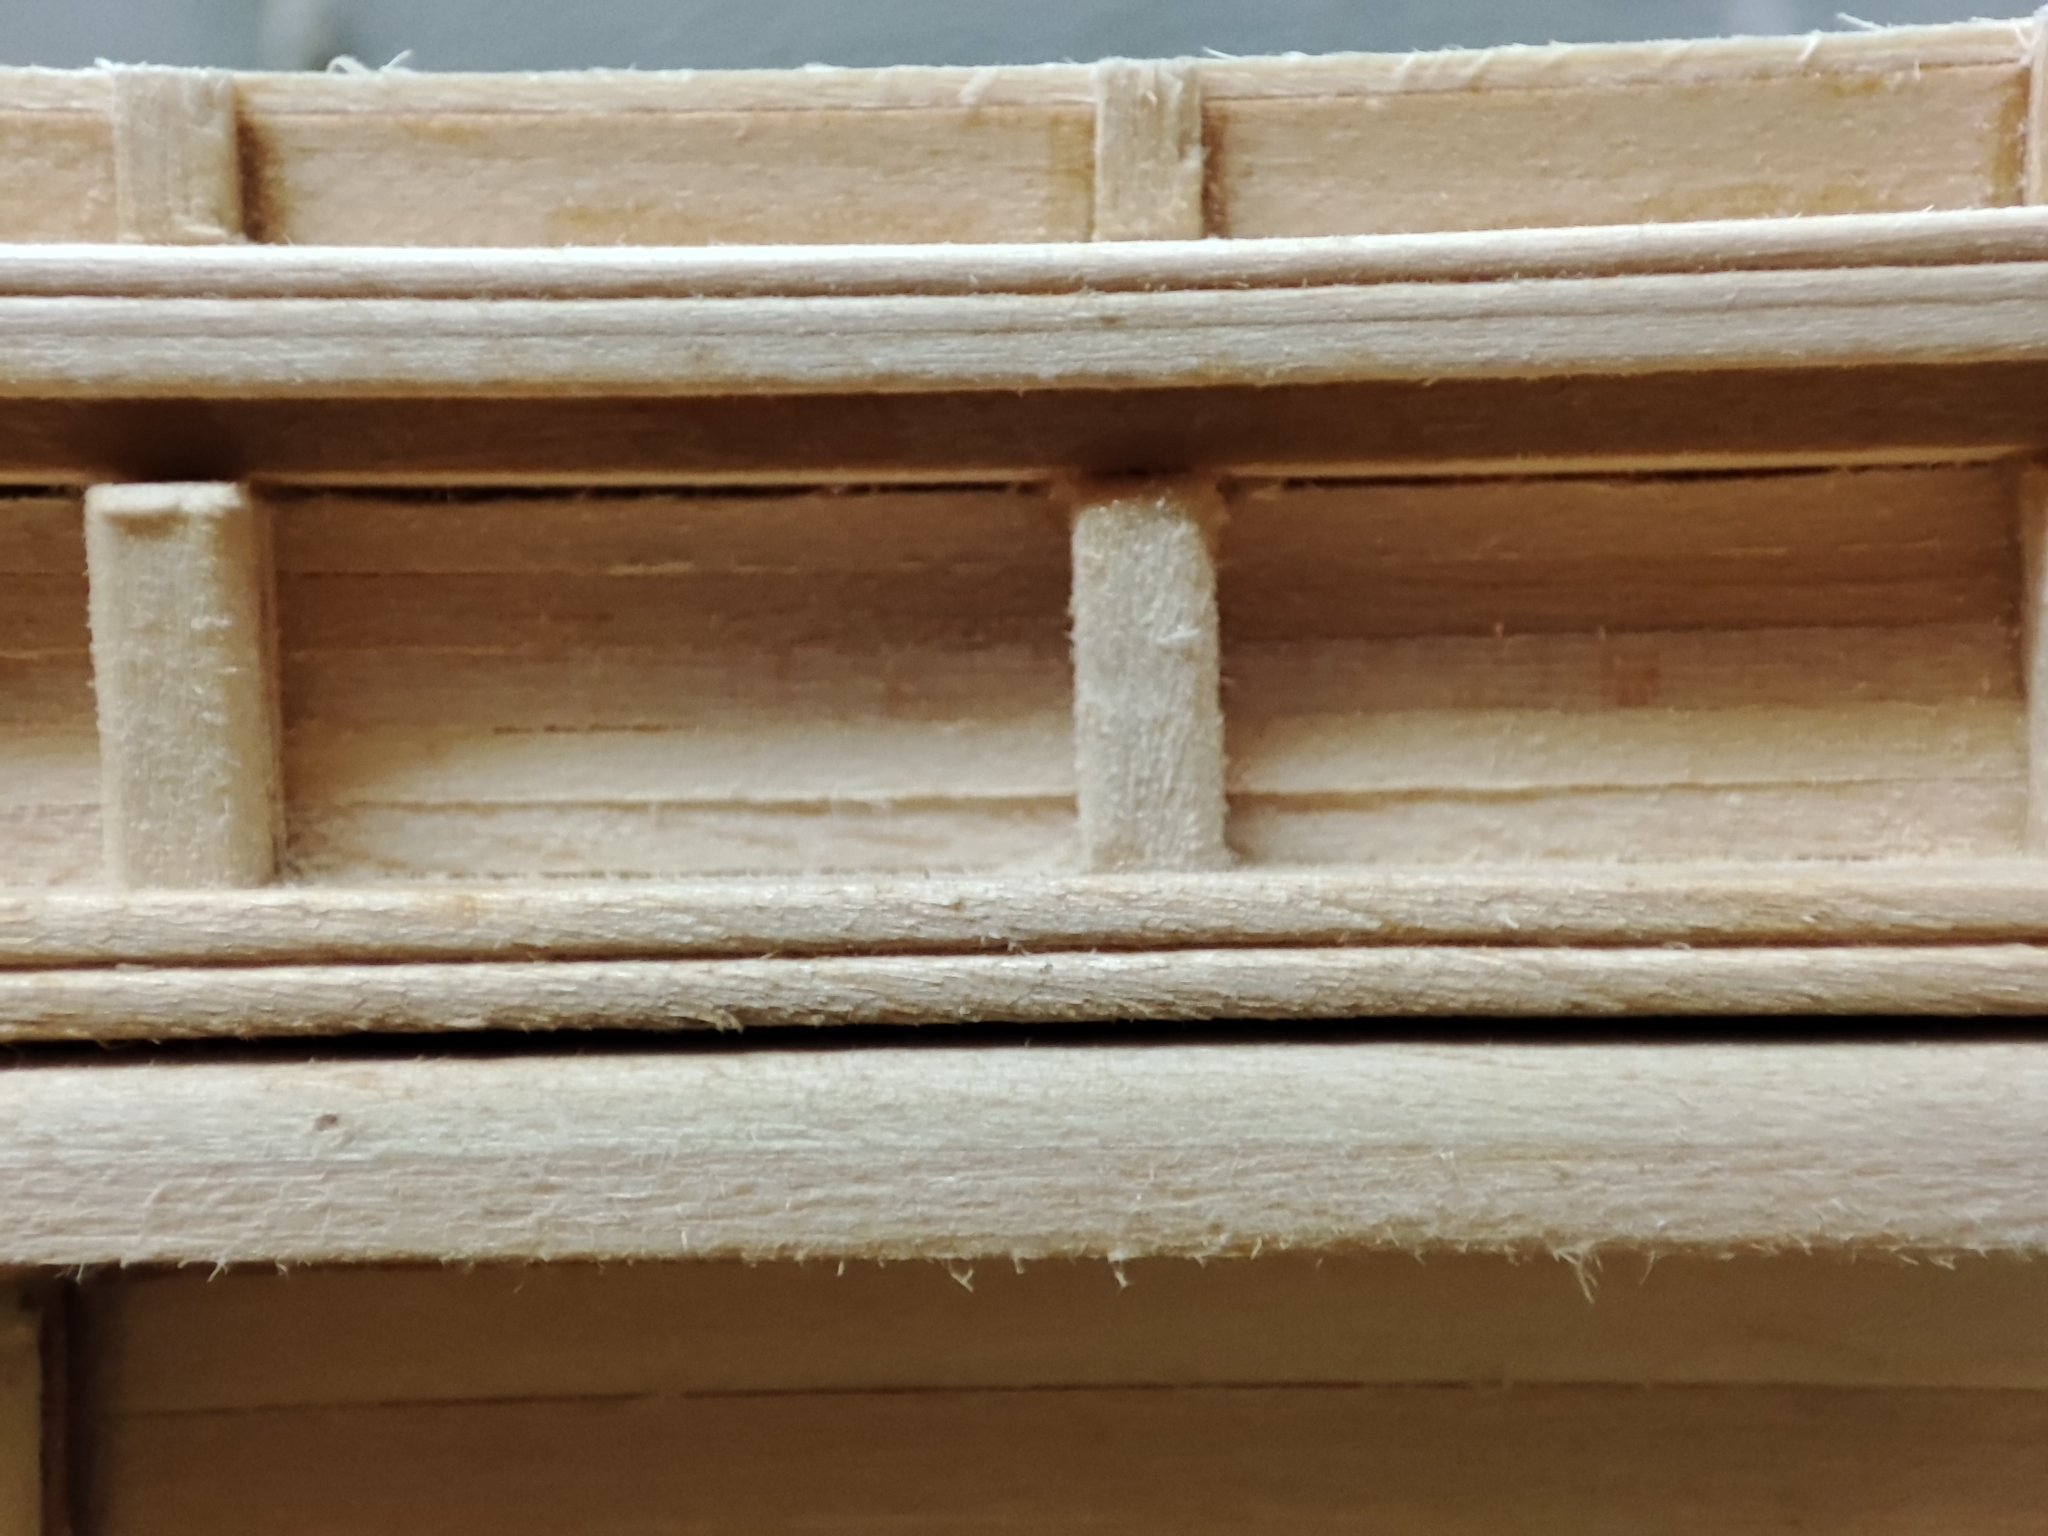
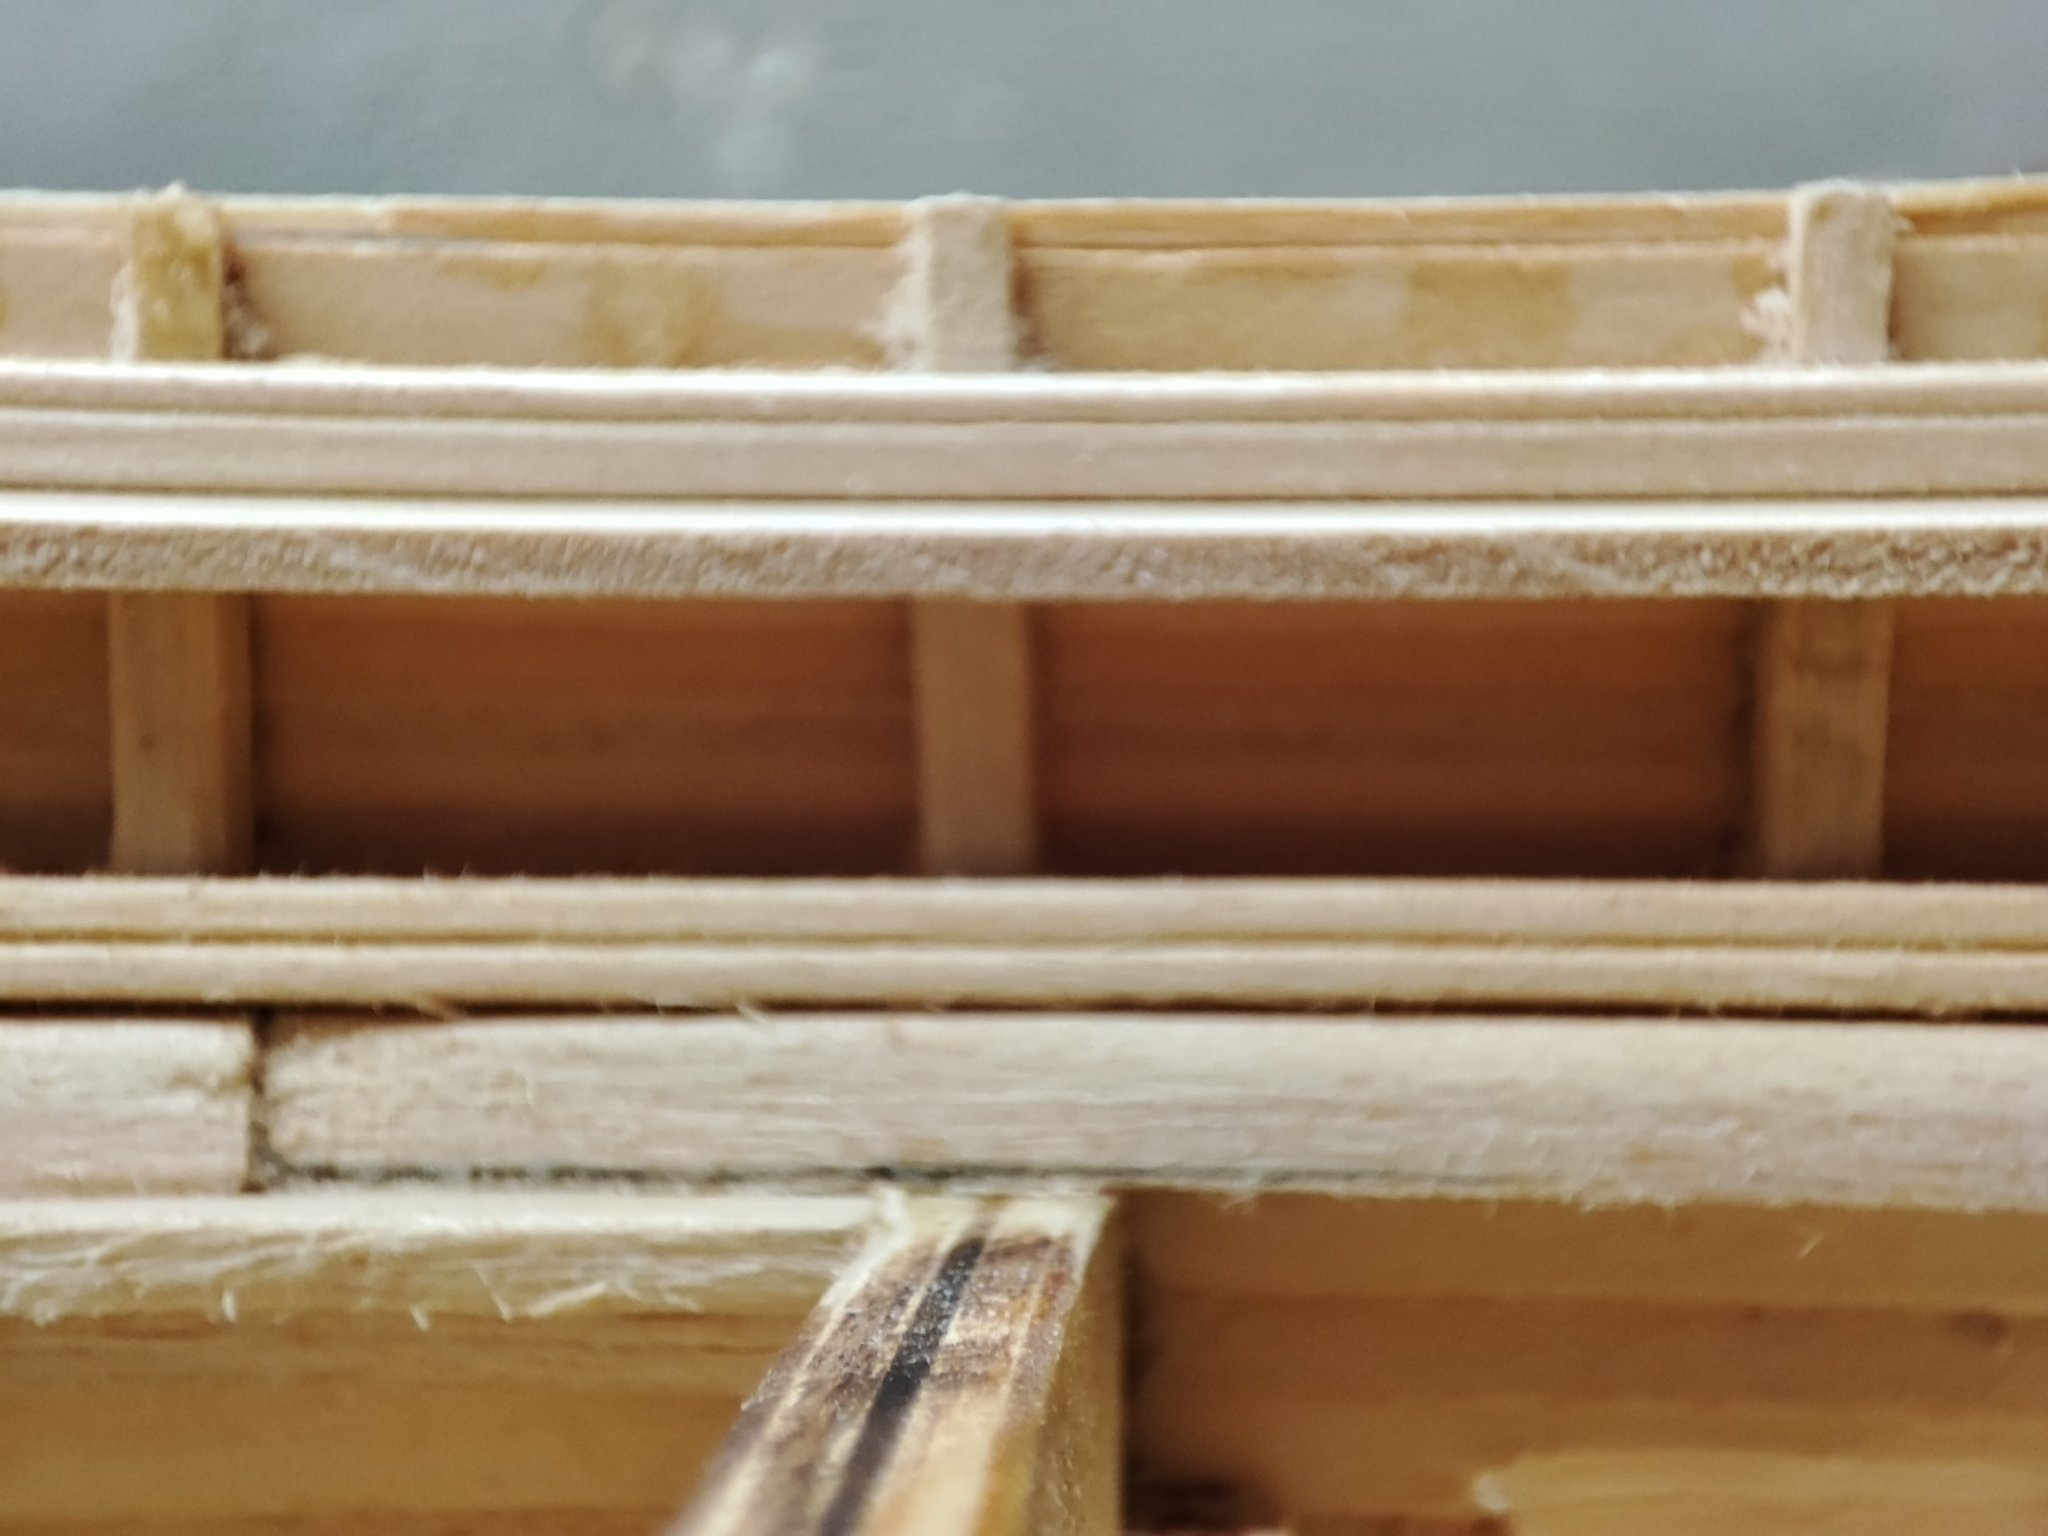
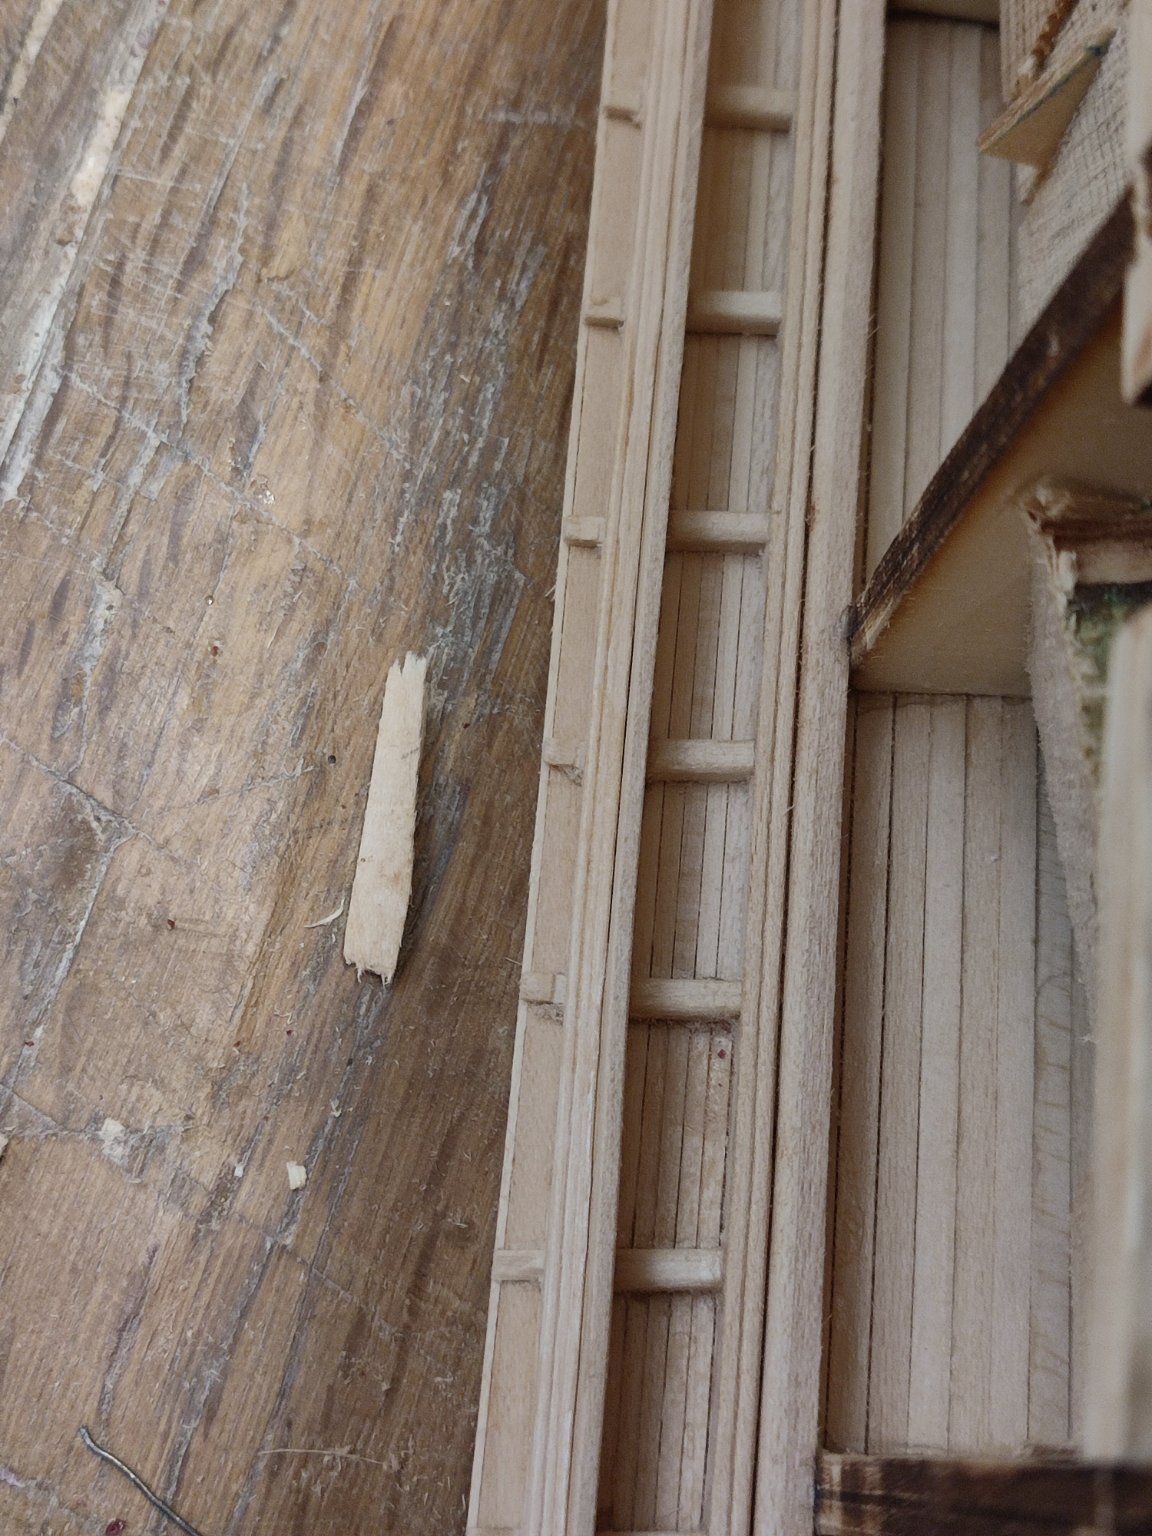
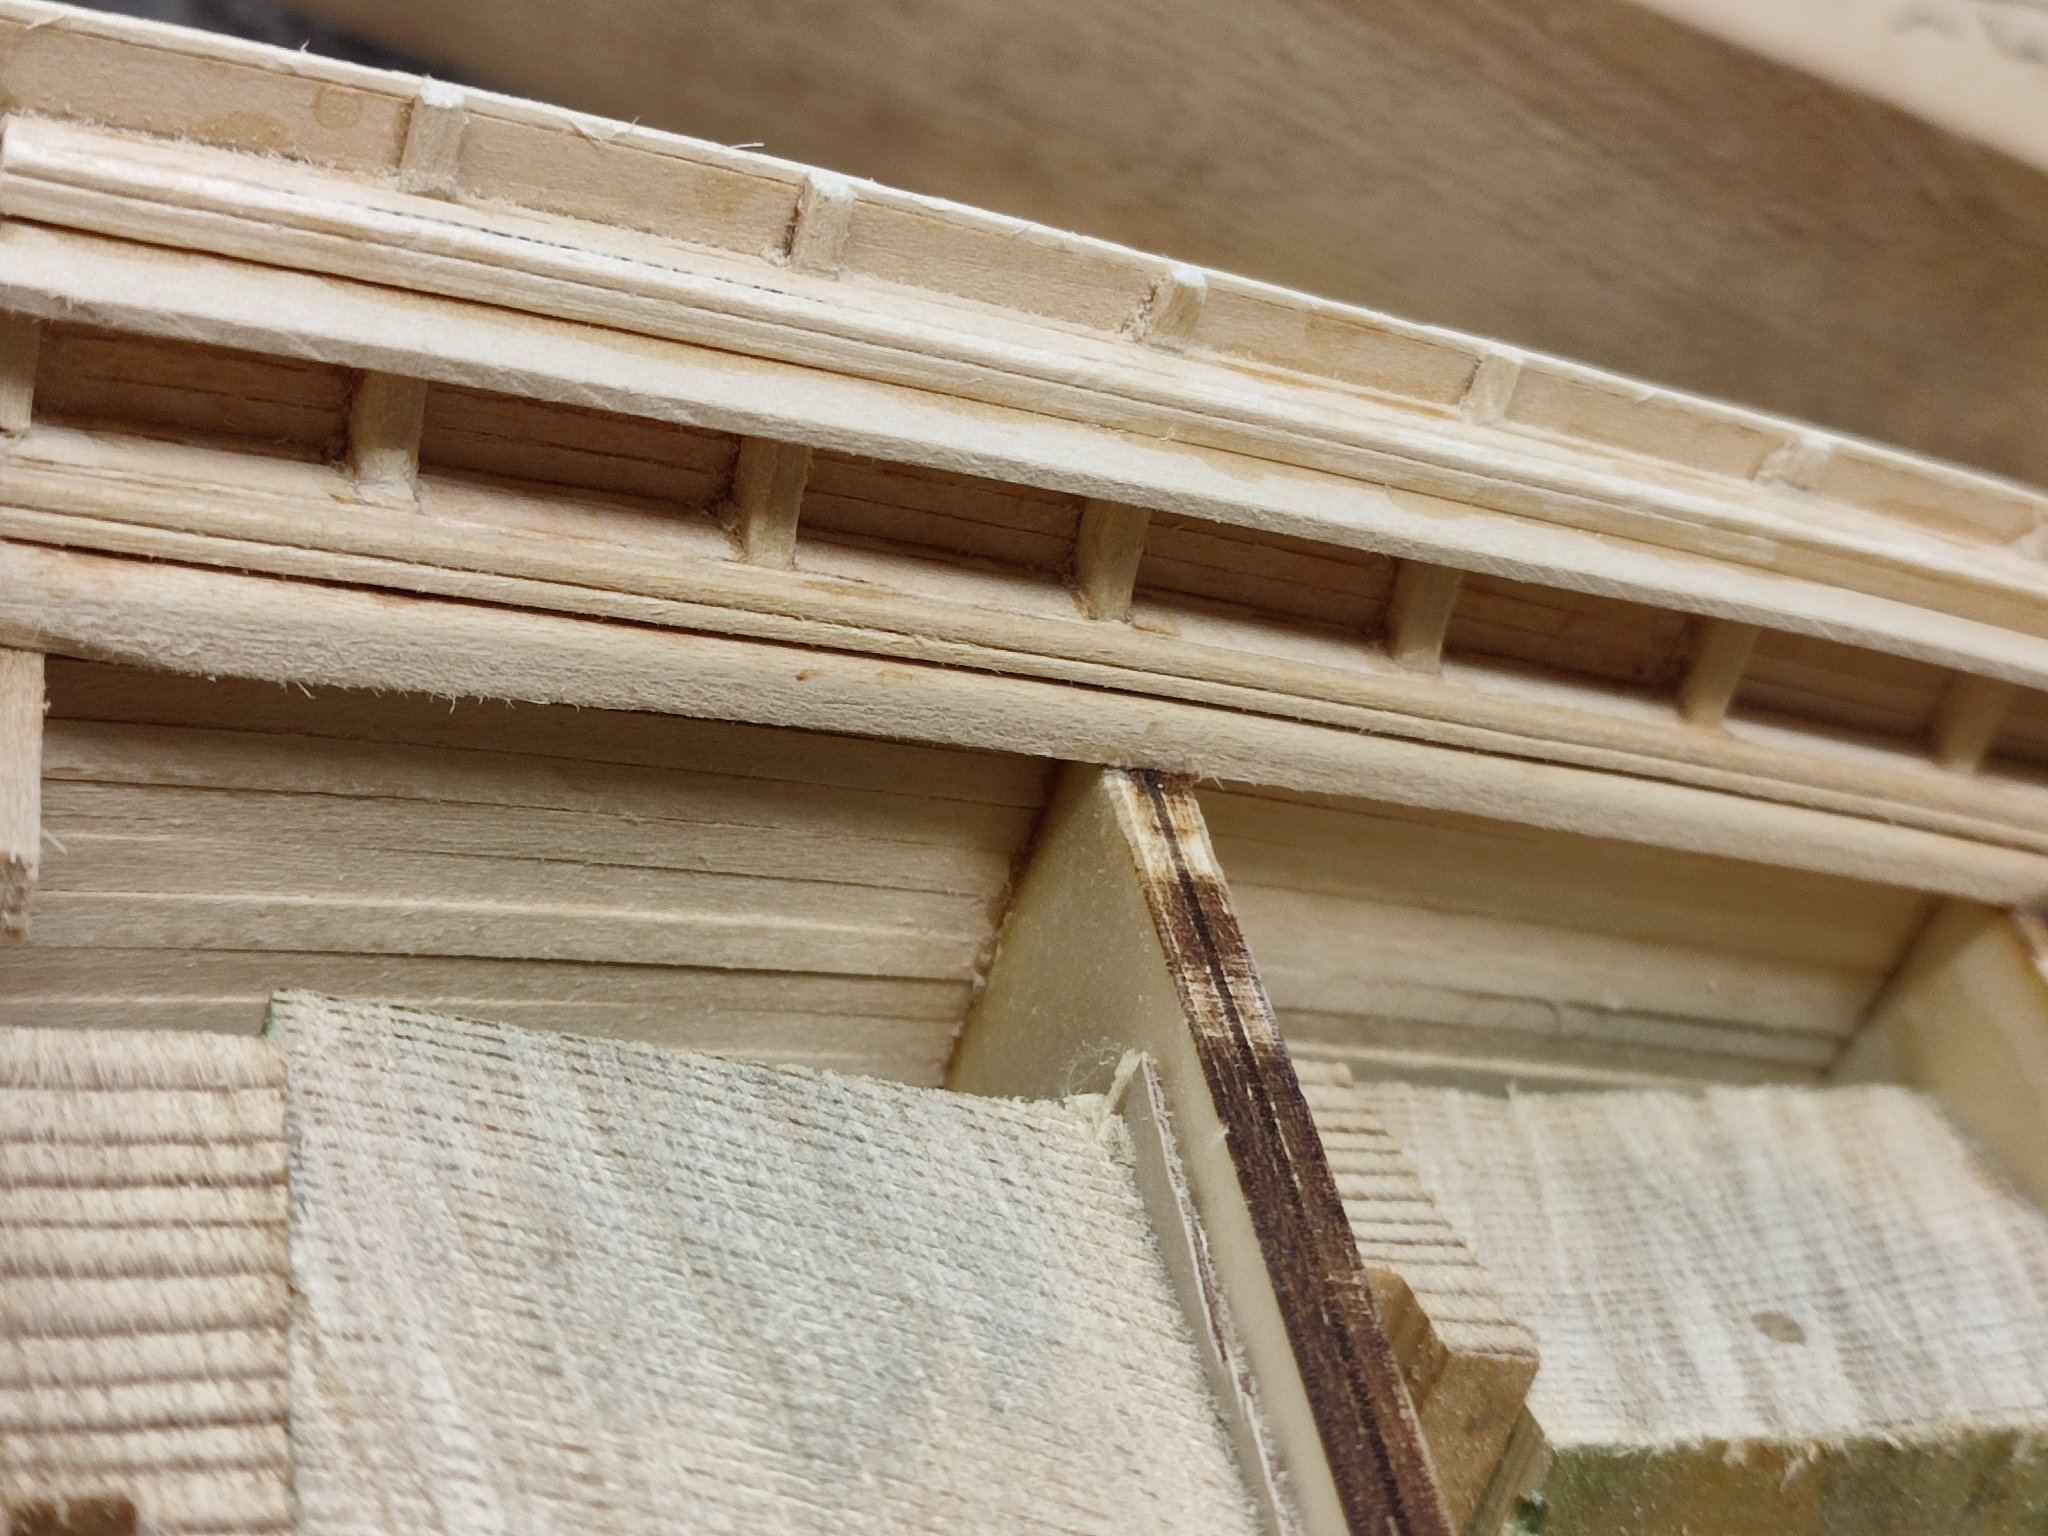
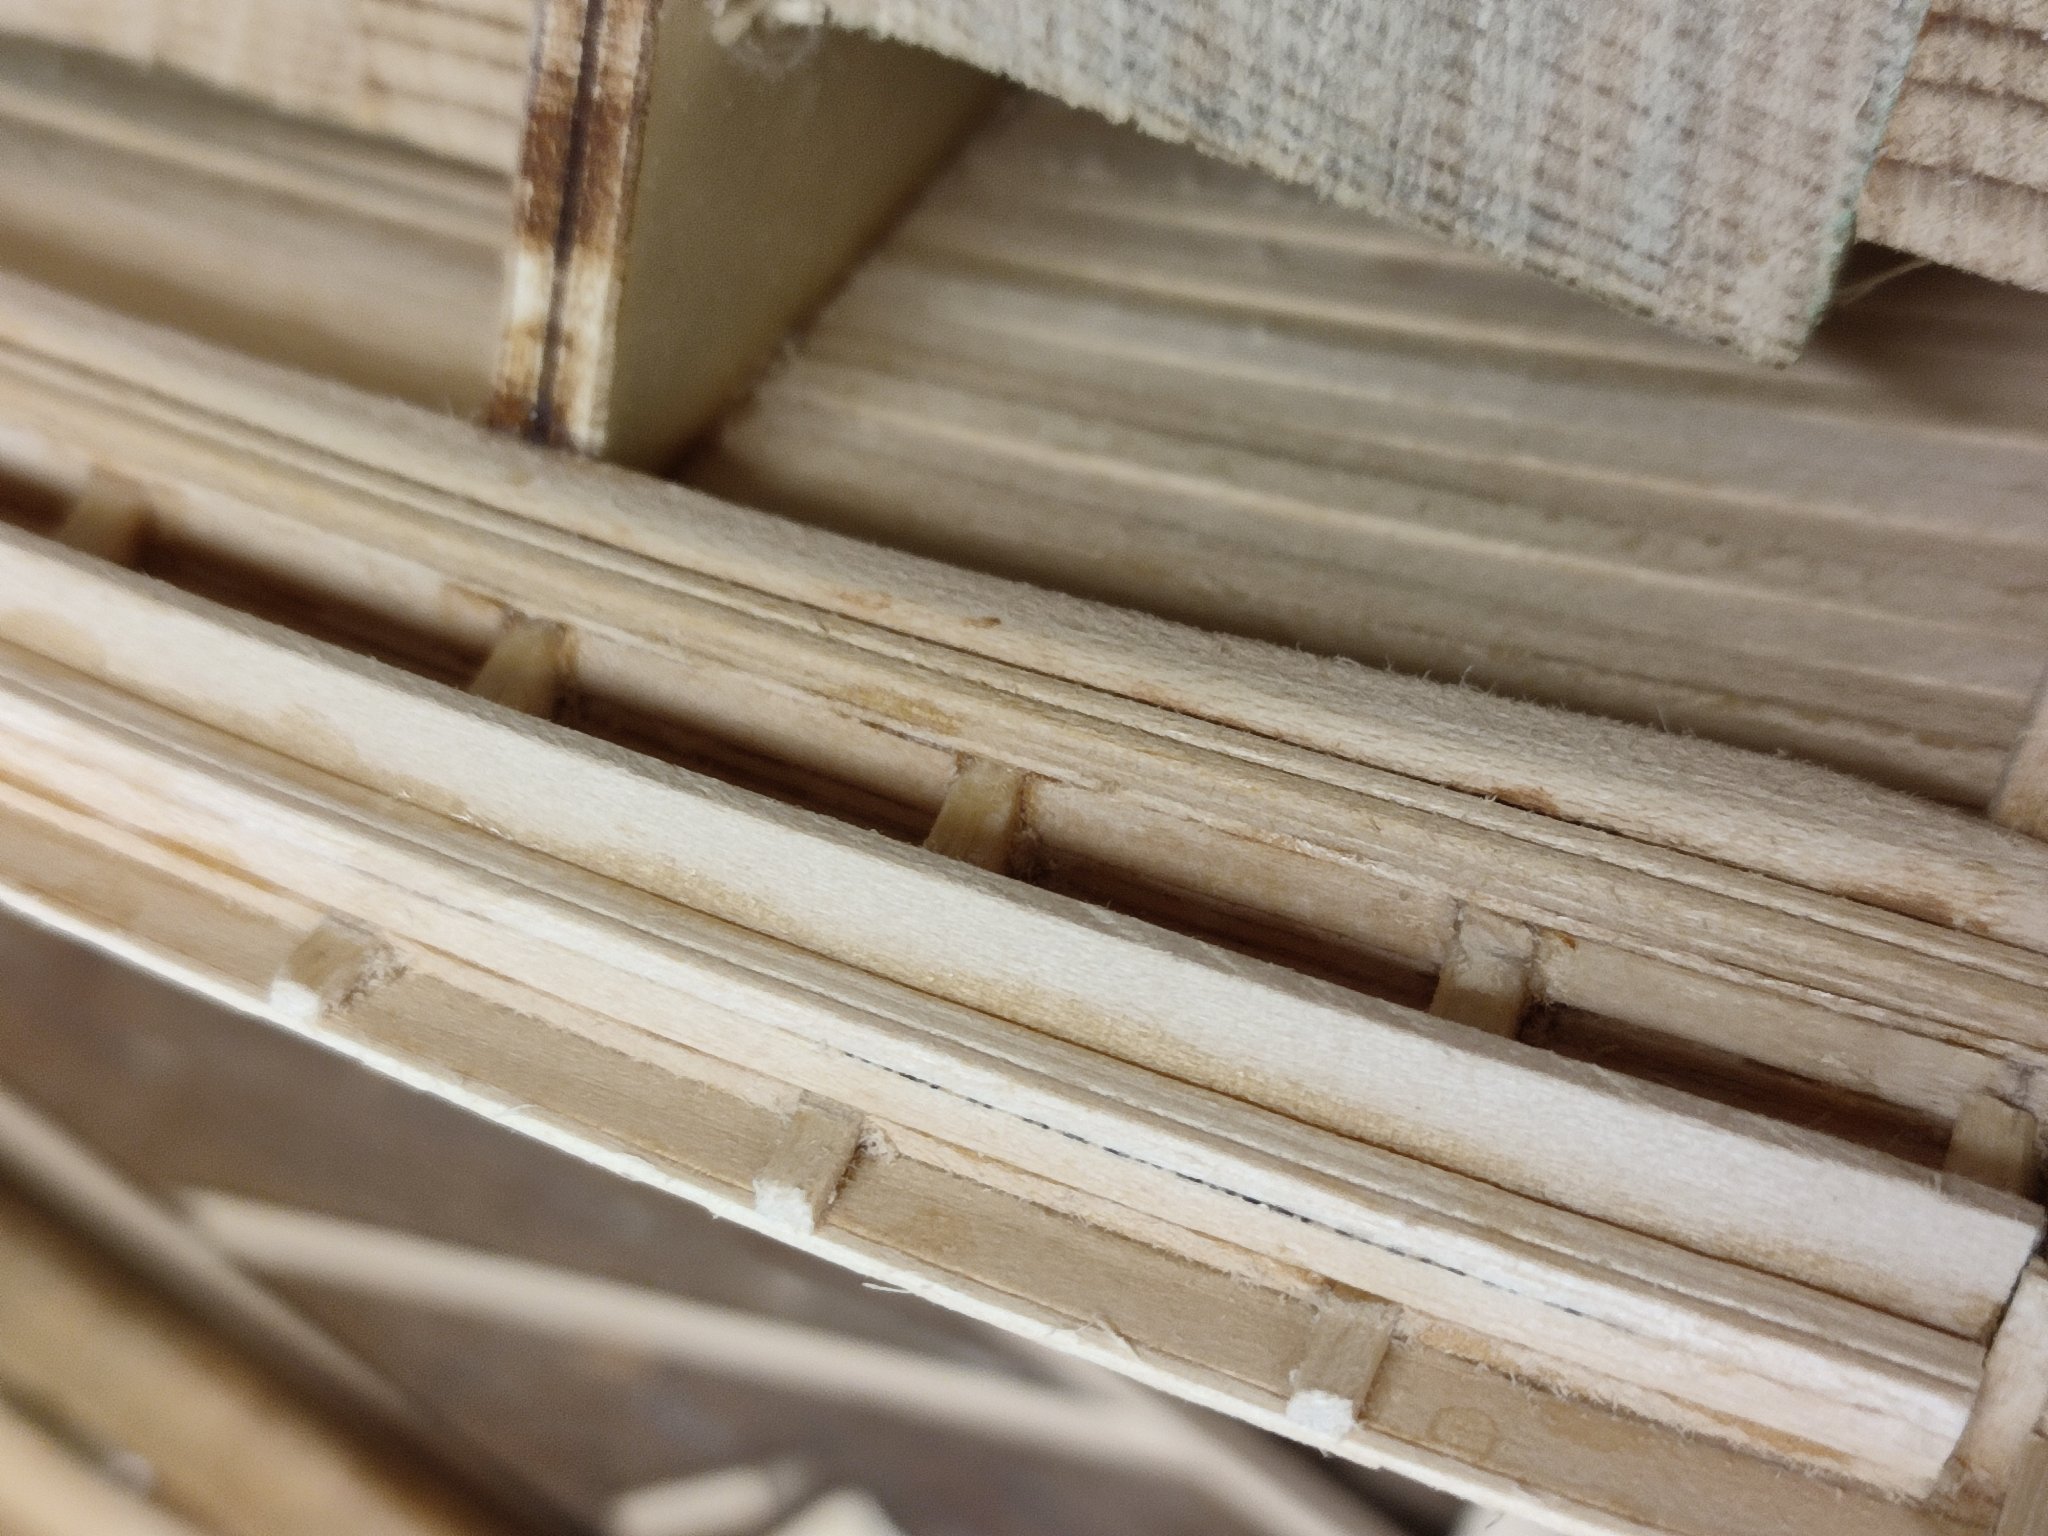
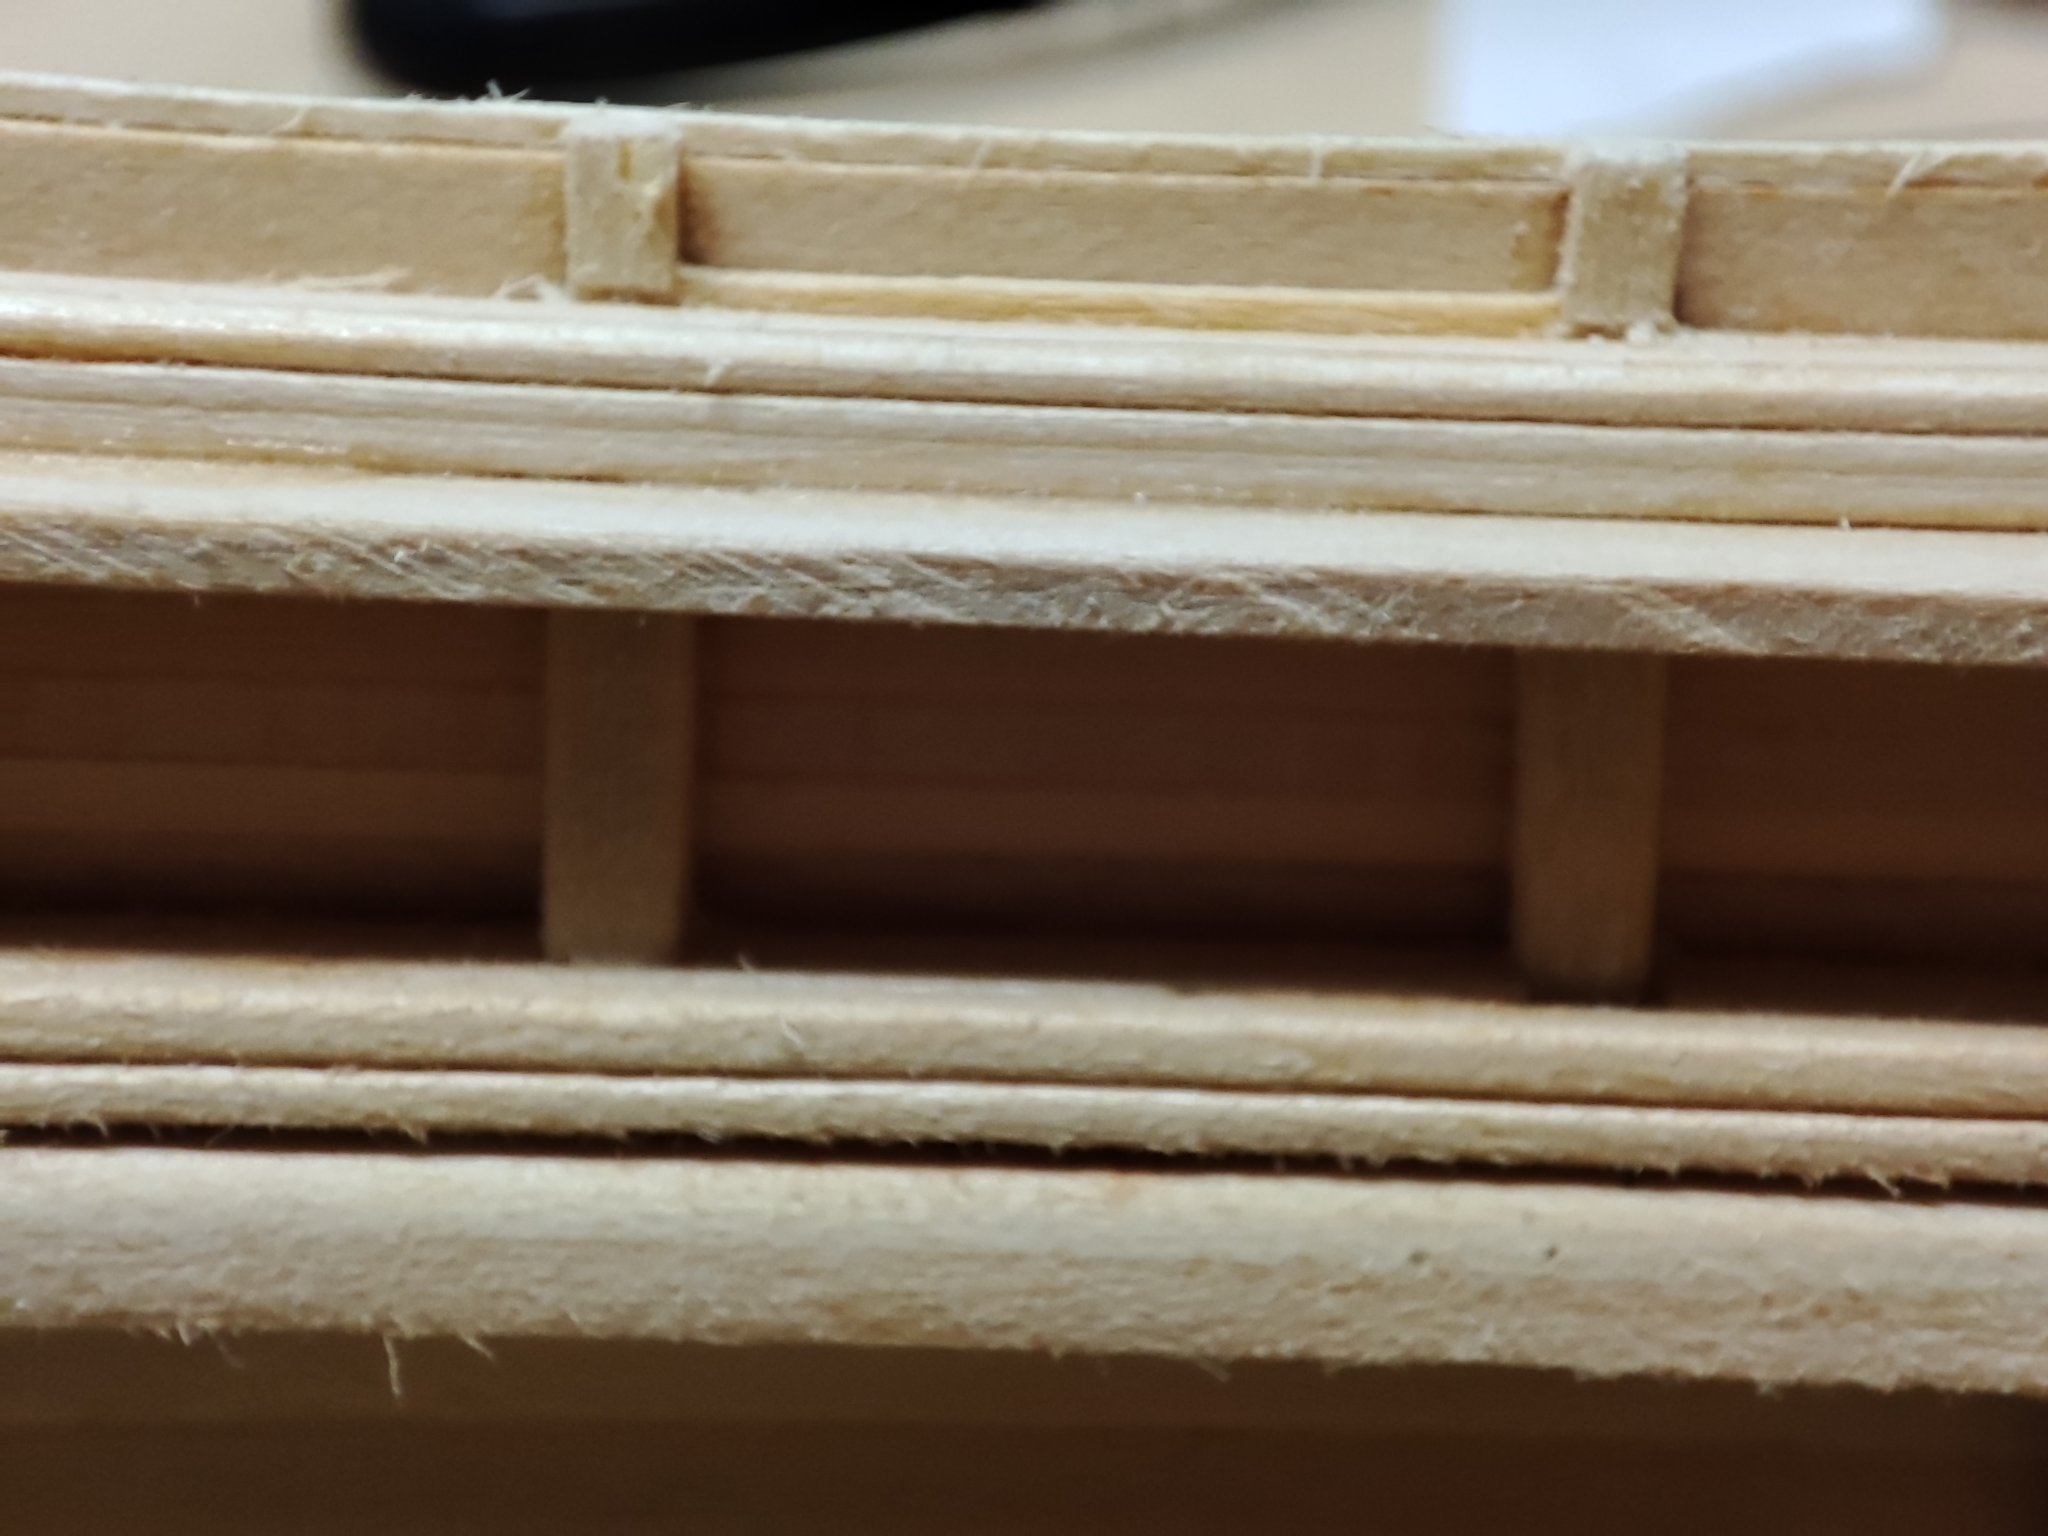
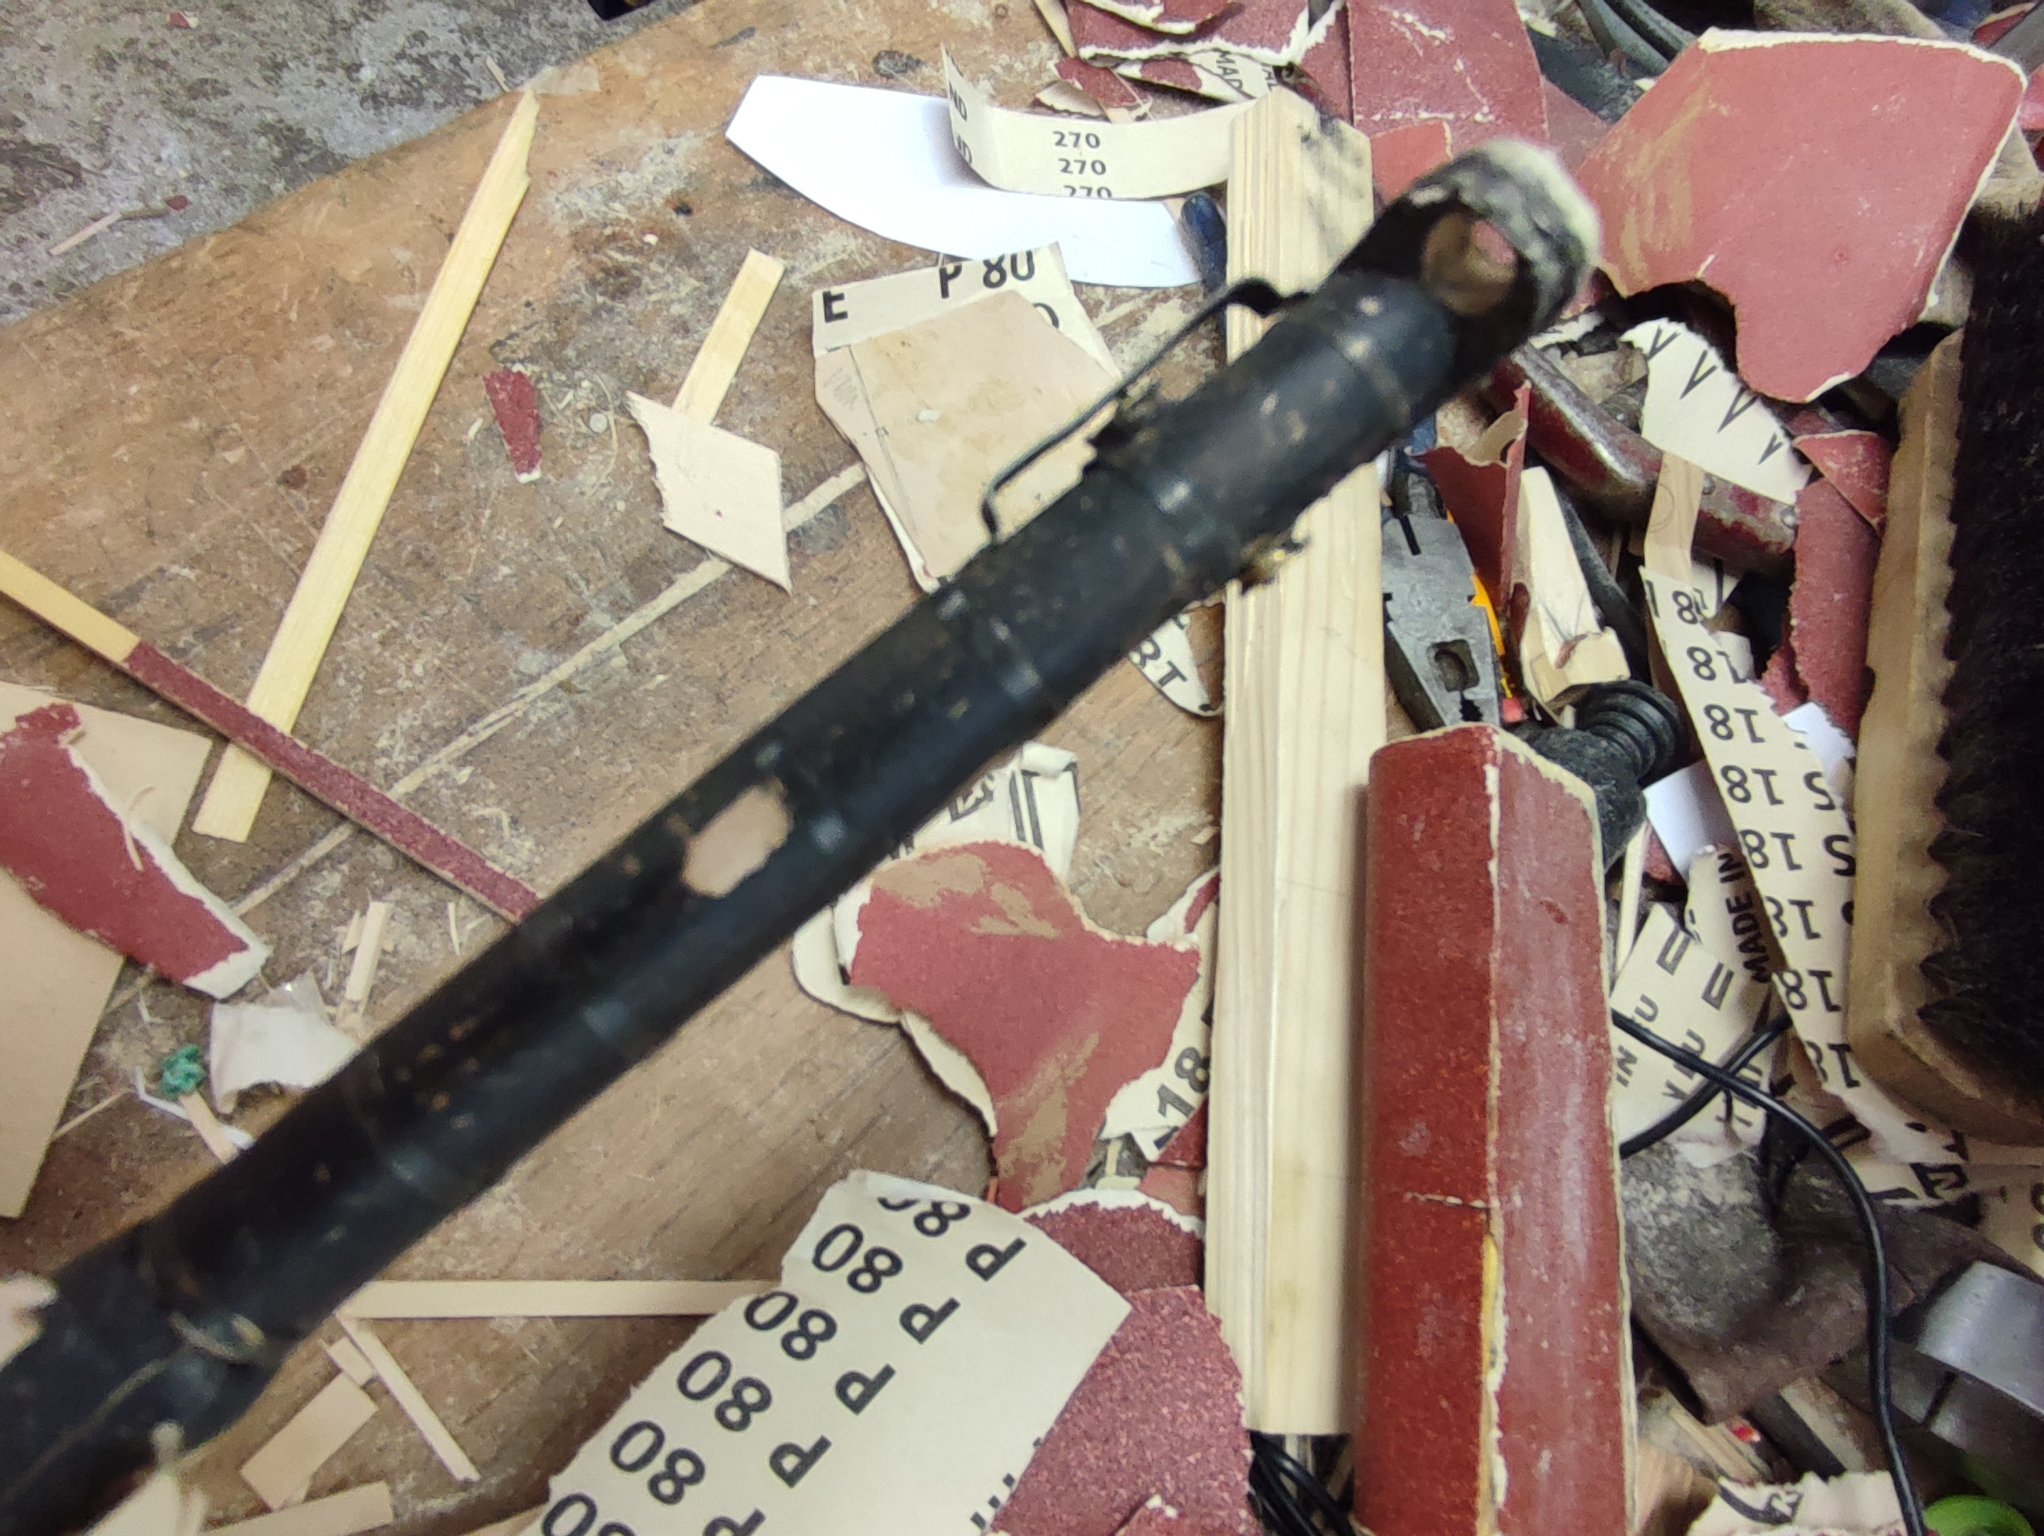
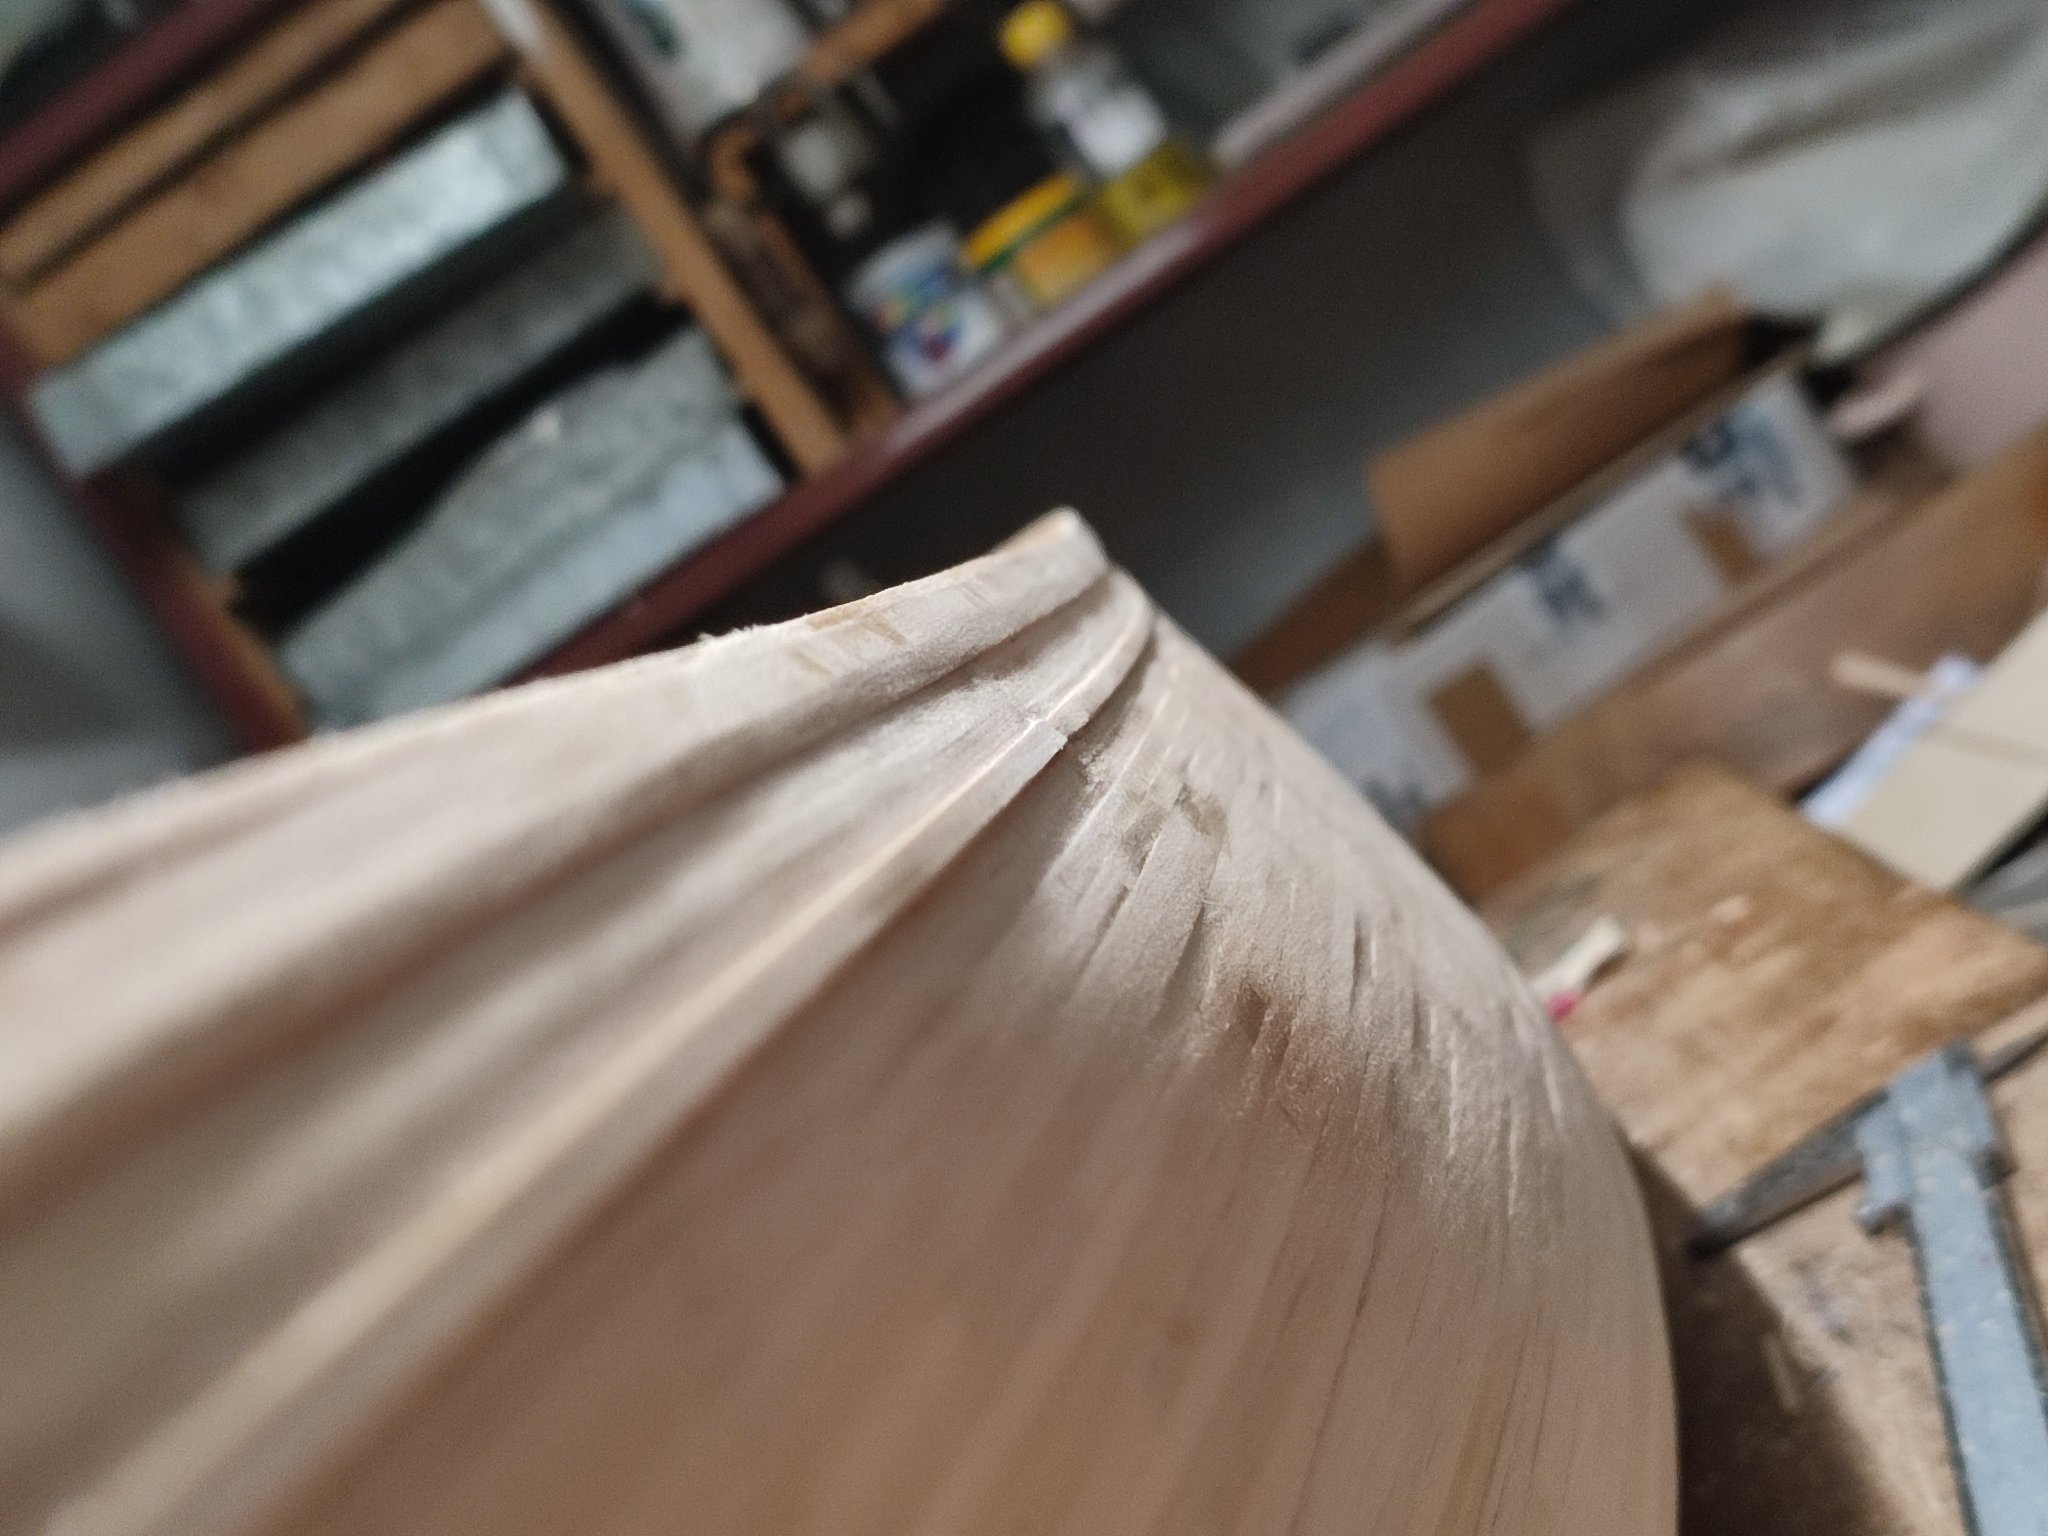
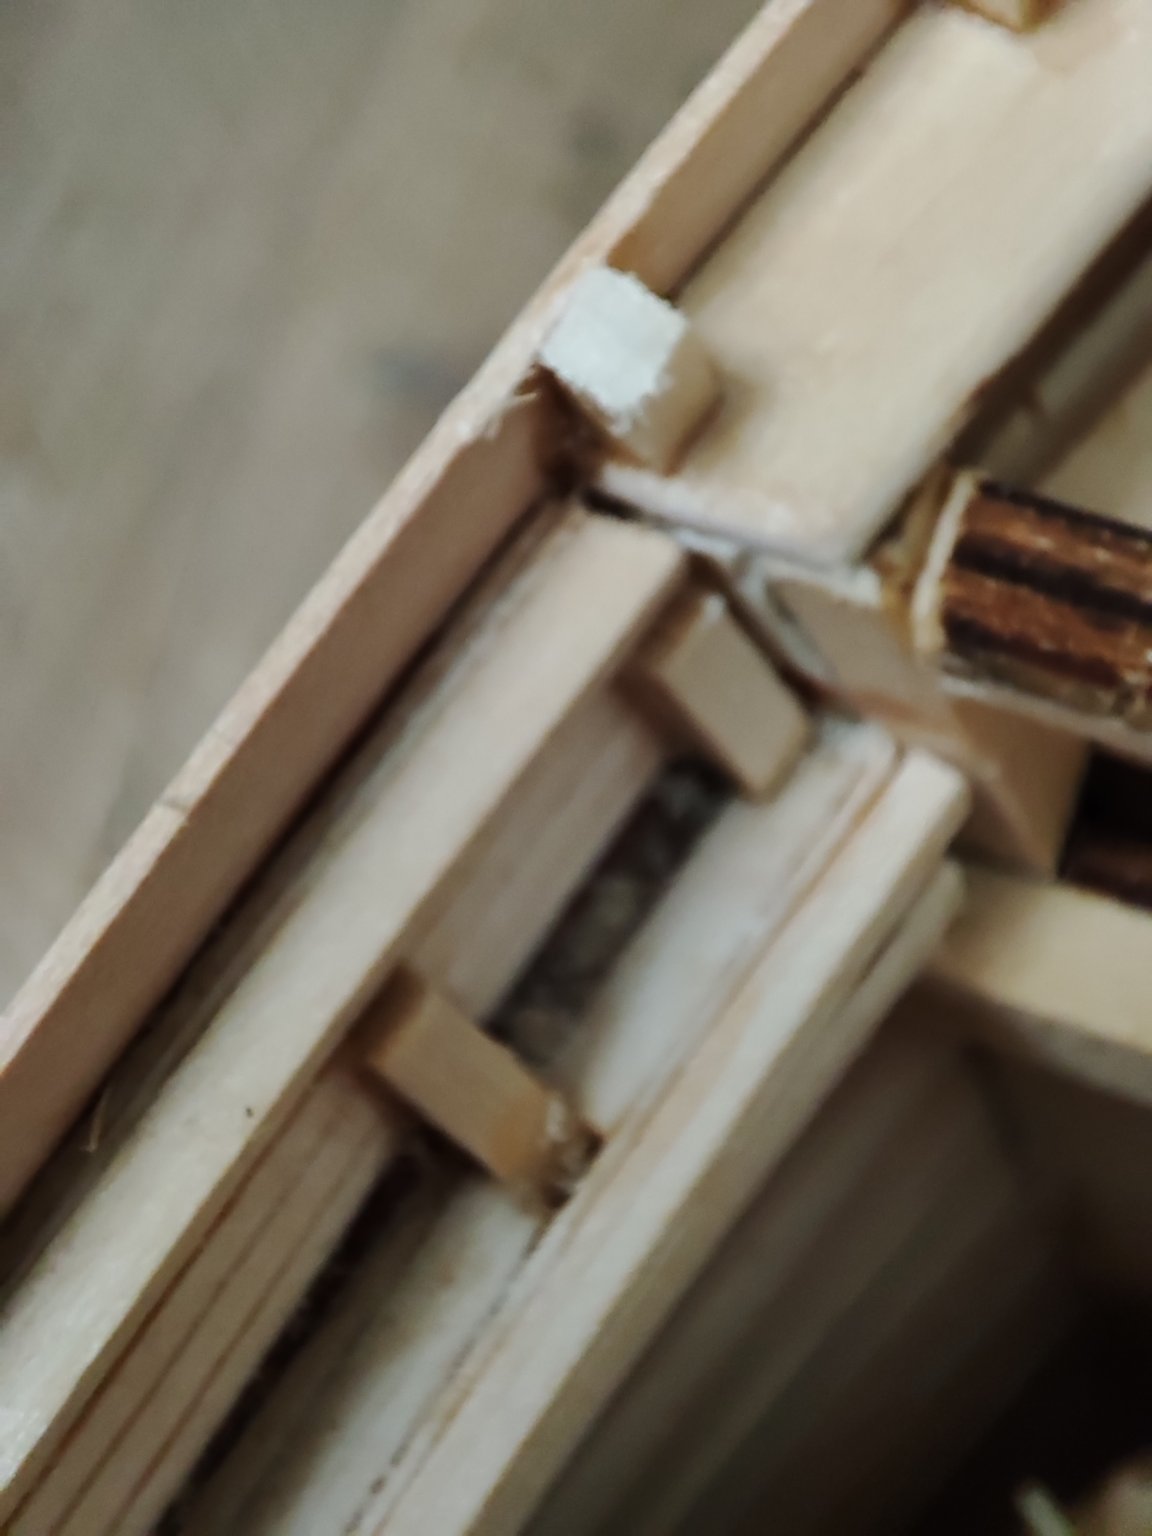
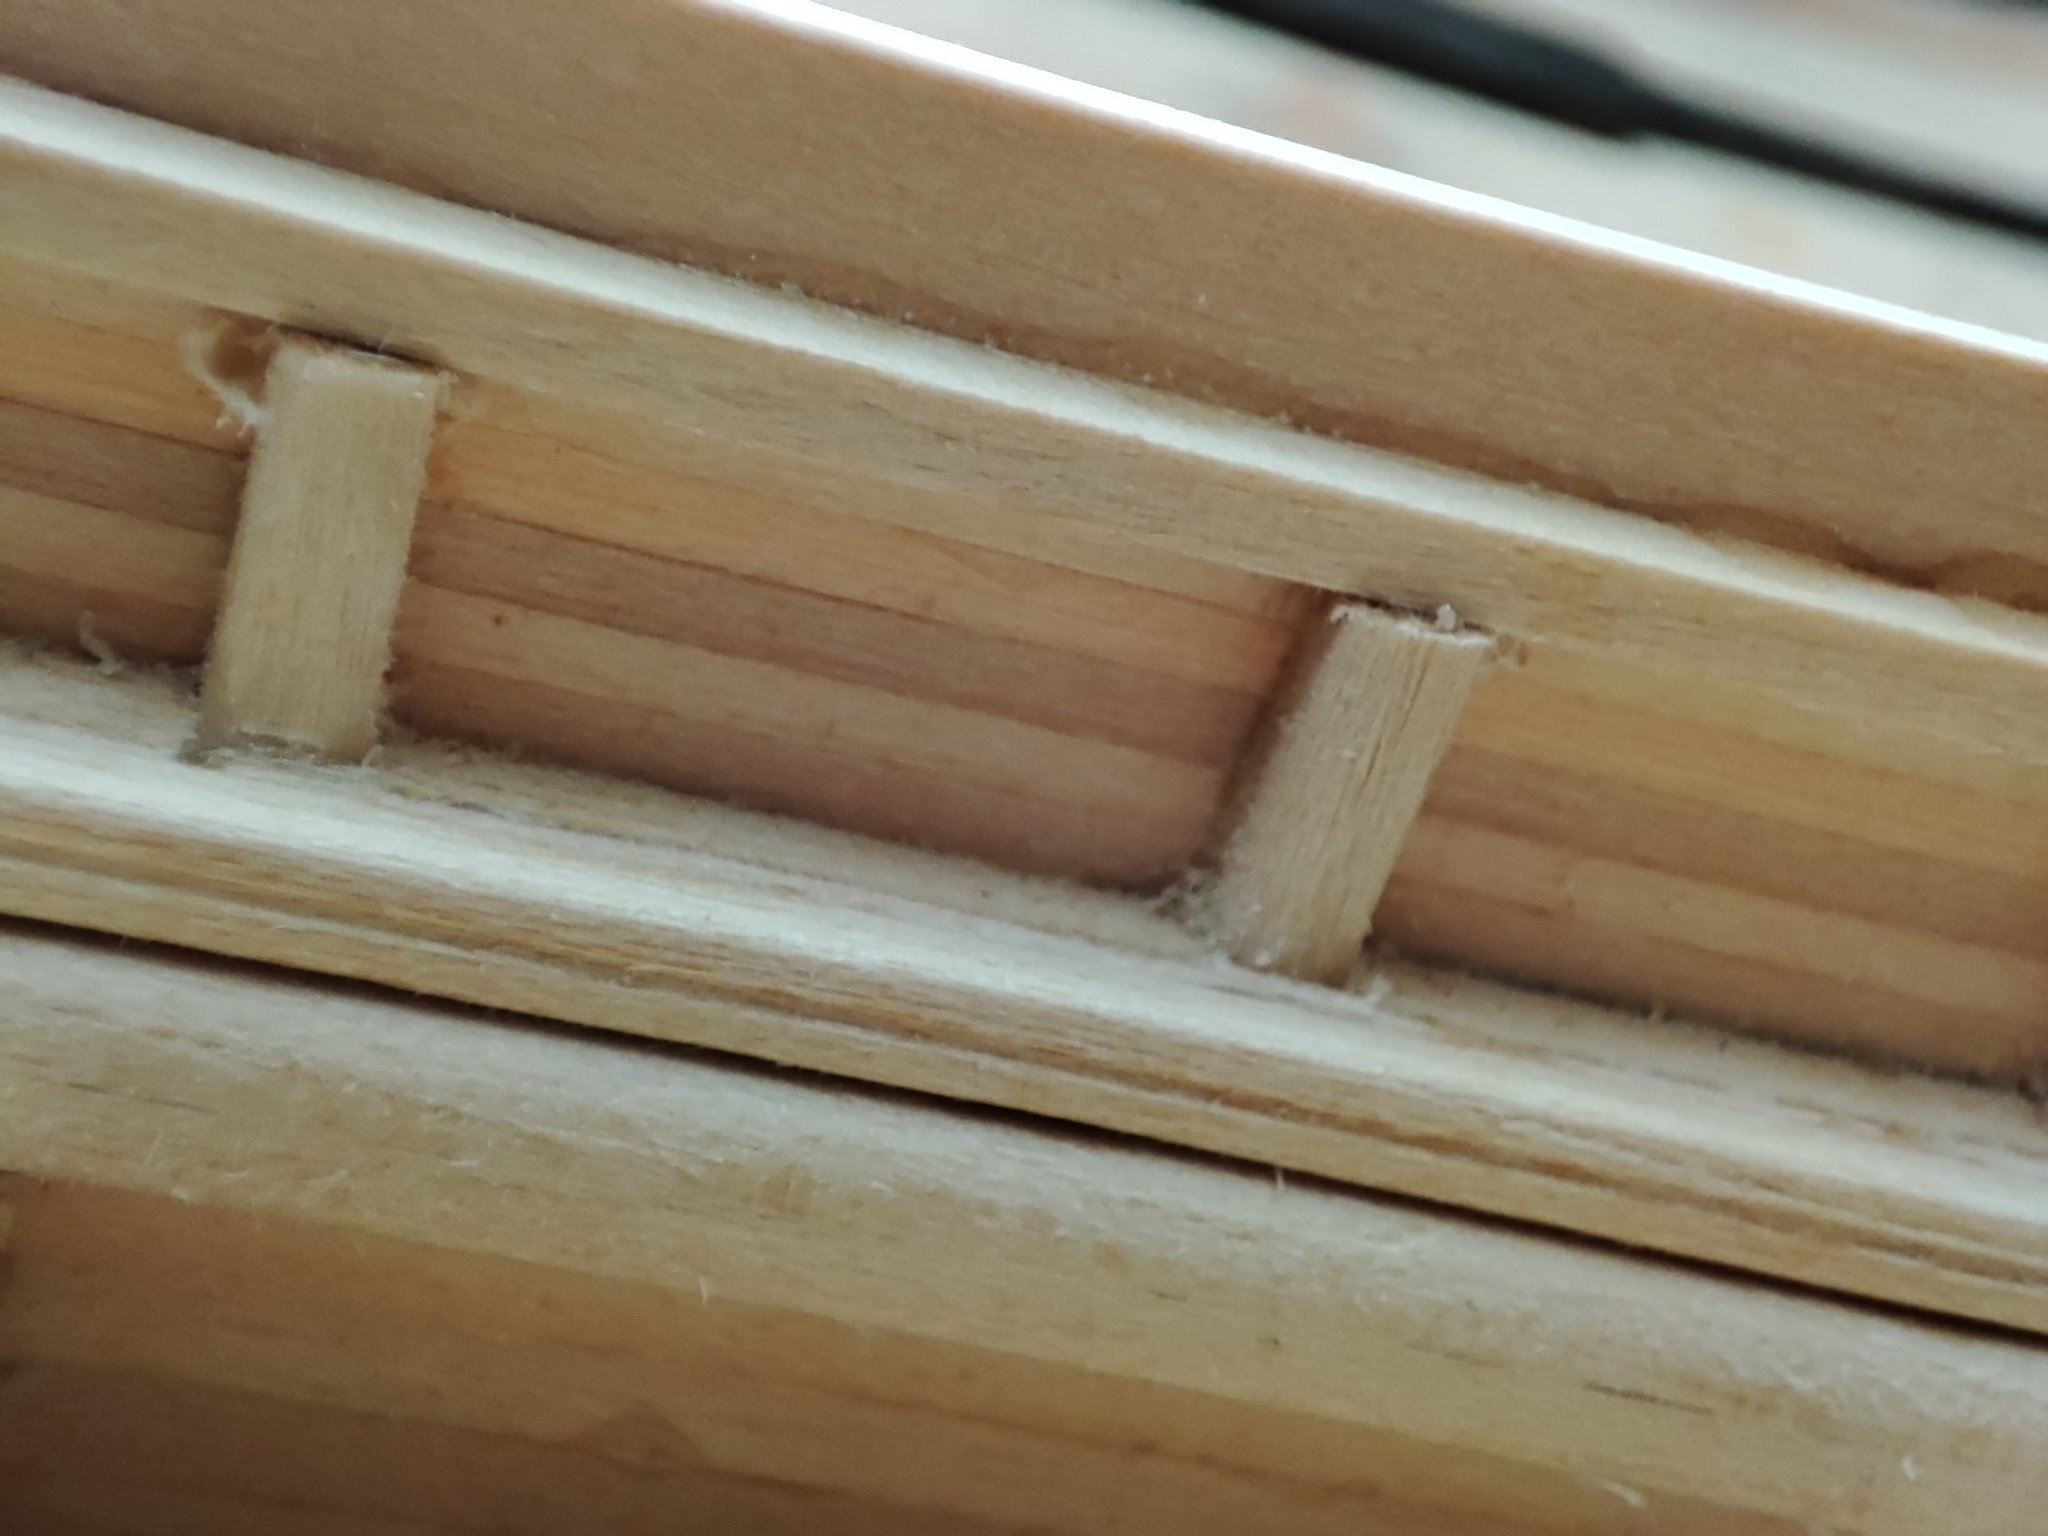
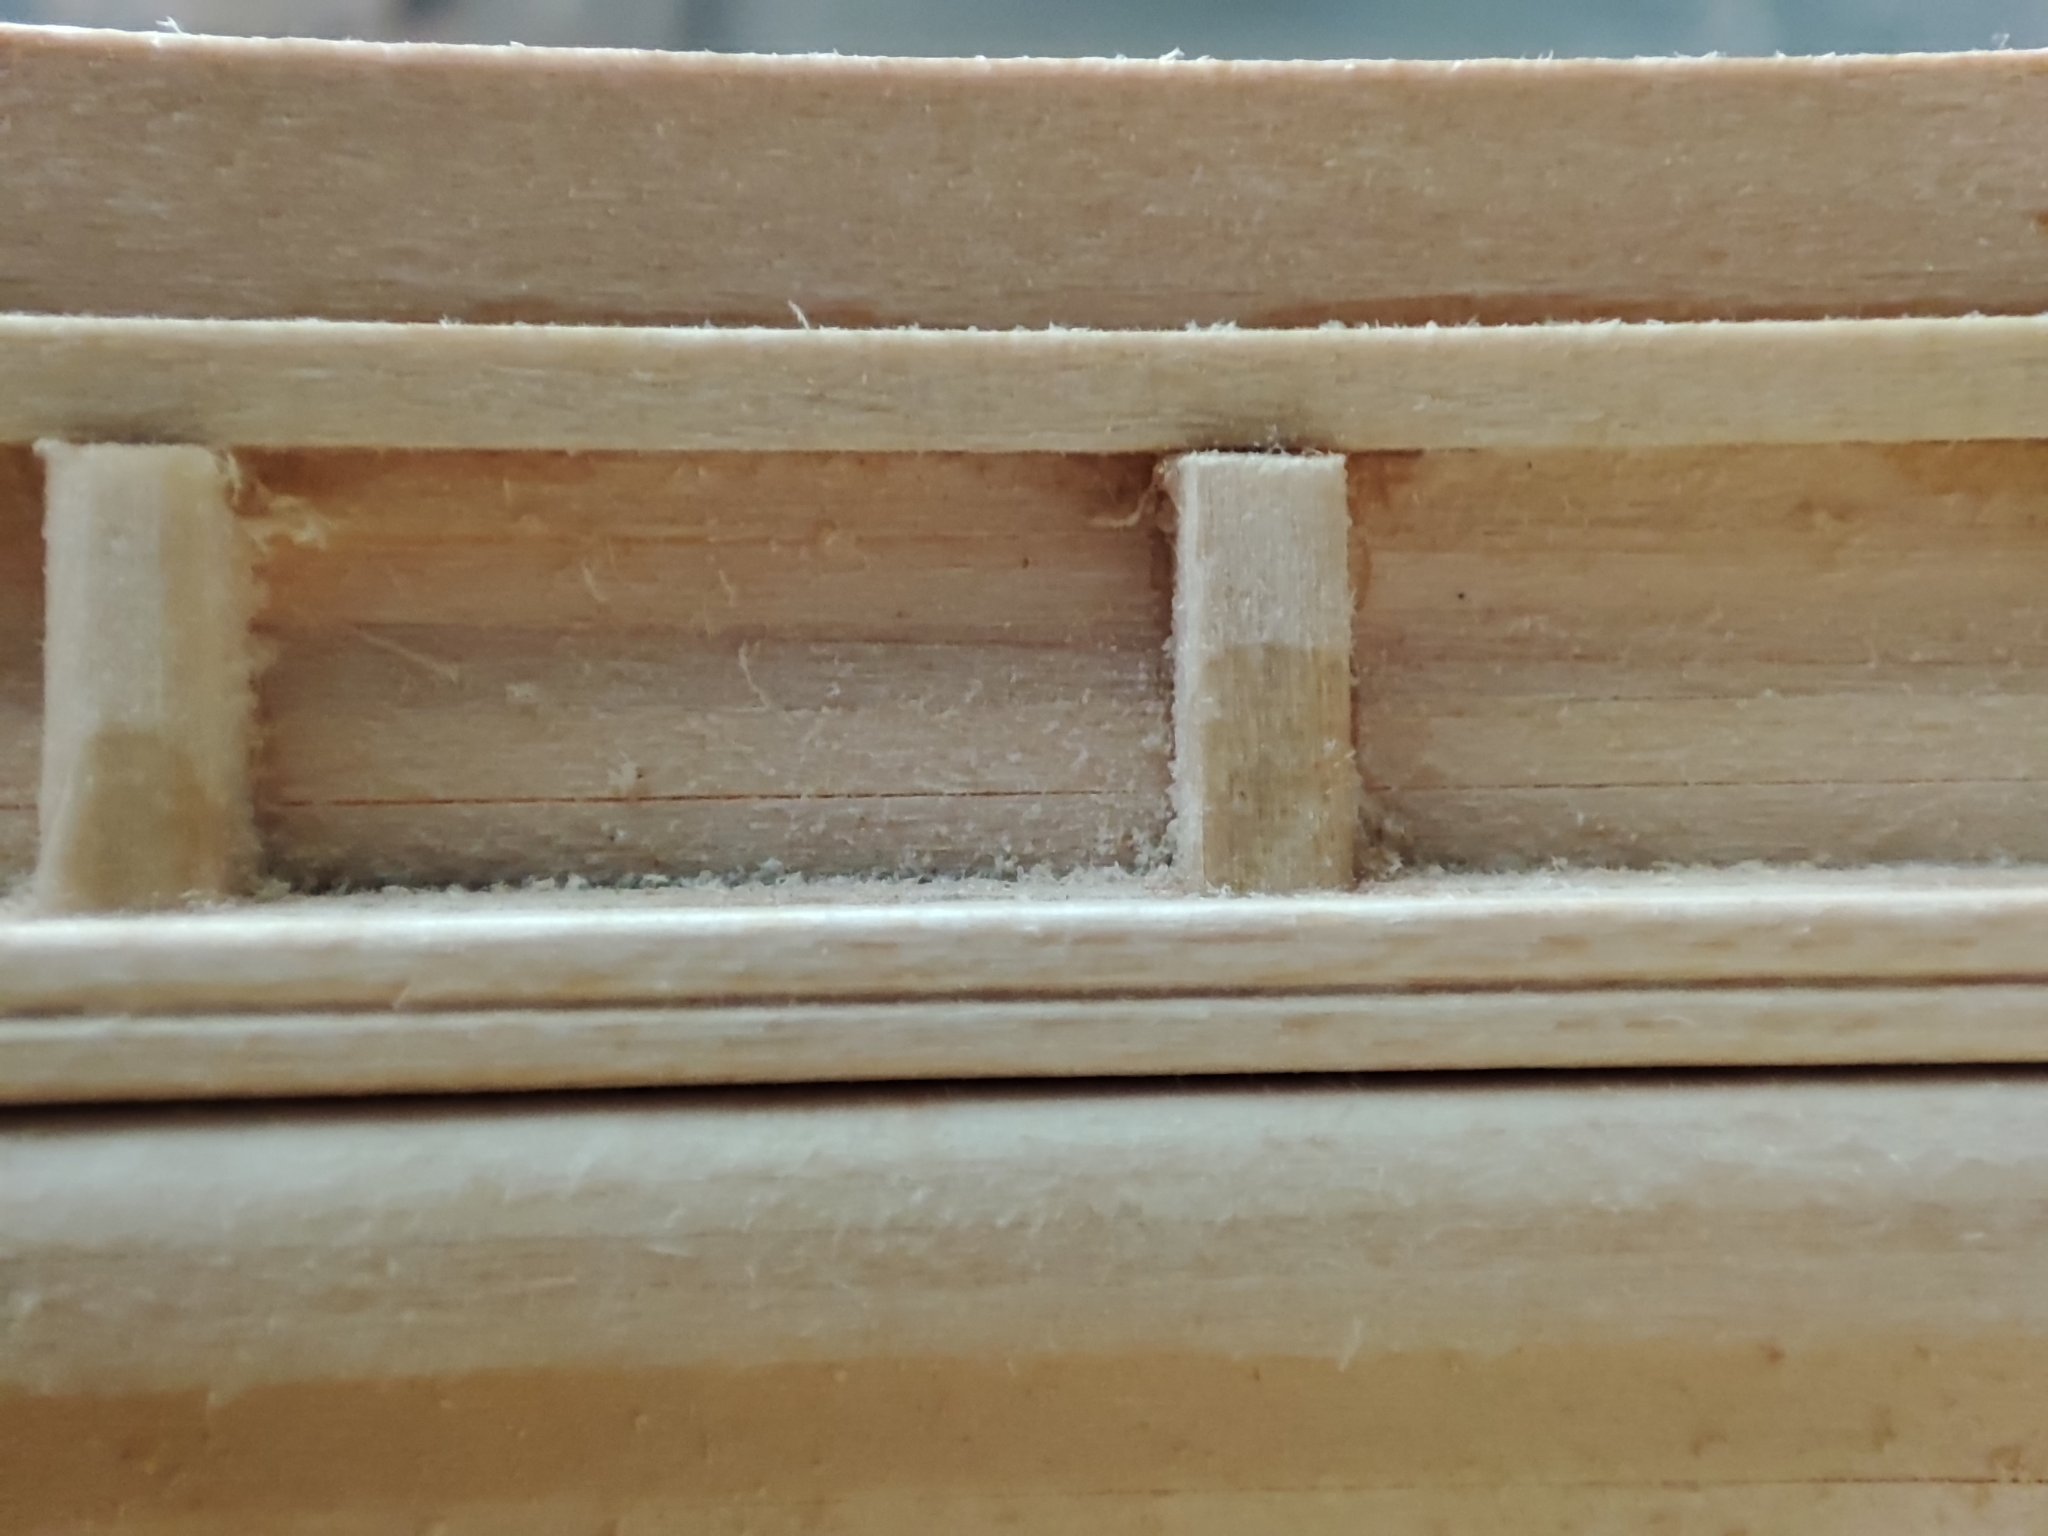
How did i make grooves.
I must say i still somehow struggle with molding grooves. Finally i think i found a way that satisfyingly brings baswood almost to 95 percent od boxwood with no fuzzies. Well IT Will never match IT but....
How did i go.
1. Slight TRIM of edges with 270 grit.
2. Thin line with scraper.
3. Widenijg line with thicker point of scraper.
4. I Made sharpened Stick of hard Wood but blanded tip of IT. I run IT as last and here are the pics. Those are pretty macro so by eyesight there IS basically no fuzz.
I mušt check how others do IT but fór the moment im Happy.
There IS one smaller 1/3 grooves and one 2/3 fór the glory sheer.