
Voyageur
-
Posts
174 -
Joined
-
Last visited
Content Type
Profiles
Forums
Gallery
Events
Posts posted by Voyageur
-
-
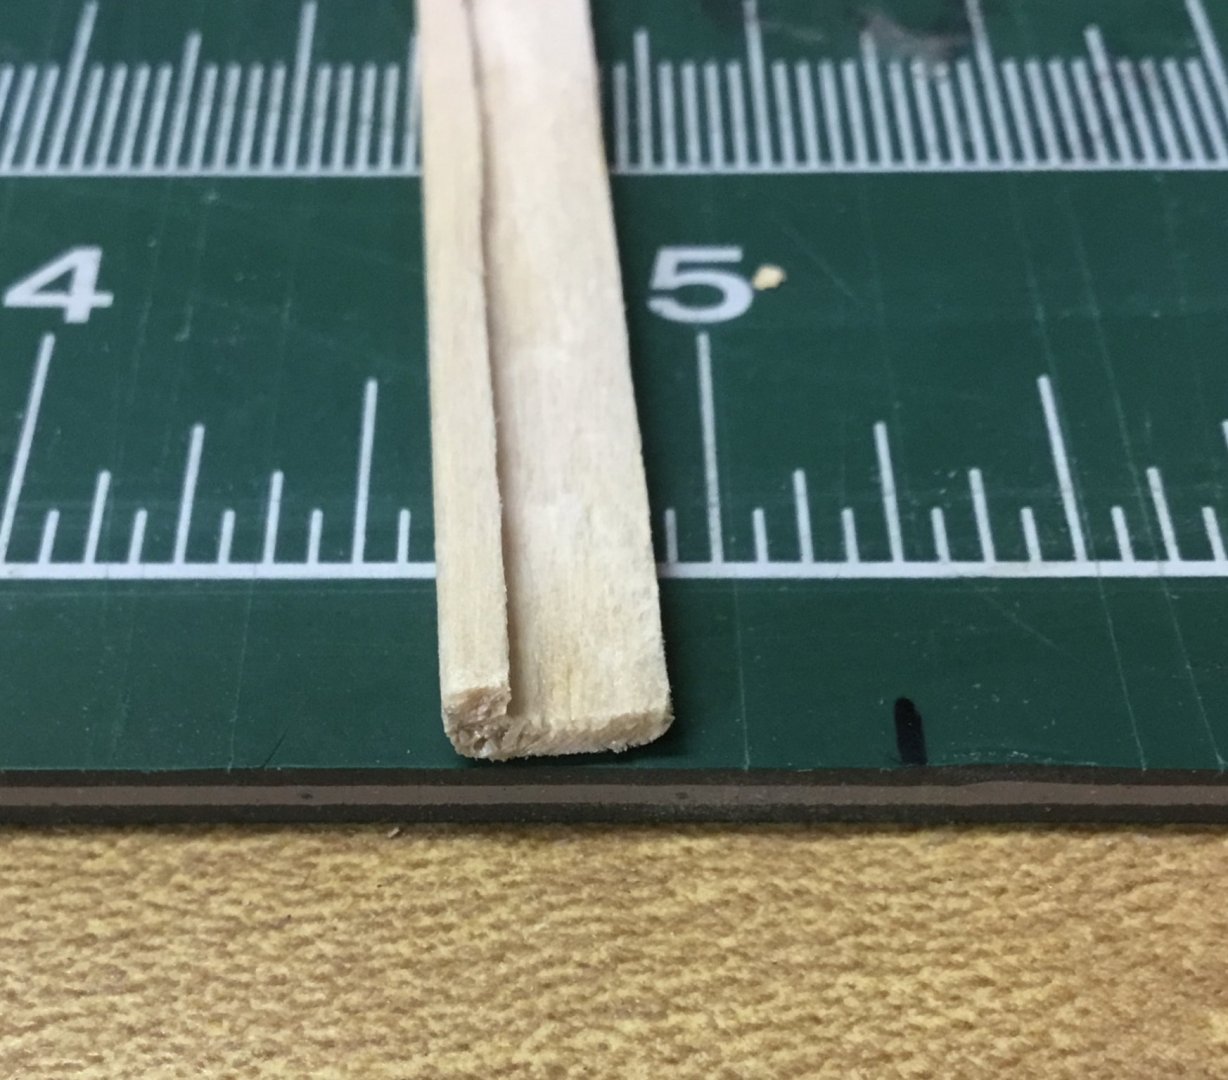
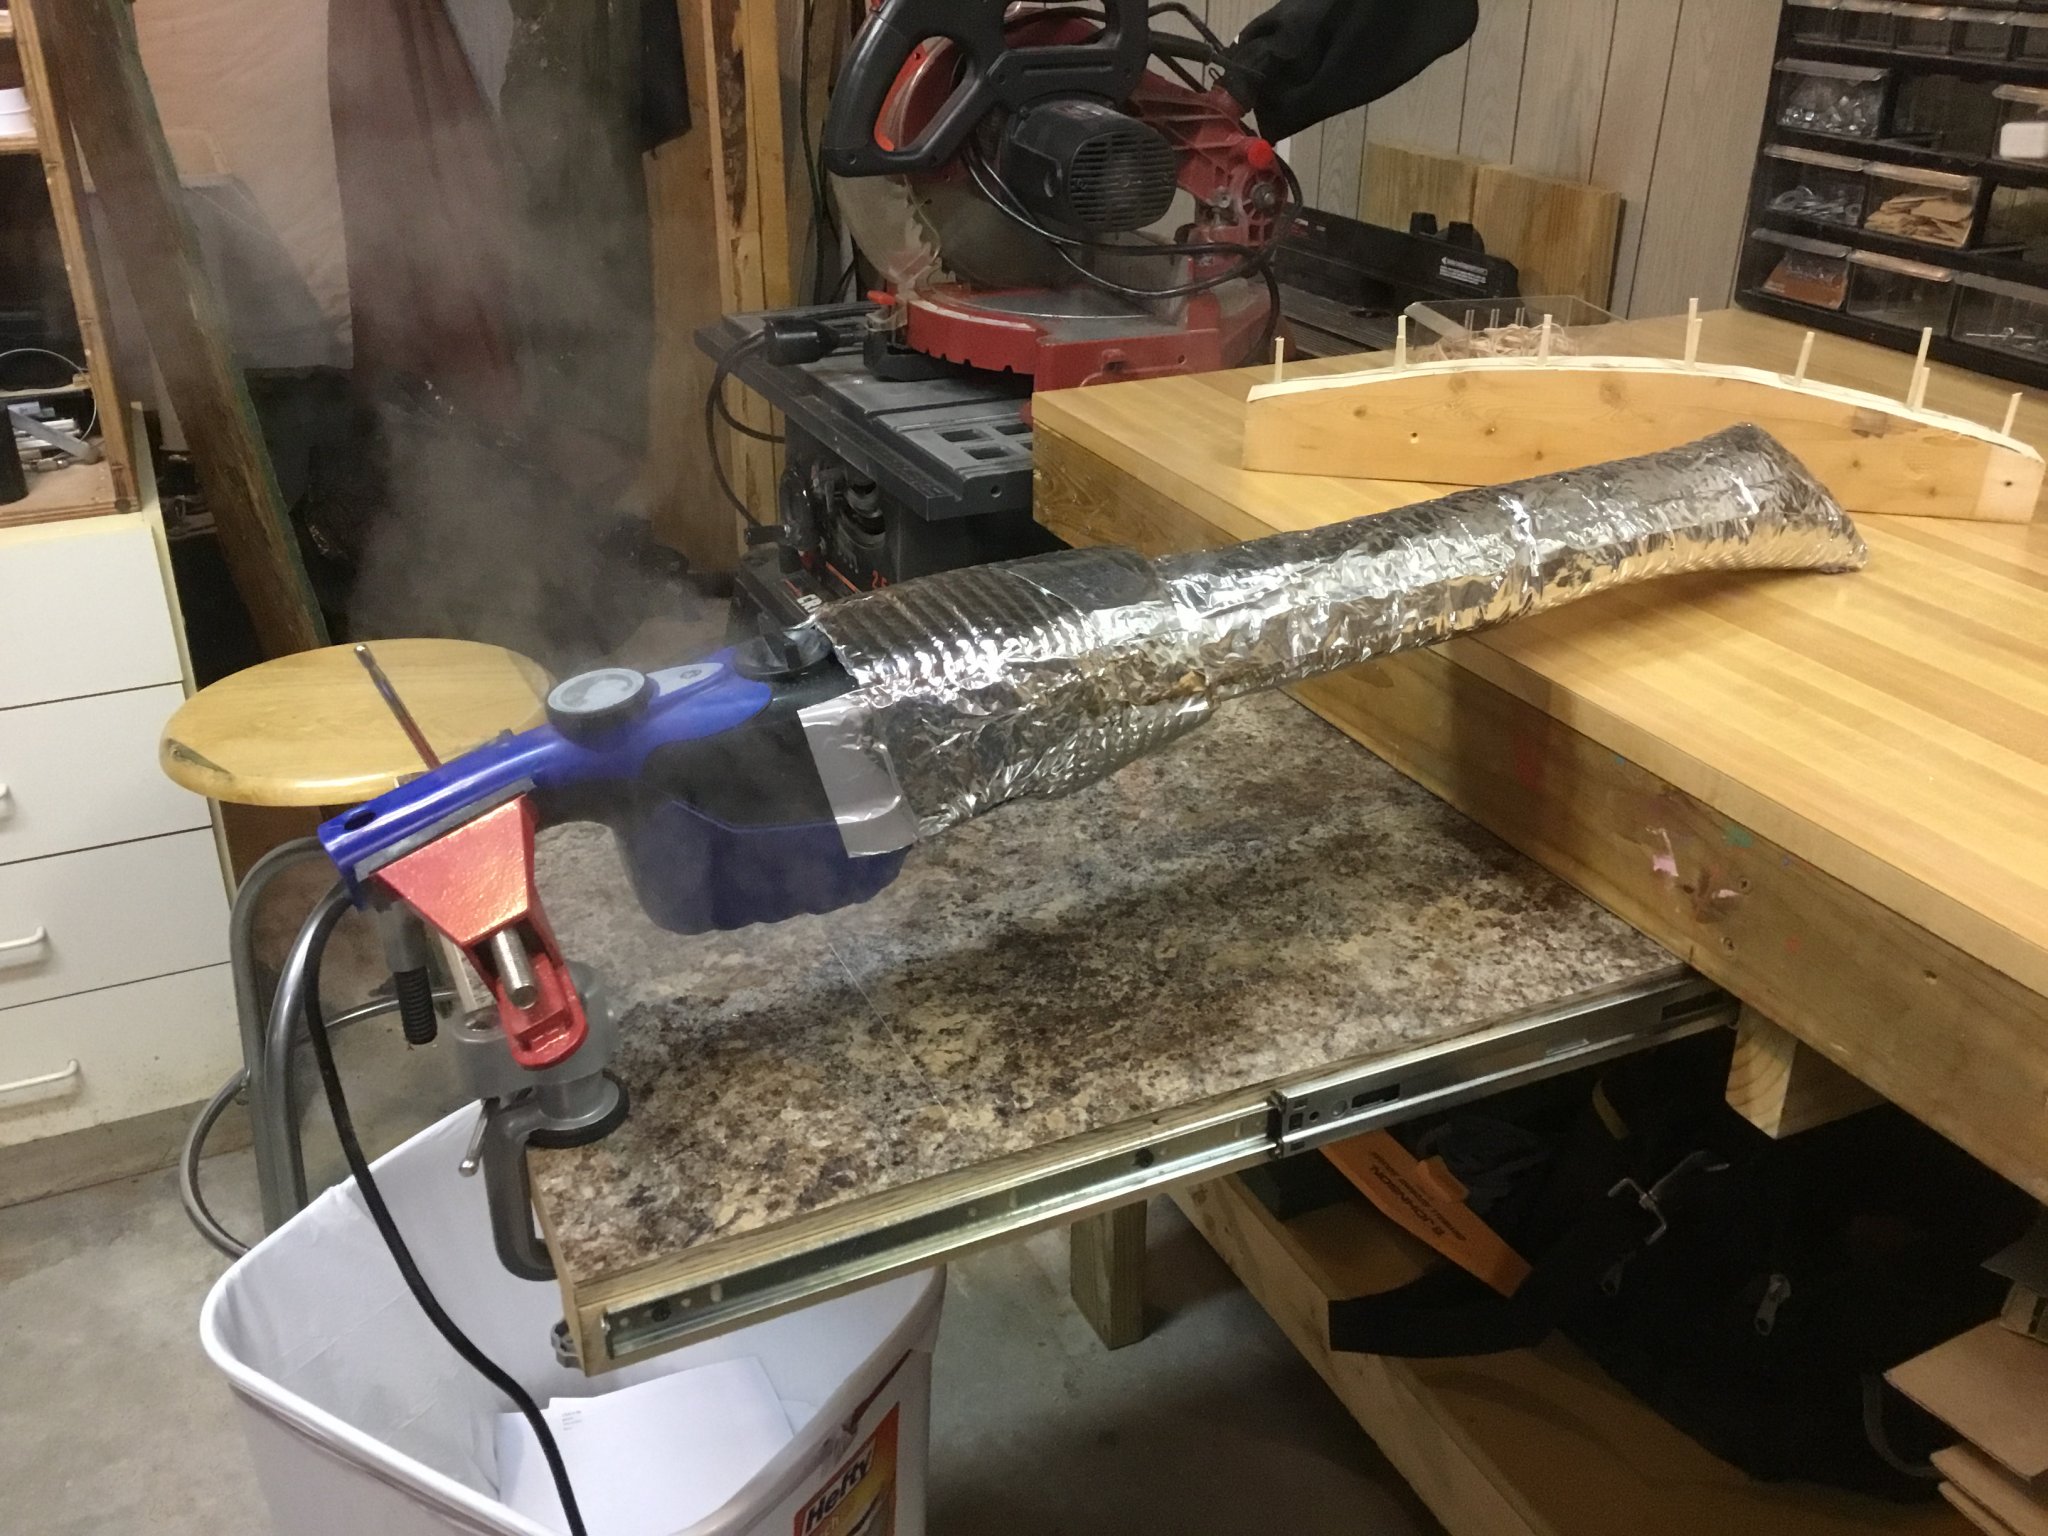
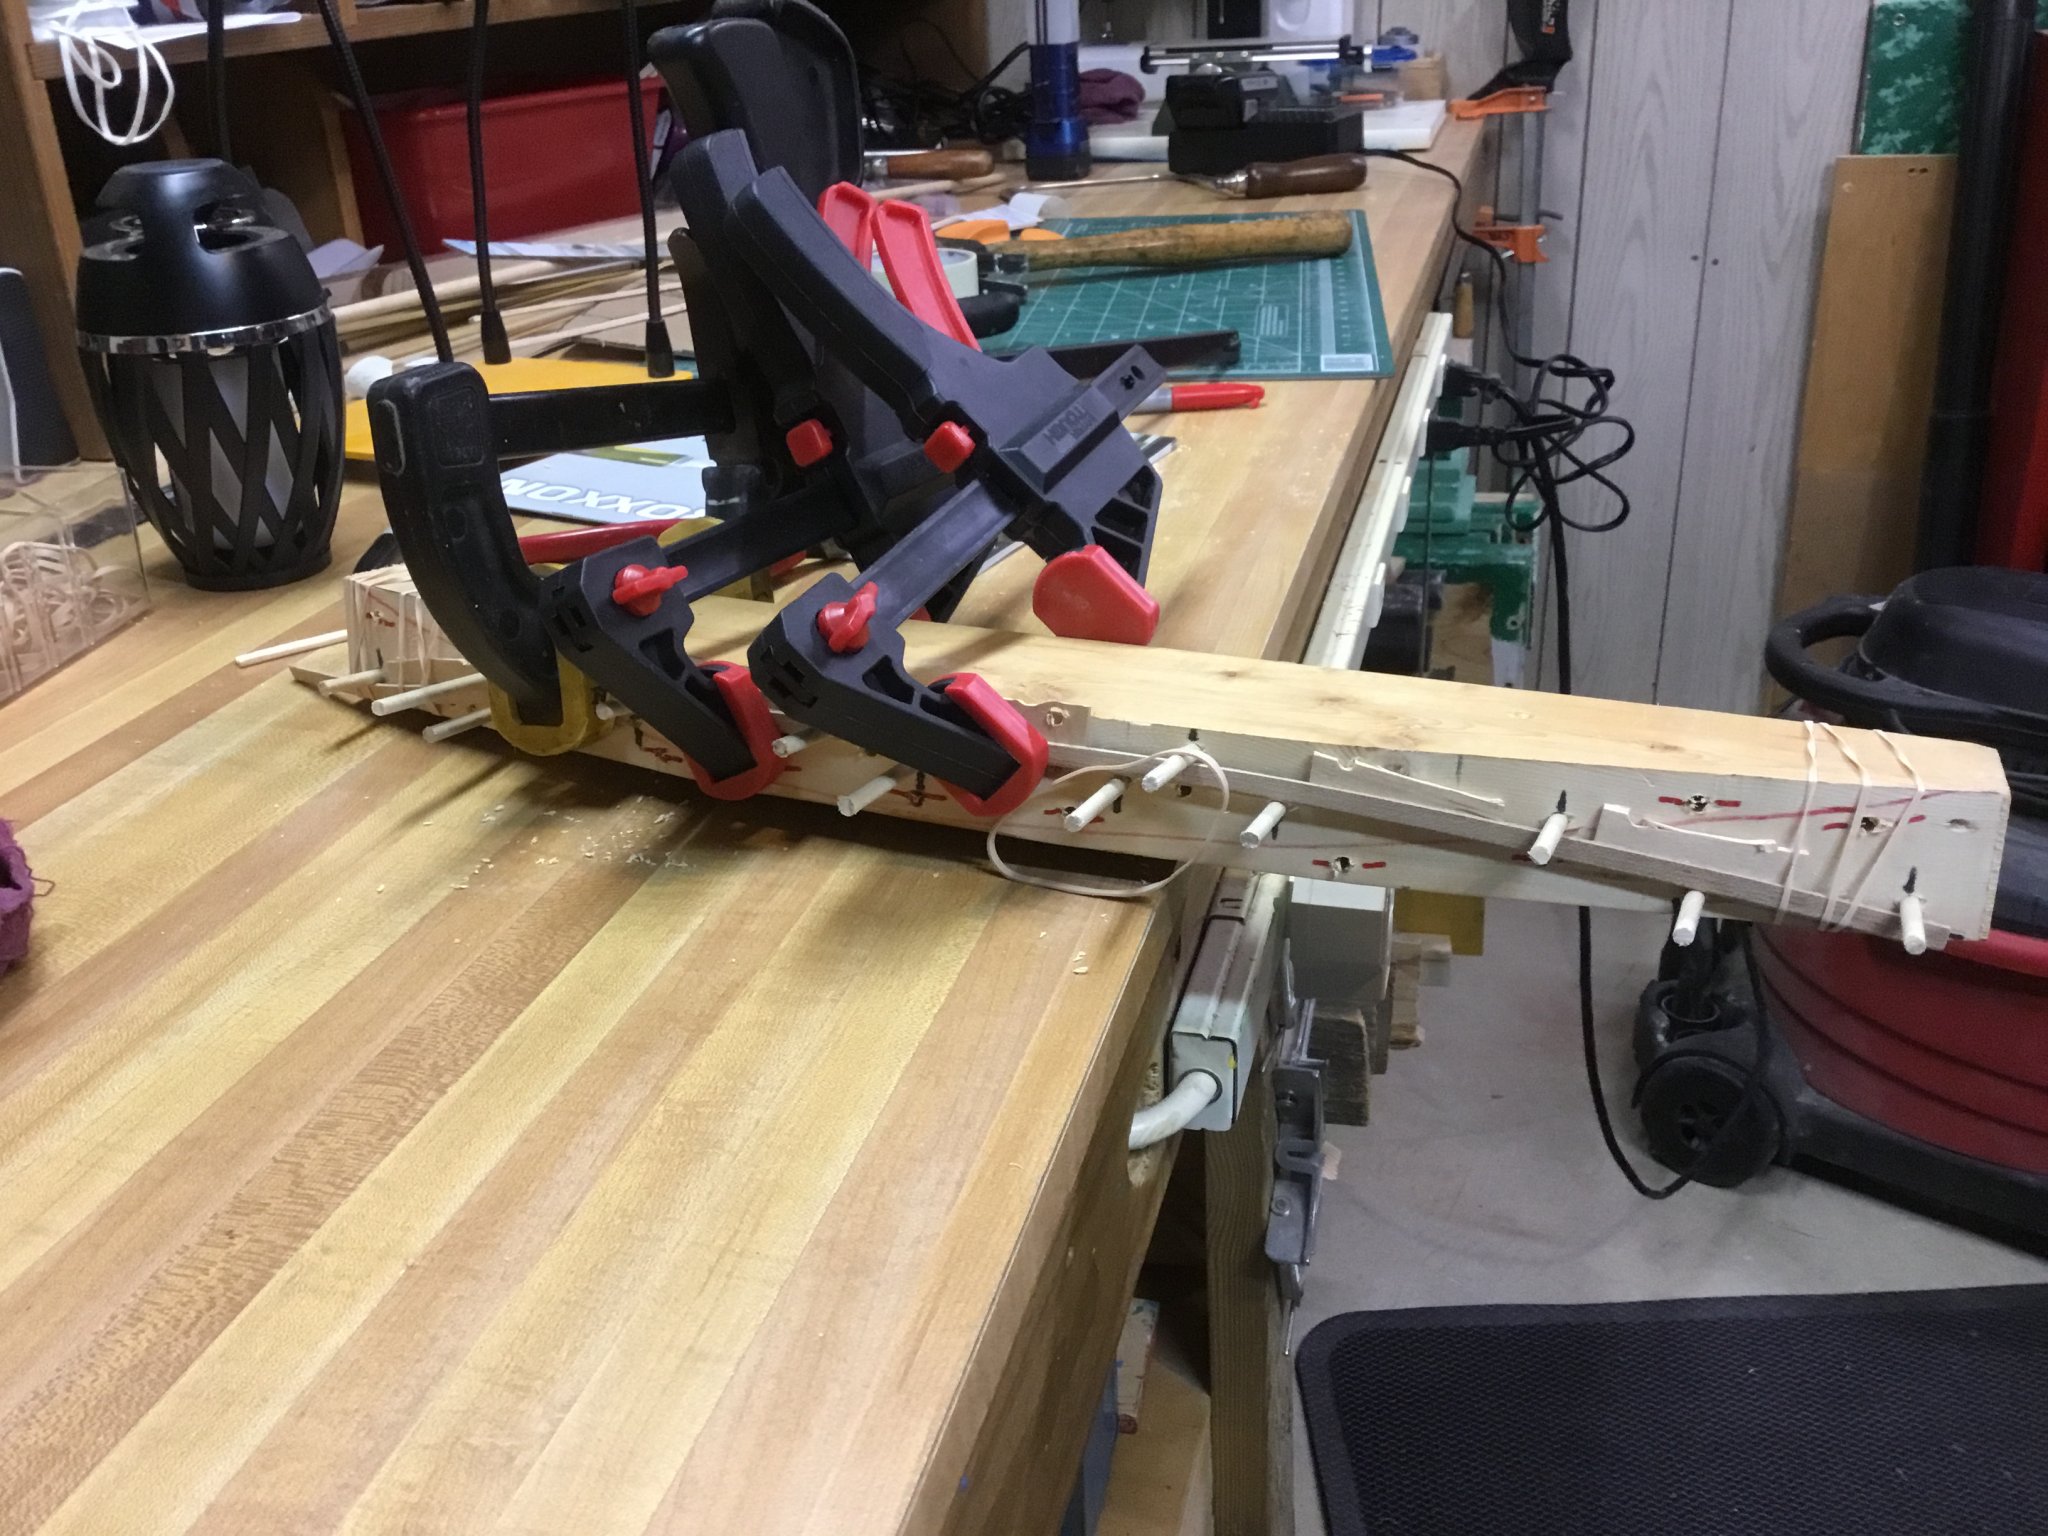
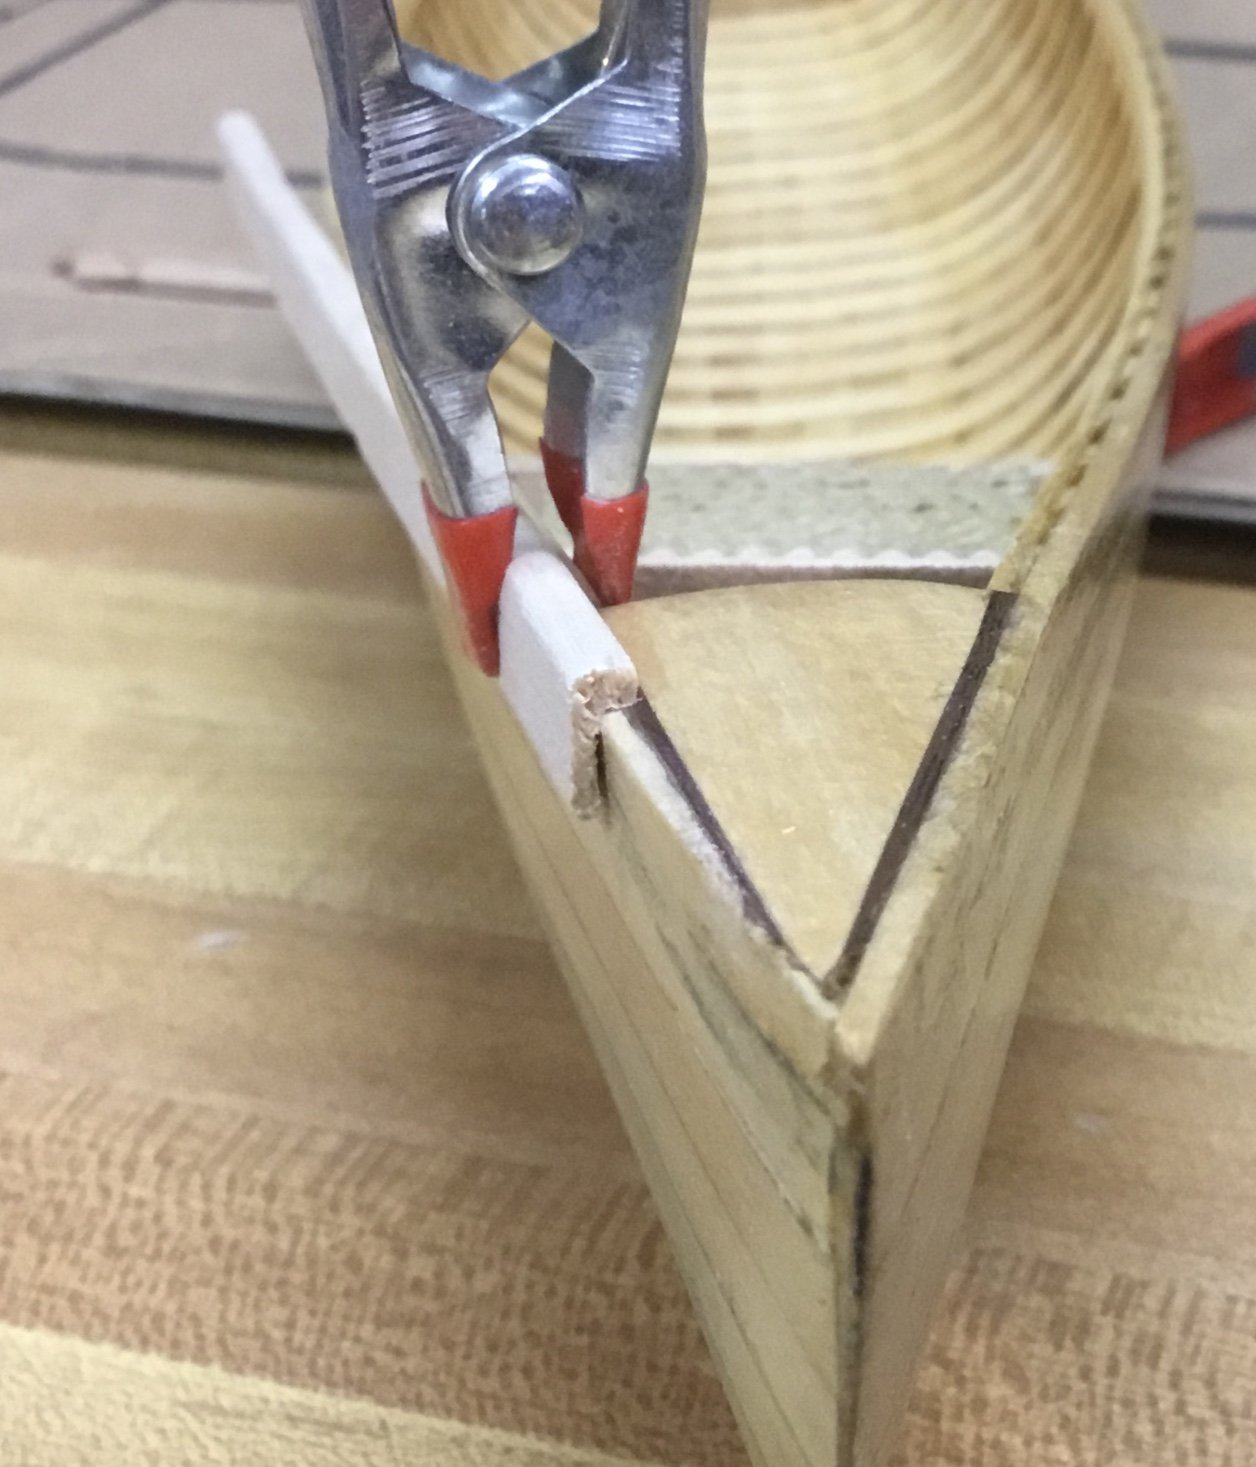
I worked on the gunwales a bit today. I used the router to cut a channel in the strip of maple. Leaving a small lip on either end. Enough to sand away to get the shape I want. I used a strip of maple about 45 inches long so I would have a backup in the event I screwed up the working pieces. I sanded down to 400 grit and gut it generally the shape I wanted. Then cut the individual gunwales from the that strip. Starboard side has been steamed and is in the jig now. Tomorrow, I’ll finish sanding the hull. I put a second and third coat of sealer on it. With wet sanding in between.


- GrandpaPhil, ccoyle, mtaylor and 1 other
-
 4
4
-
-
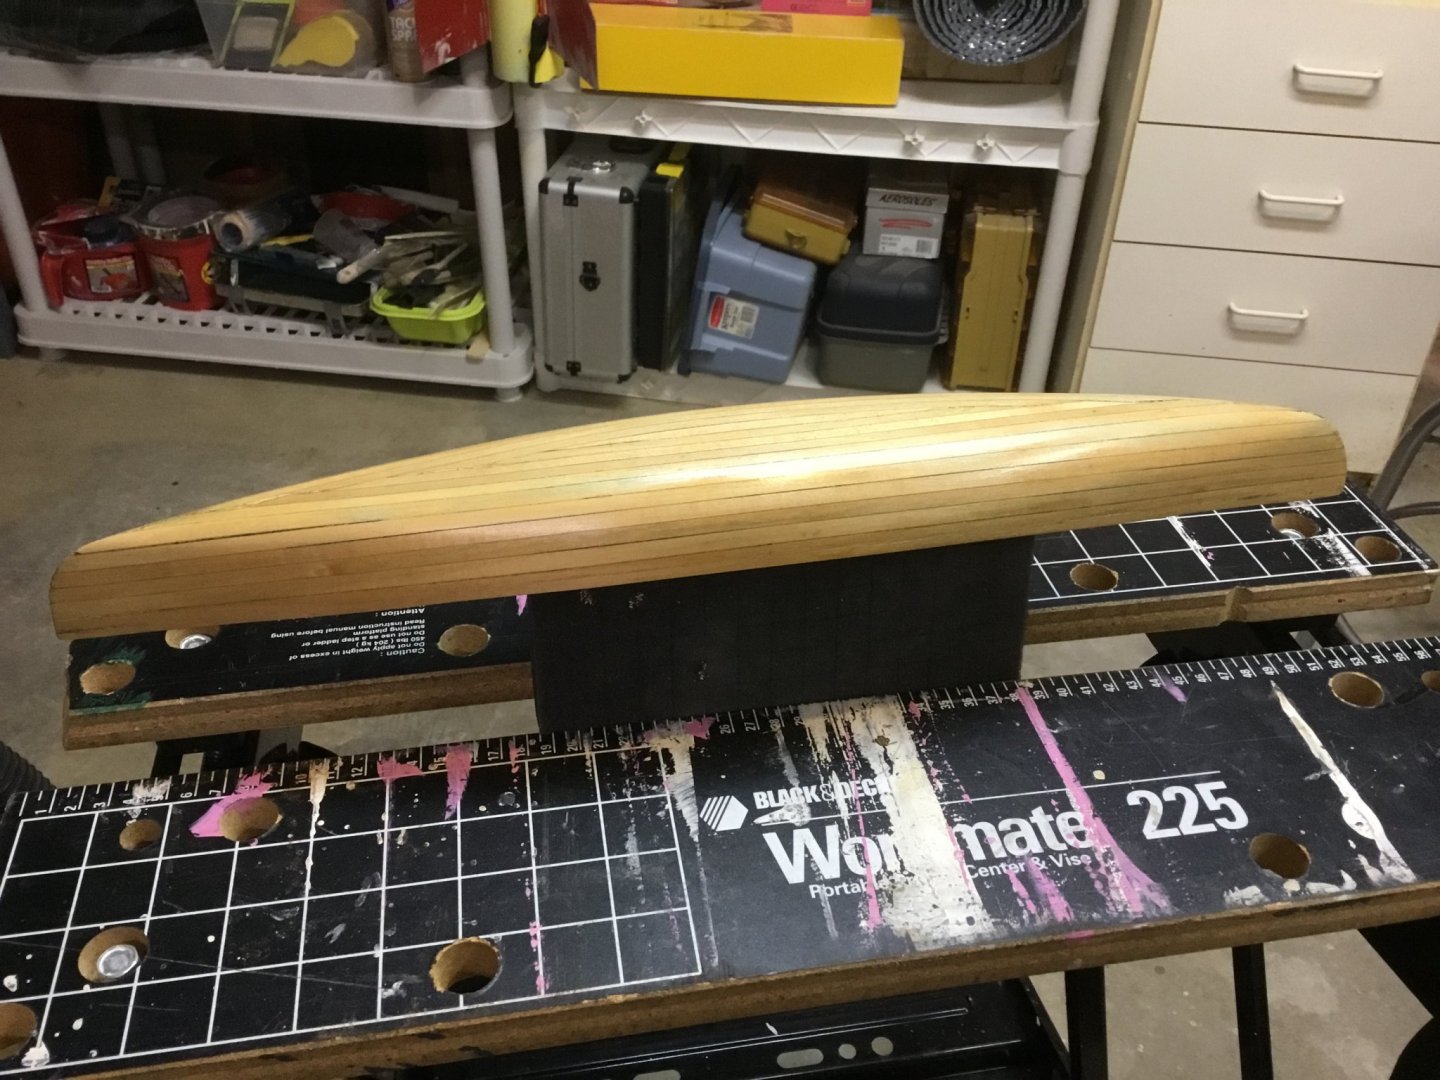
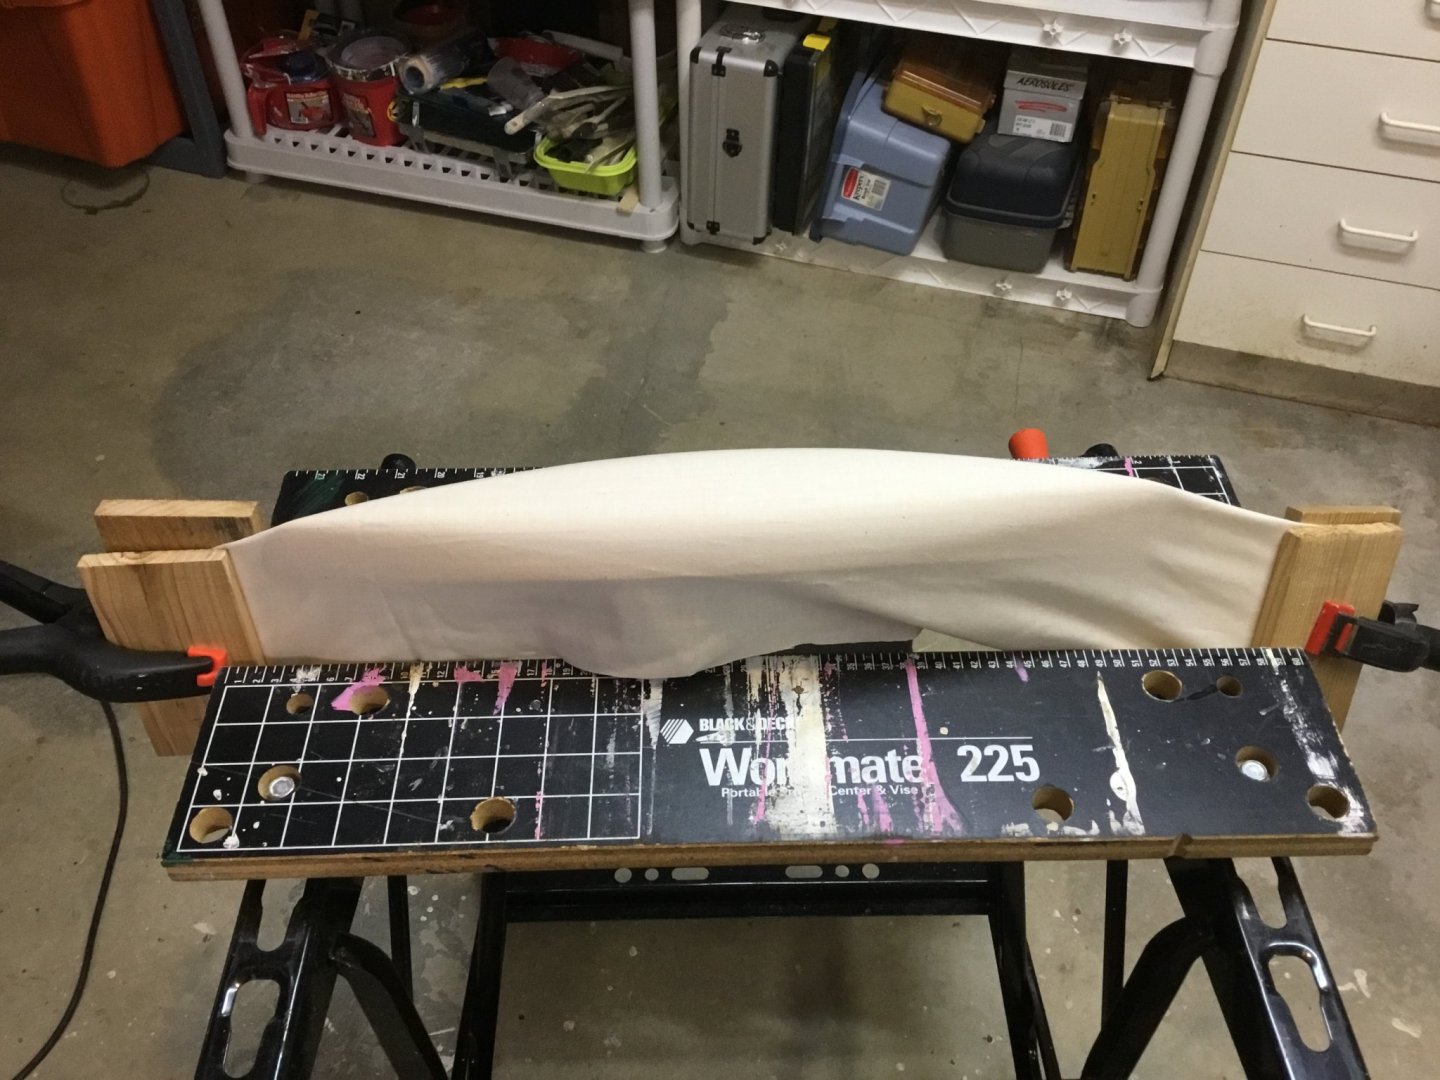
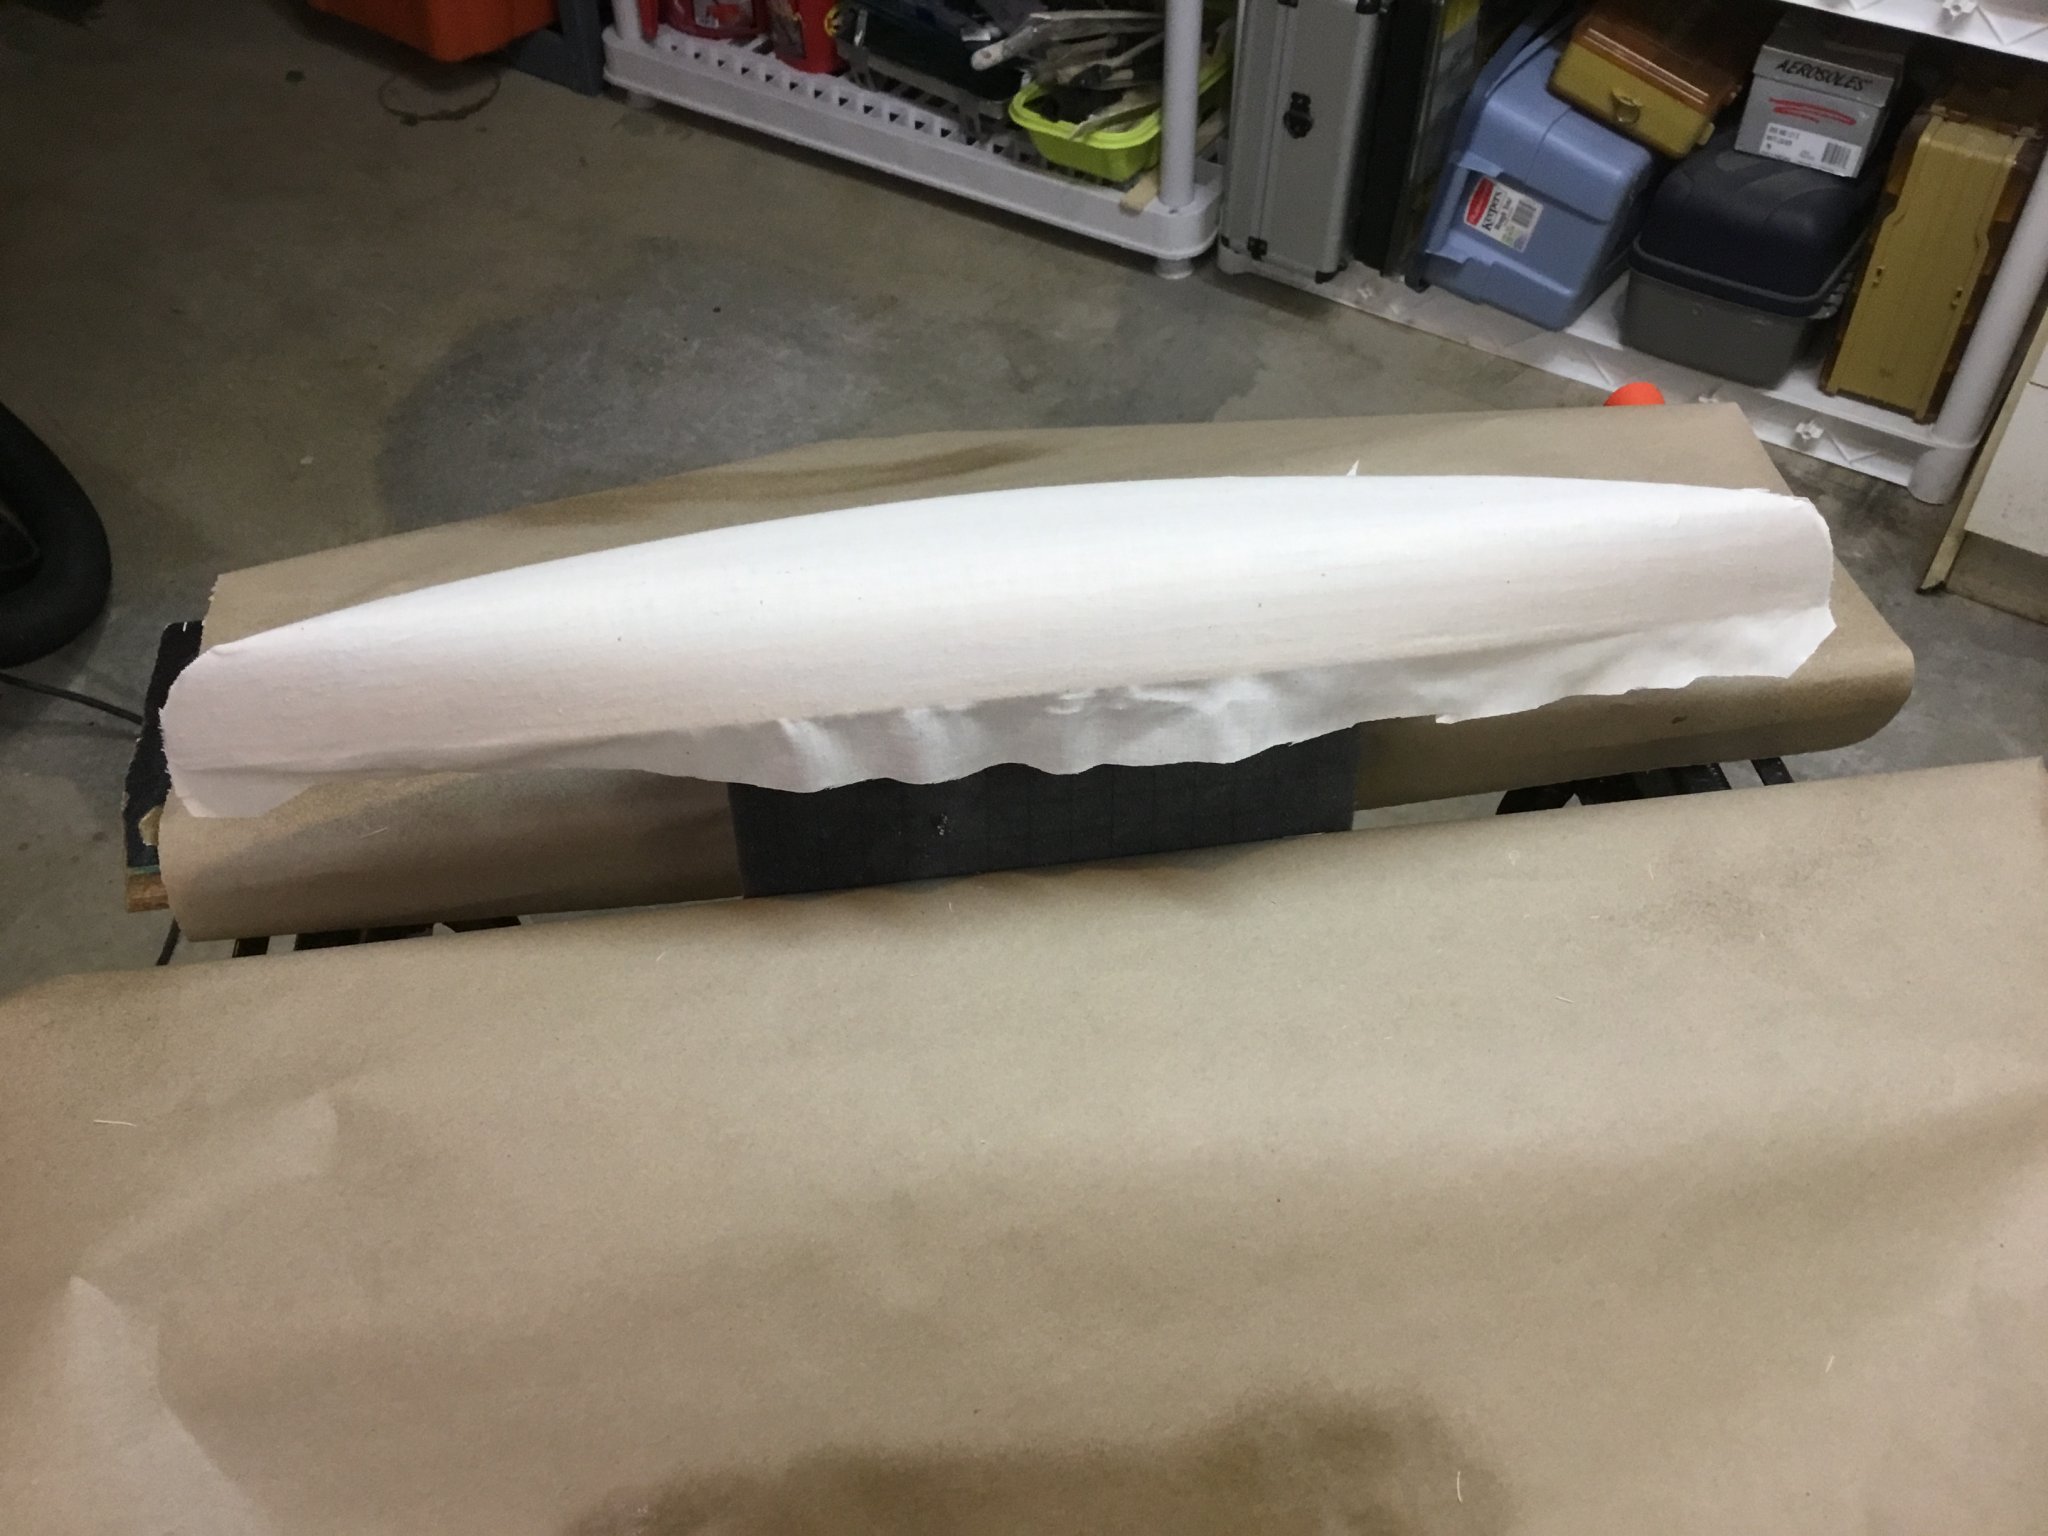
I decided why bother restoring a wood canvas canoe unless I actually canvas it. I figure if thing go awry, I can scrape, sand and redo. I propped the canoe on my work stand using a foam block for support. I experimented on scrap wood with CA glue to hold the cloth to the wood. It did not work. I decided to just use spray on adhesive. That worked great! I coated the canoe and laid the cloth over it, pulling it gently and smoothing out the cloth.
I gave it a once-over with the torch to burn off the fuzz and wiped it down with a damp cloth.
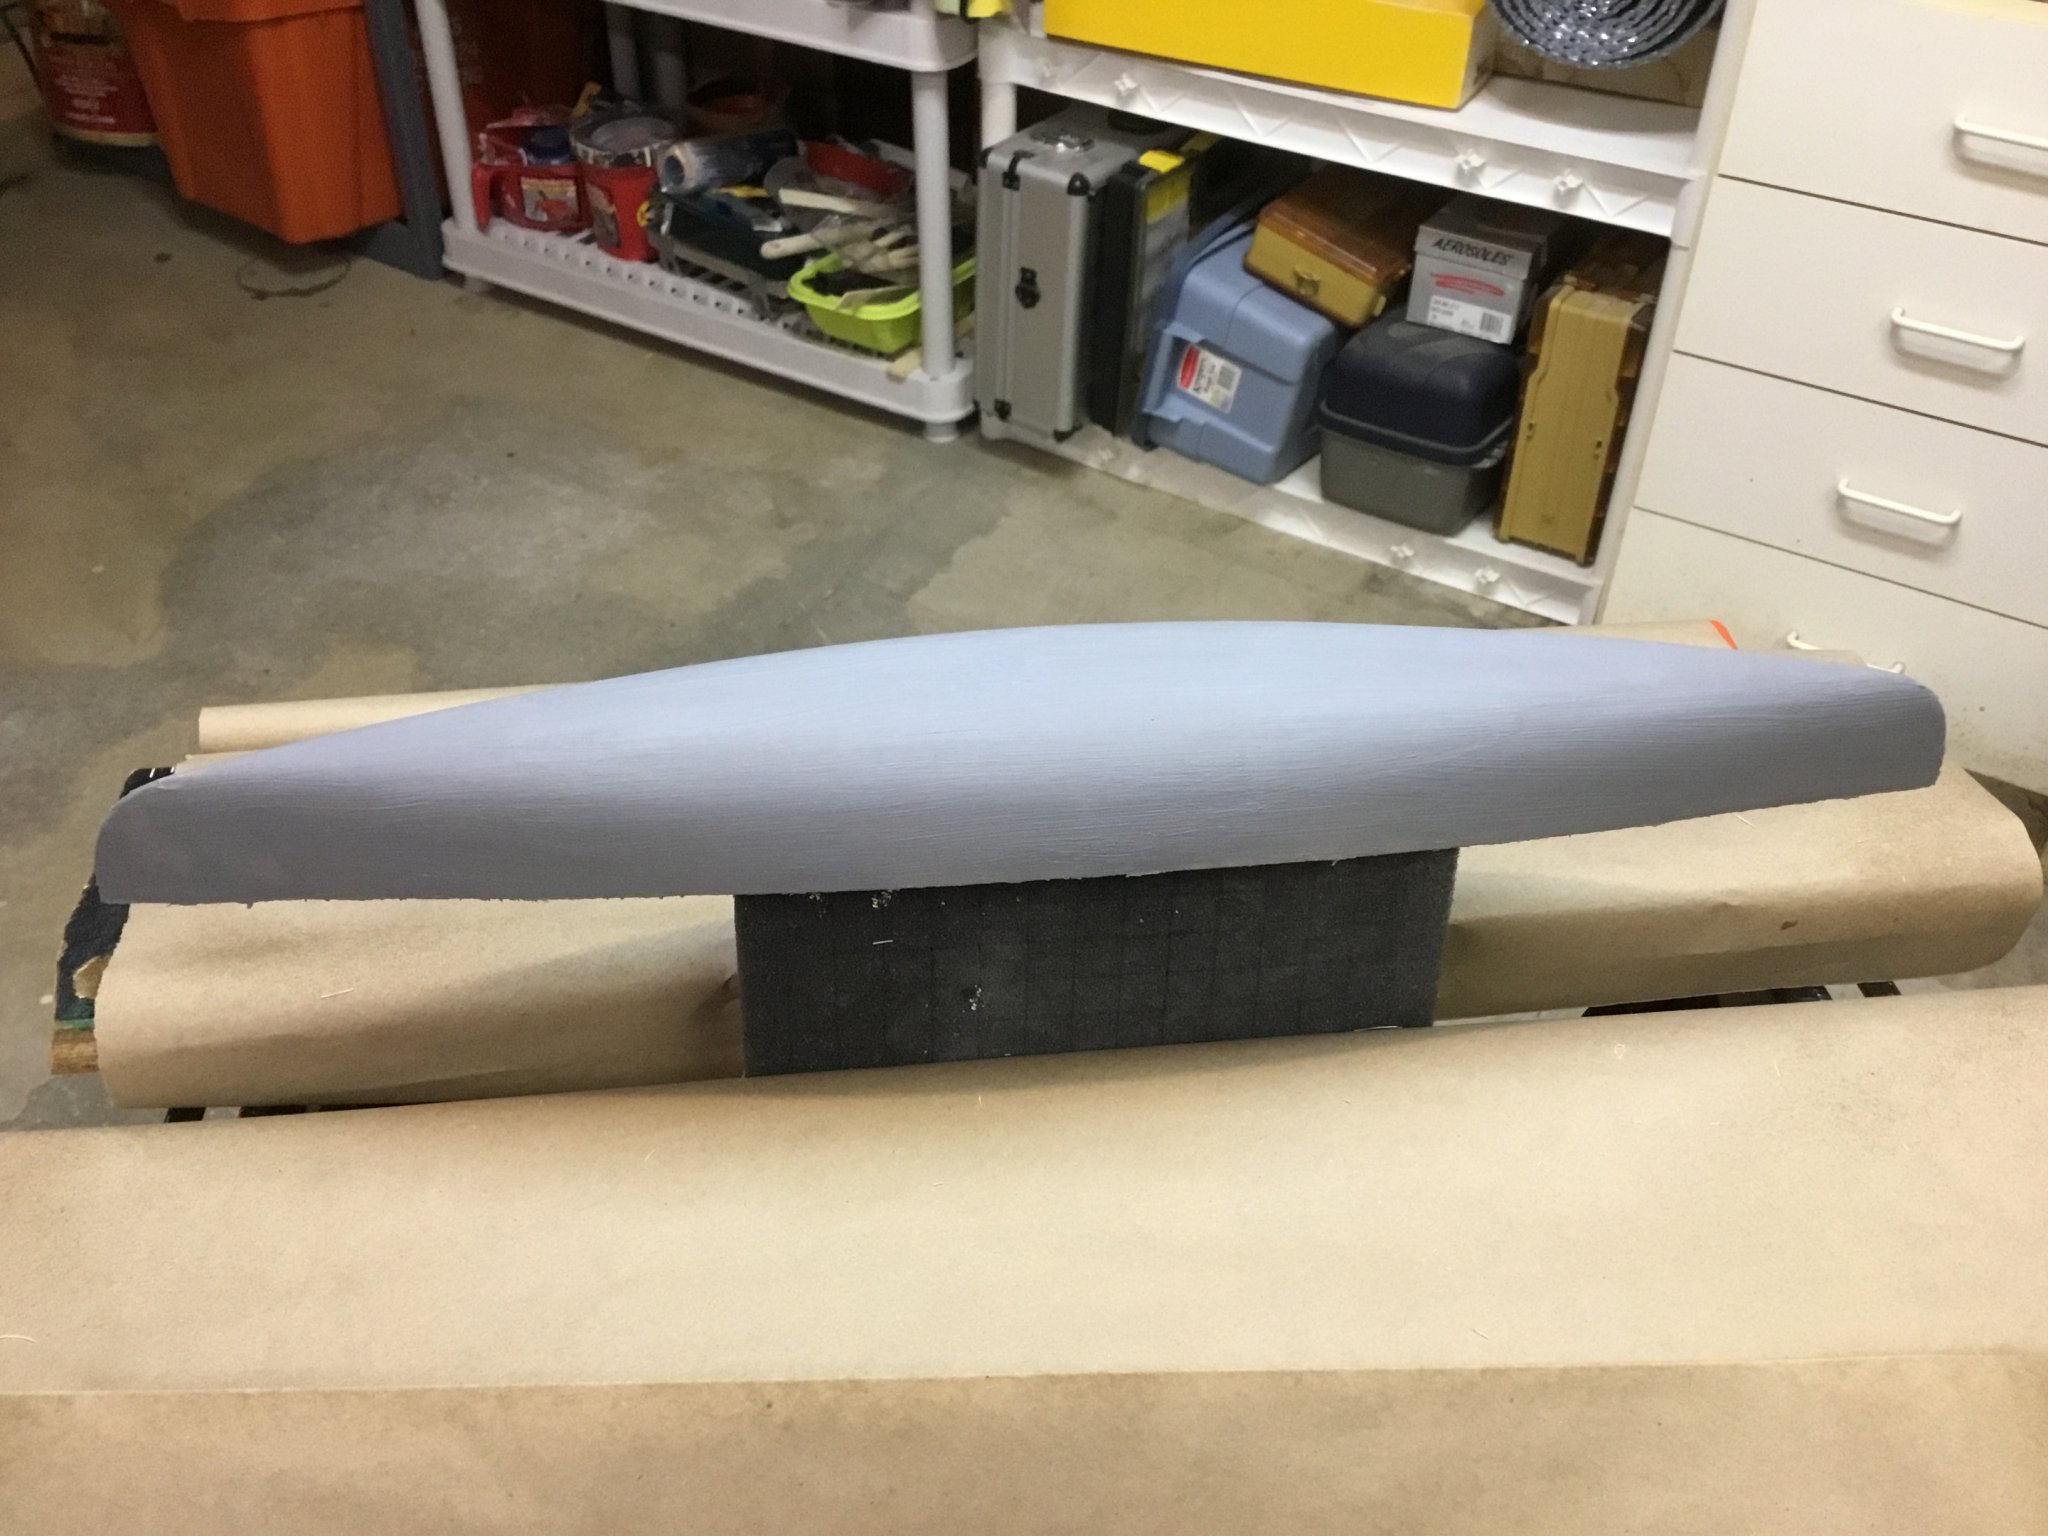
I brushed on the mastic sealer. That went on easily with a foam brush. Let dry, wet sanded gently and brushed on another coat.
While the sealer was drying, I cut and sanded my keel piece of maple. It is more of a low, flat bumper to protect the bottom of the canoe when running over rocks, etc...
I’m thinking about prime and paint. I have Zinsser shellac base primer and acrylic paint. Is that going to work? I just spray painted everything when I was building rockets so I want to Make sure to get this right.


- hexnut, mtaylor, GrandpaPhil and 2 others
-
5
-
@Roger Pellett, They are works of art. How long did it take to restore?
-
14 hours ago, Sceatha said:
That looks great Voyageur, already awesome improvement. Have you managed to identify the original planking wood? Looks a bit like beech i think?
Thanks! I have no idea what type of wood this is. I assumed Basswood but I am no expert. Is beech a common wood used on model making?
-
5 hours ago, Roger Pellett said:
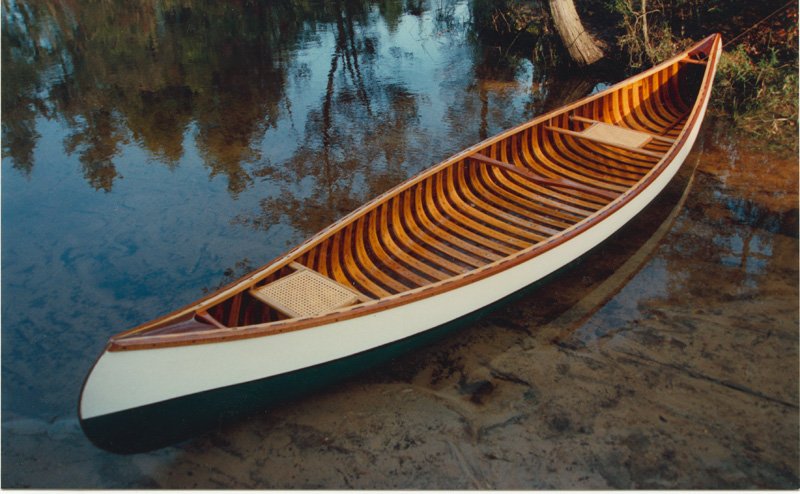
I can’t imagine “canvassing” a small canoe like this. I would suggest that a good paint job would work better. As you can see from Jim’s post above of his lovely canoe you really can’t see the canvas on the finished thing.
Jim,
What model of old Town is this?
Roger
I thought that might be the case. I was considering doing it for "accuracy" more than appearance but I believe you are right. a nice paint job will do. Thanks!
-
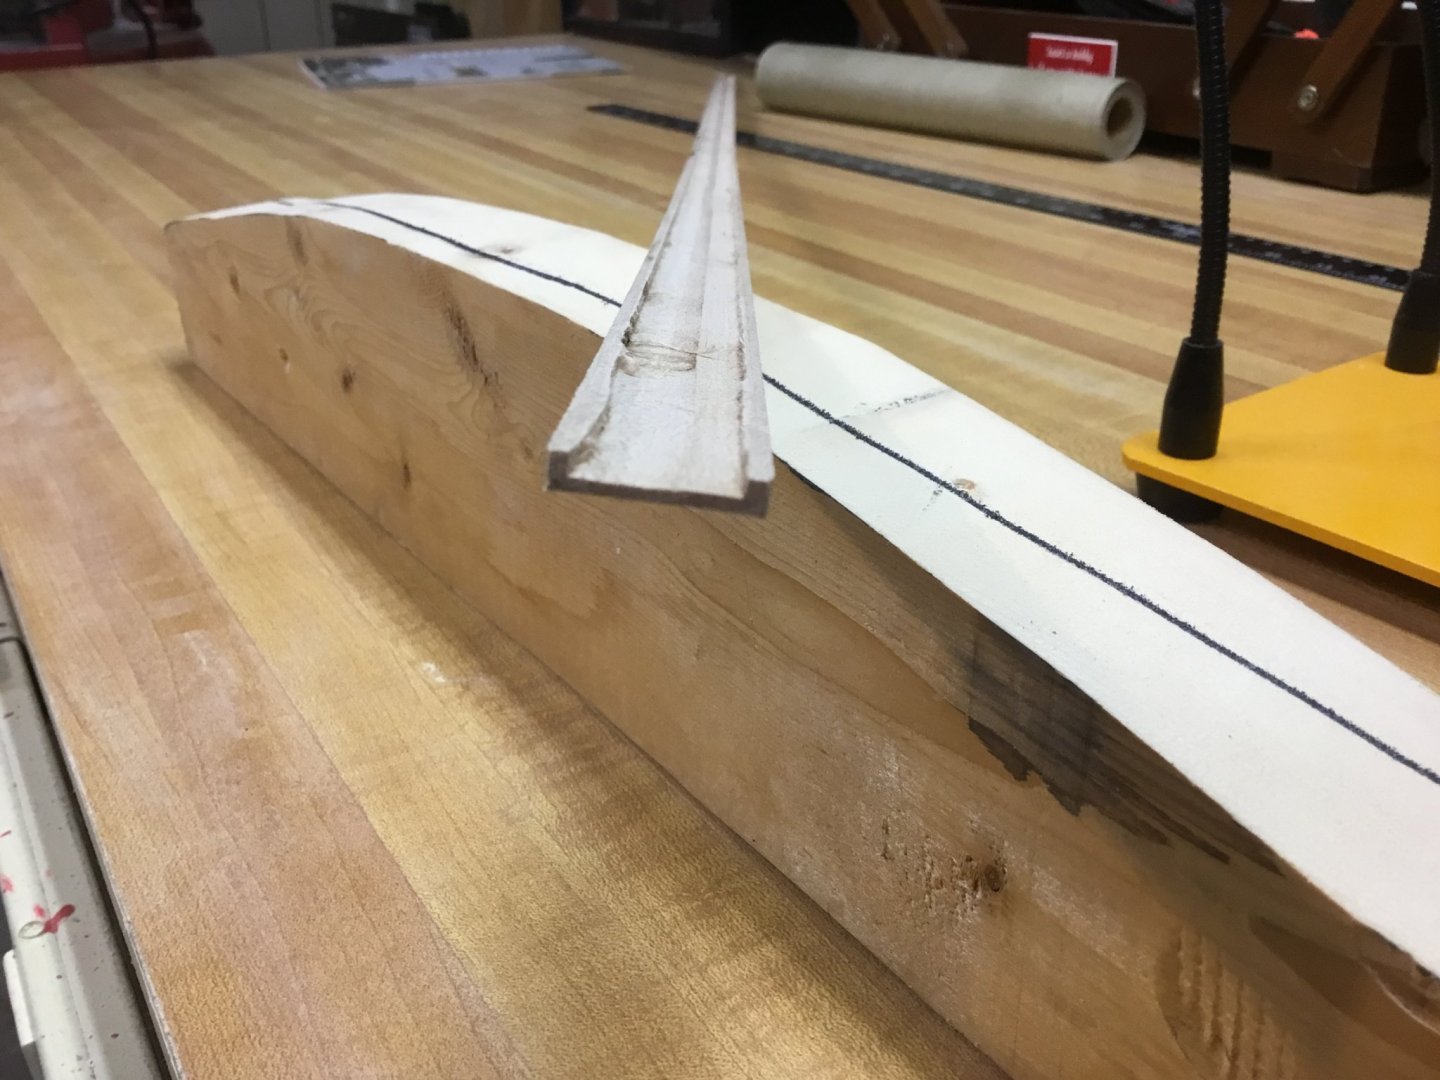
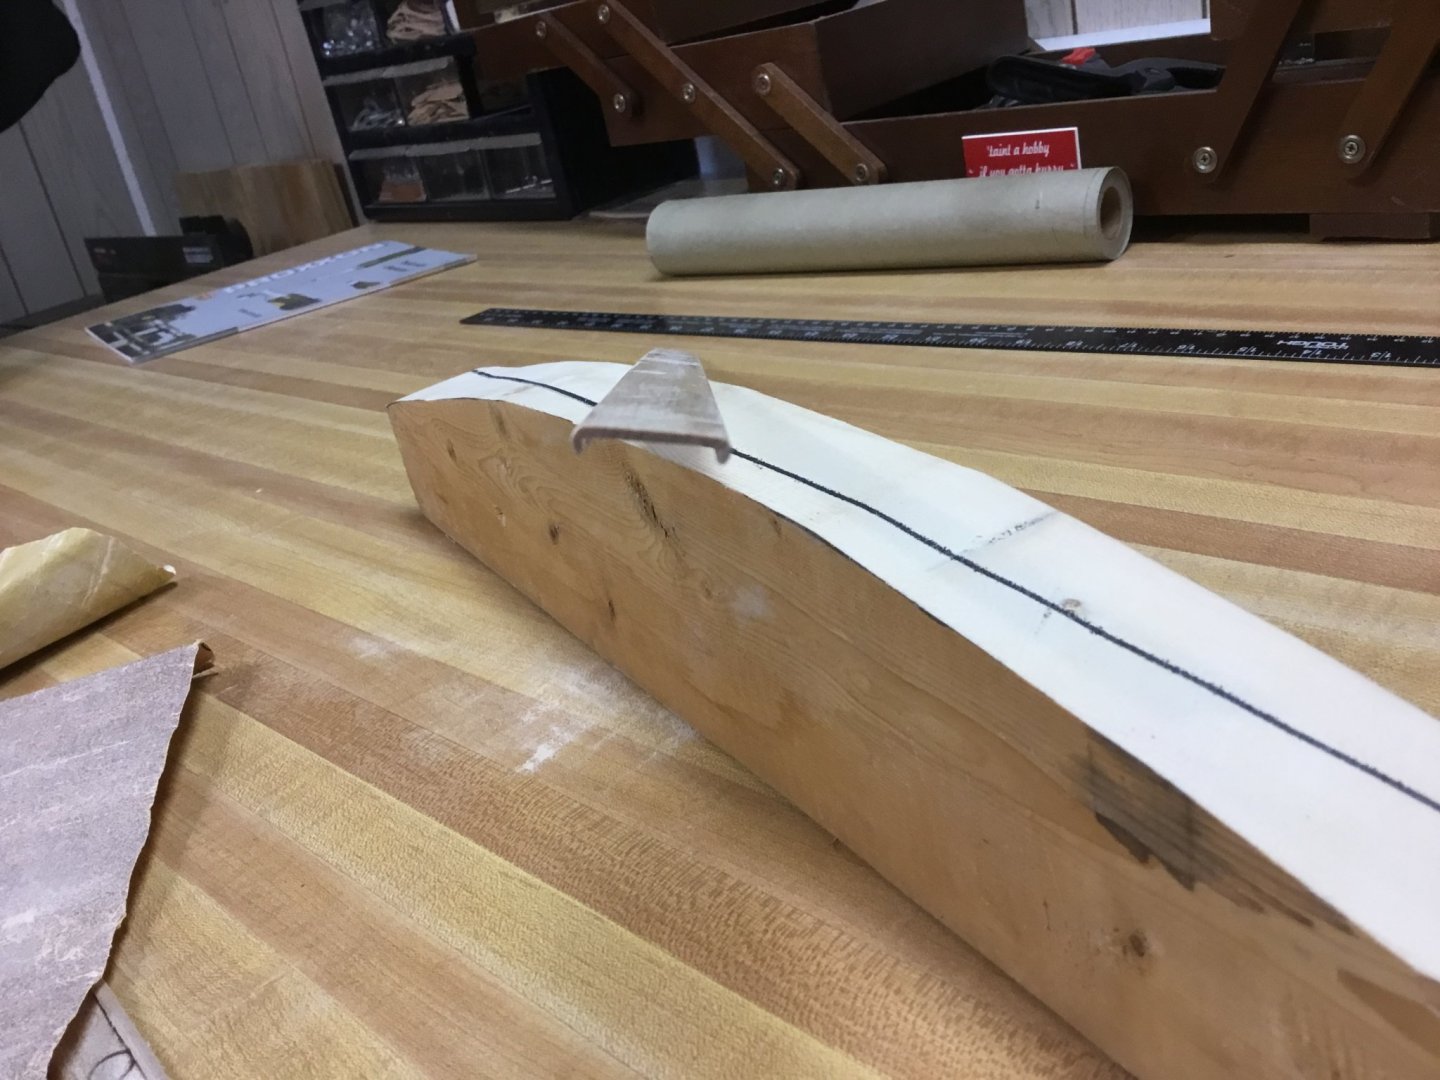
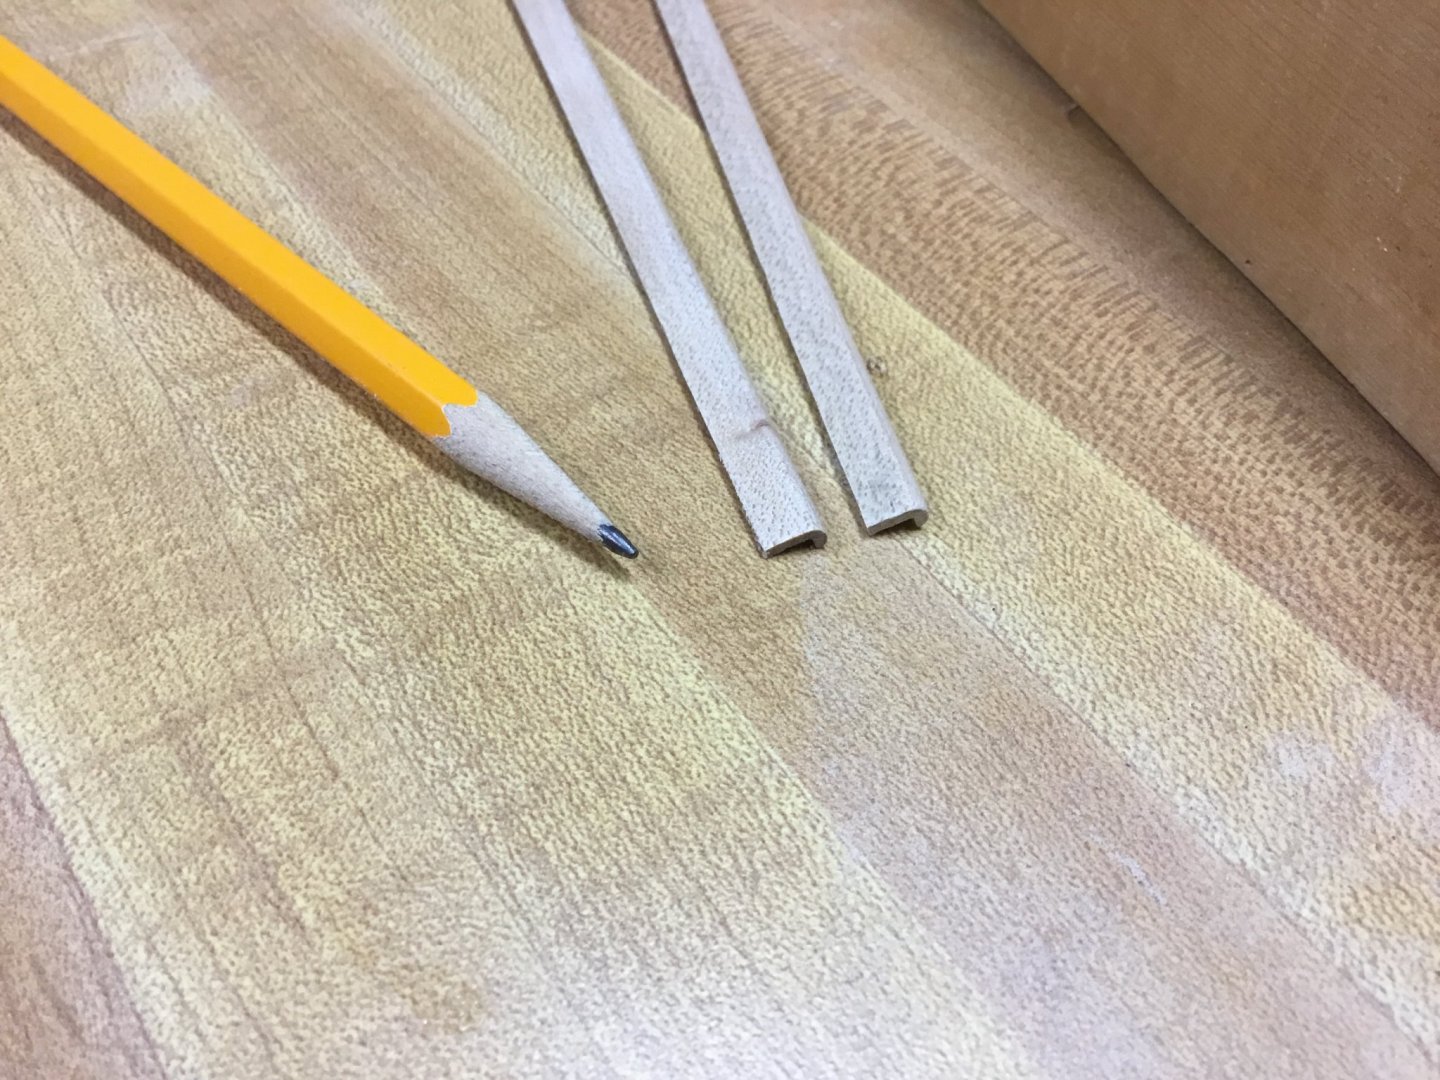
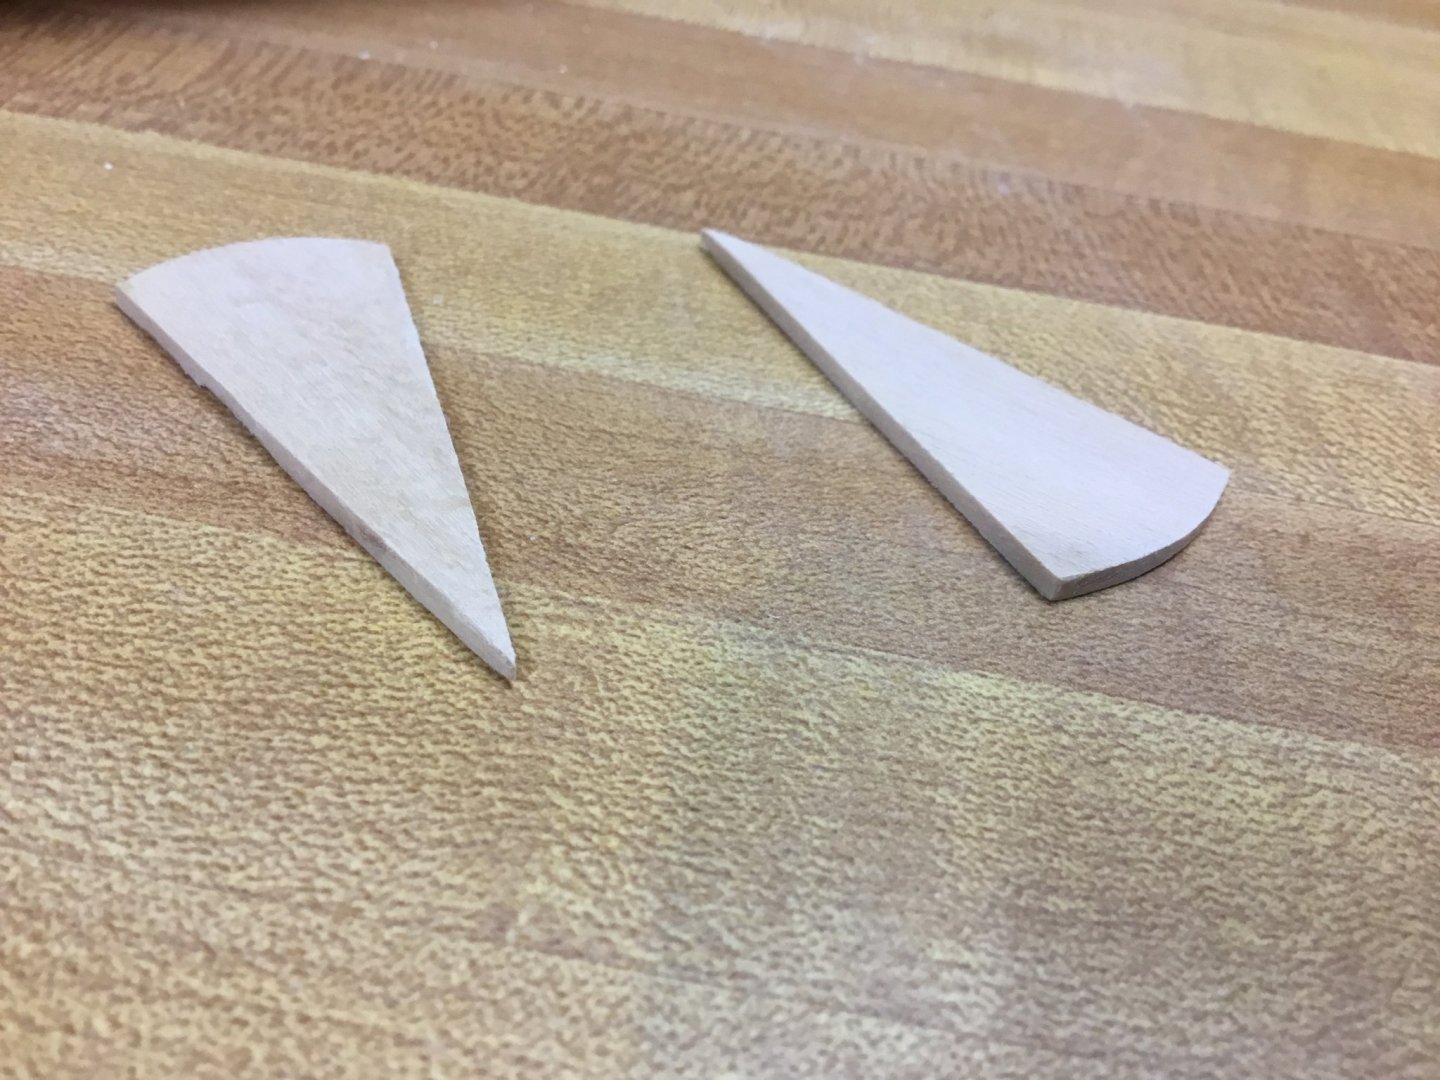
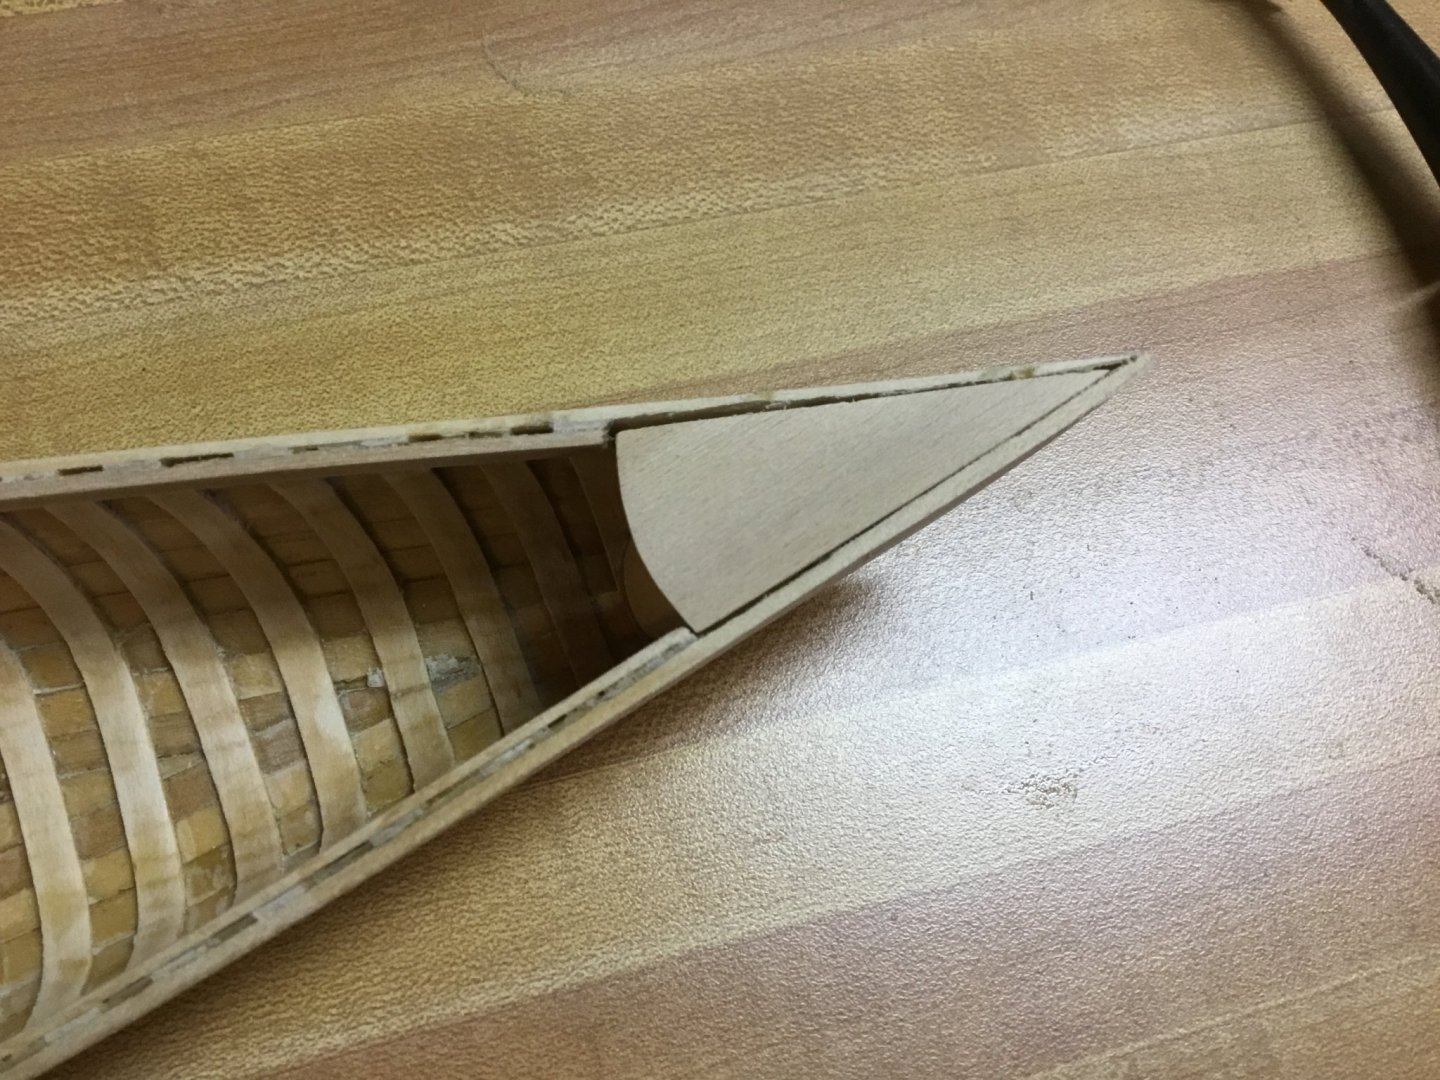
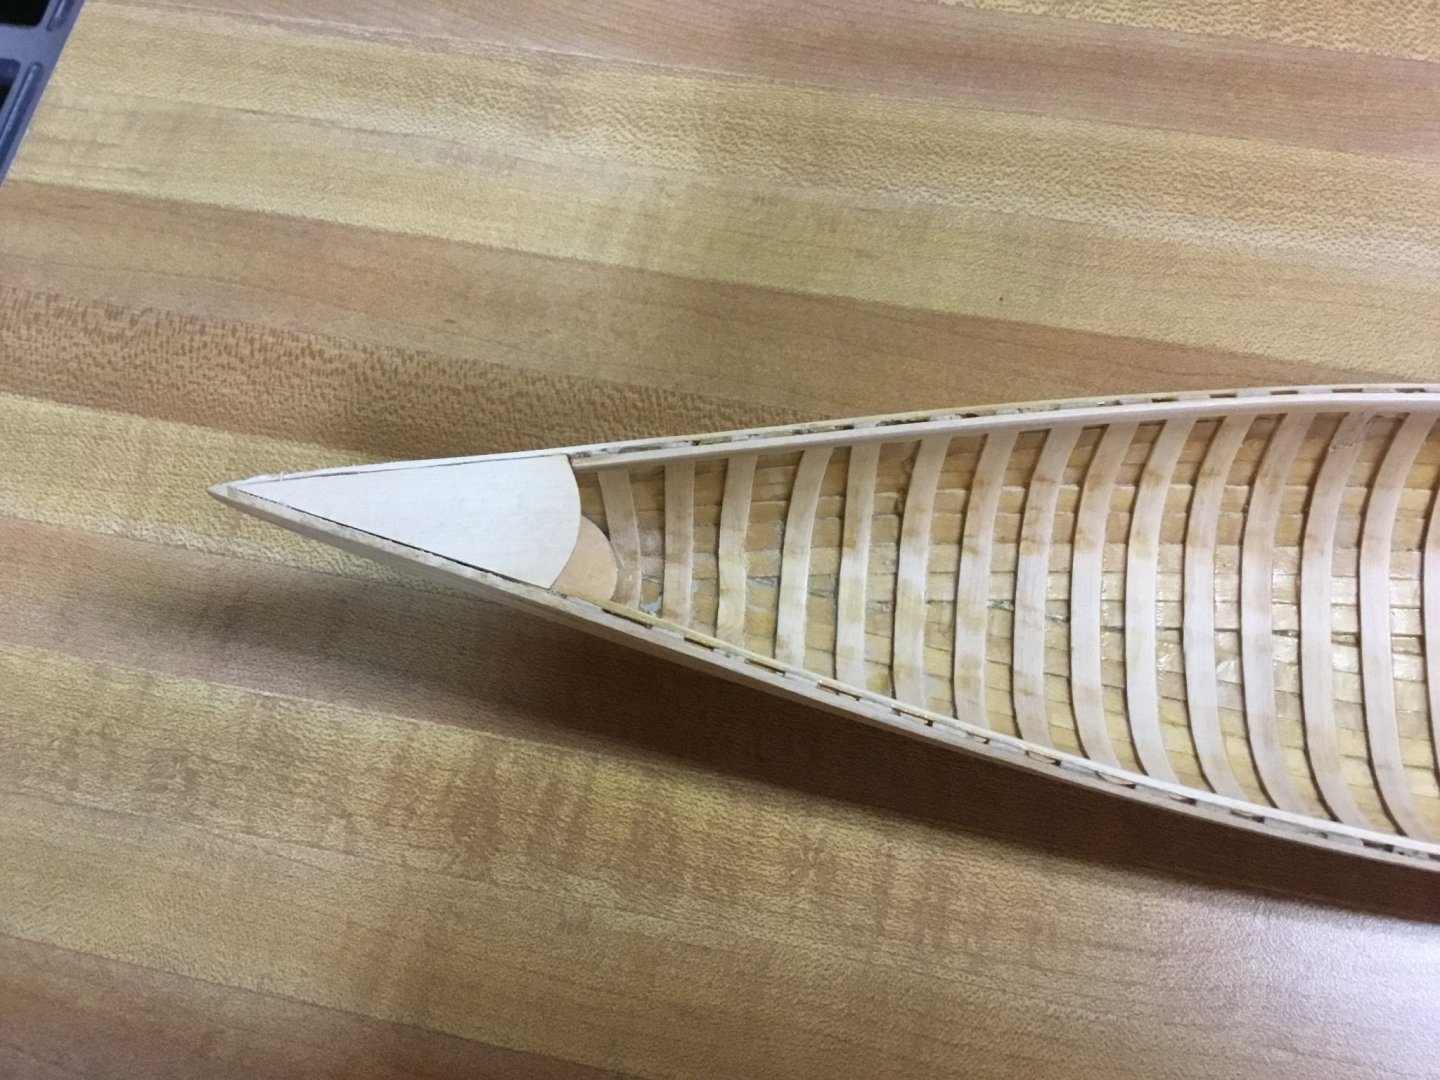
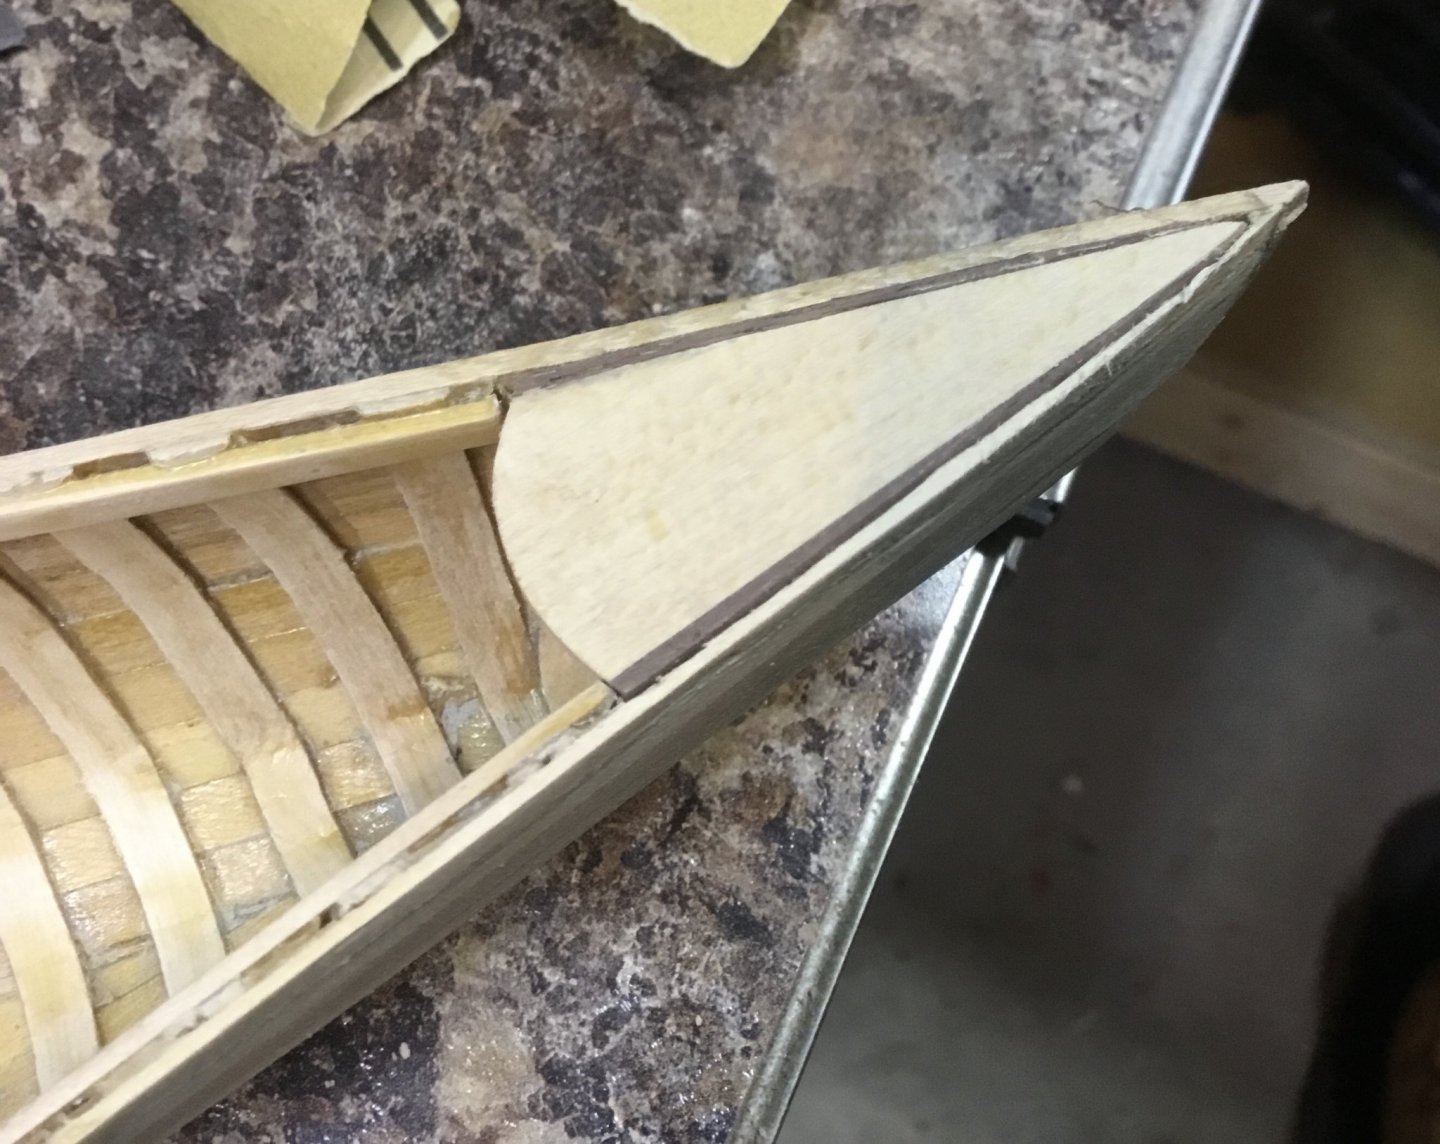
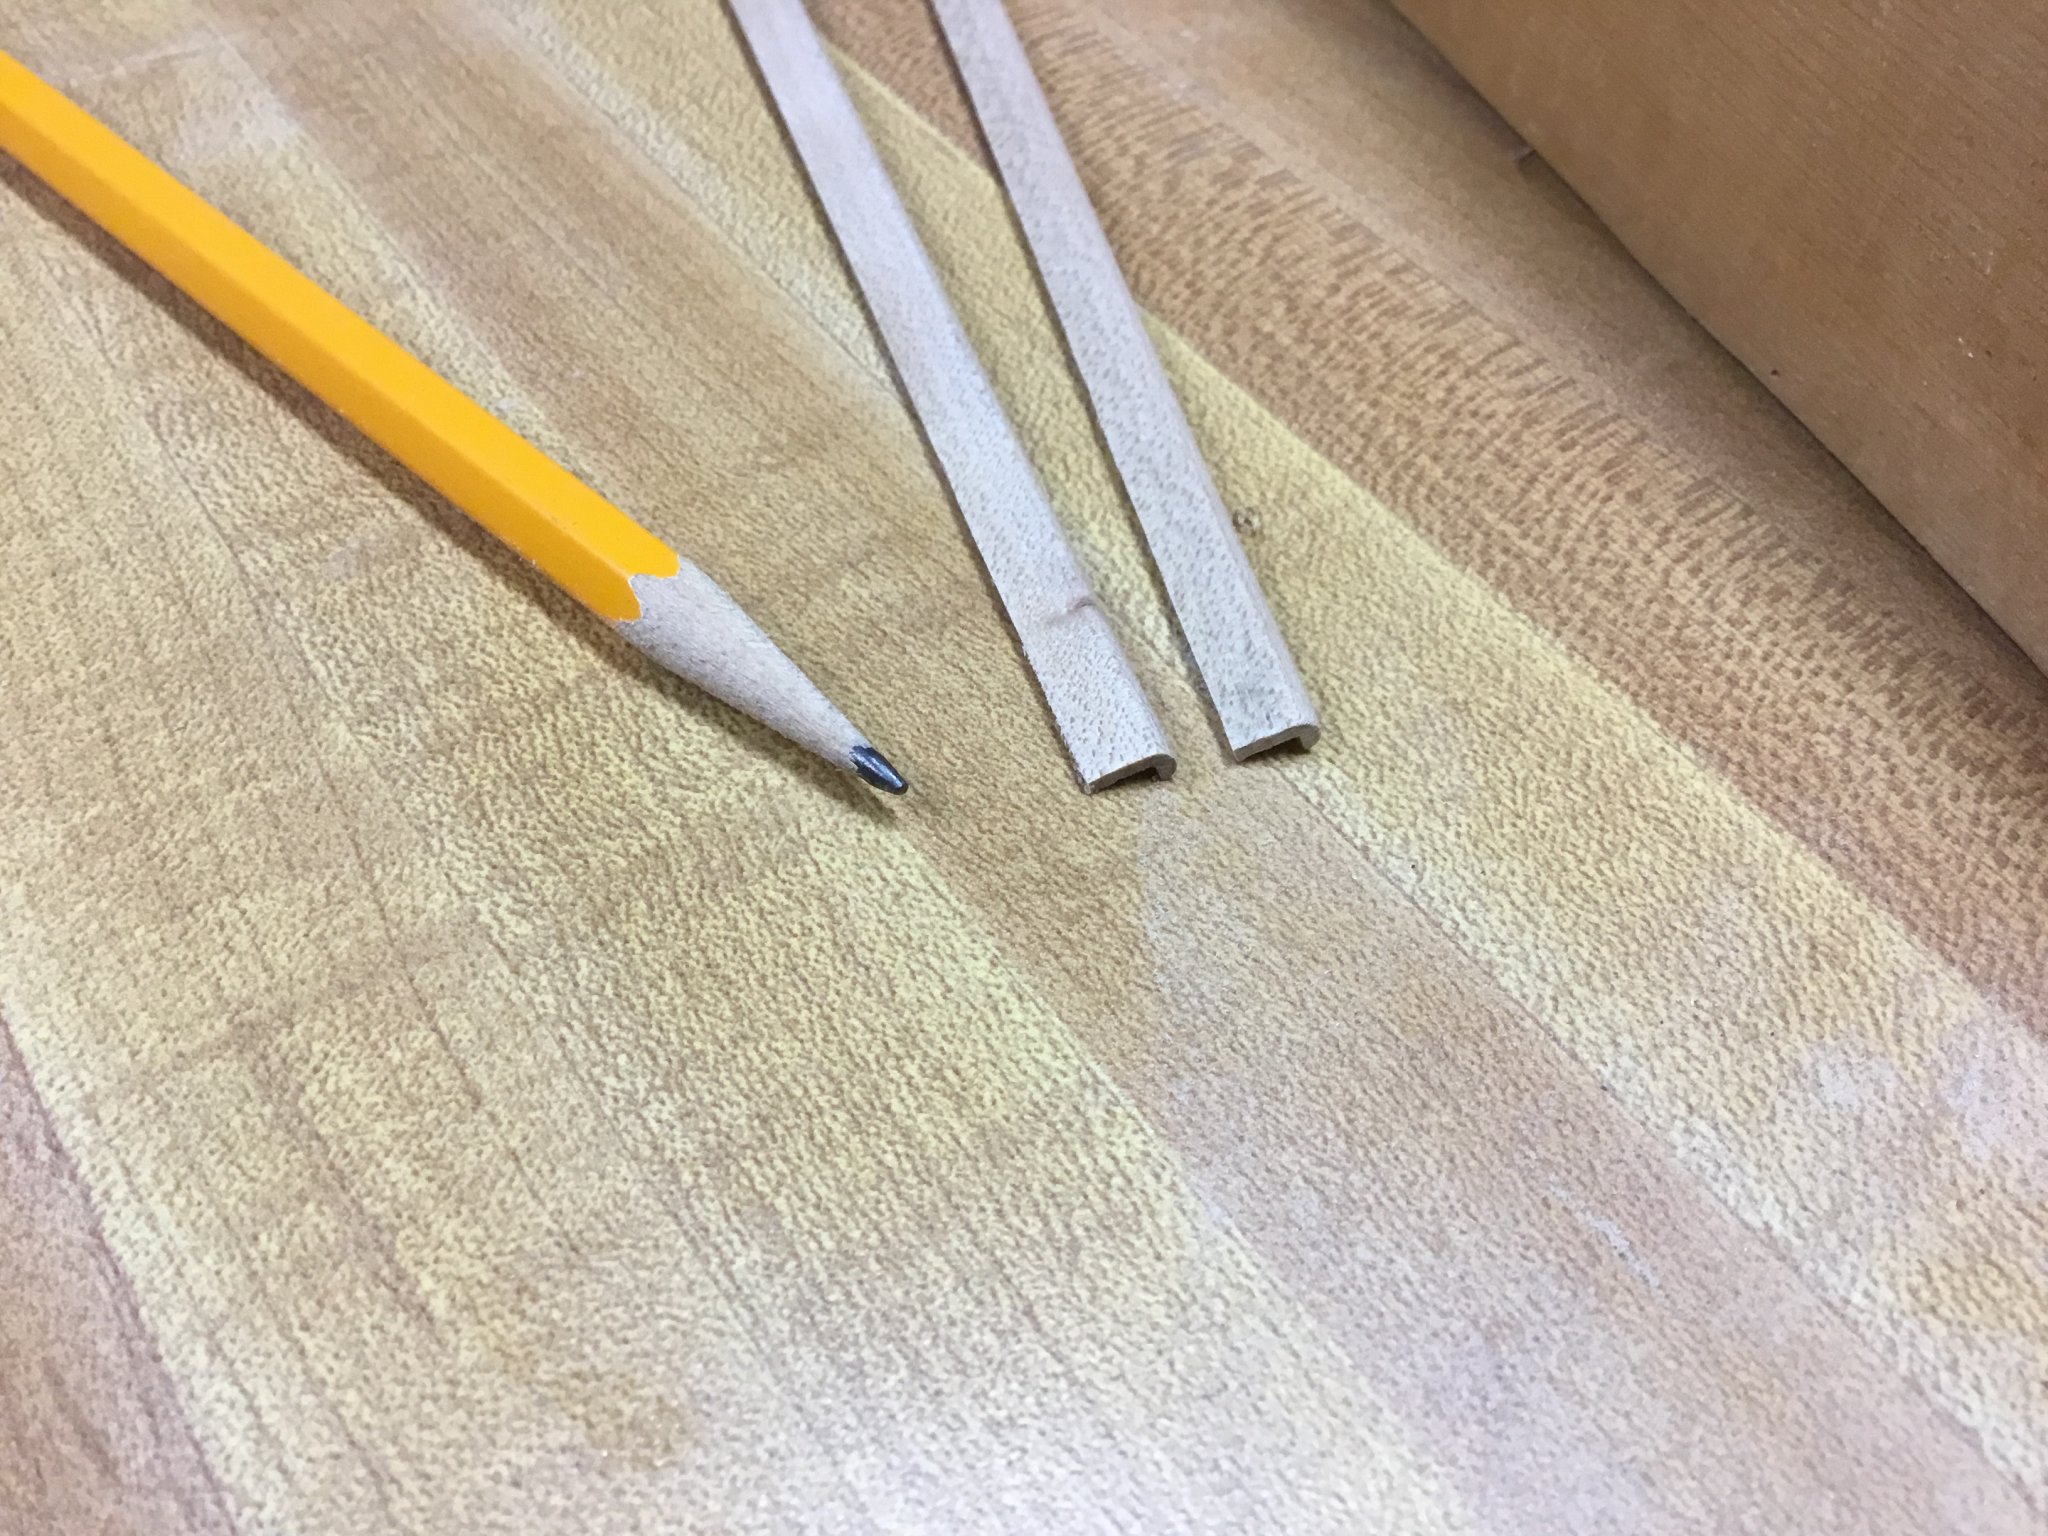
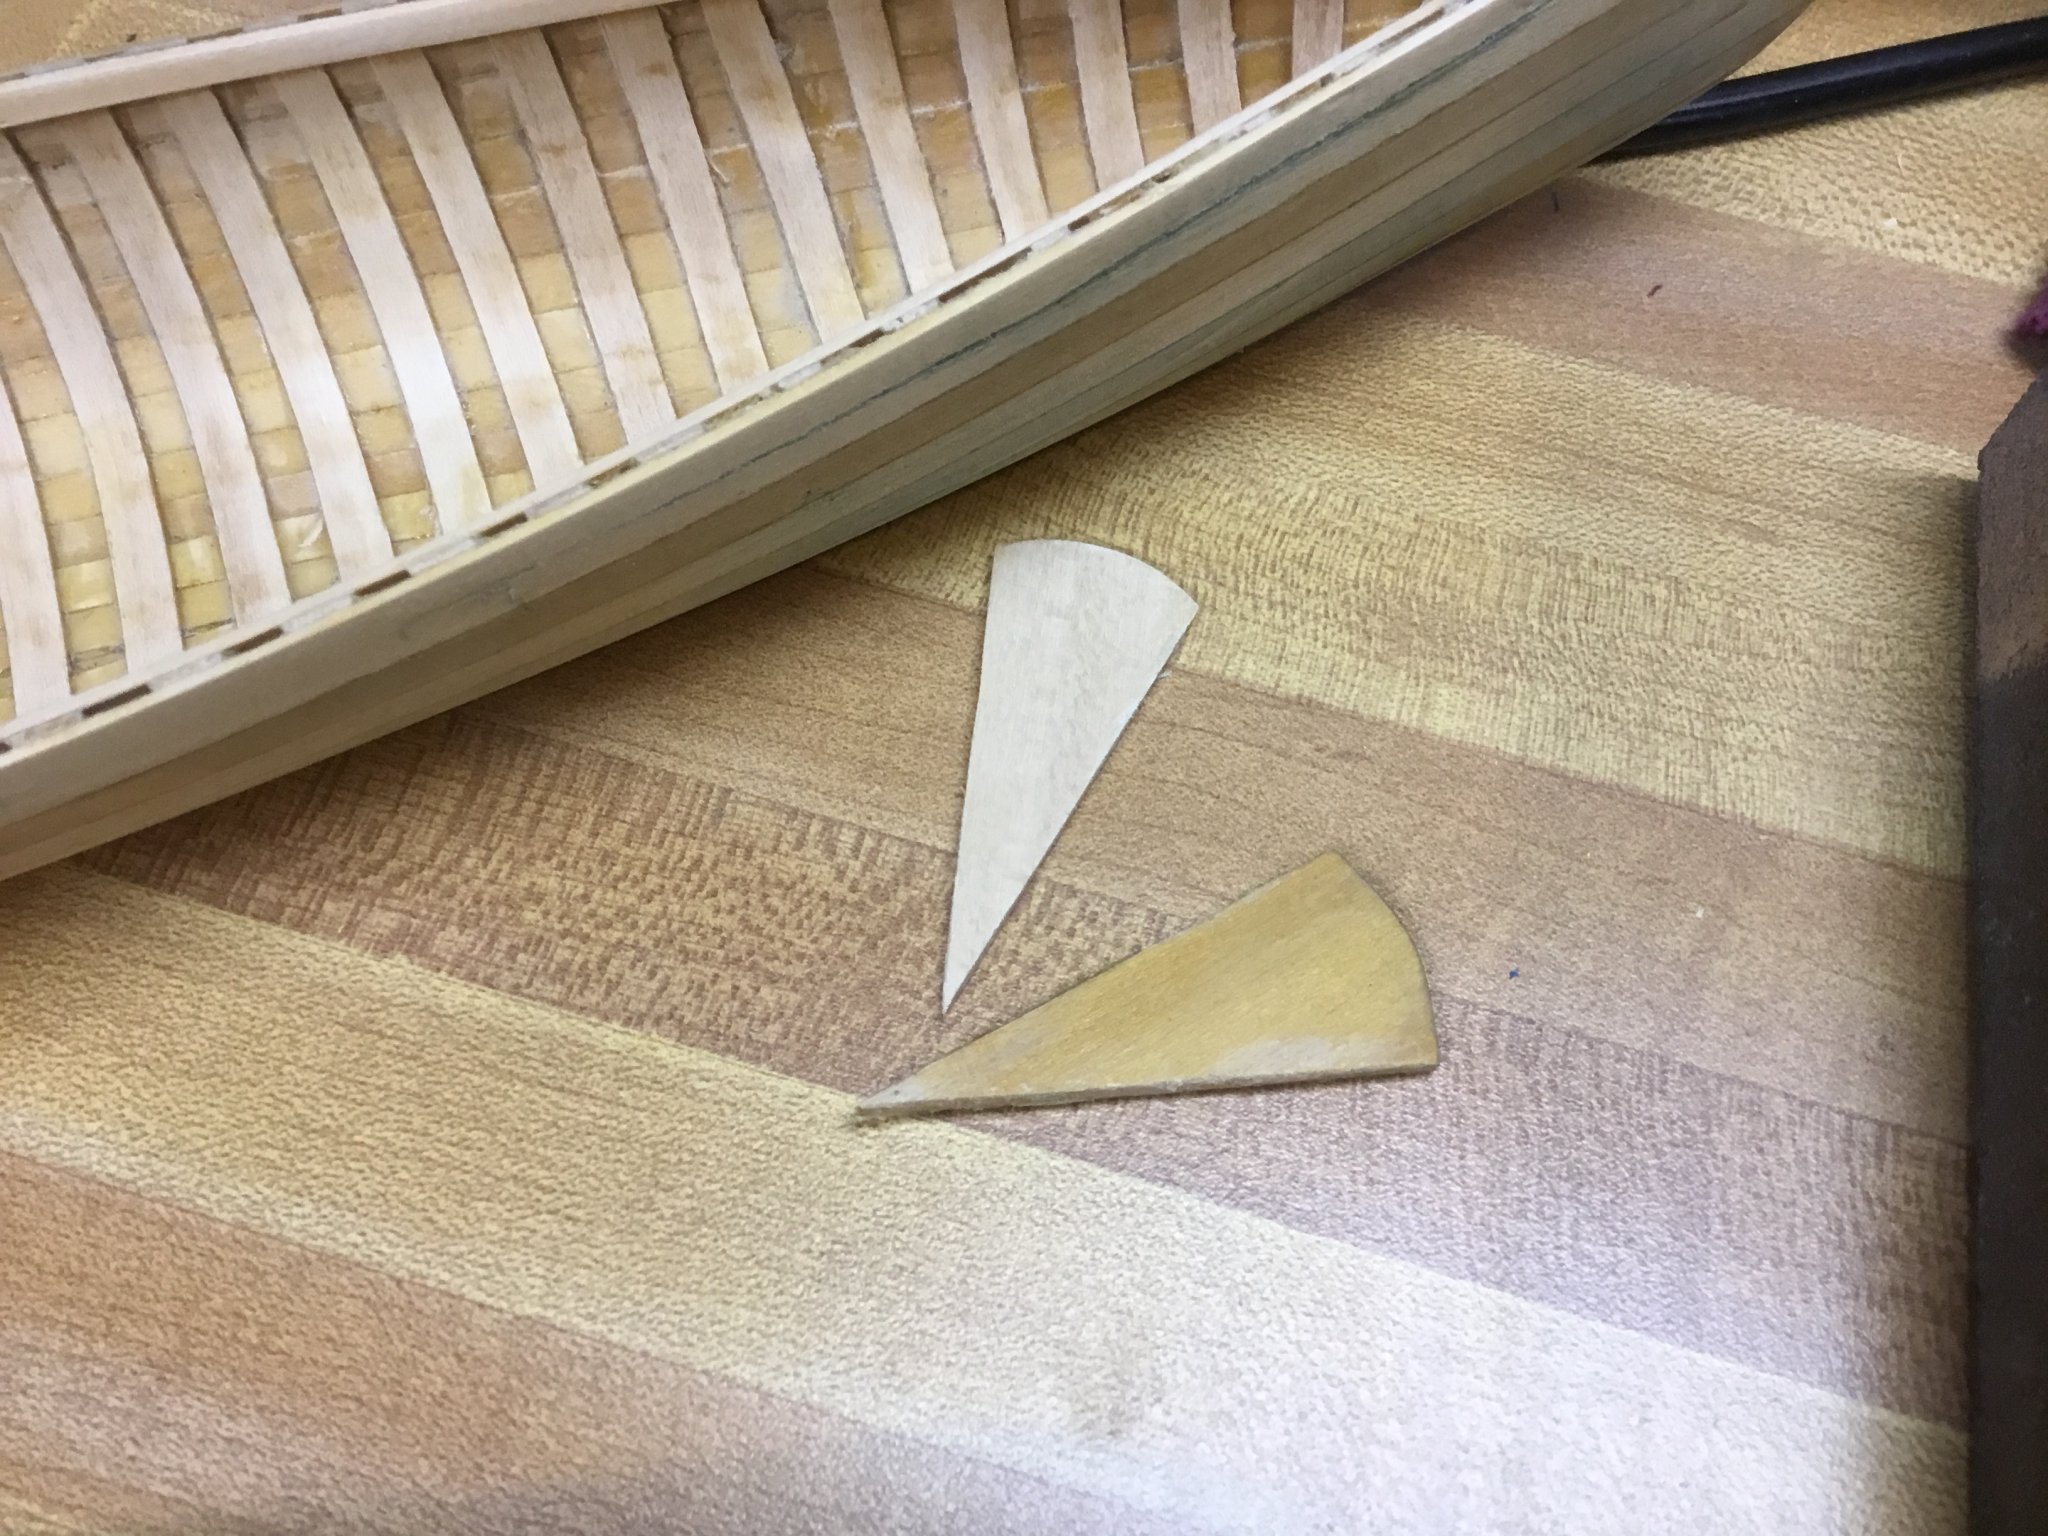
Thinking about the gunwales, I carved a sample out of balsa to help determine the profile. Any comments and suggestions are appreciated. I feel like it is too tall and might thin it down a bit.
- hexnut, mtaylor and GrandpaPhil
-
3
-
22 hours ago, Jim Cricket said:
Nice job on the seats. I'll echo what Roger said above, and include a pic of an Old Town of mine that shows the seats relative heights, and the little posts that the seat bolts pass through on the bow seat. Again, nice work!
Beautiful boat. I love the two tone paint. Is that a common paint scheme. I don't recall seeing two tone paint on a canoe. My limited experience is with the aluminum Grumman's we have in our voyageur program and my own (former) red plastic one.
-
22 minutes ago, Cathead said:
One trick I've found very helpful personally, choose a "good" side for the model (the primary display side) and always do uncertain tasks on the other side first. For example, if you plan to display the port side, plank the starboard side first so any initial mistakes are less visible at the end. Same for anything else that has a "side".
Excellent advice! I never thought of that.
- WalrusGuy, Cathead and Edwardkenway
-
3
-
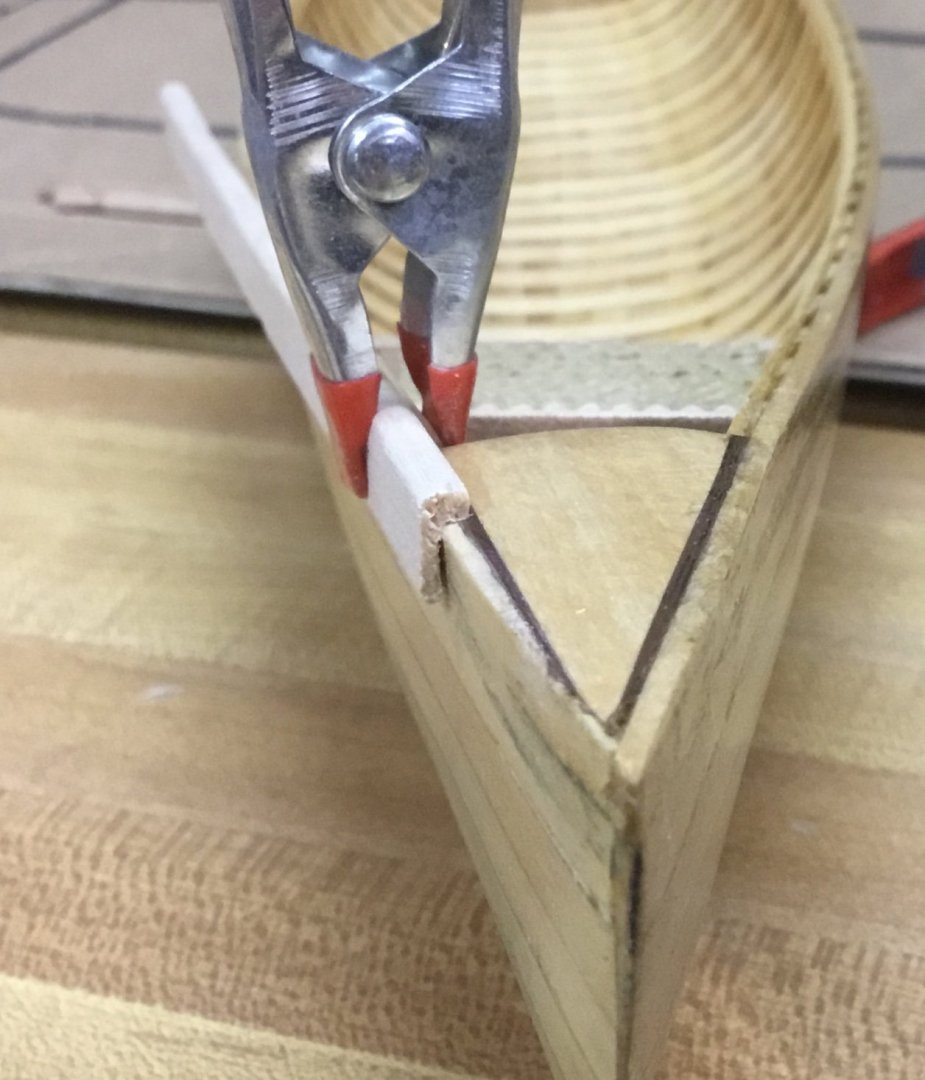
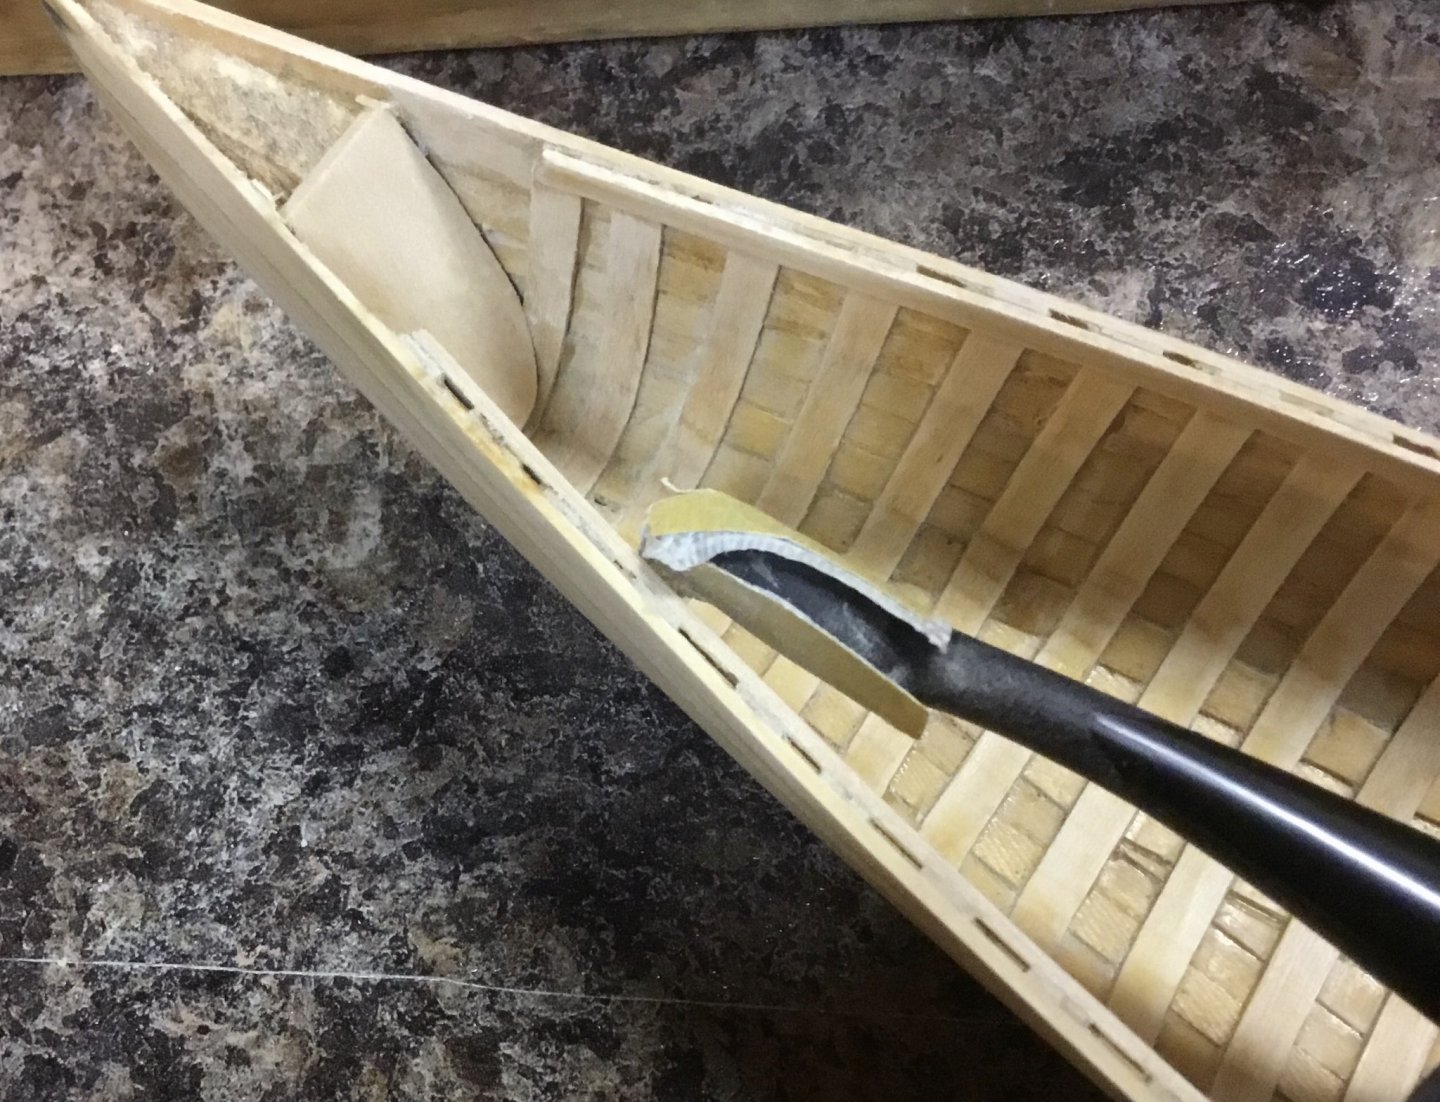
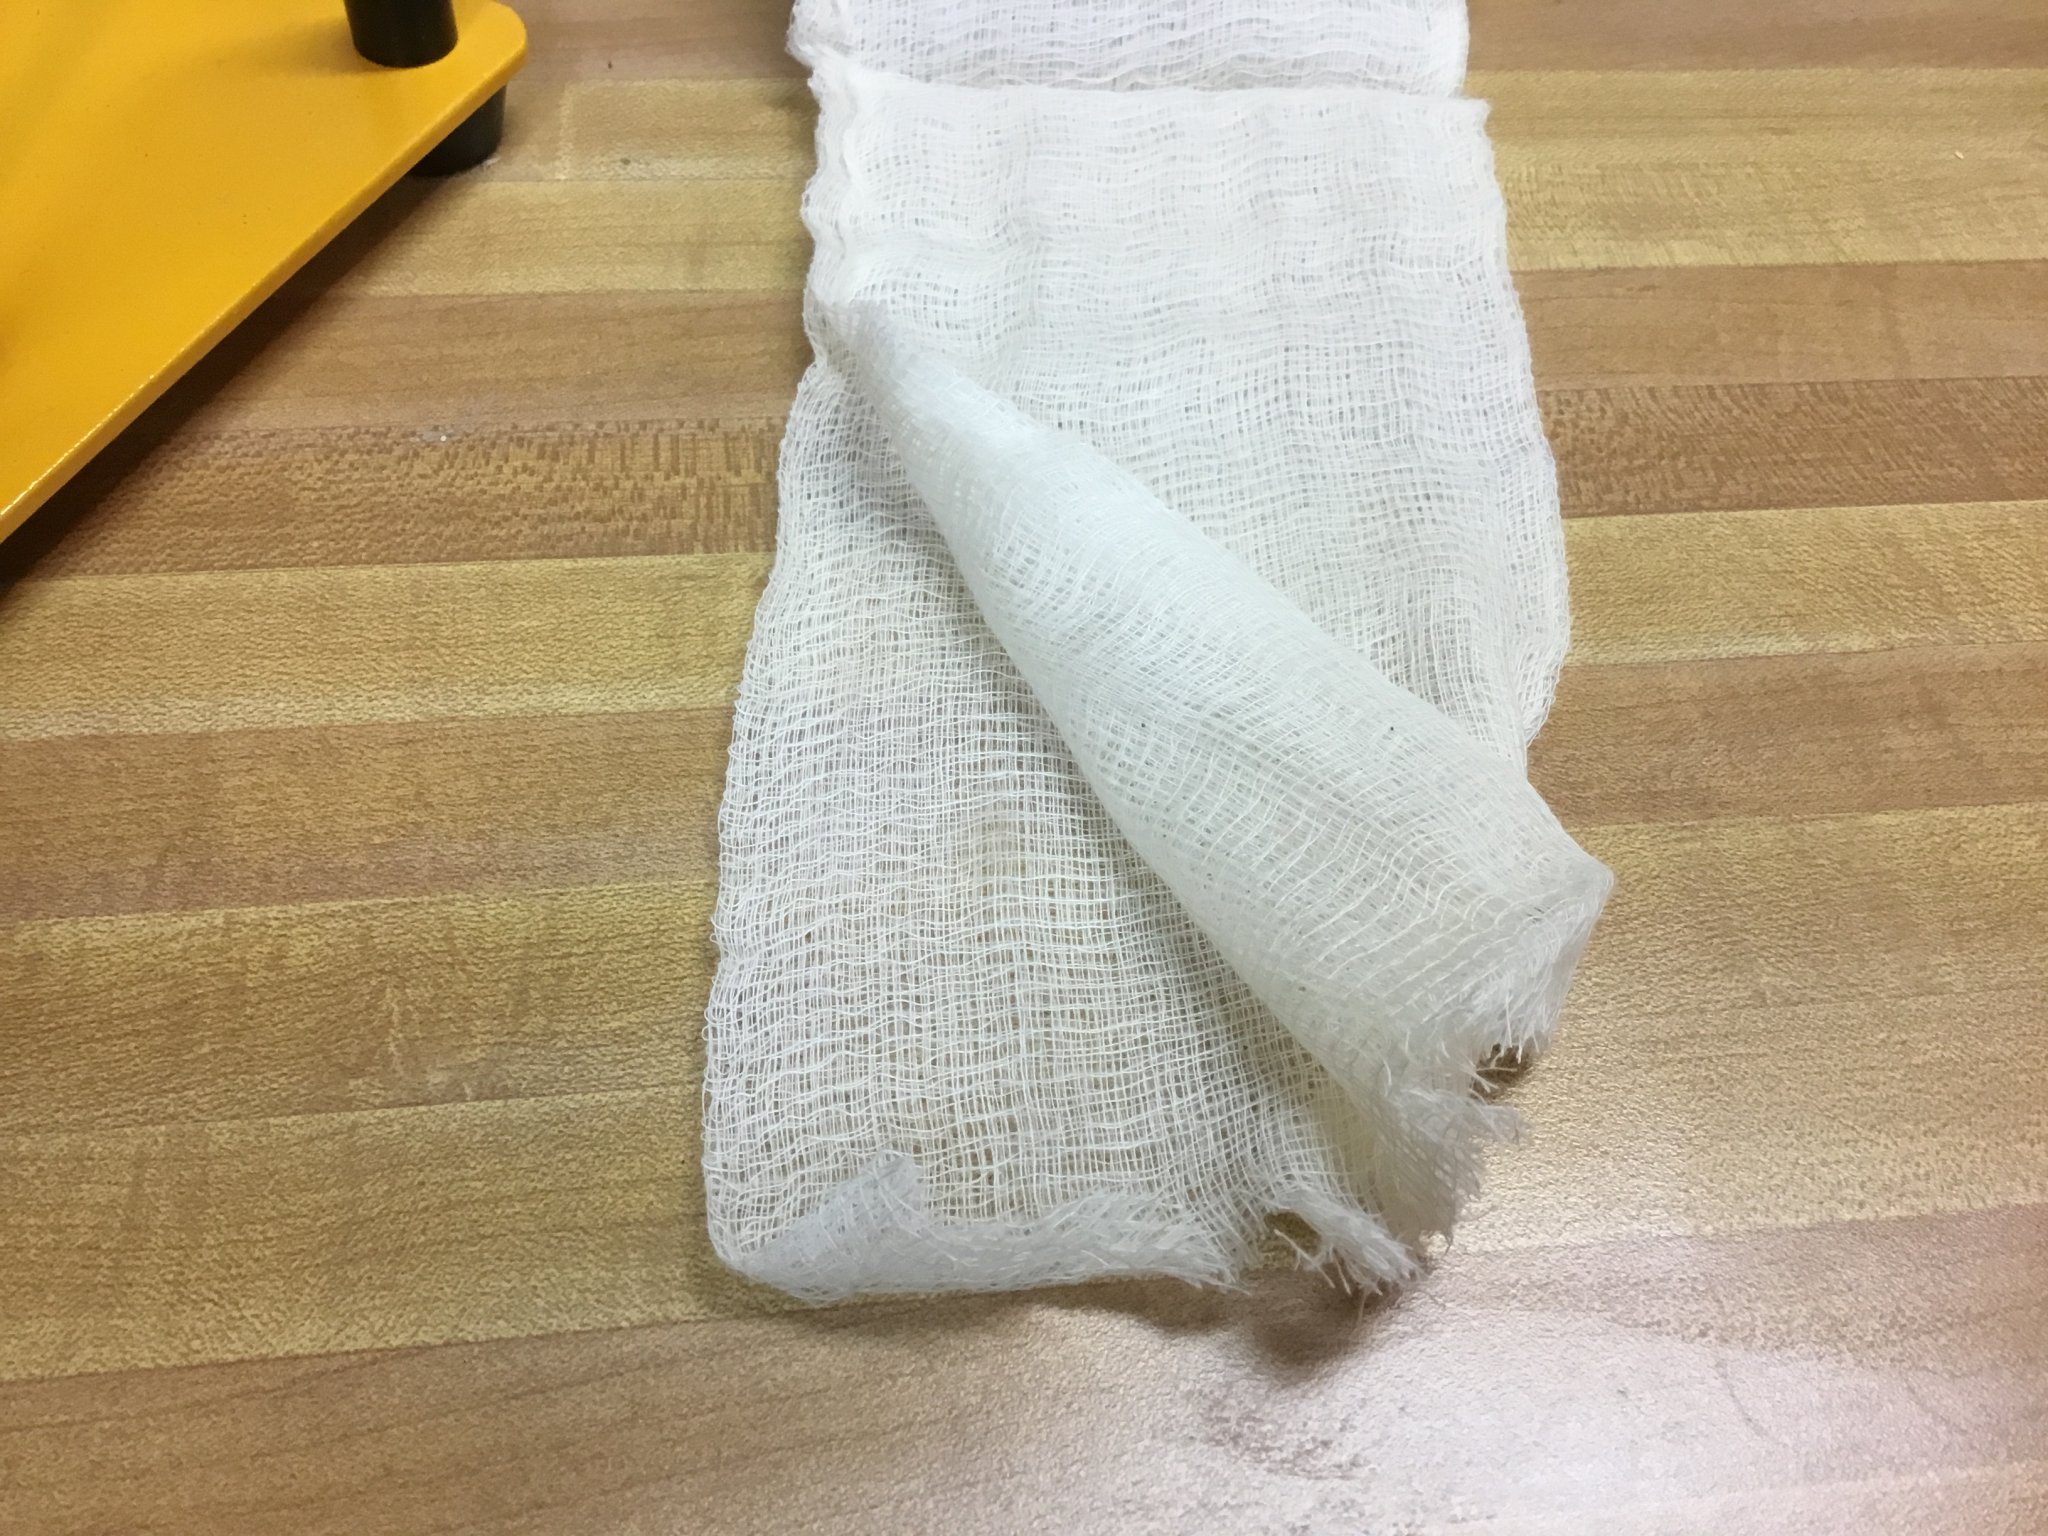
Thank you for the comments and input. I spent about an hour last night measuring and cutting the spacers you mentioned. This is them dry fit. The glue residue you see is from my attempt to glue them first to the seat. That didn’t work out so I glued the spacers to the hull and then fit the seat underneath. I’ll wait til After I complete the hull to glue the these in place. I was planning on actually using cotton cloth and sealing that on to the canoe as would actually have been done on the real ones. I found a lightweight cotton cloth today and I have mastic sealer on hand. Or is that not a good idea for a model this size.

- GrandpaPhil, yvesvidal, dvm27 and 2 others
-
5
-
-
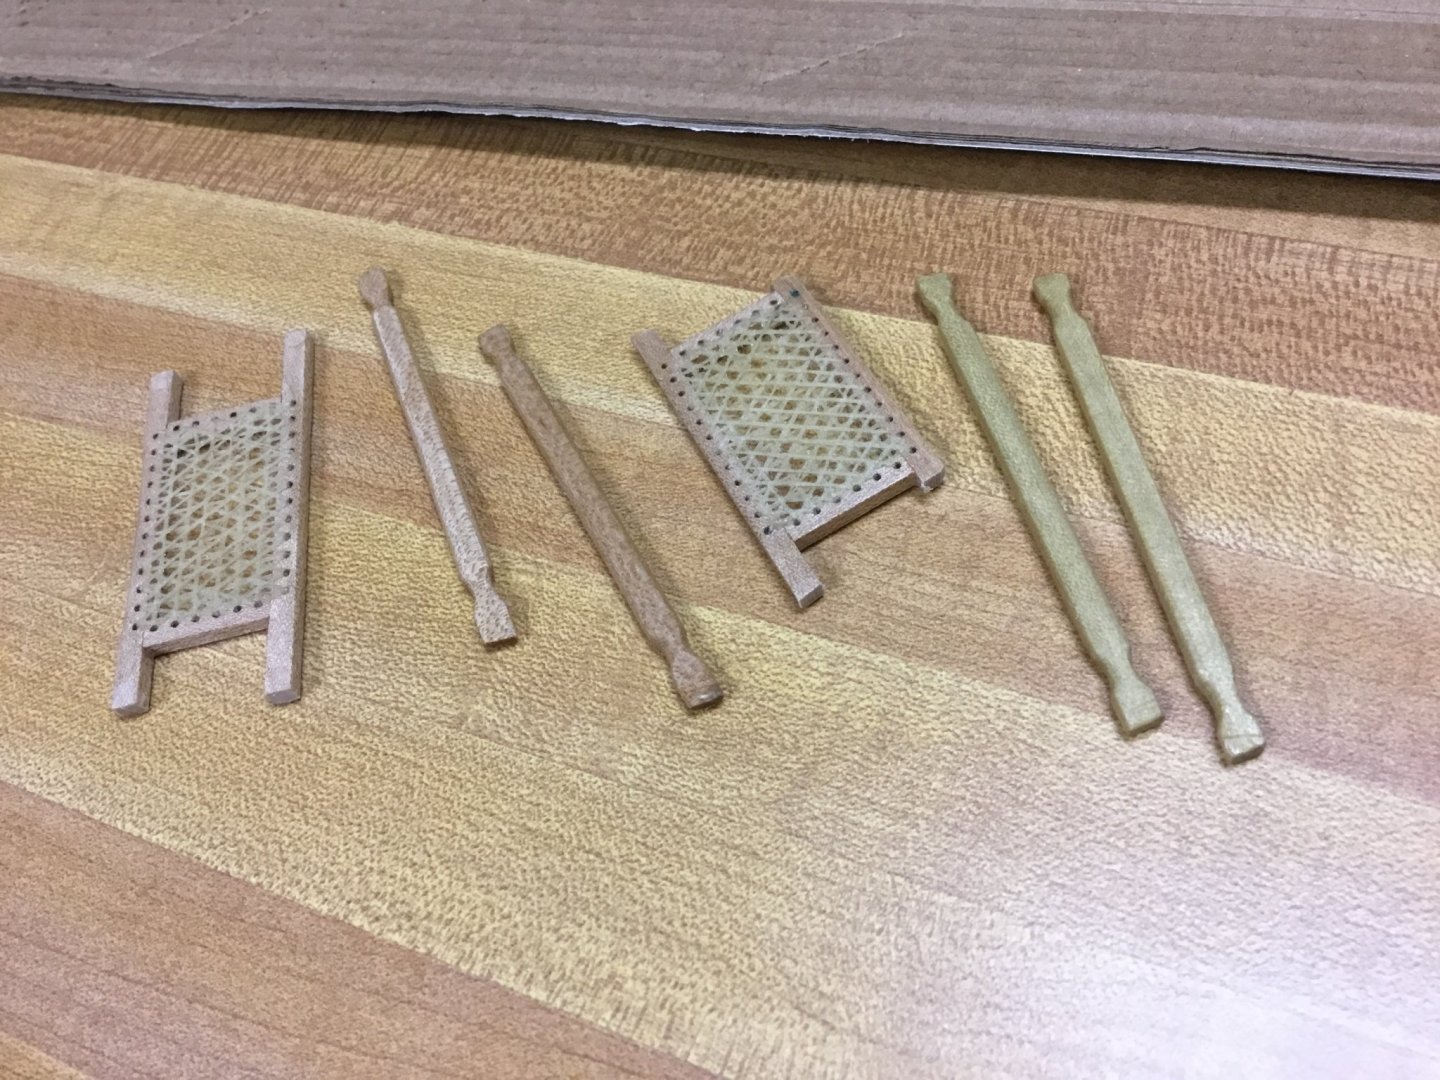
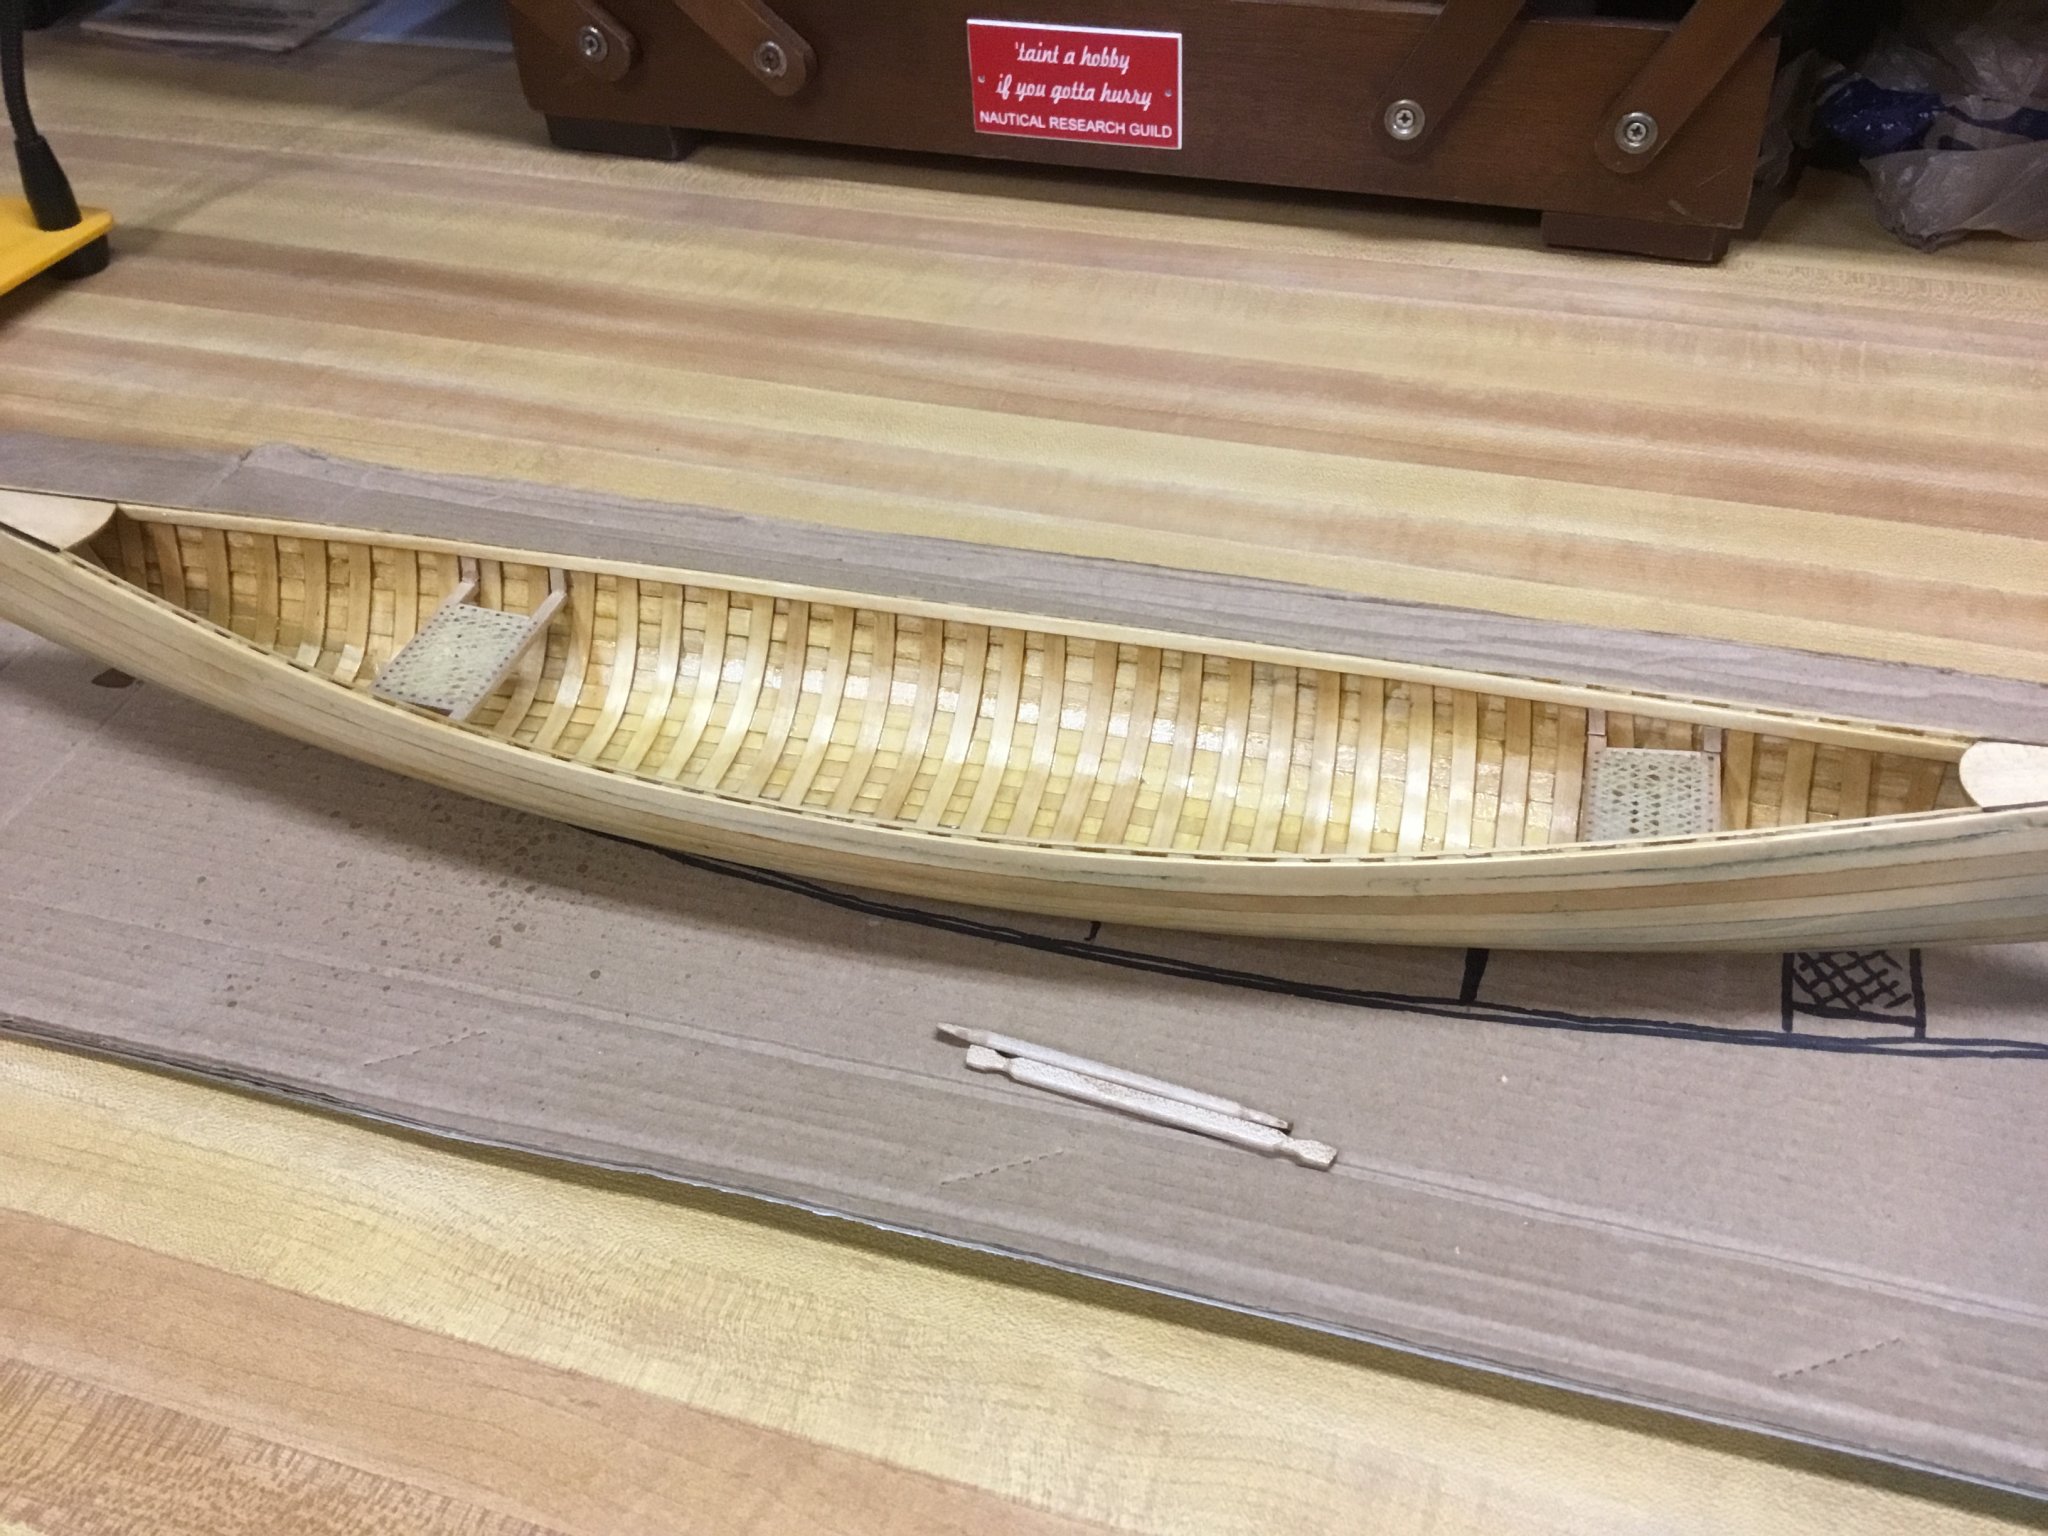
All I got done today was to remake the thwarts. I felt like if the seats were going to be maple, the thwarts needed to be too. New thwarts are pictured between the seats. They are actually similar in color. Poor lighting and photography skills made the right one look dark.
I am trying to figure out the shape and size of the gunwales. Those will also be maple. Stay tuned...
- GrandpaPhil, hexnut, mtaylor and 2 others
-
5
-
-
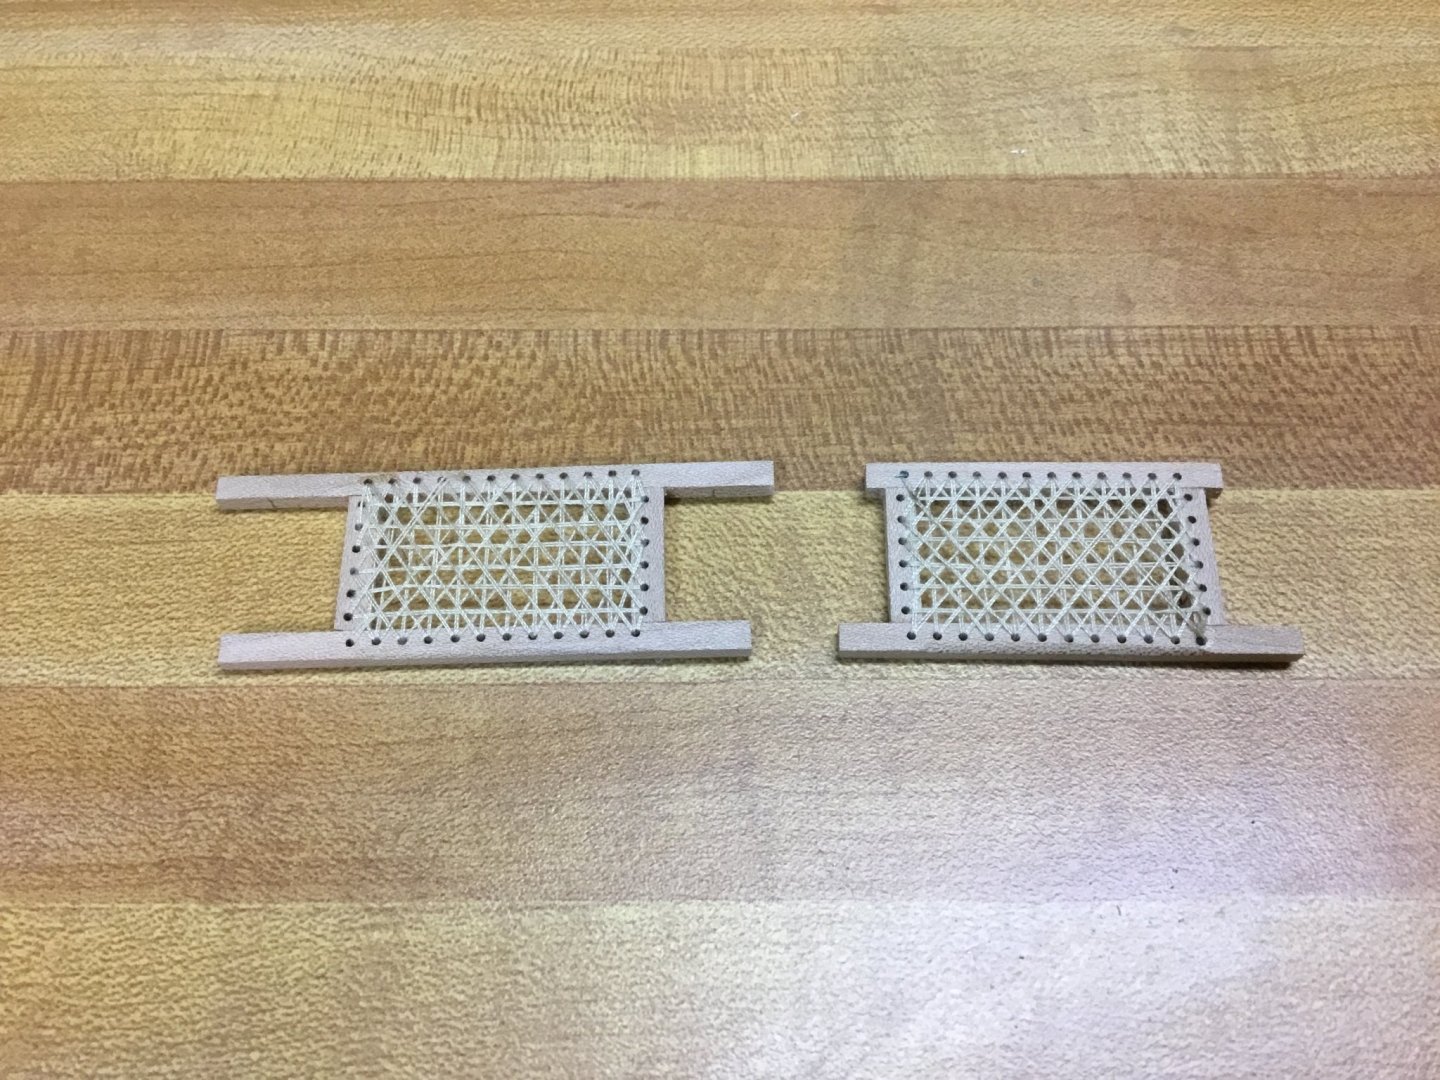
Two first class canoe seats.
- mtaylor, GrandpaPhil, ccoyle and 4 others
-
7
-
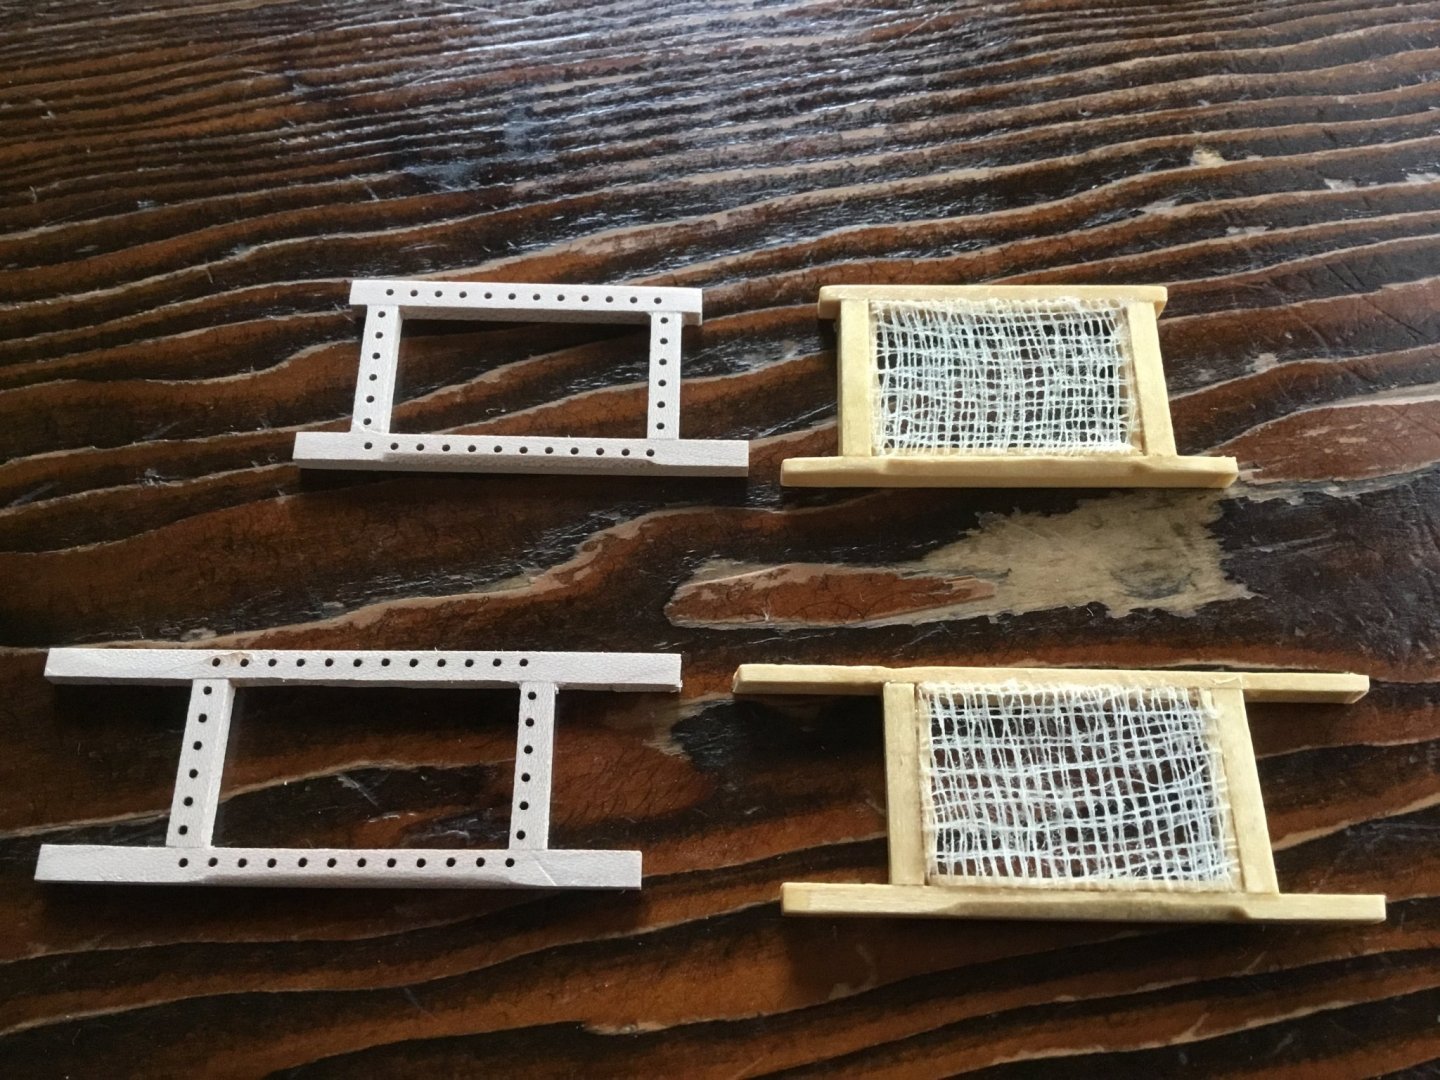
With encouragement from Roger, I thought I would try to weave my own seats. Here are the new frames cut from maple next to their former counterparts. No way I could have drilled those 1mm holes without my Proxxon mill. 😊
I did a practice weave and it came out ok so I’ll try the real ones now. Worst thing that can happen is I have to cut the thread and start over.
- GrandpaPhil, KeithAug, hexnut and 2 others
-
5
-
-
7 hours ago, Roger Pellett said:
Weaving a cane seat is not difficult. You could drill holes around the perimeter and weave a seat using appropriate colored thread. Try looking up chair caning instructions on the web.
I watched an instructional video on it when trying to decide how I wanted to tackle these seats. I thought at this scale it might be beyond my abilities. Maybe I’ll give it a try before gluing in the seats. -
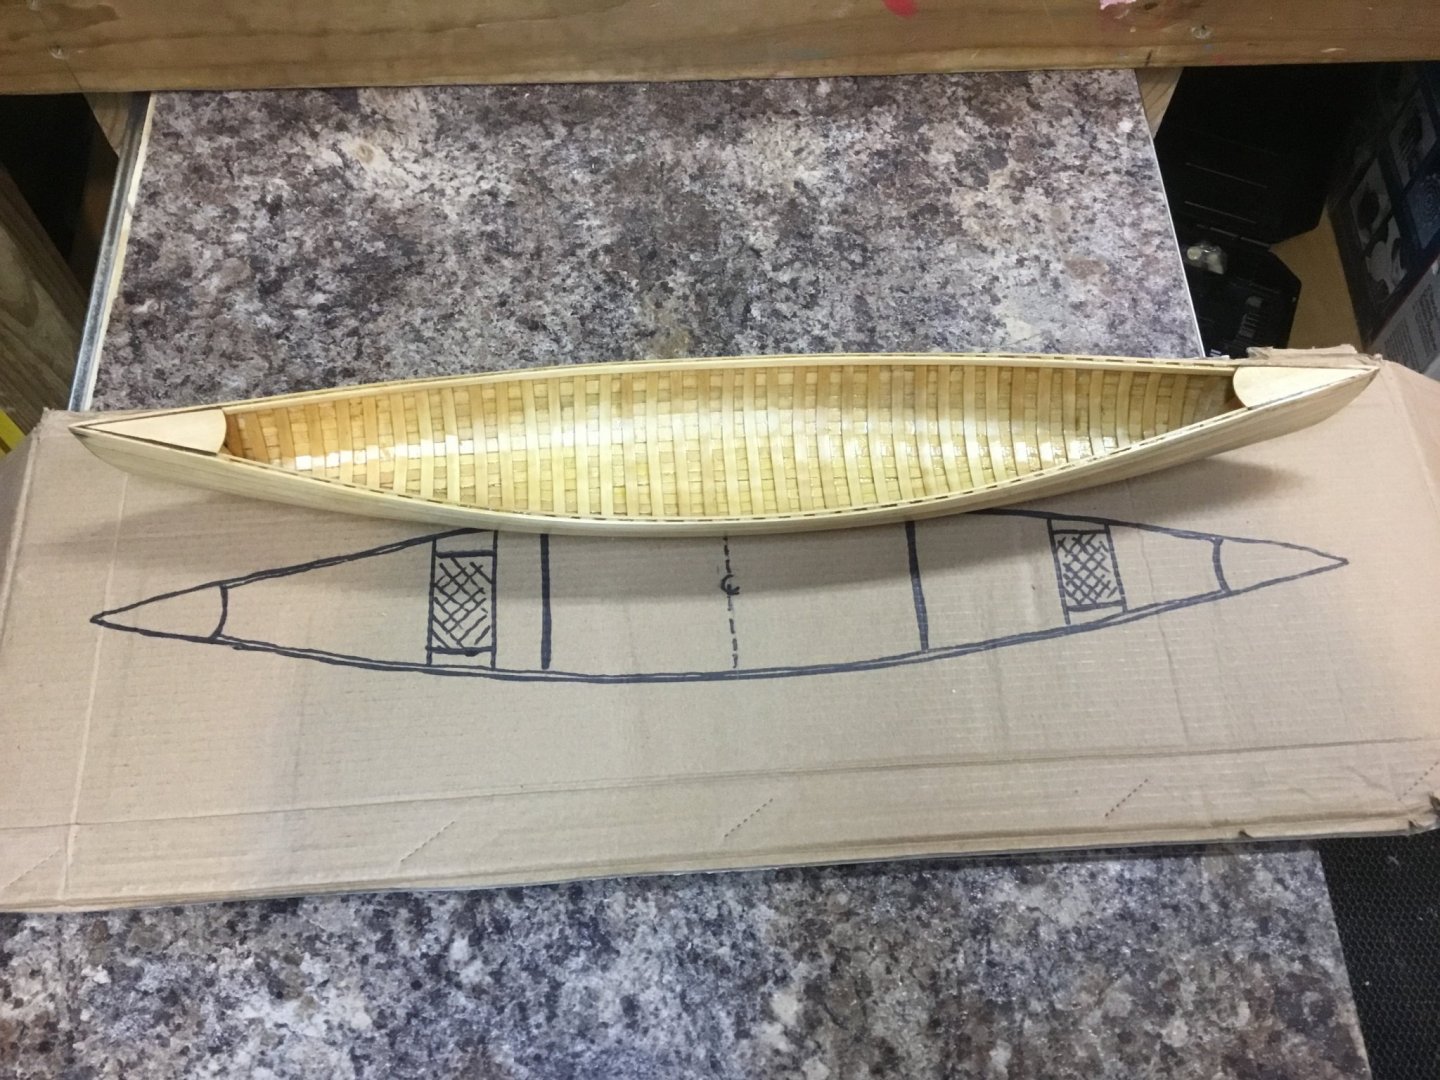
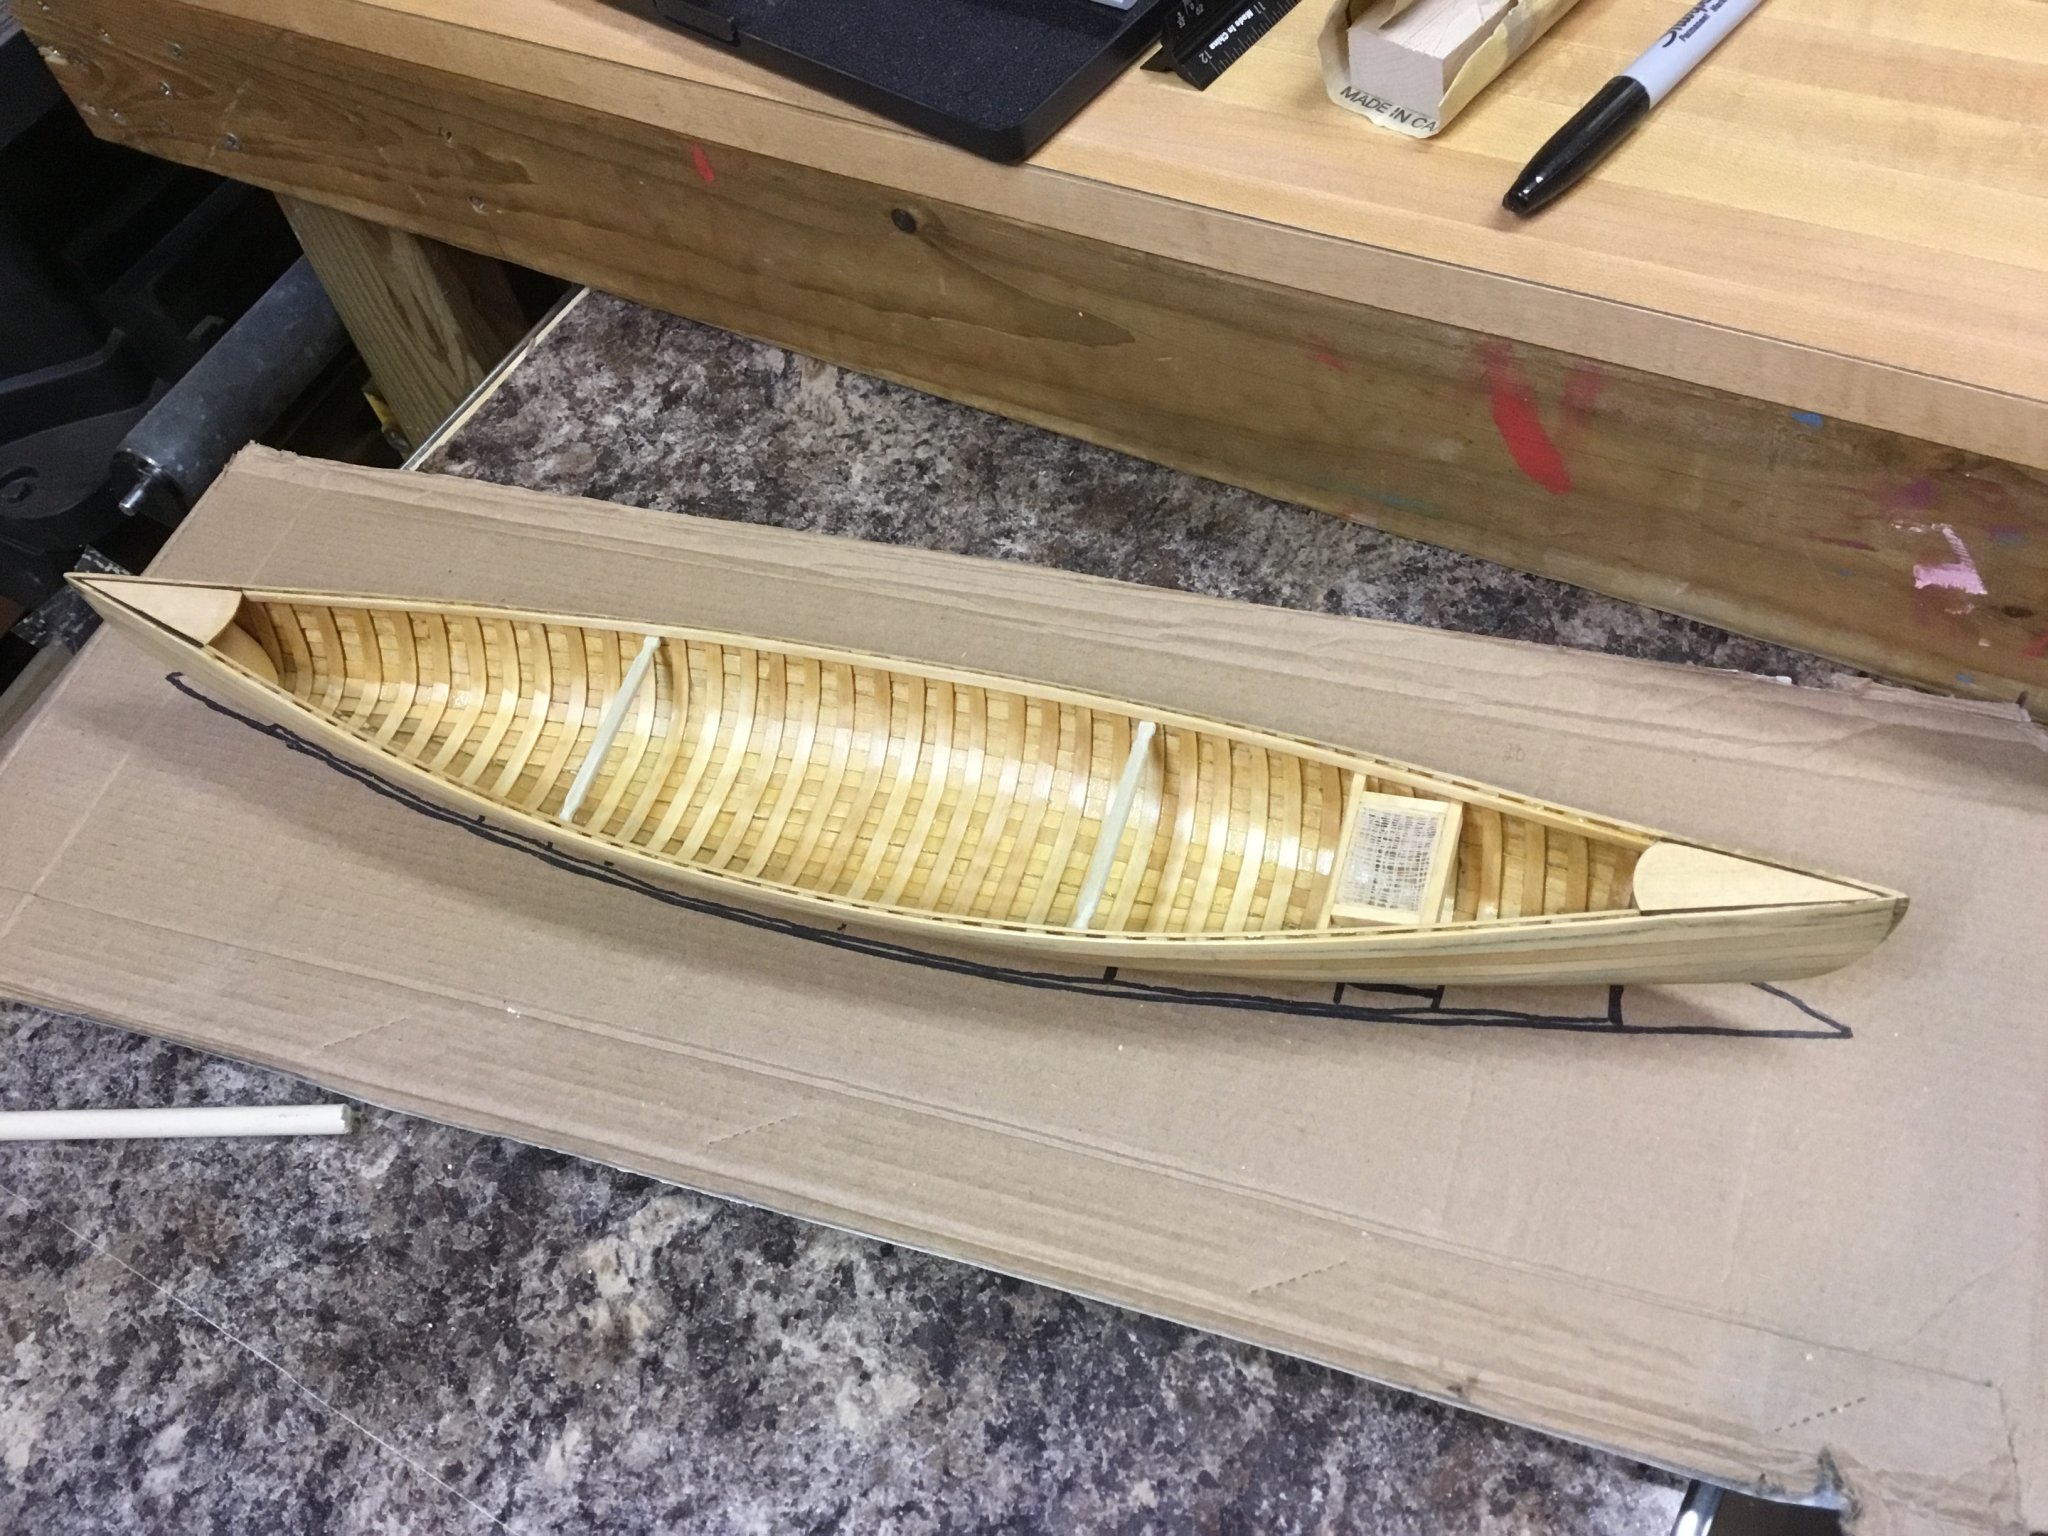
I drew up a mock up of the canoe so I could determine thwart and seat locations. I had been thinking about how I would handle the seat. I wanted something akin to woven cane and thought that cheese cloth could be used.
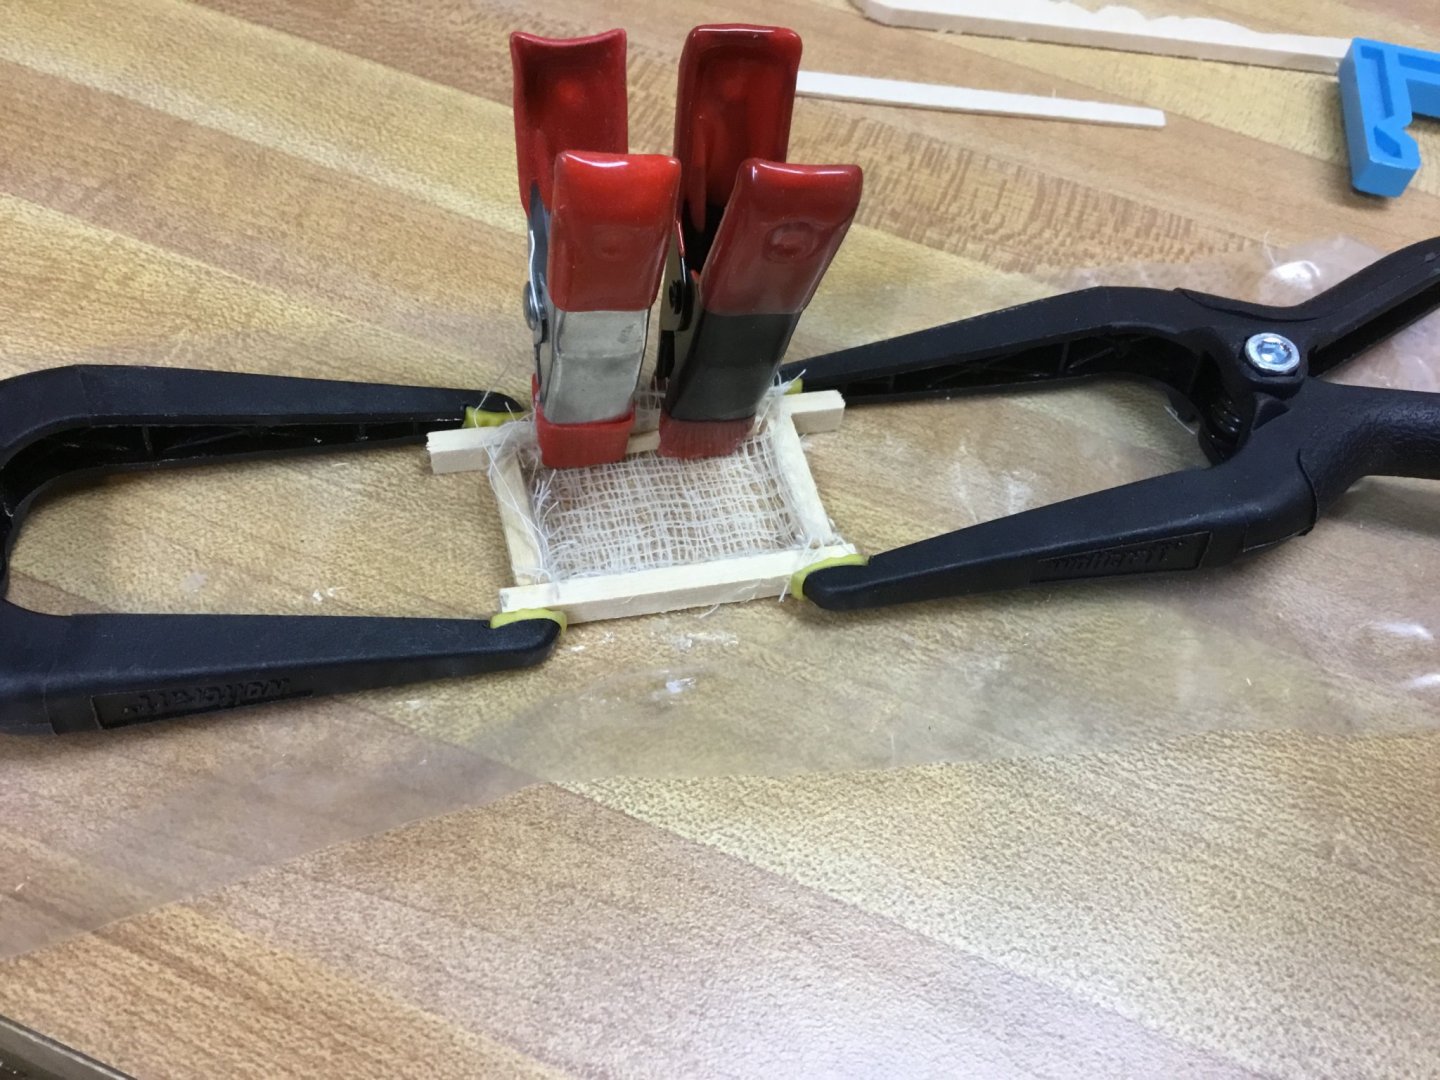
I experimented with a few methods on how to keep the weave while working with it. I dabbed shellac on some and CA glue on another sample. I tried spray on adhesive. I settled on shellac because it stayed pliable for me to be able to work with it and also kept the weave pretty well.
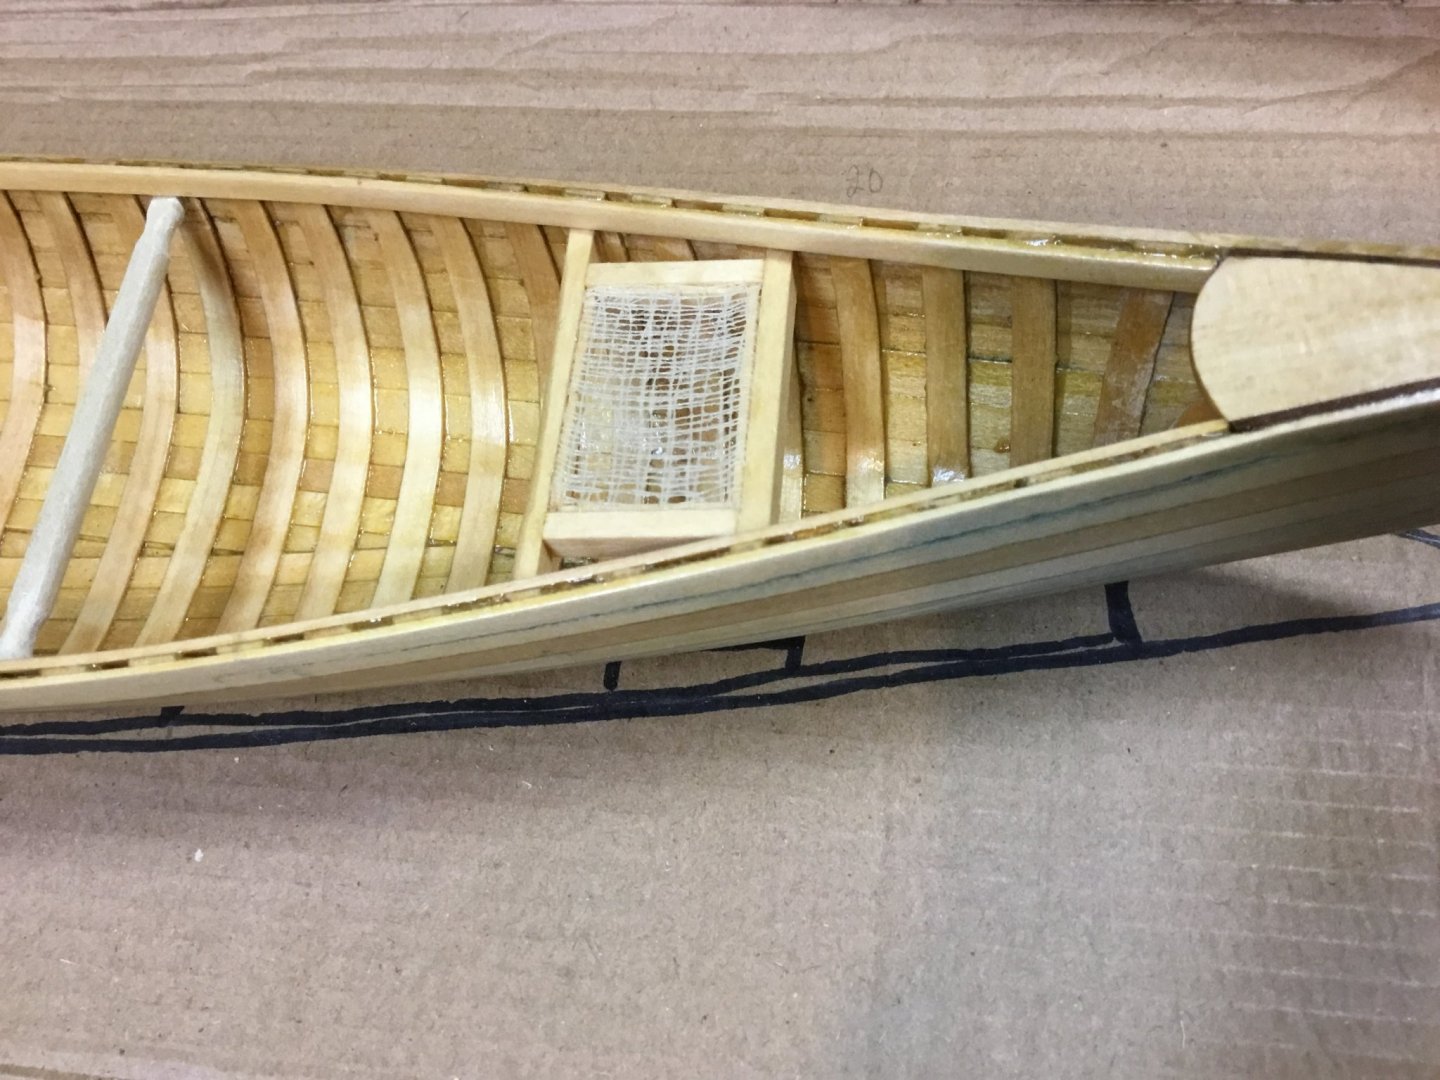
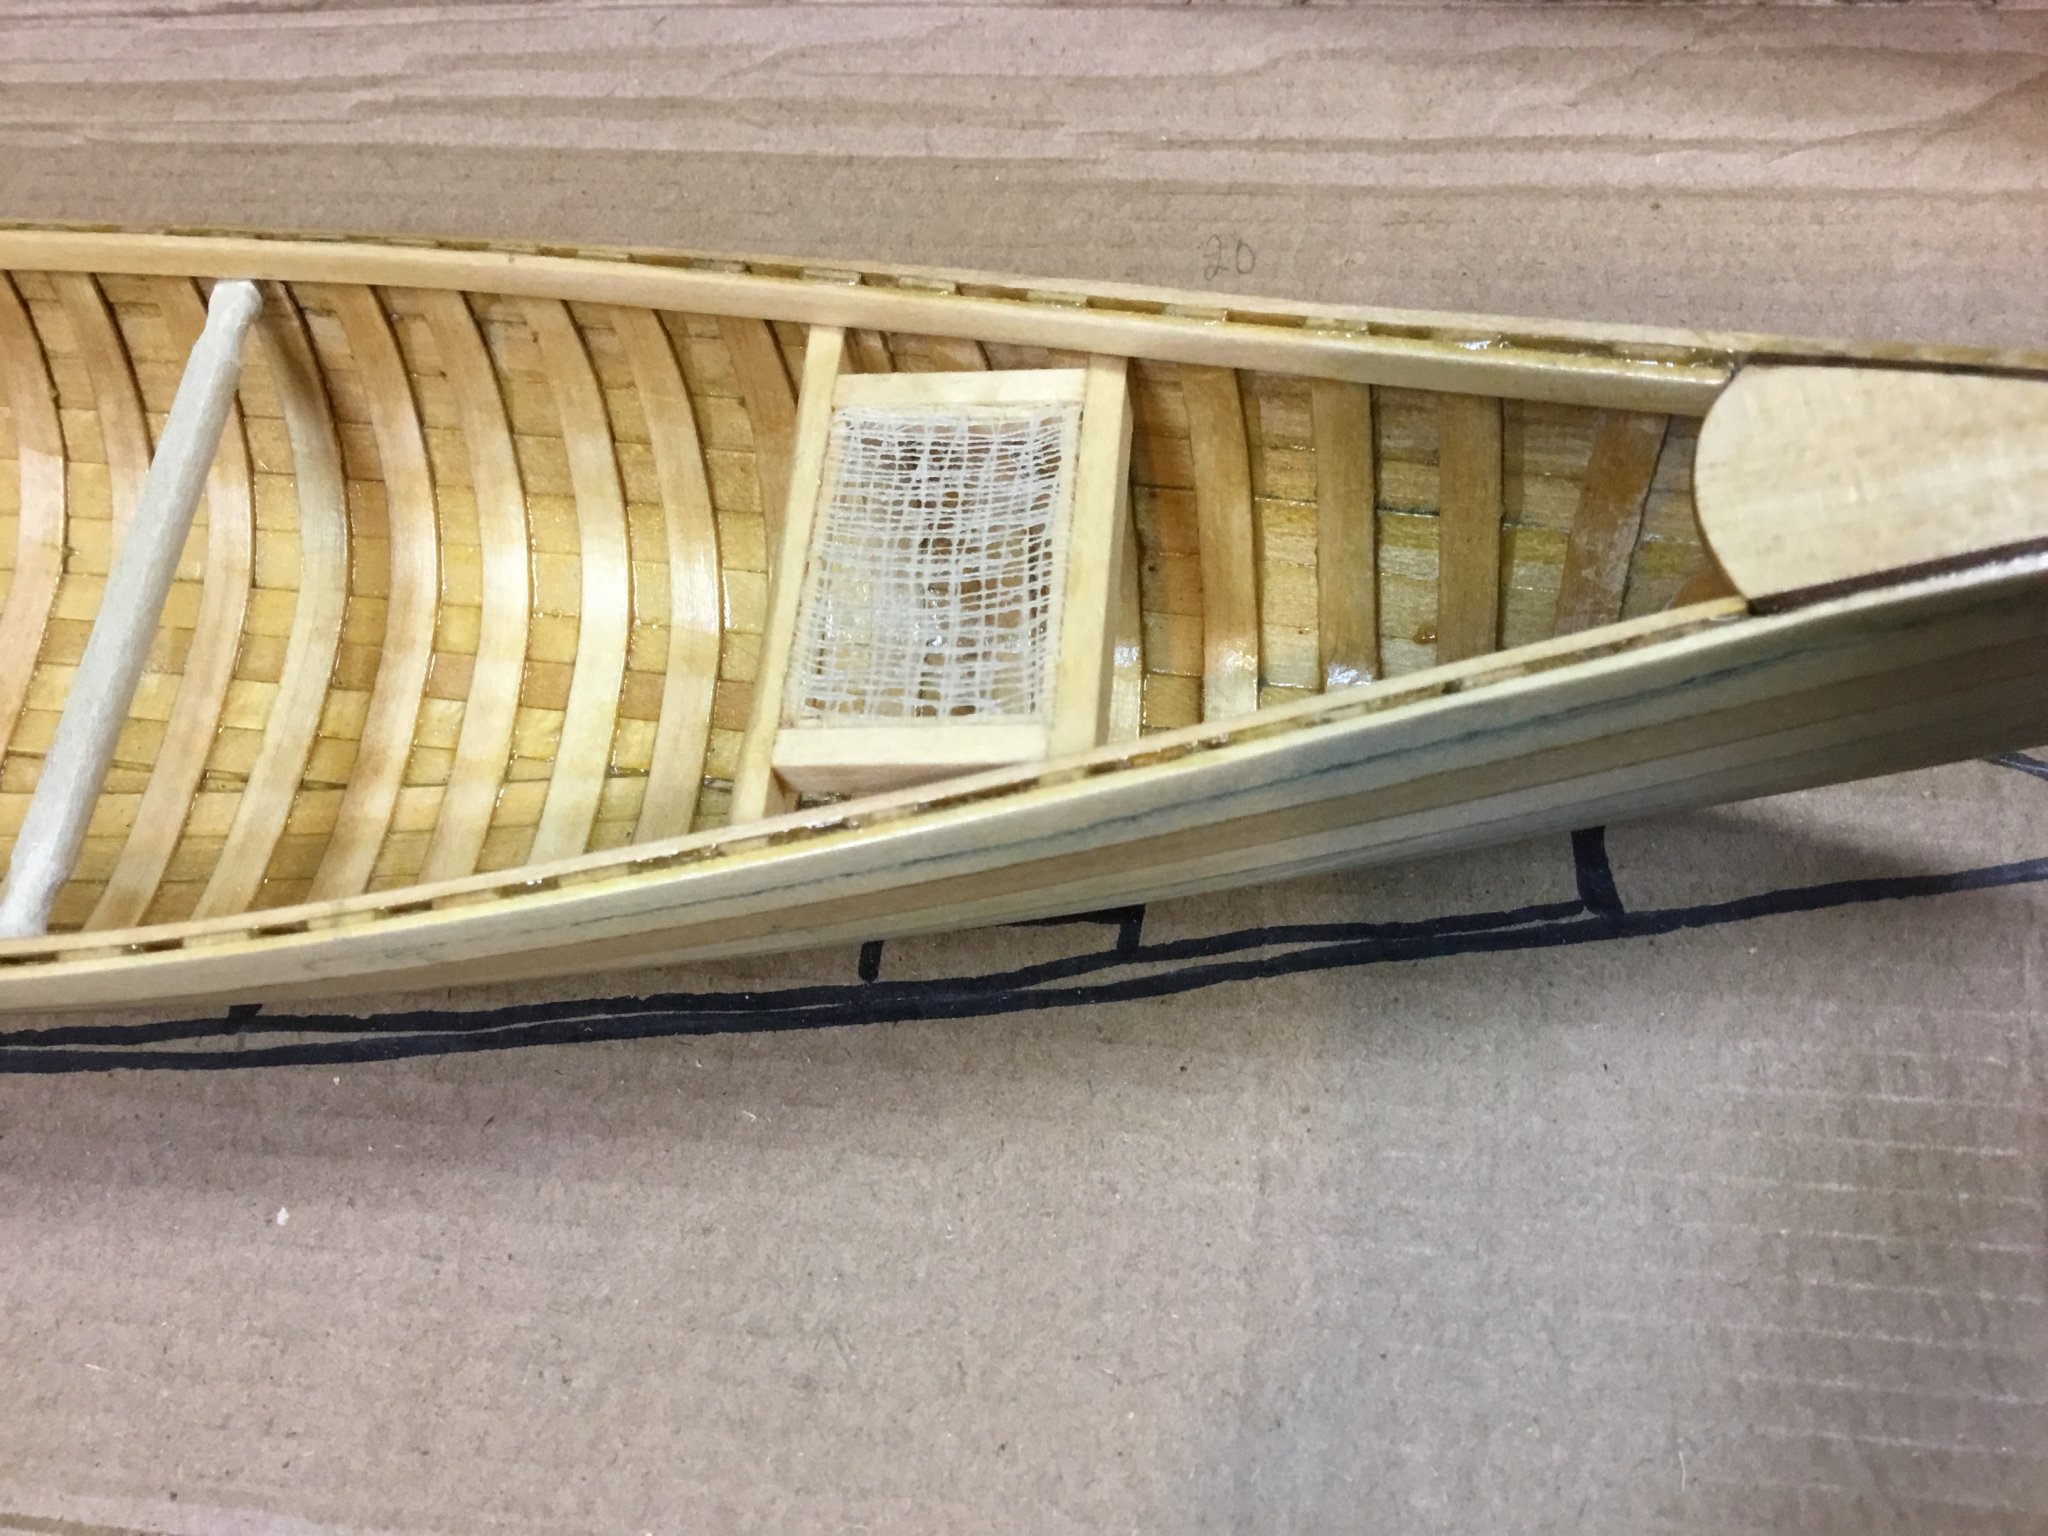
I used CA glue to sandwich the cloth between a thin piece of wood and the seat frame. Kind of how one would put in screening material in a window frame. Once framed up, I dipped the whole thing in shellac. I lightly dabbed at the cloth to help keep the mesh open as opposed to filling in with shellac.
I prepared the two thwarts as well and dry fit the aft seat and the thwarts. I’ll get the forward seat tomorrow.


- mtaylor, GrandpaPhil, oneslim and 1 other
-
4
-
I had saved the original deck plates but they were a bit narrow. The original had a lot of glue filling in the gaps. So I put a couple strips of walnut on either side and sanded to fit.


- GrandpaPhil, hexnut and mtaylor
-
3
-
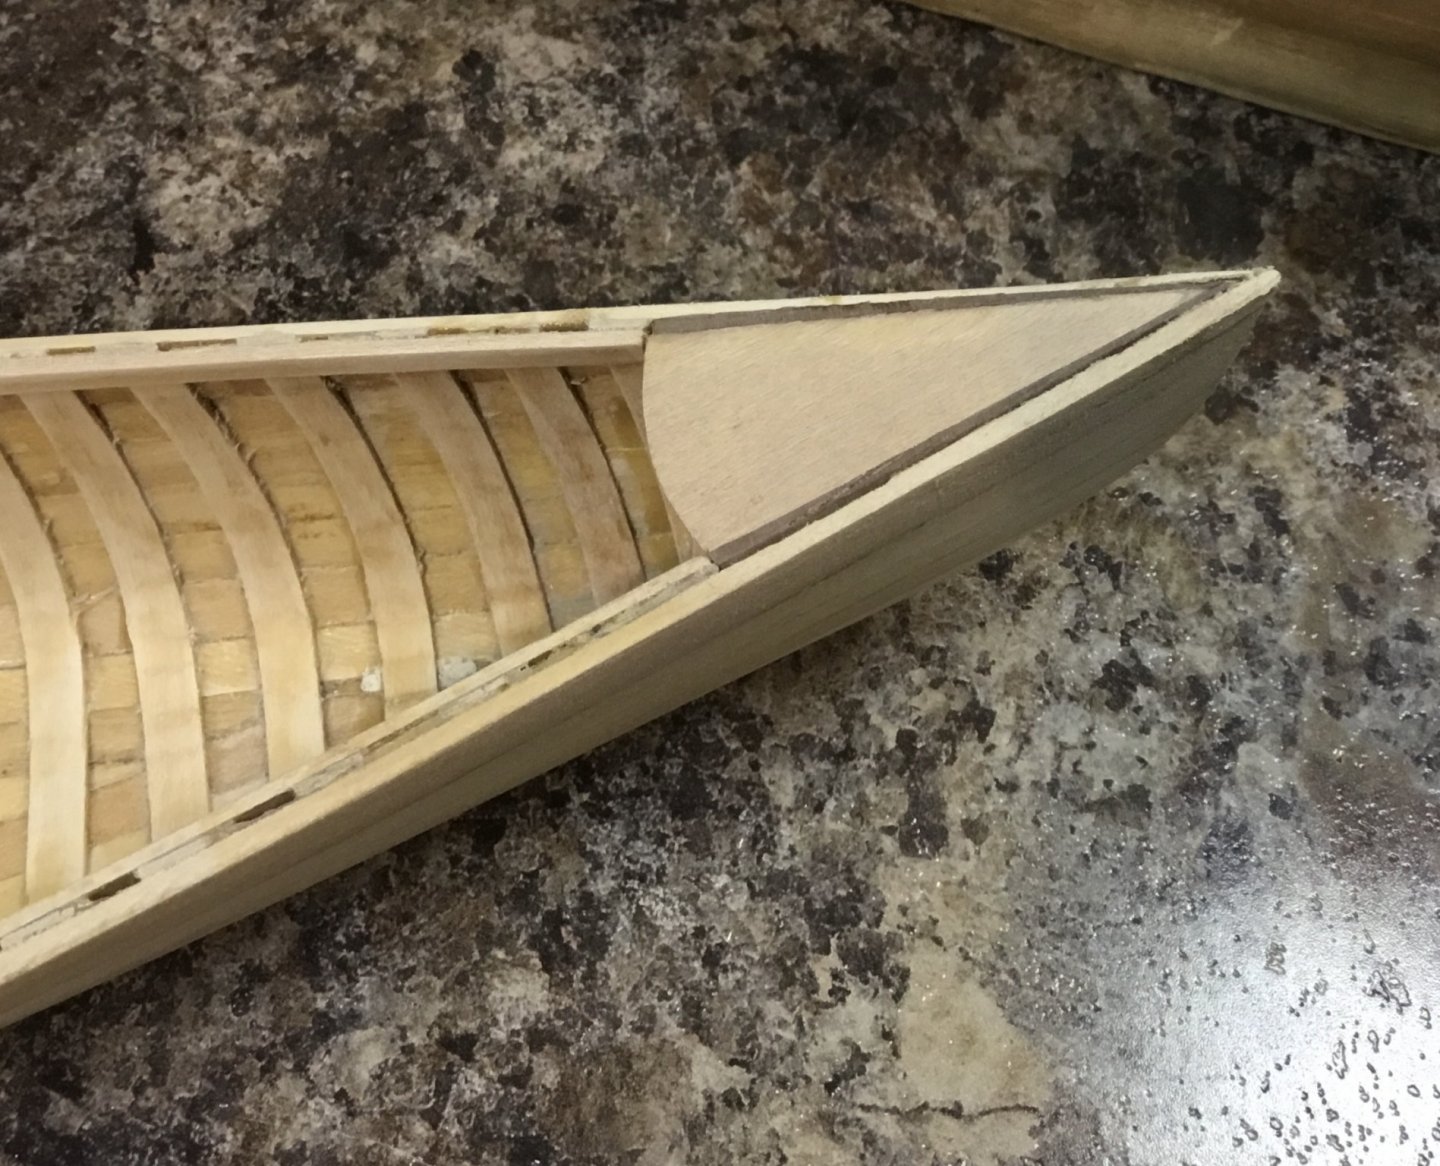
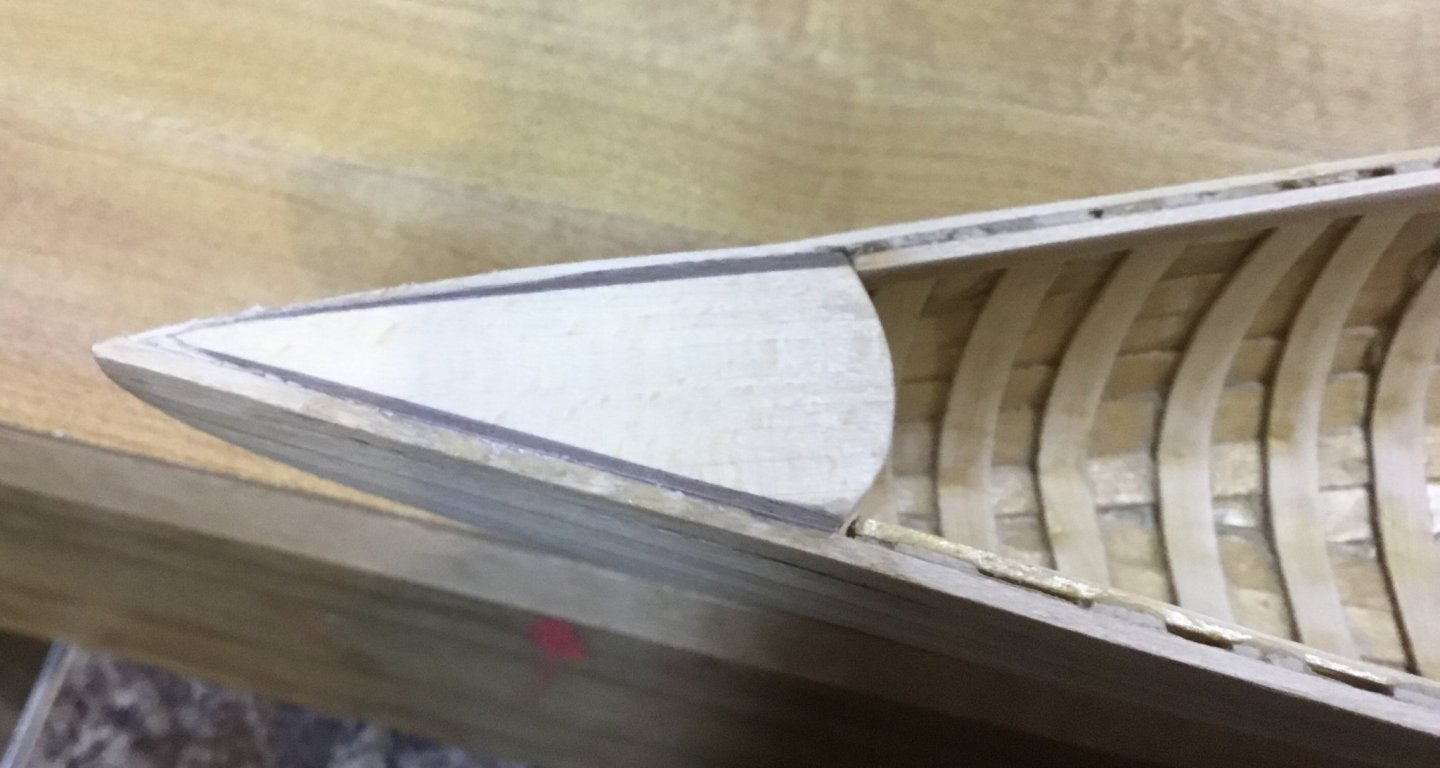
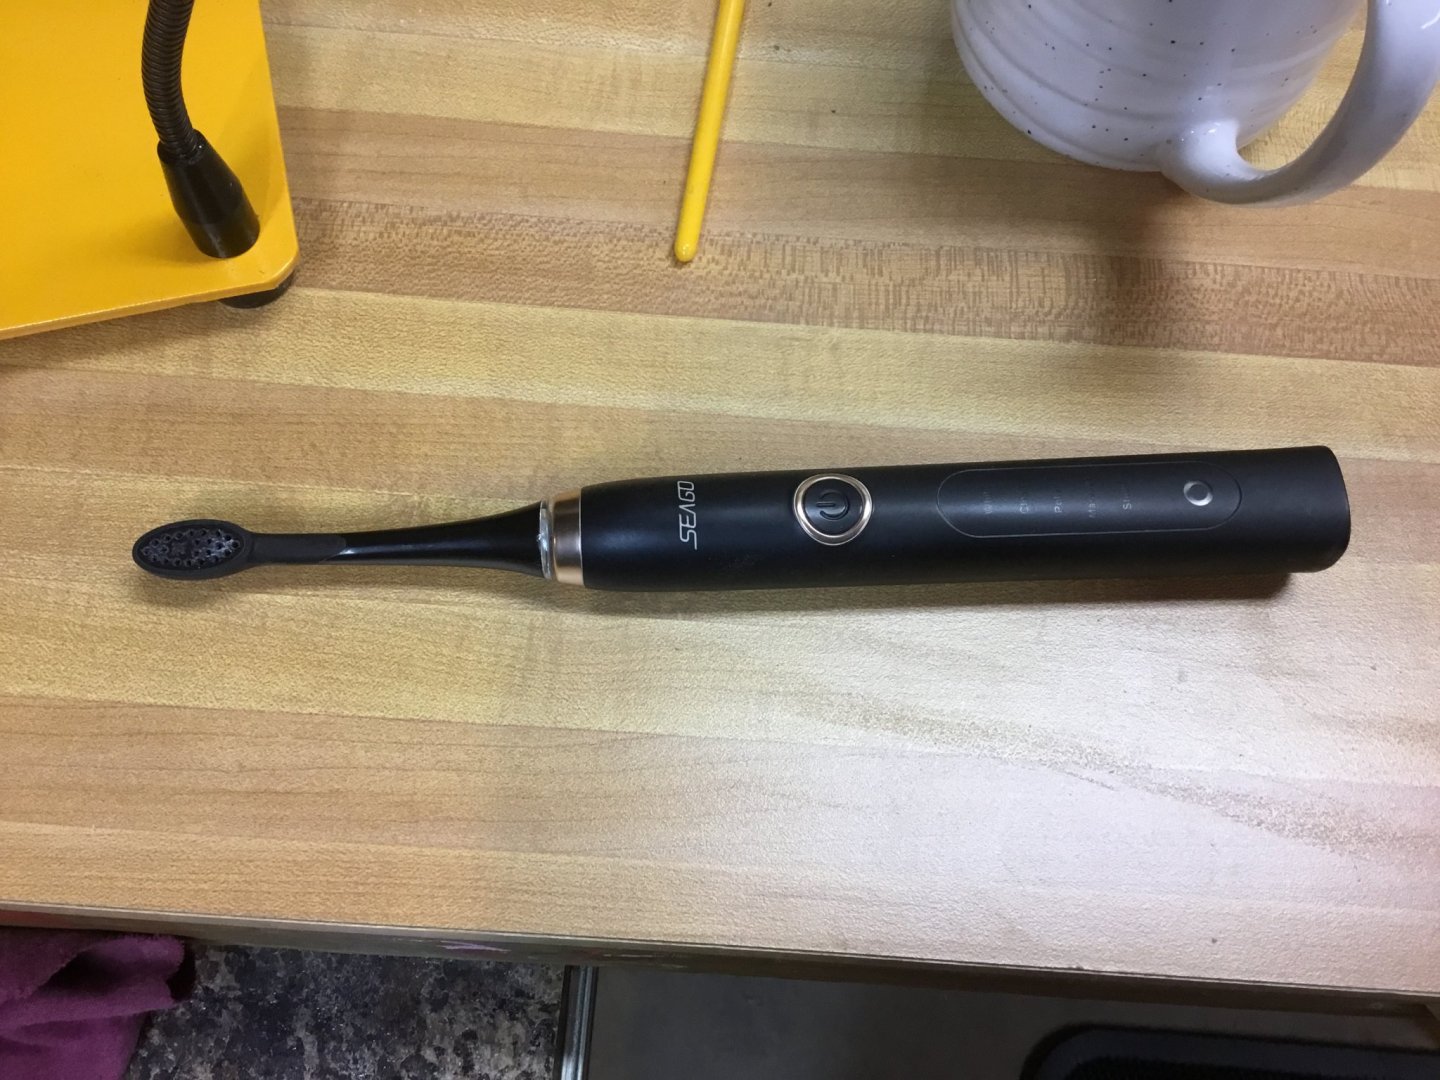
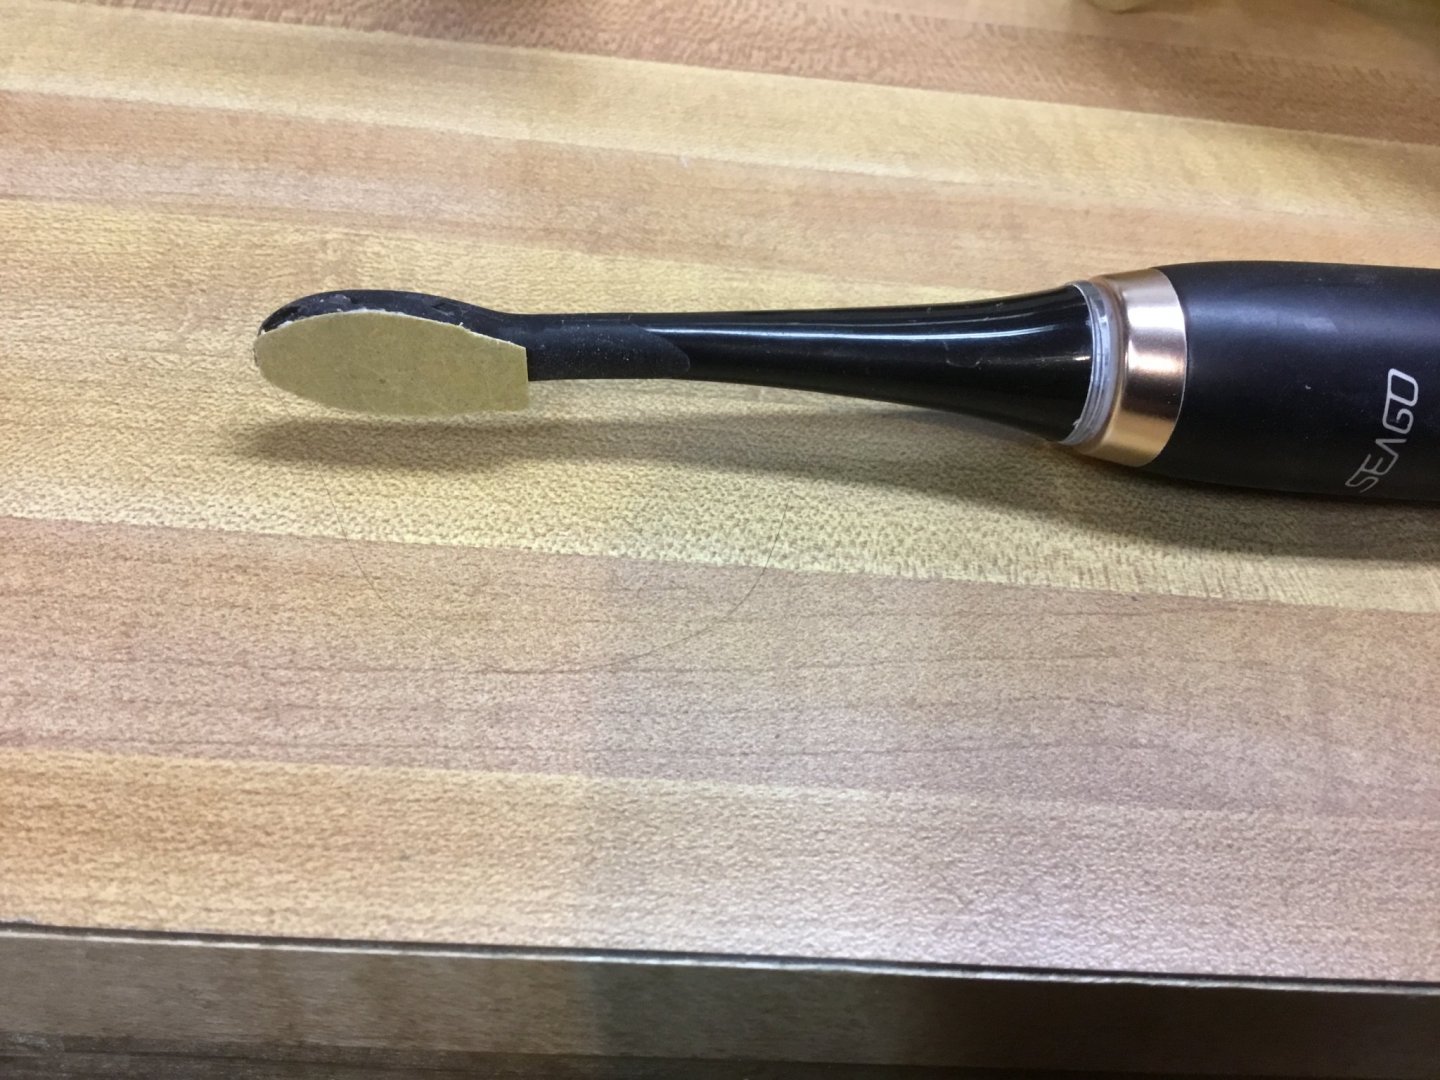
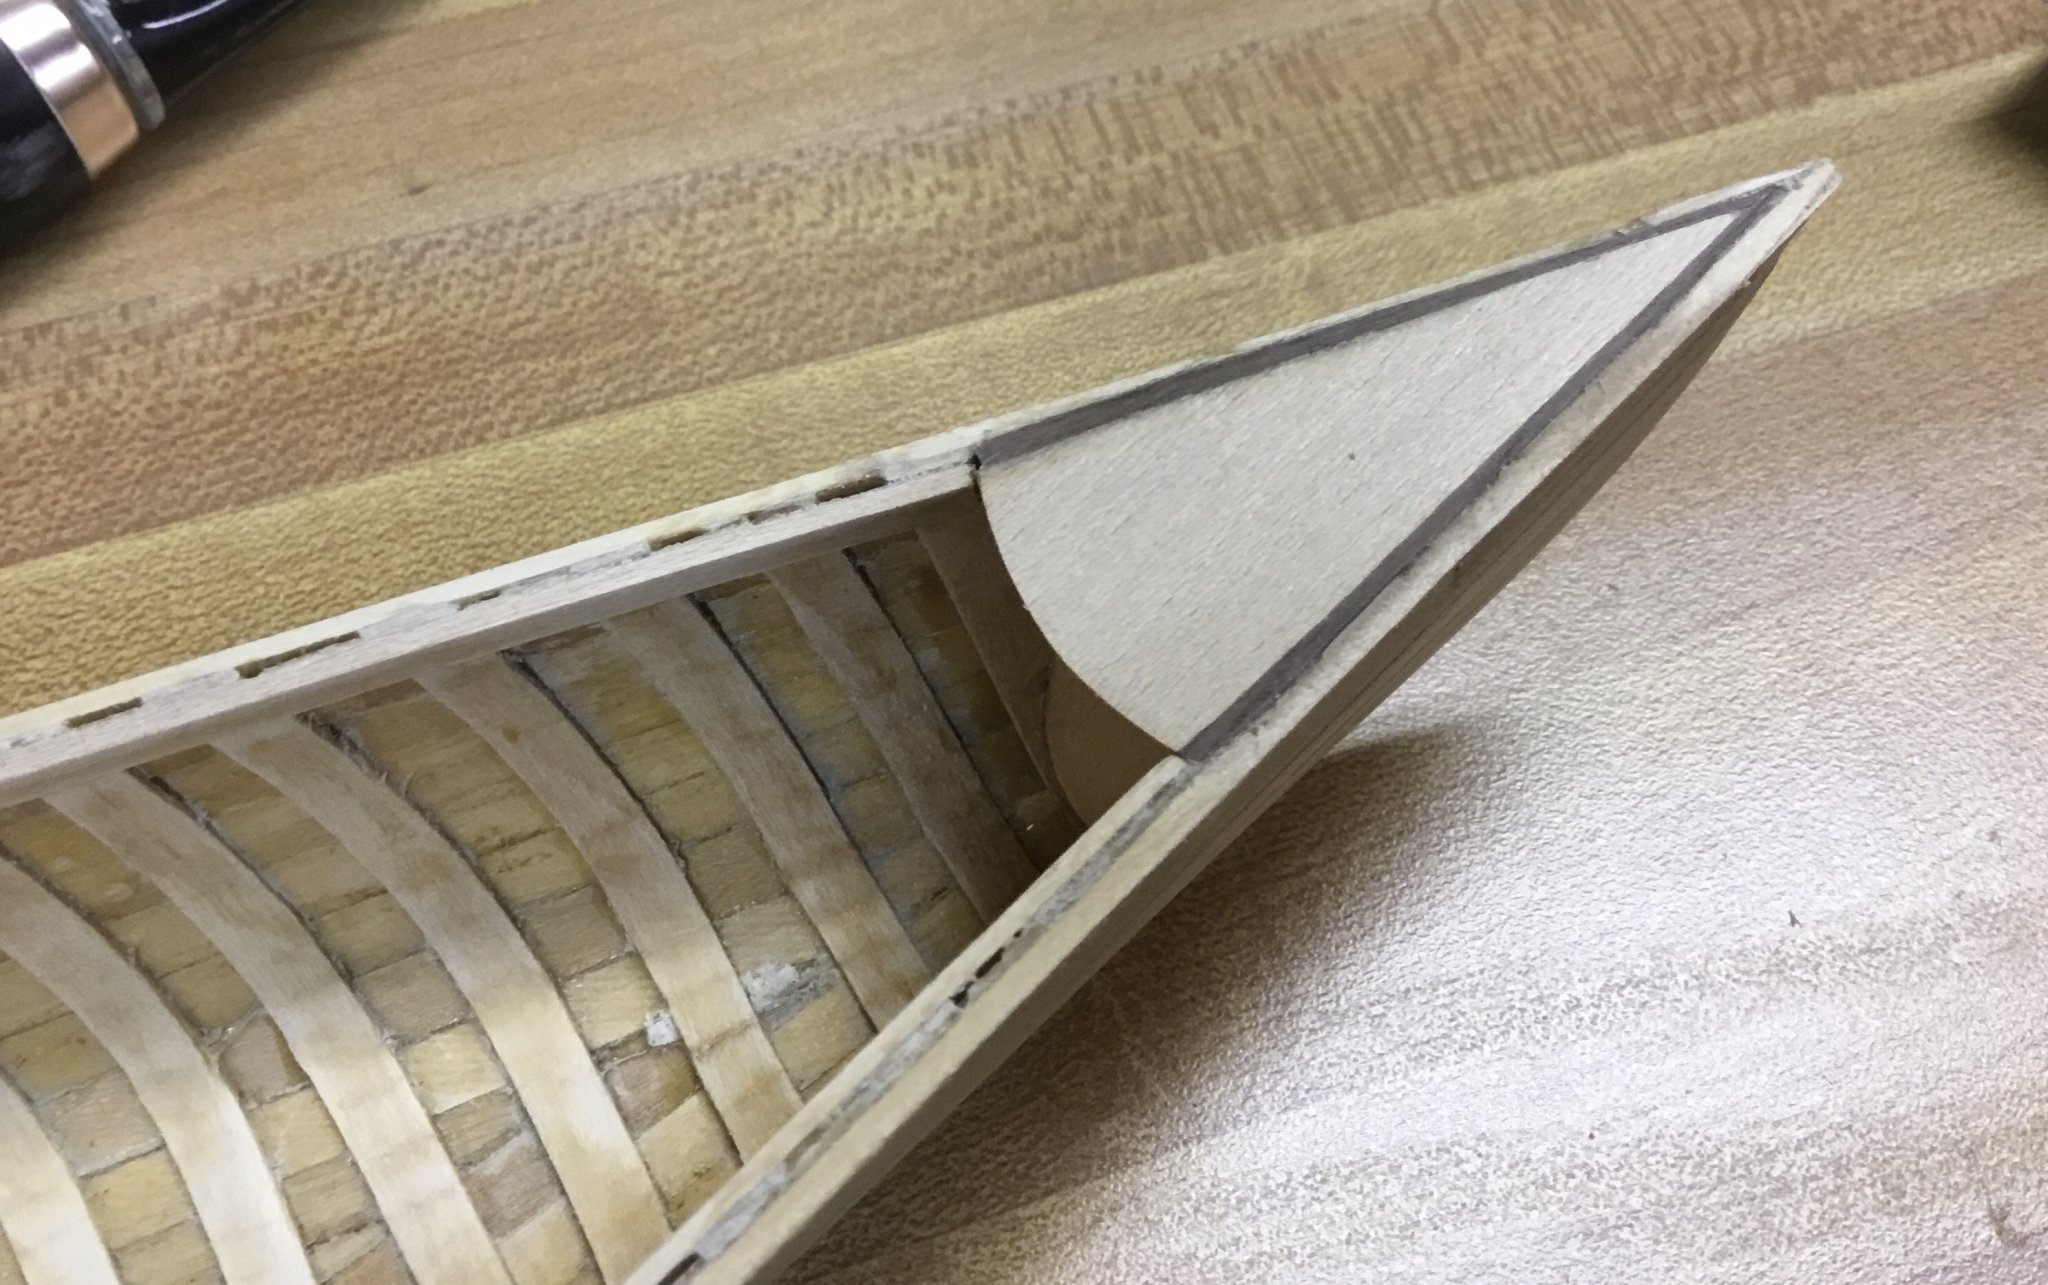
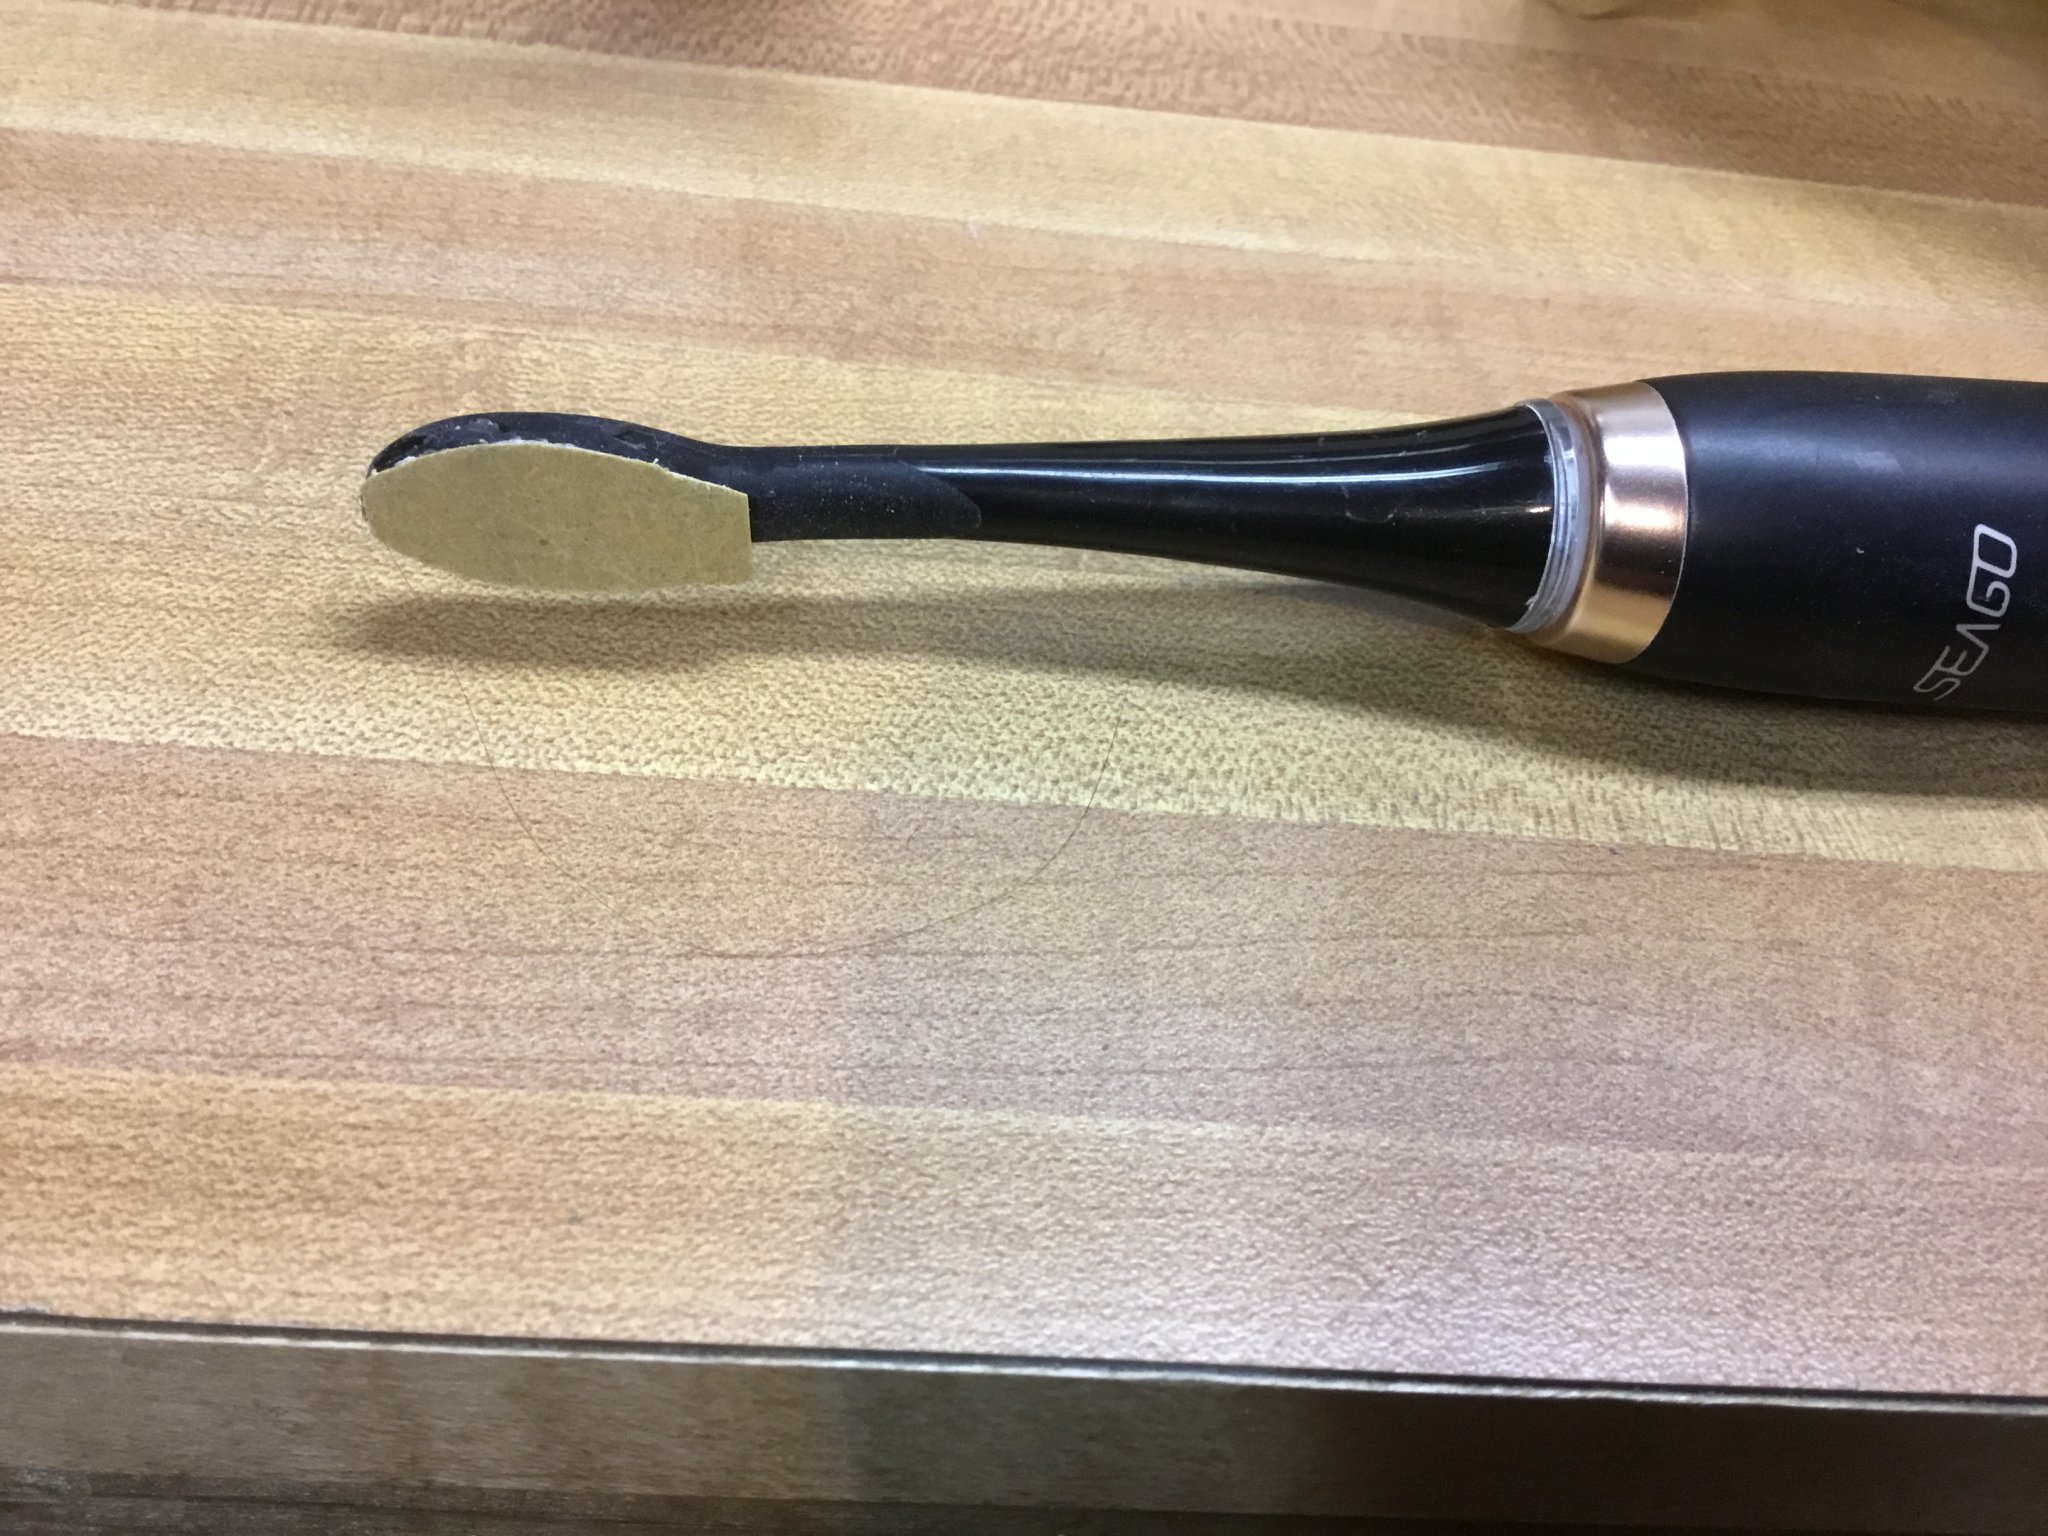
Carrying on with sanding and cleaning. I brushed on white vinegar to the interior to clean what I could not sand. I used my electric toothbrush, sans bristles, as a detail sander. The curved backside was perfect for getting the ribs near the bulkheads. Way to narrow and curved for anything else to get in there.

-
YouTube can be a wonderful thing. I was able to watch an entire rebuild of a wood canvas canoe. I was over 100 years old and came out looking beautiful. The restorer was thorough and made a point of keeping as much original wood as possible. I am going to see what I can do with this little canoe to respect the traditions of the wood canvas canoes as suggested by Roger. It should be interesting.
Since I have already prepped the exterior wood and no repairs are needed there. I saved the original deckplates and can reuse them.
I would now like to clean and prep the interior. It looks like varnish was liberally applied. What is my best option to safely remove that?
-
I am going to order the book The Wood & Canvas Canoe: A Complete Guide to its History, Construction, Restoration and Maintenance to help me understand this better. They look amazing and if I am going to do it as wood & canvas, then it should be right. I'll put this project on hold until I can read up on it.
Thanks you @Roger Pellett for catching this and pointing me in this direction.
I'll probably have to get the peterboro anyway too! 🙂
- mtaylor and Jim Cricket
-
2
-
Thank you for the background. This may take me in a whole new direction. I am familiar with some of the canoes used in the trade, in particular the Montreal canoe and the north canoe. The north canoe being closer in proportional size to the one I have here. The lack of keel wasn’t a particular problem, I understand whitewater canoes may have no keel and large rockers but I’m not a whitewater canoeist and I always thought they were shorter, smaller generally. But the thing that threw me was the combination of all that and the blue paint. I thought it was just a result of a mass produced “toy” or something like that.
I have never heard of the building method you described so it looks like I need to do more research to really do this model right.
- Roger Pellett and mtaylor
-
2
-


Canoe by Voyageur - FINISHED - scale 1:12 - RESTORATION
in - Build logs for subjects built 1901 - Present Day
Posted
Thanks Roger. I have two coats of primer on now and ready for paint. Once I decide on the color(s).