

Voyageur
-
Posts
174 -
Joined
-
Last visited
Content Type
Profiles
Forums
Gallery
Events
Posts posted by Voyageur
-
-
6 hours ago, Jaager said:
Denatured alcohol is ethyl alcohol. The solvent for PVA is isopropyl alcohol, but the properties of short chain alcohols are very similar. So it could be PVA. Hide glue is denatured by ethyl alcohol - especially if it is hot, so it could be a hide glue.
Thank you, I never would have guessed that each type is different enough to make a difference.
-
4 hours ago, Osmosis said:
Is this going to be a log of your restoration. Cause you know I'm in.
You bet! You inspired me to do this. I was perfectly happy looking at it on the shelf but your Peterborough looked so sweet that I just had to do something. I spending some time thinking about how to approach it before starting the log. Maybe tonight. I’d like some input from my friends here as I don’t think I have all the answers to accomplish what I want. Thanks for your interest!
-
-
-
I have this nice little canoe that I am planning on rebuilding. I want to remove the decks and bulkheads. I wonder what advice anyone would have to best remove them with minimal damage.

-
I have a model canoe that I bought at a second hand store. I am going to sand the paint, plank over the existing planks, change the shape to add tumble home, etc... generally rebuild the thing. What is the proper forum and name for this type of thread?

- mtaylor and GrandpaPhil
-
 2
2
-
-
5 hours ago, Bob Cleek said:
Four, it is a completely safe and reversible archival material. Shellac is non-toxic. It is what is used to make M&M's and jelly beans candy shiny. It has been known in the written record going back at least 3,000 years and archaeologists have recovered shellac artifacts of that age that remained in good condition. It is perpetually reversible. Simply applying alcohol will soften and dissolve shellac even decades and centuries after it was first applied. Many have no concern about the archival quality of the materials they use in their models, which is certainly their prerogative. For myself, I like to think my models will survive me and may even be around a good long time, so using materials proven to be as long lasting as possible will help to ensure that outcome. I know that may be a much less than likely conceit, but the fantasy makes modeling a bit more fun for me on that account.
That is great info. I will be sure to return to this thread for reference. Do you also shellac over the paint, as a sealer or protector?
-
On 2/8/2020 at 9:24 PM, Bob Cleek said:
Shellac is alcohol based and has the consistency of water. You brush it on generously. It soaks deep into the wood, particularly the end grain. When it dries, it's one of the best moisture barrier coatings known to man. You can sand it very smooth. Anything else sticks to it fine. It's compatible with everything. It can be easily sanded to a very fine degree of smoothness. It's easy to clean up. It washes off with alcohol. It's relatively inexpensive.
Bob, this is great information. Is it common to shellac all wood of a ship model? I can’t say that I ever recall seeing someone applying shellac to masts or spars, etc... I would think all the same reasons for shellacking the hull would also apply to the rest of the wood.
-
Looks great! And I’m a voyageur and I know my canoes! 😉
-
43 minutes ago, Beef Wellington said:
Well done, looks great! So what's next?
Model Shipway’s Katy of Norfolk. Hope to start next week.
-
4 hours ago, Osmosis said:
Wonderful job. These MW kits make great little boats. I am going to try to build as many as I can lay my hands on,
I agree. I think I’ll make more small craft in the future. I appreciate your comments!
-
A solid Hull is on my list to do next so I am following along with interest. Looking great so far!
-
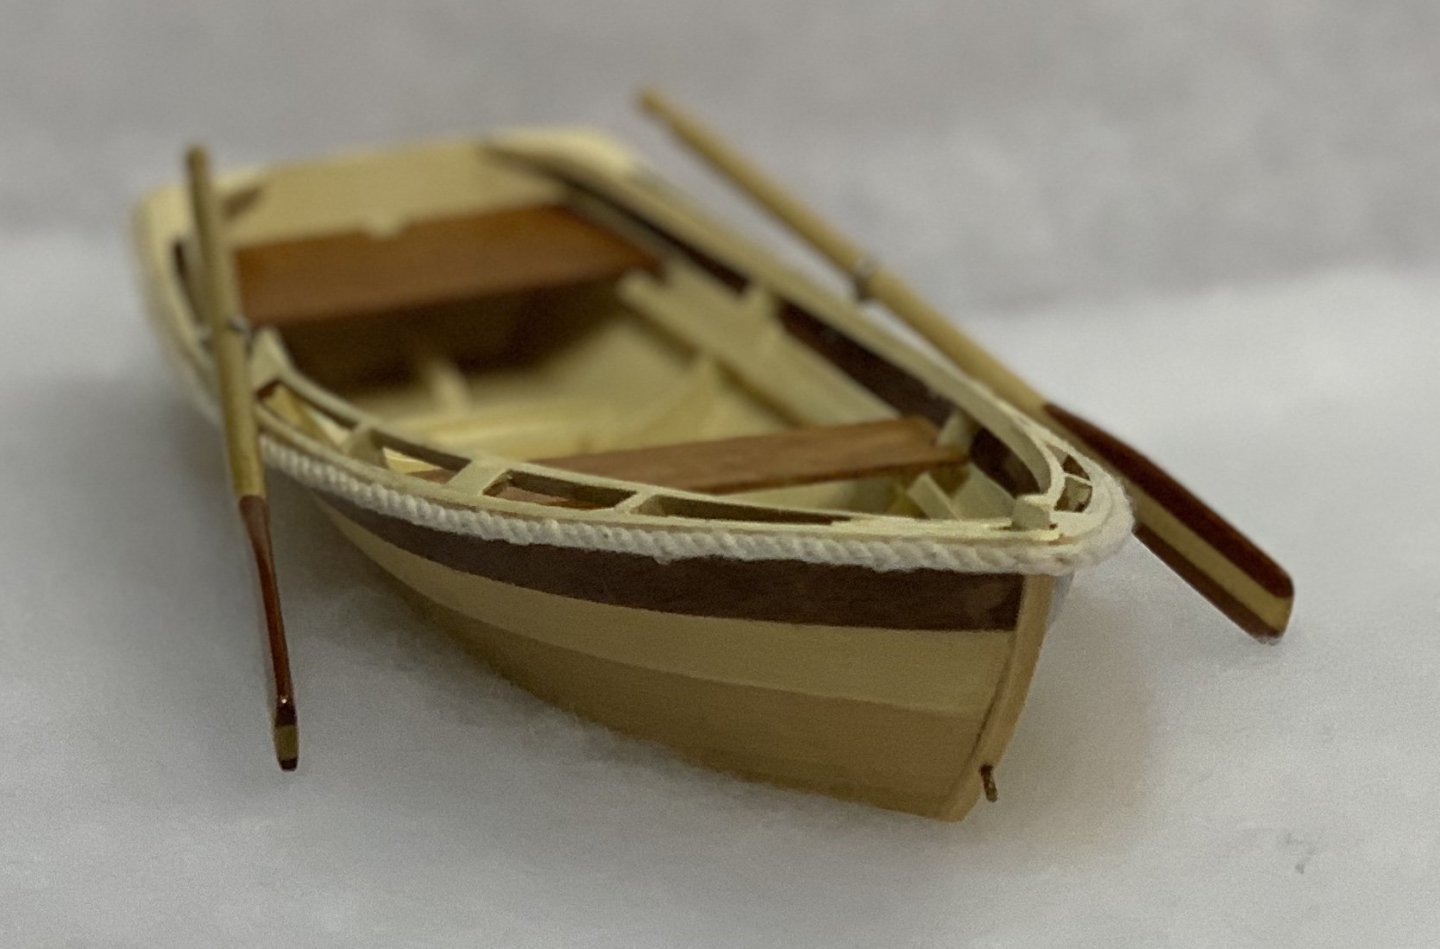
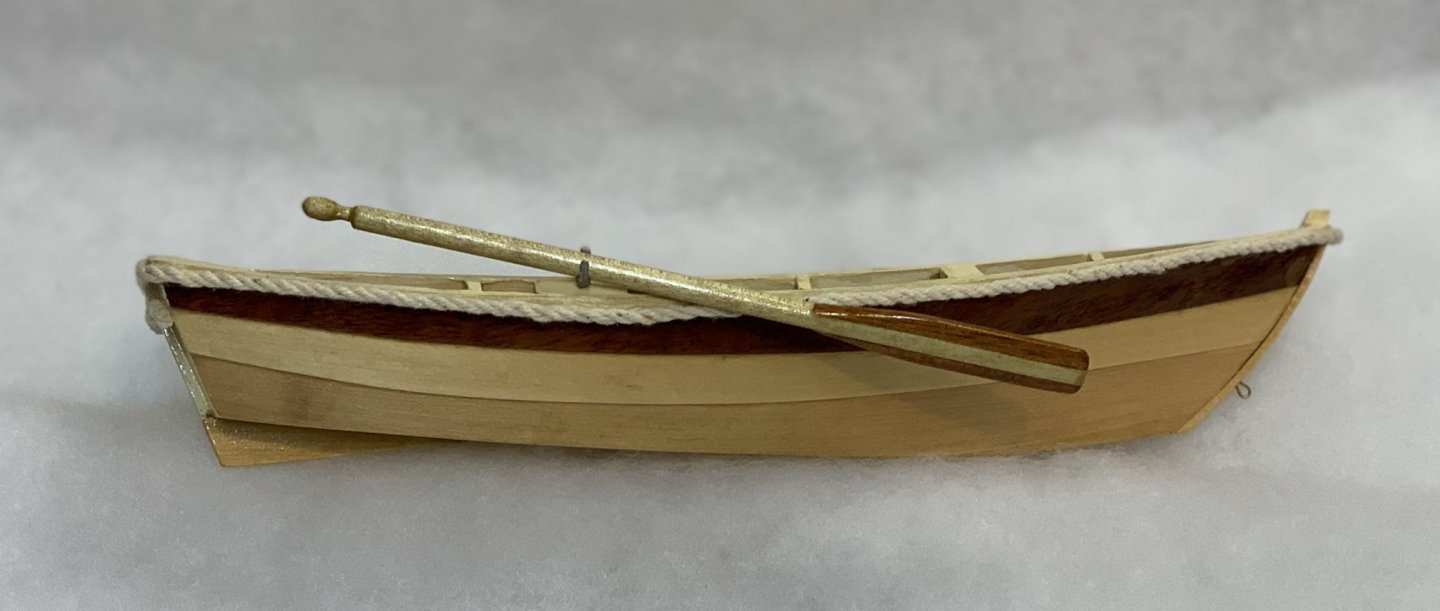
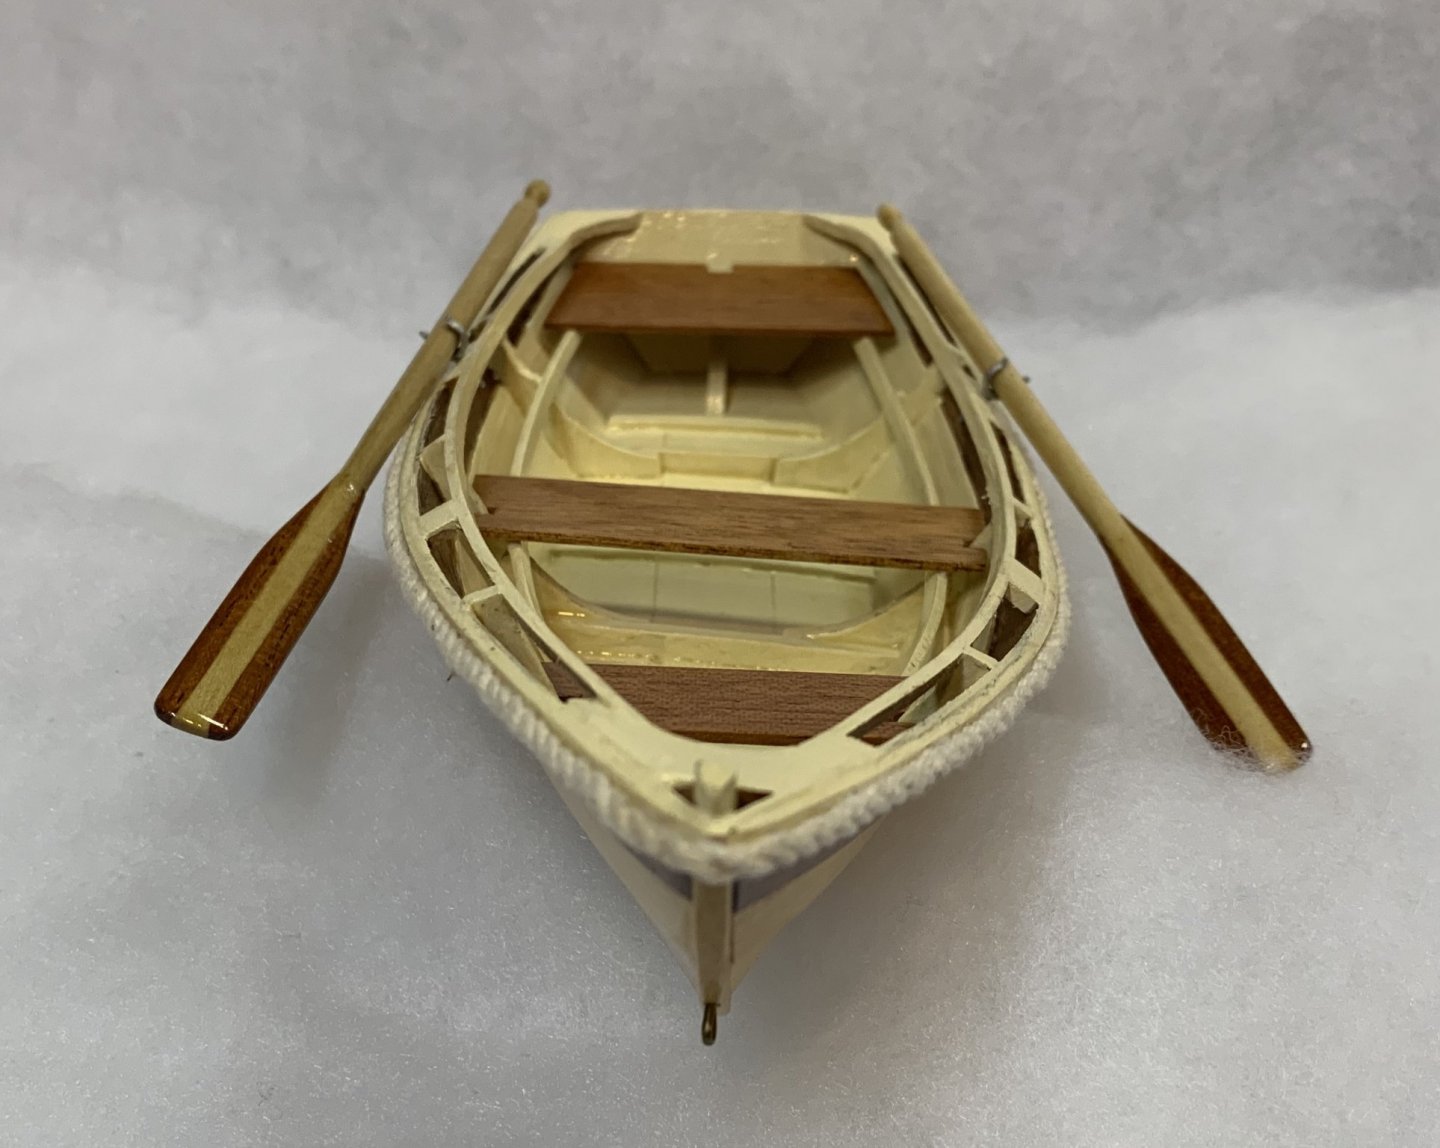
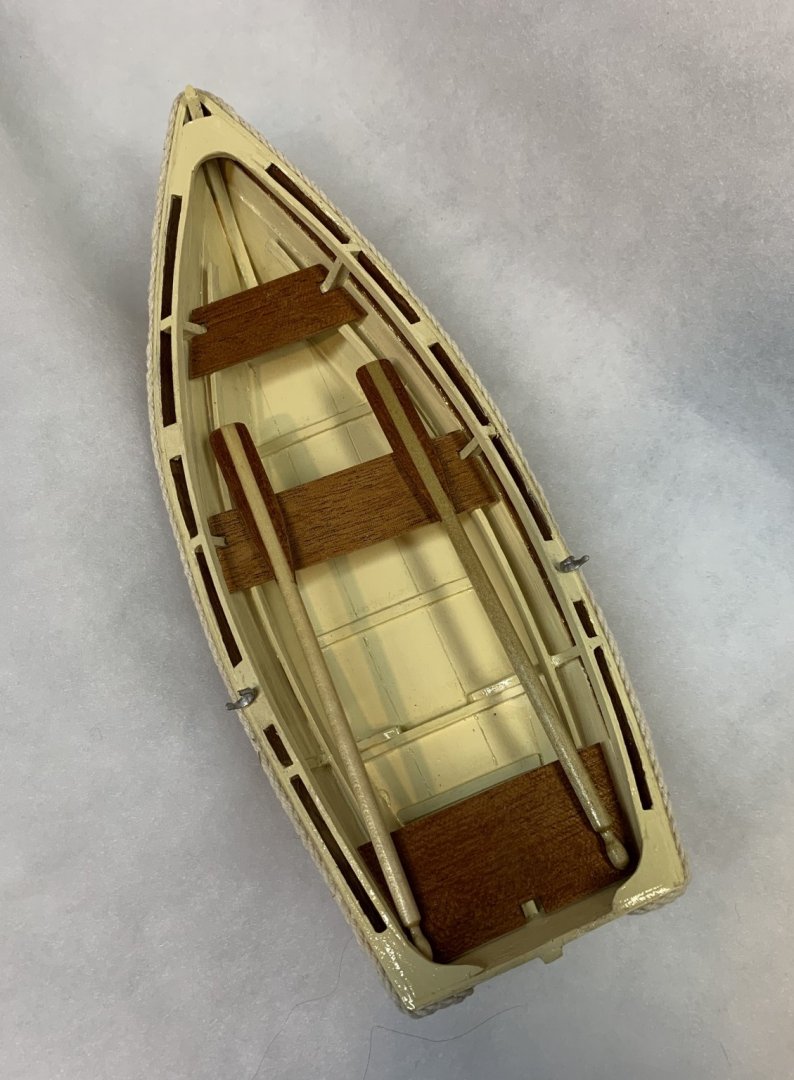
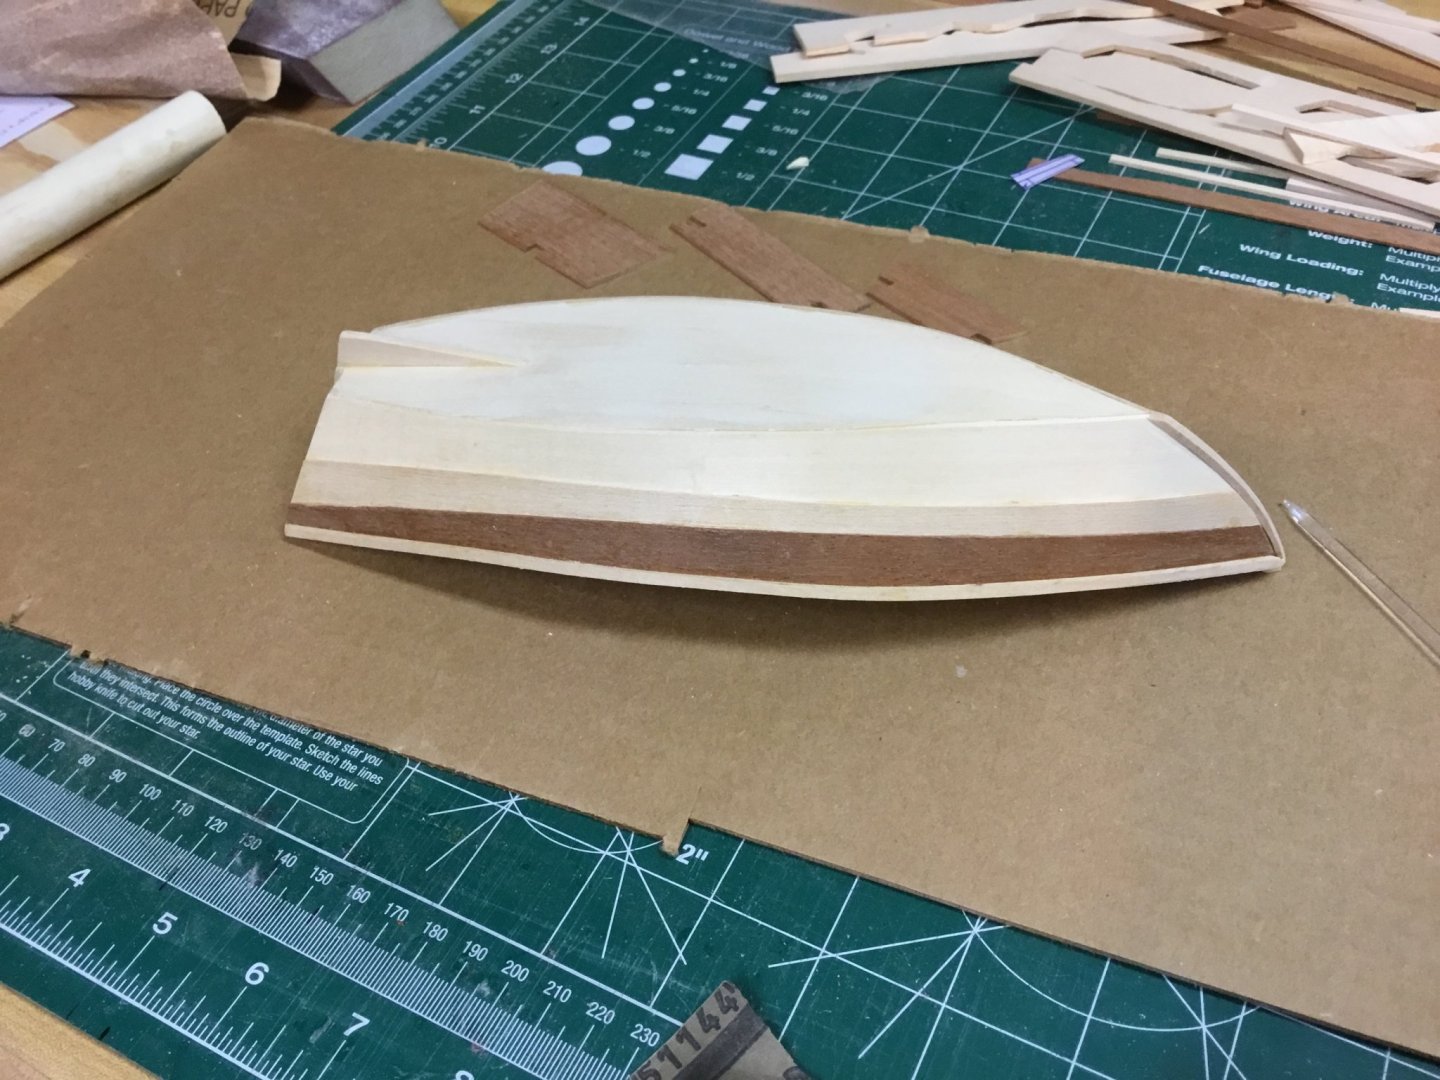
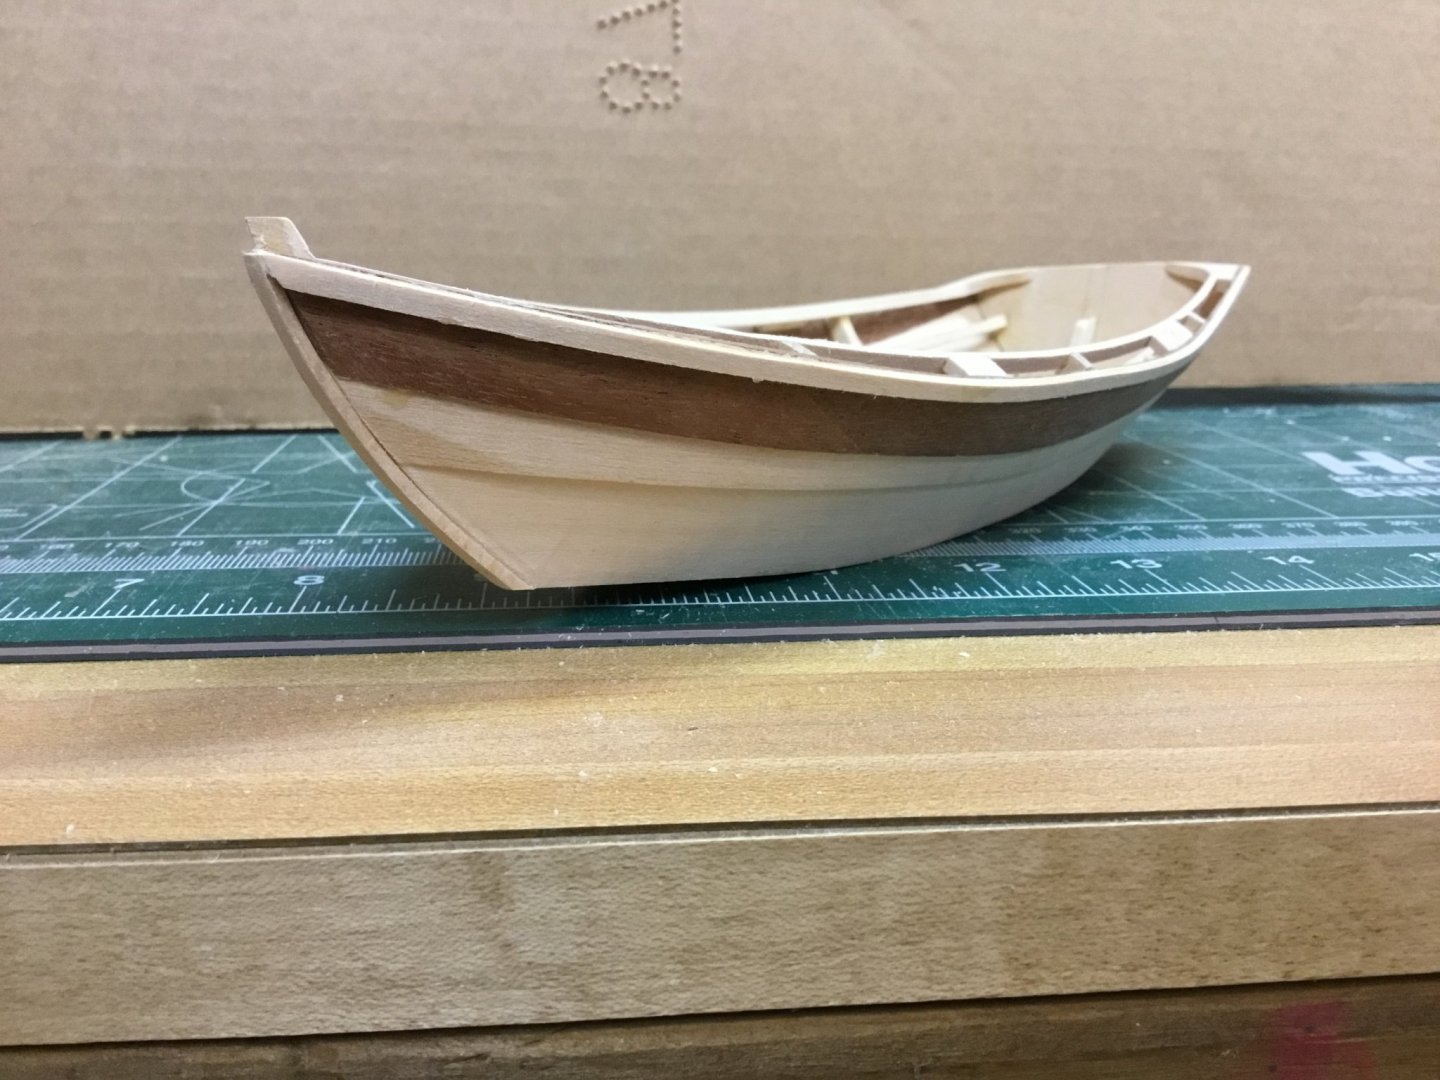
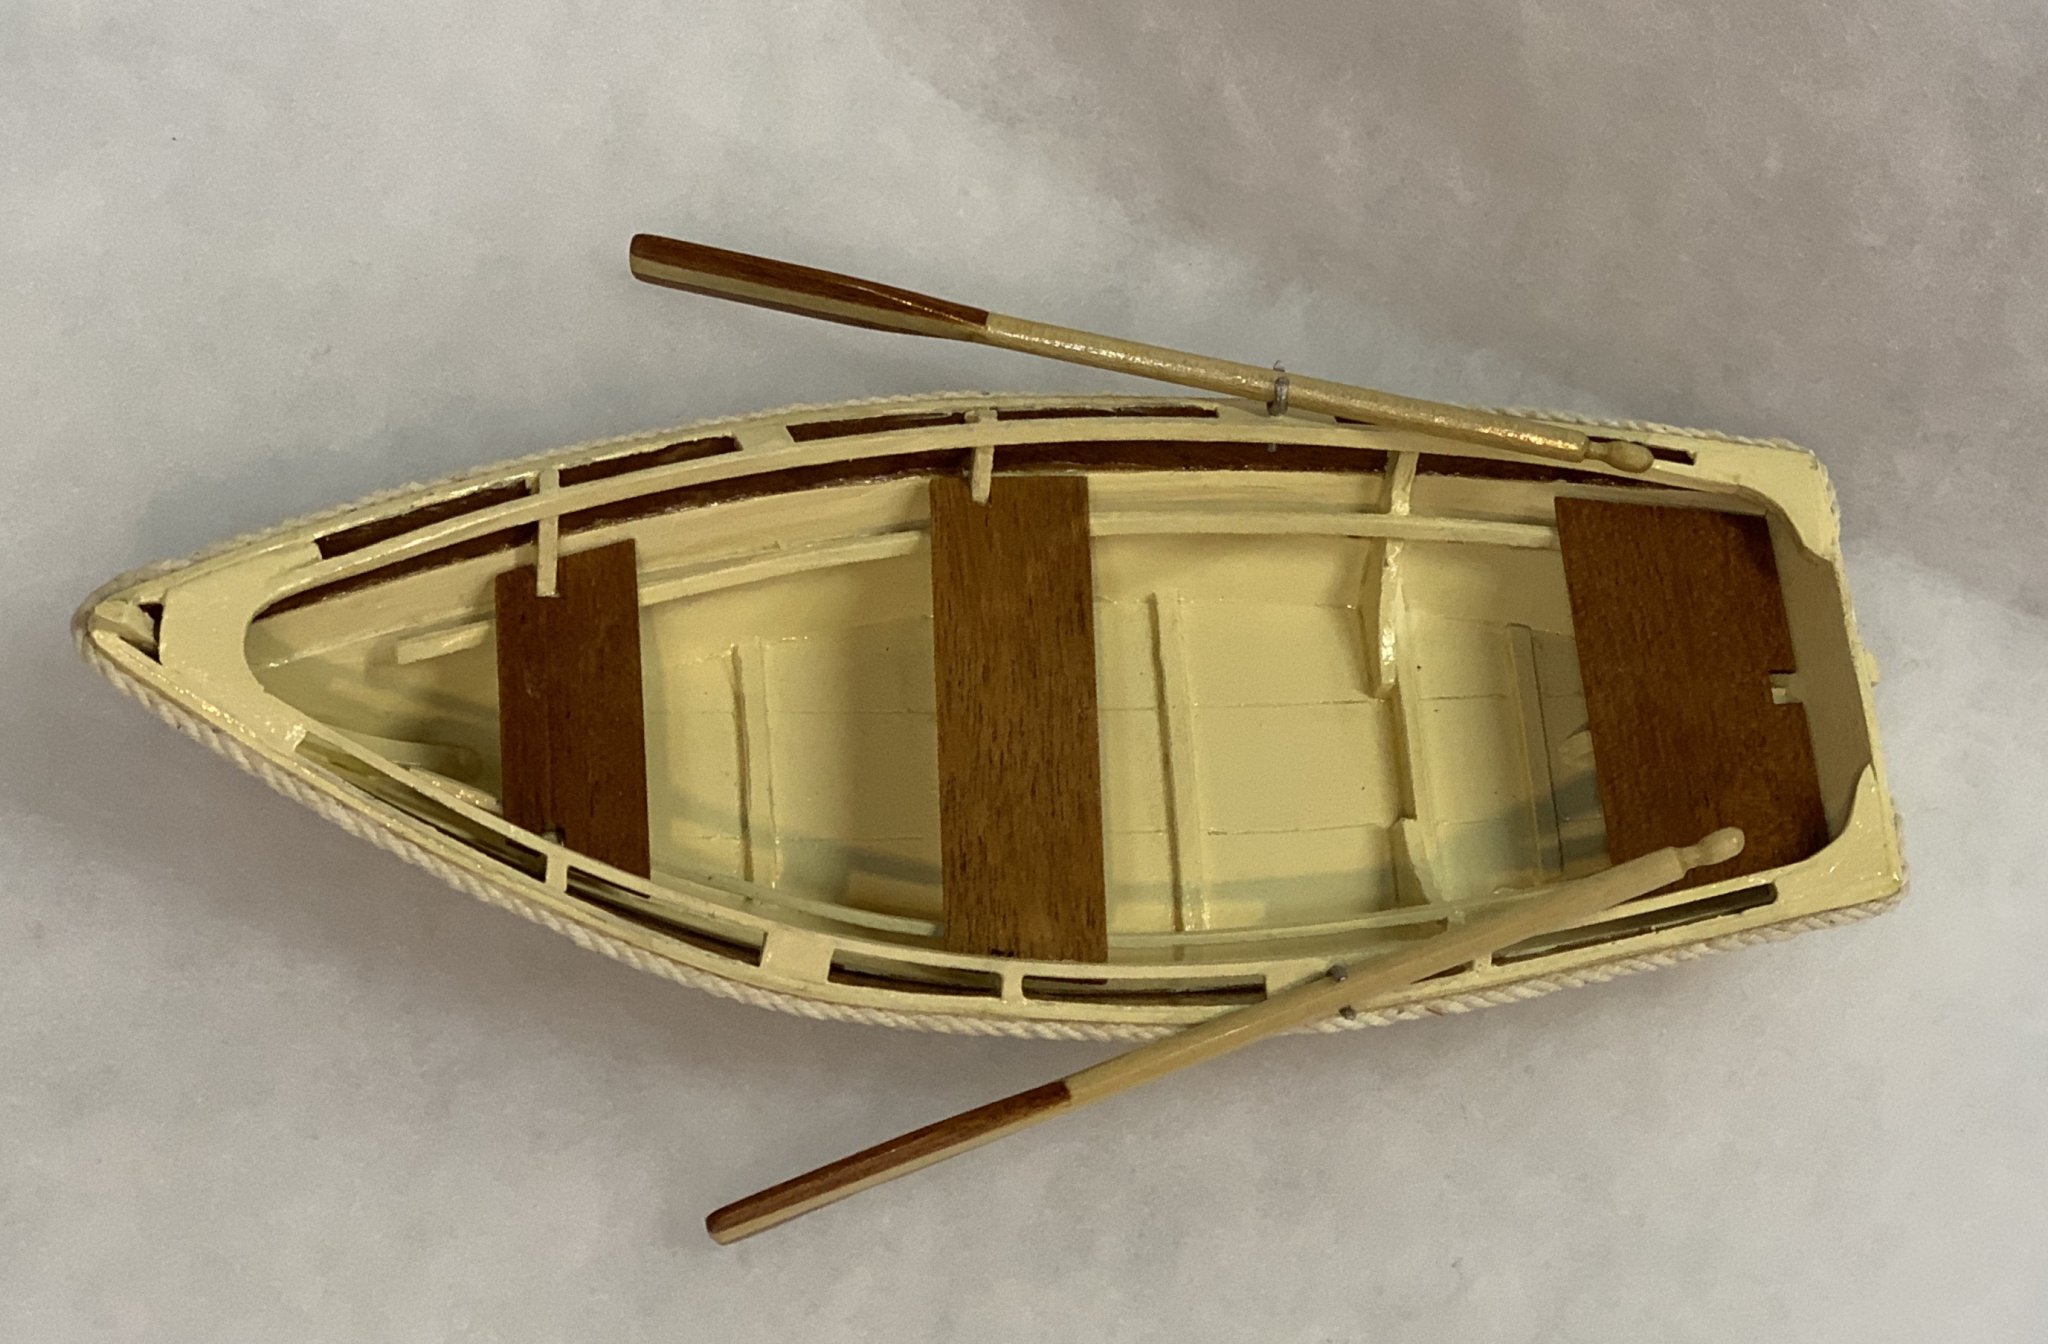
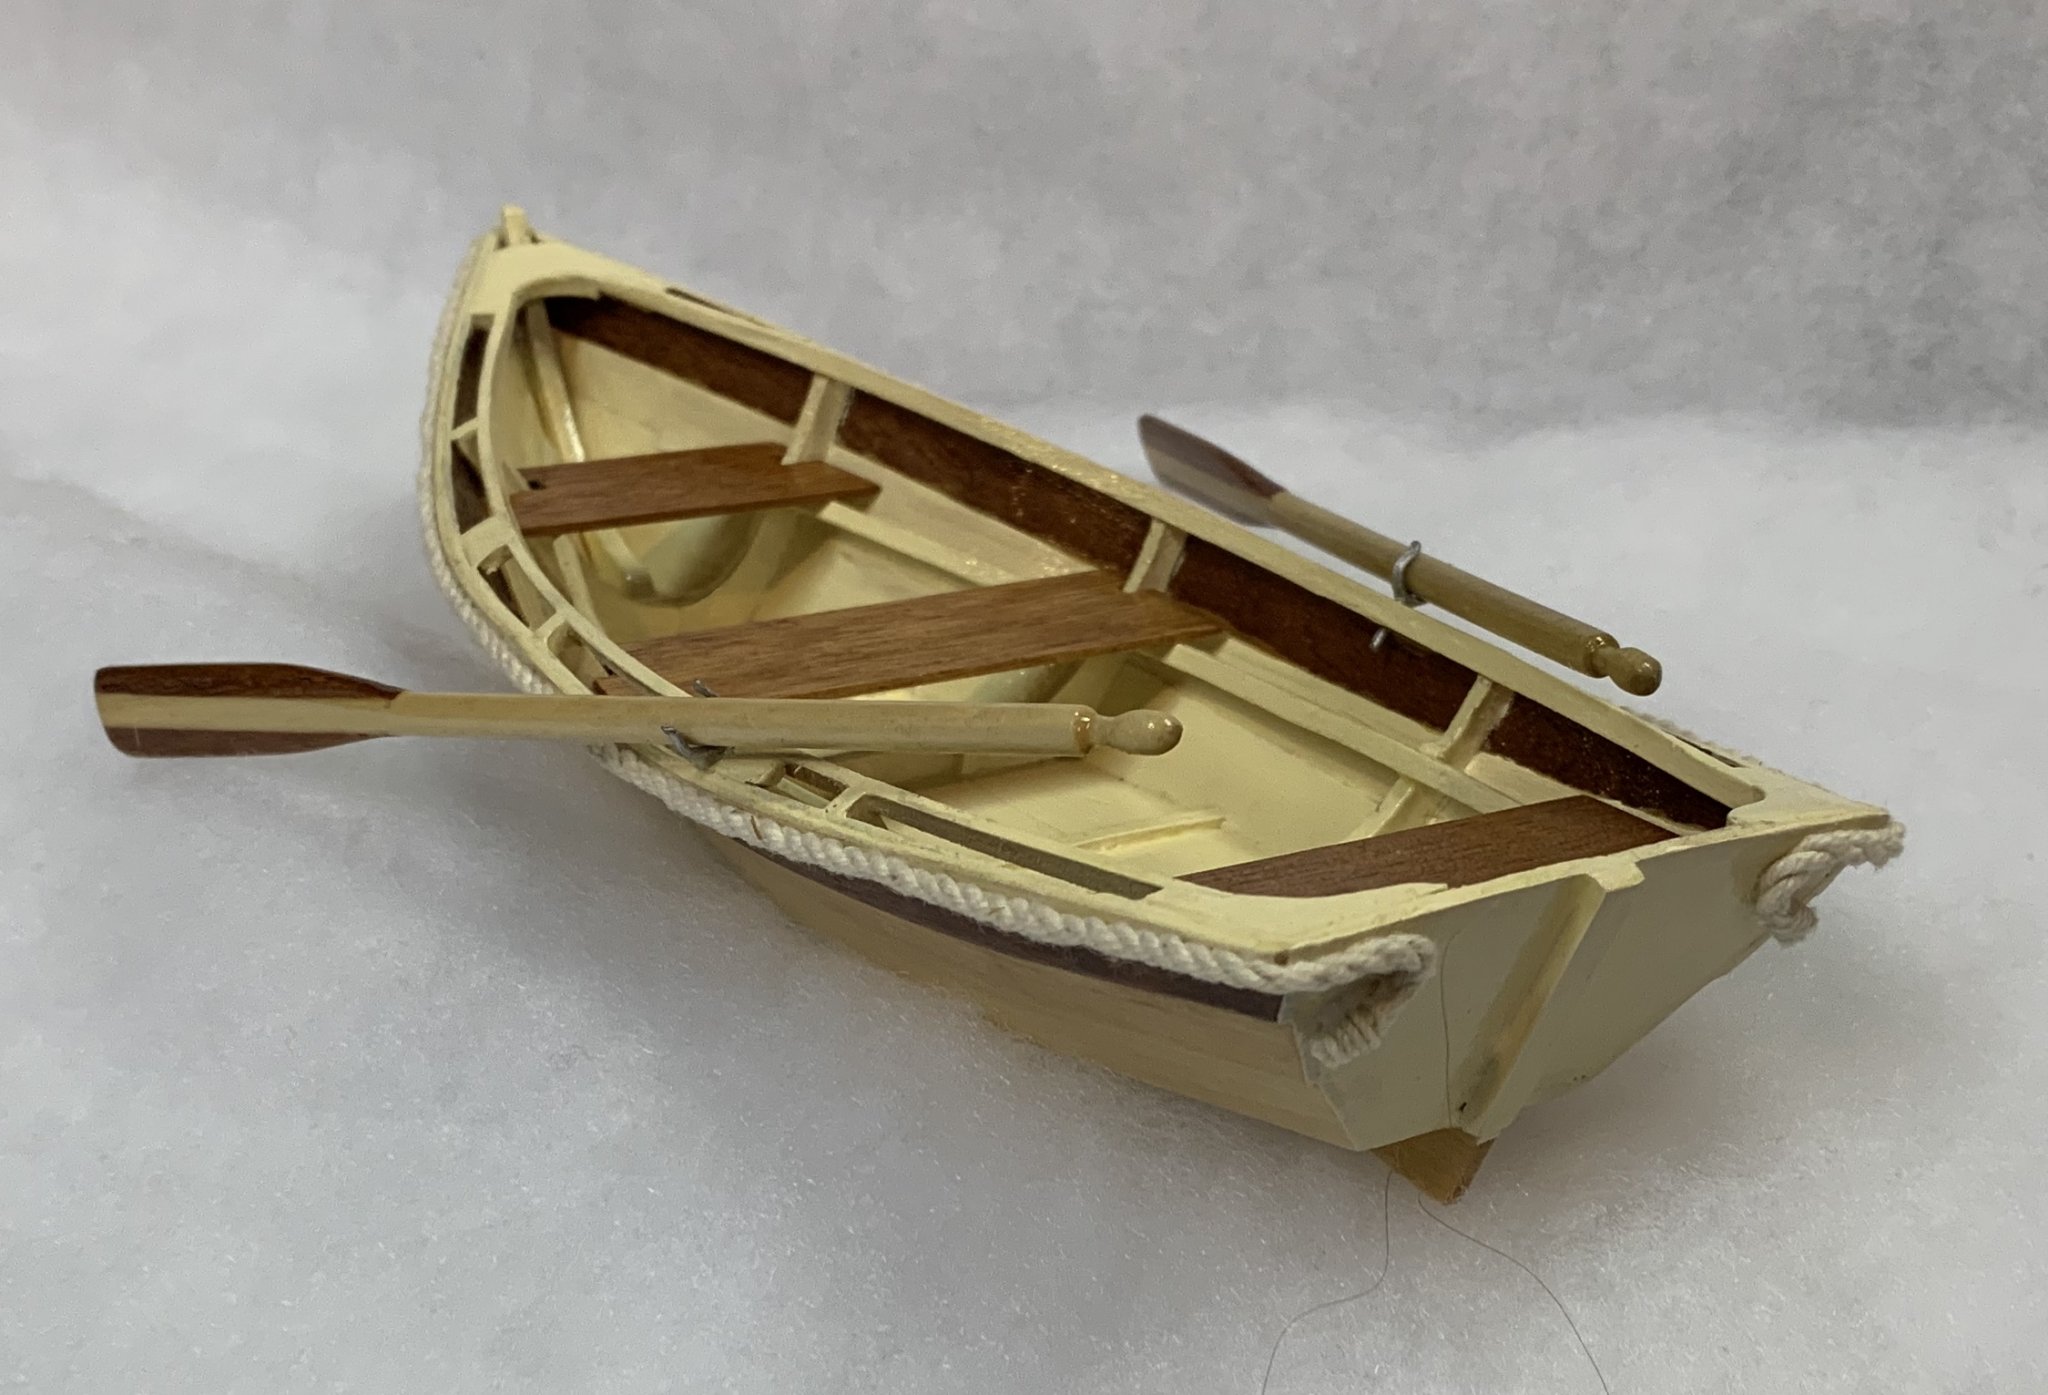
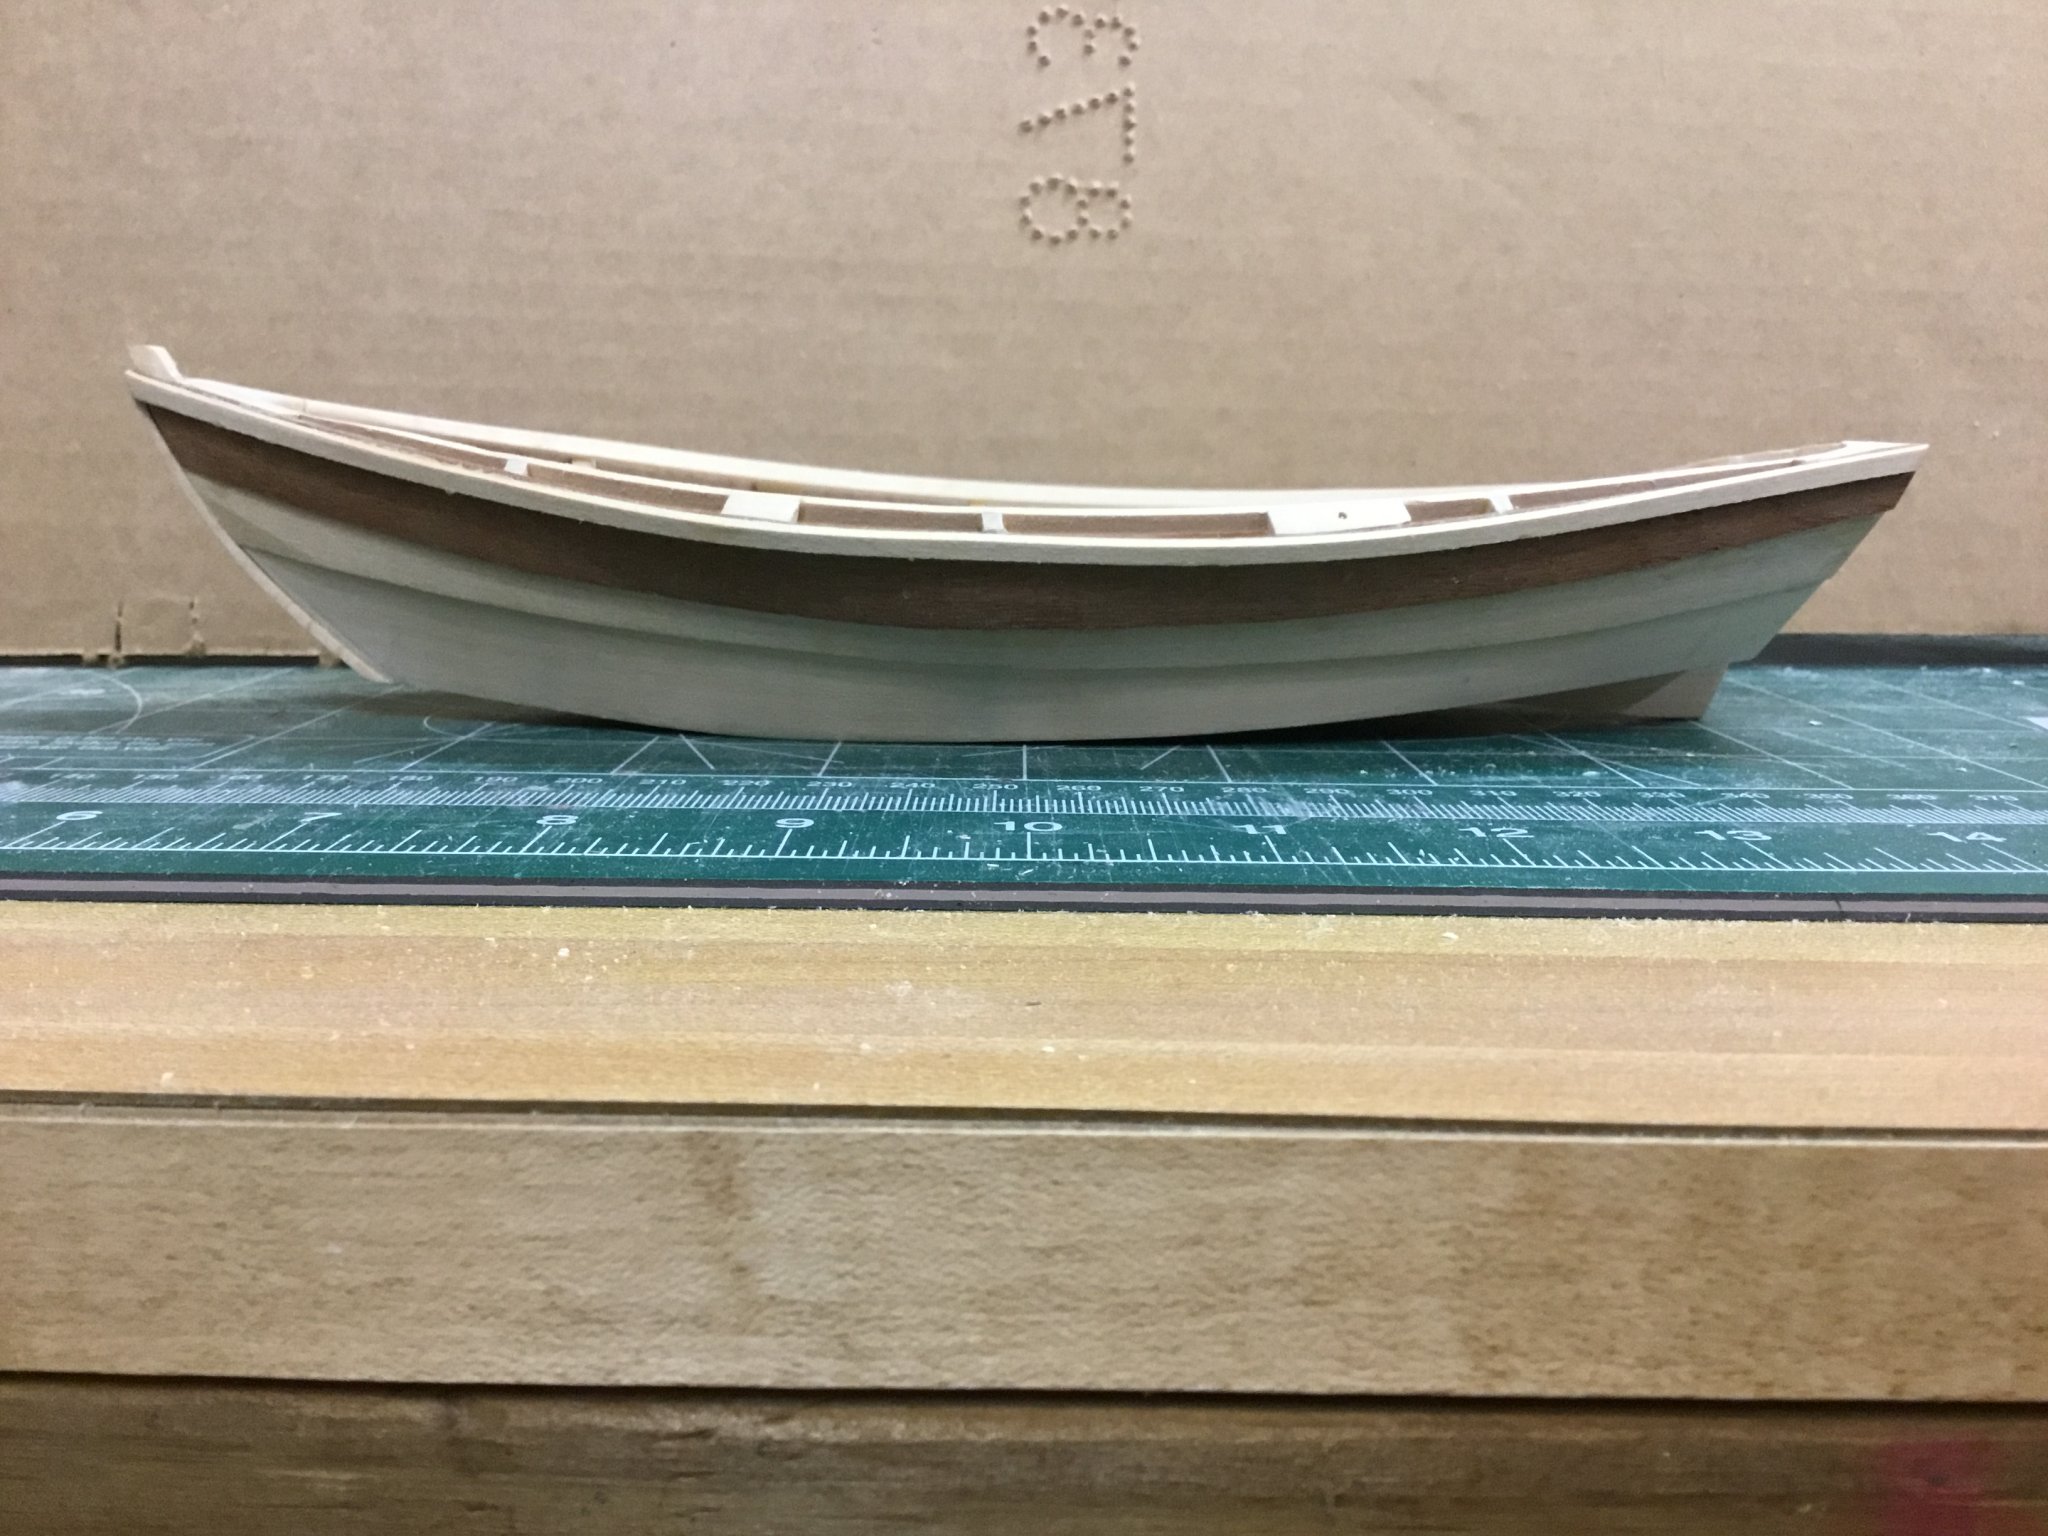
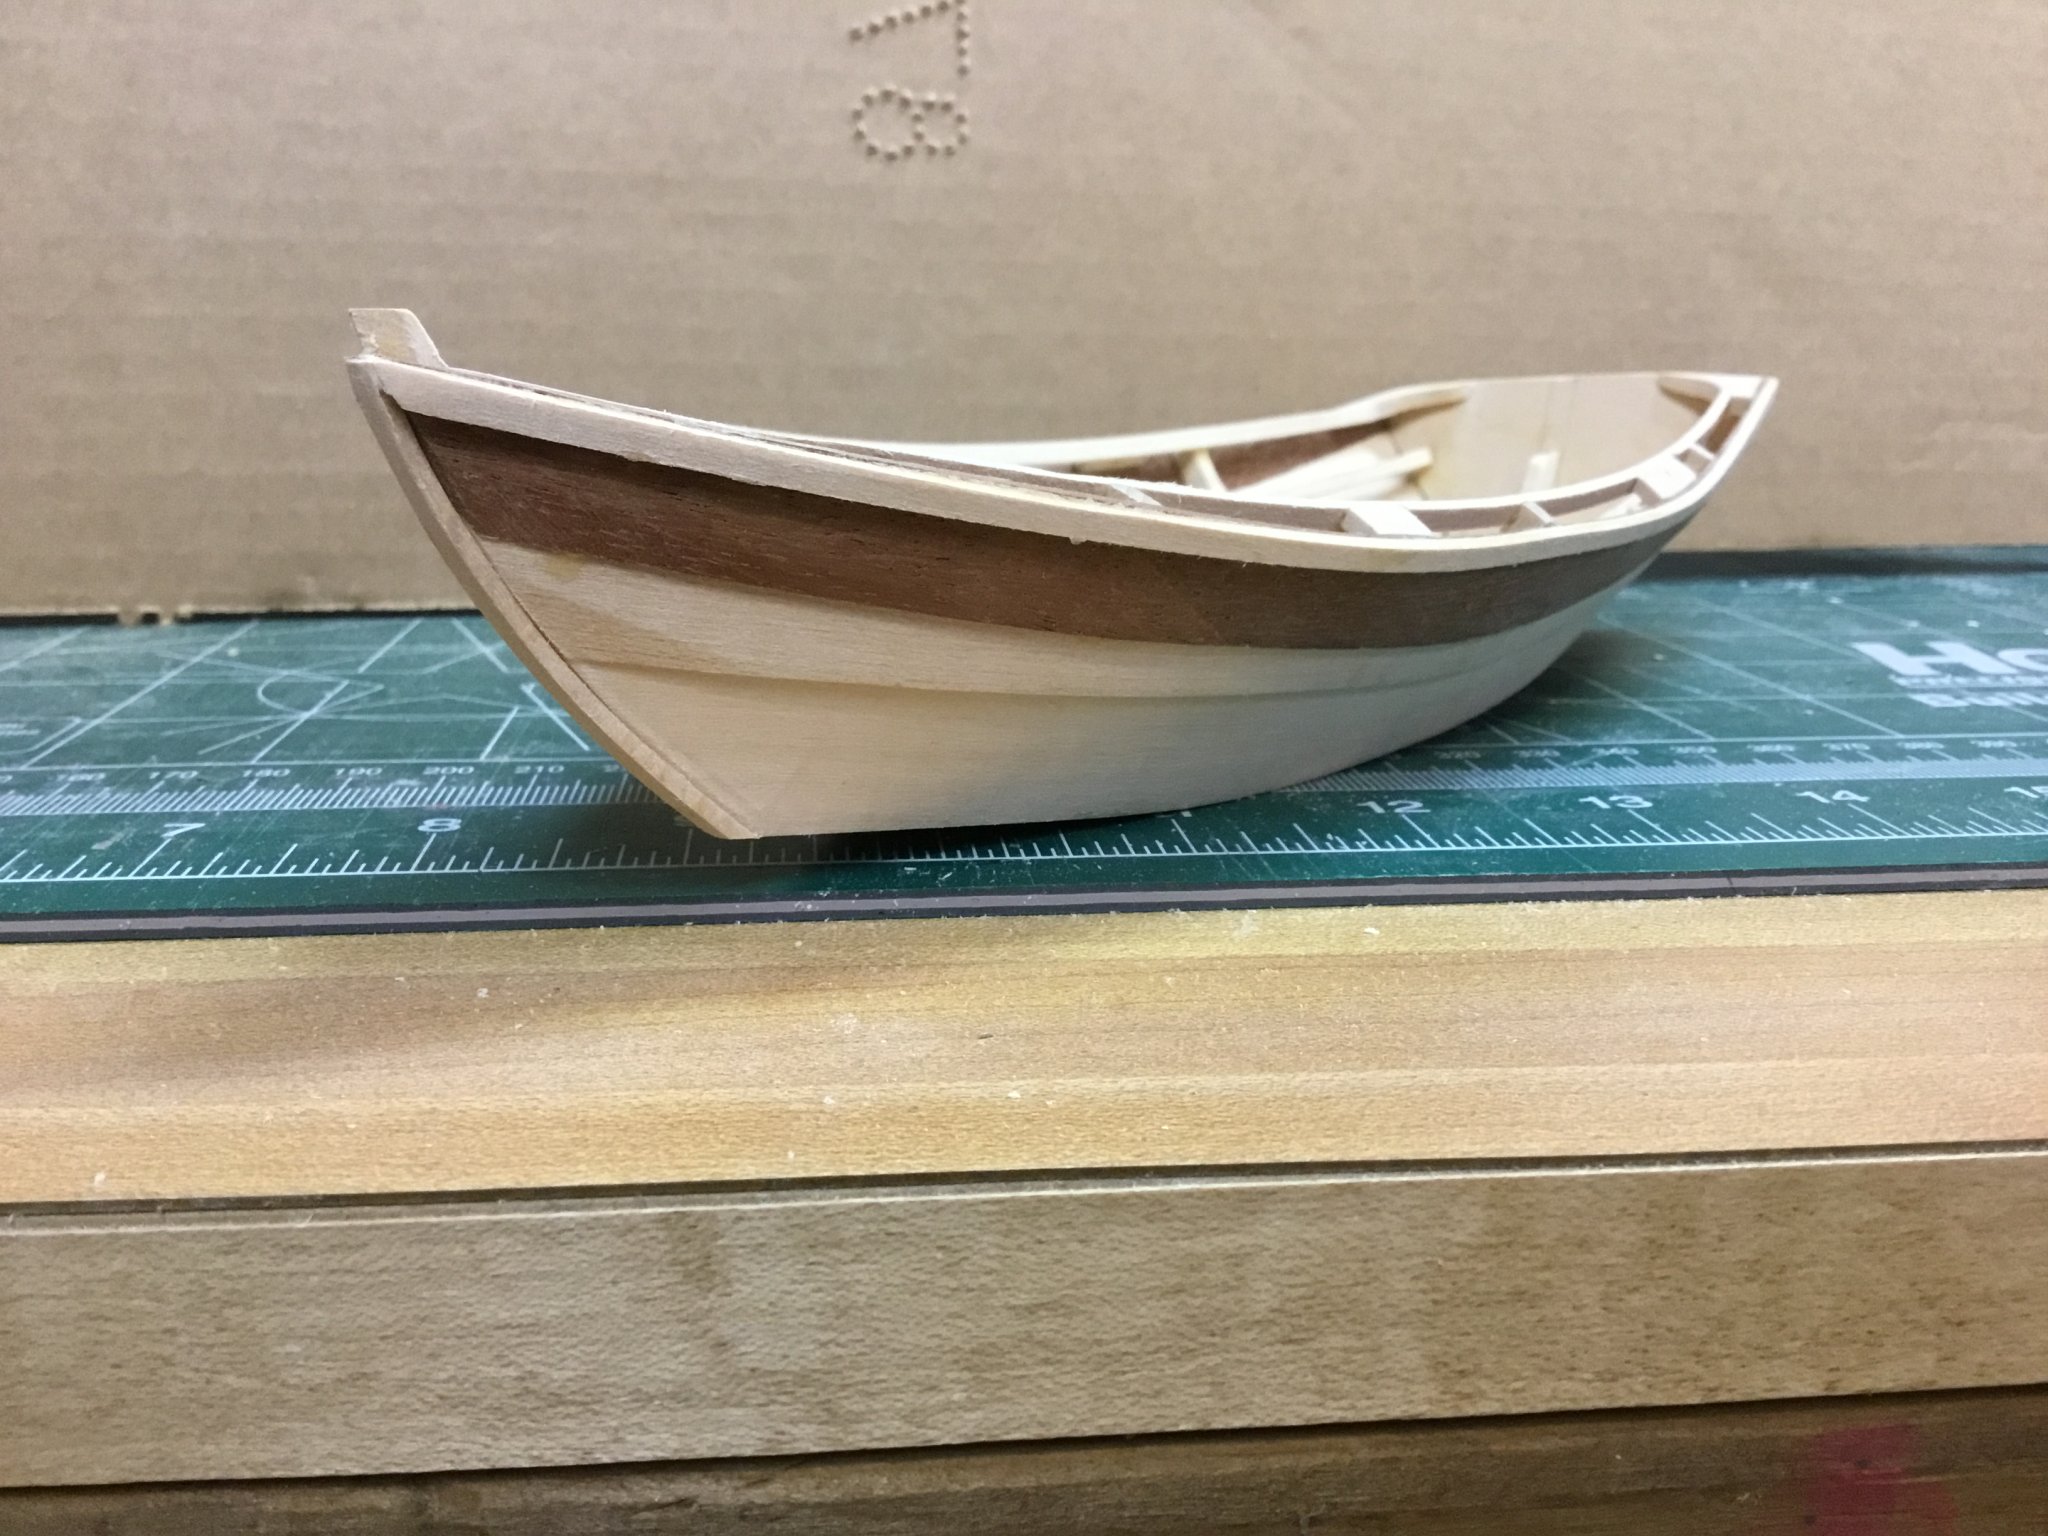
Well, here is my finished dinghy. Not perfect but I think she’s seaworthy. Thanks for your likes and comments!
on to my next project...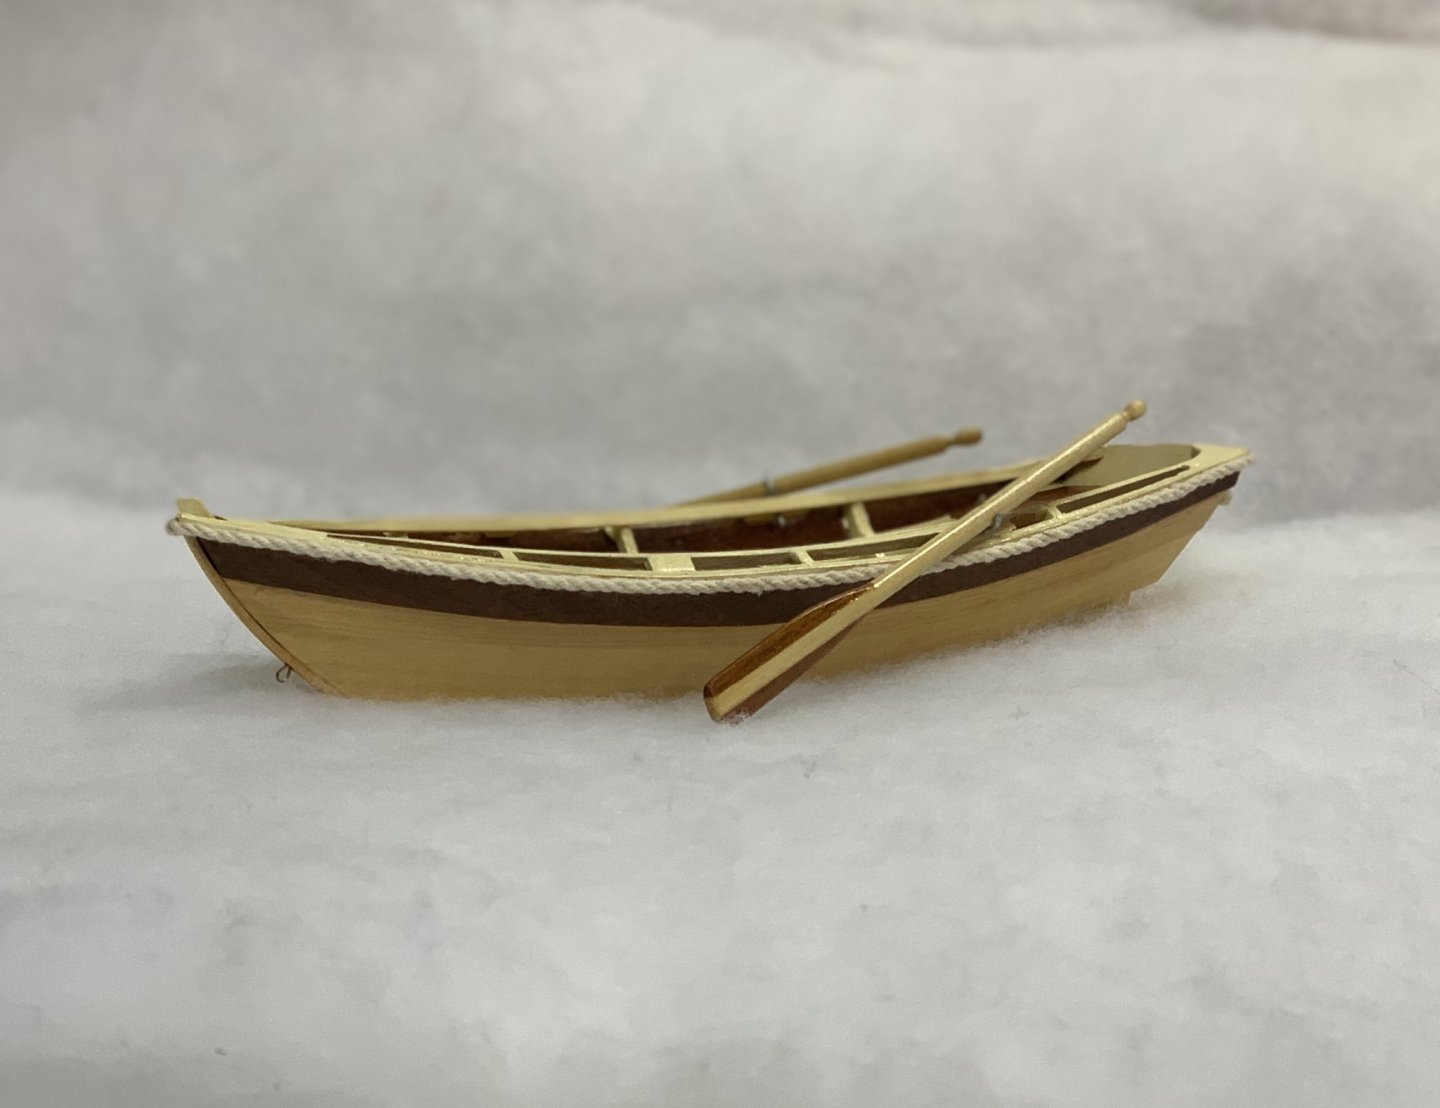


- Beef Wellington, VTHokiEE, oneslim and 8 others
-
11
-
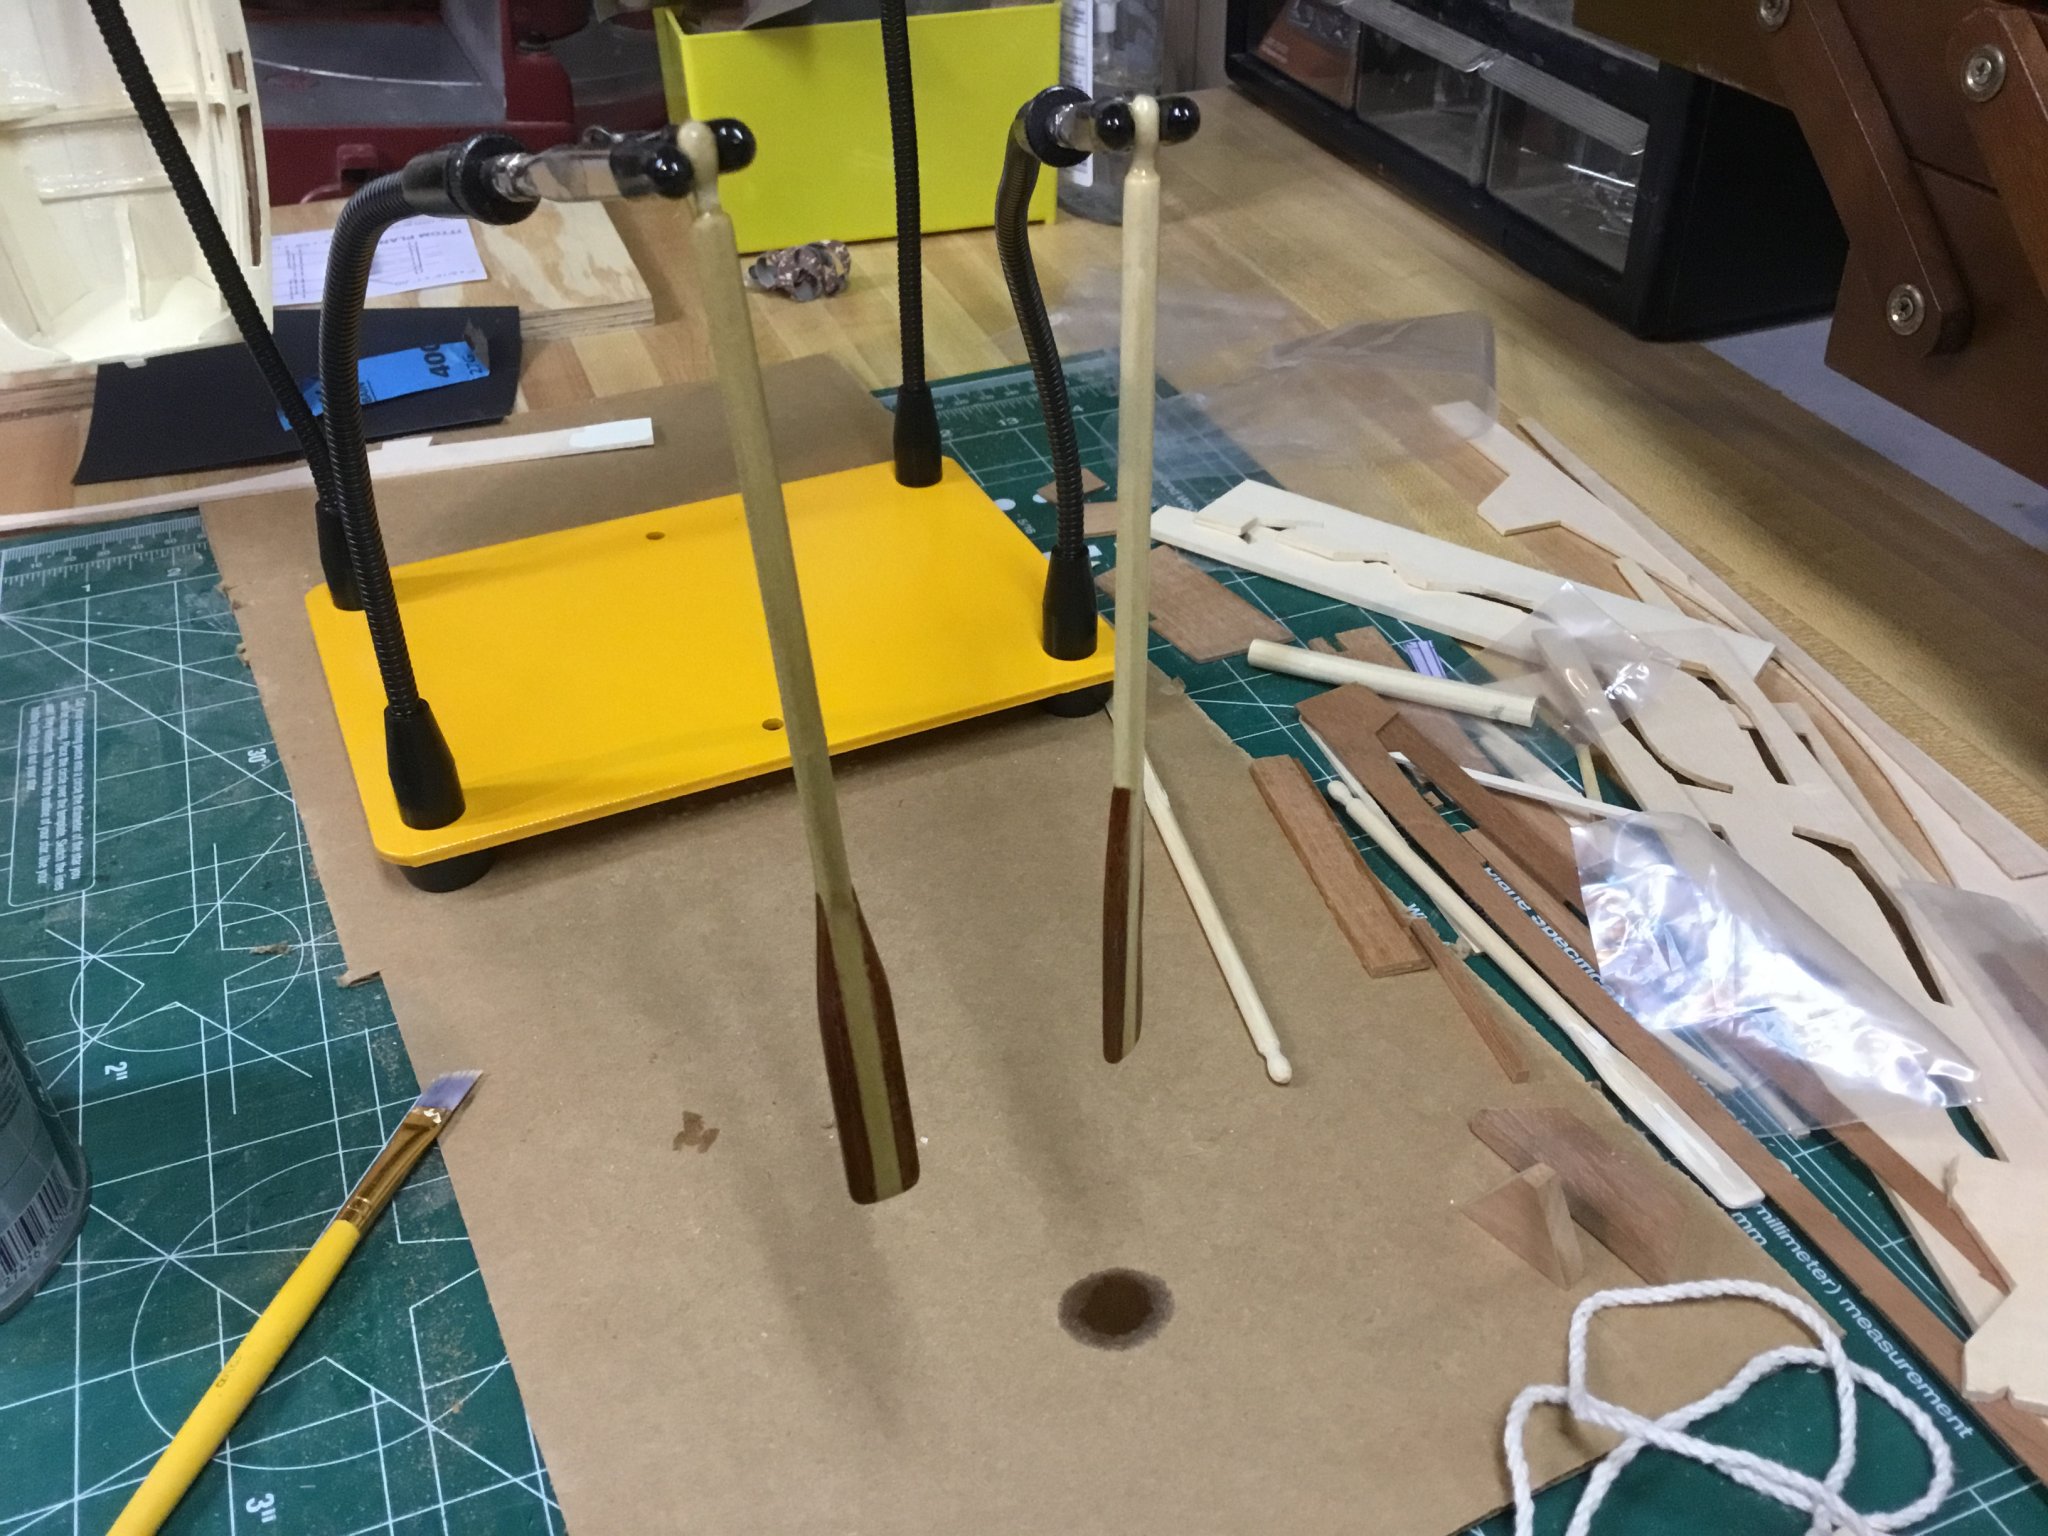
45 minutes ago, BobG said:
Everything looks great! I see you have been using a Quadhands tool. I got one about a week ago and have been using it on while rigging my Medway Longboat and it's a fantastic tool to have. Man, those magnets are strong though aren't they? It's a 1000 times more stable and useful than the cheap "helping hands" thing I was trying to use before I got the Quadhands.
Thanks Bob. Yes they are! I discovered them through a post somewhere on this forum. Mine aren't magnetic. My arms screw in from the bottom through the rubber foot. I was expecting magnetic but got this and I'm OK with it. I wrote a glowing review on Amazon.
-
-
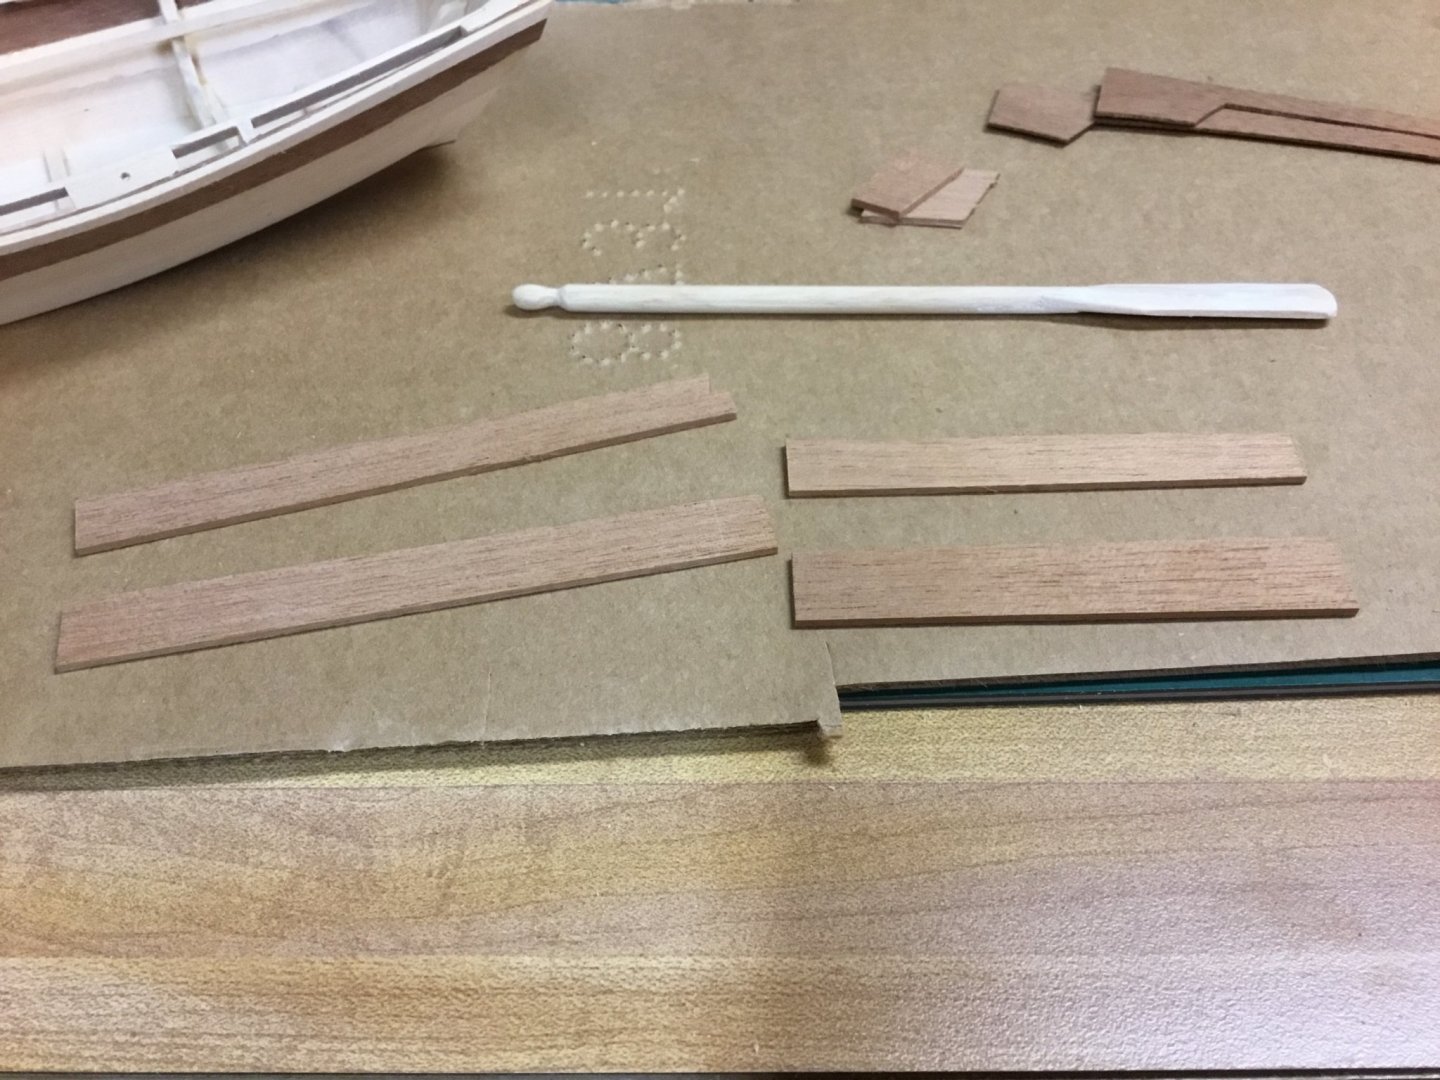
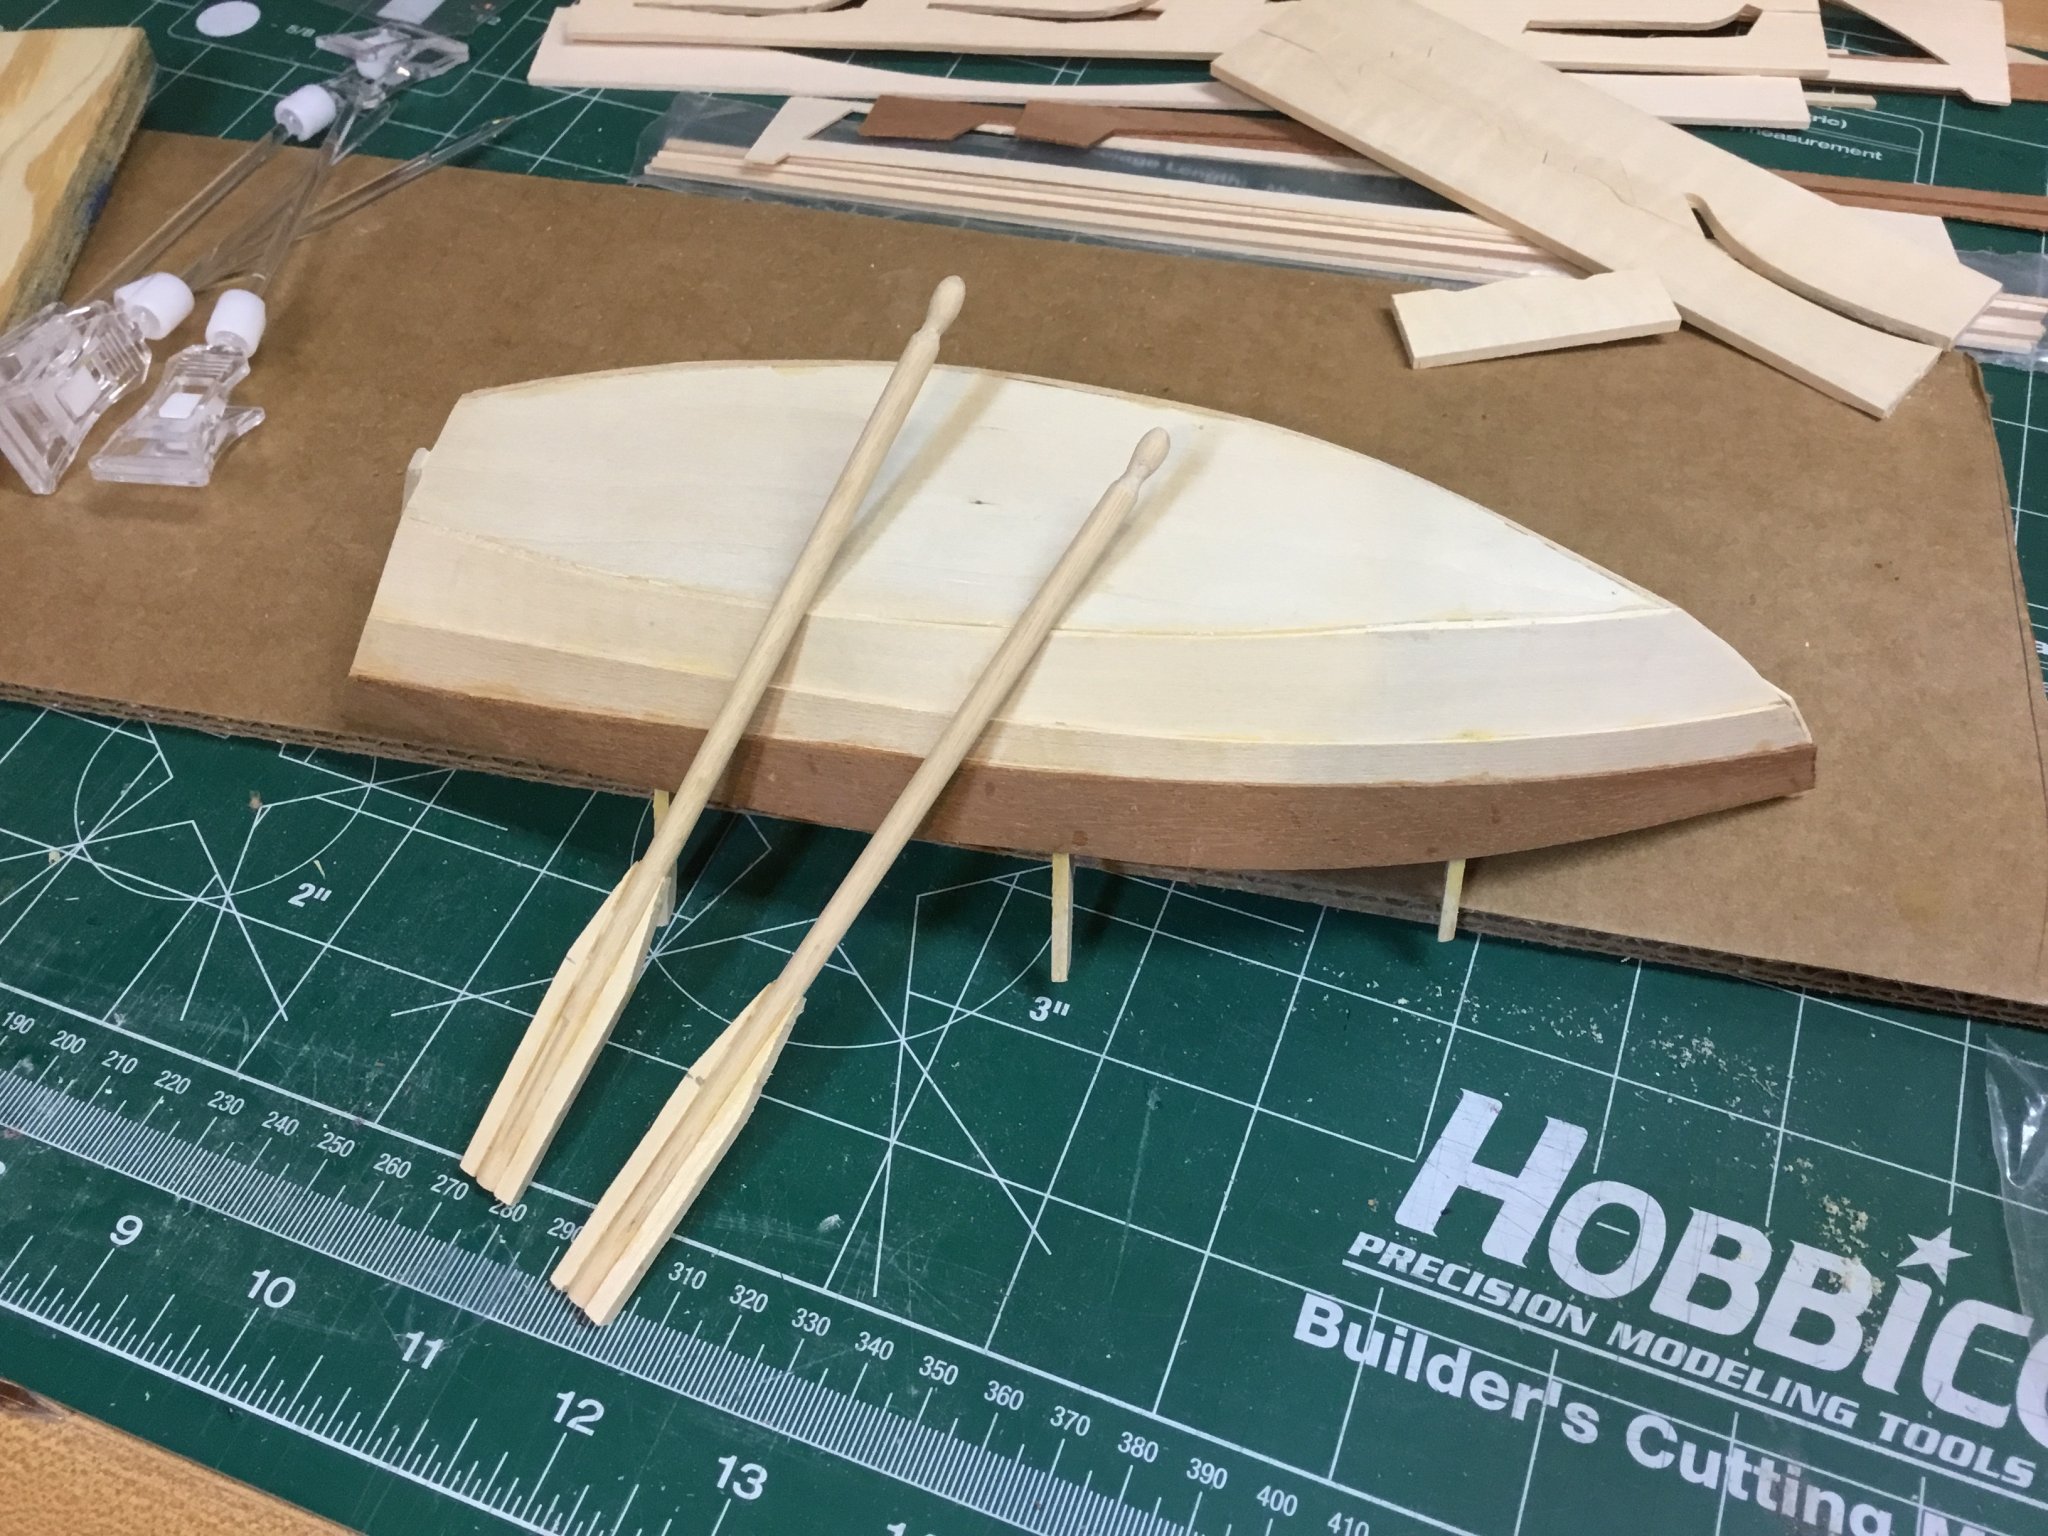
For the oars, I rounded out the interior side of the mahogany pieces so they fit flush with the 1/8” dowel. The fit was perfect and sanded down with no need for filler in the gap that would have been there if left flat. I don’t have a mill so it was freehand.
-
Thank you all for your likes and much welcome and appreciated comments.
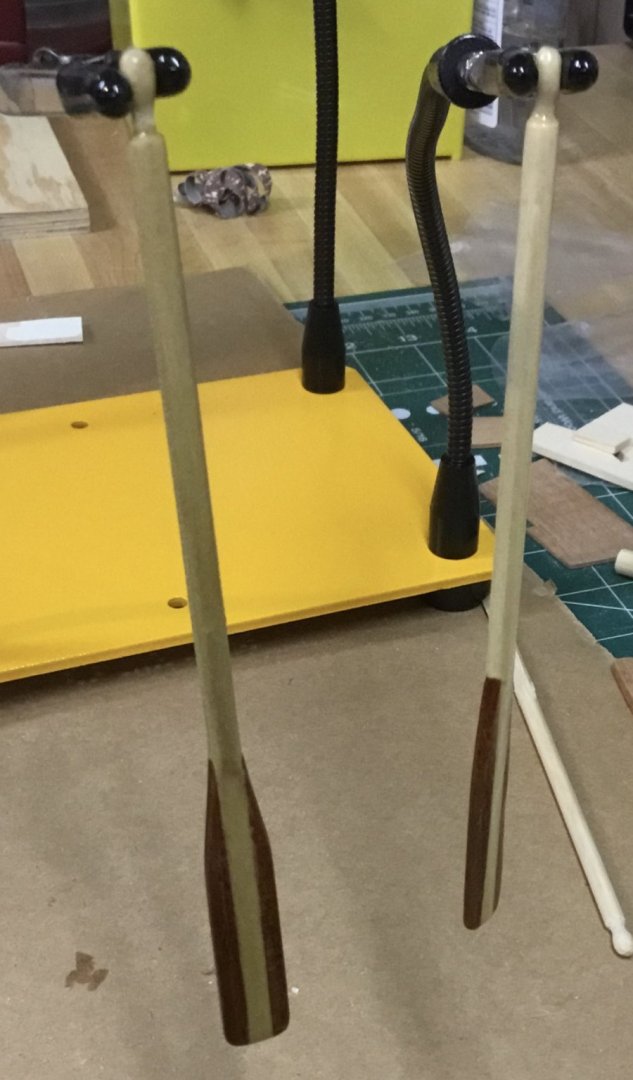
Oars are done. I think they came out well. I didn’t like the way the natural wood looked on the interior so I painted the interior of the boat, the inwales, transom and guard. I am pleased with the results.sanded, applied poly, sanded again and applied a second coat of polyurethane. Maybe one or two more sanding and polyurethane coats.


-
This was a master class for me and I’m sure to reference this build many times. It’s what I aspire to as a model builder. Thank you for the detailed descriptions.
-
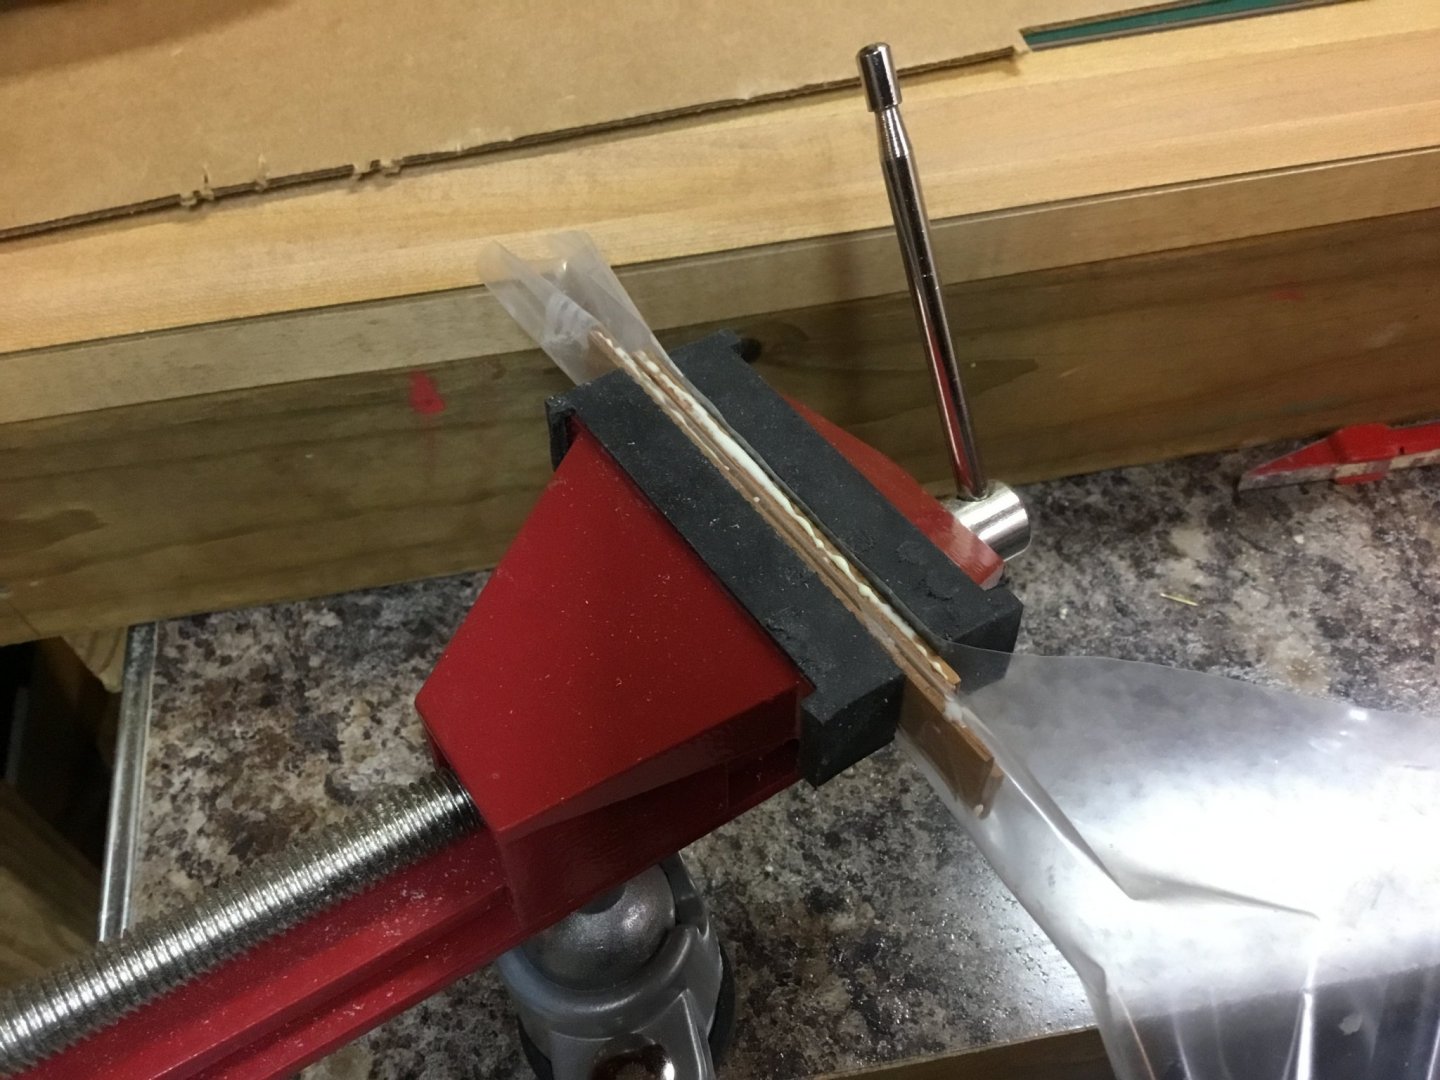
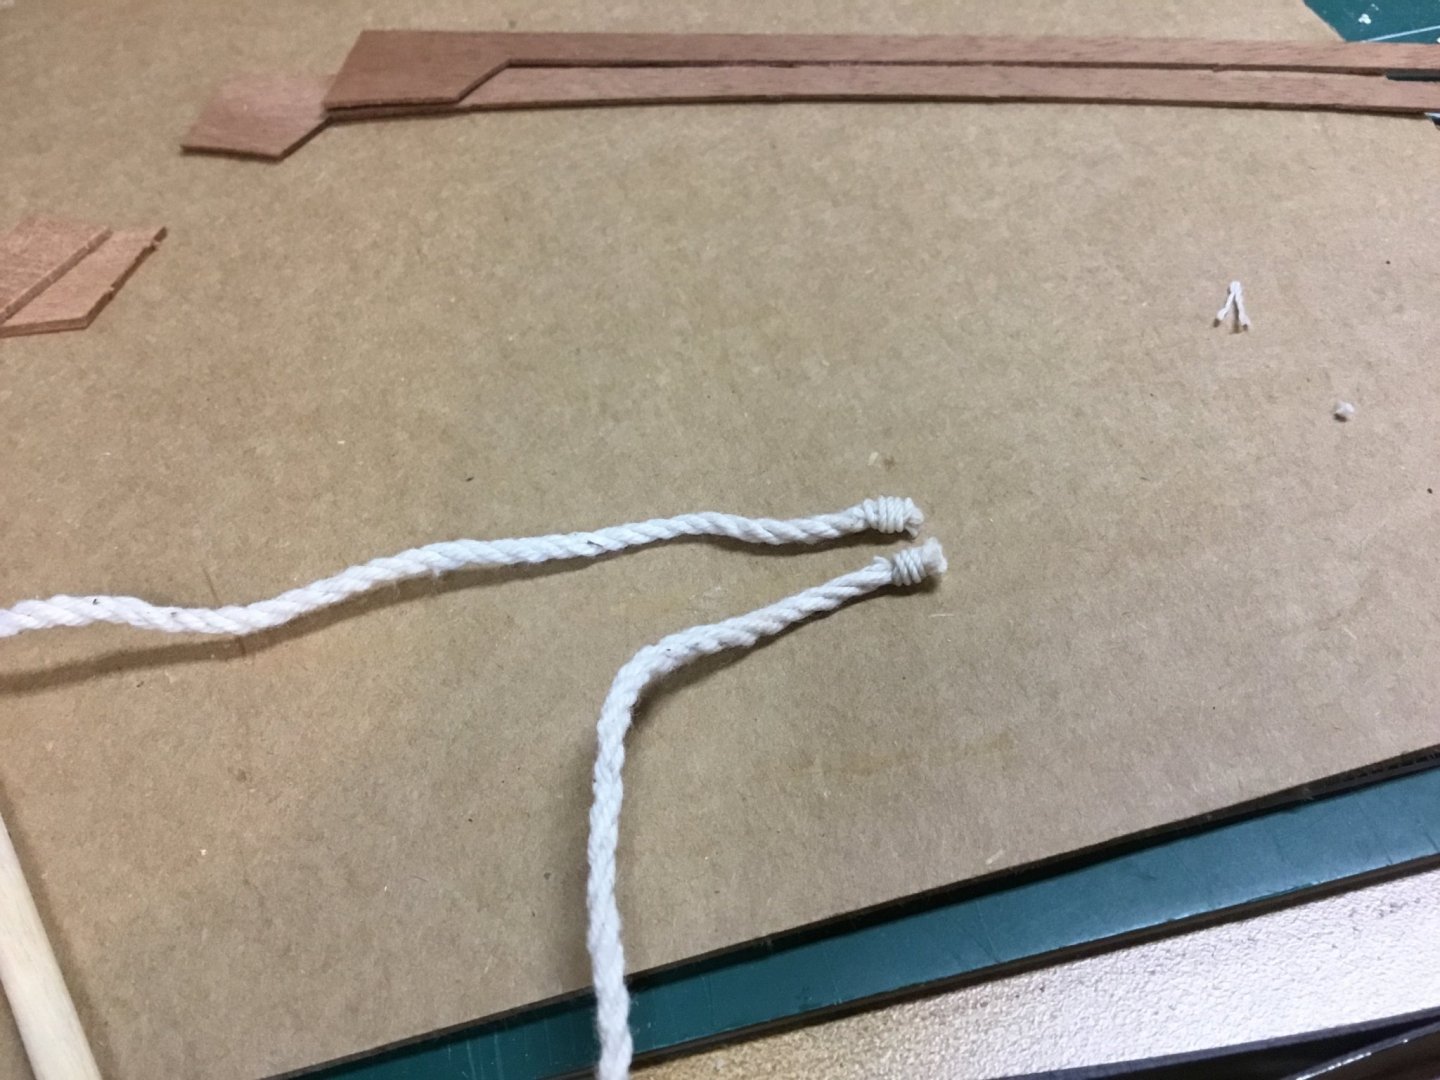
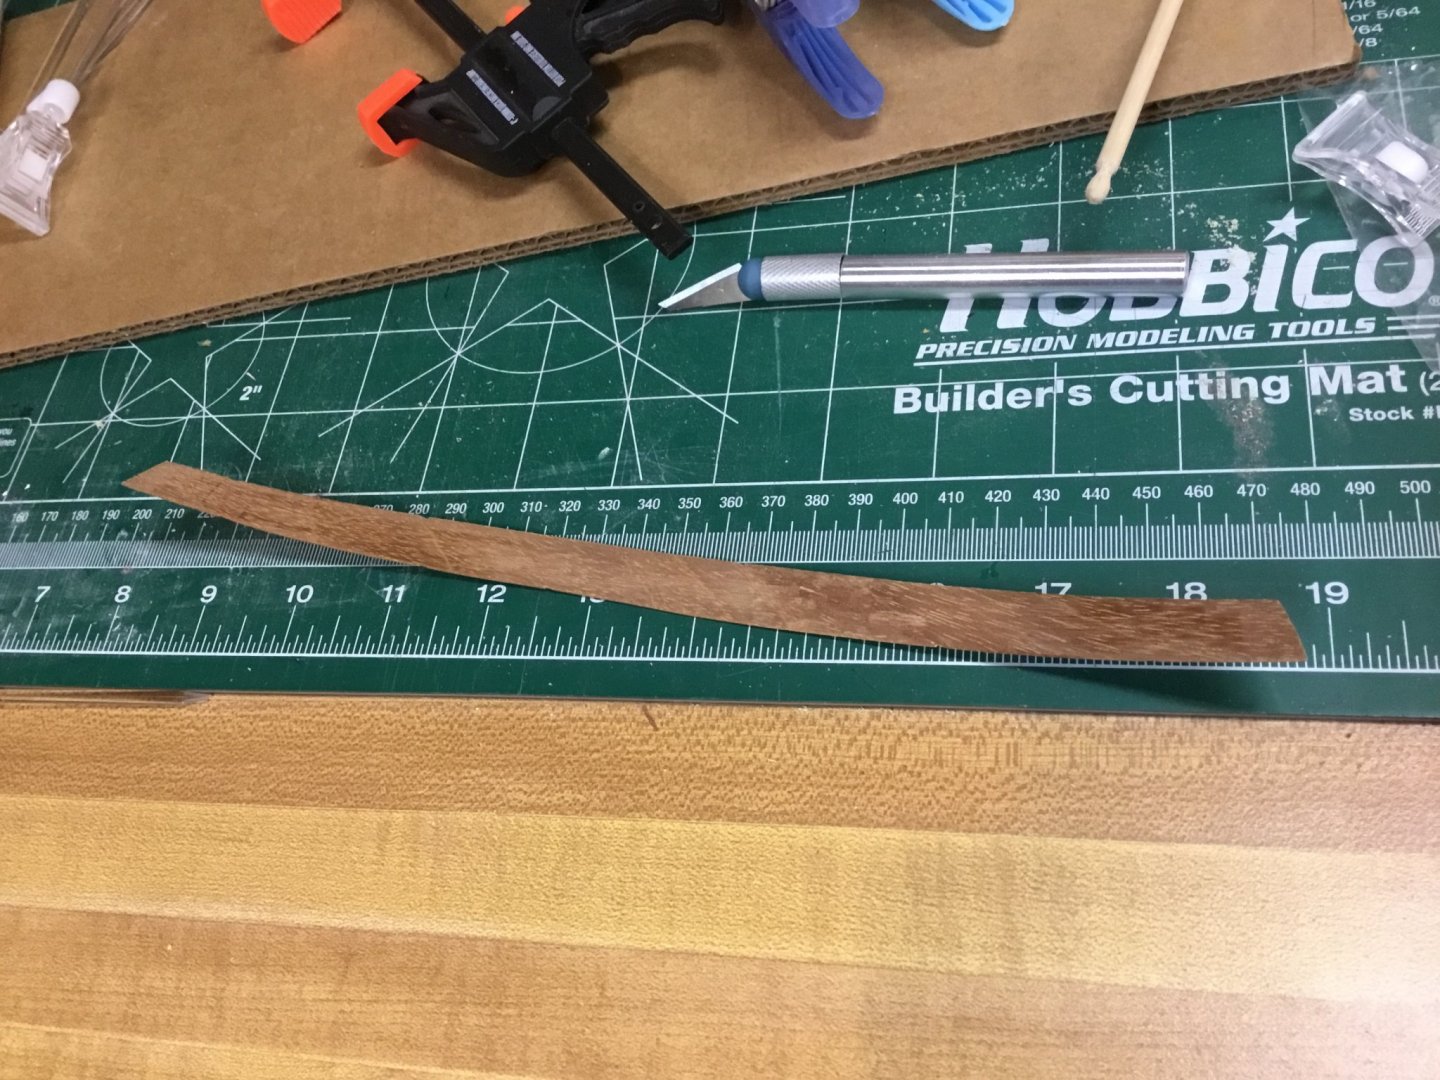
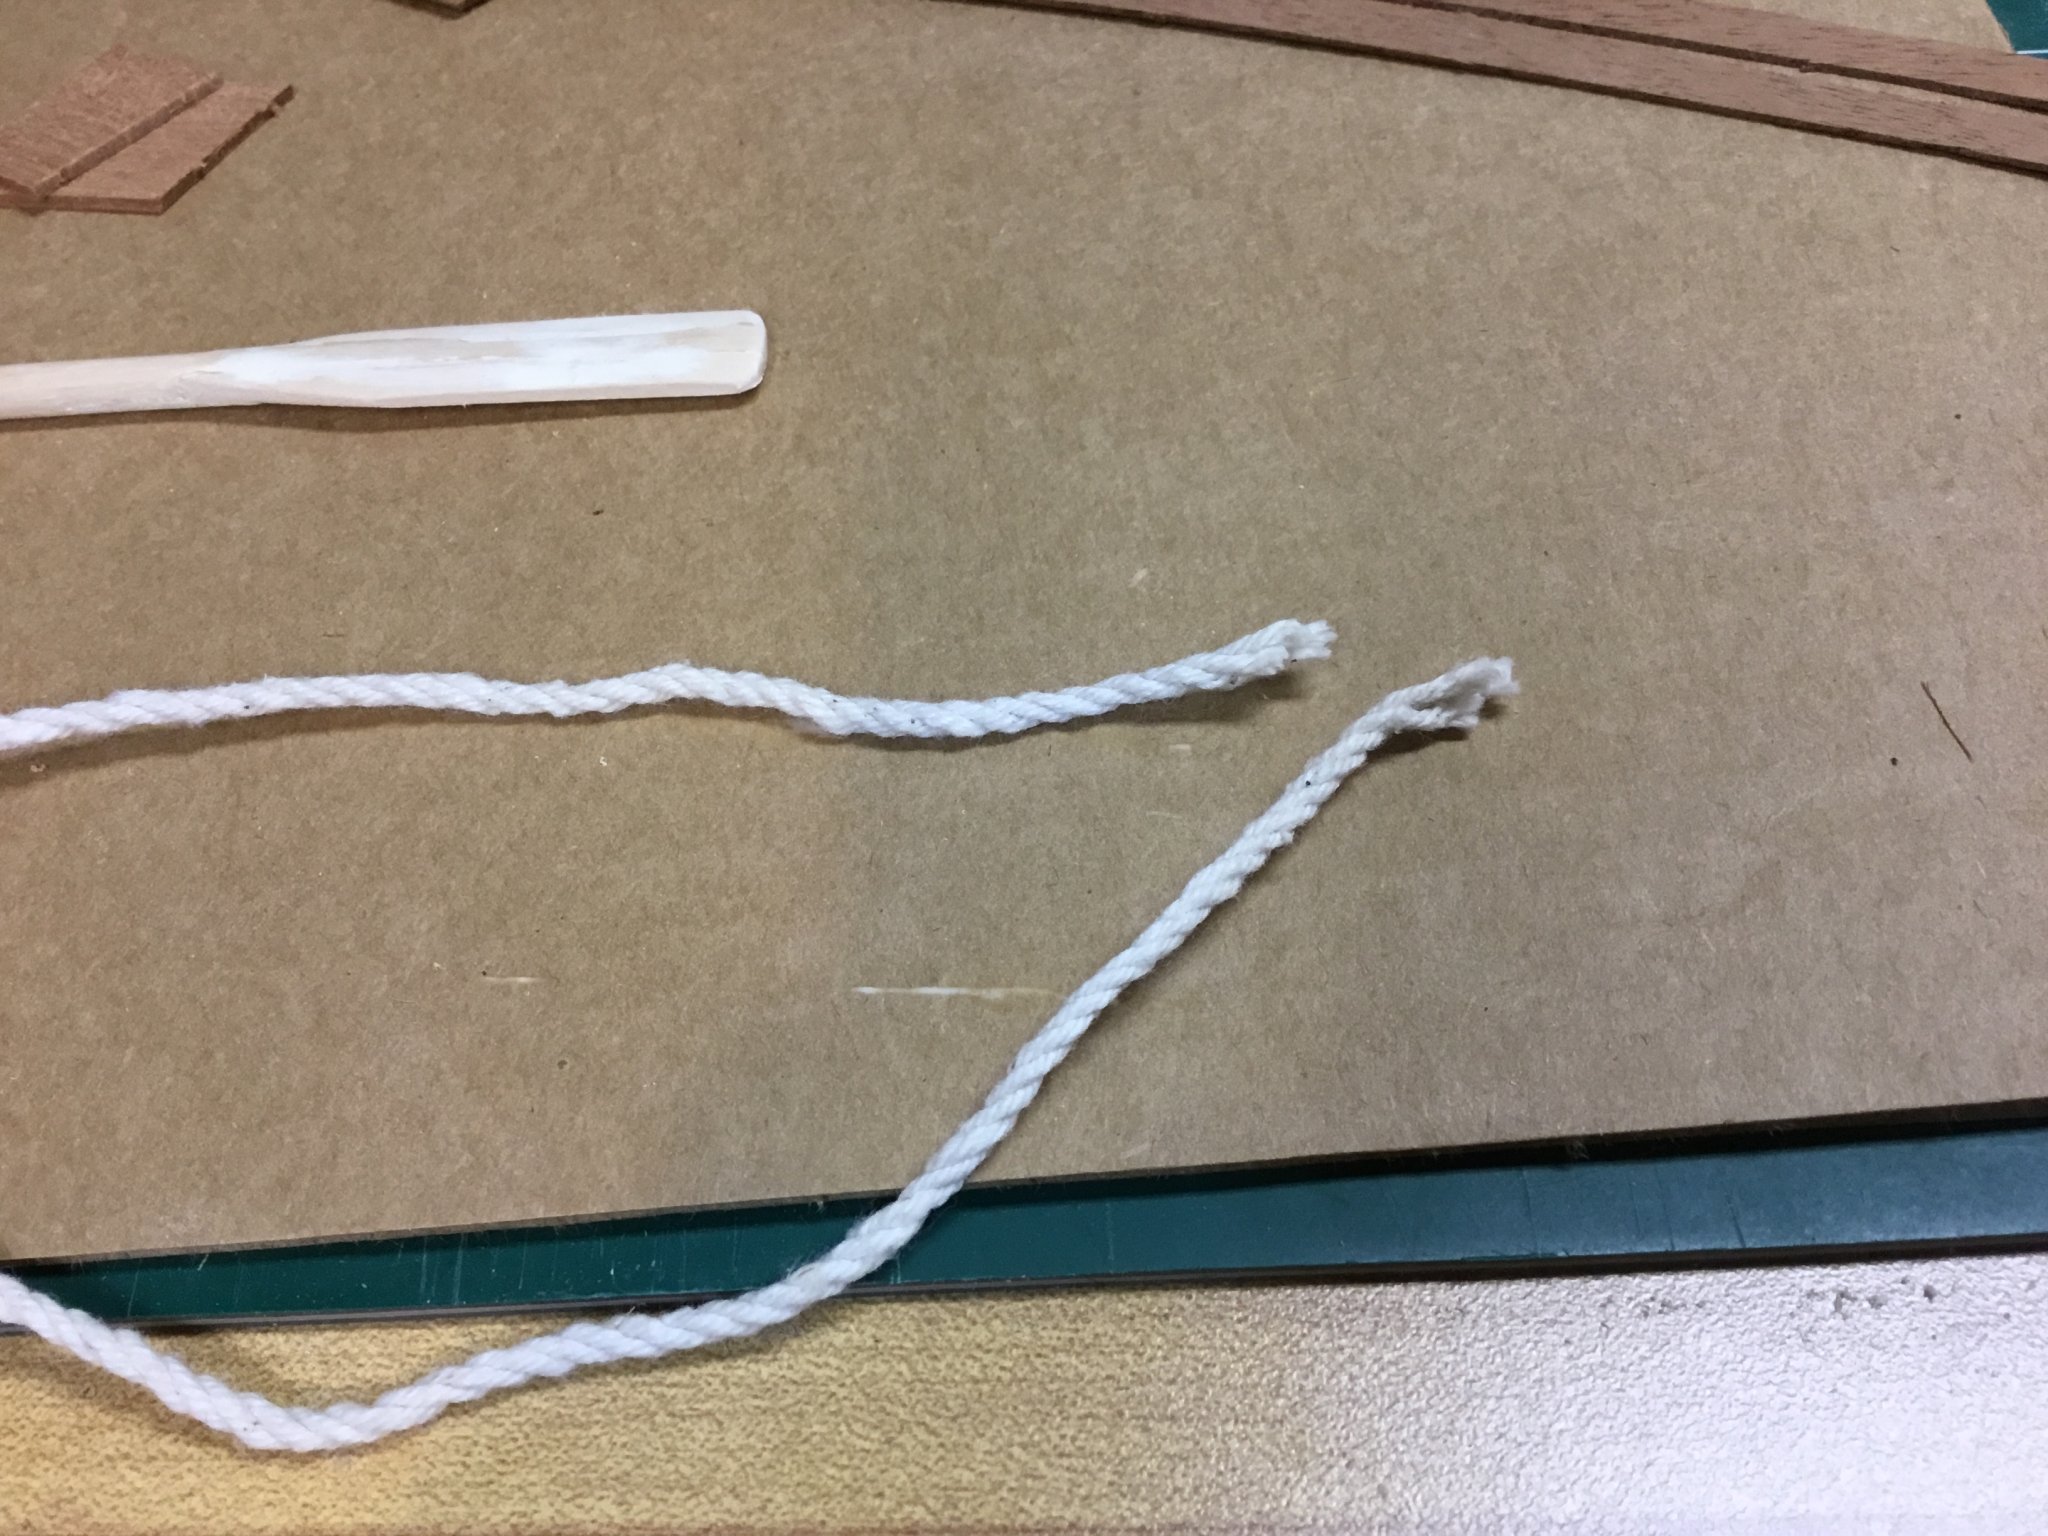
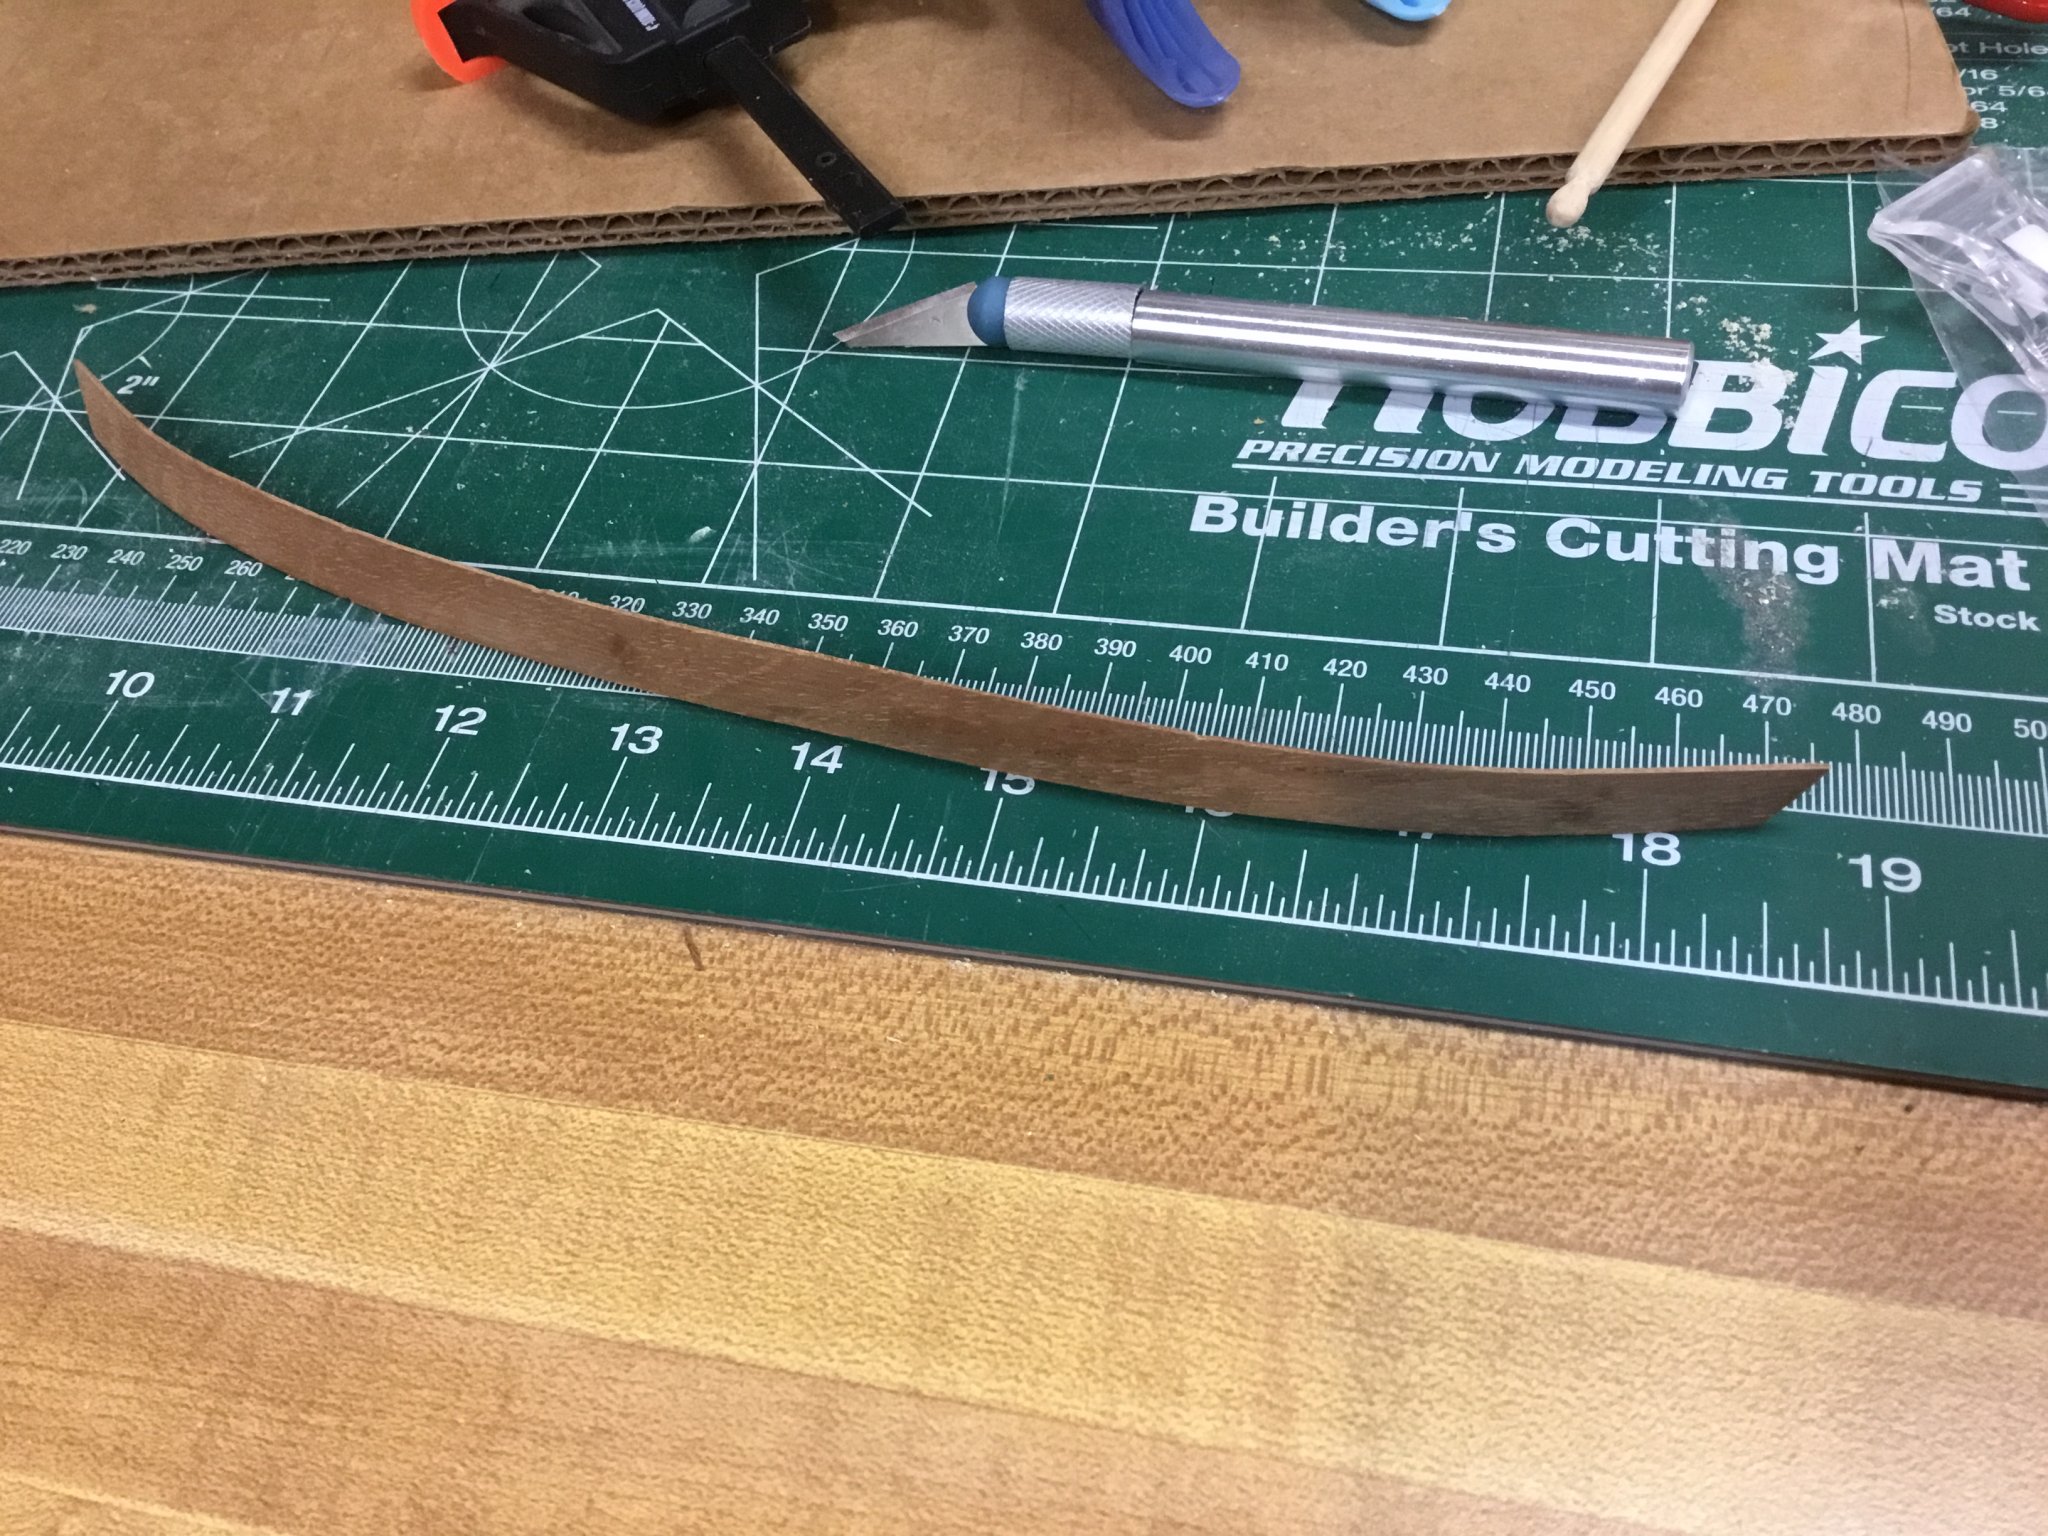
I screwed up the oars. One of them I really got aggressive on the sanding with the Drexel and botched it pretty bad. The other was OK but I didn’t like having to use wood filler. So I decided to go with plan B. I am gluing up a couple scrap 1/16th mahogany and I’ll make the blades out of that. They are clamped up in my vise overnight. While that was setting, I looked at the rope provided and thought those ends should be whipped.


-
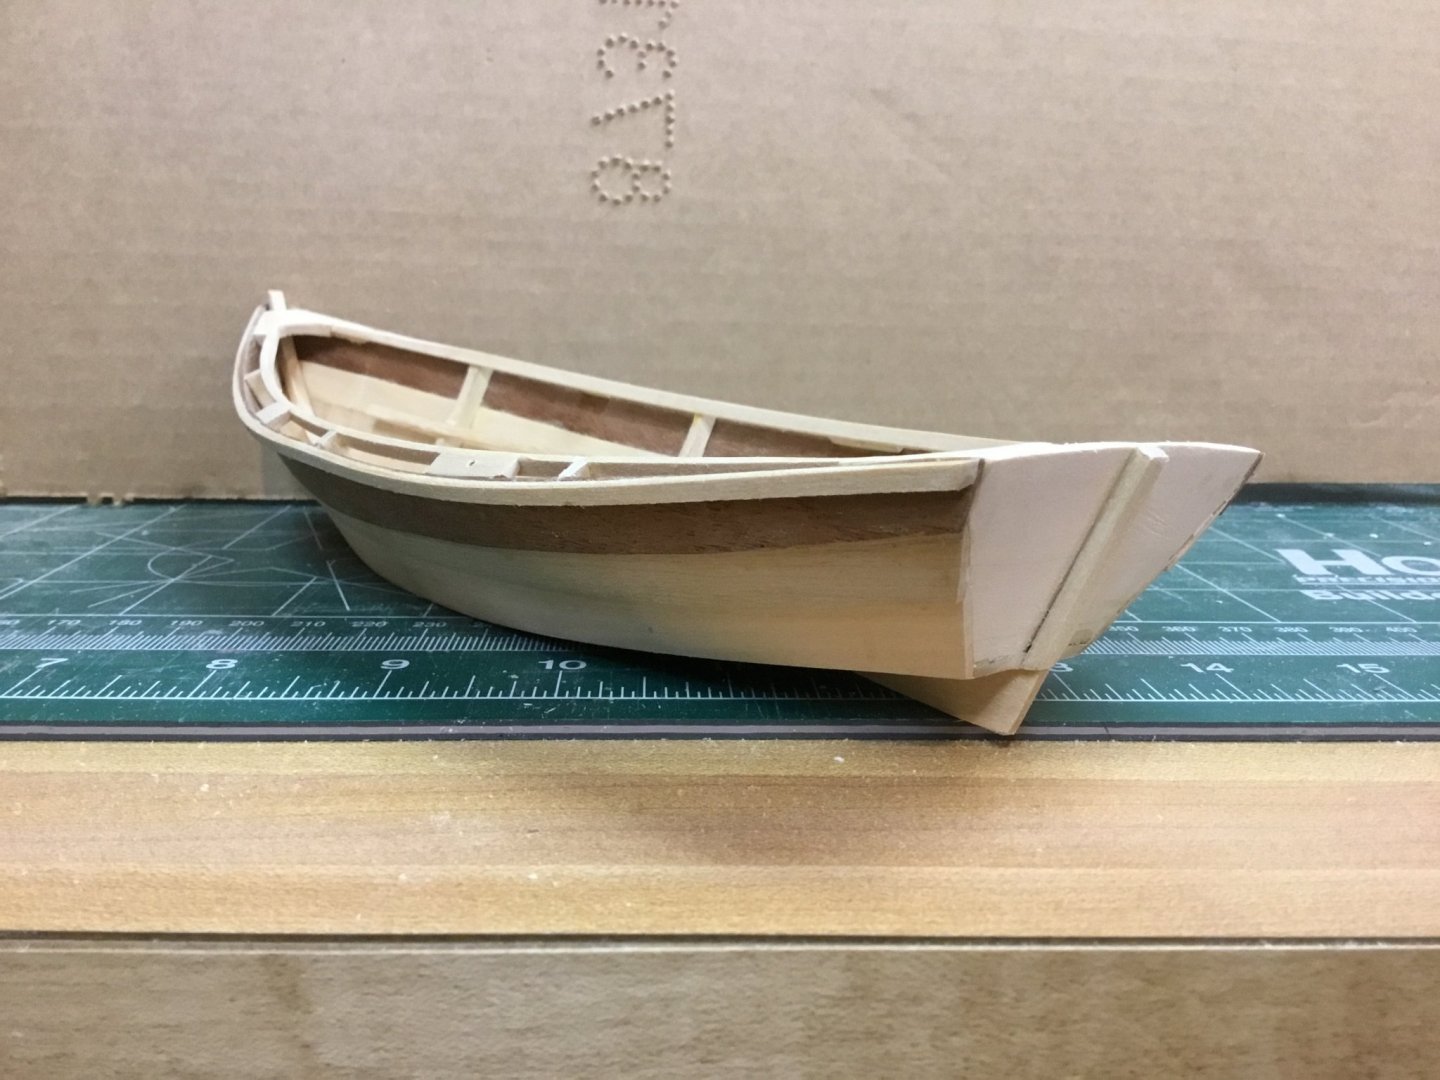
I’ve been making progress on this the past couple of days. Breast hook and knees are done. Inwales and guards are also done. I feel pretty good about how they came out.

- GrandpaPhil, BobG, Kenneth Powell and 2 others
-
5
-
7 hours ago, Osmosis said:
Your perseverance is admirable and your recovery skills are too.
Here is a link to a thread I started on another forum in regards to gluing mahogany. There is a link to an article in the woodworkers journal in there that really explains the dynamic better than I can. You may want to give it a look before taking out the trash.
https://www.rcgroups.com/forums/showthread.php?2957898-Why-won-t-CA-work-on-Mahogany#post38291590
Good info! I was thinking the CA was old and beyond it’s shelf life, if there is such a thing. I’ll pull it out and get some accelerator. We’ll se how that goes.
-
-
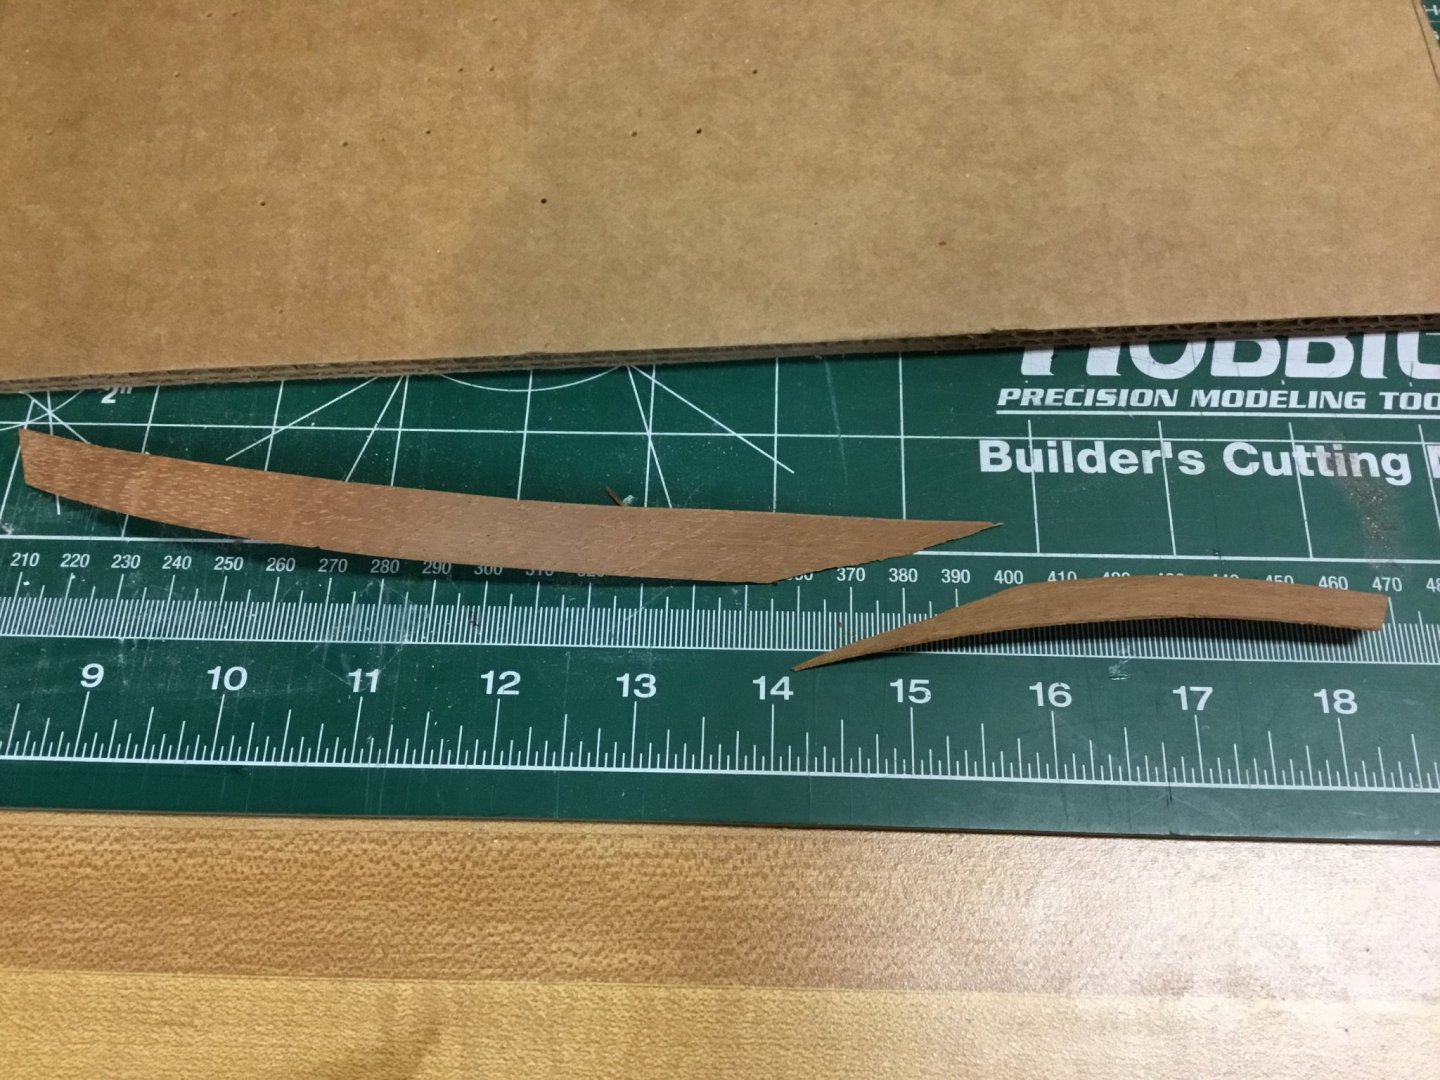
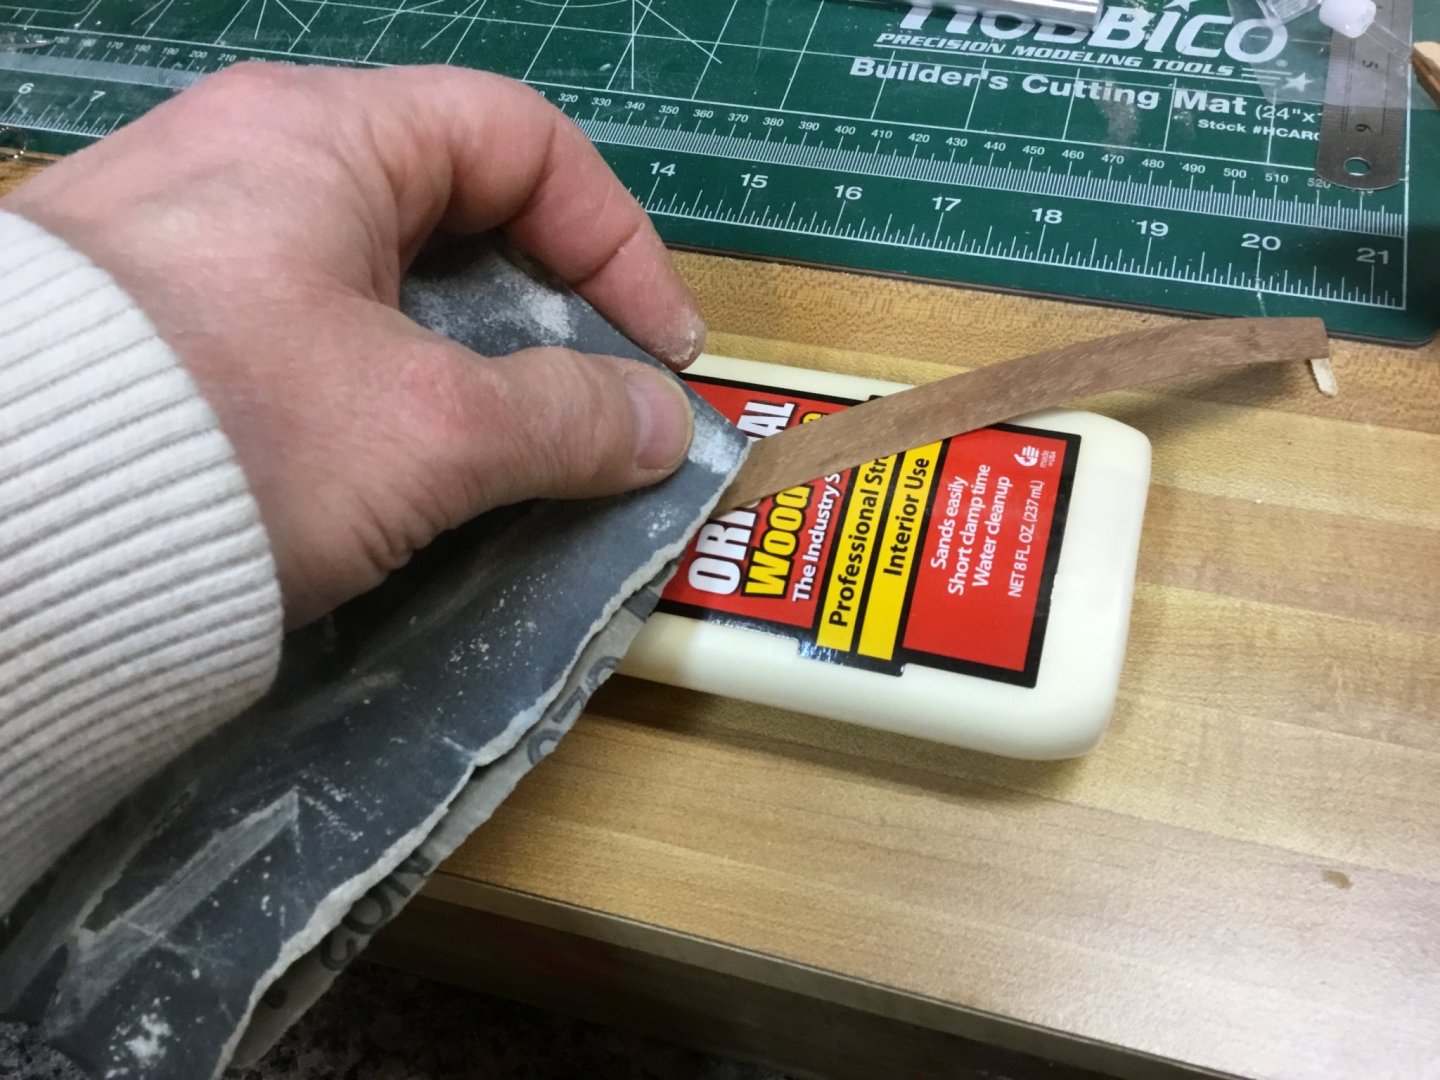
Disaster strikes! While bending the second top mahogany plank, I pulled a little too hard and snapped the piece.
not having another pice of mahogany and I really didn’t want to. Order a piece and wait around for it, I attempted a repair of this piece. I tried CA glue first. It would not set. At all. I only succeeded in creating shiny spots on the wood. I then used titebond very lightly. I put a couple clamps on it and let it sit for an hour. I found the joint to be good and tight and straight. I then took my Drexel with a nylon brush wheel and was able to remove the excess titebond and even some of the CA shininess. A little gentle sanding using 320 grit on top of the titebond bottle as my base to help maintain the curve and have a little “give” as I sanded. I am very pleased with the results and will use the piece. You’d never even know it was snapped in two.
I got the other side glued up and the oars started.


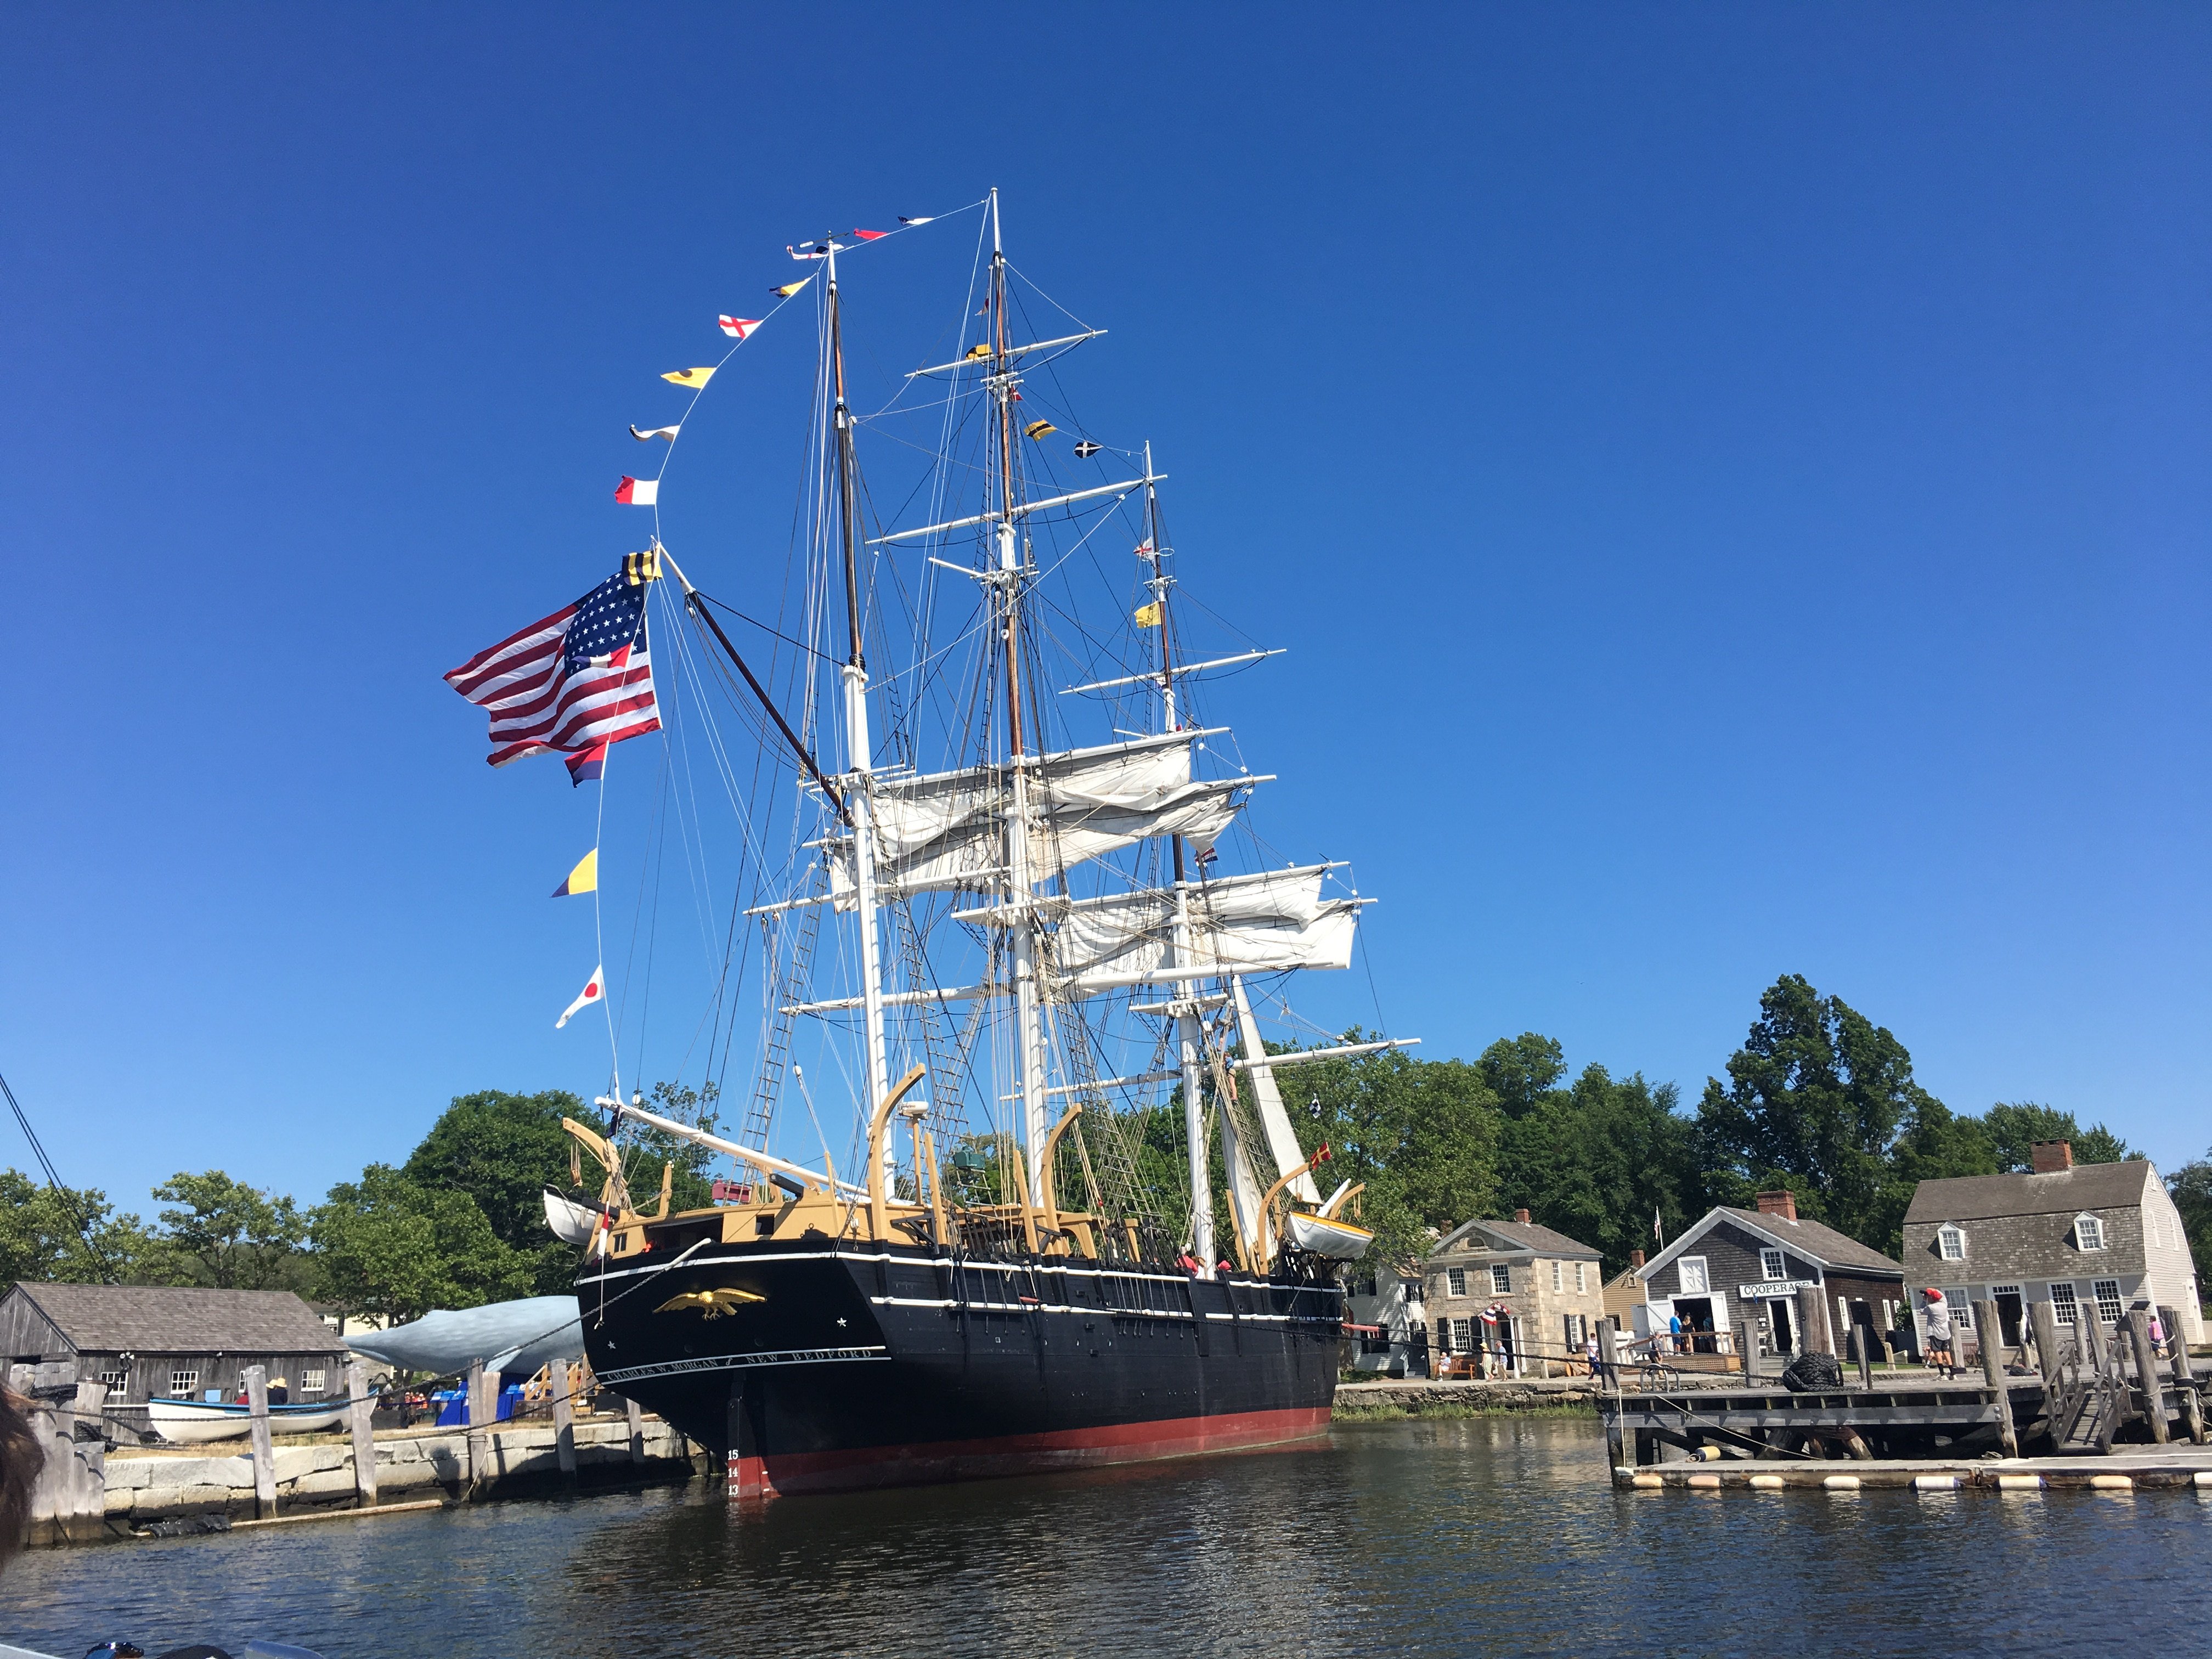
Canoe by Voyageur - FINISHED - scale 1:12 - RESTORATION
in - Build logs for subjects built 1901 - Present Day
Posted
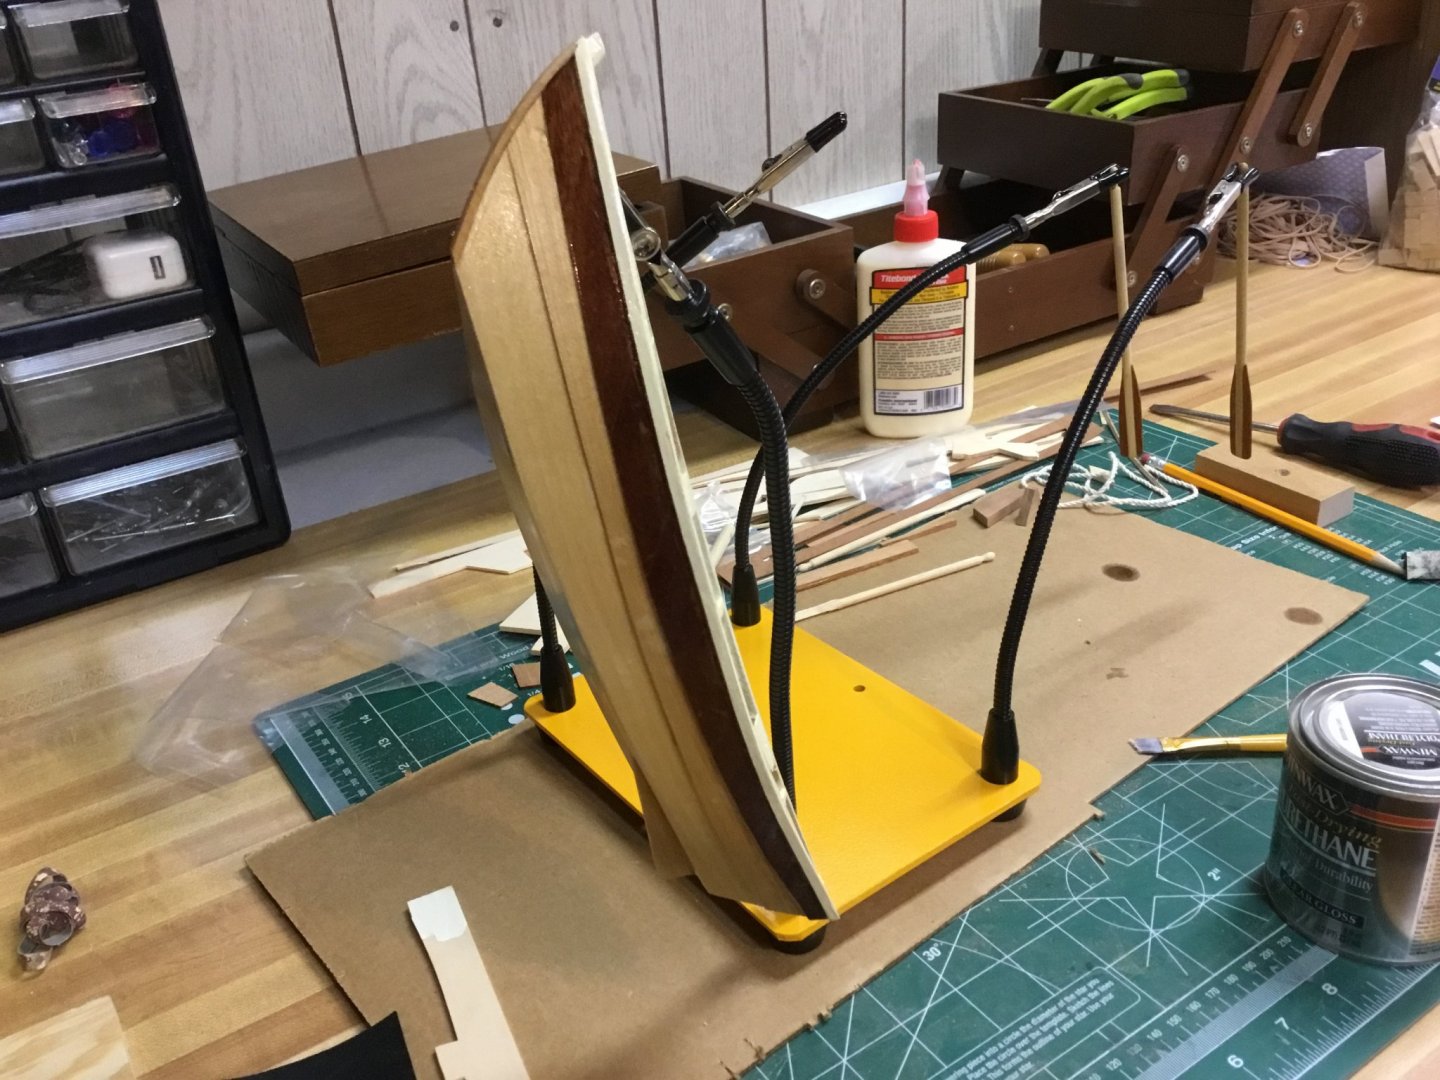
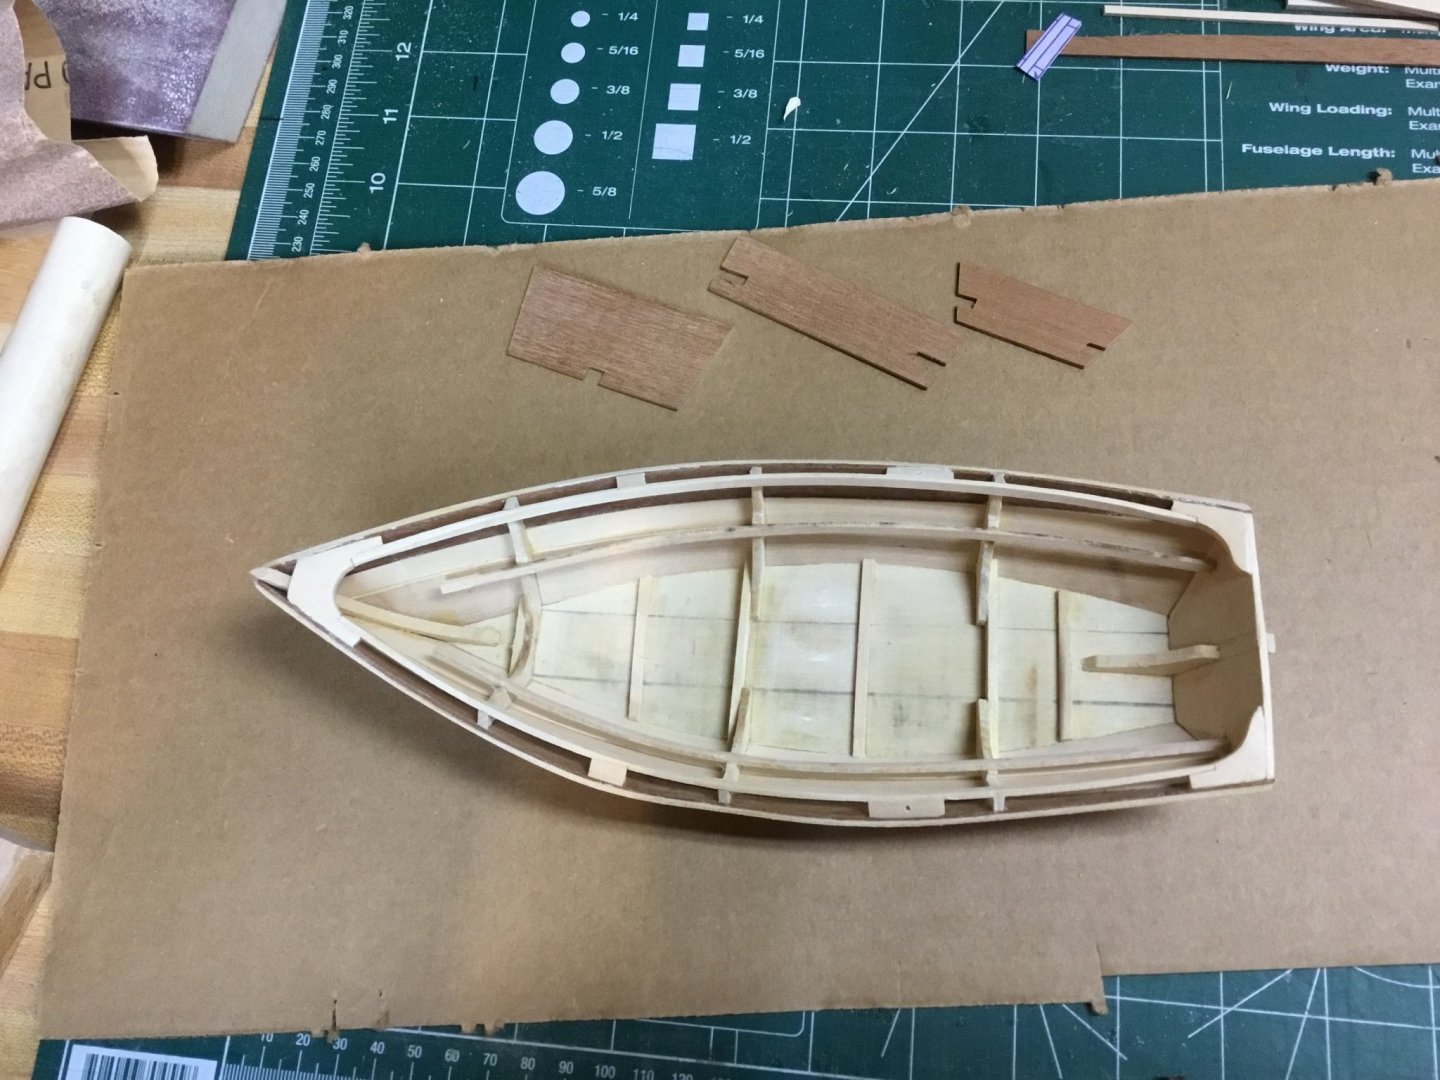
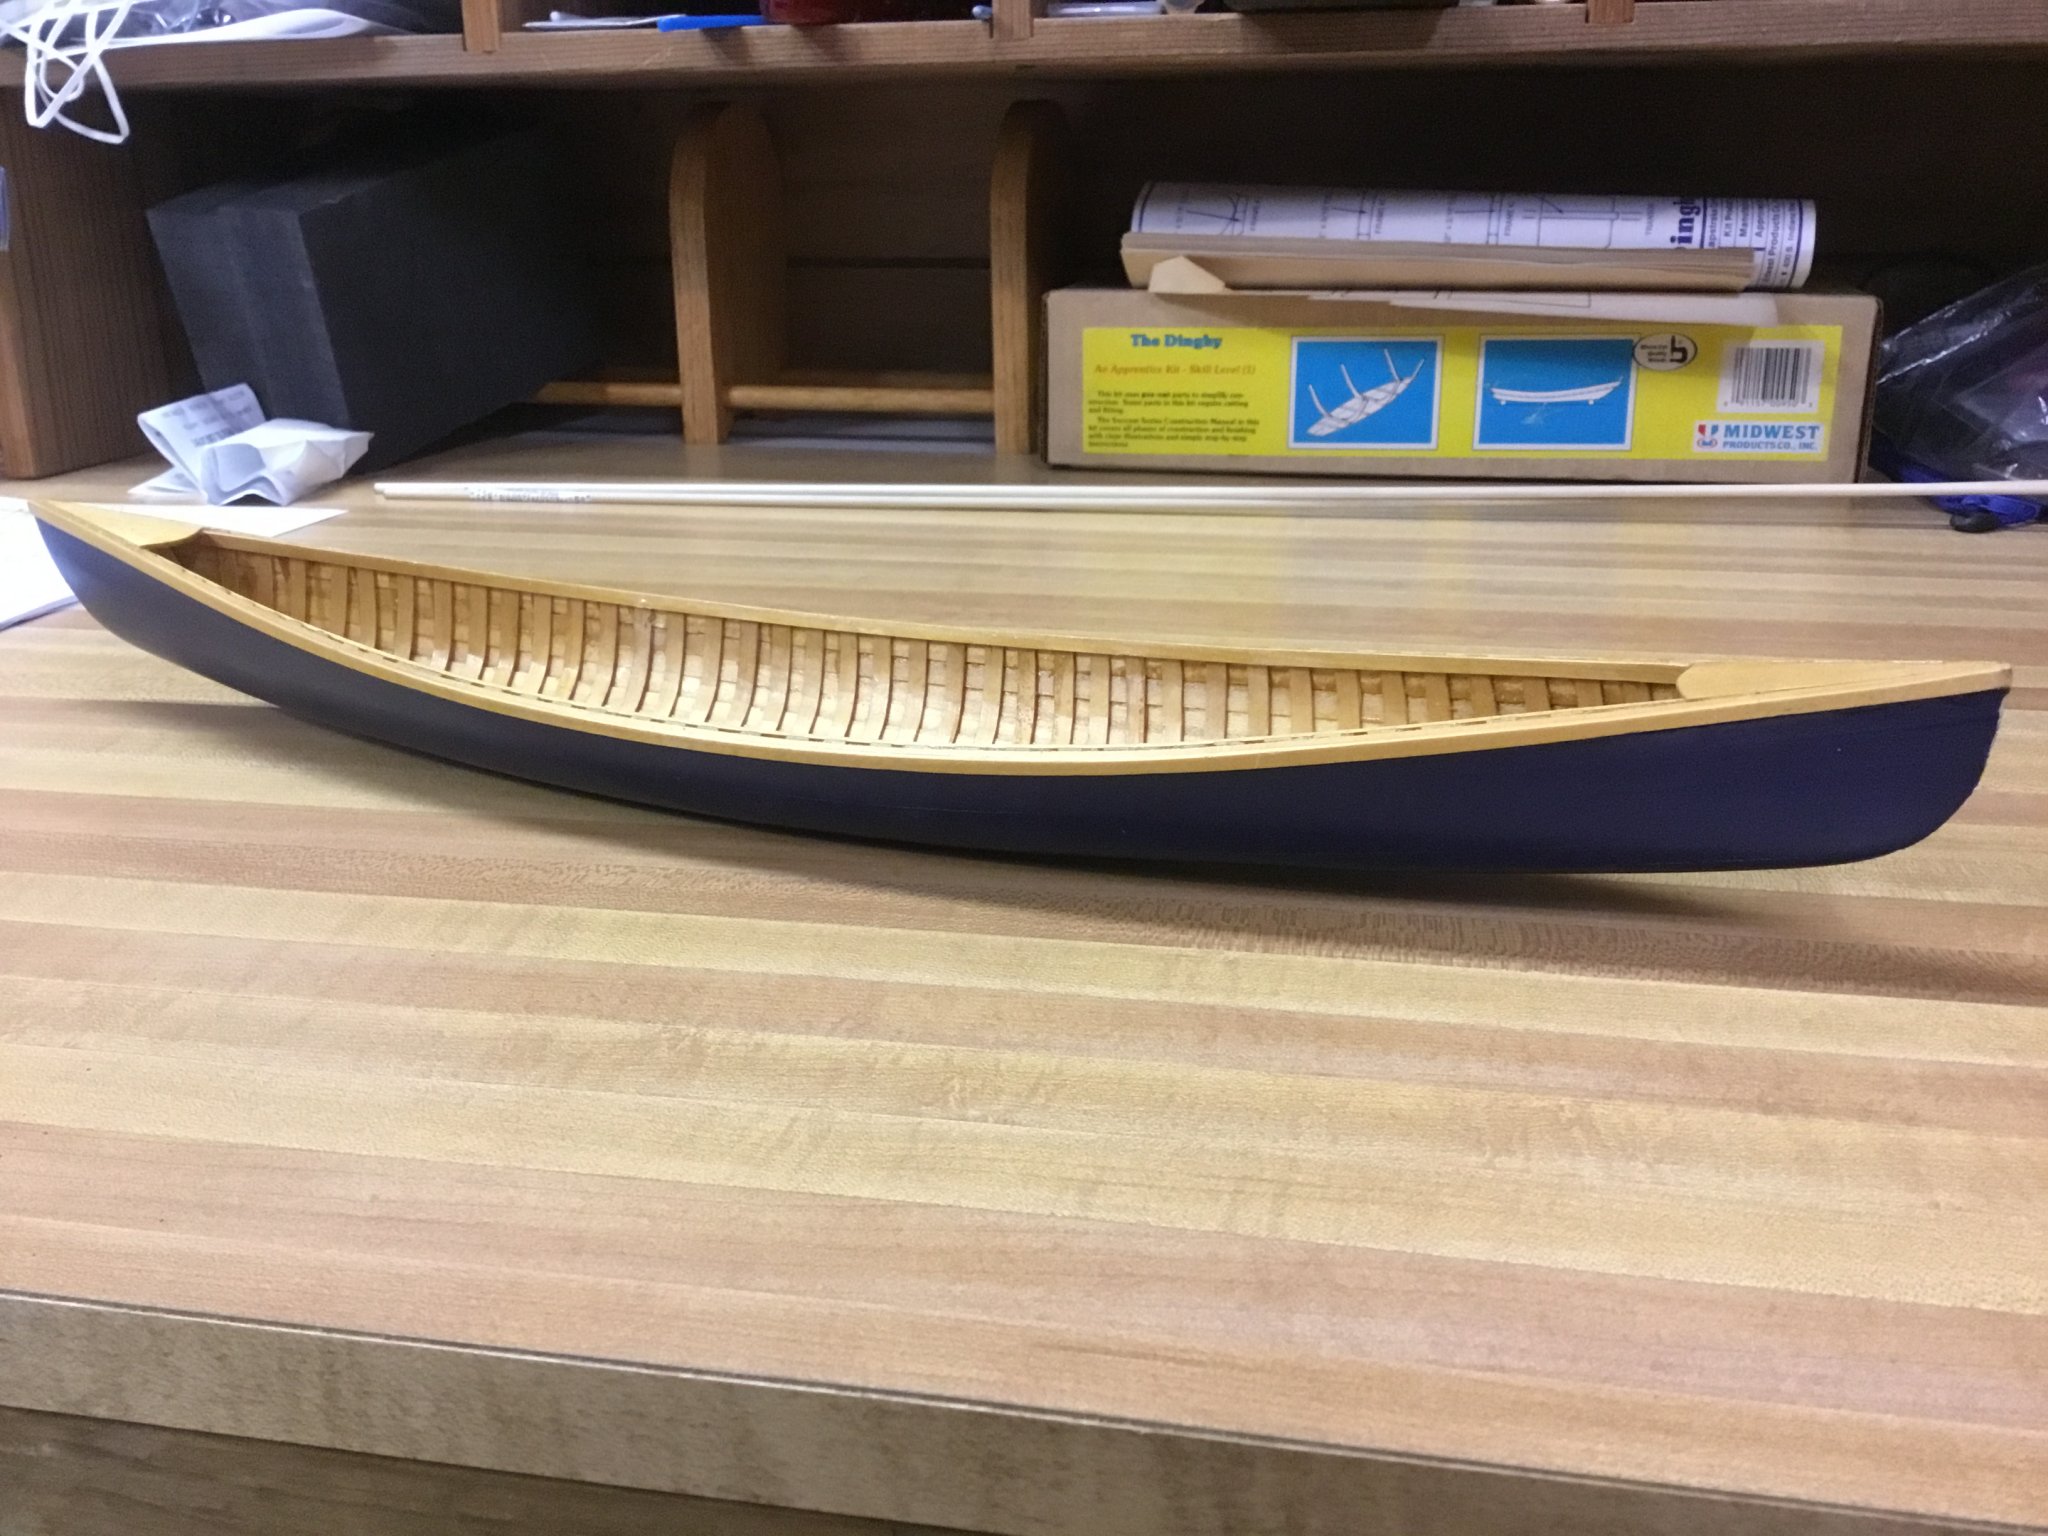
I found this canoe at a second hand store a while back. Even before I thought of building ship models. I had it on my shelf all this time and decided that I could do something with it. Definitely inspired by @Osmosis and his beautiful Peterboro, recently completed.
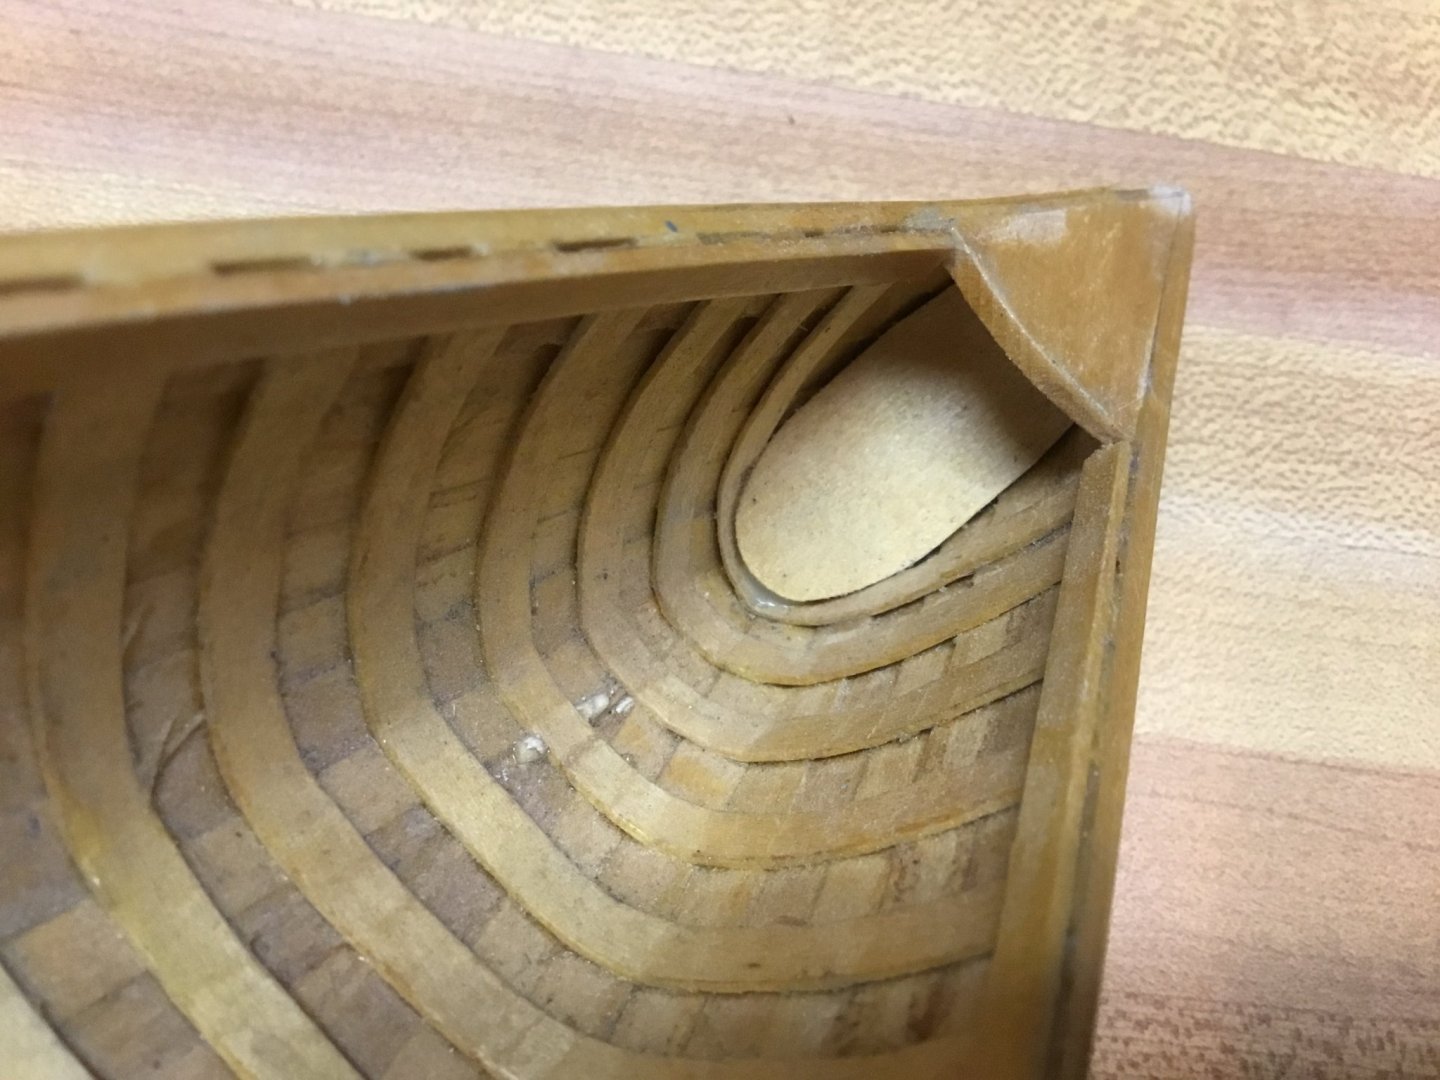
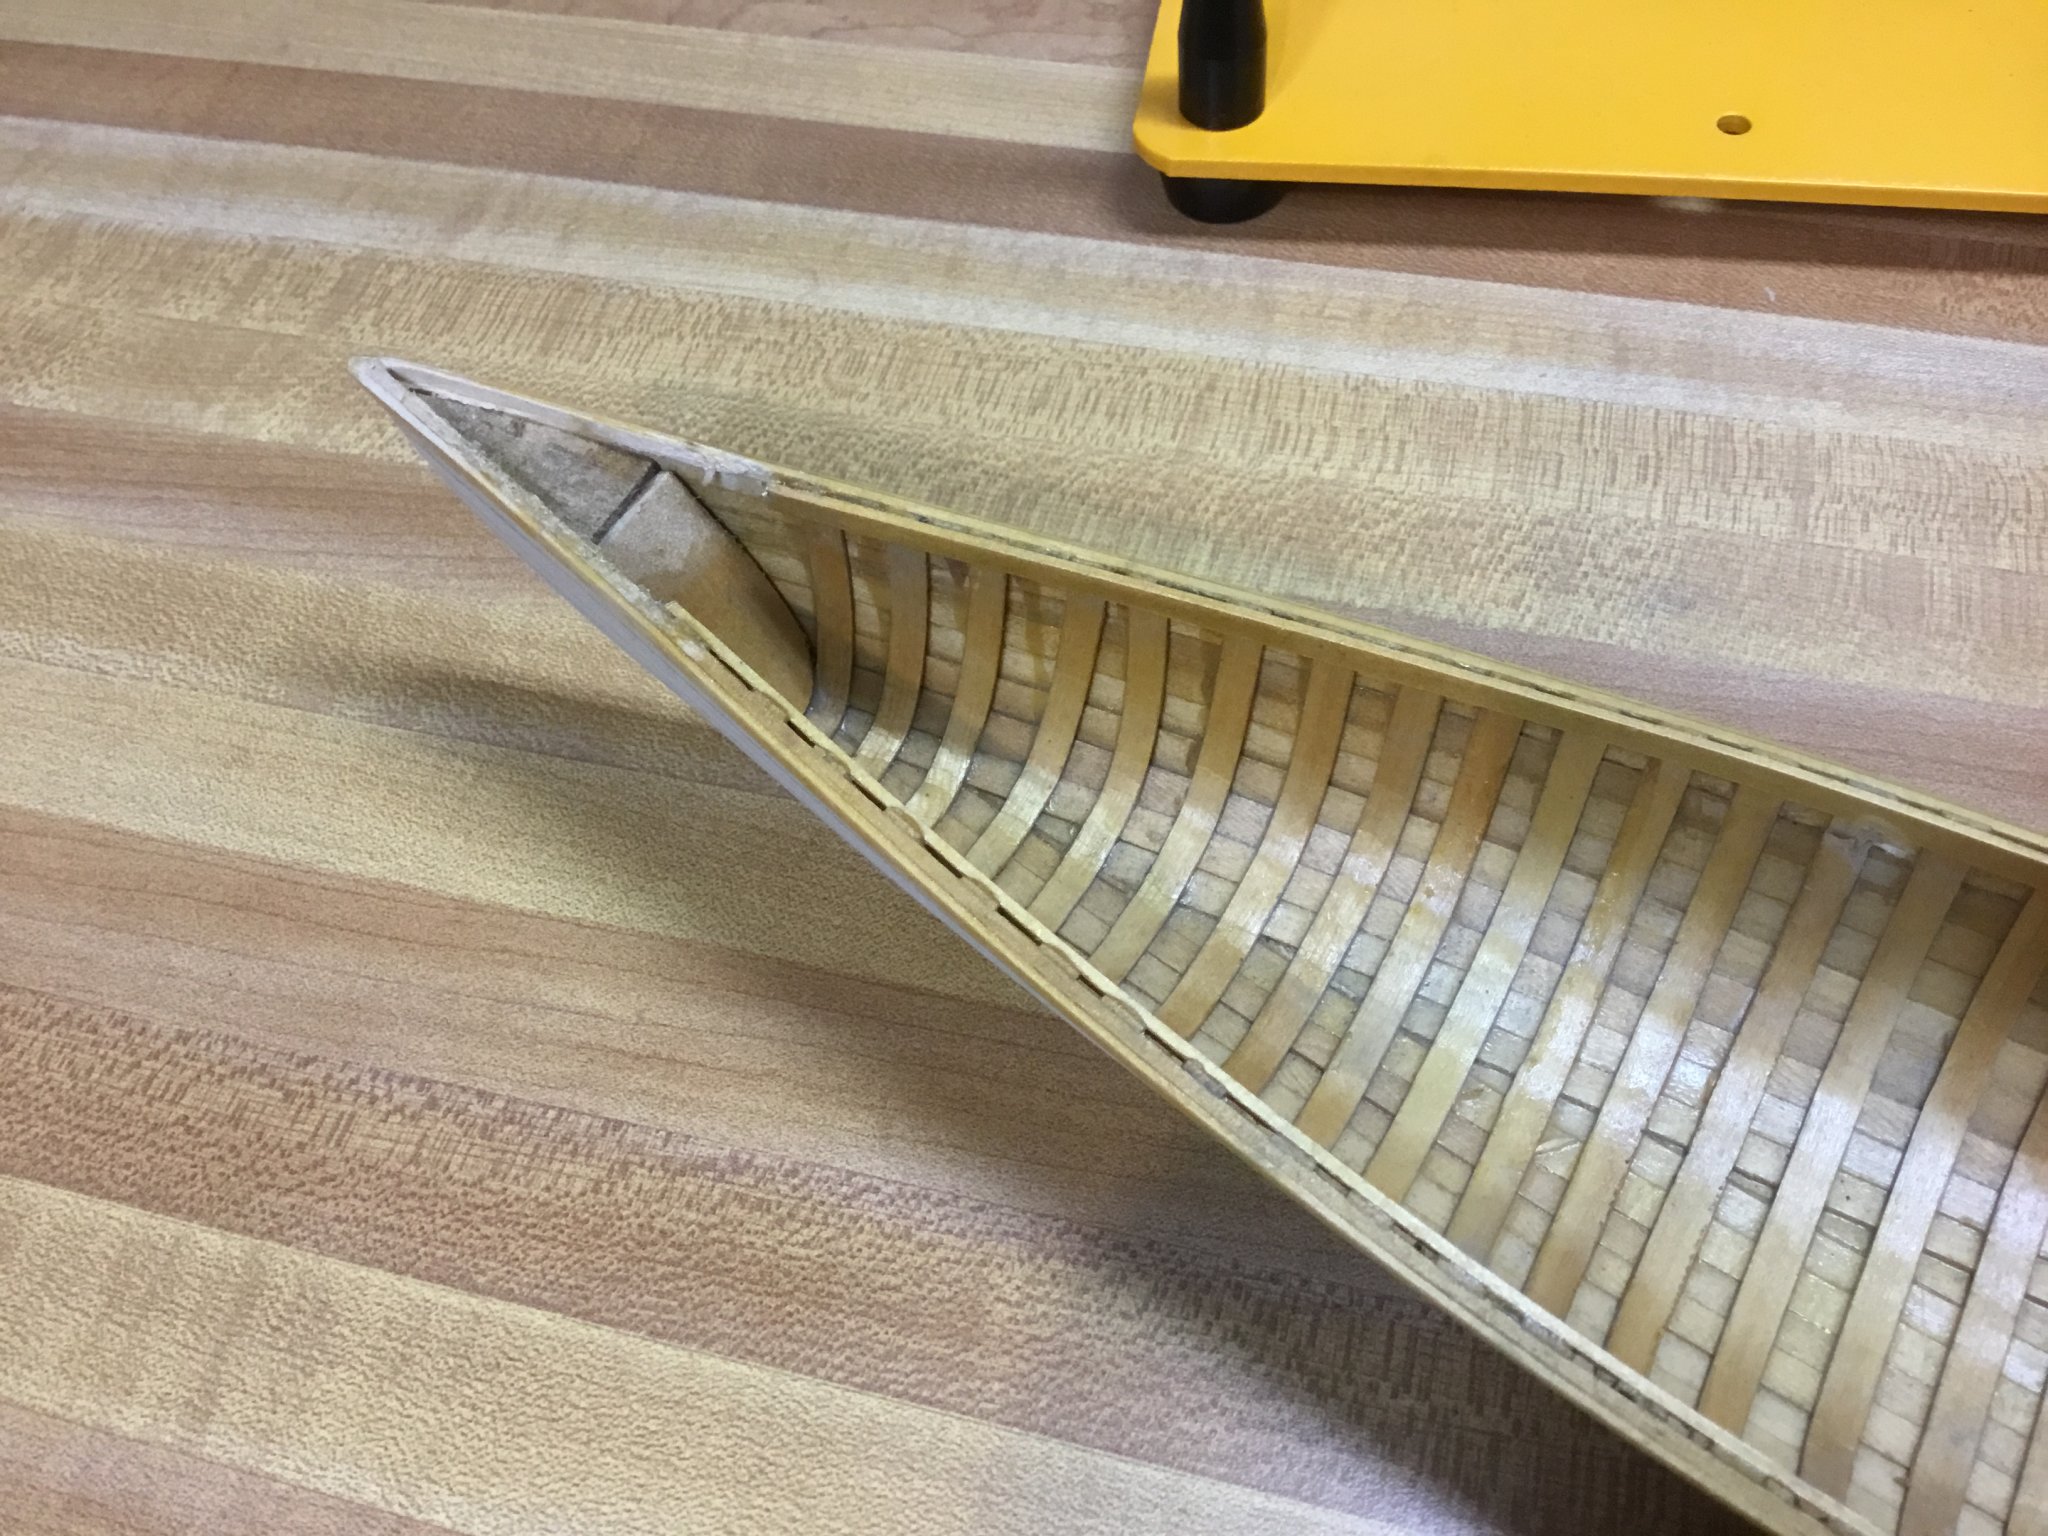
I always thought that this canoe is out of scale; 20.25” long and a beam of about 3.25”. I has no tumblehome, no keel, no thwarts and a large rocker. But I think I can do something with it. I initially thought I would somehow cut it down to 16” to make it more proportional to a typical canoe but decided against that.
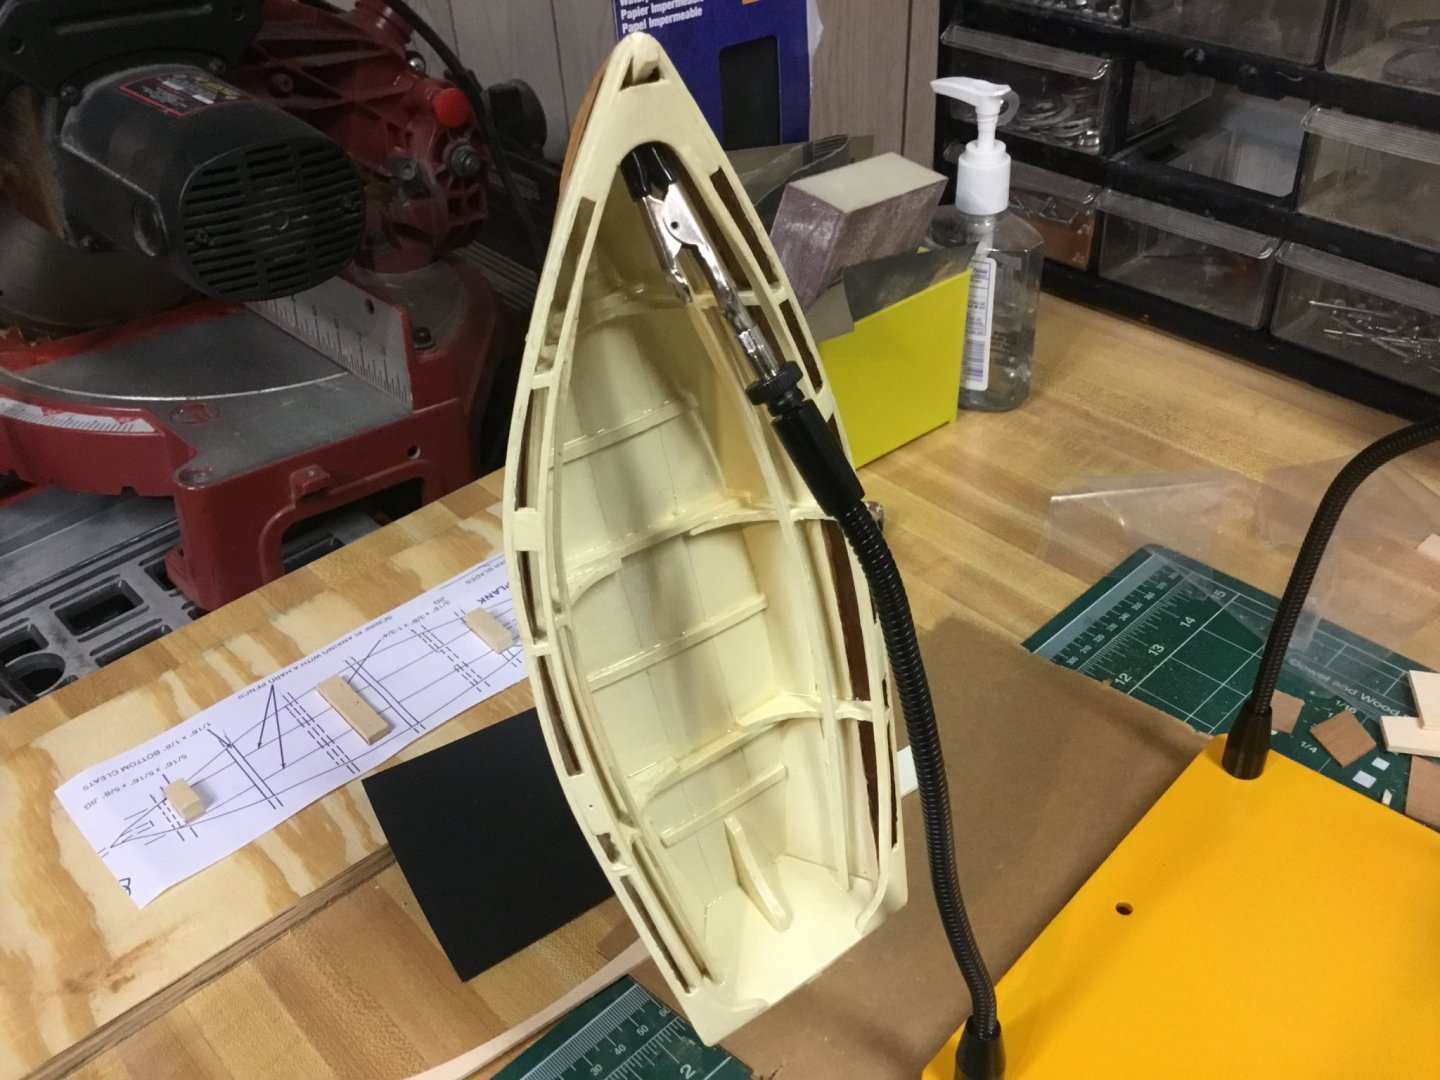
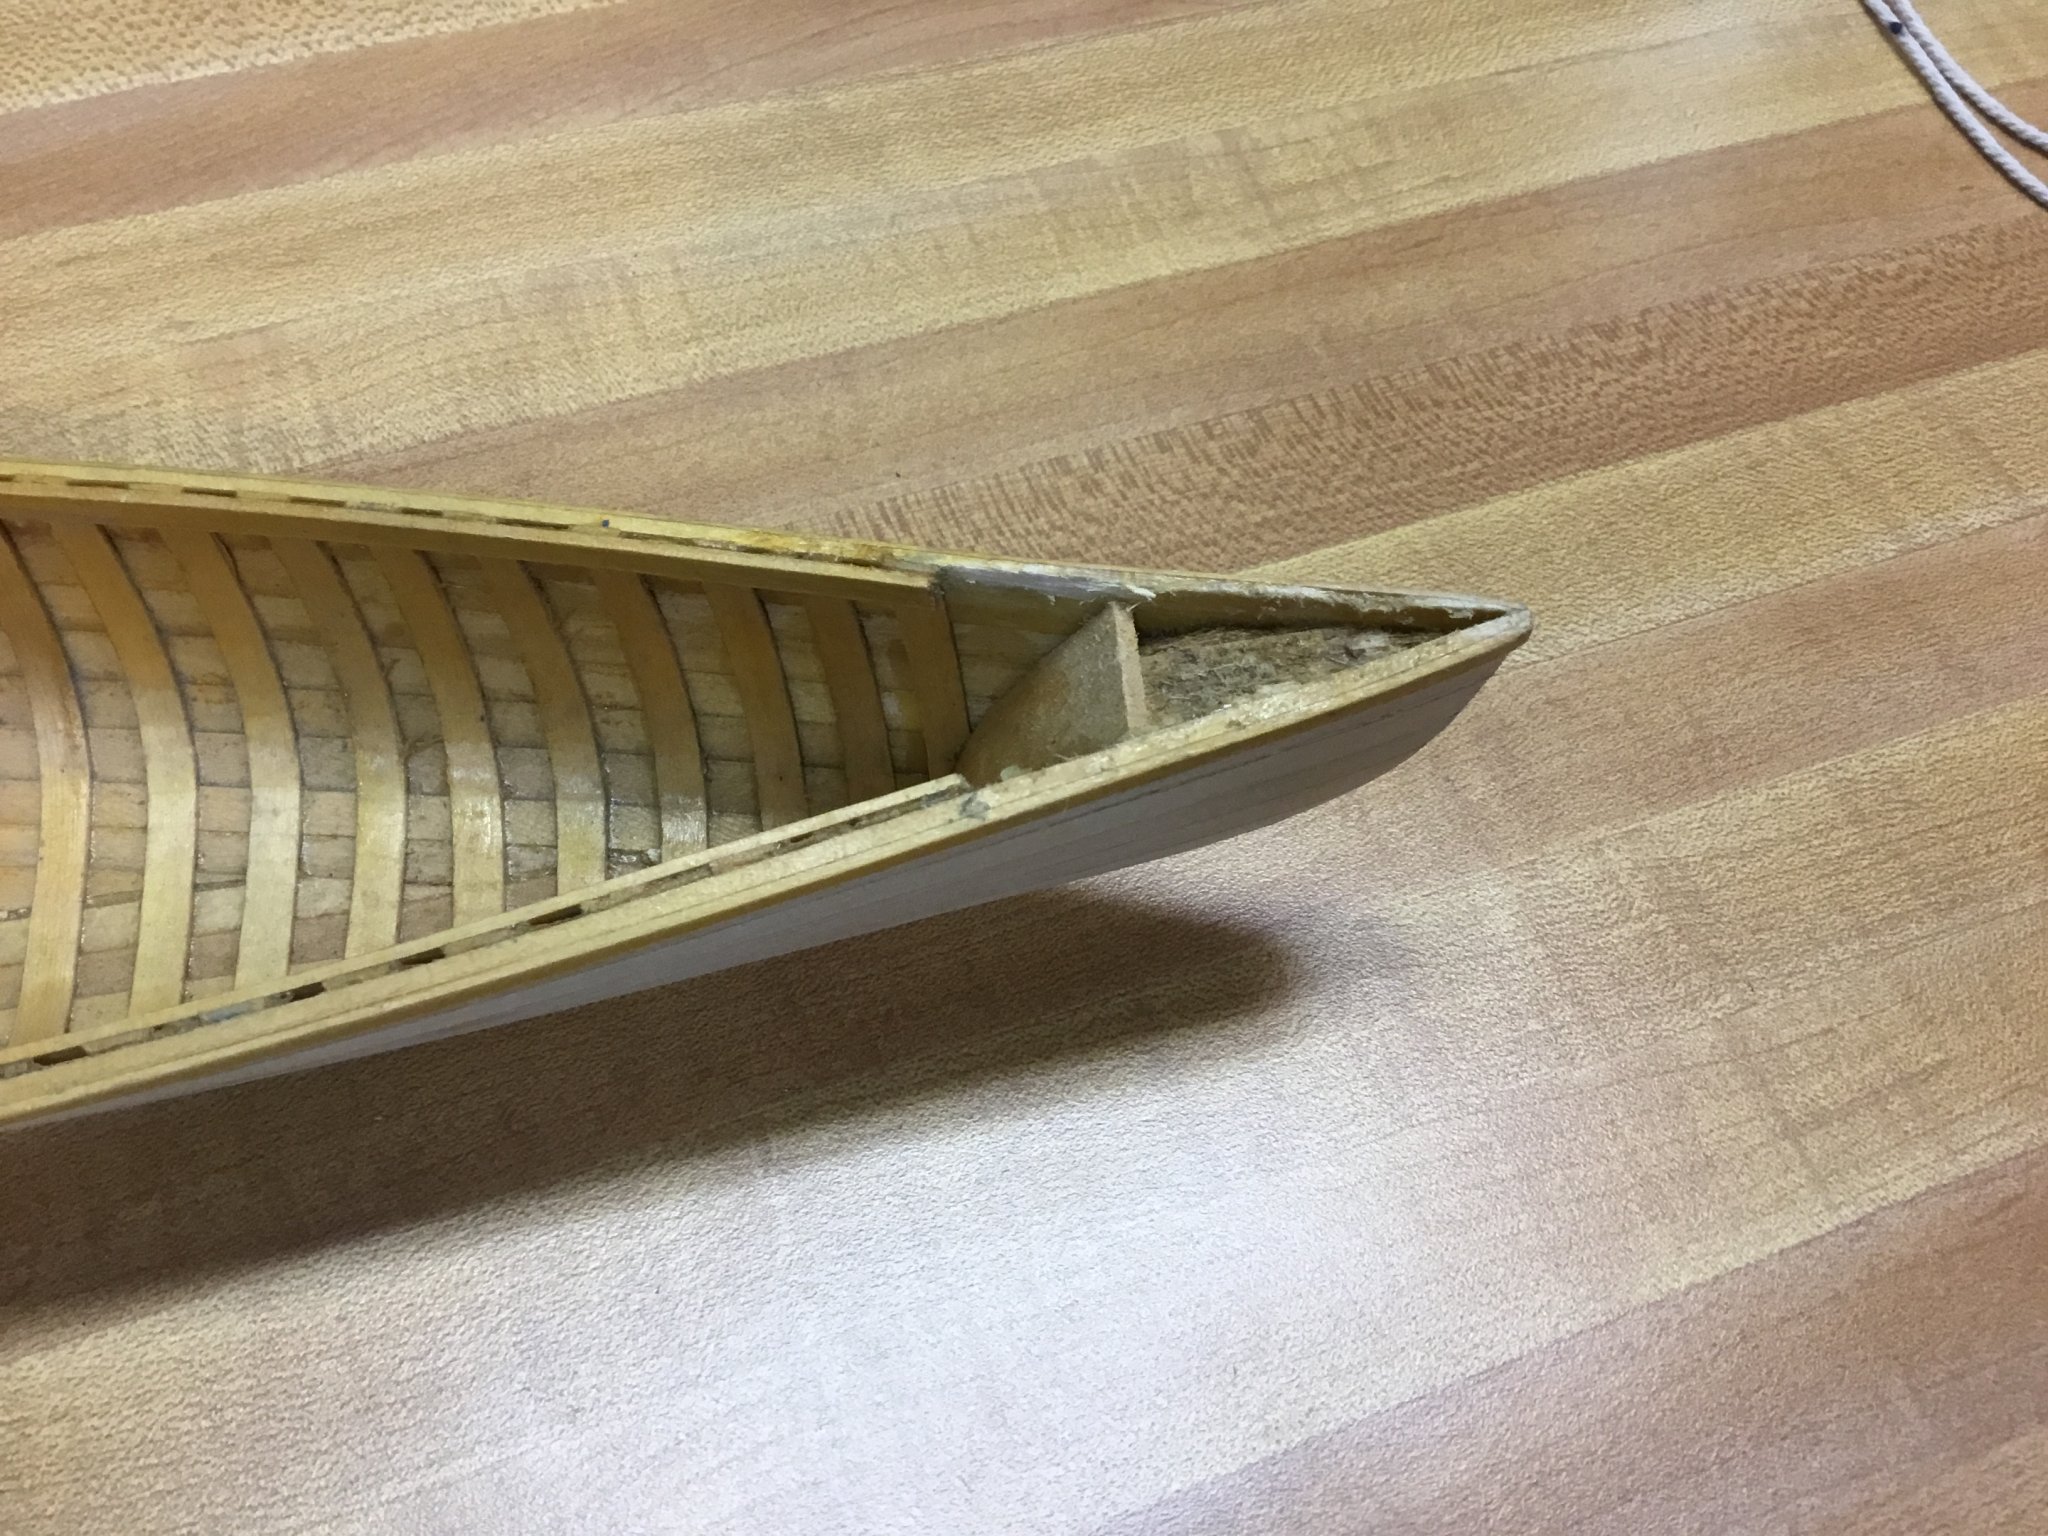
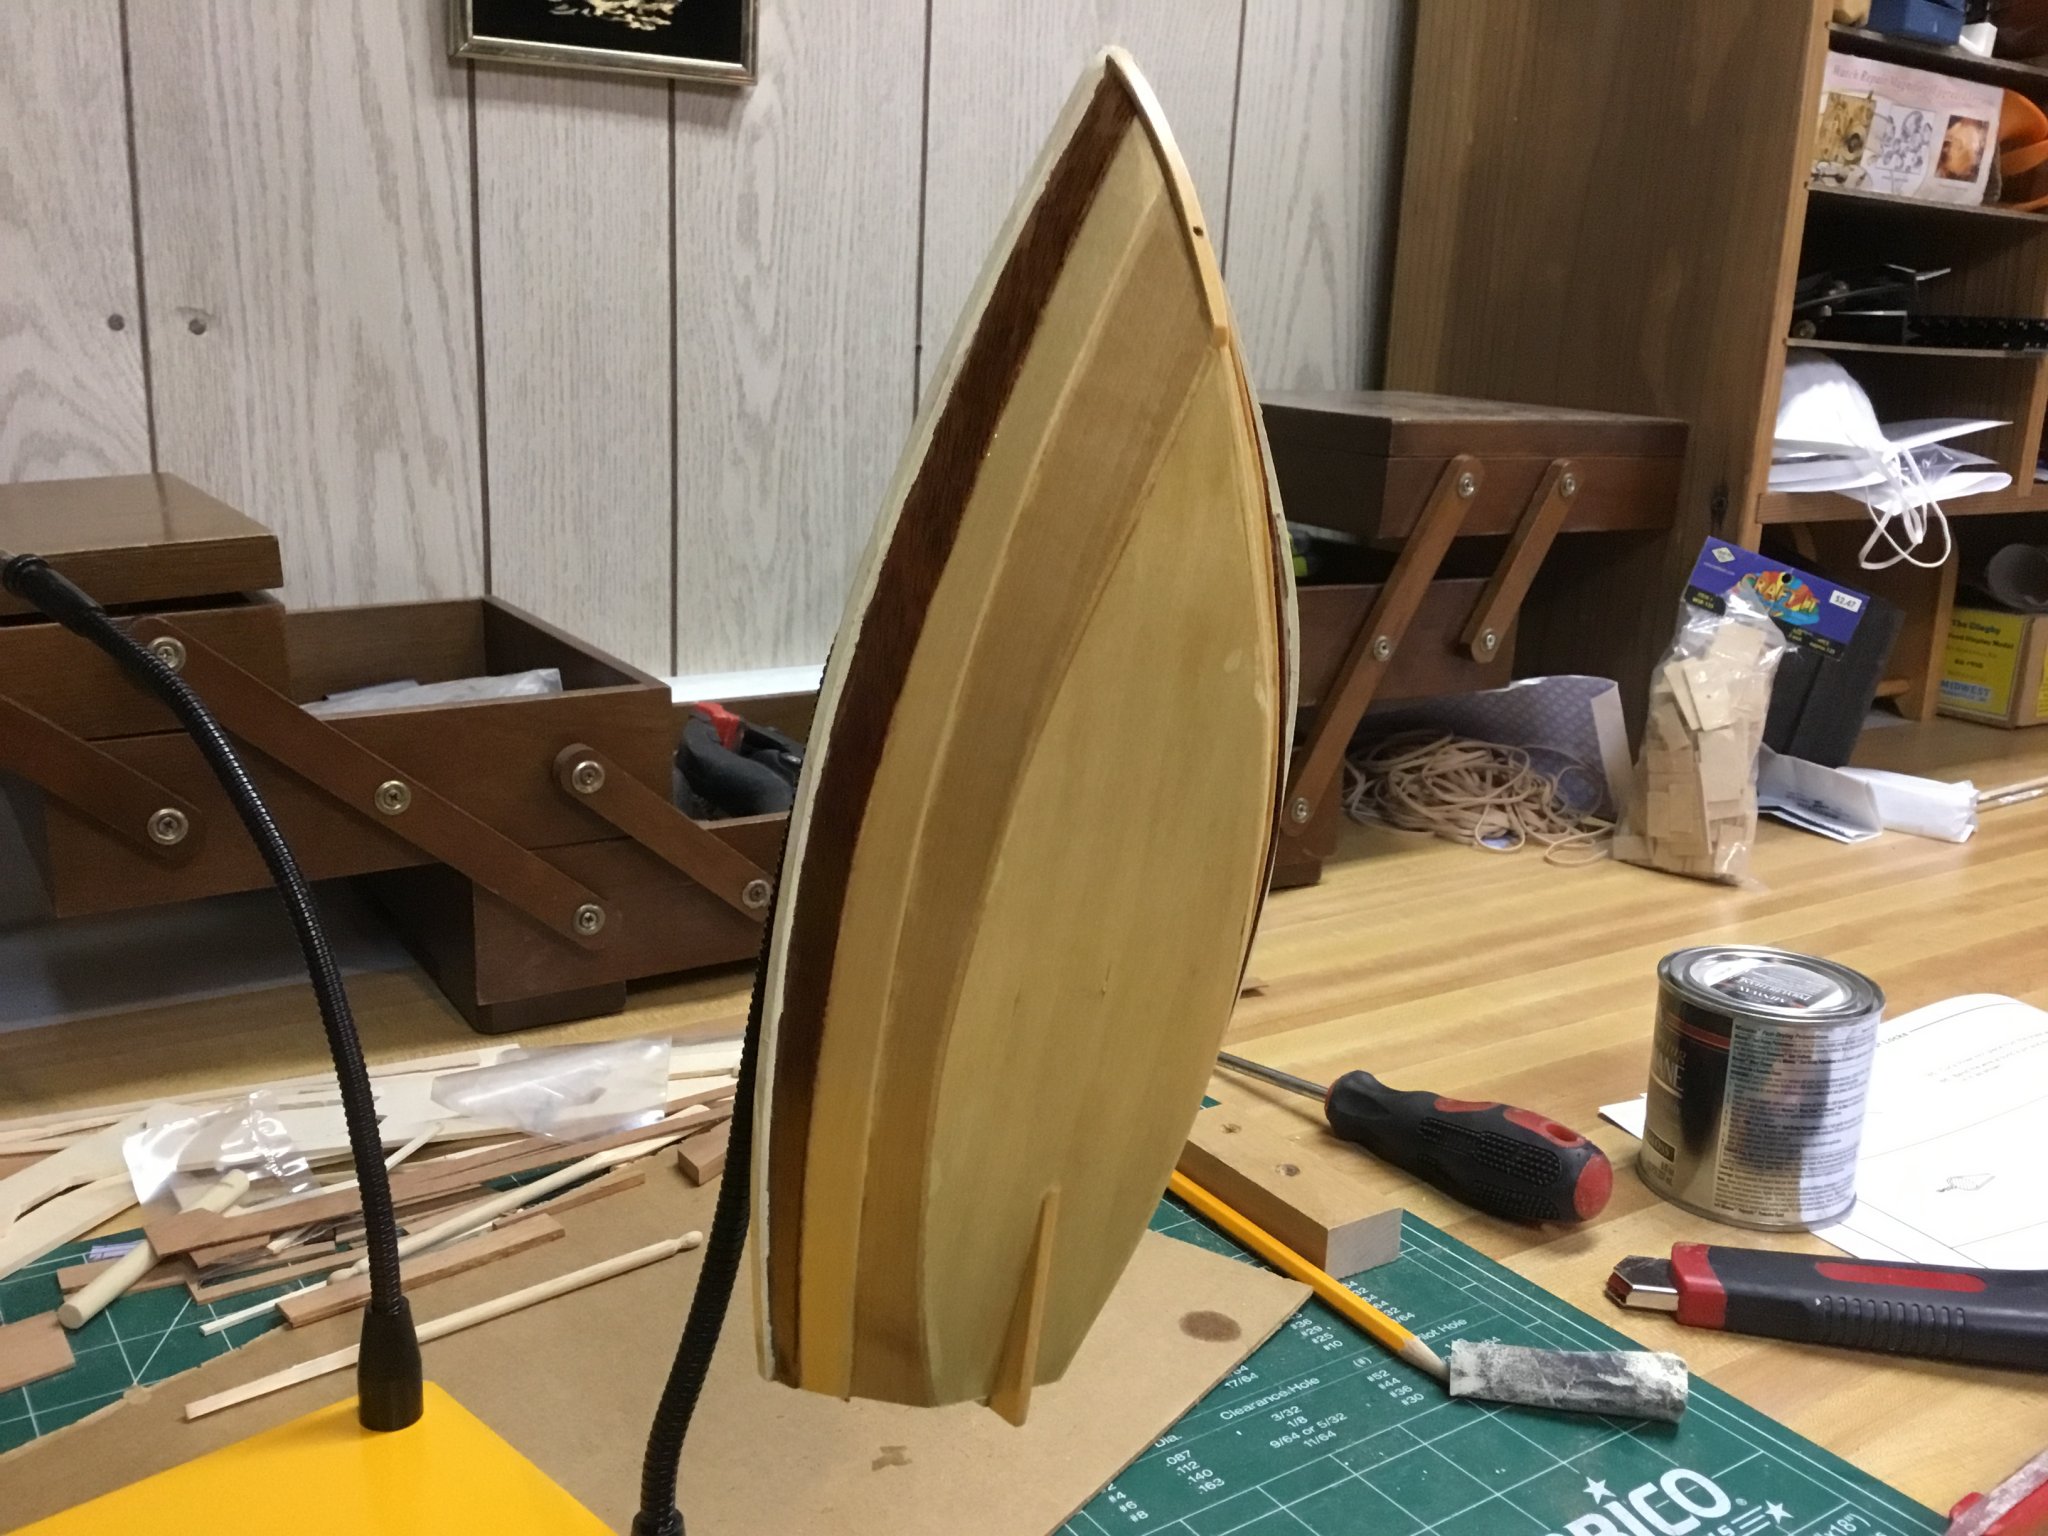
I've sanded all the paint off of it. As you can see the planking was very well done. Interesting on how the builder crossed the planks at the bottom instead of meeting in the center. I don’t know if that is a usual way of planking a canoe. I’ve never seen that before.
I removed the fore and aft decks and then the gunwales.
I want to clean up the inside but I don’t know how. Any advice is appreciated!
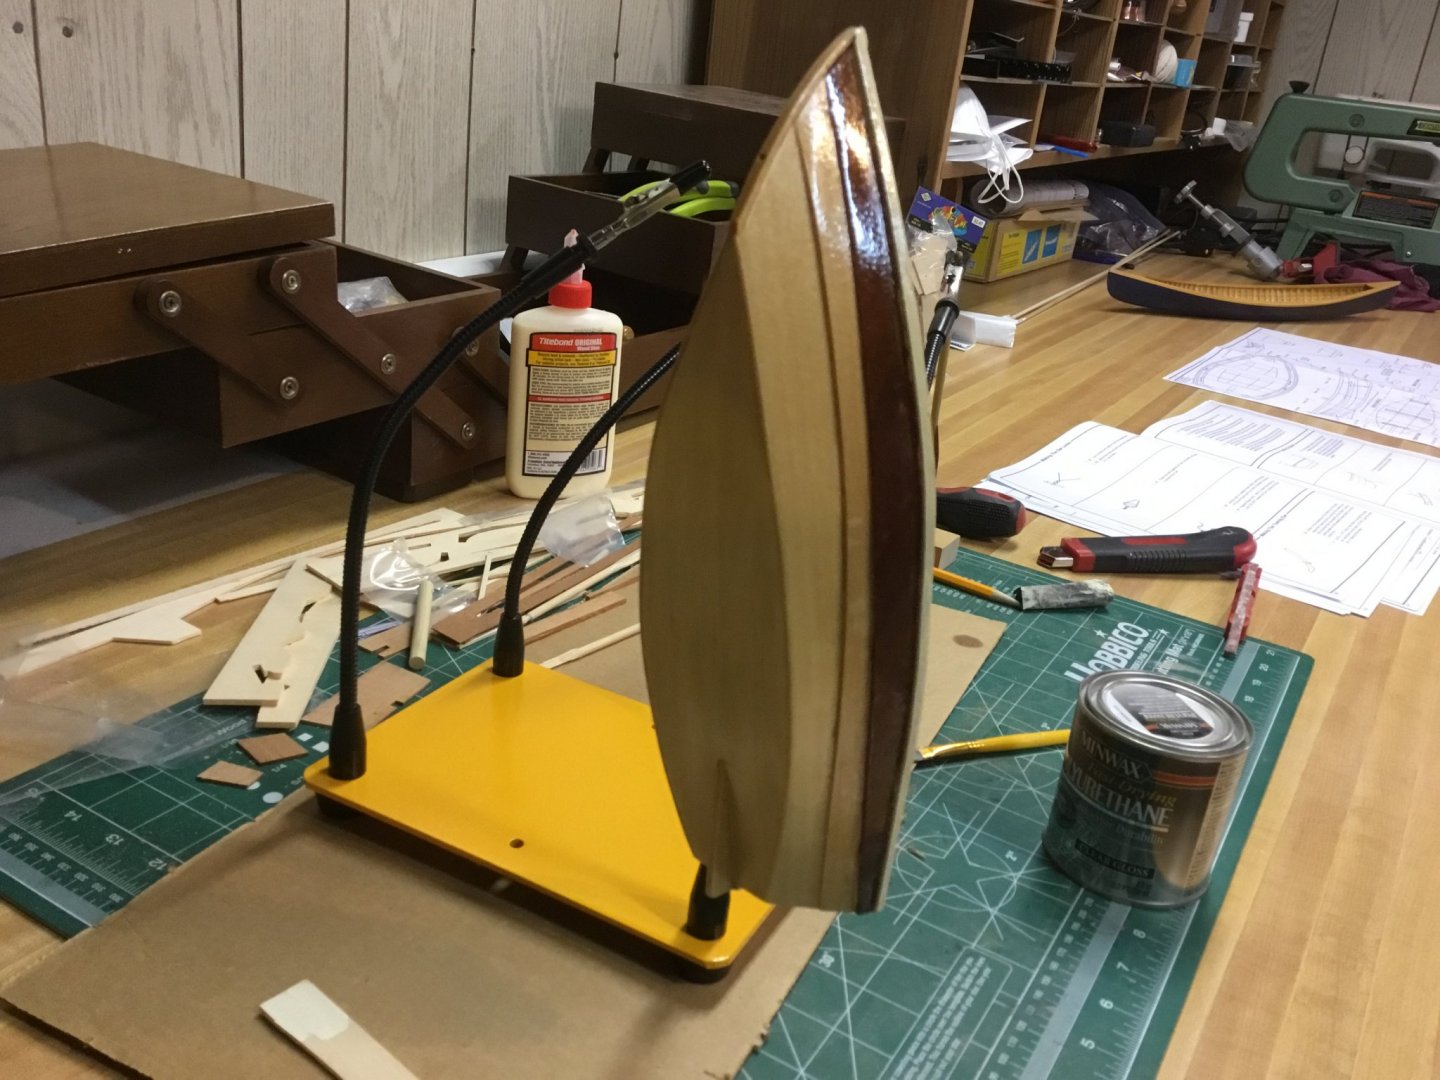
I plan on stemming the whole thing and compressing the beam by about 1/4” - 1/3”. It’ll be a long skinny canoe but I think that will take away the flare profile to make straight sides or maybe a little tumblehome.
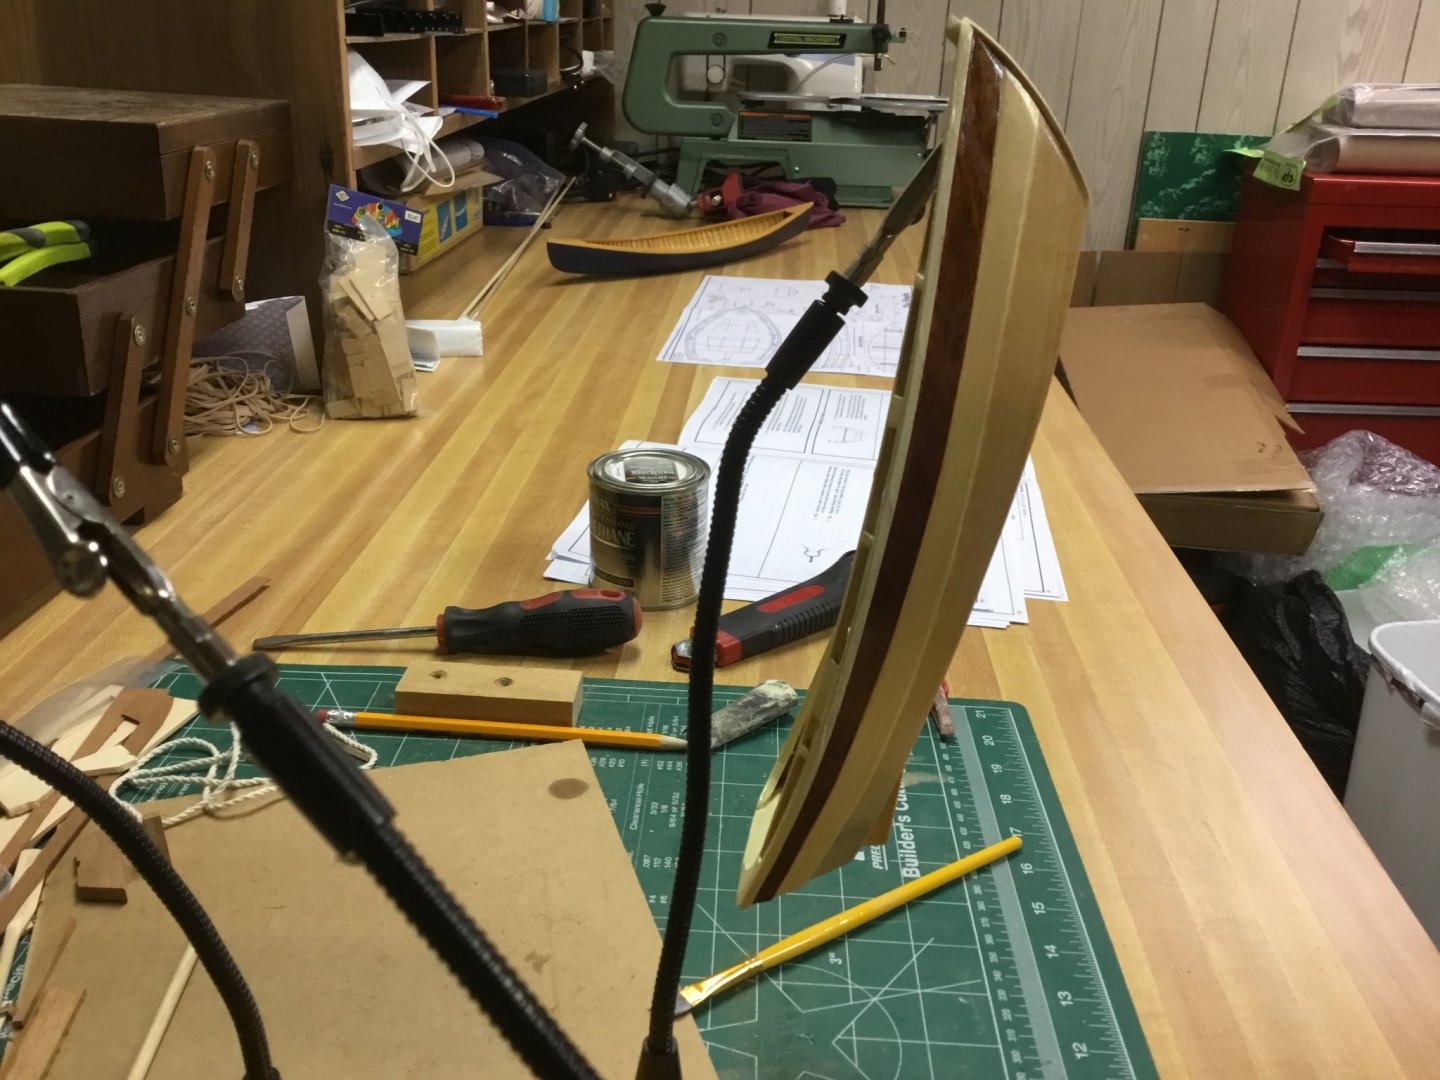
I would like to build up the bow and stern to change from a touring profile to a more traditional profile. I think that will help in making it look more proportional. At least to my eye.
I’m going to plank over the existing planks. Add a keel and stems. Add nice decks and gunwales. Add seats and thwarts and finally make a nice pair of paddles.