Bill97
-
Posts
2,730 -
Joined
-
Last visited
Content Type
Profiles
Forums
Gallery
Events
Everything posted by Bill97
-
Ok guys be honest here. I am reading through Longridge’s book on the running rigging of the yards. Did you, or do you, add every line he gives directions for? On pages 239-245 he gives directions for 16 different lines for just the fore yard. I can see several are very important, but all of them?
-
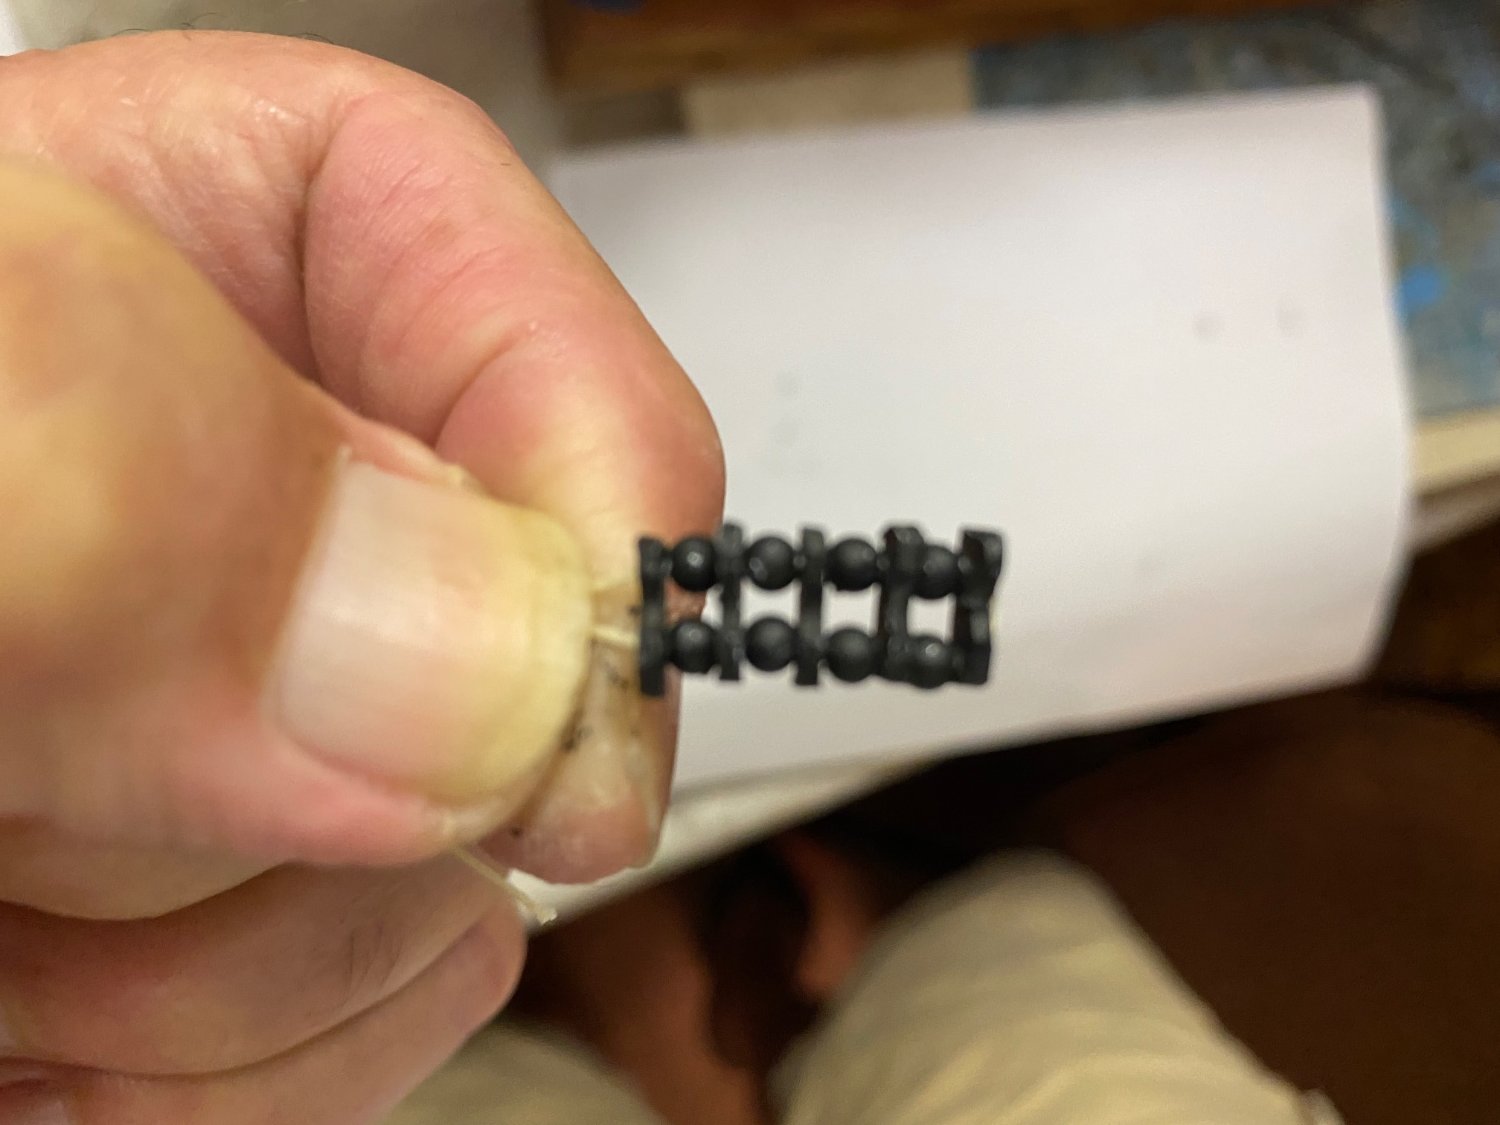
Ian I considered that but Longridge on page 213 says there Must be a rib at each end. Not sure why. If you check the reference it is the third sentence from bottom of page.
-
I think my seed beads I used for the “trucks” and the evergreen I used for the “ribs” is a little thicker than recommended. To get the length I need to go around the main mast at the topsail yard took 5 ribs and four trucks. Longridge did not specify the number of each for this position.
-
OK Ian I think I made the block corrections you recommended. Bigger size of the topsail sheet block, and lift block, and moved the buntline blocks to the front of the yard. Fingers crossed it looks OK and a good guide and reference for the other yards. Curious, since I moved the buntline blocks to the front of the yard I assume the buntlines will go behind the stun’sail to the blocks?


-
Thanks Ian. I believe I can easily rotate the buntline blocks forward. I will inventory the block sizes I have and follow your directions the best my inventory will permit.
-
Ian you know you are making me crazy 🤪 reference these block sizes 😀. I wondered about the blocks being on the front of the yard when you said it before. If they are on the front of the yard wont they interfere with the hanging of the sail?
-
ONE YEAR ANNIVERSARY TODAY! One year ago today I started my Heller Victory. What a fun, educational, addicting, frustrating, relaxing, nerve racking, and a real pleasure it has been. Along the way I have met (digitally) many new friends from around the world. It has truly been an incredible experience. Thank you so much Modelshipworld.com for making this possible. I look forward to continuing this great experience as I move through the rest of this build and into the next. Thanks guys (all of you) for your help, encouragement, and compliments.
-
Kevin I took some time to read back the last few pages of your blog so as to get caught up. Beautiful job in the photos you have posted. I like the color of your deck pieces. I think they are very similar to the way mine come out with the Vellajo kit.
-
Kevin I finally took the opportunity to drop by your build to see how this jobs are going since last time I visited. My mishap with my foremast was not nearly as disheartening as I am sure your’s was. Great attitude and recovery. A while back I started a topic here on MSW about how often during a build do you have that “Oh No!” moment, and what was the worst. Mine have always been mast and bowsprit breaks. That is why I reinforce them where I can. Thought I might make it safely through my Victory with out breaking one but I was wrong.
-
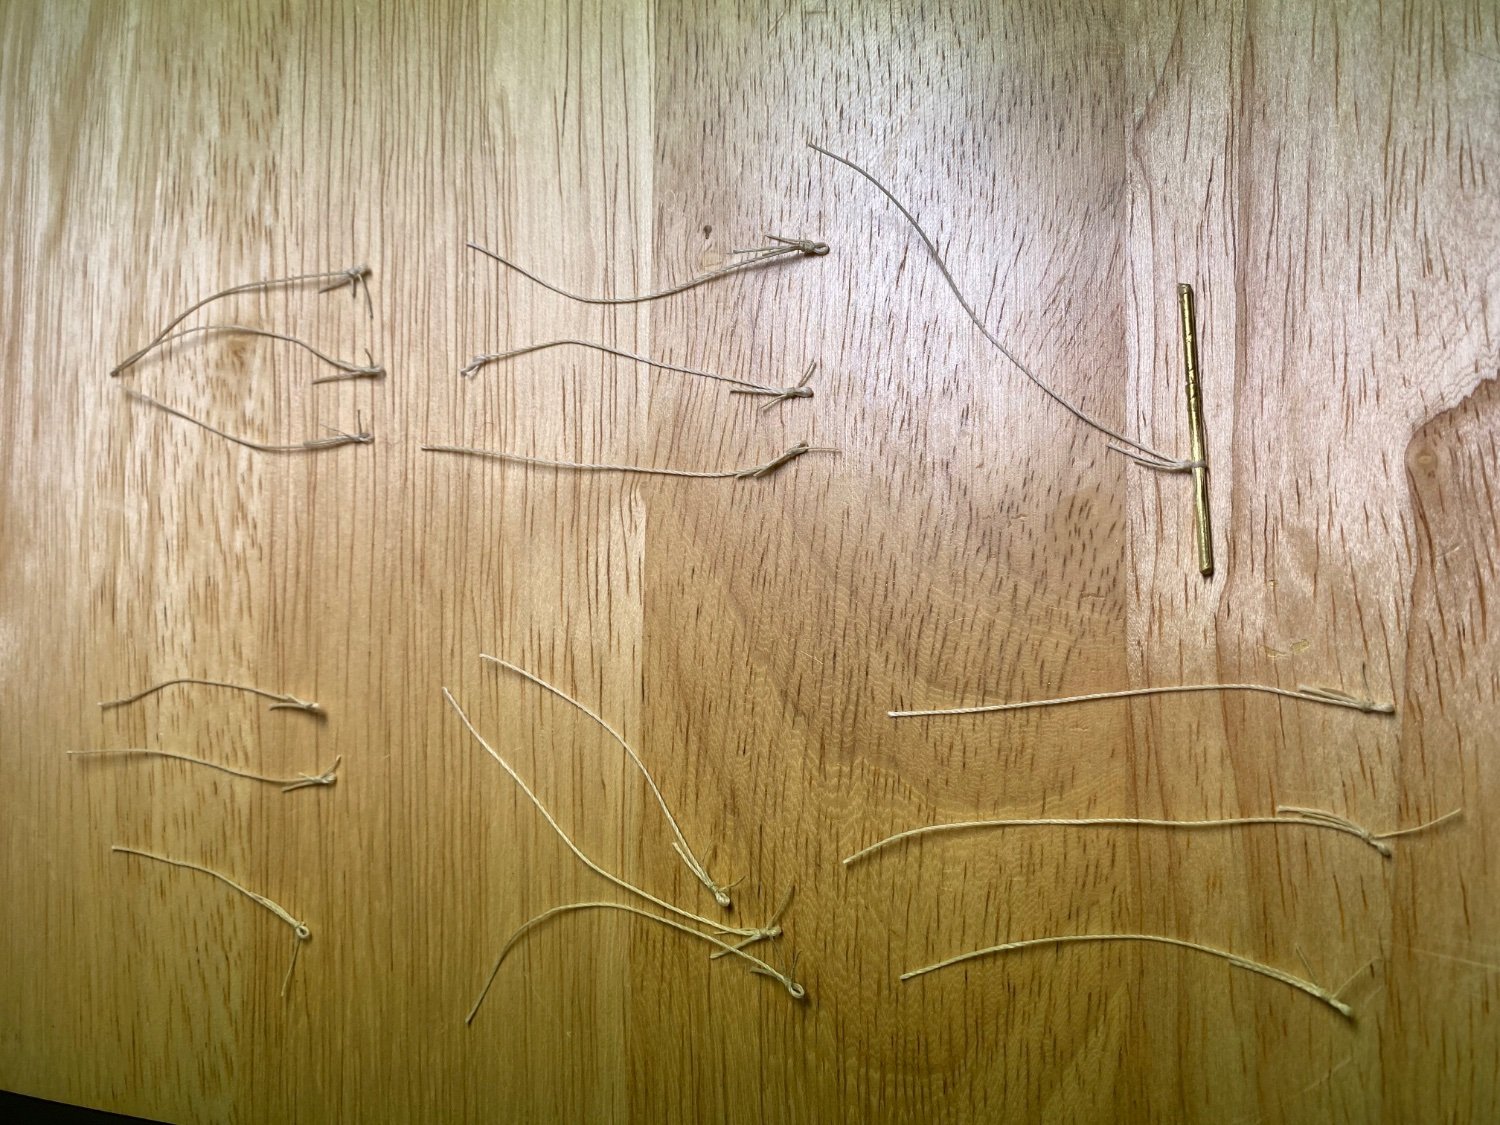
Step out of the ship yard to my alternate building area, recliner in front of TV, to tie a bunch of stirrups to be used with the yard foot ropes. Tied a loop around a small diameter brass rod and applied a touch of white glue to keep the loop. Will tie around the yard with a fall of about 3/8”. Later I will thread the foot rope through the stirrups as shown in Longridge’s Plan 7.

-
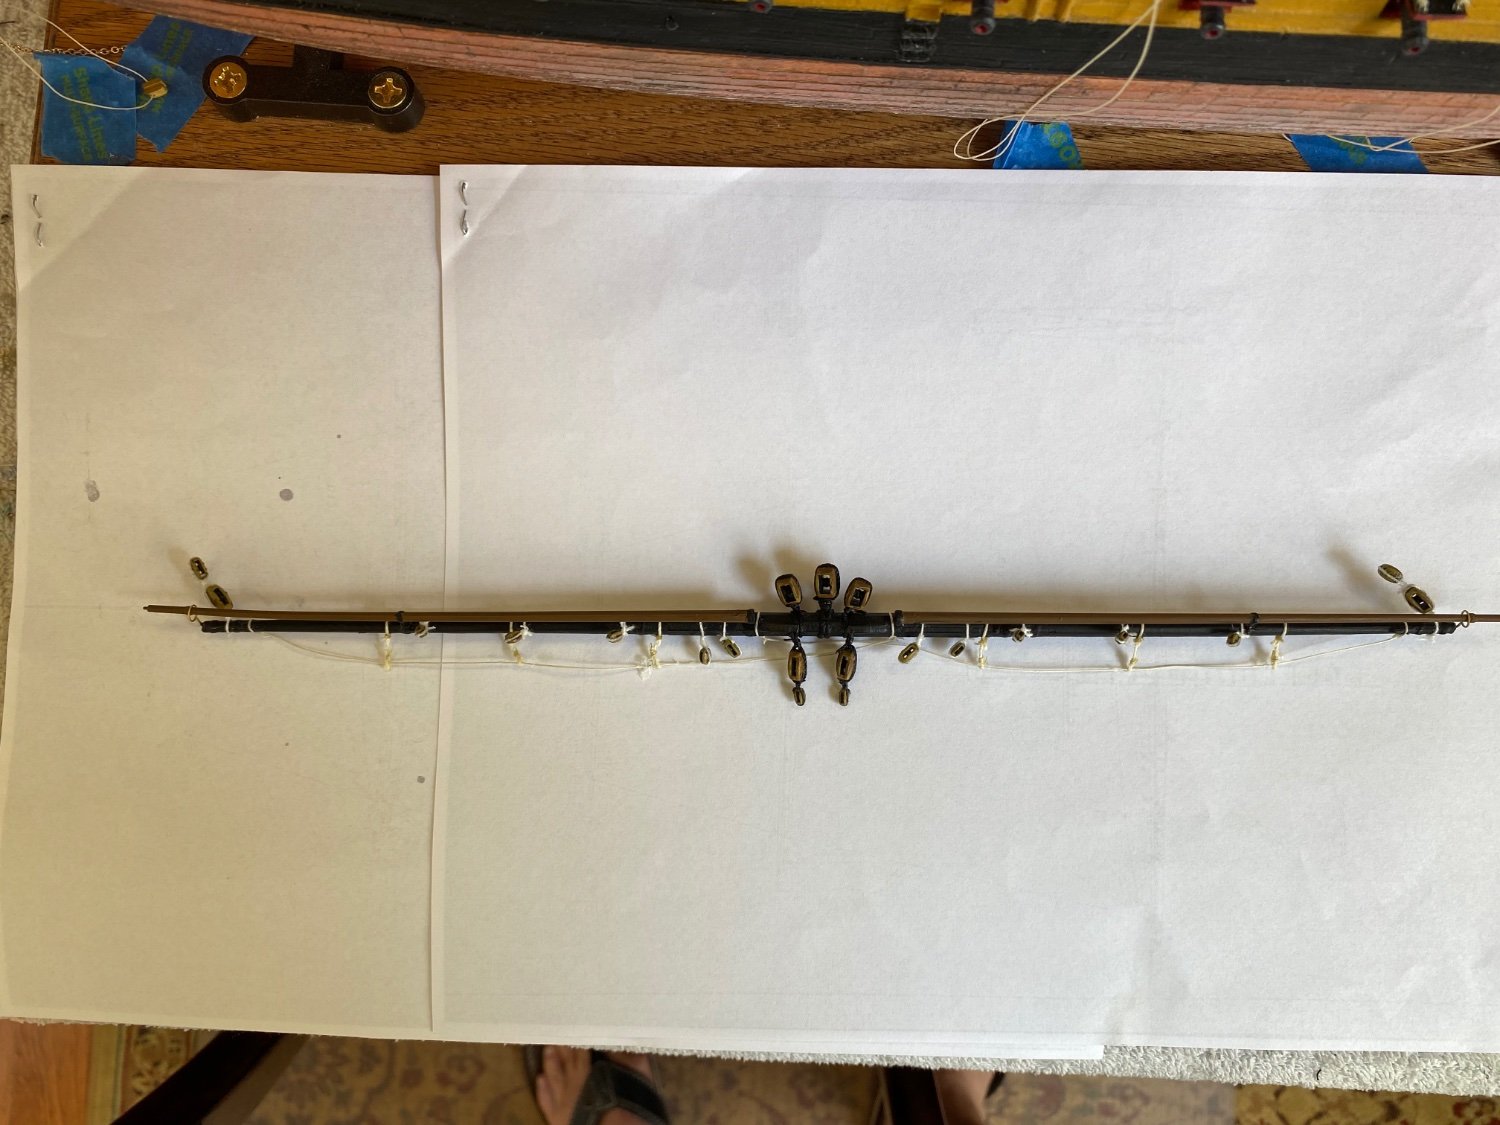
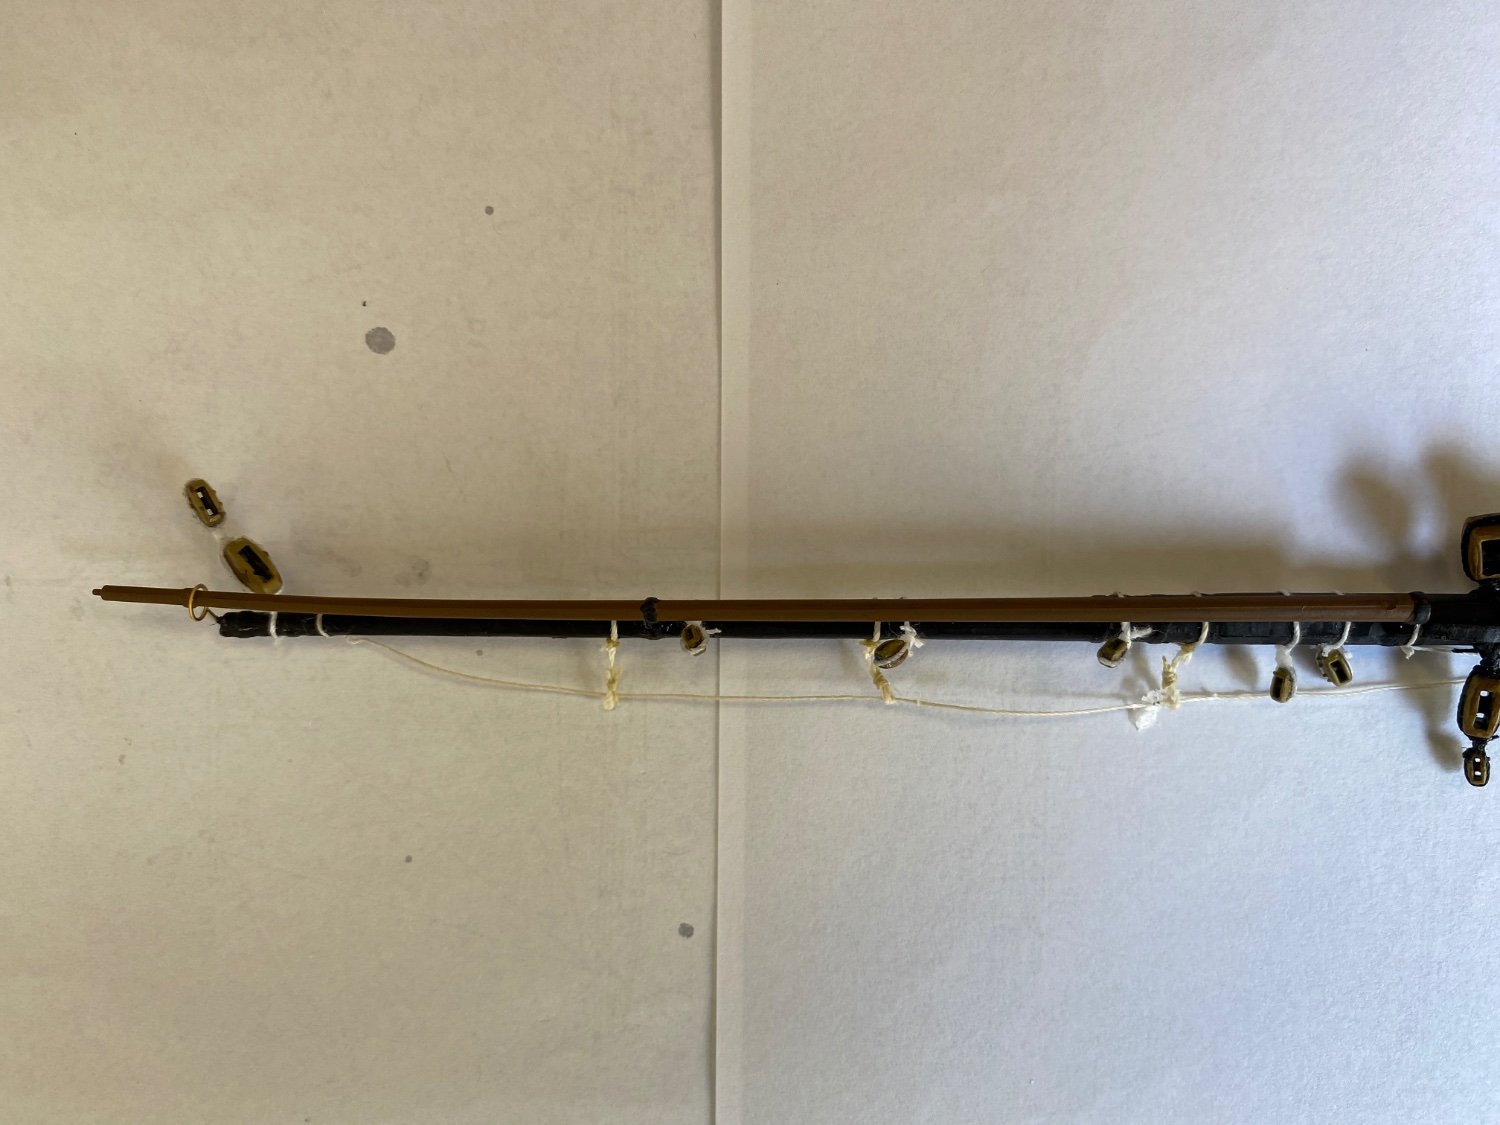
Ok for comparison I have the smaller Heller and Kevin blocks attached to the main yard. The attached photo shows the fore yard with the previous installed wood blocks. I am not going to add the expense of buying smaller wood or printed blocks since I have a million of each. Now to decide which way to go. I am leaning toward the smaller printed blocks, I think. One set or the other will need to be removed and replaced.

-
Fore topgallant mast repair completed. I ended up adding a small strip of brass to each side of the break for additional strength. My hope is once I add the yard and parral it will not be noticeable.

-
Thanks Daniel. I could not find where the extra four were supposed to go. I have them on the yards that Heller provided the stun’sails for. Going to live with that.
-
Thanks Ian. I think I will probably not go there. Just the stuns on the lower yards.
-
Thanks Ian. Heller did not include parts for the topgallant yards. Did you fabricate and add them or just not have them?
-
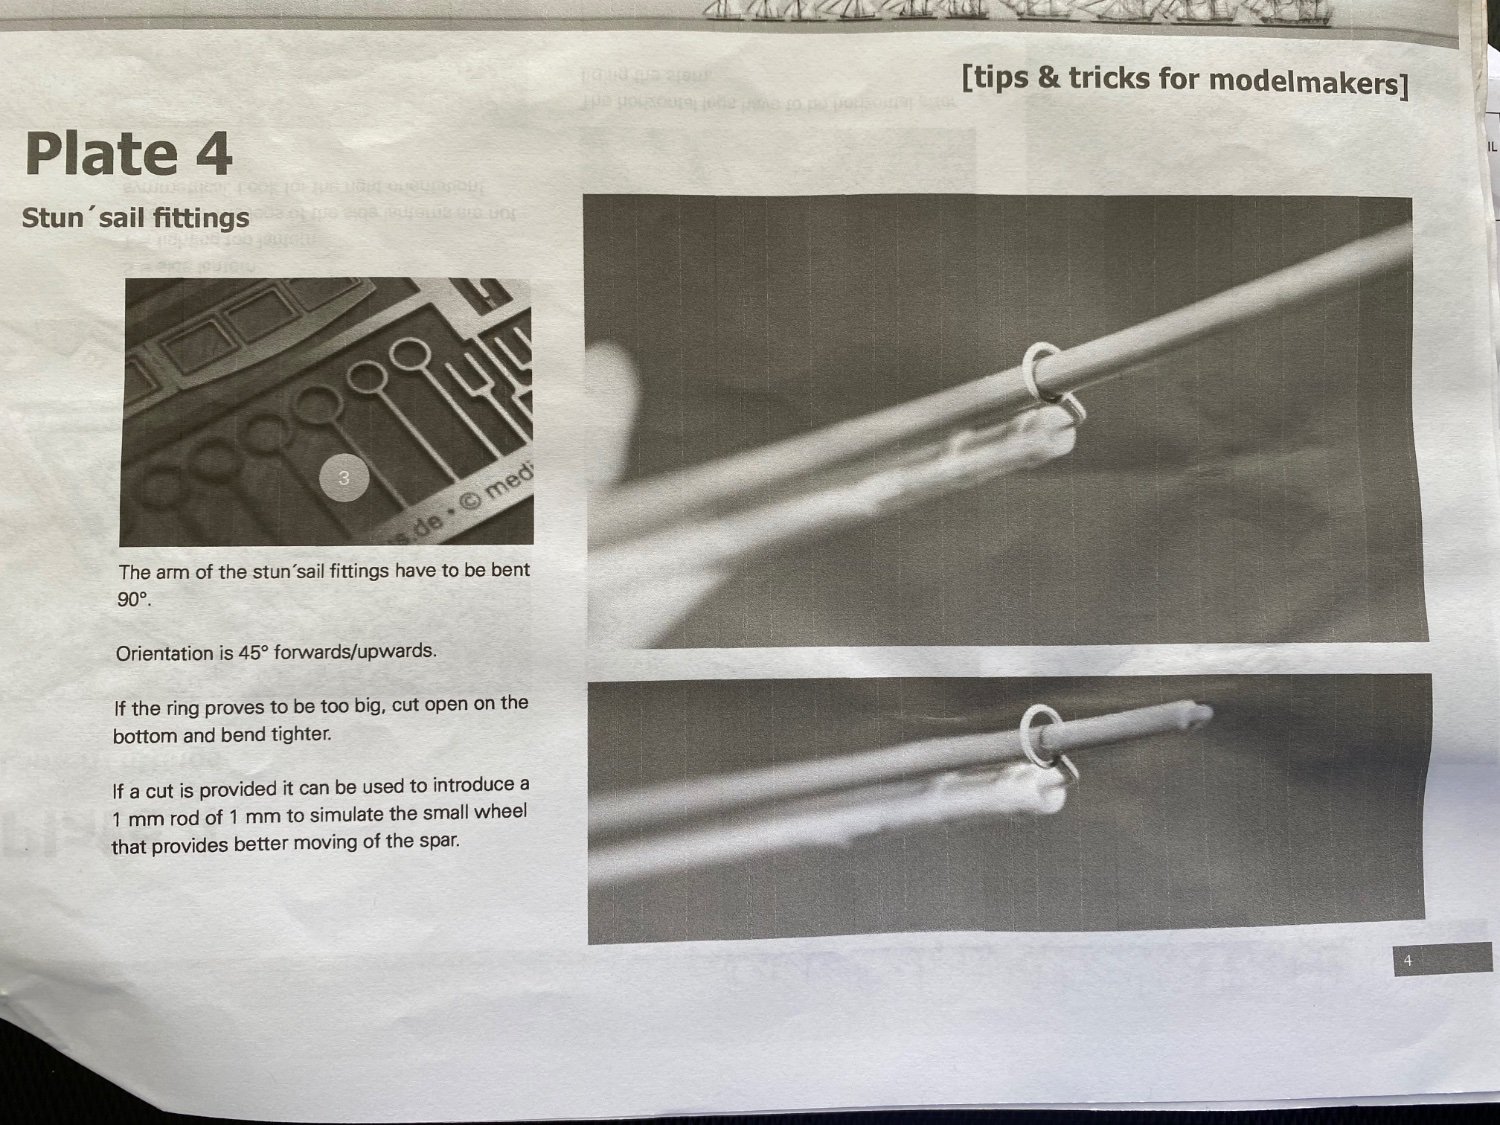
This question is for Daniel, or anyone that has used his etched plate 4. Included on the plate are 12 stun sail fittings. I only find use for 8. Two on the foremast yard and two on fore top mast yard. Two on the main yard and two on the main top mast yard. I don’t think they go on the topgallant yards or any of the mizzenmast yards, do they?

-
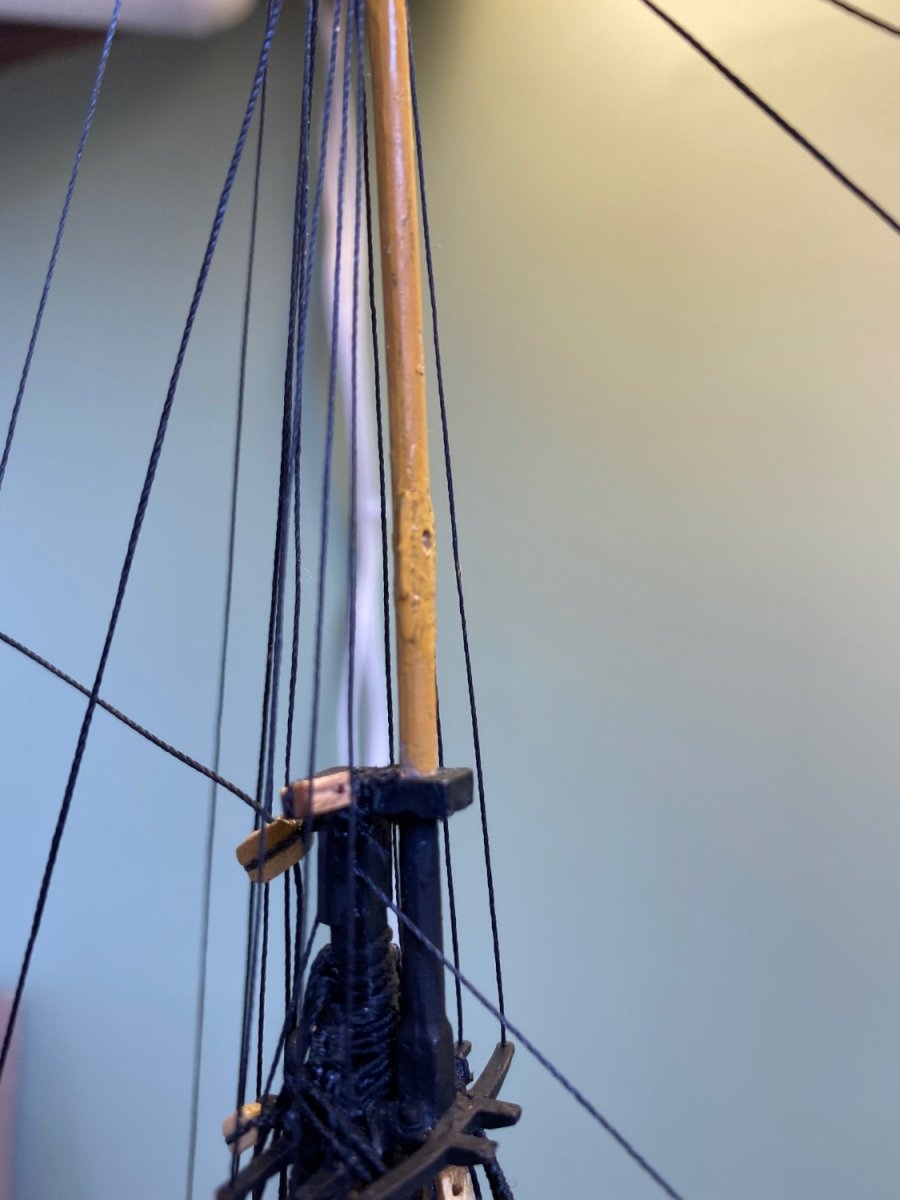
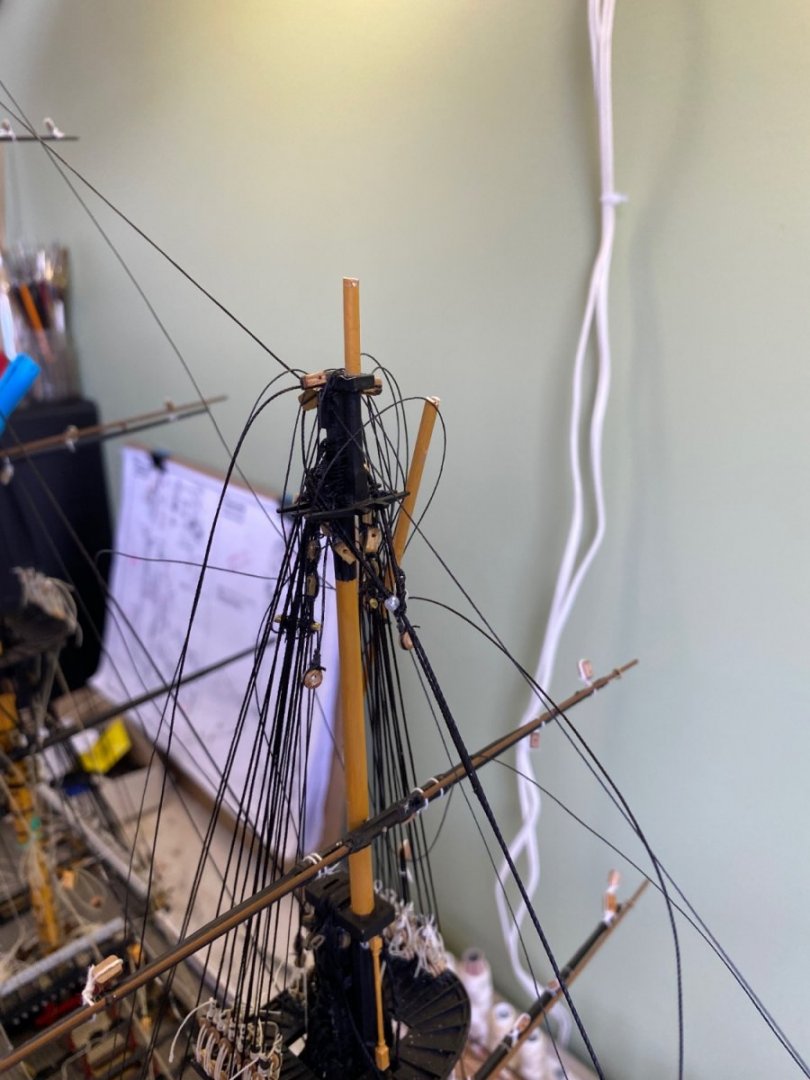
Fixed! I had previously drilled a small hole through the mast to accept the pin I put in the yard. That proved to be a weak spot when I accidentally hit it reaching for something behind the ship. I was able to untangle the lines and clamp the two mast sections. May have to wait to glue and fix it until I am ready to permanently add the yard. If I glue it now I will close up the hole I drilled. Will see how this goes.
-
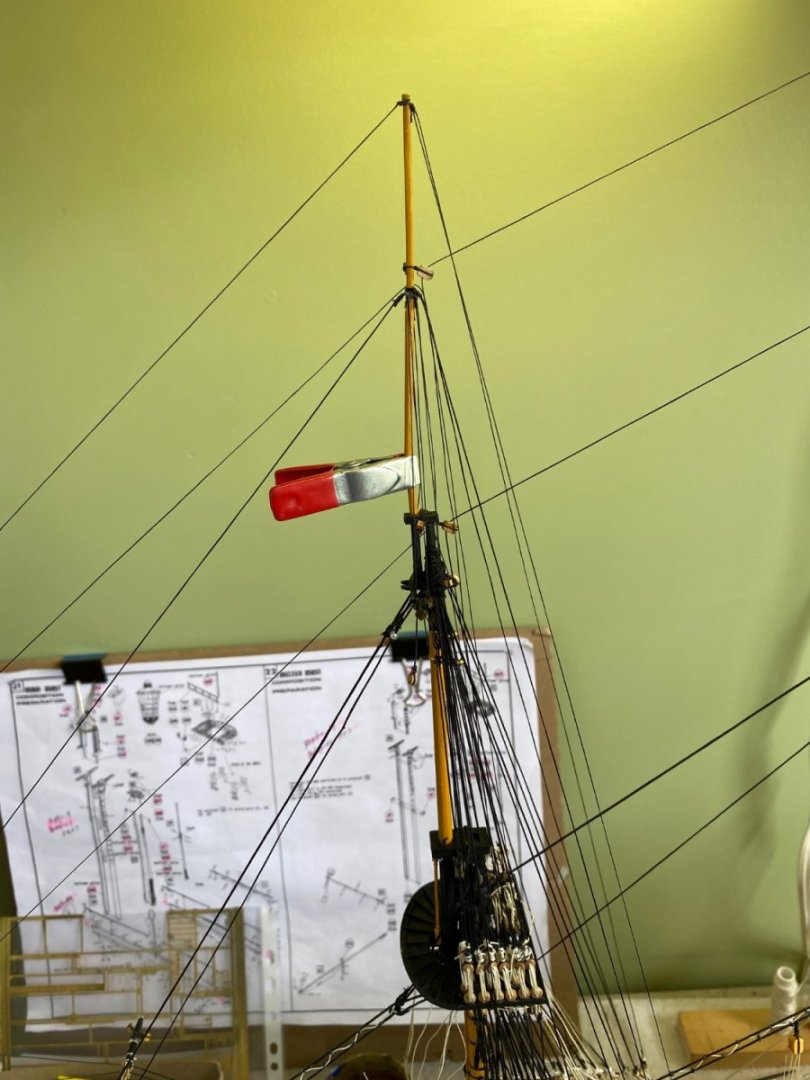
Disaster today! The Victory took an enemy round to the fore topgallant mast. Repairs under way if crew can get lines untangled!
-
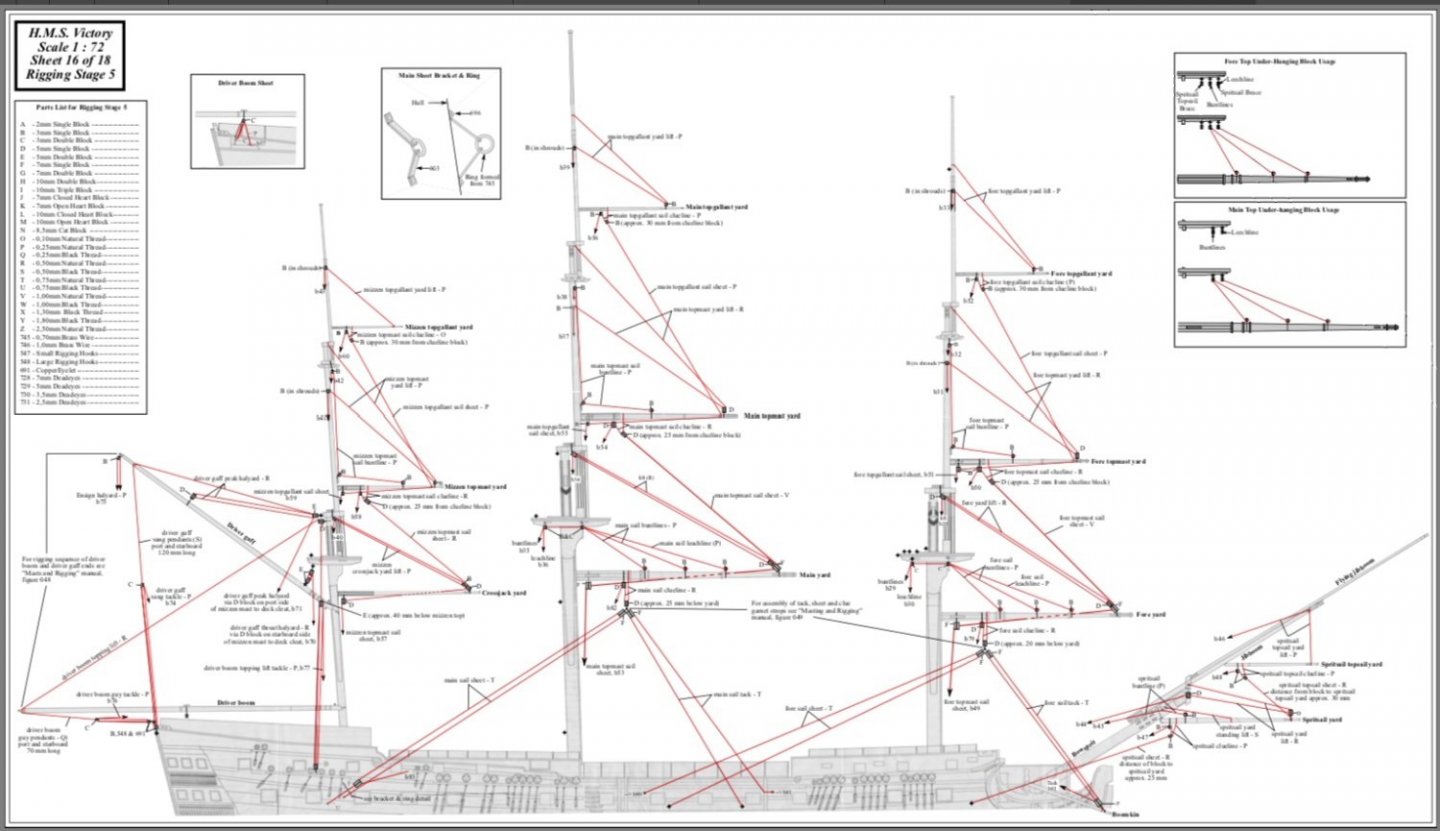
Stumbled on something very interesting today online. Found this rigging chart for the Caldercraft 1805 HMS Victory. Looking at Caldercraft builds here on MSW has me of the opinion the Caldercraft HMS Victory is a high quality model. I find it interesting the block layout and number of blocks on the Caldercraft yards are different from what appears on Plan 7 of Longridge’s book. I have to say if the Caldercraft plan is close to accurate it would be easier to follow.
-
Yeah Kevin I think from our previous conversations I know which direction you would lean 😊. Not a bad direction. Check mark in that column by your name.
-
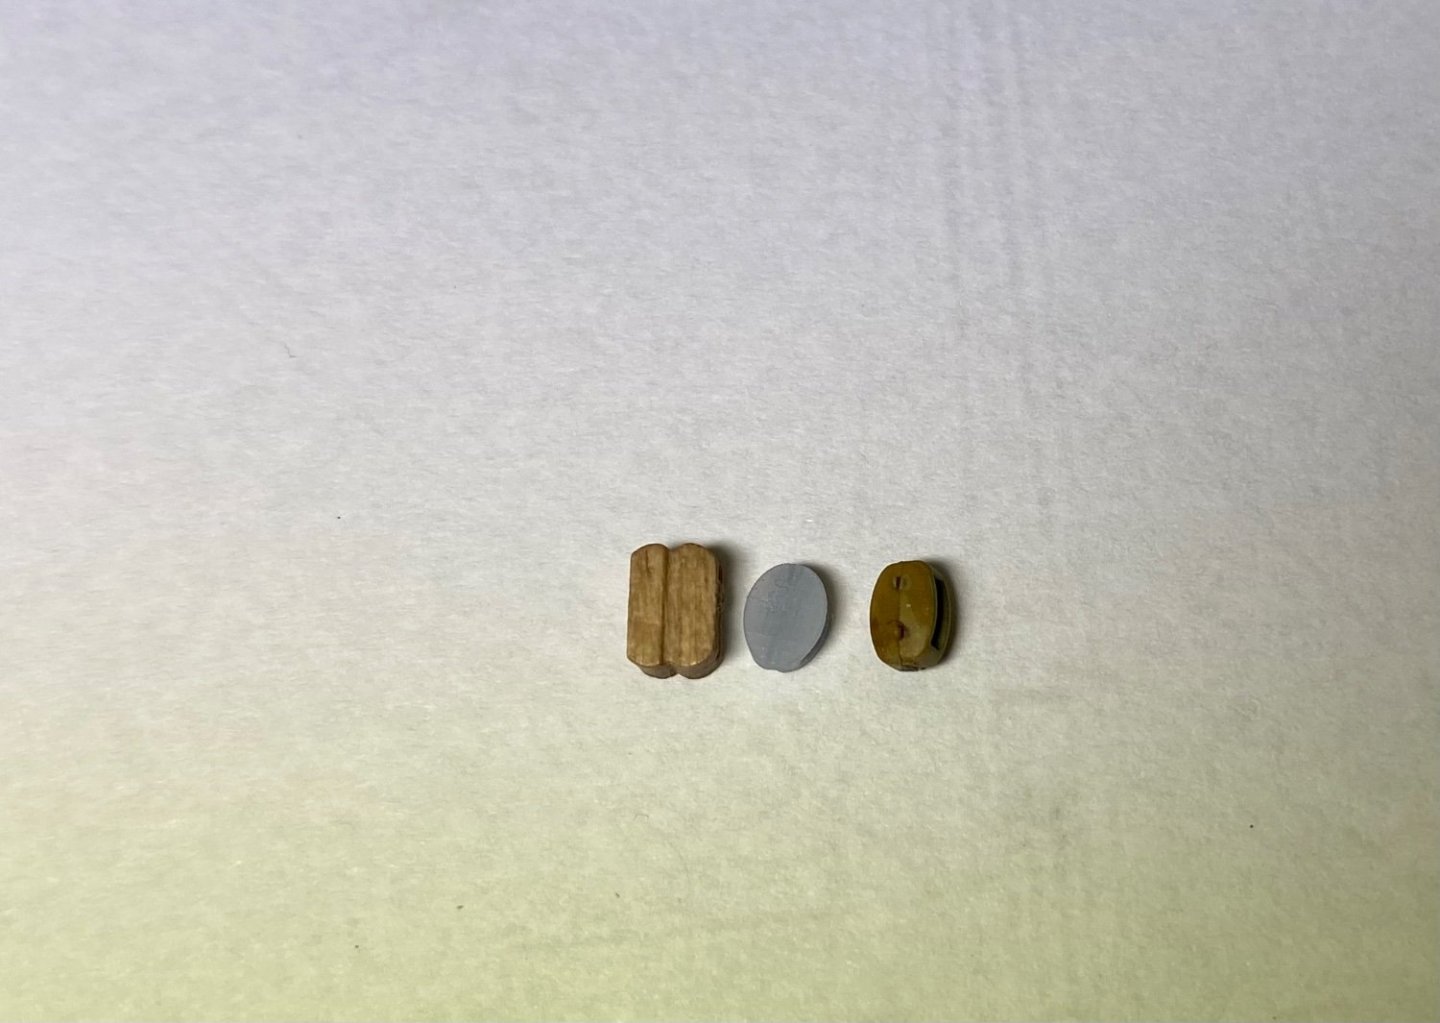
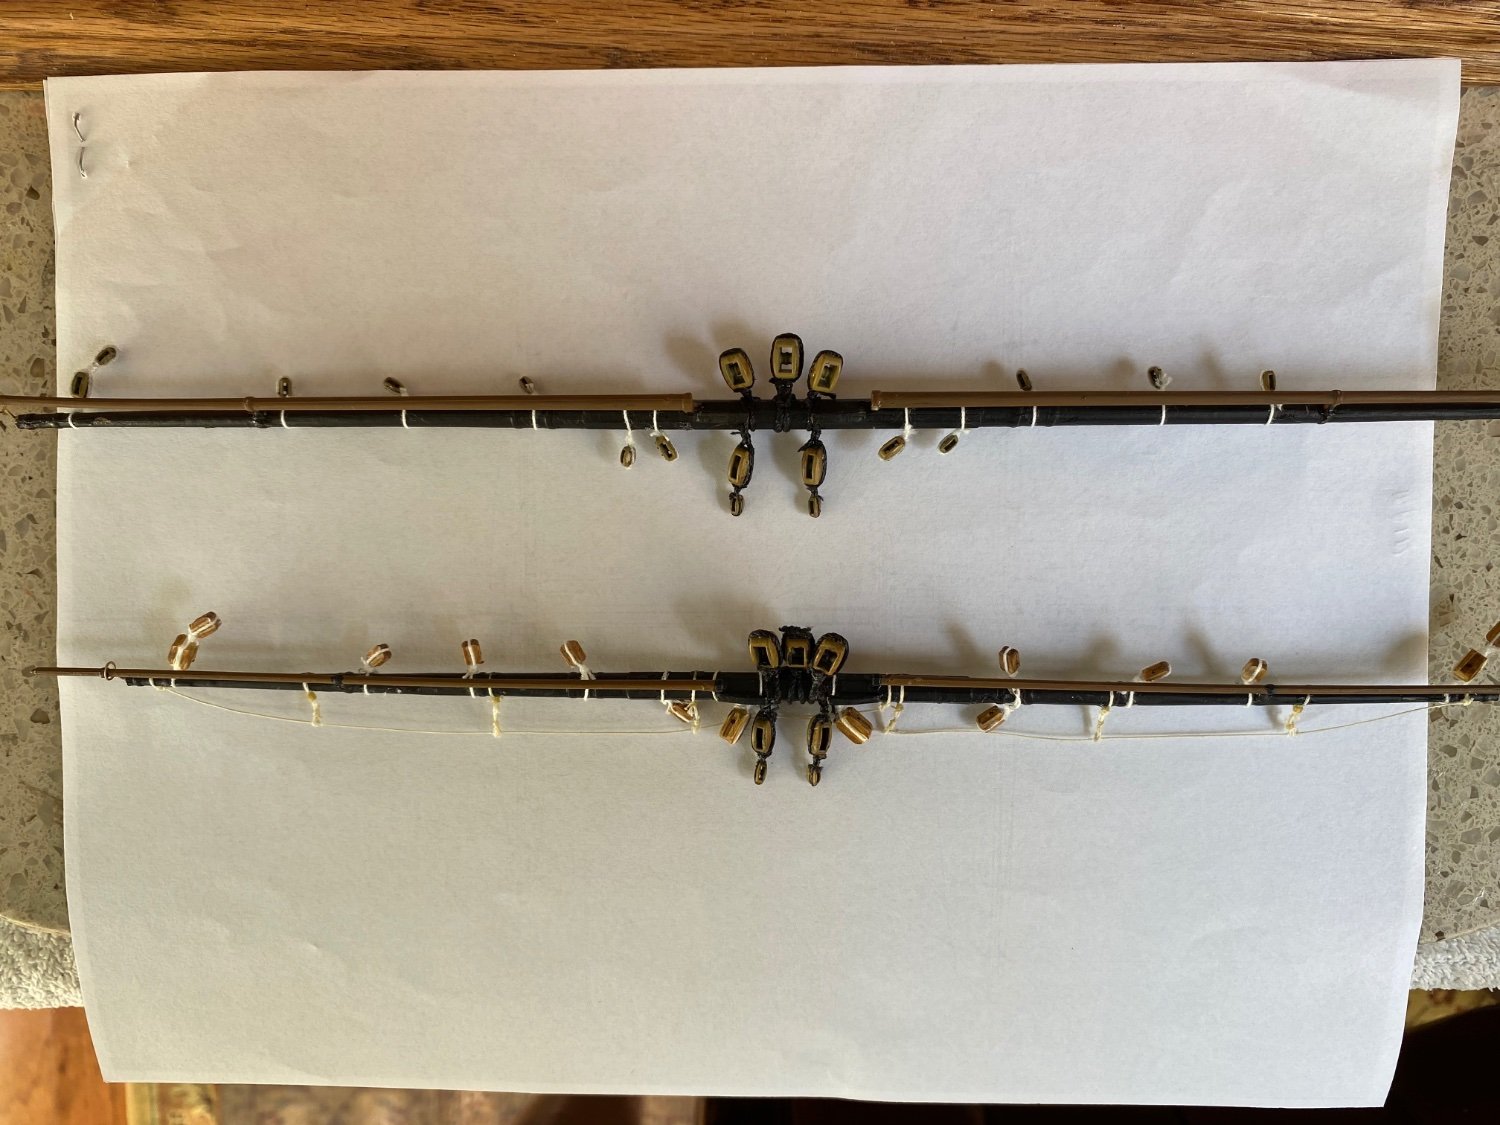
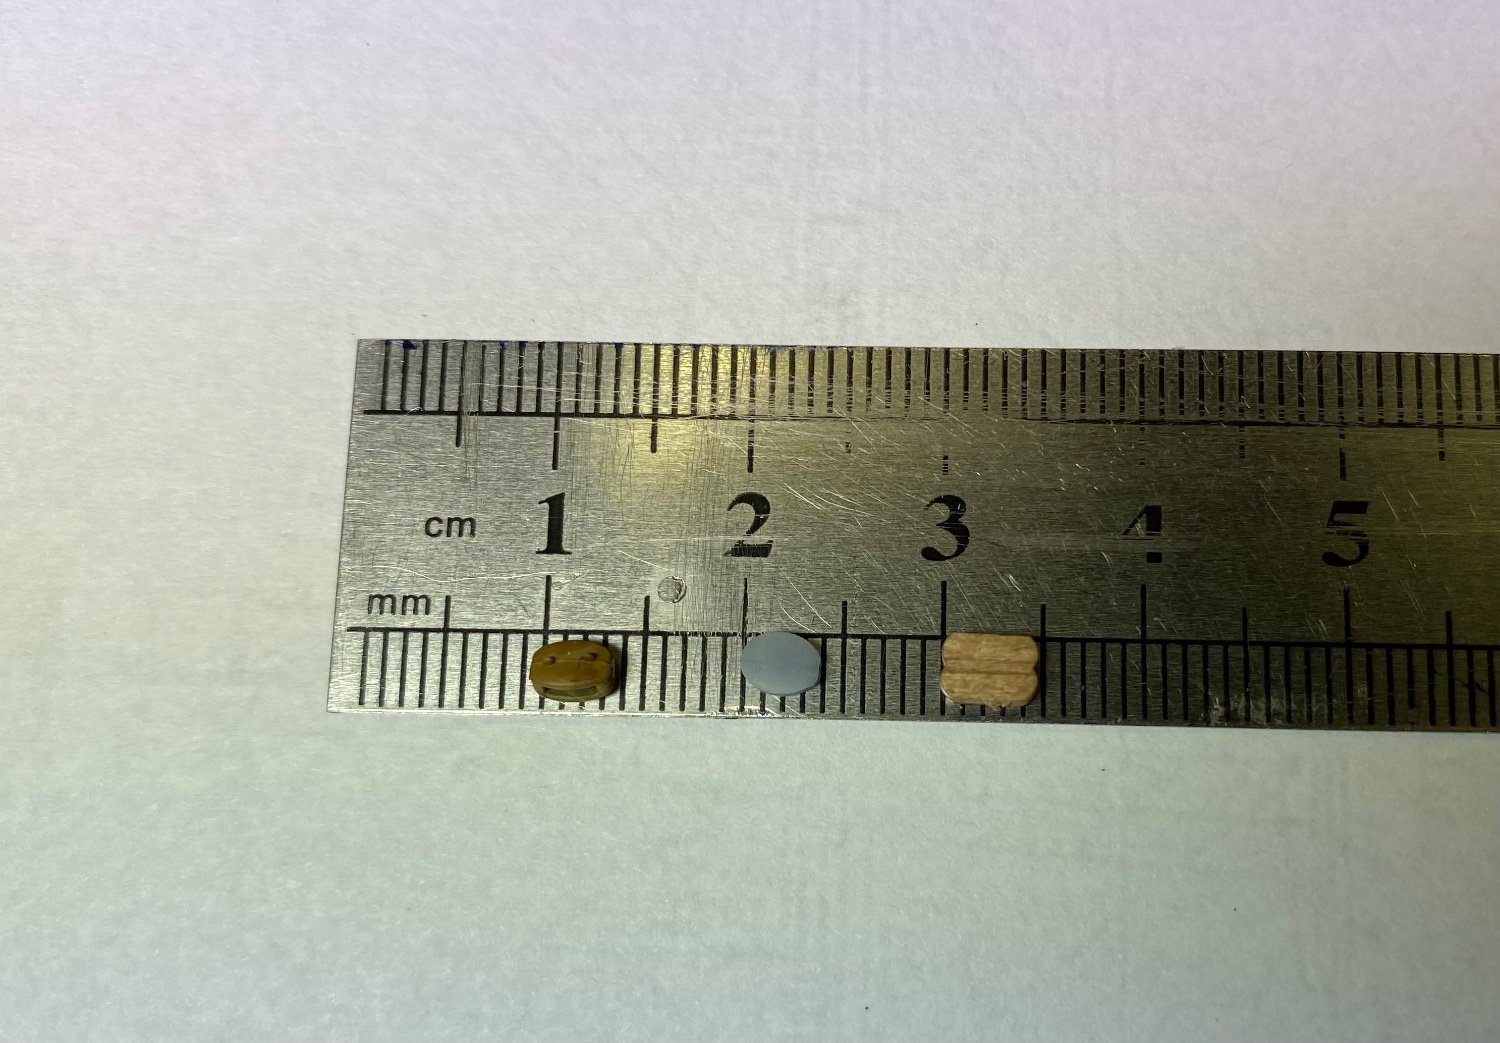
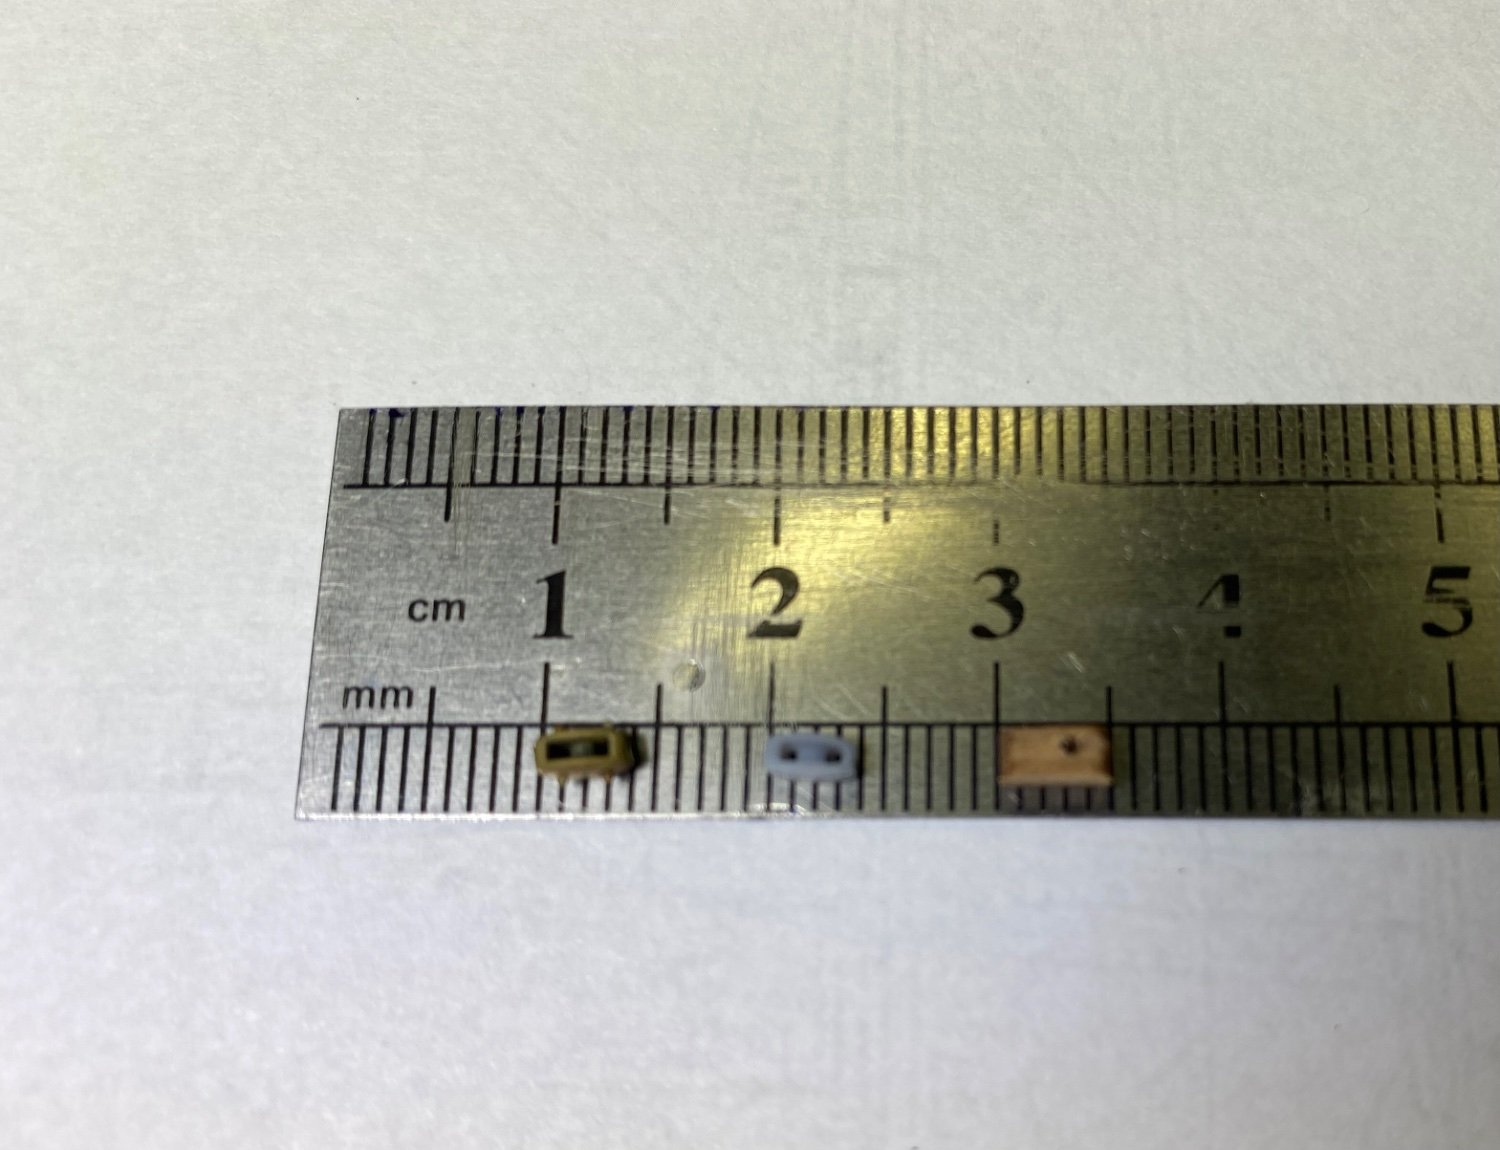
Ok gentlemen back home from the sea and peaked in the ship yard. Here is the blocks I have to work with. In the photos the dark printed block is the 4mm provided by Heller. The smallest block (part p) that came with the kit. The grey blue is the 4mm Kevin gave me. Again thank you Kevin! The wood block is the slightly larger, 4.5mm maybe, that I ordered. The wood block is the one under discussion that I have attached to the foremast yards. It is definitely more bulky than the slimmer shaped printed blocks although virtually the same length. What to do? Do I leave them as is or replace them with either the Heller or Kevin block. I have hundreds of 4mm blocks and don’t want to spend more money unnecessarily for blocks so minutely smaller I doubt anyone would really notice. As I mentioned above I made the mistake, which I won’t do again, of combining wood blocks and printed blocks in the same model.