Bill97
-
Posts
2,730 -
Joined
-
Last visited
Content Type
Profiles
Forums
Gallery
Events
Everything posted by Bill97
-
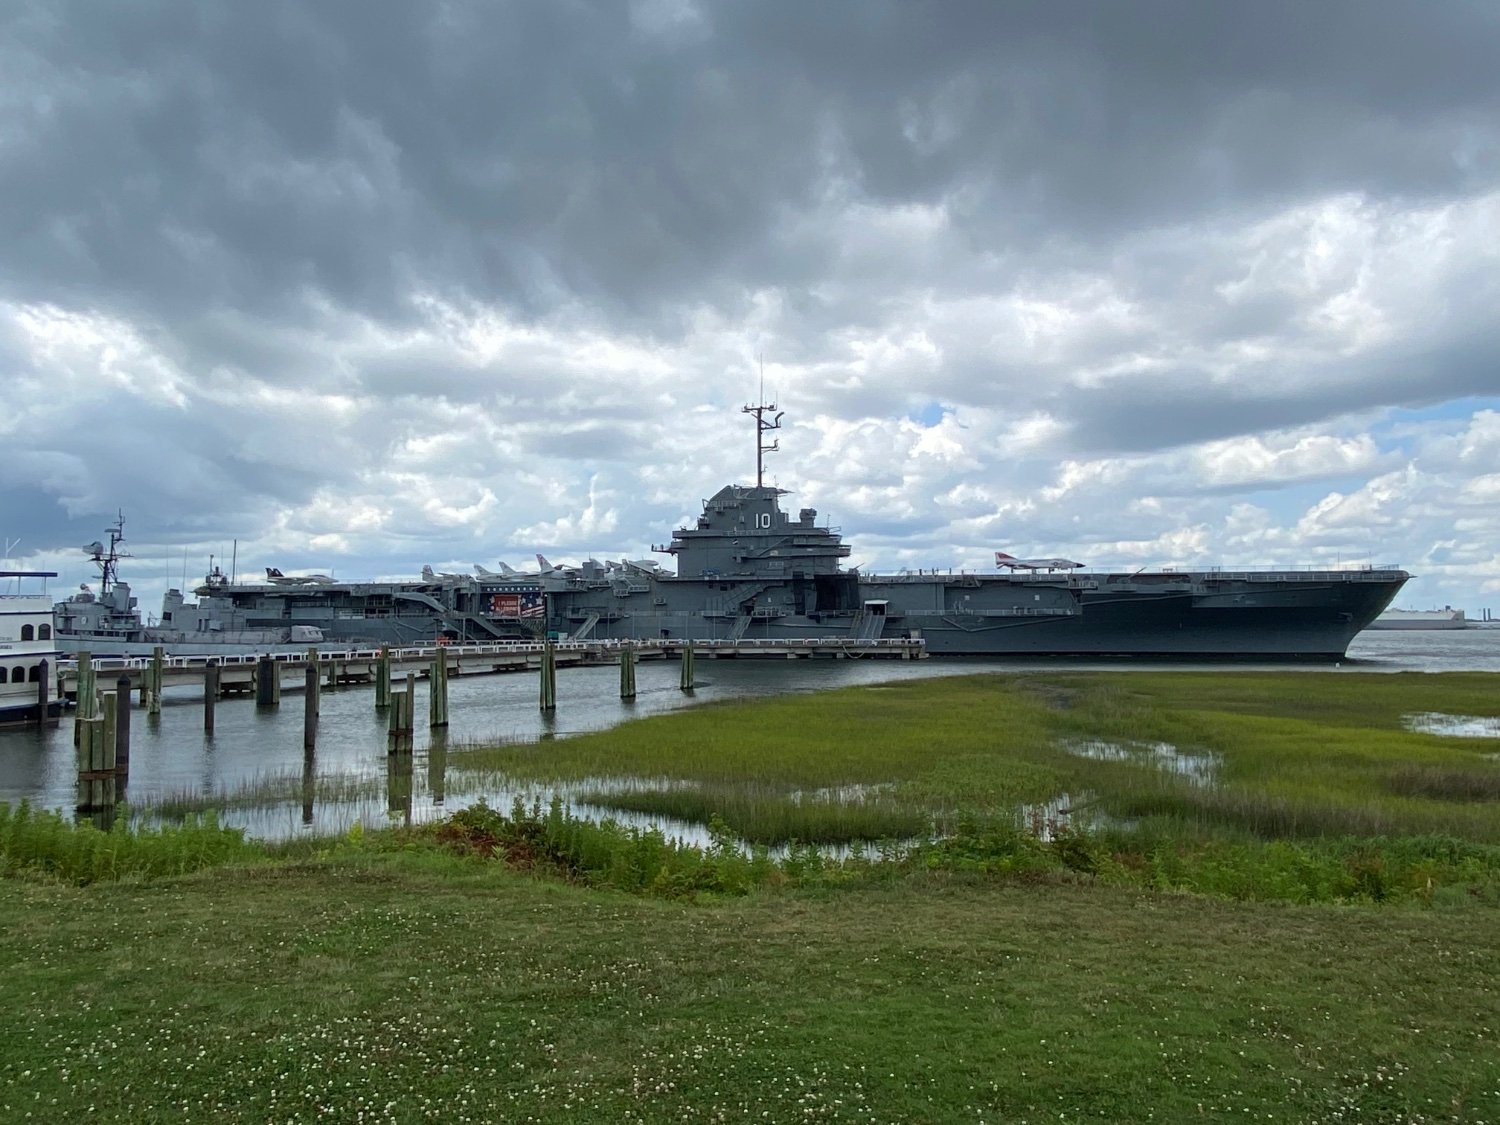
Last day at sea then back to the ship yard 🙁. Wonder how many nights Admiral Nelson went to bed with this view out his quarter’s window?

-
Wonder if the sand color primer could make a difference? I have a grey primer and a white primer. Even though I cover both with the same color I can tell the difference of the primer coat I used.
-
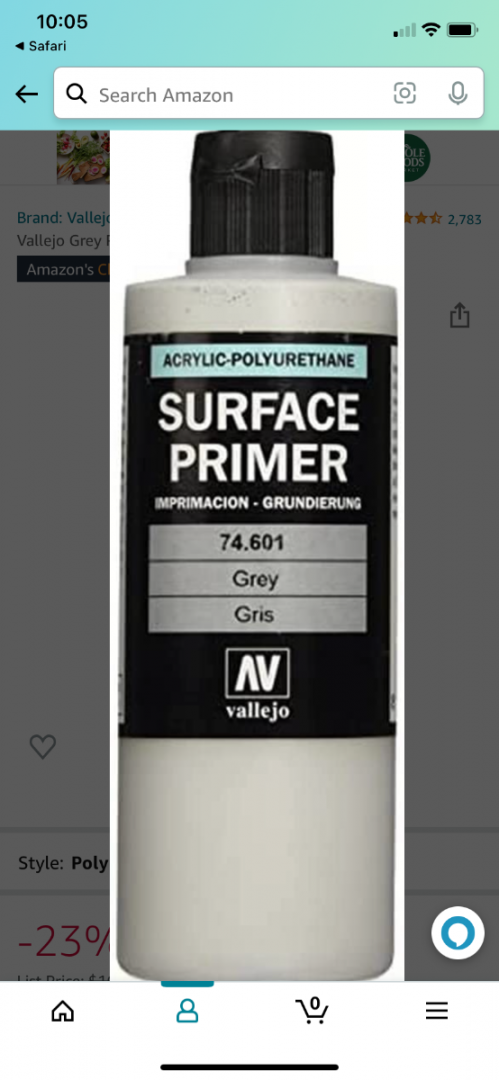
Kevin this is the Vallejo primer I use before the Old and New Wood color set. I don’t know if the primer I use aids in the grey starting point.
-
It is interesting the difference the application of the colors can make. I definitely start out with a uniform darker gray base after the application of the gray primer and gray base coat from the color kit.
-
Kevin I used a Vallejo product named Old and New Wood. Look back to comment #5 in my CS build and you can see a picture of the package. I first sprayed the deck sections with a Vallejo gray acrylic primer and then just followed the directions that come with the package. There is a base color for either old or new wood followed by highlight colors applied randomly to various deck boards. I further applied more of the darker highlights to what wood have been high traffic areas. One additional step I did was to use a very fine pigment pen to draw all the lines between boards before the highlight colors. If I remember correctly, it seems like when I was finished I covered it all with a thinned white wash to blend it all and soften the appearance. That is pretty much the process I have followed since. You can probably notice my CS deck resembles my Victory deck. Hope this helps my friend.
-
Thanks Veszett. The age difference energy level is amazing. They don’t stop. Took them kayaking on an inter waterway and thought I was going to have to tie a rope to theirs so they could pull me along! Wow!
-
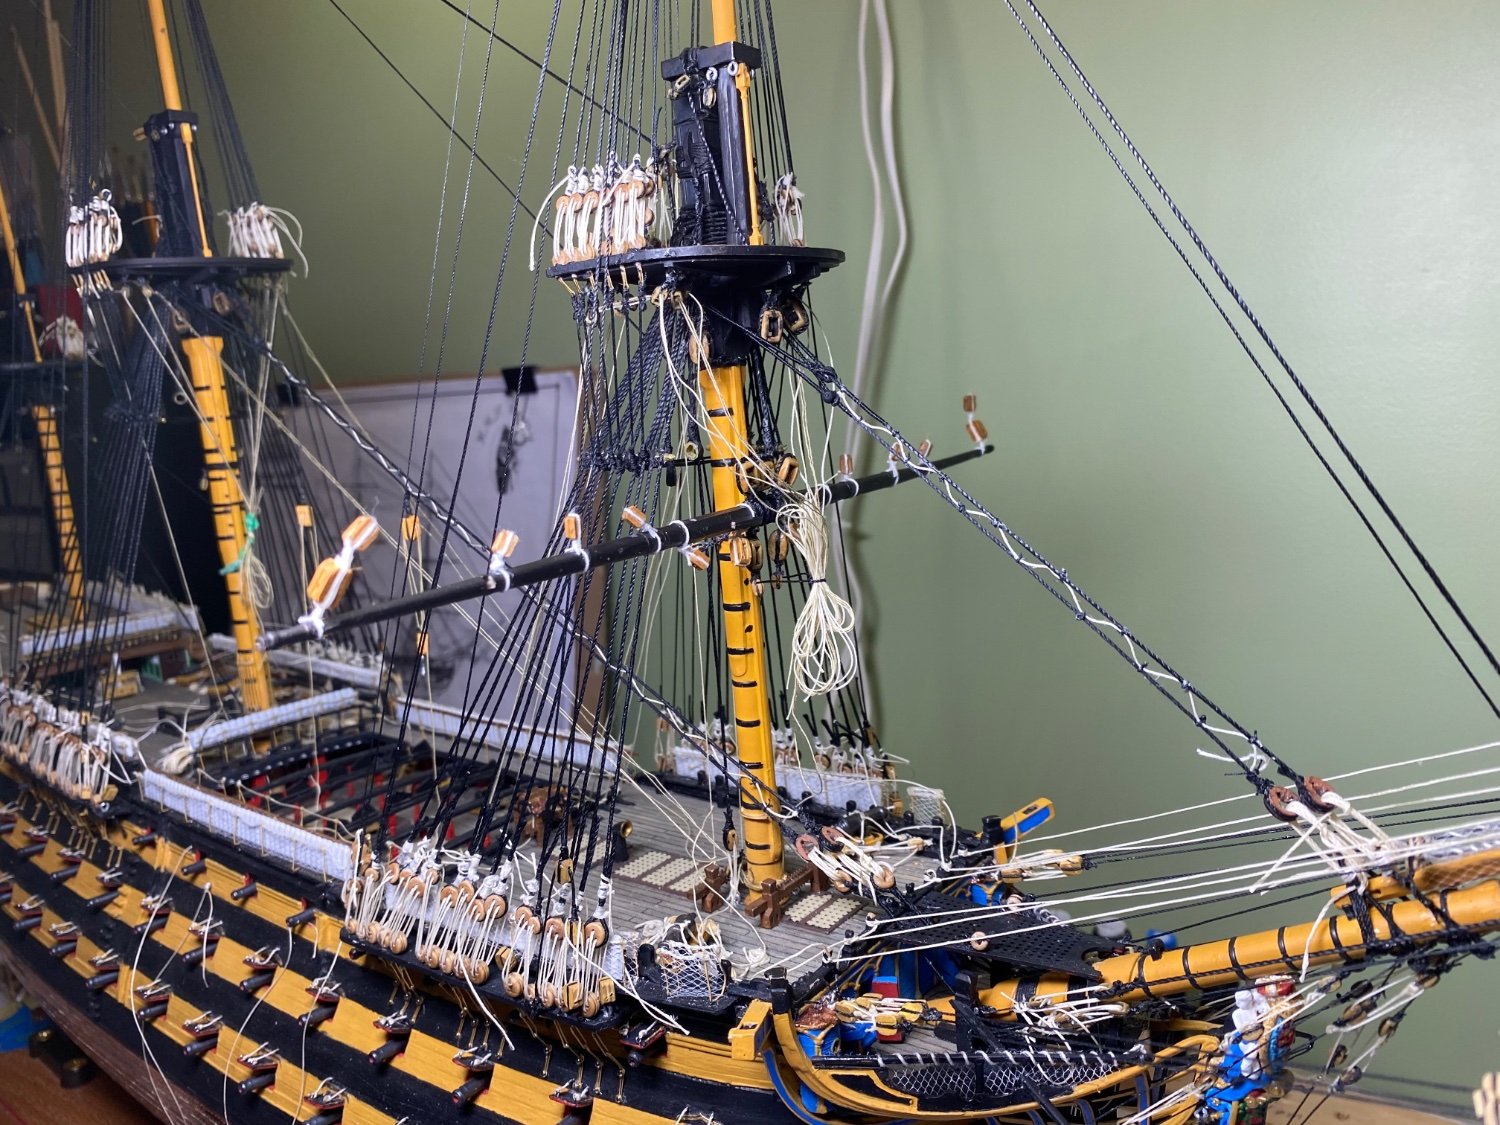
Thanks Daniel. The Heller blocks are black. Kevin’s are a light blue maybe, and the wood blocks are a natural wood color. Maybe if I switch to the correct size printed blocks, painted a satisfying color, I can get by carefully hitting a drop or two of the same color on the wood blocks I have installed other places that are permanent now. The camouflage of the matching colors should make the wood still in the rigging less noticeable. I used the wood blocks for the backstay applications that required blocks instead of deadeyes on the channels. My deadeyes are wood and I have the blocks matching almost perfectly. I also have all my stays and backstays correctly tightened to where my mast are perfectly vertical. Those I am just going to live with as well as a number of blocks in the bowsprit area.

-
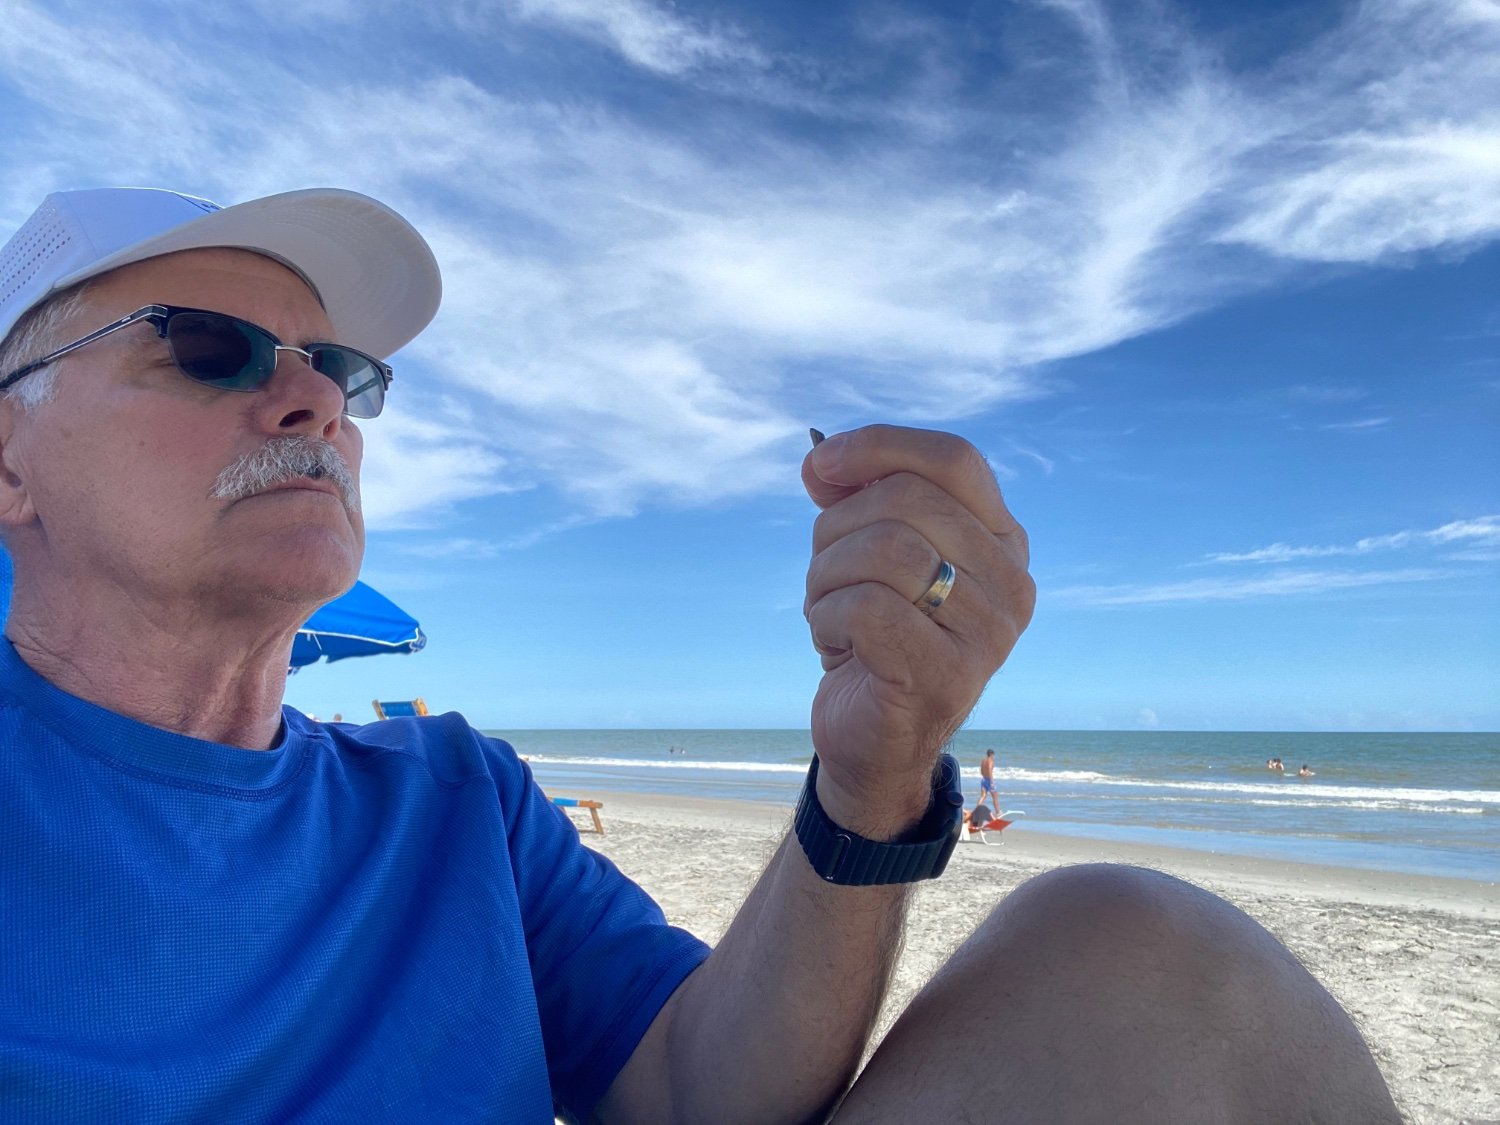
Oh no guys, you can’t see them but in the photo I am holding a printed block and a wood block. I brought them with me to study the pros and cons of each 😊. So there is still ship building involved. Grandsons digging in the sand and demanding my engineering skills interrupted my deliberation. I retired in 2010 after my youngest graduated from college. Just passed my 12 year anniversary this past March. Turn 70 this August. Worked all the years my 3 kids were growing up and, as I am sure most of you identify with, missed a lot of their events. When the grandkids started coming I decided I was not going to miss their growing up. Even though there was an income adjustment, as there is for everyone, I decided to take the leap. All my retired friends told me “once you make the decision don’t second guess and don’t look back”. I have never regretted my decision. Had I continued working until today I would have a much larger savings account but no way I would have the countless memories I have been able to share with the 7 grand kids that call me Papaw! I so highly recommend when you personally and financially can.

-
Contemplating the space time continuum and the size of my blocks 🤔. Which is easier to decipher? Maybe a little kayaking with playful dolphins later today will open my eyes to the meaning of life😀

-
A mistake I guess I made was mixing wood blocks and printed blocks. A lesson I learned for when I build my Soleli Royal. I started out early using the Heller provided blocks. As you all know rigging them versus the wood blocks are a little more difficult because of the absence of the groove around the exterior. I decided to order wooden blocks because I really like the look of the wood and they are easier to rig. As a cost savings I decided to use the wood blocks in the more visible applications and the painted printed blocks (Heller and Kevin) in places not as visible but still functional for the rigging. Thought no one would really notice or question the combination. Now that I am pass the point of no return (not going back and removing a bunch of previously installed blocks of either type in order to be uniform) I must decide which type to use going forward. Obviously the printed blocks are more to scale. Will practice painting the printed ones to see if I can get a good wood look.
-
Ian I even showed her the picture you posted of your’s on the table. I may convince her. If I get my blocks straight that is. 😊
-
Funny story Kevin. I have recently been tossing hints at my wife that I would love to build a table to set my Victory case on in the living room. After the amount of time I have spent on it and my pride in it, I want to show it off. Not just be in my ship room. She gives me unconvinced looks.
-
Yeah Kevin, me an acetone have become close friends during this build. If I am understanding your recommendation Dave, you are saying step back a few feet and look at my ship as is. If I am not to bothered by how it looks leave it as is and use it the correct blocks from this point forward. That is tempting as well. Will lay in the sun on the beach this week and contemplate the time continuum and the blocks on my ship. When I get home next week who knows what I will have discovered about the universe.
-
You aren’t a thorn Marc. It is a hobby I love without a goal of a completion date. Of course you guys are in my head now. As the wife is pulling a driving shift I am contemplating the best way to cleanly remove the already installed wood blocks on the yards. Unfortunately I applied a small drop of CA glue to the thread of each to hold in place. Also contemplating the easiest way to paint a bunch of the printed blocks I got from Kevin. Probably run a thin wire through a sleeve of them then put in my air brush little tent. There are a few places that I have already used the same wood blocks that I will most likely just leave as is since they are permanently affixed now (ex. Some of the stays at the channels and deck, and rigging at the bowsprit).
-
The ones I used n the yards are wood blocks, not the ones I got from Kevin or the kit. When I get back to the ship yard I will pull out my supply and figure out what I should do. As it is, I already lost block uniformity. Several places on he ship I used either Heller’s or Kevin’ printed blocks and other places the wooden blocks I have. Need to settle on one or the other.
-
Marc I am currently away from my model for a few days. I had a concern about the size of these wooden blocks because as you said they appear too heavy. What is deceiving is that they are the same length as the plastic blocks Heller supplied (part p), just under 3 mm, but their width and boxy look make them appear much bigger. I debated if I should use them or not on the yards. I have already used them in numerous places on the ship in other parts of the rigging and do have uniformity. What to do, what to do.
-
Thanks for the tip Bill. Dave we are going to a beach community on the coast of South Carolina adjacent to Charleston.
-
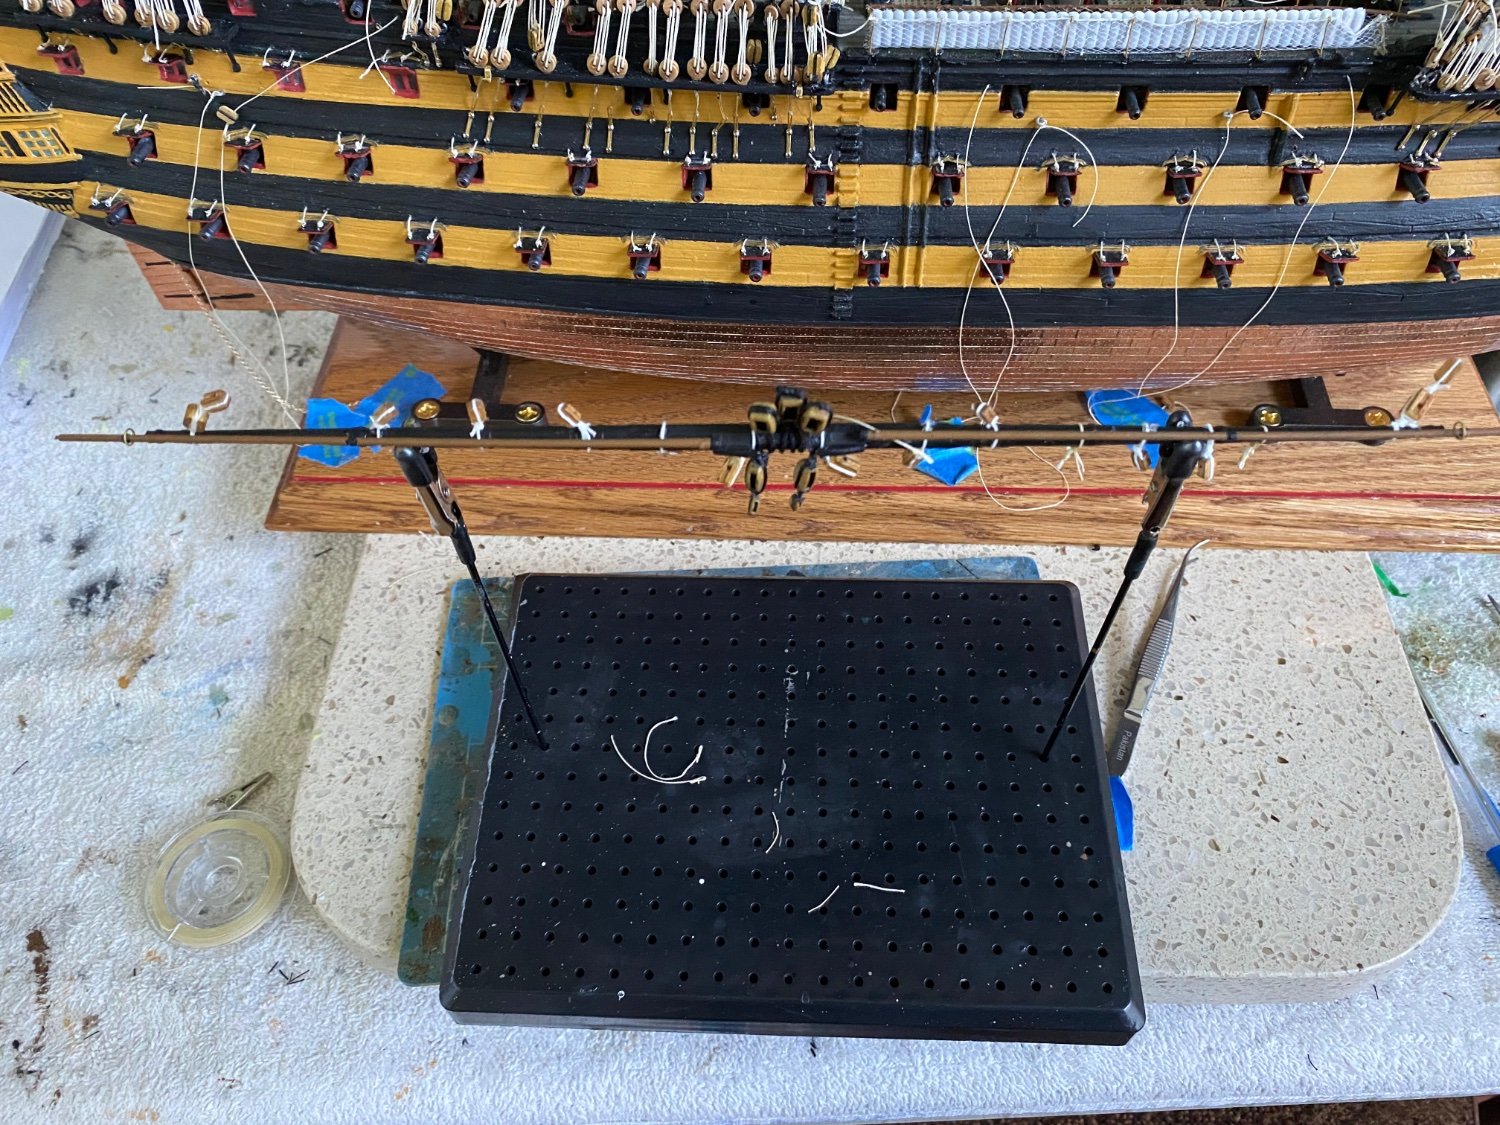
The ship yard has been dark for a few days while I was out of town. And it will be dark for a little longer as my family and I head to the beach for a week. 🏖🥃🍻🍷🏊🏿♂️🚣🏼♂️. In the little time I have had to tinker I have worked on rigging a couple yards with blocks and foot ropes before mounting to the mast. Looking for a good DIY plan for making my parrels. I have a number of photos, and it looks pretty straight forward, but still looking for a step by step plan someone has used. Going to miss my Victory while laying in the sun but the ship yard foreman says I have to take vacation. Happy modeling while I am away my friends!

-
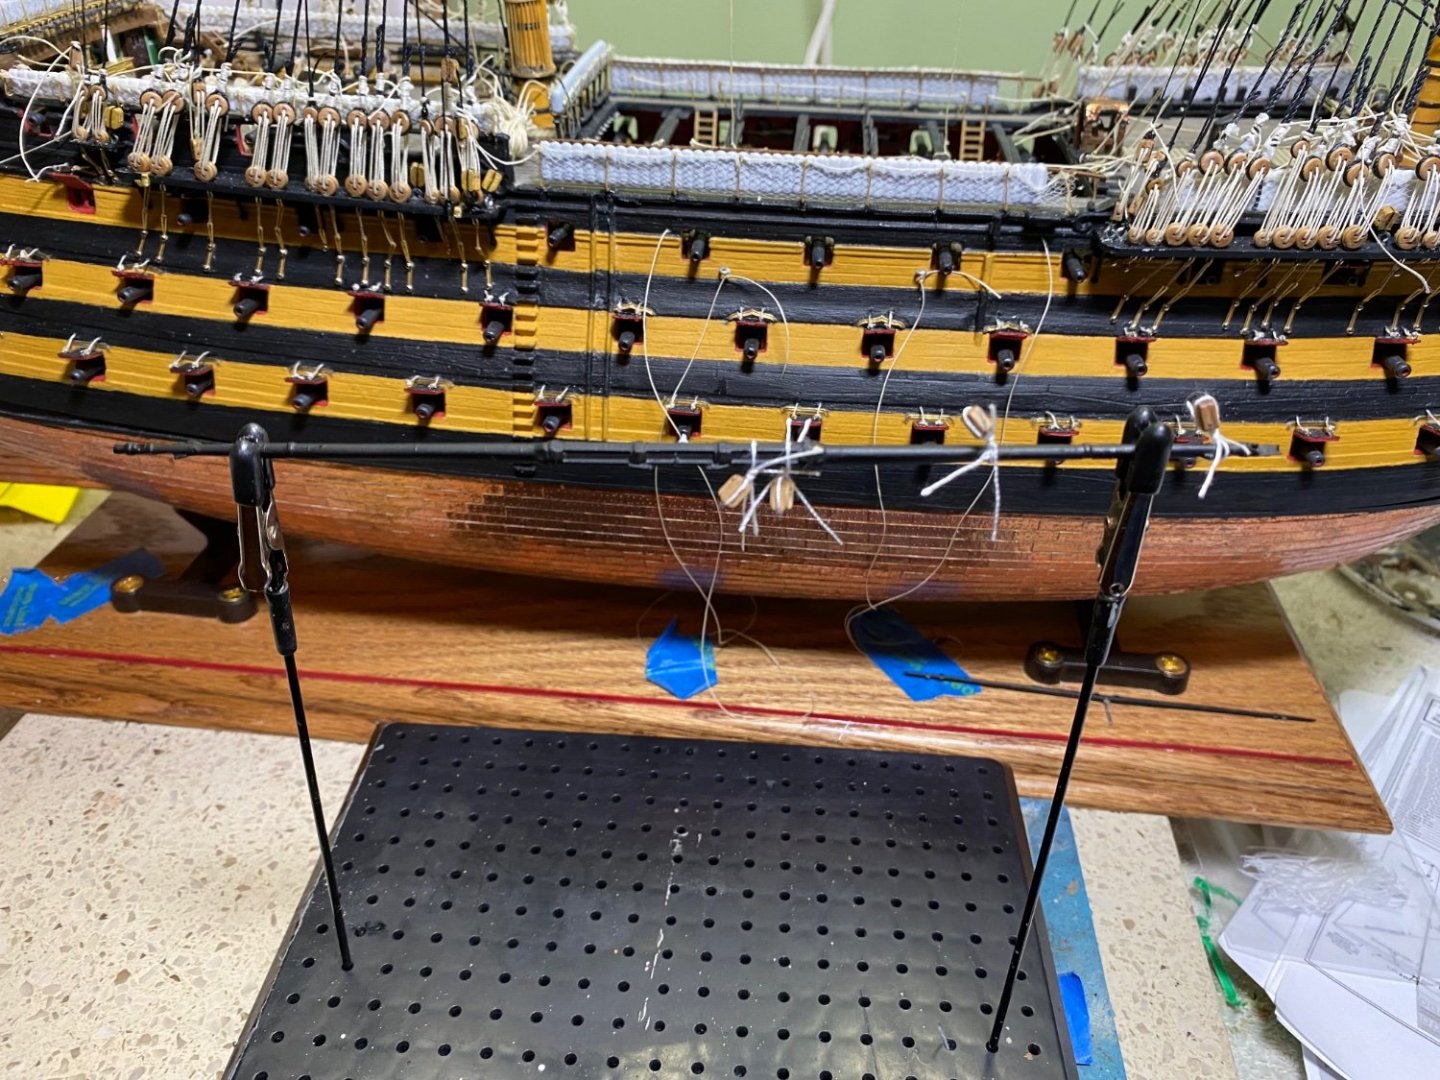
Starting to attach blocks to the yards for future running rigging. Started with bottom yard on the fore mast and working my way up. In the photo the yard is just temporarily pinned to the mast. Will take it back off to add the foot ropes and the the extensions to the yards (forget what they are called). I started using a supply of wood blocks I have instead of the Heller plastic blocks. They are slightly bigger at 3, 5, and 7 mm, but since I have a bunch I am not going to buy a supply of smaller ones. I think when I do my Soleli Royal in the future I will use the great supply of 3D printed blocks I have.

-
Bill Morrison I am primarily talking about the rigging comparison between the Heller and Caldercraft. I have completed my build of the actual ship so whatever period Heller depicted with their model is the one I am representing. My curiosity would be if the Caldercraft 1805 Victory depictions of the rigging only would be much different from the Heller Model rigging? What would your opinion be on that? Ian I still like your inside out method and will give that a good study. I have been meaning to ask you something but forget each time I comment with you. I see at the end of your Victory build you display it with out sails. I have my Constitution displayed without sails, my Cutty Sark with some sails furled and some not, and others in full sail. I am wondering your thought process in your decision to go without sails all together? I have decided if I do sails at all, I make my own, they will be furled so as to make all the detail I have put into it visible. On the other hand I could just save the time trying to make realistic looking furled sails by just leaving them off all together as you did.
-
Having never seen, or obviously built, a Caldercraft HMS Victory I am curious about their model. I know it is a wood model versus the plastic Heller I am building. Looking at a number of Caldercraft Victory builds in the MSW index I see it is clearly a beautiful model. I am curious if the Caldercraft rigging instructions are accurate or if builders of that model need to refer to references like Longridges’s book as well to get the desired accuracy? The reason I ask is I often look at photos on this site of others builder’s model for clarity on how a line is to be done. When I see a photo that helps I check to see if it is of a Caldercraft or Heller. I wonder if it matters? If I see a photo showing a section of the rigging I find helpful but it is from a Caldercraft build should I feel pretty comfortable that it is accurate enough to use as reference?