Bill97
-
Posts
2,730 -
Joined
-
Last visited
Content Type
Profiles
Forums
Gallery
Events
Everything posted by Bill97
-
Hello Twahl thank you for kind words. I have not seen the Rj video on YouTube. I need to watch it. To be honest I have used wood blocks, the Heller supplied blocks, and some 3D printed blocks I got from a friend to rig this model. In most cases if you do a nice paint job on the plastic ones they are just fine. The main thing I have found that I prefer about the wood blocks is the ones I got have a tiny grove around he exterior on the opposite side of the opening. That little grove seems to make rigging the block easier in that it holds the thread in place while tiring knots. Which etched sheets from Dafi did you get? Have you started a build blog? I will look for it. P.S. I like you, got back into modeling after many many years. Kids, work, etc. made spending a lot of time on this hobby difficult. Retired now I am really enjoying it again. Please feel free to bombard me with questions if you need. That is the way MSW works. I asked and learned from others, as I am sure you have noticed in this thread, and will gladly play it forward.
-
A little thread trimming once the touches of white glue dry and I will see how it looks.


-
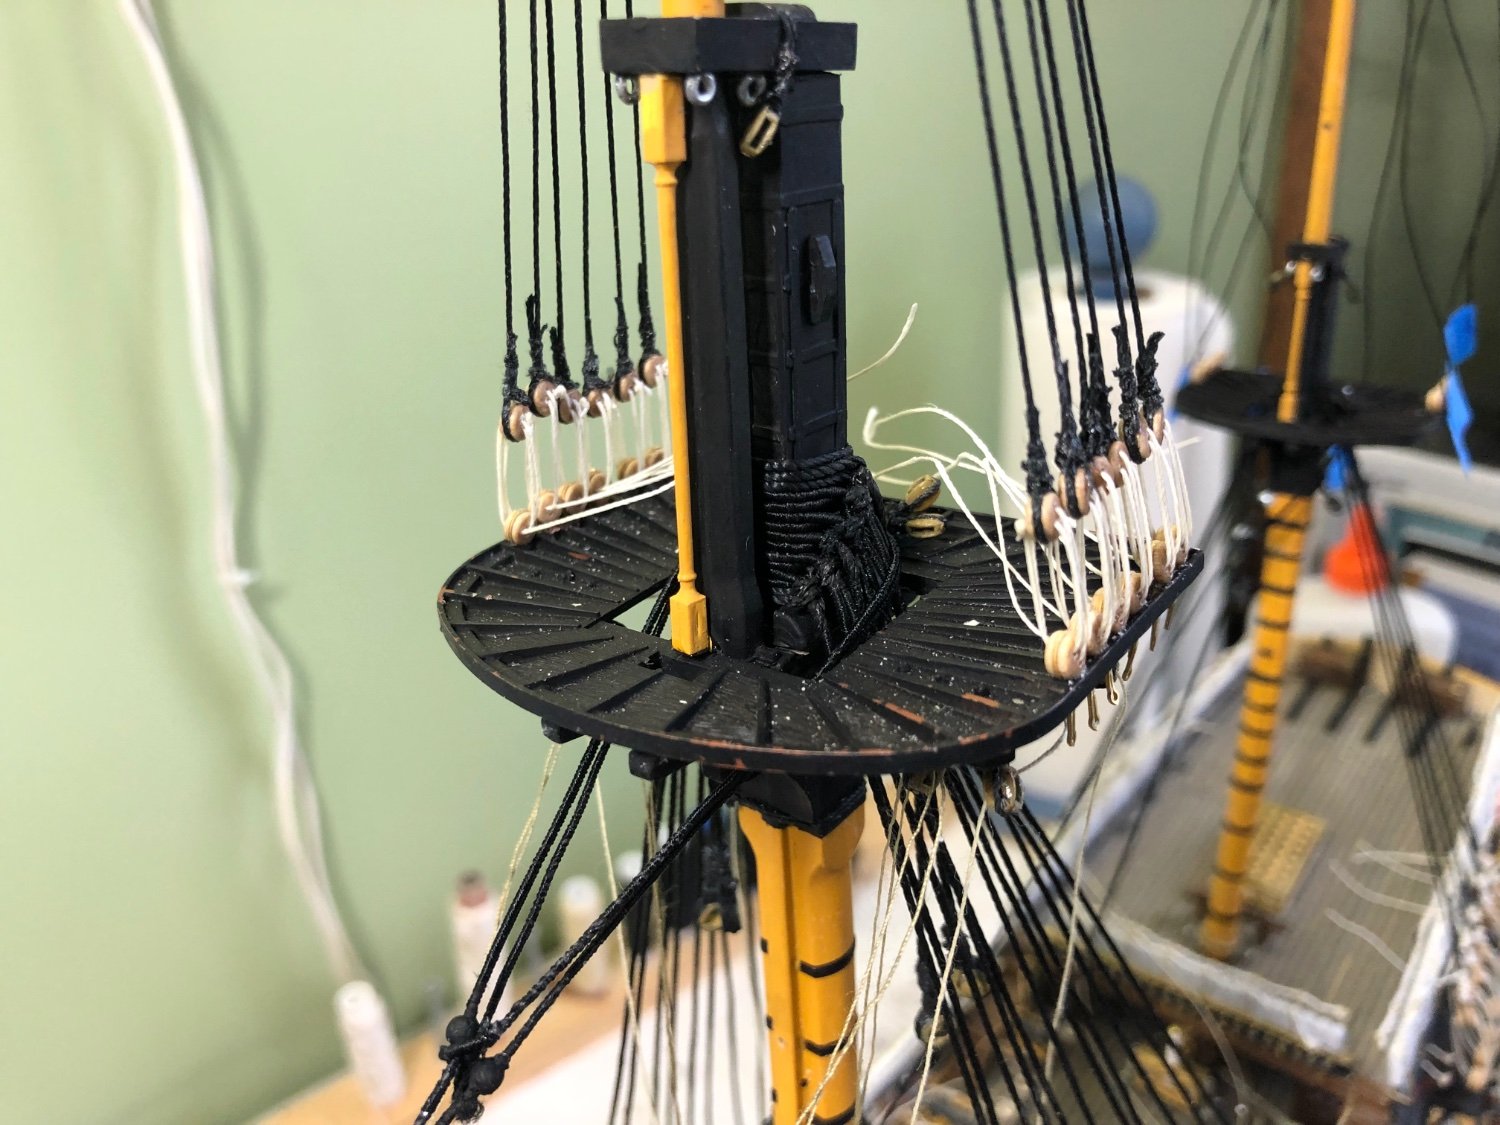
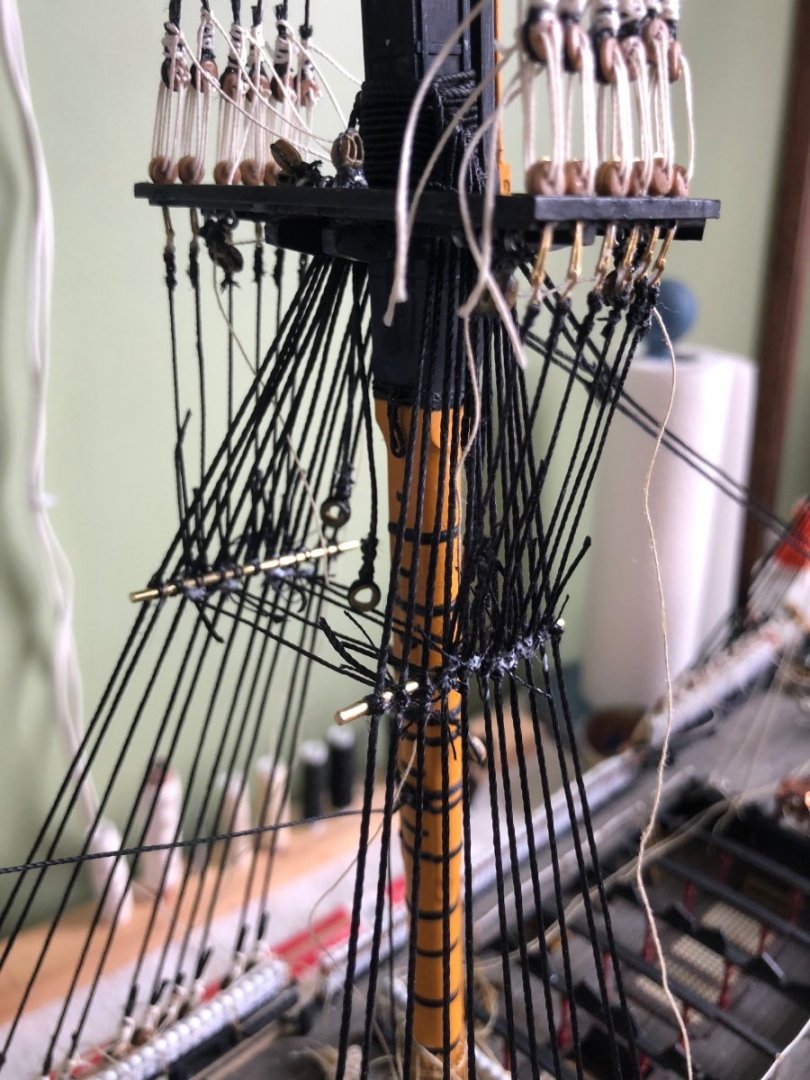
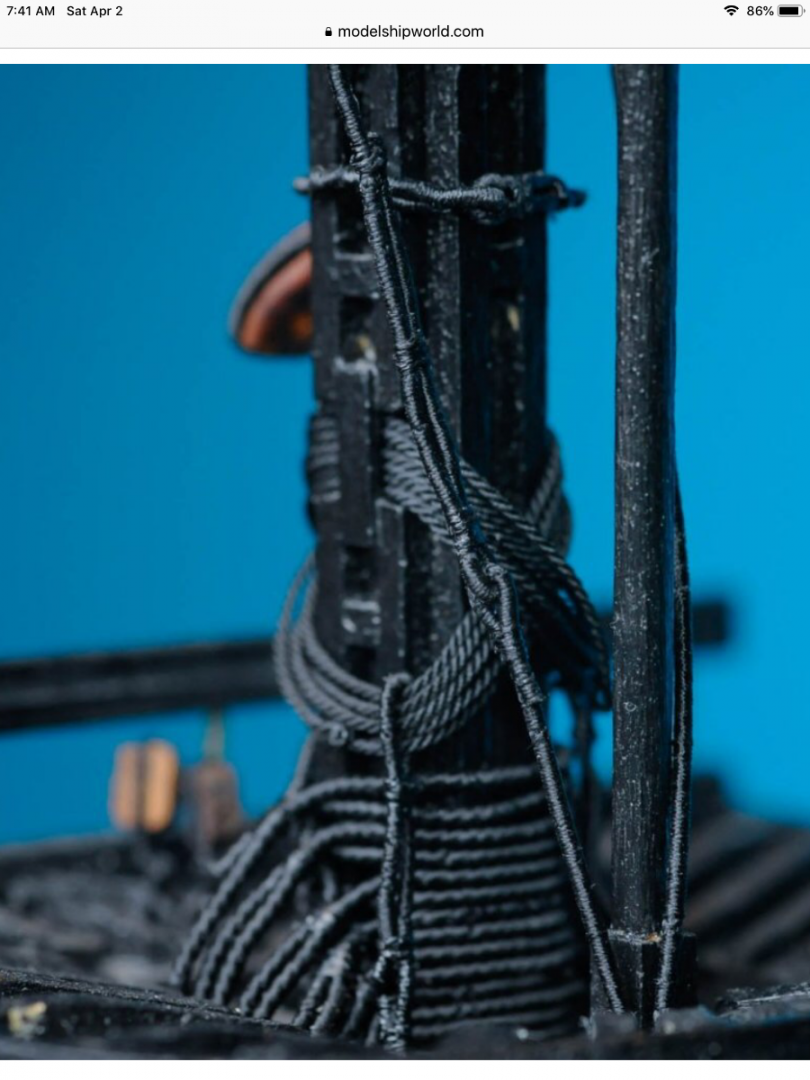
Daniel that picture is Tom’s work, not mine. I was using the picture to ask what that rigging step is? I could only hope to have my rigging look so good.
-
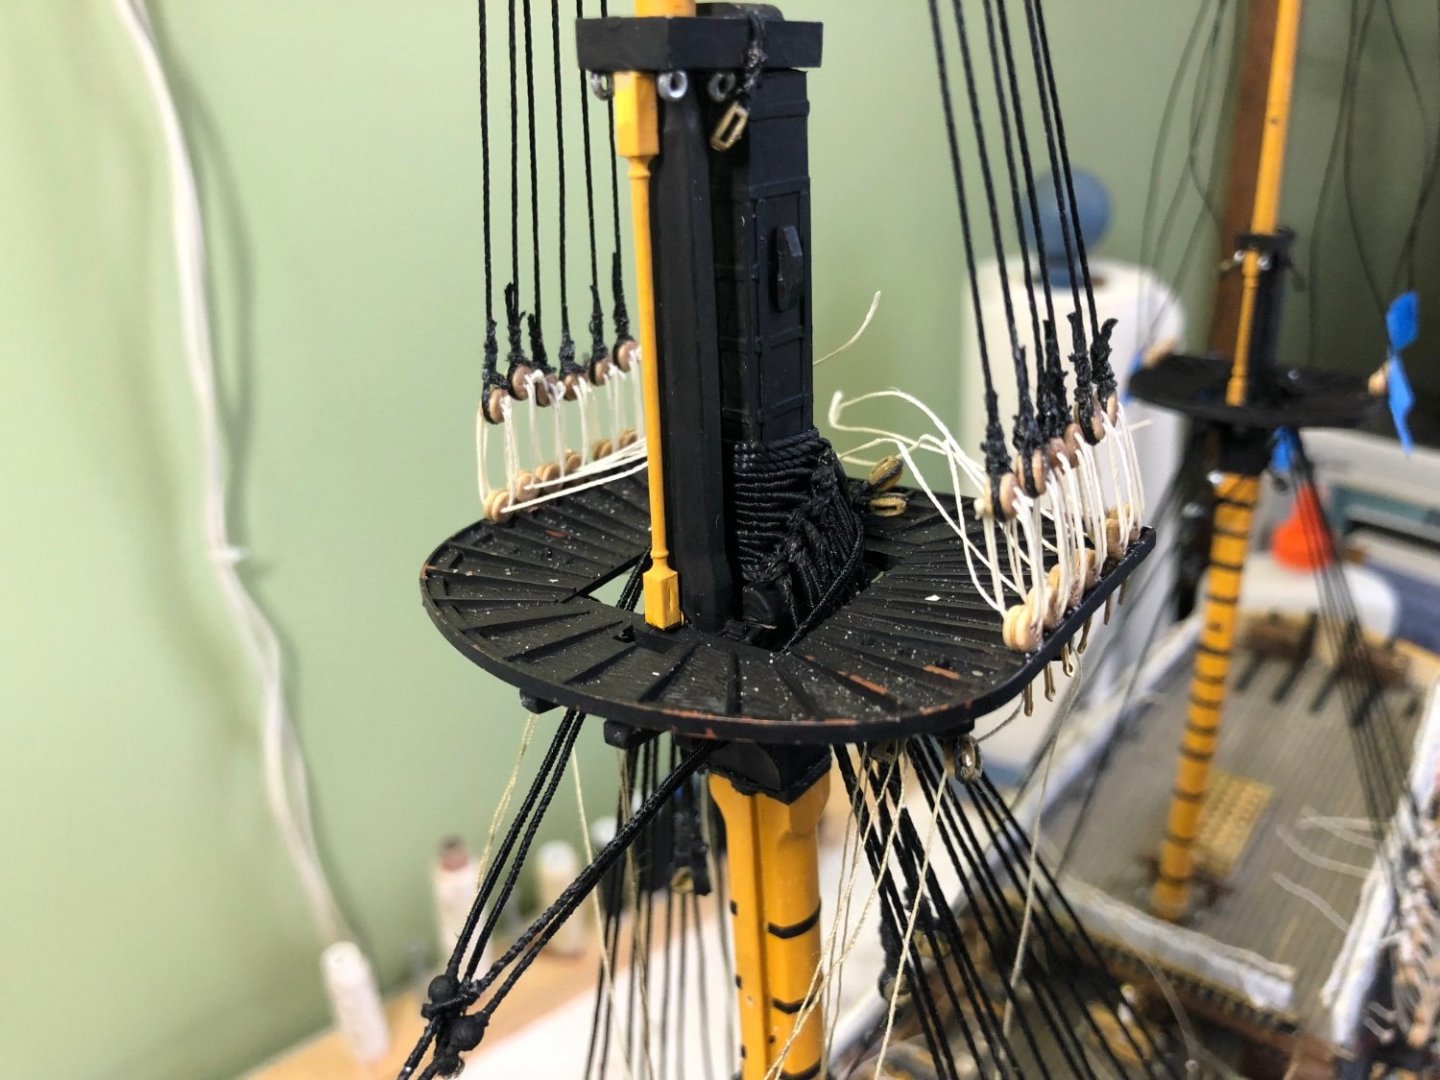
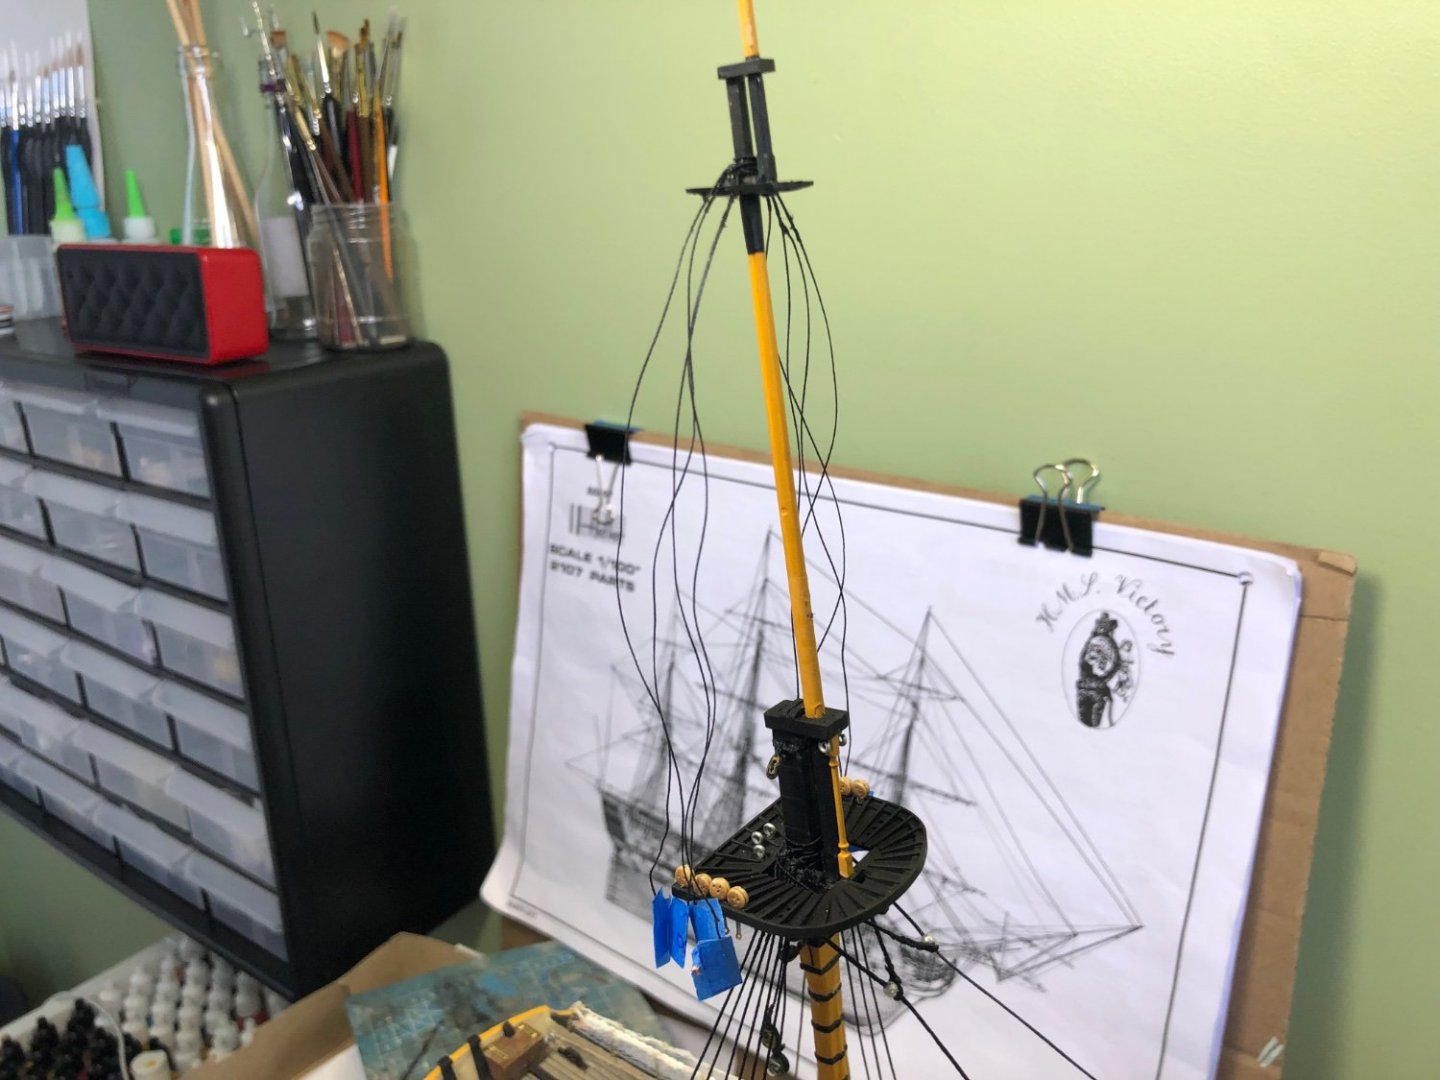
Ok guys I know I will need to do this rigging step because I see it on every build I have researched. However I do not know what it is called, when to do it, or where to find reference to how to do it. I have looked through Longridge’s book and can not find it. No doubt Ian you will reply back that it is clearly on page ### in the book and I will kick myself again. What is the big X shaped bundle of rope at the mast top as seen in Tom’s picture below.
-
Tom I continue to look through your build photos and continue to be so good impressed and amazed! Your rigging work is absolutely beautiful! The detail and preciseness is incredible. You should be so proud. There are so many examples that I keep looking back to, but two for sure is the way you rigged the shrouds to the deadeyes in post #20 and the rigging of the upper end of the shrouds in post #13. I did not do my deadeyes that way and so wish I had. That is incredible! Keep up the good work. I am a fan.
-
The Yes Ian I have seen Master and Commander several times. I will watch for that next time. I am an avid reader but have not read much in this genre. Only with the building of these ships has my interest really peaked. I really hope to enjoy them.
-
Well I may not bother watching it then. I was wondering if the books were just made into movies. I guess not.
-
I also requested this 6 DVD set from the library. When I get it I will see if it movies made from the books.

-
Ian I found that one and Hornblower and the Antropos at my library. Anxious to give them a read.
-
Oh I am not going anywhere Kevin and welcome any further questions. When I finish my Victory and have it on display I will then crack open my Soleli Royal. If I can get half the help from builders here on MSW with it that I have received on my Victory I will be grateful.
-
Ian was in fact just thinking about the process of tying the futtock sand catherpins. I am thinking I will put them all in with lose knots and then carefully start tying them No I have not read any of those books. I will have to check my library. Which would you recommend first?
-
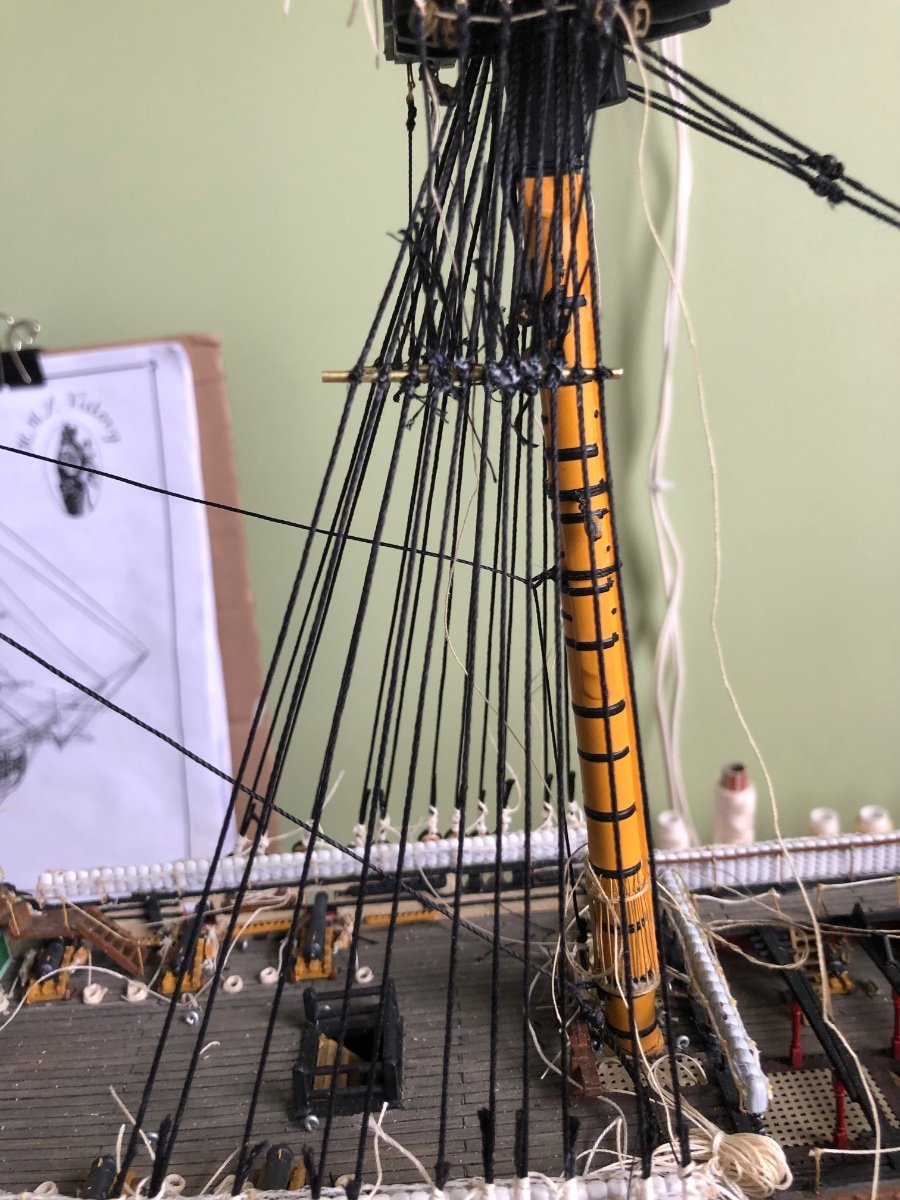
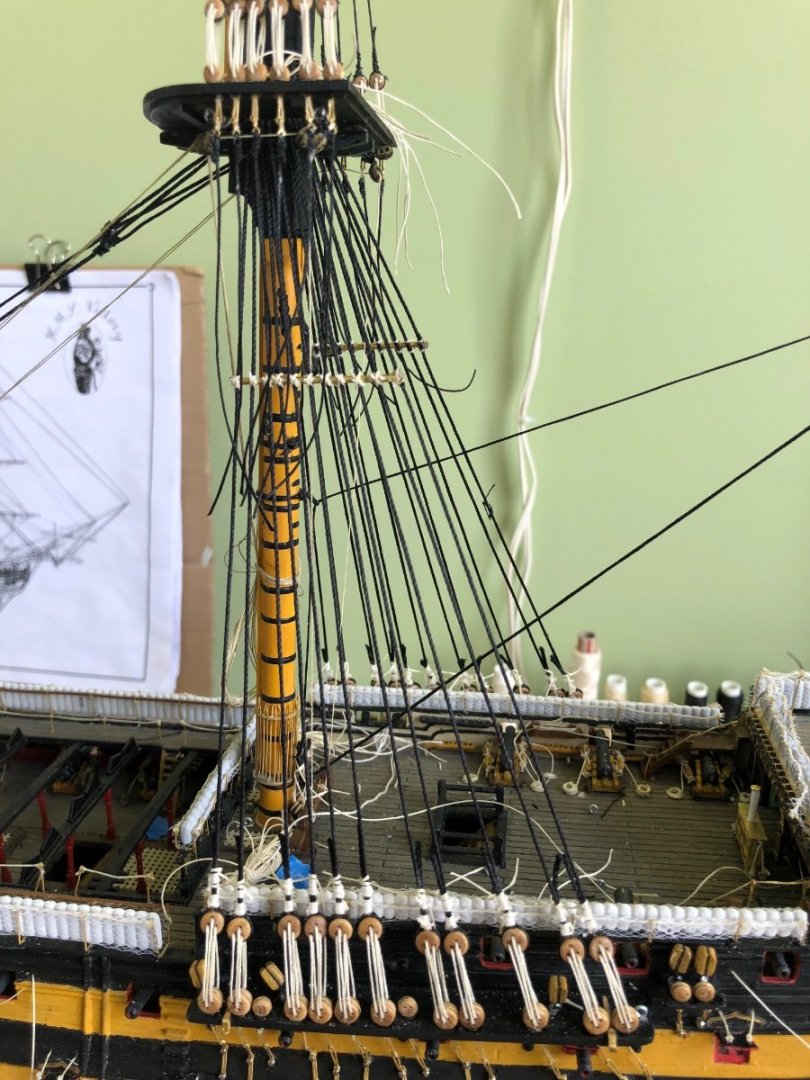
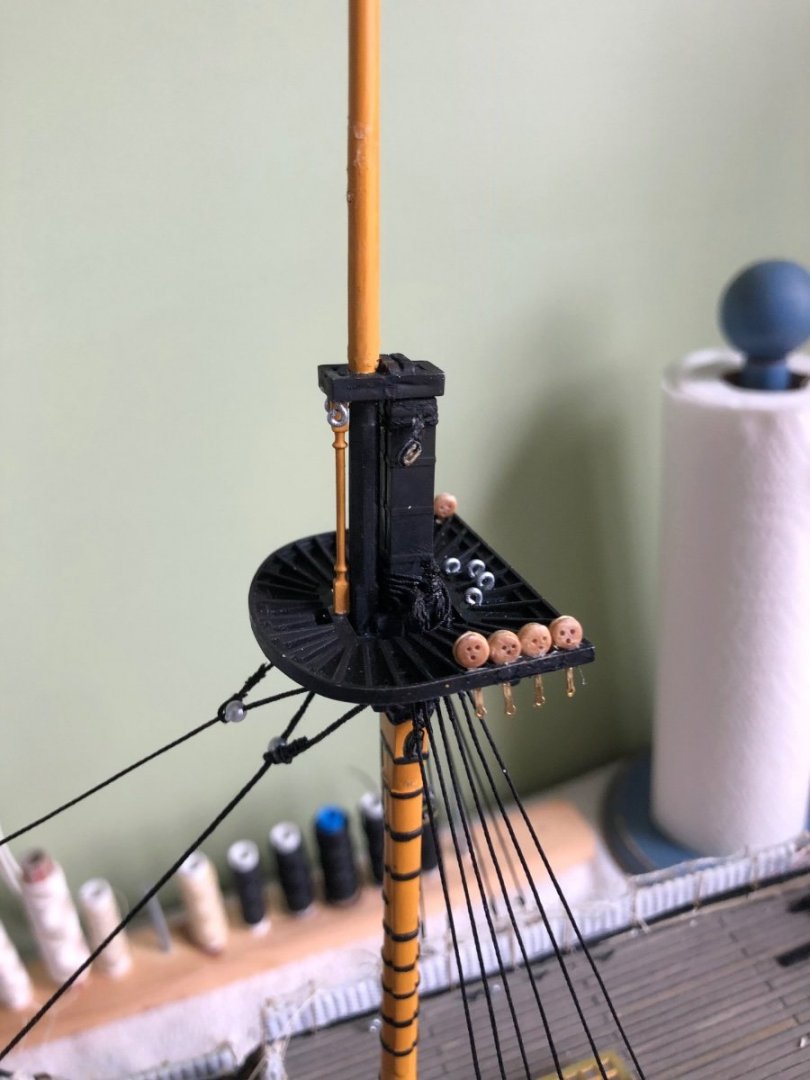
Today I tightened the main mast lower shrouds and got the futtock stave and futtock shrouds on the main mast. I used a brass rod for the stave which matches Daniel’s deadeye irons and little hooks. Since the little hooks are so fragile and delicate I added a touch of CA glue where the hook goes in the loop. Still need to attach the lower end of the shrouds to the stave and do the catherpins.
-
Thank you for your kind words Tom. Hope all is going well in Manchester. Your build is absolutely incredible! I have your log saved on my computer for quick reference similar to Ian’s, Daniel’s, and Kevin’s. The detail in your work’ especially your rigging lines is a thing of beauty. I will just look at our photos and marvel at the quality of your rigging work. I have to be honest when I say I look at something I have done on my model and feel pretty pleased. Then I make the mistake of looking at one like your’s and just shake my head at how much better your’s is! Maybe it is the scale. Maybe it is the DeAgostini kit even though this Heller kit is well regarded. I am not sure. But I keep coming back to the simple answer. The difference in mine and your’s is the craftsman building it. Very well done my friend,
-
Interesting Ian. I am wondering about that. My curiosity is how the crew would reach the opening in the mast top in order to get up there. If ratlines were only in the futtock shrouds above the stave, the crew would have to climb above the stave on a backward diagonal angle and then somehow get over the topmast shroud deadeyes.
-
Thanks Ian. Looking at the futtock stave and the futtock shrouds, I am thinking it best to go ahead and do the ratlines from the stave on up. Once I put the futtock shrouds on I would not be able to get behind them to do the upper ratlines on the shrouds. From the stave down to the deadeyes can wait to later. What do you think?
-
Thanks Ian. No they are not fully tightened yet. I was under the impression that is what you guys recommended. An example being your comment above #948, unless I misunderstood what you are telling me. I am ready to tighten them but did not think that is recommended.
-
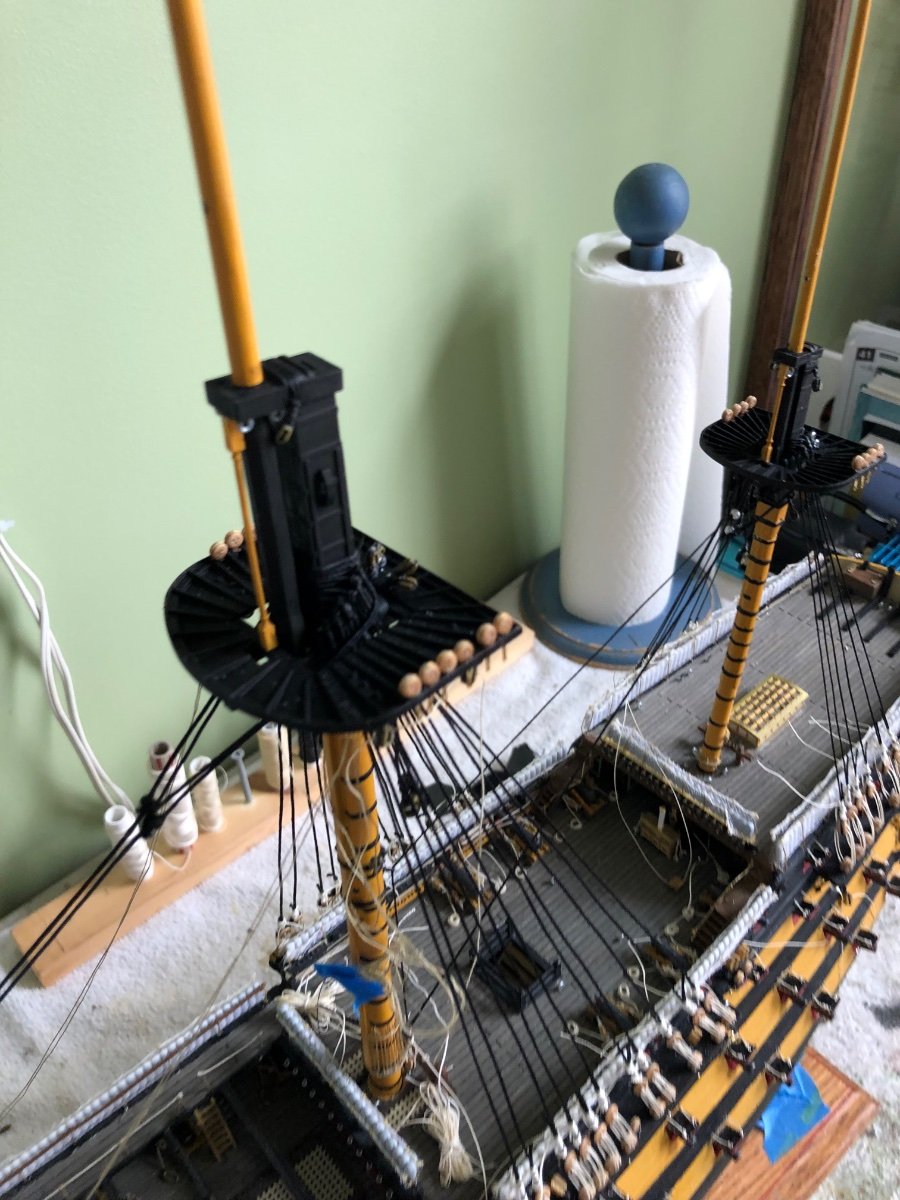
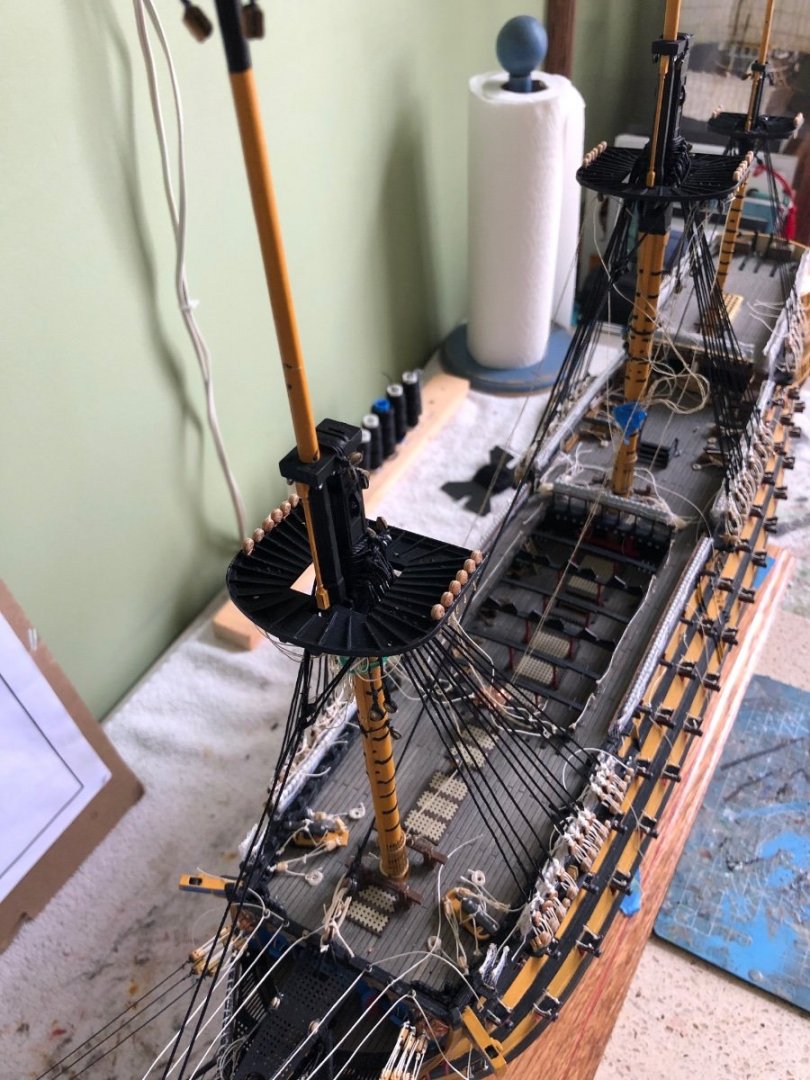
The the top mast shrouds for the main mast are complete with the lanyards left loose similar to the lanyards on the lower shrouds. I think I am going to complete the main mast standing rigging before moving to the foremast and mizzenmast. So I am about to undertake something I have never been before. I have to attach futtock staves on the lower and top mast shrouds. I have to do the futtock shrouds and the catherpins. And then finally the main top gallant shrouds. I will probably still postpone the ratlines to closer to finish.

-
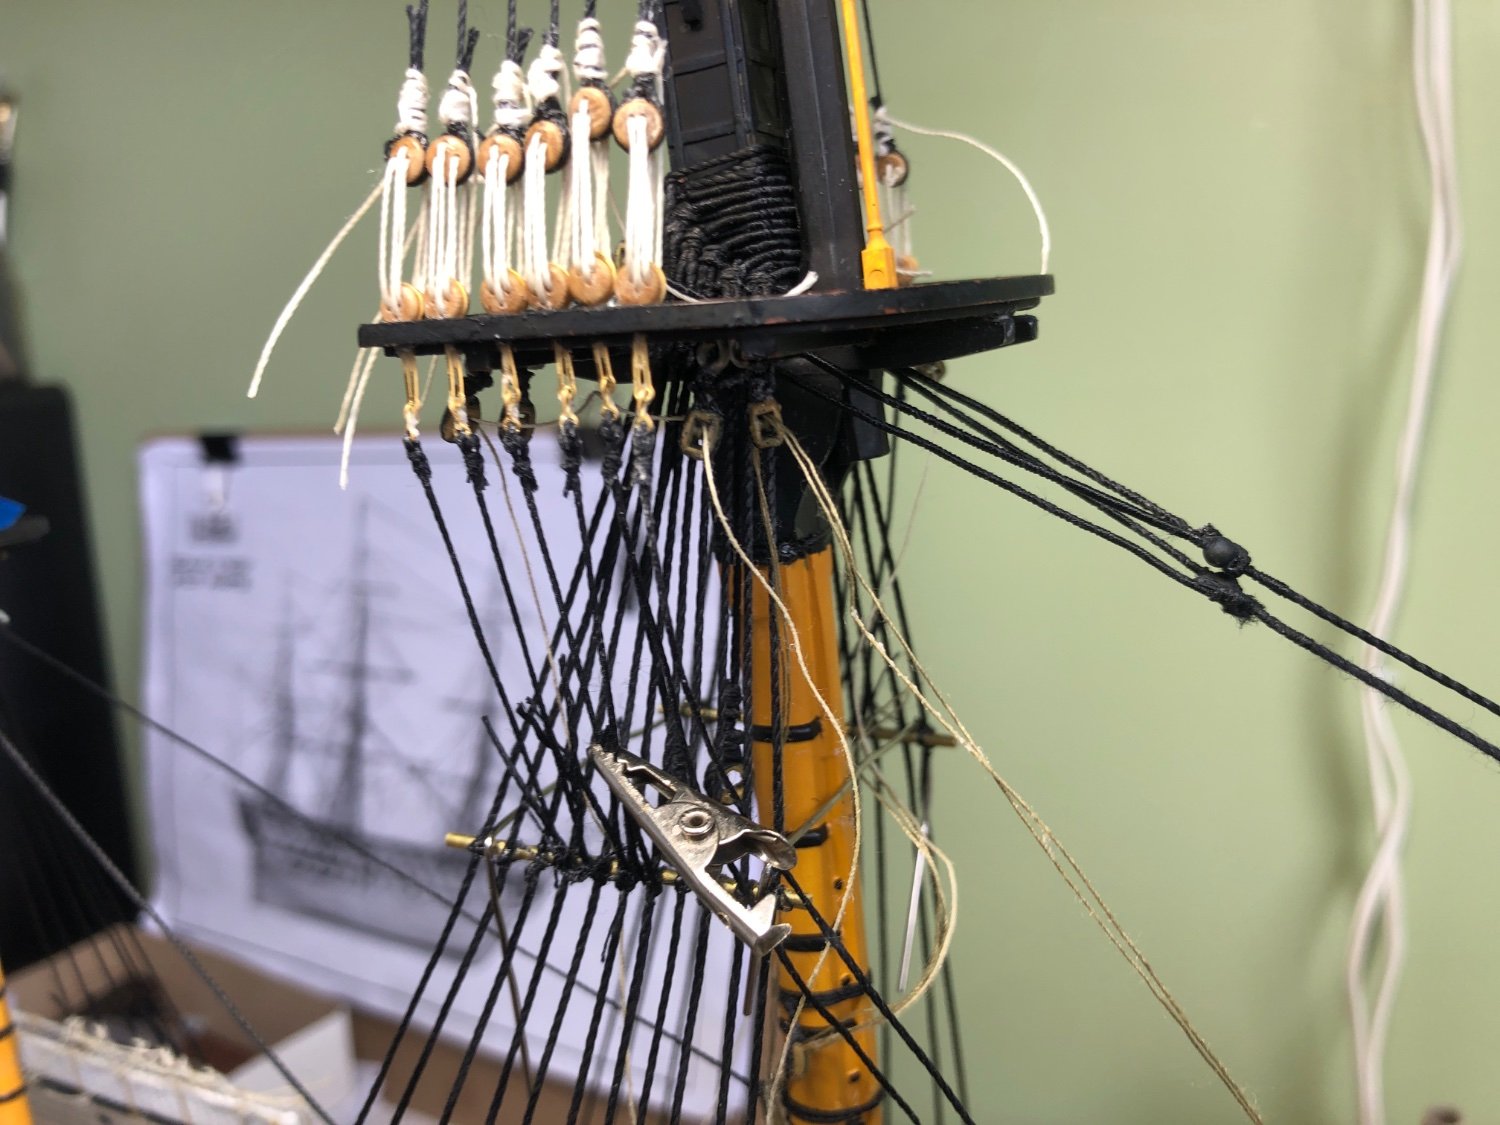
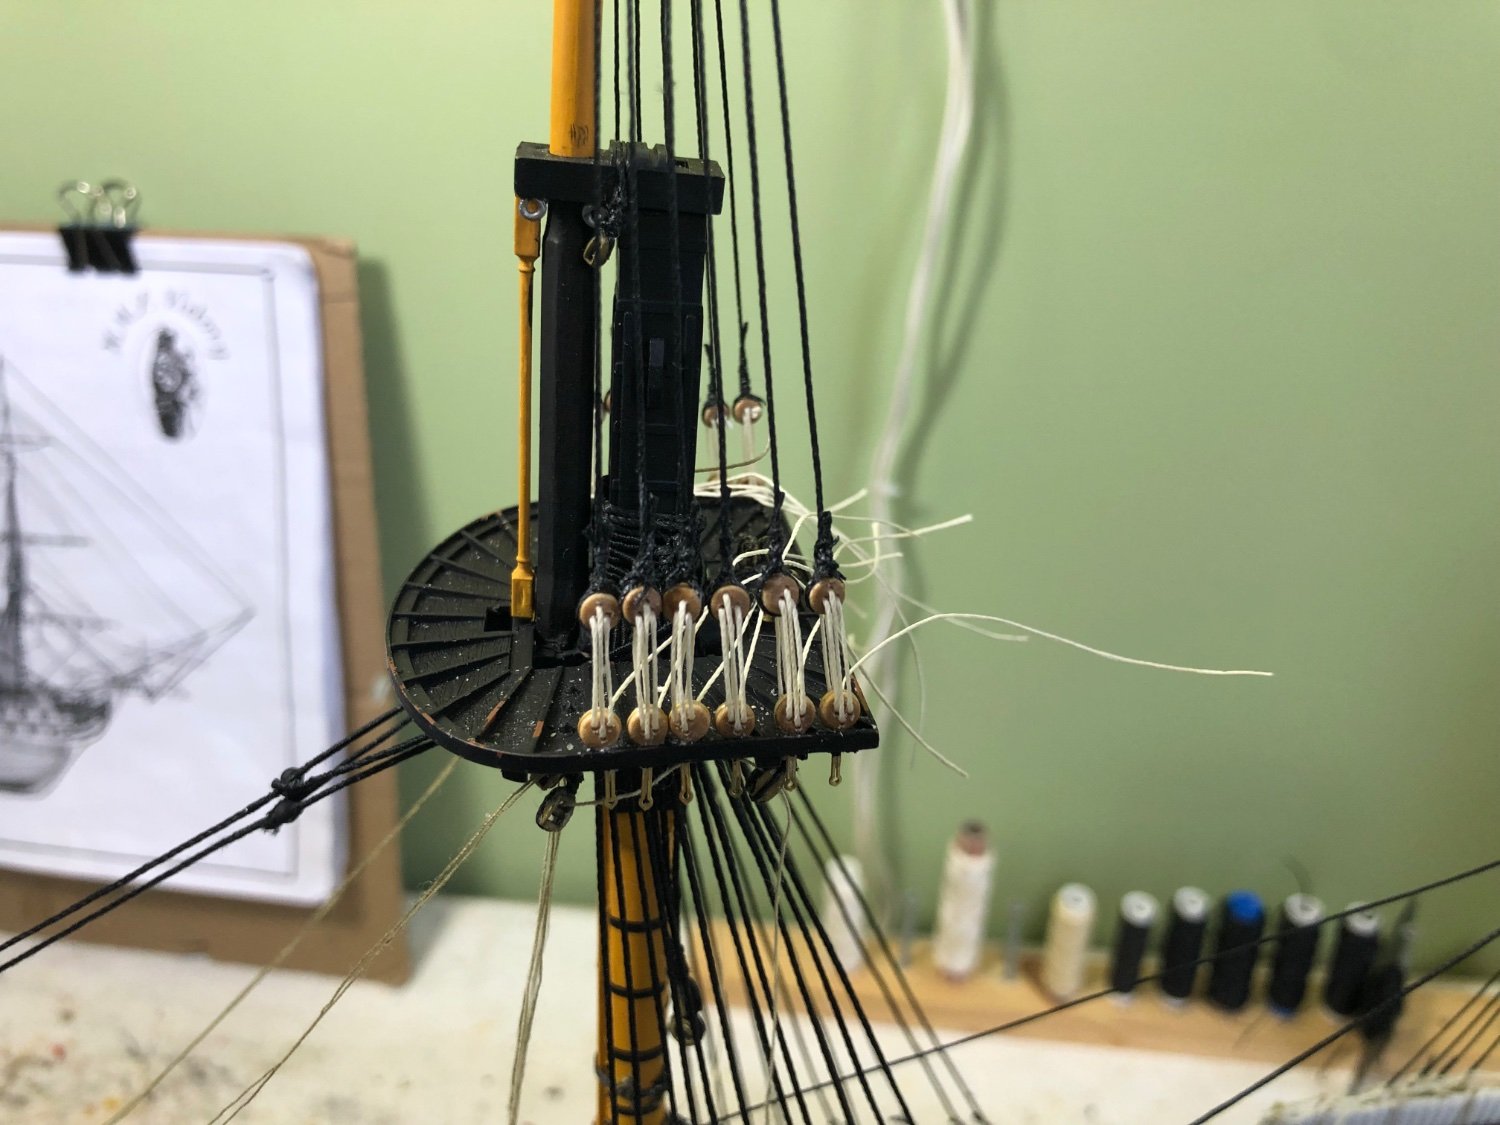
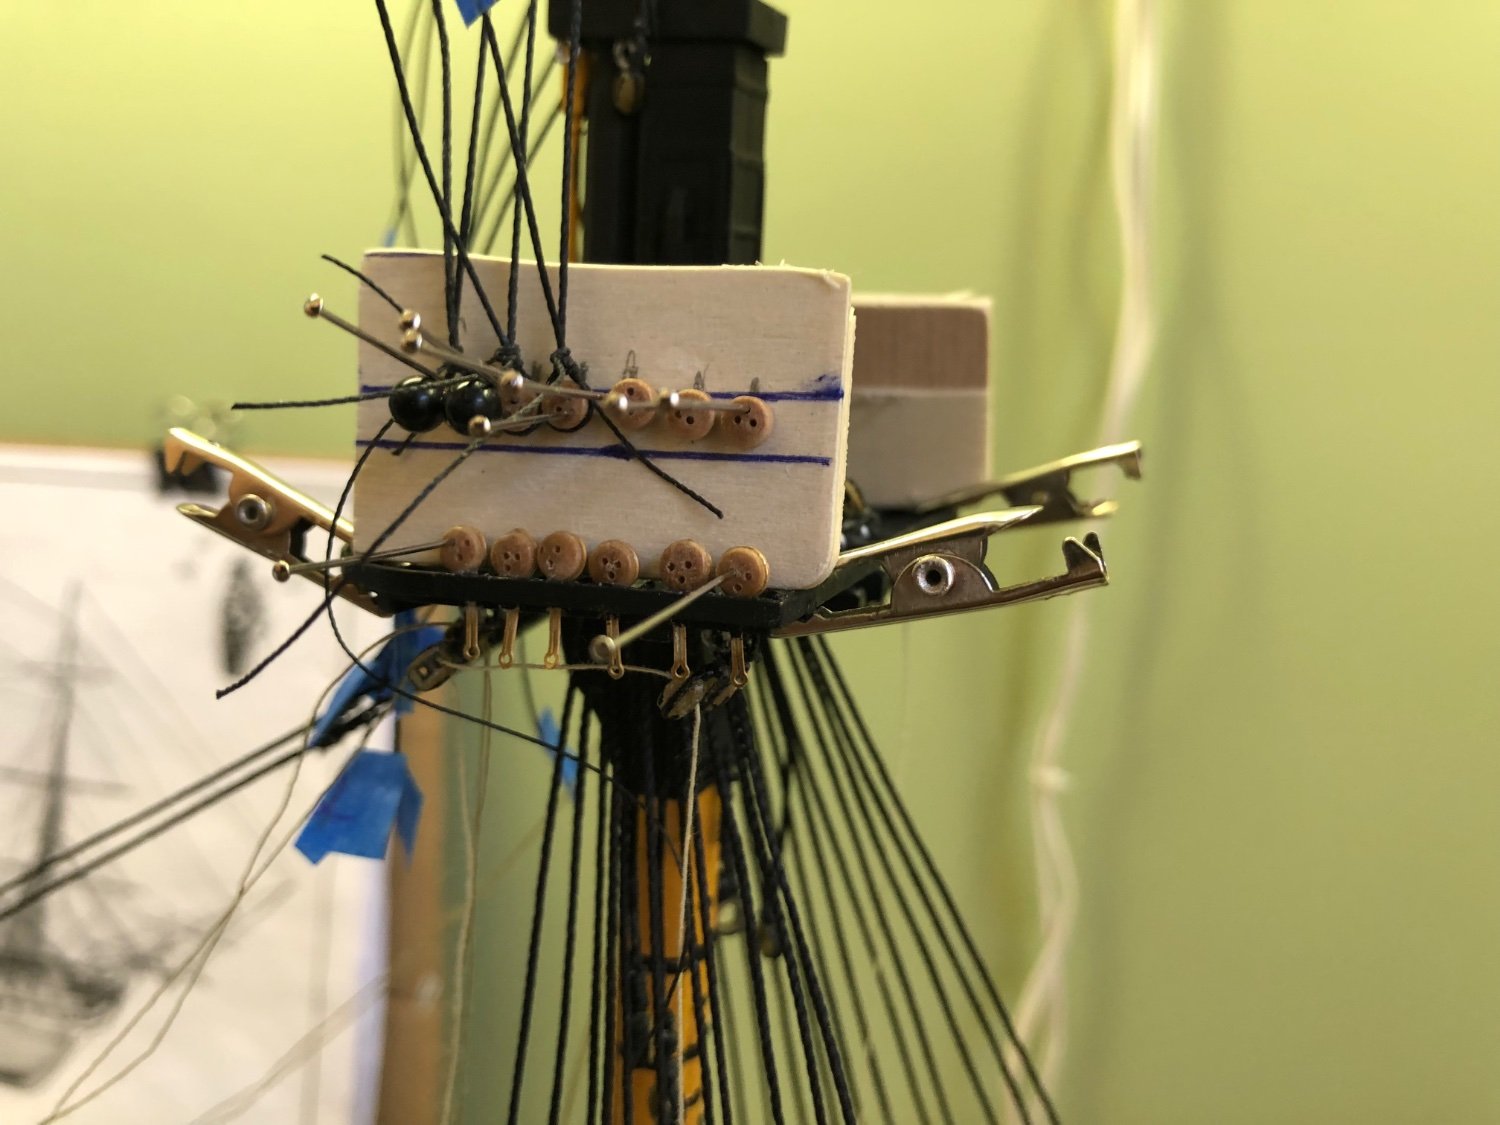
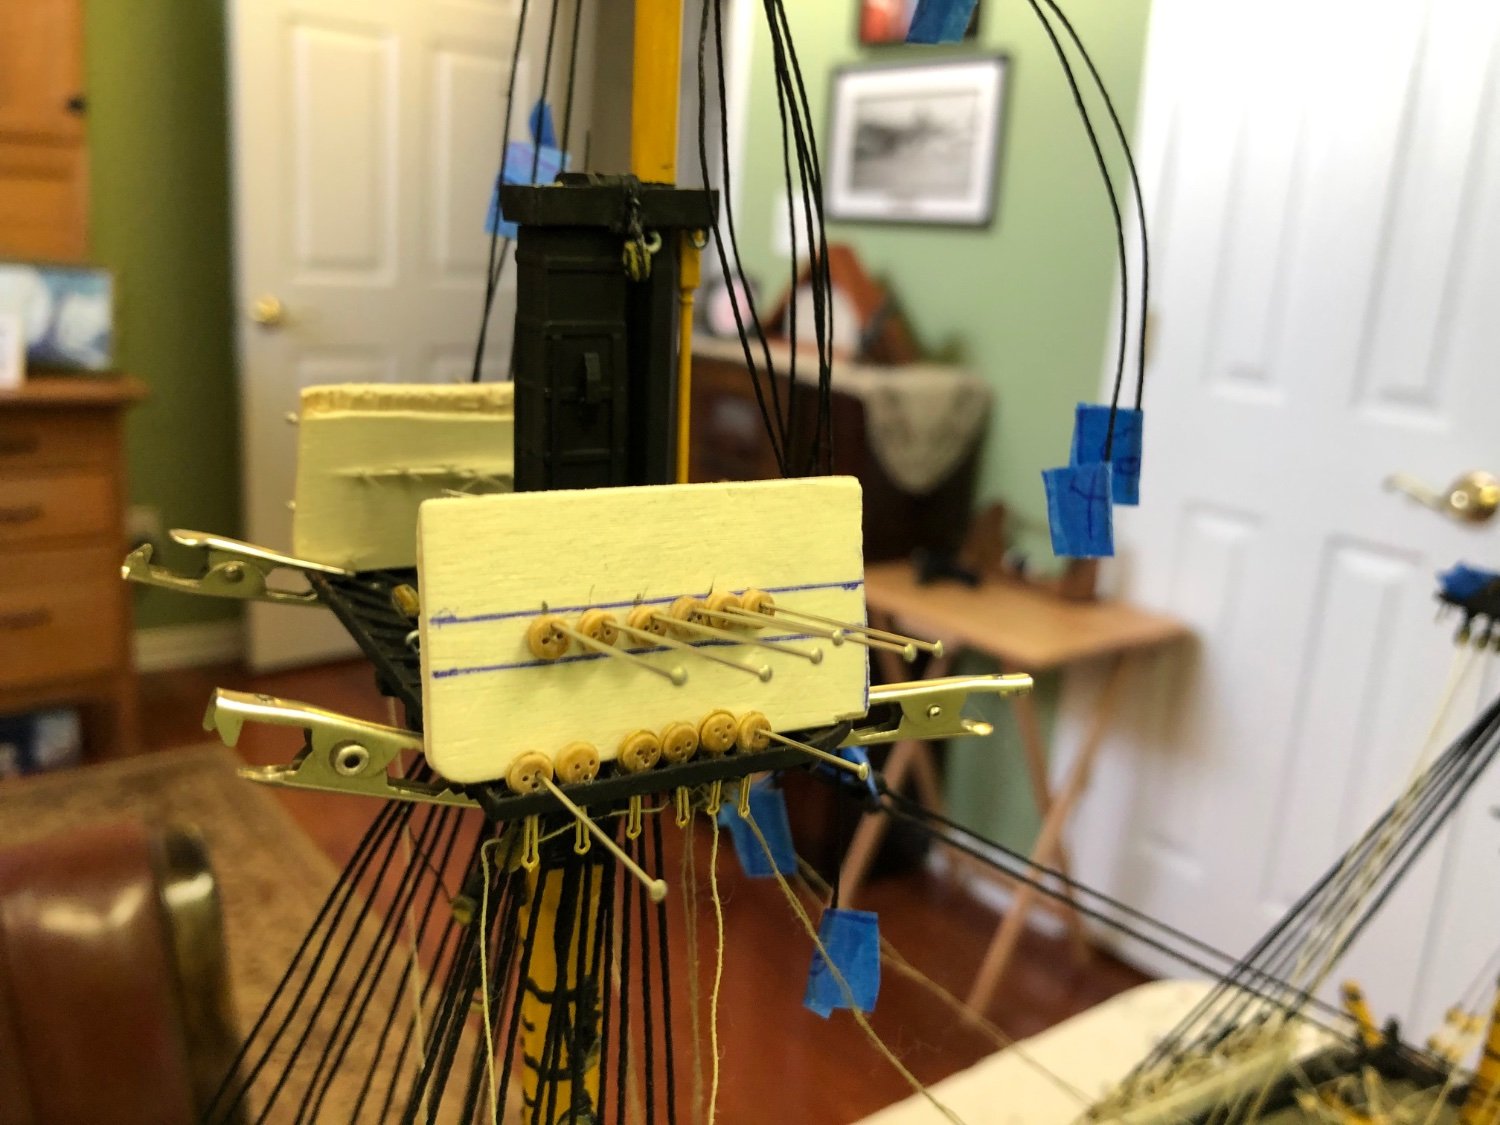
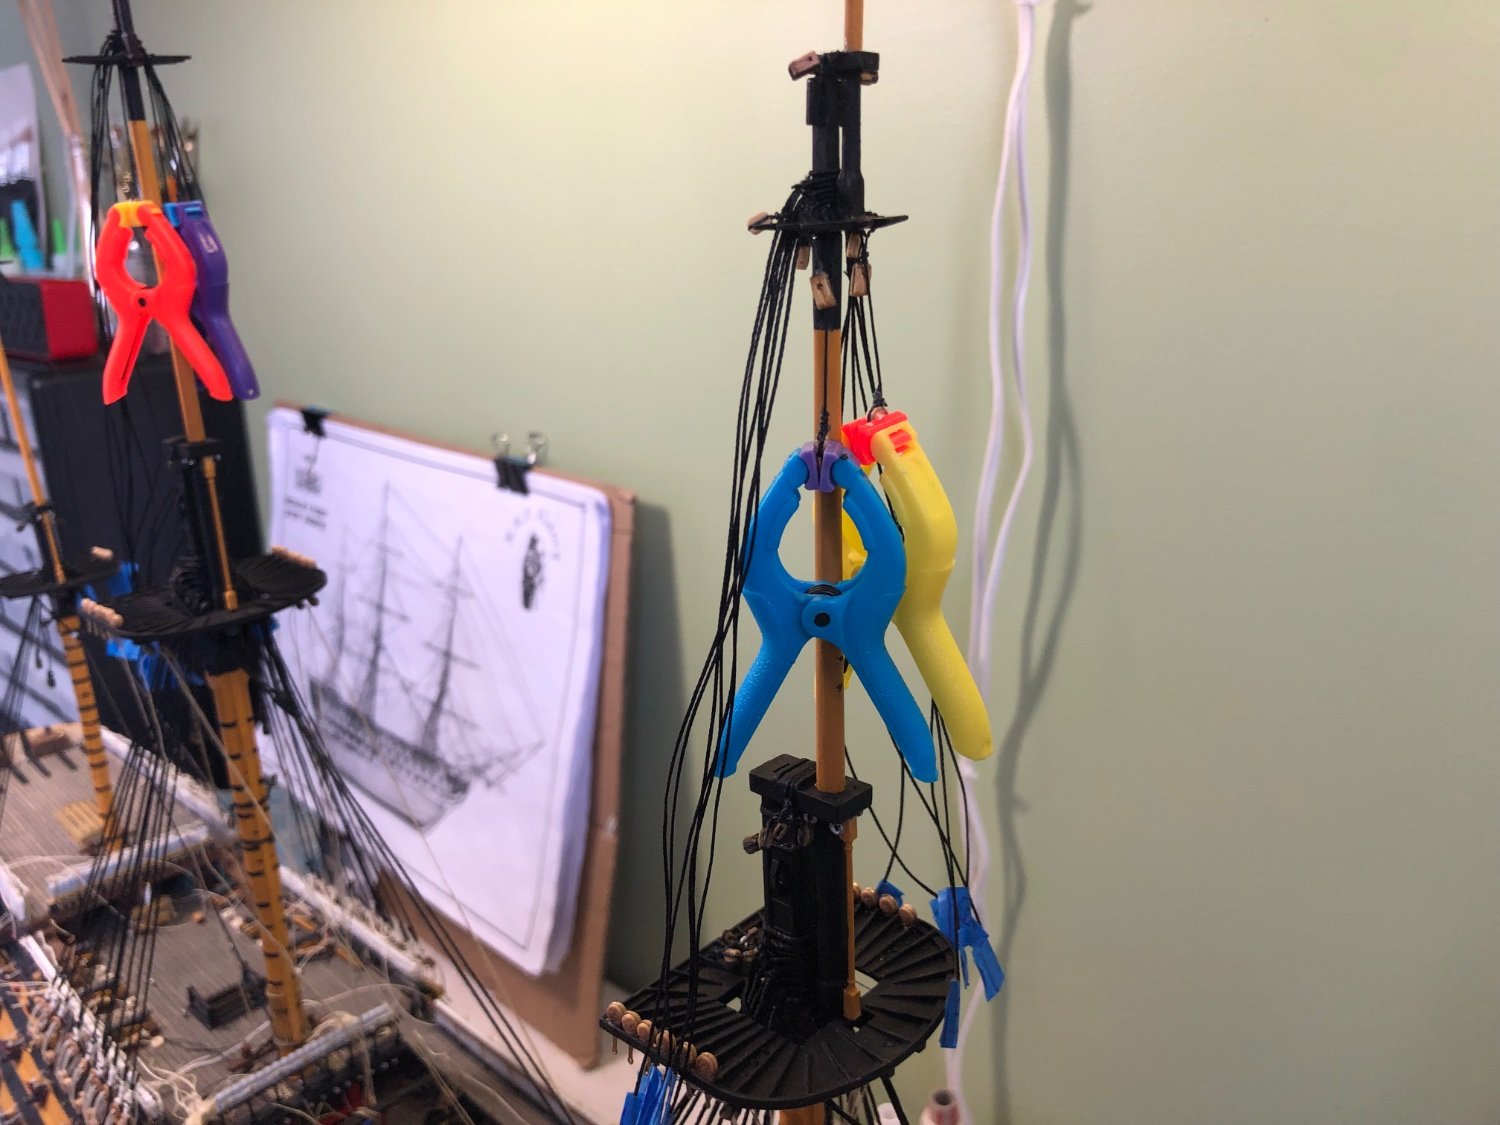
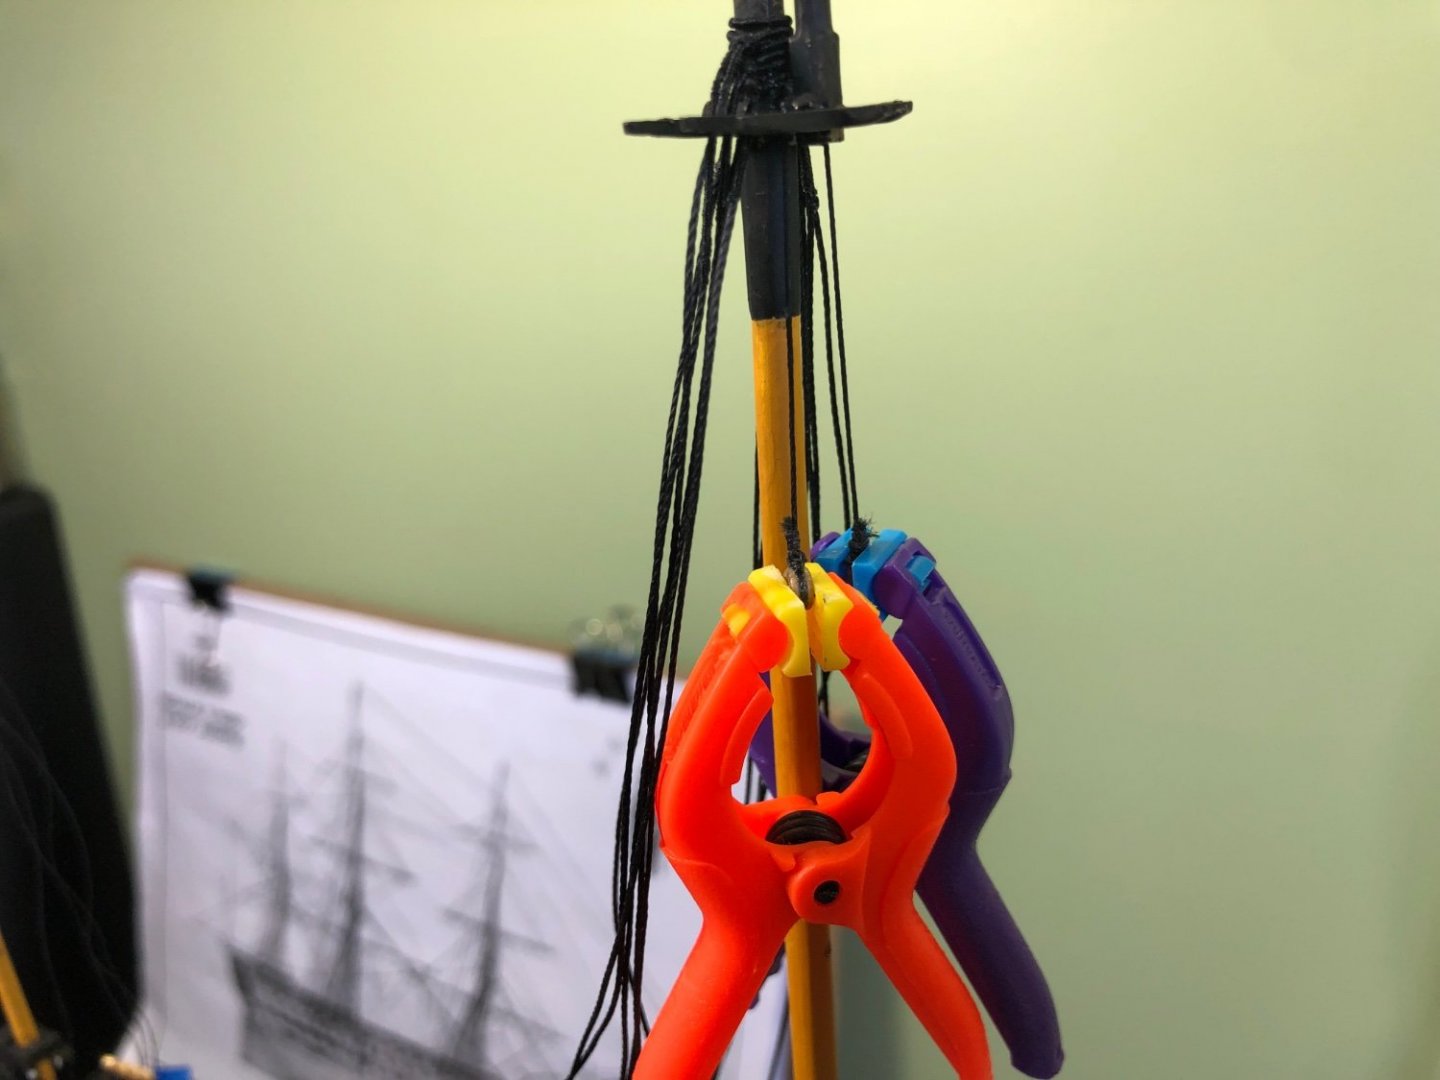
Thank you Kevin. Your compliments are very much appreciated. I would have to say you are very far past being a beginner! I am following your CS build and find your work fascinating. The wood and pins little set up I have in the photo is the result of numerous experiments along the way. This method seems to work the best for me. I use clips and pins in the lower deadeyes to lock the piece of wood in position and then stretch a shroud across the face of each lower deadeye and mark the wood between the two drawn lines (predawn for the distance I want the deadeyes spaced). This establishes the correct angle of the upper and lower deadeyes. Once marked I then pin the upper deadeyes to the wood at the mark between the lines. Now I just go back and tie each shroud to the appropriate upper deadeye. The pins hold everything tight so I can snug the shrouds up taut. I rotate back and forth between port and SB doing each pair instead of doing all on one side first. This helps me keep the mast vertical. Sometimes I have to use two pins in an upper deadeye to keep the 3 little holes correctly lined up. I also use a little piece of tape to number each shroud. Once I pull the pins and the wood all the shrouds hang loose until I do the lanyards.
-
Thought you guys might get a kick out of my crazy deadeye spacing jig for the top mast shrouds! It works for me to keep them equally spaced.


-
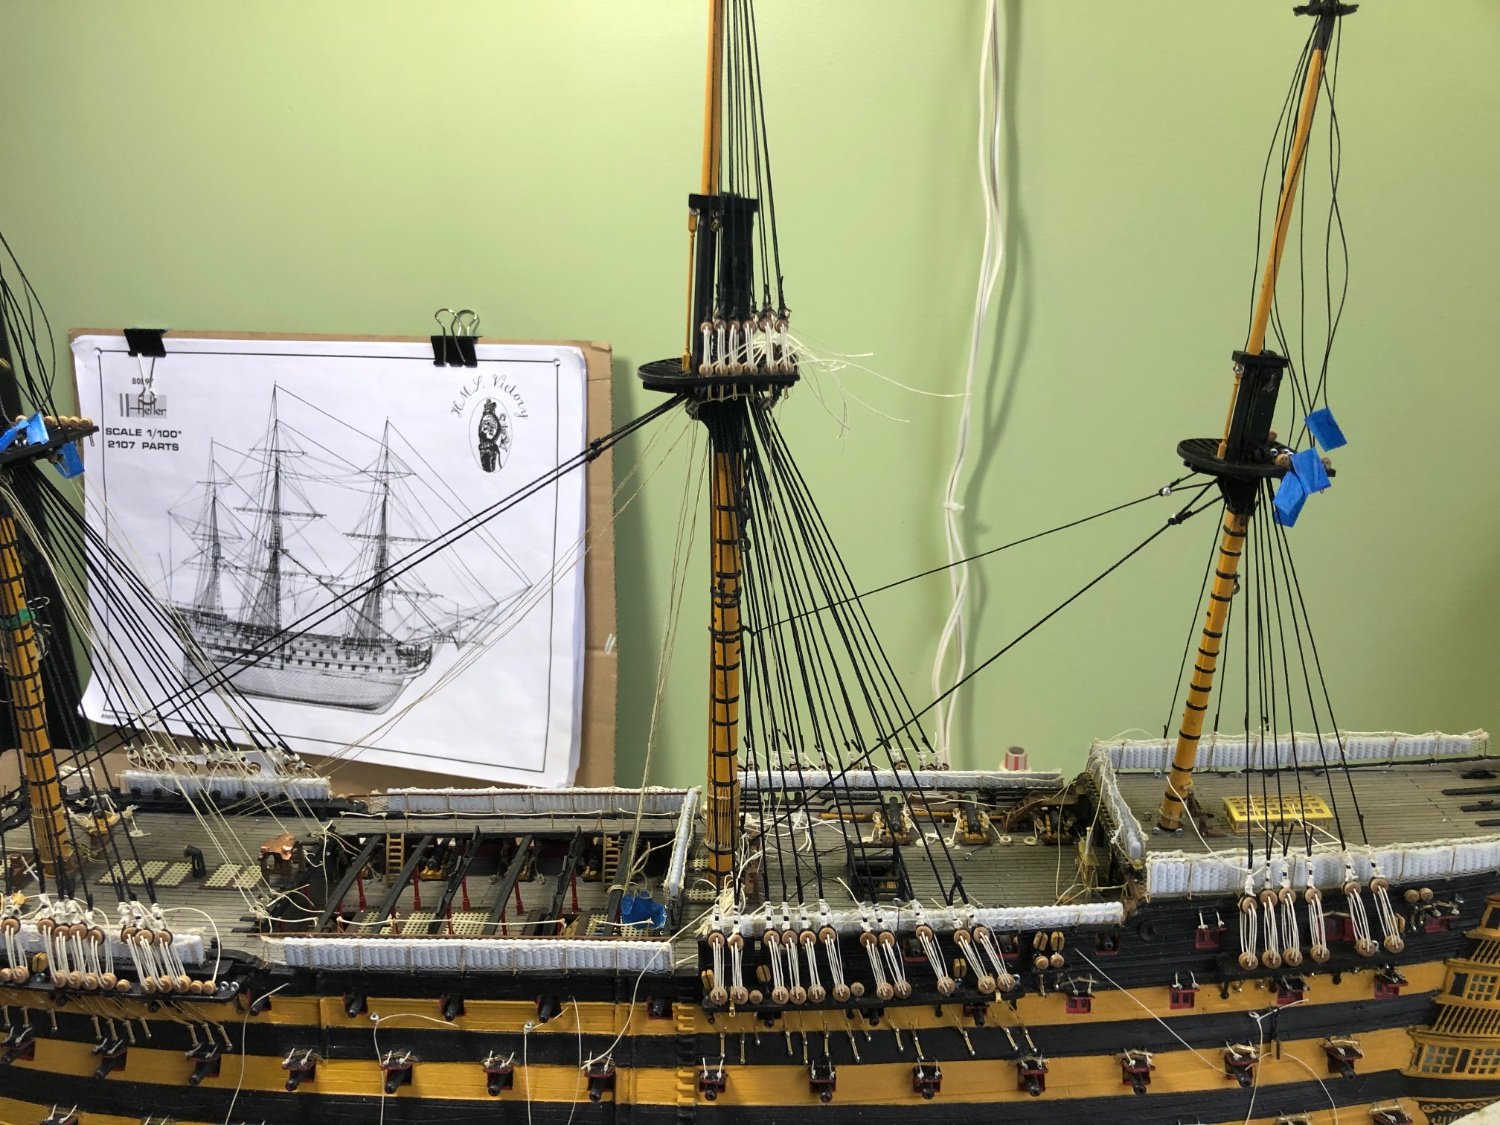
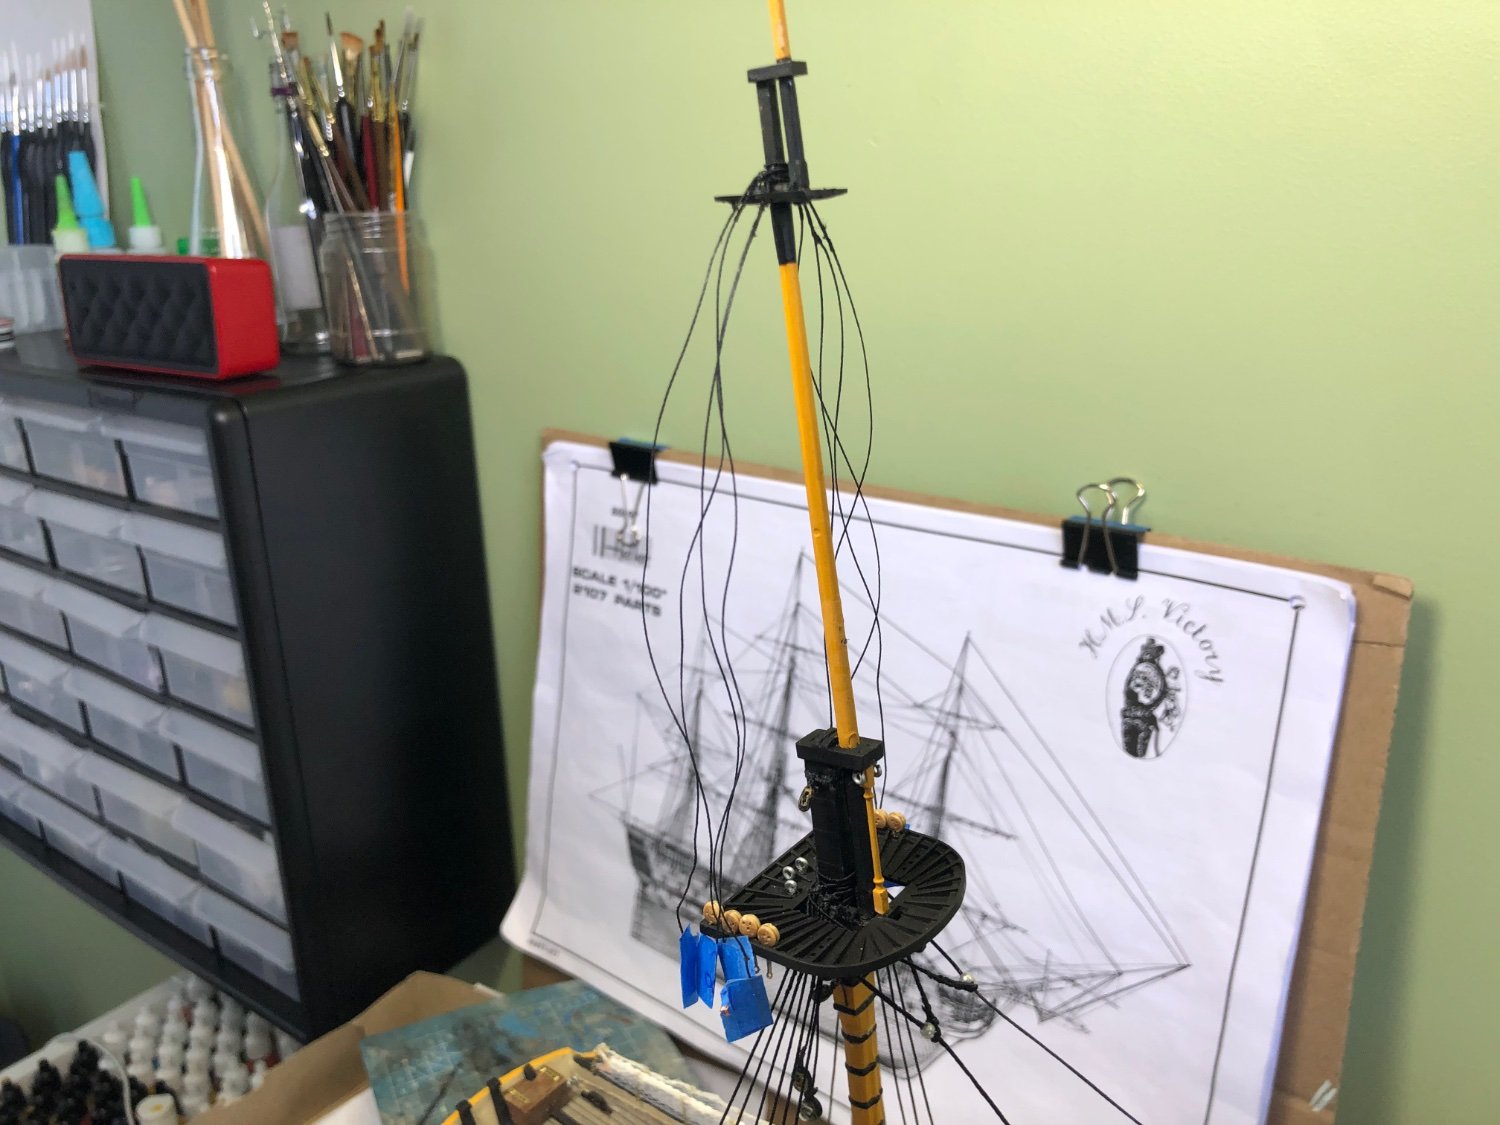
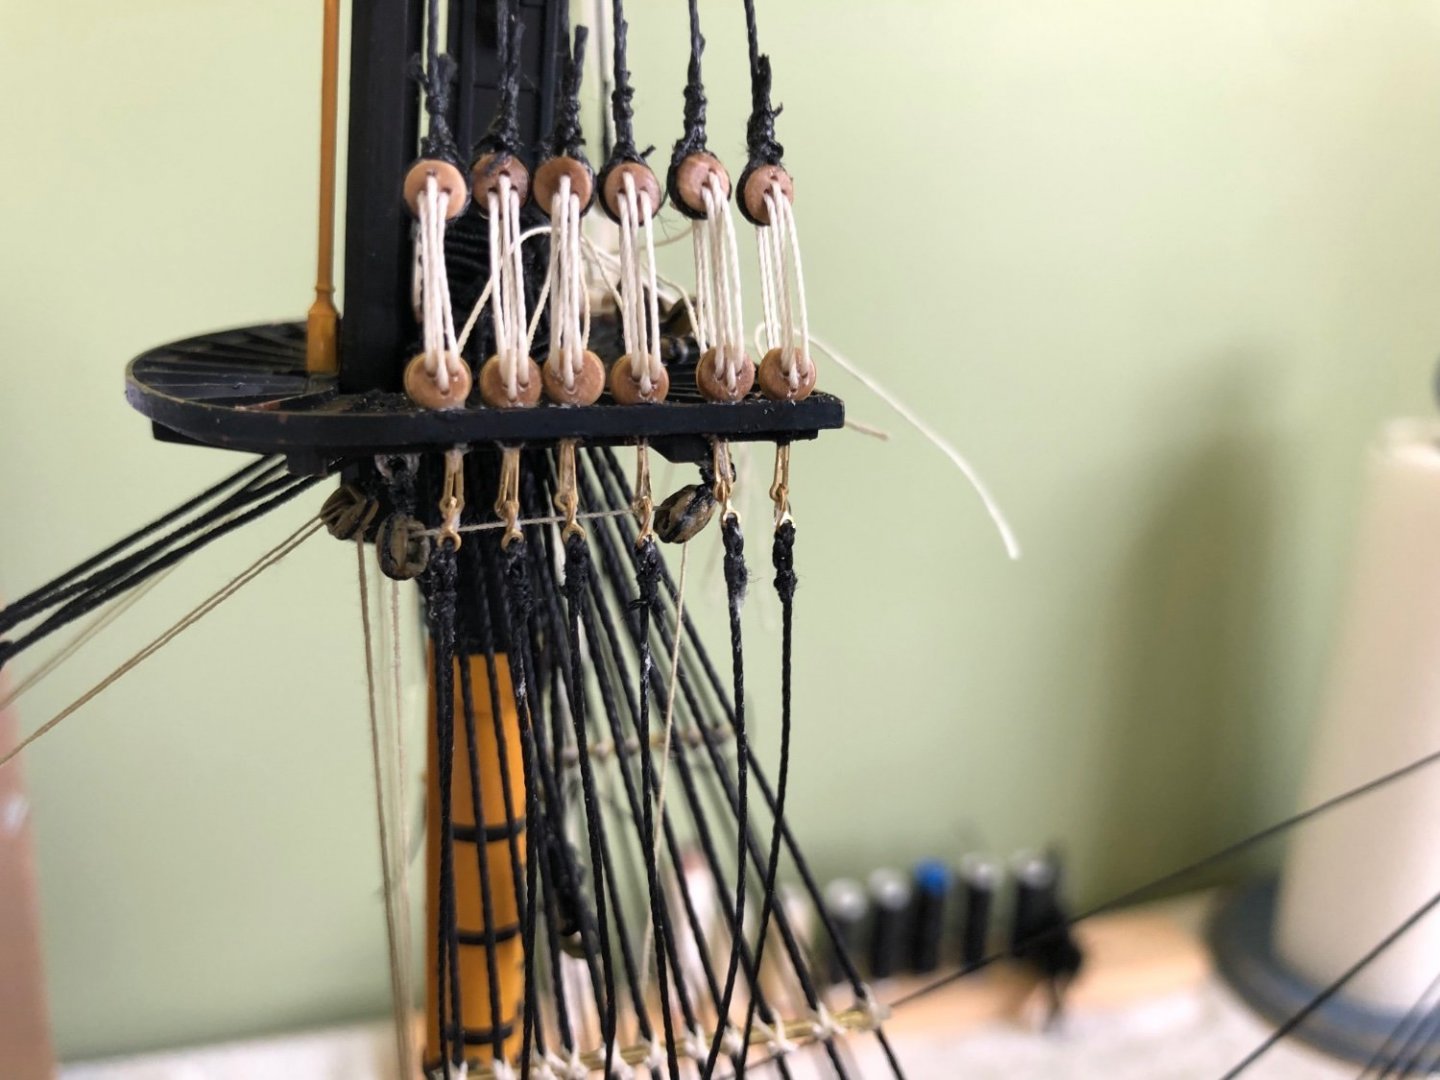
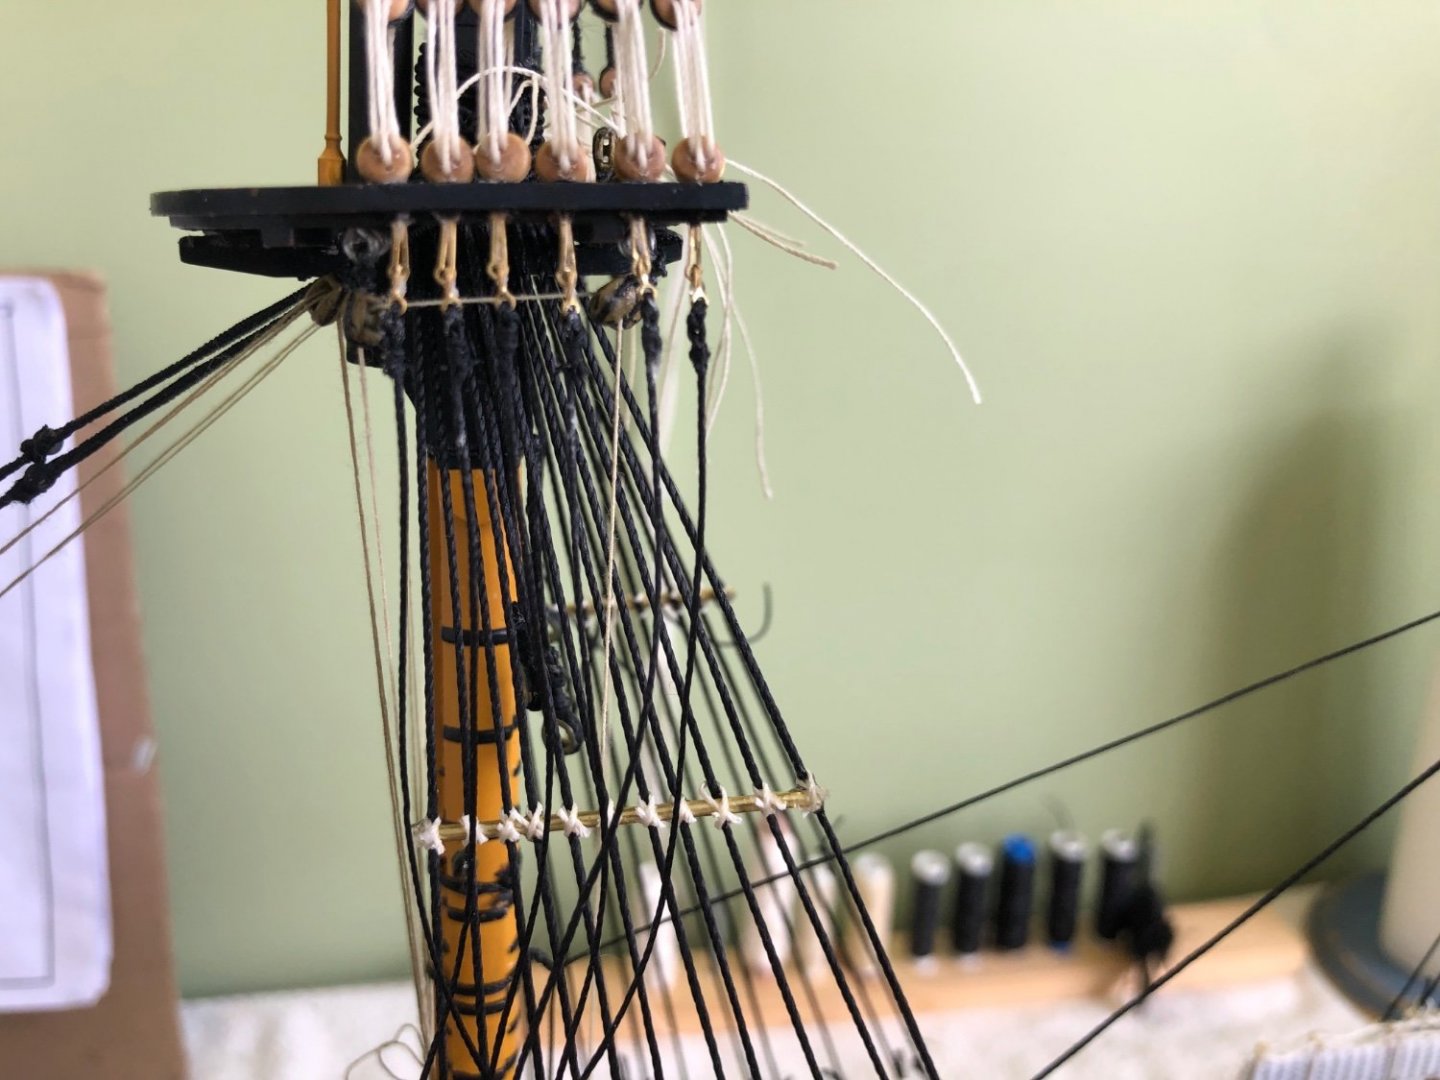
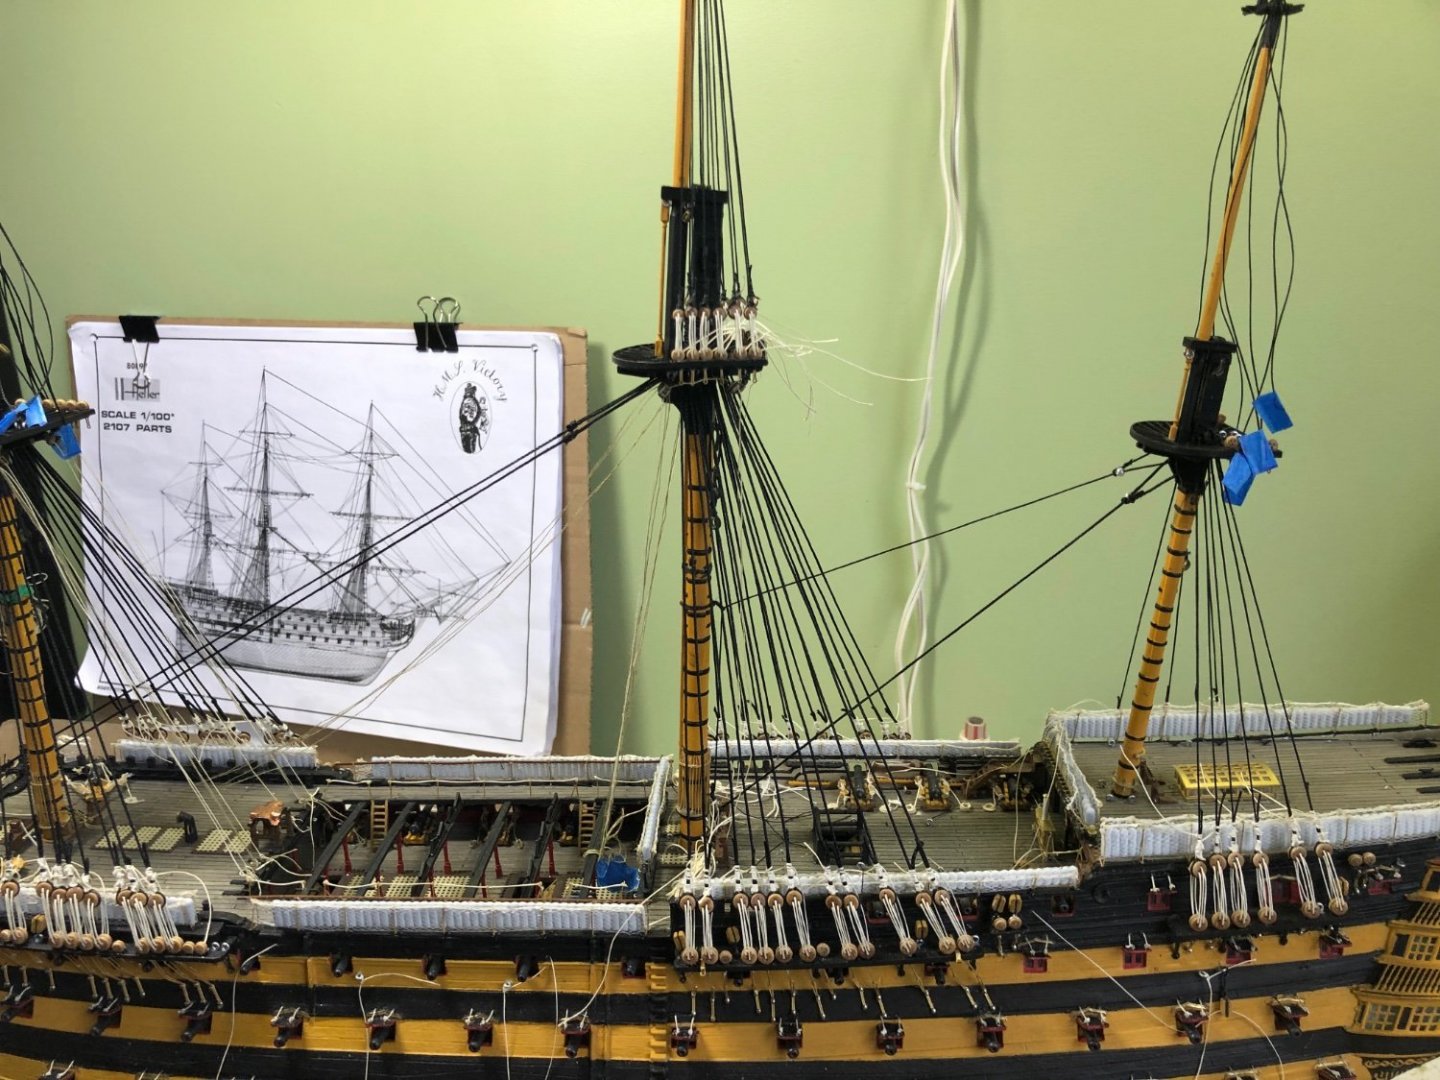
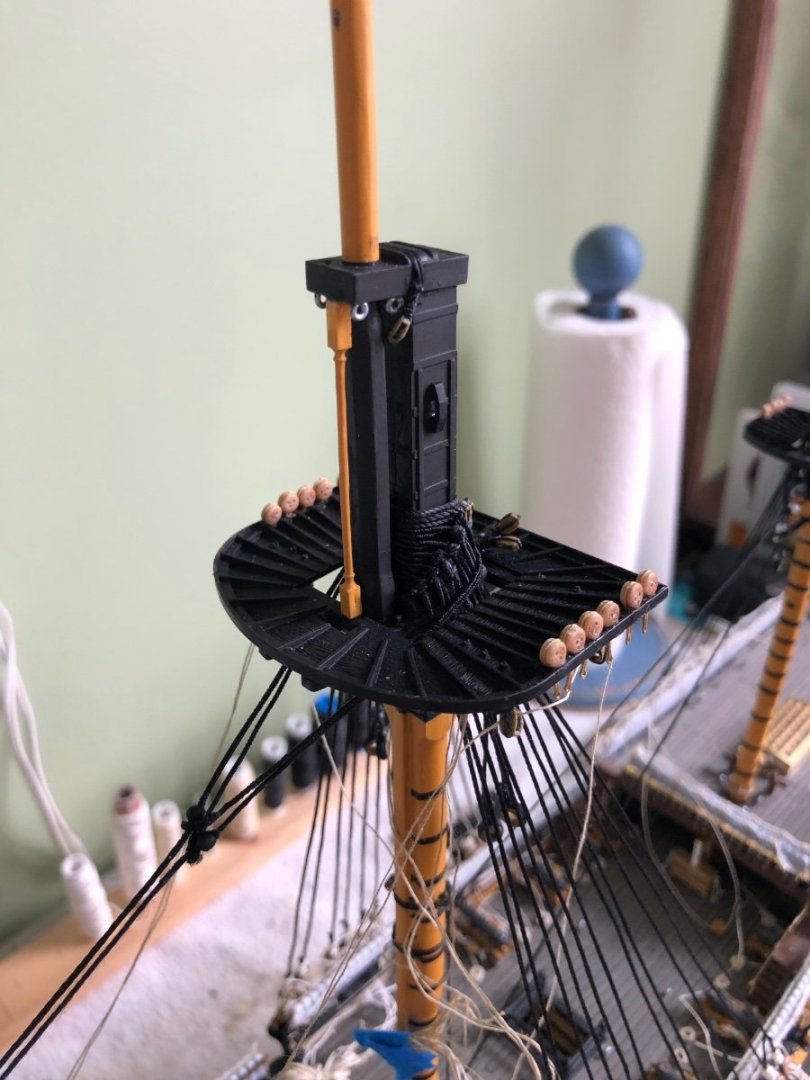
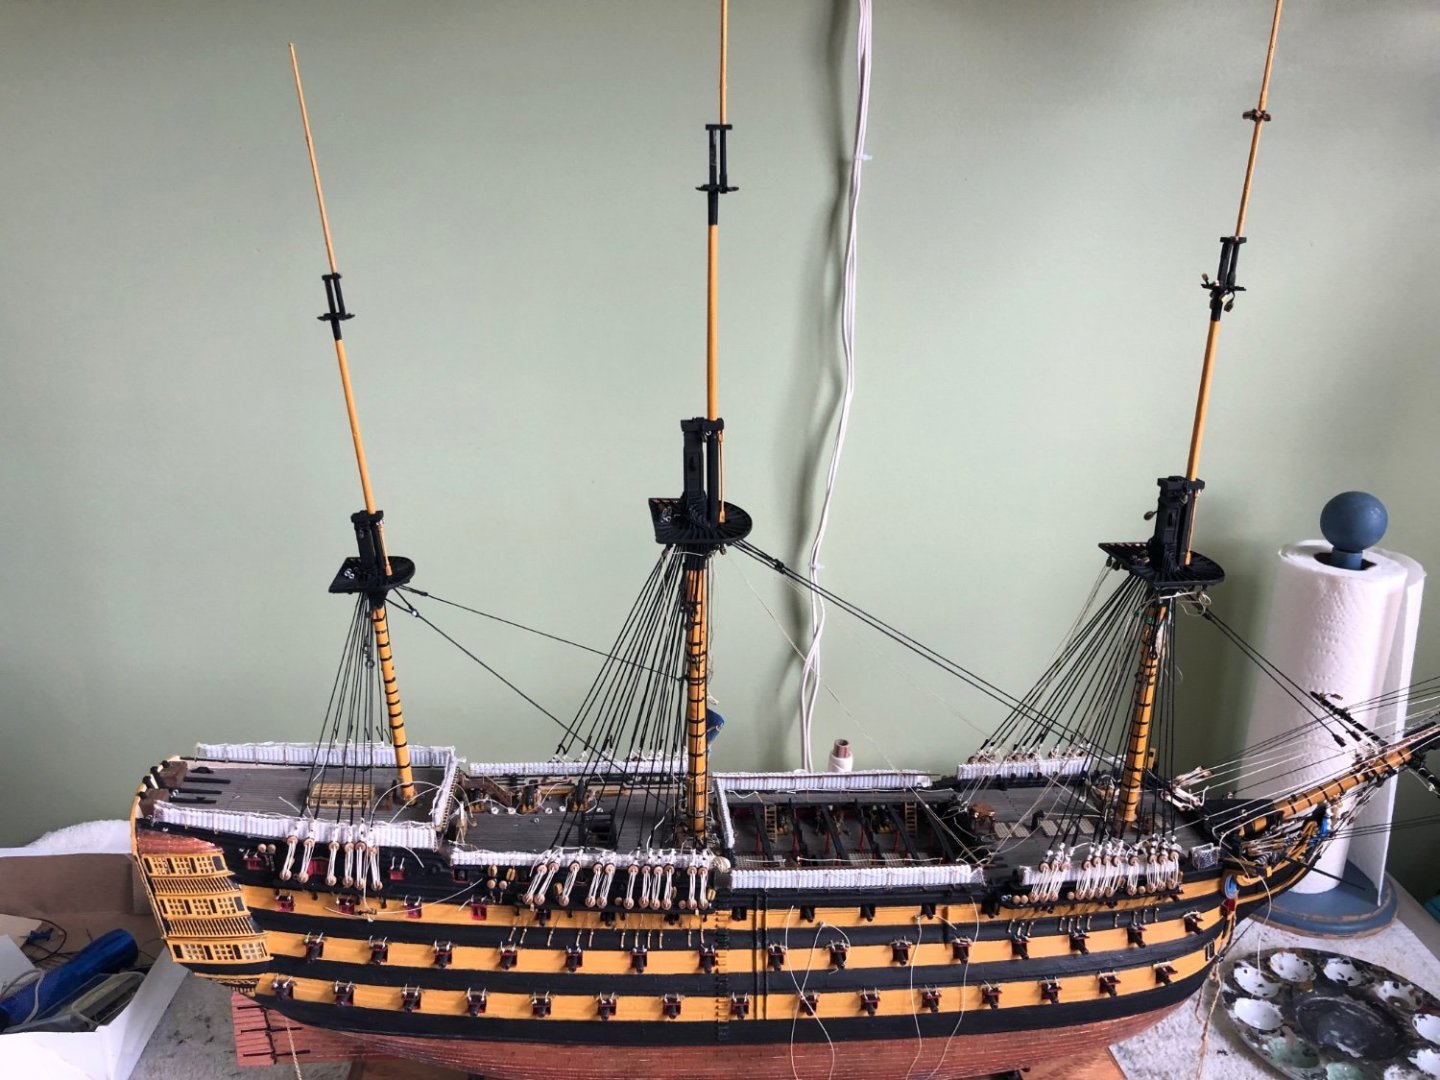
Put on all the top mast shrouds. Decided I needed to do this before attaching the top mast stays and preventer stays since their upper ends loop around and over the shroud tops. As with the lower shrouds, I served the center portion of each shroud pair where it wraps around the mast. Ian based on your spread sheet I used .35mm thread for the mizzen top mast shrouds. I served them as well but found that to be a bit of a challenge because the thread is so small. They came out all right but maybe not perfect. I coated the top mast pendants with diluted white glue and hung weight on them to get them to hang more naturally when dry. I have to decide next to move on to attaching the shrouds to the deadeyes or continue now working on all the stays.


-
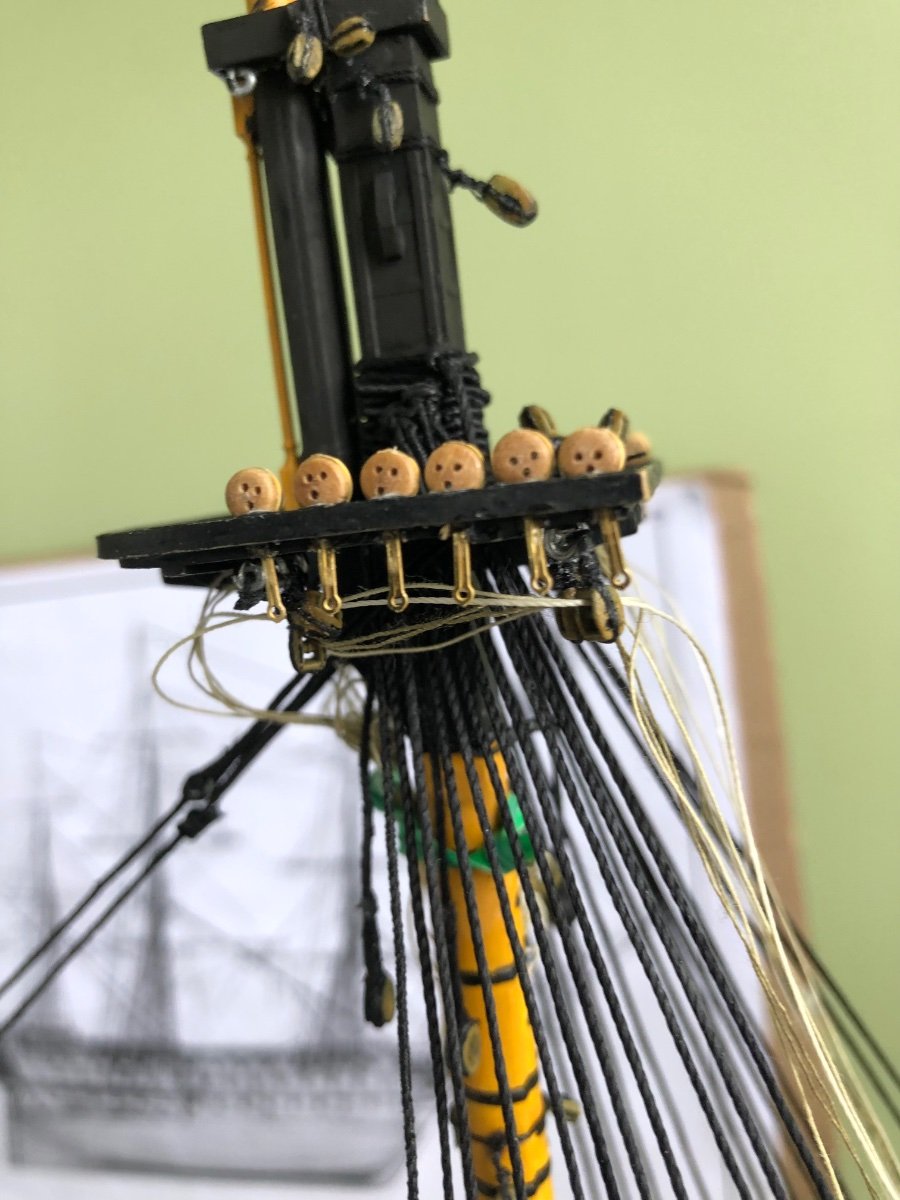
Deadeyes fixed for top mast shrouds and the futtock shrouds. Only thing left on Daniel’s Plate #3 are the little hooks I will attach to the bottom of the deadeyes.


-
The mizzen stays are attached Ian. Just had not added an updated picture. I will just wait a while to tighten the shrouds but will go ahead and tighten the stays. Before I add the top mast stays I have to complete the top mast shrouds since the stays go over the top of the shrouds just like the lower shrouds and stays, correct?
-
Opinion as to when OK to fully tighten and touch a little glue on shroud and stay lanyards? I now have all the lower shrouds installed on all 3 masts and the lower stays and preventer stays installed on 3 masts. I am thinking at this point it should be appropriate to meticulously tighten all the lanyards to this point to lock down the lower portion of the masts. All the remaining stays are above this point and should be based on a solid lower masts. Am I correct? Any reason to postpone final tightening of these lower lanyards?