Bill97
-
Posts
2,729 -
Joined
-
Last visited
Content Type
Profiles
Forums
Gallery
Events
Everything posted by Bill97
-
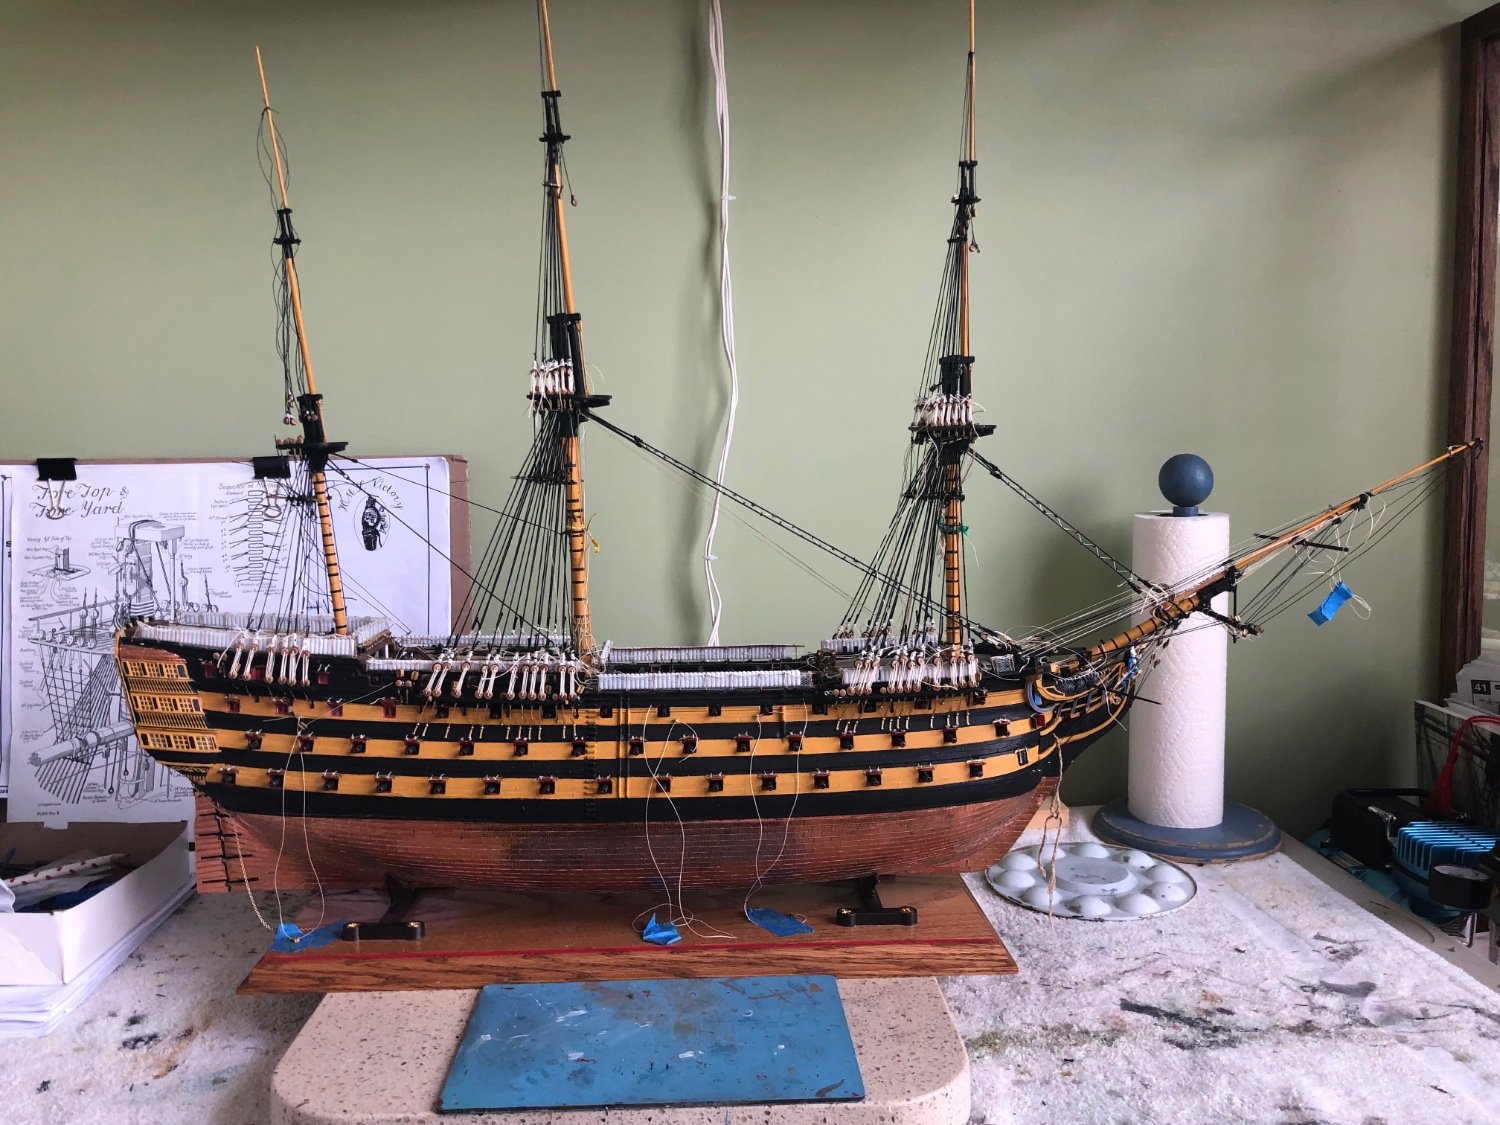
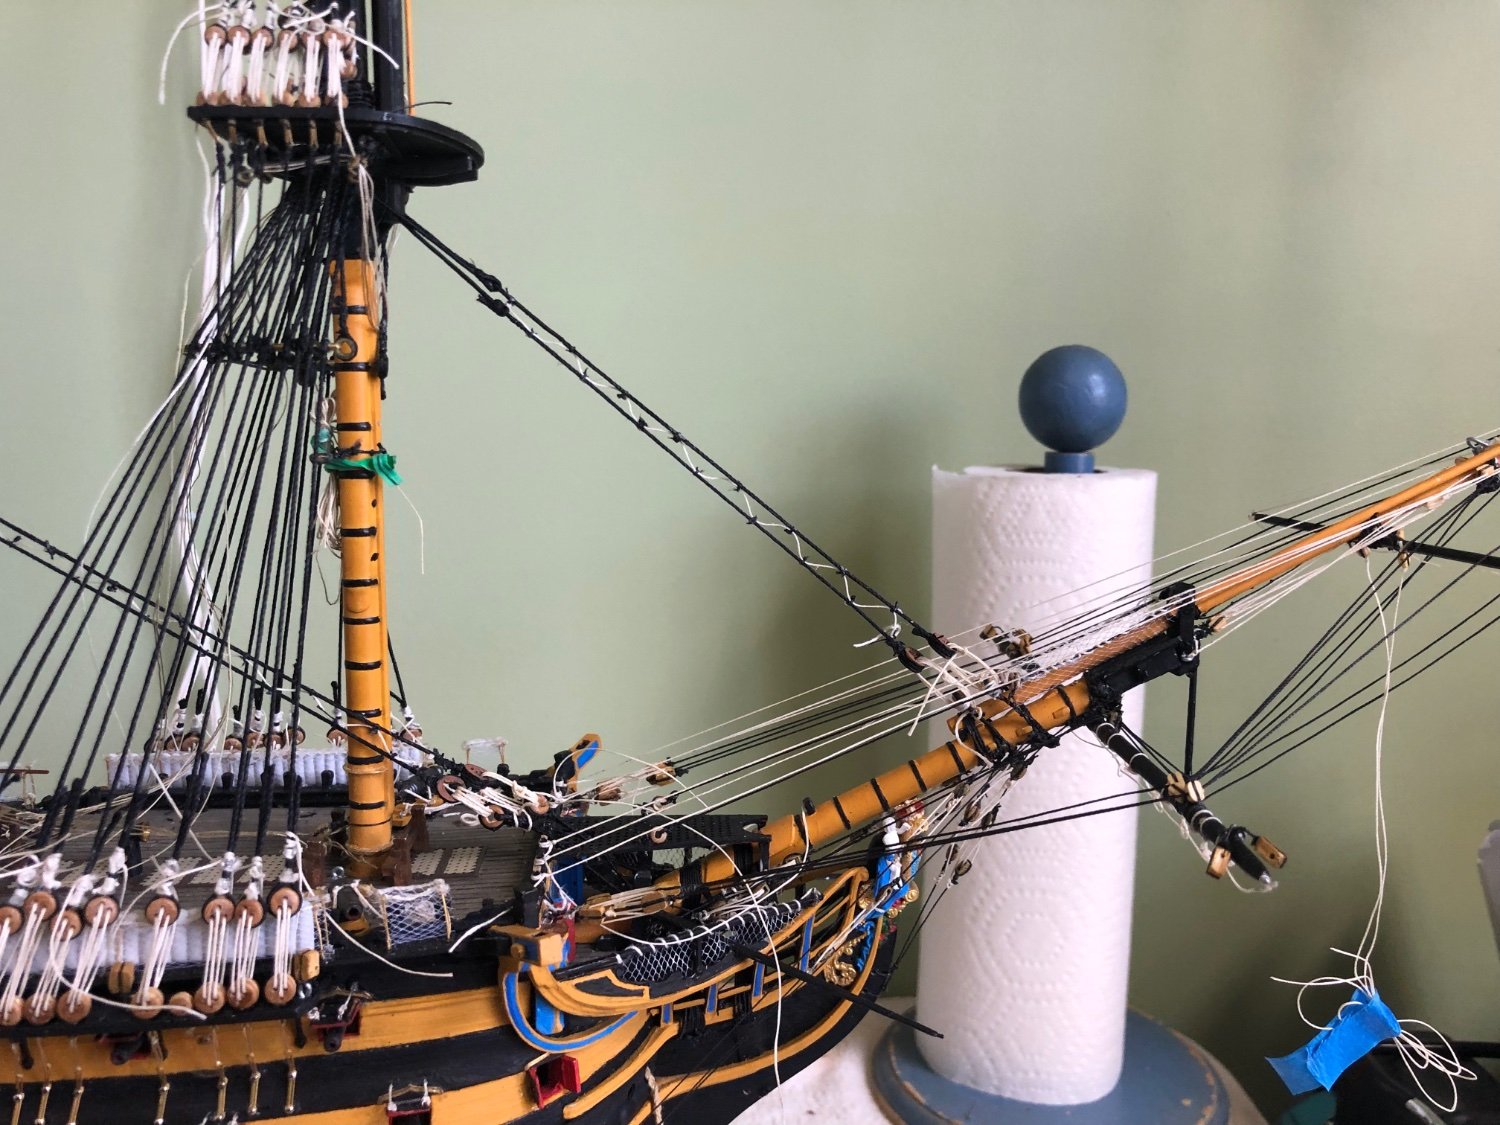
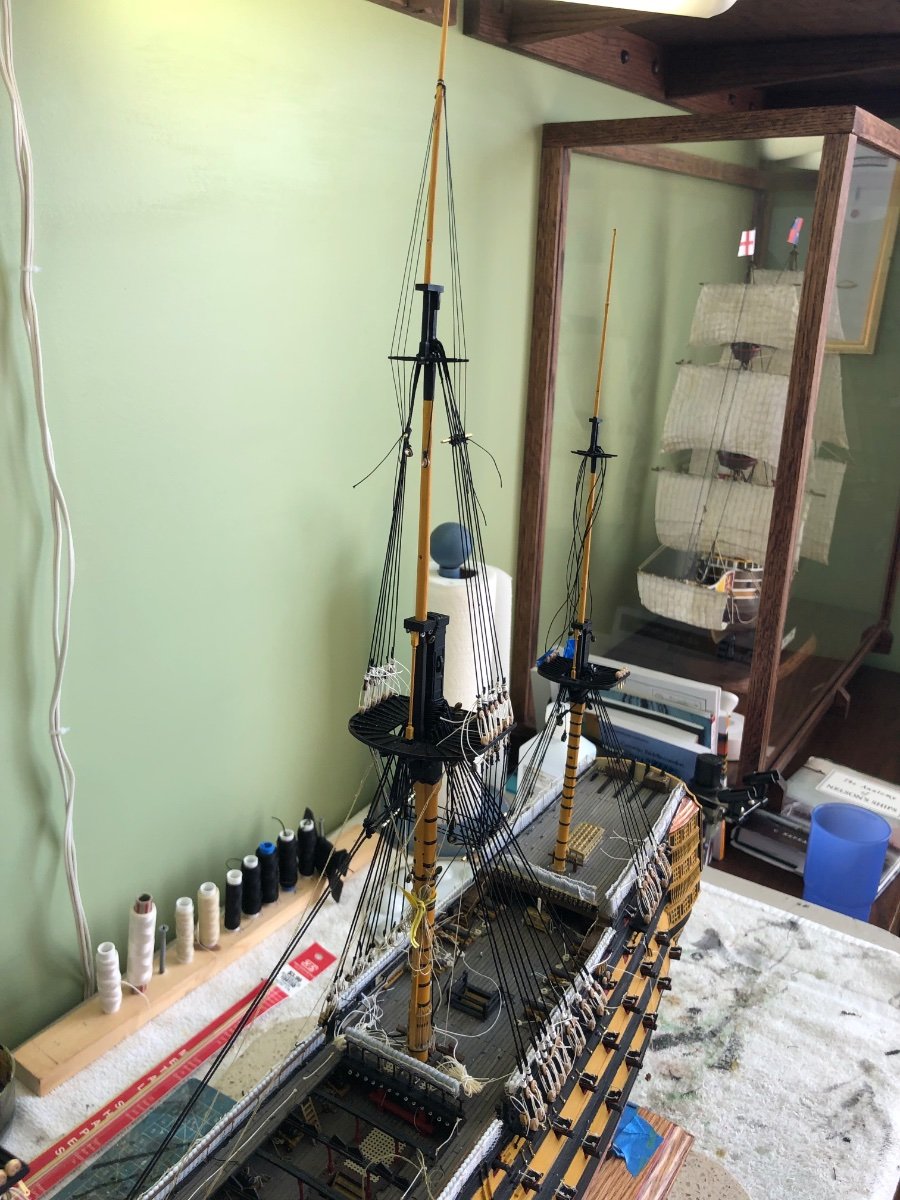
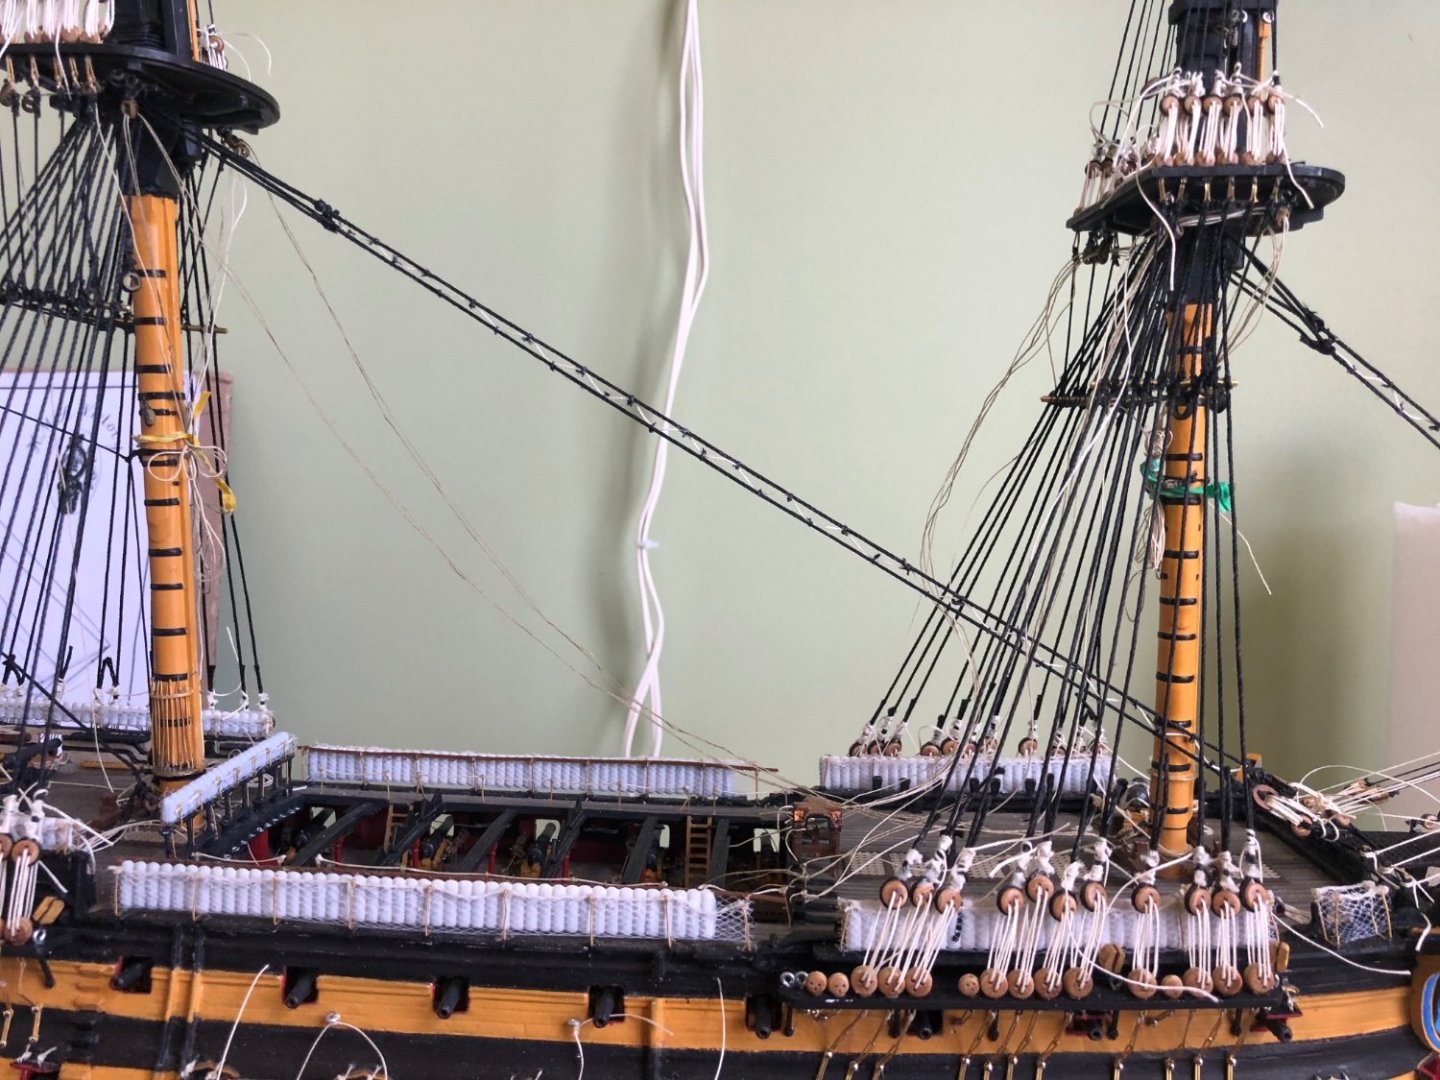
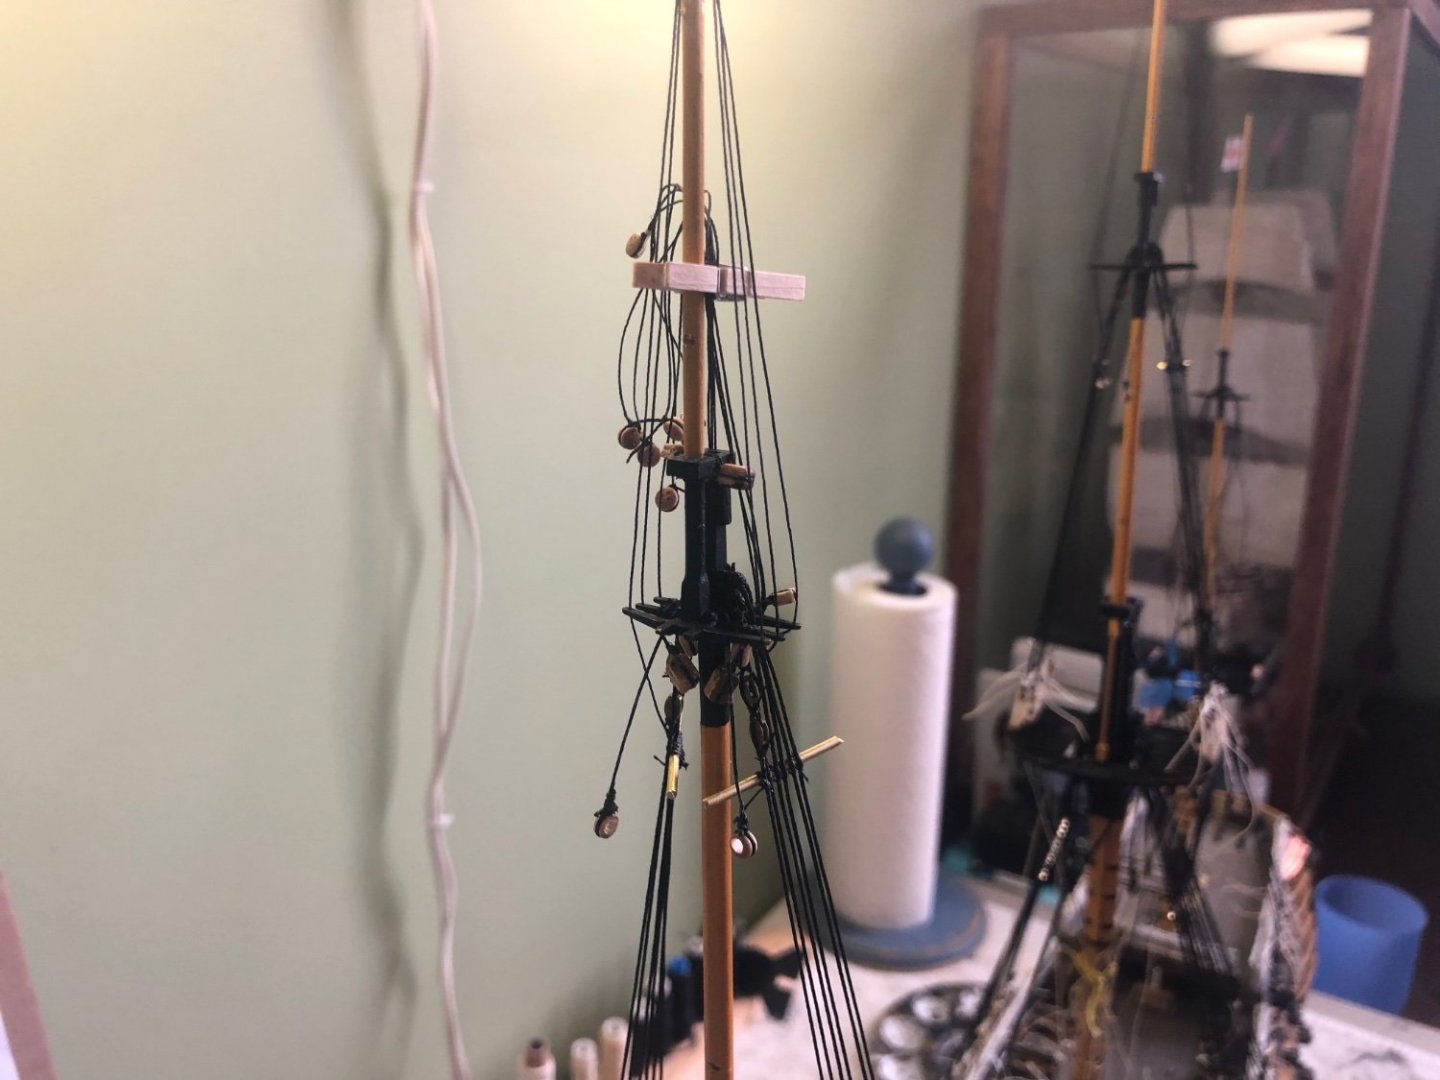
After thousands (exaggerated) of deadeyes I finally hav all the shrouds tied to the mast. I have finished all the shrouds, to include futtock and catherpins! Got the futtock shrouds and catherpins put on the mizzenmast. Still need to put the lanyards on the mizzen top mast an topgallant shrouds. Will look so much better once I do a final snug of the lines, add a touch of white glue to each knot, and trim off excess. In fact, my entire model will look so much better once I feel comfortable enough to glue and trim all the excess off my various lines I have left adjustable. The many many lanyards are the majority of lines that remain not permanently tied and glued. Some may think I have lost my mind, but I am actually anxious to get started on the ratlines so I can see how it will look and finally finalize all my knots.

-
Looking great Twahl. I will be curious as well what you think of the new instructions. I have the new Heller instructions with my Soleli Royal which I have yet to start. Definitely looks better than my current Victory instructions.
-
Kevin your work is looking fantastic. I have not commented in a bit because I would just keep repeating myself! Wow! Great job my friend. Really enjoy watching you build your version of a model I am very familiar with.
- 444 replies
-
- 2
-

-
- Cutty Sark
- Revell
- (and 2 more)
-
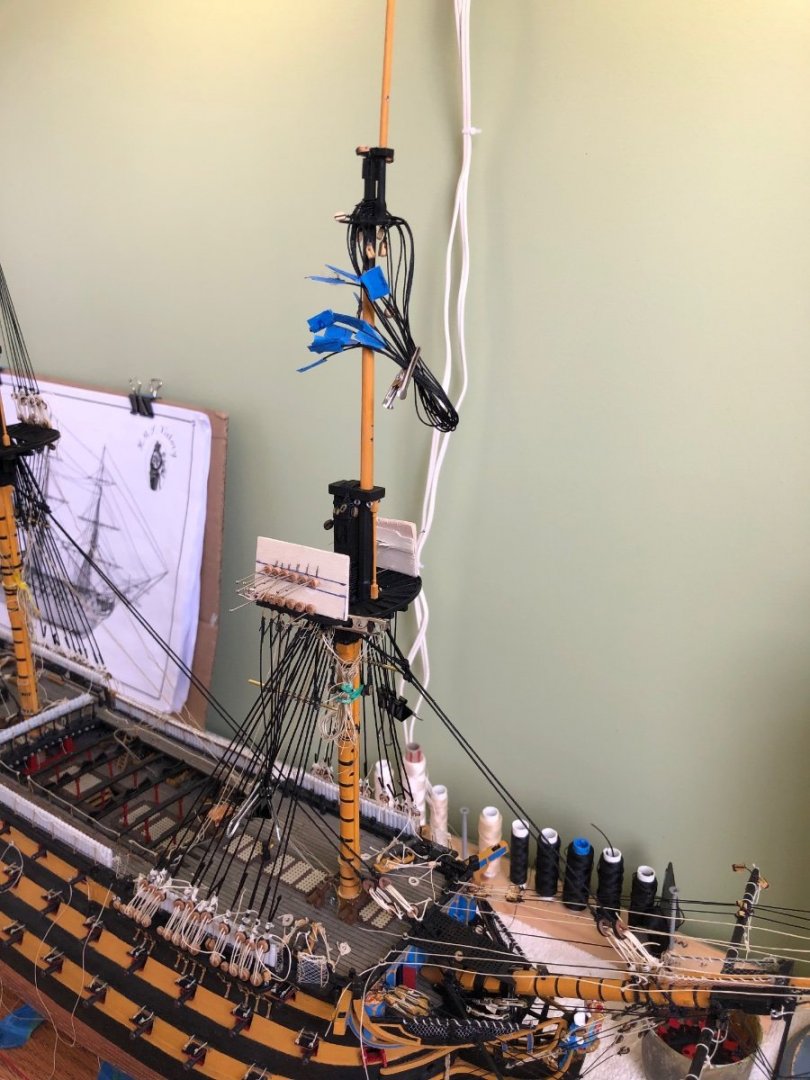
Main mast rigging to include top mast and top gallant shrouds, futtock shrouds, and catherpins complete. Still postponing adding the ratlines. Also have not permanently tied off all the lanyards perchance a little tightening may be necessary after adding the ratlines. Starting the rigging of the mizzenmast which will follow the similar process. I realized the other day that I had forgotten to add the snaking to the main and fore masts stays and preventer stays, so I have completed that as well.


-
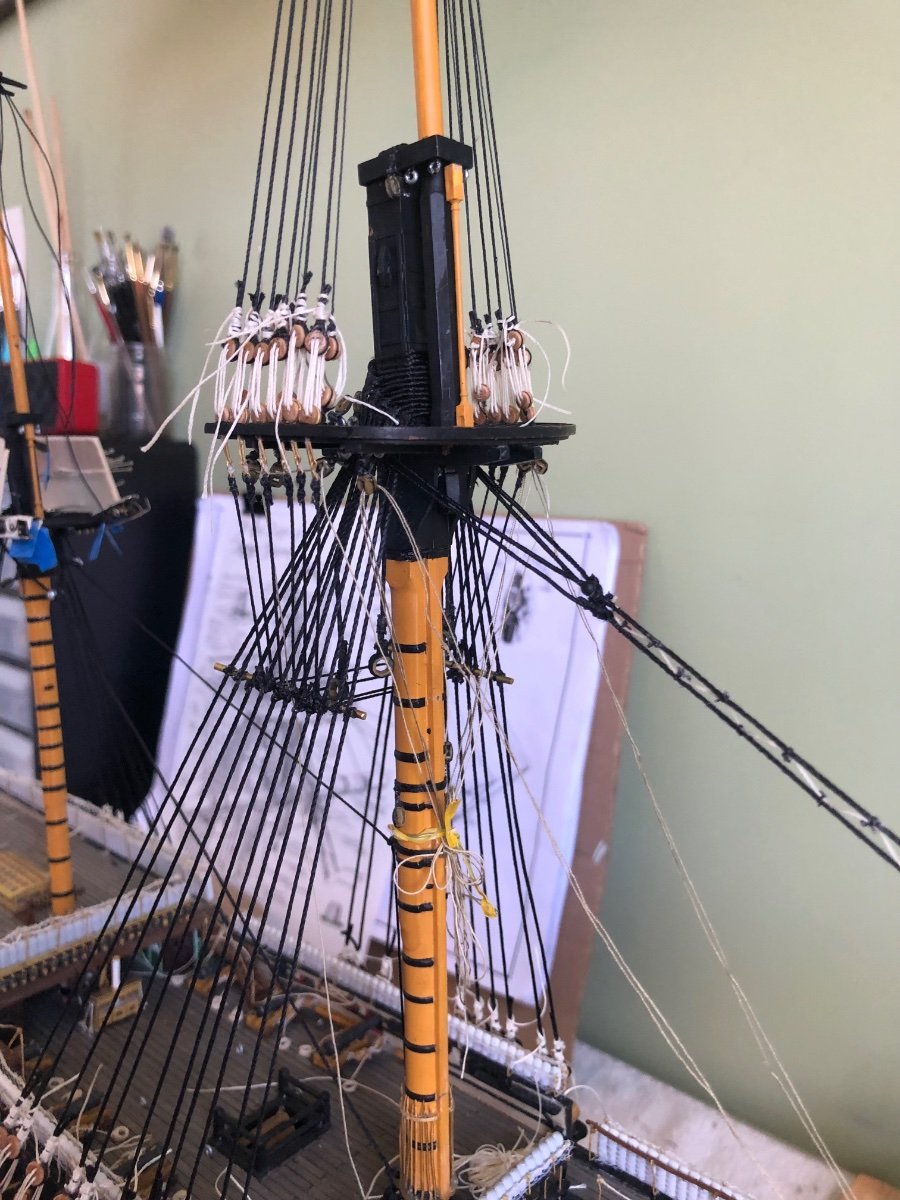
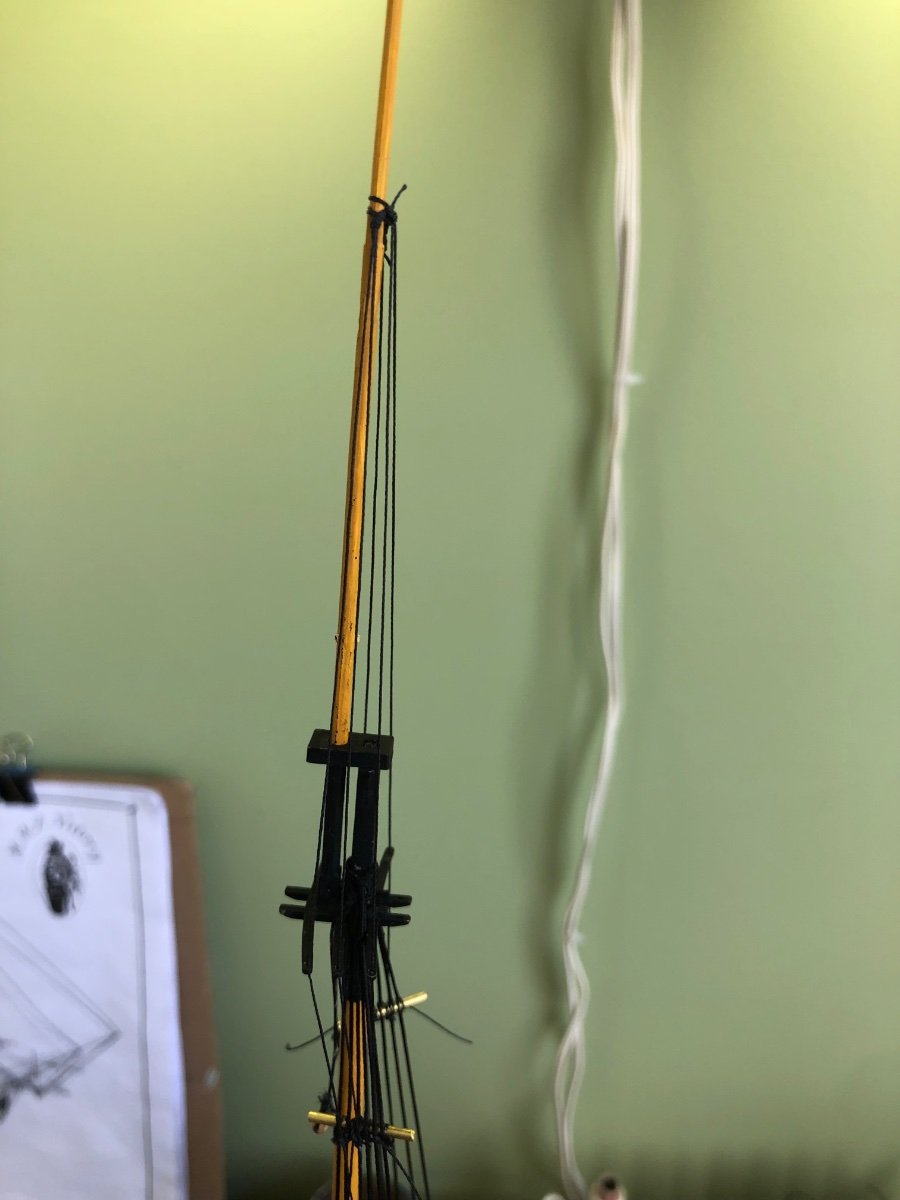
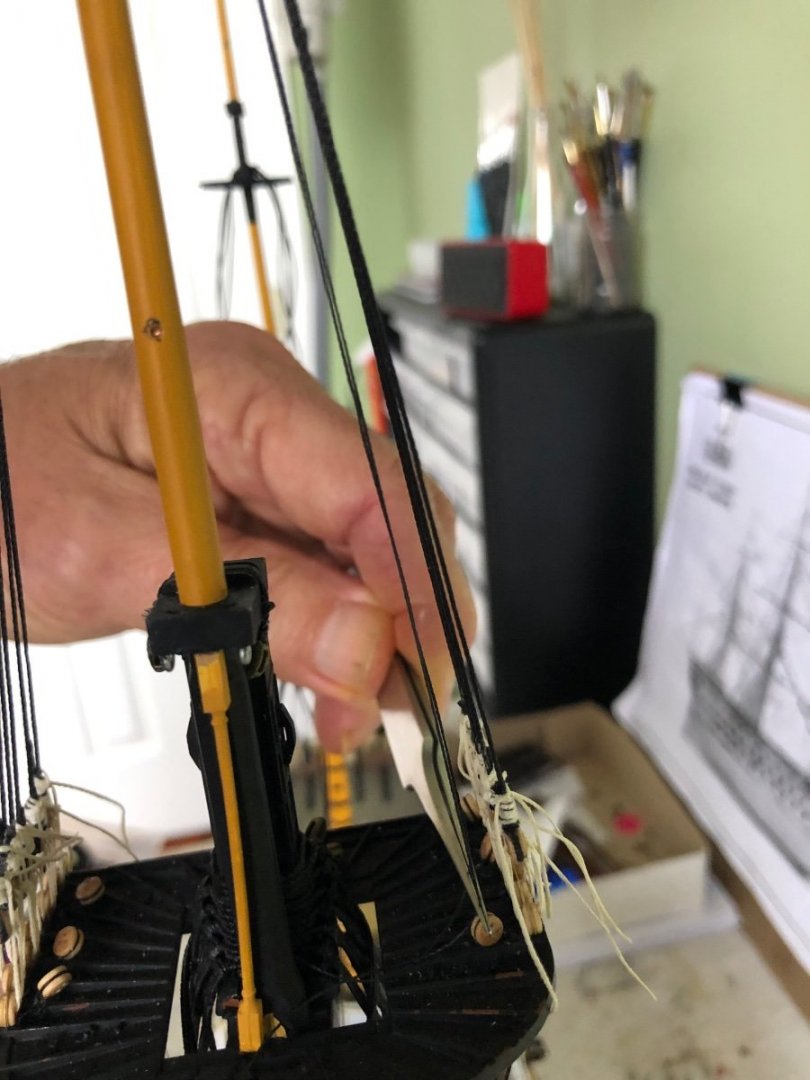
Have spent the time since my last post continuing working on the foremast rigging. Got the futtock staves and topgallant shrouds with their thimbles installed. Still have to lash the ends to the corresponding thimbles tied behind the top mast shroud deadeyes.


-
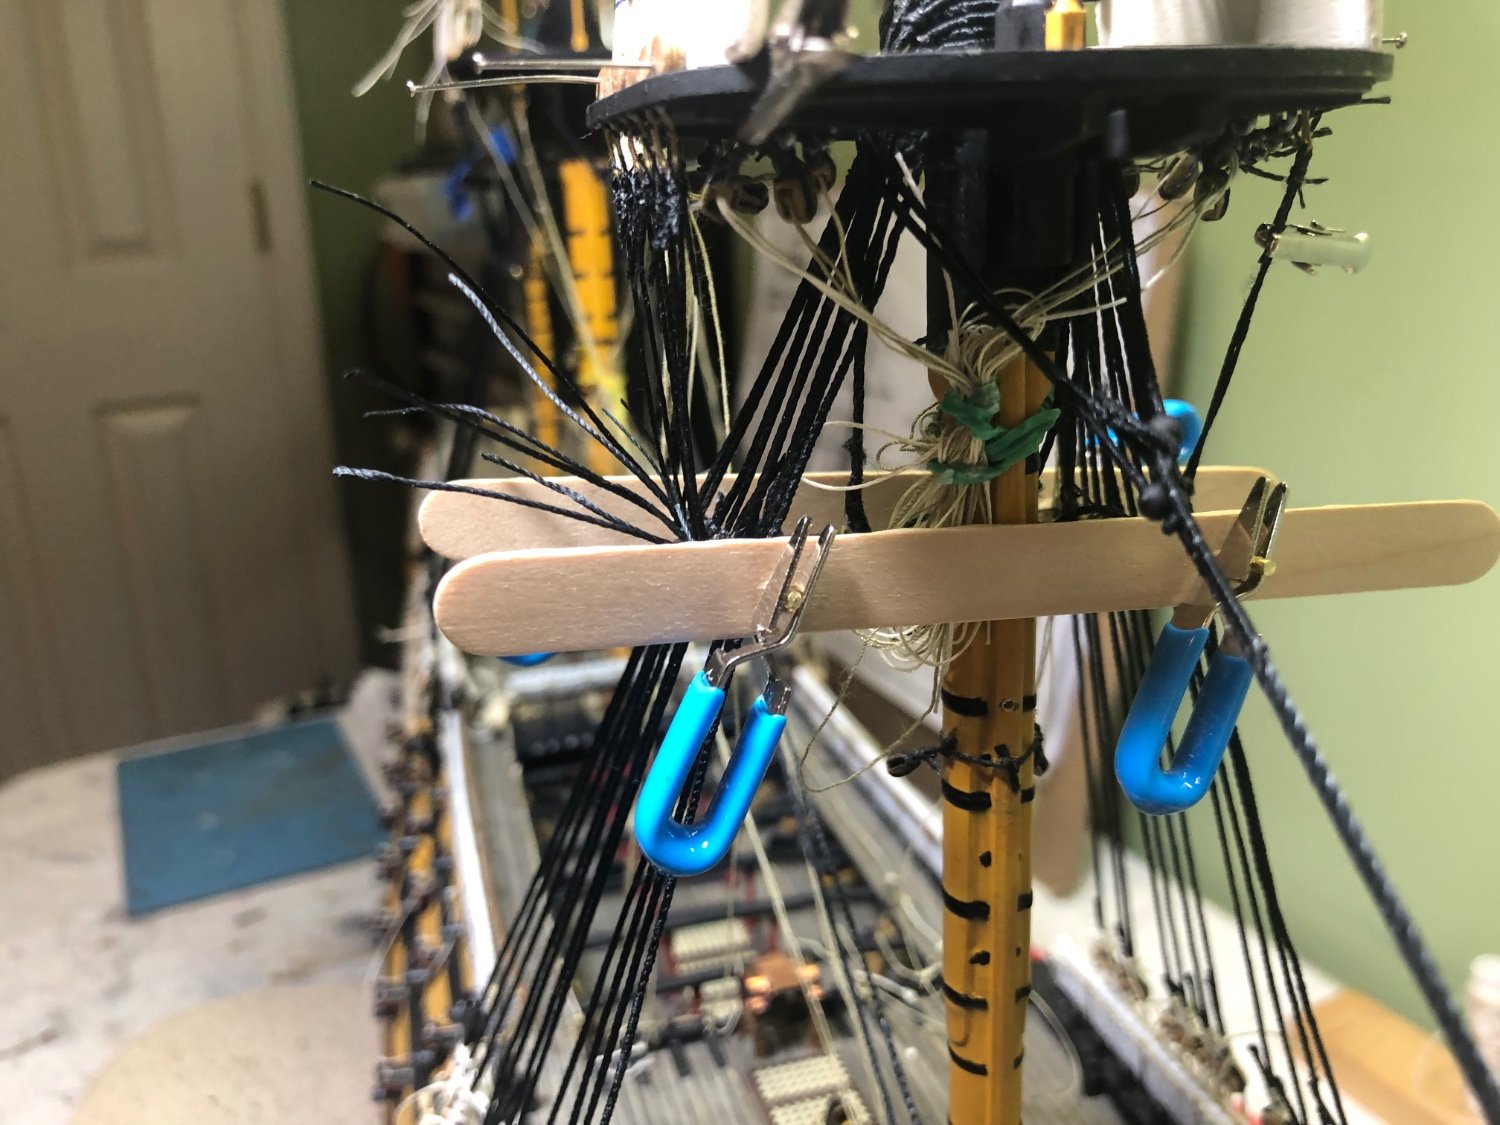
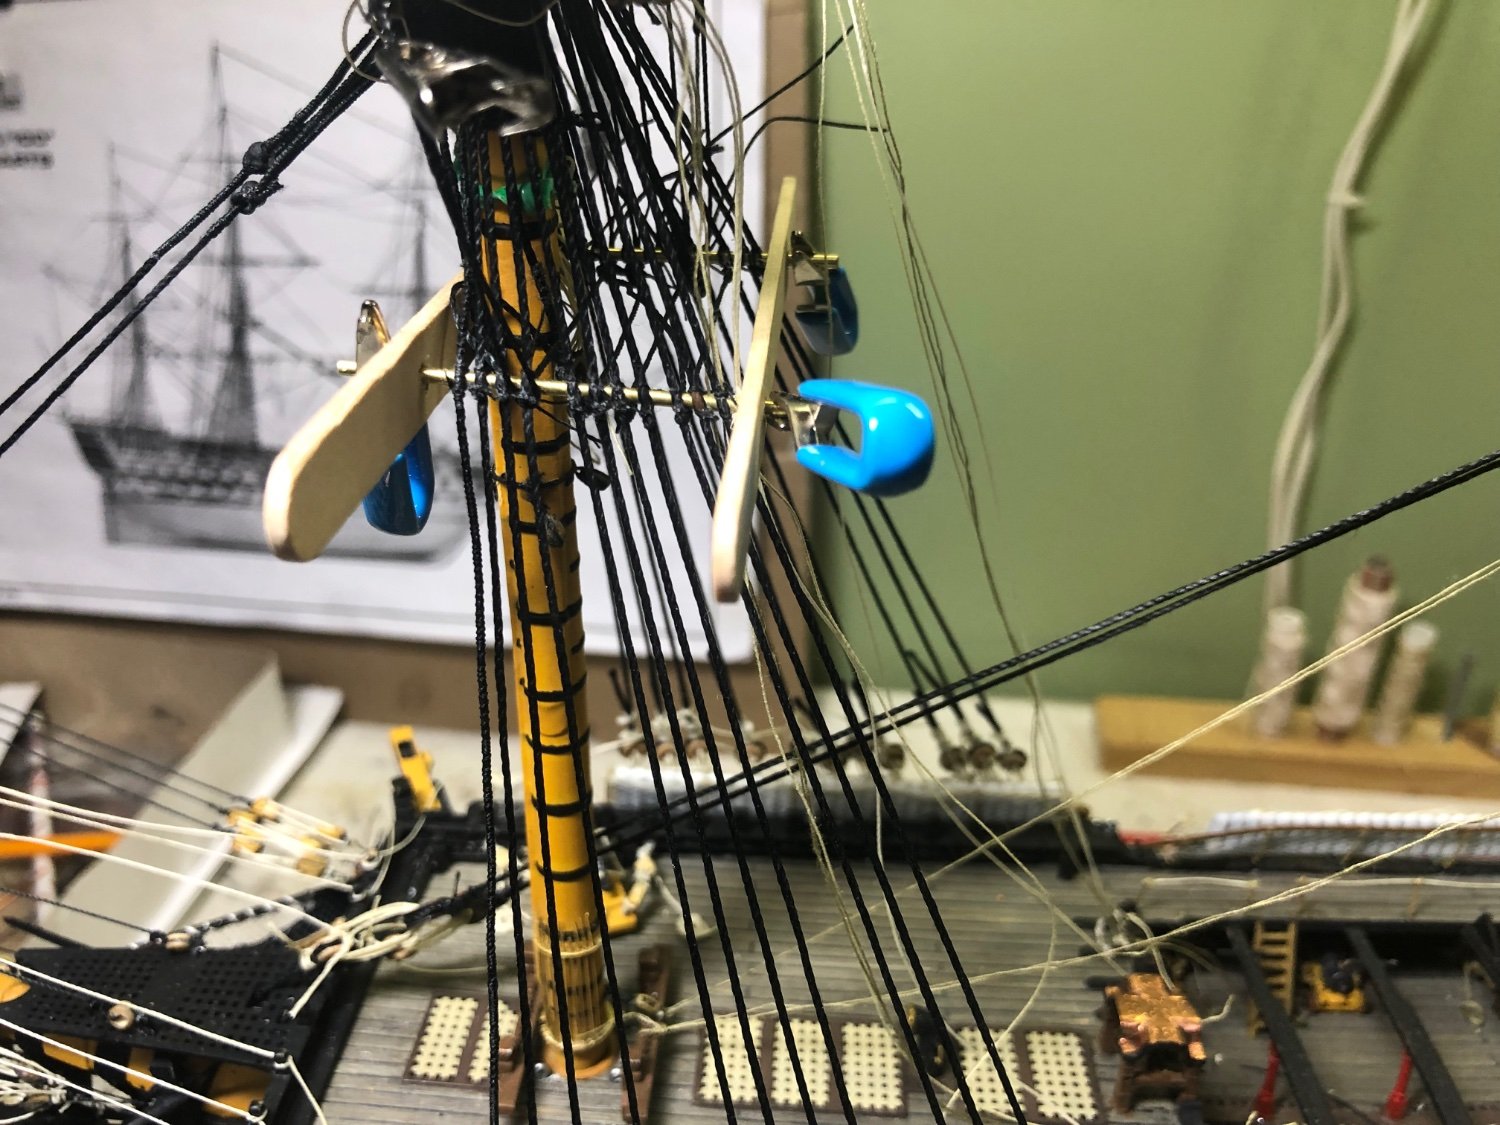
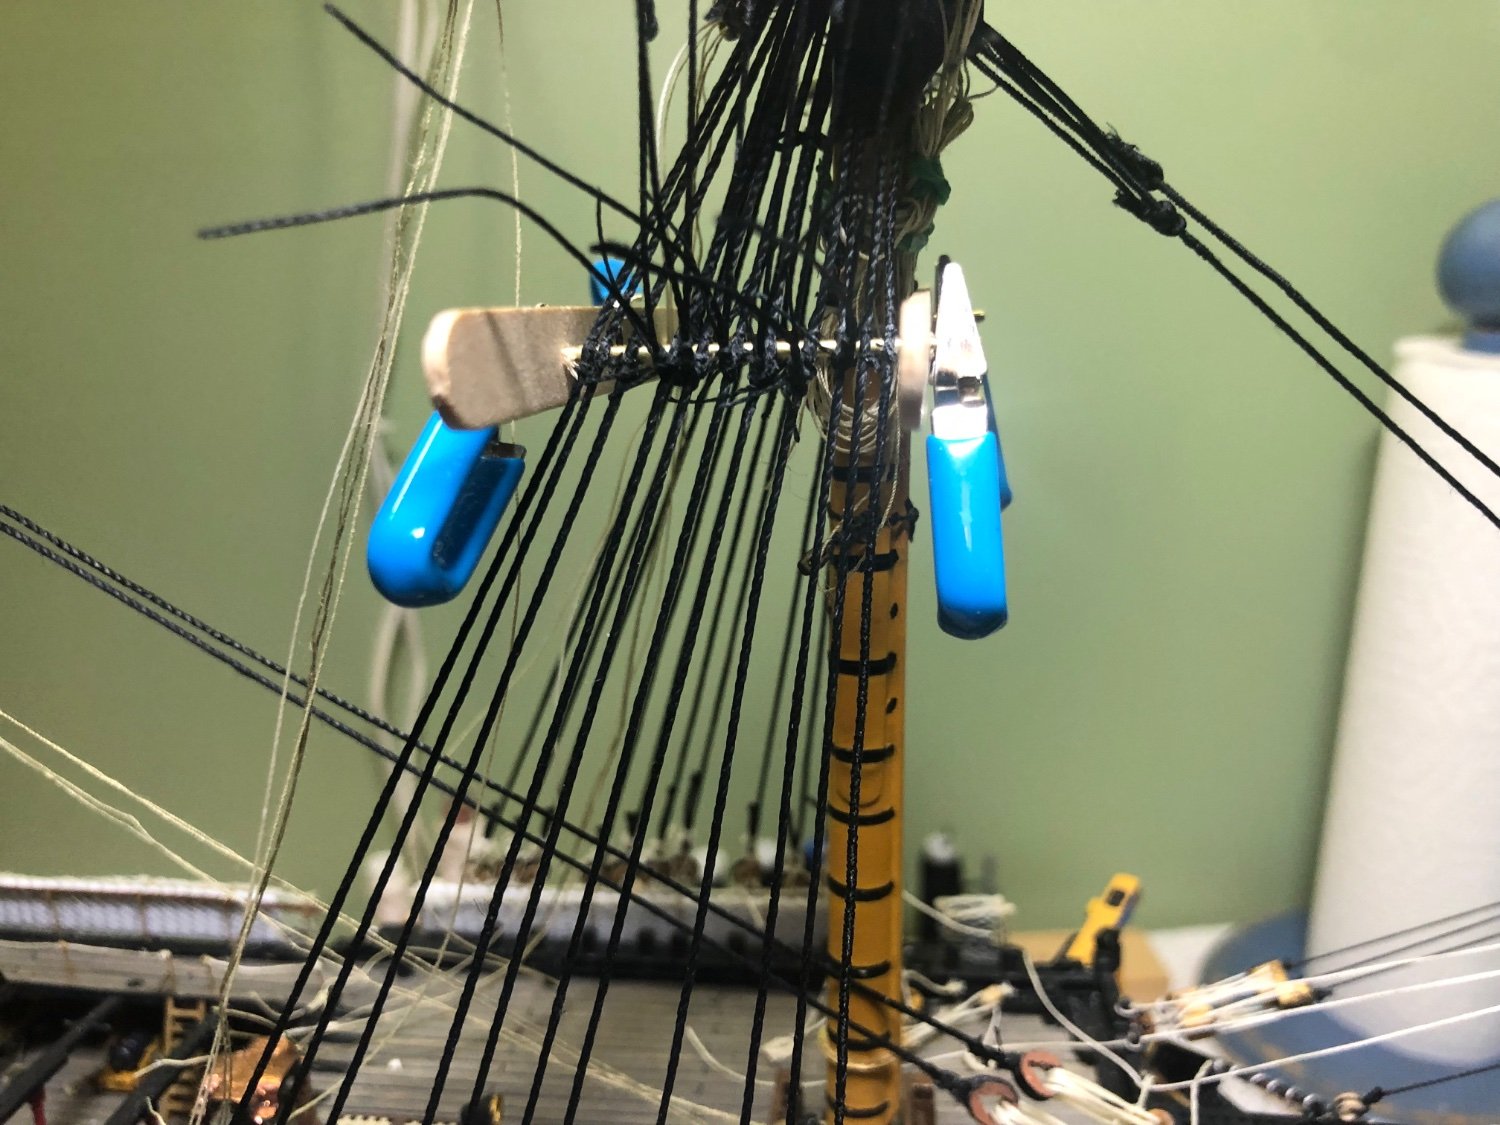
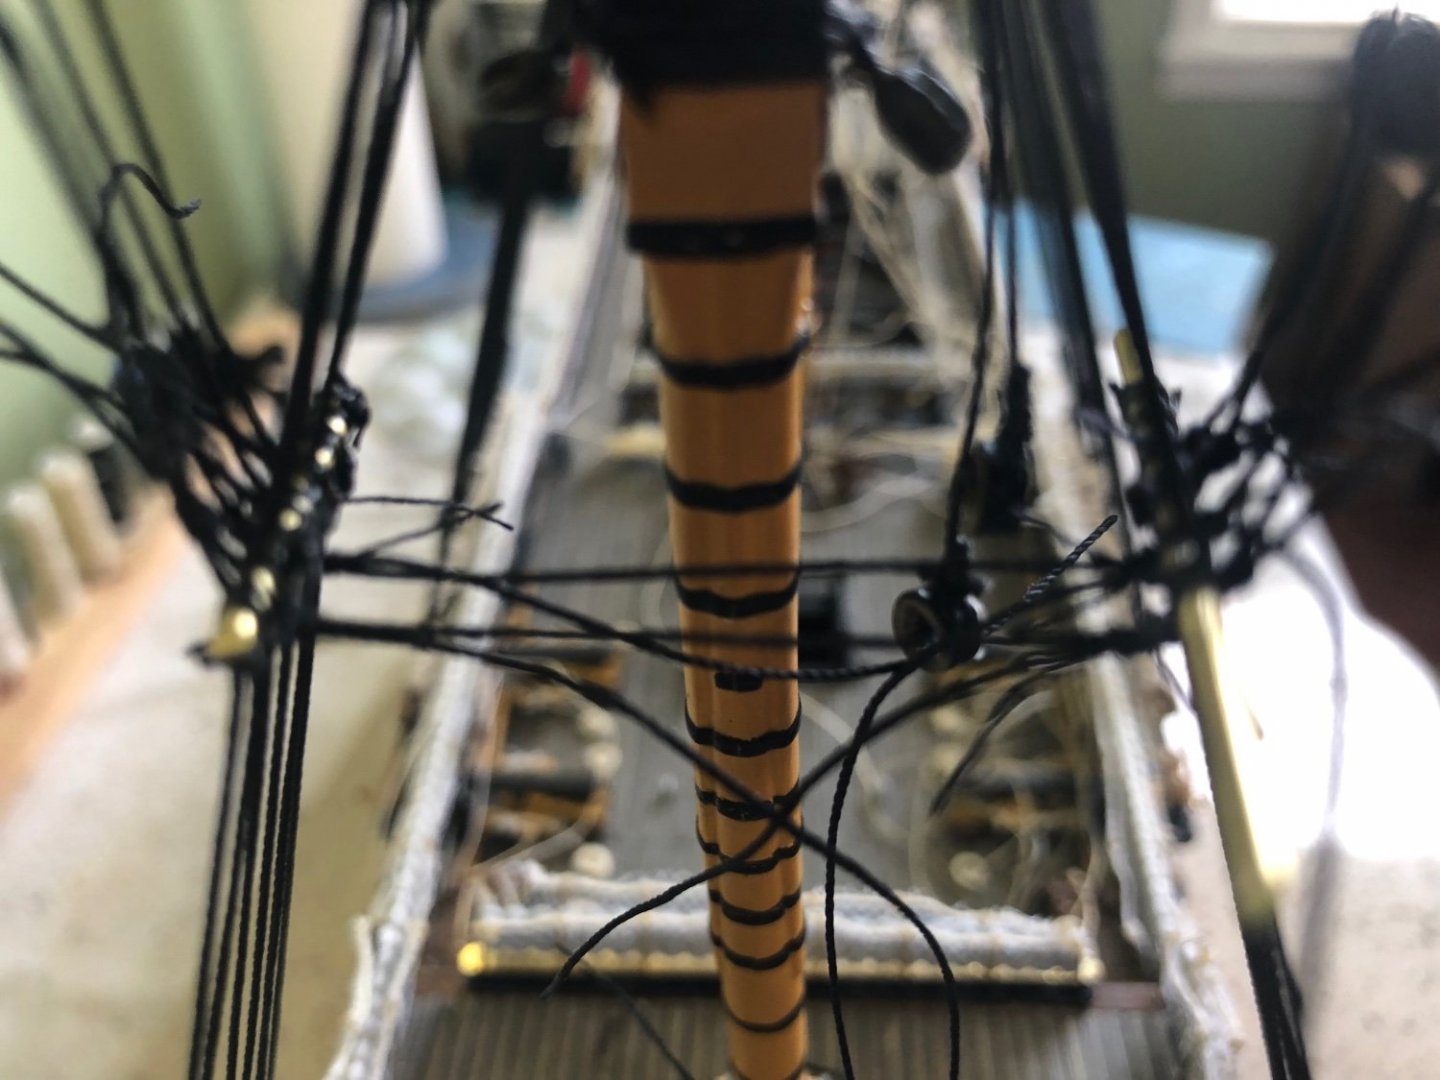
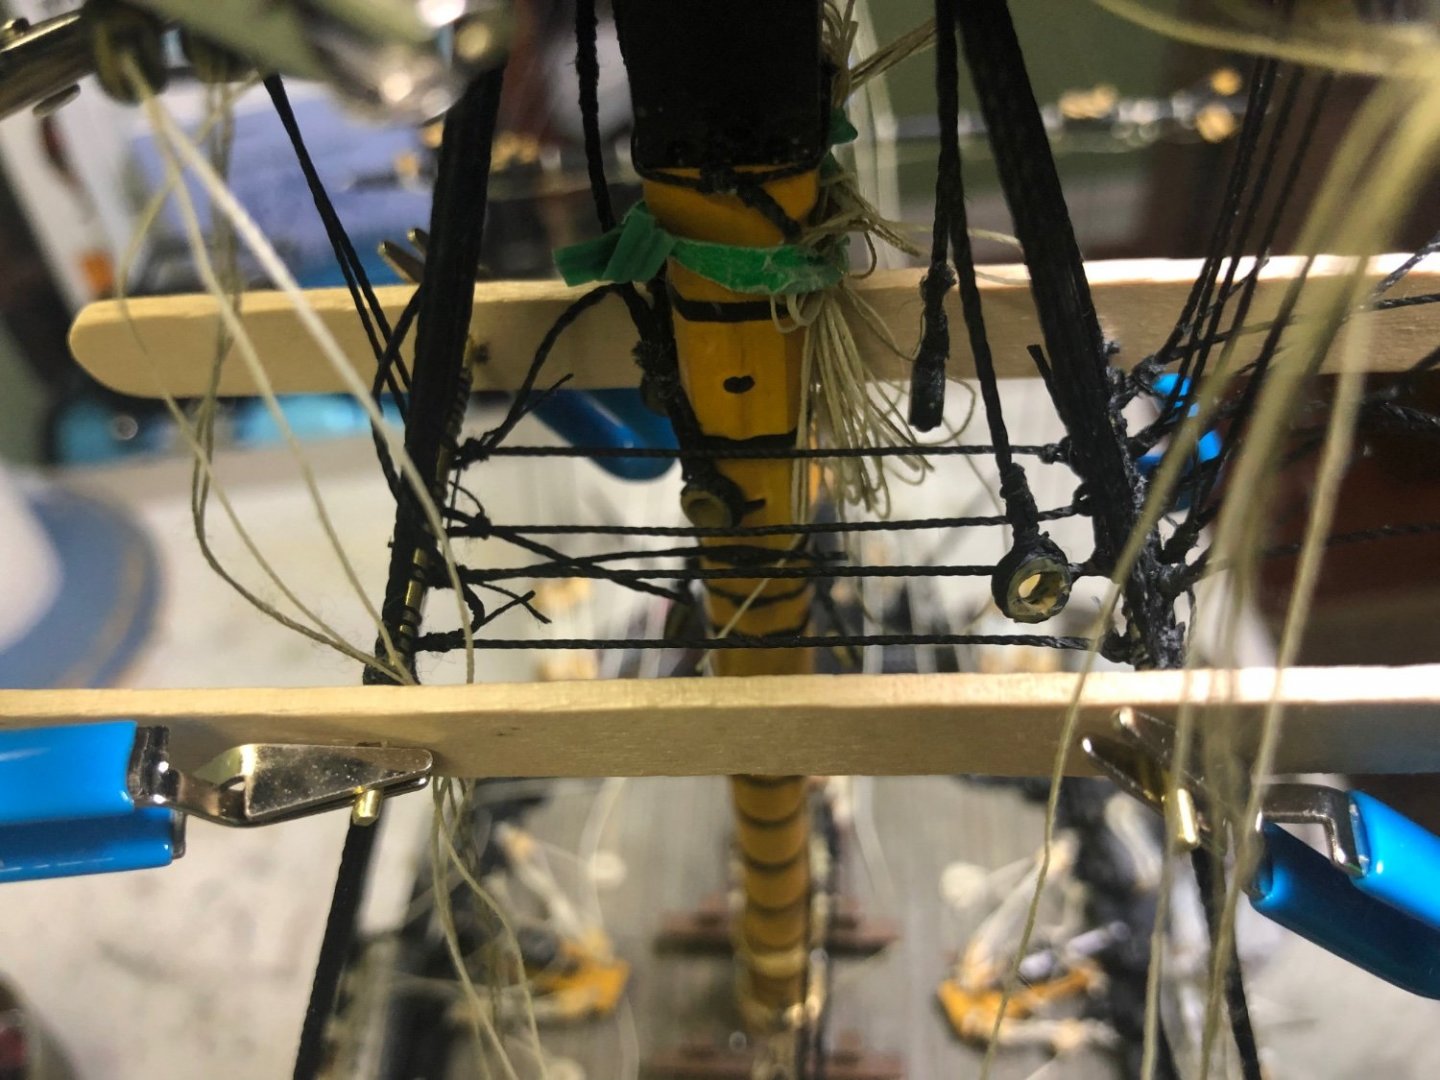
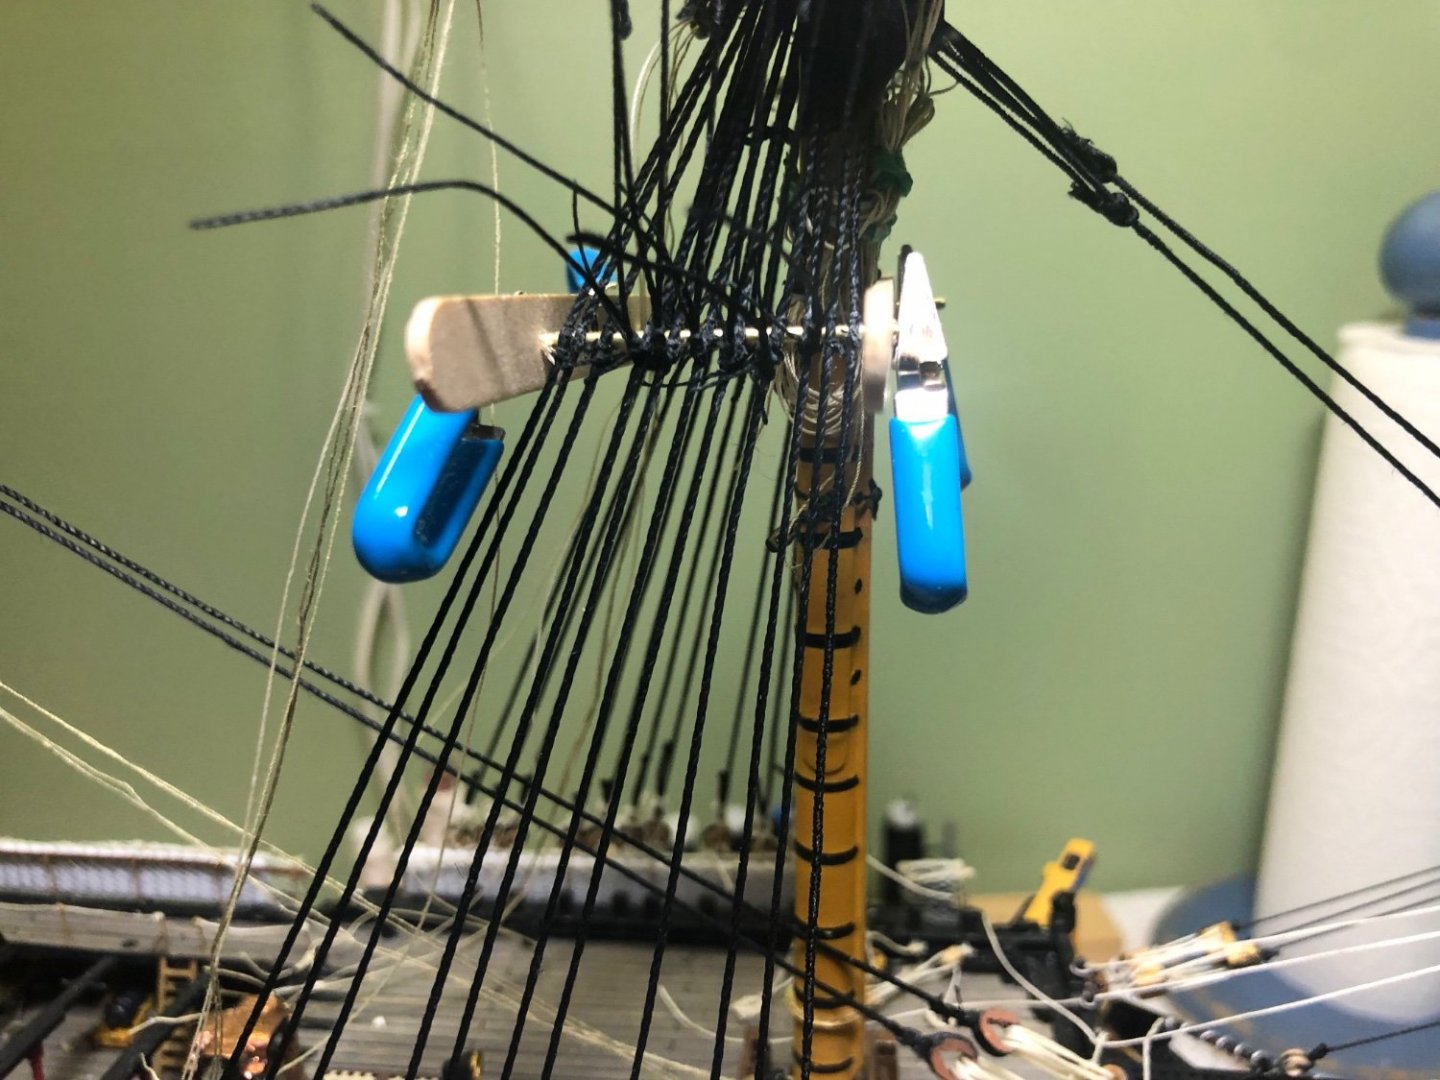
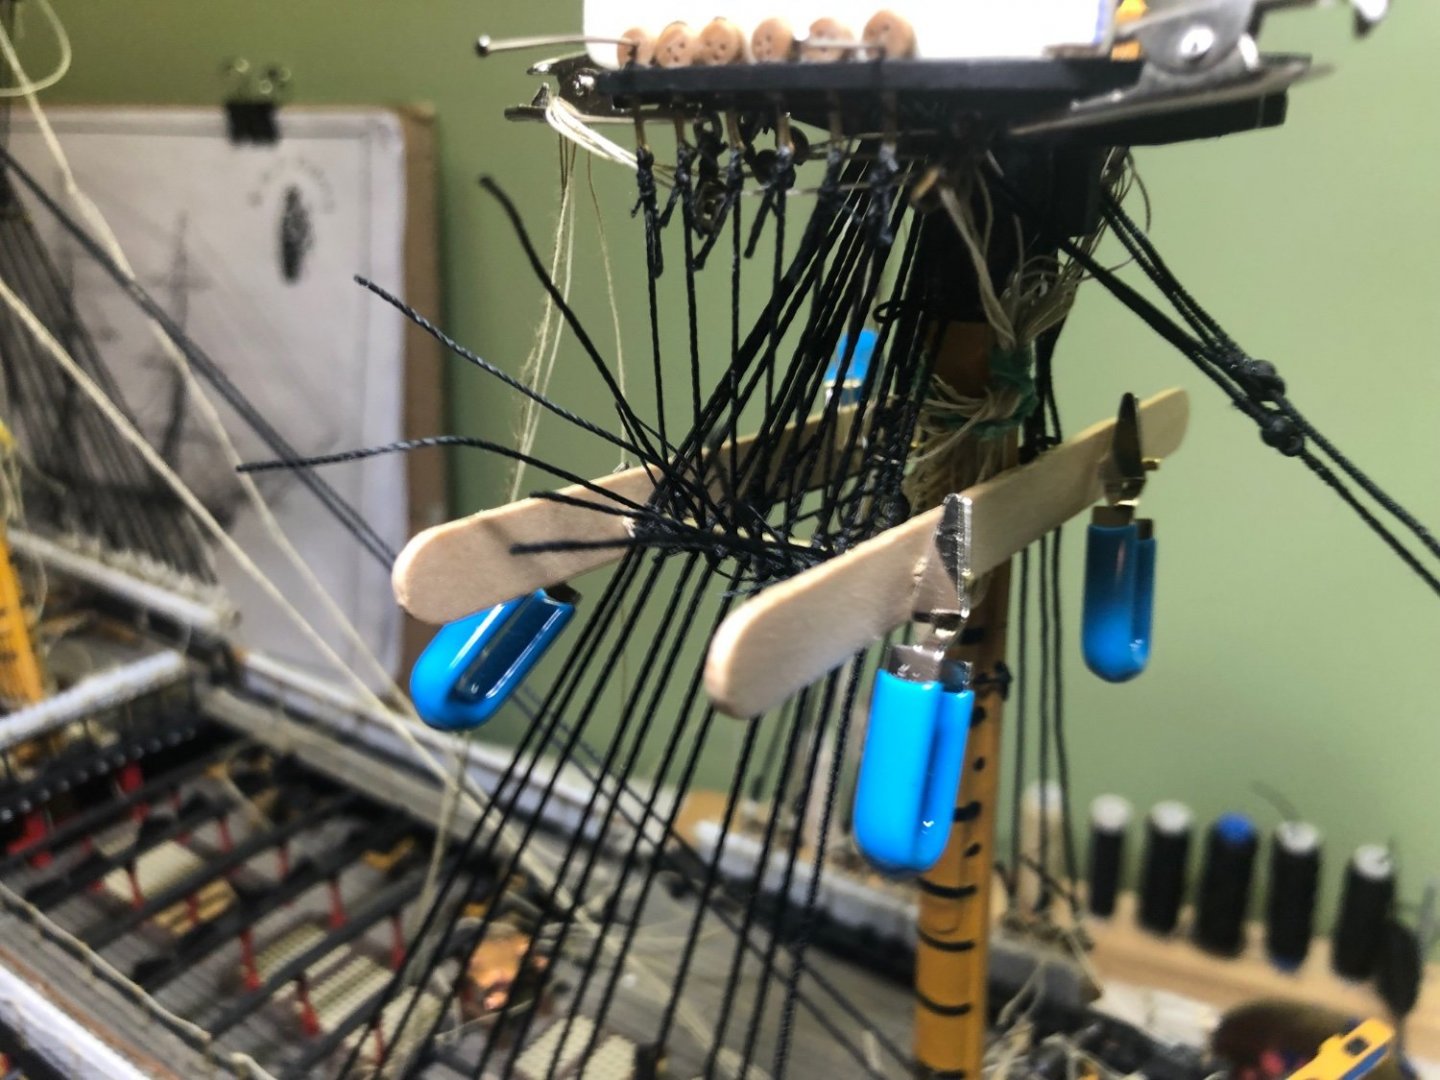
Working on my rigging I would have to say the part that I have found so far to be the most frustrating and tedious has been the futtock shrouds and the catherpins where they meet at the futtock stave. Getting them all somewhat taught without pulling the lower shrouds out of alignment was a struggle my first attempt when I did it for the main mast. Had to use a knot of sorts that I could easily loosen or tighten on each line. Tighten one another sagged loose. 😤 For my next go at it for the foremast I came up with an idea that seems to work perfectly. My futtock staves are a little longer than I need and I will clip them off shorter once finished. For now that extra length works perfectly for my process. I have the staves already tied to the shrouds where I want them and a touch of glue at each knot. Once they were secured in place I got a couple craft sticks (popsicle sticks) and marked two exactly where the end of the stave is. I then clamped them together and drilled holes through each the diameter of the brass stave. When I unclamped them I had two sticks with holes exactly matching the distance the staves are apart. I then slipped the staves over the ends of the staves and put on a little clamp to hold on place. With this complete I can now tie all 4 catherpins taught because the sticks maintain the uniform distance between the staves. I can also now tie each of the futtock shrouds to the staves without effecting other shrouds or the catherpins.


-
A little work update. Limited time in the ship yard last couple days. Finished the mainmast top gallant shrouds the way they are supposed to be done. Lower end of shroud attached to a thimble which is lashed to another thimble tied to the back side of the top mast shroud deadeyes. Also attached the futtock staves to the foremast lower shrouds and attached the foremast futtock shrouds to the loops on the top mast deadeyes. Ready to tie them to the futtock stave.

-
Twahl you may check this site for the new instructions. https://www.super-hobby.com/products/HMS-Victory-Brochure.html
-
Now me! In 4th Place! I did not get gold, silver, or bronze! First off. Yes Ian I am using your spread sheet. I open it on my laptop each and every time I reach for a spool of rigging thread. Tawhl if you get this from Ian you will find it extremely helpful. Scan through it before you order your line to see sizes and quantities. Tawhl (let us know your first name if you like) I think you are getting a great start. I am surprised as well at everything being molded in the same color. I got mine in the summer of 2019 (didn’t start my build to much later) and it is molded in various colors. I am curious which instructions you got with it? You definitely are going to have to hide some receipts from the CPA! 😁 You are going way above where I went. I especially will be following your build to see the use of after market things I did not use. Something you will need to decide on early is if you are going to use the kit provided display stand or custom make something. Once you glue the hull halves together you will need to proceed with the stand. I noticed you attached the rigors to the hull already. What is your plan as far as their color when finished? You plan to just paint them the color of he ship at their location? Speaking of color I ultimately went with 50/50 Vallejo yellow ochre and Vallejo brown ochre. One is a Model Air and one is Model Color. I had a bigger empty paint bottle and just emptied a bottle of each color into it and shook it up. When ever I need that color I just reach for the bigger bottle. Like Kevin said, it will be best to add some thinner and flow improver if you want to spray it. Also if you want to go all out and put the copper tape on the hull like I did you can find that on Amazon. Of course you can go all out and get hundreds of actual little copper plates. Tawhl i I think that is it for now. Like Ian said I have my chair pulled up and watching your build. Welcome to the Victory Bill
-
It will be beautiful Twahl. I will look for your build log.
-
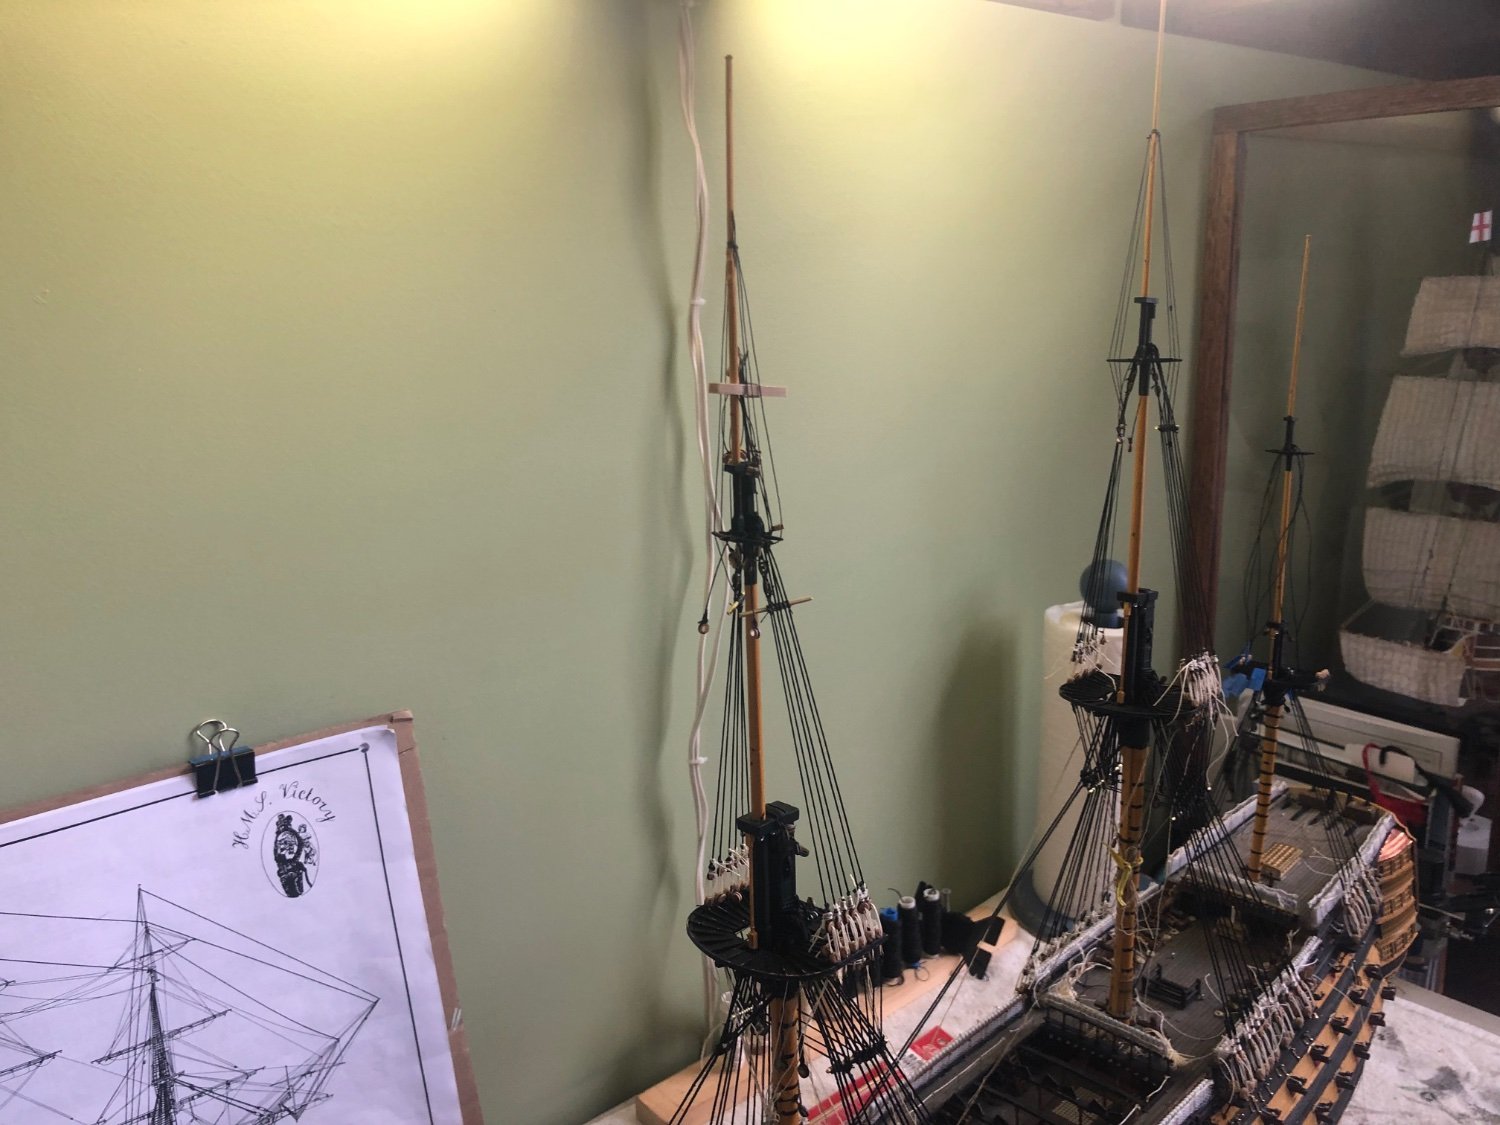
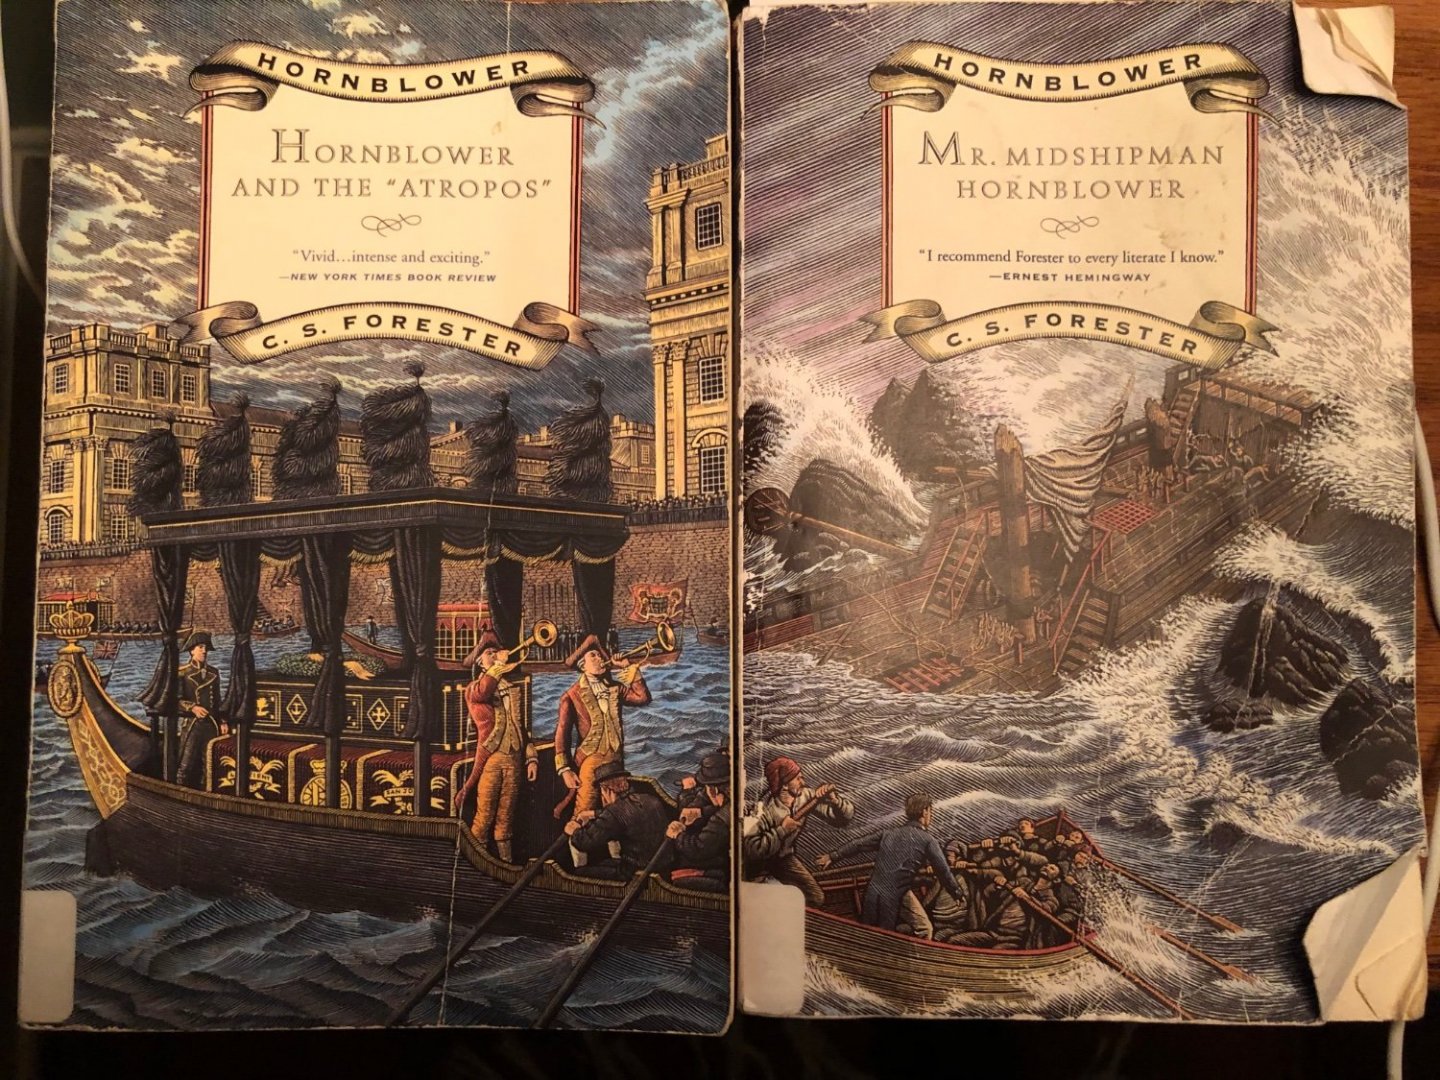
Ian I picked these up at the library yesterday. Which do you recommend I read first?
-
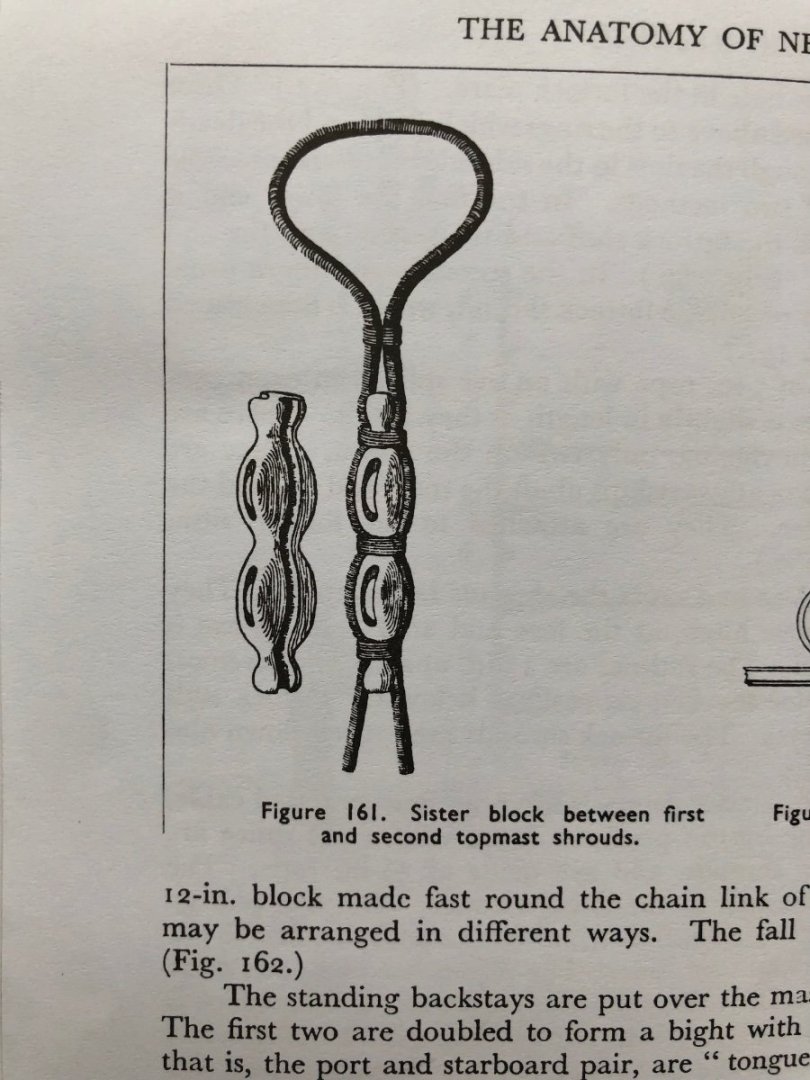
I agree with you completely on that picture Ian. No way in the world I could accomplish that. Thanks for the confirmation on my topgallant shrouds! Will continue on. There is one other question I had for you Ian but forgot to ask in my last comment. The below picture (Fig 161) shows the sister blocks between the 1st and 2nd top mast shrouds. I assume I will need to do this with blocks for later, and can I just use two regular blocks seized top, middle, and bottom of the blocks on the two shrouds?
-
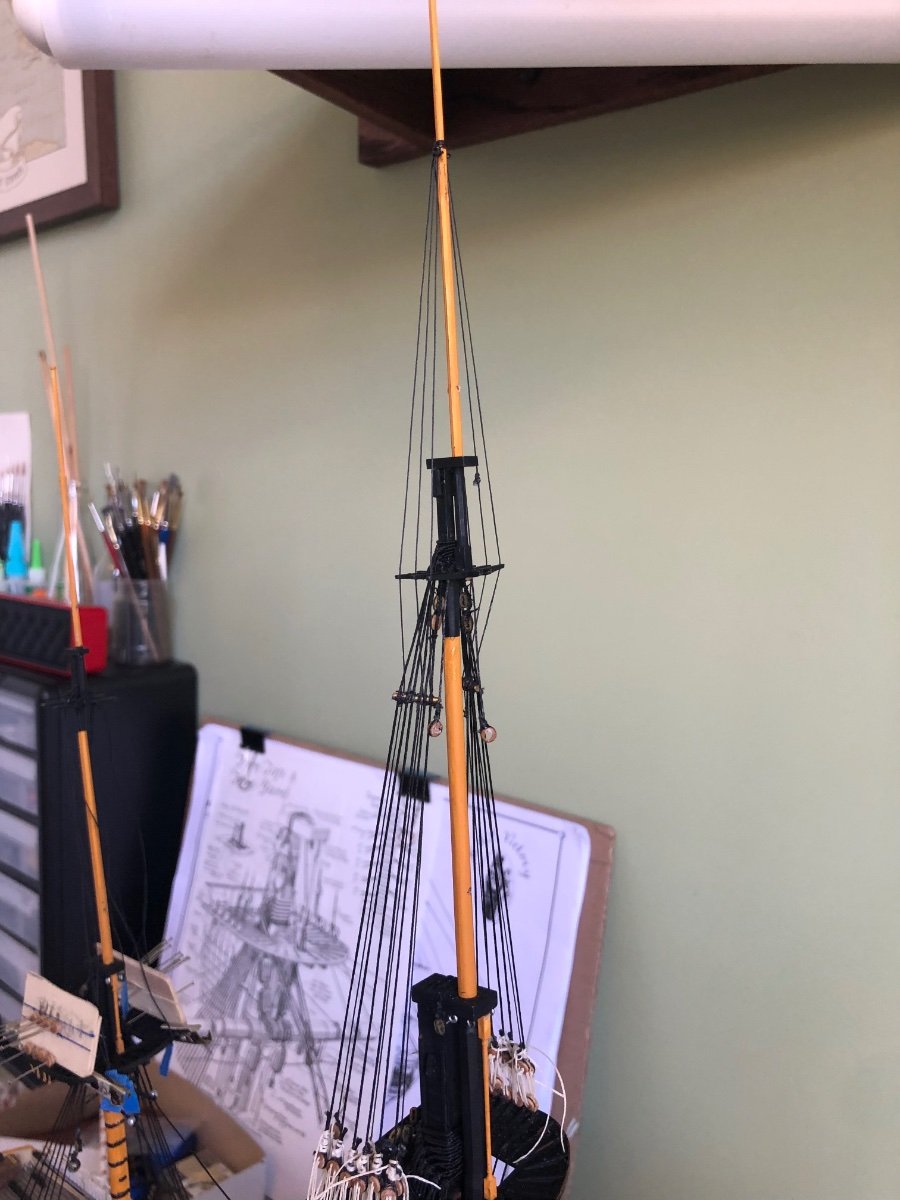
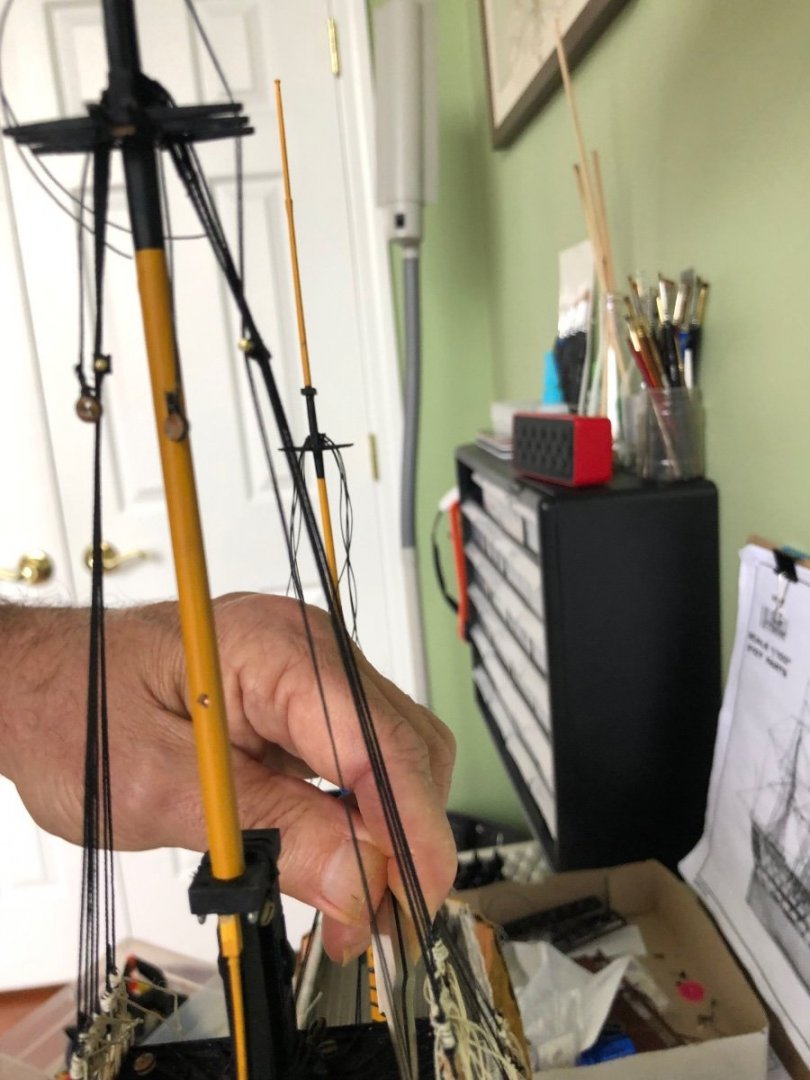
Ok Ian I have the topgallant shrouds set up the way I think Longridge’s book, and you describe. I have 3 thimbles attached to the top mast shroud deadeyes on each side that I will lash the bottom end of the topgallant shroud too using another thimble attached to the bottom of the shroud. 👍 My curiosity, and I am looking for thumbs up, is this. The topgallant shrouds in this situation rub up against the back of the futtock stave to the point they bend. Is this correct or have I got something wrong?
-
Guys I just noticed we past the 1000 comment mark on my build! April 15th will be 10 months since I opened the box and began this quest. What a fun, exciting, frustrating, educational, and friend building experience this has been. Thanks so much to all of you that have contributed to the help and advice I have needed along the way.
-
Thanks Ian. You are the best! I knew you, if anybody, would know 😀. I will just omit it as well.
-
Ian I read the section on page 233 you referred me to and understand what I am supposed to do with the topgallant shrouds. Thanks again. Fig 163 in Longridge’s book helps a lot. Hope you can explain this one sentence in that paragraph. Tawhl here is an example of what I was talking about reference nautical terminology and hoping Ian, or someone, else can put in layman’s language. “A rope grommet or ring, like a deck quoit, is put over the head before the rigging and rests on the stop of the hounds.” 😳
-
Beautiful rope Chuck! I will have to look into using it when I start my Soleli Royal. I spent so much on after market stuff for my Victory I had to cut back somewhere.
-
Thank you Ian. See Tawhl I am still learning. I definitely have the top gallant shrouds wrong. So there are 3 sets of thimbles on each side of the mast top inside the topmast shroud deadeyes? Luckily I don’t have those top gallant shrouds permanently fixed yet. I can still fix this. Thanks again My friend.
-
Yes Tawhl, Ian a long way back convinced me Longridge’s book is the answer to this model. To this day it still surprises me that I can look and look through the book for an answer. When I can’t find it I ask Ian. He immediately tells me the page and diagram where to find the answer. I still think his name is Ian Longridge 😊. Where you may struggle, I know I did, is nautical terminology. In Longridge’s book as well as in others, here on MSW, and other sources, you will be introduced to so many nautical terms for rigging lines as well as where they begin and end. Initially you will say “I have no idea what the line is or what that beginning point or ending point term is!” When that happens don’t throw your hands up in frustration. Trust me I went through that many times. Thankfully the books you got have a pretty good index. Just research the word and/or term, refer to the pages and diagrams, and if necessary ask. If you are like me all of a sudden a light will come on and it will all make since. Prior to building the Victory I constructed other ships that had step by step instructions telling me to tie a string from point A to point B. Kind of like a paint by number set. No information as to what that line actually served on the ship. Once you begin to understand the physics of these beautiful ships it begins to make since. Oh by the way I have really gotta lot of use out of my thread serving machine.
-
Twahl you are getting more from Dafi than I did. I just got sheets 3 and 4 and the resin stern balusters and figure head. You should do great with them. Yes 3mm and 5mm deadeyes should do you fine. I have not used the Amati rope or Syren rope. I hate to admit it but to save an already budget busting model I ordered less quality rigging thread from Amazon. Heller definitely did not give you all you need for thread in the kit. You will need various sizes of both black and tan. Since you said you have not rigged a model ship before I will throw in a little tip here. Black thread is used for standing rigging and tan is used for running rigging. The fact that you say you have not rigged a ship before I must advise you the rigging of the Victory is a monumental task. Depending on when you purchased your model you either got the old Heller instructions which are useless for rigging or the new Heller booklet which appears to be more user friendly. As several builders here on MSW told me, when it comes to rigging the model if you have the old instructions put them away. As Ian has convinced me, read Longridge’s book starting at the rigging chapters over and over. Soon a light will go off and it will make since. I have been working on my Victory almost a full year and still ask so many questions. Just don’t get frustrated and give up. As Kevin said, start a blog. It is easy. It makes asking questions so much easier when you can include pictures and explain the difficulty you might be having. Happy modeling. Bill
-
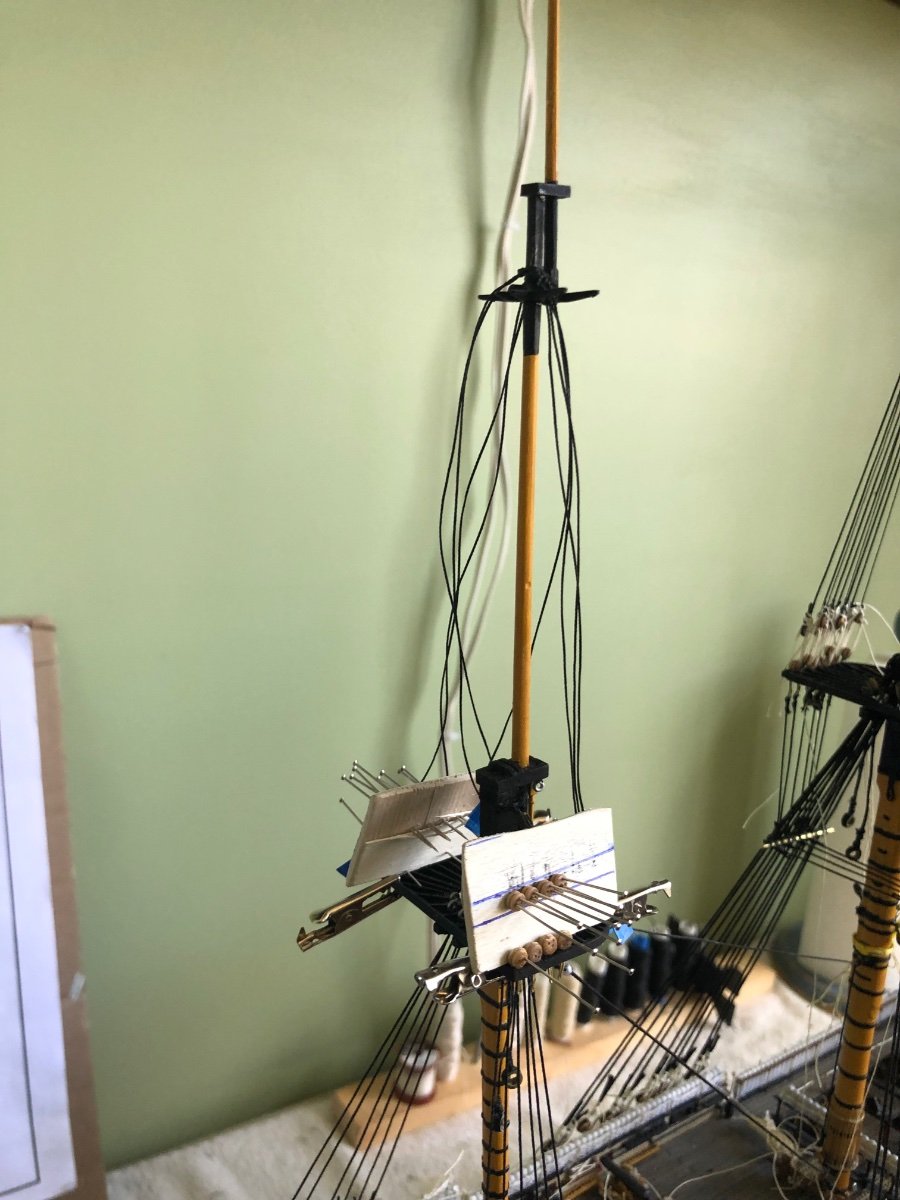
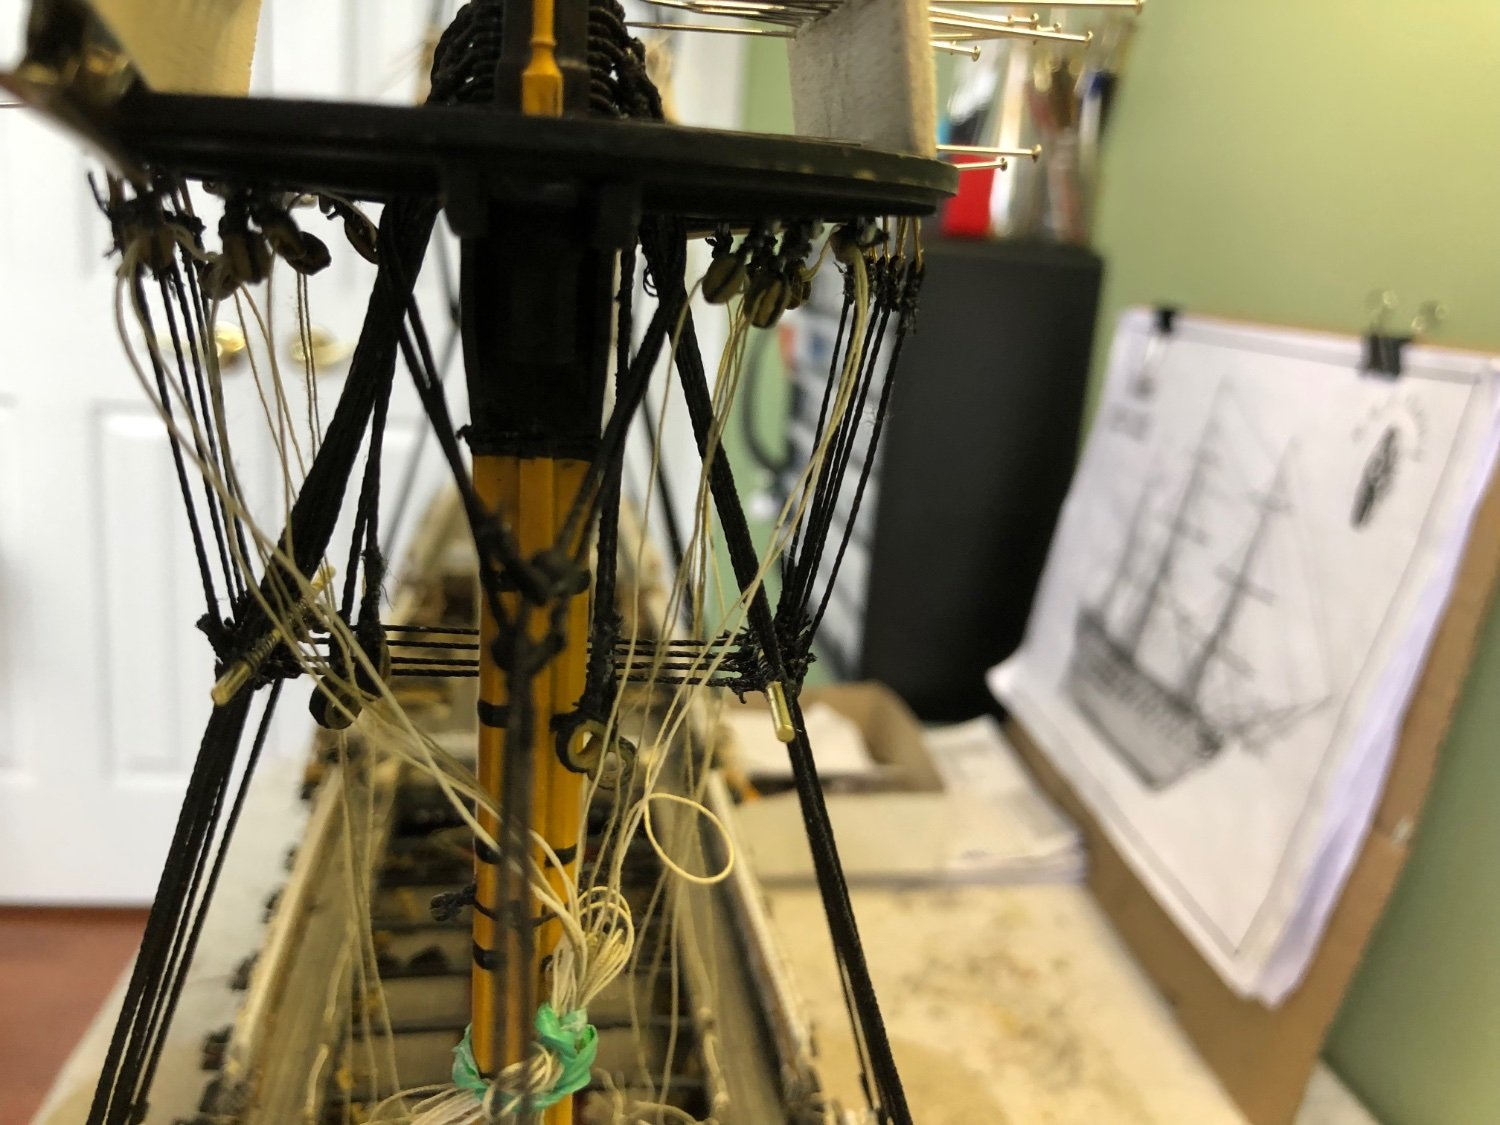
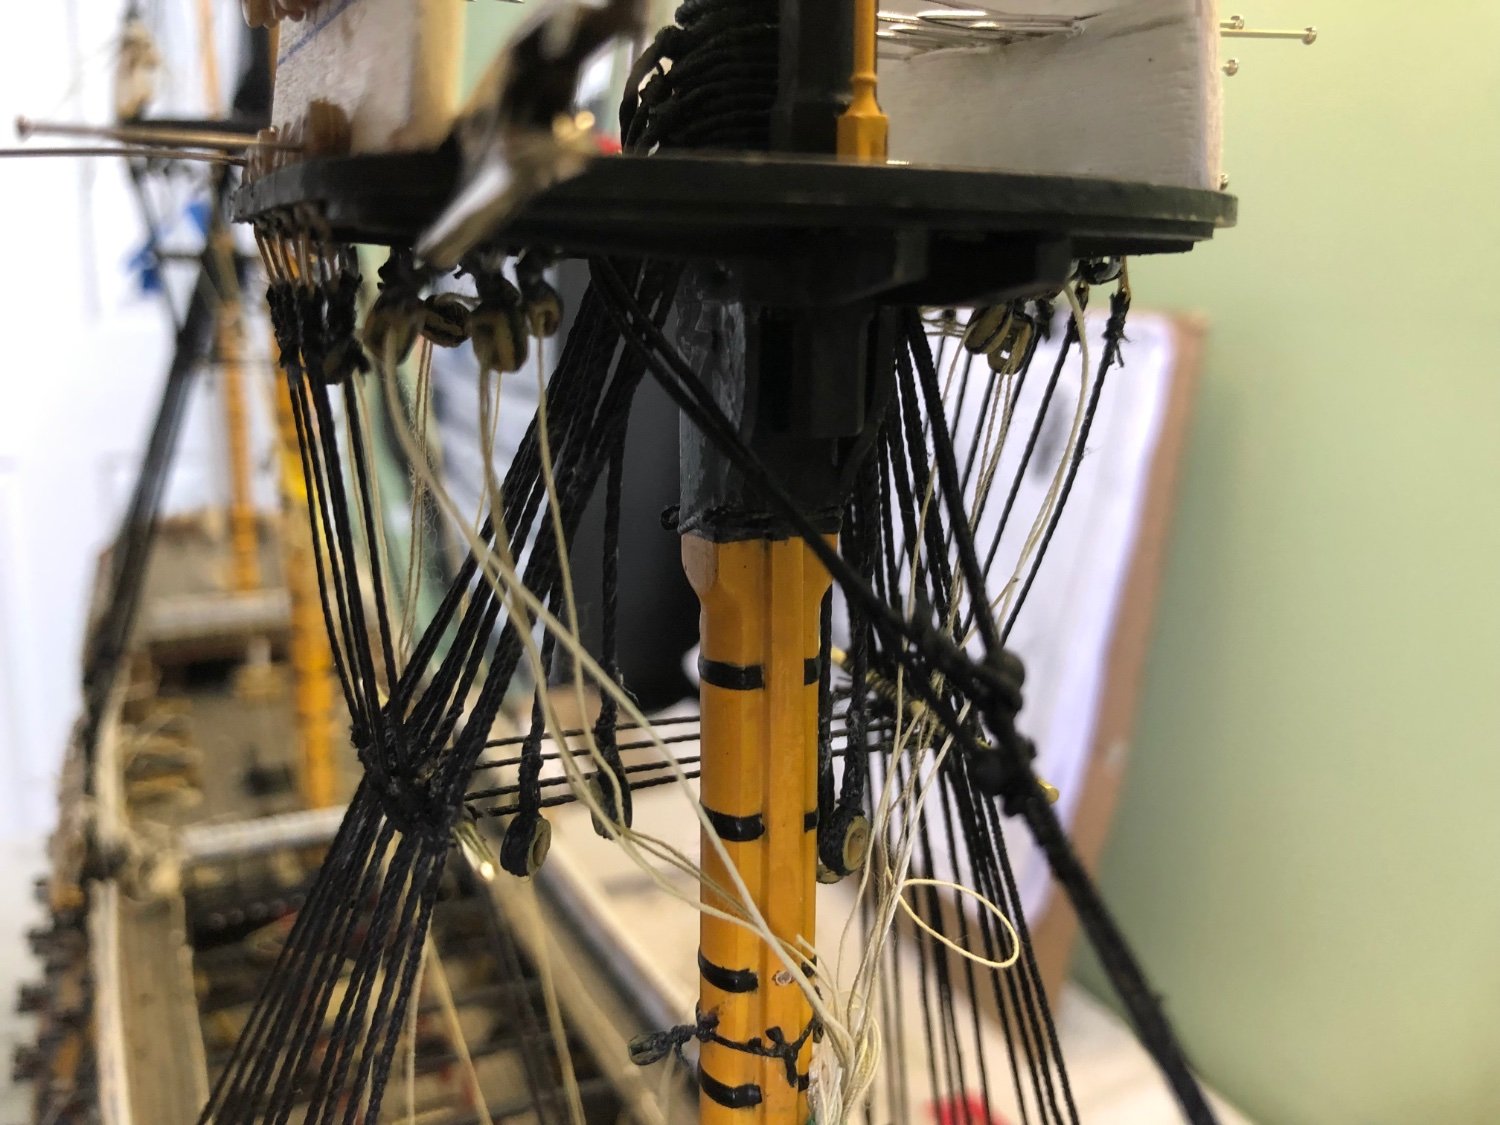
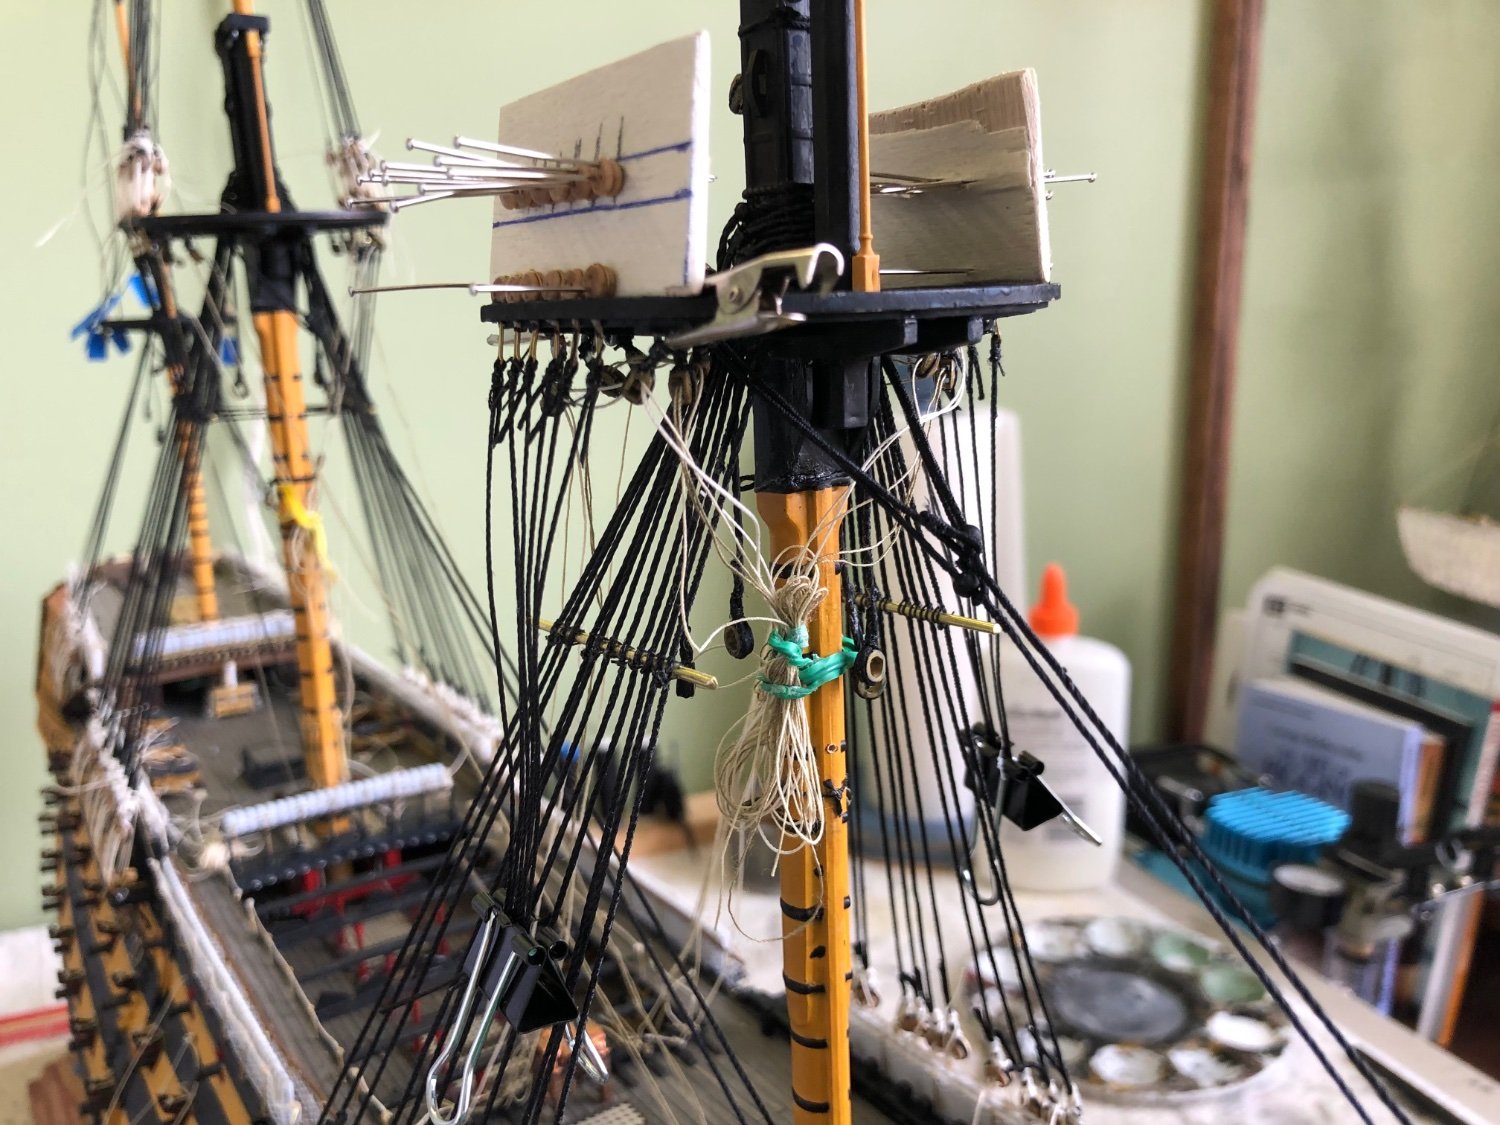
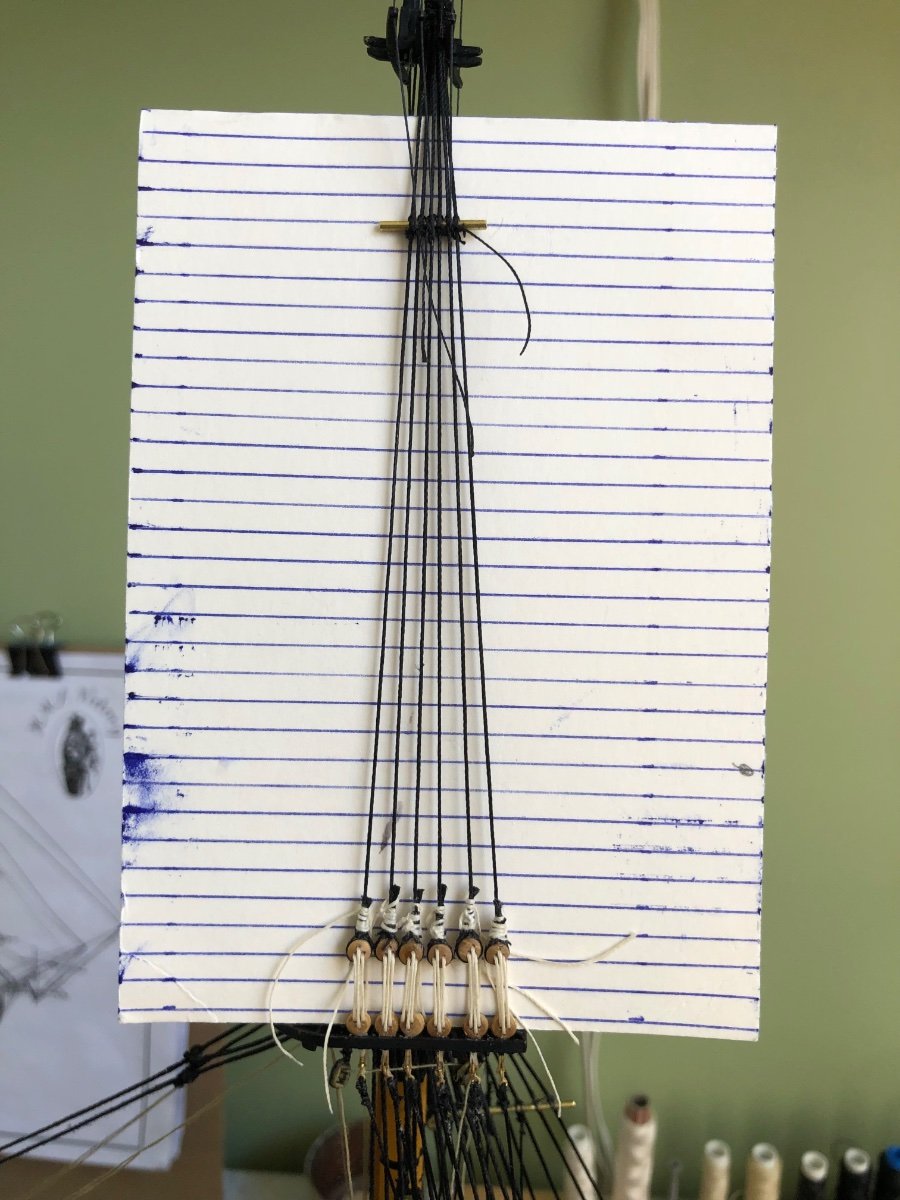
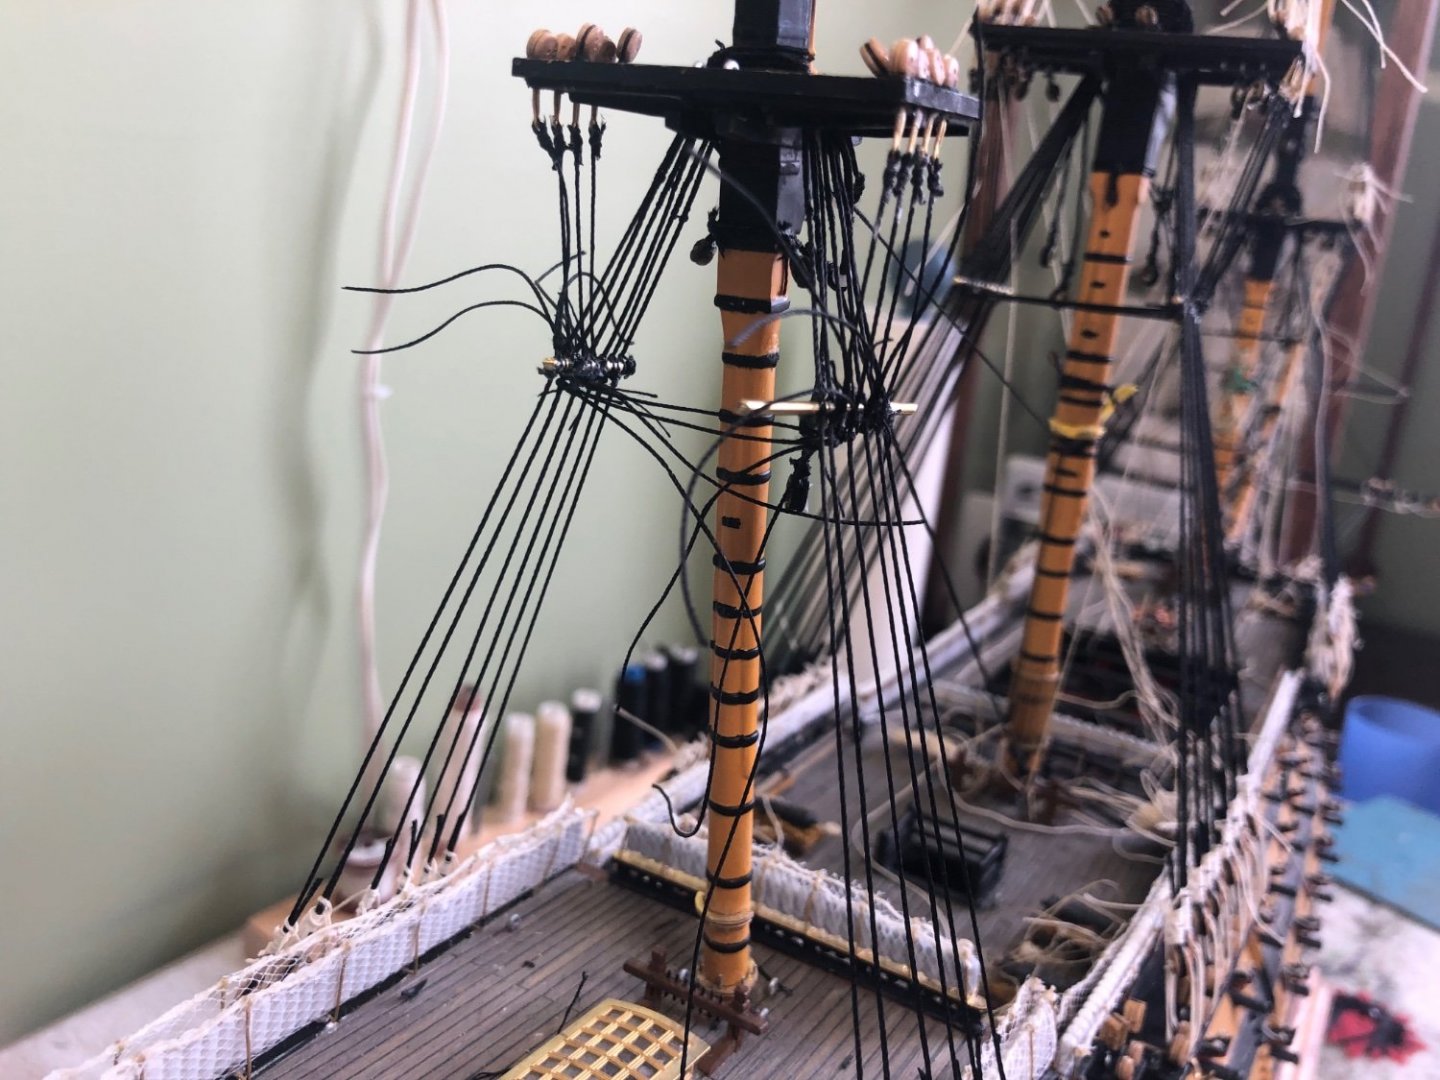
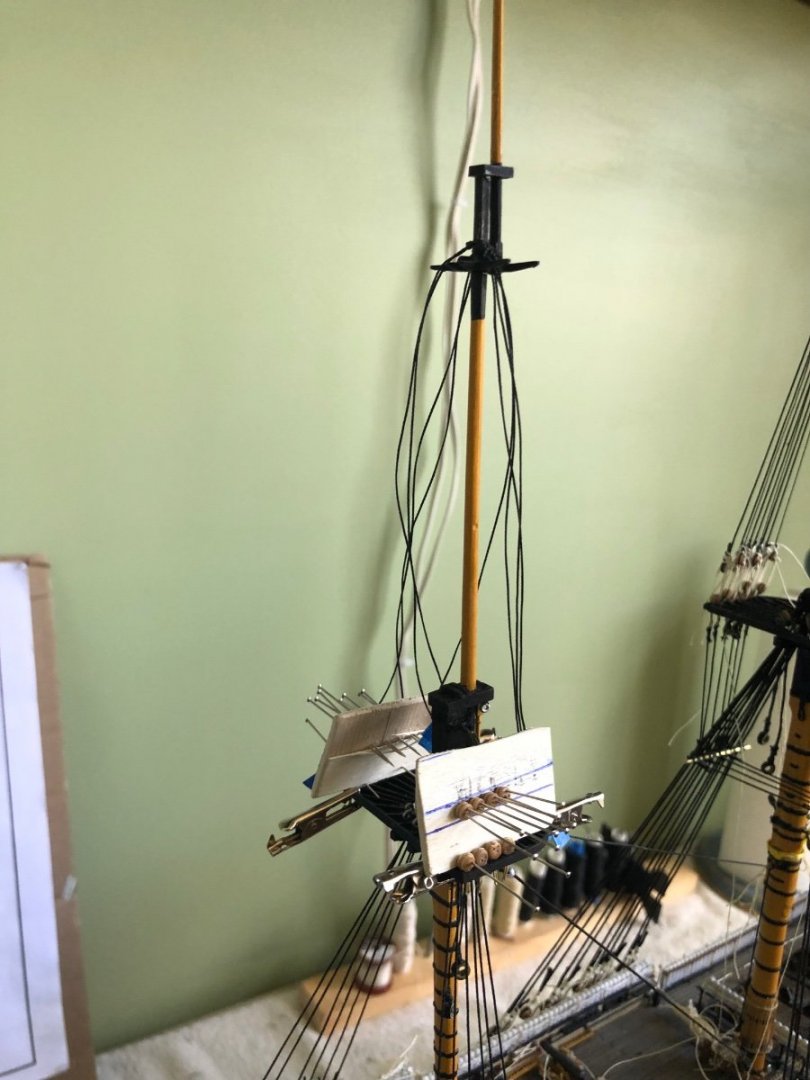
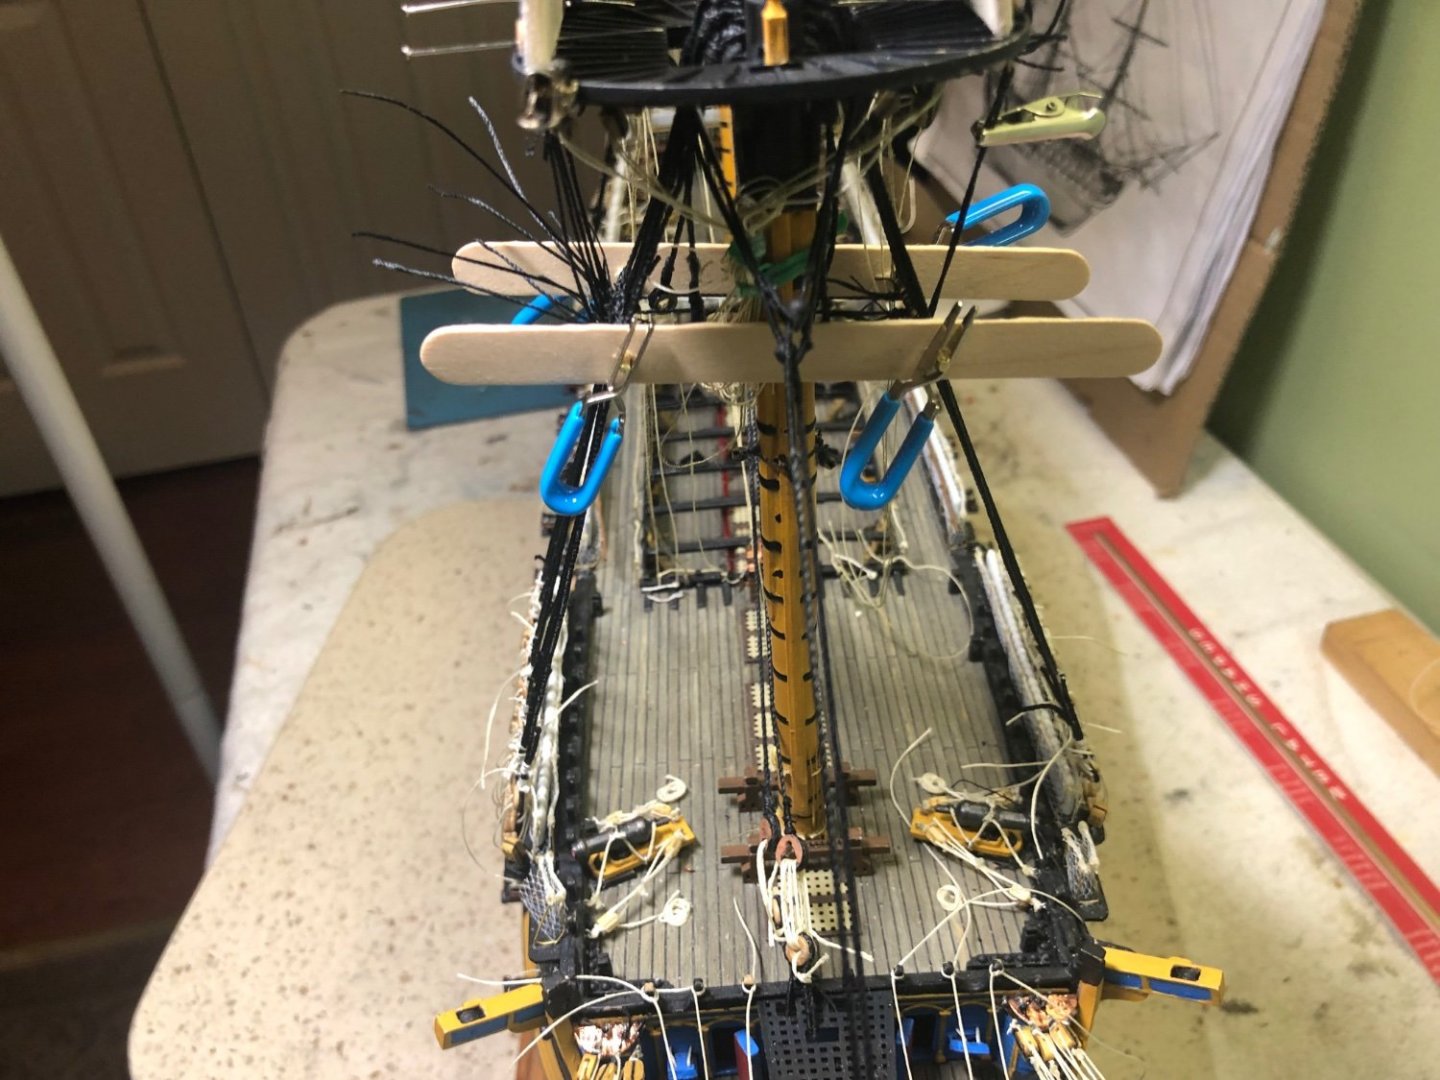
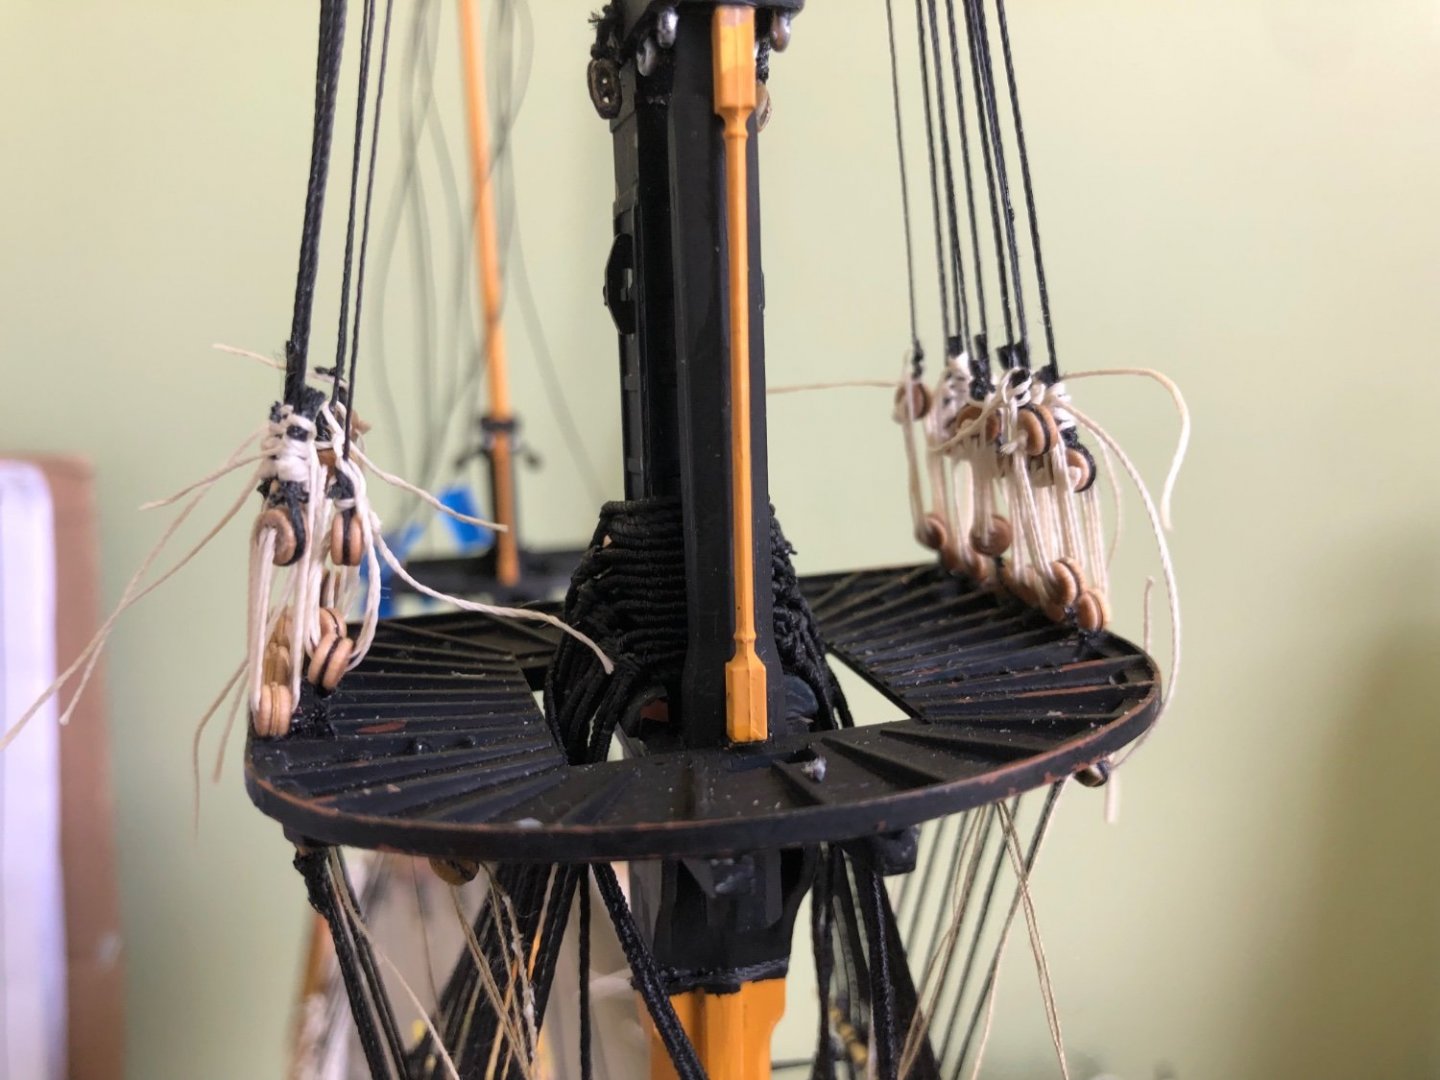
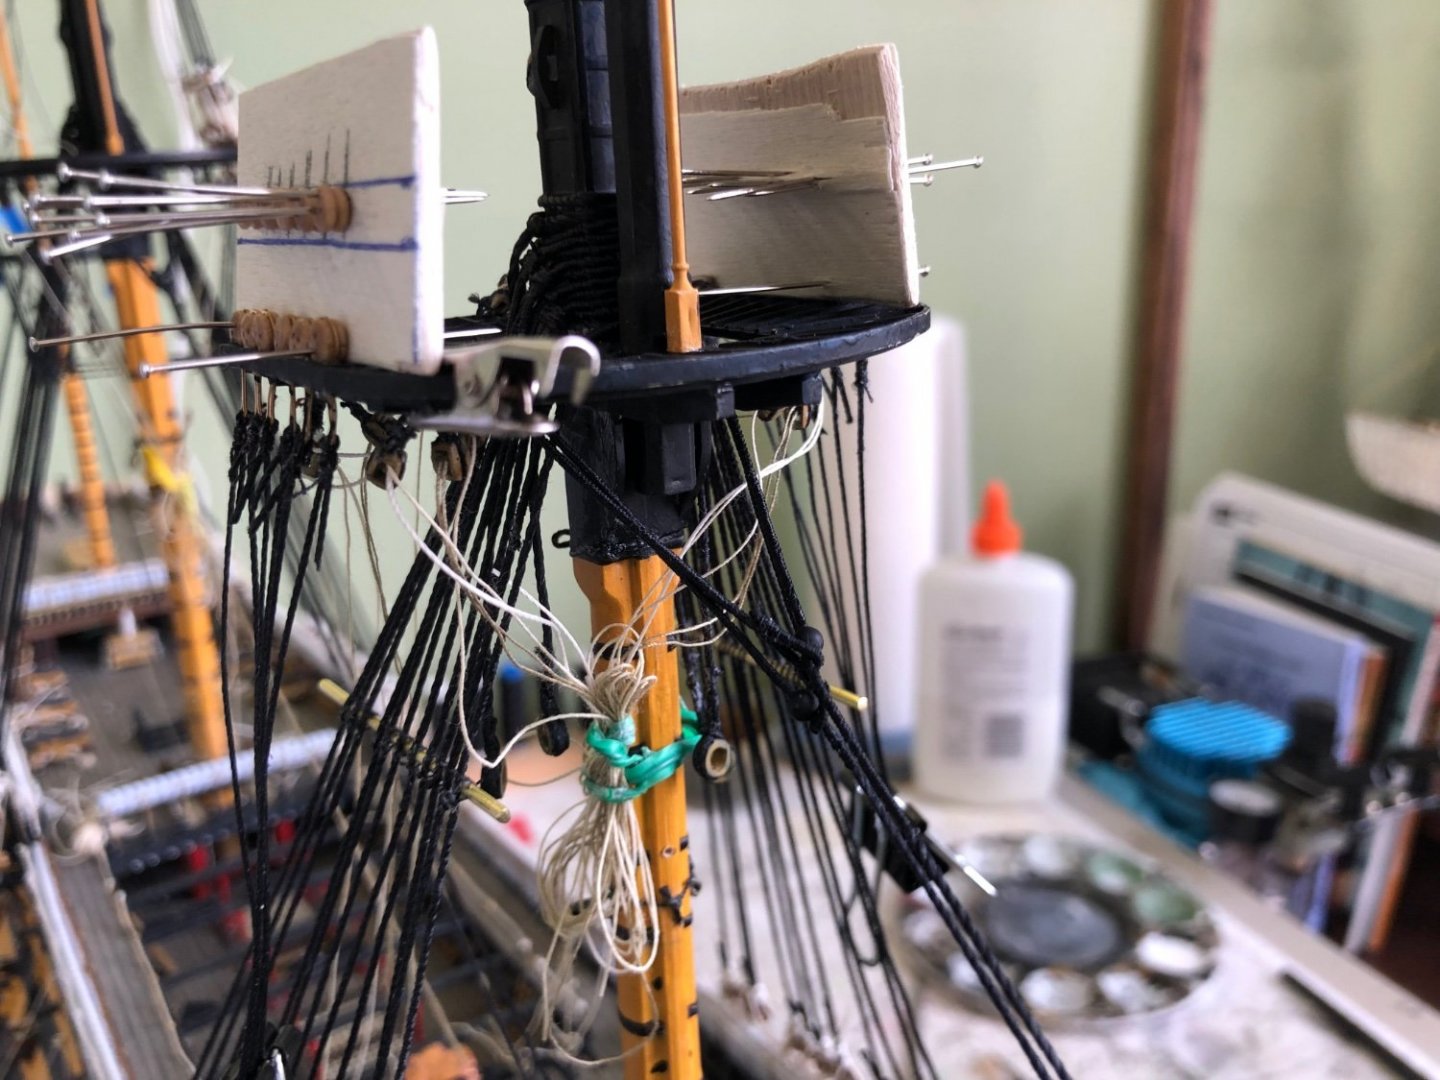
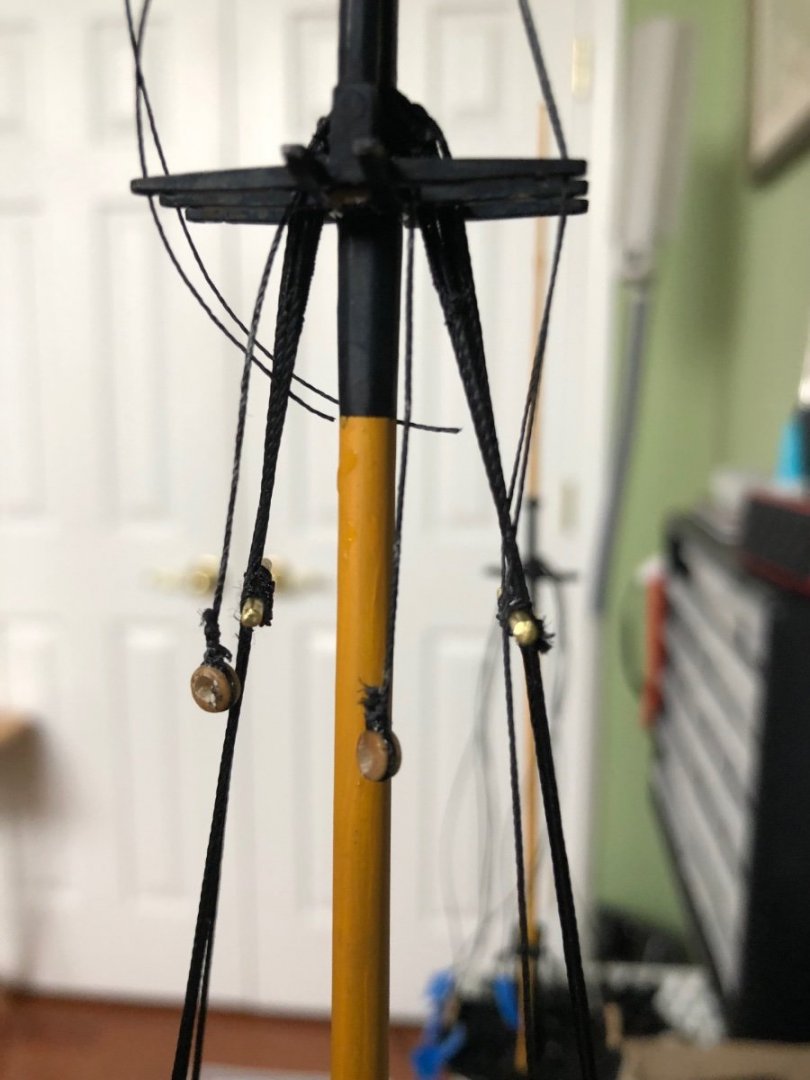
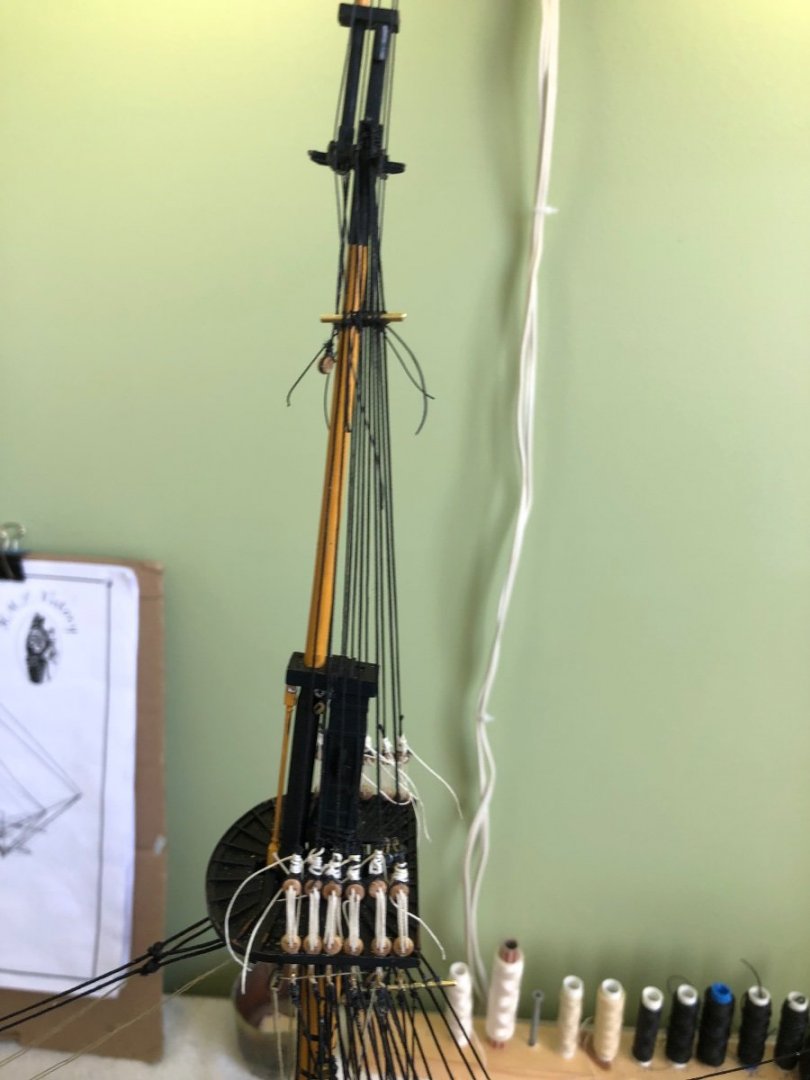
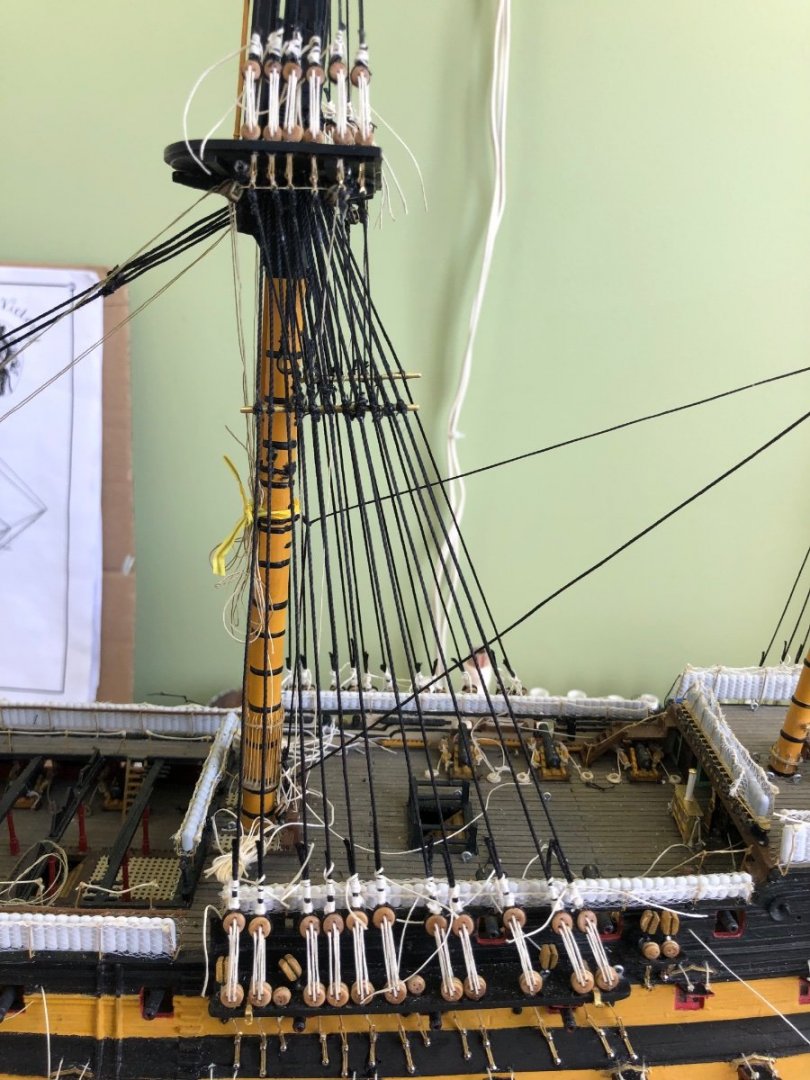
Finished the rigging of the main mast (shrouds and futtock staves) except for the ratlines which I most likely won’t do until I complete the running rigging. The futtock stave on the top mast shrouds was a bit of a head scratch. As you can see in the one picture with the card I will use later for ratlines spacing, I have the stave parallel with the mast top below it and all the future ratlines. However when I remove the card the stave looks crooked in comparison to the top mast block. I expect that is the result of the slight rake of the main mast.


-
Twahl following your comment above I searched the Rj YouTube video. That is exactly what I was talking about reference the little grove on each side. I had not seen the video before. For the Heller blocks I used an exacto knife to make the channel instead of files the way Rj did. The result is basically the same. You may want to experiment with modifying the Heller blocks and maybe purchase a small quantity of wood blocks to try. As you will notice the Heller blocks are various sizes which will require you to purchase similar size wood blocks if you decide to go that route. And depending on what you want to spend on wooden blocks you will find a range of quality and cost. I agree with Ian on the deadeyes. I am using wooden deadeyes. Especially if you are getting Dafi’s etched plate 3. It has the brass irons for all the deadeyes. If you go to the expense of Dafi’s sheet might as well go with better deadeyes. I got two sizes I am using on my Victory. As several other builders told me along the way, remember it is your model and for your pleasure. You just build it the way you want. I am sure it will be beautiful either way when completed.
-
Hello Twahl thank you for kind words. I have not seen the Rj video on YouTube. I need to watch it. To be honest I have used wood blocks, the Heller supplied blocks, and some 3D printed blocks I got from a friend to rig this model. In most cases if you do a nice paint job on the plastic ones they are just fine. The main thing I have found that I prefer about the wood blocks is the ones I got have a tiny grove around he exterior on the opposite side of the opening. That little grove seems to make rigging the block easier in that it holds the thread in place while tiring knots. Which etched sheets from Dafi did you get? Have you started a build blog? I will look for it. P.S. I like you, got back into modeling after many many years. Kids, work, etc. made spending a lot of time on this hobby difficult. Retired now I am really enjoying it again. Please feel free to bombard me with questions if you need. That is the way MSW works. I asked and learned from others, as I am sure you have noticed in this thread, and will gladly play it forward.