


Jamie Coleman
-
Posts
74 -
Joined
-
Last visited
Content Type
Profiles
Forums
Gallery
Events
Posts posted by Jamie Coleman
-
-
And yes
LouieSteven, definitely a backlog of pictures rather than superhuman speed")
-
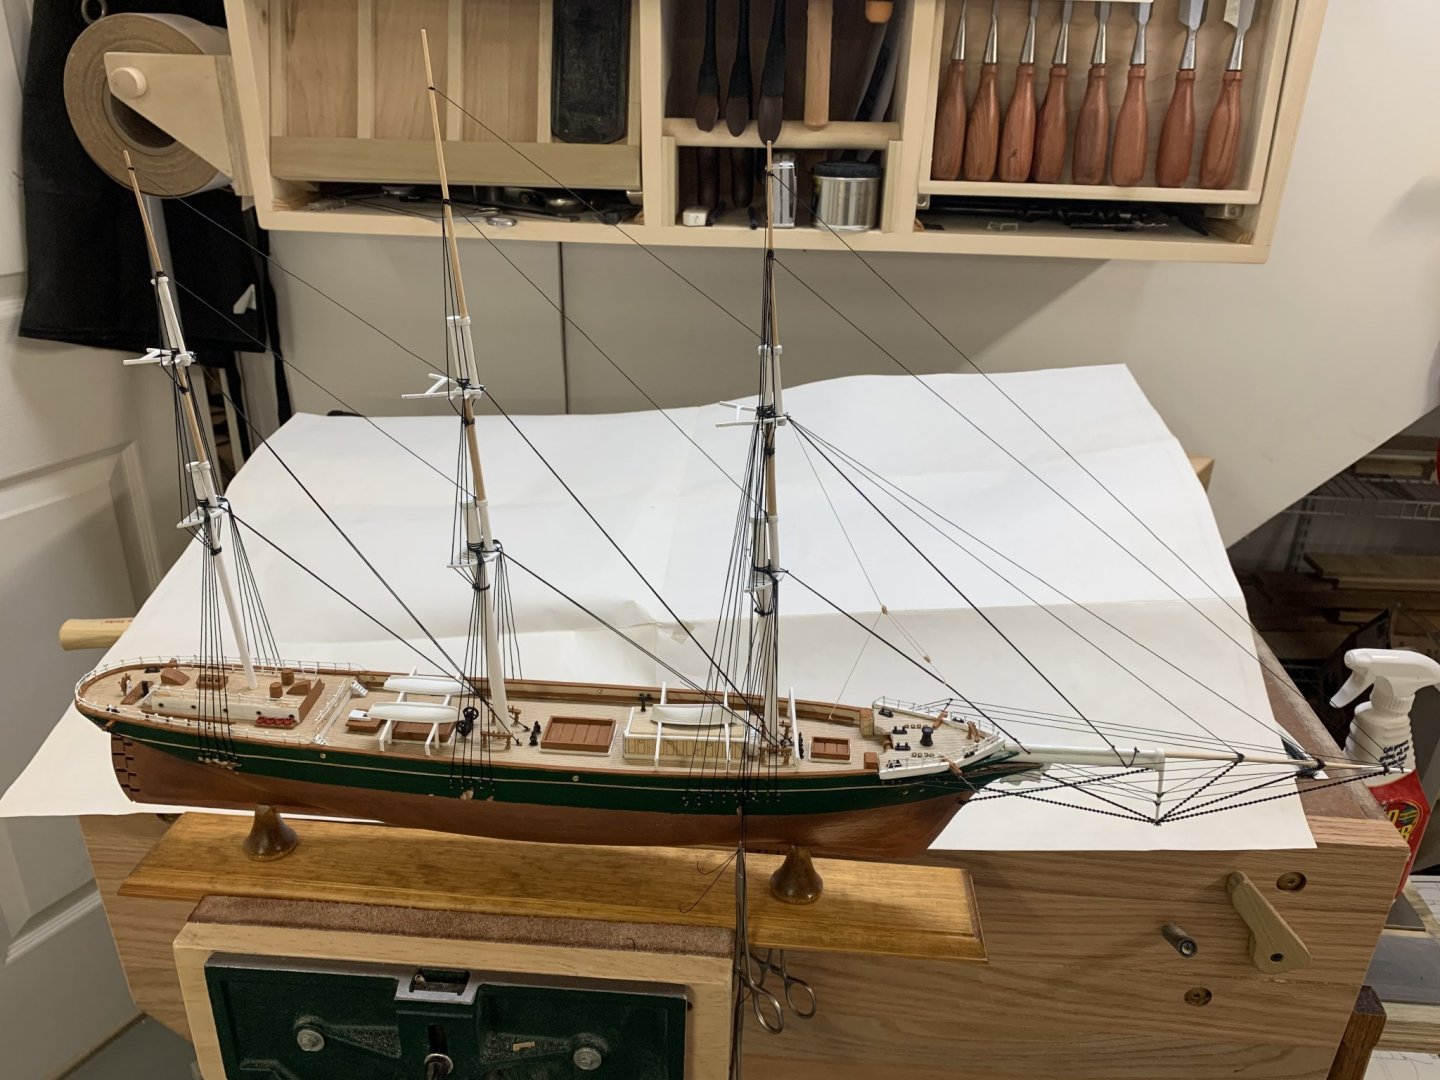
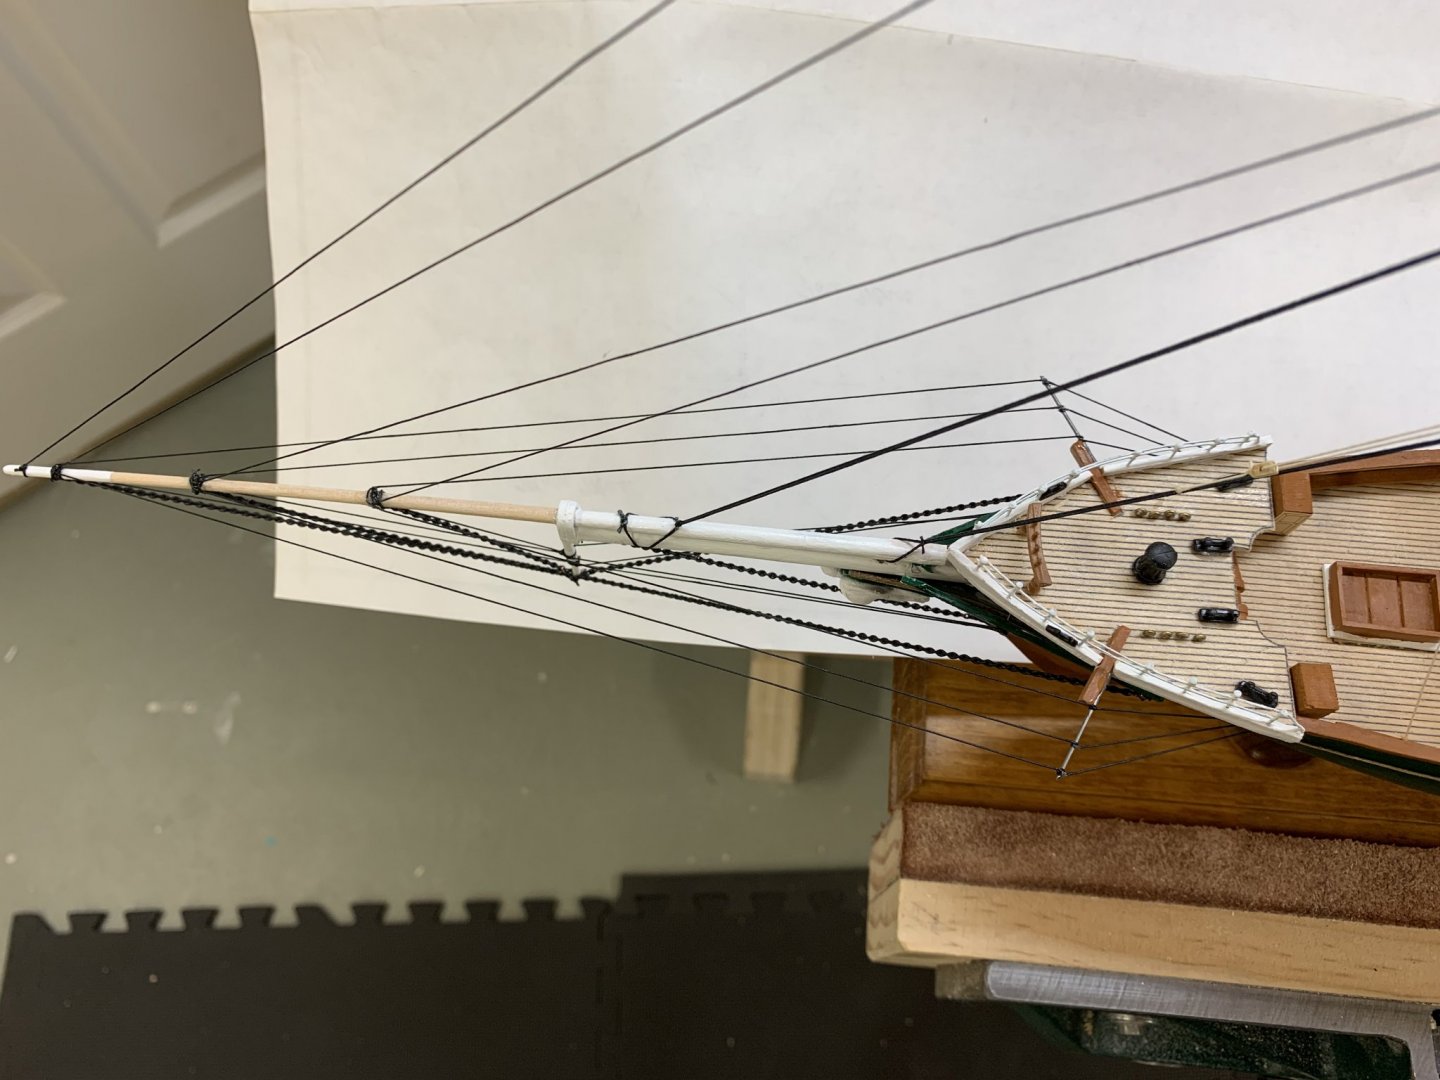
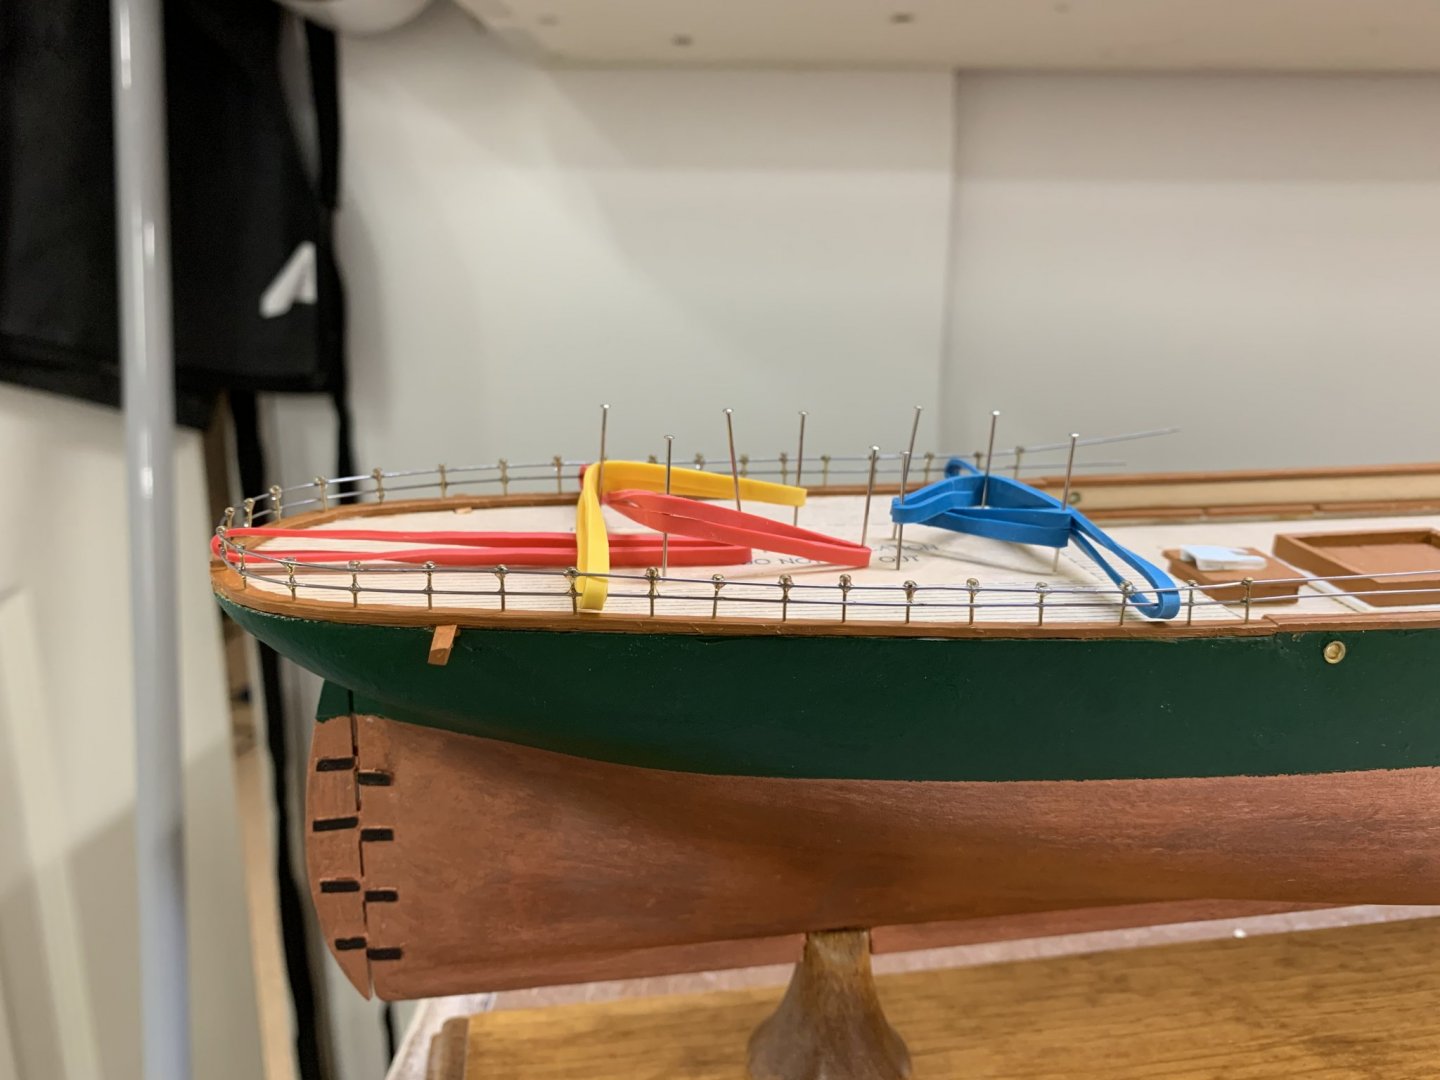
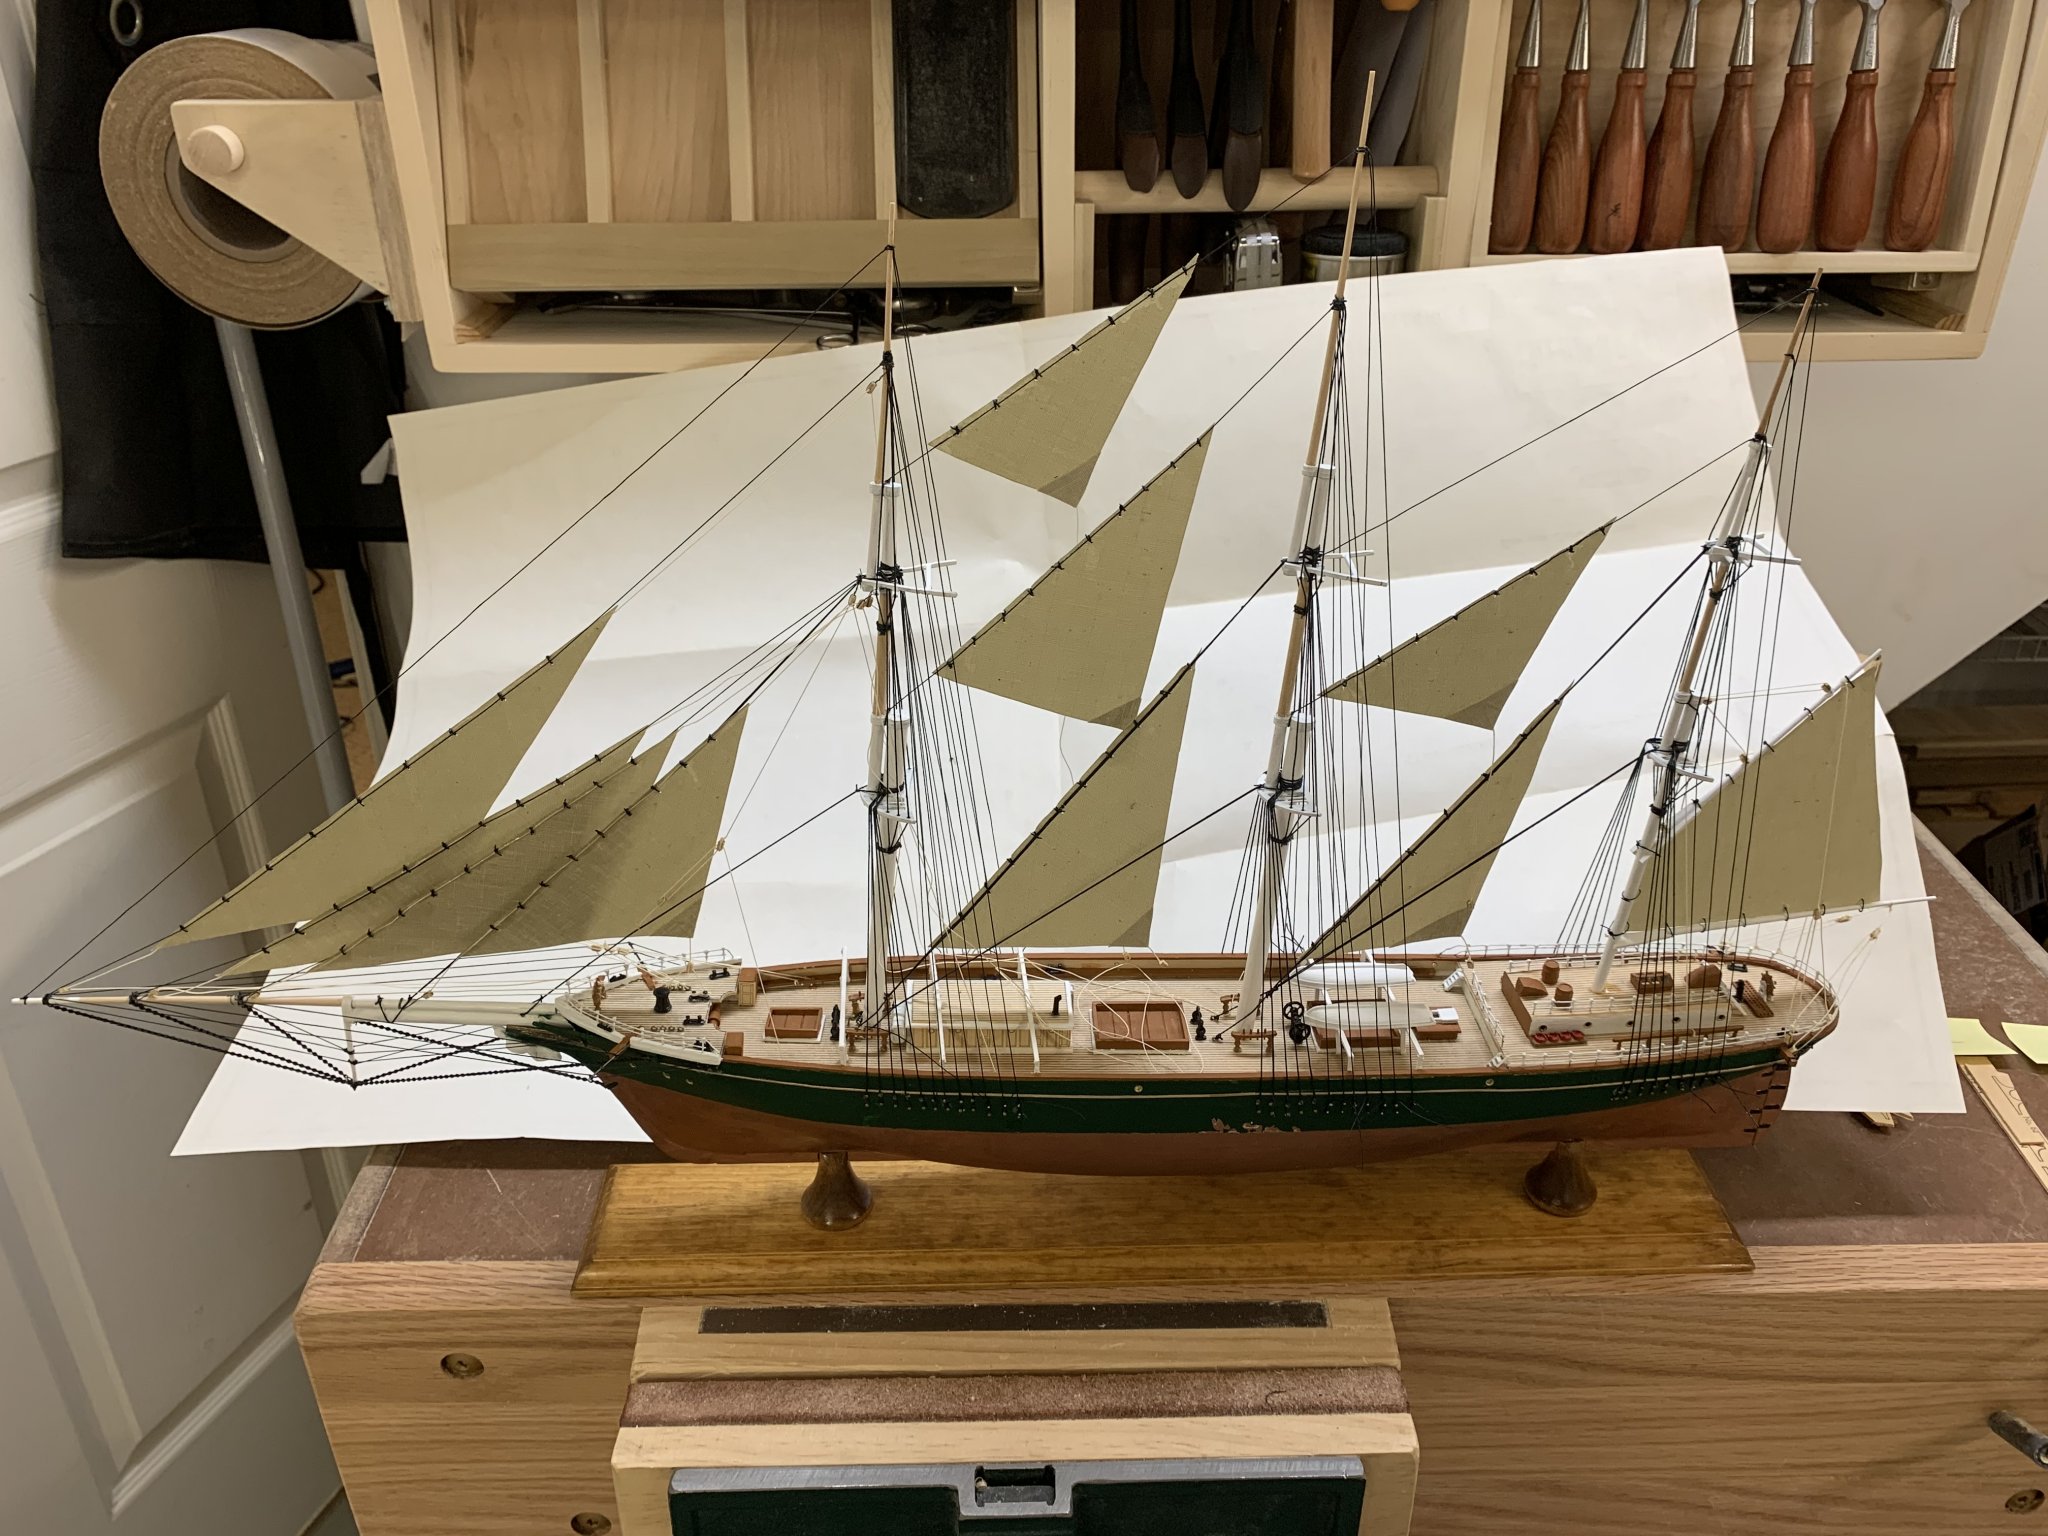
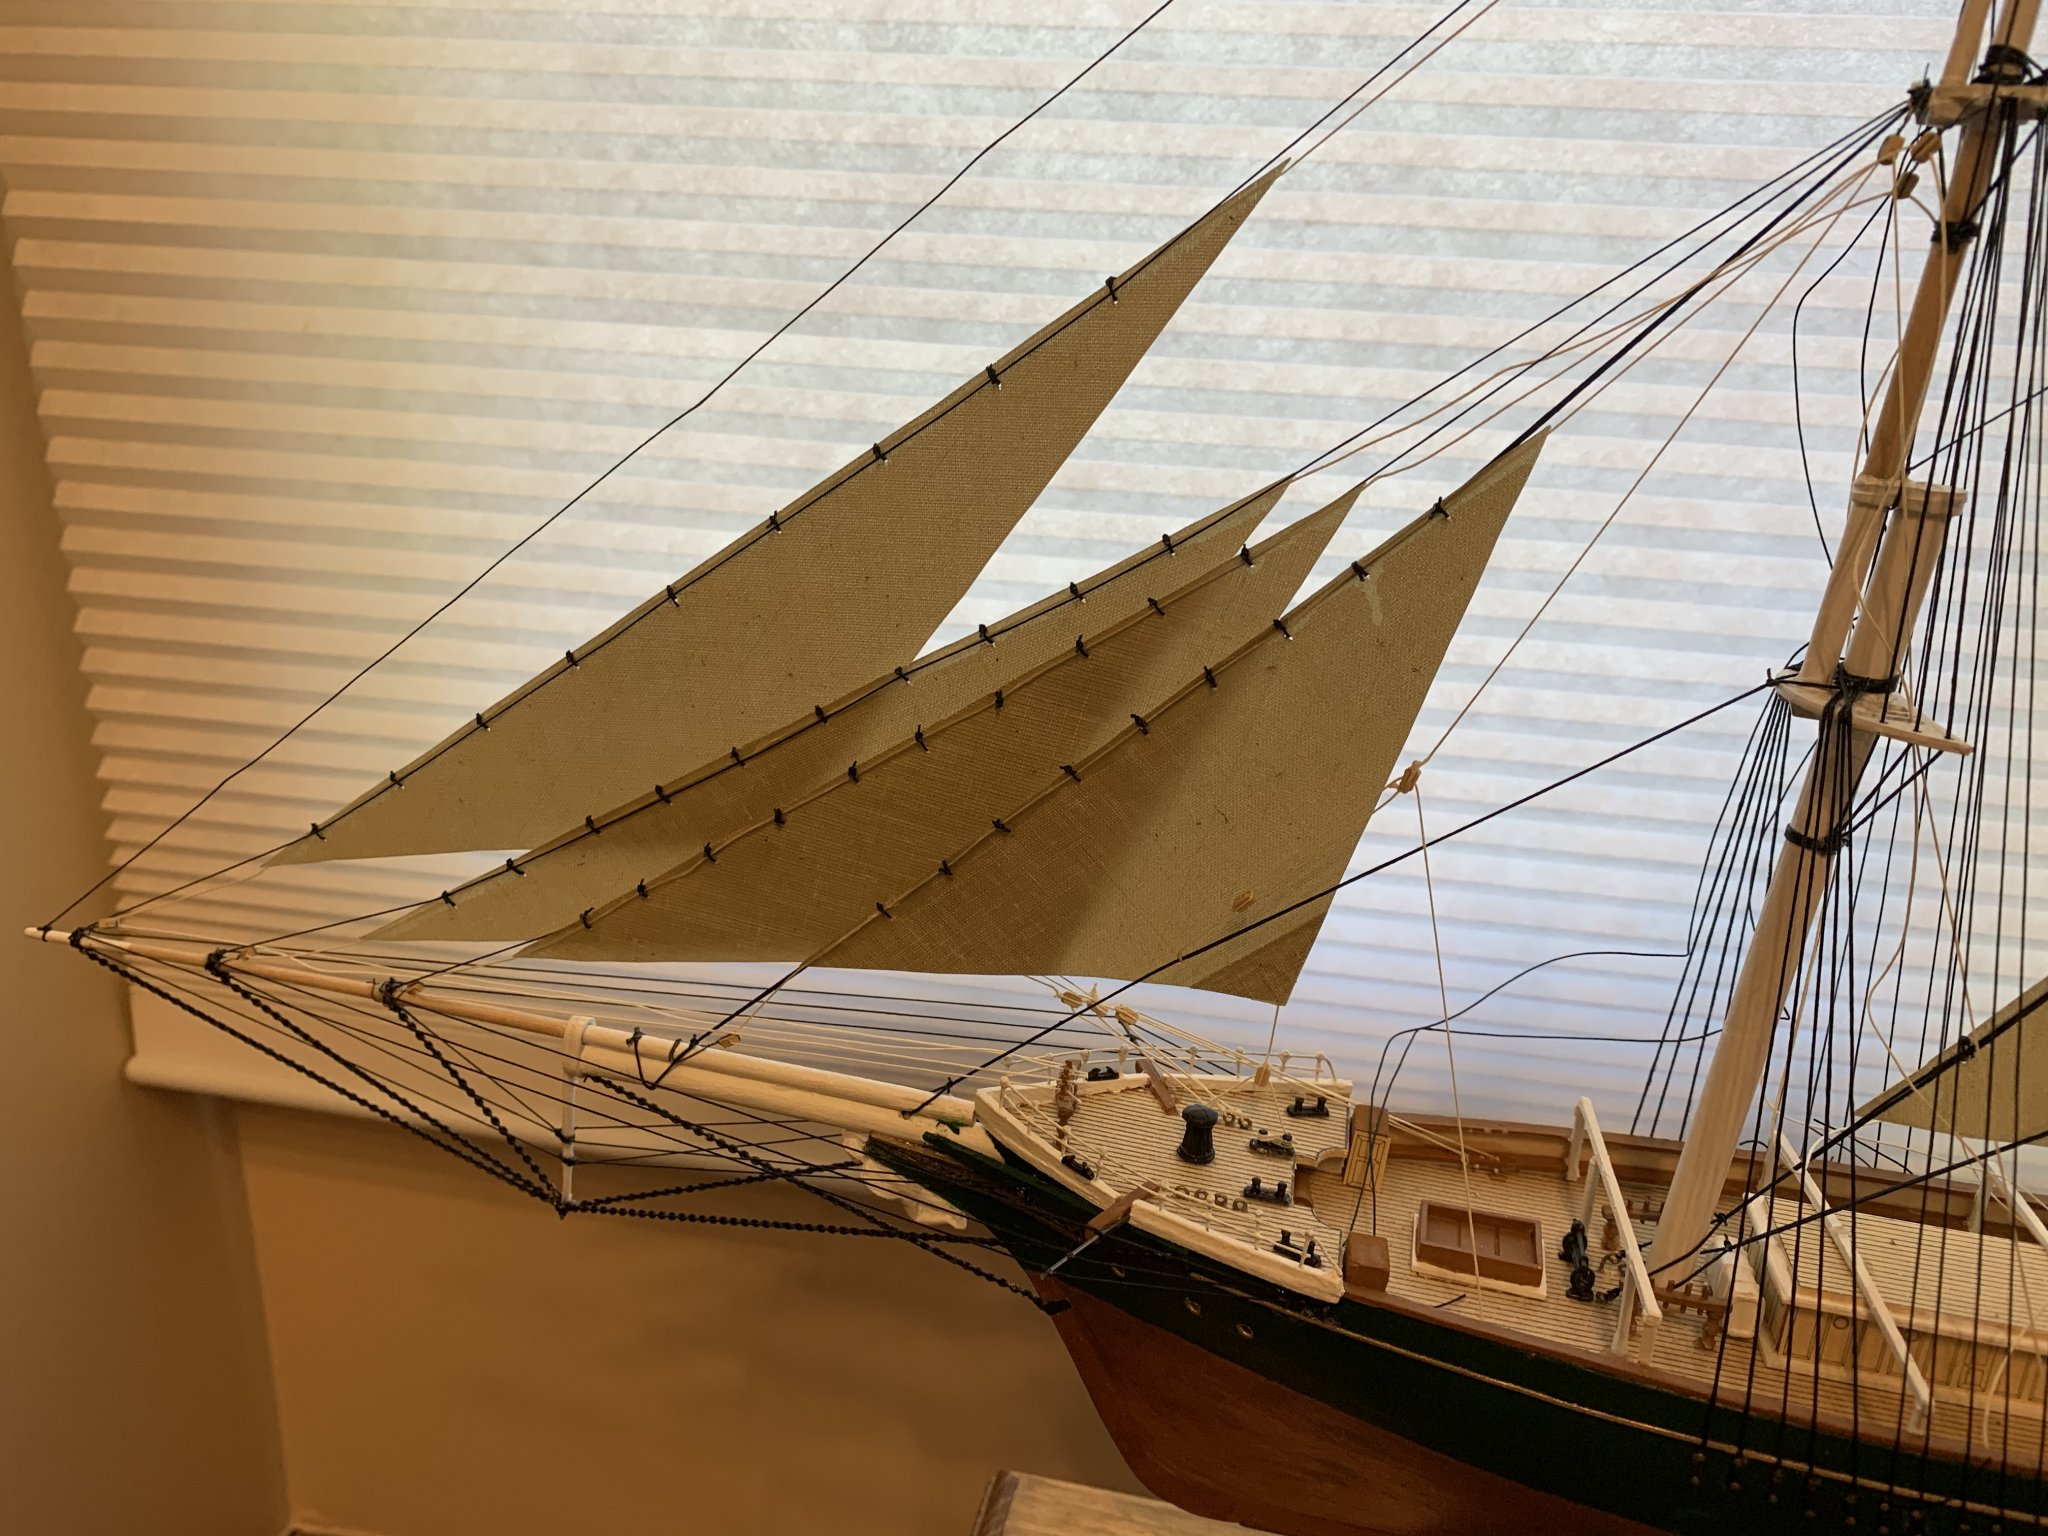
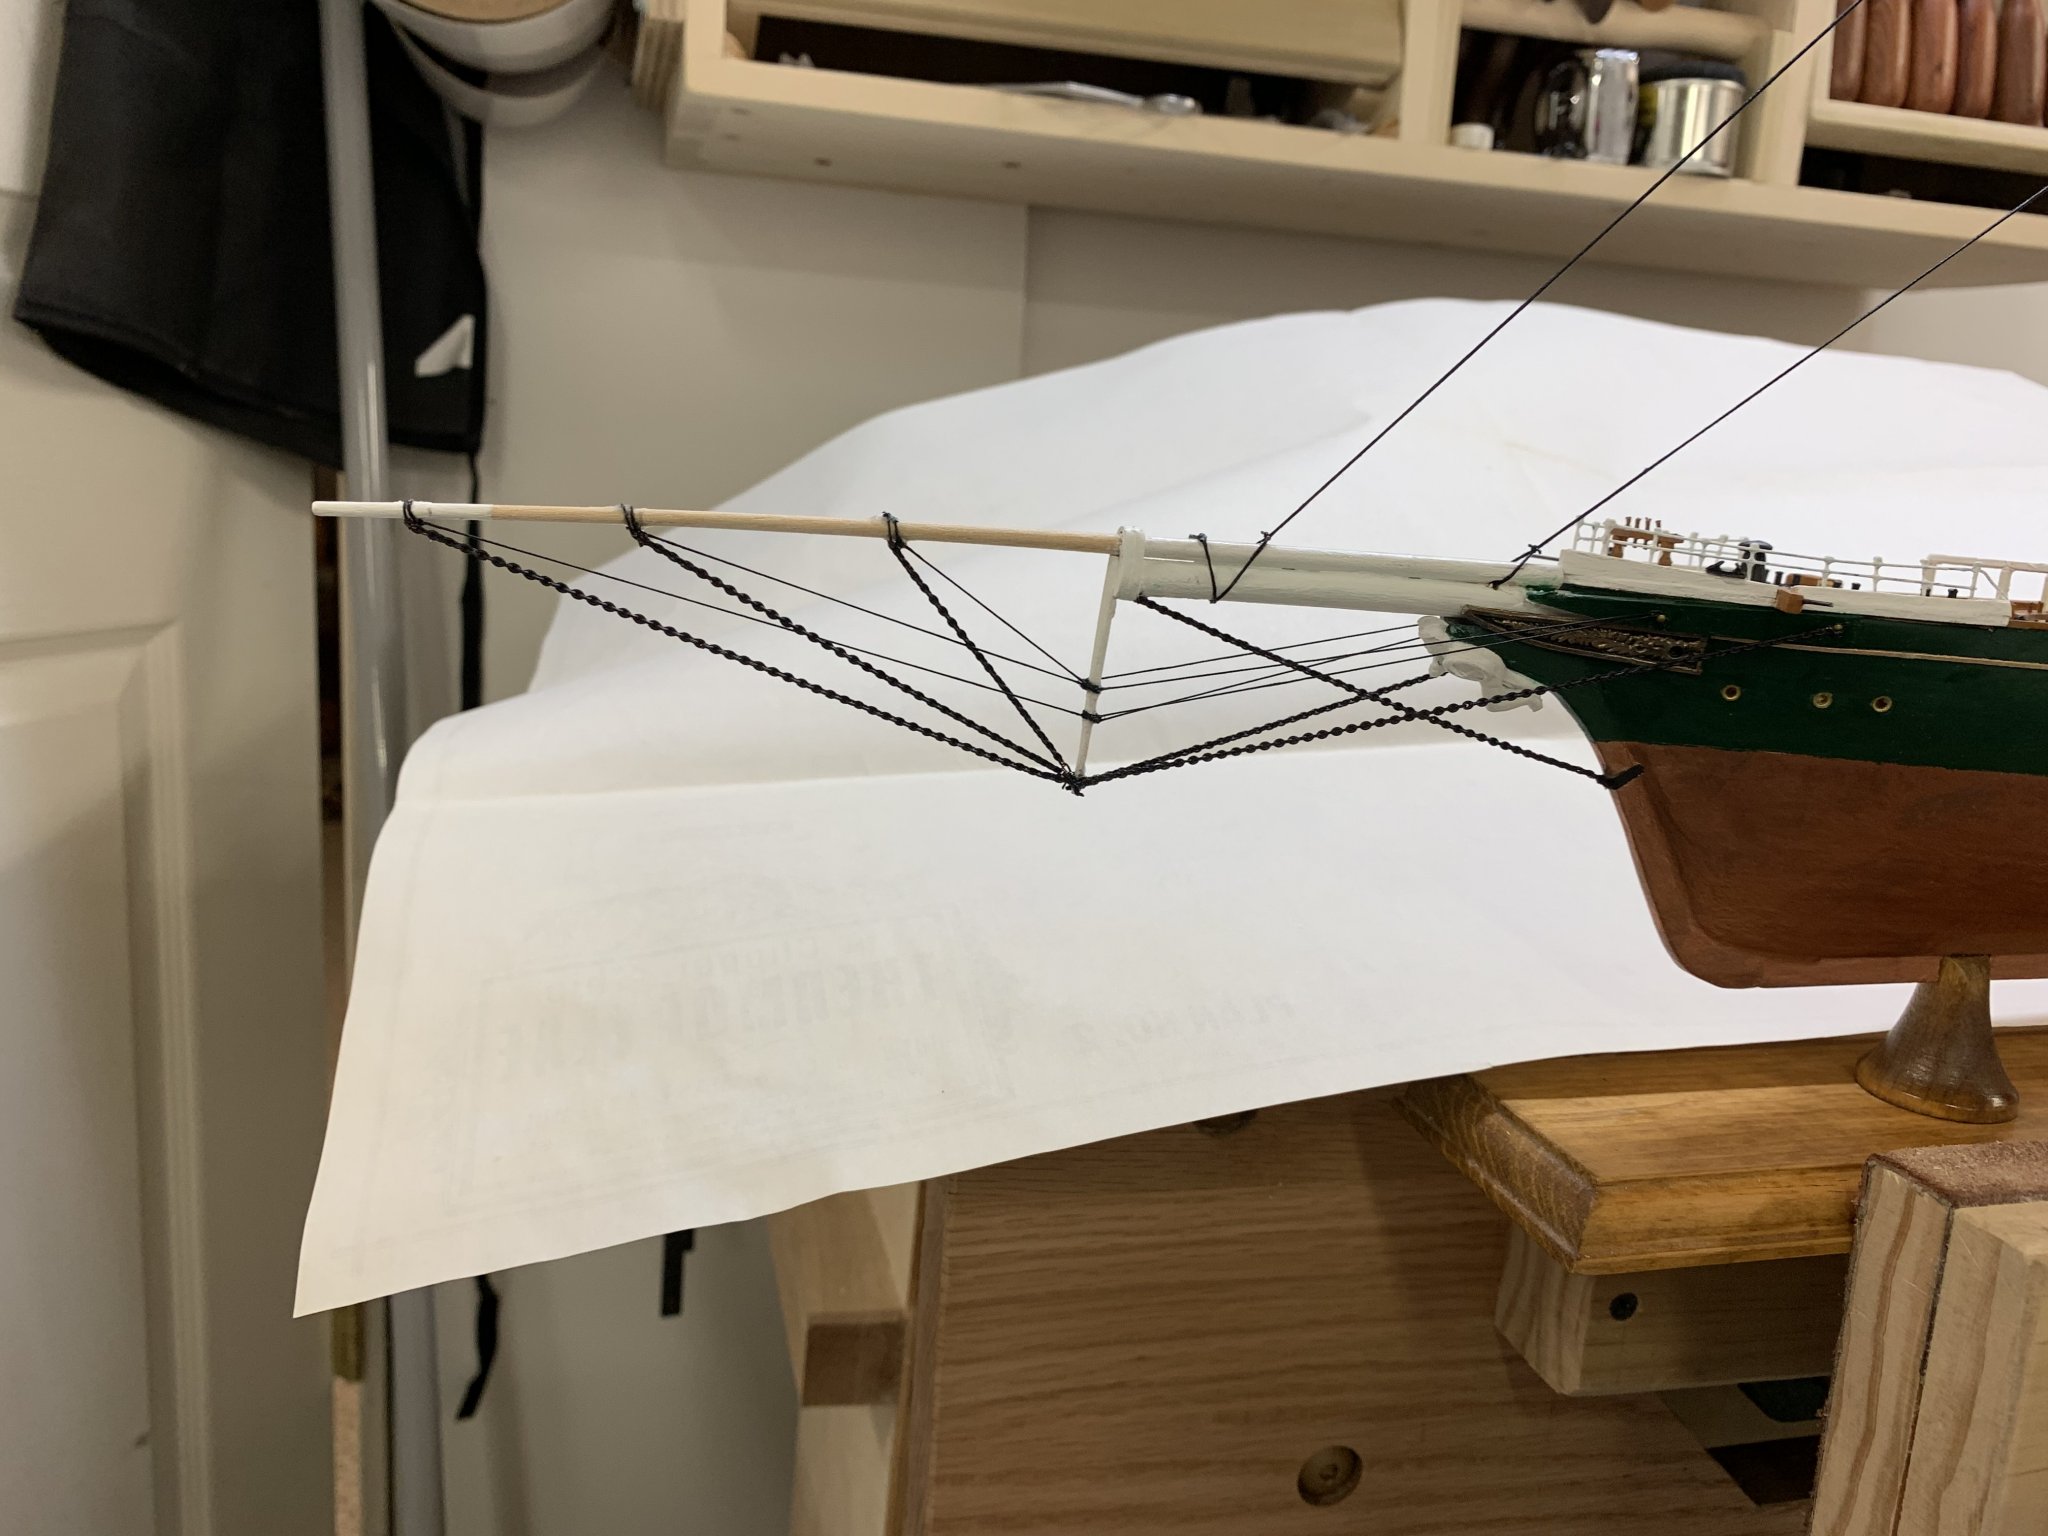
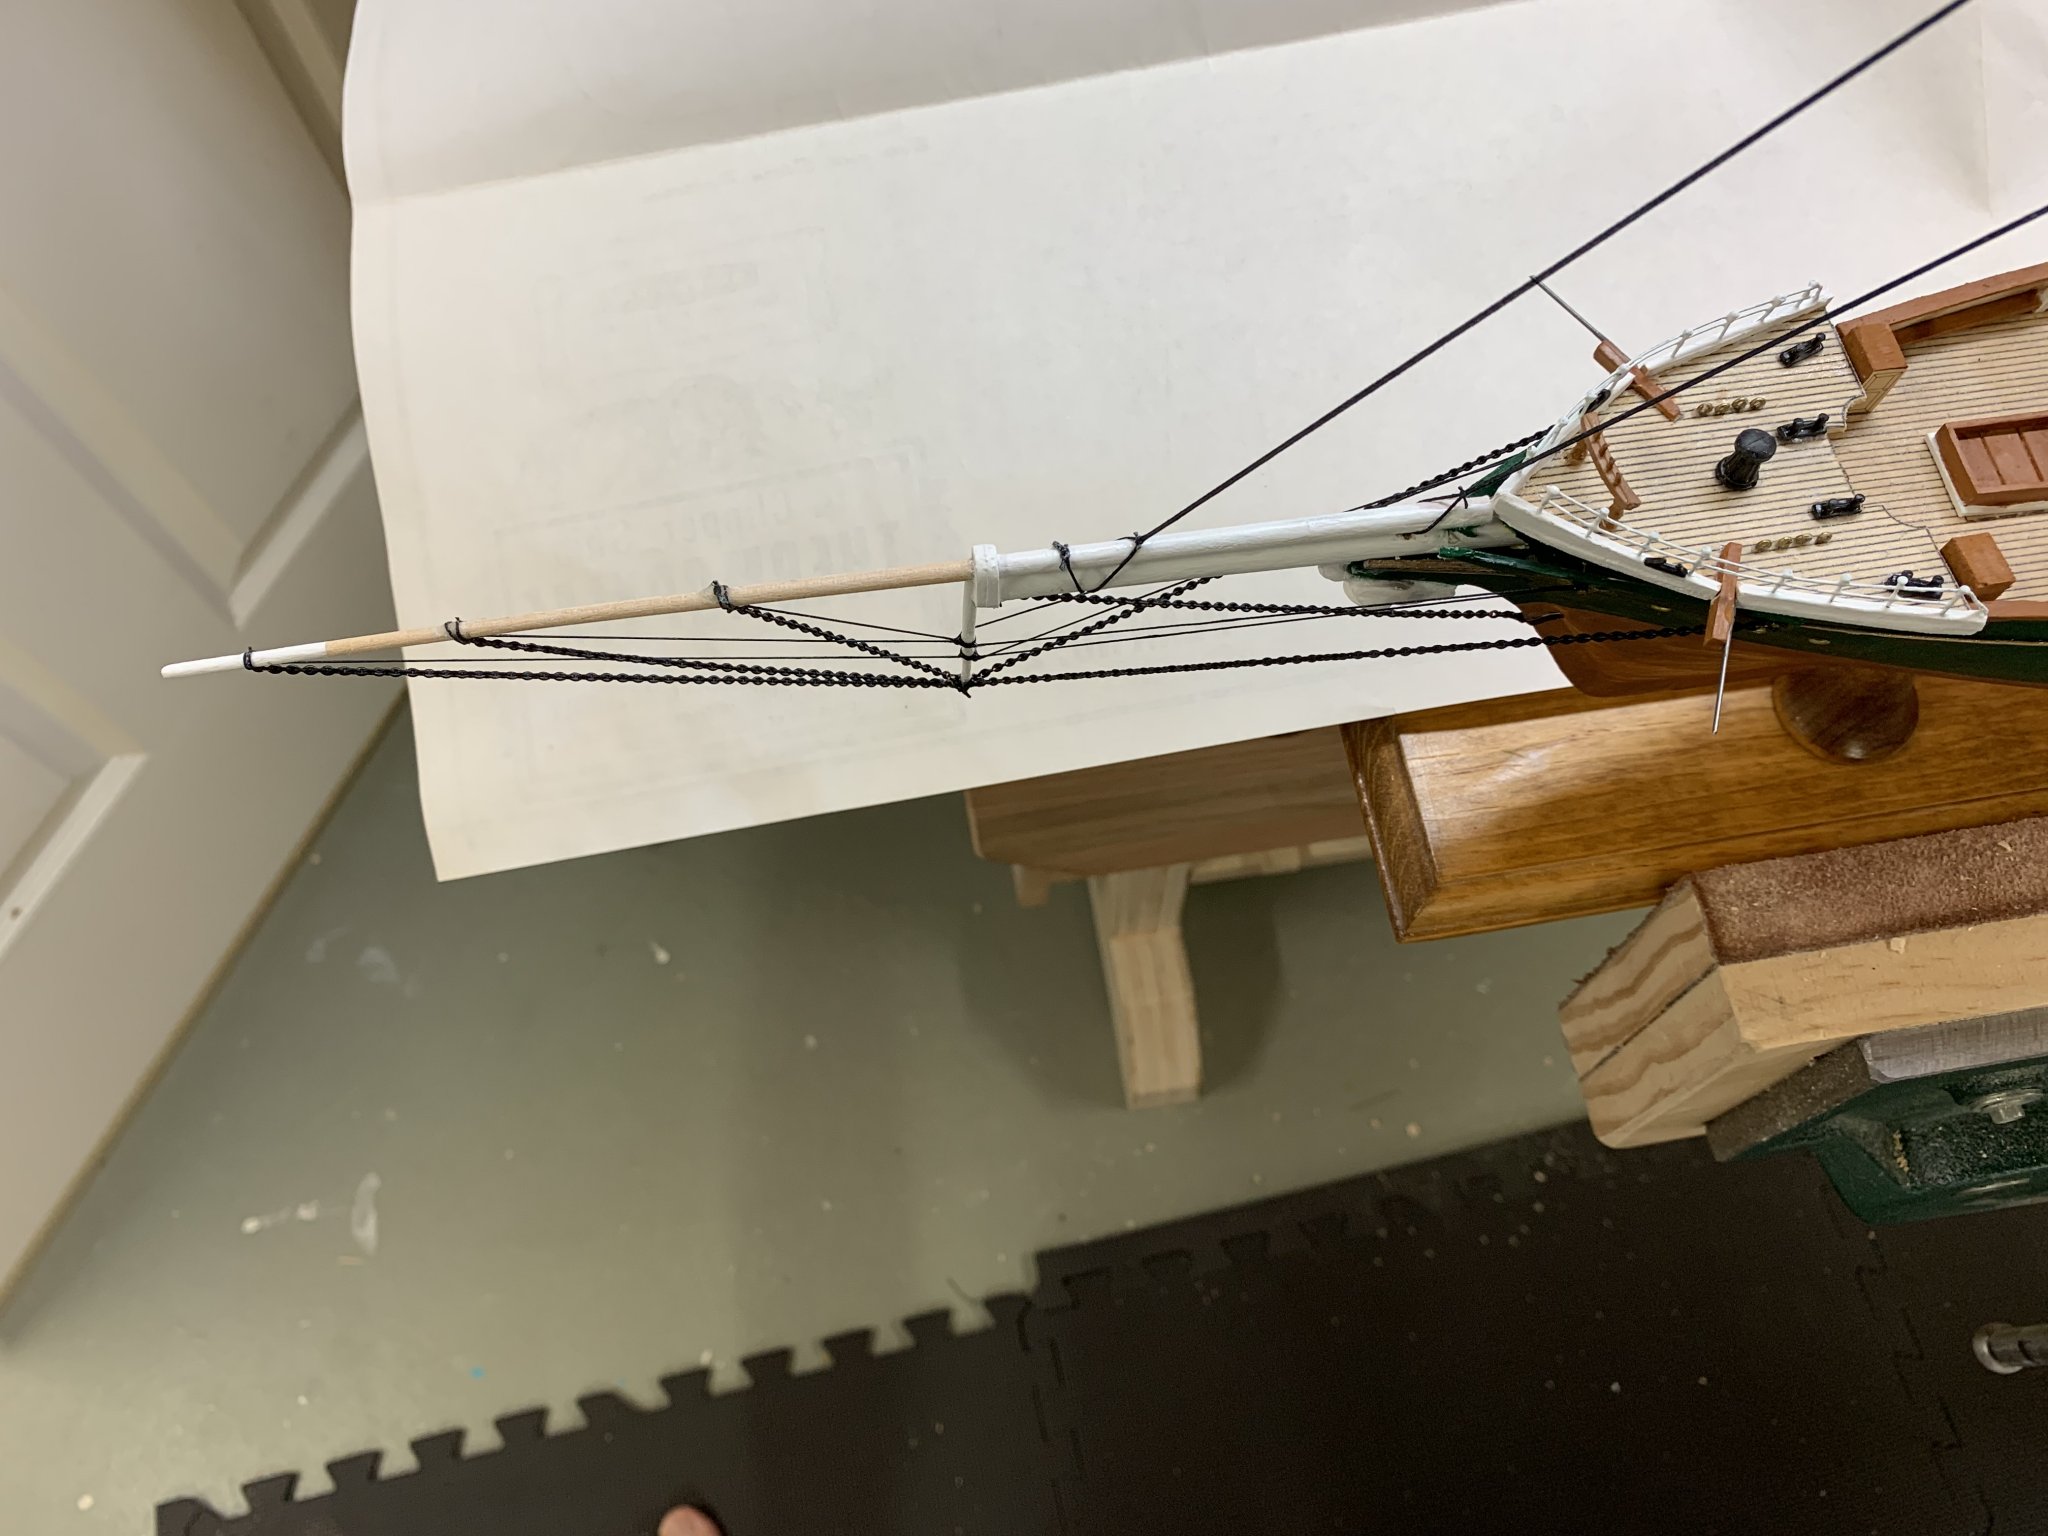
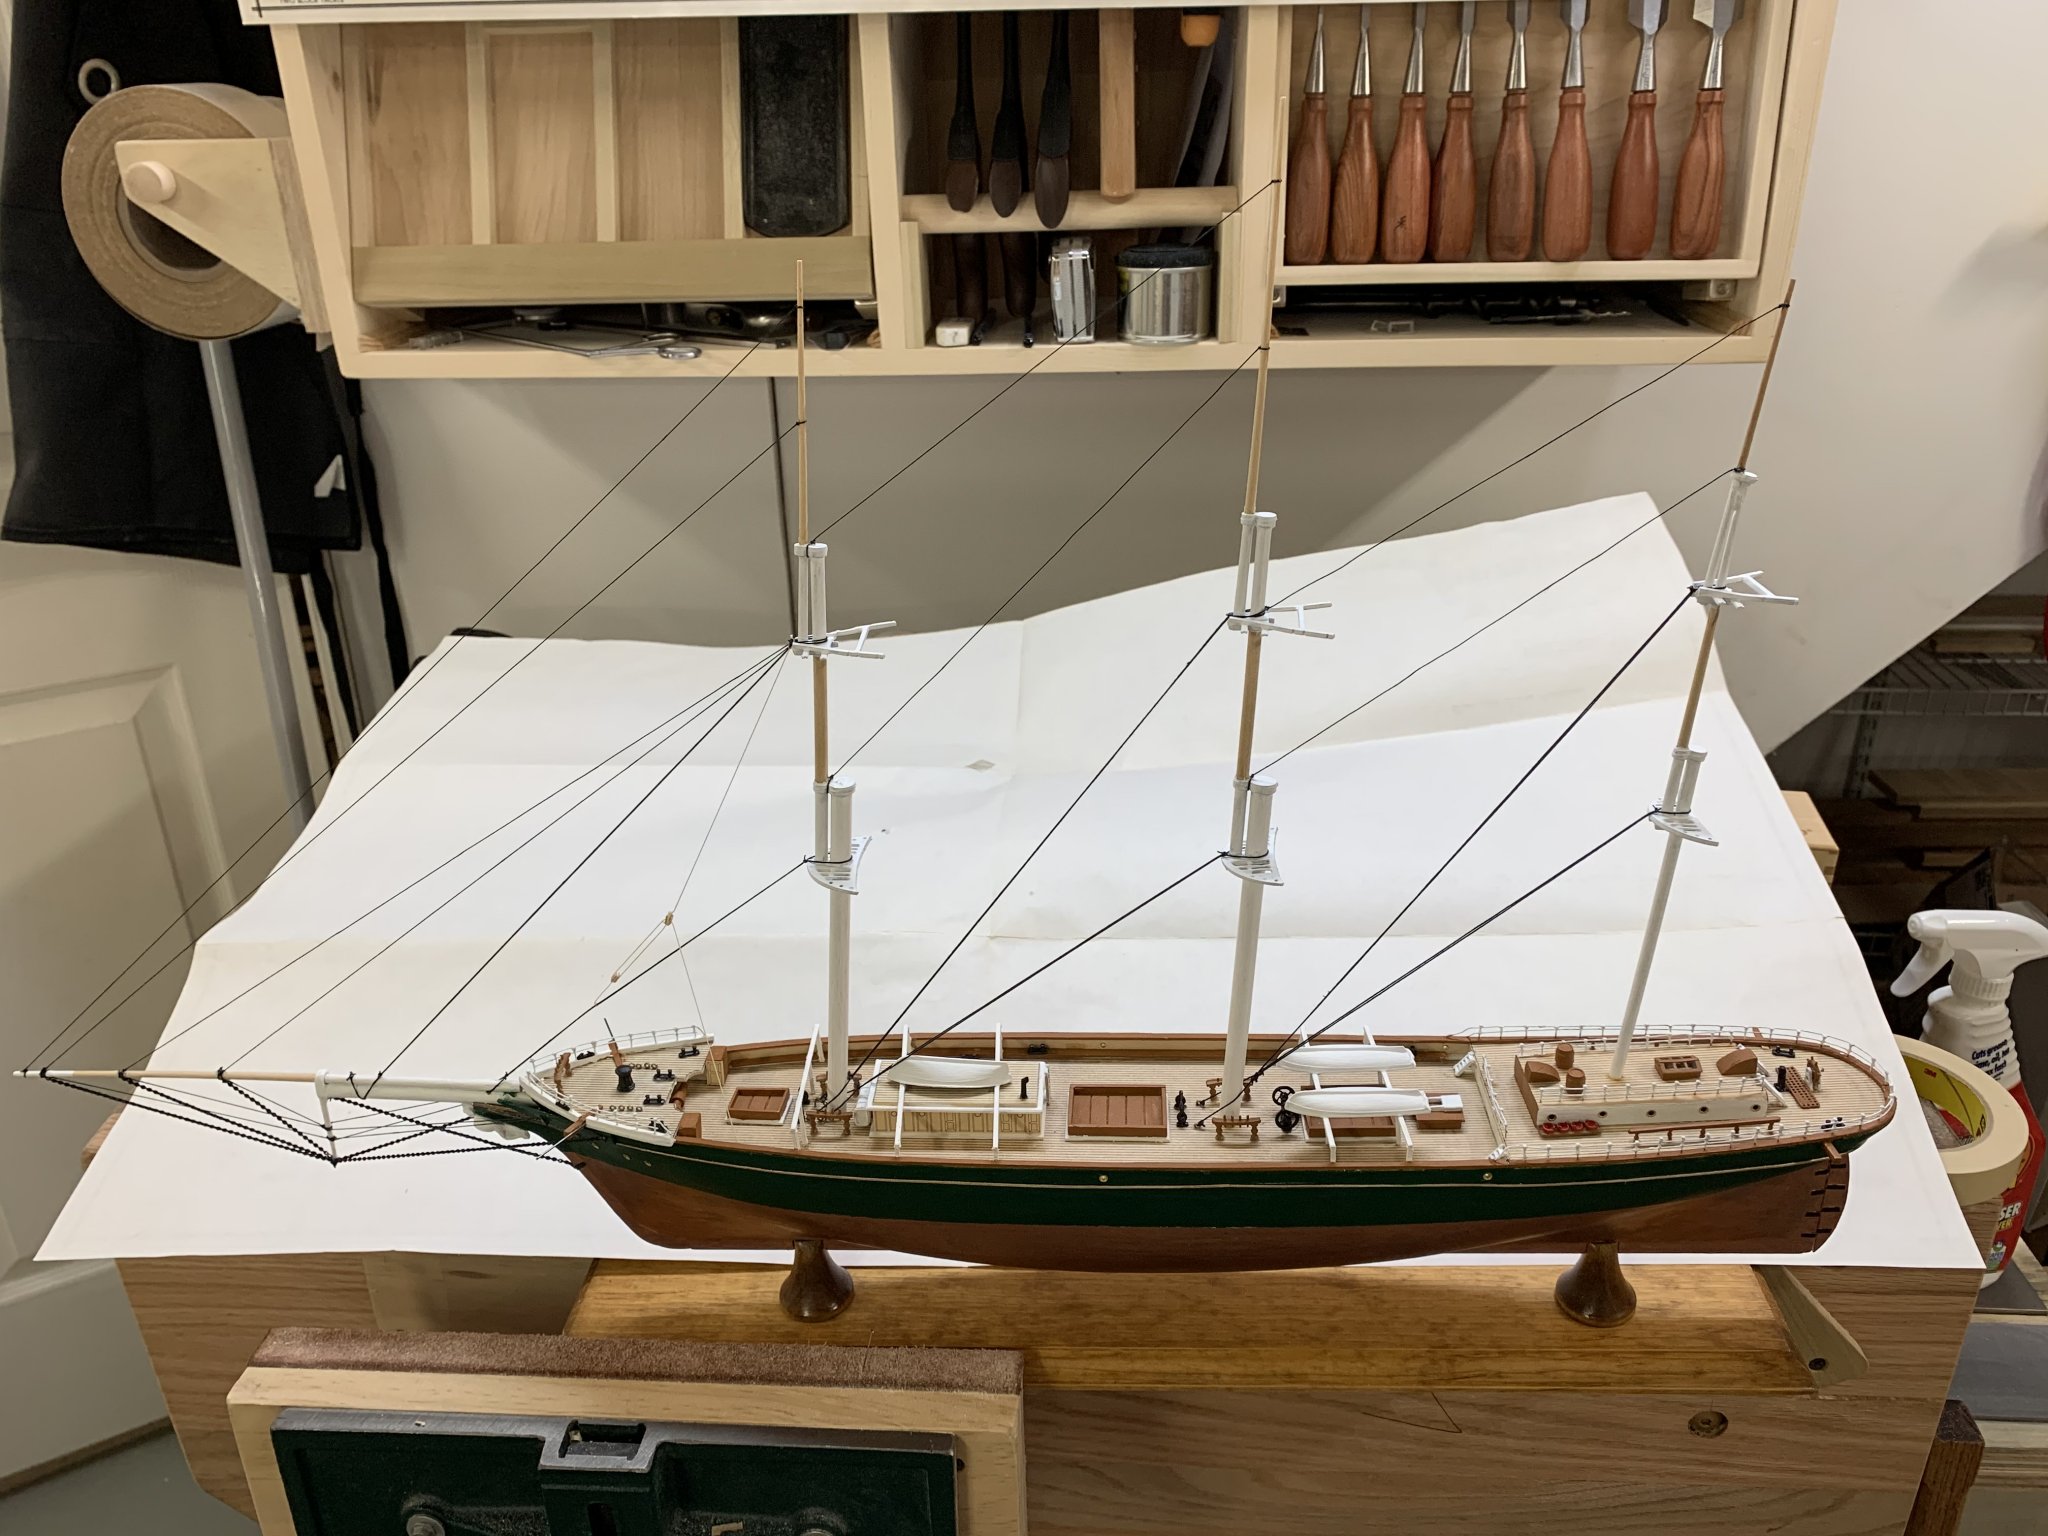
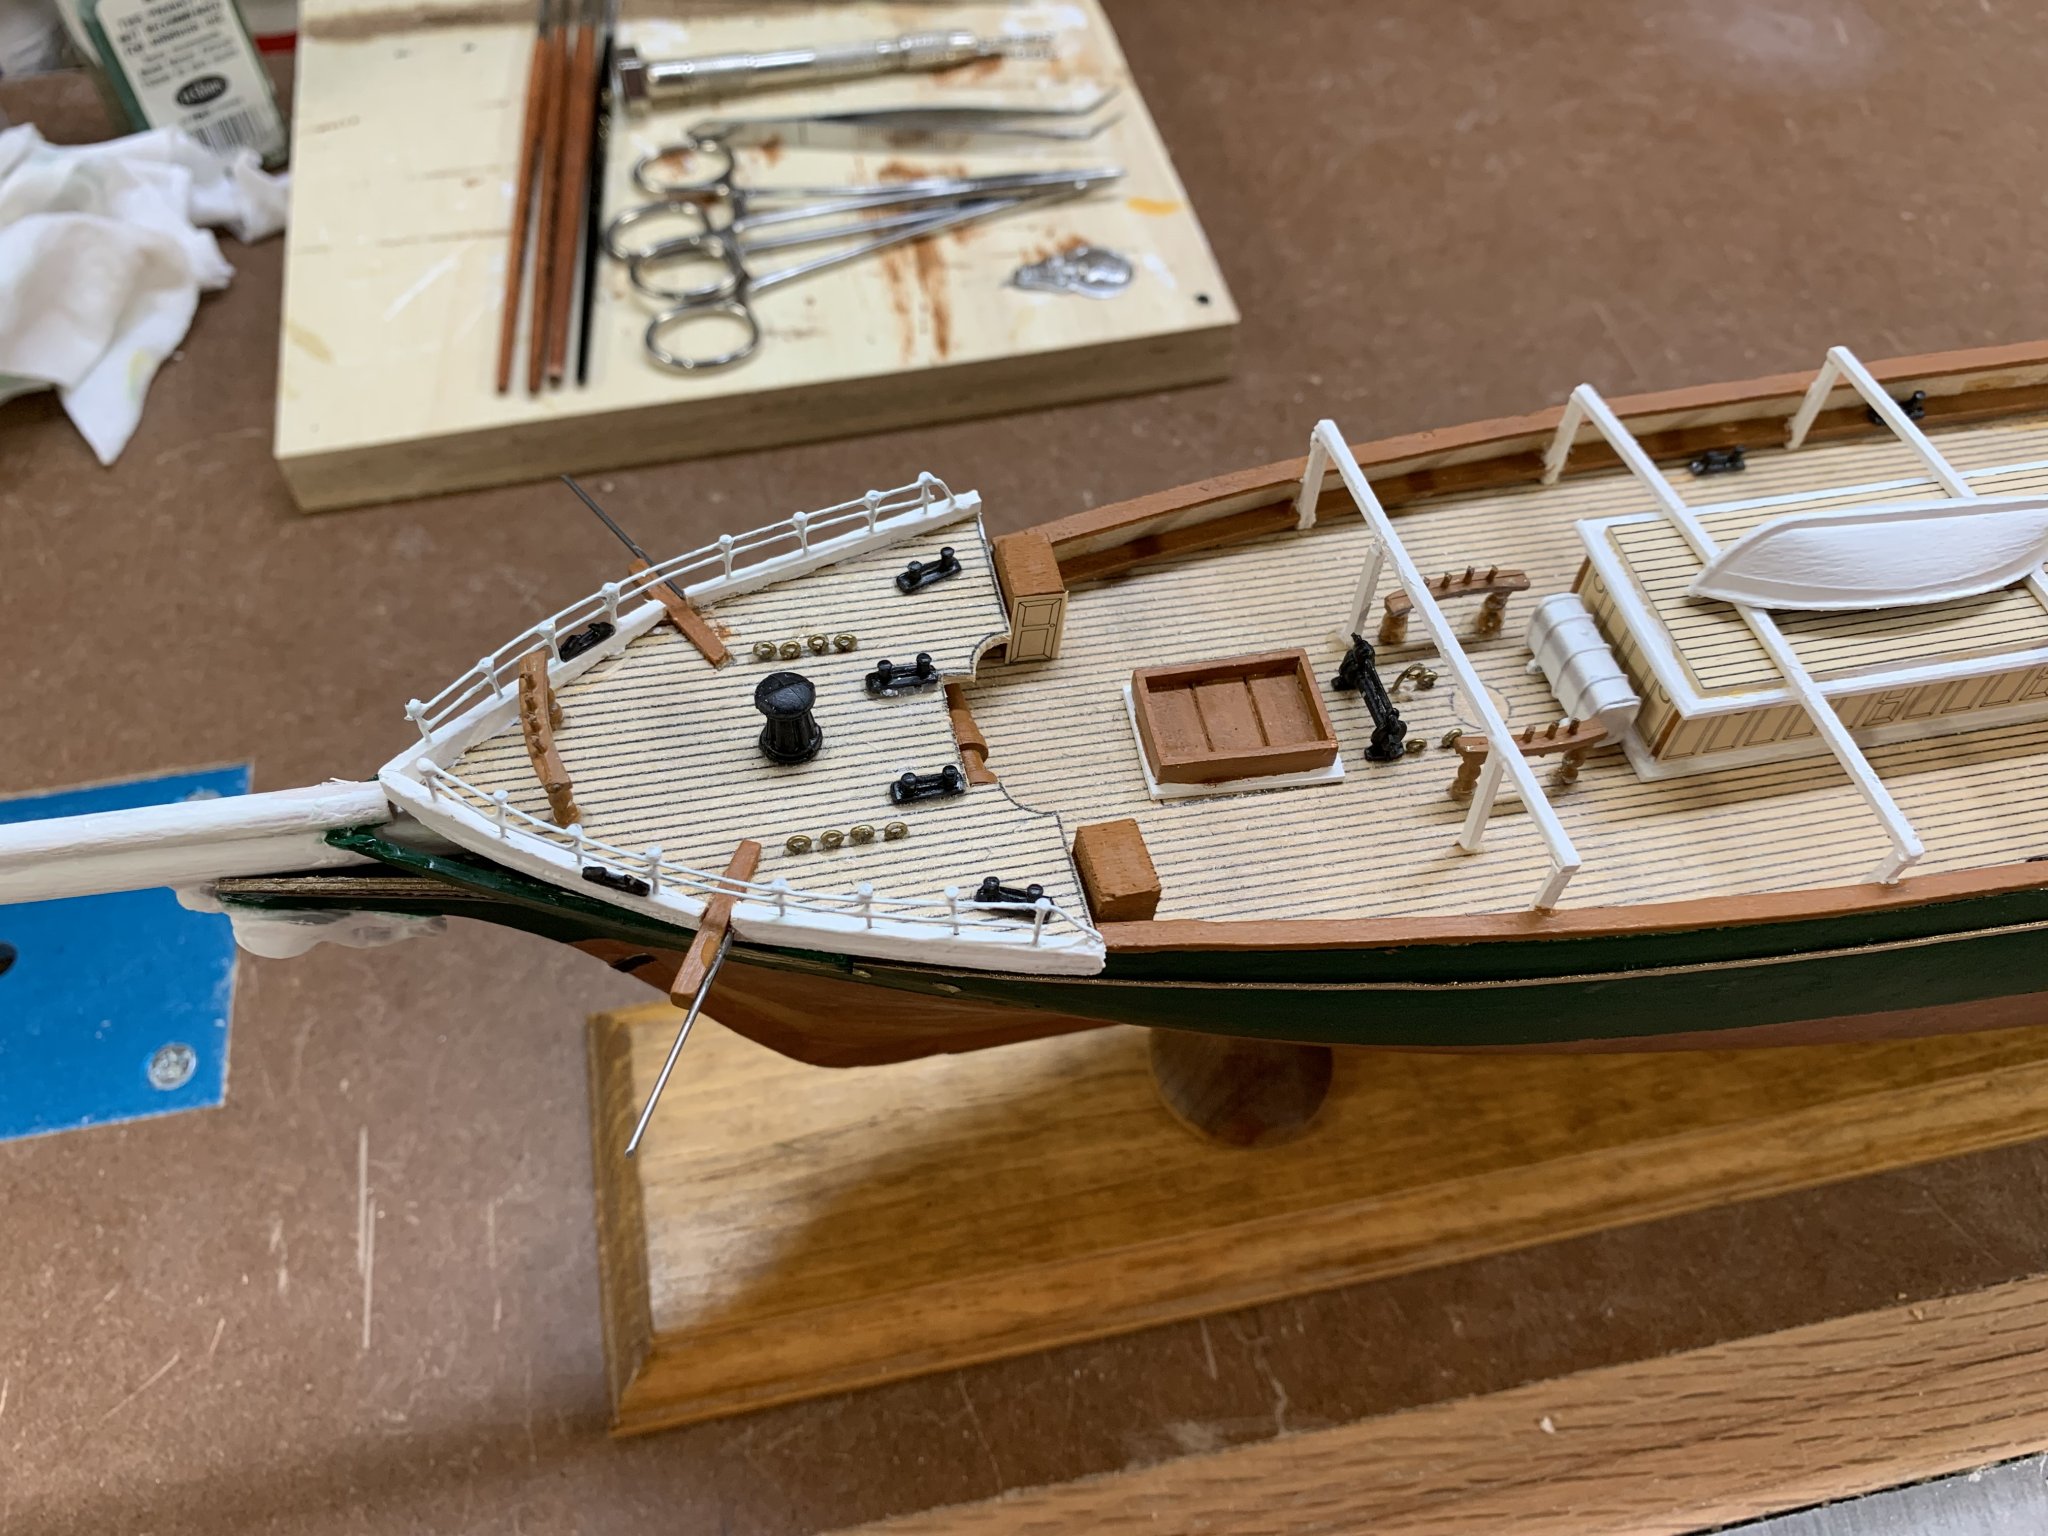
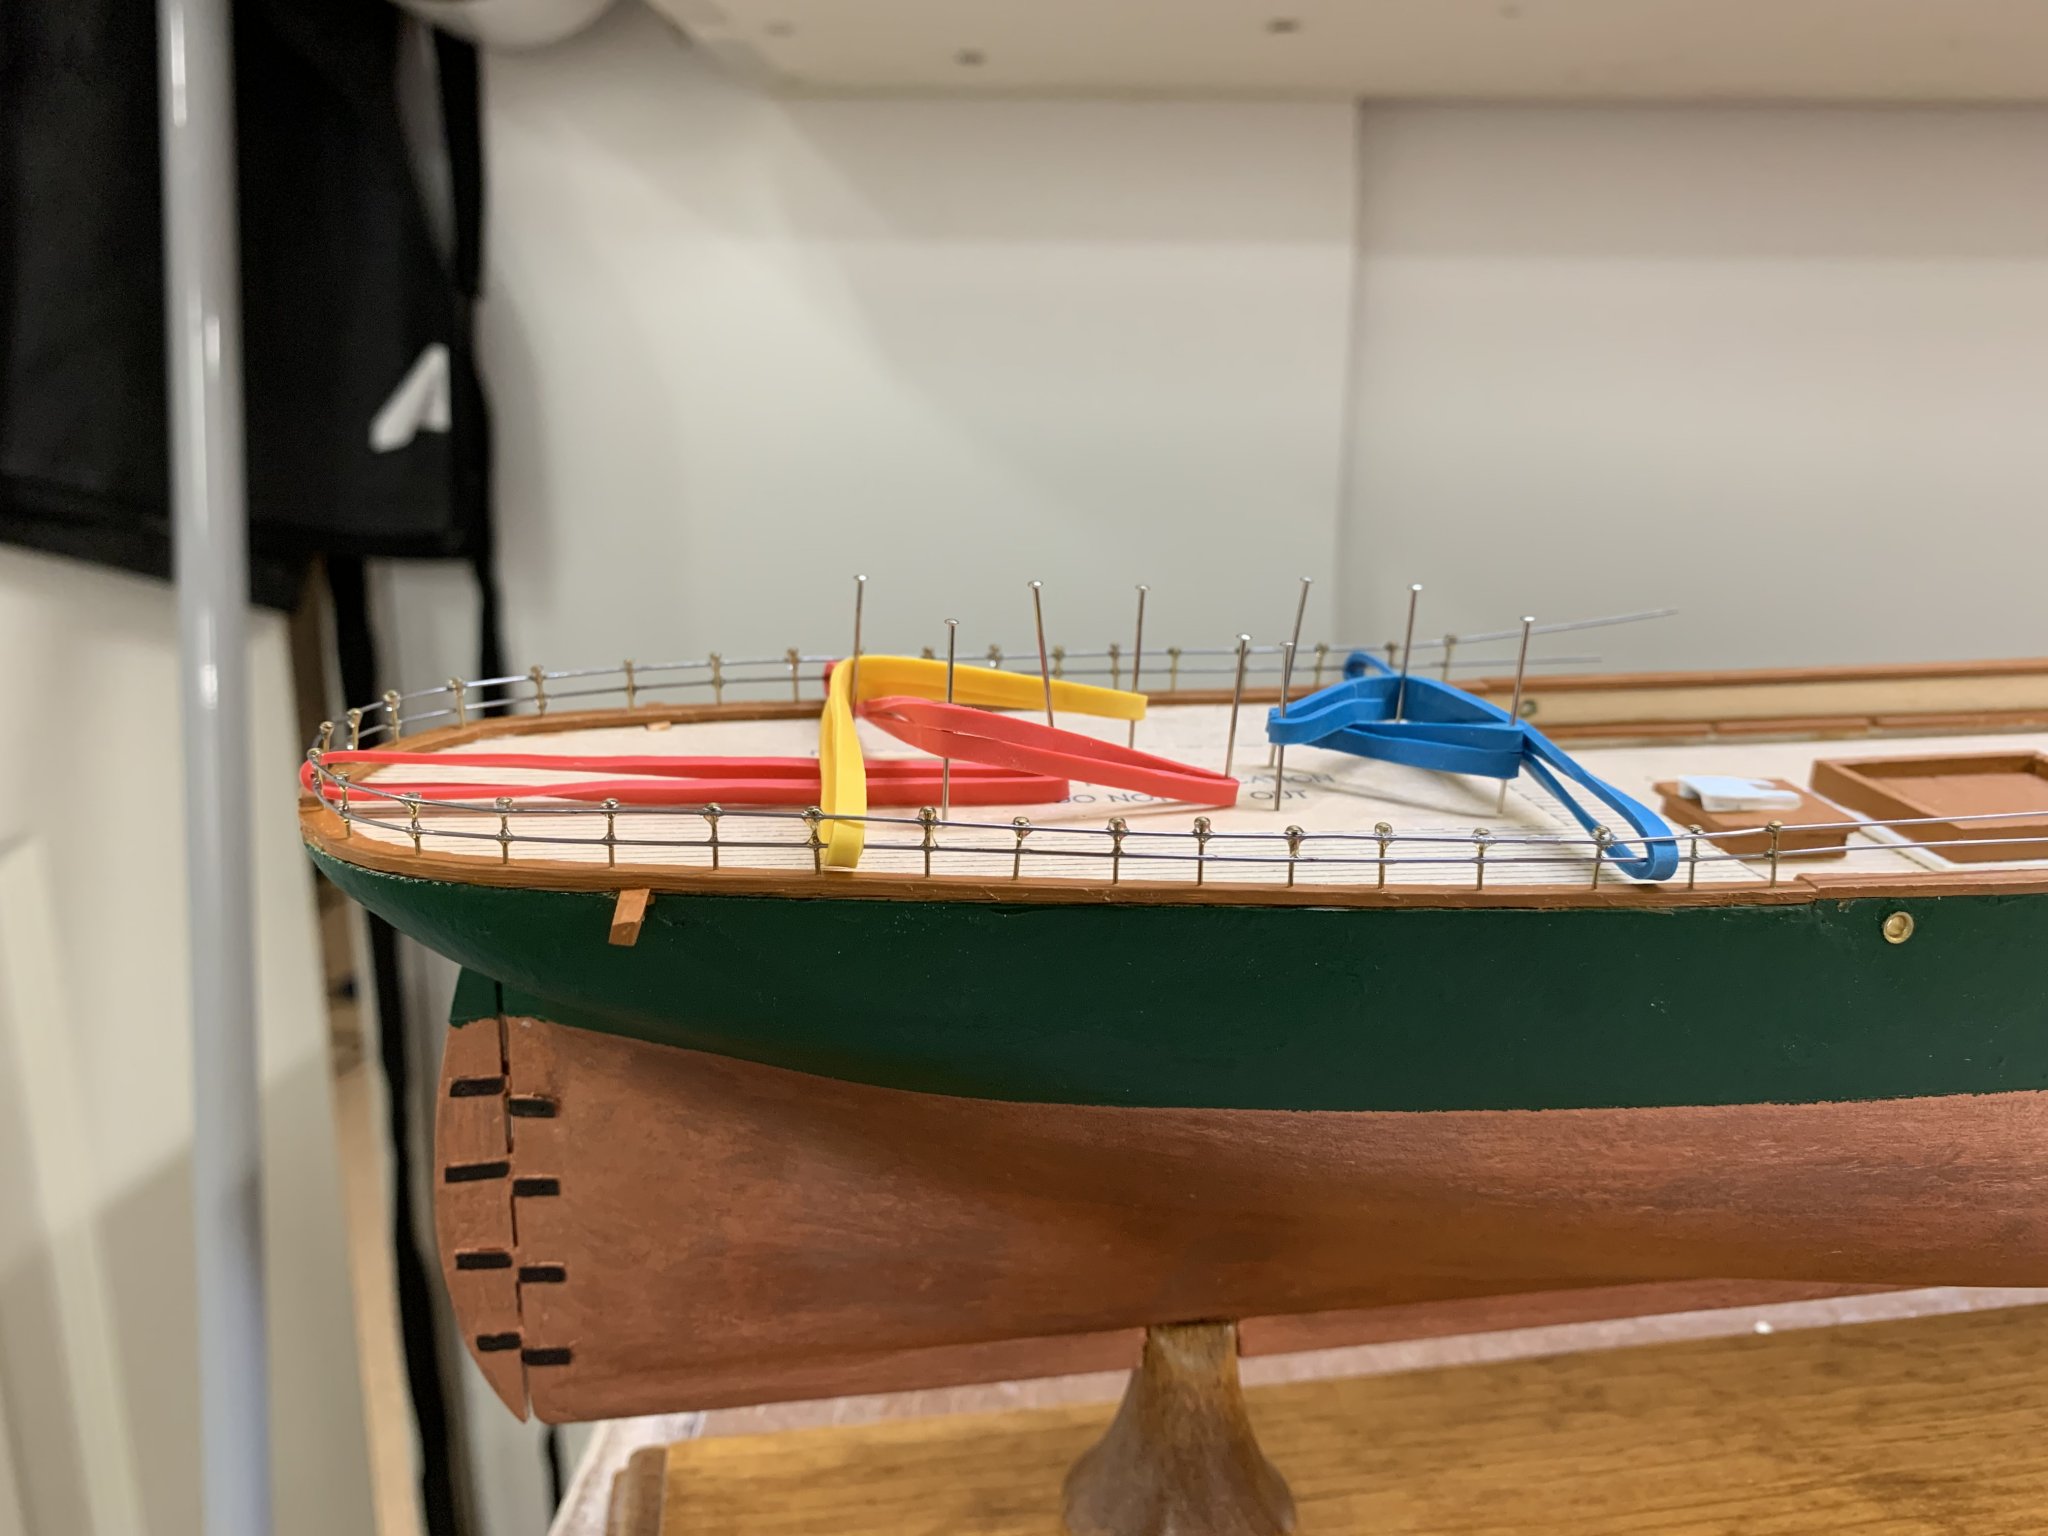
I can see the sails would have looked better with the lighter line, I’m not sure why the kit called for black, unless it saved them needing to supply another bundle of line? And yes, the lower shrouds are disappointing to me, the instructions showed a cross section that wasn’t labeled very well, and I didn’t catch it until the upper shrouds. The bad part is this one doesn’t use real dead eyes, the lines are glued and pinned into the hull and a metal “deadeye/lanyard” casting is glued on later, so I’m kind of stuck.
-
-
Hello all, new member here. I’m a very new modeler, but I’ve been doing amateur woodworking for awhile. Working through my first wooden ship model, the Thermopylae from scientific models.
I’ve always had an interest in sailing ships, so it’s been a lot of fun getting a better understanding of what all the rigging actually does.
I’m planning on doing a POB build next, and putting a lot more detail into the rigging.
Anyway, great information here, soaking it up like a sponge. So many artists here creating beautiful work, it’s definitely something to aspire to.
Jamie
-
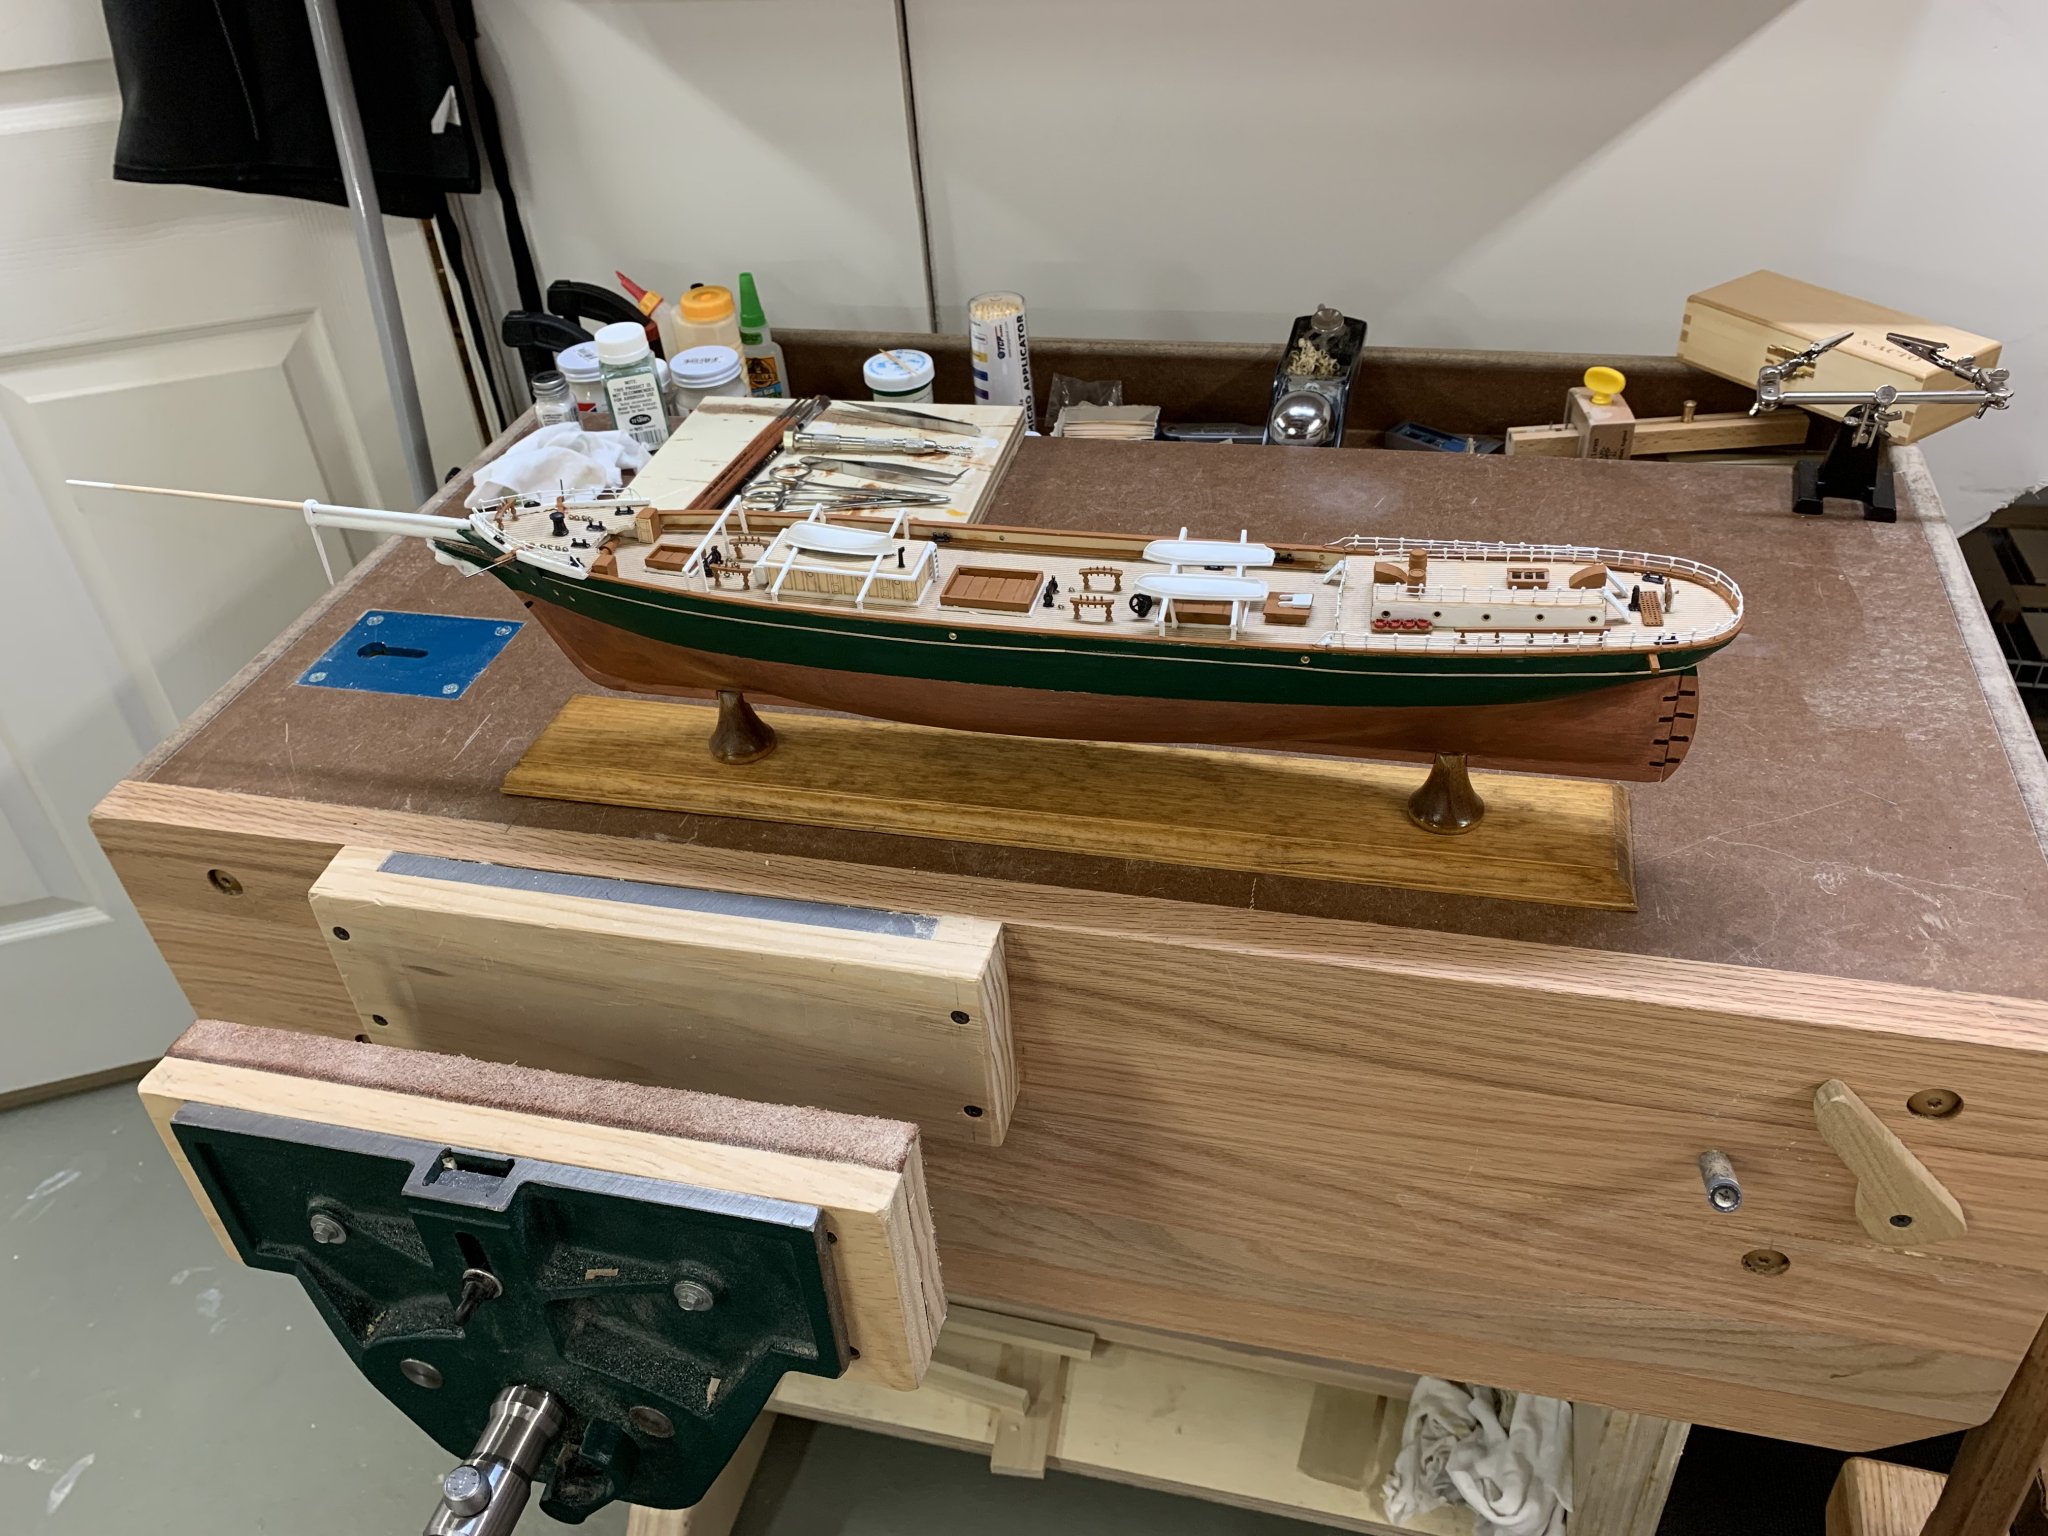
Finished the bow sprite rigging, shrouds and stay sails. If you were following along in the instructions, you'd see I was jumping between multiple steps, I ran out of pin nails, so I kept working the best I could. The more I work on this, the more shortcuts I see in the design/instructions as compared to a lot of the build logs/models here. I'm going to push on through as designed, but lots of room for better rigging detail in the next model.


-
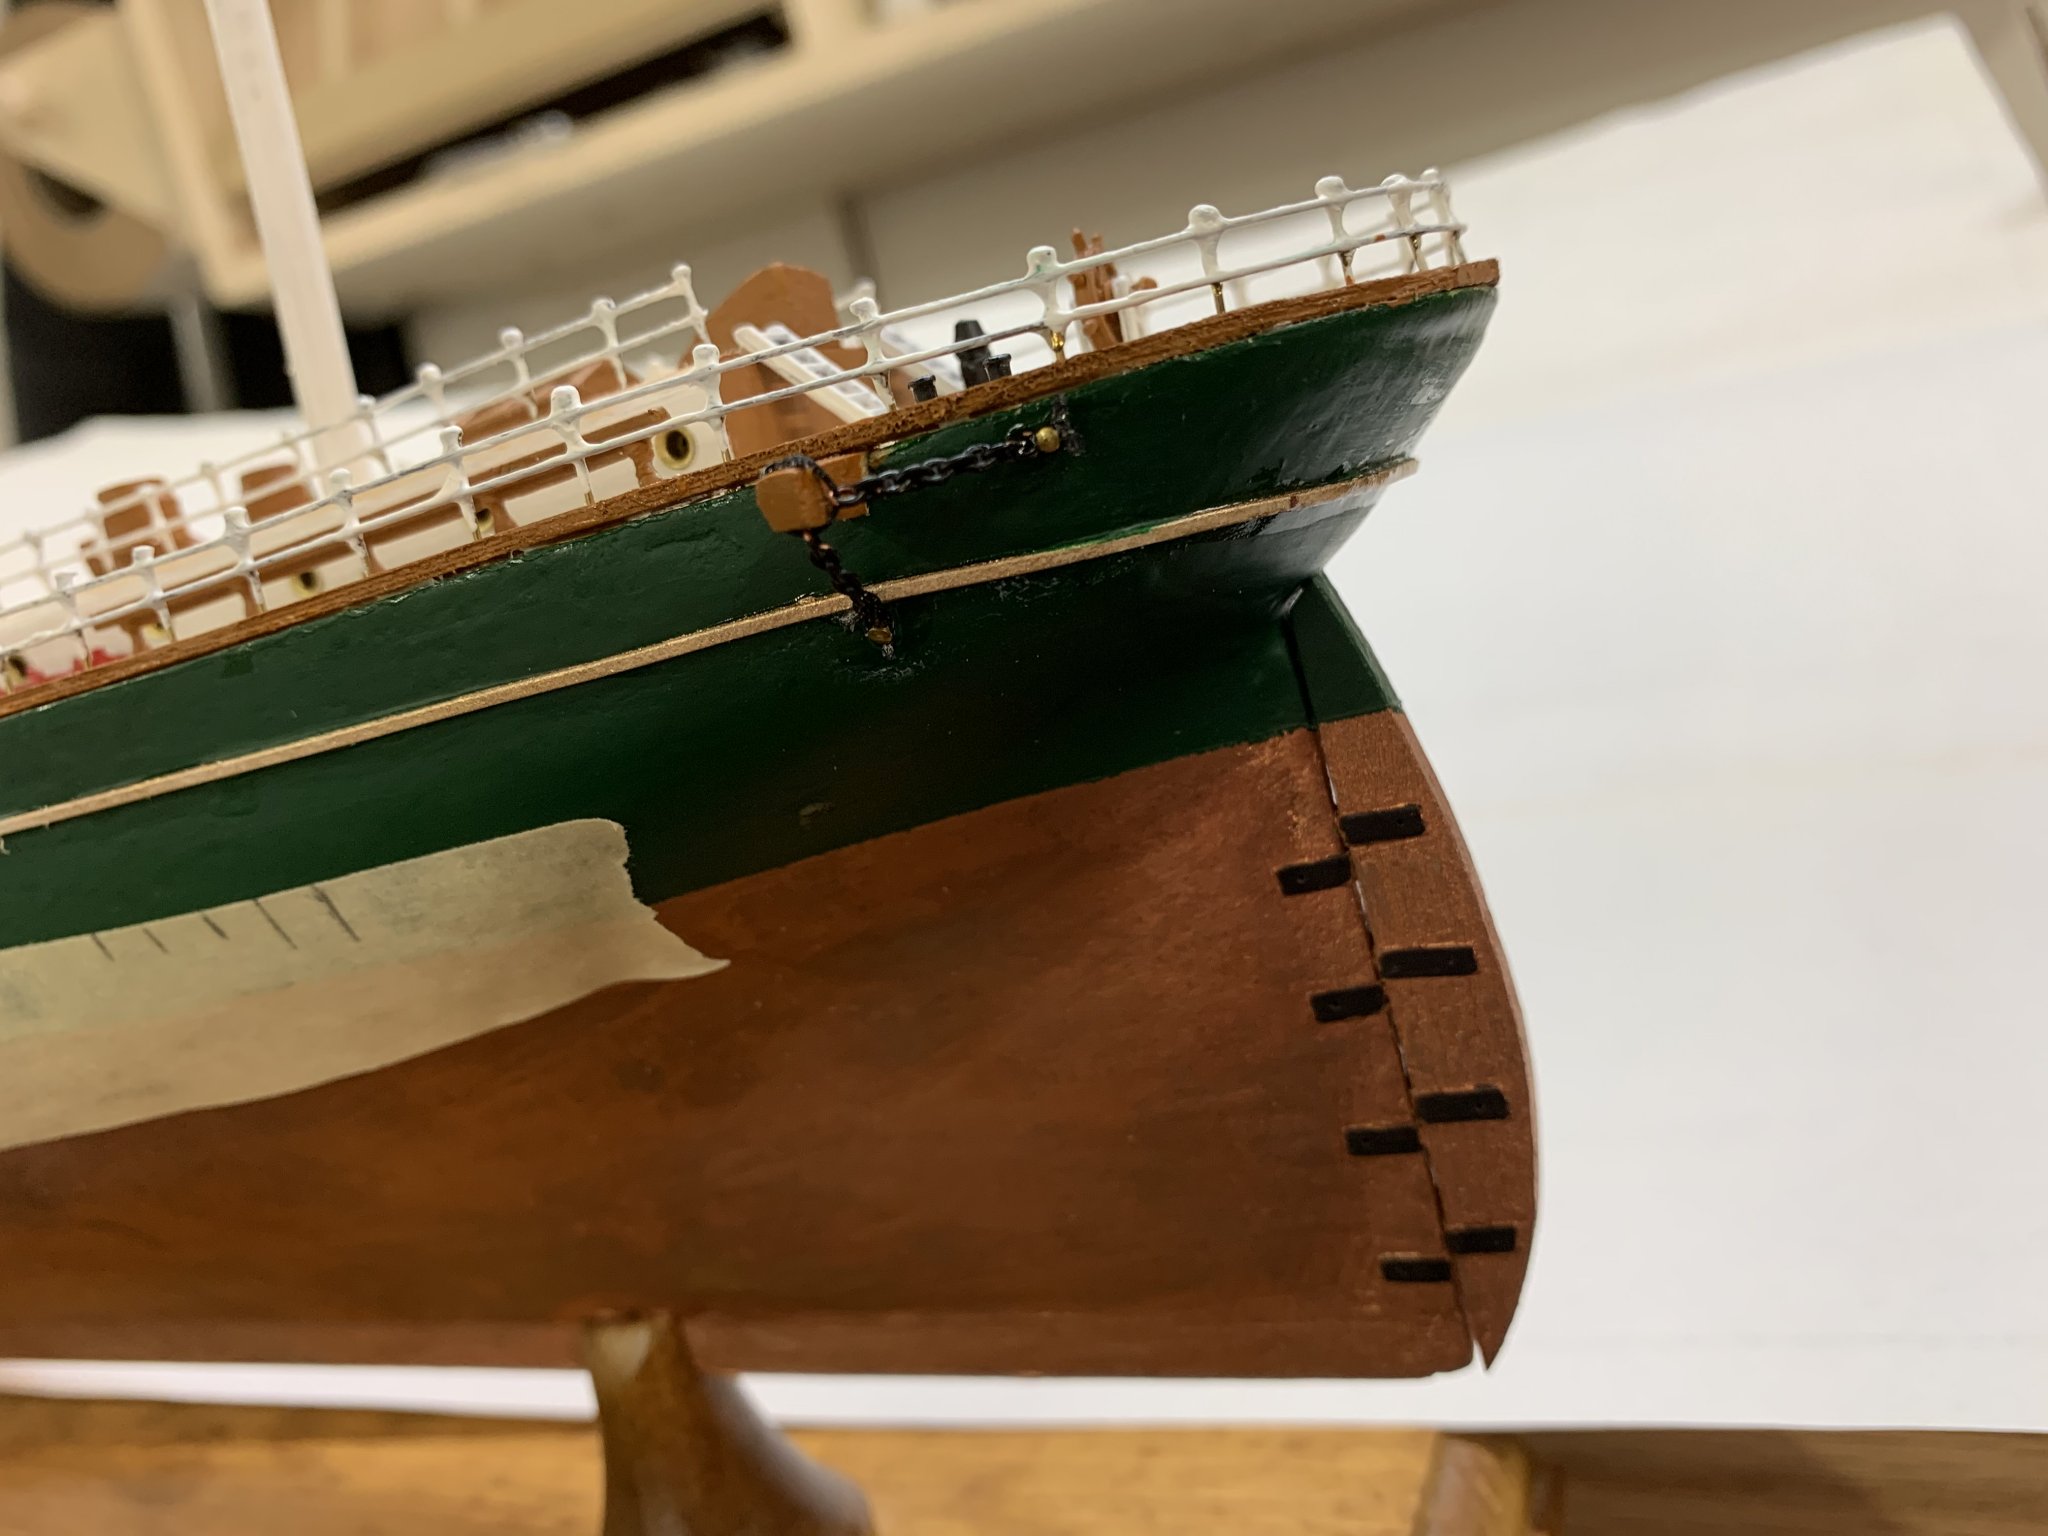
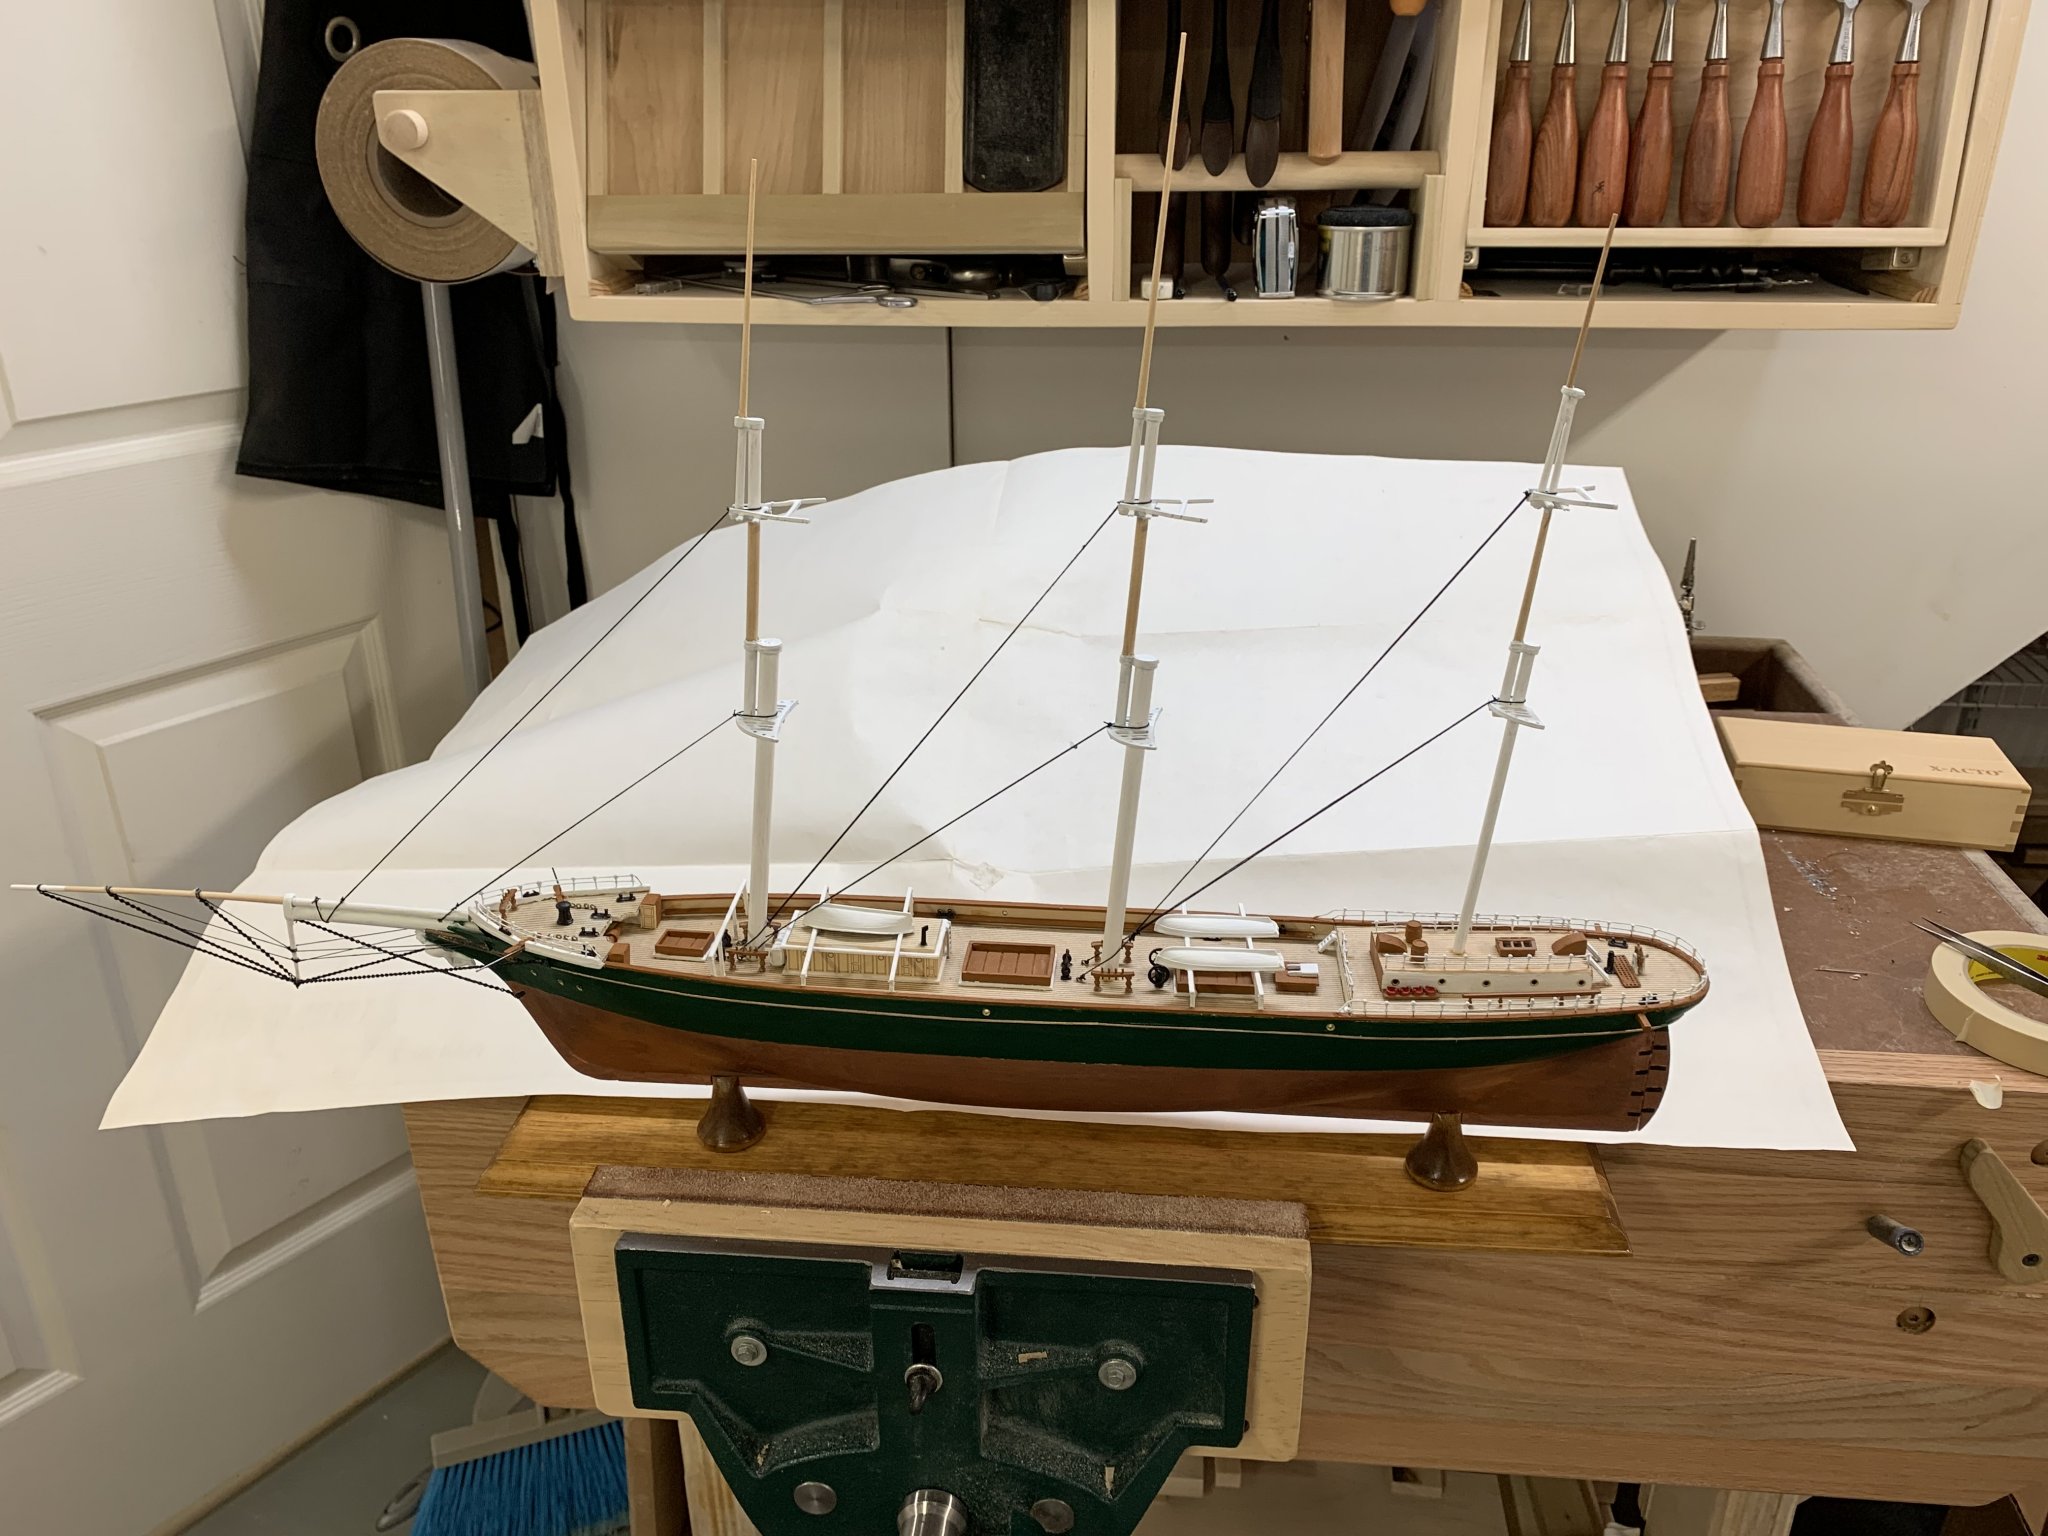
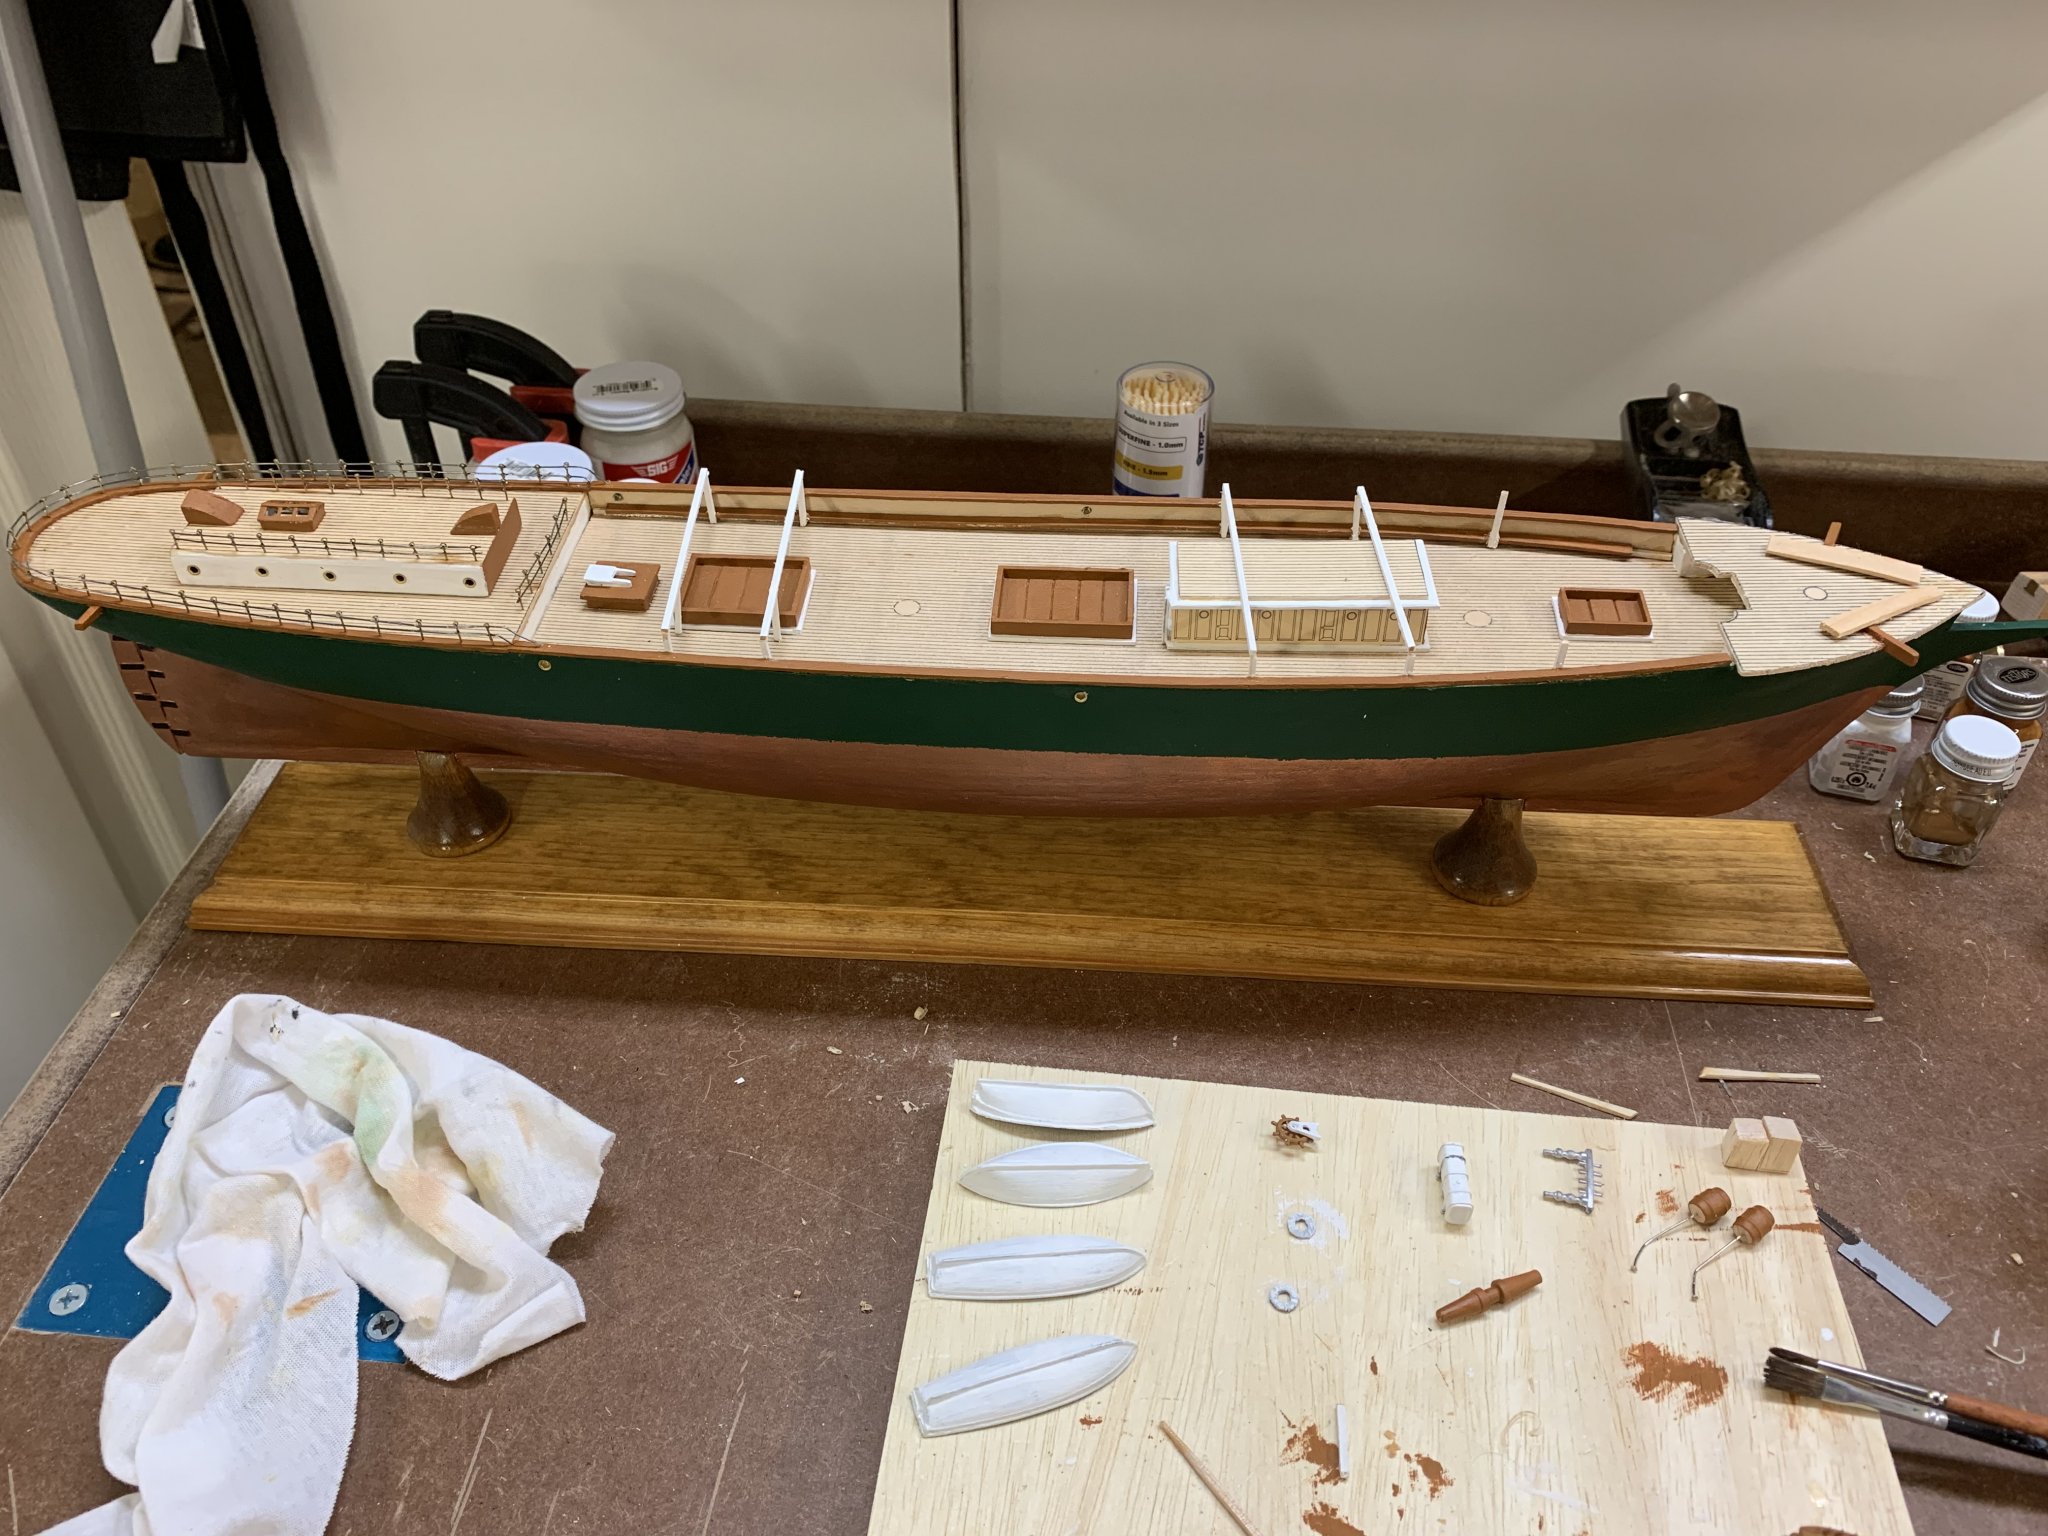
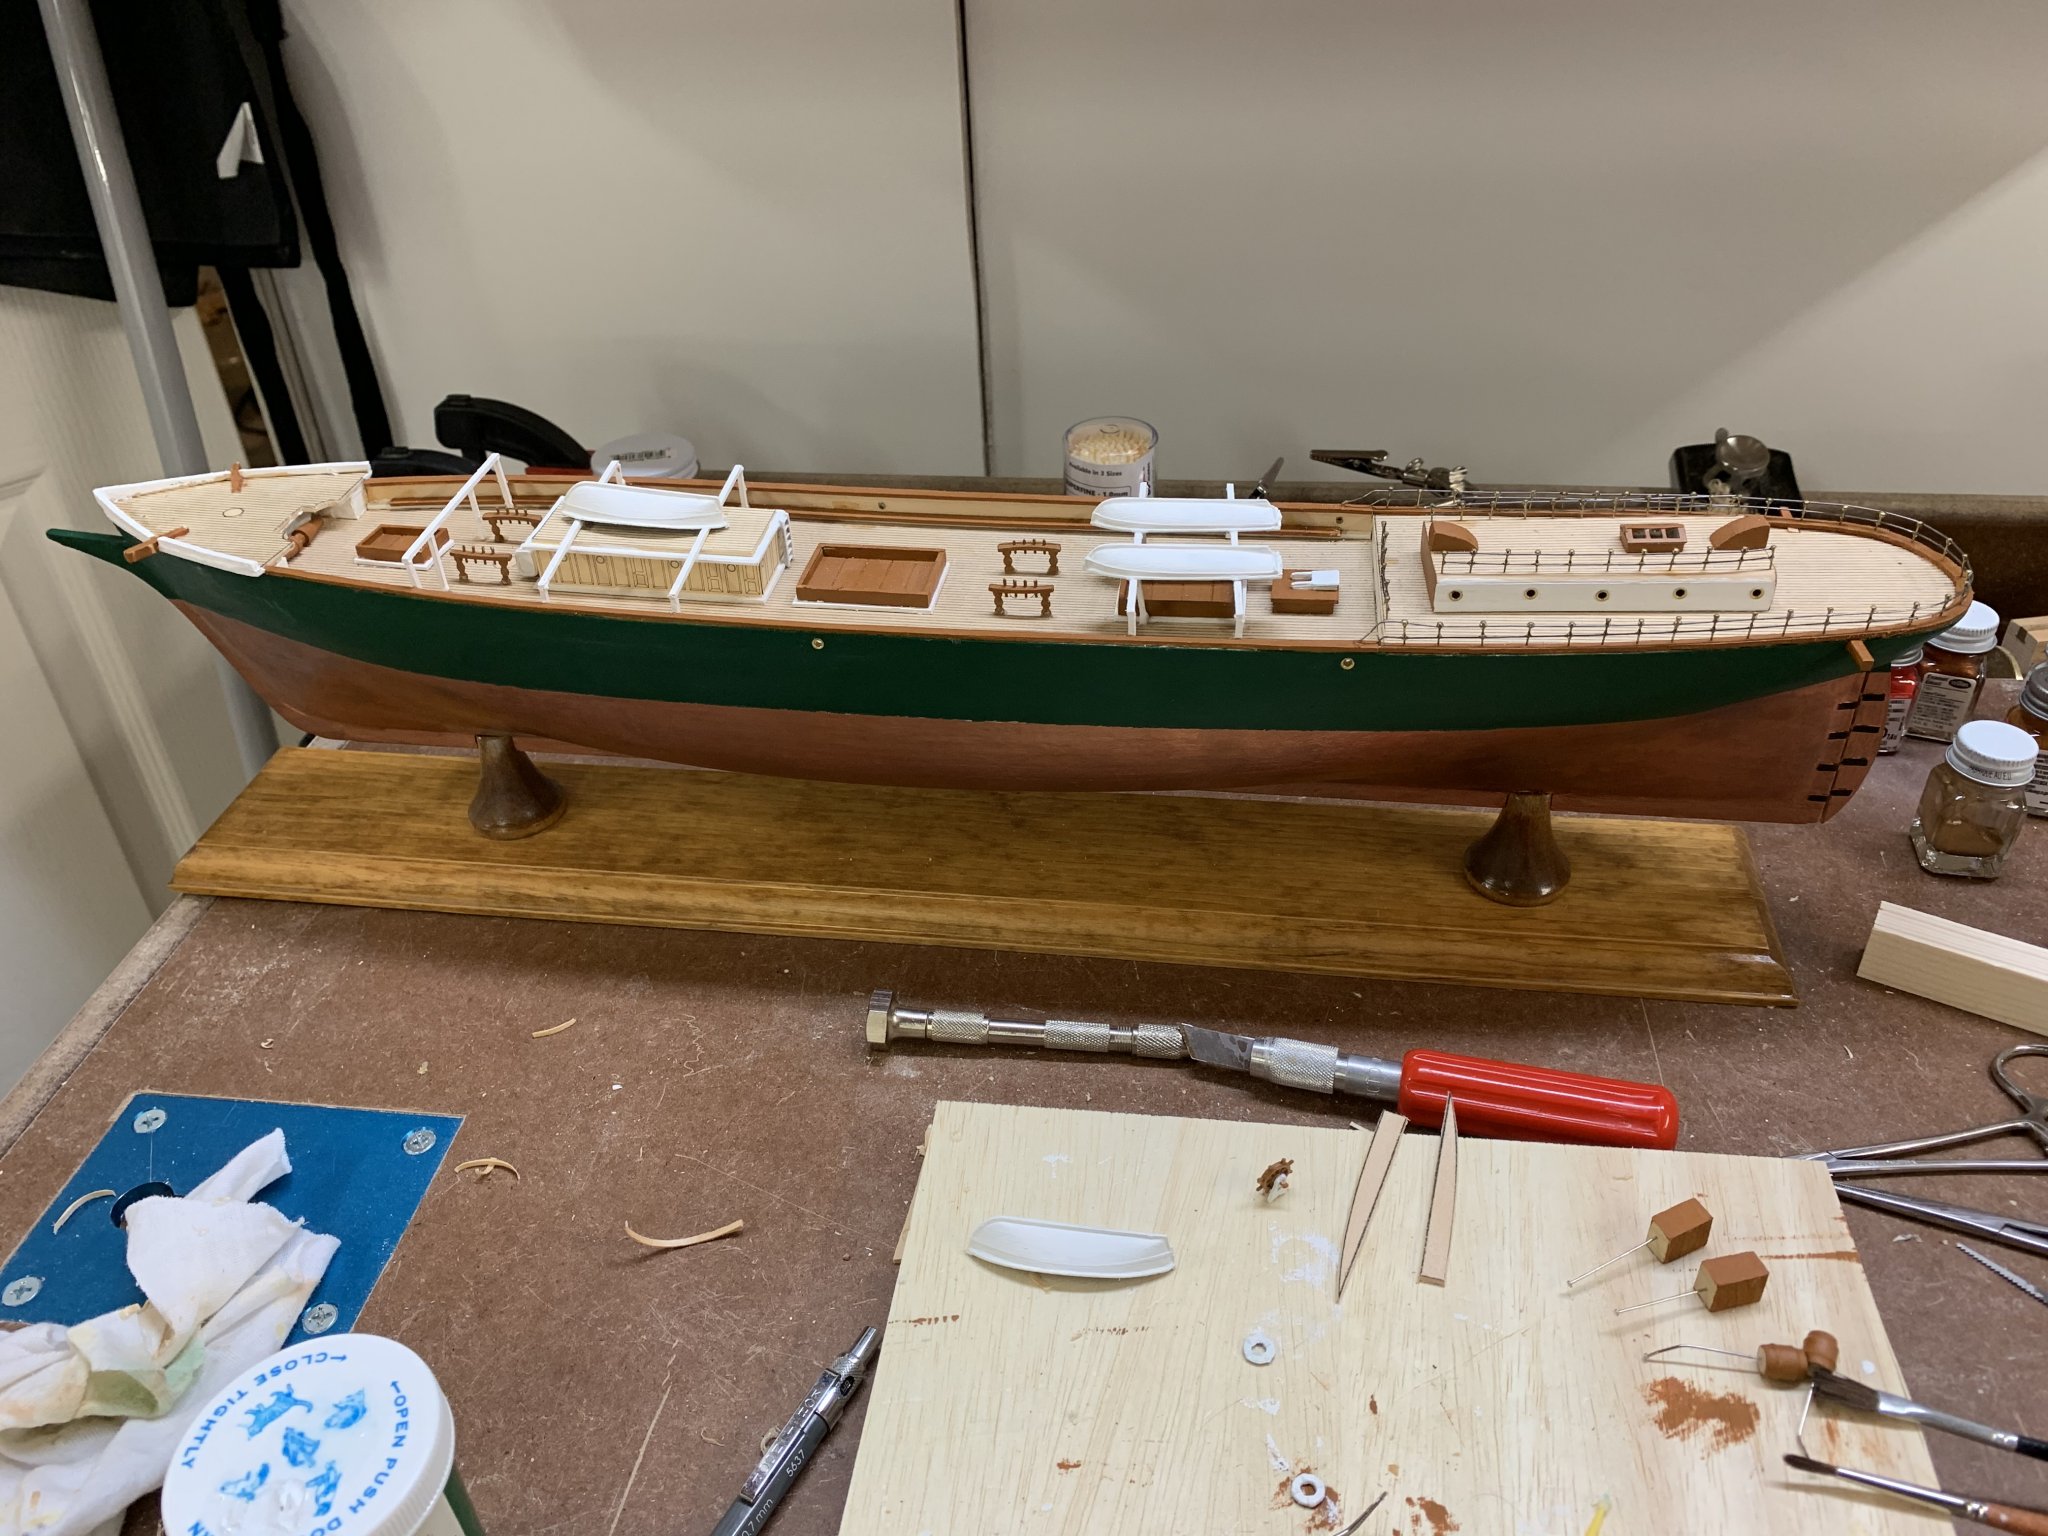
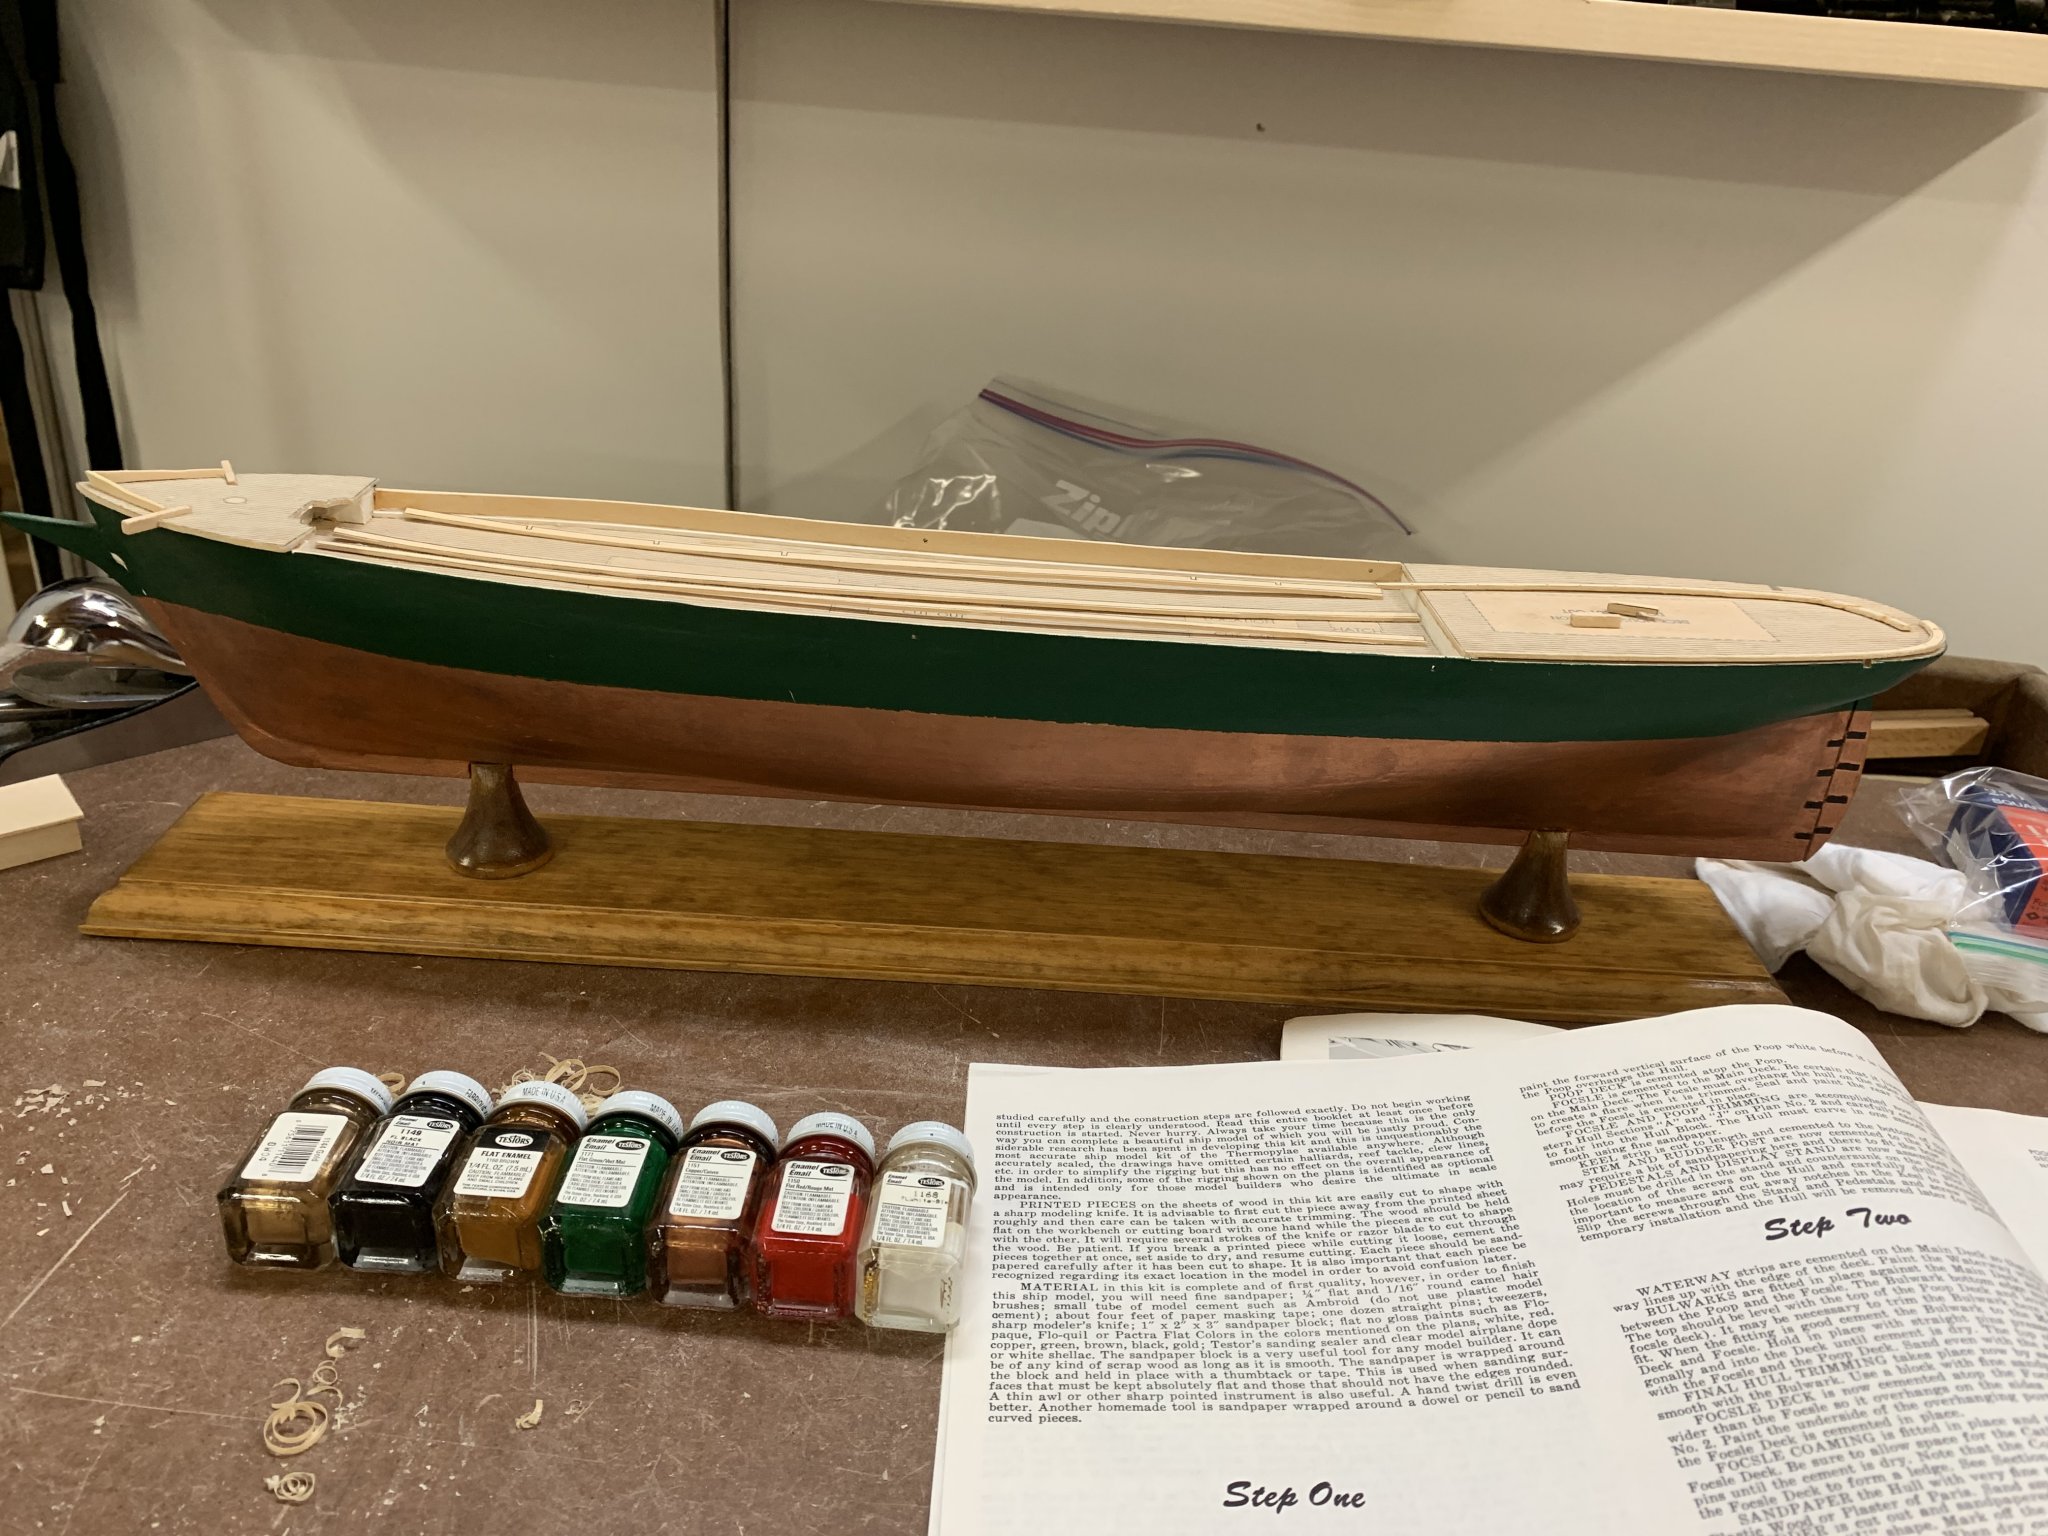
It’s hard to tell in the lighting, but she is green above the copper
-
Thanks for the comments Steve. Yeah, for this one, a lot of the rigging is just square knots around a jib or mast with a dot of glue. I think with the scale it’s hard to get all the little details, and I’m ok letting this one be a little simple and just using it to cut my teeth on. I’m kind of cheating on the belaying pins and just tying the lines to holes in the pin rail. My next ones going to be a 1:64 scale POB, so I’ll be able to be a lot more accurate with the rigging.
- clearway, Bill Morrison and Duanelaker
-
 3
3
-
-
-
-
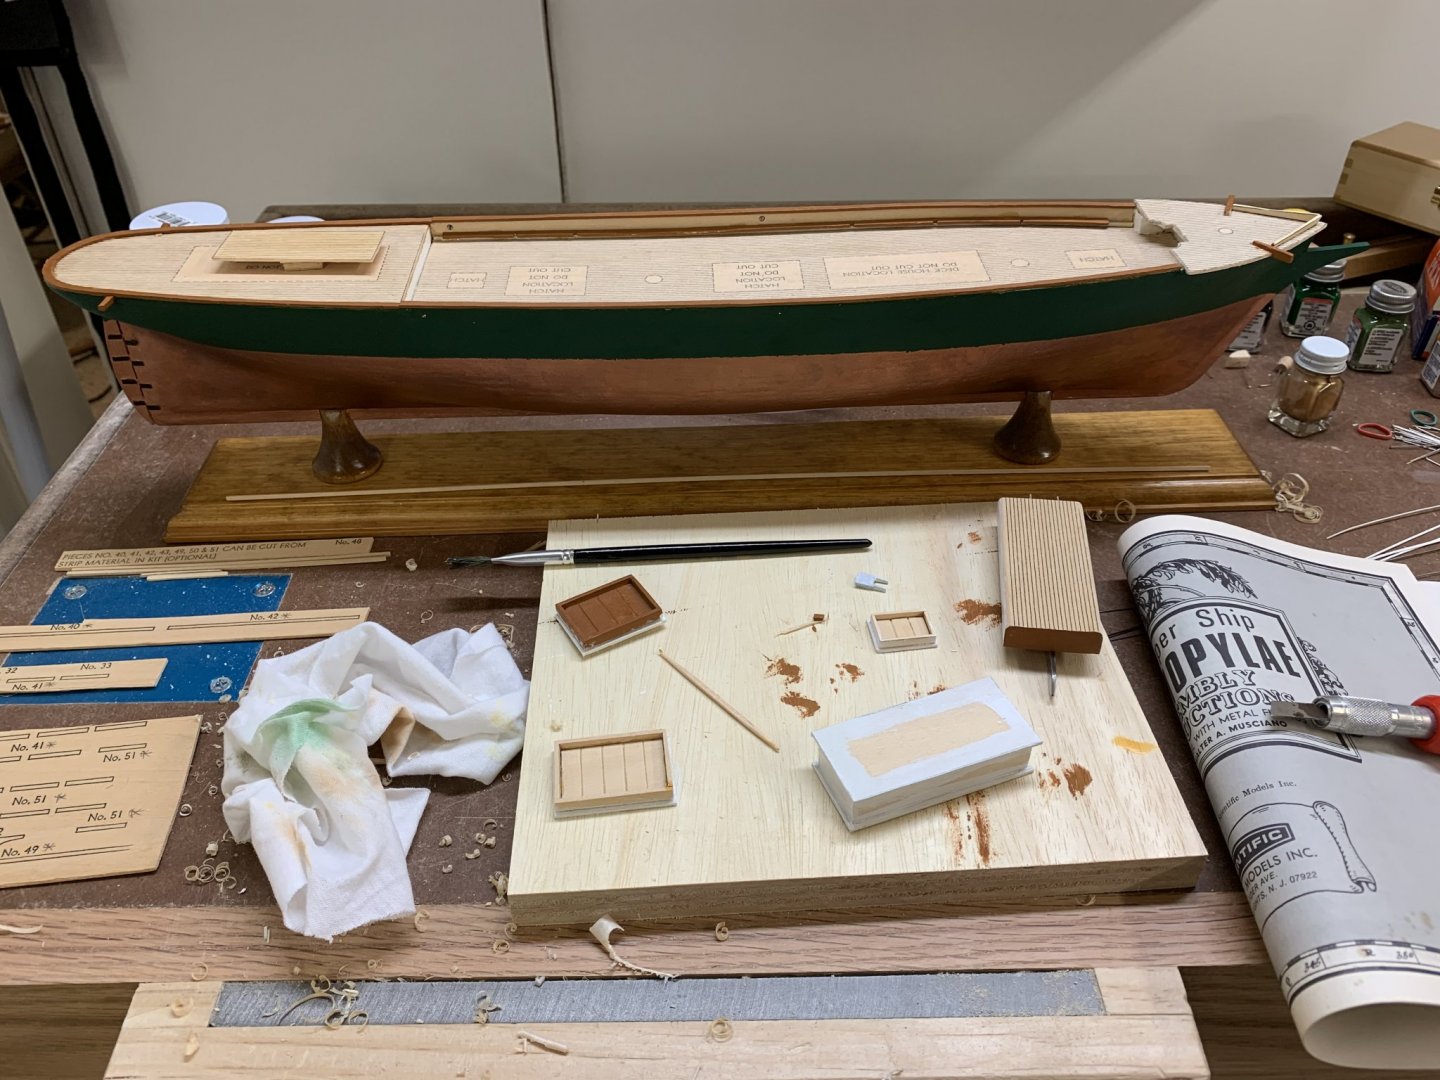
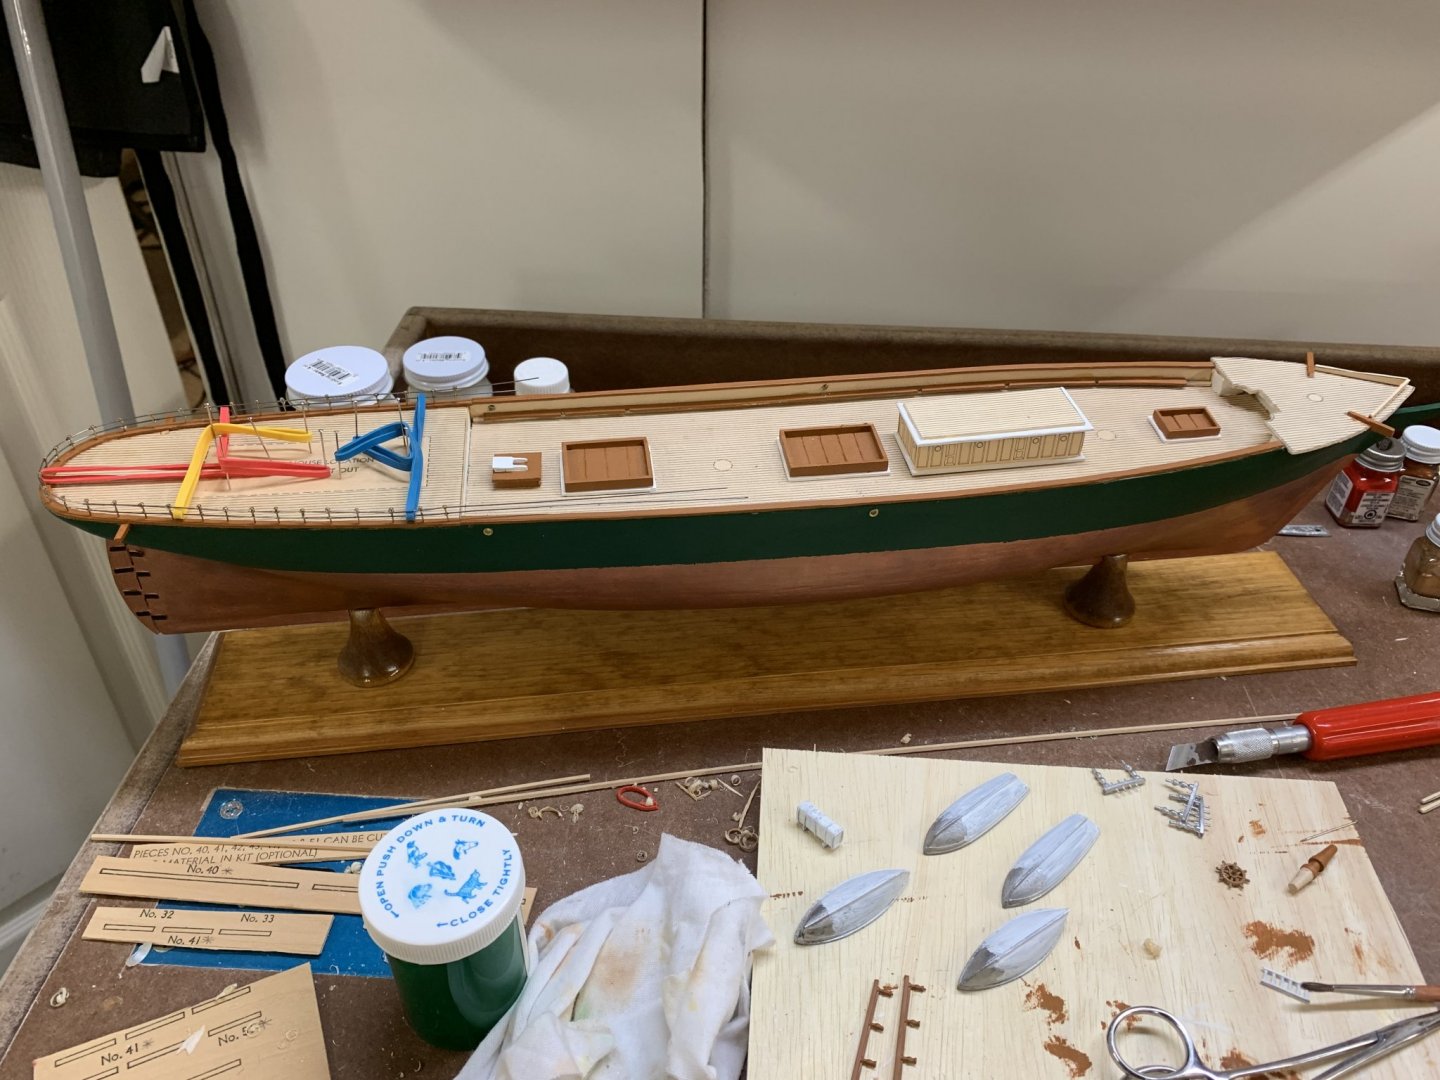
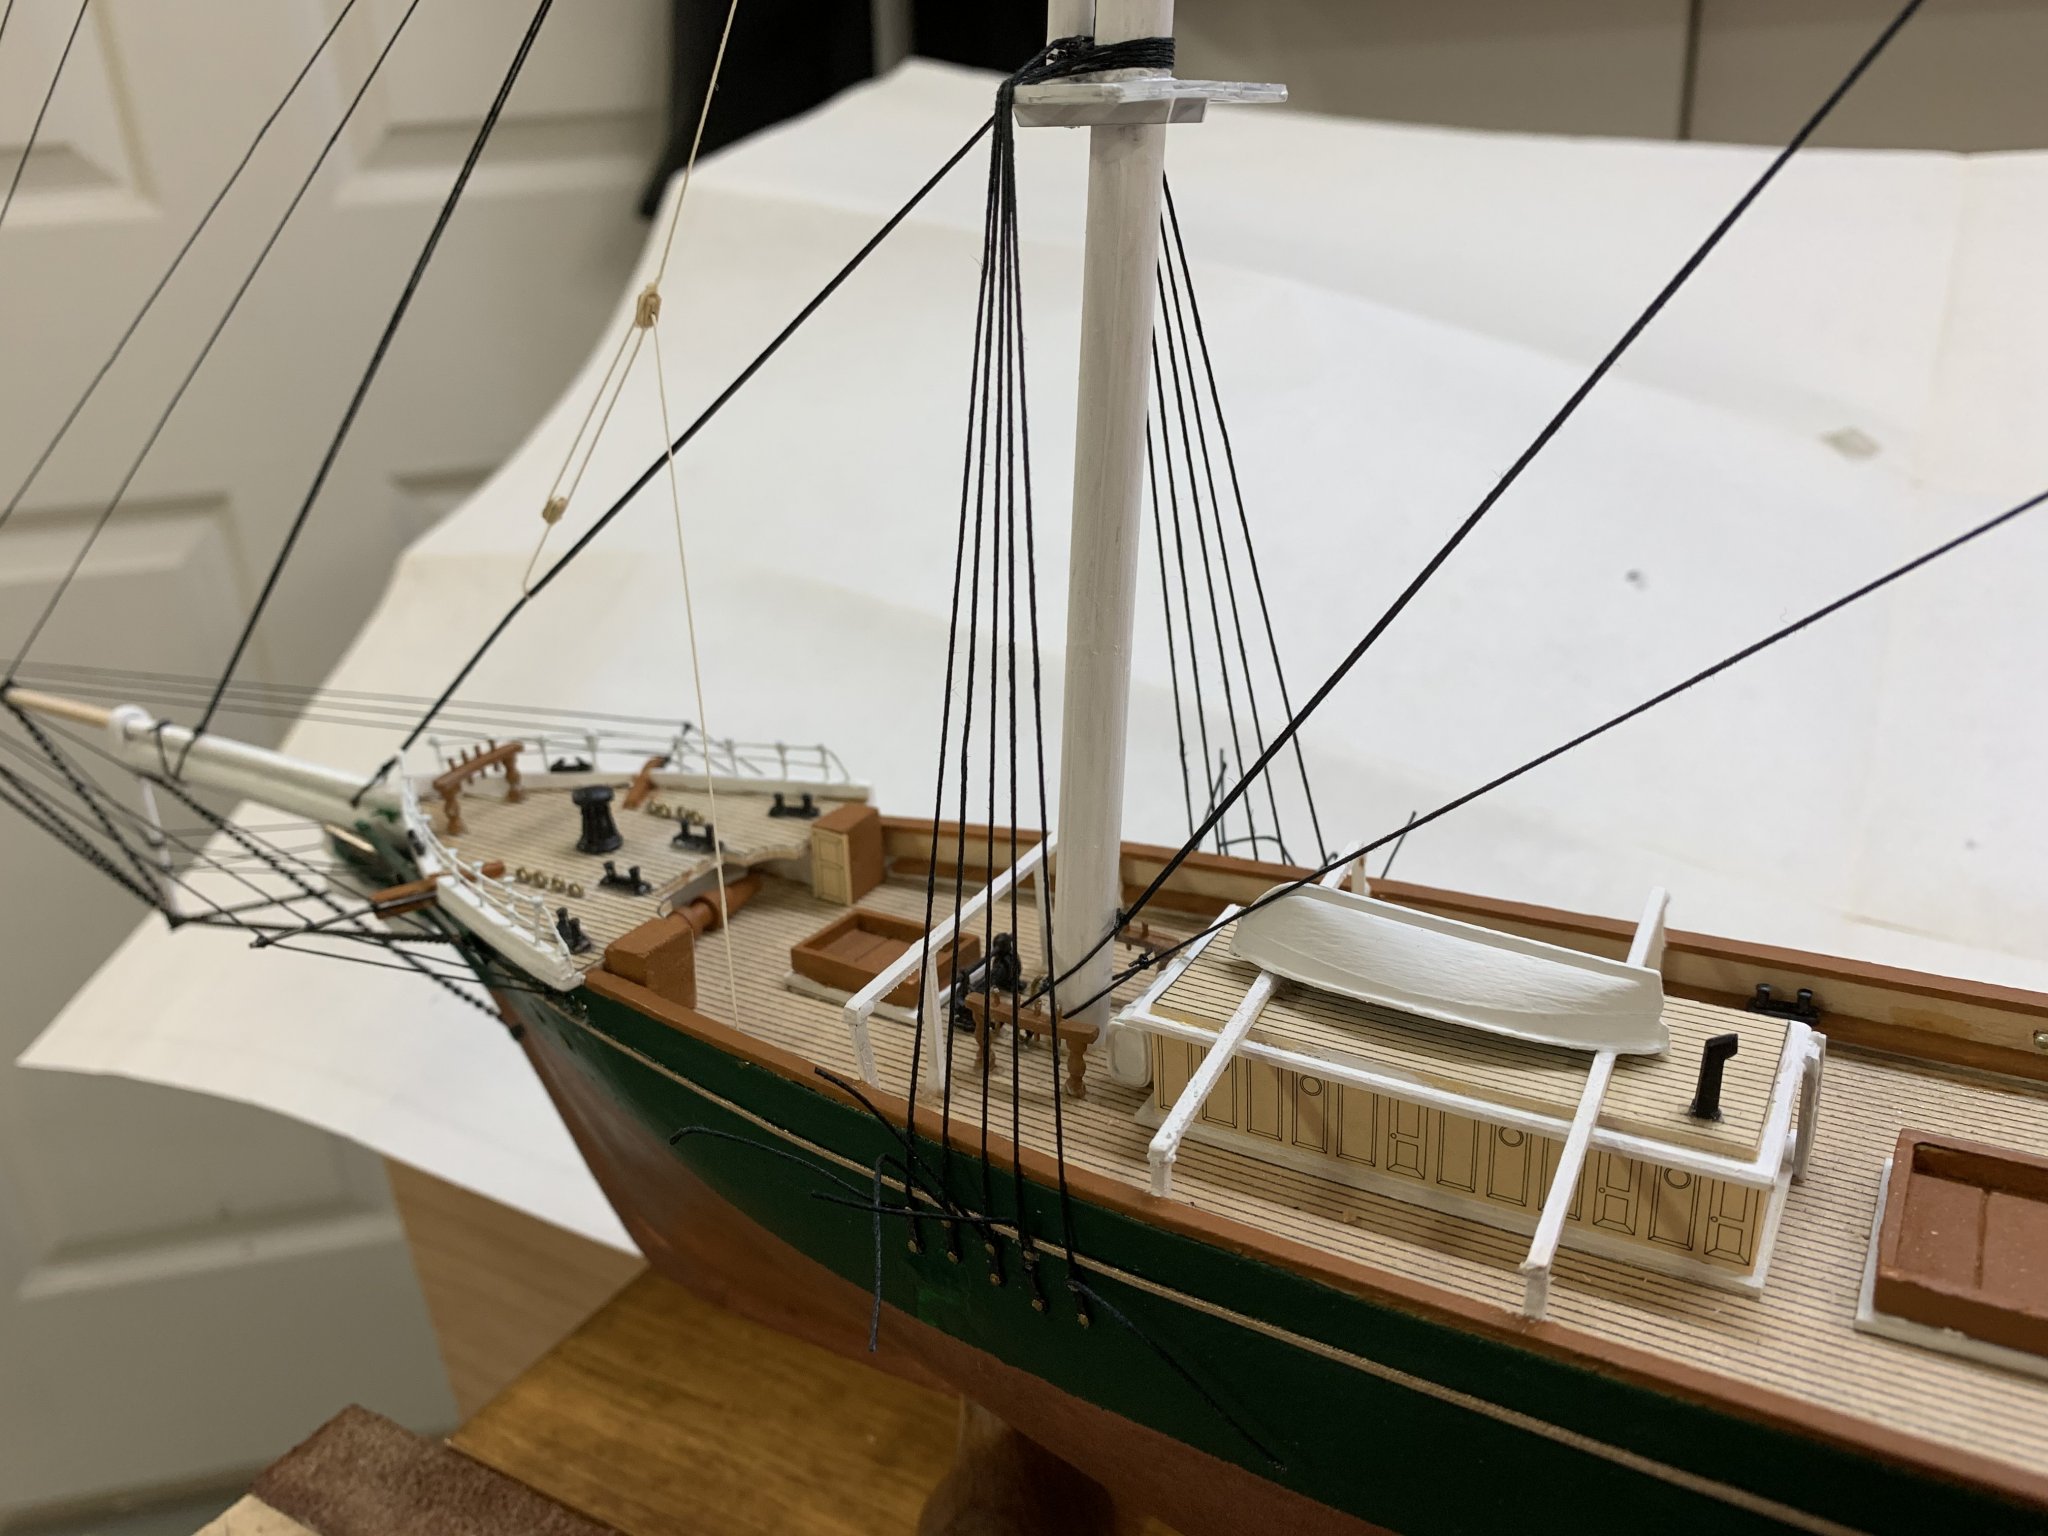
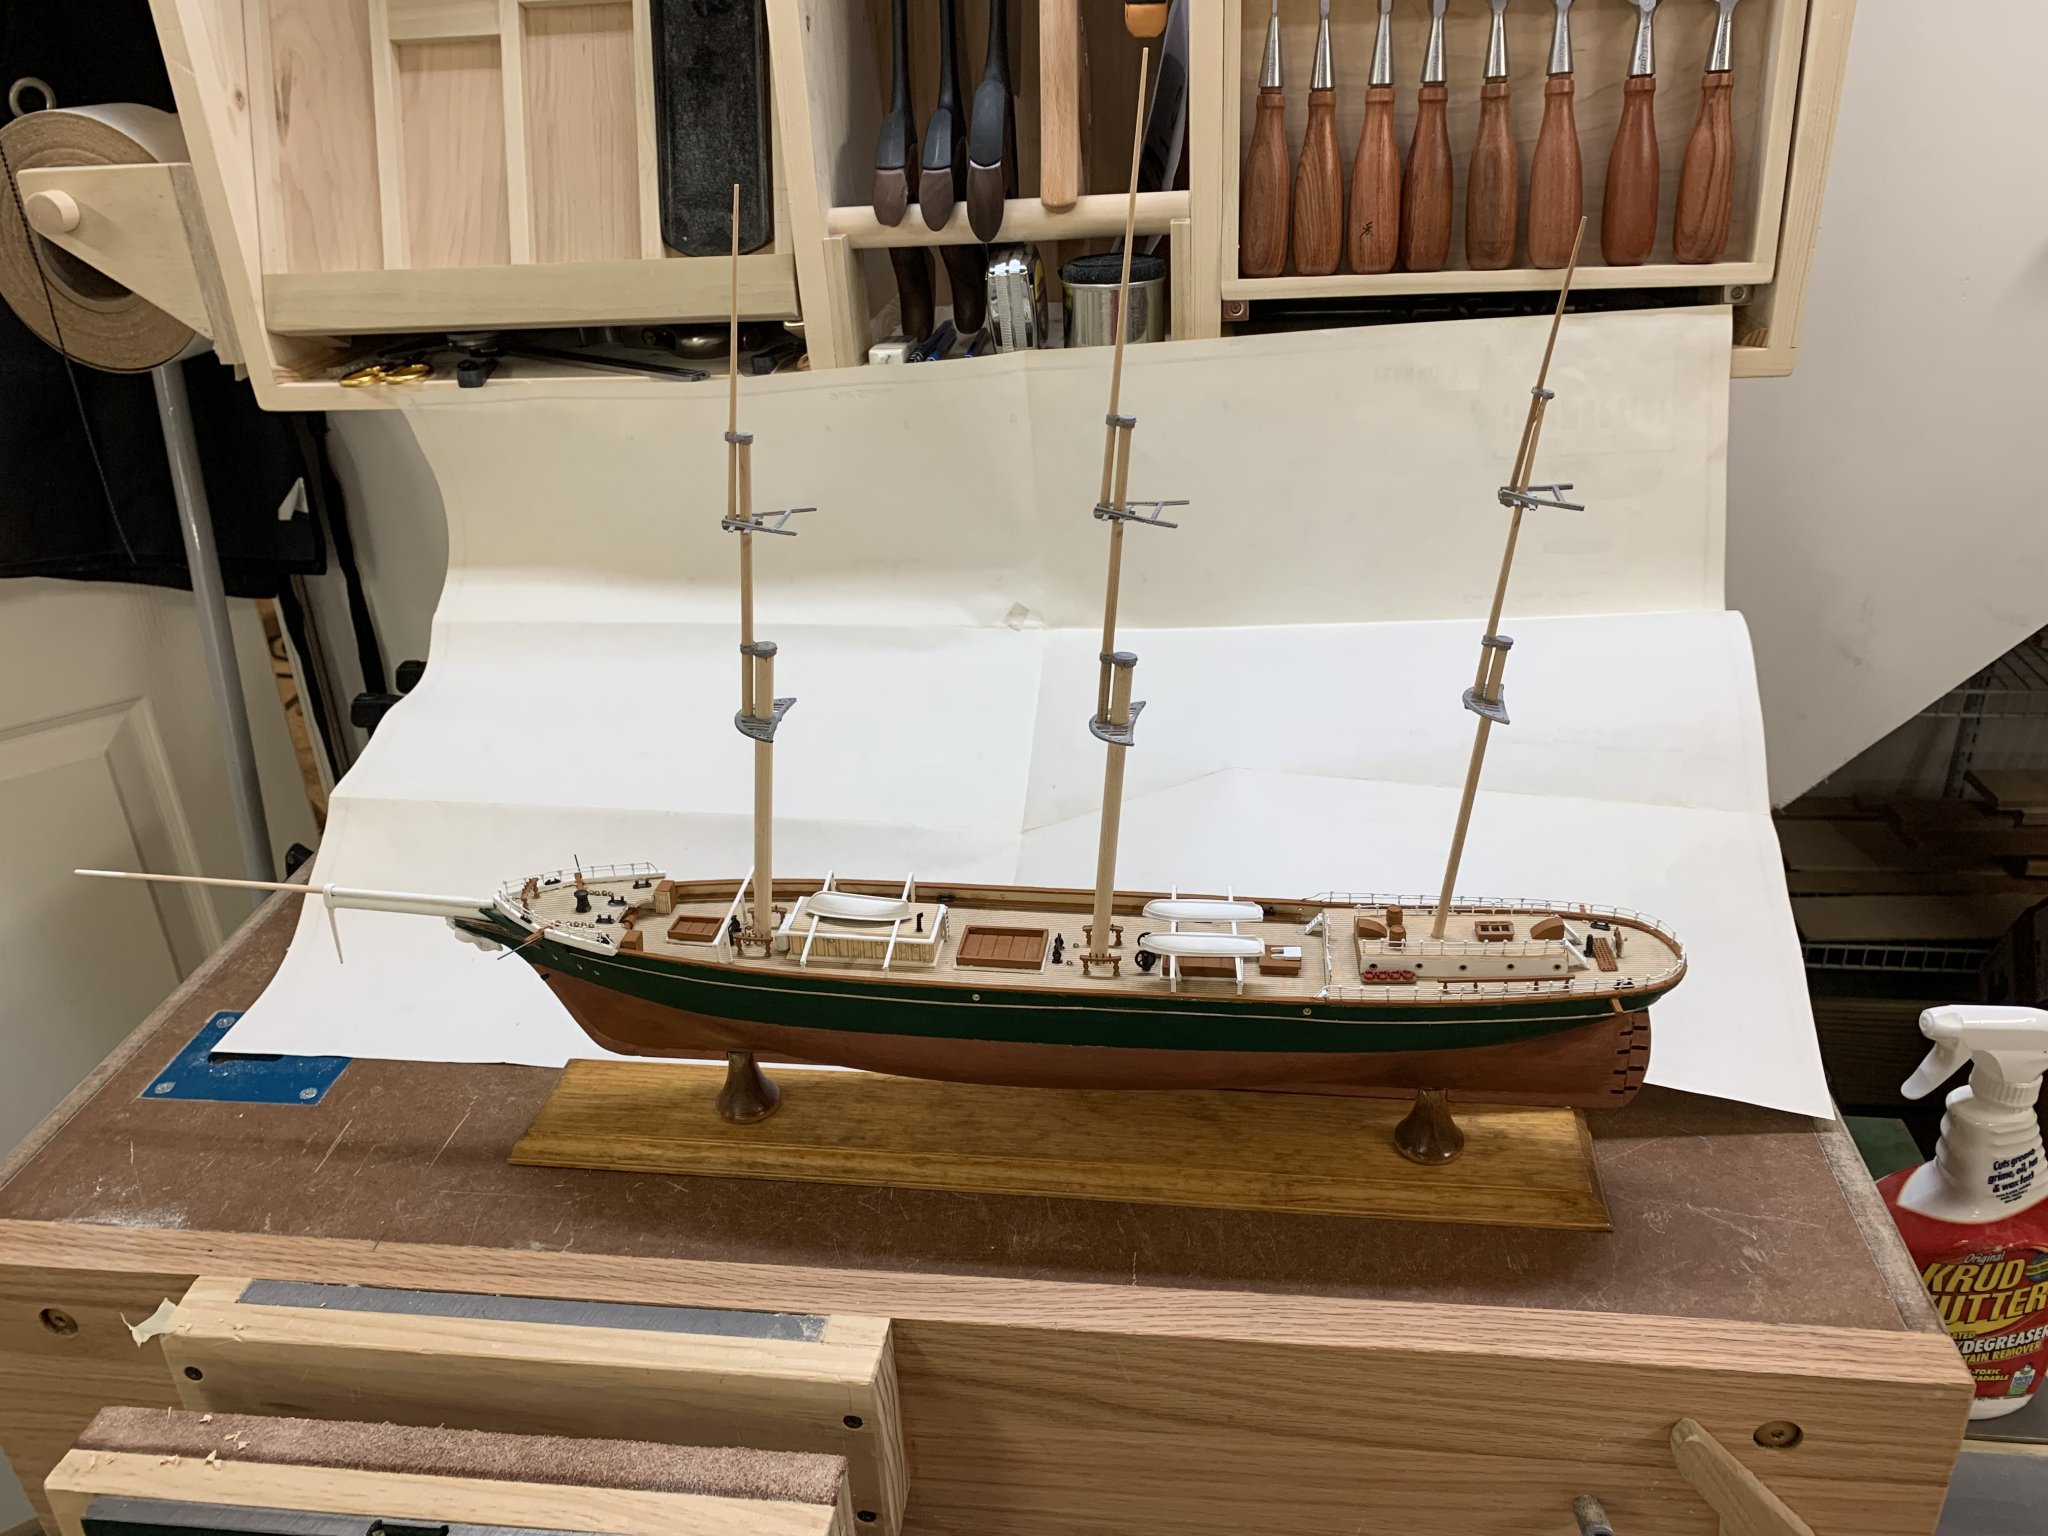
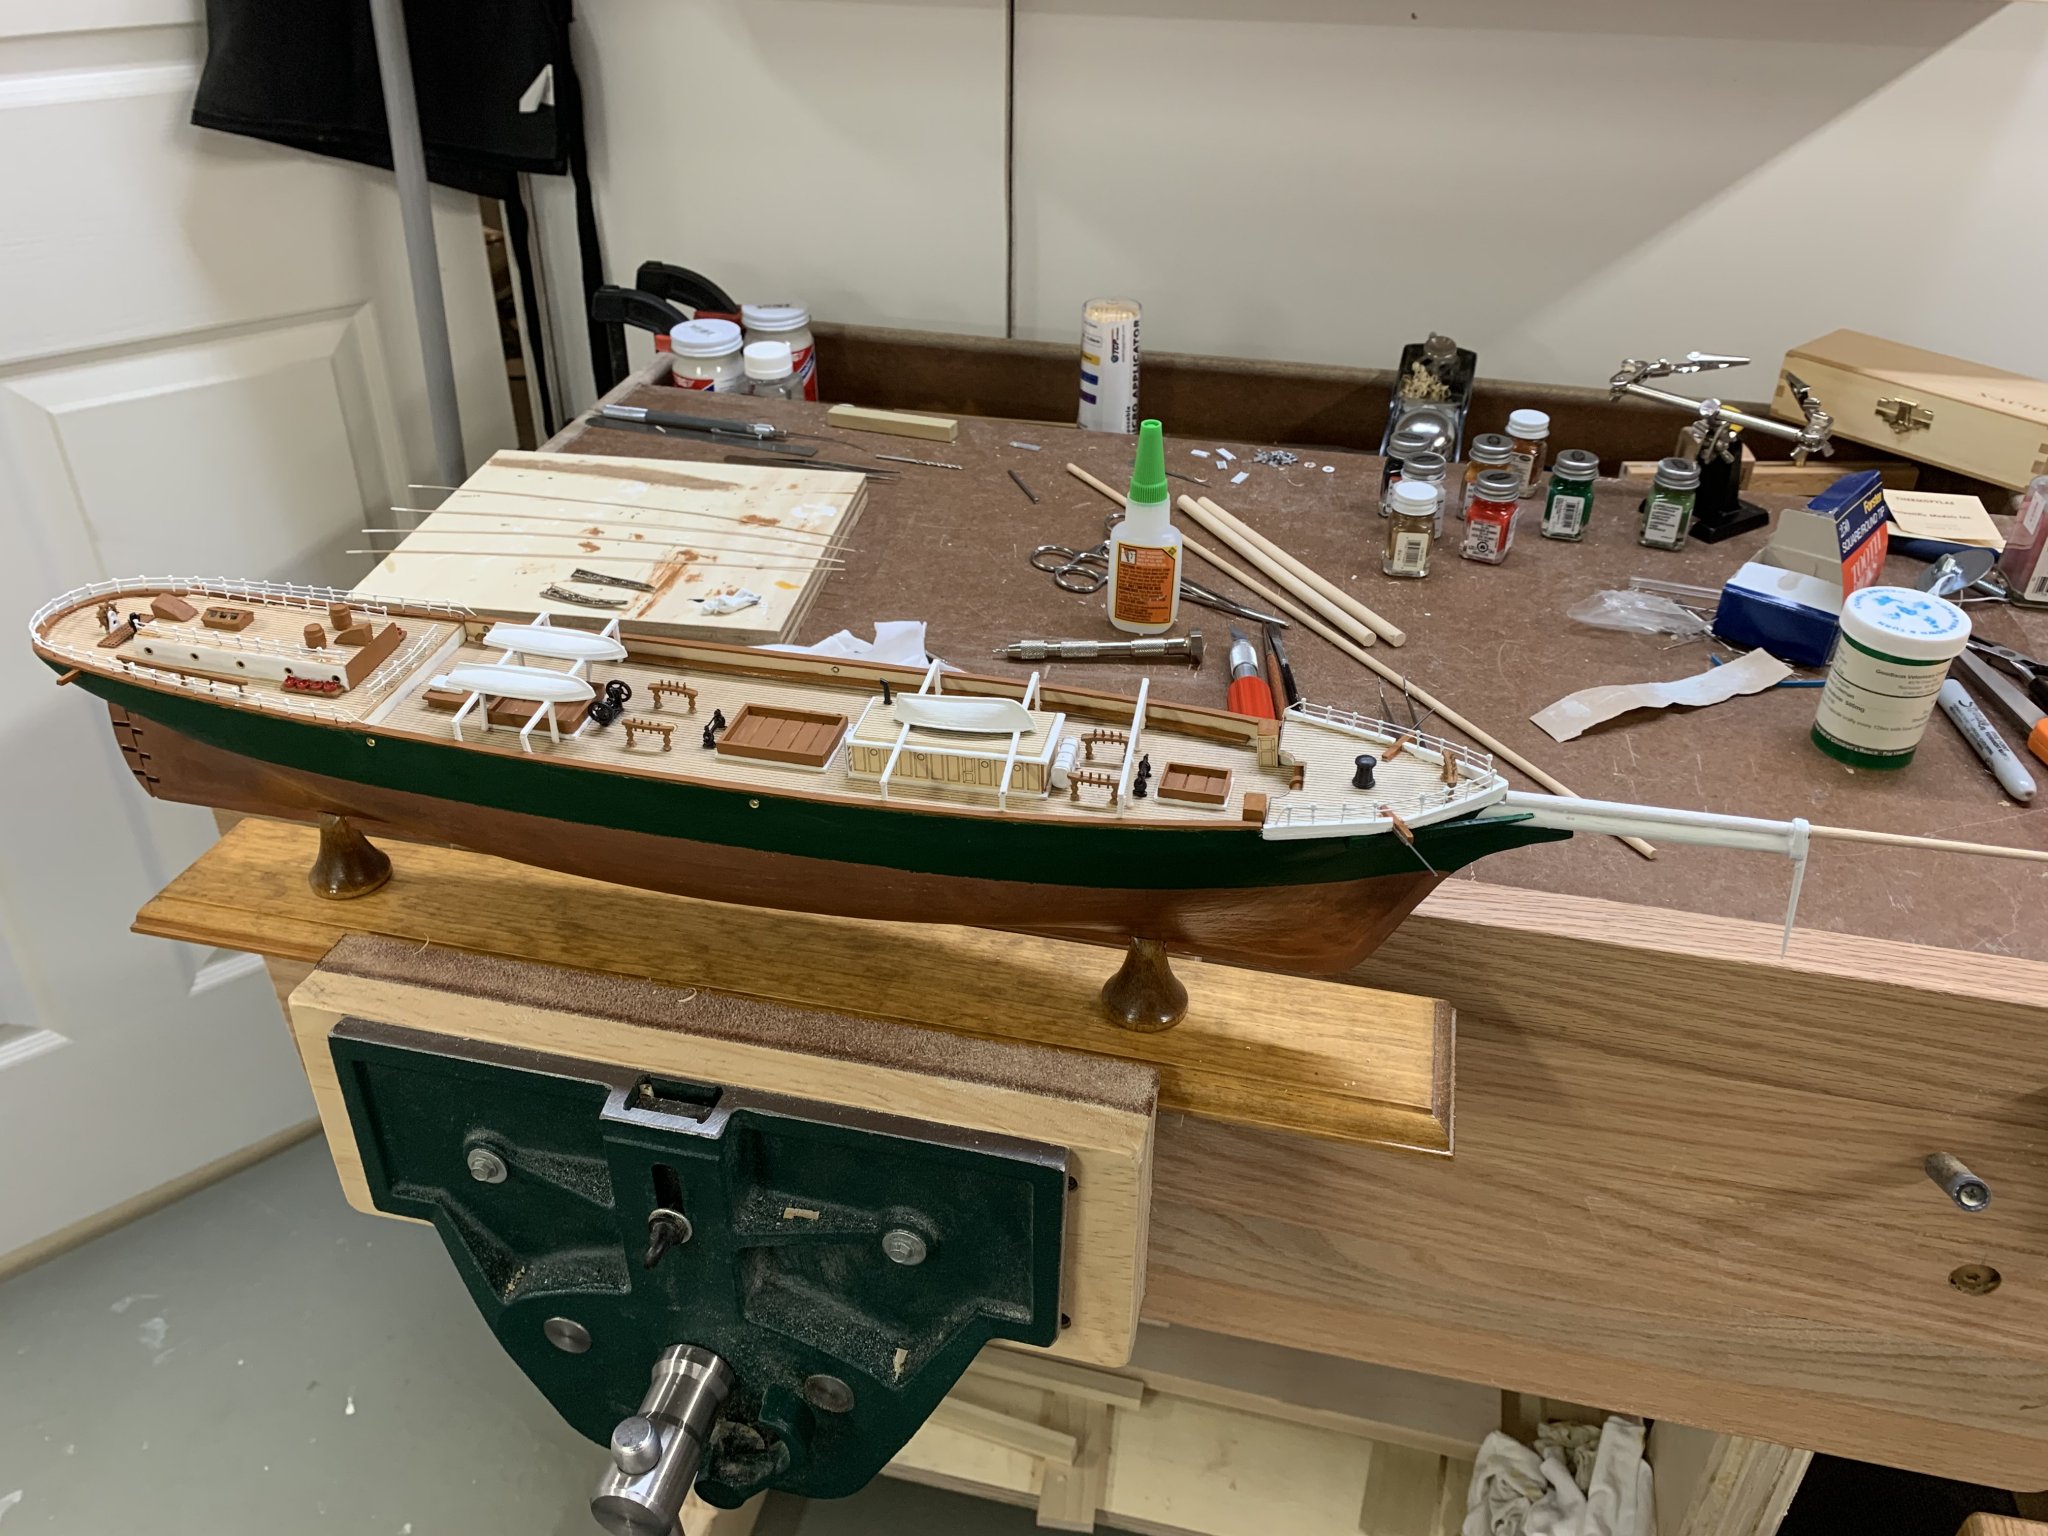
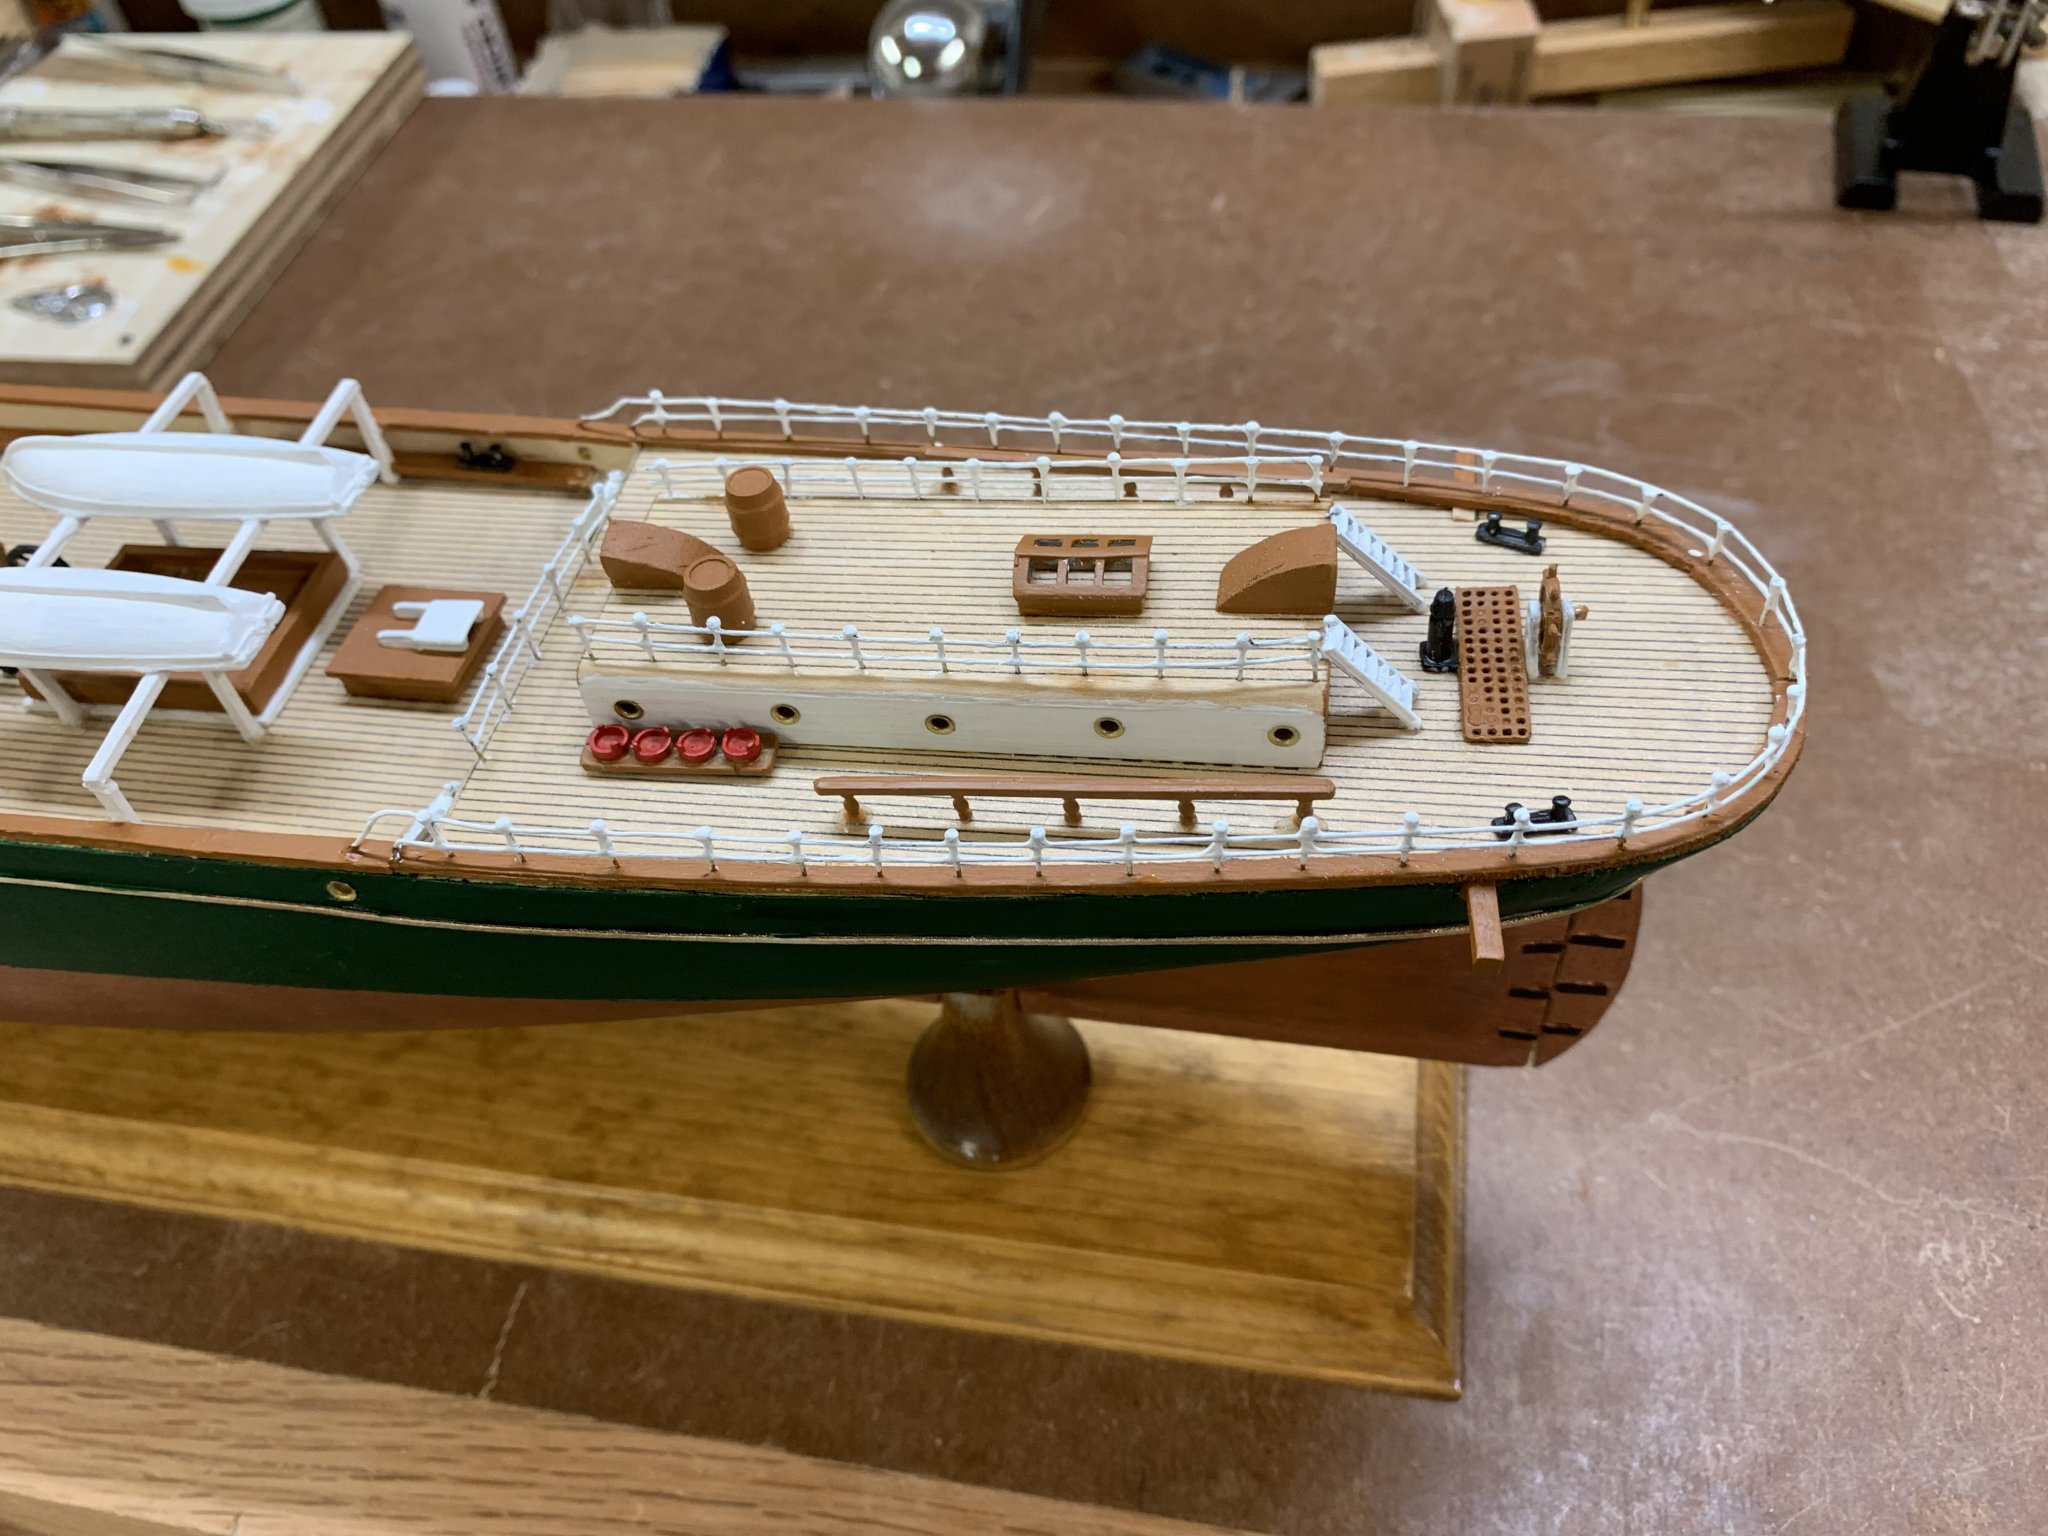
Posting according to the steps in the manual, here's painted hull, decking, some of the deck structures and the railing started.

-
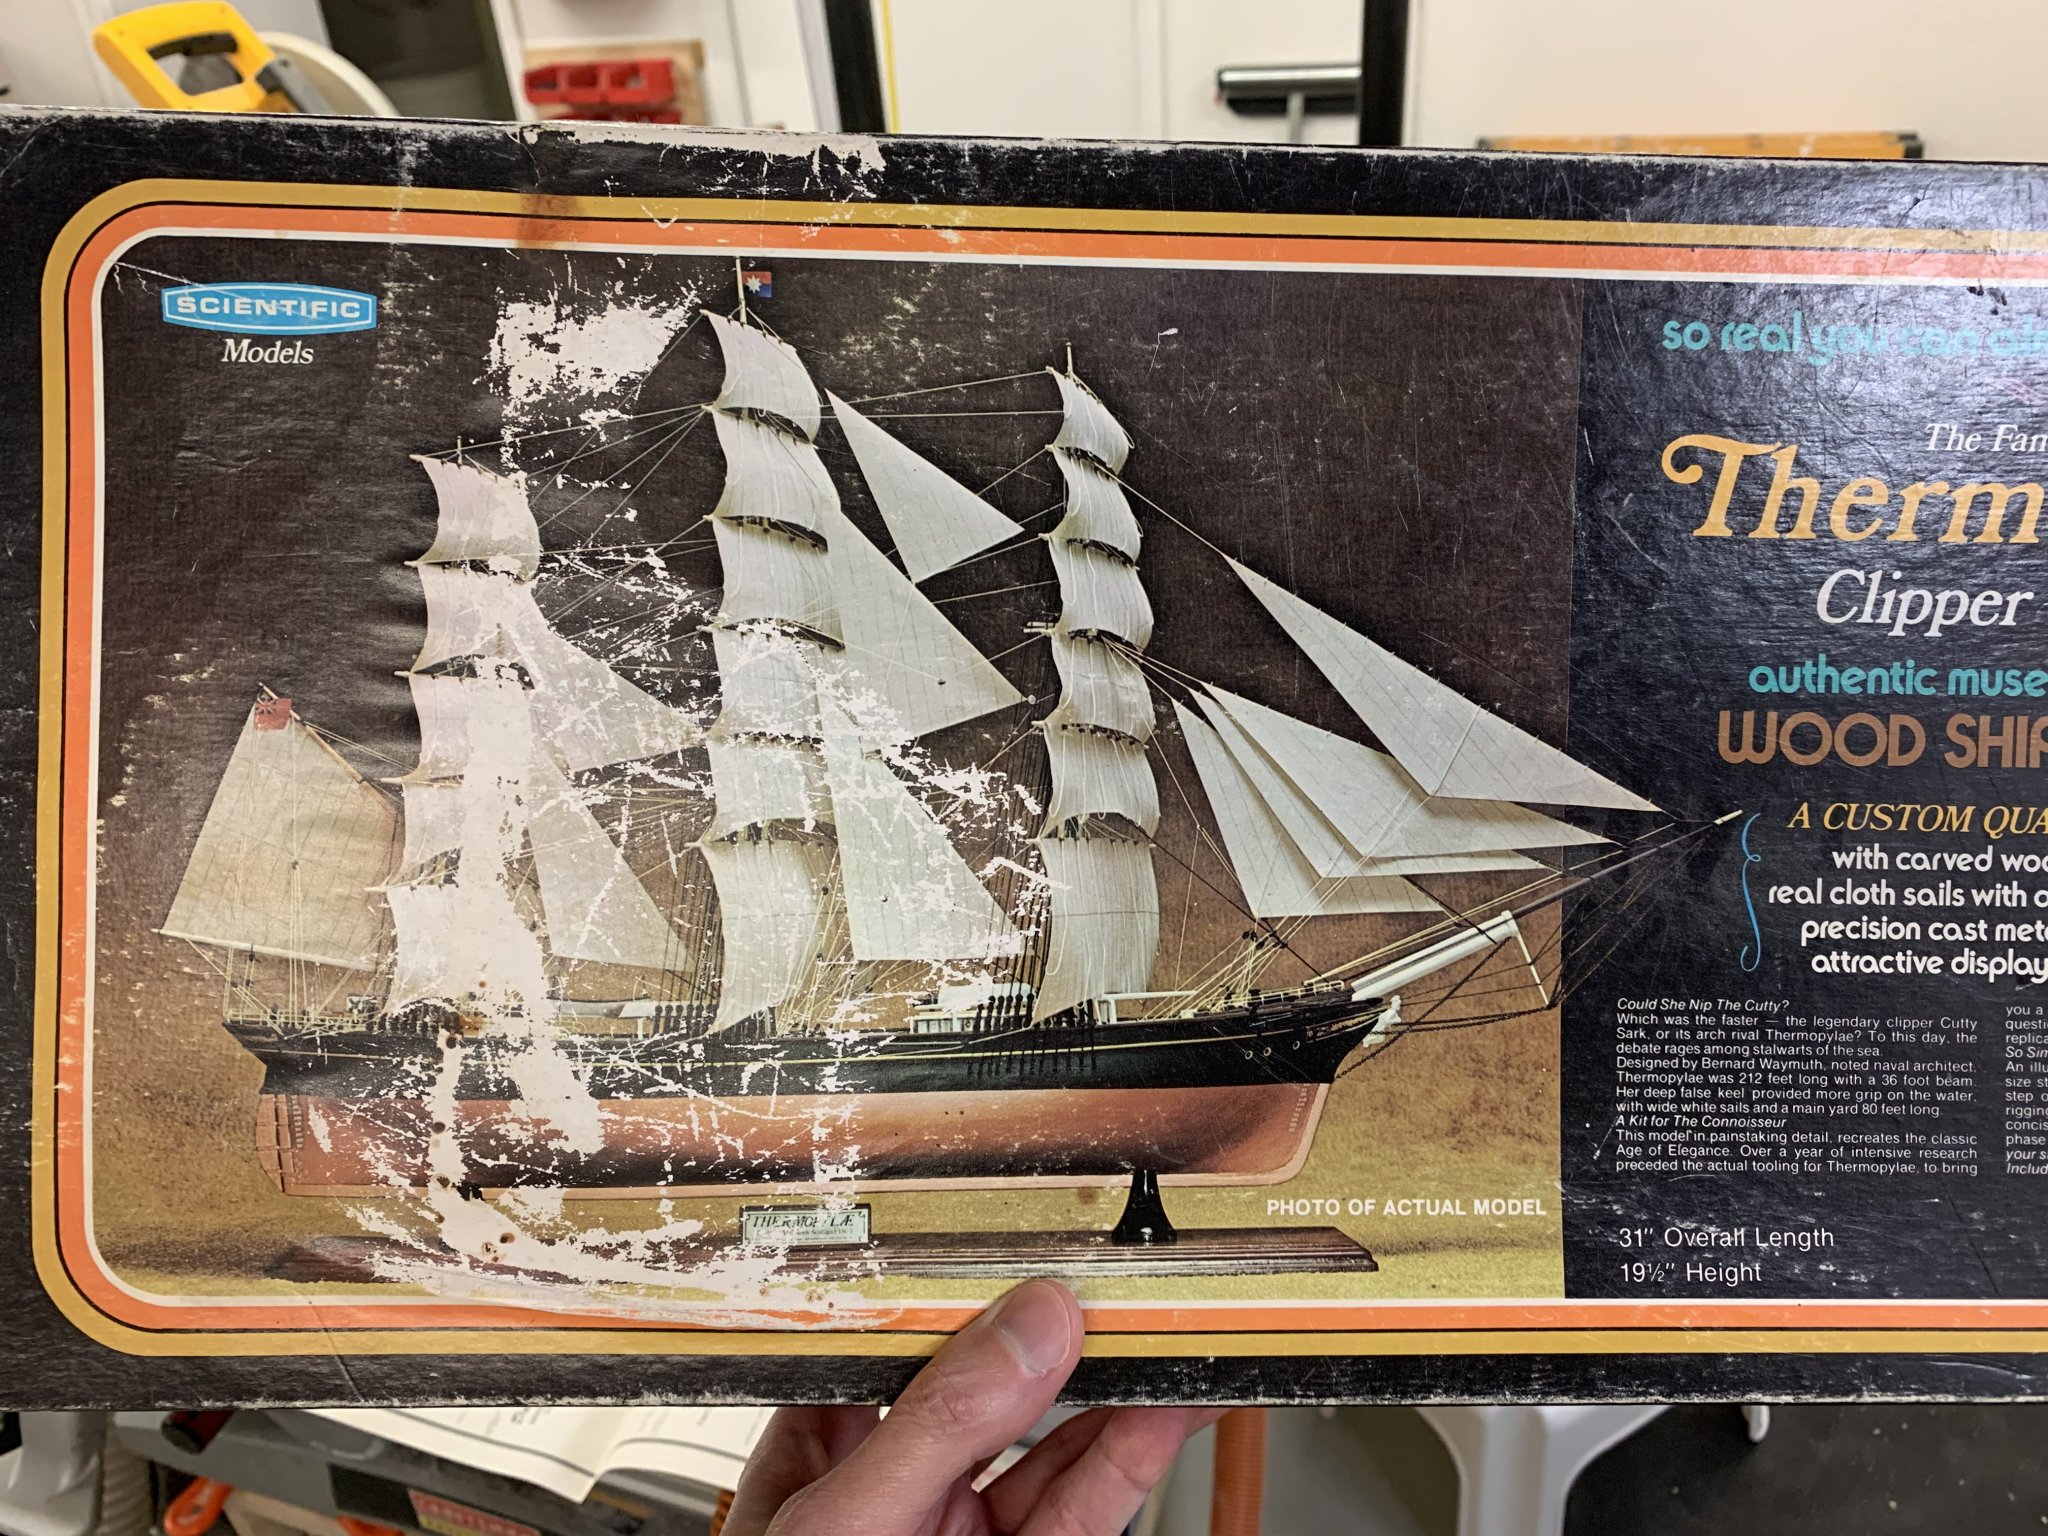
This will be my first model ship build. At one point growing up, my dad had a plastic model kit of the Cutty Sark, and it basically sat in a box. I always wanted to do the model, but never had the space/time/skill. Eventually it was thrown away when my parents moved. While talking to my Uncle about being disappointed, he gave me a wooden Thermopylae kit from Scientific Models, circa 1973. I was very excited, and got started right away. 3 months later, I had my first child, and the model sat untouched for 13 years. Being stuck at home due to the coronavirus stay-at-home orders prompted me to start it up again, and I’m finally making progress.
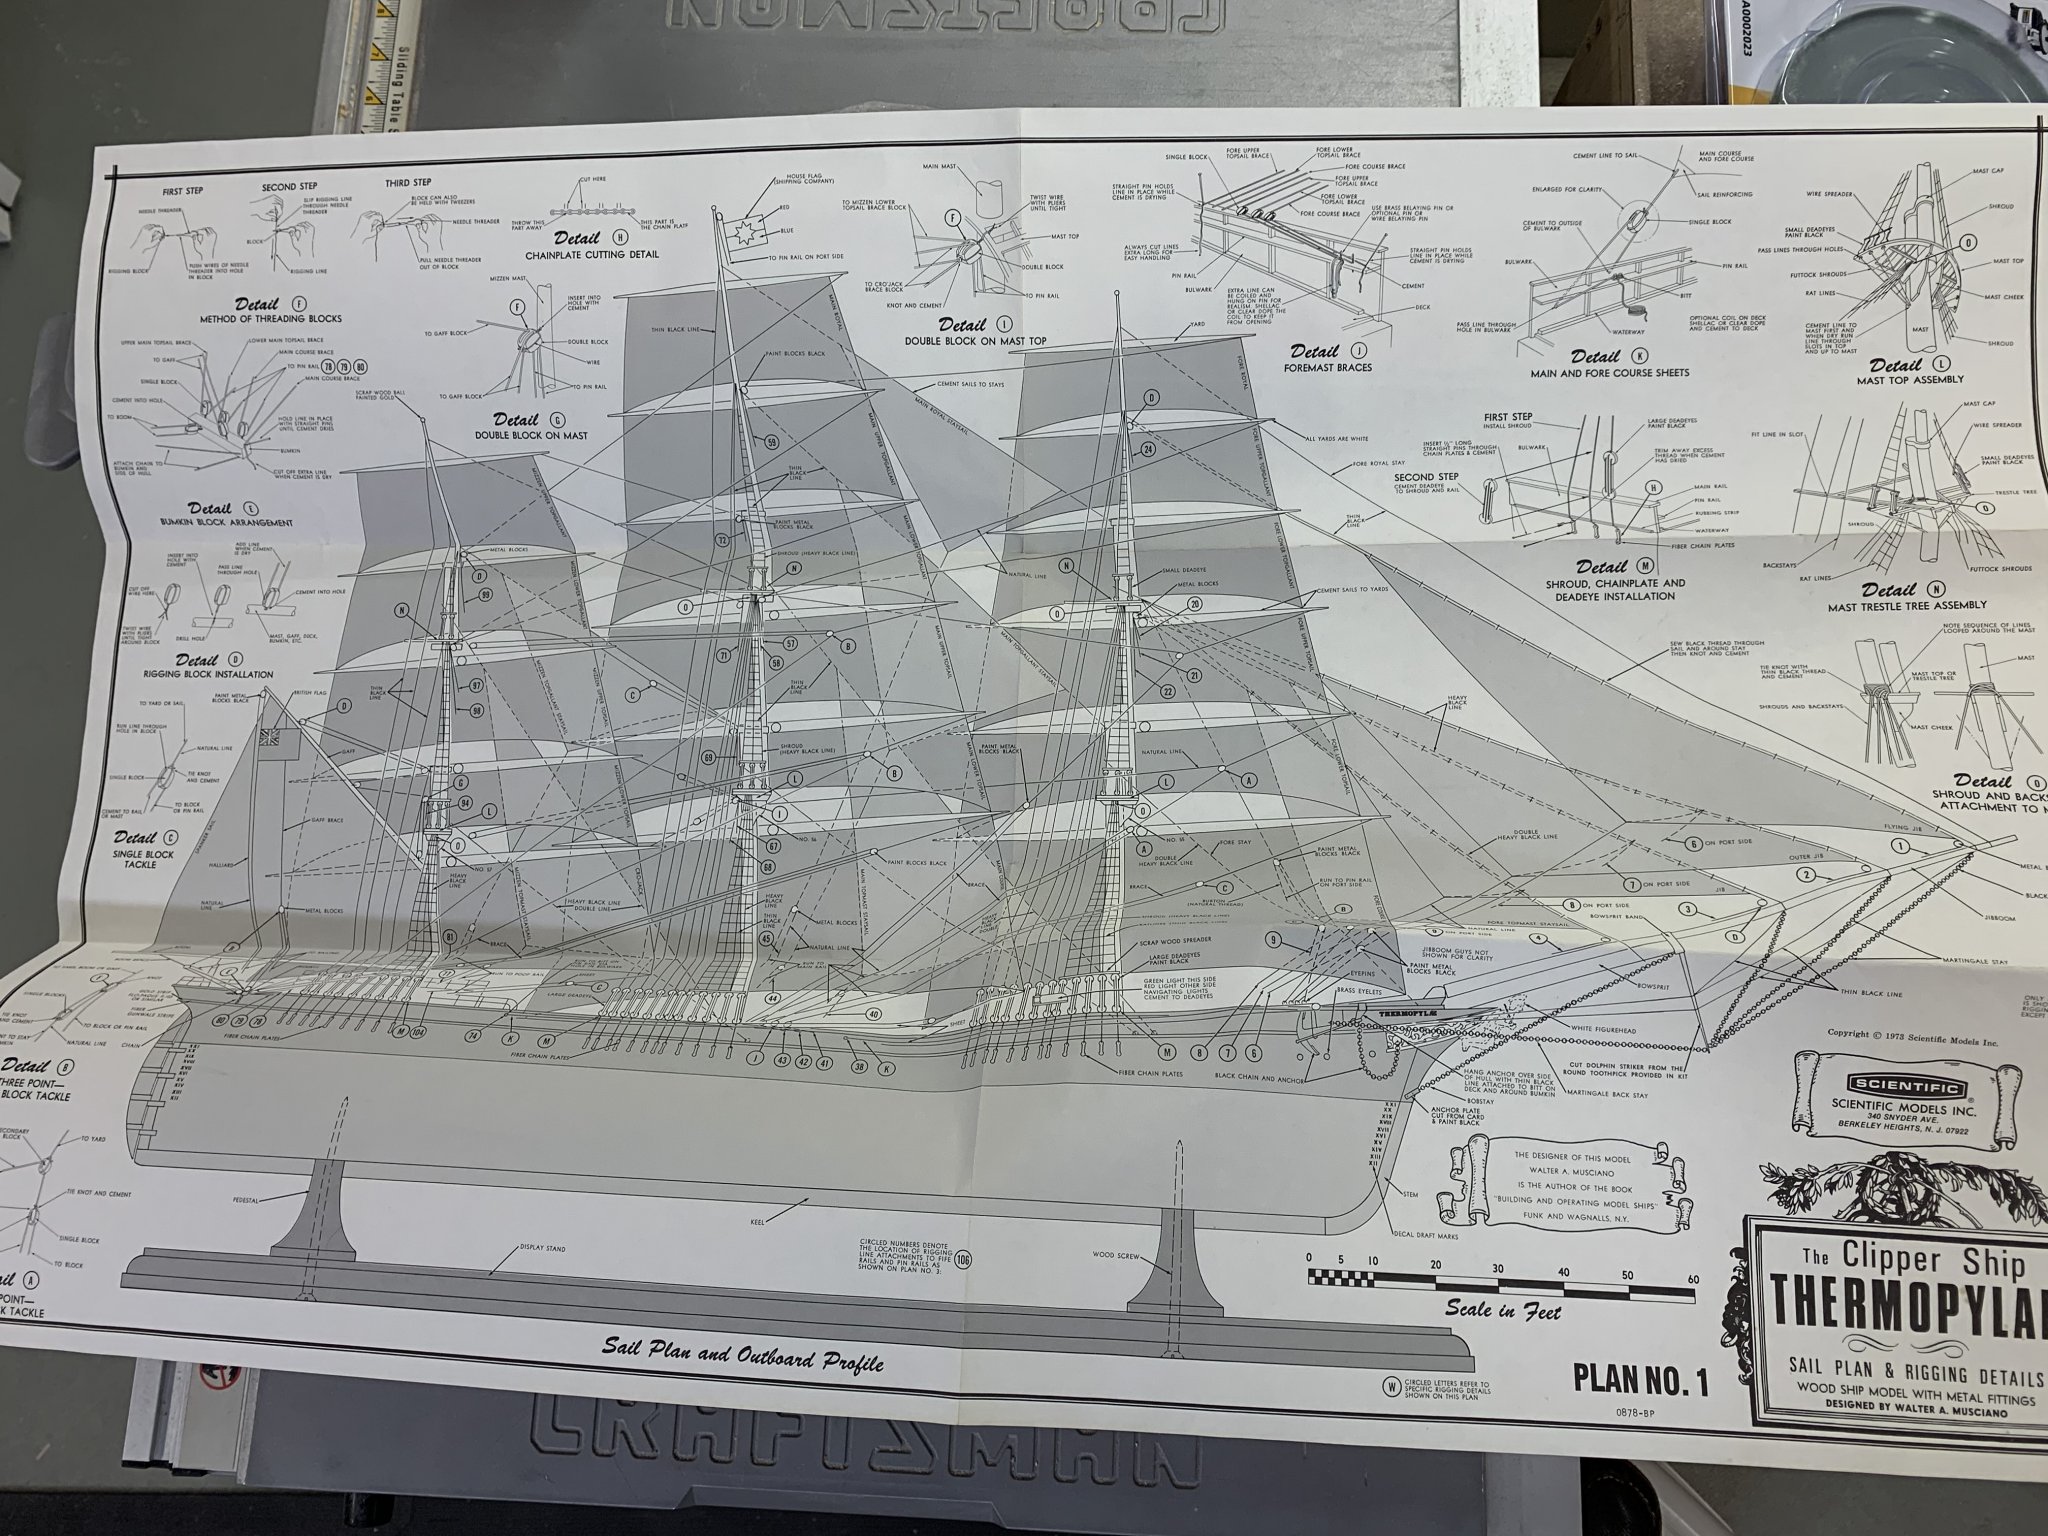
Picture of the very old box, and sail plan to start.


- etubino, Vladimir_Wairoa and Jonny 007
-
3


Thermopylae by Jamie Coleman - FINISHED - Scientific Models - Scale 1:96 - First ship build
in - Kit build logs for subjects built from 1851 - 1900
Posted
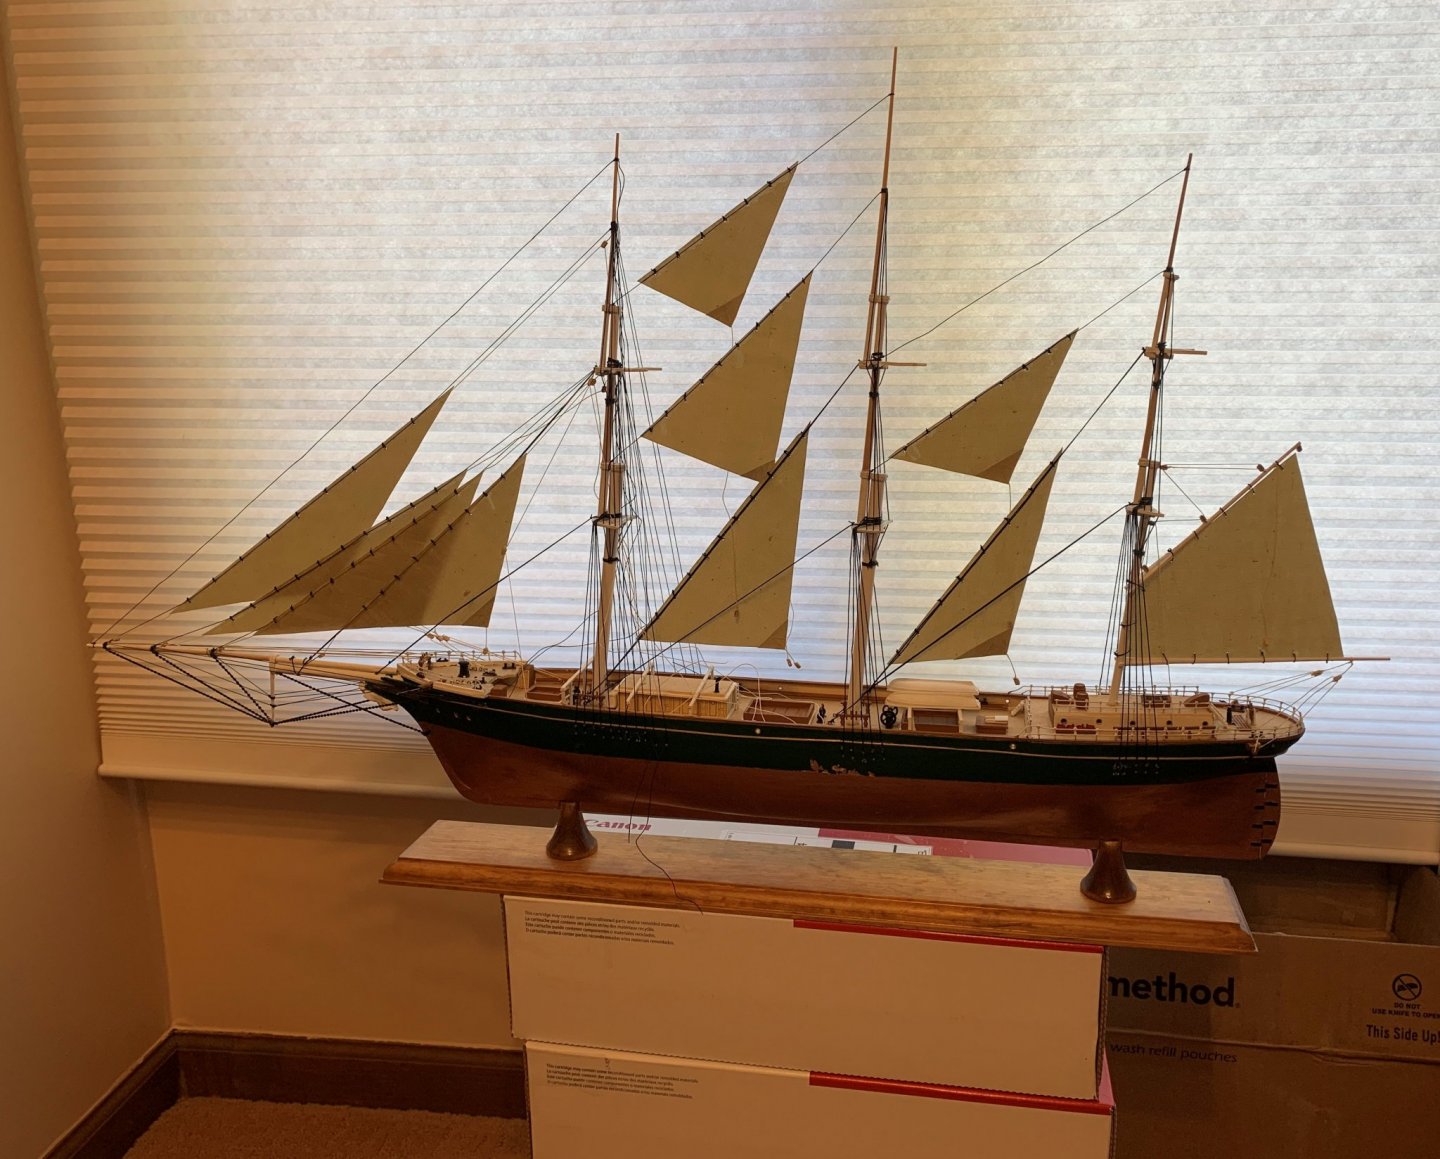
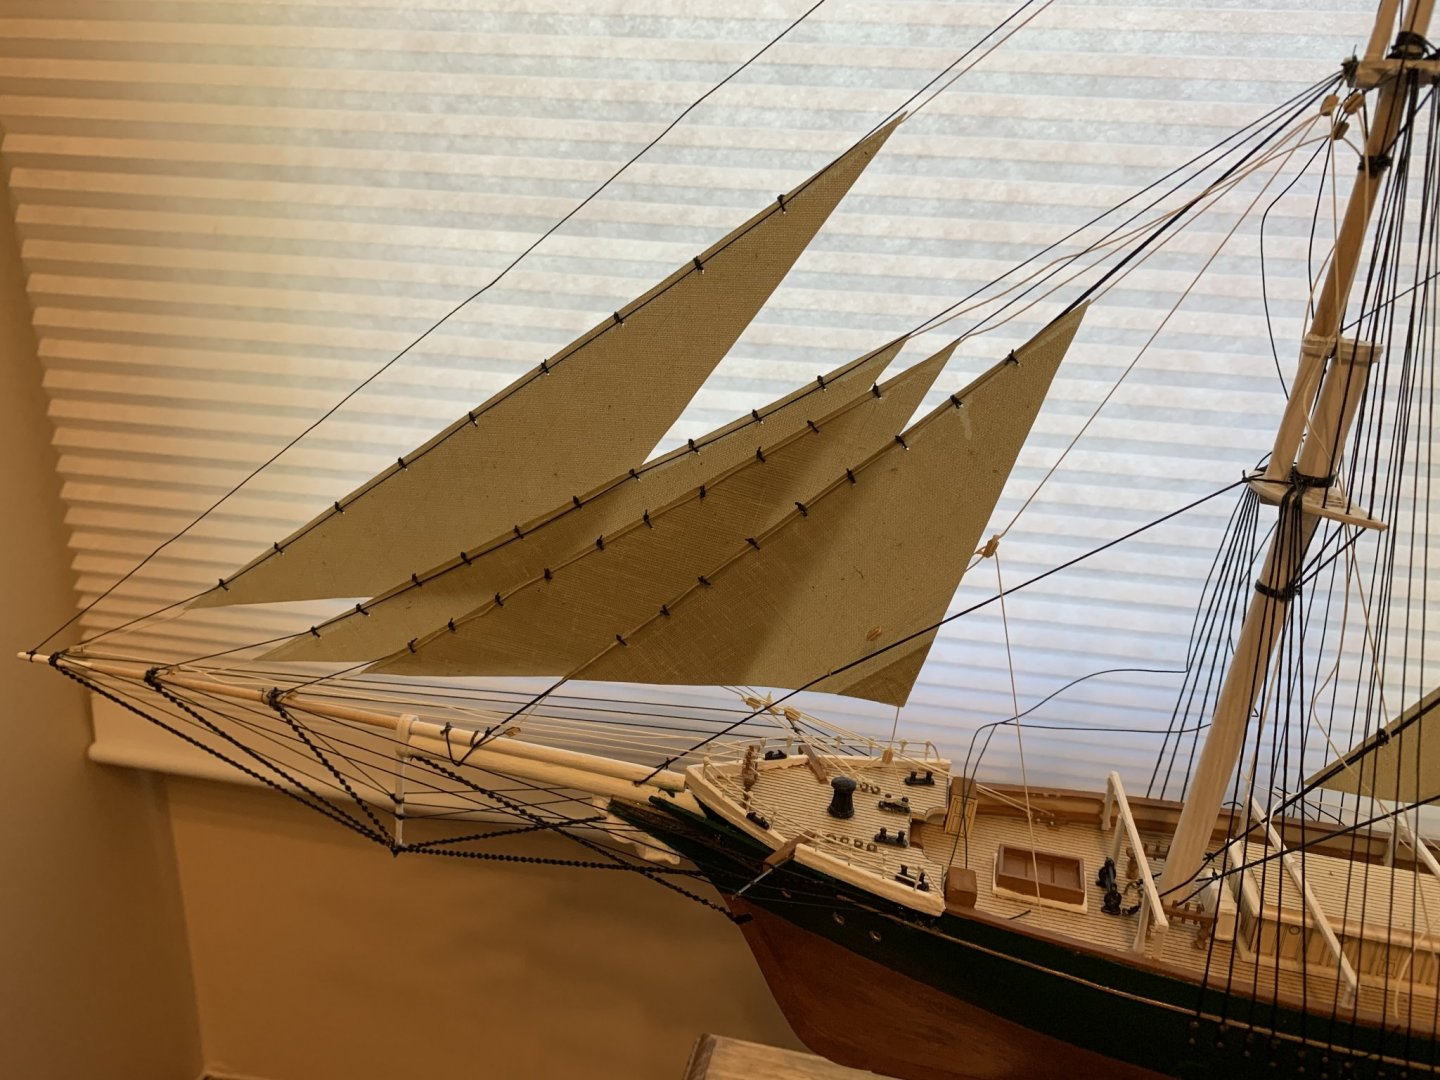
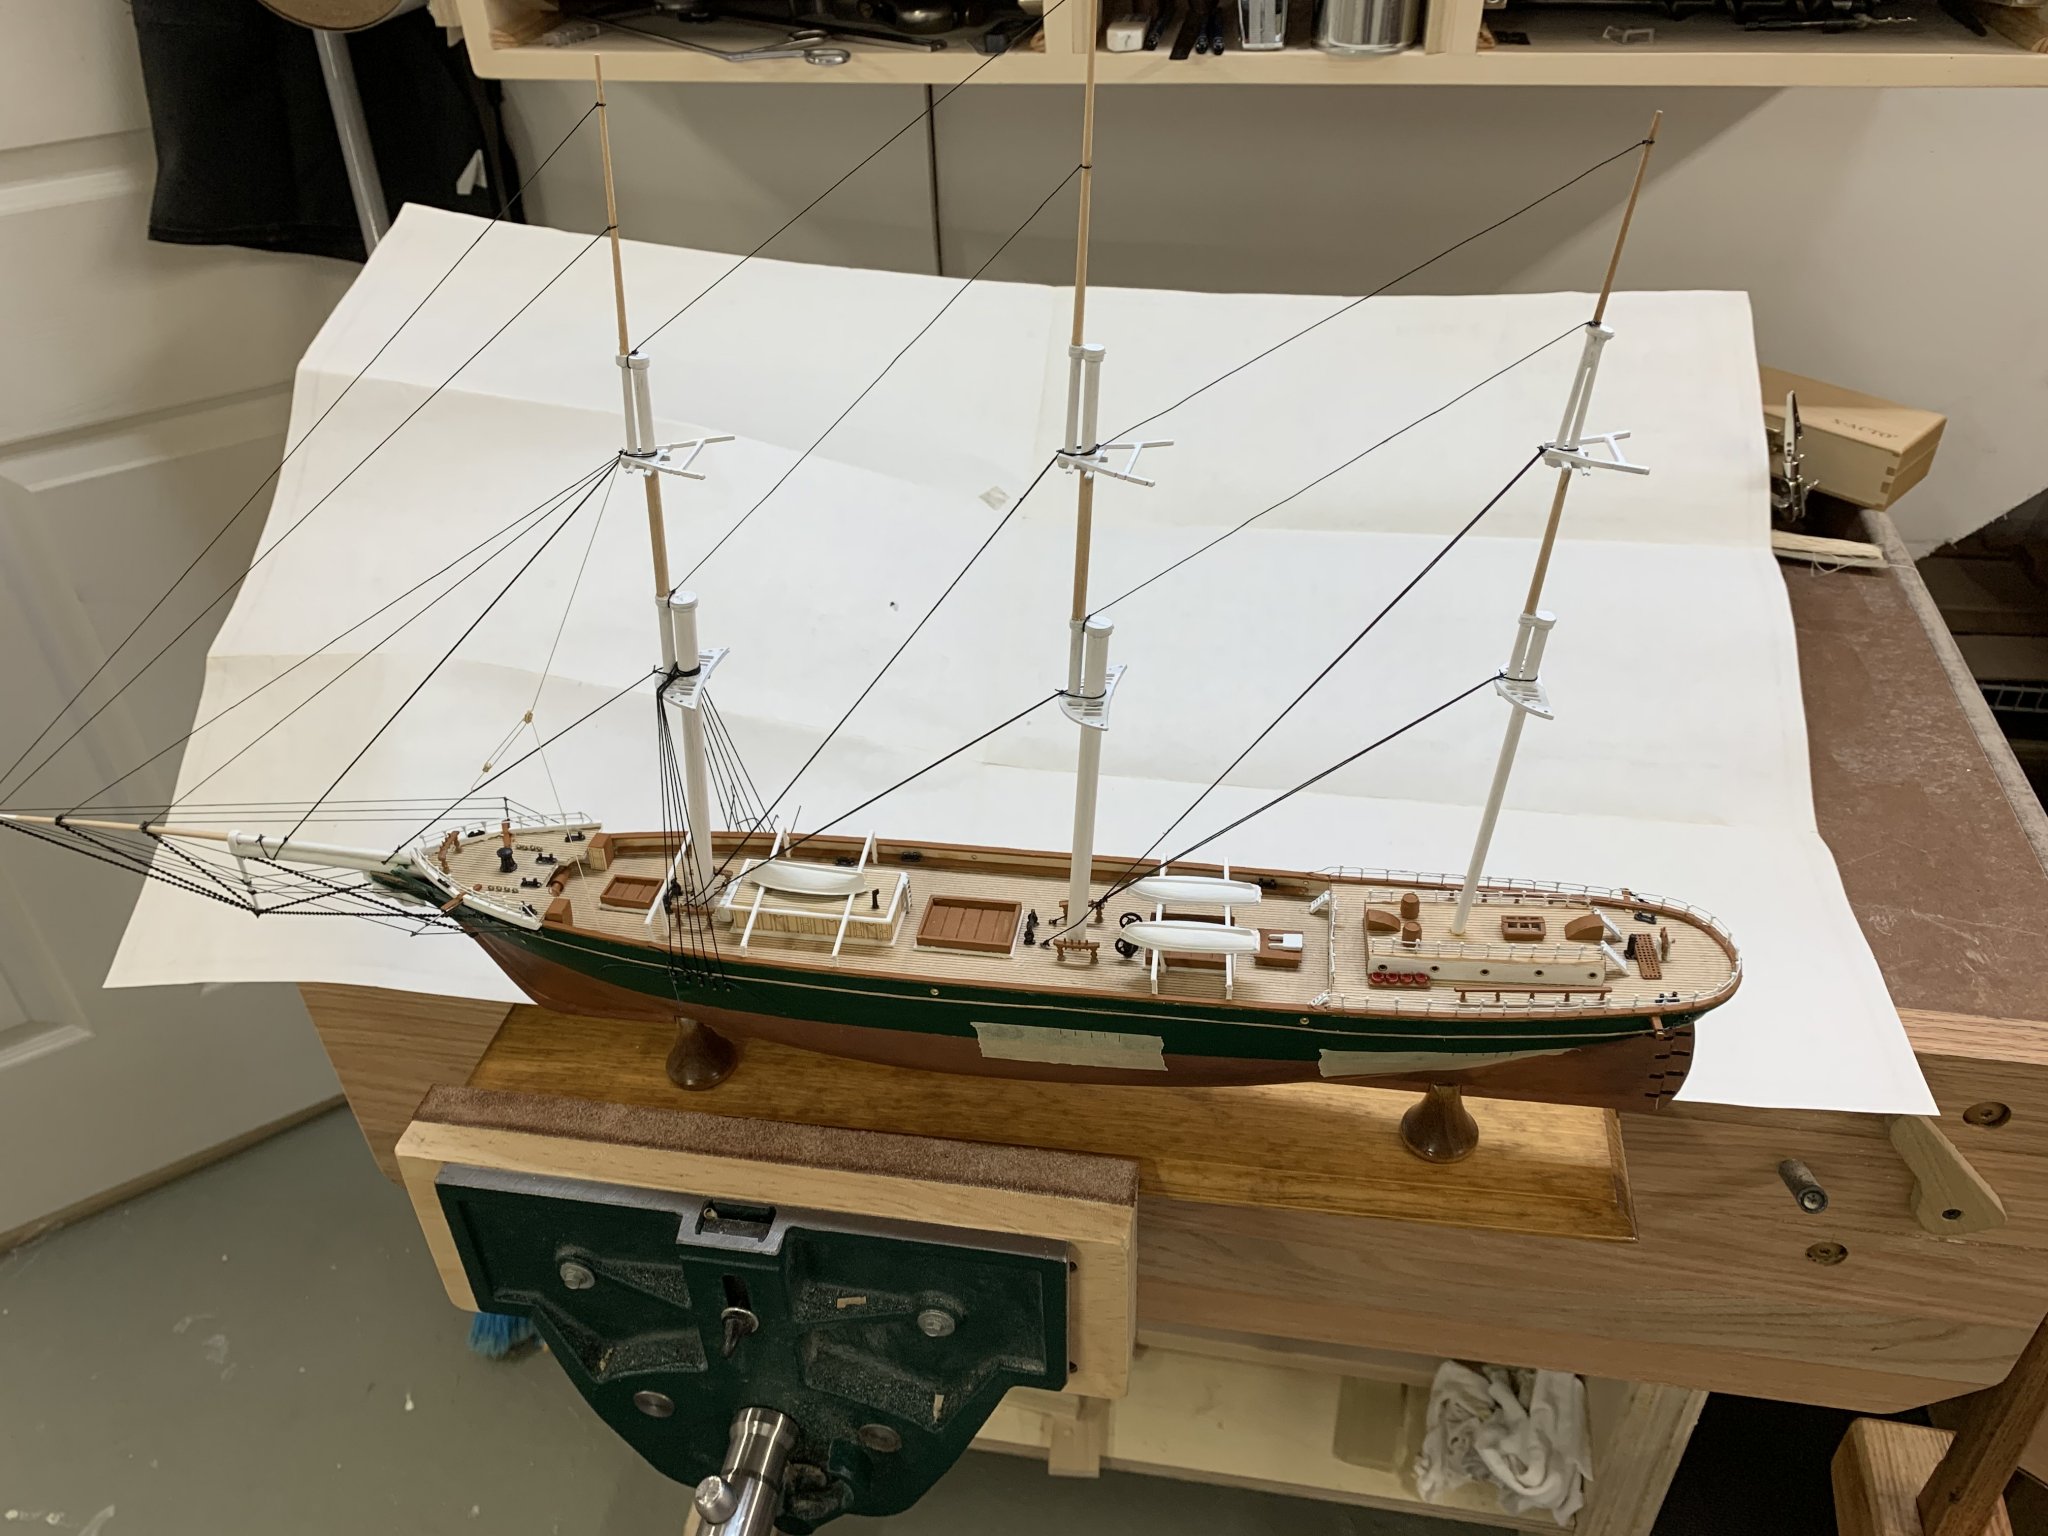
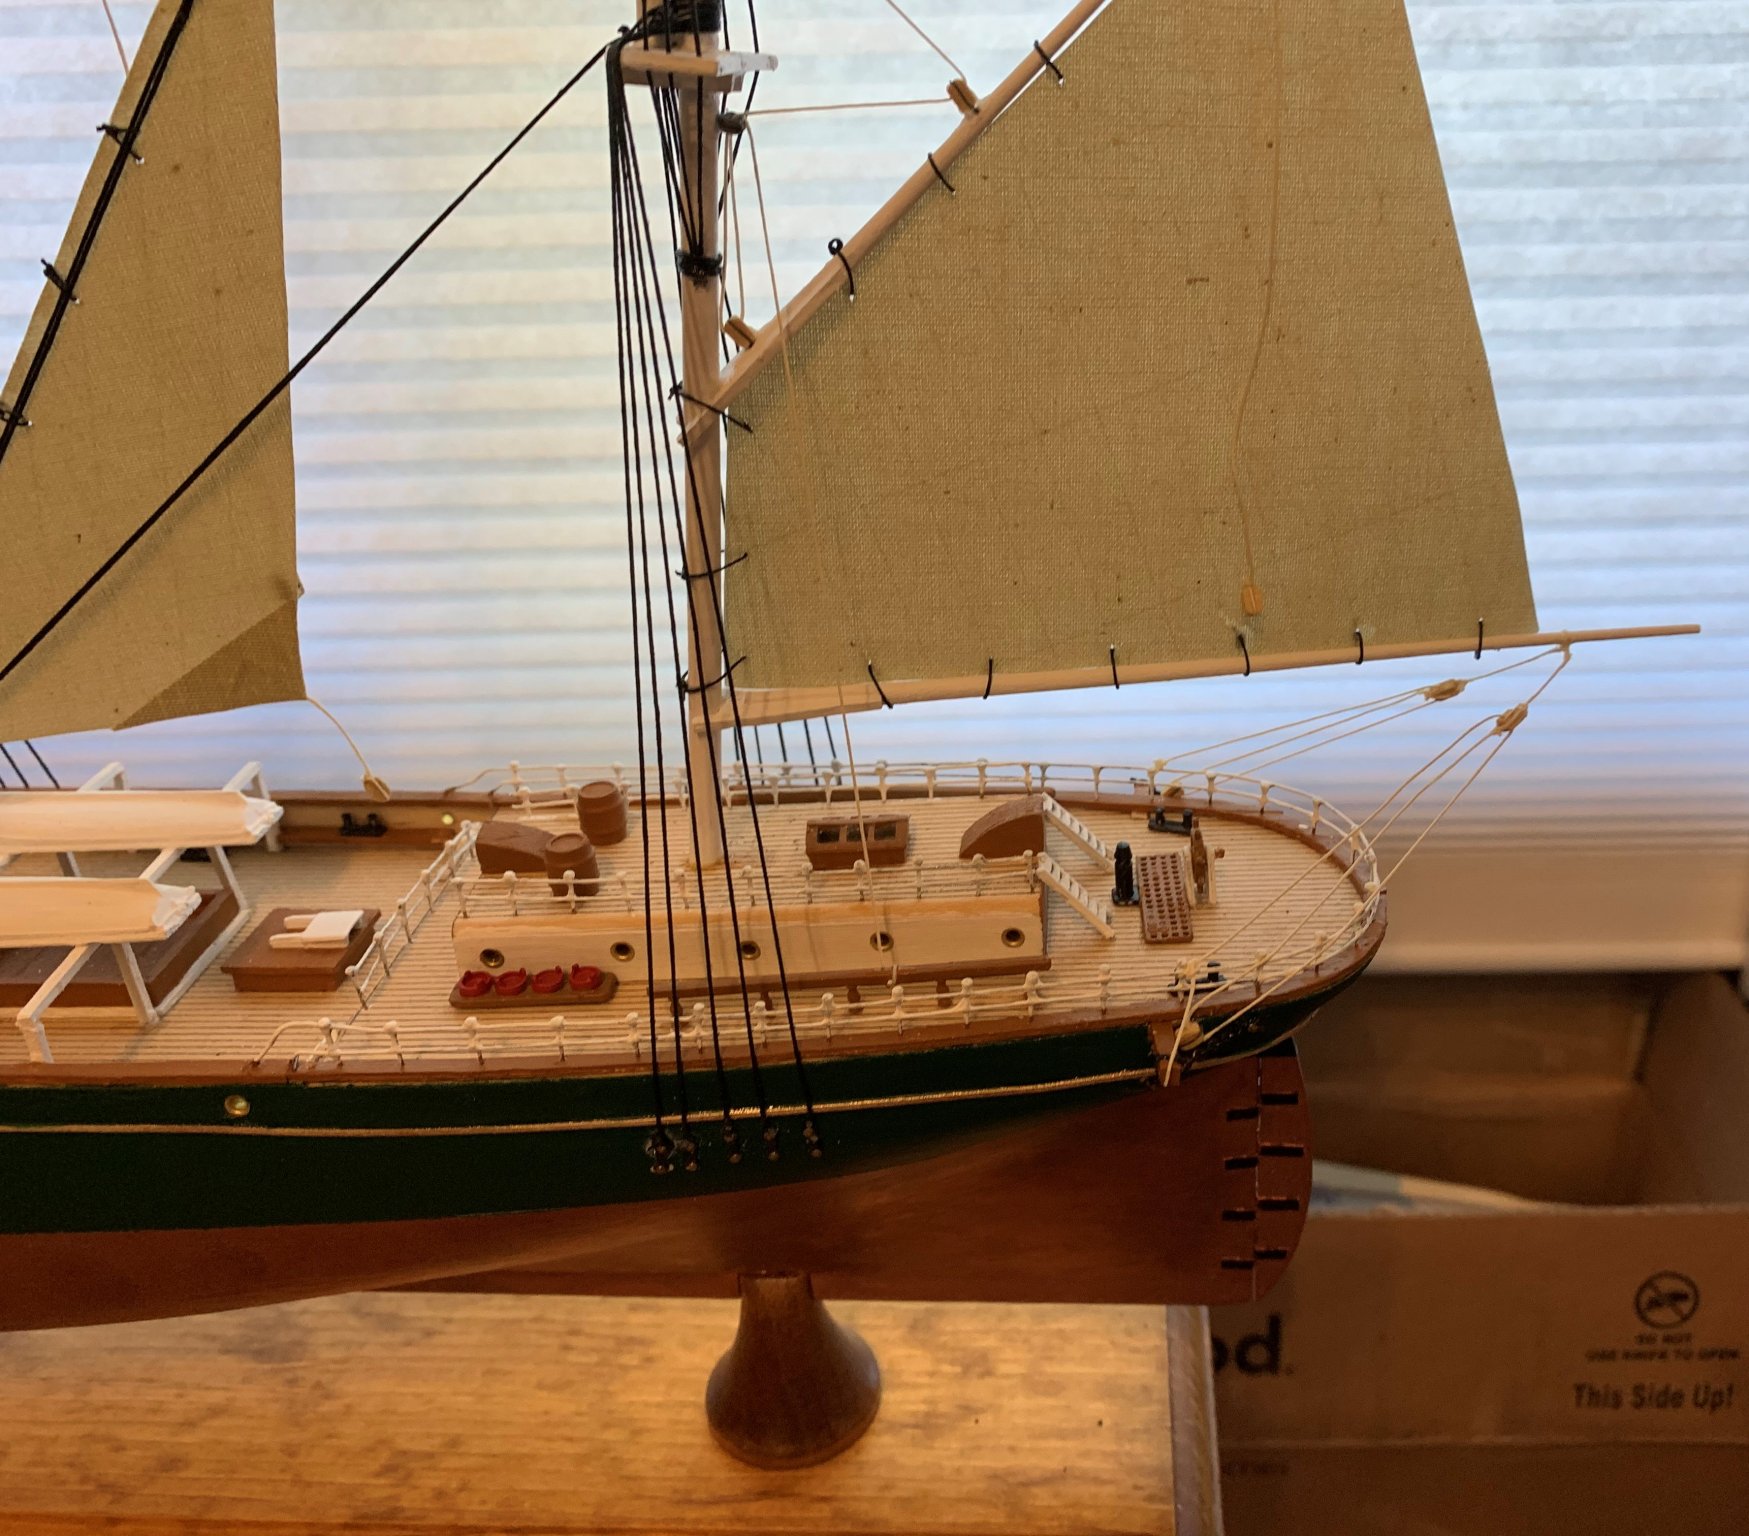
Well, it's been a busy few days, and the kids have been monopolizing the computer, so I have a few steps worth of progress to update. The sails and yards are hung on the masts, these are fairly rudimentary, the sails are just glued to the yards and the yards are glued to the masts. The instructions just call for clews to be glued to the yard below, I glued some line to the sails and tied them on for a bit more robustness.