

SweepHall
-
Posts
34 -
Joined
-
Last visited
Content Type
Profiles
Forums
Gallery
Events
Posts posted by SweepHall
-
-
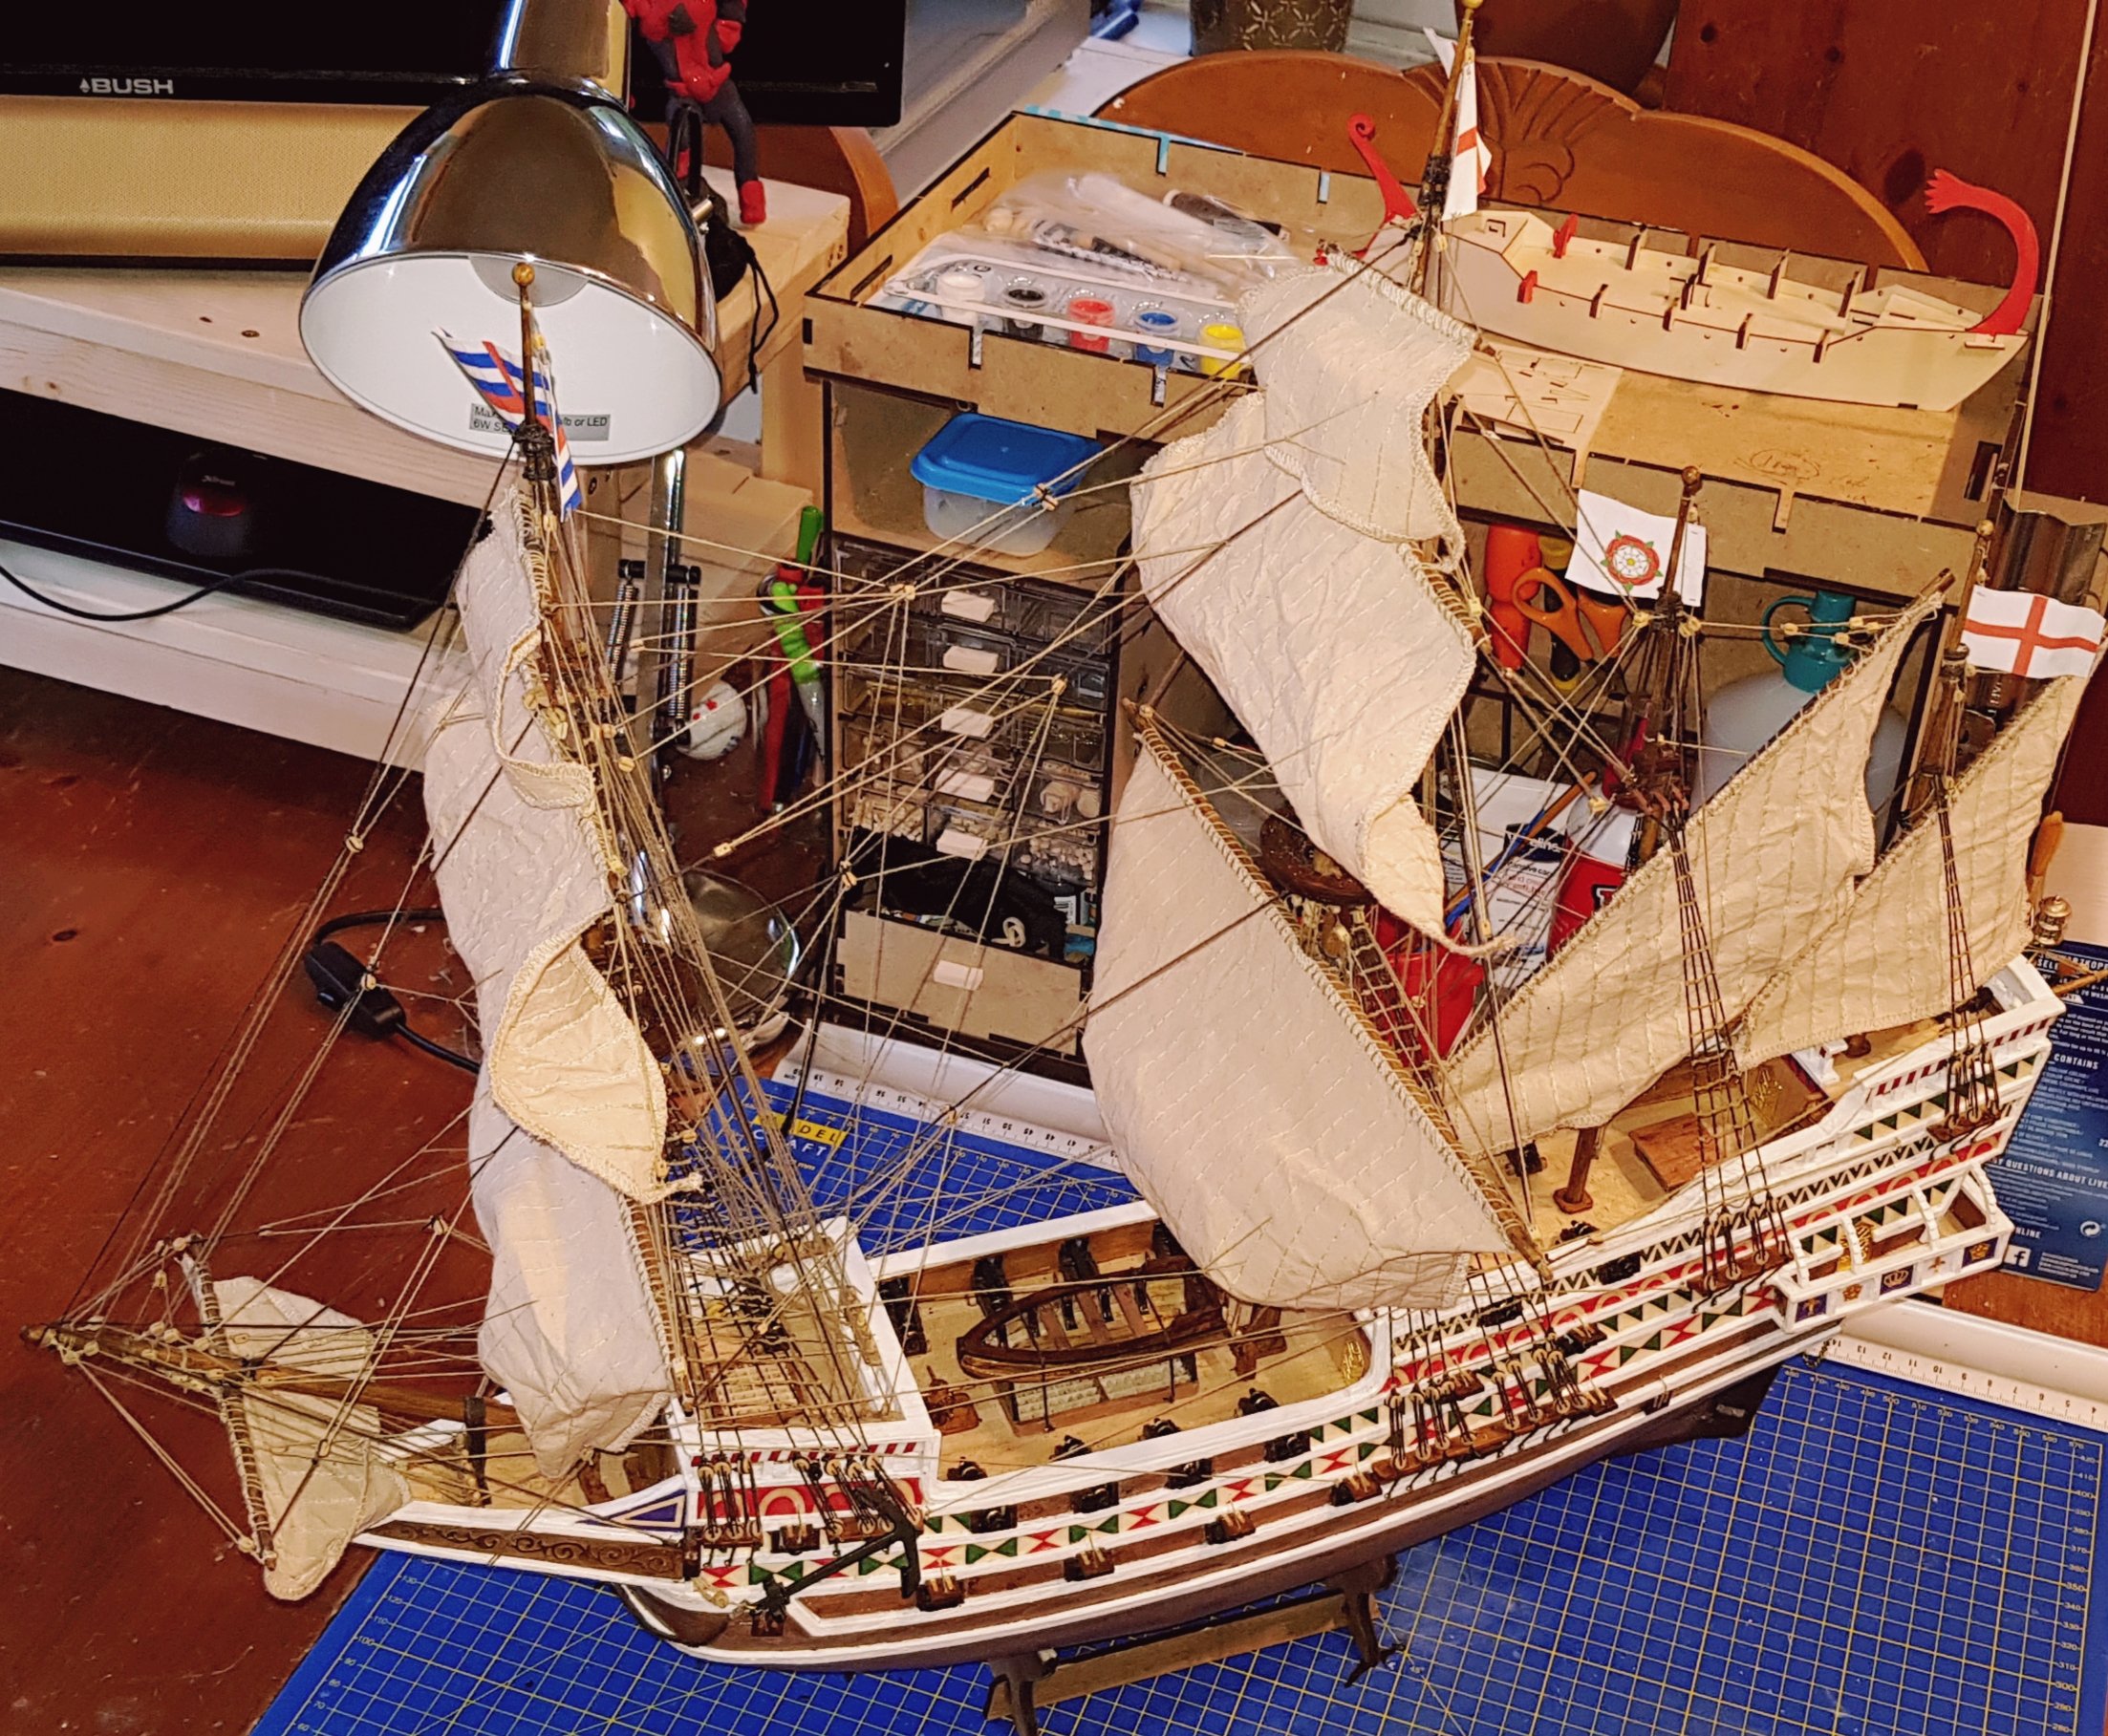
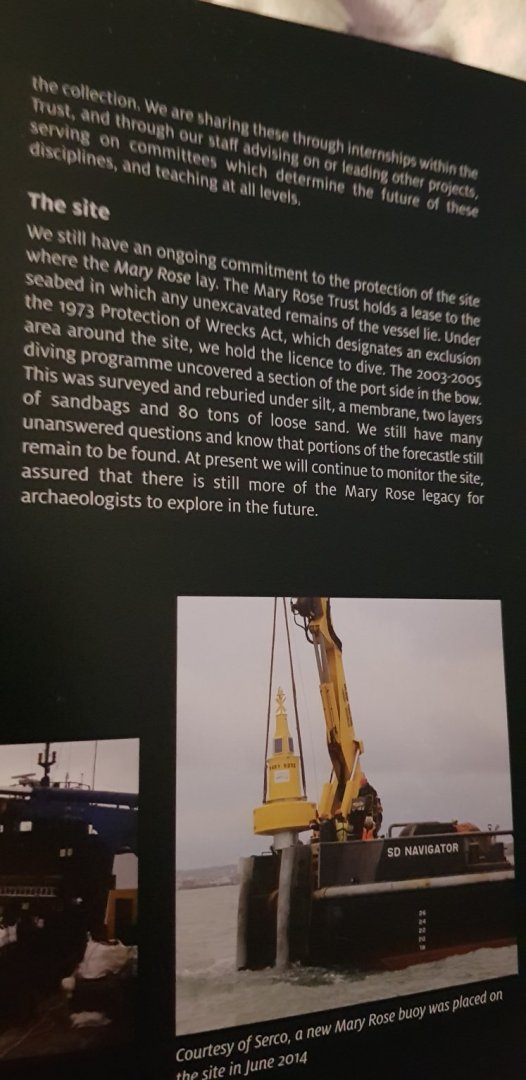
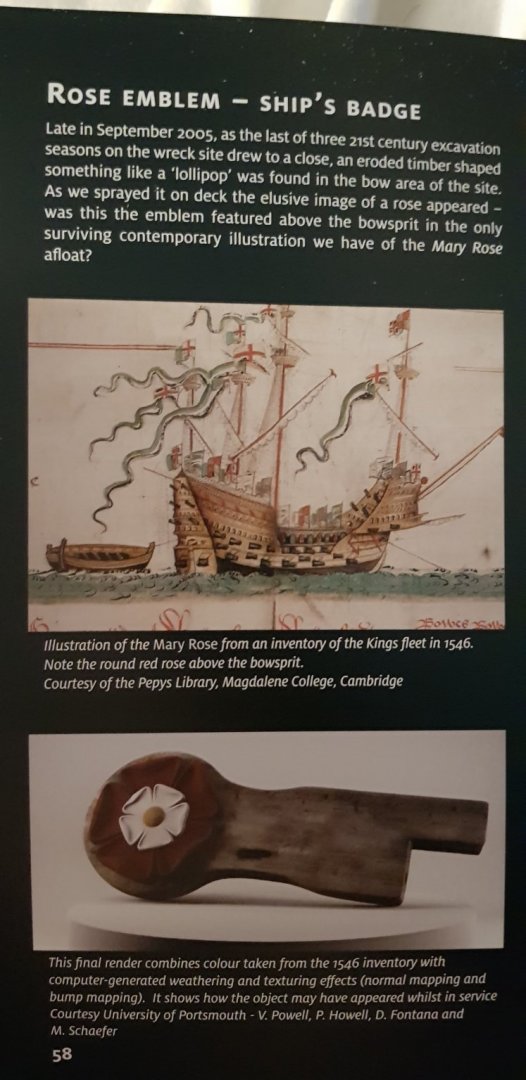
From the guide book from my visit earlier in the week
-
13 hours ago, ModernViking said:
Looking ahead a few steps, I have some questions for those who have done other OcCre models. In the Buccaneer, there is a sheet of paper with the triangles and diamonds that appear just below the aft rails and near the bow. My initial feeling is that doing these cosmetic details using the paper isn't quite what I want to do.
Has anyone else gone so far as to either paint those details or even add them as very thin wood veneers?
I used the supplied paper on my OcCre build and despite being a little reluctant to use it at first, was pleasantly surprised how it turned out. Just glued it on with pva, let it dry and then gave it a coat of varnish over the top.
-
An update on my Bounty build:
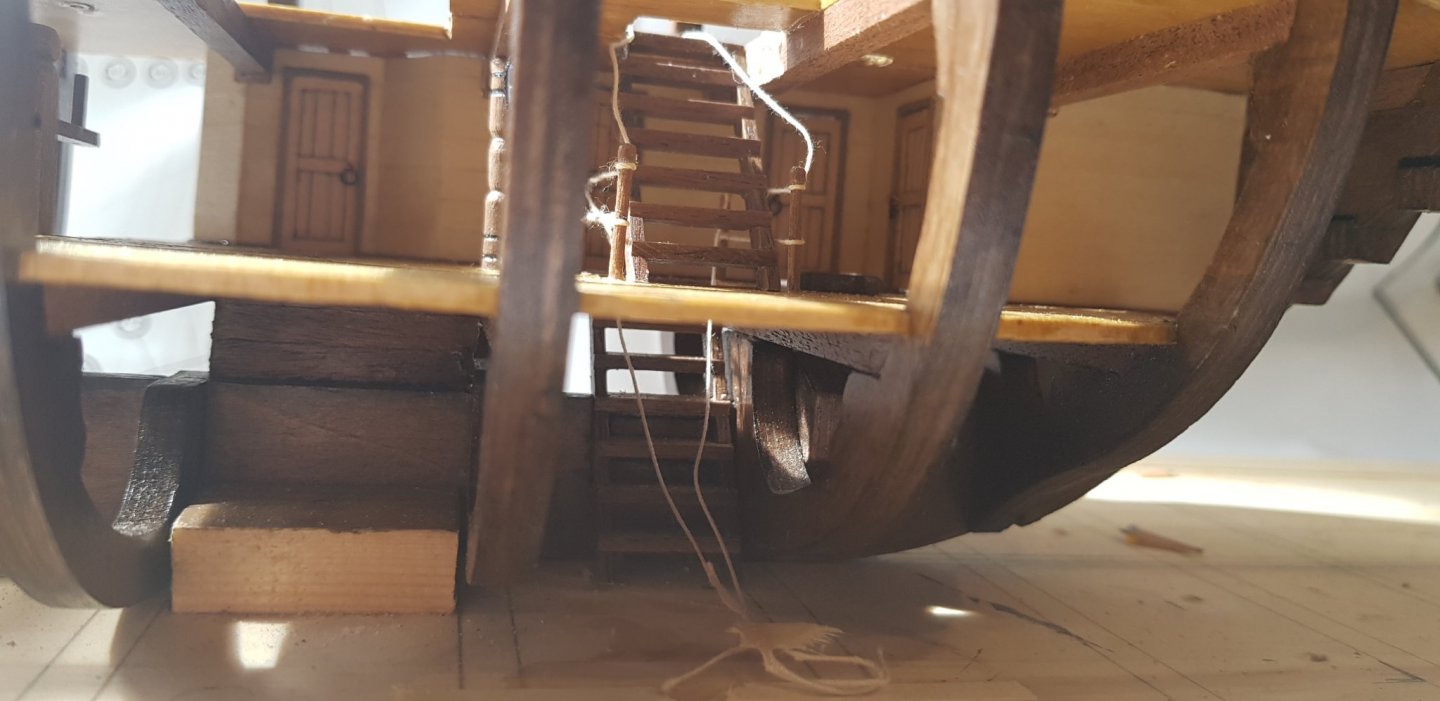
I've made balustrades (is that what they're called?) for the stairs. Fairly simple but they do the job.


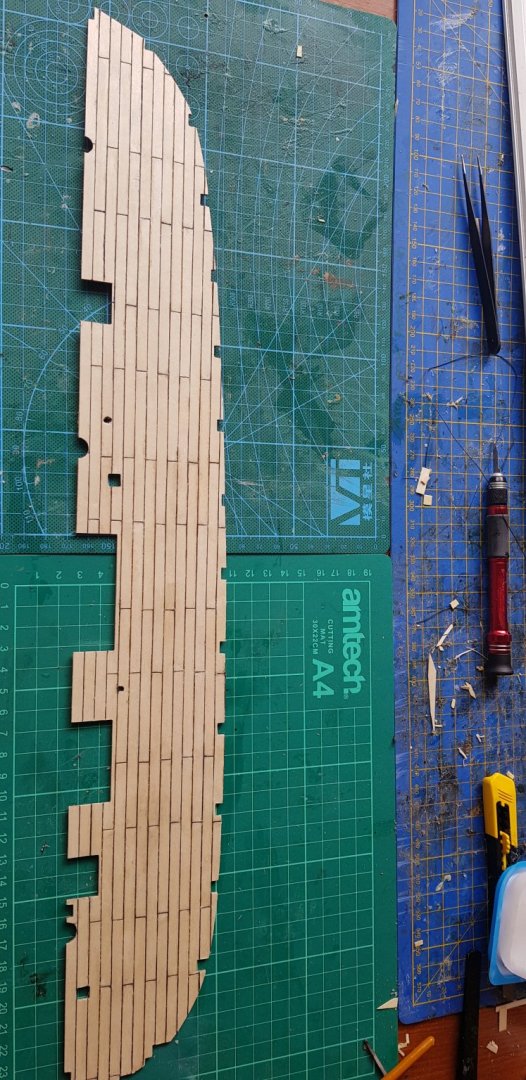
Started the planking on the next deck. What worked so well on the first decks (contact glue and cotton) was terrible on this deck. The glue wouldn't stick, the cotton kept fraying and I got the pattern on the decks completely wrong. I ended up having to re-do a lot of the thread and used copious amounts of CA. Some of the planks are a little lumpy but the end result is ok but it was nightmare to do.


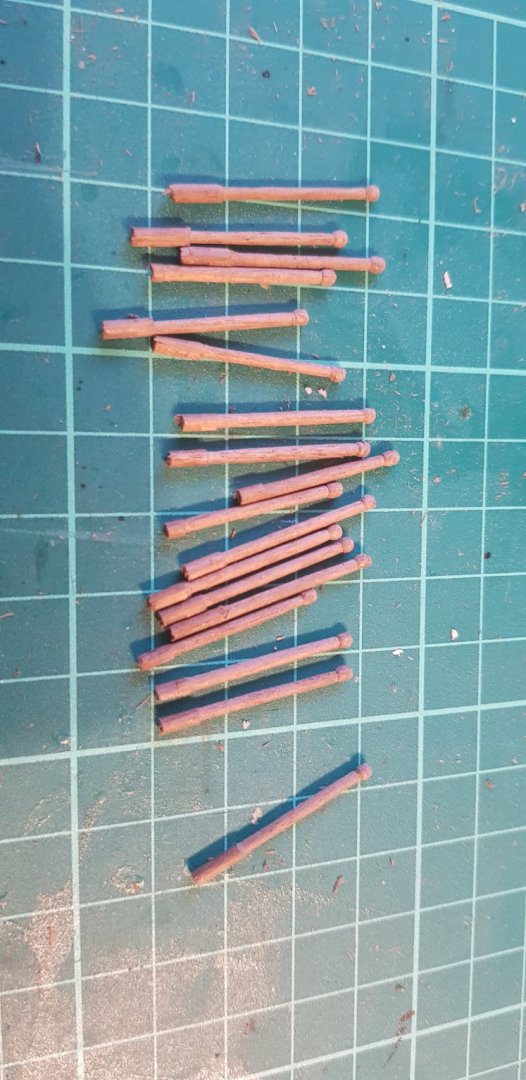
I also made a rack to hold the anchor ropes

That's going to be the last update for a few days whilst the tour of Southern England continues.
- Matt D, Michel L., Louie da fly and 5 others
-
 8
8
-
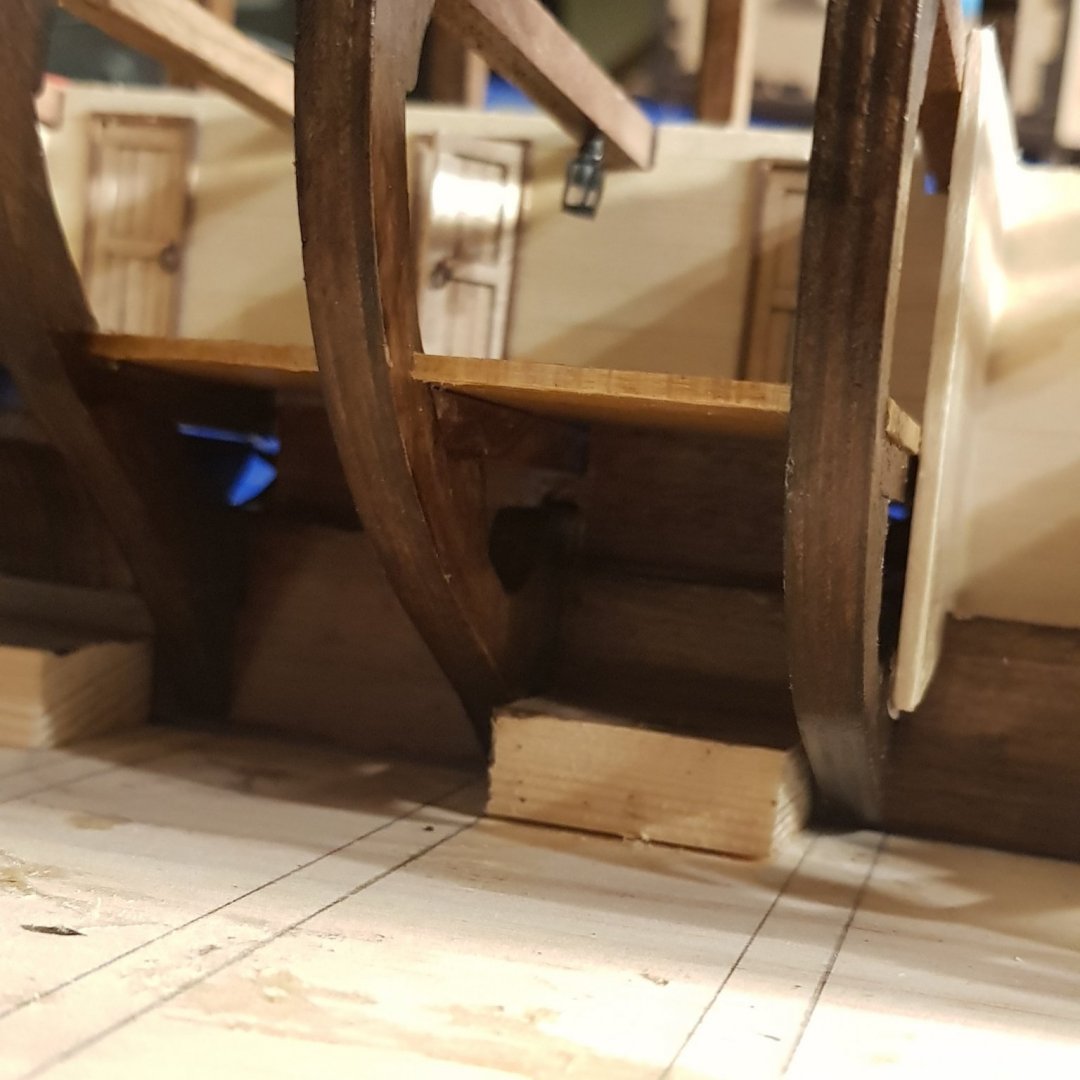
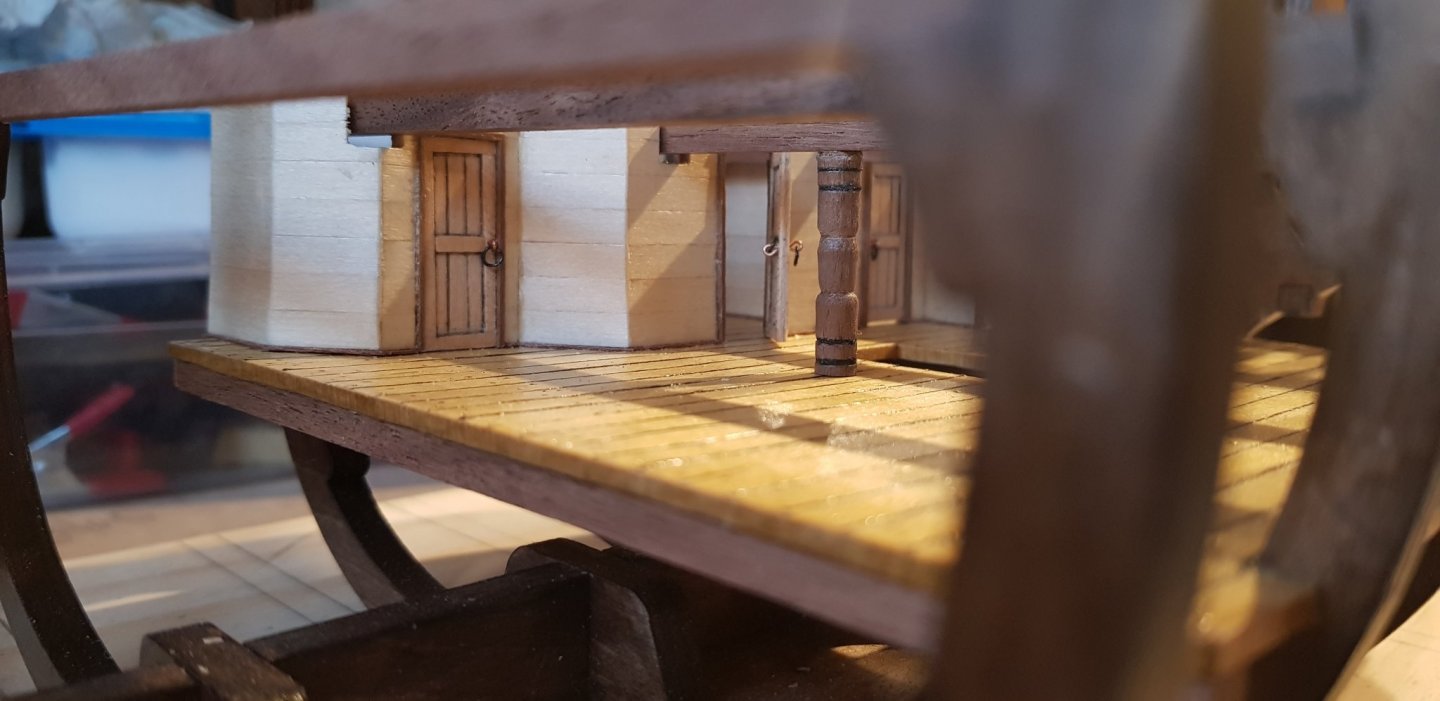
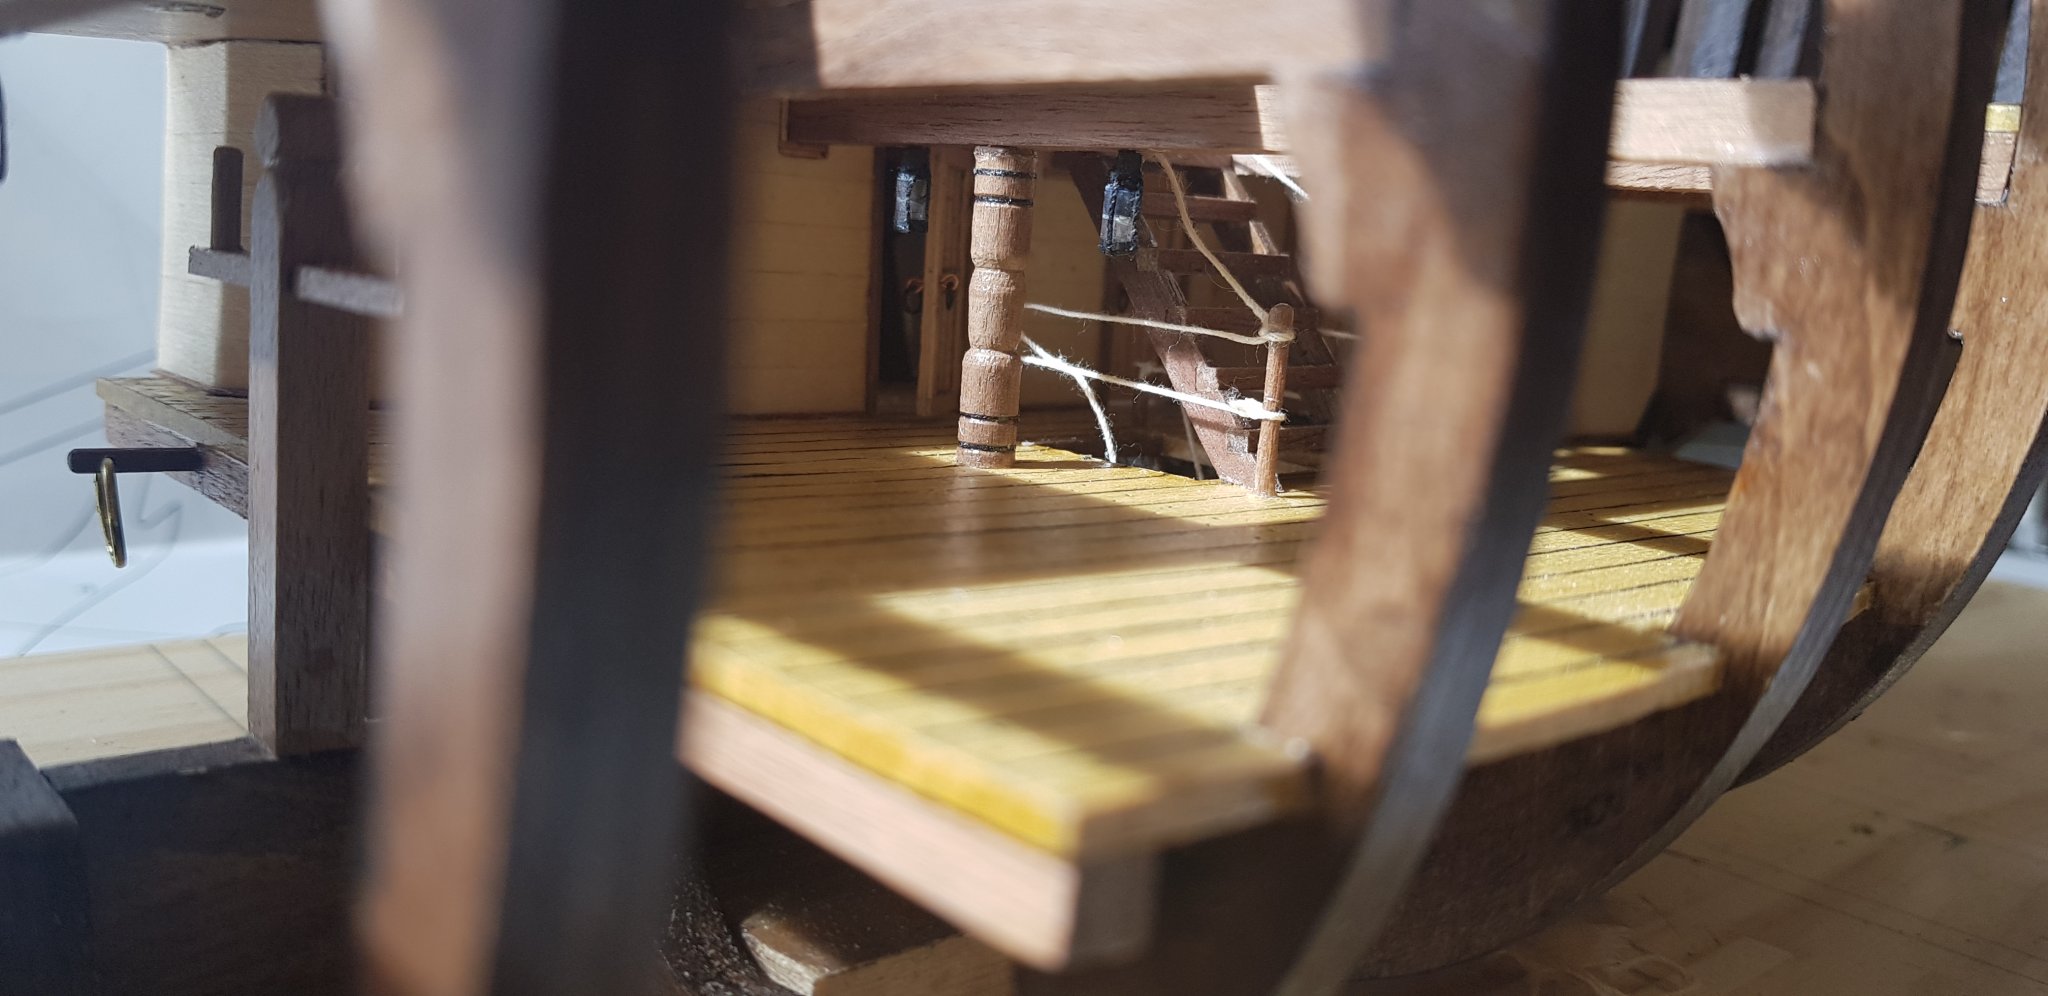
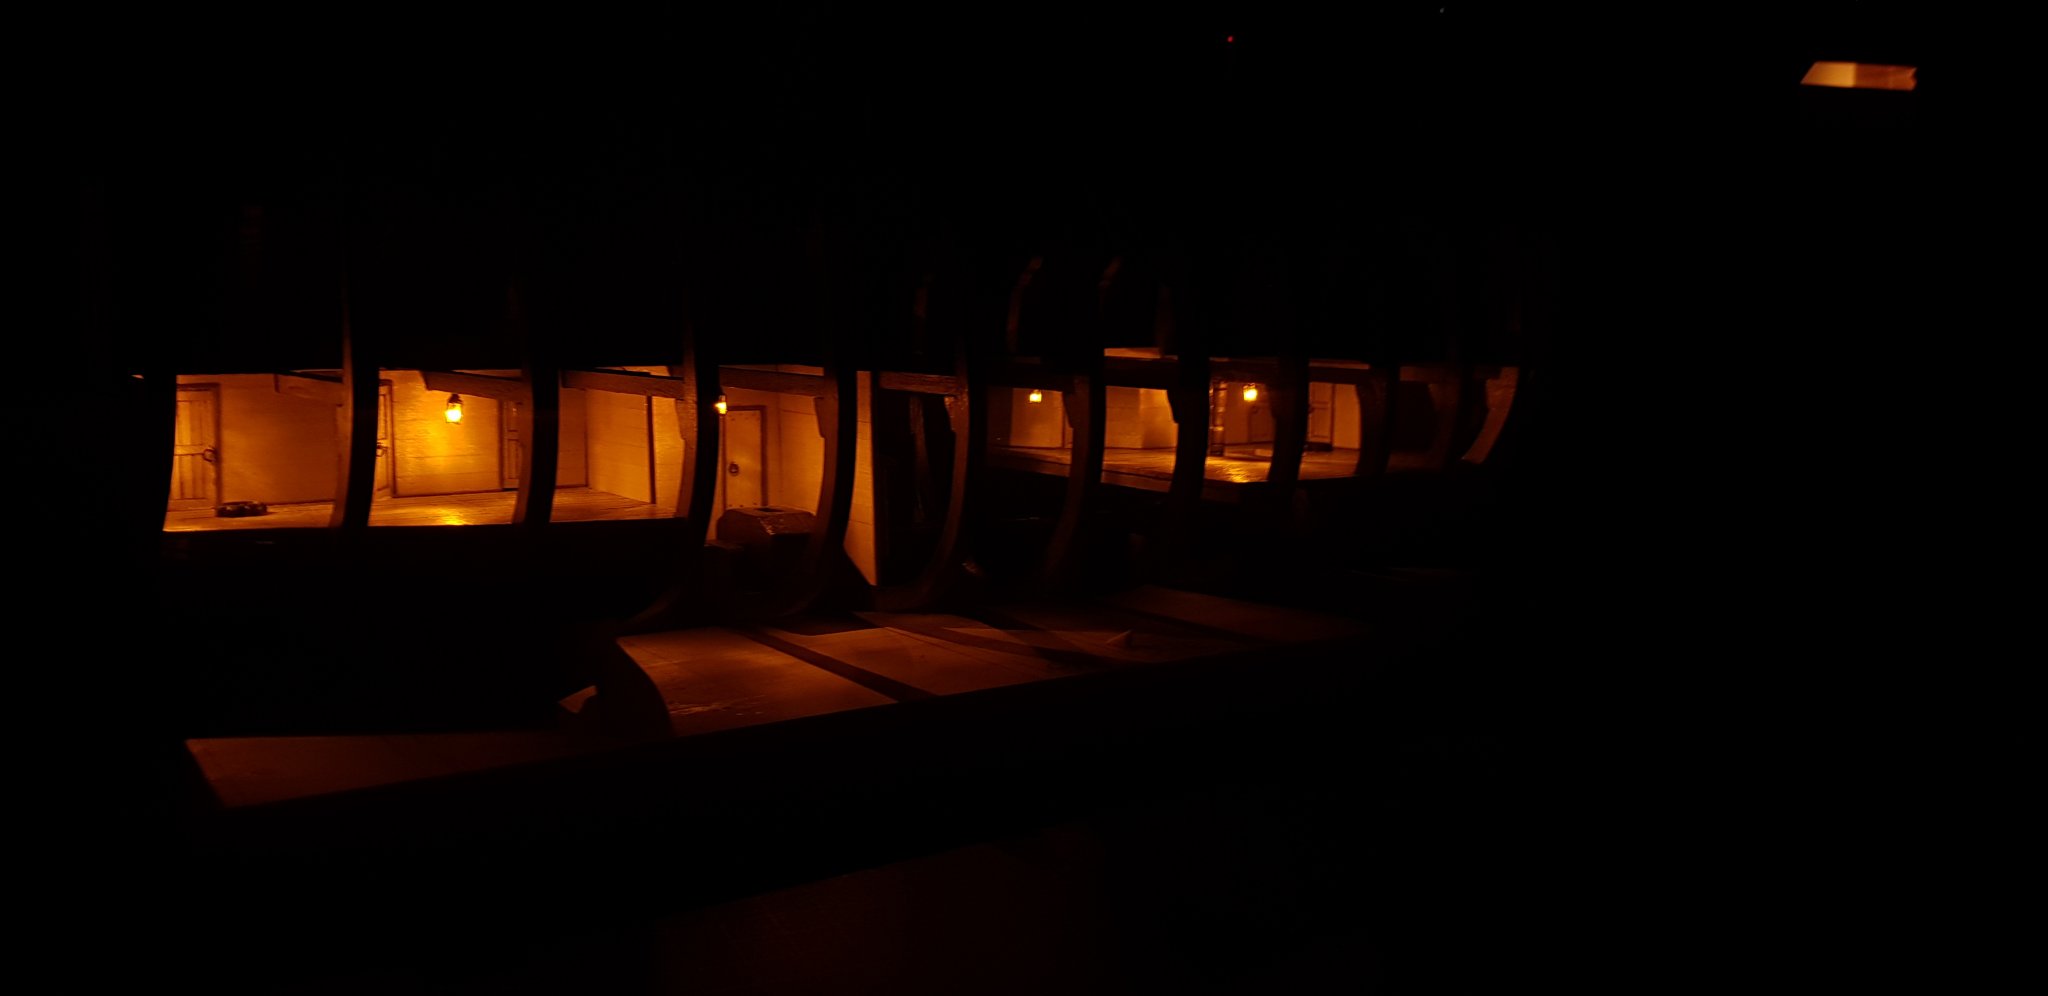
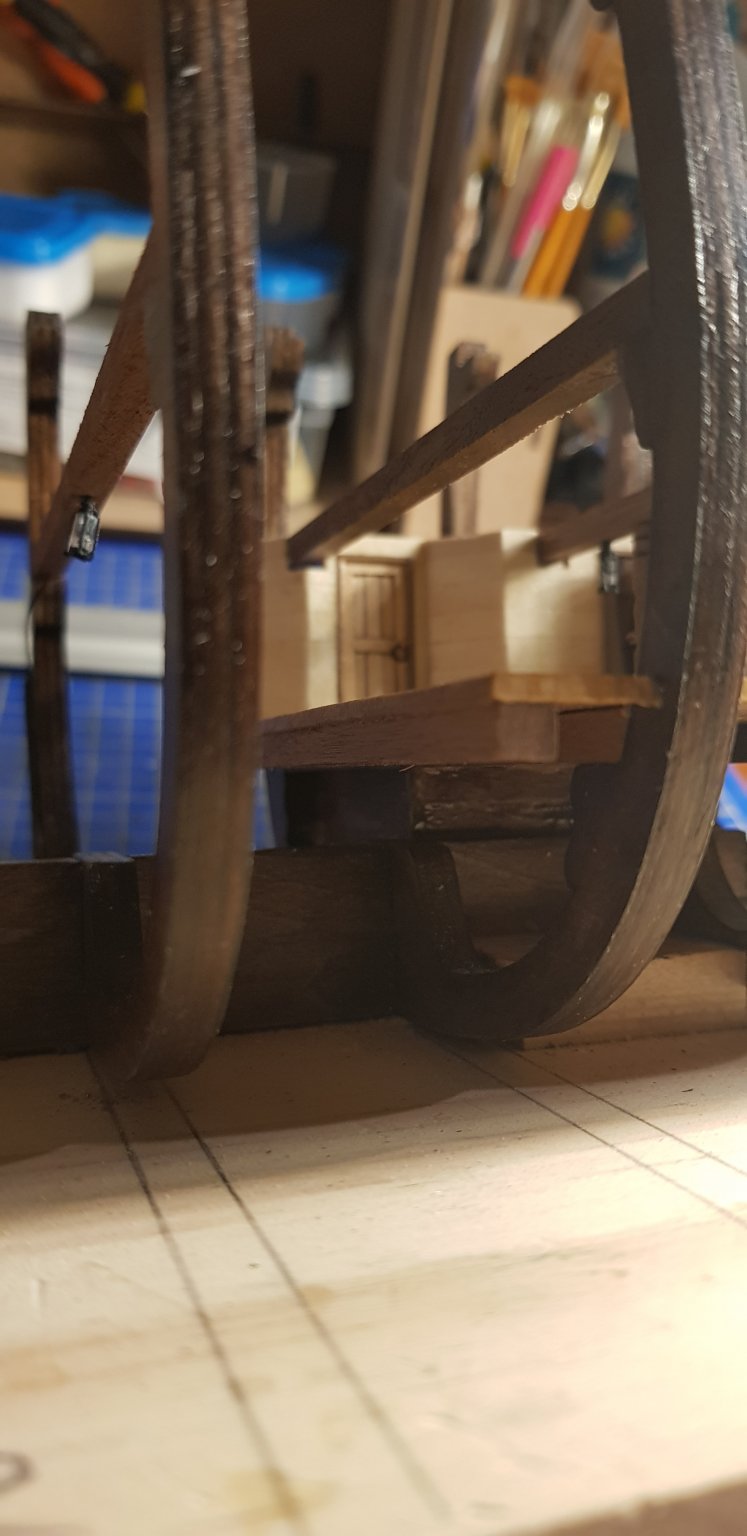
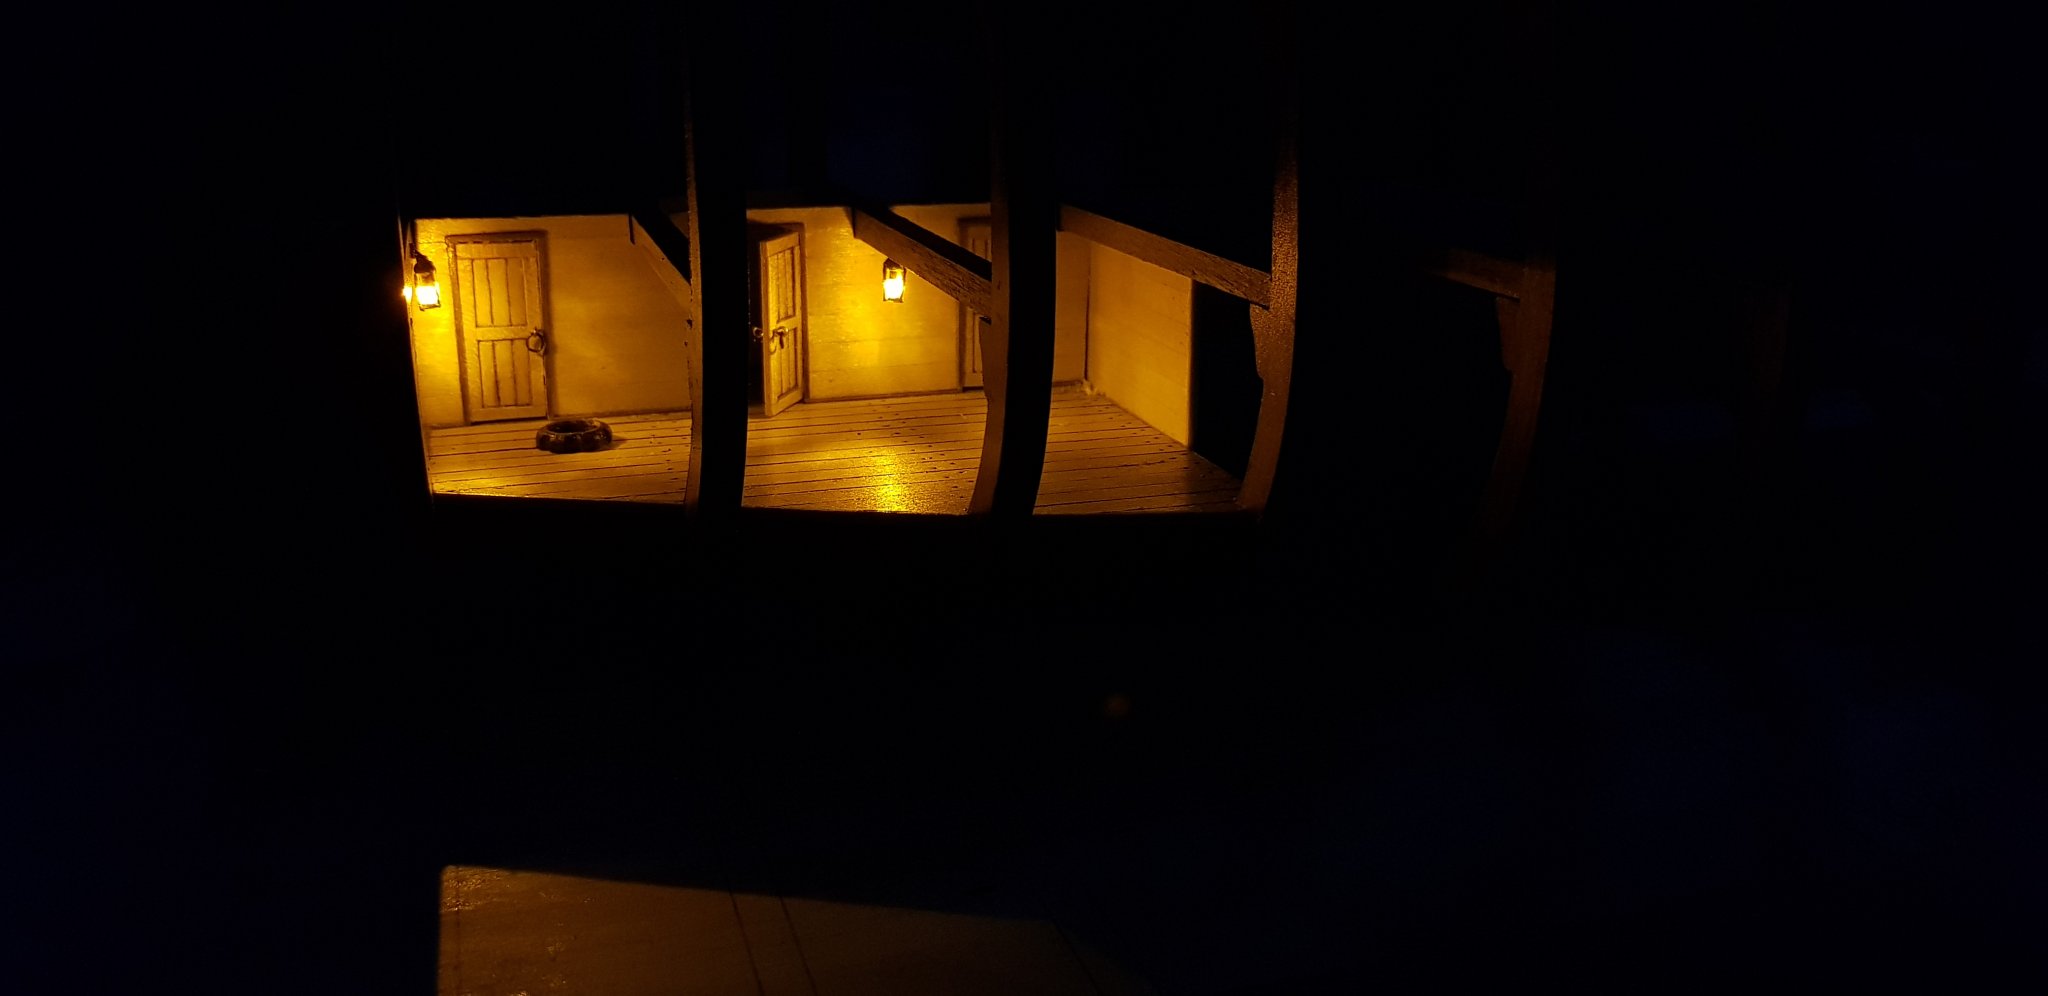
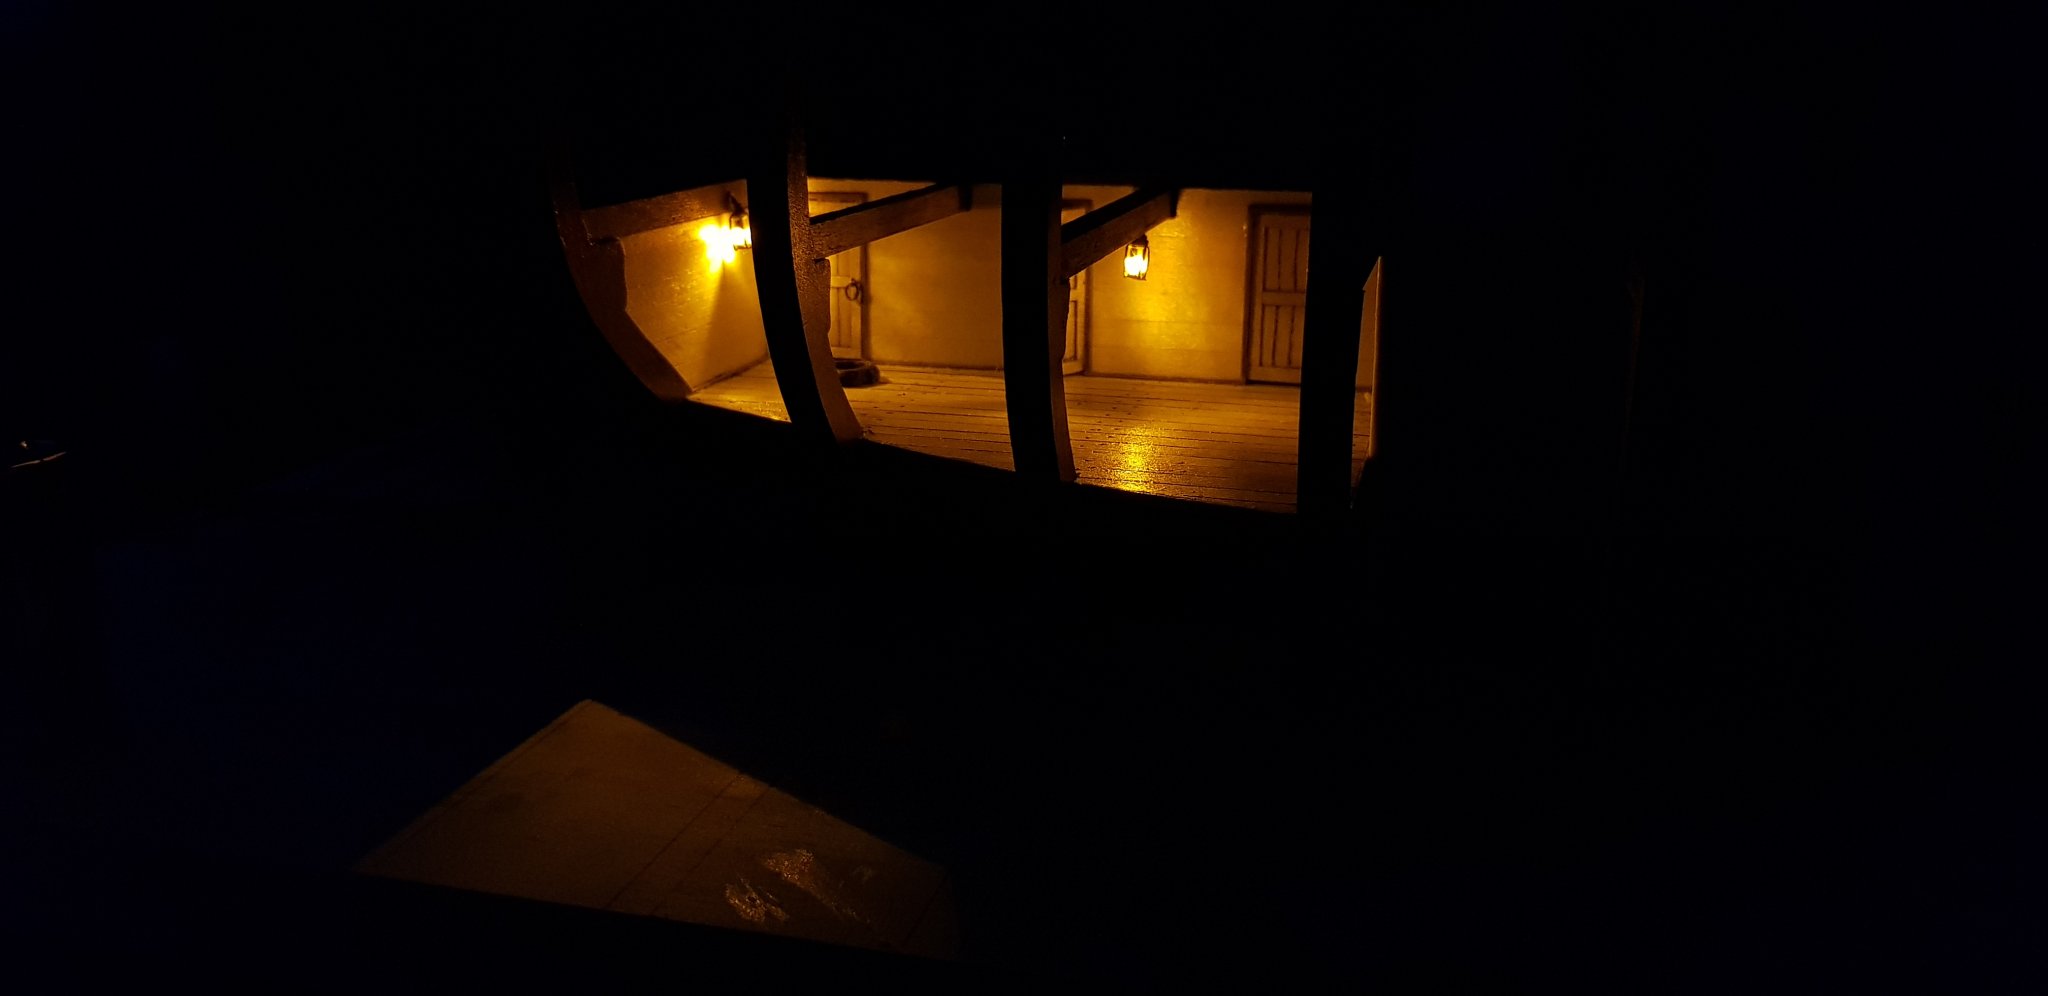
Nearly getting to the end if this deck now. Have finished installing the lanterns and tidied up the wires so very little will be visible once the model is finished.


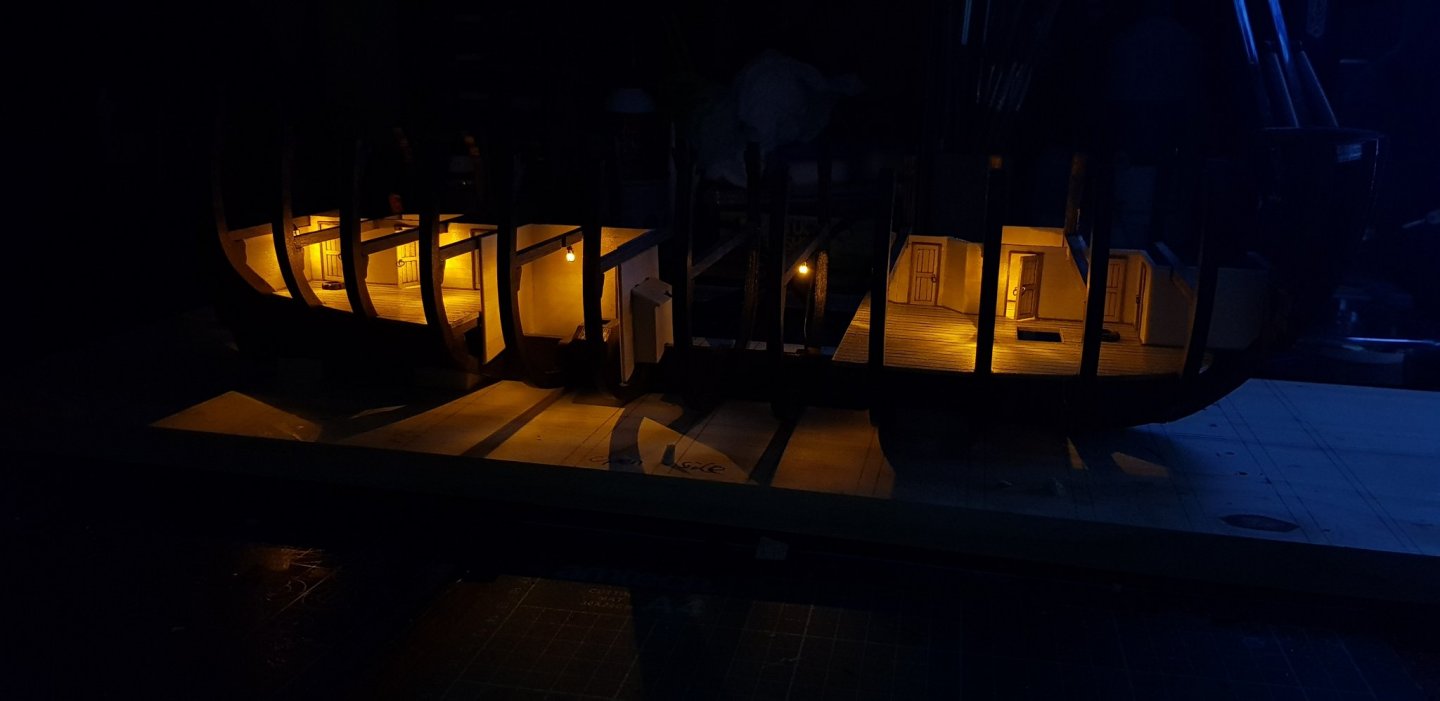
I had to make some walls under the deck to hide the wires. Not true to the real Bounty but then very little if this part of the kit is!


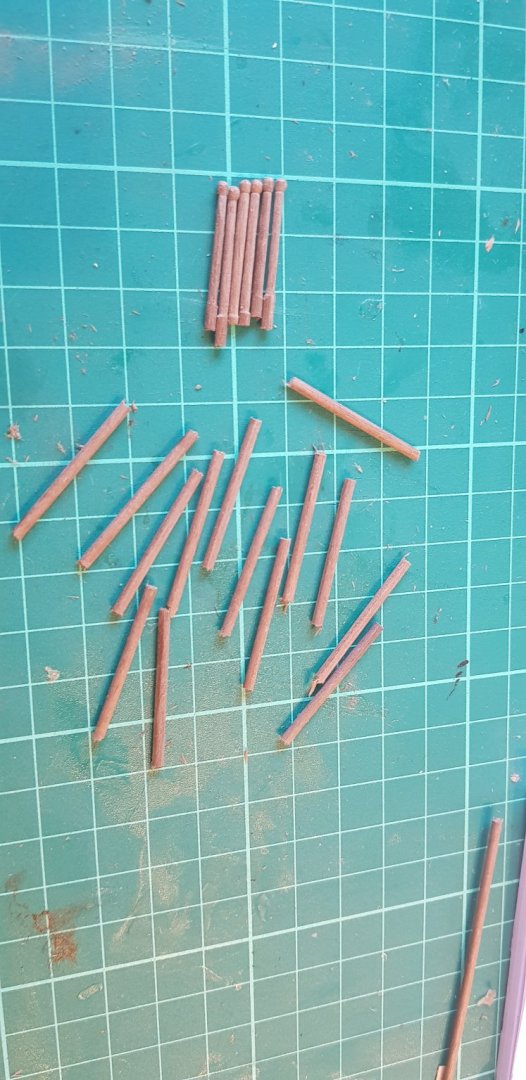
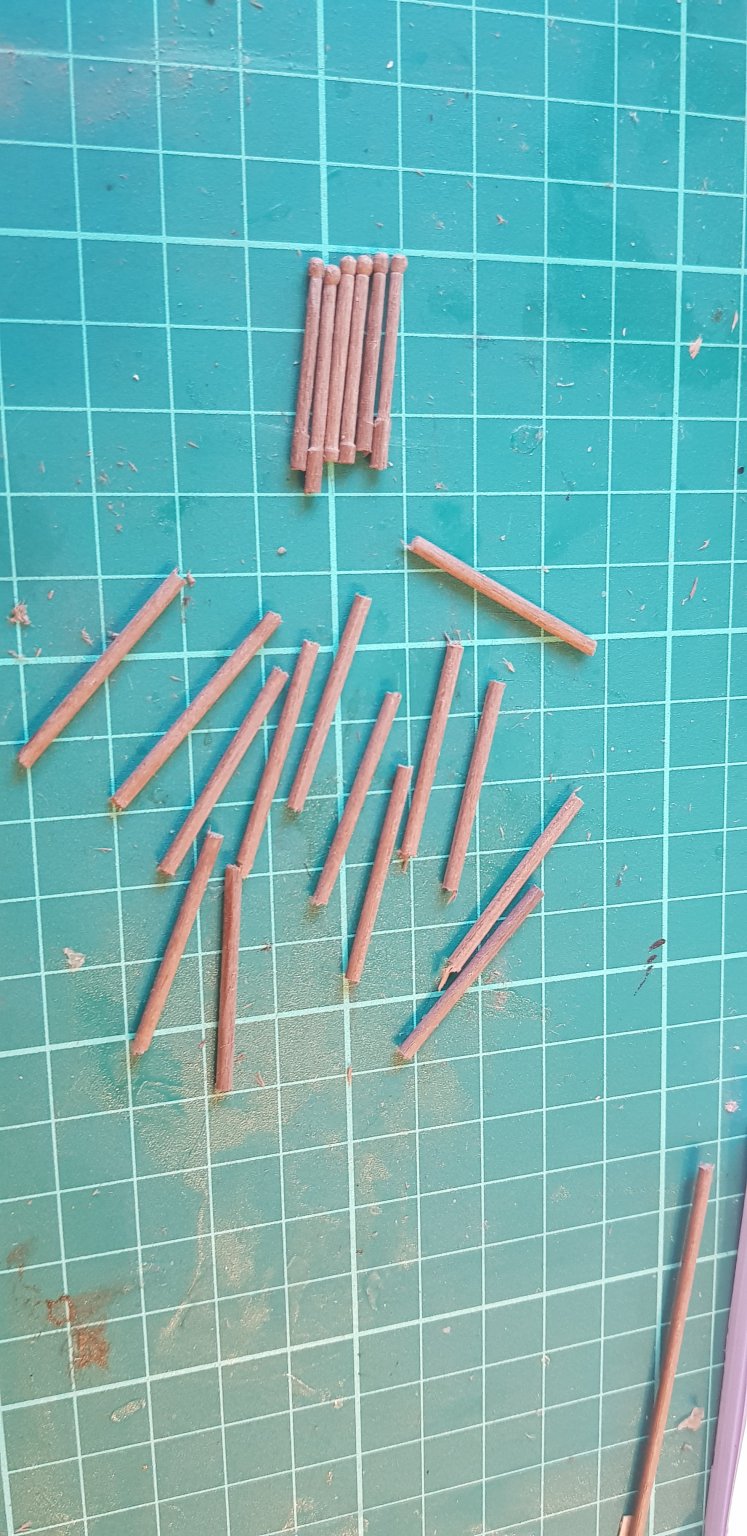
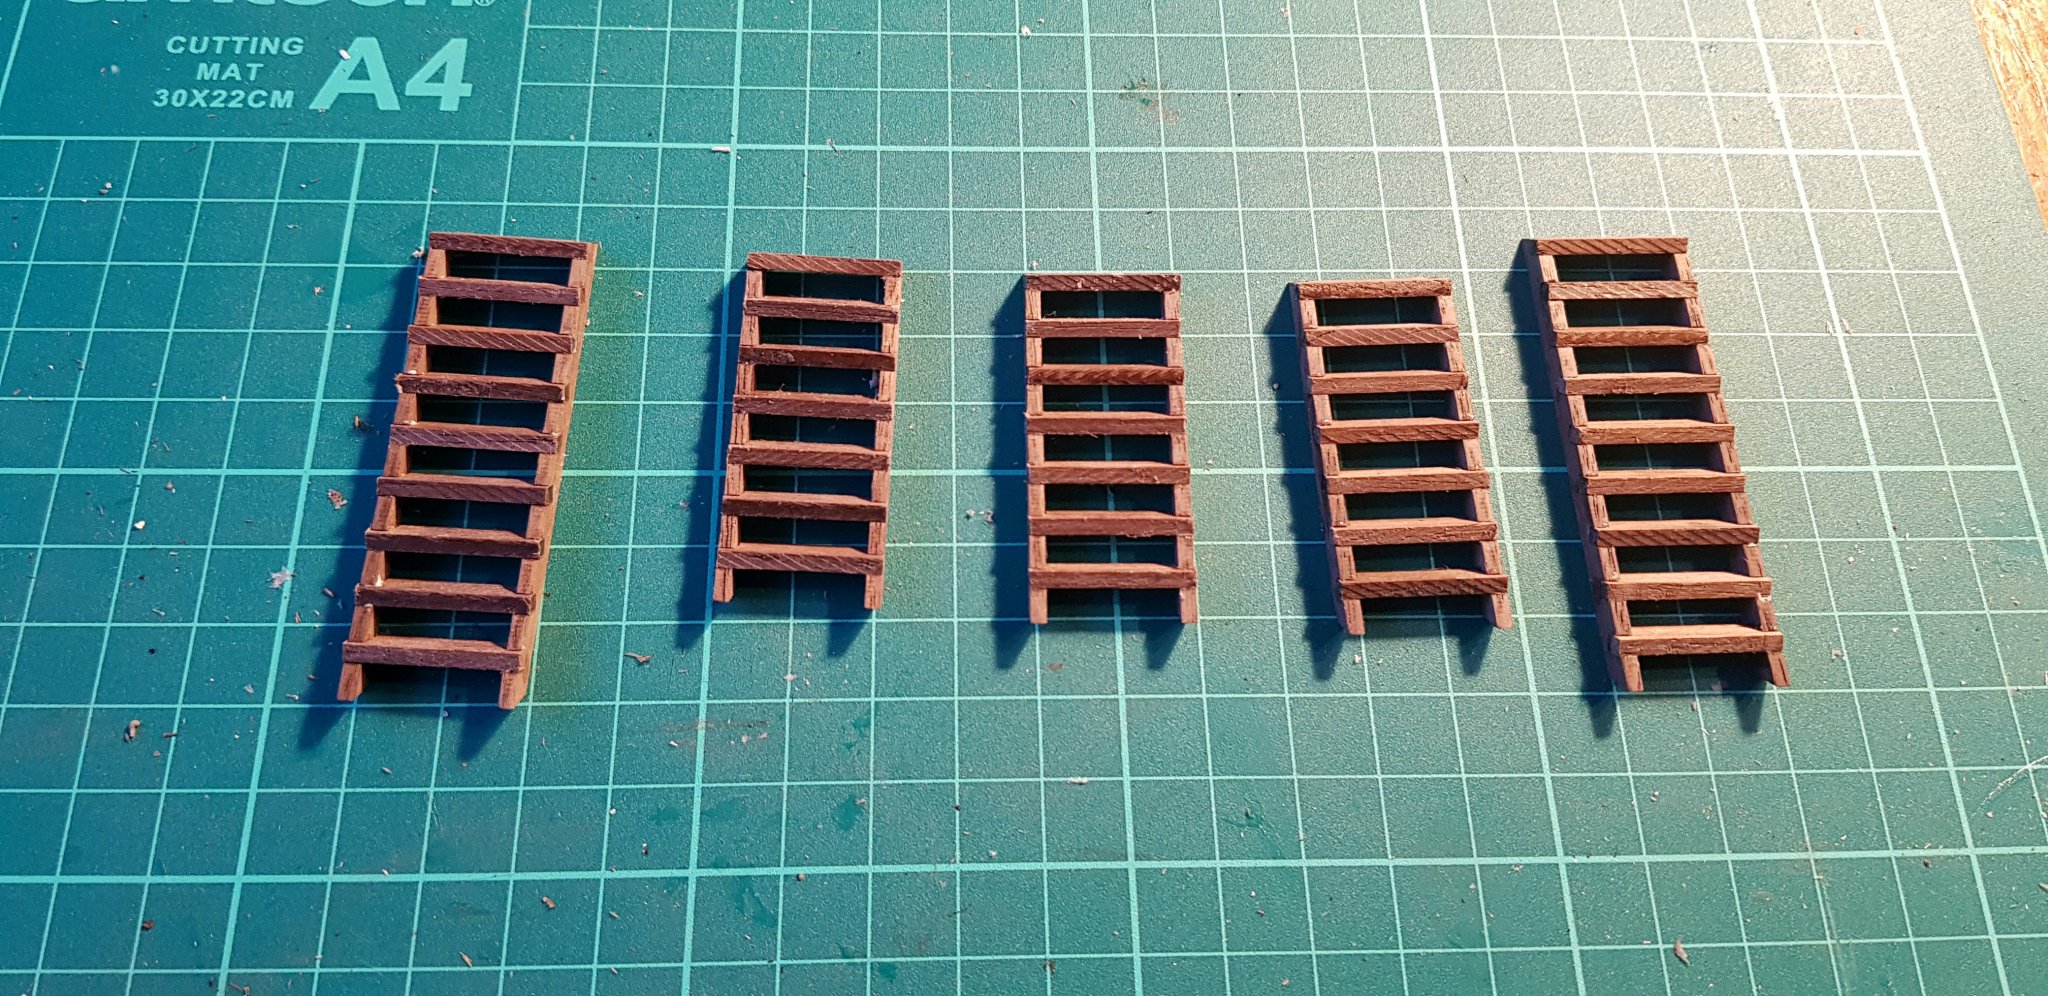
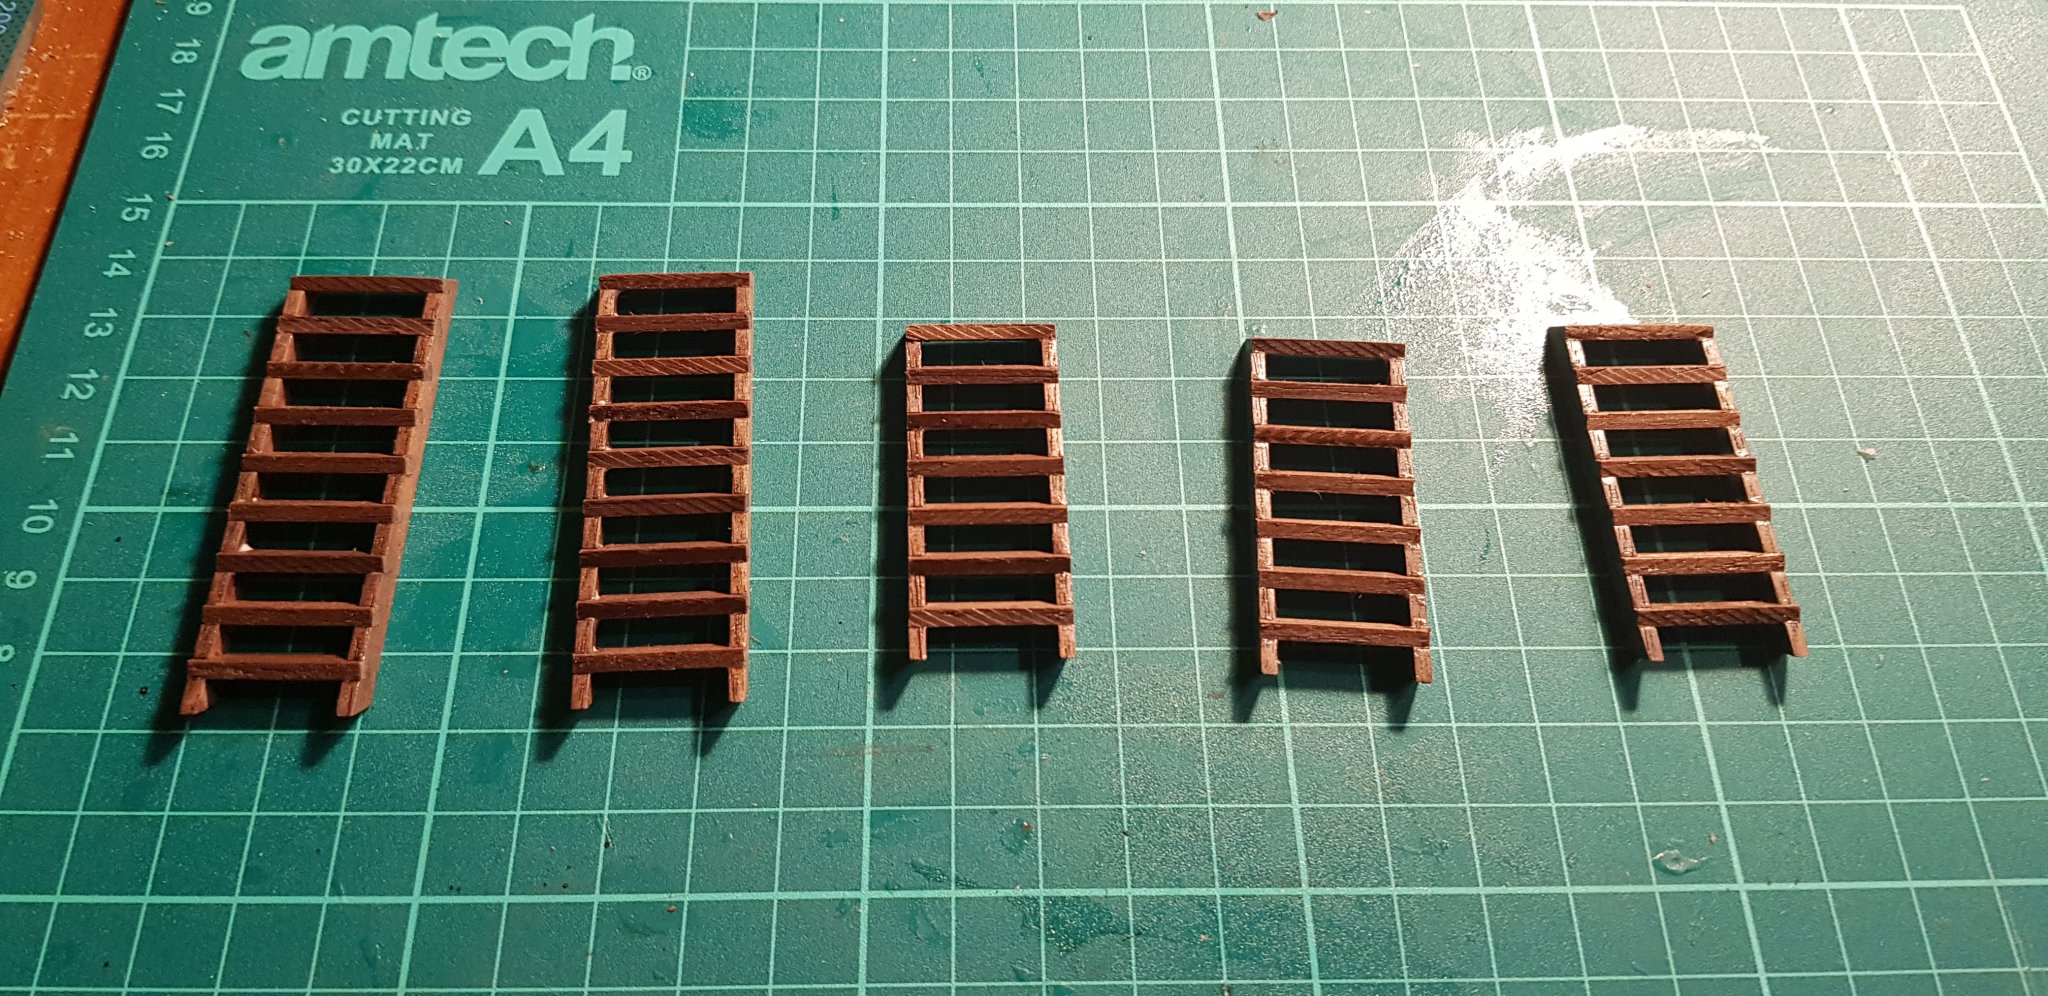
and then I started on something that is actually part of the kit: the stairs.
39 20mm steps to cut out and shape. My new saw made light work of it although I'm now thinking of getting a mill as it would have made shaping them a lot easier.
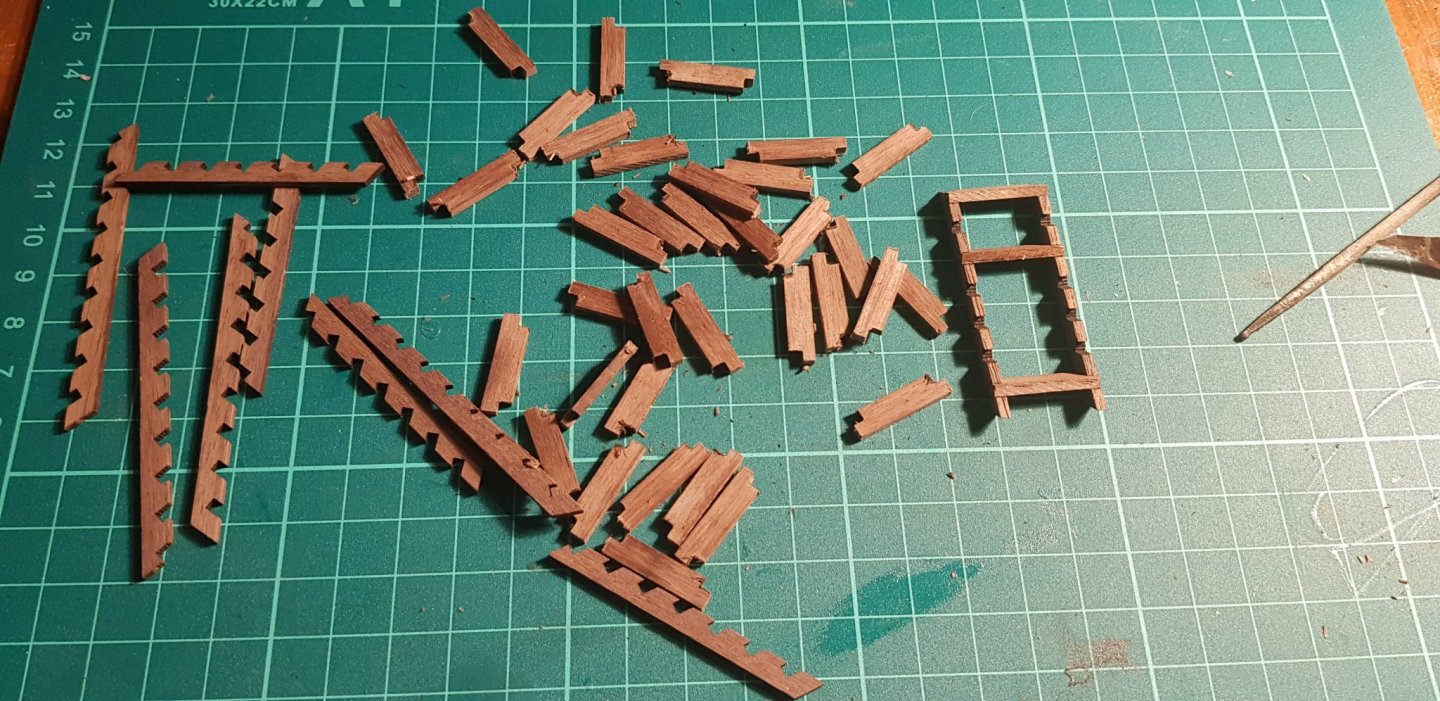


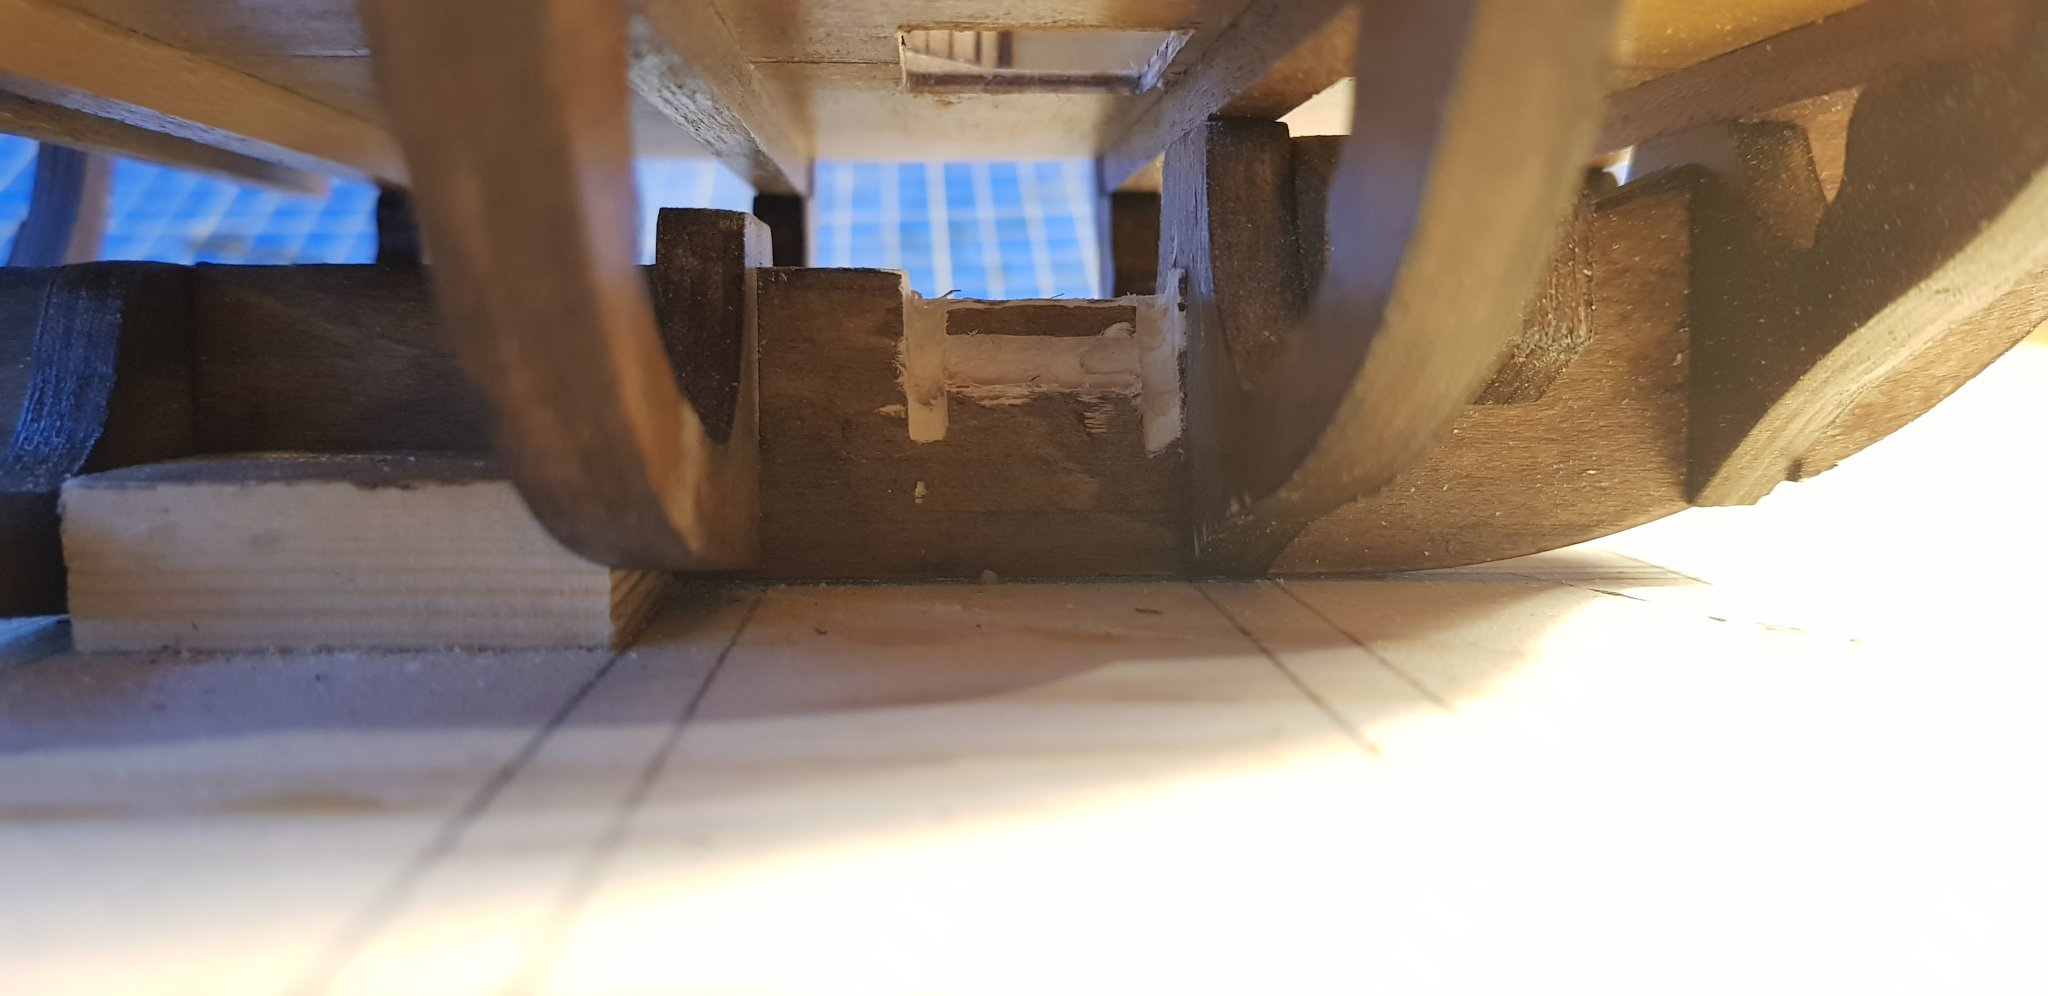
I made a slight mess cutting the groves to enable to bottom stairs to sit right. None of it will be seen but it's frustrating none the less.

All that's left to do is close the gaps on the support beams, install the first lot of stairs, decide what to do about railings and make some sort of anchor rack. Might get this deck done by October!
Oh, and cabin furniture too.

- mort stoll, Matt D and BobG
-
3
-
That decking looks great!
-
20 hours ago, Louie da fly said:
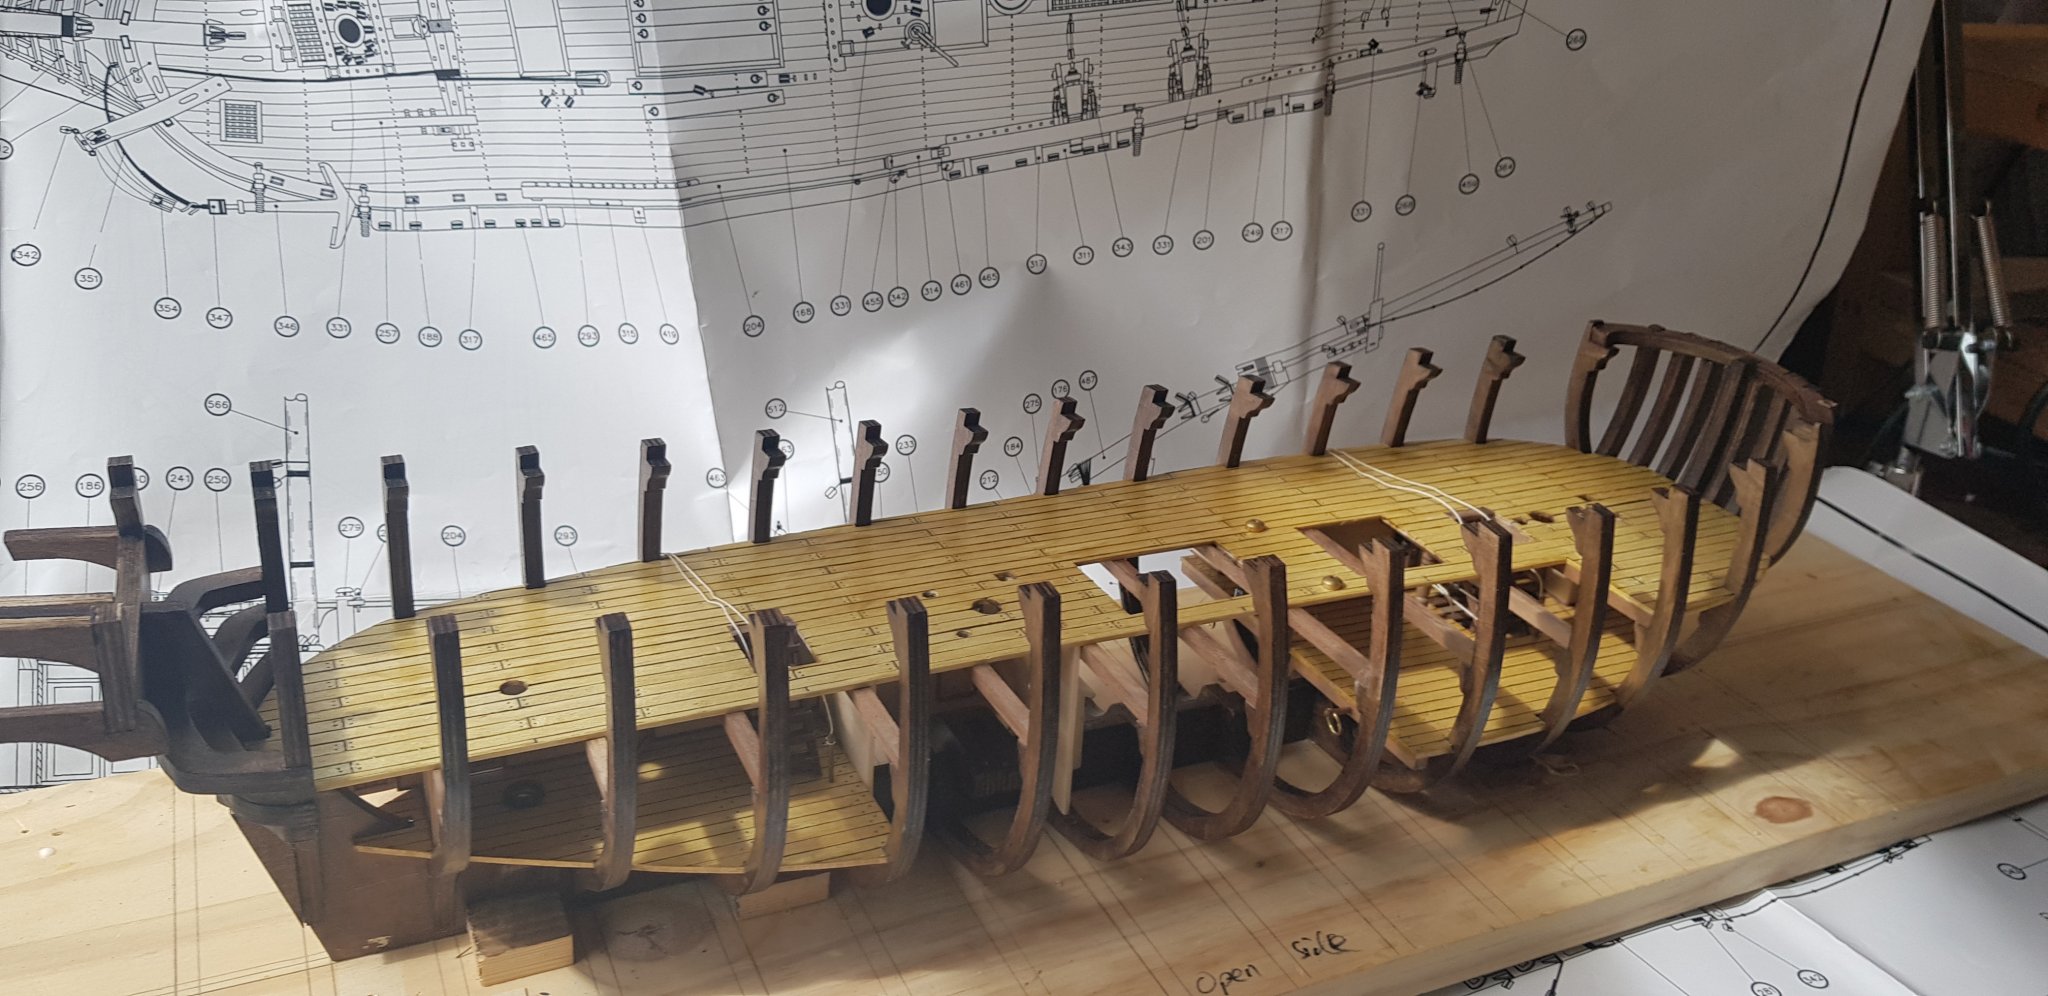
In fact this looks very good and there's definite progress here.
It's probably just that I see other build logs with the frames going up and then, BAM, they're straight onto the planking. Need to keep it in perspective that there's a lot of detail going into this Bounty.
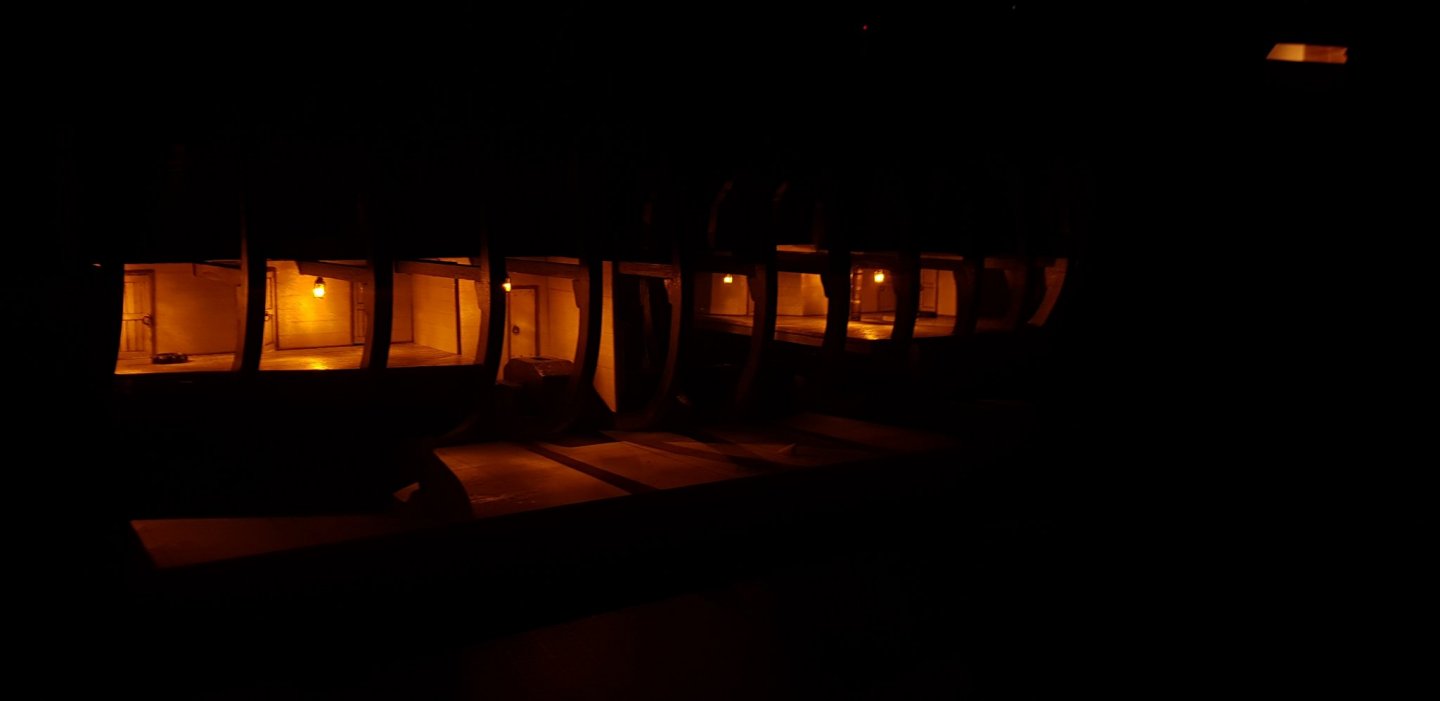
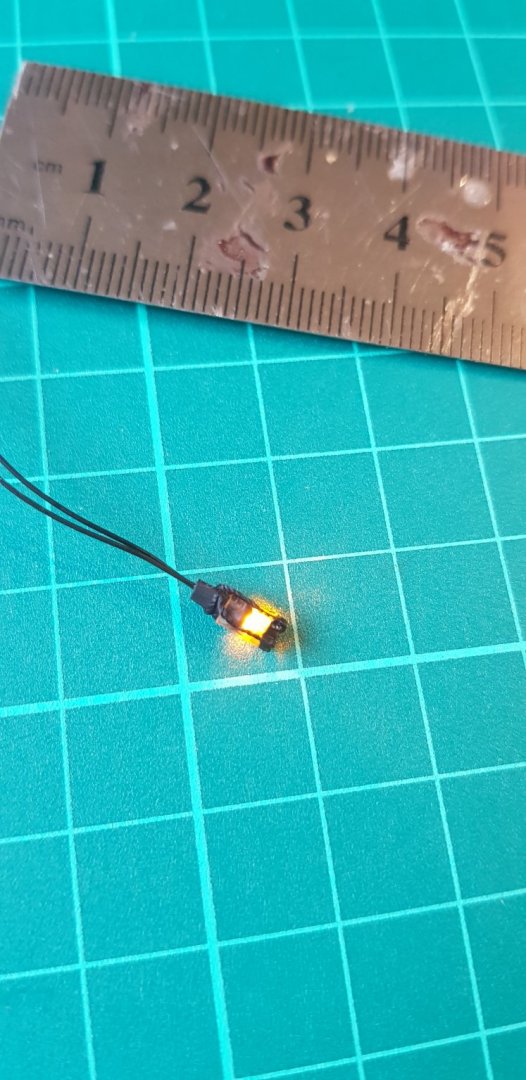
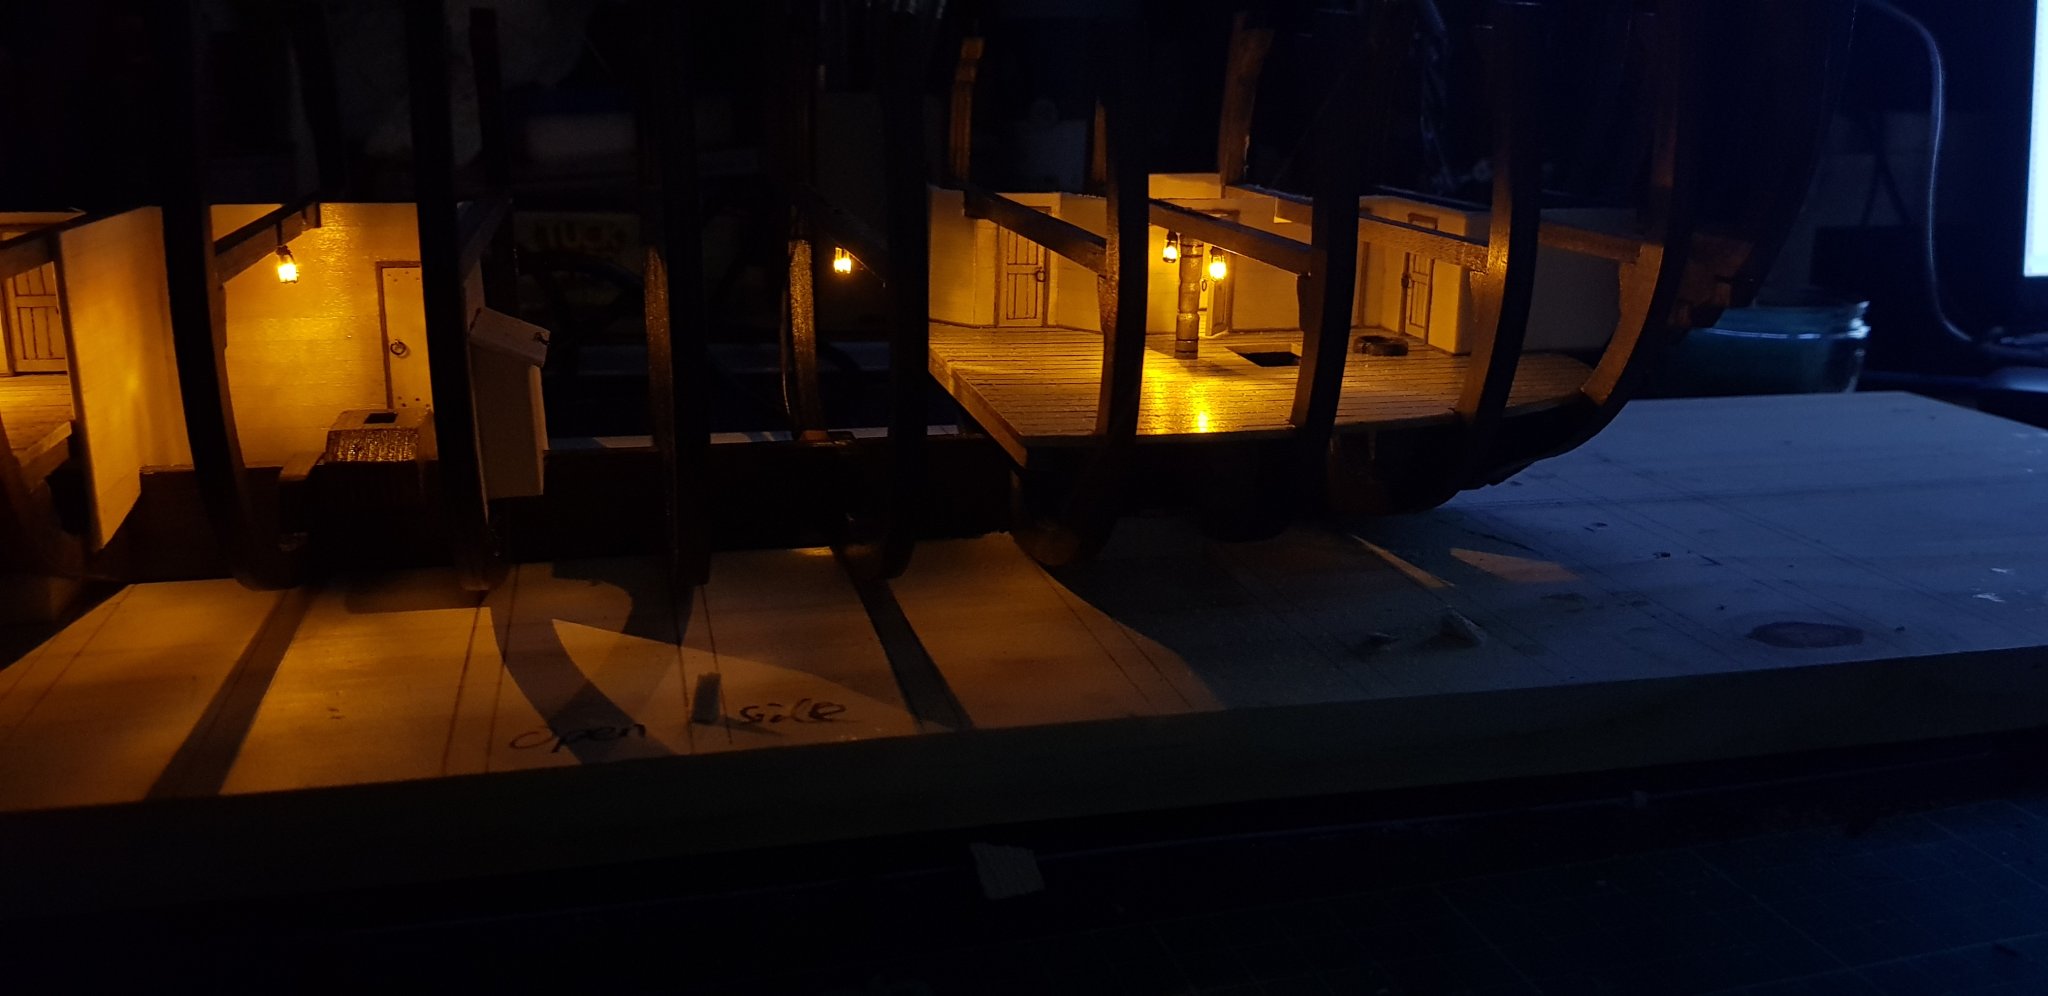
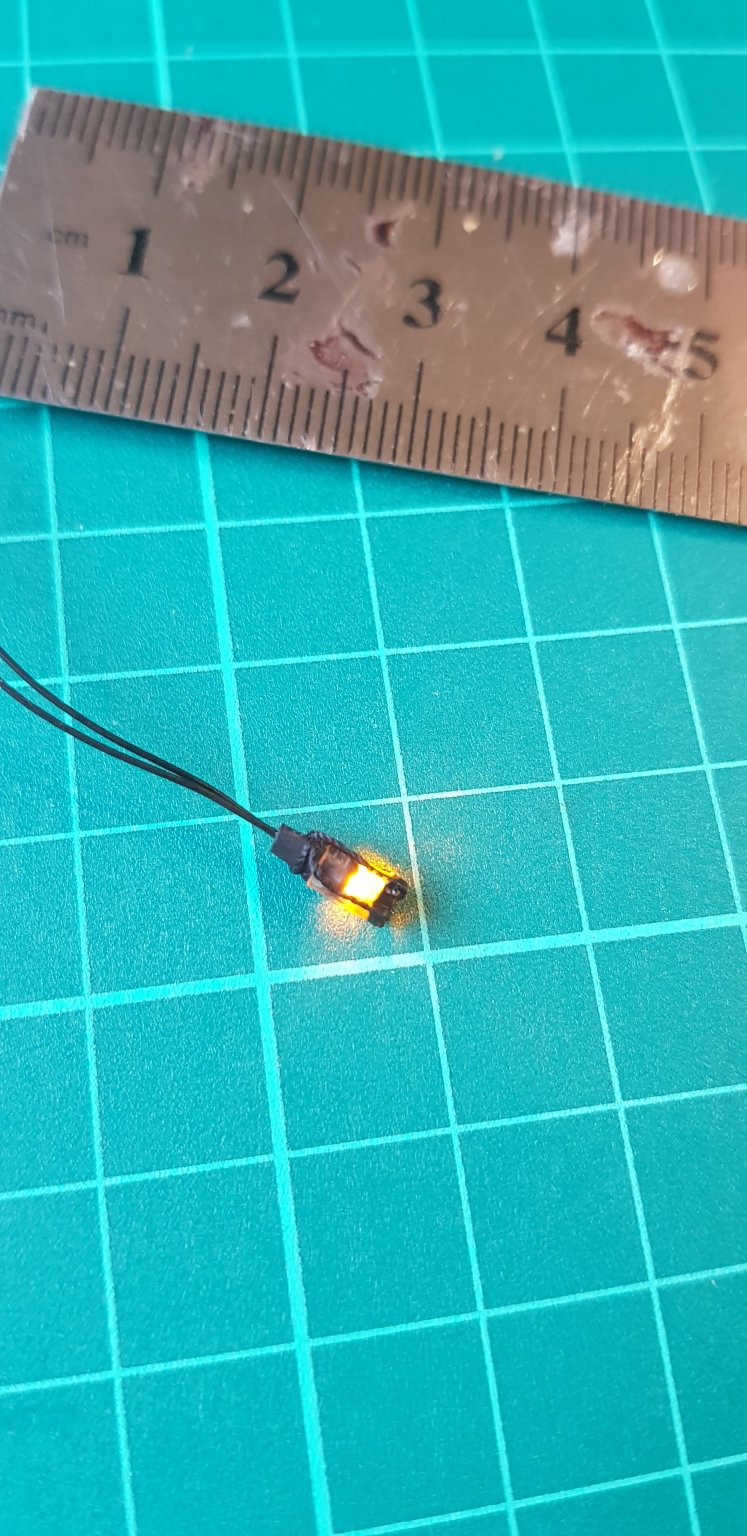
Installed two of the lanterns this evening. It's slow going making sure they don't break and increasing the length of the wire. Fortunately it seems I've remembered how to solder from back in school.
The great thing about this light is that you can't see any of the glaring mistakes you see in normal light!


- BobG, Louie da fly, Baker and 1 other
-
4
-
28 minutes ago, orion said:
Hi all, I'm putting out to anyone out there who can help me out.
I have come across a kit of the Santa Maria from Artesania Latina without any instructions at all. Would there be anyone out there that has completed this kit and no longer needs these instructions?
I would be greatfull to anyone that can point me in the right direction as to finding these plans.
-
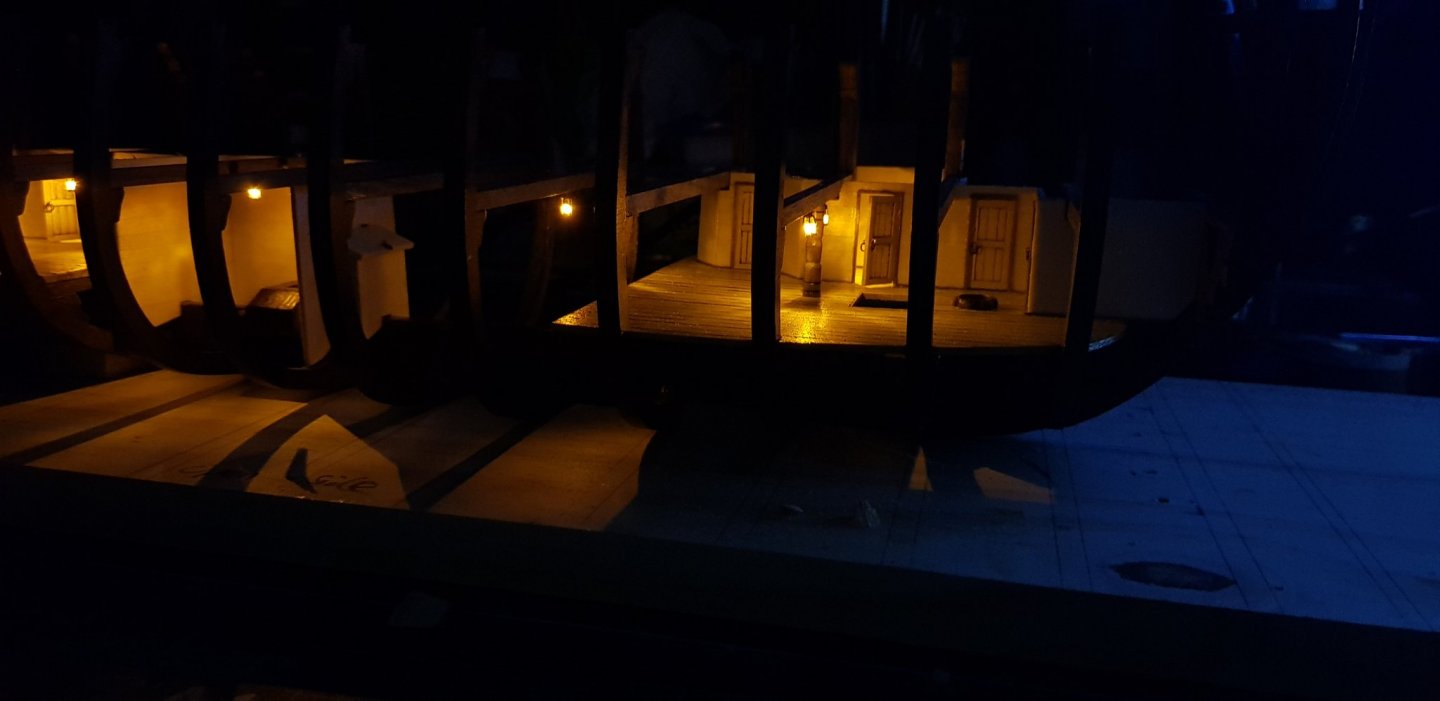
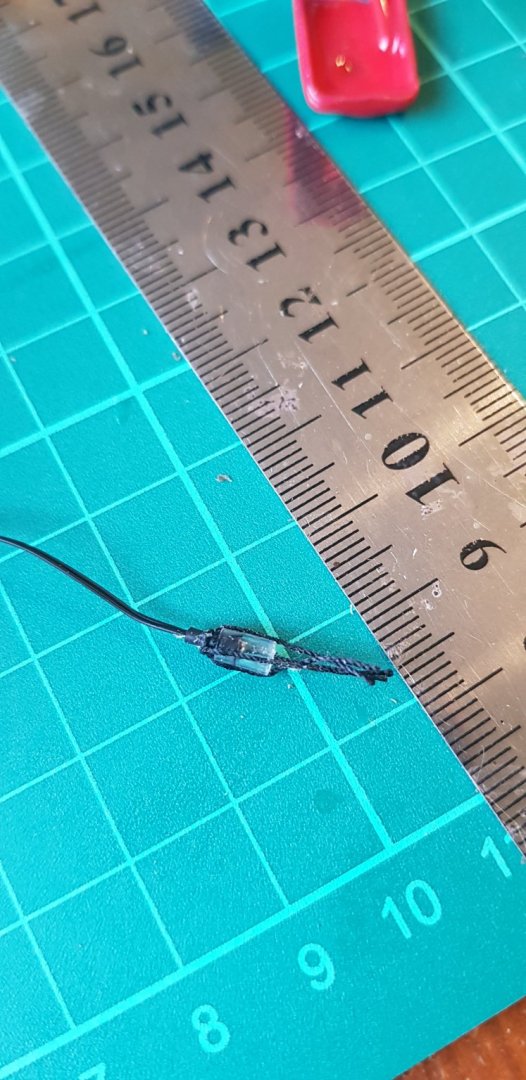
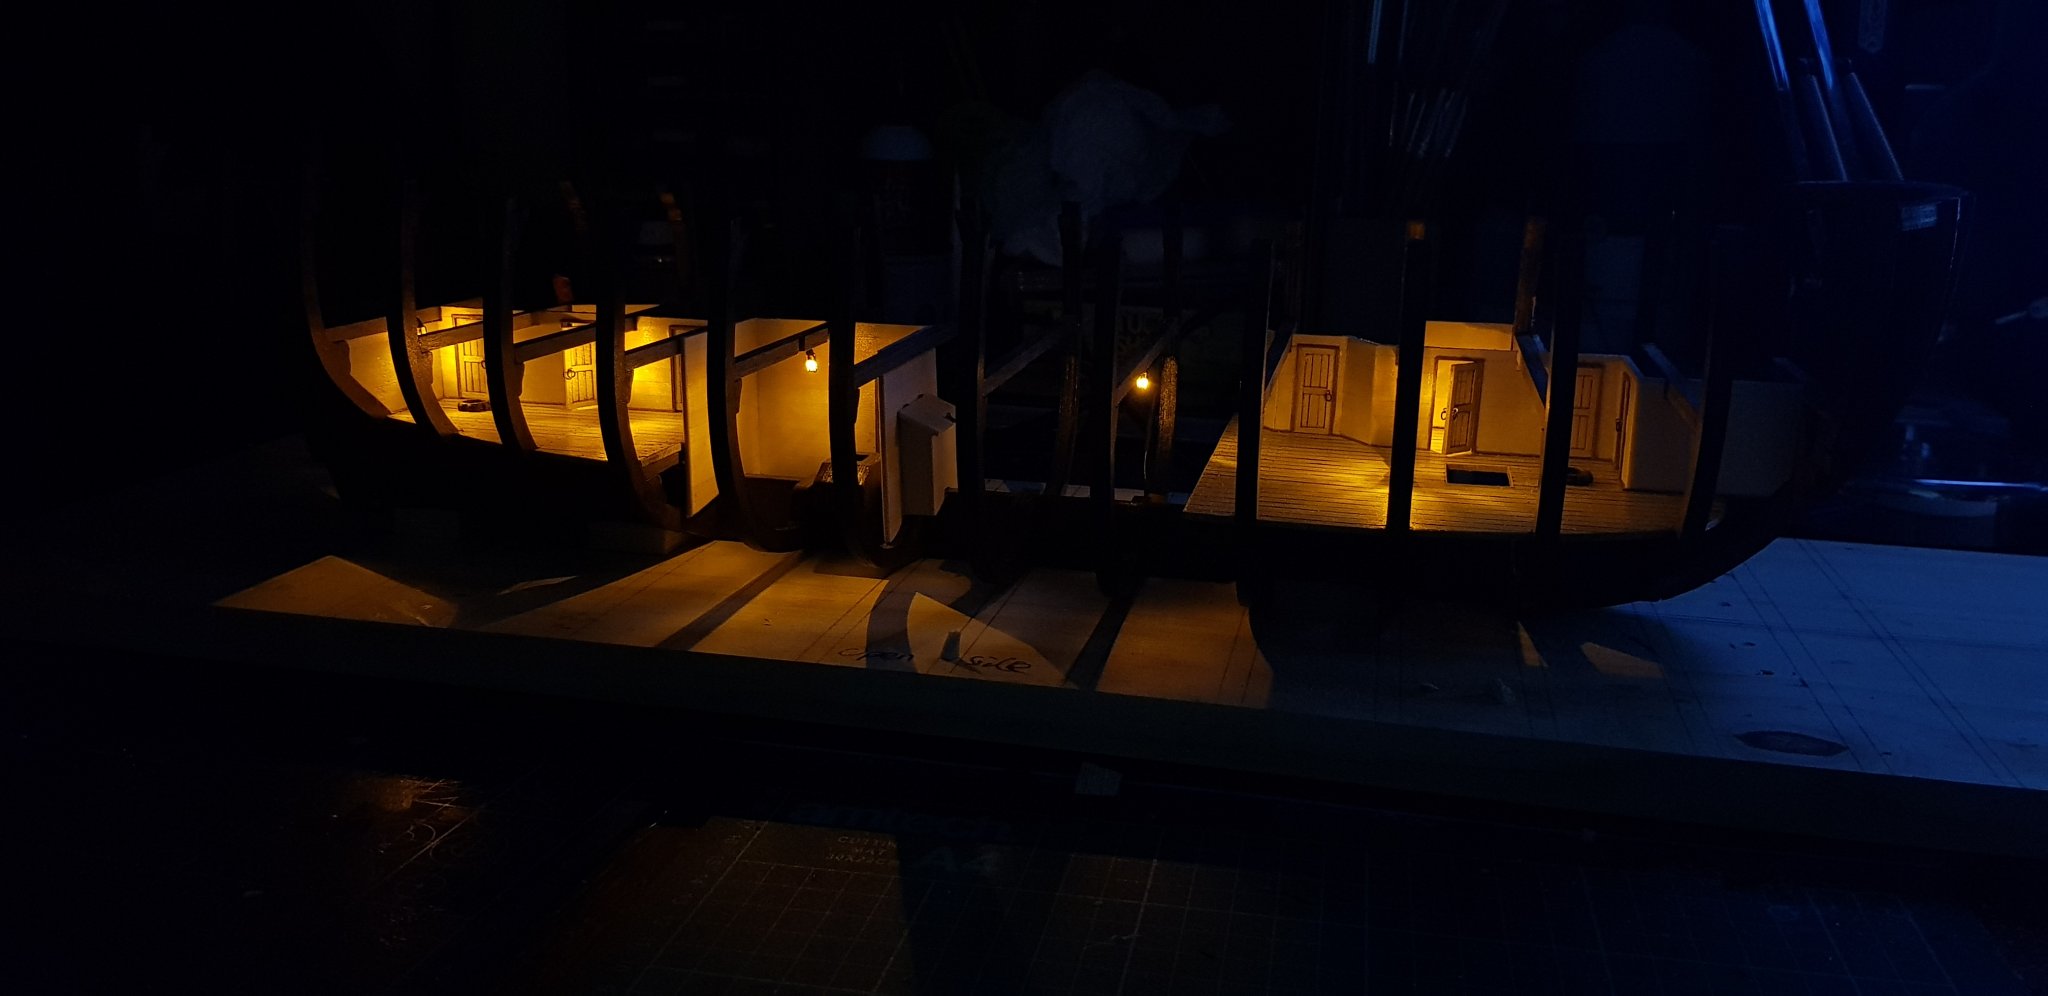
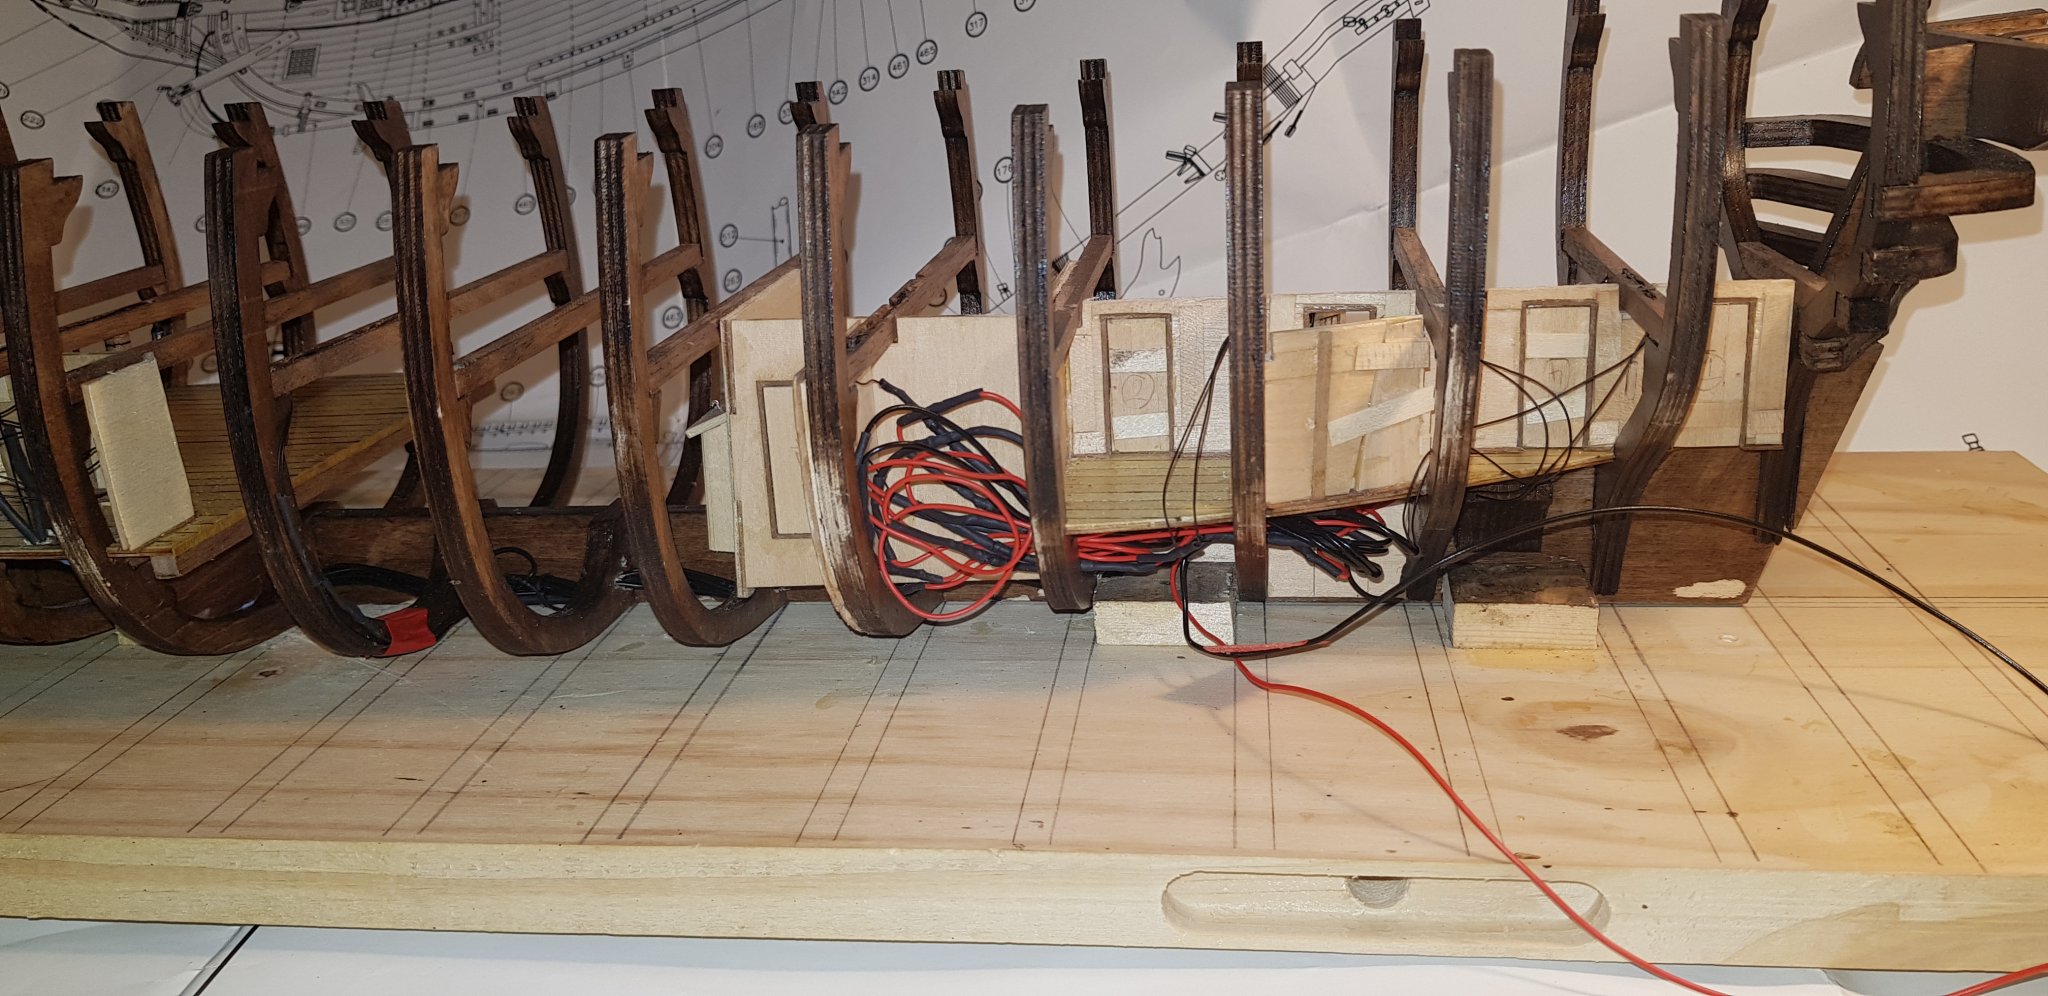
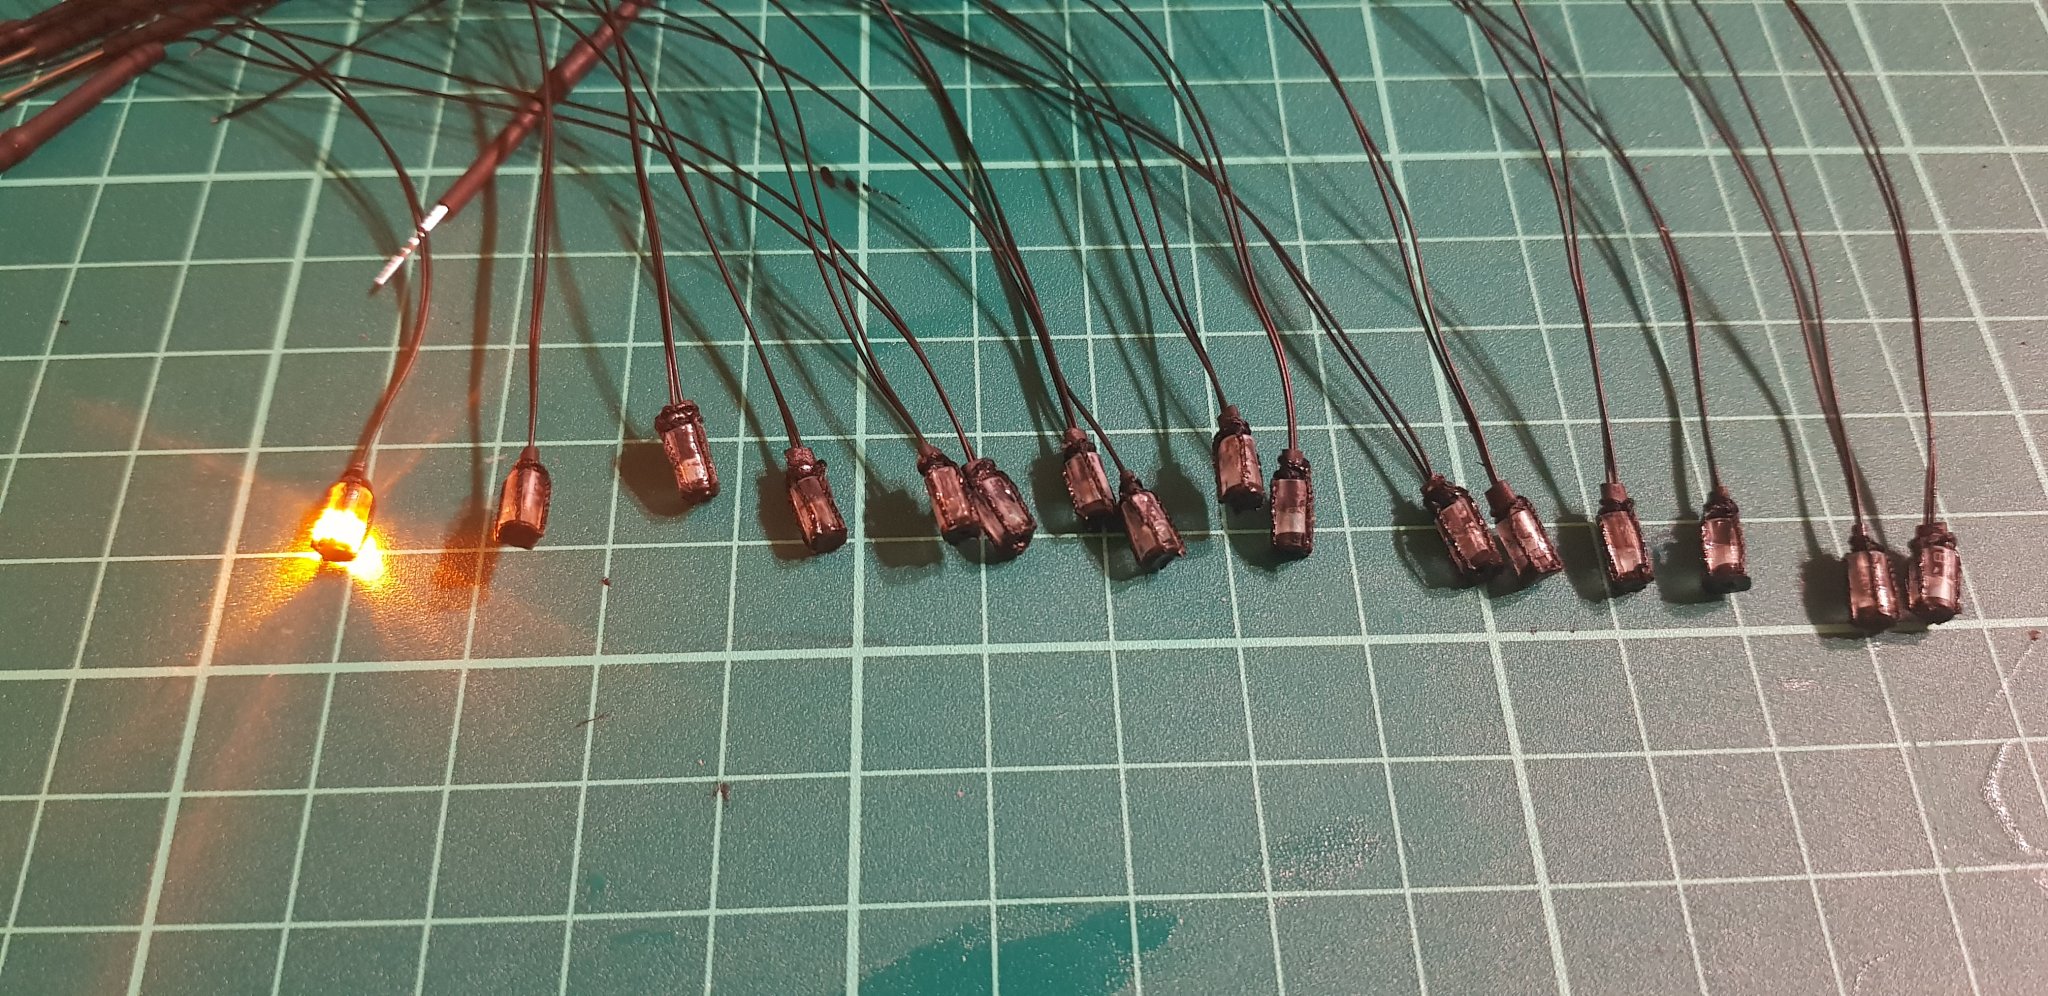
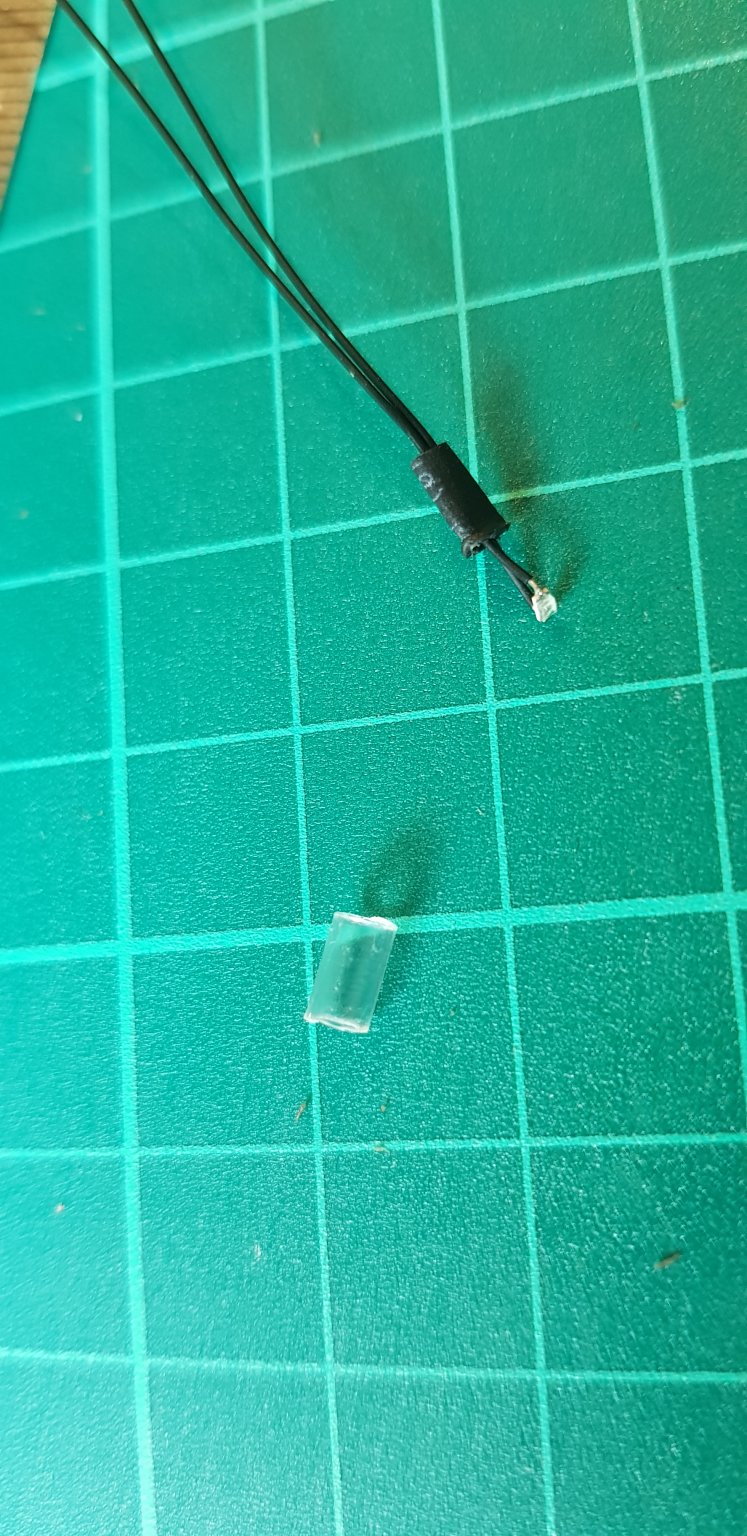
Lanterns completed for now (need to increase the length of the wire, move the capacitor (I think that's what it is) and get the soldering iron out. This deck is nearly finished and then I can move onto the next one.
Haven't completely decided how I'm going to hide the wires from the upper decks and am open to suggestions. They're small enough so should be barely noticeable if you run them down the side of the frames.
This is really slow going... seems like no progress is being made!

- Ryland Craze, Louie da fly, BobG and 1 other
-
4
-
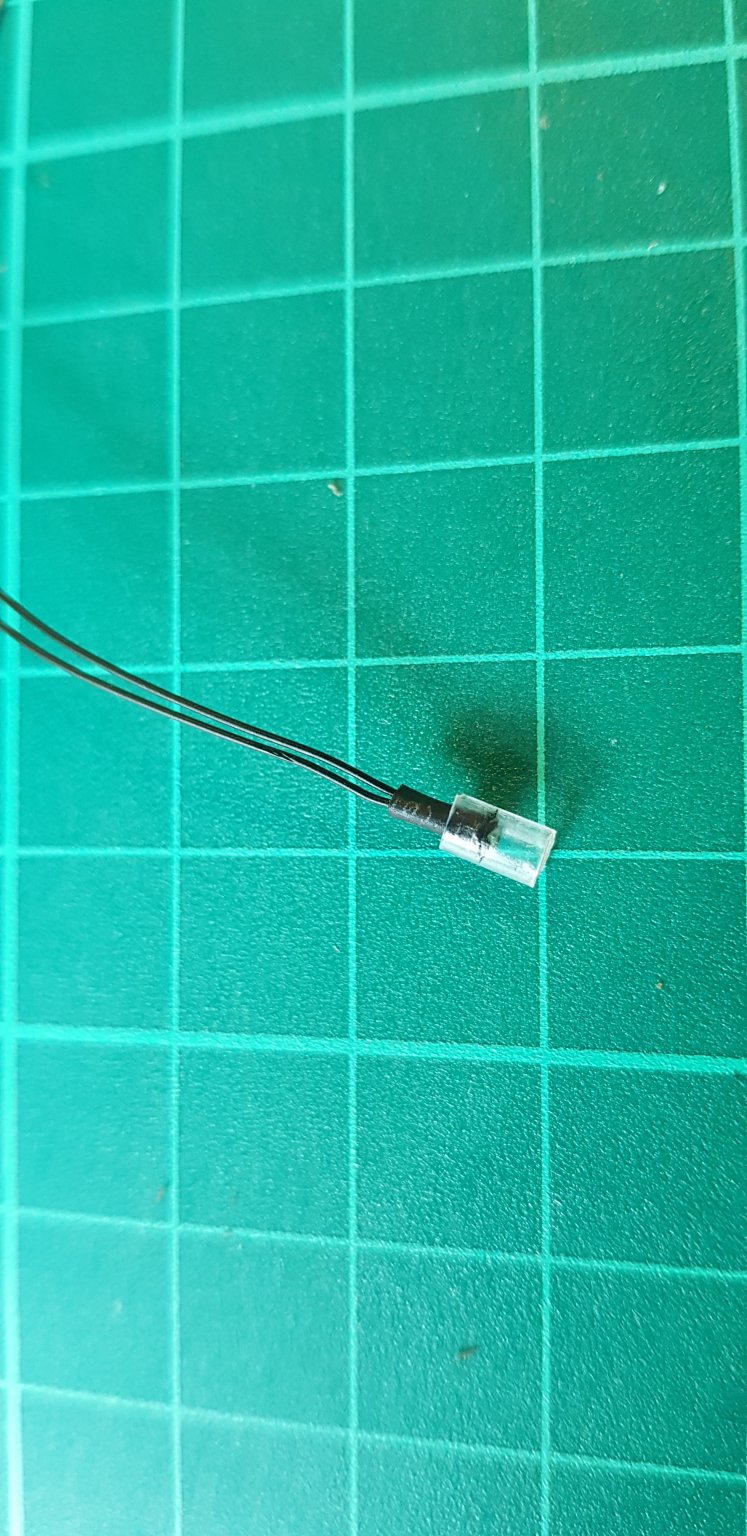
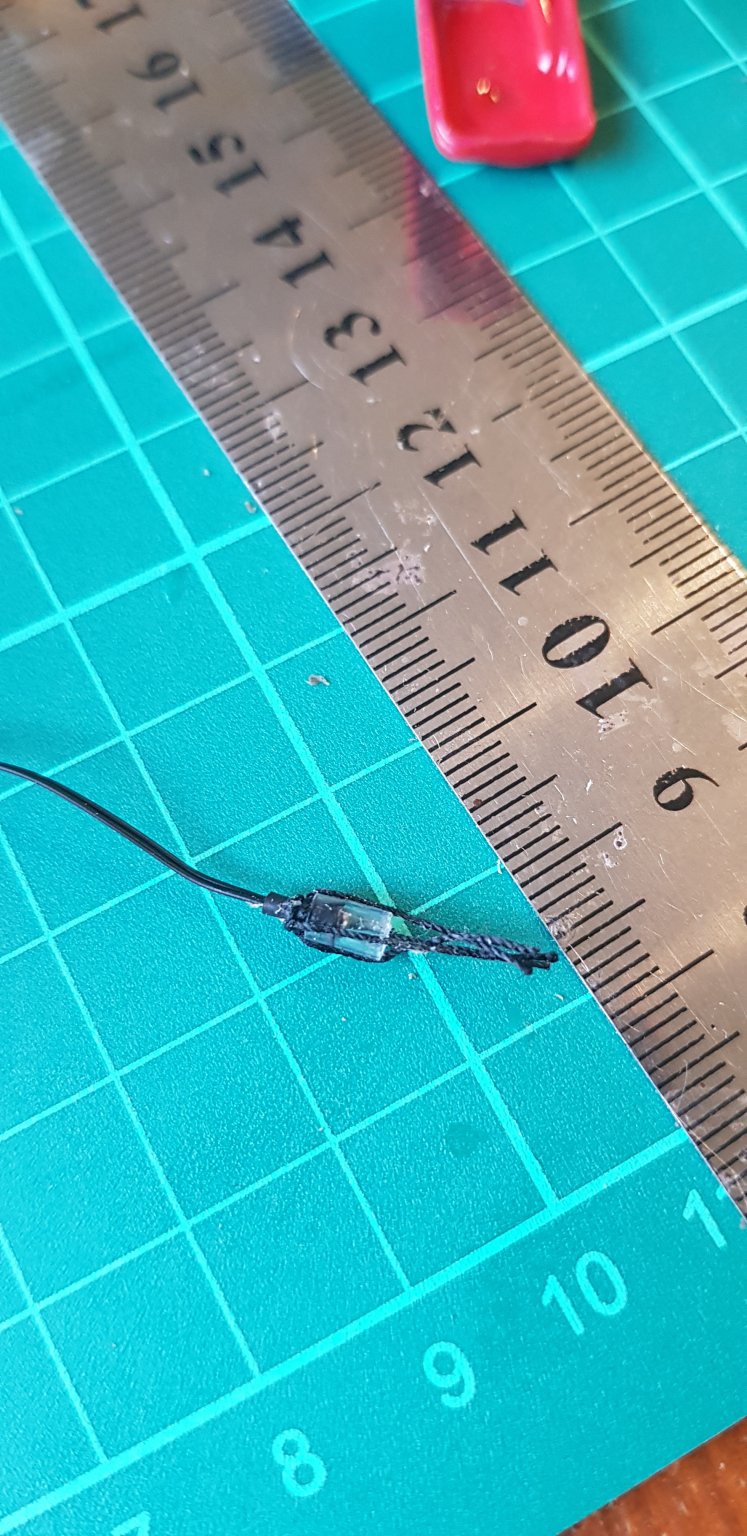
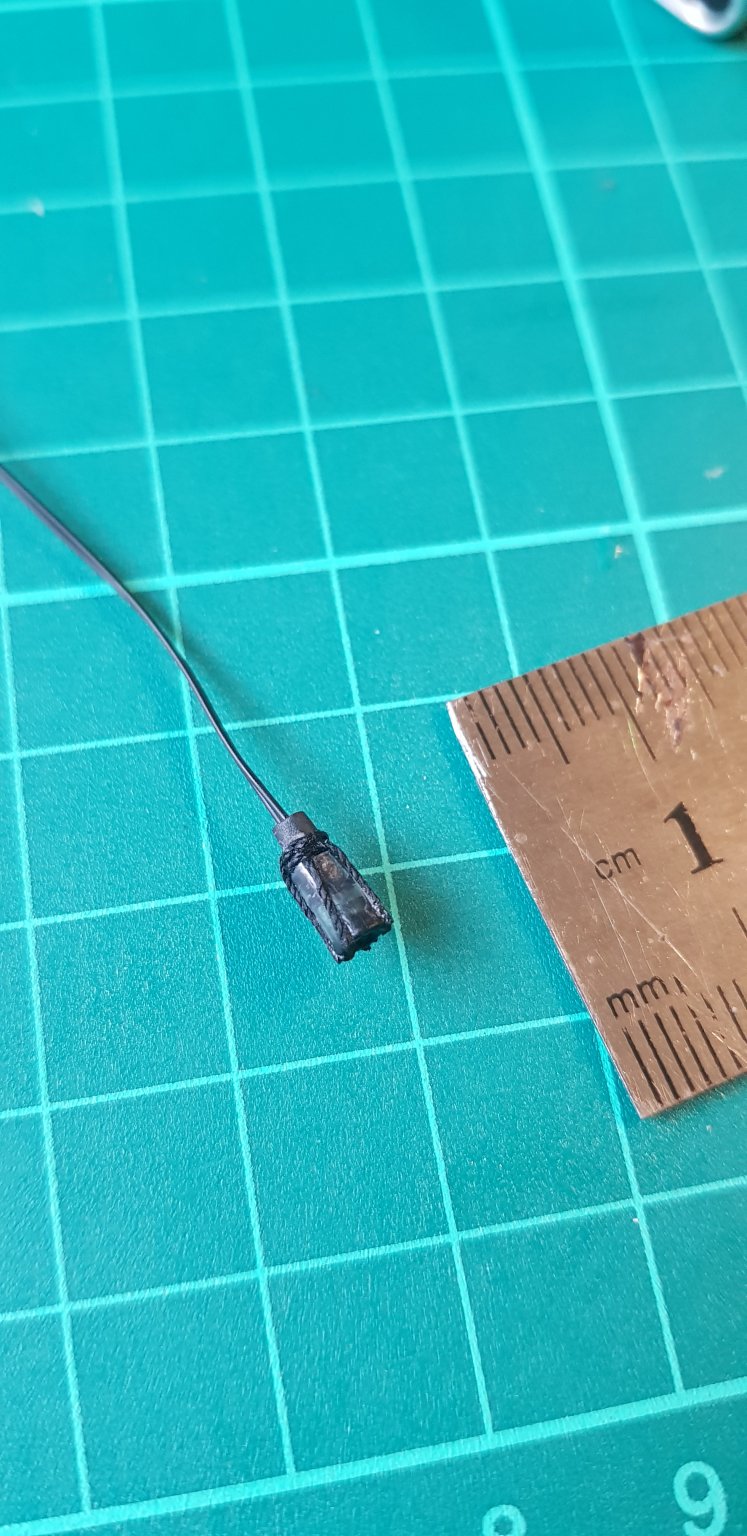
Lanterns!
Some 3mm tubing, tiny LED's, a bit of cotton and black paint and some trial and error


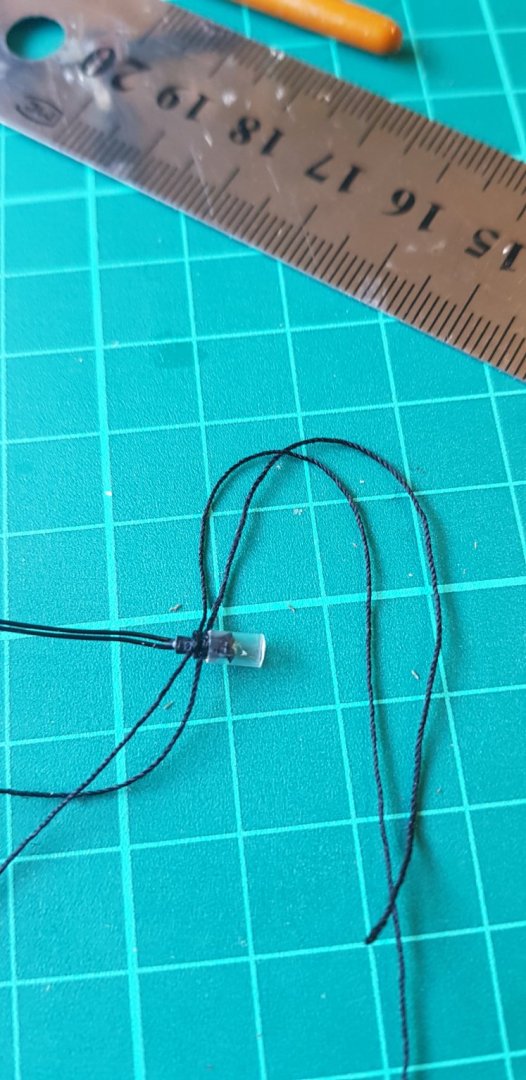

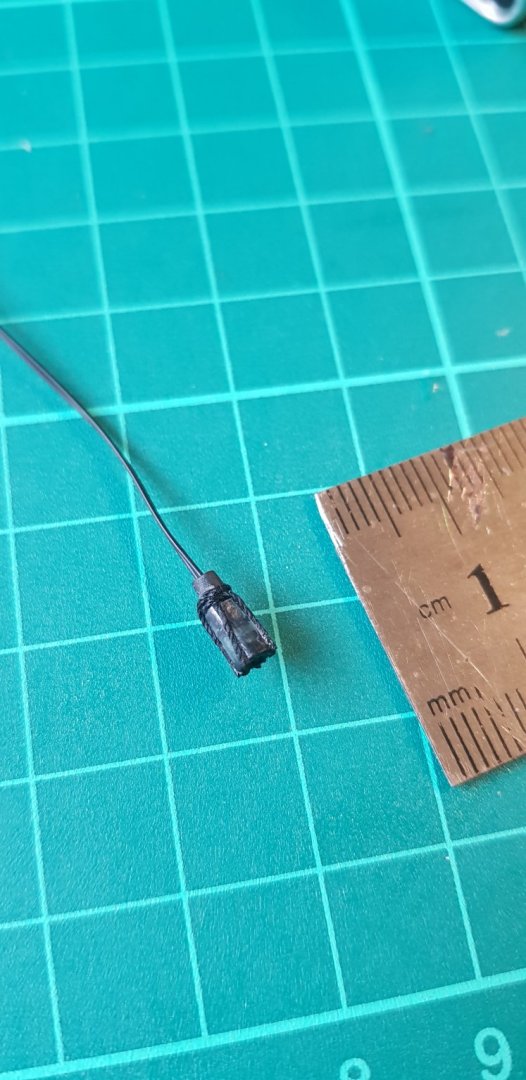
Now to make another 15
- Louie da fly, Baker, mort stoll and 1 other
-
4
-
Over a week has gone since I last updated this. Been busy at work and needed to get back out on the golf course.
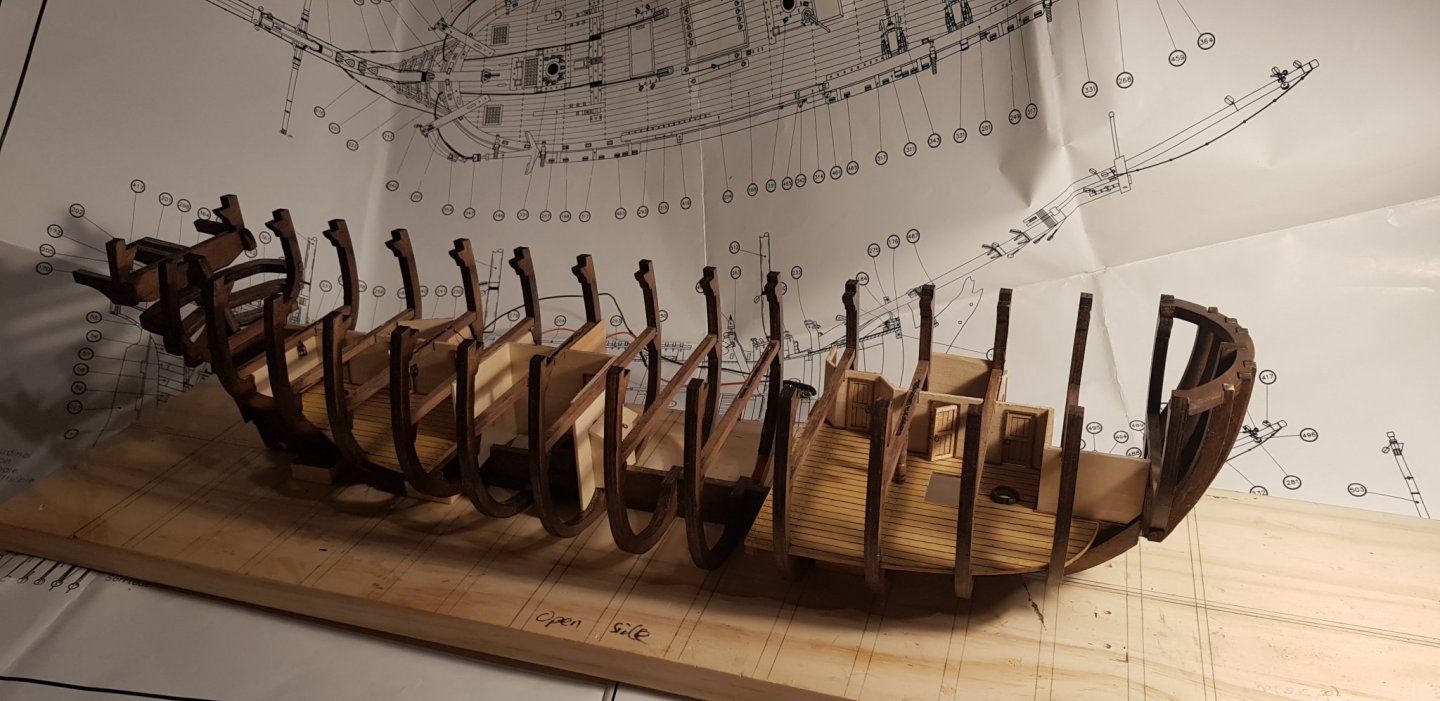
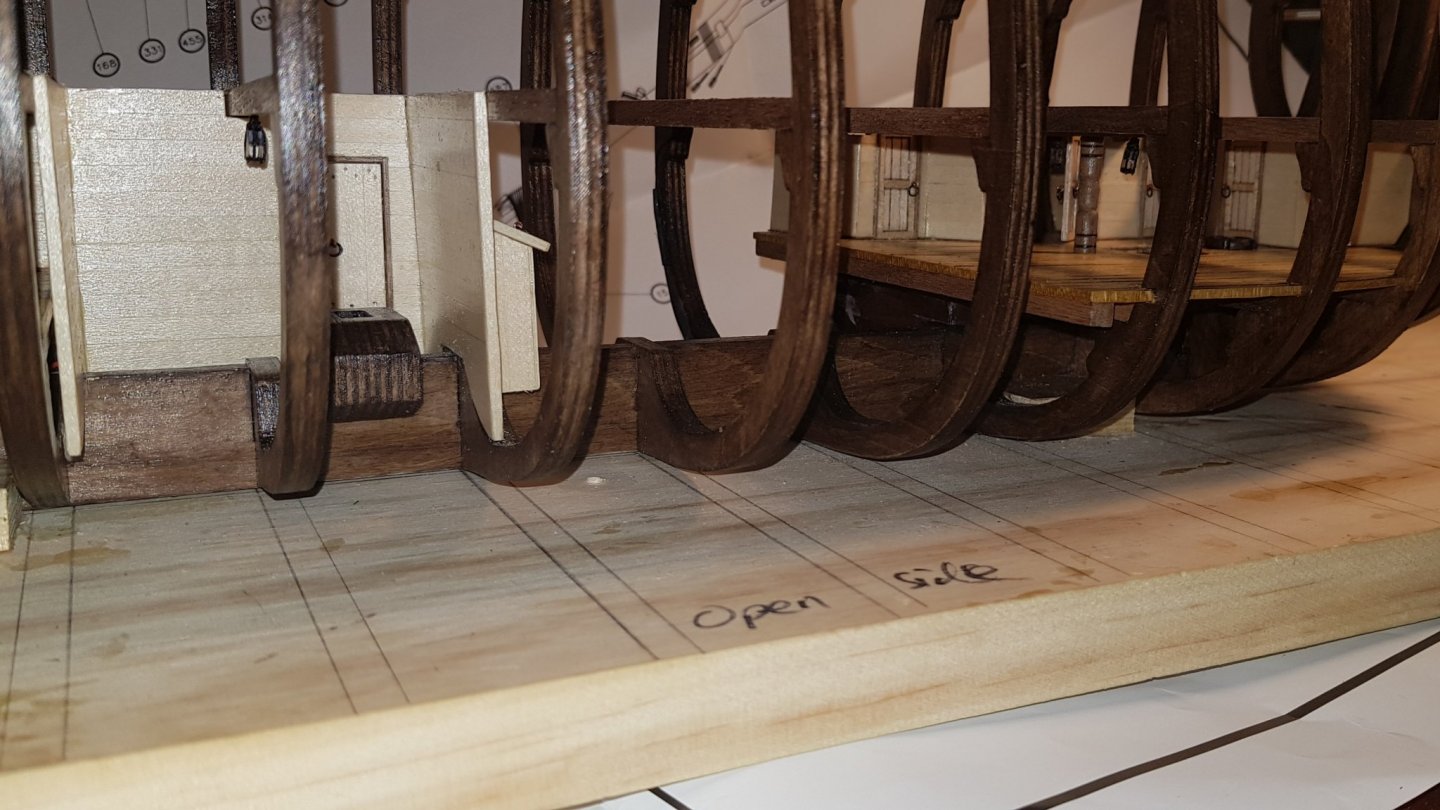
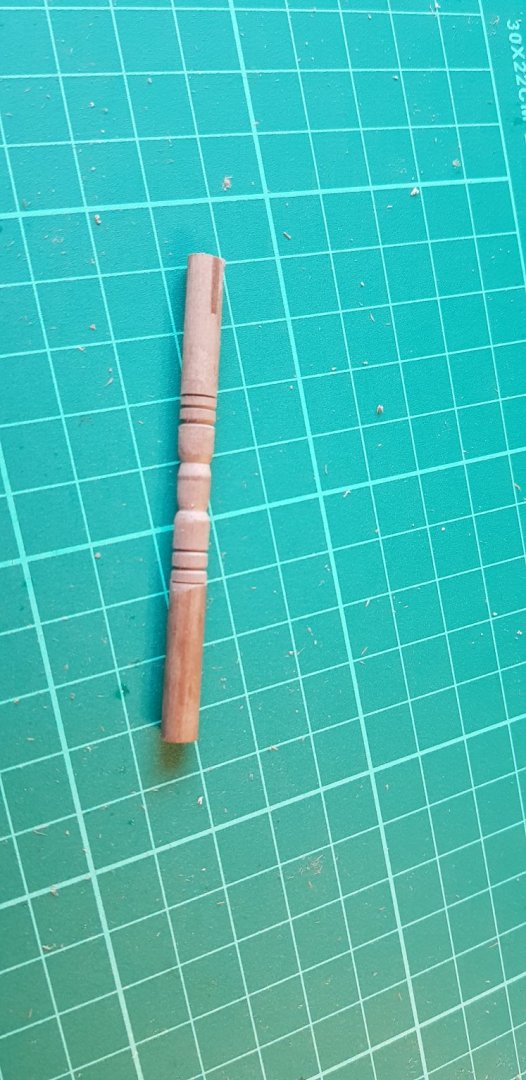
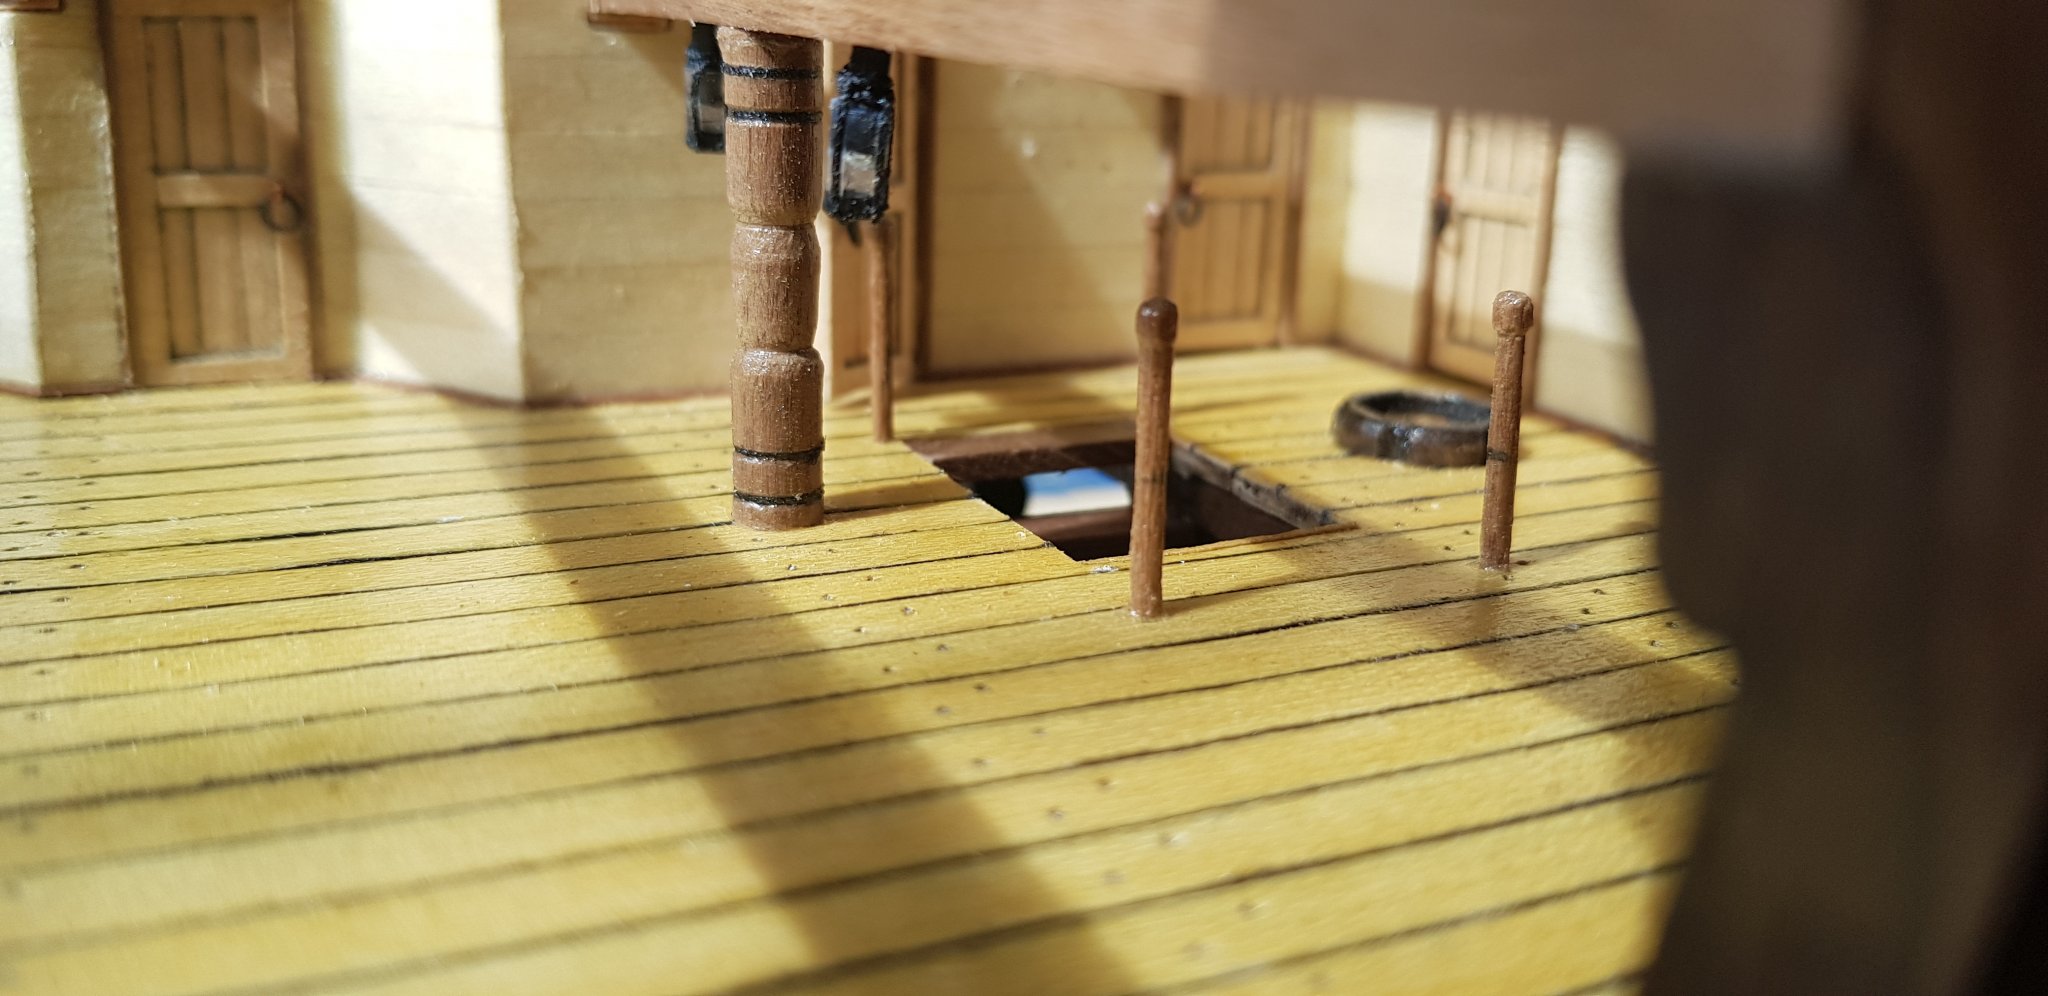
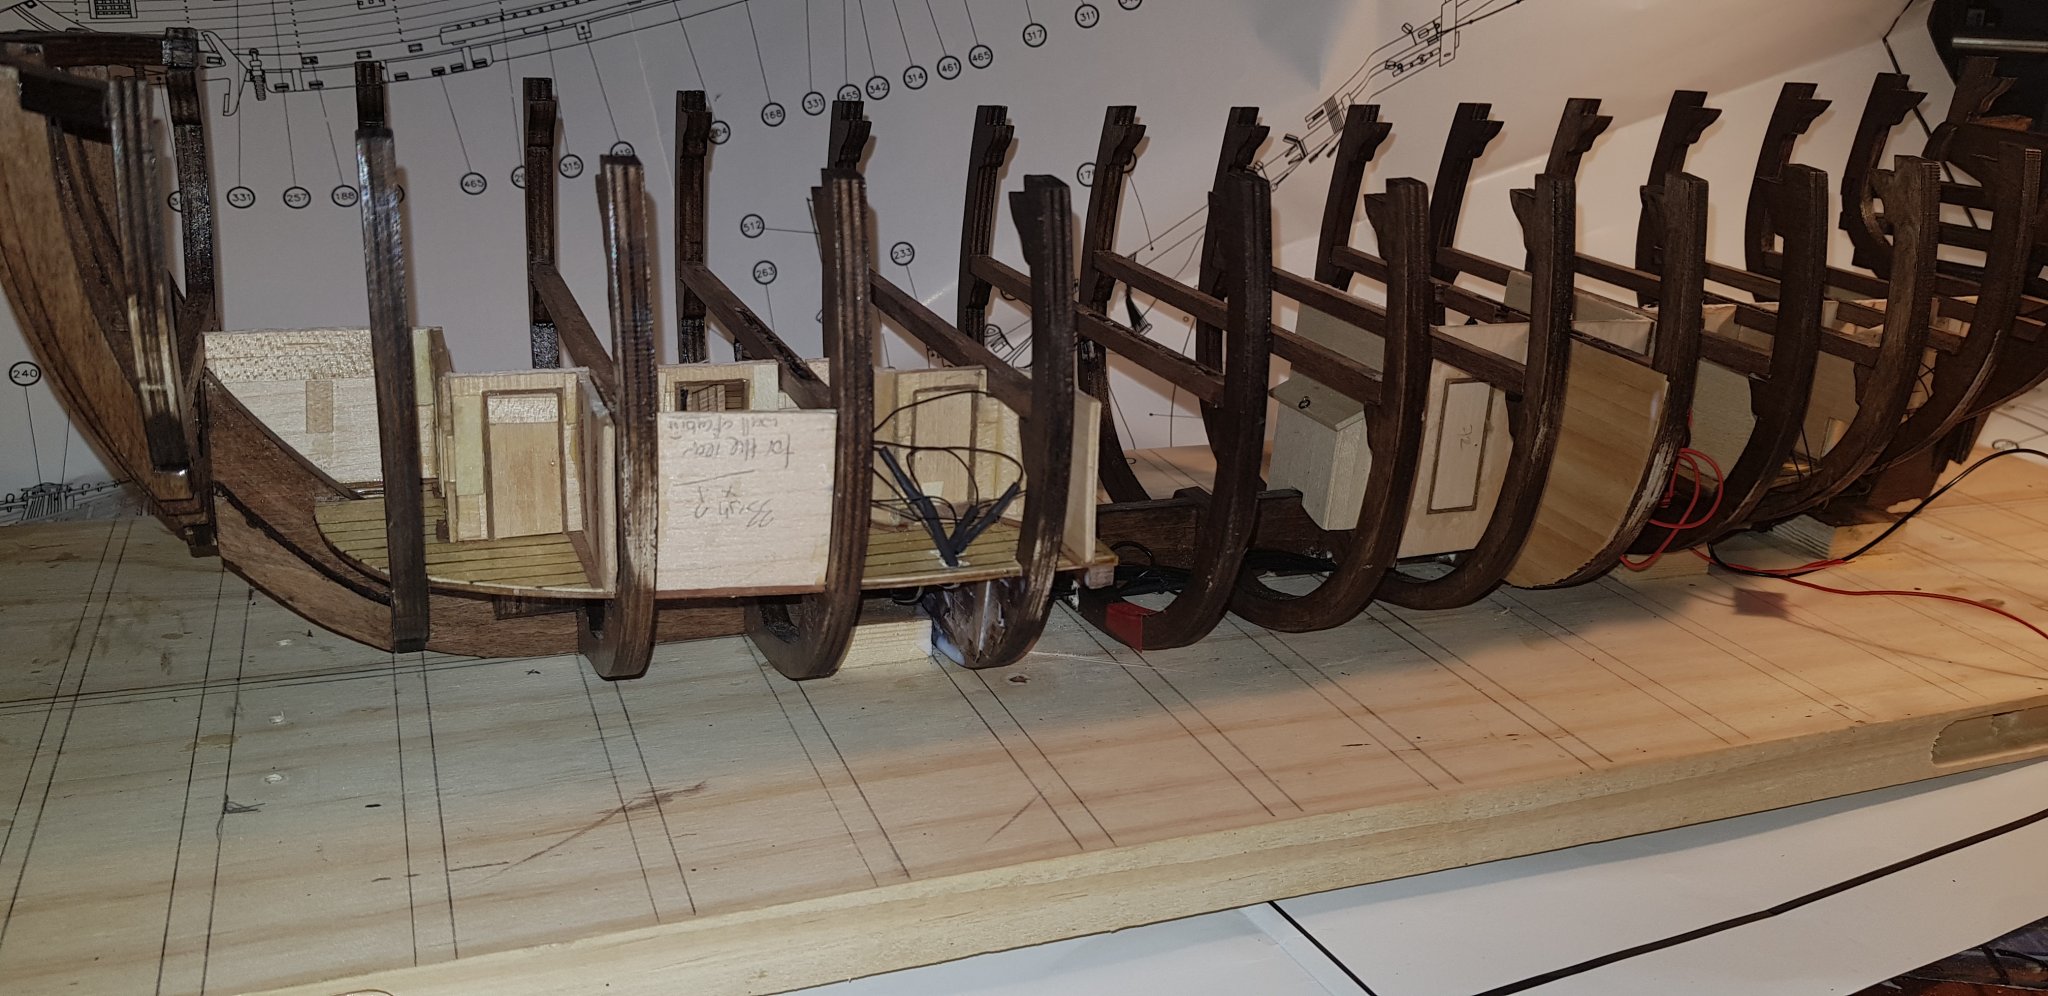
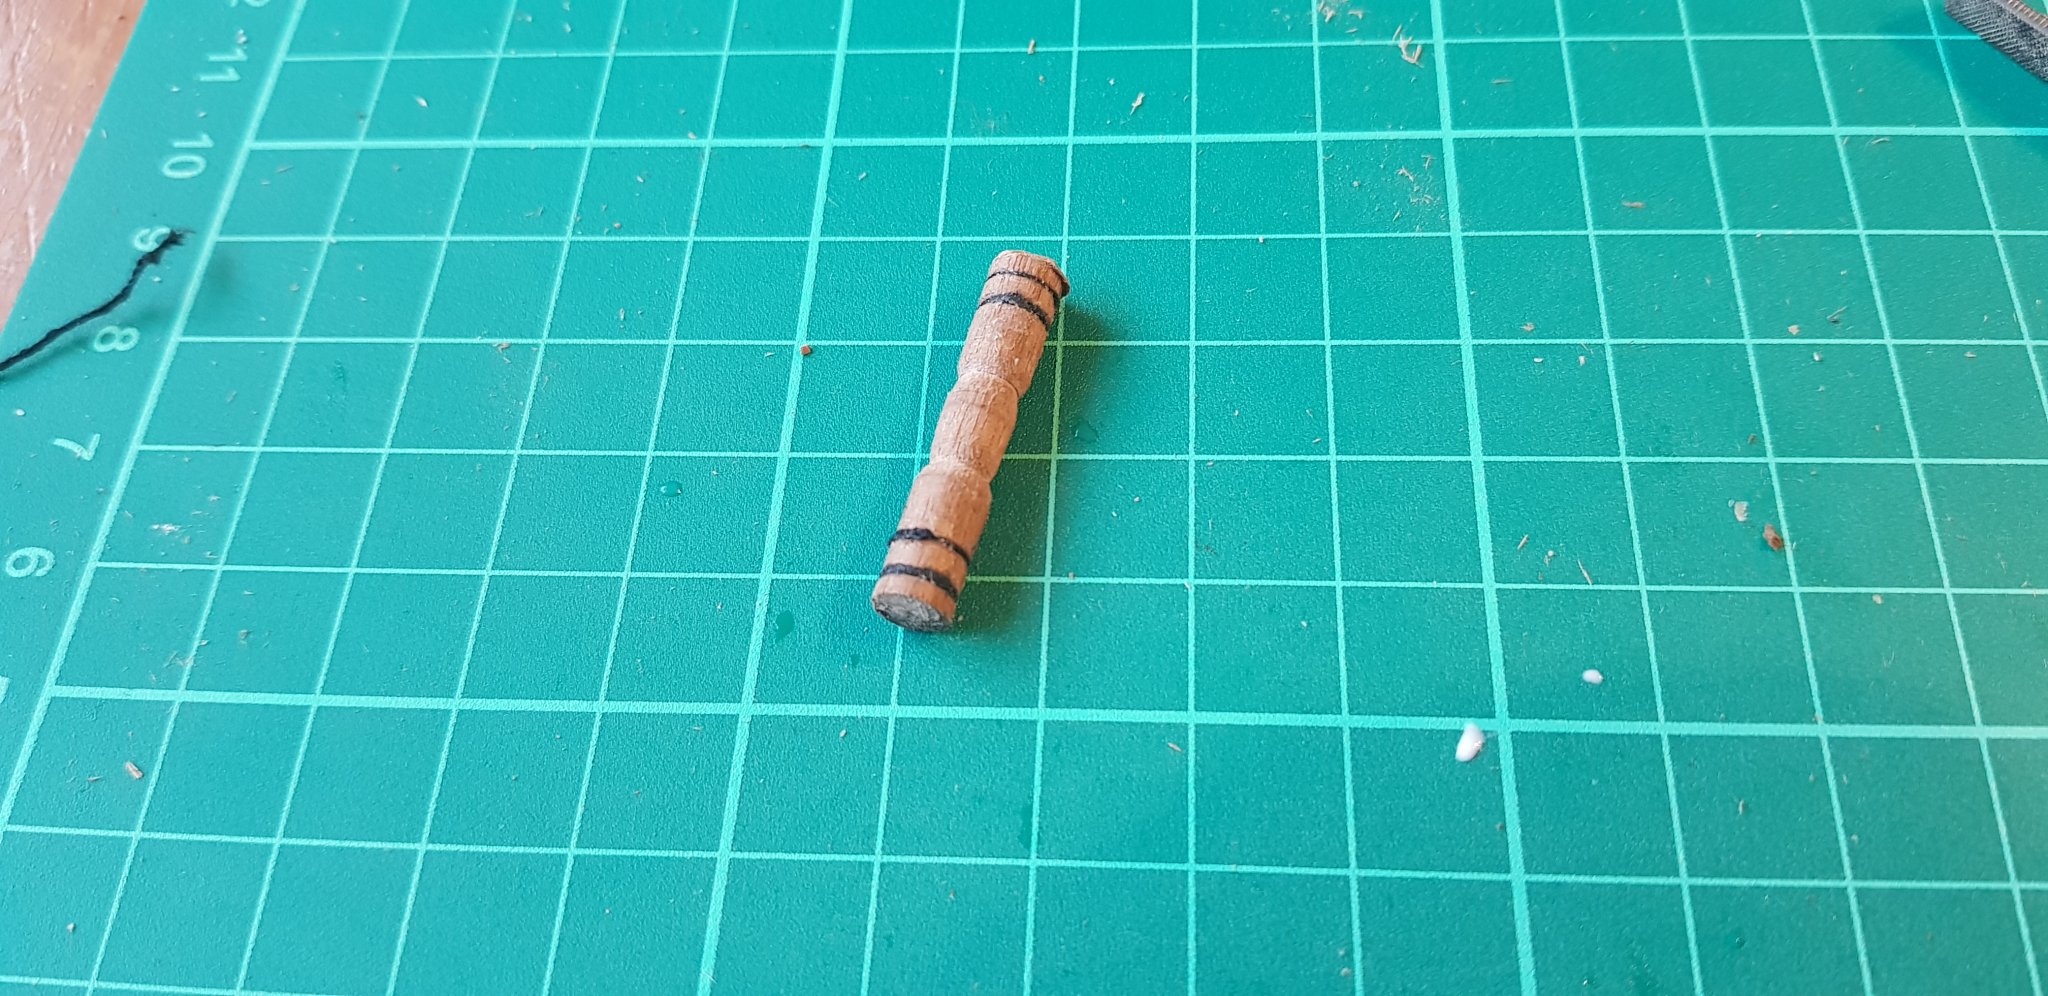
Anyway, I've finished the cabins on the hold deck and the hold well. Also had a little play with the lathe to see what it could do. Made a couple of chock pillars to test it out before I settled on the one in the pictures.

Made a couple if mistakes with the hold well but managed to rectify them easily enough. Not entirely happy with the way the second lot of cabins turned out compared to the first, but they'll do. Have ordered some 1.5mm ply for the cabins on the lower deck as the lime wood is a pain to use and cut accurately.


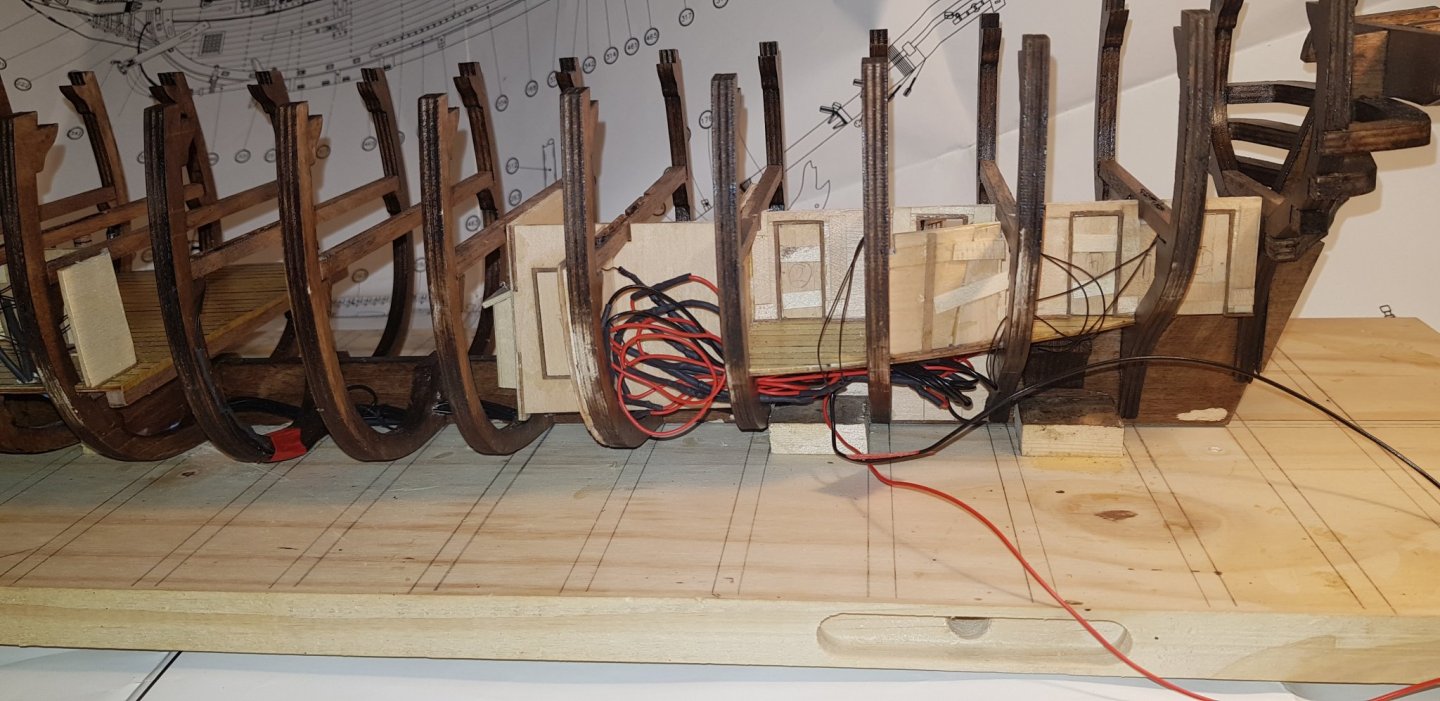
I've prepared the support beams for the lanterns and am waiting on some plastic tubing to be able make a start on them (I know it looks awful but it was my first time milling anything and it won't be visible anyway). Not much else I can do on this deck now until the lanterns are installed.

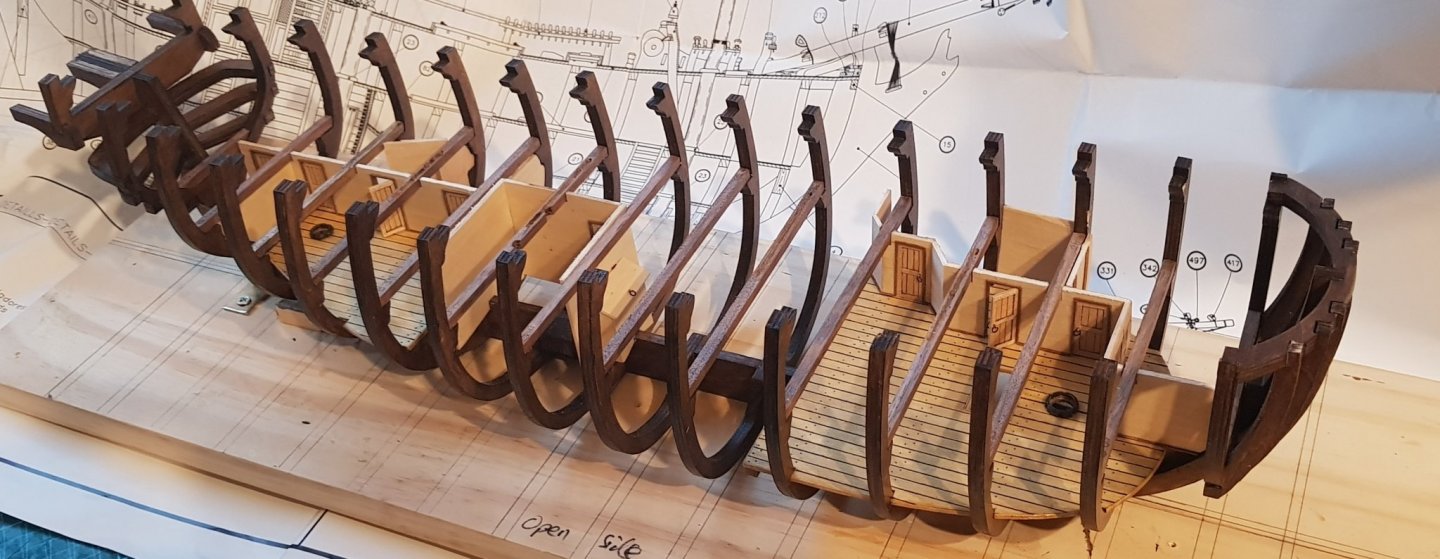

Will make a start on the stairs and furniture for the two open cabins this week.

- BobG, mort stoll, Matt D and 2 others
-
5
-
-
5 minutes ago, Edwardkenway said:
I bought one last month to try and save having to pay for pre-milled planks, have had decent success but would recommend also buying the 0.6mm blade as the one supplied makes more sawdust than plank☹
If buying in the UK, CHRONOS are pretty good, not the cheapest but supply ready for UK use, plus standard delivery in the price.
Just my two pennies worth.
Yeah, found chronos the cheapest but with 5% off at hobbies, it works out about £10 cheaper getting it from them. Unfortunately they don't have any in stock at the moment.
- Canute, mtaylor and Edwardkenway
-
3
-
-
-
33 minutes ago, G.L. said:
Enough space? It looks to me that their legs are cut off to create space 😁.
Maybe that's the reason that the right man needs some boose, to daze a bit. I have the impression that the left man needs some as well. Luckily it is coming.
Maybe they haven't earned their sea legs yet?
(Not sorry)
-
Hi all
I'd like to buy a small saw to help cutting wood. Proxxon seems to be all that's available in the uk so I'd looked at This but the reviews seem a little mixed so then thought I'd go about getting the bigger version instead. Can anyone offer any advice or warnings against this purchase? Are there any better alternatives in the uk? Budget is not really a problem, although space is a slight issue so I can't get anything too large. I don't think I'm going to be interested in scratch building as I don't think I can be bothered with all the plans etc but never say never.
-
I used this stuff on my second layer of planks for my ocre build https://www.amazon.co.uk/UHU-purpose-adhesive-clear-glue and a bit of ca on the bends where I wanted an instant hold.
It's a bit stringy and can get a little messy, but some nail varnish remover cleaned up any that got on the planks.
Alternatively you could just use pva/wood glue and a load of elastic bands and push pins?
Contact cement is great but it will shred the thin strips trying to remove them if you get them in the wrong place
-
That's a lovely build! You'll definitely want to make a case for it; protects it from knocks and keeps the dust and grime away
-
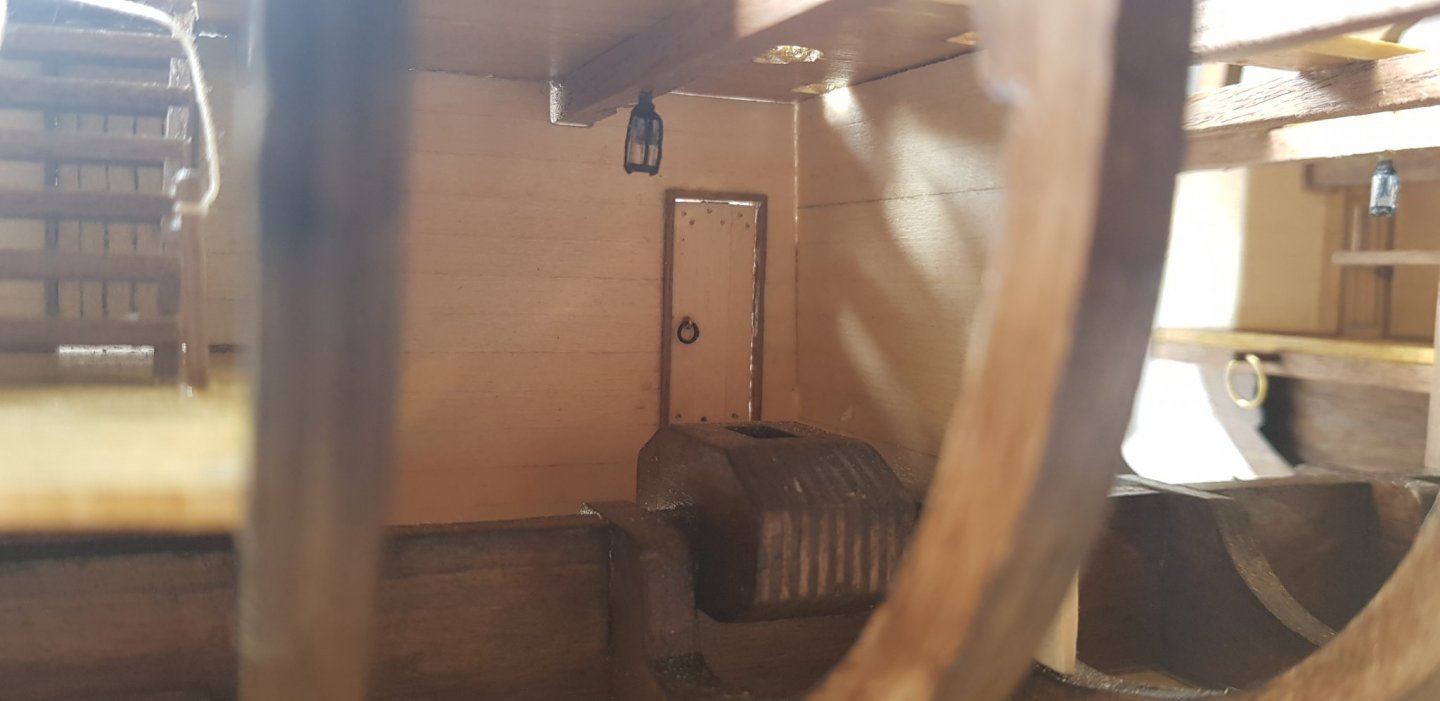
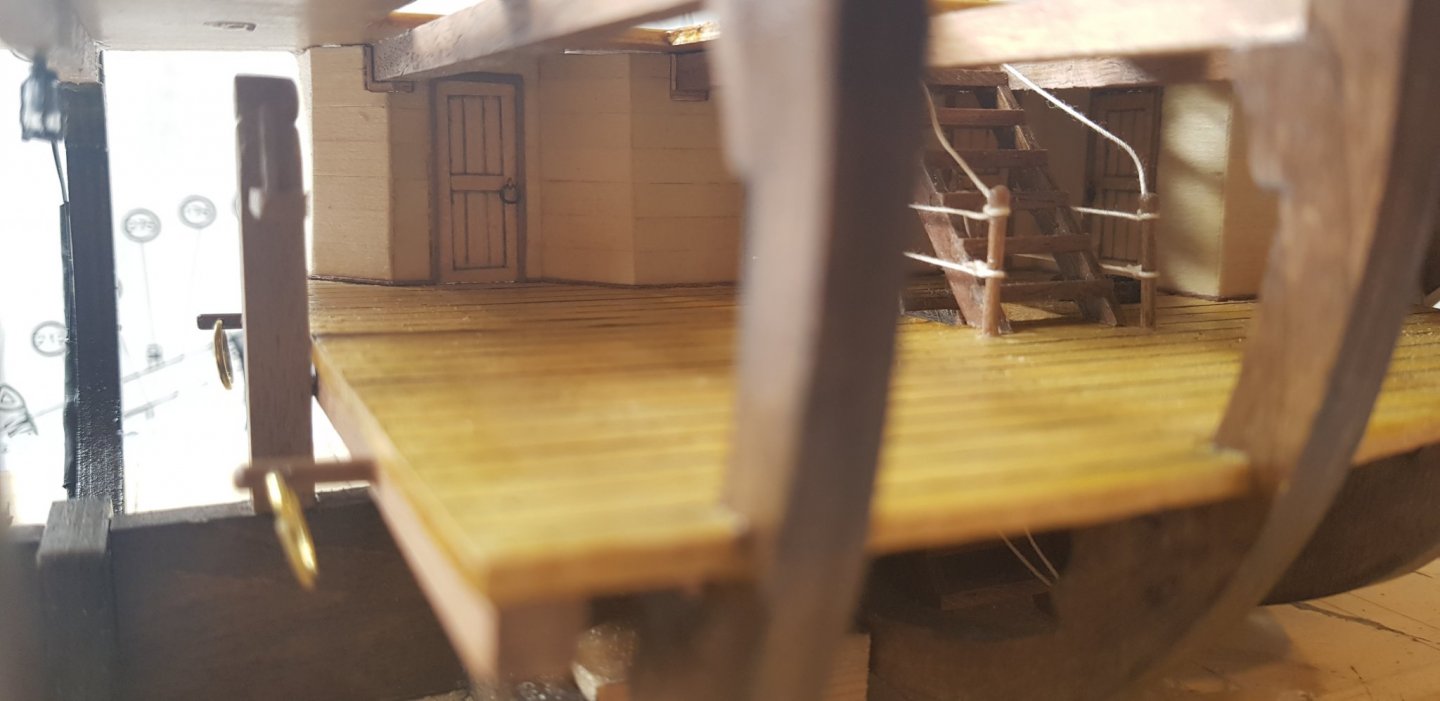
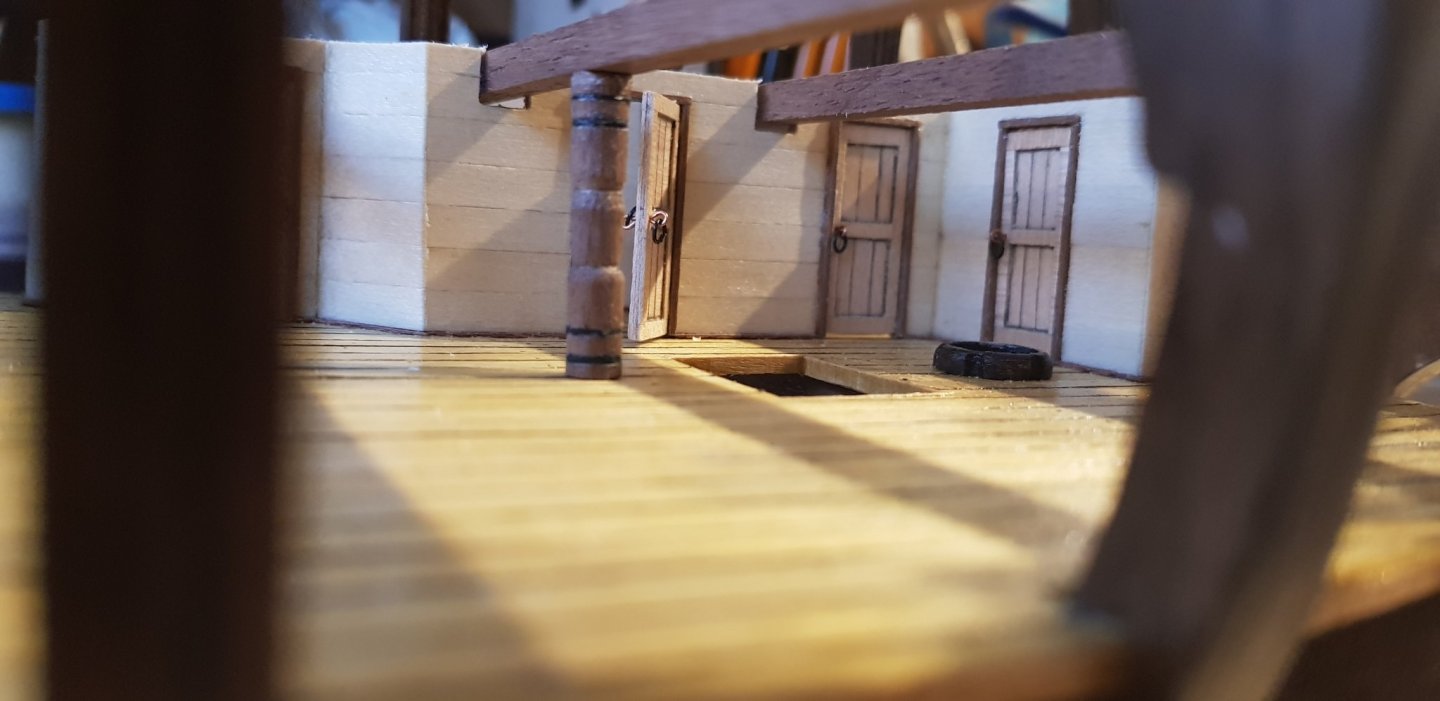
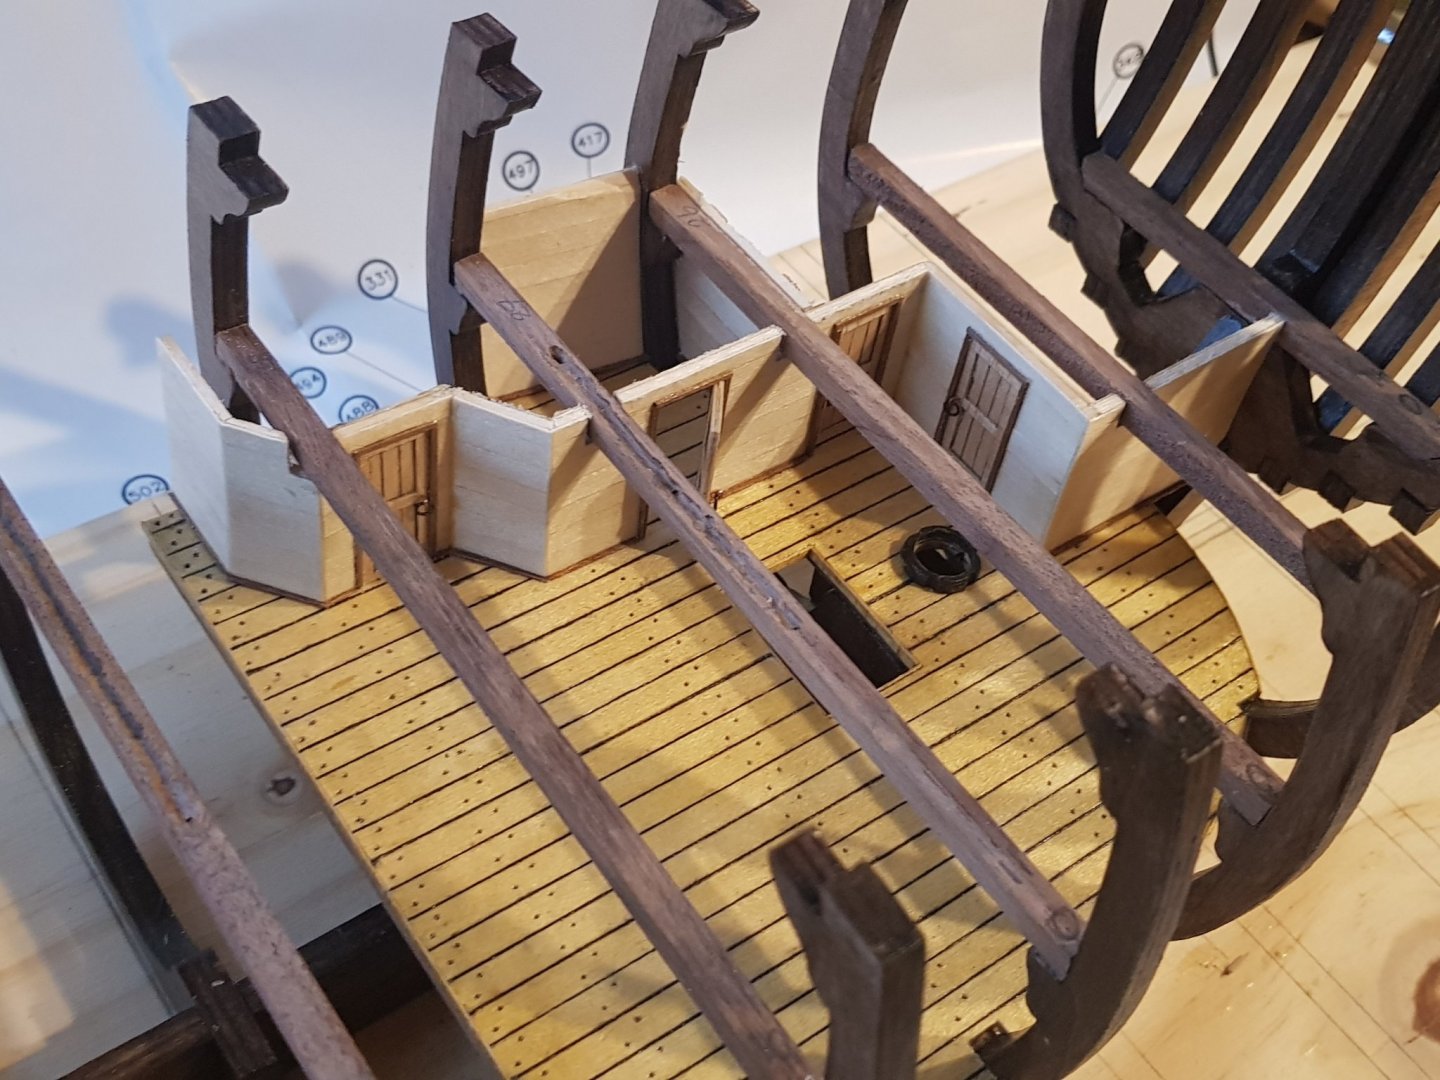
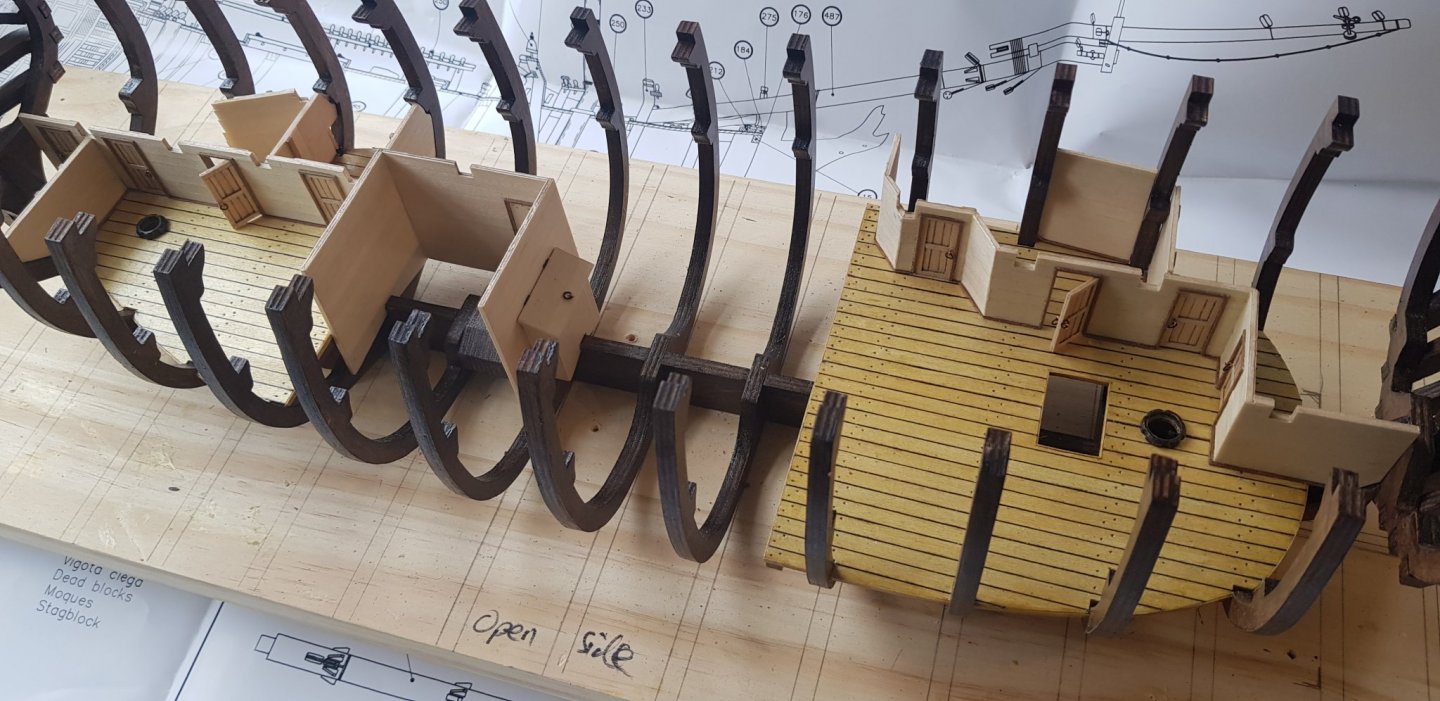
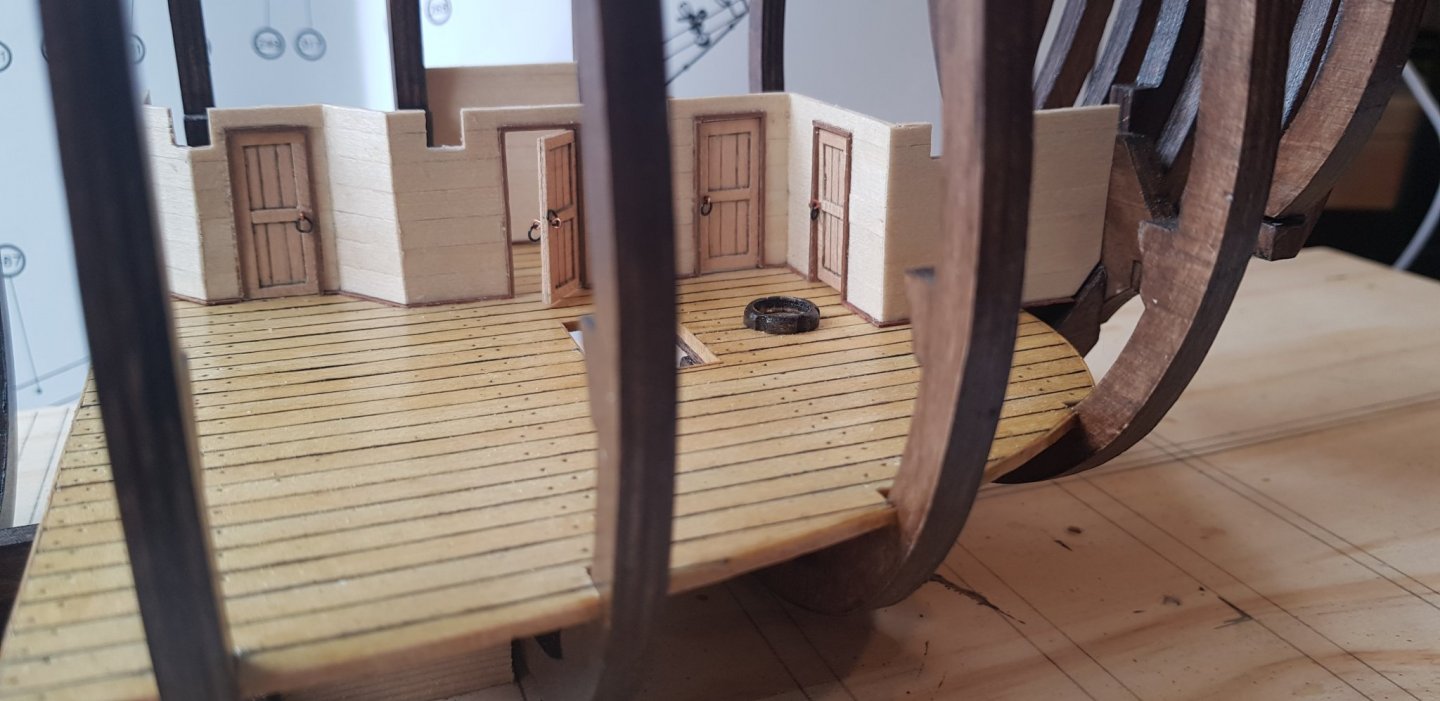
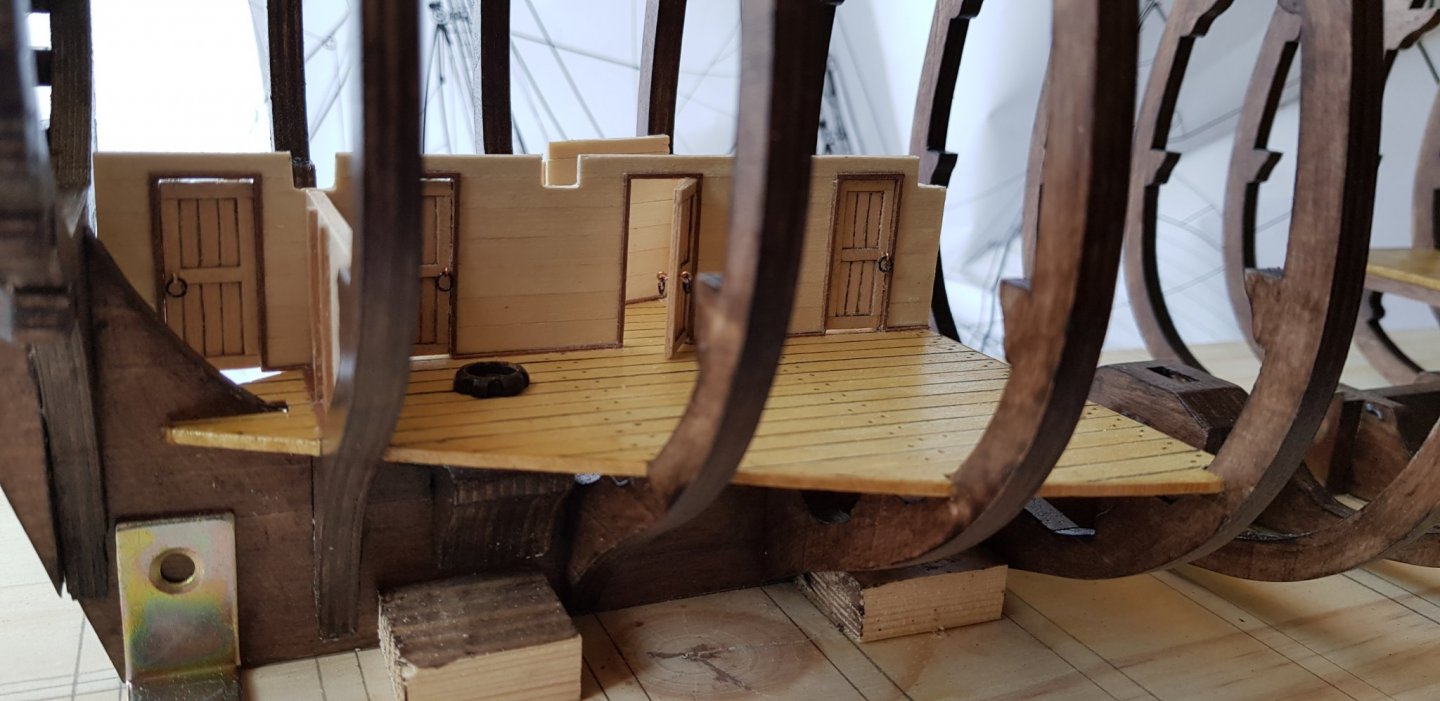
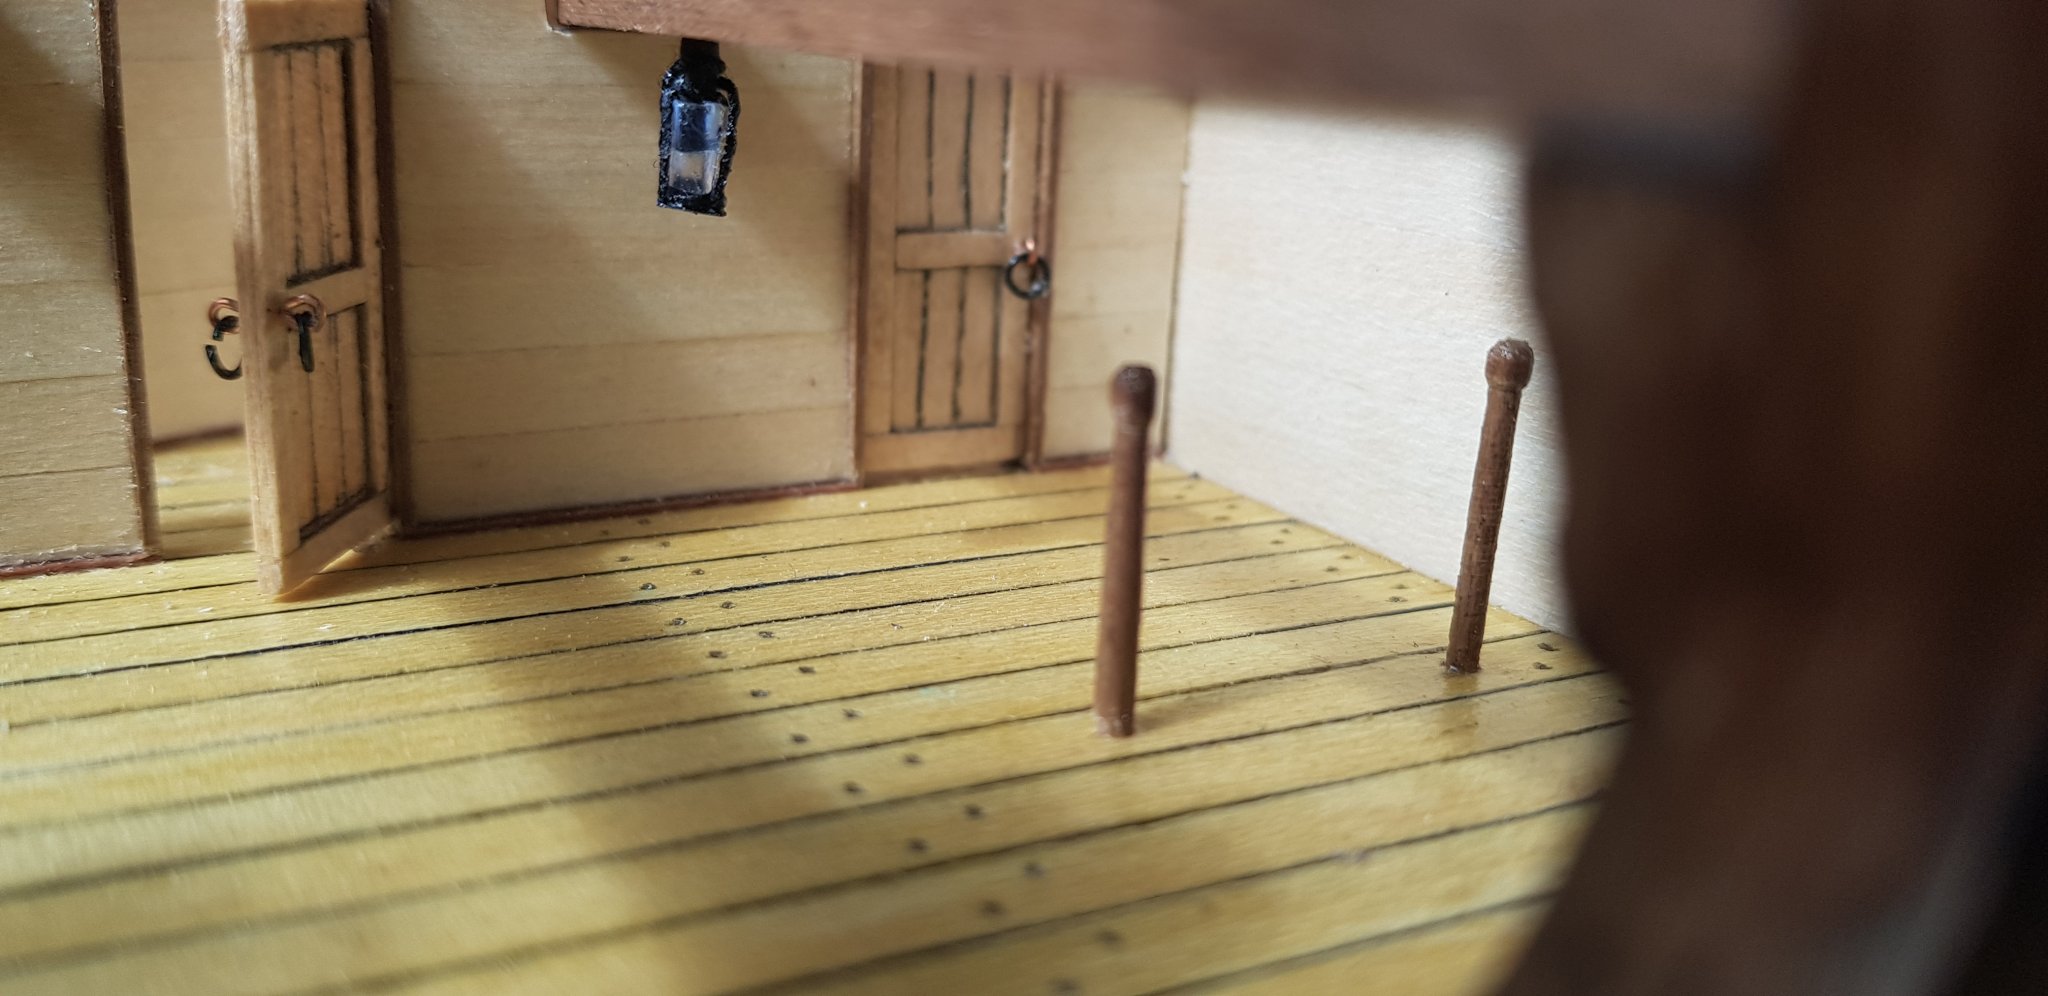
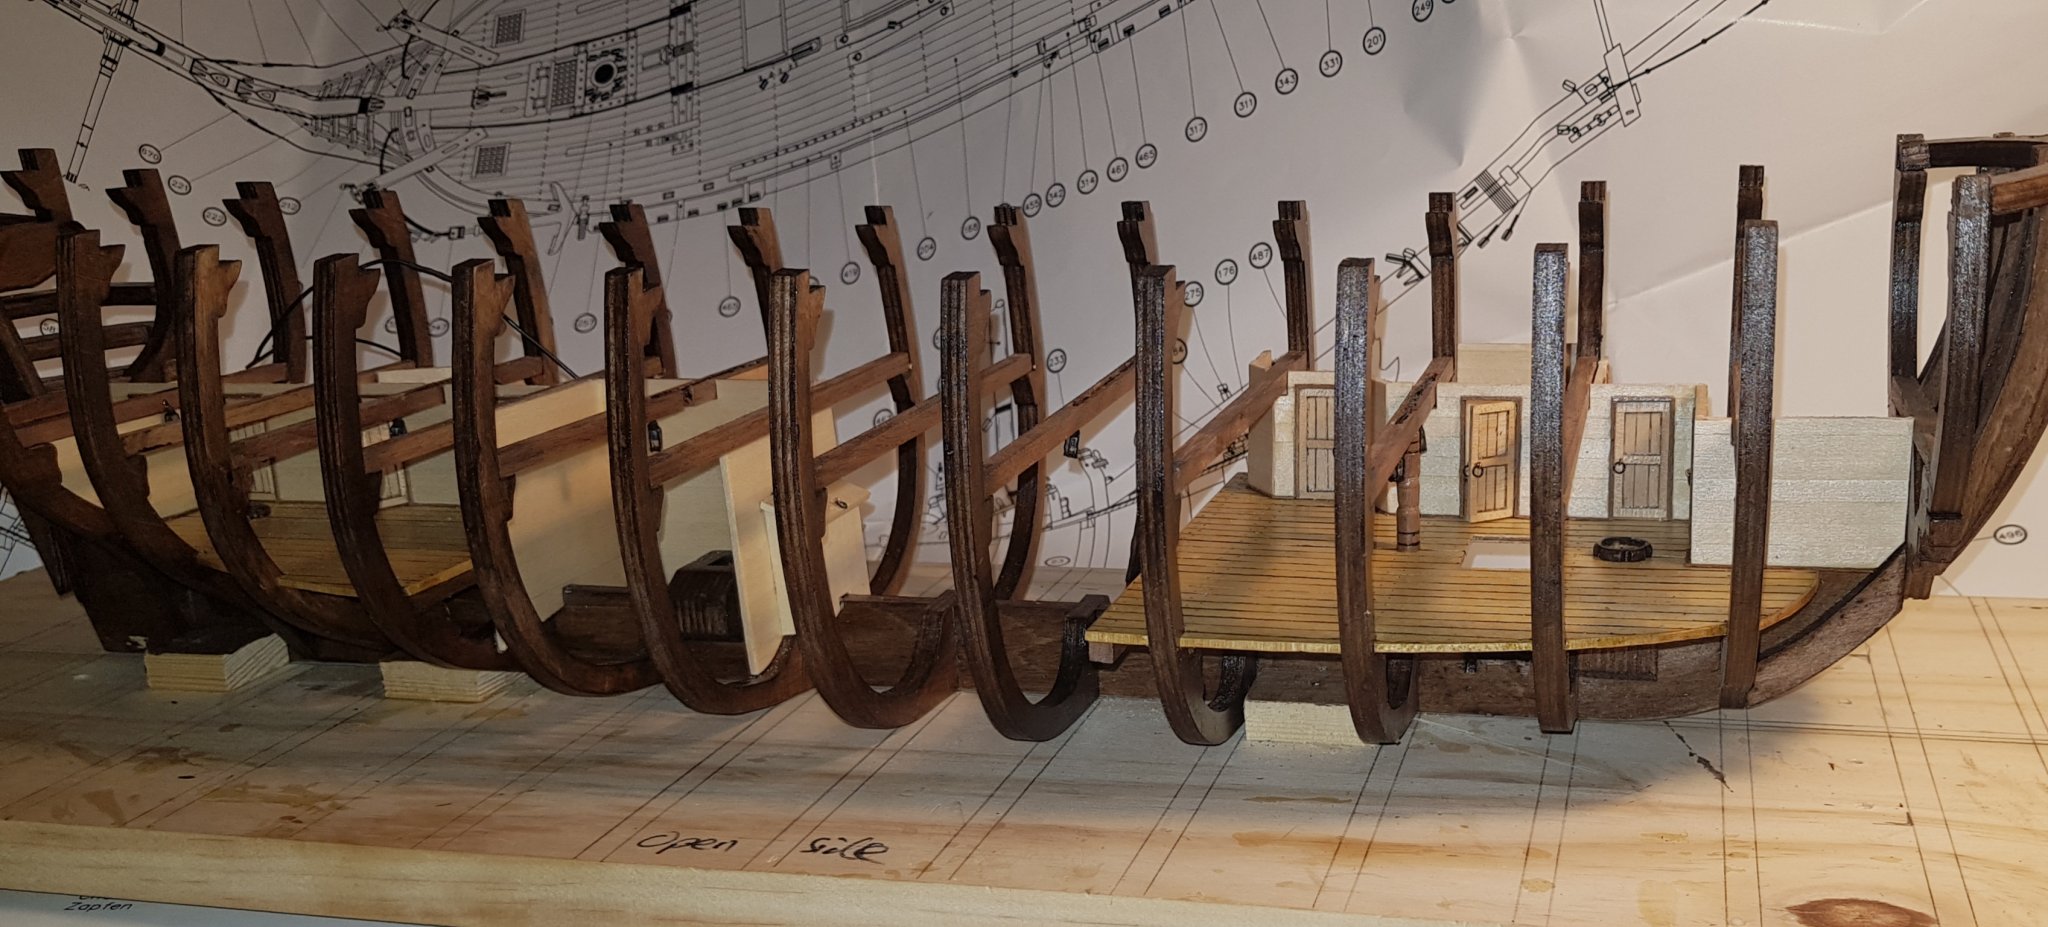
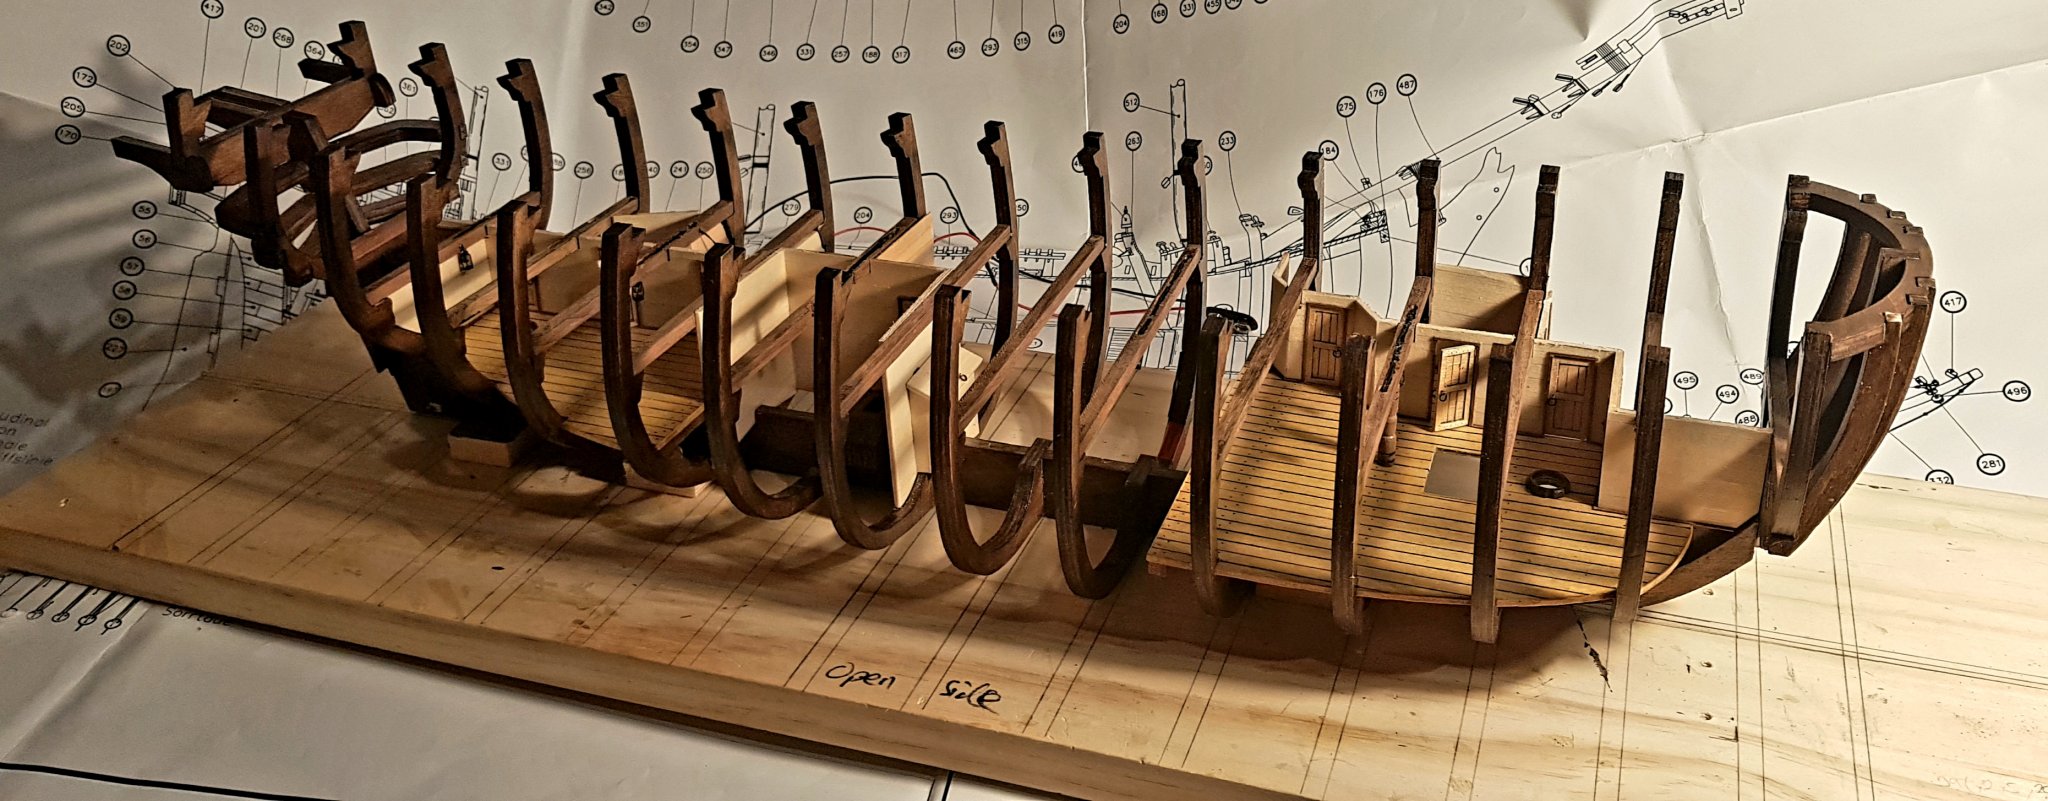
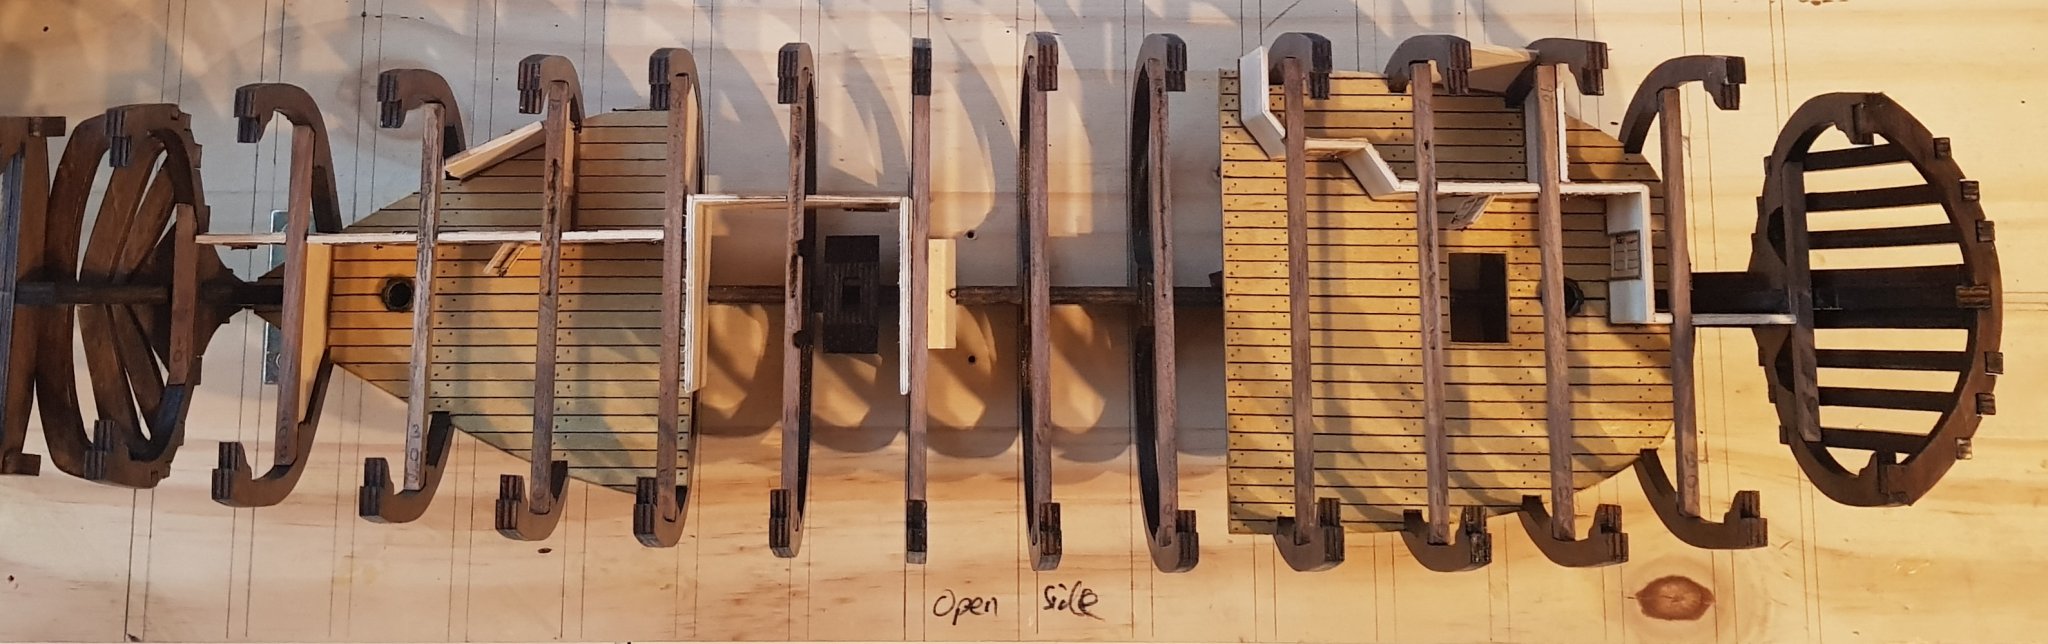
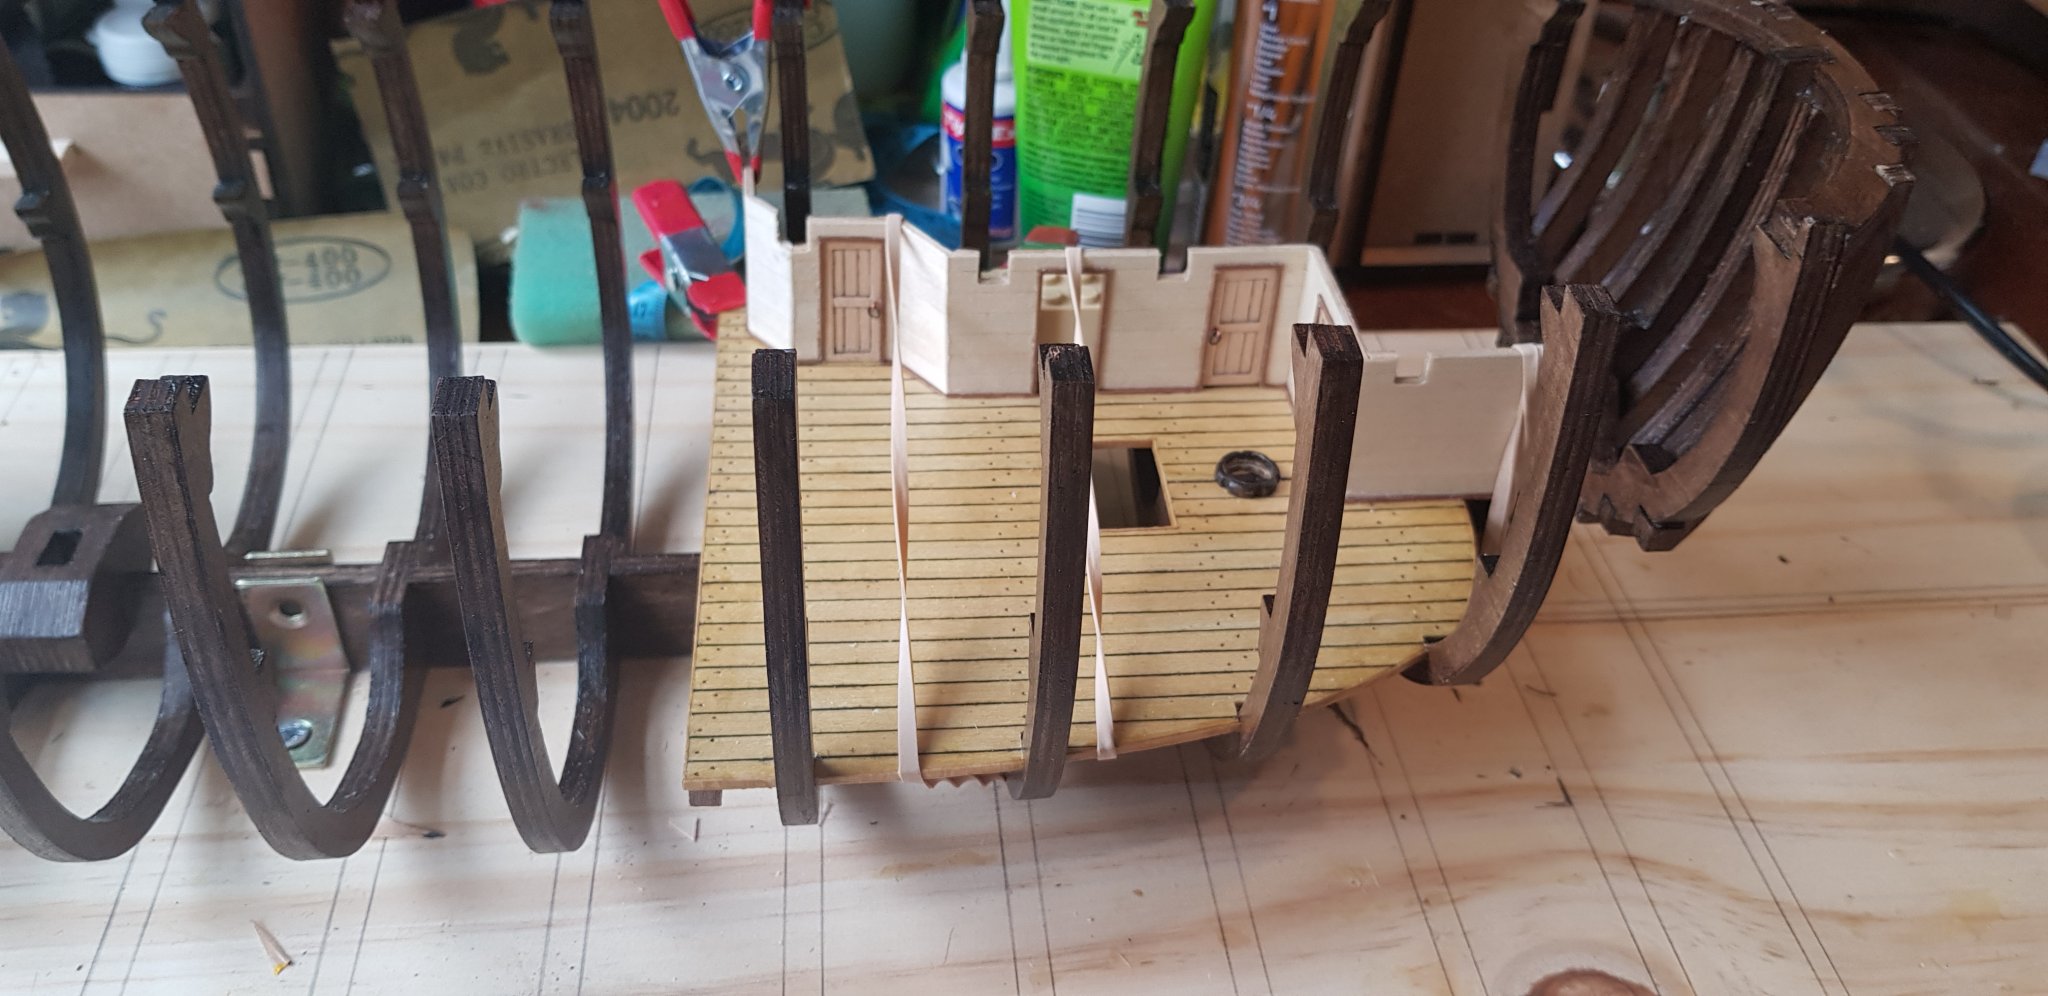
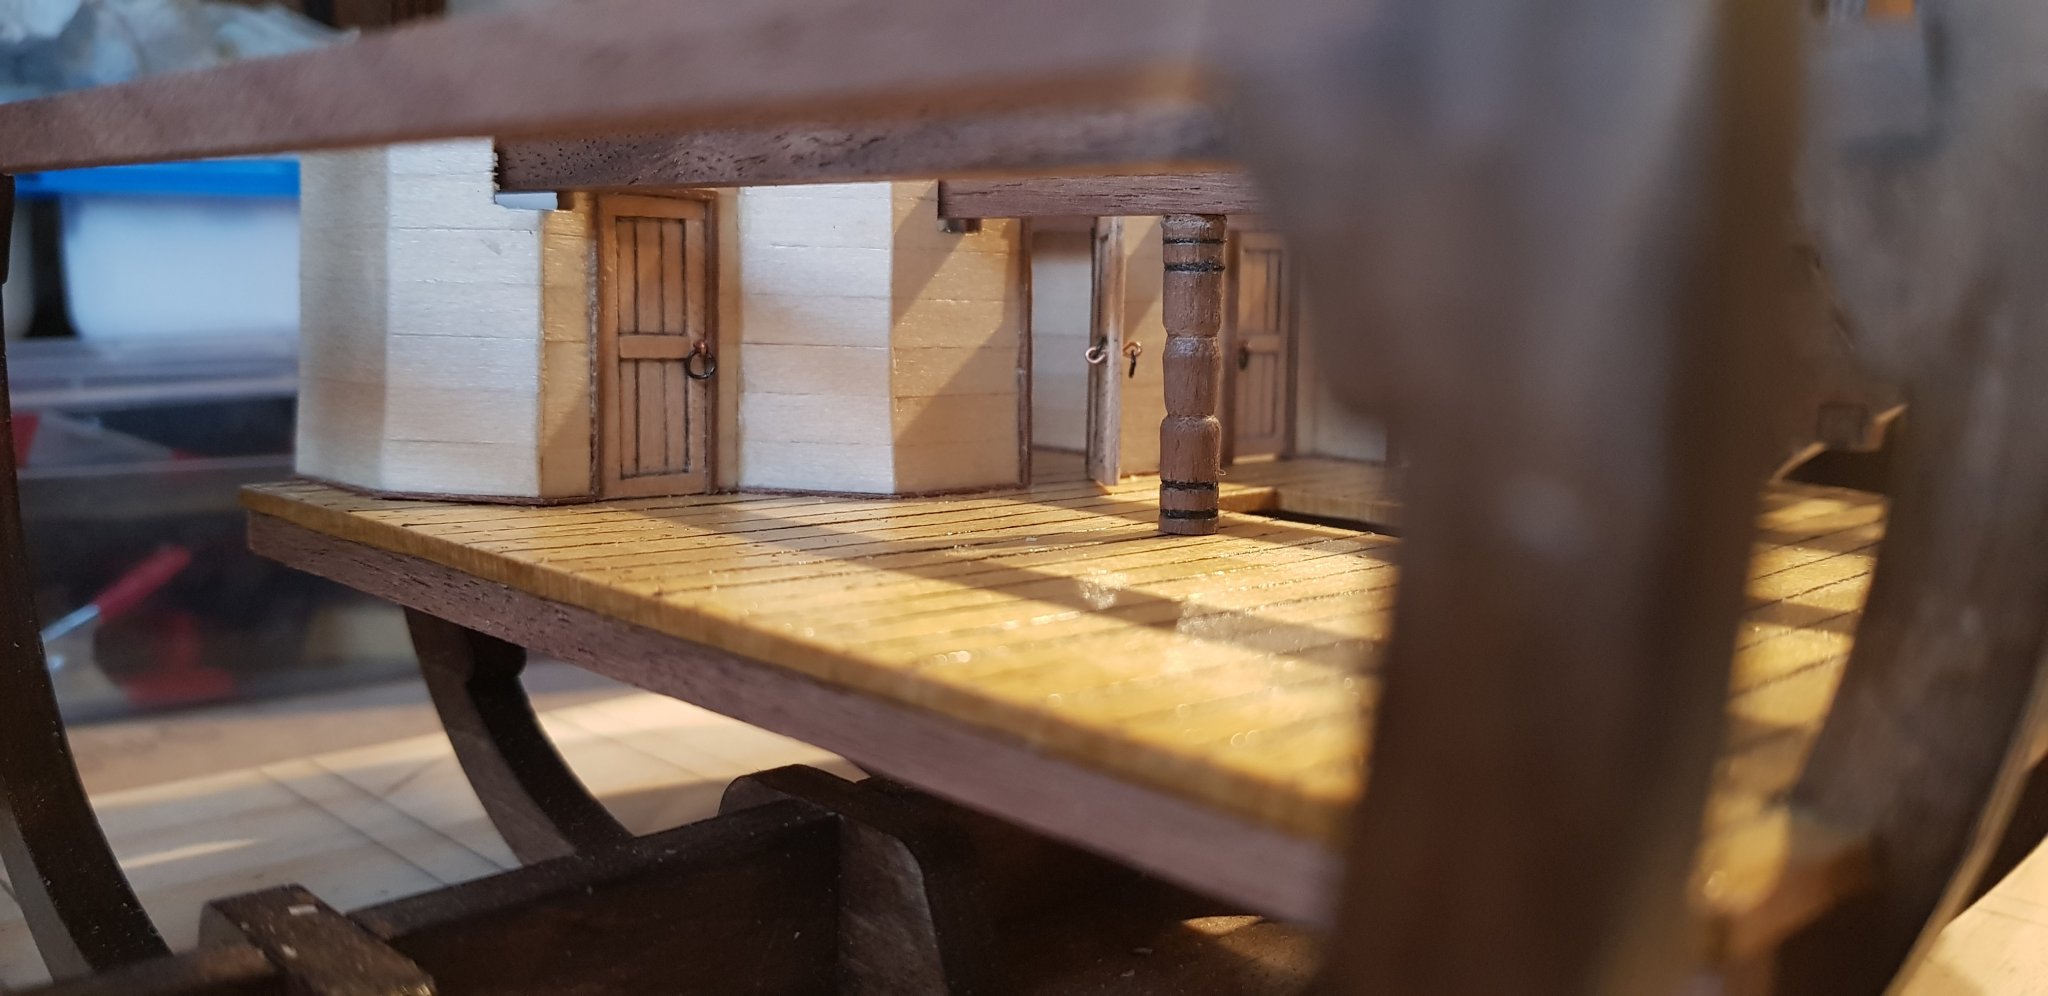
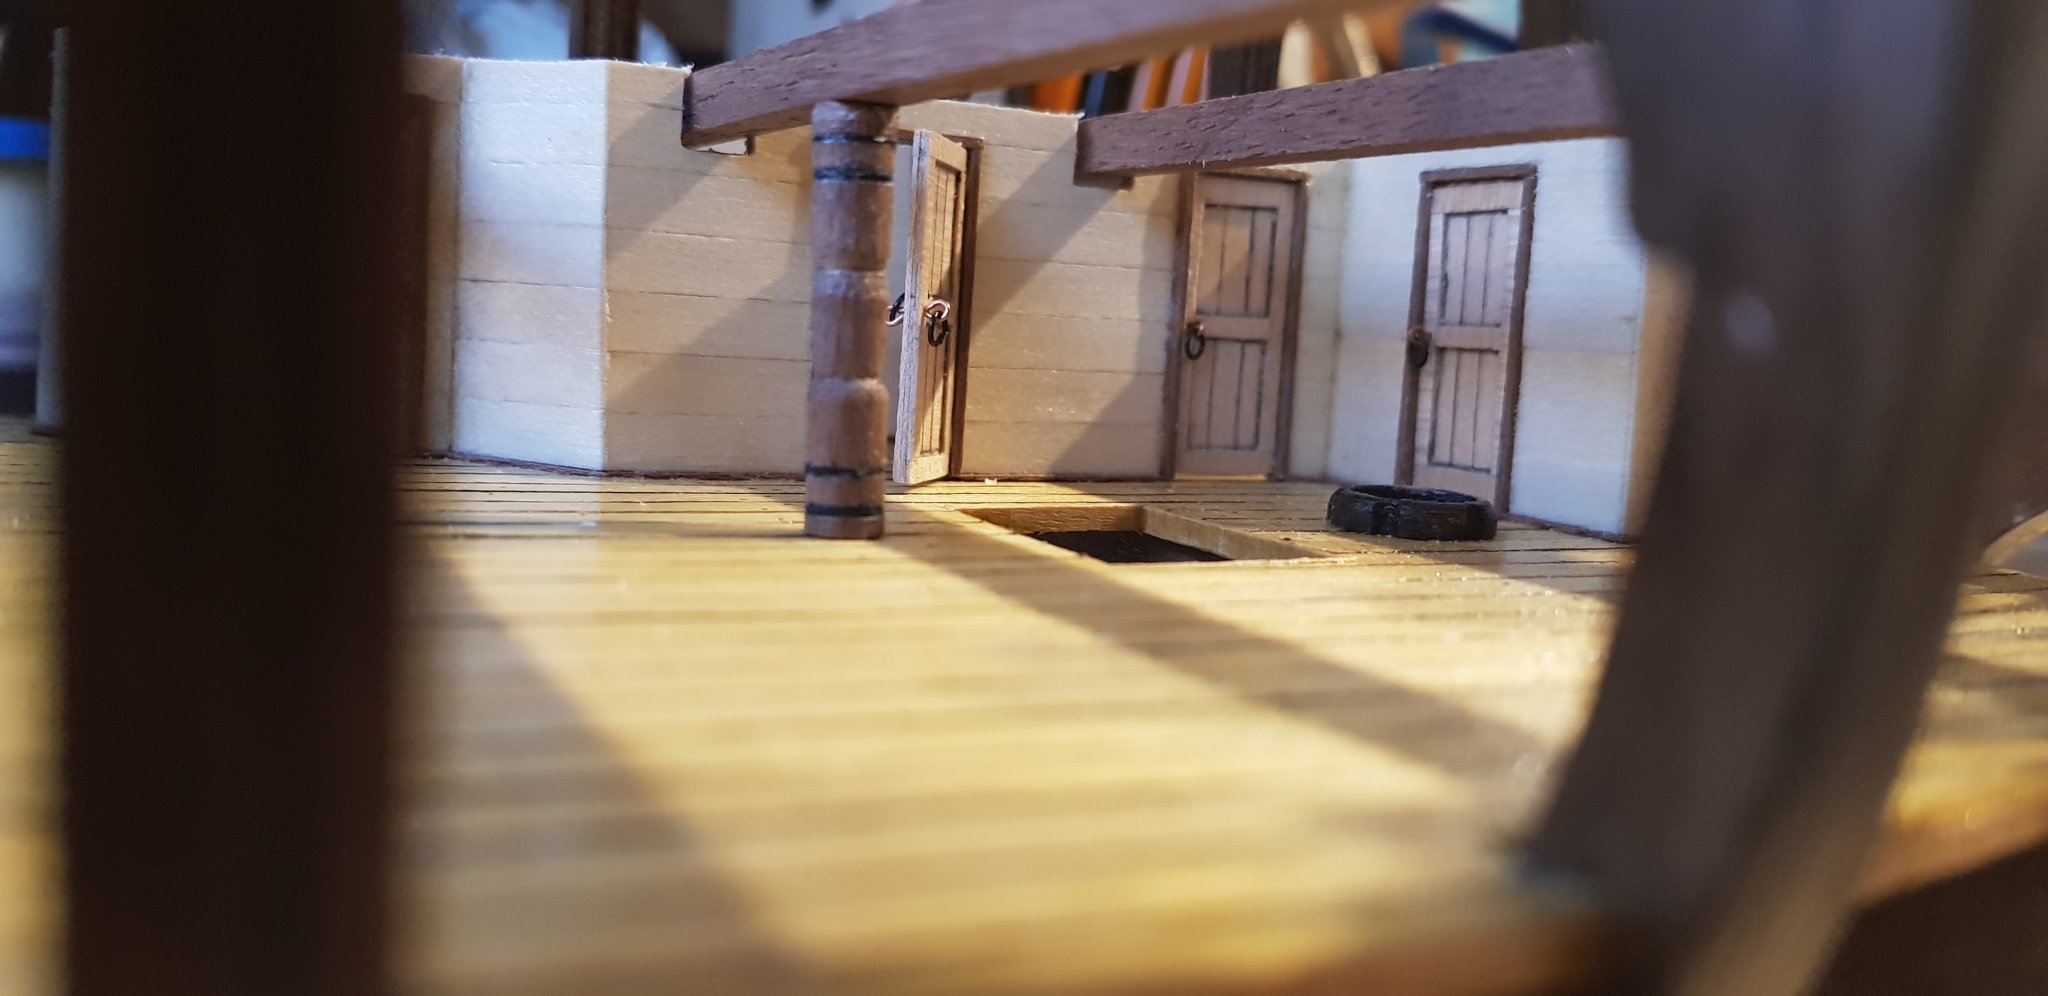
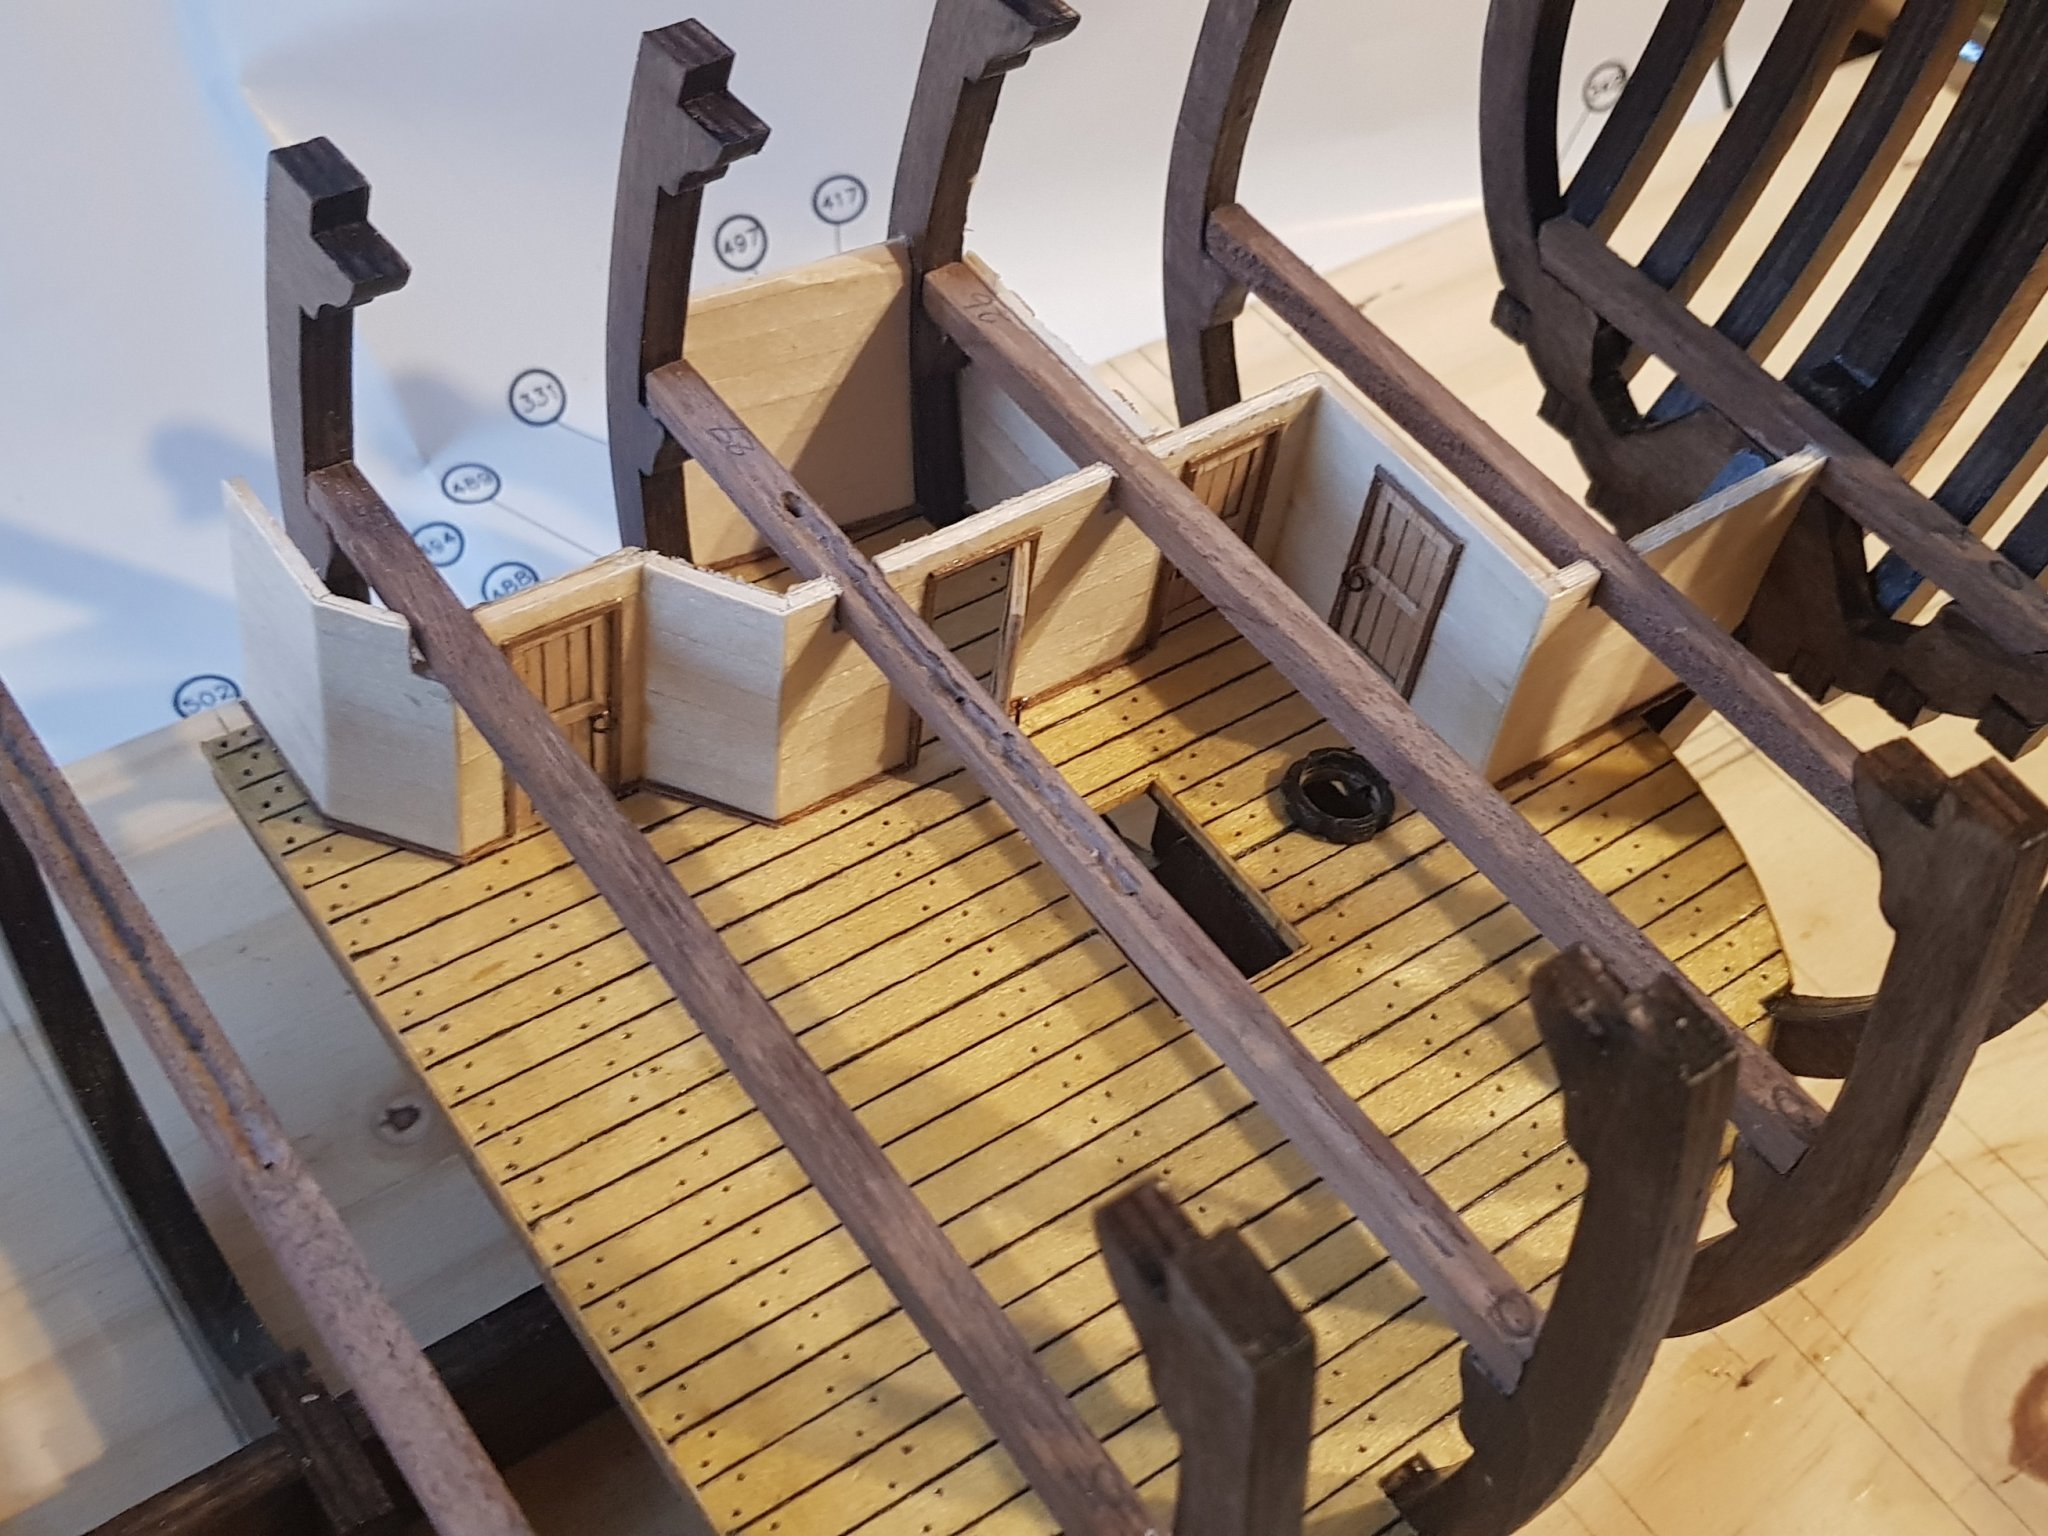
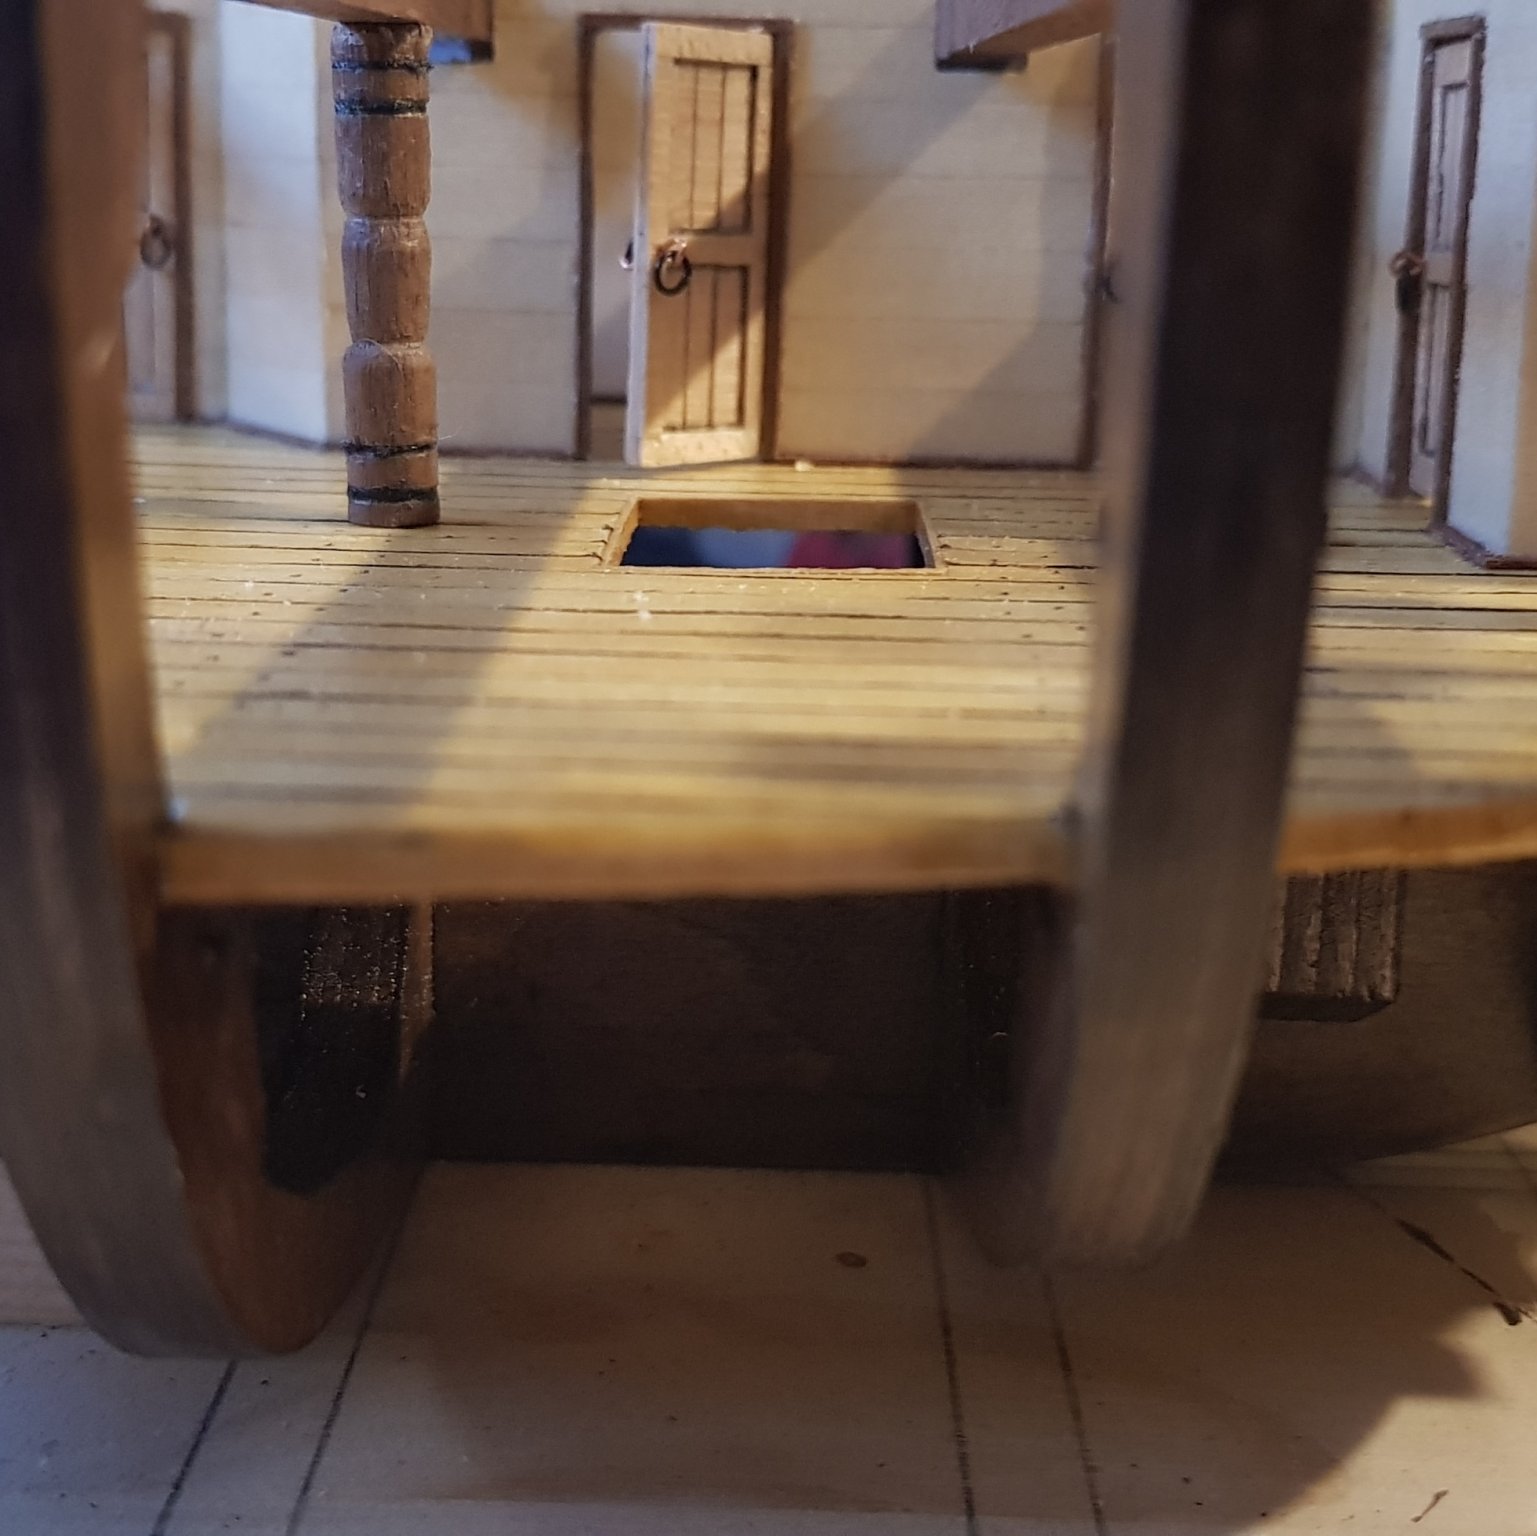
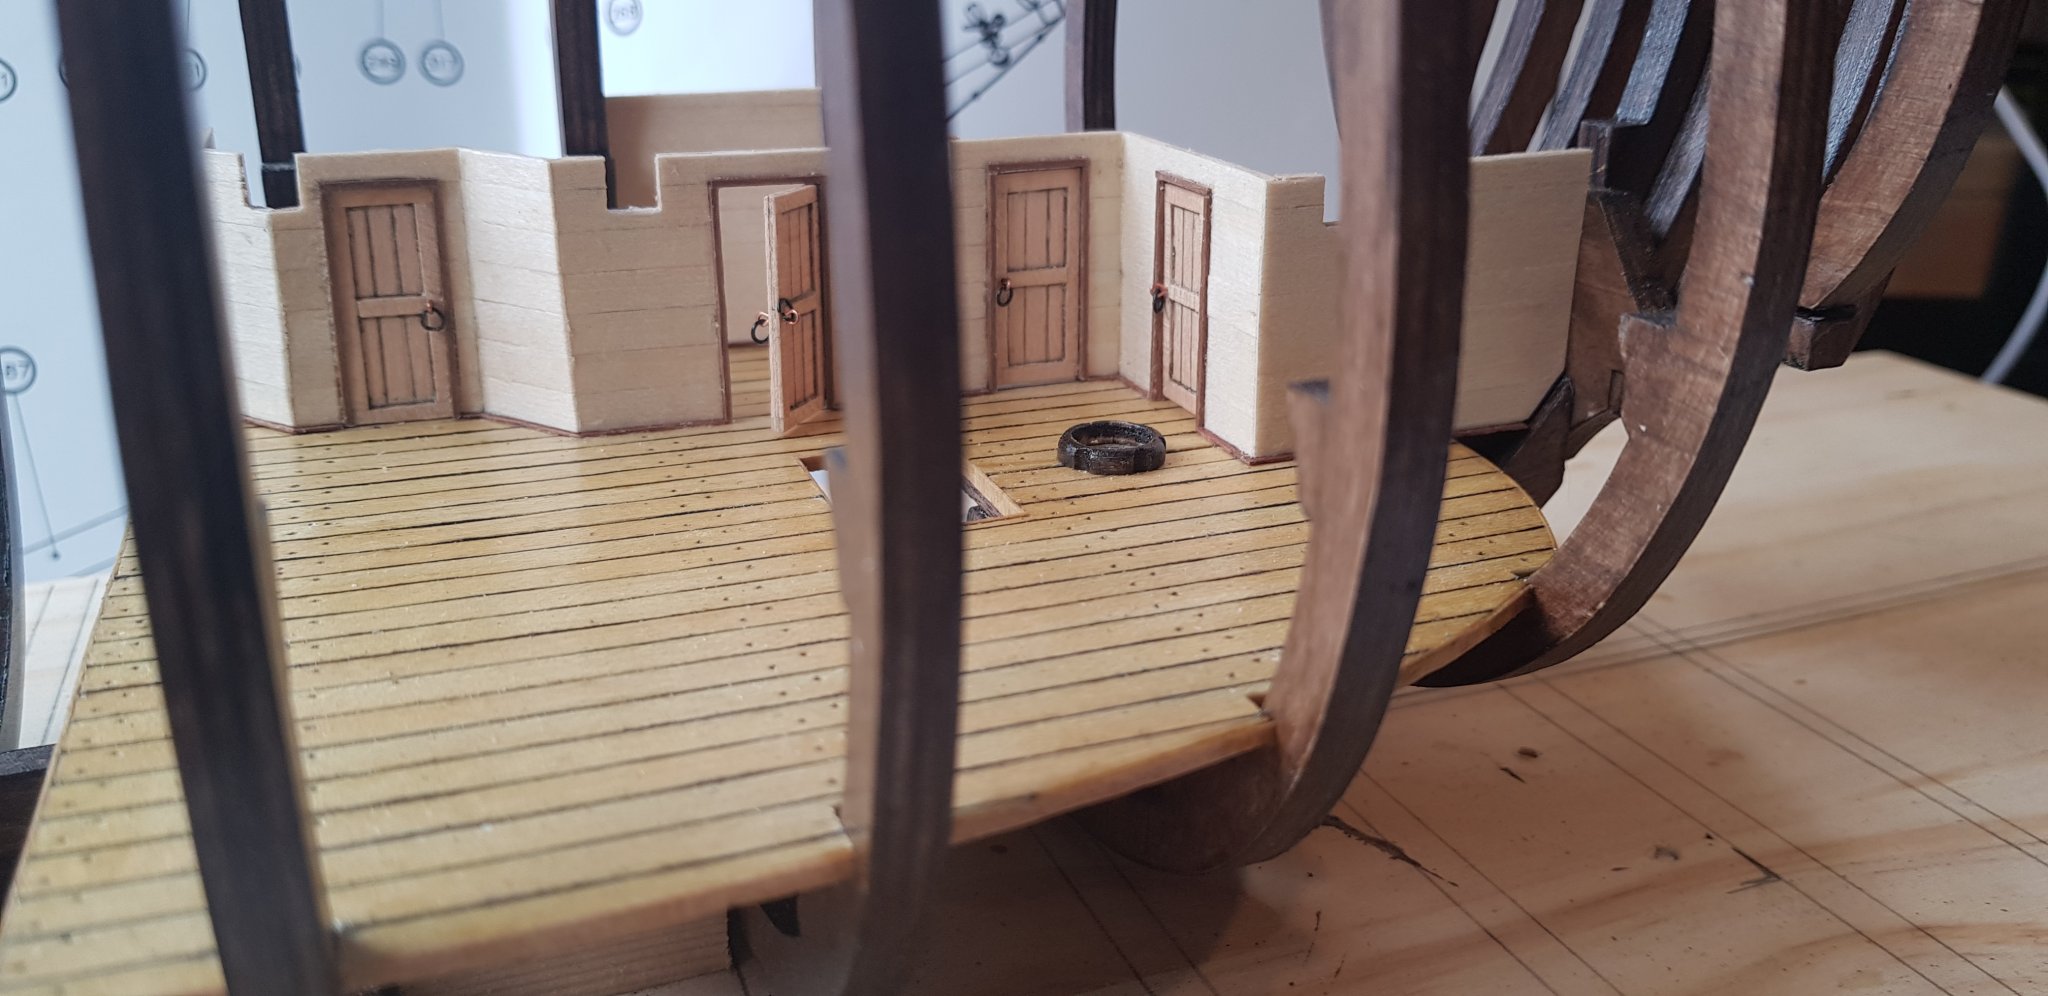
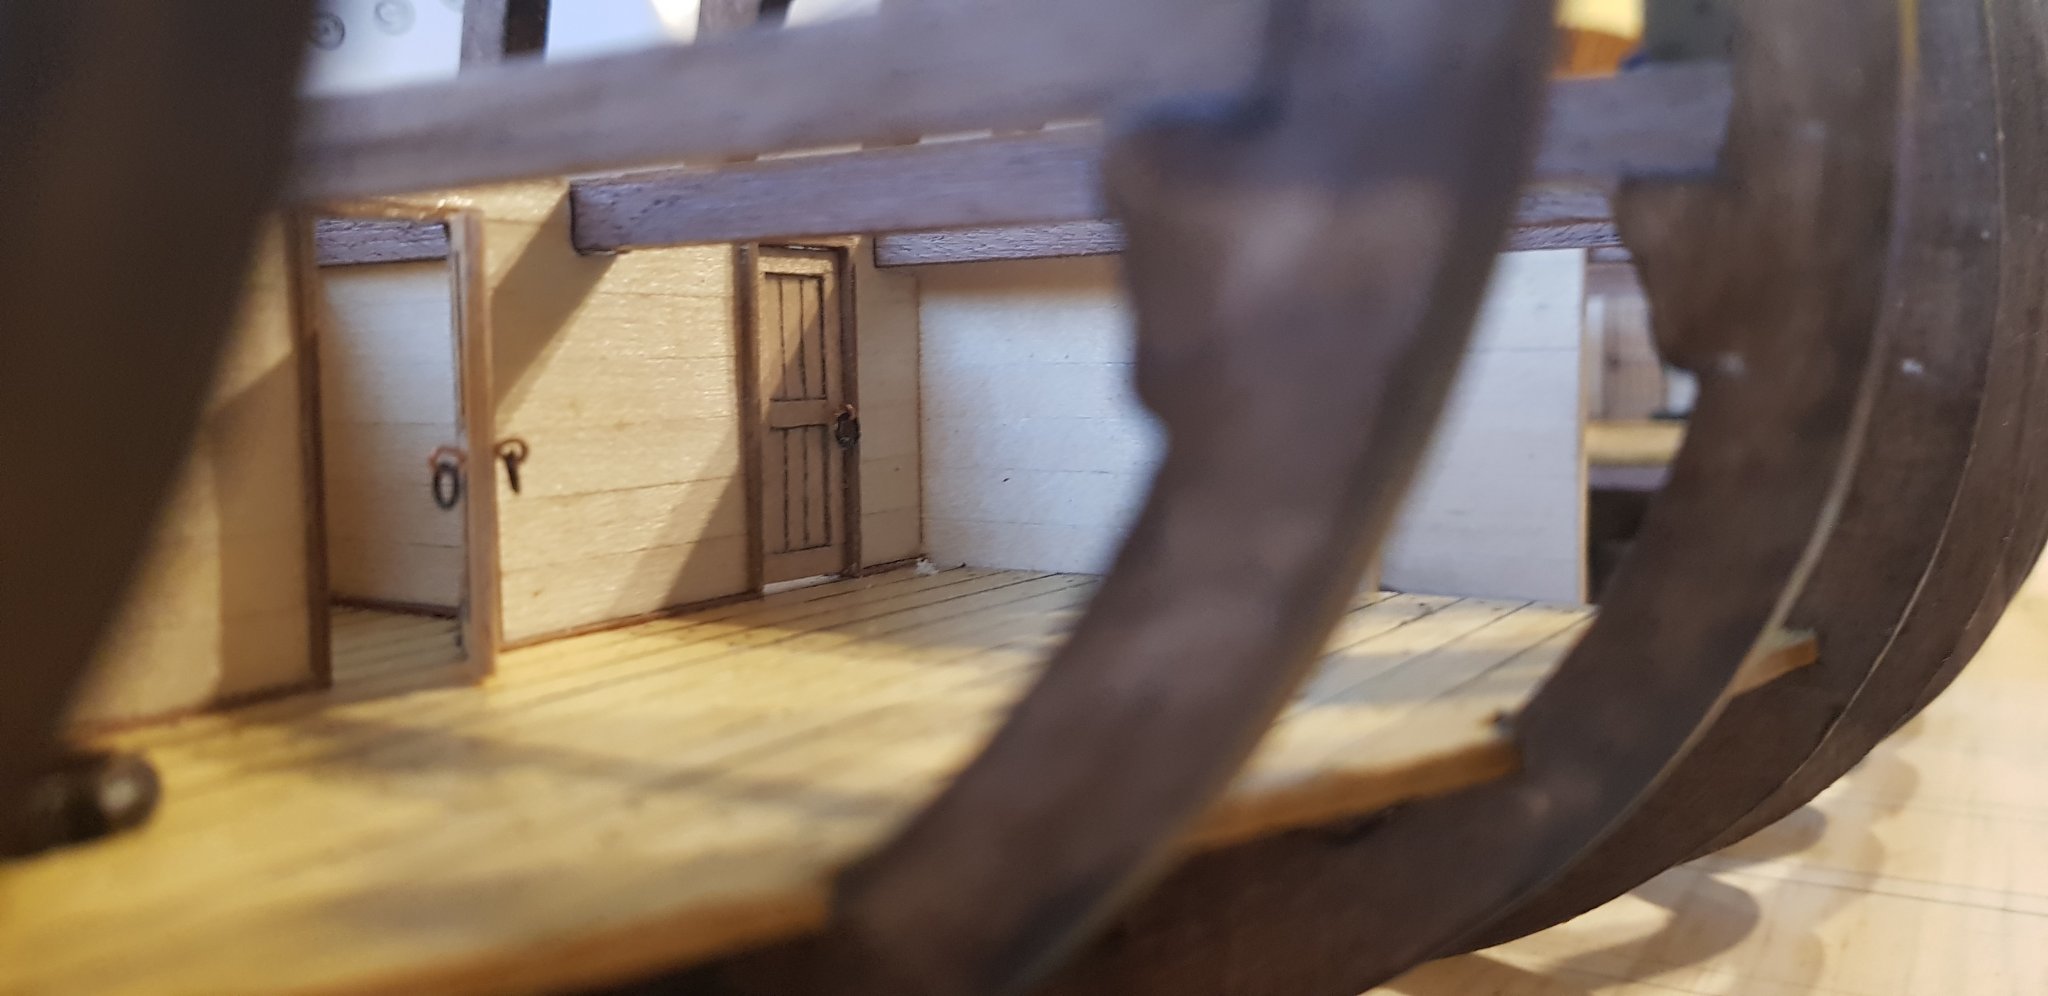
I've finished the first lot of cabins. Made two mistakes. One, I forgot about the edge of the wall running parallel to the hold well should have been planked. Fortunately it will be covered by the hold well, so I've gotten away with it this time. Secondly, the wall on the cabin with the open door is too flat and should follow the curvature of the ship. I could take it out and try again, but seeing as so little is going to be visible, it seems a little pointless.
I could do with advice as to what would be in the cabin with the open door. Would it have been a bed or a hammock and would there have been any other furniture in there?


- BobG, Baker and mort stoll
-
3
-
Hi Stephen
I've used thin black cotton thread coated in some watered down pva on my decking. It's a bit fiddly and pencil probably does the same job but just thought I'd give you another option.
- thibaultron and mtaylor
-
2
-
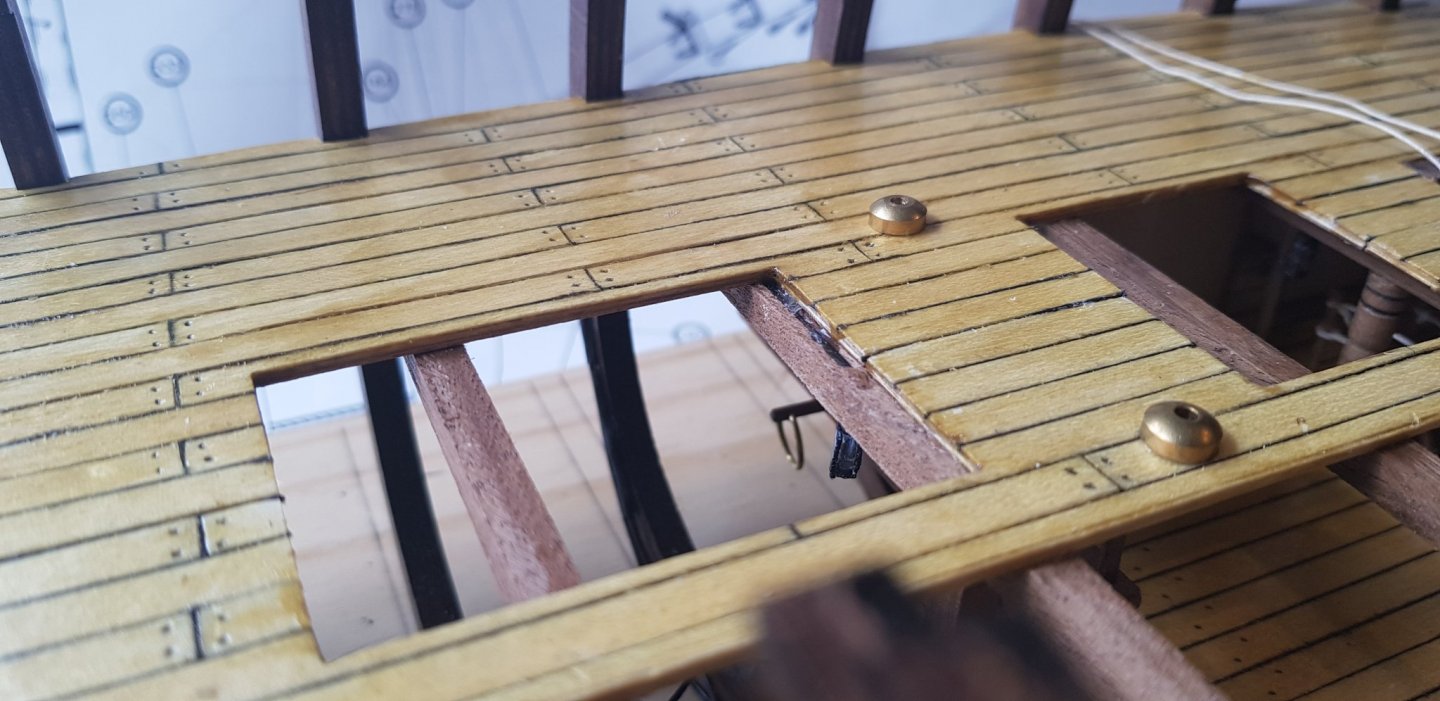
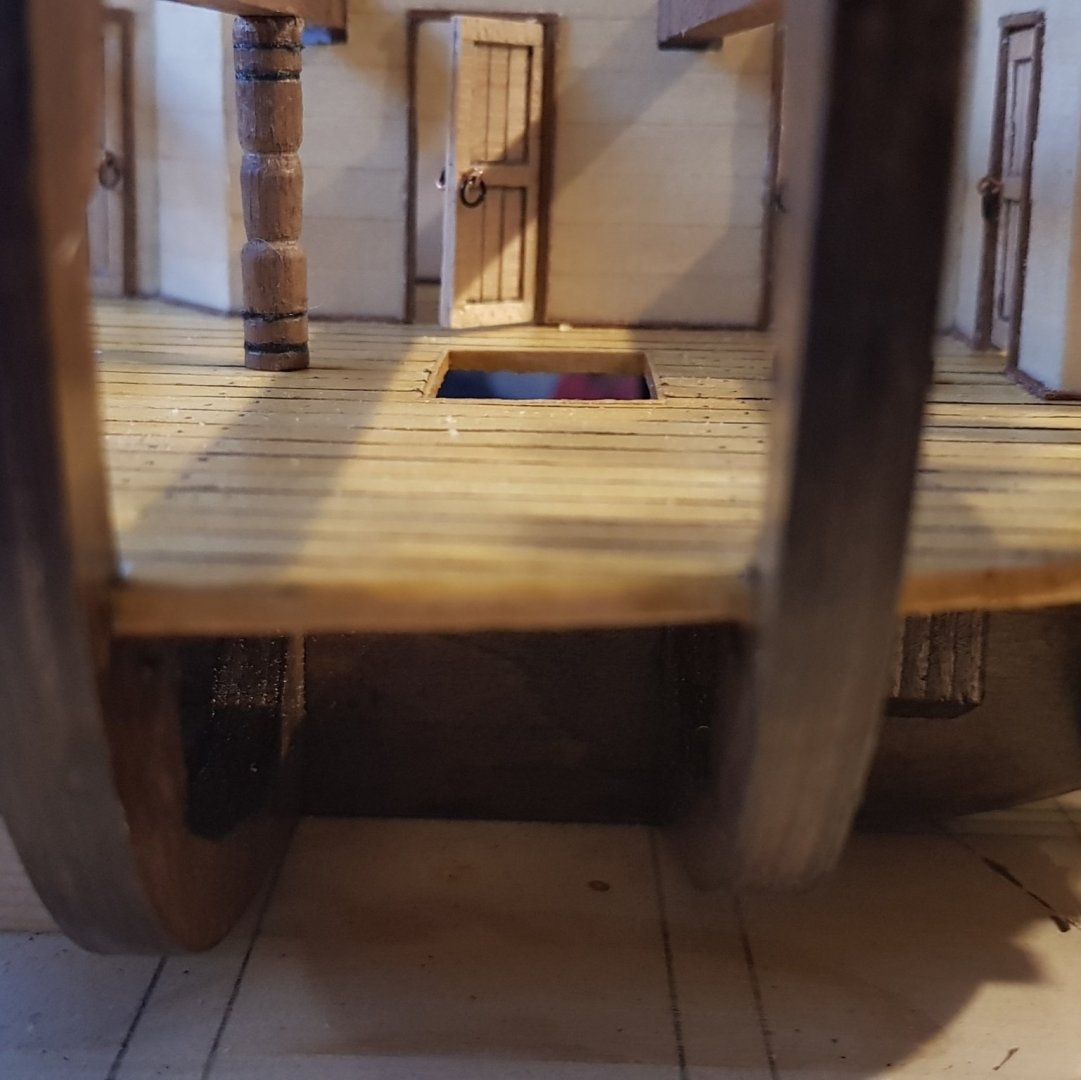
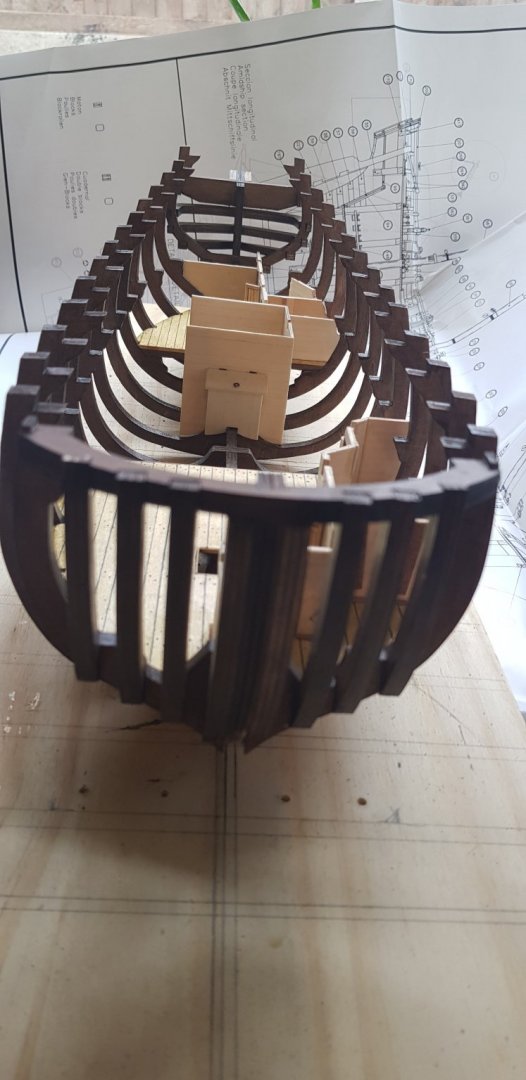
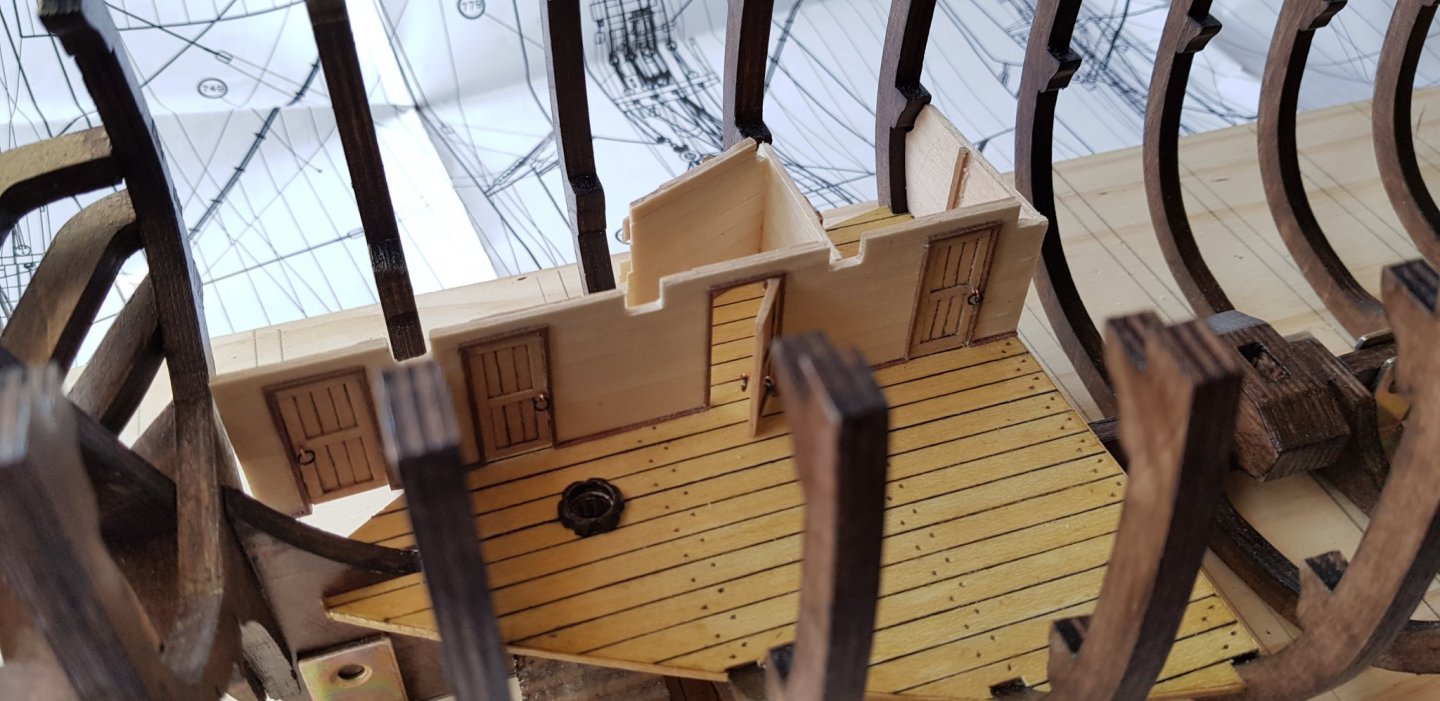
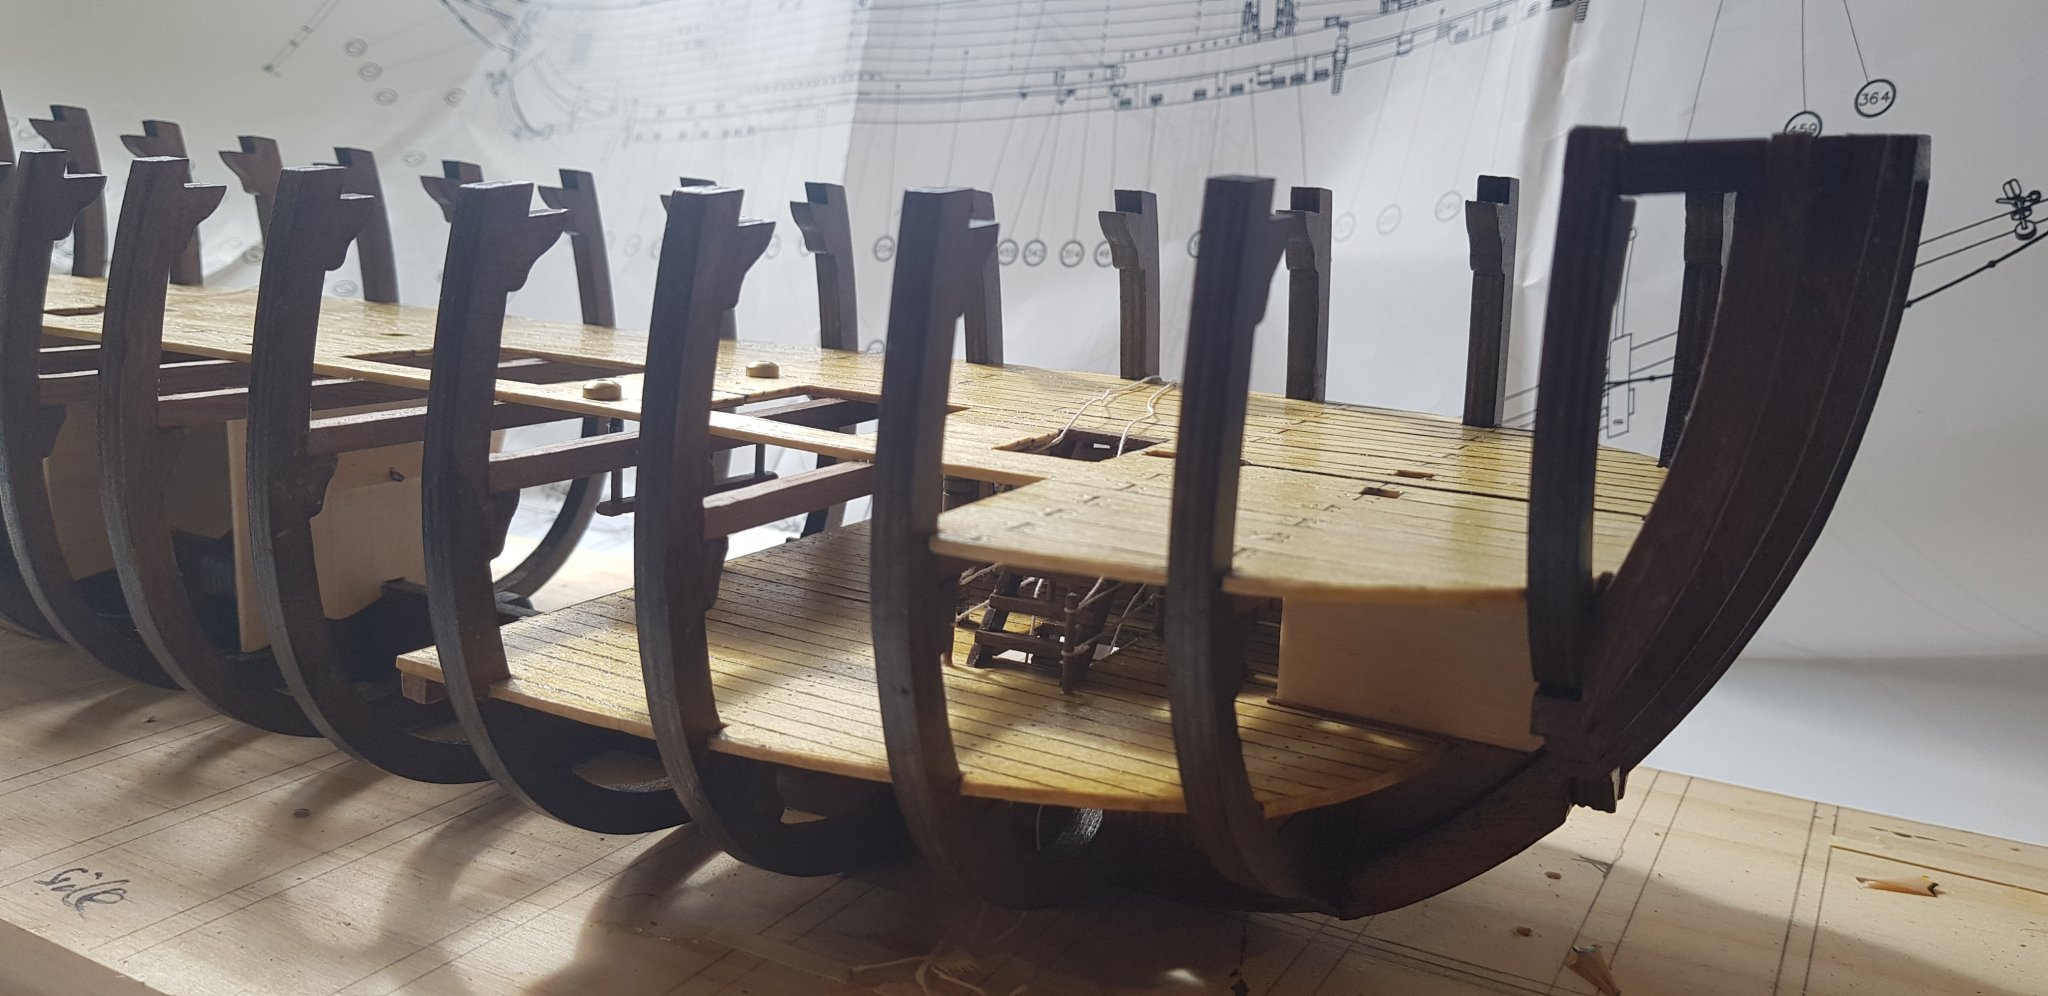
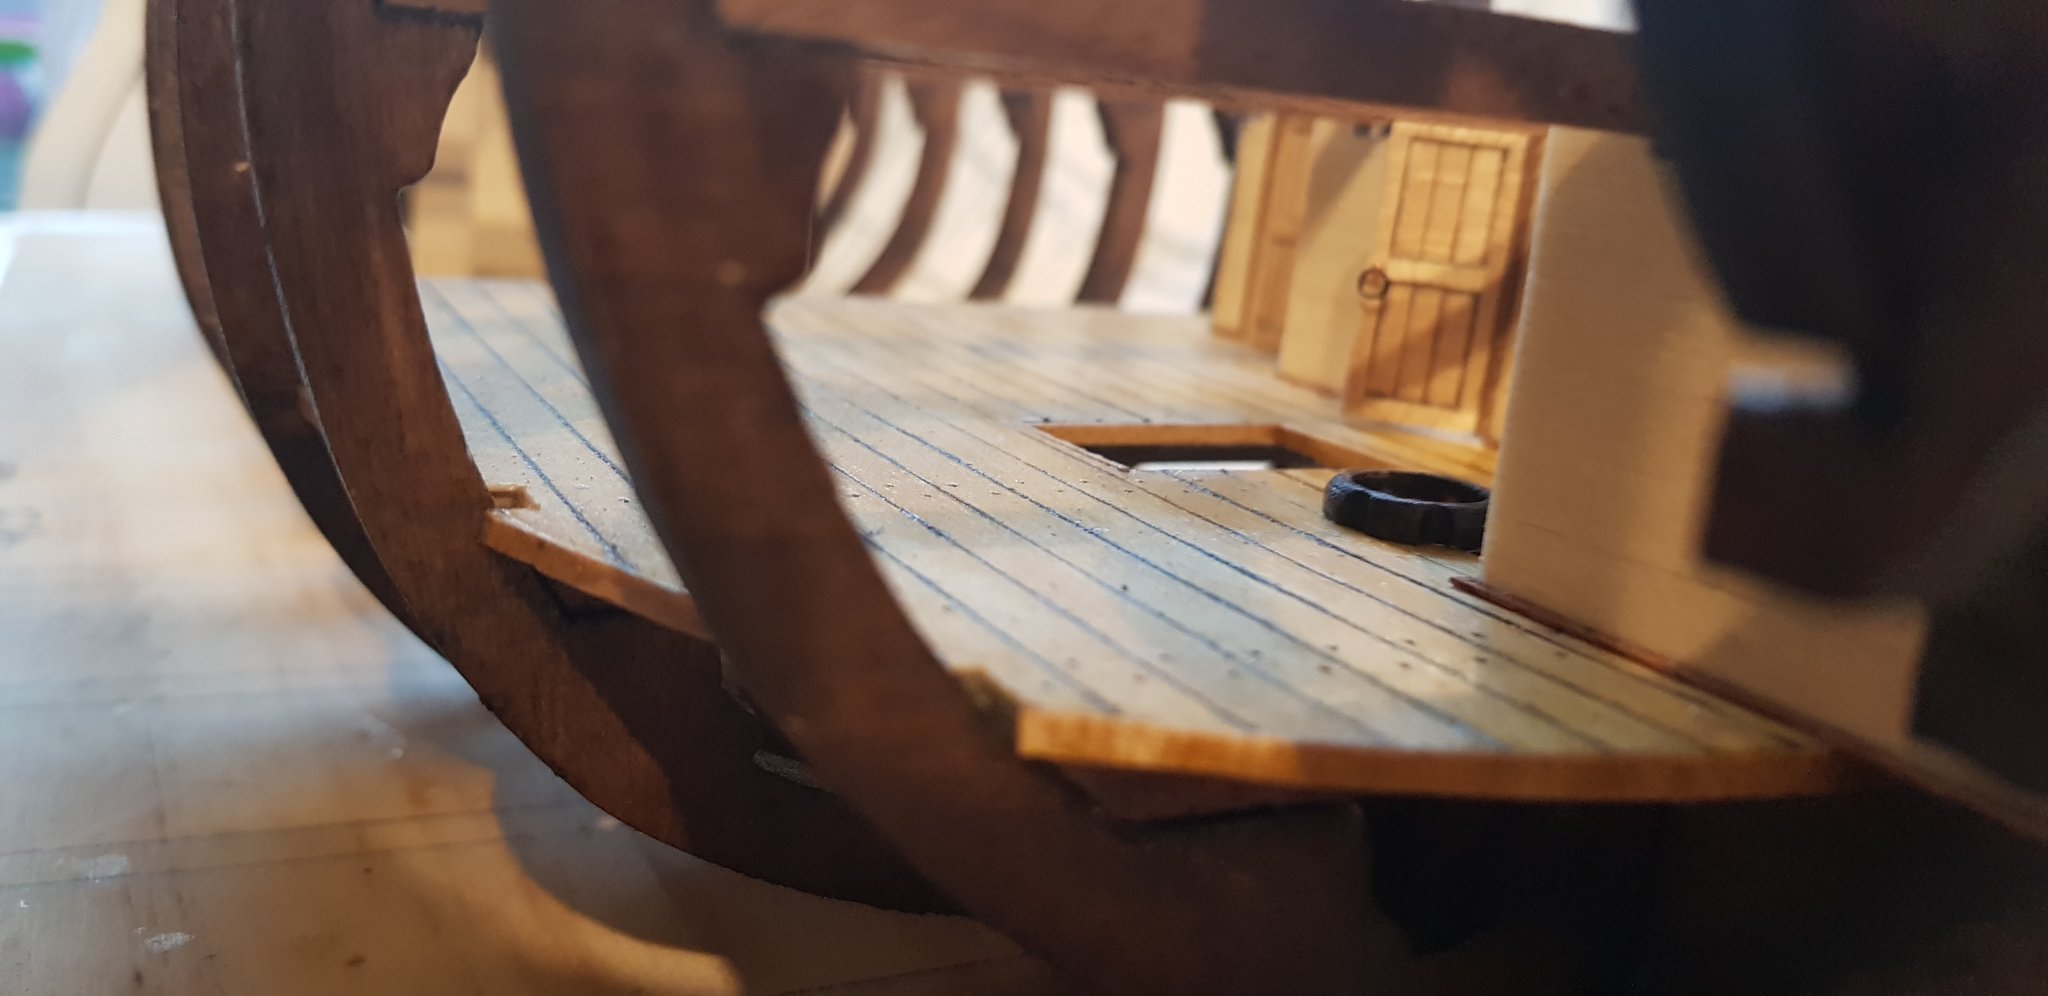
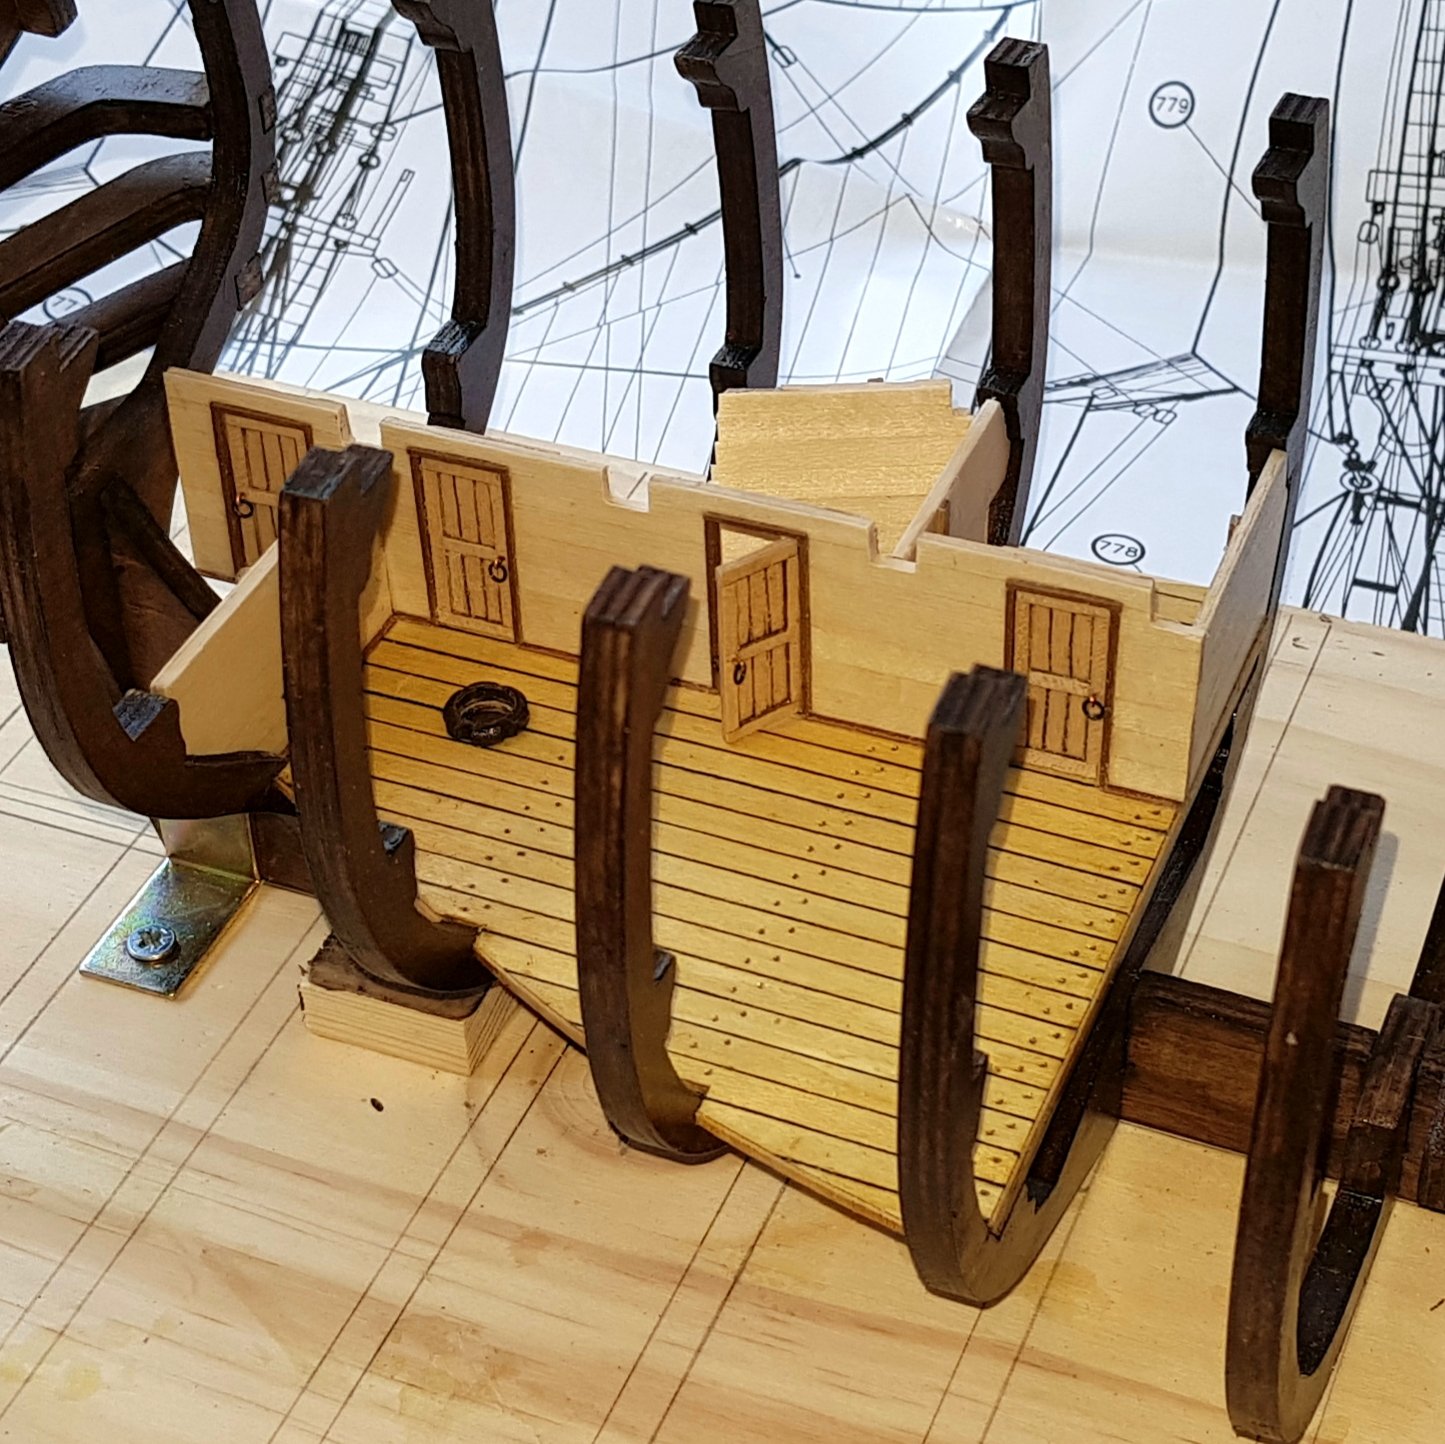
So, another update.
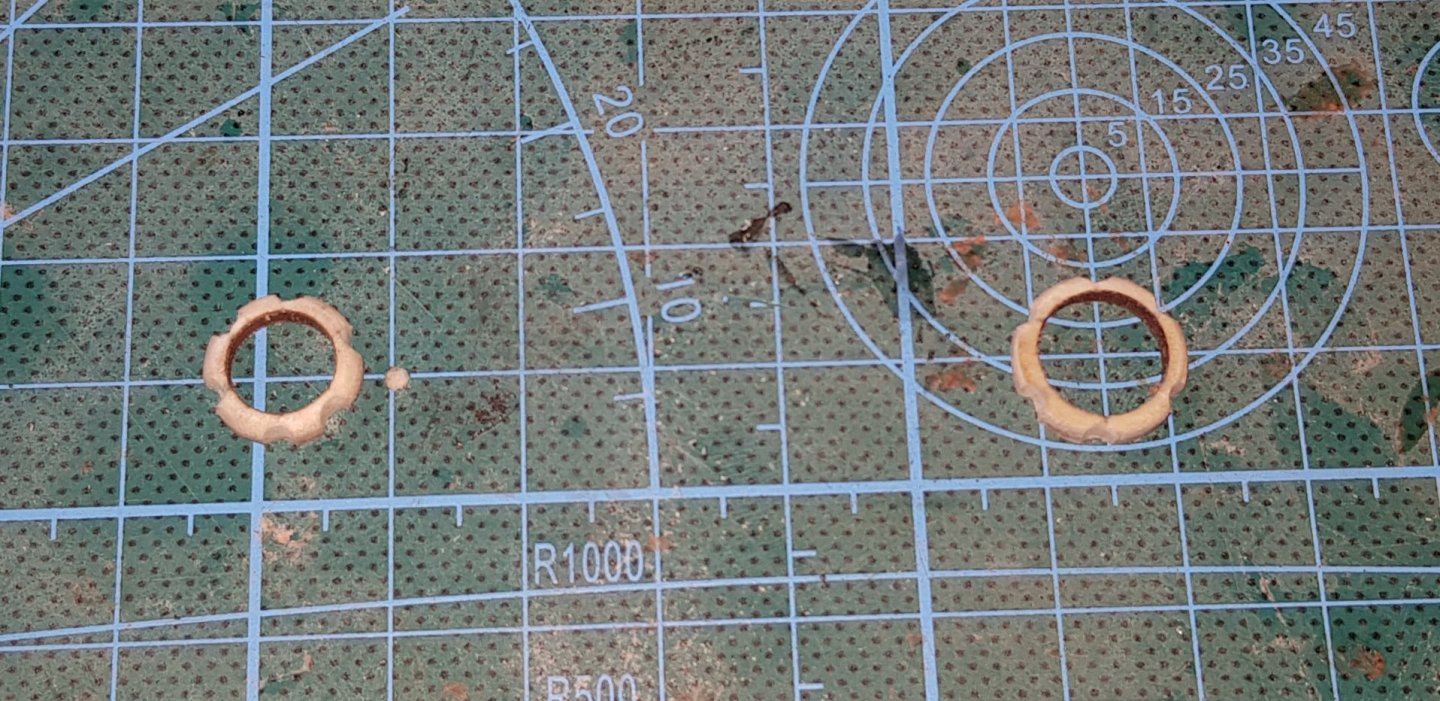
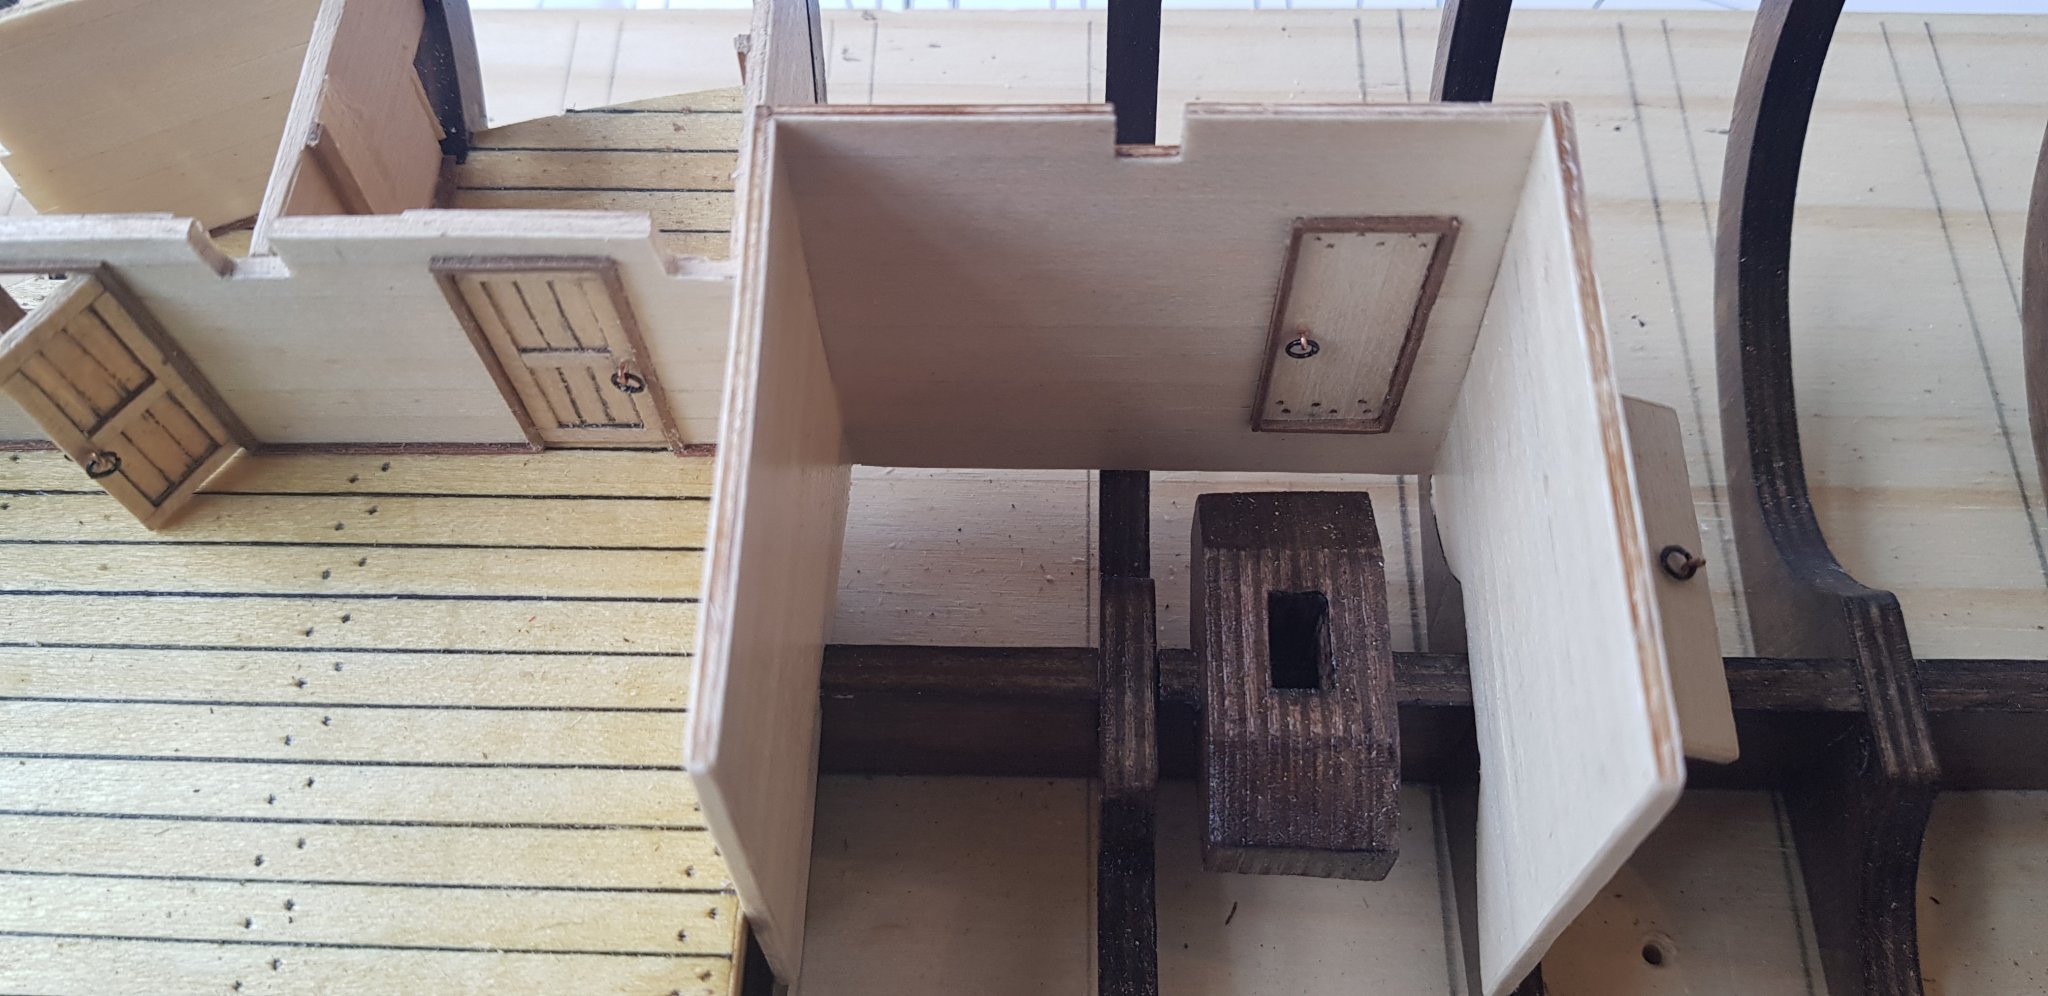
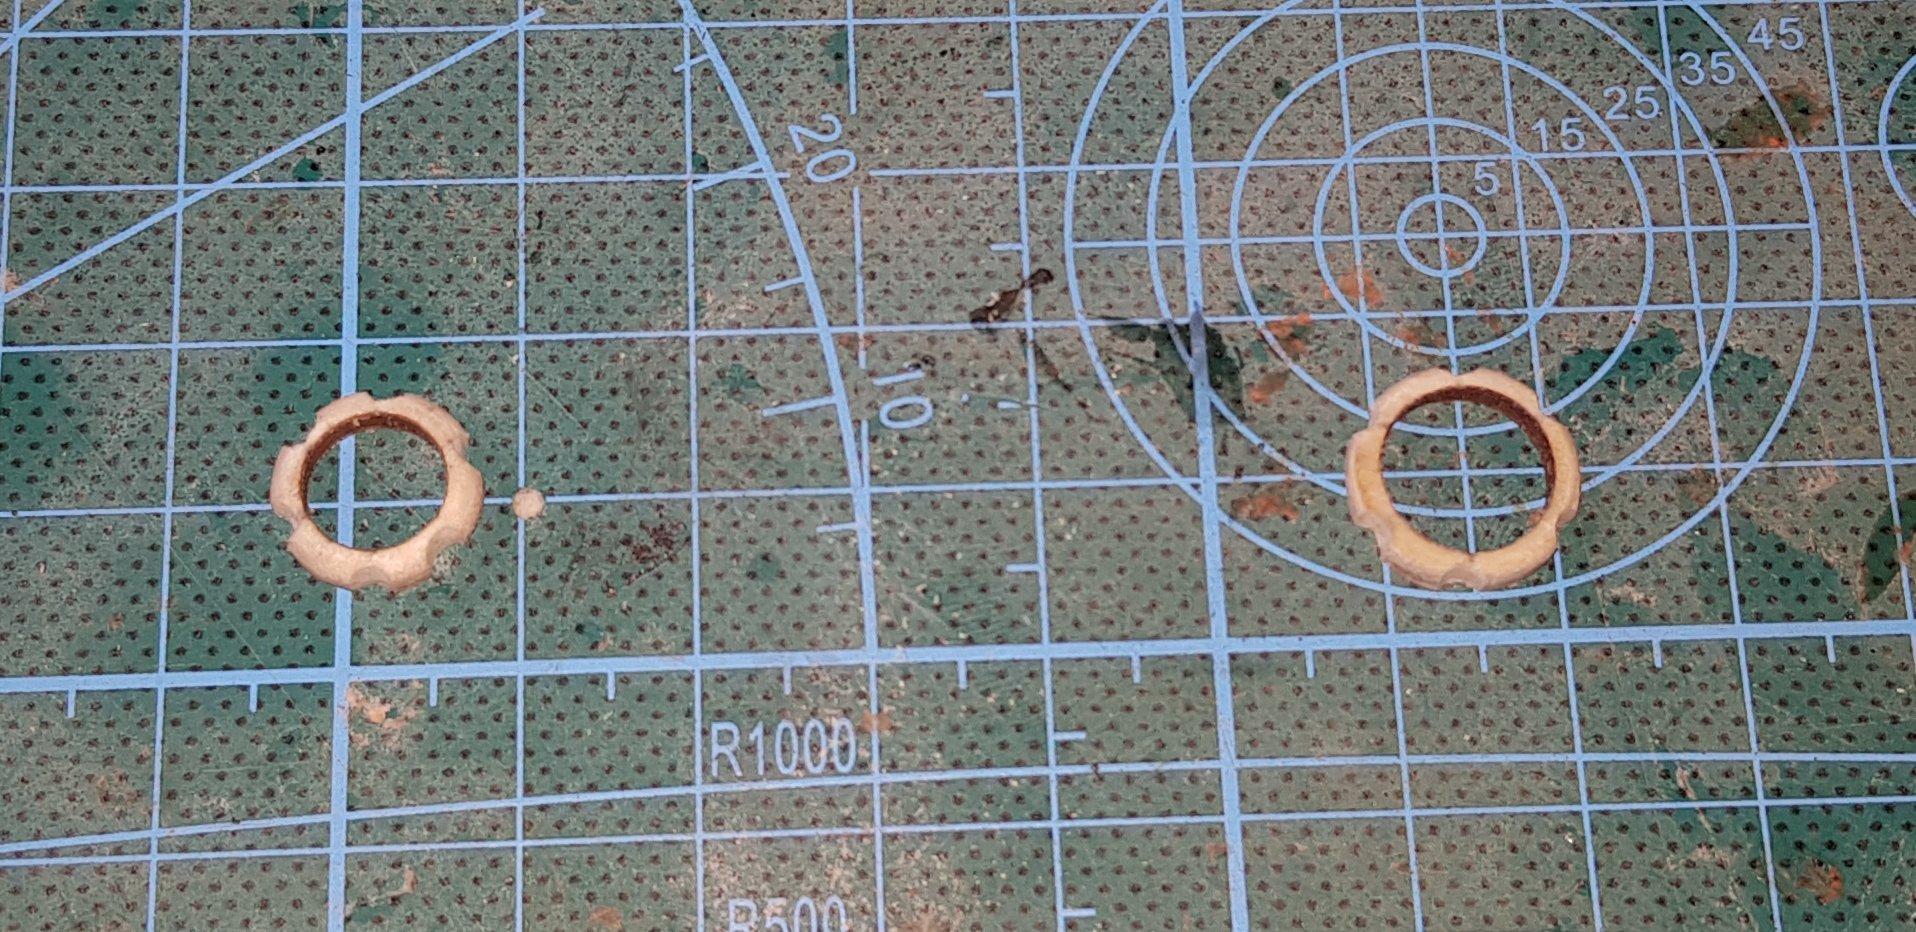
After finishing the hold deck, it was time to make the fore mast hole and mizzen mast hole. The instructions say to round them a bit (which I did), but I thought they looked a little plain like that.
So I just put some grooves on the edge and stained it walnut. The spacing isn't quite perfect but it's a decent first effort.
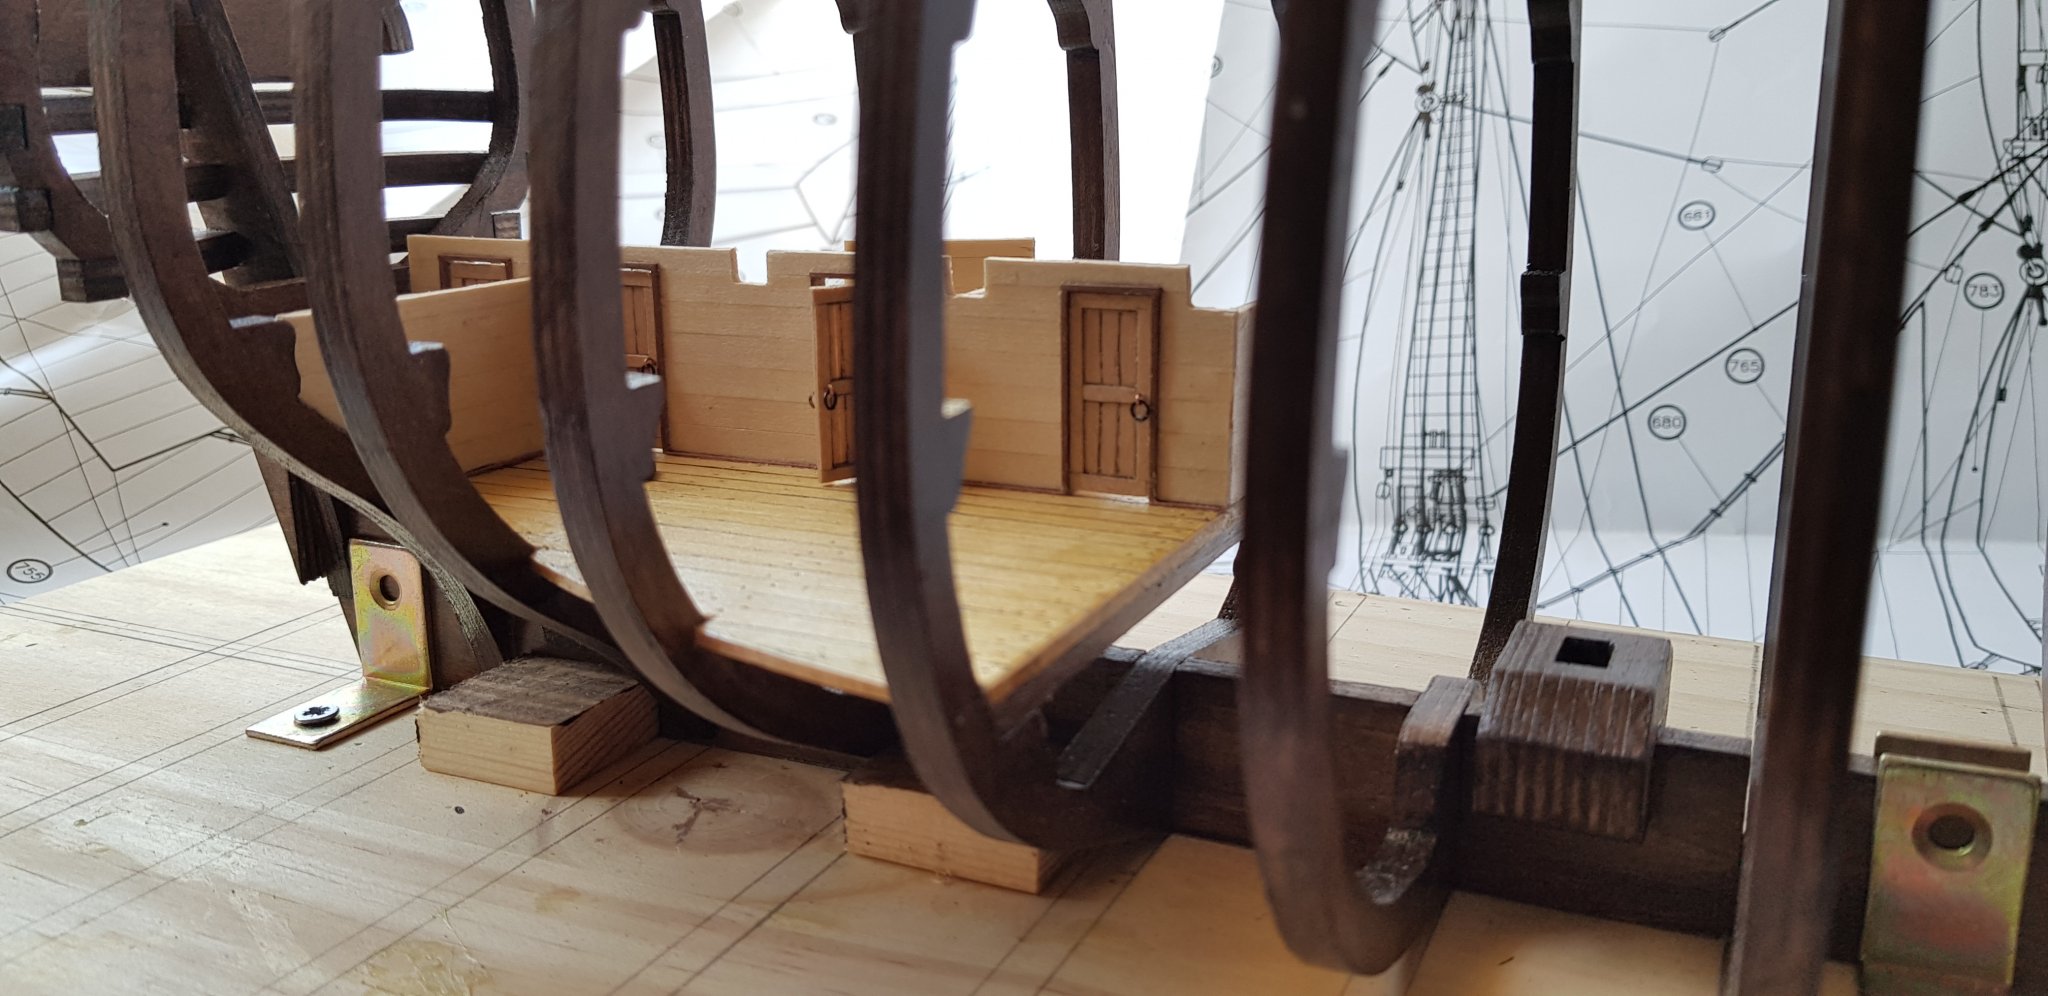
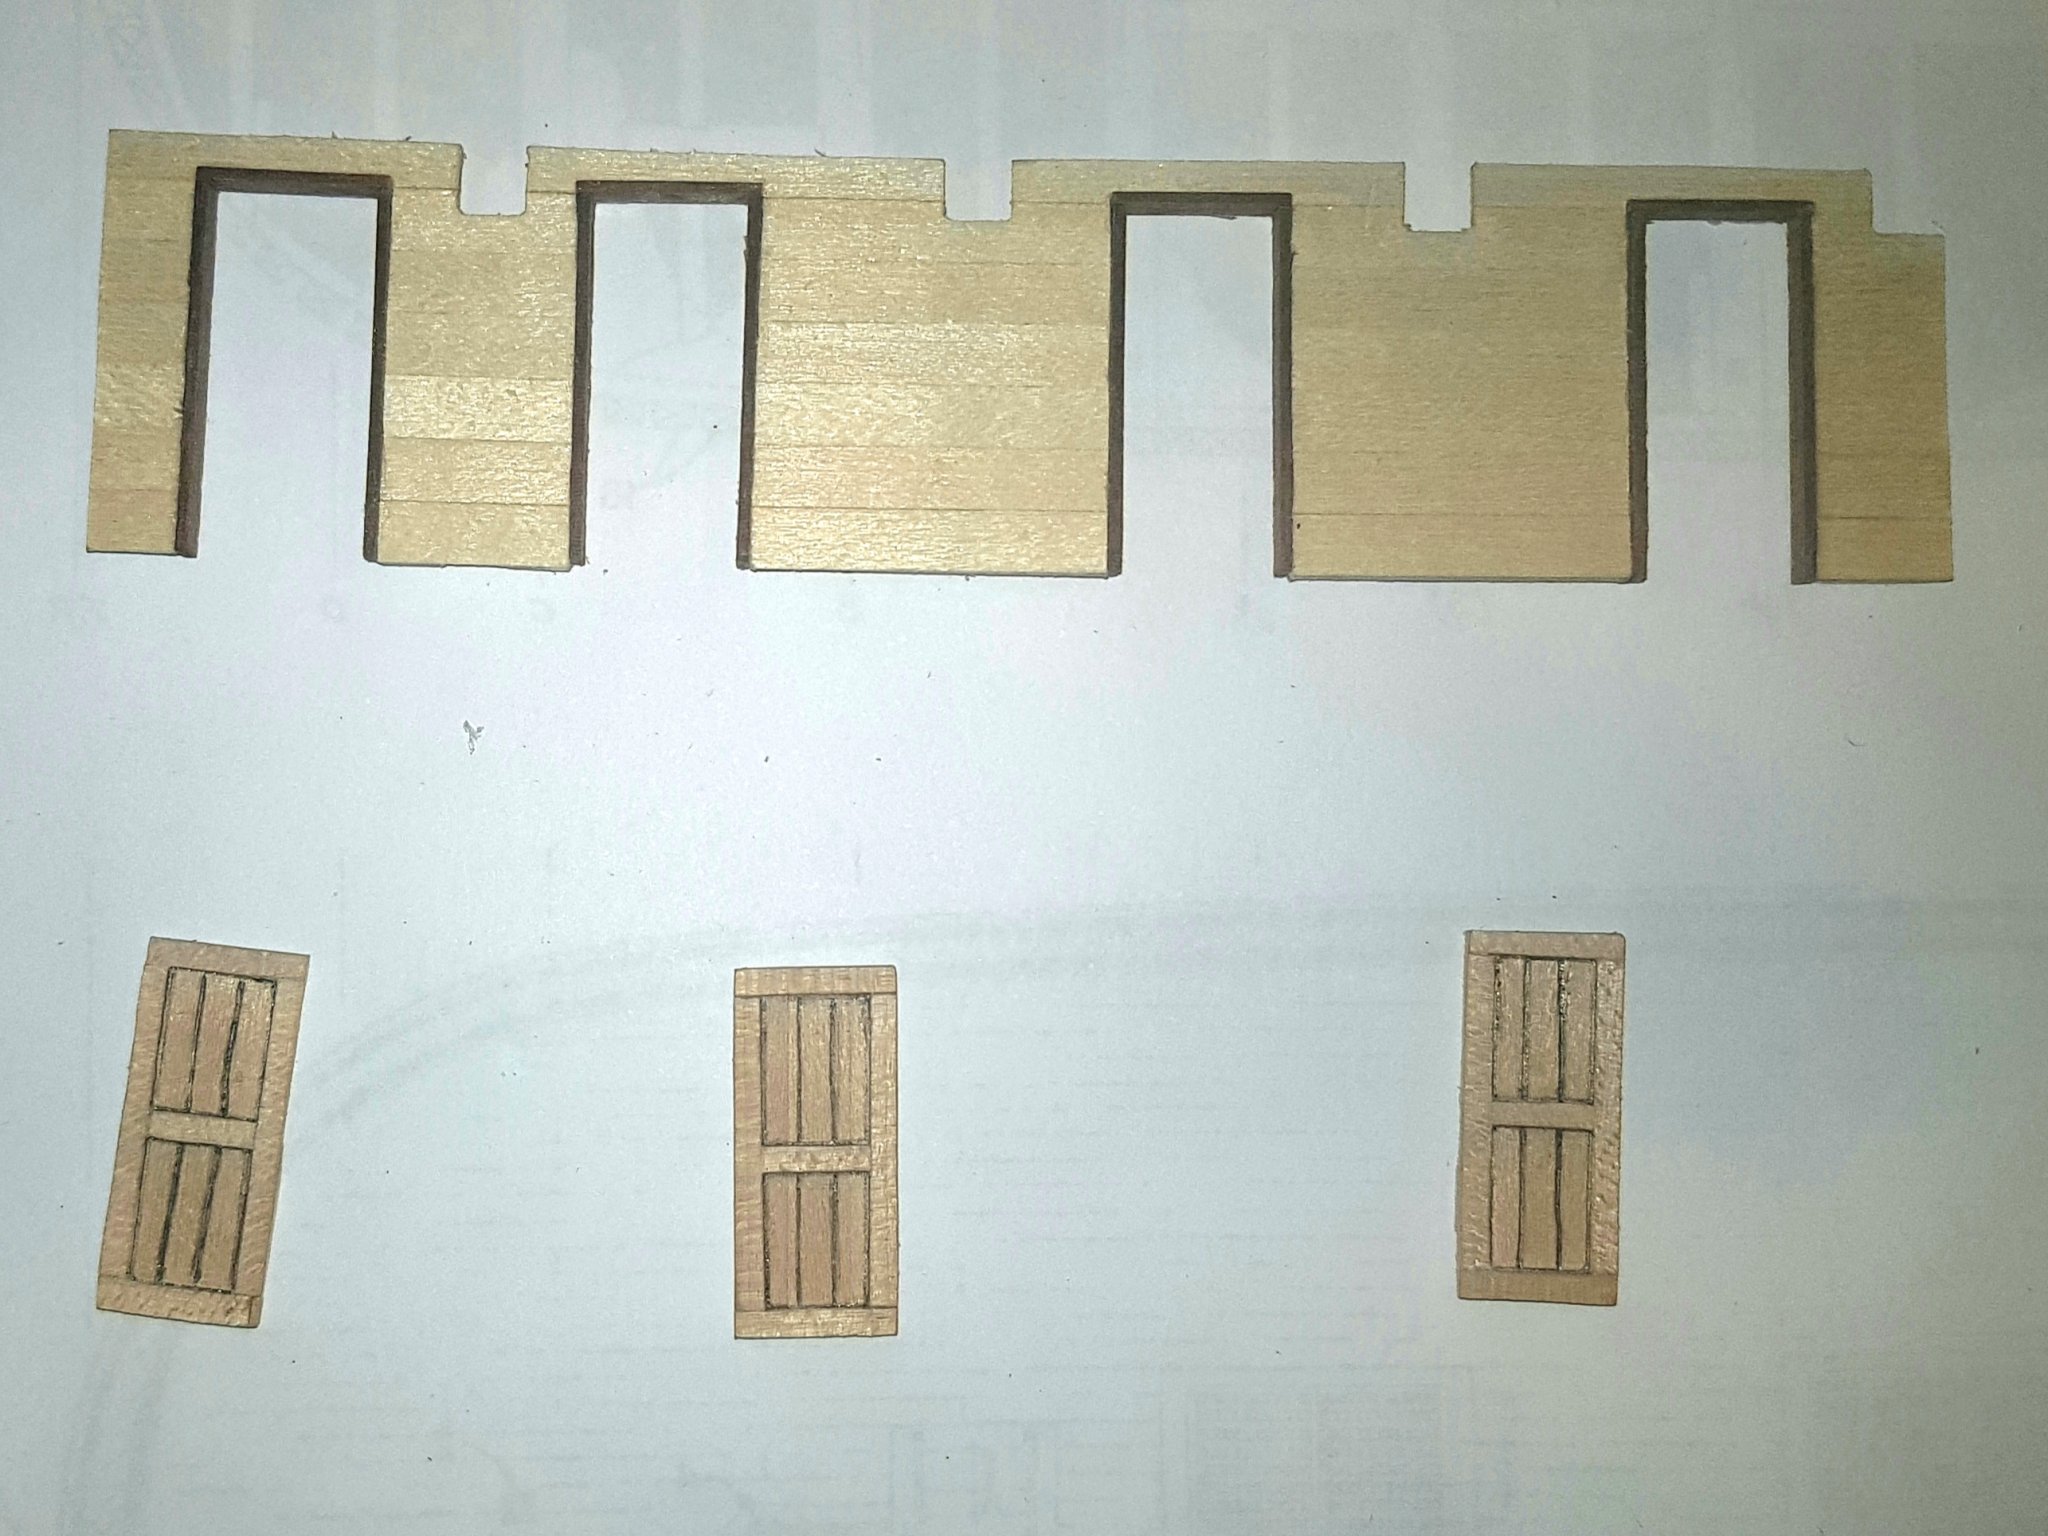
With the cabin additions, I wanted to use plywood as a base but I couldn't get hold of the size I wanted. In the end I used 1.5mm lime which is very flexible but easy to work with and cut/shape. Below is what I've managed so far.

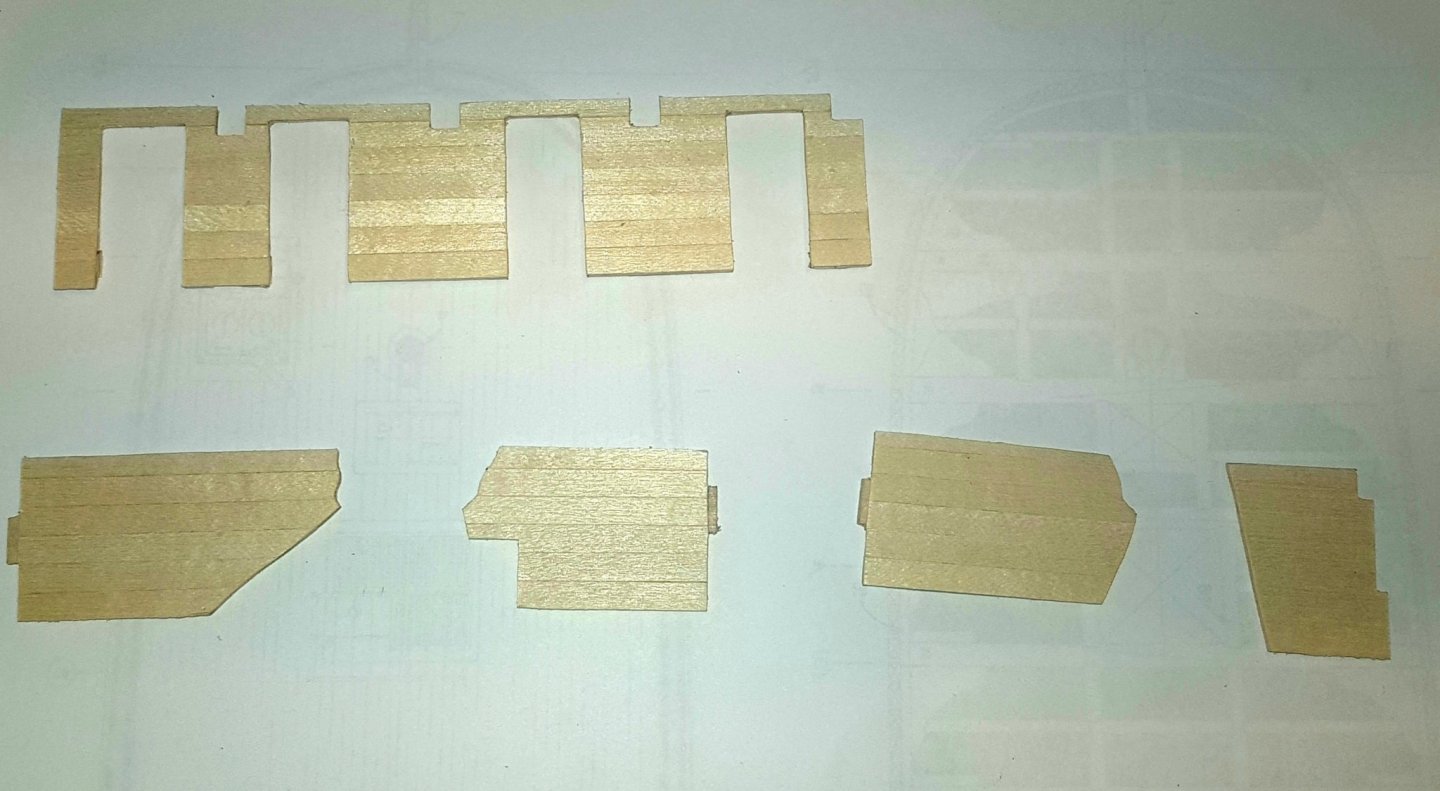
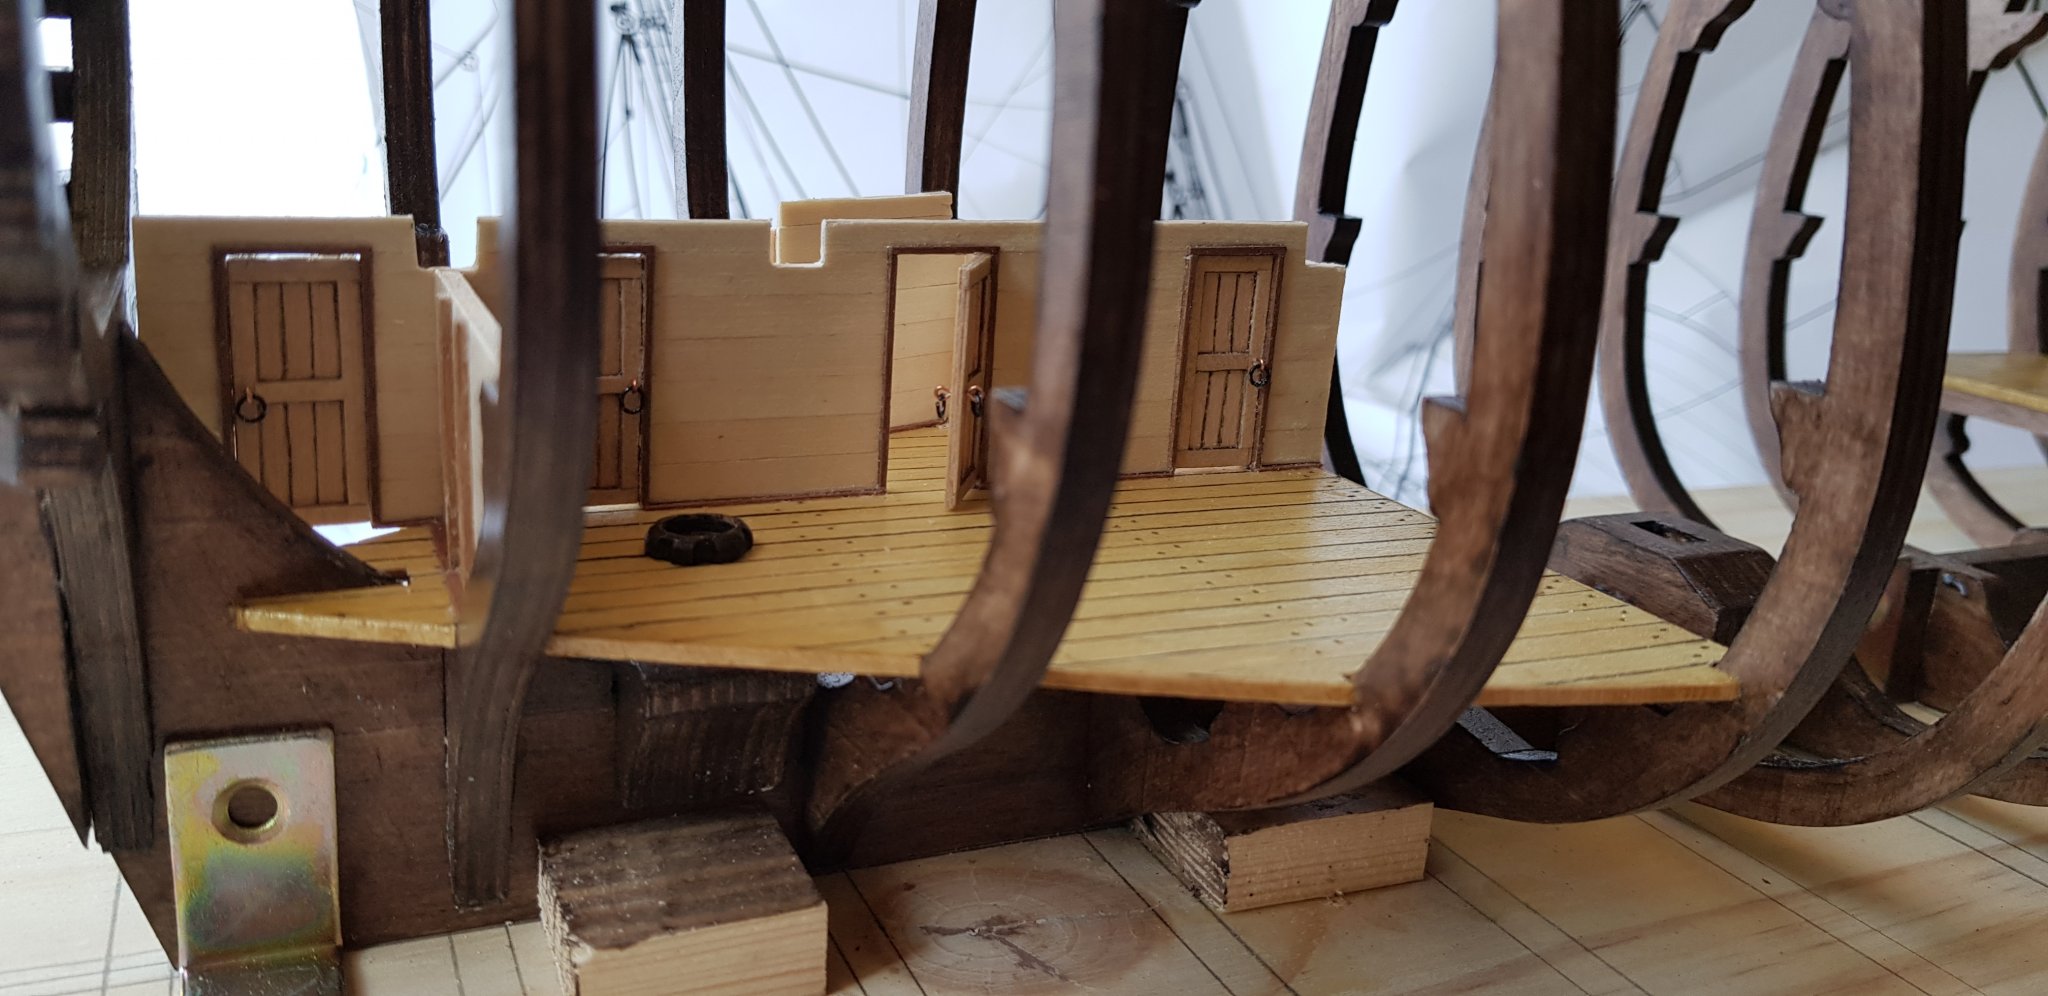
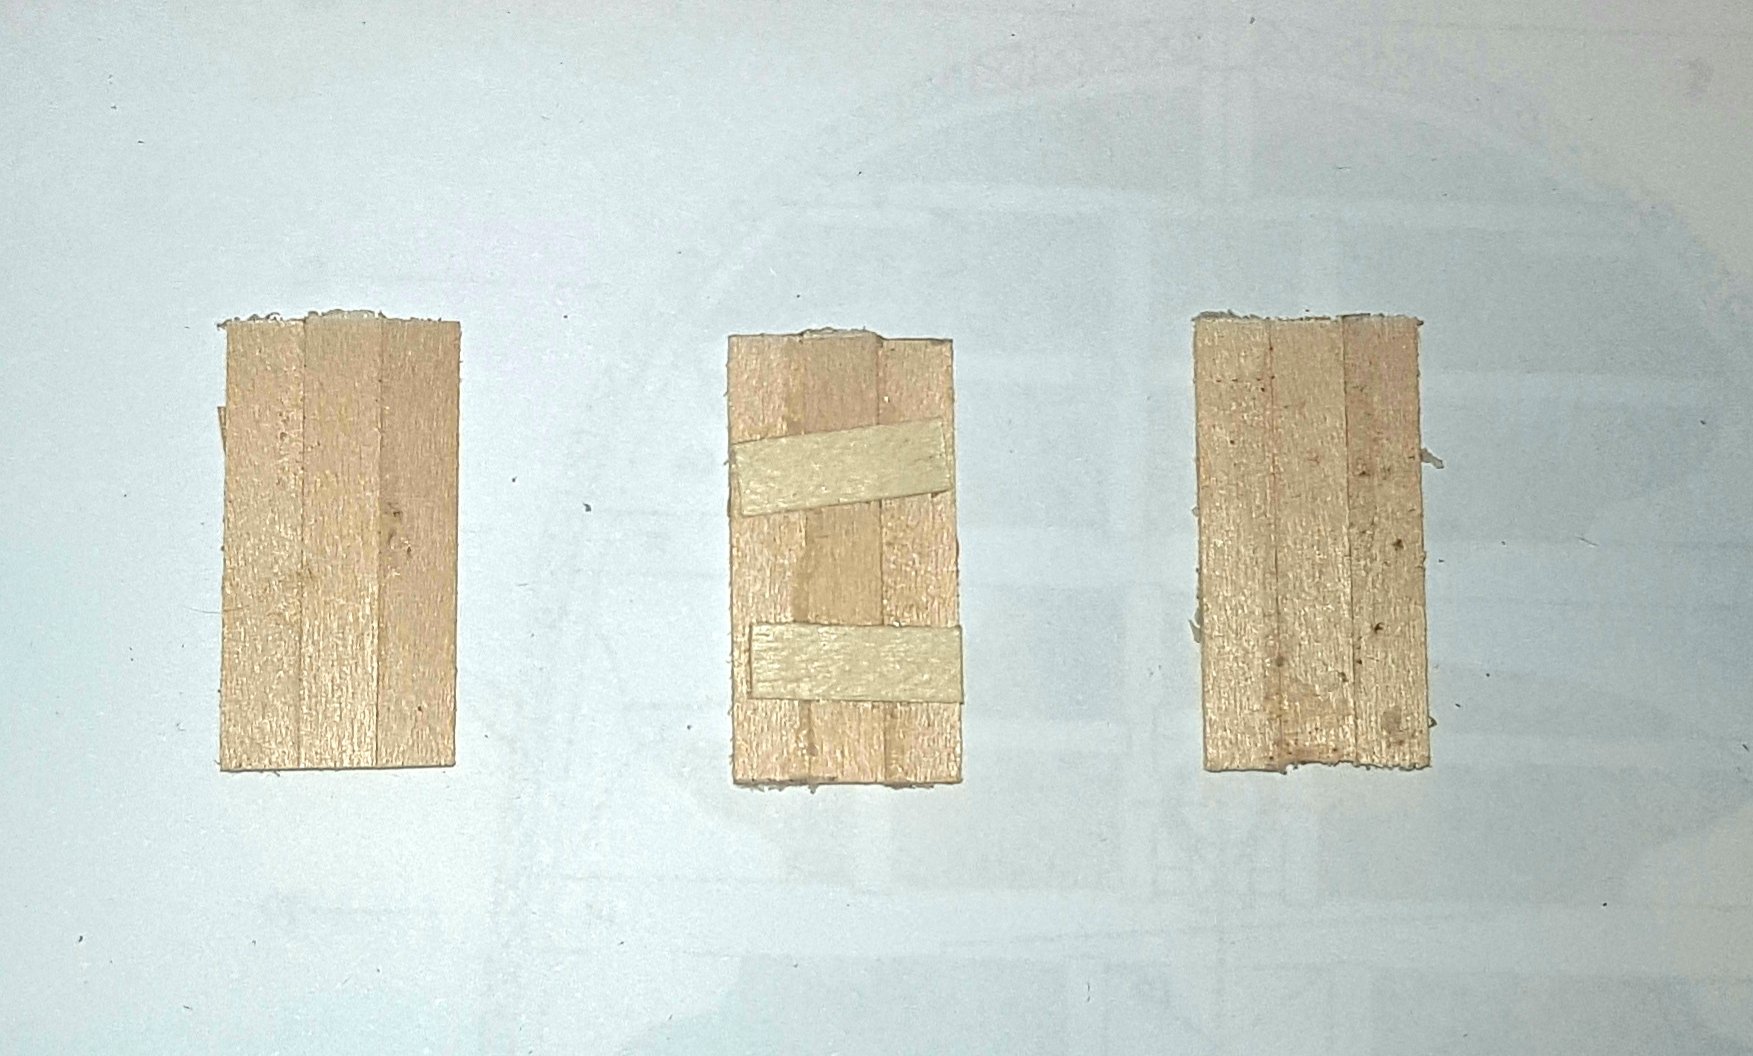
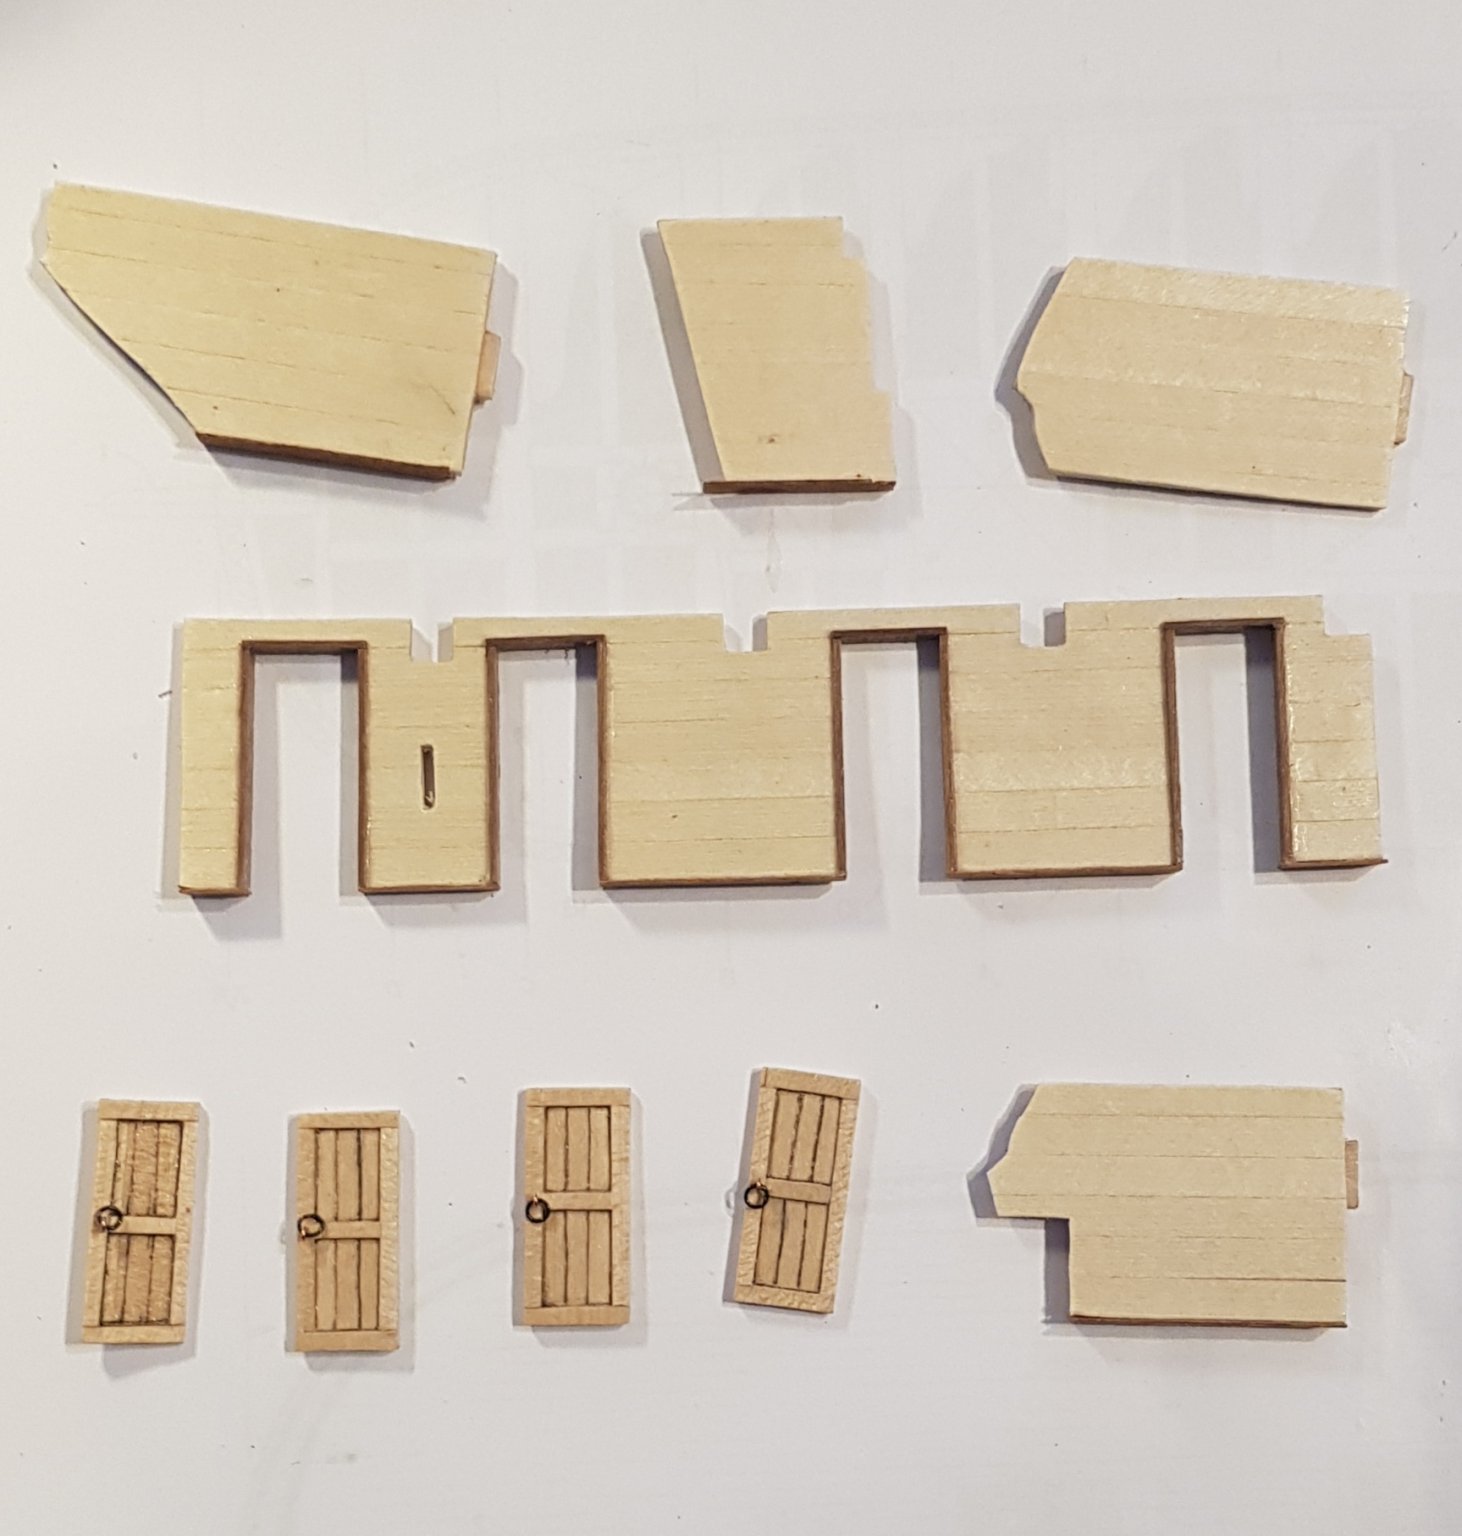
As I want one of the cabin doors to be open, I made them separate to the walls. For the closed doors I used 3 strips of 5mm, then cut down to 12.5mm and put a frame on them using 0.5mm wood. For the open door I used 3 strips of 0.5mm wood and then framed them either side.


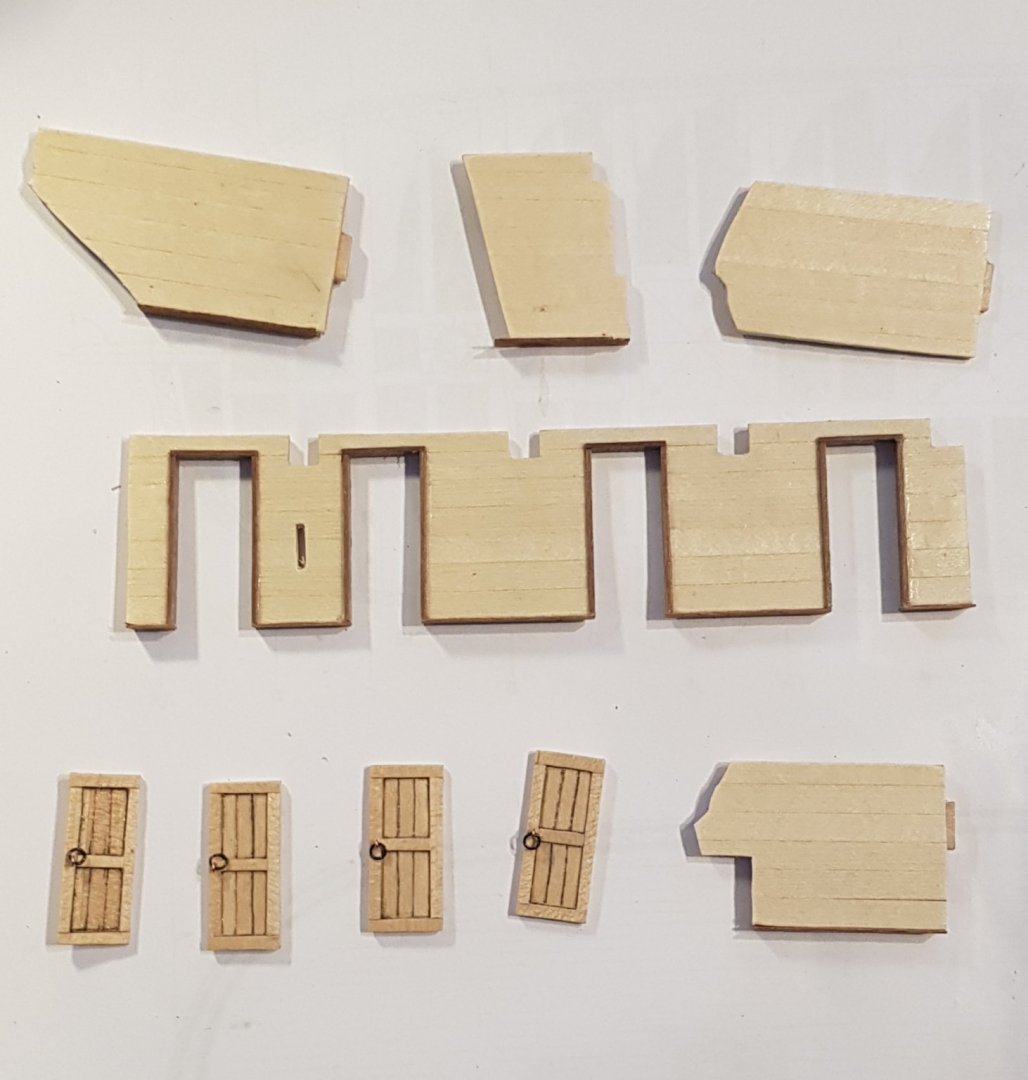
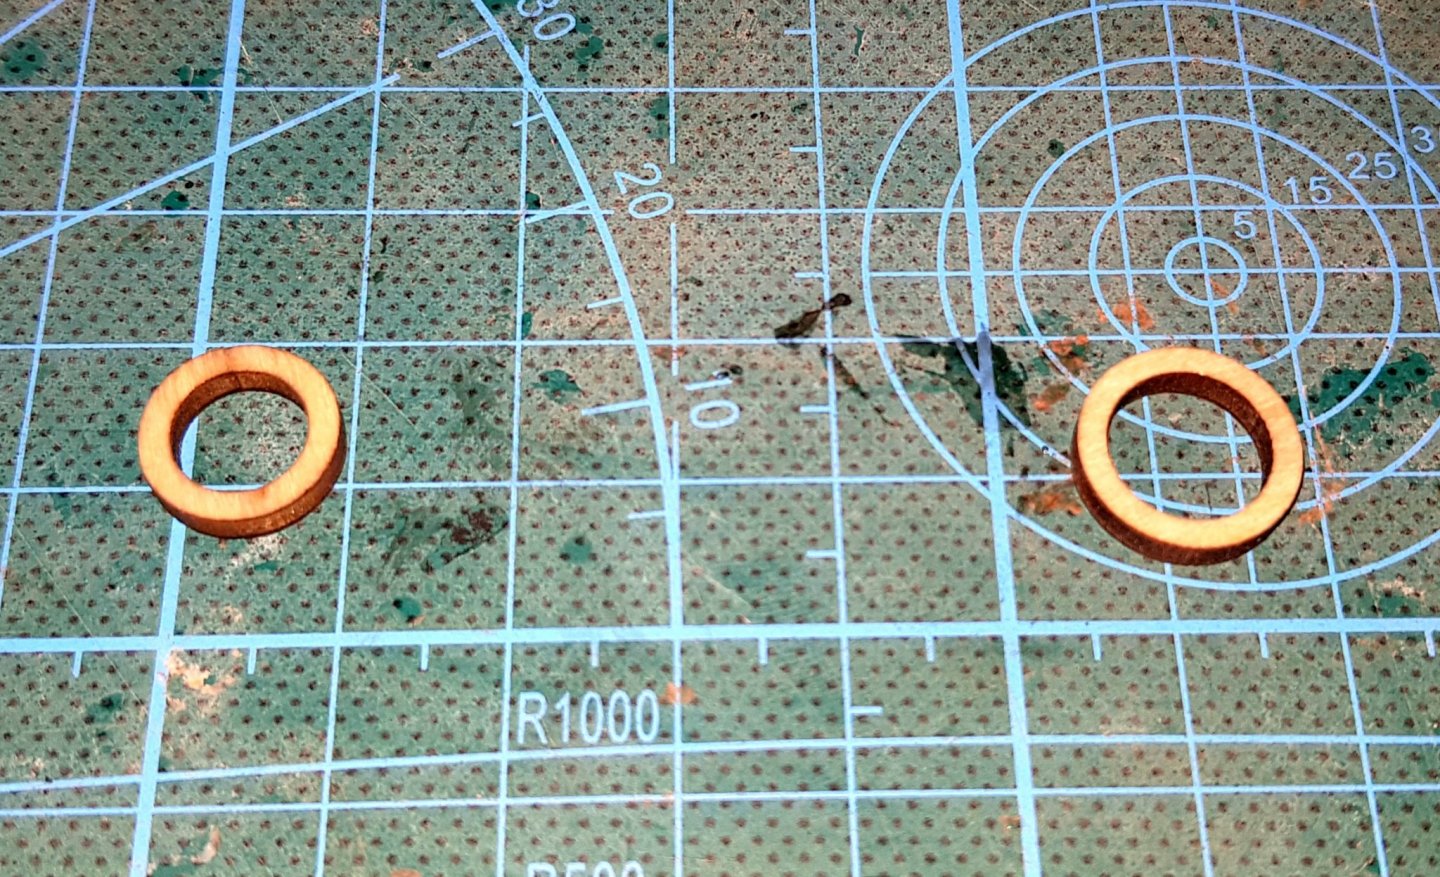
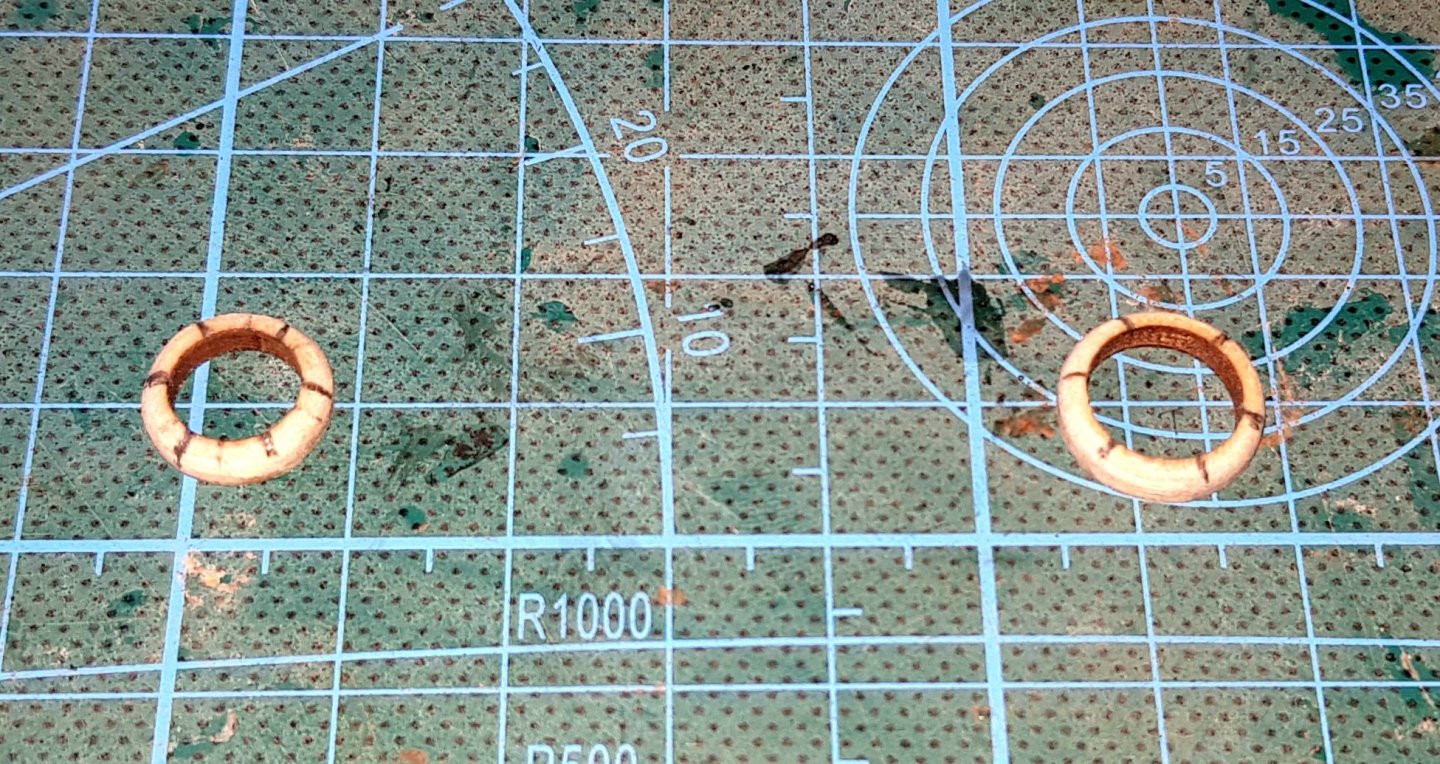
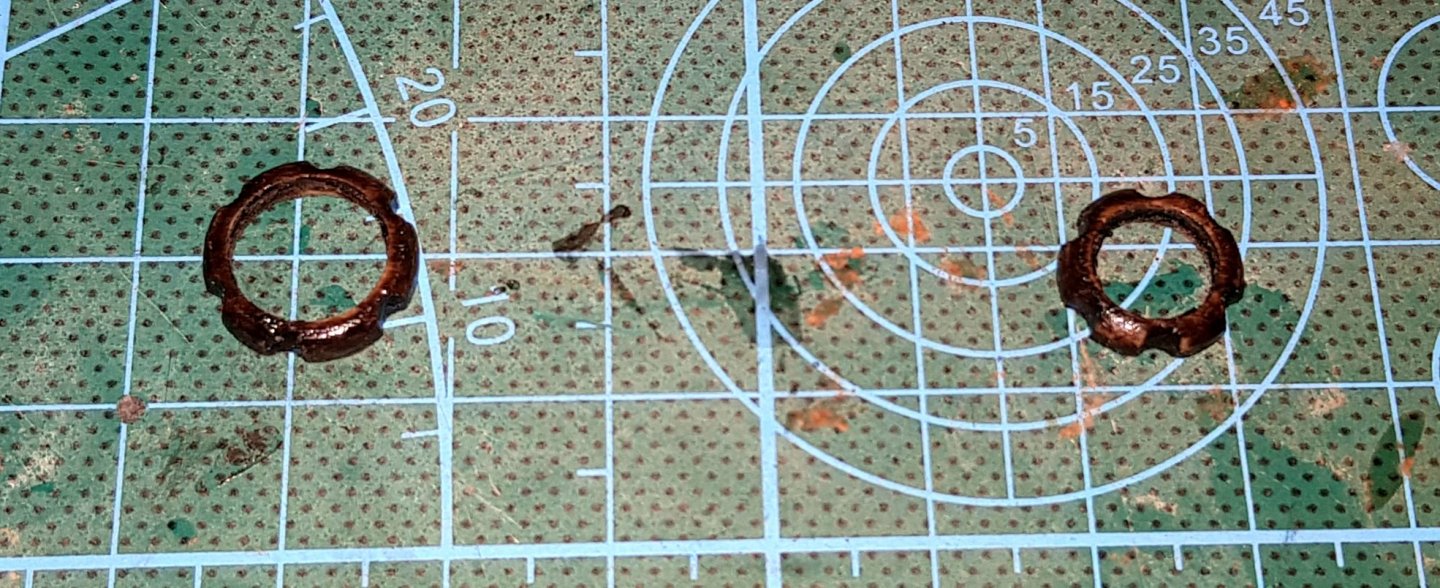
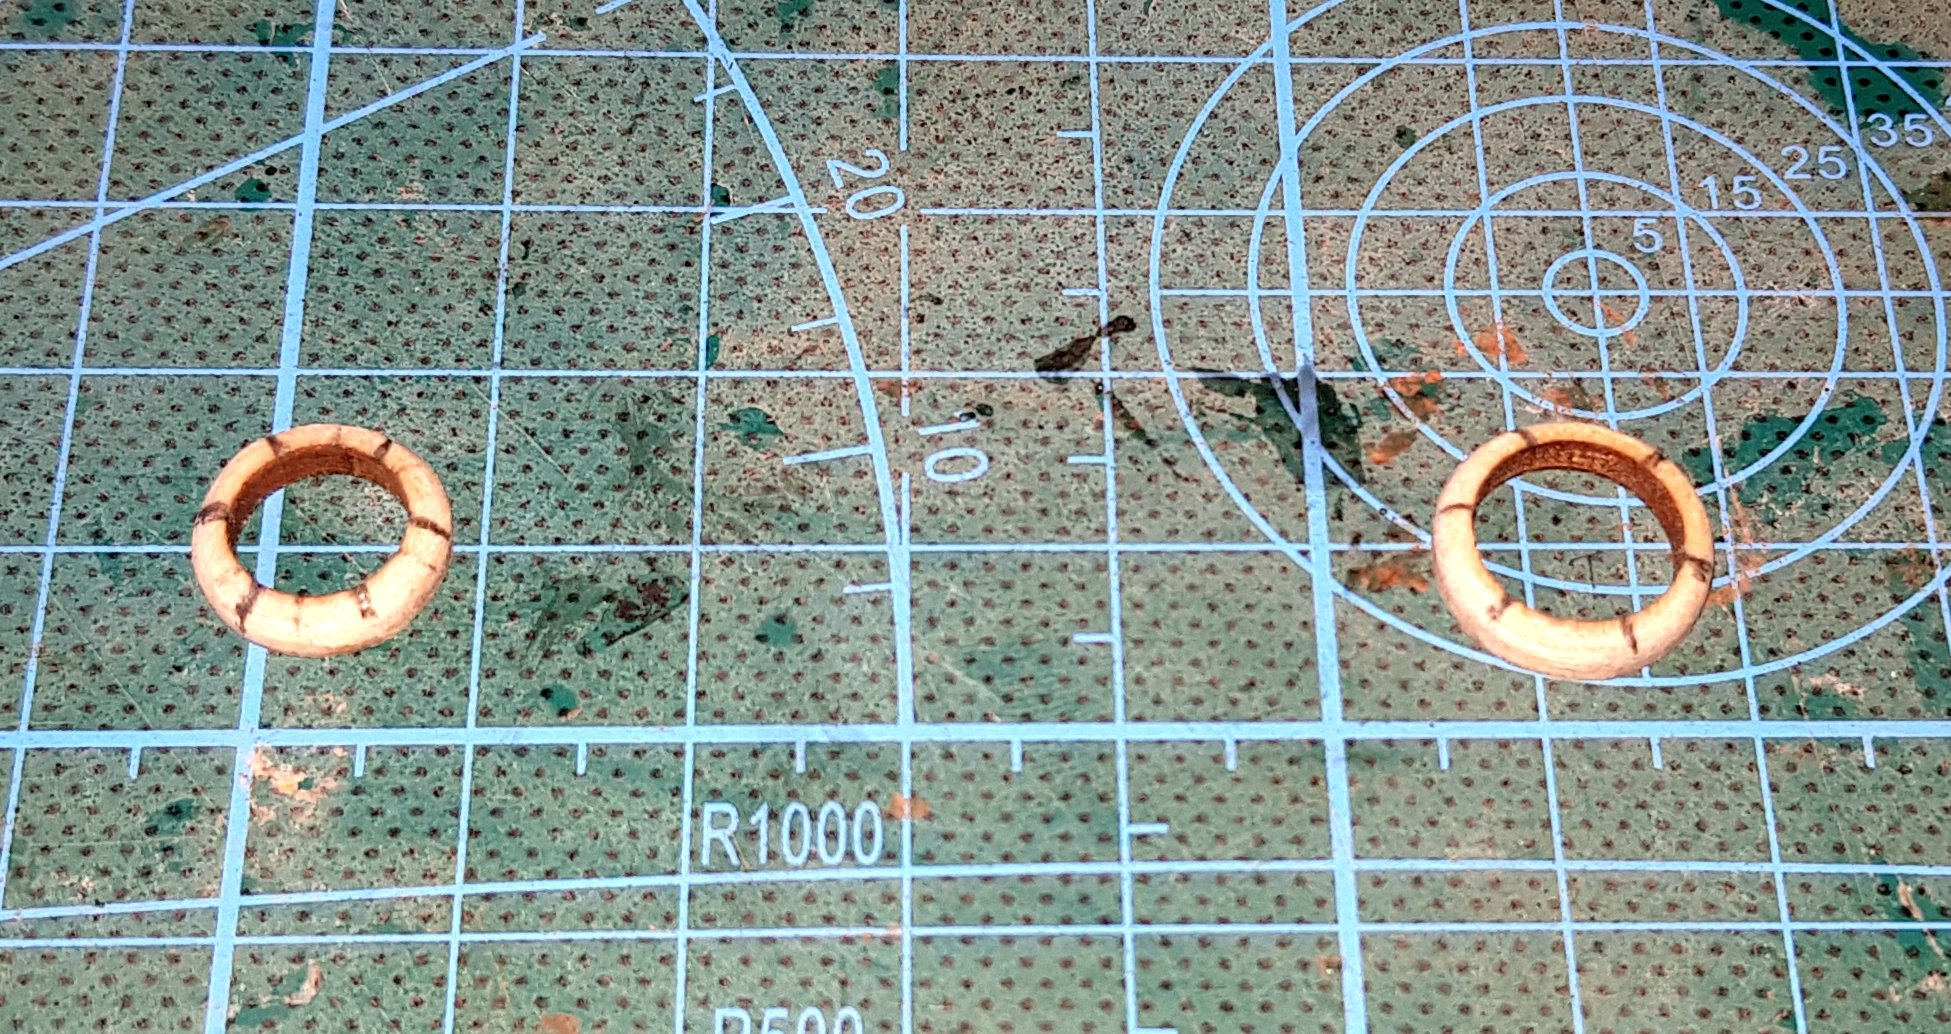
I used 2mm black rings for the handles rather than the standard 3.5mm brass ones included in the kit. Will be installing these this evening but everything fits on a dry run.
- LyleK1, mort stoll and BobG
-
3
-
5 hours ago, LyleK1 said:
I just started this kit too but am headed out on vacation until late August... will be watching your build as I plan to do a lot of kit bashing too.
Looking good!
I bought the Hobby Zone building slip and as you can see below, I think it will work quite well... some dry fitting in the works.
See you in September!
I tried to get hold of the Hobby Zone slip but it seems impossible to get hold of in the UK. Might try and get it again for a future build but my shelf and angle brackets seem to be doing the trick so far.
-
5 hours ago, Rob S said:
Thank you for the suggestion. The wale plank is 3mm x 2mm and I believe it will break if forced. Are you saying the glue will soften the wood enough for me to put it back in place? I’ve since freed it up a bit and it is giving some, but not much.
Just looking at the picture now, it looks like it could break if it's forced. Are you able to steam it back into place? Put some glue behind it, put an iron on it and hold it for a bit.
-
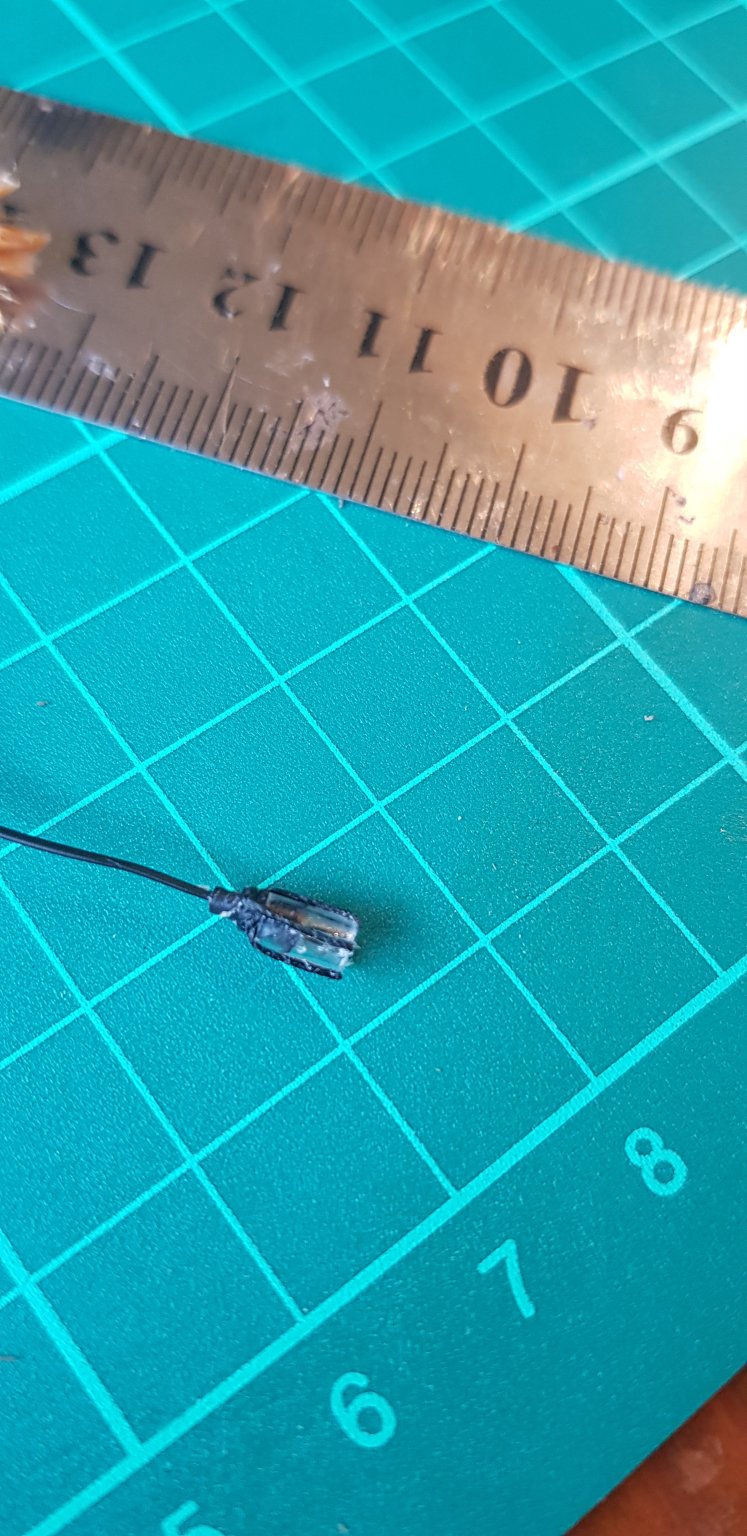
1 hour ago, mugje said:
It looks much bigger then the measurments in the article? Especially if you considering the time spent

Ha, I thought that too. It could just be he's a really small man


New Member from North West Wales
in New member Introductions
Posted
Hello and welcome from North East Wales👋