-
Posts
34 -
Joined
-
Last visited
Content Type
Profiles
Forums
Gallery
Events
Everything posted by SweepHall
-
Hello and welcome from North East Wales👋
-
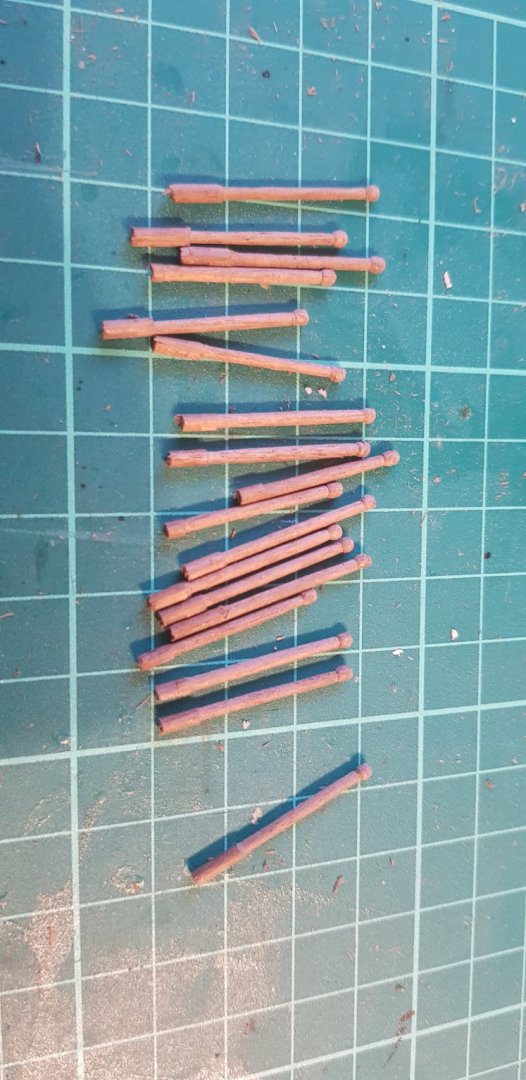
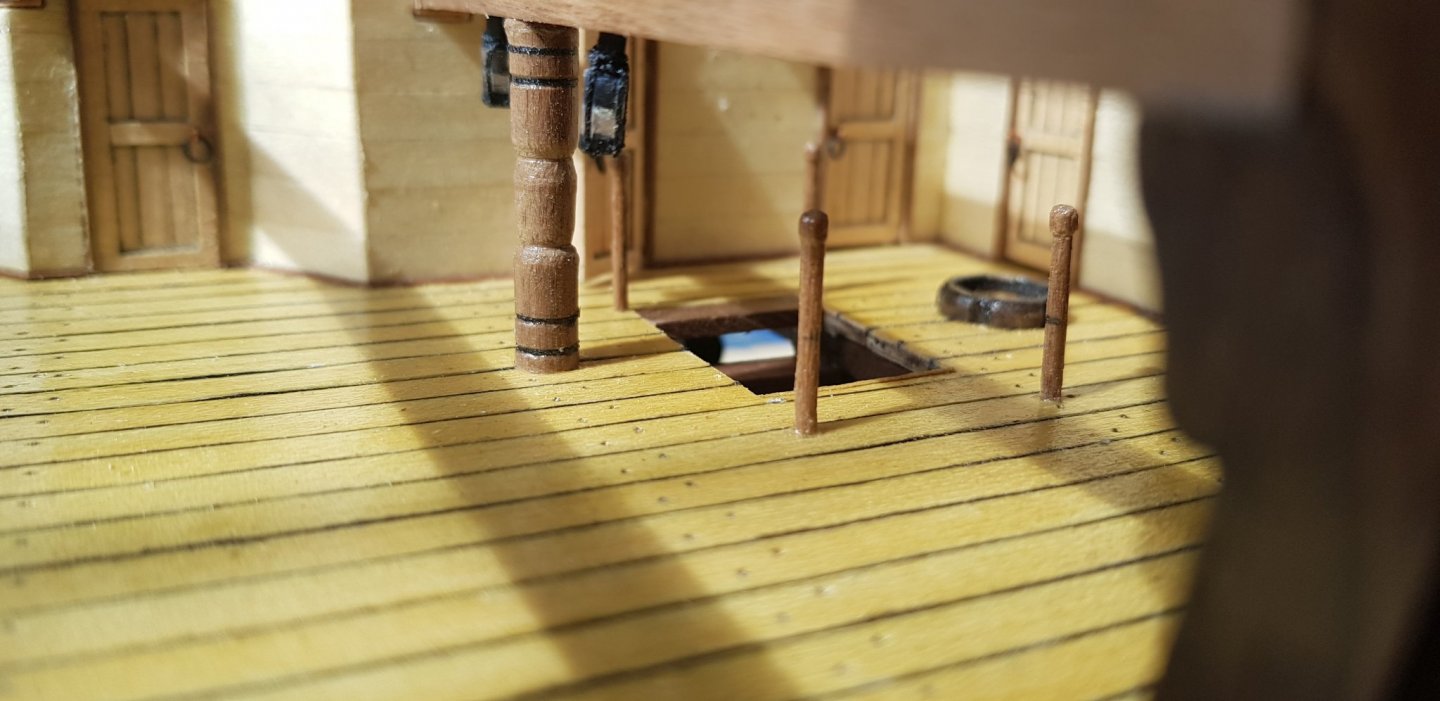
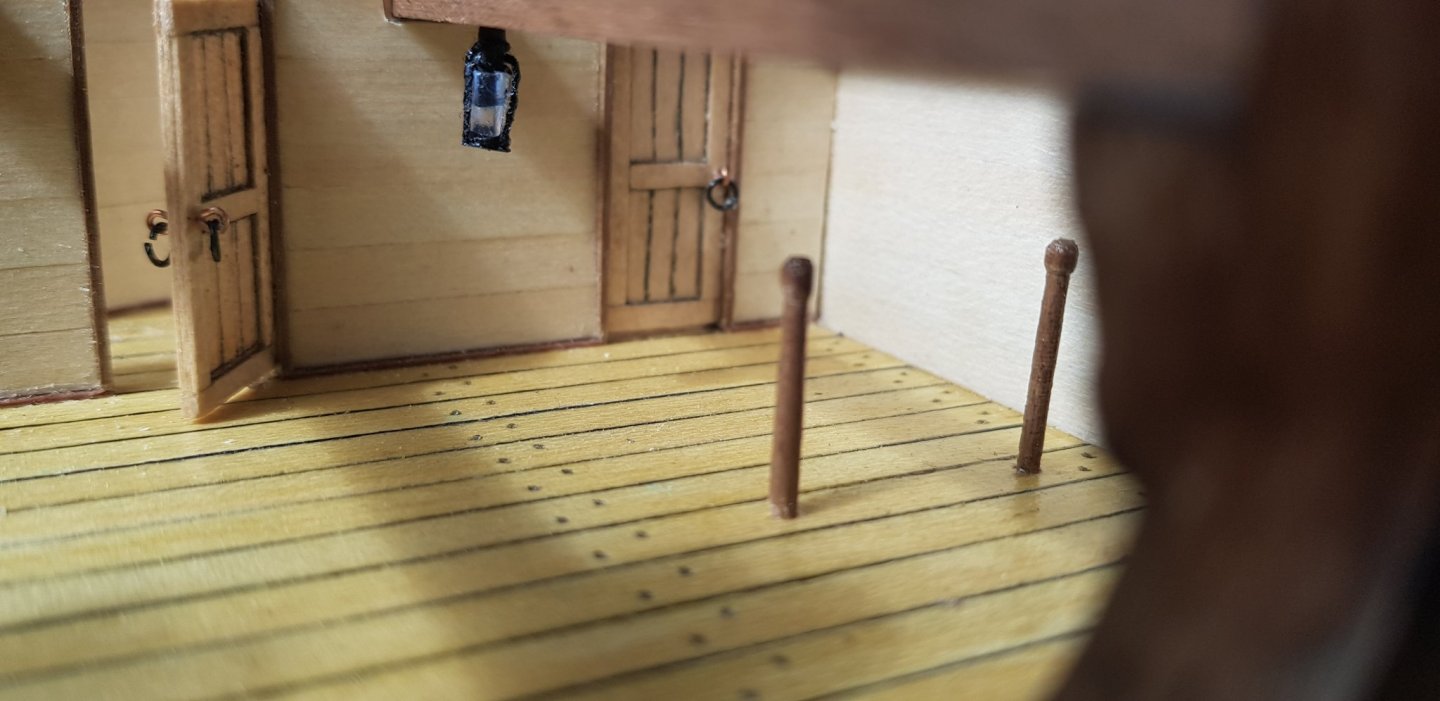
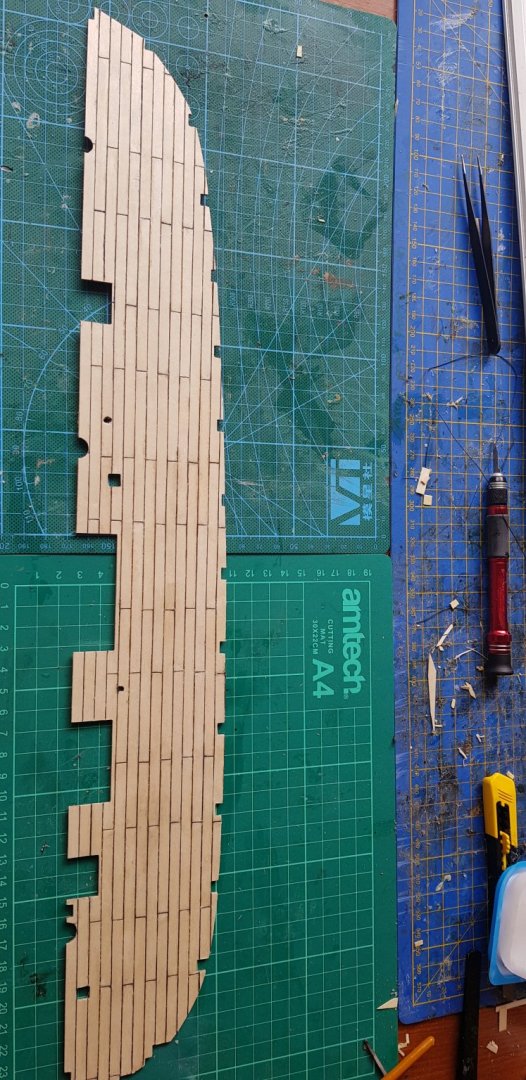
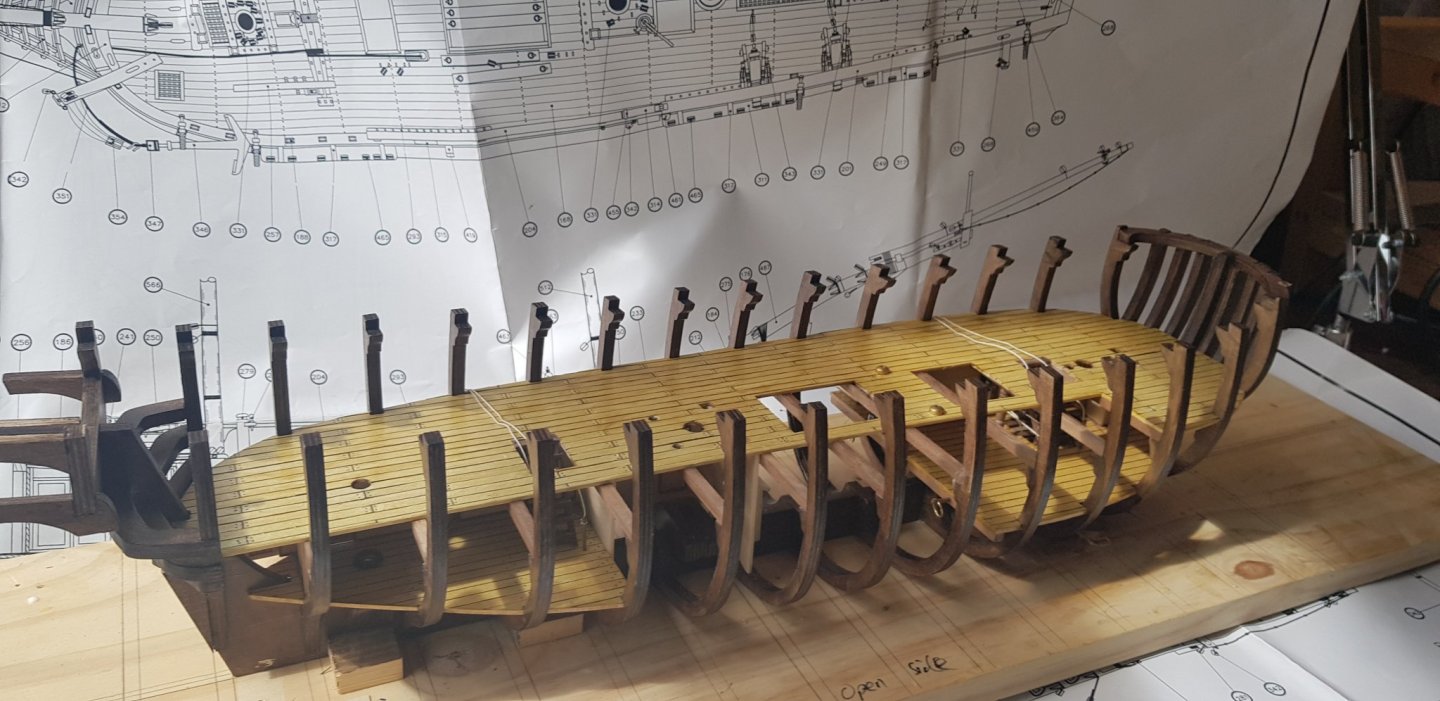
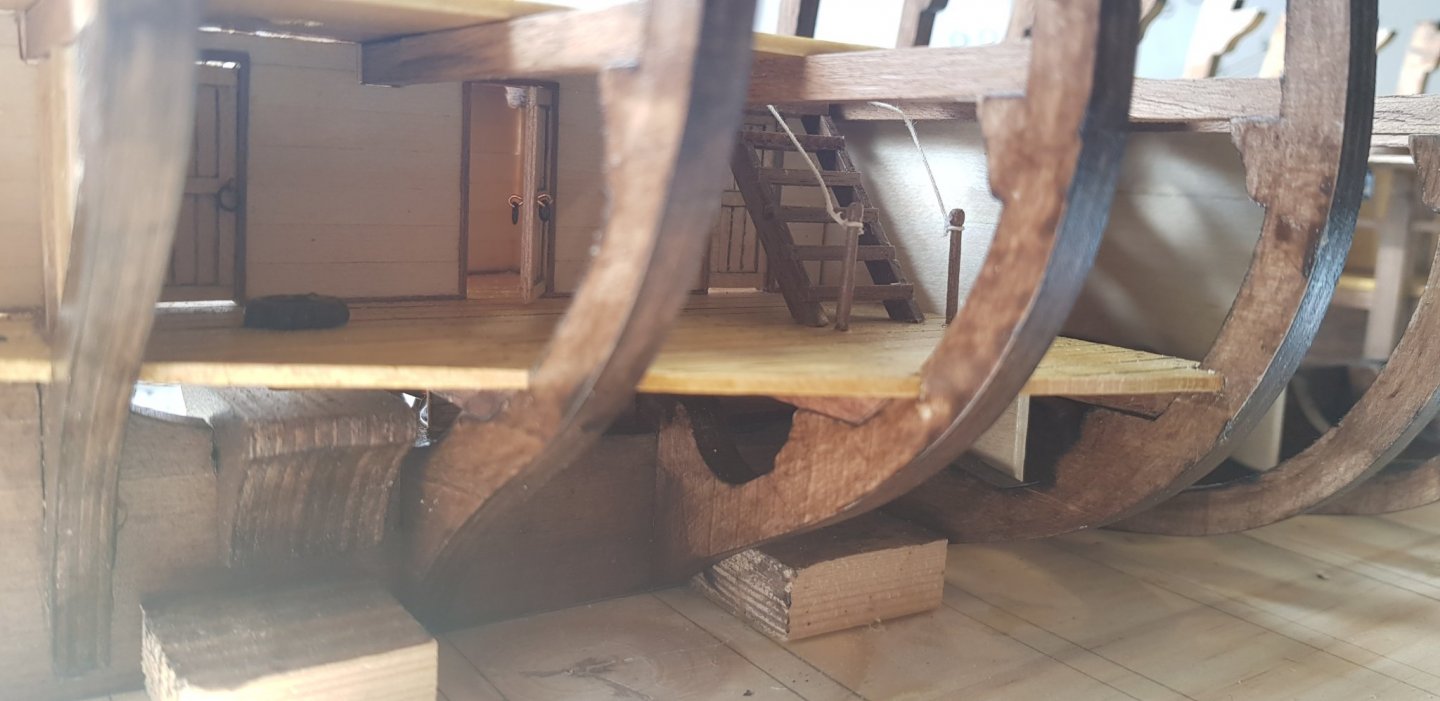
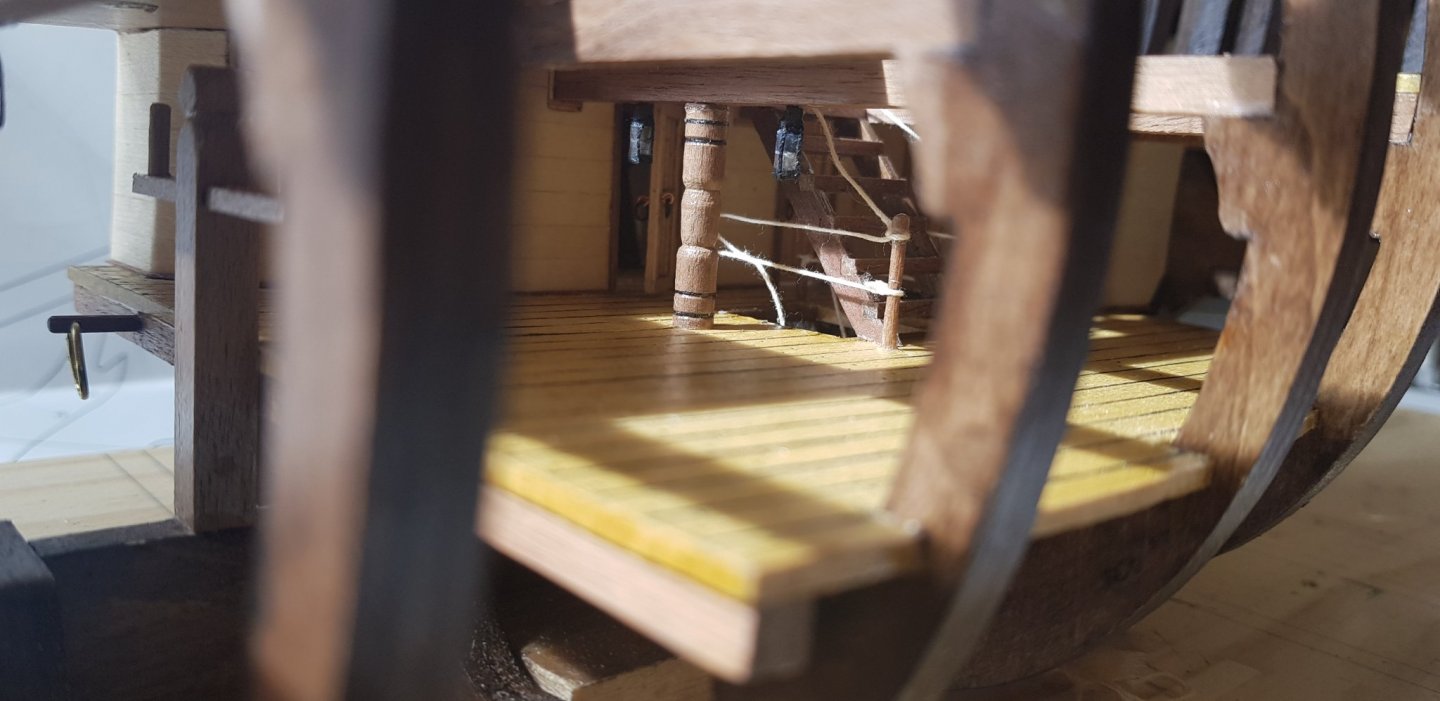
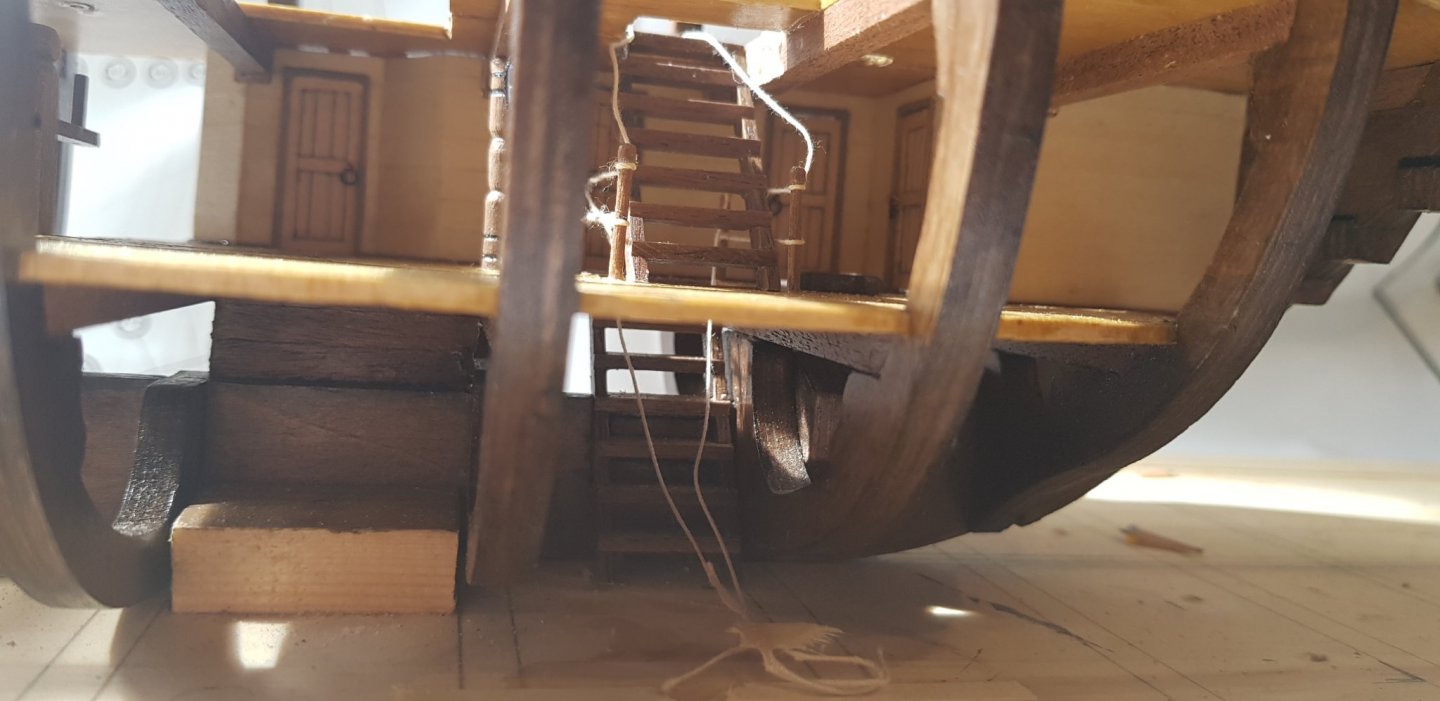
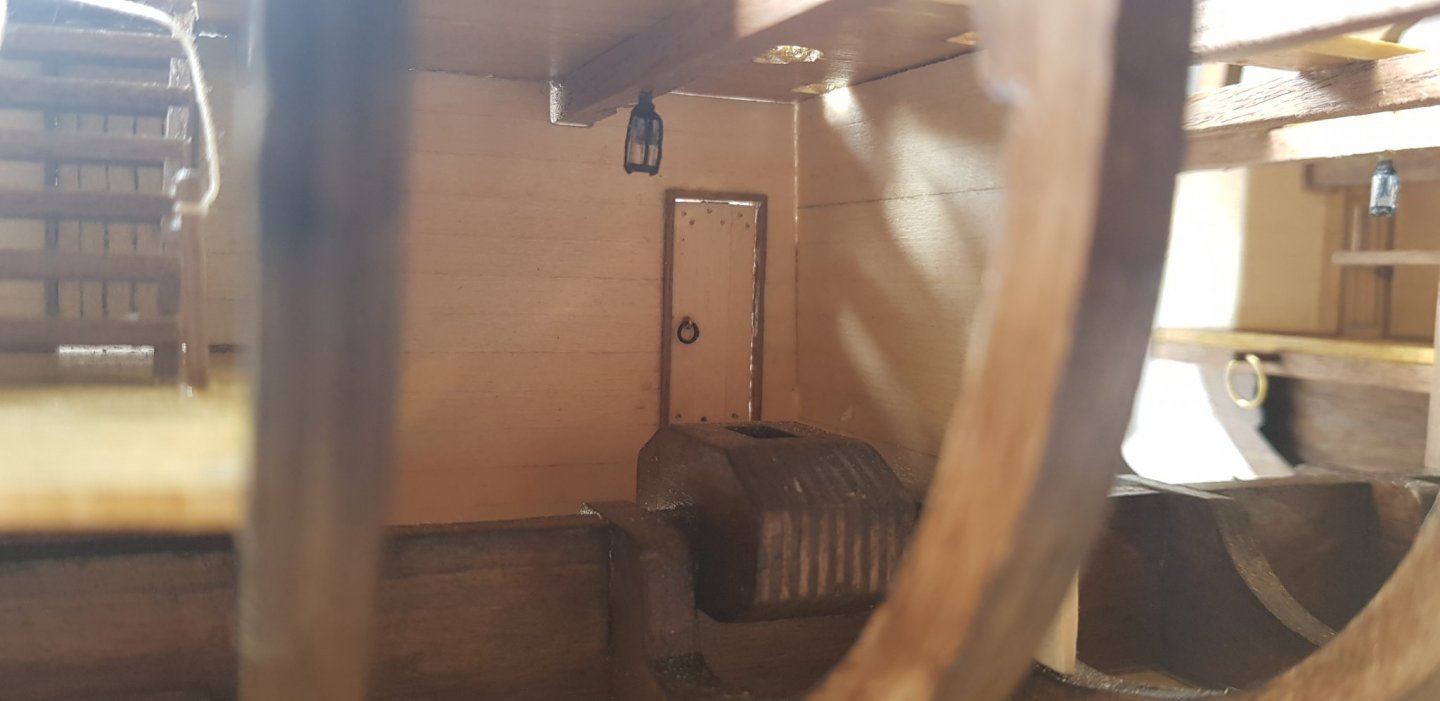
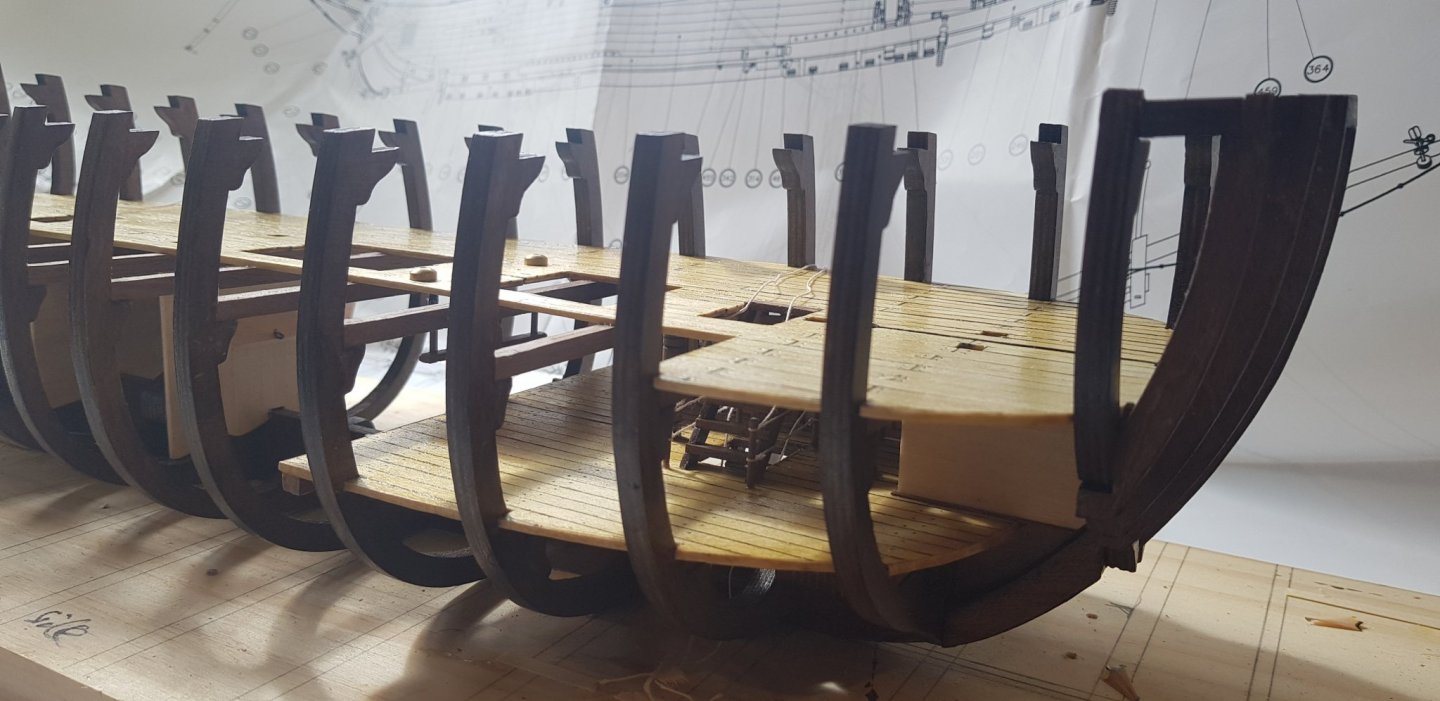
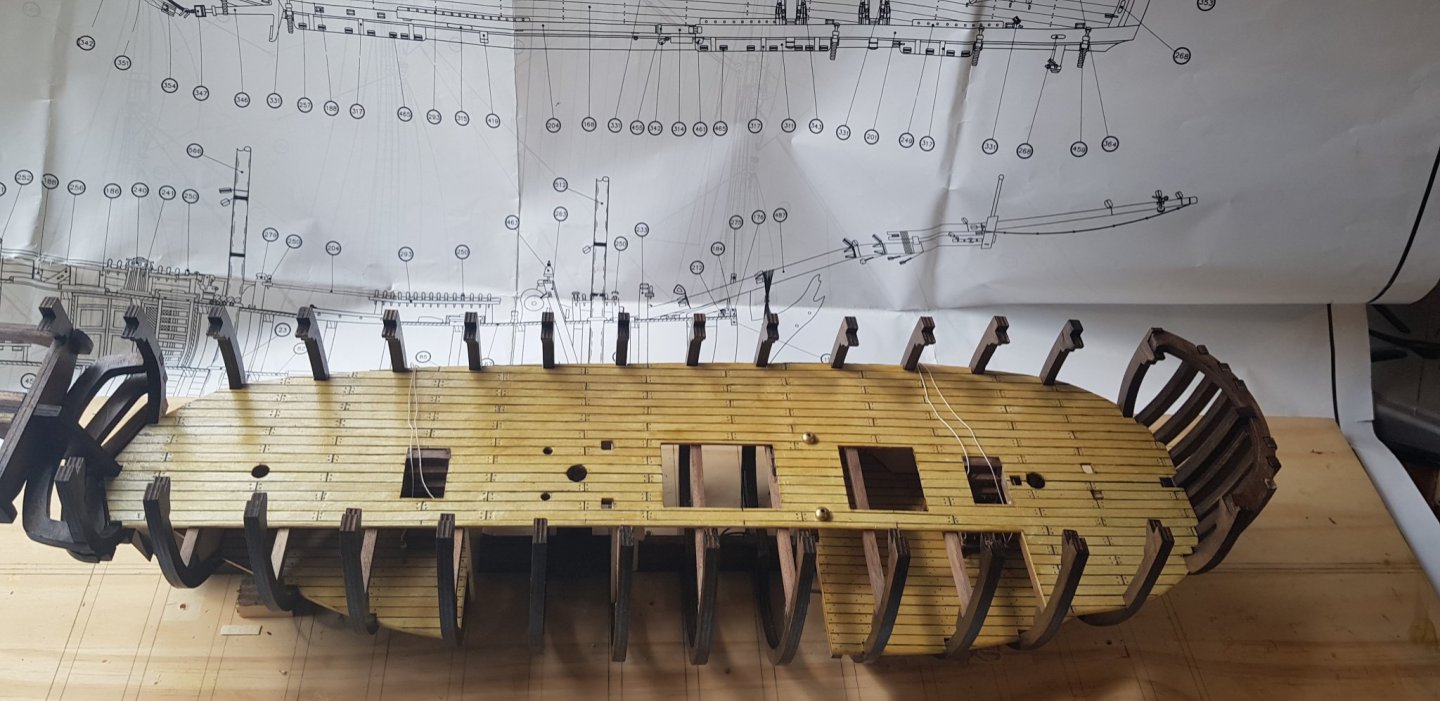
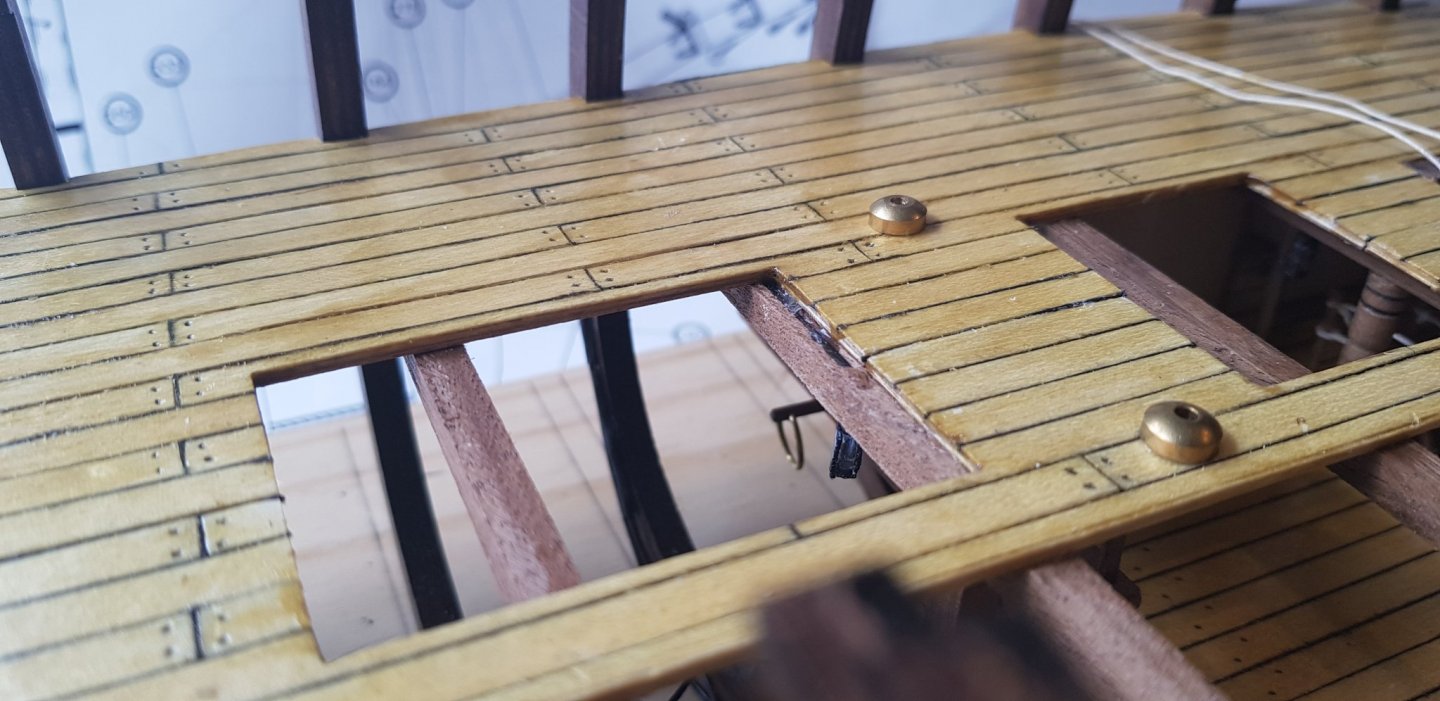
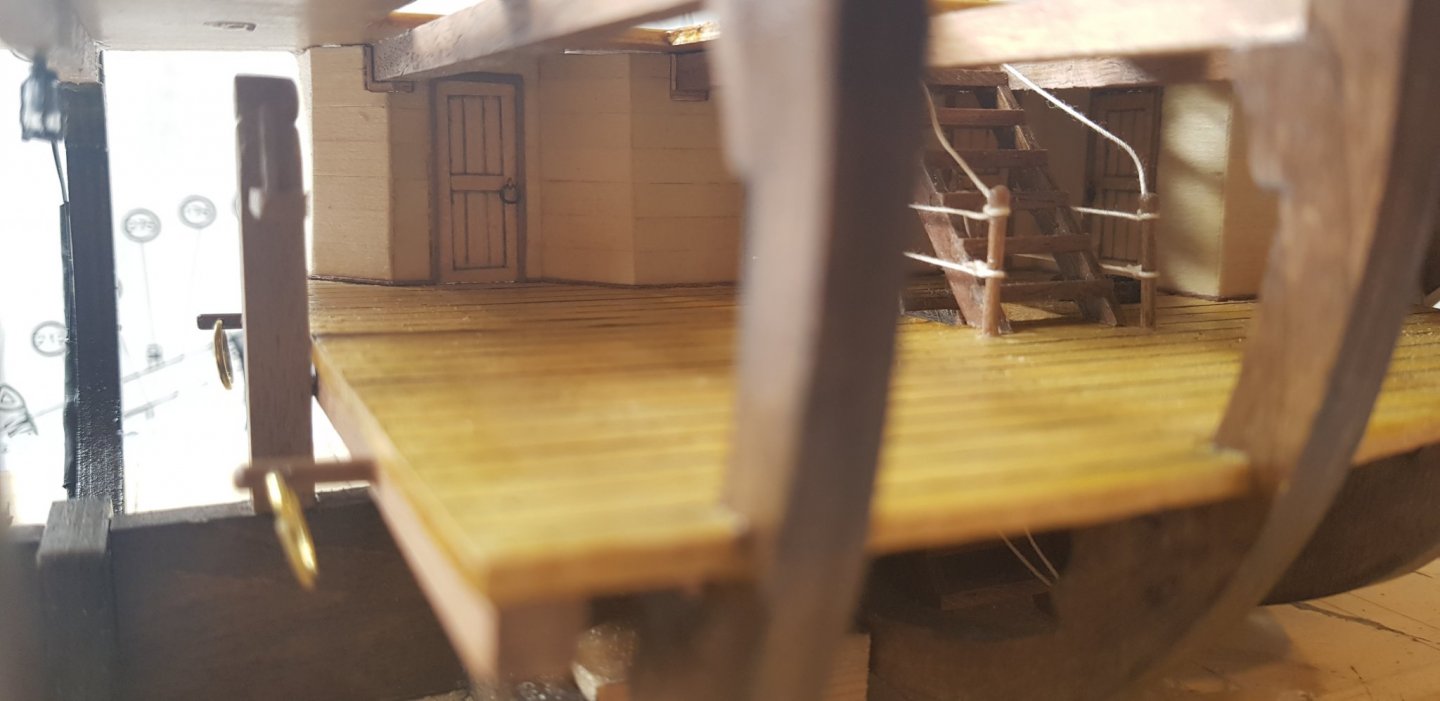
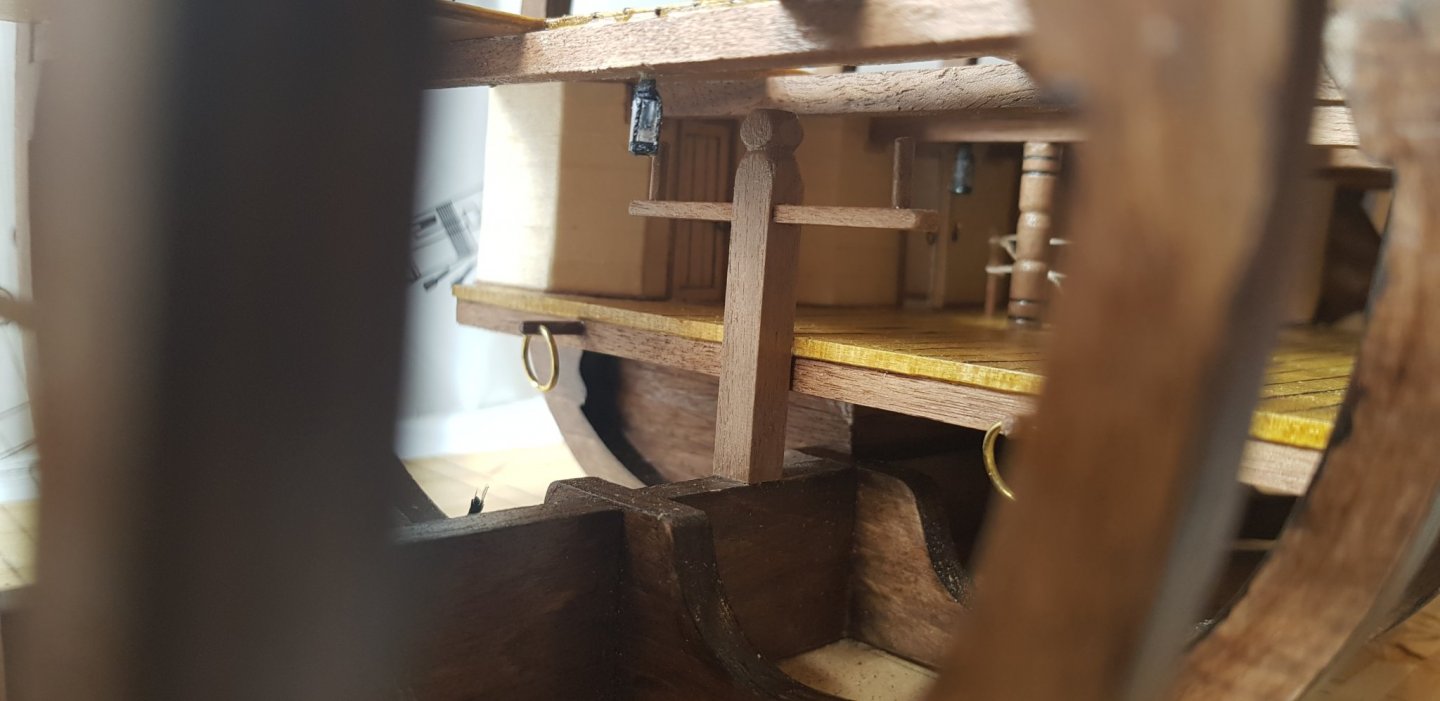
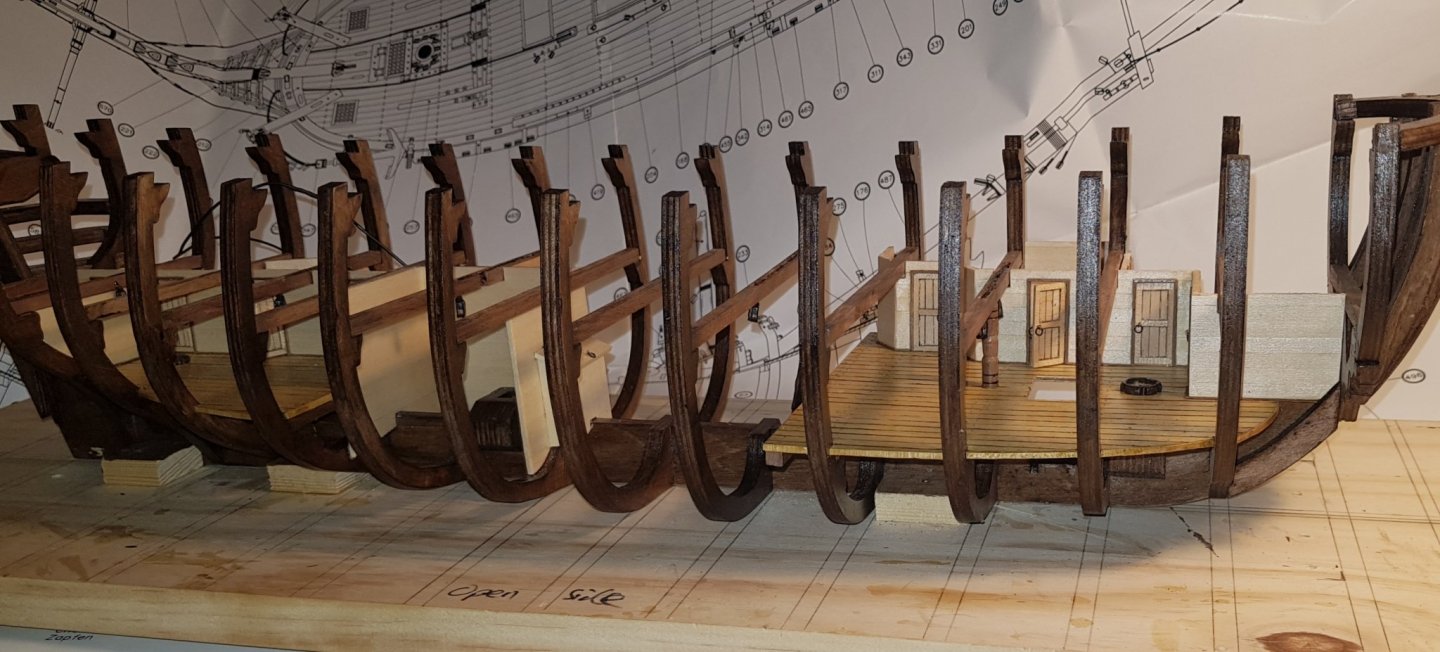
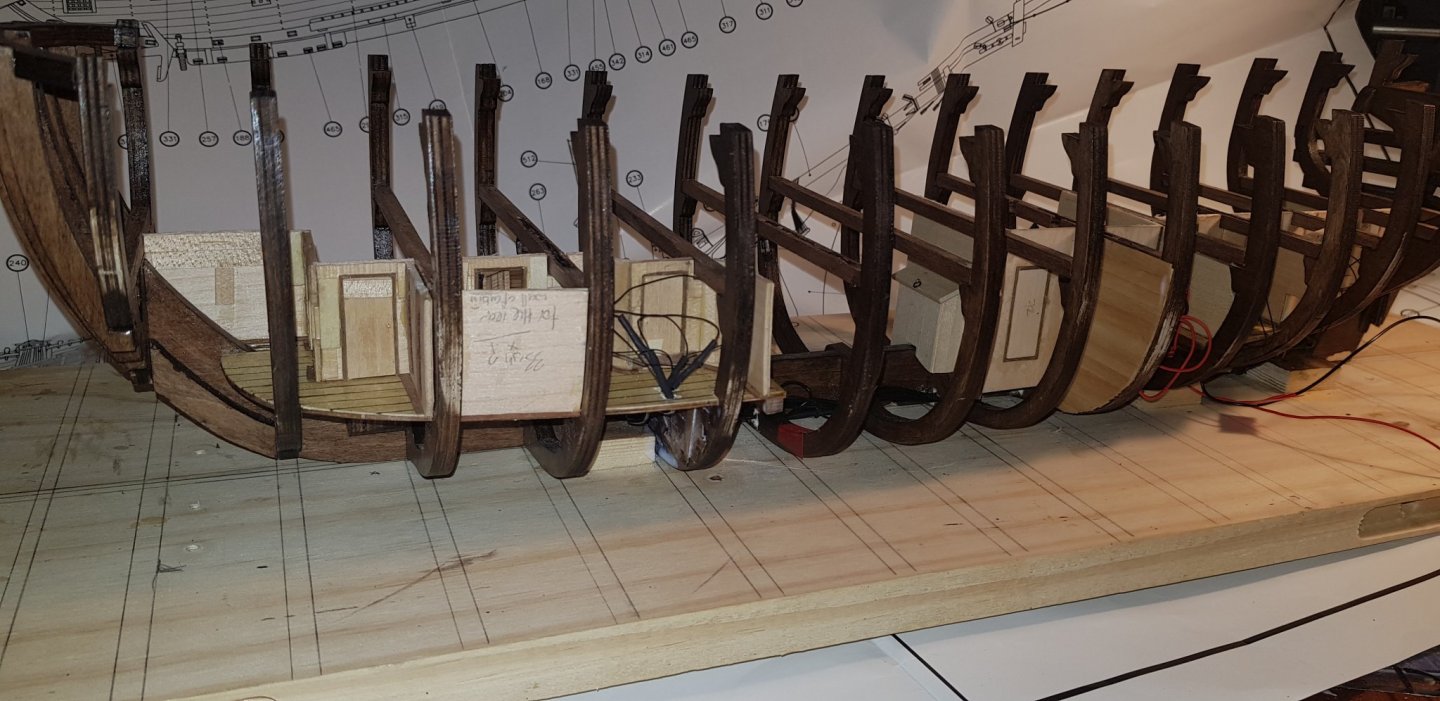
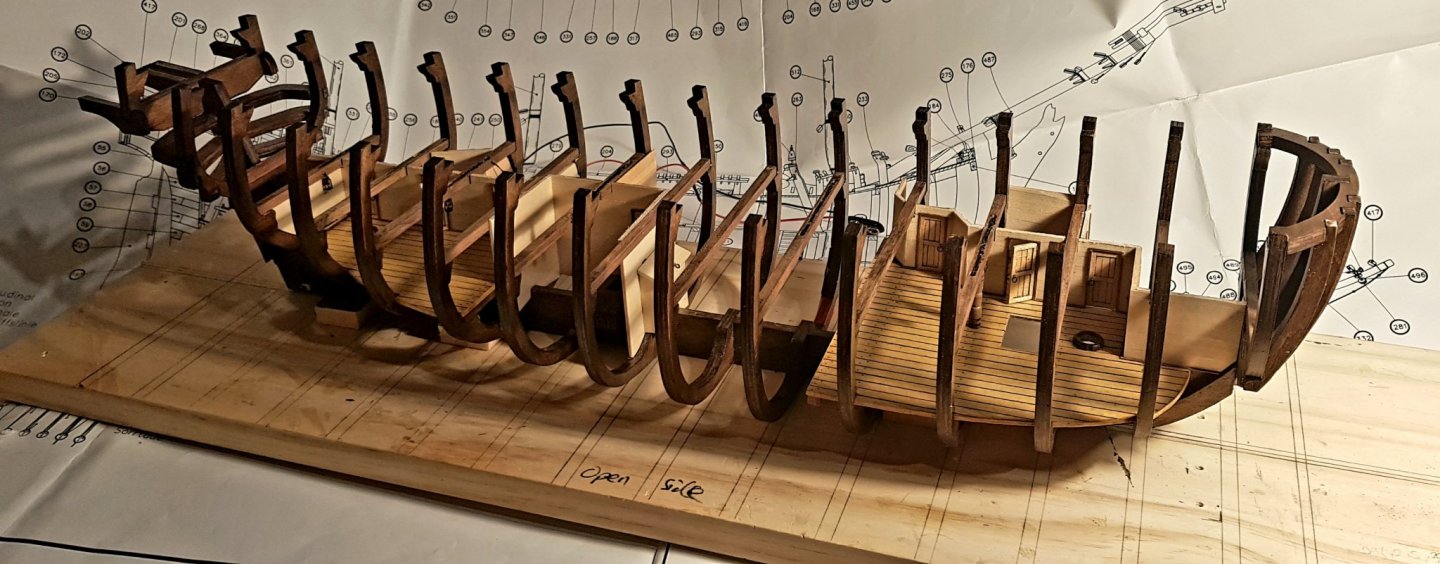
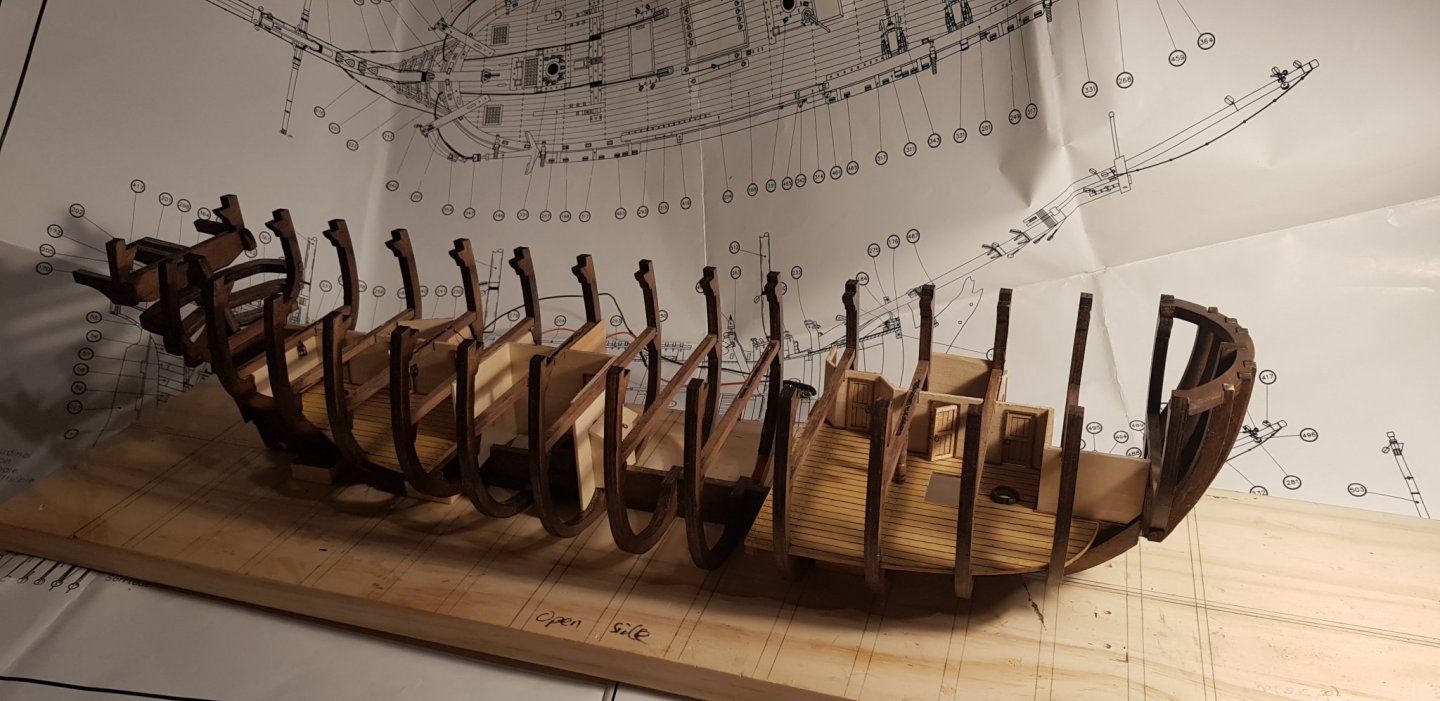
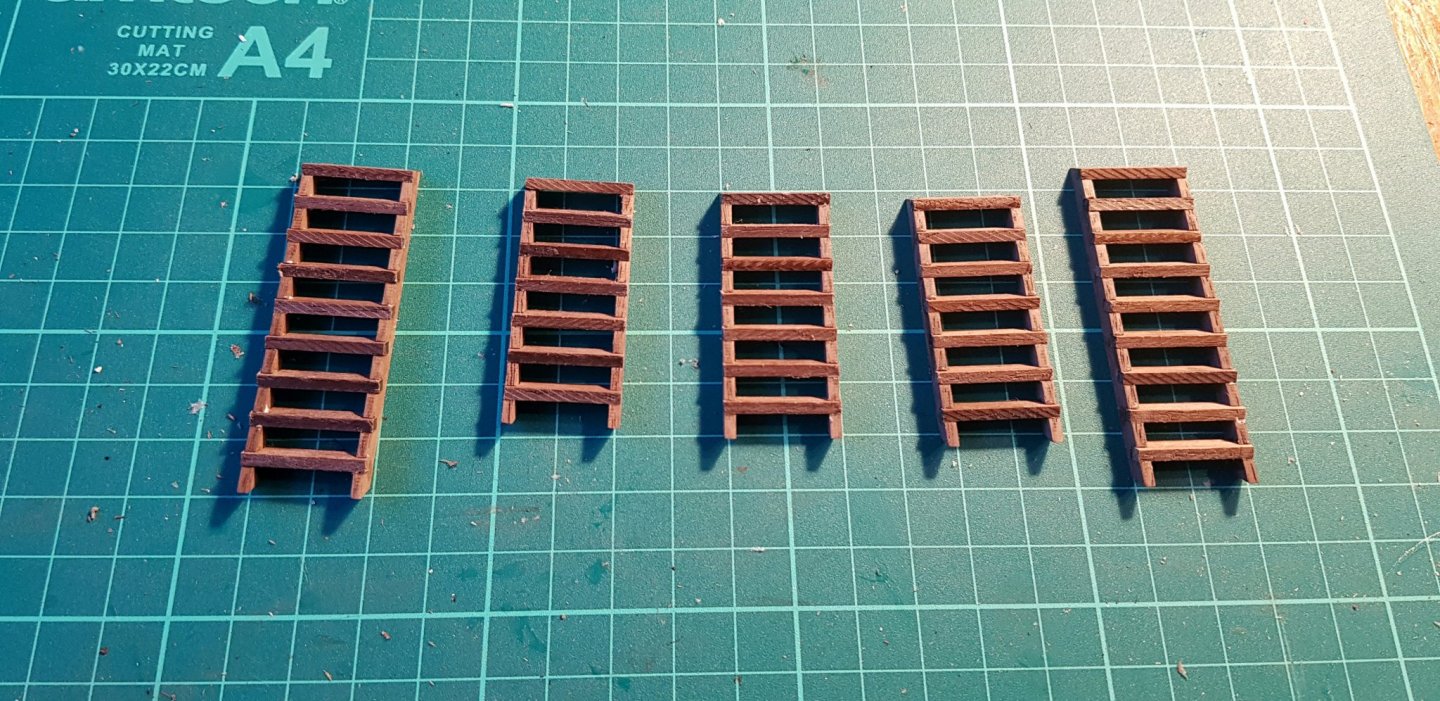
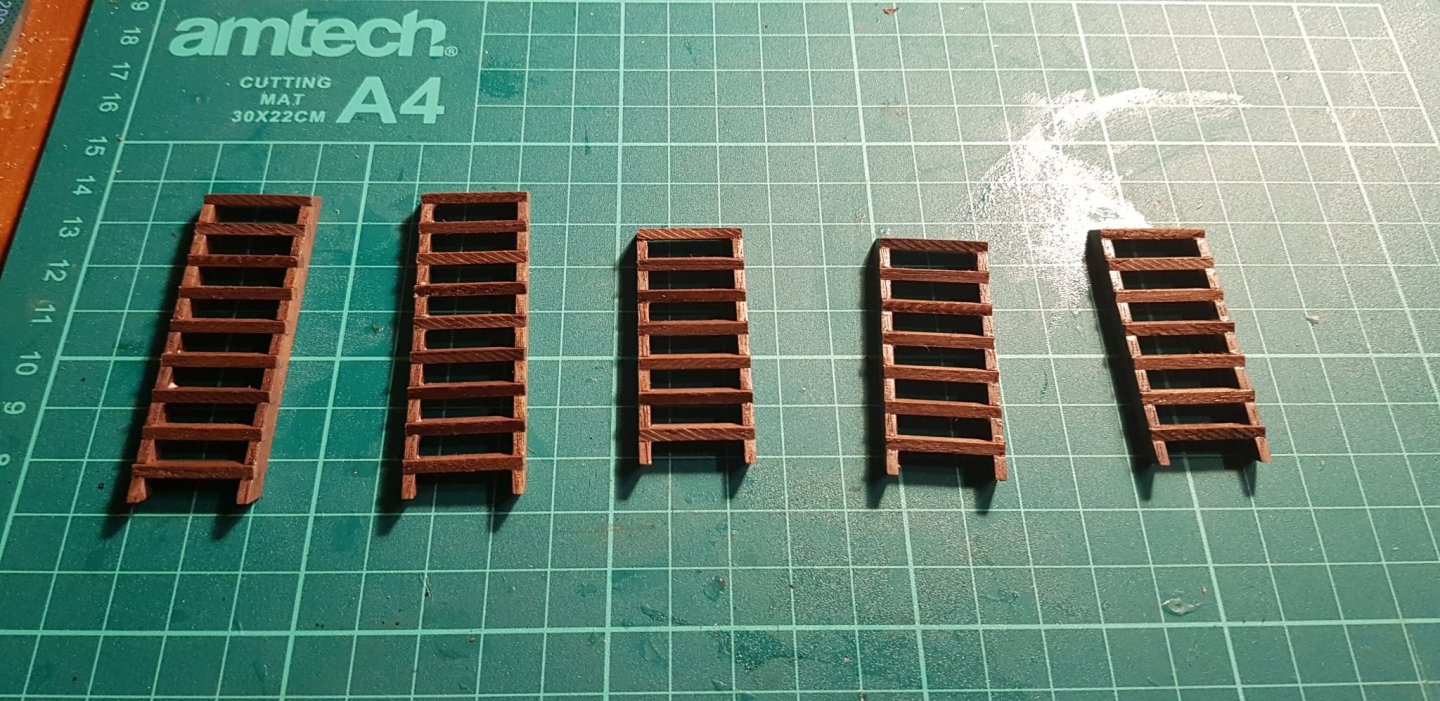
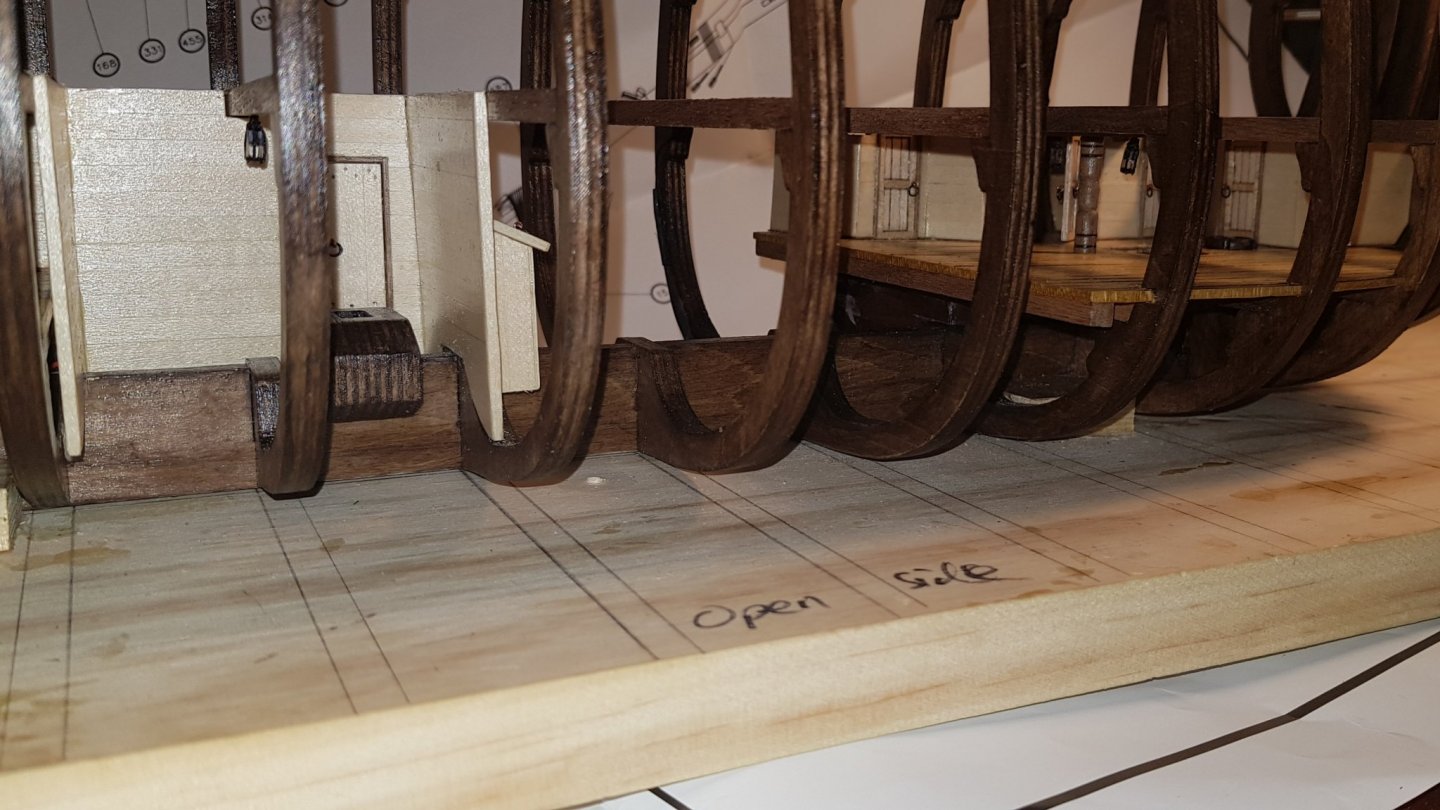
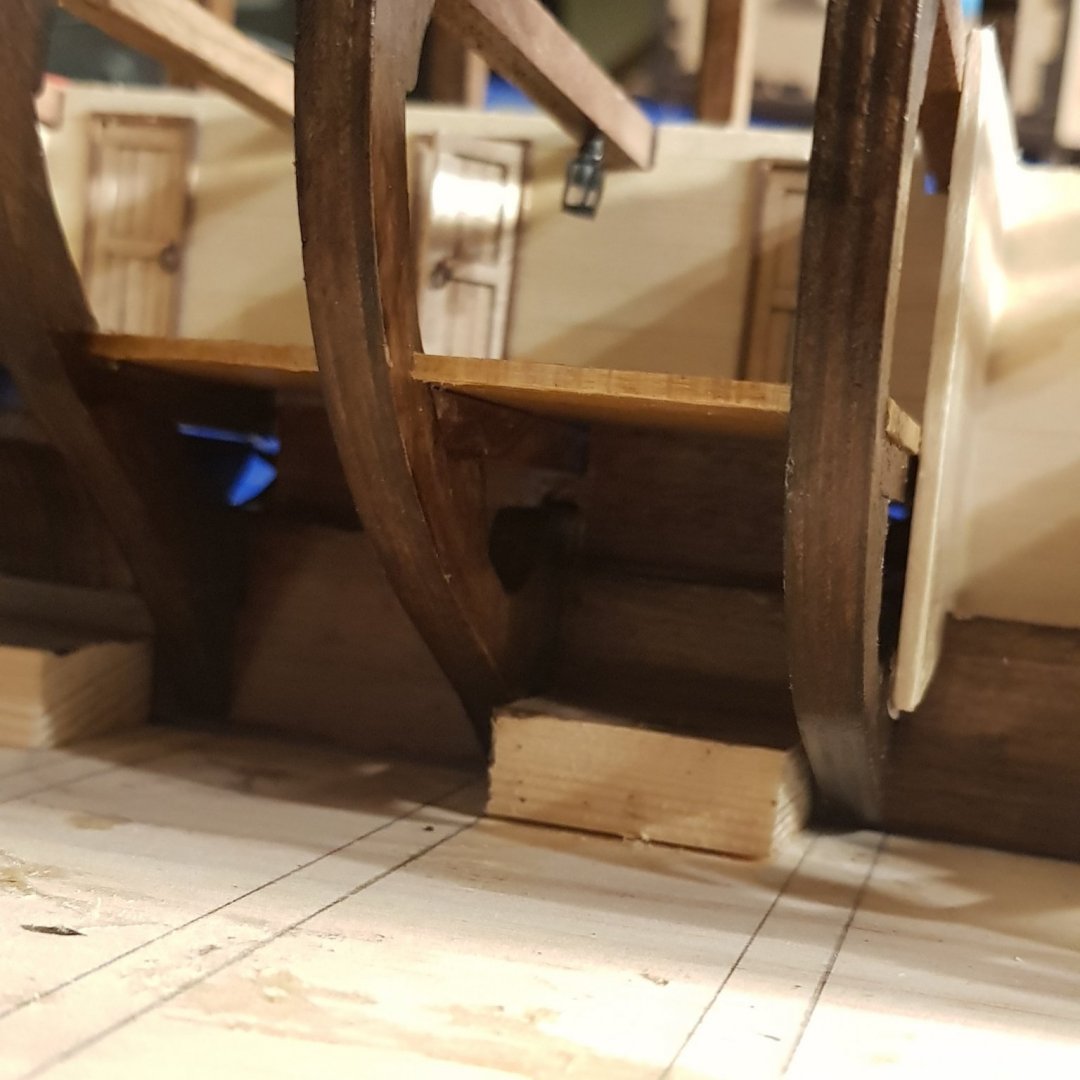
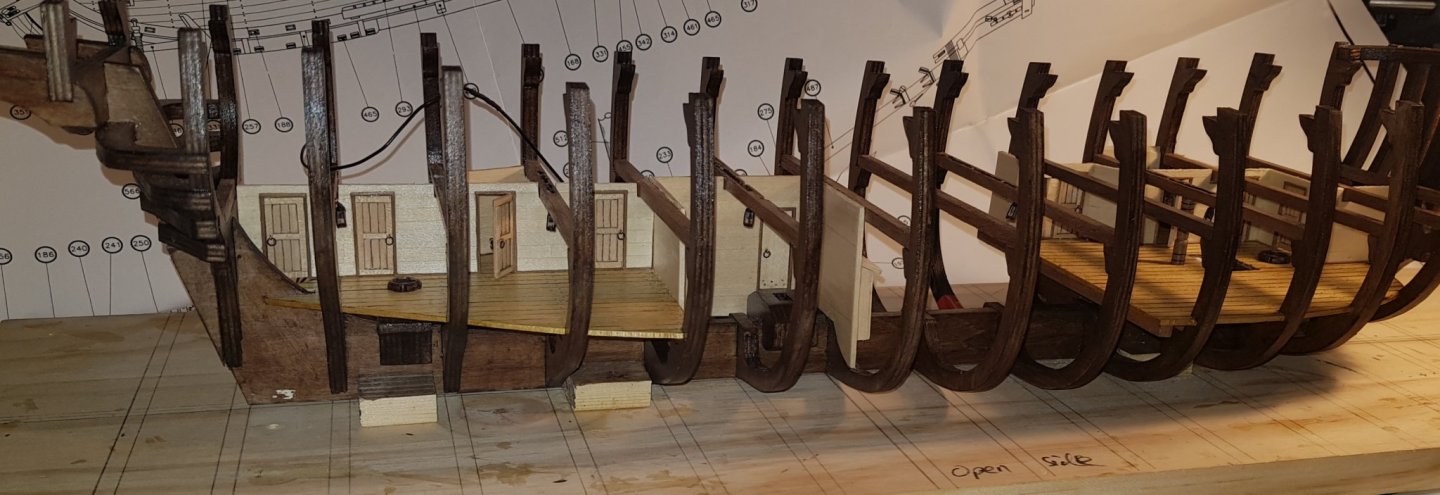
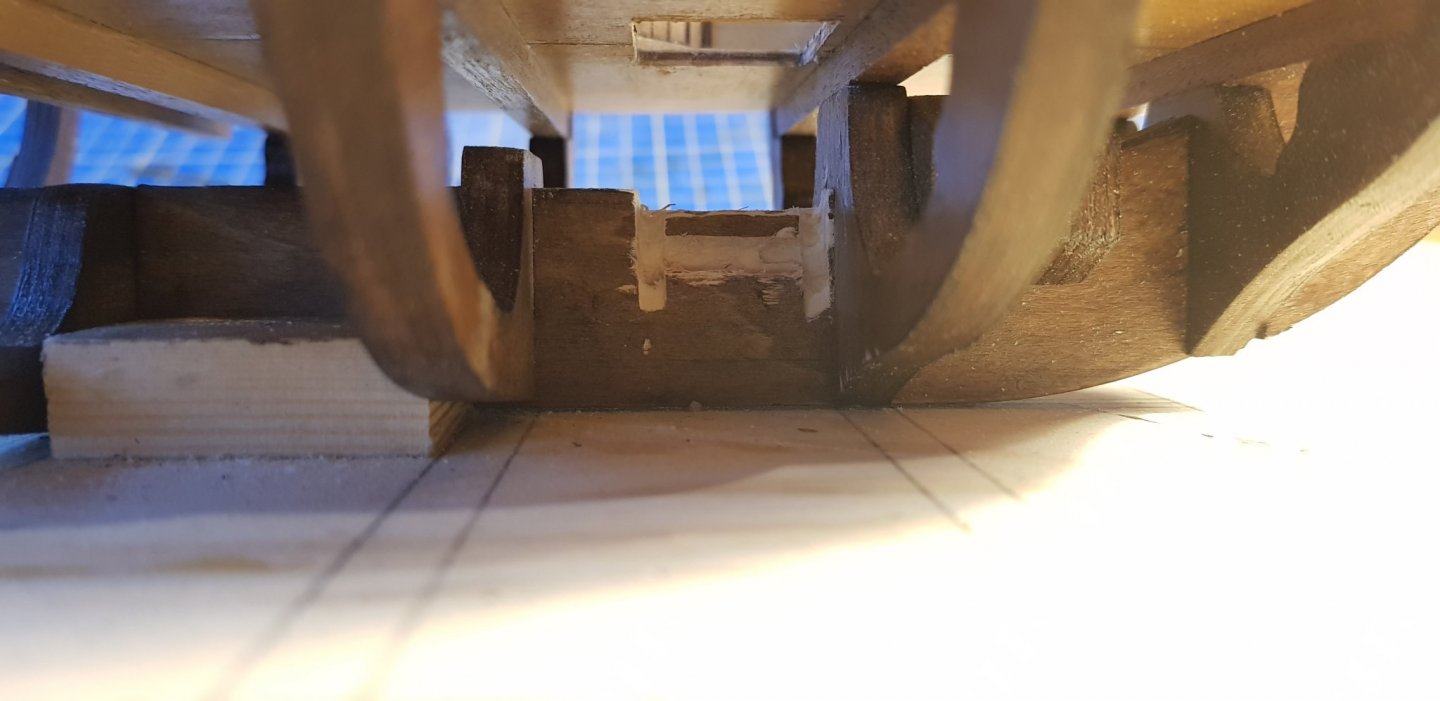
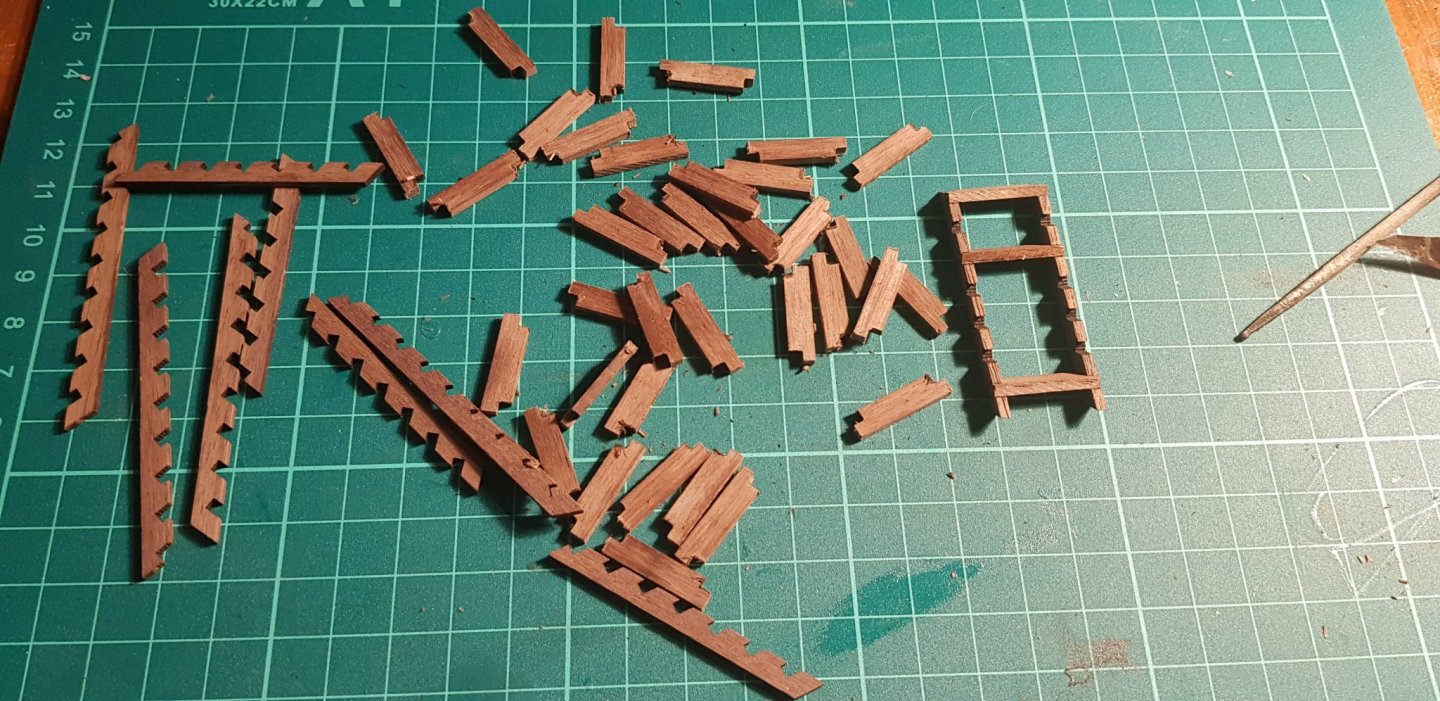
An update on my Bounty build: I've made balustrades (is that what they're called?) for the stairs. Fairly simple but they do the job. Started the planking on the next deck. What worked so well on the first decks (contact glue and cotton) was terrible on this deck. The glue wouldn't stick, the cotton kept fraying and I got the pattern on the decks completely wrong. I ended up having to re-do a lot of the thread and used copious amounts of CA. Some of the planks are a little lumpy but the end result is ok but it was nightmare to do. I also made a rack to hold the anchor ropes That's going to be the last update for a few days whilst the tour of Southern England continues.
-
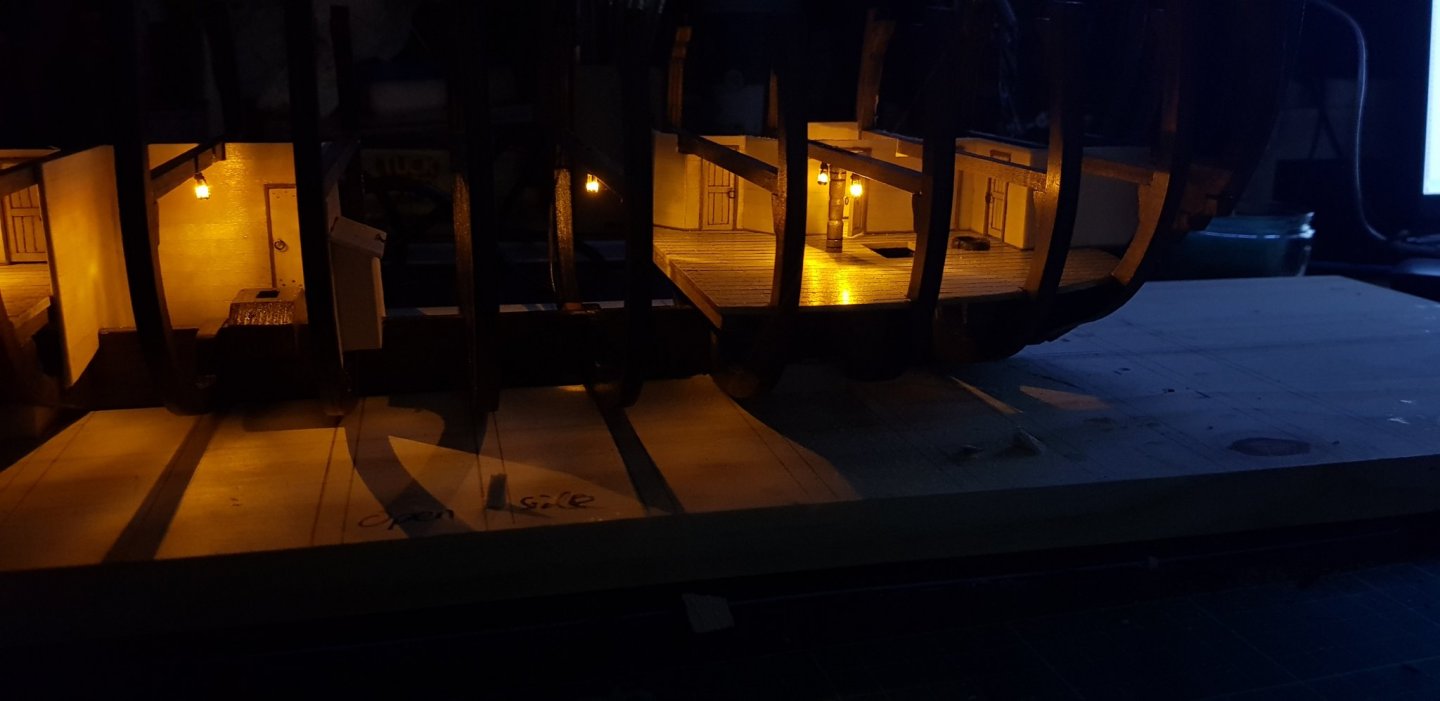
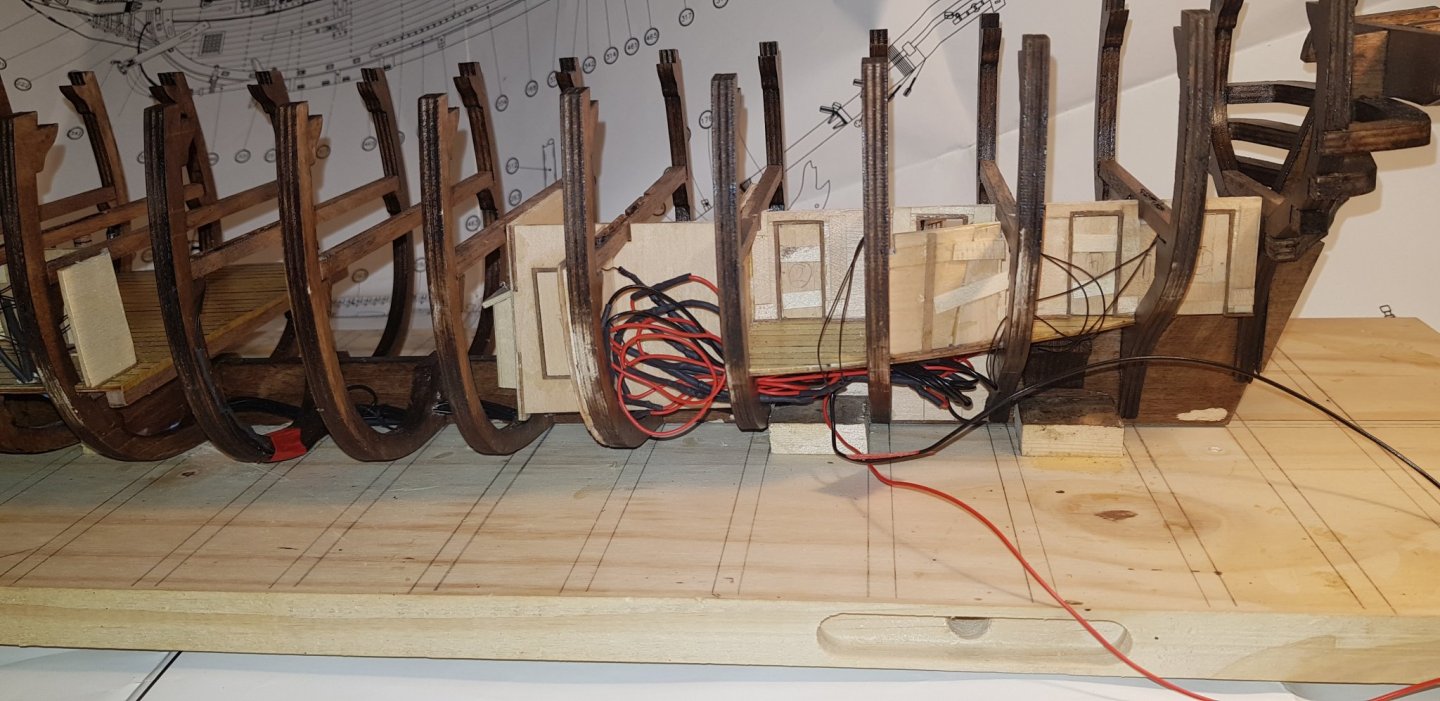
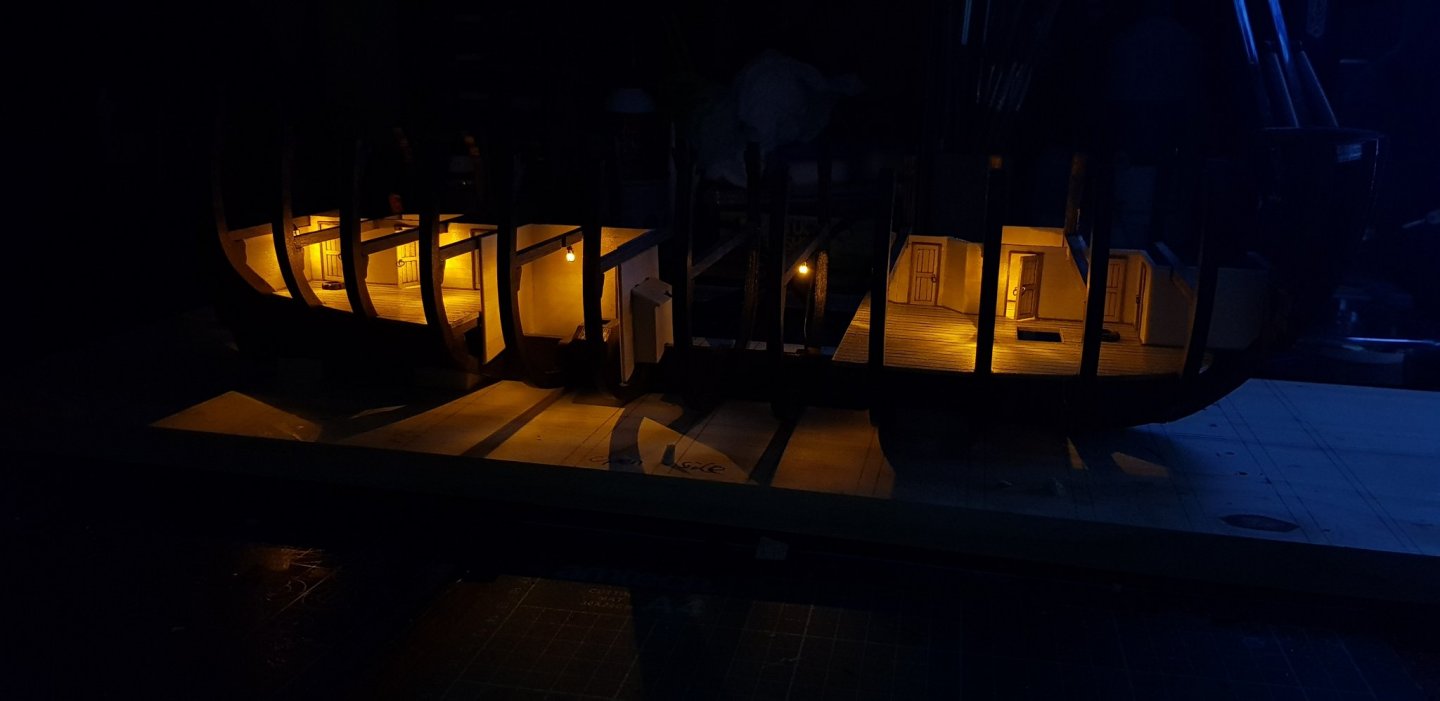
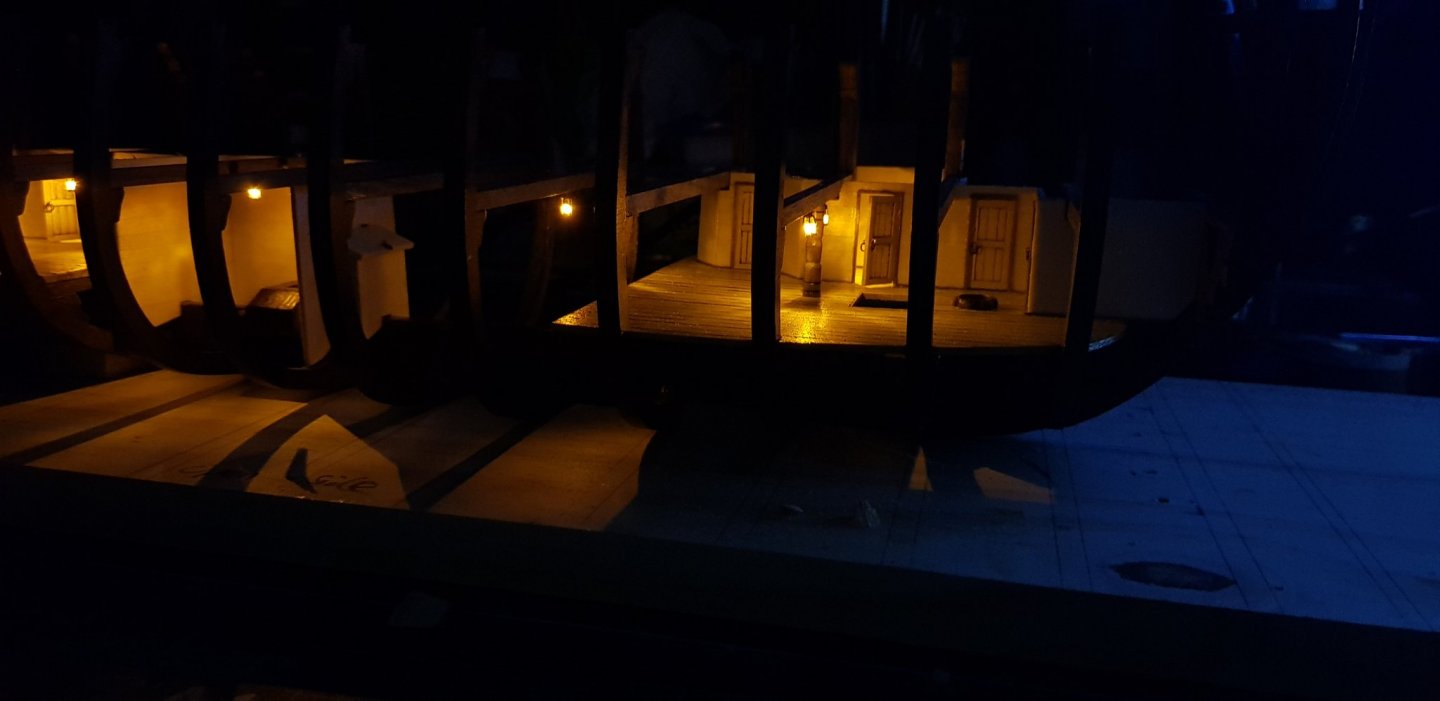
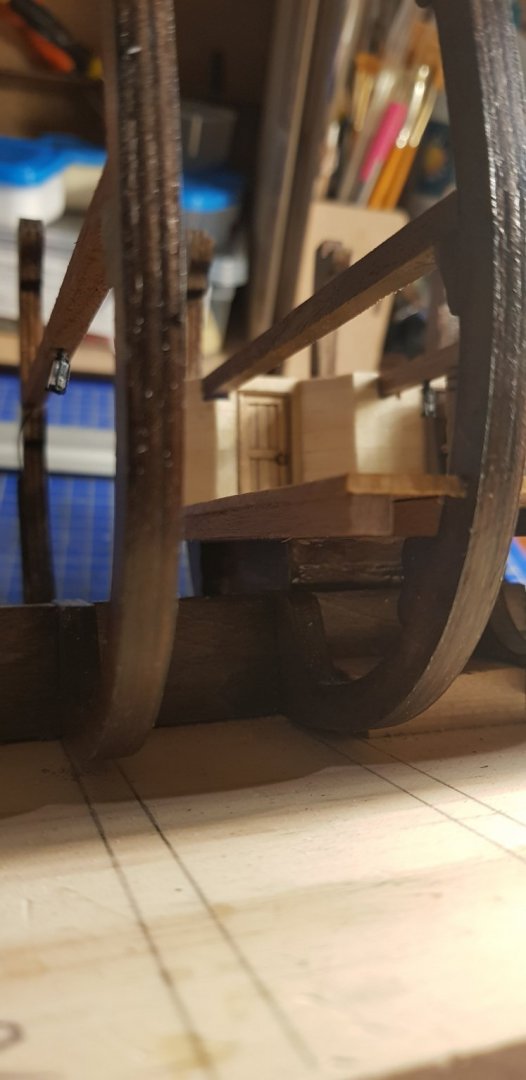
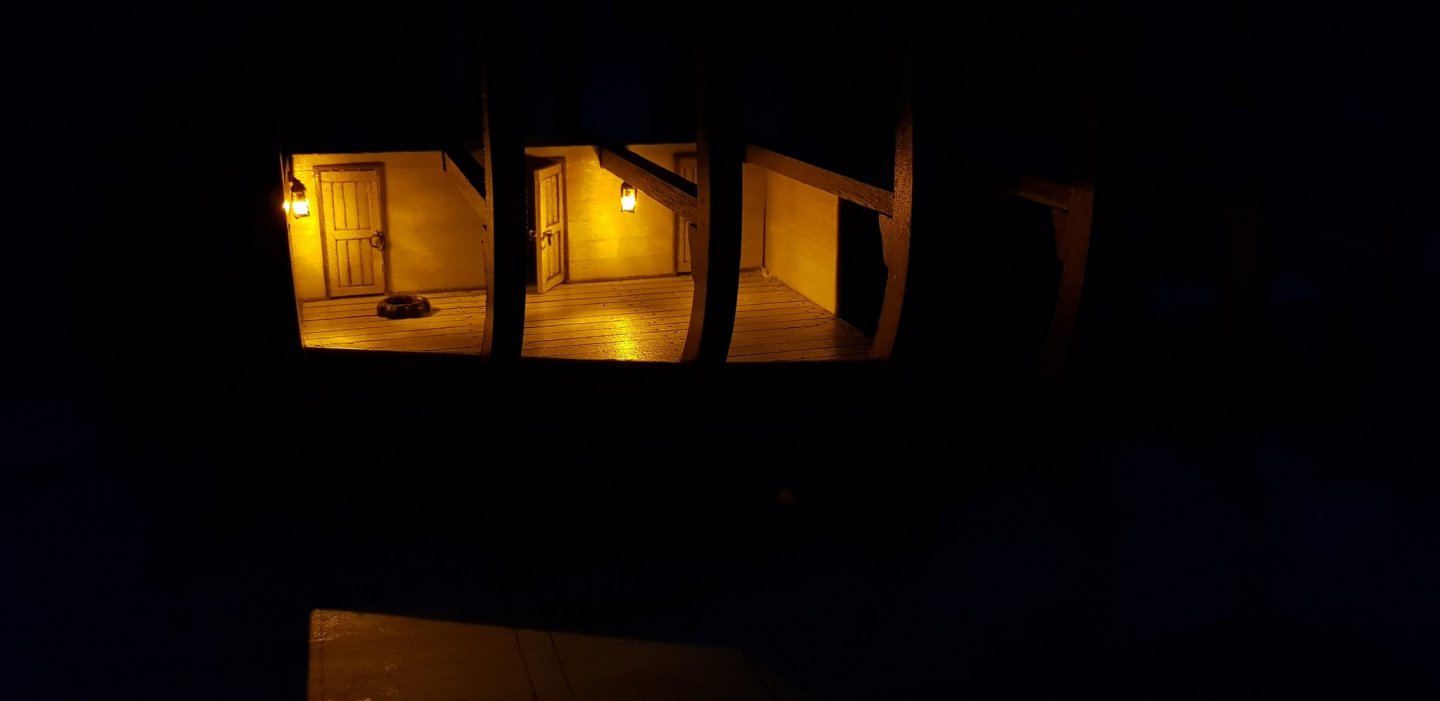
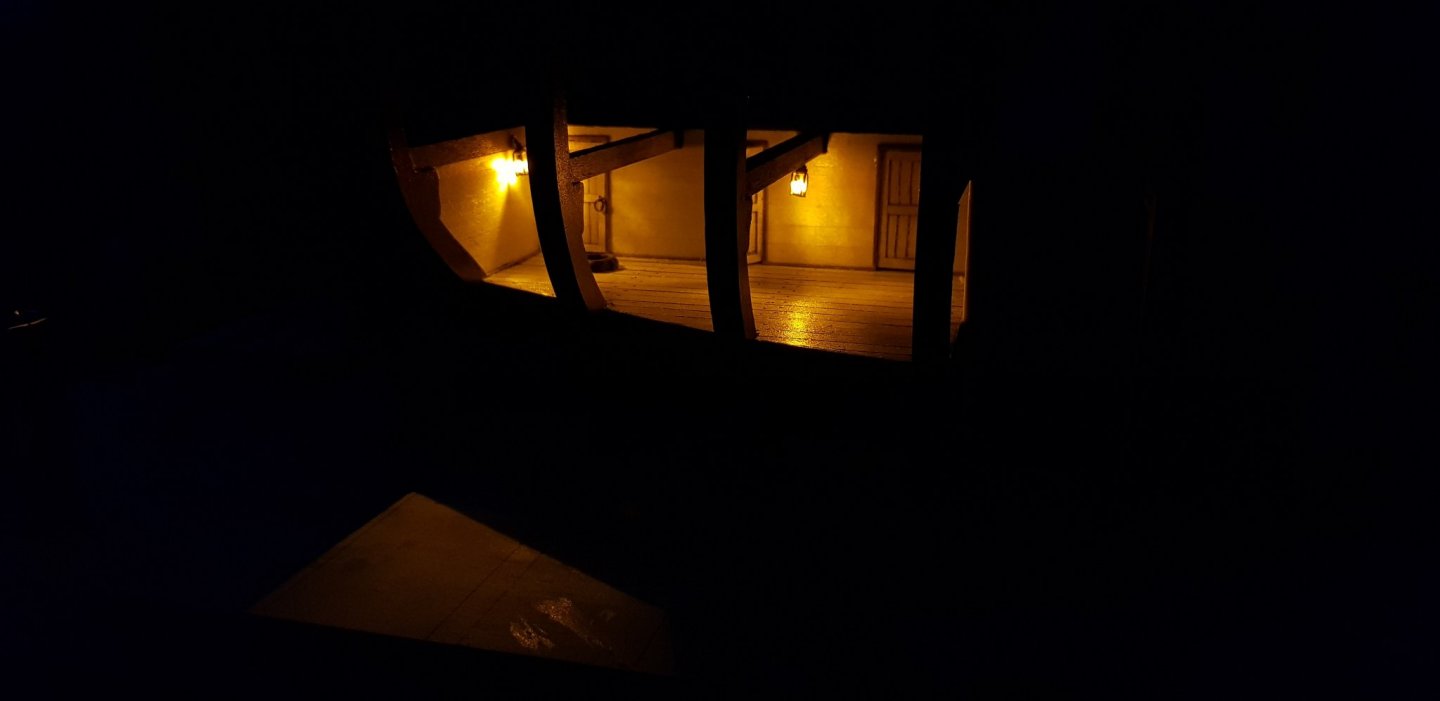
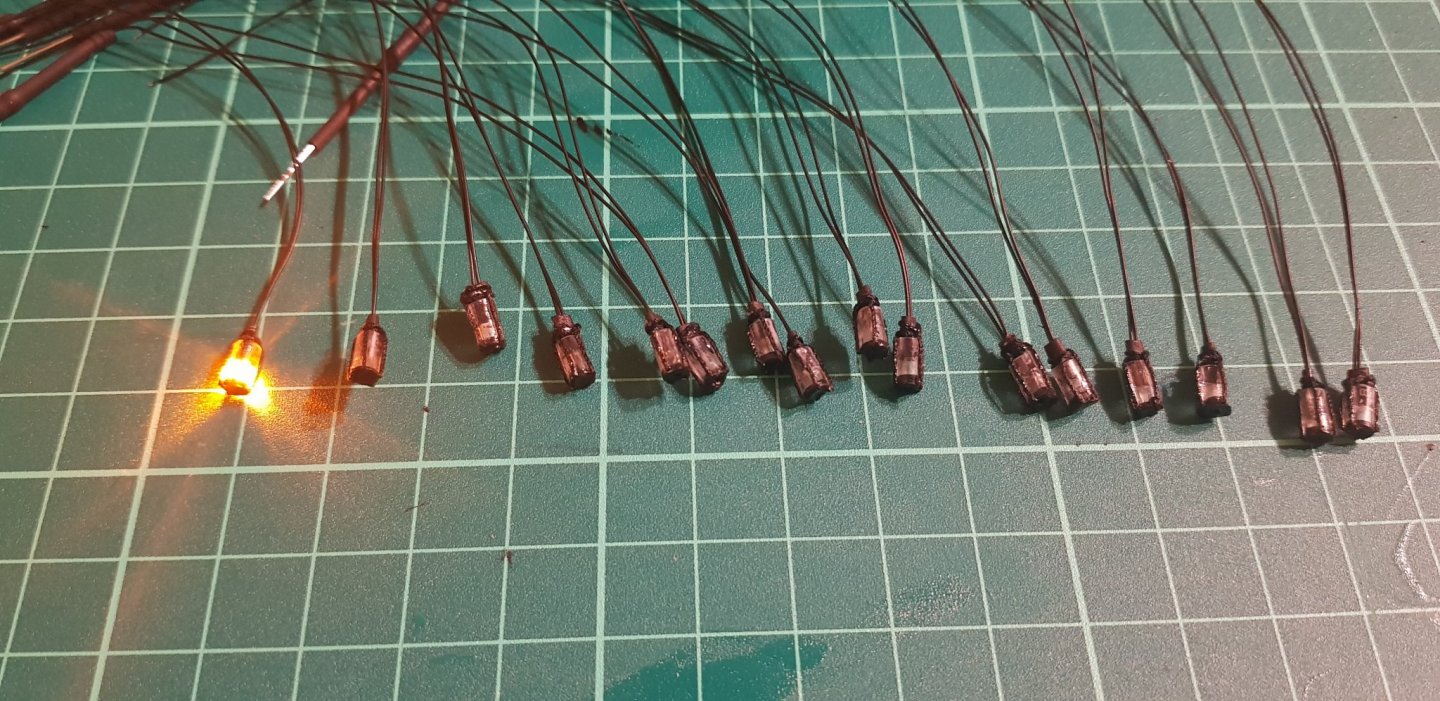
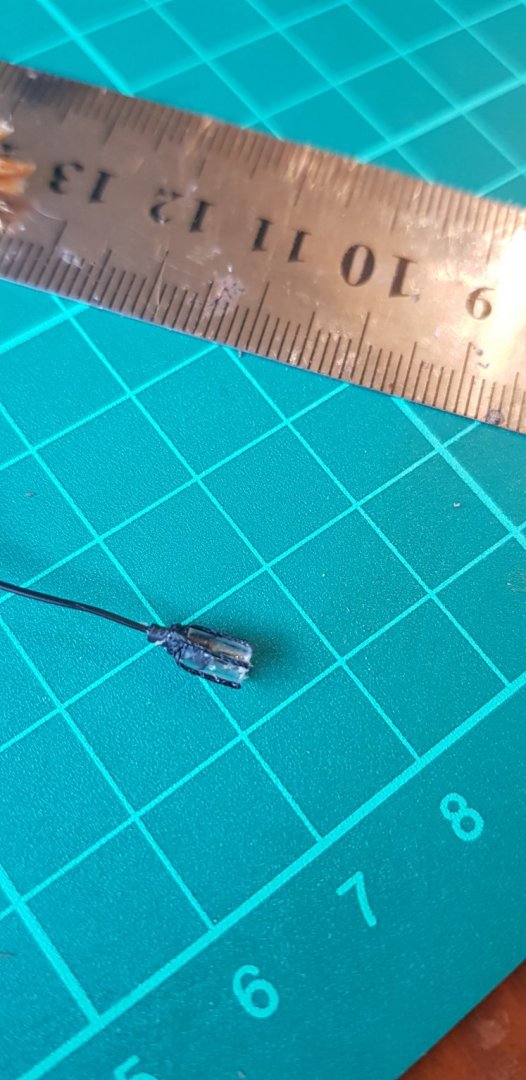
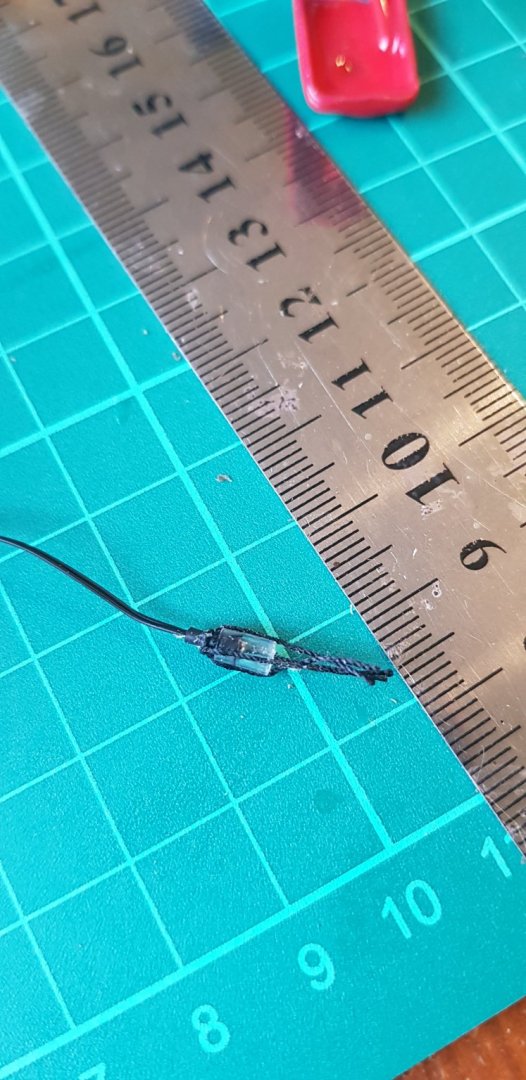
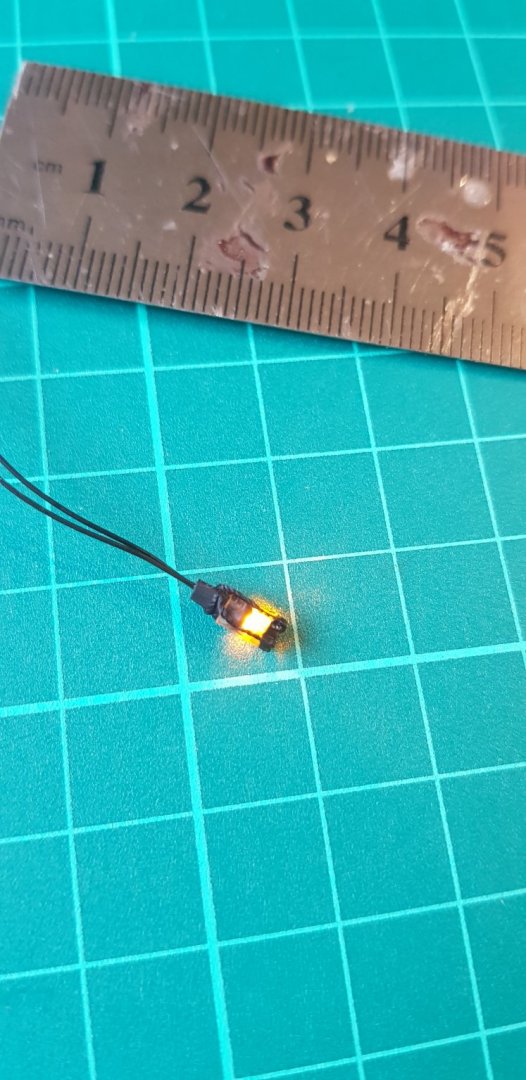
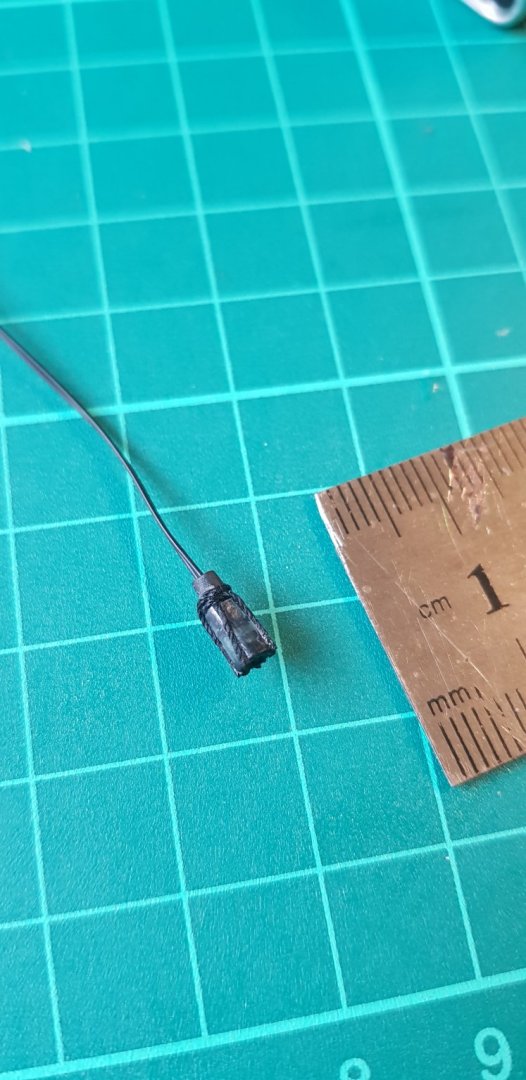
Nearly getting to the end if this deck now. Have finished installing the lanterns and tidied up the wires so very little will be visible once the model is finished. I had to make some walls under the deck to hide the wires. Not true to the real Bounty but then very little if this part of the kit is! and then I started on something that is actually part of the kit: the stairs. 39 20mm steps to cut out and shape. My new saw made light work of it although I'm now thinking of getting a mill as it would have made shaping them a lot easier. I made a slight mess cutting the groves to enable to bottom stairs to sit right. None of it will be seen but it's frustrating none the less. All that's left to do is close the gaps on the support beams, install the first lot of stairs, decide what to do about railings and make some sort of anchor rack. Might get this deck done by October! Oh, and cabin furniture too.
-
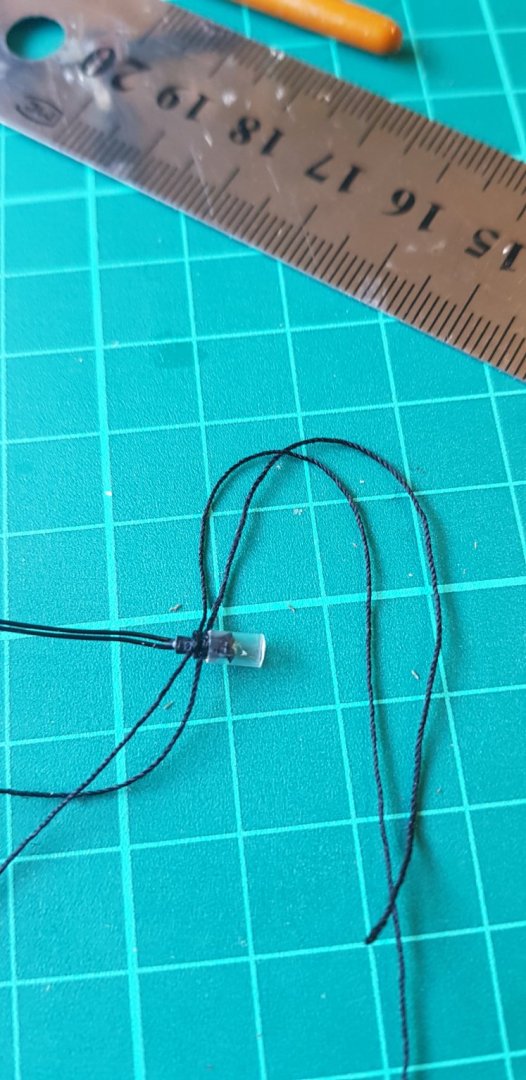
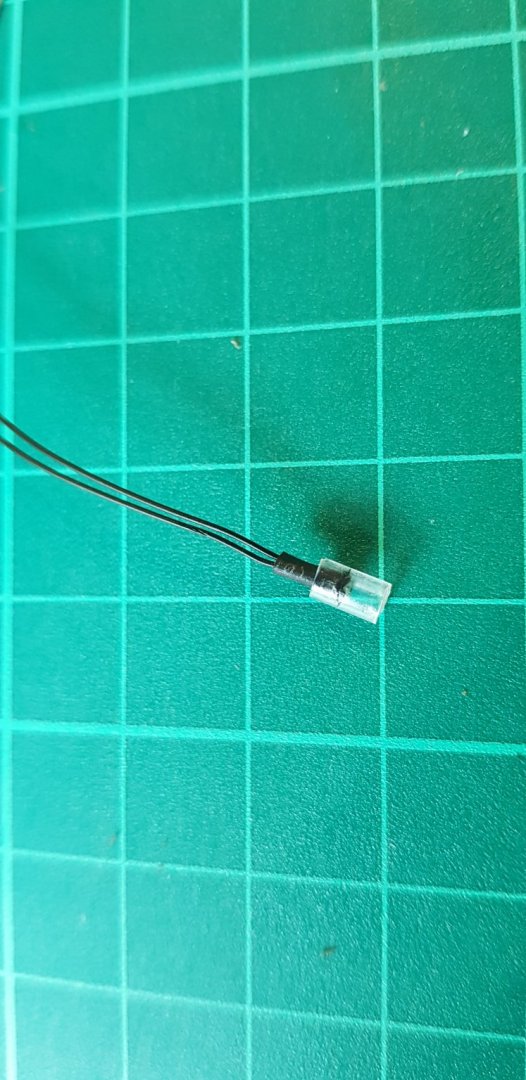
It's probably just that I see other build logs with the frames going up and then, BAM, they're straight onto the planking. Need to keep it in perspective that there's a lot of detail going into this Bounty. Installed two of the lanterns this evening. It's slow going making sure they don't break and increasing the length of the wire. Fortunately it seems I've remembered how to solder from back in school. The great thing about this light is that you can't see any of the glaring mistakes you see in normal light!
-
Just go to instructions and download what you need
-
Lanterns completed for now (need to increase the length of the wire, move the capacitor (I think that's what it is) and get the soldering iron out. This deck is nearly finished and then I can move onto the next one. Haven't completely decided how I'm going to hide the wires from the upper decks and am open to suggestions. They're small enough so should be barely noticeable if you run them down the side of the frames. This is really slow going... seems like no progress is being made!
-
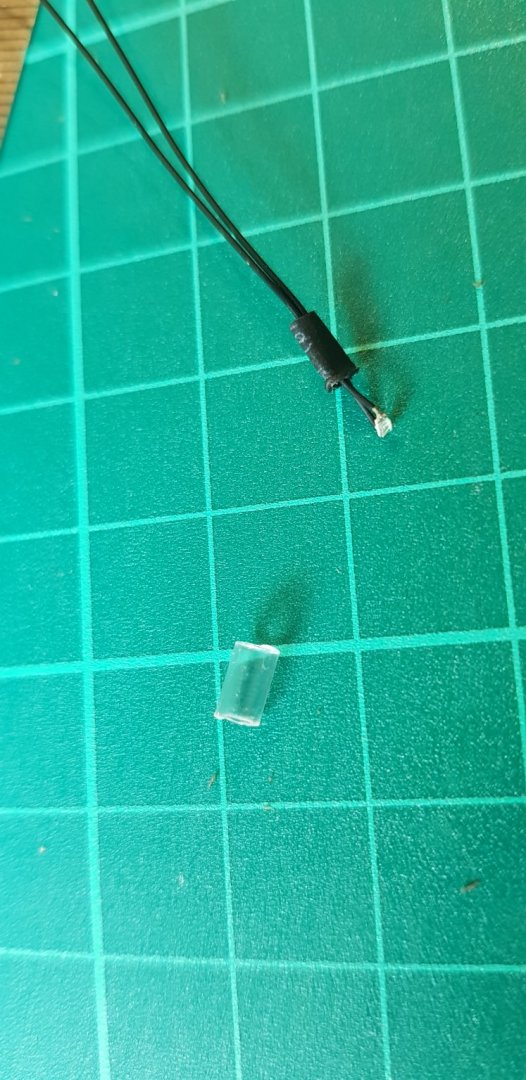
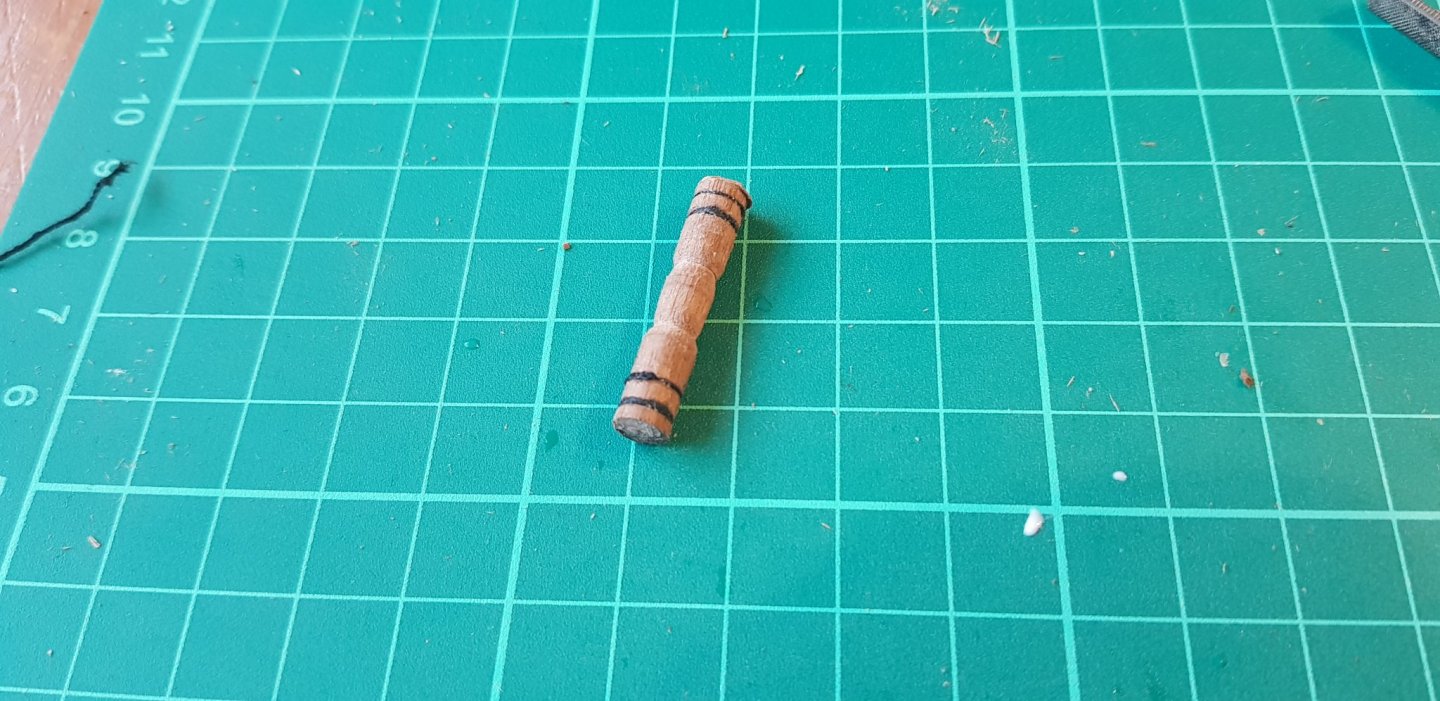
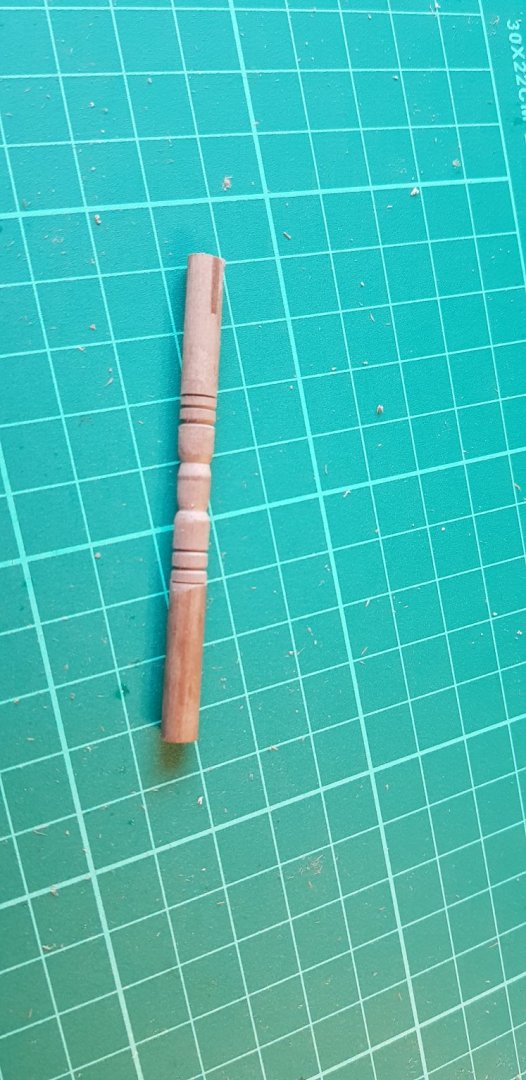
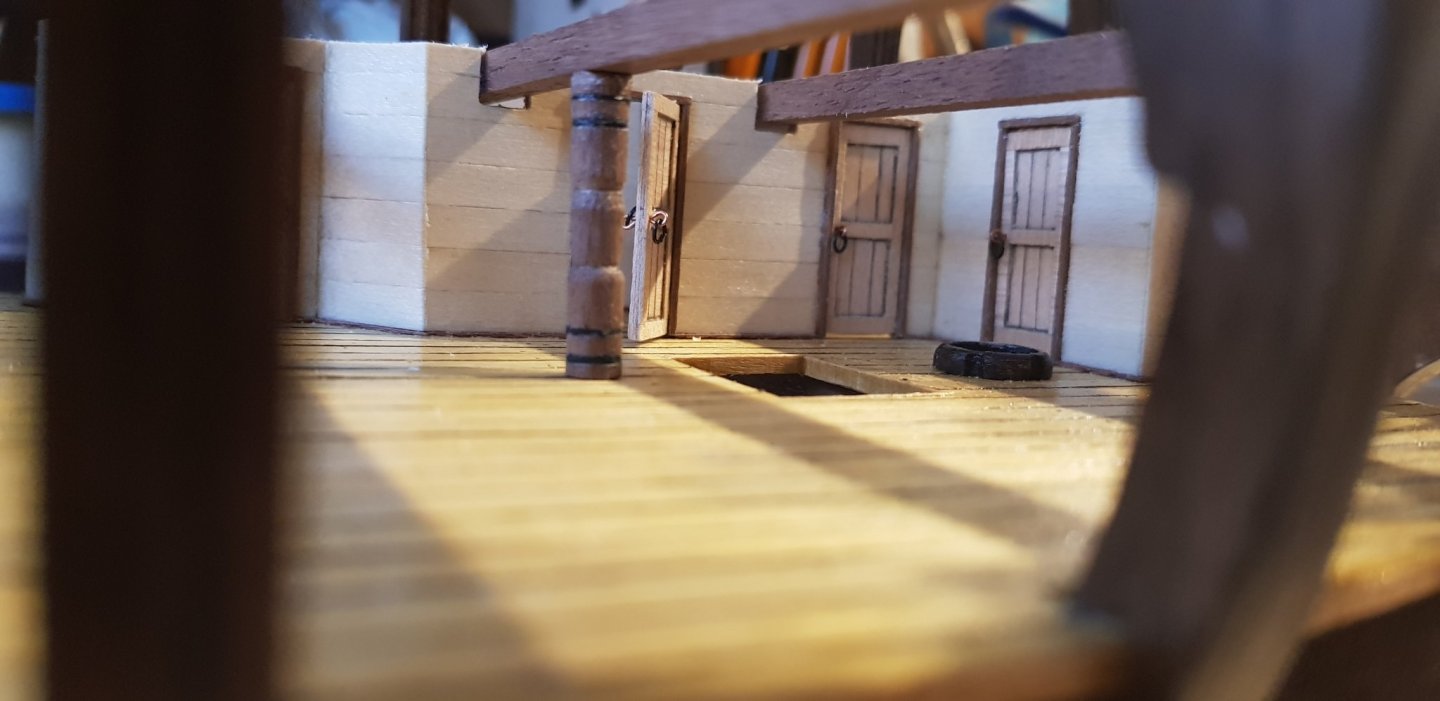
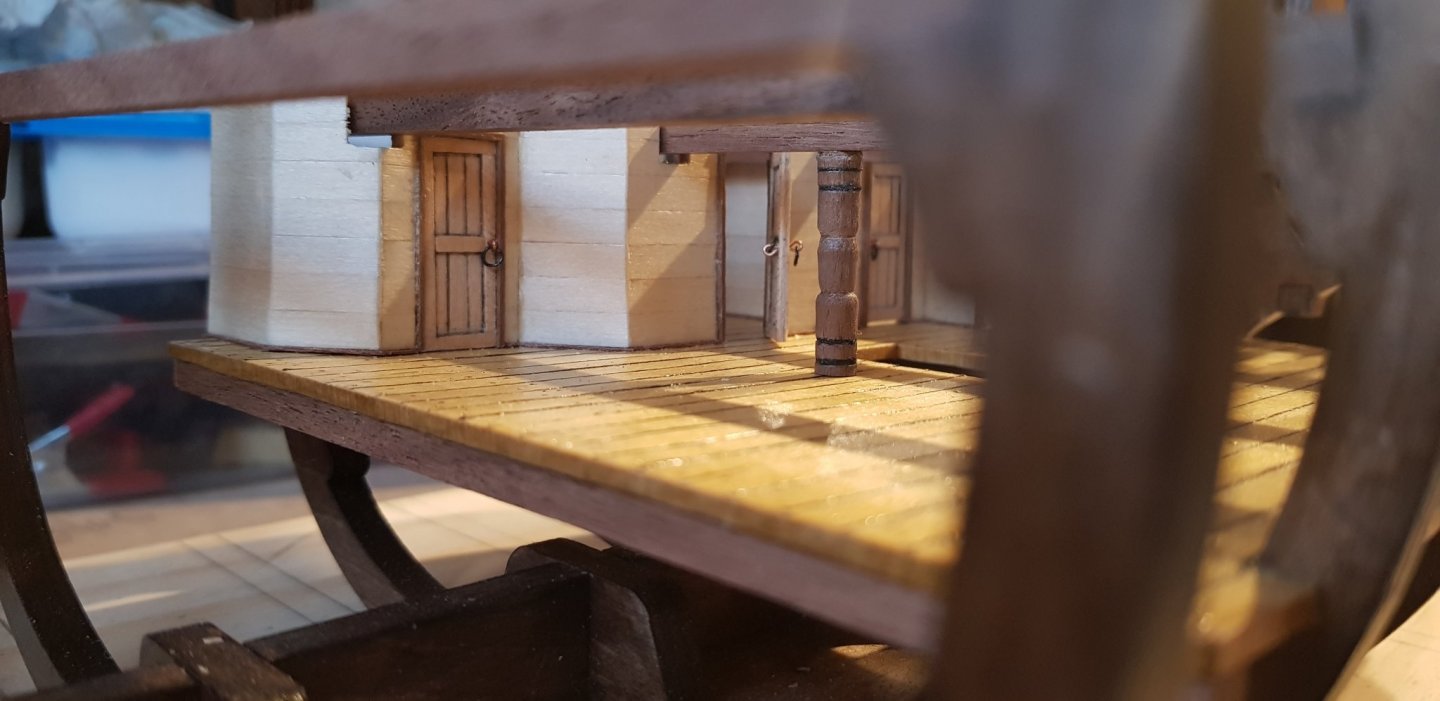
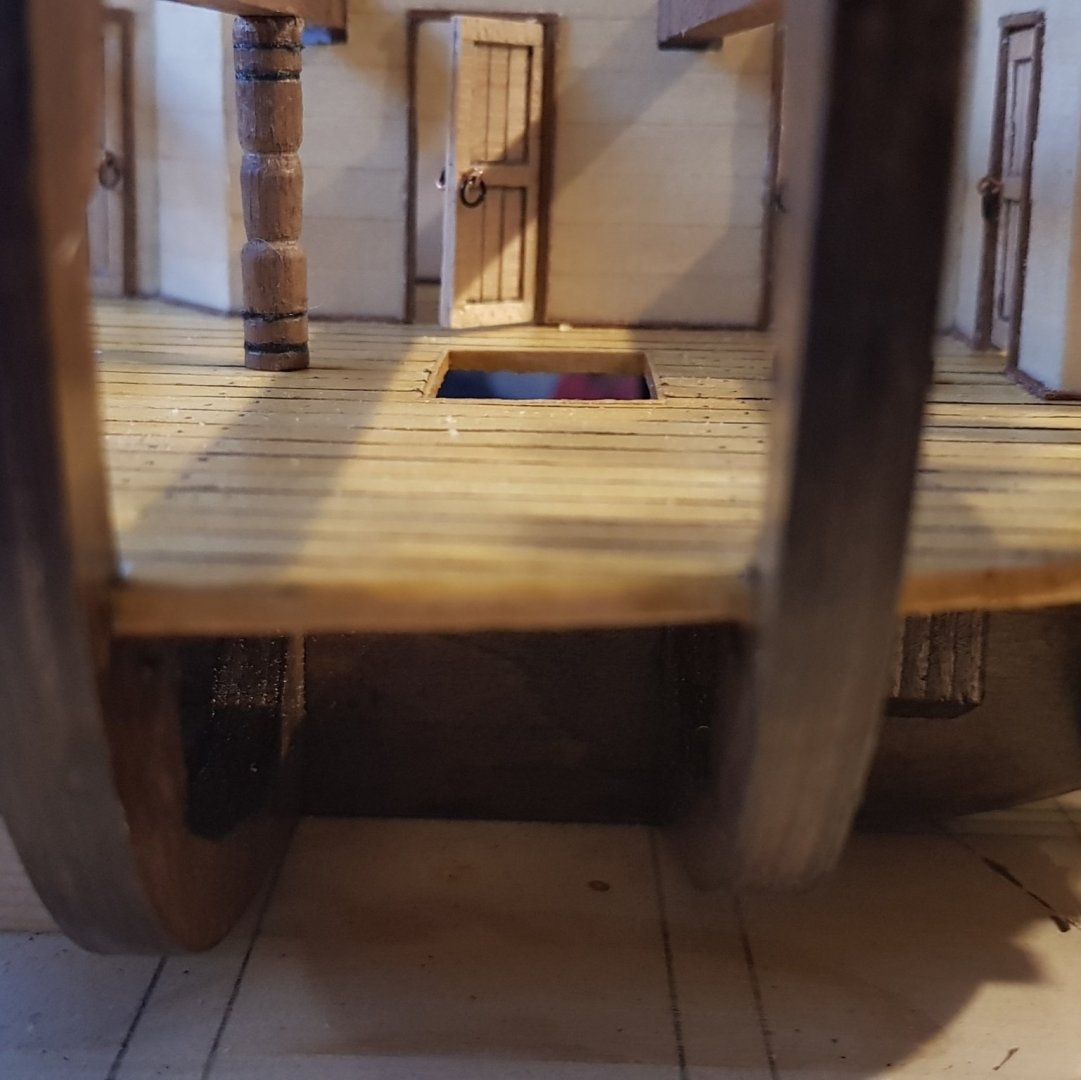
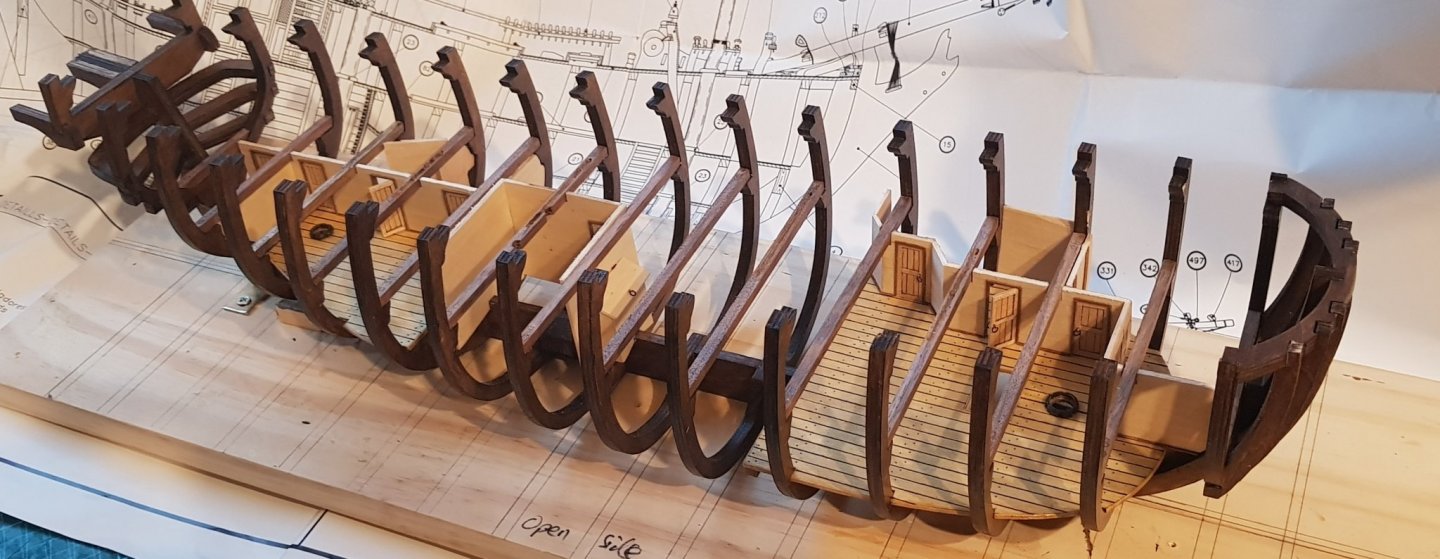
Over a week has gone since I last updated this. Been busy at work and needed to get back out on the golf course. Anyway, I've finished the cabins on the hold deck and the hold well. Also had a little play with the lathe to see what it could do. Made a couple of chock pillars to test it out before I settled on the one in the pictures. Made a couple if mistakes with the hold well but managed to rectify them easily enough. Not entirely happy with the way the second lot of cabins turned out compared to the first, but they'll do. Have ordered some 1.5mm ply for the cabins on the lower deck as the lime wood is a pain to use and cut accurately. I've prepared the support beams for the lanterns and am waiting on some plastic tubing to be able make a start on them (I know it looks awful but it was my first time milling anything and it won't be visible anyway). Not much else I can do on this deck now until the lanterns are installed. Will make a start on the stairs and furniture for the two open cabins this week.
-
Yeah, found chronos the cheapest but with 5% off at hobbies, it works out about £10 cheaper getting it from them. Unfortunately they don't have any in stock at the moment.
-
You can download them here
-
Thanks all for your help. I think I'm going to go with the Proxxon FET saw as it's not overly large and will work if I decide to do scratch building. Now to make some space for the mill and scroll saw...
-
Maybe they haven't earned their sea legs yet? (Not sorry)
- 756 replies
-
- galleon
- golden hind
-
(and 2 more)
Tagged with:
-
Hi all I'd like to buy a small saw to help cutting wood. Proxxon seems to be all that's available in the uk so I'd looked at This but the reviews seem a little mixed so then thought I'd go about getting the bigger version instead. Can anyone offer any advice or warnings against this purchase? Are there any better alternatives in the uk? Budget is not really a problem, although space is a slight issue so I can't get anything too large. I don't think I'm going to be interested in scratch building as I don't think I can be bothered with all the plans etc but never say never.
-
I used this stuff on my second layer of planks for my ocre build https://www.amazon.co.uk/UHU-purpose-adhesive-clear-glue and a bit of ca on the bends where I wanted an instant hold. It's a bit stringy and can get a little messy, but some nail varnish remover cleaned up any that got on the planks. Alternatively you could just use pva/wood glue and a load of elastic bands and push pins? Contact cement is great but it will shred the thin strips trying to remove them if you get them in the wrong place
-
That's a lovely build! You'll definitely want to make a case for it; protects it from knocks and keeps the dust and grime away
-
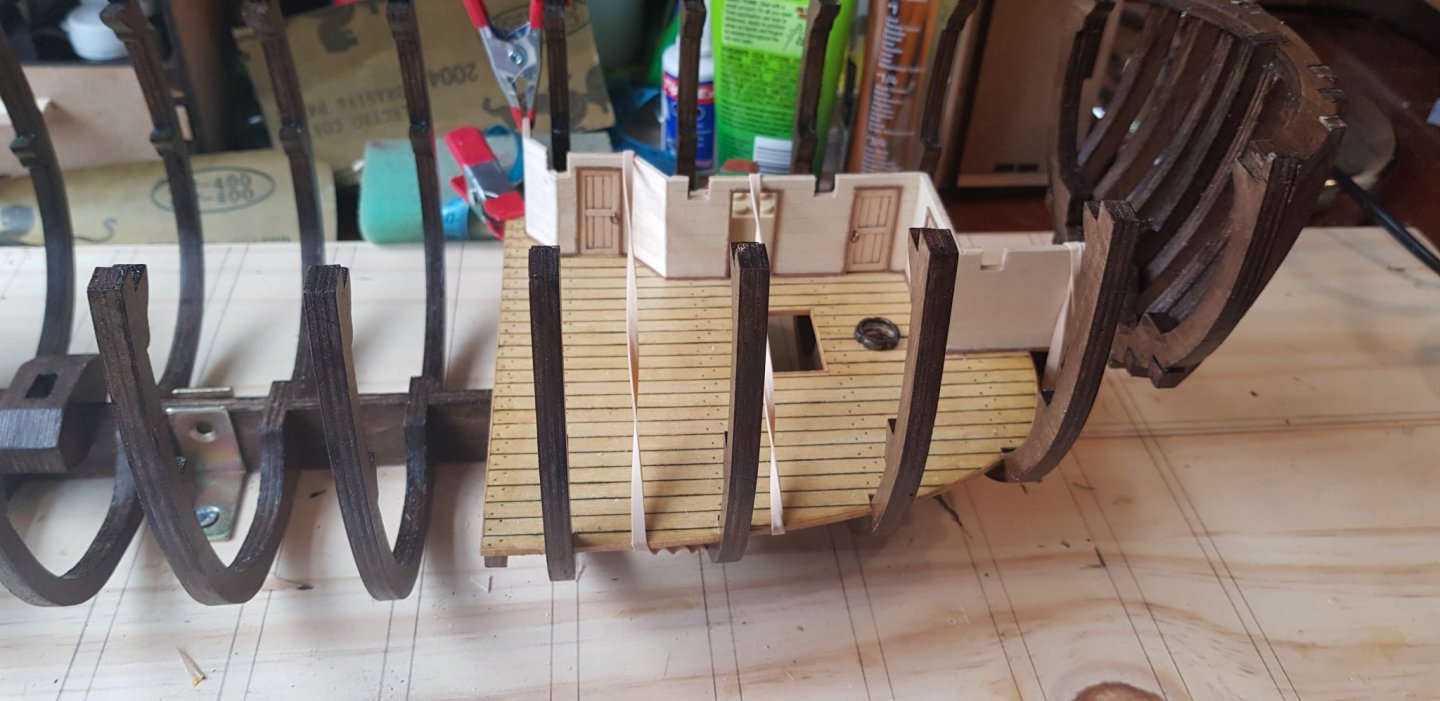
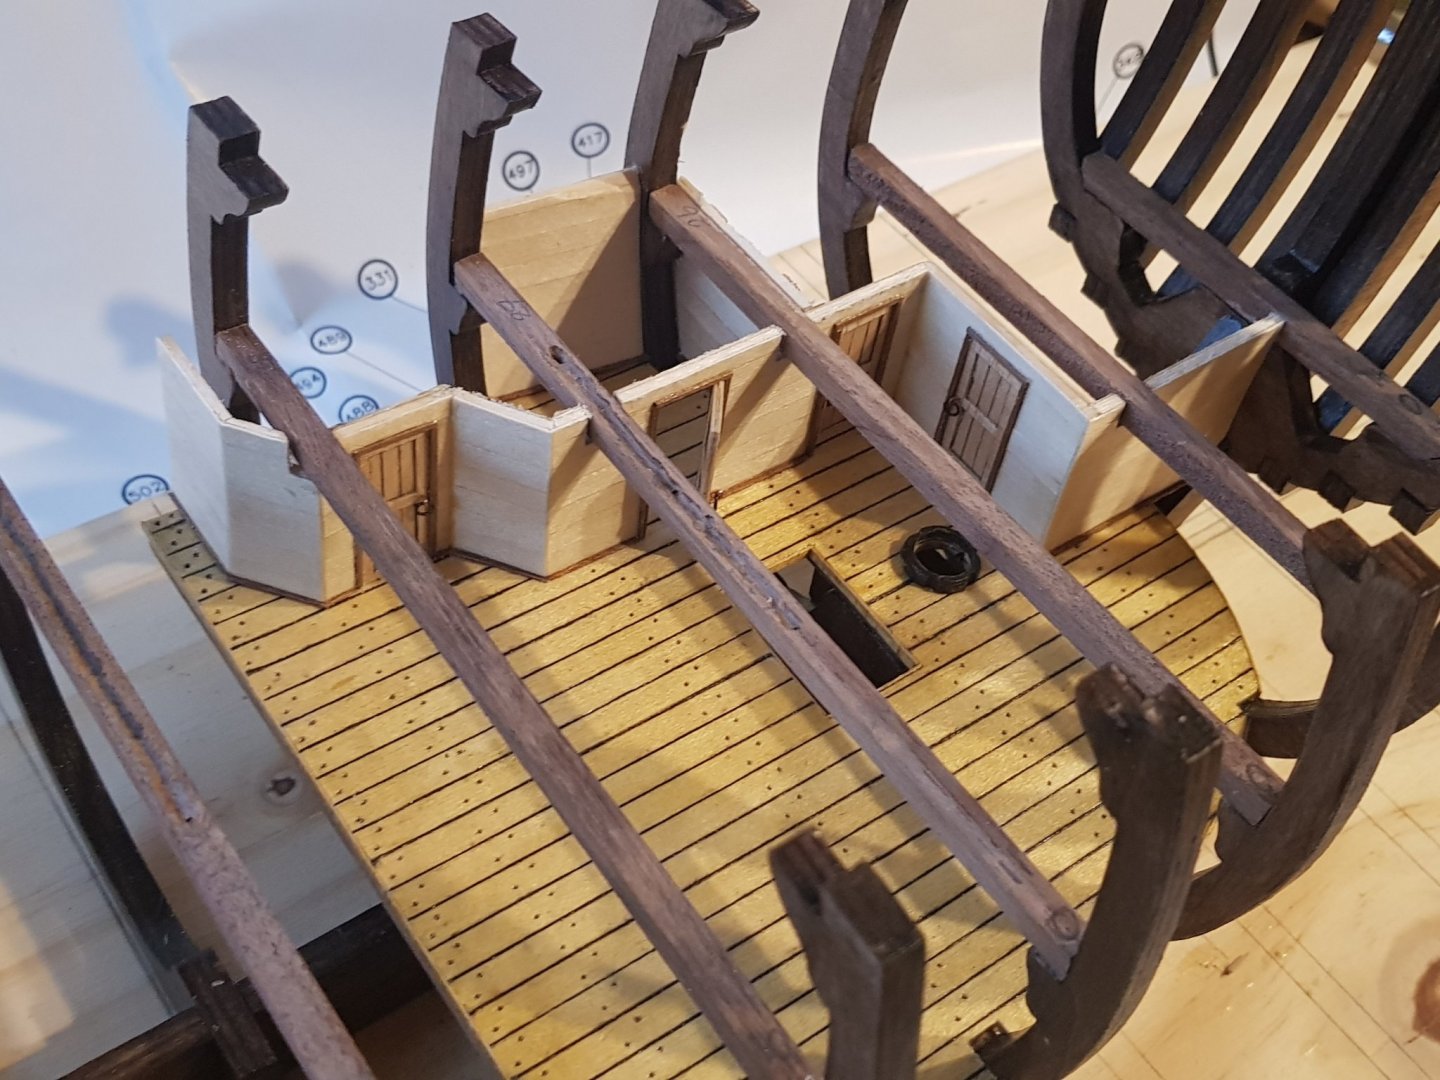
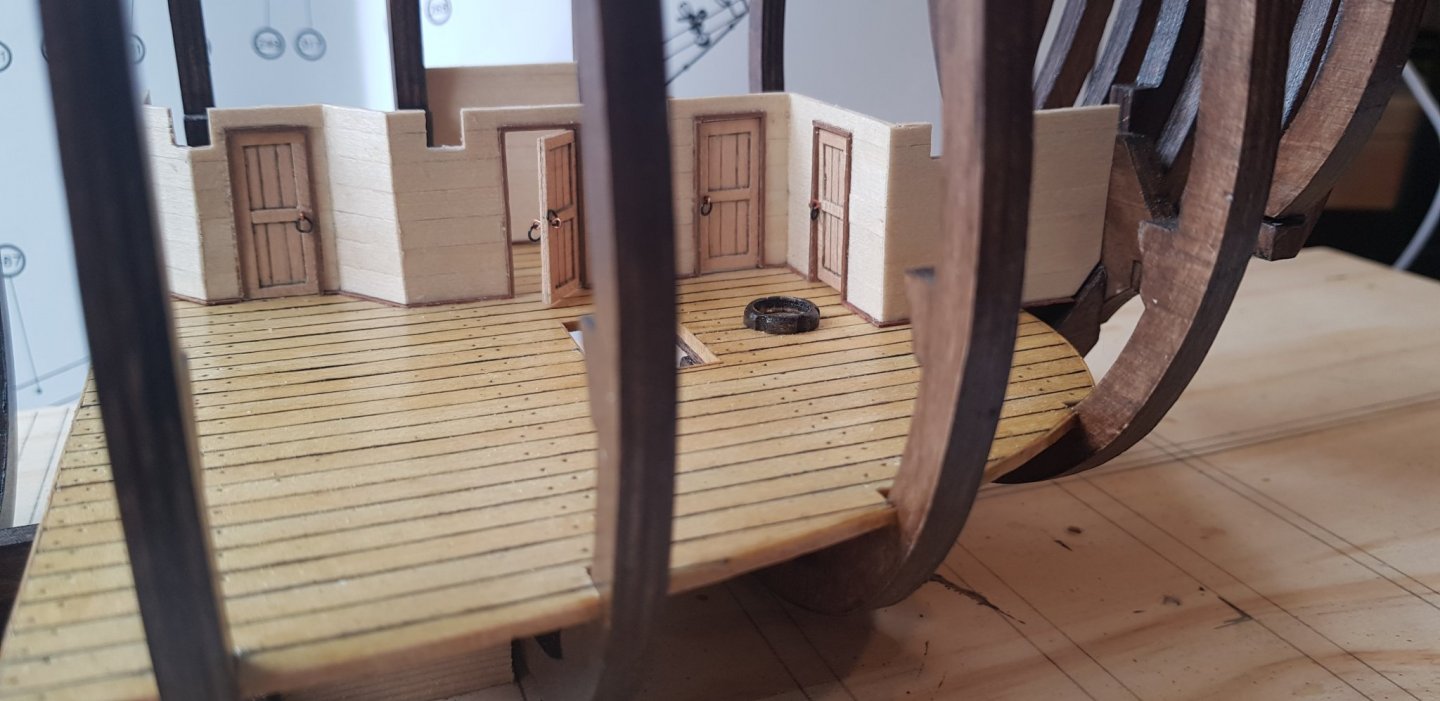
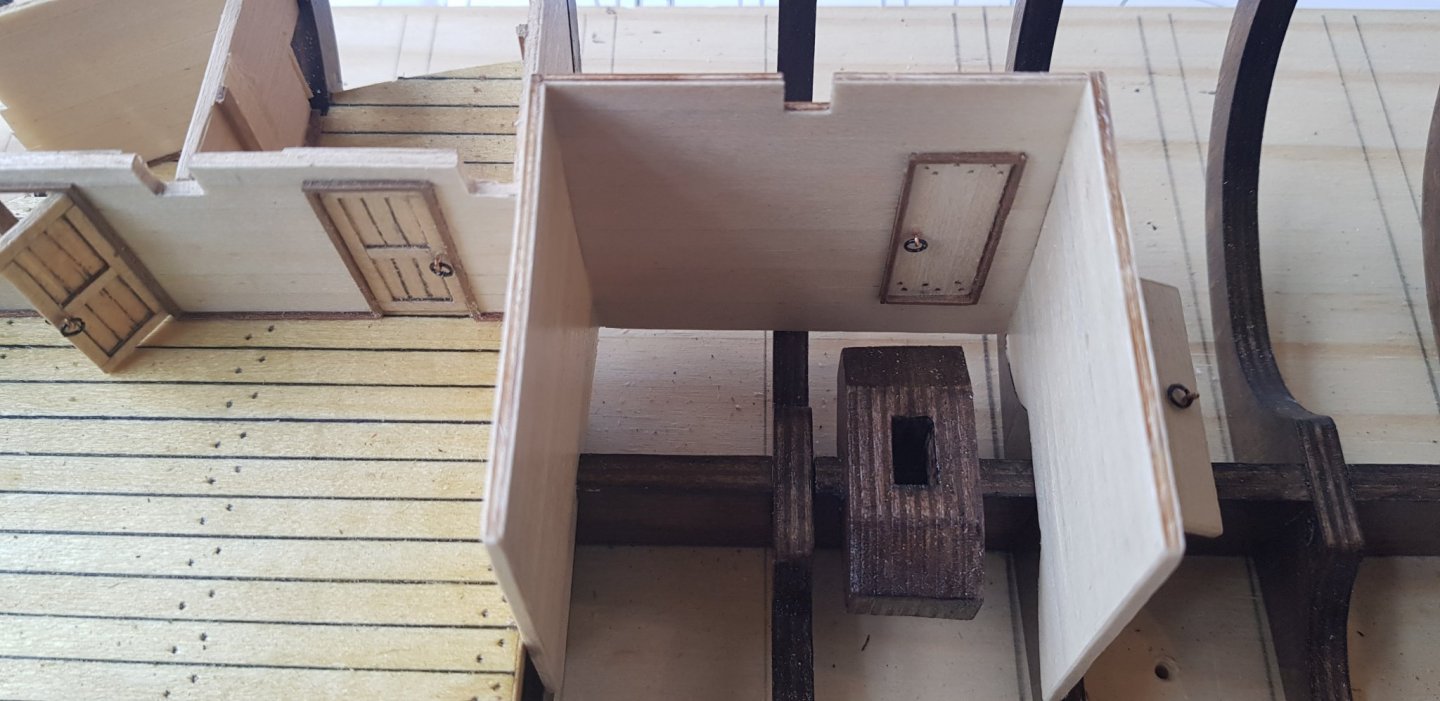
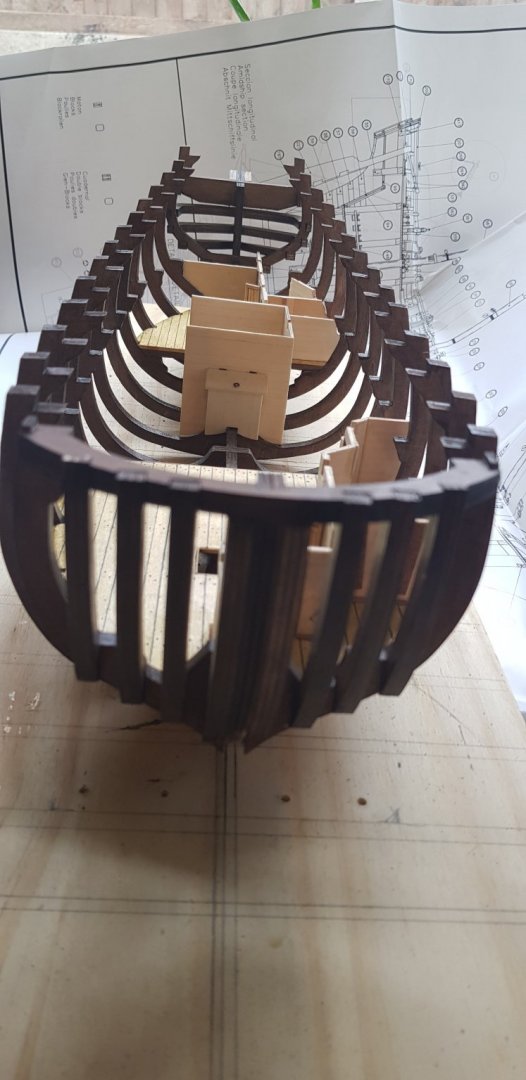
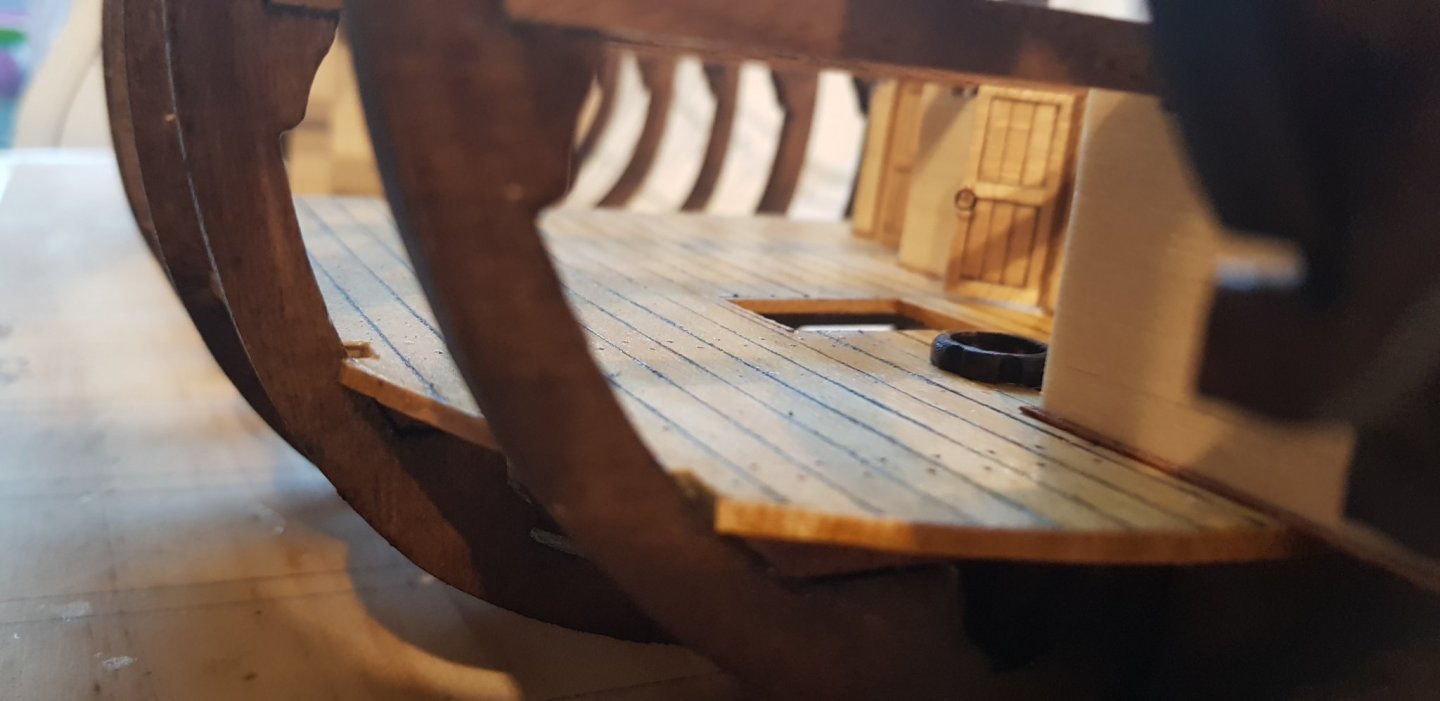
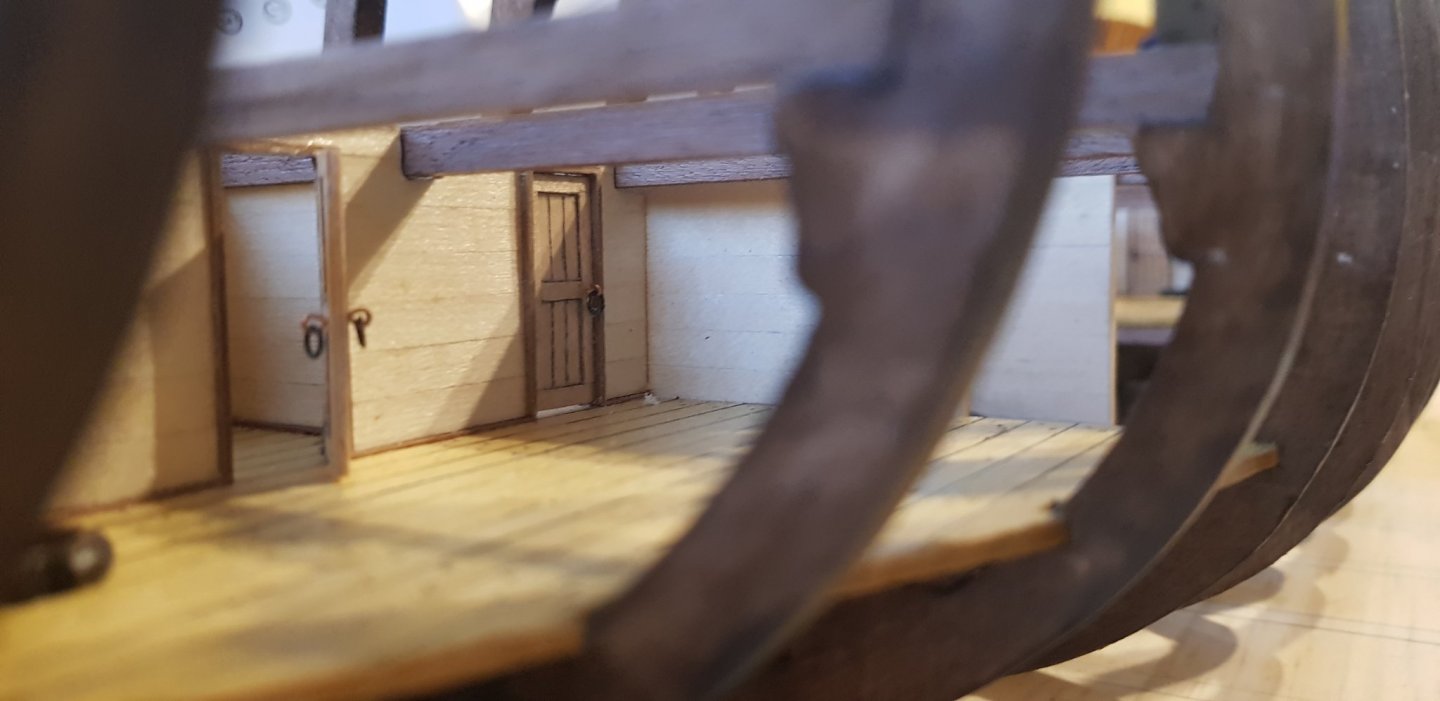
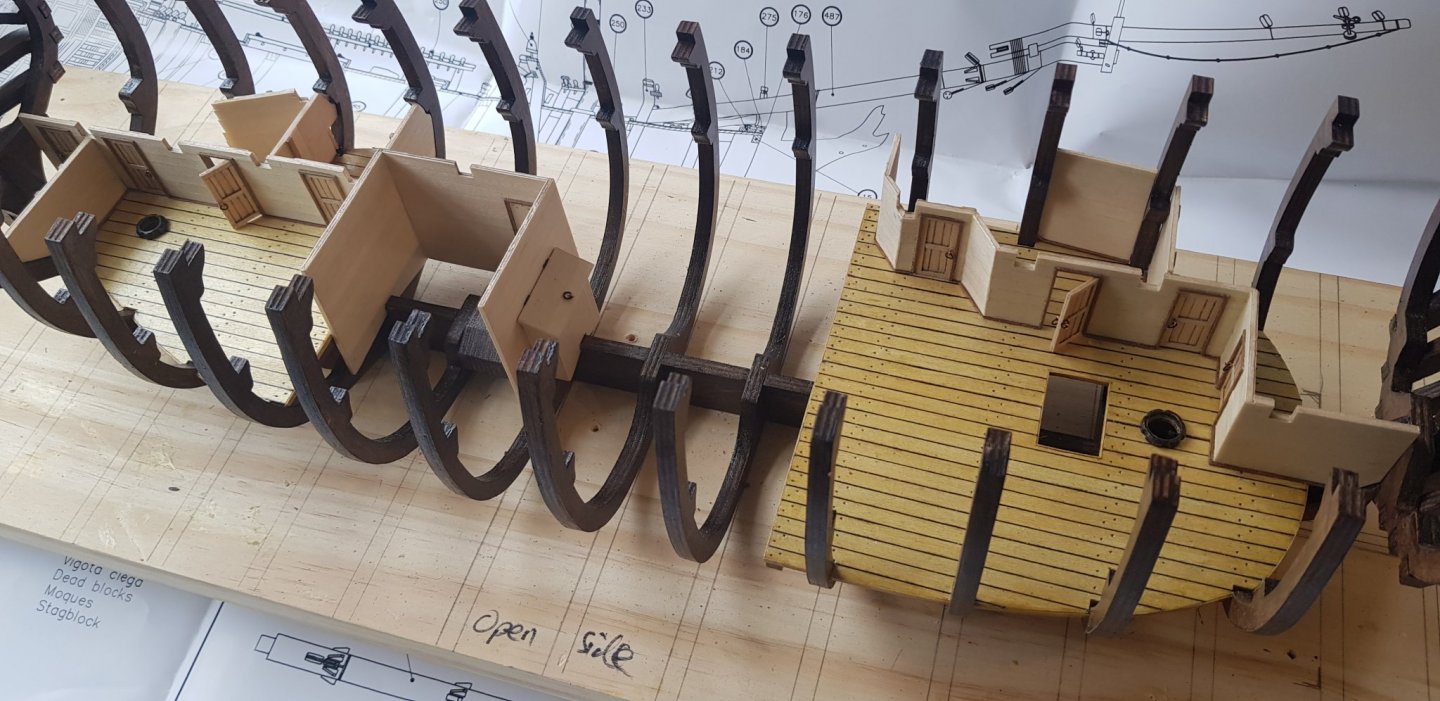
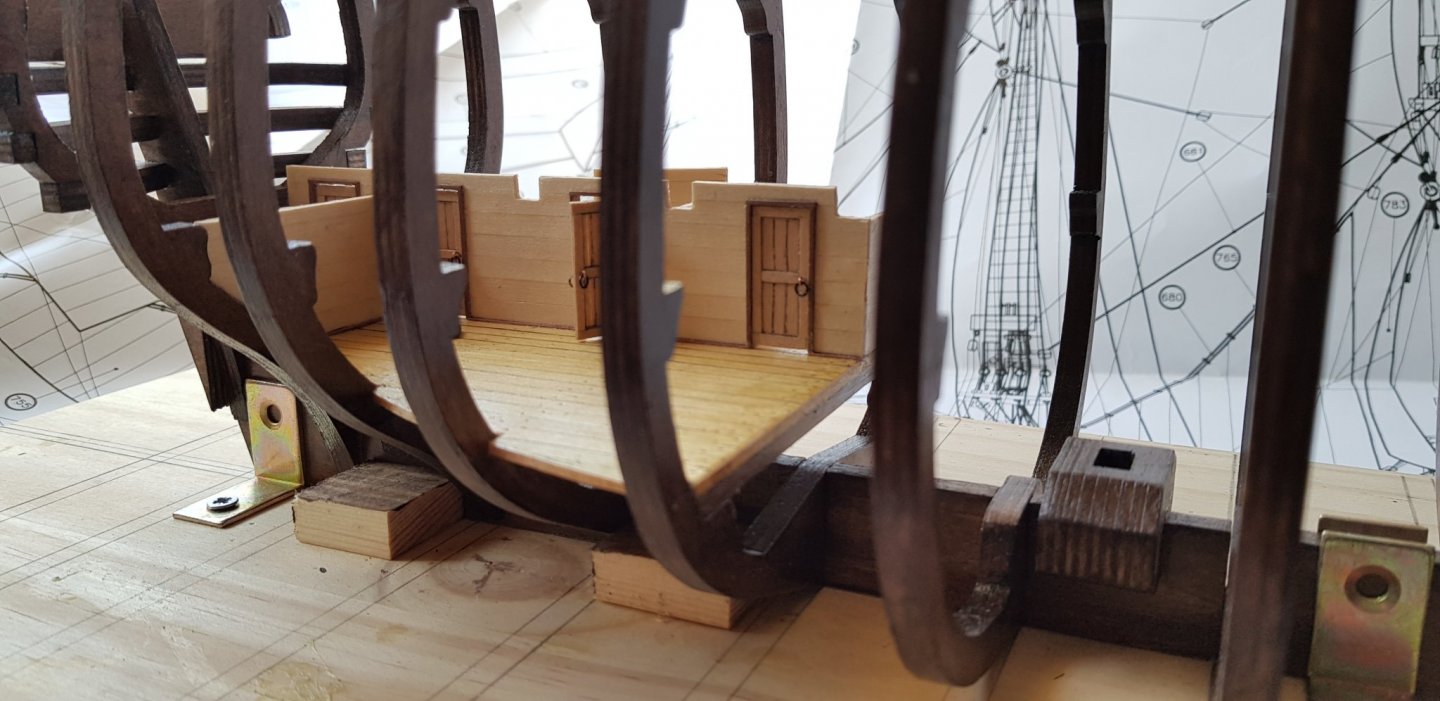
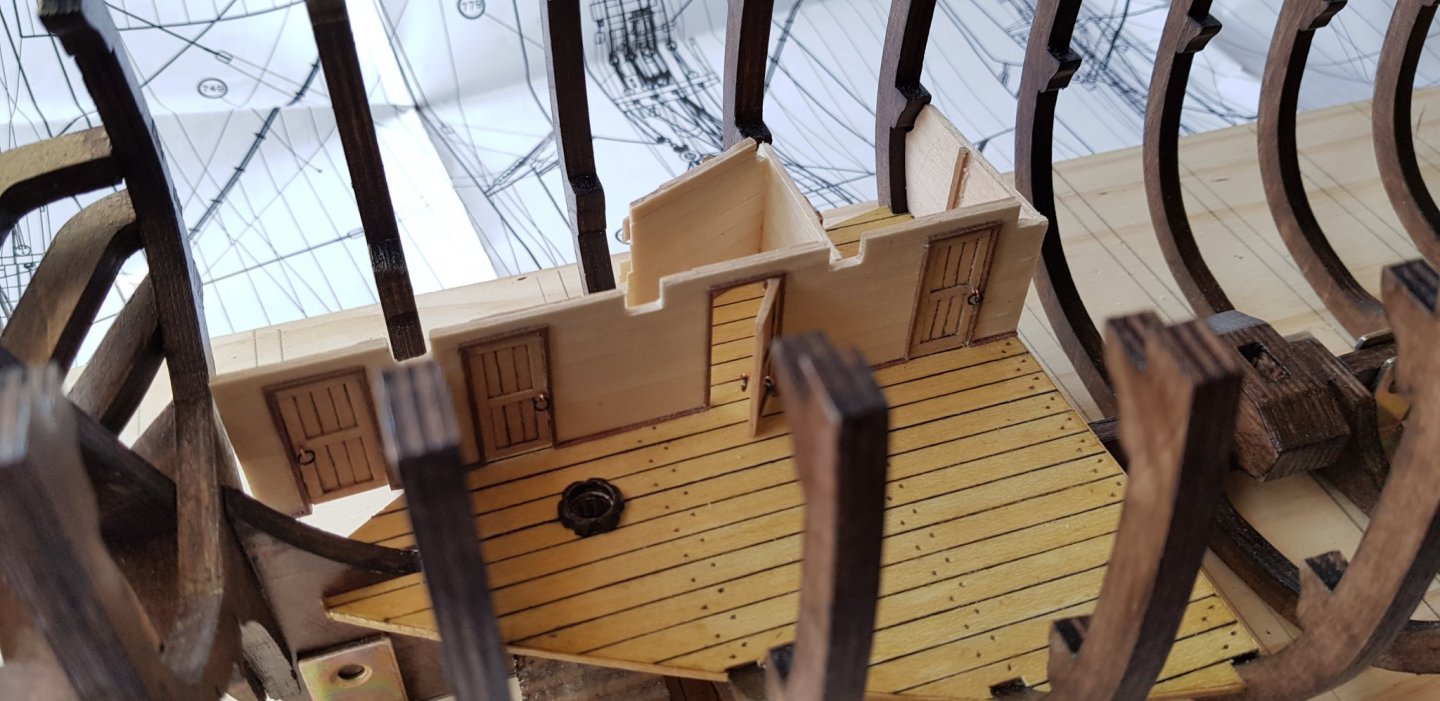
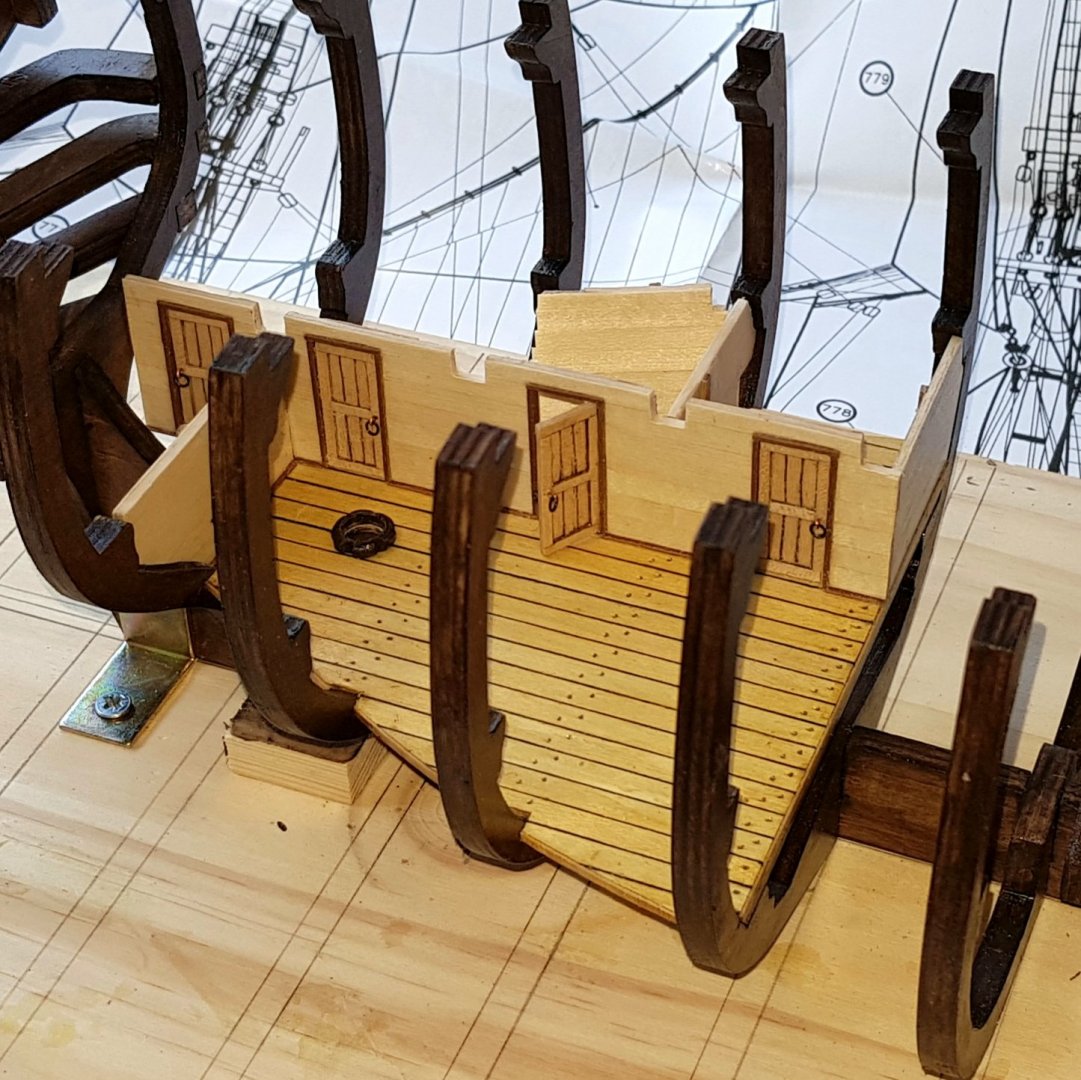
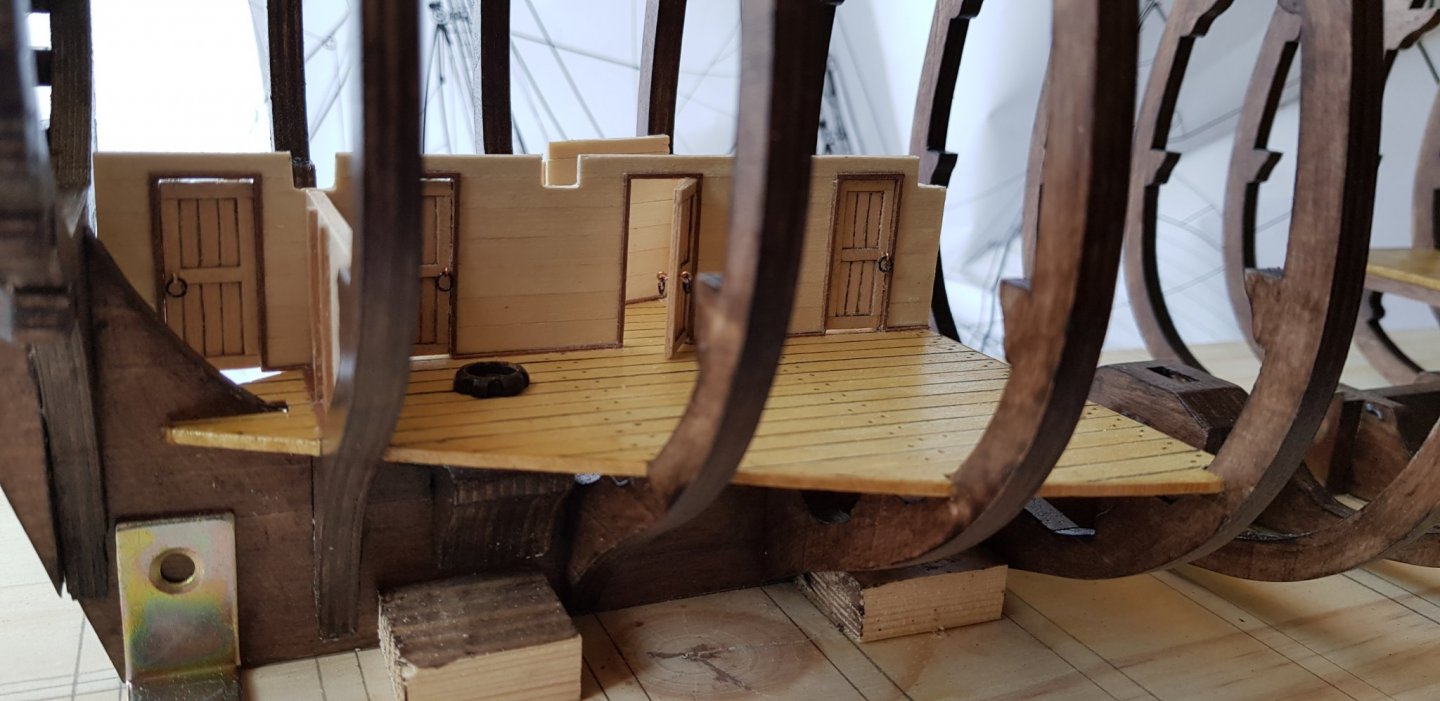
I've finished the first lot of cabins. Made two mistakes. One, I forgot about the edge of the wall running parallel to the hold well should have been planked. Fortunately it will be covered by the hold well, so I've gotten away with it this time. Secondly, the wall on the cabin with the open door is too flat and should follow the curvature of the ship. I could take it out and try again, but seeing as so little is going to be visible, it seems a little pointless. I could do with advice as to what would be in the cabin with the open door. Would it have been a bed or a hammock and would there have been any other furniture in there?
-
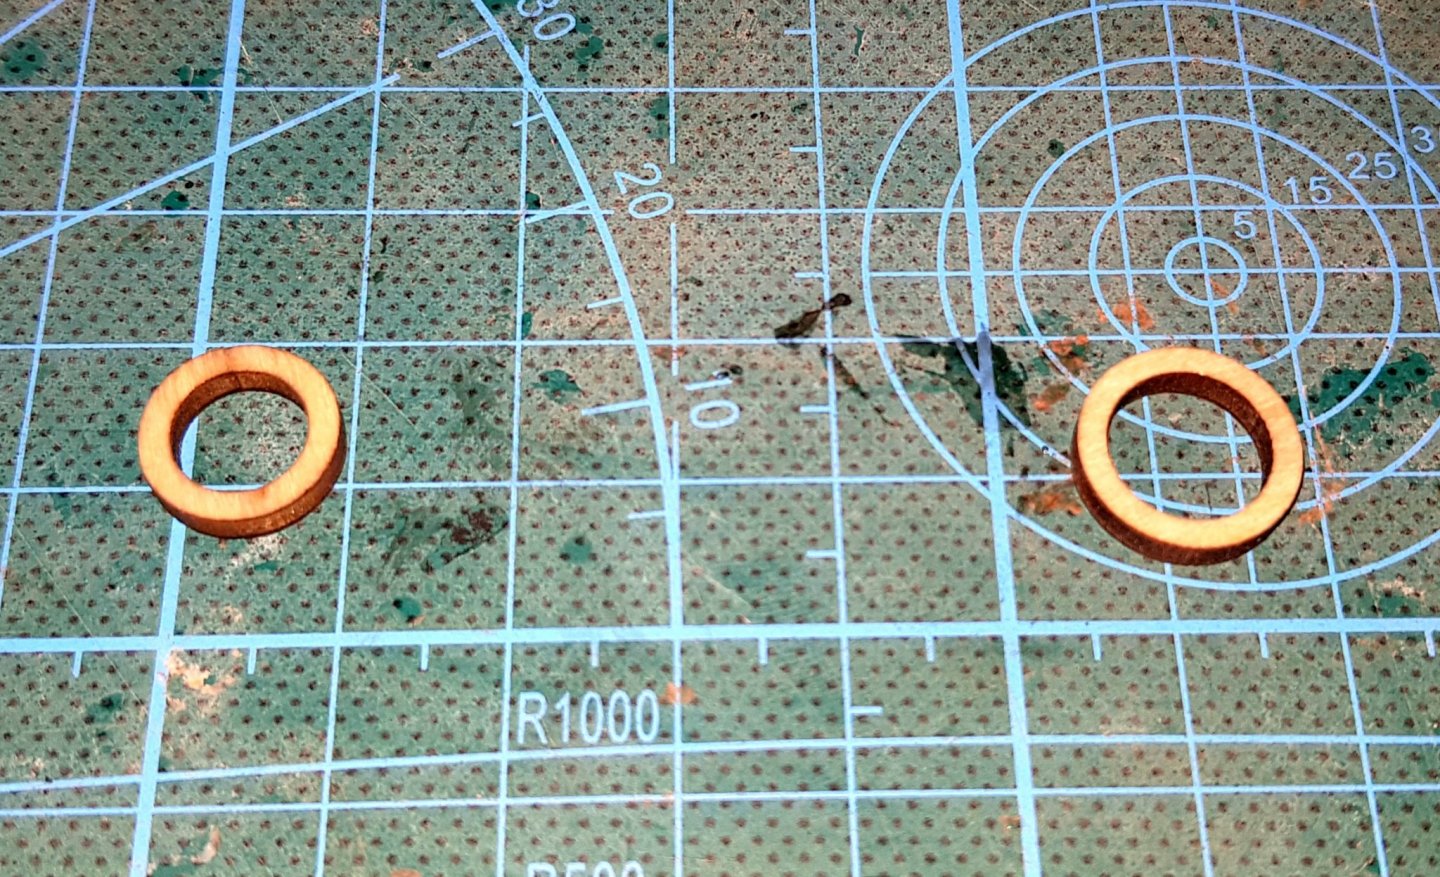
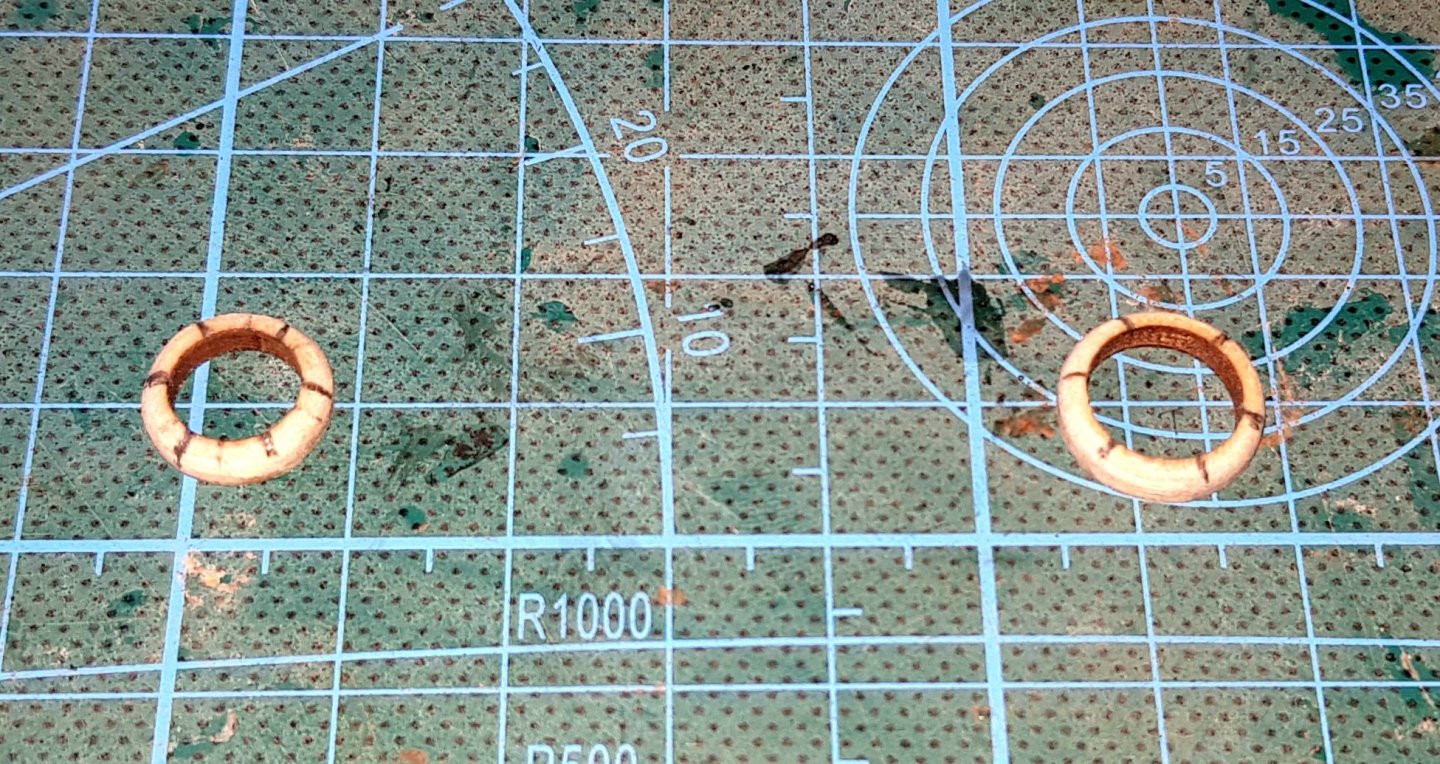
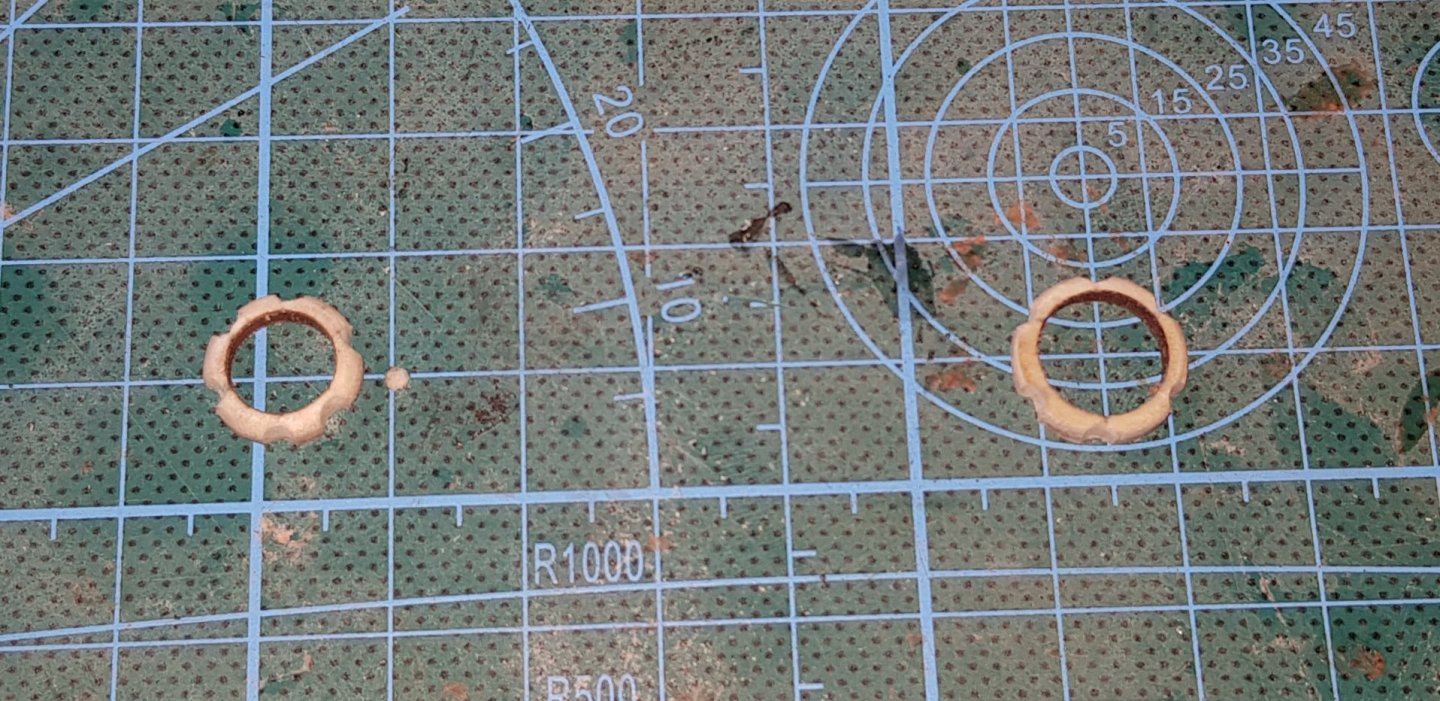
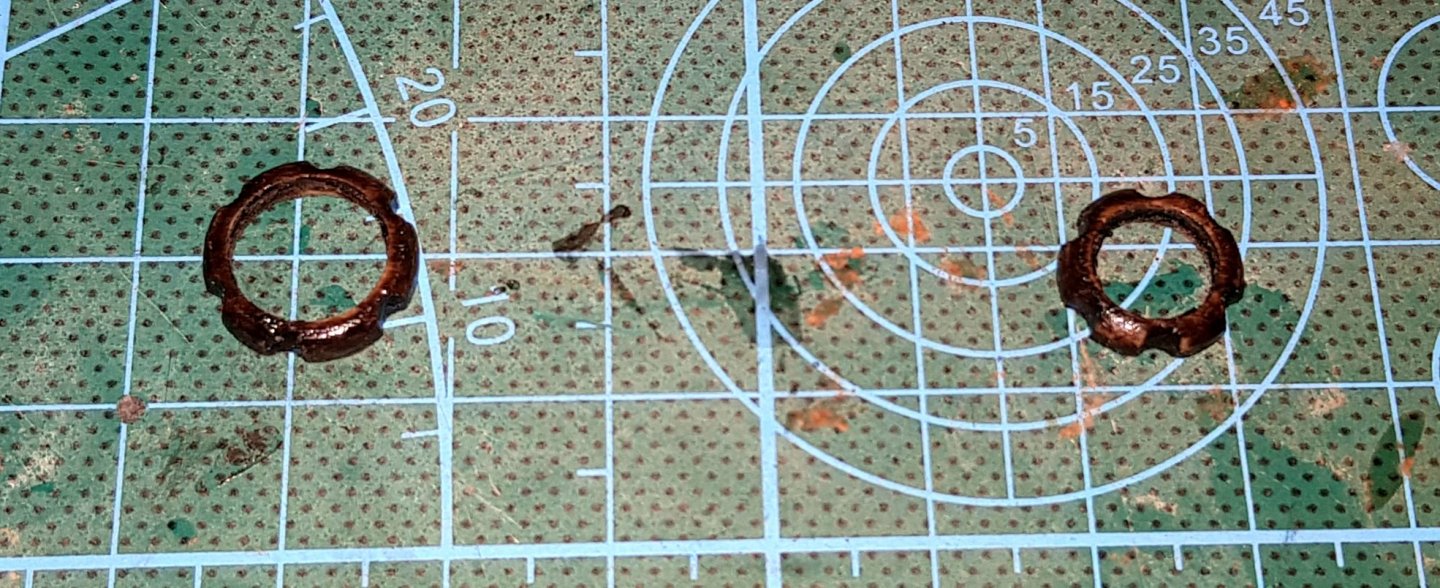
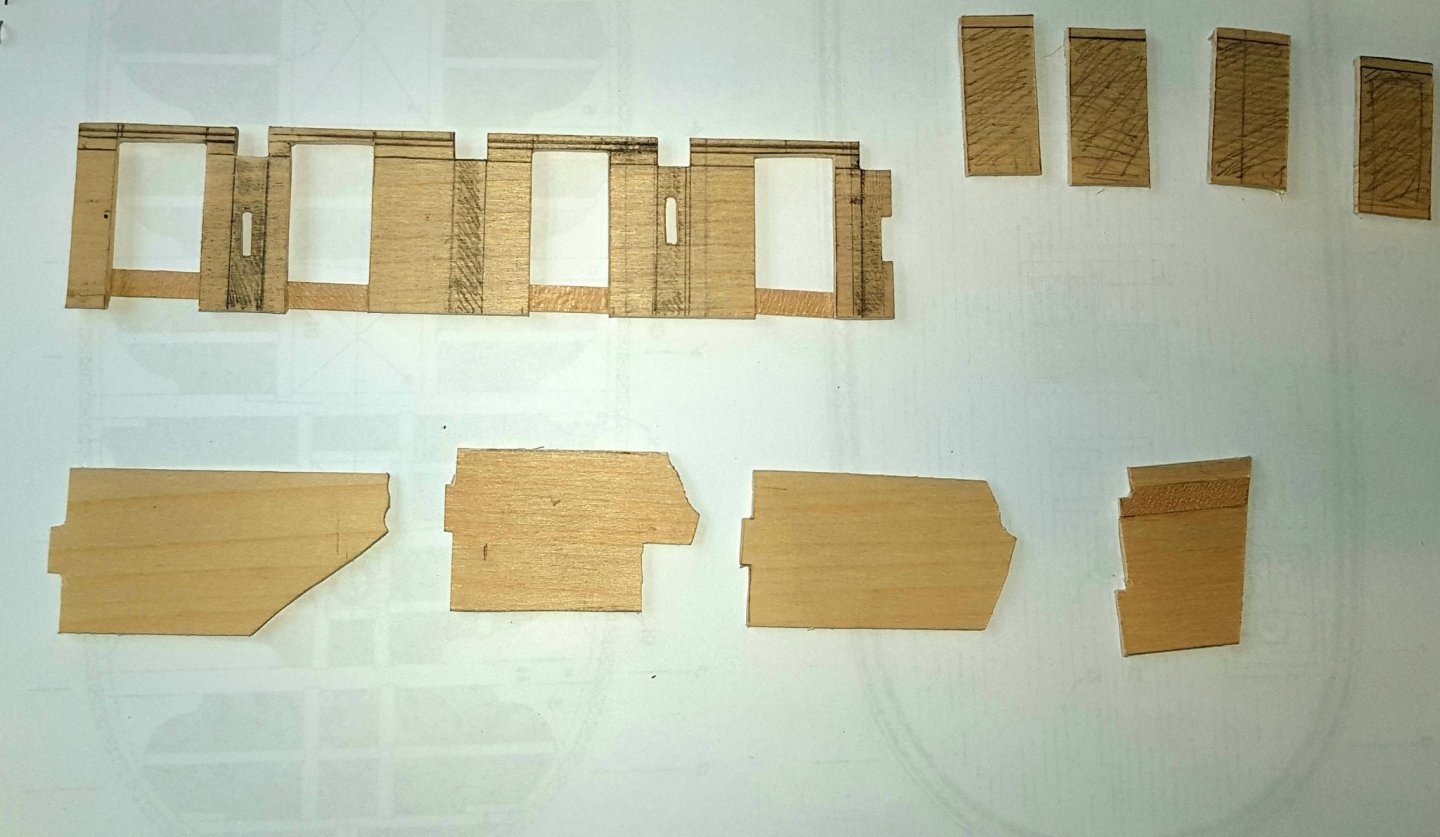
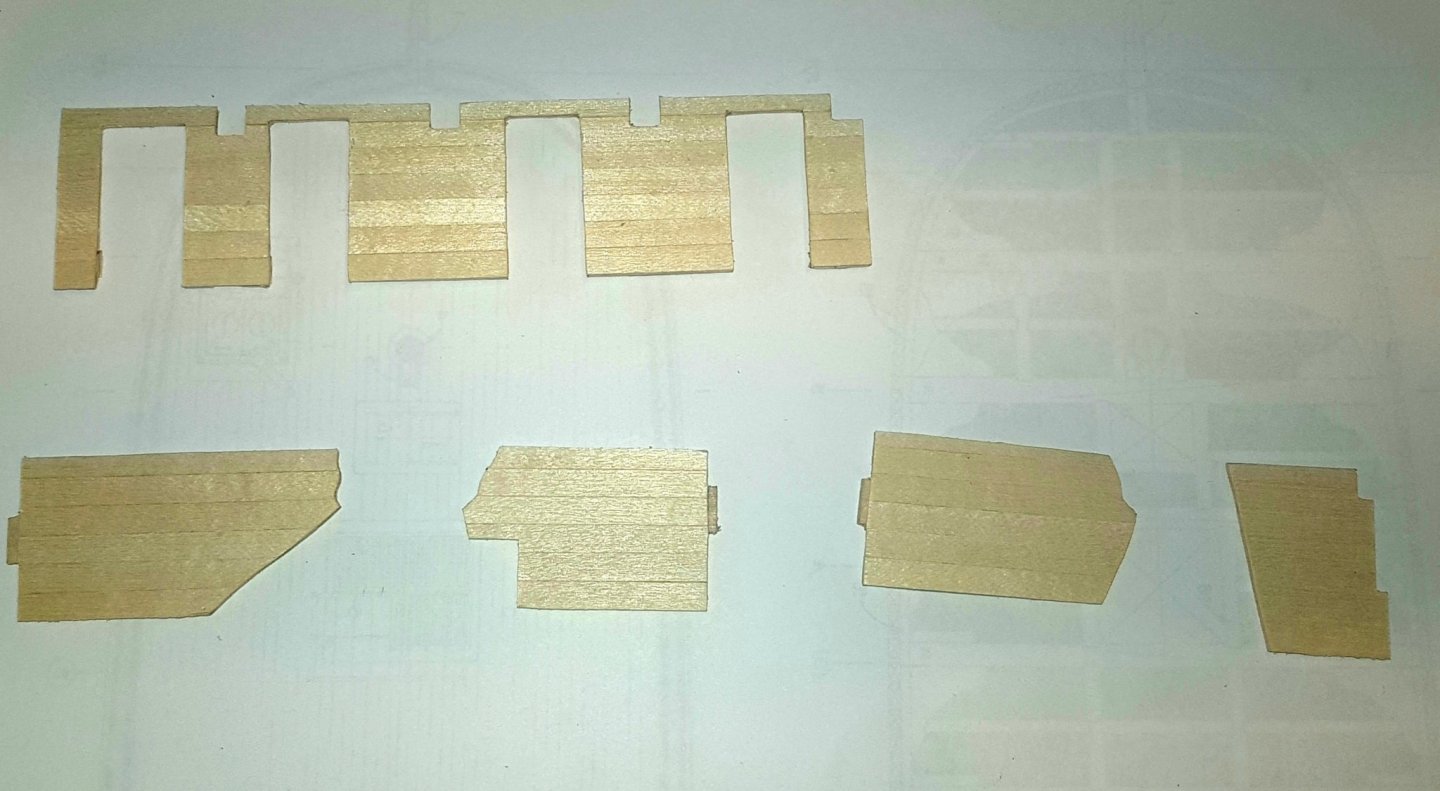
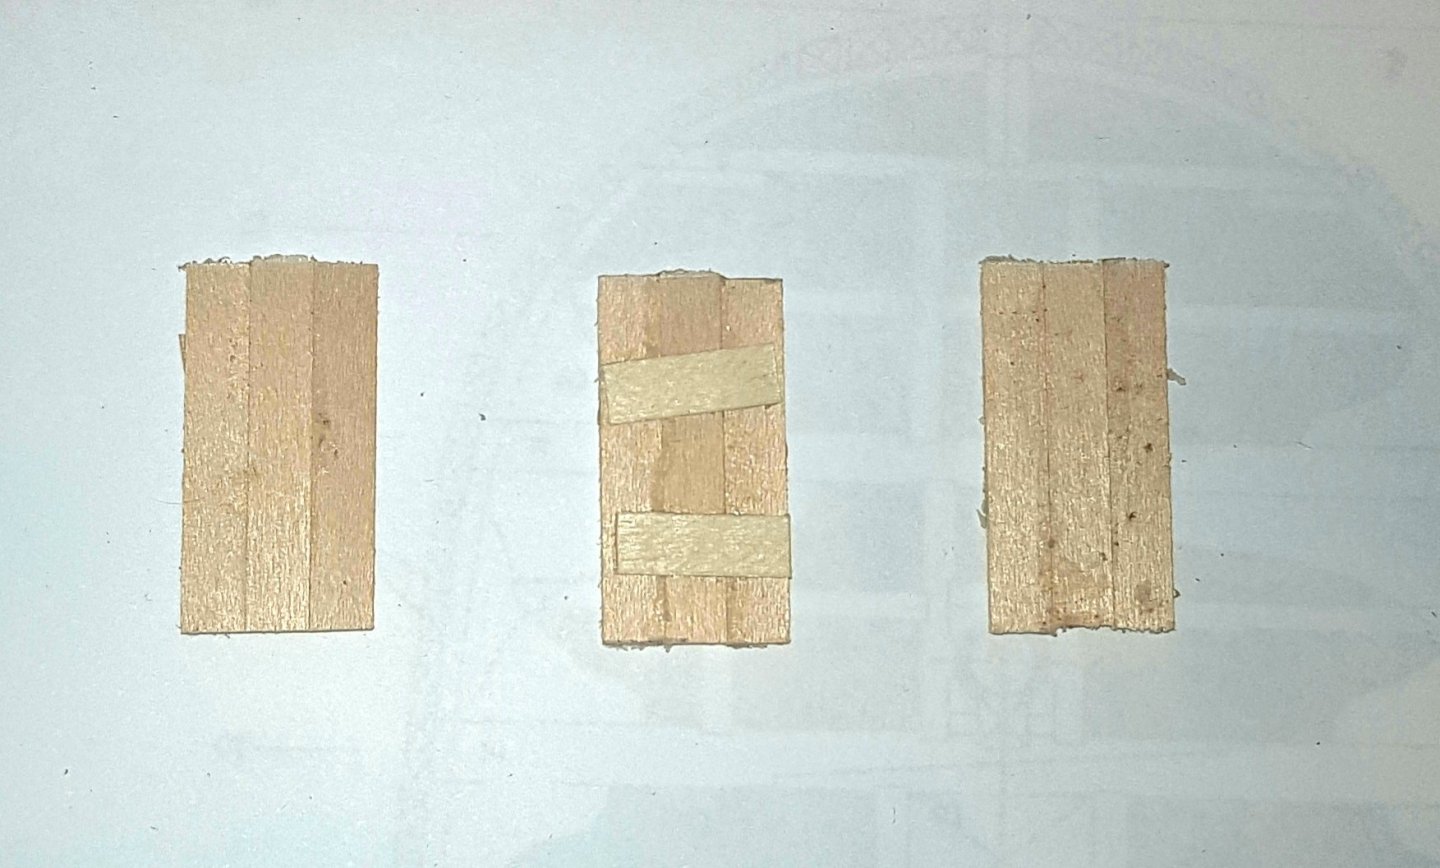
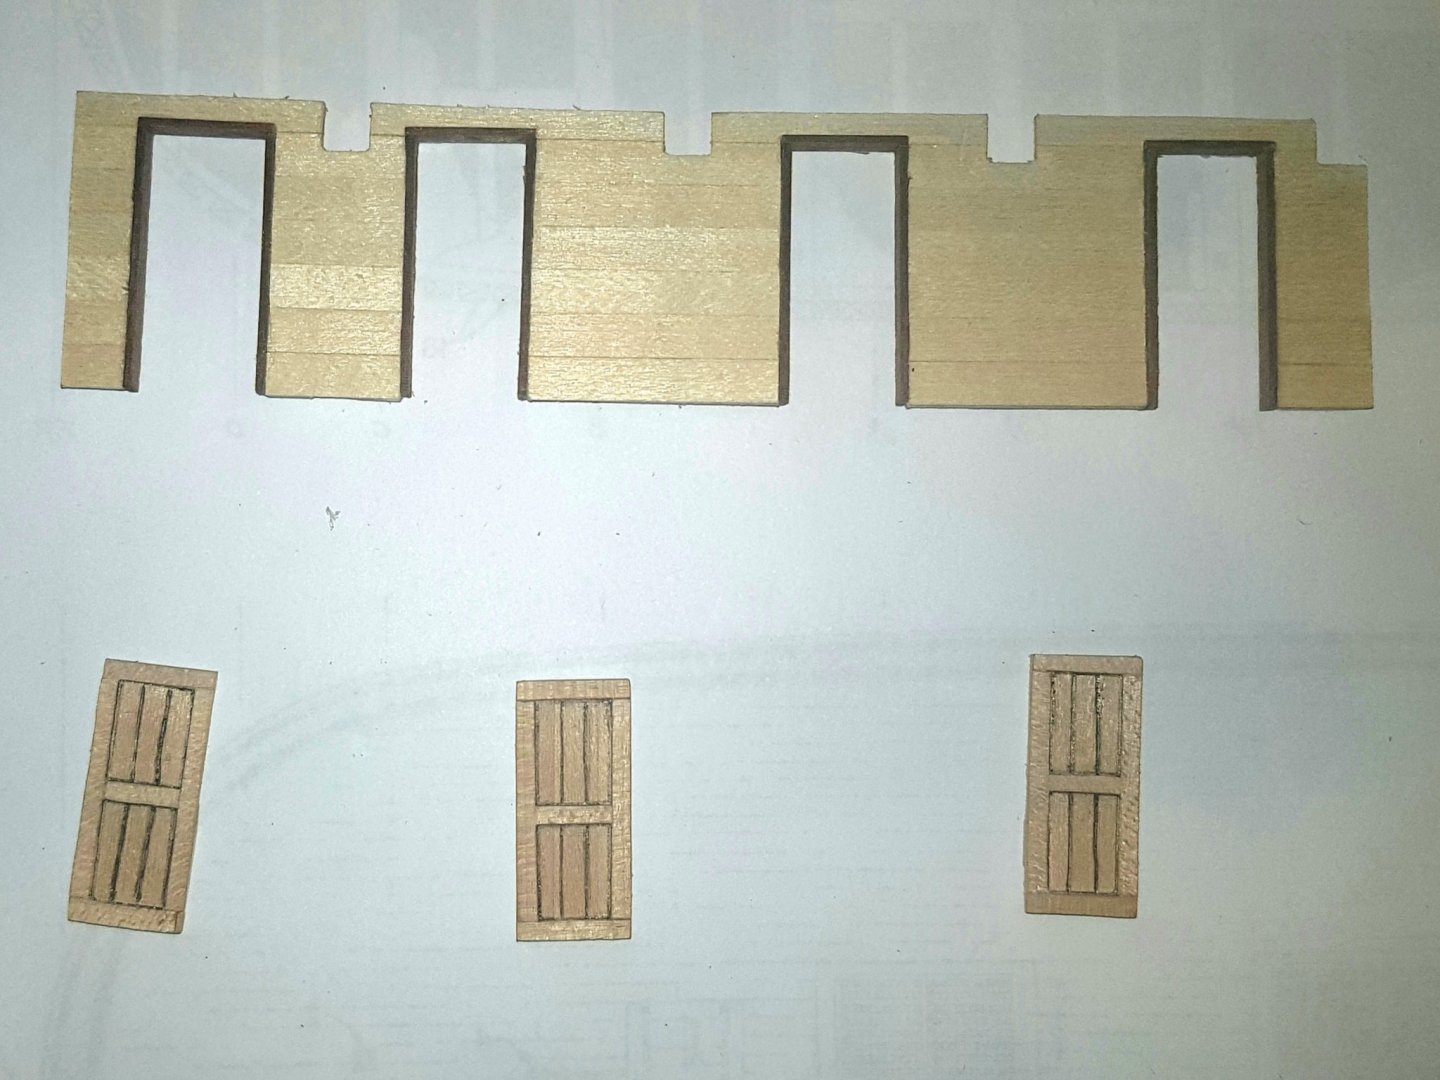
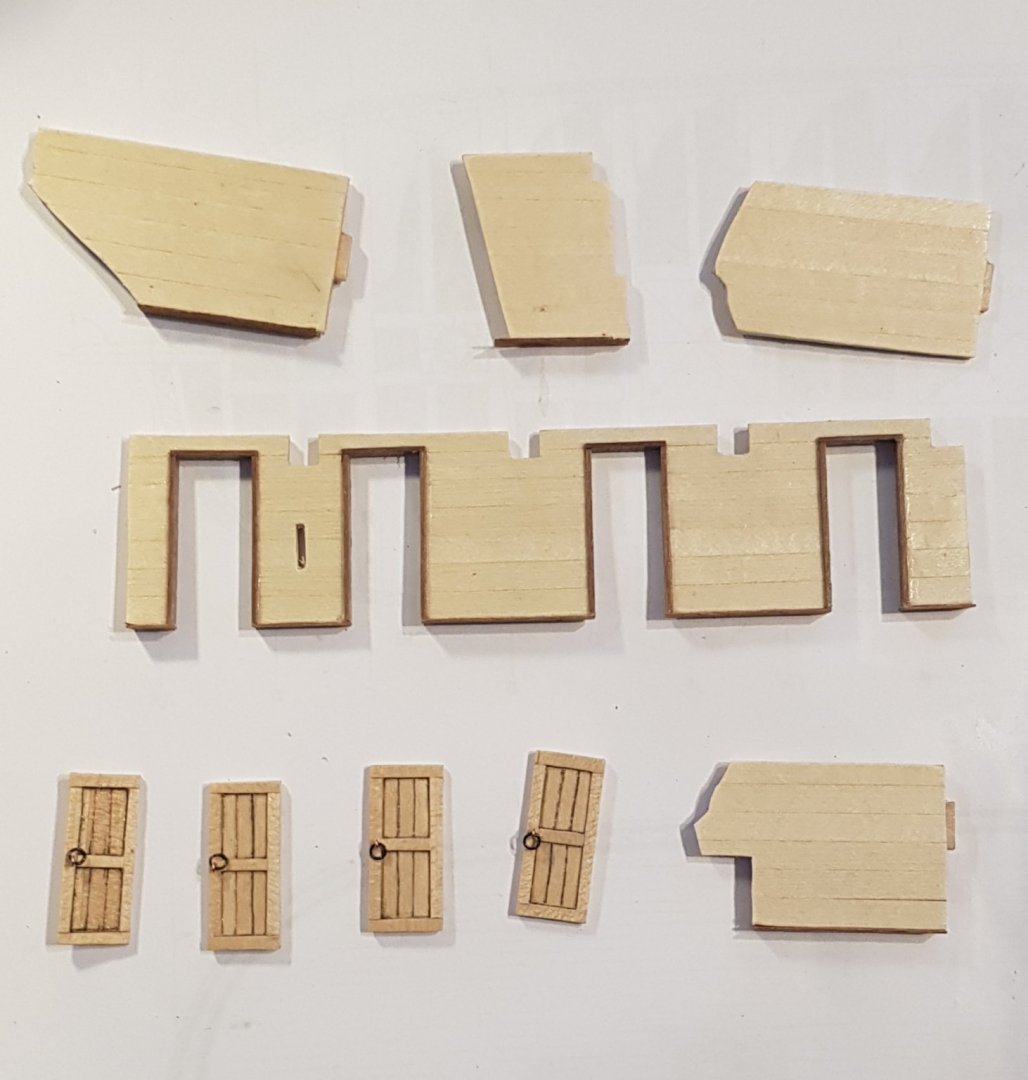
So, another update. After finishing the hold deck, it was time to make the fore mast hole and mizzen mast hole. The instructions say to round them a bit (which I did), but I thought they looked a little plain like that. So I just put some grooves on the edge and stained it walnut. The spacing isn't quite perfect but it's a decent first effort. With the cabin additions, I wanted to use plywood as a base but I couldn't get hold of the size I wanted. In the end I used 1.5mm lime which is very flexible but easy to work with and cut/shape. Below is what I've managed so far. As I want one of the cabin doors to be open, I made them separate to the walls. For the closed doors I used 3 strips of 5mm, then cut down to 12.5mm and put a frame on them using 0.5mm wood. For the open door I used 3 strips of 0.5mm wood and then framed them either side. I used 2mm black rings for the handles rather than the standard 3.5mm brass ones included in the kit. Will be installing these this evening but everything fits on a dry run.
-
Just looking at the picture now, it looks like it could break if it's forced. Are you able to steam it back into place? Put some glue behind it, put an iron on it and hold it for a bit.
- 392 replies
About us
Modelshipworld - Advancing Ship Modeling through Research
SSL Secured
Your security is important for us so this Website is SSL-Secured
NRG Mailing Address
Nautical Research Guild
237 South Lincoln Street
Westmont IL, 60559-1917
Model Ship World ® and the MSW logo are Registered Trademarks, and belong to the Nautical Research Guild (United States Patent and Trademark Office: No. 6,929,264 & No. 6,929,274, registered Dec. 20, 2022)
Helpful Links
About the NRG
If you enjoy building ship models that are historically accurate as well as beautiful, then The Nautical Research Guild (NRG) is just right for you.
The Guild is a non-profit educational organization whose mission is to “Advance Ship Modeling Through Research”. We provide support to our members in their efforts to raise the quality of their model ships.
The Nautical Research Guild has published our world-renowned quarterly magazine, The Nautical Research Journal, since 1955. The pages of the Journal are full of articles by accomplished ship modelers who show you how they create those exquisite details on their models, and by maritime historians who show you the correct details to build. The Journal is available in both print and digital editions. Go to the NRG web site (www.thenrg.org) to download a complimentary digital copy of the Journal. The NRG also publishes plan sets, books and compilations of back issues of the Journal and the former Ships in Scale and Model Ship Builder magazines.

