

ChrisSC
-
Posts
163 -
Joined
-
Last visited
Content Type
Profiles
Forums
Gallery
Events
Posts posted by ChrisSC
-
-
-
-
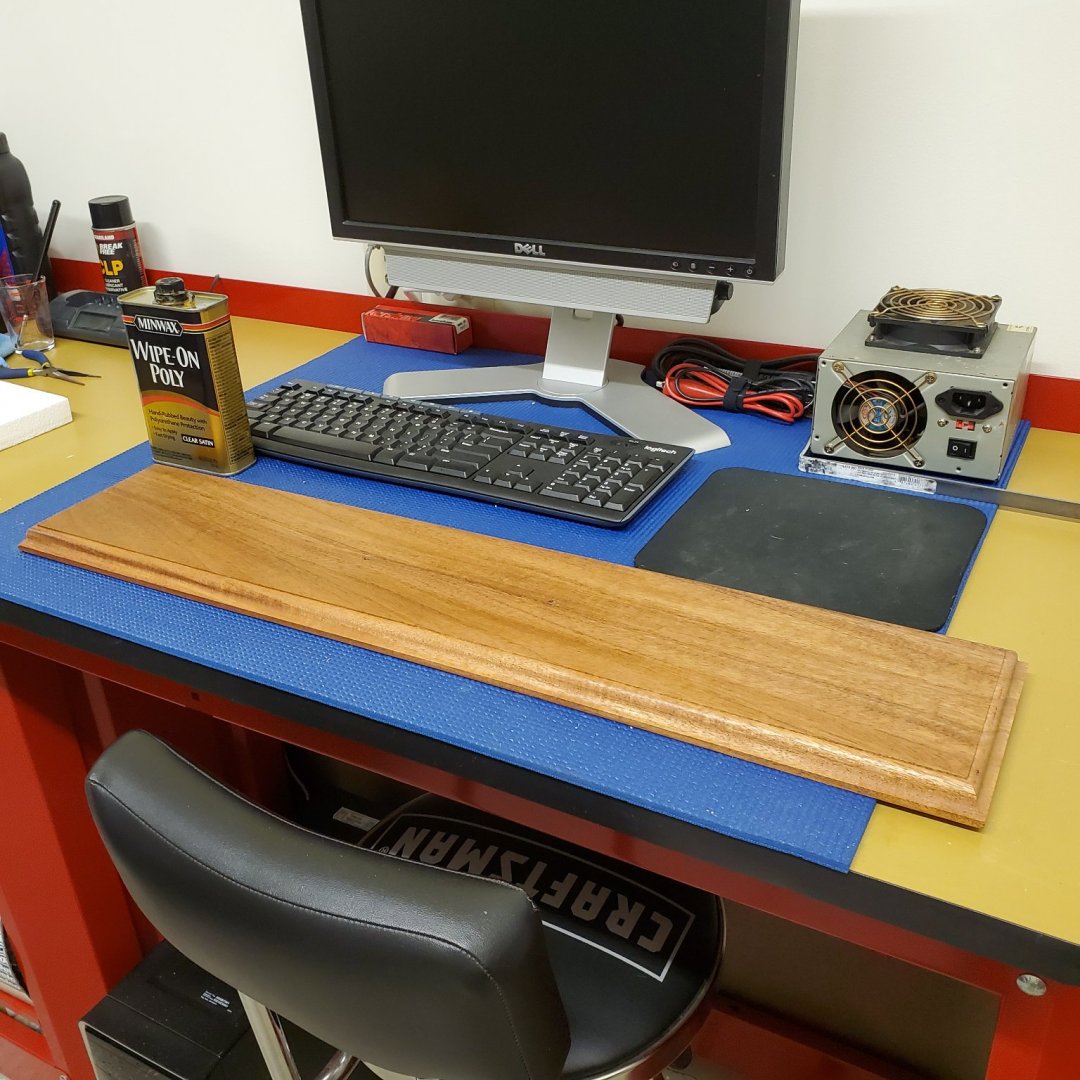
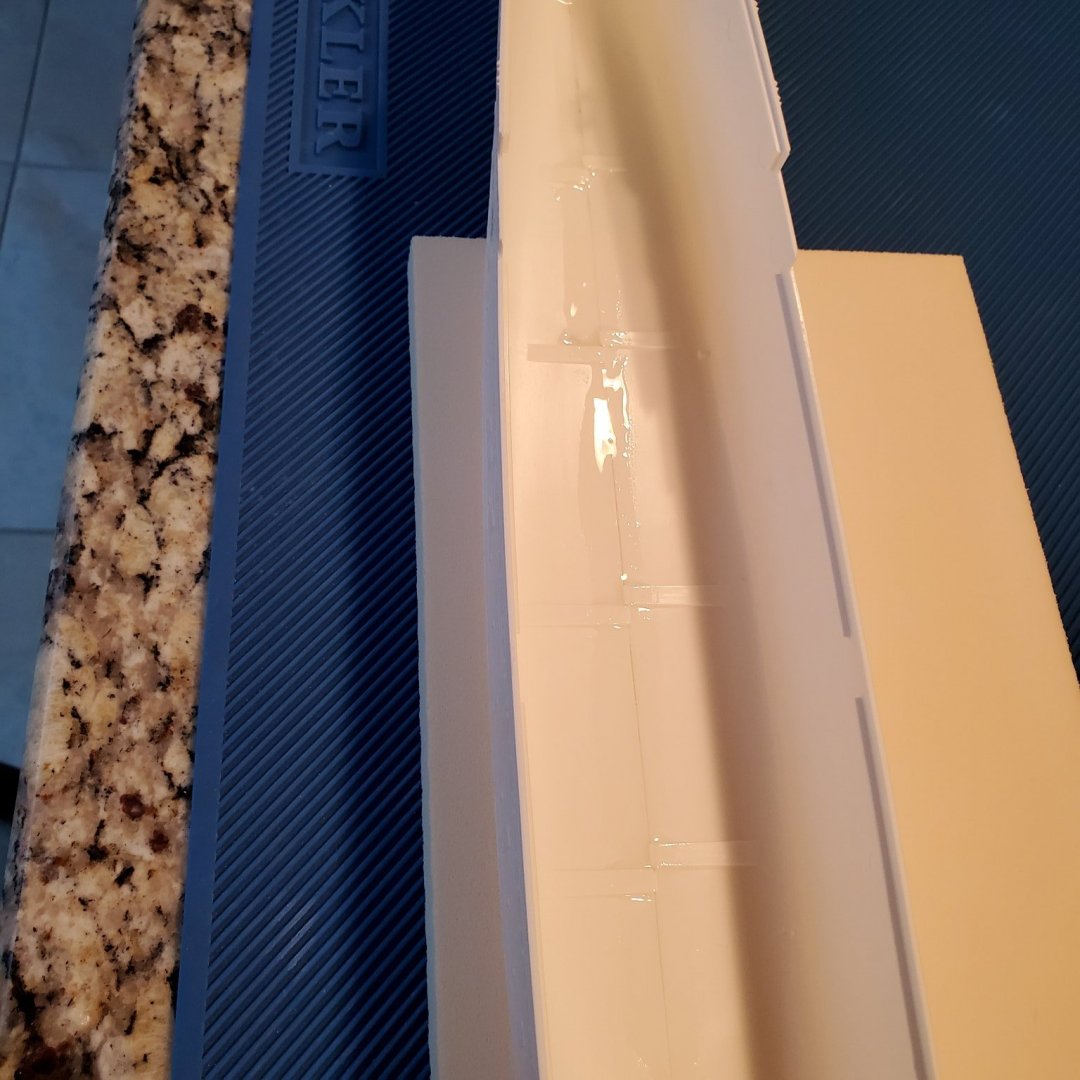
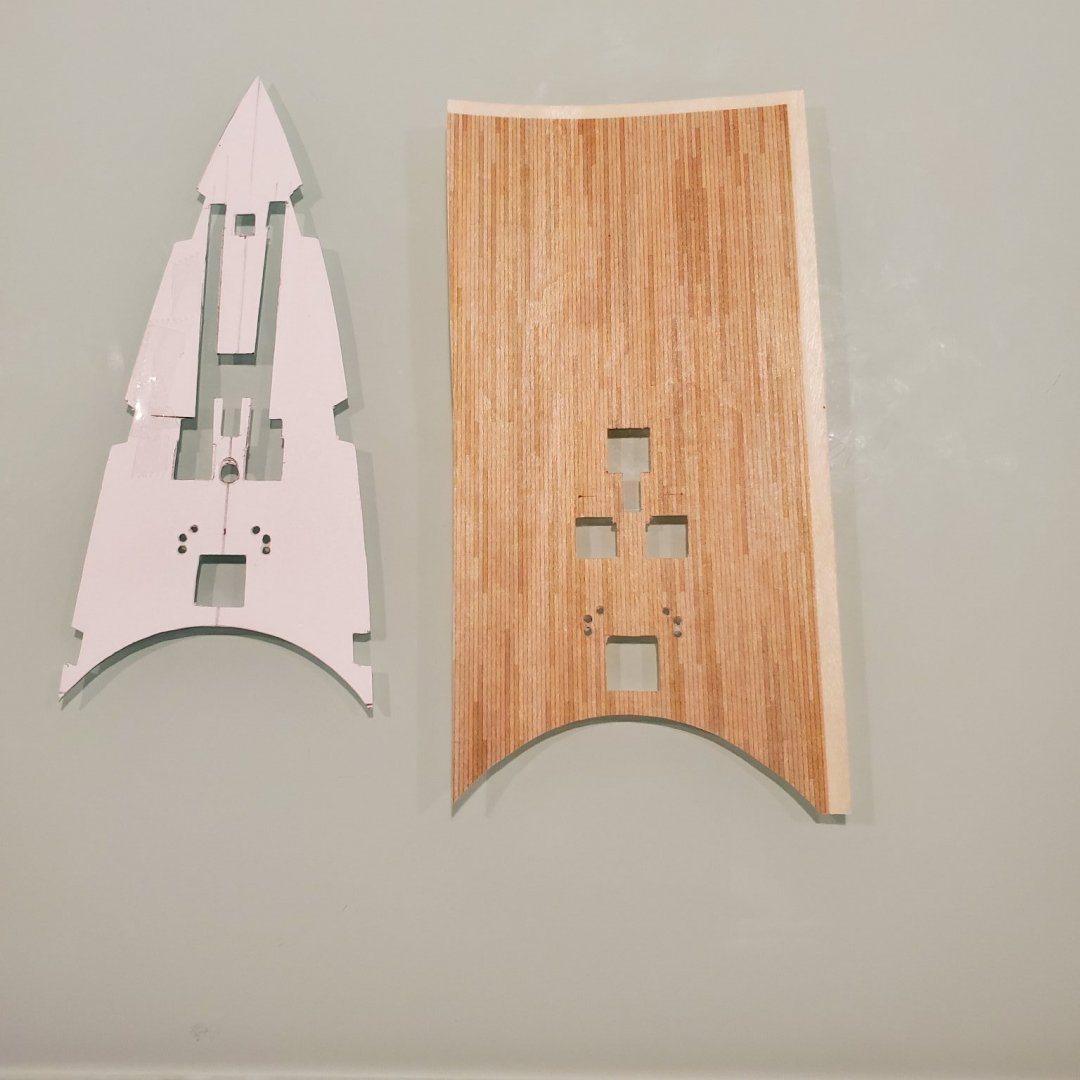
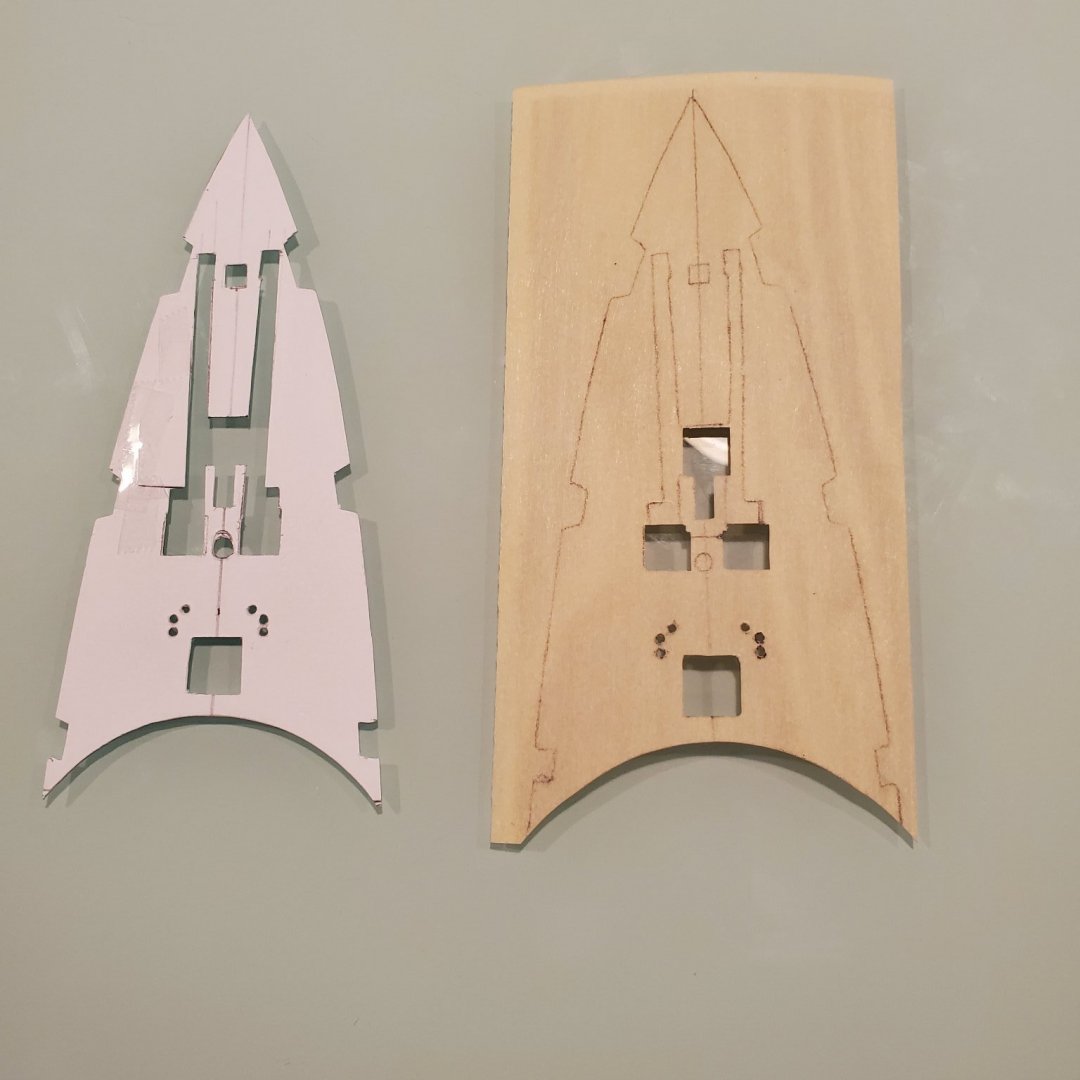
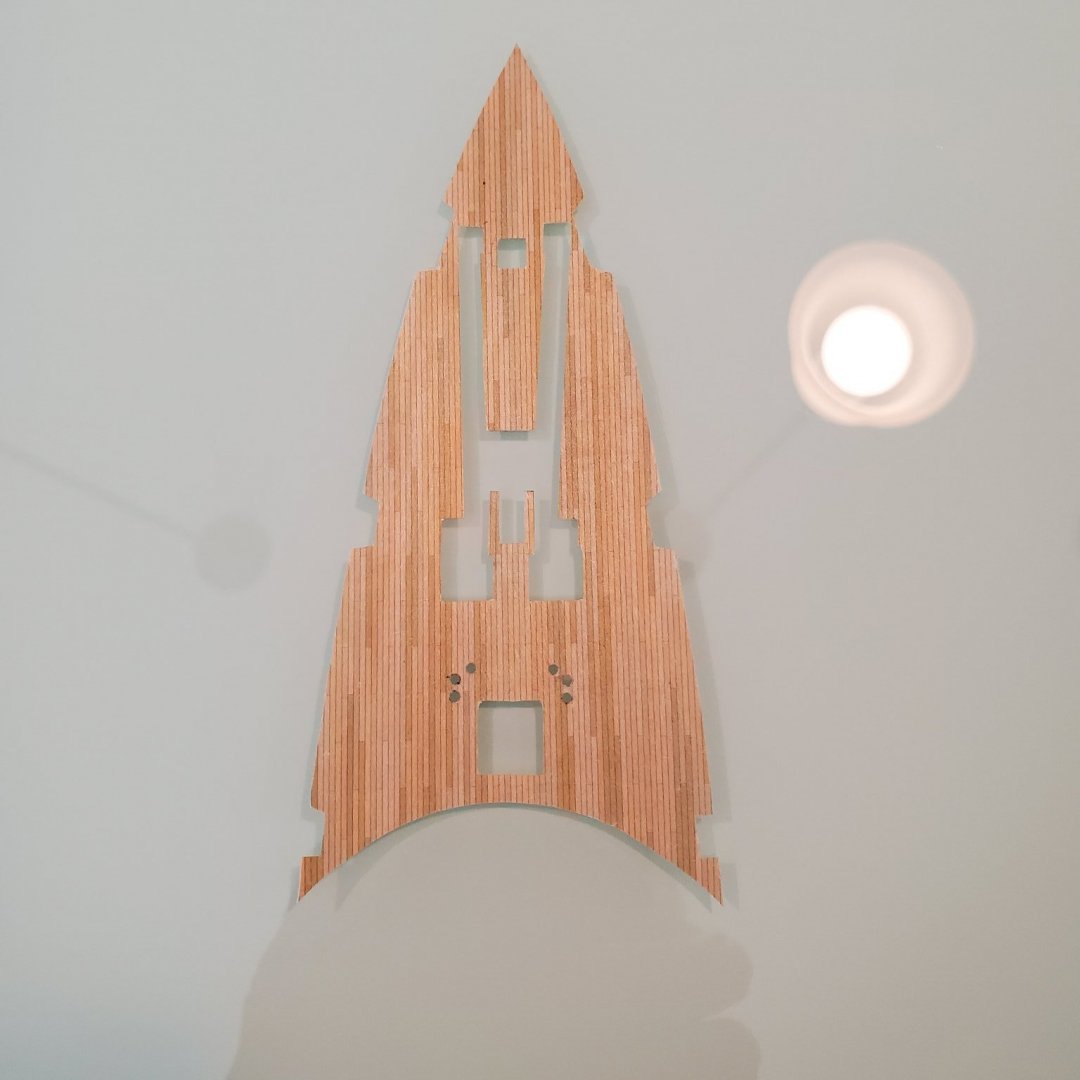
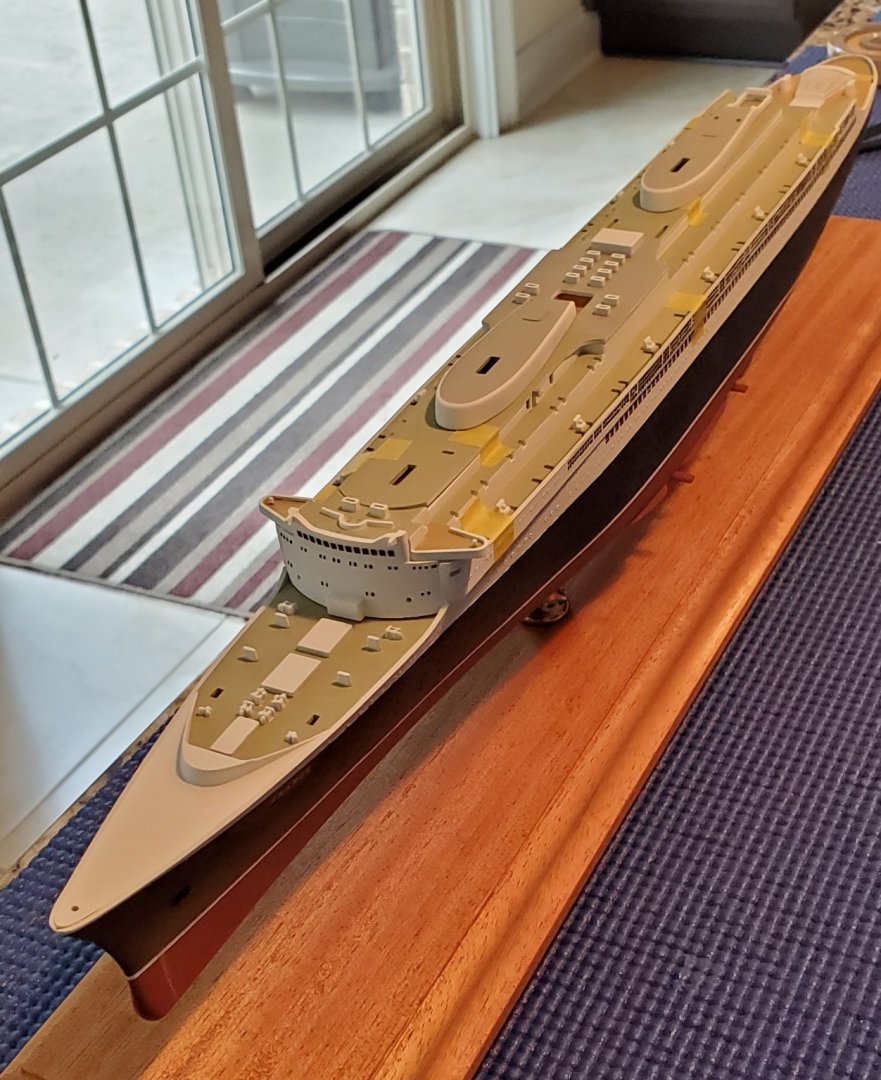
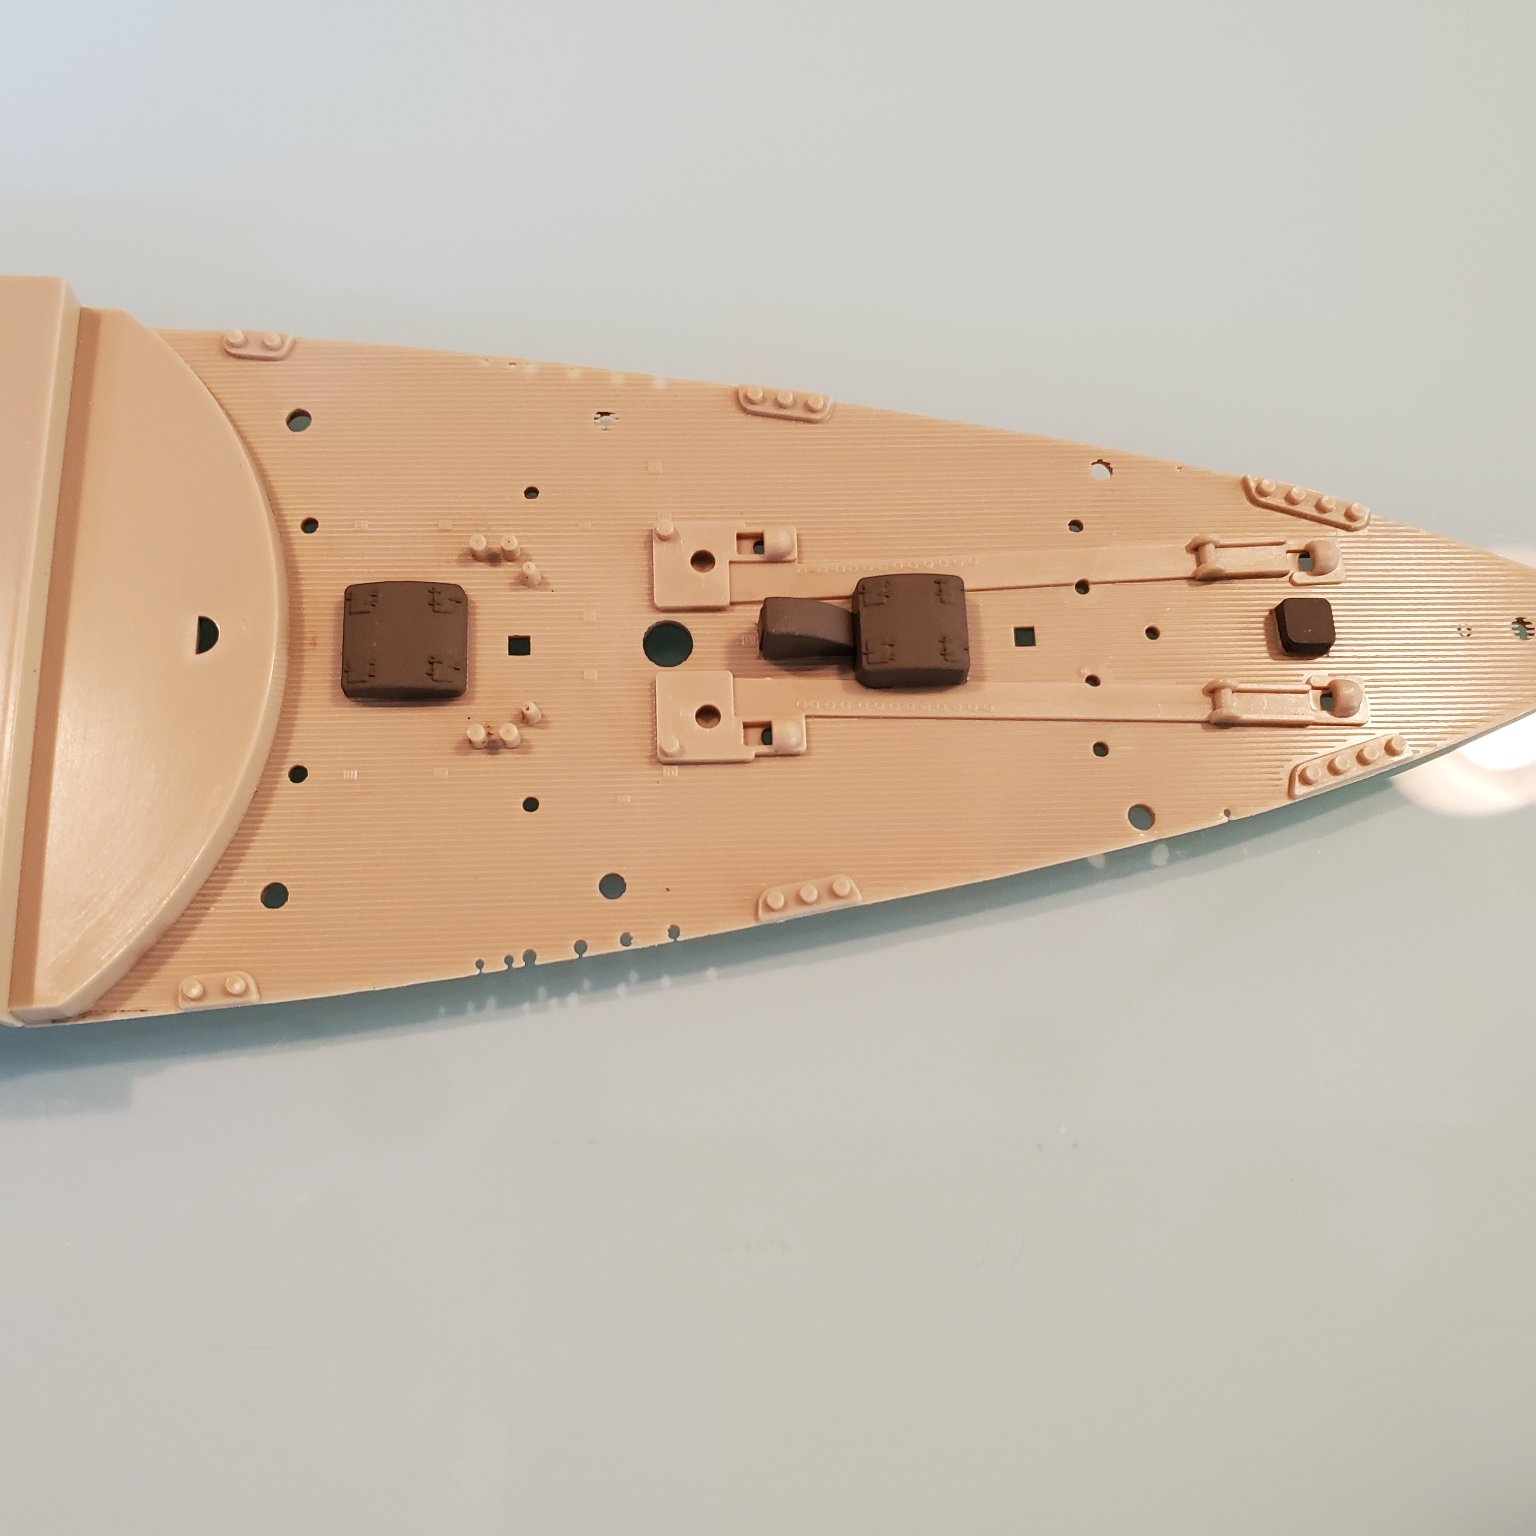
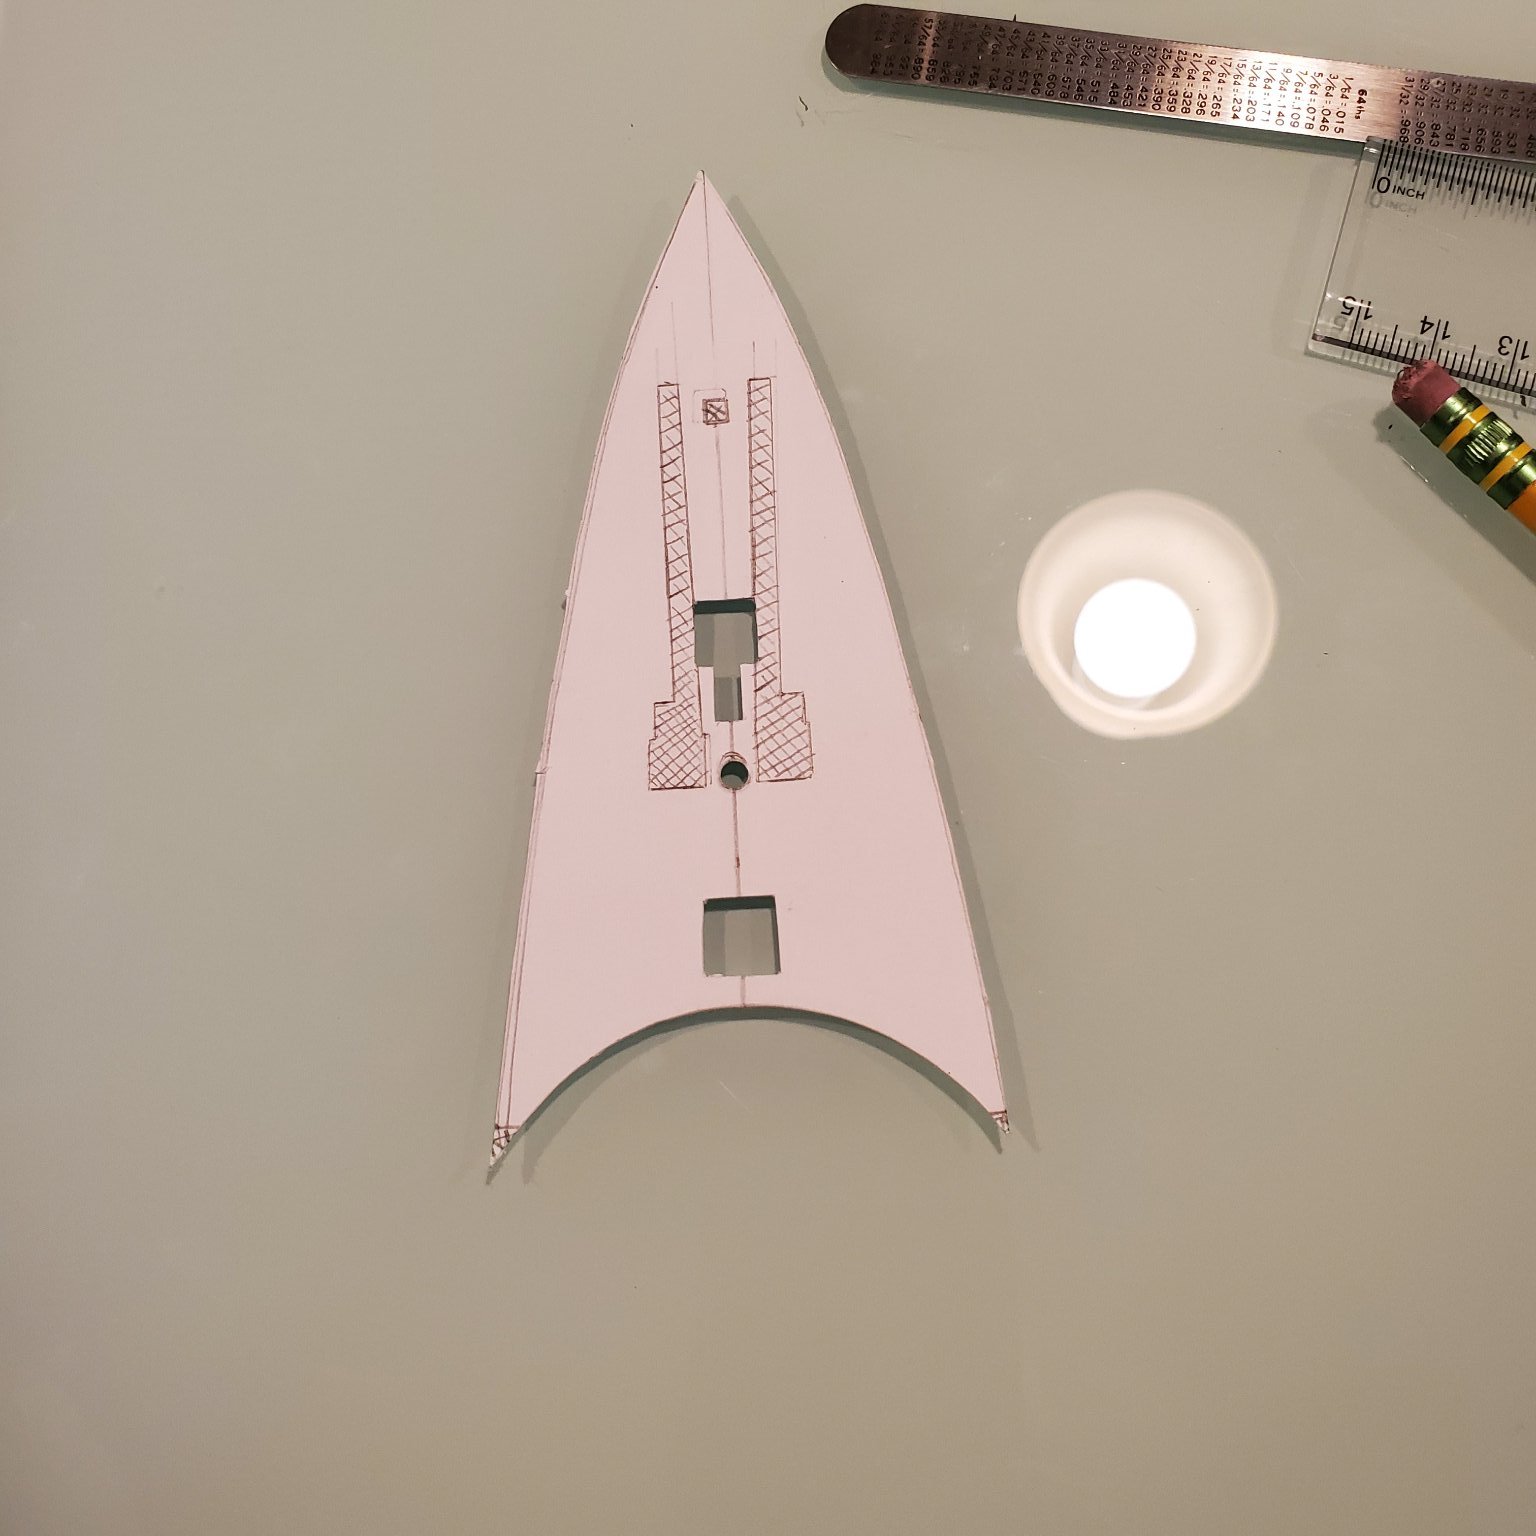
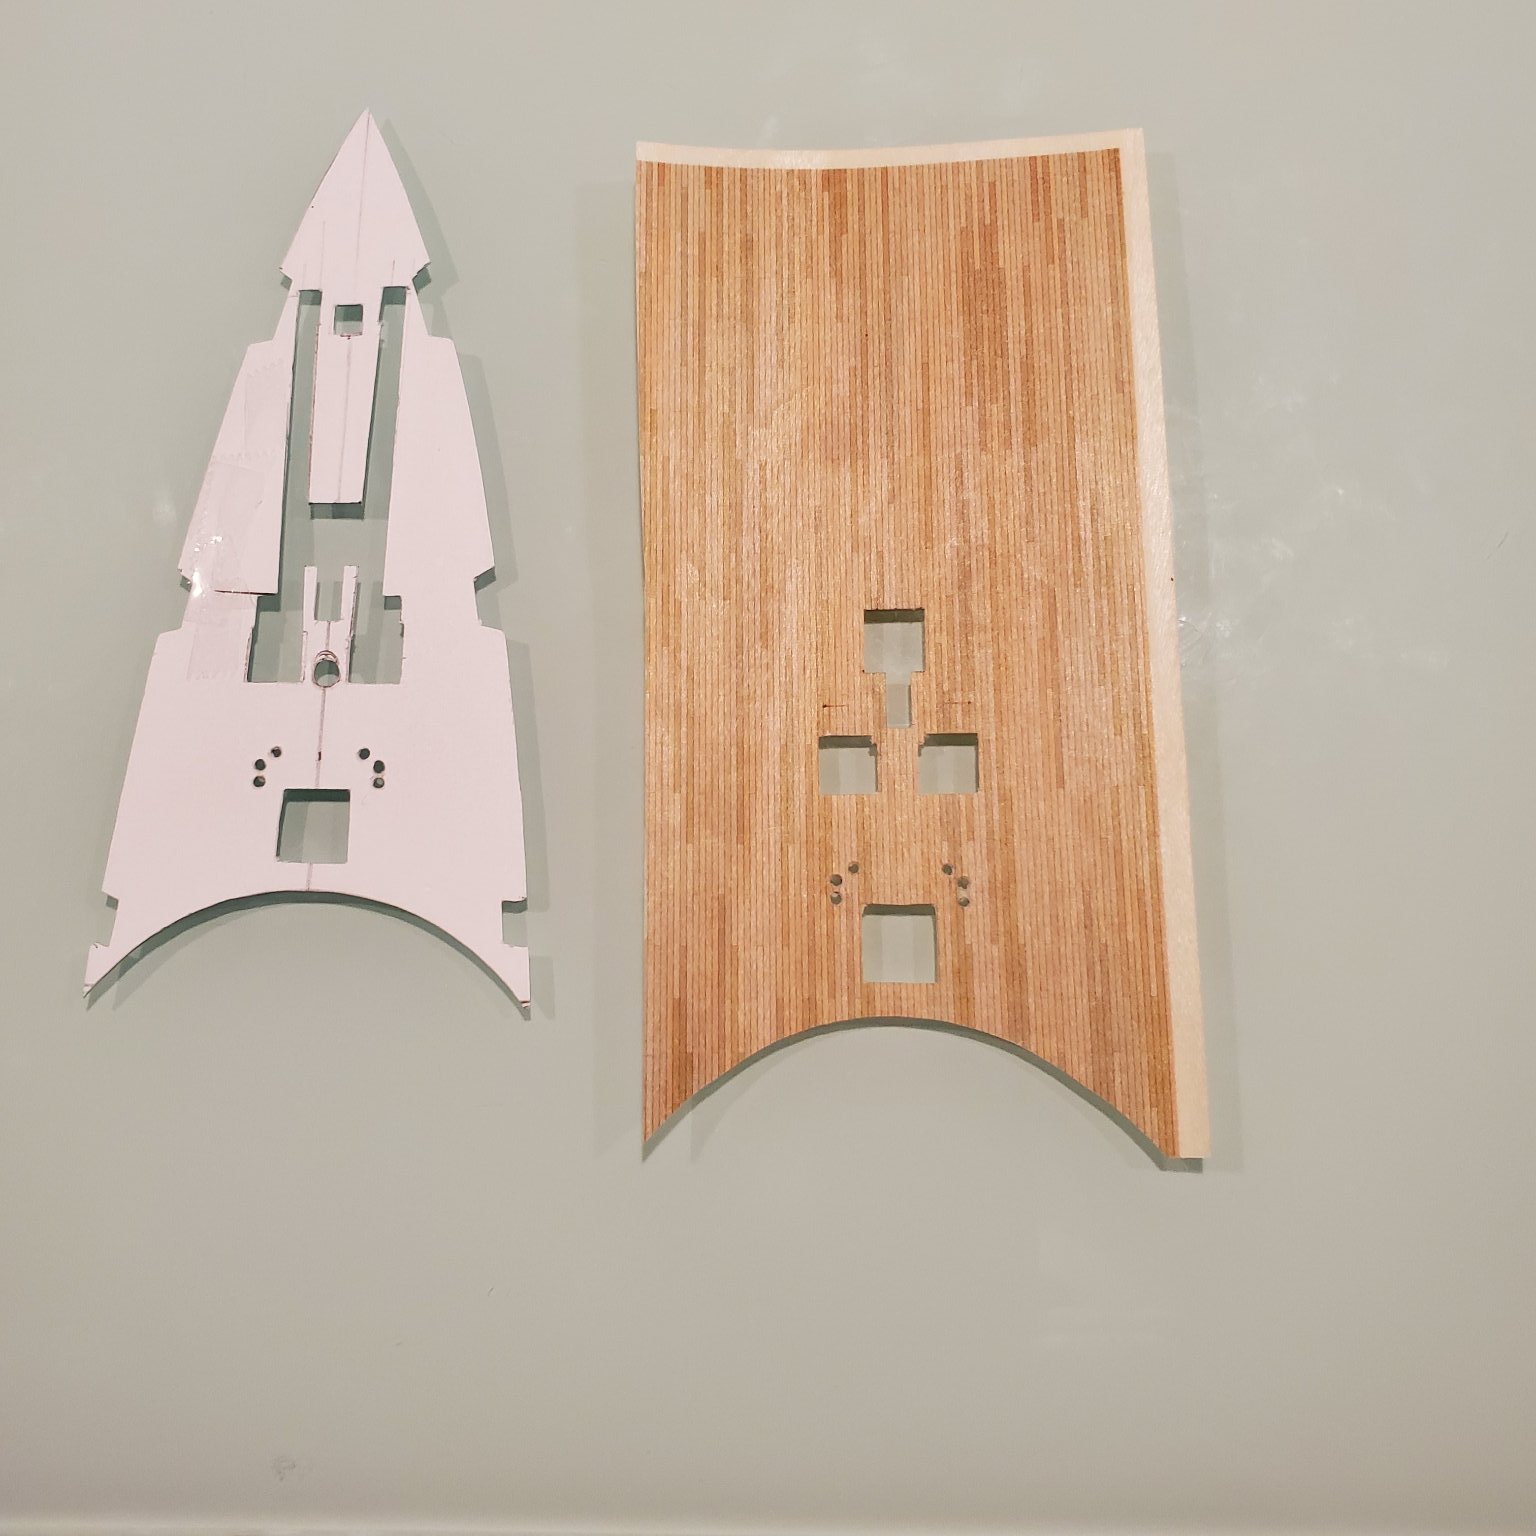
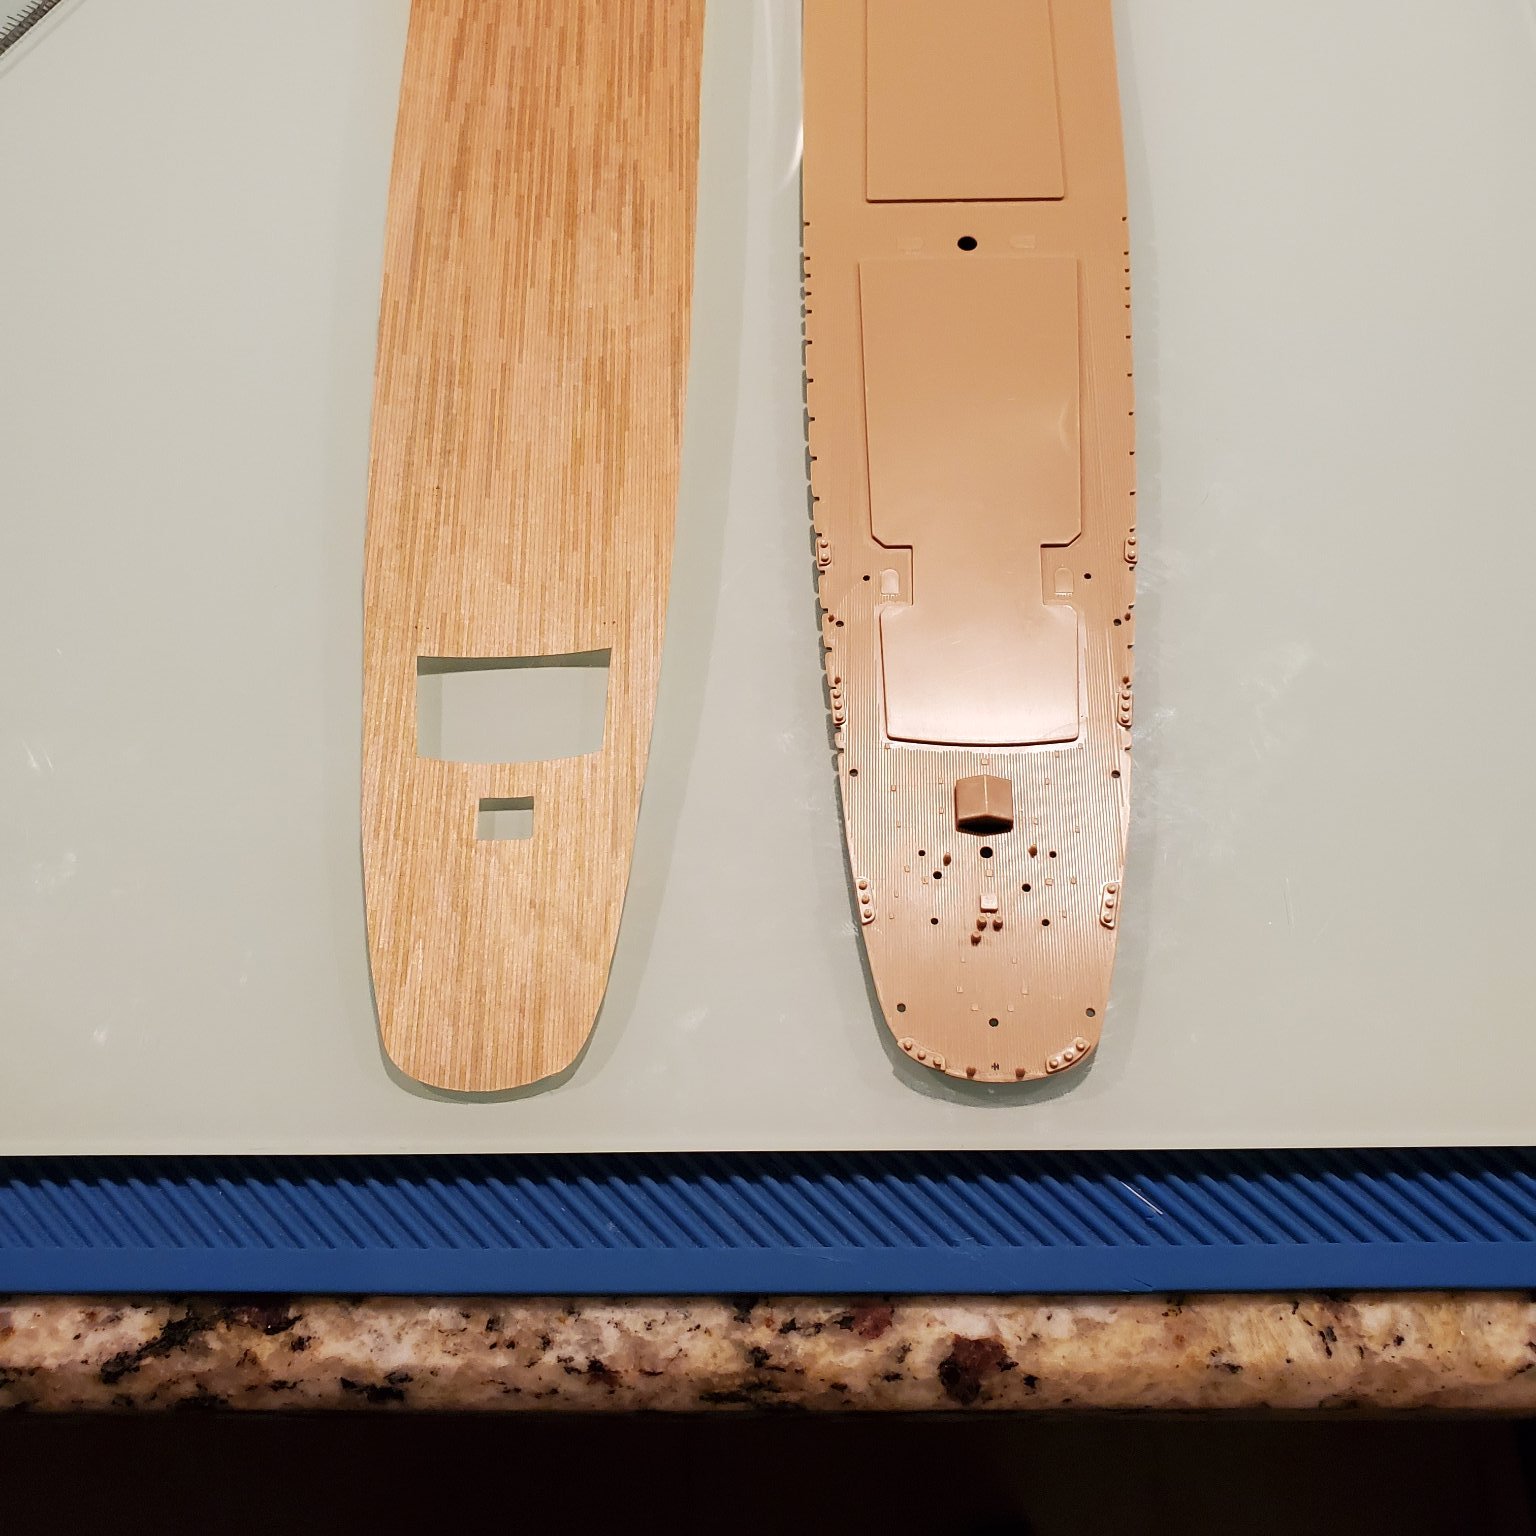
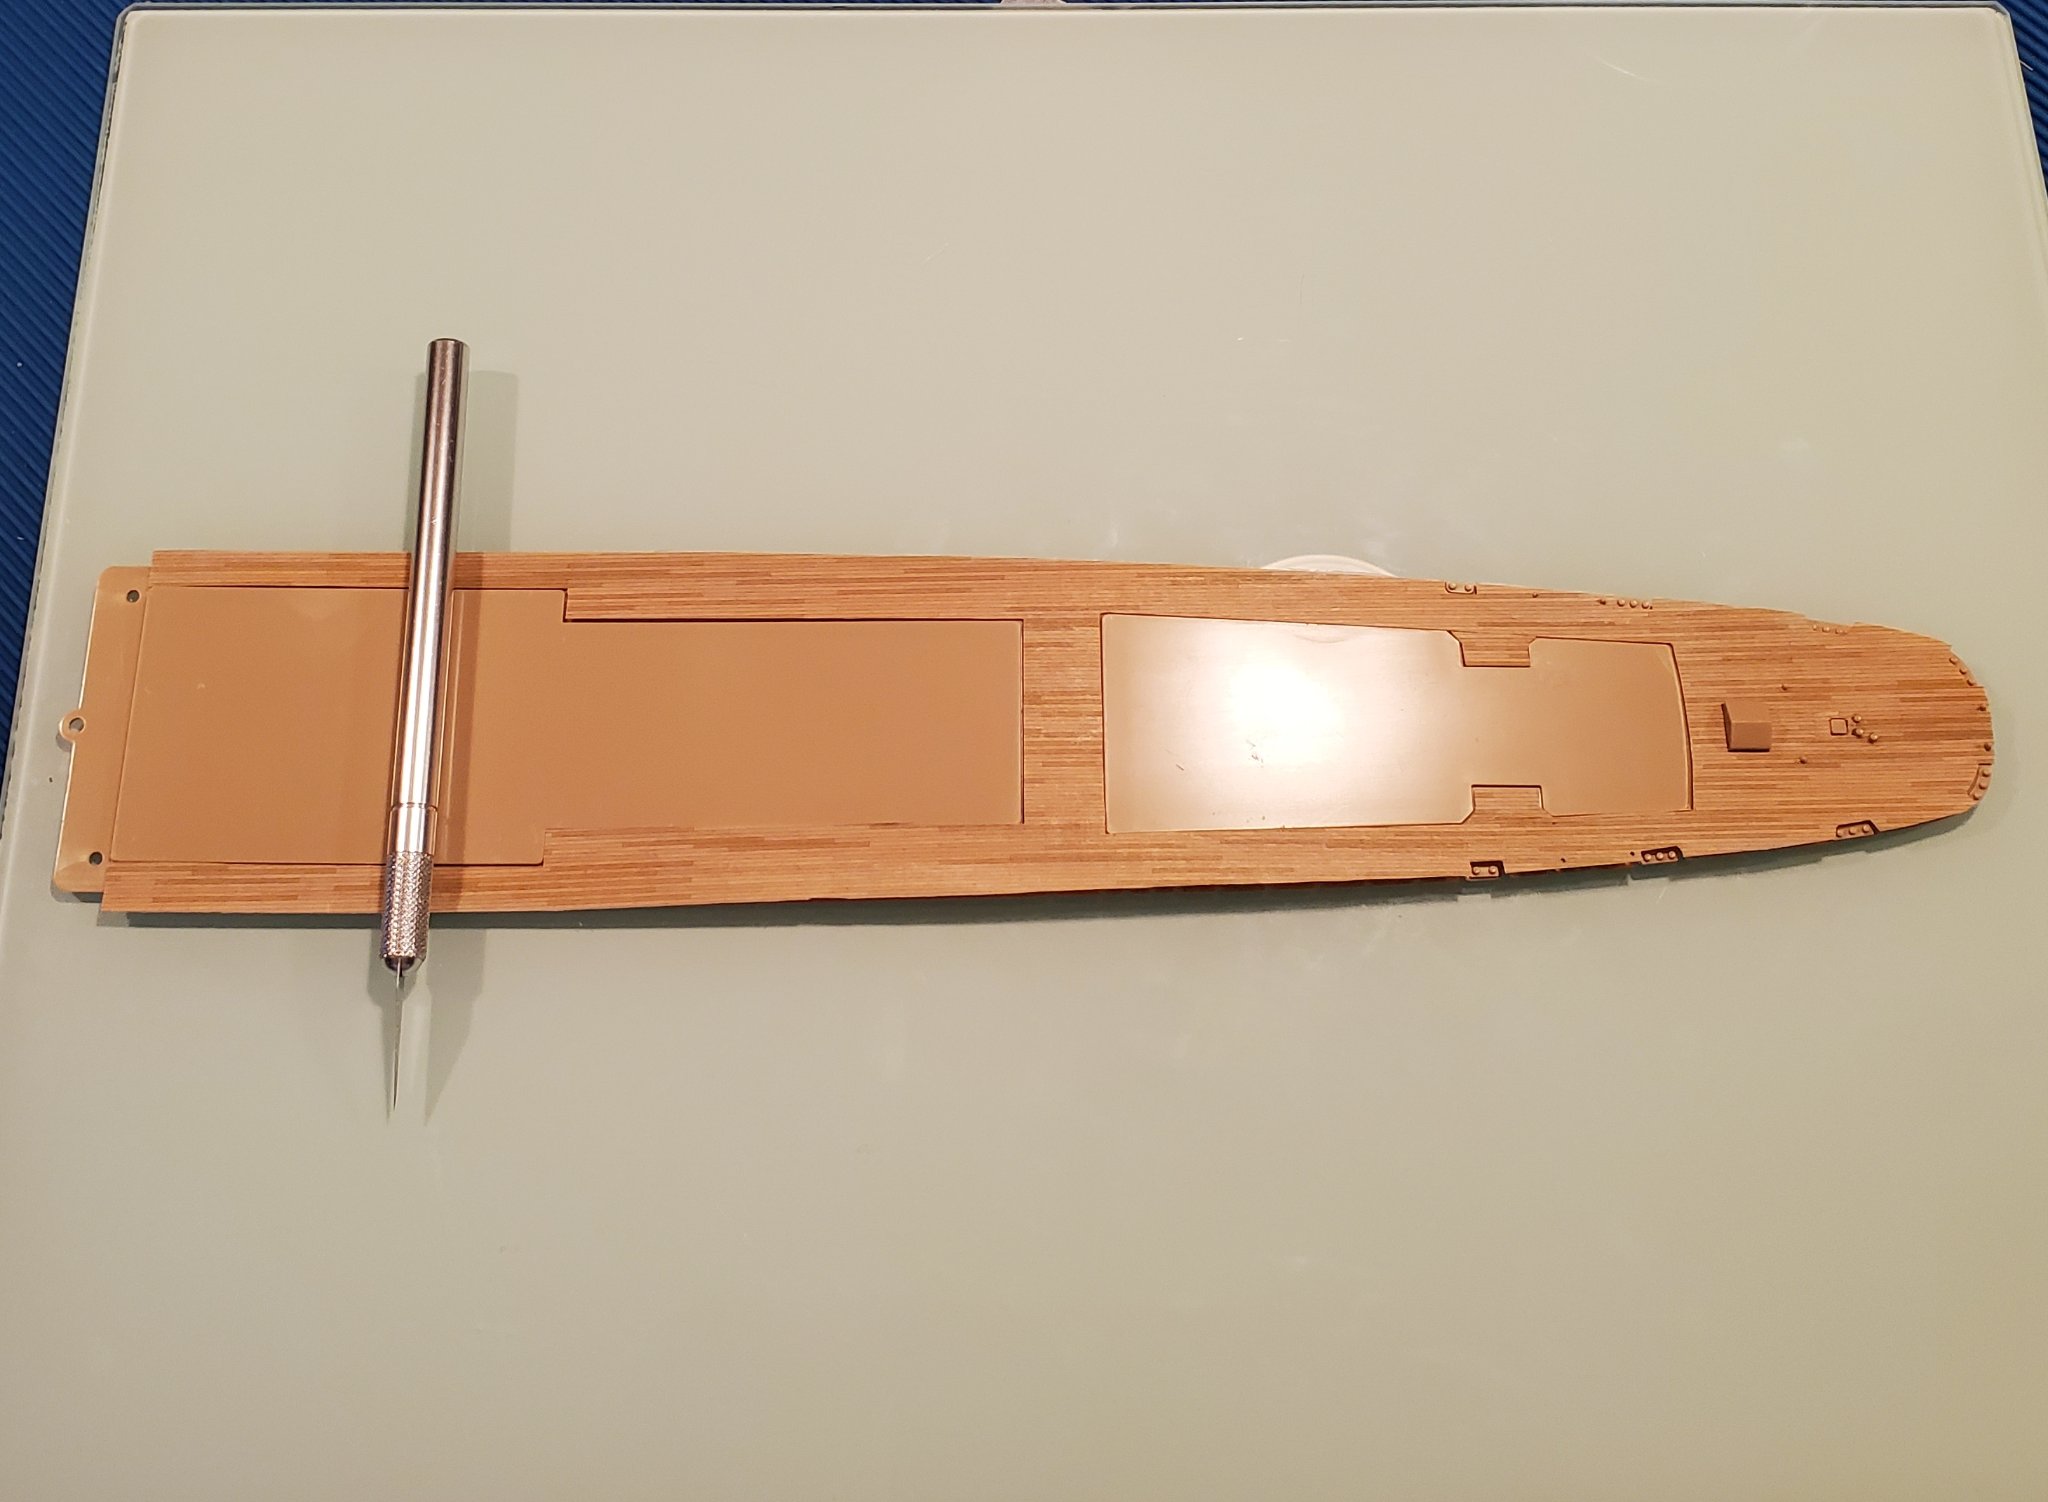
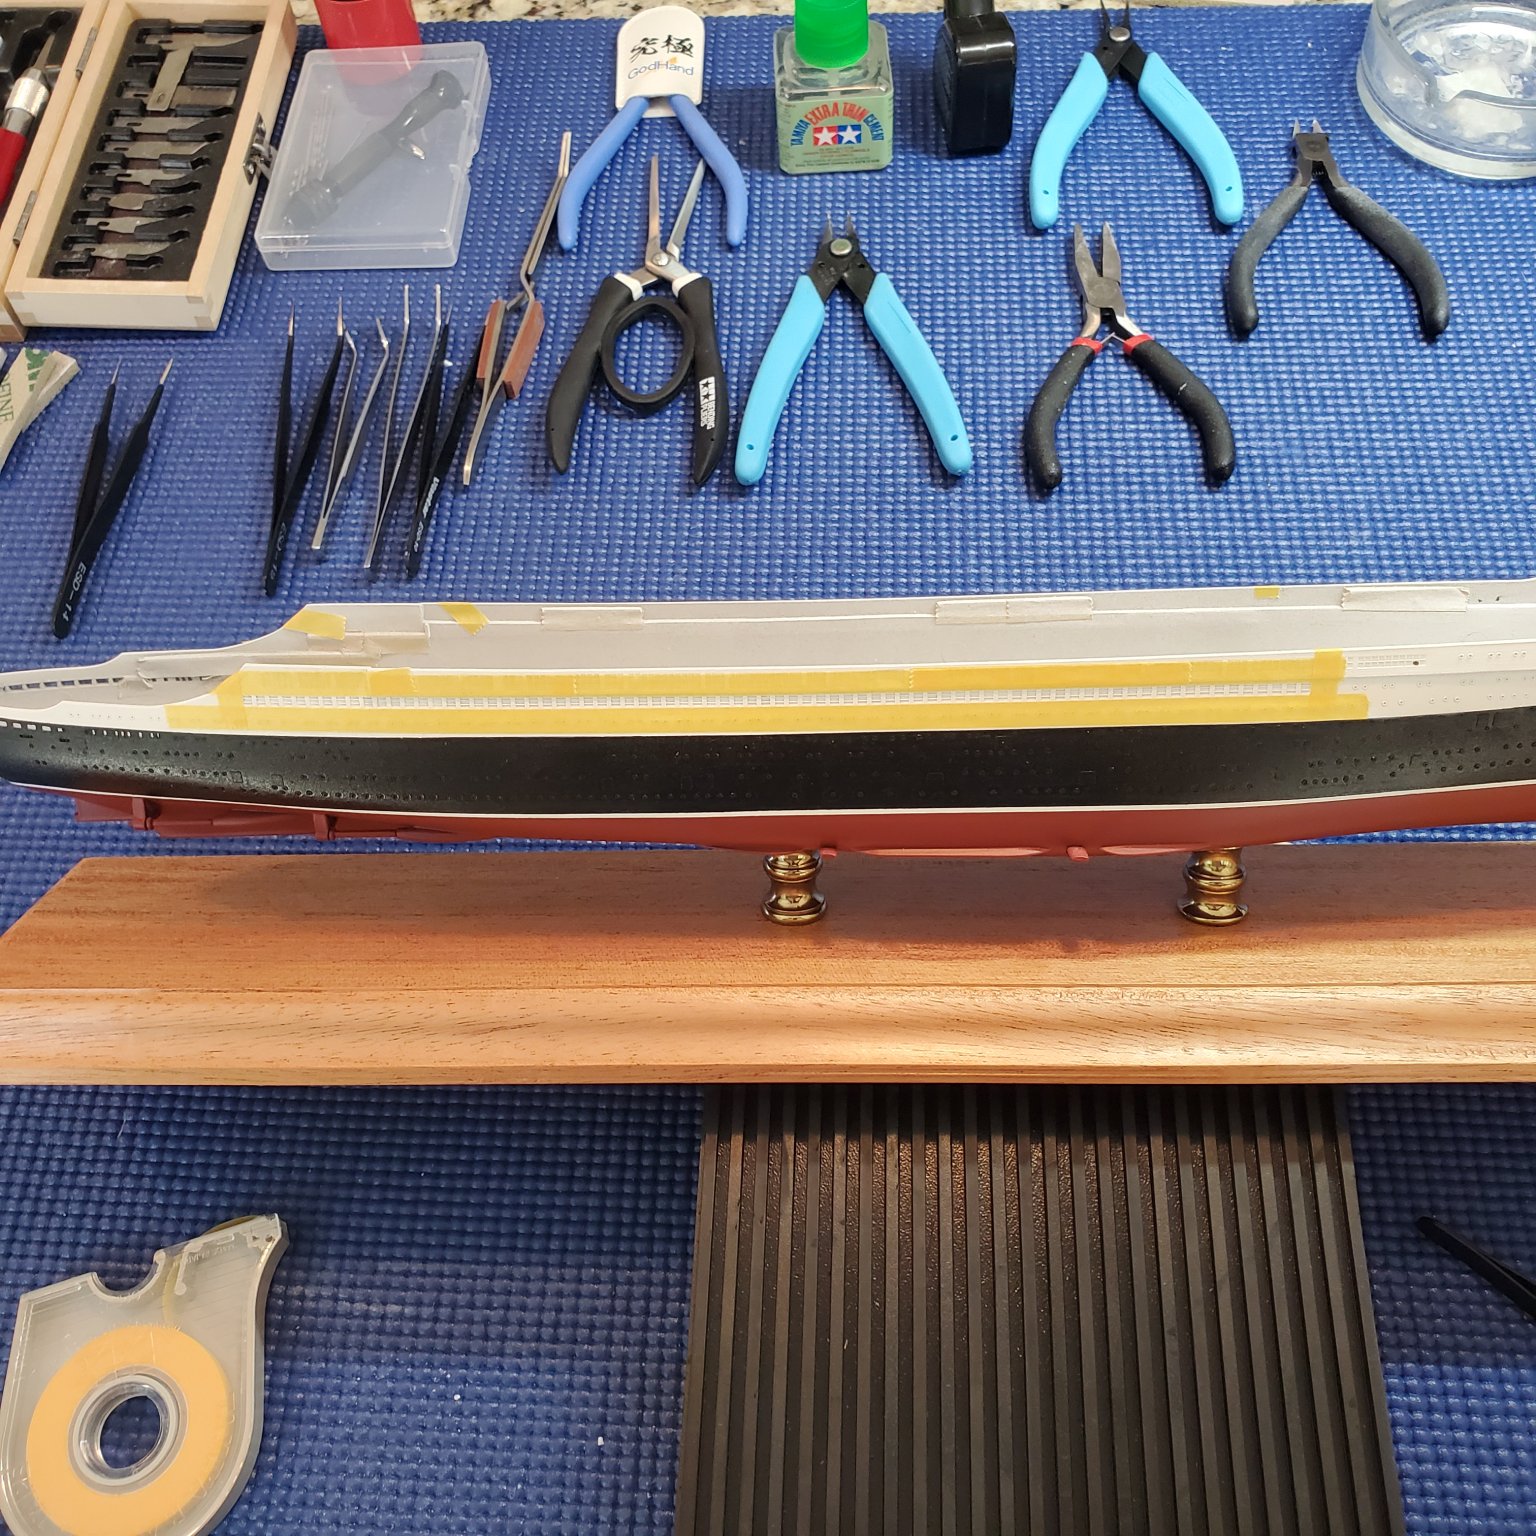
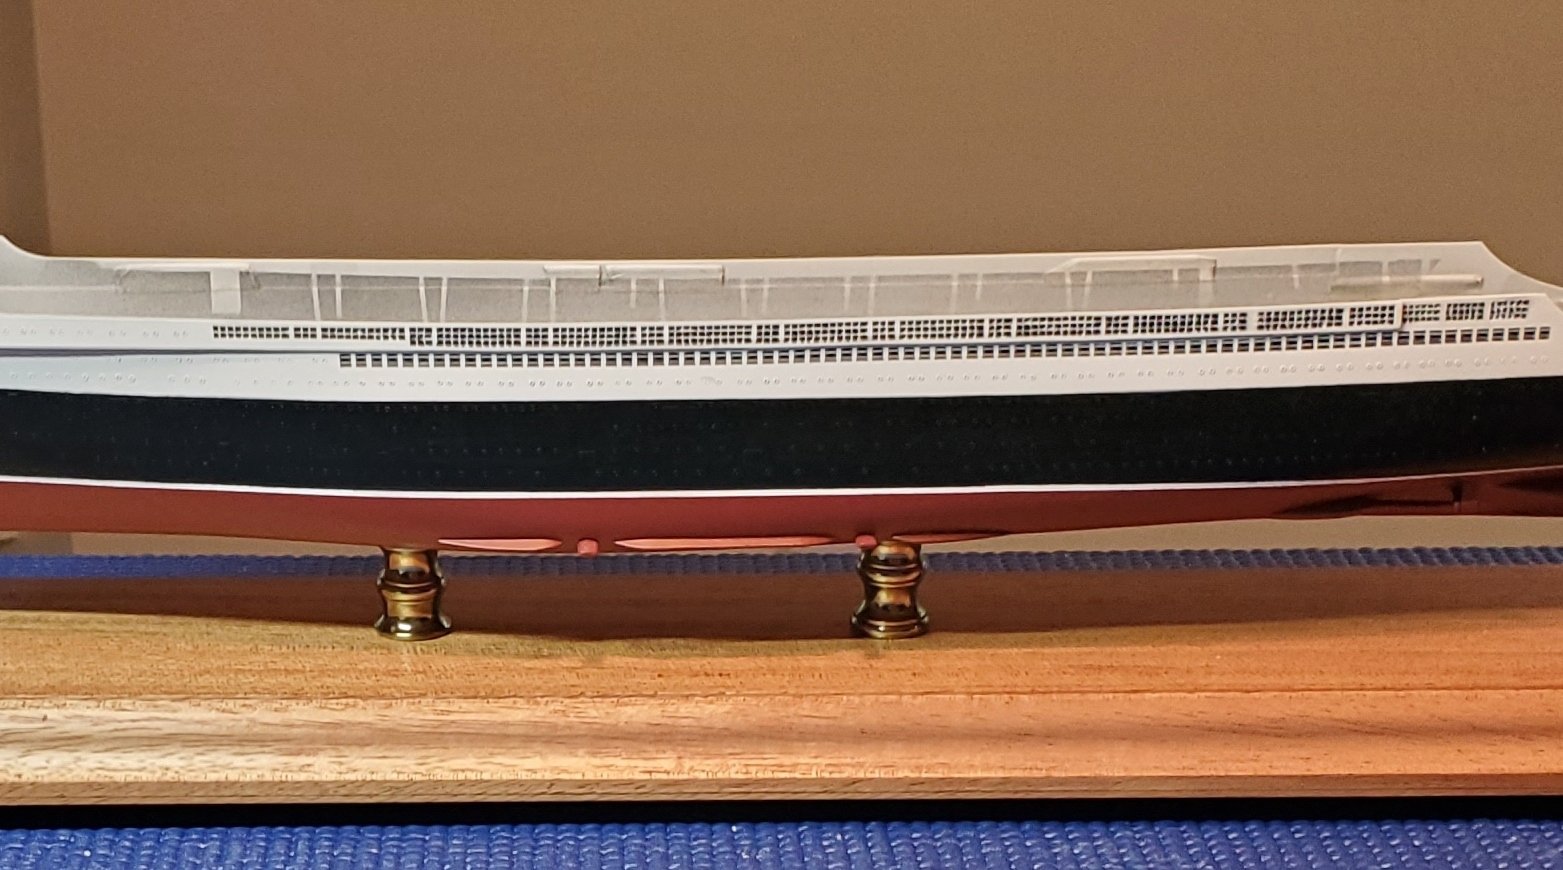
I originally started this ship in April. I wanted to put wood decks on her and started the process of cutting them myself. I quickly found out how difficult a proposition that is for me. After cutting a few I became aware that a laser cut set would soon become available. After looking at how much measuring and cutting the uppermost deck would requires I decided to put her on hold and wait for the professionally cut set. It's a rare model and in my preferred scale so I'm sure the laser cut decks certainly will look much better than anything I could come up with by using a ruler and scalpel! Thankfully I had a few 1/600 ships on hand to keep me occupied during the wait.
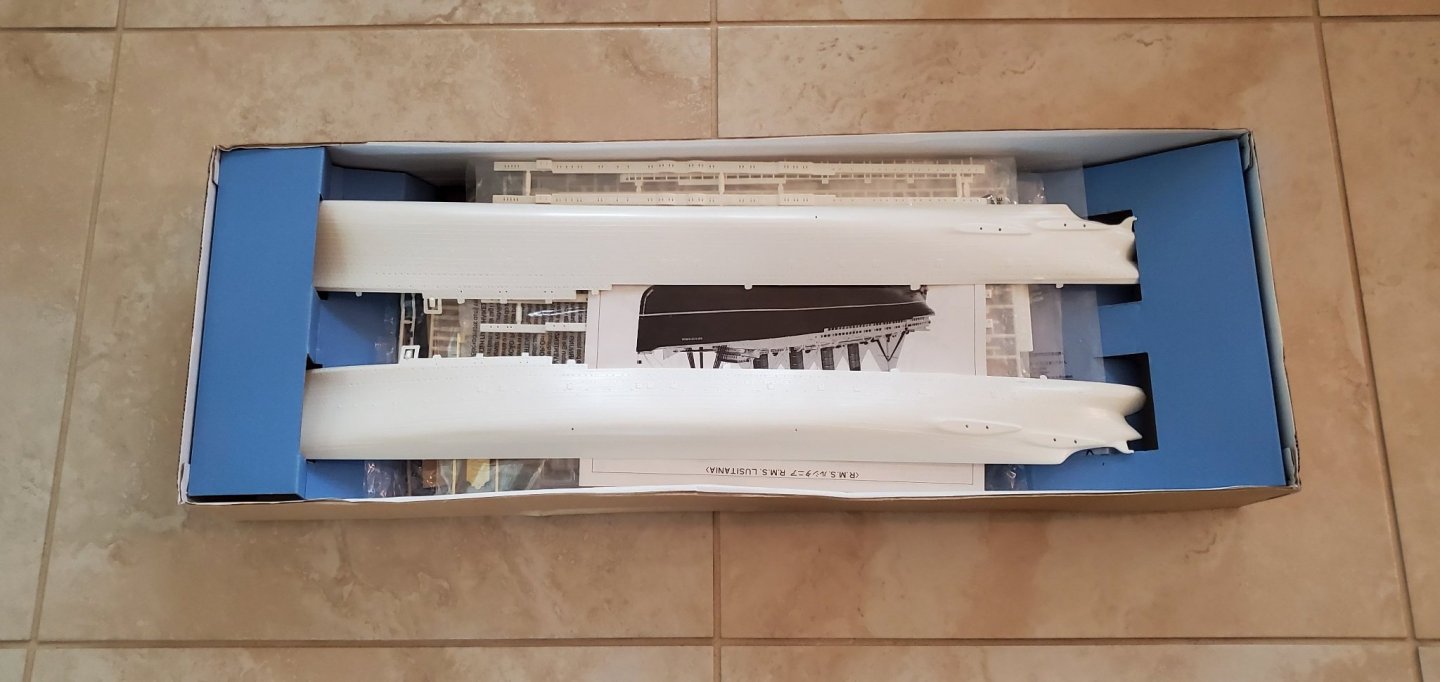
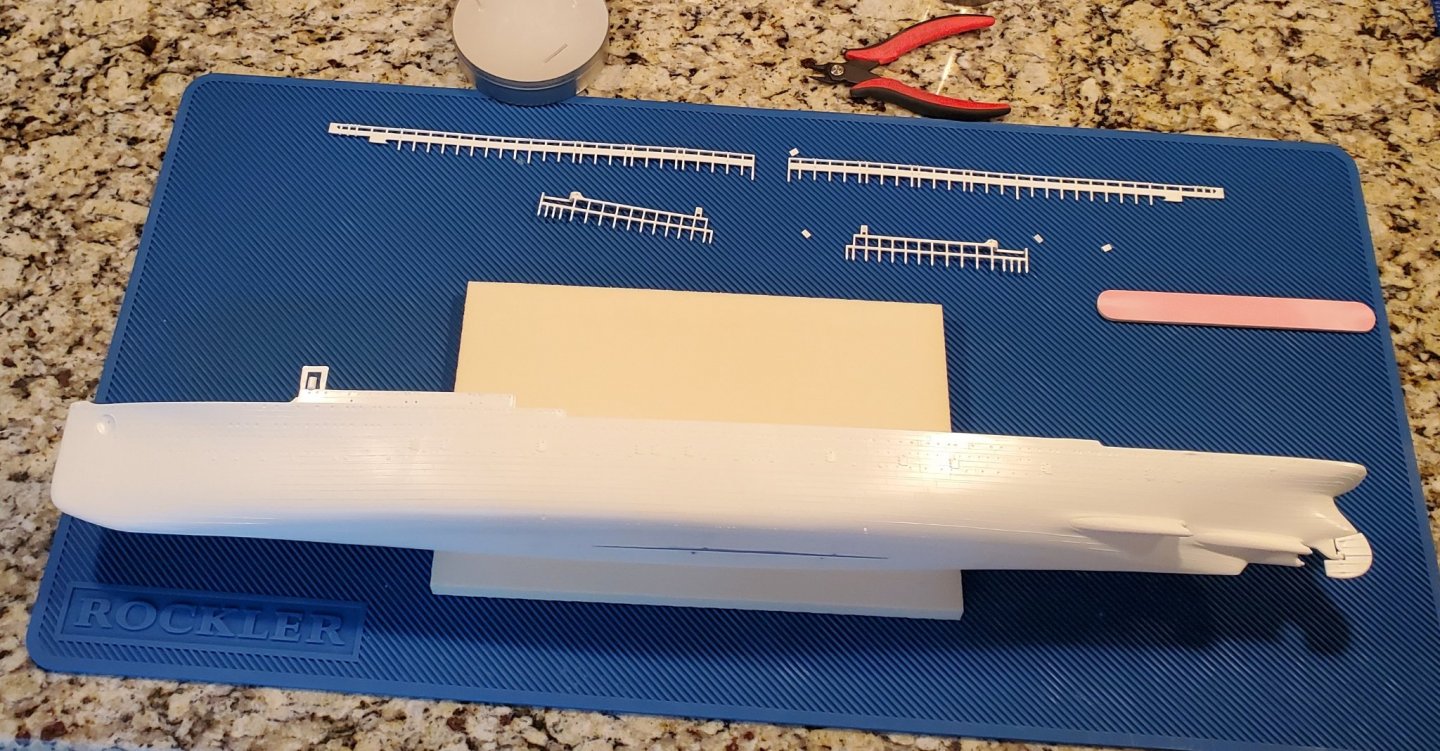
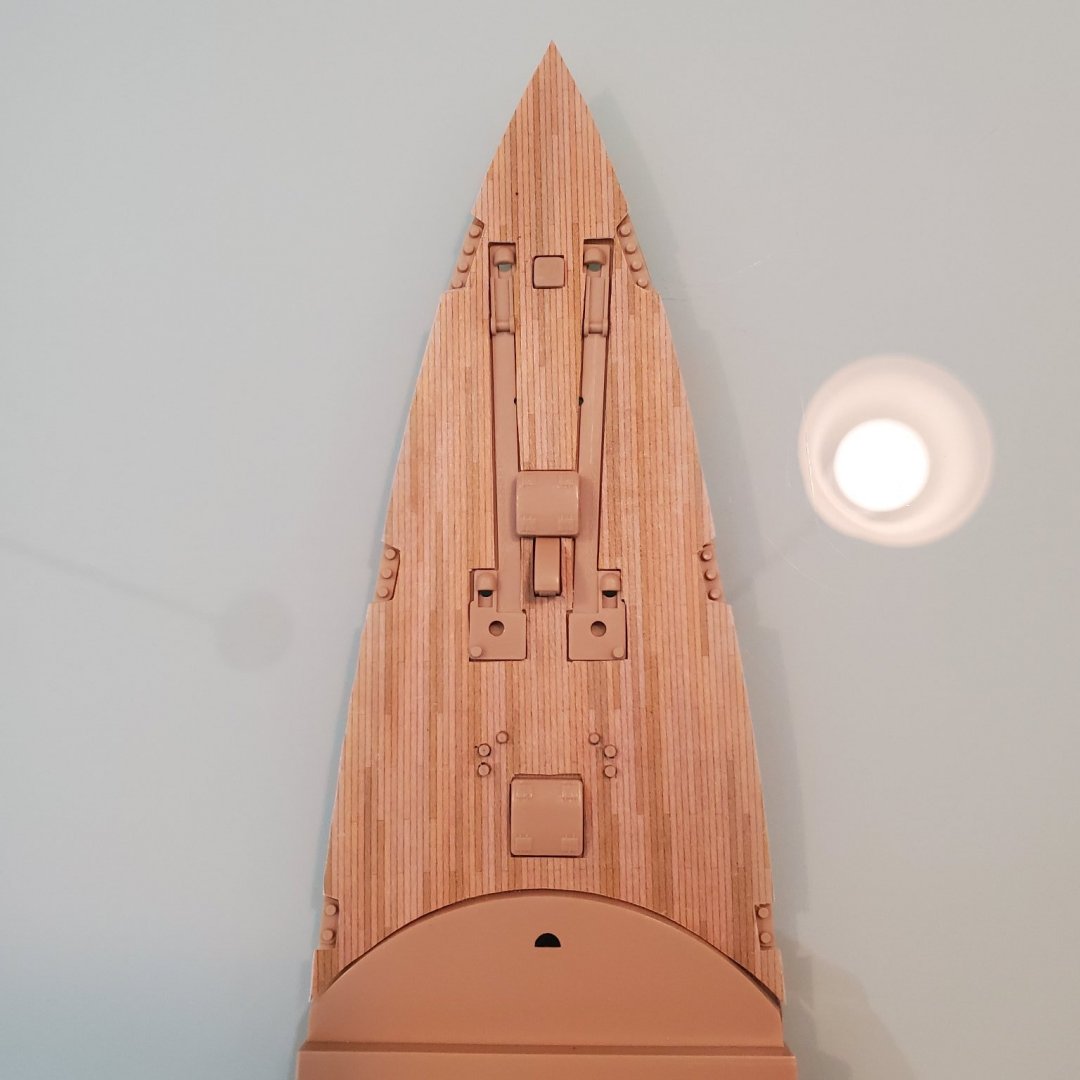
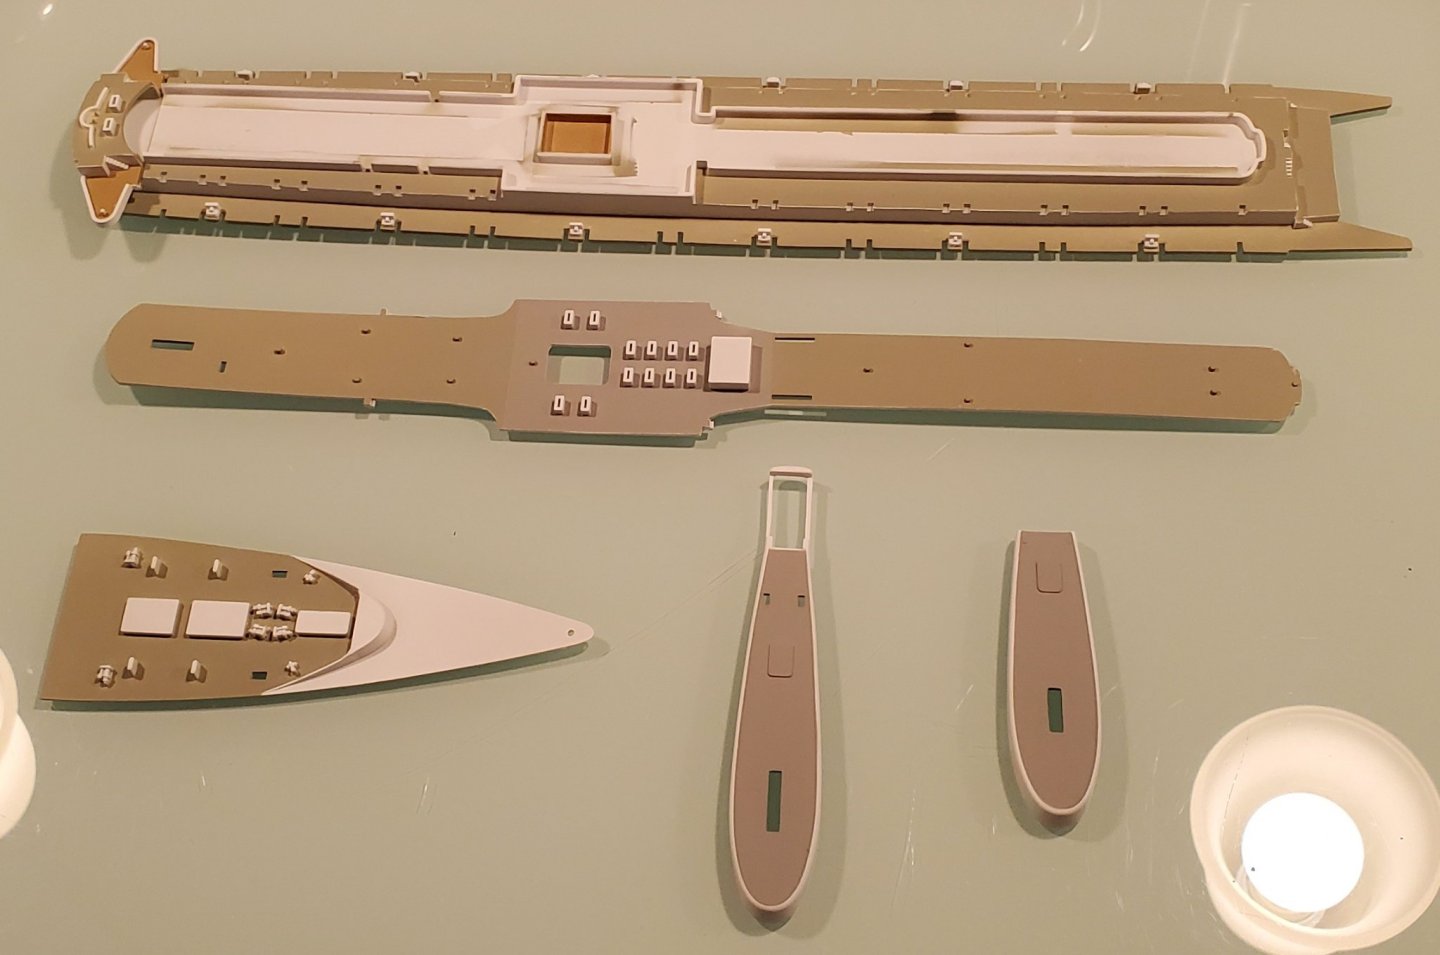
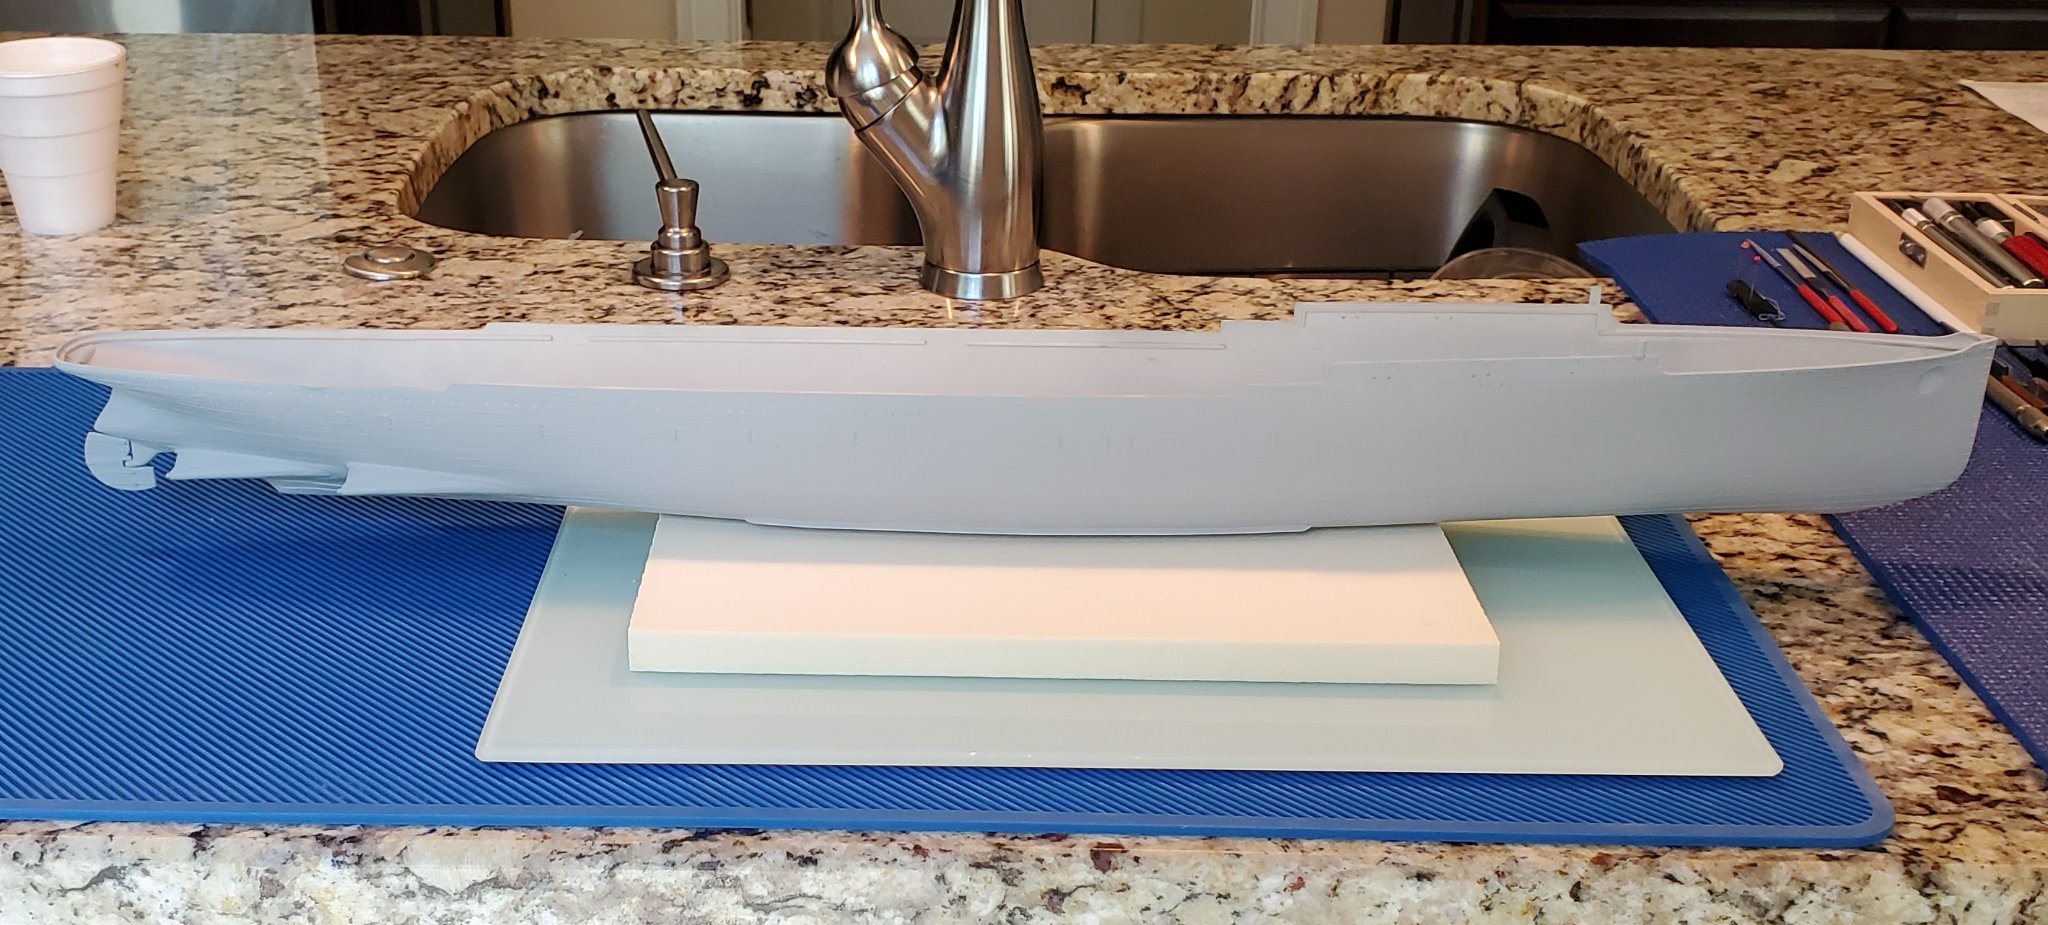
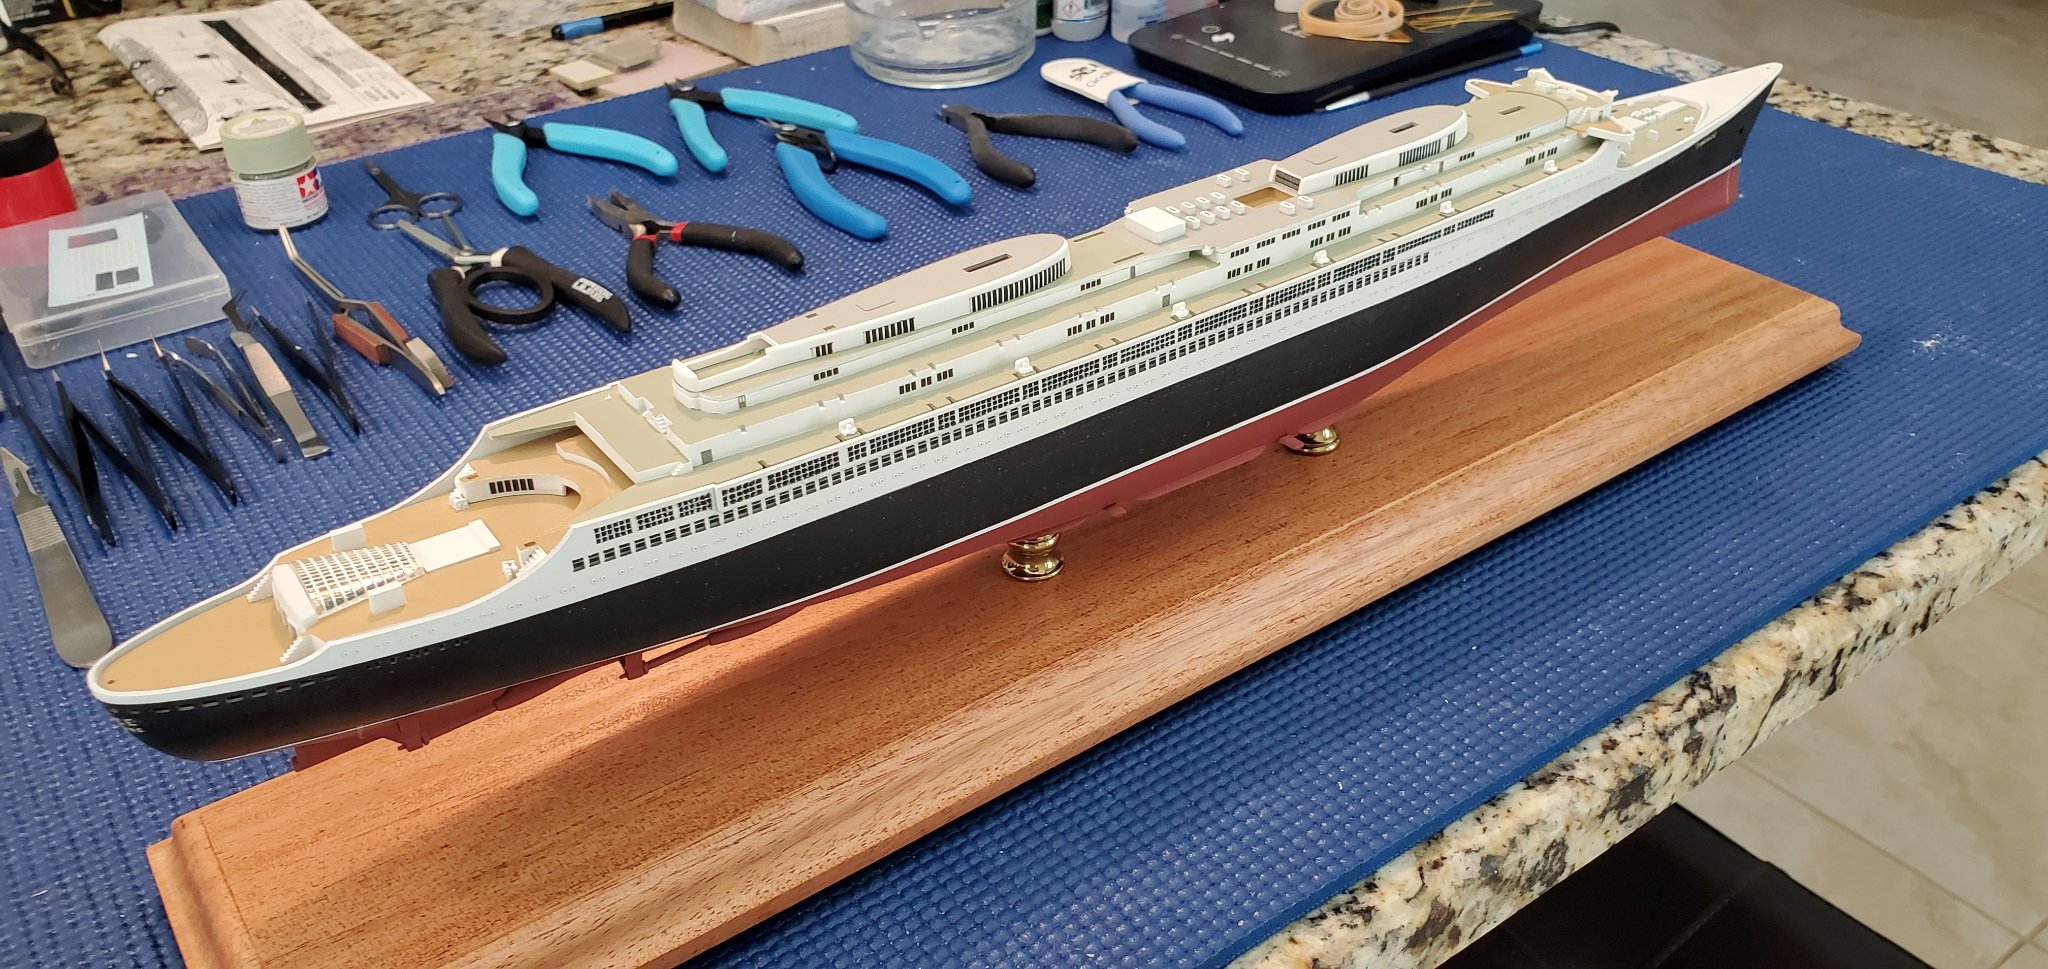
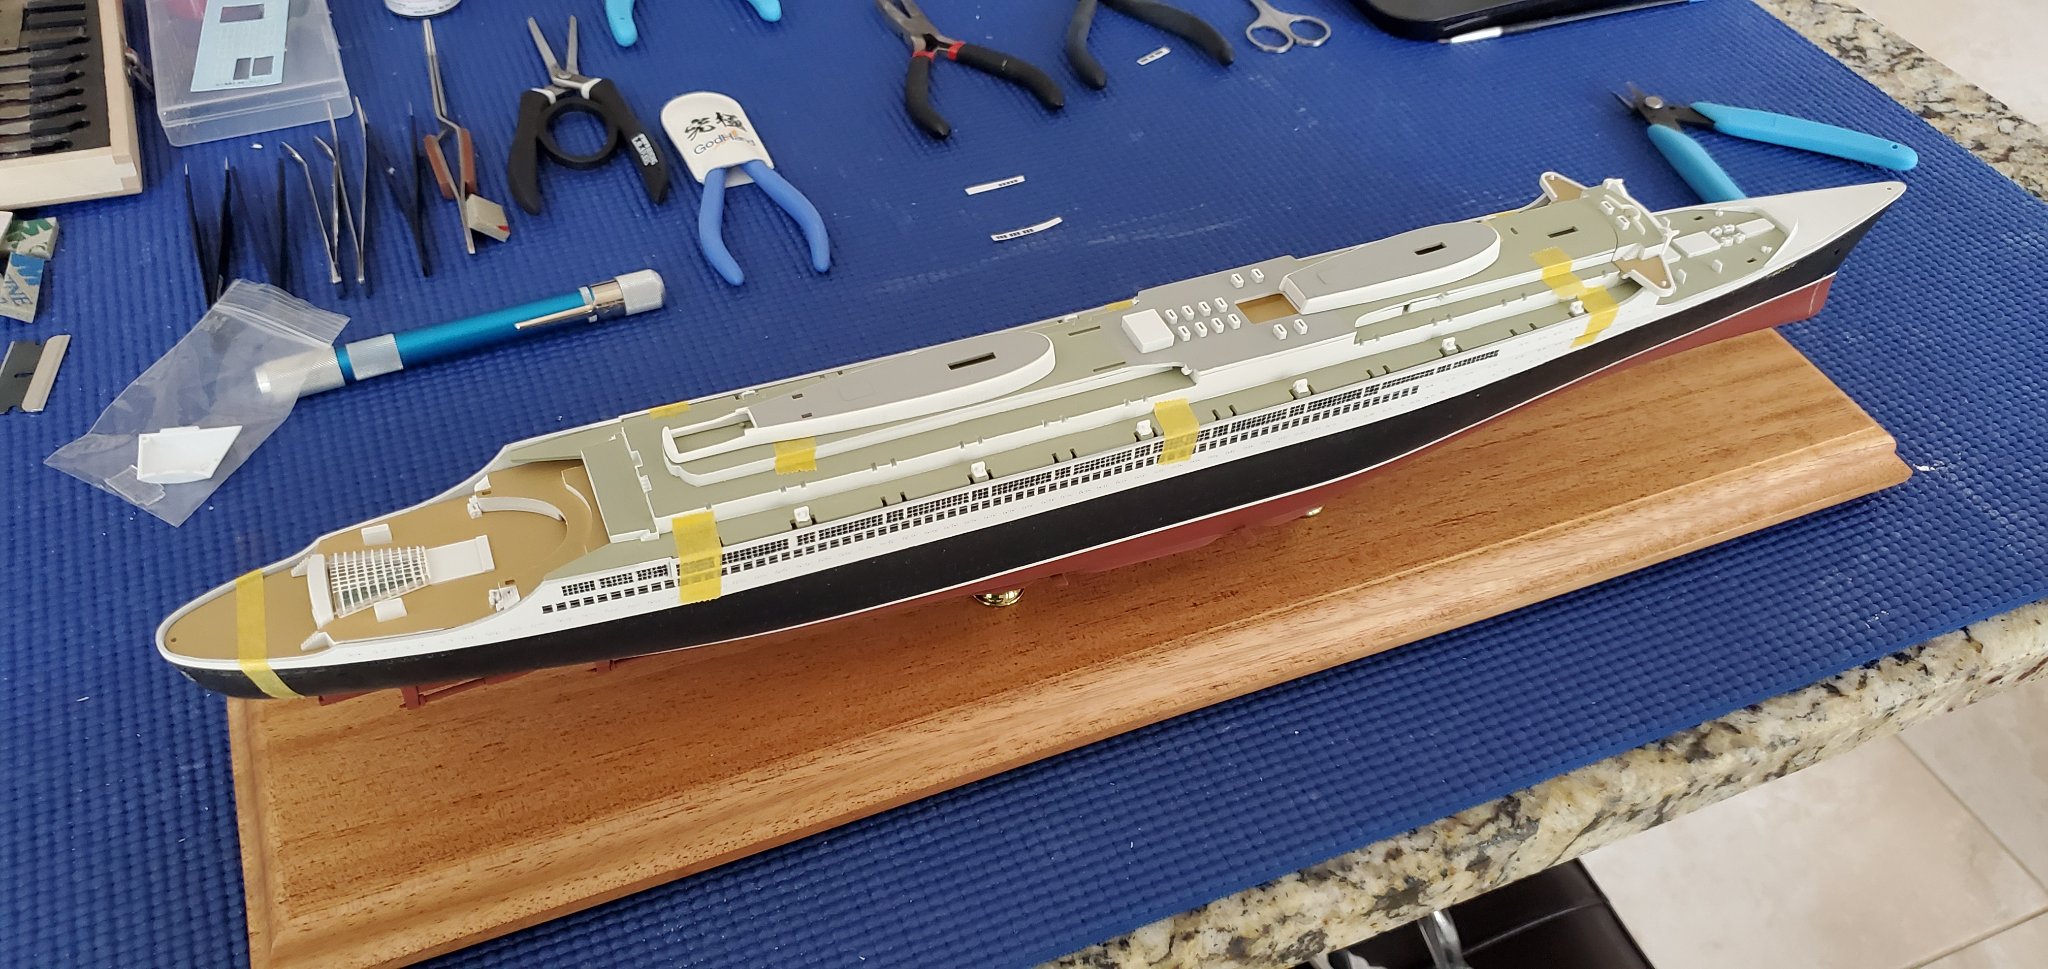
Well today I am a happy man as I was just informed that my decks are in the mail. This is the progress I had made prior to shelving her. Hopefully within the week I will have some new progress and photos.
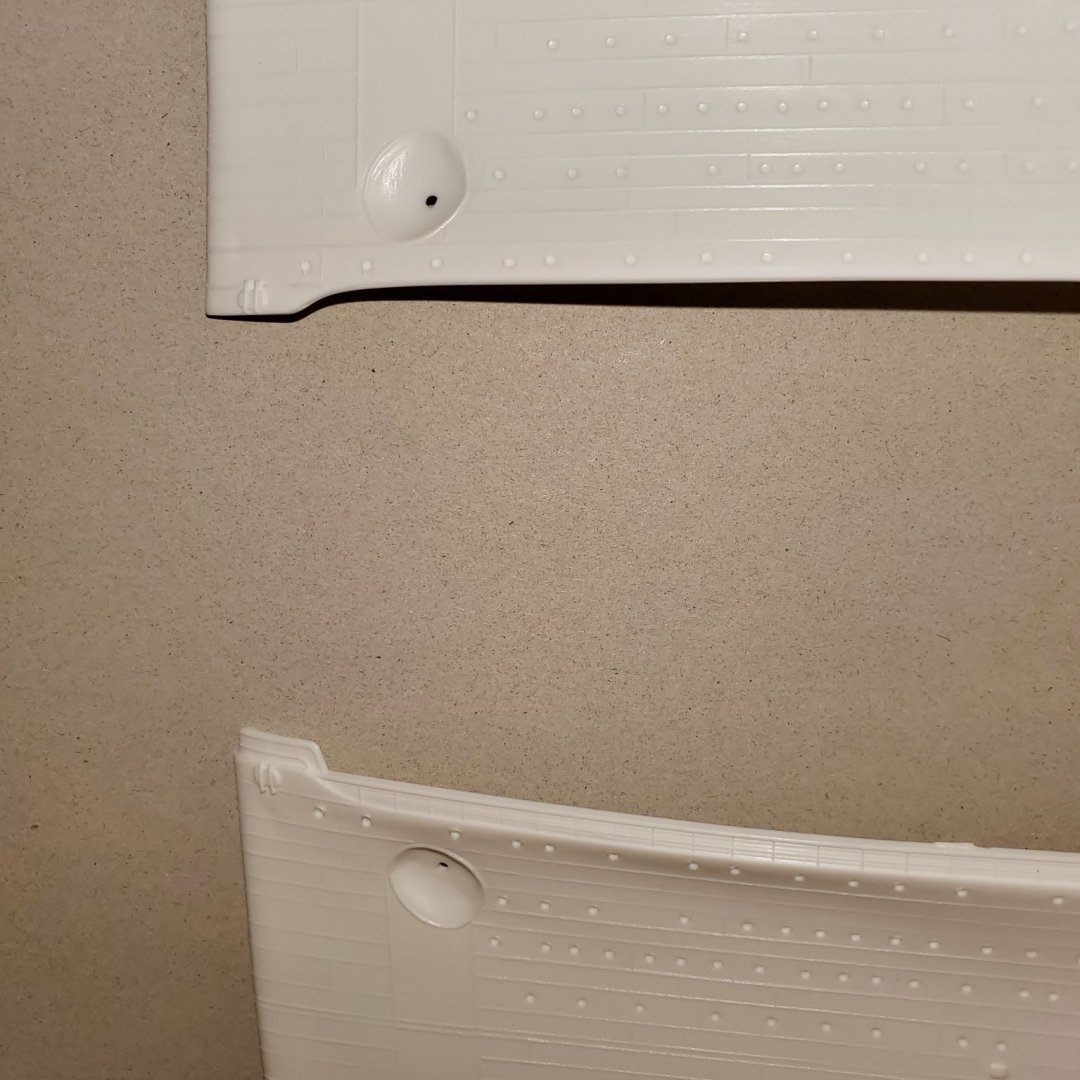
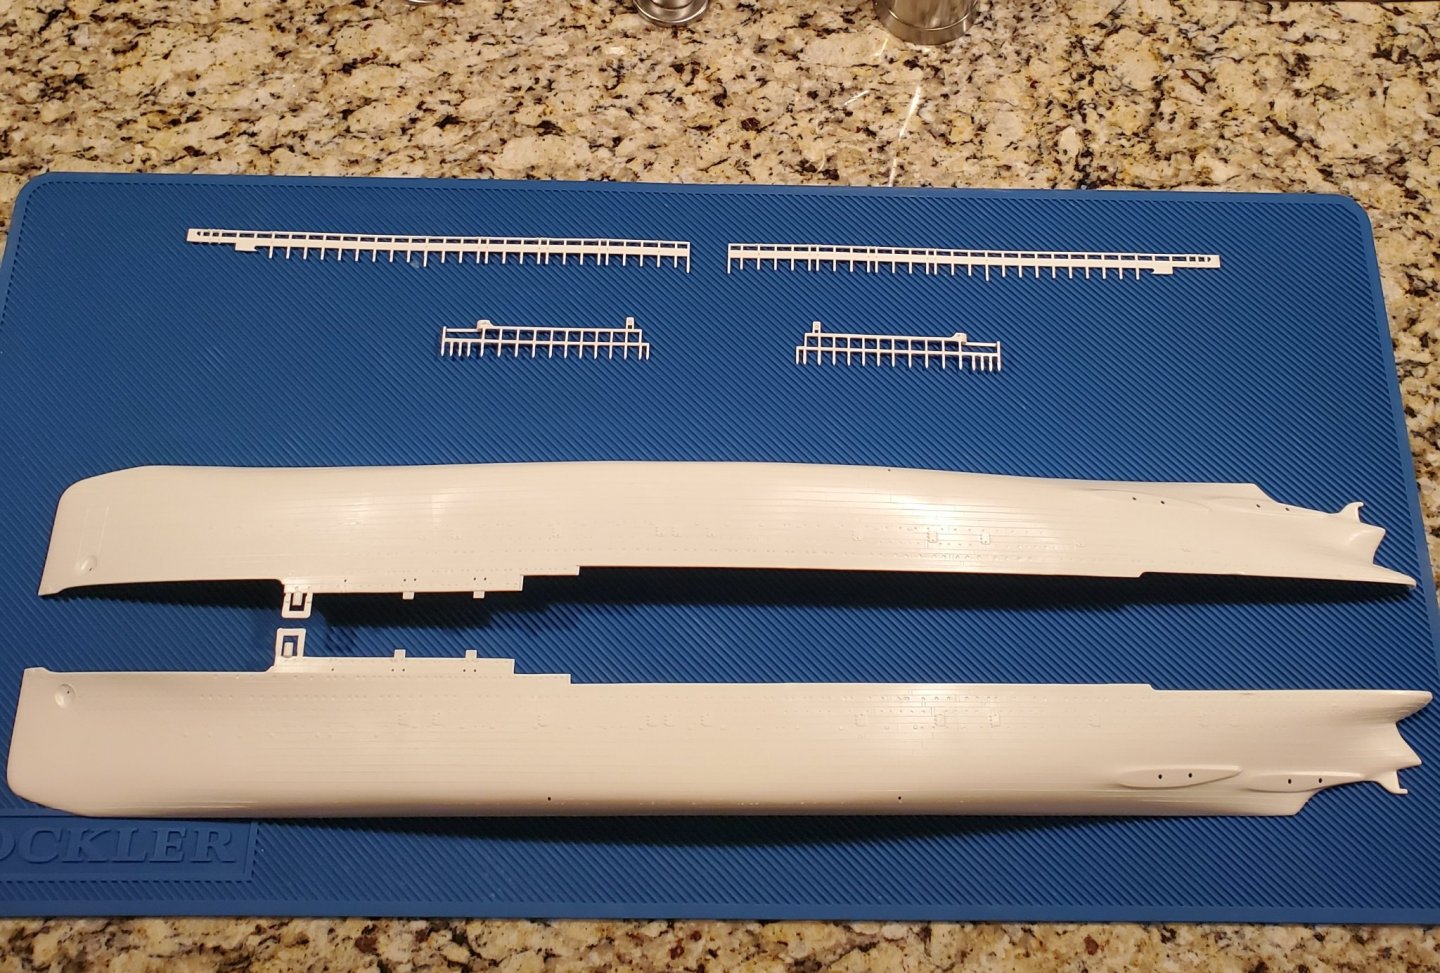
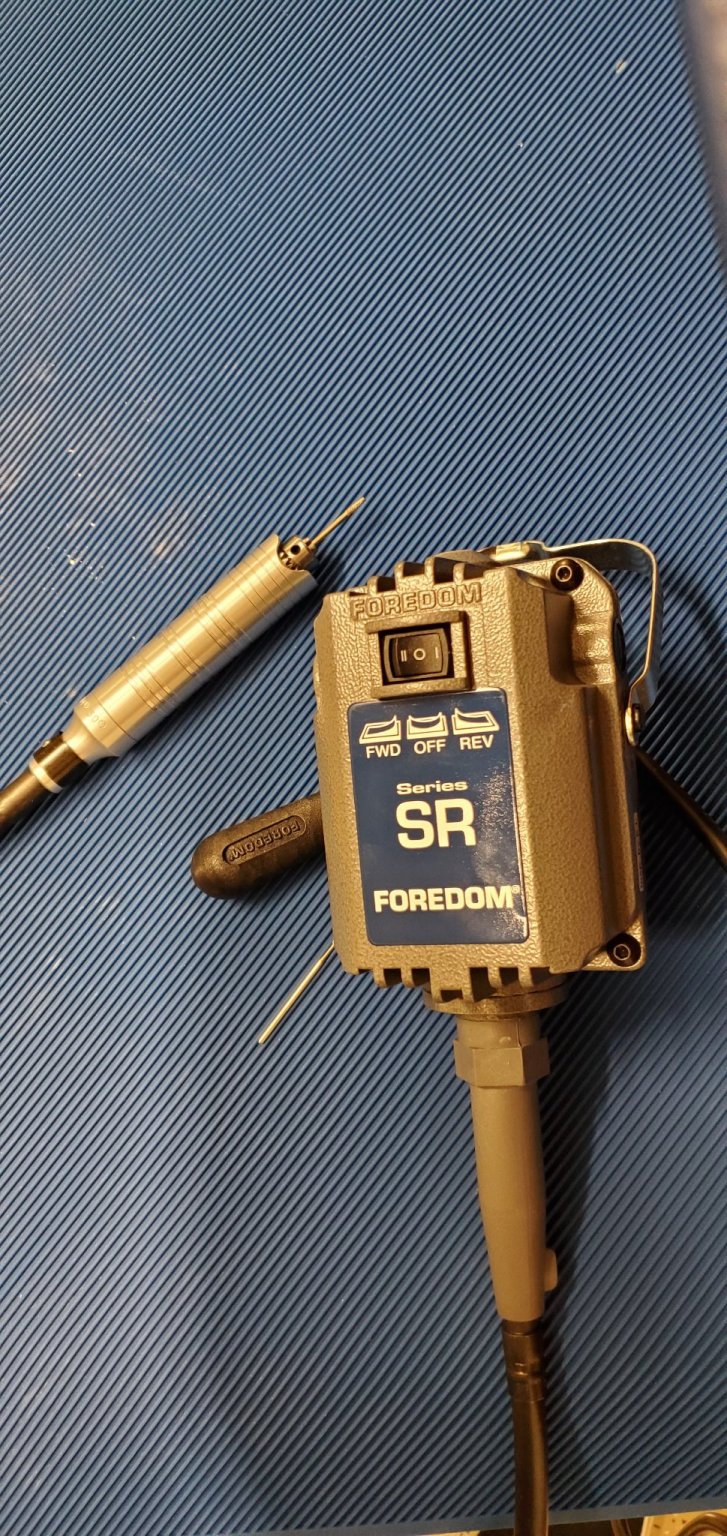
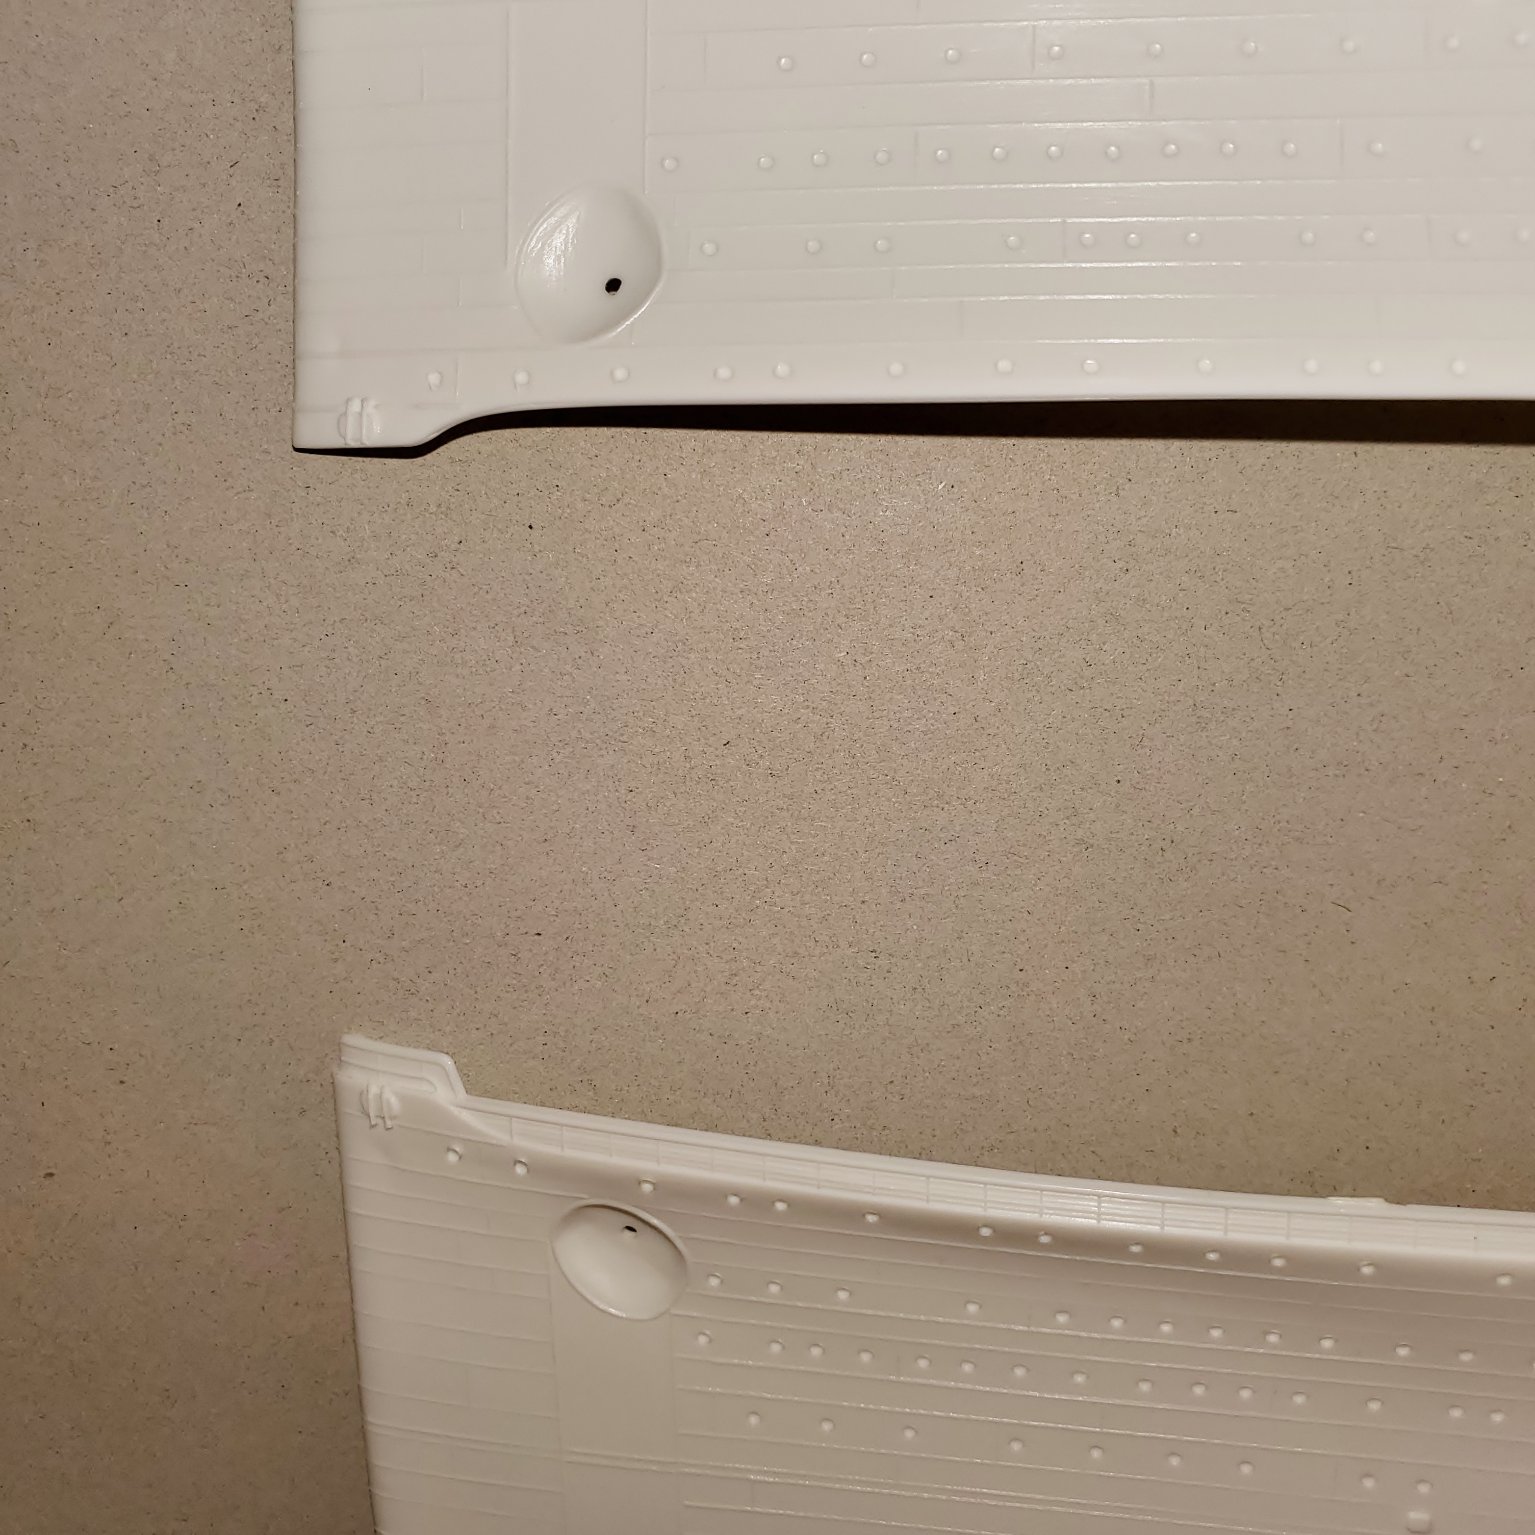
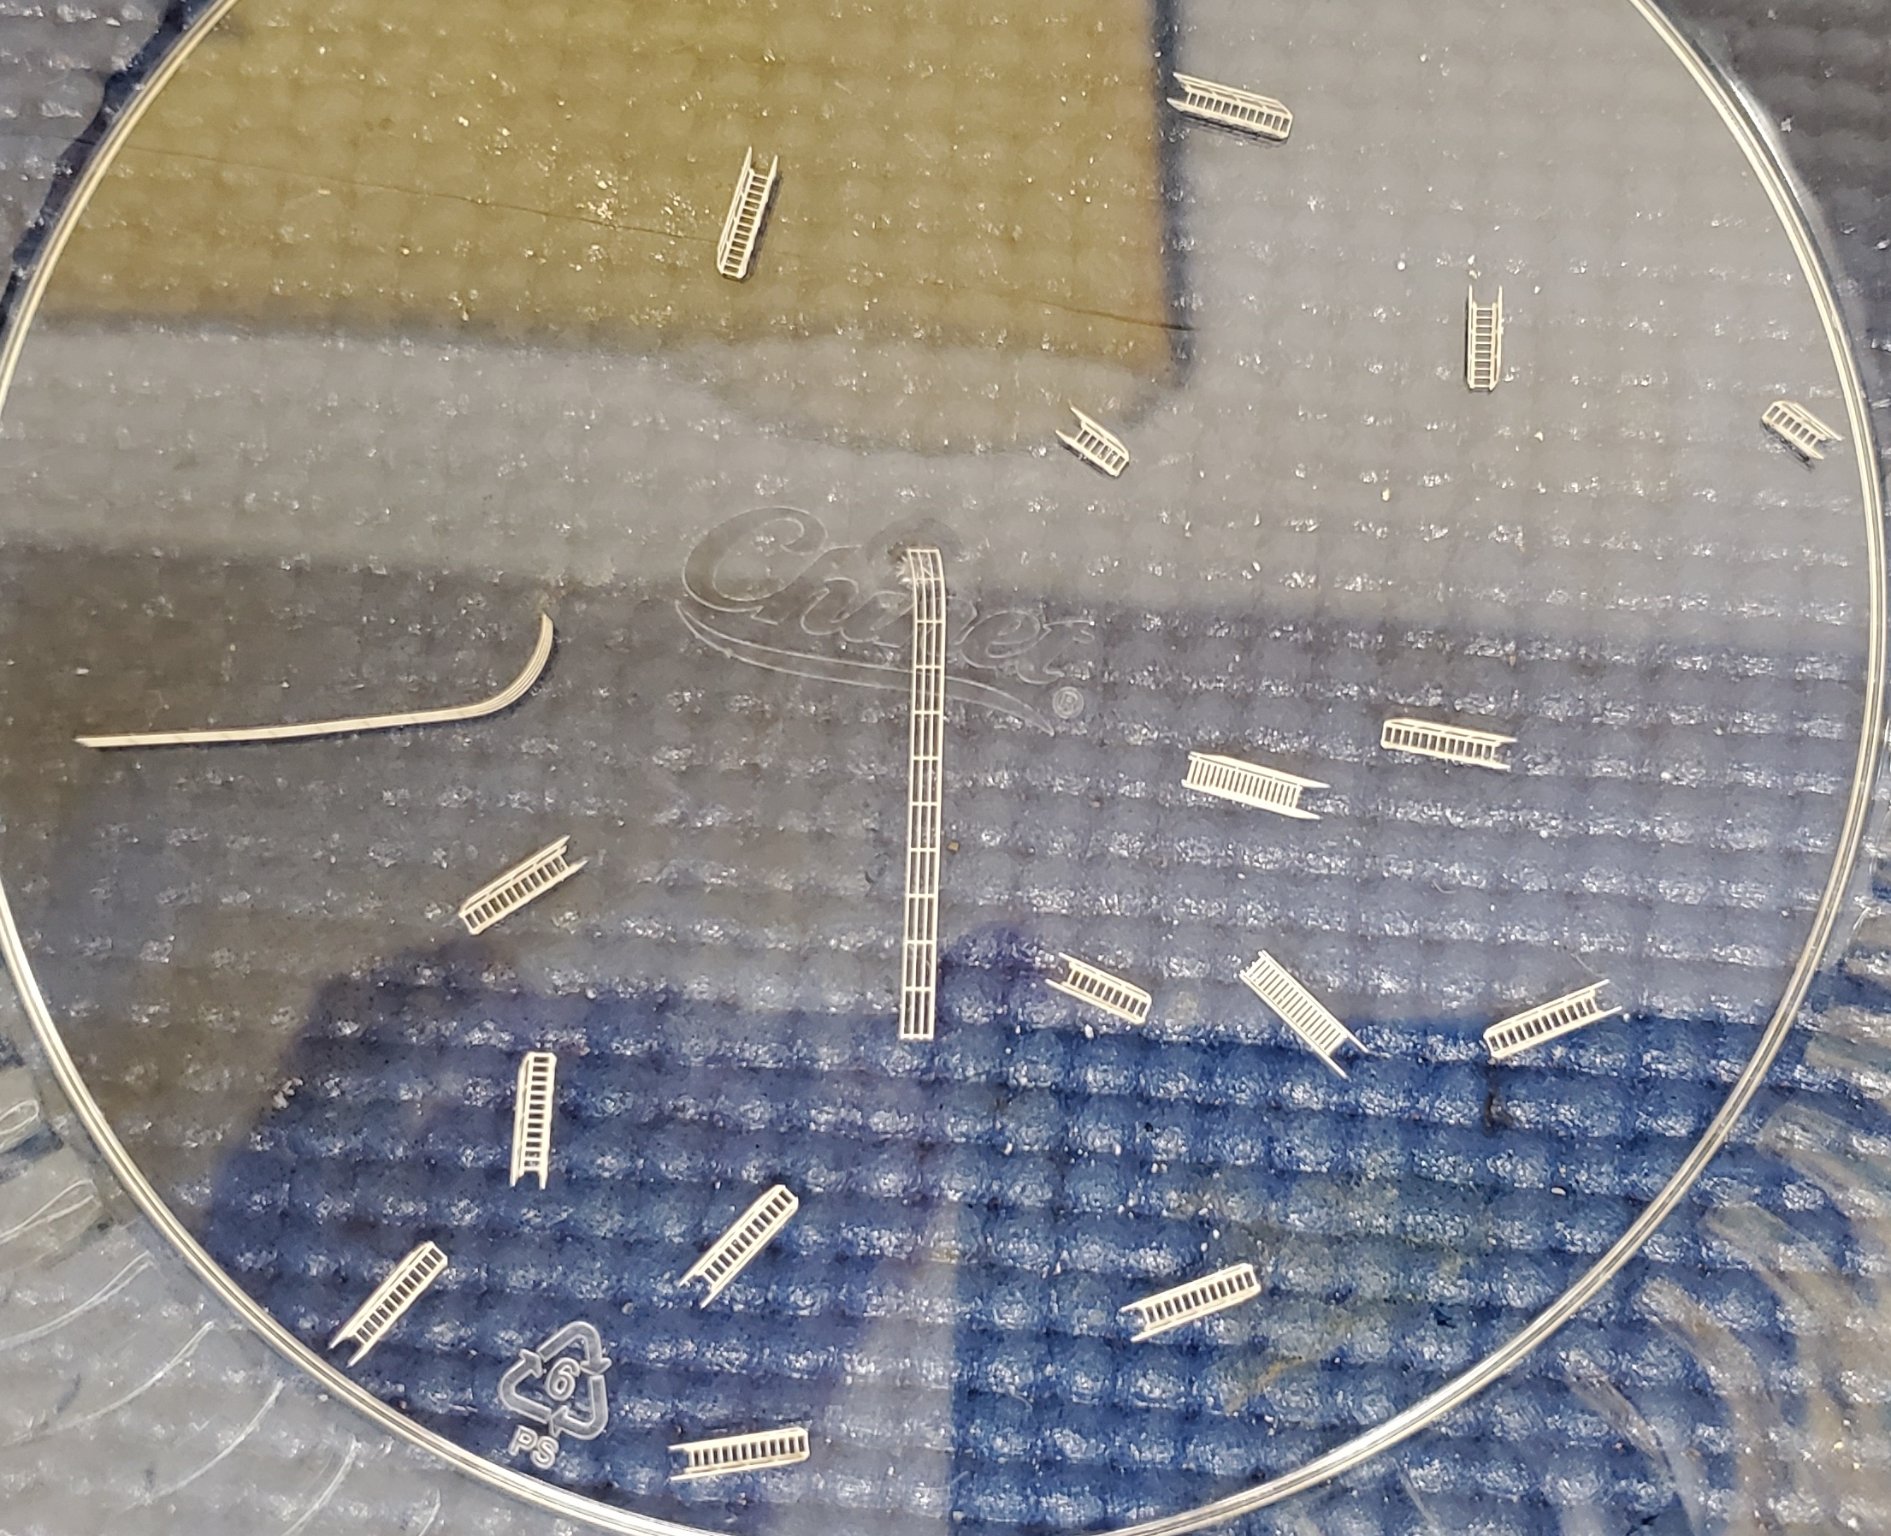
I have already removed all the molded on railings with a Foredom tool and small files. I'll be replacing them all with photo etch railings. On this ship I decided to modify some PE Titanic window frames and add them as opposed to trying to paint them with a brush. They aren't perfect but they are neater than what I could do while dangerously holding a paint brush lol! The templates and wood decks I cut will be discarded. I did as much as I could without having the decks which is why a lot of the parts are already painted. I have them stored in numbered bags. When I couldn't wait any longer I built the two 1/600 liners.


- ccoyle, yvesvidal and Old Collingwood
-
 3
3
-
Thank you for all the kind words. Old Collingwood, I do plan on buying a Canberra in the future, very hard to find but I usually smoke them out eventually. Imigna, I am definitely not a rivet counter. I don't think these old Airfix kits were designed with that sort of thing in mind 50 years ago anyway lol! I do think some of the Titanic people are very critical of others if they have a missing rivet. That's not my intent when building these kits. I have a Trumpeter 1/200 Titanic with all the detail sets that I will try to make as accurate as I can within reason, but I'm not changing the hull plating or anything near that level of obsession.
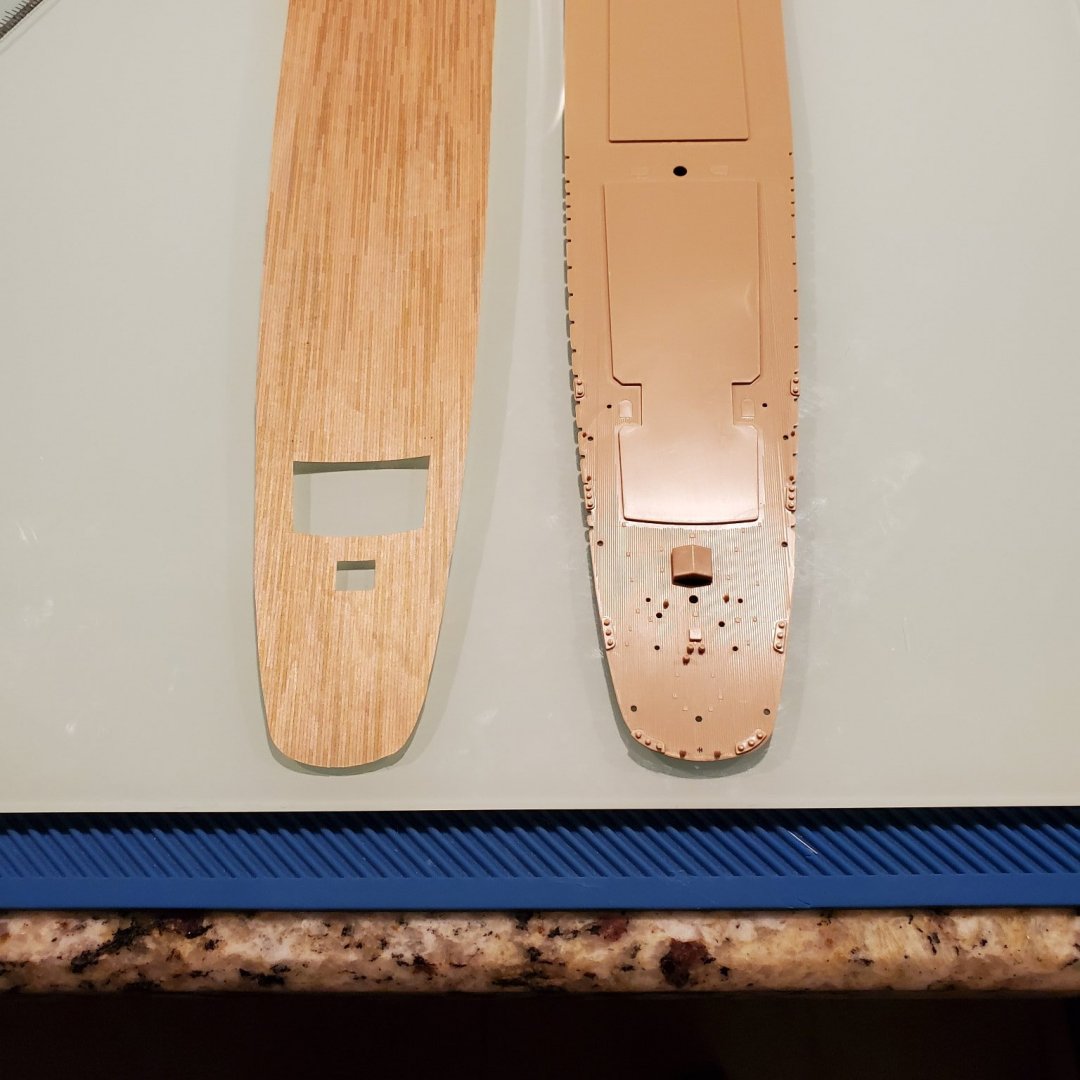
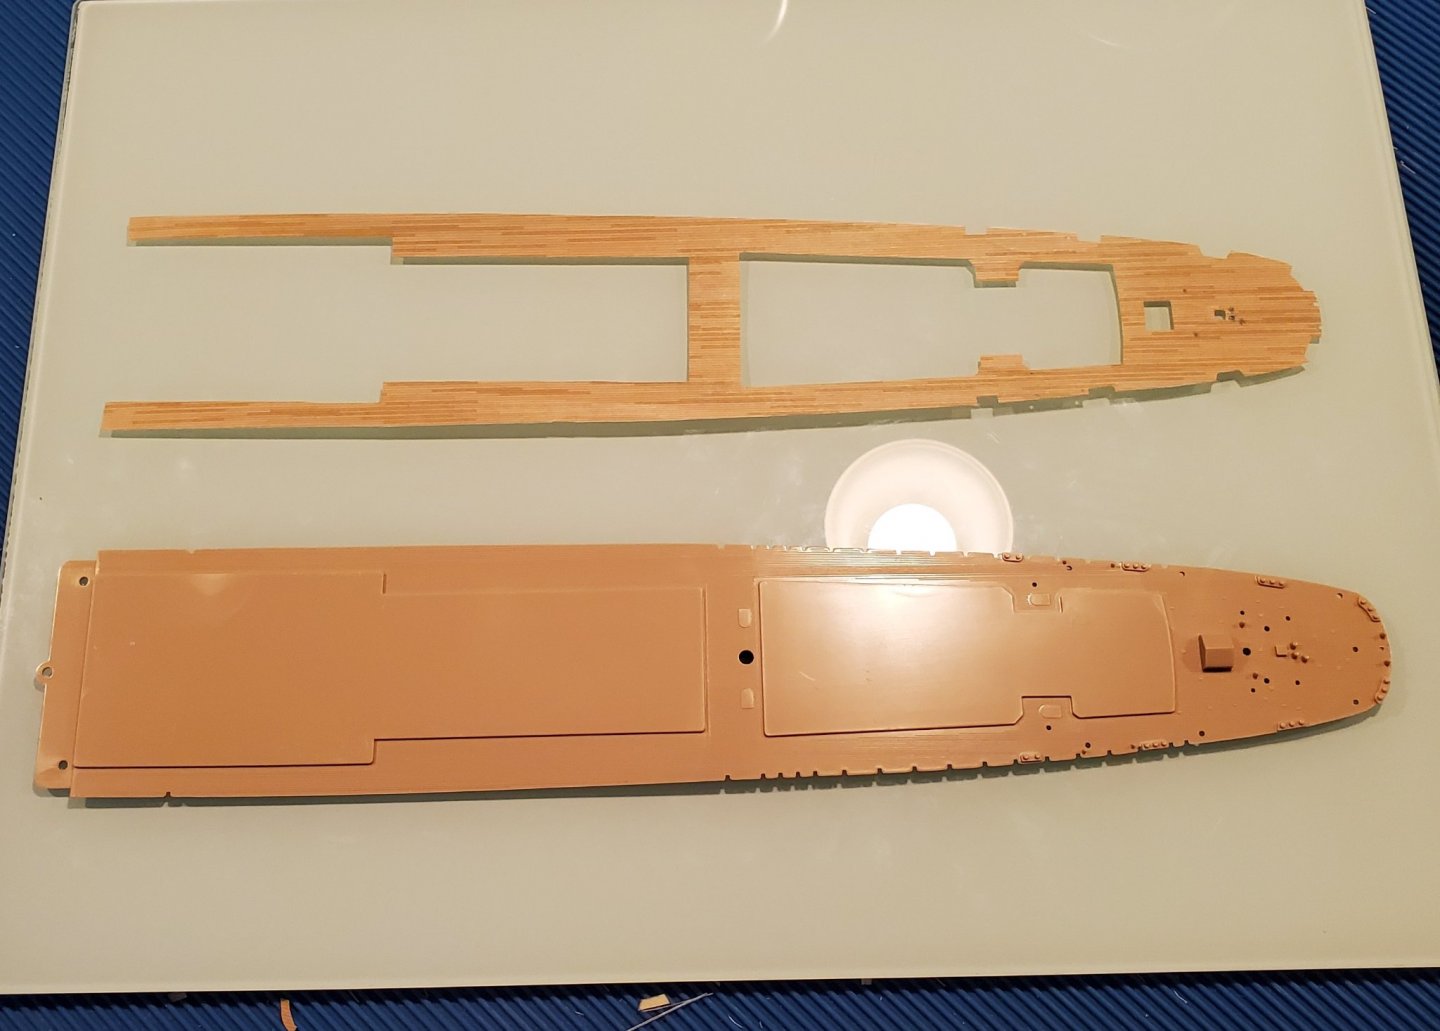
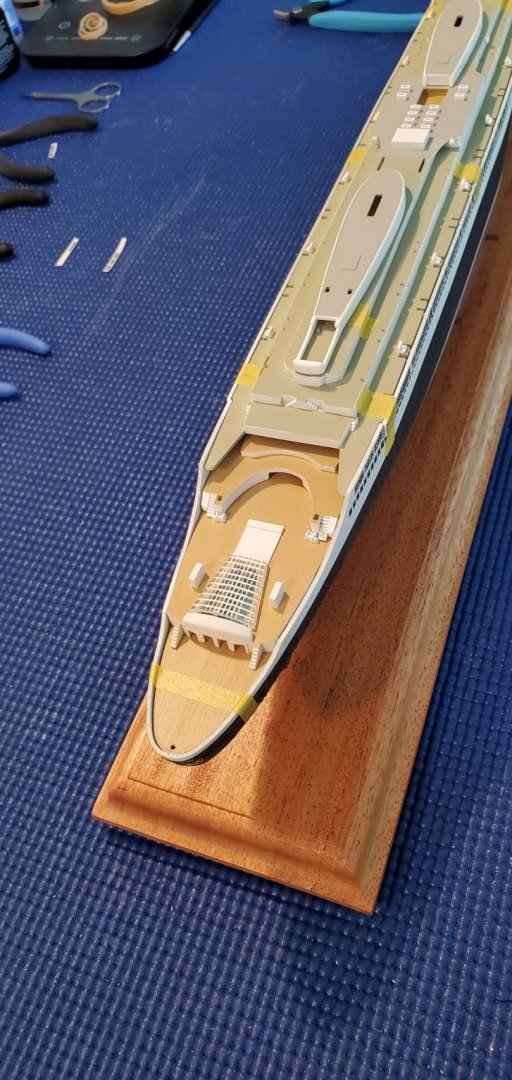
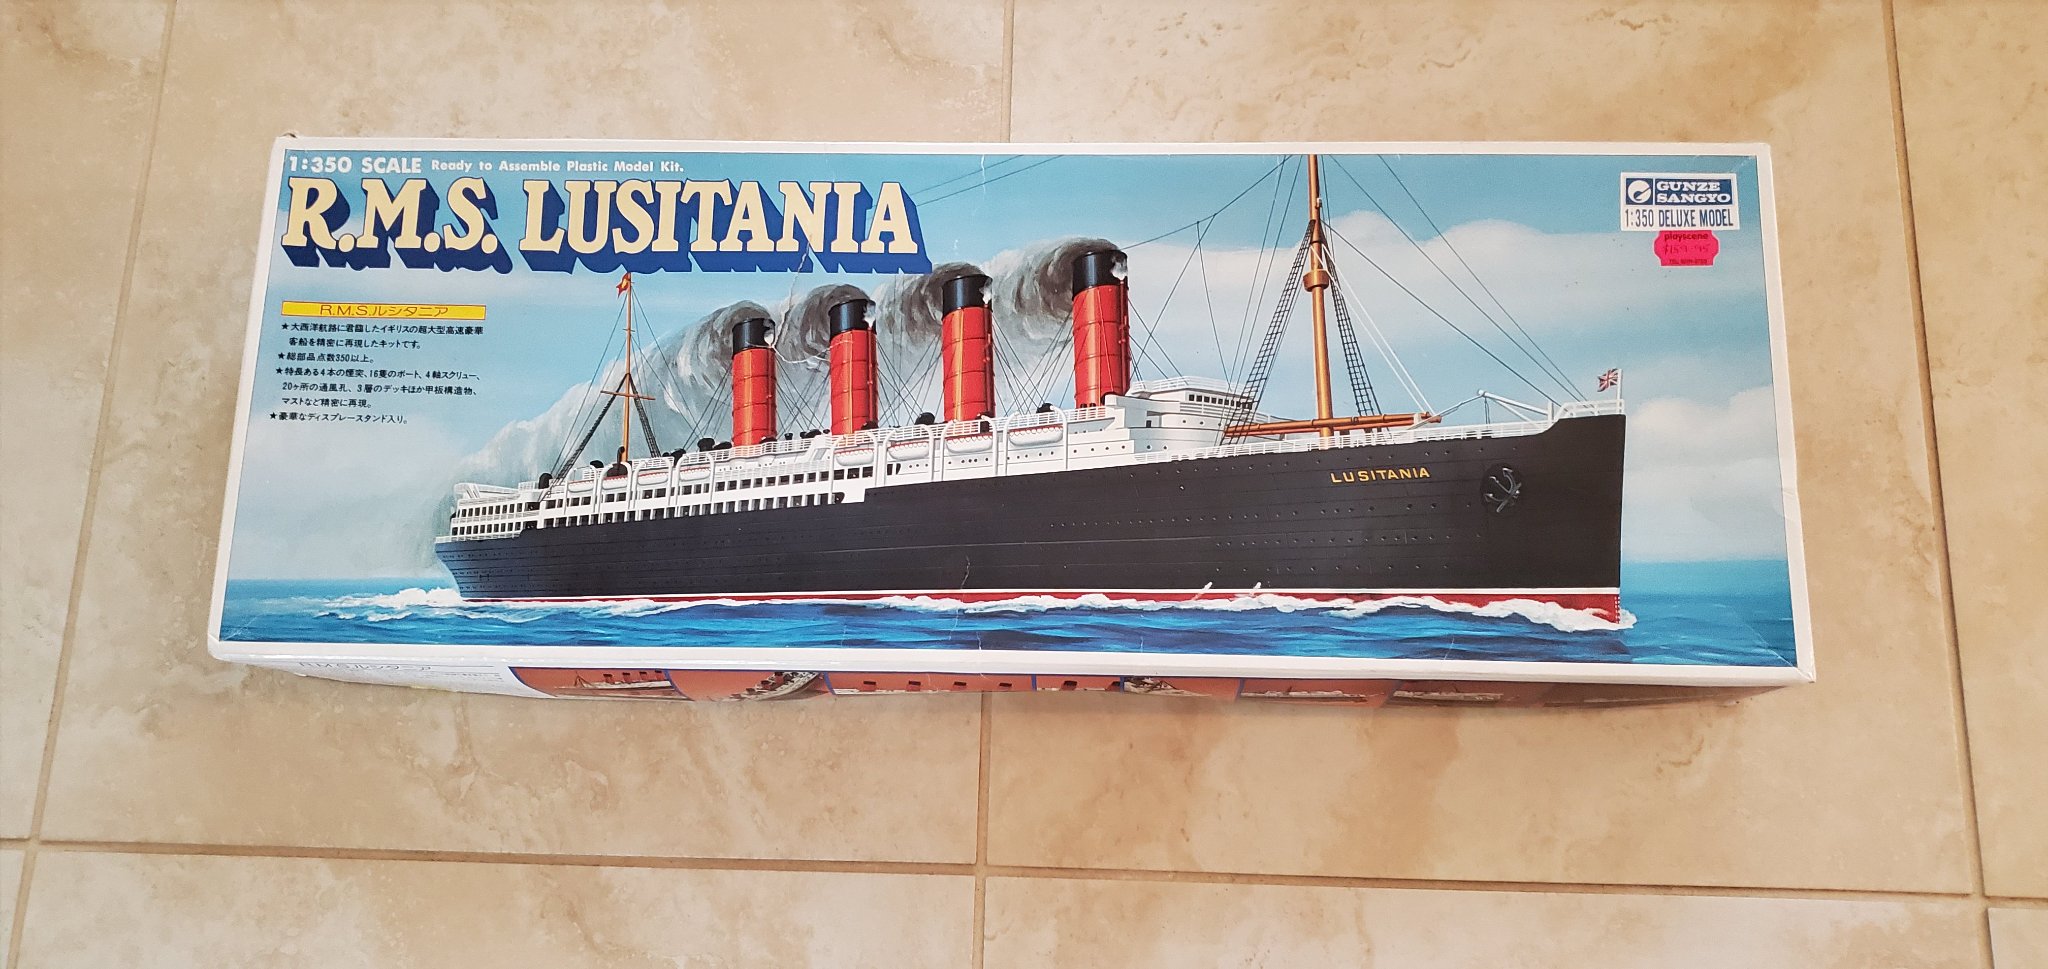
I am a very happy man today as I just got word from the manufacturer that the wood decks for my 1/350 Lusitania are in the mail. I was going to start another Airfix 1/600, probably QE2, but this changes my plan for the better. I originally started to cut my own wood decks for Lusitania, but in May I was told a laser cut set would soon be available. I decided it would be worth the wait to have professionally cut decks on her as they would certainly look better than anything I could do. The top deck is especially tricky to do.
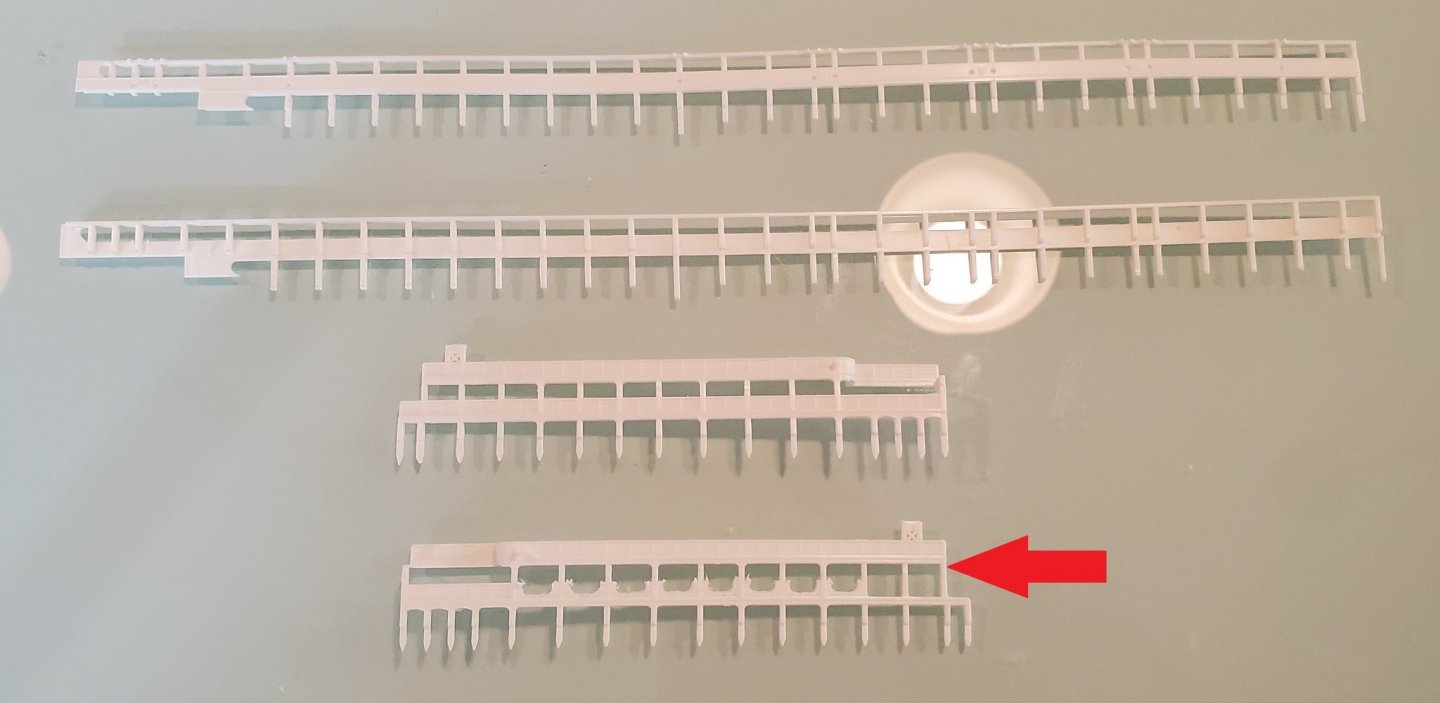
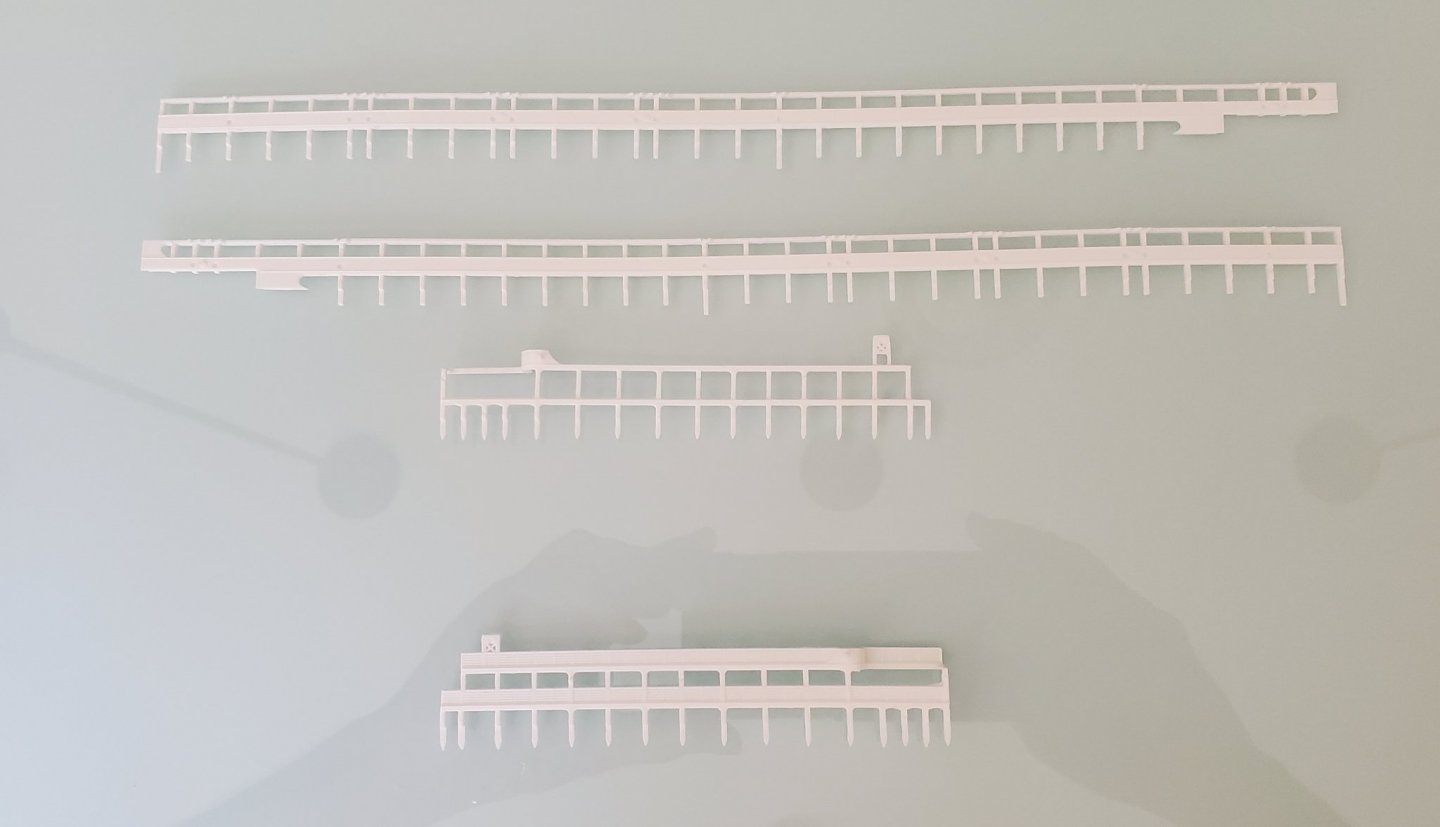
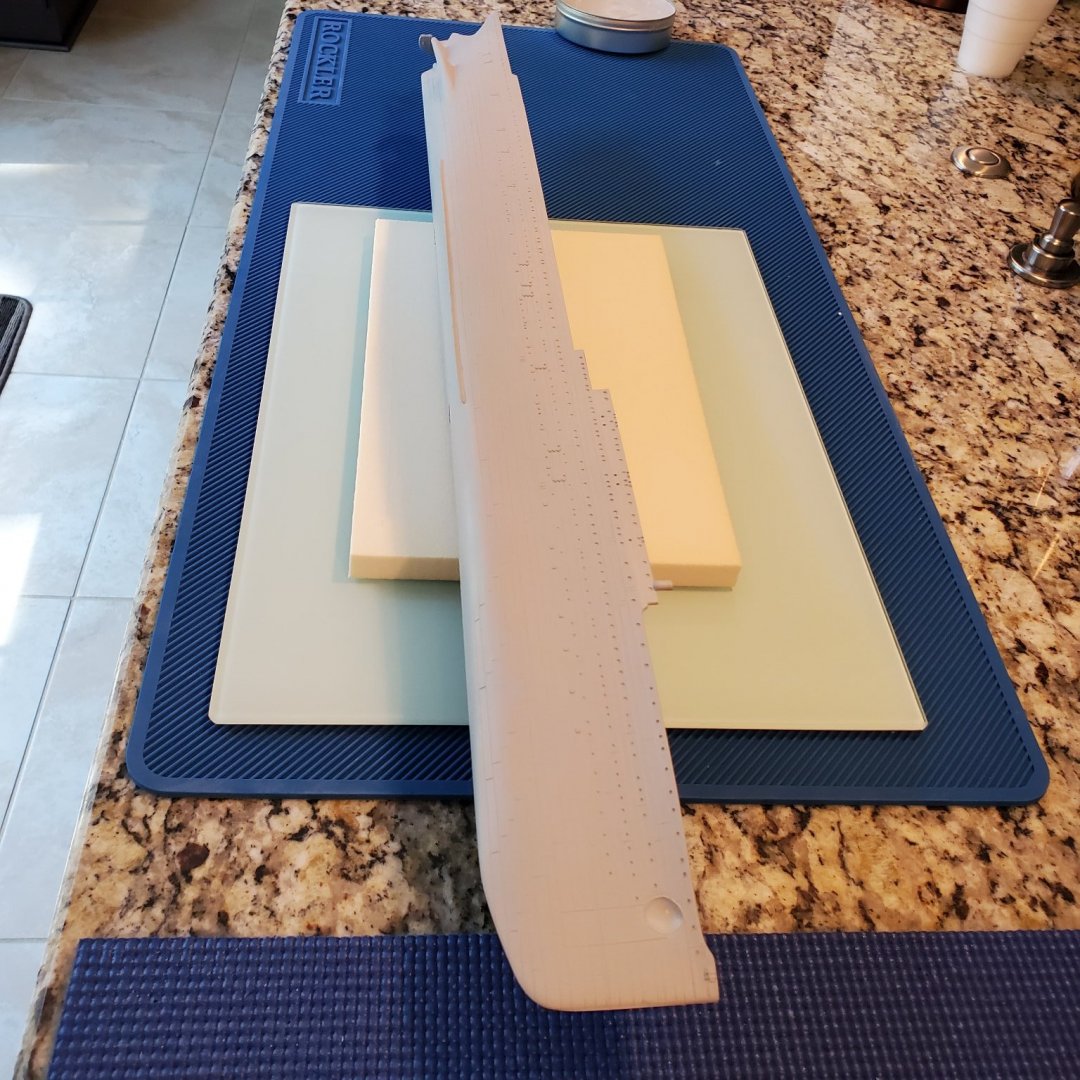
This is where I left off on my attempt. It is very time consuming and difficult to cut these decks with a ruler and scalpel lol!

-
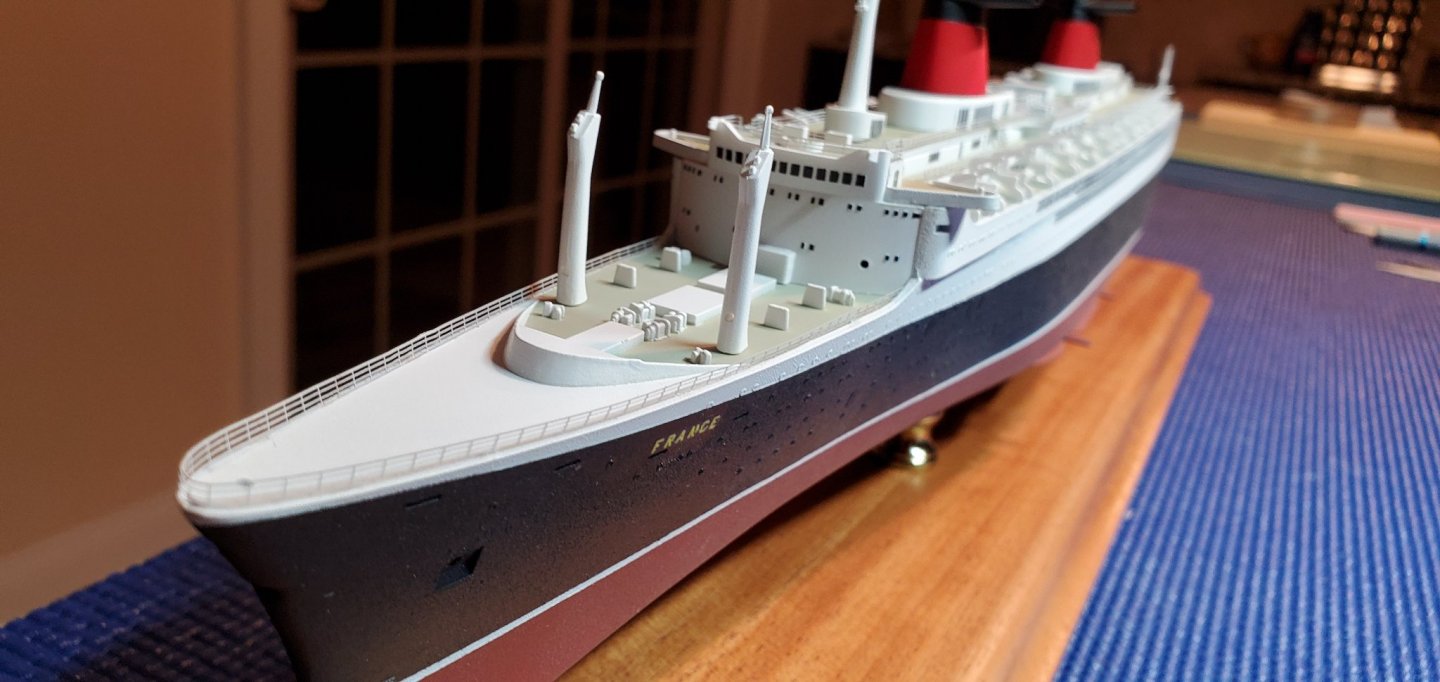
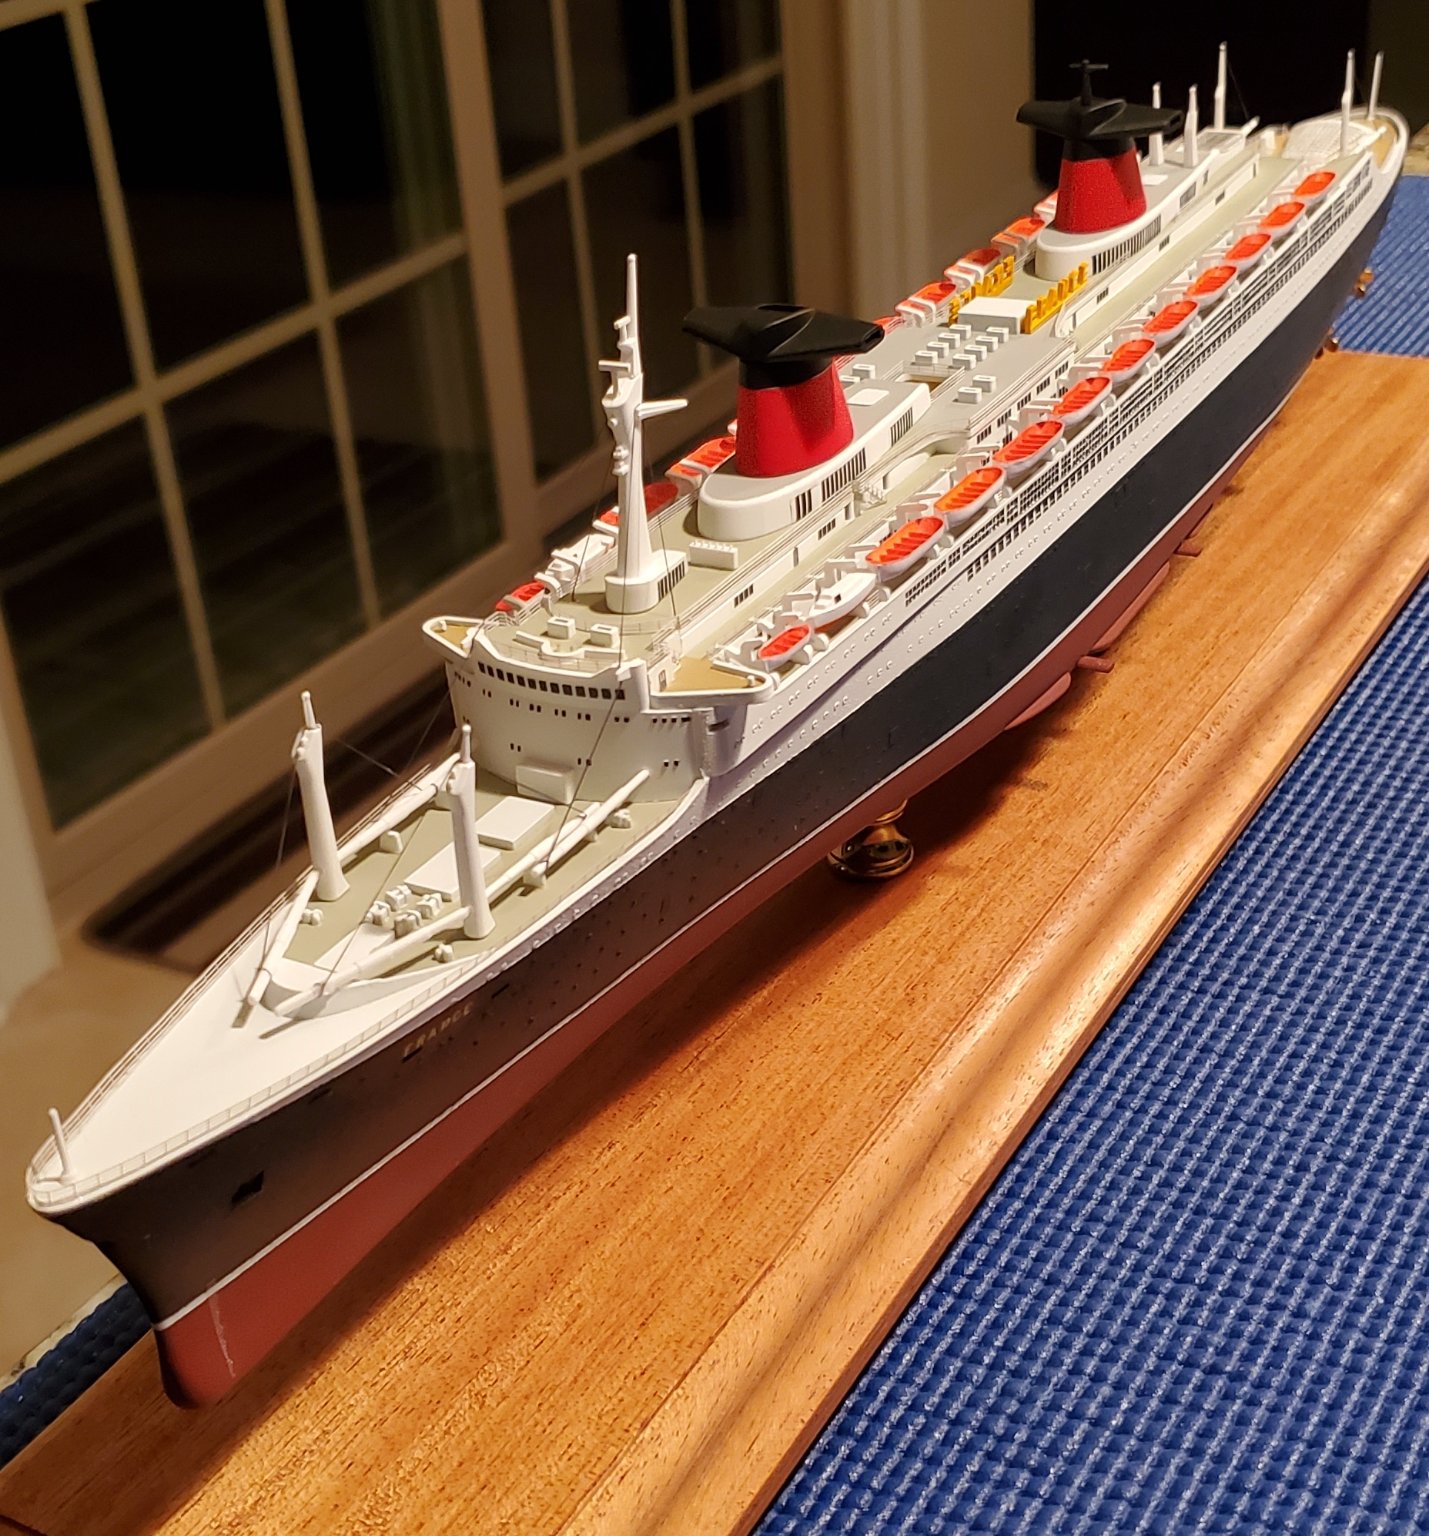
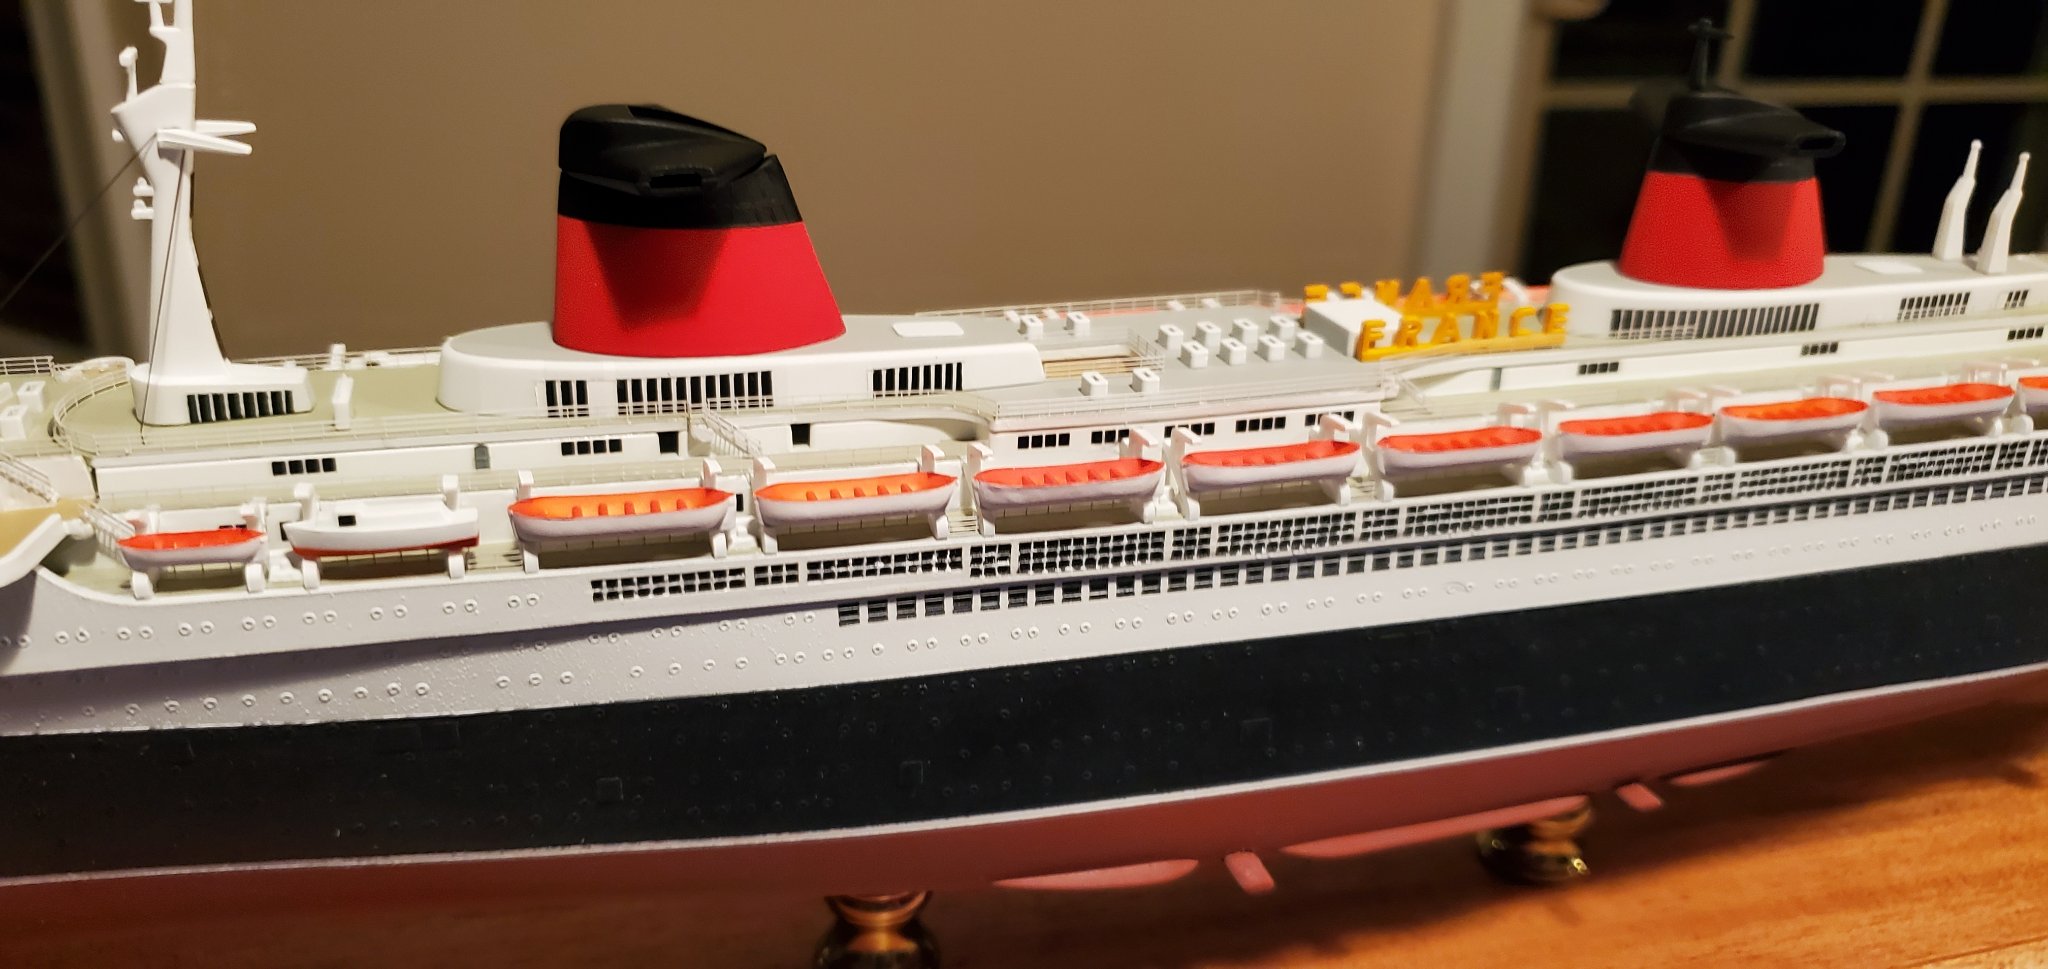
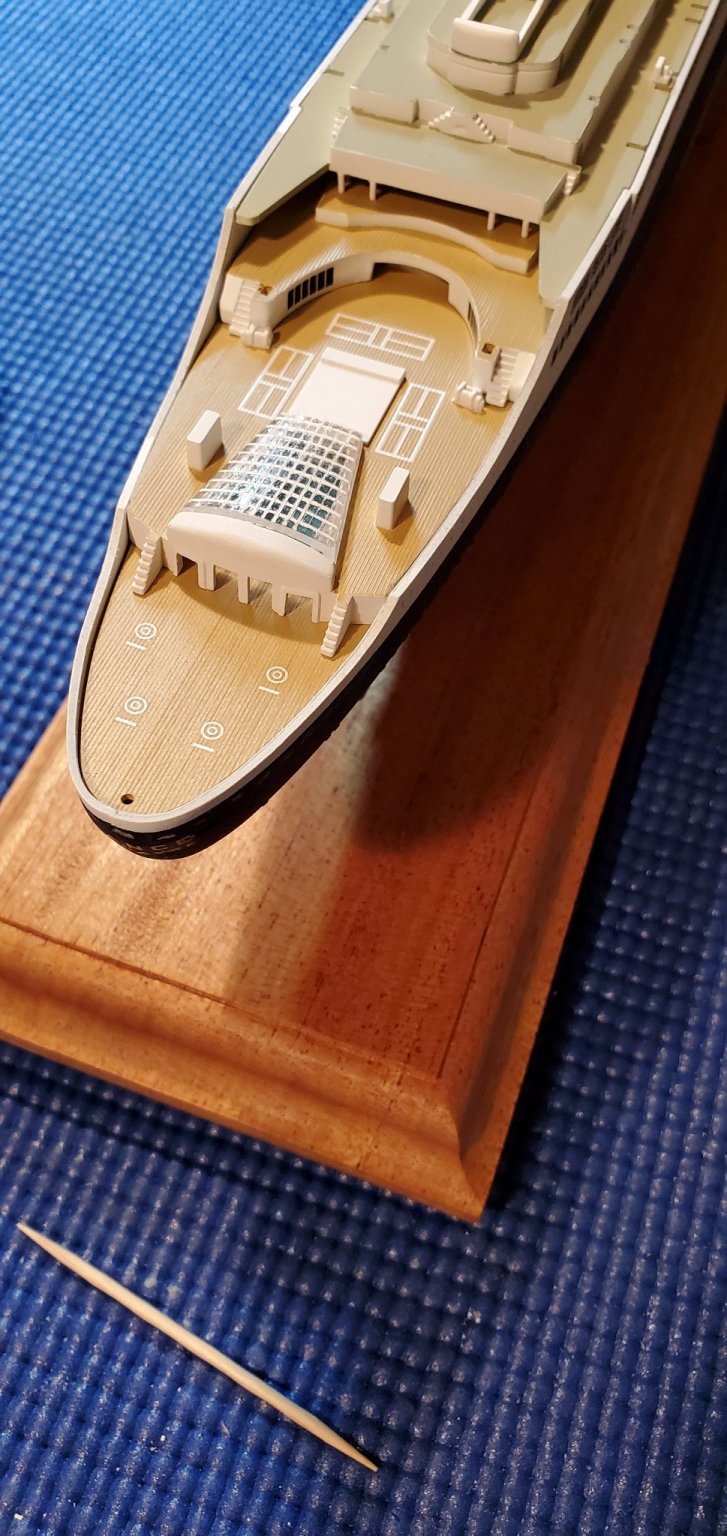
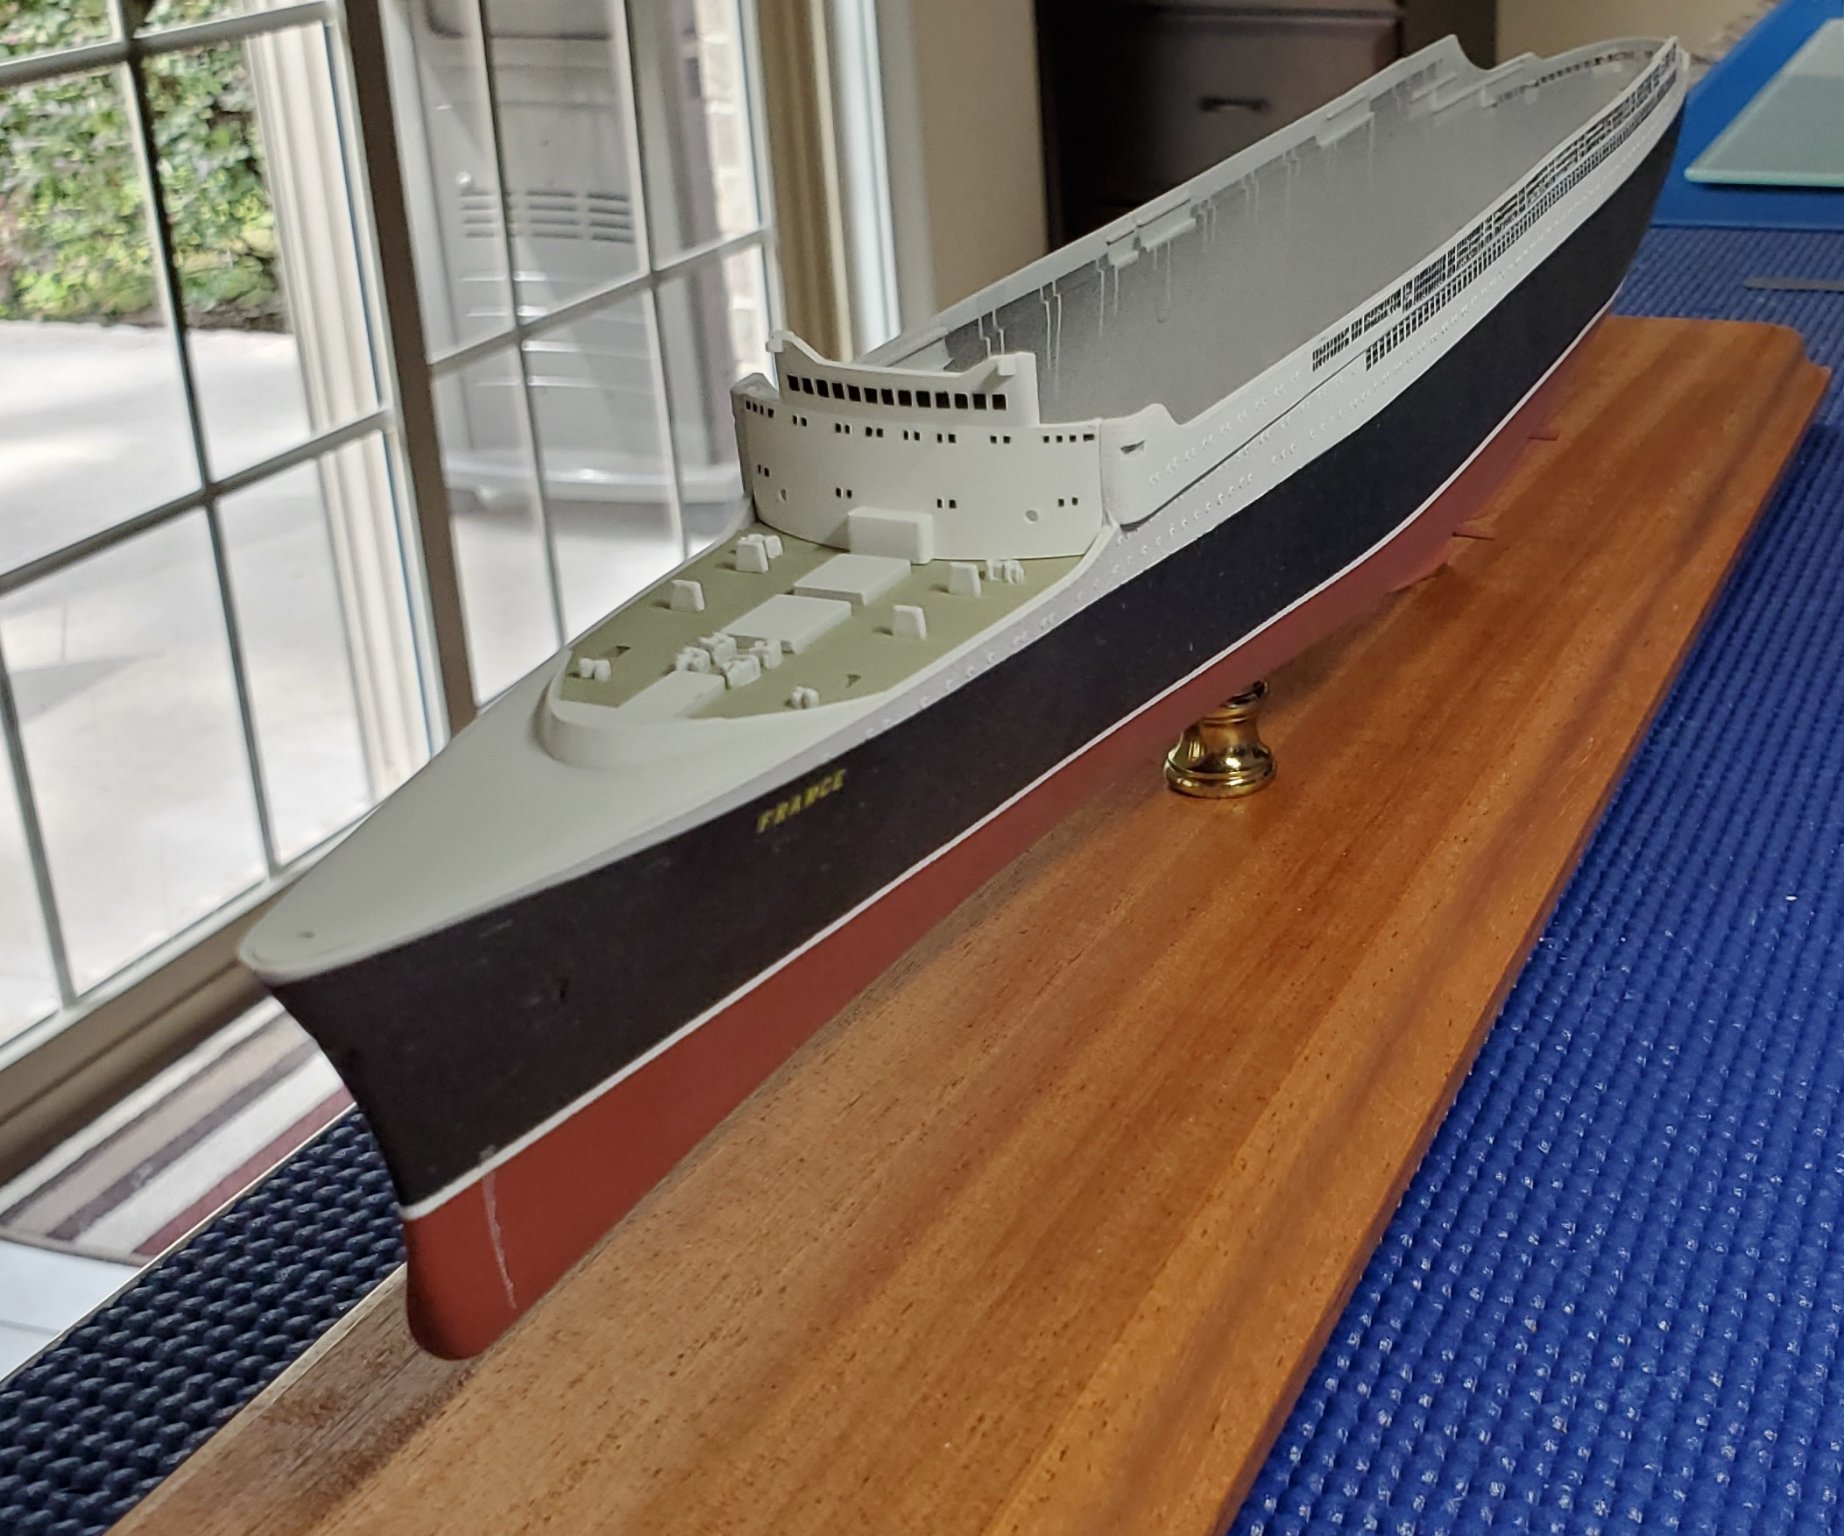
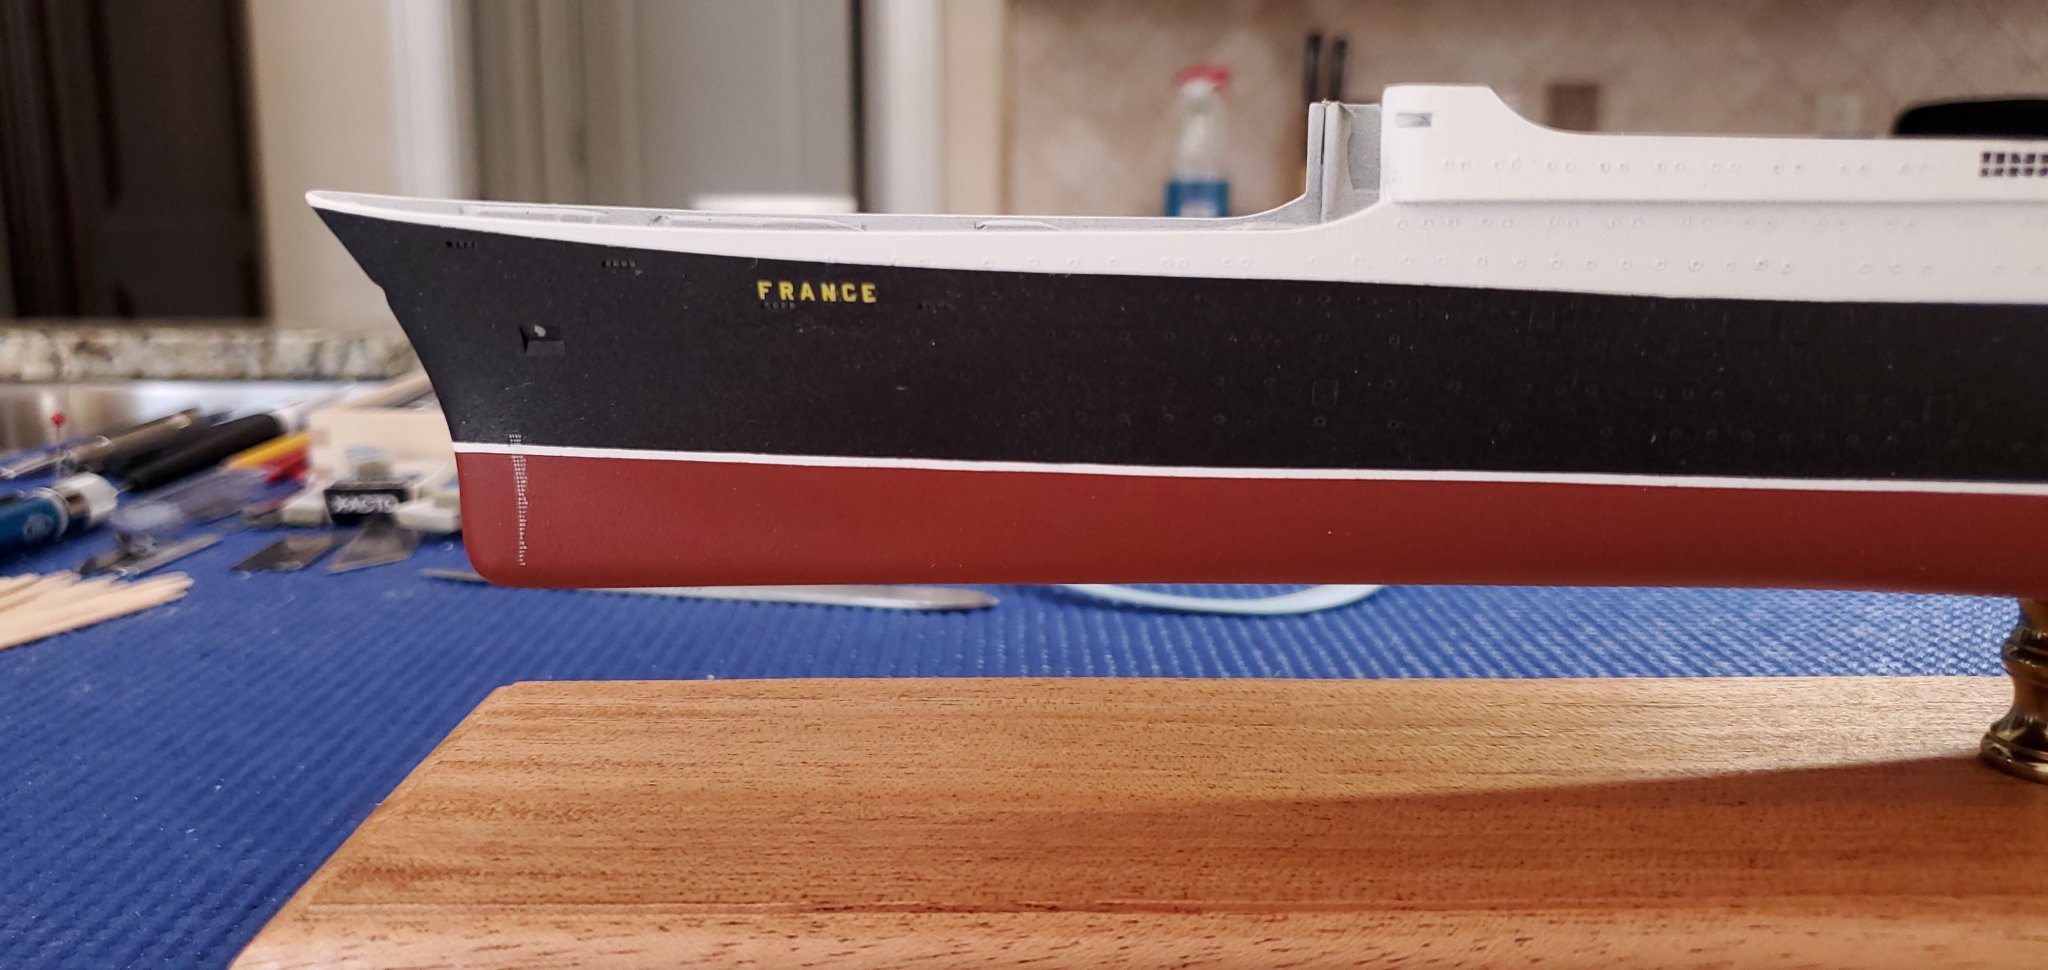
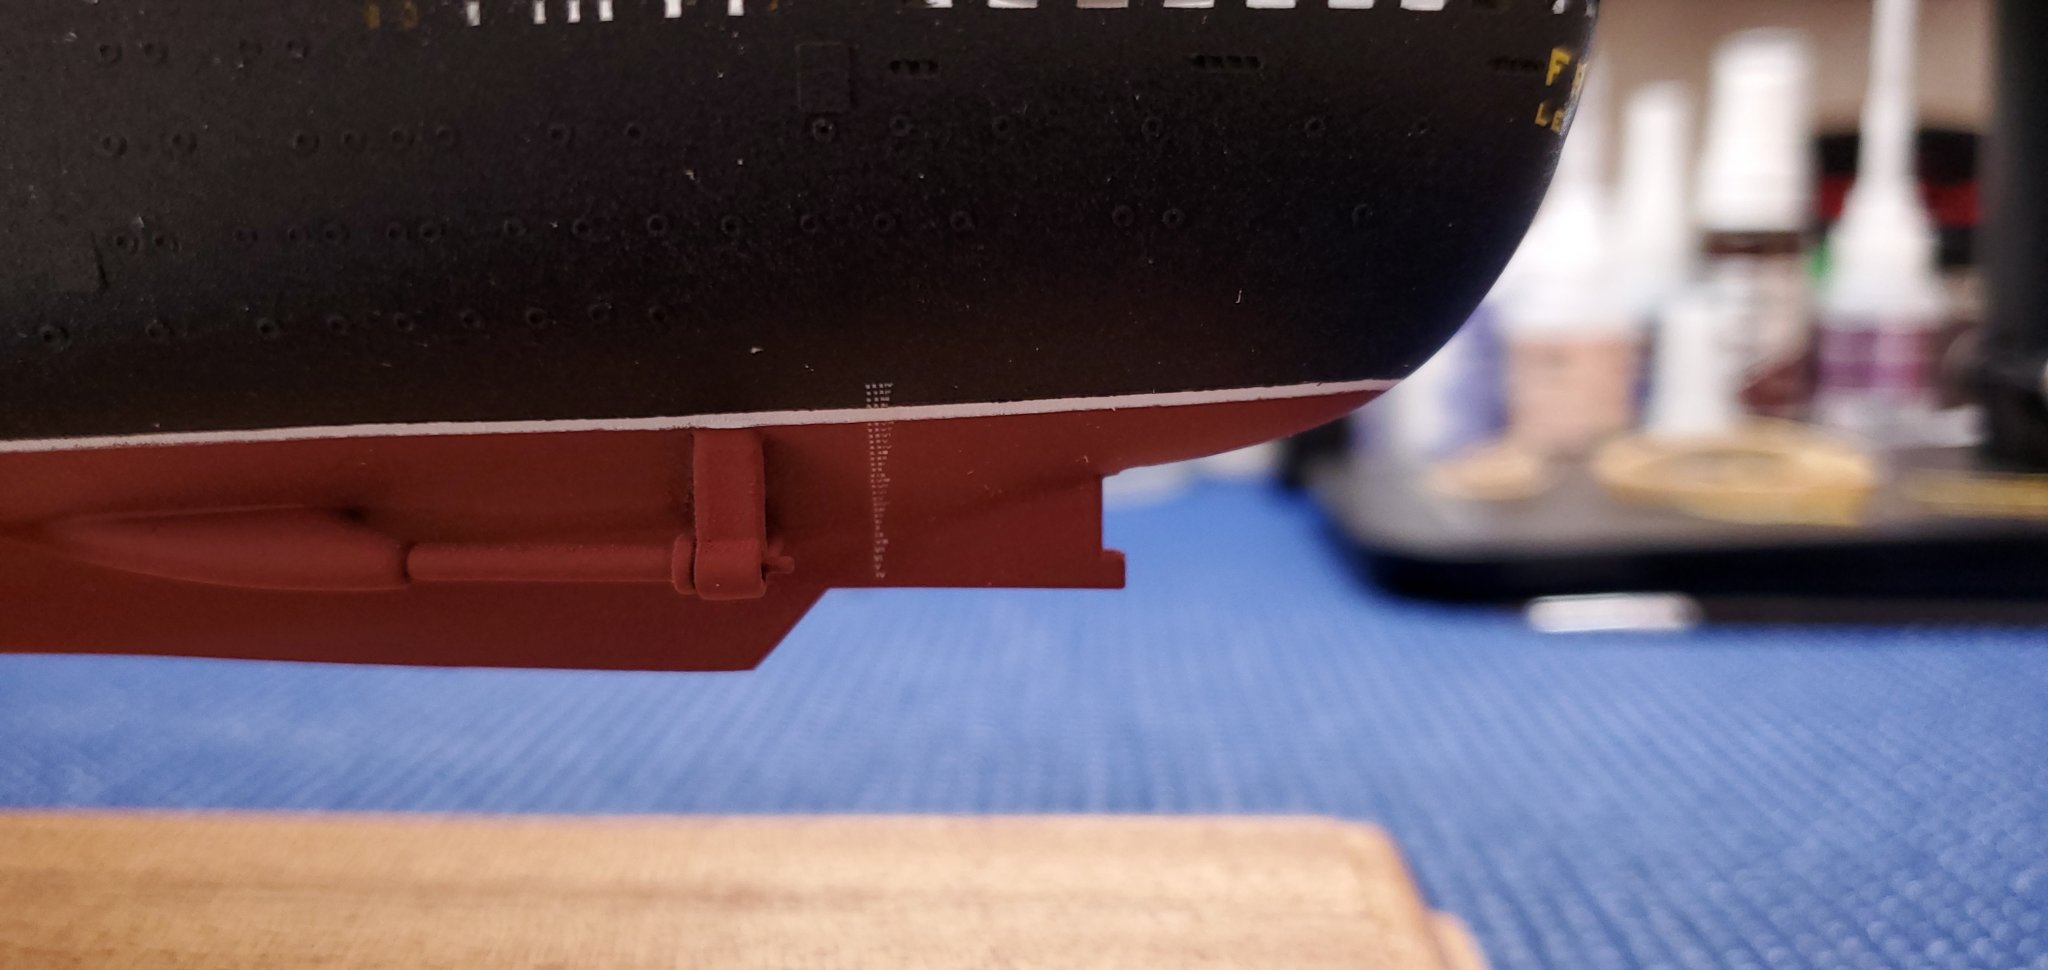
Lol I crushed another railing while the dog was in the other room lol. Did it trying to get one of the France signs on. I got it pretty straight. Thanks Old Collingwood and Lou. The bow was a pain, lots of tiny pieces that also needed to line up and be strong enough to have rigging attached....tedious stuff.
-
-
The railing bending culprit lol!
.thumb.jpg.593ee0fb7dd2cc9b924f1b80d4310072.jpg)
- Old Collingwood, amateur and lmagna
-
3
-
-
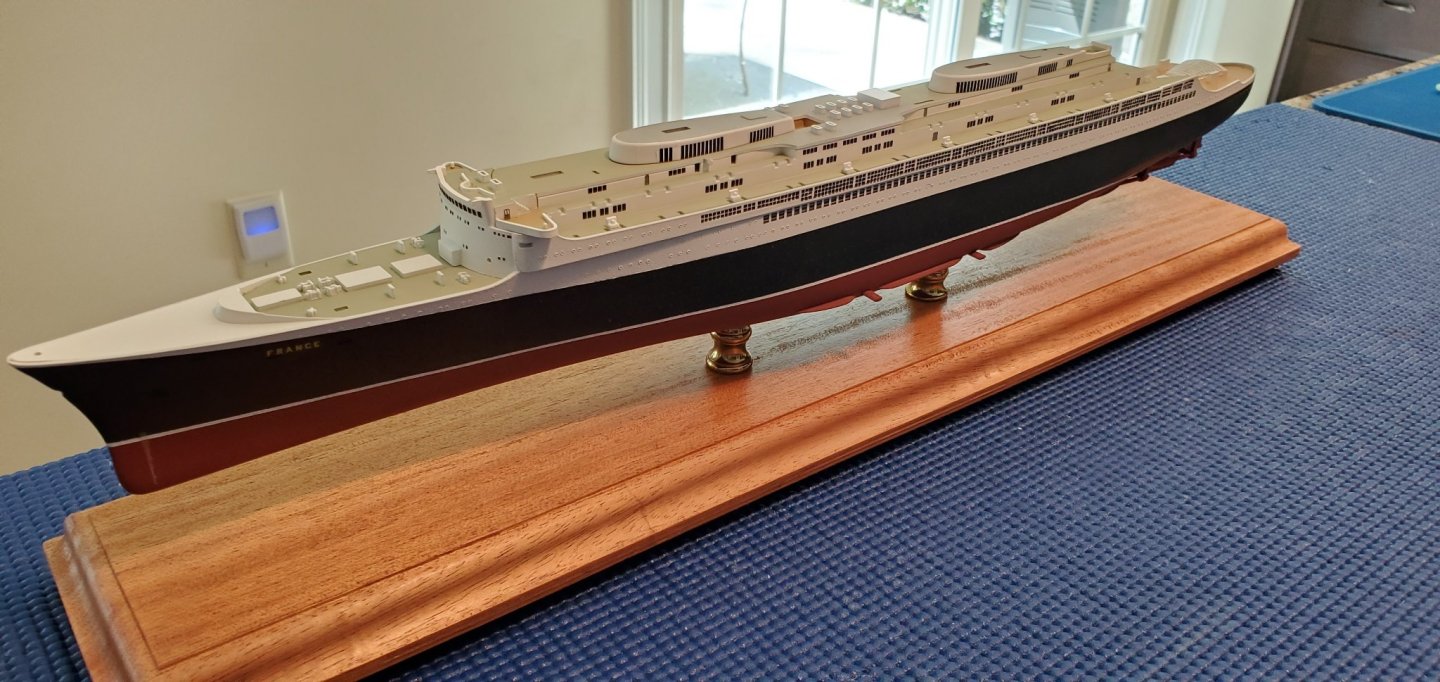
I got a lot of railings done on my France. My dog bumped me and my elbow crushed the bow railings after they were glued on......straightened them out as best I could. The PE also had a lot of waves to it from shipping which didn't come out that great. I found the railings on this ship the hardest ones to do of the four models I have done. Lots of long straight runs and curves.
- yvesvidal, mtdoramike, hof00 and 4 others
-
7
-
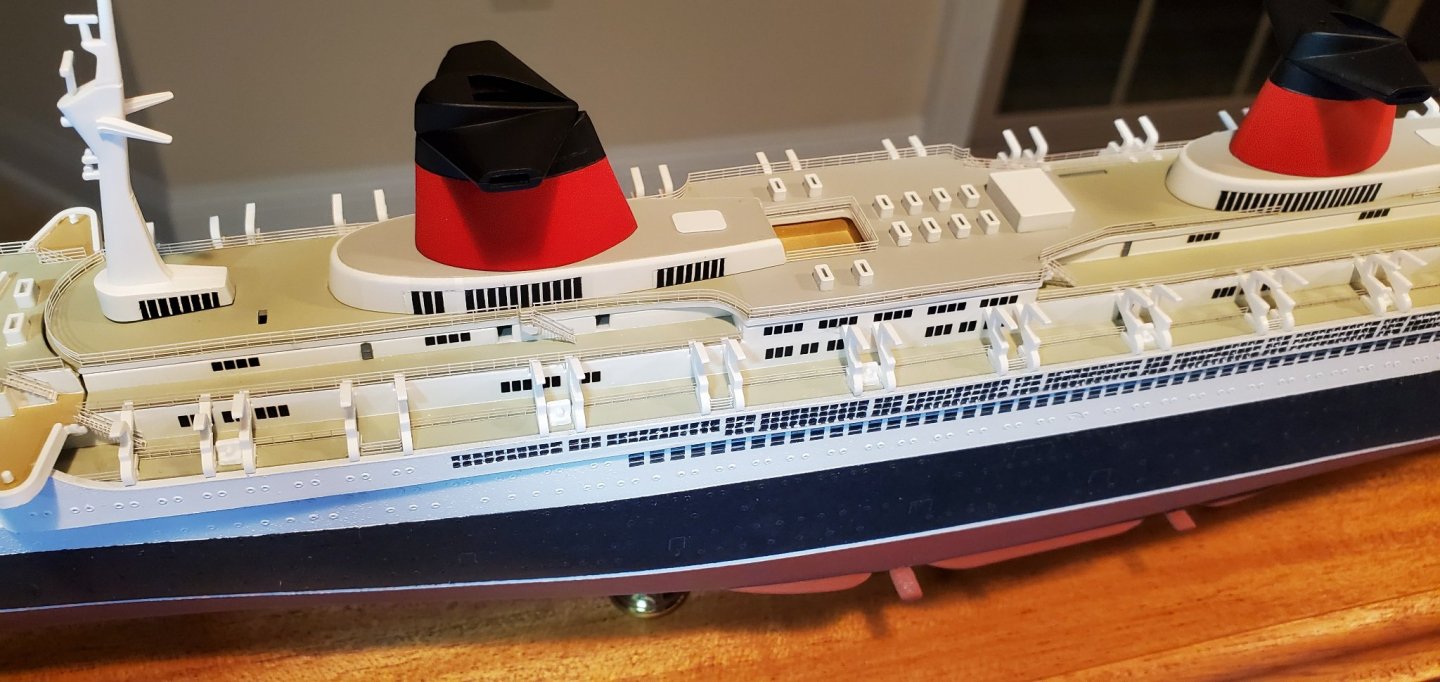
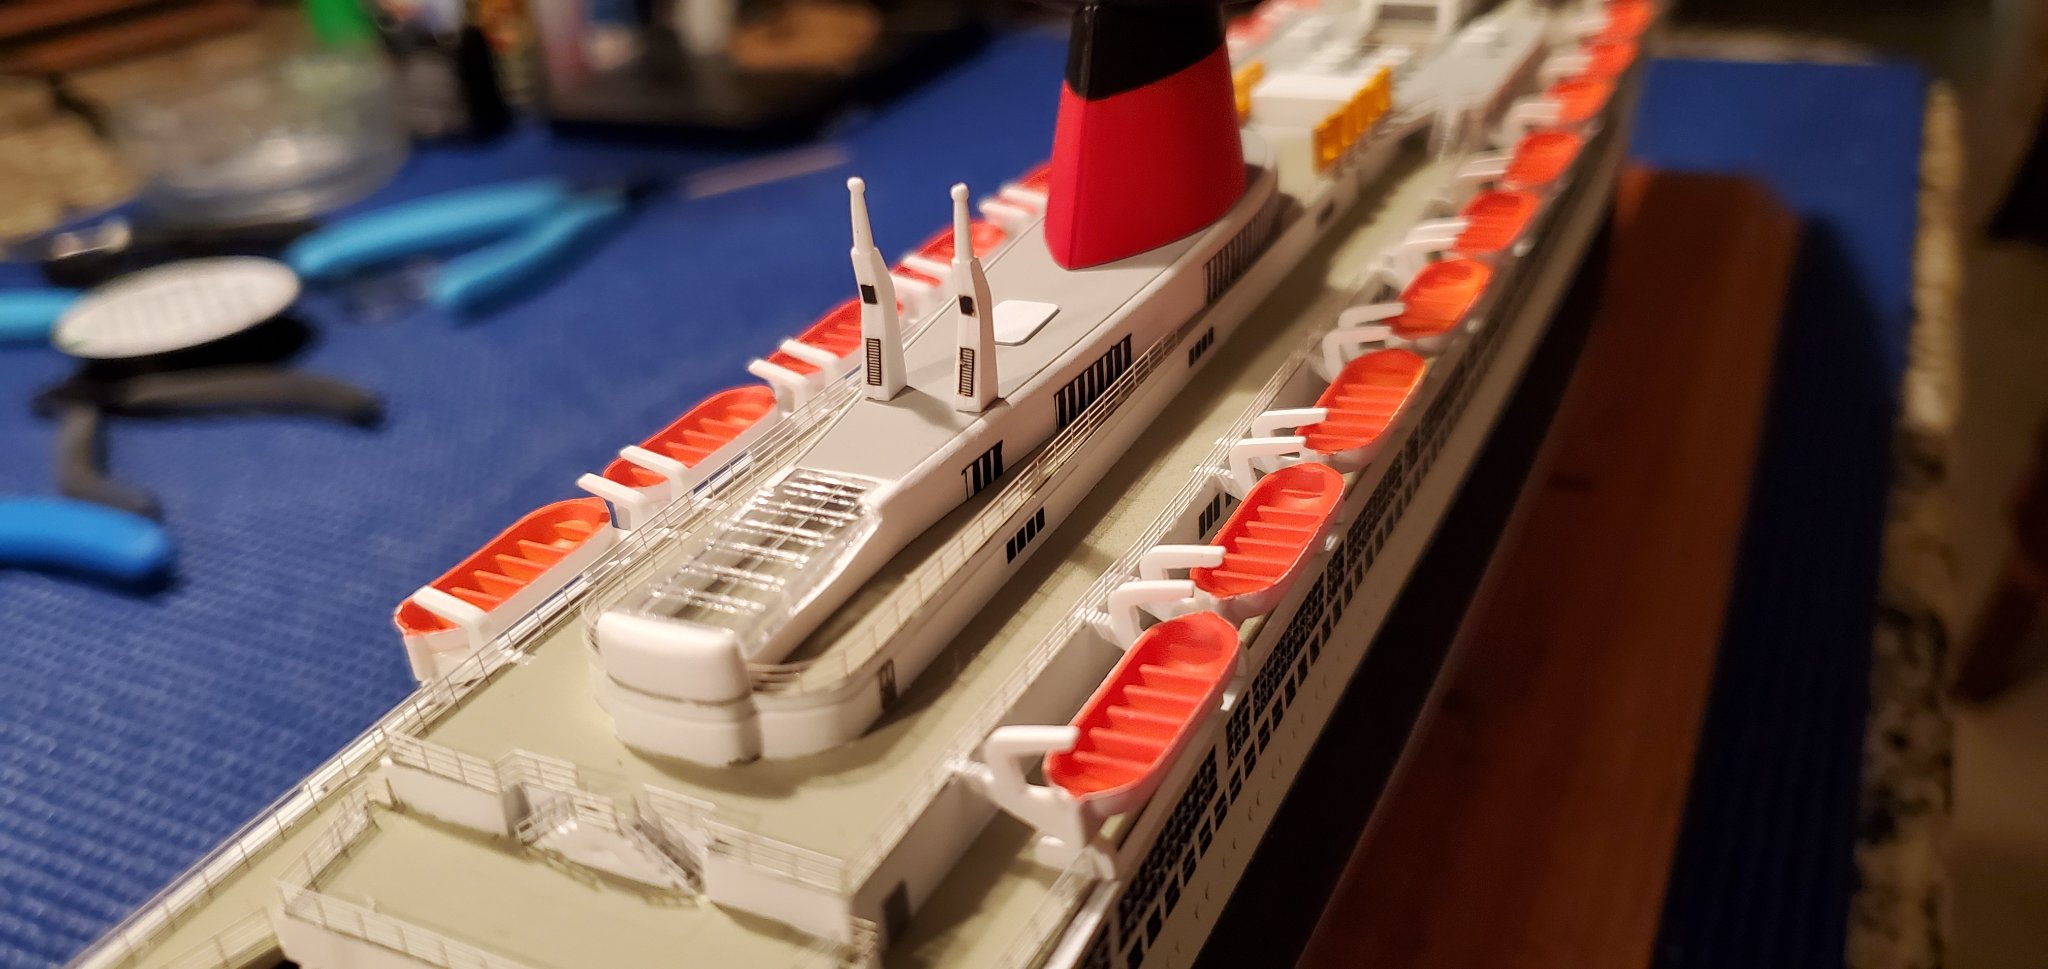
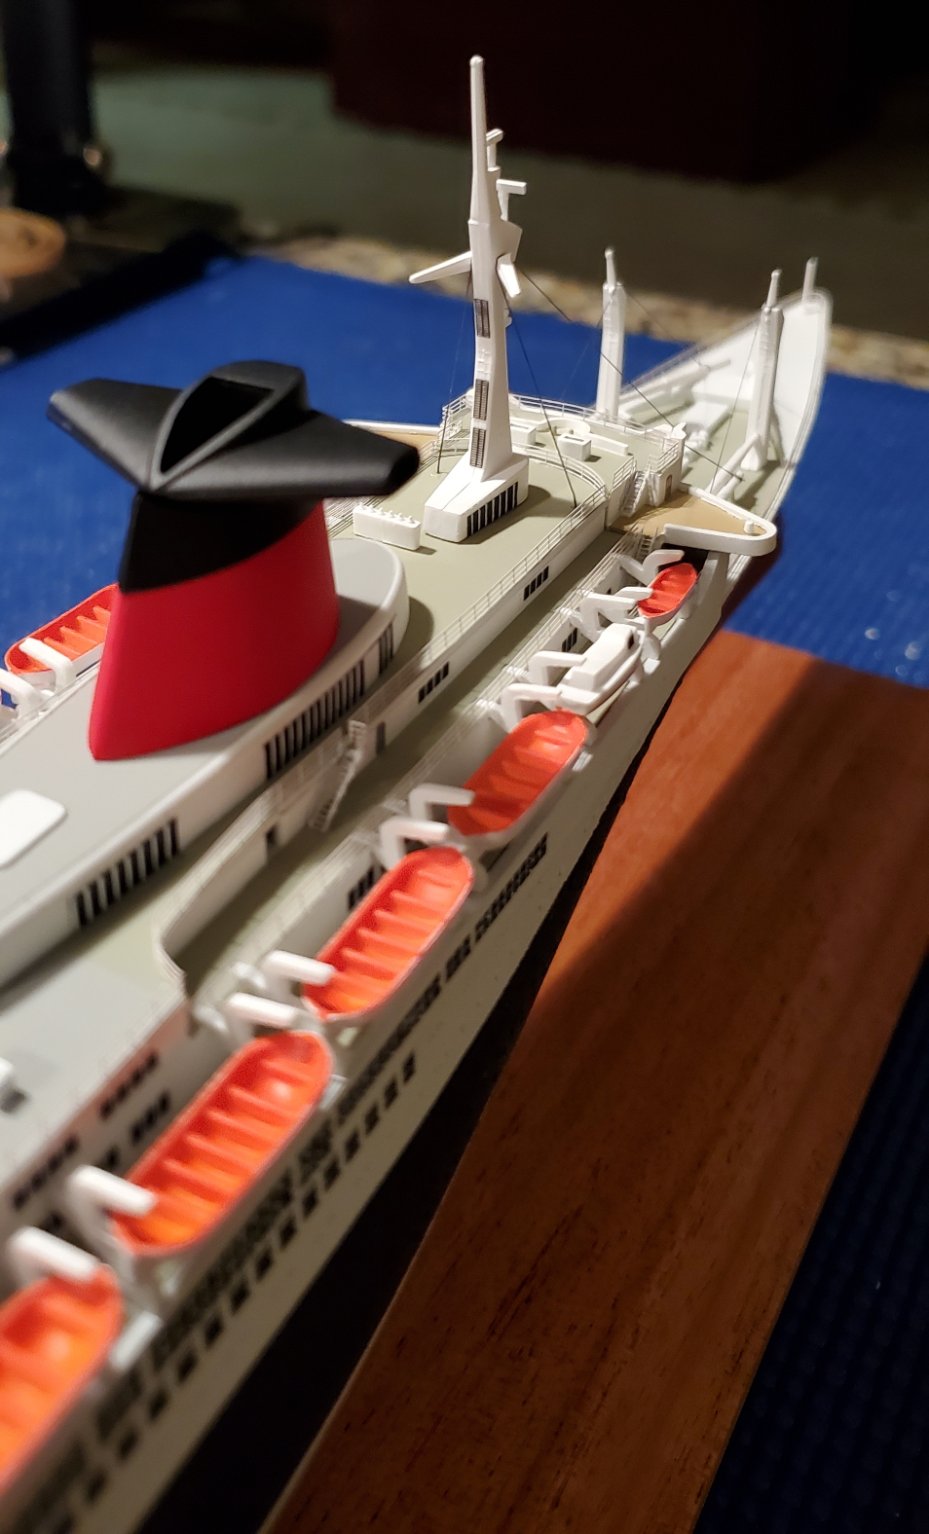
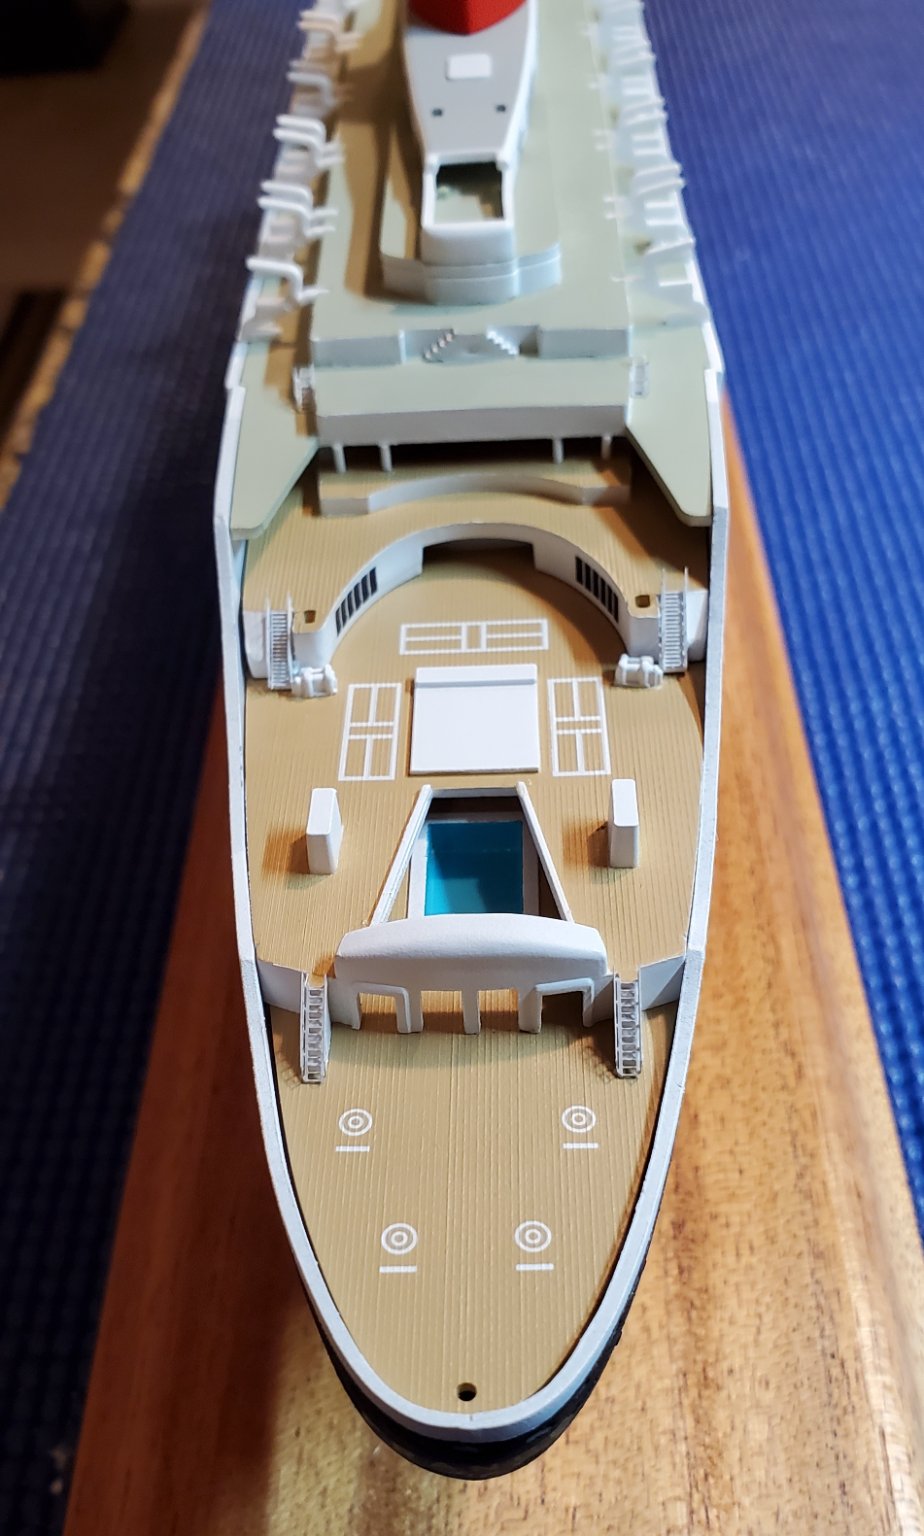
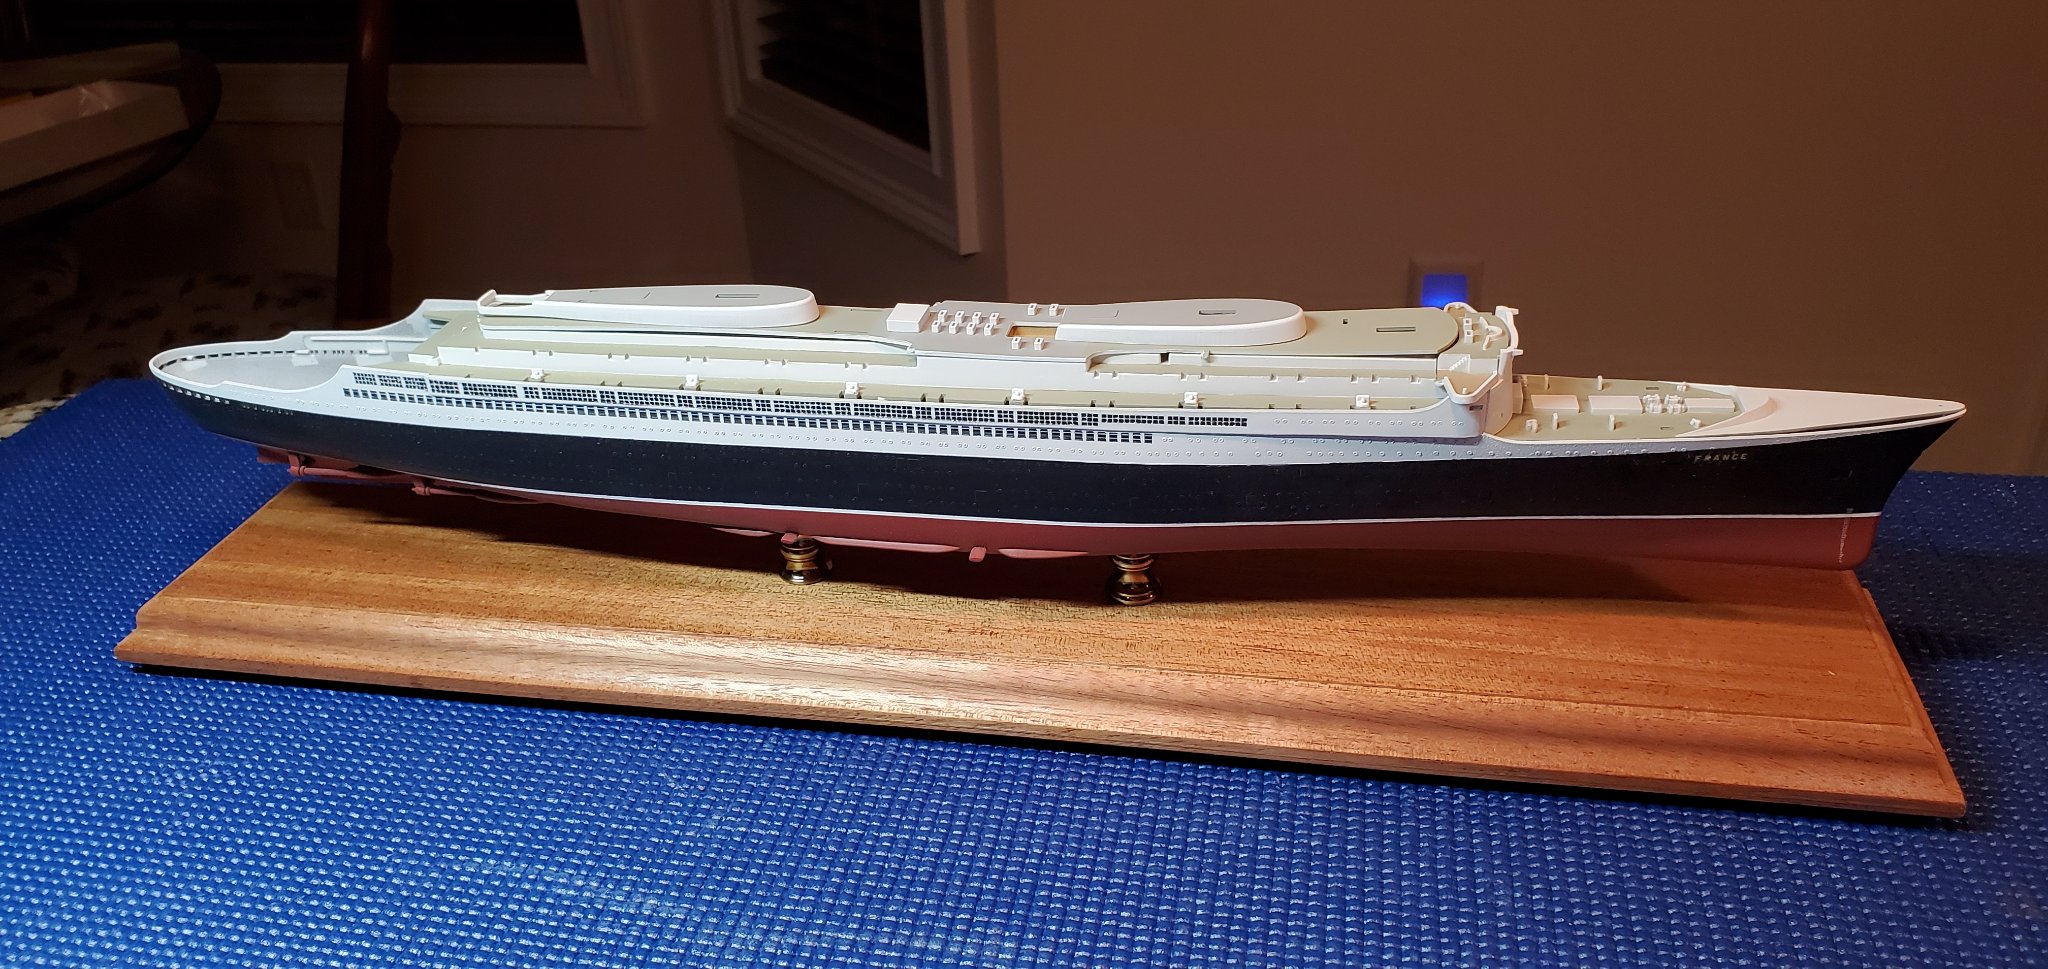
Today I added the davits, some stairways, and painted the funnels on my 1/600 France. More stairways to do and I'm still putting off the railings lol.


- lmagna, oneslim, Old Collingwood and 3 others
-
6
-
-
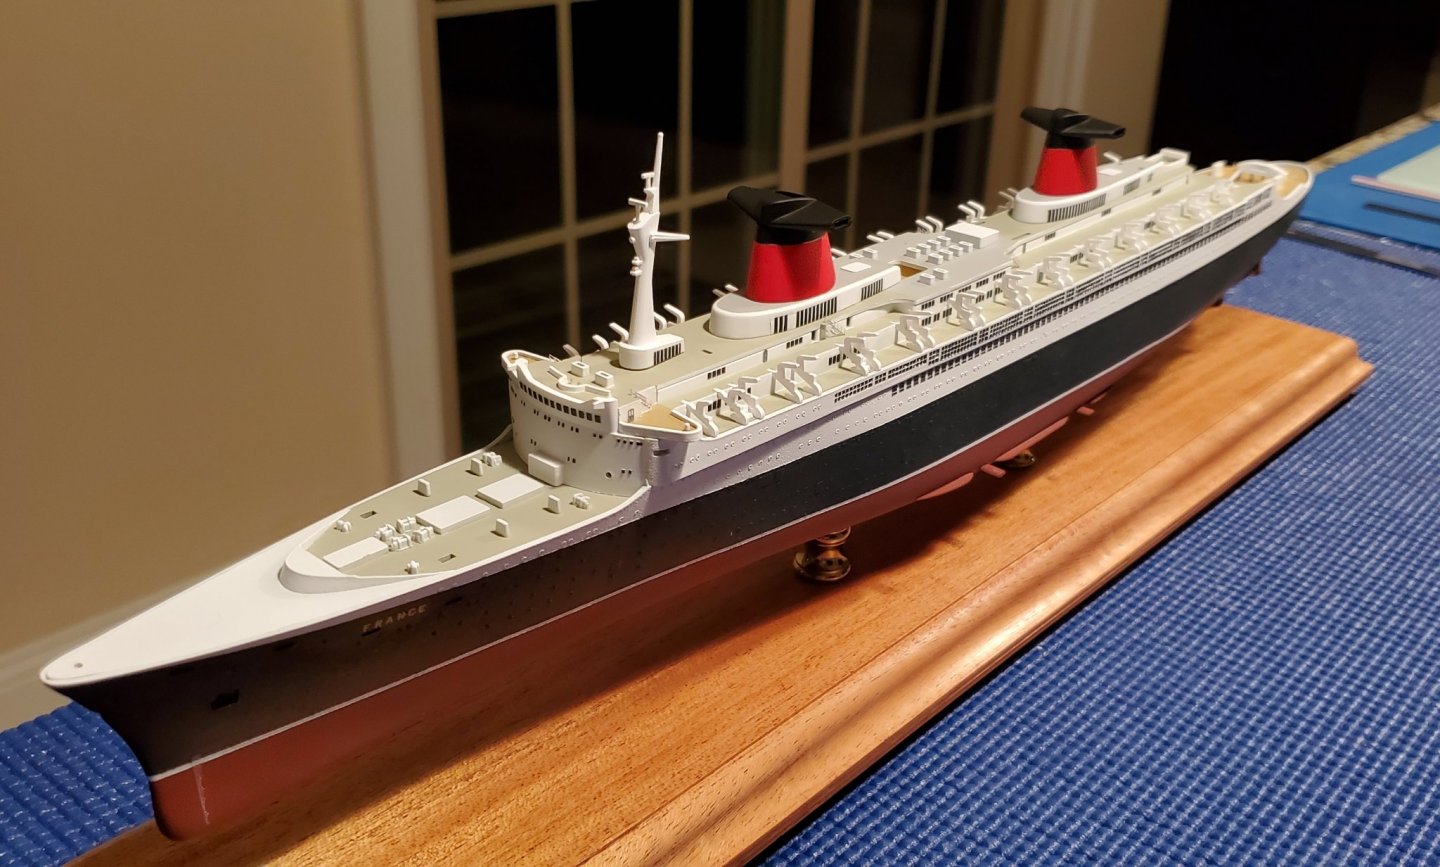
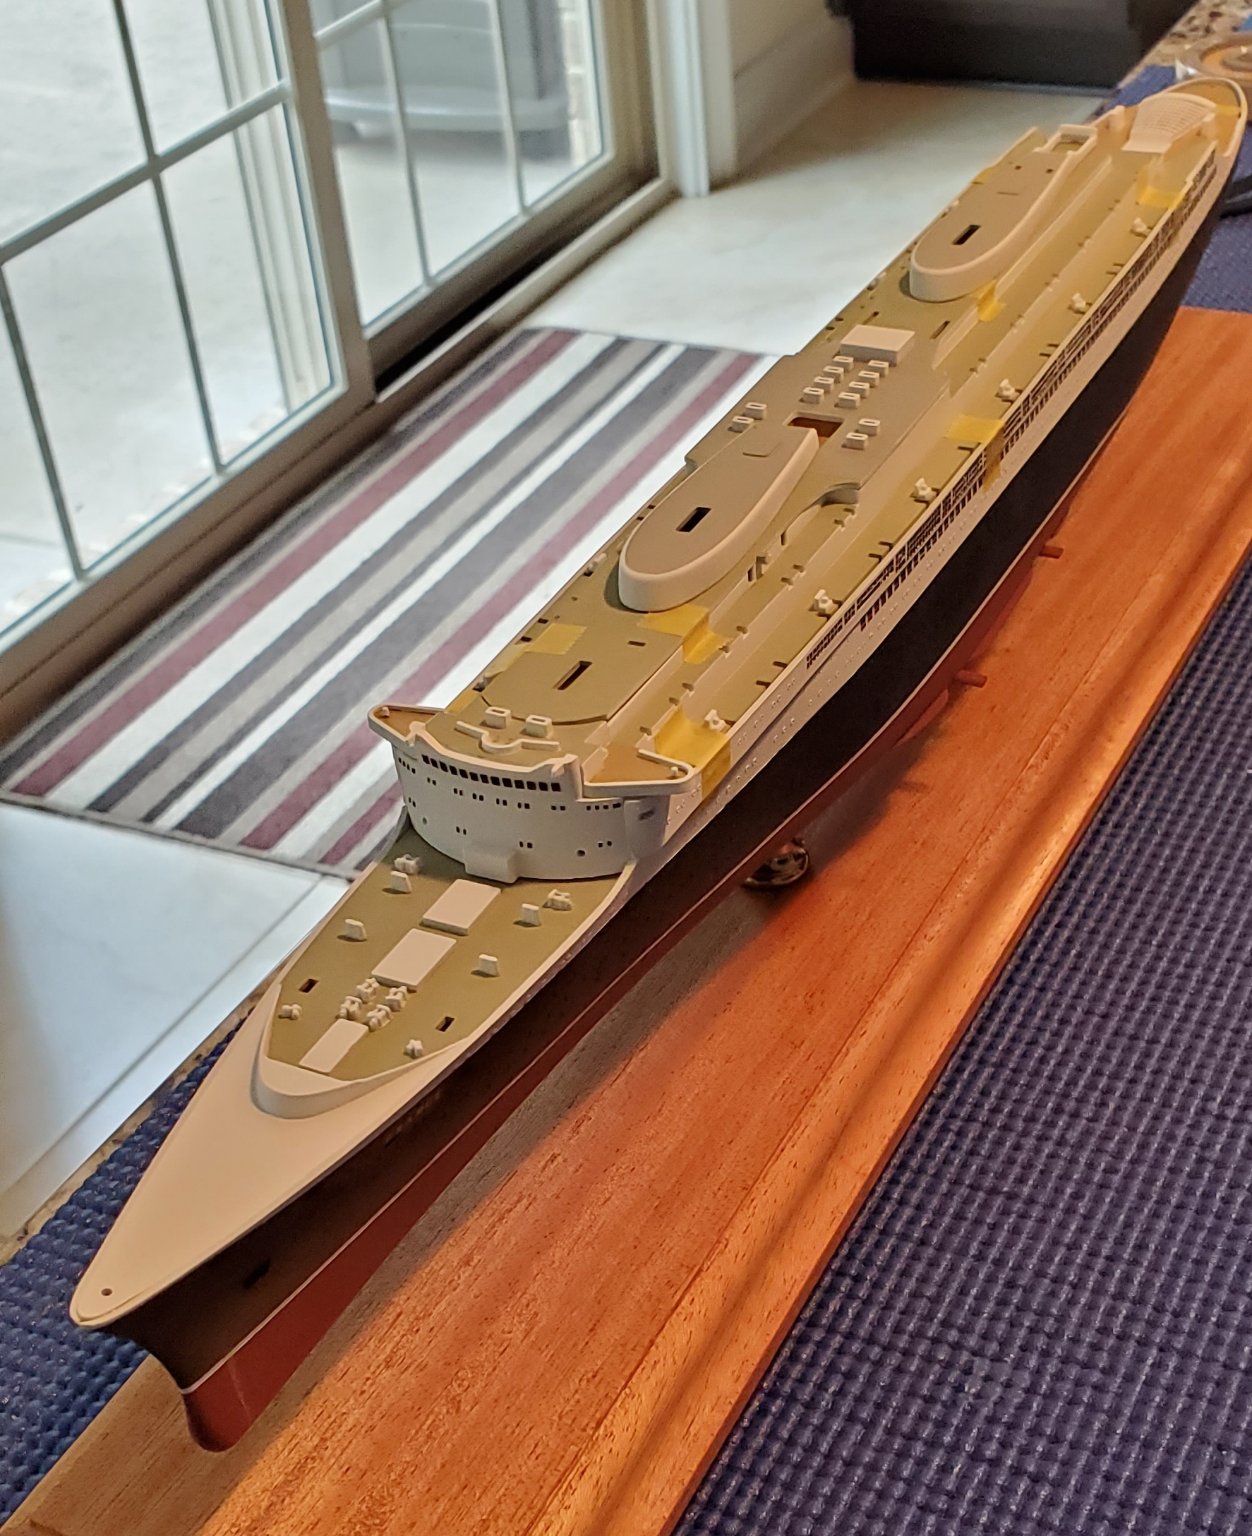
Thanks Bill and Old Collingwood. I permanently glued down the decks and bridge. I also added window decals and some photo etch doors. It took some filing but it went together pretty good for such an old and warped model. I think I'm going to add some styrene posts on one of the stern decks as it looks a little empty. It also still needs some seams closed up. Then on to the railings and other details.

-
-
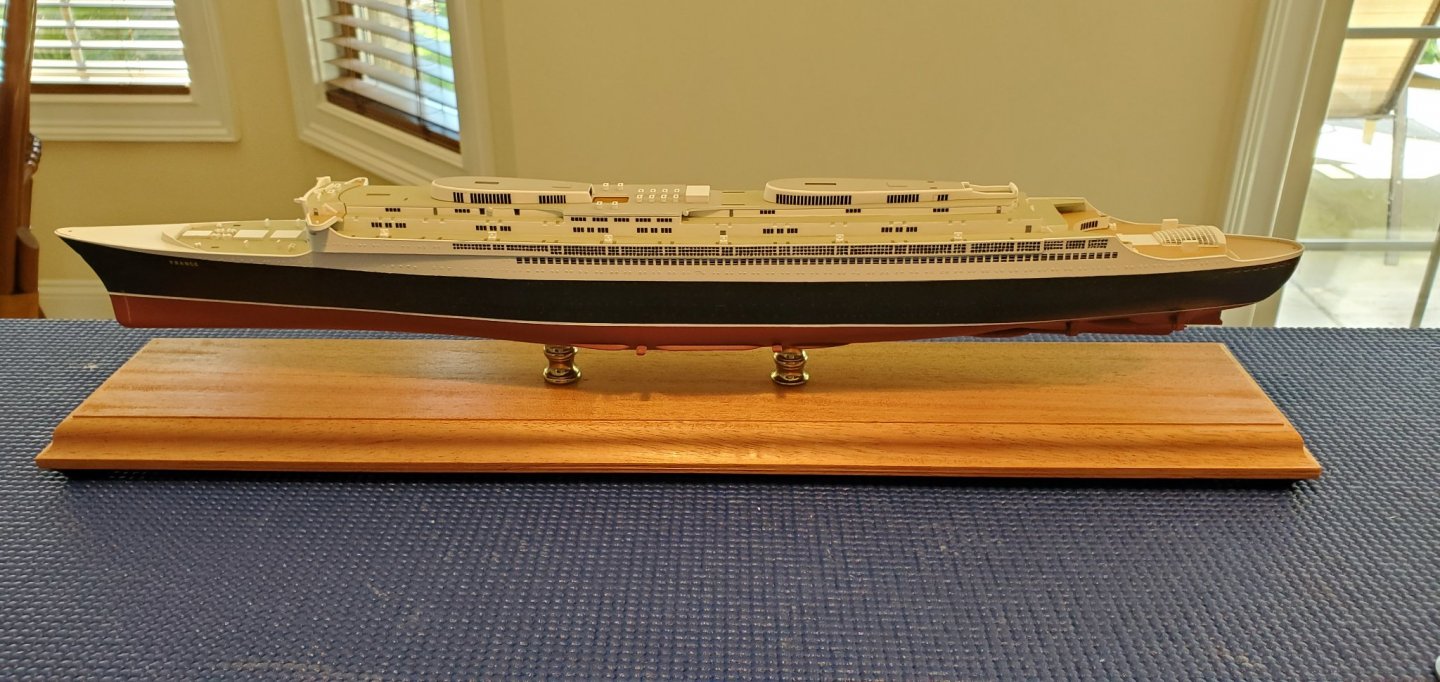
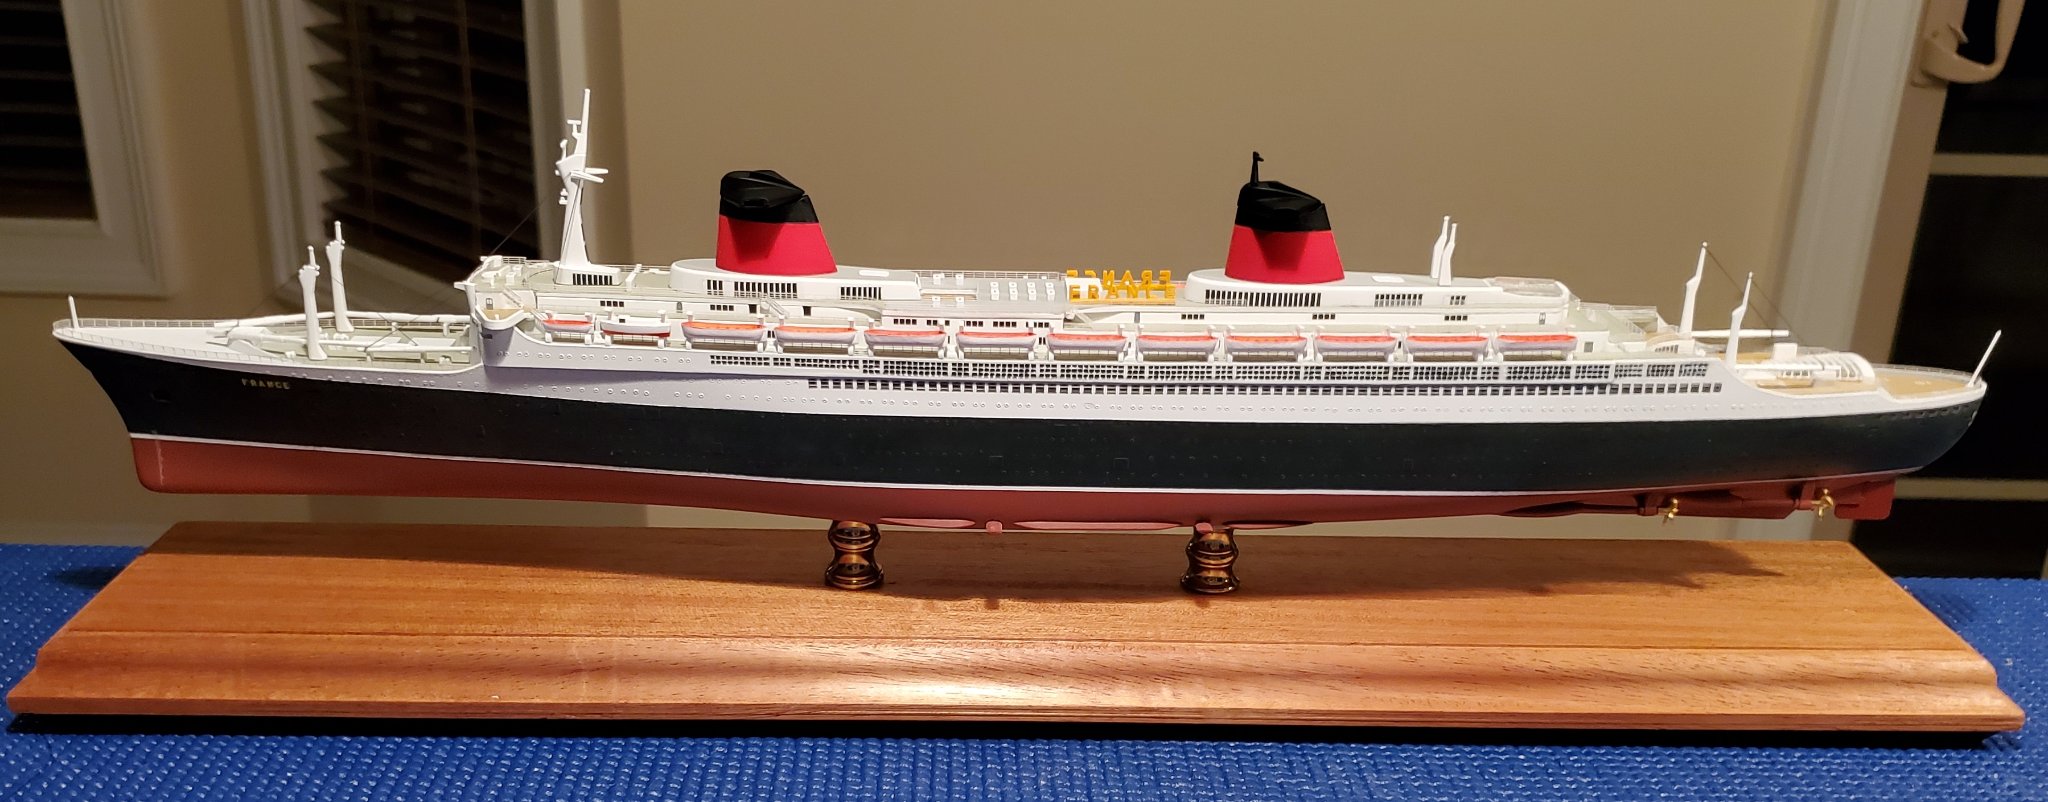
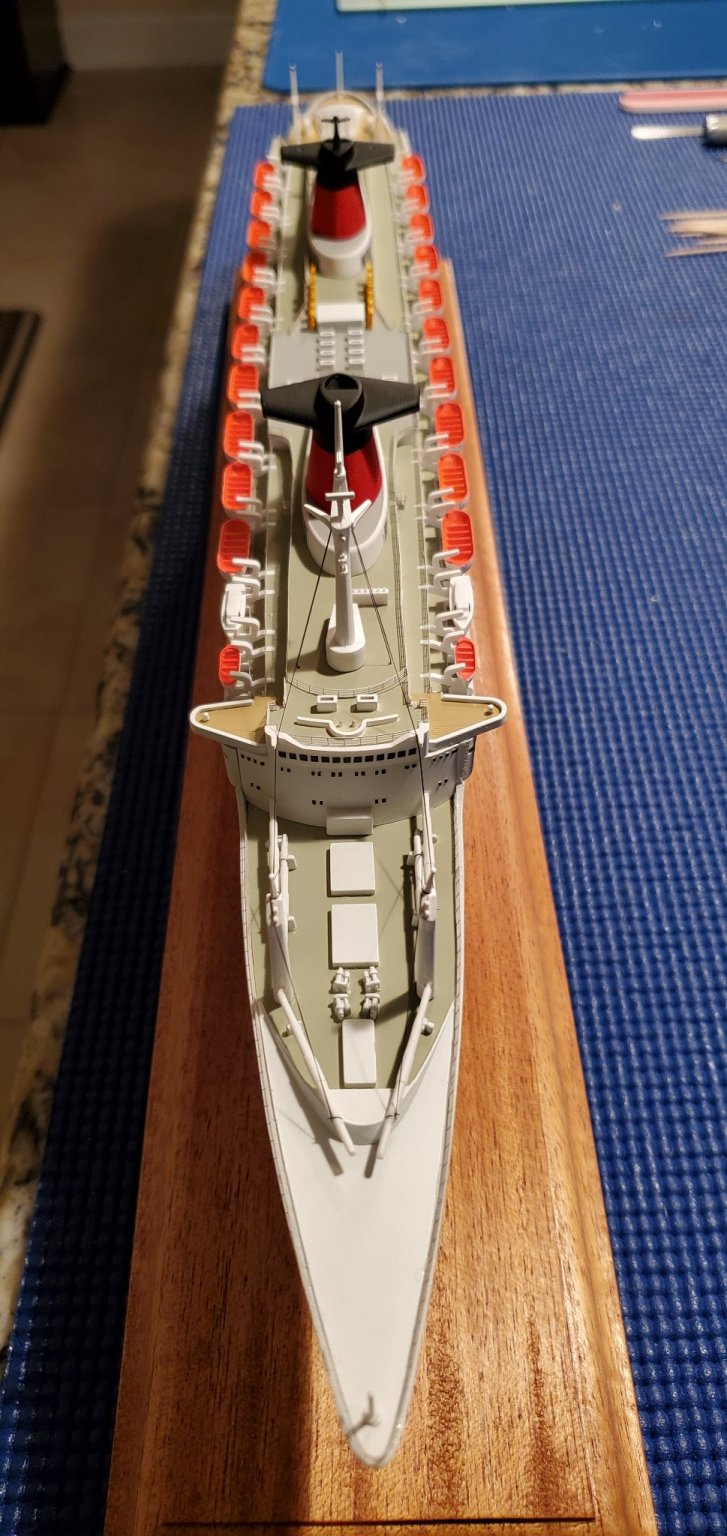
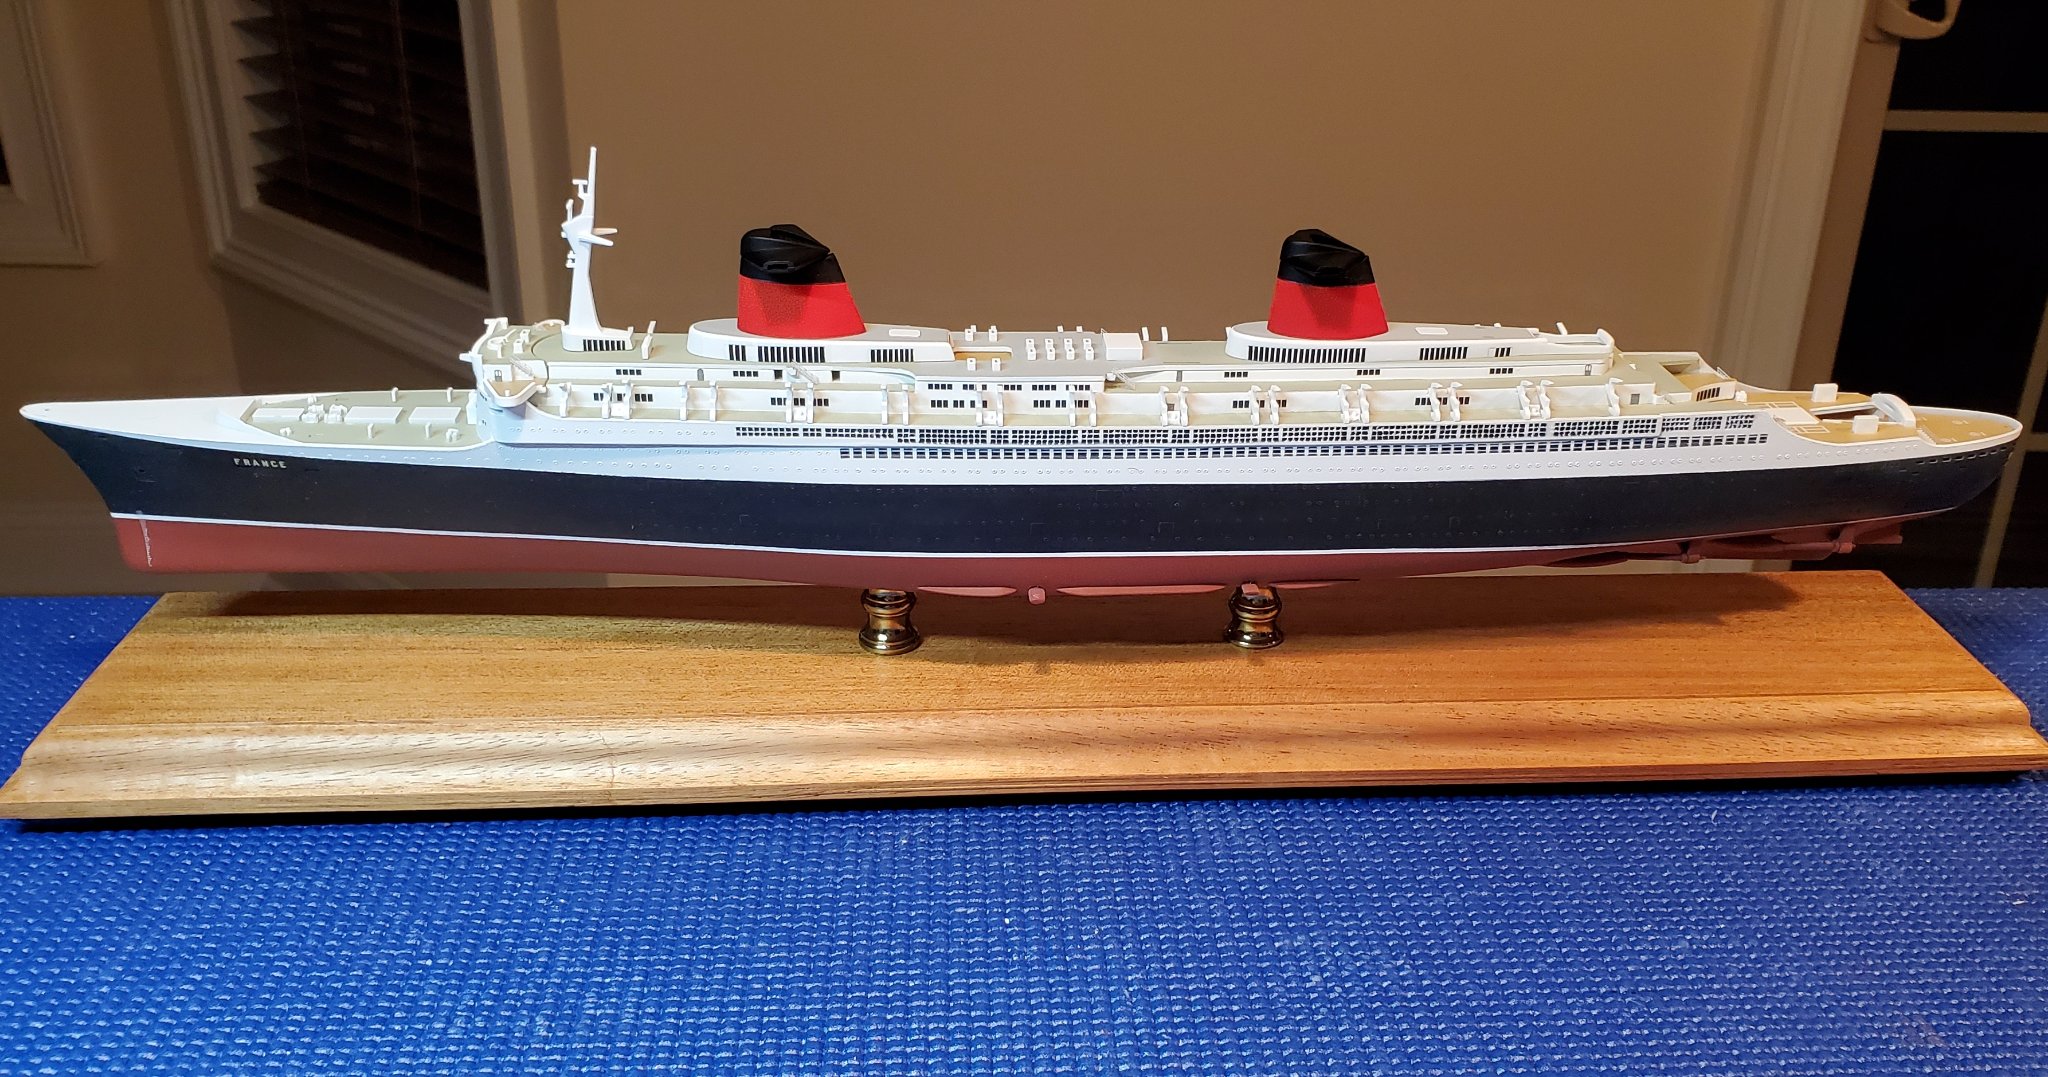
I got the rear decks on my France painted and can finally see what the colors look like together. The reddish funnels and lifeboat interiors should bring some life to it. It still needs some adjustments and all the details added but it's coming together.


-
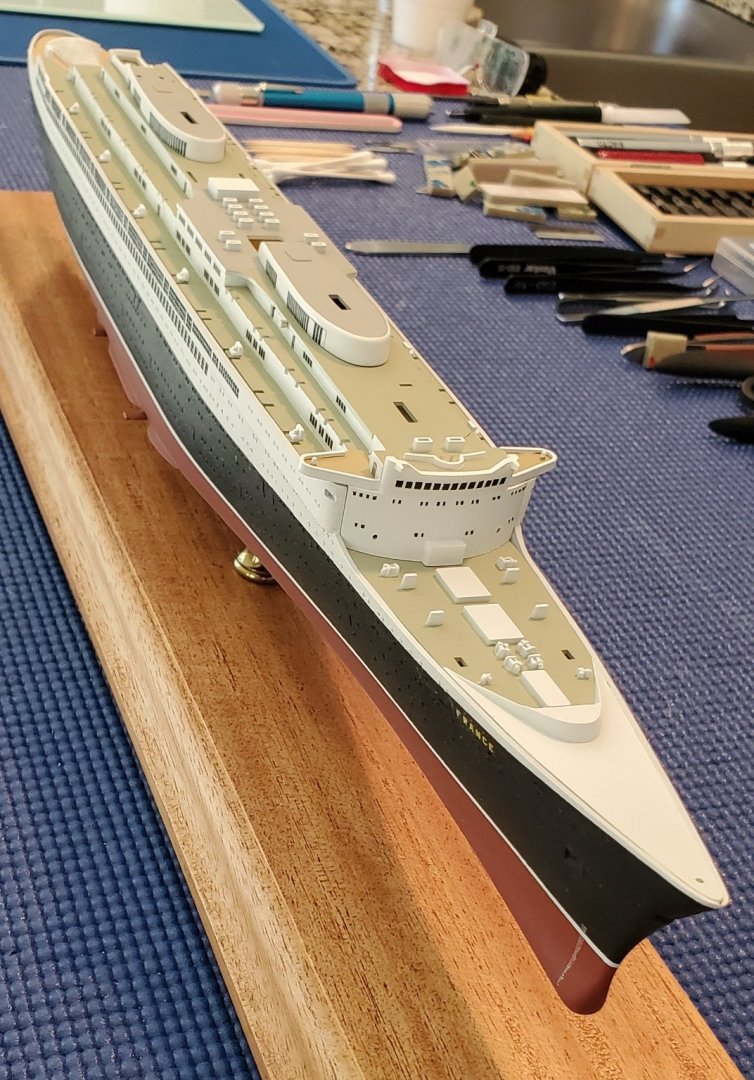
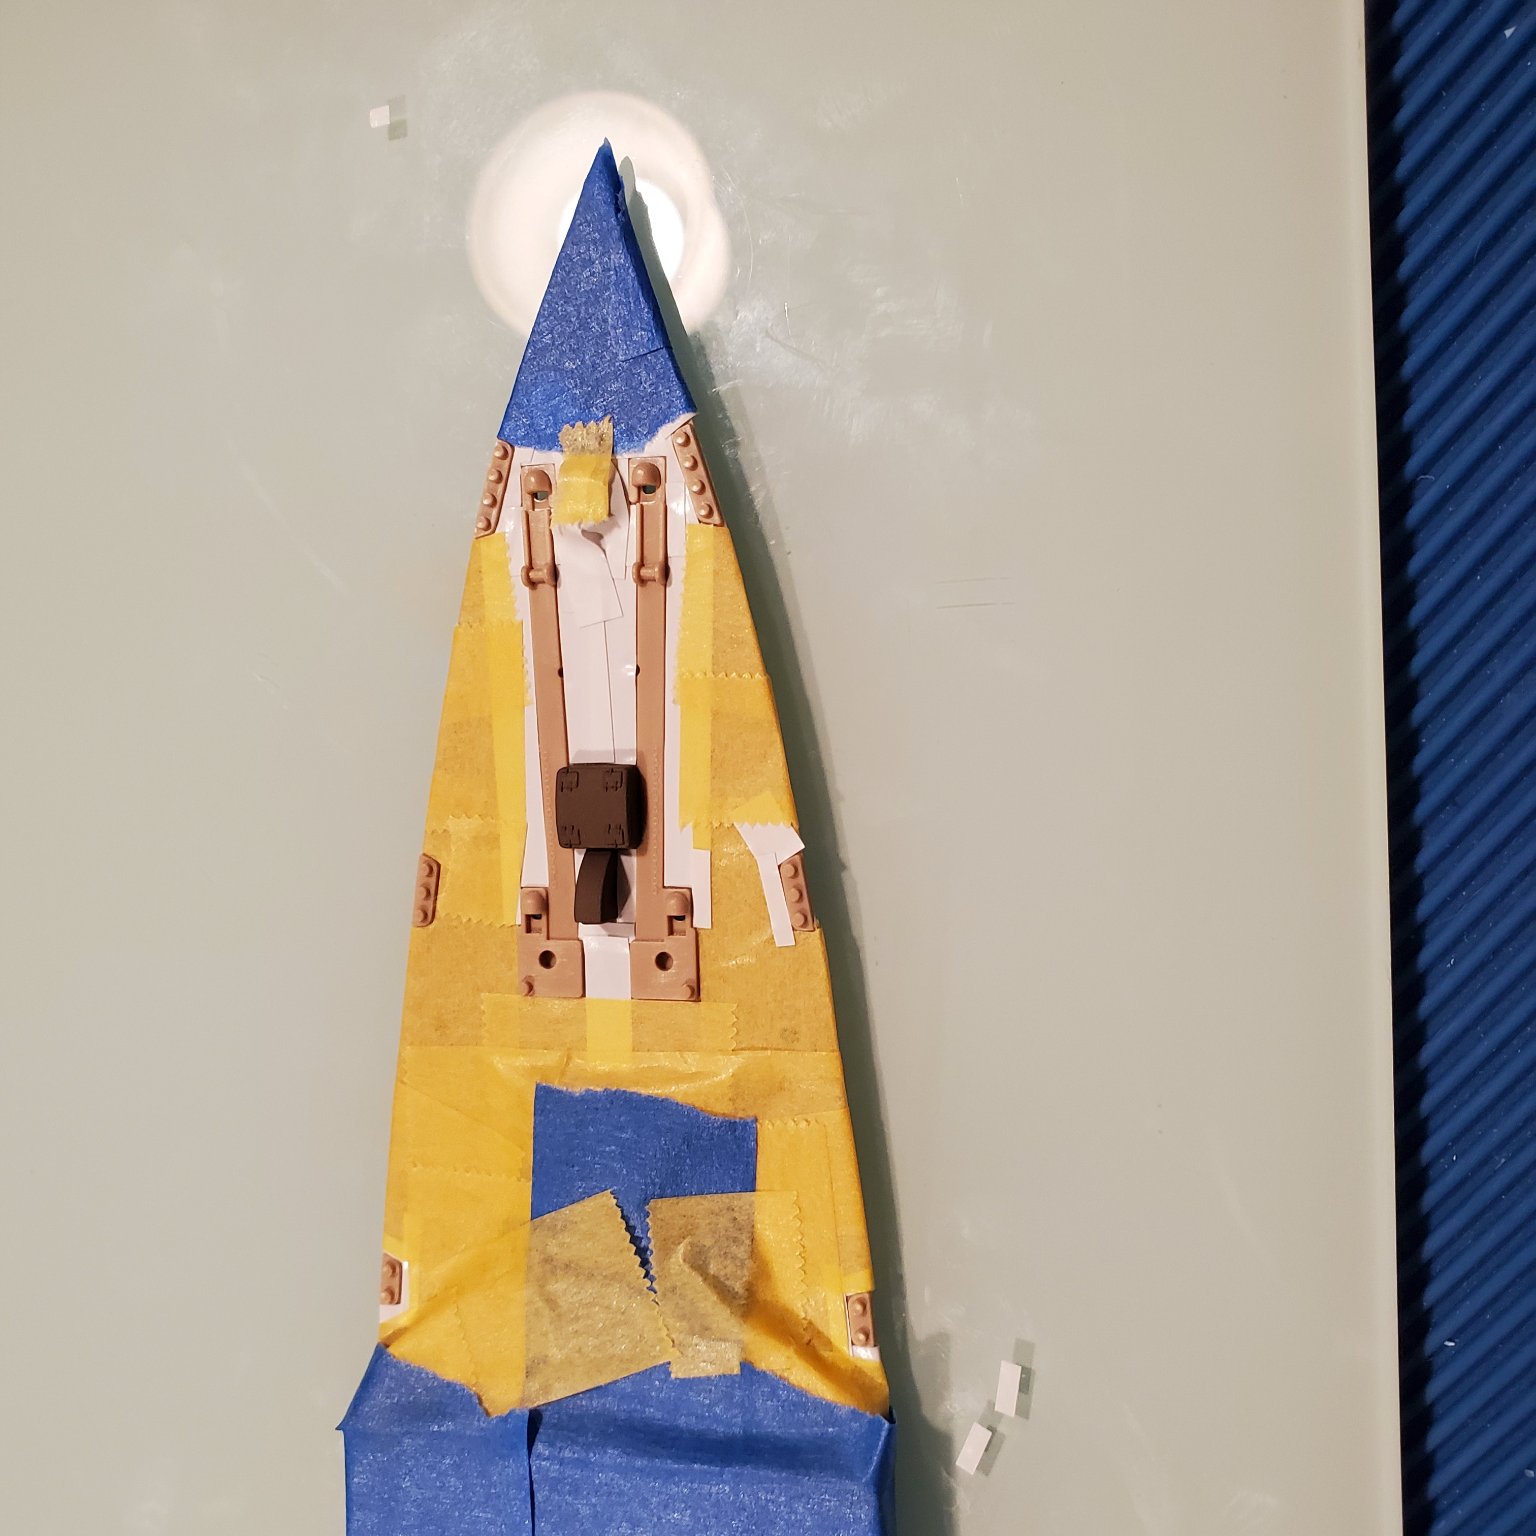
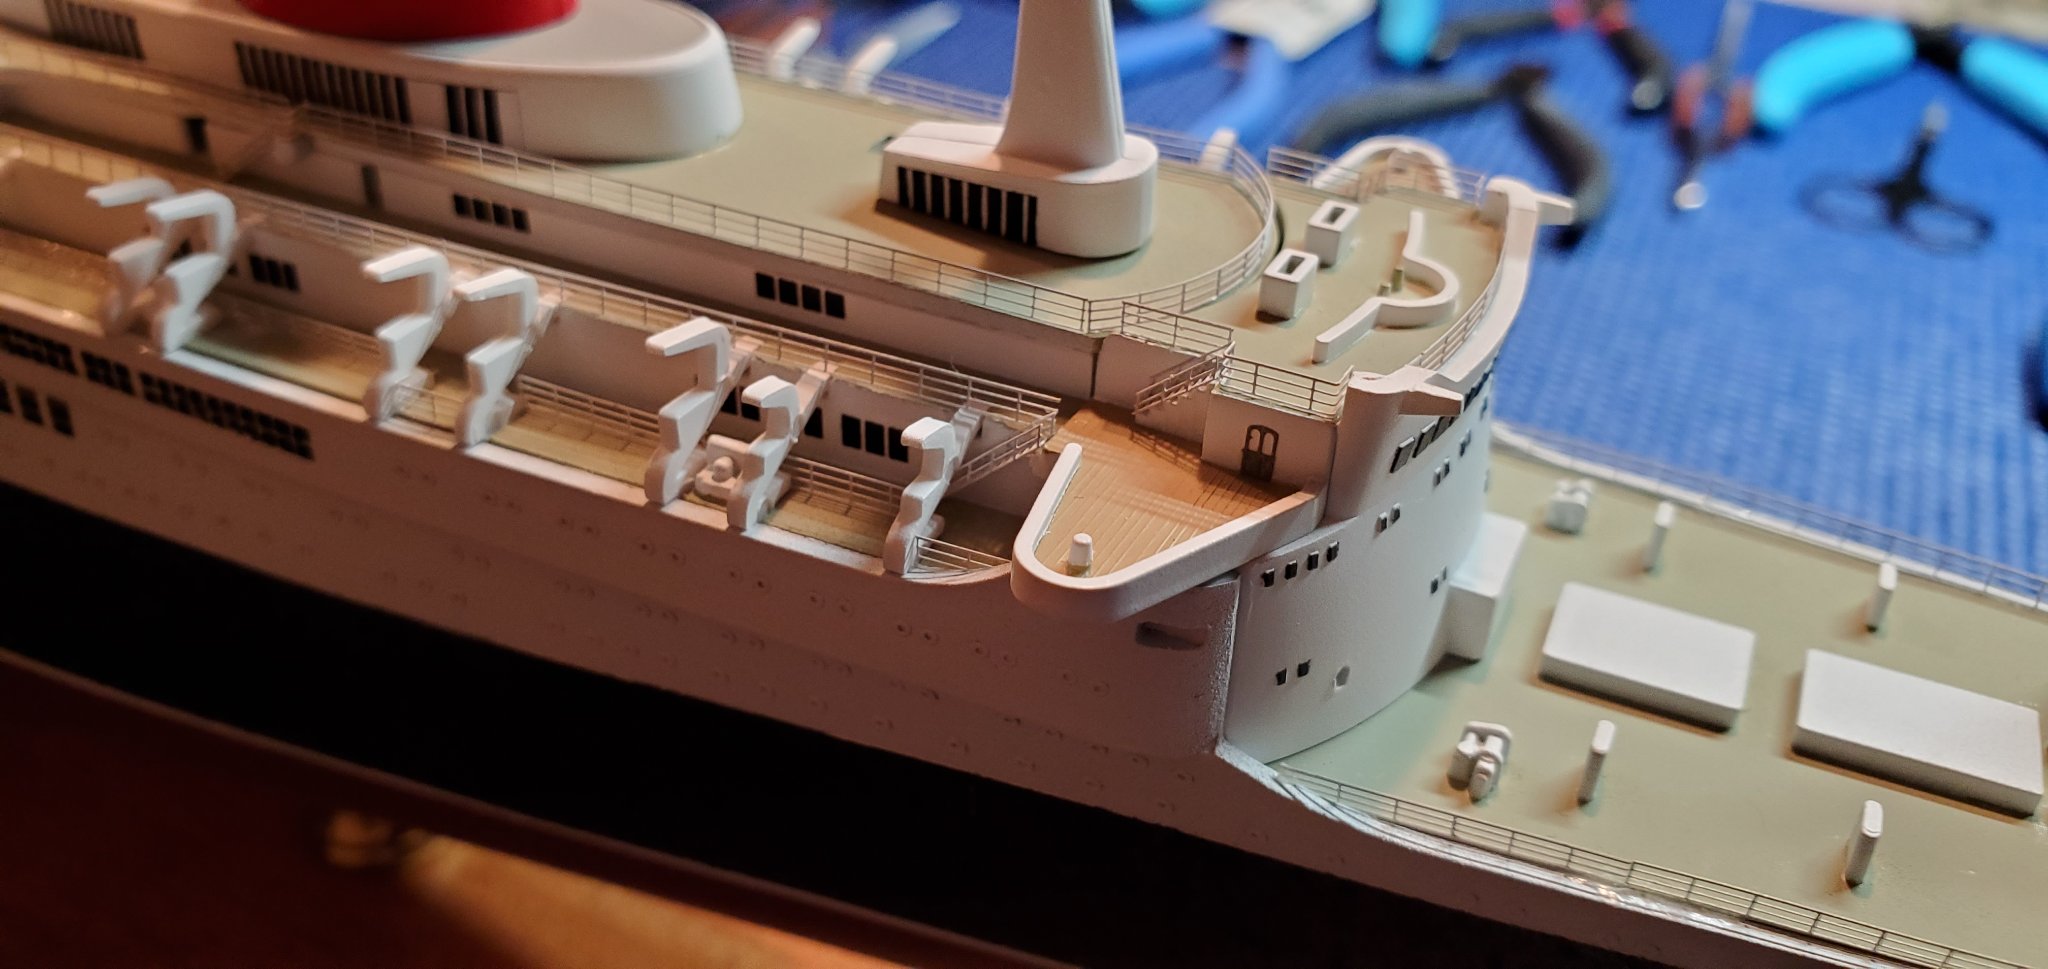
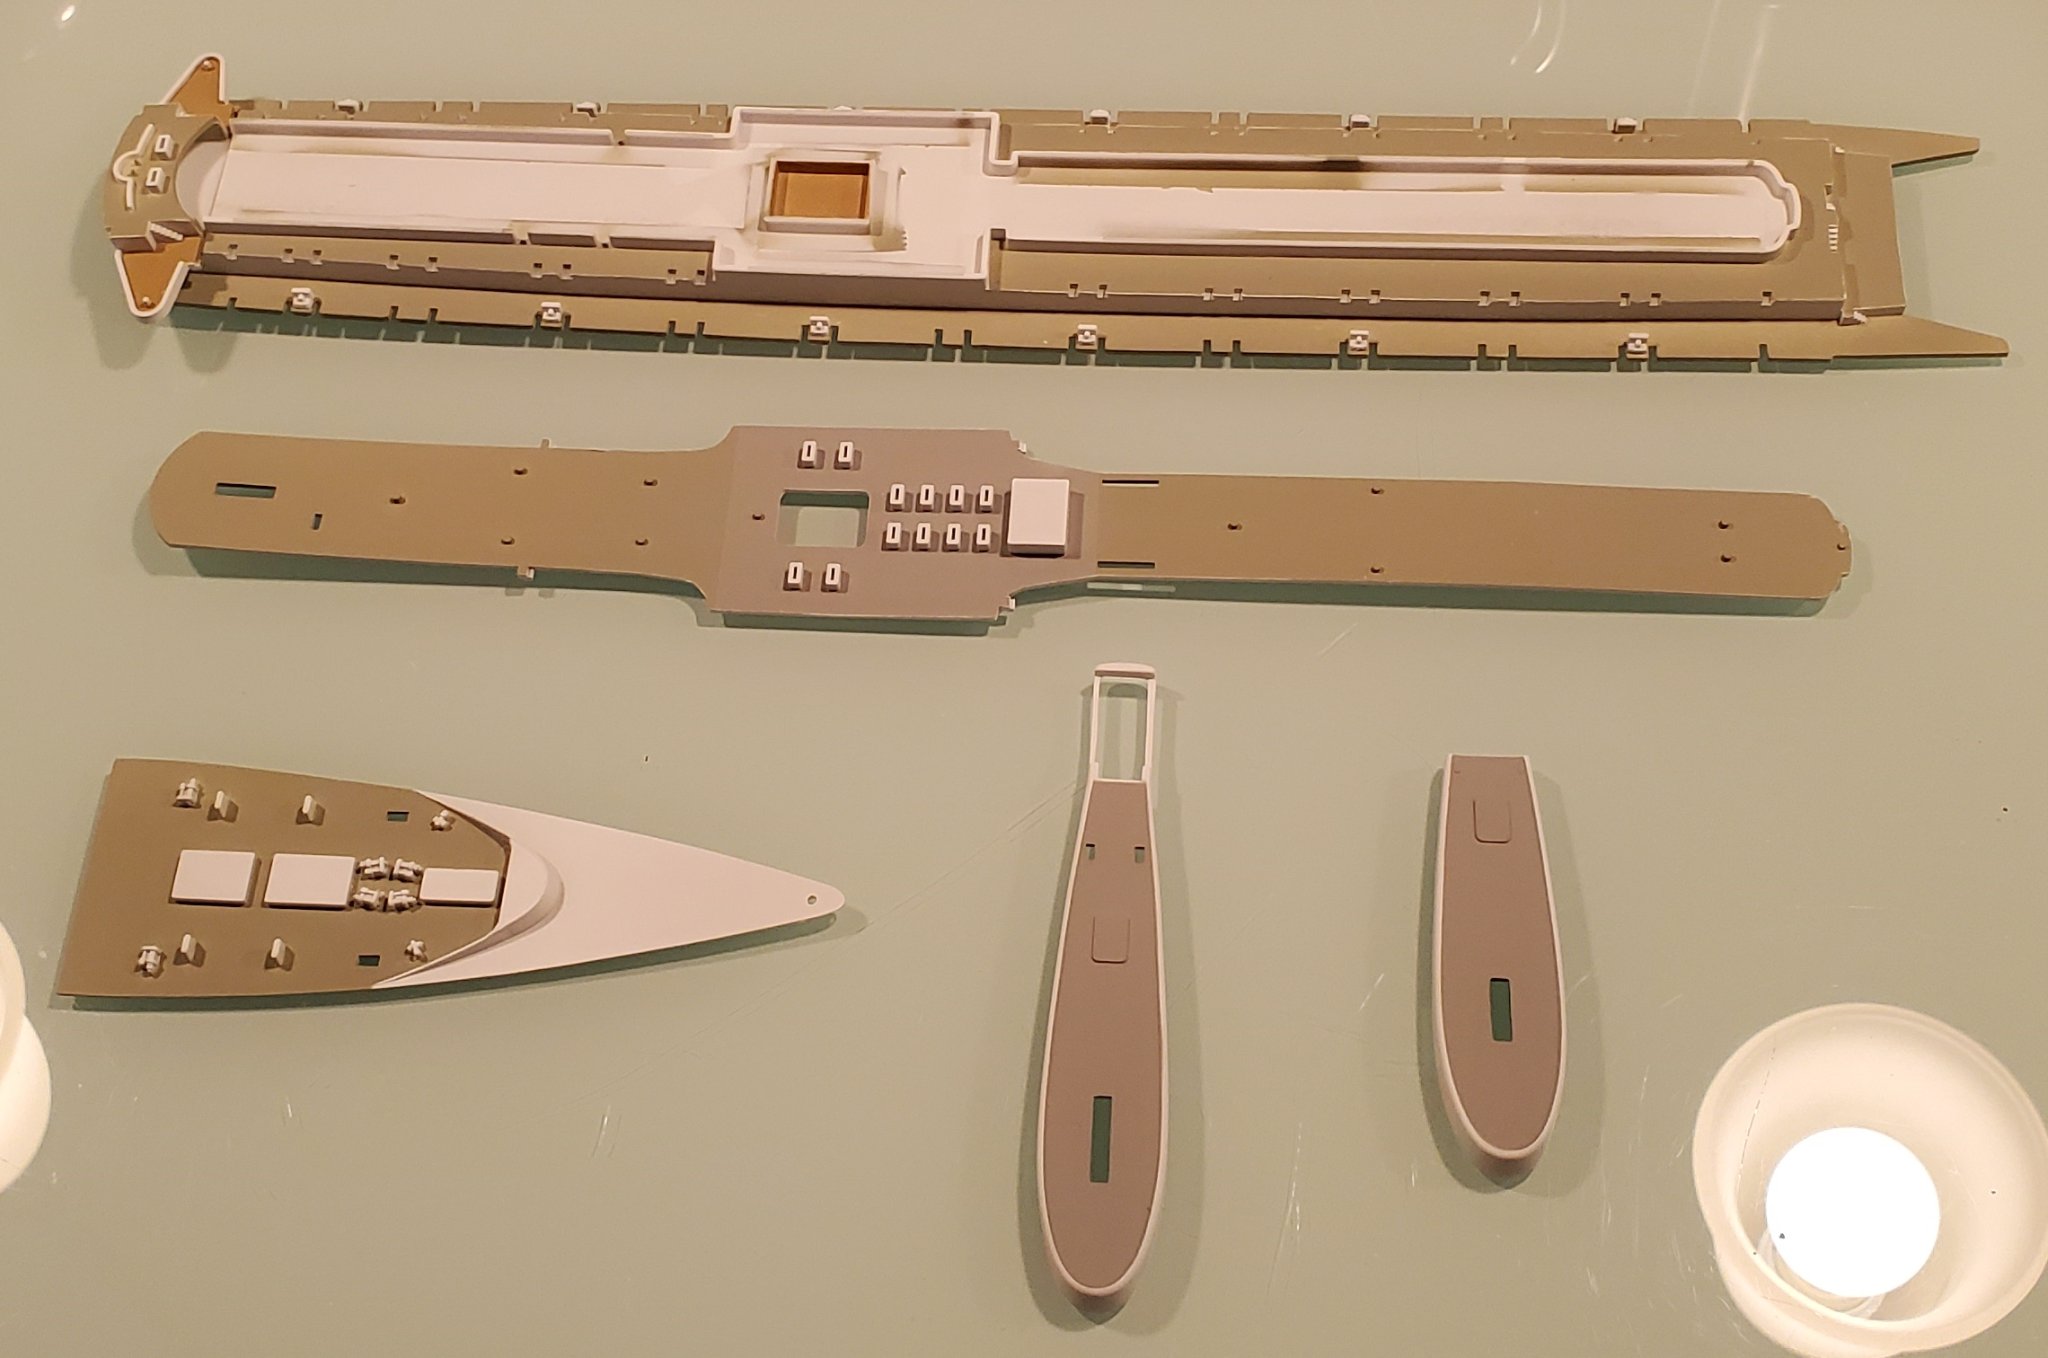
I masked and painted the bridge windows and attached the forecastle on my 1/600 France. Lots of tiny pieces of tape!!

- Old Collingwood, hof00, lmagna and 6 others
-
9
-
Just laying the decks on there the color will be good enough for me.
- yvesvidal, mtaylor, Ryland Craze and 2 others
-
5
-
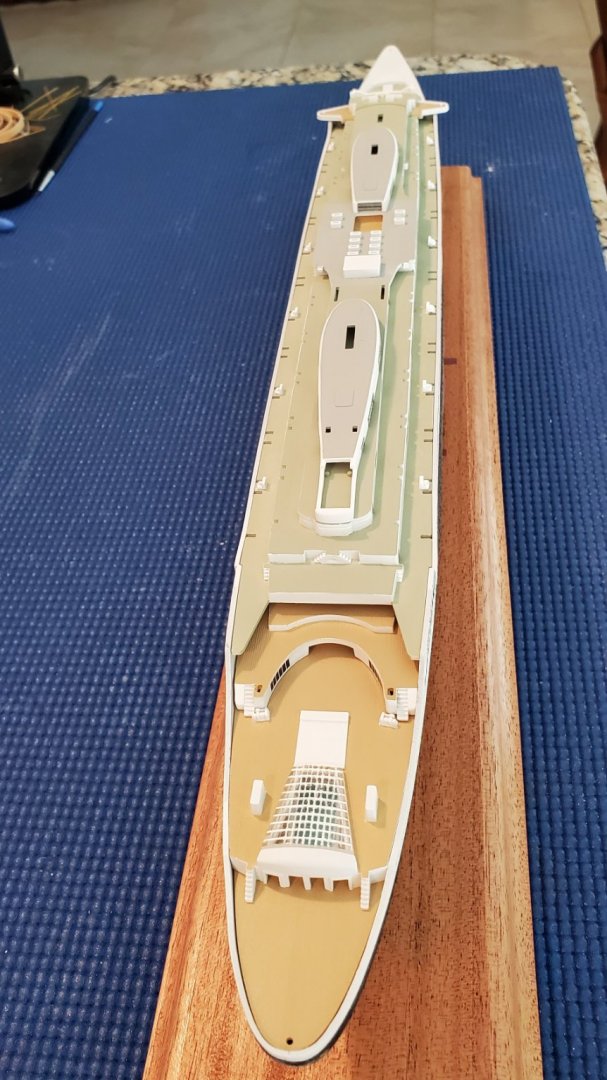
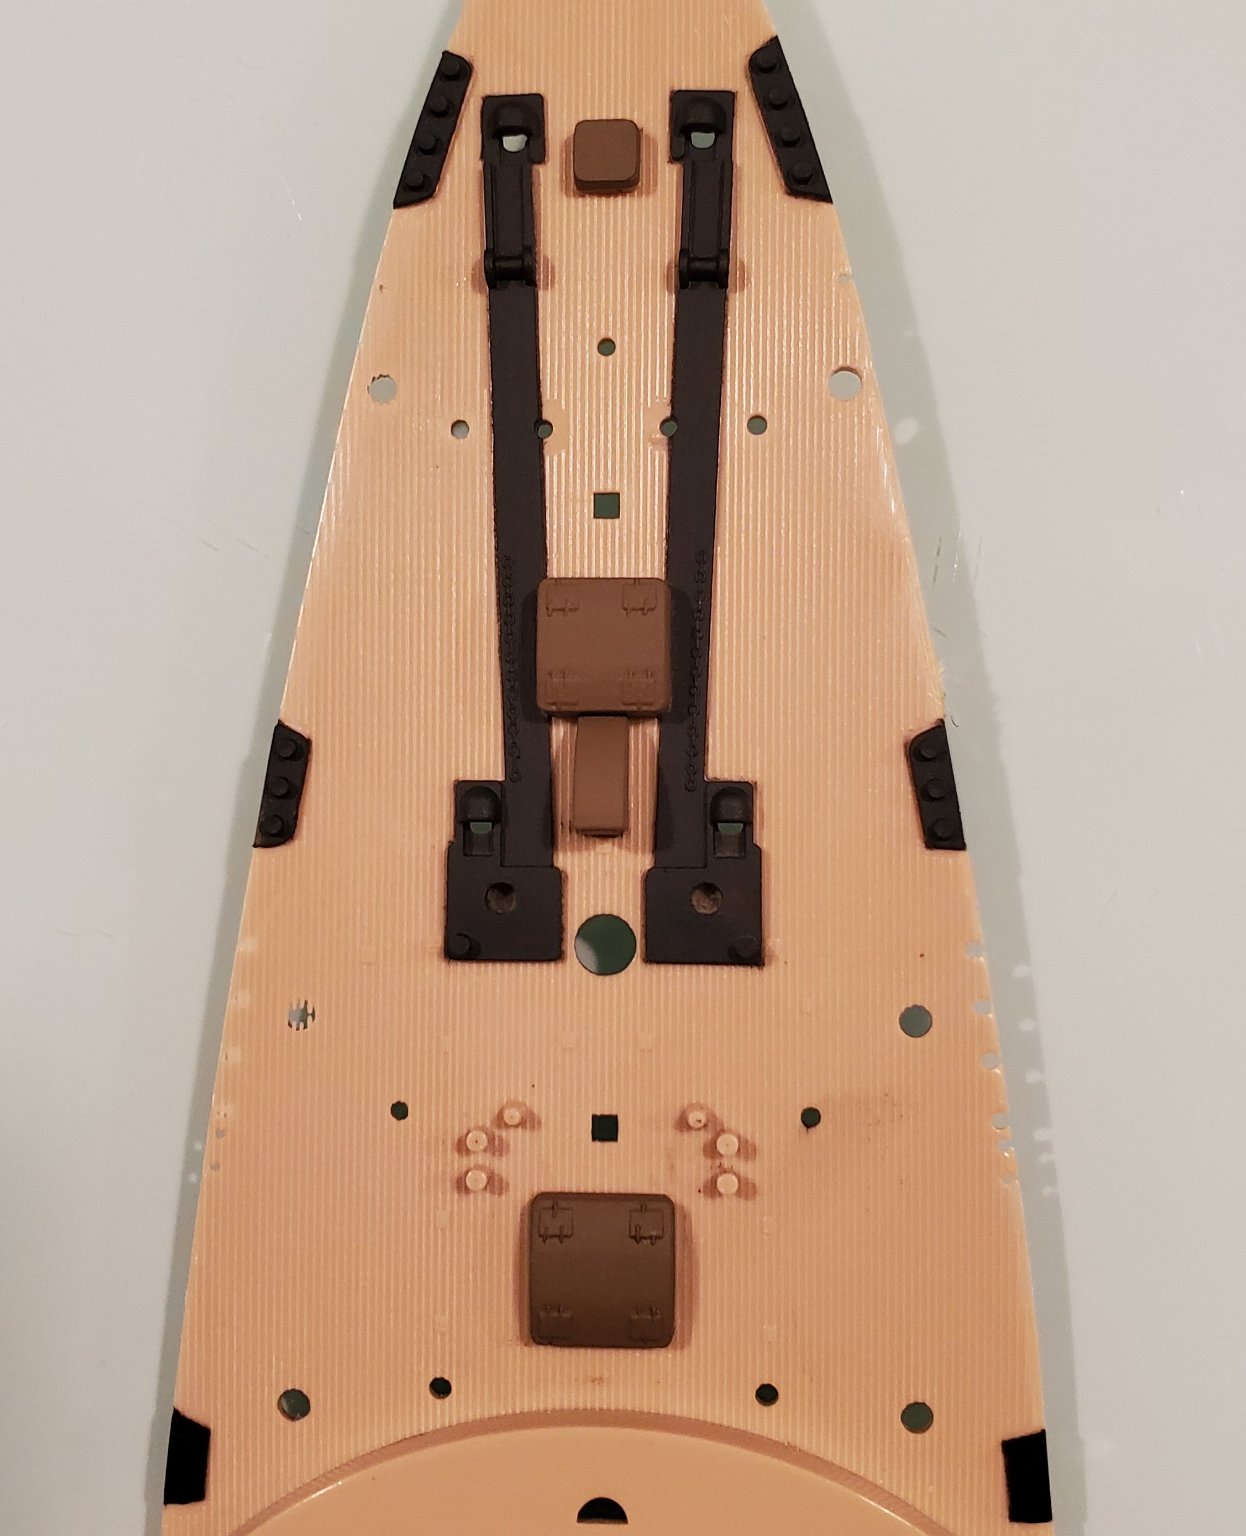
Thanks. I've been dealing with my Mom's health issues so I haven't had time to work on my 1/600 France. Today I took a little break and did some painting. Not so sure about the color I chose but the ship had green decks. This color is a gray that has a green tint. I really don't want to paint it a dark green so this is what's going to be on there.
-
Thank you wefalck for the detailed explanation, and for the tips.
- Canute, Keith Black and mtaylor
-
3
-
Thanks. The decals are now done.


-
23 minutes ago, Keith Black said:
I don't think so either.
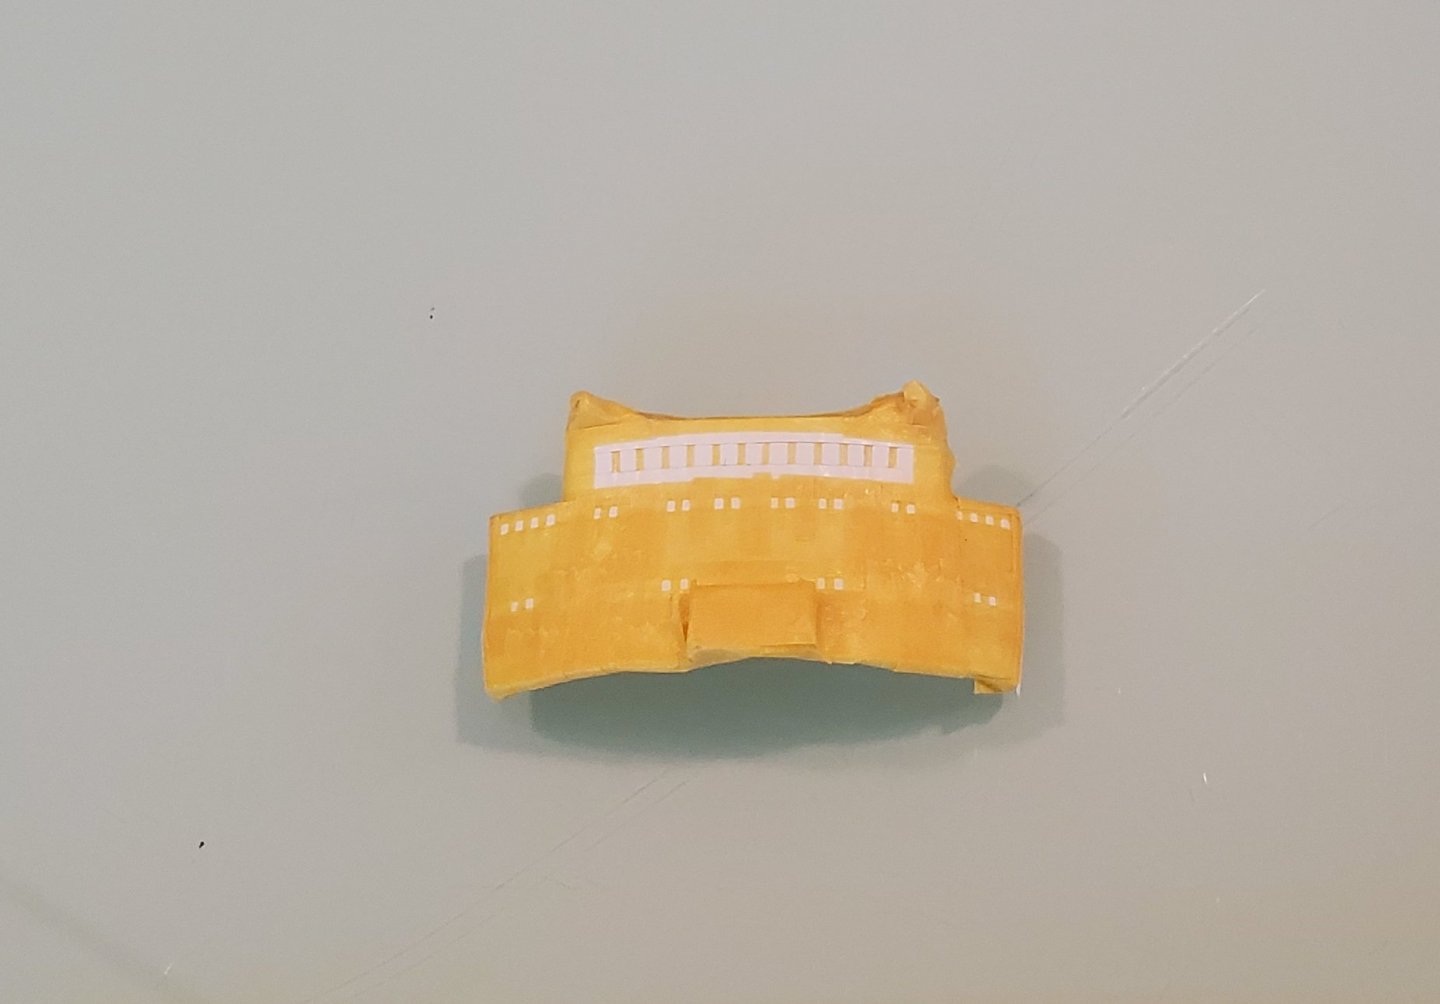
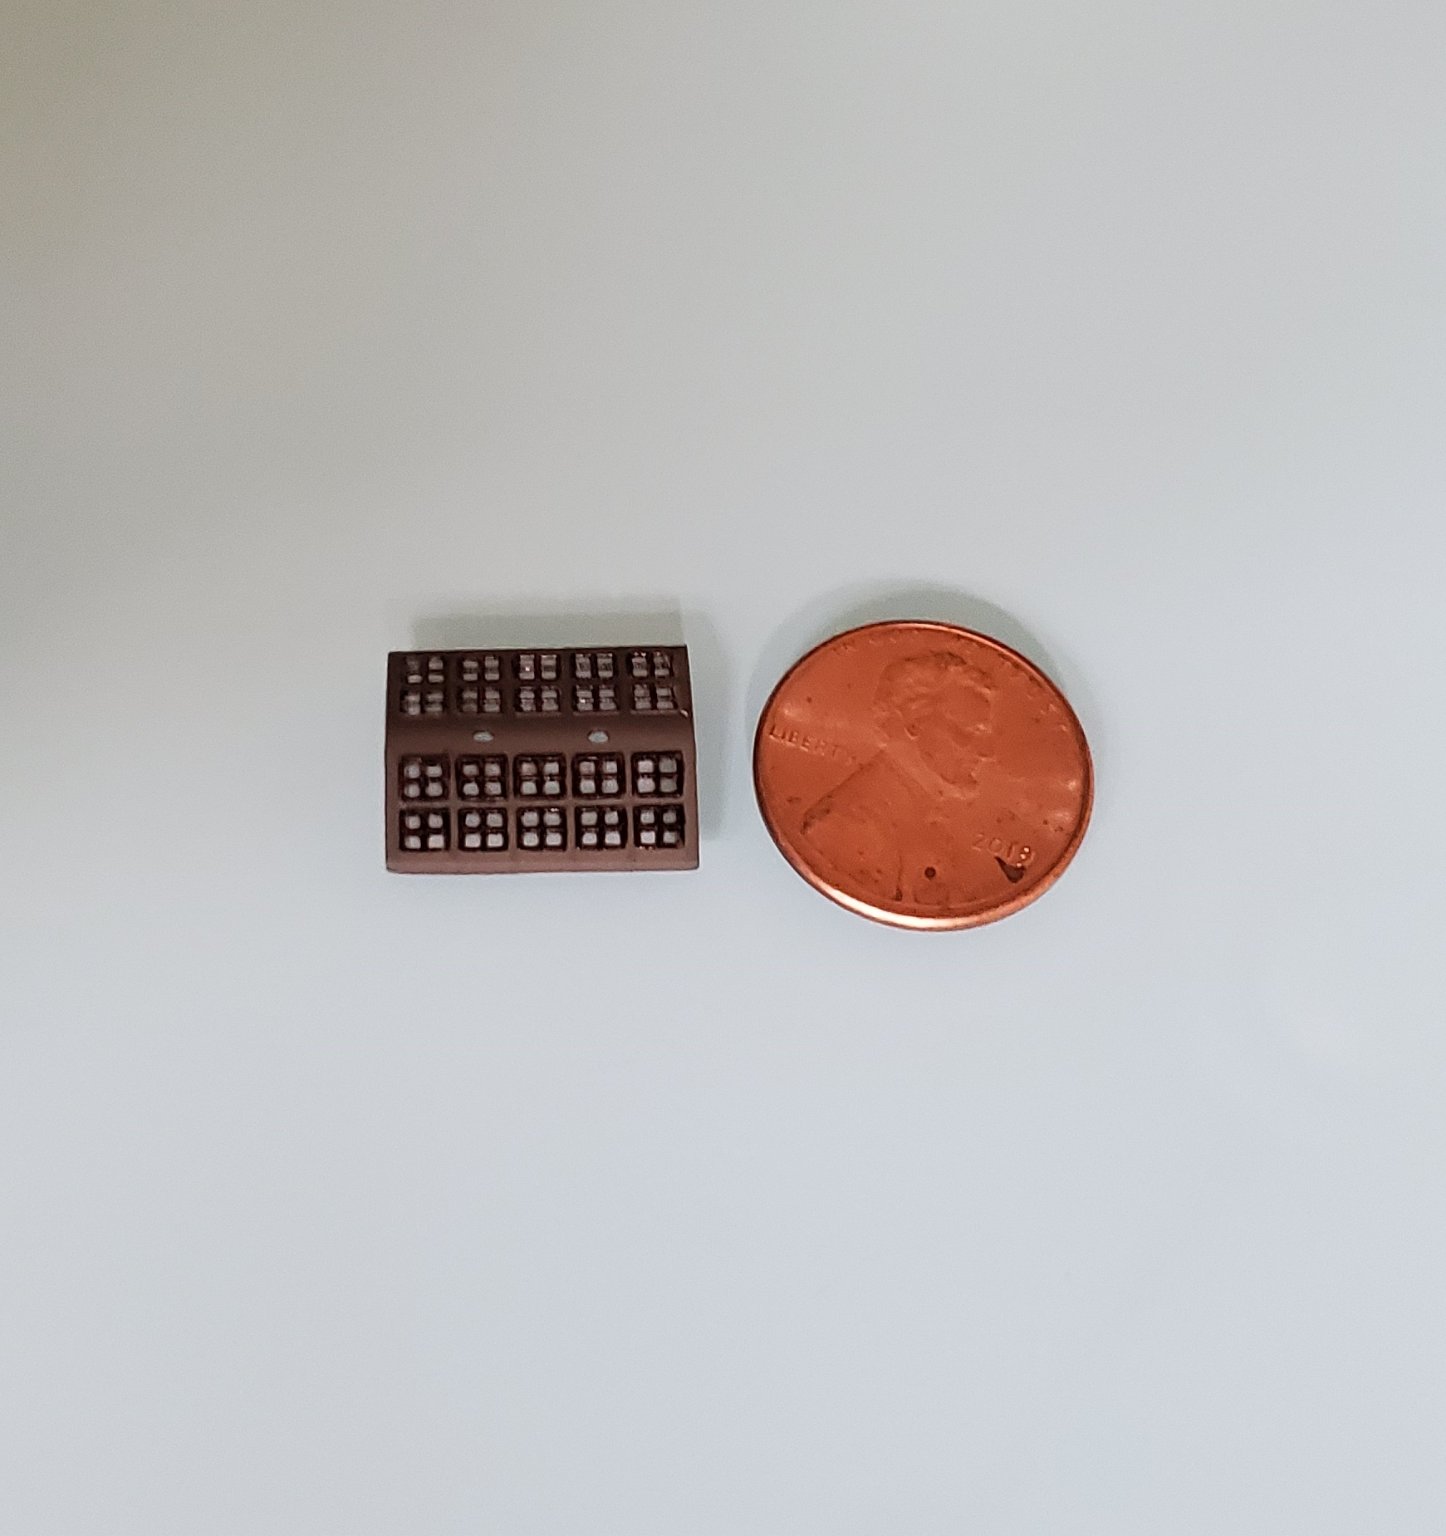
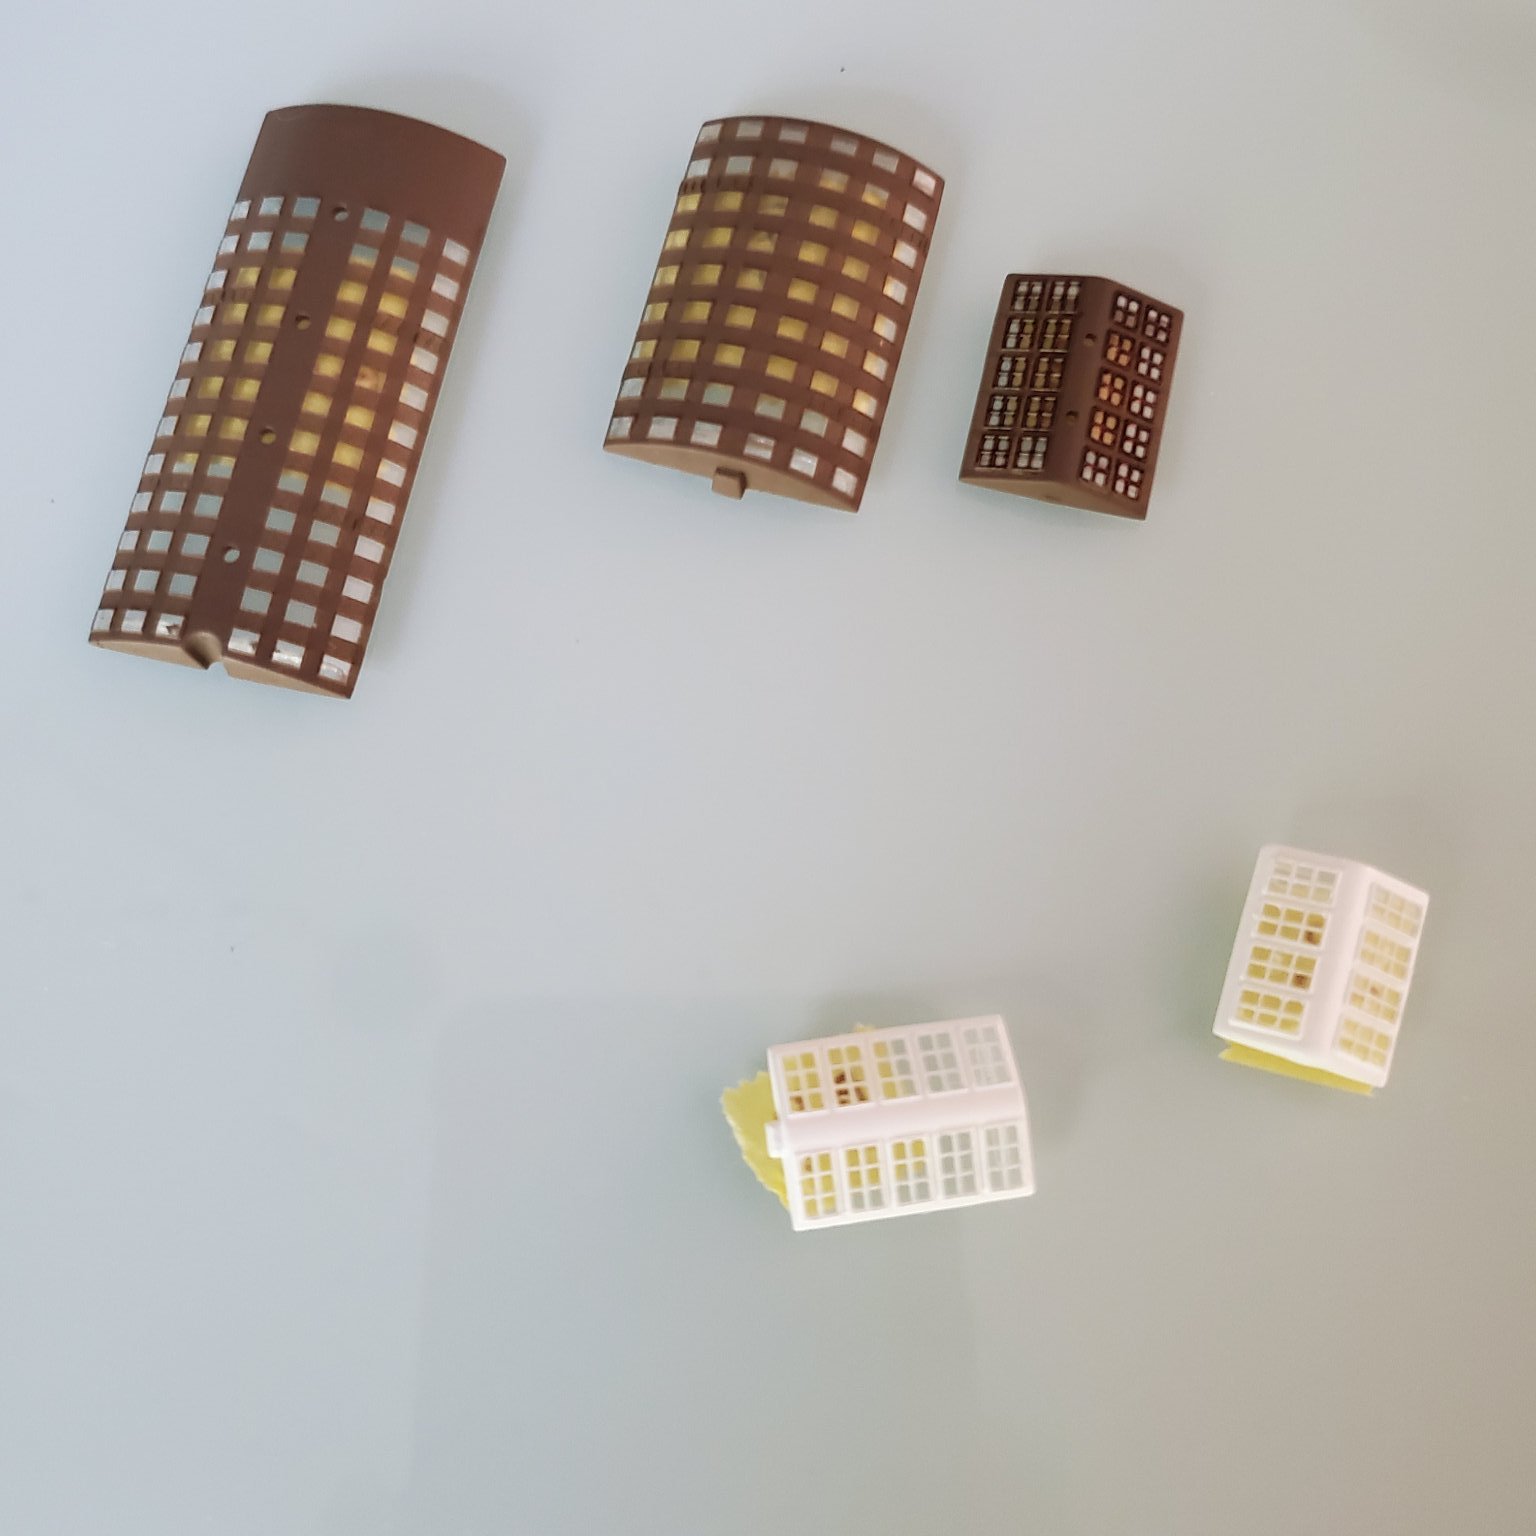
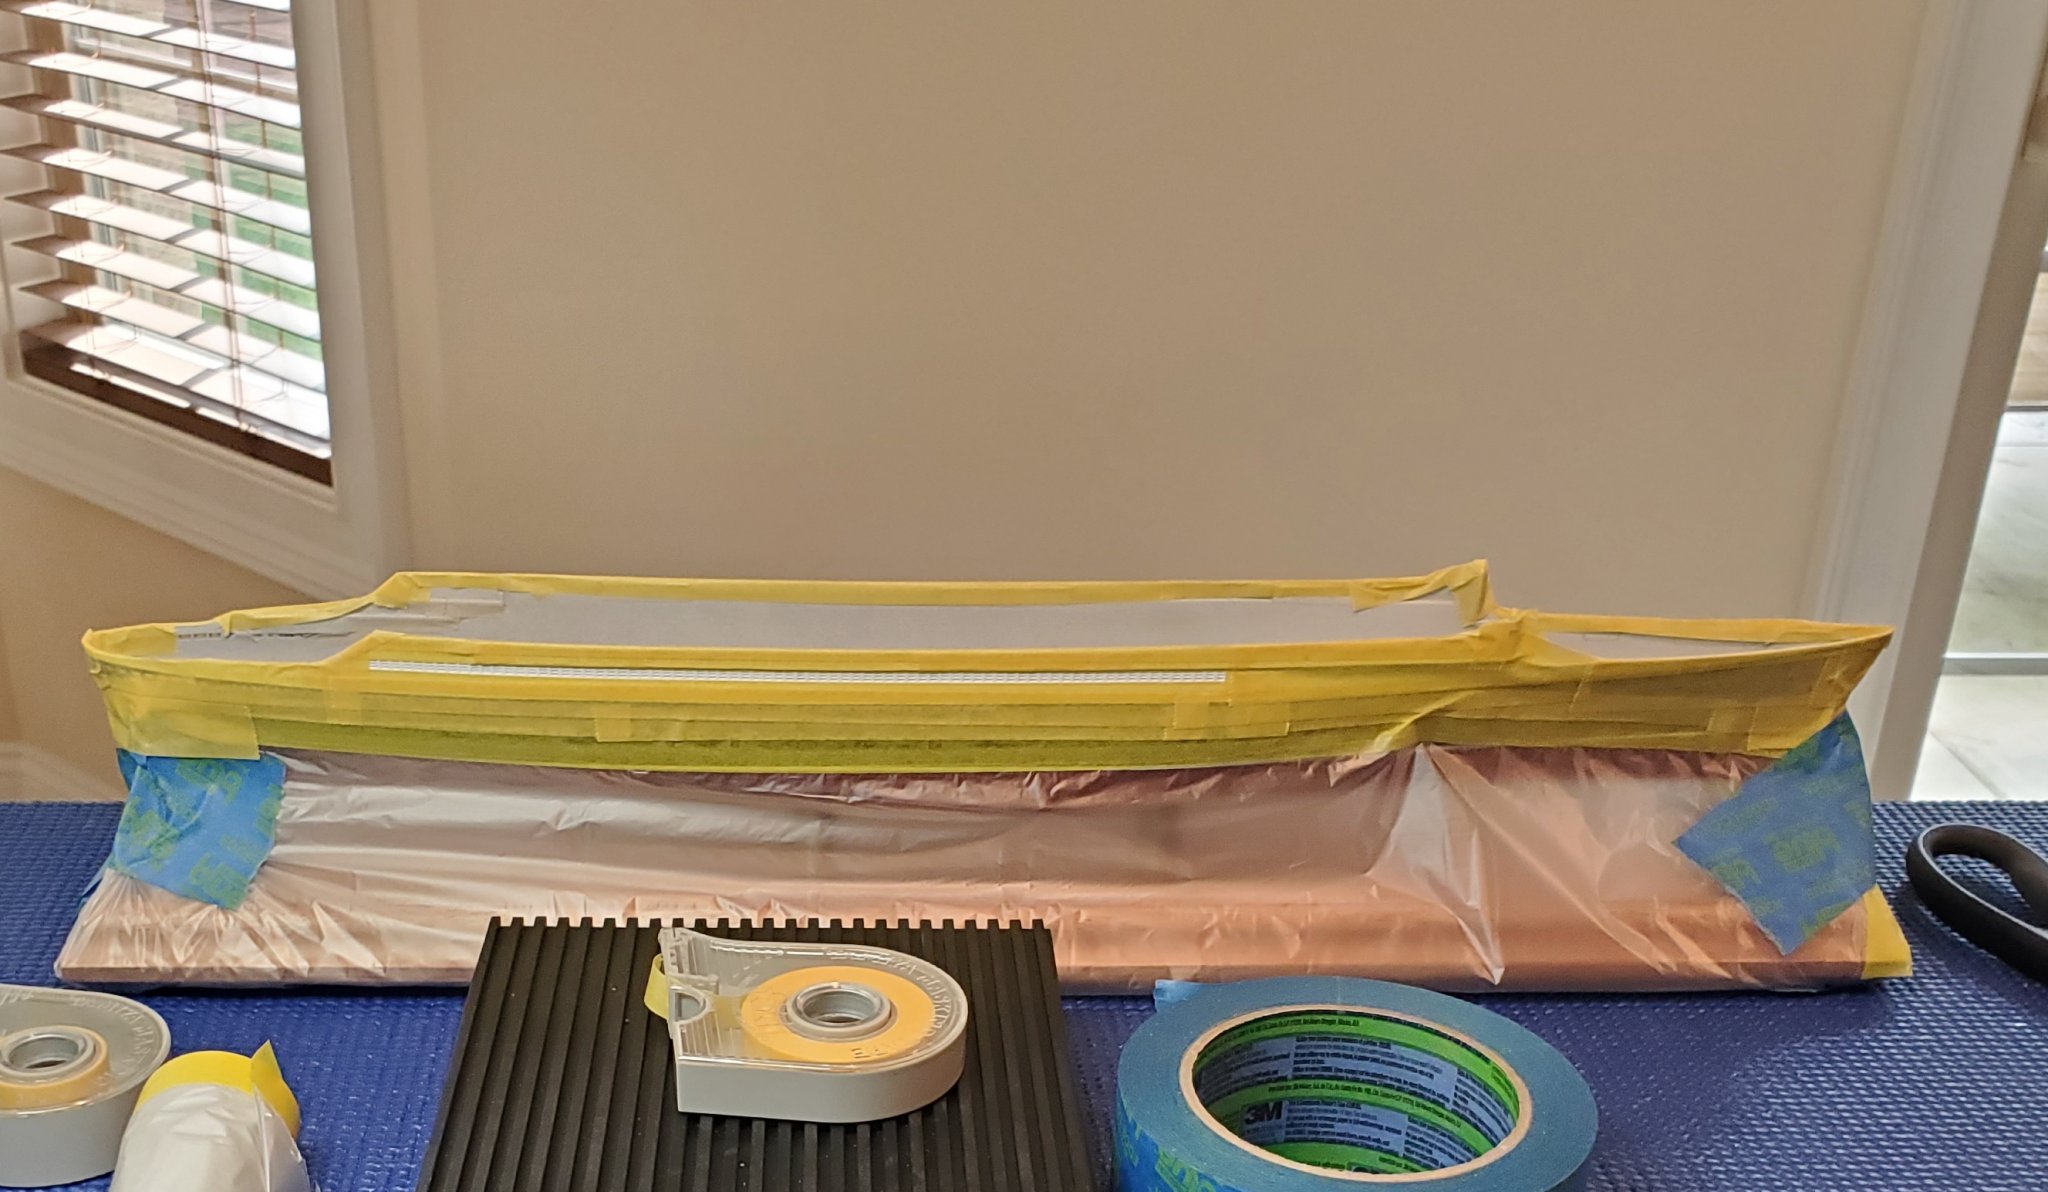
IMHO, I think you have to attack by painting the frames white first and then sealing. Once the sealant is dry paint the panes black and let them dry. Once they're dry, because the frames stand proud of the panes, you should be able remove the black overpaint from the frames with the moist Q-Tip. Once happy with that effort, then add a second coat of sealer. That's the only way I see to do it...........did you ever consider working on something in a larger scale?
")
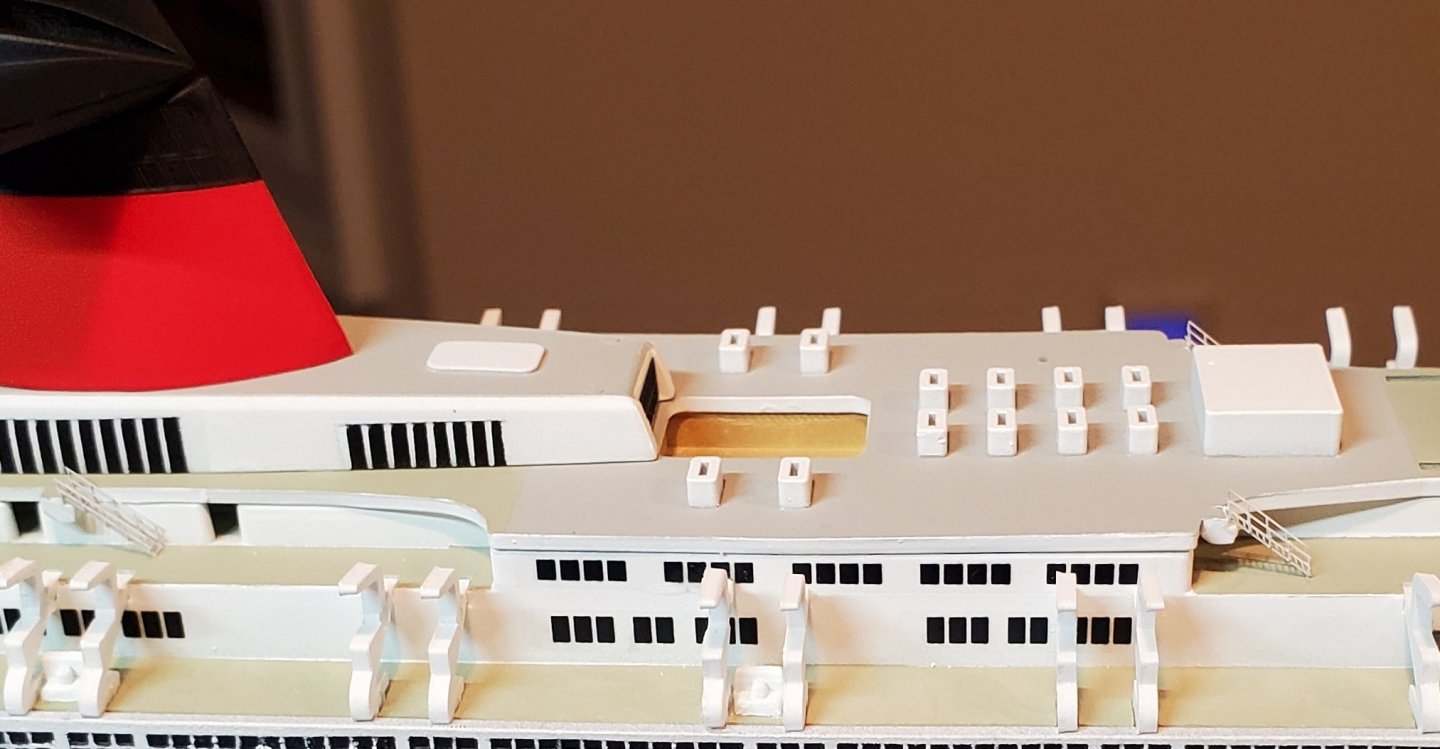
Thanks for the tip. The only issue with that is that some of the frames are actually missing in a few areas. I may just leave it be.
There are a couple of reasons I'm working on this scale. I am waiting on some parts for a 1/350 ship and figured while doing that I would try my hand at a few of these 1/600's. I also really like ocean liners and there are more in 1/600 than any other scale. I have a 1/350 Lusitania, 1/350 and 1/200 Titanic, and a few others in 1/400 and 1/450. I meant these to be quick builds but I wound up putting a lot more into them than I originally planned. They are a lot harder to work on than the larger scales IMO. I prefer 1/350. These are just kind of filling up some time but I would still like to do as good a job with them as possible. I've only been modeling for a few months so all of these techniques are kind of new to me. I am still learning from mistakes. I guess I would rather learn from these so I get better for the larger scales. I have completed a Titanic and have a Lusitania on hold, both 1/350's.
-
16 minutes ago, Keith Black said:
Chris, before you seal the paint and if that's acrylic black paint, try moistening a Q-Tip or the end of a toothpick with water and rubbing gently on the white frames. You may be able to lift/clear the black paint off the frames.
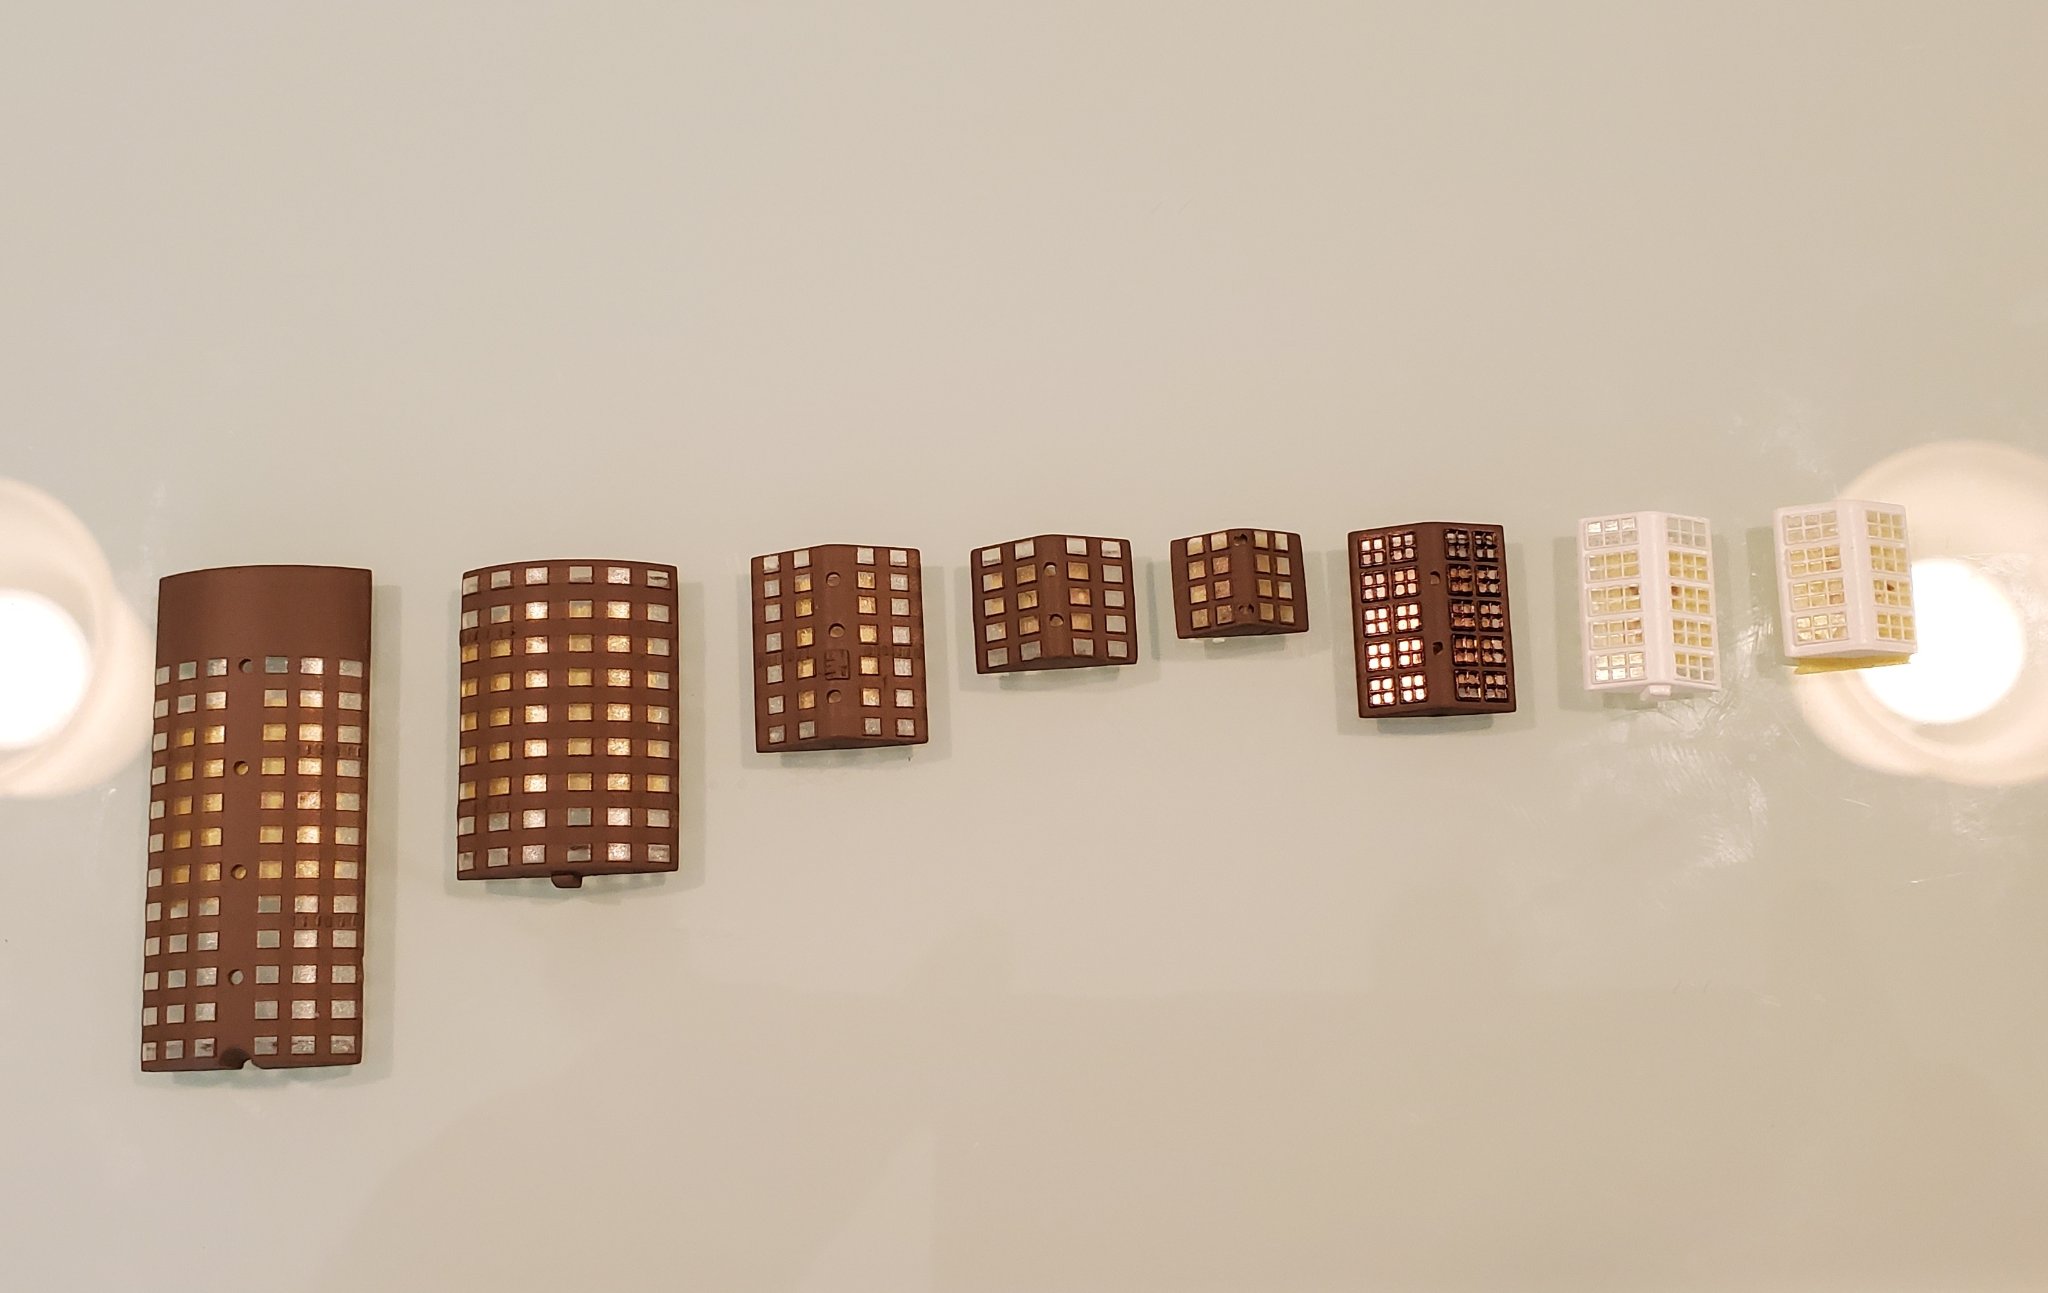
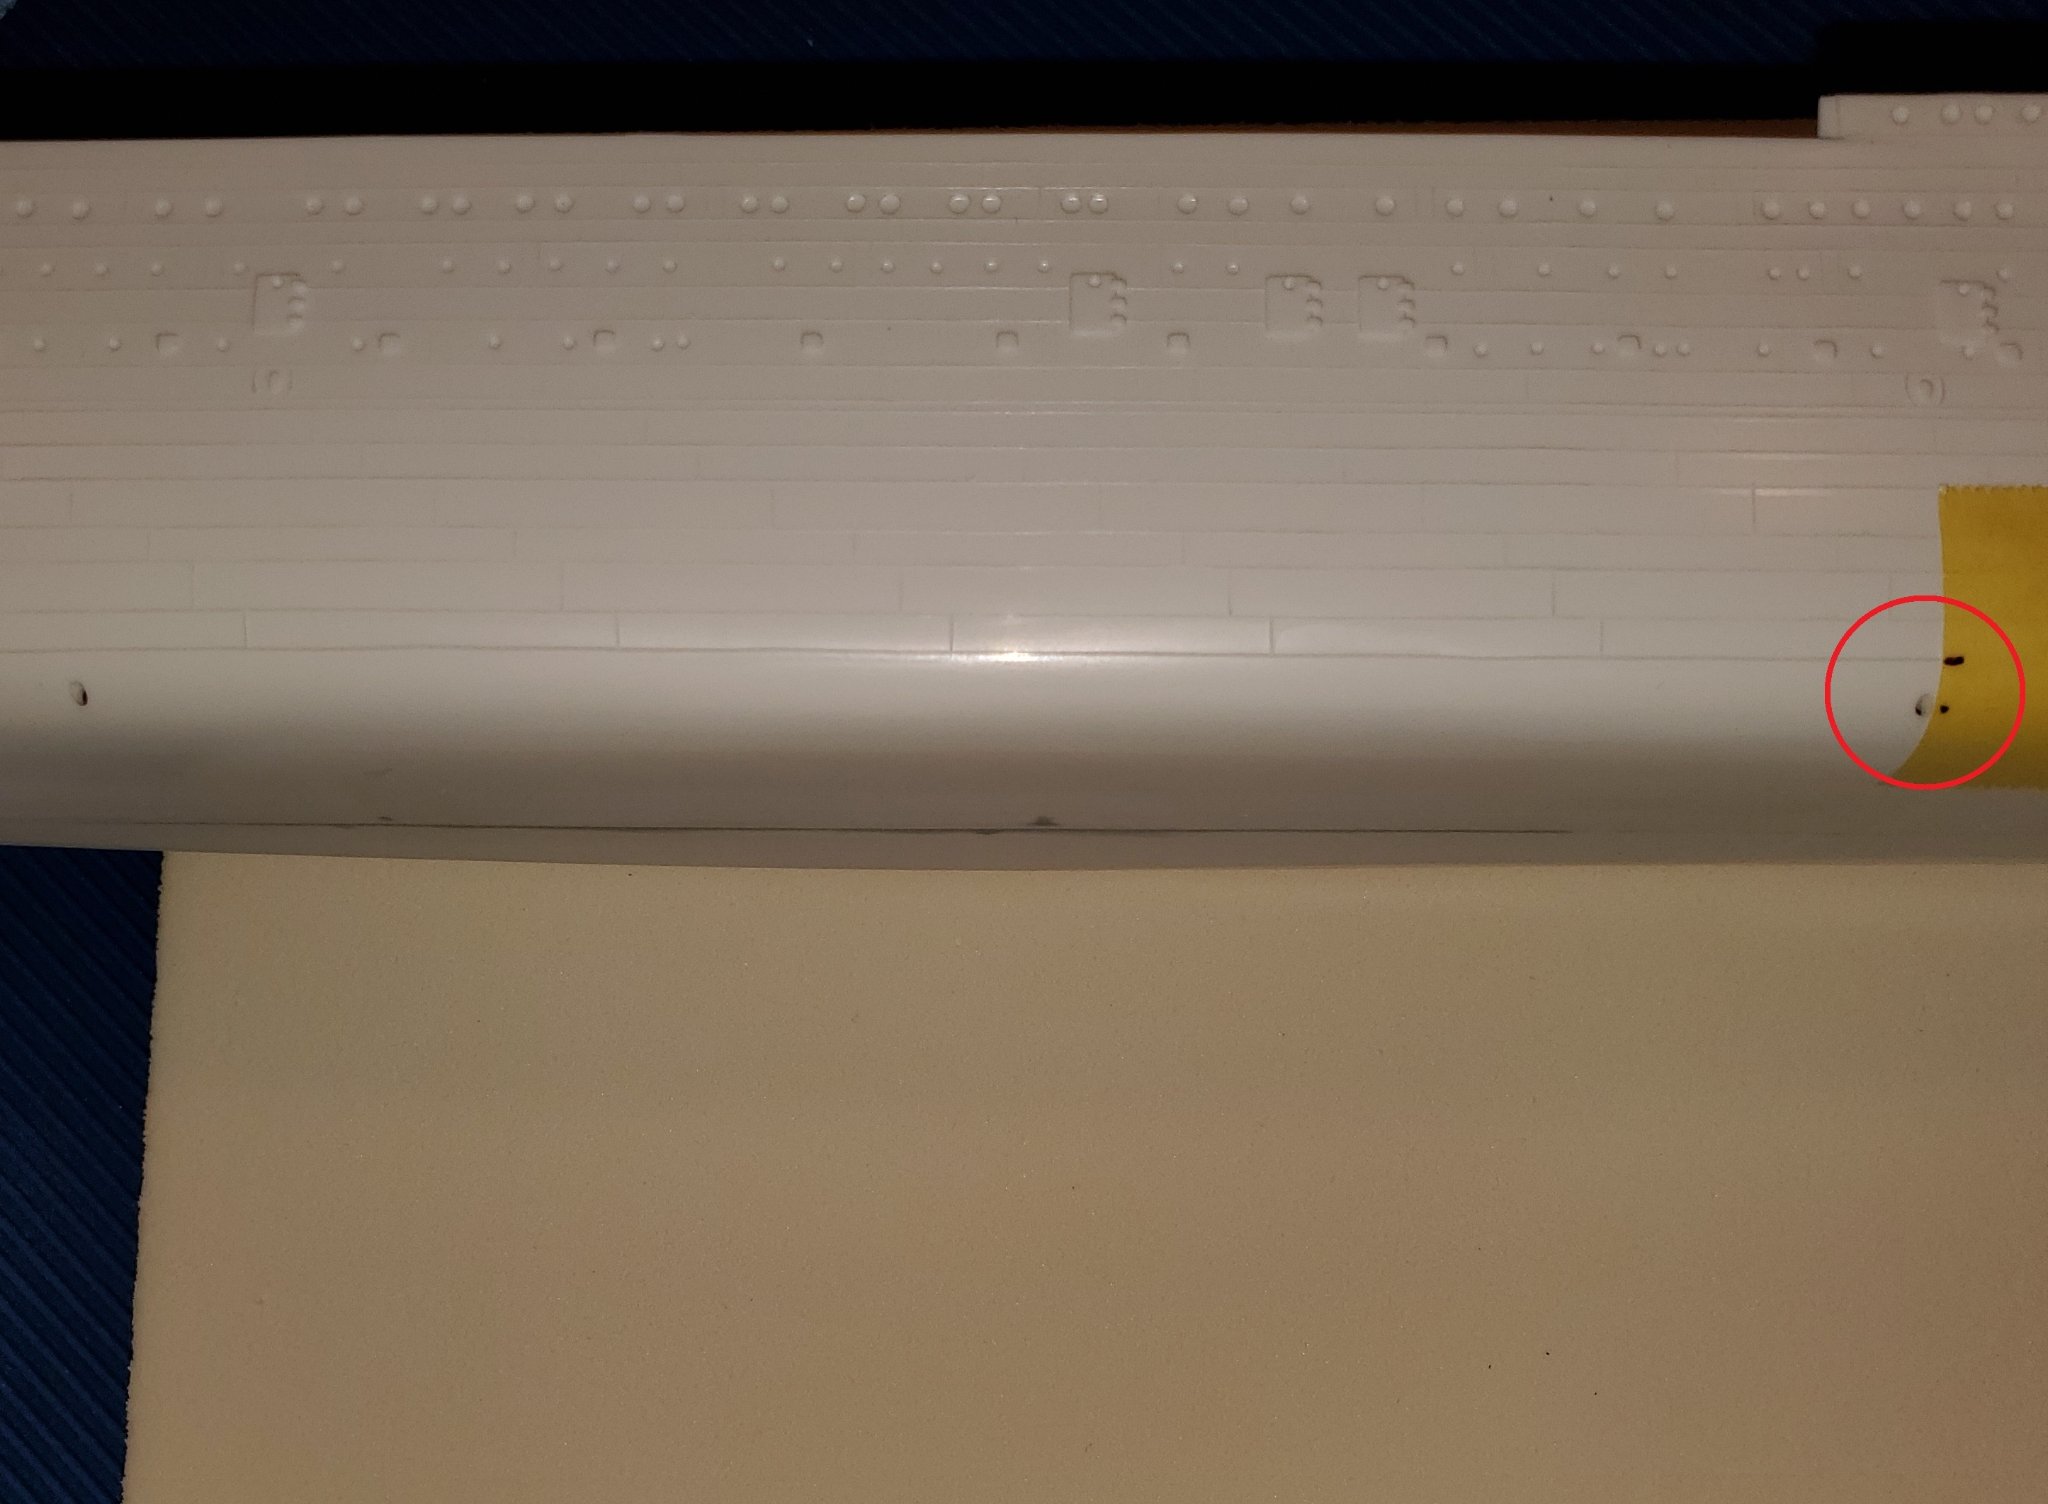
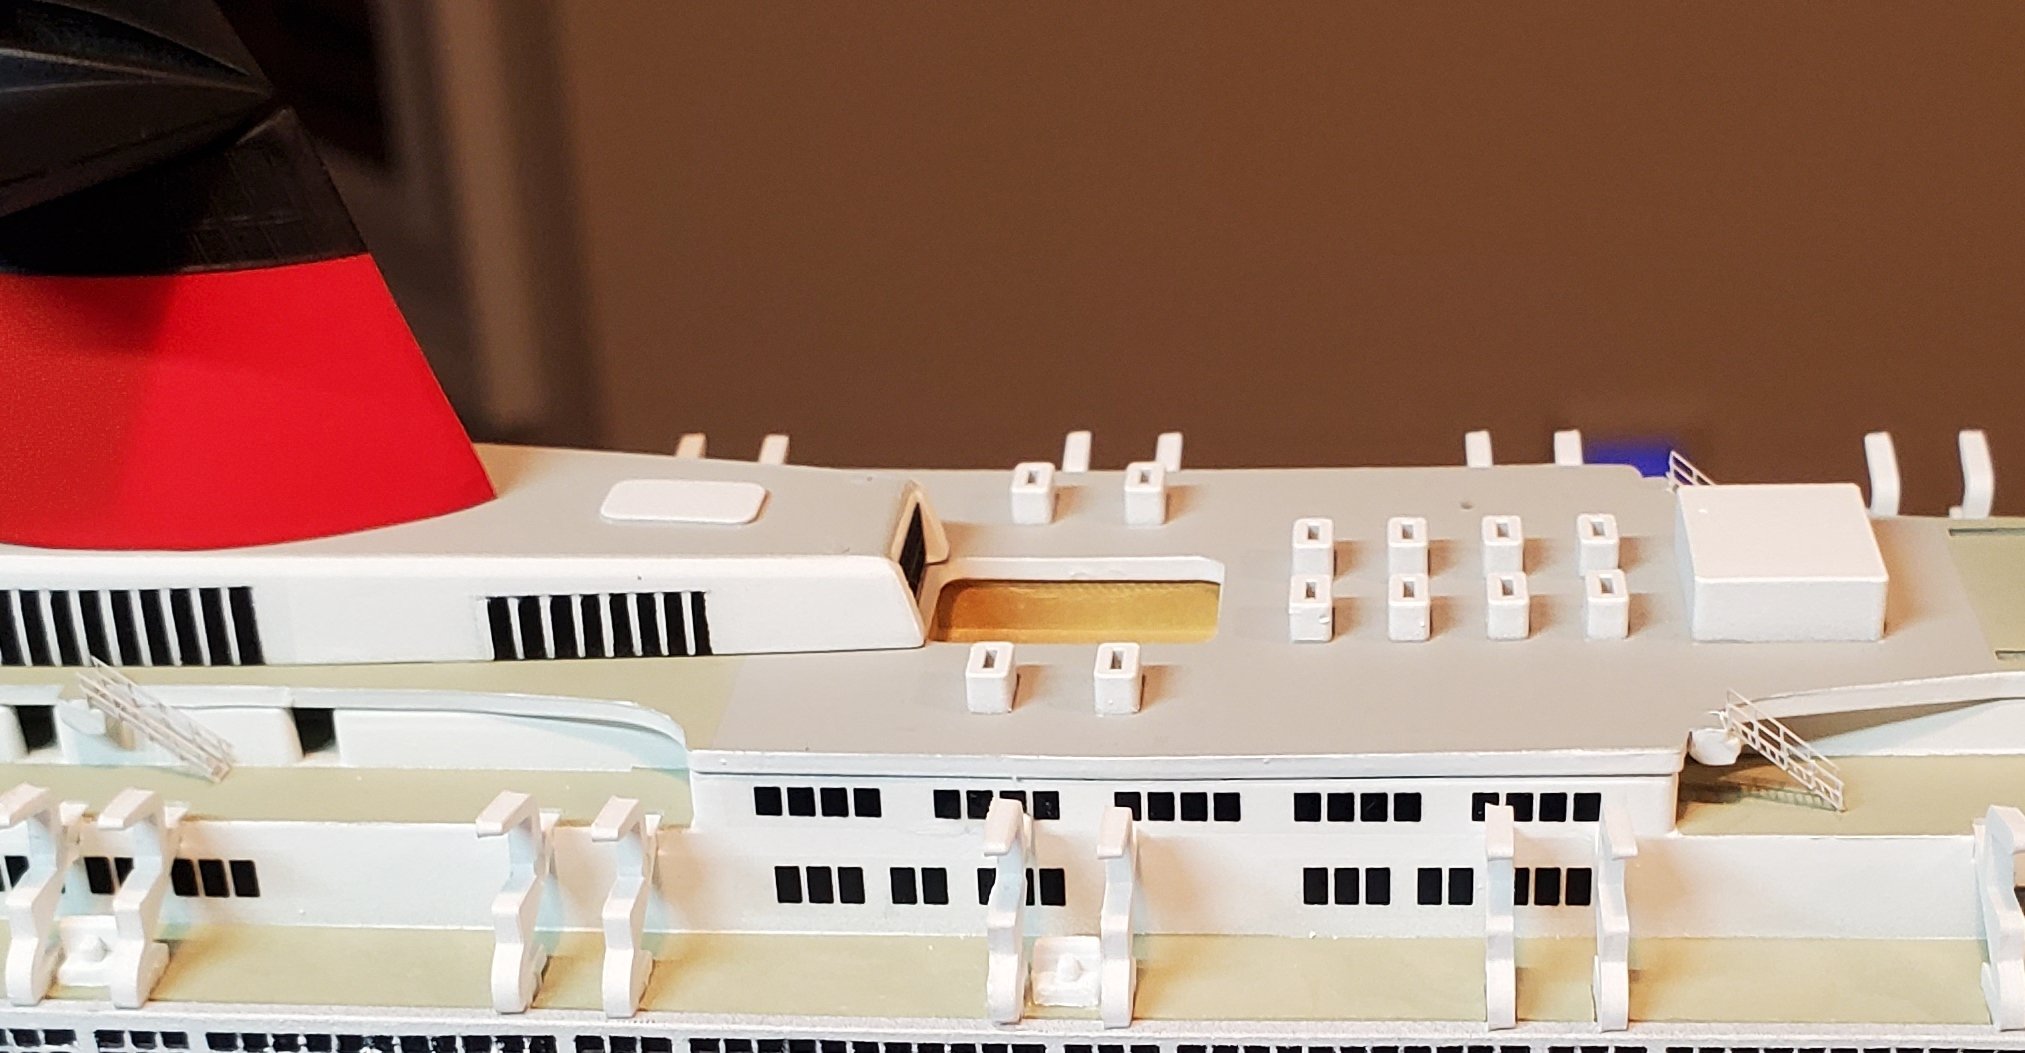
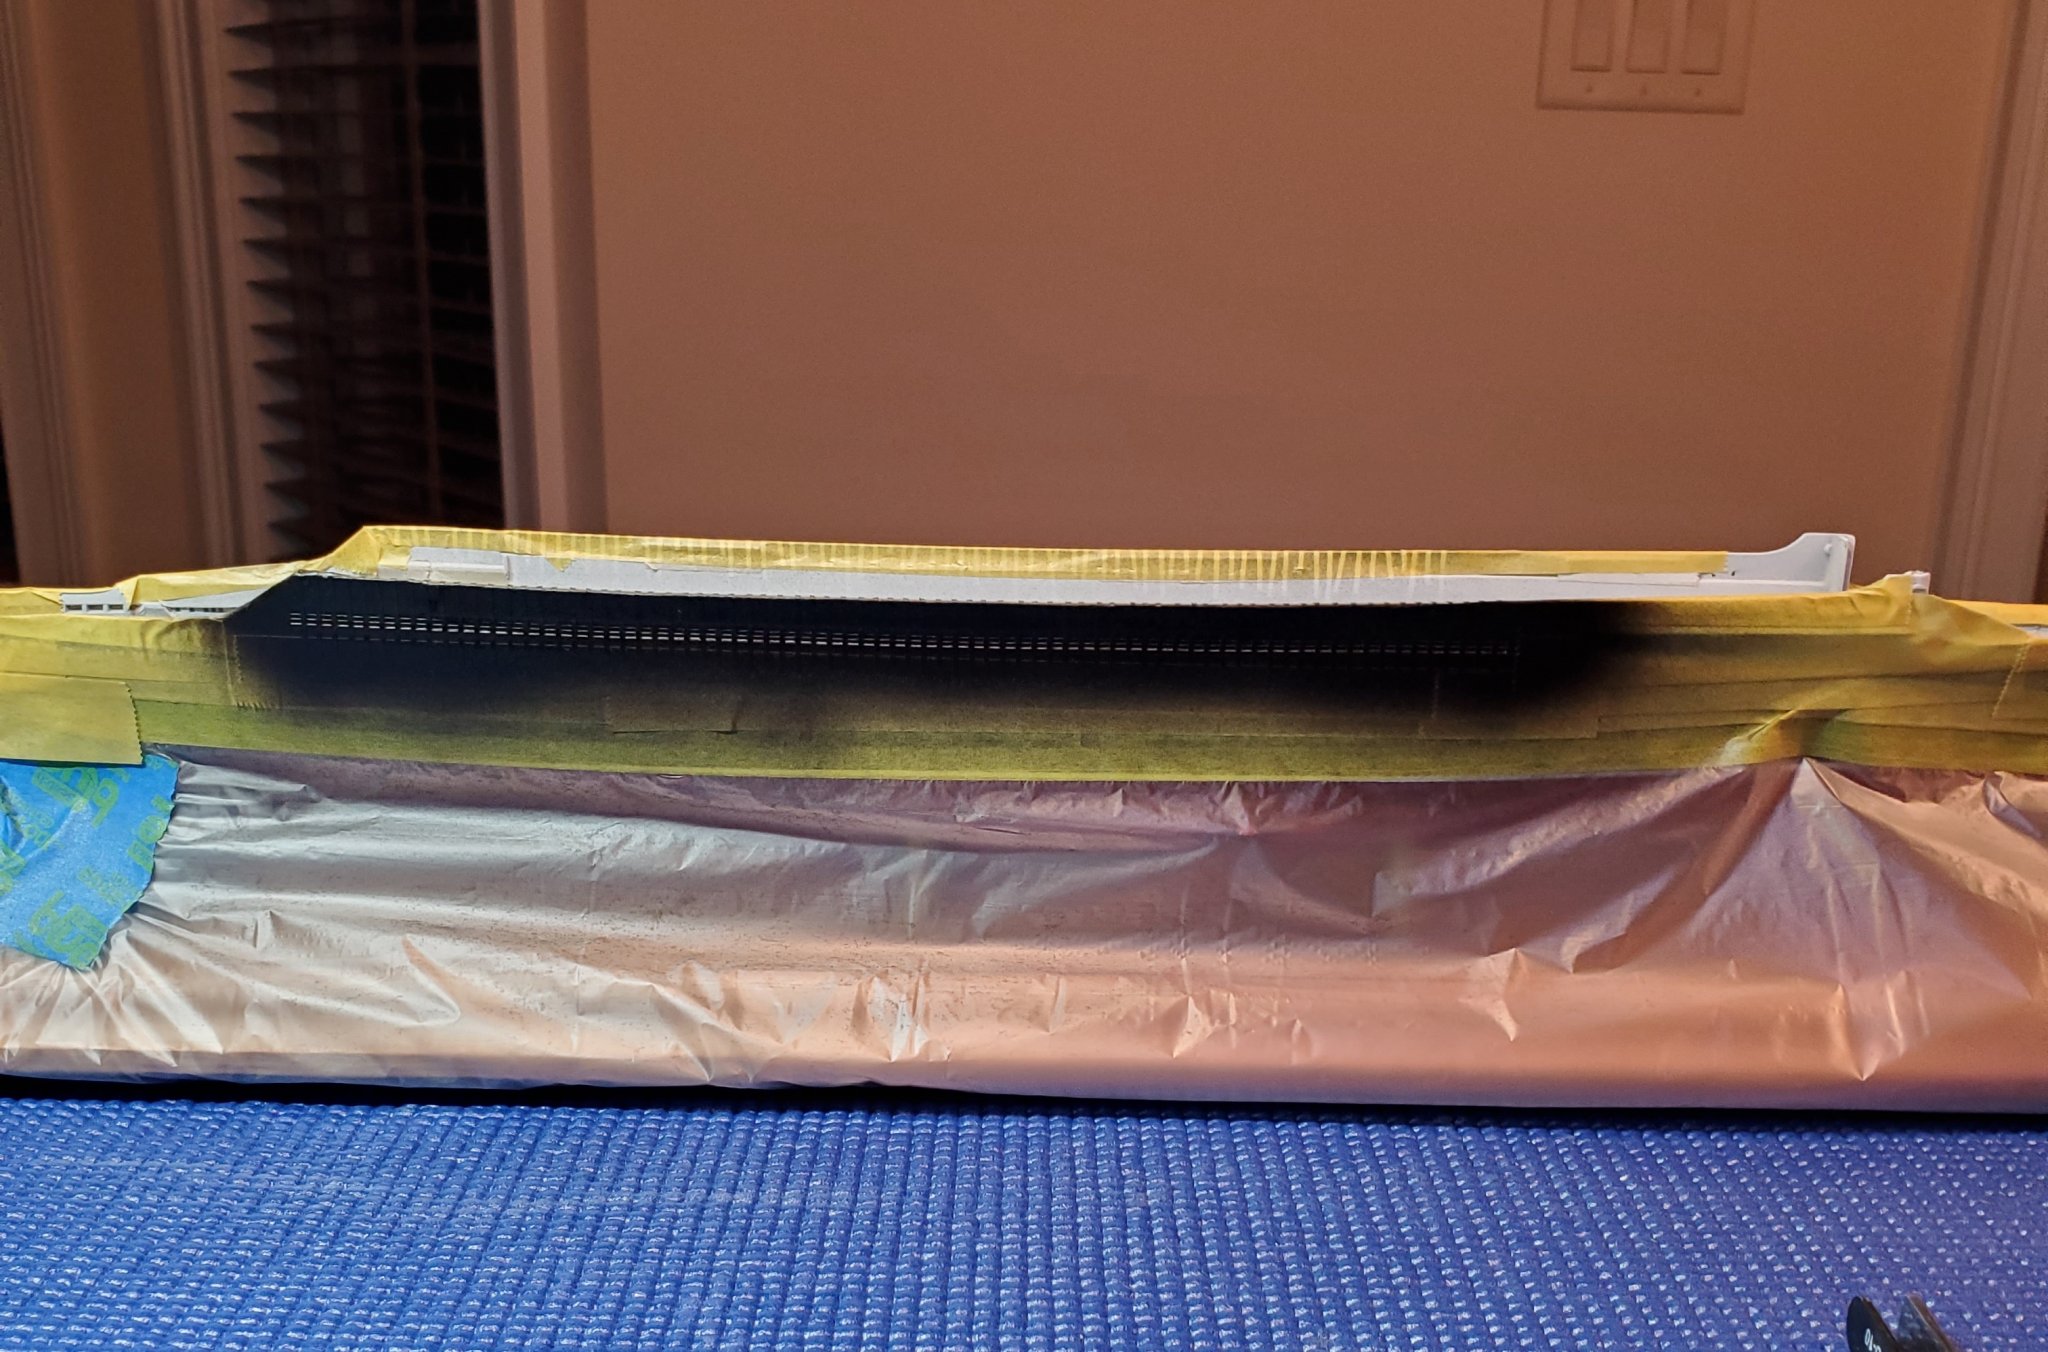
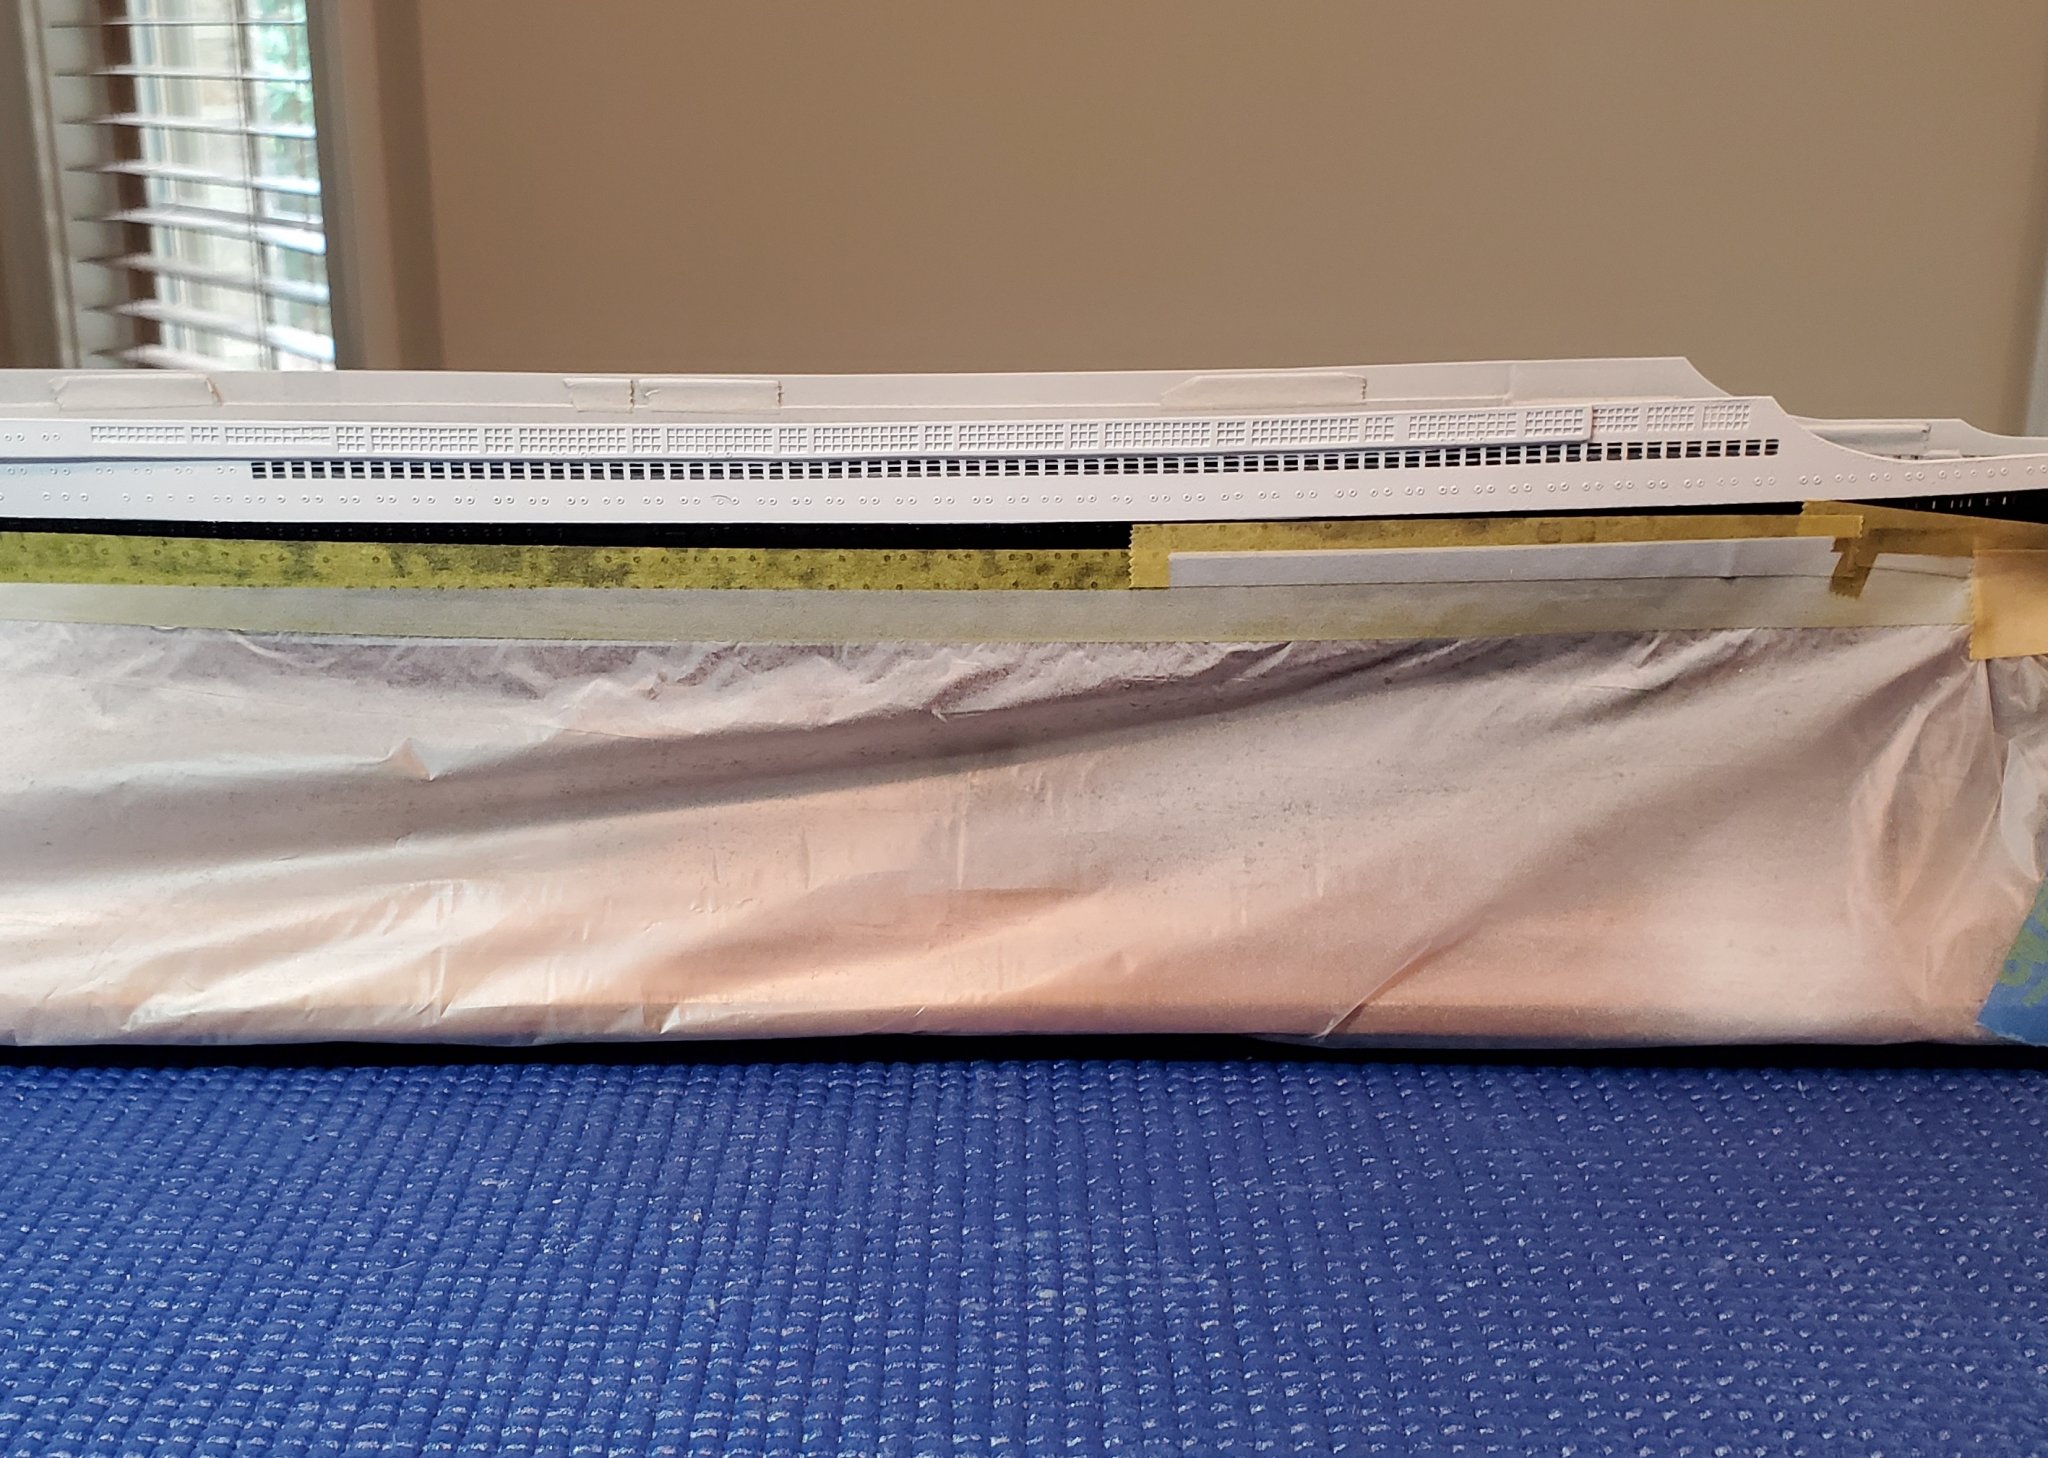
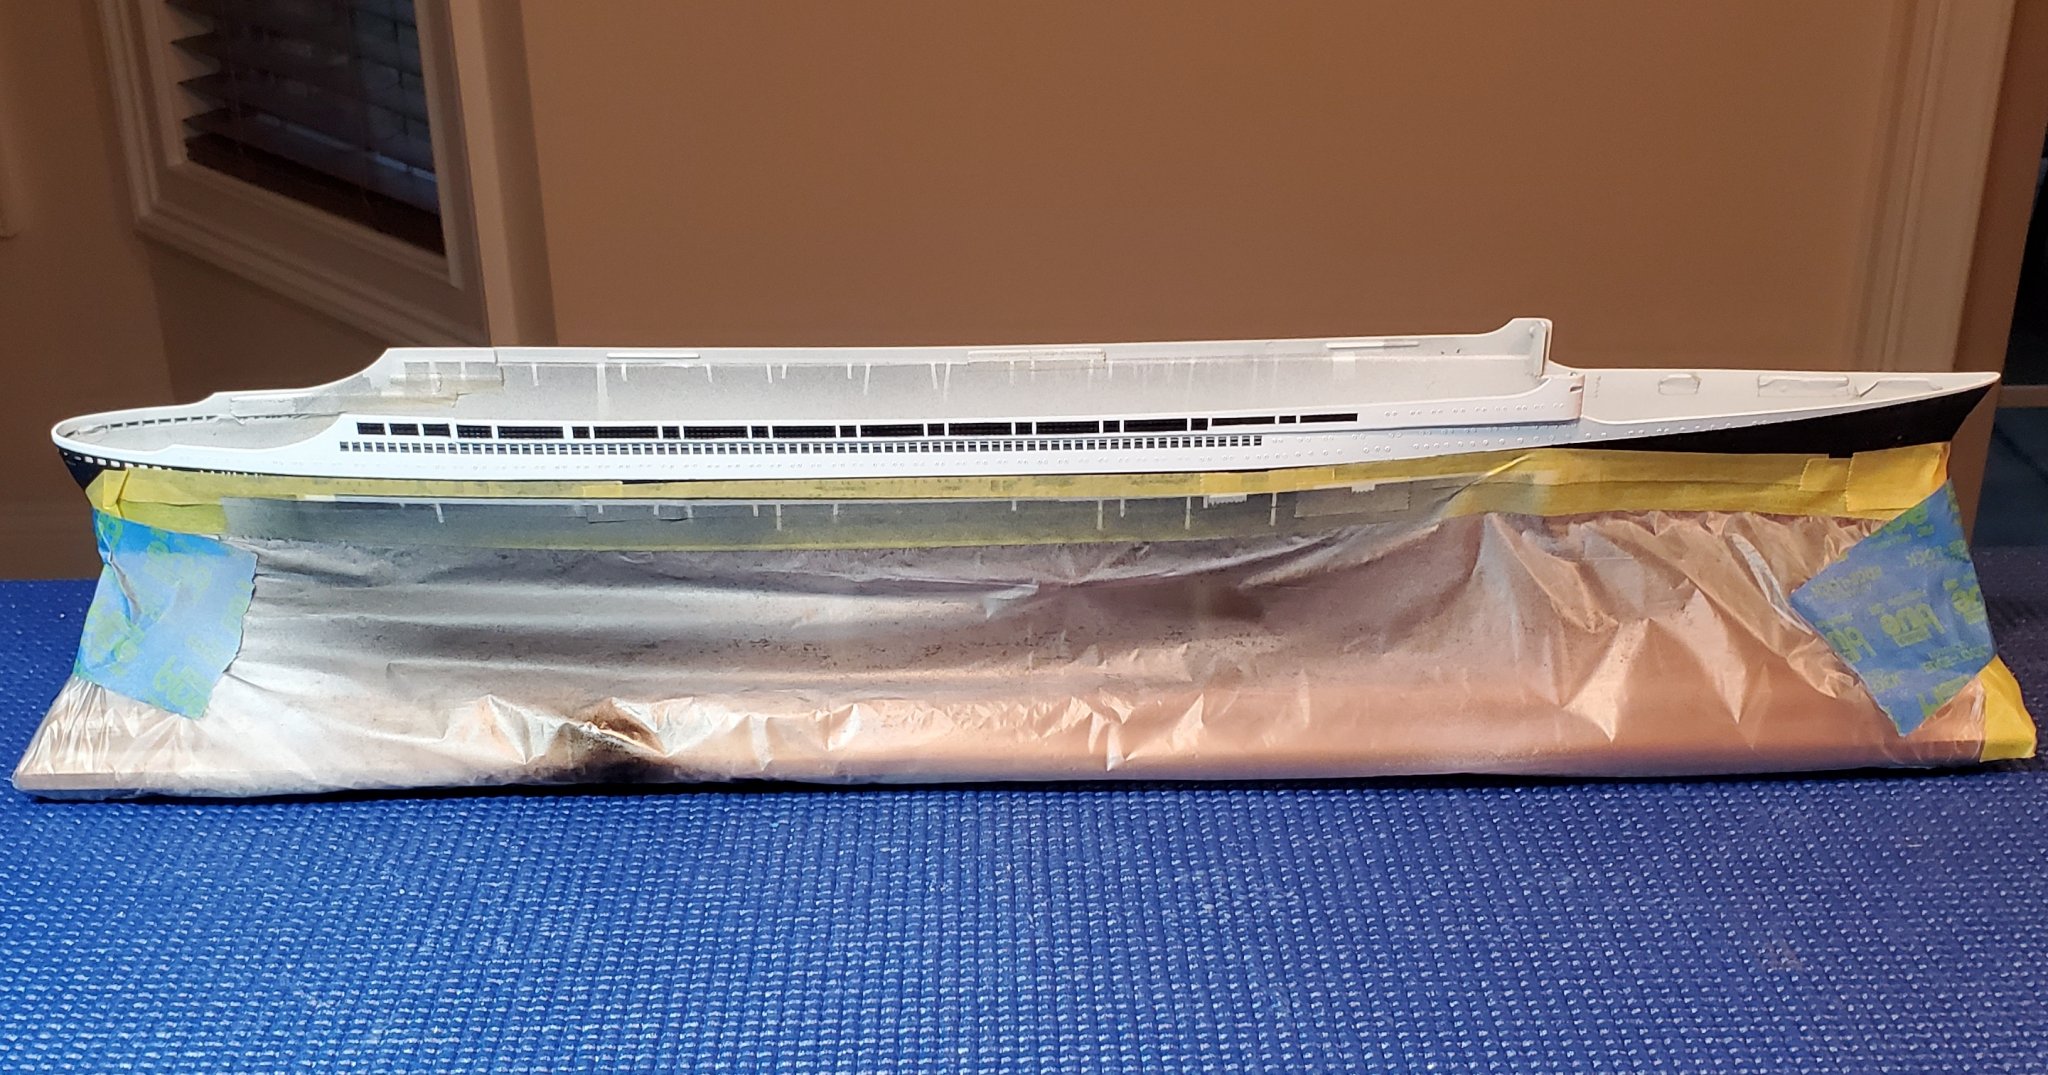
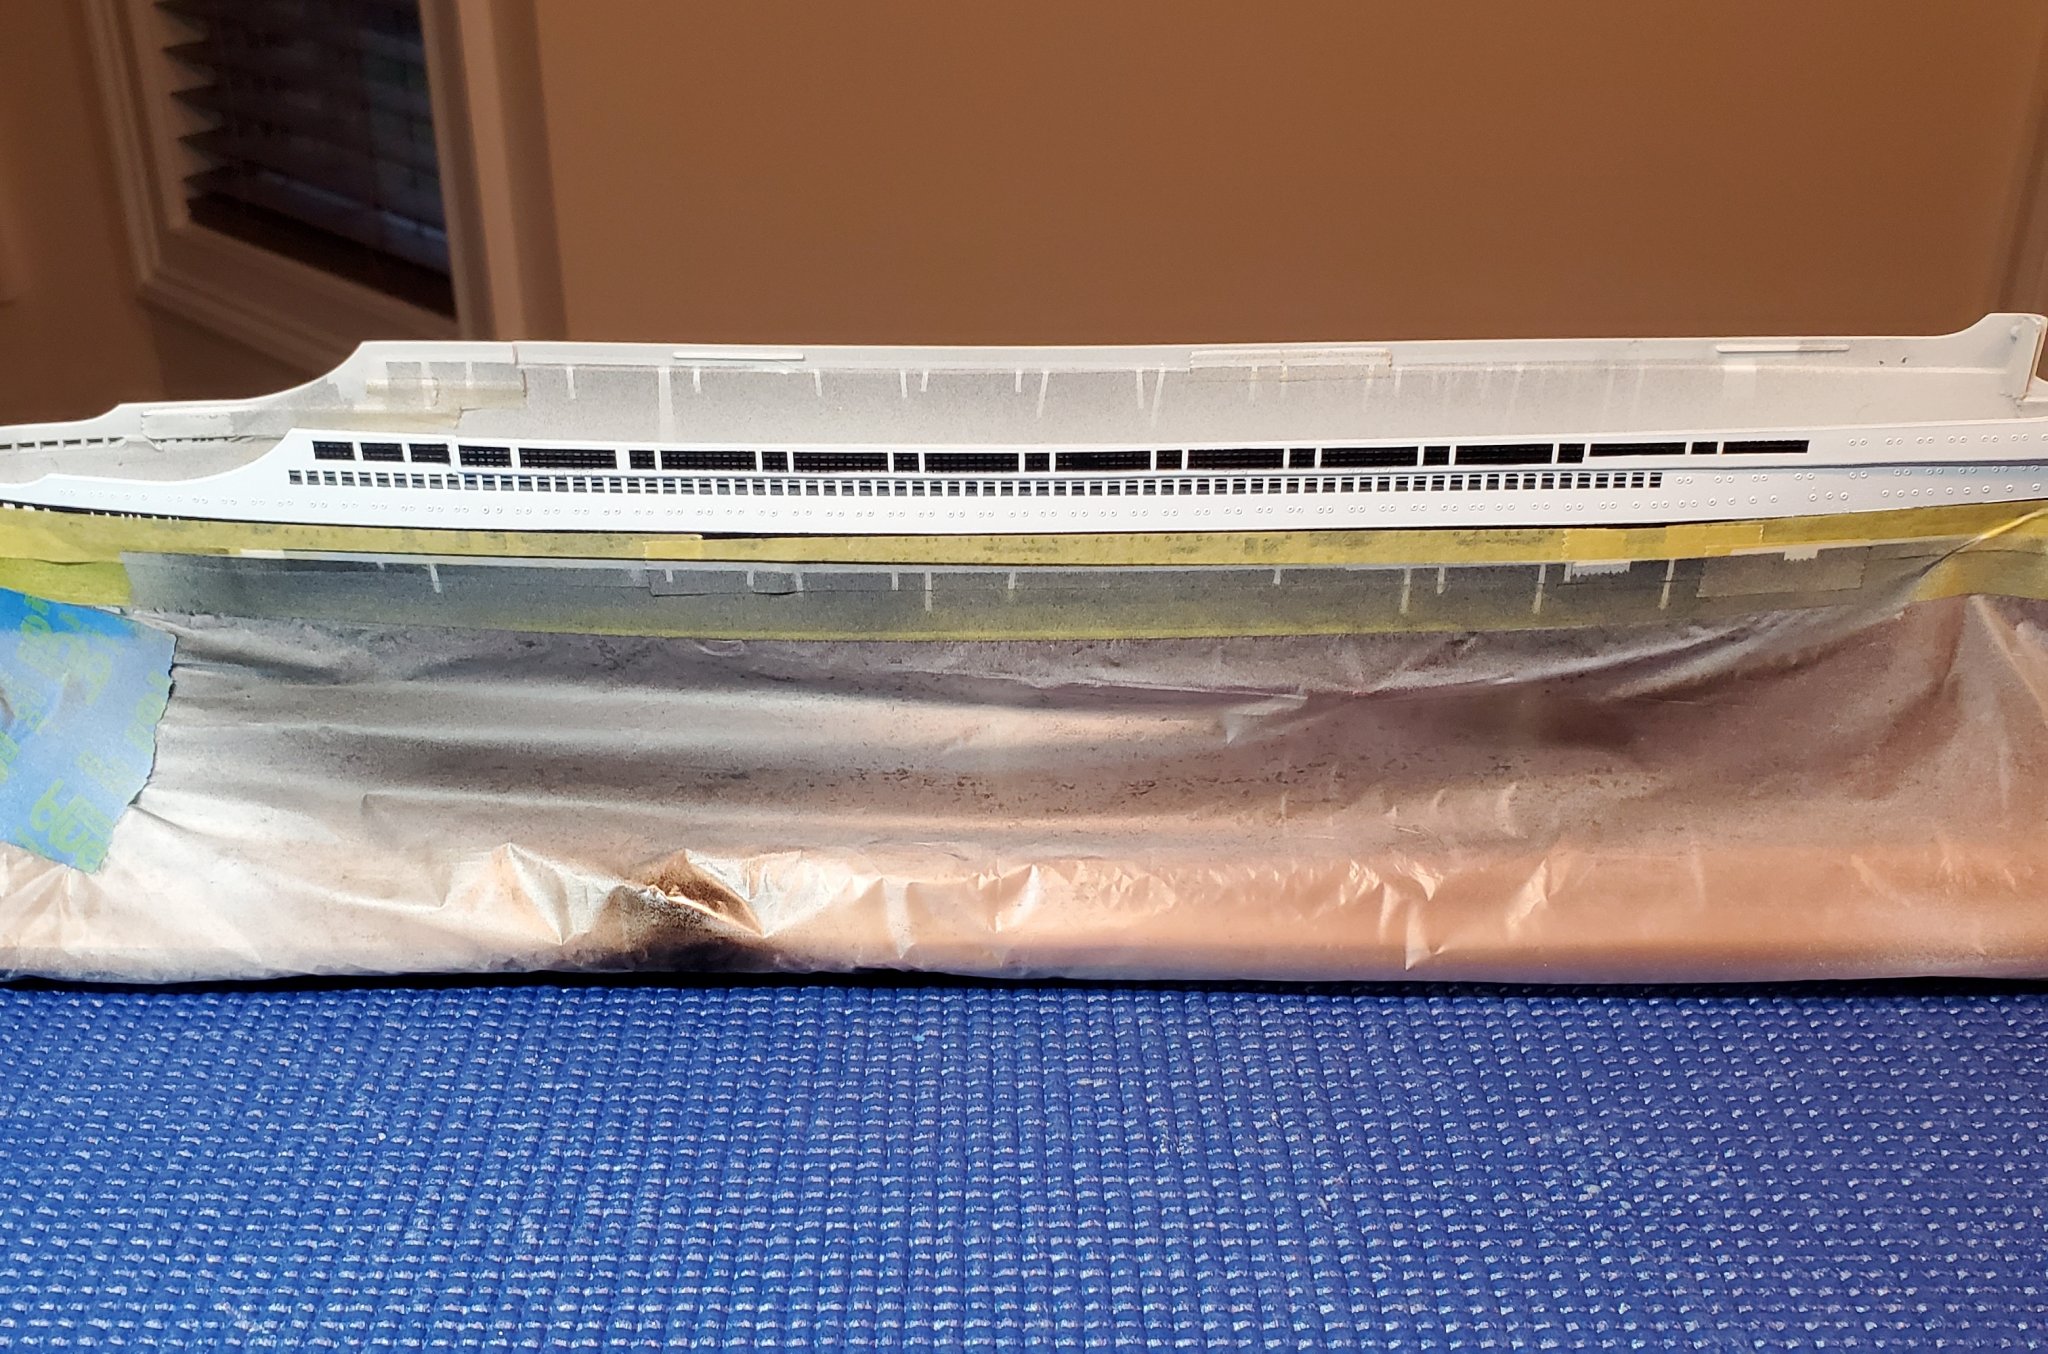
Thanks Keith for the tip. I actually have the opposite problem, the white paint bled into the recessed window areas. The thing is they are so small I don't think there is anything I can do as far as getting inside the recessed areas for any clean up. It could turn into a never ending cycle of getting black on the white and then getting white on the black lol. I think you have to have a talent with a brush for these tiny things which I don't posses. I try to airbrush almost everything I do because I stink at brush painting. From a foot away it looks OK it's just that I'm kind of a perfectionist so sloppy paint bothers me.
-
30 minutes ago, yvesvidal said:
That is amazing. You may not be happy with the results, but it looks good from 6 inches away.
Yves
Thanks Yves. I keep looking at it and thinking about trying to clean it up a bit. I'll give it some thought.
- lmagna, Old Collingwood and mtaylor
-
3
-
-
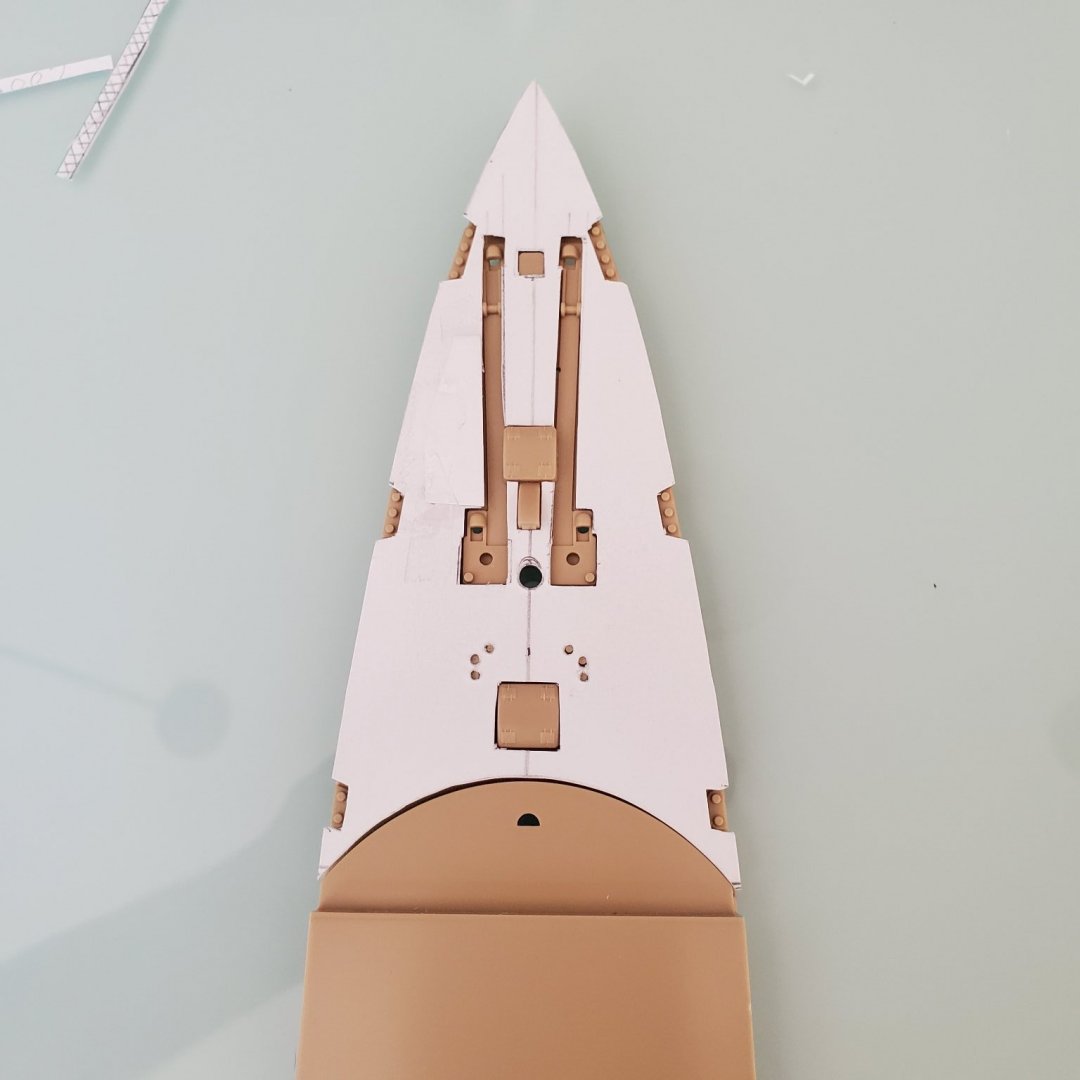
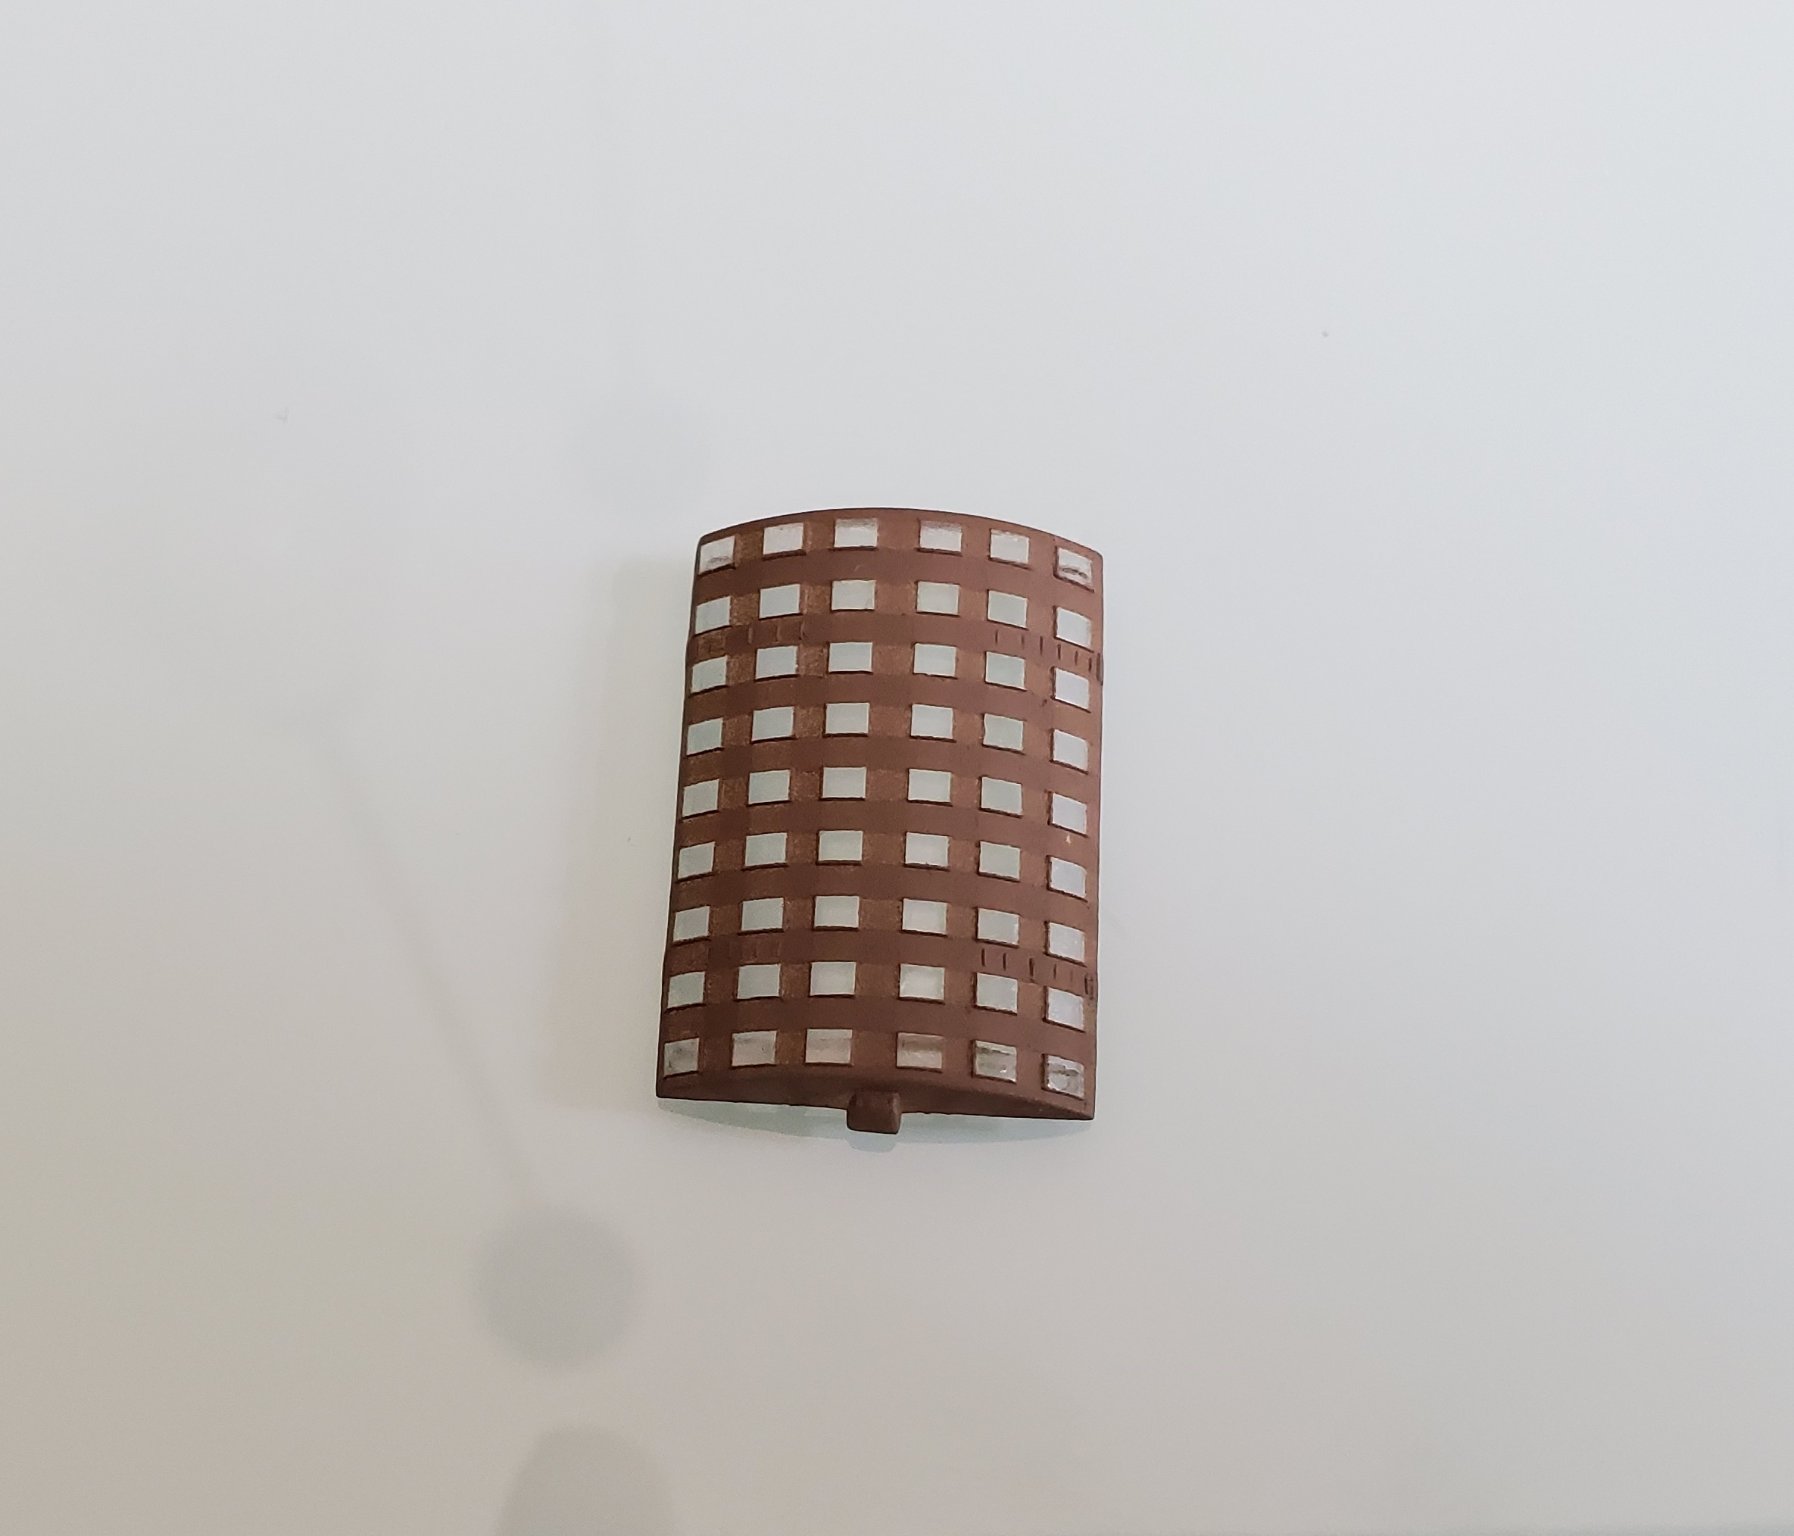
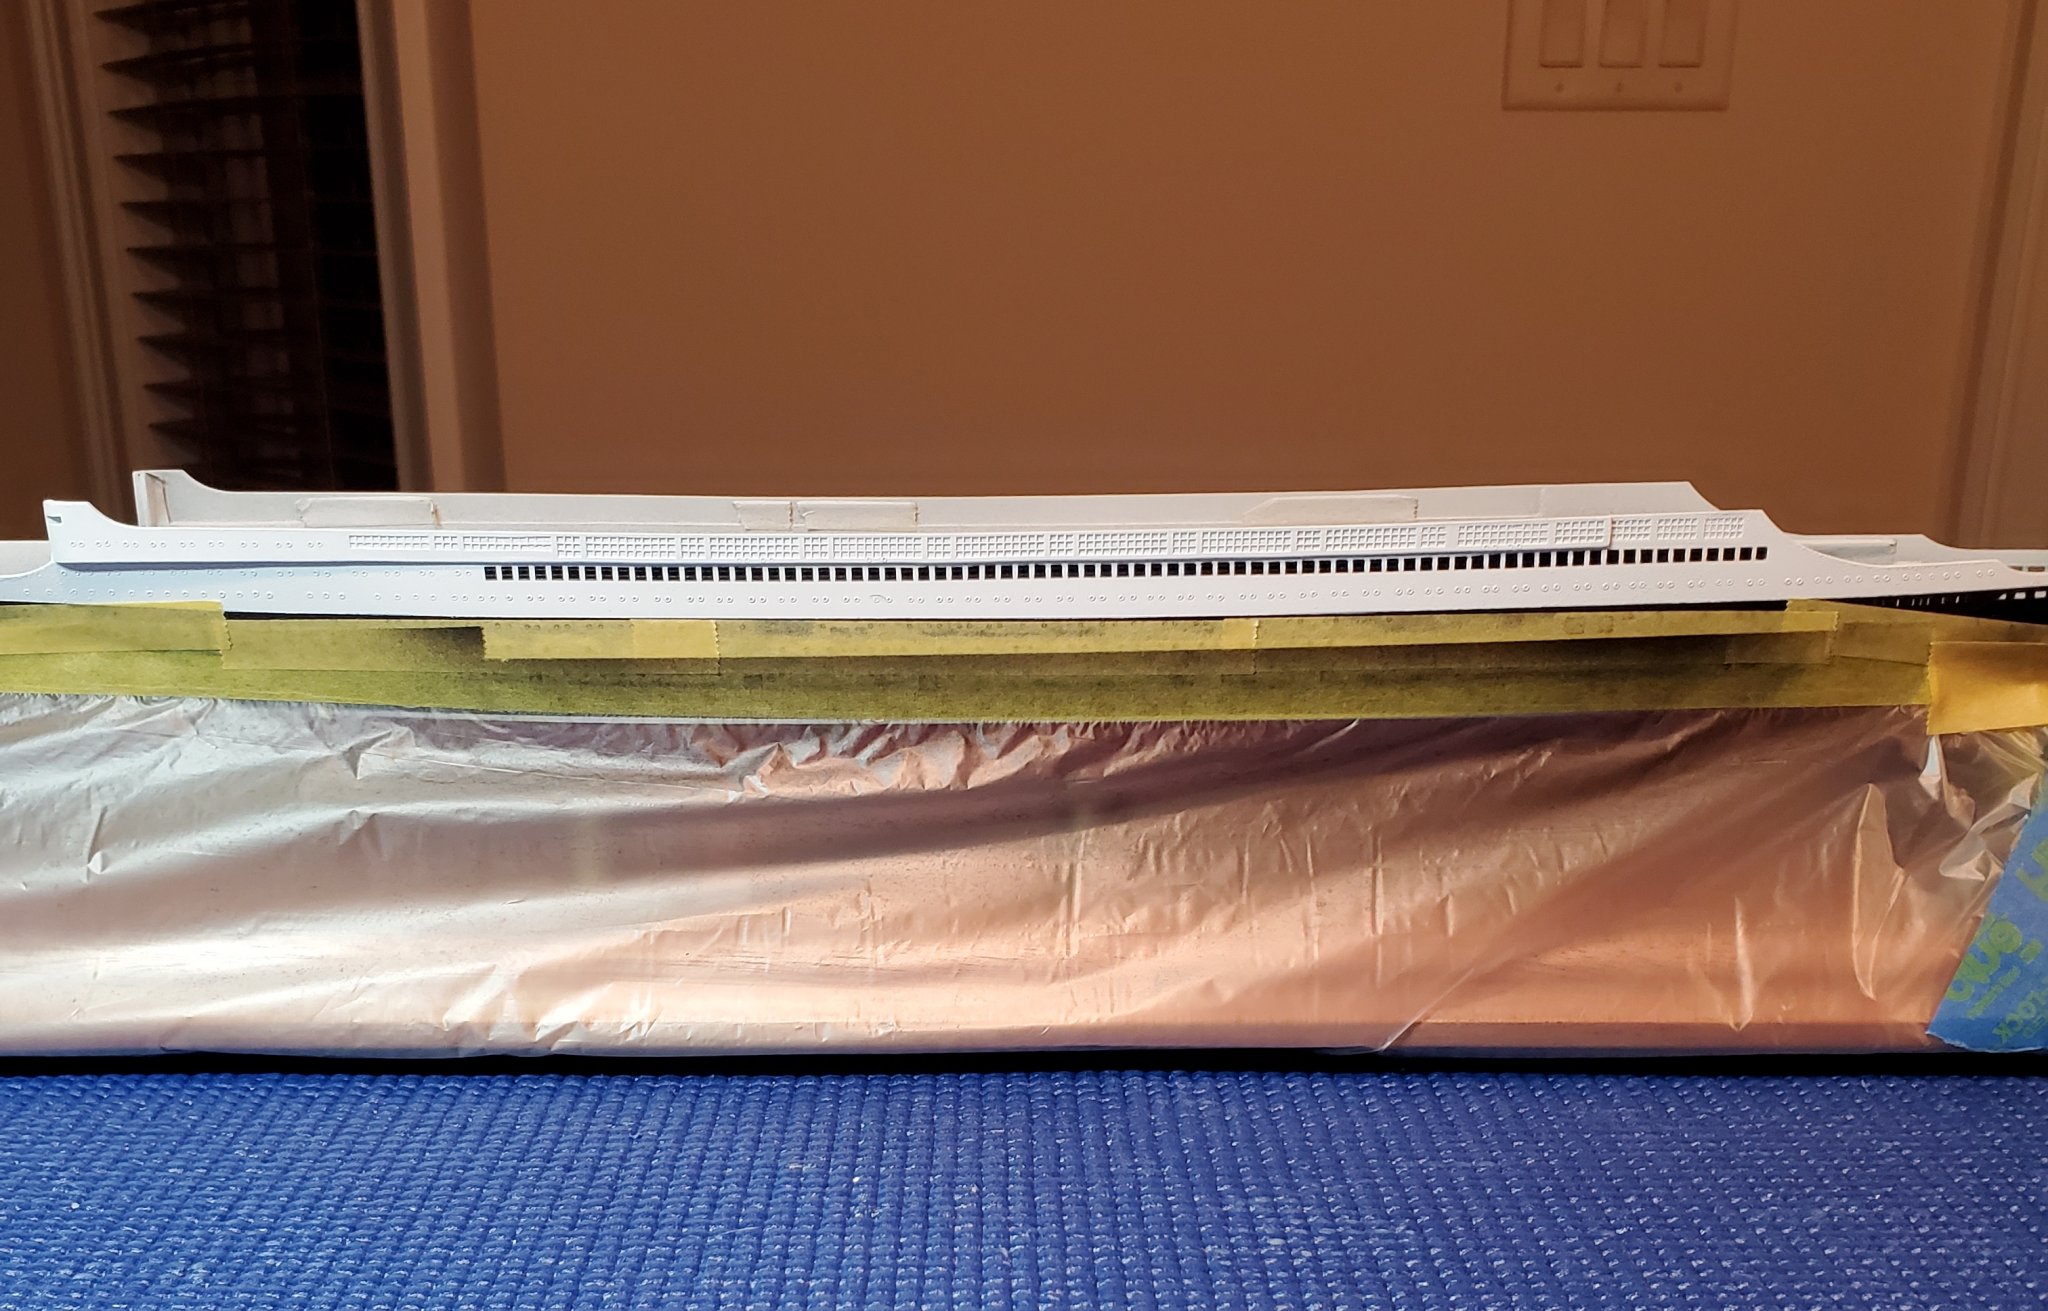
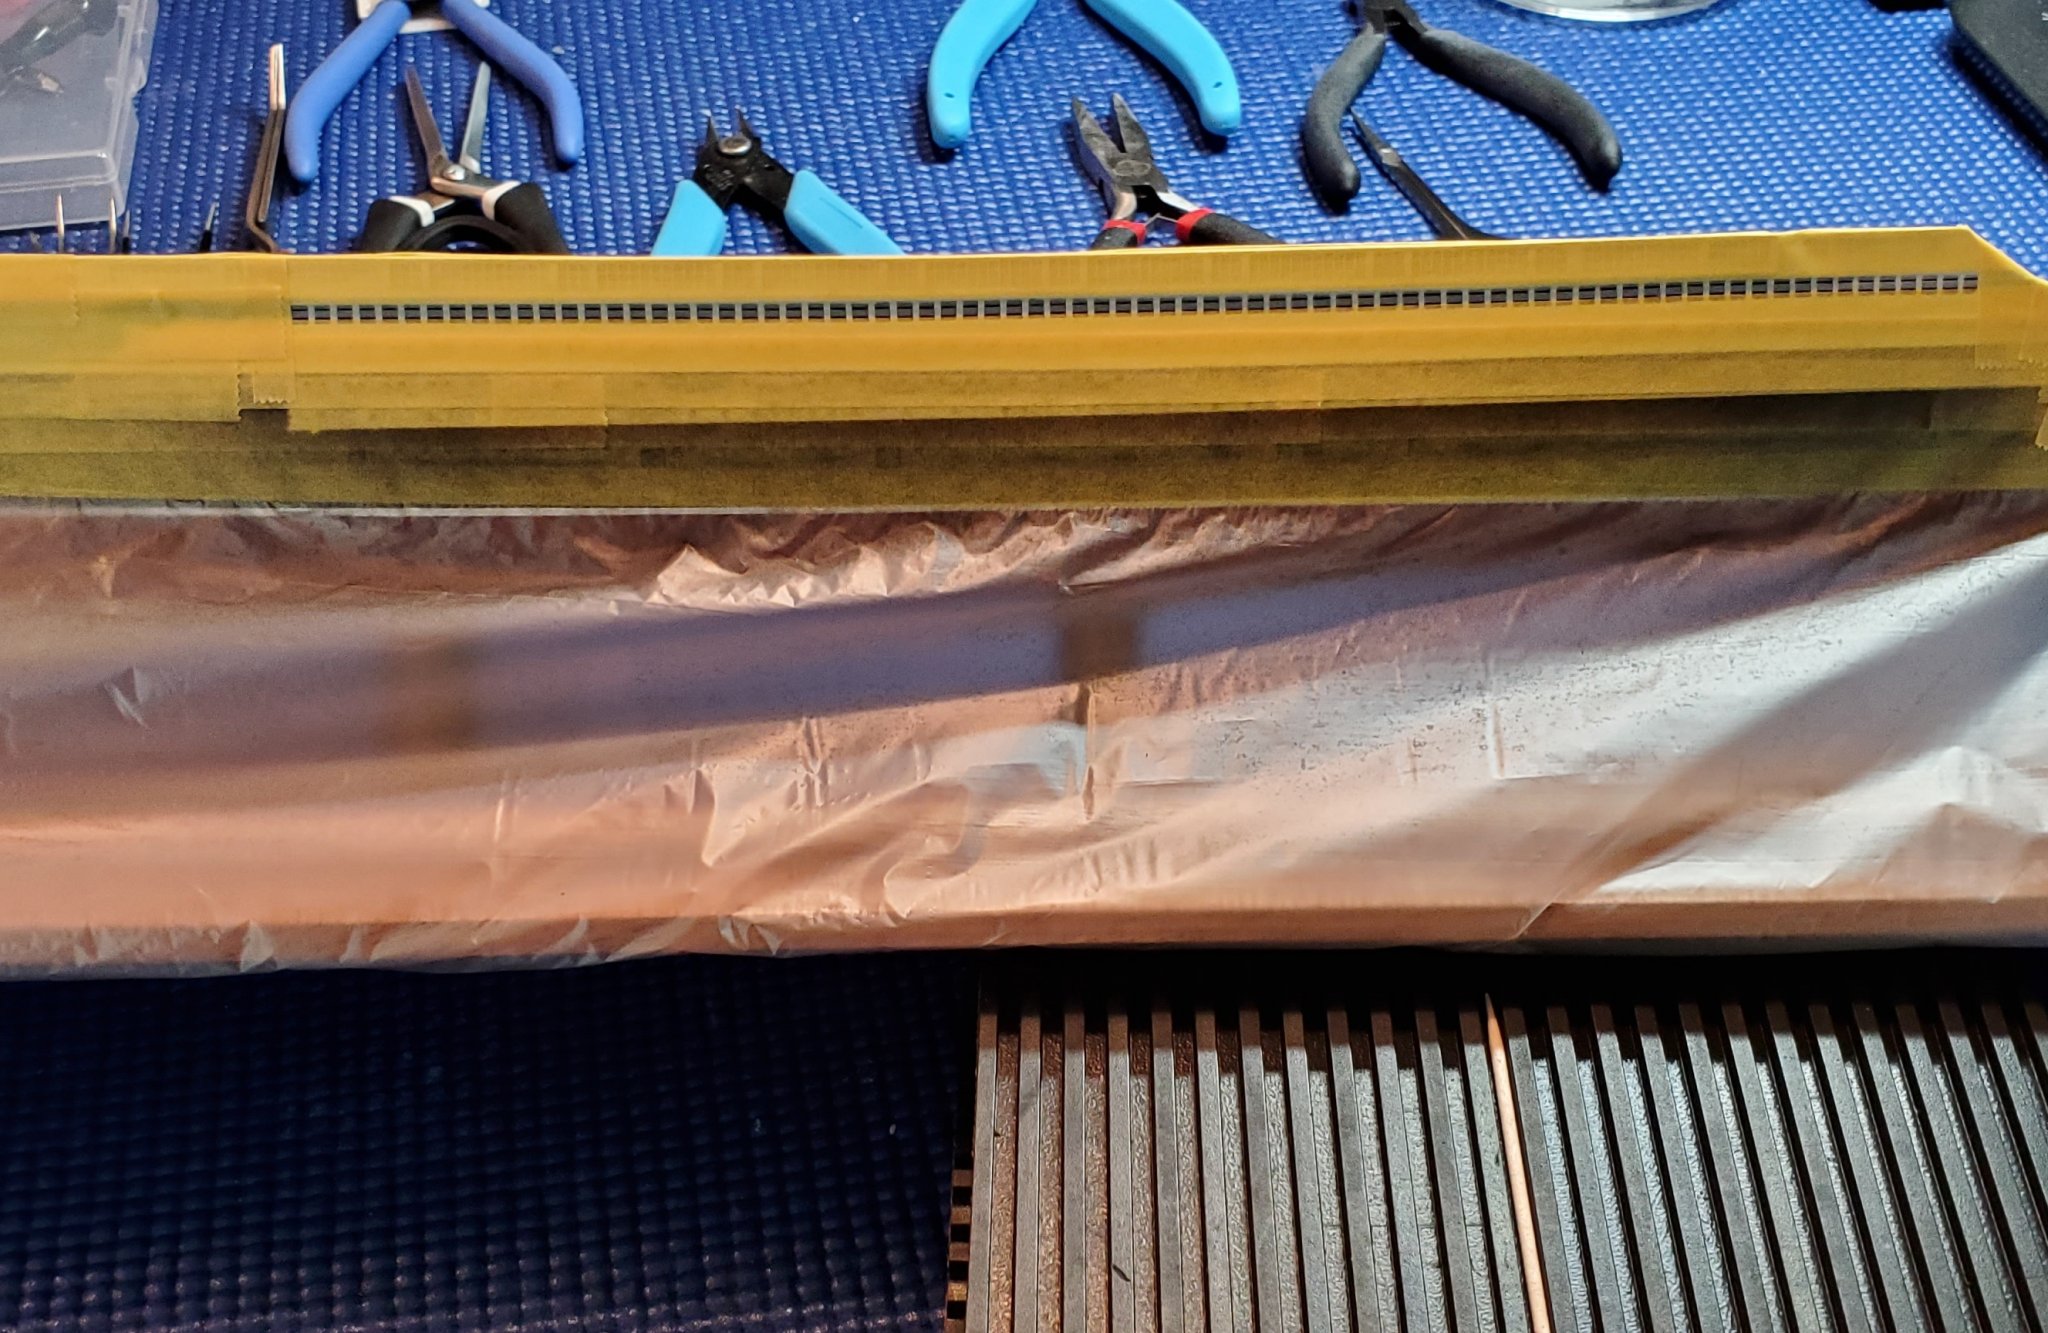
Well they did not come out very well as I had feared. The size and quality of the frames are beyond my ability as a painter. I didn't dry brush as the acrylic paint just dried too quickly for what I needed to do. I'll just live with them as is. Many sections of the frames are lower, ragged, and some are missing entirely. I'm just going to leave them be, as Clint Eastwood once said, a man has to know his limitations lol. Thanks again for all the input.

- Canute, Keith Black and mtaylor
-
3


.jpg.3c0466a3fcaab162981f3deea675dabf.jpg)


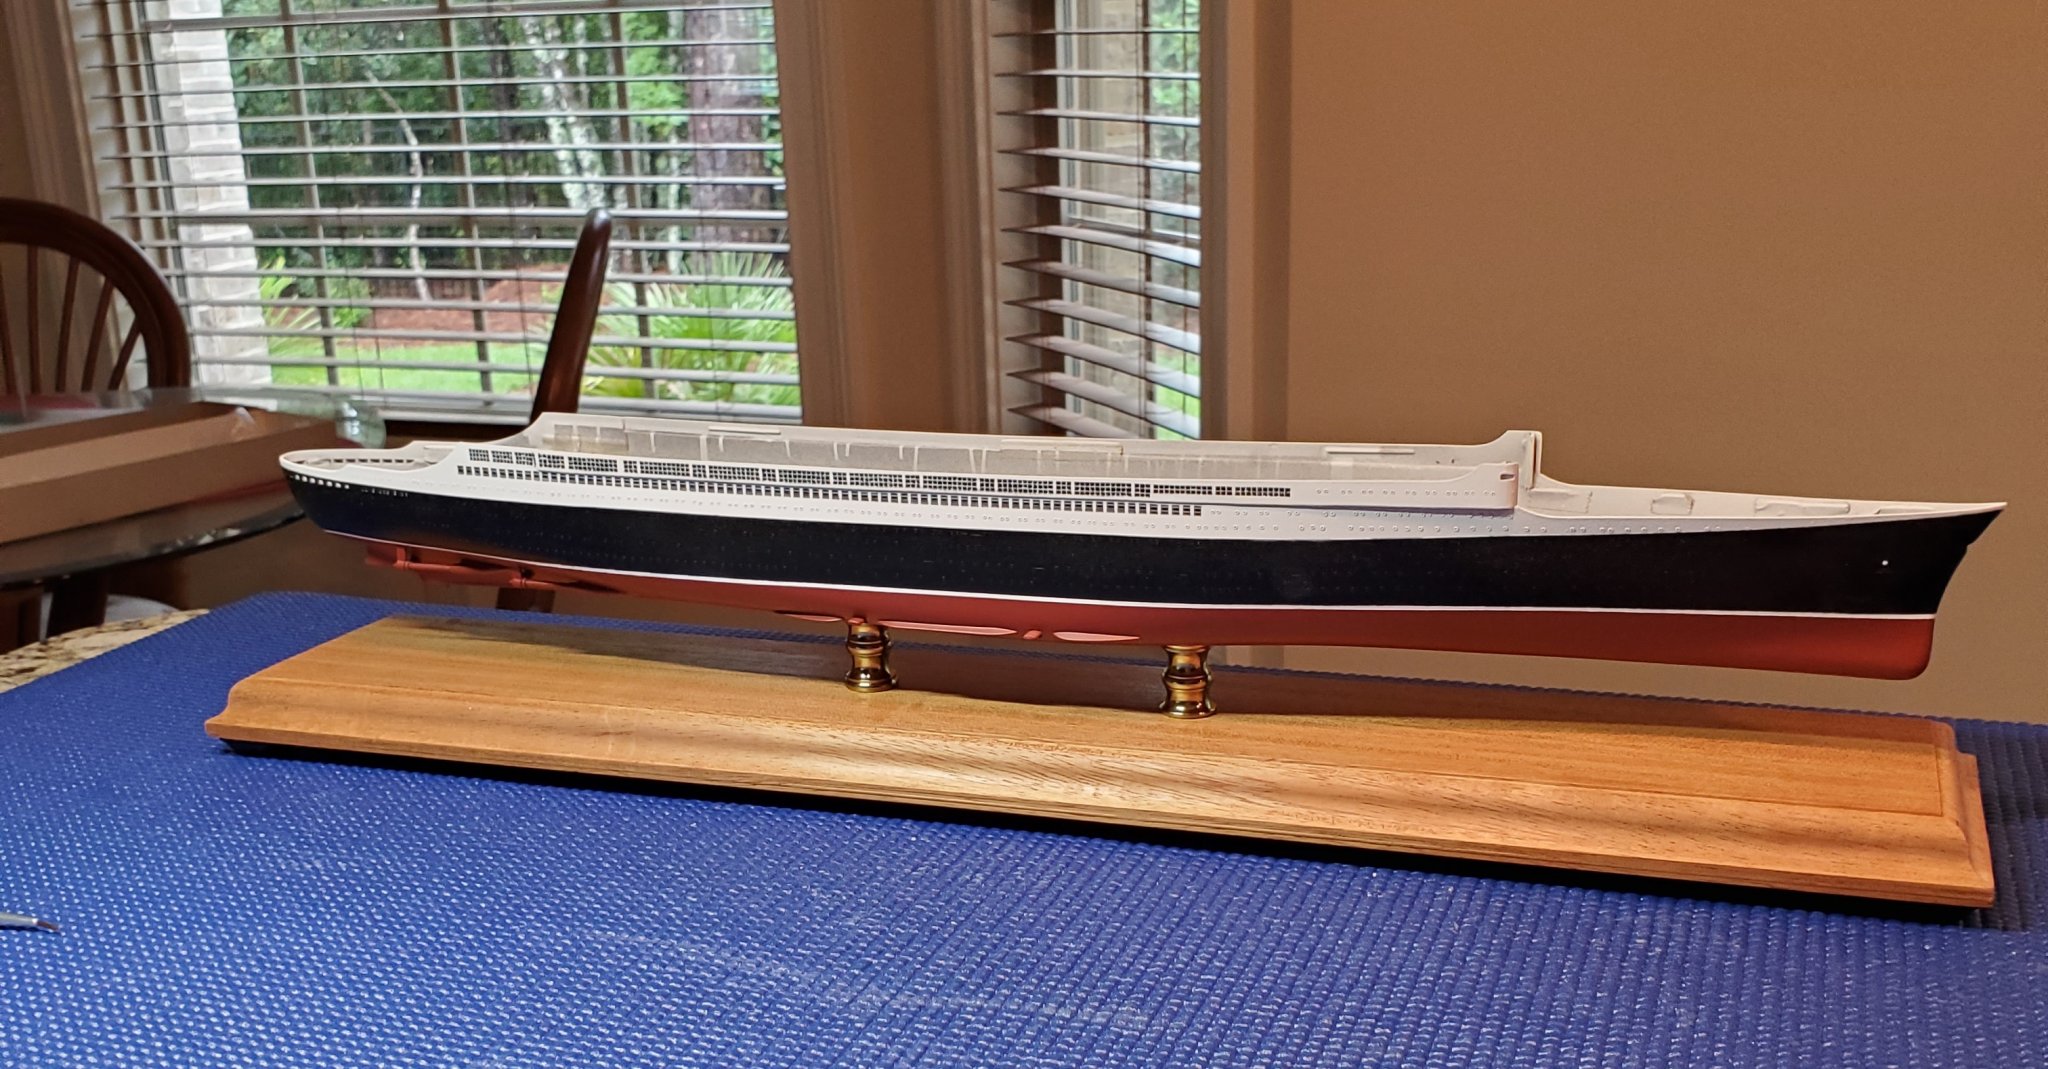
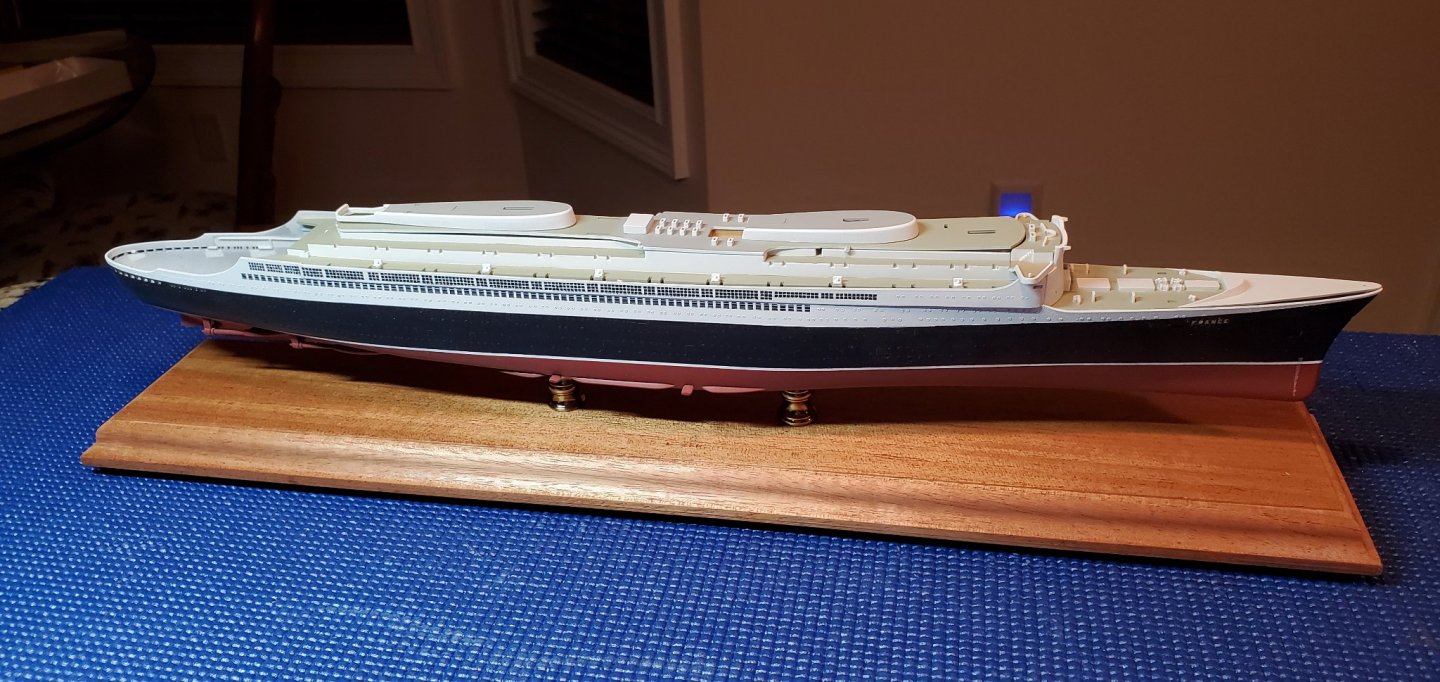
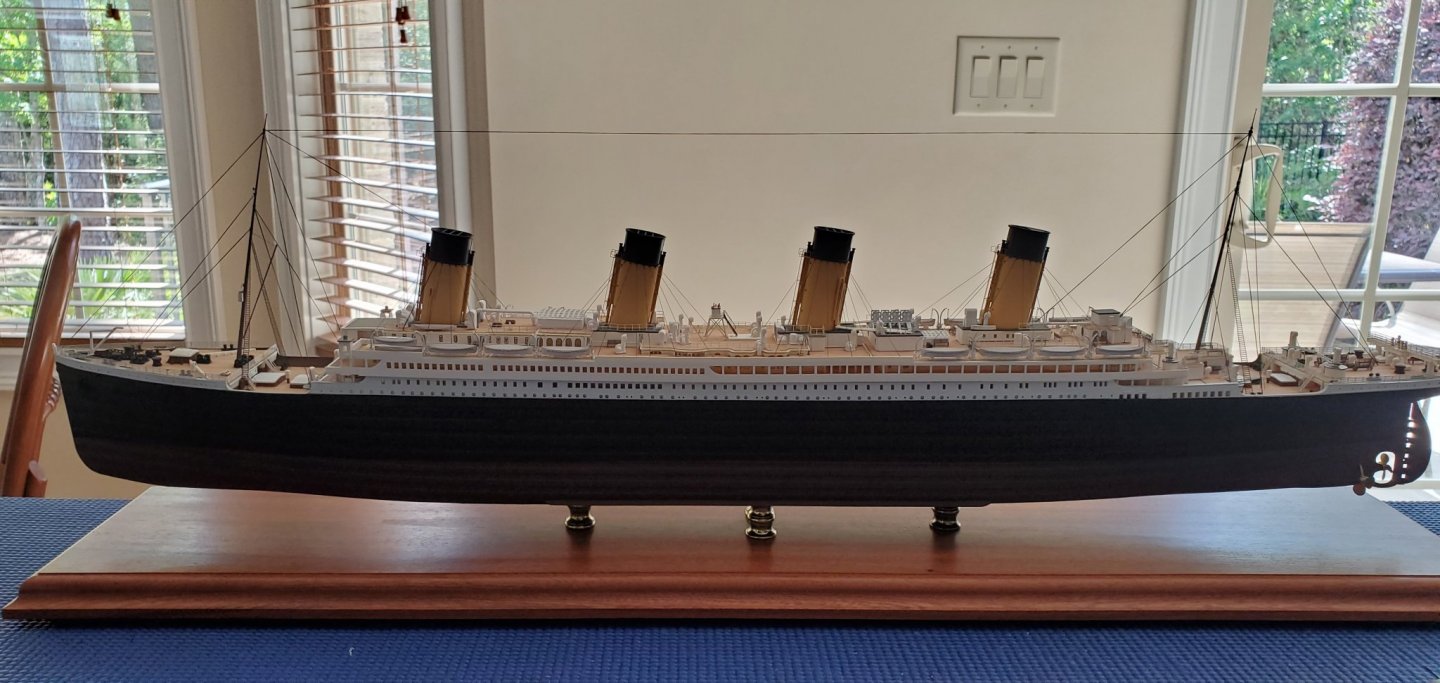
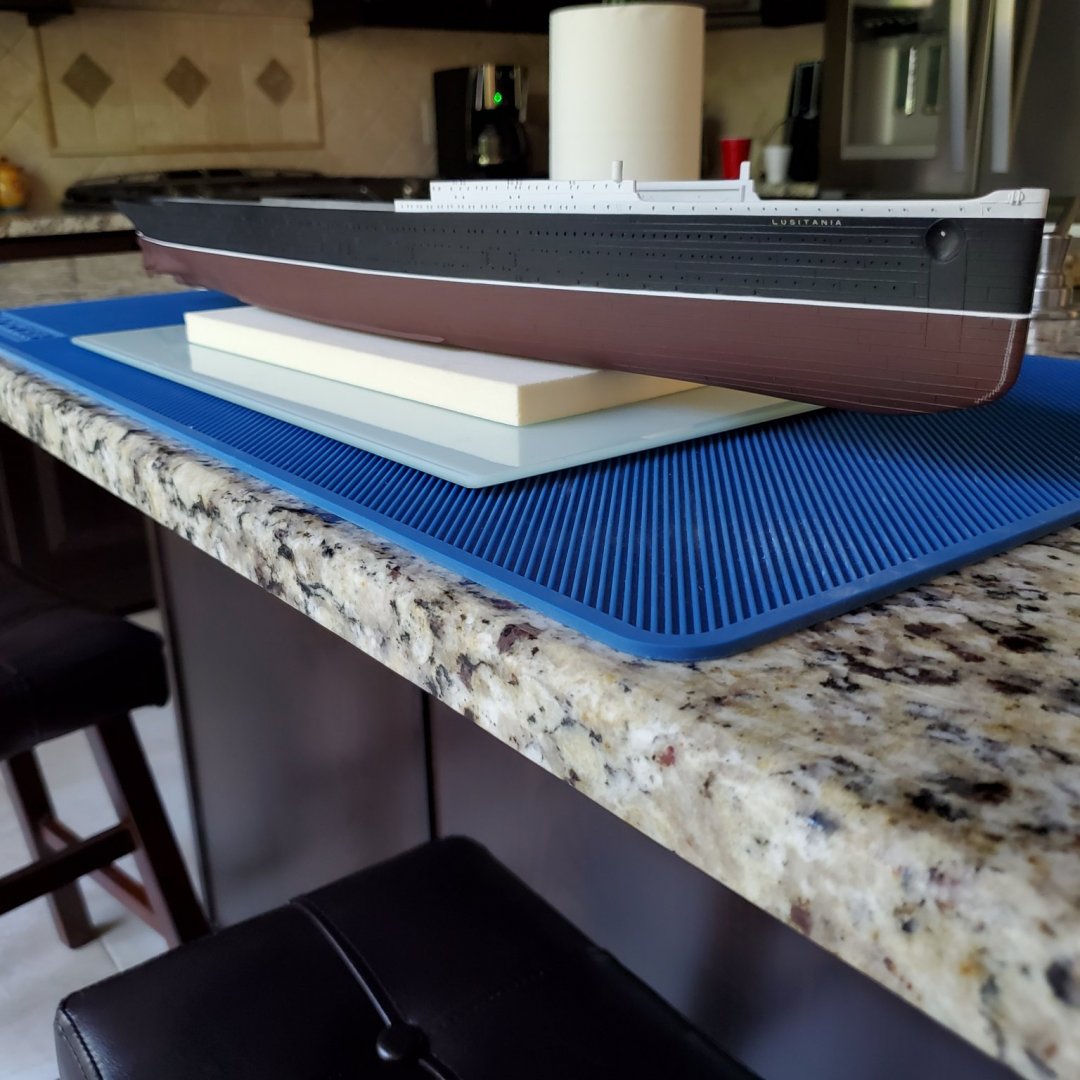
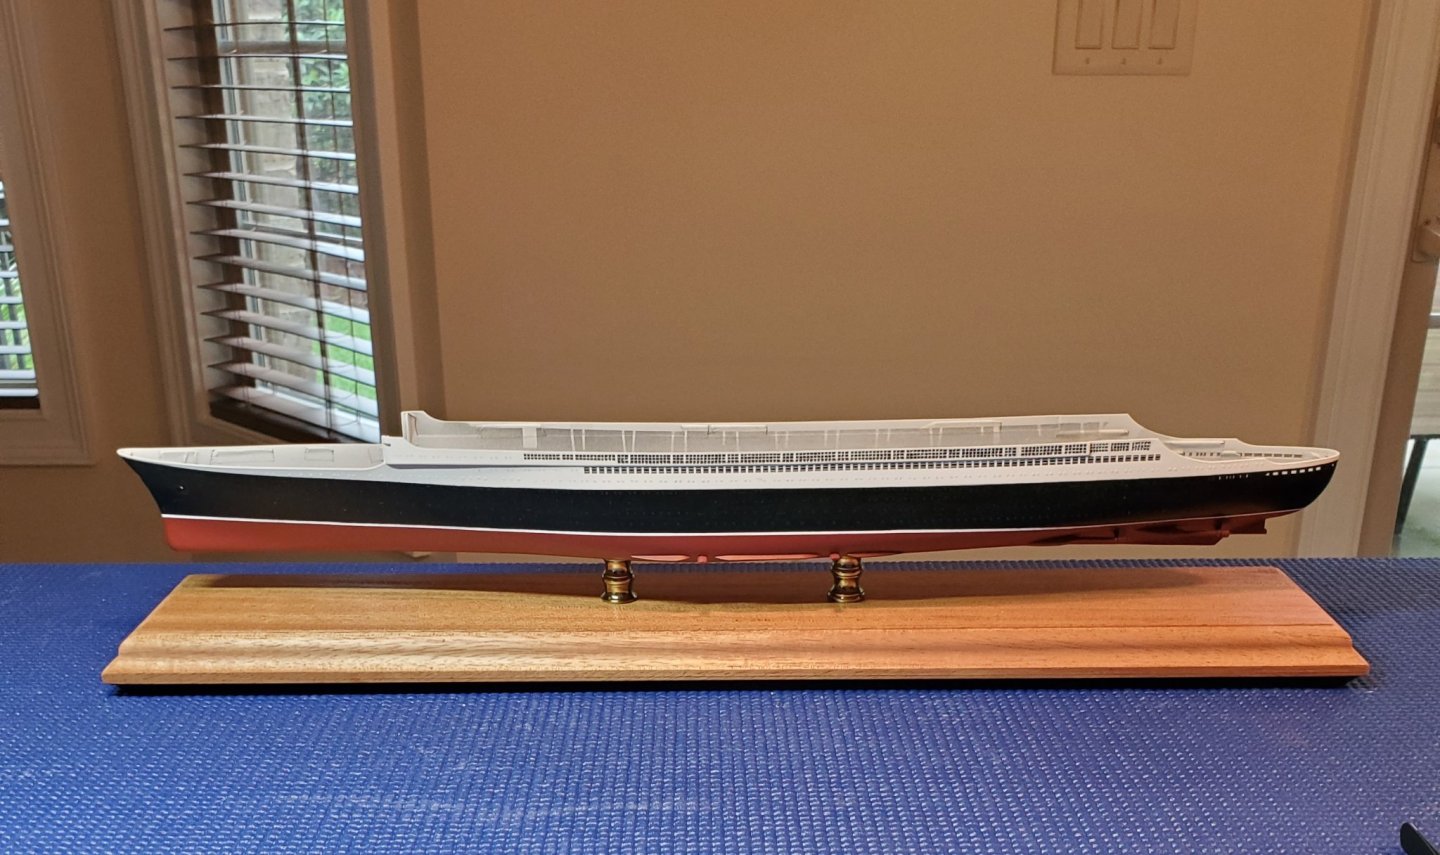
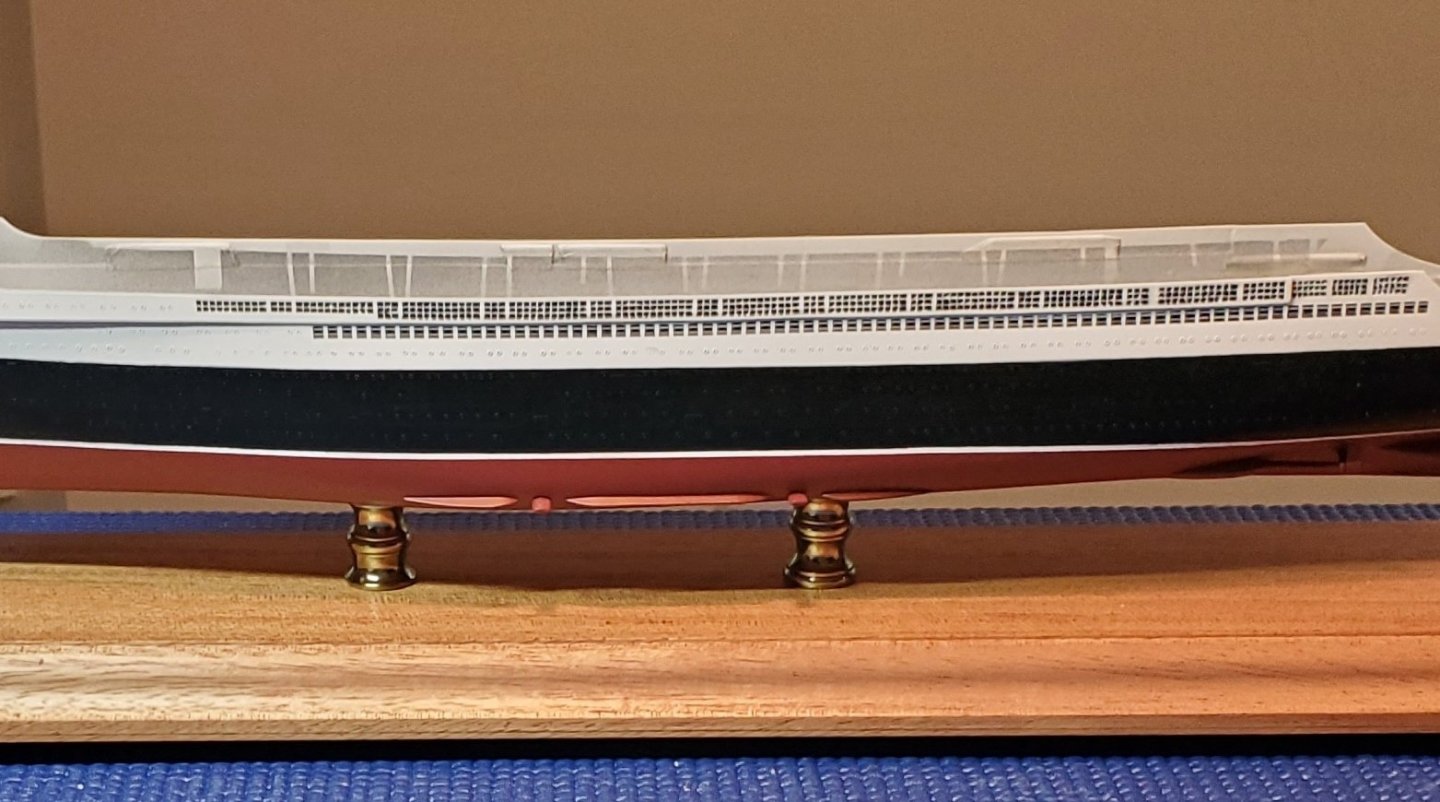
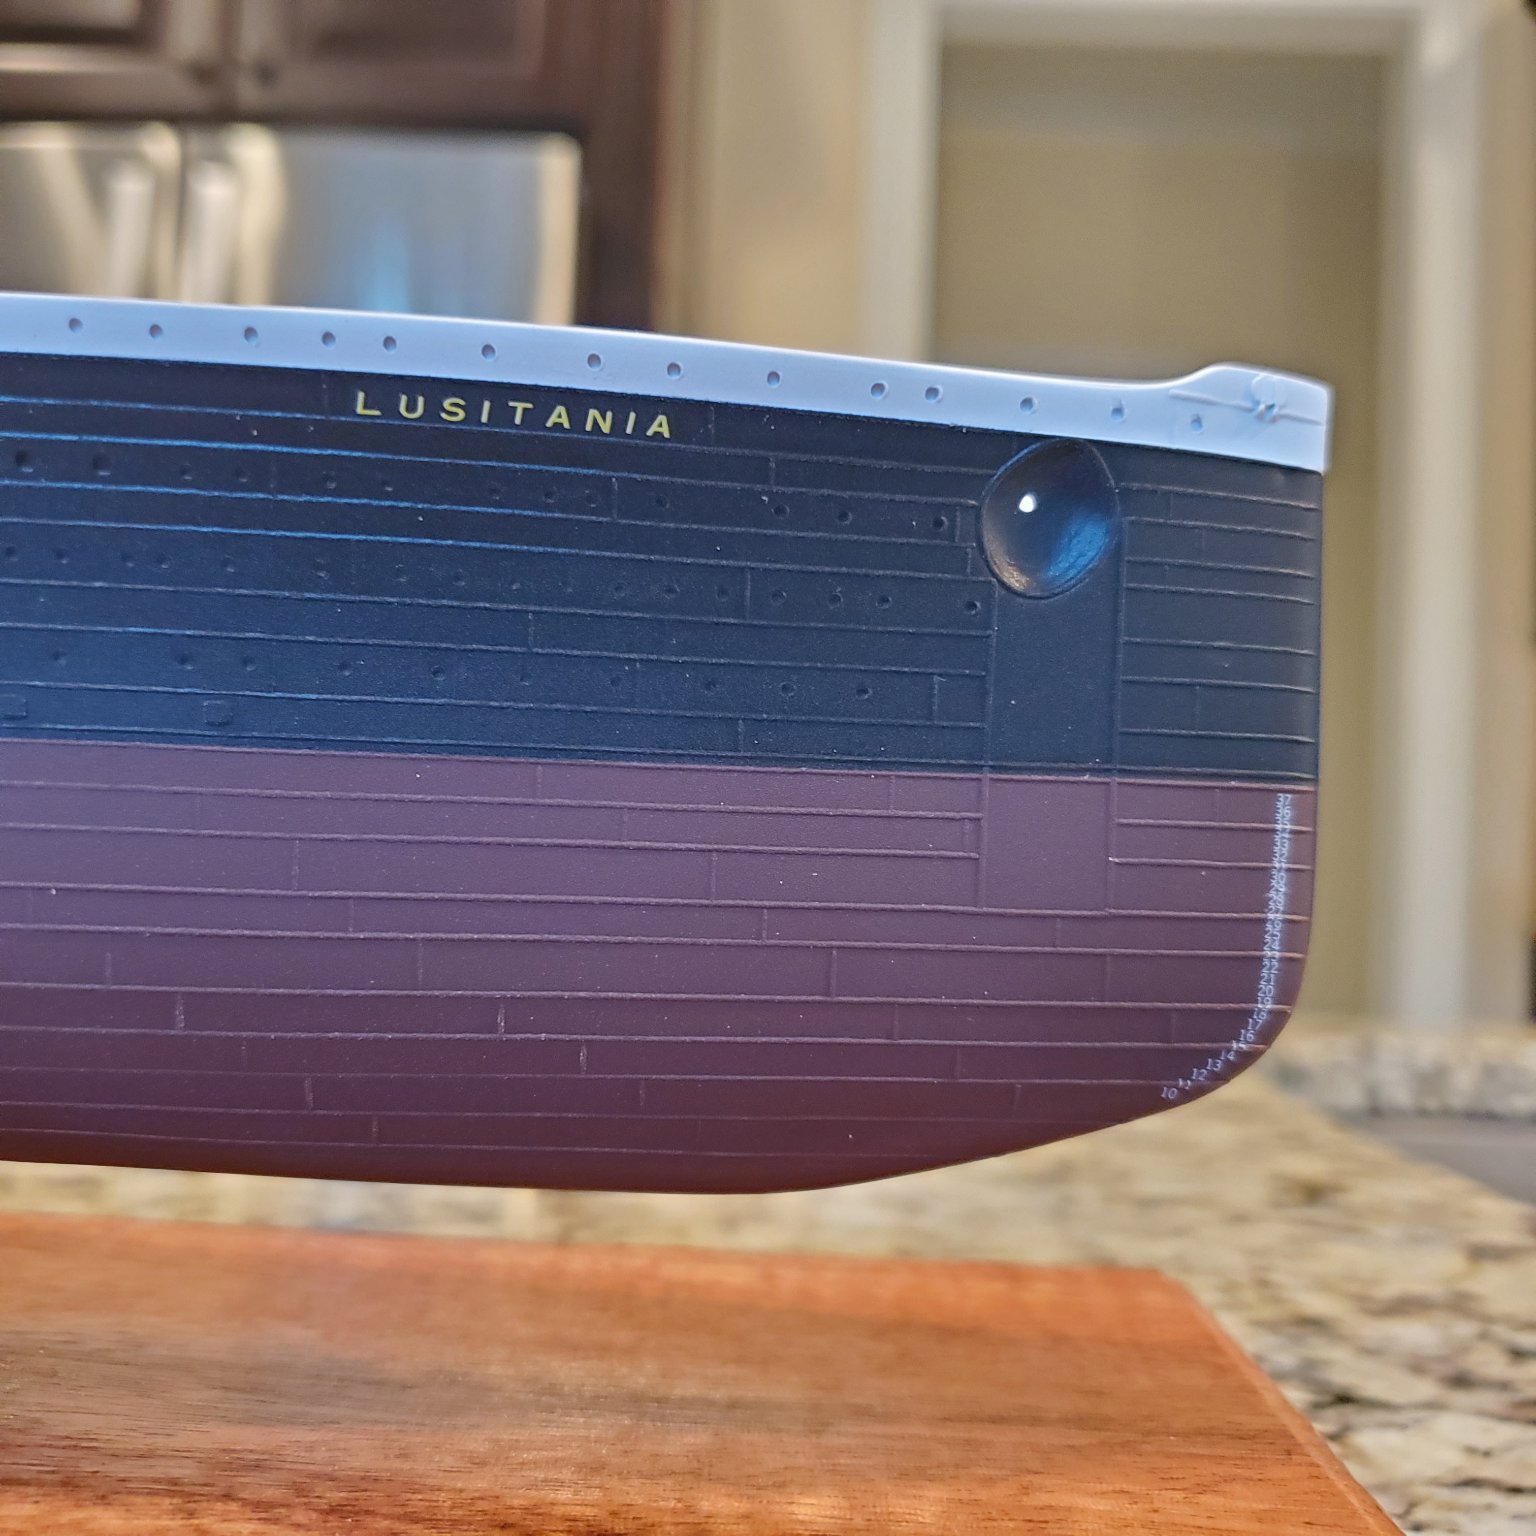
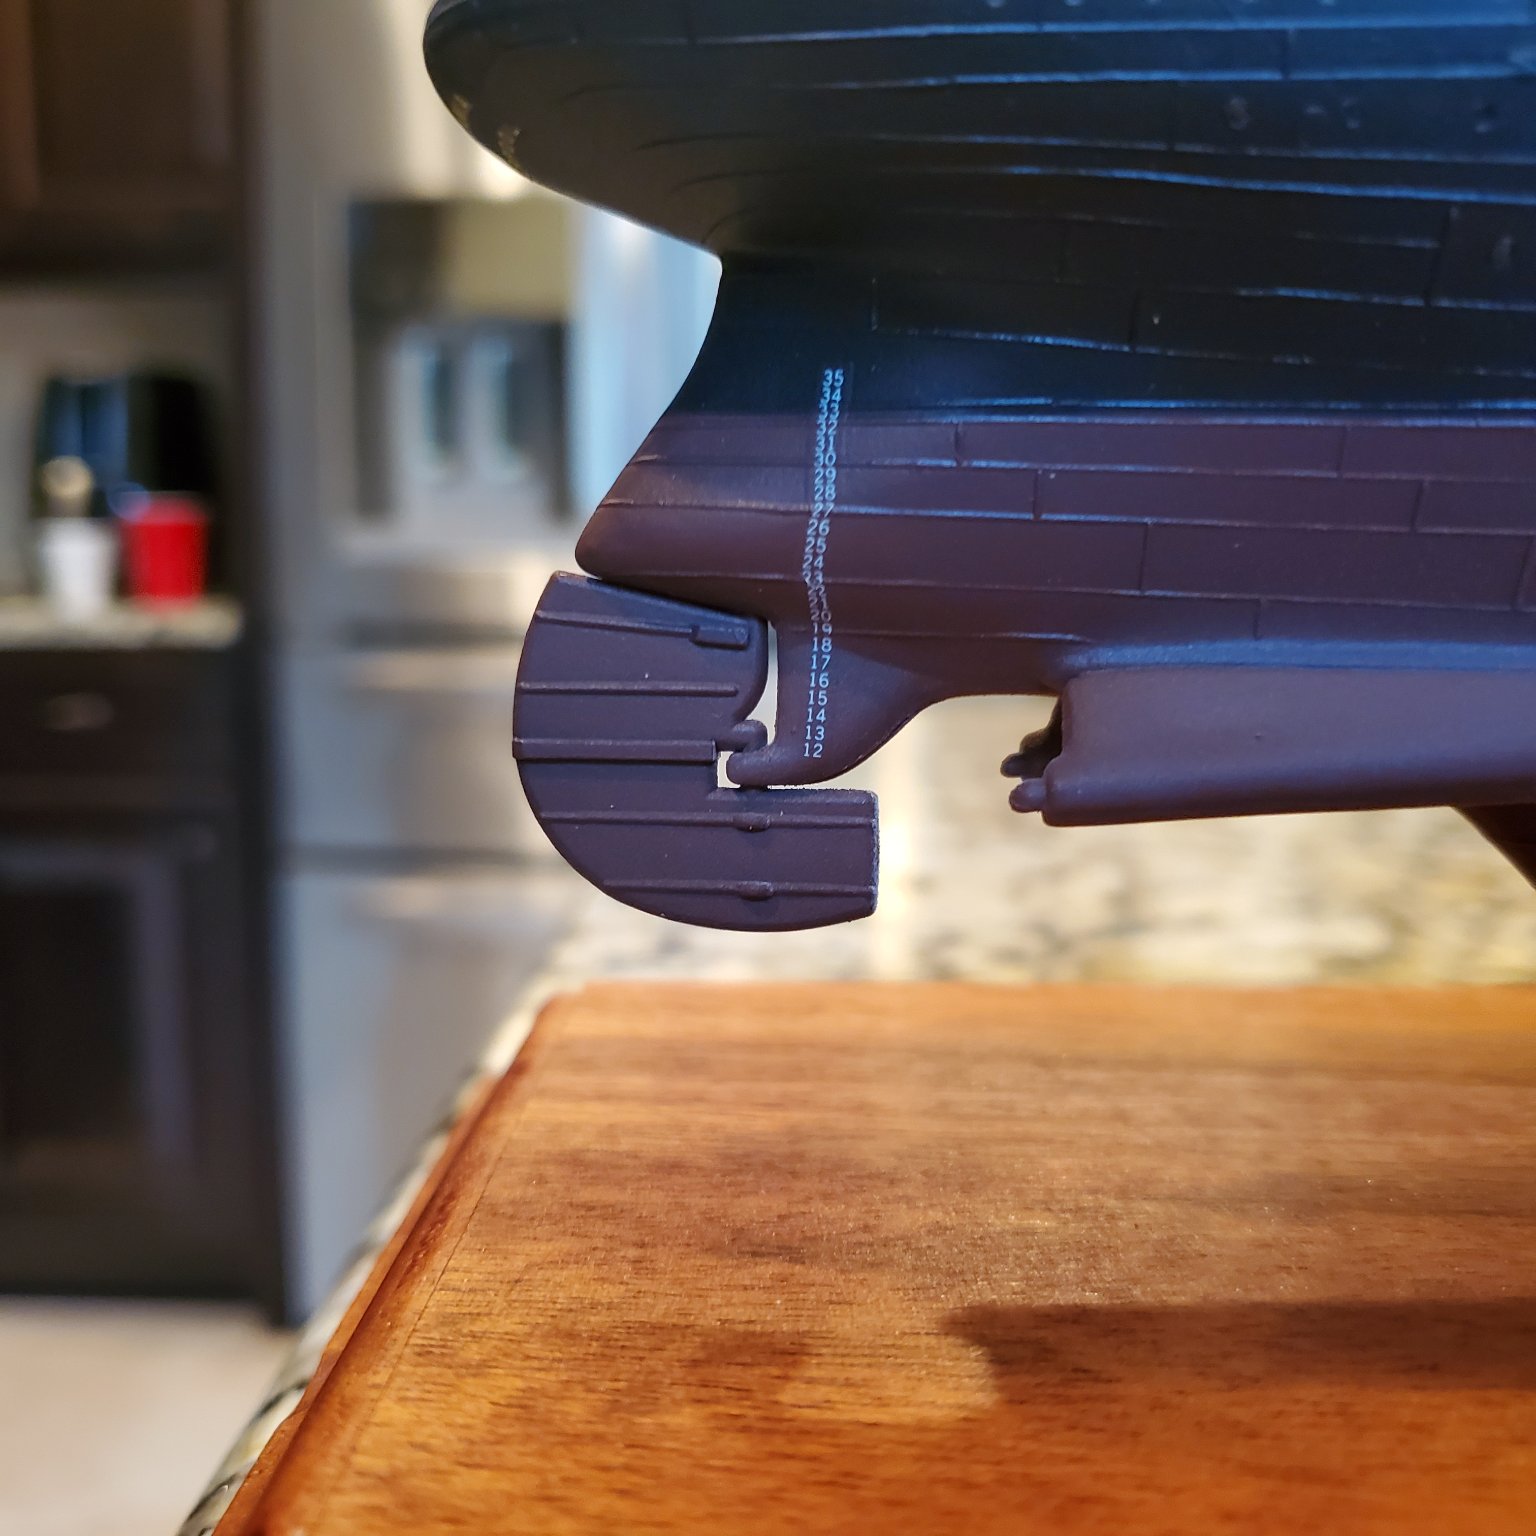
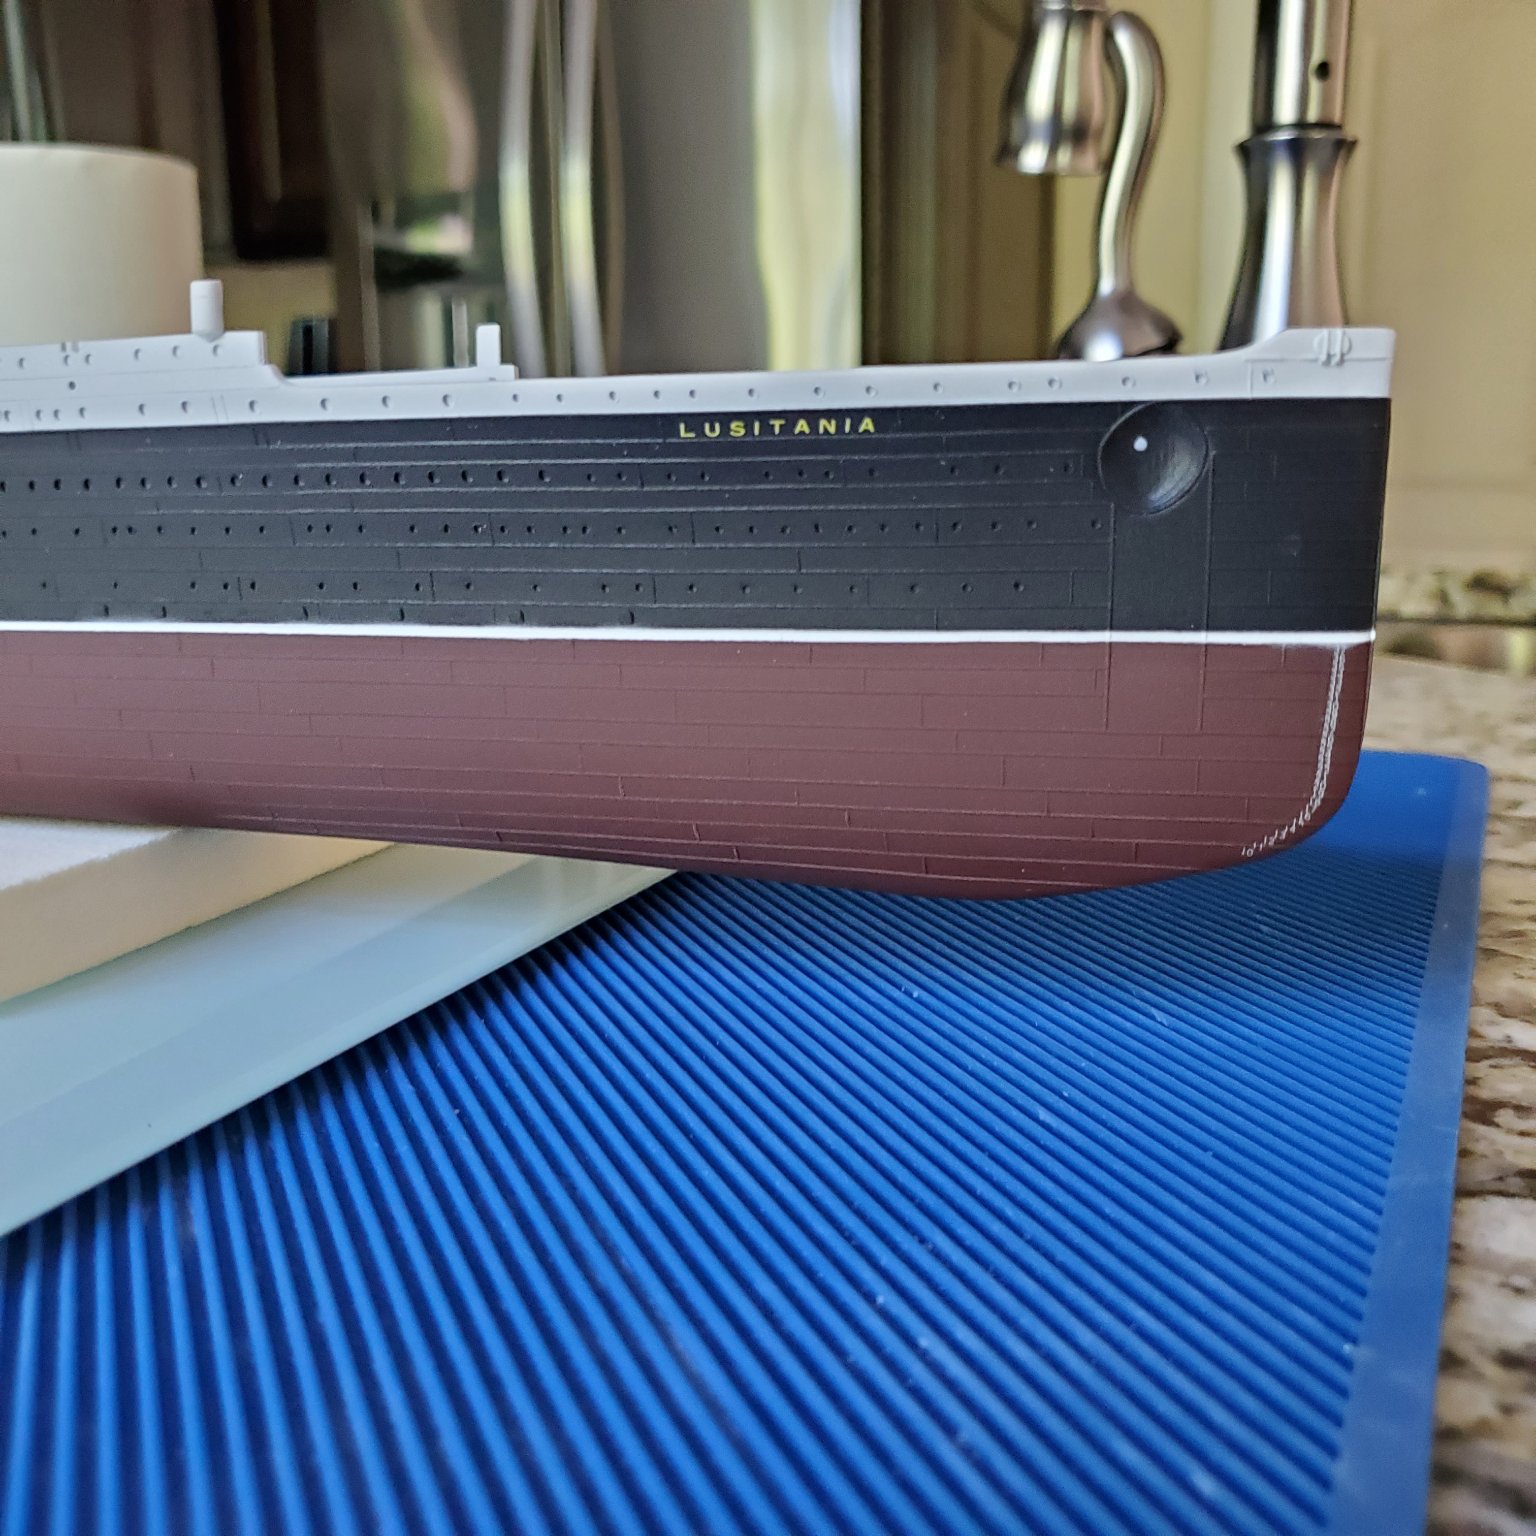
RMS Lusitania by ChrisSC - FINISHED - Gunze Sangyo - 1/350 - PLASTIC
in - Kit build logs for subjects built from 1901 - Present Day
Posted