marsalv
-
Posts
535 -
Joined
-
Last visited
Content Type
Profiles
Forums
Gallery
Events
Everything posted by marsalv
-
To claybaker and garyshipwright - These milling cutters are manufactured by a number of manufacturers in the world, so it does not matter which manufacturer you choose. There are several of these manufacturers on aliexpress. I myself chose the "Chinese variant" because it is significantly cheaper and will do the same service as more expensive milling cutters. Installation of quarterdeck deck beams.

- 589 replies
-
- 30
-

-

-
- le gros ventre
- cargo
- (and 1 more)
-
Great inspiration for me. Admirably clean work.
-
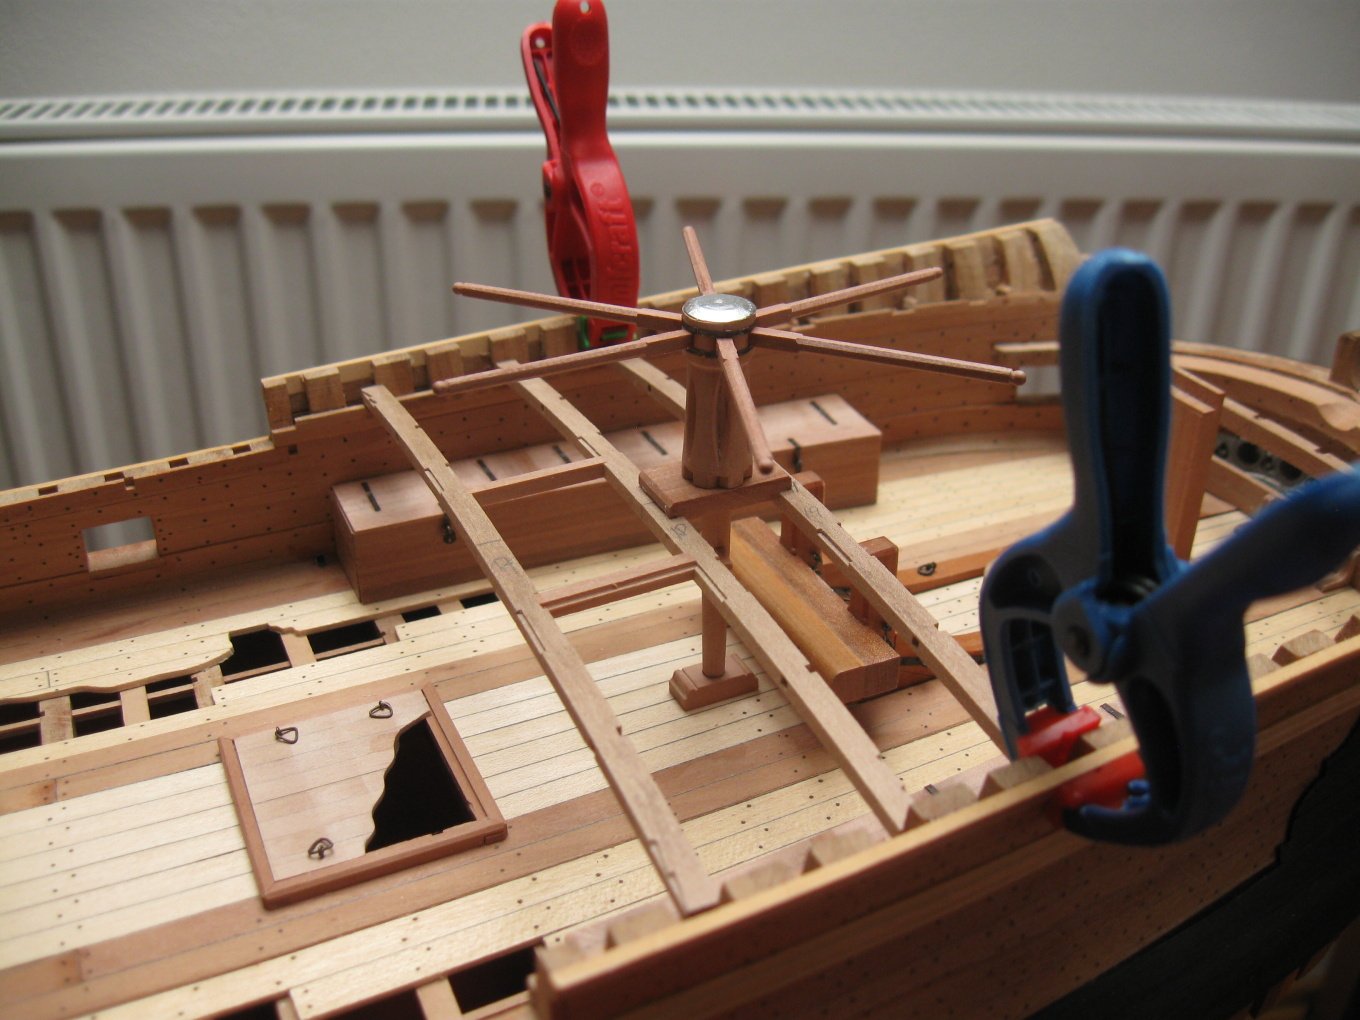
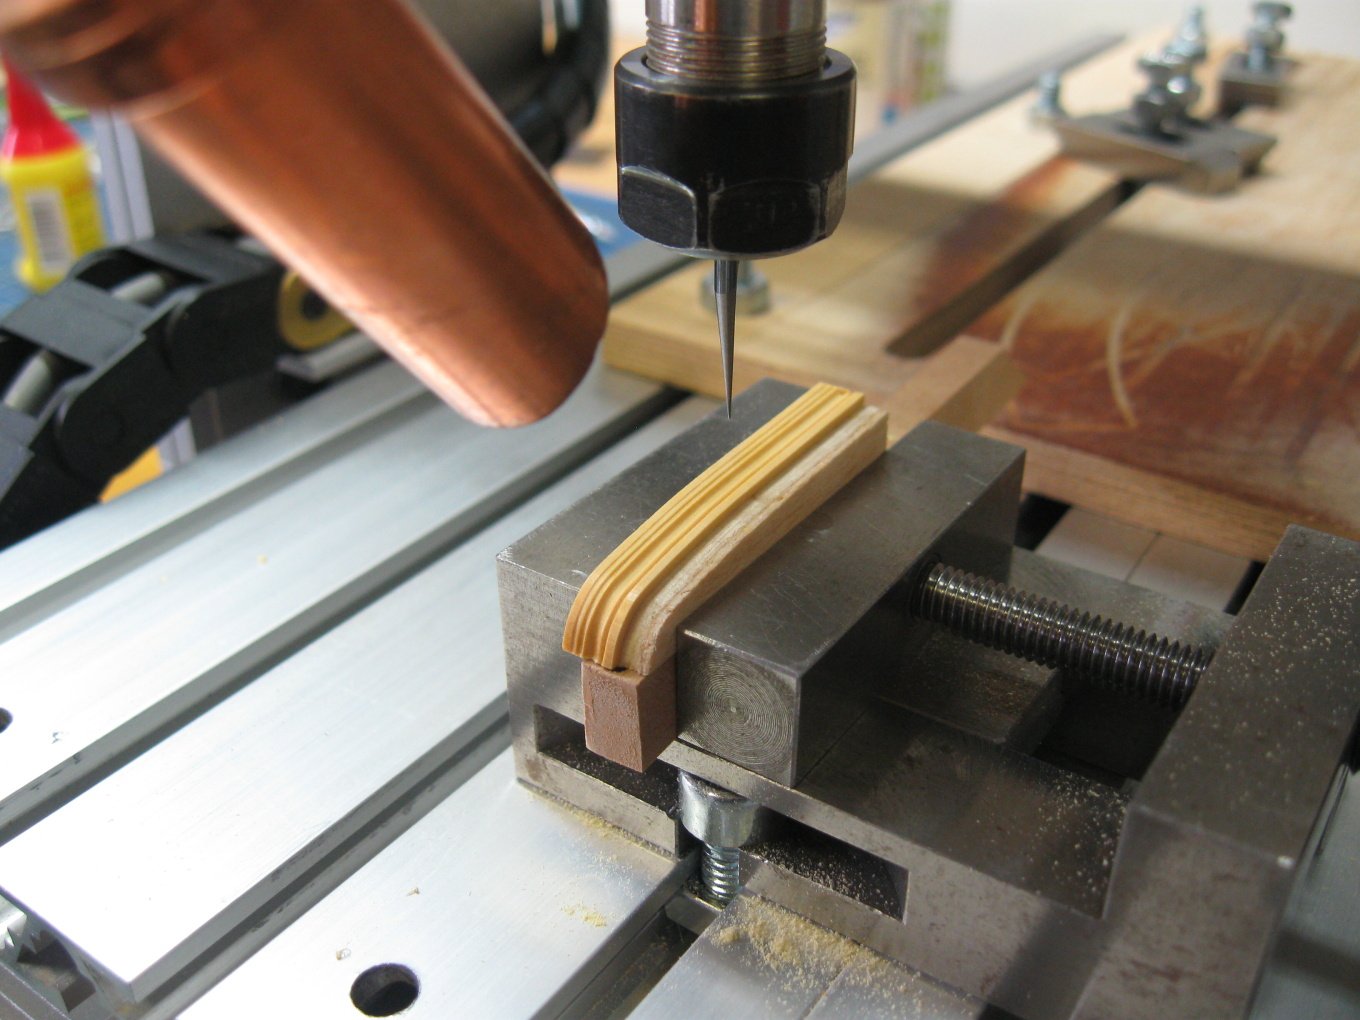
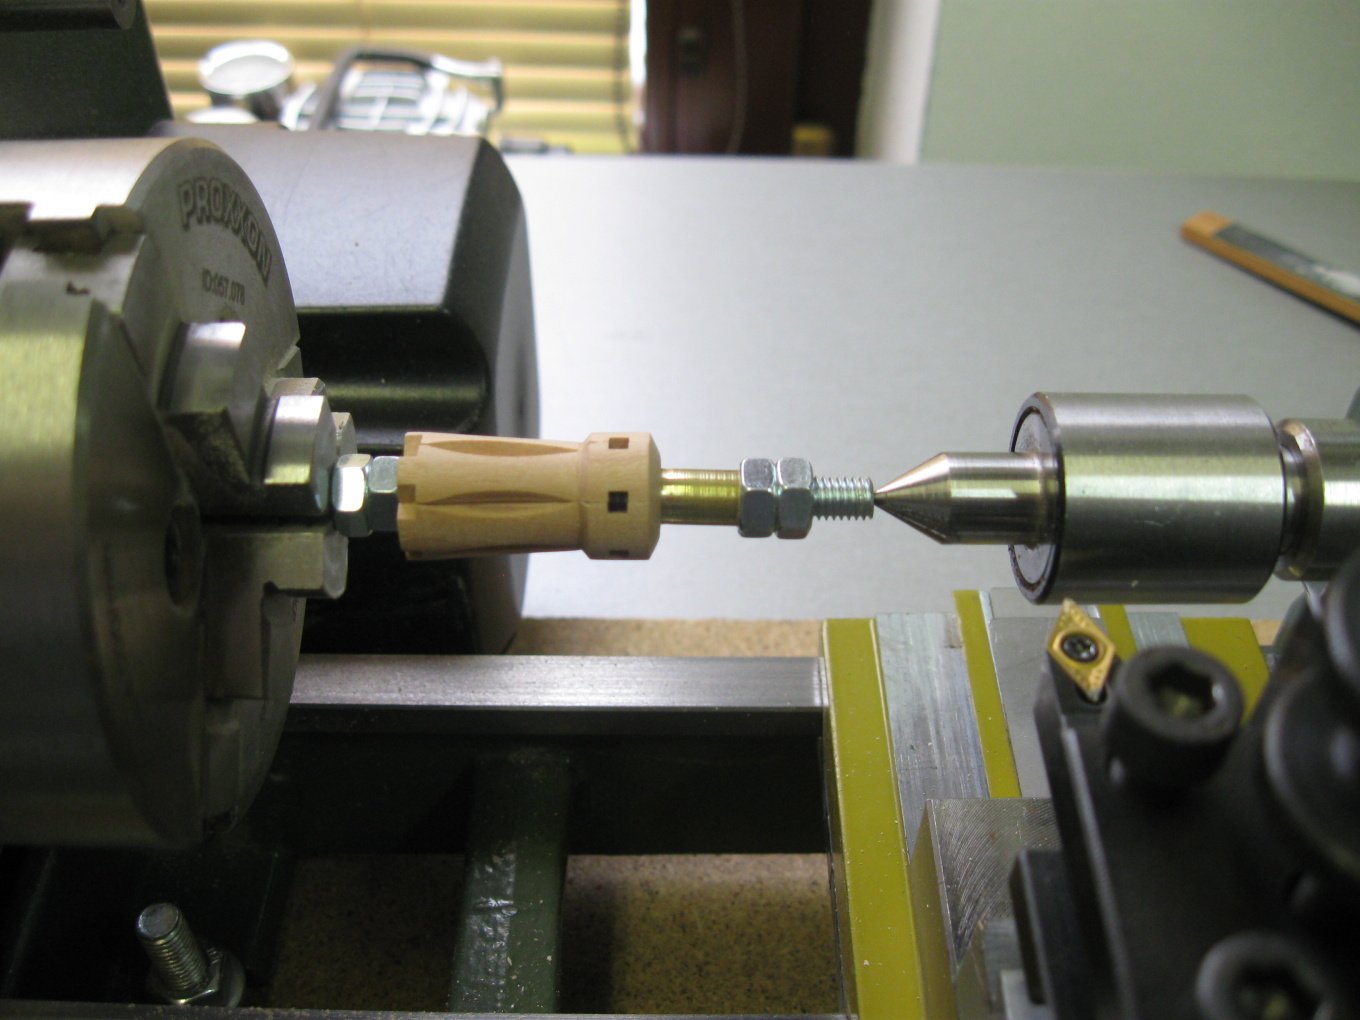
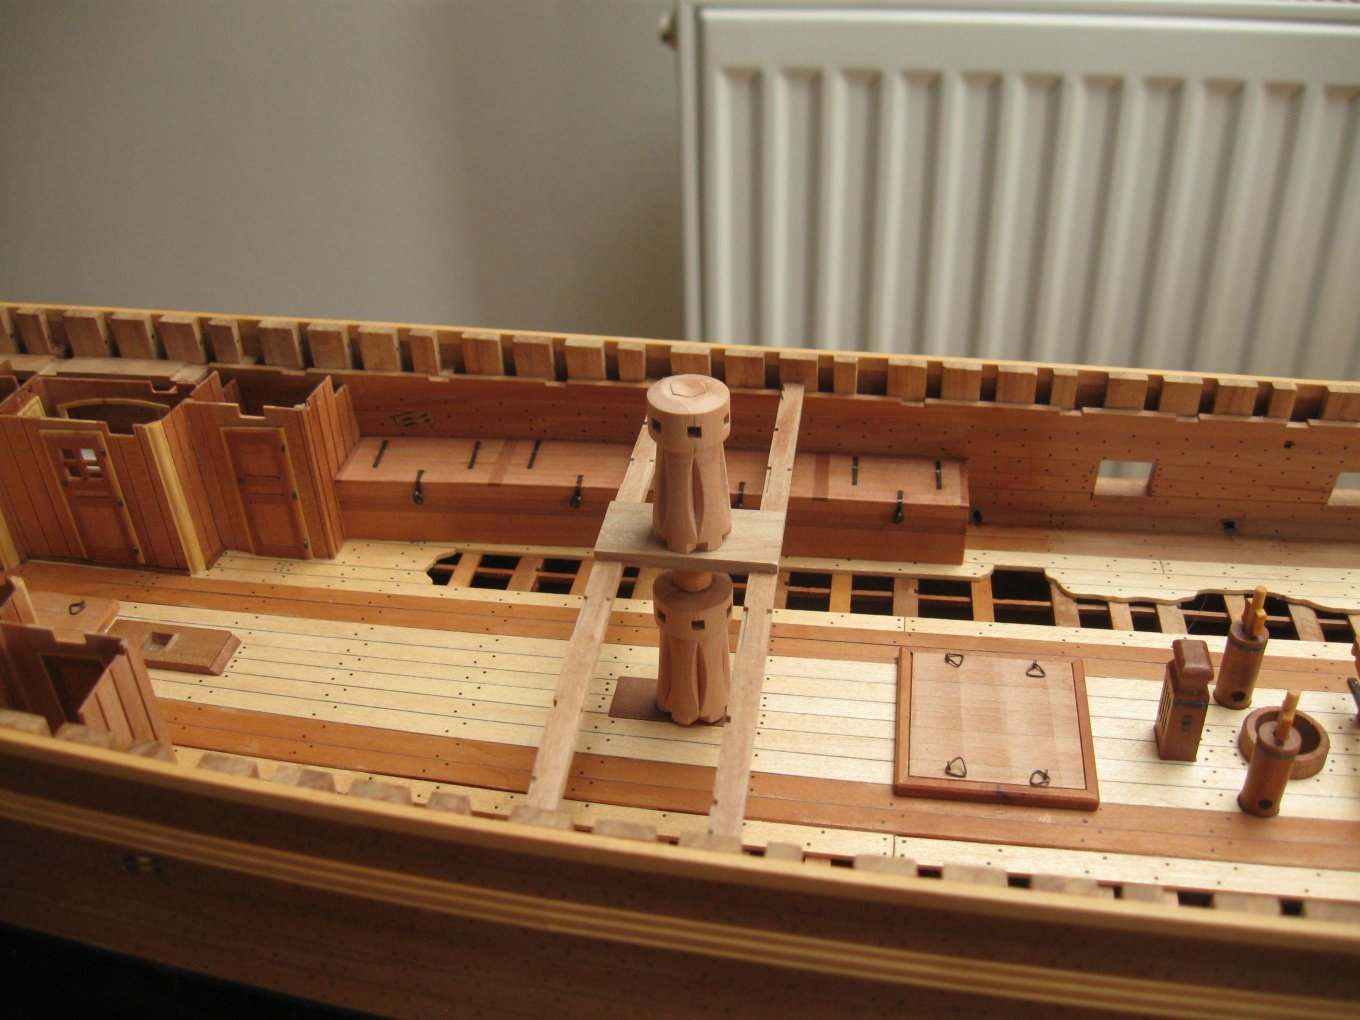
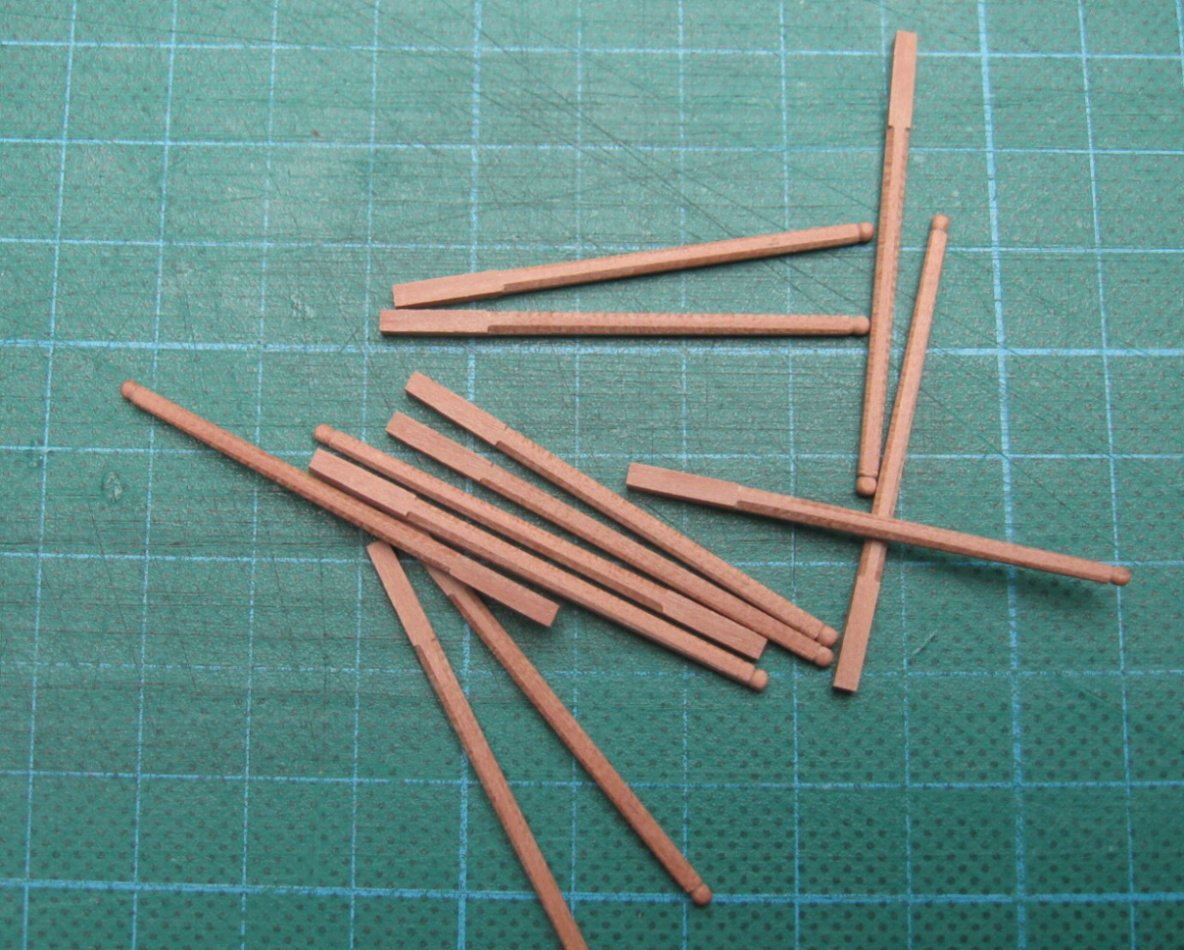
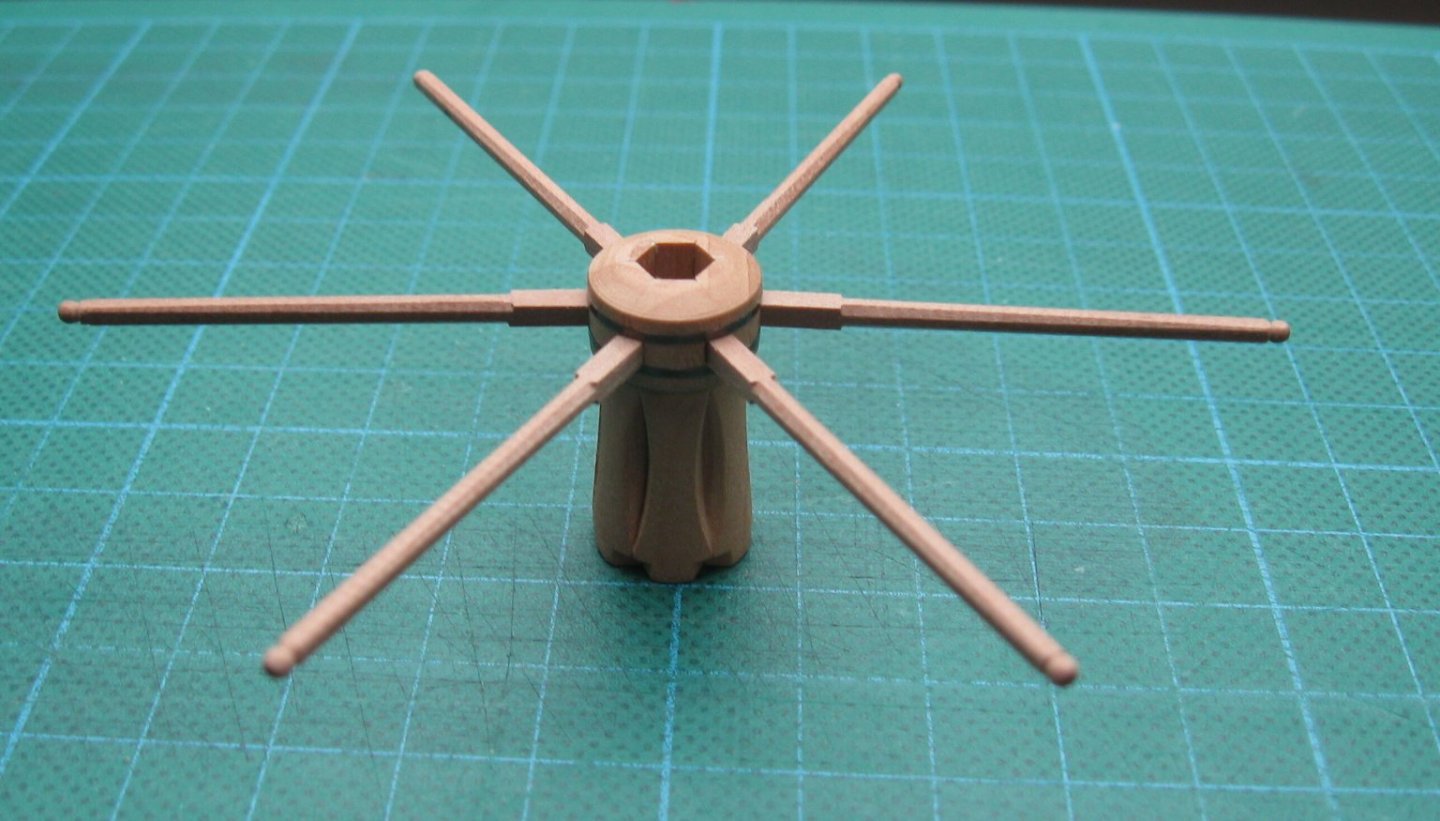
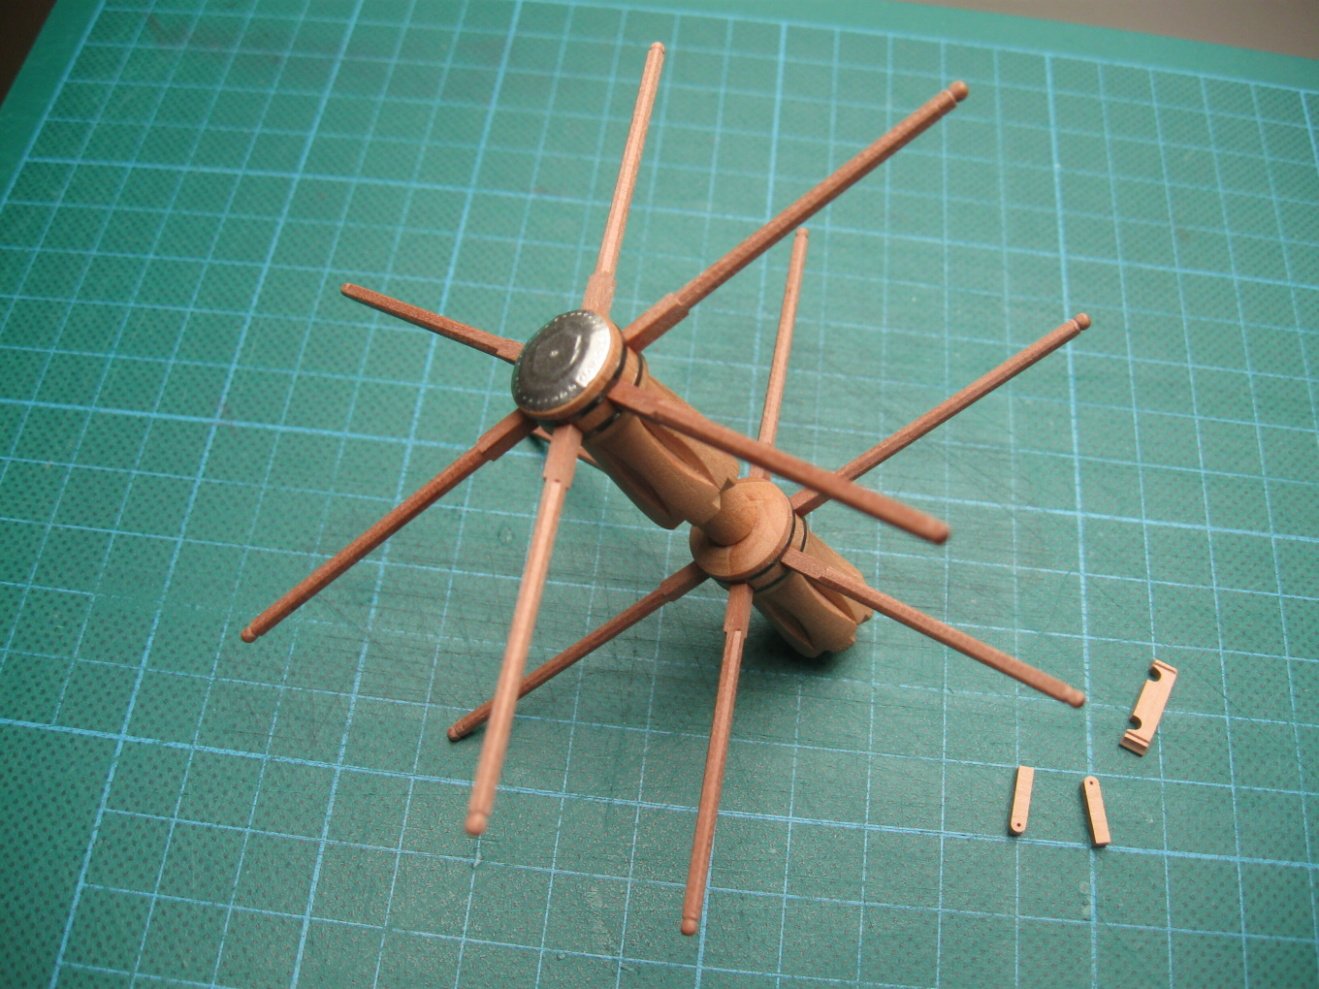
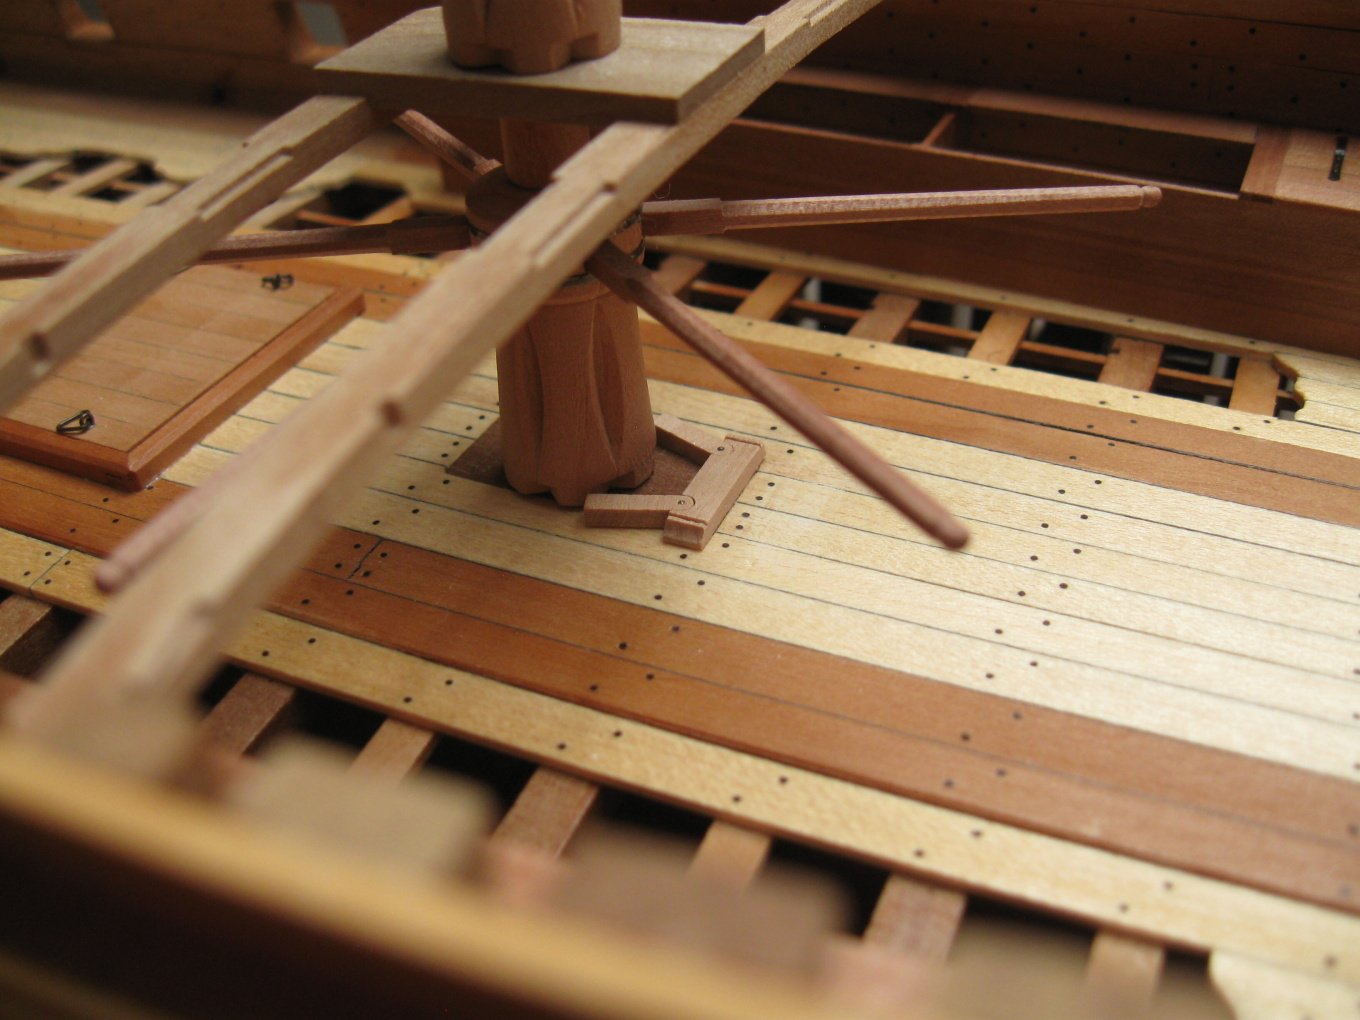
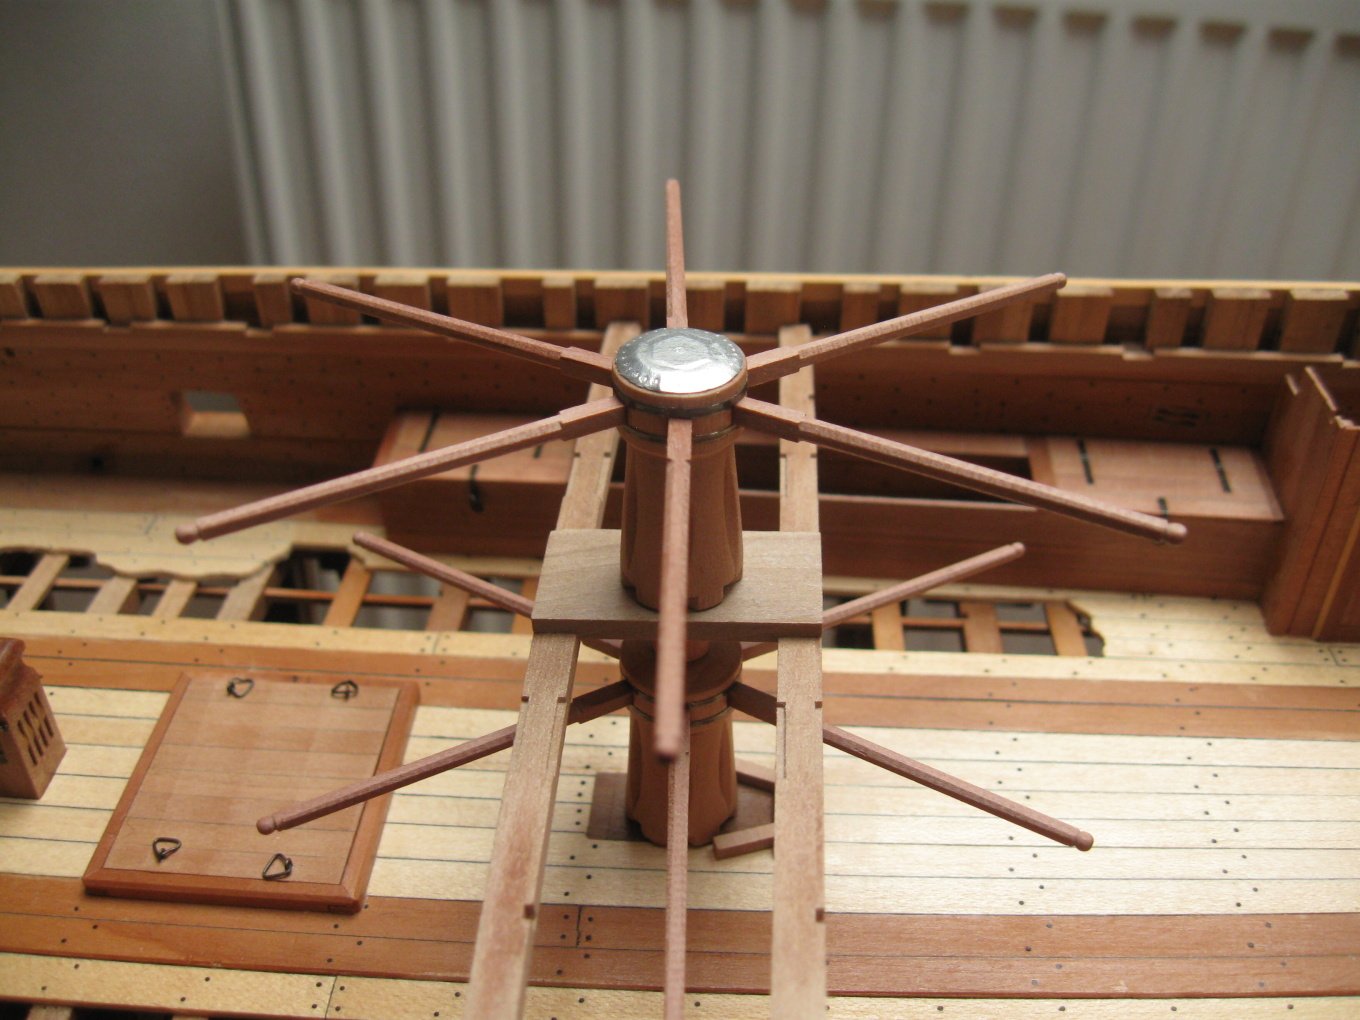
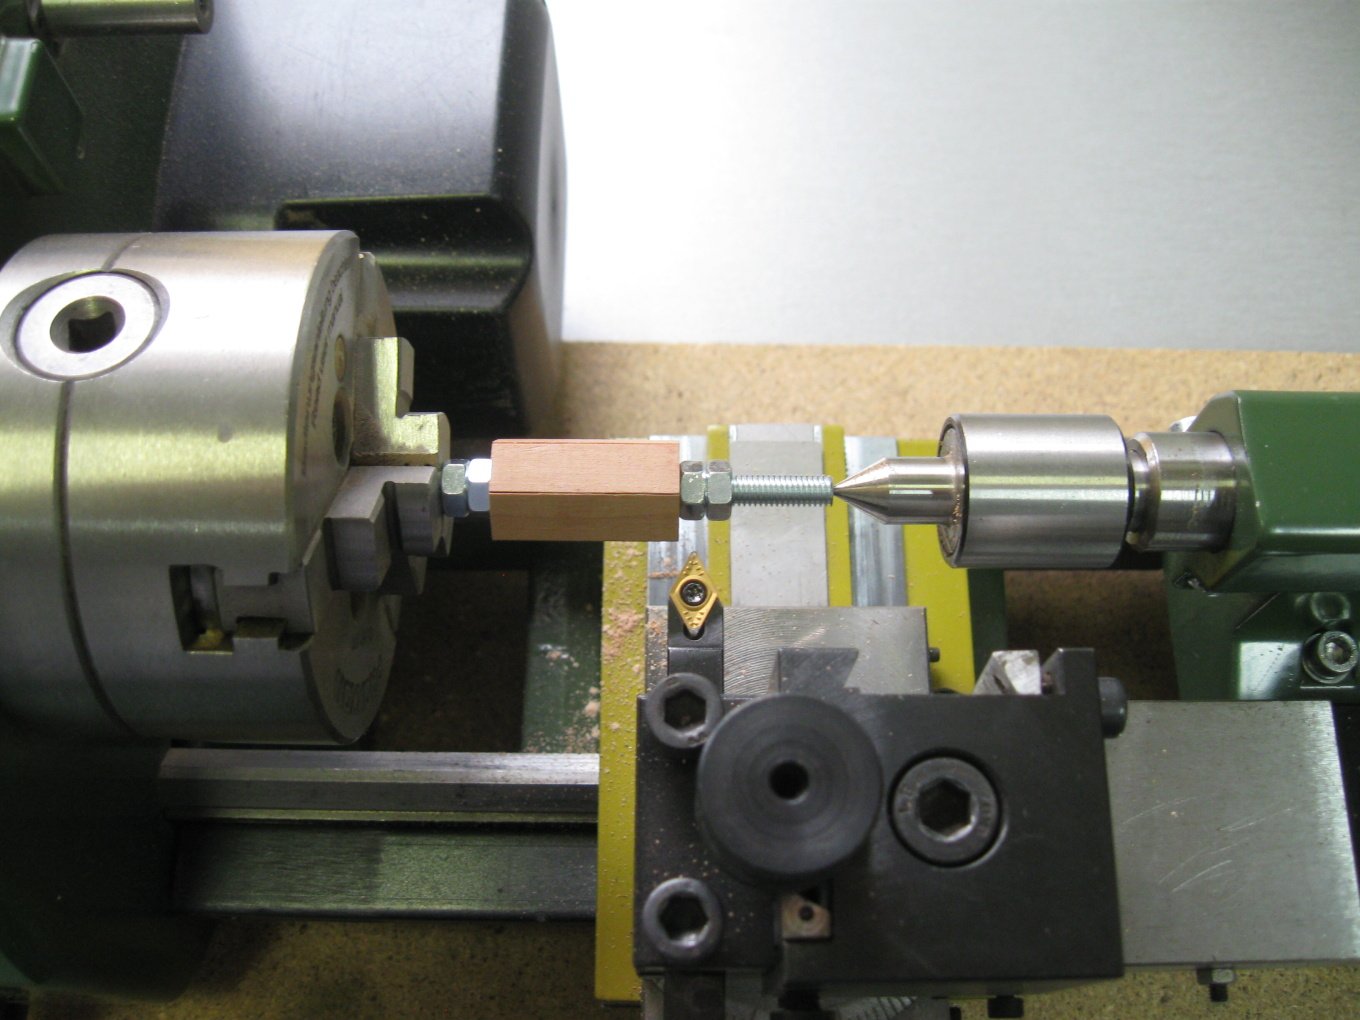
To G. Delacroix - thanks for the info, I made the new one items with no wedges To garyshipwright - I am using "10 Degree 0.1mm Tip Carbide CNC Bits Flat Bottom Milling Cutter V Shape" (https://www.aliexpress.com/item/852725456.html) for most of CNC 3D carvings. Question about tutorial - I am so sorry, making a video tutorial would be too time consuming and my knowledge of English is minimal. I continue with the assembly of the capstans.
- 589 replies
-
- 44
-
-
-
- le gros ventre
- cargo
- (and 1 more)
-
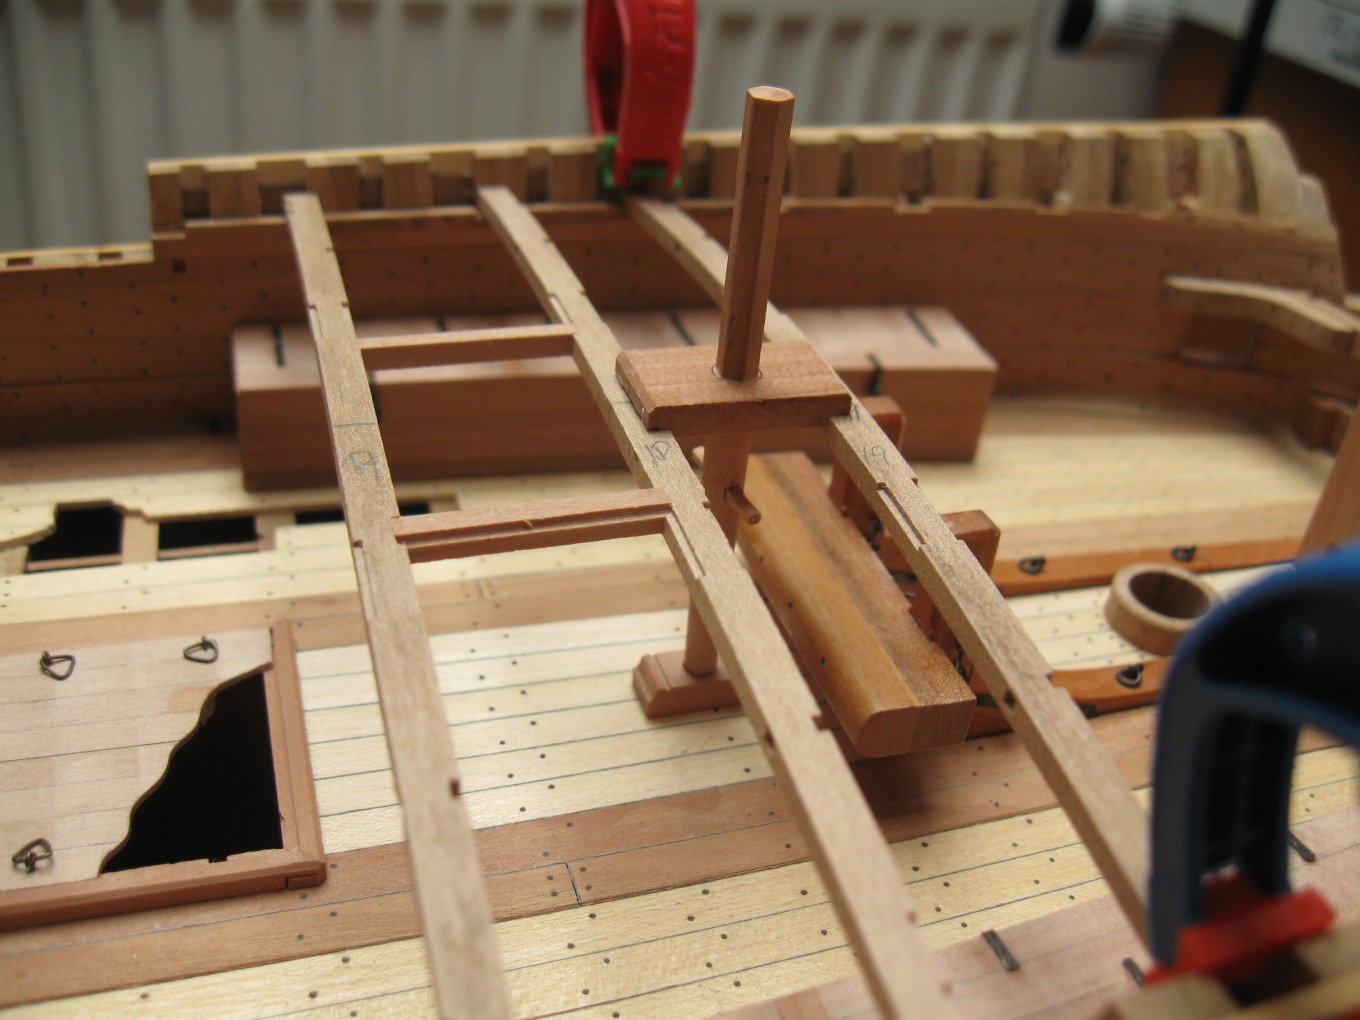
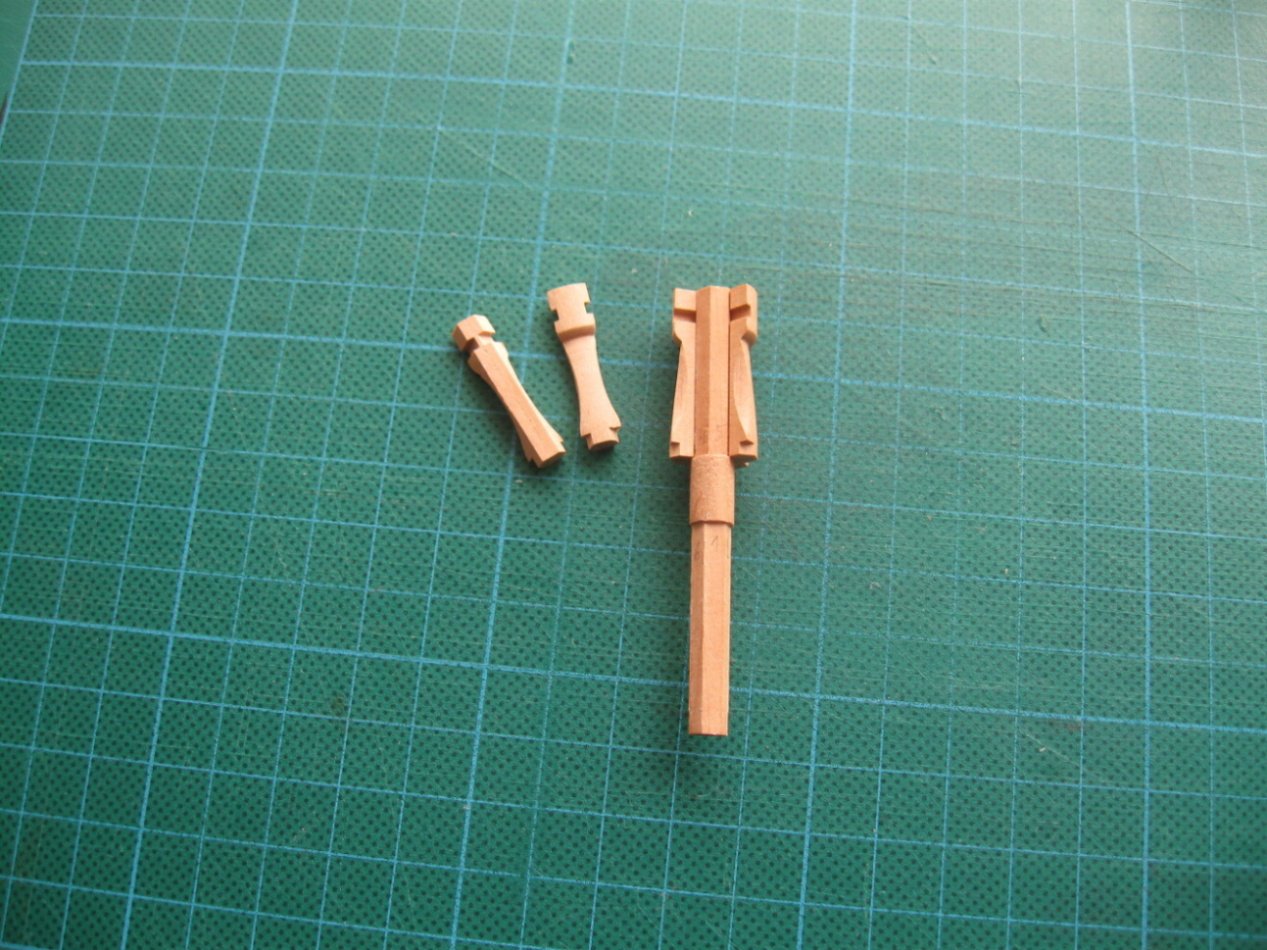
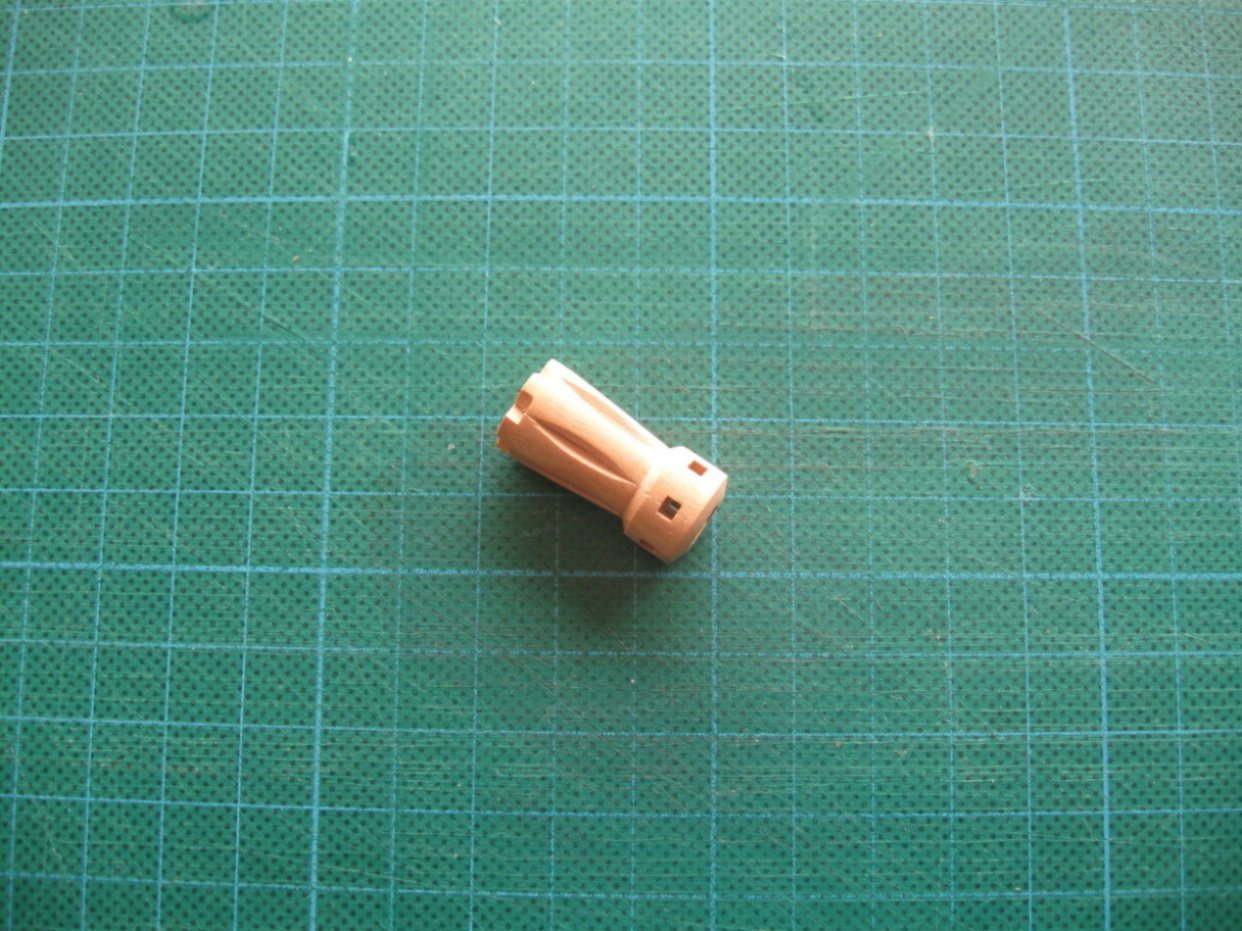
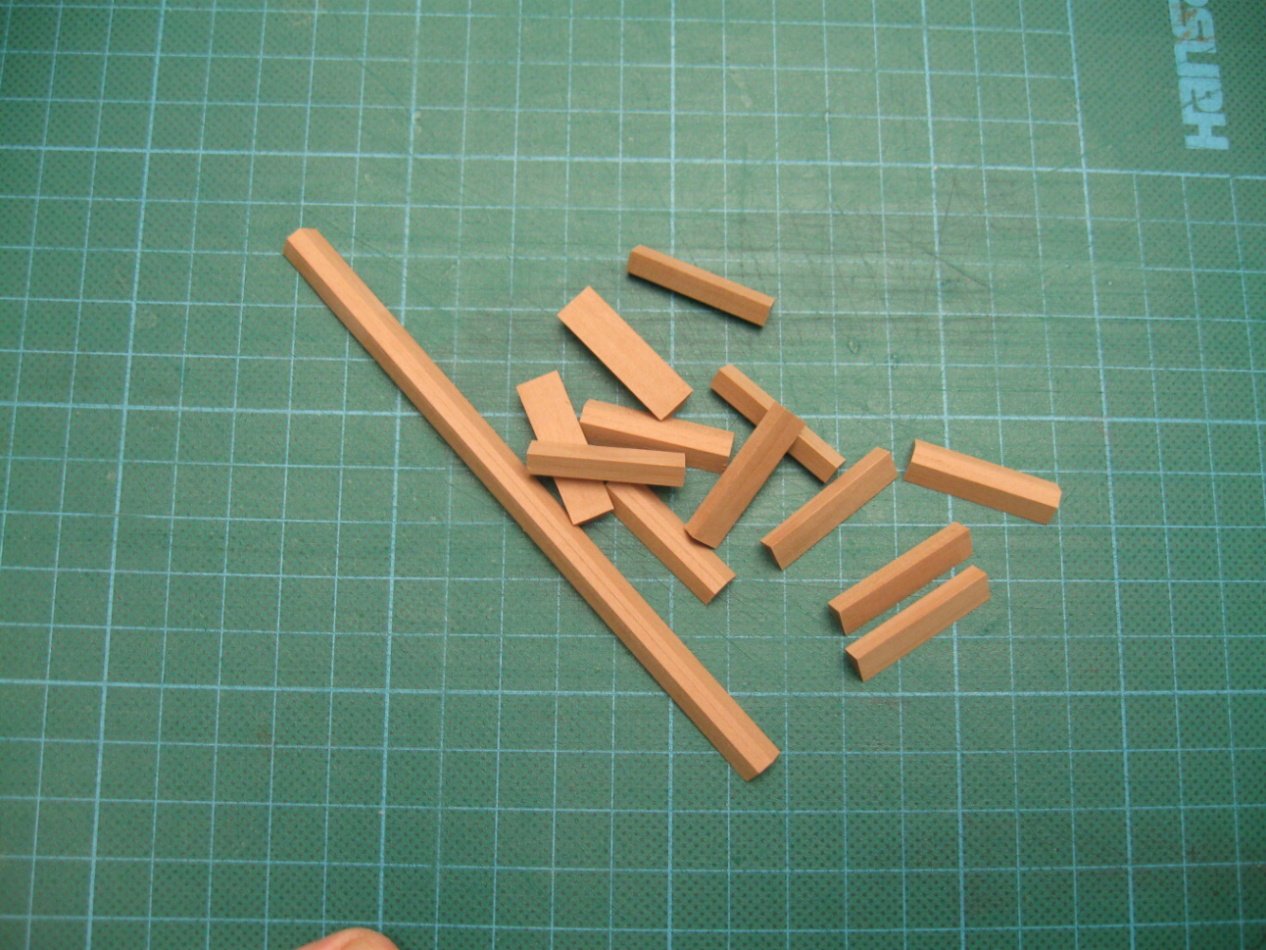
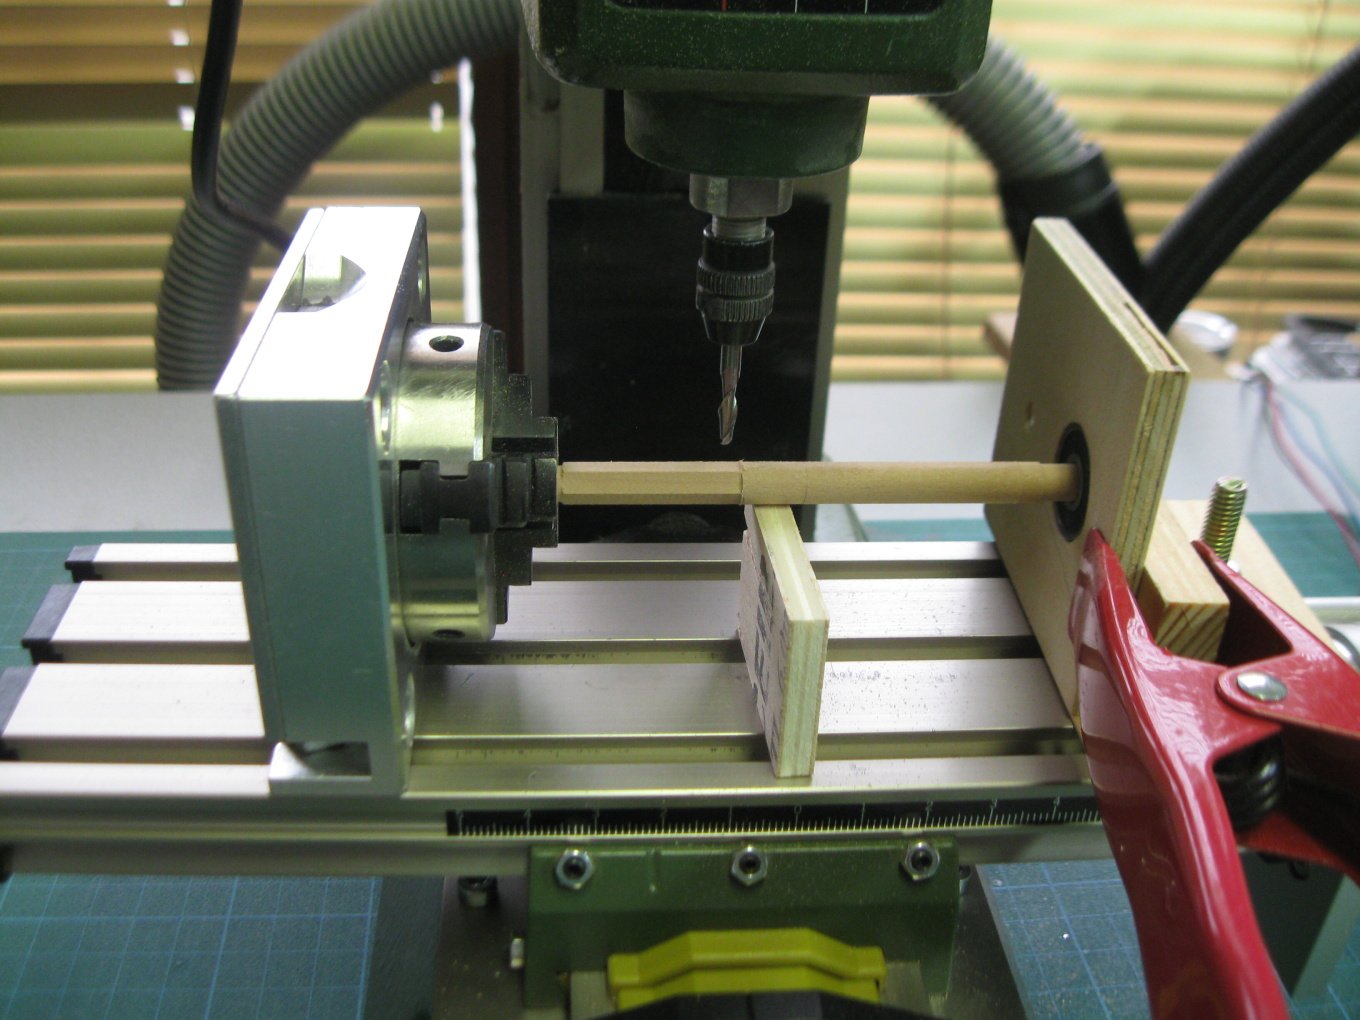
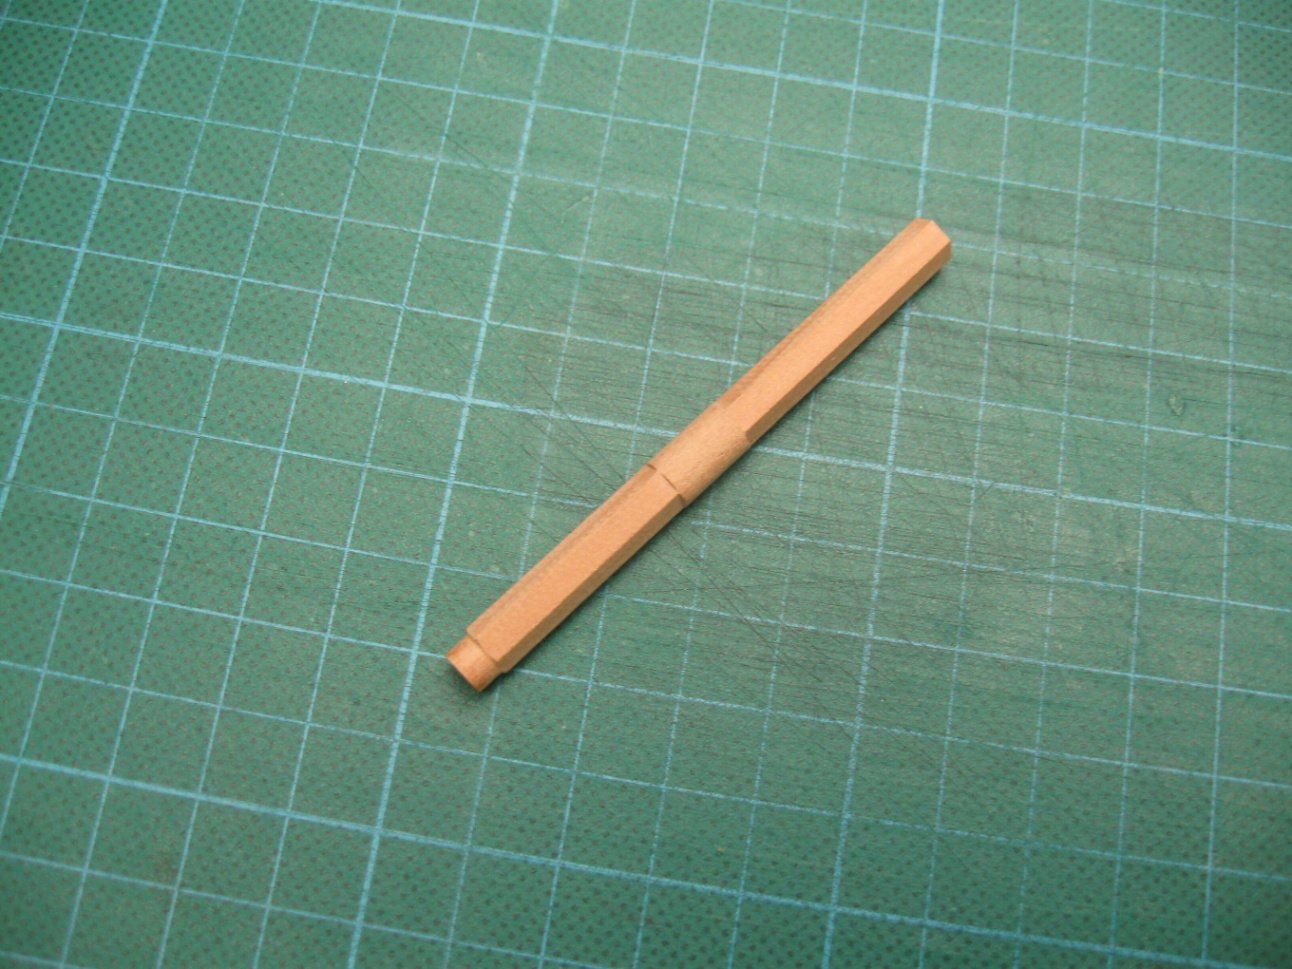
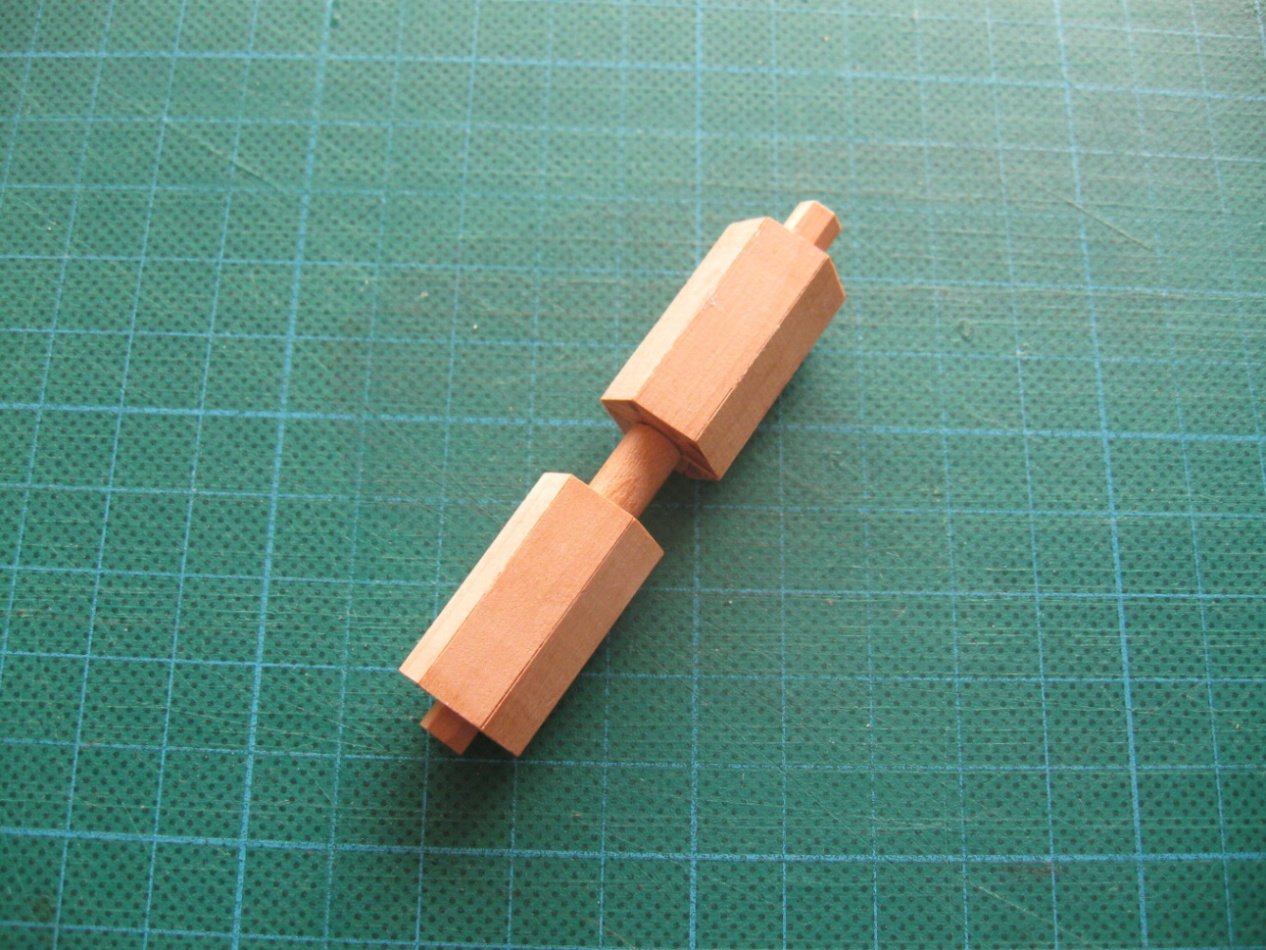
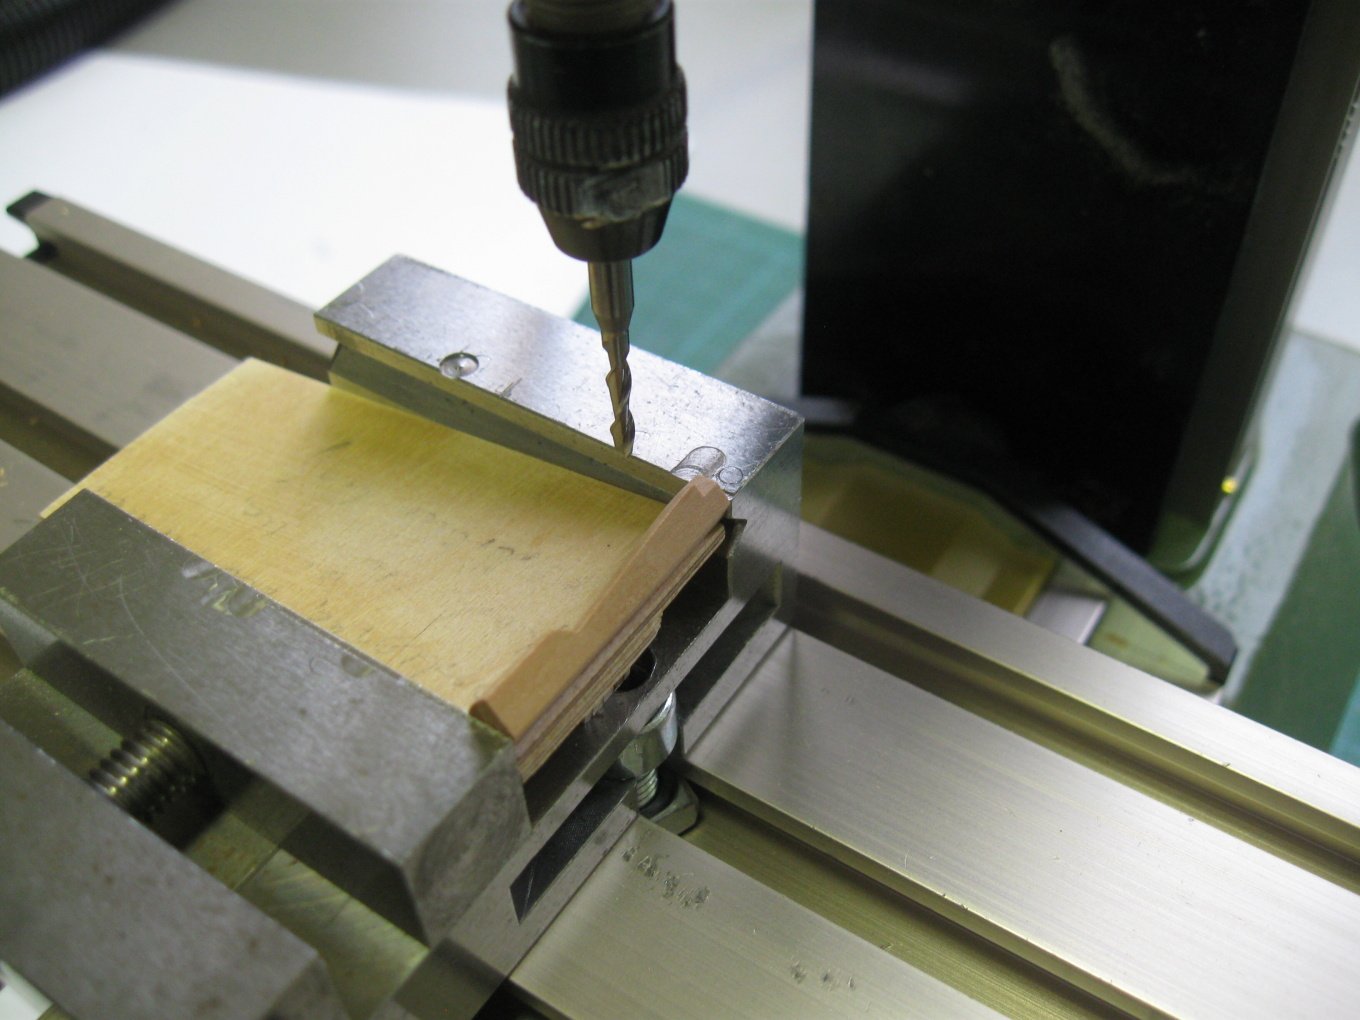
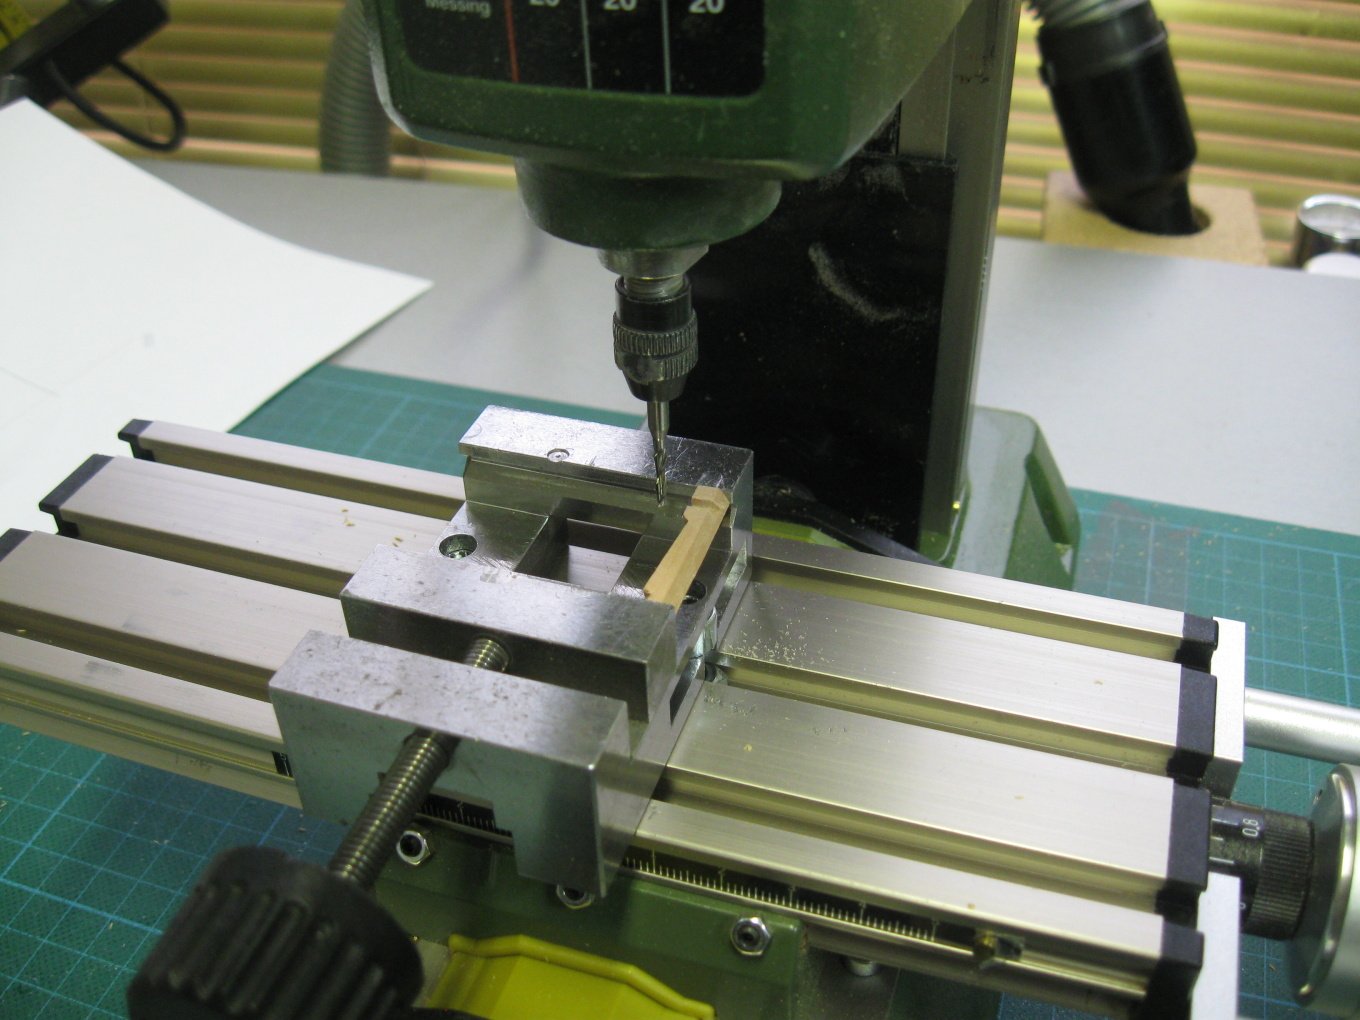
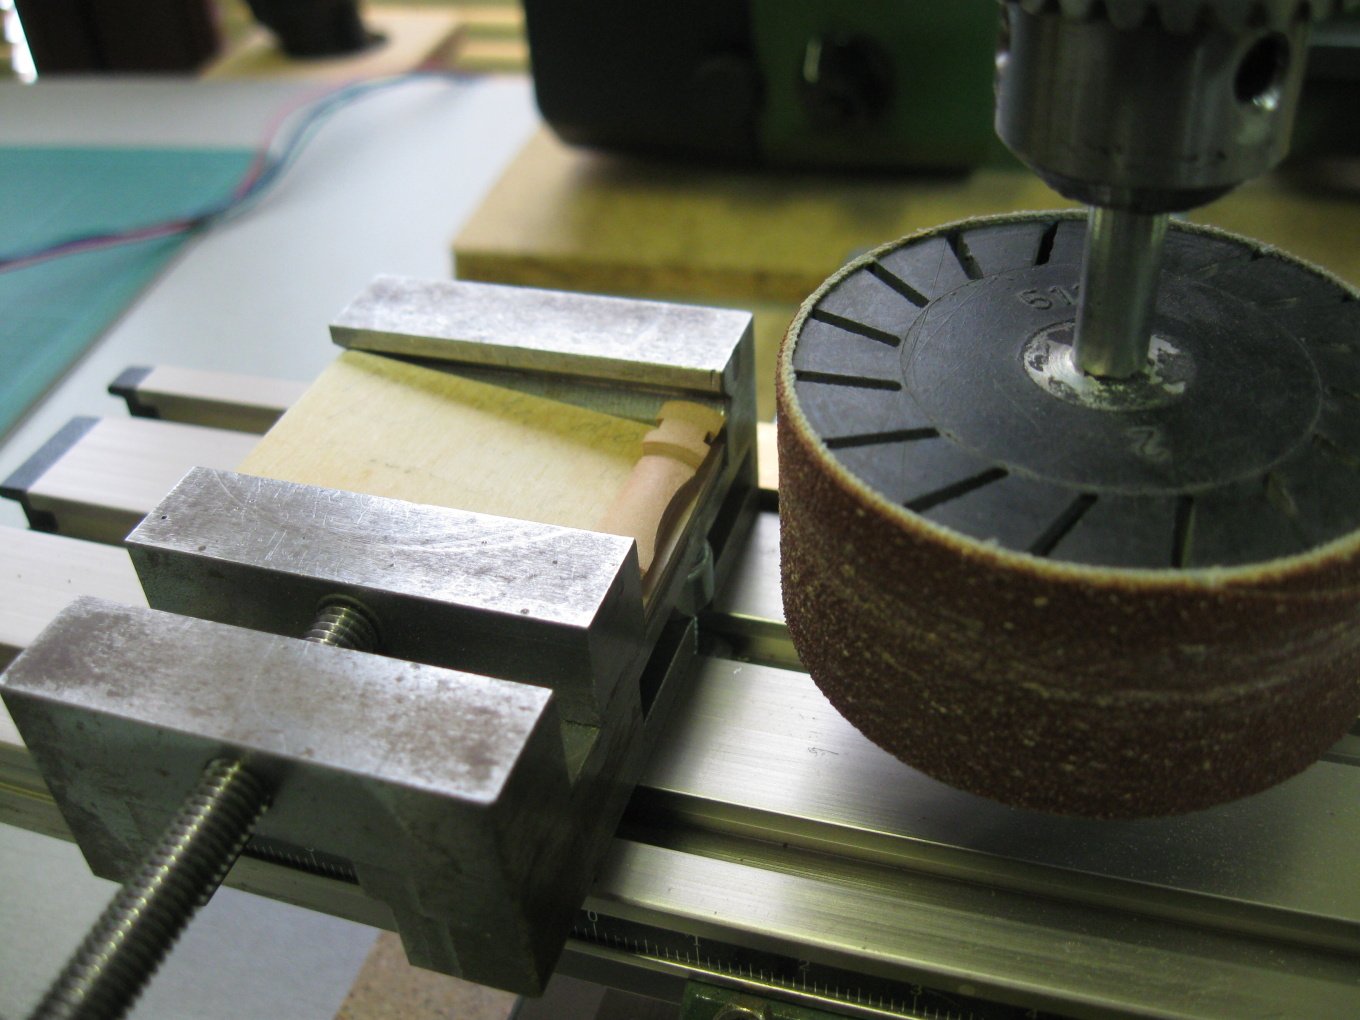
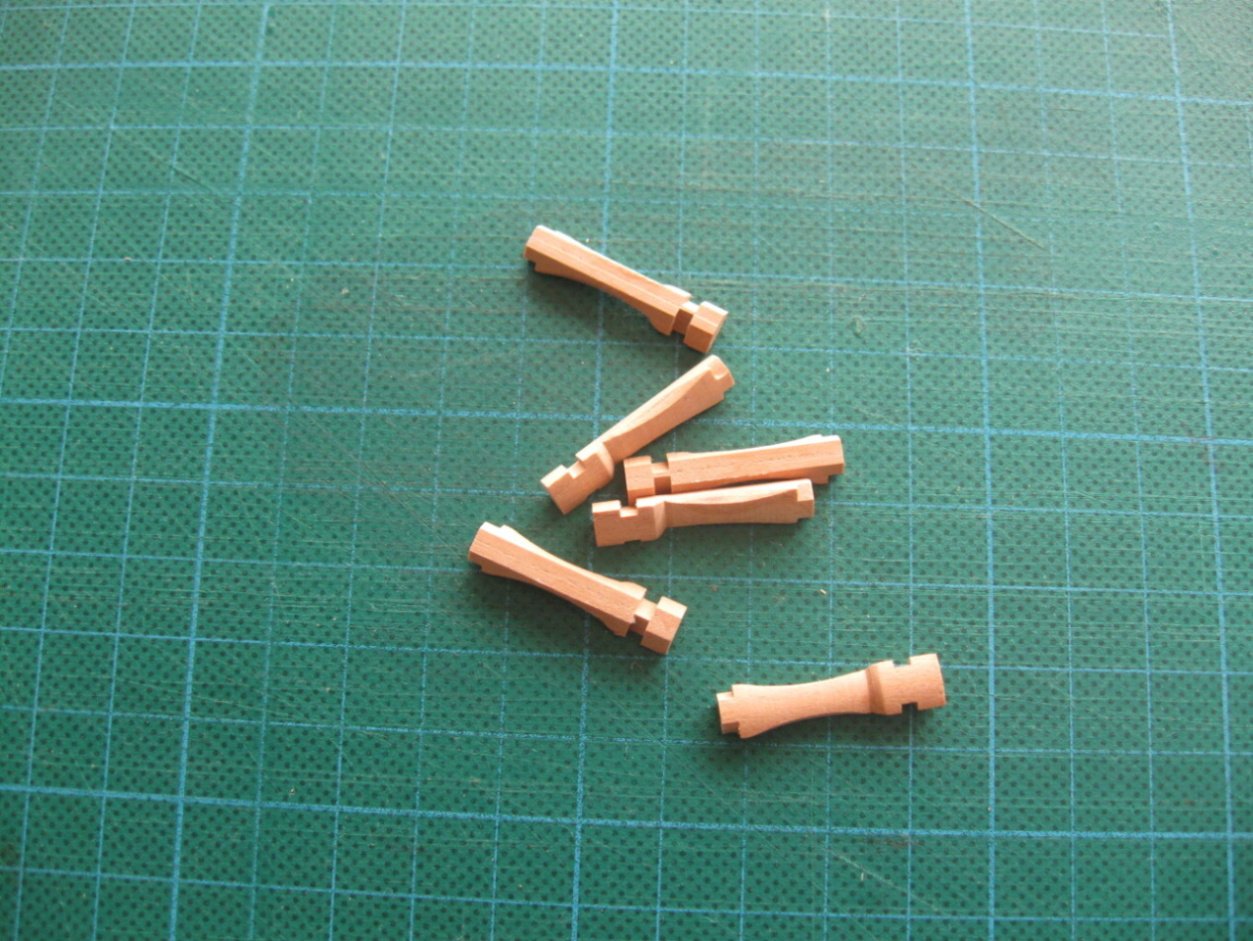
Thank you guys for all likes and comments. I understand that for some people, the use of CNC machines is a somewhat controversial topic. On the other hand, I remember how I started modeling about 40 years ago with a hand saw and a set of files. Today, no one dares to use various electrical devices that make it easier for us modelers to work. From this point of view, the CNC machine is just another evolutionary step. To garyshipwright: I am using VCarve Desktop. I am starting work on main capstan parts - some pictures from production.

- 589 replies
-
- 23
-
-

-
- le gros ventre
- cargo
- (and 1 more)
-
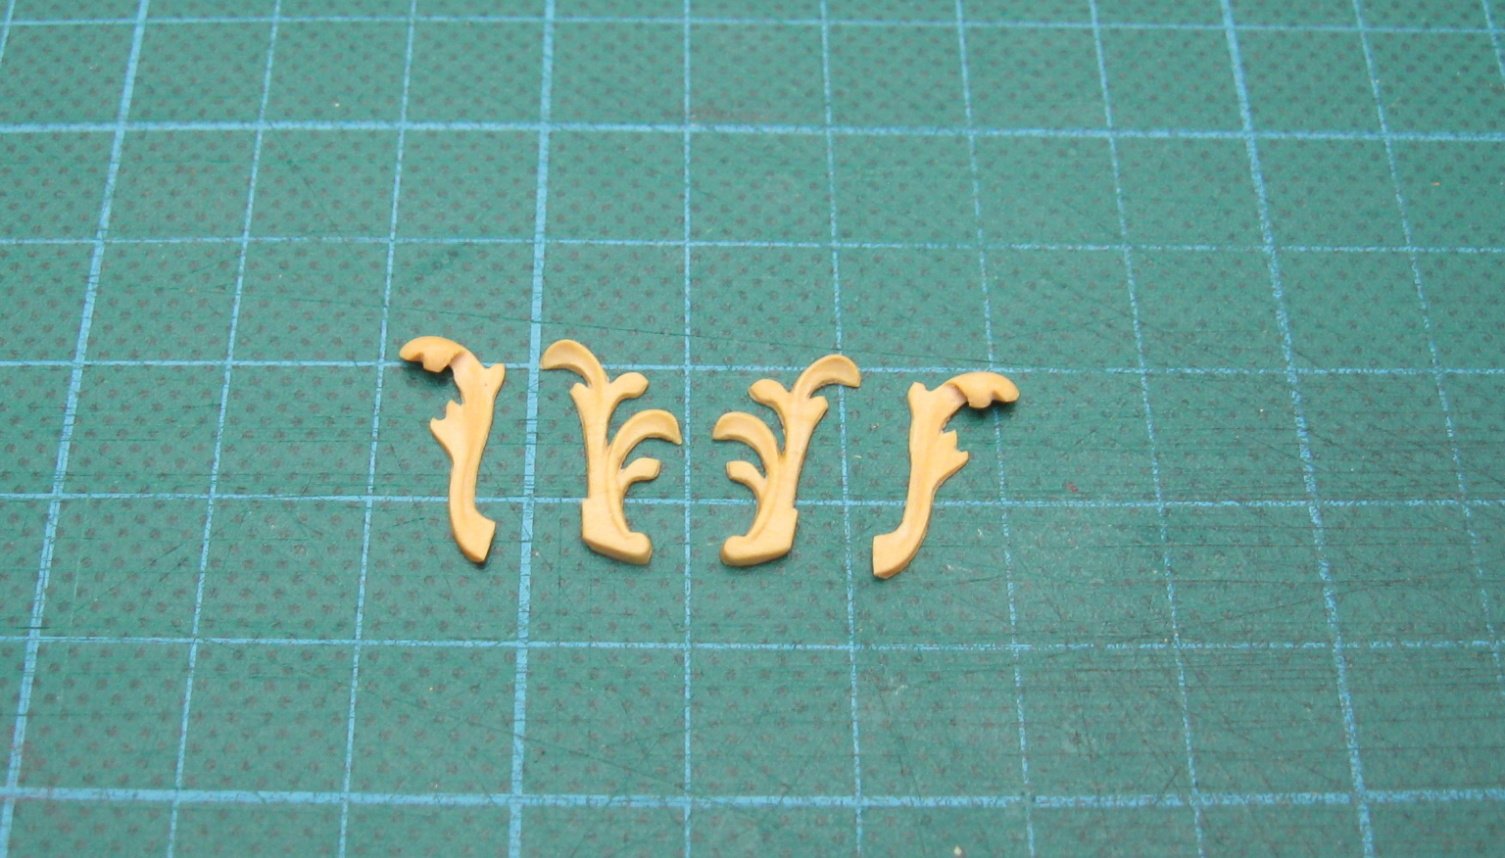
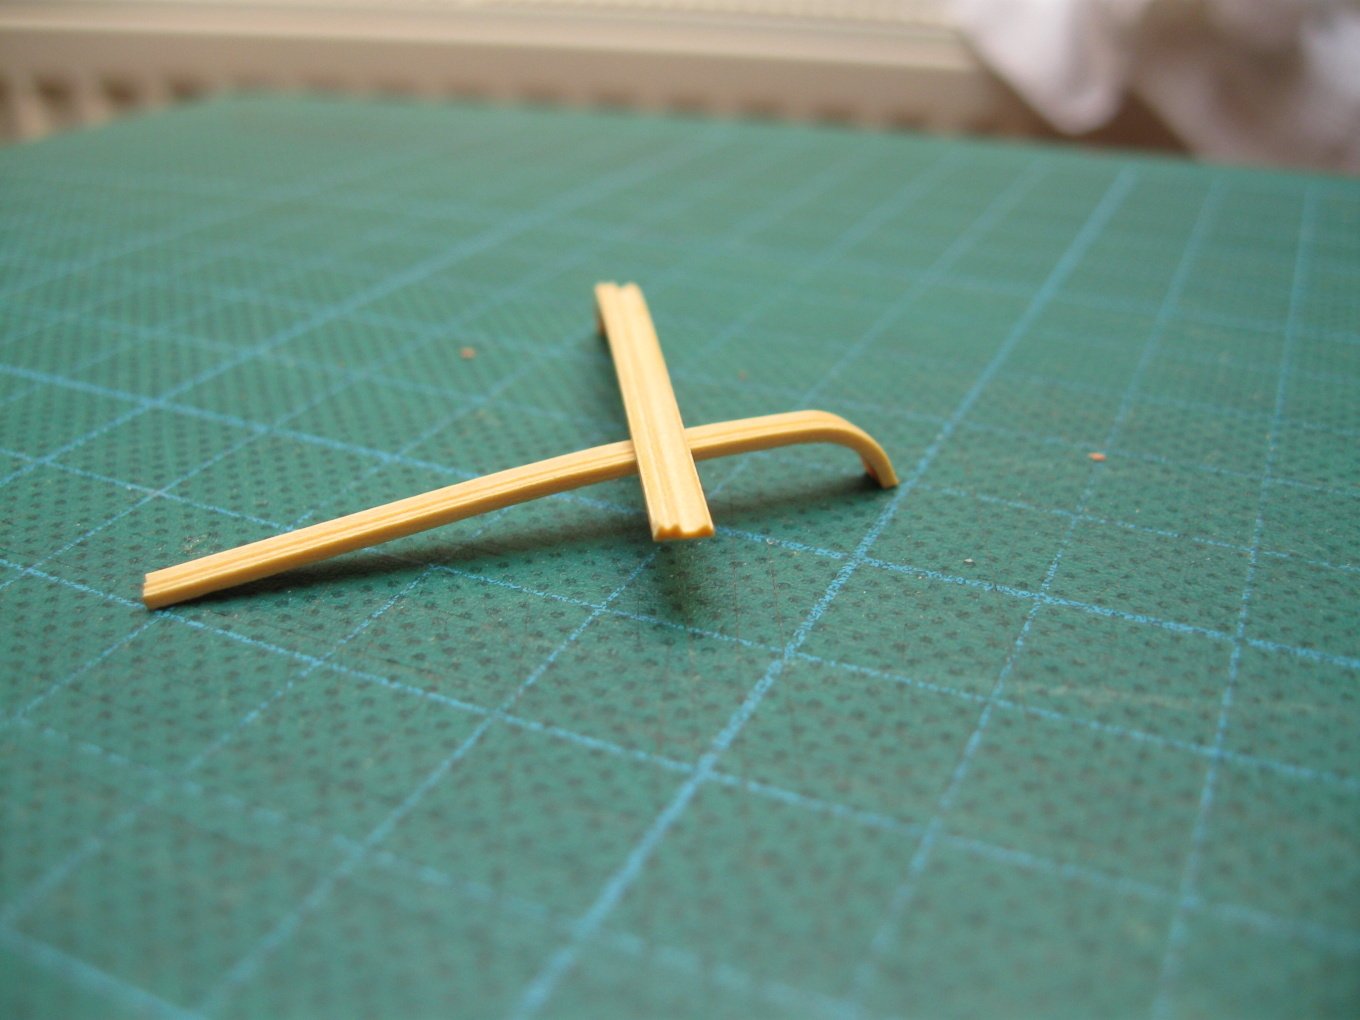
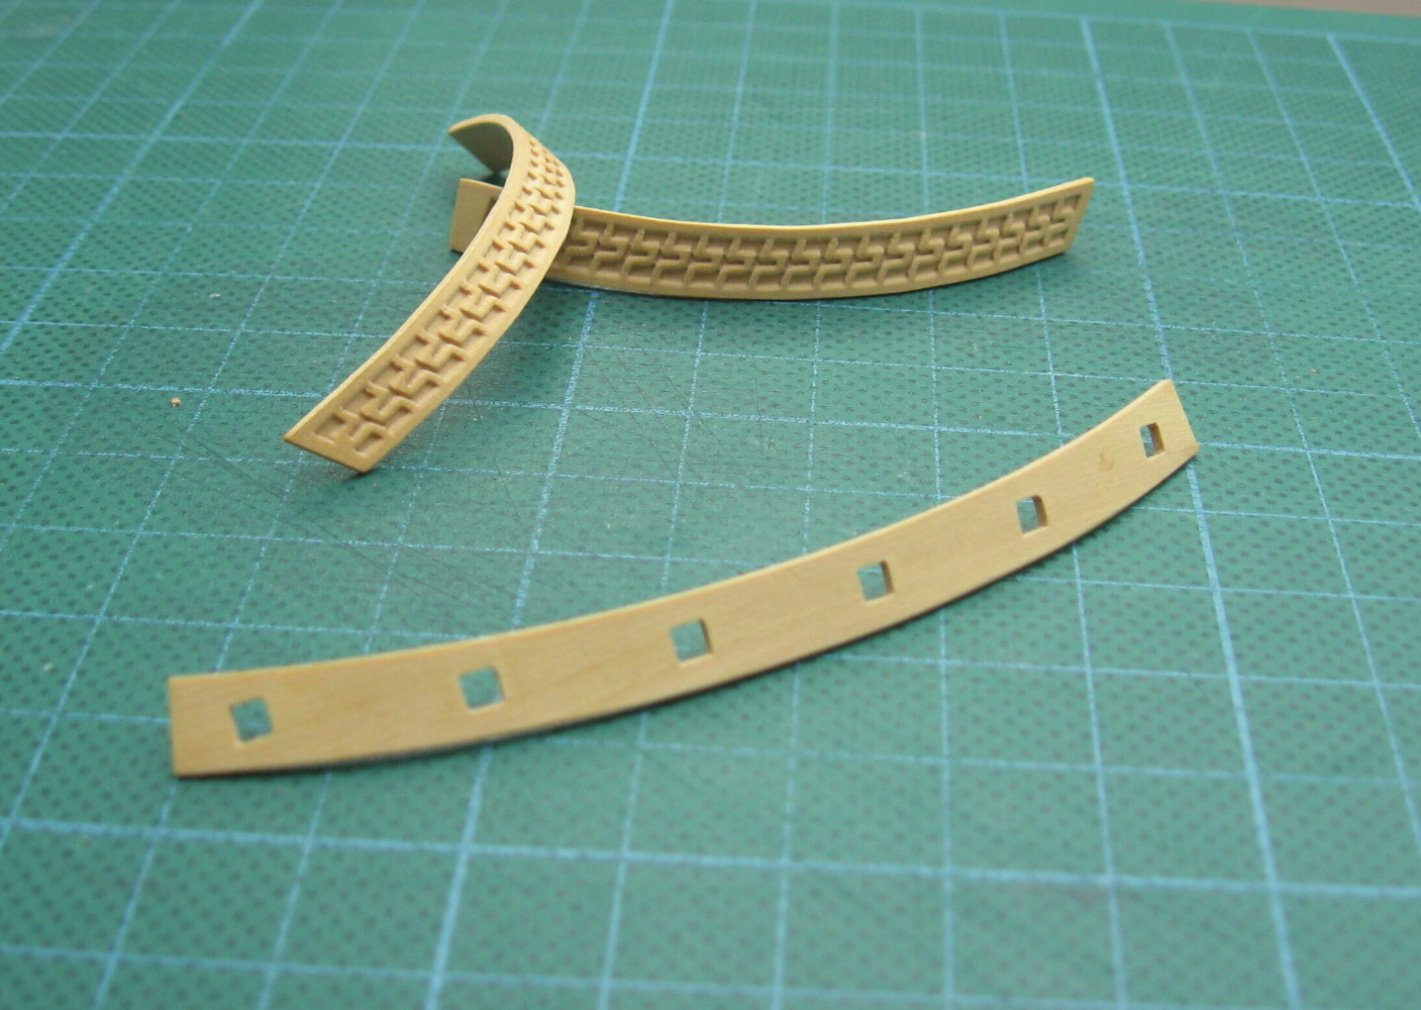
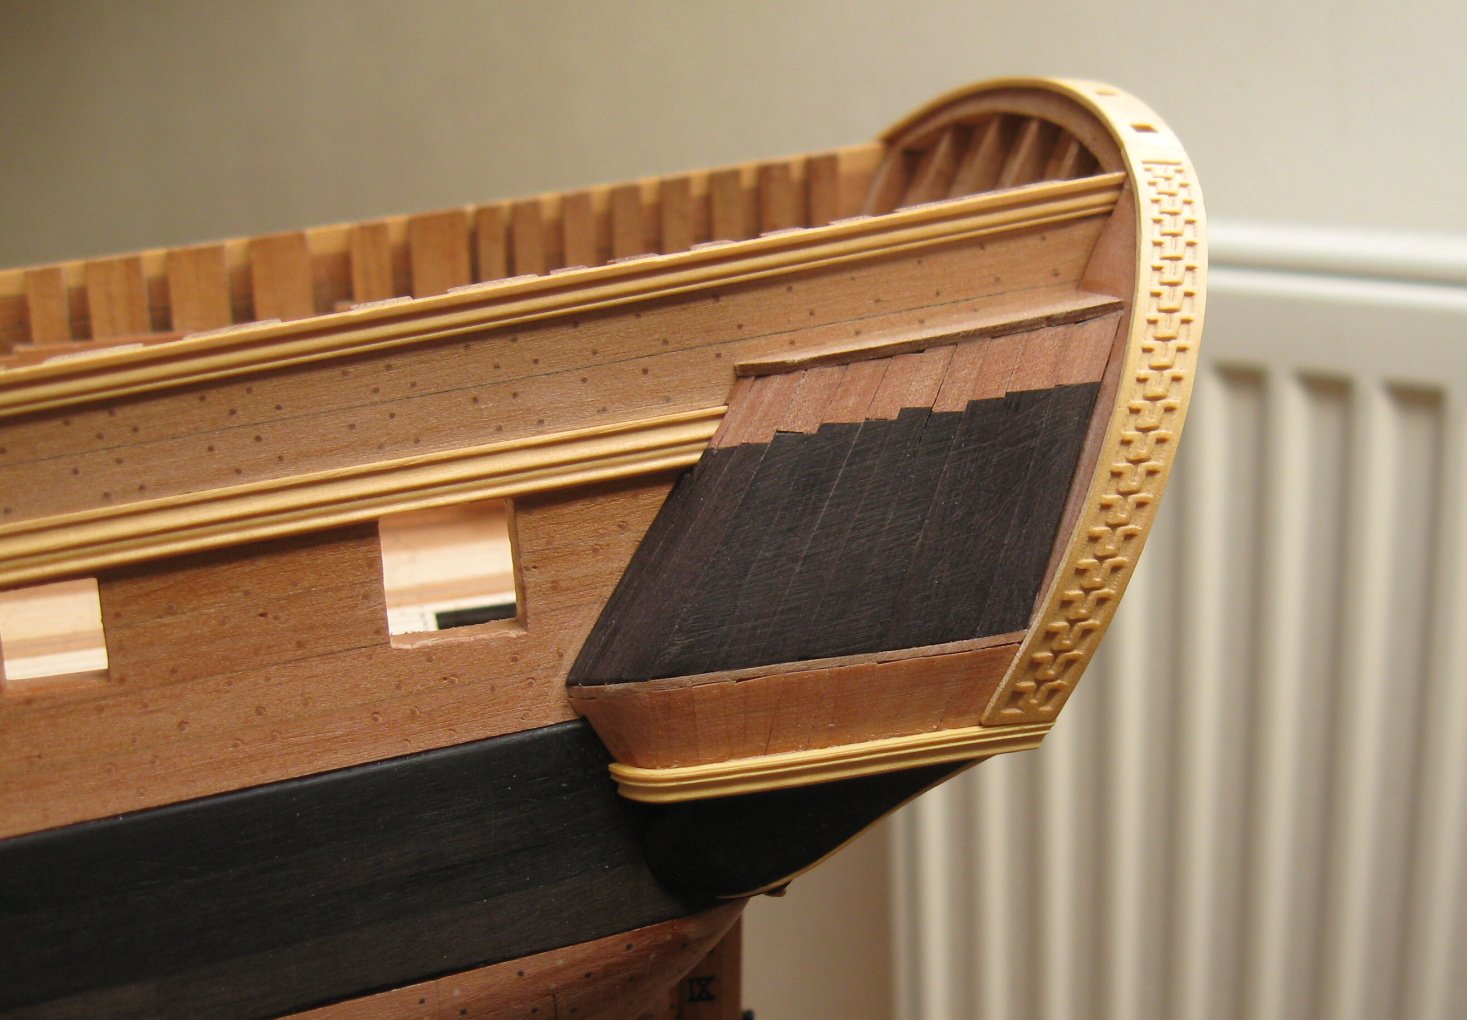
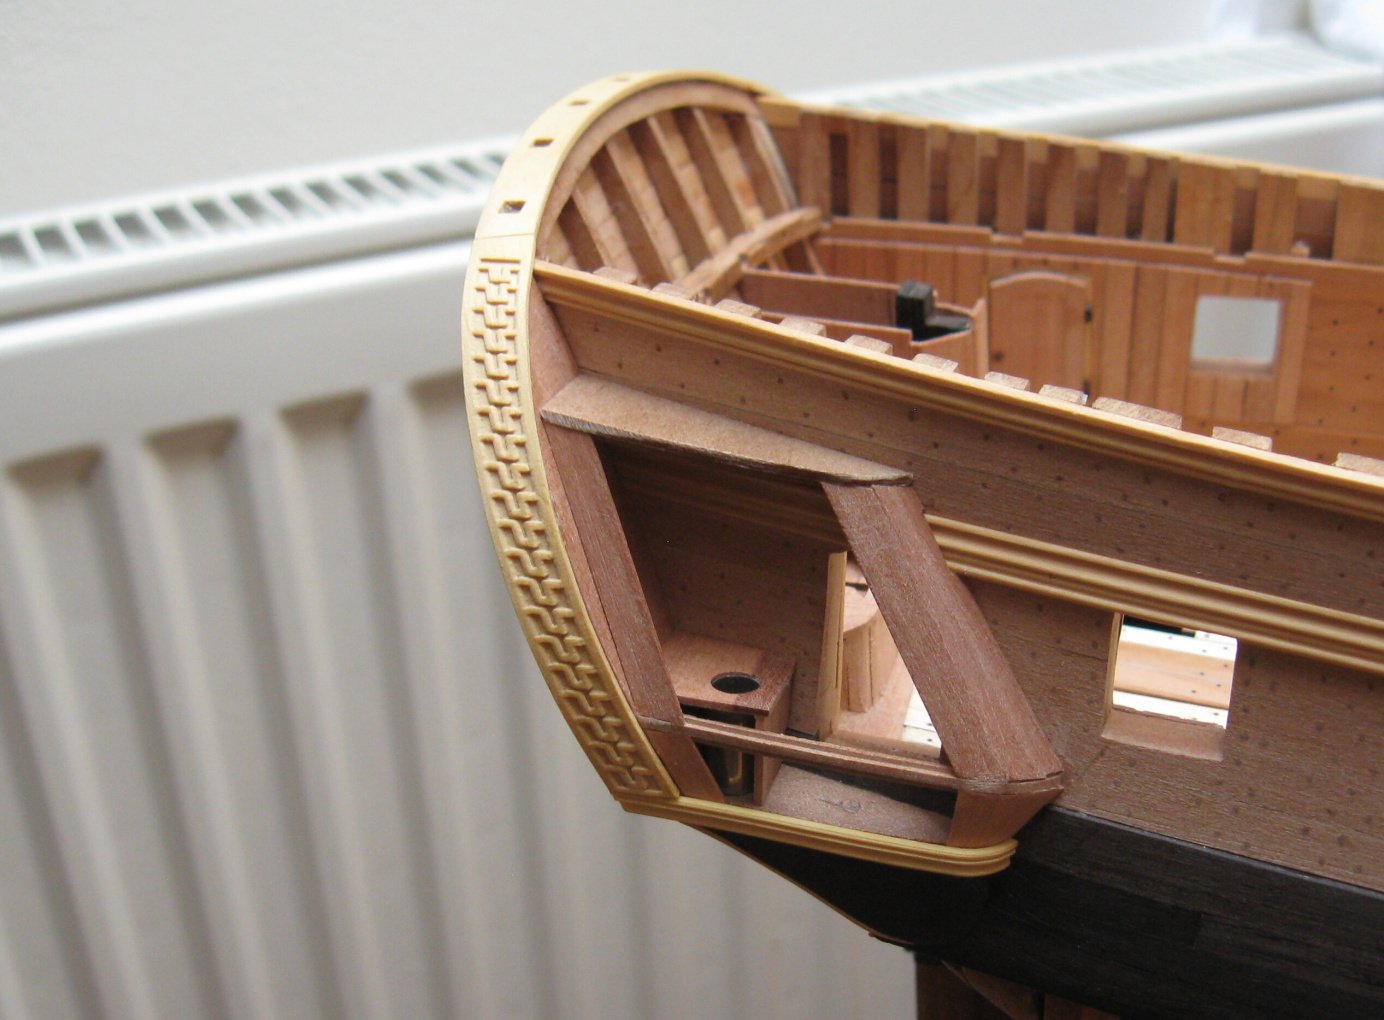
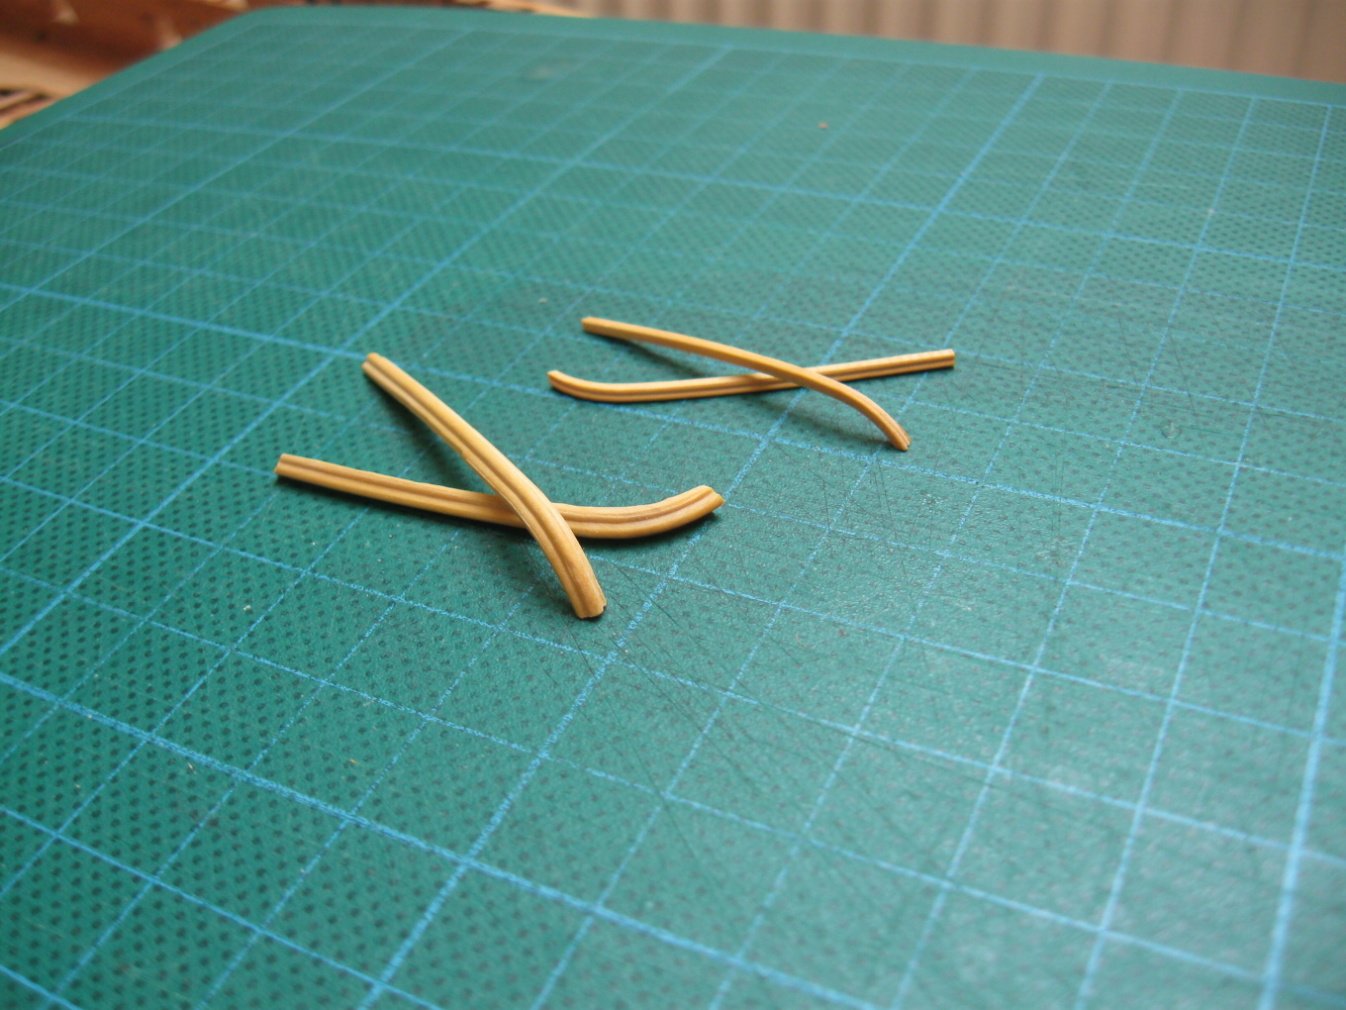
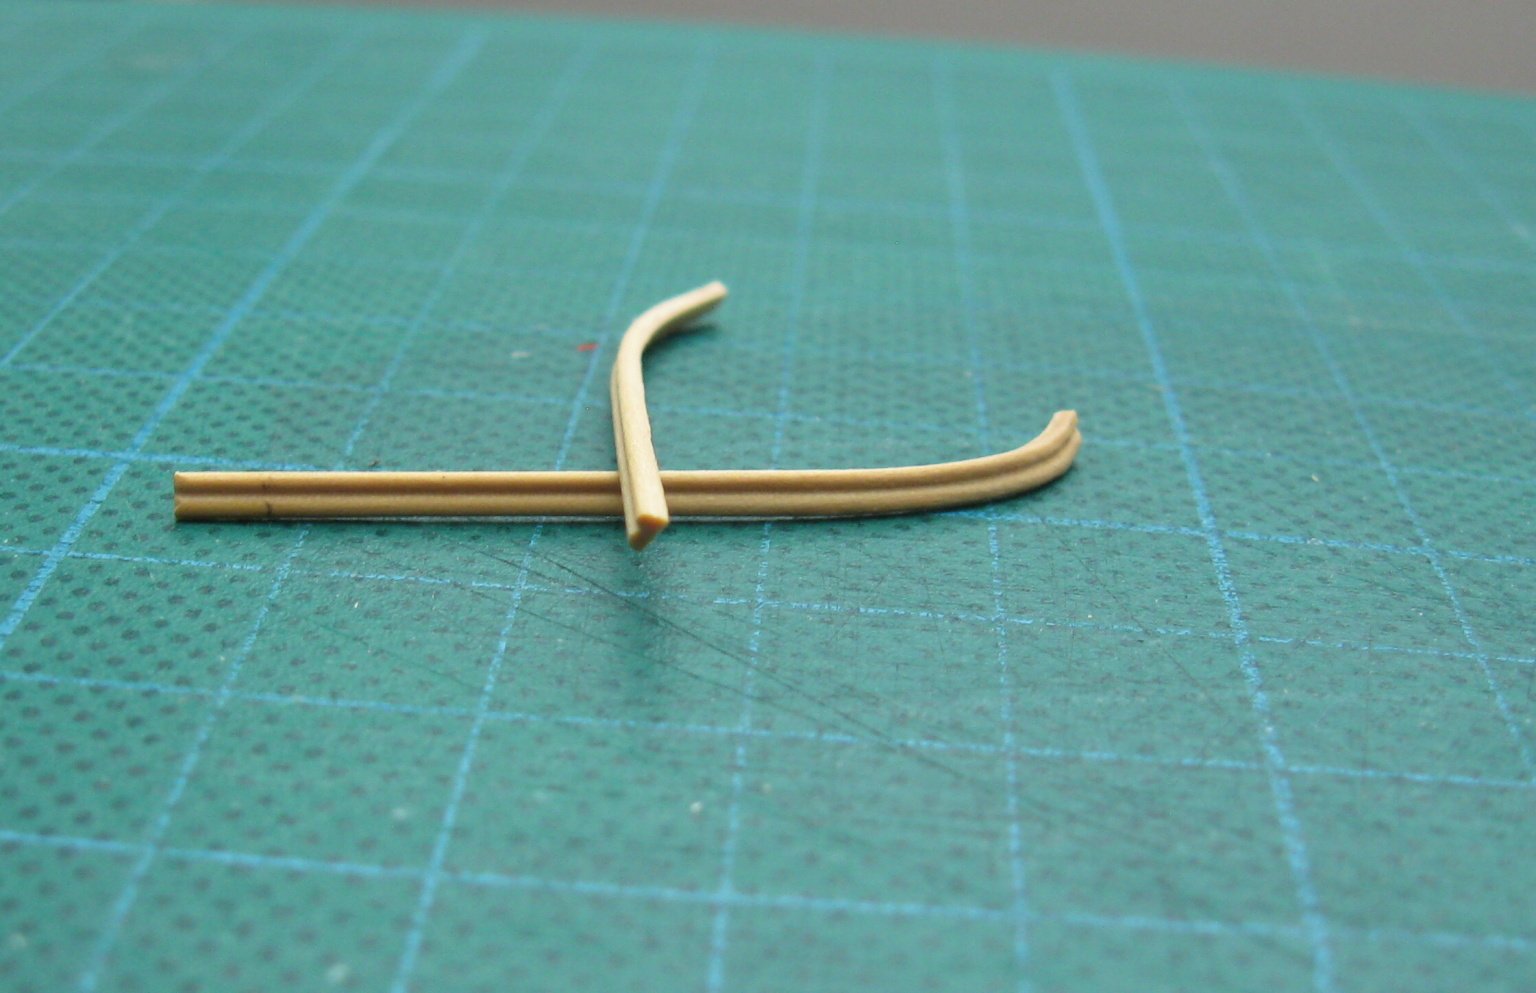
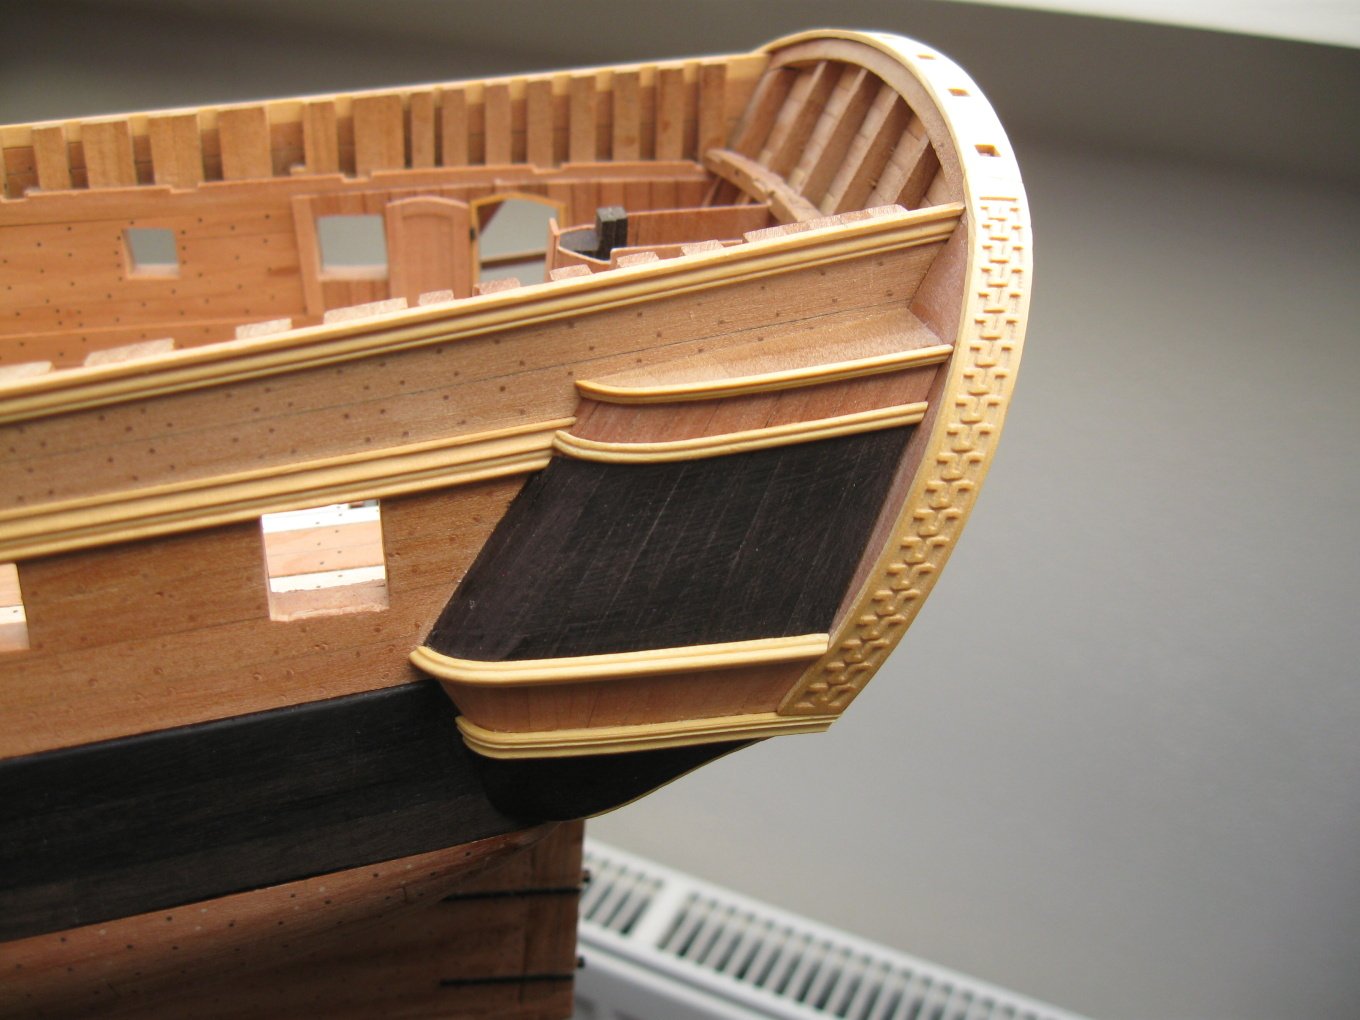
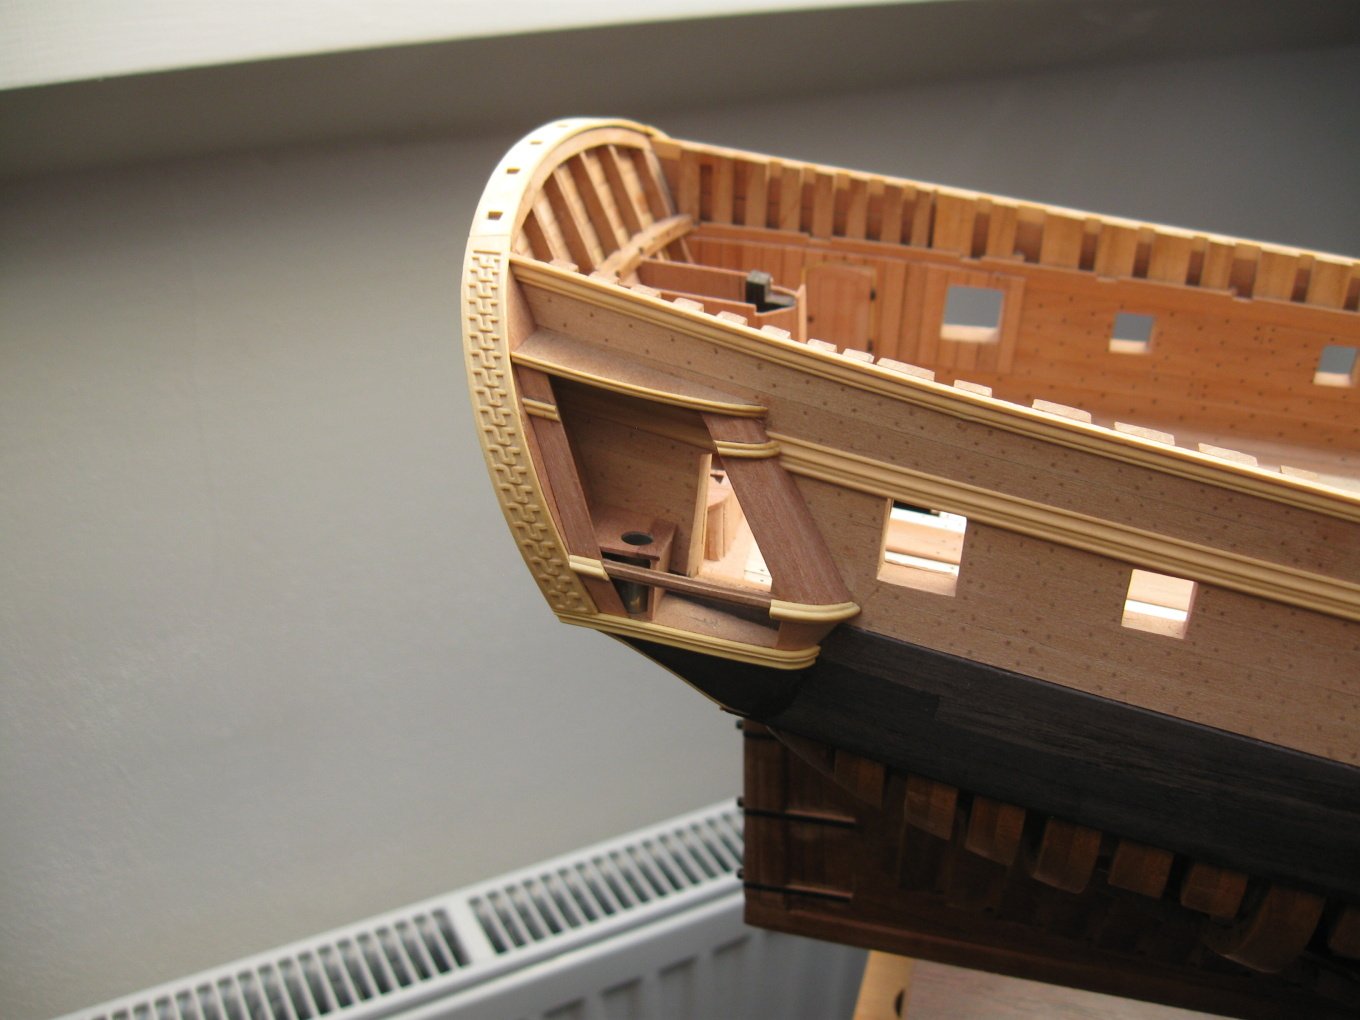
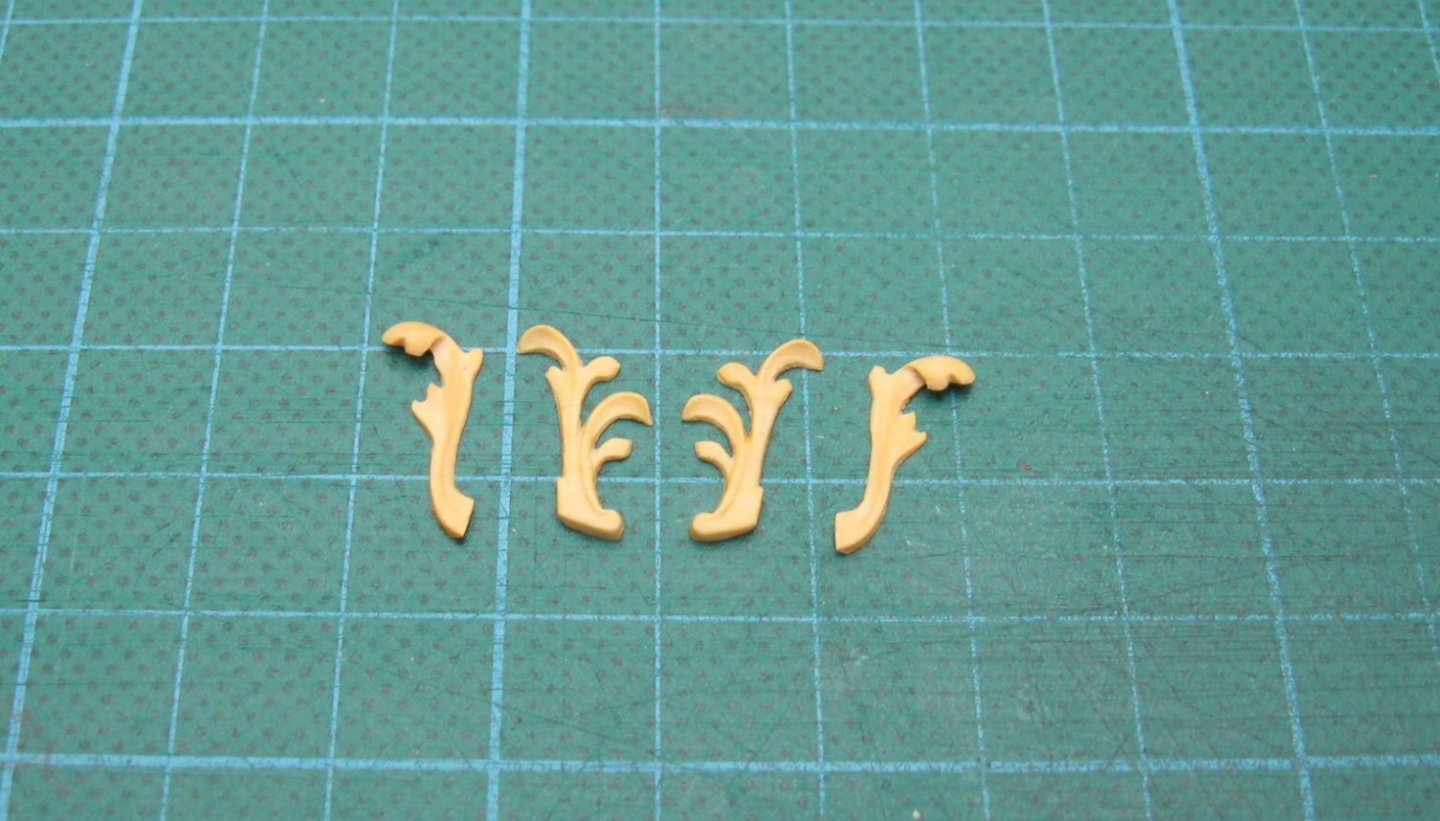
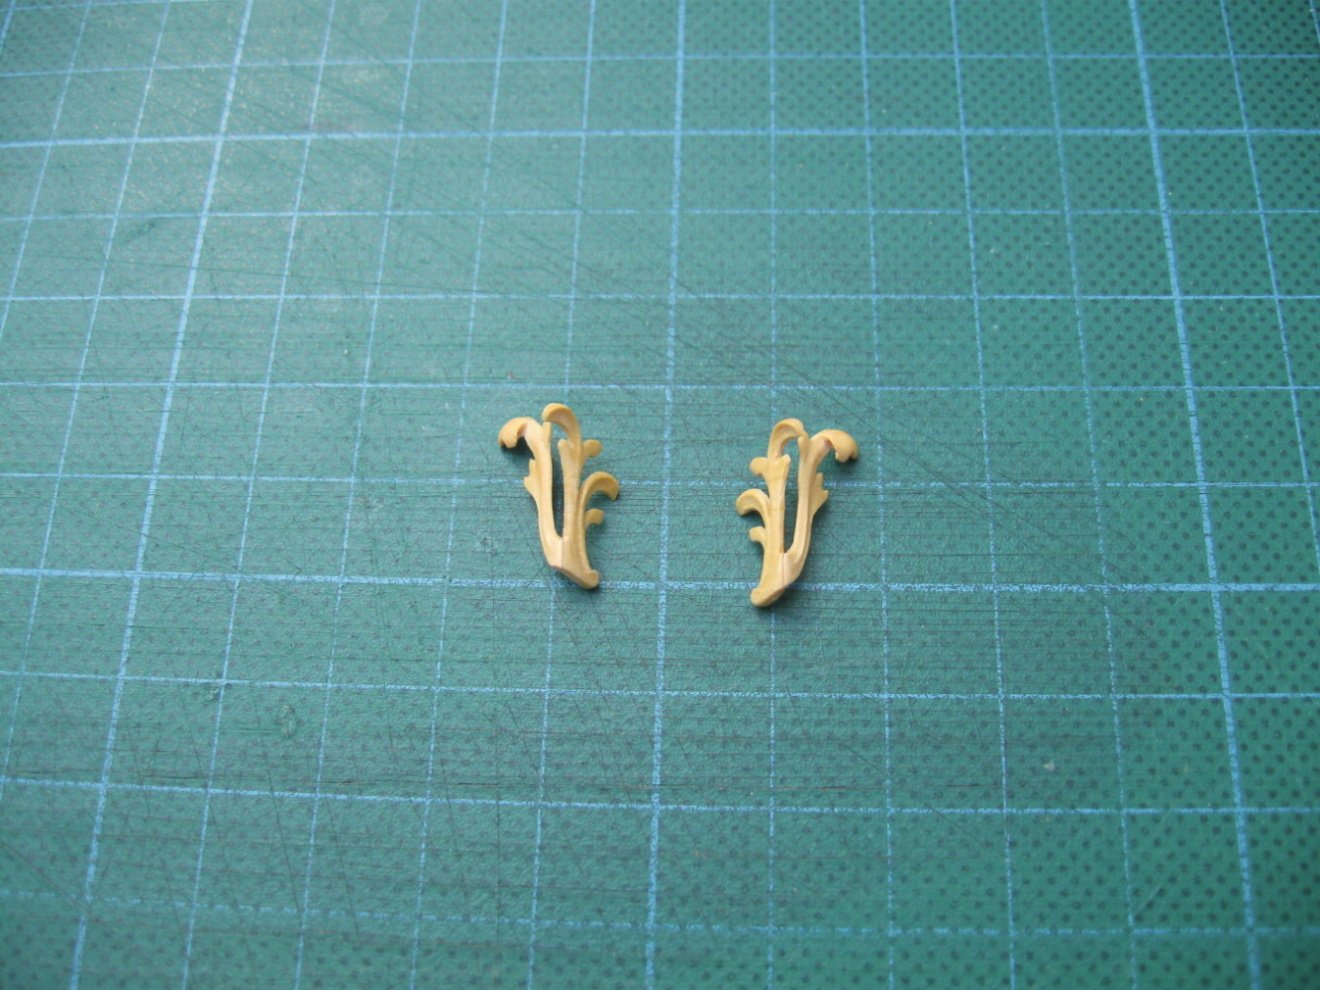
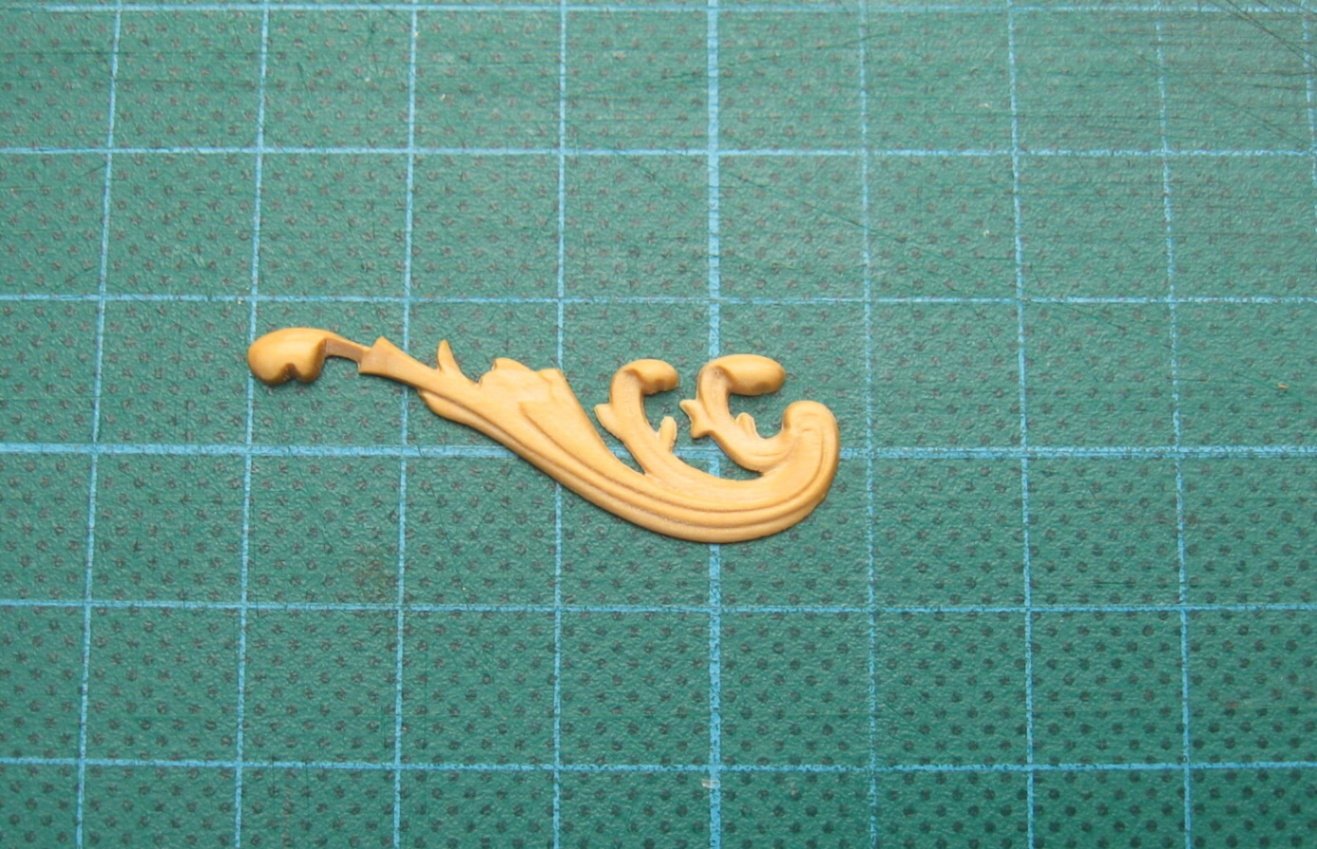
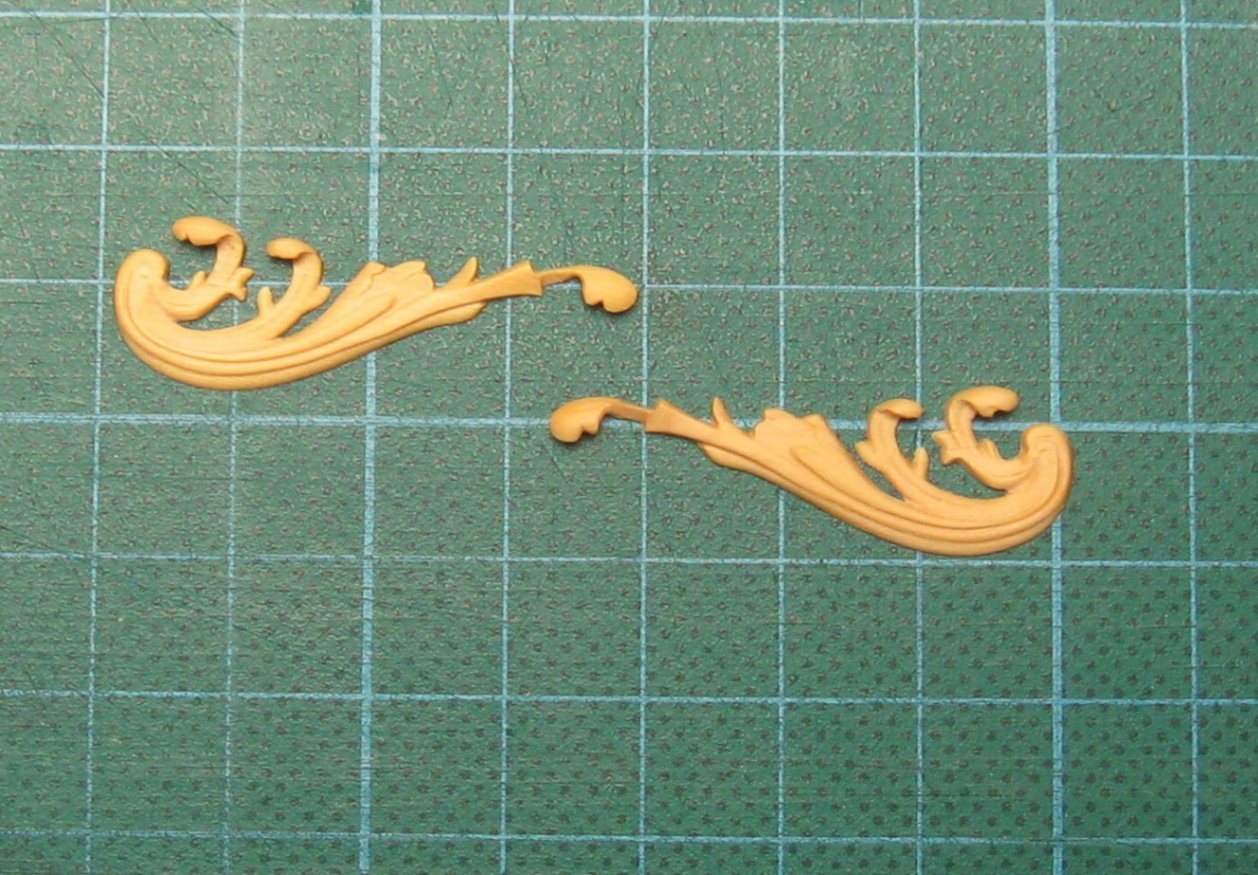
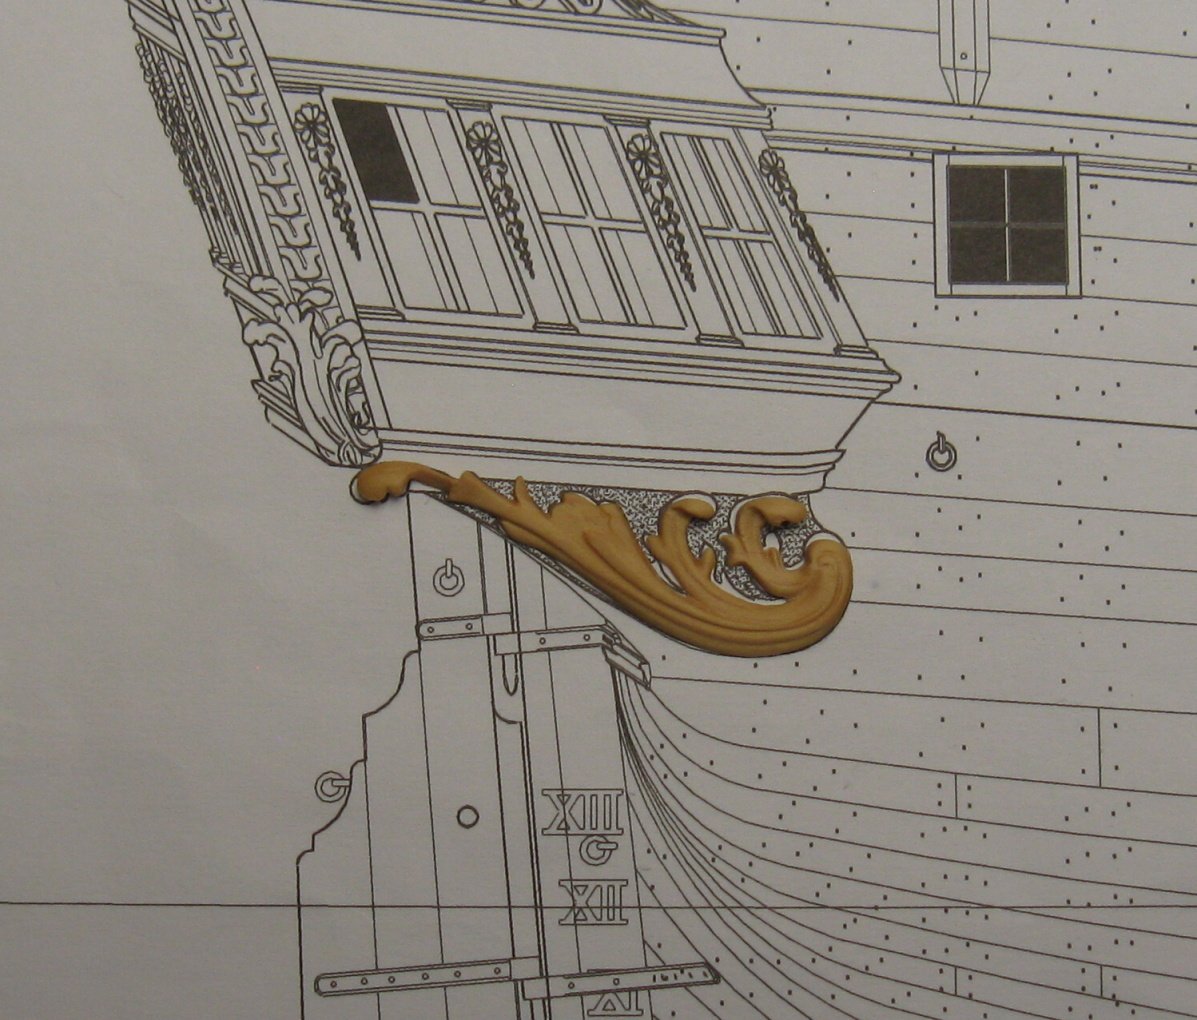
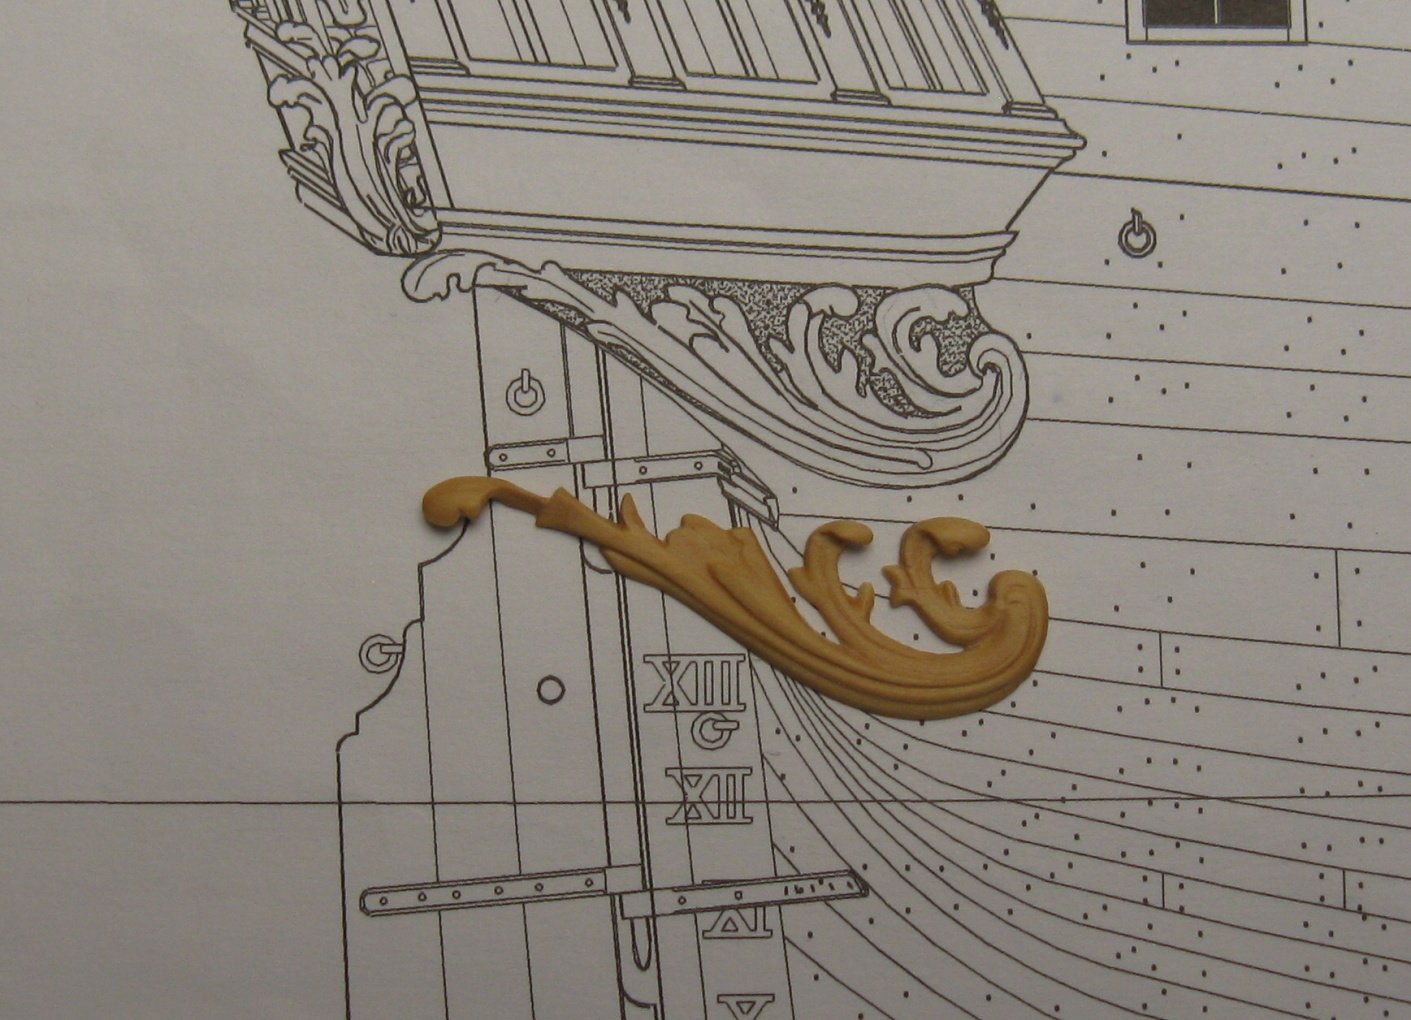
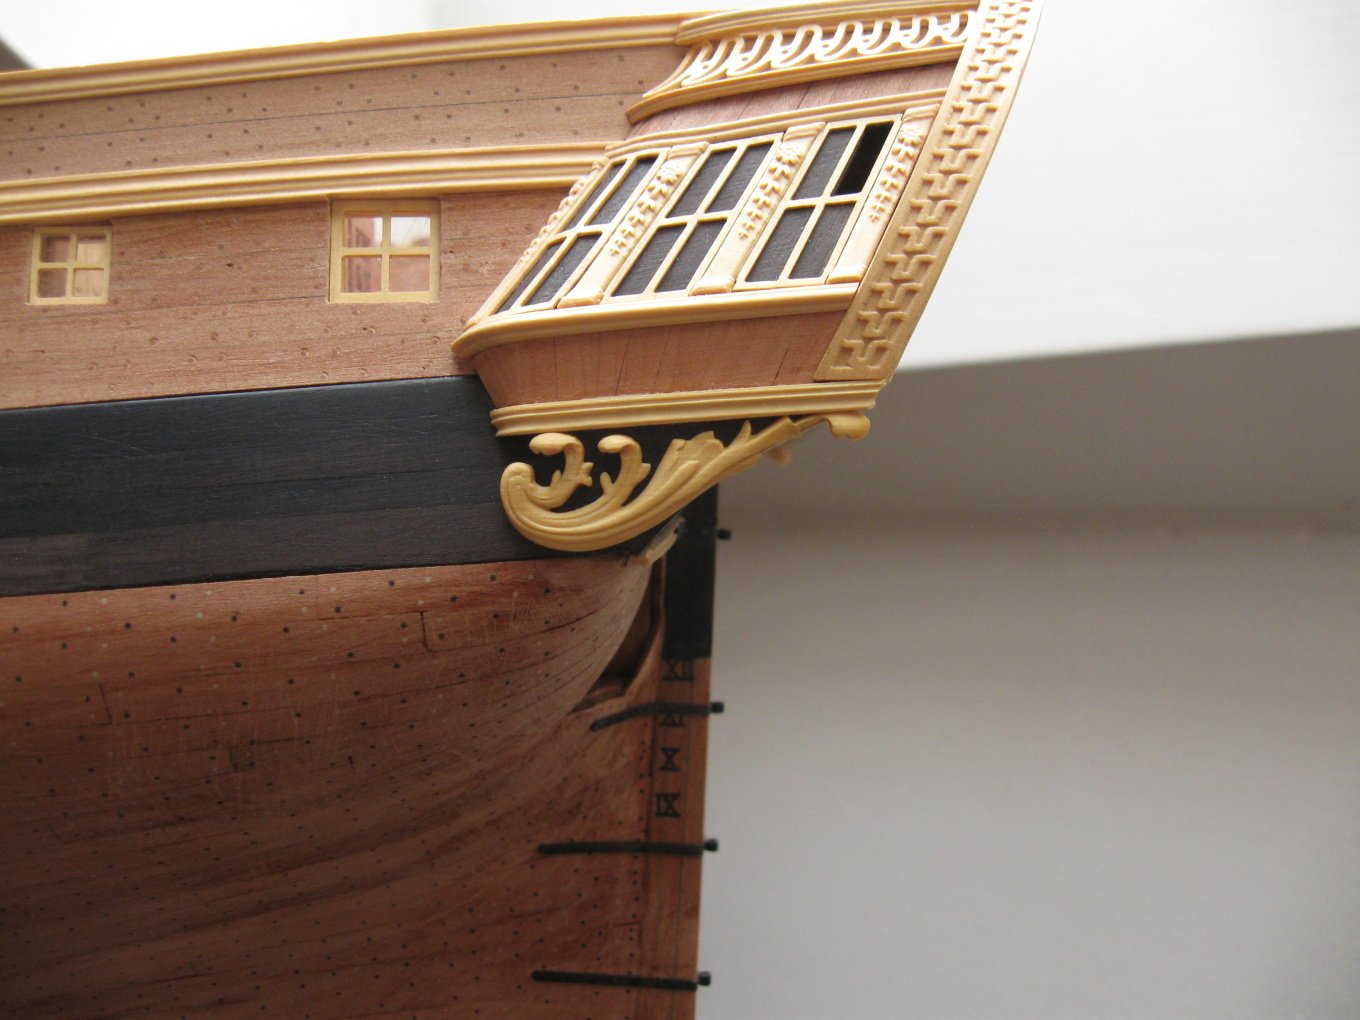
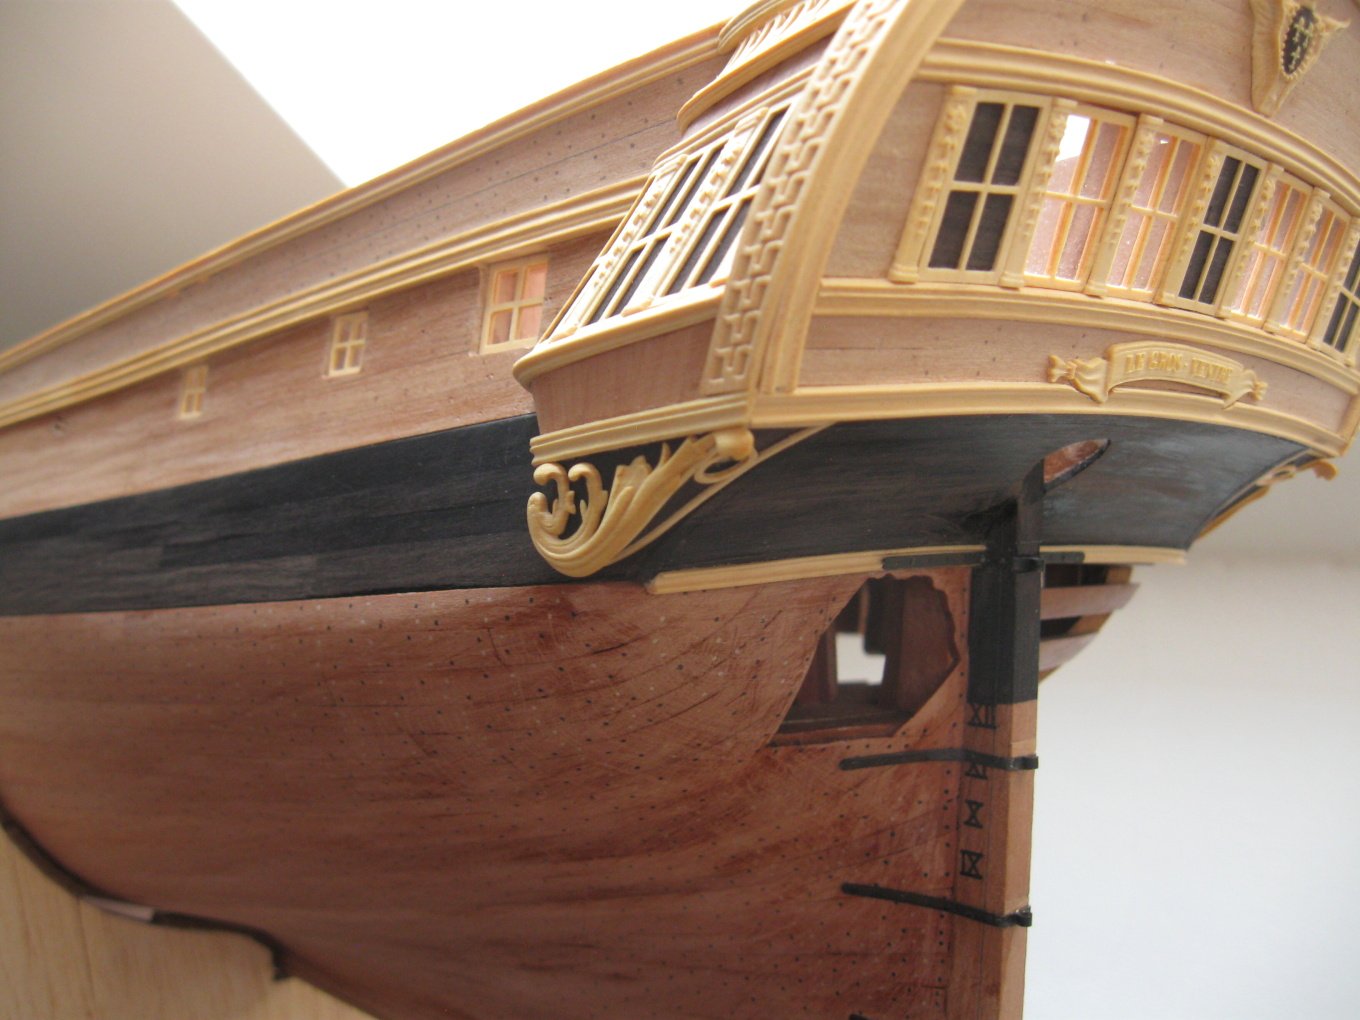
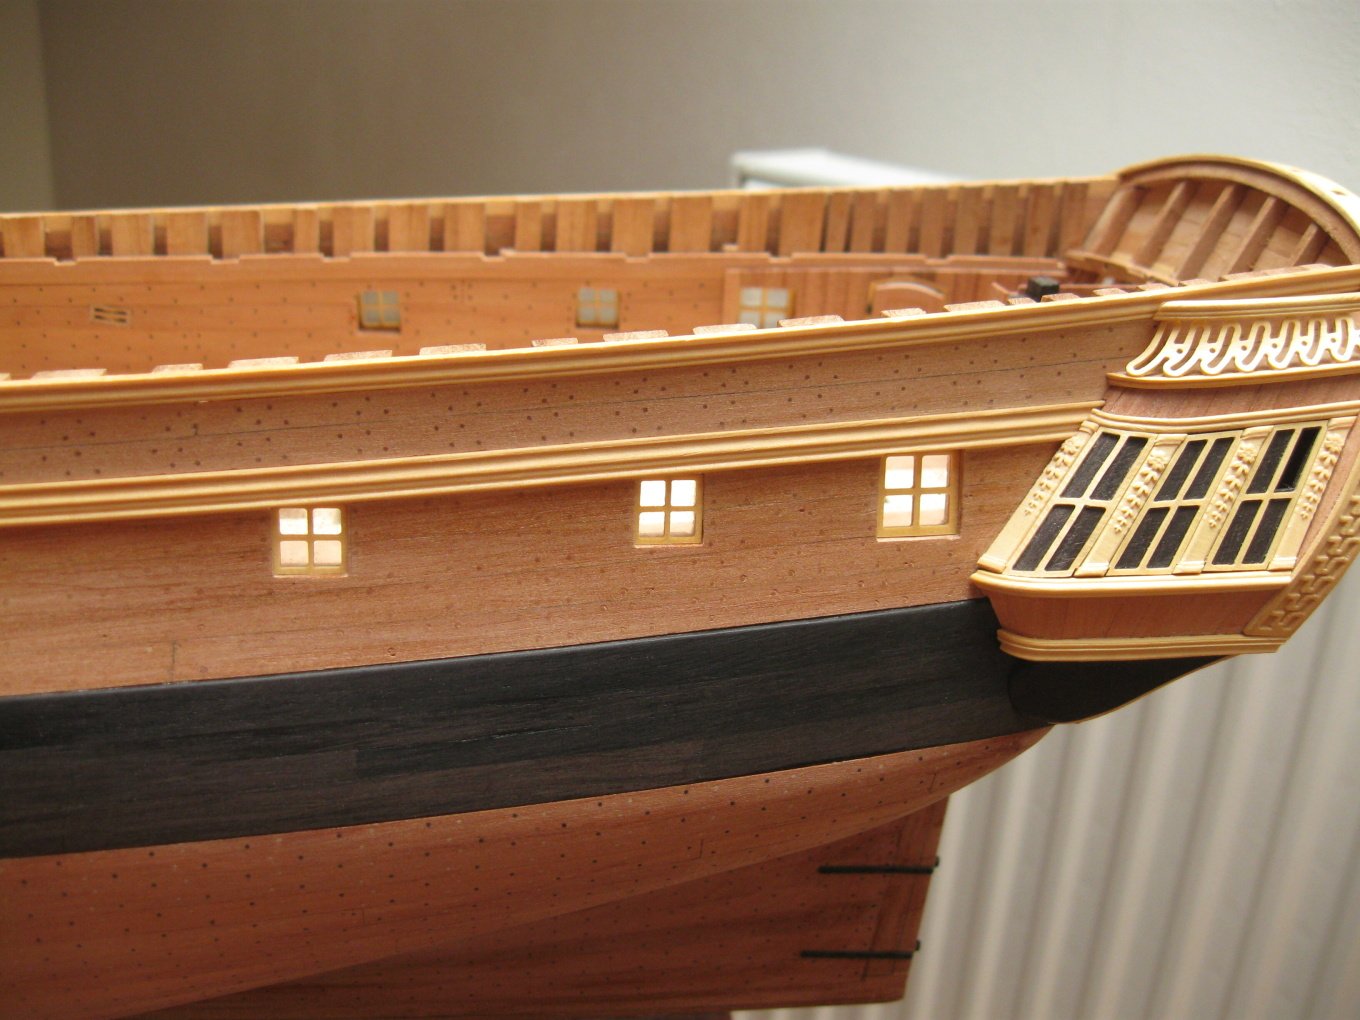
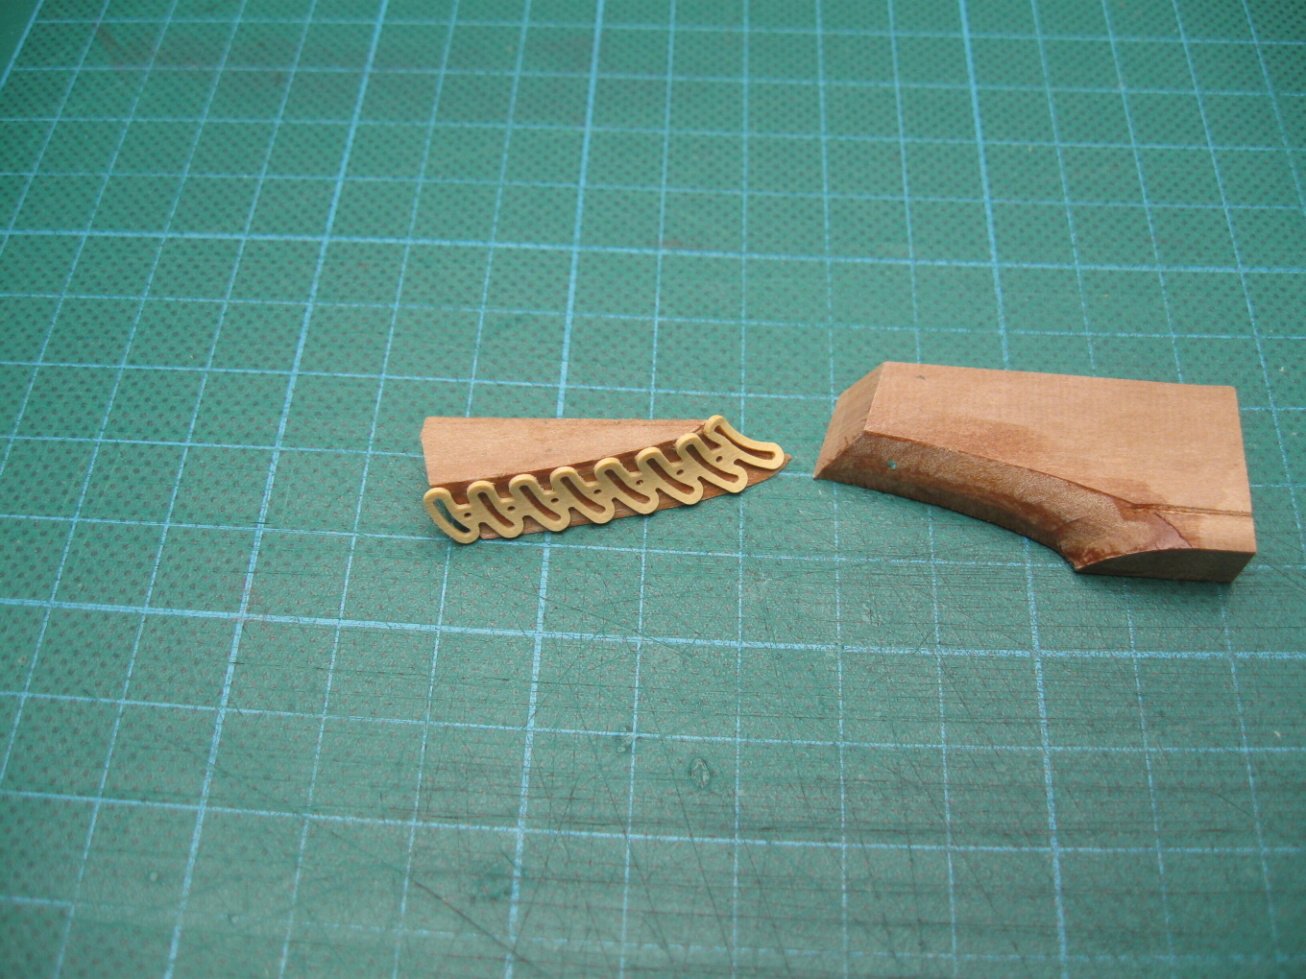
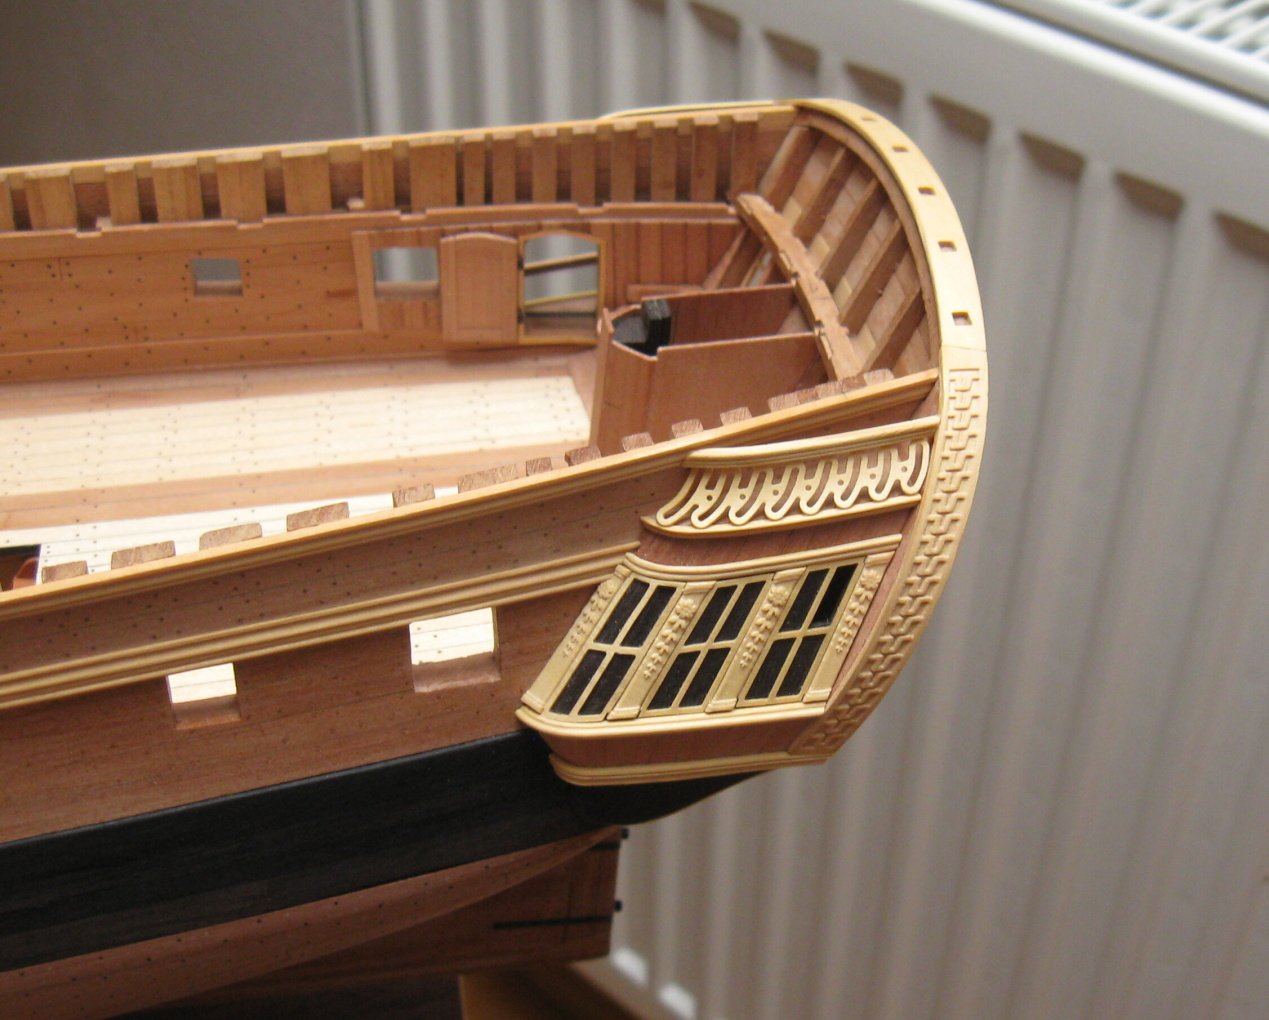
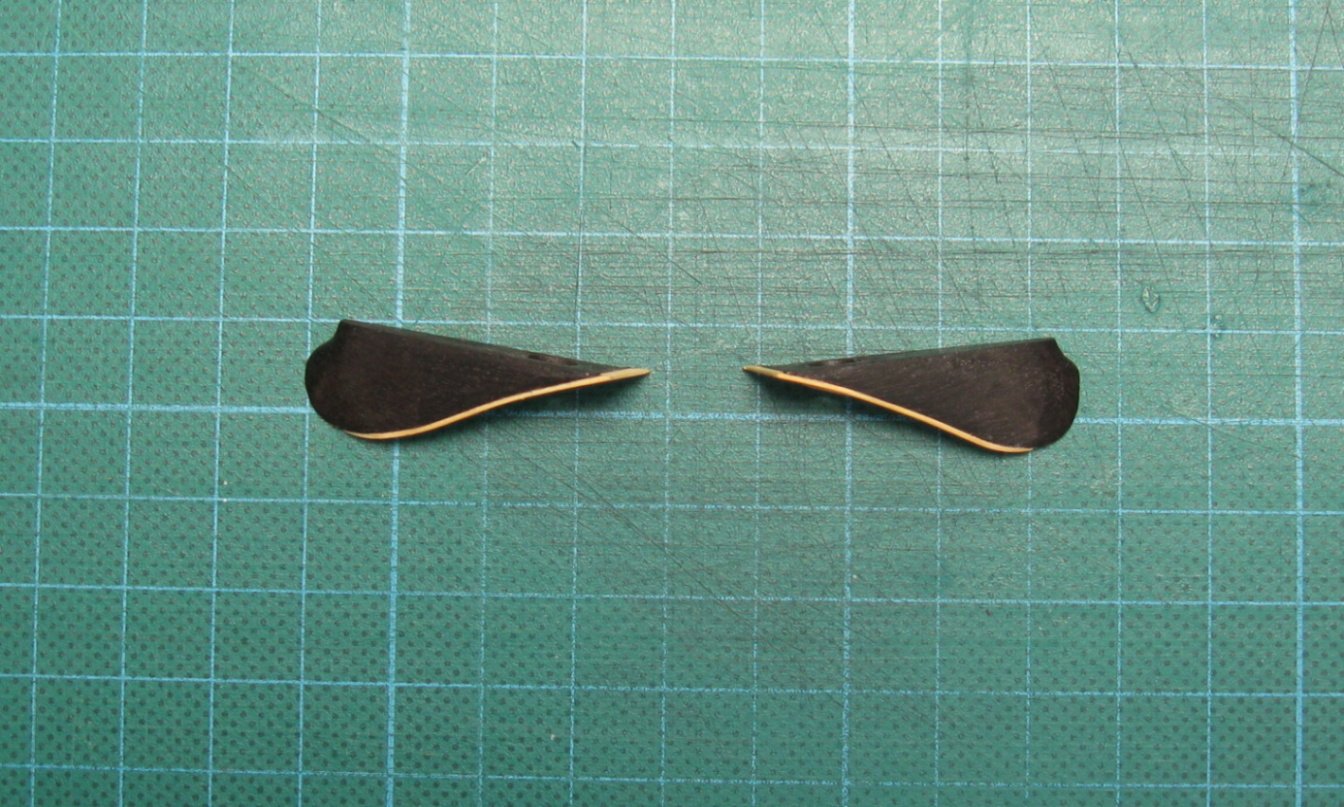
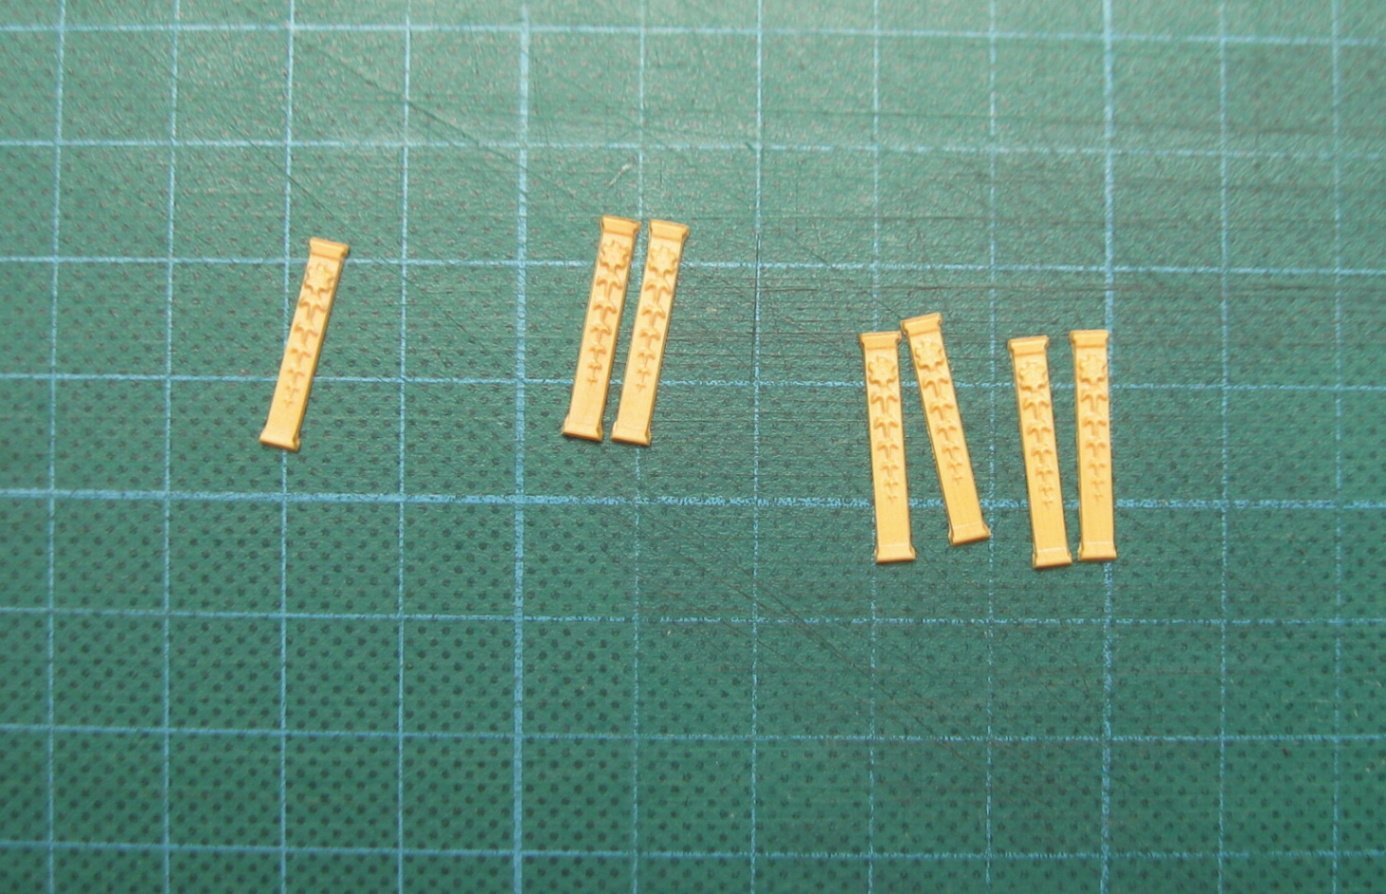
To PeteB: I used the black translucent paper for the caulking. The last stem decorations are added. All carvings are made with CNC milling maschine with small manual corrections.

- 589 replies
-
- 29
-
-
-
-
- le gros ventre
- cargo
- (and 1 more)
-
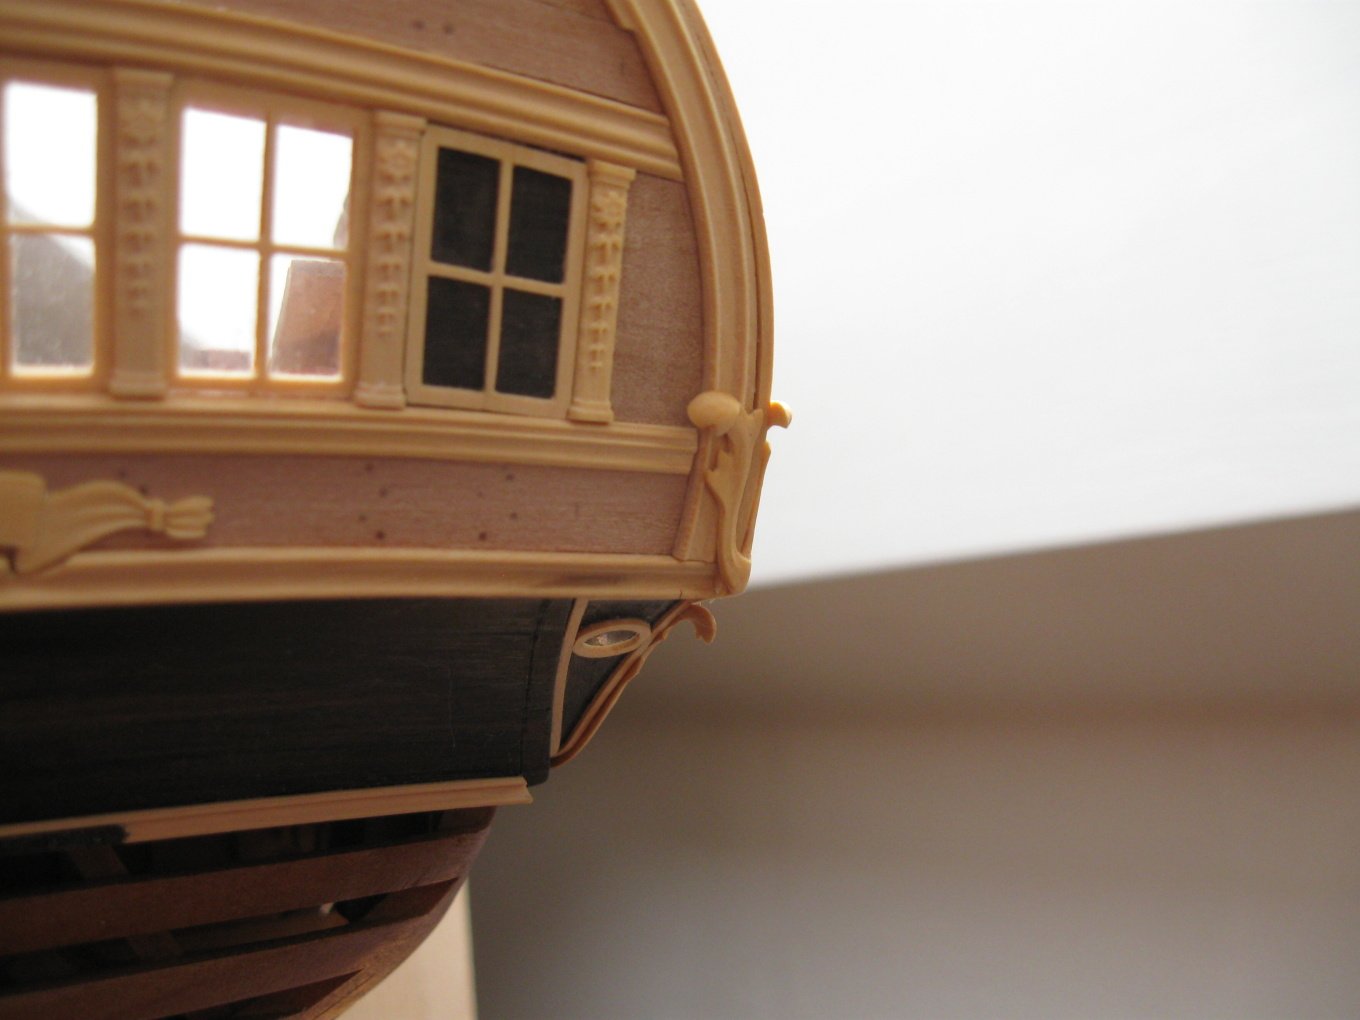
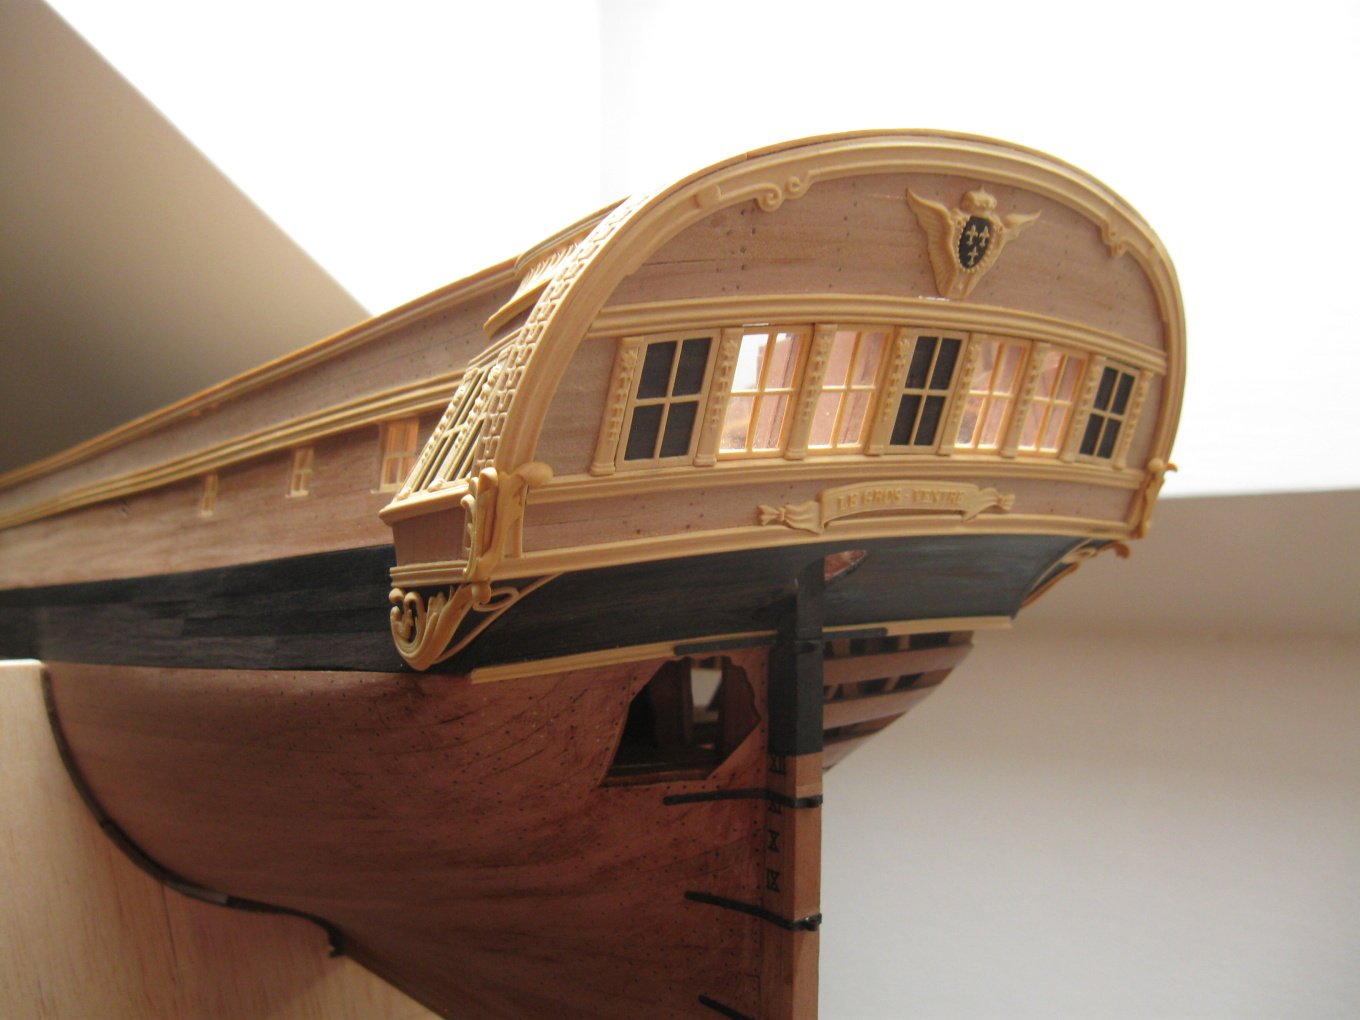
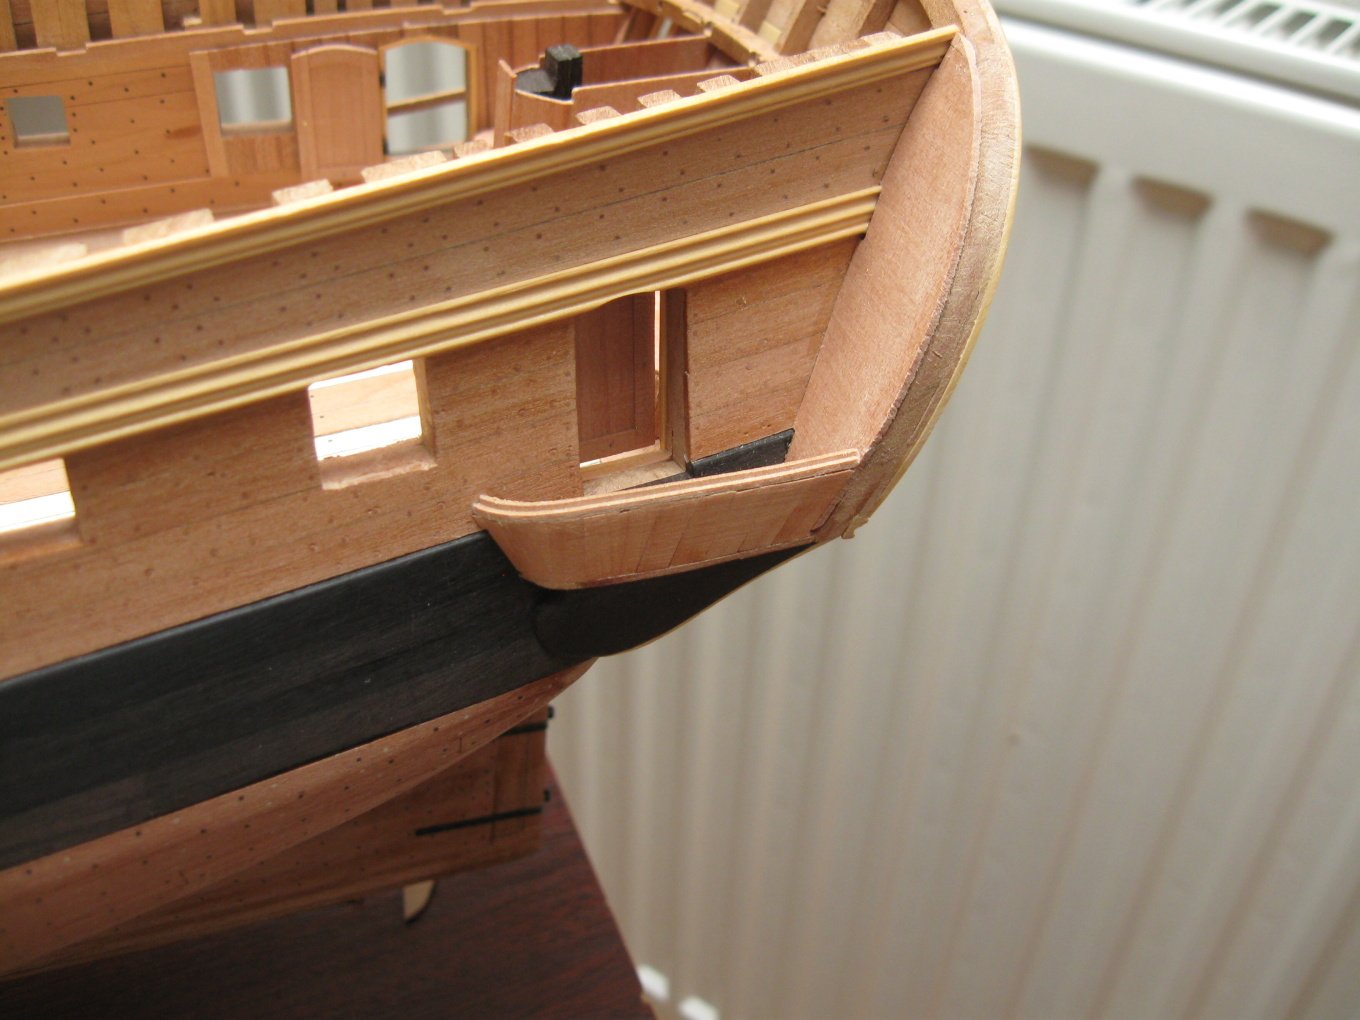
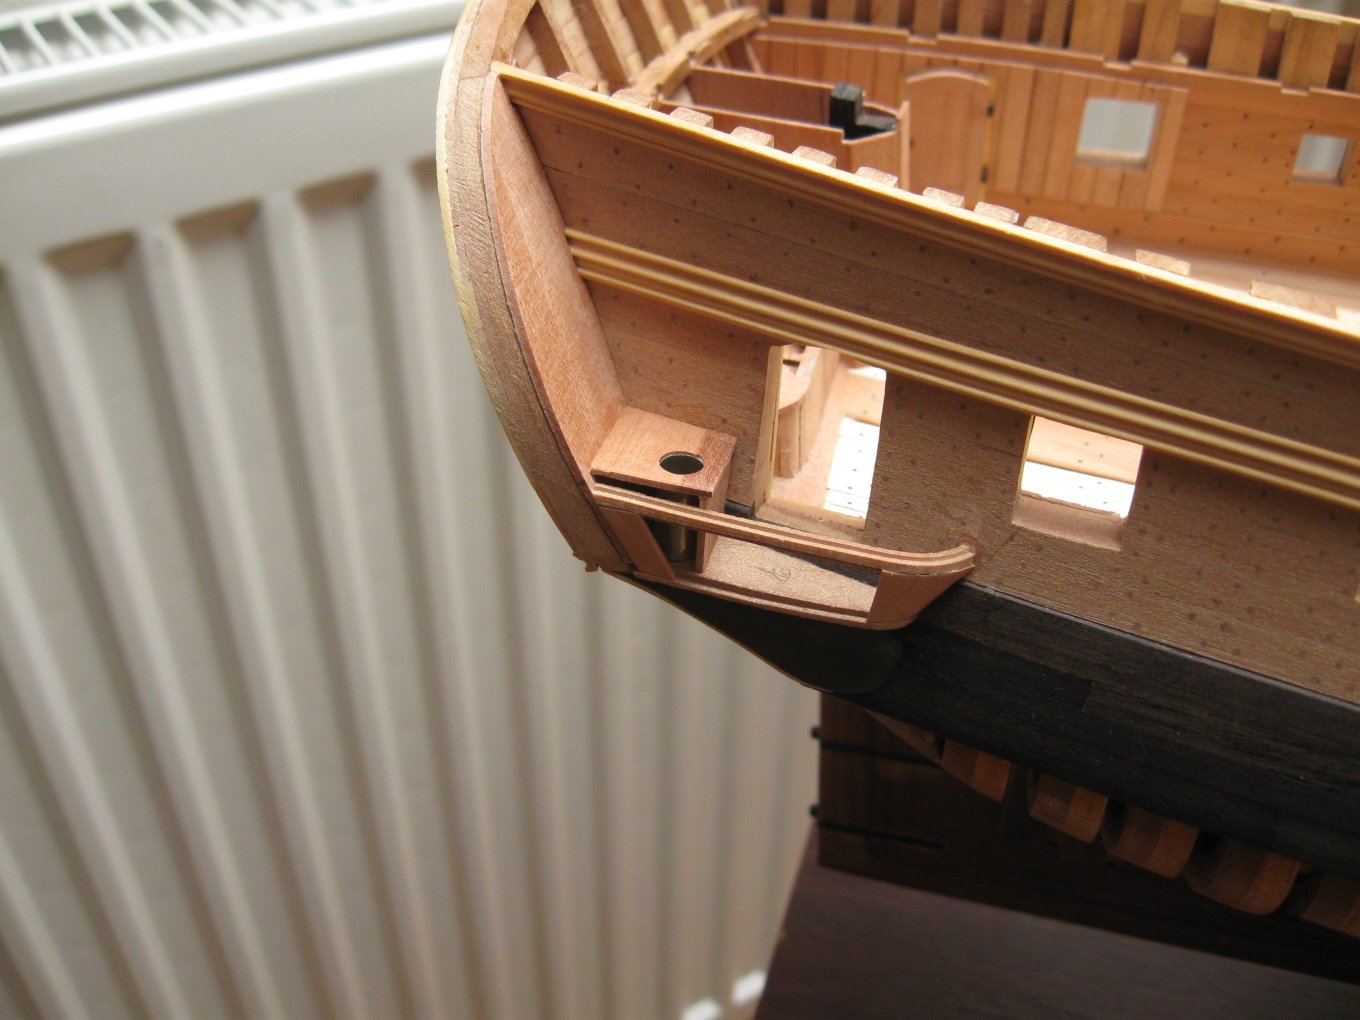
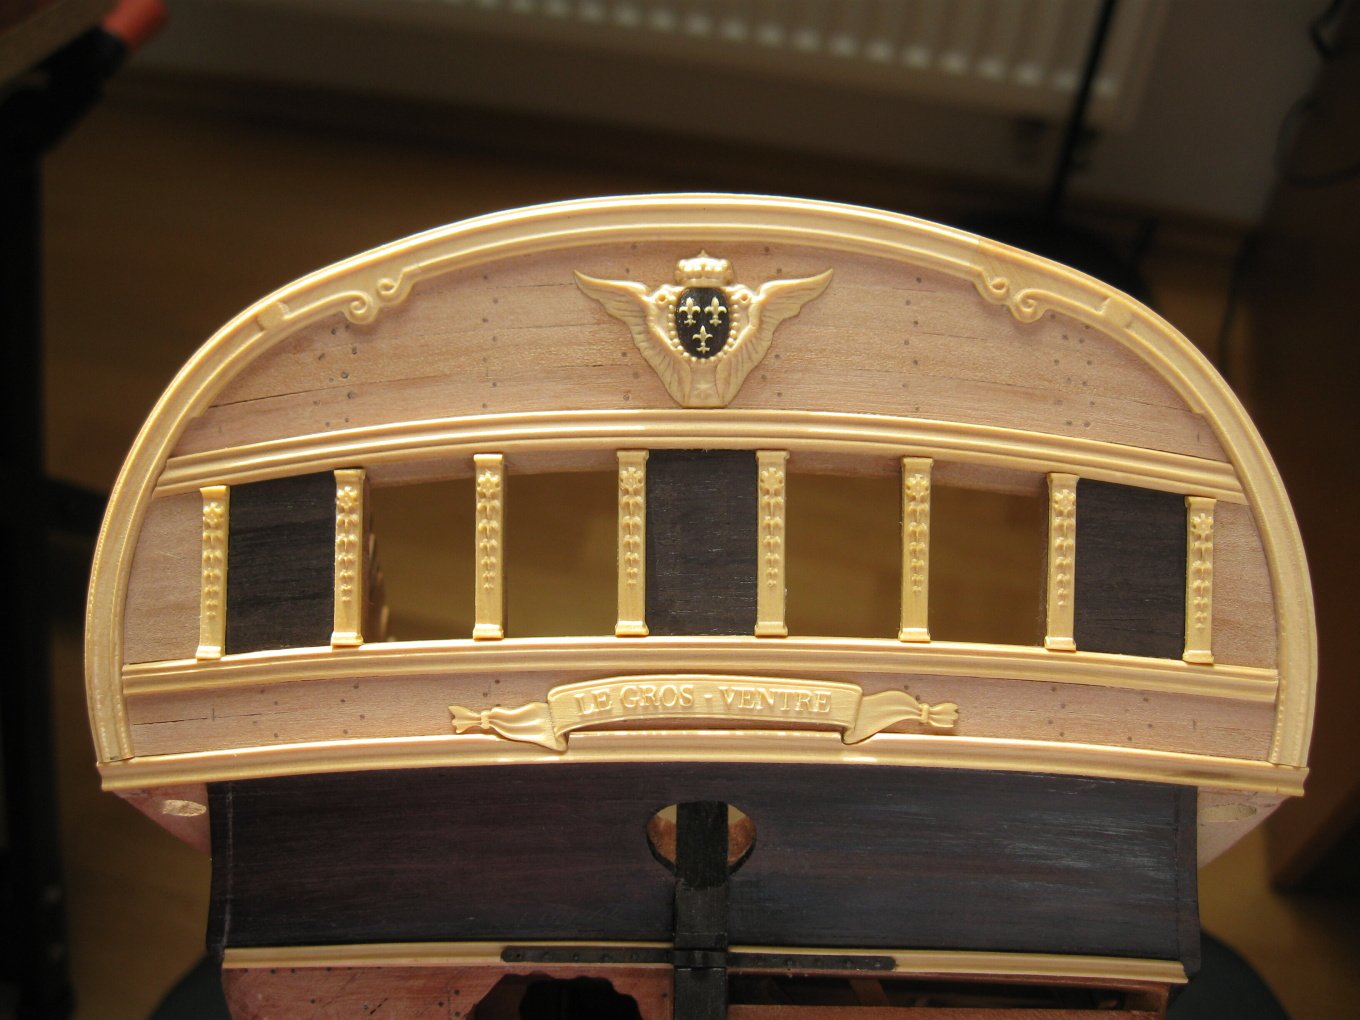
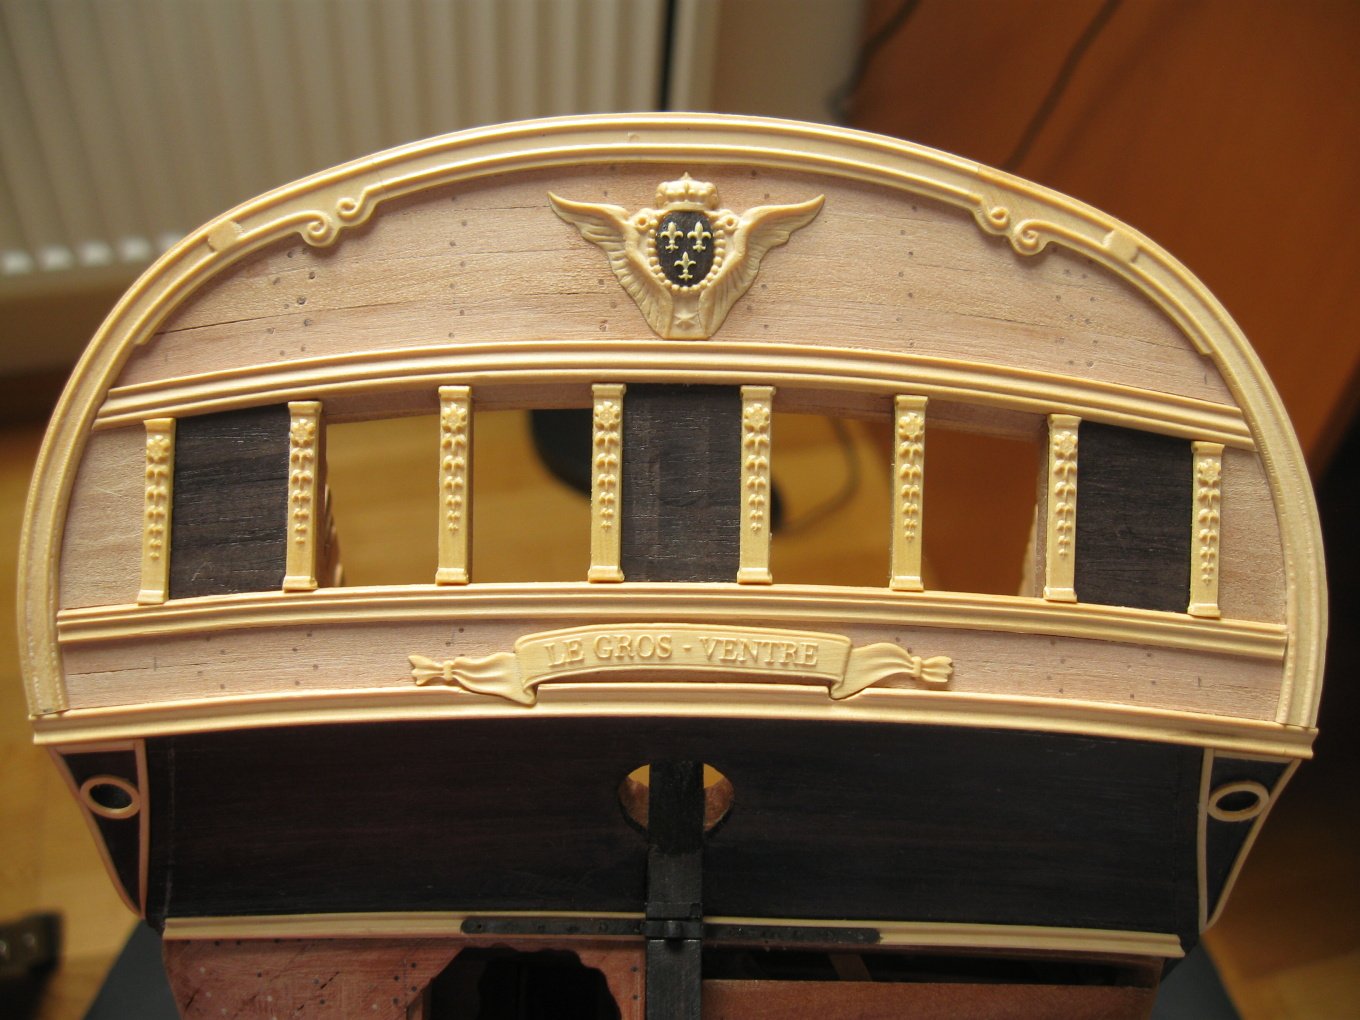
To Hubac´s Historian - Thanks for compliment. I still have some rest at the stern - decorations.


- 589 replies
-
- 33
-
-
-
- le gros ventre
- cargo
- (and 1 more)
-
Pandora by marsalv - FINISHED - 1:52
marsalv replied to marsalv's topic in - Build logs for subjects built 1751 - 1800
Hi Siegfried, you can follow my next project here - -
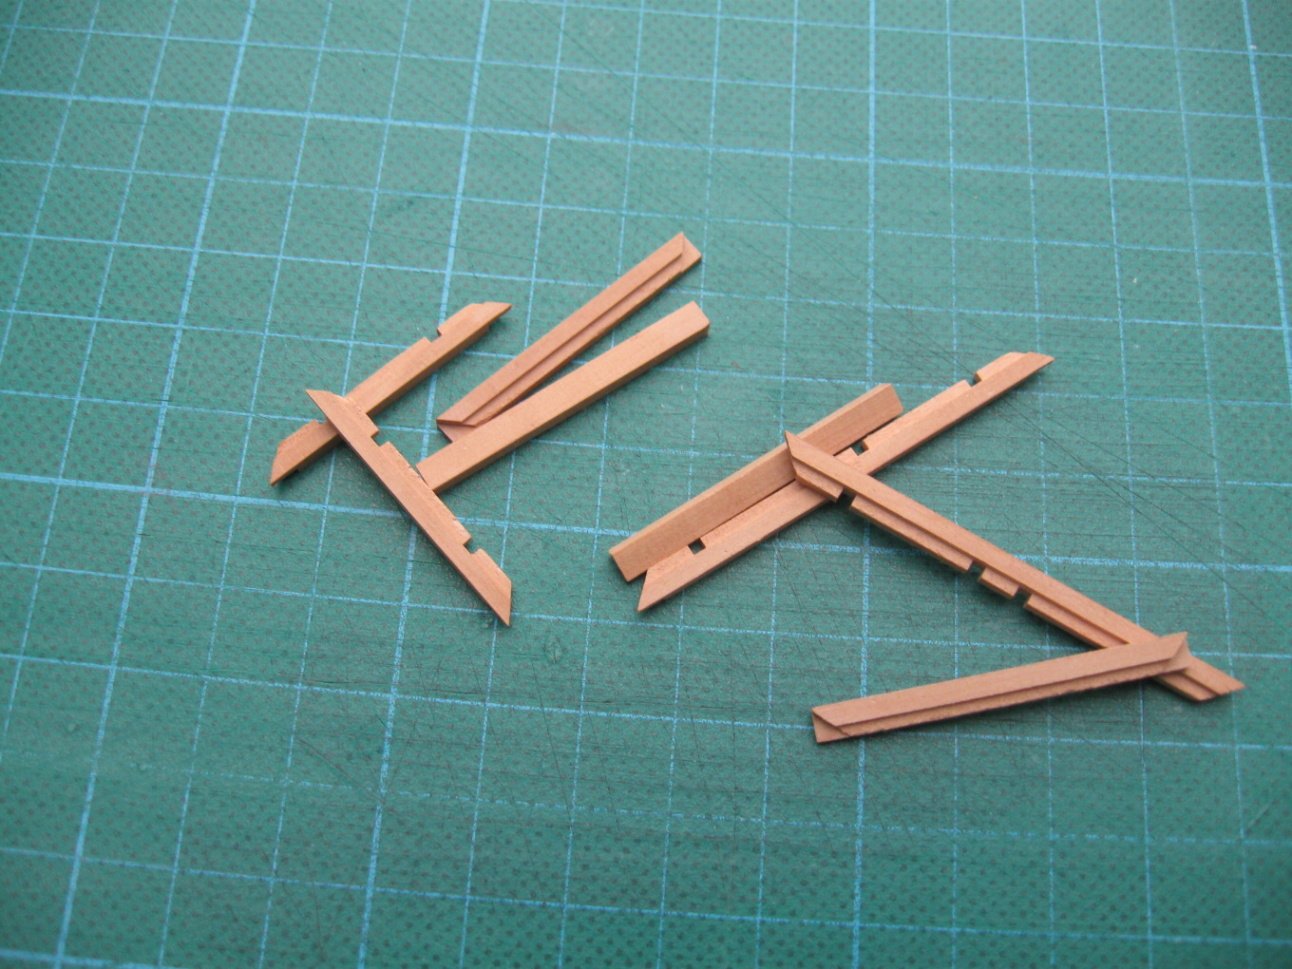
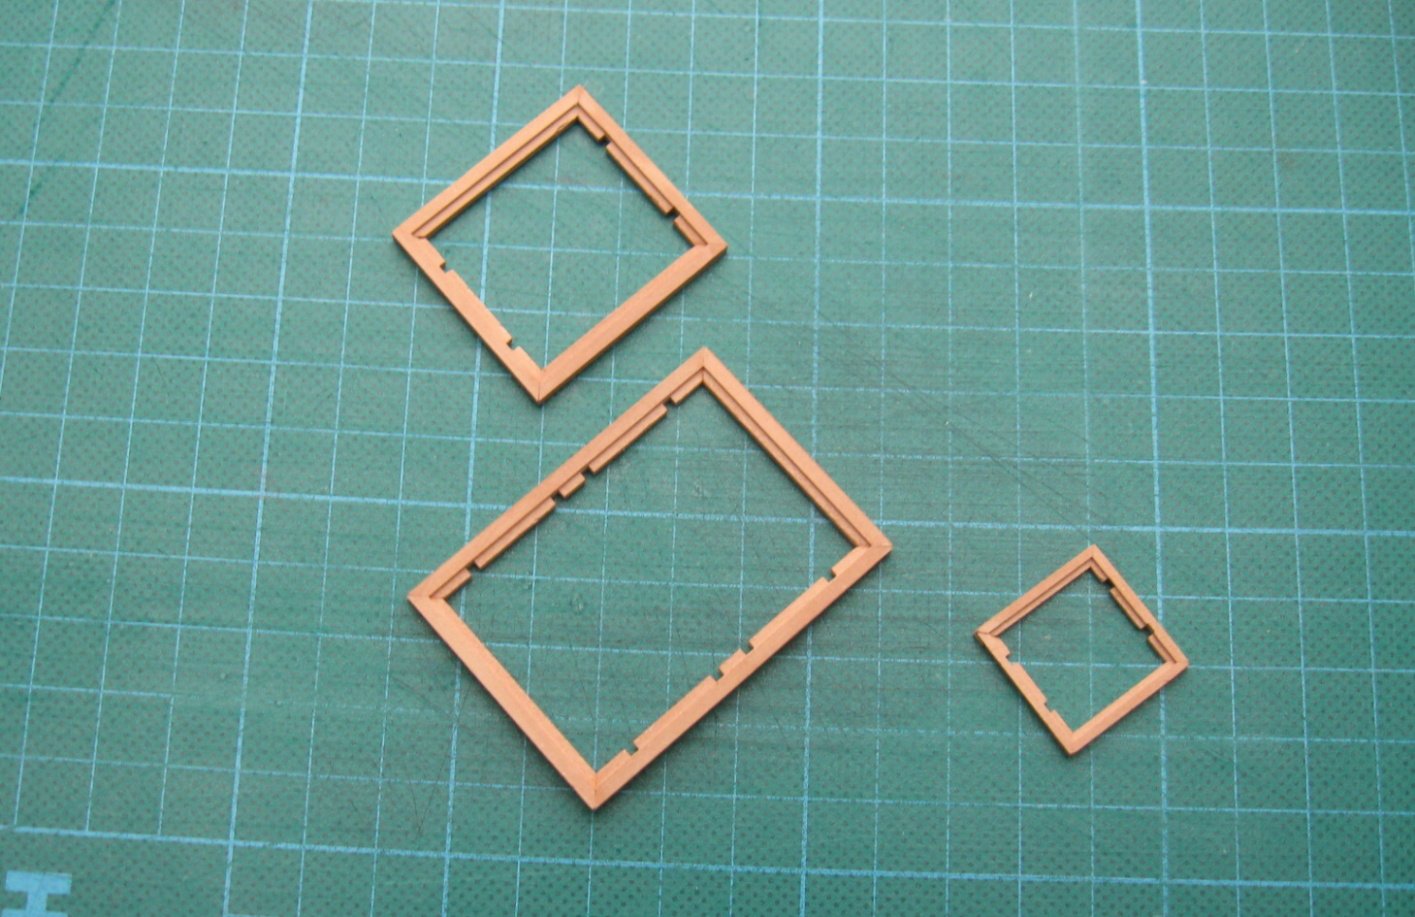
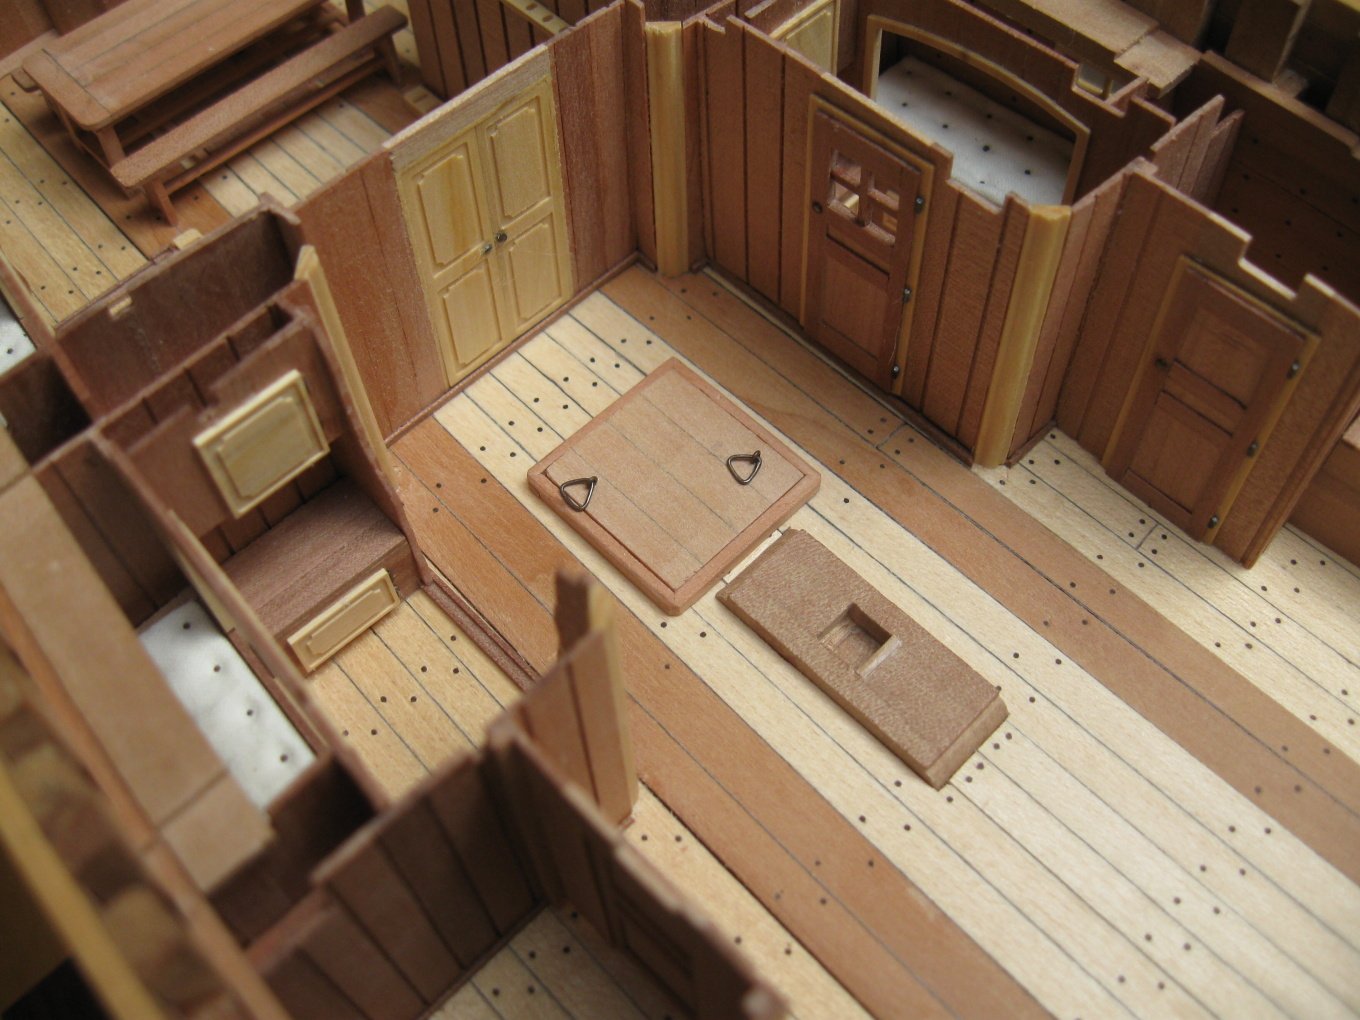
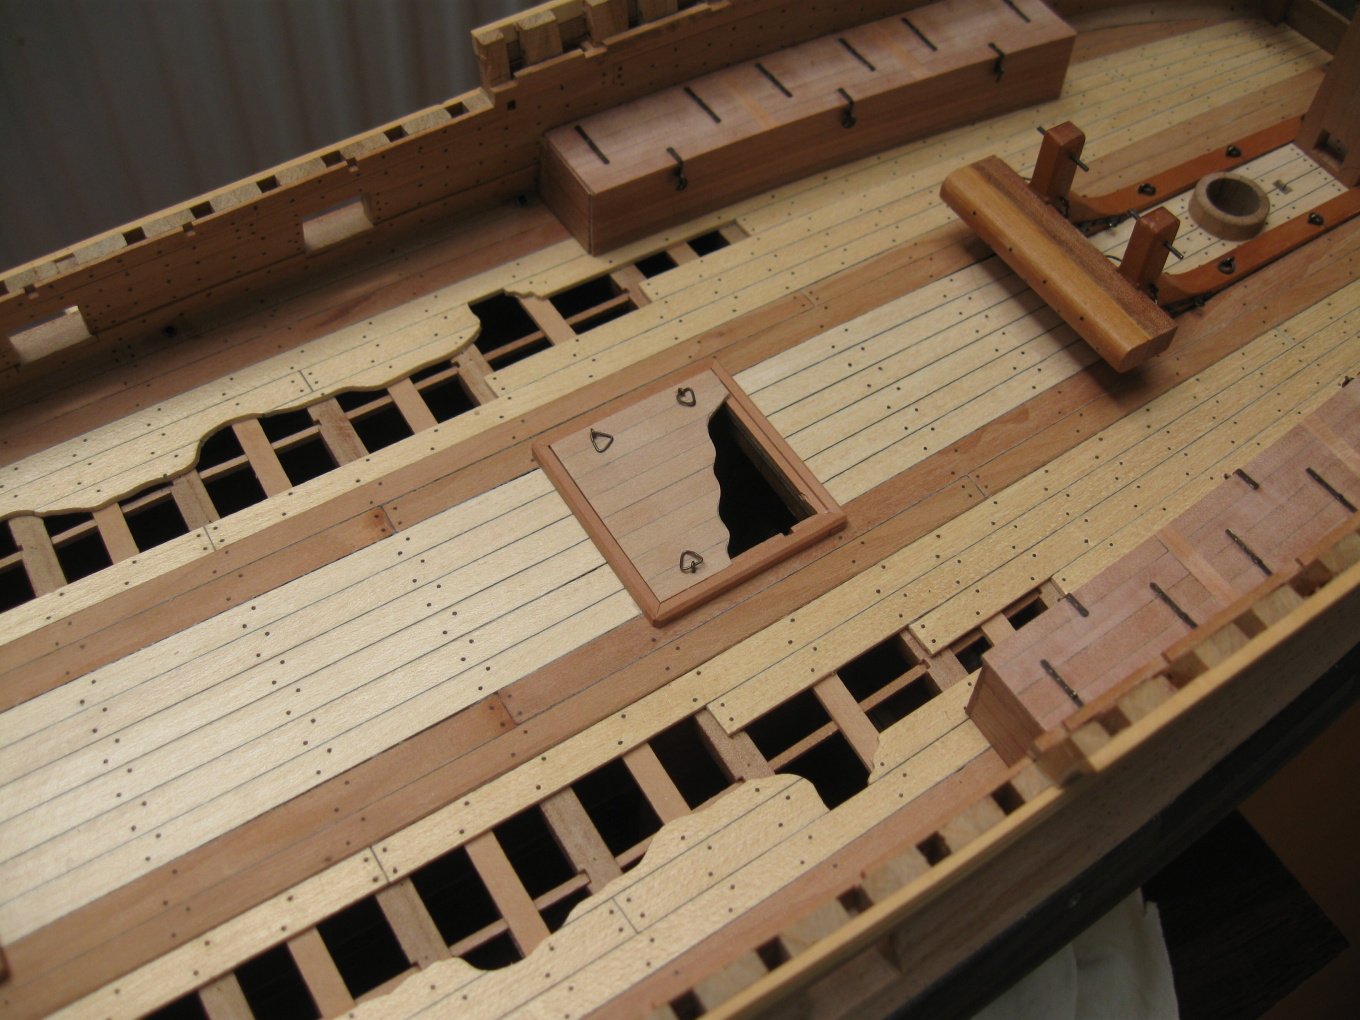
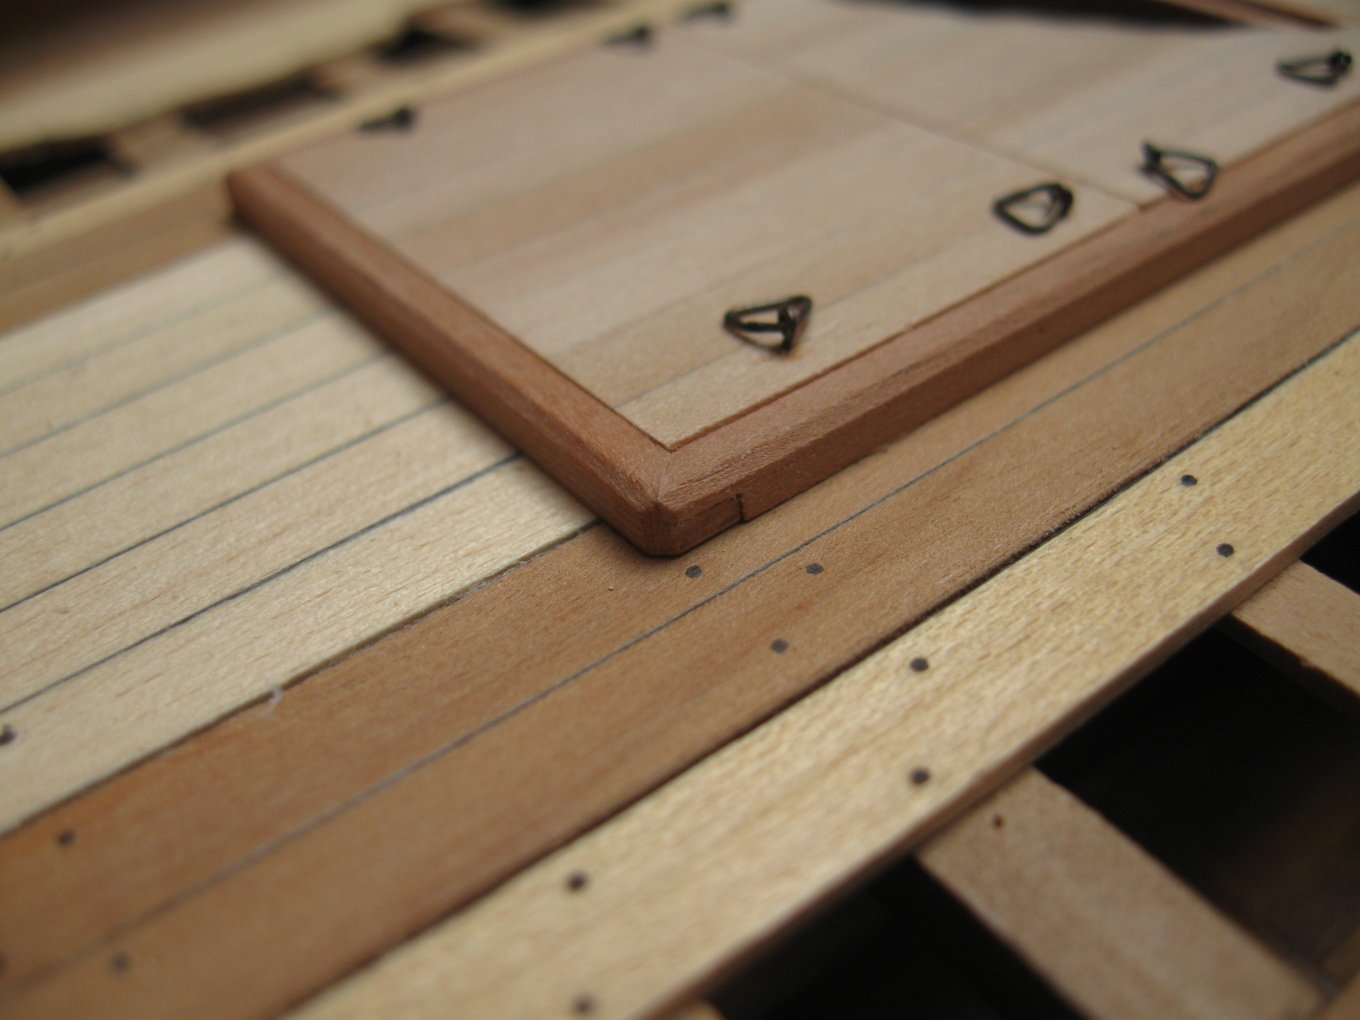
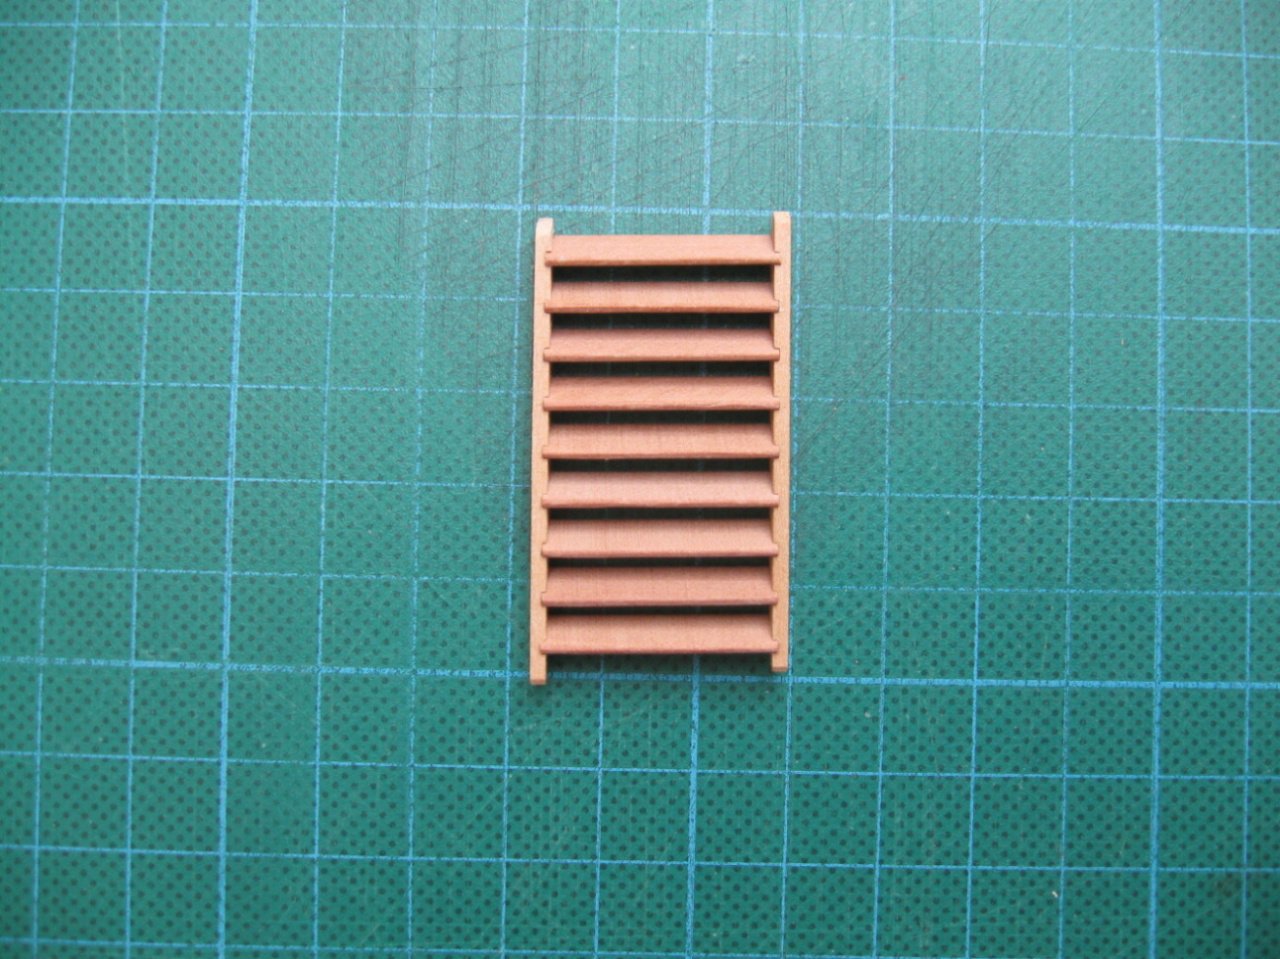
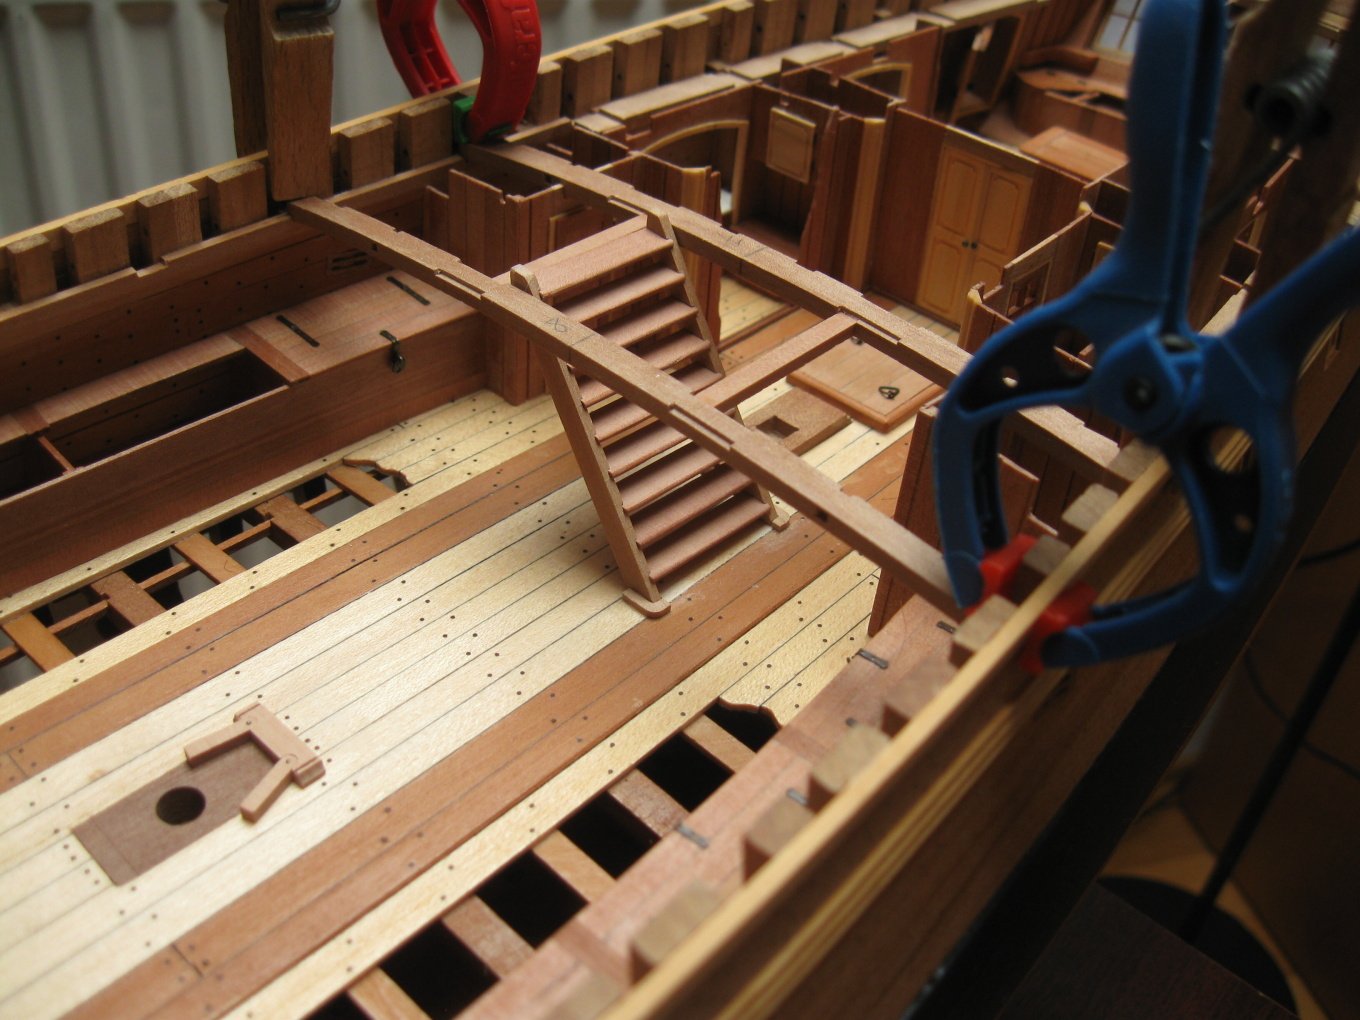
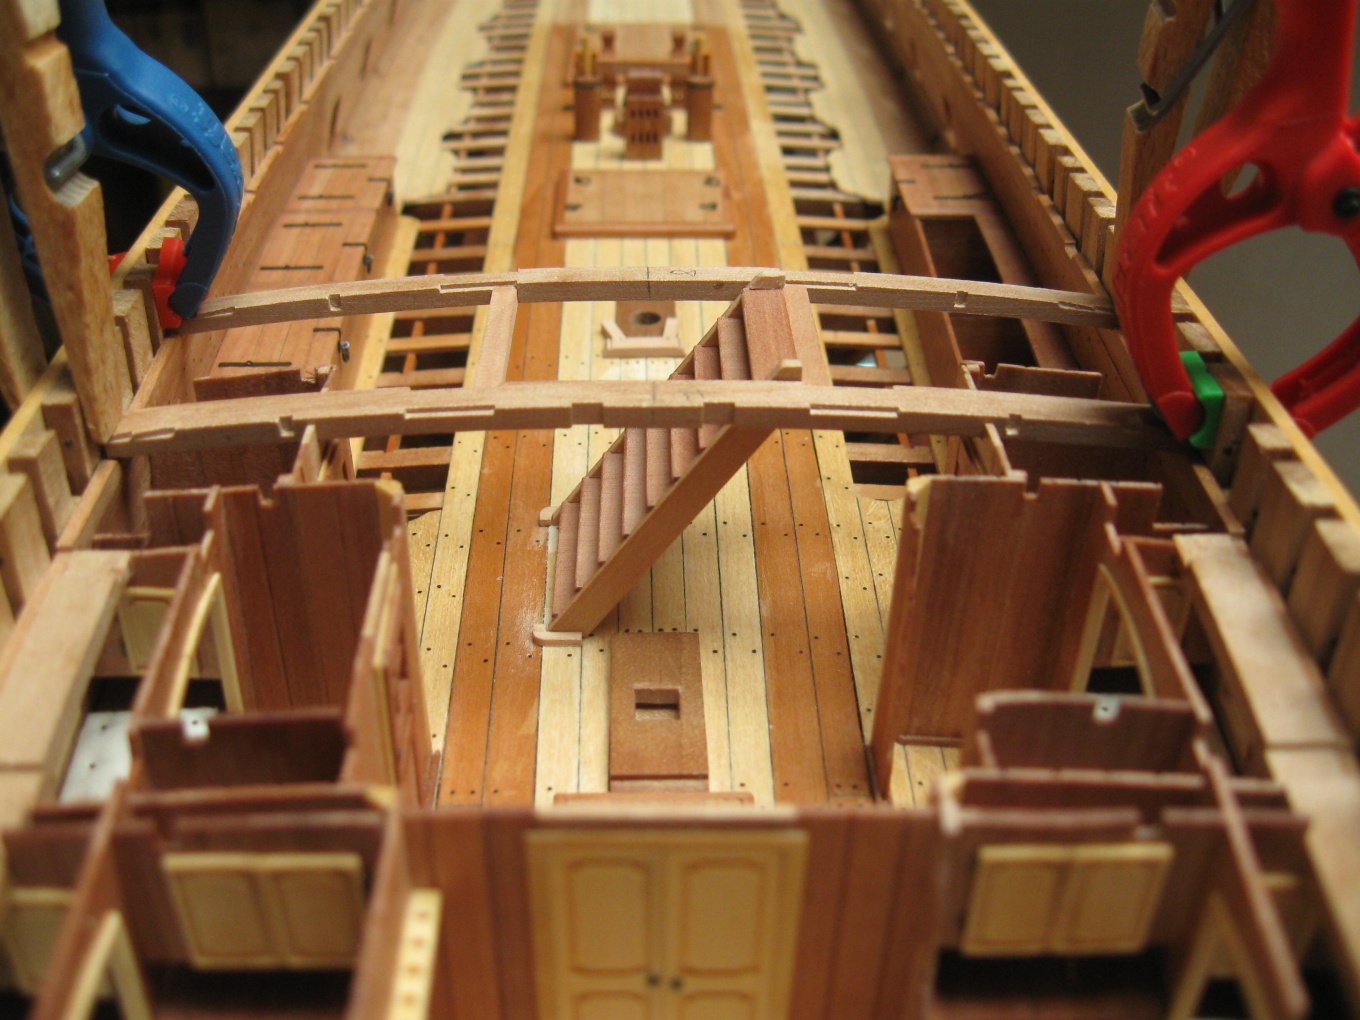
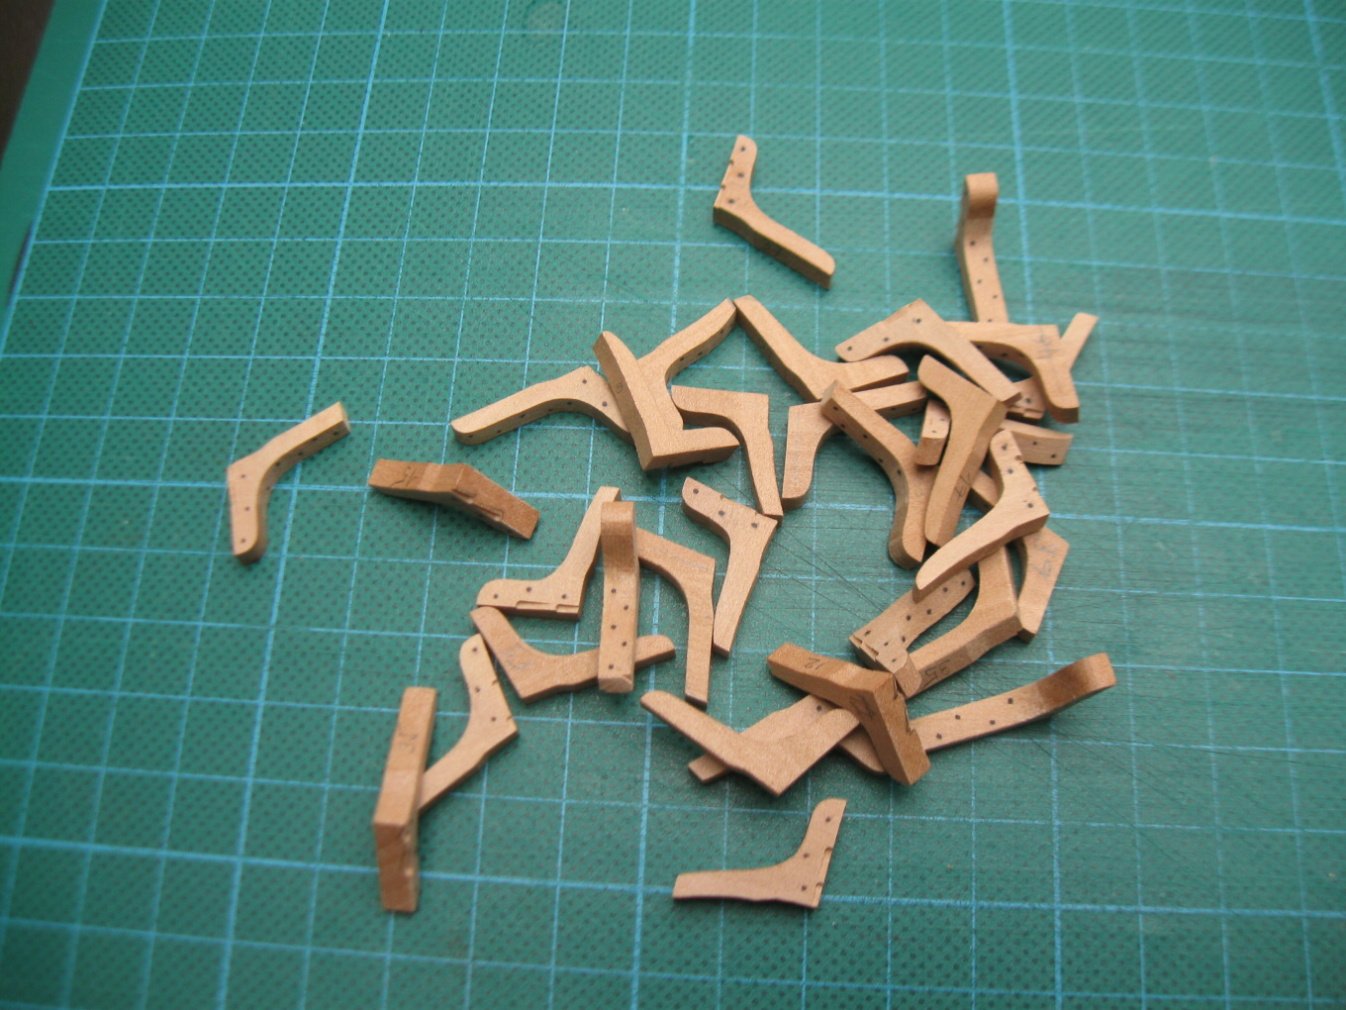
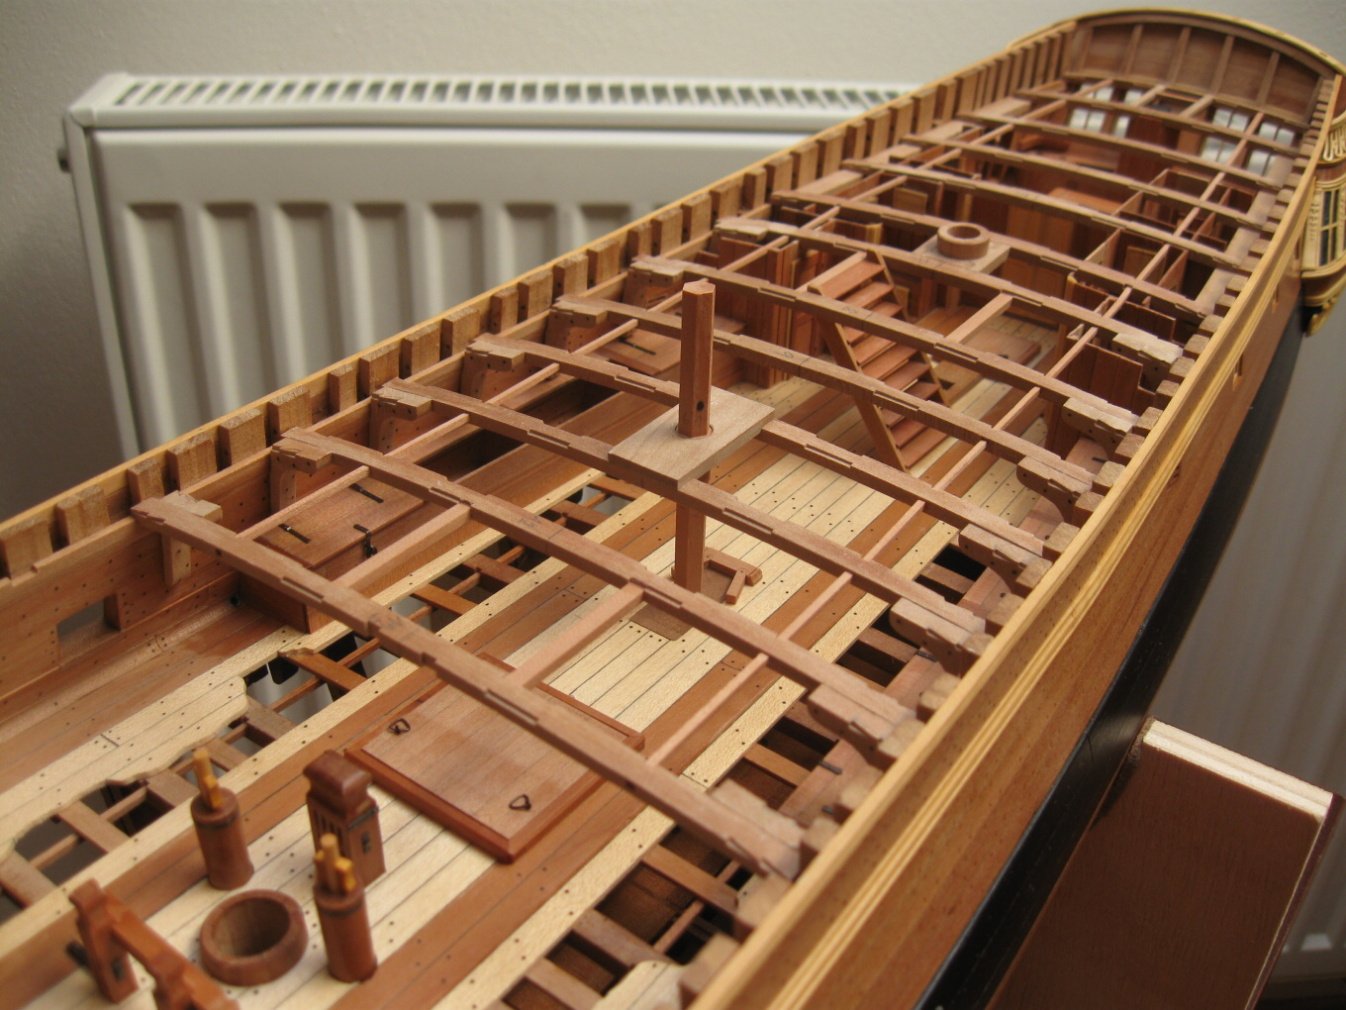
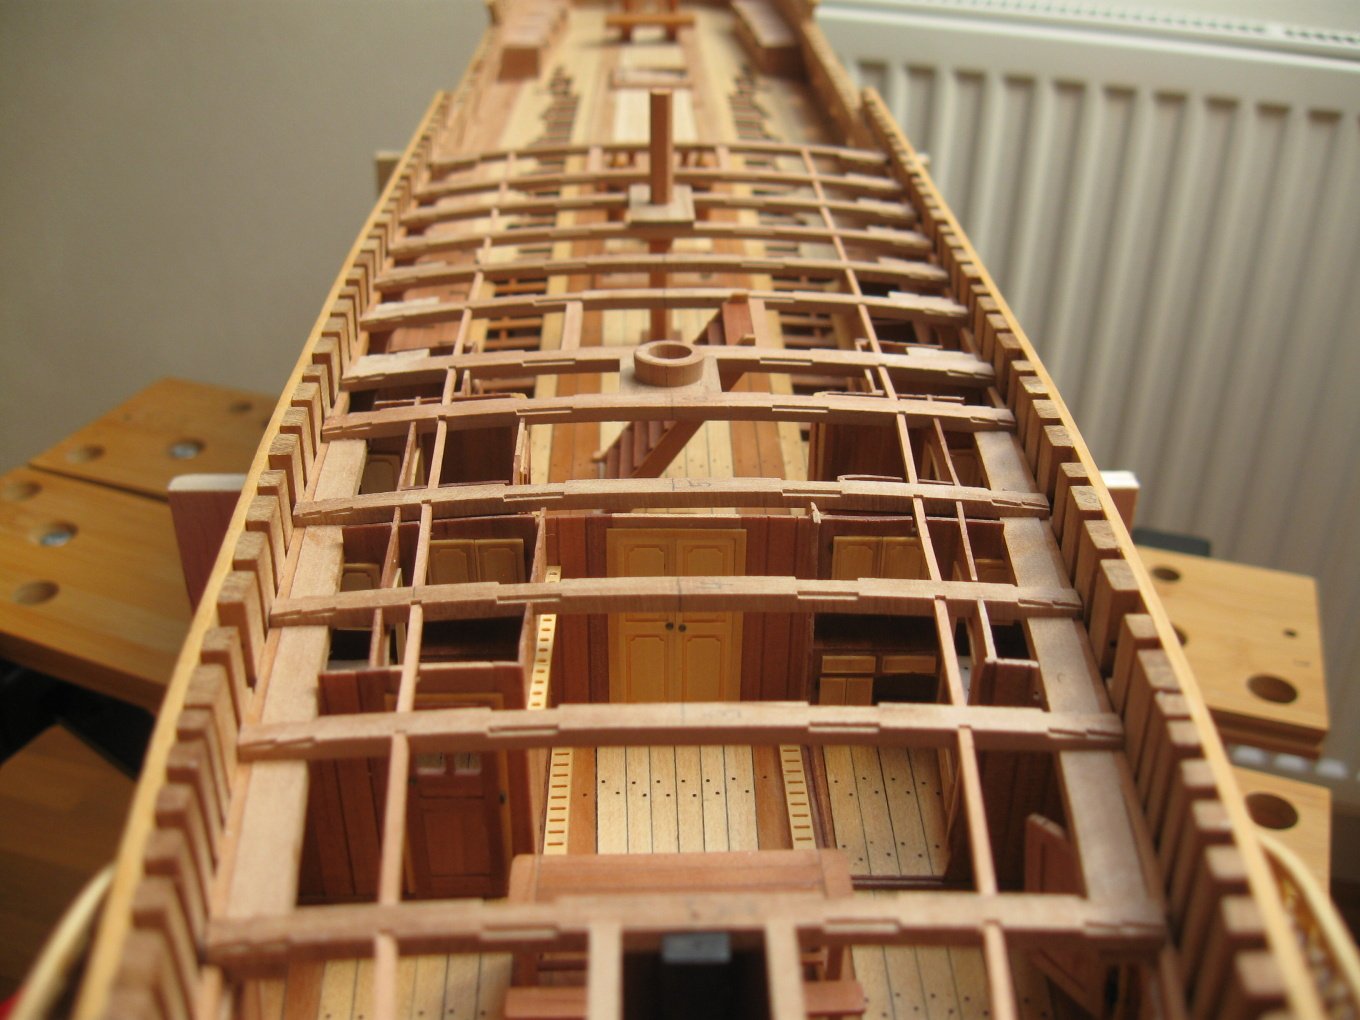
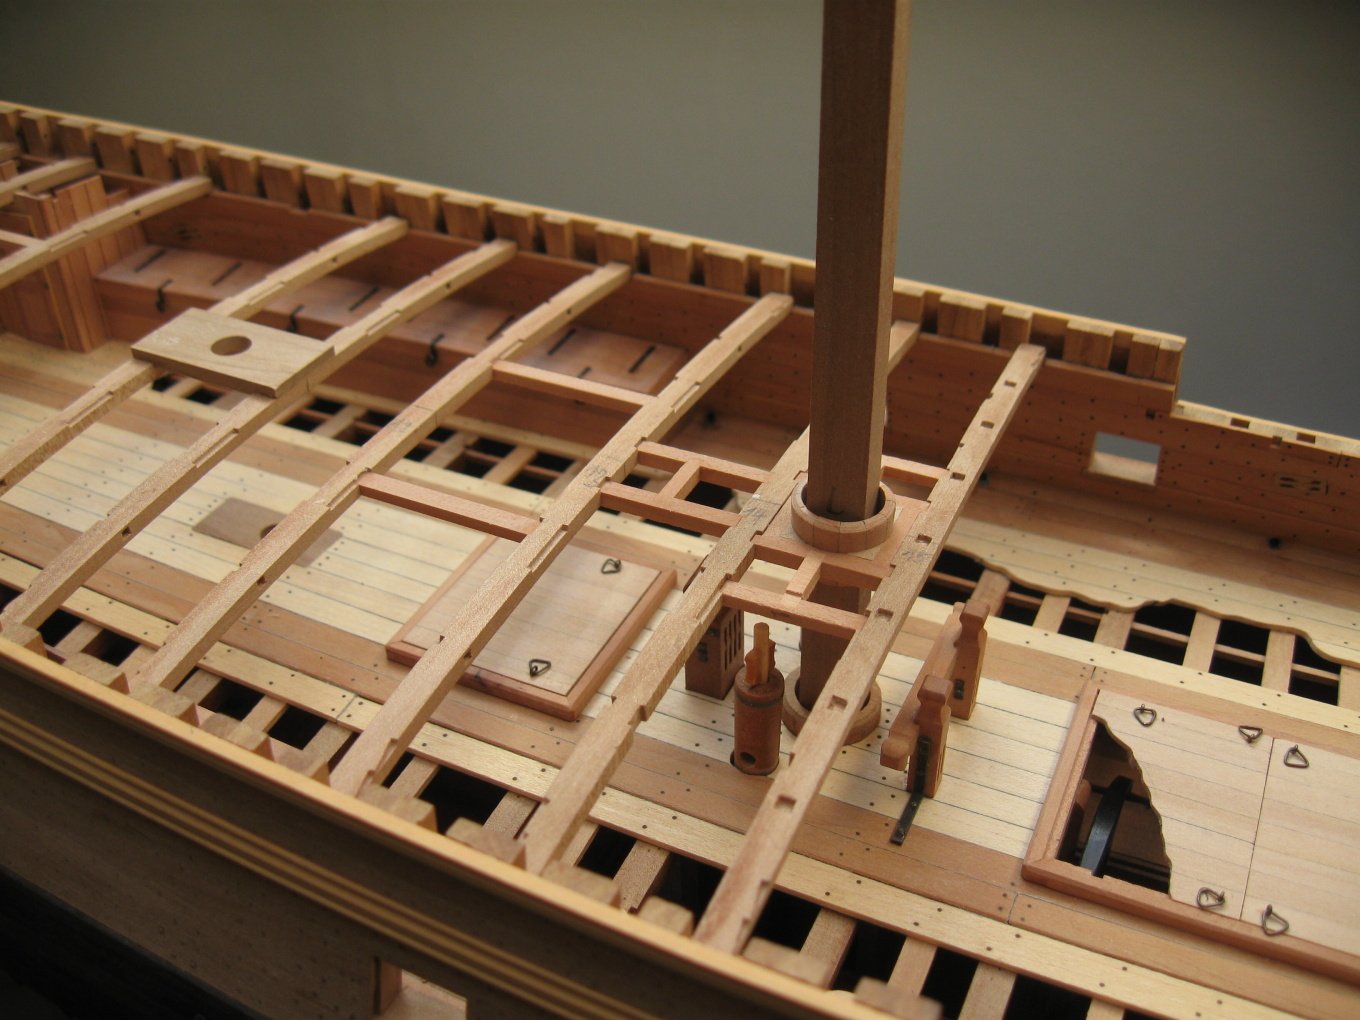
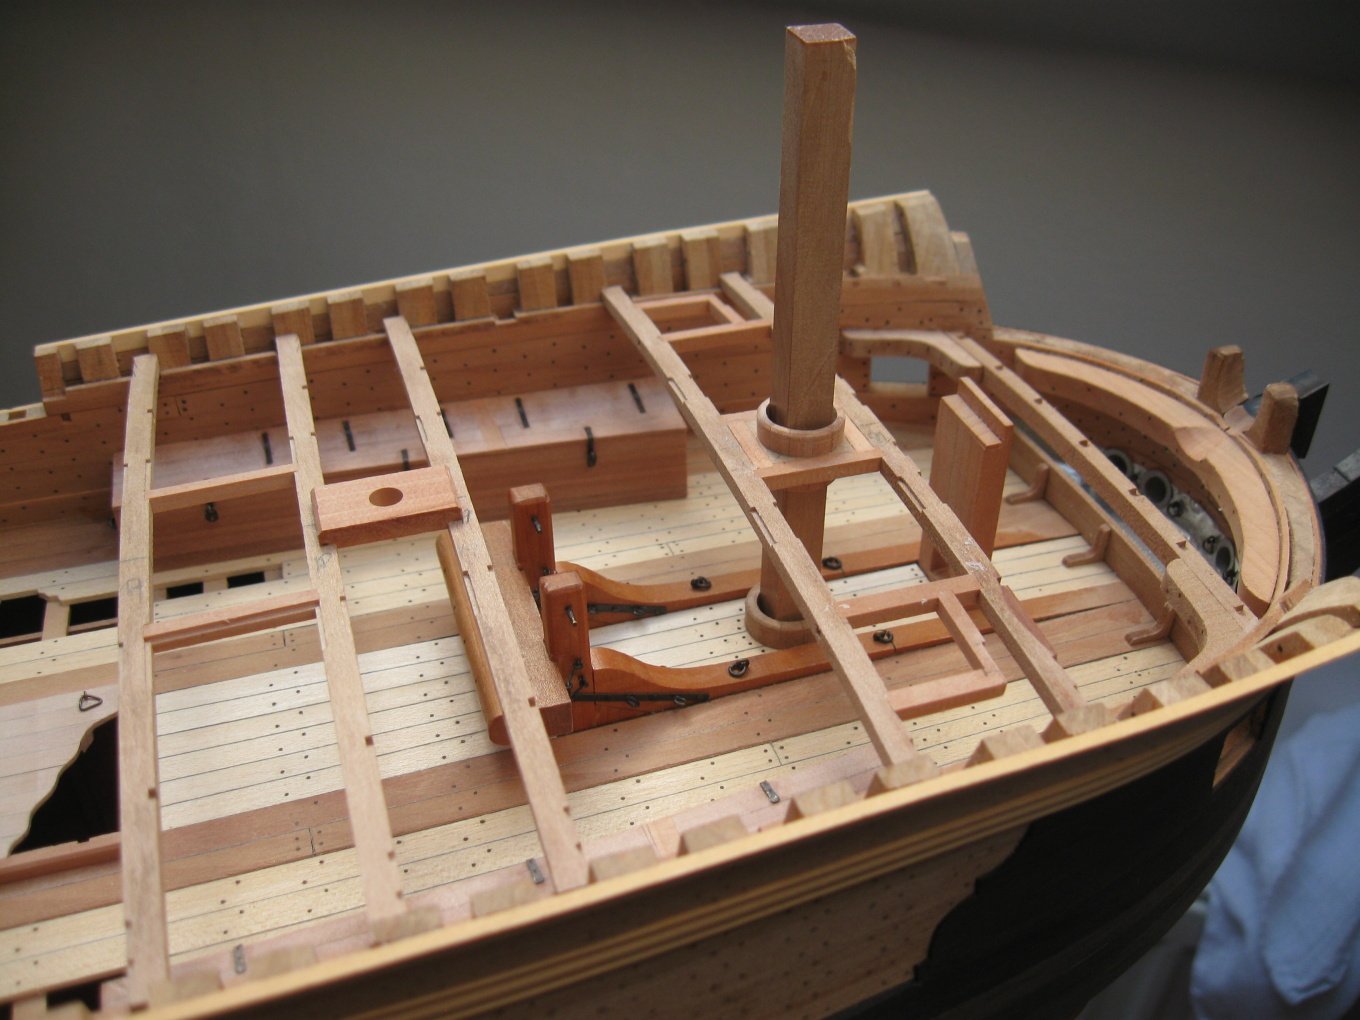
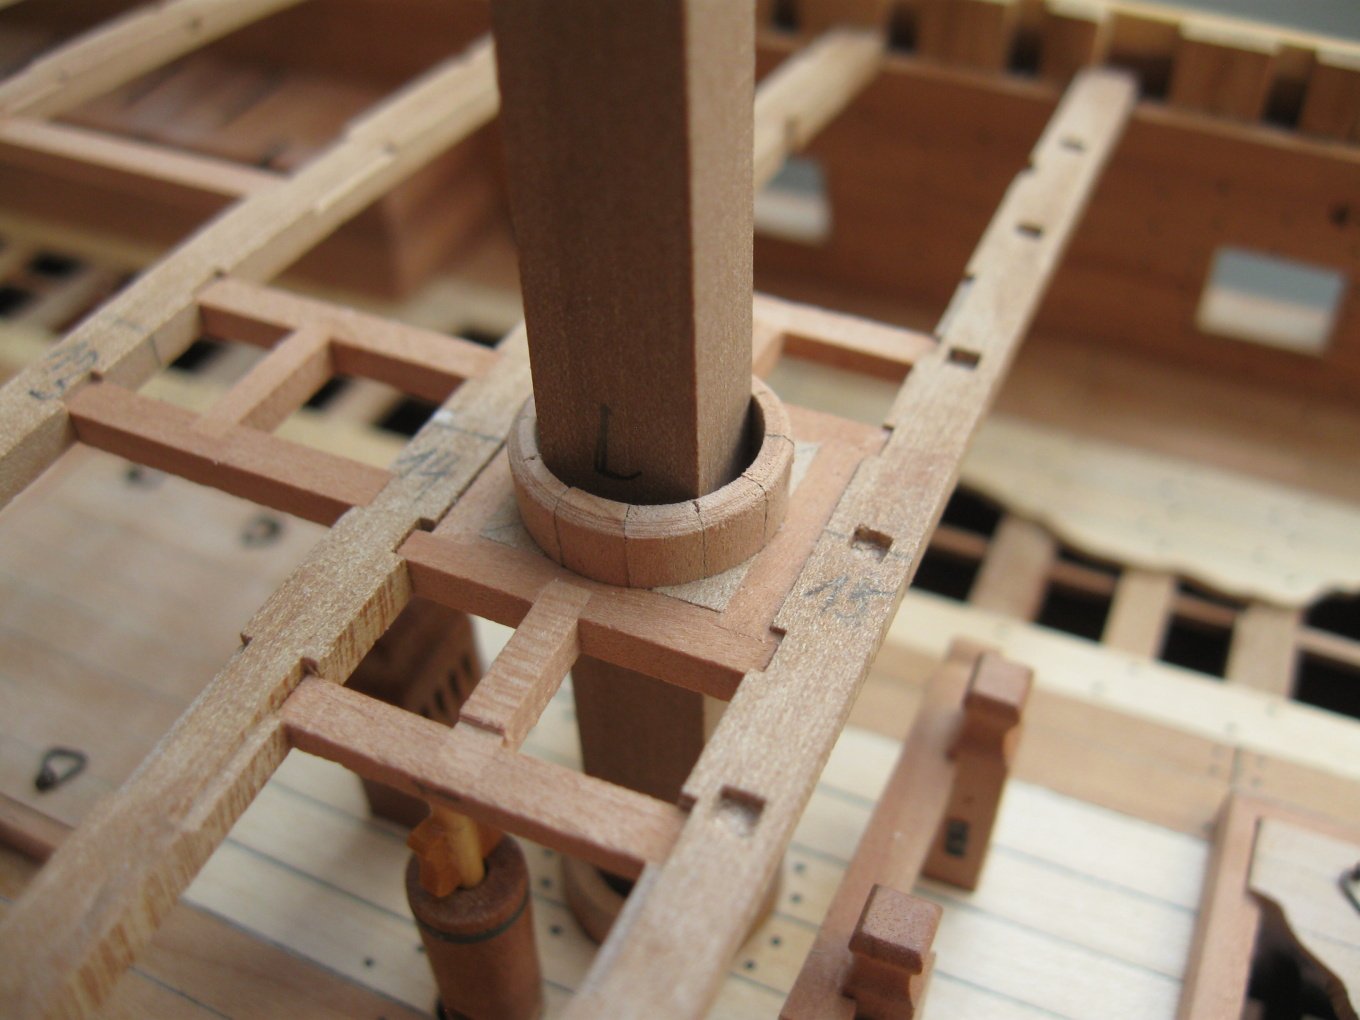
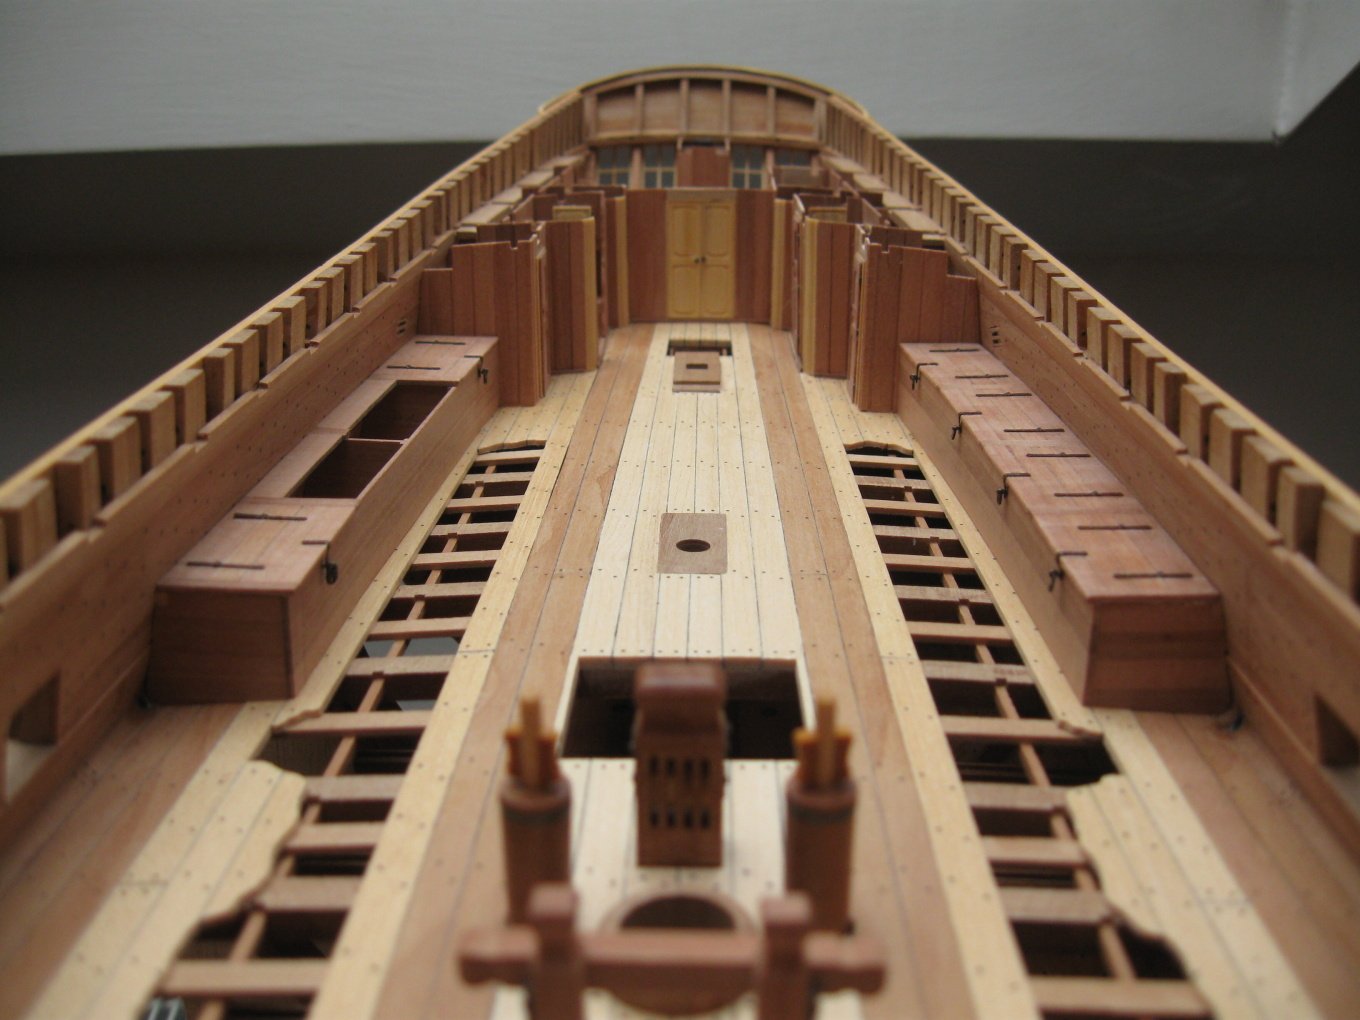
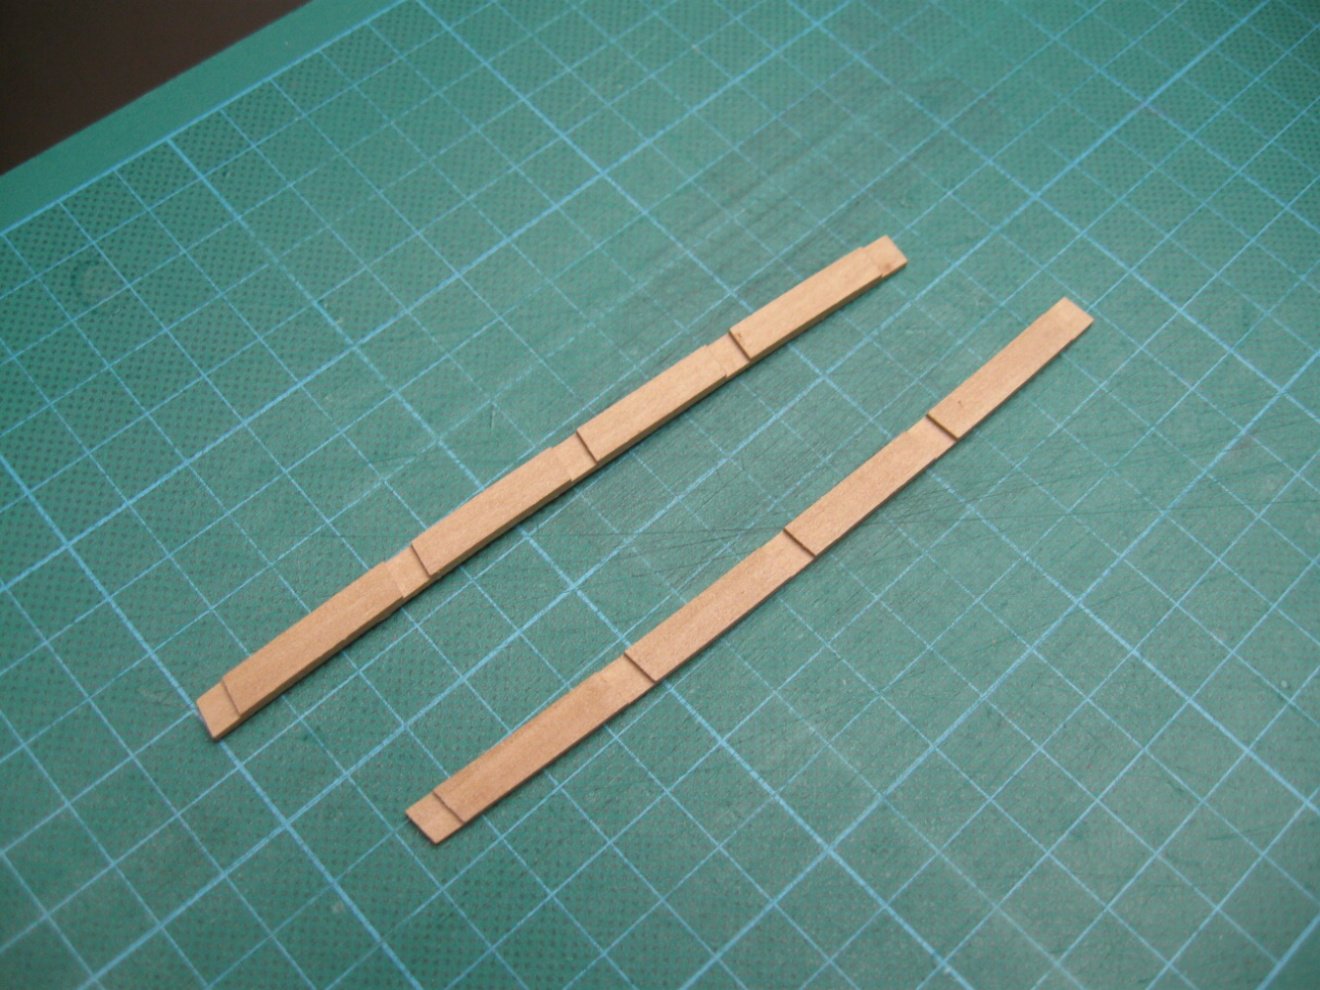
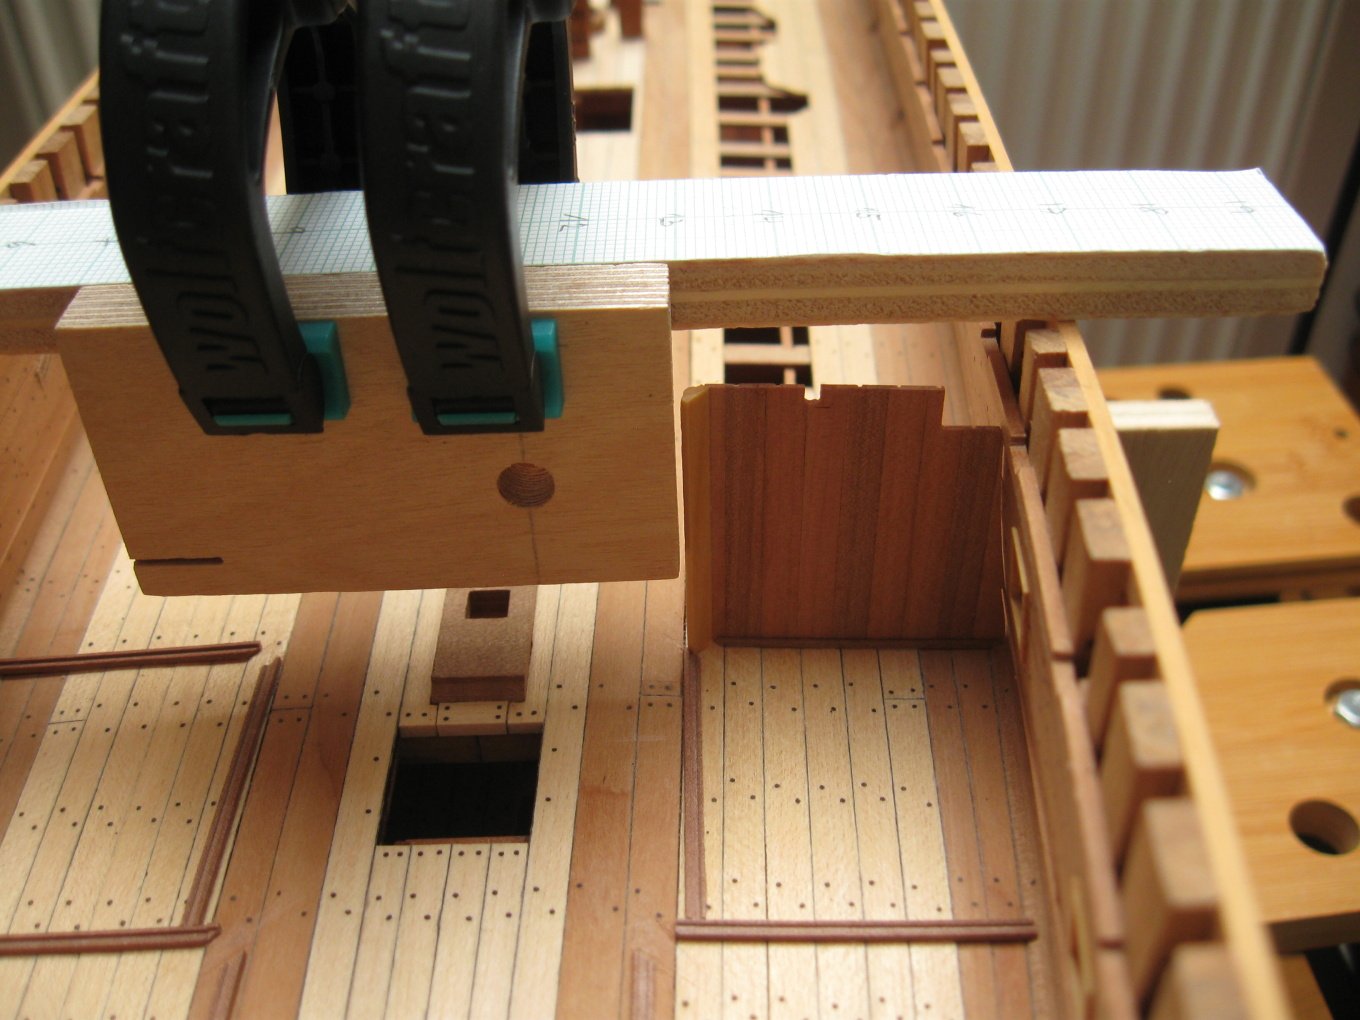
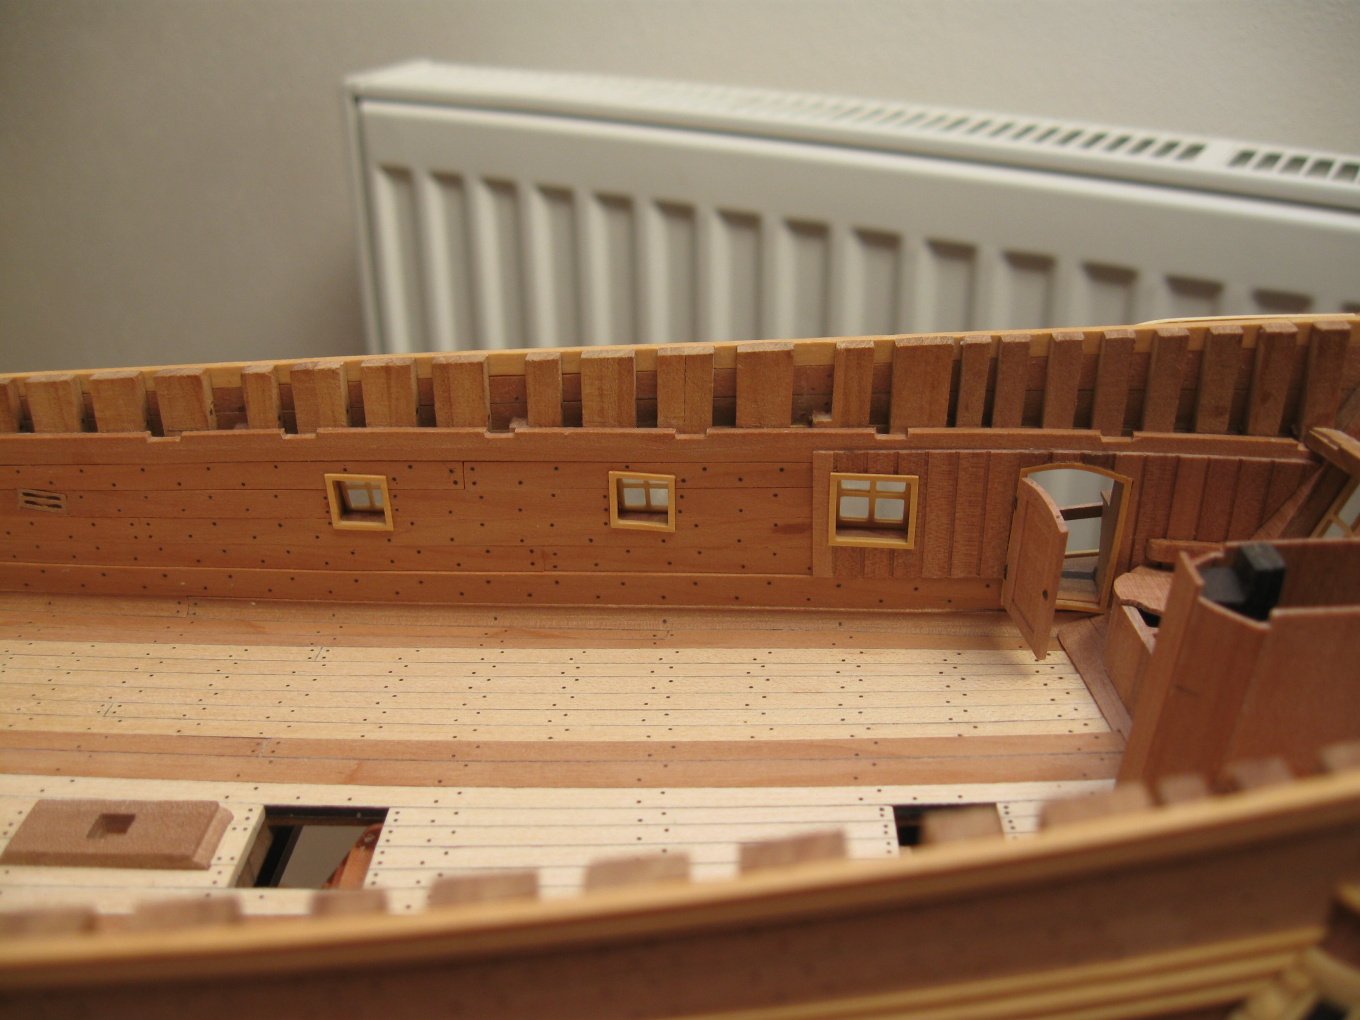
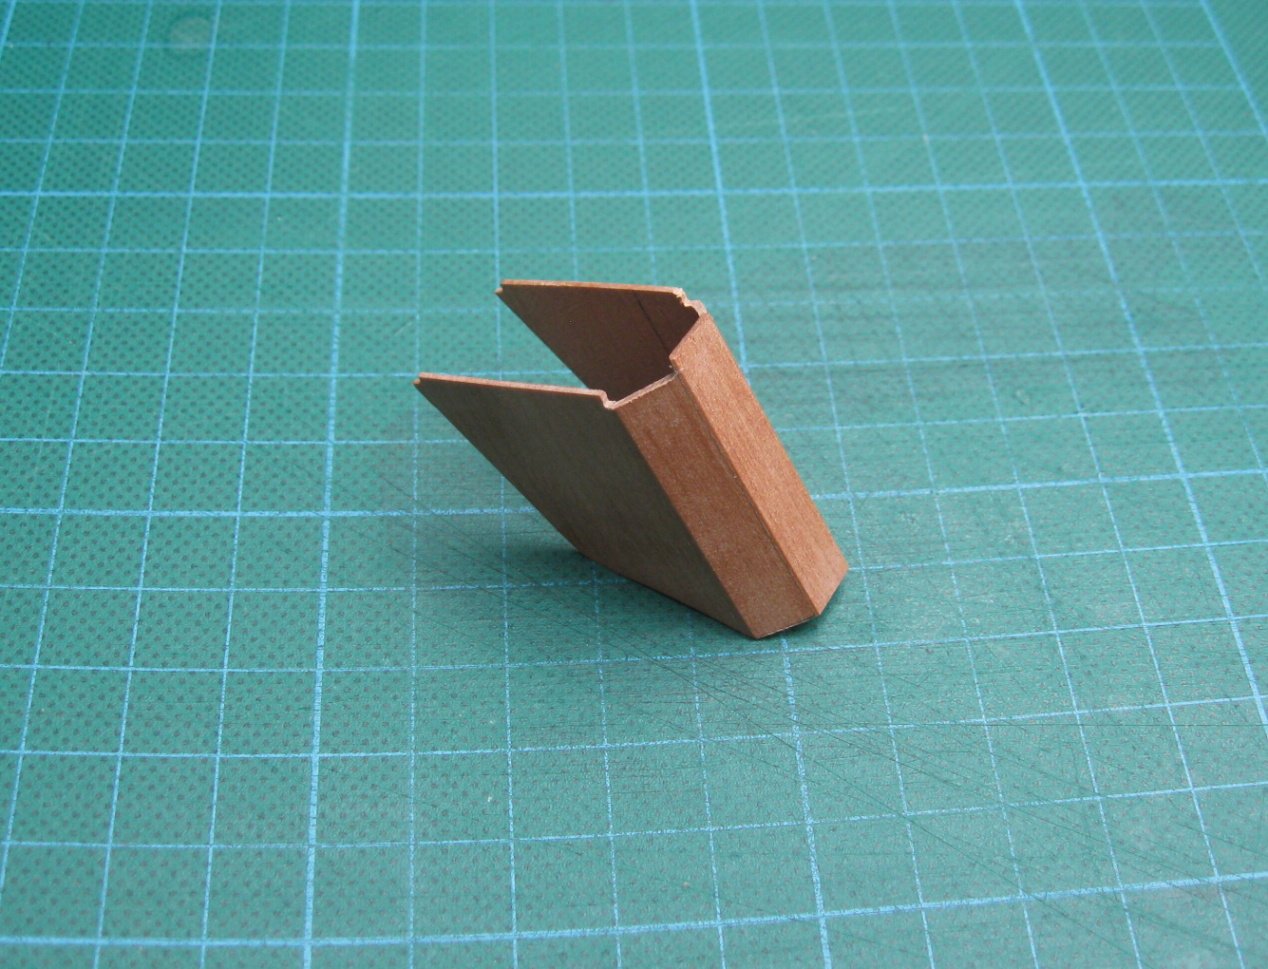
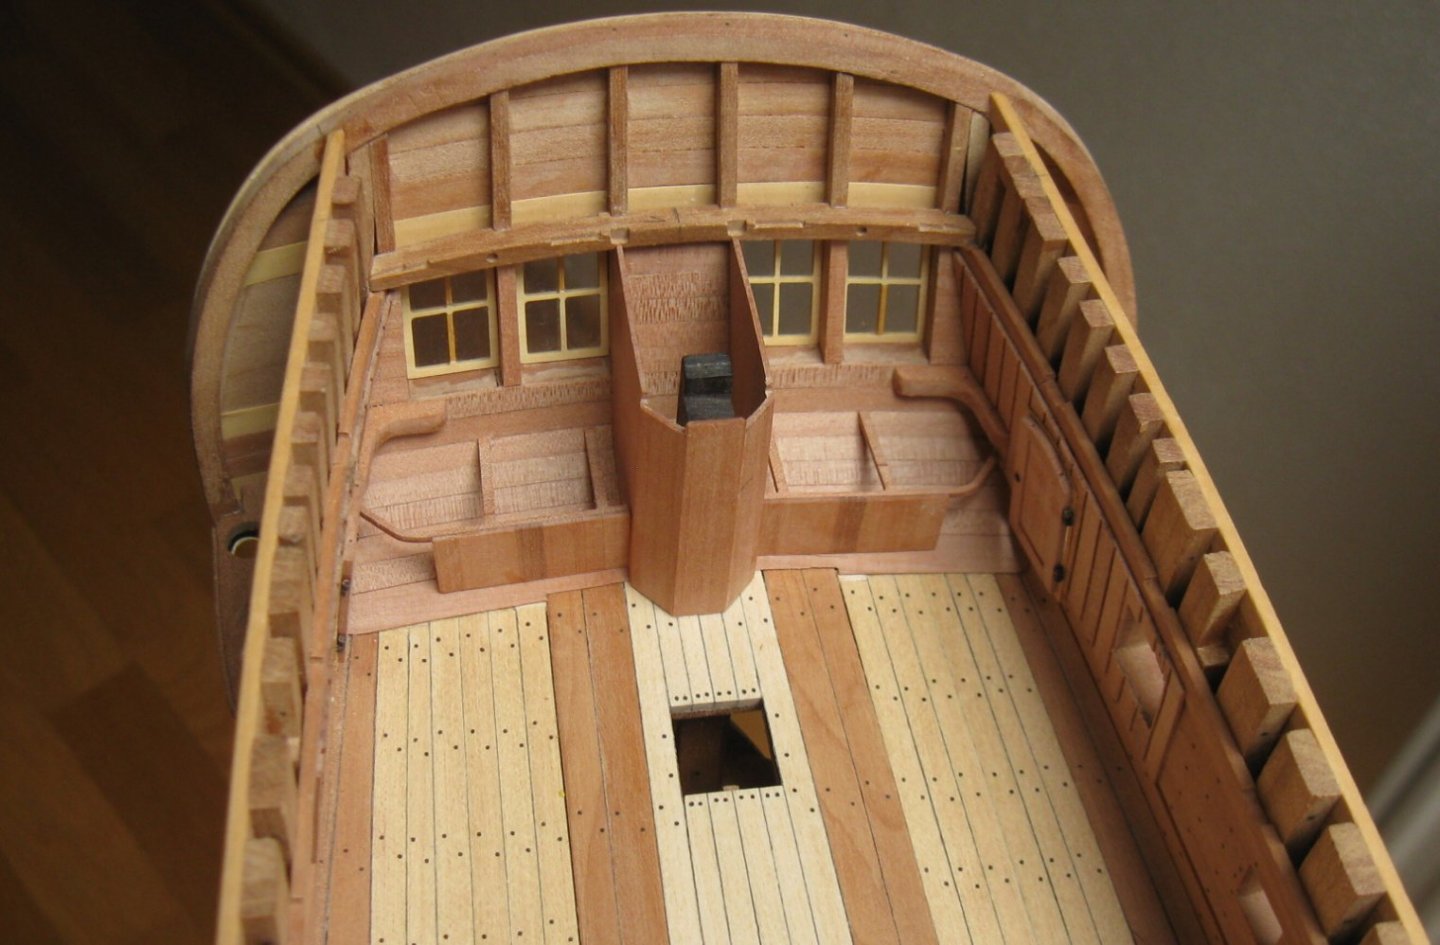
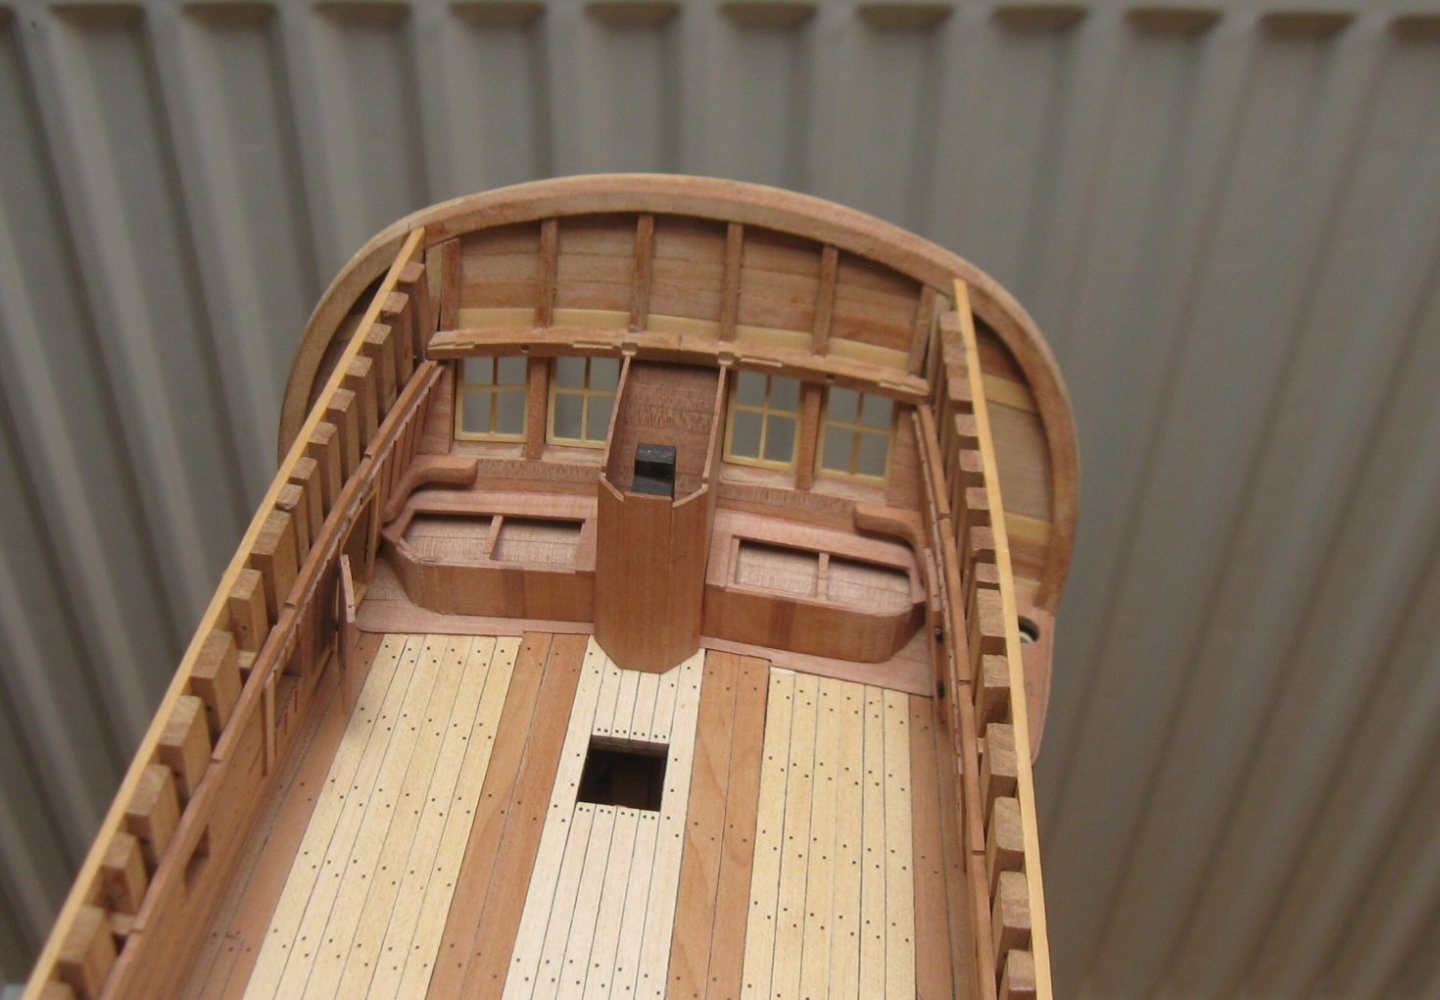
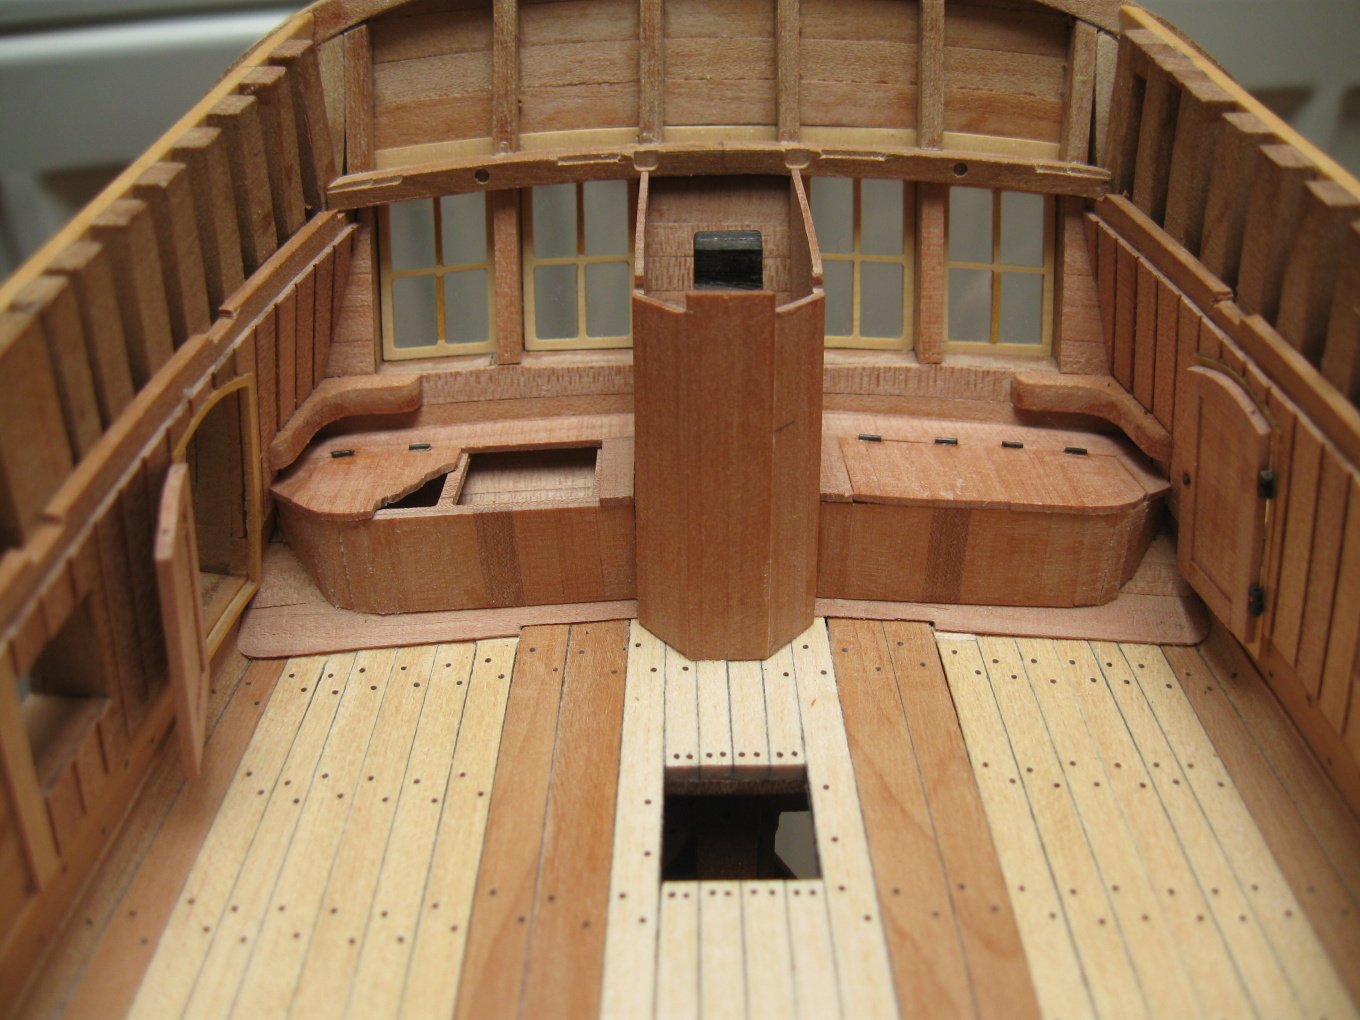
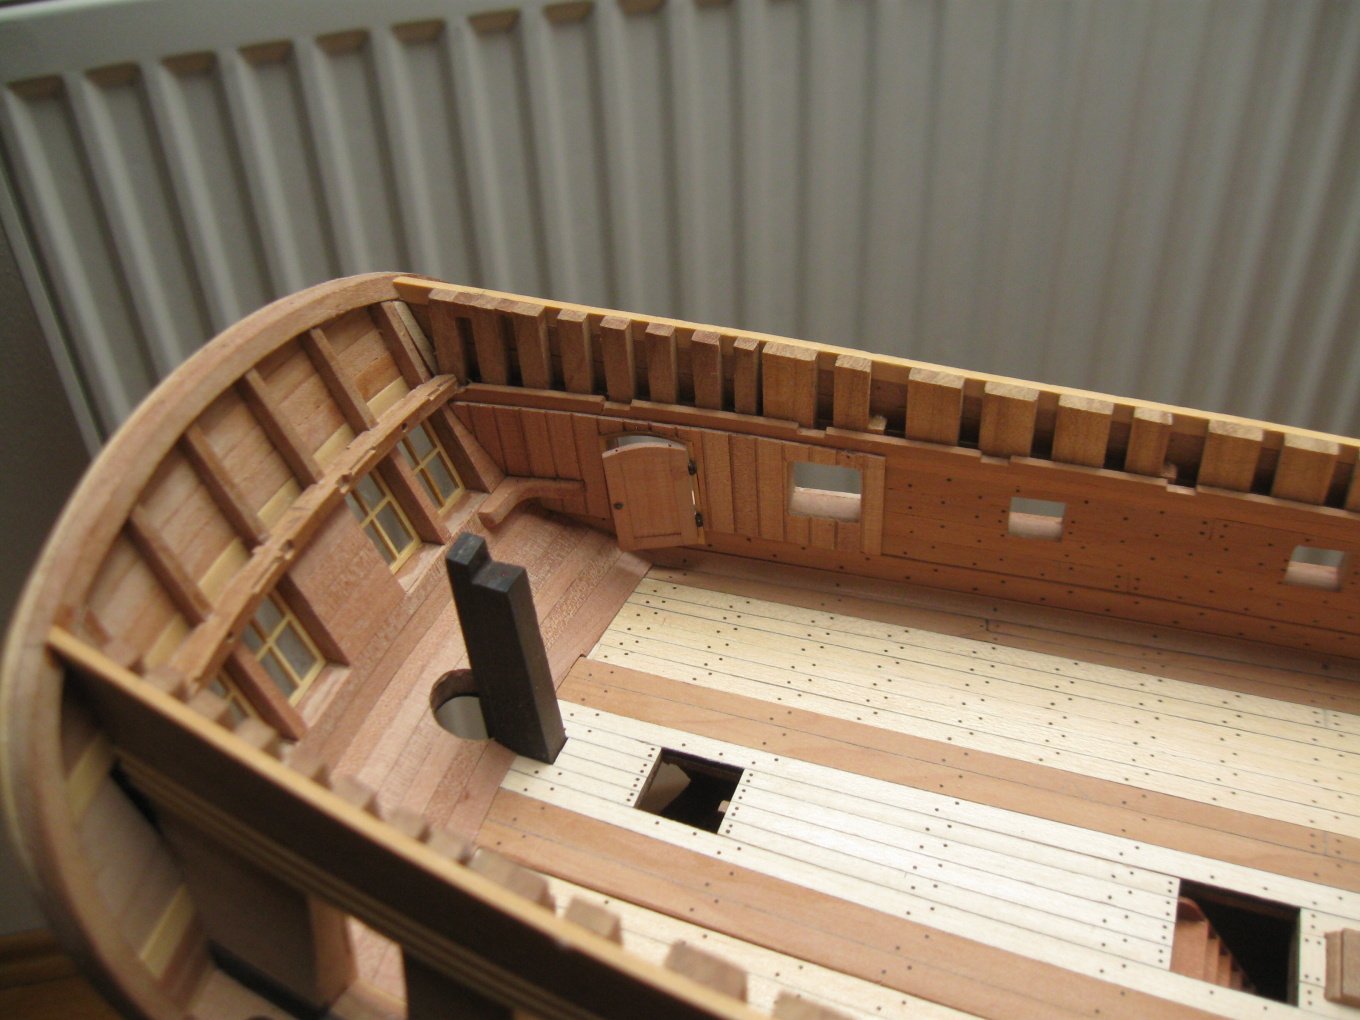
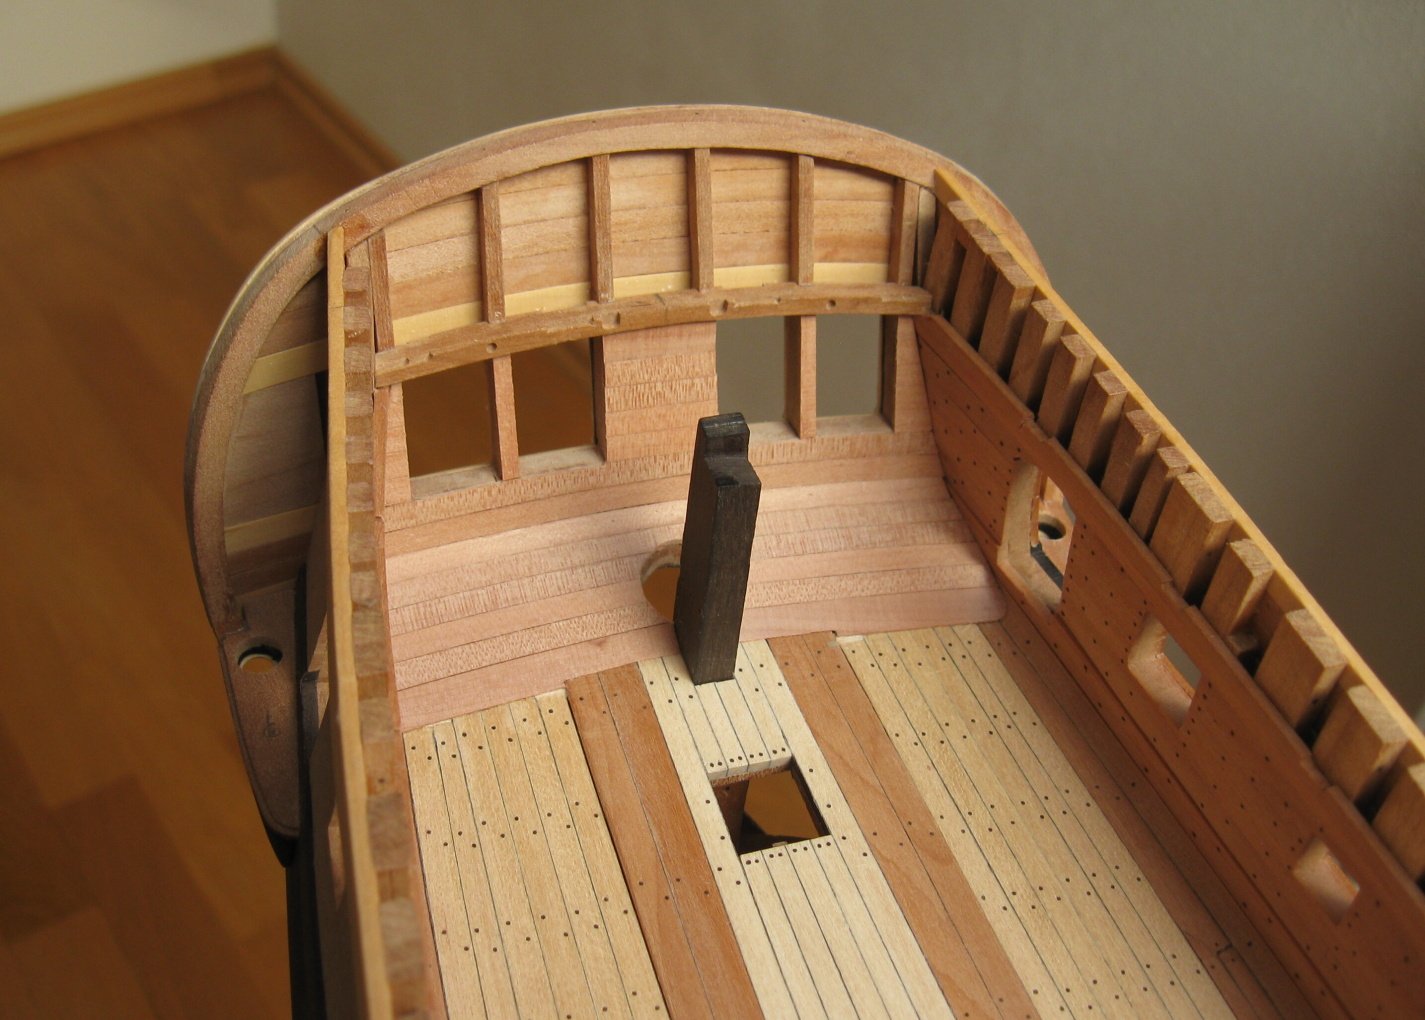
Thank you Alex M, I have to say I learned many things from you. Forecastle and quarter deck beams preparation - hatchway openings, capstan steps and mast wedges.

- 589 replies
-
- 35
-
-
-
- le gros ventre
- cargo
- (and 1 more)
-
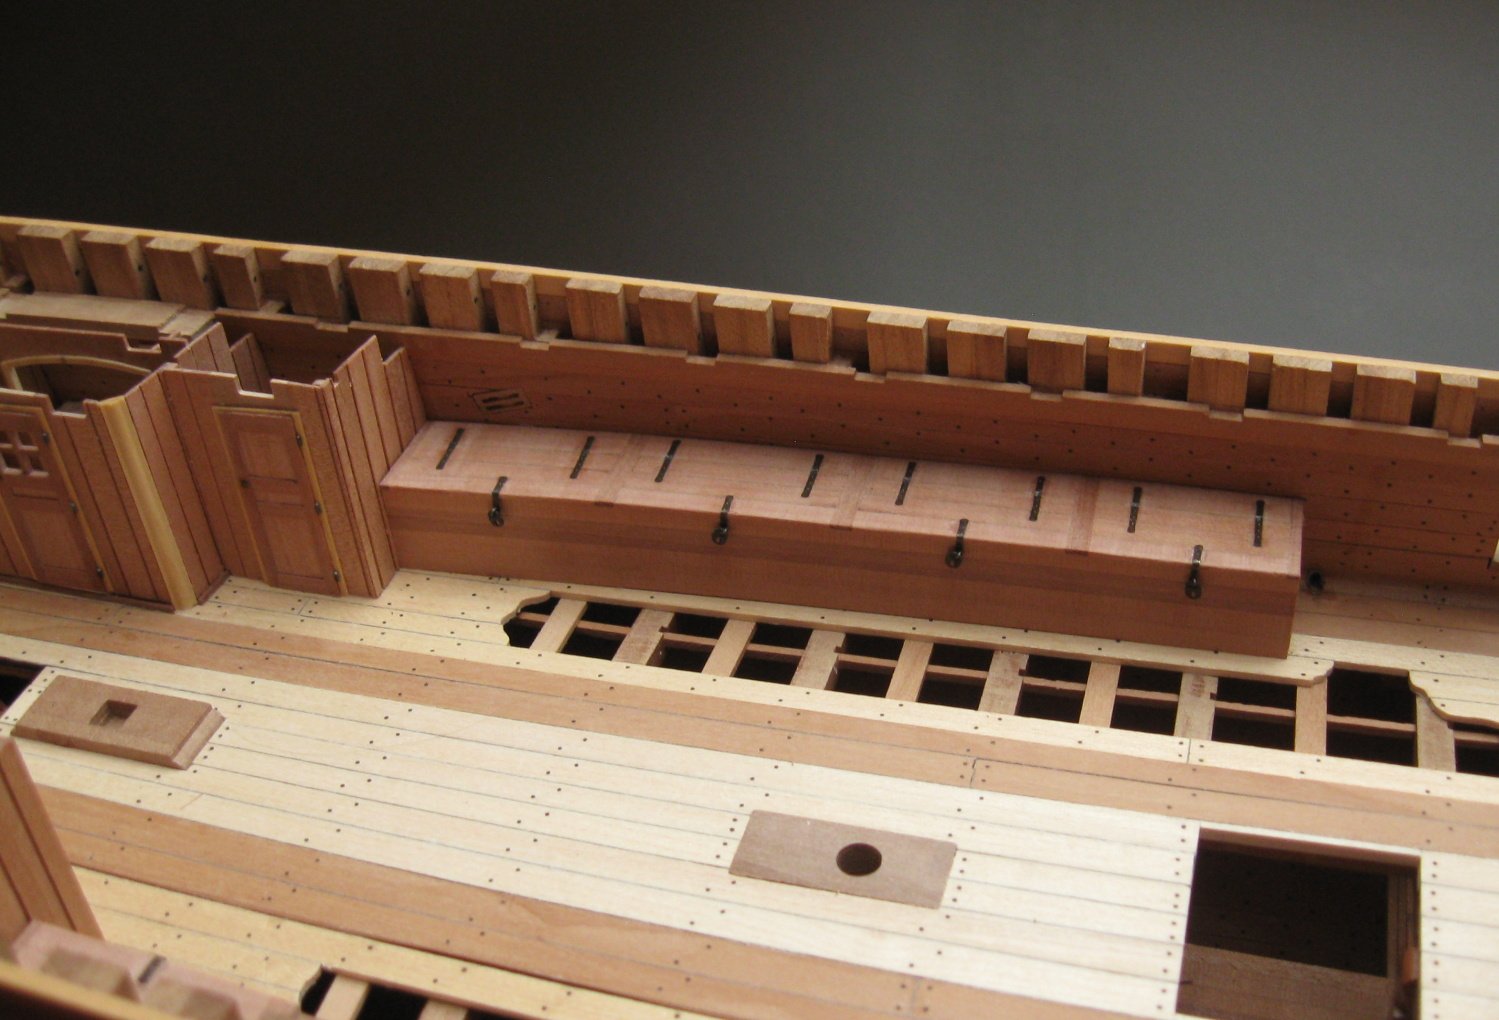
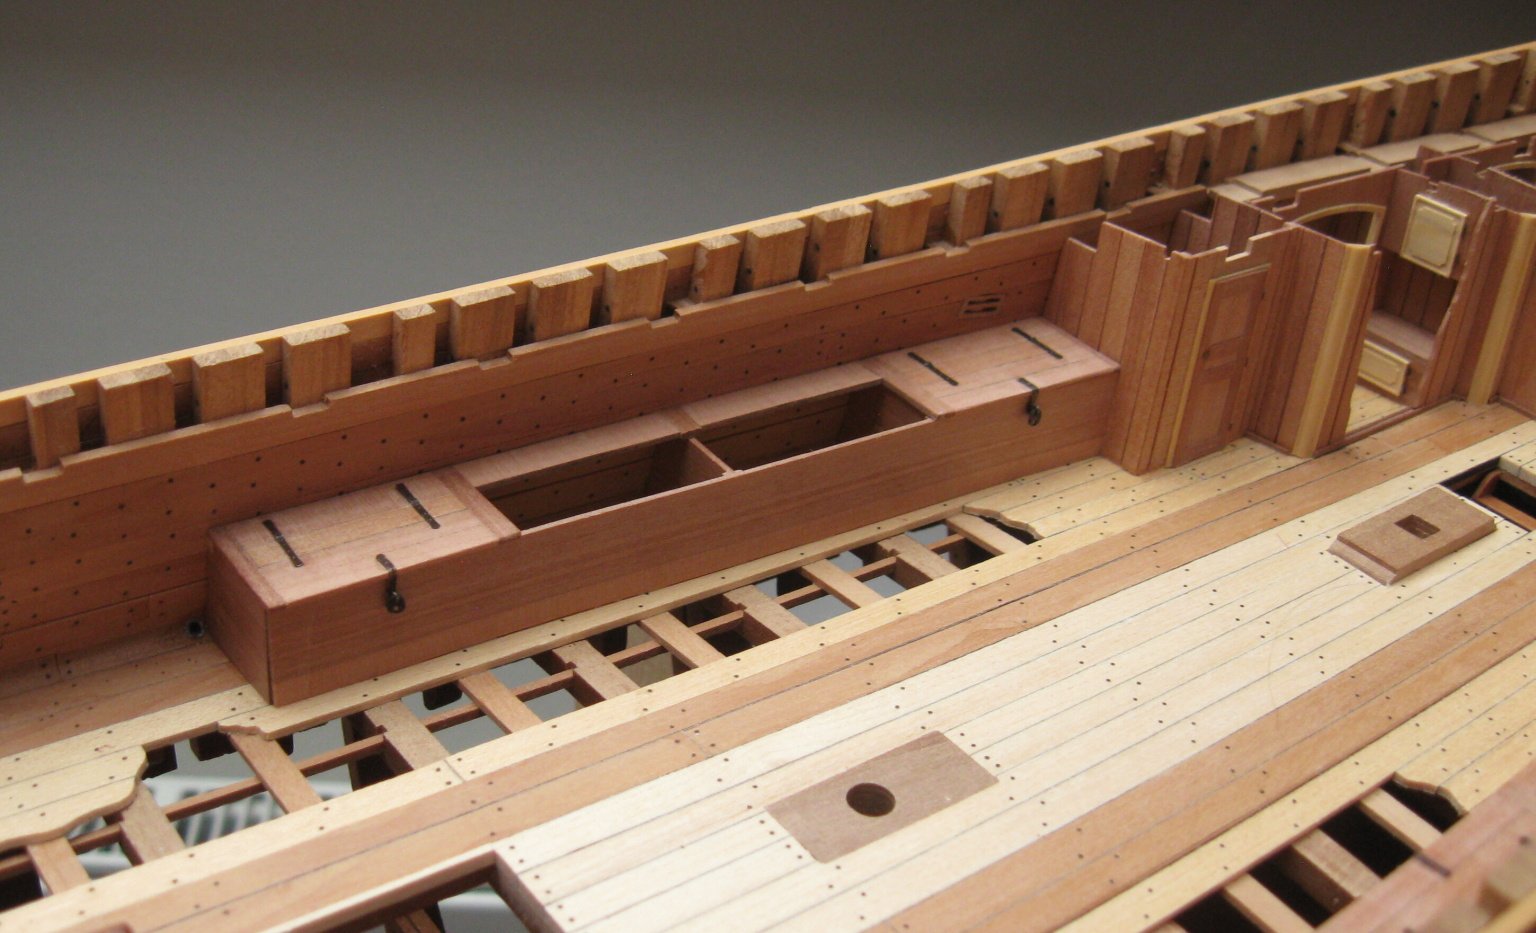
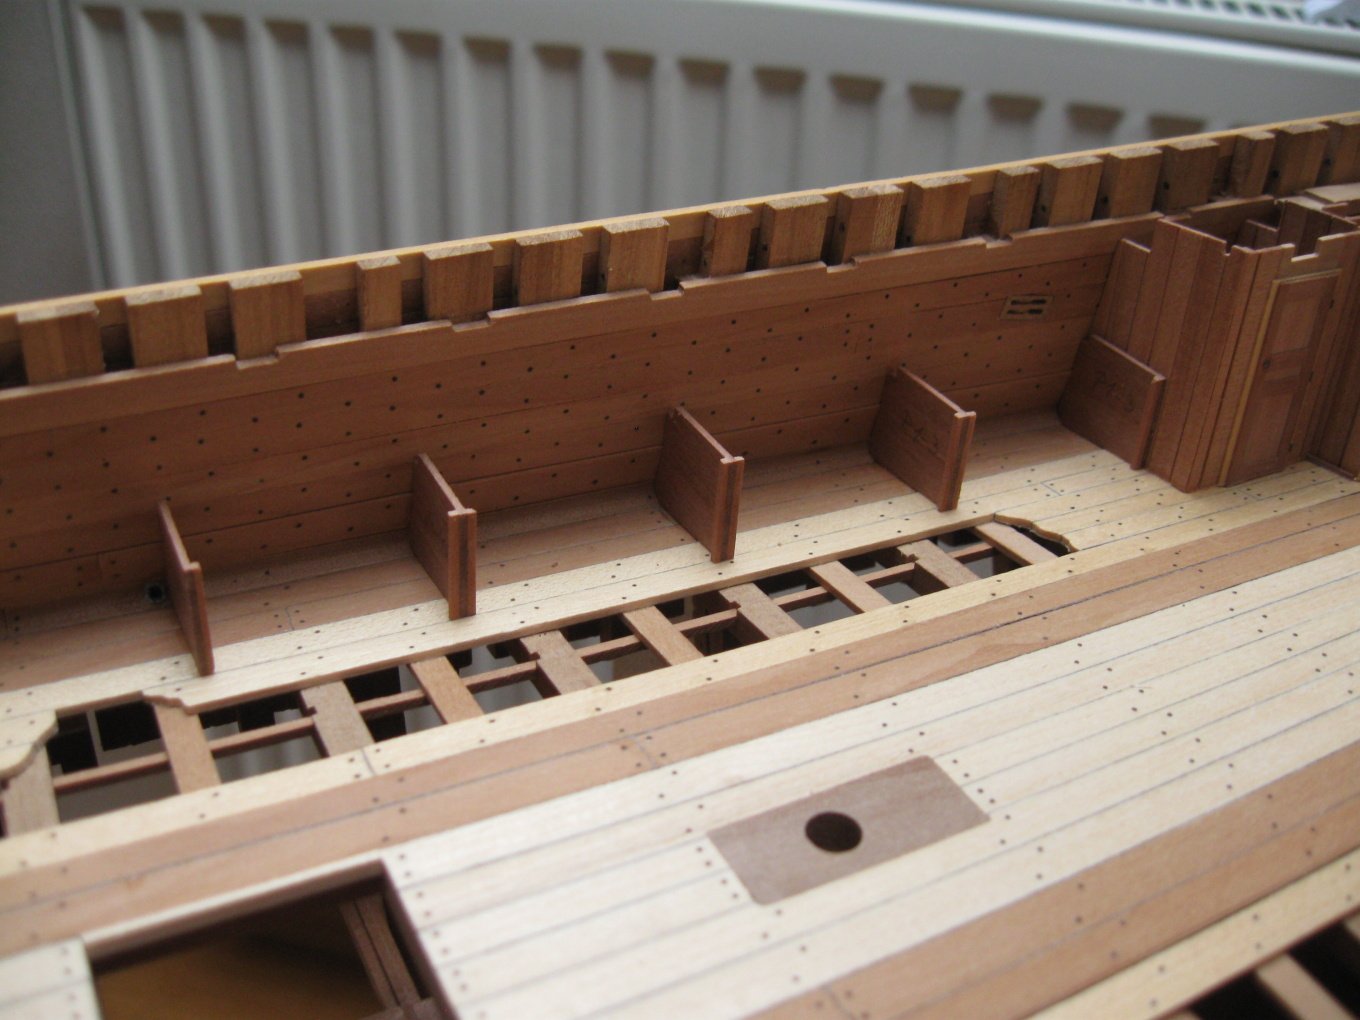
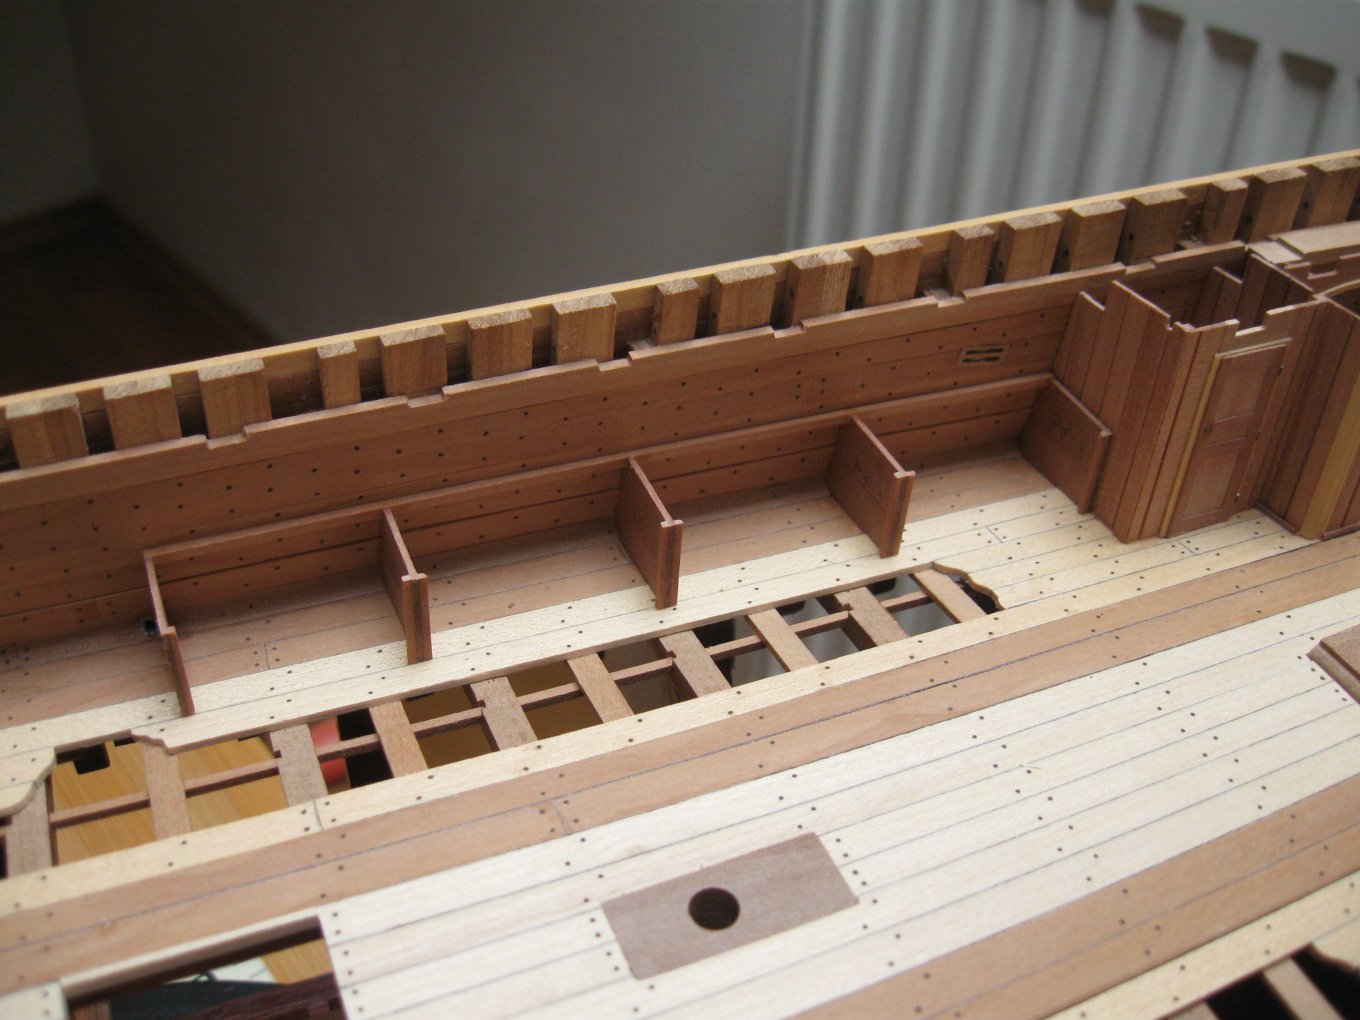
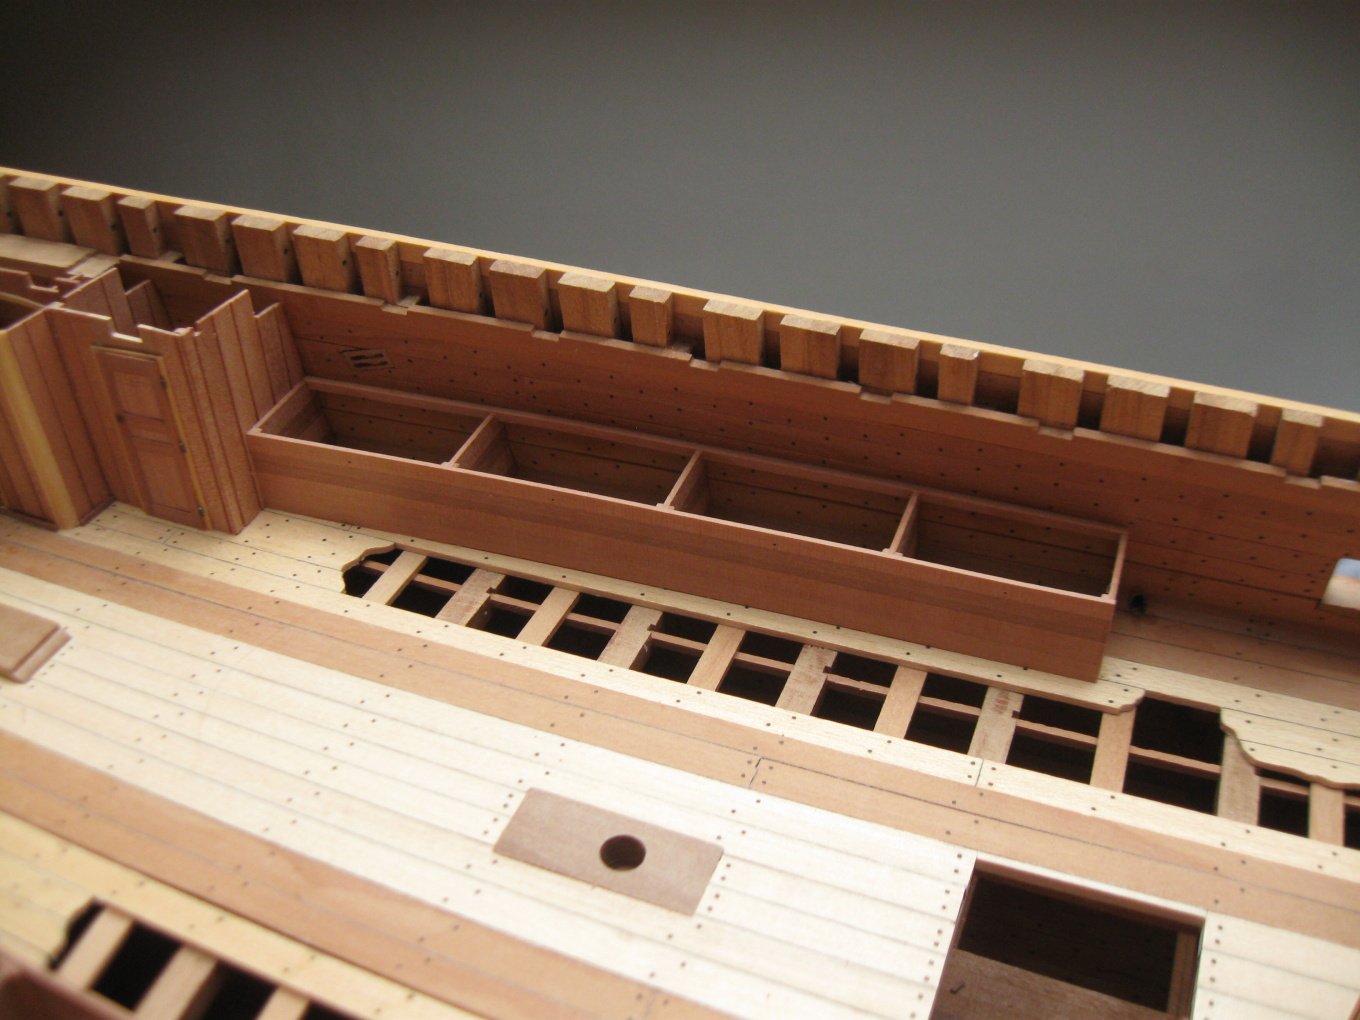
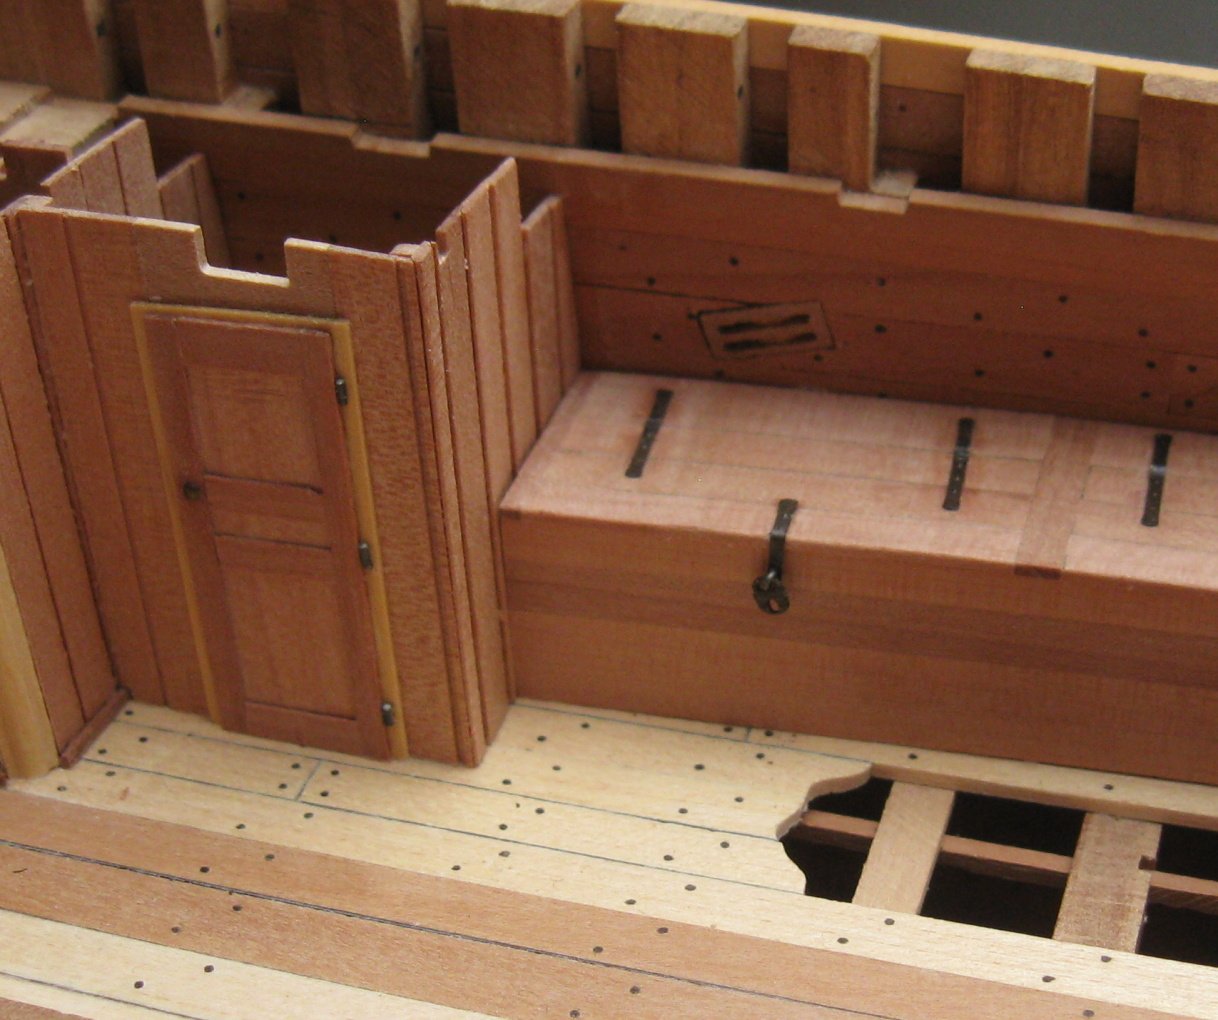
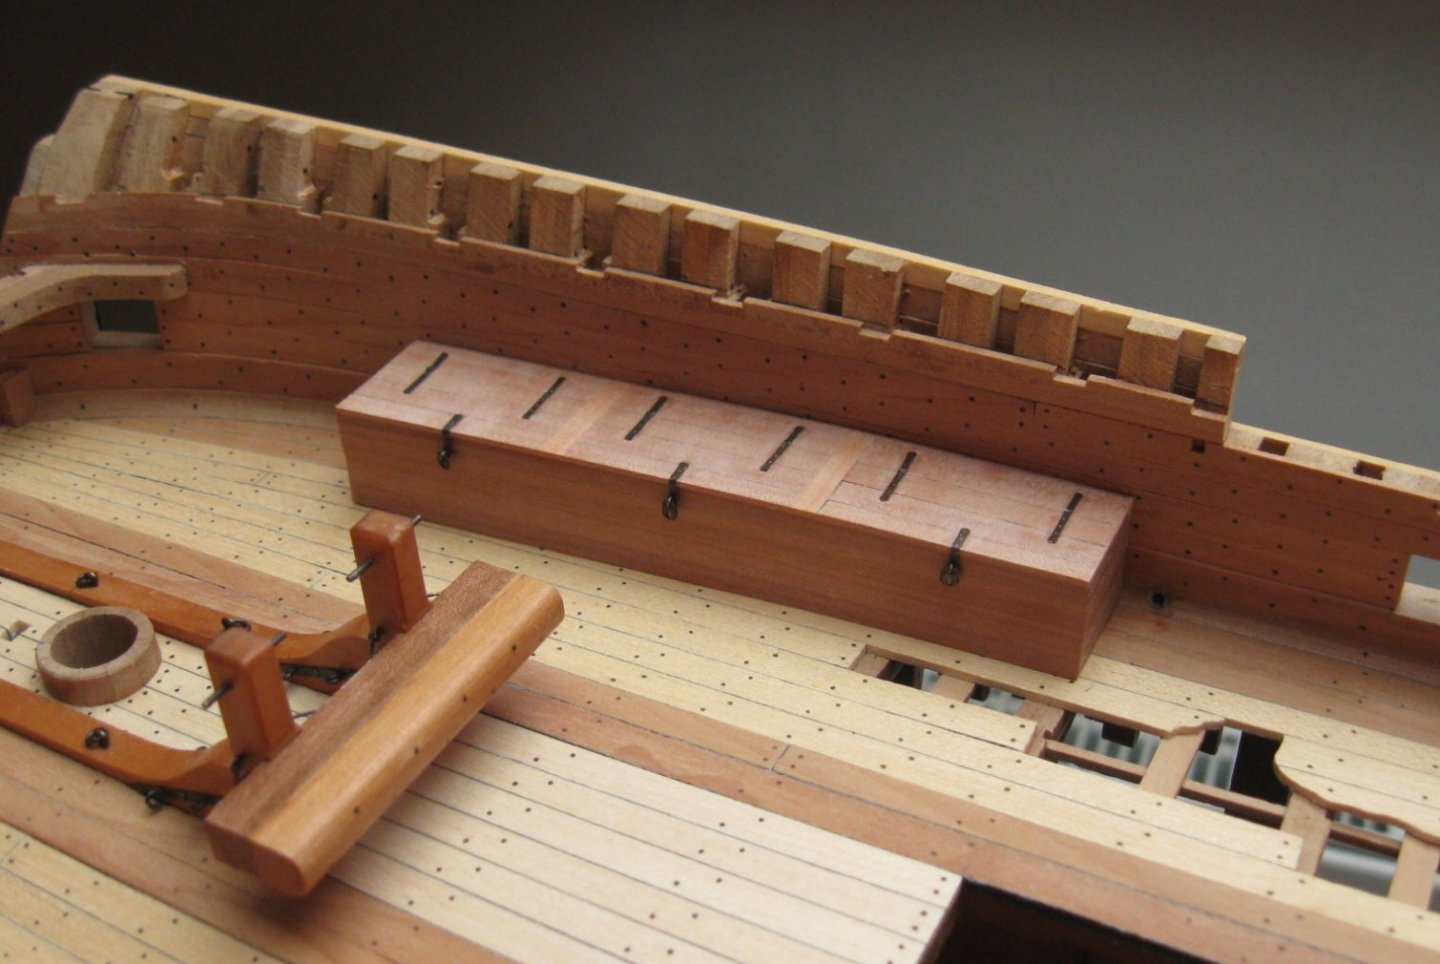
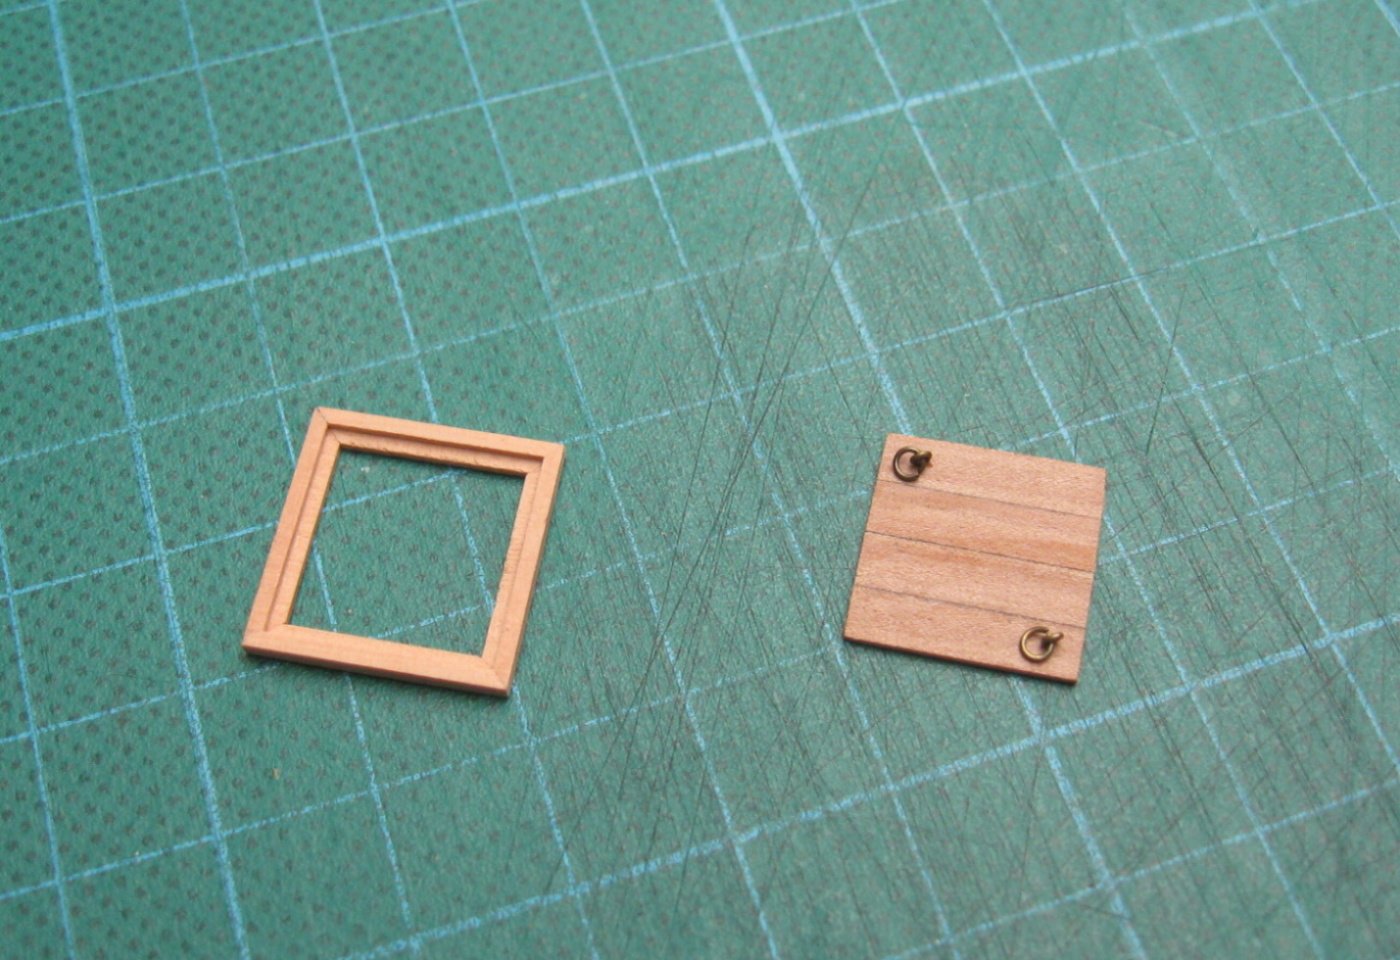
Thank you guys for all likes and nice comments. The next task on the gundeck were trunks (or chests?).


- 589 replies
-
- 37
-
-
-
- le gros ventre
- cargo
- (and 1 more)
-
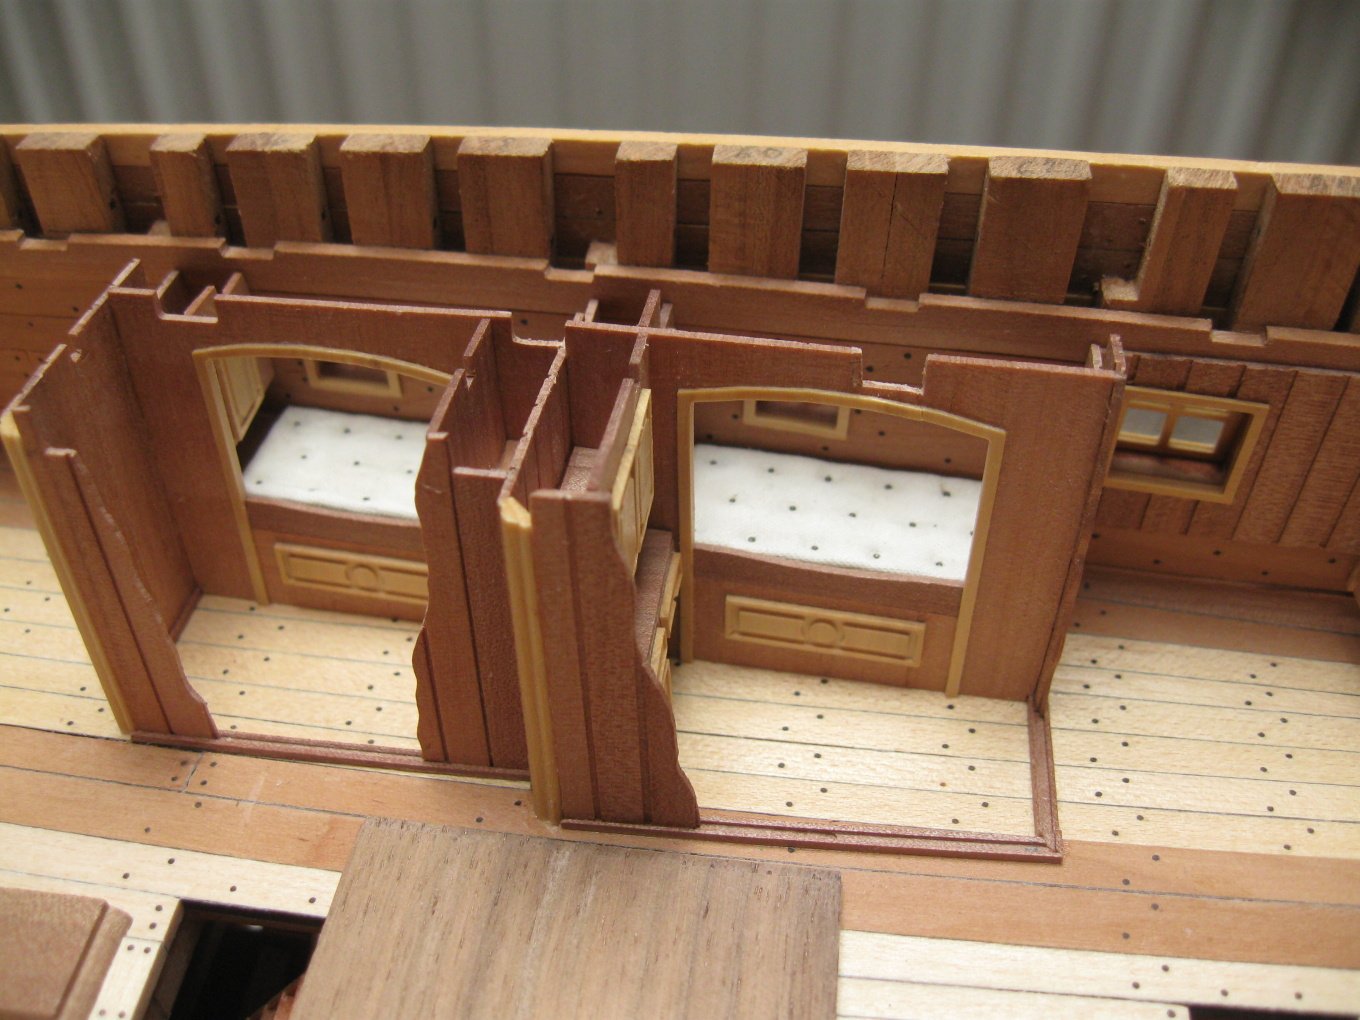
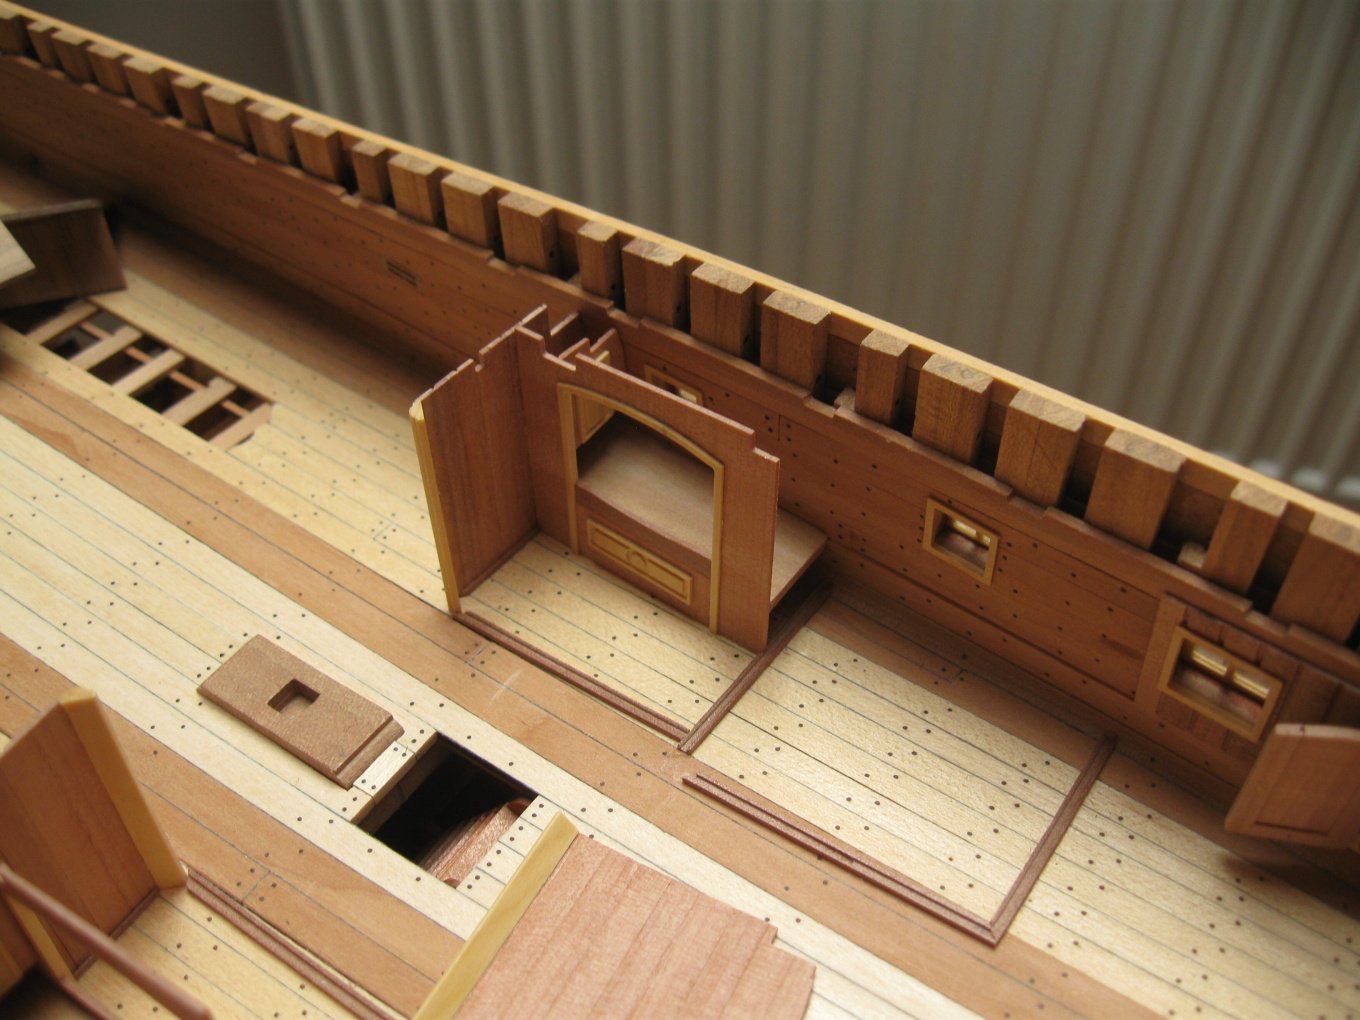
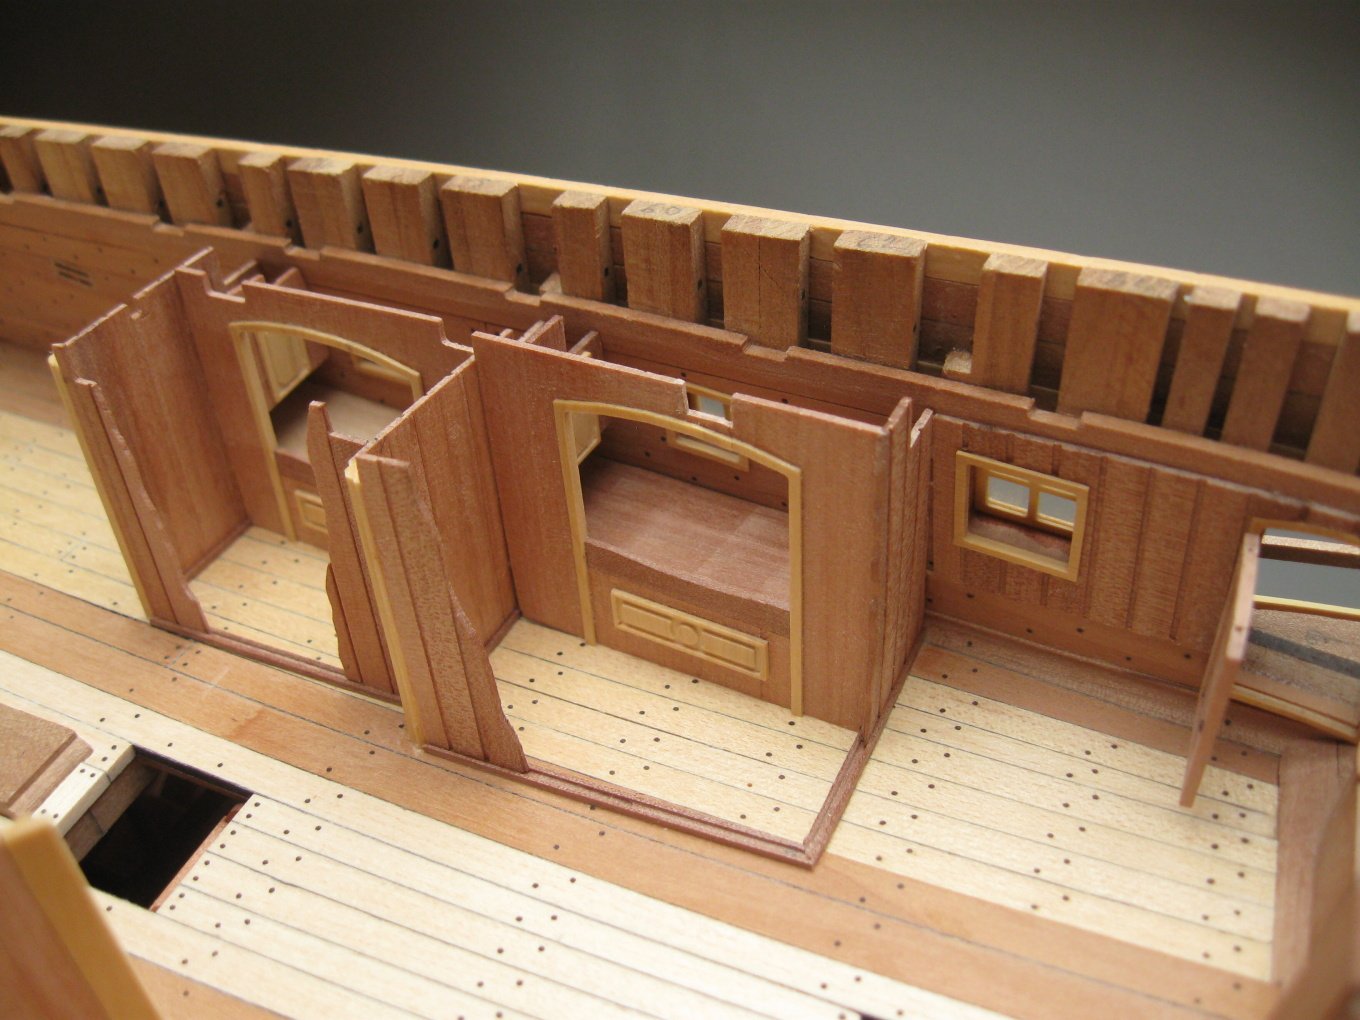
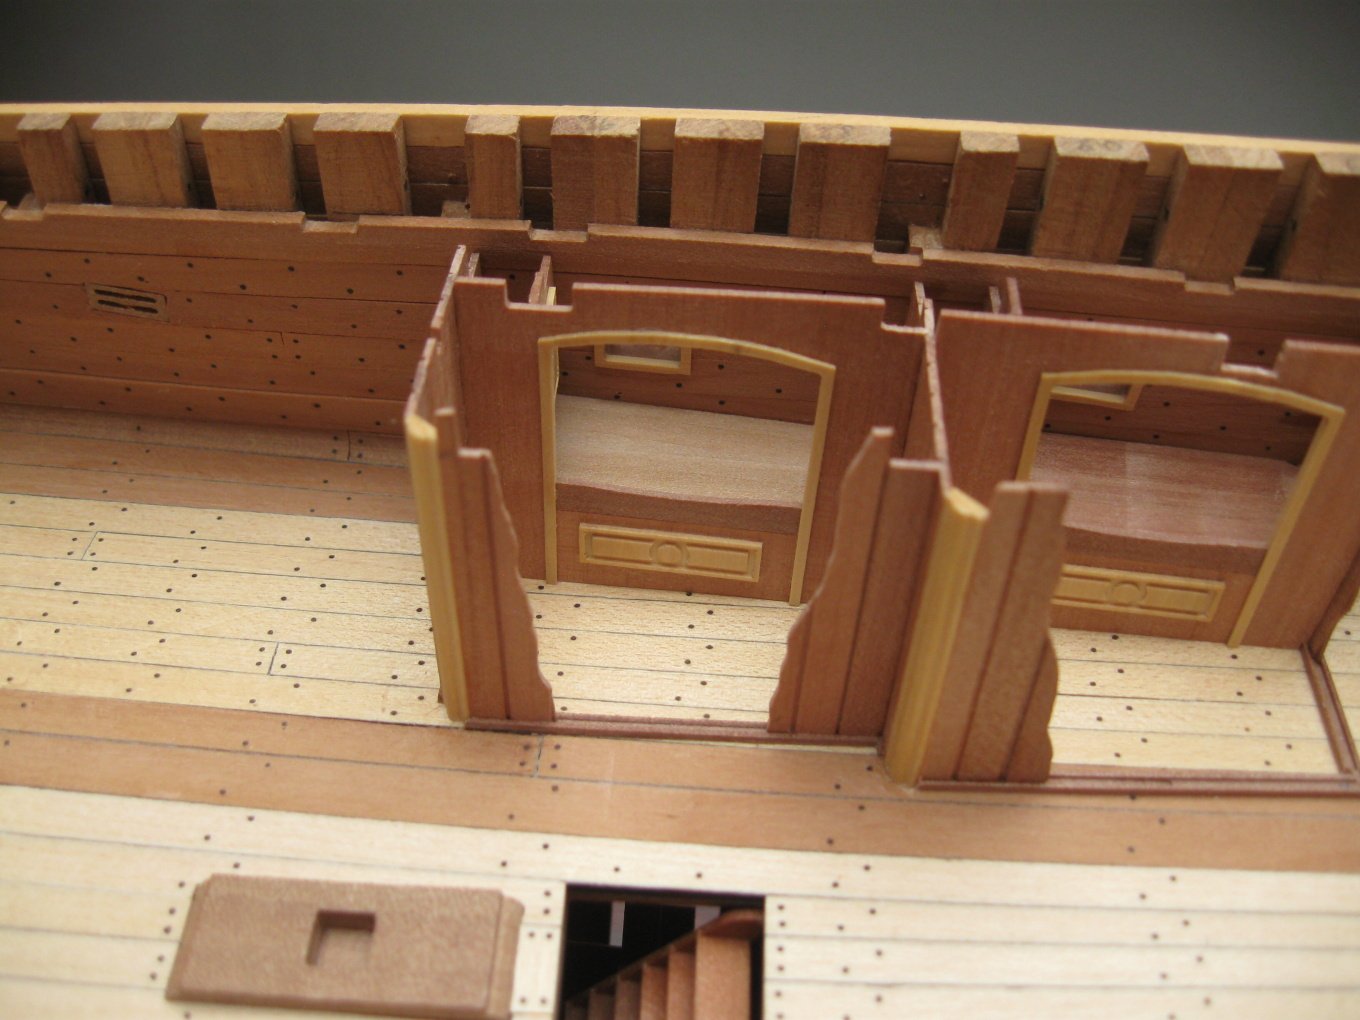
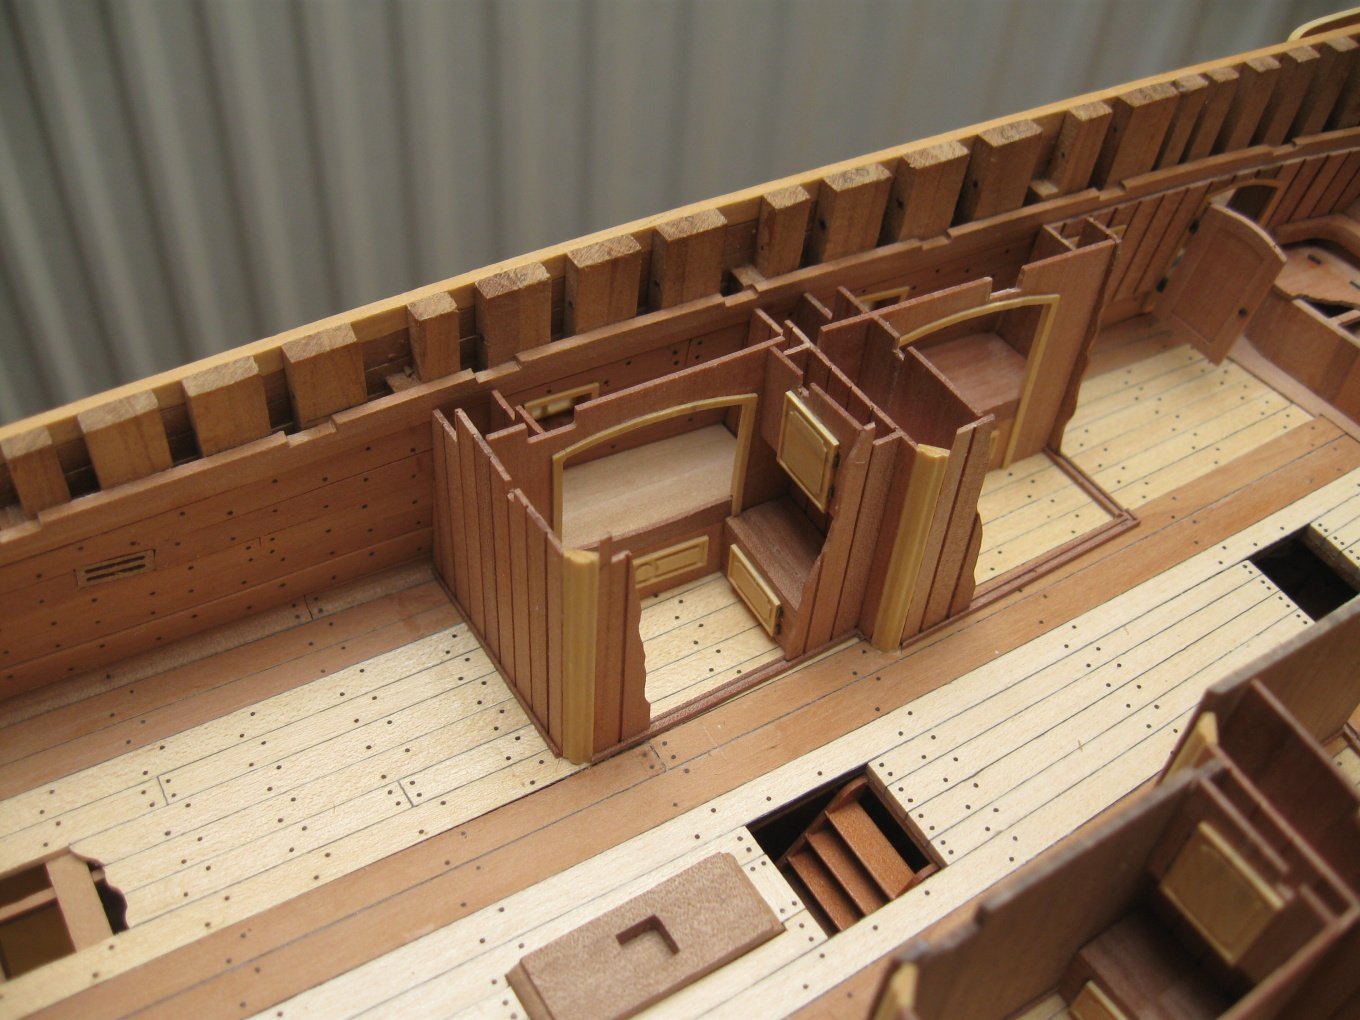
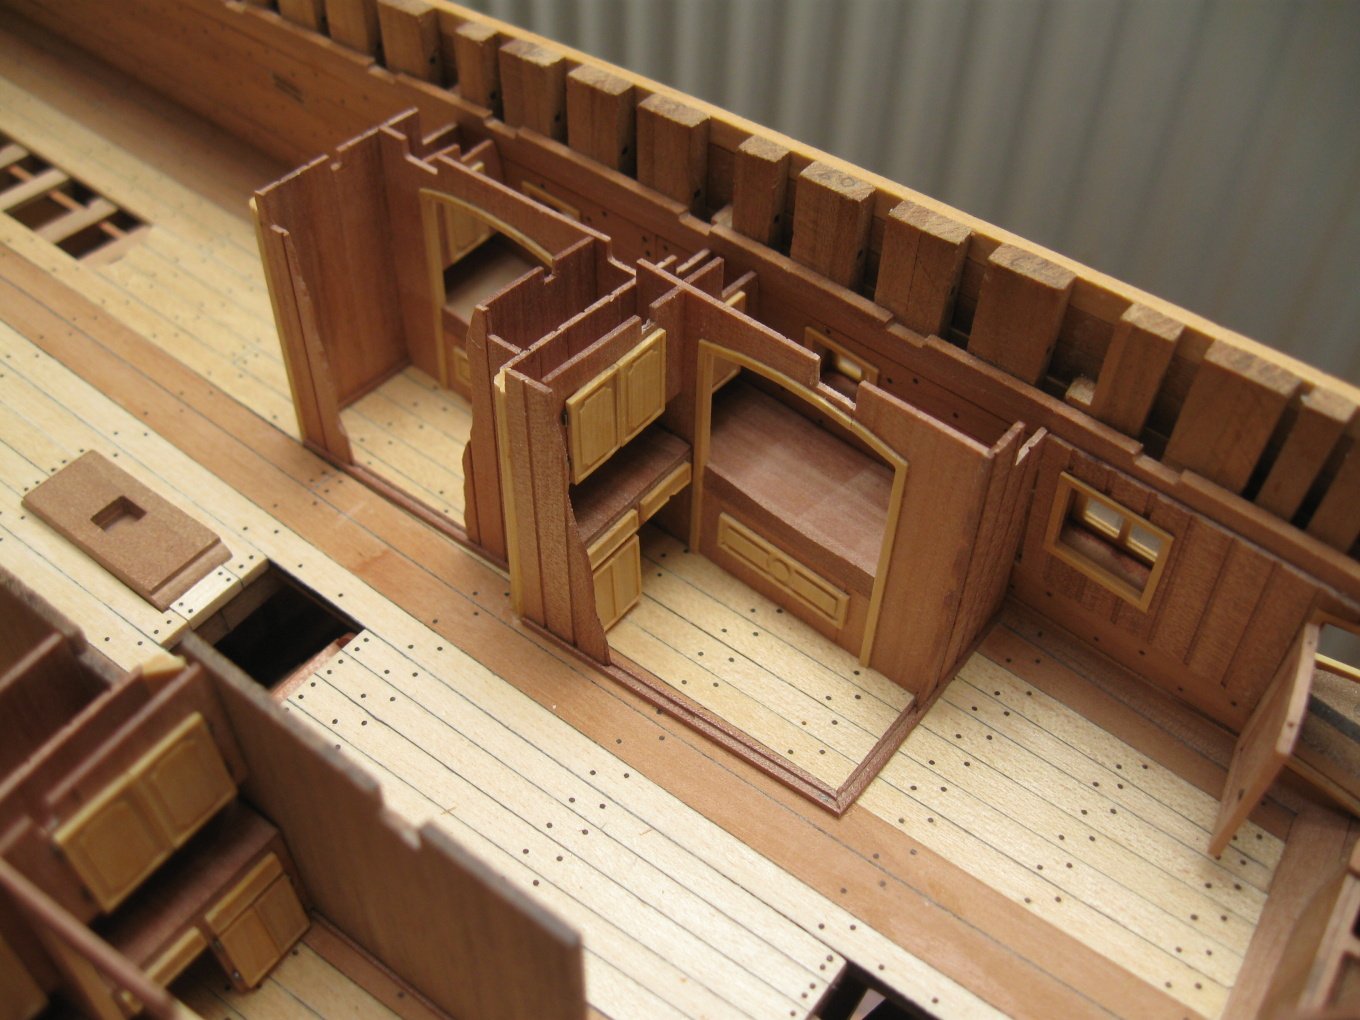
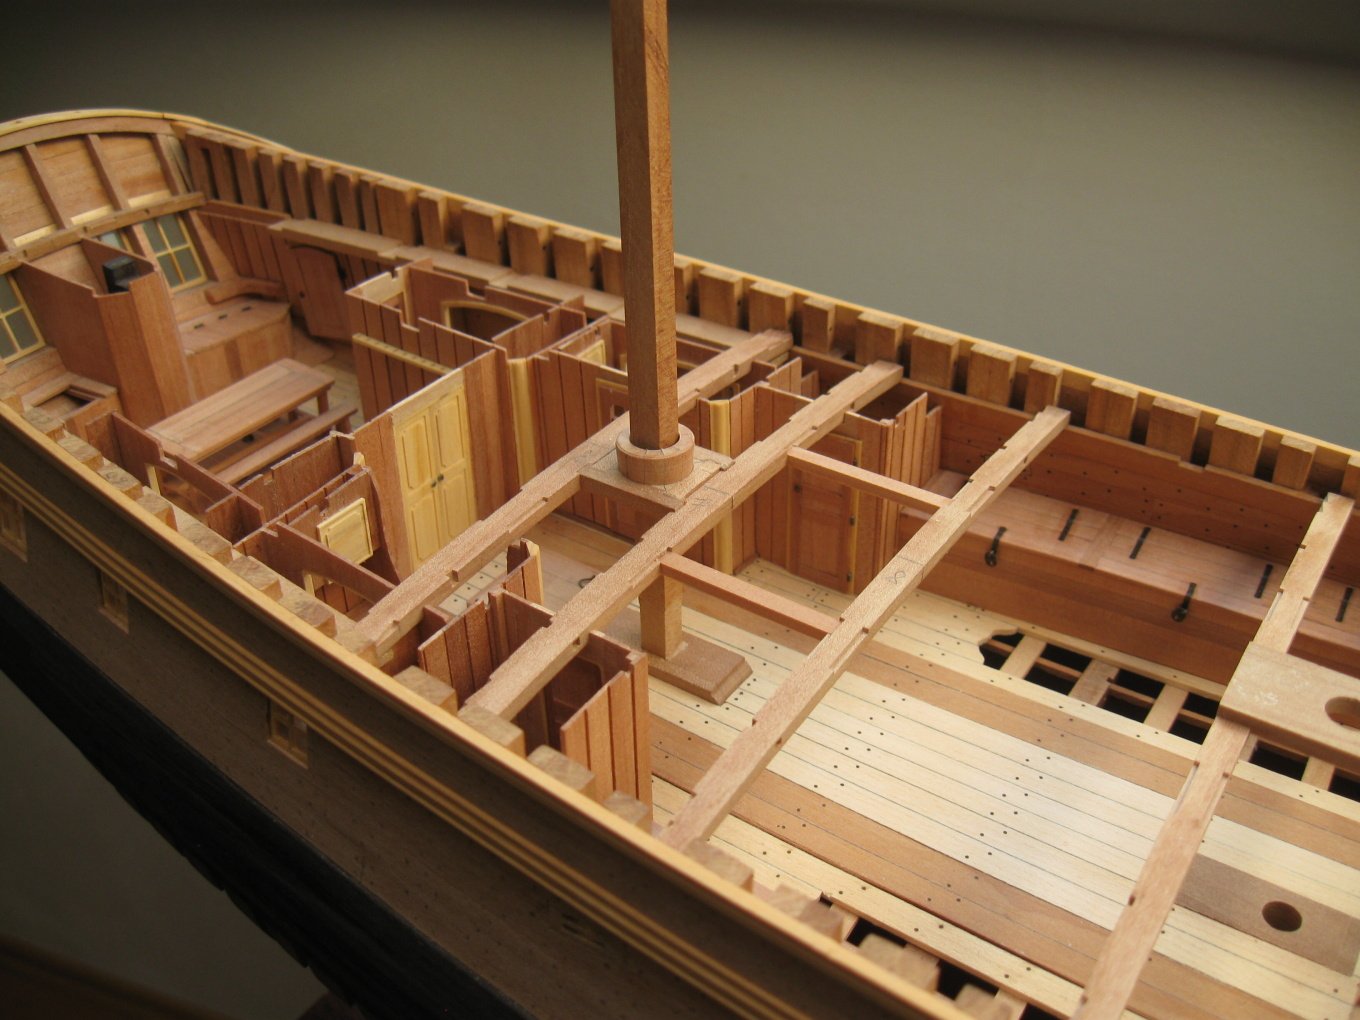
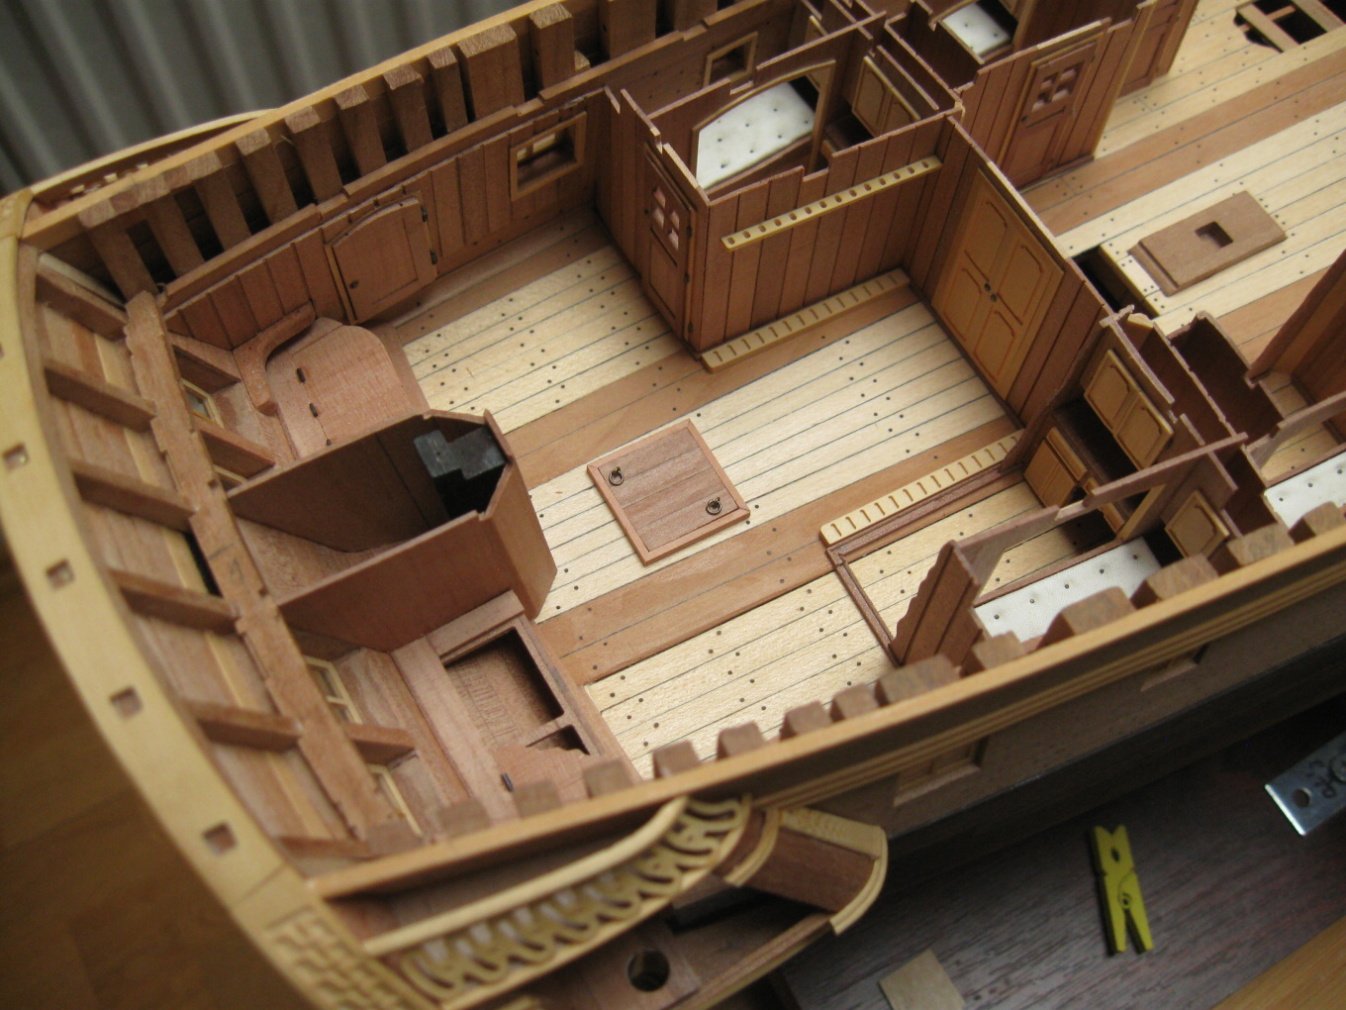
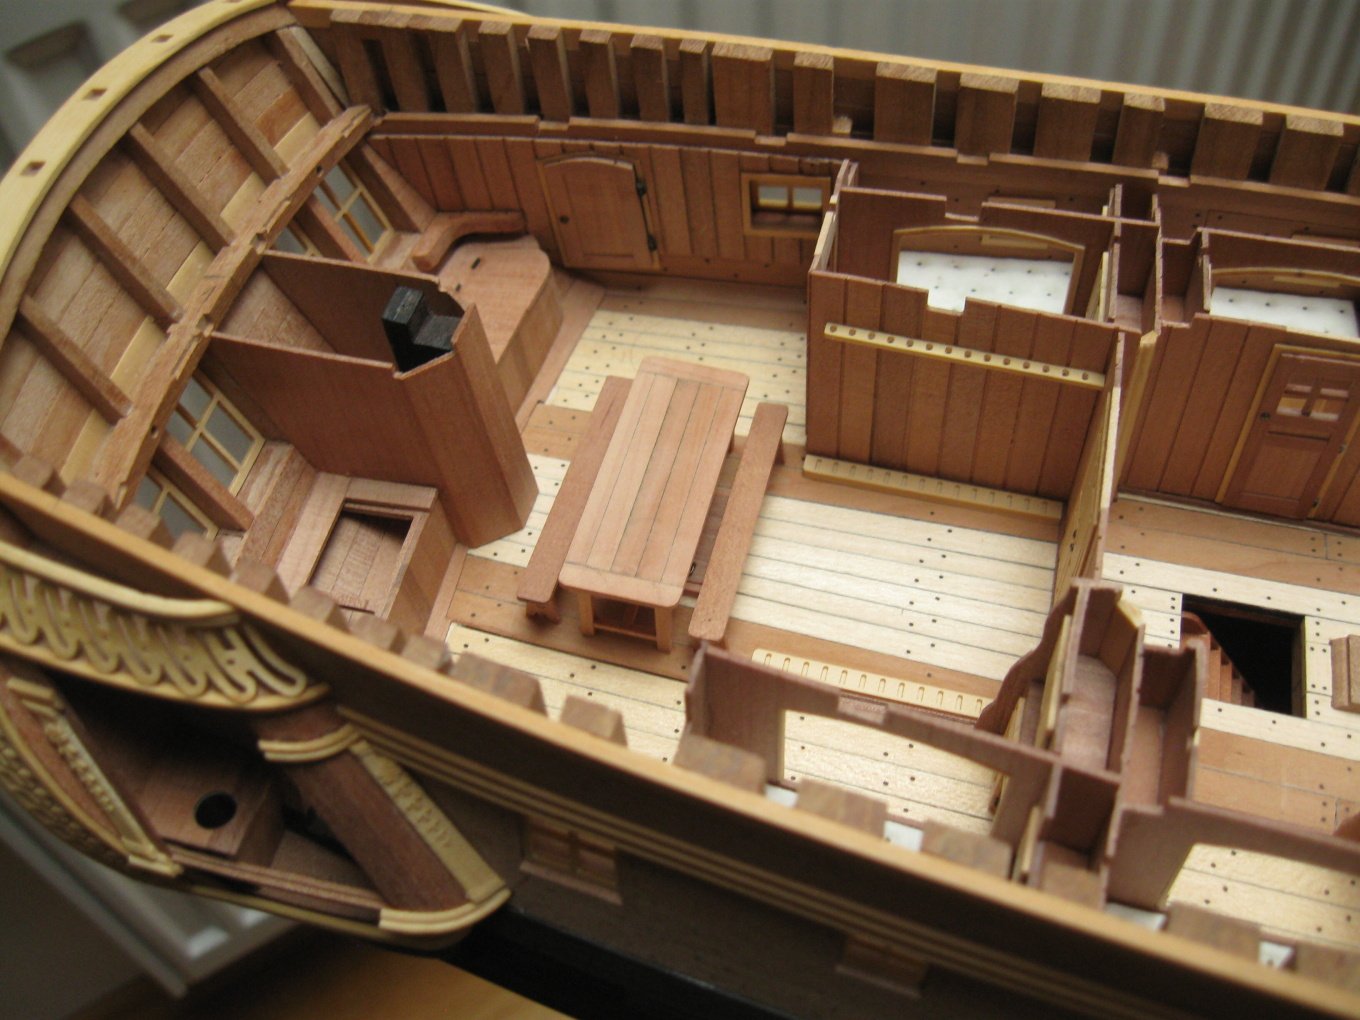
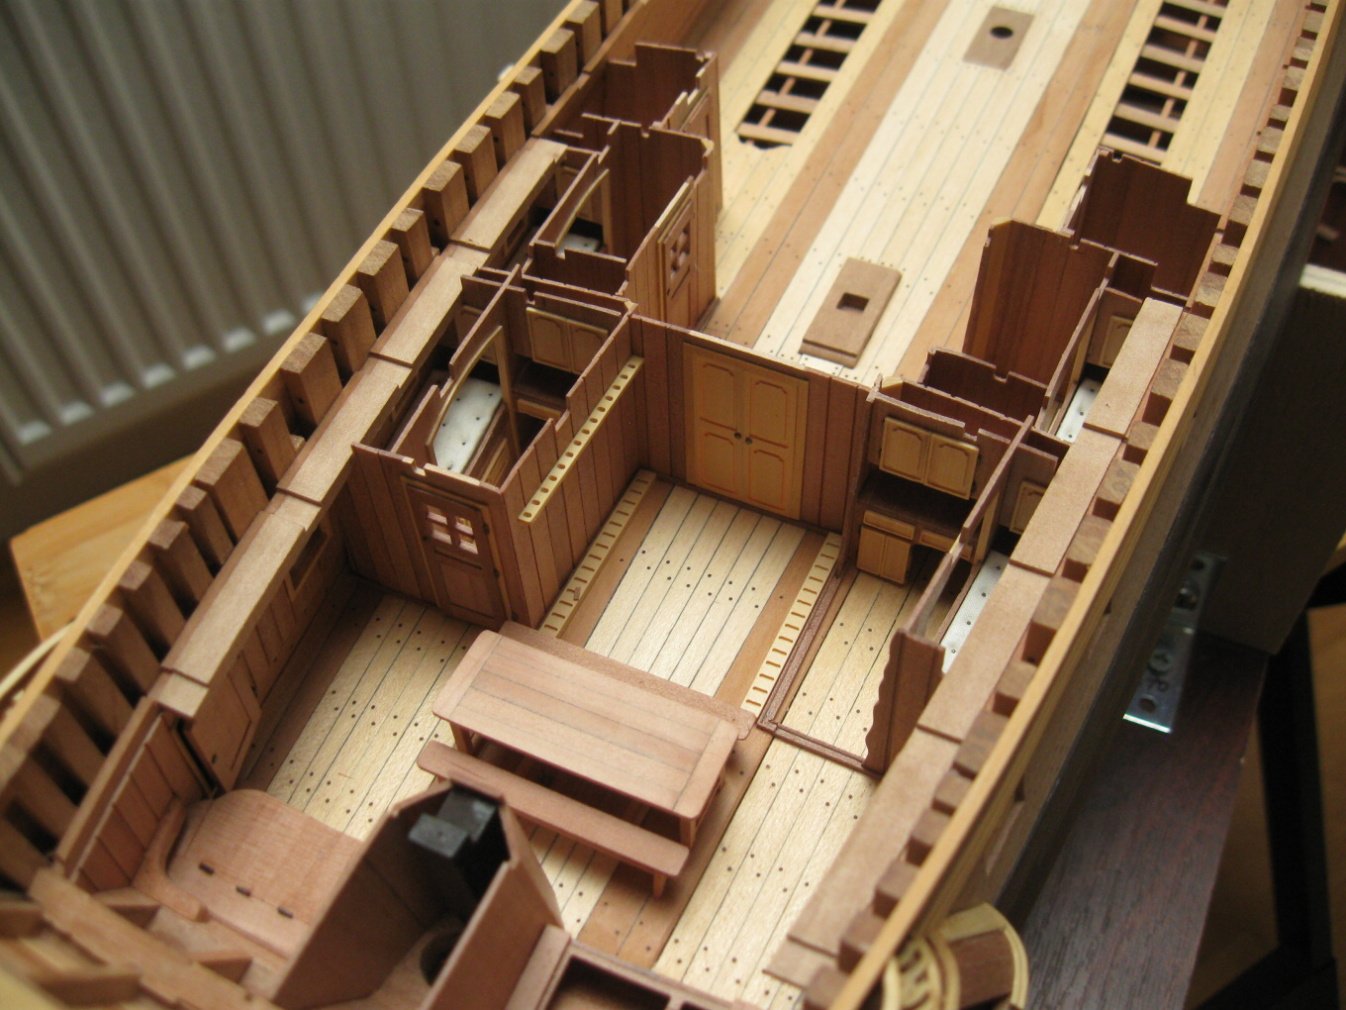
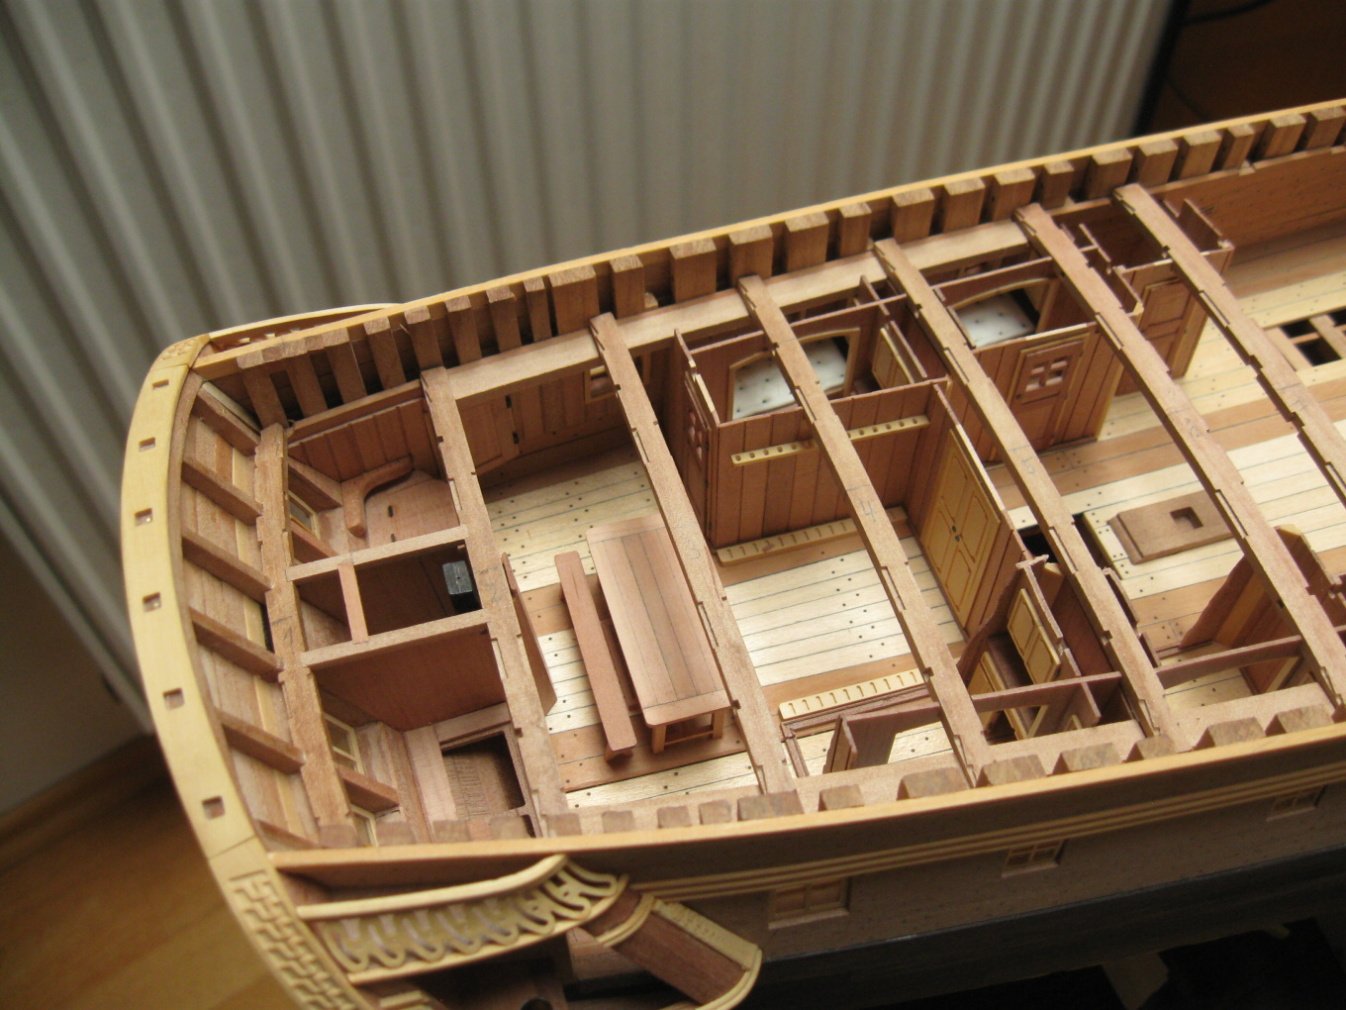
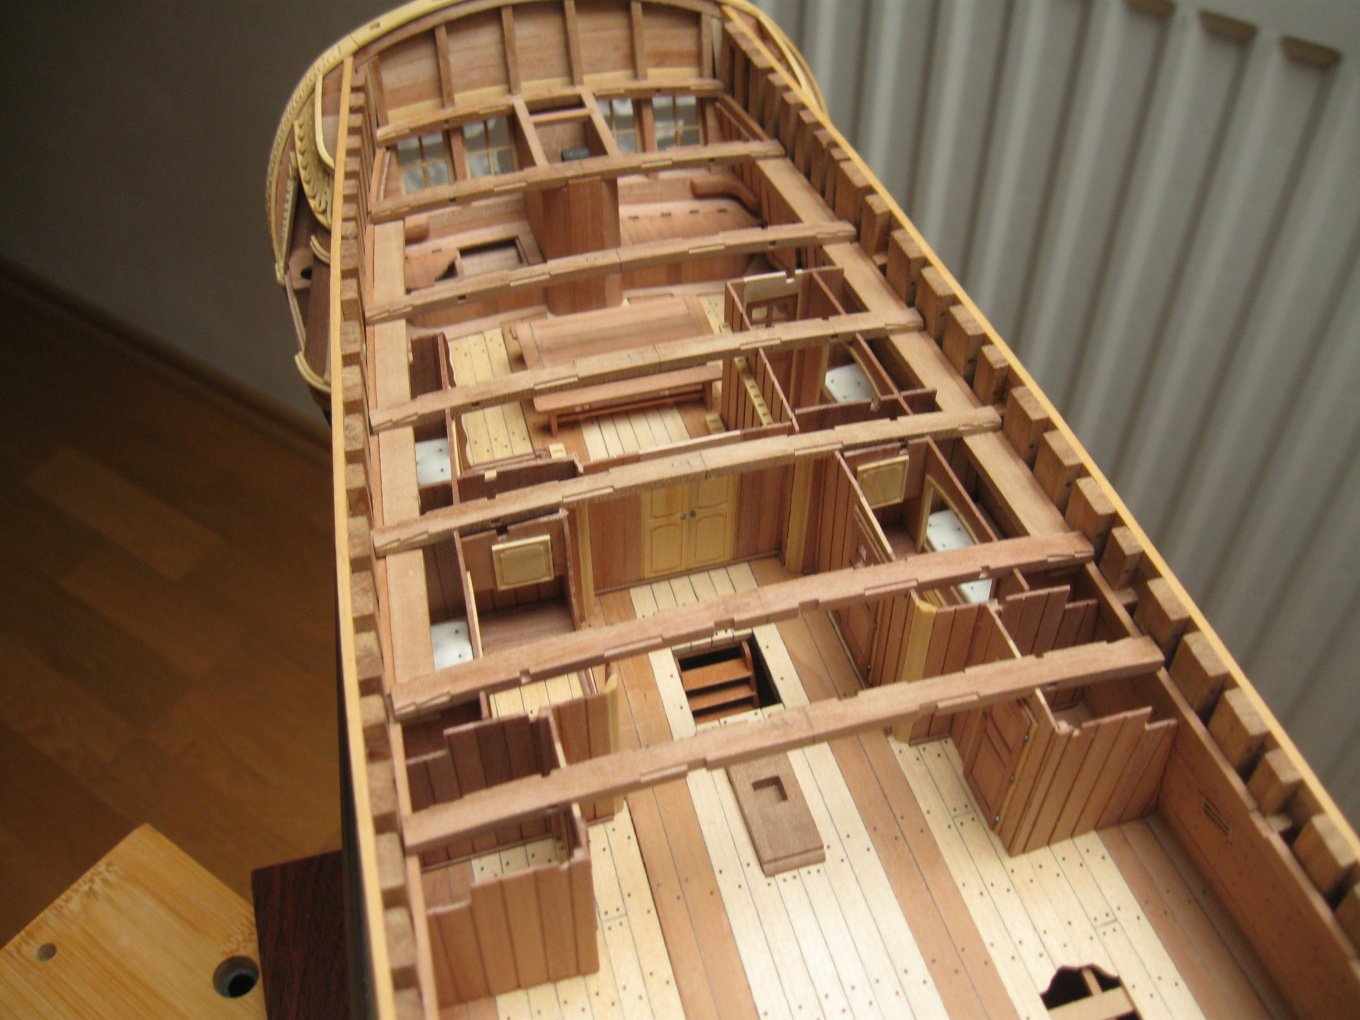
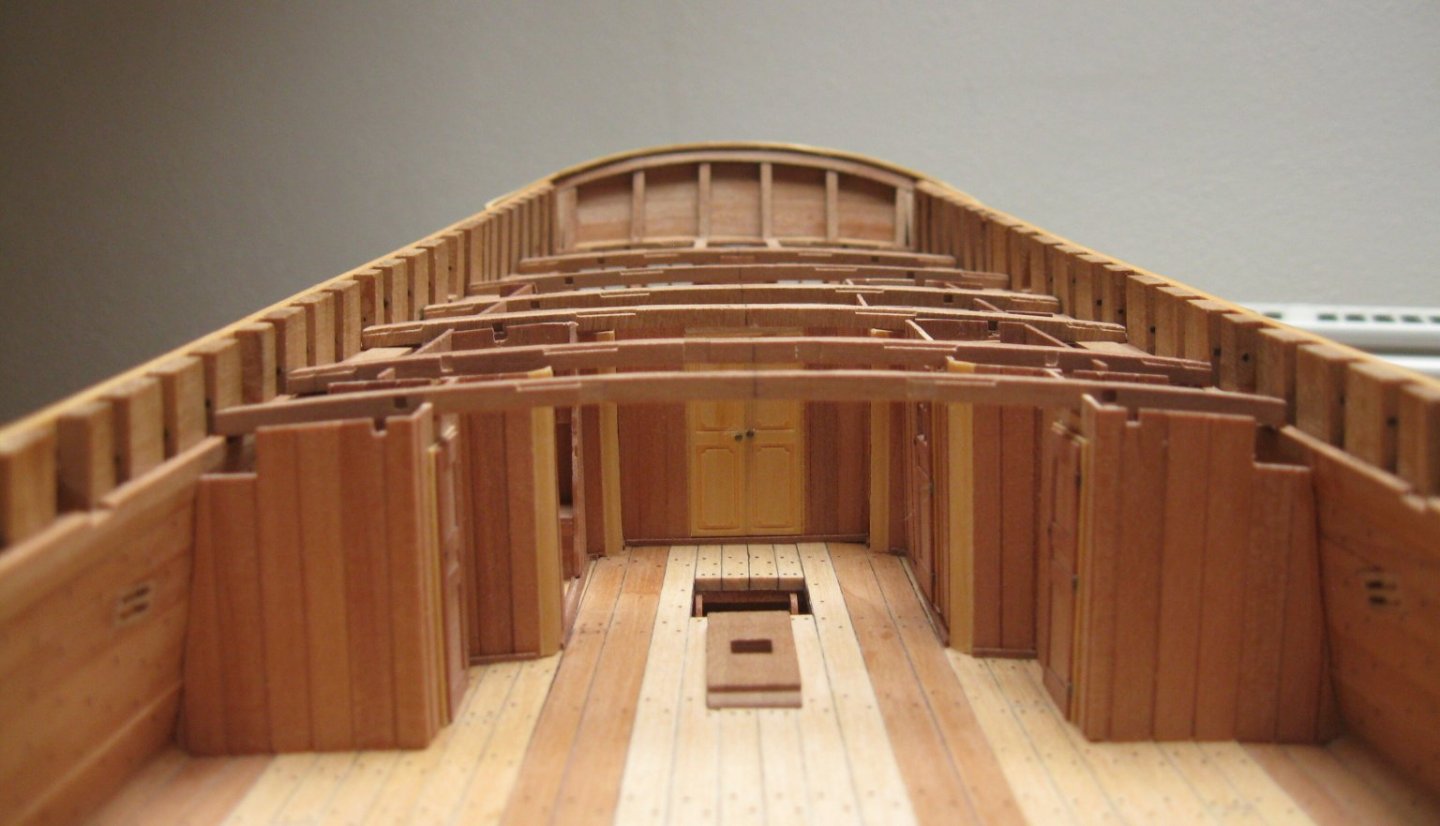
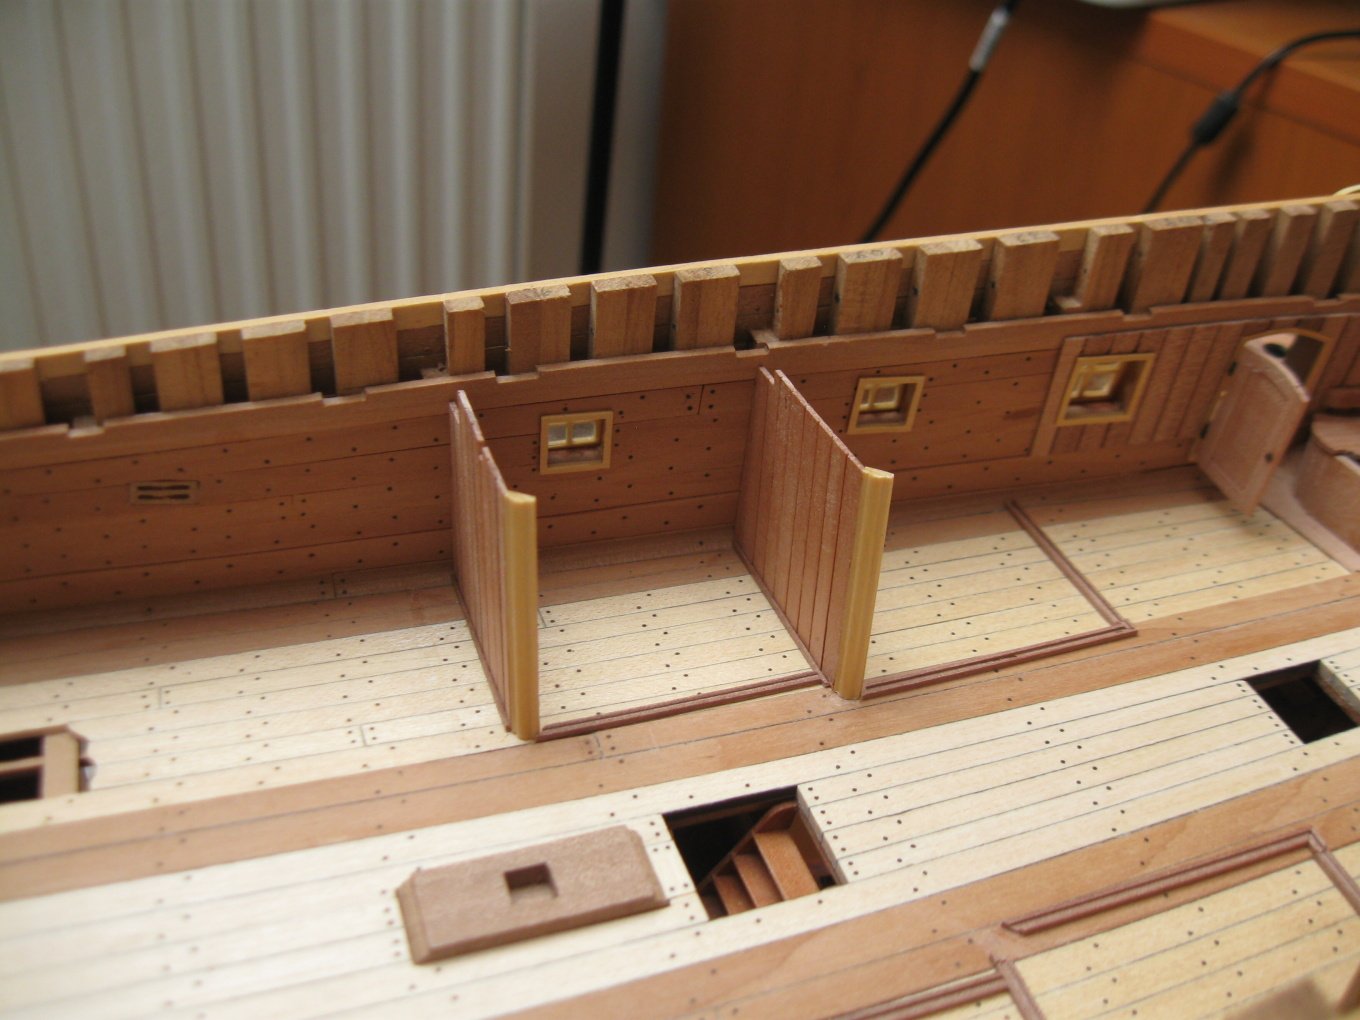
Thank you guys🙂. Completion of the interior of the cabins.


- 589 replies
-
- 26
-
-
-
- le gros ventre
- cargo
- (and 1 more)
-
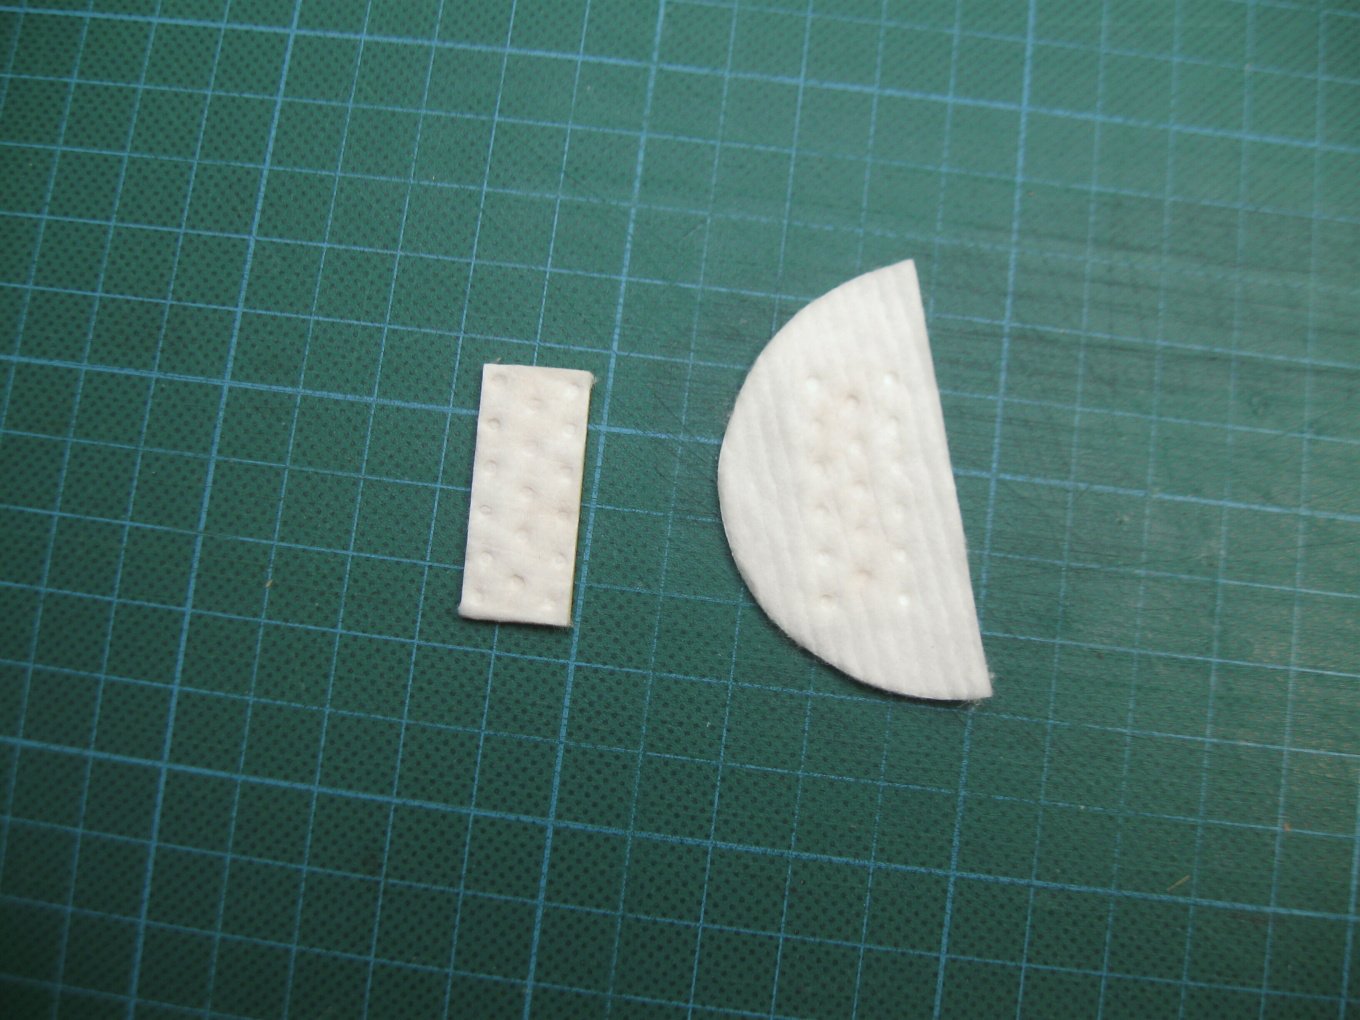
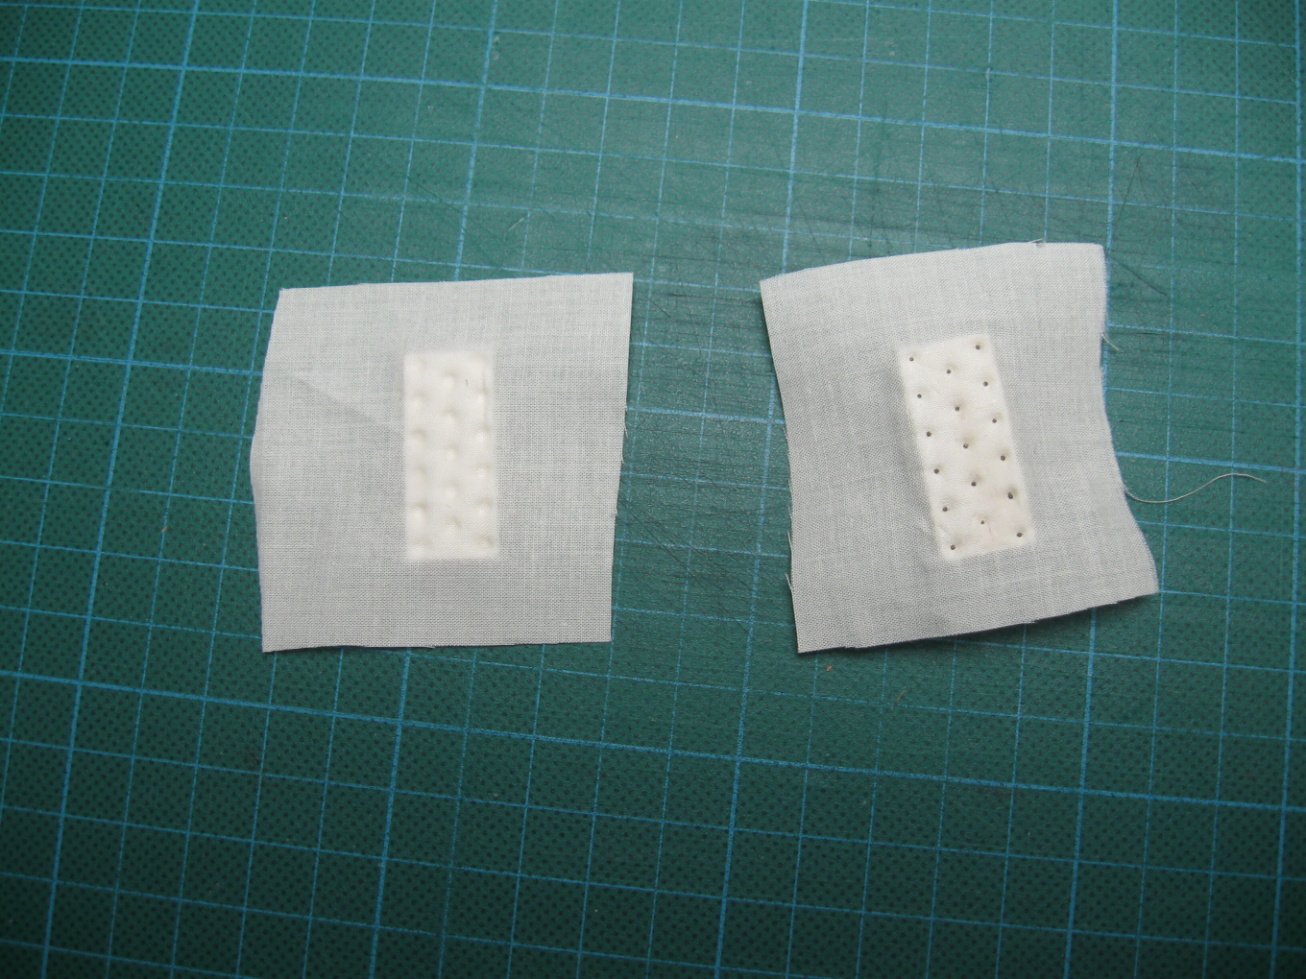
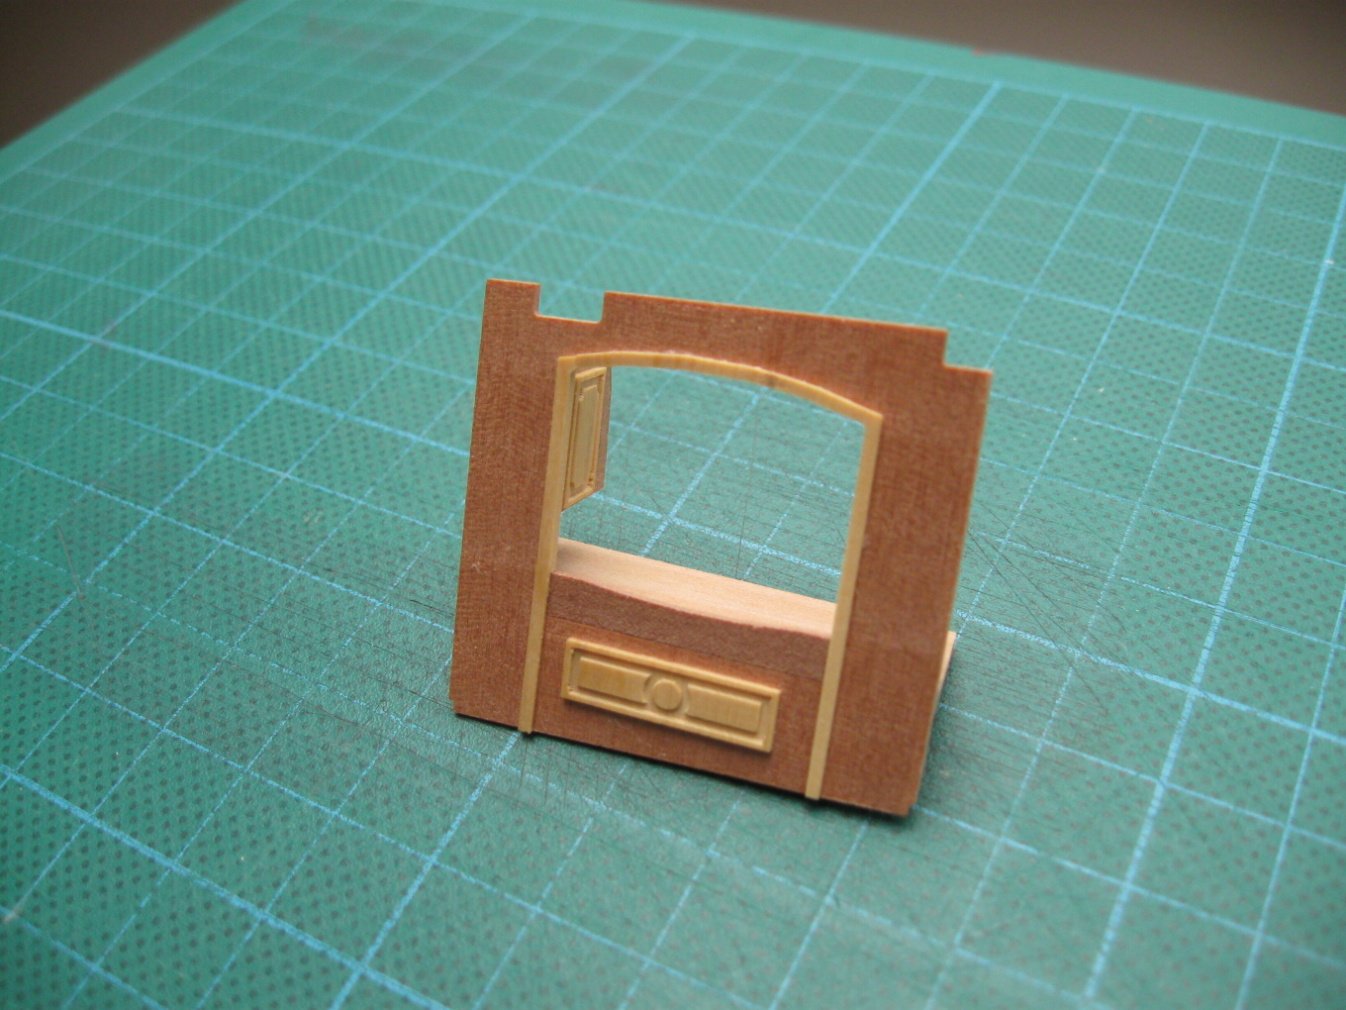
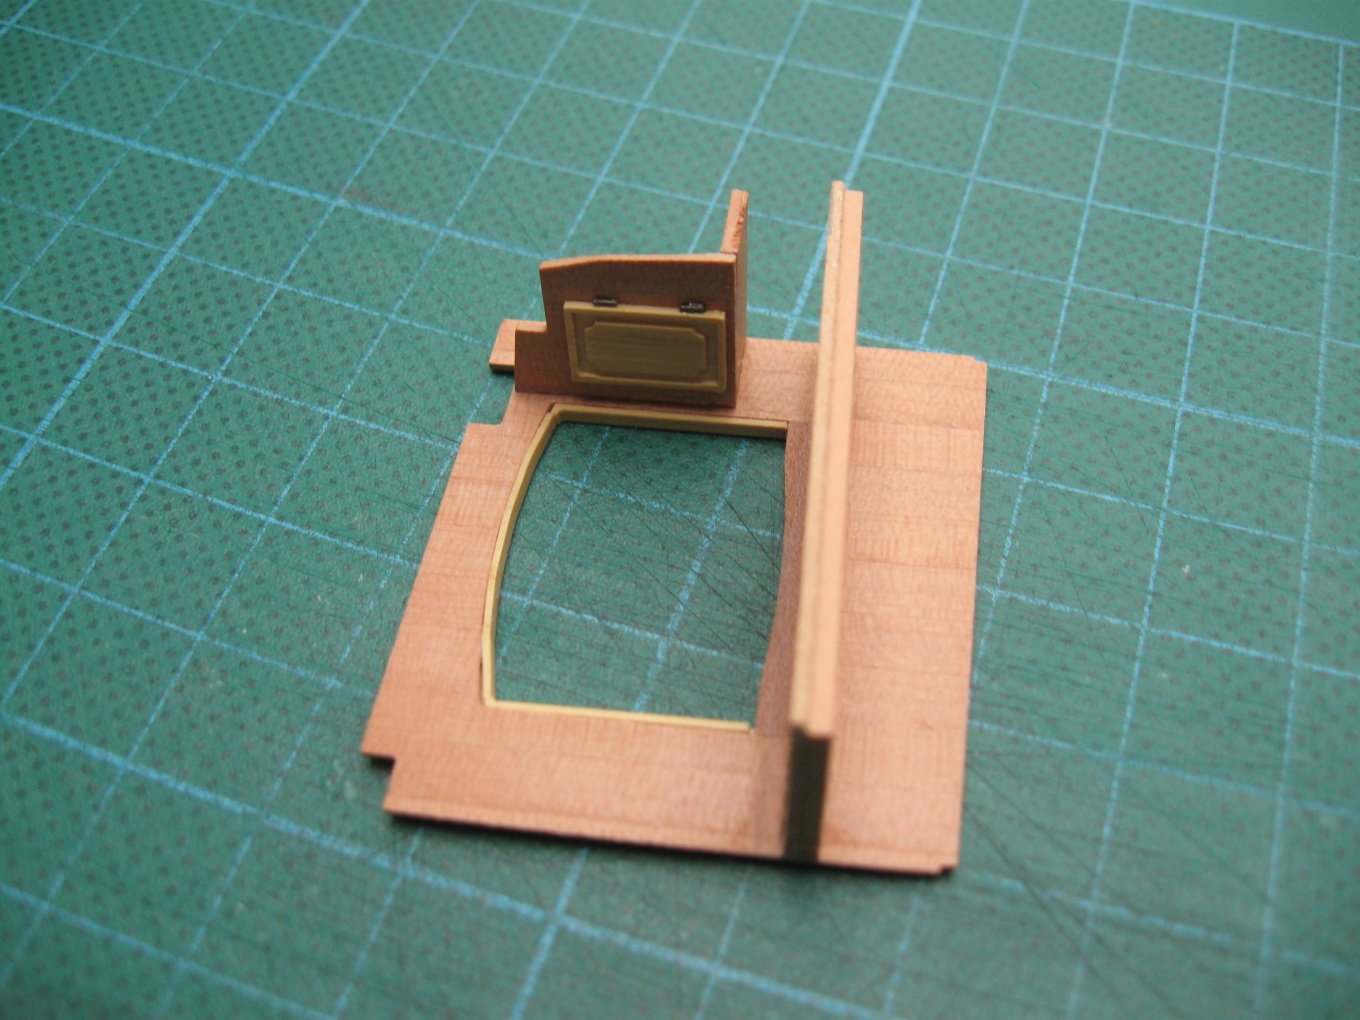
To the learner - The basis is a wooden plate into which depressions are milled and holes for nails are drilled. A cotton pad (a make-up cotton pad that I borrowed from my wife) is glued to the plate prepared in this way. Push the cotton into the recess with the end of the brush nozzle. Glue any suitable cloth and push the material into the recess again. Finally, thread the nails with small heads through the cloth and cotton into the holes in the wooden board, glue and cut. Glue the ends of the fabric over the edges of the wooden board and you're done. Inner bulkheads - continuation part two.


- 589 replies
-
- 23
-
-
- le gros ventre
- cargo
- (and 1 more)
-
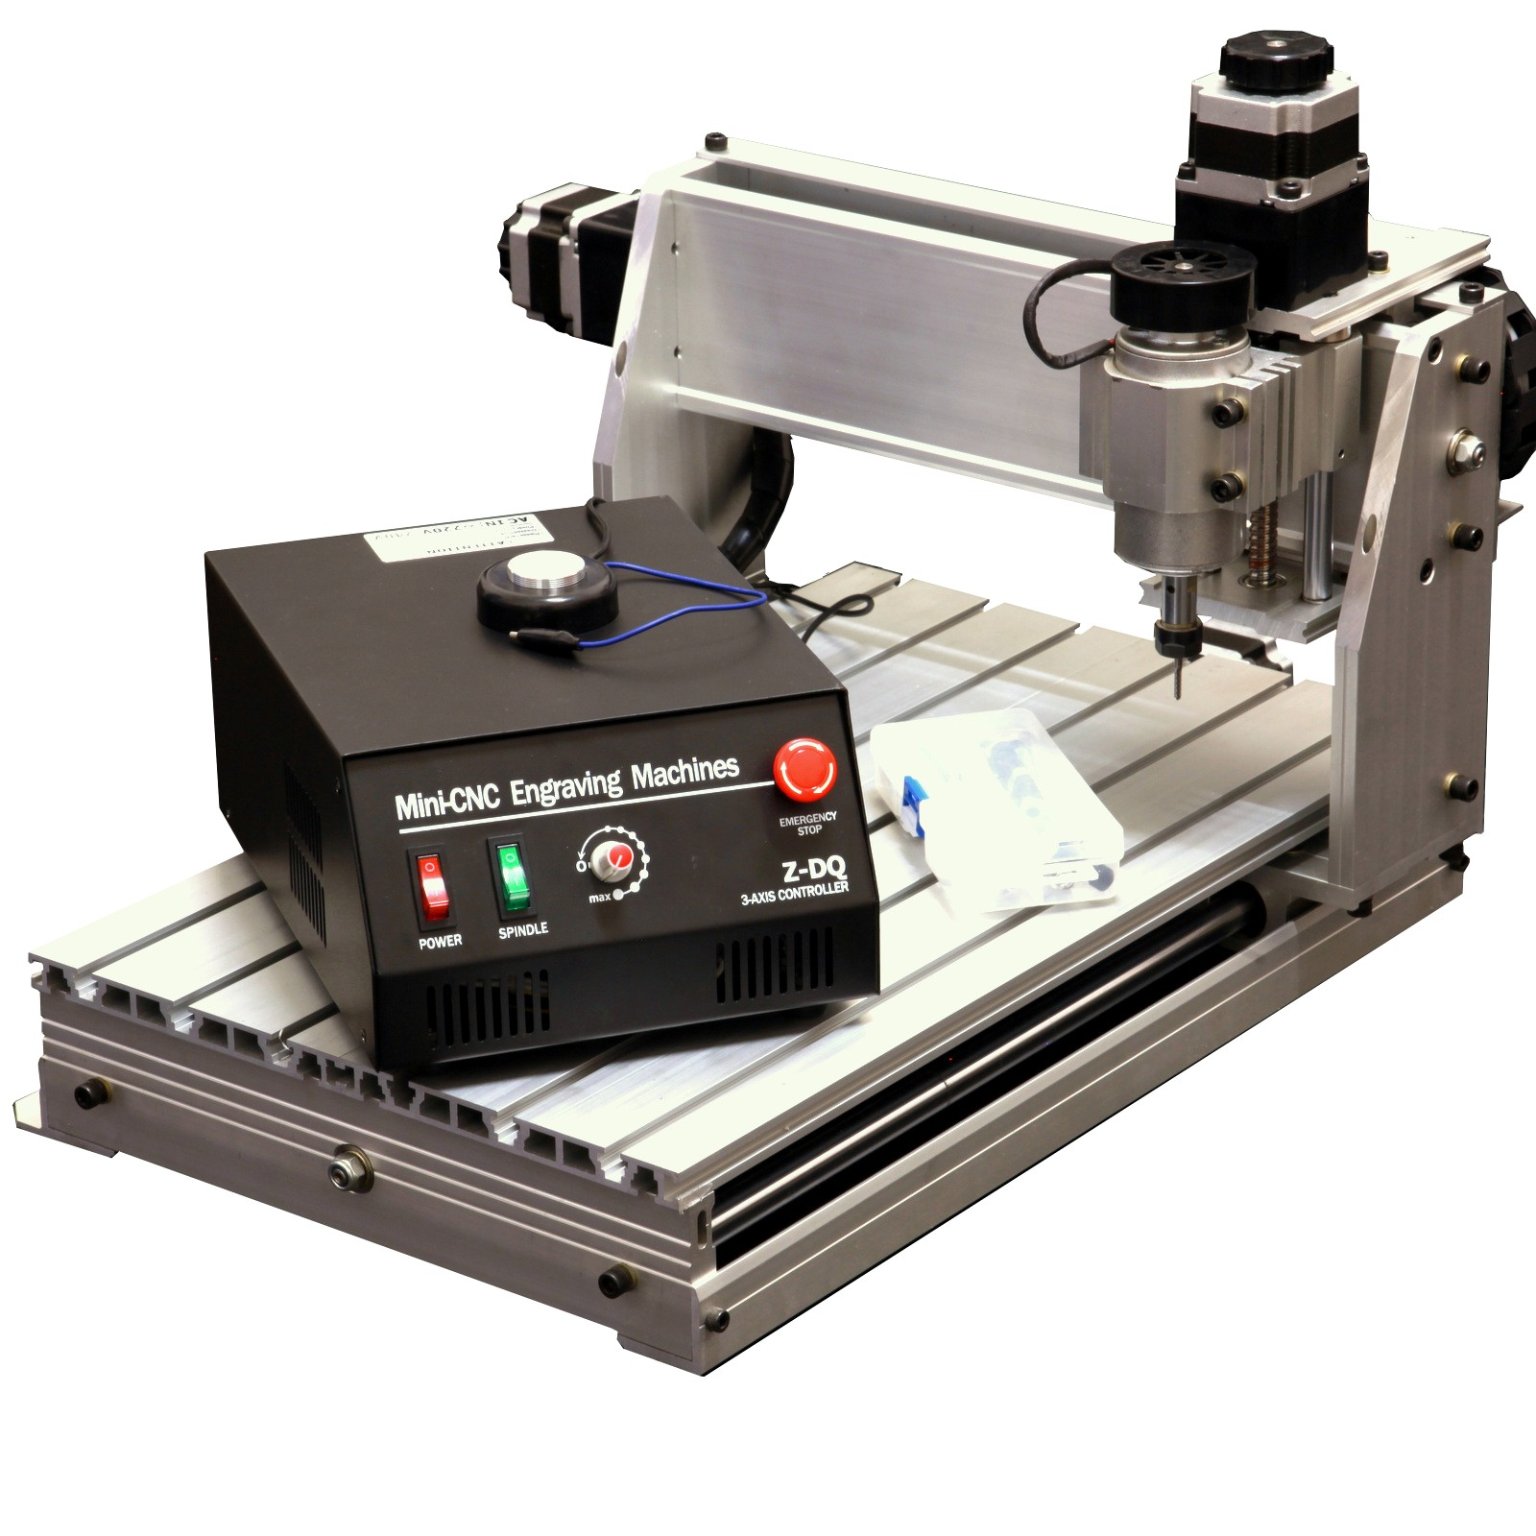
Thank you guys for all your comments and likes. To scrubbyj427: I am using CNC maschine made by China, these maschines are avaiable worldwide (see the picture). I started works on inner bulkheads.


- 589 replies
-
- 32
-
-
- le gros ventre
- cargo
- (and 1 more)
-
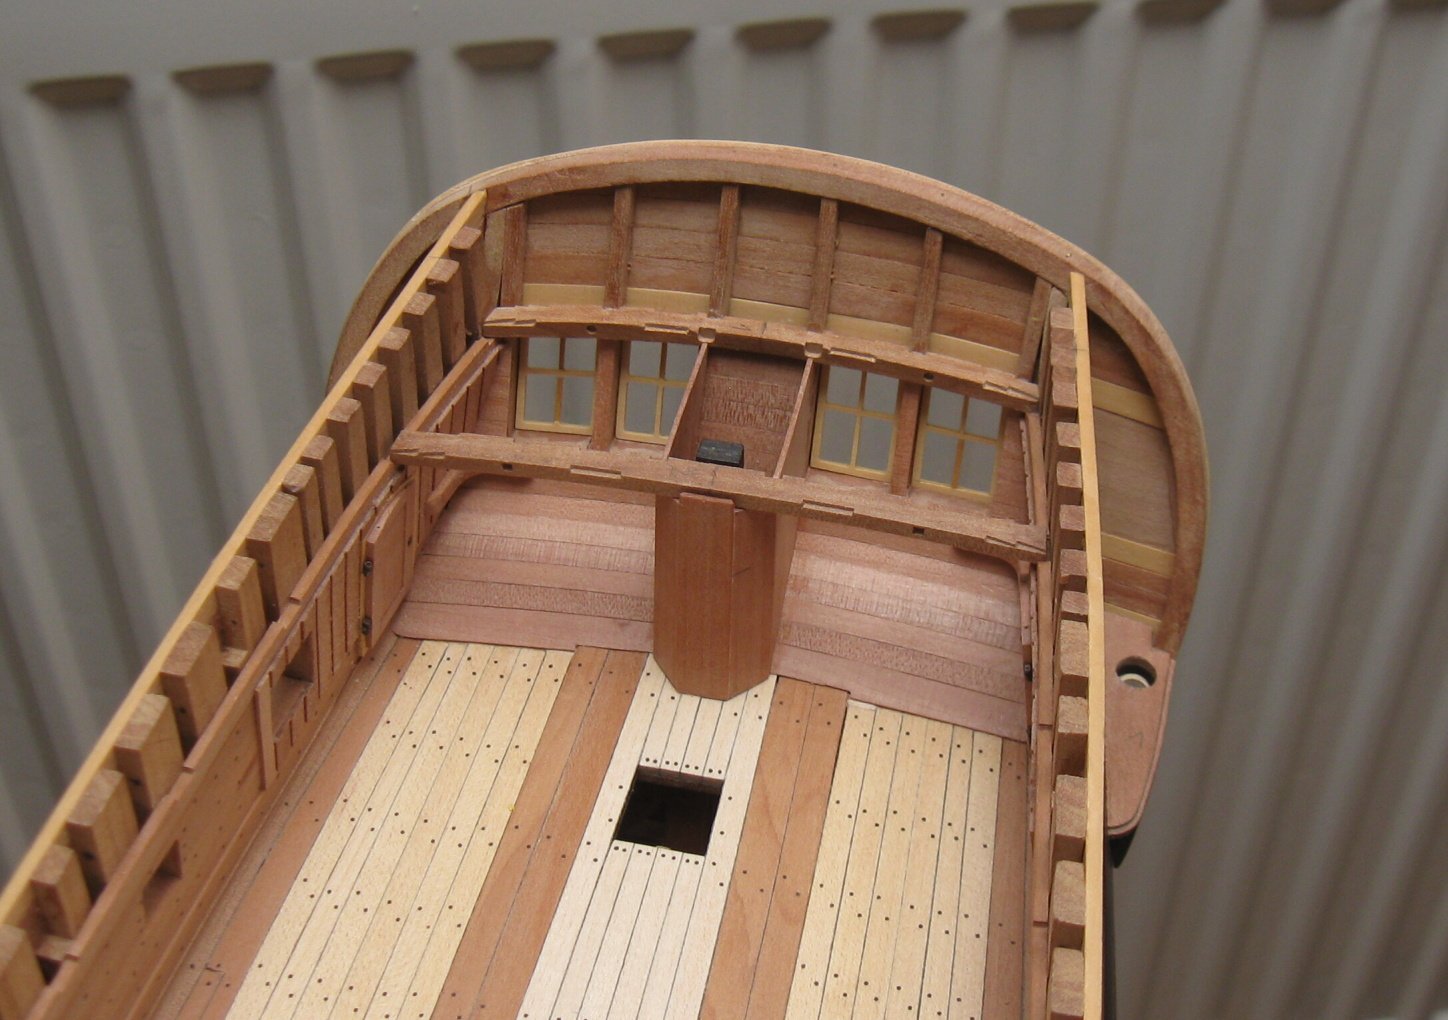
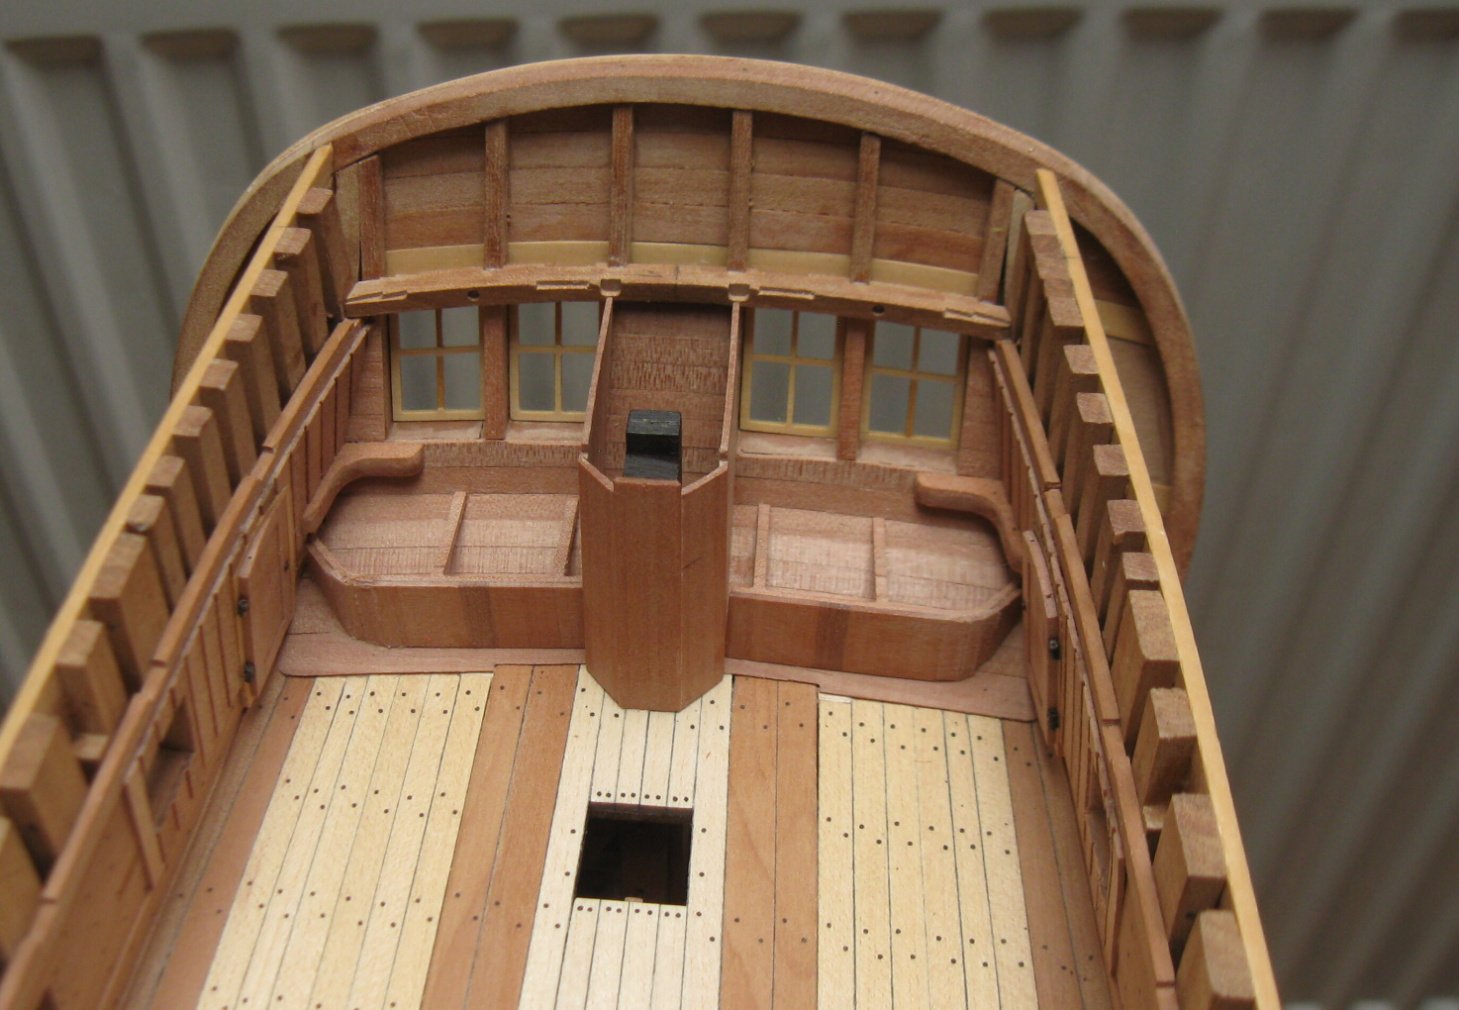
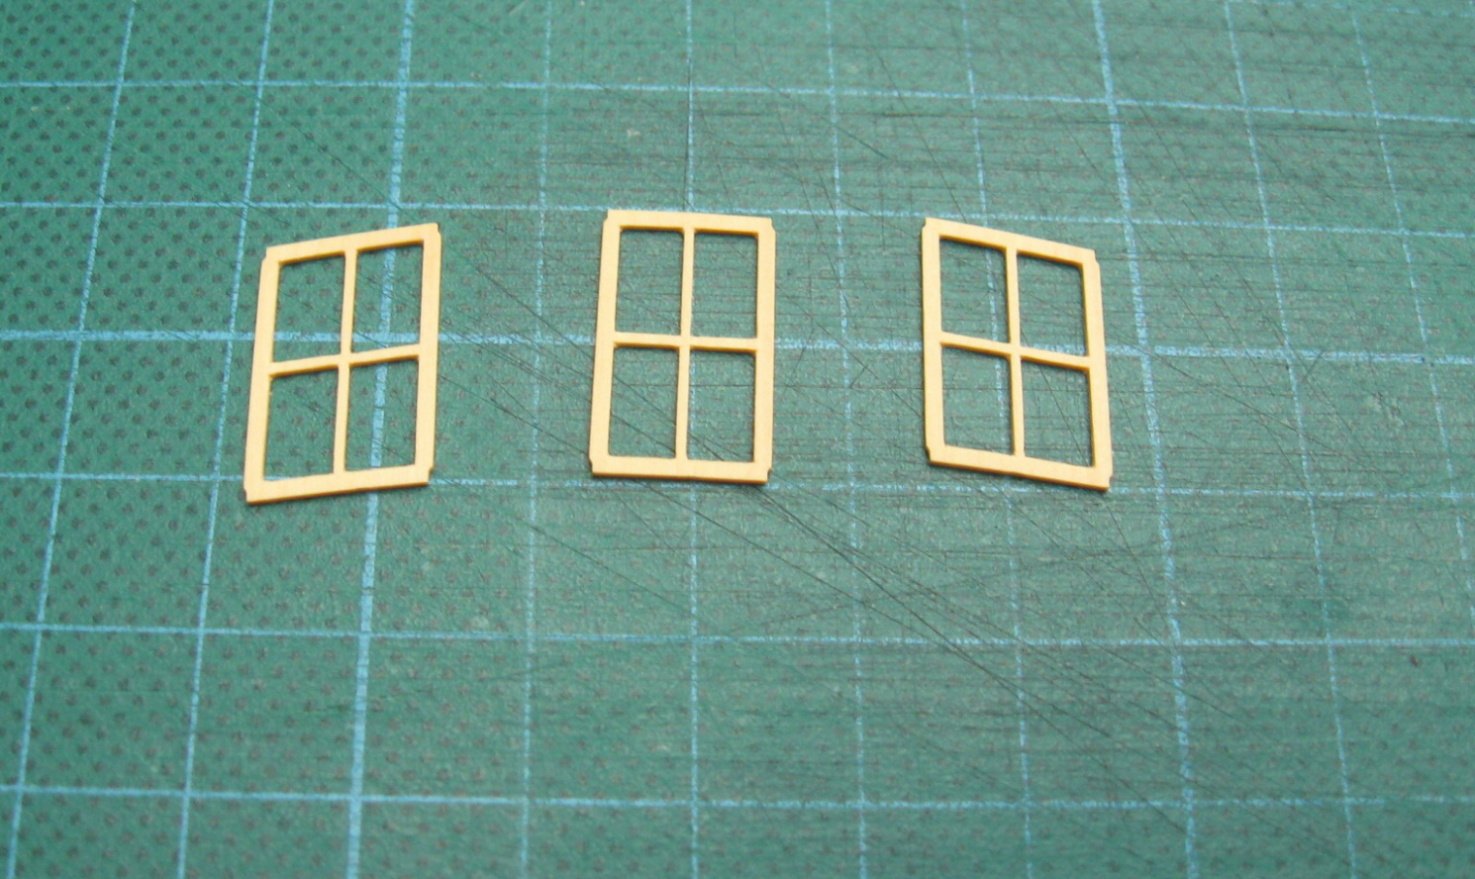
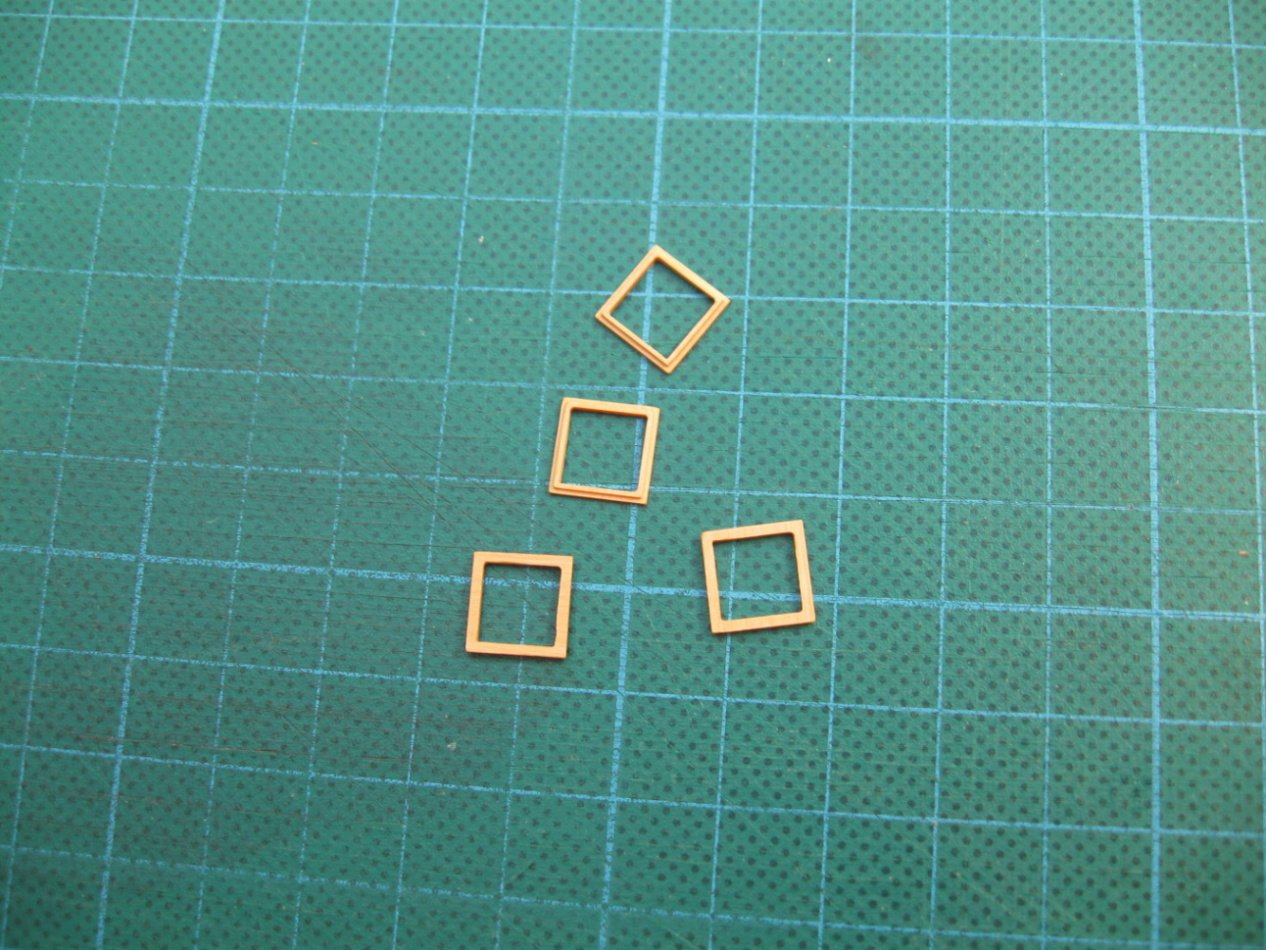
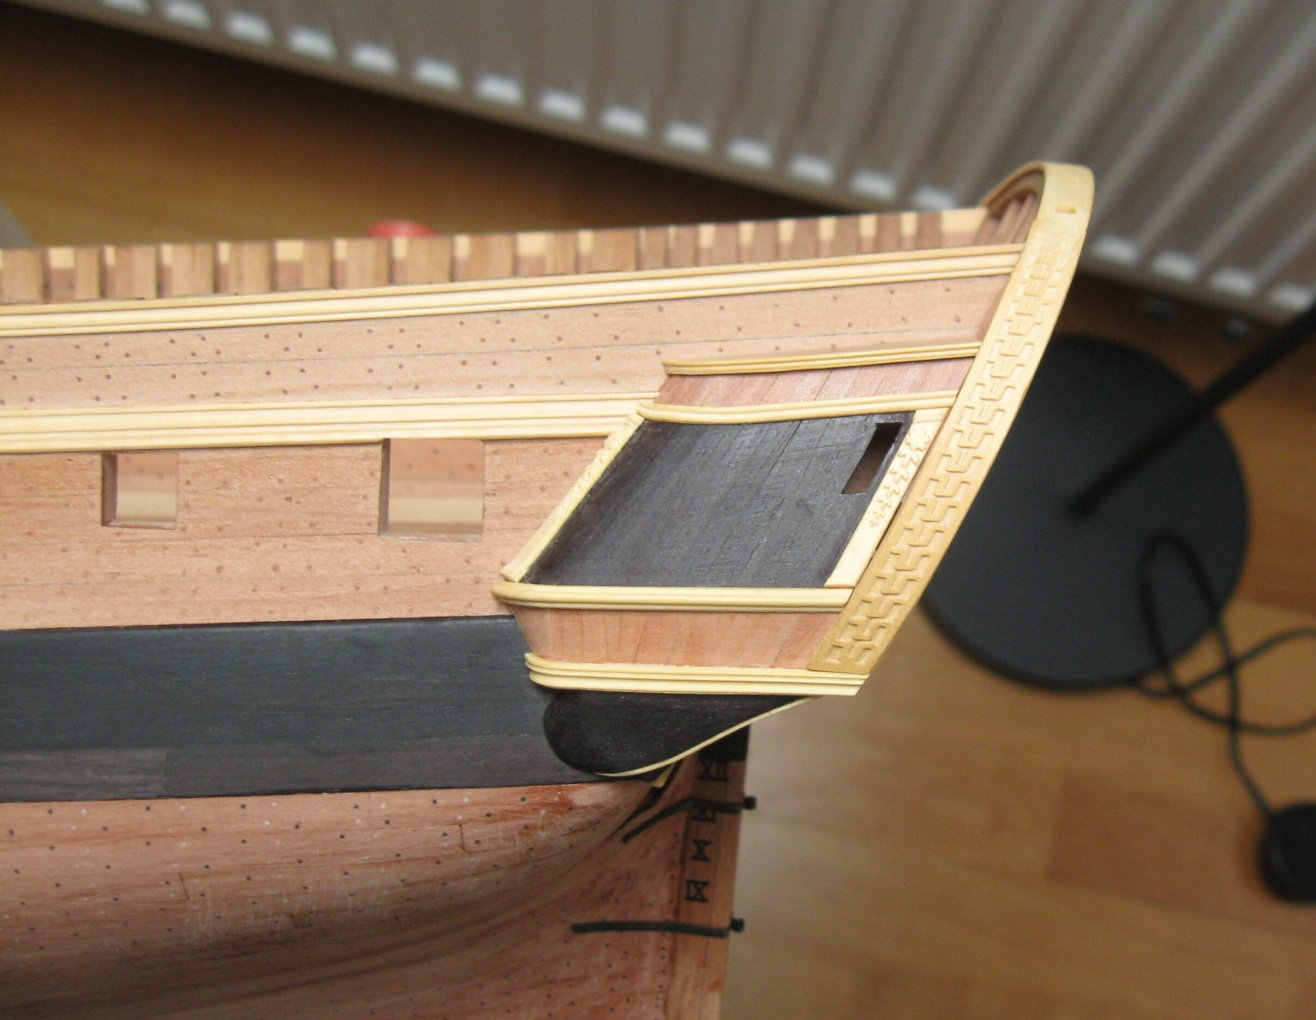
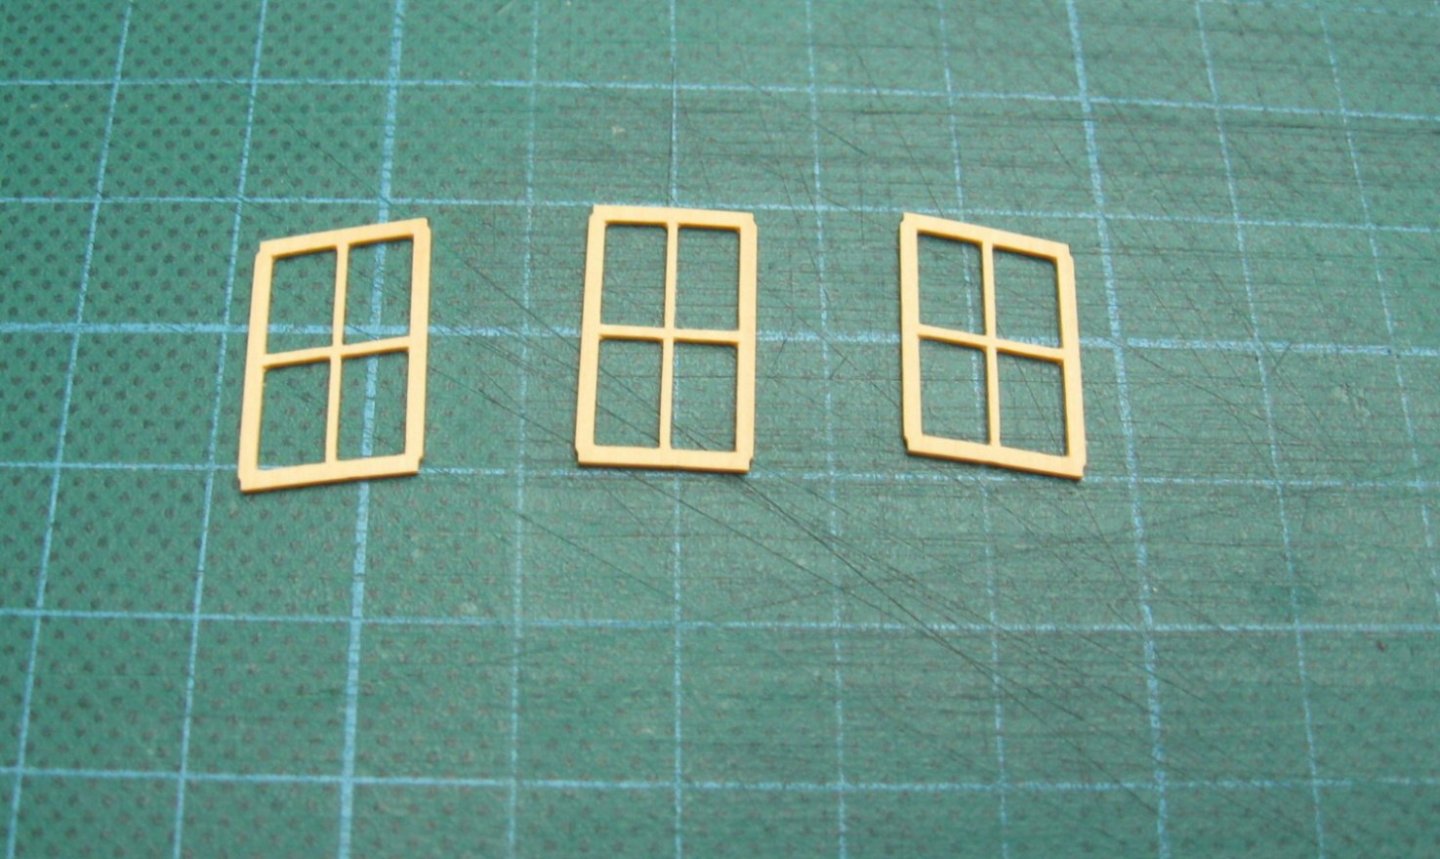
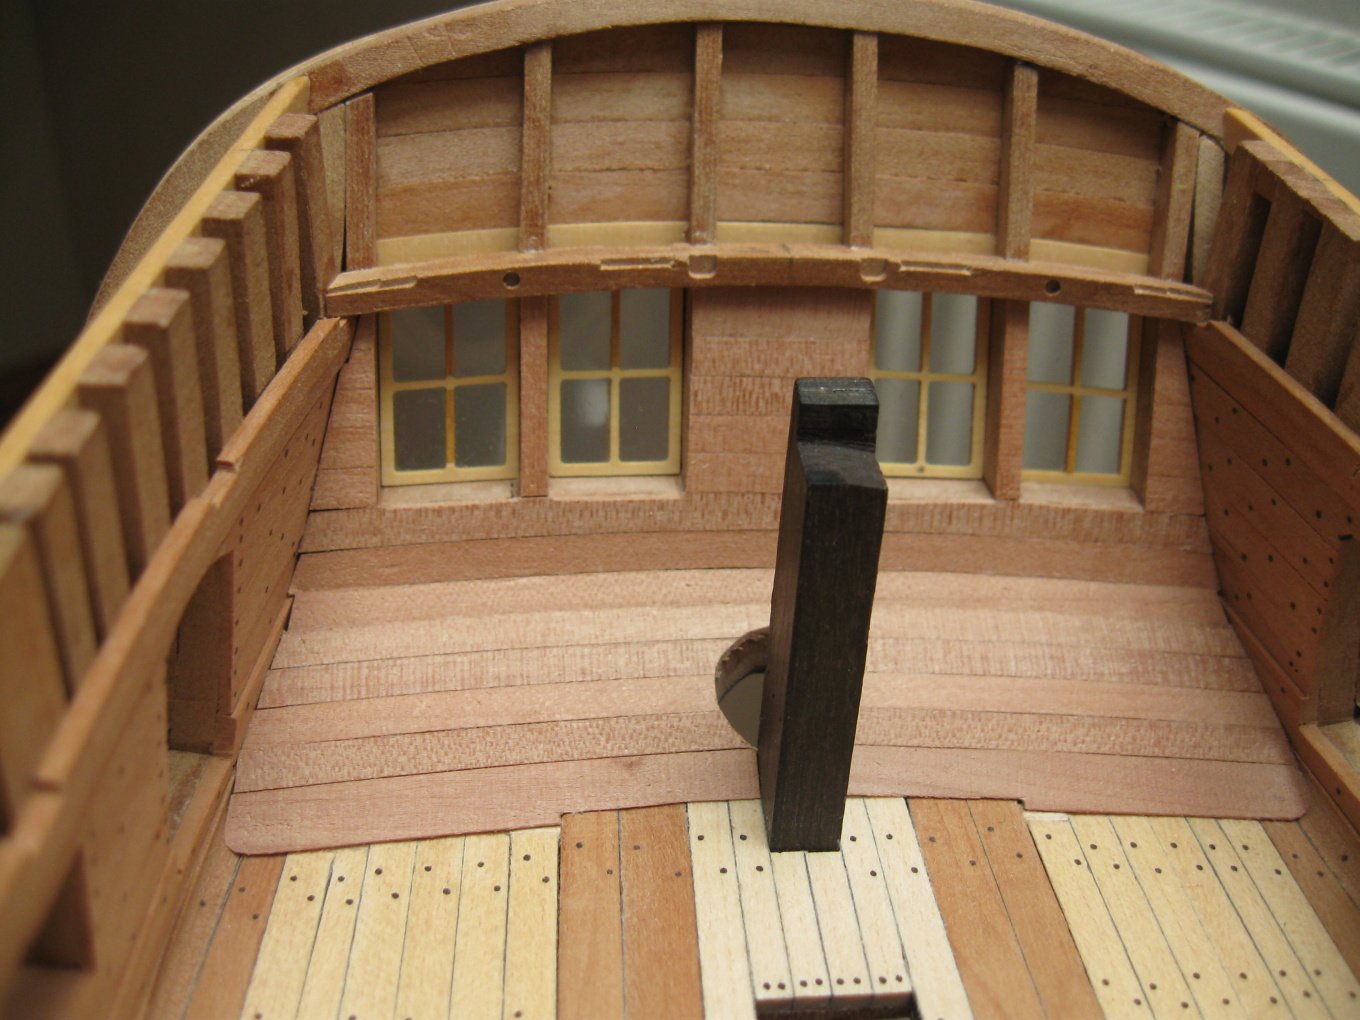
To isalbert: Yes, I am using the cnc milling maschine for some works. "Side windows".

- 589 replies
-
- 35
-
-
- le gros ventre
- cargo
- (and 1 more)
-
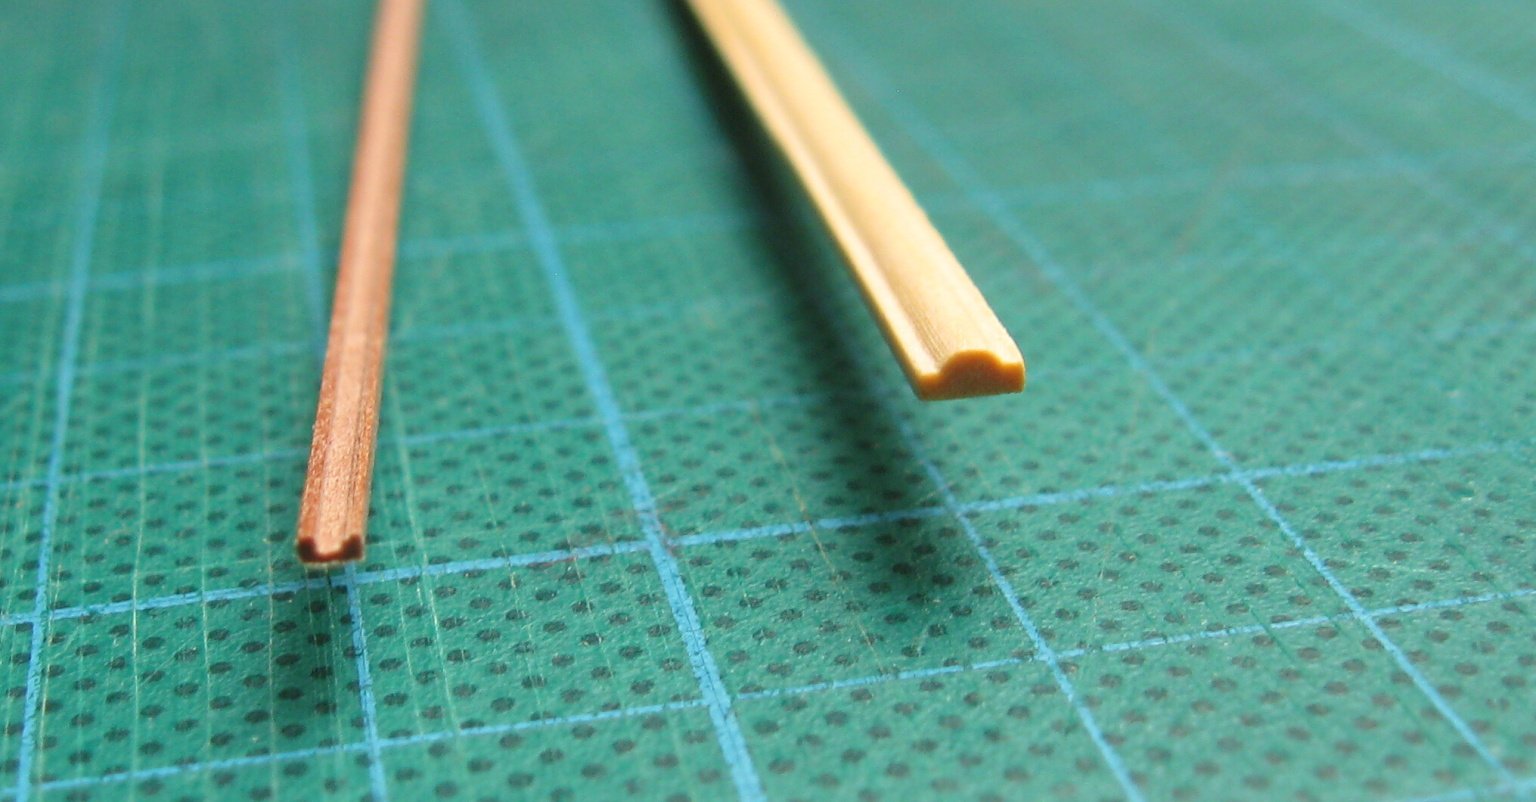
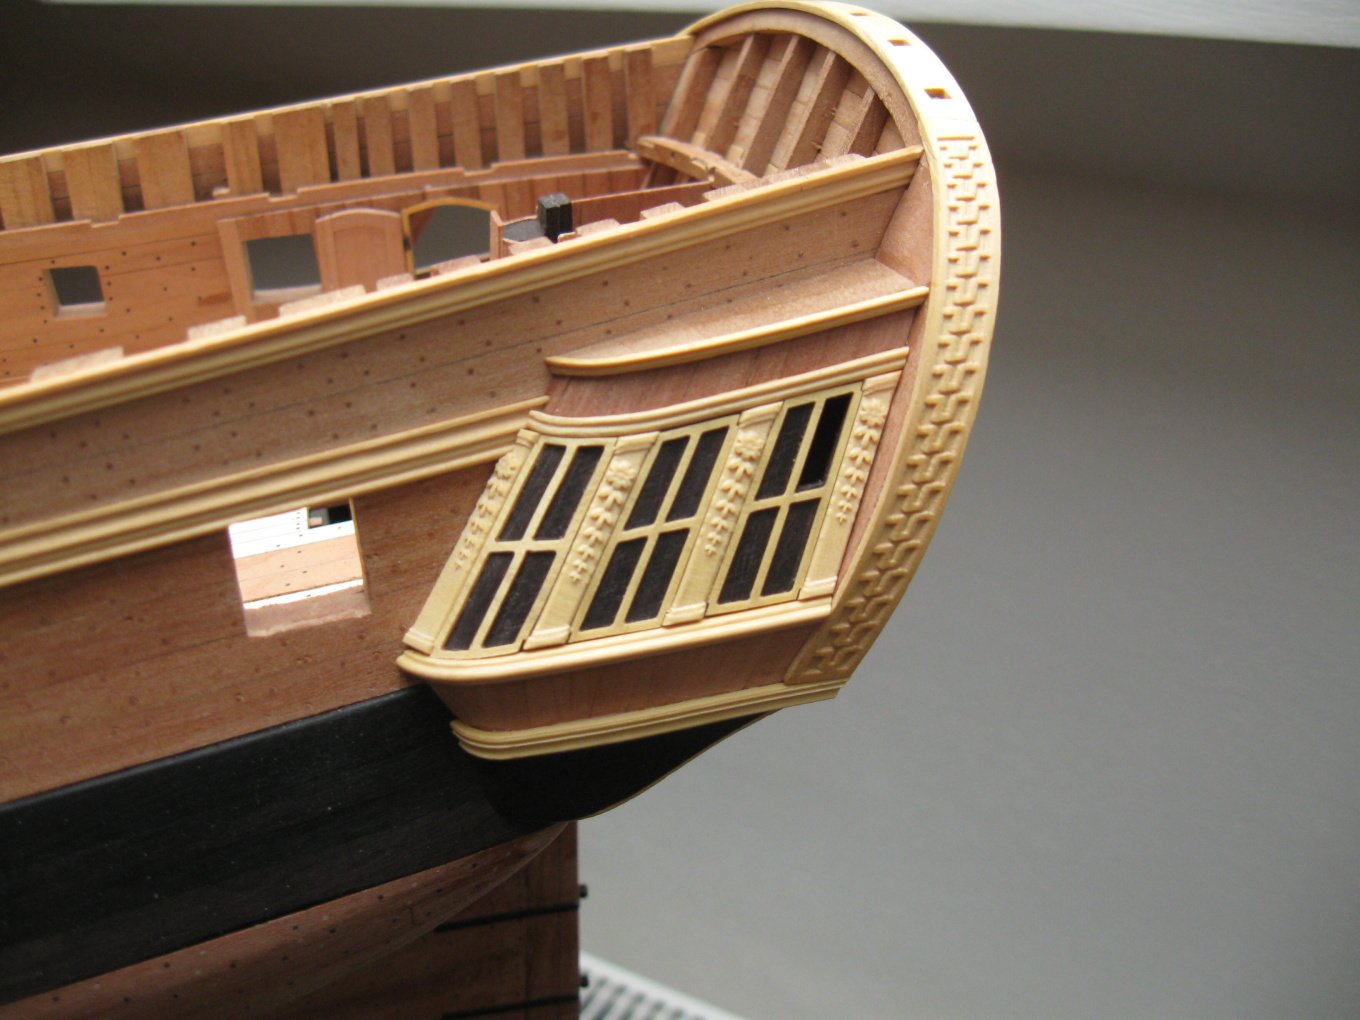
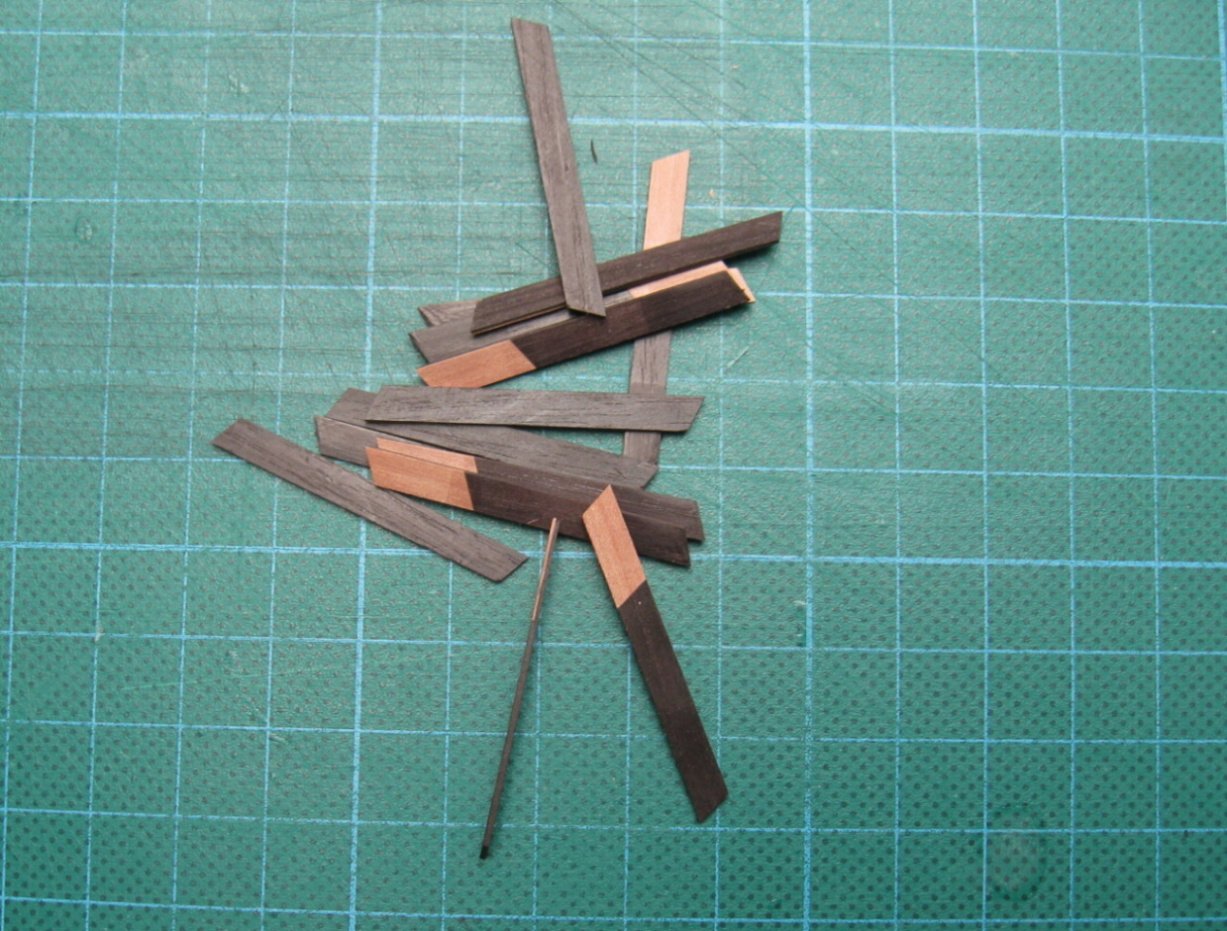
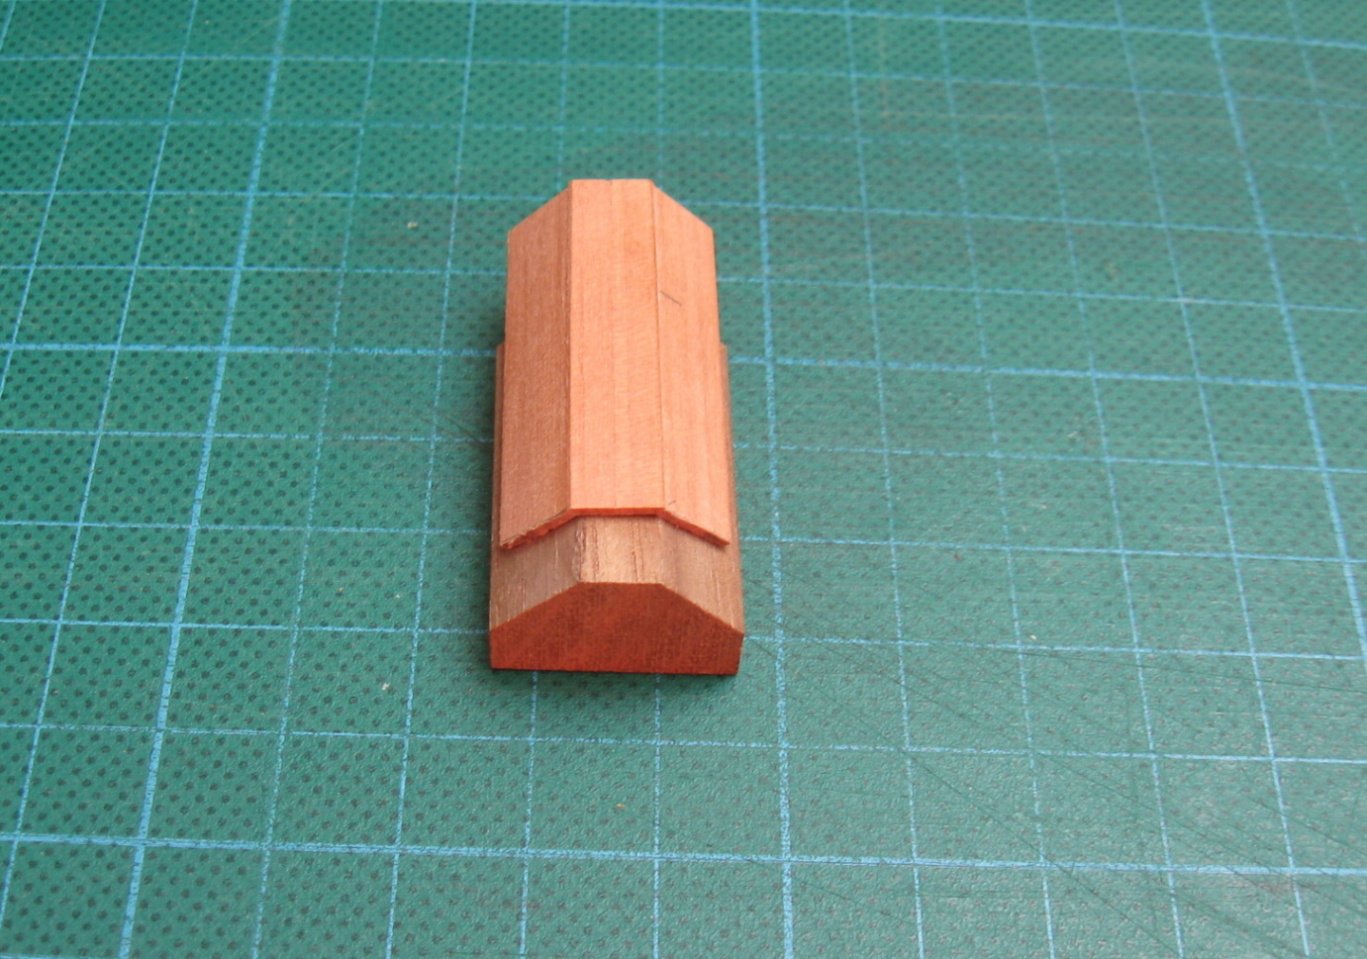
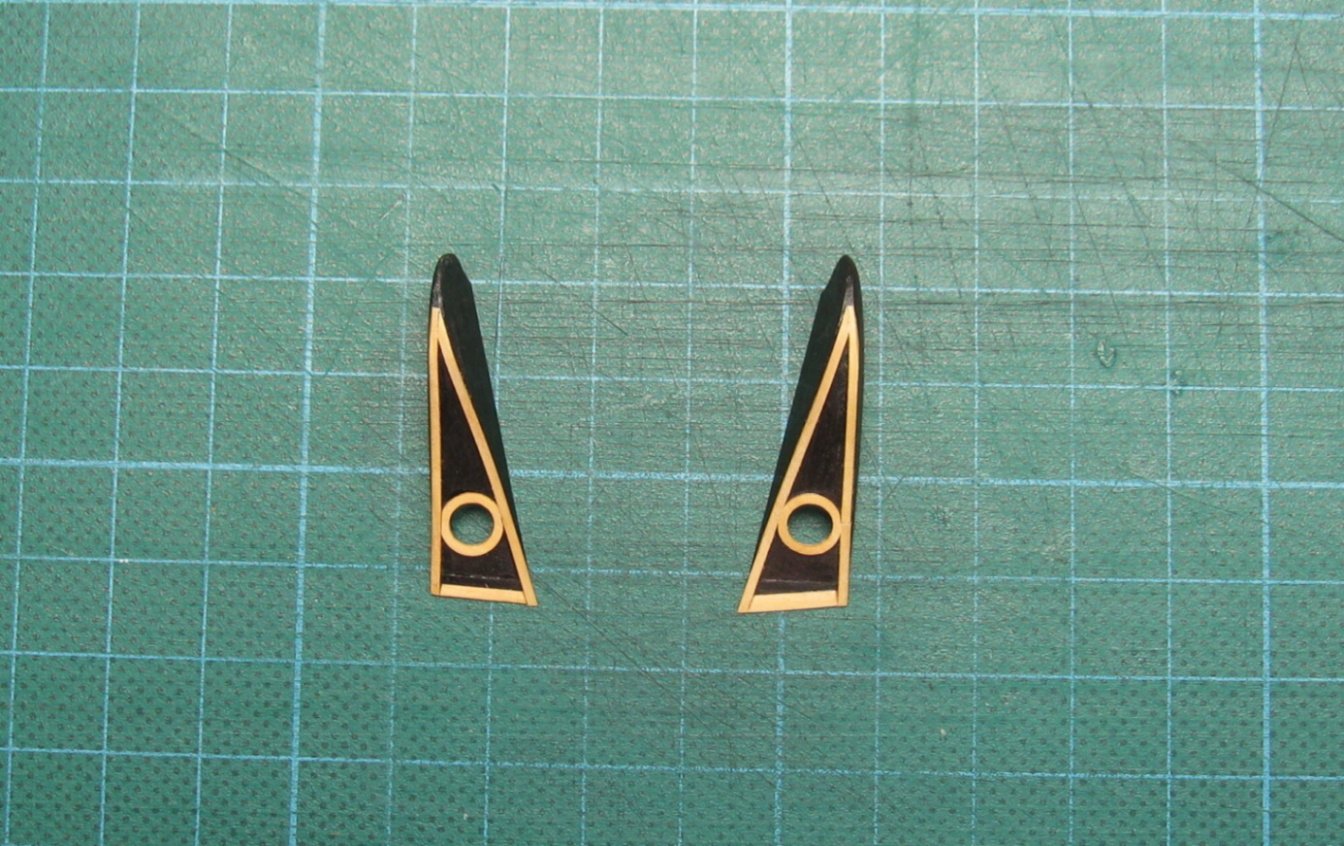
Scrubbyj427 - I am using pear wood (steamed and not steamed - different color) and black hornbeam. Completion of the quarter gallery.


- 589 replies
-
- 41
-
-
- le gros ventre
- cargo
- (and 1 more)
-
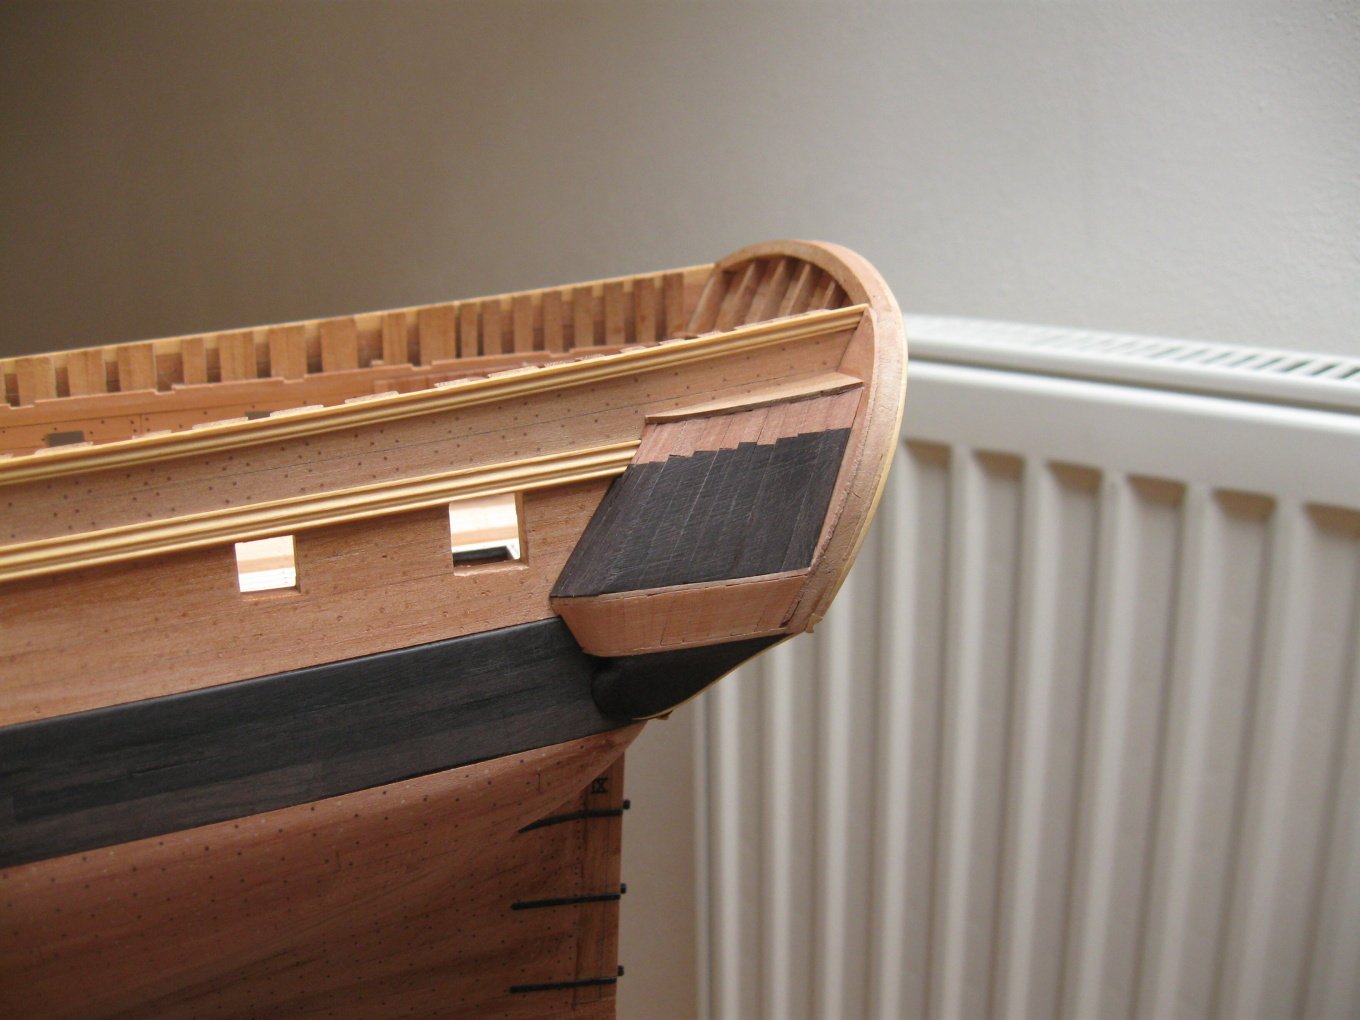
Thanks🙂. I completed planking of the quarter gallery.


- 589 replies
-
- 33
-
-
- le gros ventre
- cargo
- (and 1 more)
-
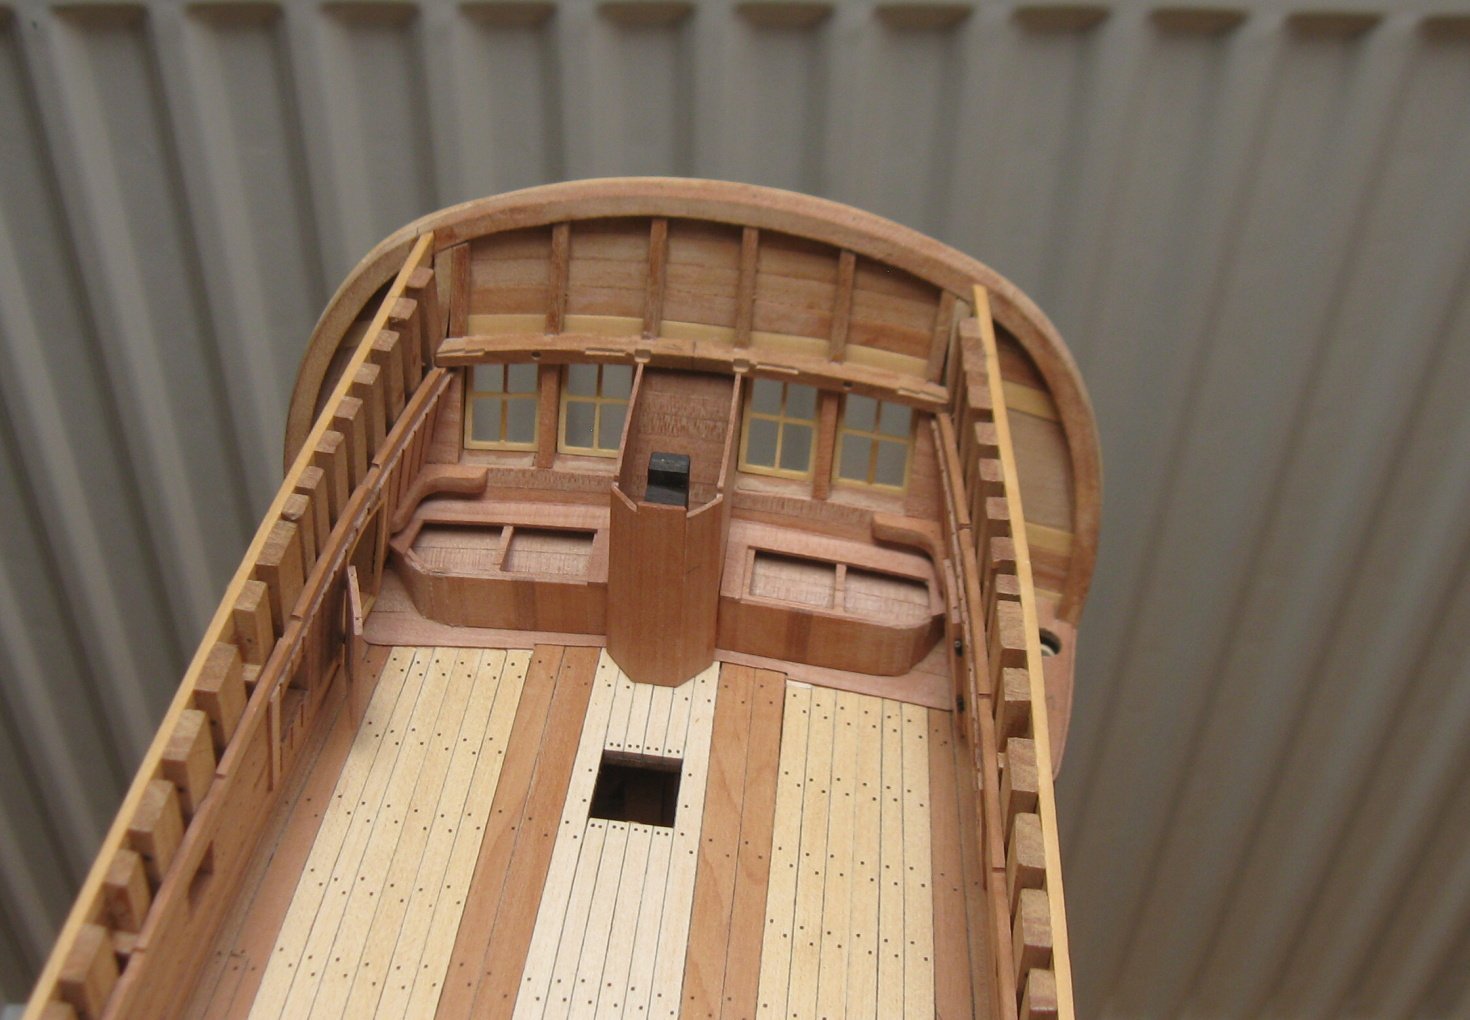
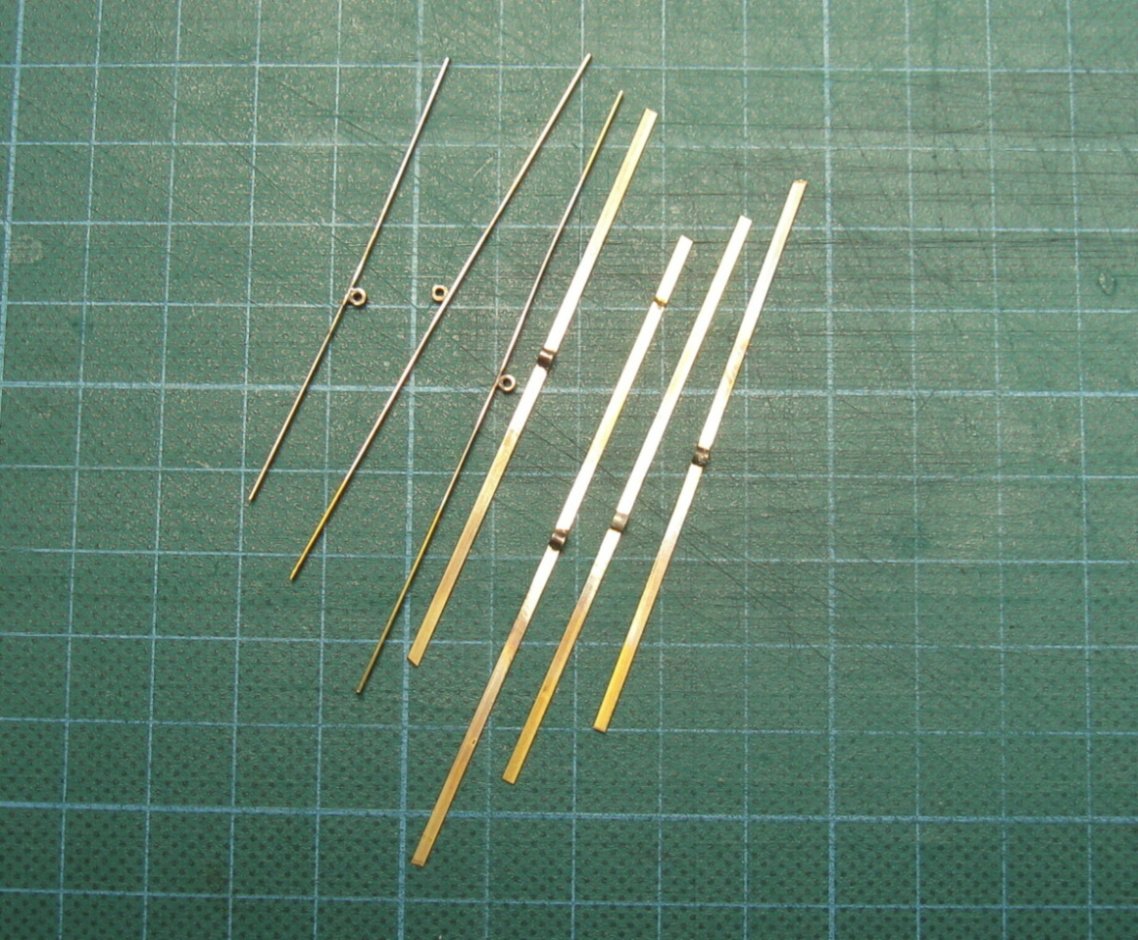
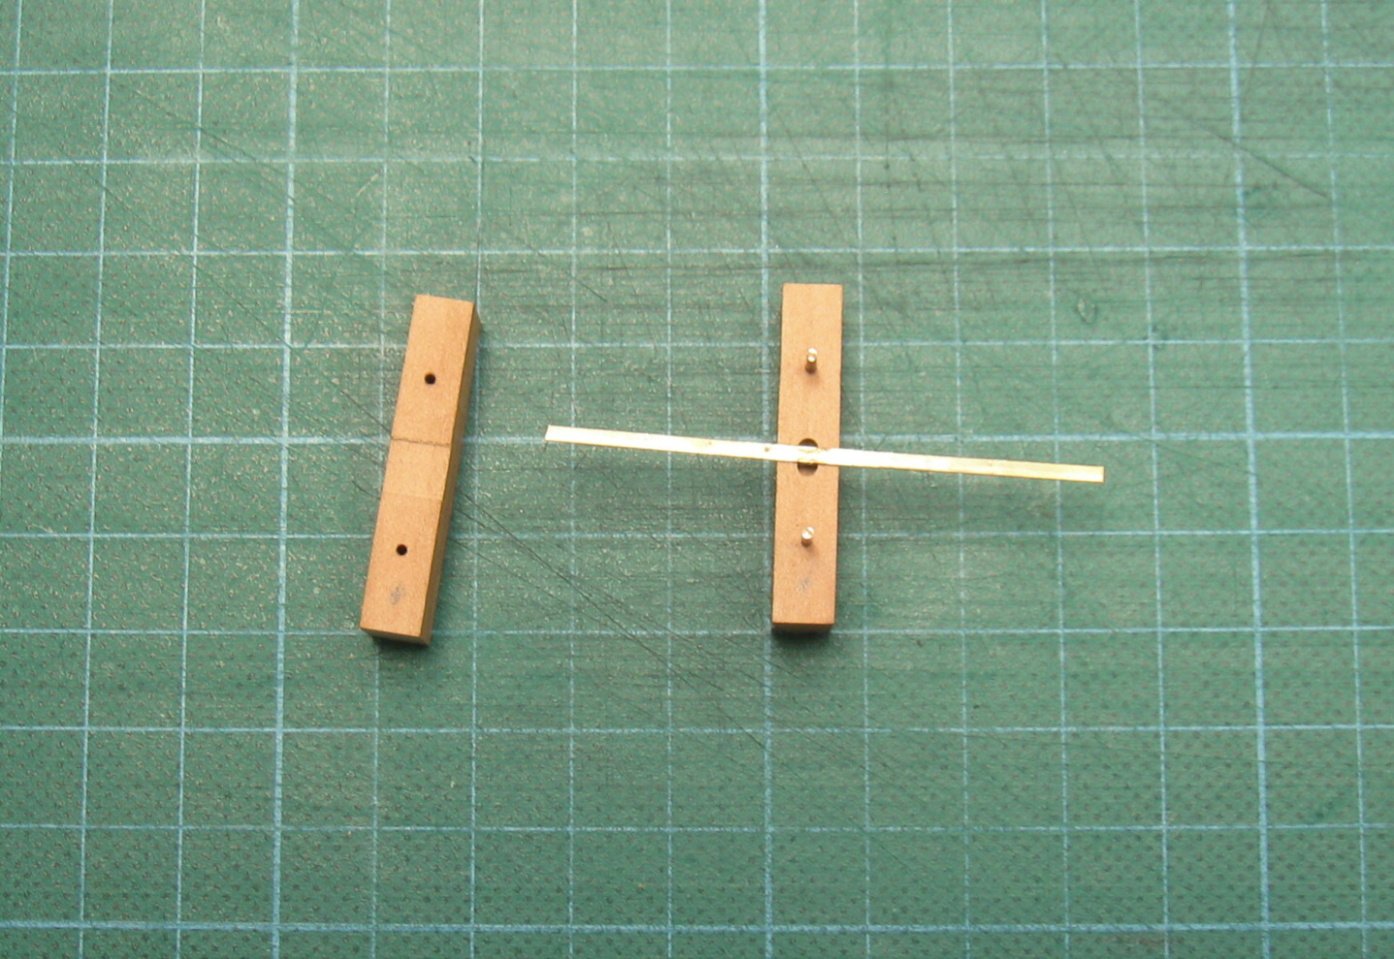
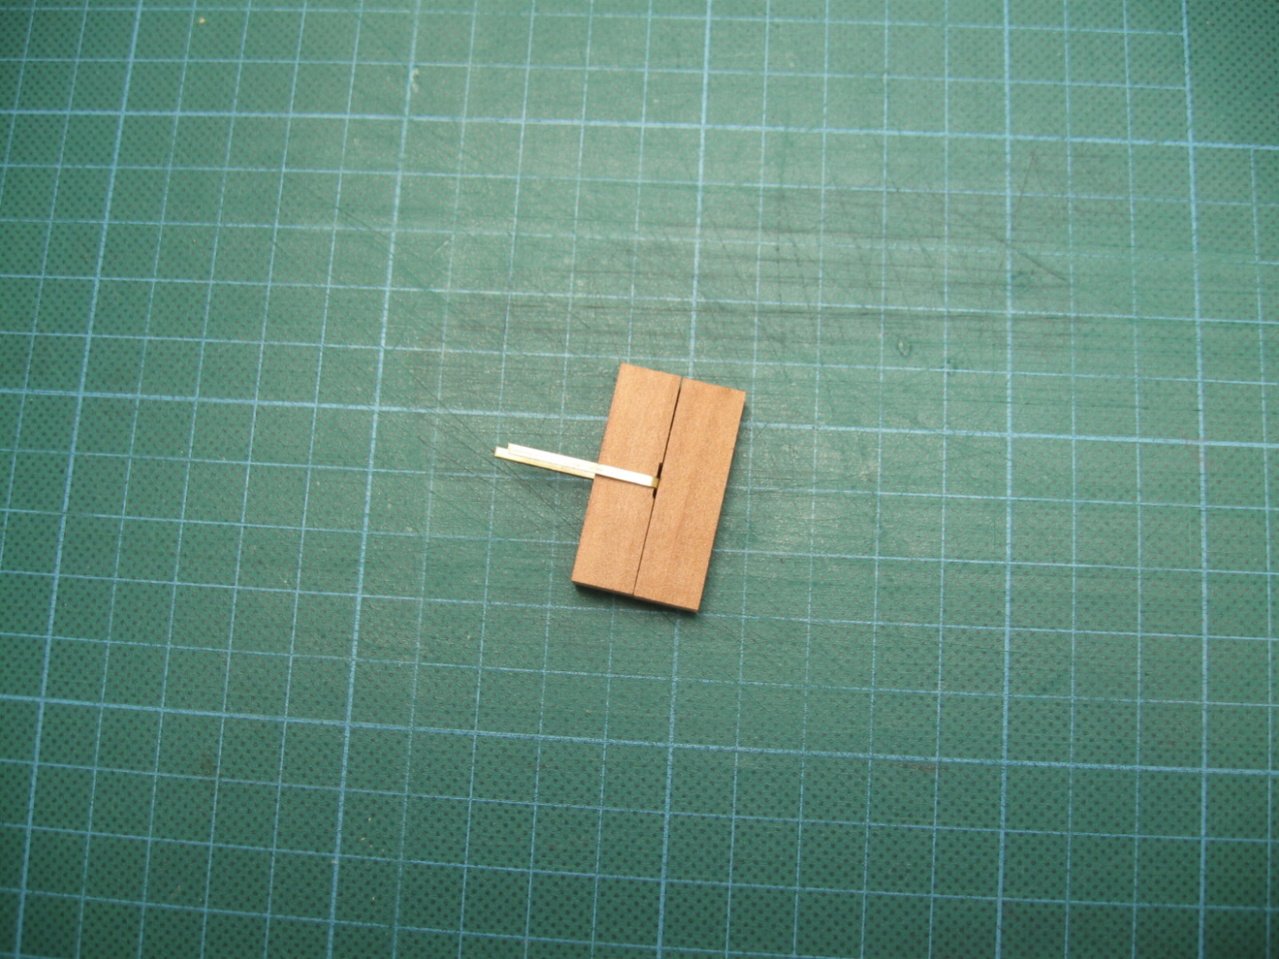
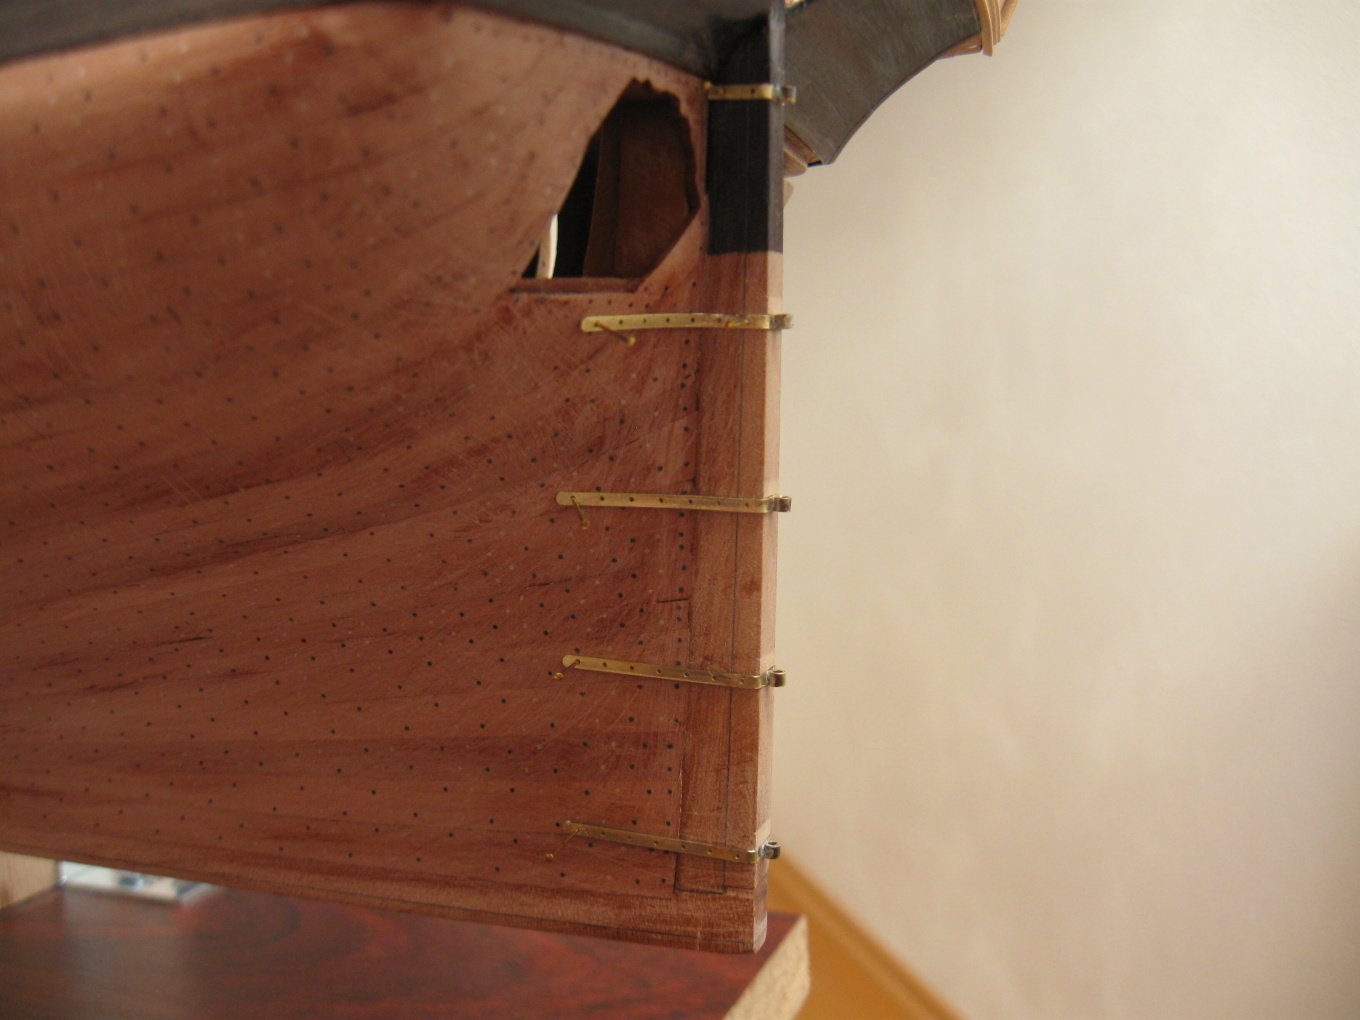
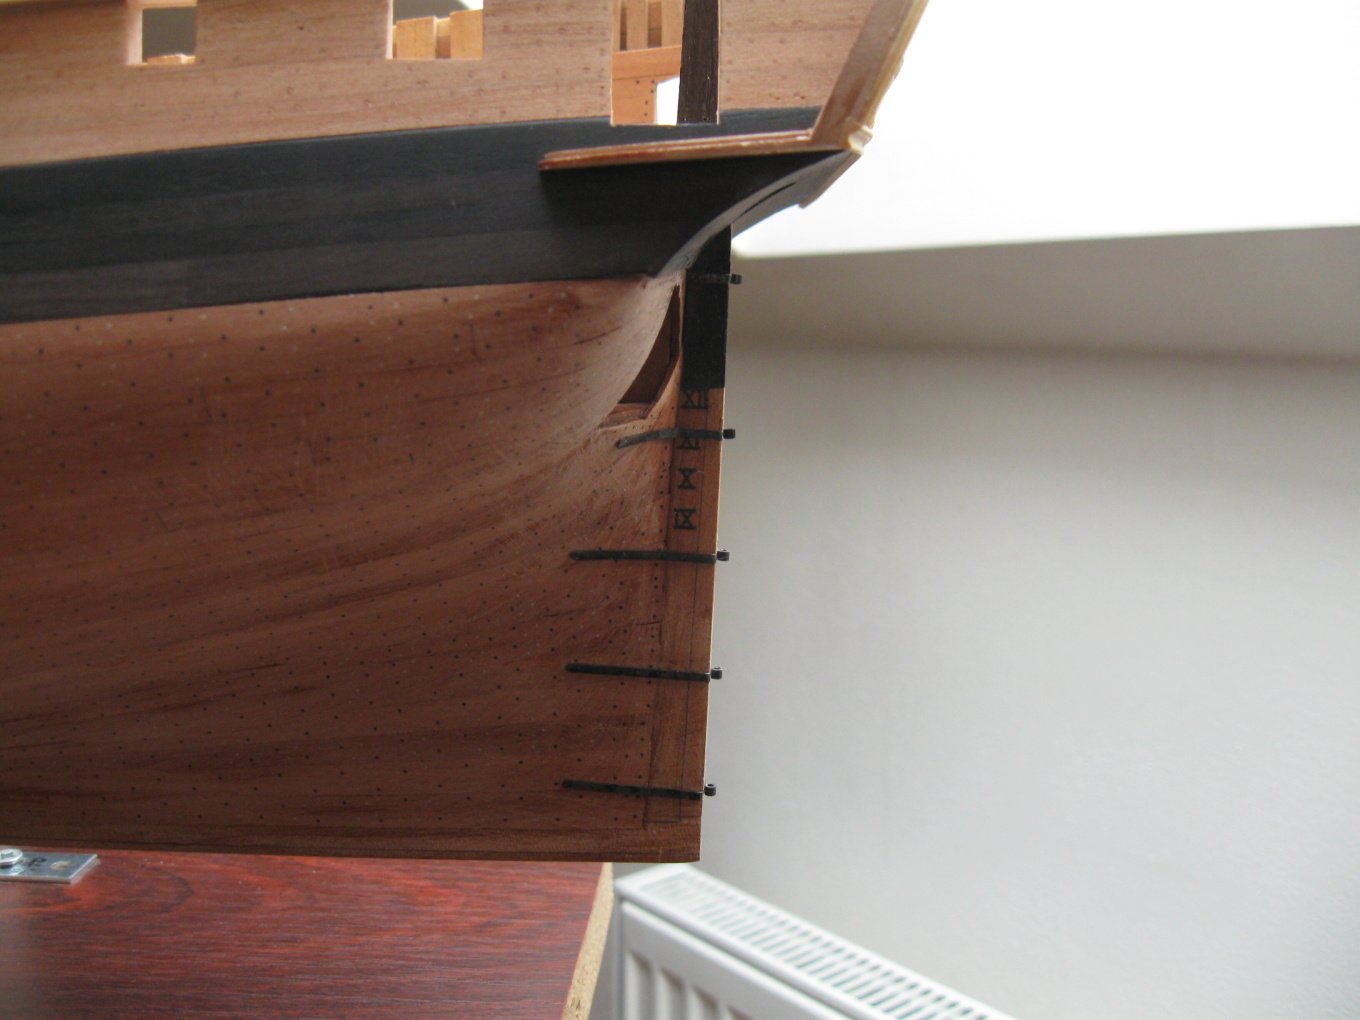
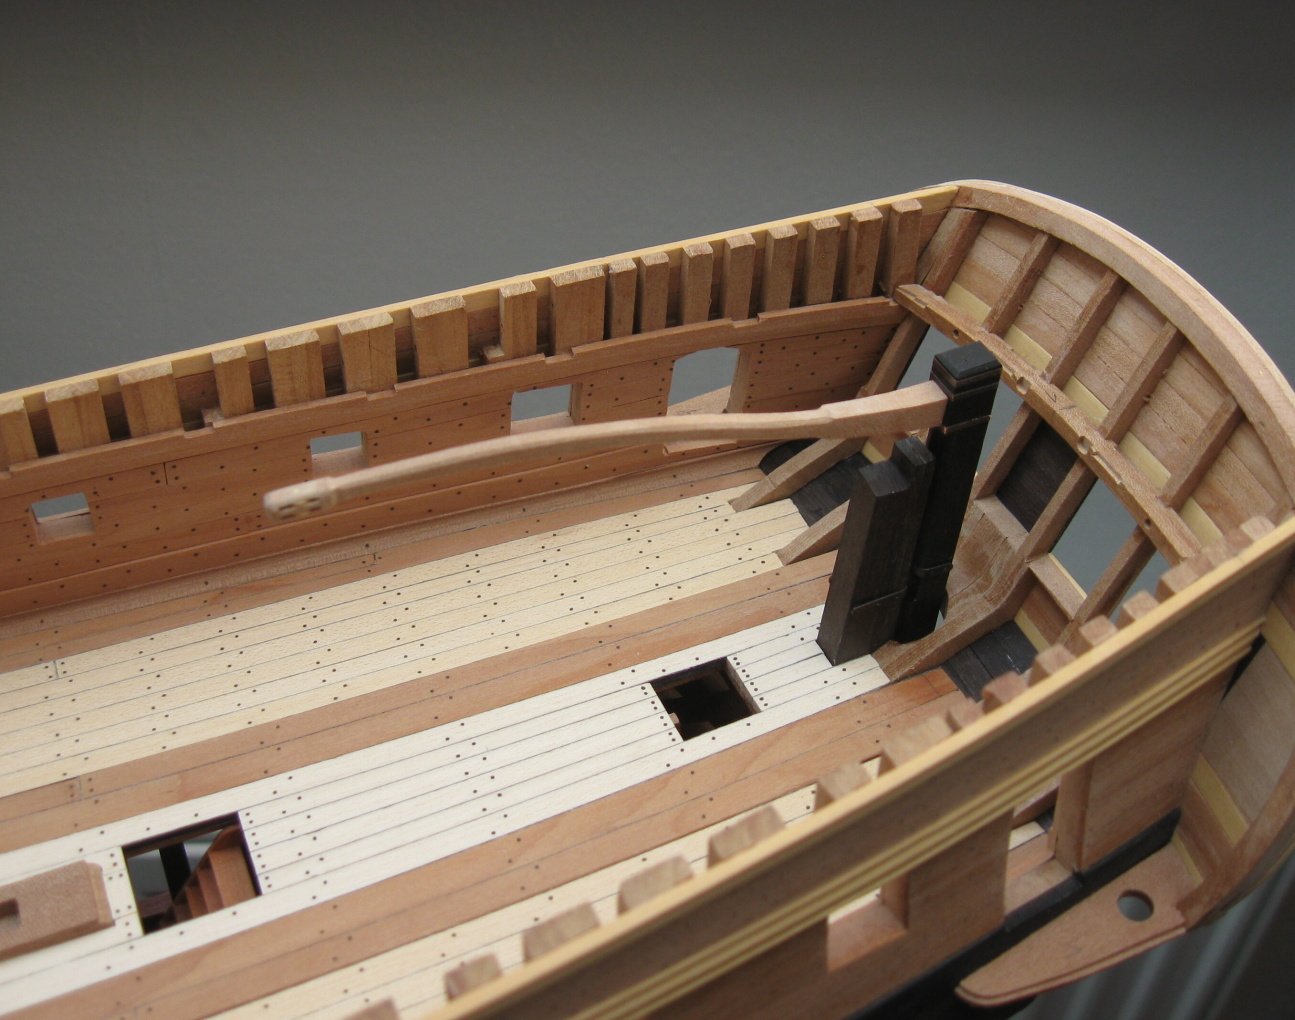
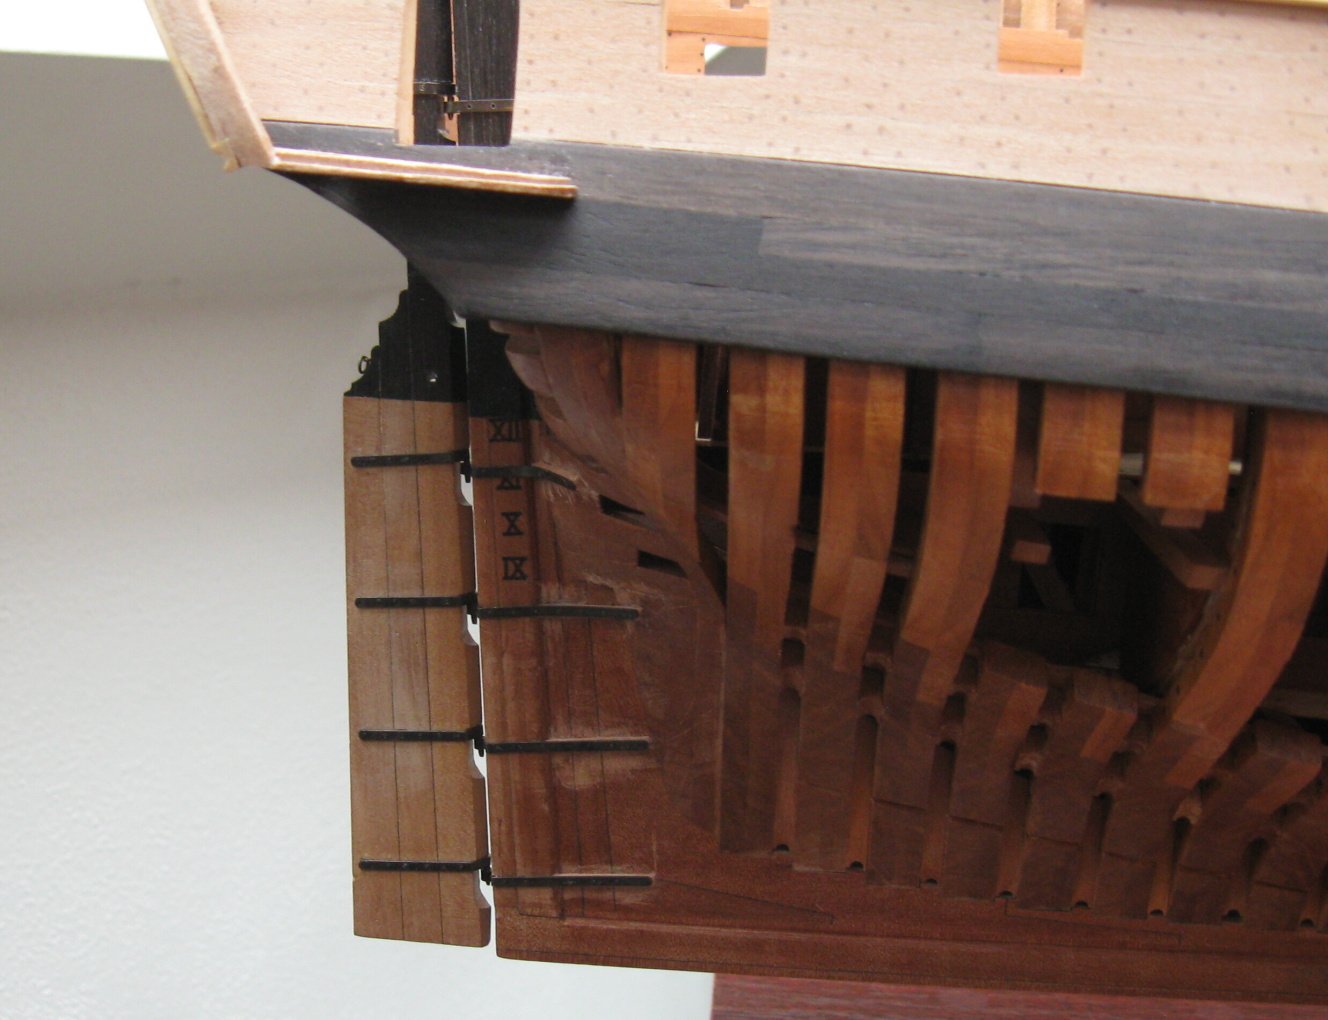
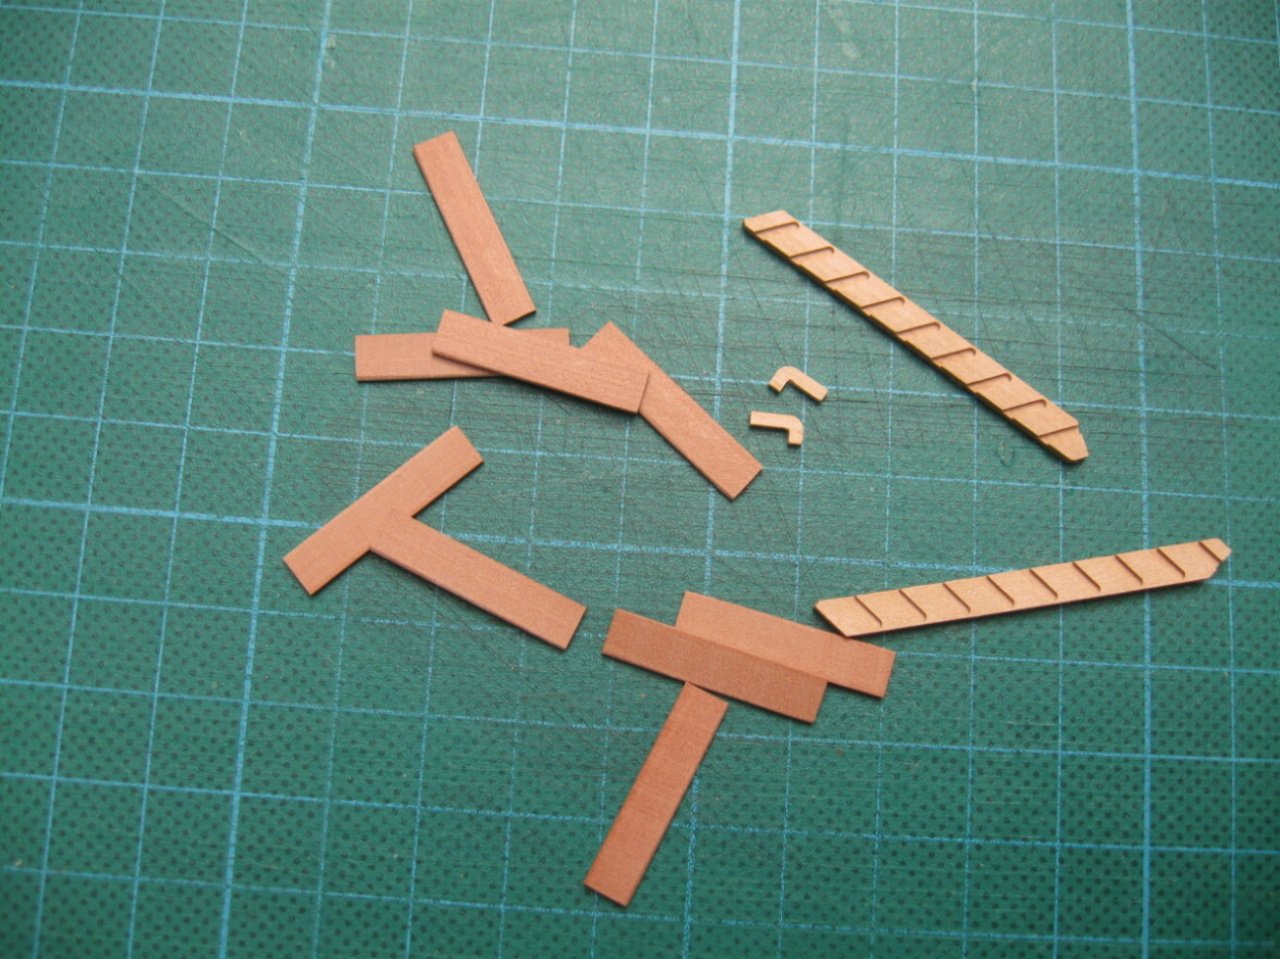
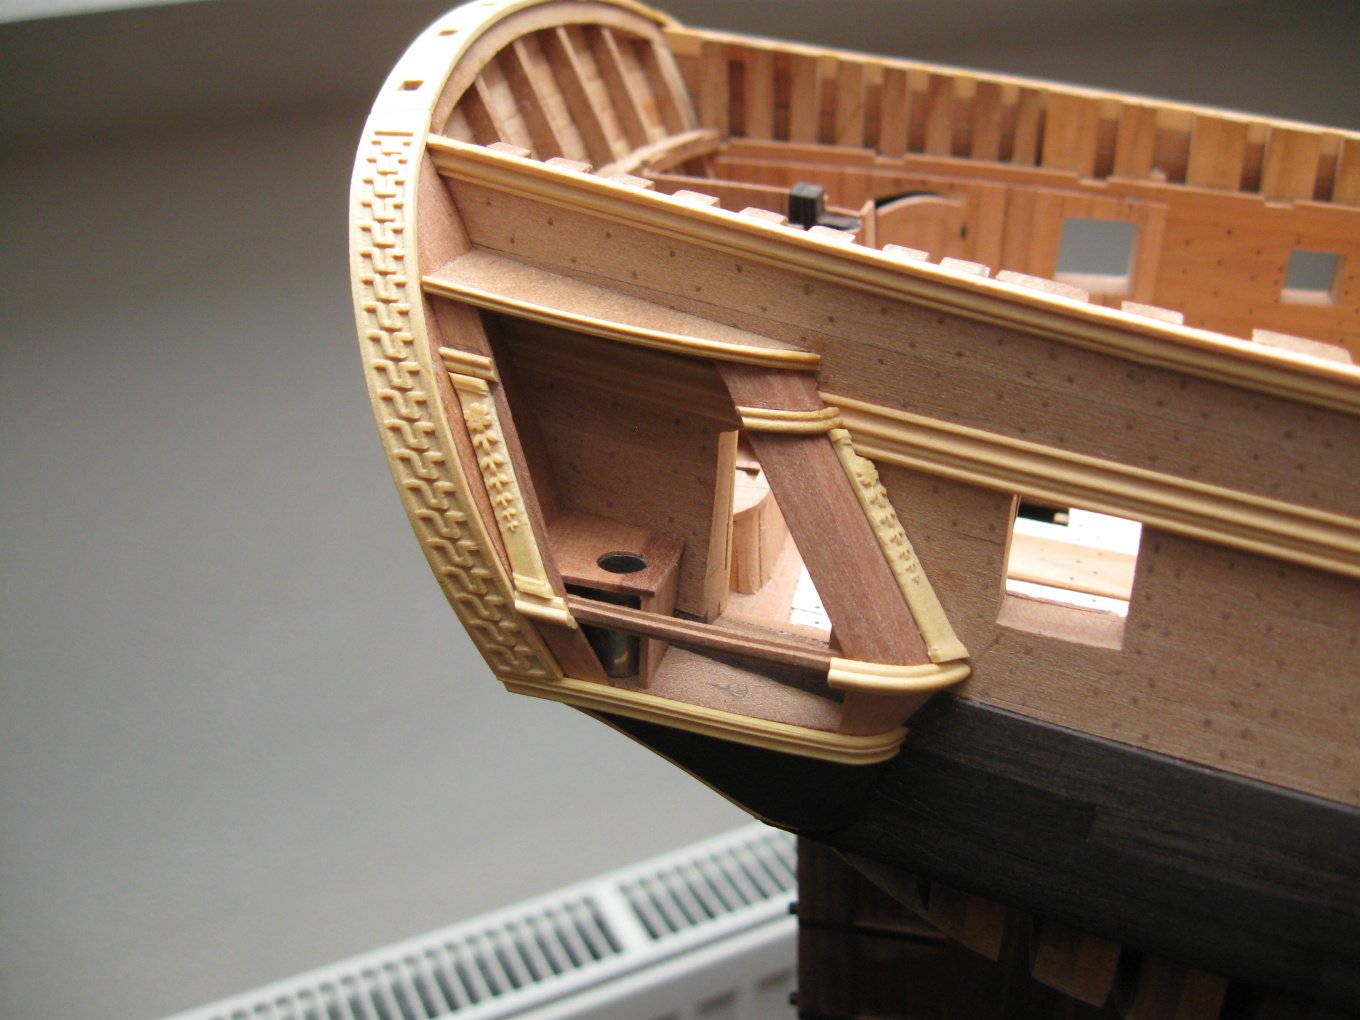
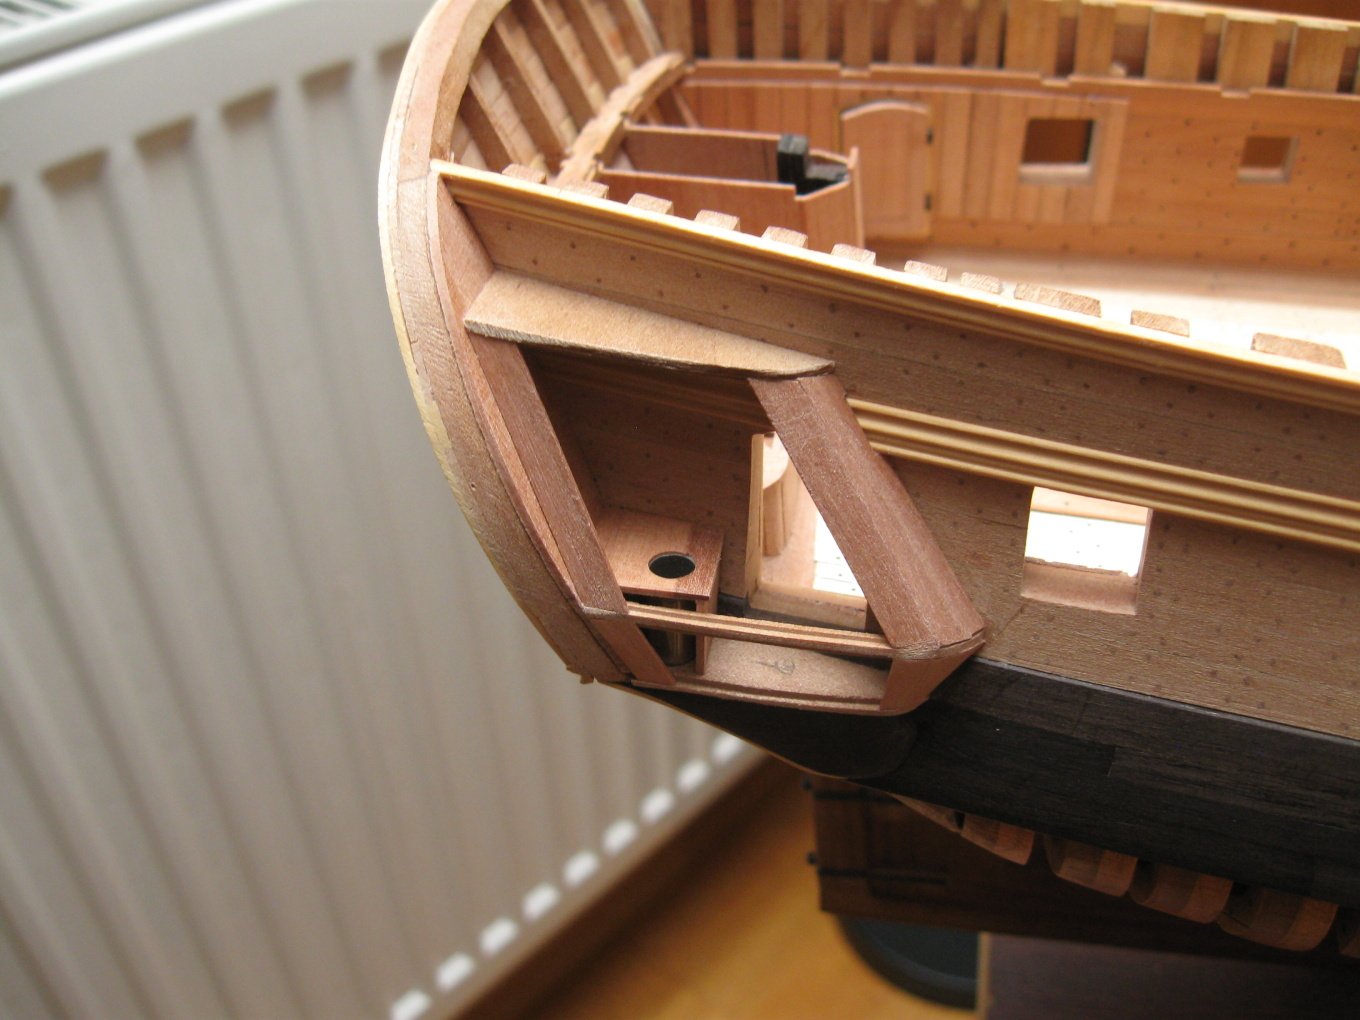
Thank you guys🙂. I continue with rudder´s well and lockers.


- 589 replies
-
- 32
-
-
- le gros ventre
- cargo
- (and 1 more)
-
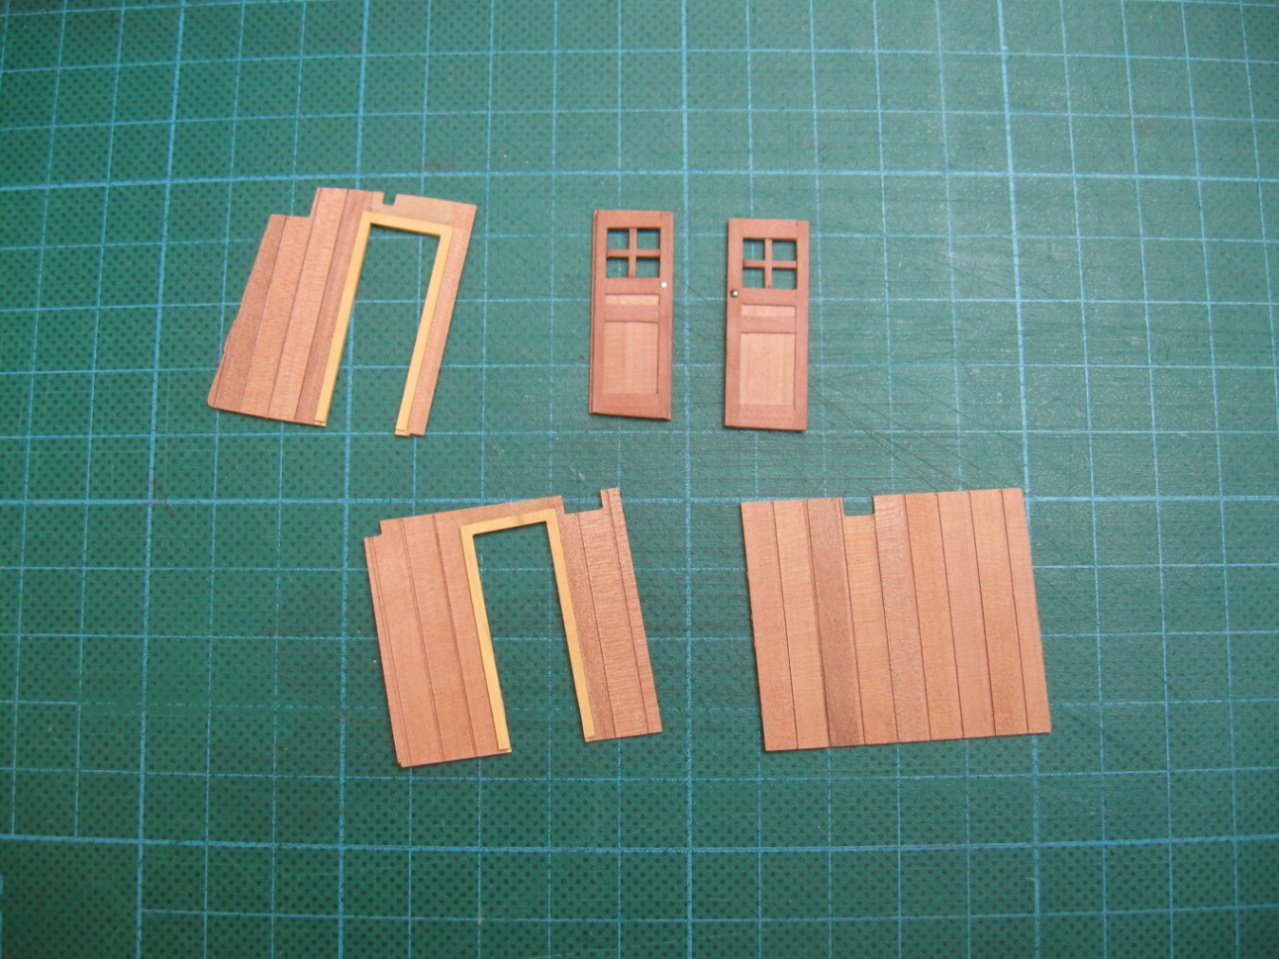
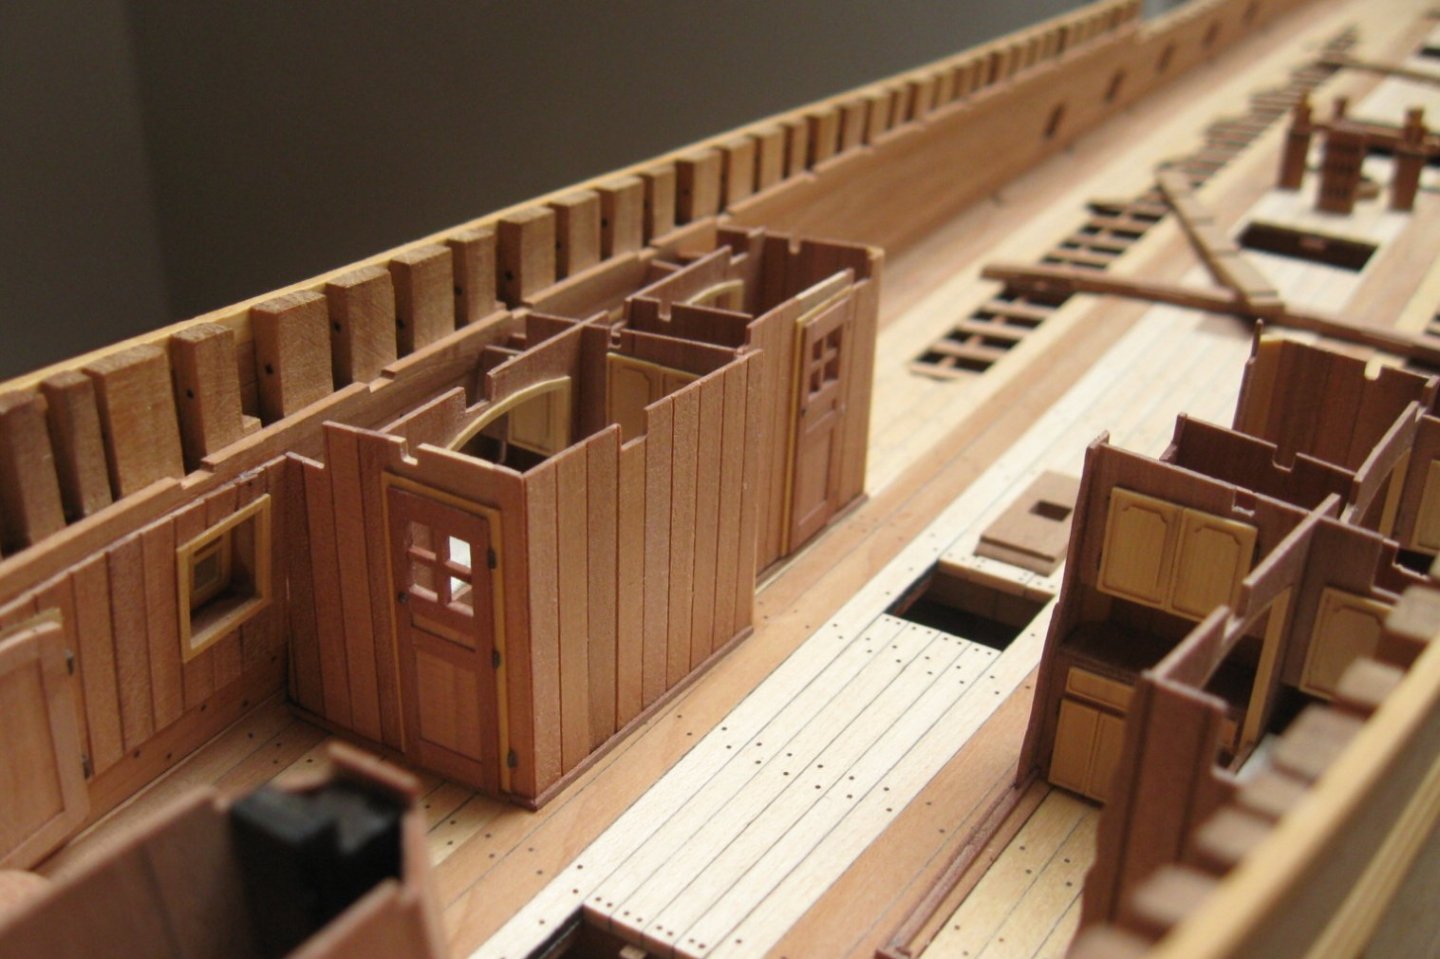
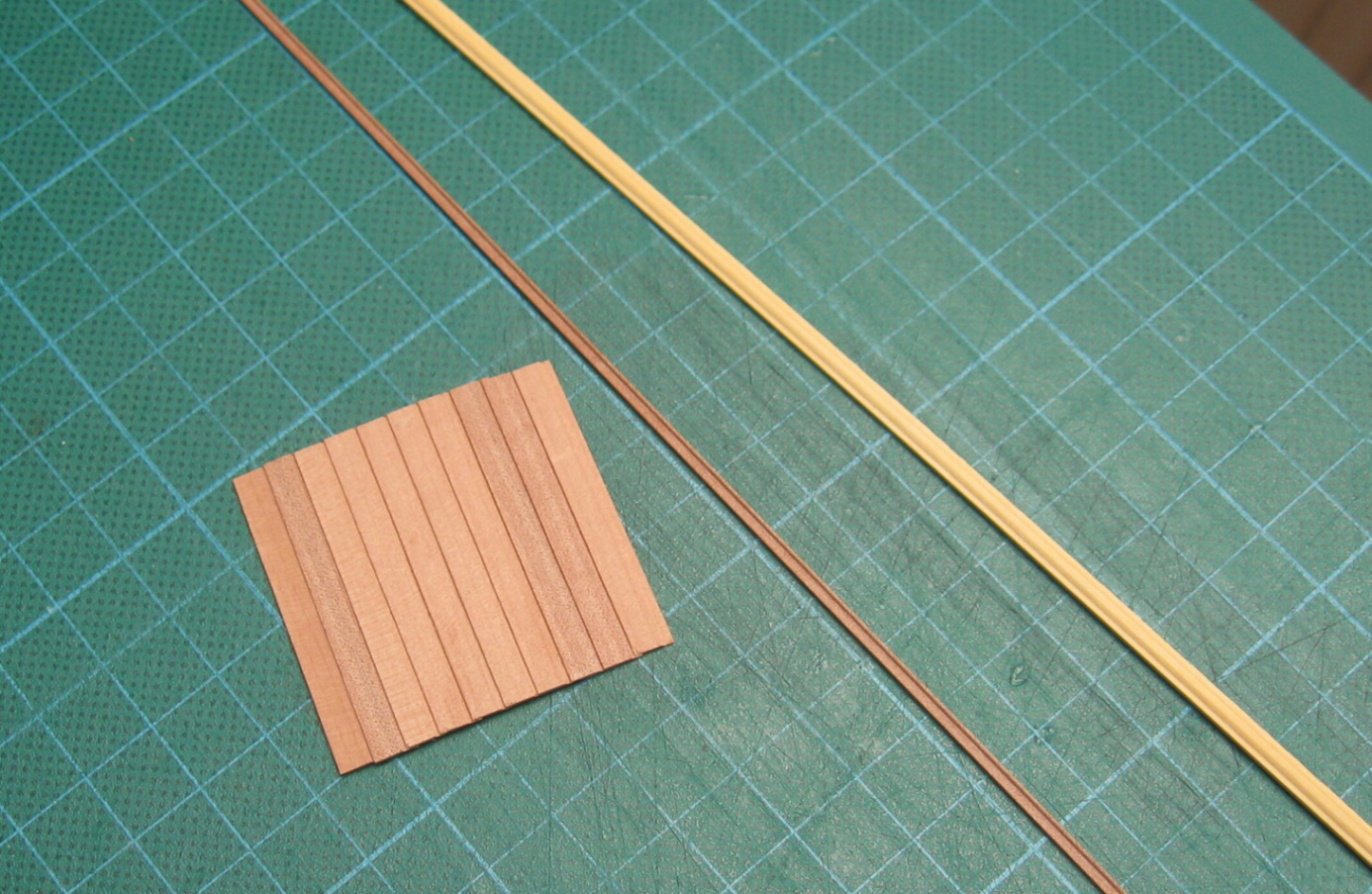
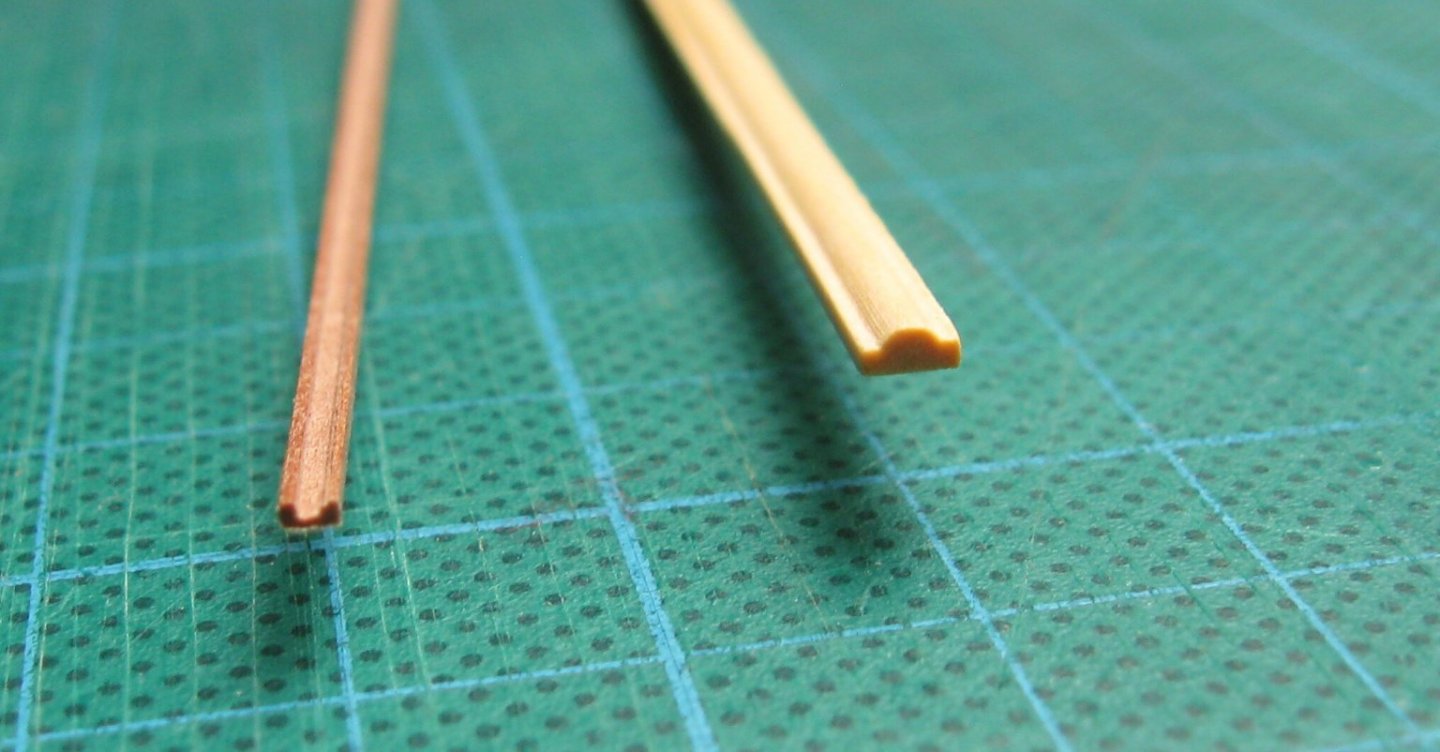
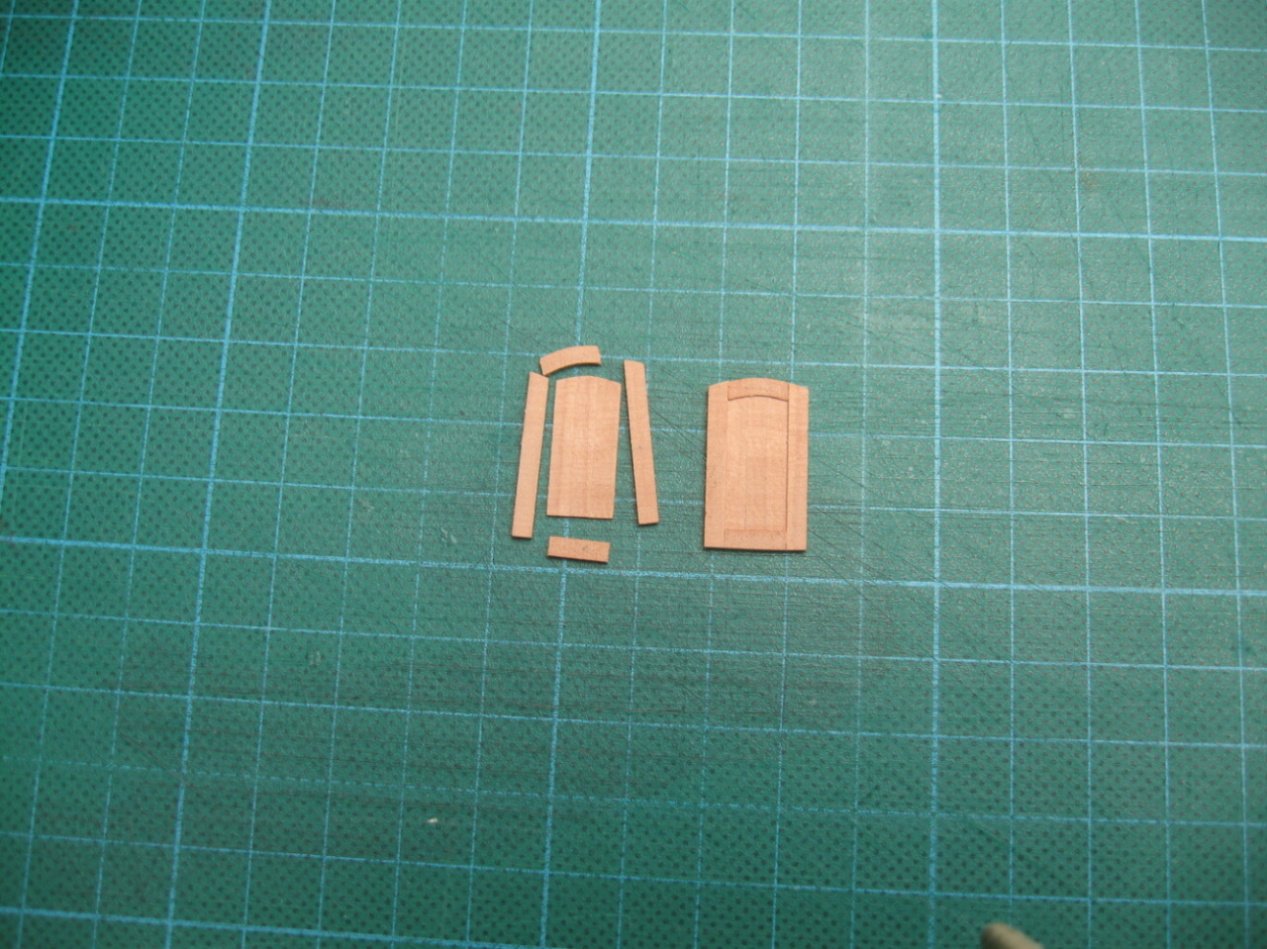
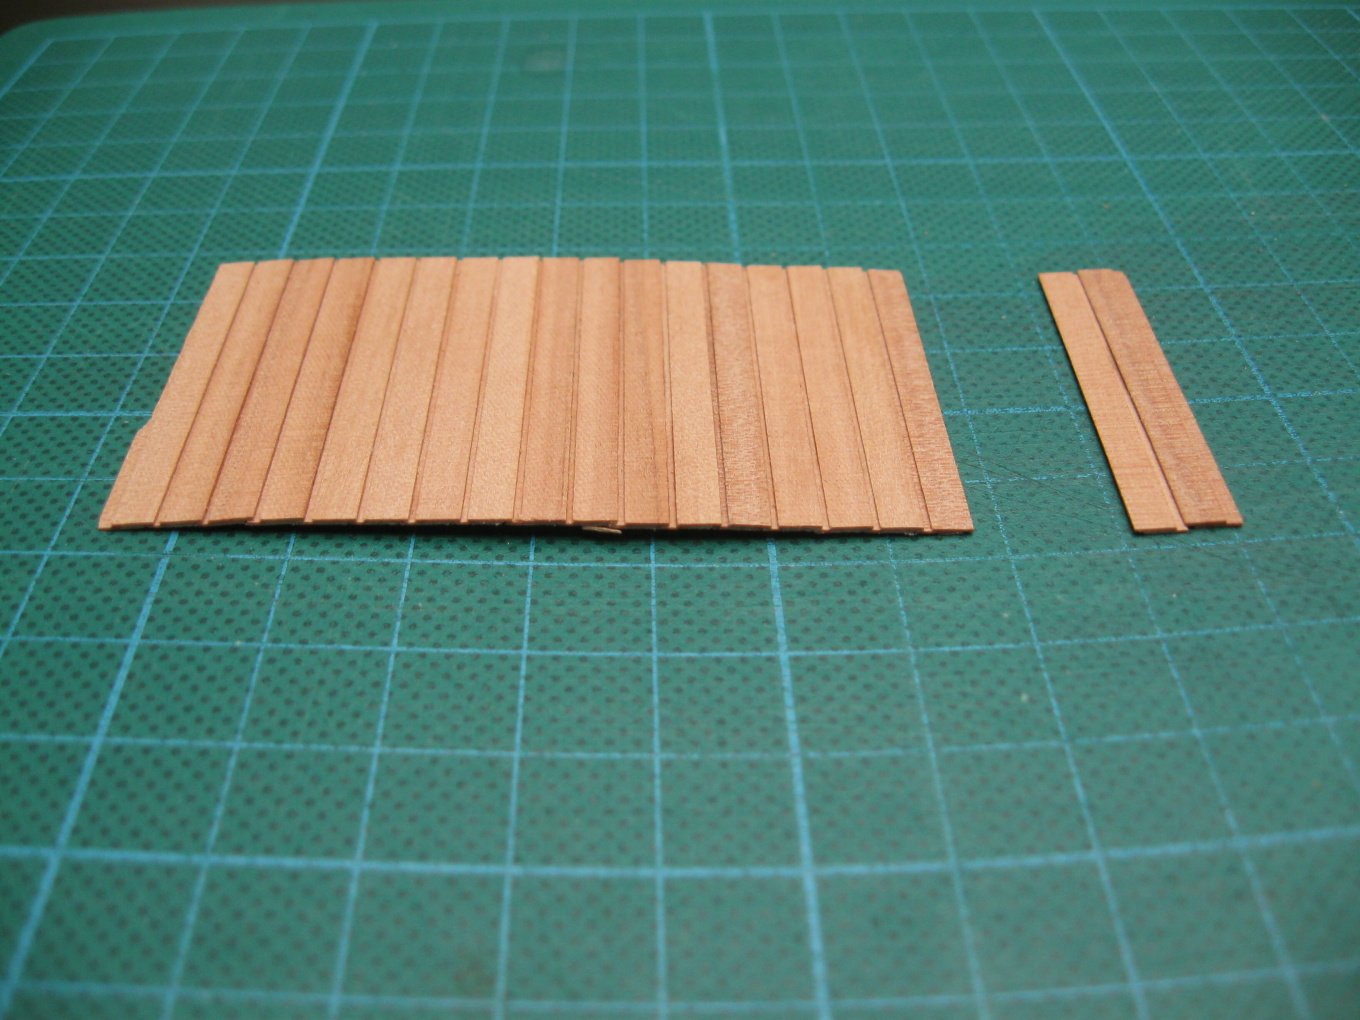
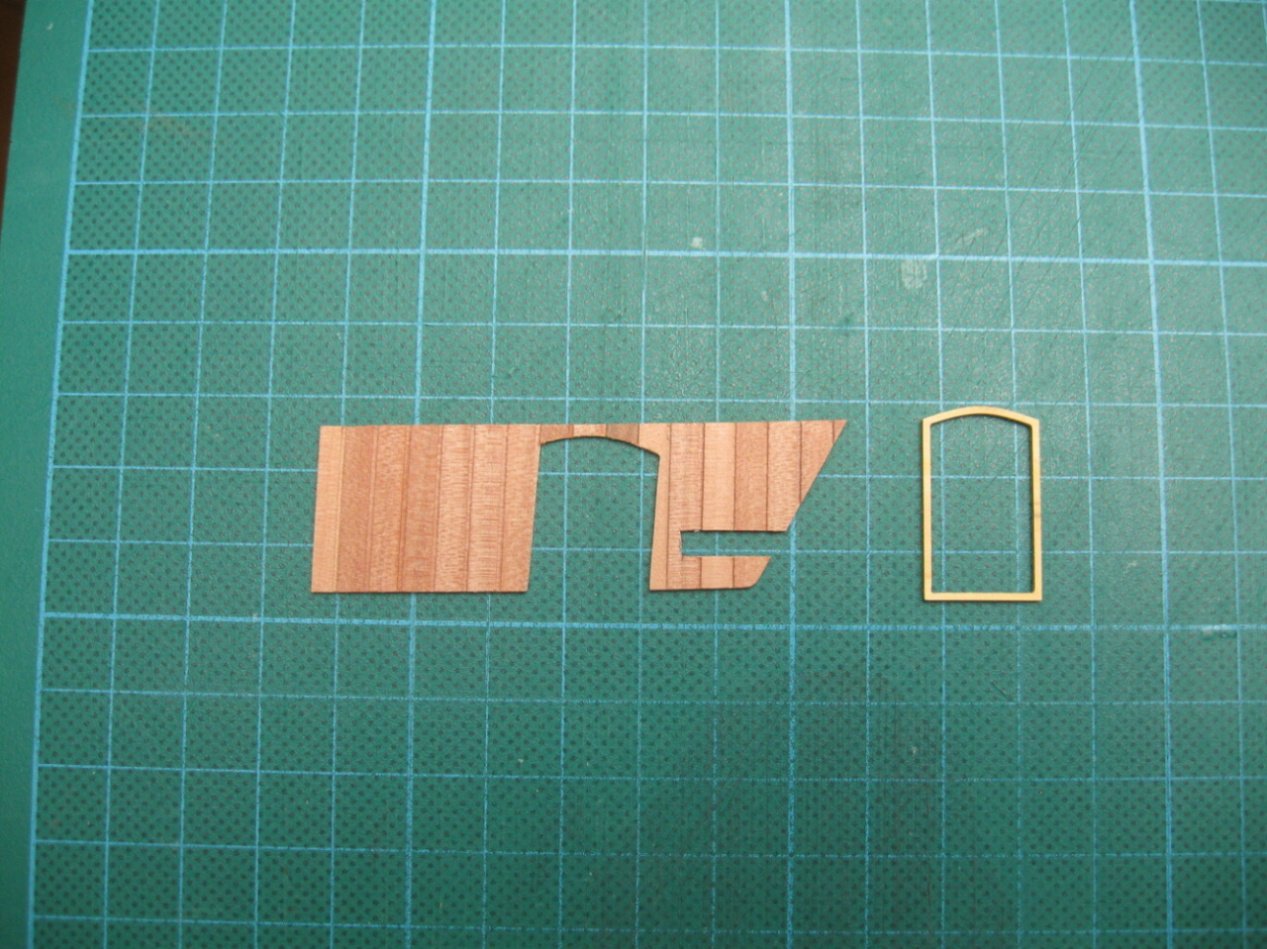
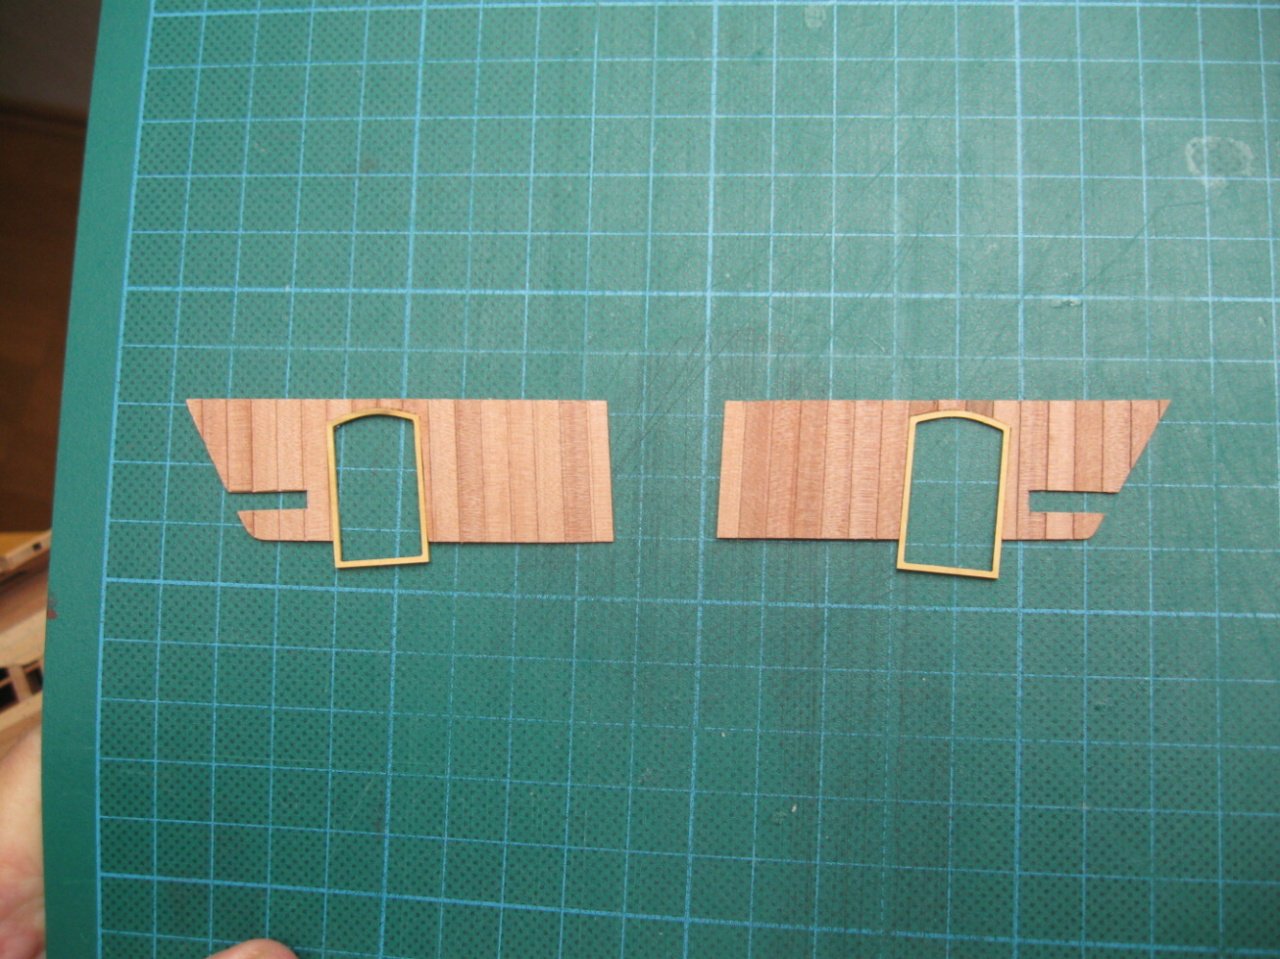
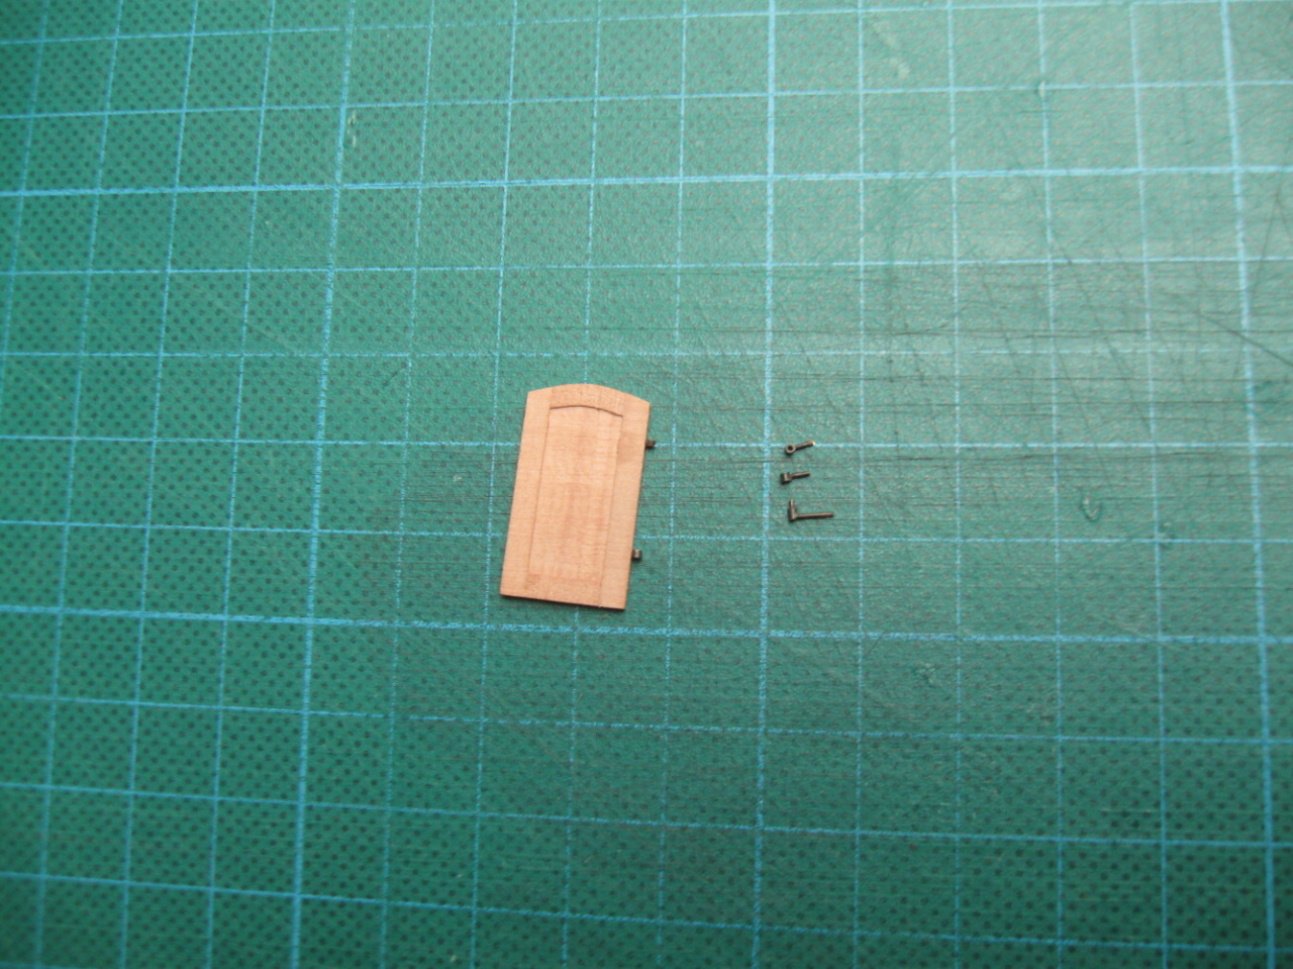
Ceiling in the wardroom and quarter gallery´s access door.


- 589 replies
-
- 26
-
-
- le gros ventre
- cargo
- (and 1 more)
-
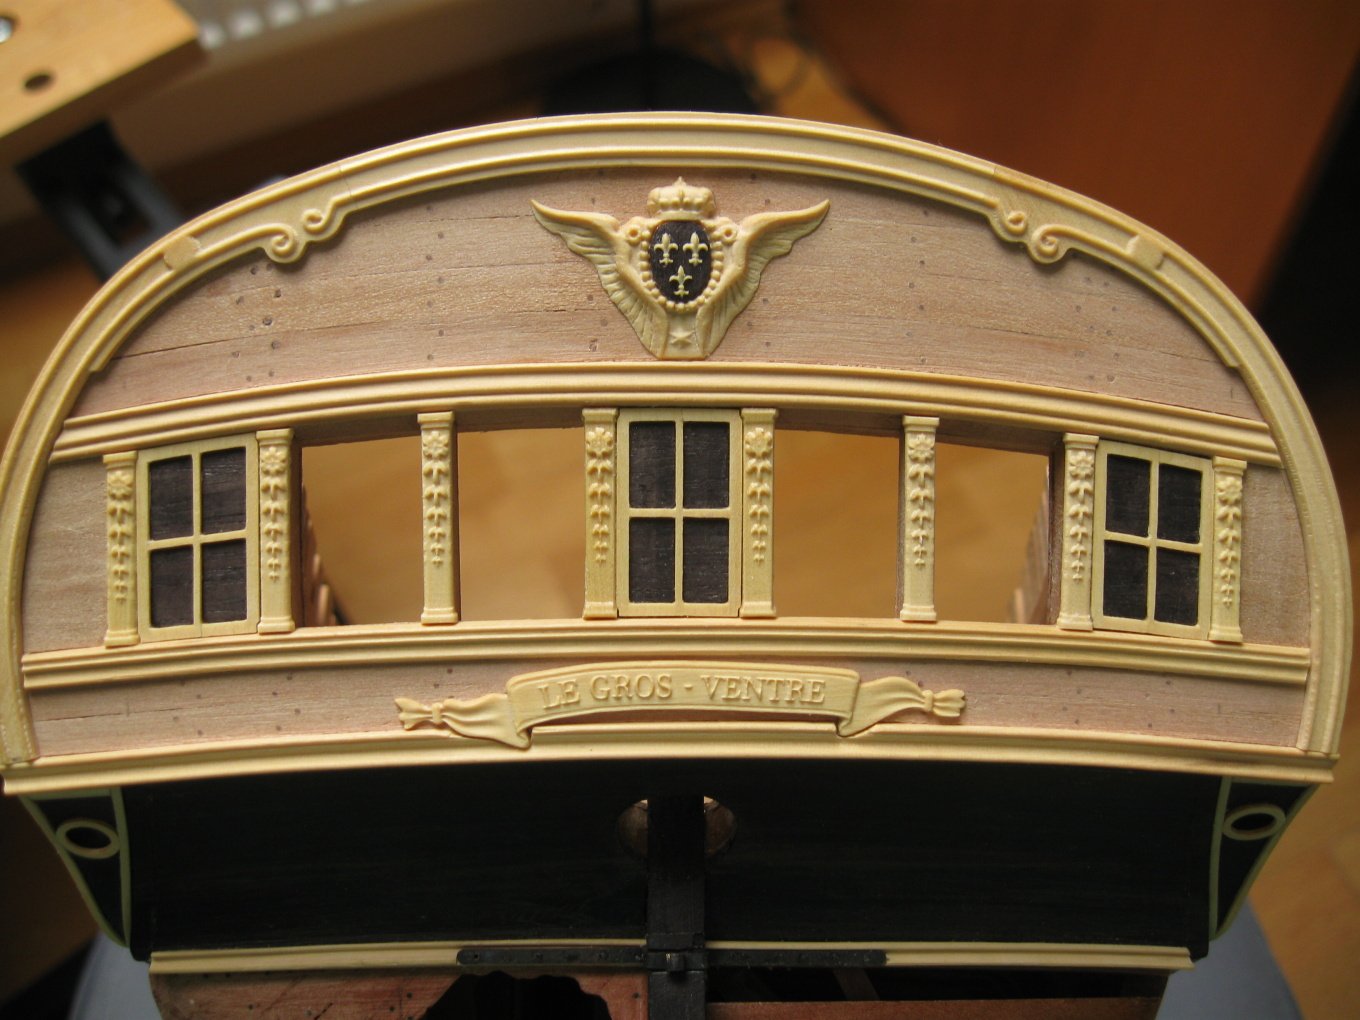
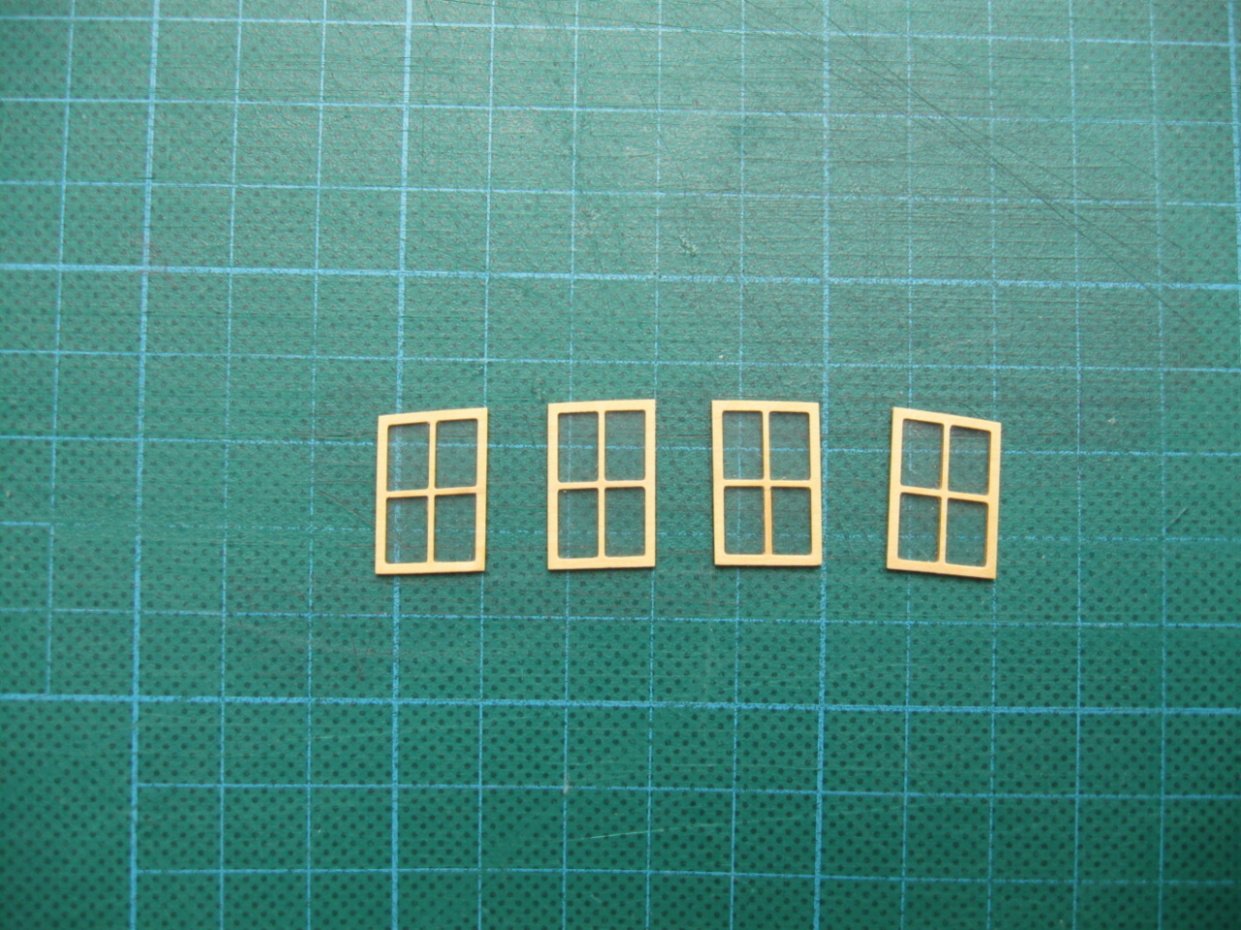
To Oliver1973 - The holder for Proxxon vice is selfmade (not my production). I continue with rear windows (lights?).


- 589 replies
-
- 31
-
-
- le gros ventre
- cargo
- (and 1 more)
-
Tnak you guys. To No Idea: I have one Proxxon milling maschine, I only added electronic control to the x-axis. As for accuracy I agree with Derek. Some stern improvements.

- 589 replies
-
- 24
-
-
- le gros ventre
- cargo
- (and 1 more)