DaveBaxt
-
Posts
1,324 -
Joined
-
Last visited
Content Type
Profiles
Forums
Gallery
Events
Everything posted by DaveBaxt
-
Thank you to every one with some very good answers . I am still in two minds with this and will make an attempt at making some letters in the hope they would be good enough to mount on the stern counter /transom. Best regards Dave
-
I have noticed that quite a few models in the 1700 have their name across the Transom and wonder if this is accurate for this period or is it just something which modelers like to do . I suppose this gives instant recognition but then again so would mounting a plaque somewhere on the stand or on the glass case itself. What are peoples views on this and what do people prefer. Best regards Dave
-
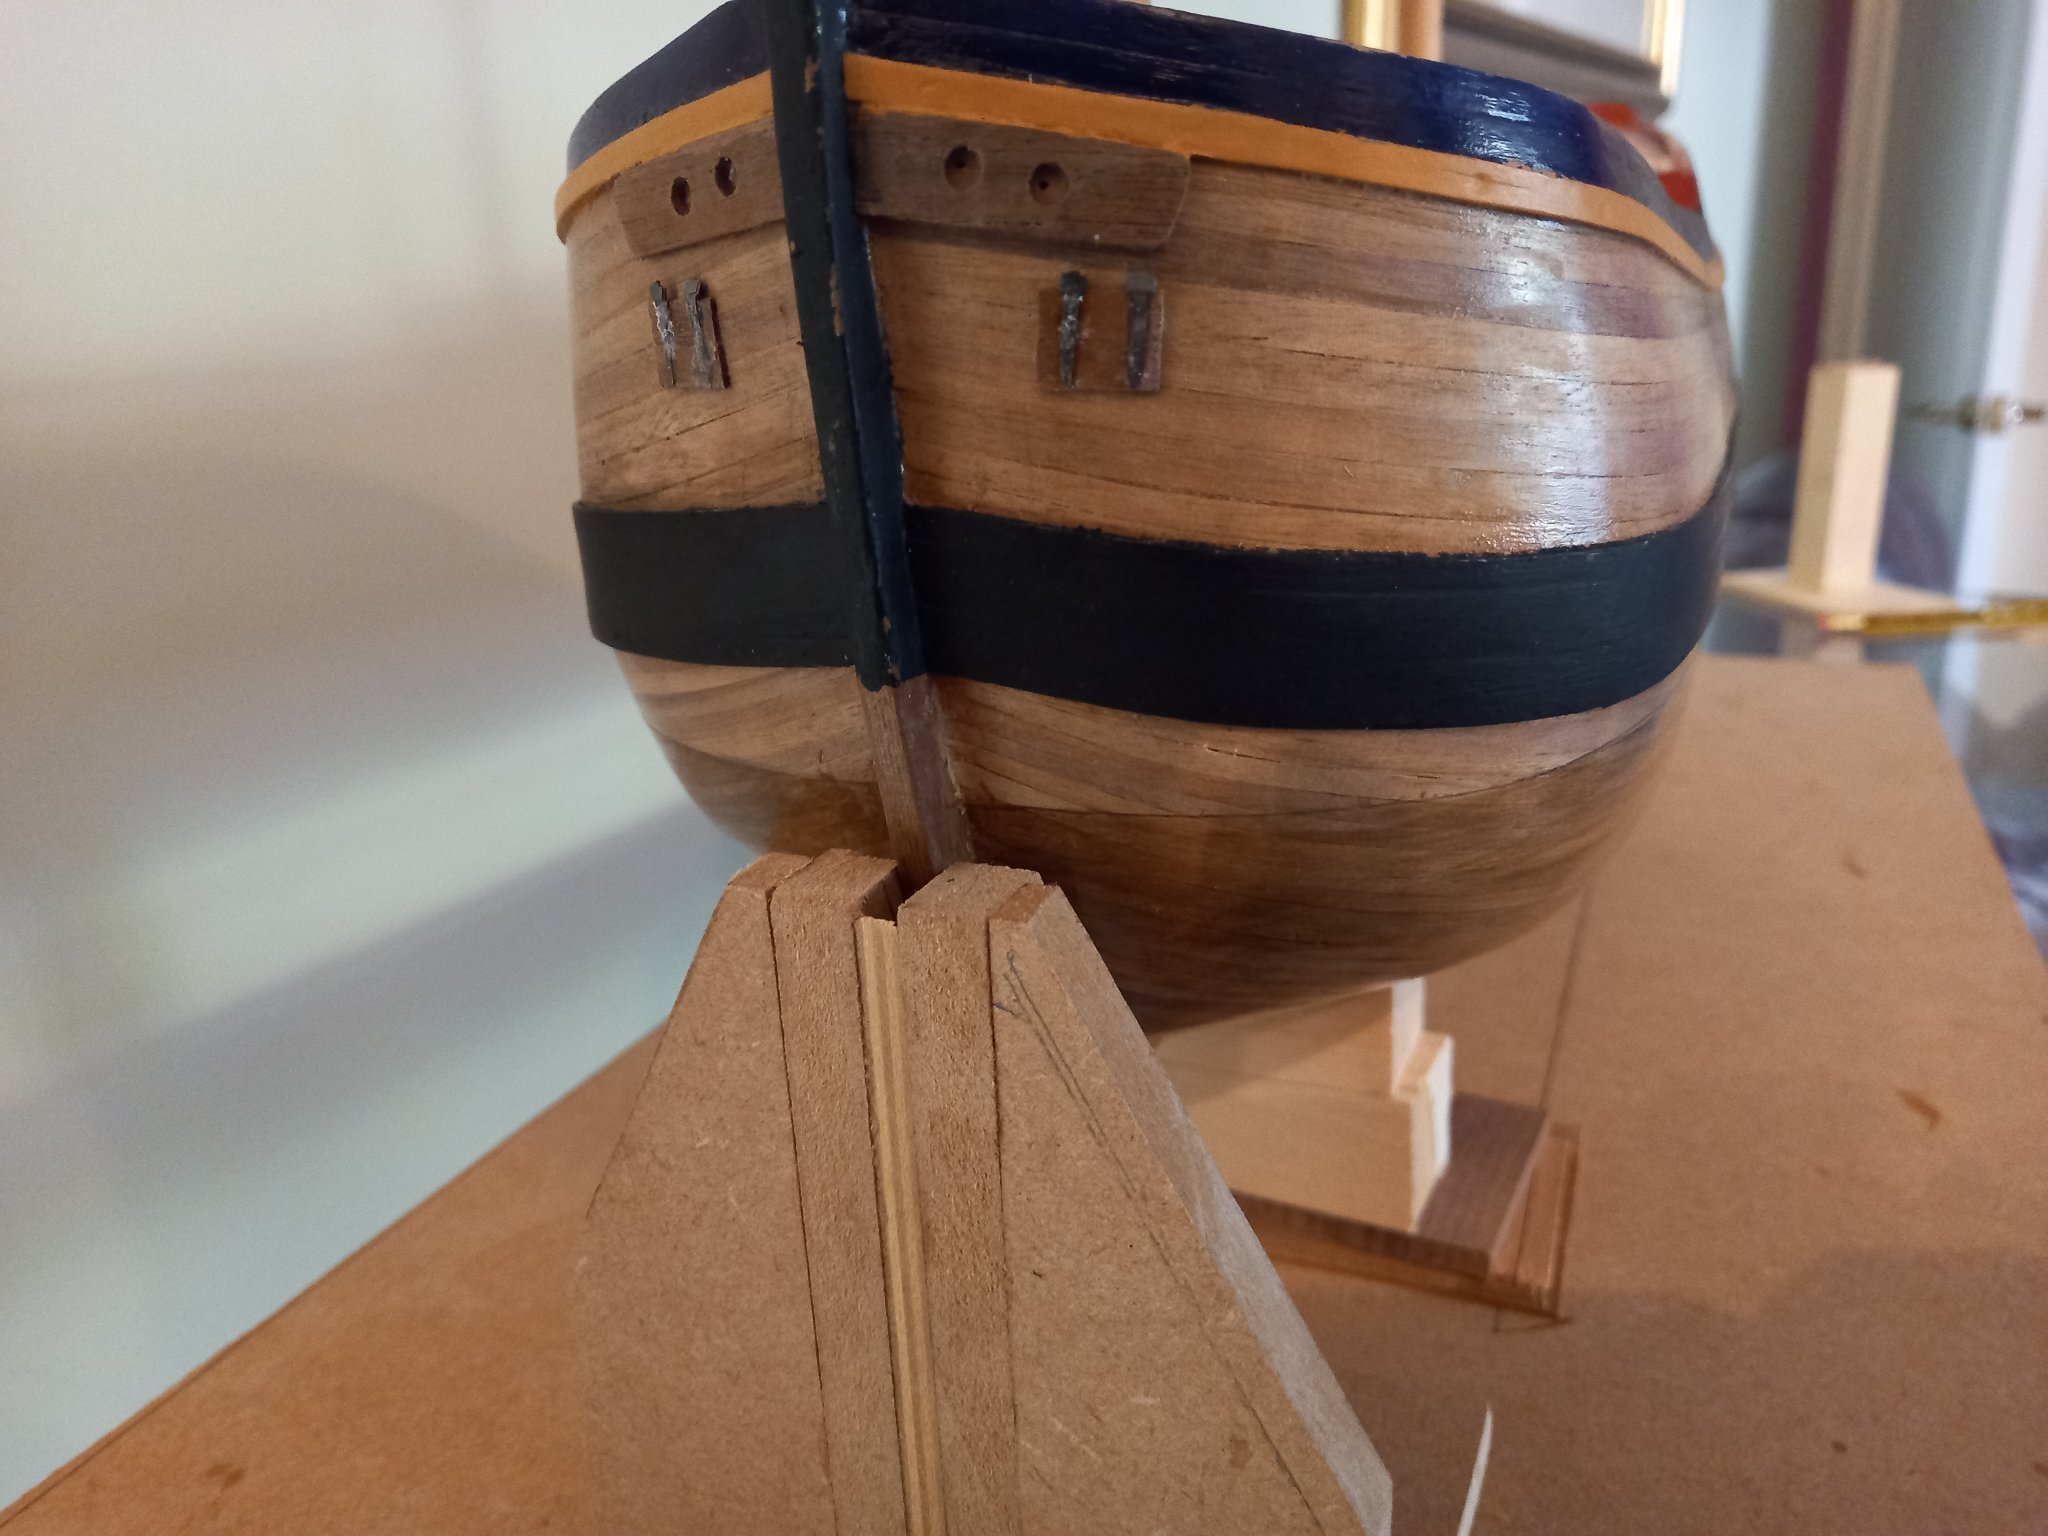
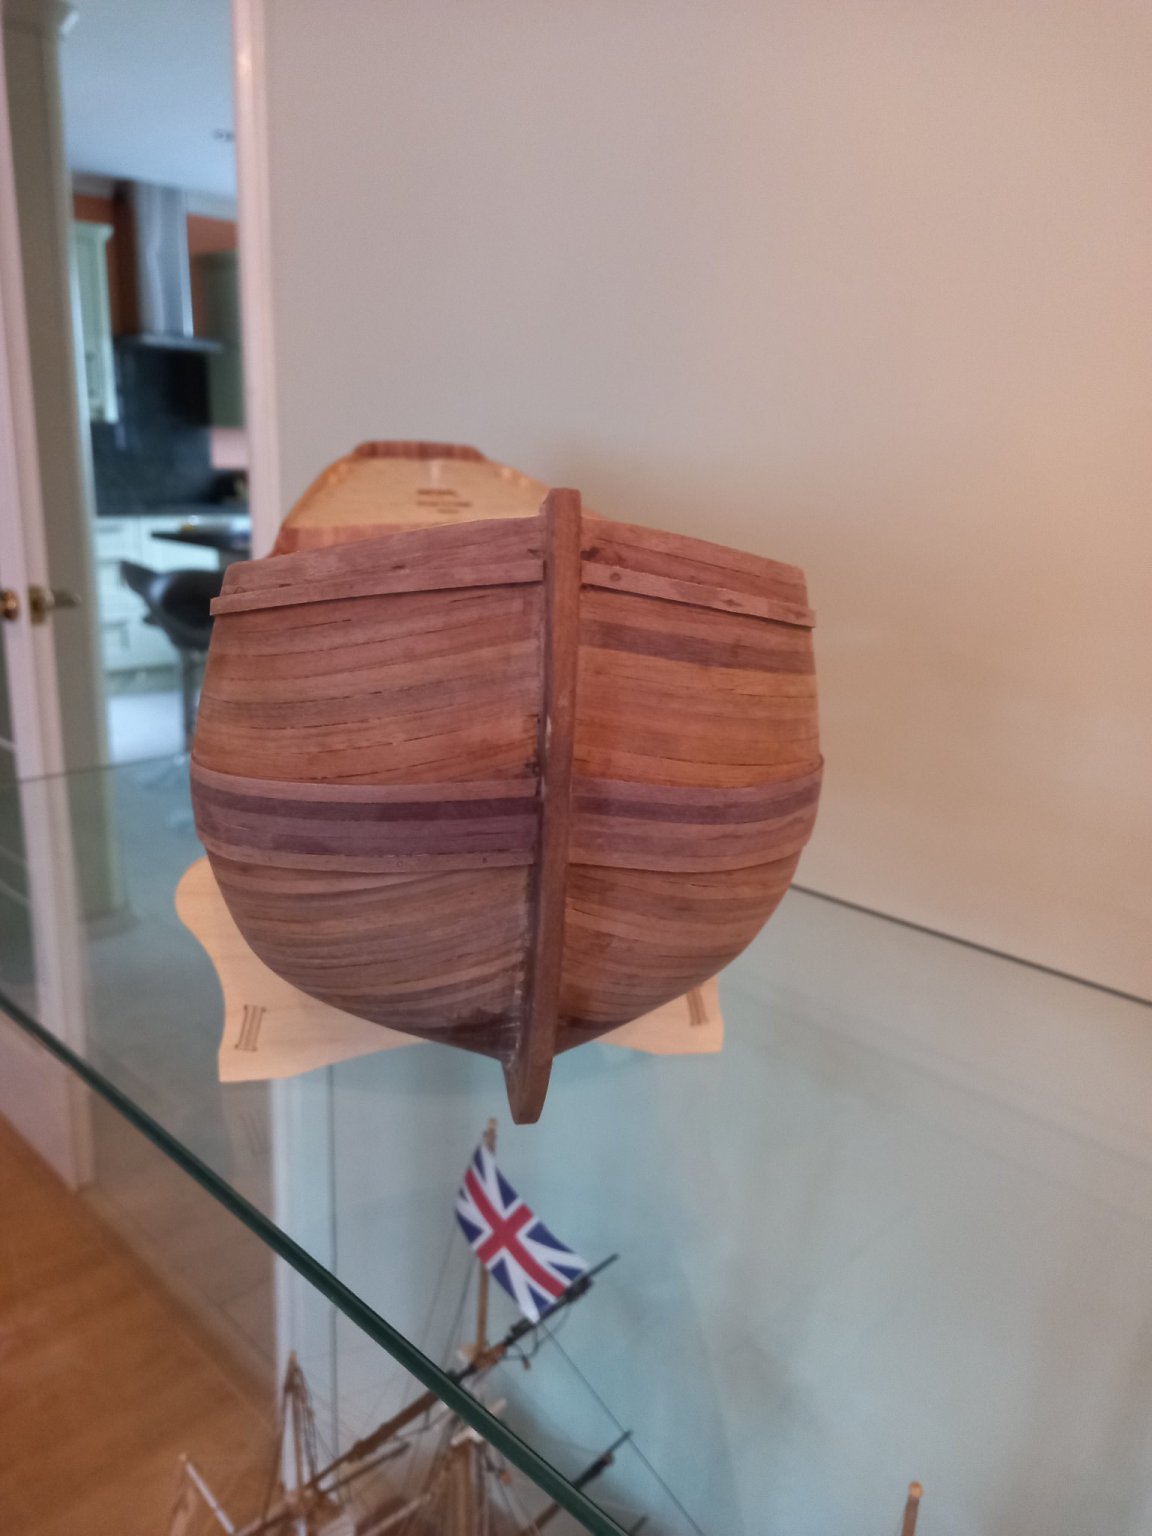
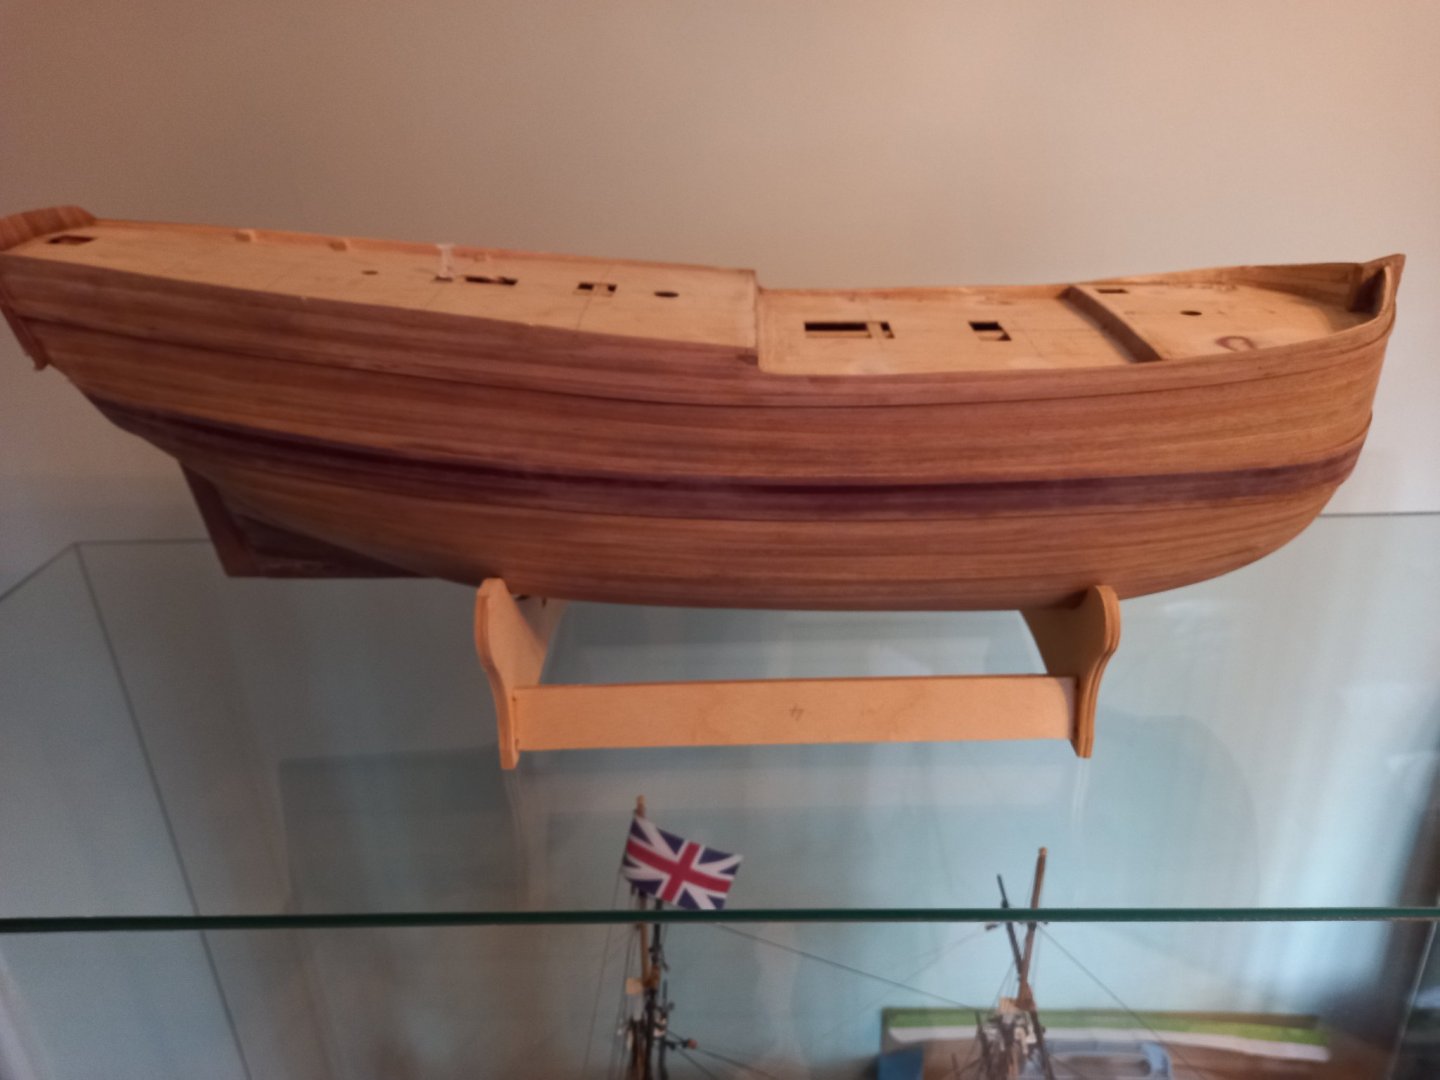
Started adding some decoration to the stern quarter and stern facia and adding the larger of the 3 hinges to the gun port lids which were previously fitted to the hull. There are still a number of lids to fit to the hull ( In the closed position) but I found it difficult to accurately position these on the hull ( Its an age related thing) so will probably glue these in position away from the model which I hope I will find easier. The metal decorations were glued using appoxy resin but the hinges were glued on using CA. I almost forgot. I removed the stand as the ship was not sitting level athwartships so decided to build another slipway /drydock which keeps the ship level. This is mainly for when I begin to fit the channels in the hope I can keep these in line with the water level rather than 90 degs to the hull. I am not 100% sure if this is correct but heard it mentioned somewhere.I think it will help with other parts of the build.
.thumb.jpg.d80896a756fca39b889387f17a14ebba.jpg)

-
Thank you Derek for explaining that to me and I think for my next model I will keep a few wider planks in stock . What are we looking at .Double the width? Cheers Dave
-
I didn't know dropped planks were a mistake Ha ha. I thought that was part of the normal process. However I didn't drop any on the Endeavour which was more good luck than anything. However there were a few steallers at the stern if that counts as mistakes. Sorry to take your blog off track.Thanks for the ebay link. Best regards Dave
-
That is some fantastic planking there Derek and each plank must sit exactly right, especially at the ends of each plank to lie flat with the next one.I always find that very difficult and therefore fit the planks in one complete length. In the past I have used the planking fan but instead of strips have just used a vernier caliper but I am now on the look out for a pair of dividers. I only seem to see them in with complete drawing kits. Hopefully some time in the future I will be able to plank half as good as yourself. Keep up great work and I look forward to watching this build. Best regards Dave
-
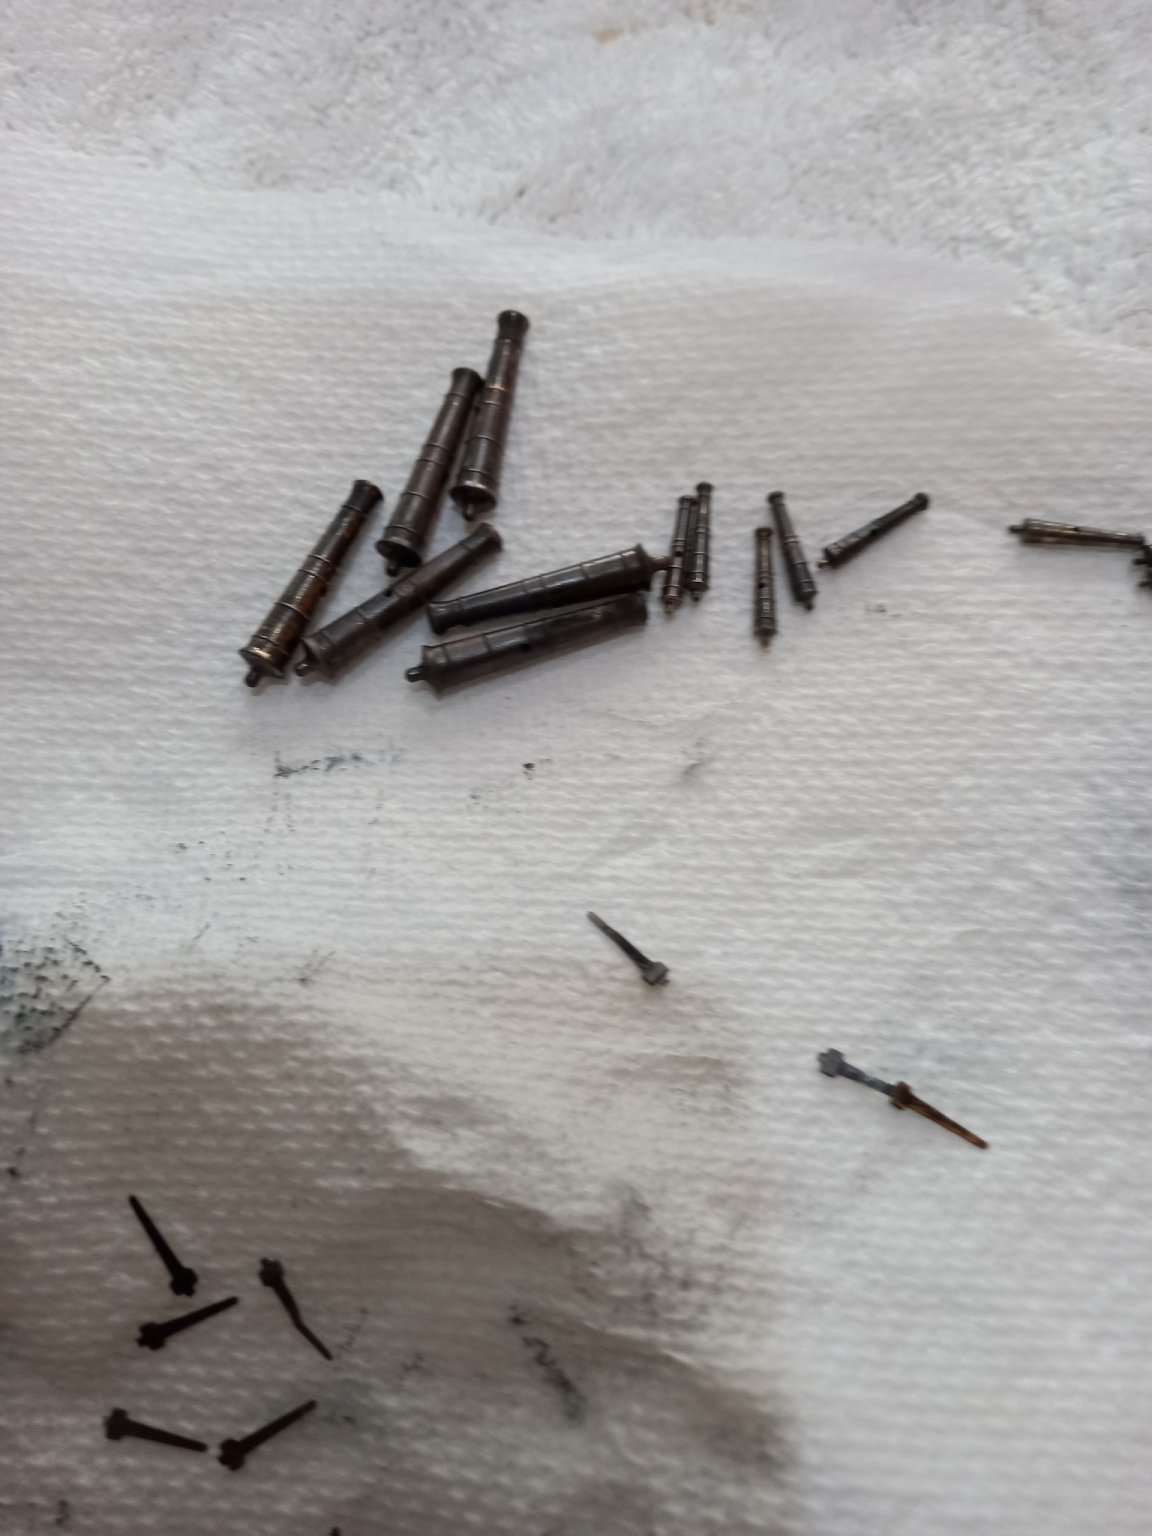
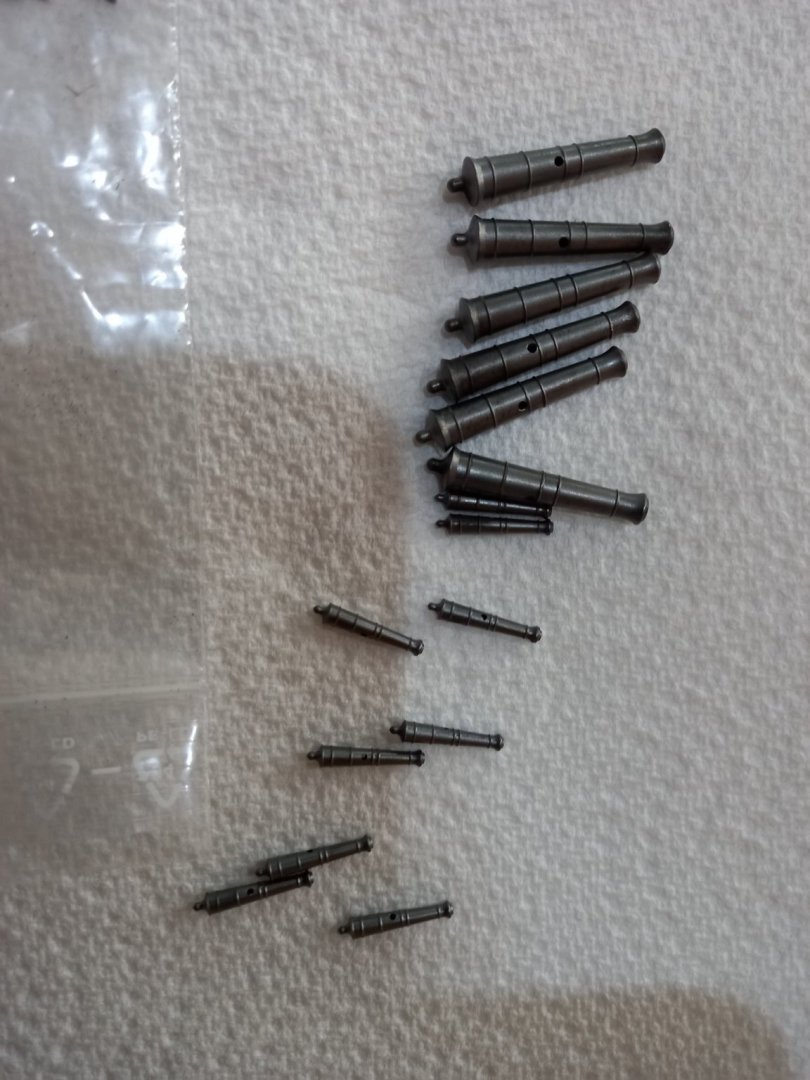
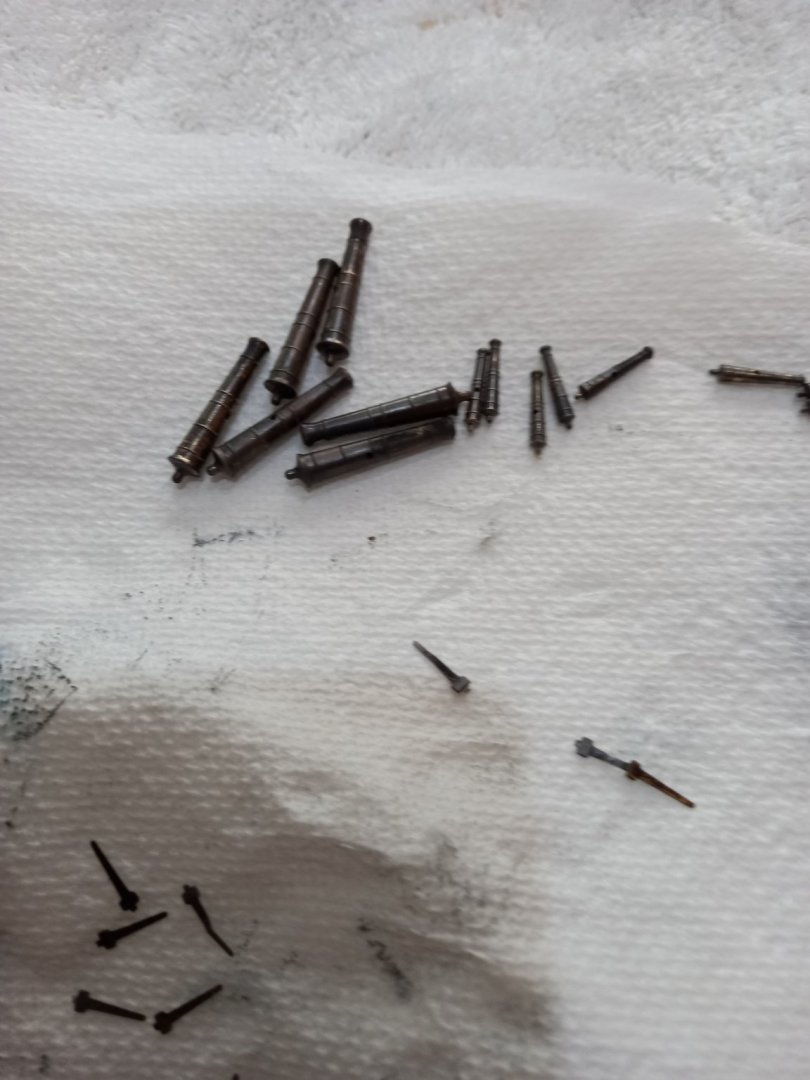
Tried the above method for blackening and for some reason it didnot work so well. I attempted to have another go but it was in the blackening solution much longer that expected. Yet once again after polishing there was on or two areas of brass showing through,so decided to wire brush the parts and then acetone before pickling and this time after only a few seconds in the blackening solution it was evedent the process worked better. After polishing on this occation it was 100% imrovement.
-
HMS Bounty by Gct86 - Amati
DaveBaxt replied to Gct86's topic in - Kit build logs for subjects built from 1751 - 1800
I think you have the idea ,however follow the curve of the deck with the blocks at the top and continue to follow the line using a spare plank. I f I were to do it again I think I would either fit blocks just forward of when the planks first start to bend or fit another bulkhead I always find when there is a hollow in the planks in this area and therefore I ended up having to use some filler,I don,t think the 1.5 mm x 6 mm walnut planks helped. I ended up soaking them overnight to make sure they would bend ok. I tried to follow Chucks method of edge bending the planks which also helped and tapered each plank. You can find Chucks method here on this forum.Hope this helps .Best regards Dave -
Great Idea . Another one to keep . Thank you.
-
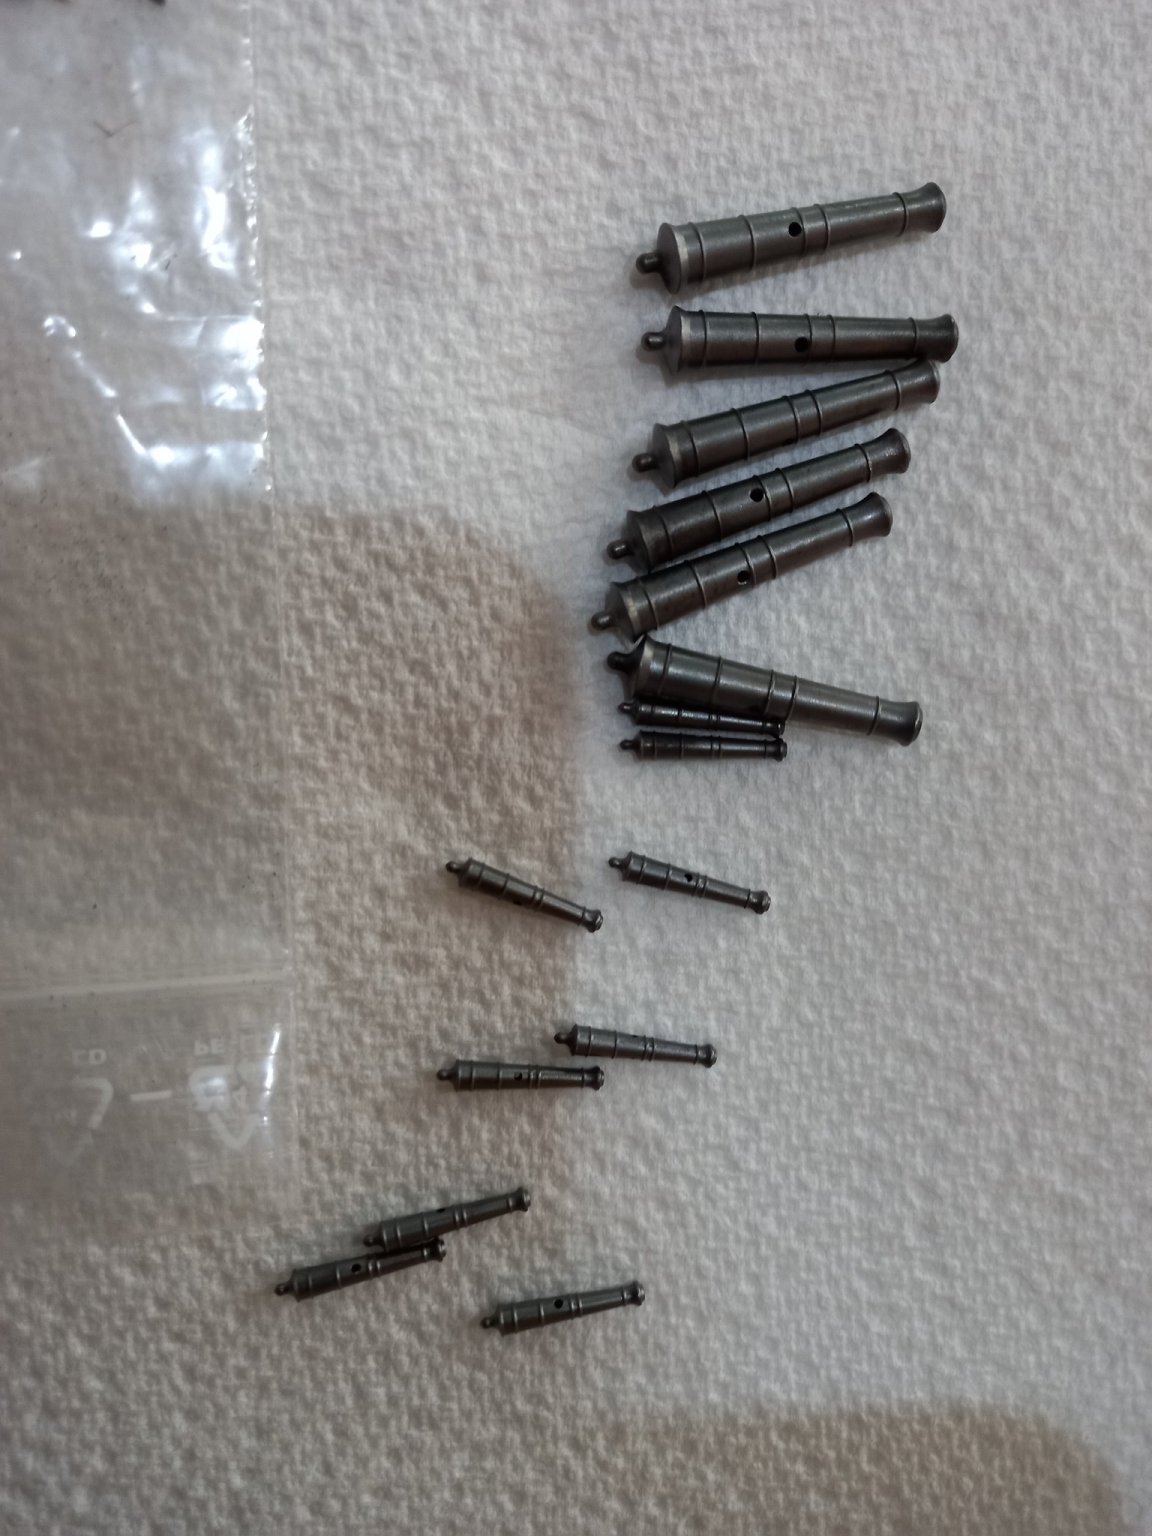
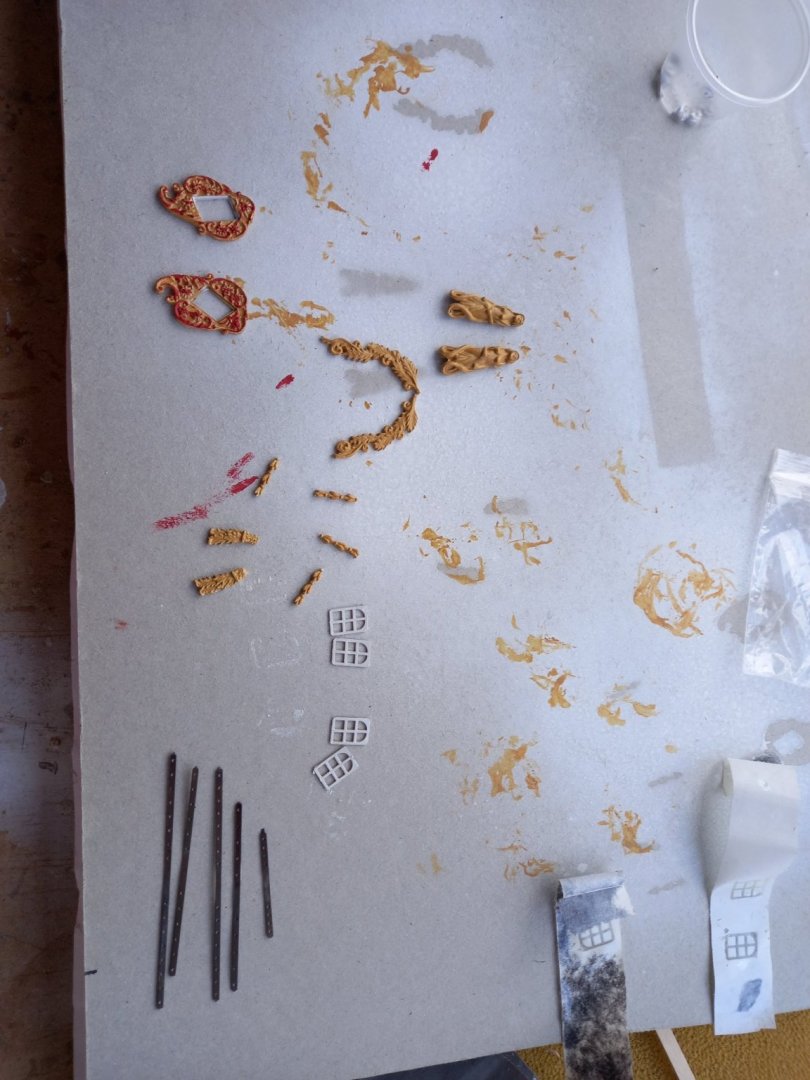
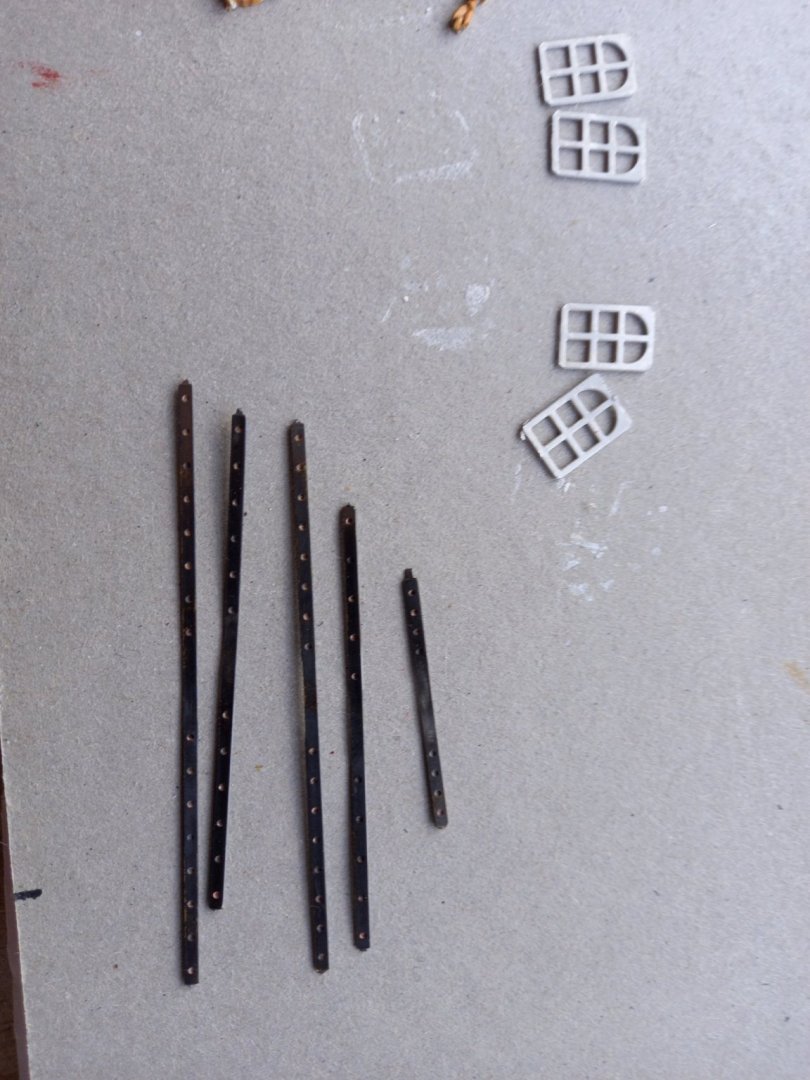
Started preparing the various cast metal parts with cleaning then white primer using spray can then acrylic yellow orce and white for the brass windows . I have also blackened the brackets for the rudder with the help of the following thread which produced much better results than previous attempts at blackening.
-
HMS Bounty by Gct86 - Amati
DaveBaxt replied to Gct86's topic in - Kit build logs for subjects built from 1751 - 1800
They are not my Videos .A different Dave. -
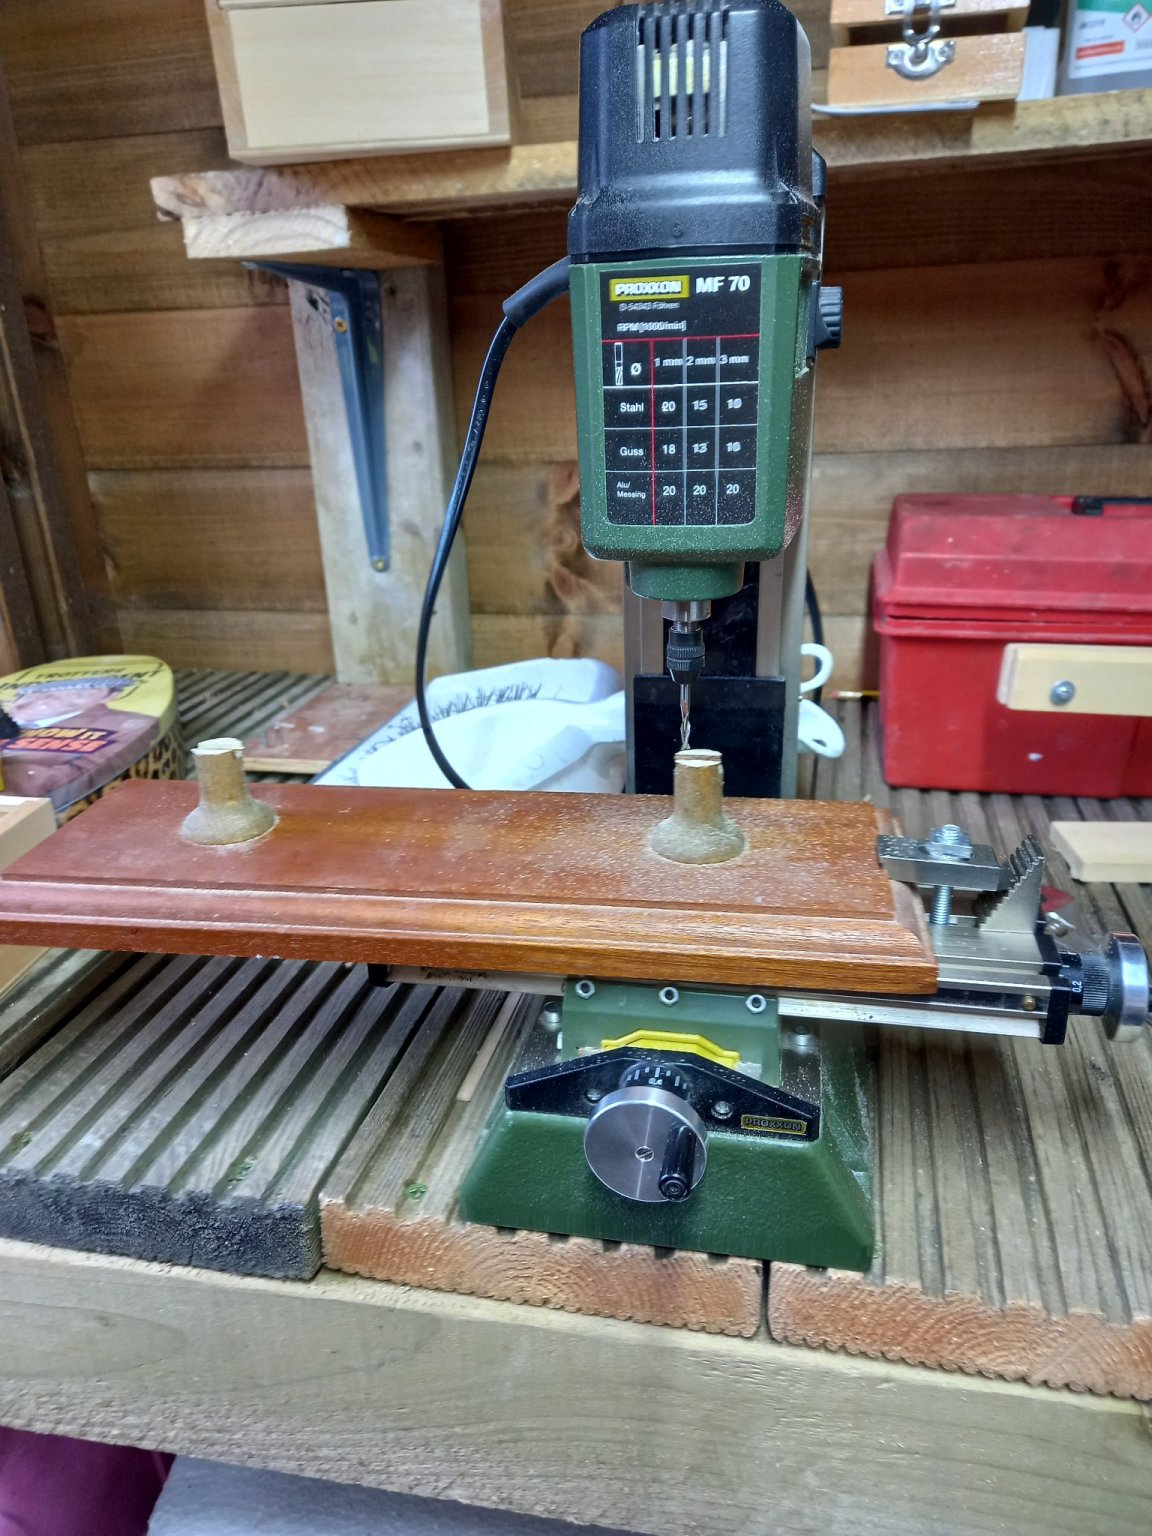
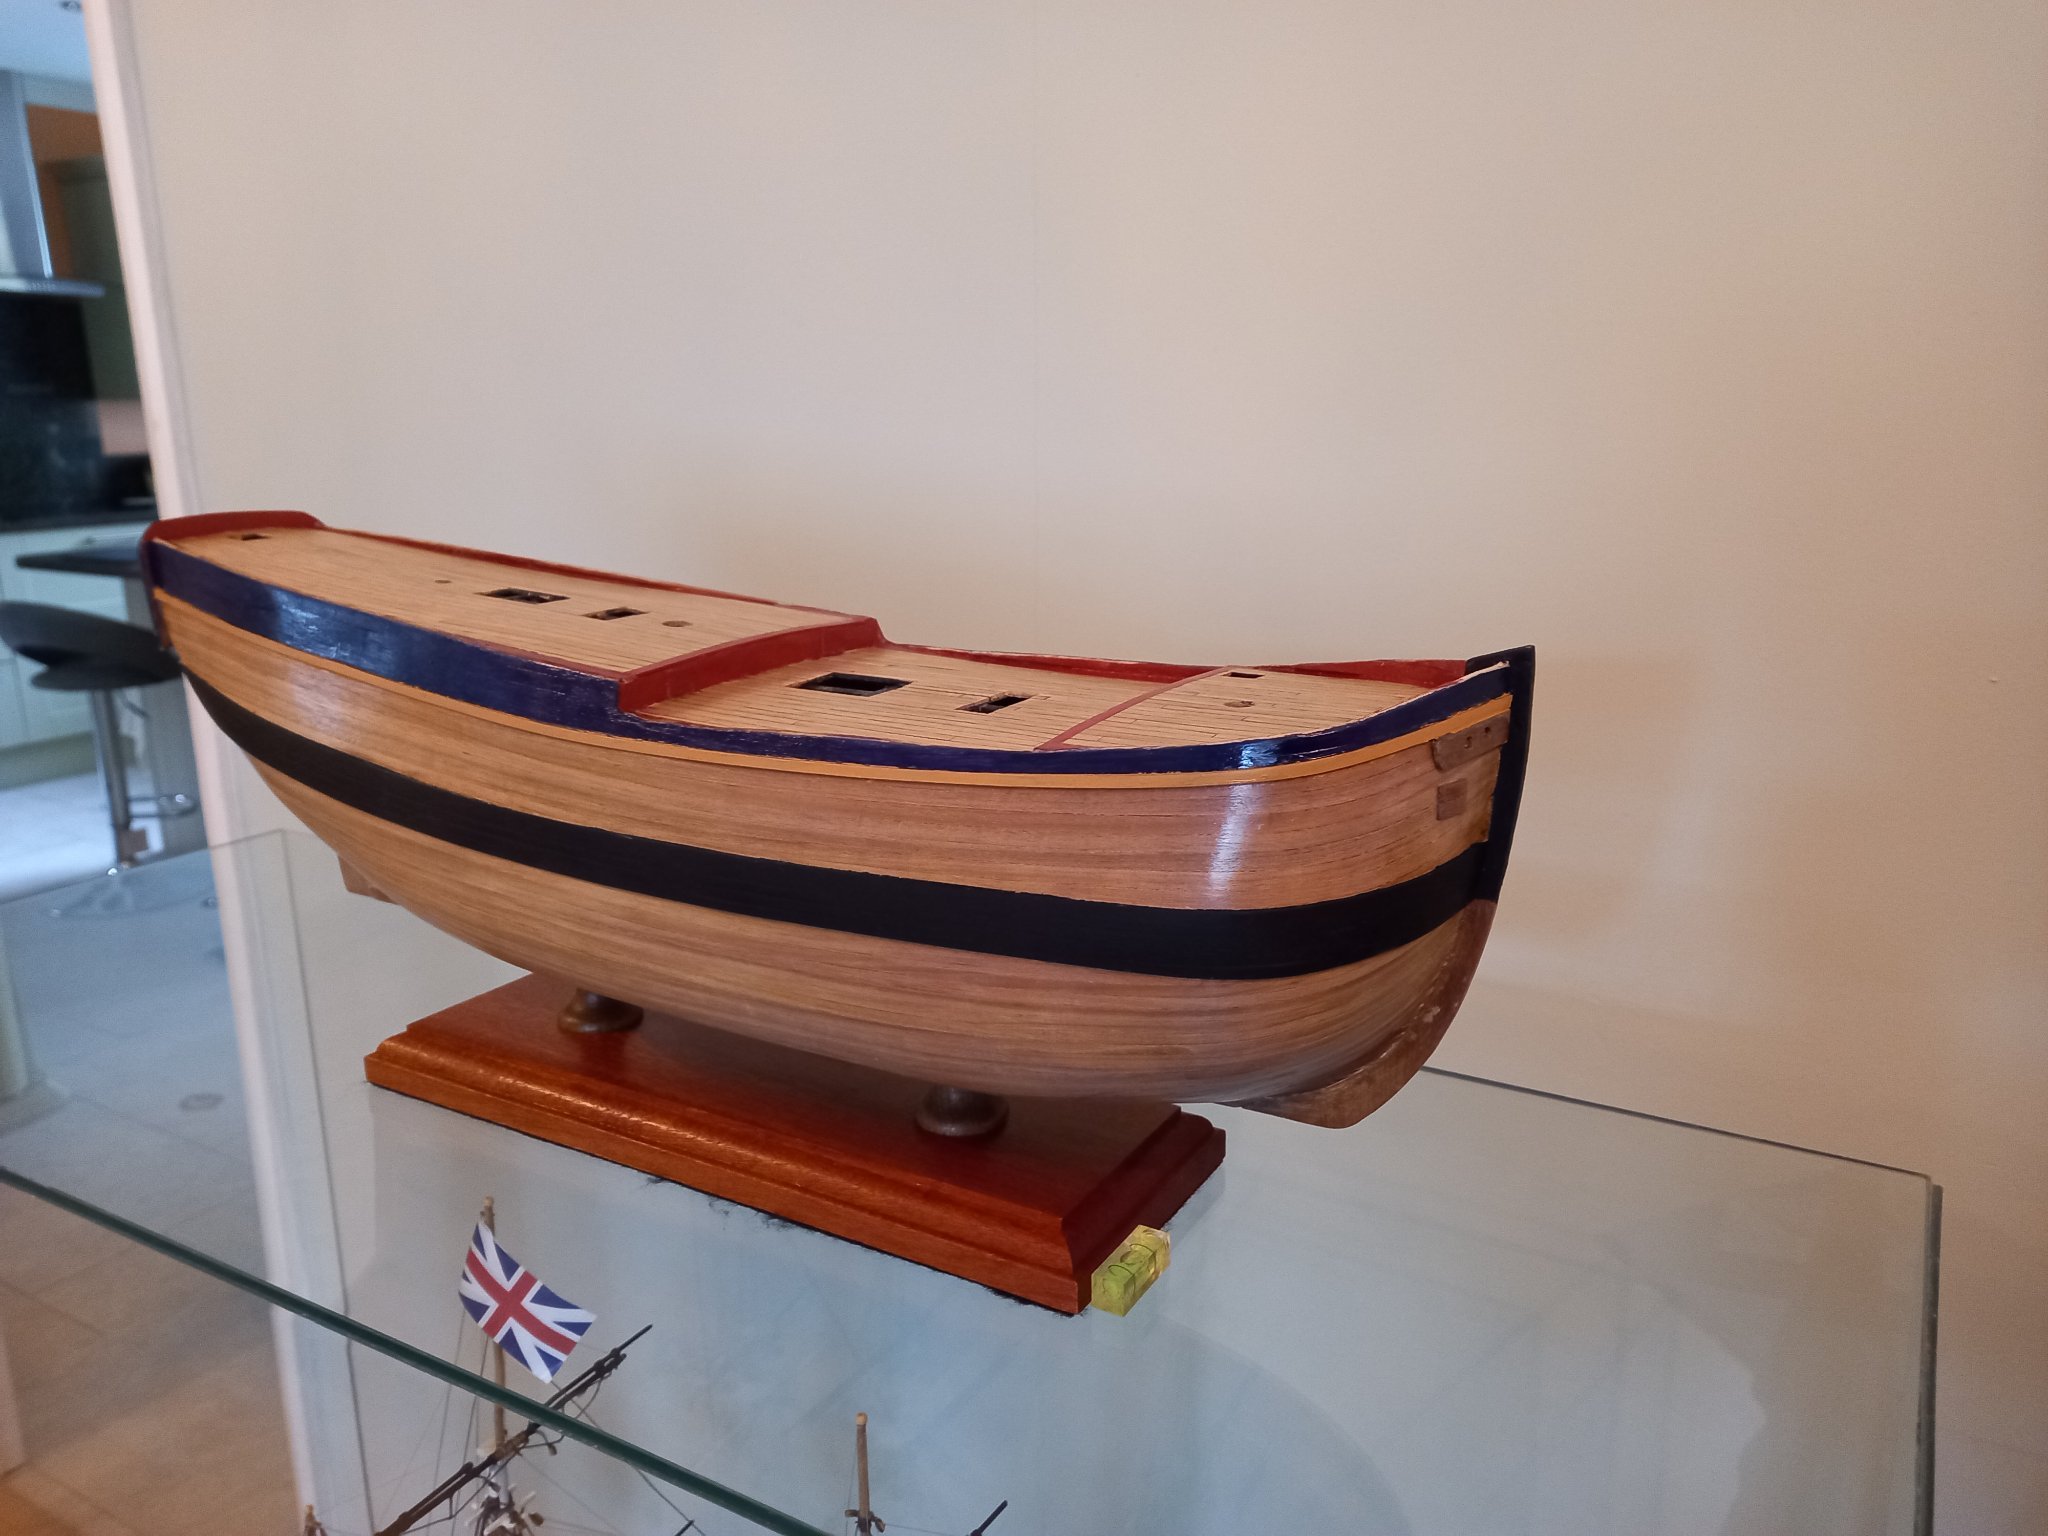
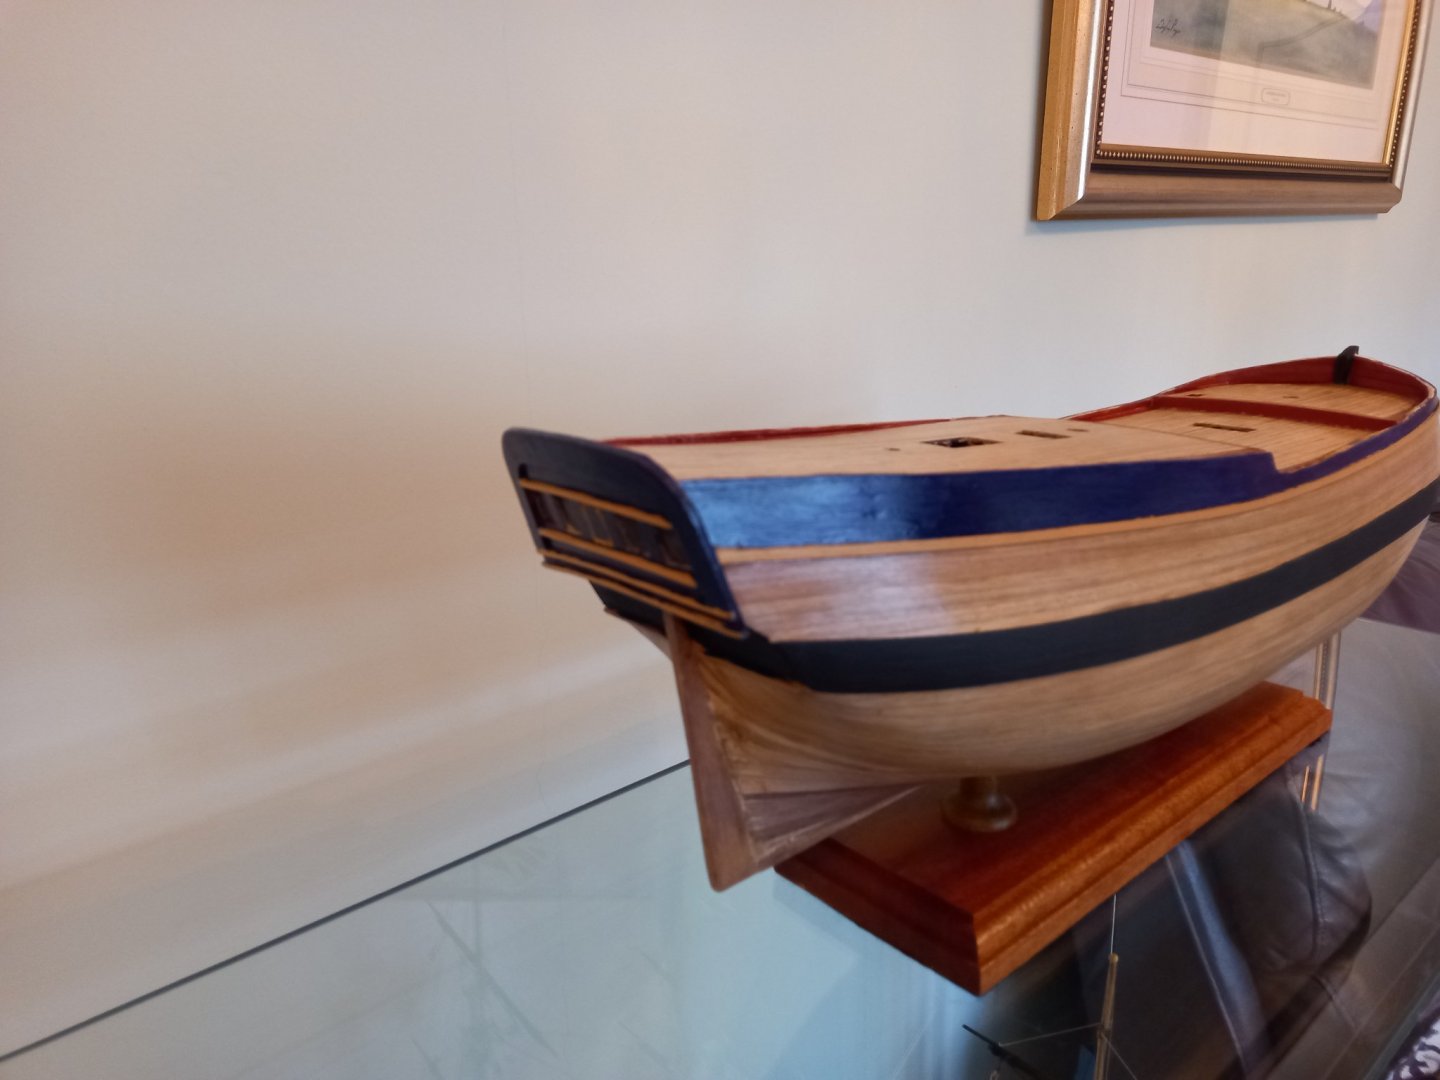
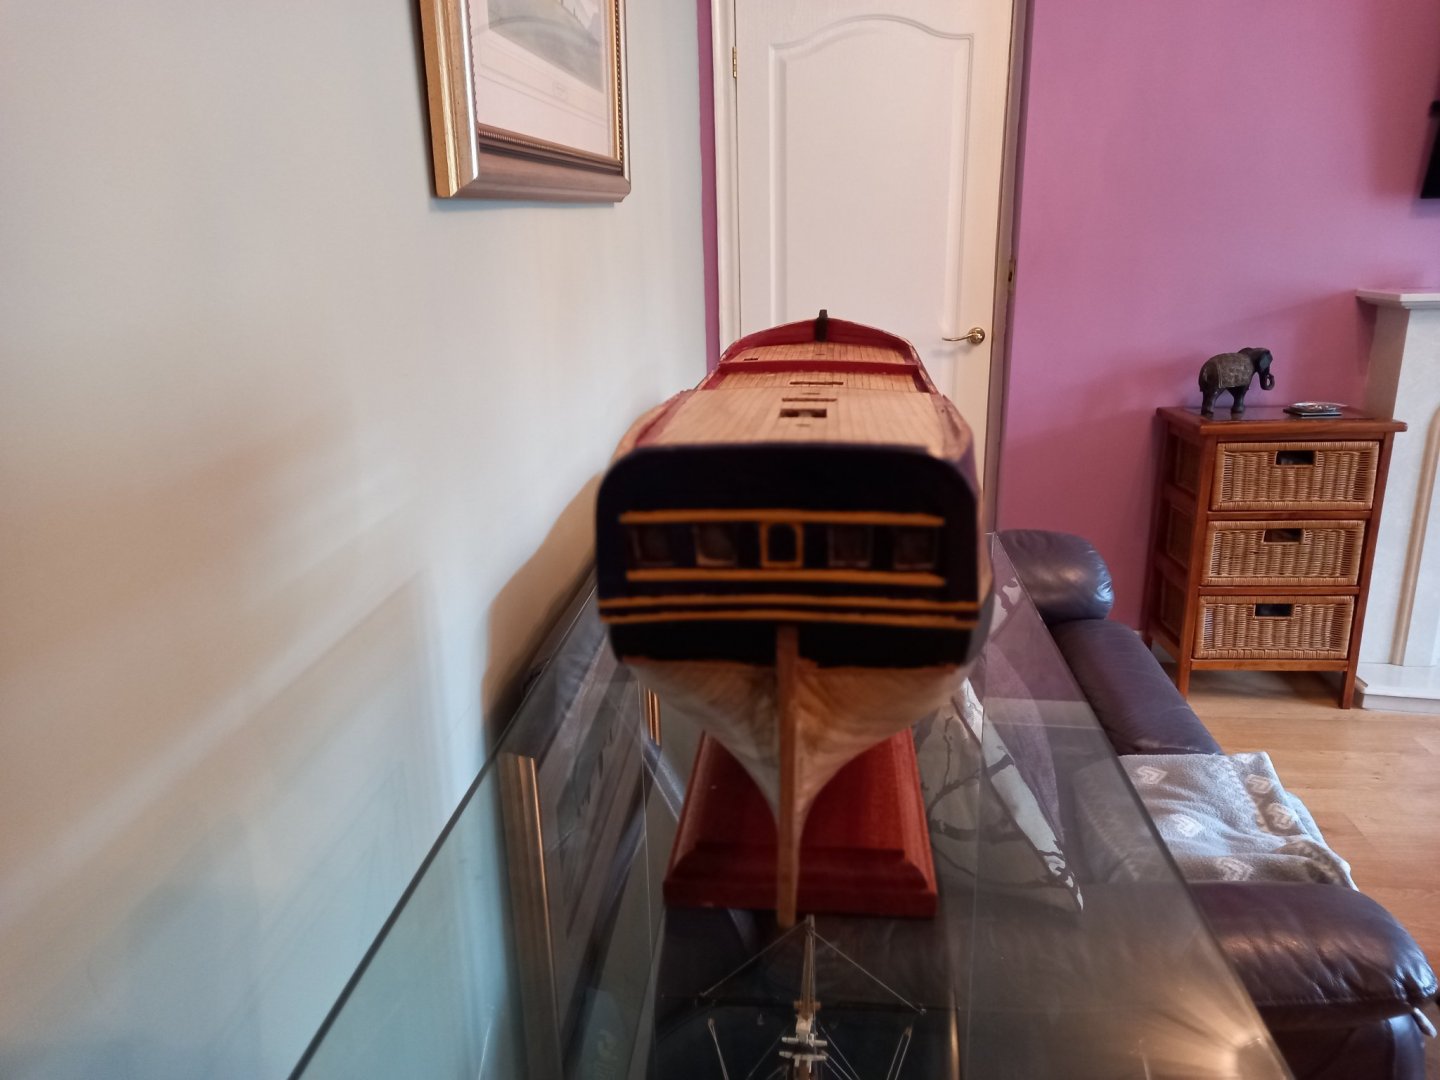
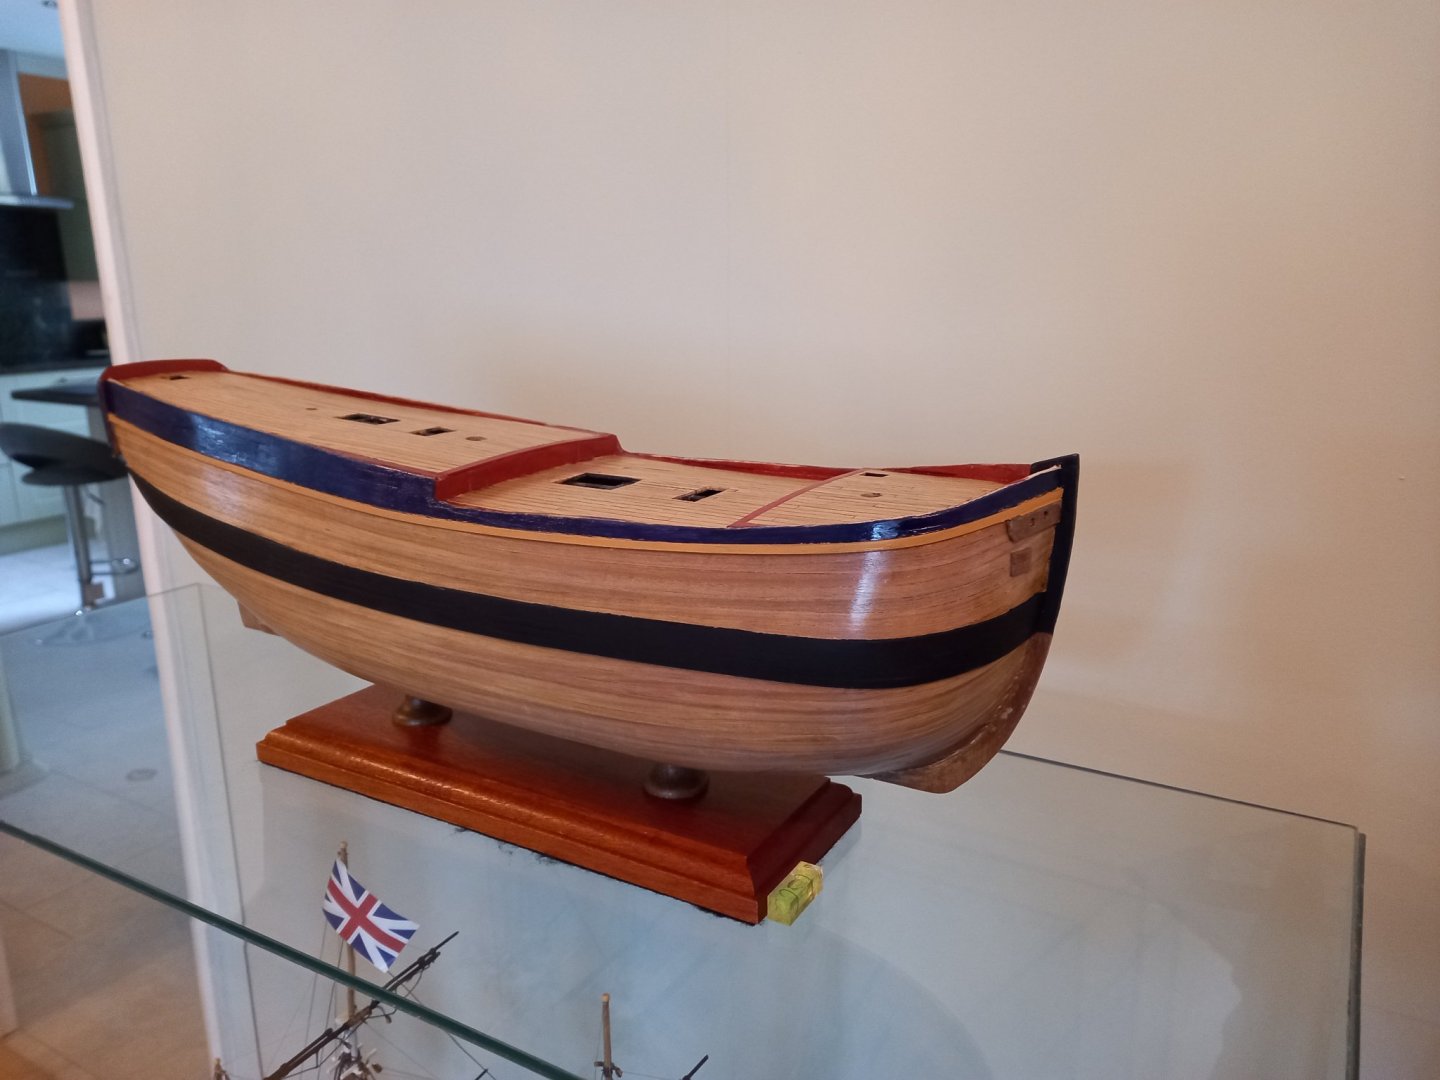
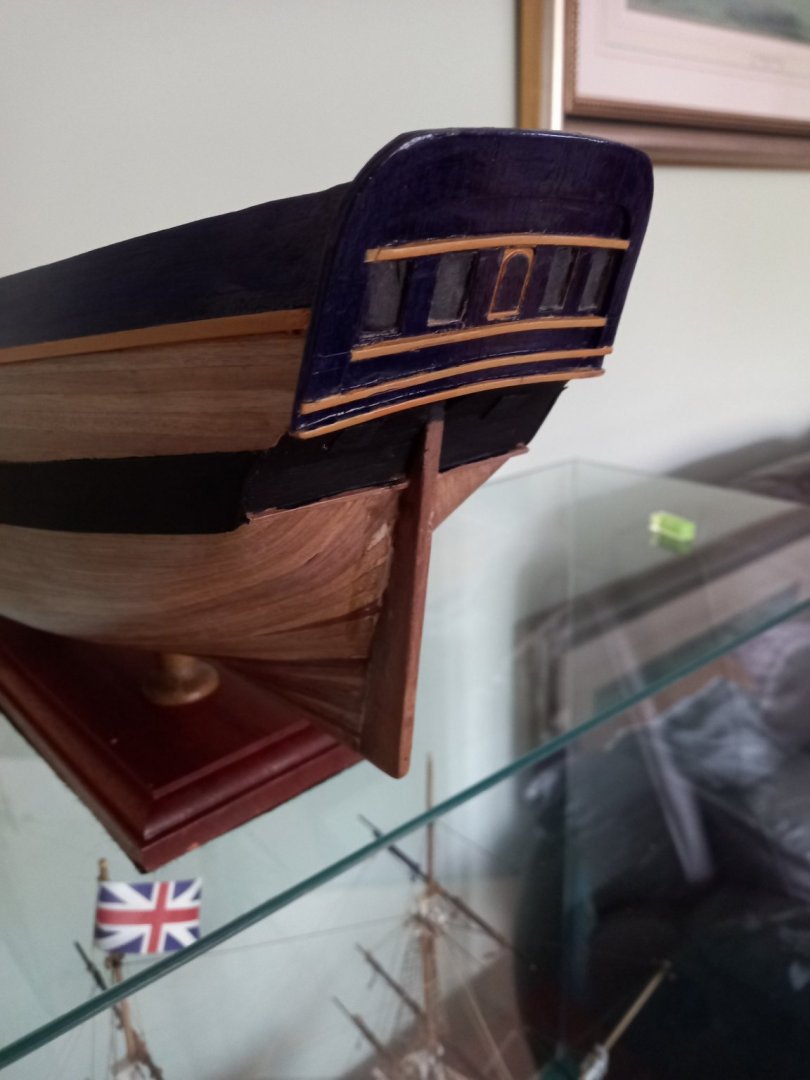
Before starting on the paint job I removed another 1 mm from the pedestals so the keel would fit into the slots. I used my Proxxon milling machine for the very first time and found it so easy to us. A And here is the paint job so far together with the pedestal stand. There is still need to make a few touches here and there on the transom as I found it very difficult to achieve the straight lines even when using 6mm and 10 mm modelers masking tape. I must apologize for the quality of light in the photos ,unfortunately the blue on the transome looks black the same as the mainwale/rubbing strake.

-
HMS Bounty by Gct86 - Amati
DaveBaxt replied to Gct86's topic in - Kit build logs for subjects built from 1751 - 1800
If I can remember the difference between the sizes 5mm and 4 mm is the second planking 2 x 0.5 mm. If you follow the videos above this is how I solved the problem by planking either side of the keel with 0.5mm second planking. Also I think you need to check that the holes in the deck,as they do not line up with the bulkheads . This is also mentioned in the videos. L also mentioned it in my blog of this build . However this may not be the case with your kit. Although the videos are innaccurate build for that period ( mainly the rigging) I found it very helpful and was the main reason I choose this build (Amati) over other manufacturers, was because of the 16 videos.There is lots of help from guys on here so you should be covered if needs arise Hope this helps and good luck.Best regards Dave -
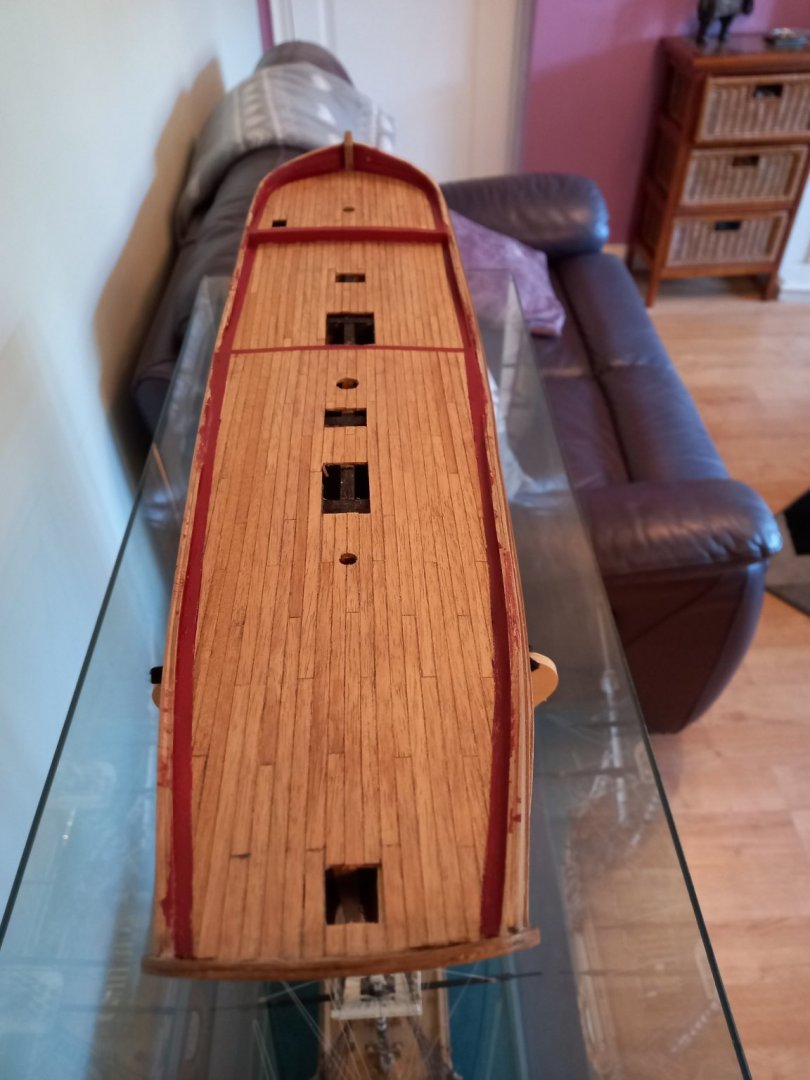
Decking completed


-
HMS Bounty by Gct86 - Amati
DaveBaxt replied to Gct86's topic in - Kit build logs for subjects built from 1751 - 1800
Don,t be I managed to build it and it was my first period ship I built. There are a few blogs out there of this one which have been completed. There is also a few videos out there to help you along but I found out were inaccurate in quite a few ways but a big help to me personally . Good luck with the build and hope you achieve your goals. Best regards Dave -
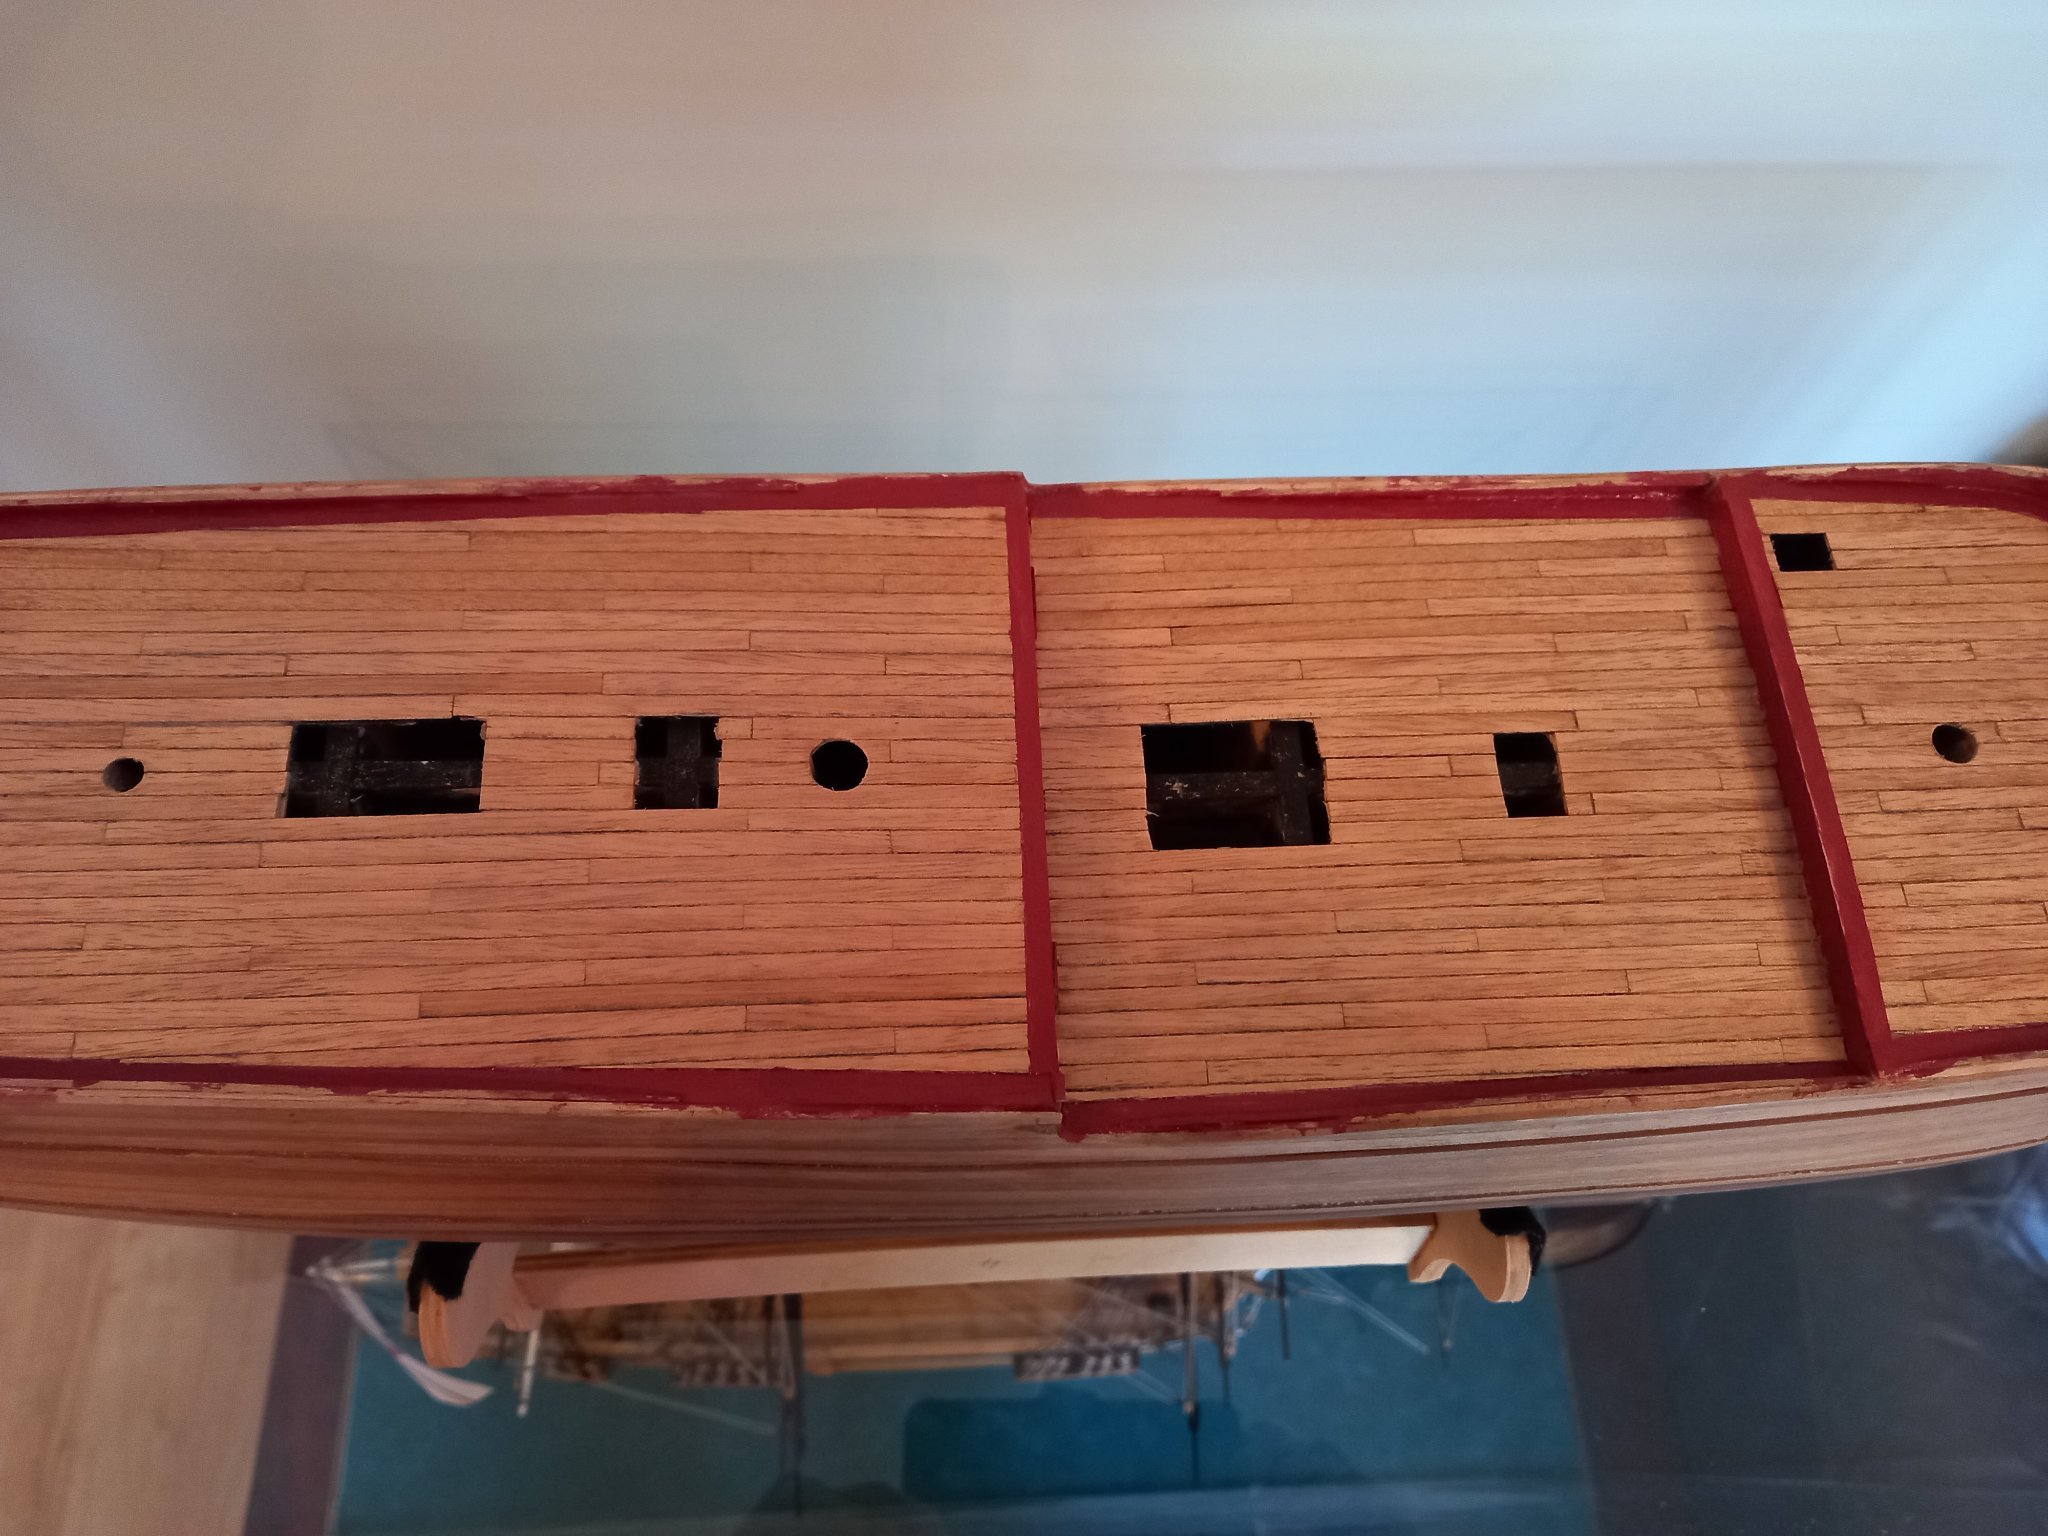
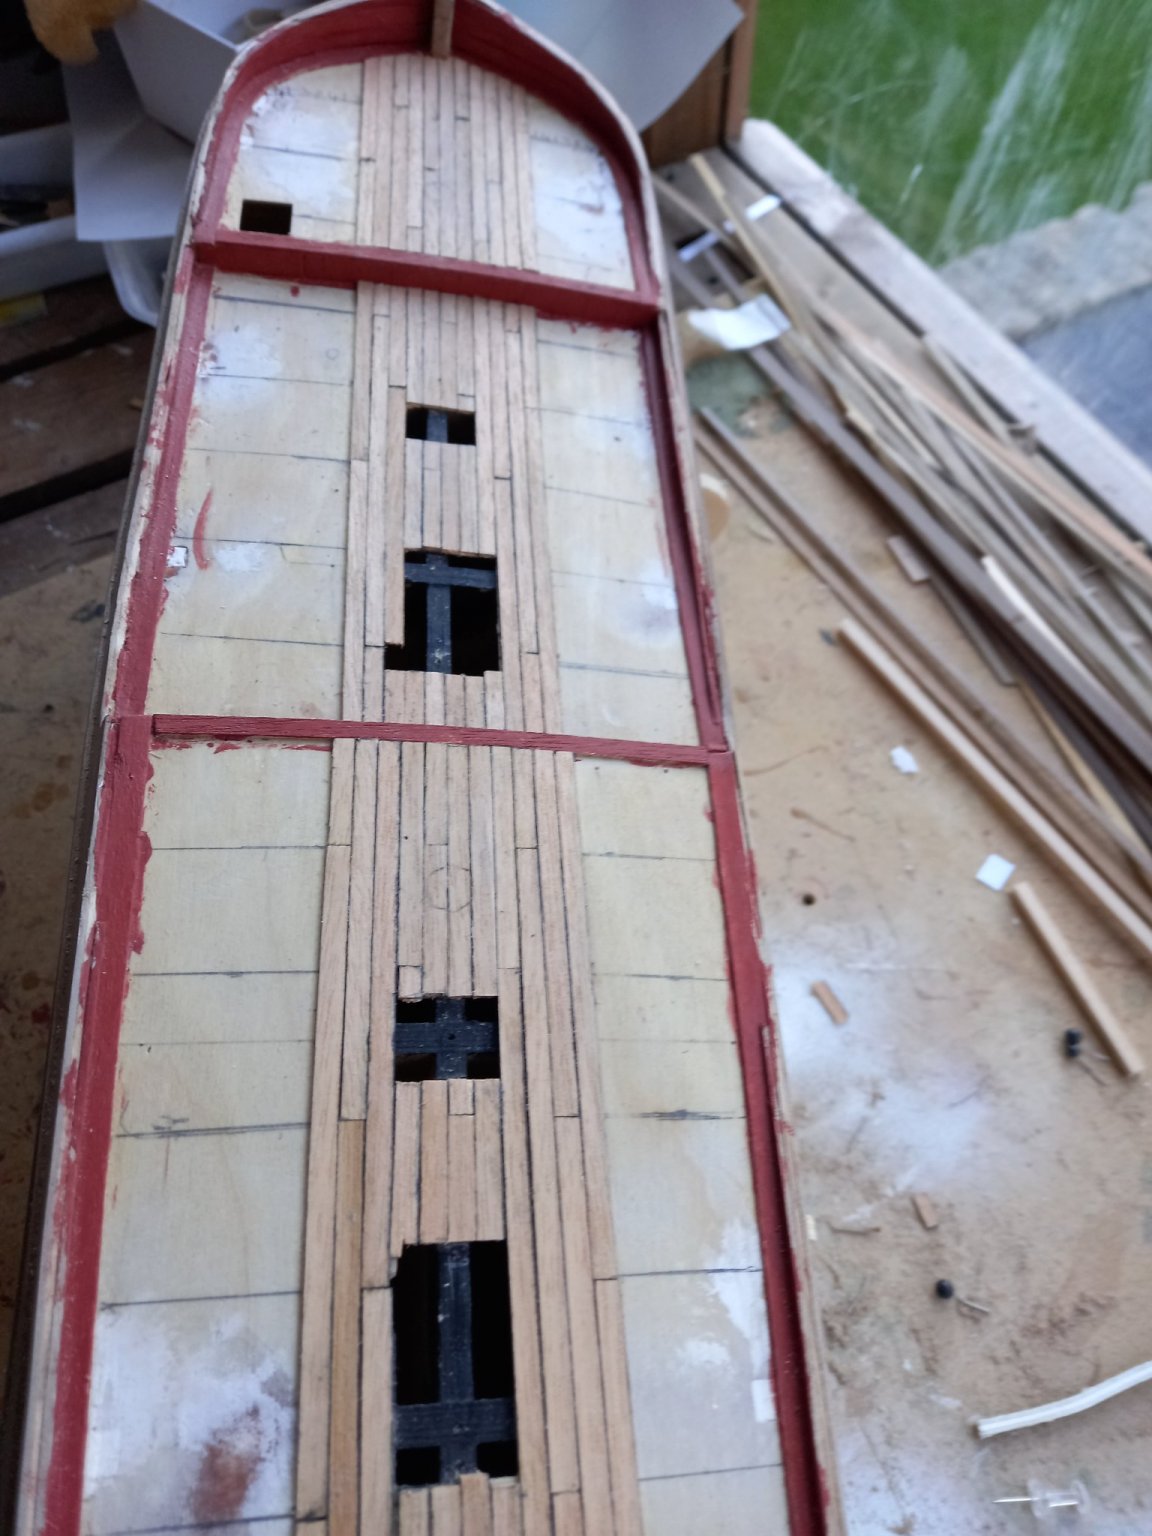
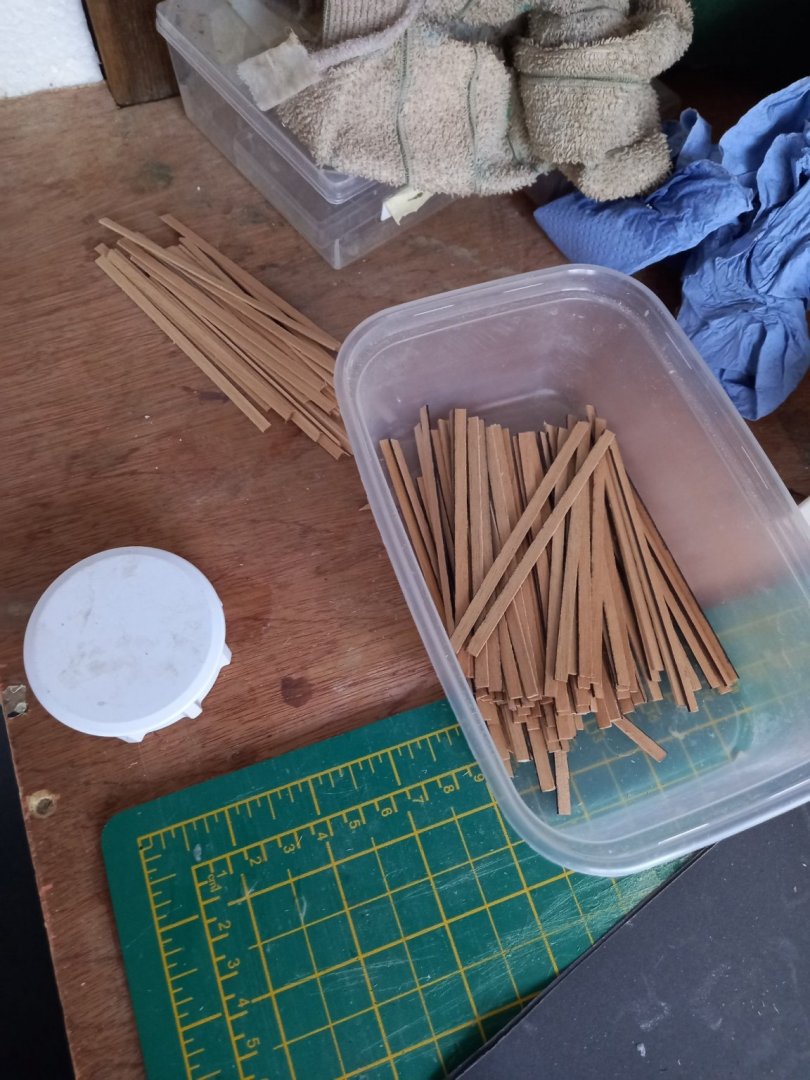
After deciding the length of planks 100mm I then decided on a 4 plank pattern and marked off the deck in 25mm sections and lay the first plank as No 4 with a pattern of 13241324 etc etc. then either side of 4 would be 2 and 1 and then outside of these would be 3 and 3 so on so on.I have one or two models of the Endeavour whereby the planks were continuous along the length of the deck which I thought would be ok on the fore and midship section but to long on the aft section . I thought for the size of the model and a scale of 1 64 the 100mm lengths would be 6.4 mtrs which thought would be long enough.. Here is the work after today. Using my Proxxon FET table saw made short work of the many 100mm lengths required but not so quick marking the edges with a marker pen.


-
I think it is terrific how you manage to get the curve on the bow so perfect without the use of blocks, especially after the initial curve. I am assuming this is due to extra frames in that area together with good fairing practices and of coarse the added skill and experiances. Please correct me if I am wrong in any way. I always seem to get a bit of a dip in my planking in this area and end up having to fill in a bit. I used blocks in the bow and stern but still wish I had added a few more just forward of the initial Bend. Keep up the good work Mark and I look forward to watching your progress and learning so much. Thank you.
- 505 replies
-
- 6
-

-
- vanguard models
- Sphinx
- (and 1 more)
-
Thank you for your reply, it is much appreciated. The cutting away of the wale to then fit the channel to hull is how I did my last ship but everything I have read since said to firt bolts/brass rods to ensure that it was strong enough. I did not have any issues with doing it my prefered way . However there is always a chance that it might occur in the future. Perhaps Caldercraft are suggesting that the channels to be fitted under the wales to increase the strength but I was trying to be as accurate as possible. They also recomend that they are pinned in place. Best regards Dave
-
Thank you for your reply and forgive my ignorance but I don,t think I understand your meaning, My thoughts are that I would agree that the fitting of a channel would not help to strengthen the construction however I do wonder whether or not the channel itself would be weakened by drilling a hole right through the edge for the fitting of a brass rod or bolt and can the strength of the channel in terms of baring the tension of the shrouds be achieved by glueing alone. Sorry if I have the wrong end of the stick and if I have I would I be grateful if you could further explain to me your meaning. Best regards Dave
-
Thank you Druxey for that great photo regarding the slots to allow water to drain away but not sure if that is the case on the Endeavour but an interesting idea all the same.Regards the bolts going into the hull, I am assuming this is what the brass rods are supposed to simulate? You may well be correct regarding the position of the shrouds in regard to the mast and will have to go with what you have suggested and the drawings I now have available to me . Best regards Dave
-
Allan I have now been looking at all that you mentioned and I am now thinking of removing the section of the 4mm wale where the 2mm channel fits and then fitting a piece of 2x 1 mm walnut under the channel, which hopefully will help to strengthen the channel. I am also thinking of fitting brass rods into the hull for extra support. As the channels are only 2 mm thick I think I can only fit a max of 1 mm brass rod and hope this will be sufficient. I haven,t got much thickness spare so hopefully this will be ok. The channels are really small compared to my last model so its a bit of a learning curve for me. I am wondering how to mark the holes in the hull for the brass rods and thinking it would be easier to drill right through the channels and then whilst the channels is in the correct position I can then mark the holes by using a drill through the holes in the channel. Hope this makes sense. I have been looking closely at the link you sent me and in the side elevation of the endeavour it shows that the forward shroud looks to be in line with the aft of each mast wxcept for the mizzen mast which is well aft of the mast. I am sure I read somewhere that the forward shrouds should line up with its corrisponding mast but I have looked through my books but cannot find where. Sorry again for another question but I would like to know precisely what are the rules for this if any? Thank you again for taking your time to answer all these questions. Best regards Dave
-
Regarding the position of the wales. Thanks to Allenyed who kindly supplied me with the following link to the origonal plans it would look like the wales are cut into the wale somehow. I just need to fid out the best way to do this. It may have been better if I made the wales to suit the channels first .
-
Cheers Derek. I am still making a few mistakes , fortunately they are not the same ones as my last build the Bounty. There are a number of things I might do differently on my next build. Seriously looking at Vanguard for hopefully better instructions.
-
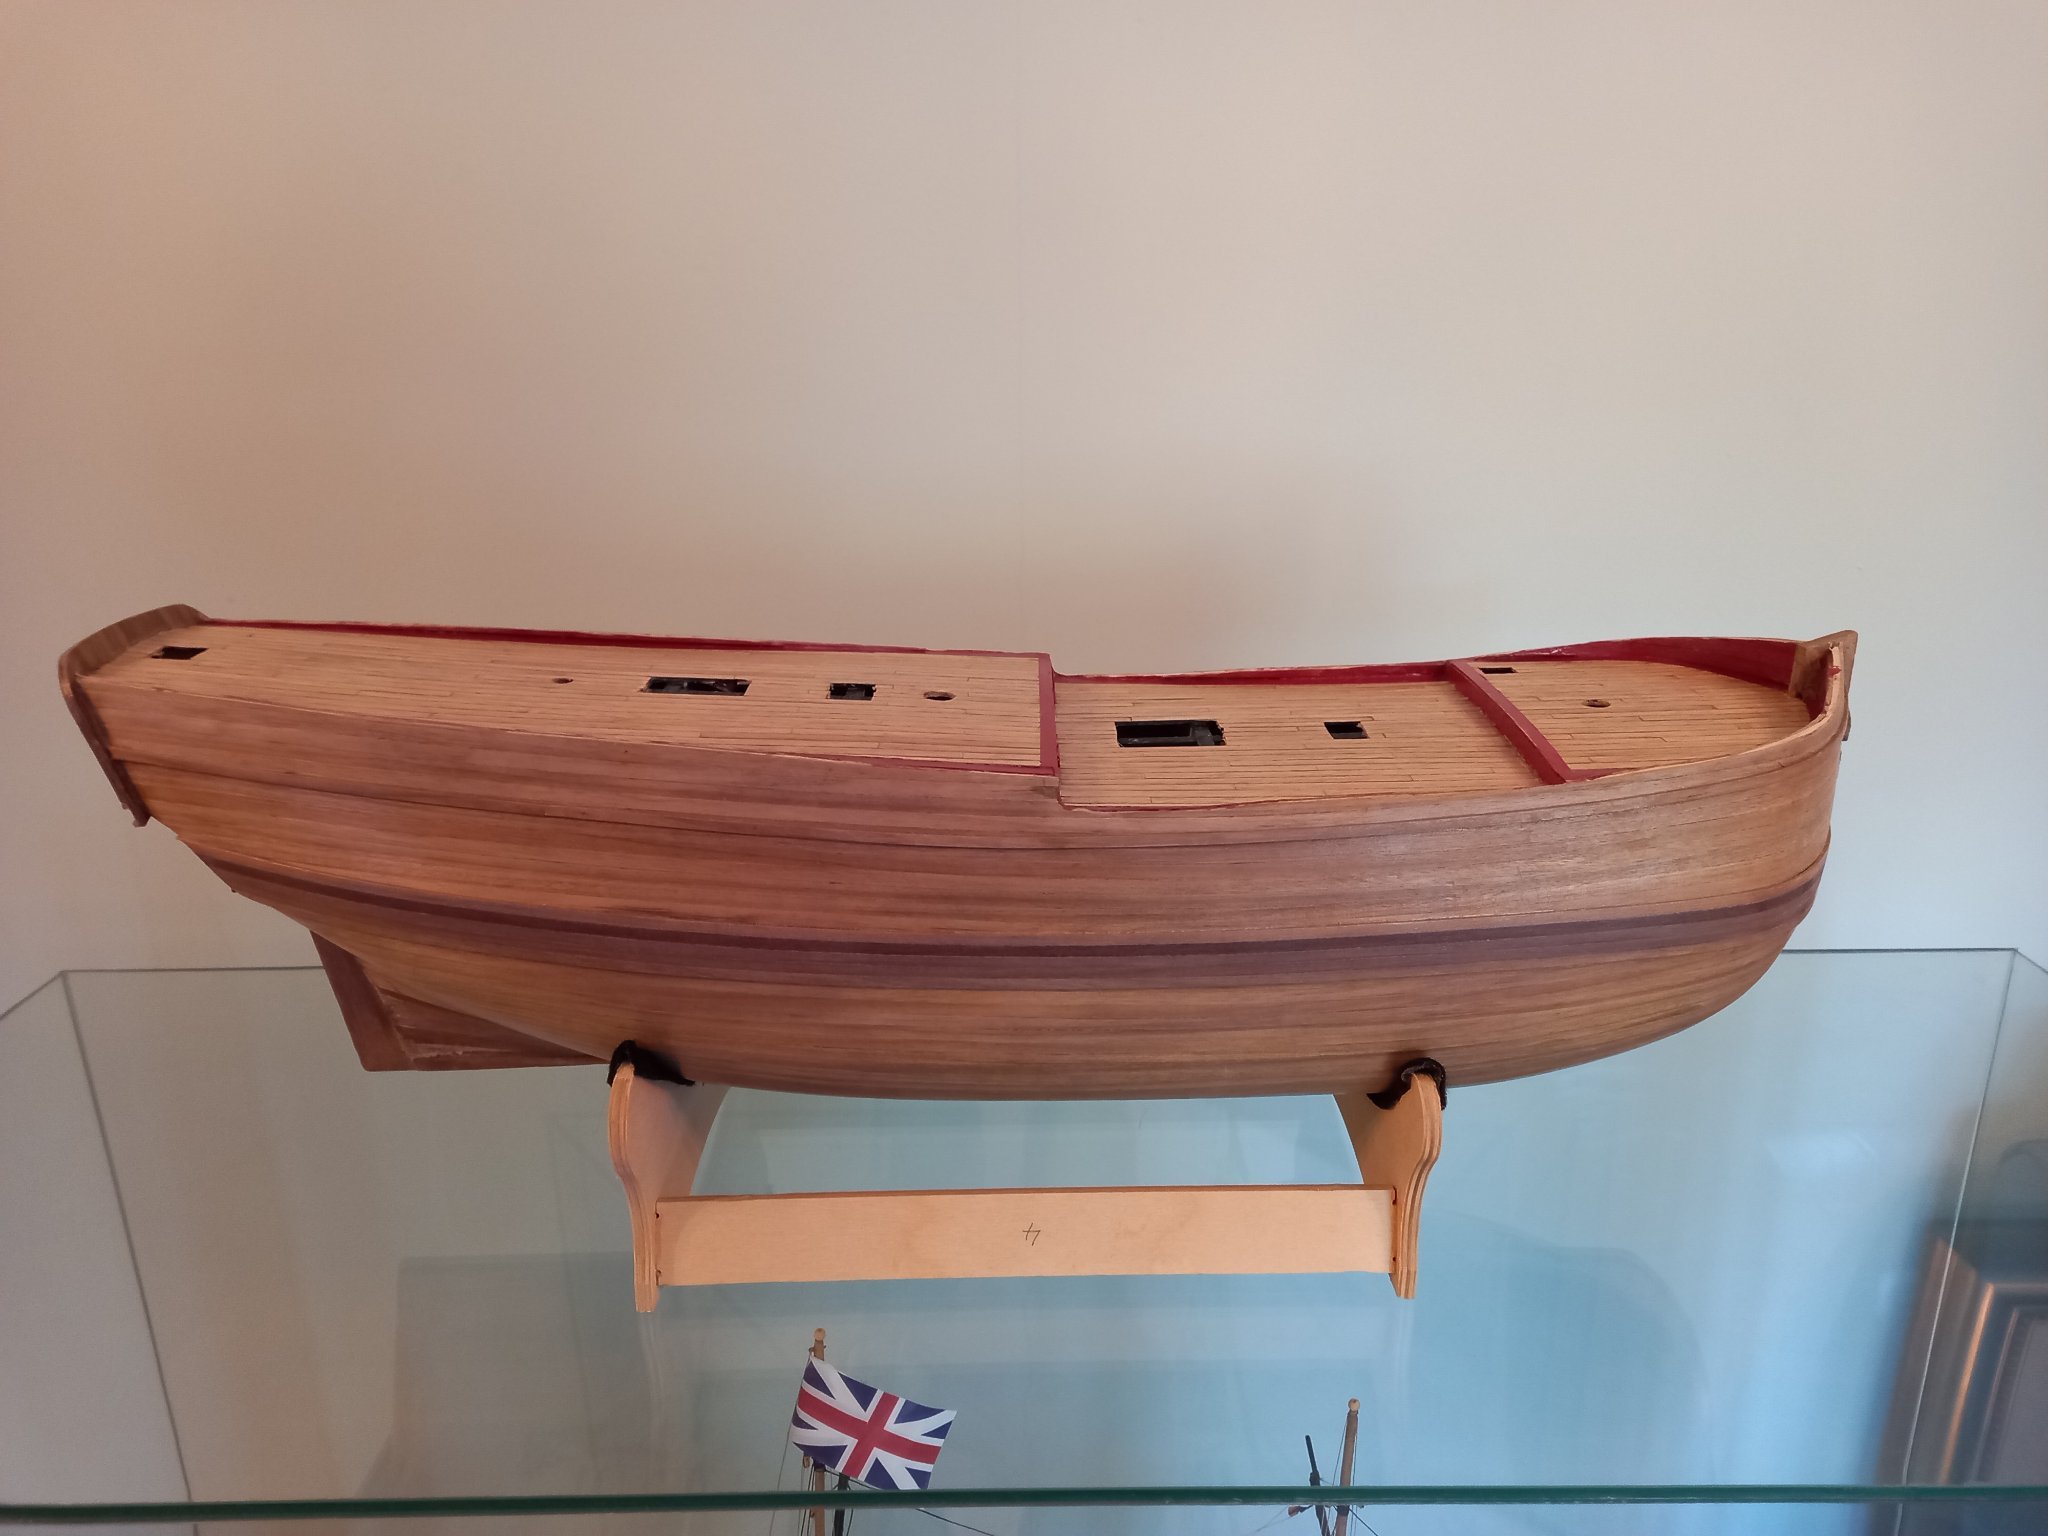
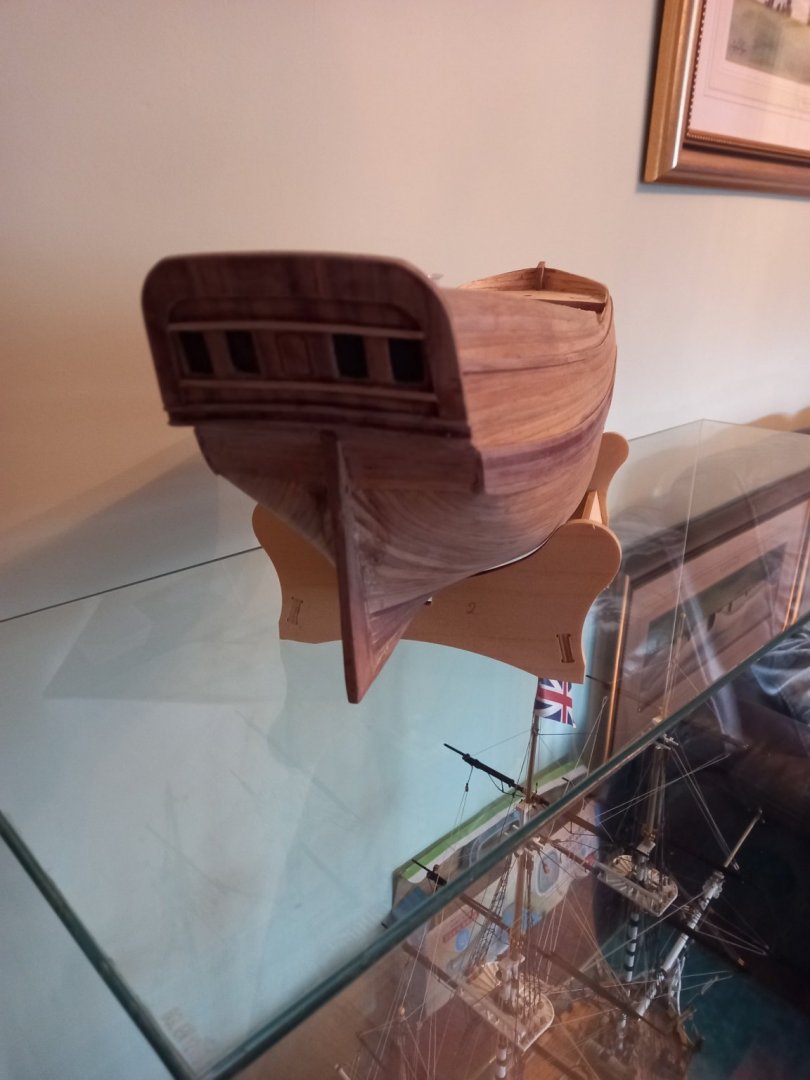
Wales fitted and coarse sanding done 240 just 320400 to do ready for sand & sealer and then final sanding with 400/600 then. I then need to fit various port lids. I have been looking at the position of the channels which according to the drawing is fitted to the top ( side rail) wale and it looks like it is fitted just below the just below this wale, however in all the photos bar one and including the Endeavour replica is inline with this top wale. I have discussed this in the following thread. Also here is a few photos of the progress so far with the wales fitted. I have just notices there is one more to fit hwich is just below the Transom.
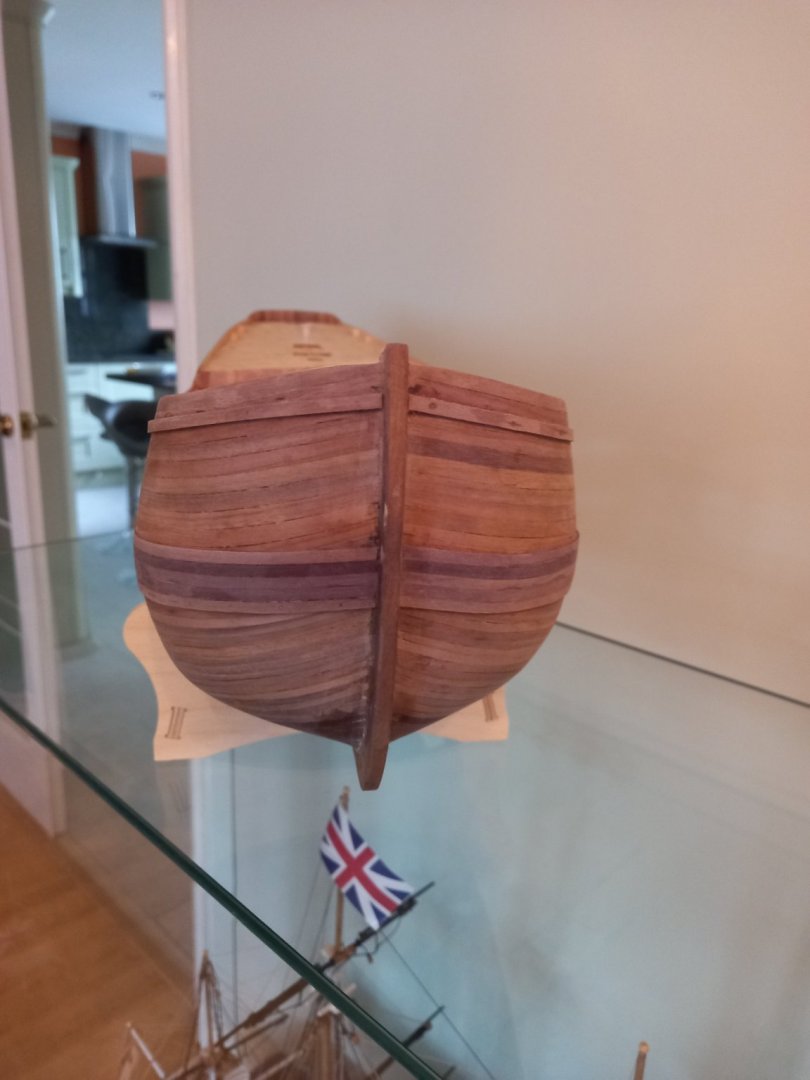
.jpg.9bc84cc58ffd8962bfc8f33349411059.jpg)