DaveBaxt
Members-
Posts
1,324 -
Joined
-
Last visited
Content Type
Profiles
Forums
Gallery
Events
Everything posted by DaveBaxt
-
Sorry if these are dumb questions, but just to be clear. Will the Sphinx come with the mast and rigging or is that sold seperately.?Or do you just supply your own and use Vanguard rope,blocks and dead eyes?
- 355 replies
-
- vanguard models
- Sphinx
-
(and 1 more)
Tagged with:
-
Thank you Delf for the update on the glue which looks amazing how far it goes so will add this to my list of things to buy on my next order.I really like the look of those smaller G claps and those dividers. Also I think you are doing a cracking job on the first planking and such a neat look of the hole for the stern and rudder post. I am currently doing the second planking on my Endeavour with Walnut and 1mm thick which is a bit of a pain. So I am looking forward to your progress with the second planking. I am really enjoying your blog and the photos are great so keep them coming. Looking forward to your progress. Best regards Dave
- 345 replies
-
- Duchess Of Kingston
- Vanguard Models
-
(and 1 more)
Tagged with:
-
Looks like you are making a very good job of the planking. I am no expert but thought that there would have been two layers of planking especially being Walnut, where the first layer ( thicker planks) where I understand to be just for the general shape and do not need to be so perfect as the second (thinner ) planks and easier to conform. Please correct me if my thinking is incorrect. Keep up the good work and I look forward to your progress.
-
Congradulation Tim . An Insperation and help to all who want to build a period ship including myself. She is a true Beauty. Those furled sails look fantastic. I look forward to following any future build ( Hoping you choose to do another blog) that you do. Thank you for all the help you gave me in building my Bounty . Best regards Dave
- 171 replies
-
- artesania latina
- bounty
-
(and 1 more)
Tagged with:
-
Thanks guys for answering my question on Delfs blog and I hope I haven't interupted the blog too much. Some great answers in what doesn,t sound too scientific. This is something I will try on my next build. Keep up the good work Delf and I look forward to your progress Best regards Dave
- 345 replies
-
- Duchess Of Kingston
- Vanguard Models
-
(and 1 more)
Tagged with:
-
Looking Great so far but I have always wondered how do you know what angles to make the edges of the bulkheads when fairing them ie how much material to remove before assembling them. I appreciate that this can be achieved by using detailed drawings but as yet this is a mystery to me. Good luck with the build and keep up the good work. Best regards Dave . Hope you don,t mind me following on.
- 345 replies
-
- Duchess Of Kingston
- Vanguard Models
-
(and 1 more)
Tagged with:
-
Some really nice work there and I am interested in the differences between the Corel Endeavour and the one I am currently building by Caldercraft. You are much further on than me but what I can see you have made an excellent job so far. If I may ask a question regarding what size deadeyes are you using for the lower shrouds,? Which by the way look very neat and tidy.Also I look forward to any further updates on your blog. Thank you .and best regards Dave
-
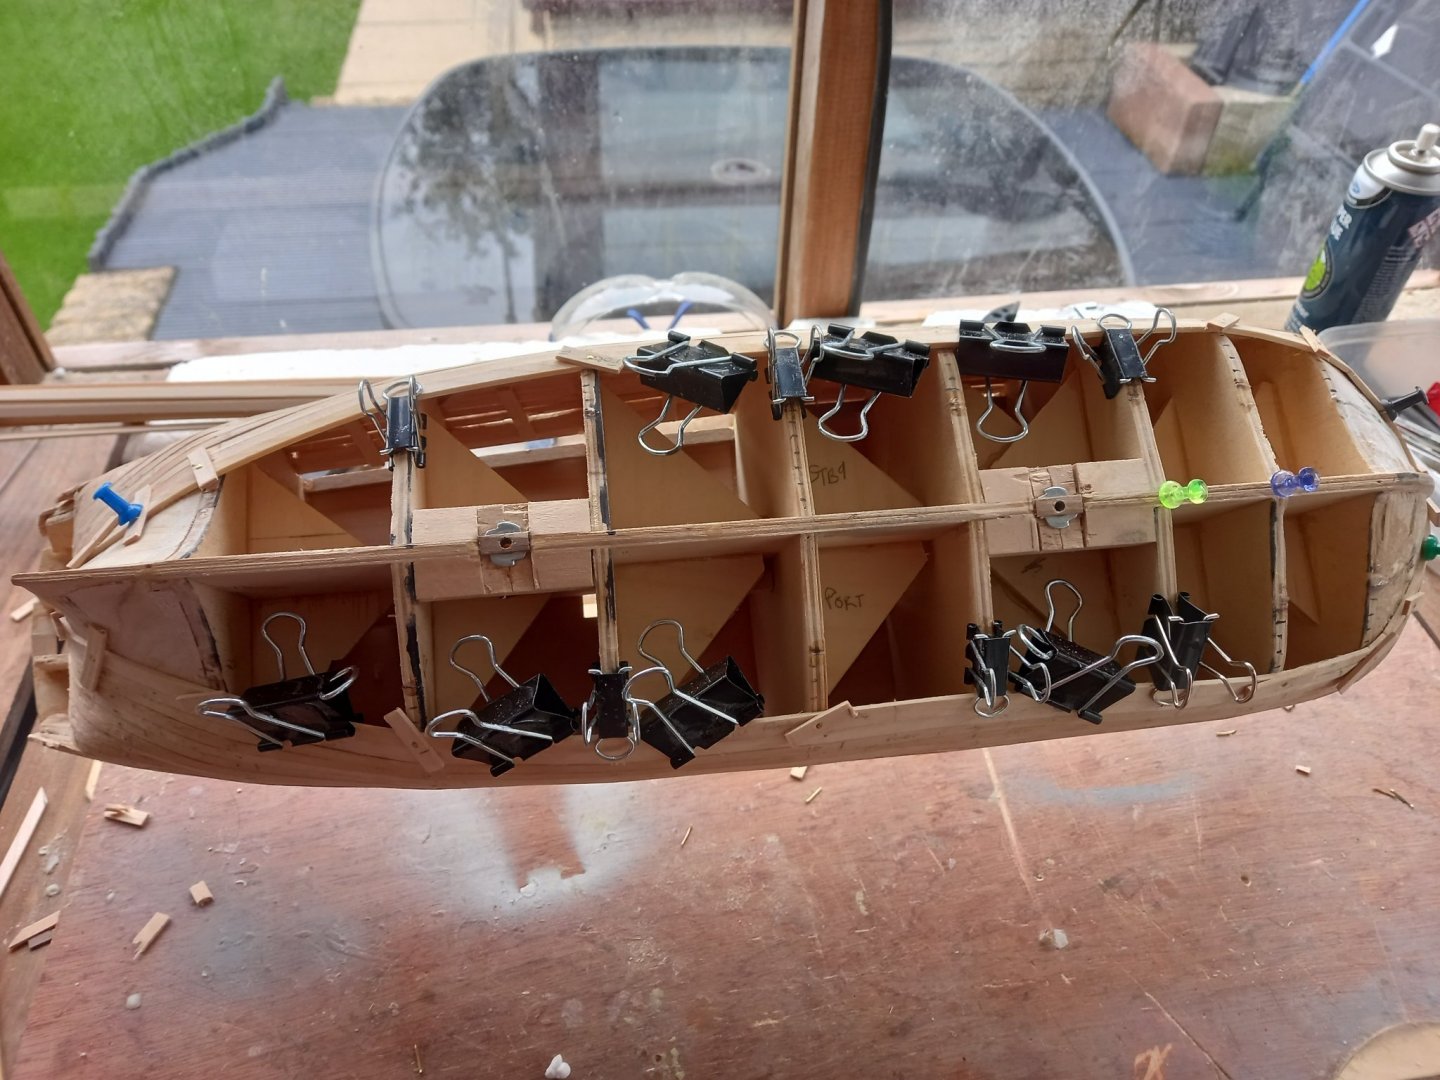
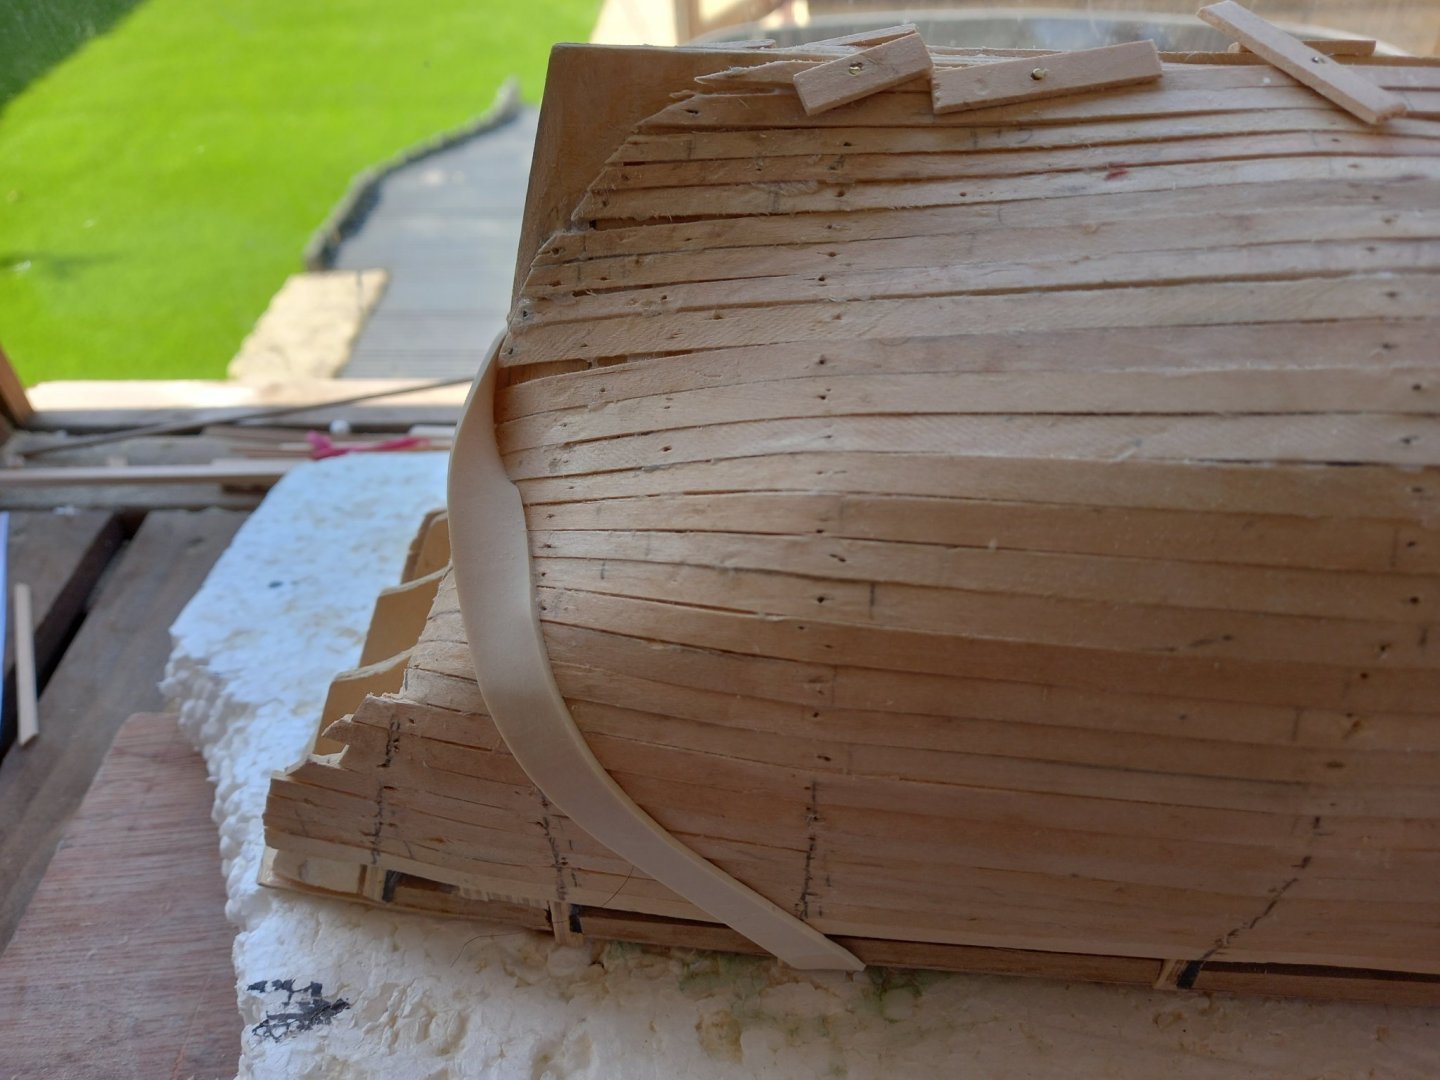
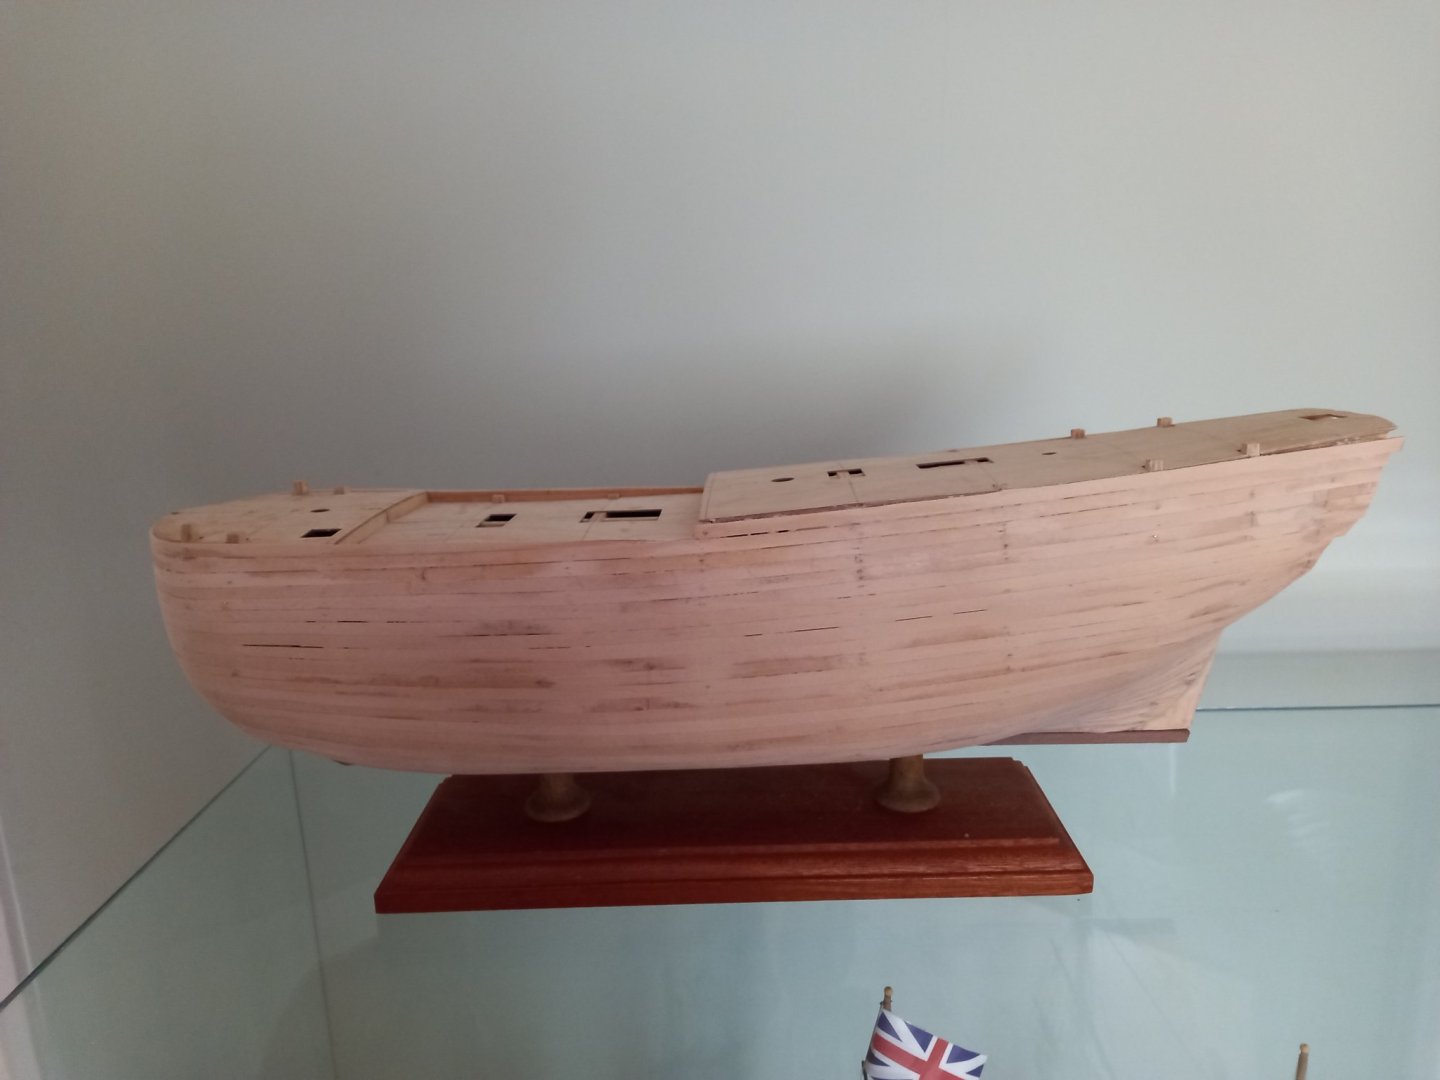
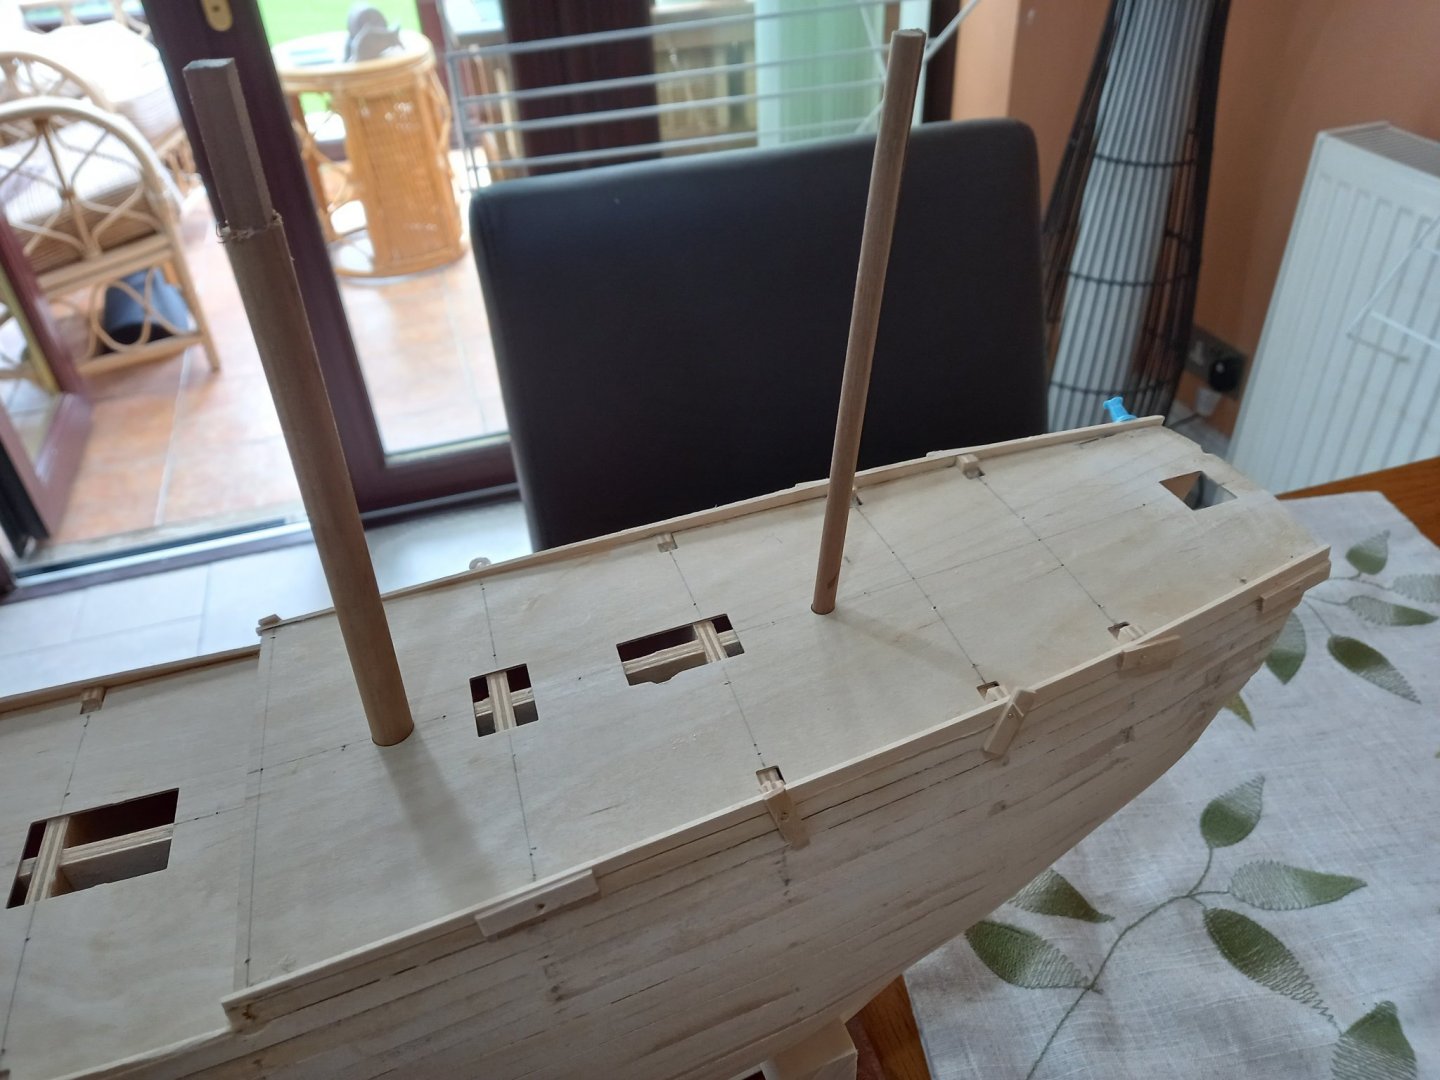
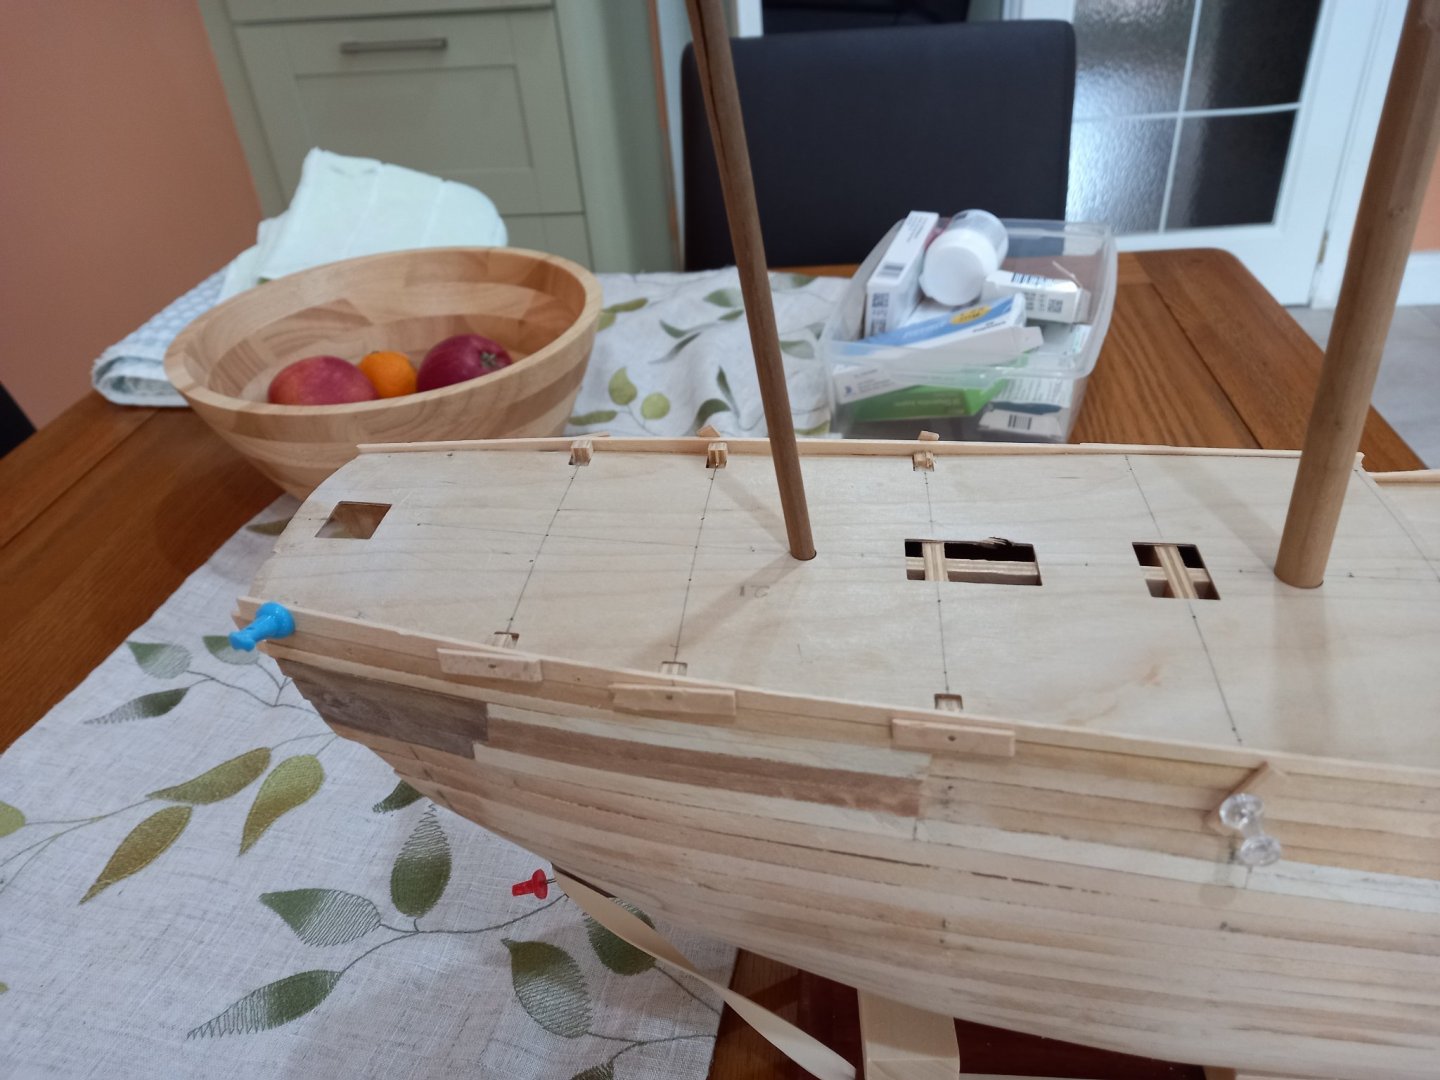
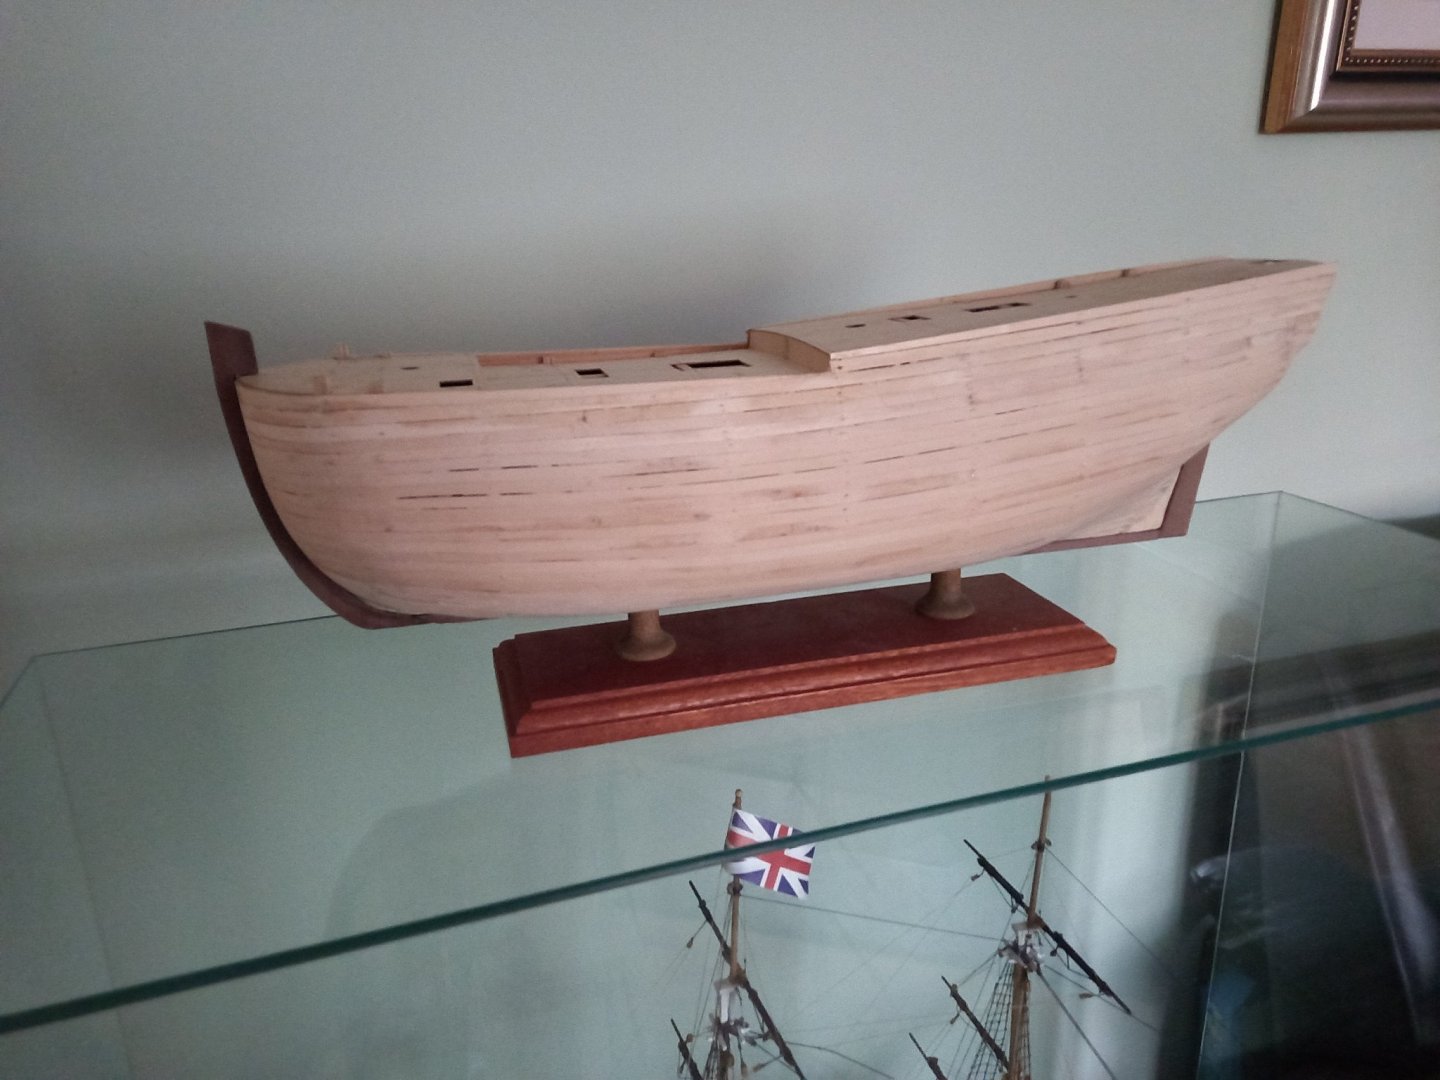
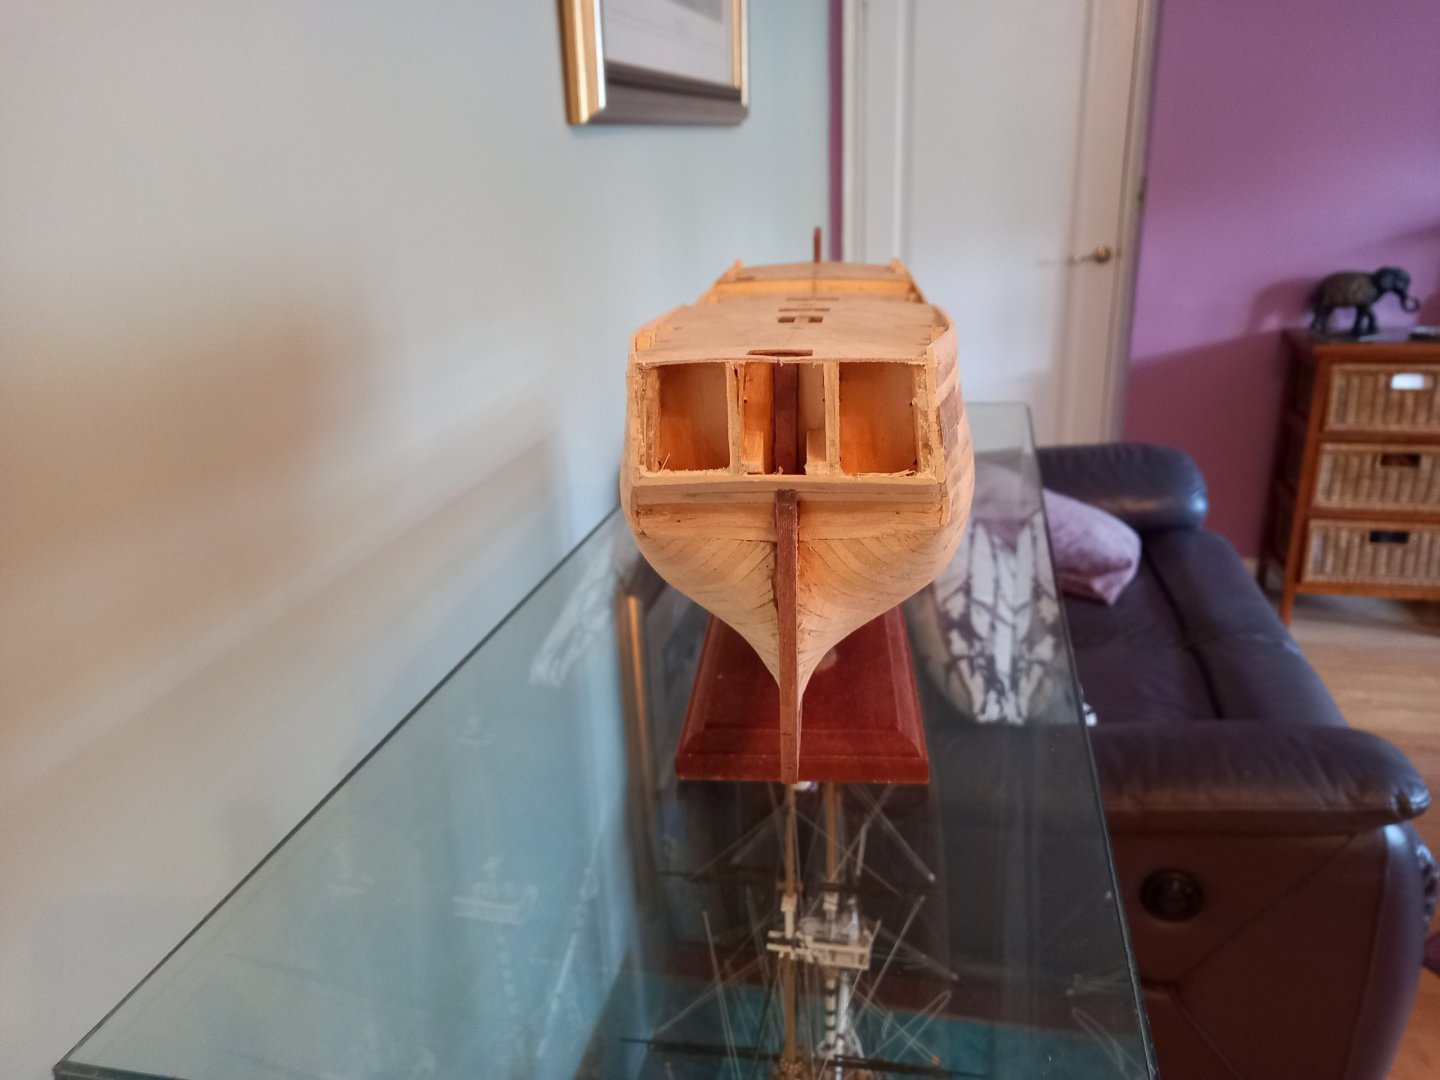
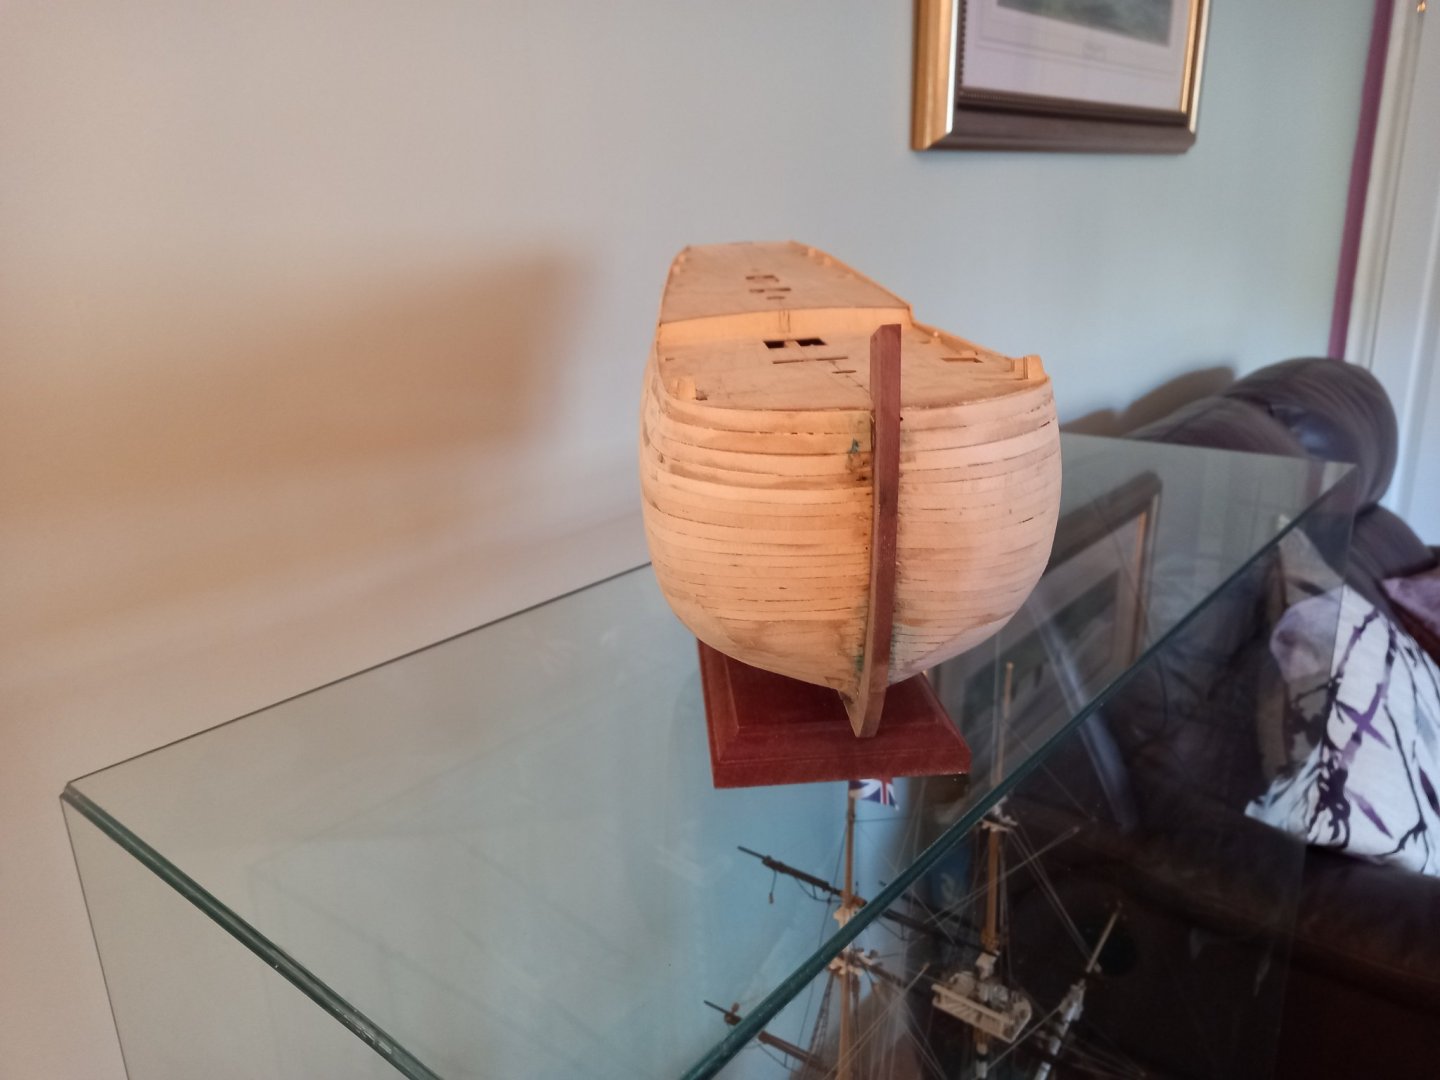
First layer of planking almost complete. After a quick rub with coarse sandpaper, I now think it will e neceassary to use some filler. I also needed to fill in some hollow using 0.5mm thick strips of lime. Before I can fill in the underside of the stern facia with planking I will now fit the keel, stern and stem posts. I still have the bulwarks to do before starting on the second planking. Here is a couple of photos of the second planking. Note the stand and keel is not yet attached.
-
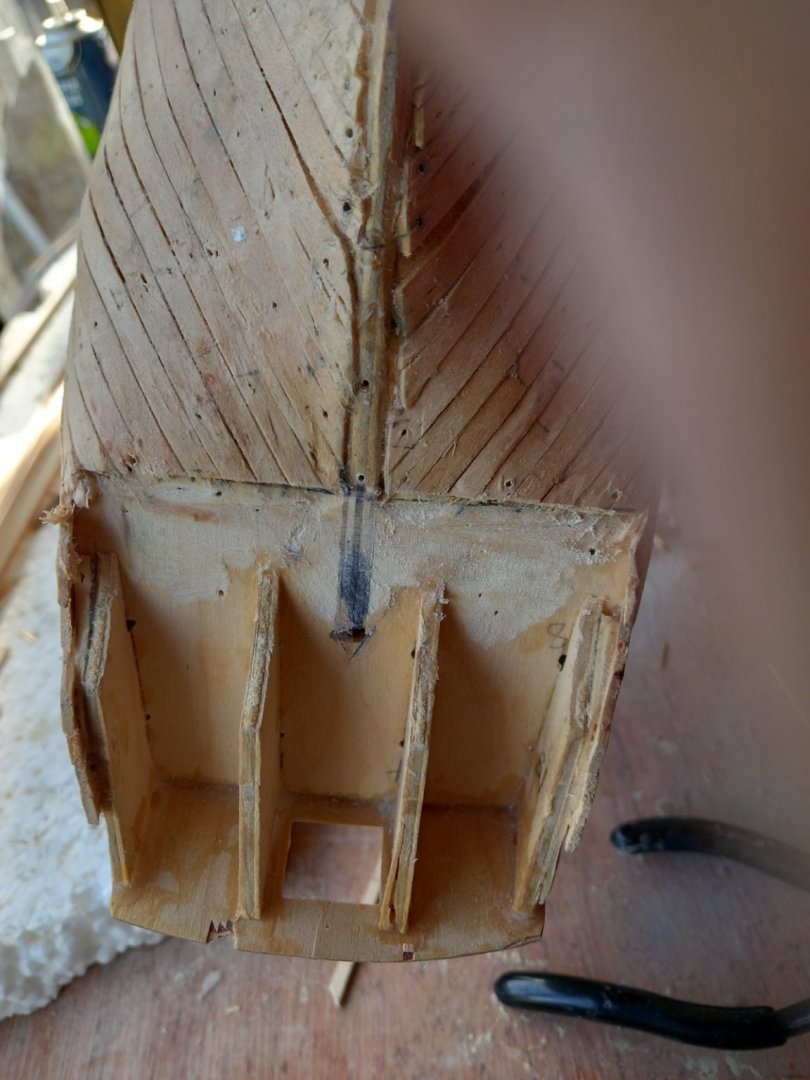
Made a start on the first planking and all went well until towards the end. The last quarter of the planks it was necessary to change tack and not continue planking the same way and continue to bend the planks in the same way but in the way as showen thus. Also Just after of where the blocks I have fitted are sinking in and require filling due to the planks somewhat sinking in. Perhaps I should have extended the blocks further aft as this is what I was trying to prevent. The pine planking was very easy to work with and only required soaking for a couple of hours and once on position with the help of a heating Iron only took another couple of hours to completely dry and then the pins could be removed ready for glueing. Worked quite well but a lot of work to do with filler. I would sya this is probably my worst planking job so far. Using the combination of the fold back clips and pins with scrap pieces of lime wood worked ok. The clips kept the planks togethher and also the surface flush. However as the planking got closer to the keel even the smallest of clips would not fit into the space. I made sure that each plank was carefully shamfered so no clinkereing occured but still needed to use the clips. I am now on the search for some kind of clip would sufface and keep the surfaces flush on my next build.. .Any ideas? Best regards Dave
-
A couple of more operations I thought I would try before continuing to plank the hull. First off I wanted to fit a pedistal fore of mounting the ship and fitting columes. Last time I tried just screwing it into the bottom of the keel and this did not work out as I was unable to get the ship to sit straight. I used a milling machine to drill the holes in the keel and the used this to mark the holes into the false keel. I did a search for hidden nuts on google and was offered Tee nuts which were readily available,so thought I would try these. It was necessary to fit blocks either side of the bulk head and then mount the Tee nuts and once the bolts looked straight the nuts were glued into position. Once the keel strip is glued into position this should hopefully stop any movement of the Tee nut. I have also fitt another two blocks at the stern in the hope of increasing the amount of contact the planks will have as they approach the deadwood area rather than just the edge of the plank.Hope this makes sense.
-
Thank you for taking your time to dig out that explaination and after a quick read I will most likely give it a go. However as my deck planking is made from Tanganyka I only have the one size which is 1mm x 4 mm. Fortunately it is easy to get other size form a model shop.here in the UK. Anything up to 10mm wide in 1 mm incriments. I would be grateful if you could think back and give me an idea of how much I will need. Best regards Dave
-
Someone has painted theirs black and it looks ok, however I like your idea of lanterns and I might try some experimenting with that and see what I come up with. I think on my last model the Bounty I tried a kind of light blue which I got the idea of a guy who did a series of videos but think I will try something different this time. I really like the look of your decking and the pieces on the edges is fantastic and must have taken a lot of patience with something like that . I think I would liek to try something like that but might be out of my reach skill wise. Keep up the good work and keep us posted of your progress. I am not reaaly doing much to mine at the moment as I am supposed to be having a break but just wanted to check everything in the box but thought it would be a good idea to sort out the keel before it got any worse.
-
Great question as I have been pondering the same with building the Endeavour by Caldercraft. I just assumed that the transom would have to be bent to follow the deck but was unsure. Also for the record did you fit anything behind the windows on the TRansom or planking etc? I am a bit late but would like to follow your build if I may. Terrific looking job so far .Best regards Dave
-
Doors
DaveBaxt replied to Don Case's topic in Building, Framing, Planking and plating a ships hull and deck
Don. Please do not give up as it is something I have not thought of but would really like to know. Let me explain. I am a beginner with only one period build under my belt and have asked more questions than I would care to admit. Did I always get to know what I wanted to hear. Well not at first but then again I always got the correct answer in the end.. Once I realized that there is never one answer and quickly realized that people are unable to give you a straight answer until they know whtat type of ship you are building and as procisely as possible when the ship was built, even the name of the ship you are building can help.. I am not hear to have a go at you in anyway shape or form as I have been guilty of asking similar types of question my self. Hope this helps in any way . Best regards from a novice .Dave -
Thank you guys for your replies which will give me something to work on. AS all three lower masts are different sizes this would therefore mean all the lower masts would be different but perhaps they don,t make that many different sizes of dead eyes. This could also be true using the stays or shrouds as the standard. I will work on both these above standards and see what I come up with. Best regards Dave
-
Hello all .Only 2 sizes supplied in the Kit 5 mm and 3 mm. I am assuming the 5 mm is for the lower shrouds. Is this too small ? My last model the Bounty by Amati, the lower dead eyes are 7 mm. and upper dead eyes are 5 mm. Are these too big as the scale for the Bounty is 1:60 which I believe is not much difference in that of the Endeavour but I could be wrong. In the Endeavour parts list the dead eyes are listed as 5 and 3 mm so no mistake with what has been put in the box. I am unable to find anything in the literature I own or anything when googled.Perhaps someone who has built the Endeavour can confirm that 5 mm is indeed the correct size for the lower dead eyes. If not perhaps someone knows what size the actual dead eye would be for that period ship and hence I would be able to work it out. Best regards Dave
-
This could be the last post for a while as I am leaving it until the better weather is over and the nights draw in. I have made a jig to support the model during the first and second planking. I have added filler blocks fore and aft using a mixture of balsa wood and bass wood ply. I much prefer the bass wood and wish I had waited until I had some rather than using the balsa wood but never mind here goes.
About us
Modelshipworld - Advancing Ship Modeling through Research
SSL Secured
Your security is important for us so this Website is SSL-Secured
NRG Mailing Address
Nautical Research Guild
237 South Lincoln Street
Westmont IL, 60559-1917
Model Ship World ® and the MSW logo are Registered Trademarks, and belong to the Nautical Research Guild (United States Patent and Trademark Office: No. 6,929,264 & No. 6,929,274, registered Dec. 20, 2022)
Helpful Links
About the NRG
If you enjoy building ship models that are historically accurate as well as beautiful, then The Nautical Research Guild (NRG) is just right for you.
The Guild is a non-profit educational organization whose mission is to “Advance Ship Modeling Through Research”. We provide support to our members in their efforts to raise the quality of their model ships.
The Nautical Research Guild has published our world-renowned quarterly magazine, The Nautical Research Journal, since 1955. The pages of the Journal are full of articles by accomplished ship modelers who show you how they create those exquisite details on their models, and by maritime historians who show you the correct details to build. The Journal is available in both print and digital editions. Go to the NRG web site (www.thenrg.org) to download a complimentary digital copy of the Journal. The NRG also publishes plan sets, books and compilations of back issues of the Journal and the former Ships in Scale and Model Ship Builder magazines.


.thumb.jpg.651ab28d0e9629070f7fbe246494662d.jpg)
