


jct
-
Posts
1,519 -
Joined
-
Last visited
Content Type
Profiles
Forums
Gallery
Events
Posts posted by jct
-
-
Hey Denis...any updates for this one?
- popeye the sailor, mtaylor and Canute
-
 3
3
-
Hi all, thanks for the likes...another installment
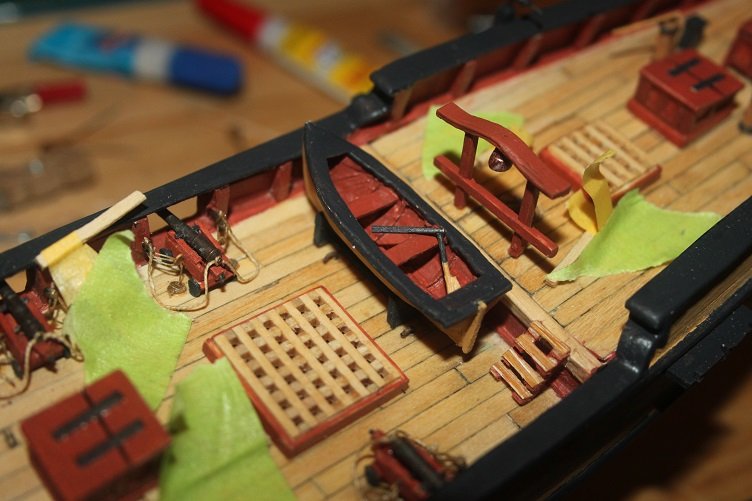
Spent the last couple days focusing on the chainplates and the anchors
also finished mounting the ship's boat
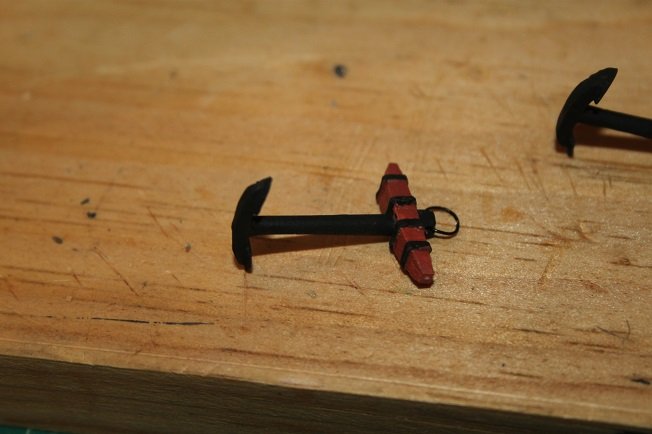
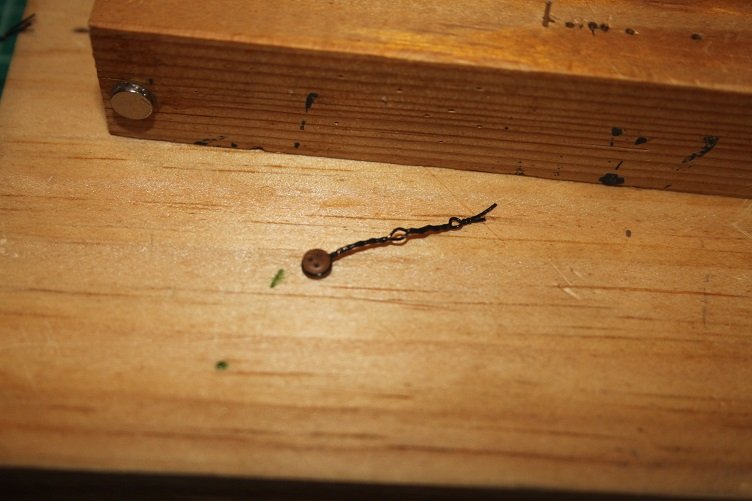
added some strips to the anchor stocks to simulate banding
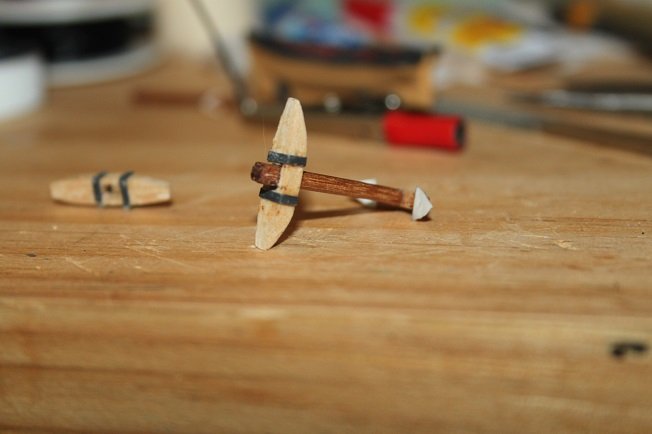
then painted them out and added rings
the ring alone was too thin so some puddening was called for
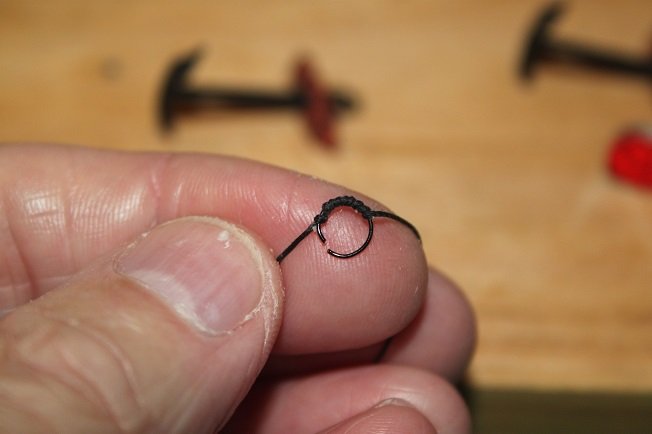
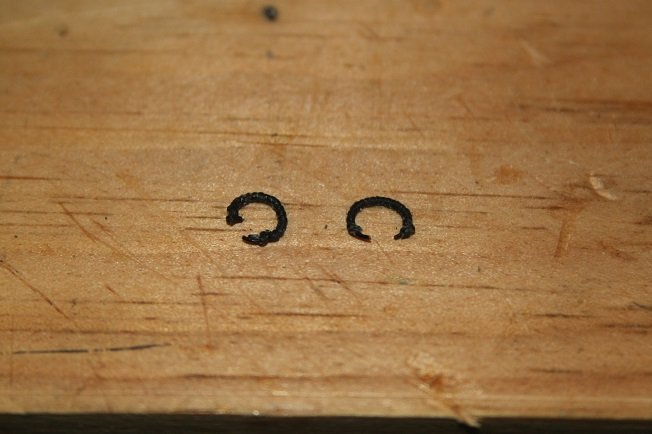
just wrapping in black cotton thread and reinstalled

still need to touch-up the paint
thanks for looking in that's all for today
-
Thanks for the likes...
This weeks update, still working on little odds and ends
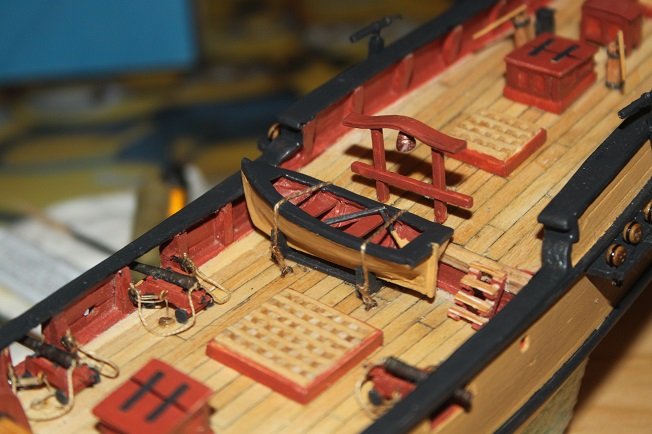
First I reattached the billboards
the ships boat was cut down and a new stern fashioned...it was way too long, a rudder was constructed and a cradle fashioned for mounting on the deck
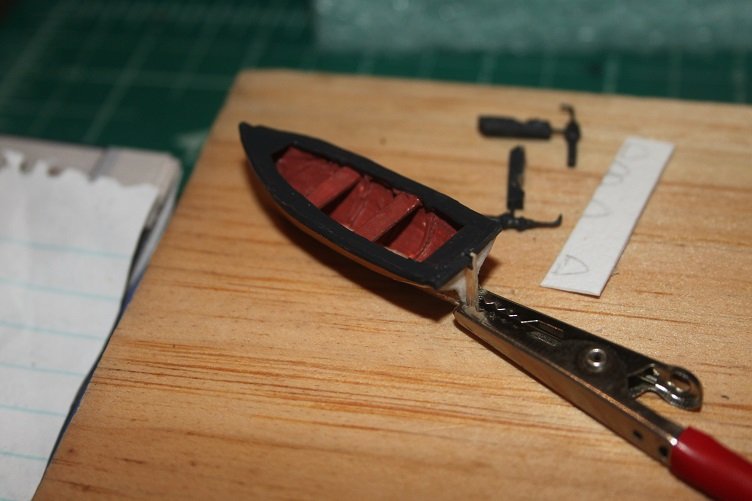

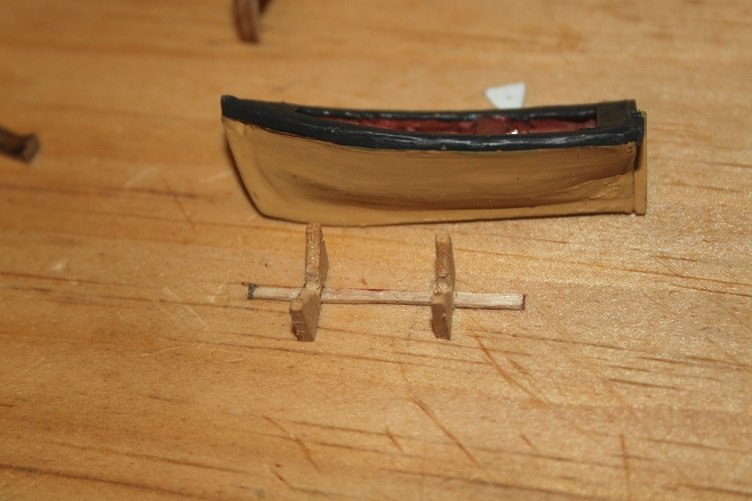
all painted out and test fit
lines will be added to secure it to the deck later
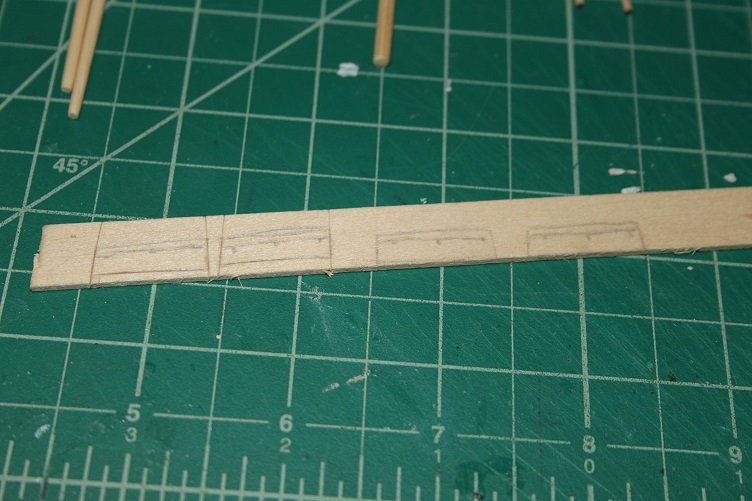
Started scratching out the anchors
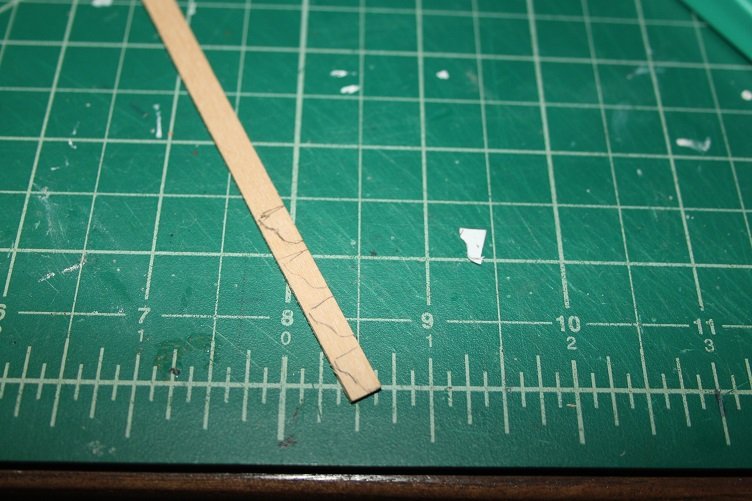
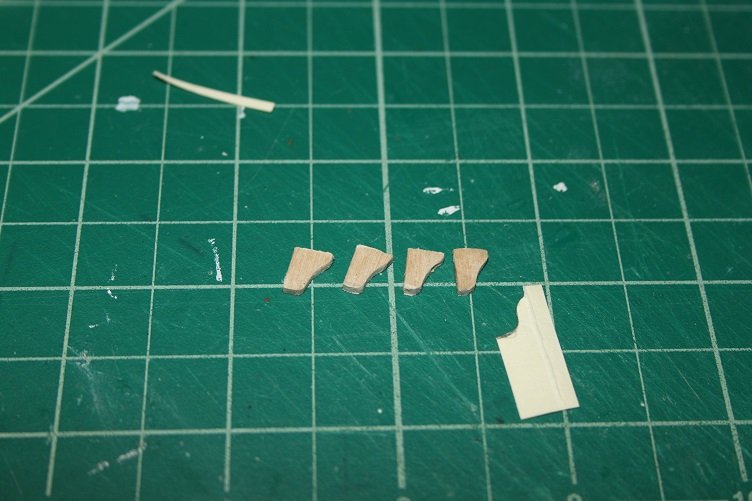
for the arms I first cut small pieces from some curved stock I had in the spares box...not sure of the species
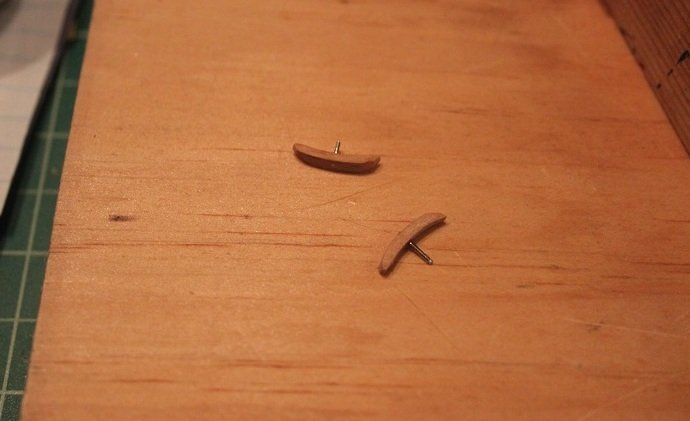
and added pins for the shank and shaped them a bit
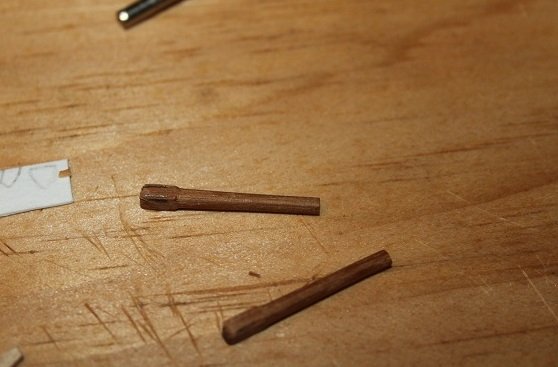
the shanks were made by chucking square walnut in a dremel and turning against sandpaper, I left the top square to mount the stock
the stocks are shaped pieces of basswood
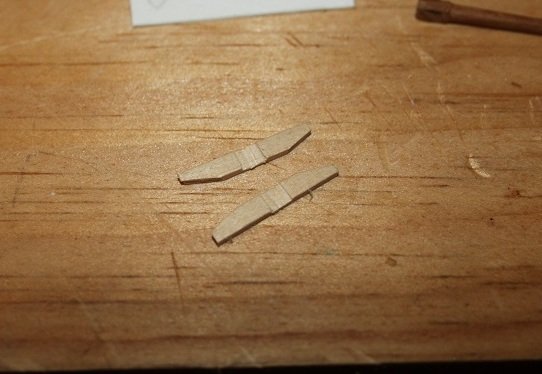
and the flukes were cut from heavy watercolor paper
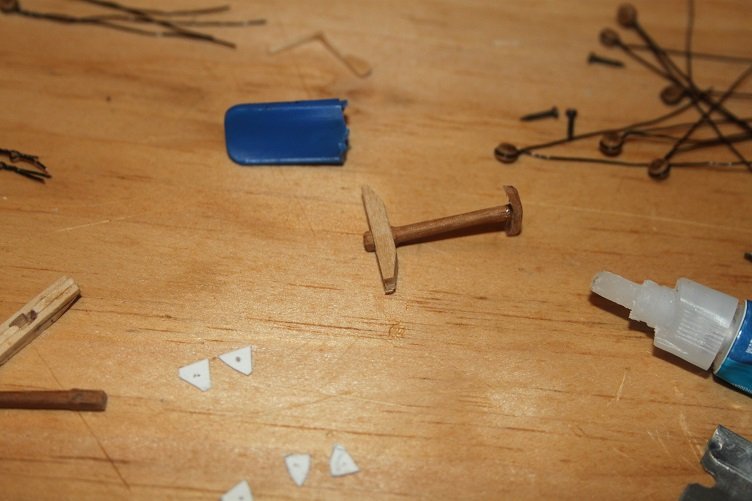
still have a bit of shaping and sanding to do...
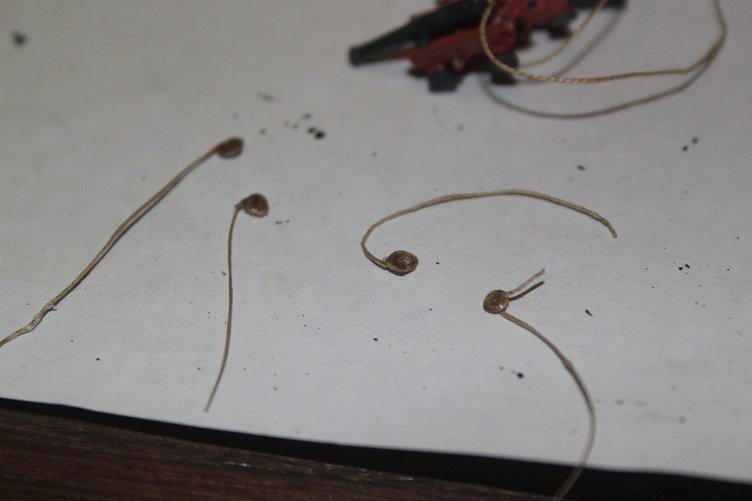
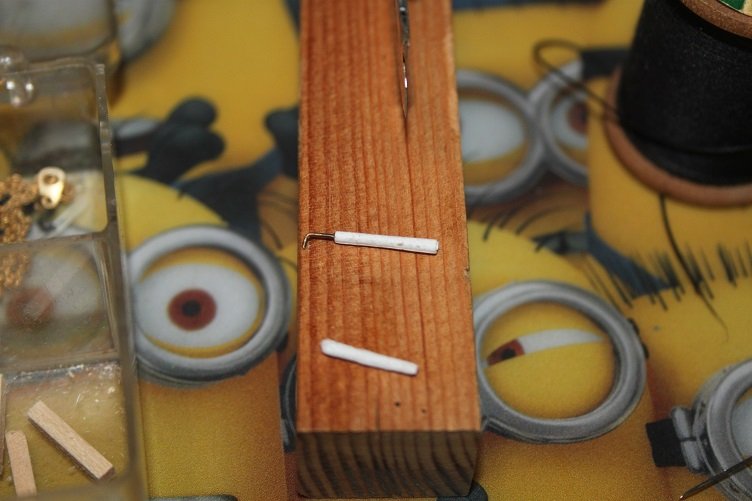
also worked on the lower deadeyes for the shrouds

this "fixture" allows the deadeye to be held in place with a couple pins while blacked wire is wrapped around it and the pins
the pins leave spaces so they can be tacked to the hull when installed
Well that's all for now, thanks for looking in
- GrandpaPhil, hexnut, src and 2 others
-
5
-
I could not agree more 😁
- src, lmagna, popeye the sailor and 1 other
-
4
-
2 hours ago, lmagna said:
I think they are also painted black sometimes like the wales often are.
Black it is, but they will be slightly abused😁
- src, popeye the sailor and mtaylor
-
3
-
-
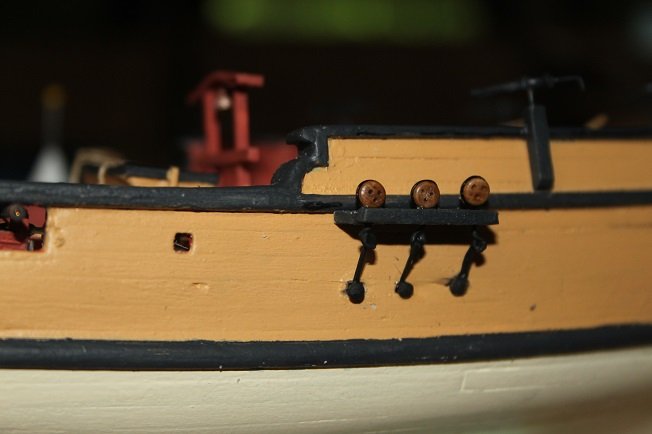
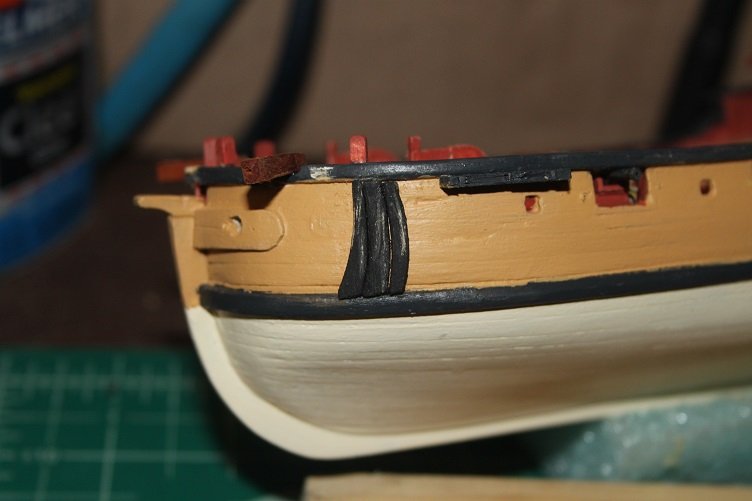
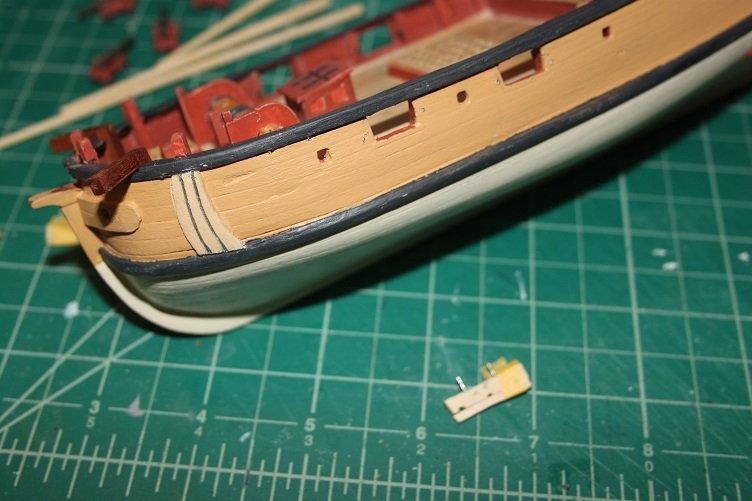
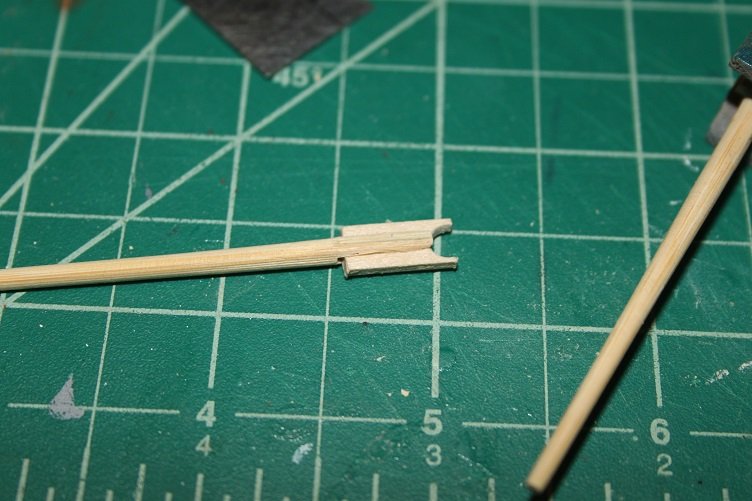
An update of sorts...I'll be away from the table for a week or so, home for fathers day an our anniversary.
It wasn't till I posted the pic below in the last update that I noticed the sacrificial anchor rub boards (not sure of the exact nomenclature) were facing the wrong direction...the sweep should face fore not aft...so they have been removed and will be reinstalled going the right direction. I may take the opportunity to weather them a bit prior to the reinstall too.
That's it for now...
-
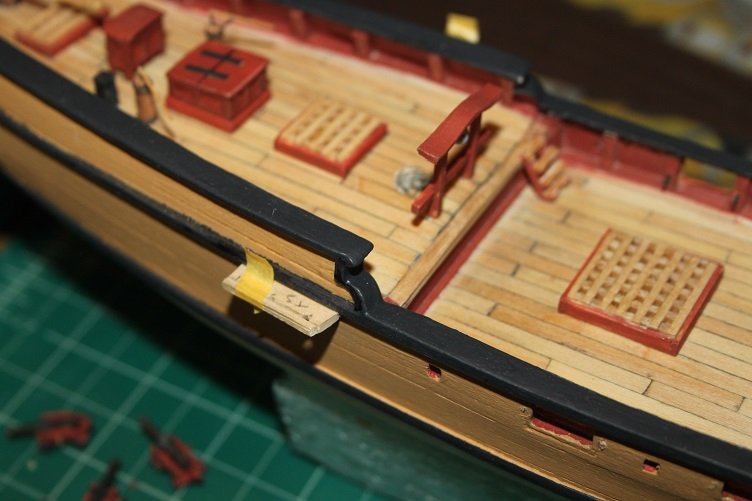
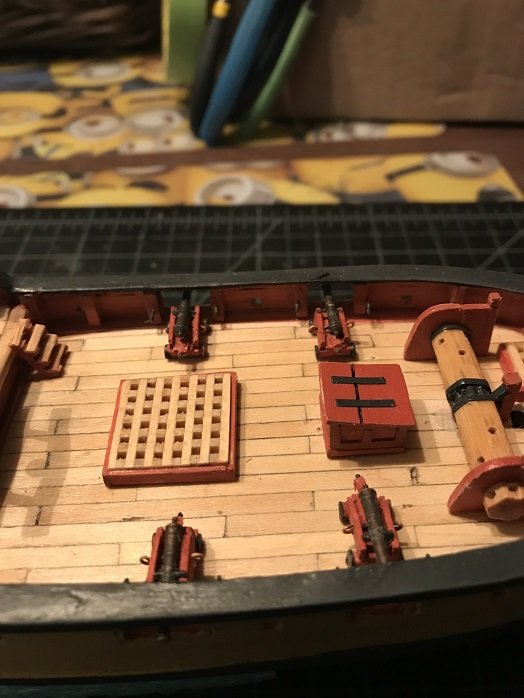
today's update...
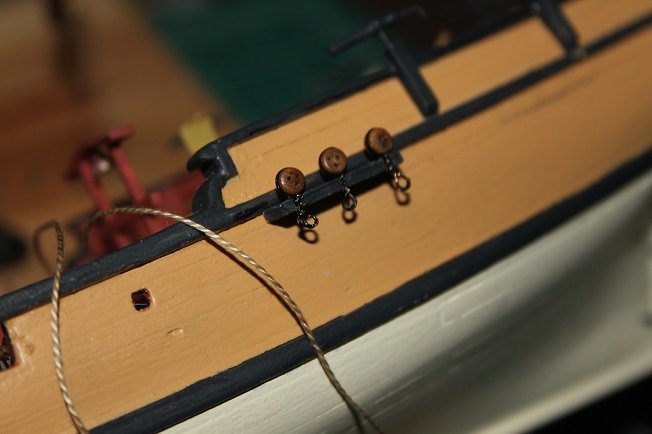
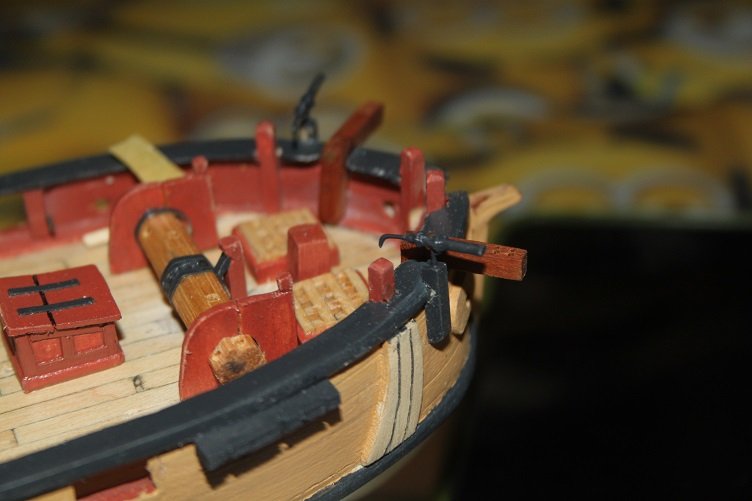
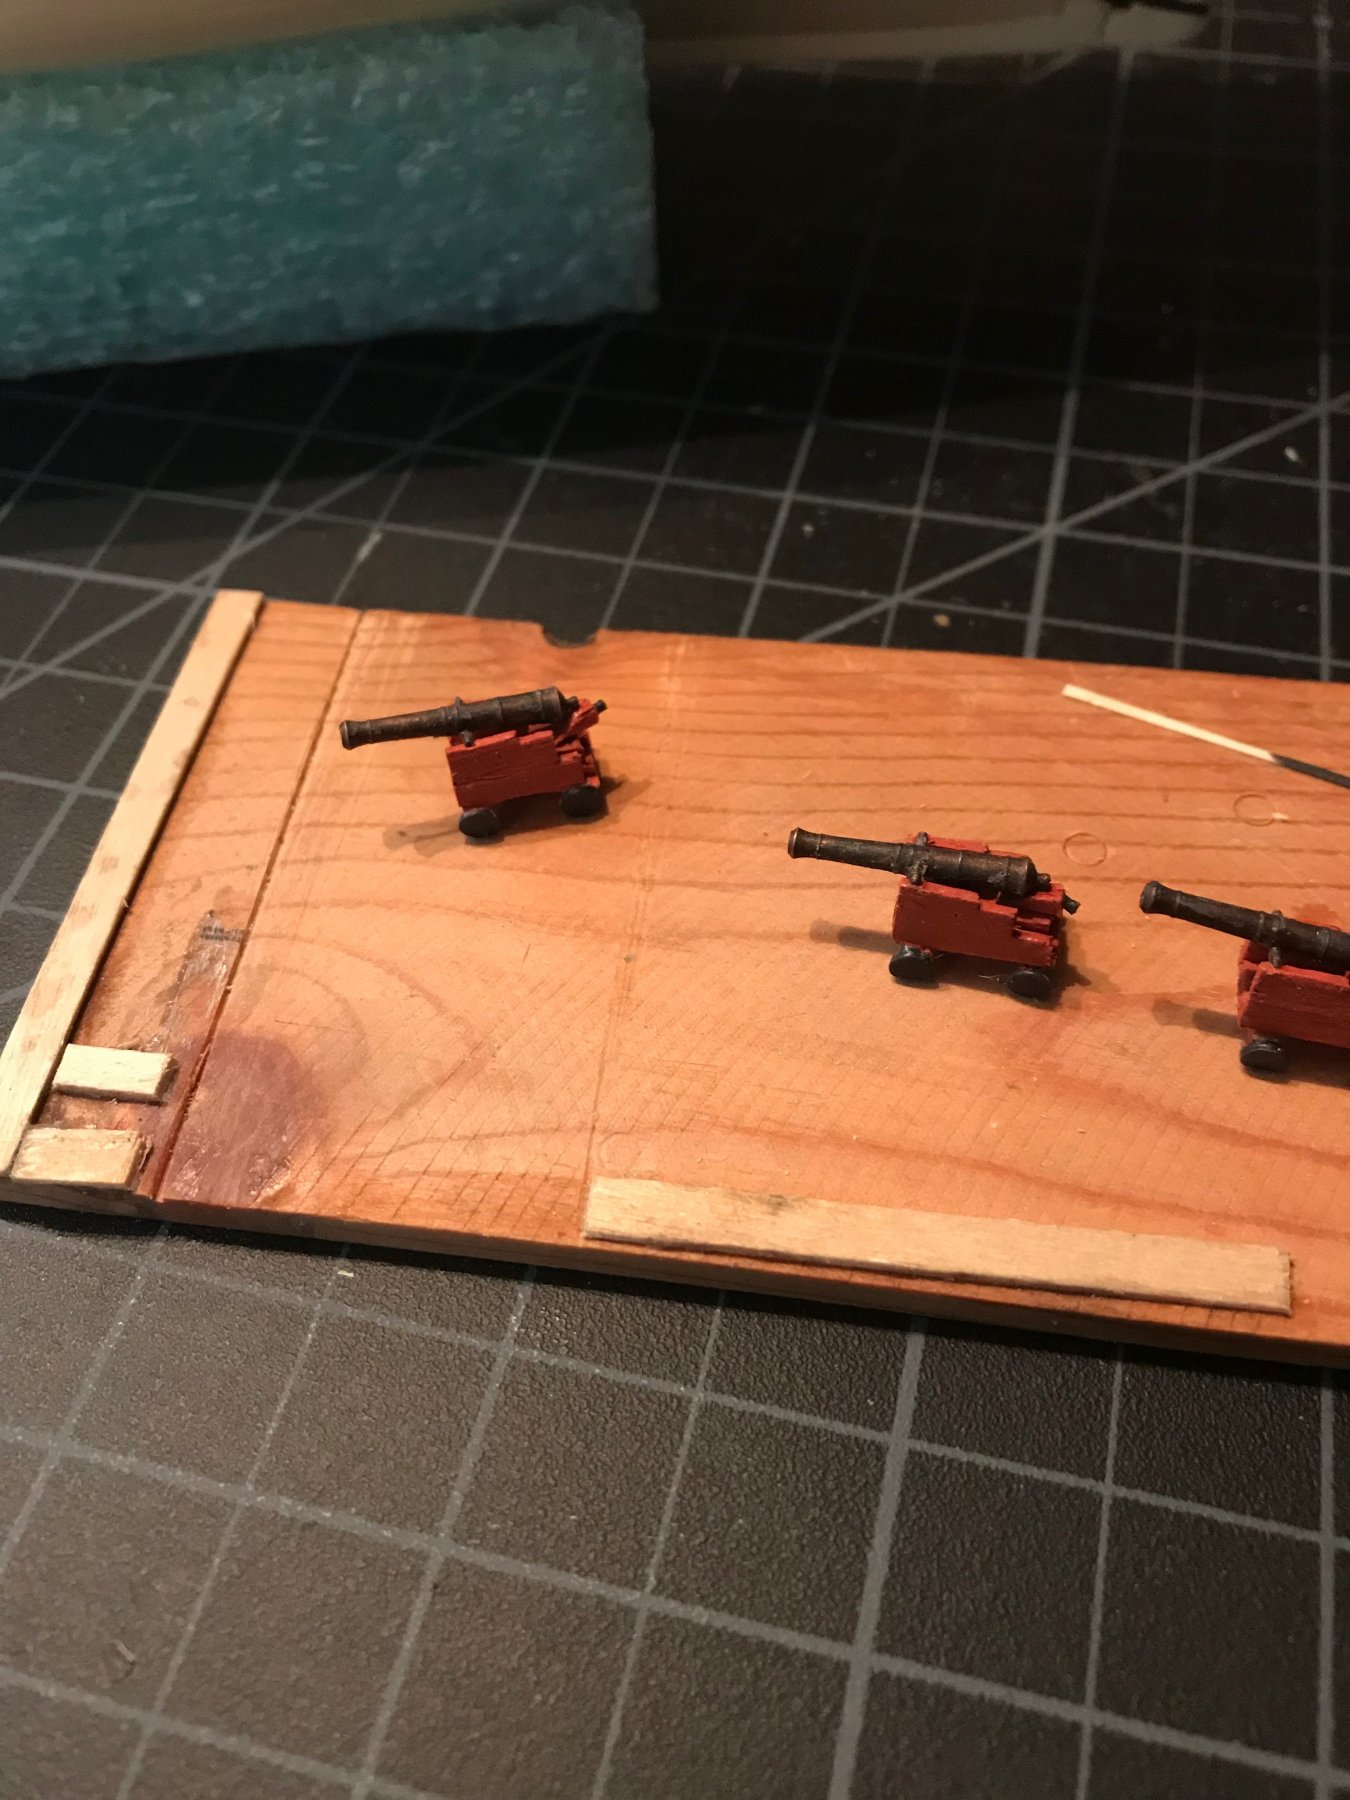
mounted the swivel guns

the bits of tape you see in the photos are holding the outside edge of each respective chain plate in position so they don]t get mixed up until I can get them mounted...probably next week
I decided to mount the main guns...I originally rigged them with blocks but the smallest I had was 2 mm which looked way out of scale, so I stripped then off and just went with the run out tackle and holding lines, may add a few dark spots to simulate blocks...not sure yet
rope coils for gun tackle
rigged guns. you can start to see some of the light weathering I'm applying as I go in the second shot
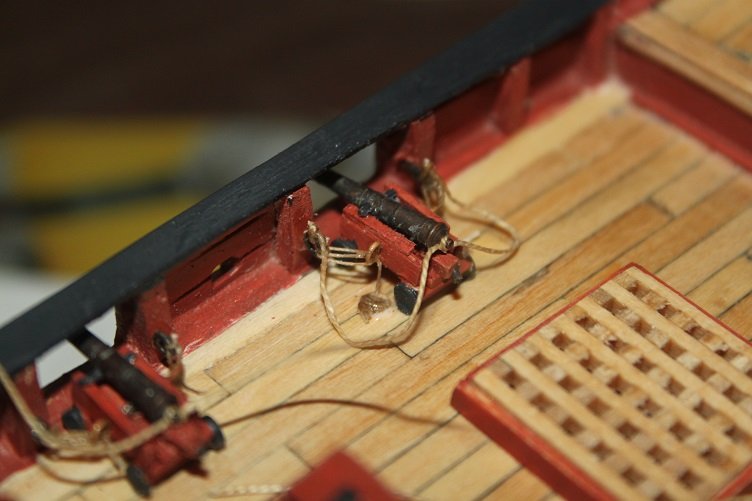
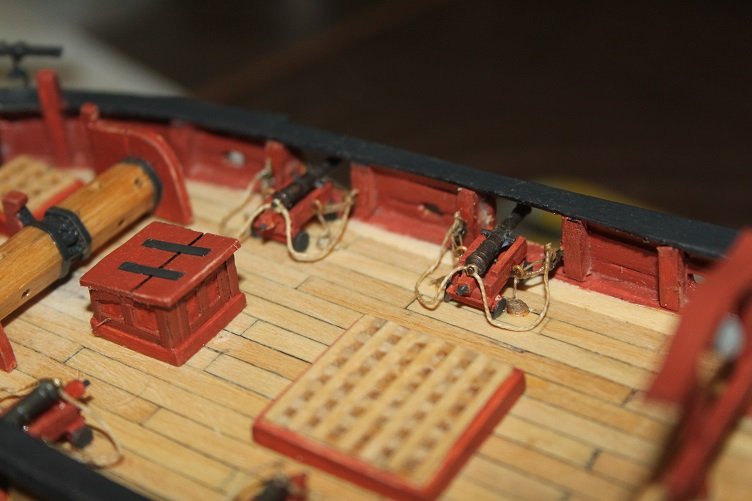
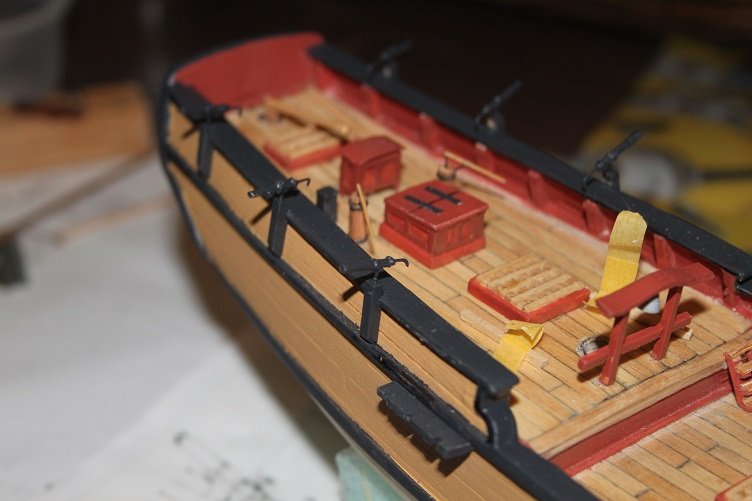
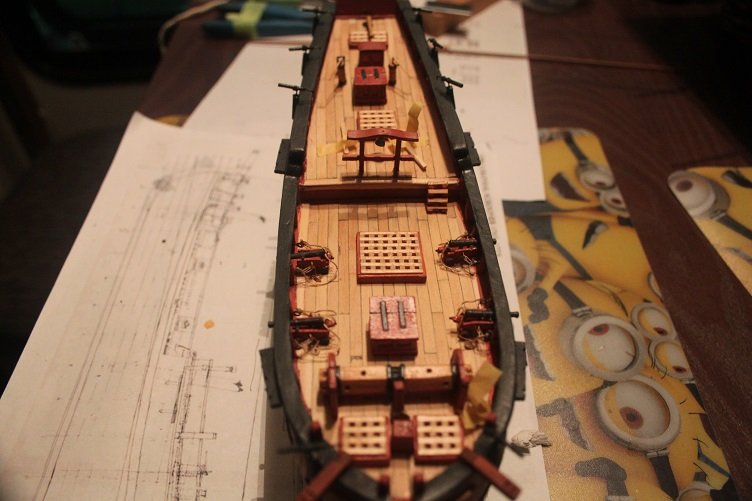
overall shot of all the deck furniture to this point
the for all the likes later
- src, GrandpaPhil, mtaylor and 5 others
-
8
-
-
Well done Jack, your use of artists oils has me integrated...may I ask how you prepared them to paint on plastic? Did you have to prep the styrene in any way to get them to lay properly...how did you apply them?
- lmagna, mtaylor, popeye the sailor and 1 other
-
4
-
-
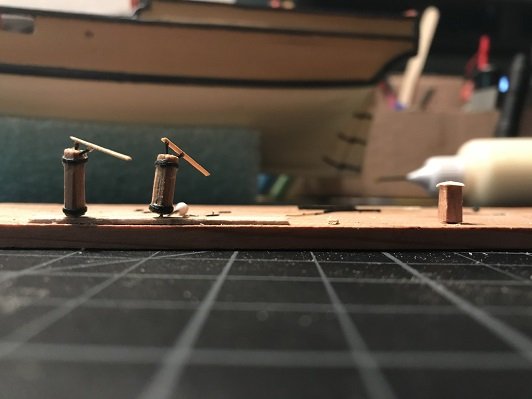
THX for the likes...
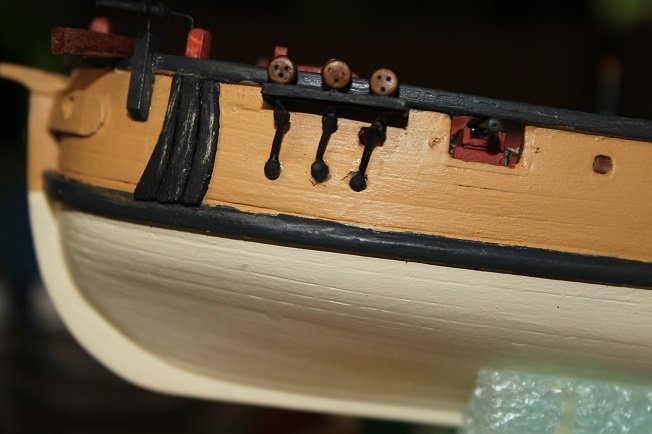
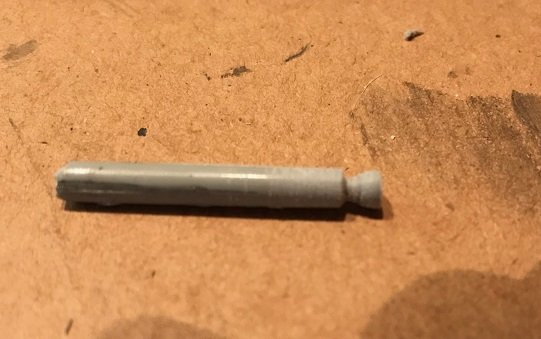
worked on the swivel guns
started with some rolled paper...added some pva to hold the tube together and added bent wire to represent the stock
tied on some light line to represent the strengthening rings and added them to the prepared stanchions
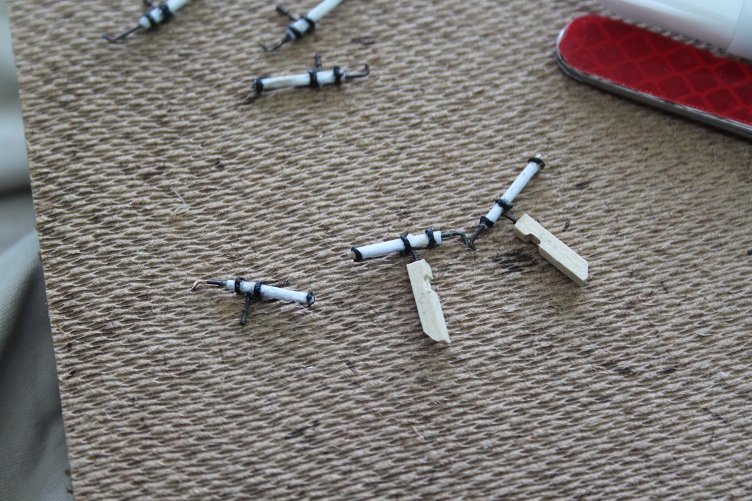
and added paint
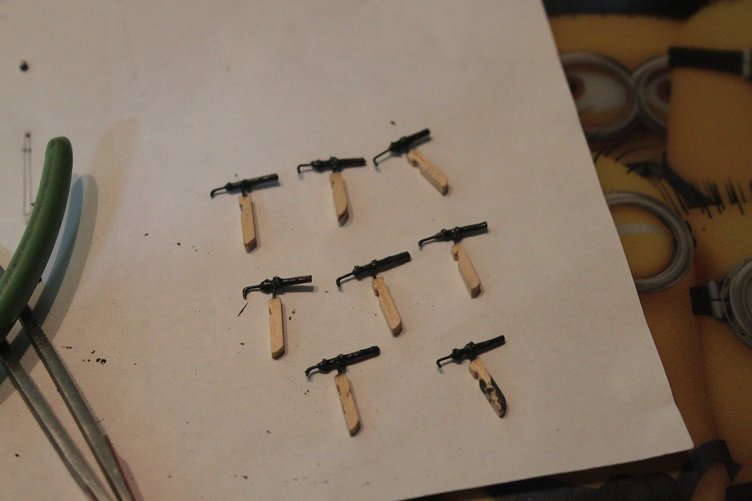
stanchions need painted...not yet sure what color though
-
Finally got a connection...promised pics
Chain plates


mast cheeks
mast tops
and booms
- popeye the sailor, Sea Hoss, CDW and 4 others
-
7
-
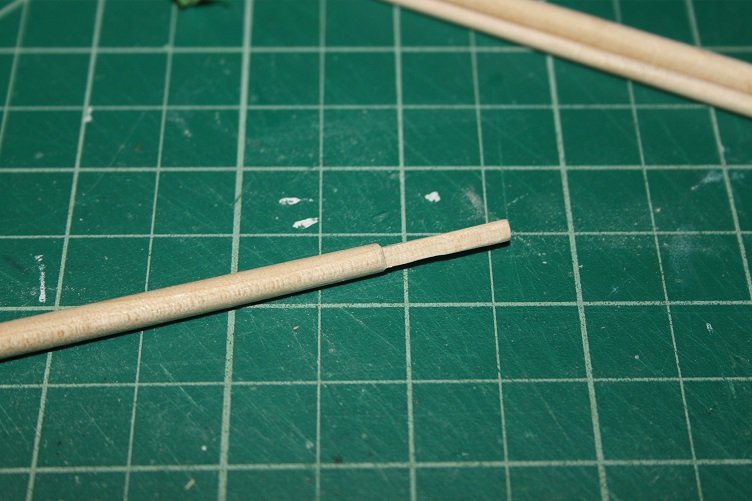
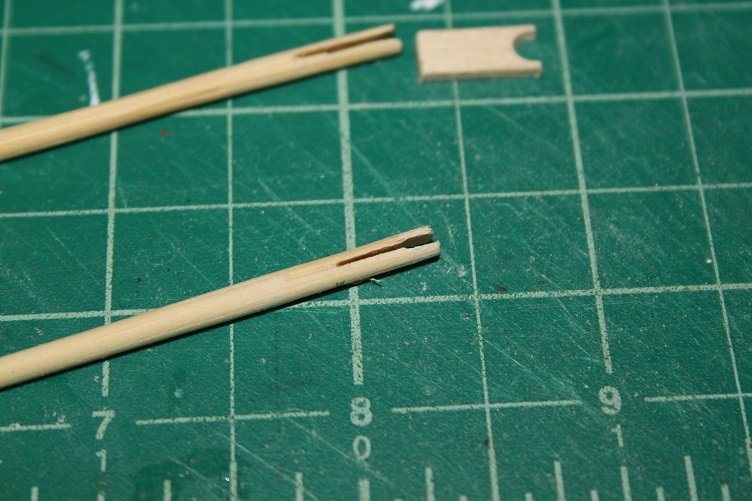
Got all the mast and booms tapered, mast tops squared, chain plates are made and mounted... sorry can’t post pics... no internet at all this week. Hopefully latter, and as always thx for the likes
- lmagna, popeye the sailor and mtaylor
-
3
-
THX Lou...gonna start on the masts and booms
- lmagna, popeye the sailor and mtaylor
-
3
-
-
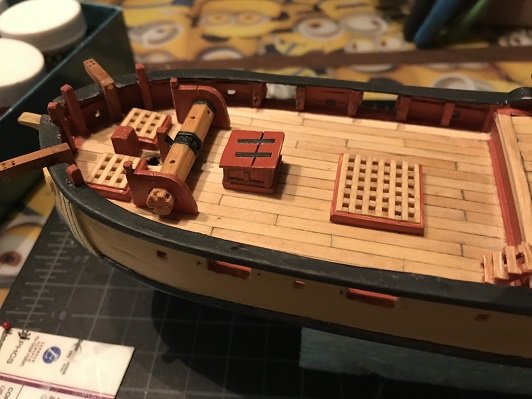
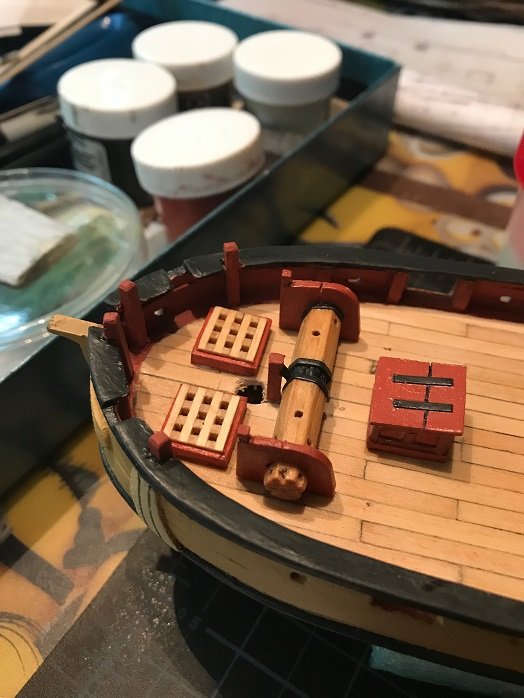
Thanks for the likes
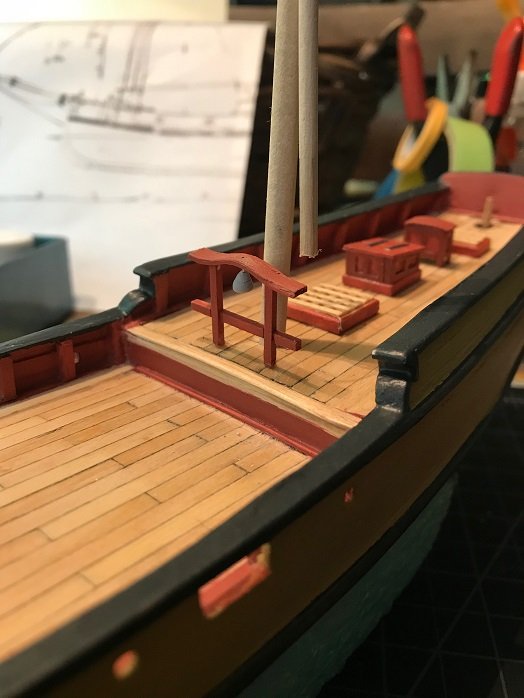
last post of the week...finished most of the major deck furniture and got it all placed and pined down
made pumps and the CN
and placed all but the guns...they are just set in place for now

- mtaylor, popeye the sailor, bruce d and 4 others
-
7
-
Still working on the little things
 the belfry
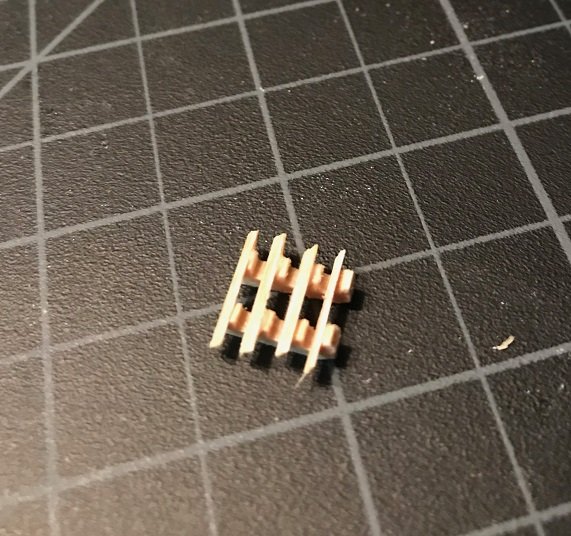 set of steps
.JPG.e897adc64ac2778130ca4d669b46525e.JPG) wow fuzzy...
wow fuzzy...
 guns
guns
 new front placement
question...anyone know where the anchor lines would run coming off the windless...wondering if that's what the forward hatches are for??
-
13 hours ago, popeye the sailor said:
 am I nutzo or what?!?!?!
I believe the jury is still out on that particular question...
 ...but a nice job on the body
- popeye the sailor, mtaylor and Canute
-
3
-
THX for the likes...still fiddling with lil bits...made the ships bell, chucked a piece of styrene sprue in the drill and shaped with files
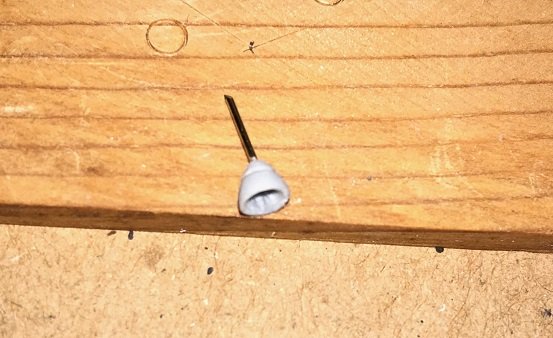 drill and attached to a pin, ready for the belfry, course it needs painted but that will have to wait...got none of my enamels with me, roughing it
-
Sorry to hear about your paint woes Denis...you would think Lou could have at least sorted them for you !!
I'm sure you'll recover
- mtaylor, popeye the sailor, lmagna and 1 other
-
4
-
There was a decal company, may have been Fred Caddy, when I was doing a lot of NASCAR commissions that provided a white background decal for their larger markings.
you could try something like that, of course it would mean a lot of close cutting work
- mtaylor, Canute and popeye the sailor
-
3
-
Thx Doc...that is the plan
- mtaylor, lmagna and popeye the sailor
-
3
-
Thanks much Sam, ya you’re probably right, just thinking others might learn a little from my screwup.
- lmagna, src, popeye the sailor and 1 other
-
4
Sox & Martin GTX by popeye the sailor - FINISHED - Revell - PLASTIC
in Non-ship/categorised builds
Posted
👍