


jct
-
Posts
1,519 -
Joined
-
Last visited
Content Type
Profiles
Forums
Gallery
Events
Posts posted by jct
-
-
Gonna try to chip away at the Hanna while I'm hanging out in the RV...not sue how the pics will turn out as I'm using my phone with just lighting from the dining table but we'll give it a try...
I got the base color scheme laid down...three coats on all but the black....only two needed there
.thumb.JPG.59e6a1e67f74da59fb58b8653f8e312f.JPG)
still a little touch up required here and there...started working on the rudder...groves were filed for the pintles and color applied...the pintles themselves are just more of the painted strips with small bits of dowel added
Well that's all for today...may add more tomorrow, gonna depend n the weather

- GrandpaPhil, bruce d, DocBlake and 3 others
-
 6
6
-
-
Absolutely, nothing better, just me and the pup during the week and the Admiral joins use for the weekend. She is planning to work through the rest of the year, we may hit the road after that but we will see
- popeye the sailor, mtaylor, lmagna and 3 others
-
6
-
She turned out really nice
- Old Collingwood, Canute, mtaylor and 2 others
-
5
-
SWEET...jealous...she is gonna be nice...Ronnie Sox was my hero when I was a youngling...king of the 4-speed
- mtaylor, Canute, popeye the sailor and 2 others
-
5
-
-
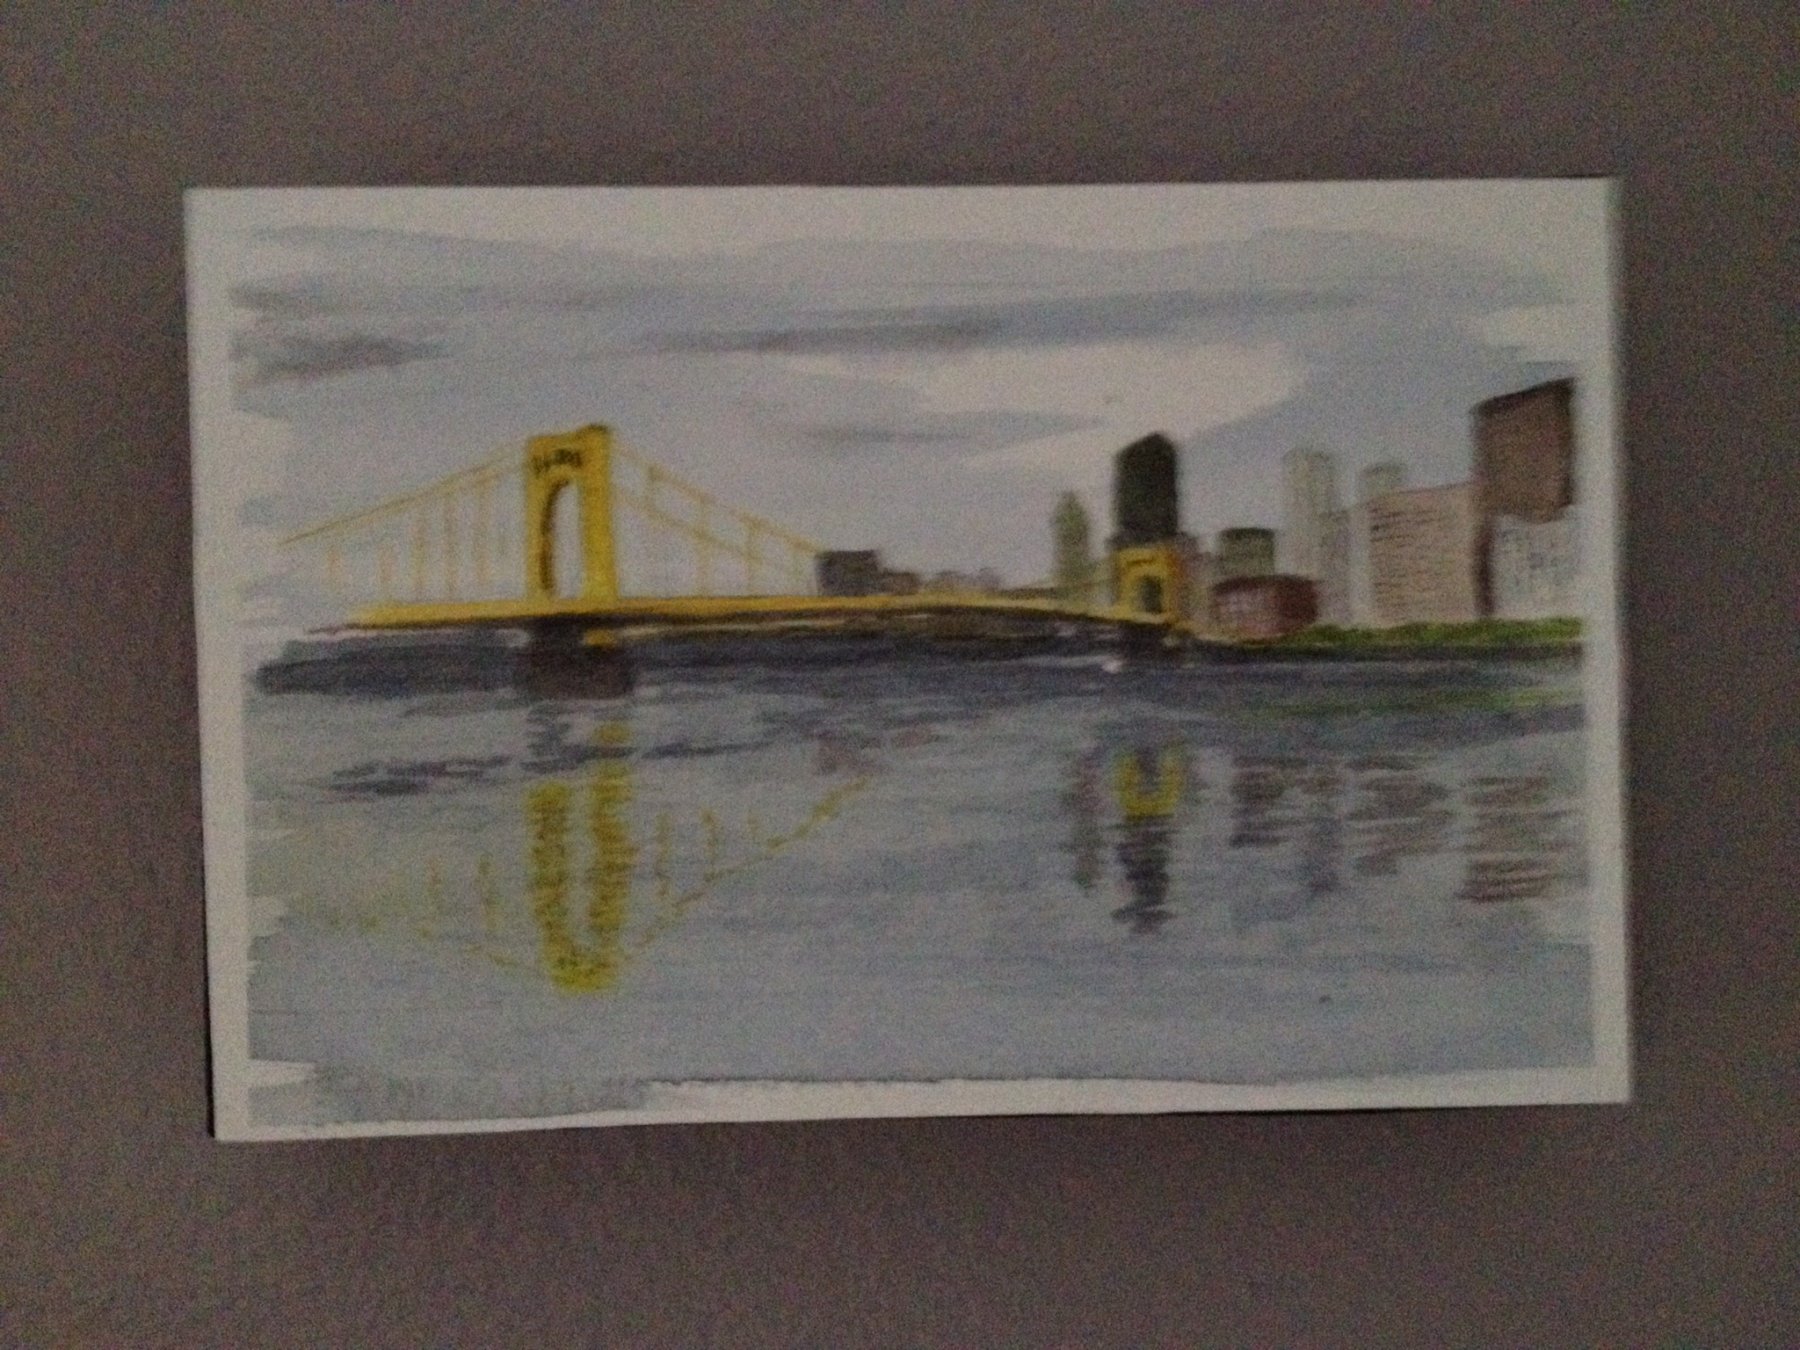
Testing how I can add updates through my phone...going to be away for most of the summer with limited or no internet access.
pic is just a watercolor I had finished last year and had a pic of on my phone

- GrandpaPhil, CDW, popeye the sailor and 1 other
-
4
-
-
2 minutes ago, DocBlake said:
Thanks for the link!
Welcome
-
This will be my last entry for a couple weeks heading out of town...
- Tom E, popeye the sailor, mtaylor and 1 other
-
4
-
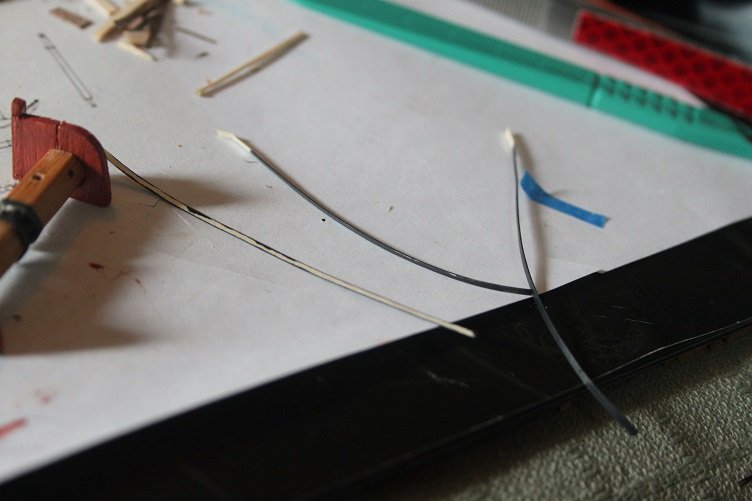
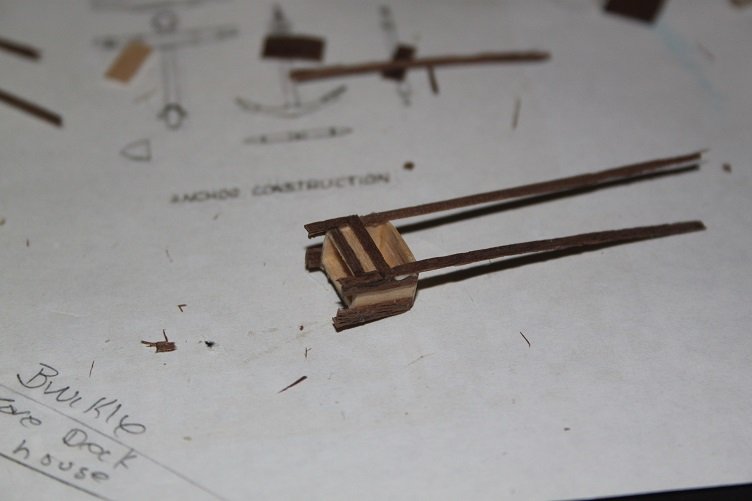
Hi folks...today's update
Decided to work on the belfry, here's a shot of the plan view I was trying to replicate, the curved top being the challenge
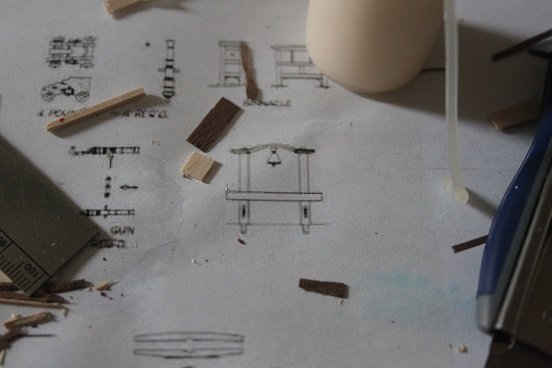
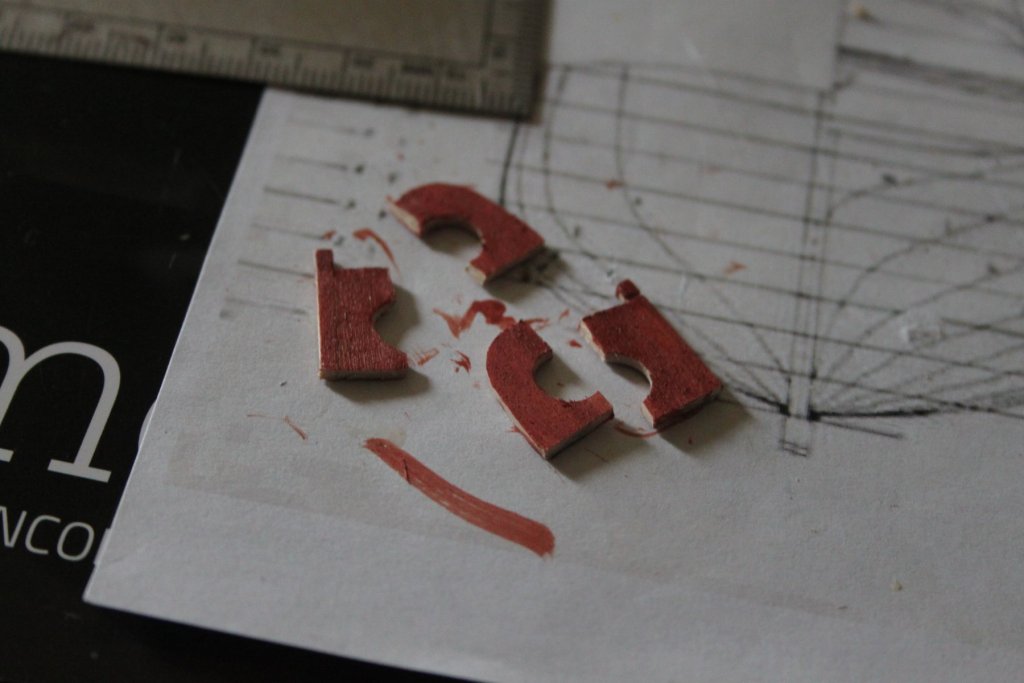
Started by tracing the curve from the plans to a piece of scrap basswood and giving it a ride through the bandsaw...

which left me with couple bending forms, to clamp around soaked basswood
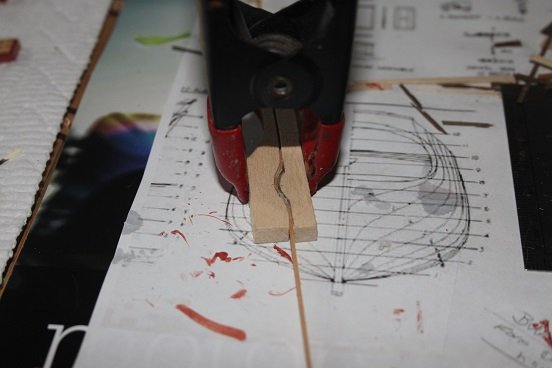
left it overnight to dry
here's the original piece...unfortunately the bend did not hold and within a few hours was almost flat, so I repeated the process but this time laminated the basswood strip with walnut veneer, this was successful...you can see the completed pieces below
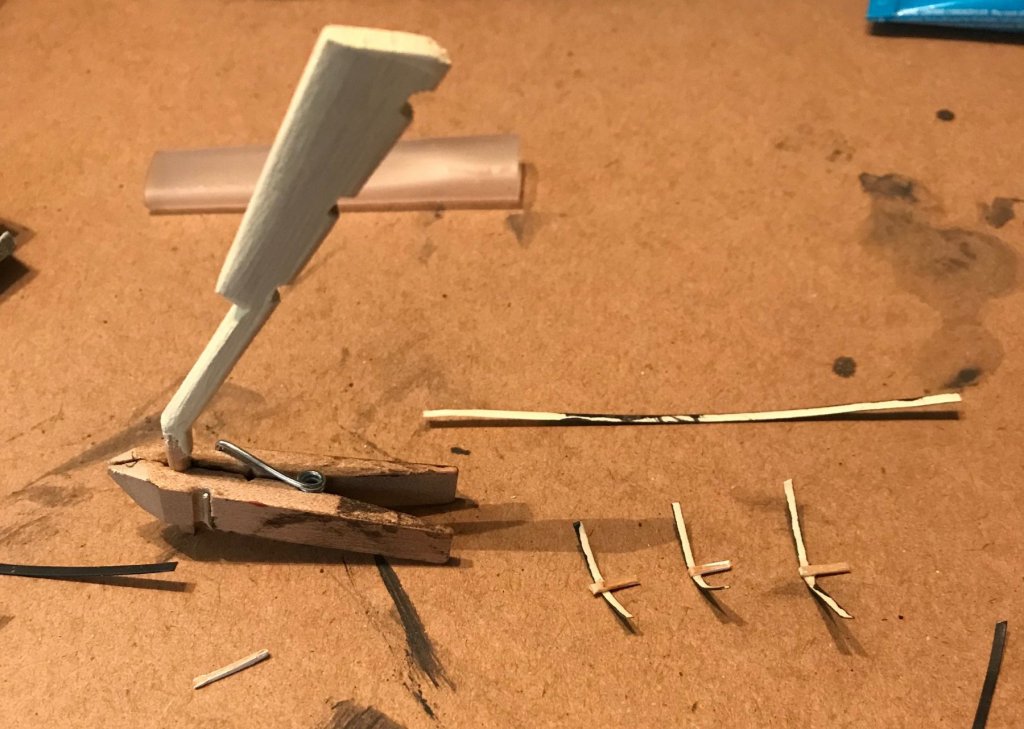
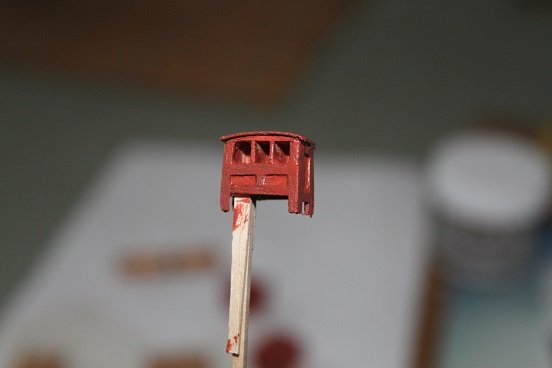
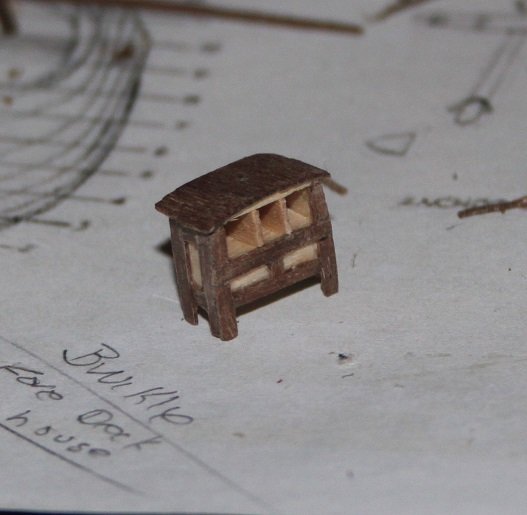
the uprights had notches filed in them to accept the cross beam...
 here's the glue up
and the finished piece...

the paint is still wet...thus the shine...still have to figure how I want to do the bell, may just turn a chunk of styrene, got plenty laying around
thx to all for the likes
- GrandpaPhil, Tom E, DocBlake and 6 others
-
9
-
Thx Sam...I think you will find them useful 😁
- popeye the sailor, mtaylor and lmagna
-
3
-
Hi Dave
Any stained glass supply place would carry them, but with that said... those stores have gotten few and far between around my area, here's an amazon link for those interested
- lmagna, popeye the sailor, mtaylor and 1 other
-
4
-
THX to all participants...a little more to add
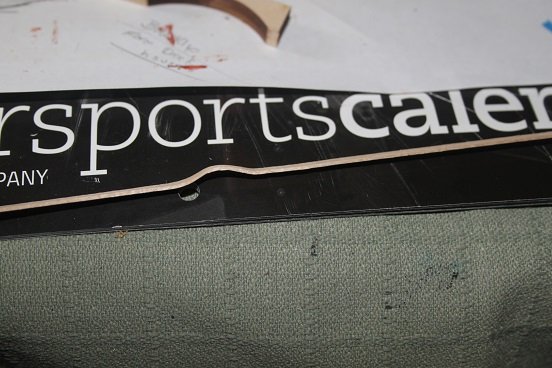
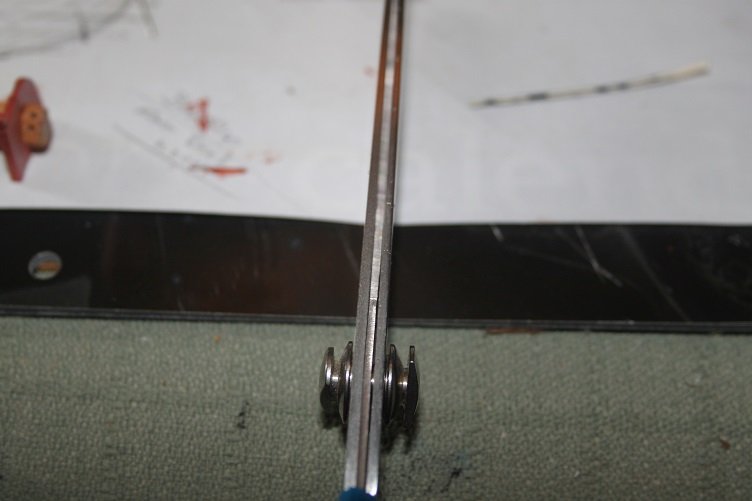
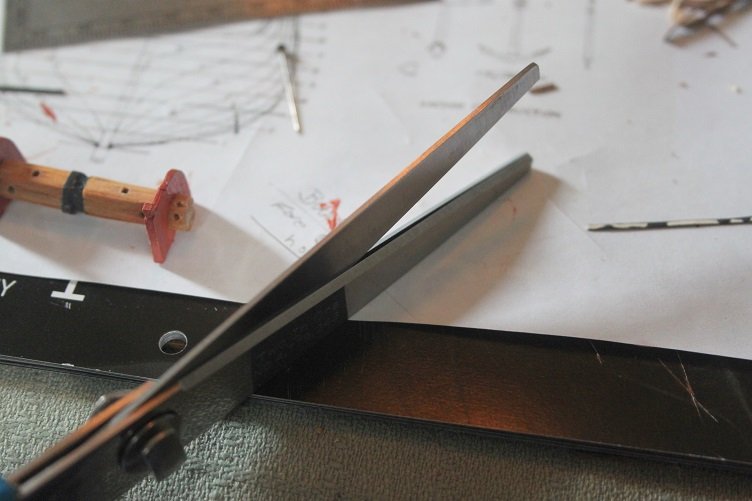
Today I was working on the "iron" banding, for this I broke out a specialized tool not used for shipbuilding so much but priceless for glass work, they are pattern cutting shears...three bladed scissors that remove a fixed width of material in the center. For glass this leaves space in your patterns for the came between the pieces. I use them here to cut card stock to a perfectly uniform width
here you see some painted black
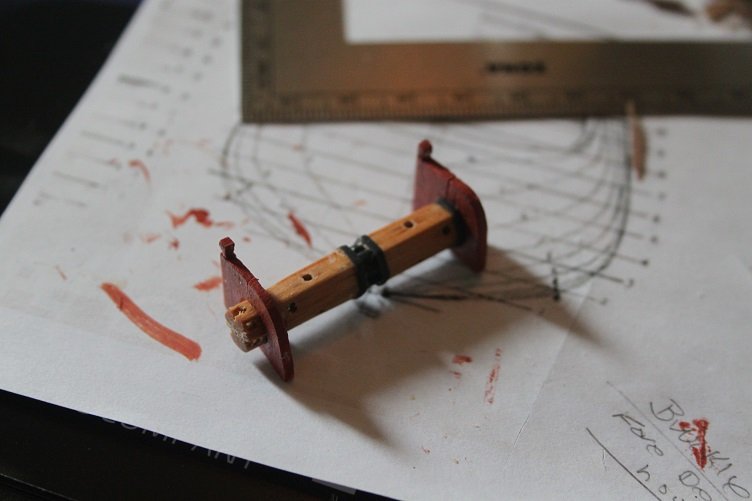
and applied to the windlass to simulate the iron banding
and here as hinges
Applied poly to the finished deck furniture...still have to build the belfry, pumps, and the Charlie Noble, among other odds and ends
-
A bit more to add...thanks to all who've commented or hit the like button...much appreciated
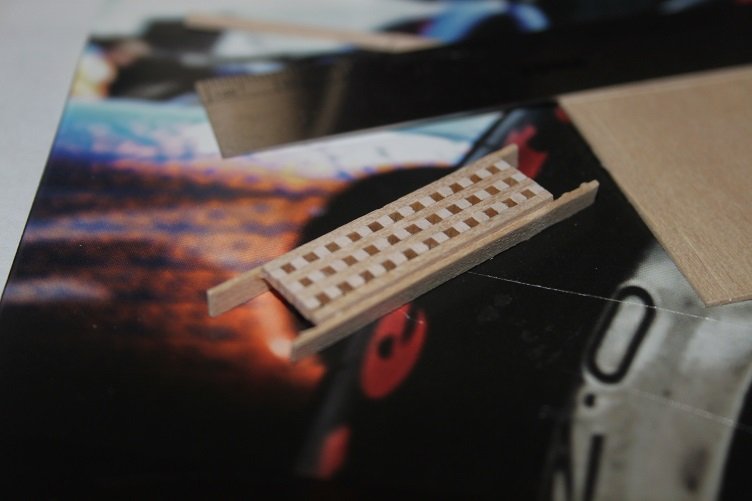
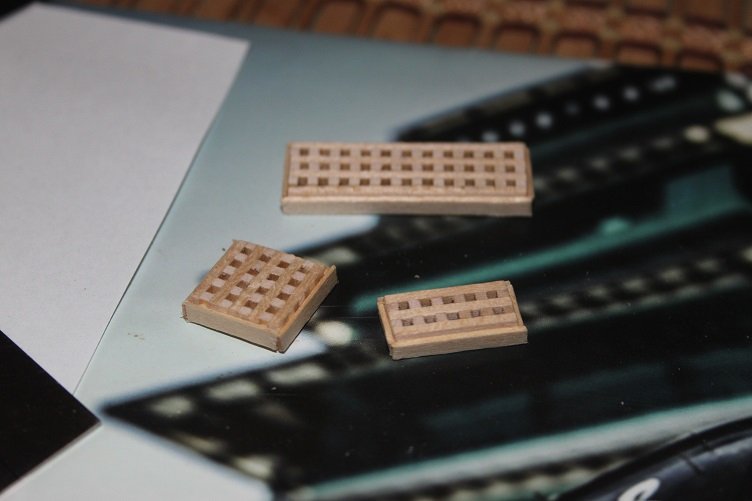
The comings were painted the red ochre mix but the grates left natural, a sure test of my cut-in skills
 ...the grates were stained with a natural stain...poly will follow later
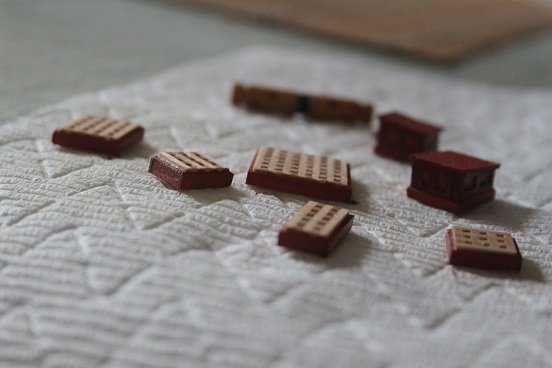 sorry for the lousy focus
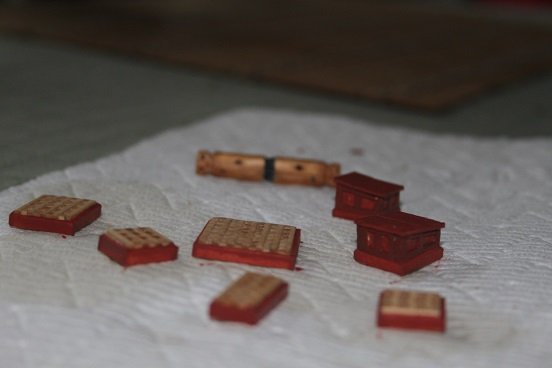
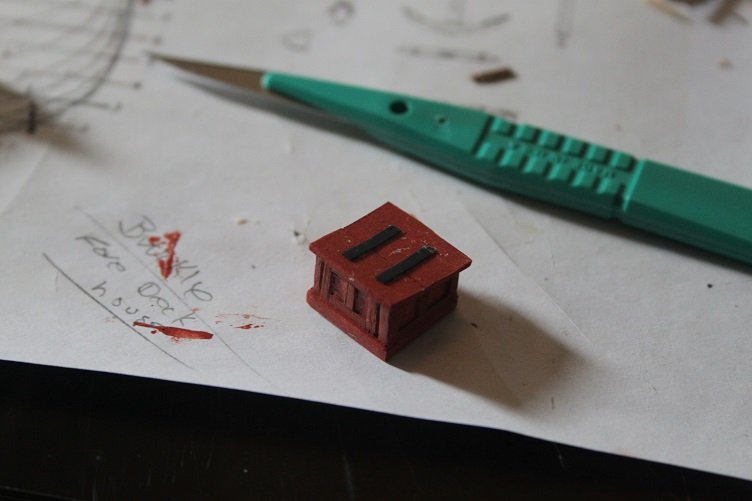
the deck houses and binnacle were painted as well
along with the windlass cheeks
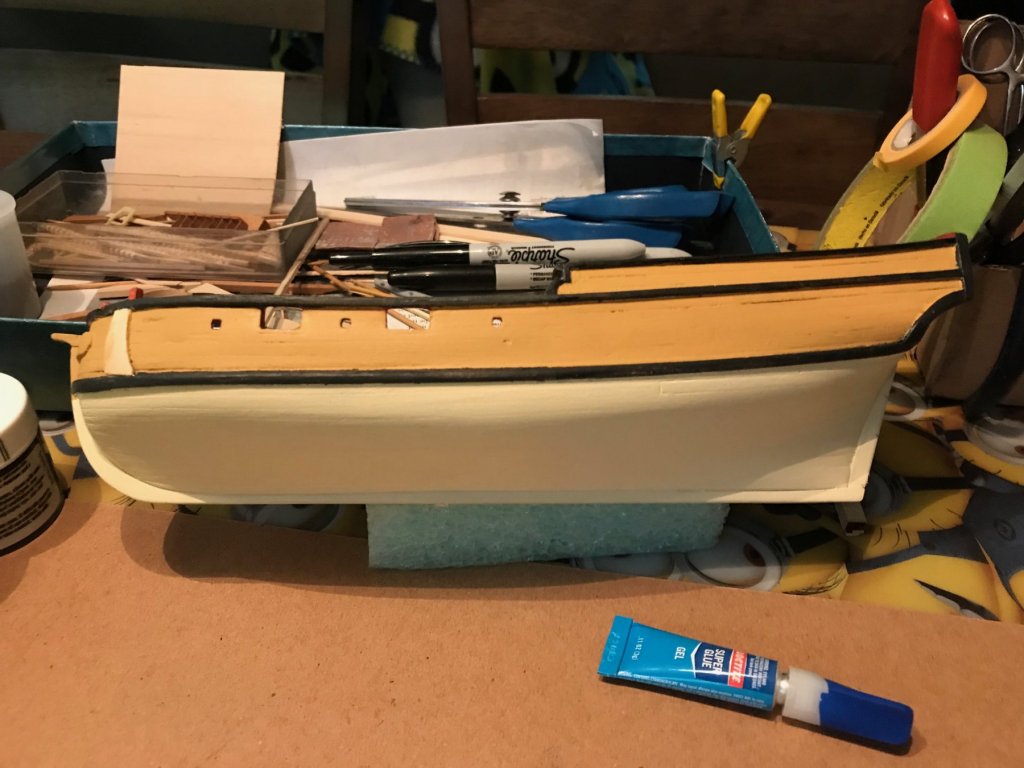
two coats of tallow were applied the the hull bottom...
the rest of the hull paint will be added over the course of the week...I want this stuff to have plenty of time to cure out...this is infamous model shipways paint but thinned with iso and distilled water (50,25,25 ratio), seems to make a difference in how it lays down
-
Thx...na just a short break😀
-
-
Finished the binnacle
Started with a framework of basswood

and added trim made from 1/16 wide strips of walnut veneer
needs a little more sanding before paint
- GrandpaPhil, mtaylor, lmagna and 4 others
-
7
-
On 4/22/2019 at 8:19 PM, popeye the sailor said:
I'm still thinking of what color to paint her in
the light blue looks good...
- CaptainSteve, Canute, lmagna and 3 others
-
6
-
Spent more time on the deck gratings...sanded them and attached the comings
just laying out the deck at this point
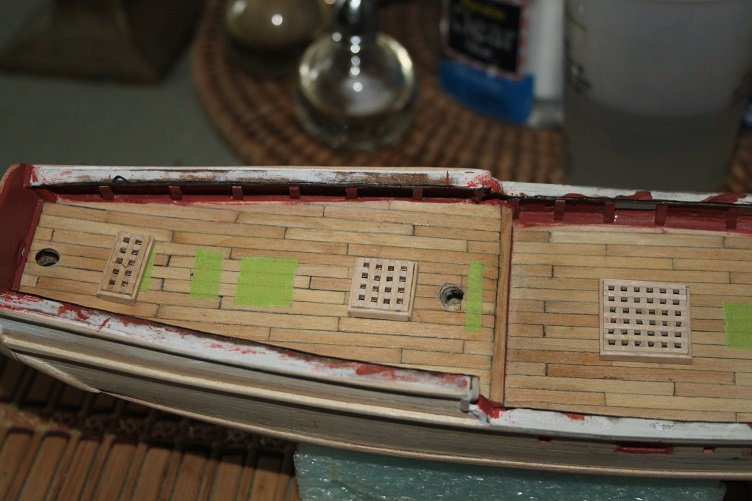
ditto
Still have the deck houses to build as well as the binnacle, belfry, and the cheeks for the windlass
- DocBlake, src, popeye the sailor and 4 others
-
7
-
Black Oak with Ruby Starr...dynamite...love old southern rock
-
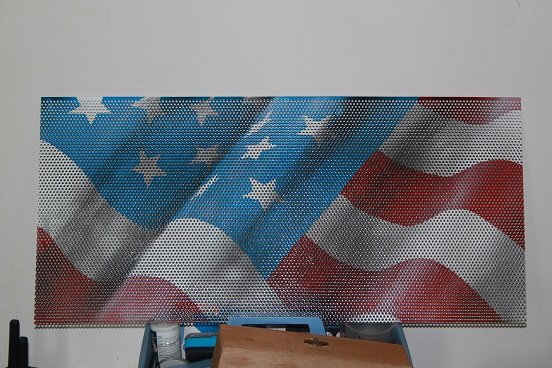
You got red and blue on your engine...throw in a little white and do a patriotic theme
")
Here's a shot of a grill insert I did for a friend of my oldest son...mounted in a JK Wrangler
- mtaylor, Canute, popeye the sailor and 1 other
-
4
-
Excerpt from 1962 NHRA rules...Bumpers: Bumpers are not required; however, in lieu of rear bumper, a suitable (permanently attached) push-bar must be installed on the rear of the car.
- popeye the sailor, CDW, Canute and 2 others
-
5
-

.JPG.6473154d665e2418243d79d886481466.JPG)

Hannah by jct - FINISHED - somewhere between 1/72 ish and 1/60 ish scale
in - Build logs for subjects built 1751 - 1800
Posted · Edited by jct
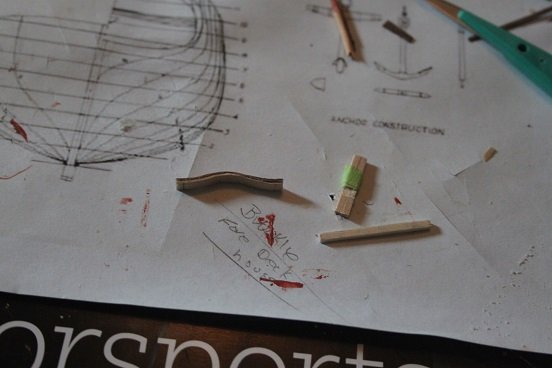
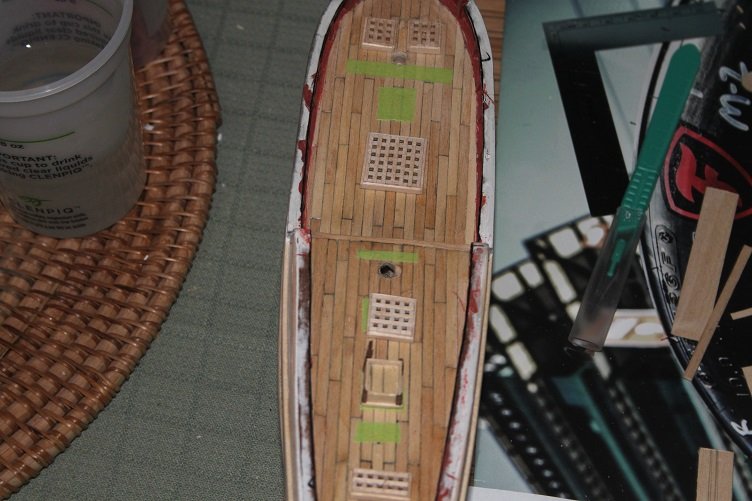
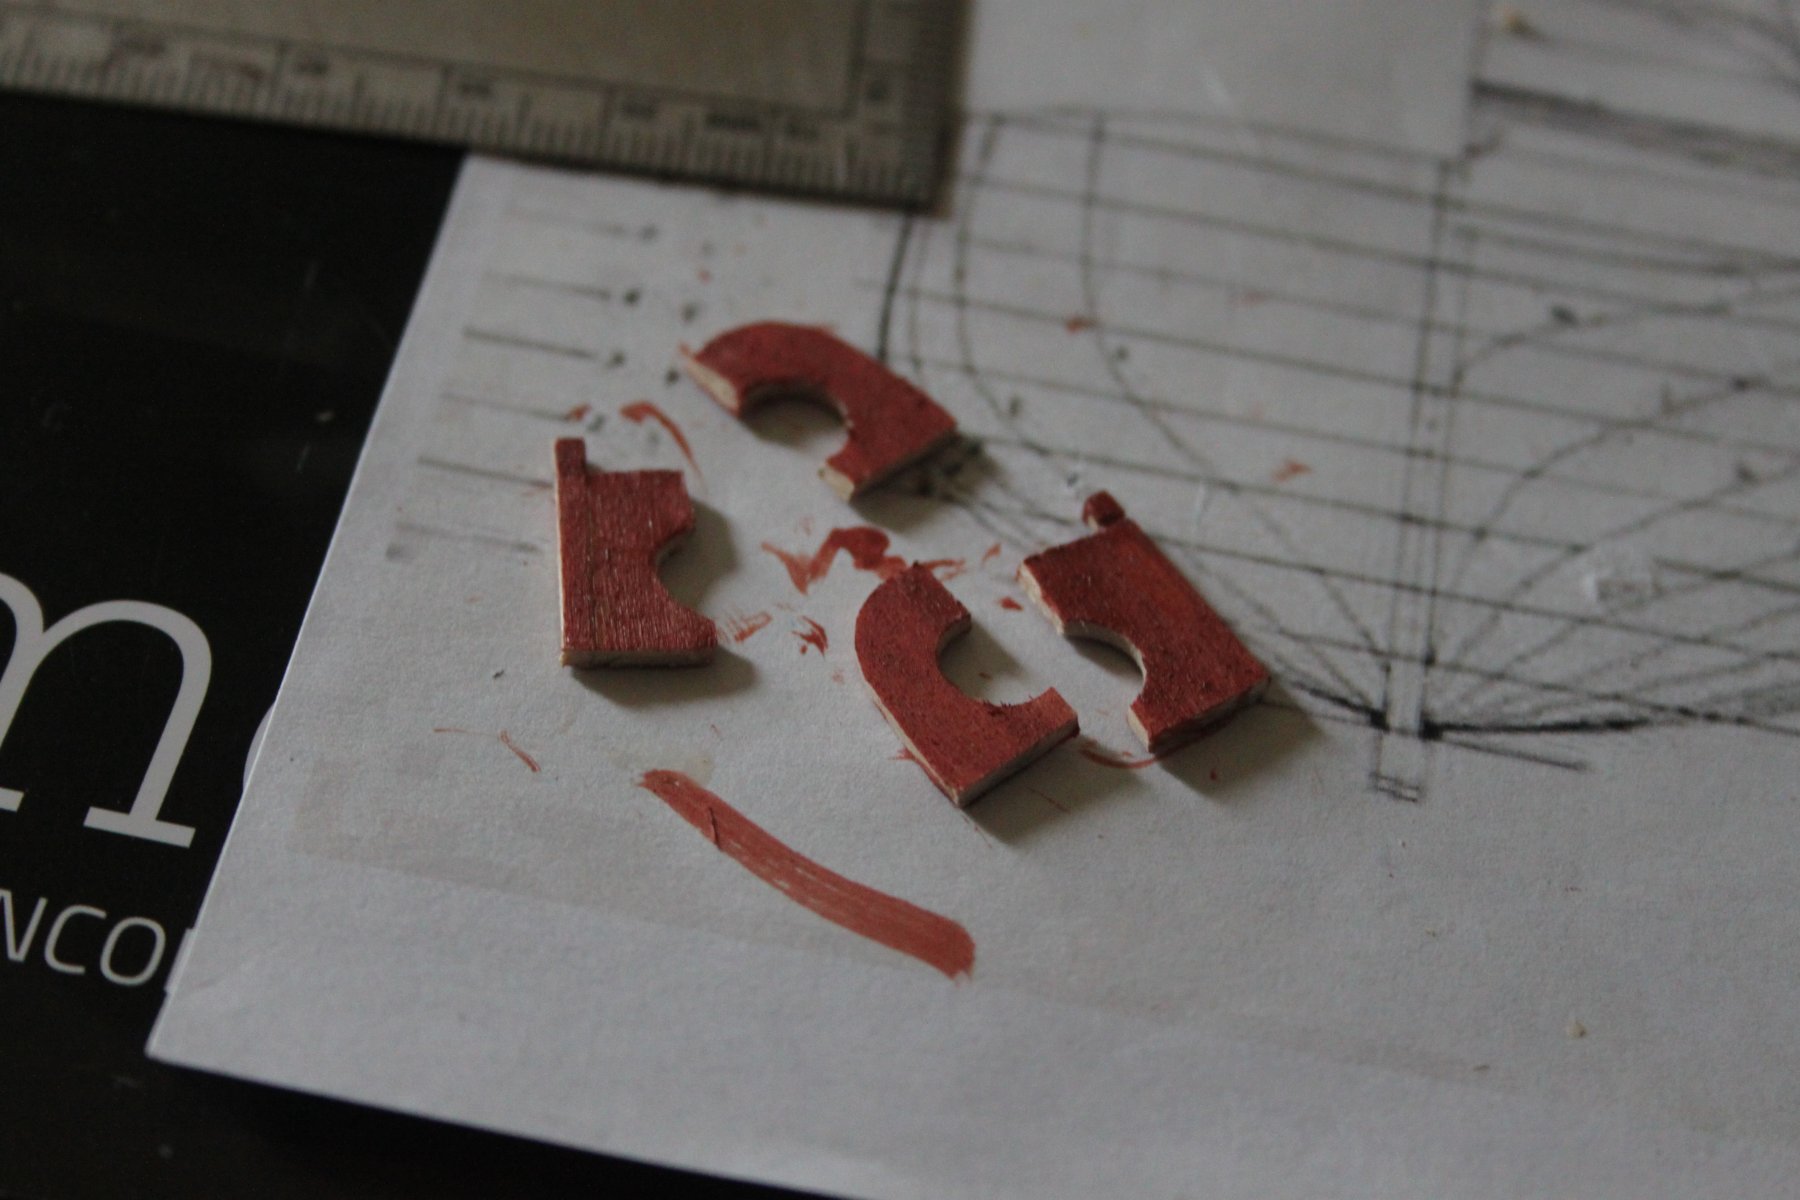
Hi all, continued working on the little stuff...worked up the gun carriages...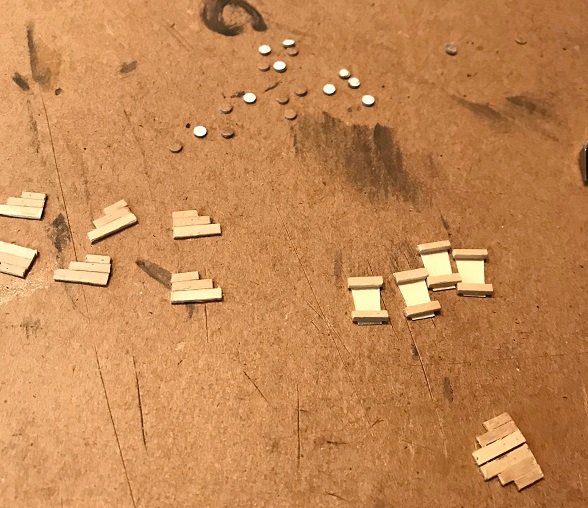 cut and glued up small bits for the sides, base and axles...
and painted them all
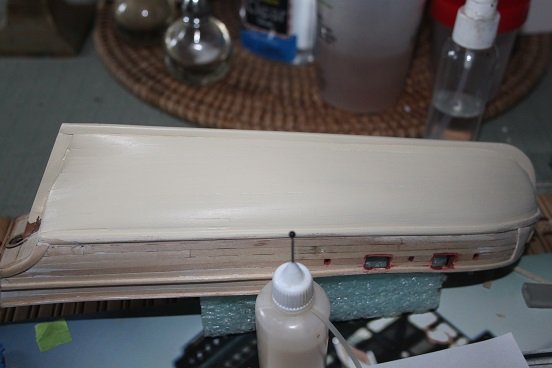
while I was laying out all the fore deck accessories I discovered a major fubar....I drilled the foremast mounting hole to far aft...it should be where the yellow circle is. If left where it is the windlass placement will interfere with the gun carriages...guess I should have triple checked.
Plan is to fill the hole with a dowel, the windlass will cover it so hopefully it wont be to noticeable...shezz