HOLIDAY DONATION DRIVE - SUPPORT MSW - DO YOUR PART TO KEEP THIS GREAT FORUM GOING! (Only 36 donations so far out of 49,000 members - C'mon guys!)
×


rfolsom
-
Posts
881 -
Joined
-
Last visited
Content Type
Profiles
Forums
Gallery
Events
Everything posted by rfolsom
-
 Hello Harvey; Just to let you know my mind set in 1000 words or less.. (or more) This is a completely scratch build, with many (Calercraft) references. A very generous friend of ours, Dale, who is working on the Niagara, offered his '70's partially completed kit of the Victory (Sergal/Mantua) for the price of shipping. I was currently working on two builds (Cutty Sark and Niagara). My ultimate goal is the "Big three"... Cutty, Connie, and Victory. I built the former two in Revell plastic in my teens, and loved every minute of it. They will be remade in wood in my adulthood. I have a copy of the AOTS and had always planned on this being completely scratch-built. Most of the Victory kit guys say Caldercraft is the best kit to buy, and after checking out their website, they post their parts list and manuals for this great kit. After about 3-6 hours double checking Sergal's hull, there were too many inaccuracies to fix Dale's hull. (Sergal inaccuracies, not Dale's, please note) So, to make a long story a little bit longer, and to try to answer your question: I have an old Sergal kit; with plans; with rescaling, some bulkheads match with AOTS. Some don't. So I went to Caldercraft and compared their pieces. Most match, some don't.. Close enough to use their (structural) layout and adapt a little bit to AOTS. Aots will be my final structural reference.
 -
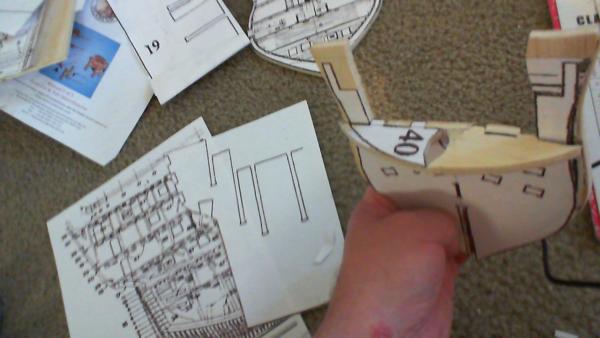
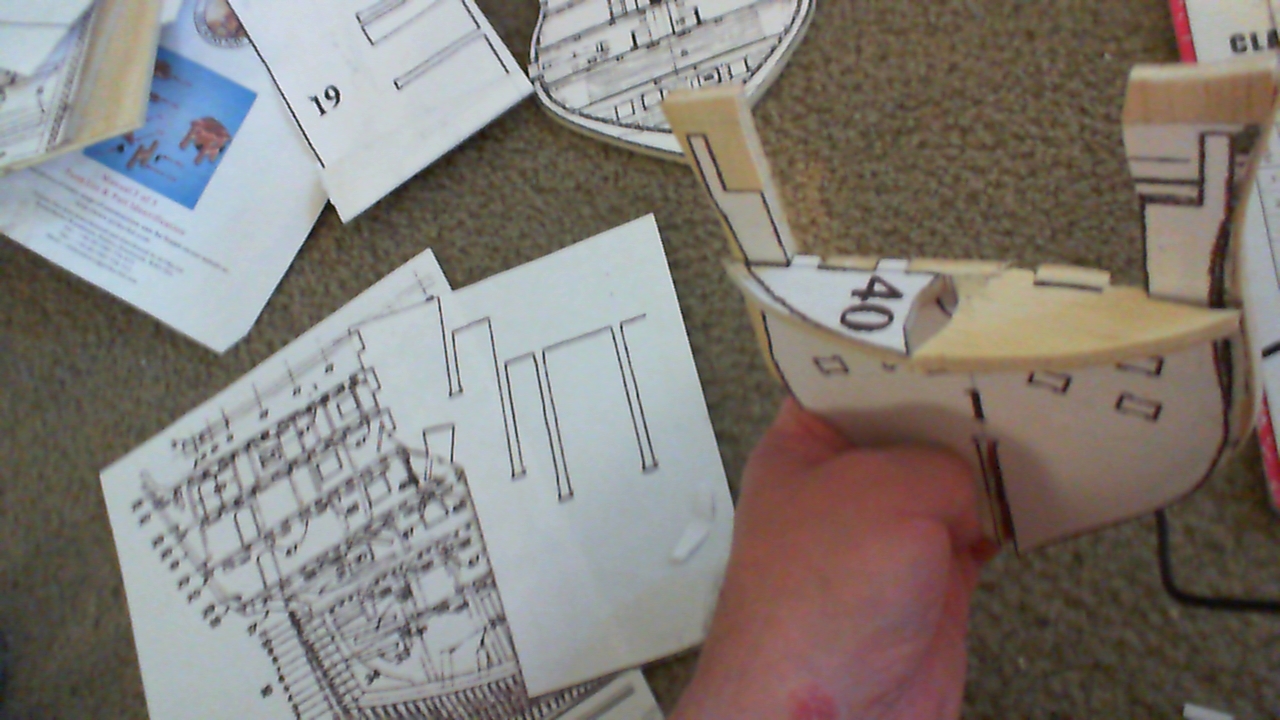
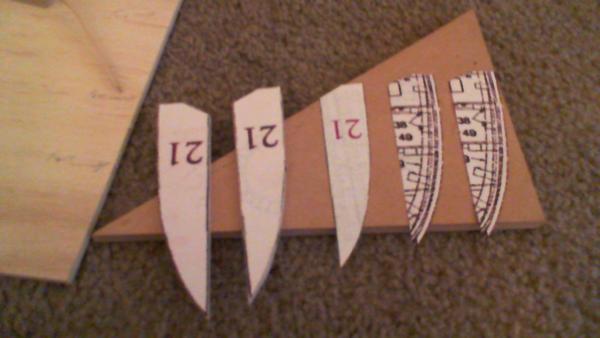
So, 1/16" thick shims are added to pieces 41 and 42 to bring them even with pieces 21. Every single piece in these pictures are in very rough form right now, so don't think too badly of my skills, (yet). Pieces 40 will be completely remade; just have to establish the right profile with AOS. Those who scratch build may think these errors are a scaling issue, they are not. It's an issue with differing bow curvature between the two plans I am using for reference. I'm trying to adapt the basic Caldercraft plans to the AOS. I will ultimately have a model closely following AOS, but using some structural techniques of Caldercraft, which many of our friends regard as the most accurate Vic kit out there.

-
You really don't need a jig, because each pair of planks are different. The best you can hope for is fabricating one pair at a time (port and starboard) and even these are different because they are mirror images of one another. I would taper the twins first, then bevel them to form a trapezoidal cross-section. This square to trapezoid deviation becomes more pronounced when the radius of curvature of the hull decreases.
-
Yes, I think our friend Nenad must chuckle (evilly) to himself when he gets me going...
-
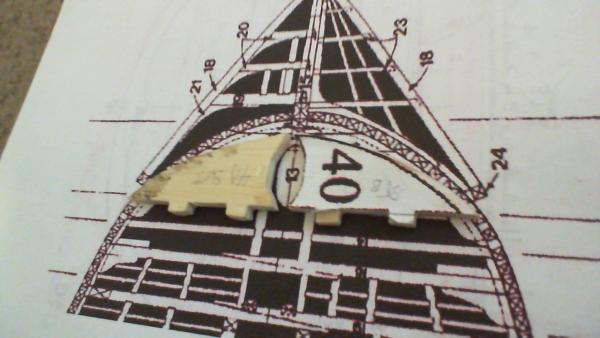
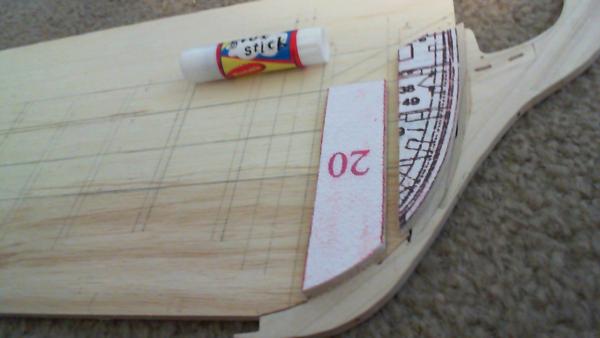
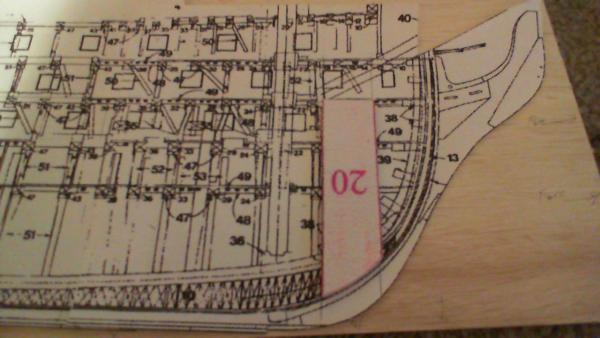
This shows pieces 20 and 21 set in place on the unfinished fore part of the false keel, with stem also in place. The glue stick is my choice for affixing the paper templates. The false keel will be cut out along with it's bulkhead slots when all measurements are finalized.
-
At the moment, it is about 2 pm here, I have the day off, and Admiral just left to go shopping and her daily walk. Prime time for posting, pondering, and building!
-
Thanks Keith; I'm counting on those goodies to do just that. But I'd better make those goodies "good", or I'll have to add even more goodies... (ad infinitum).
-
Thanks for the kind words, Nenad. I'm actually more impressed with the closeups my $5 webcam takes than the railing...
-
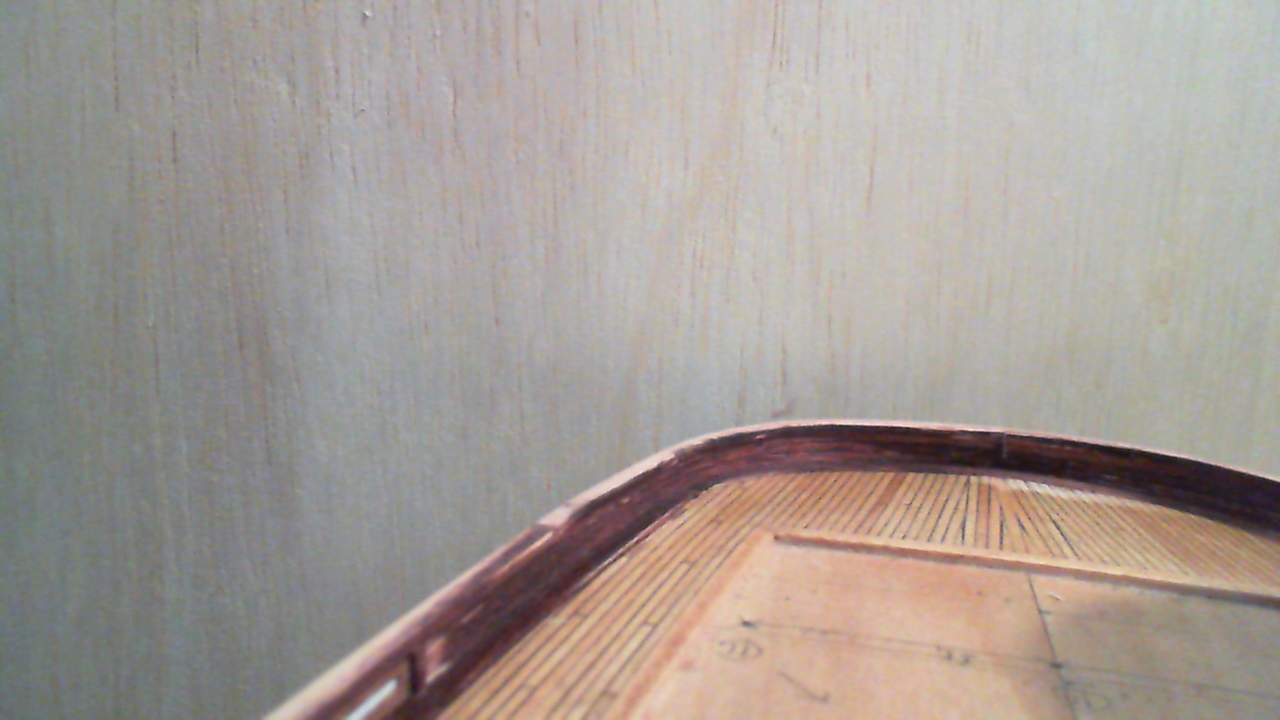
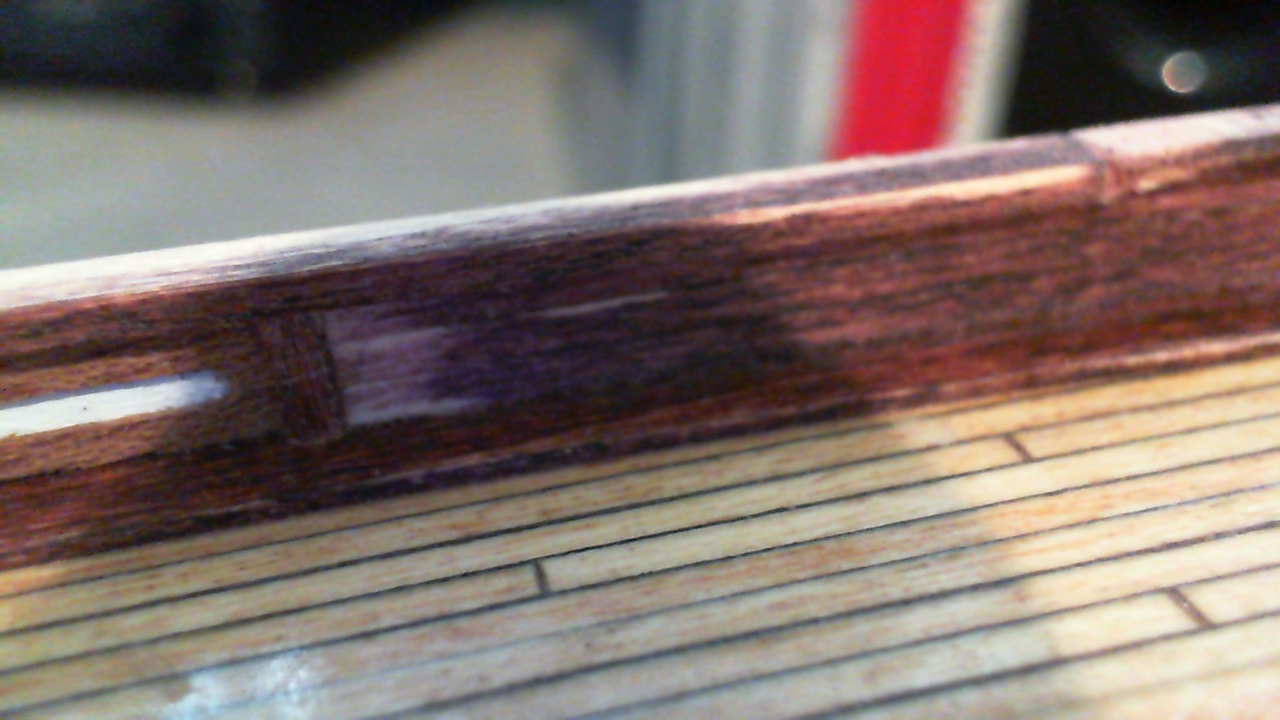
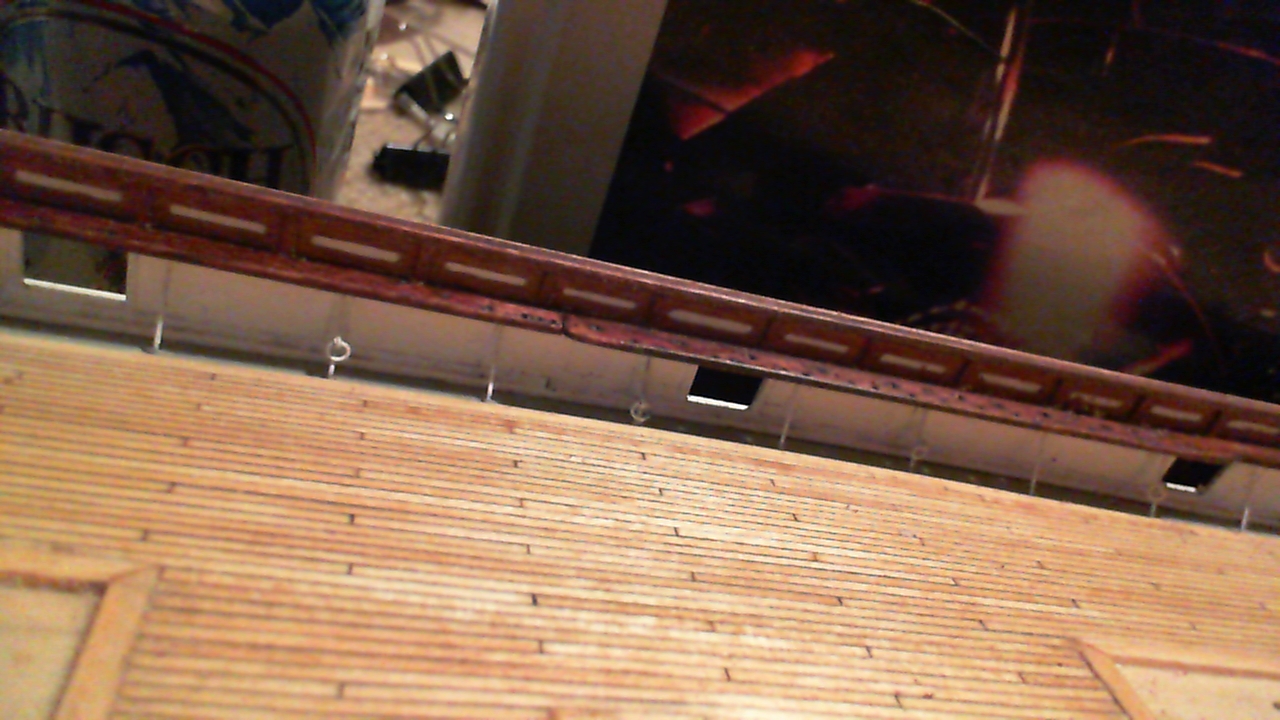
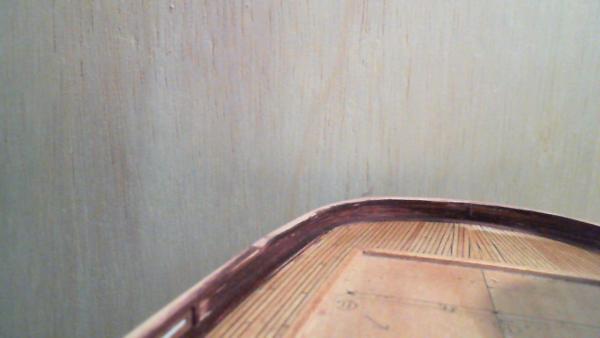
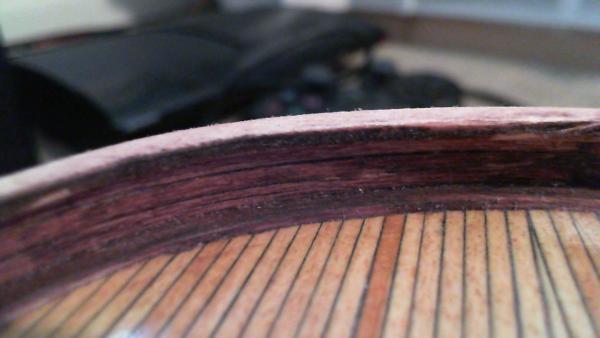
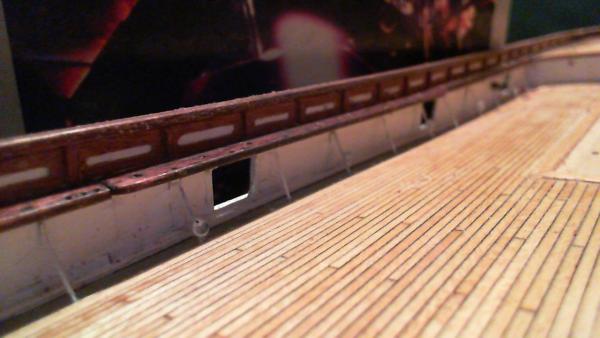
My choice of stain (made many months ago) is now too dark in my opinion, but since quite a few fittings, plus the poop deckhouse are already made using this stain (Minwax red mahogany), I'm sticking with it. Here's some pictures of the curved stern portion of the topgallant rail. The last pic shows a close-up on the poop deck with the seam between the curved piece and the straight piece visible on the right. This is after initial staining and sanding. Final finishing will come later after the fore portions of the rails are installed (following cathead fabrication and installation) so the entire rail can be final sanded and finished as one continuous unit.

-
Ok, I found my pictures, somehow saved in a file I never use; anyway, I should have sanded the bulwark assembly down a bit more before adding the rail; I was so preoccupied with getting the rail centered, I didn't notice this detail. I used CA to attach the rail, so I won't be ripping it out. The rail is a little thick yet, so after final sanding, shaping and staining it shouldn't look too bad. (I hope).

-
Hello, Lawrence; I've looked at your fine Victory log several times now; There are so many for the Vic it's hard for me to keep everyone straight... But I'm watching and learning...
-
So here is what happens when you don't re-research your build after being away from it a bit. I knew where I left off: ( the topgallent railing) but I didn't realize the errors that will always manifest themselves... (I cant seem to find the pictures right now..)
-
Just a little challenge trying to scratch-build the bulkheads; accurate, and consistent drawings are paramount. Nenad; I always cut right outside the perimeter of the lines, then I can sand down. I see my CS everytime I walk by the workbench, along with Niagara.... I usually work on the ships after Admiral goes to bed, so that's OK. My legs are getting really stiff, so it's time to get off the carpet (Vic) and move into the chair (CS)... I was 22 years old at one point in time..
-
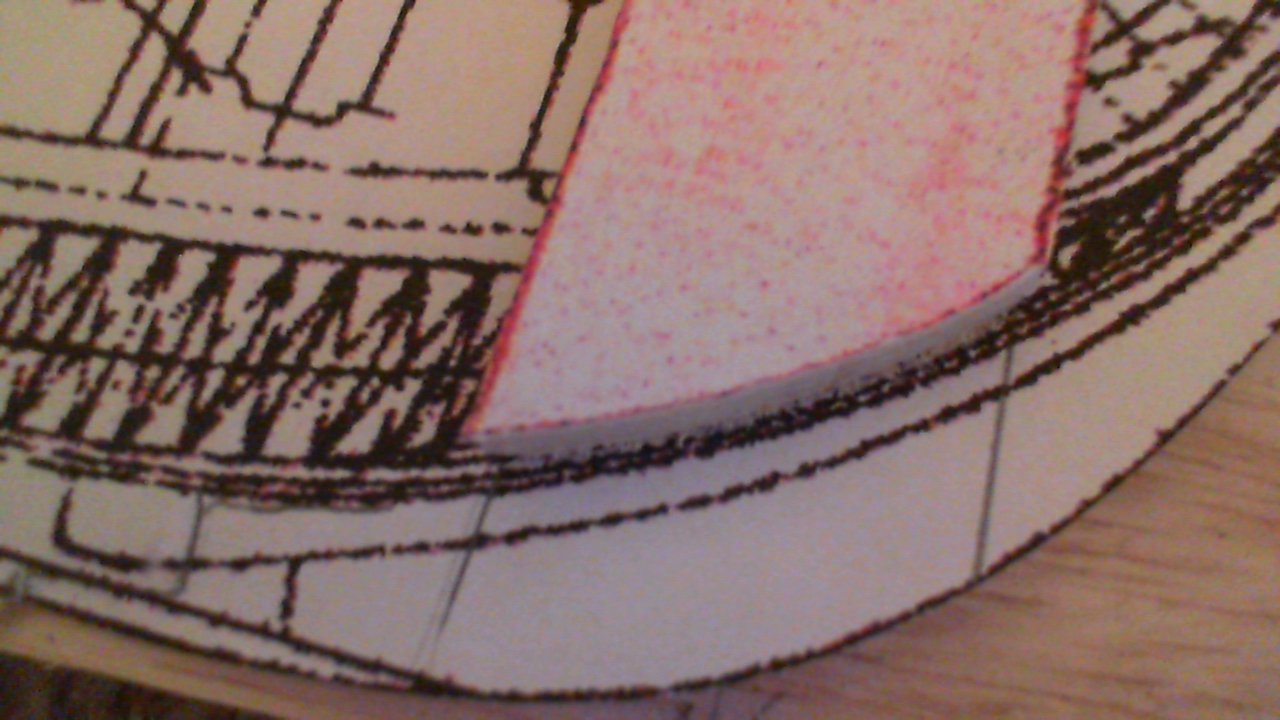
Pieces 21 were a lot of fun, (NOT).. The Caldercraft plans on their site are different varying scales on each different page, and I blindly cut out two of the pieces, which didn't match. After rescaling, my middle template did match Caldercraft, but not AOS. Templates on the right use AOS. Now pieces 40, 41, and 42 seem off. Those won't be remade, but maybe shimmed a bit. All these are (roughly) made simultaneously to find out all the little errors...
-
Cutty Sark by NenadM
rfolsom replied to NenadM's topic in - Build logs for subjects built 1851 - 1900
Very nice hinges, my friend; how long did the process take? -
Cutty Sark by NenadM
rfolsom replied to NenadM's topic in - Build logs for subjects built 1851 - 1900
Before I'll admit myself to the clinic, maybe I'll work on coppering the rudder... -
One piece at a time... Court proceedings would be VERY complicated...
-
Happy Birthday, Rich! Hope you and yours are doing well with the new job and new place! ~Bob
-
And with very minor adjustment, pieces 20 follow the bearding line of AOS perfectly.

-
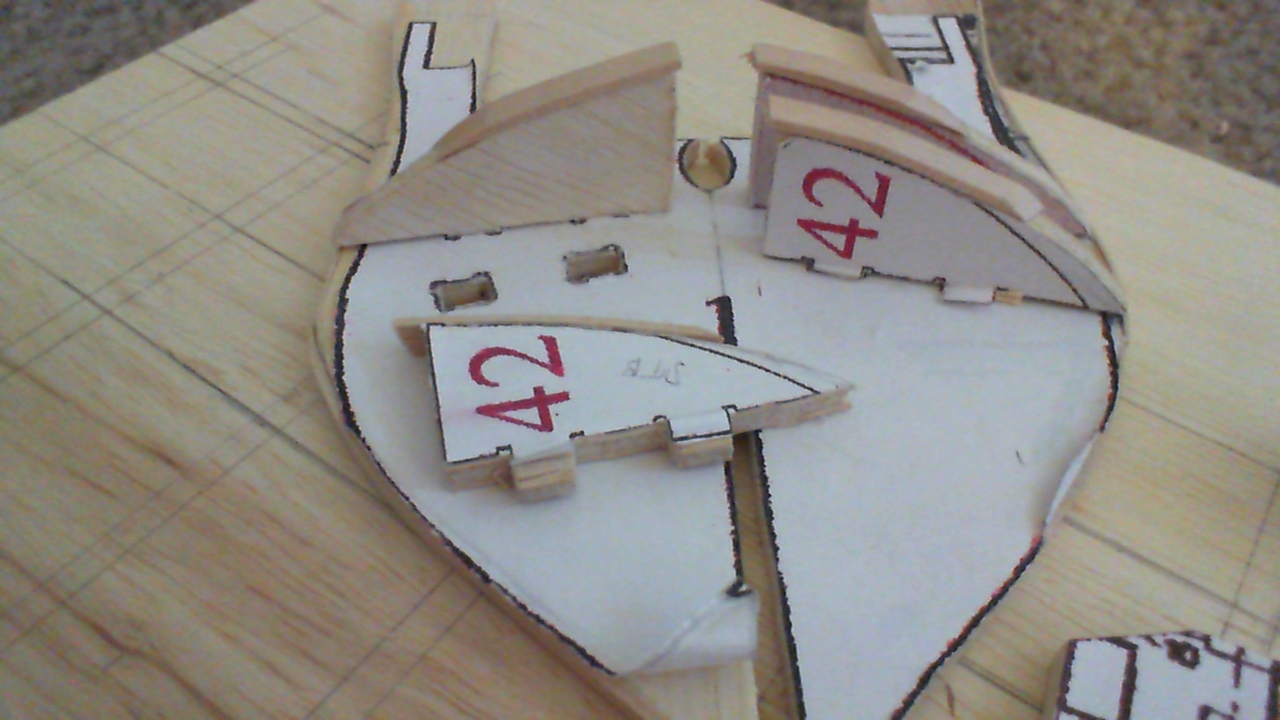
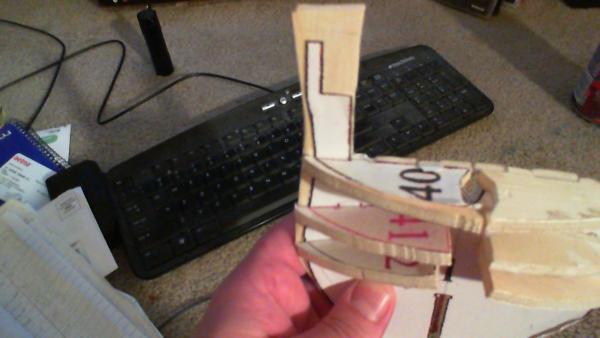
More bow shaping pieces are cut out; Modified Caldercraft pairs 41, 42, and 20. Had to file out the slots in bulkhead No. 1 for these guys to fit. Notice in the first picture, the matching template lines; this is unmodified Caldercraft (except to scale from 1:72 to 1:78)..... The cut outside dimensions are AOS, which had to be adapted. This might be due to the double plank for the kit, but I will be single planking. The raw plywood at and above the upper gun deck needs to be finalized; these frames will be planked and ceiled, and I will probably frame each individual gunport, as opposed to using the templates. Cheers, Bob
-
That's awesome, Nenad! I believe you are missing a GOSUB to go with your RETURN, but I get the point, this is an endless subroutine call involving the three variables. (If I introduce any more variables into the code, my poor little 8-bit Zilog Z-80 brain will probably crash...)
-
Cutty Sark by NenadM
rfolsom replied to NenadM's topic in - Build logs for subjects built 1851 - 1900
Did you mean "folks" or "fools"?- 4,152 replies
-
- 1
-

-
- cutty sark
- tehnodidakta
- (and 1 more)
-
Dale; check out my Cutty Sark build log and see my cathead prototype; (post #530) I made sheaves by inserting a ring of wire into the slots. Looks like a pulley (minus the groove). Hope this helps.. Great progress by the way! ~Bob
-
Cutty Sark by NenadM
rfolsom replied to NenadM's topic in - Build logs for subjects built 1851 - 1900
Yes, good memories... would love to see the programs you published; and I remember mowing a lot of lawns to get the $50 i needed to buy the Timex Sinclair; when we found the Vic-20 for $85, Sister loaned me the extra money... Good work on the rudder! ~Bob -
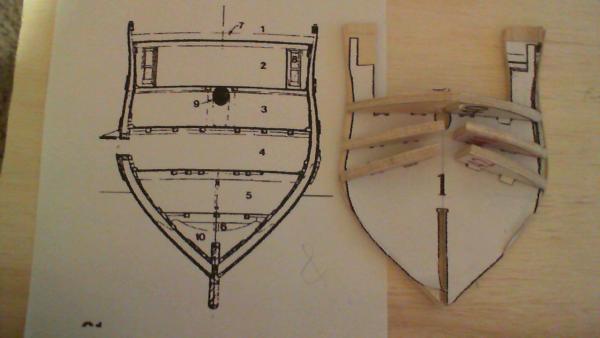
A very rough fit of these parts to the bulkhead. Again, I'm loosely modeling after Caldercraft, but I am trying to follow McKay as closely as possible.