Glen McGuire
-
Posts
1,984 -
Joined
-
Last visited
Content Type
Profiles
Forums
Gallery
Events
Everything posted by Glen McGuire
-
 Yes and yes! I dabbed epoxy into the dowel holes as well as several spots up and down the inside of the hull. I was not sure if I could get full contact between the 2 halves along the entire length of the hull I, so I wanted to get epoxy in as many places as possible. I certainly did. But my concern was exactly what you mentioned - making sure the first half was in the proper position. The round bottle distorts my vision and makes it difficult to get things exactly where they need to be. My water was not very wide so I needed to be precise in my hull placement.
 -
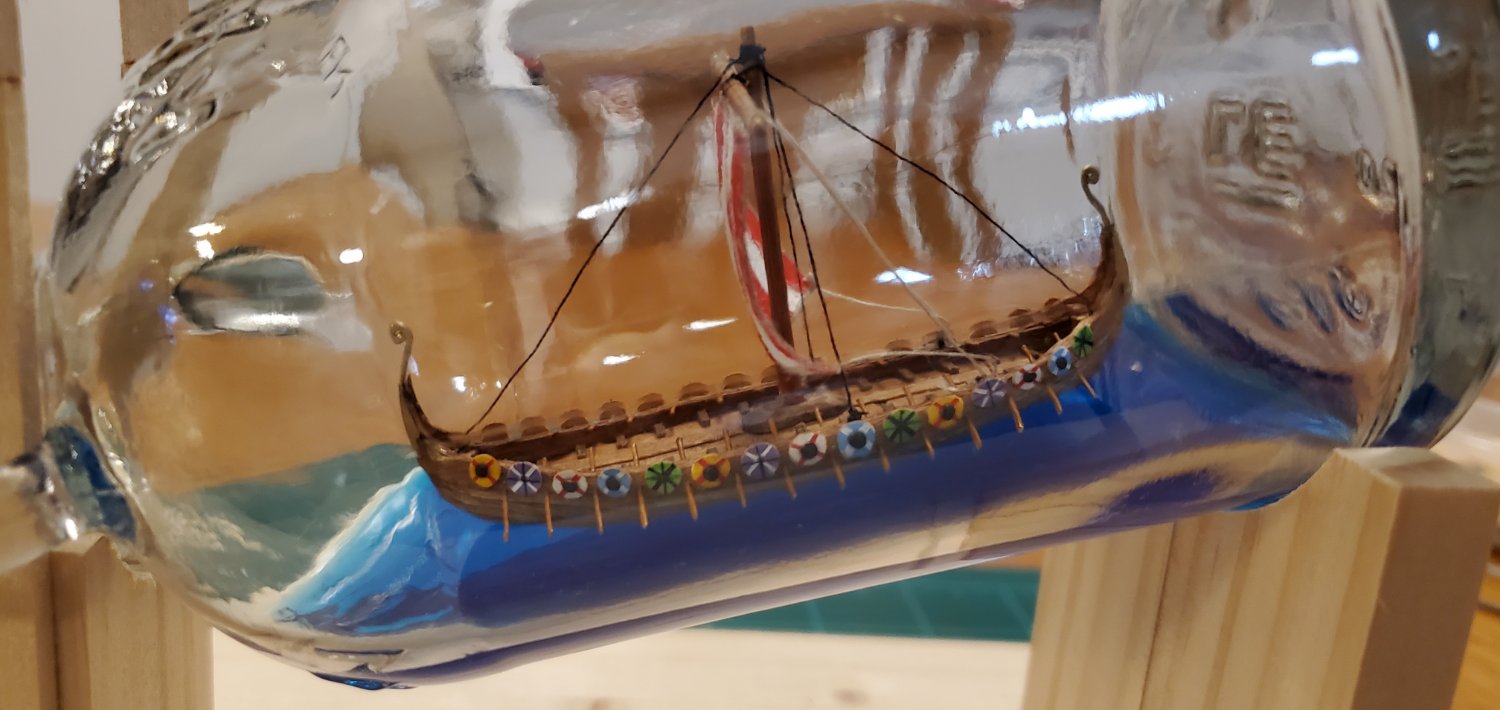
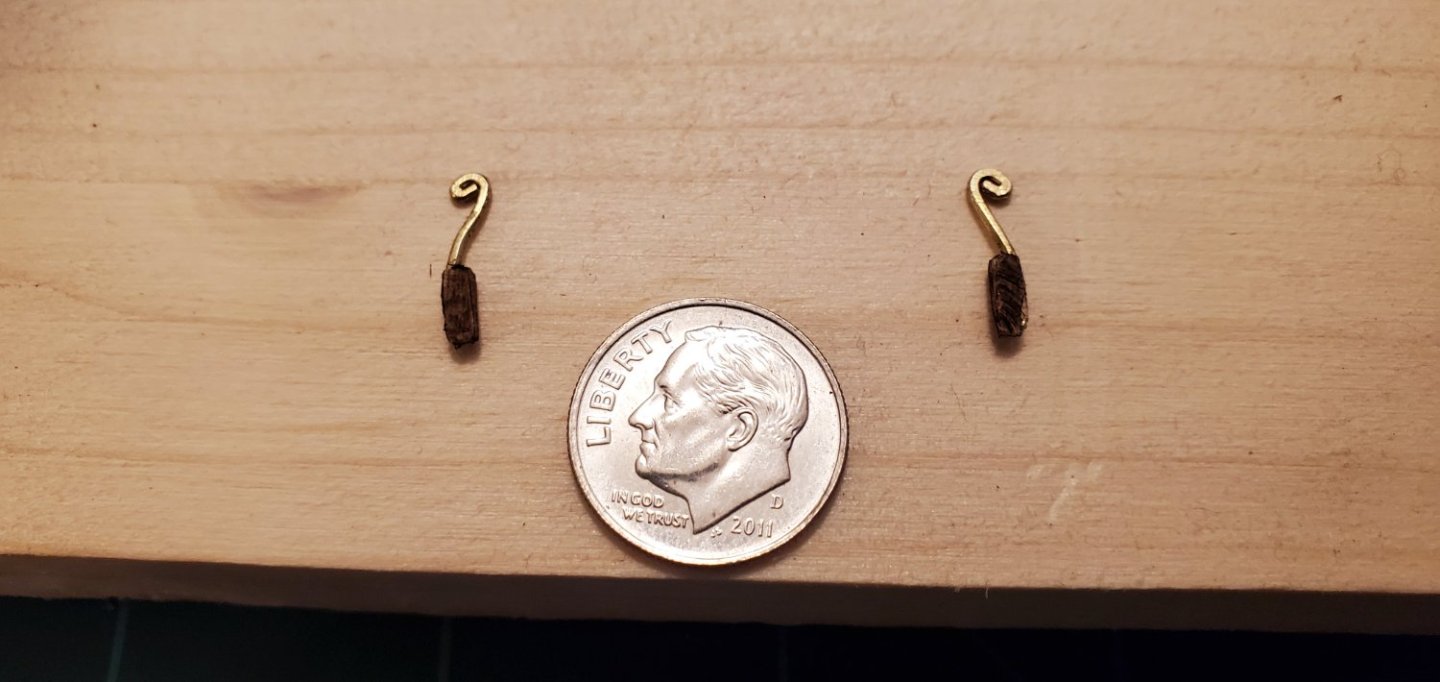
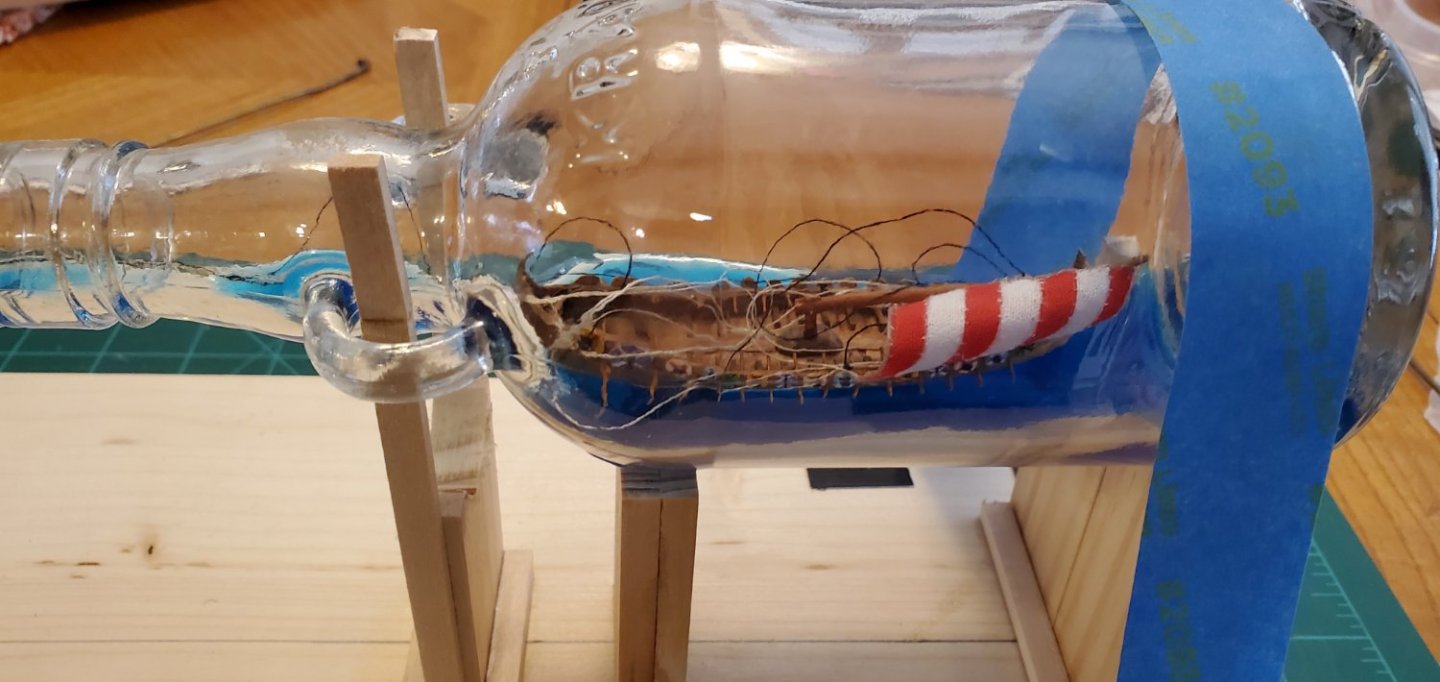
Glad you left off the rest of her quote since this is a family friendly forum! 😃 A big THANK YOU to everyone for comments and dialogue. Y'all add so much enjoyment to the work! OK. speaking of work, there was still a bit of work left on the ship. First, I had to revisit the curled ornamentation on the stem and stern posts and how to attach them inside the bottle. After pushing the 2 halves of the hull together inside the bottle, there was a small gap between each side of the stem and stern posts. So I cut a couple of tiny wedges to fit the gap, and glued the previously bent eye pins to the wedges (first pic below). Then the challenge was putting them in their spots and holding them in place while the glued dried. What I decided to do was mix the epoxy and wait 15 minutes until it was thick and sticky but not set. Then I glopped some on the wedge and stuck it in. With the epoxy being stickier, the eye pin assembly was then able to stand up on its own and stay in place while it set. Next was raising the mast, tightening the lines, gluing them to their respective eye pins, and cutting the threads off at the eye pins. No problems there. With that, the ship in the bottle part of this project is done! Unfortunately for me, I think that was the easy part. Now, as @Keith Black said, it's time to "get crackin' with the kraken!"

- 240 replies
-
- 15
-

-

-
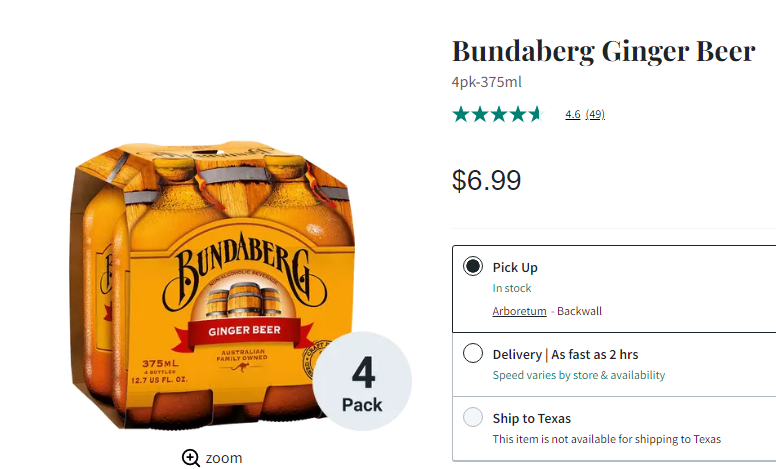
Dang, Steven! I was hoping it would have the opposite effect and you'd be rushing out to find a bottle to empty! Rum is even better! But my store does not have Bundaberg rum. It's got this stuff (and I do see a kangaroo on the label). Any good?
-
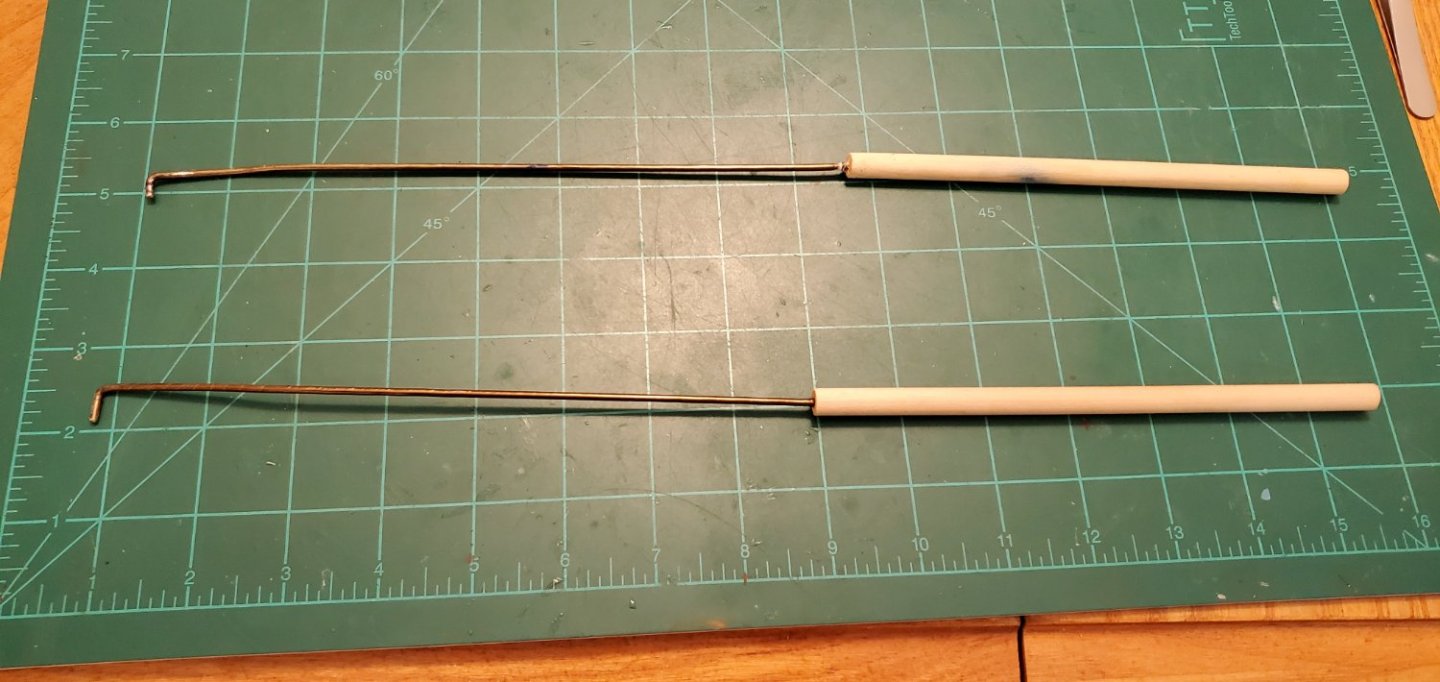
Thank you, Gary! Hey Mike! Thanks for the kind words. The prongs are made from the long, straight part of metal coat hangers glued into a wooden dowel rod handle. I bent the ends to a 90 degree angle and filed them for a smooth and gently rounded tip. They have worked very well inside the bottle for pushing things around, holding things down, and untangling rigging lines. All without scratching the ship. To your last point, they don't bend very easily so I can apply a decent amount of force when necessary (like I had to do to get those 2 hull halves to finally join together).
-
LOL!!! You crack me up, Keith! Yes. I was definitely nervous the last few minutes because I knew the clock was ticking. A friend told me I should talk more during the video. I tried, but just can't do it. Too focused on trying to get the job done. That's why I went back and added some captions. And BTW, if I had your engineering skills, I could probably design these things a lot better up front and save myself a lot of anxiety during assembly! I think I'm going to celebrate by having a couple of those Bundy beers that you downunder folks mentioned near the start of this log! I checked and the Total Wine store down the street has them in stock!
-
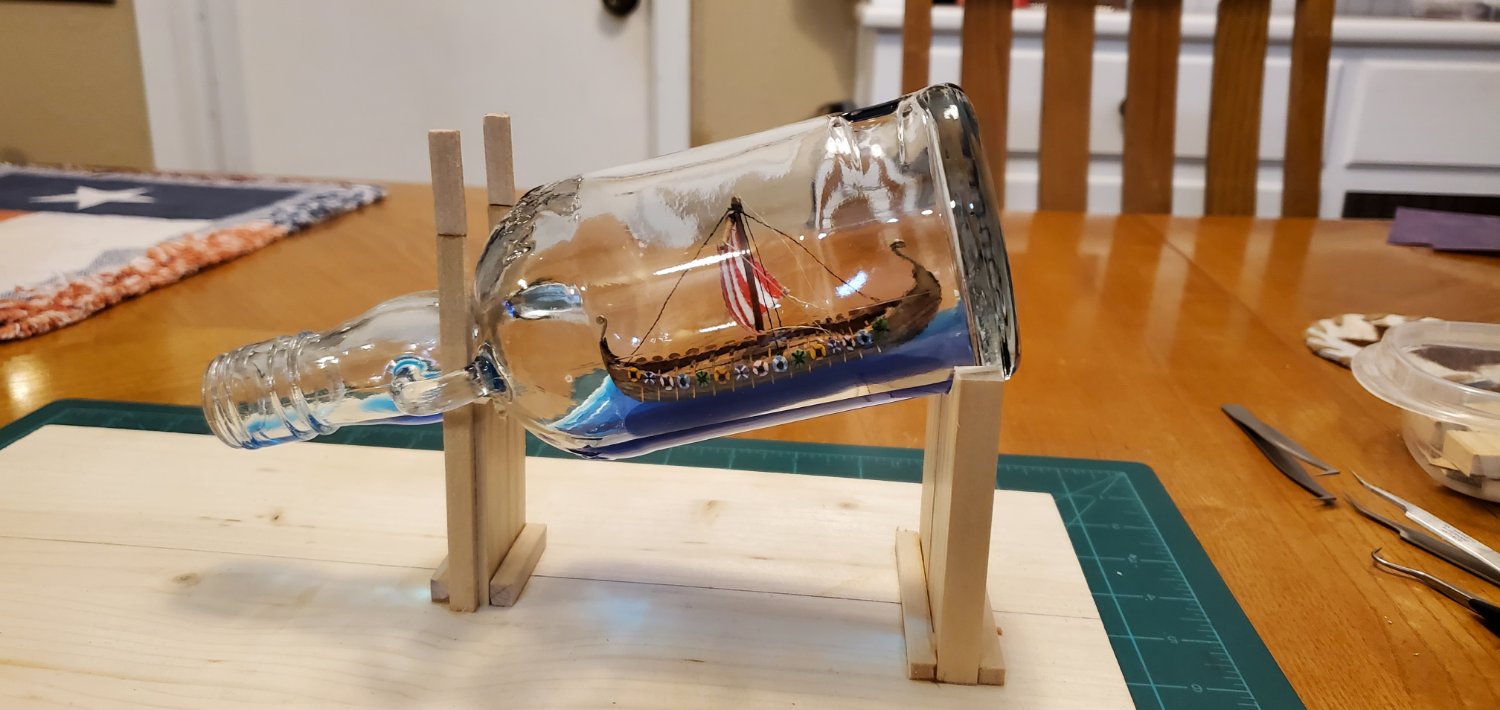
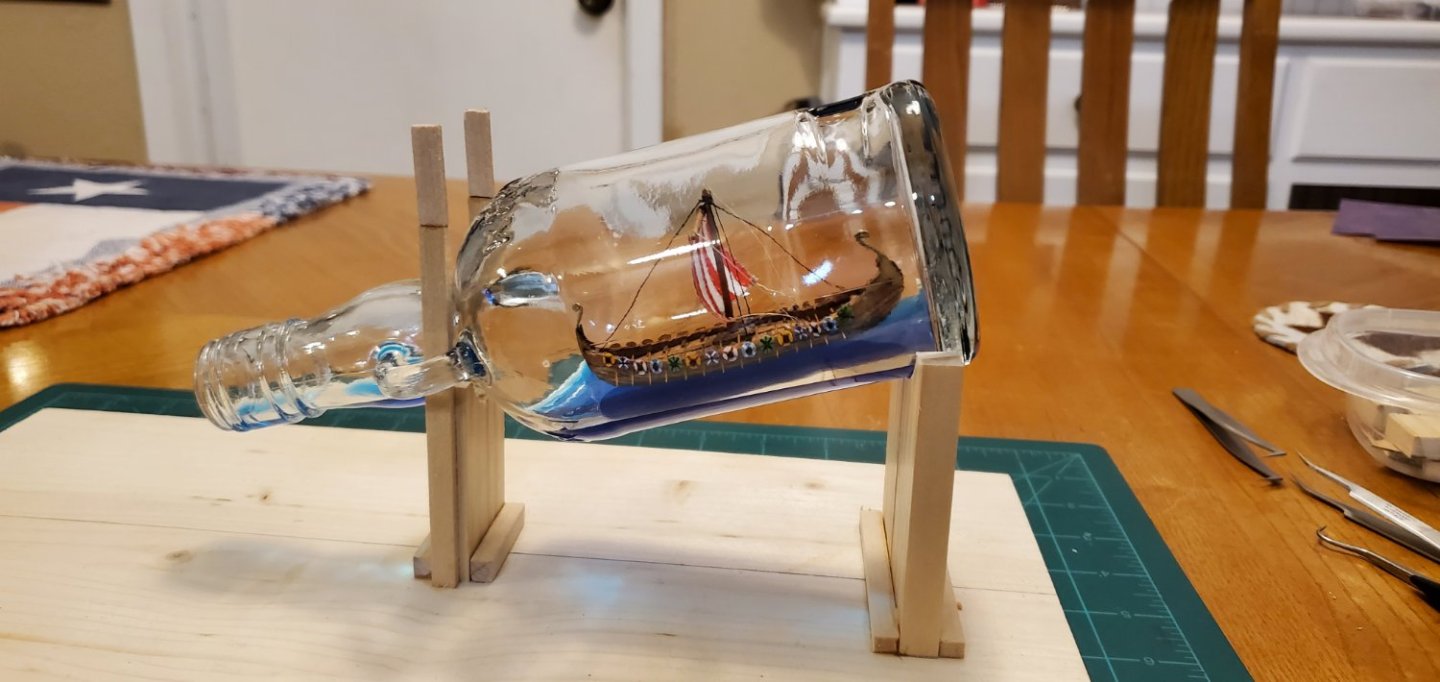
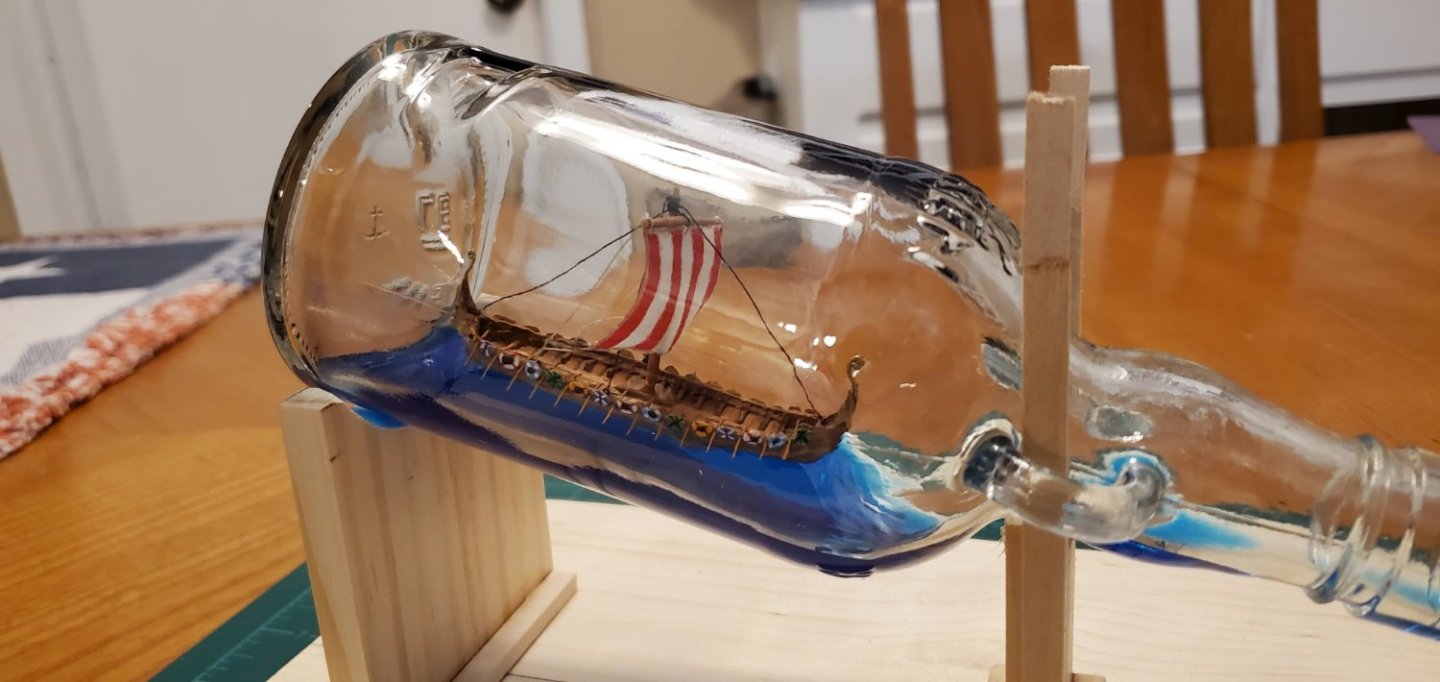
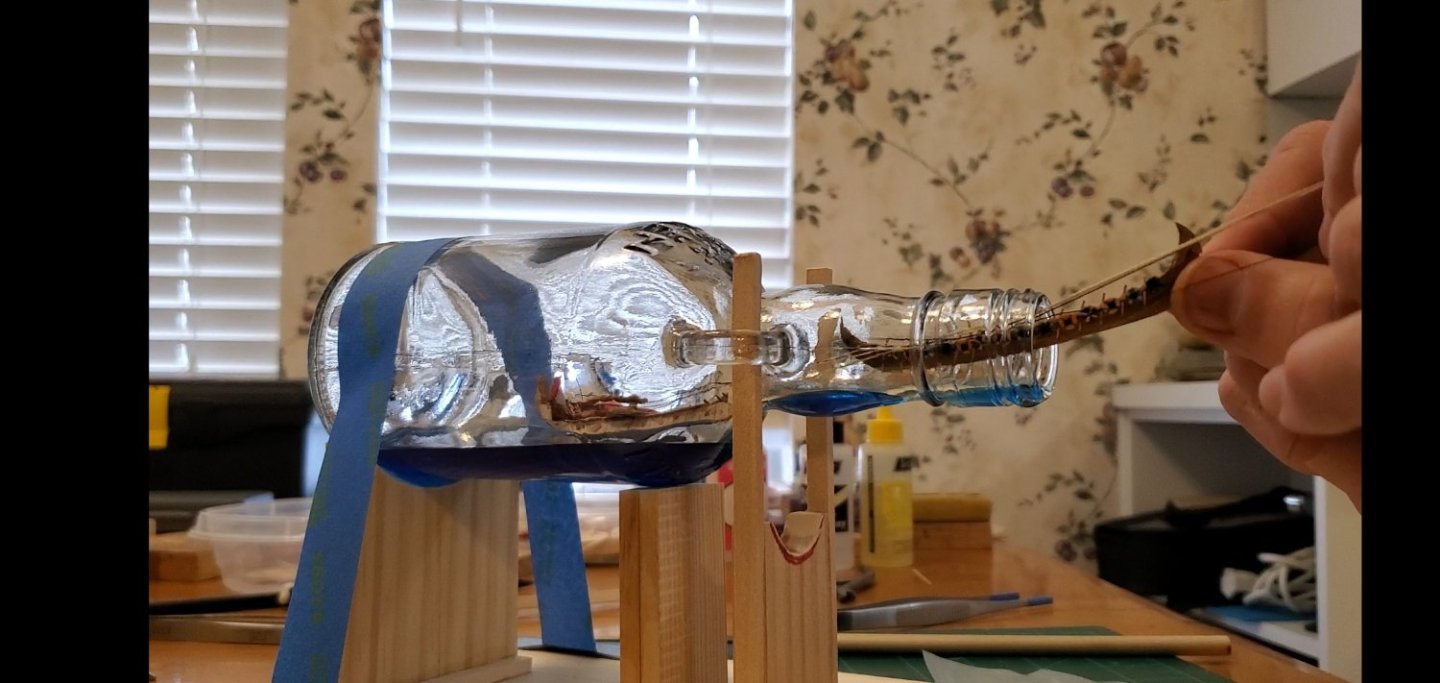
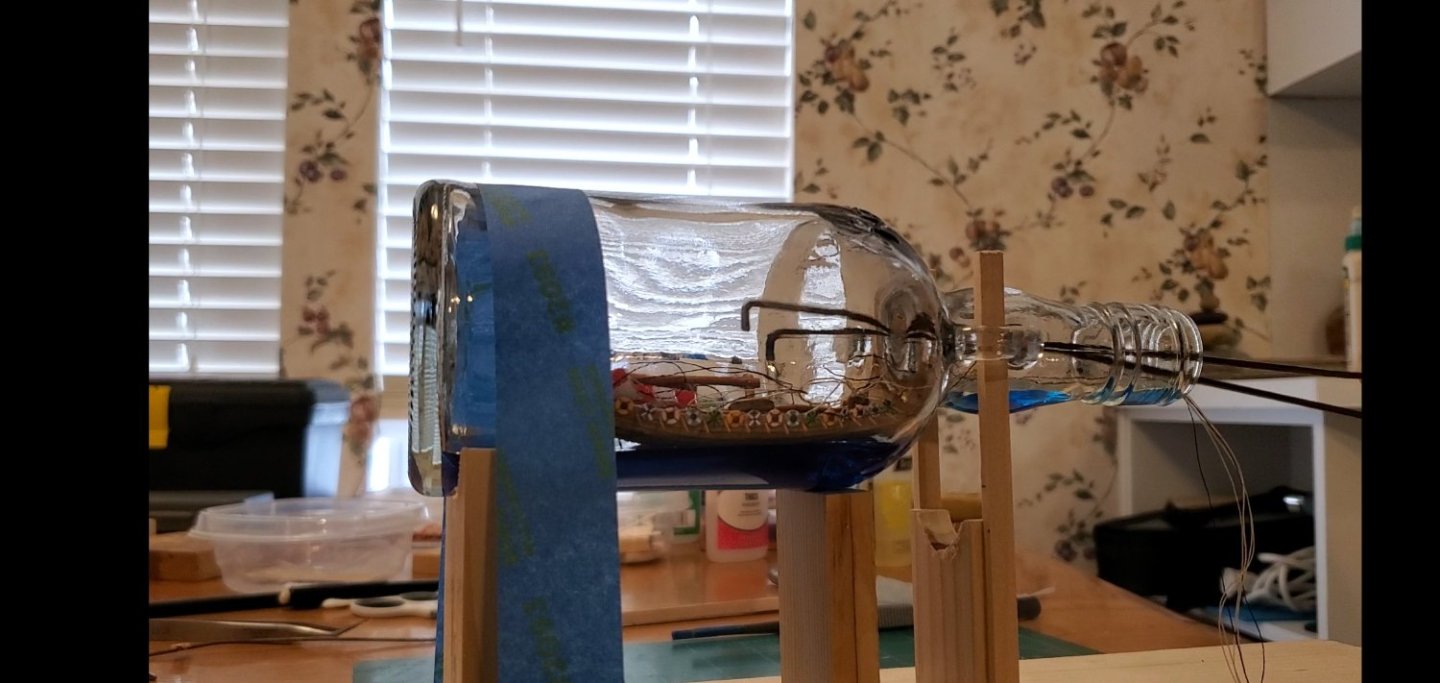
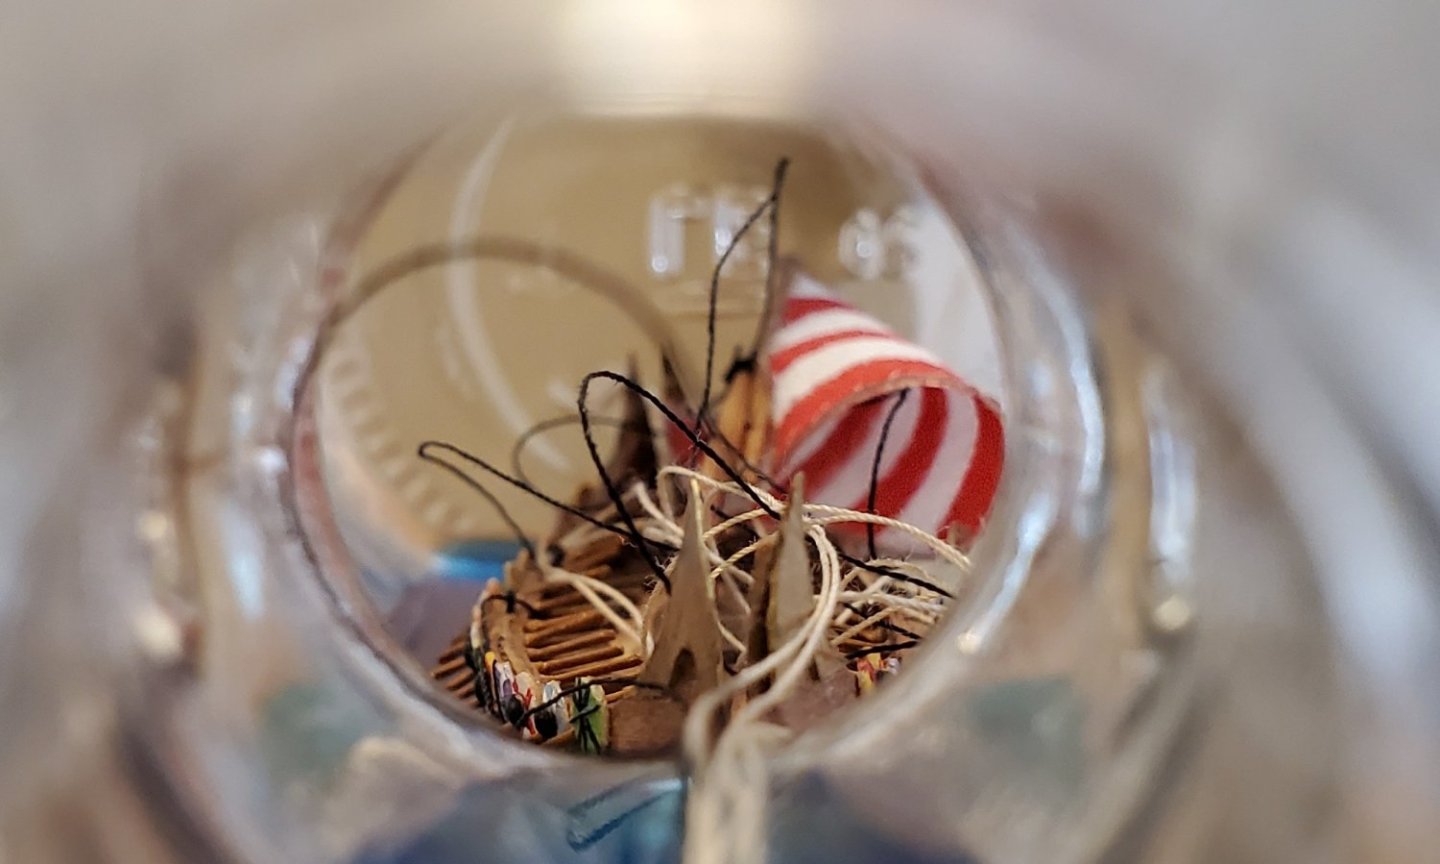
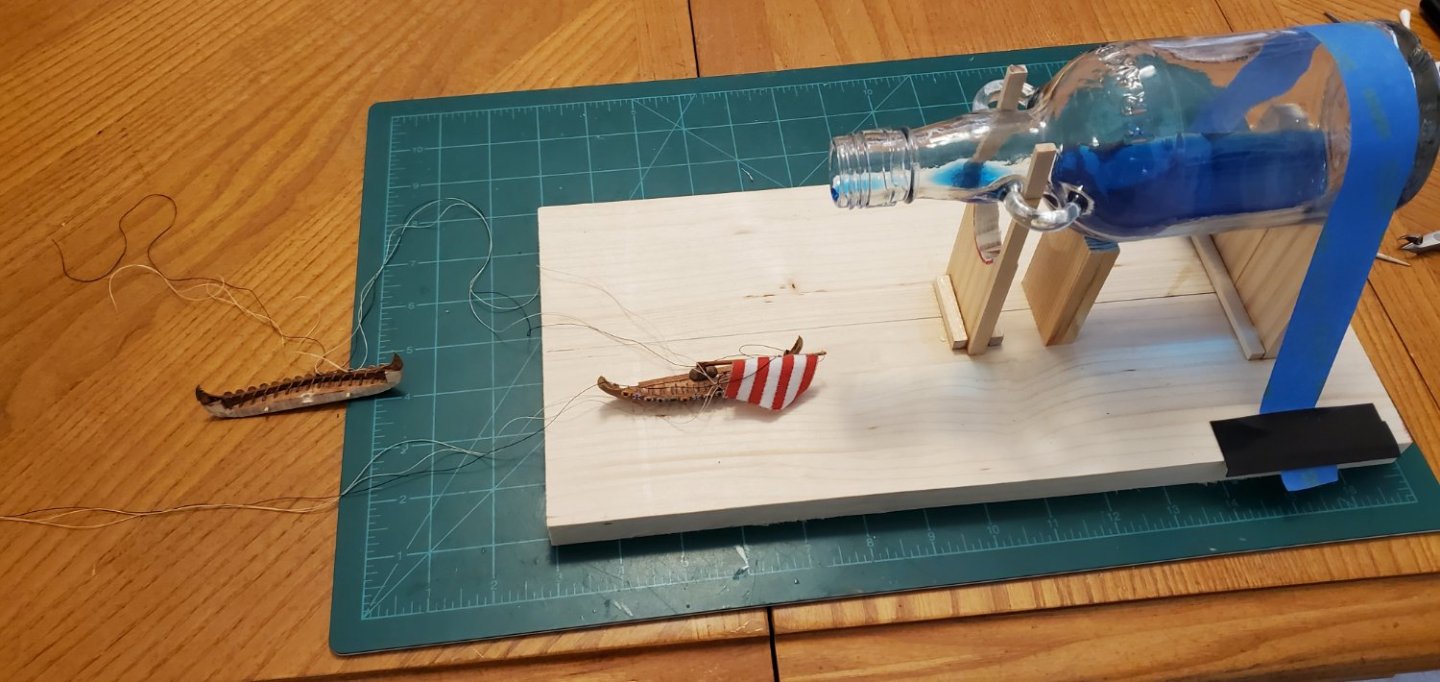
Yes! I just finished posting the video that your First Mate requested. Apparently I am unable to build anything with greater than a zero margin for error. The insertion process went pretty well, but it took a while. The oars and tips of the stem post were scraping along the neck of the bottle as I pushed each half of the hull inside. I ended up bending a few of the oars but they can be straightened without too much difficulty. I got the hull pieces in pretty quickly. The time consuming part was getting the rigging threads out of the way (while making sure they did not slip into any of the small epoxy blobs) and then lining the hull pieces up and pressing them together. The whole process took about 10 minutes but felt like an hour! Long video link below. https://www.youtube.com/watch?v=mqDFXTSlX2s&t=116s

- 240 replies
-
- 16
-
-
-
Nope. I have decided to adopt your Hannah method as your First Mate described, "Ram it in and done"!!
-
What a fascinating idea! I am on board to watch how this concept comes to life.
- 51 replies
-
- 3
-
-
- Sea Installer
- Bottle
- (and 1 more)
-
Hey Javelin, unfortunately I don't know if it heats the bottle up or not. After I pour the resin in, I do not touch anything for fear that I'll slosh resin up the sides of the bottle where I don't want it. I like your idea of doing a test run on the process. Let me know what your results are.
- 177 replies
-
- 2
-
-
- Independence
- bottle
- (and 1 more)
-
Don't jinx me like that, Grant!! You know I have a knack for making simple things unusually difficult!
-
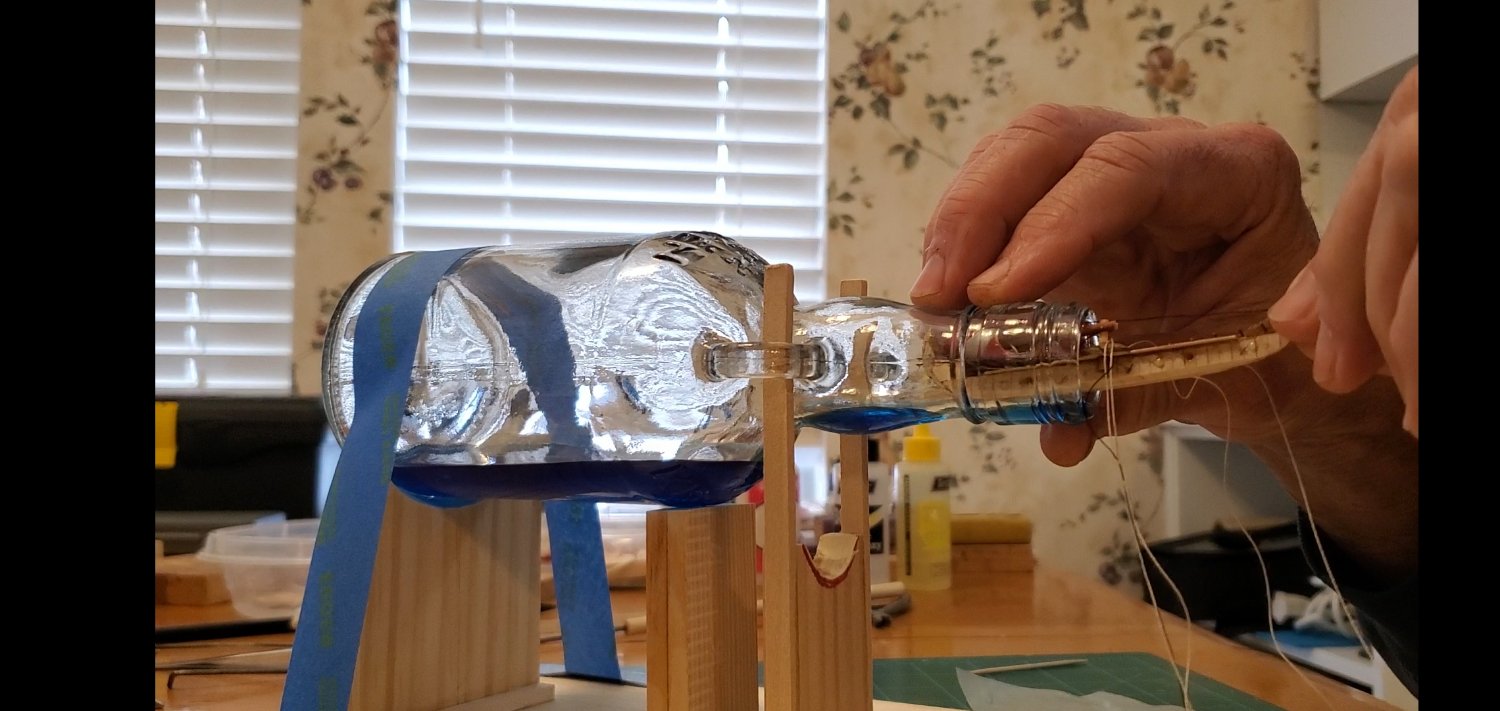
The rigging is complete. With only 1 sail, there are not too many lines. However, the split hull and separate insertion will make things quite interesting. I’m using black thread for the stays and shrouds. The Oseberg has a fore stay and back stay. The back stay is tied at the top of the mast and to an eye pin at the base of the stern post. The fore stay is also knotted at the top of the mast but runs thru an eye pin up front and will act as the pull thread to raise the mast. There’s 1 shroud on each side. The port side shroud is tied to the top of the mast and to an eye pin on the bulwark. For the starboard side, the shroud is tied at the top of the mast but runs thru the eye pin and all the way out of the bottle. I’m using tan thread for the braces and clew lines. They are affixed similar to the shrouds with the port side tied securely to the mast and eye pin on both ends, while the starboard side is tied off at the mast but the other end runs thru the bulwark eye pin and out the bottle. All of the starboard side rigging runs thru the eye pins and out the bottle because the starboard half of the hull will be inserted after the port half is already in the bottle. Rather than trying to thread those lines thru the eye pins inside the bottle, they are threaded outside. As I push the starboard side of the hull into the bottle, the lines will run thru the eye pins. Once both halves are inside and joined together, I will pull the lines tight, glue them to the eye pins, and cut off the excess. That is the plan, anyway. Next post will either be the thrill of victory or the agony of defeat!
- 240 replies
-
- 12
-
-
-
Thanks, Ian. Just getting back and catching up on all the action I missed on MSW the past week. We lost power on Tuesday during the great Austin ice storm and just got it restored yesterday. Never seen this much tree damage my entire life. We have mostly live oaks around here which still have all their leaves. So they accumulate a lot of ice (and weight).
-
LOL! Welcome to my world, Grant!! Great update and superb work (again).
-
Hey Gary! I am honored to have you checking in on my work. I have been thru your shadowbox logs multiple times and am in awe of your miniaturization work. Absolutely phenomenal.
-
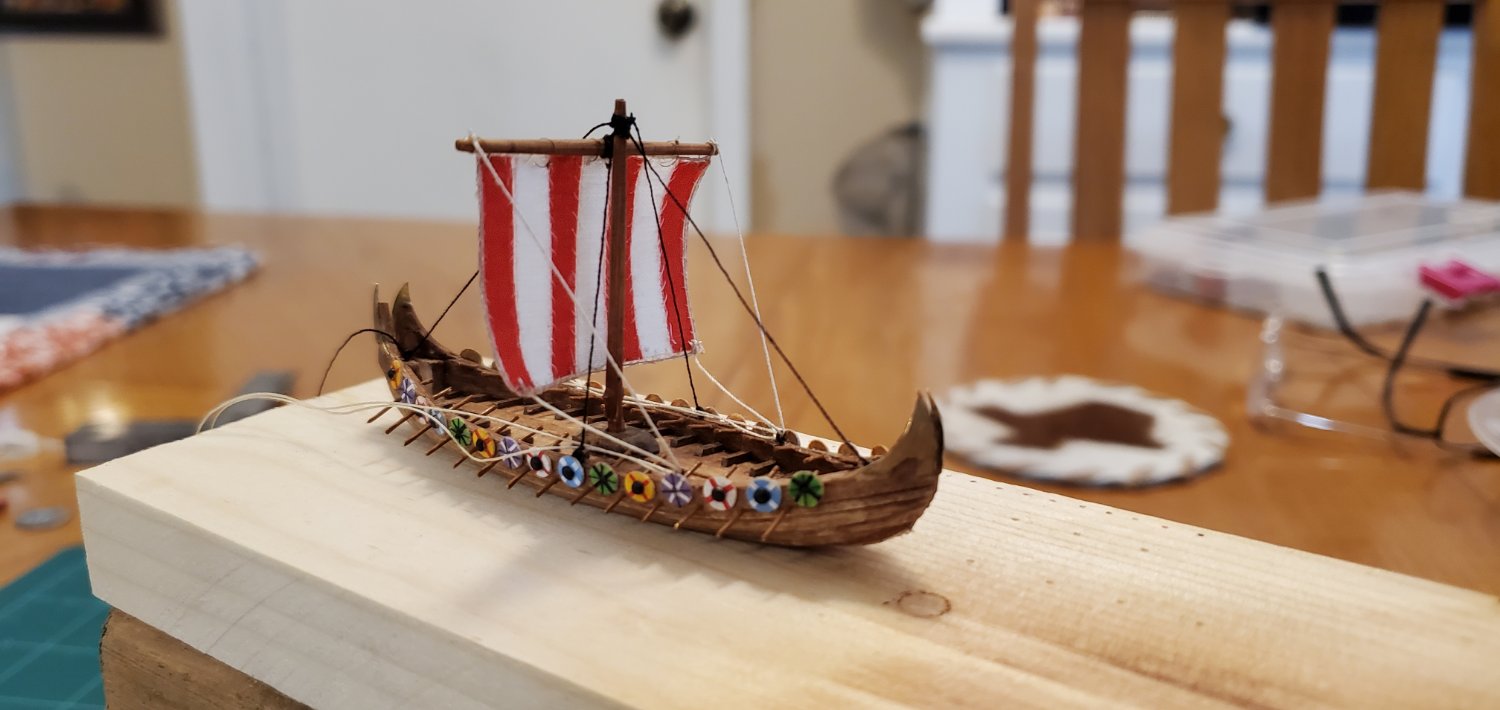
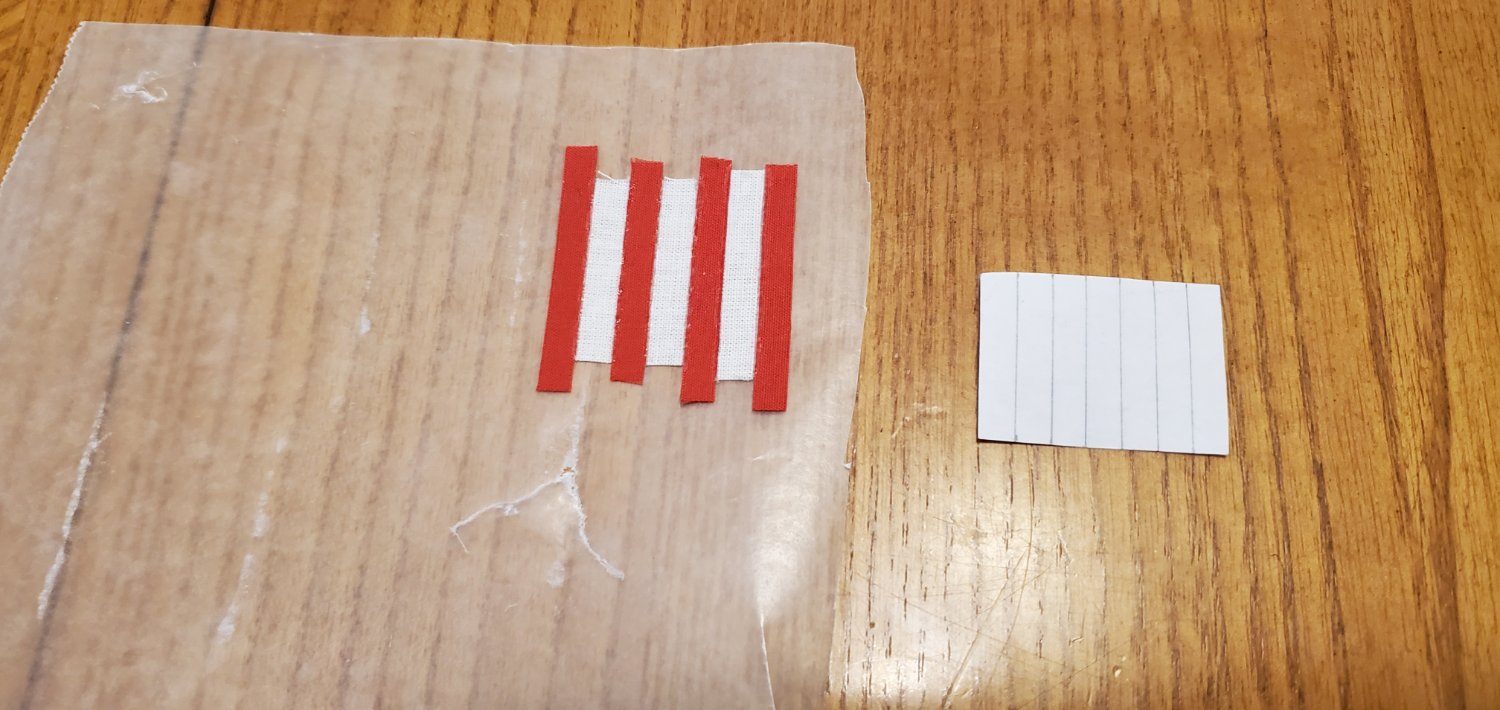
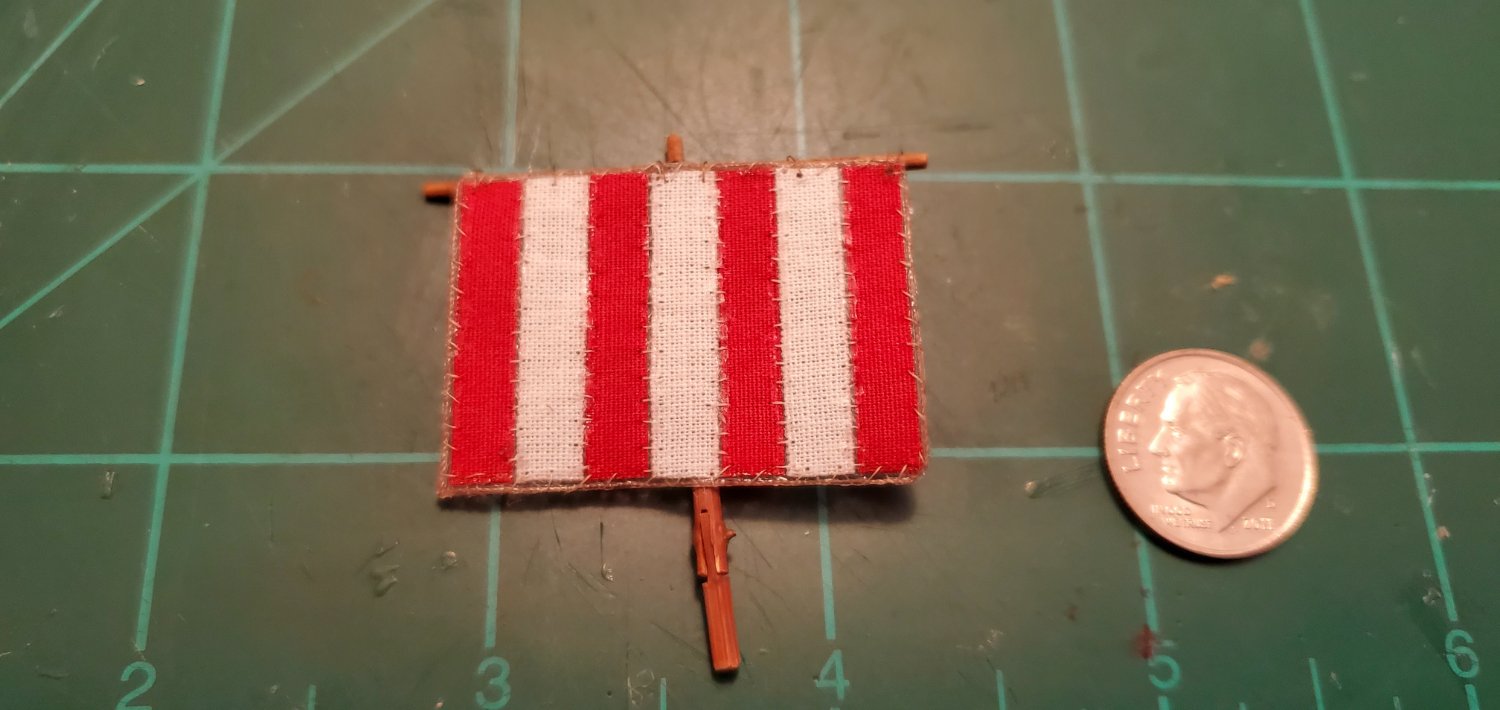
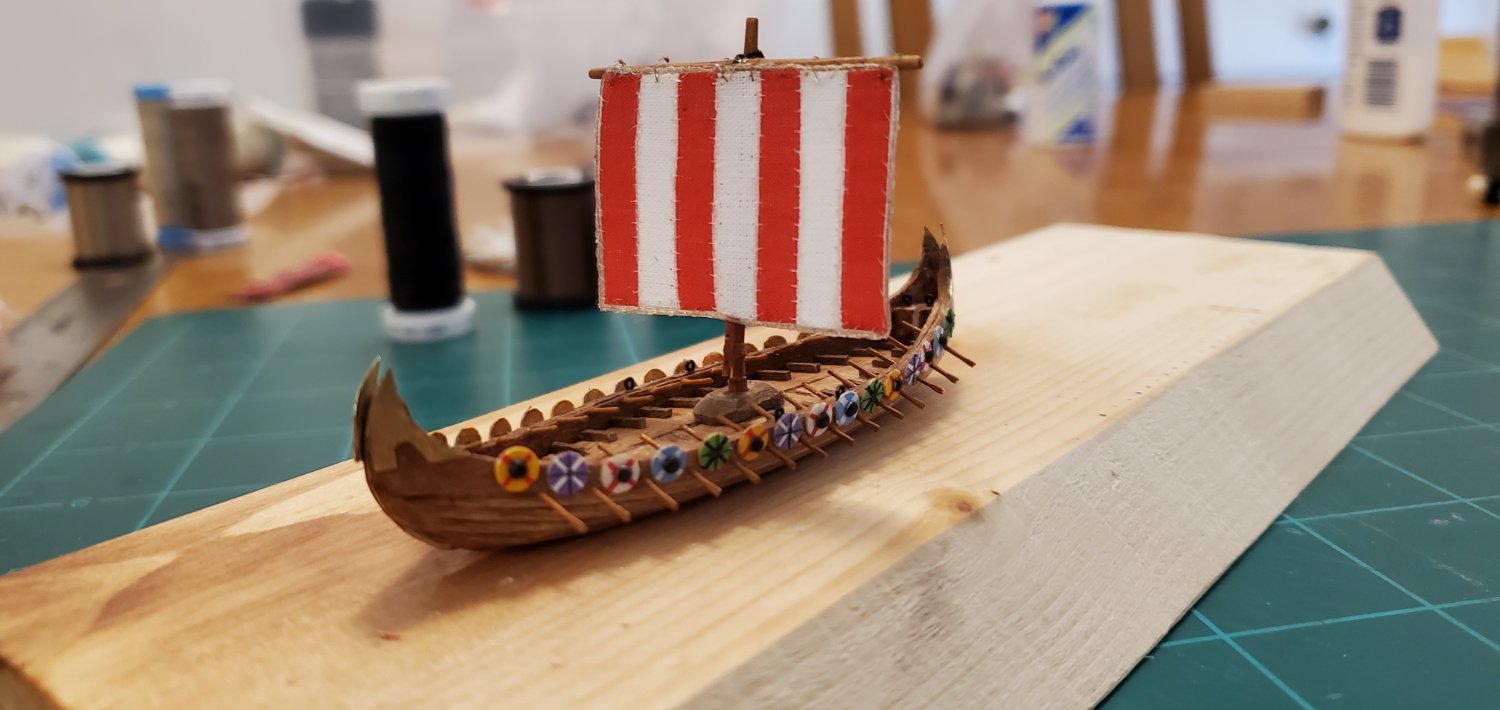
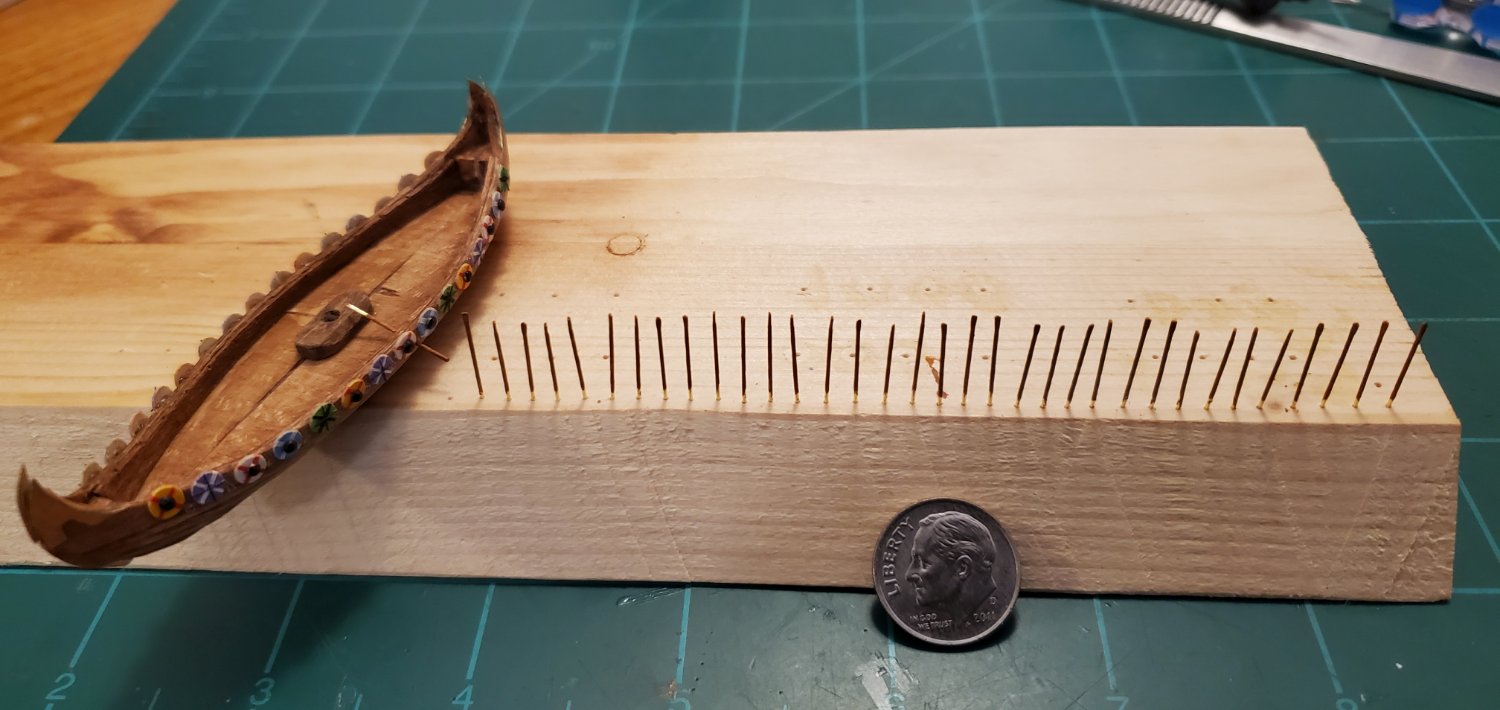
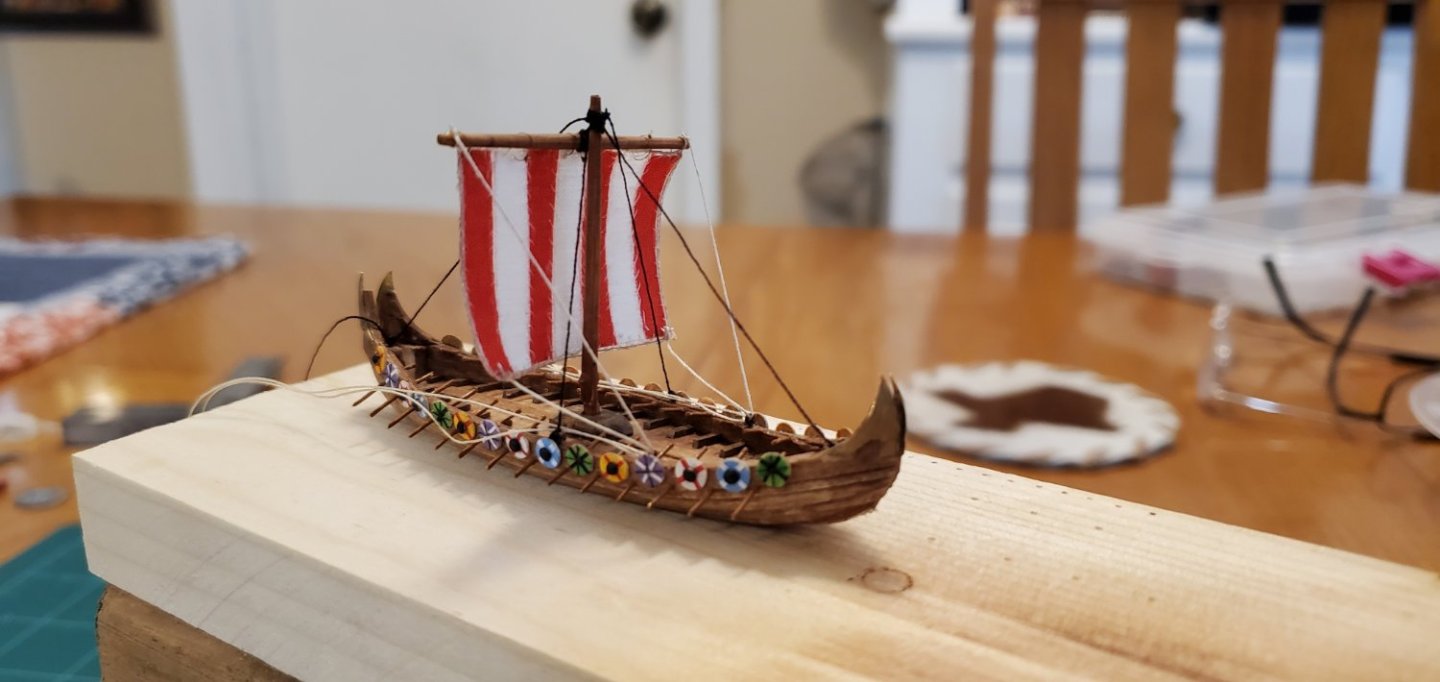
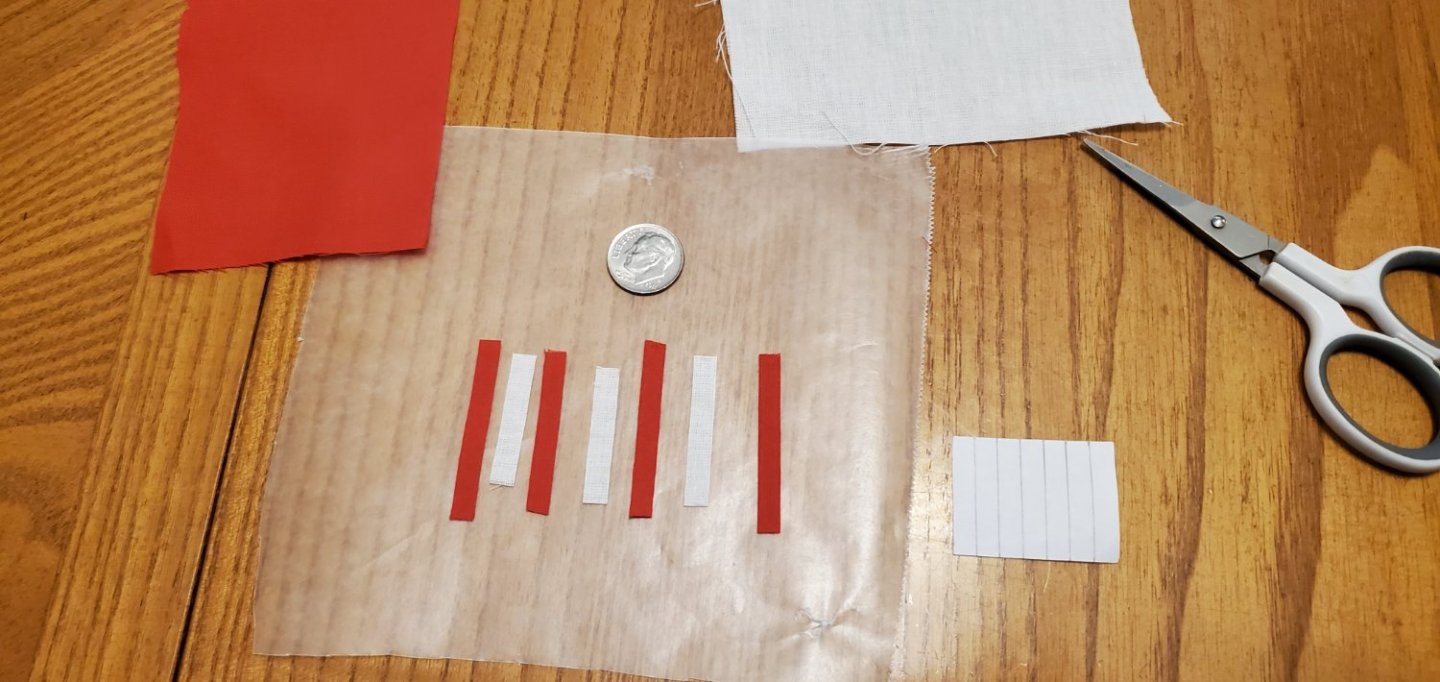
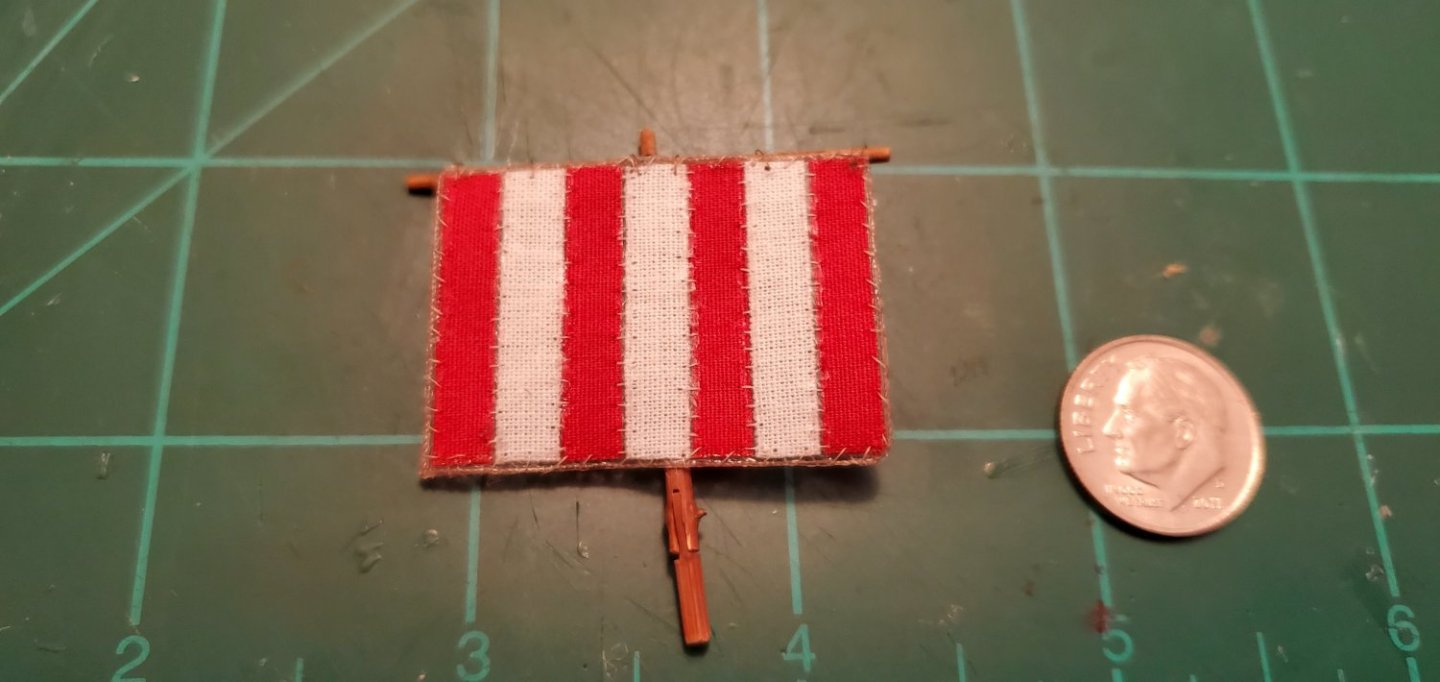
The resin finished curing, so I was able to figure out how much the oars could extend from the hull and still fit inside the bottle. I got all 30 oars installed and gave it a test. The tips of the widest oars just slightly scrape the inside neck of the bottle. Perfect!! While working on the mast, I realized that my original plan of stepping it into the hull while inside the bottle would be extremely difficult if I wanted to rig shrouds, stays, and braces. So I went back to a hinged mast which I will affix to one half of the hull before insertion. I've still got some thinkin' and figurin' to do on the rigging plan because of the split hull. Not exactly sure how I'll pull that off yet. For the sail, I wanted to display another iconic look of many Viking ships - the Mr. Peppermint jacket sail with red and white stripes. I cut strips from red shirt fabric and slightly off-white muslin and glued them edge to edge with fabric glue. I was not sure how sturdy the edge to edge connection would be so I decided to add a hand sewn, modified zig-zag stitch to make them a bit more secure. I glued a bolt rope around the edges and also added a stitch to help secure it as well.


- 240 replies
-
- 14
-
-
-
I'm glad you posted on Robert's thread. I would have never seen his work if you had not. Robert - really cool project you've got going here. I had no idea that there were metal model kits like this (and only $25 - wow!). Very nice work so far!
-
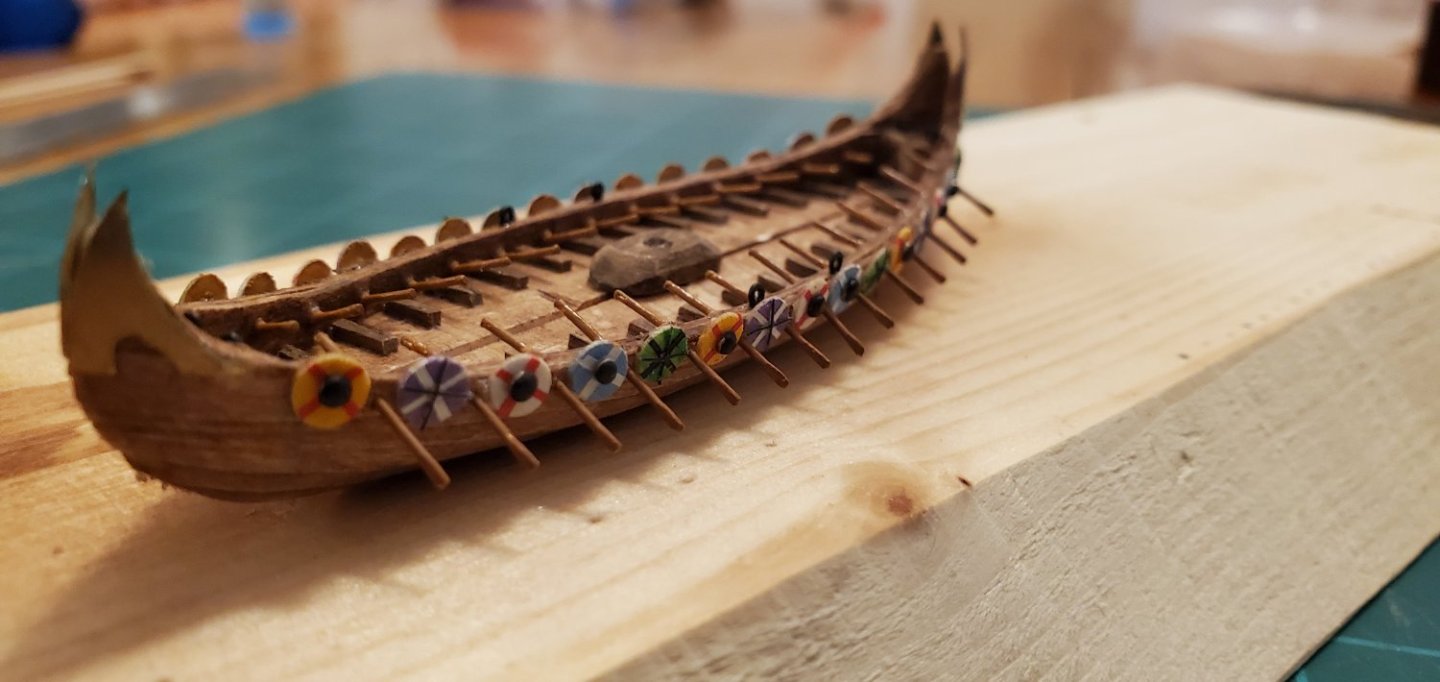
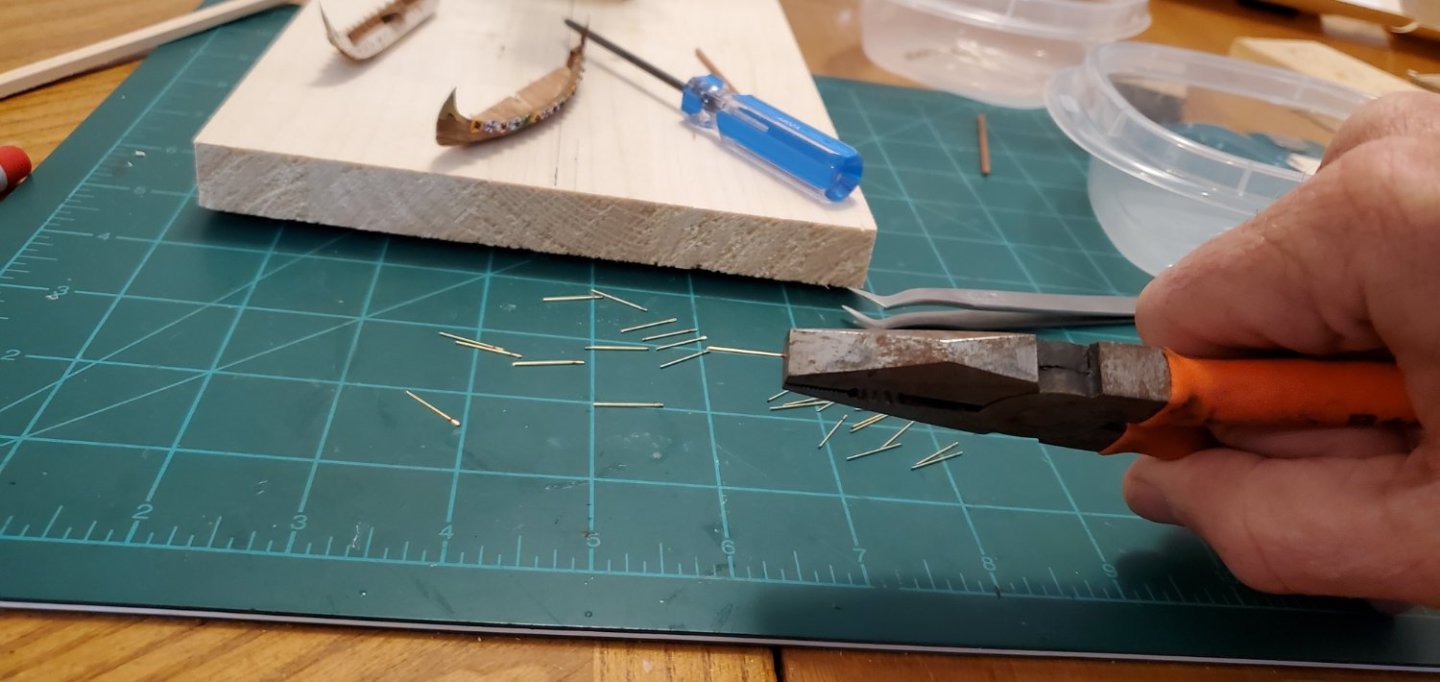
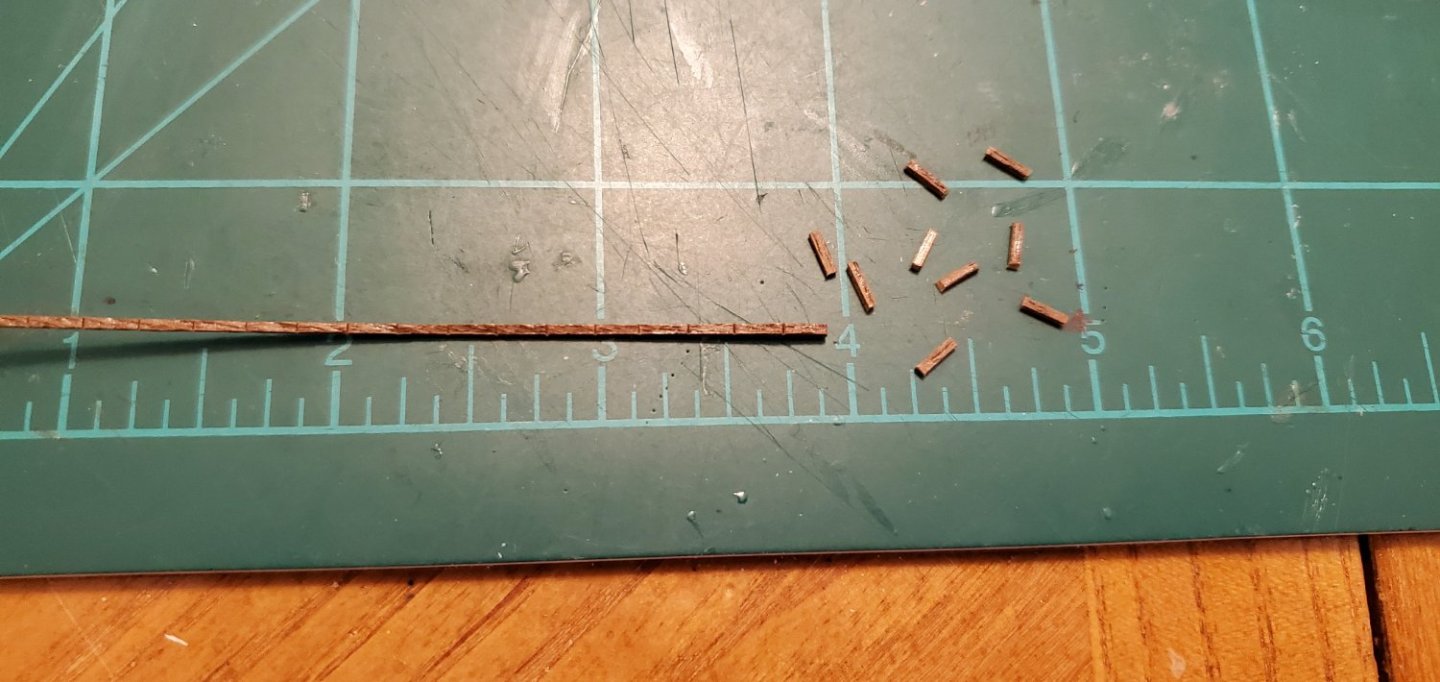
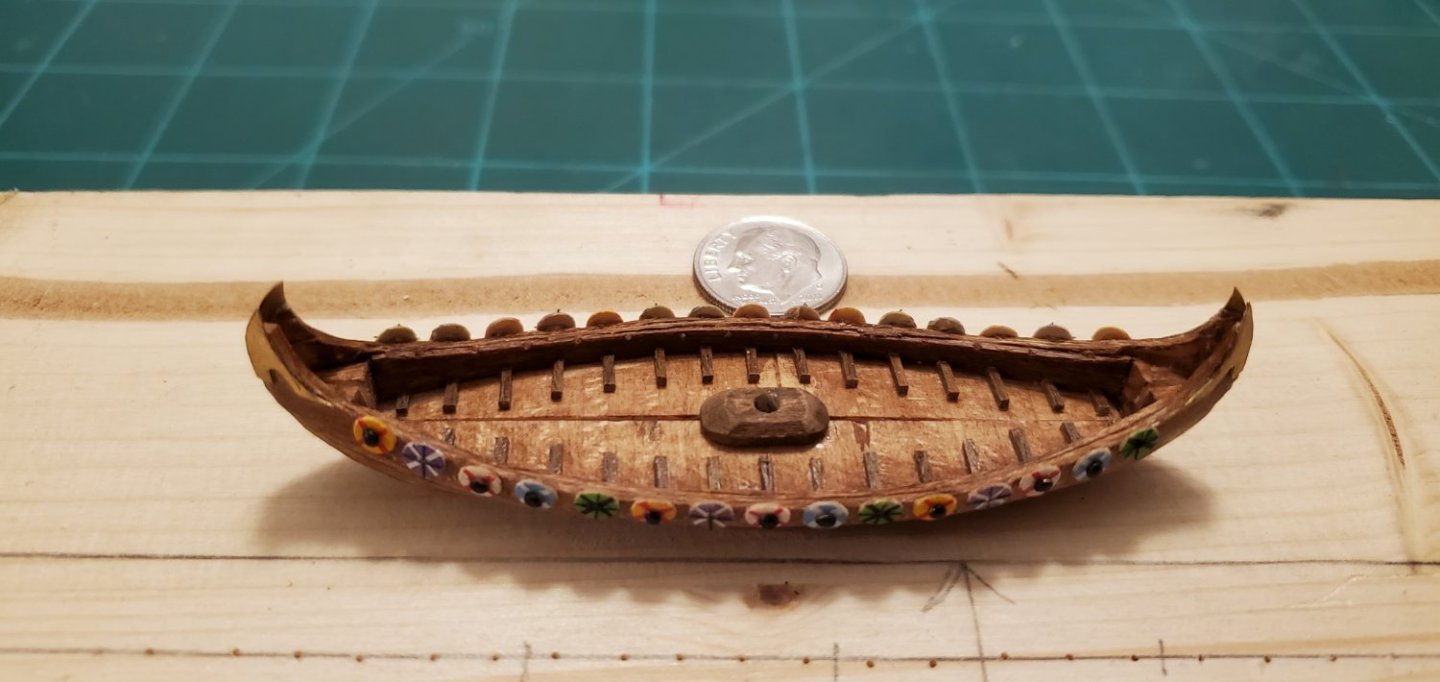
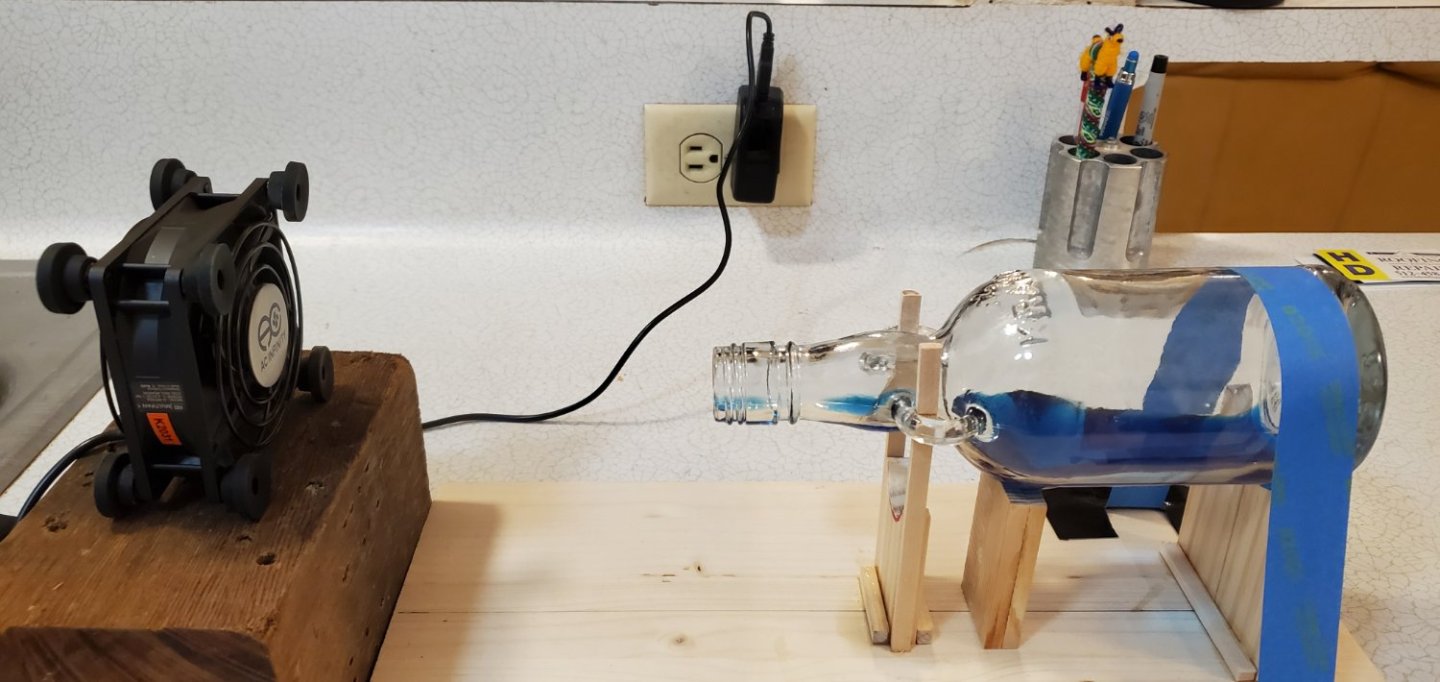
I was quite ready to do some easy stuff after those dang shields, so I hit the oars and rowing benches. The oars are made from .5mm brass rods. I cut 30 of them into 5/8” lengths and smashed the ends down with some pliers for the paddles. Then I painted them a shade of brown. I drilled holes for the oars in the hull between each shield at a downward angle so the oars will point towards the water. I won’t install the oars into the hull until I get my water in the bottle and see how much room I have to work with (i.e. how far to let them stick out towards the water). Next up were the rowing benches. I took a 1mm x 1mm walnut strip, cut it into 3/16” long pieces, beveled one edge to match the curving angle of the gunwale, and glued into place. I also added the mast step. It is glued to one half of the hull and overlaps the other. Finally, I added epoxy resin water to the bottle. It looks like I got sloppy and drizzled resin in the neck of the bottle. For once, however, that was on purpose. Since the bottle will be tilted a bit towards the Kraken’s mouth (as if he’s trying to drink the ship out of the bottle) I thought it would look better to have a little water in the neck. It will take a couple of days for the resin to dry, so now I will begin work on the mast, yard, and sail.

- 240 replies
-
- 12
-
-
-
Congratulations on a great project, Bob! And really nice work on making those repairs inside the bottle, which is not the easiest thing to do! What a fantastic keepsake for your niece!