HOLIDAY DONATION DRIVE - SUPPORT MSW - DO YOUR PART TO KEEP THIS GREAT FORUM GOING! (89 donations so far out of 49,000 members - C'mon guys!)
×


rookie
-
Posts
159 -
Joined
-
Last visited
Content Type
Profiles
Forums
Gallery
Events
Everything posted by rookie
-
 Interesting that kit uses layers for the boats i have spent a lot of time looking at how to build boats the AL kit provided frames way too big and chunky and only a couple anyway i found a 3D file of Beetle whaleboat online but having difficulty experimenting with printing it at this scale i suspect the filament printer is not good at small detail and also I have only printed a few things for my son and his Milwaukee Packout tool system I will post the 3D soon on my CWM build if I get anything useful
 -
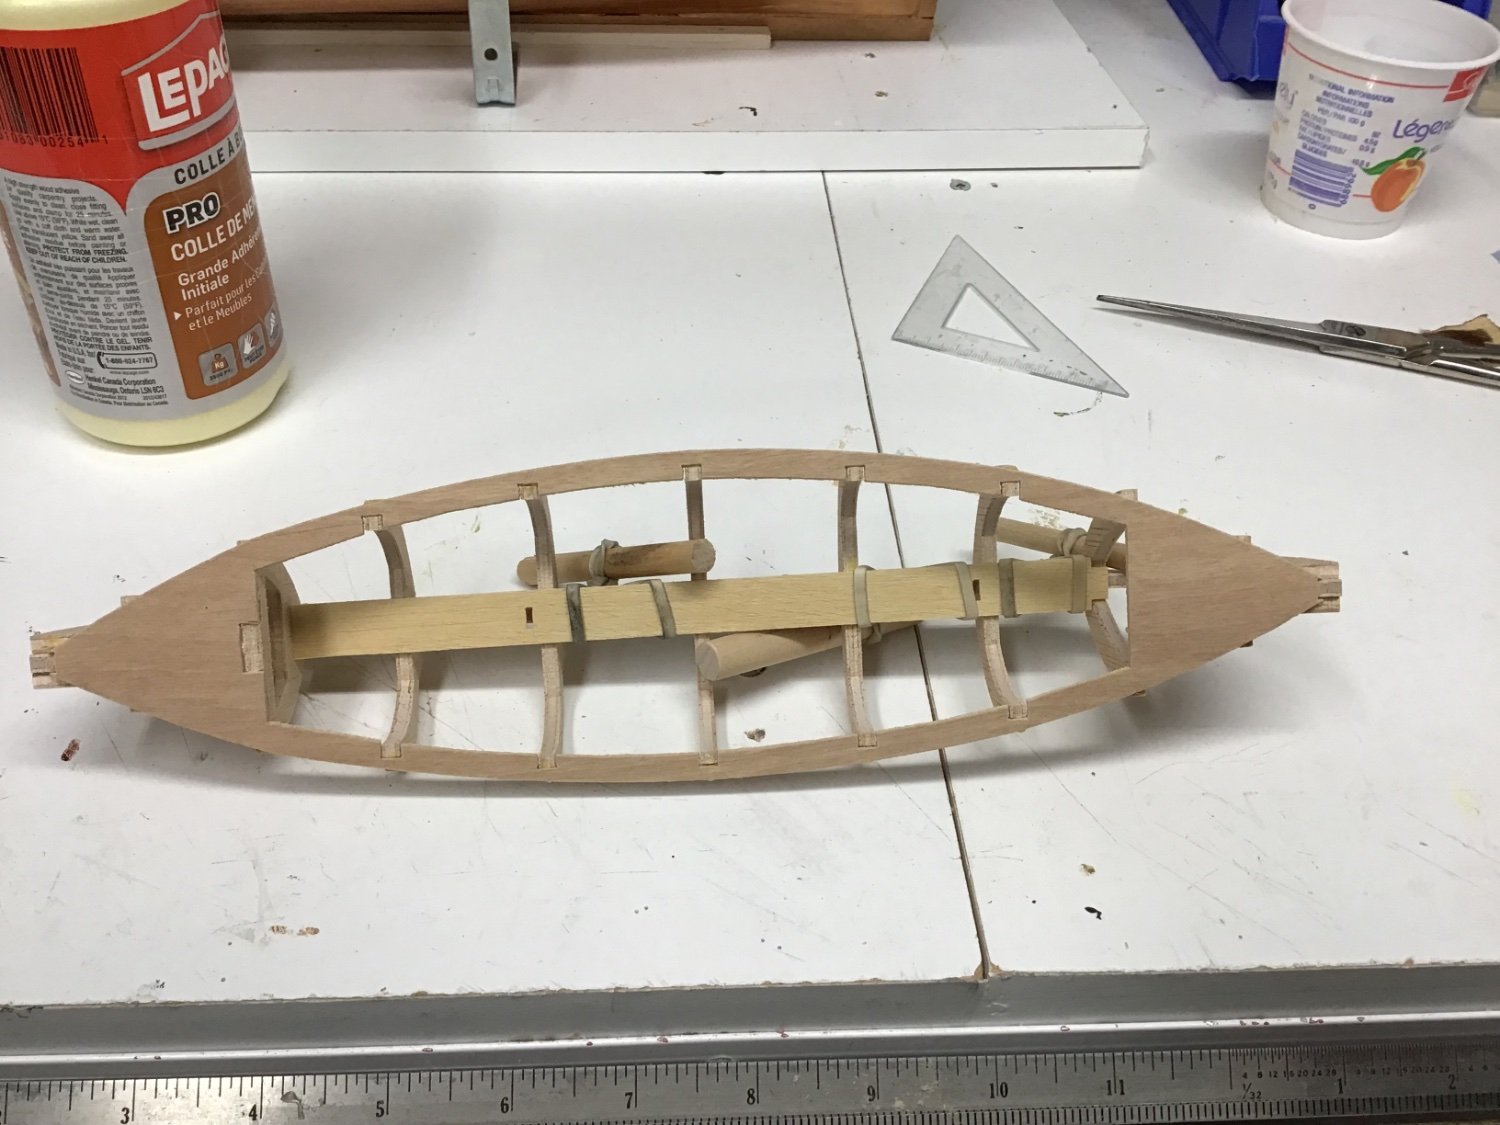
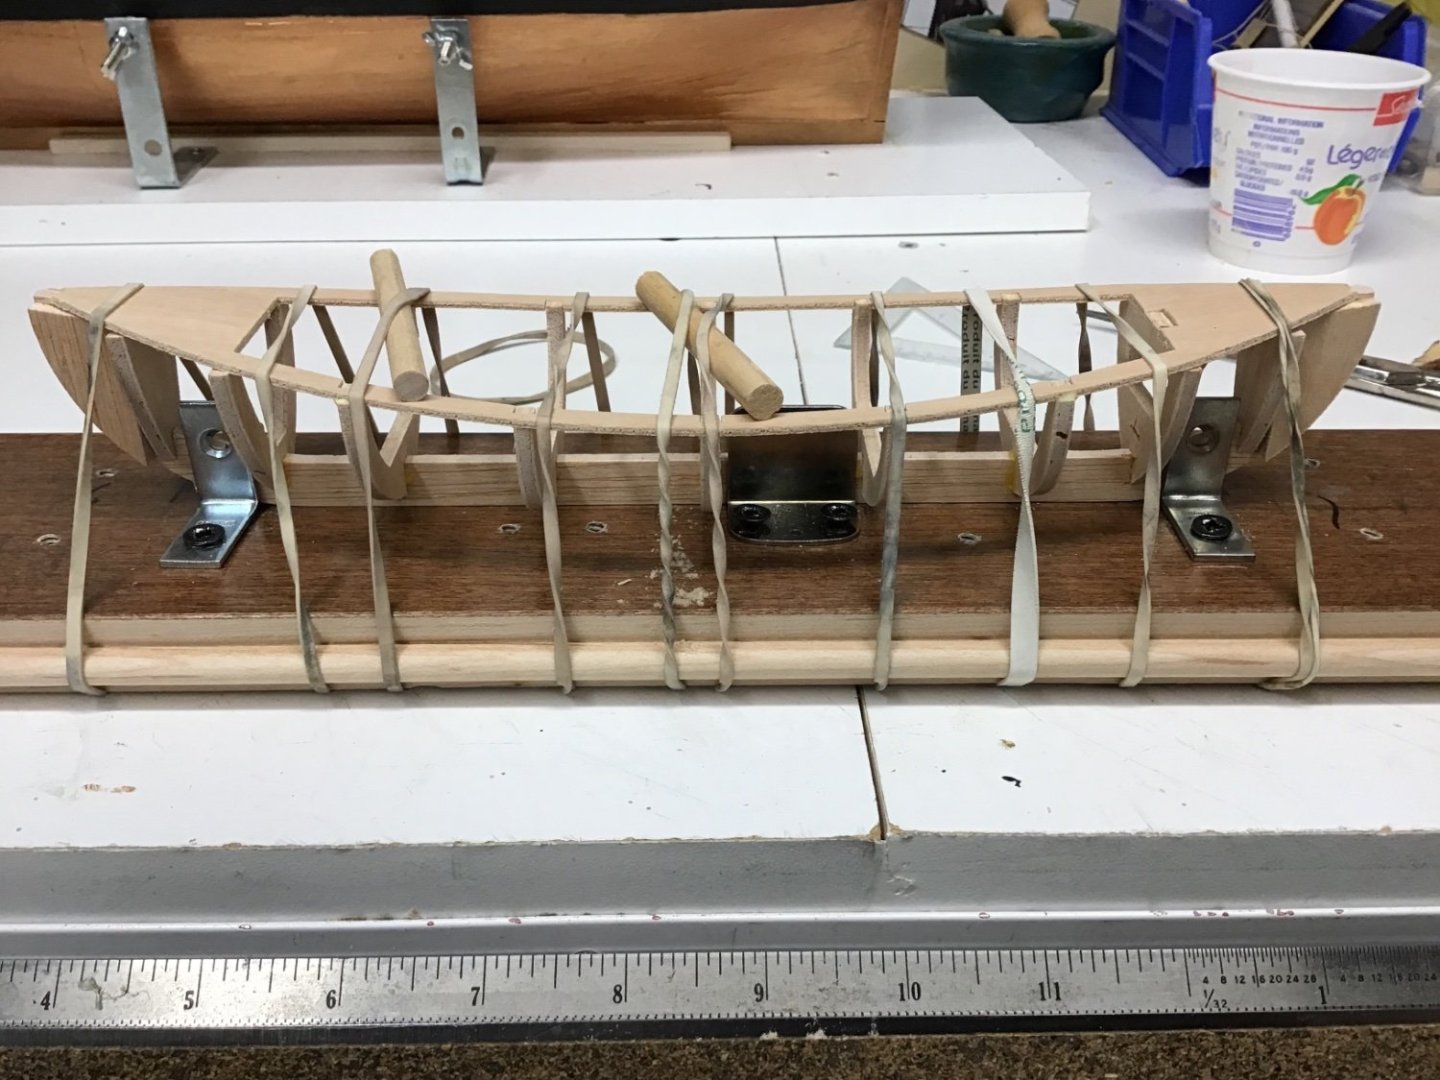
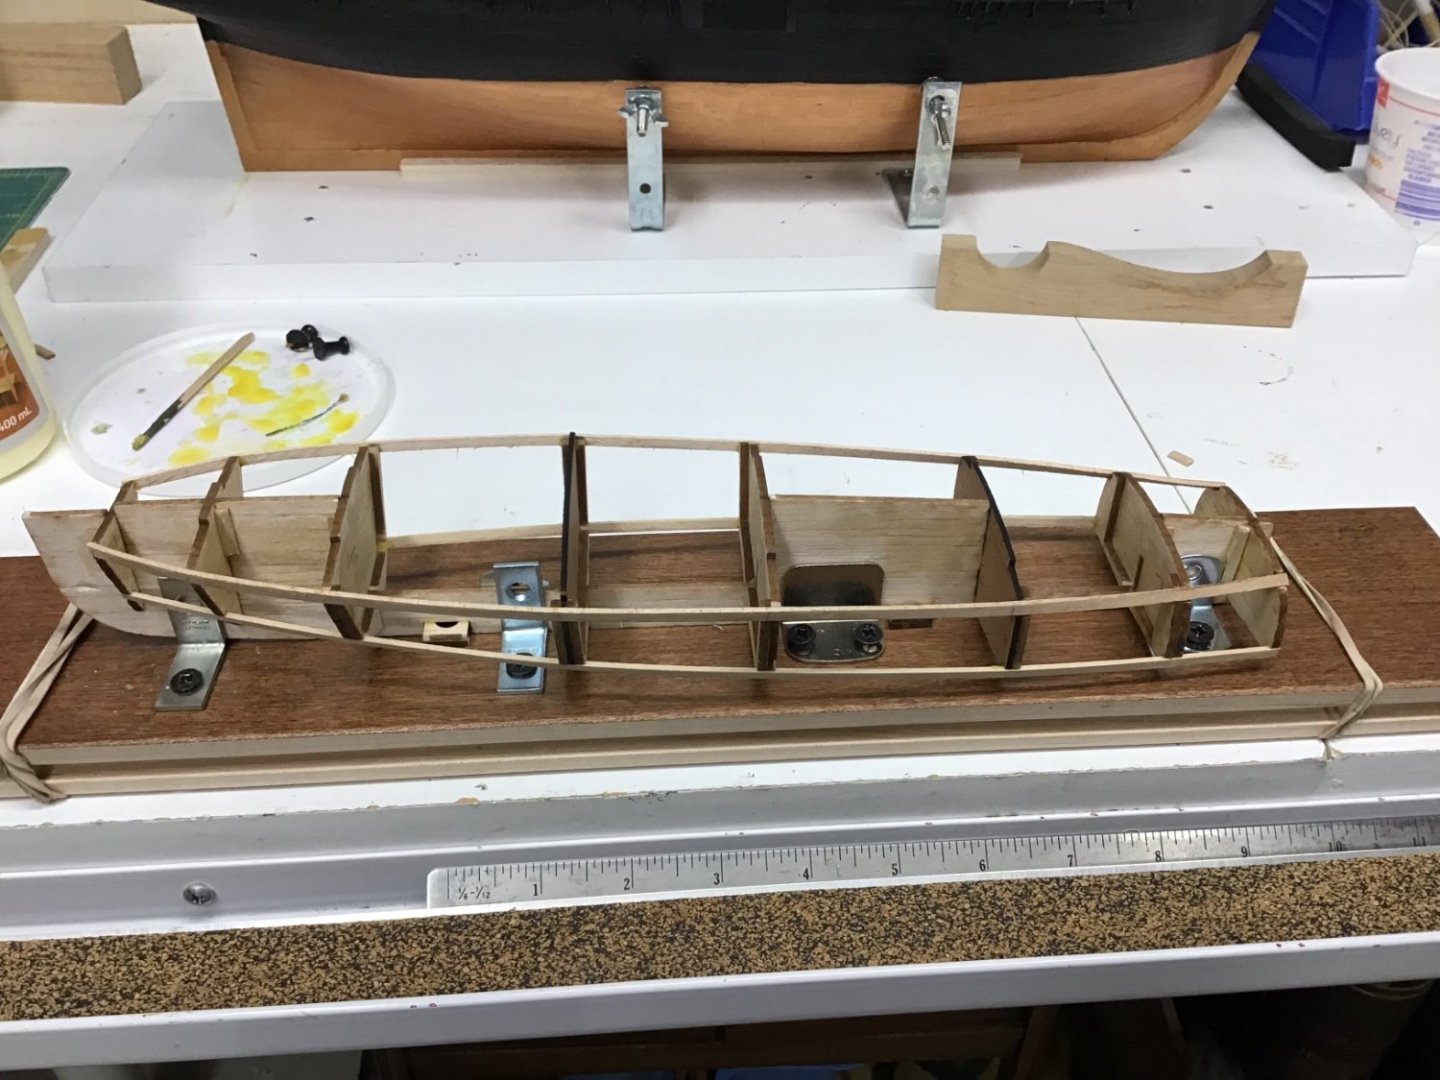
I decided to begin yet another of the models on my shelf. it is a whaleboat of European origin, I assume i can work on this while glue dries on other models I am building 😬 here are some shots of building the frames

- 1 reply
-
- 4
-

-
- Whaleboat
- Artesania Latina
- (and 1 more)
-
Wow! I had the same thing with a sink drain the trap is all glued so I bought the threaded parts to replace it have not gotten around to the replacement part yet ….
- 536 replies
-
- 3
-
-
- Quadrireme
- radio
- (and 1 more)
-
Colours look great! you may have to store it in the garage or start doing push-ups
- 536 replies
-
- 2
-
-
- Quadrireme
- radio
- (and 1 more)
-
I think the manual is online so you can use your smartphone to look it up
- 536 replies
-
- 2
-
-
- Quadrireme
- radio
- (and 1 more)
-
Valeriy great to see you posting another project! I missed this one completely…. For almost a year apparently fantastic metal work as usual wonderful to watch Colin
-
Wow you even put the eyes for the storm cover ropes i did not even bother nice!
-
Well, I had a bit of a disaster when I decided to add belaying pins it seems I messed up the pintails so the belay pins hit the other rail when inserted into the holes rather than tear off the pin rails I enlarged the holes which,of course, lead to breaking the rails anyway I hacked it back together and hopefully won’t be too noticeable once I have shrouds, rigging loops, boats etc block8ng the view I also bought belay pins and they were too fat so I sanded them all down using my pin sander just clamp in chuck and sand away

-
Wow! looks awesome very well done thanks for the “upgrade” comment, by the way
-
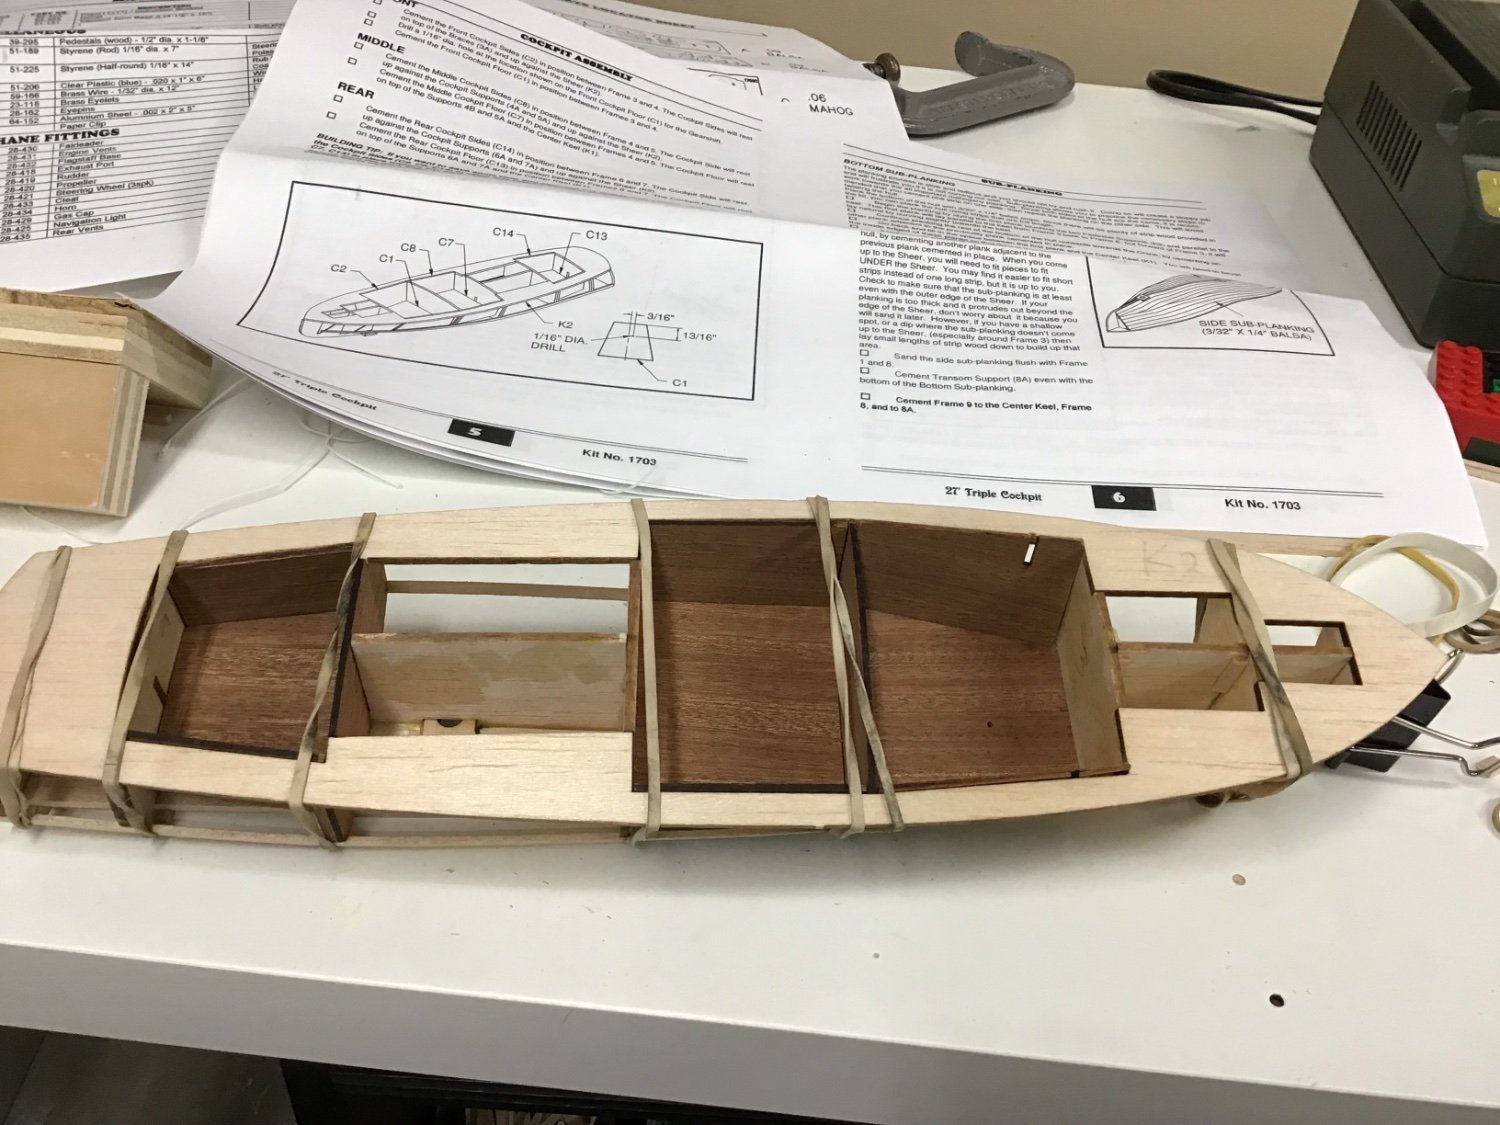
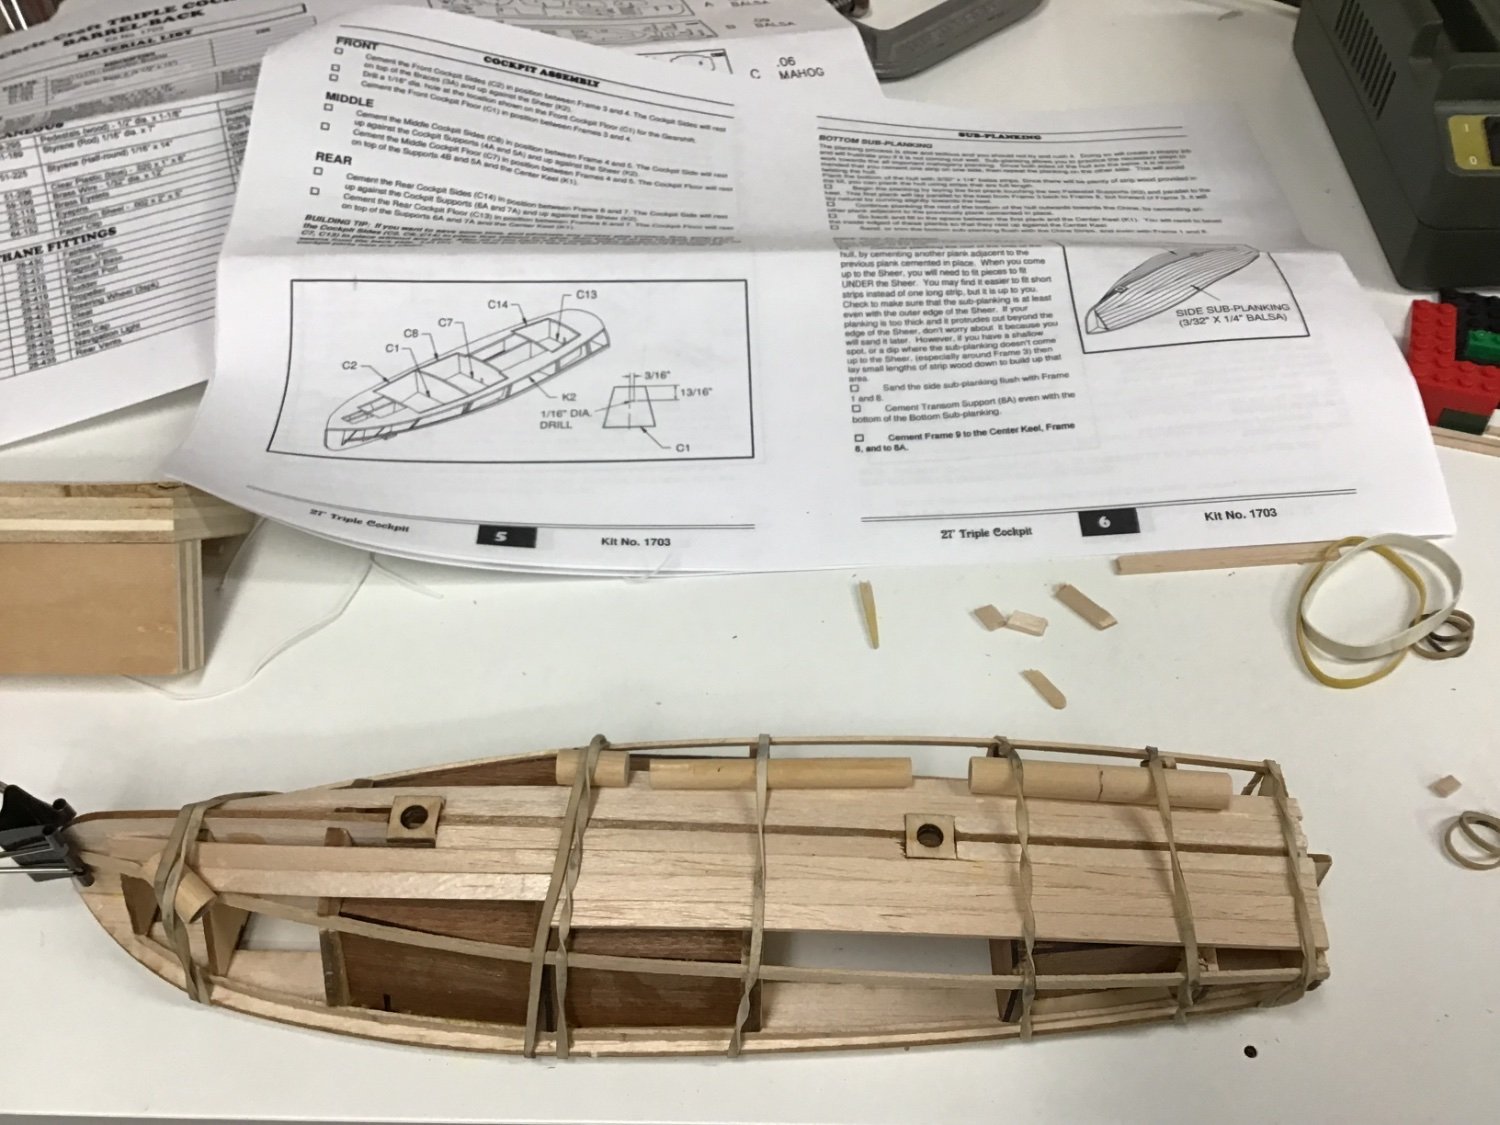
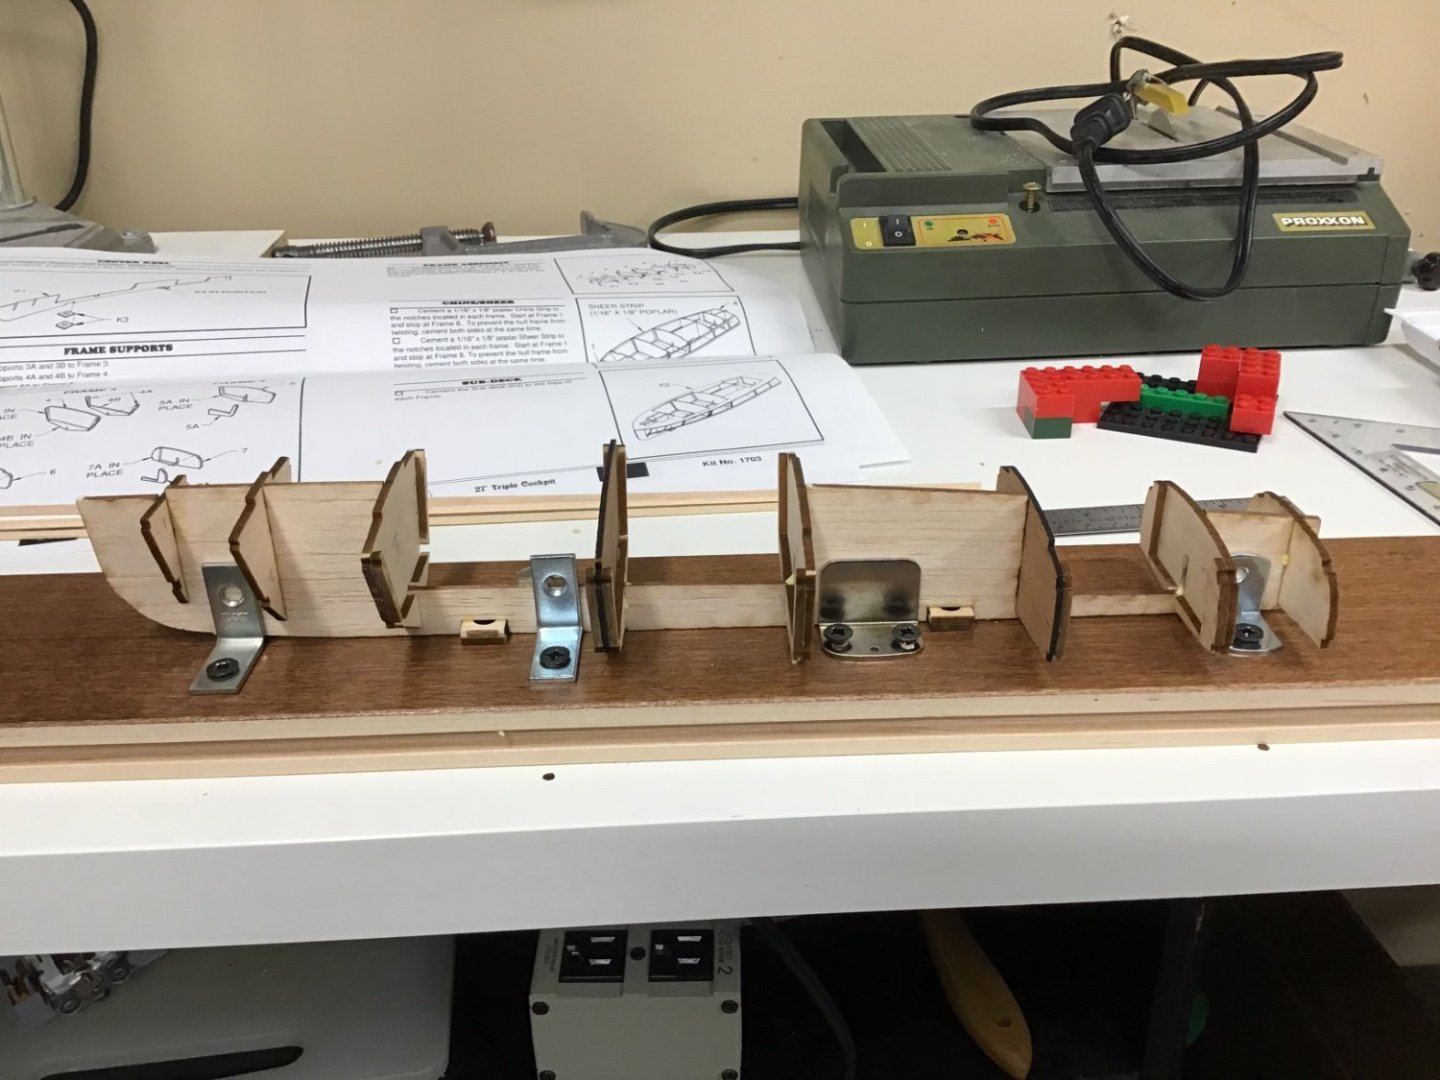
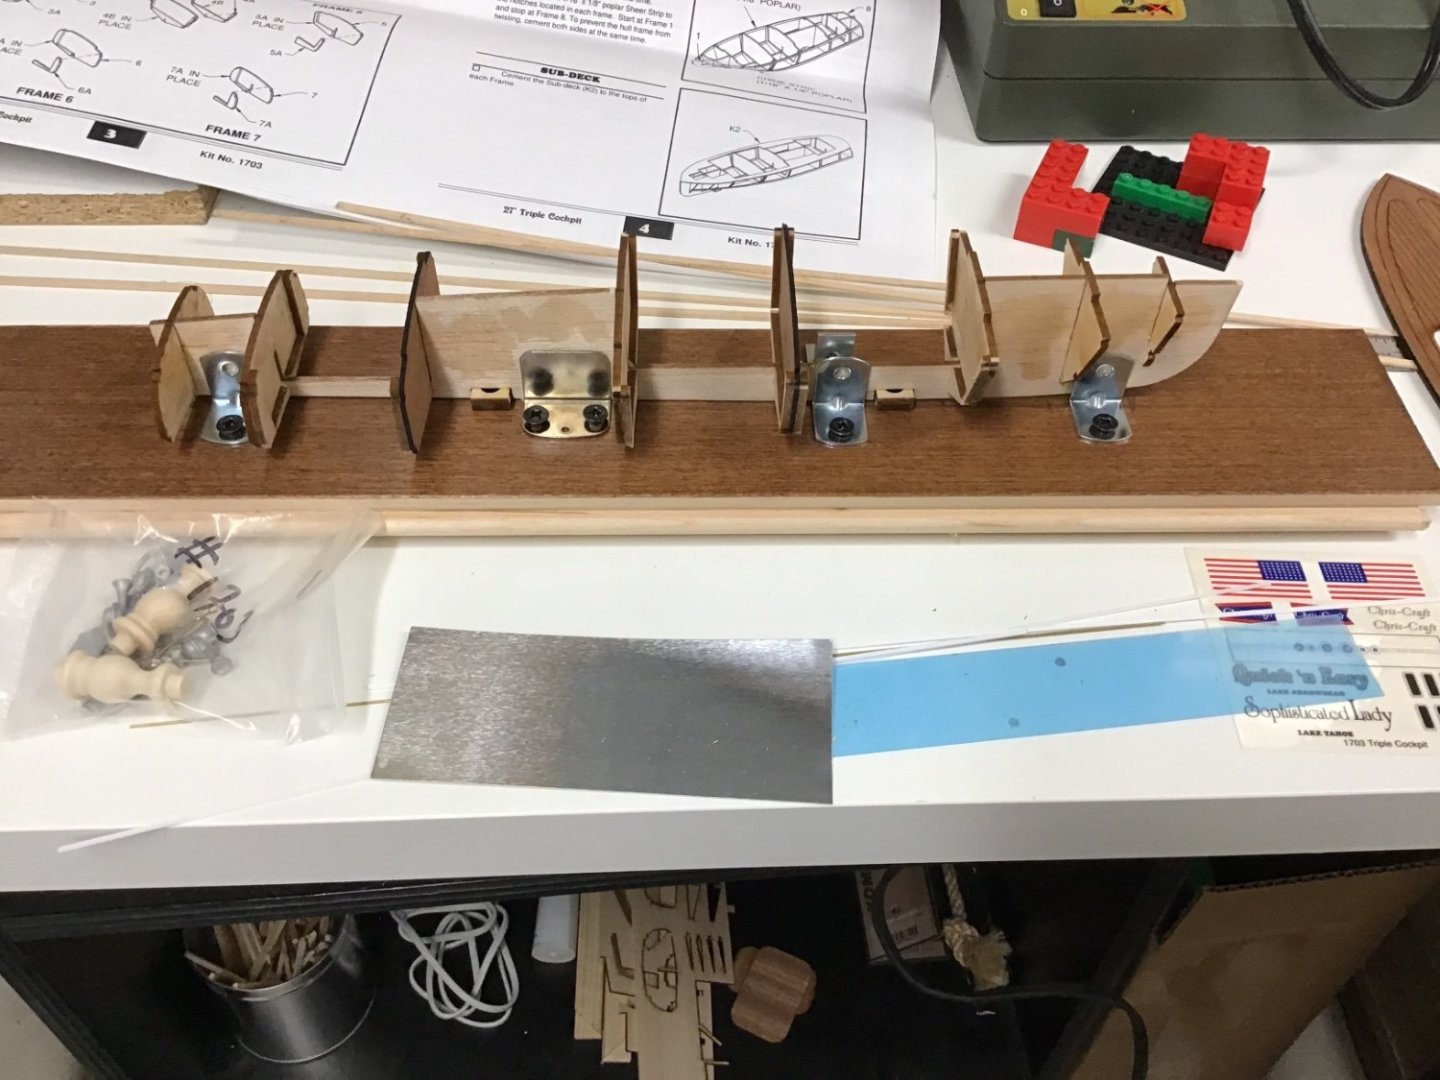
Another update i added the mahogany walls to three cockpit areas started sub planking with balsa you need to be careful with finger nails to not damage this soft wood also imagination required to clamp it in place


- 10 replies
-
- 5
-
-
- Dumas
- Chris-Craft
- (and 1 more)
-
I am definitely going to use that jig idea on my Morgan thanks!
- 587 replies
-
- 3
-
-
- Indefatigable
- Vanguard Models
- (and 1 more)
-
Wow! that,s amazing at that scale i used piano wire for the bars and sandwiched them between two layers of wood well done!
-
I can’t believe you still have the box for Lumba Lumba i had forgotten about the cabin cruiser i have the cheap Proxon, no tilt, no height adjust should have gotten better saw
- 10 replies
-
- 1
-
-
- Dumas
- Chris-Craft
- (and 1 more)
-
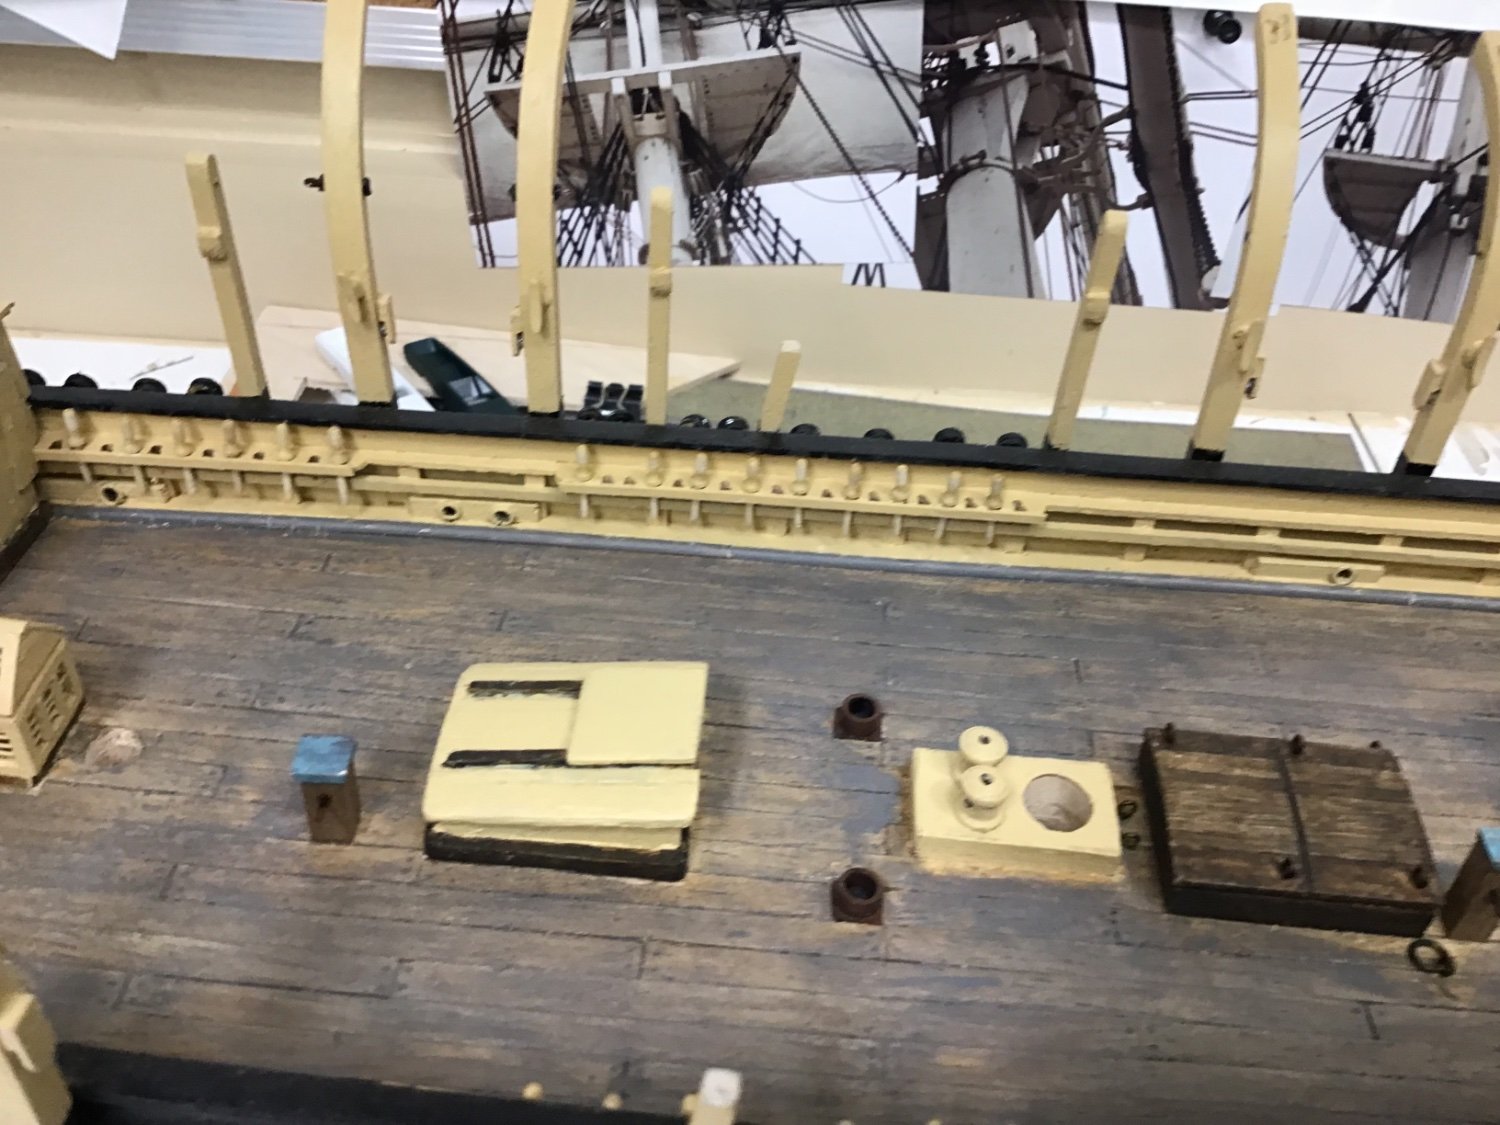
The tryworks looks great! I ordered tiny bricks from Etsy and glued them on one at a time the sheet looks like a bette4 idea i also had a tough time with the skylight, ended up deciding the bars are too small at scale to get 9 of them on a panel i also omitted glass since the scale is small looking forward to see your skylight PS I like the hul planking, the planks in my kit were way too wide but only realized it afterwards great job so far
-
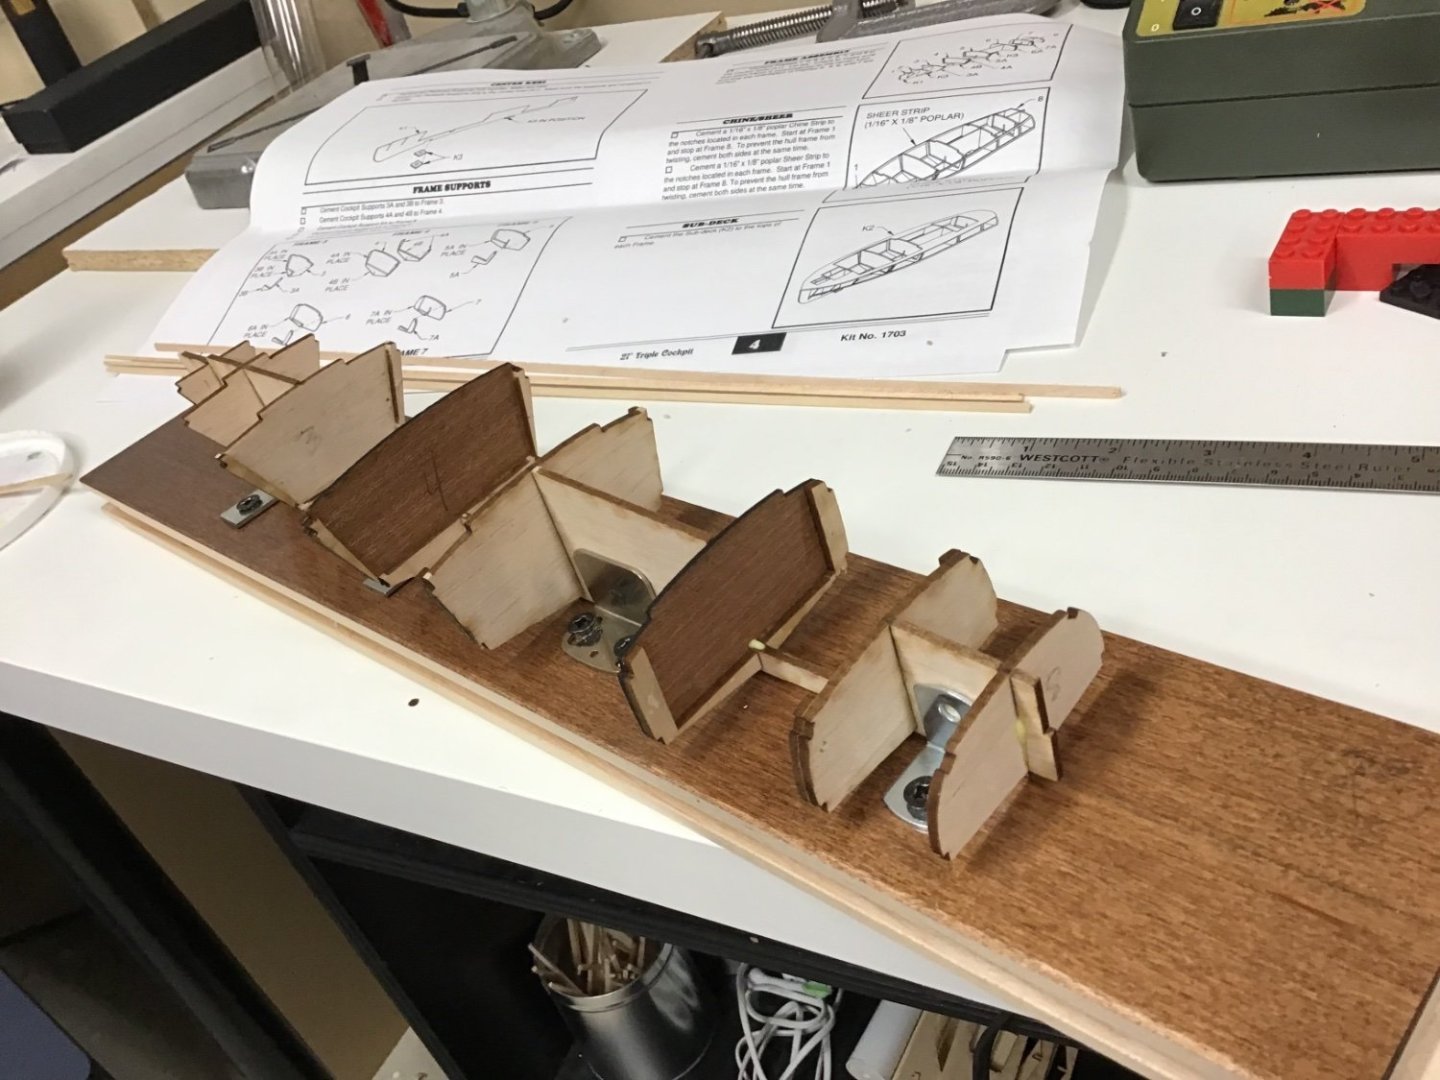
One more step complete with more string, I attached the sheer pieces quite a twist in these, soaked them first on to the false deck then I can pull it off the stand and start the balsa planking
- 10 replies
-
- 5
-
-
- Dumas
- Chris-Craft
- (and 1 more)
-
Installed the chines used elaborate string work to hold them in place the balsa is too flimsy to clamp, basically turns to mush onward and upward to the sheers those will require soaking and bending at the severe twist in the stern, barrelback section
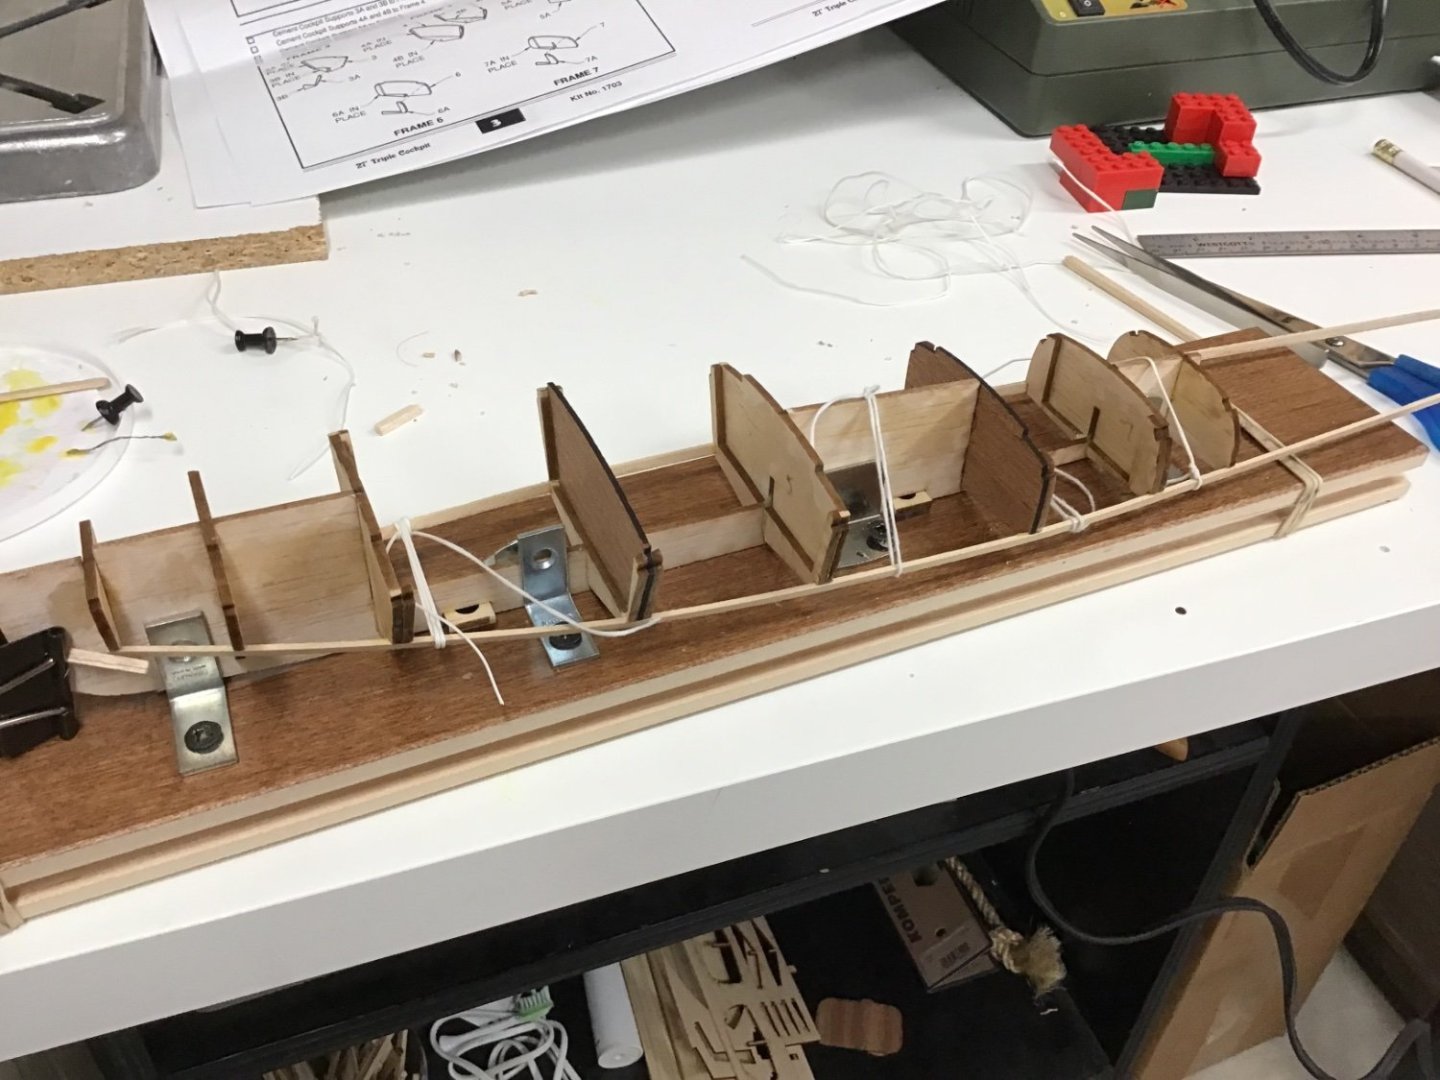
- 10 replies
-
- 3
-
-
- Dumas
- Chris-Craft
- (and 1 more)
-
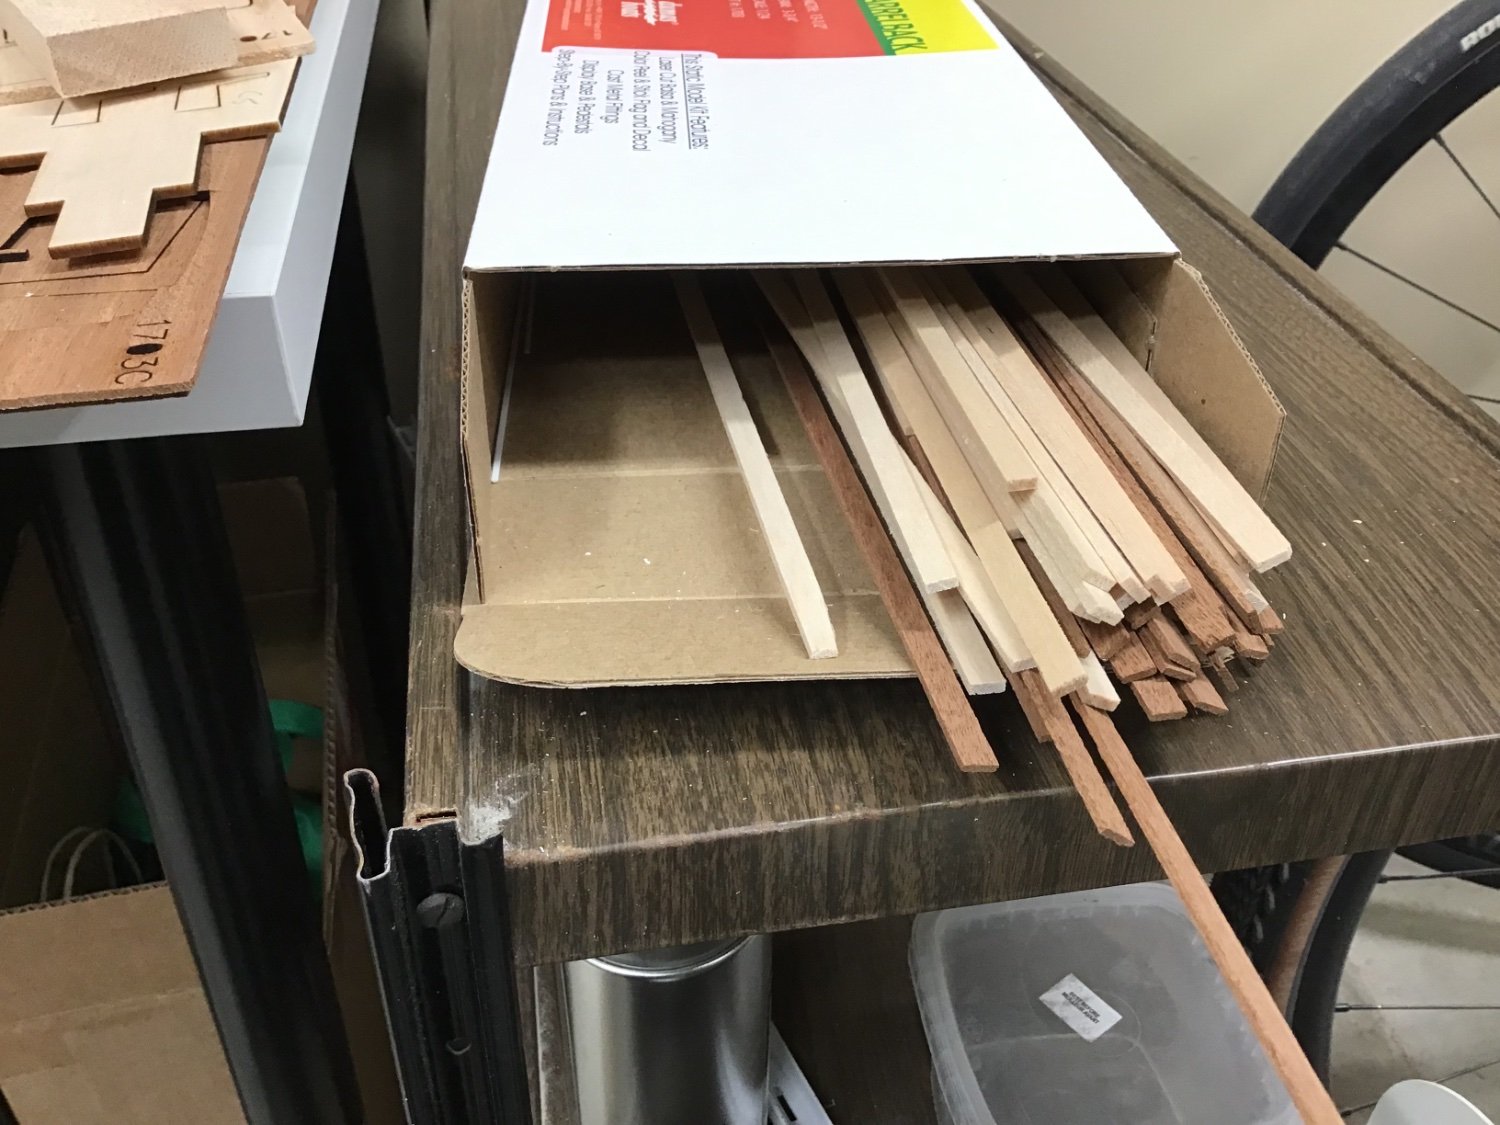
Here is kit pieces and the frame I already assembled kit has lots of planking and bag of resin parts like horns, prop, wheel etc also decals , I think I will see if I can make some of the details like step areas instead of a decal
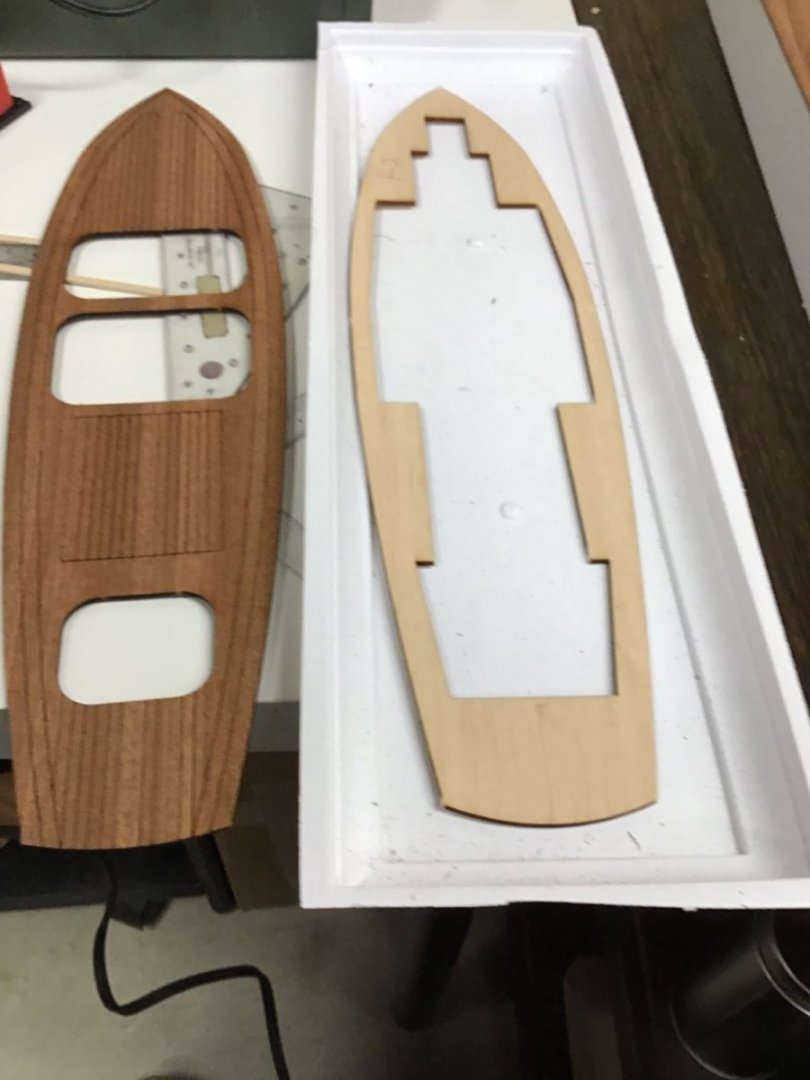

- 10 replies
-
- 3
-
-
- Dumas
- Chris-Craft
- (and 1 more)
-
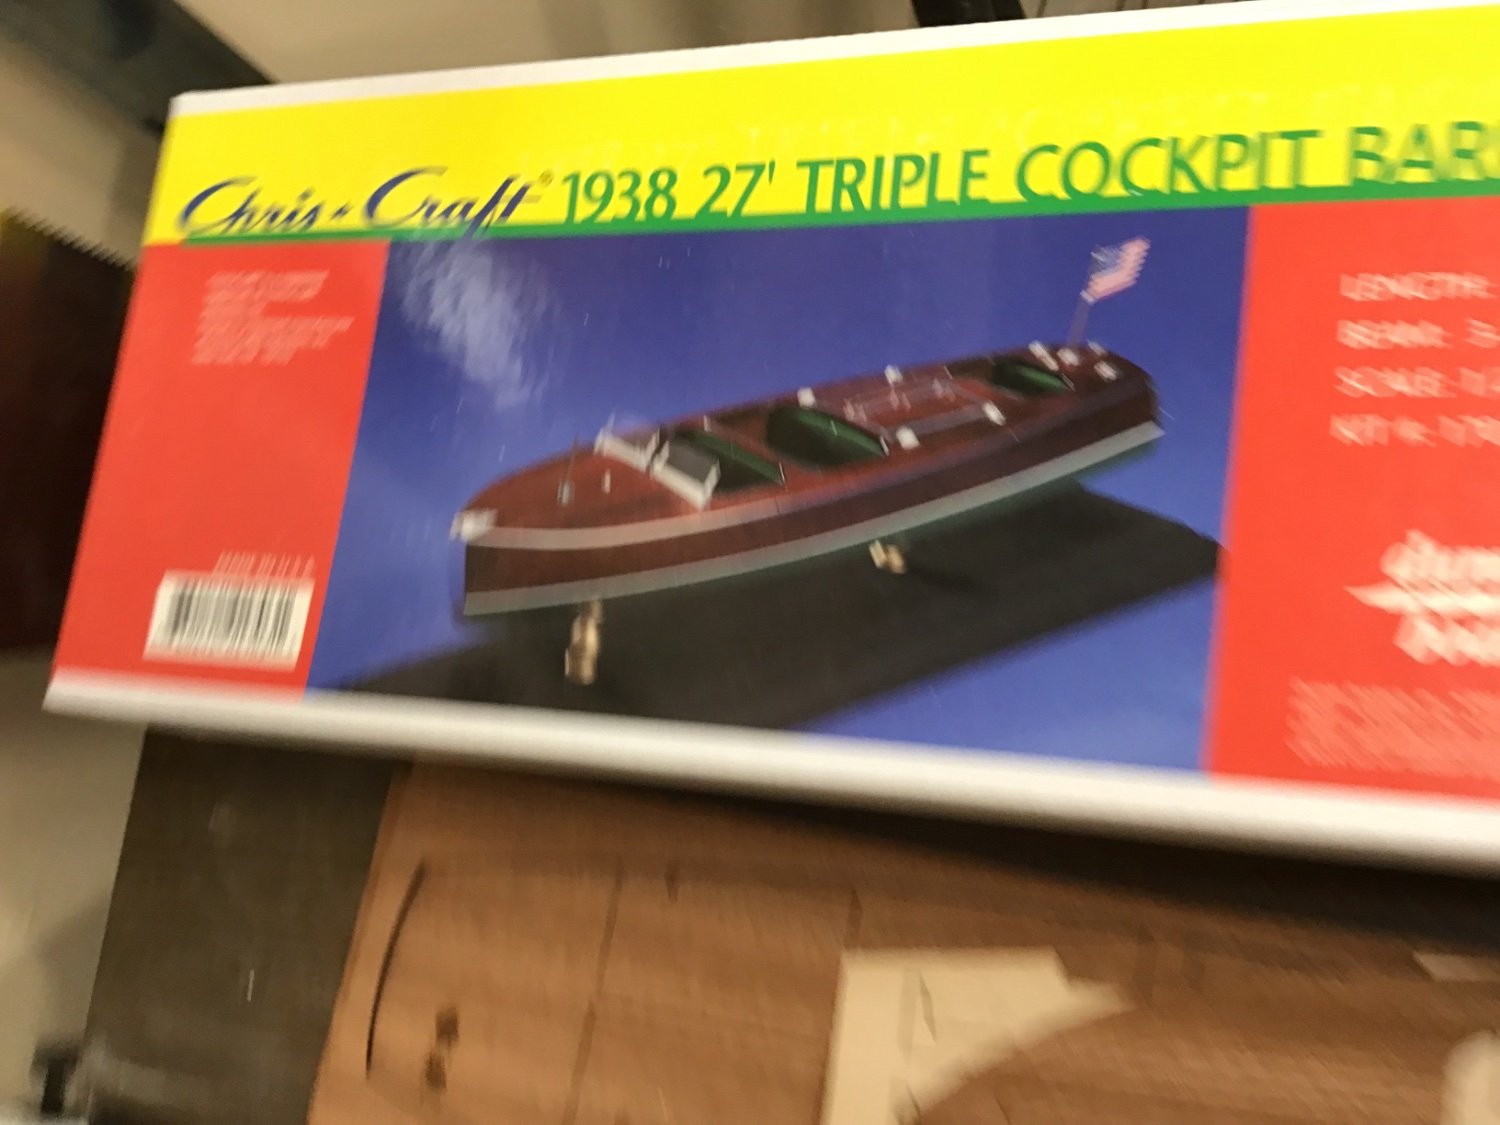
I decided to start my Chris Craft kit to take a break from the Morgan this is a Dumas kit that ends up just over 13 inches on inspection seems the frame and first plank layer is balsa wood, will see how that goes

- 10 replies
-
- 2
-
-
- Dumas
- Chris-Craft
- (and 1 more)
-
Minor update finished forechains: I may add the extra link at the base of chain shown here I imagine this is extra strength on forechains to accommodate the bowsprit jib sails extra pull
-
I thought the green on copper is due to exposure to air looks great by the way
- 536 replies
-
- 2
-
-
- Quadrireme
- radio
- (and 1 more)
-
HMS SUSSEX by KarenM - FINISHED - 1:48
rookie replied to KarenM's topic in - Build logs for subjects built 1501 - 1750
It’s a masterpiece ! exceptional skill -
Just catching up on this as I took the summer off very impressive! I always knew you could do this build
- 536 replies
-
- 3
-
-

-
- Quadrireme
- radio
- (and 1 more)
-
wow!! this is extremely impressive. I am amazed at the software design, I am playing around in Blender to attempt to 3D print whaleboat hulls for my Charles Morgan. I am struggling mightily... ALso love the marks for decks, wales and planking; what a great idea! Going to follow this with great interest
-
those oars look great! very fancy having the dark blade, like a high-end canoe paddle
- 536 replies
-
- 4
-
-
-
- Quadrireme
- radio
- (and 1 more)