


CaptnBirdseye
-
Posts
153 -
Joined
-
Last visited
Content Type
Profiles
Forums
Gallery
Events
Posts posted by CaptnBirdseye
-
-
I guess the mistakes are only obvious to you as you know where they are. As above, looks all good to mee too 👍
- paul carruthers and mtaylor
-
 2
2
-
WOW coming on strong! Certainly a LOT of PE but adds a lot to the overall look
- hof00, Old Collingwood, mtaylor and 2 others
-
5
-
-
Looking good so far 👍. I used some left-over Tanganyka for my deck planking. Will your stain mar the work done to simulate the caulking and treenails?
-
I Have this kit also, so i hope you won't mind if i follow along? Here's hoping the image issue gets sorted quickly
-
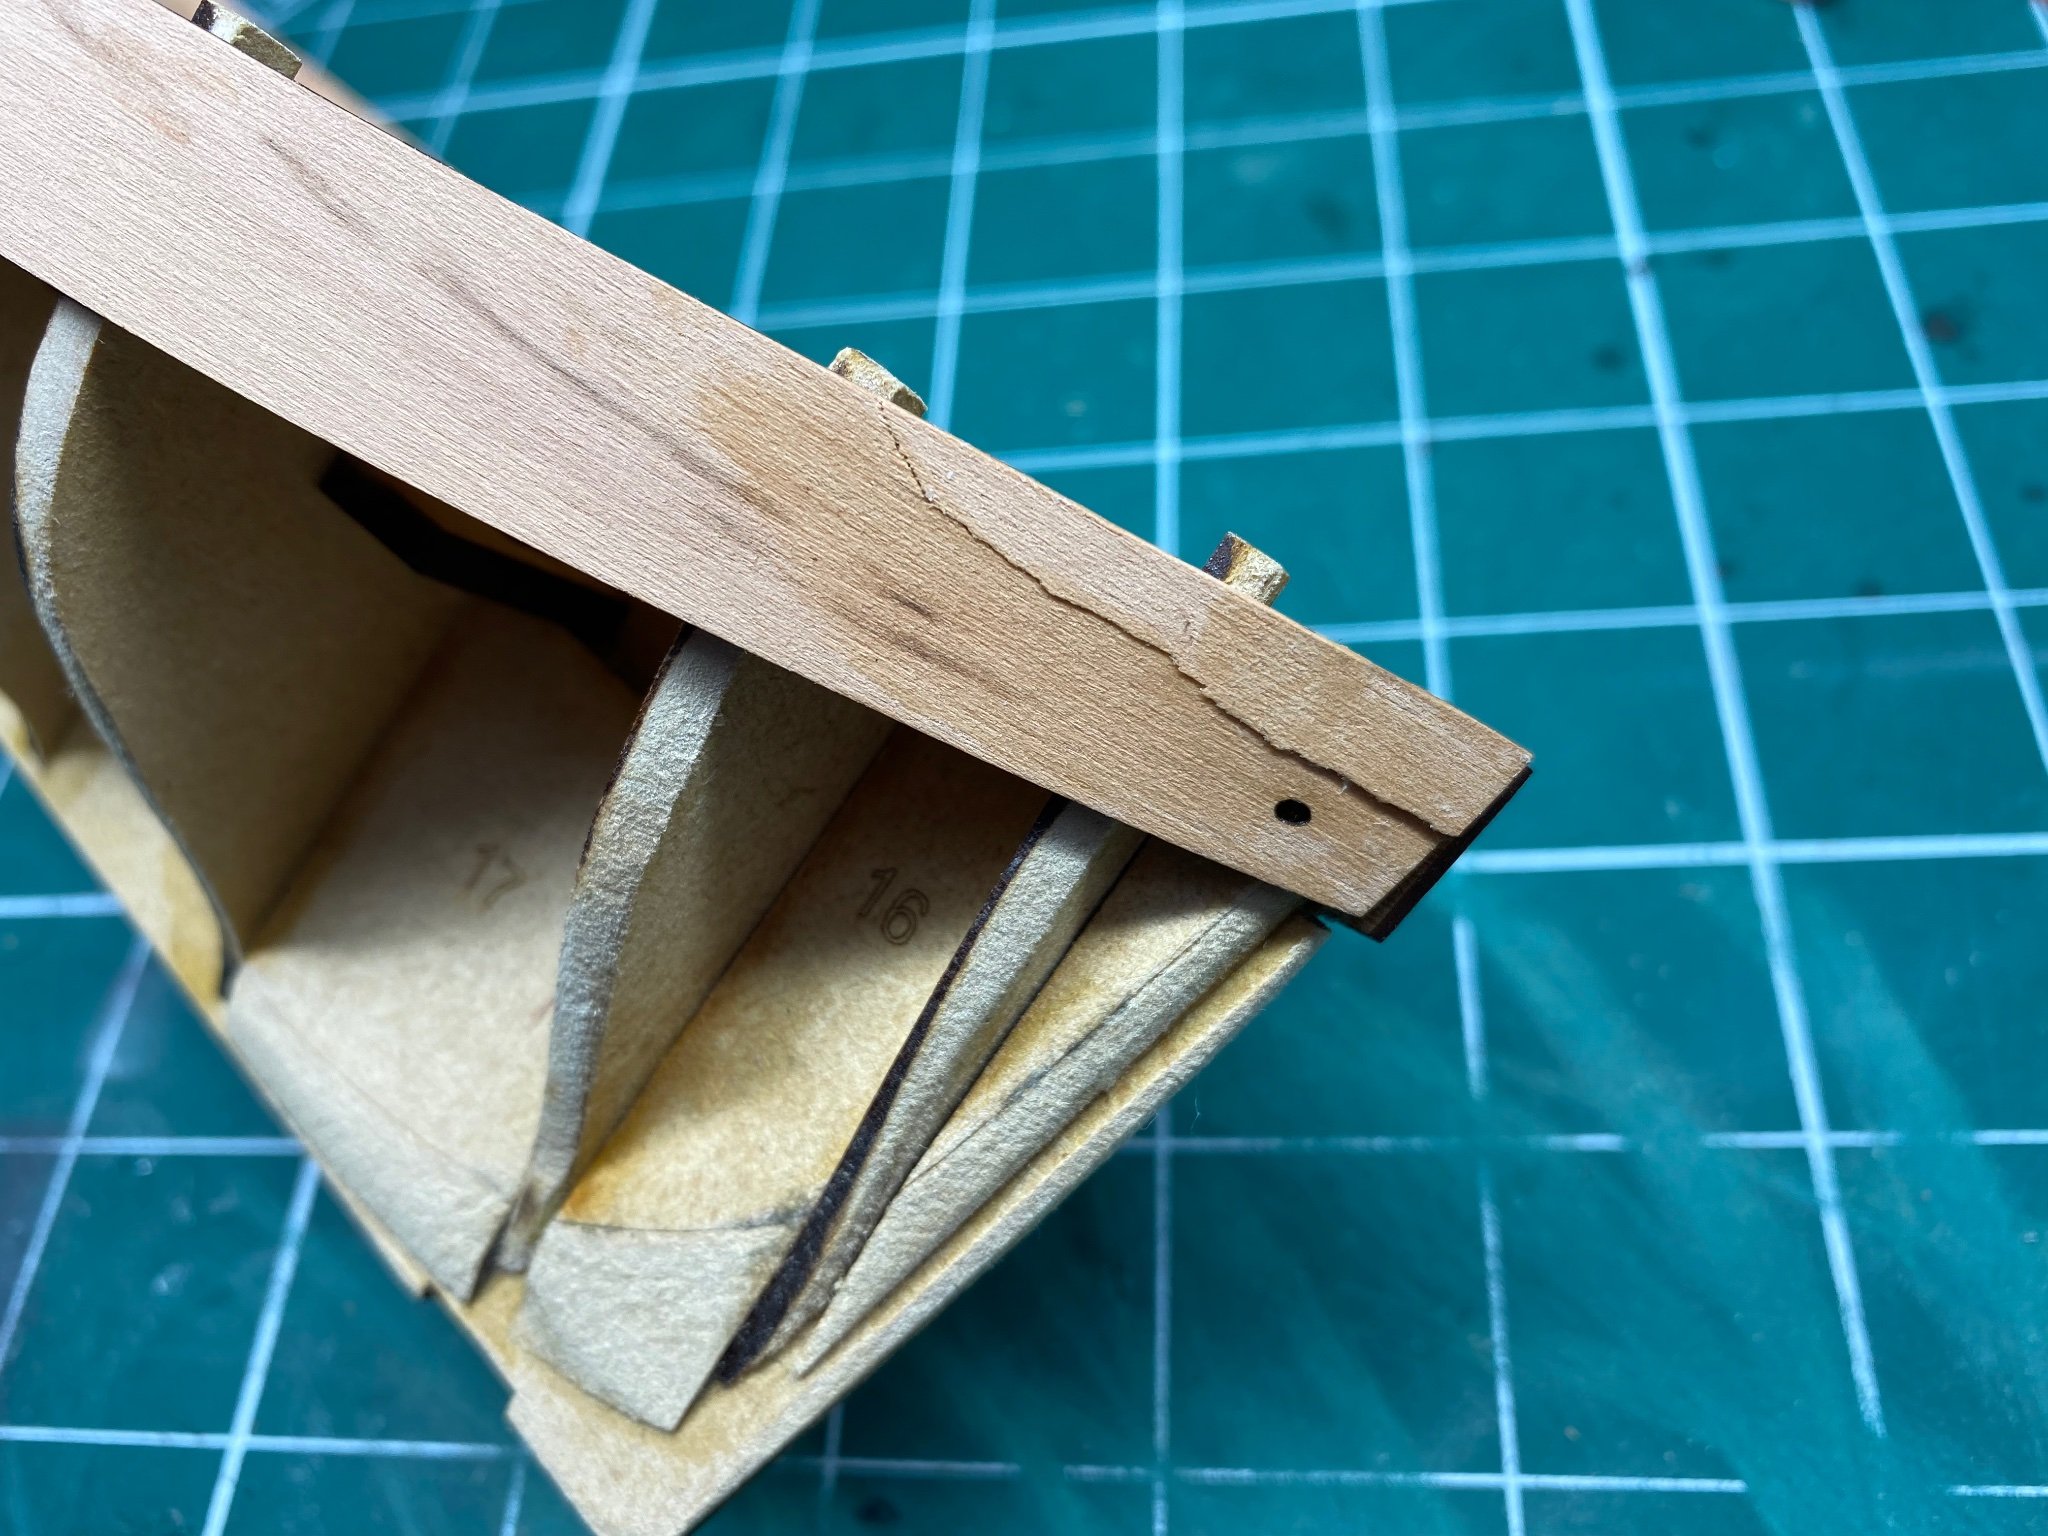
Oooouch! Mia Culpa, Mia Culpa!
I’d left the port side to dry for a good 24 hours, but when removing the clamps I clumsily caught the bulwark and split a piece off! Luckily it’s in an area that will be covered by planking on both sides, so after gluing it back in place, I will cover with watered-down adhesive. After a light sanding I’m hoping all will be good and no one can tell. Hopefully….
-
Ain’t that the truth. The problems arise when your skill set doesn’t match your abilities and aspirations (that’s me I’m afraid 🥺).
-
-
Thanks Bob, I enjoy that side of our hobby too 😁
-
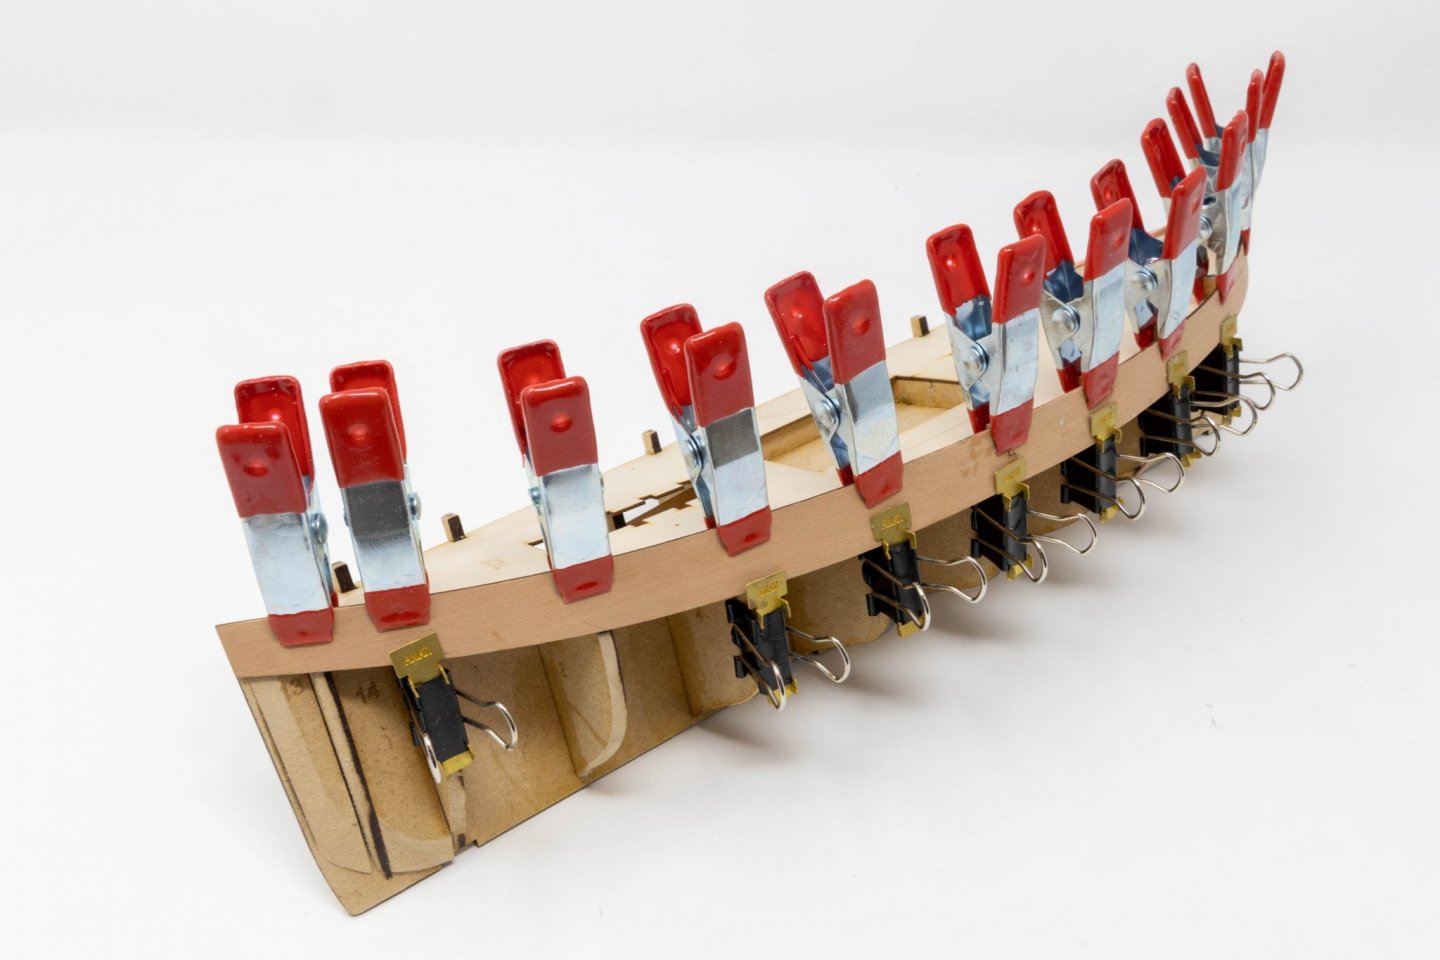
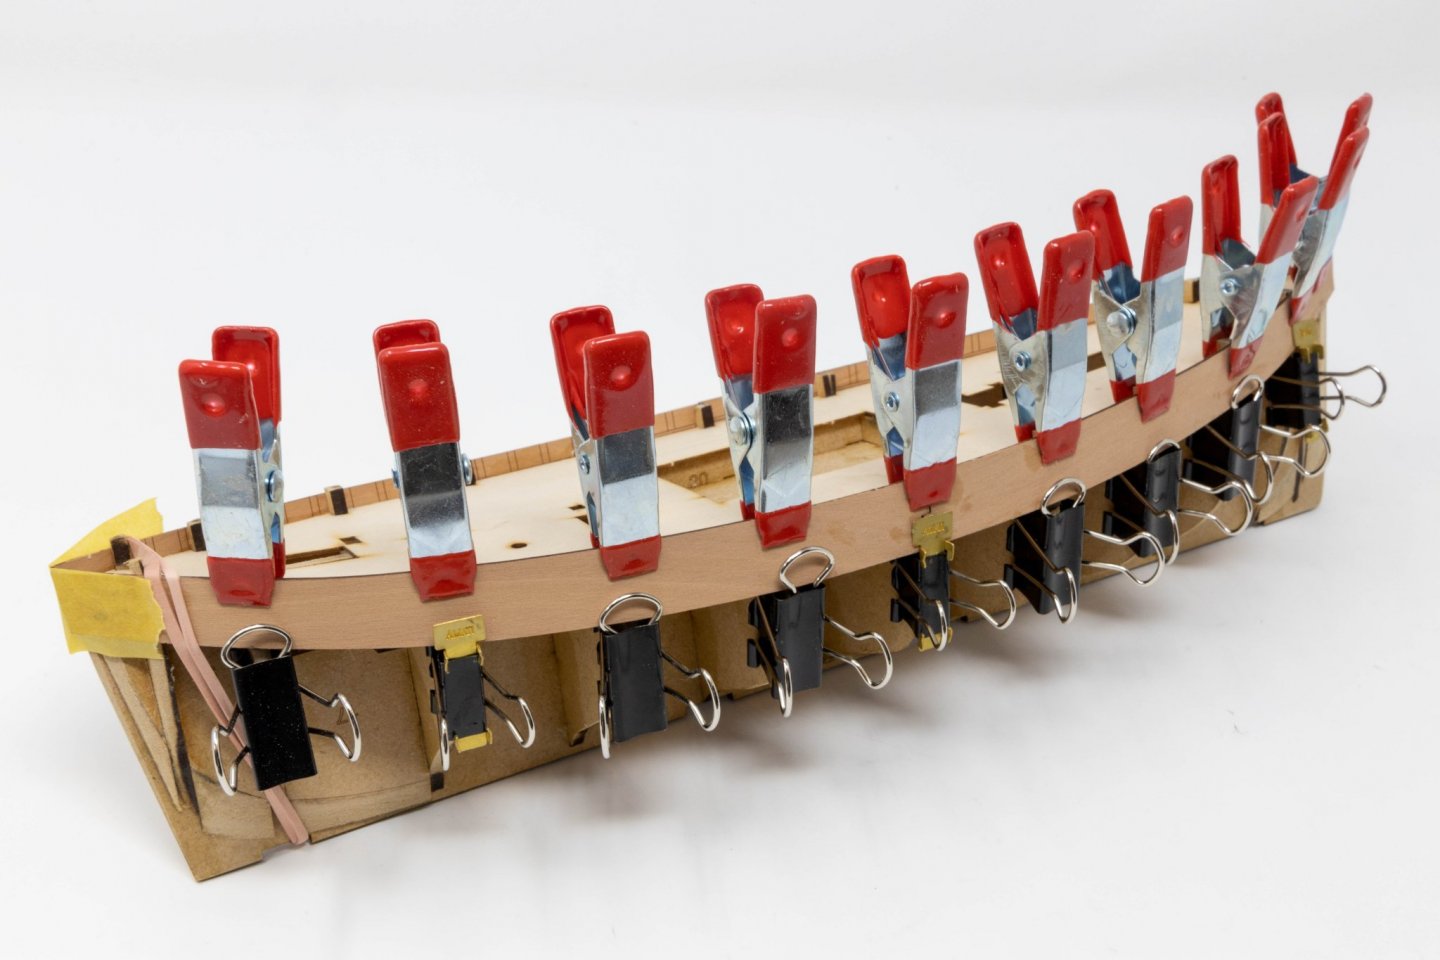
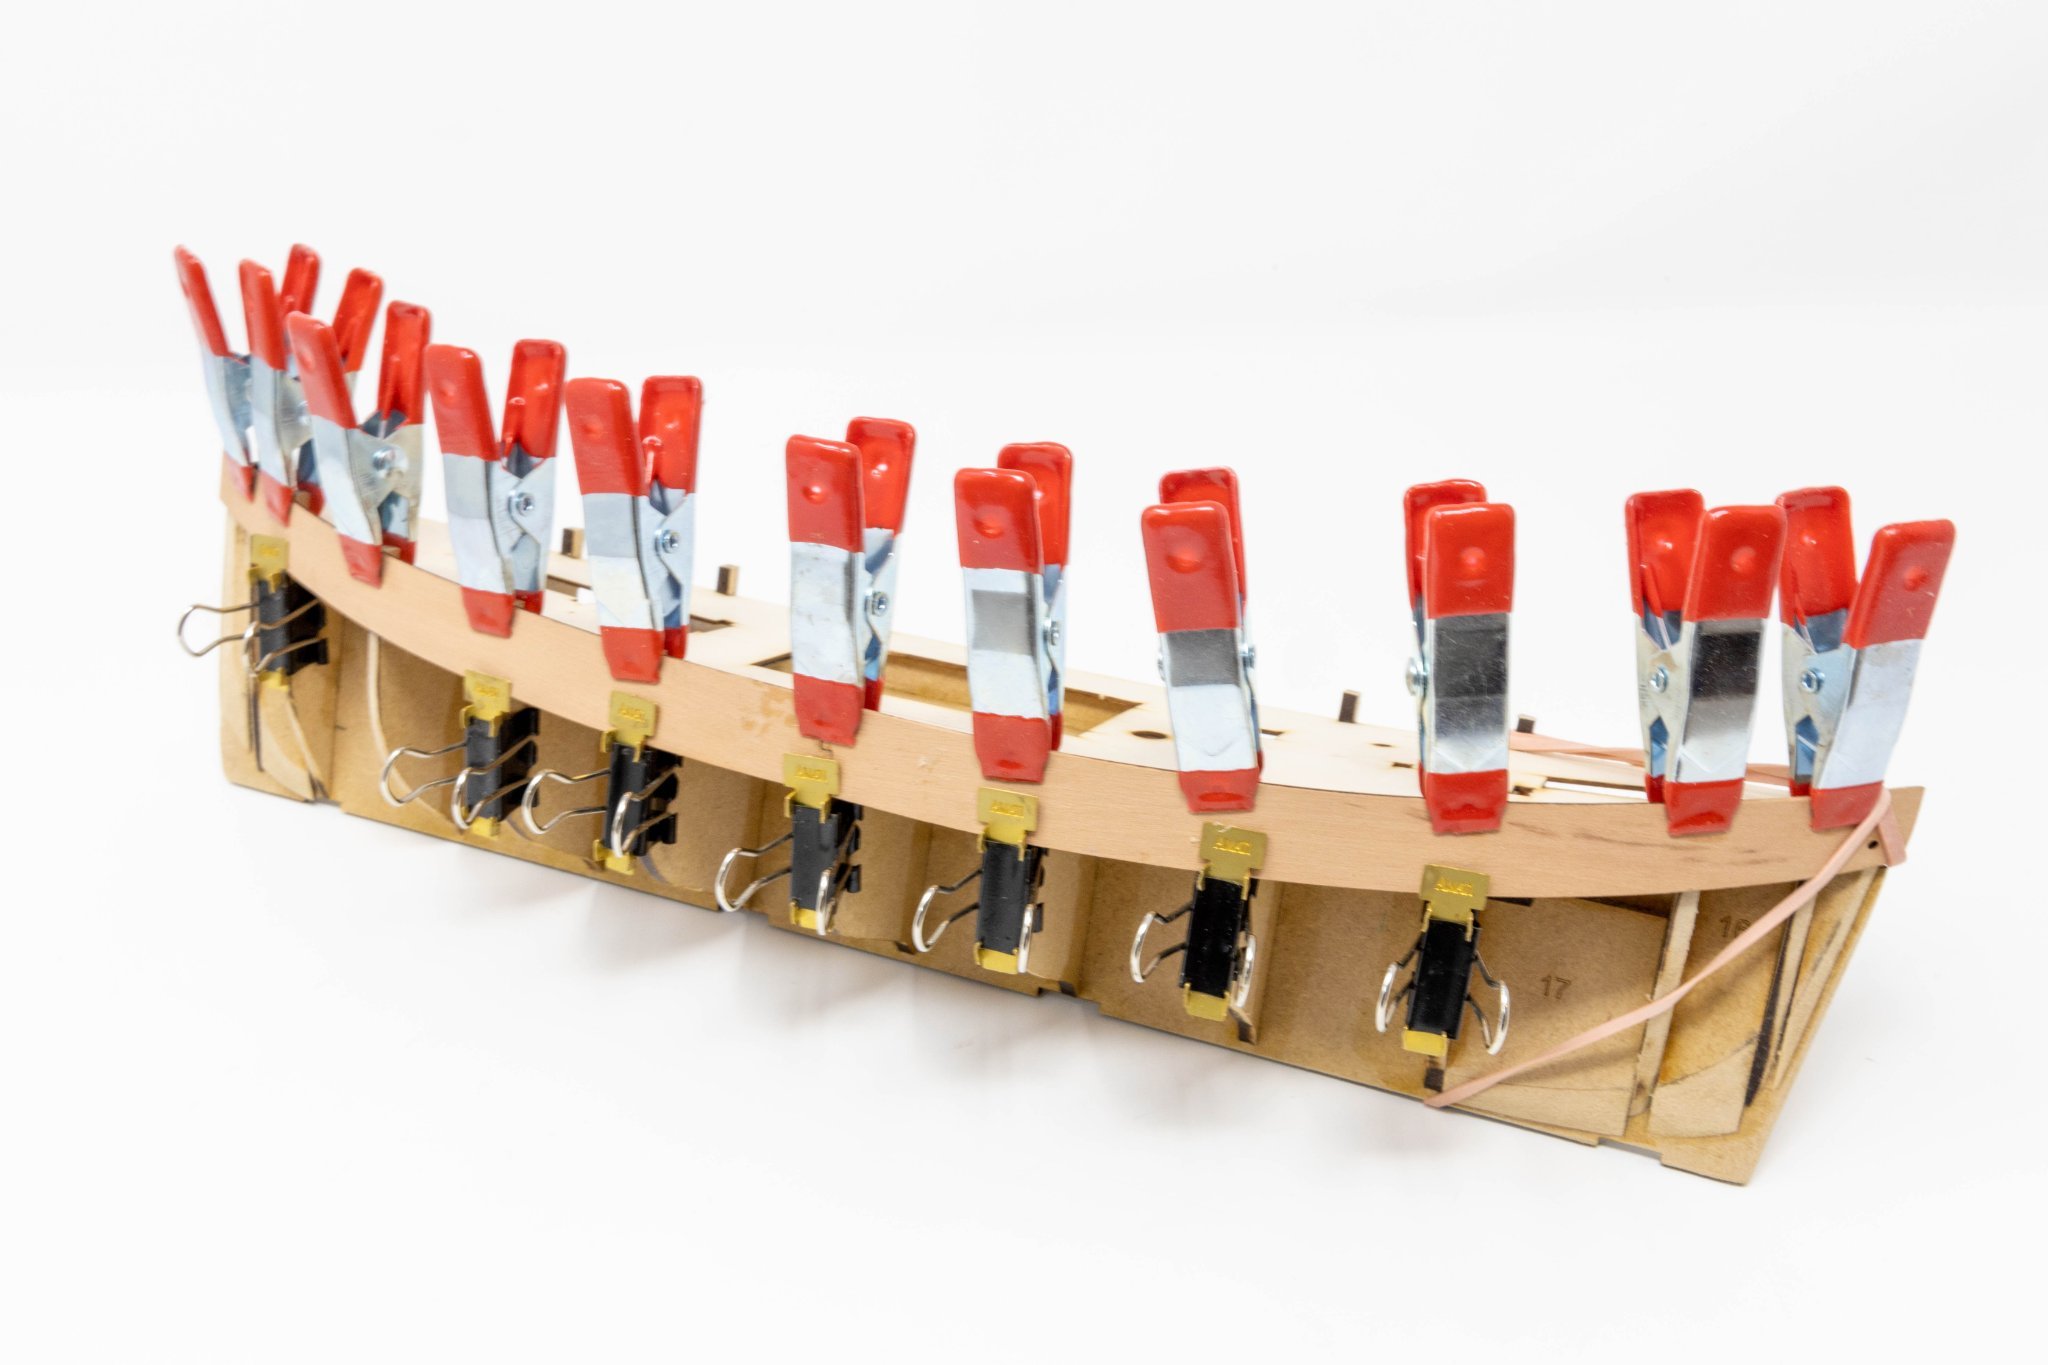
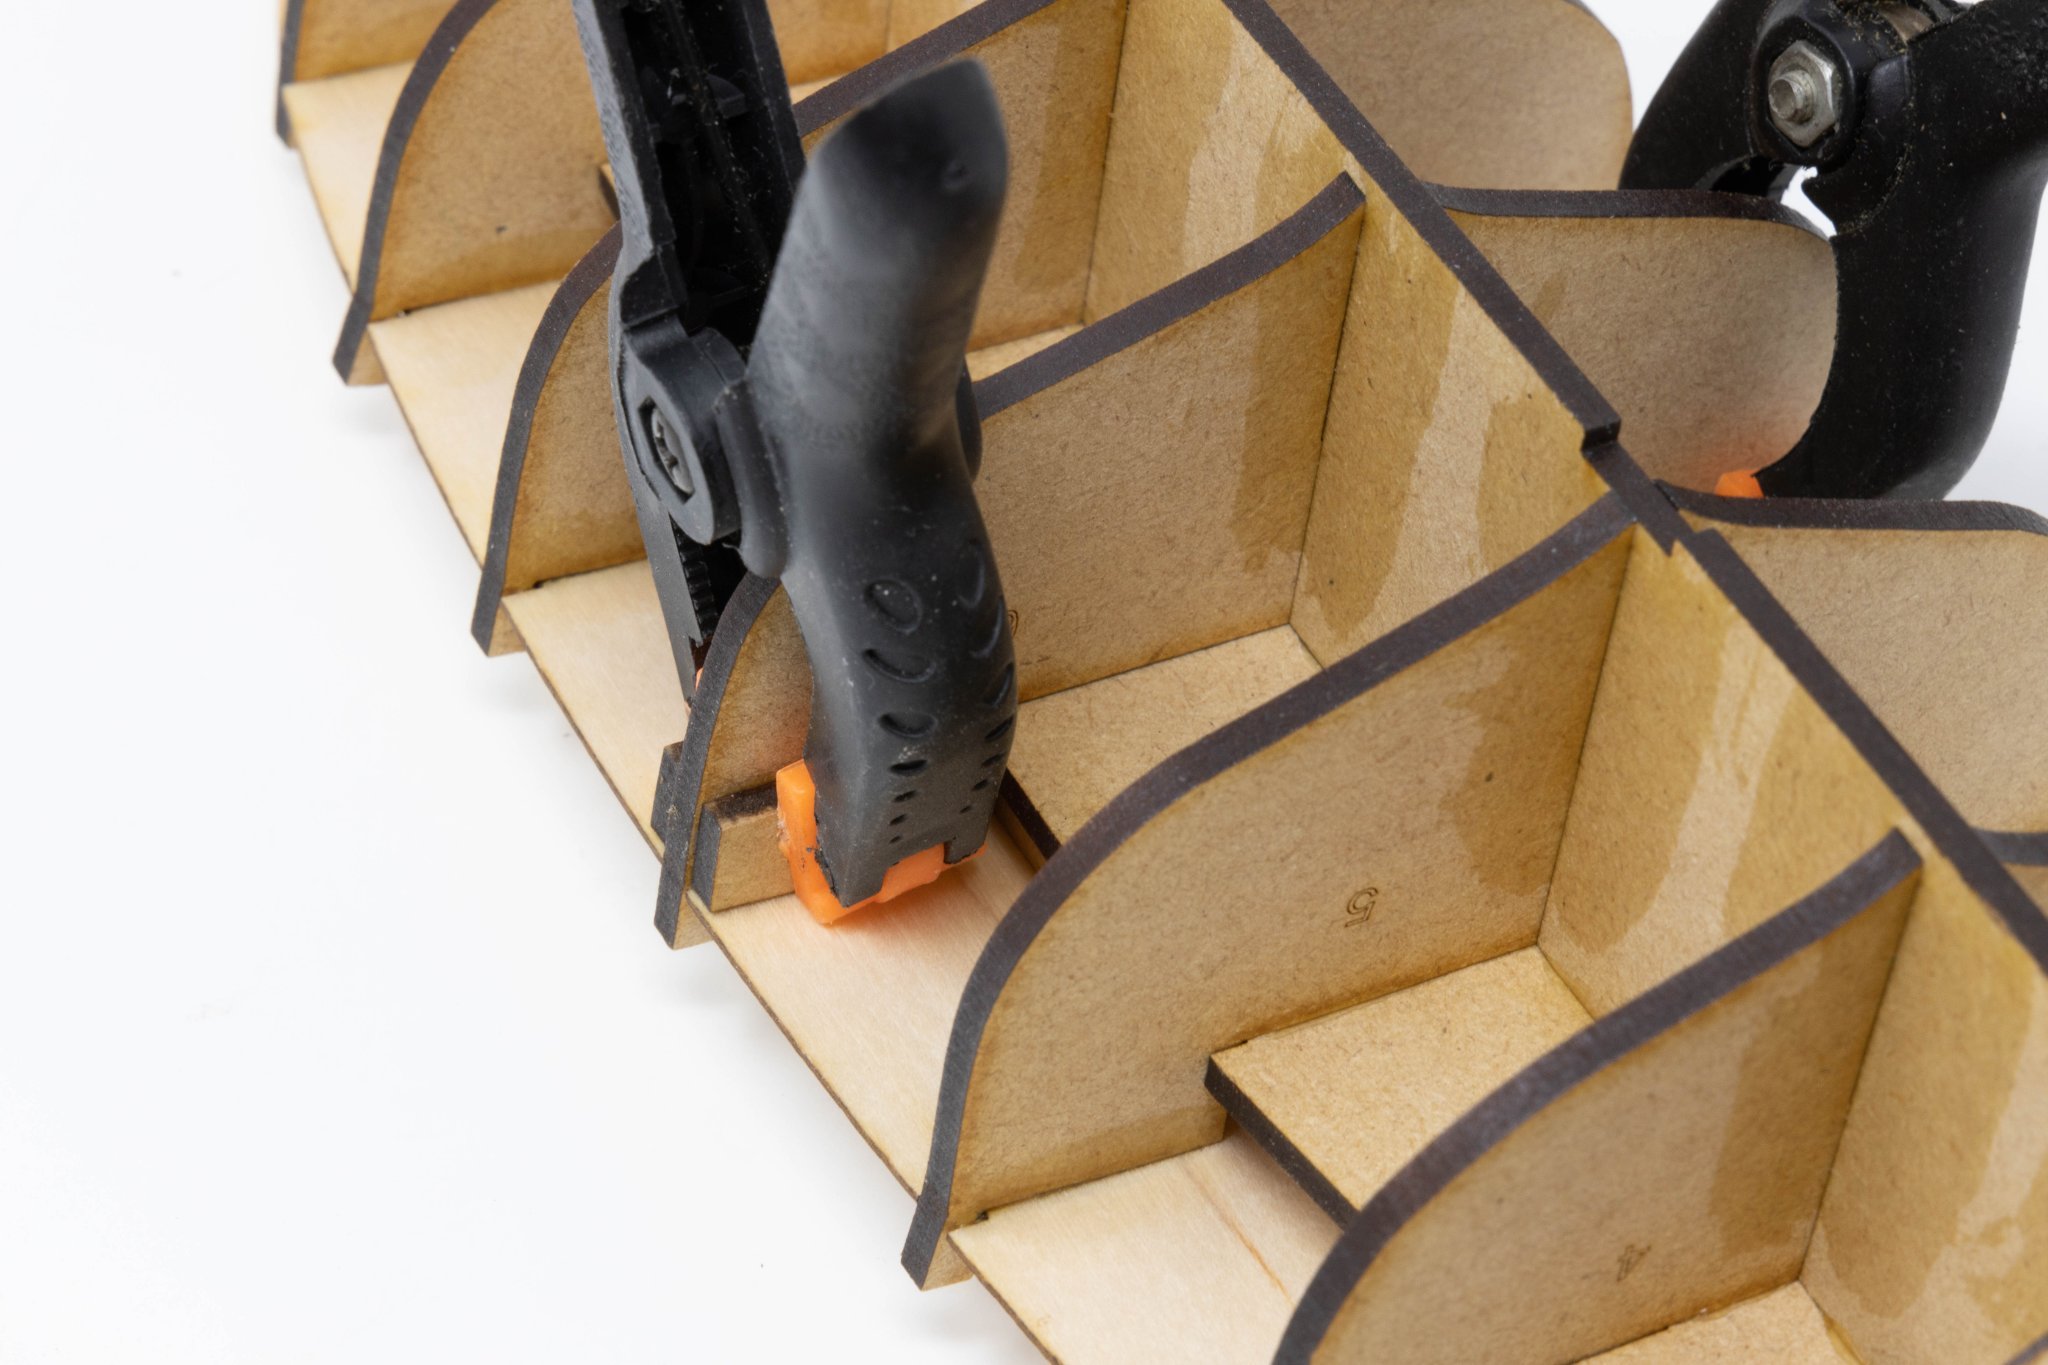
Pressing on with the build, i left the damp bulwarks clamped in place overnight to form properly. The next job, which i found harder than expected was to glue these in place. The problem arose because here i could have done with two pairs of hands!
Even tough the bulwarks have lines on them to aid horizontal placement, i just couldn't get them to align at every bulkhead. In the end, i decided i was overthinking this, as the bulwark tops are sanded level in a later stage.
Overall I am very pleased with the progress so far 👍


- JpR62, Andyrew, chris watton and 3 others
-
6
-
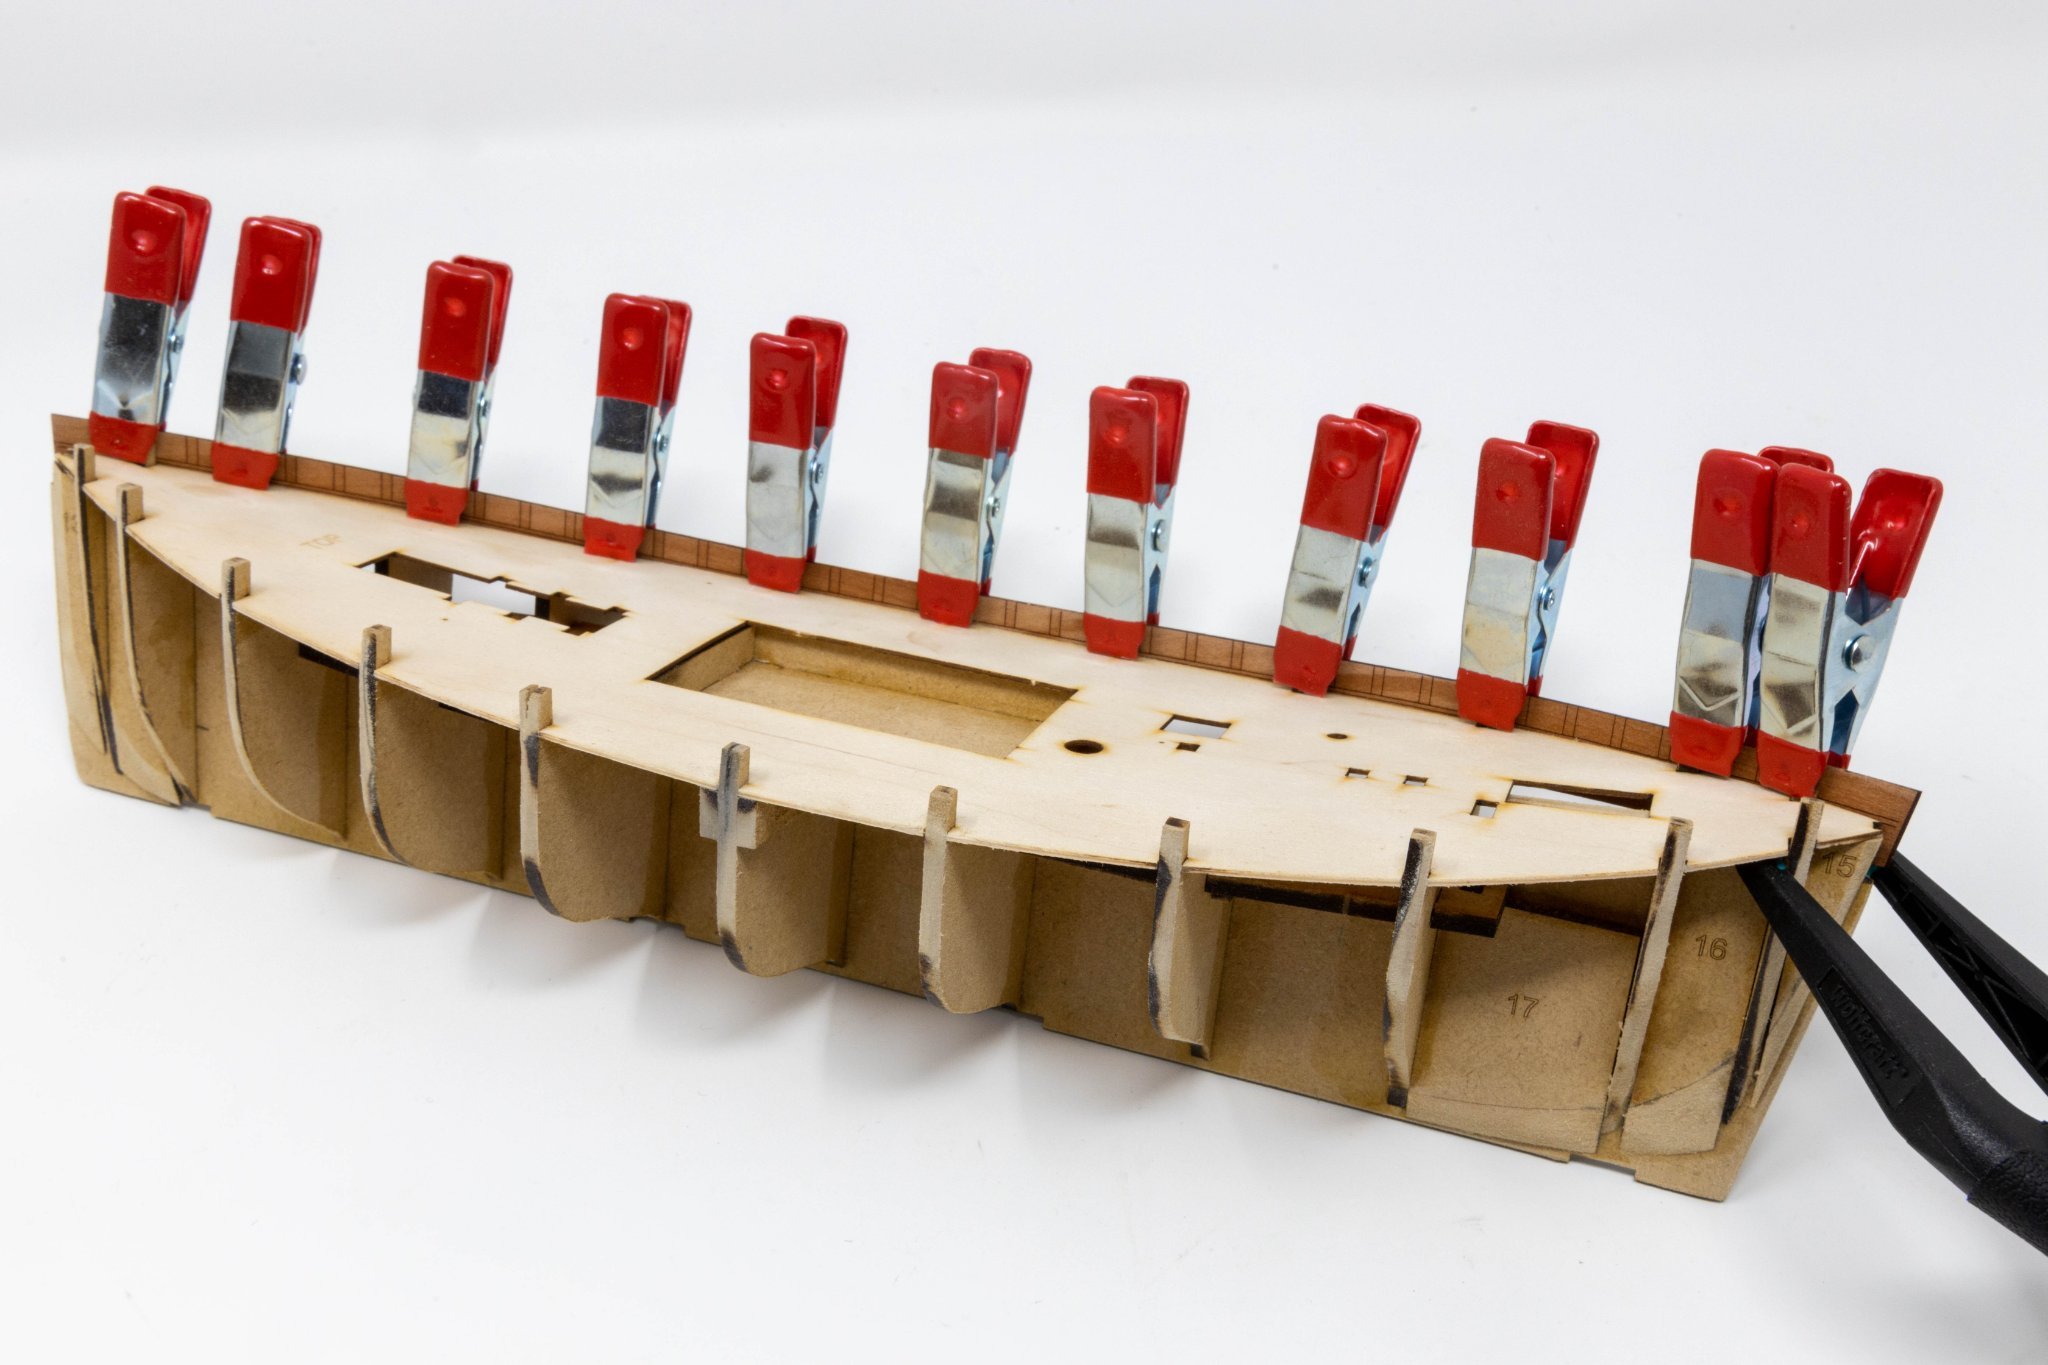
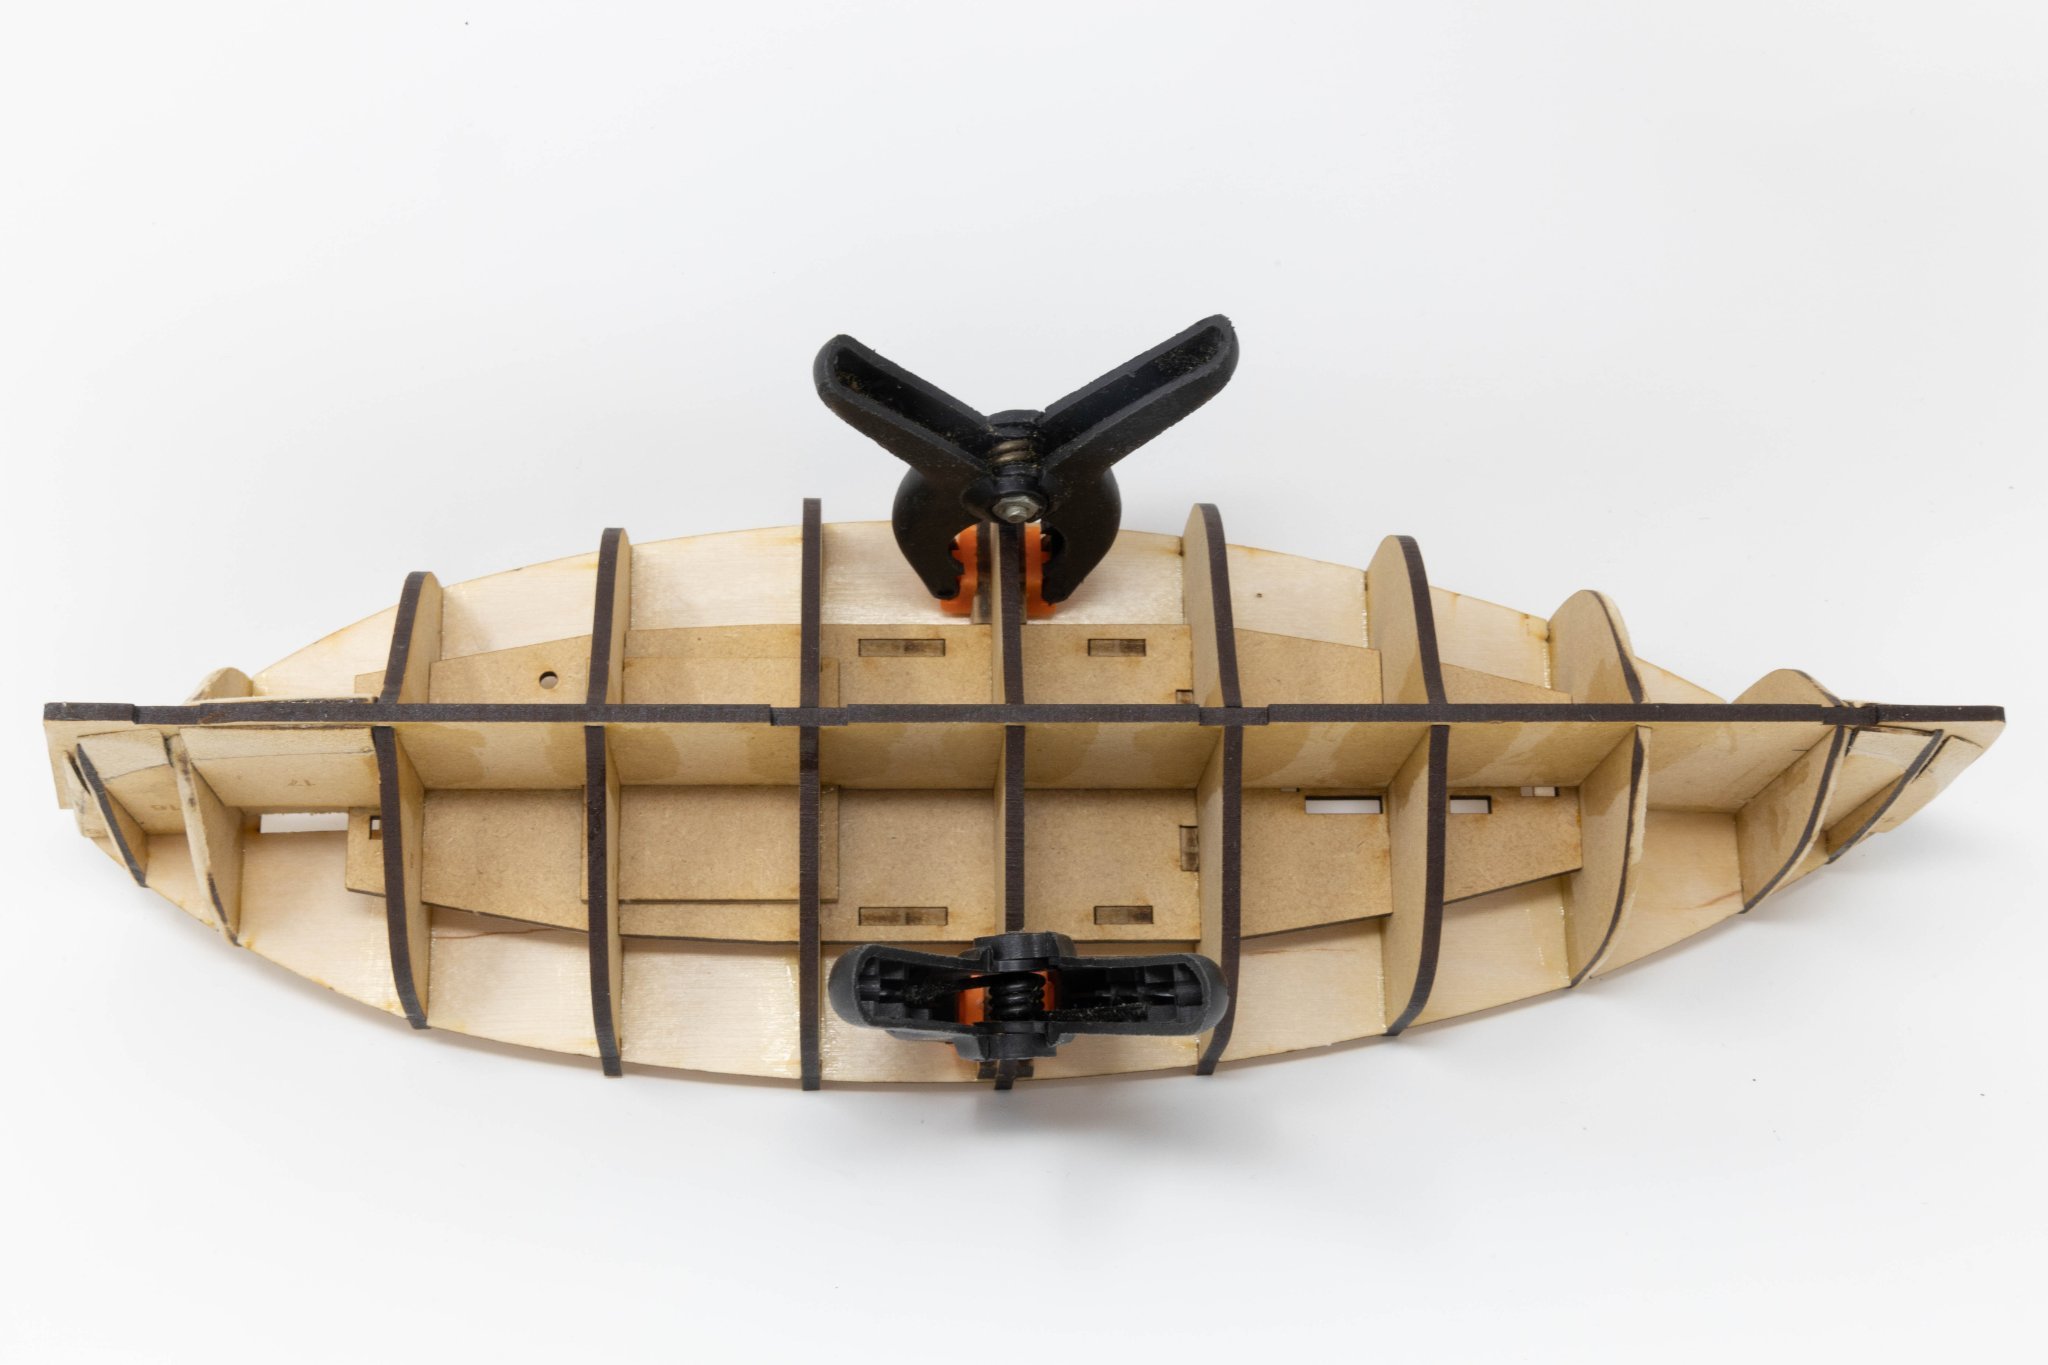
Er...looks like i may need that help sooner rather than later!
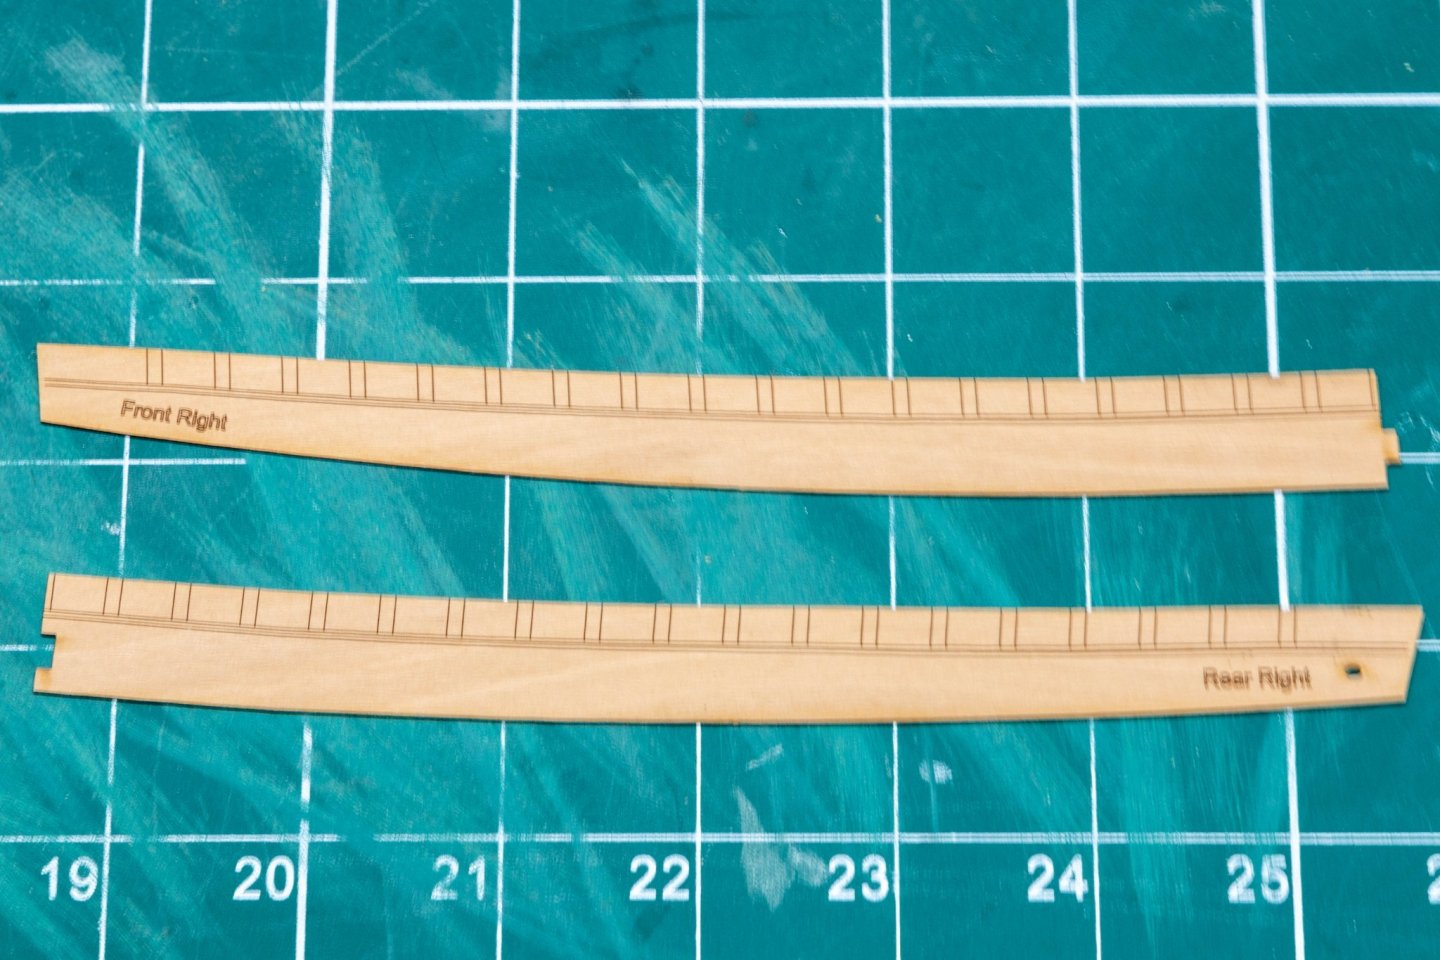
I've given the bulkheads another quick sanding to make sure the bulwarks sit flush, and marked the meridian on the middle post.
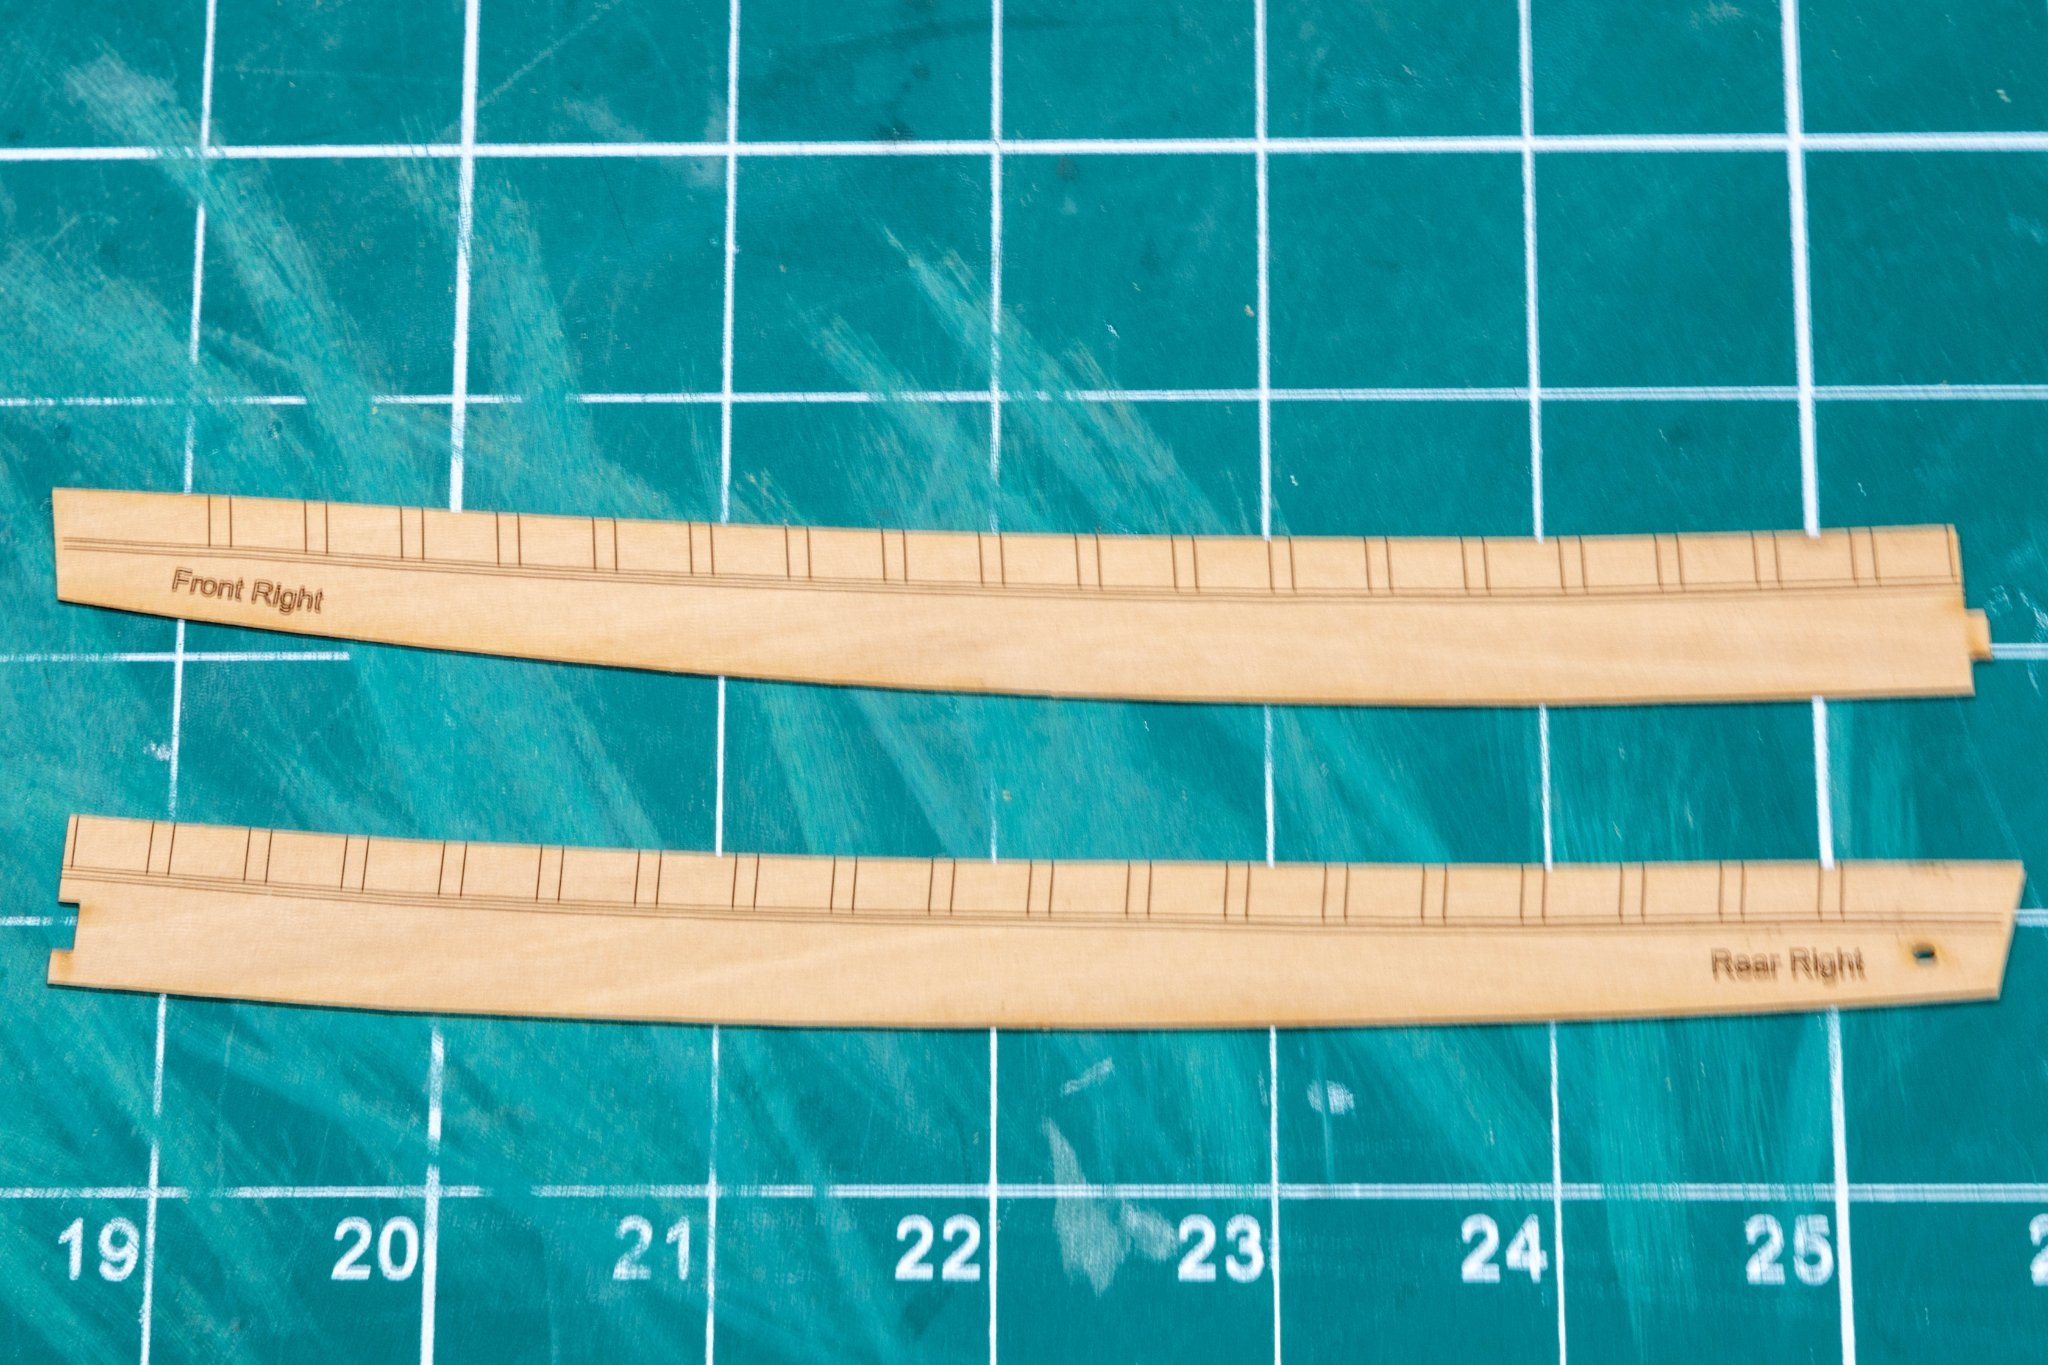
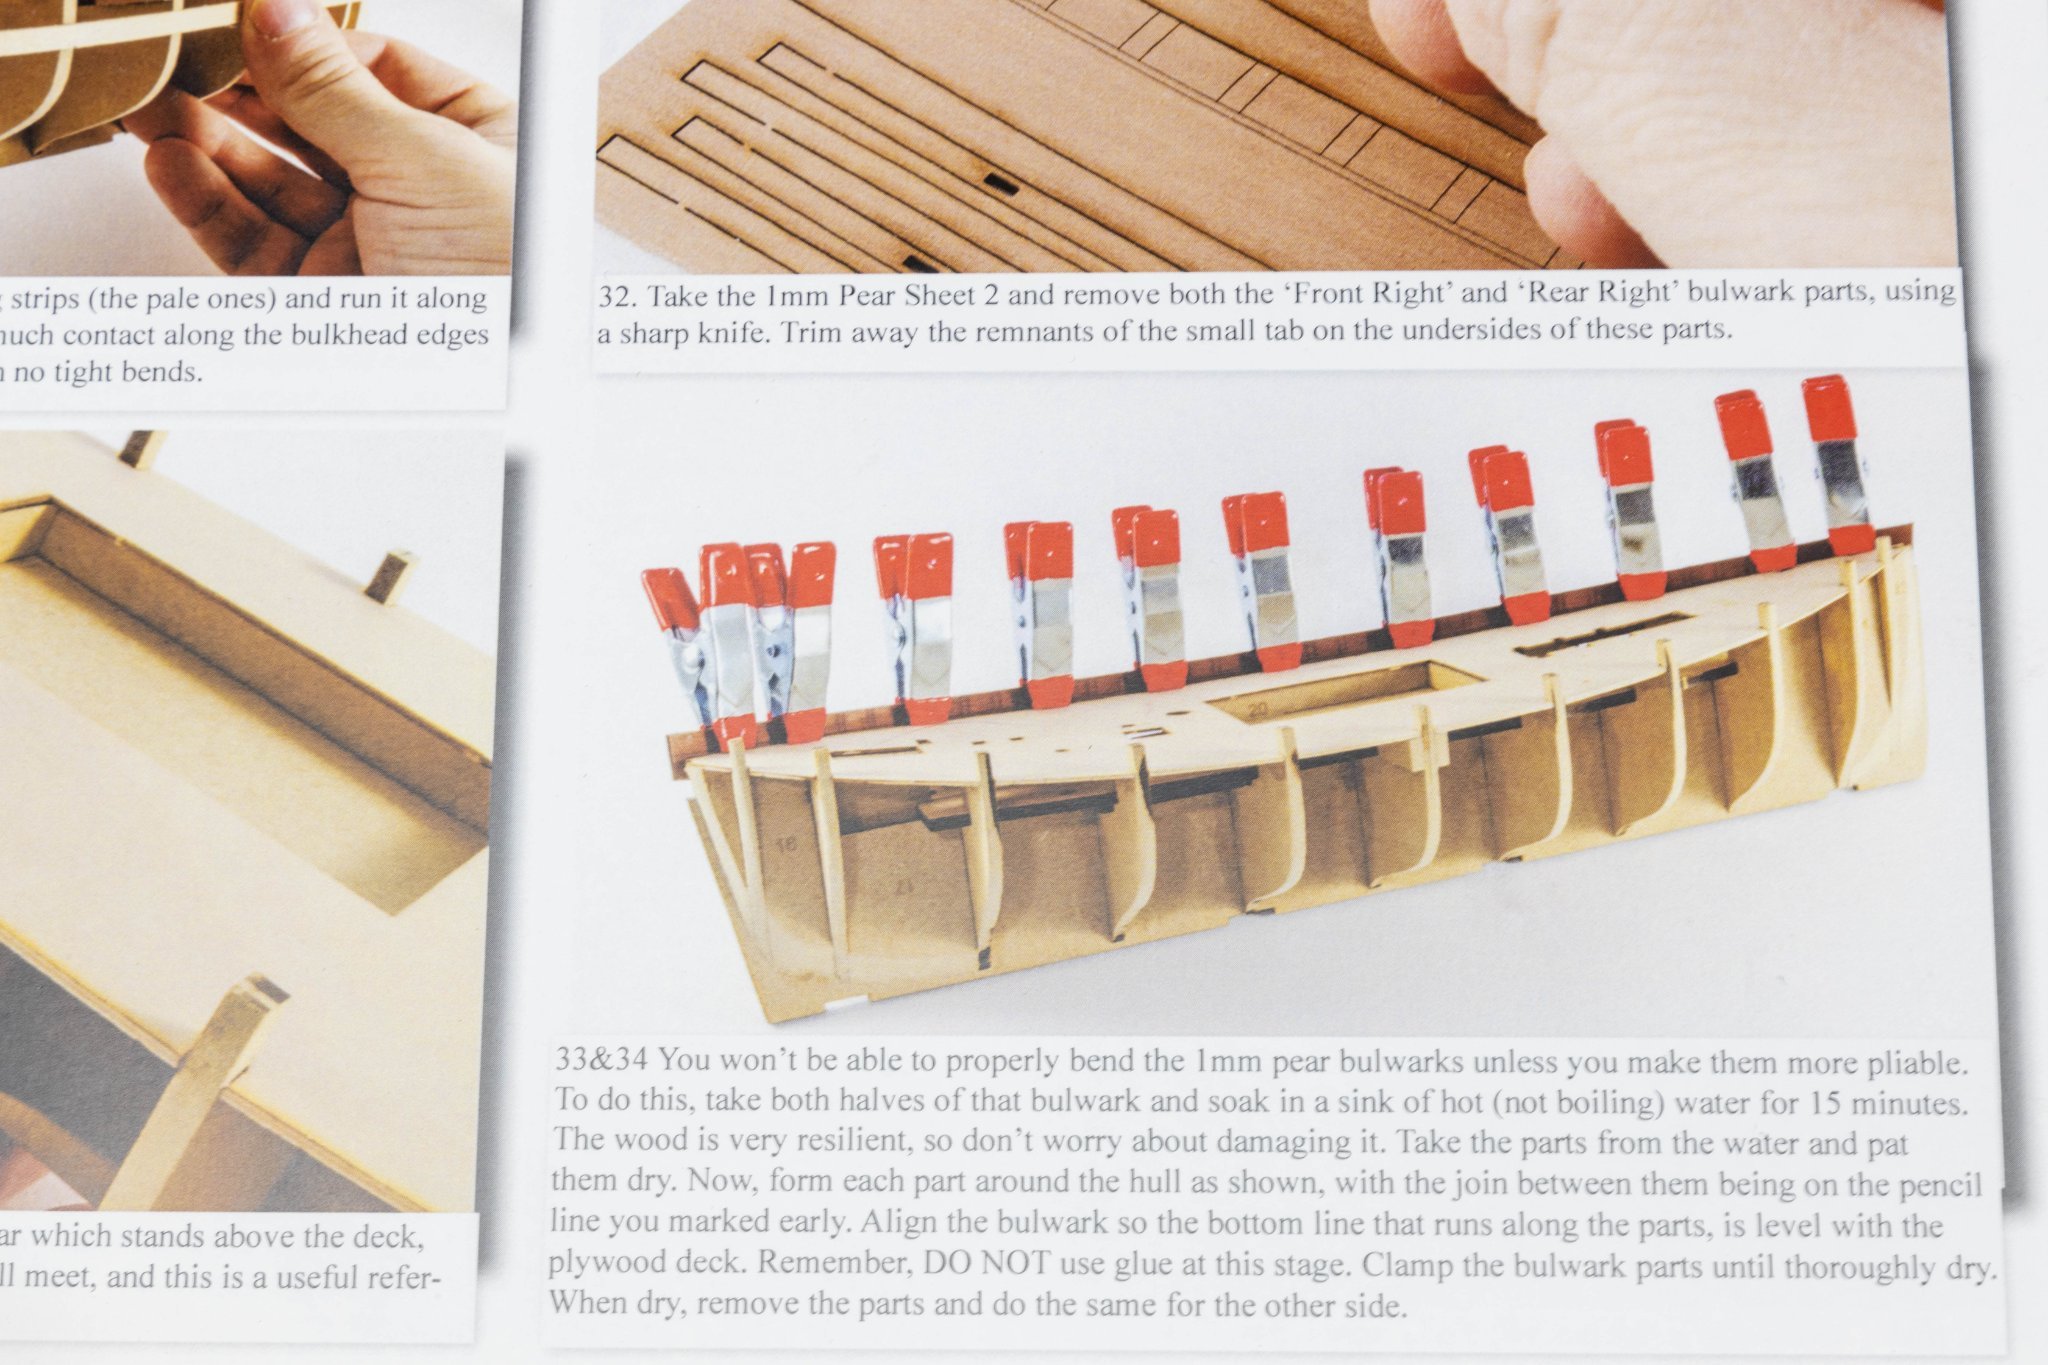
As per the instructions, i'ver removed the front & rear right bulwark parts, soaked in hot water for 15 minutes, and clamped them to the hull to dry. But have I done it wrong? JamesH’s photo shows bulwarks fitted to port side, but right to me would be starboard?
Does it even matter?


-
-
-
-
-
Impressive stuff Dave. I wish i had the confidence to try something like this. That decking looks especially good 👍
-
Looking good Rick, that second planking really ‘pops’. Definitely see nothing wrong in your photos, but like you say, you know where to look. The rest of us will just be admiring.
No the instructions are a little ‘sparse’ -
-
I'm sure you're not wrong there, B.E. 👍
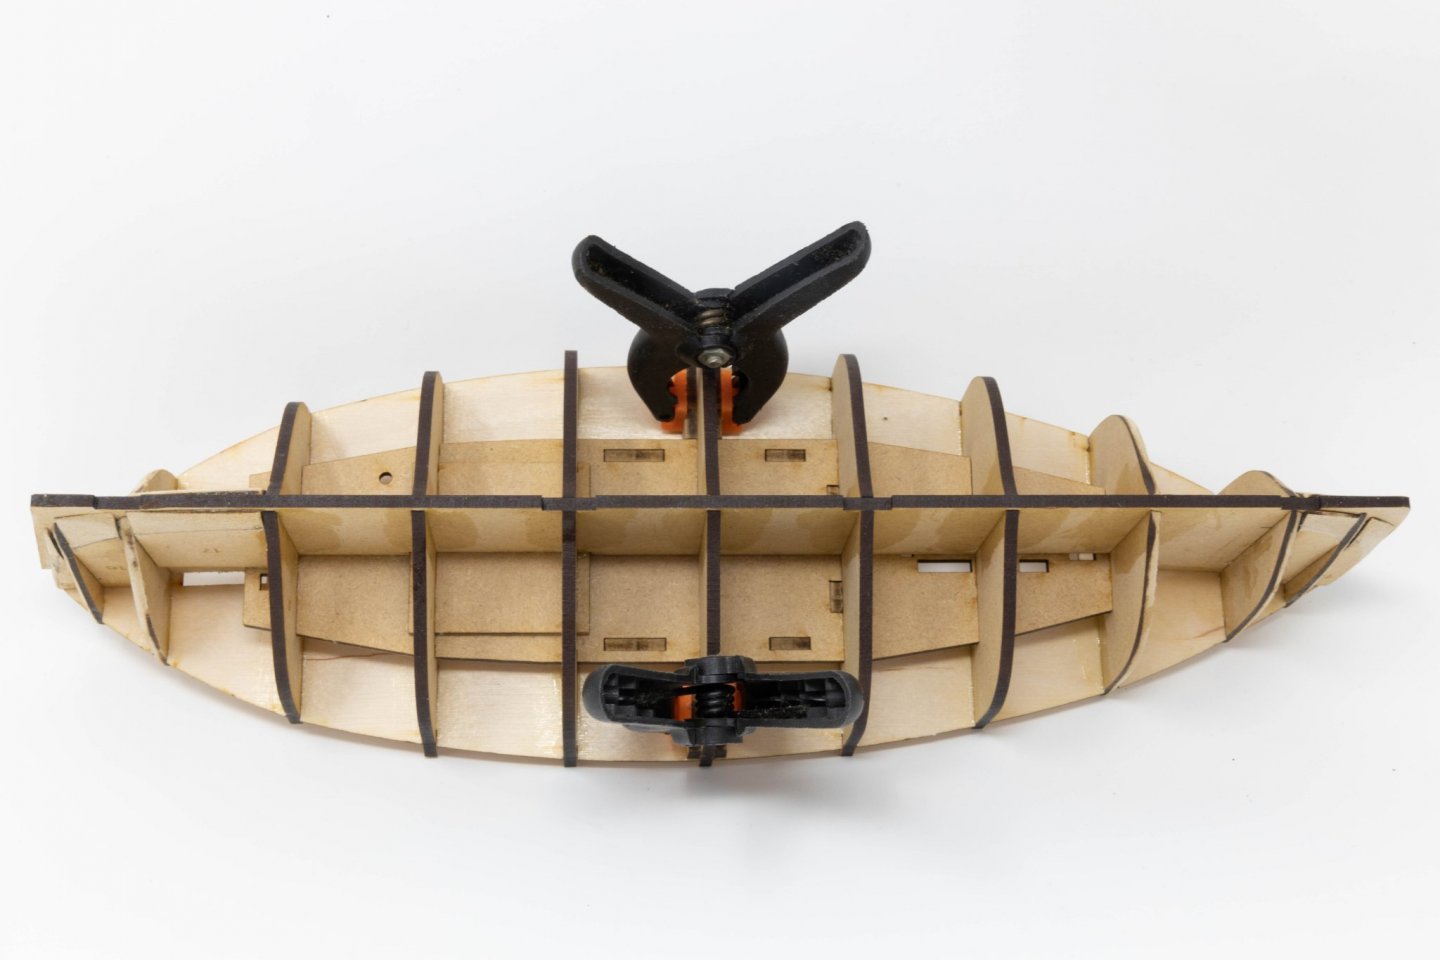
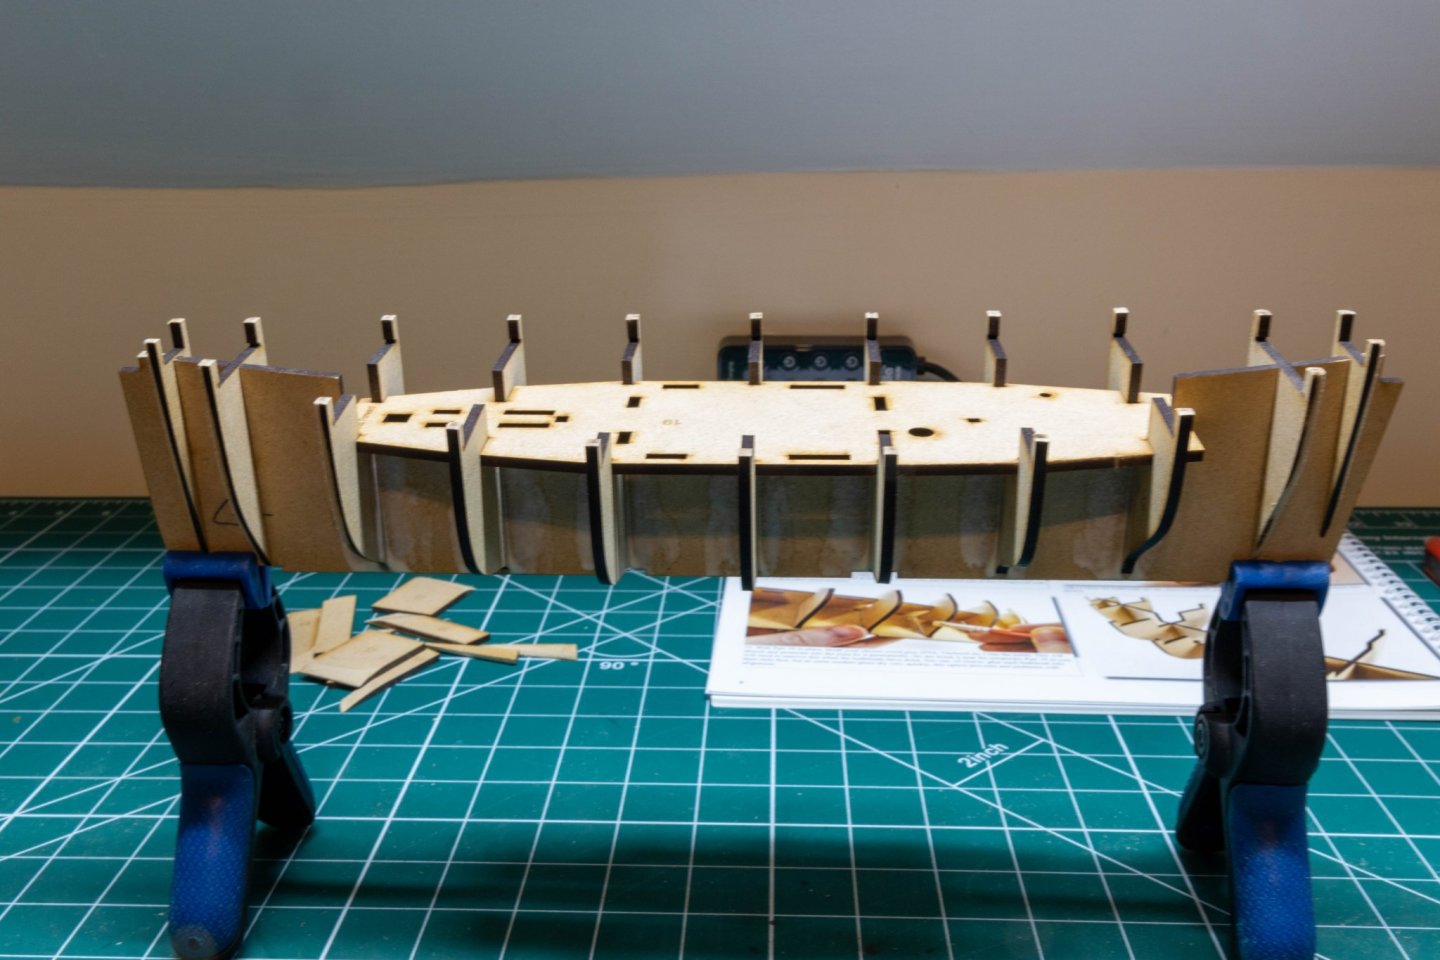
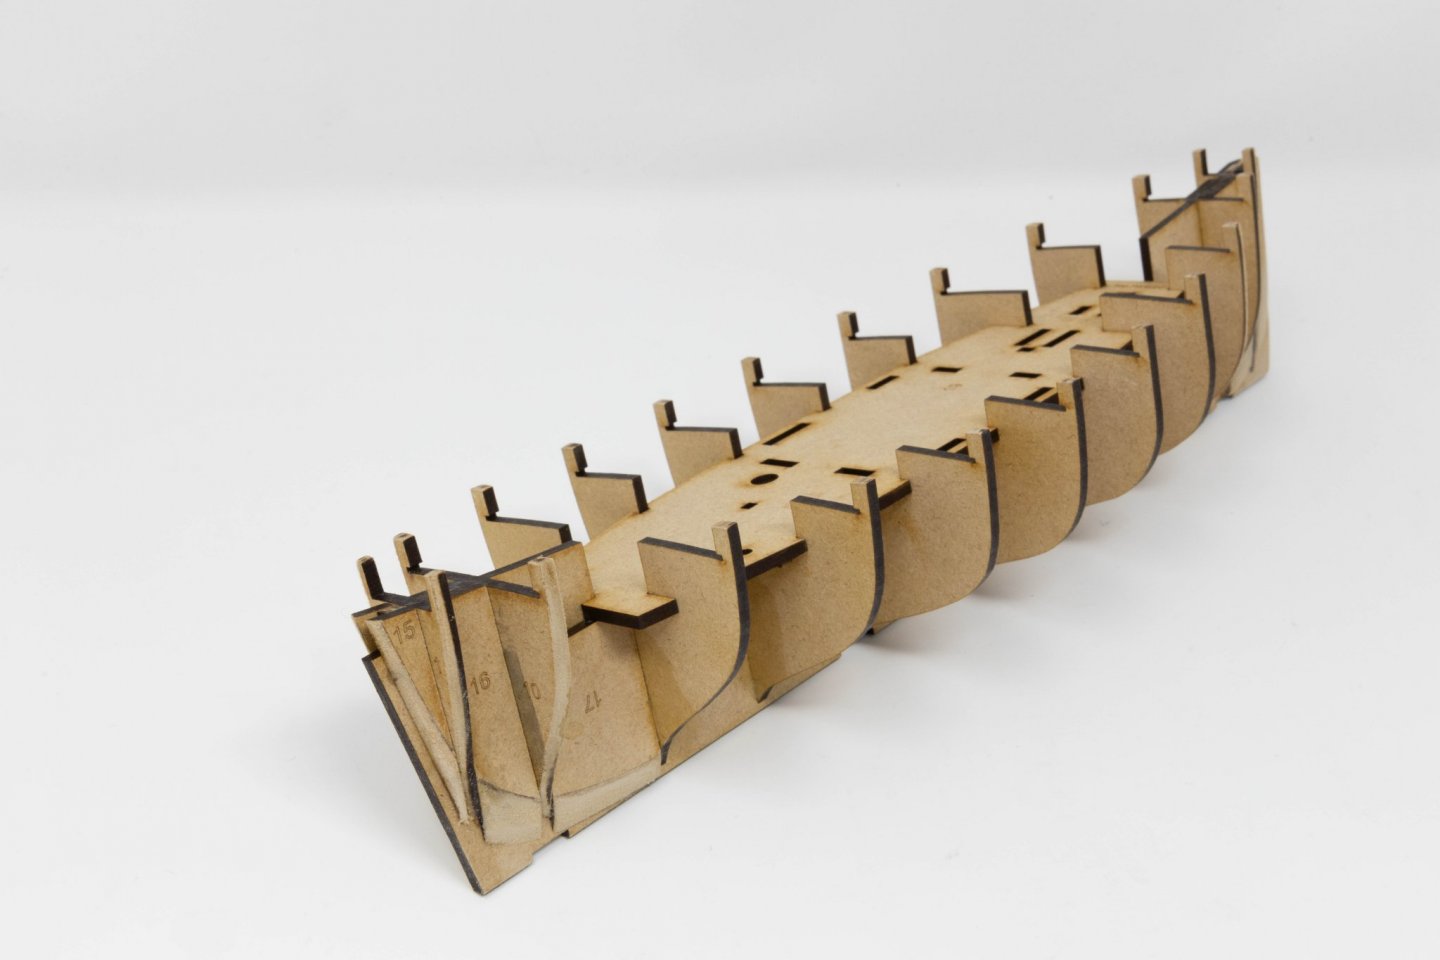
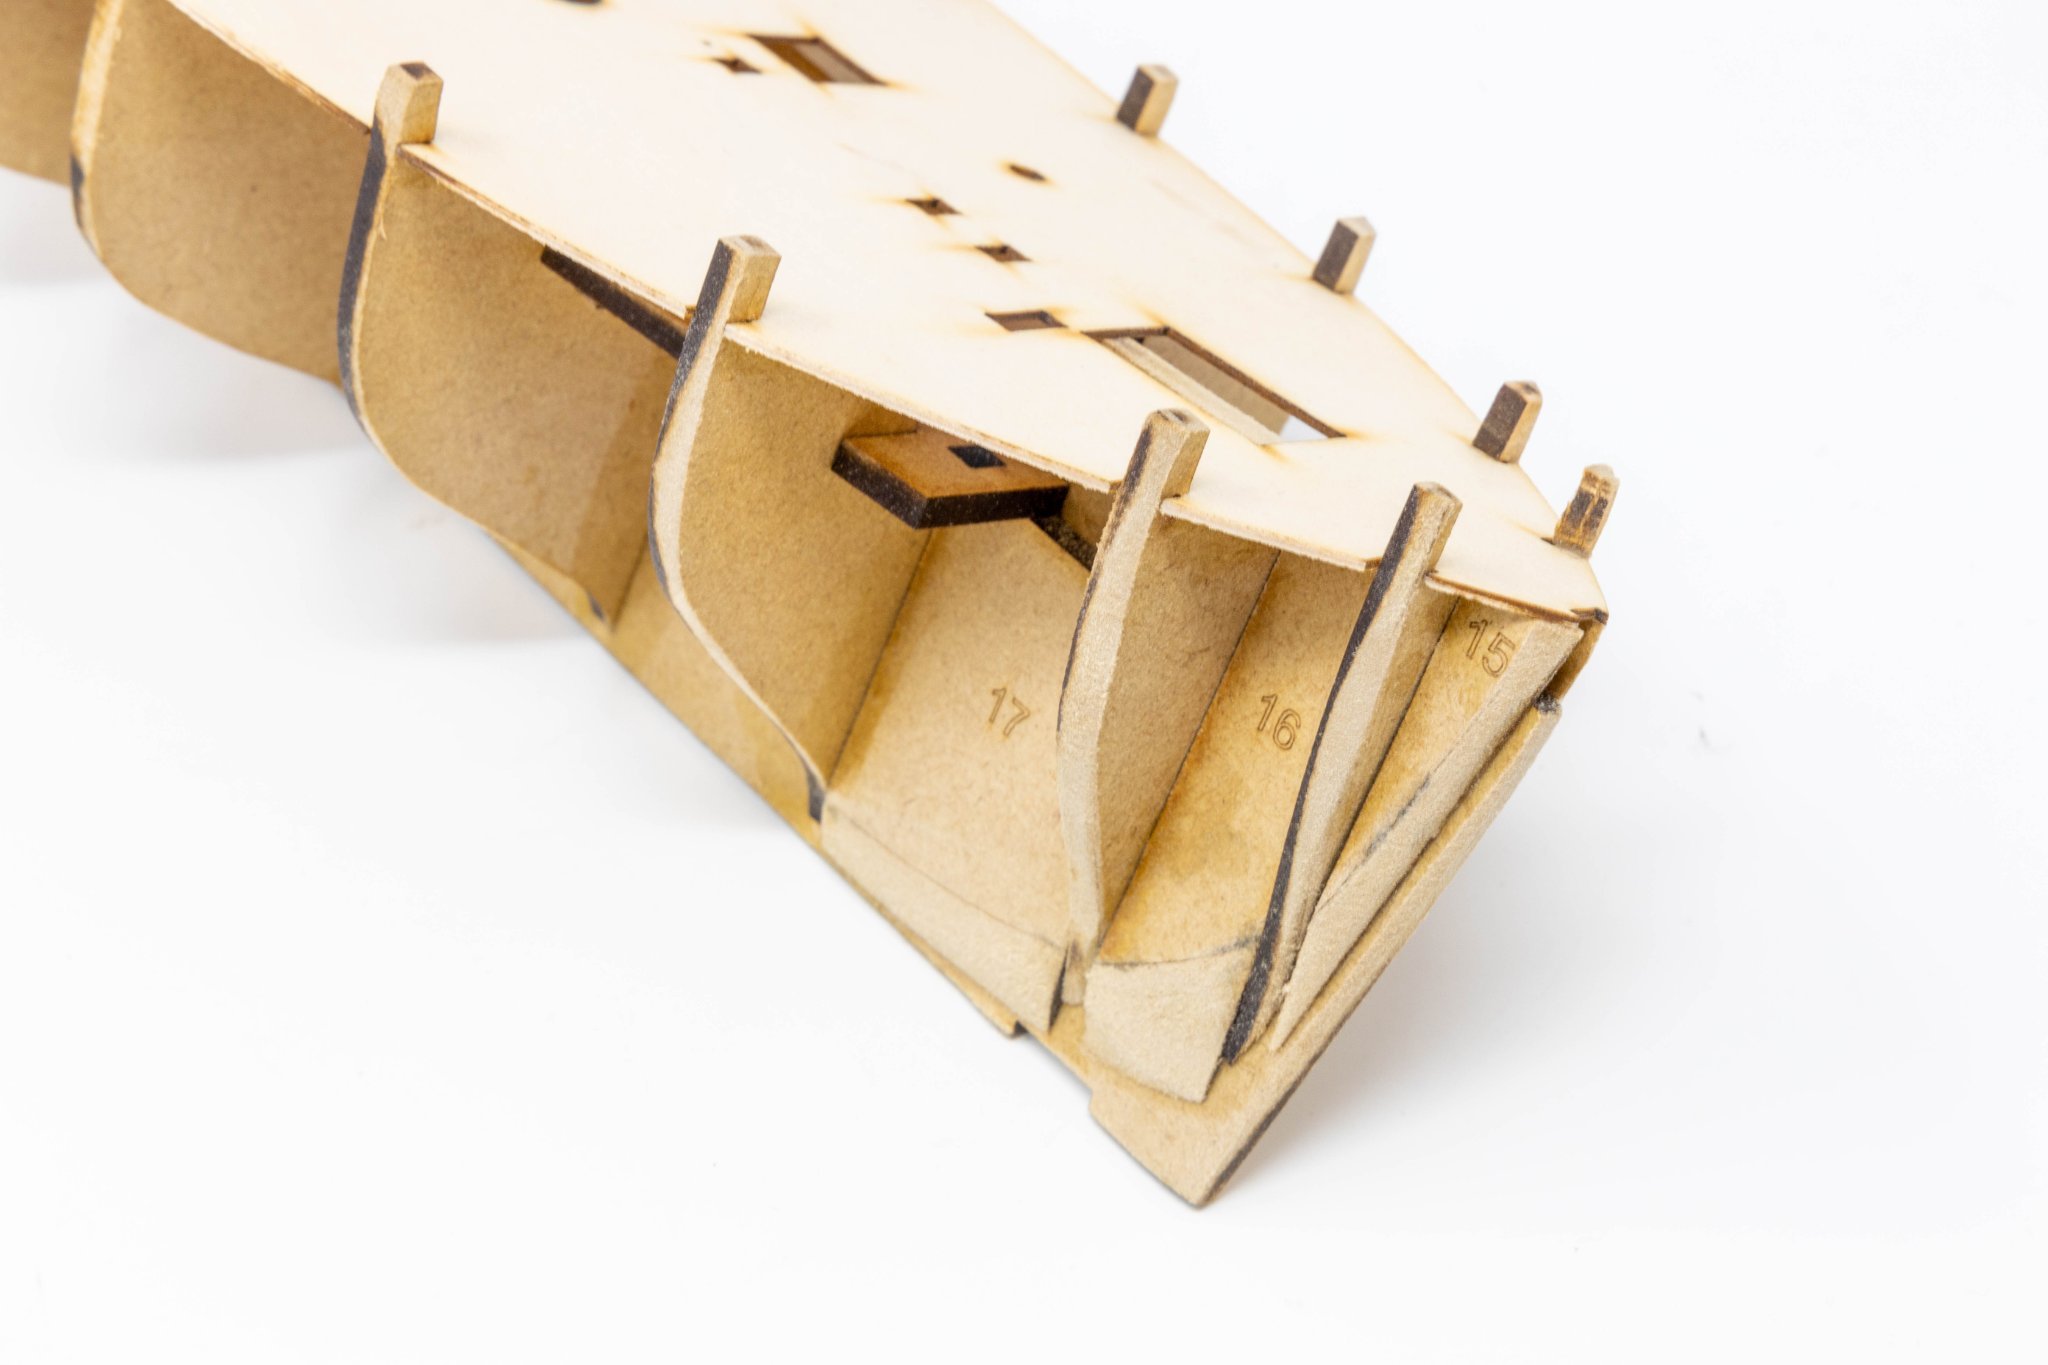
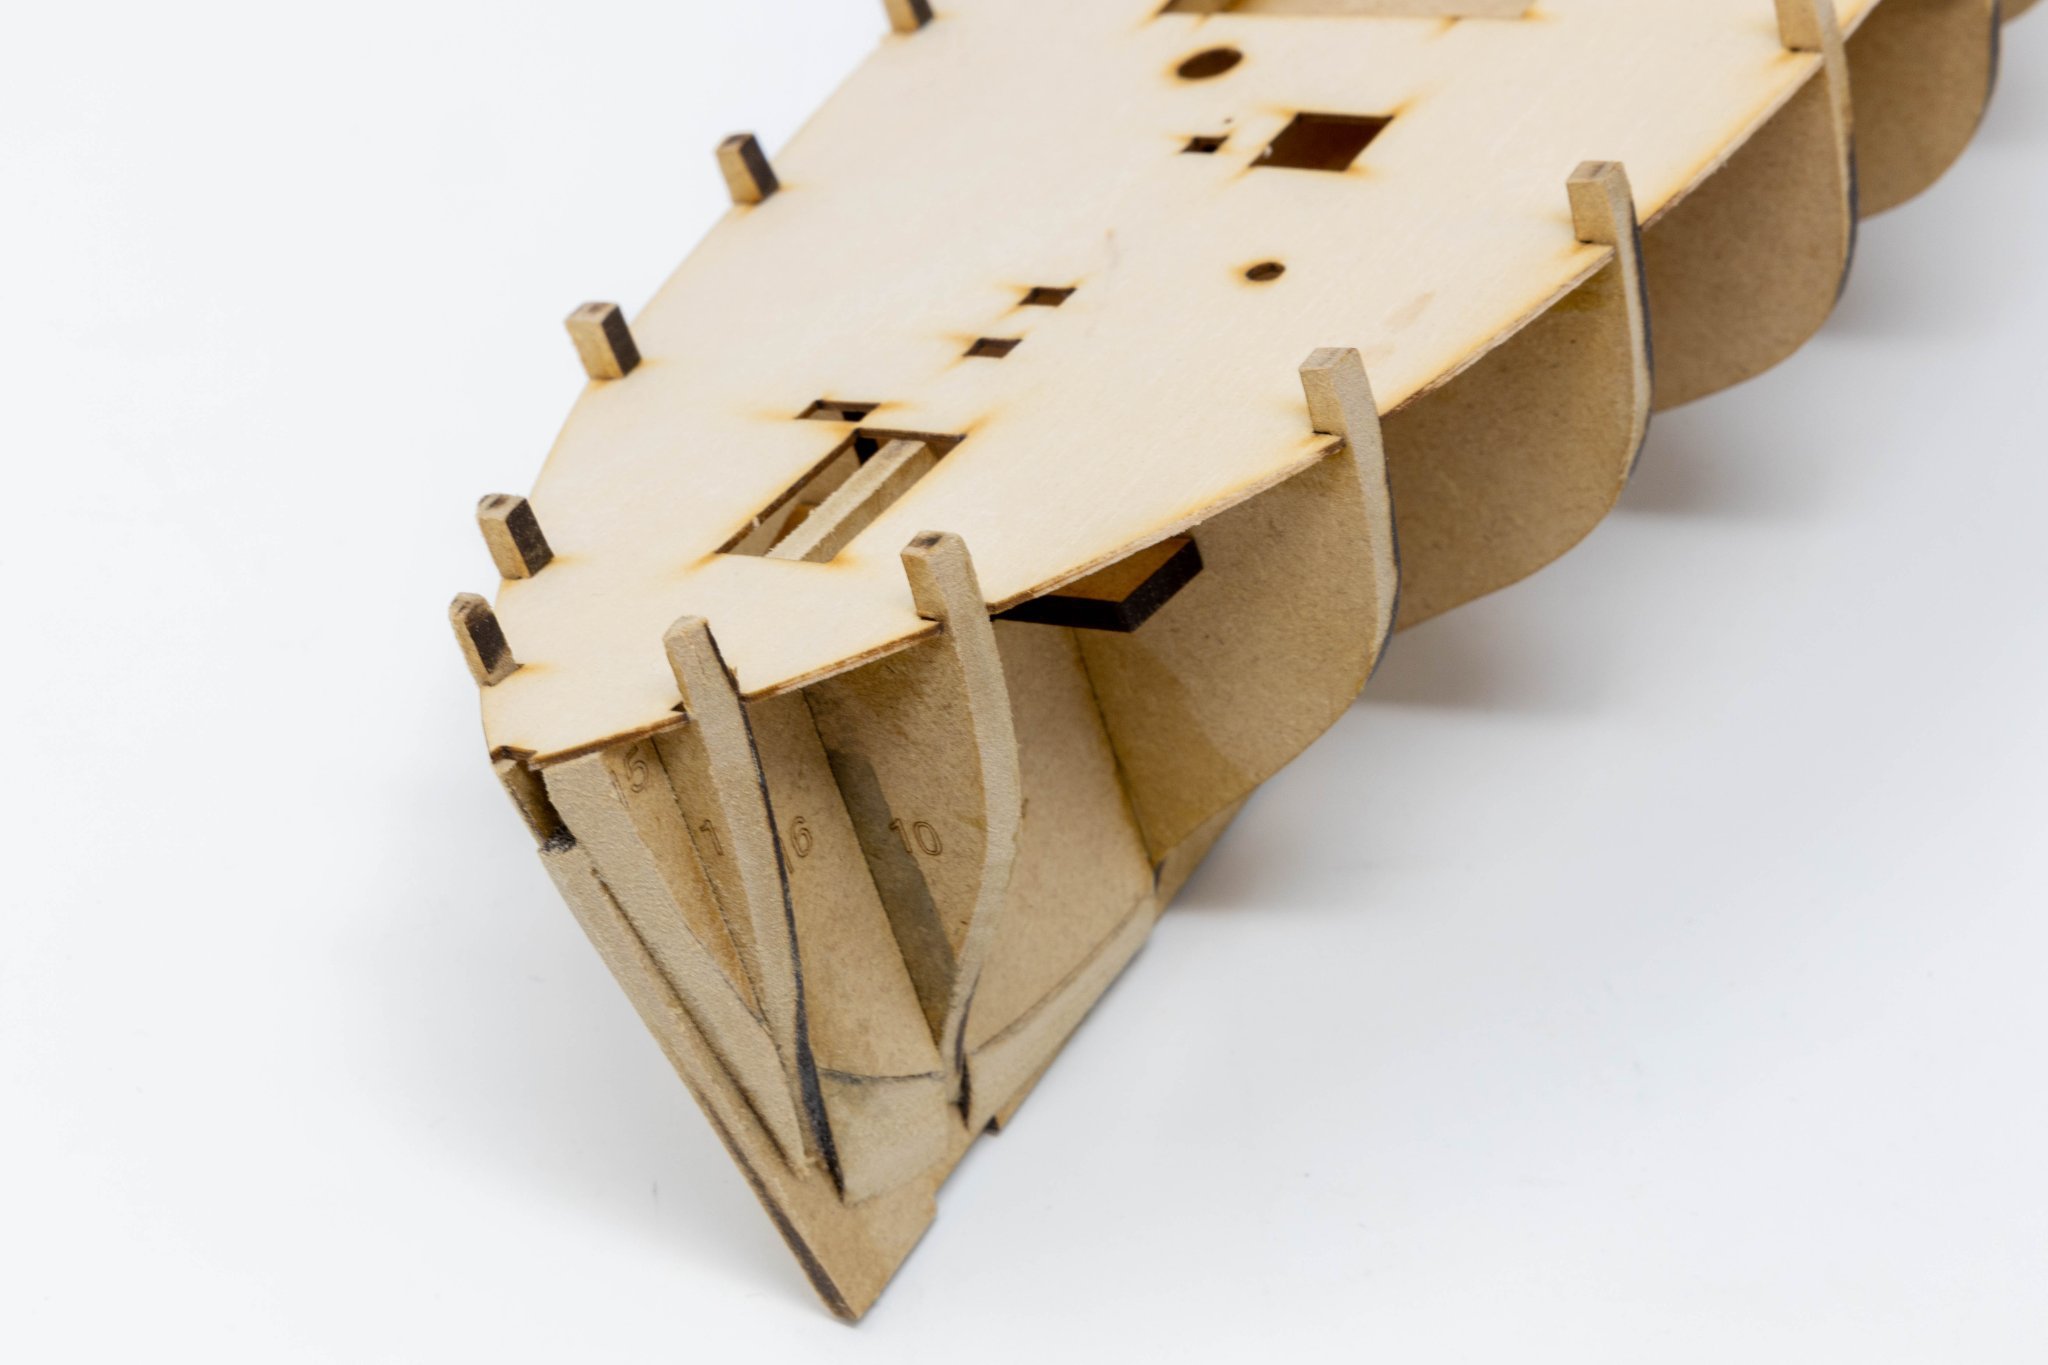
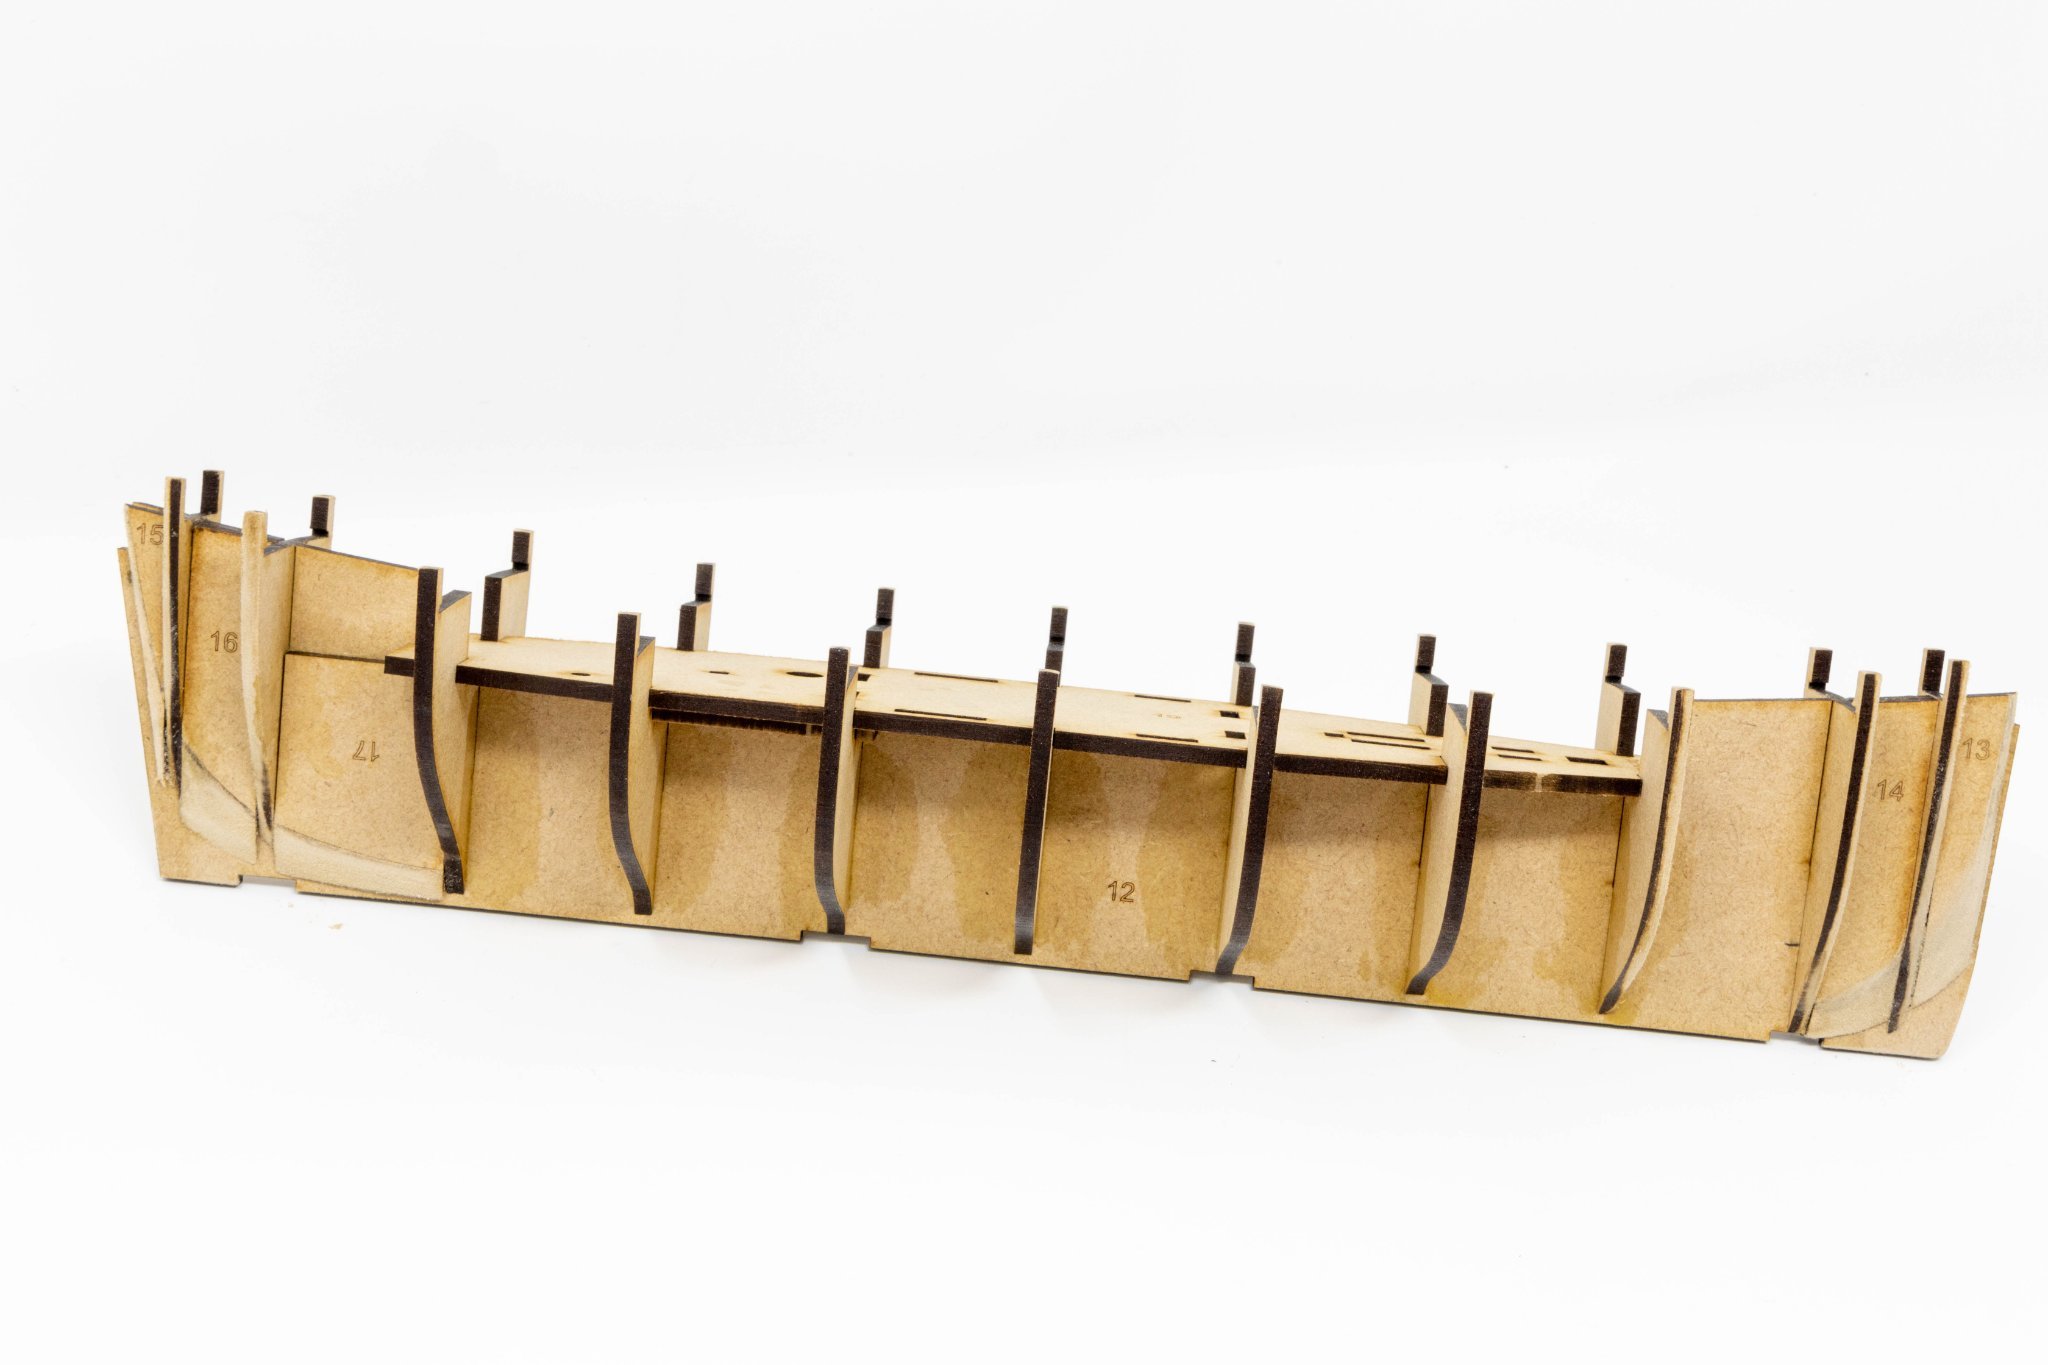
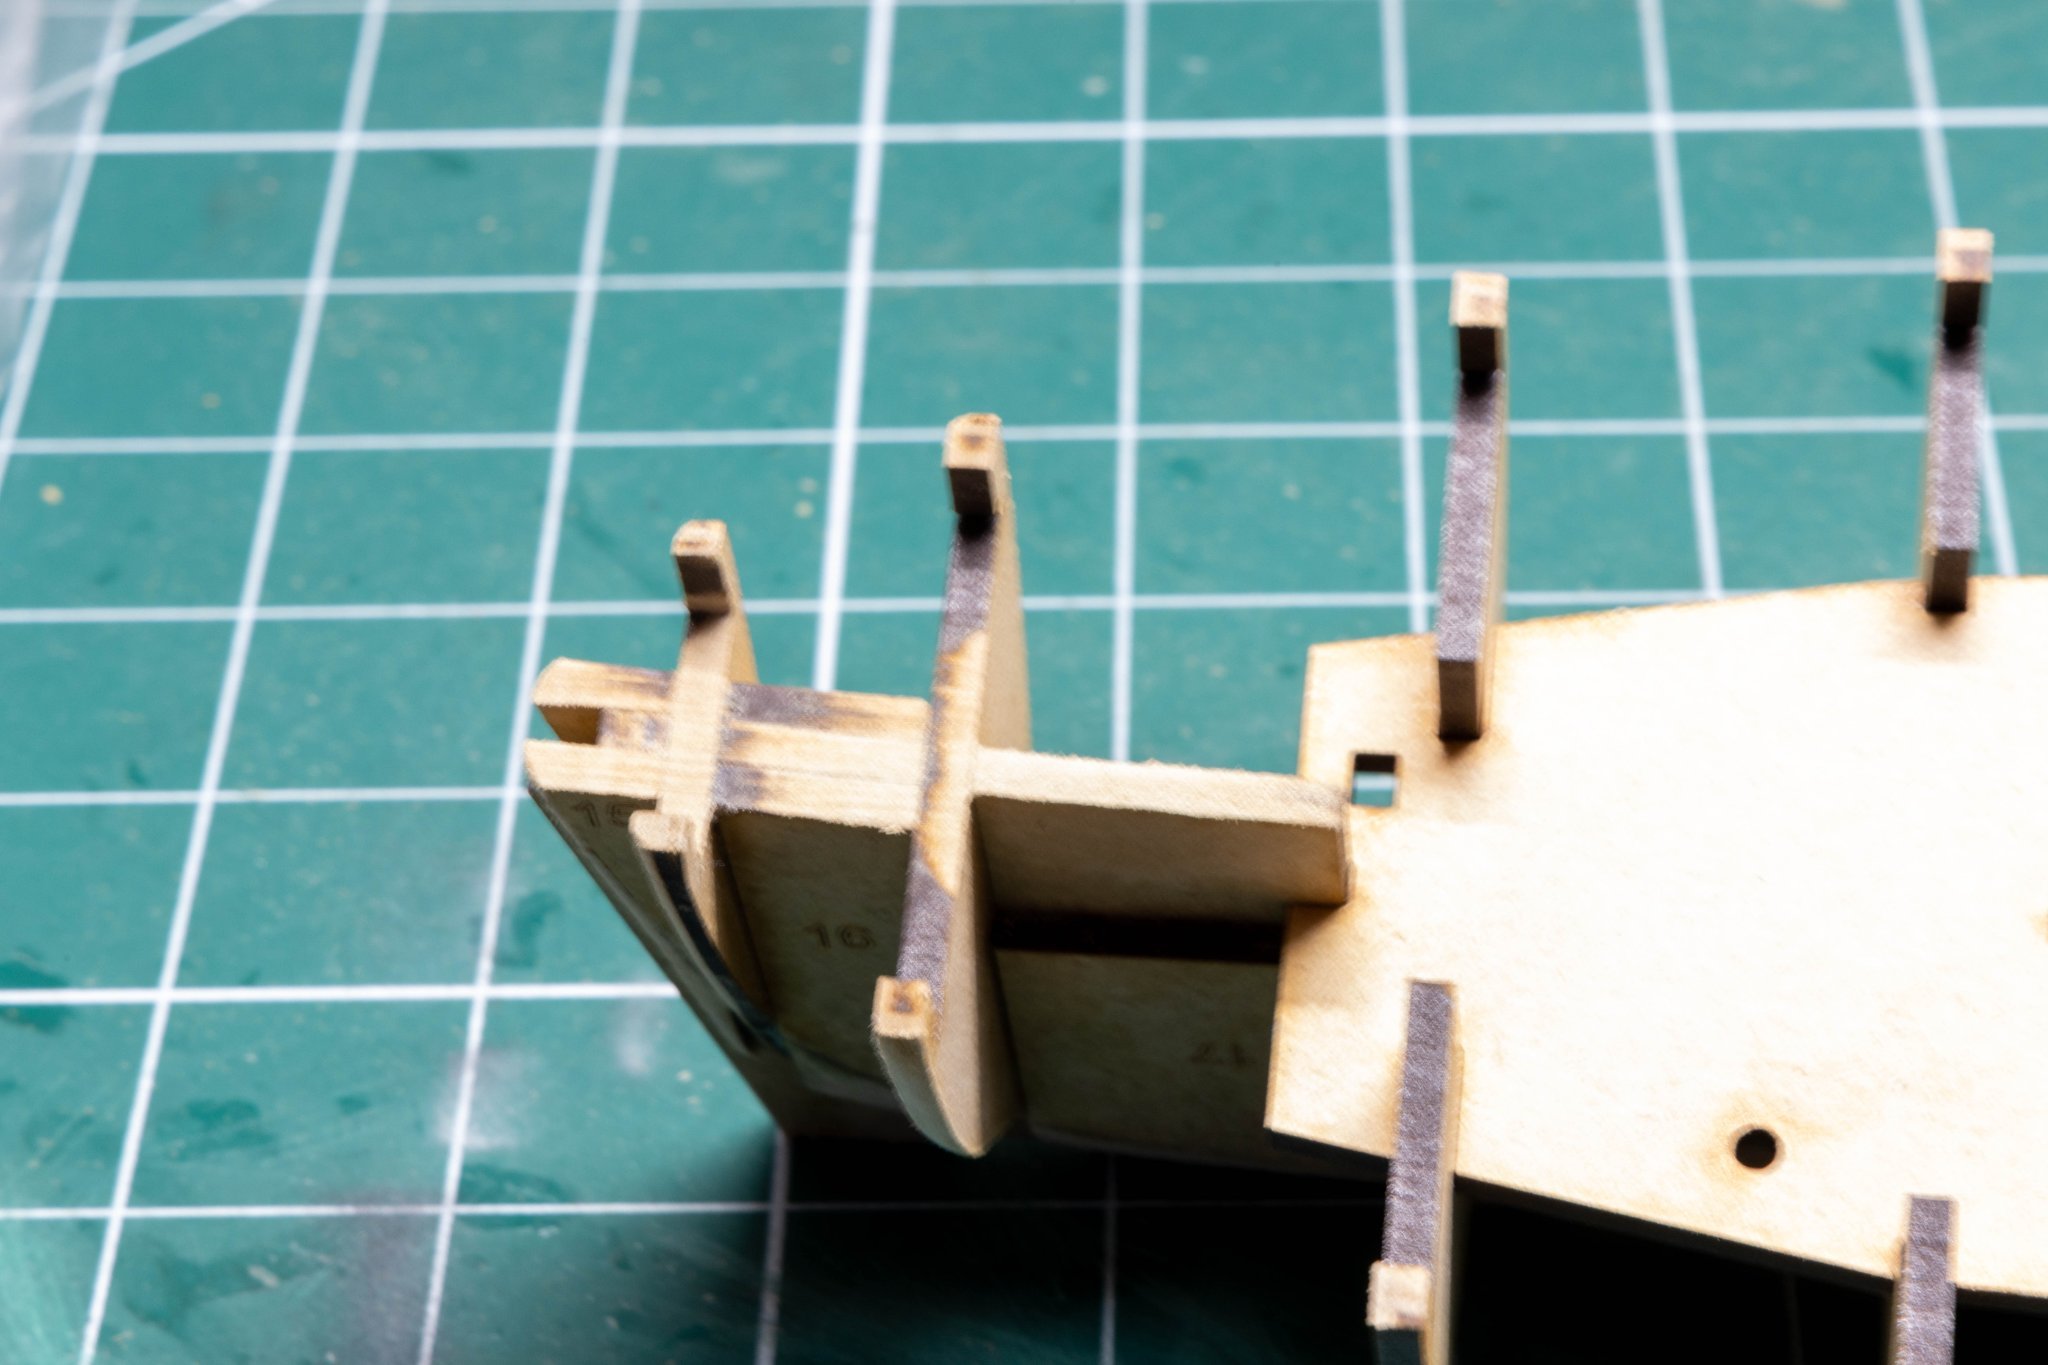
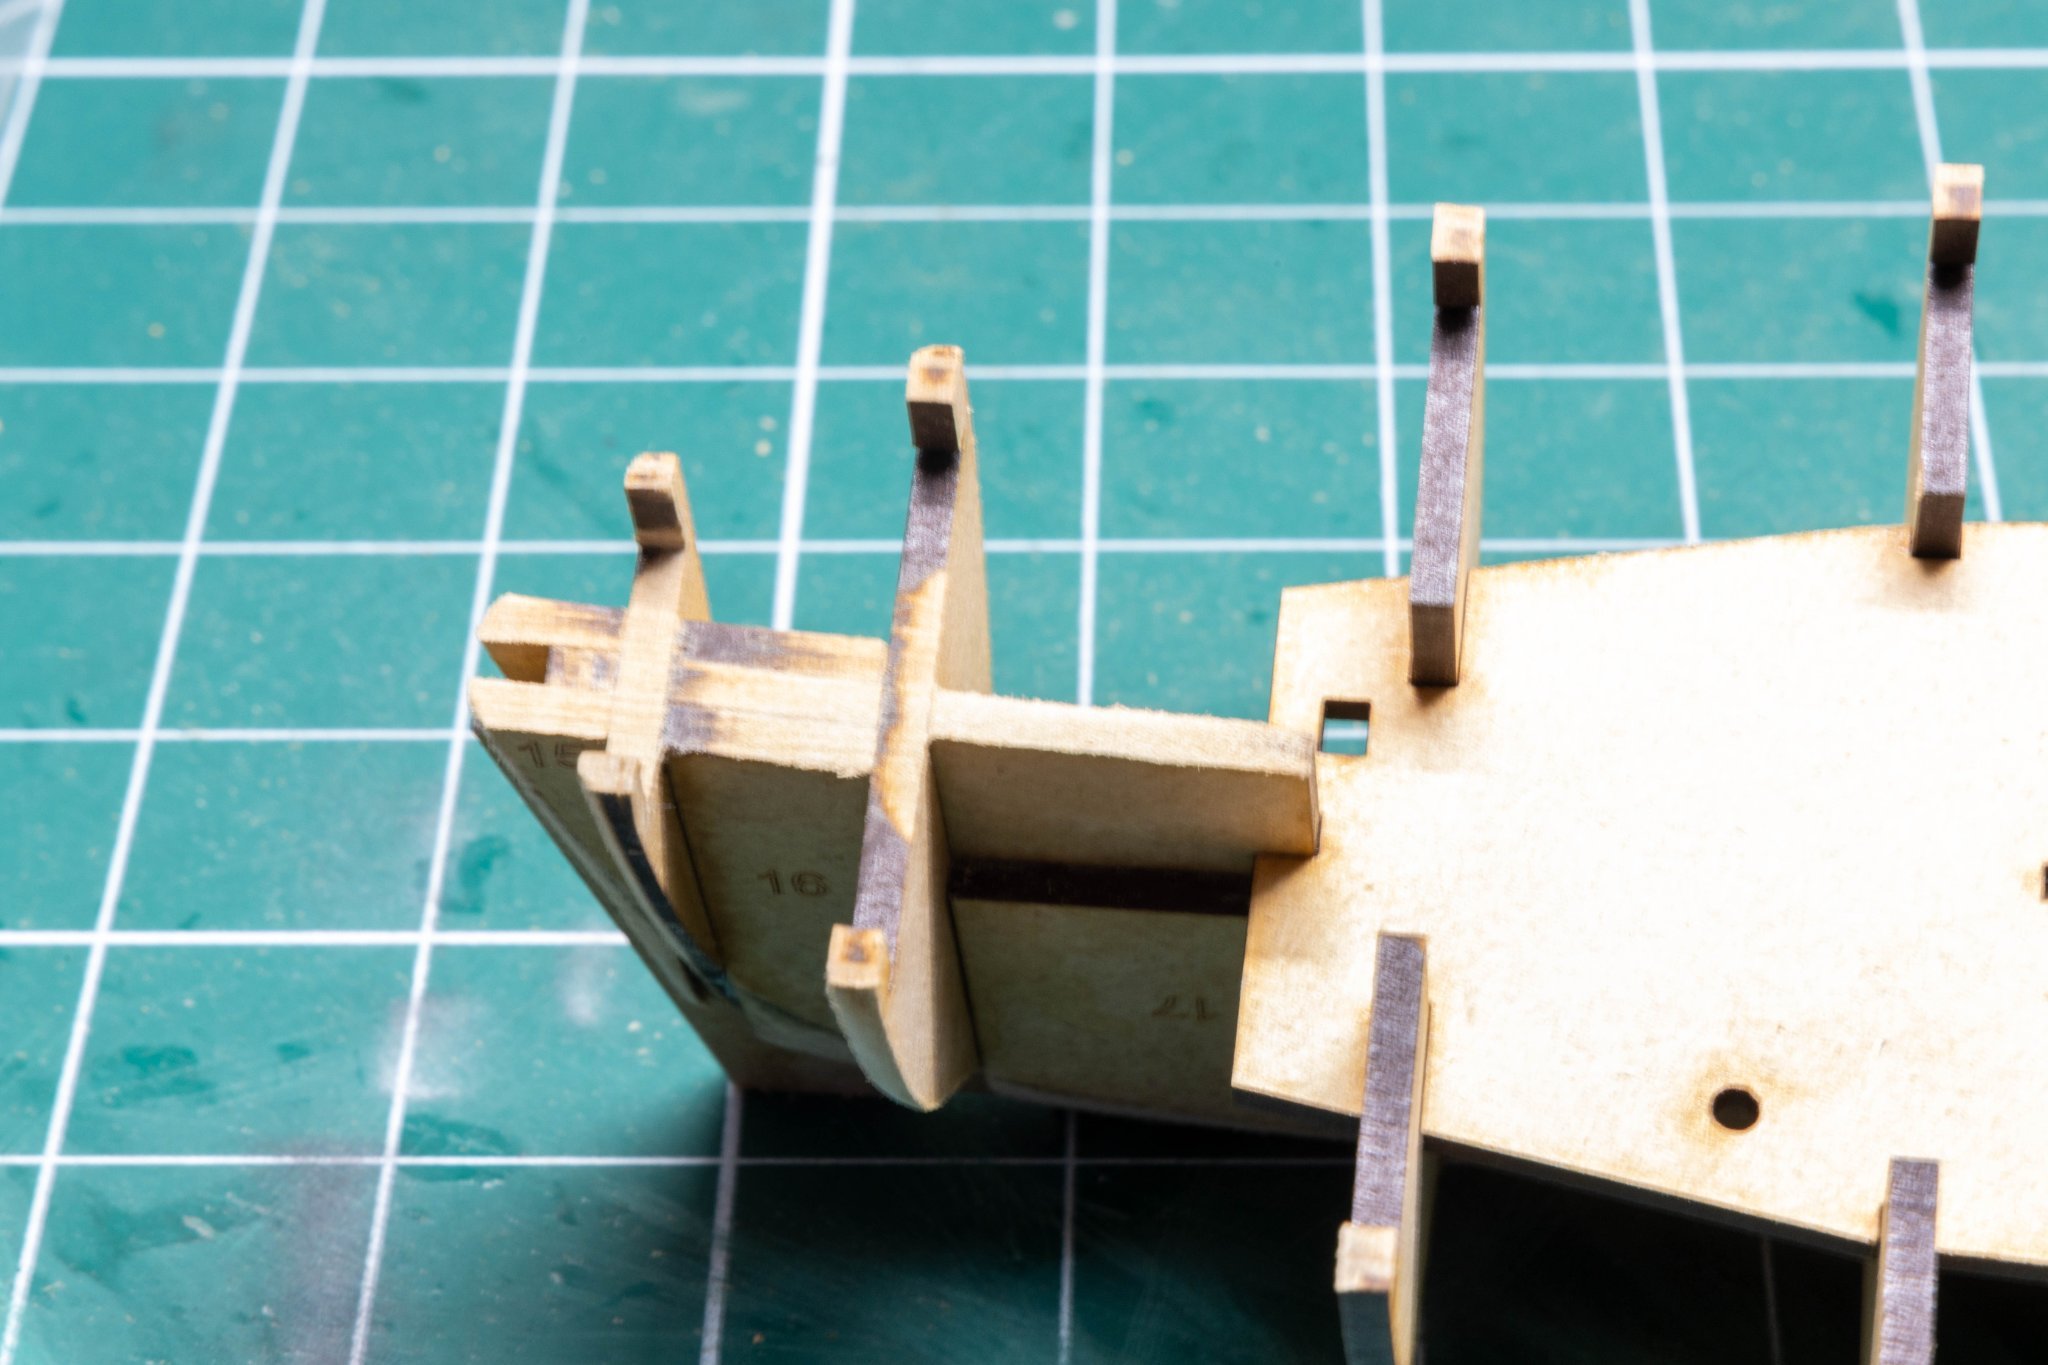
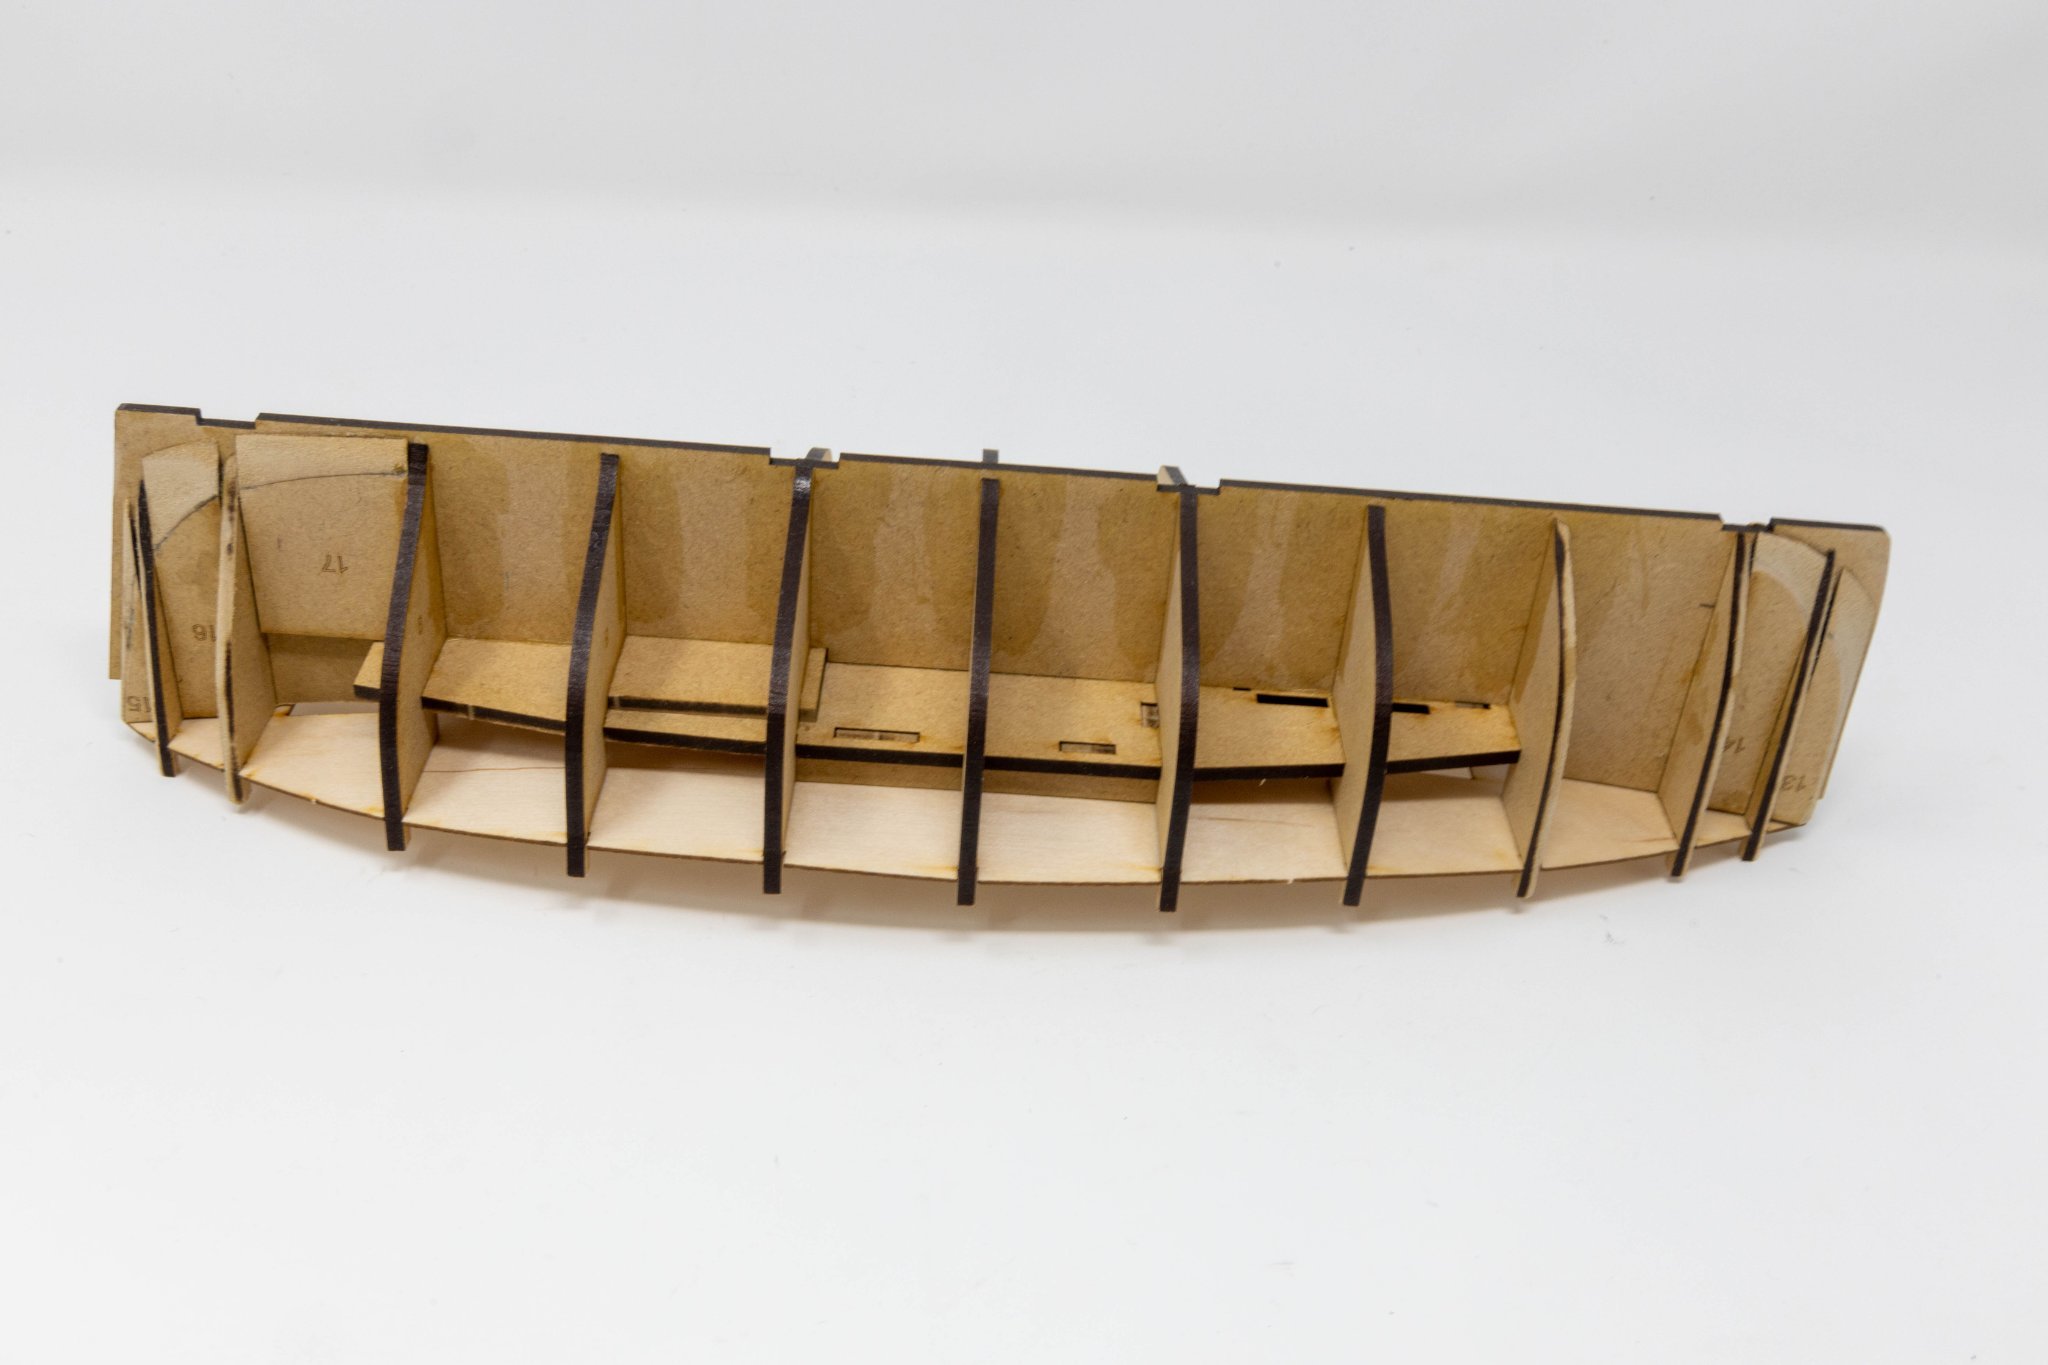
Here's where i am up to at the moment. The Bulkhead patterns are fitted, but they don't sit flush with the edge of the deck. No worries, a bit of sanding when fairing the hull (which is the next stage) takes care of that.
I think i've faired the bulkheads enough now. When i run a plank along it seems to fit ok?


- chris watton, ccoyle, hof00 and 3 others
-
6
-
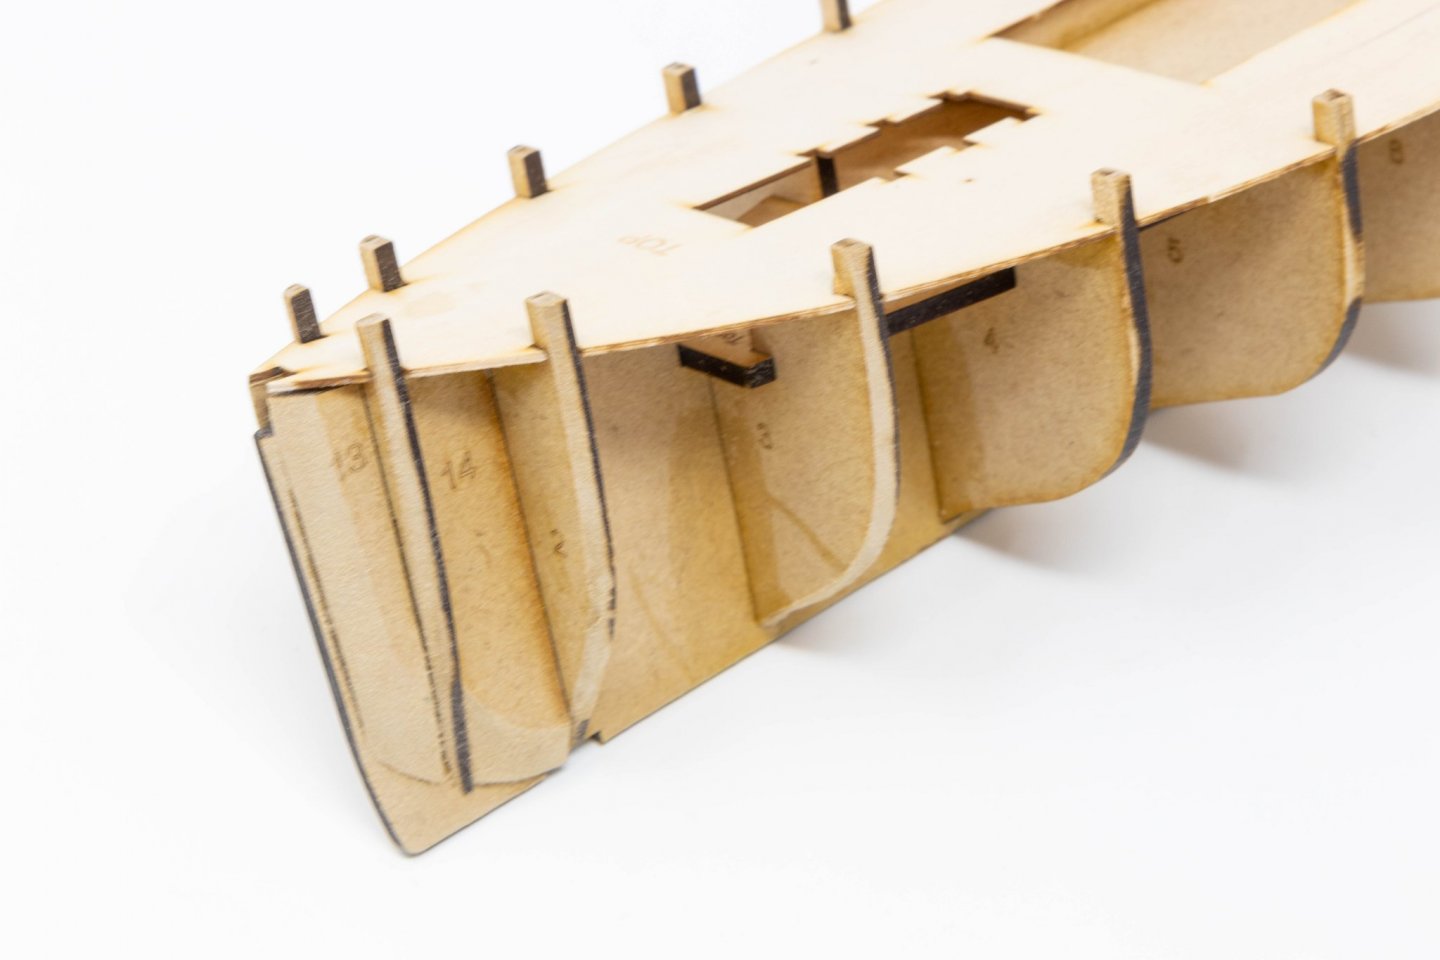
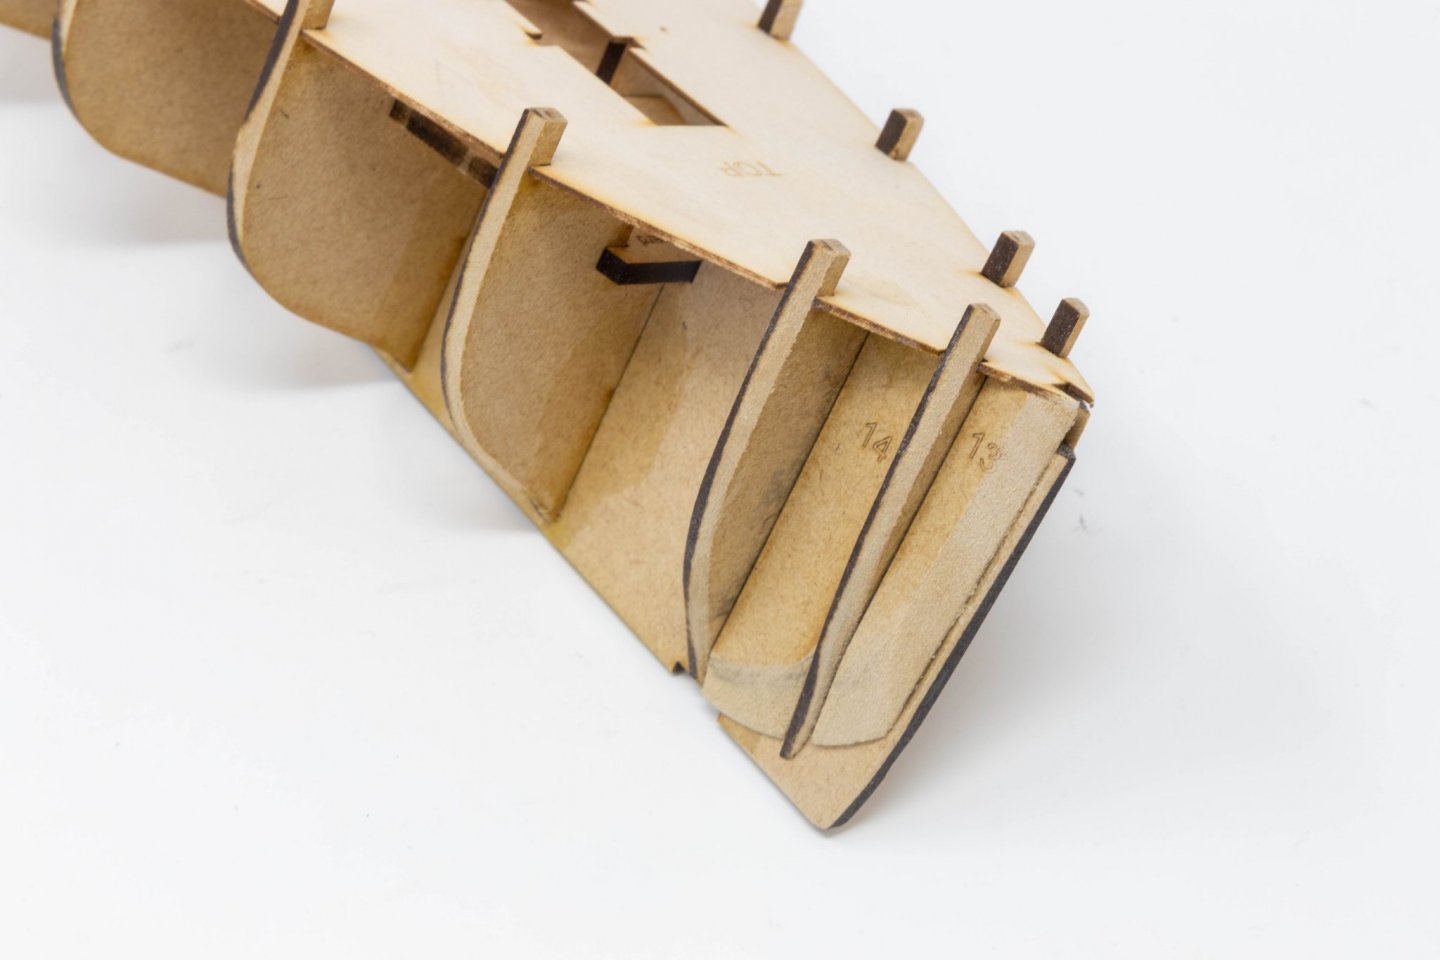
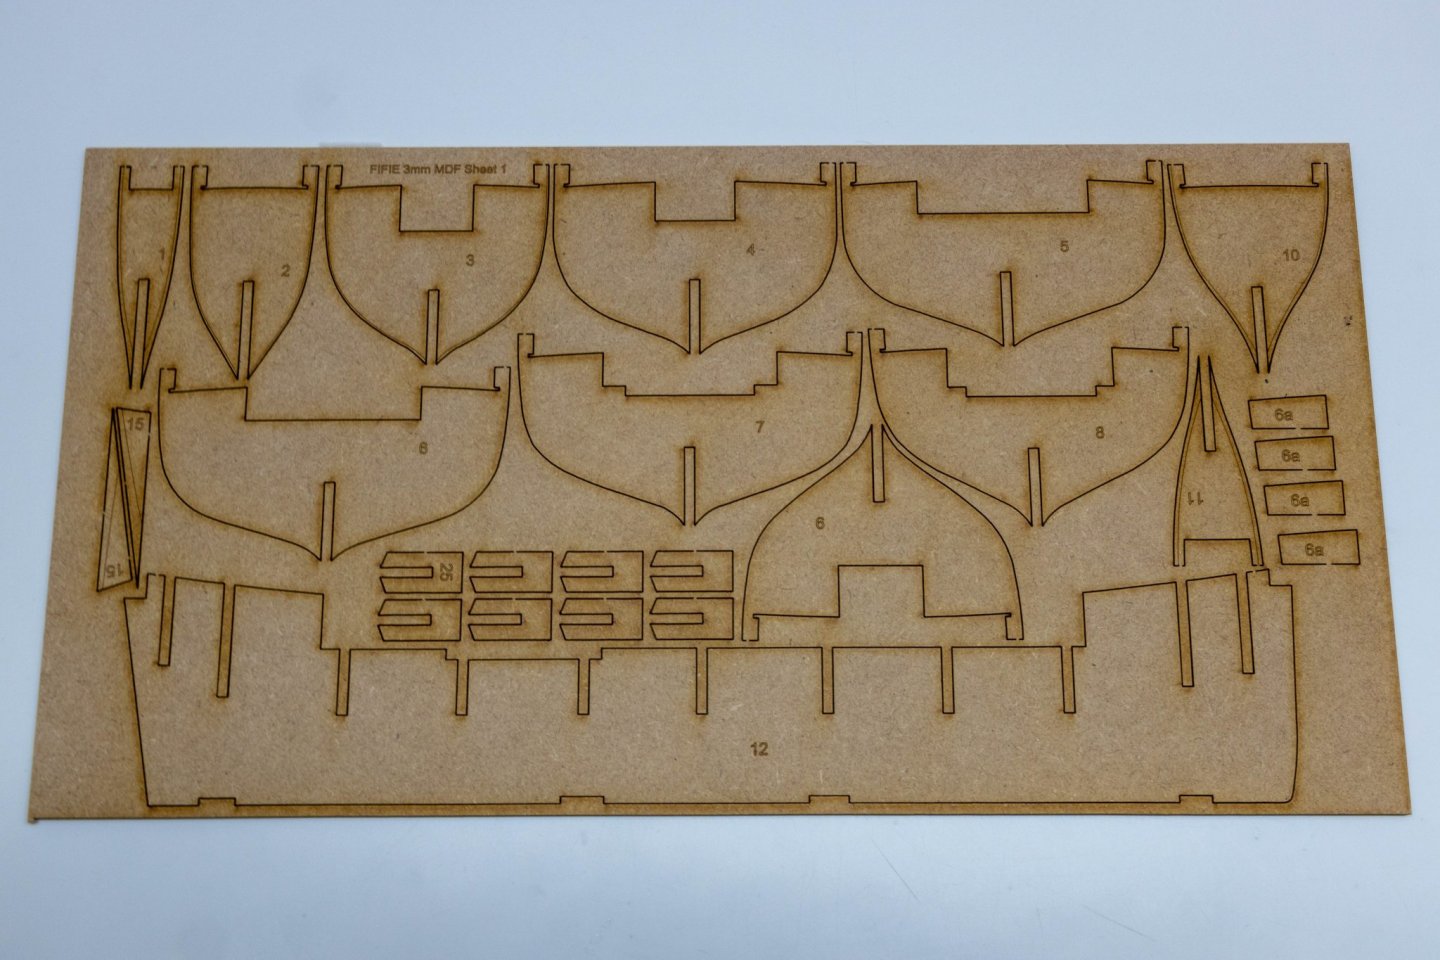
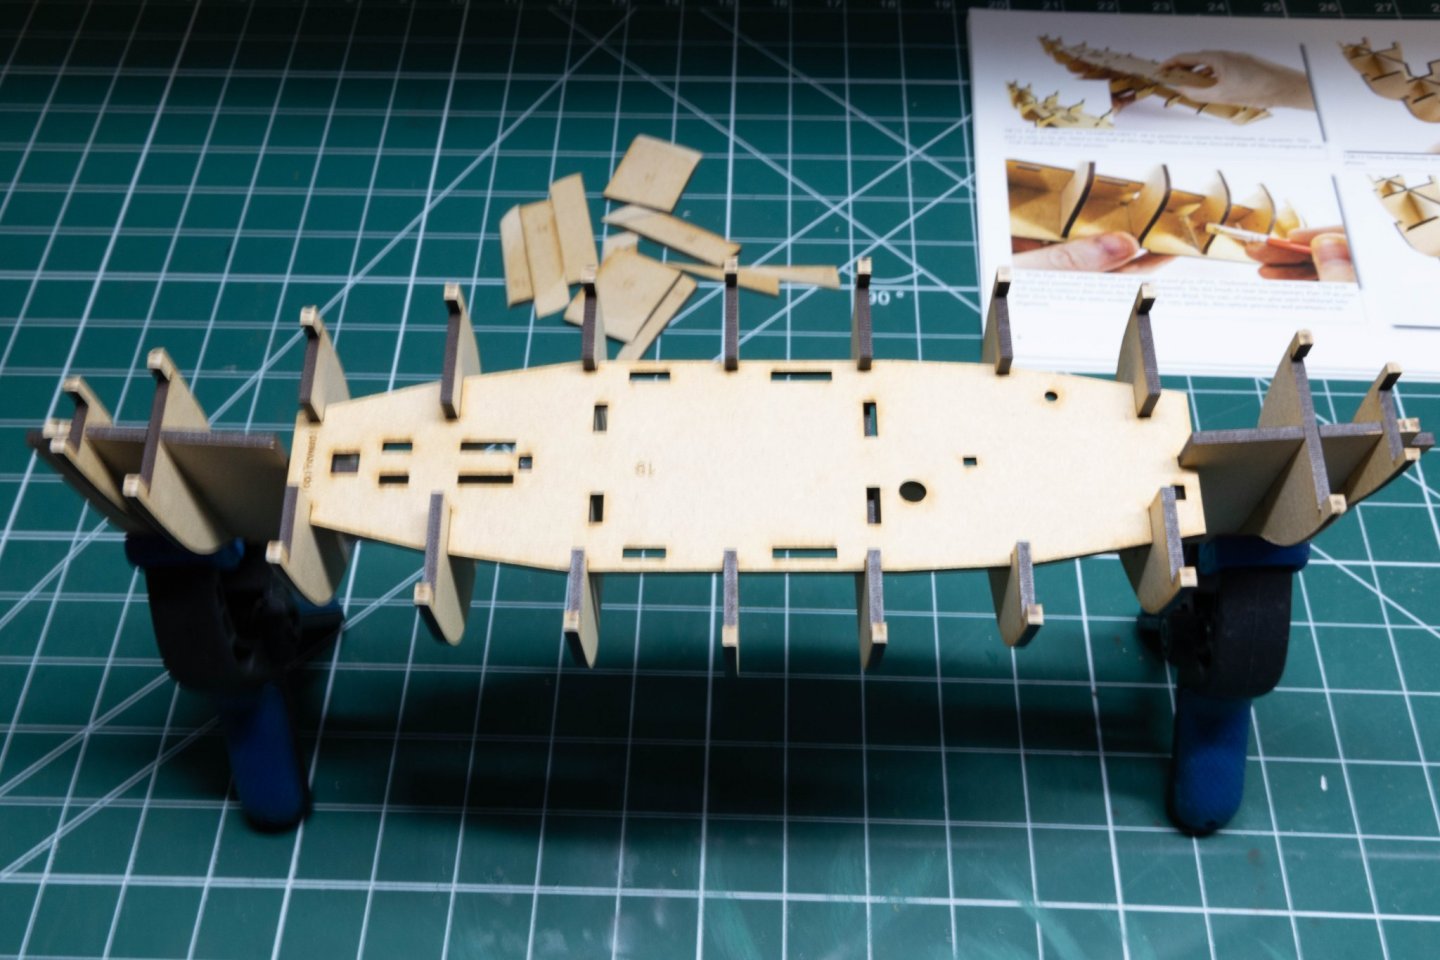
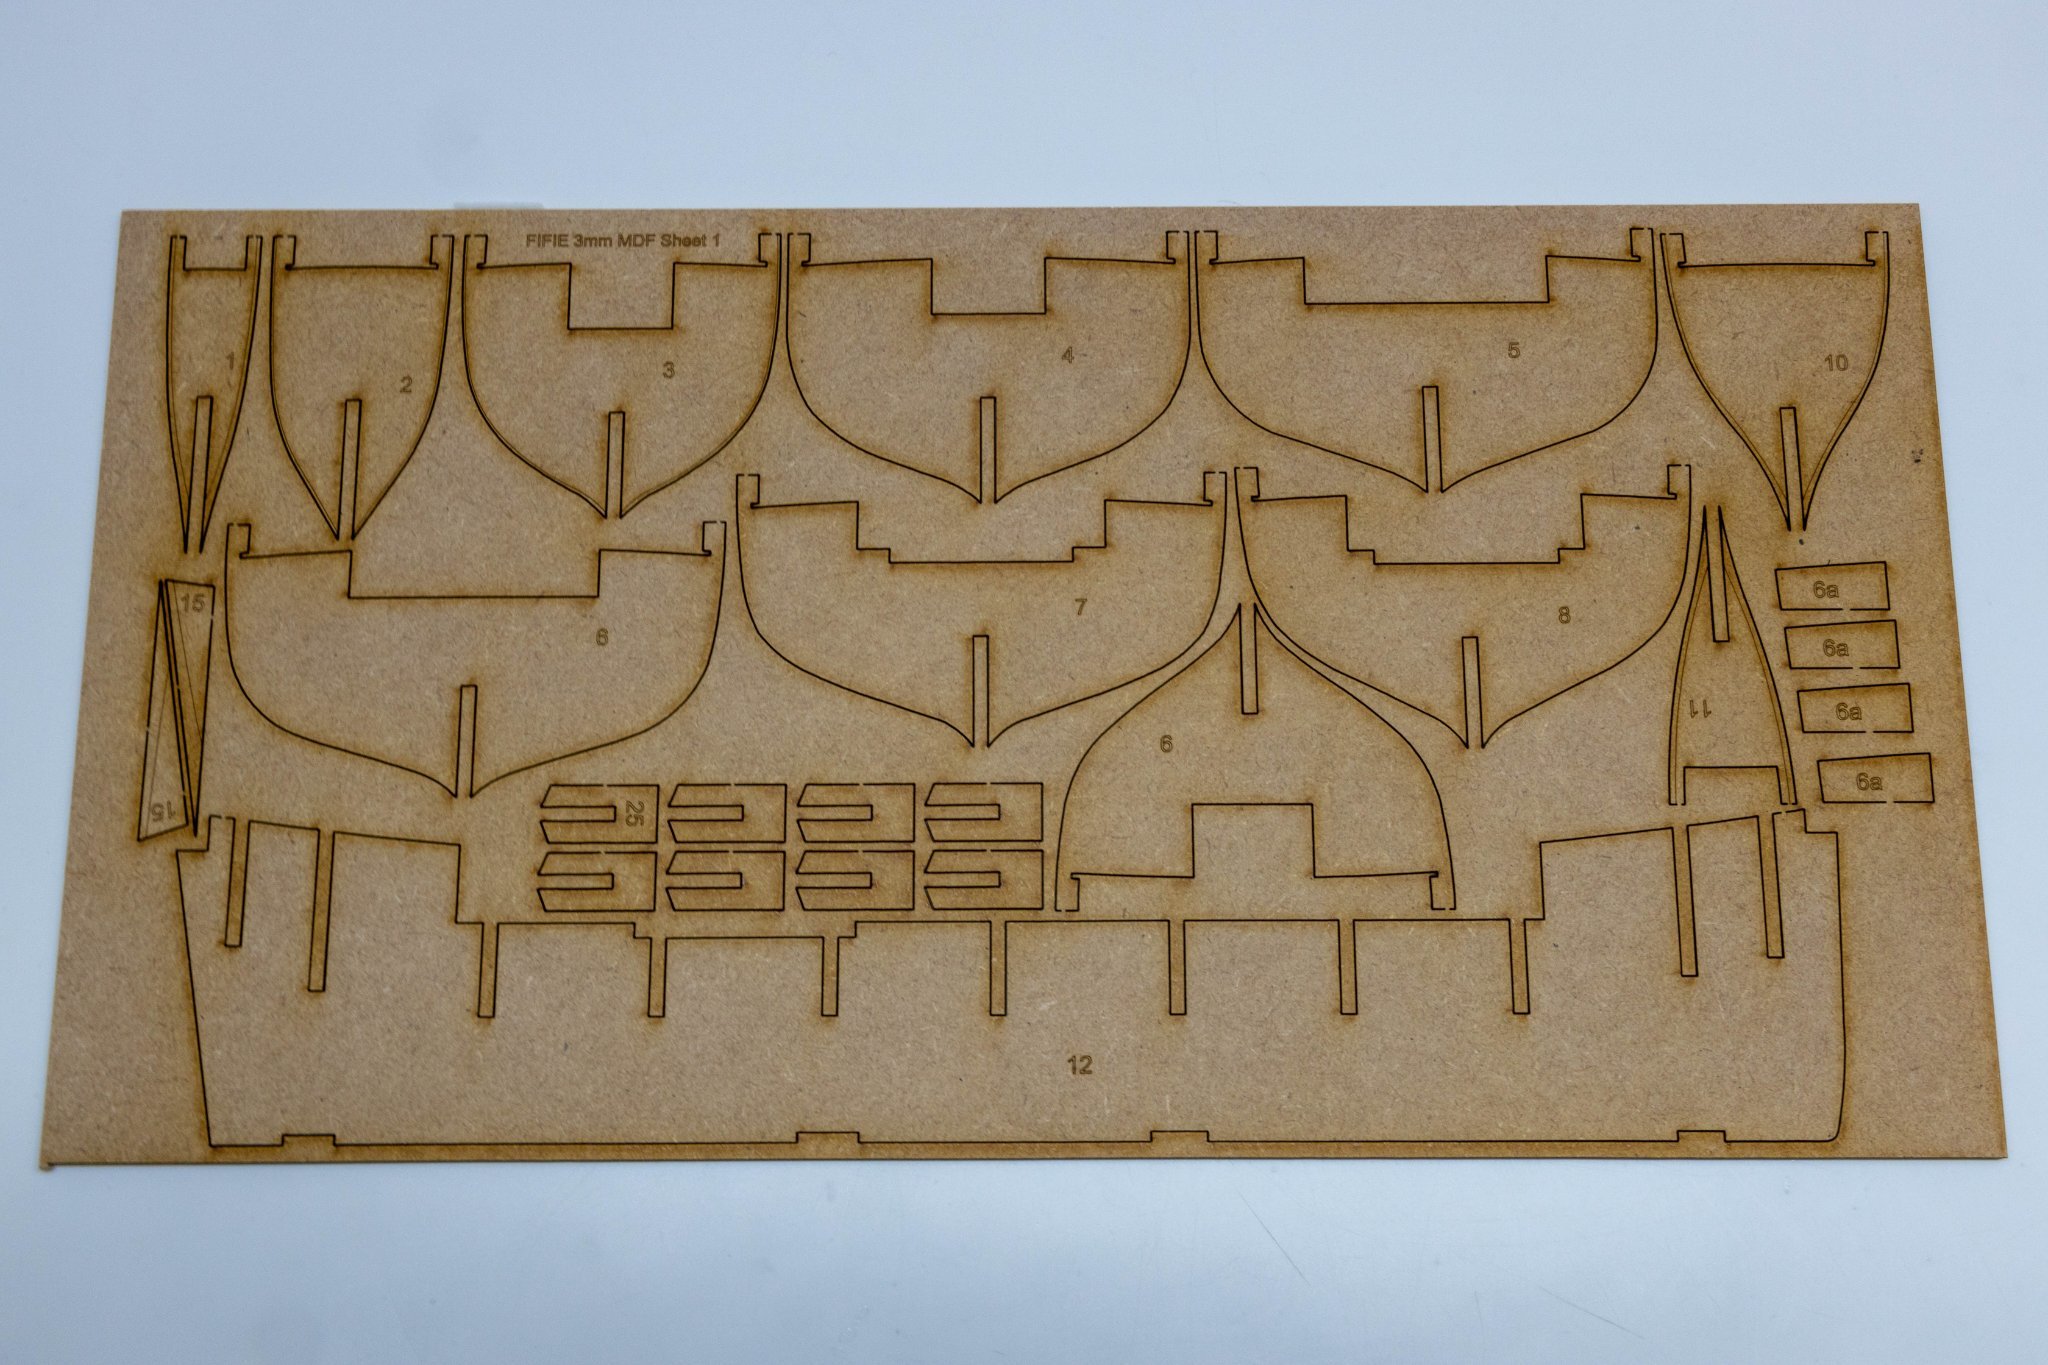
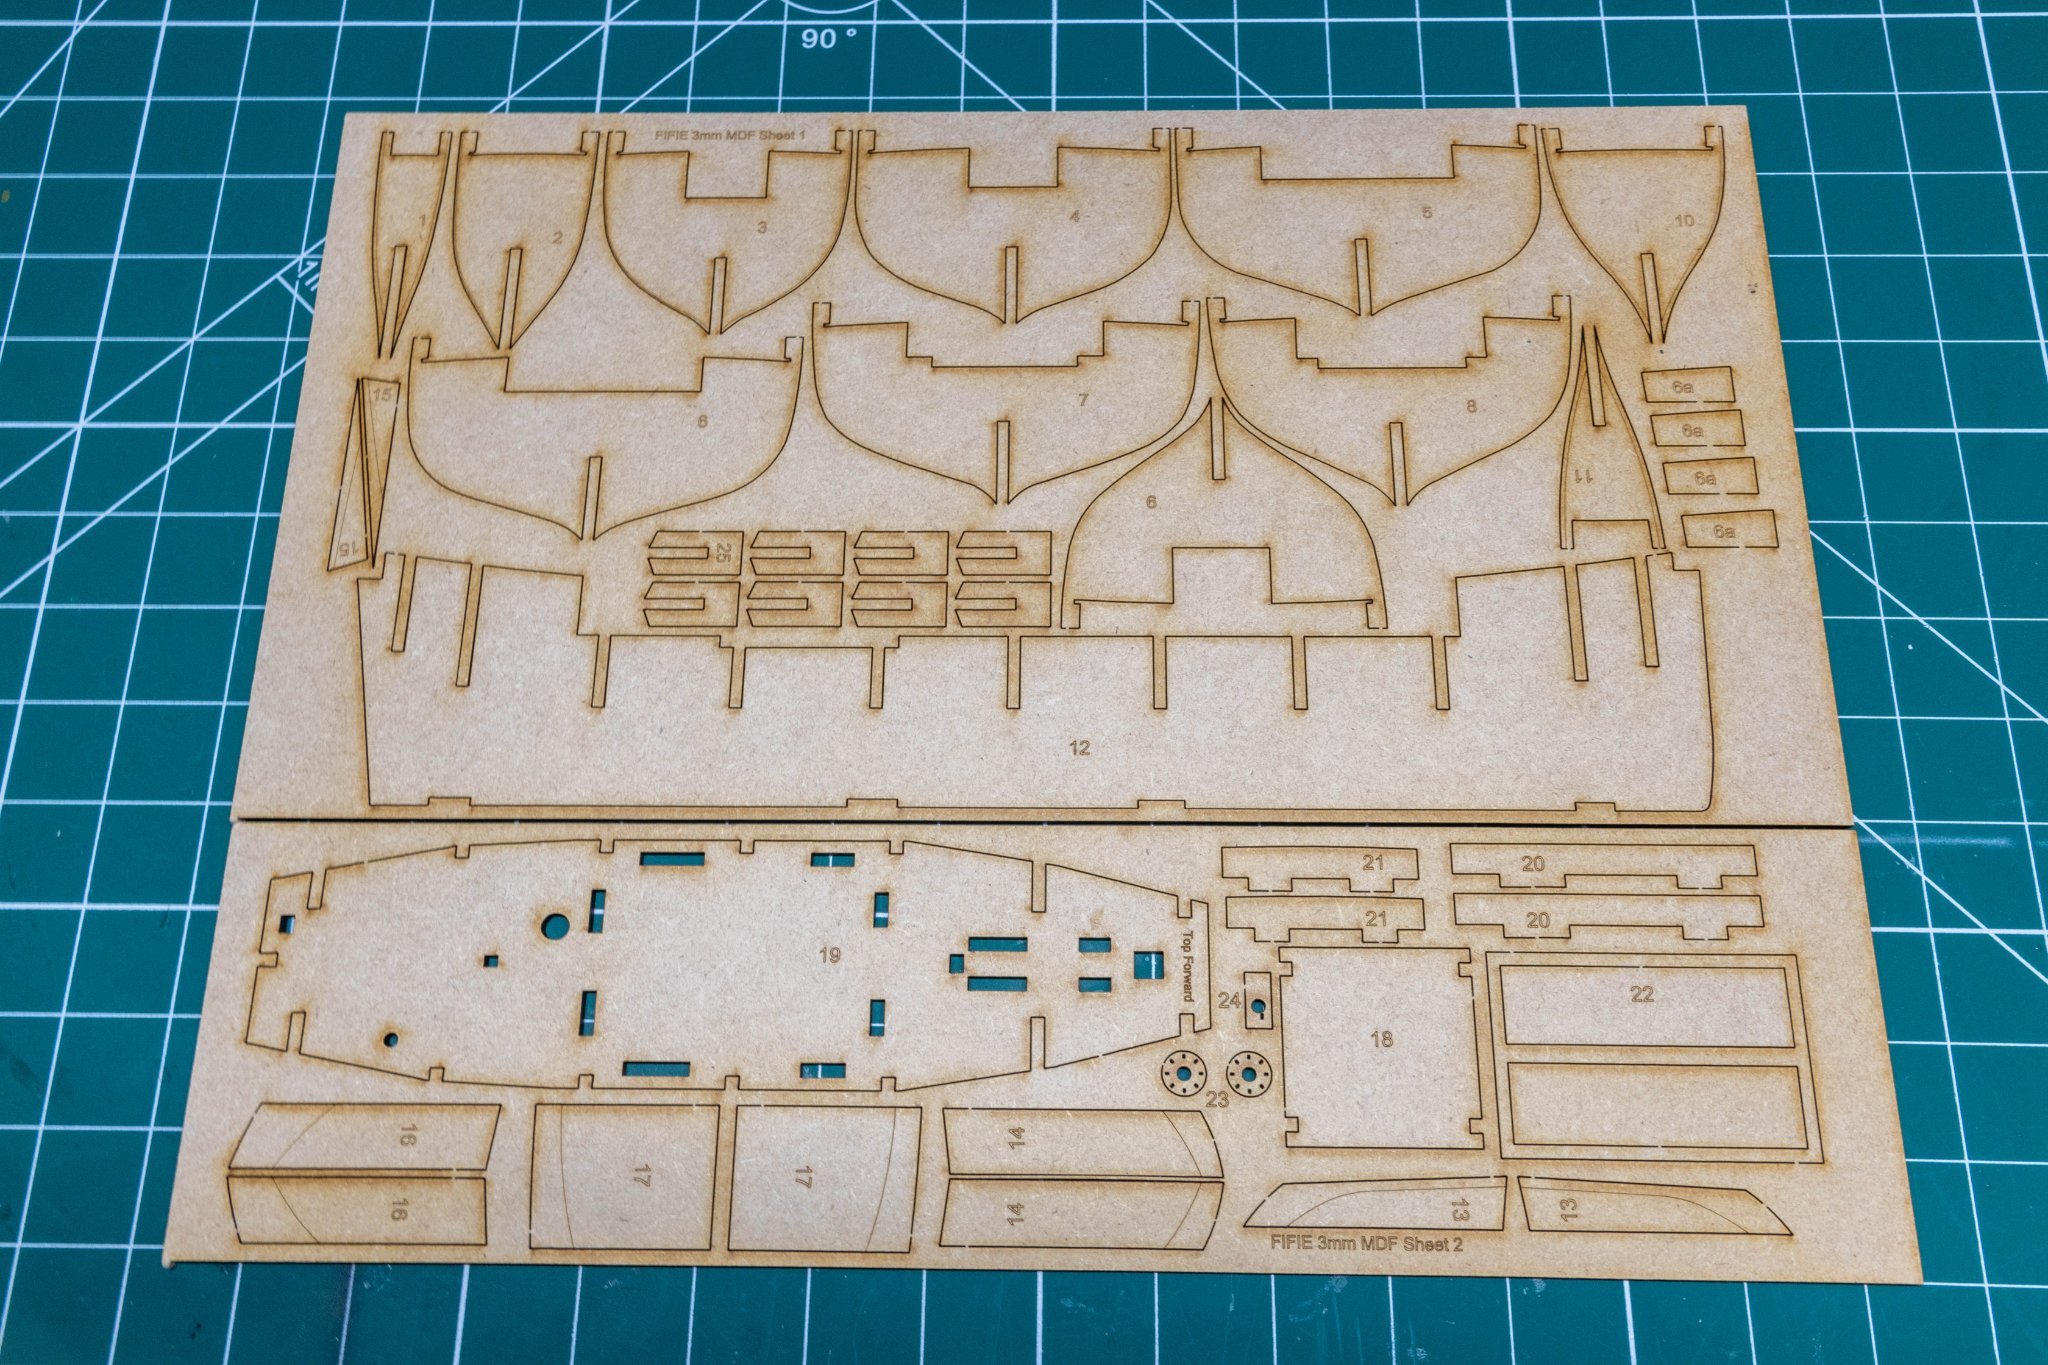
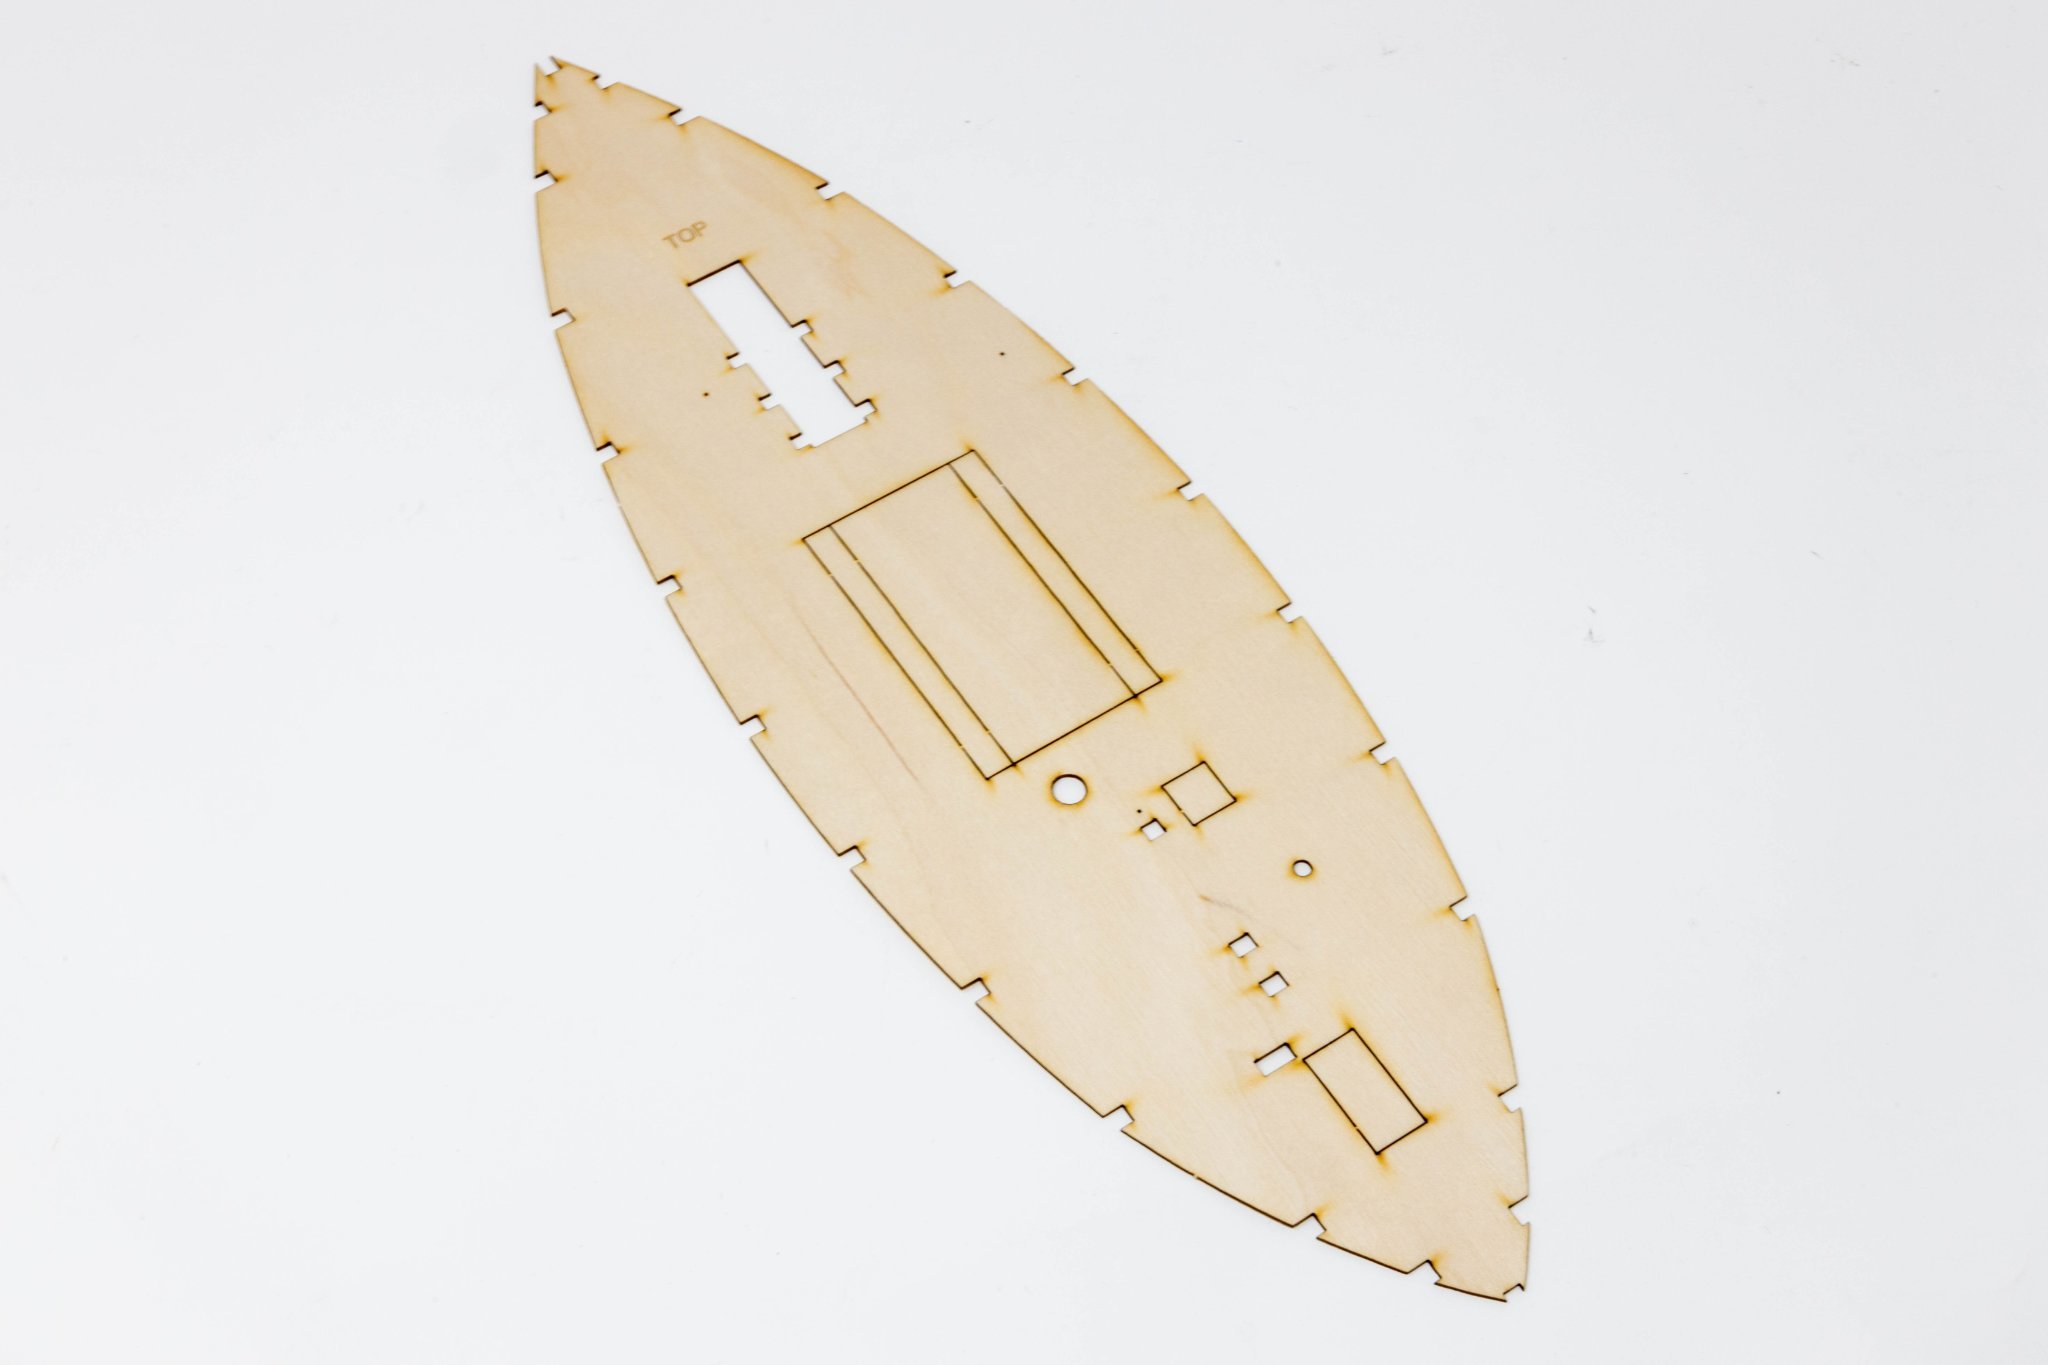
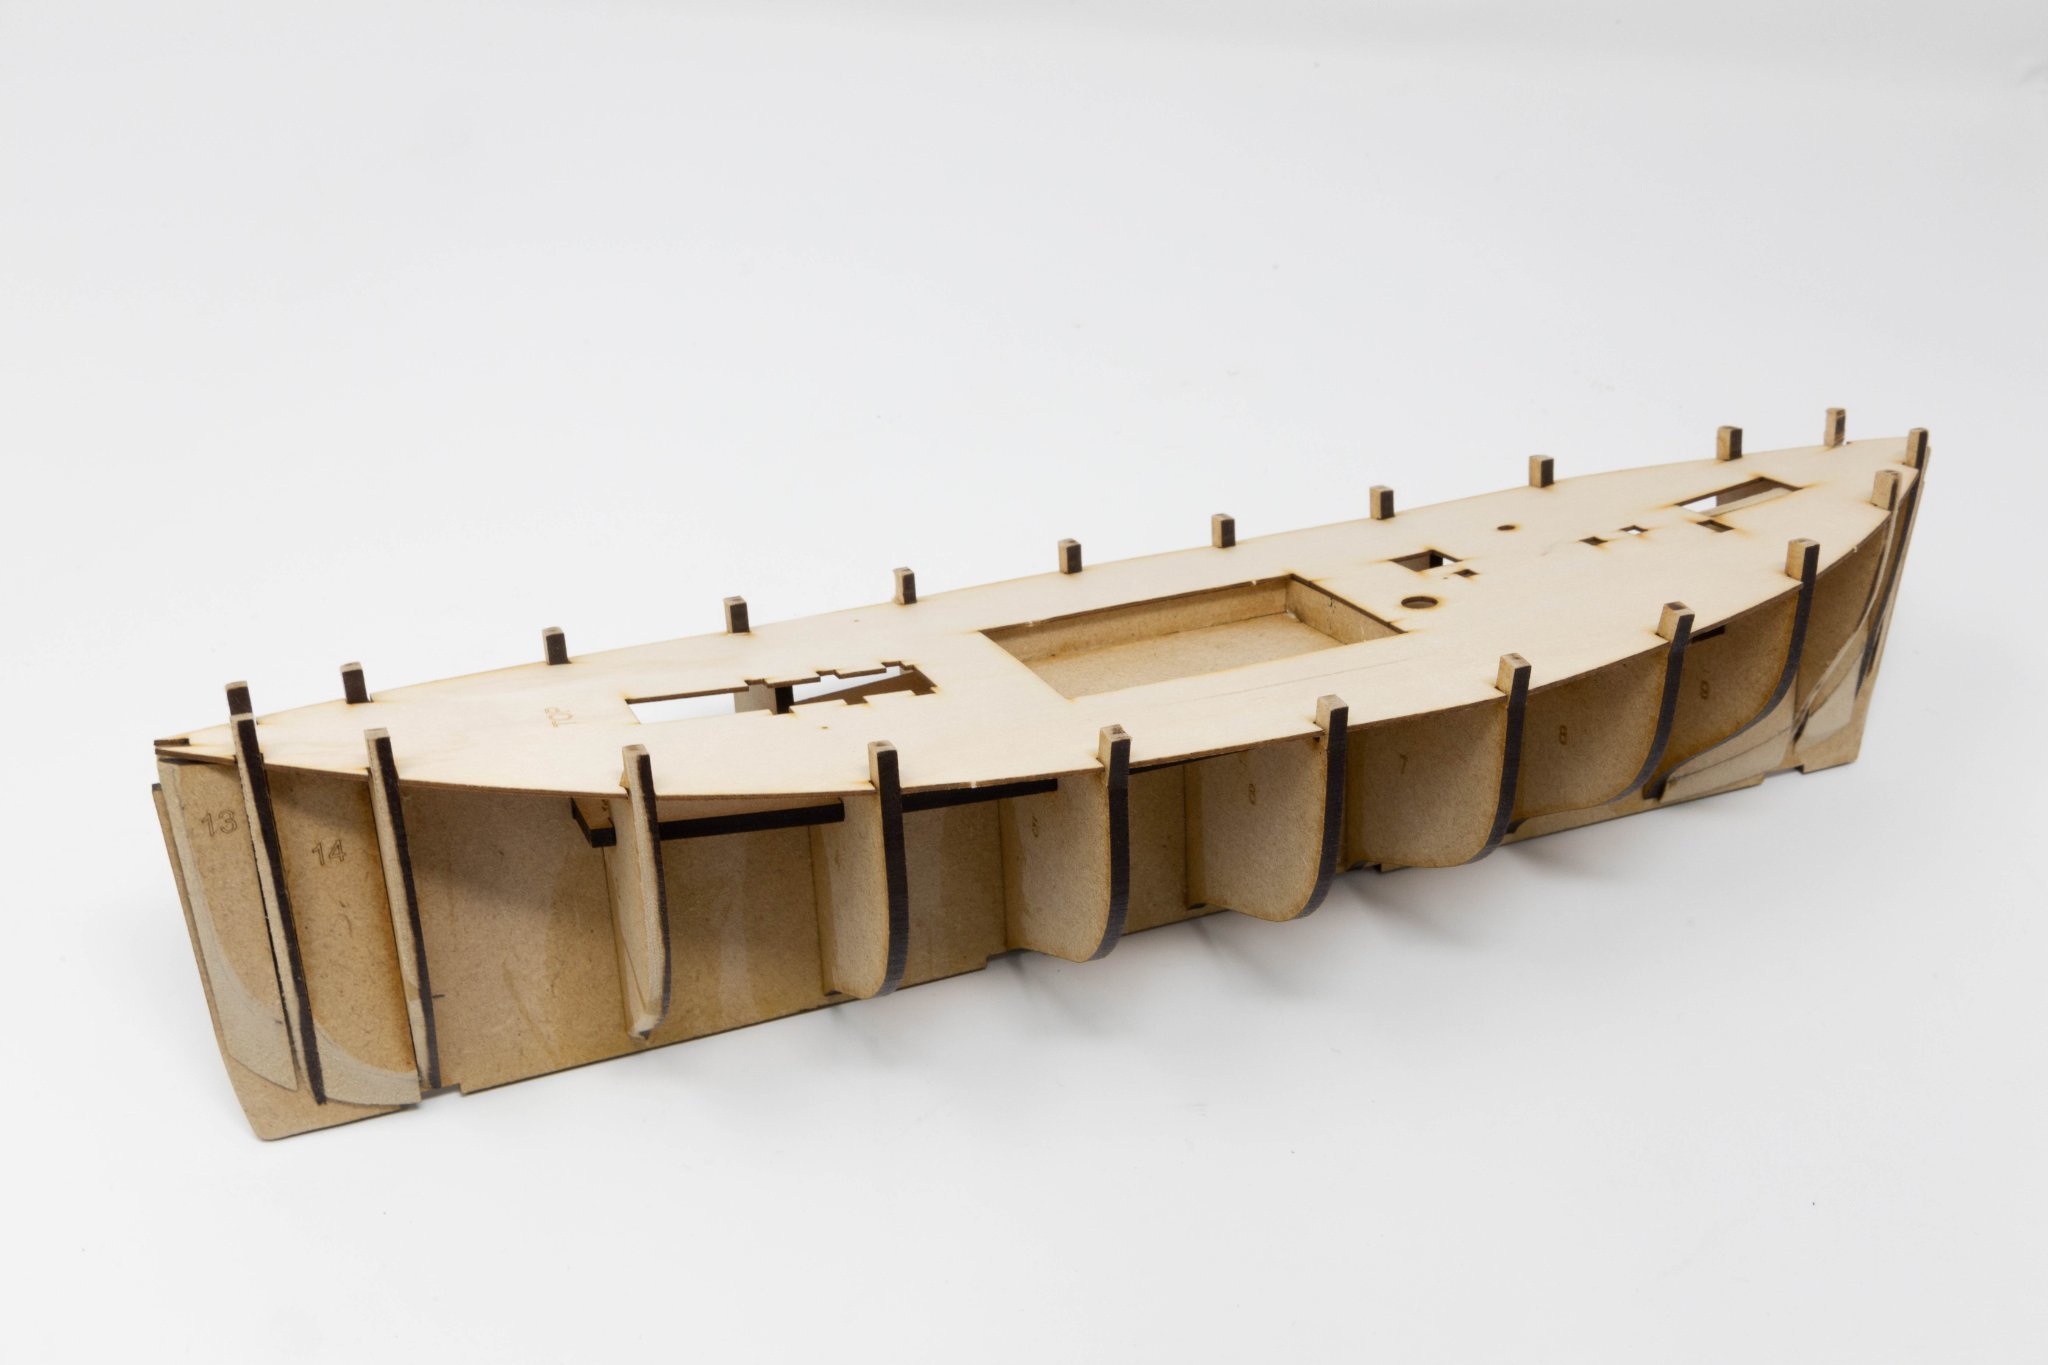
Hi everyone. I have been wanting to try one of Chris Watton's 'Vanguard Models' kits for a while now . As i have several ongoing builds, and not wanting to overspend, i finally decided to take the plunge with this one. Now i won't be doing the usual 'kit review' as i feel i cannot extol the virtues better than have alreday been written on this site. I will say that i'm so impressed by the quality of what i have seen so far to be already eyeing up my next purchase from Vanguard!
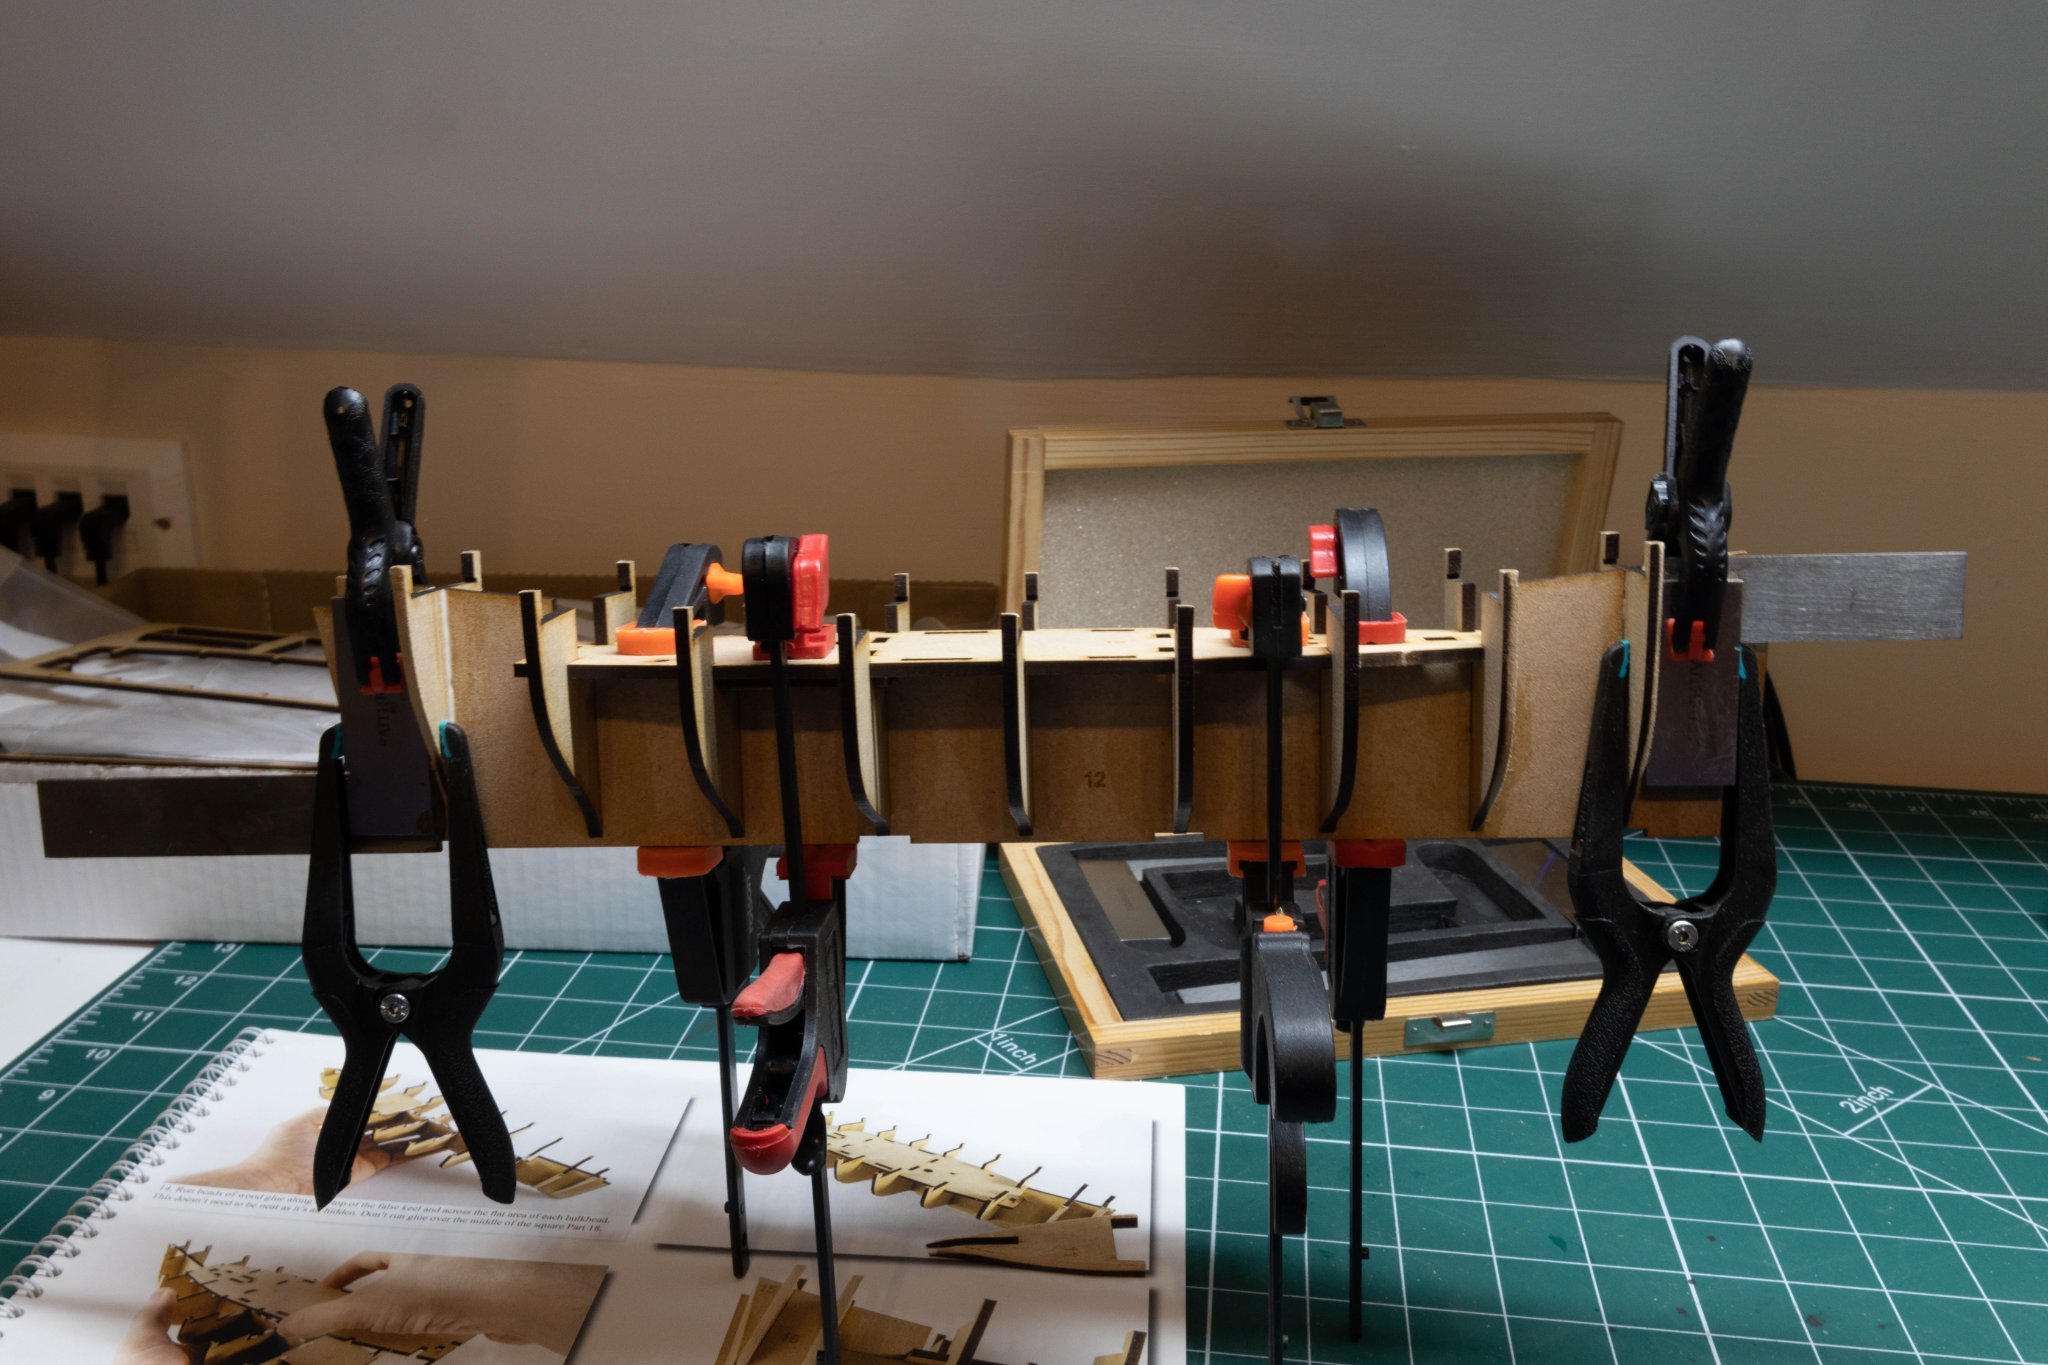
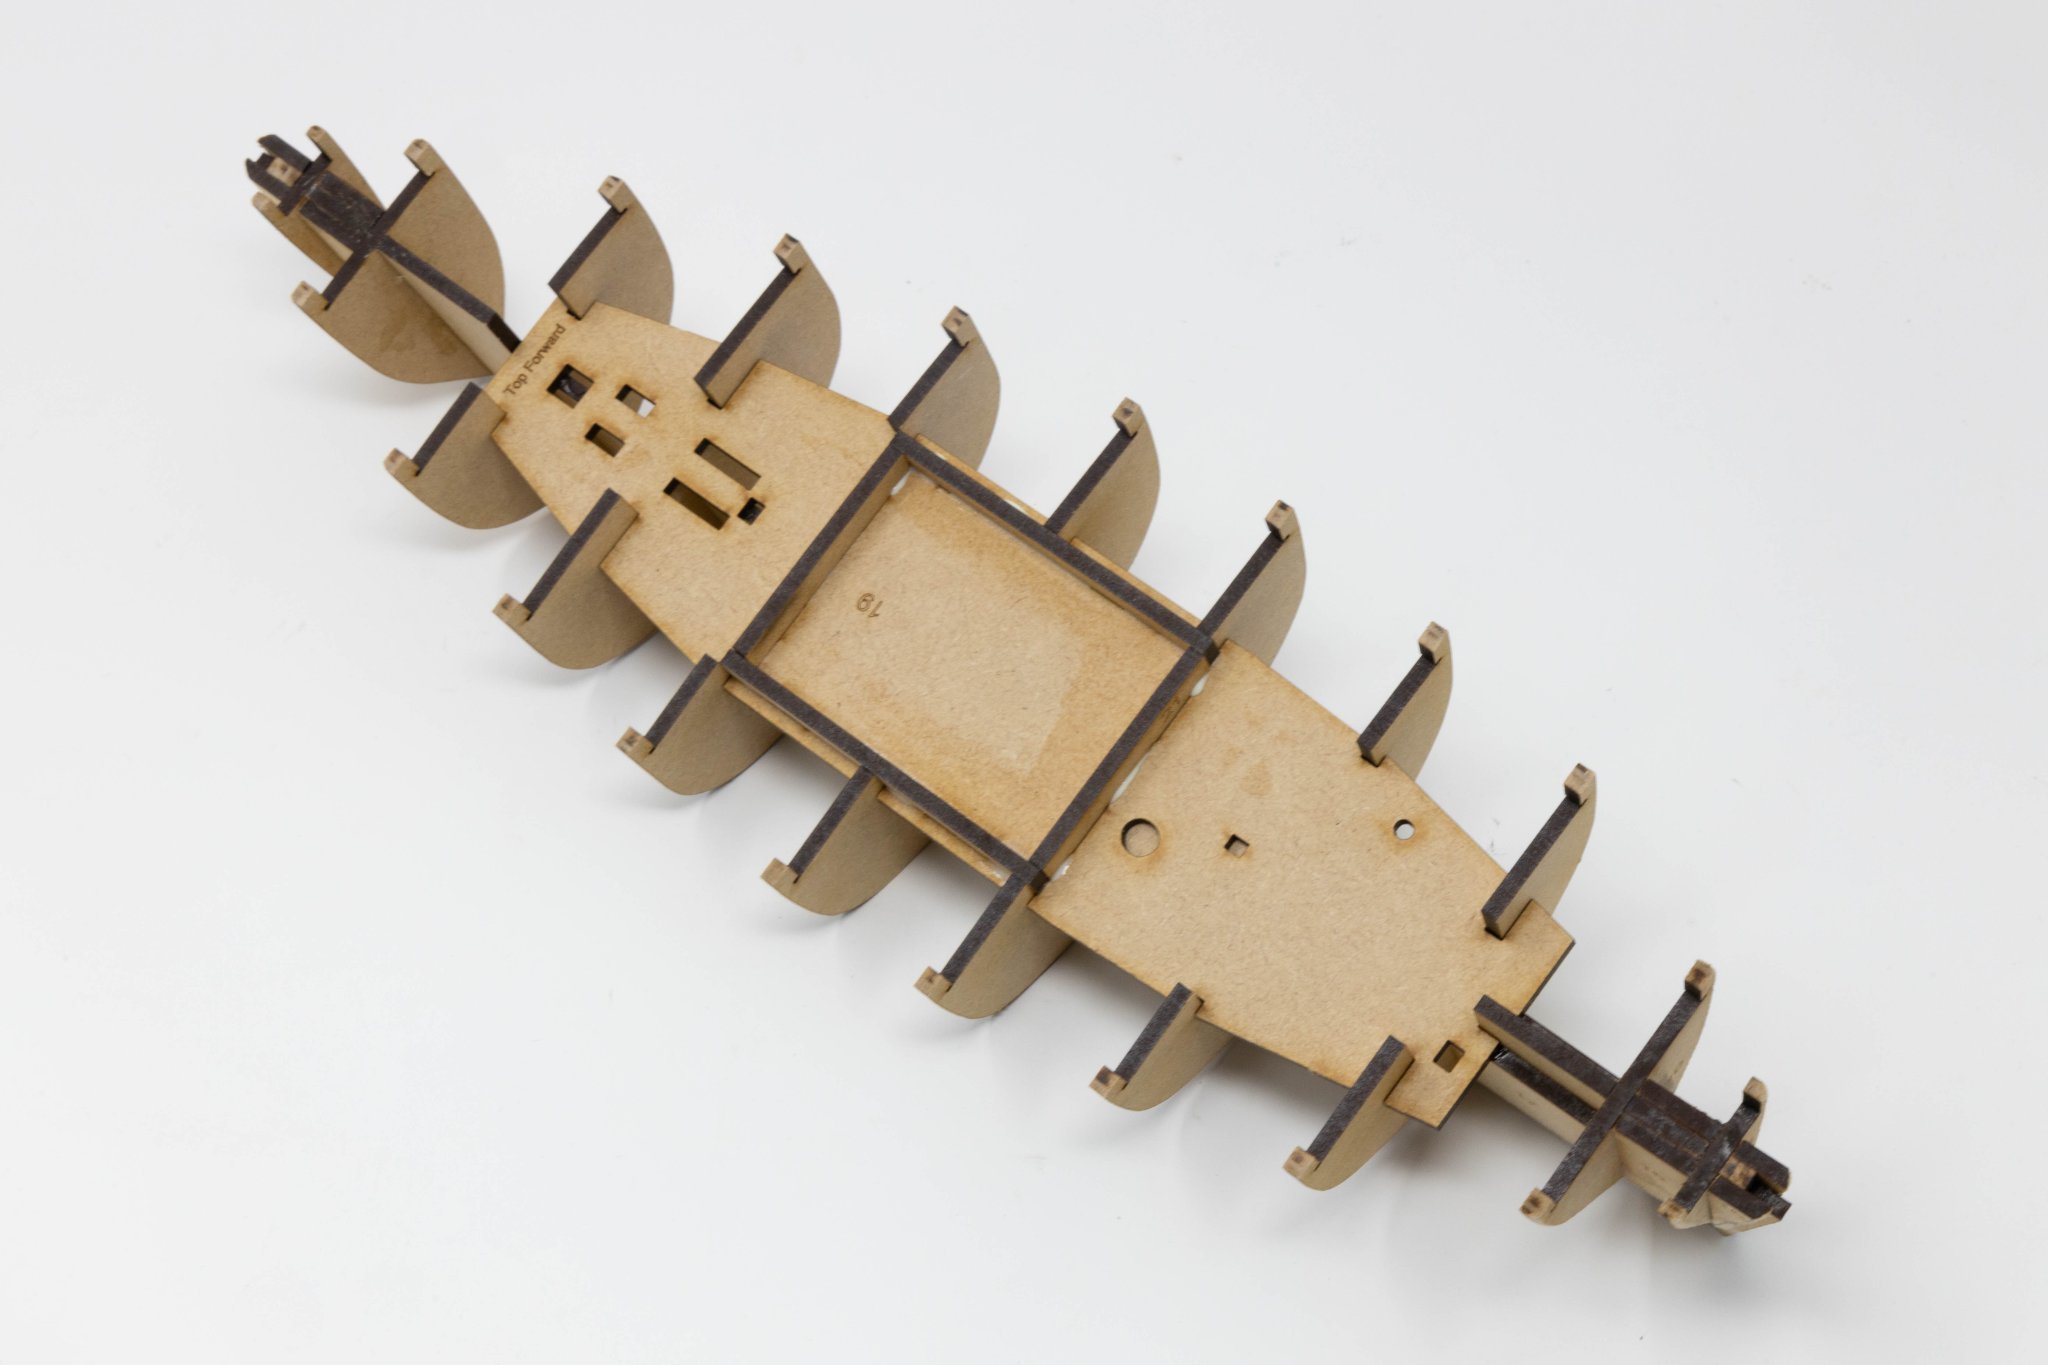
So, first job after checking over the parts, is to build up the hull skeleton. Once all the parts are removed from their frets, and given a very light sanding to remove any burrs, I prepared the bulkheads by bevelling their edges prior to fitting them (unglued) to the false keel. I just used sanding sticks as i didn't trust myself with the Dremel 😀 The bulkheads fitted perfectly, requiring no adjustments at all. Once fitted, the lower deck slid into place and i was then able to apply waterd-down glue to just the bulkheads, using the deck to line everything up. Once the bracing was glued in place under rhe lower deck, I glued the deck to the bulkheads. The filler patterns were added next, then the box created on the lower deck.
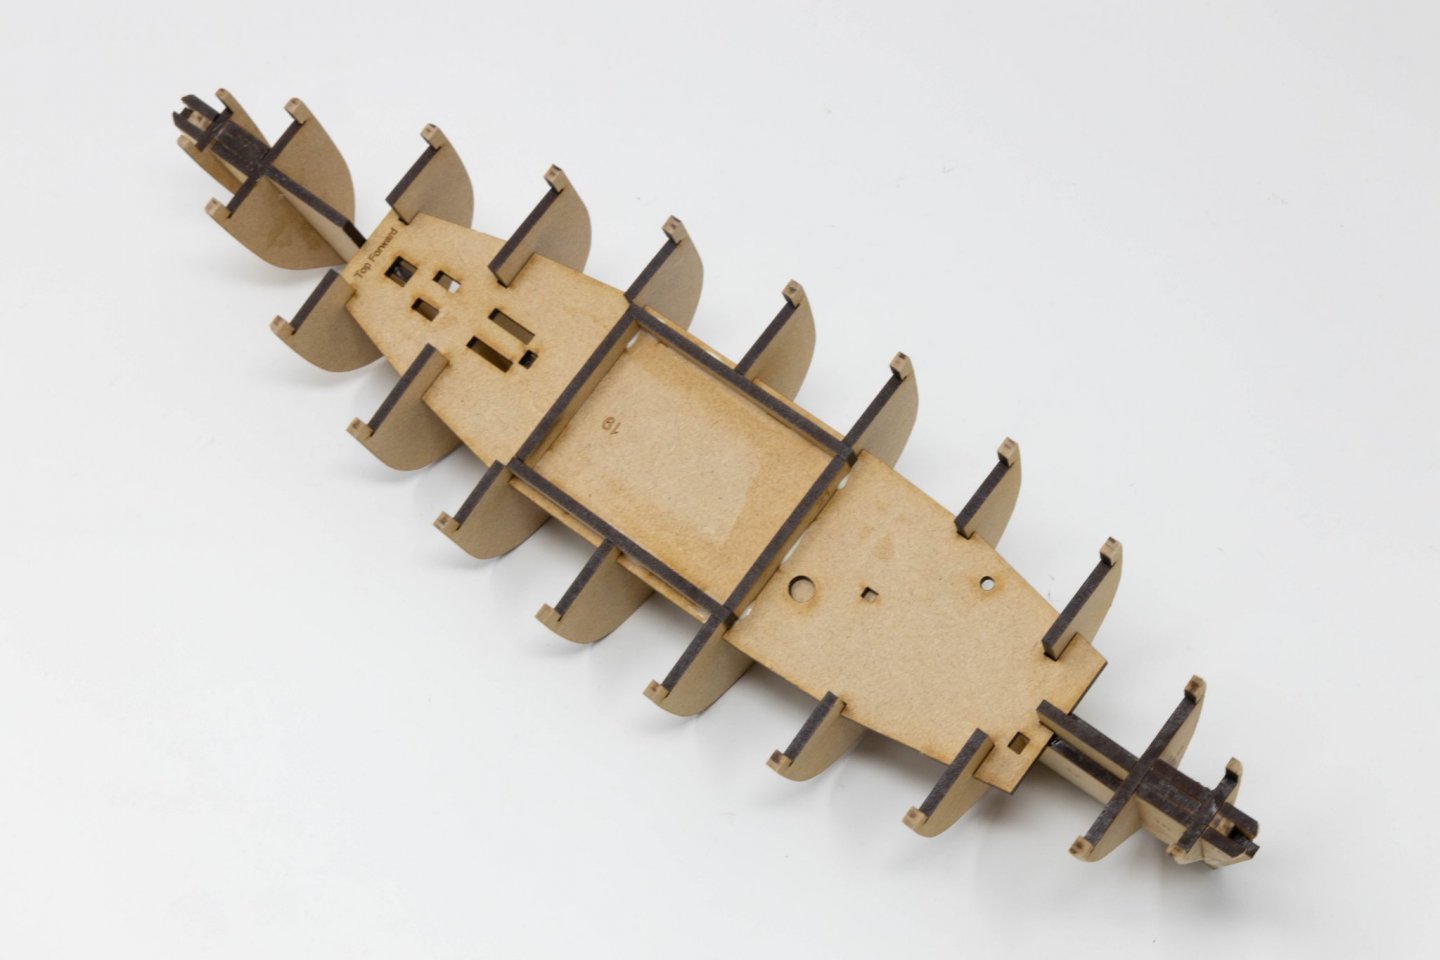
Once the sheer is sanded, we can fit the plain decking. This I just fitted dry, bending (😟) the ply into place. When i was happy with the positioning, i applied glue to the joints from below.


- Andyrew, Rik Thistle, BobG and 1 other
-
4
-
-
-
-
Thanks Andrew,
Yes i already follow his build but was worried about 'hijacking' his thread. I might just pm him and ask as you suggest 👍


Chamfering Cutting Tool
in Building, Framing, Planking and plating a ships hull and deck
Posted
I'm SOOOOO glad soeone mentioned this and we had so many replies. I wondered about this tool too, but after the explainations, i think i'll give it a miss 👎