Tobias
-
Posts
219 -
Joined
-
Last visited
Content Type
Profiles
Forums
Gallery
Events
Everything posted by Tobias
-
 Jan you make me blush, thank you for the compliment, however it is also my first build.
 -
Jan this is fantastic work, really beautiful woodwork.
-
La Palme by Tobias - 1:36 - POF
Tobias replied to Tobias's topic in - Build logs for subjects built 1501 - 1750
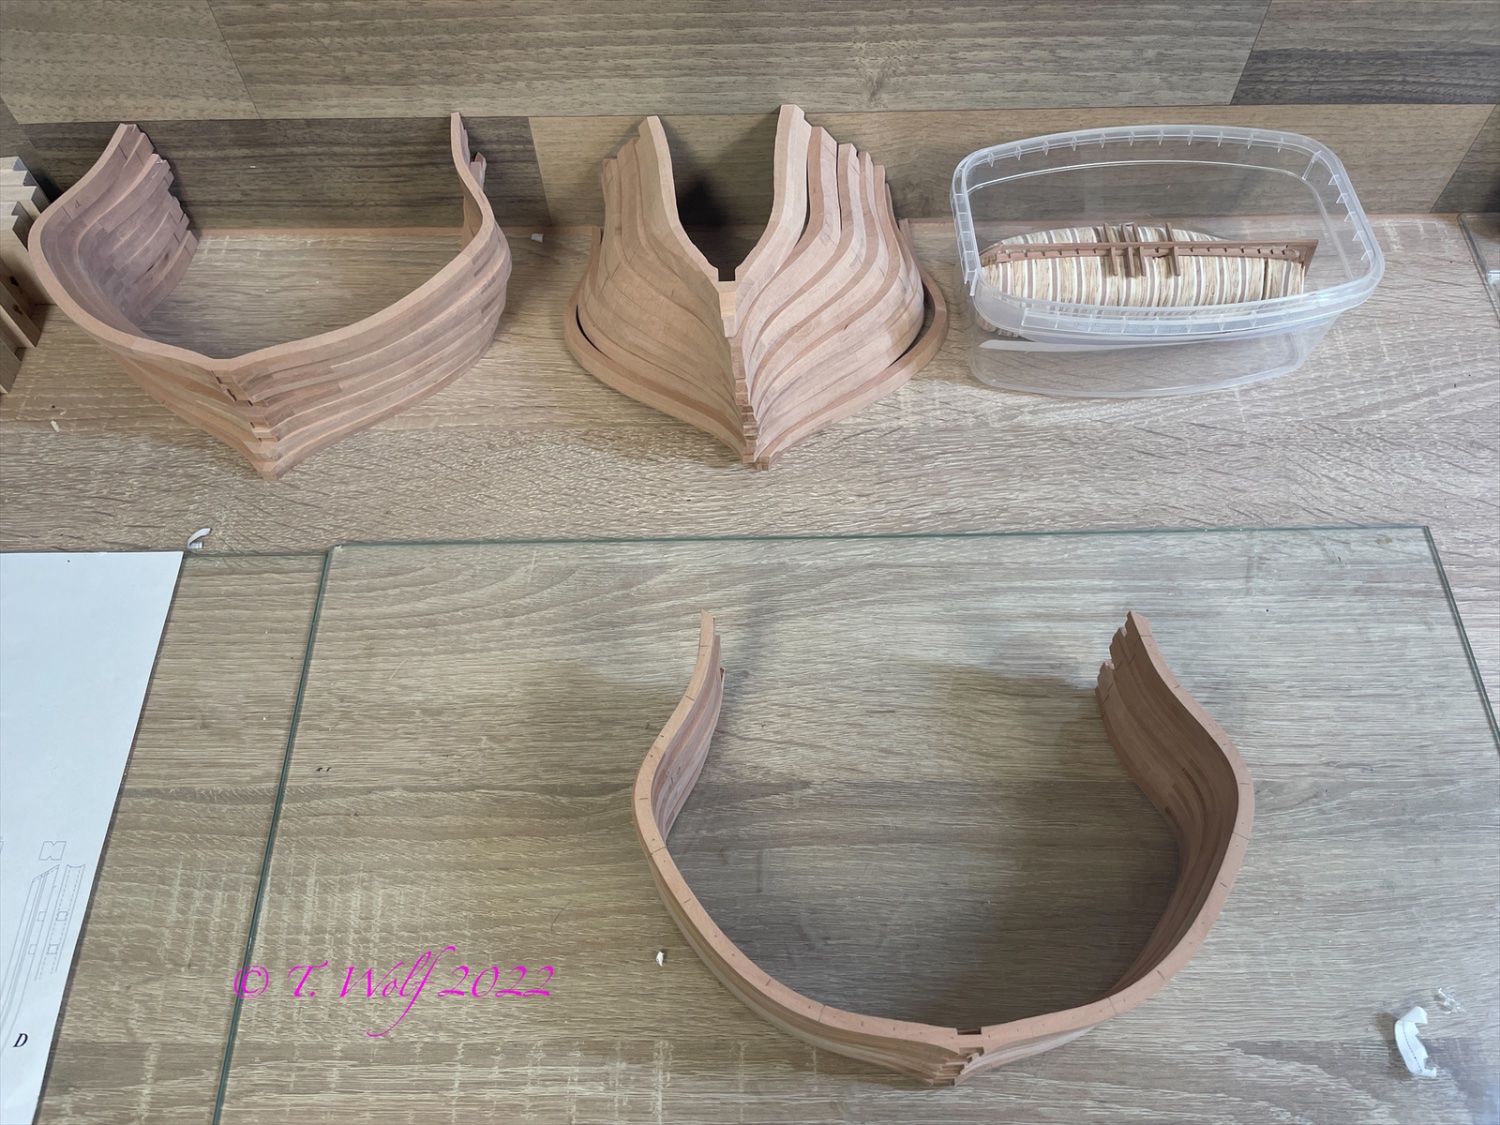
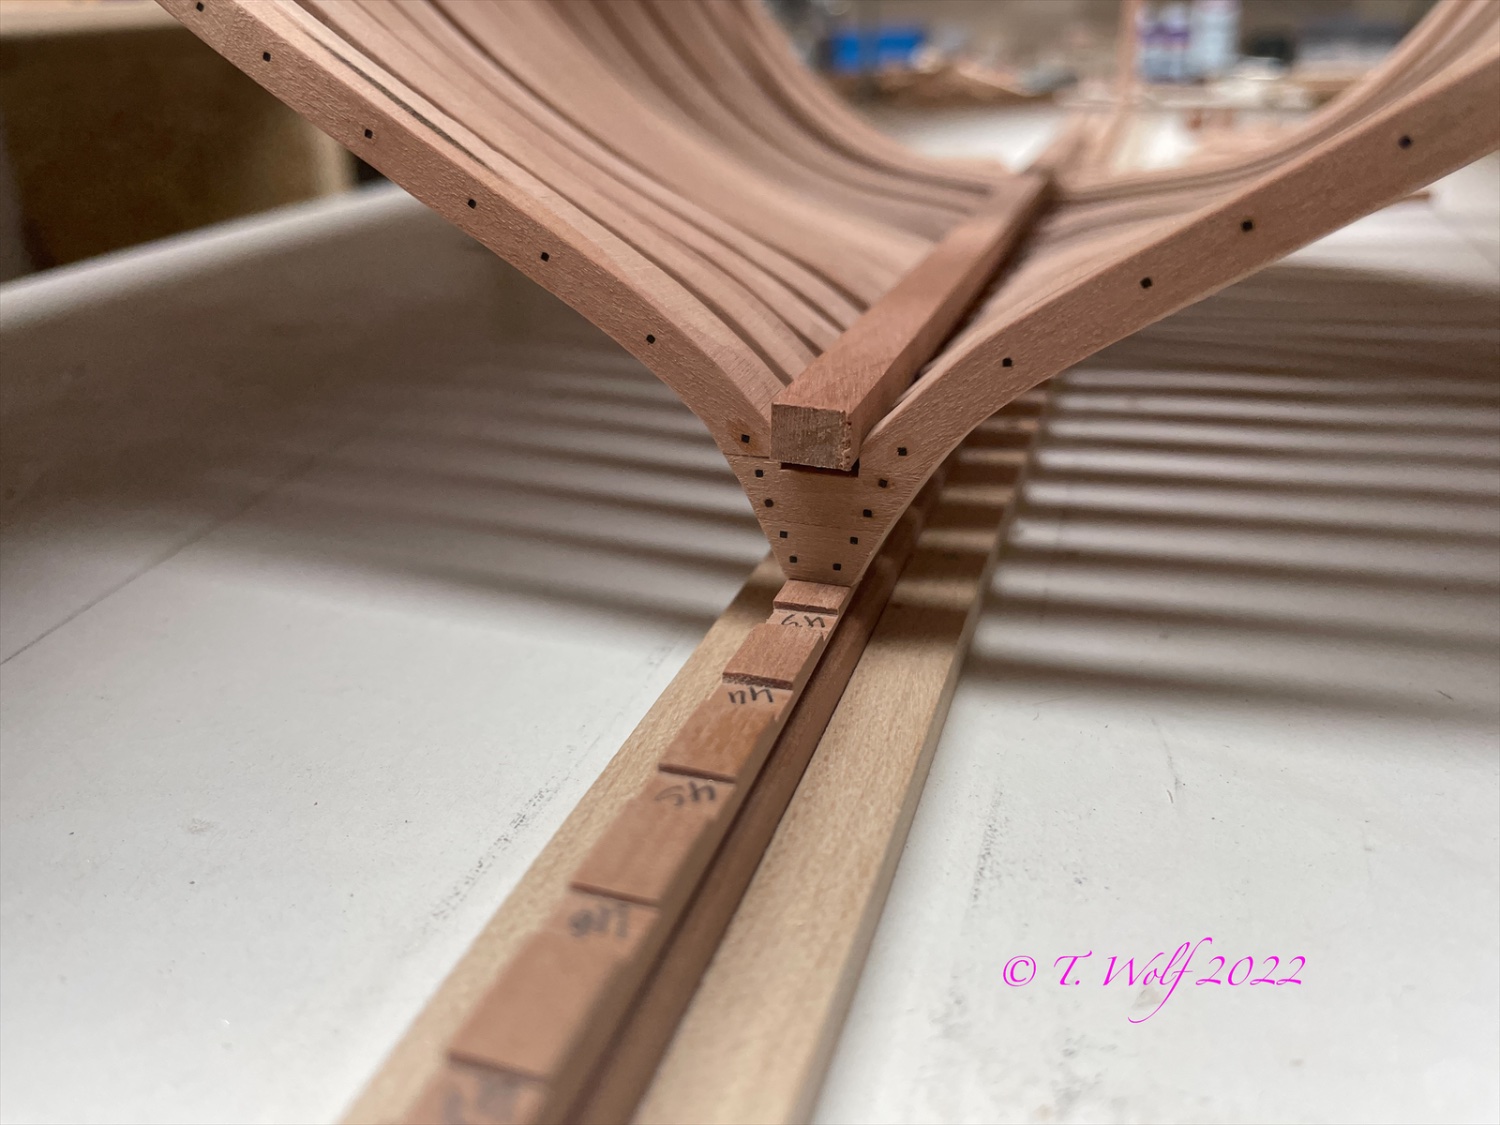
Hello everyone and a good evening to you all. All the keys and fillers are in place. In the next few days I will try again on the bug, that would be the 3rd attempt, let's see if it works this time.


-
Hello Anderas, great thing about the planking plan. Starting with the deck area, I built most of the parts based on the monograph and no longer used the parts included in the kit.
-
HMS EURYALUS by Matiz - FINISHED - scale 1:56
Tobias replied to matiz's topic in - Build logs for subjects built 1801 - 1850
Matiz, that's one of the most beautiful works I've seen, greetings to Pisa -
La Palme by Tobias - 1:36 - POF
Tobias replied to Tobias's topic in - Build logs for subjects built 1501 - 1750
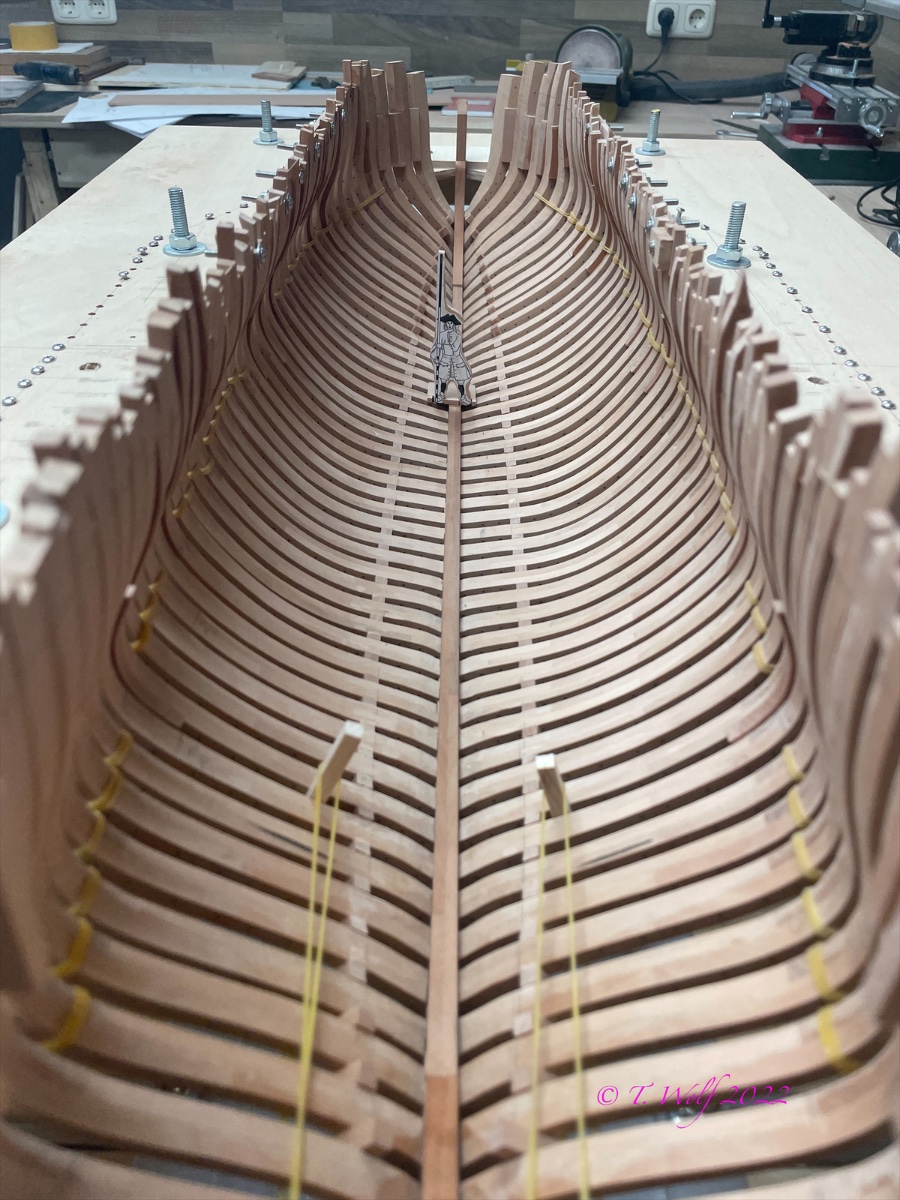
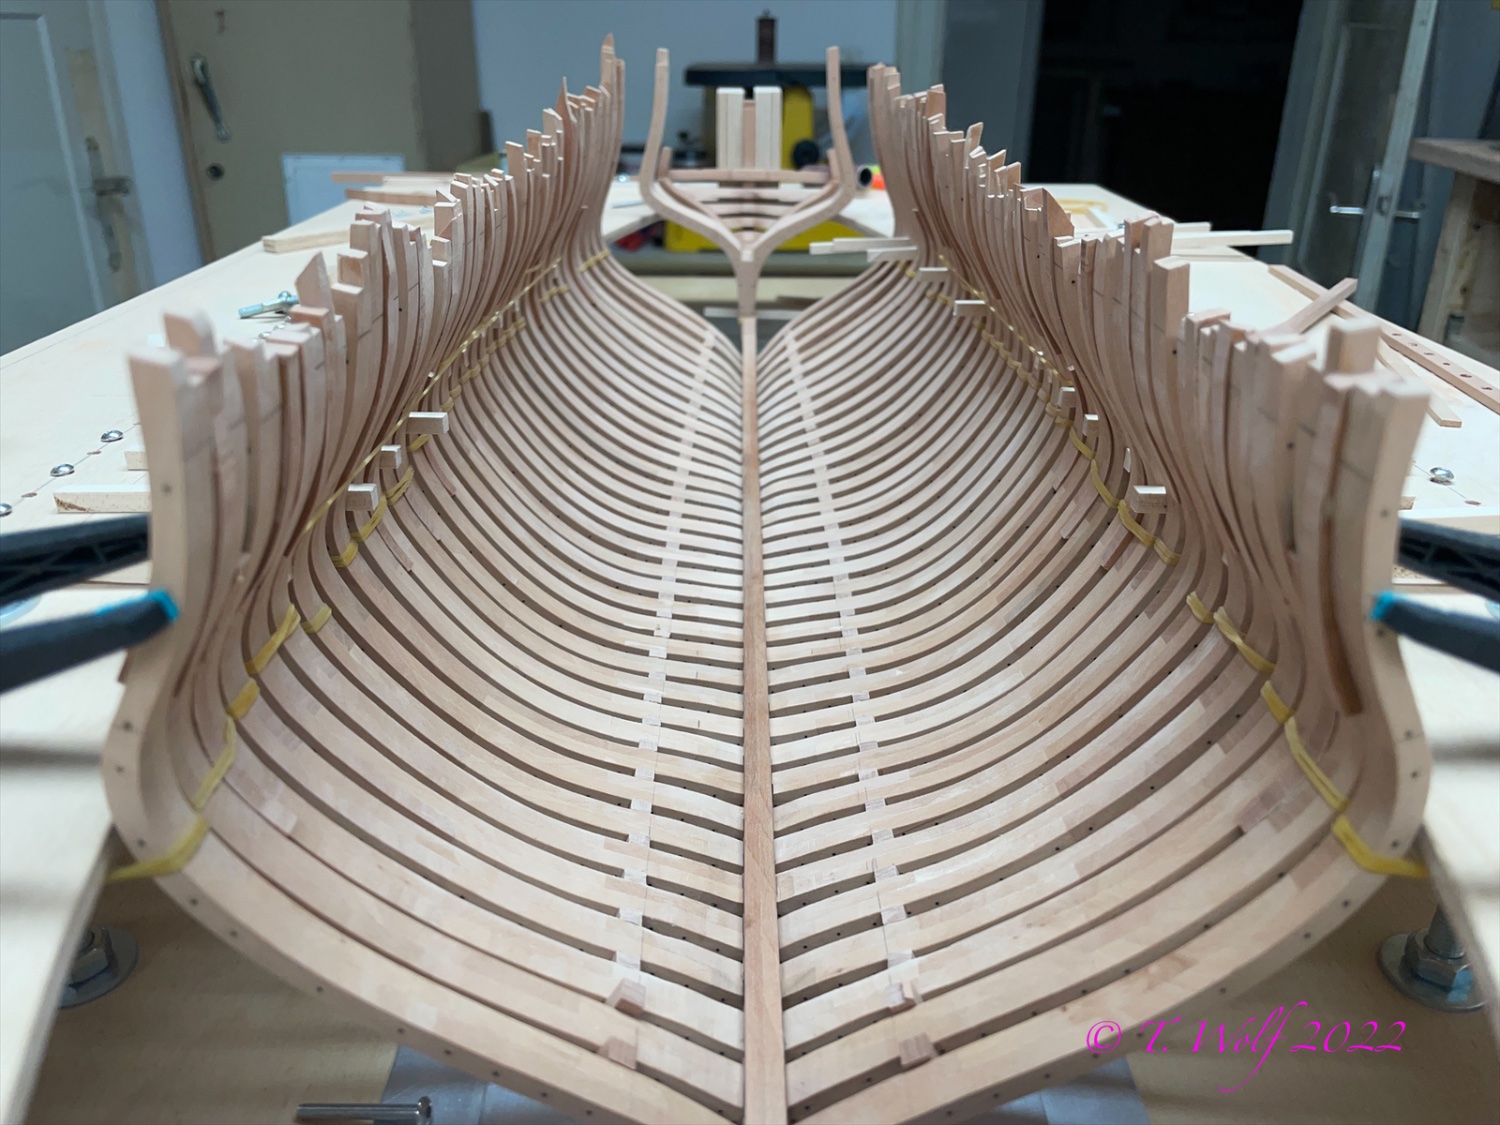
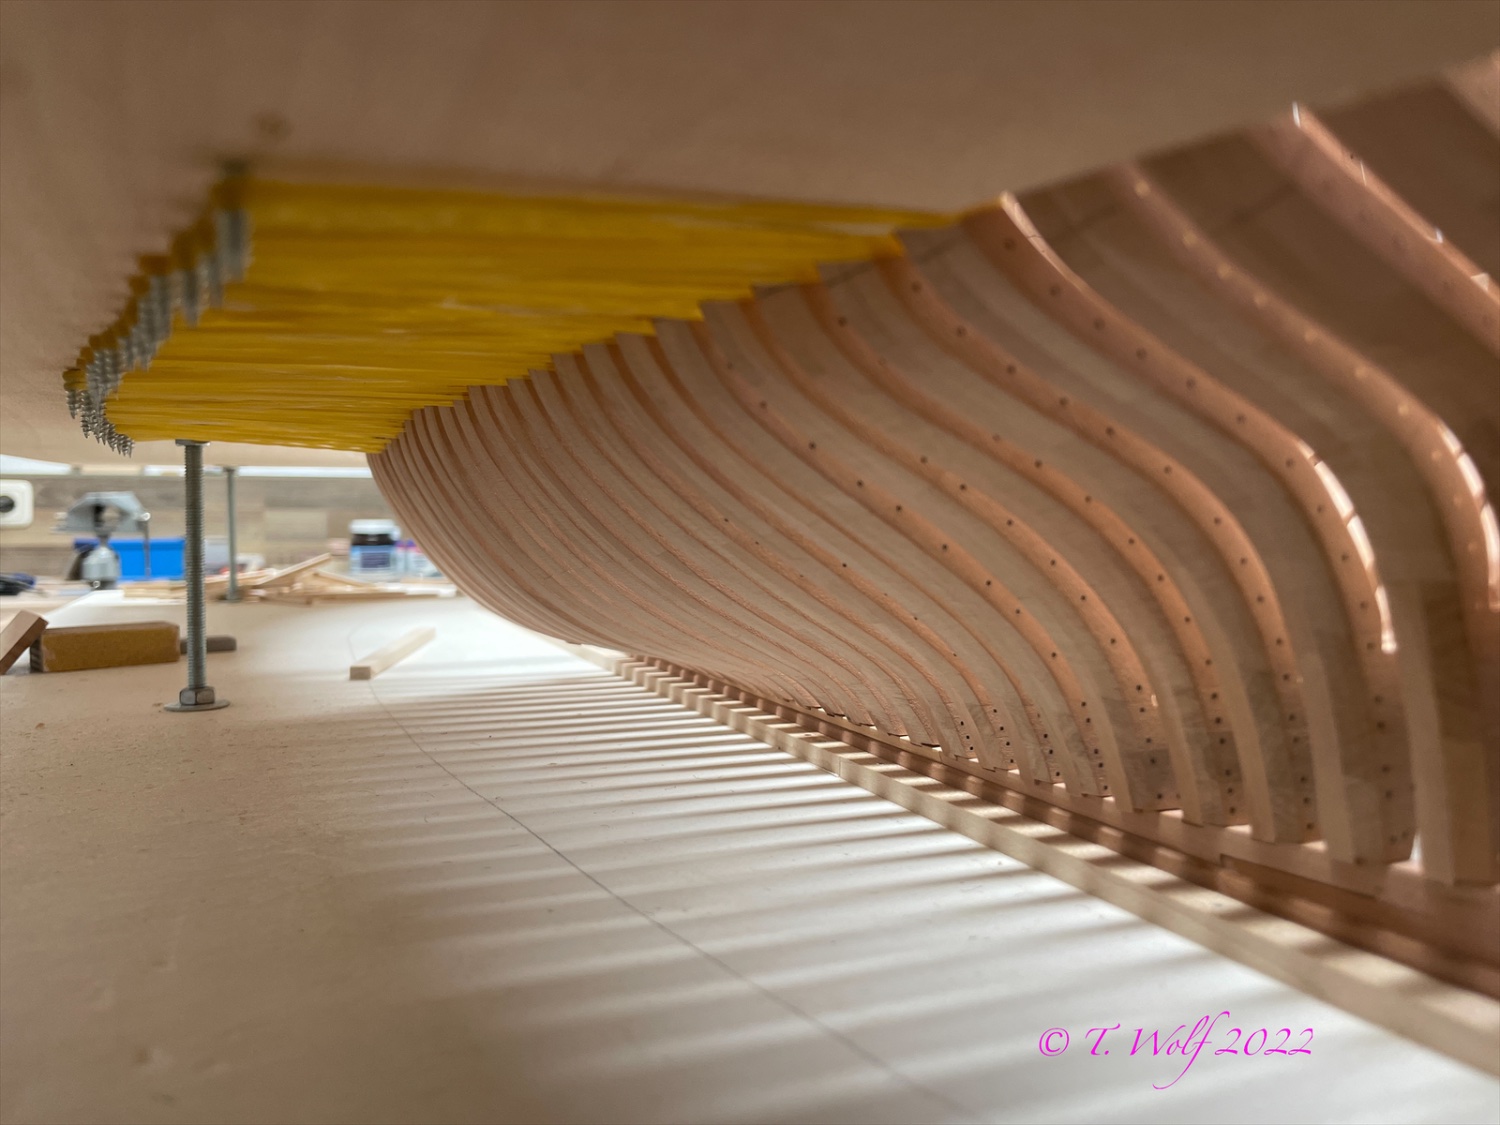
Hello and a nice evening together. Another 17 frames have found their place. Now I have 6 to the rear and 9 to the front.

-
ancre Le Gros Ventre by ChrisLBren - 1/36
Tobias replied to ChrisLBren's topic in - Build logs for subjects built 1751 - 1800
Hi Chris, in answer to your question, yes the vice will fit the MF70 but you won't have much room to move upwards. -
ancre Le Gros Ventre by ChrisLBren - 1/36
Tobias replied to ChrisLBren's topic in - Build logs for subjects built 1751 - 1800
Very nice Chris wonderful work -
La Palme by Tobias - 1:36 - POF
Tobias replied to Tobias's topic in - Build logs for subjects built 1501 - 1750
I wish everyone a nice good evening. Slowly but surely I am approaching the stern.

-
La Palme by Tobias - 1:36 - POF
Tobias replied to Tobias's topic in - Build logs for subjects built 1501 - 1750
Good evening everyone, the first frames are glued to the keel with filler pieces and the keys. It was a queasy feeling doing this.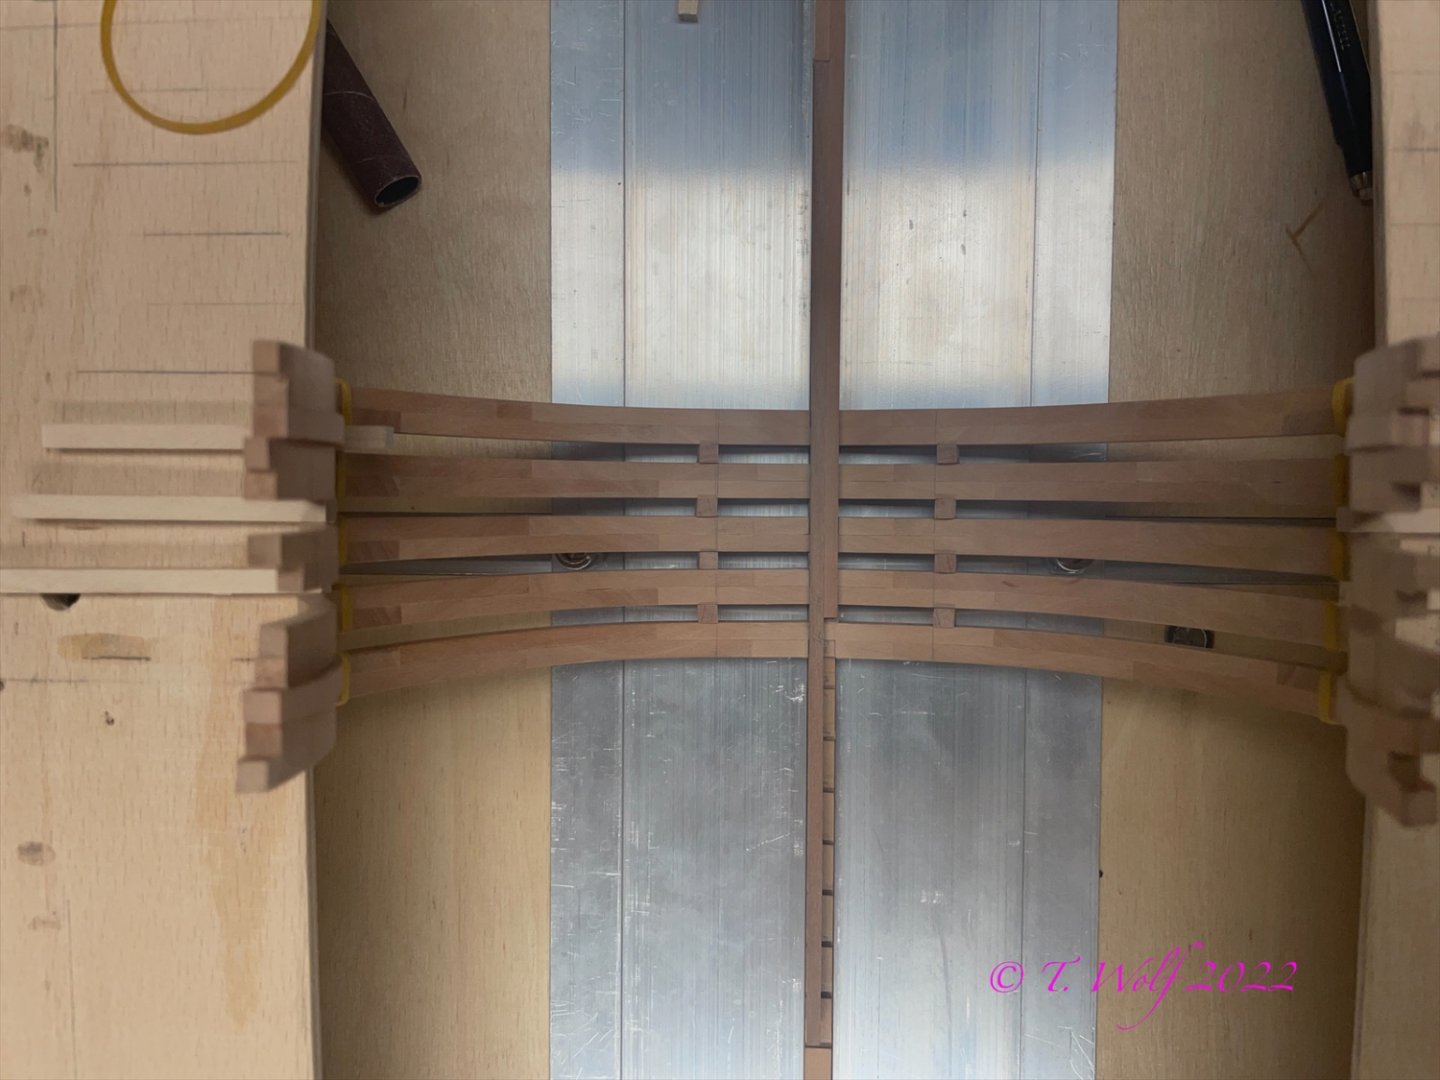


-
La Palme by Tobias - 1:36 - POF
Tobias replied to Tobias's topic in - Build logs for subjects built 1501 - 1750
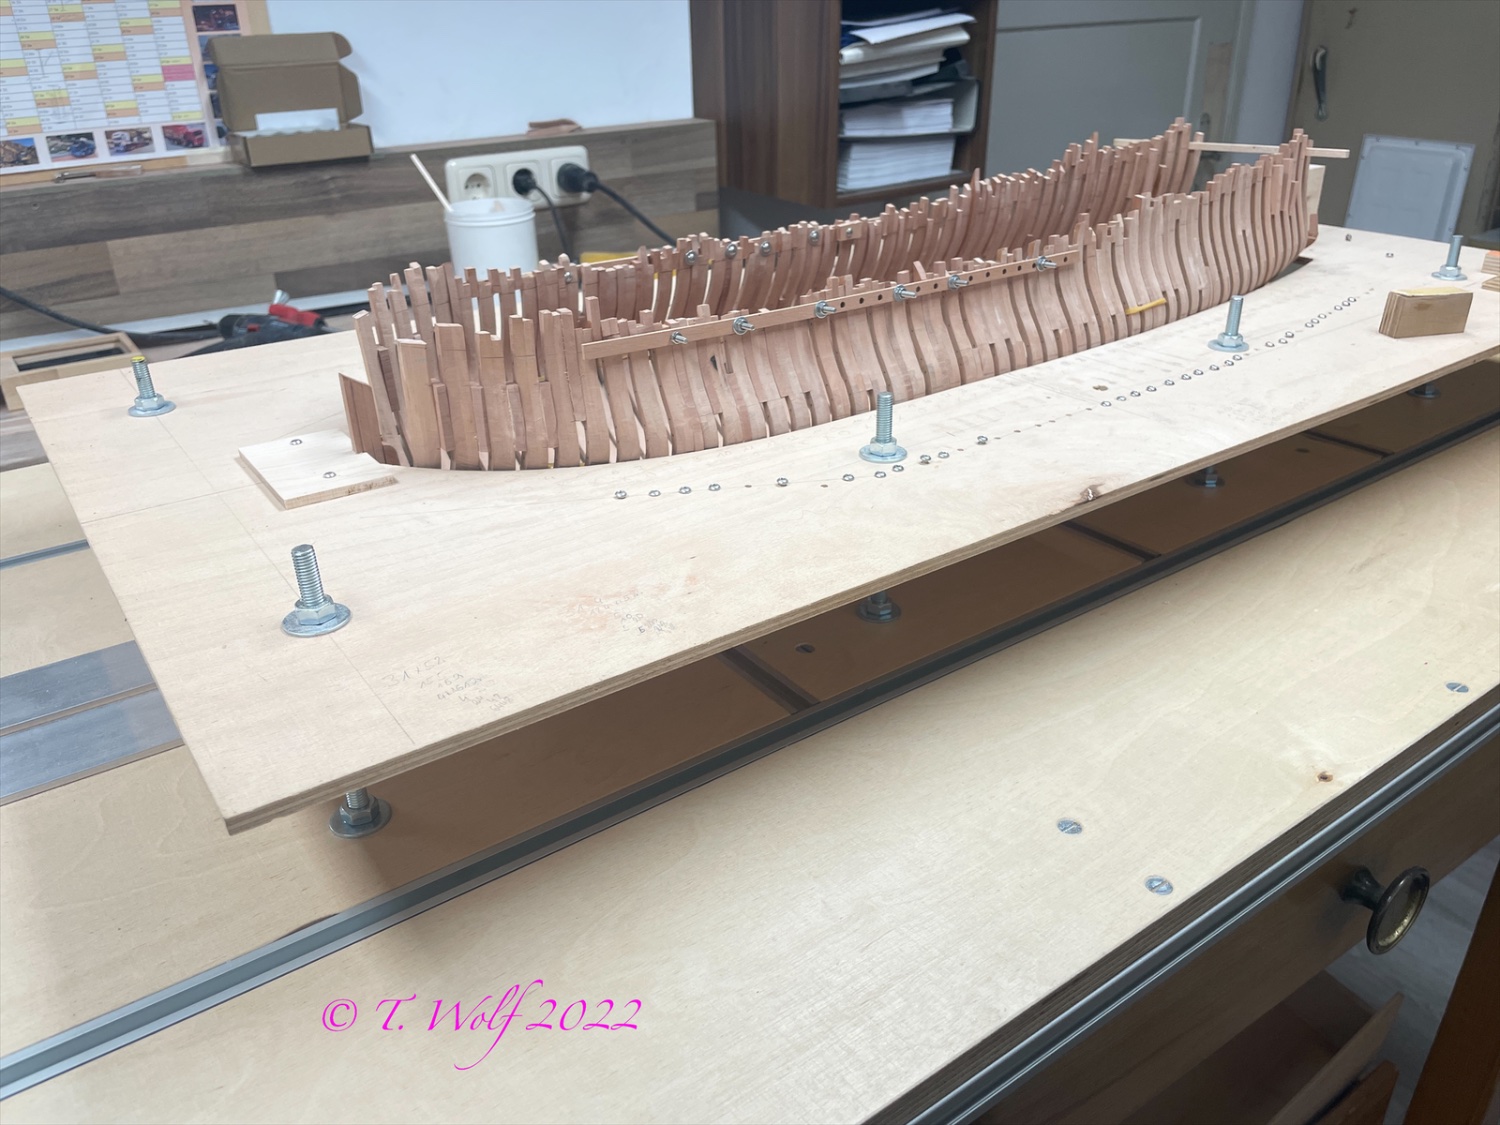
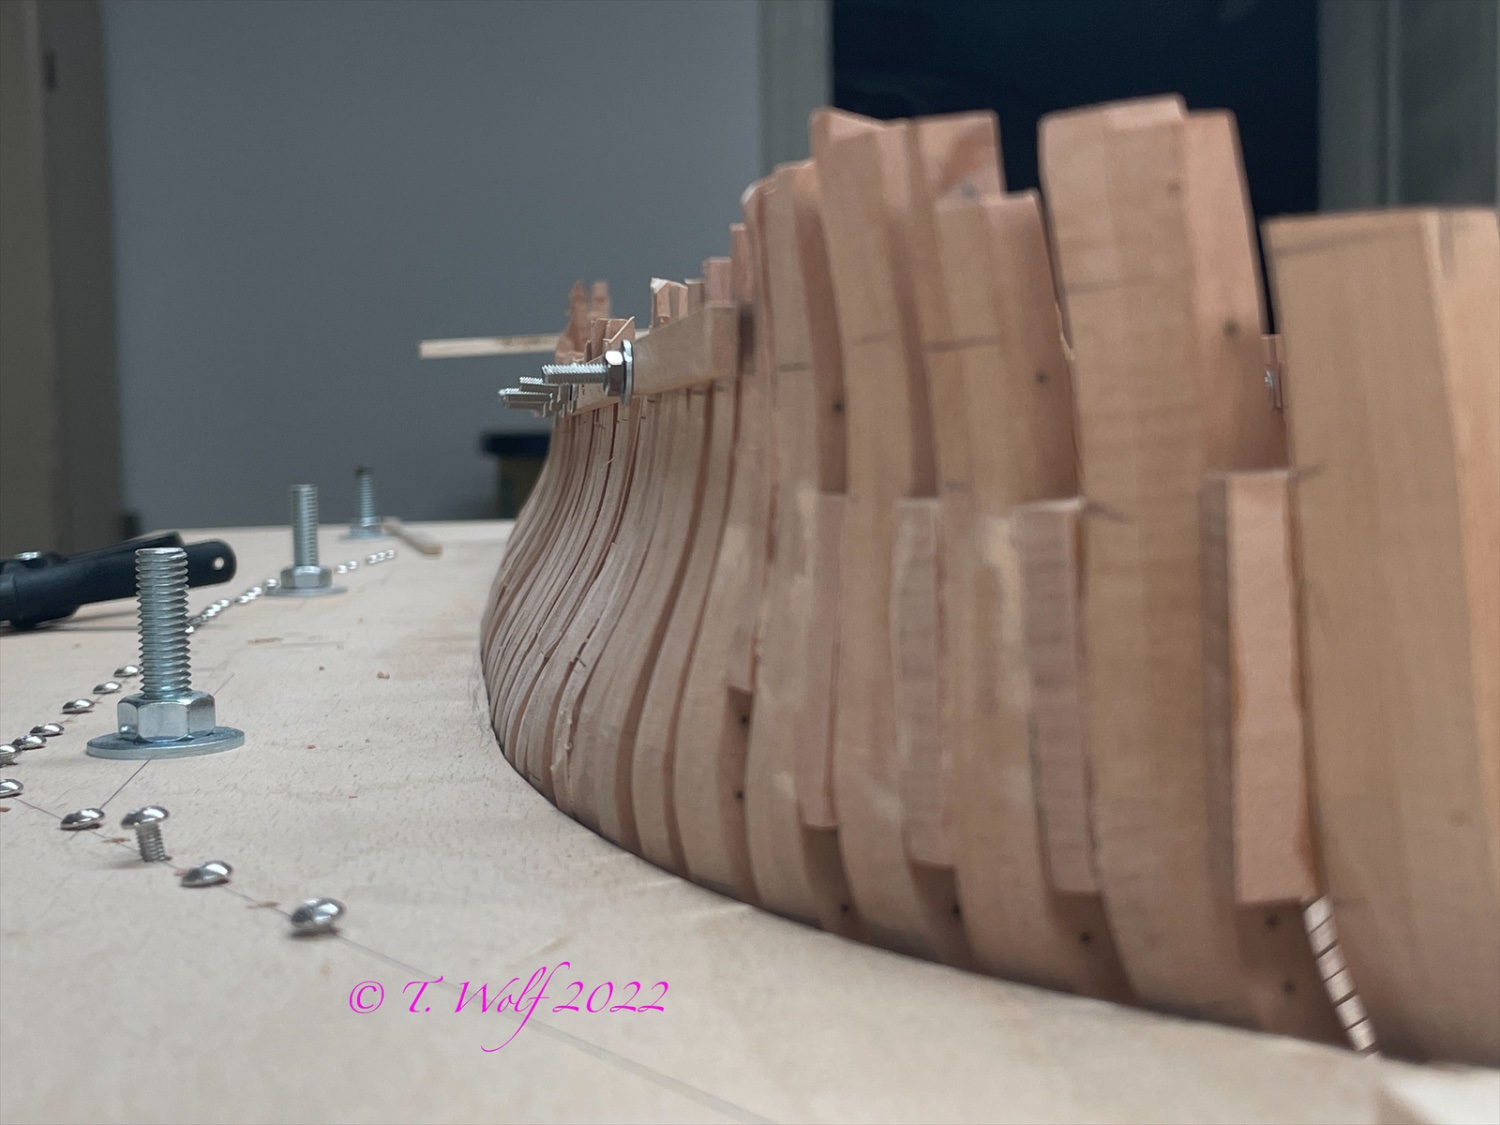
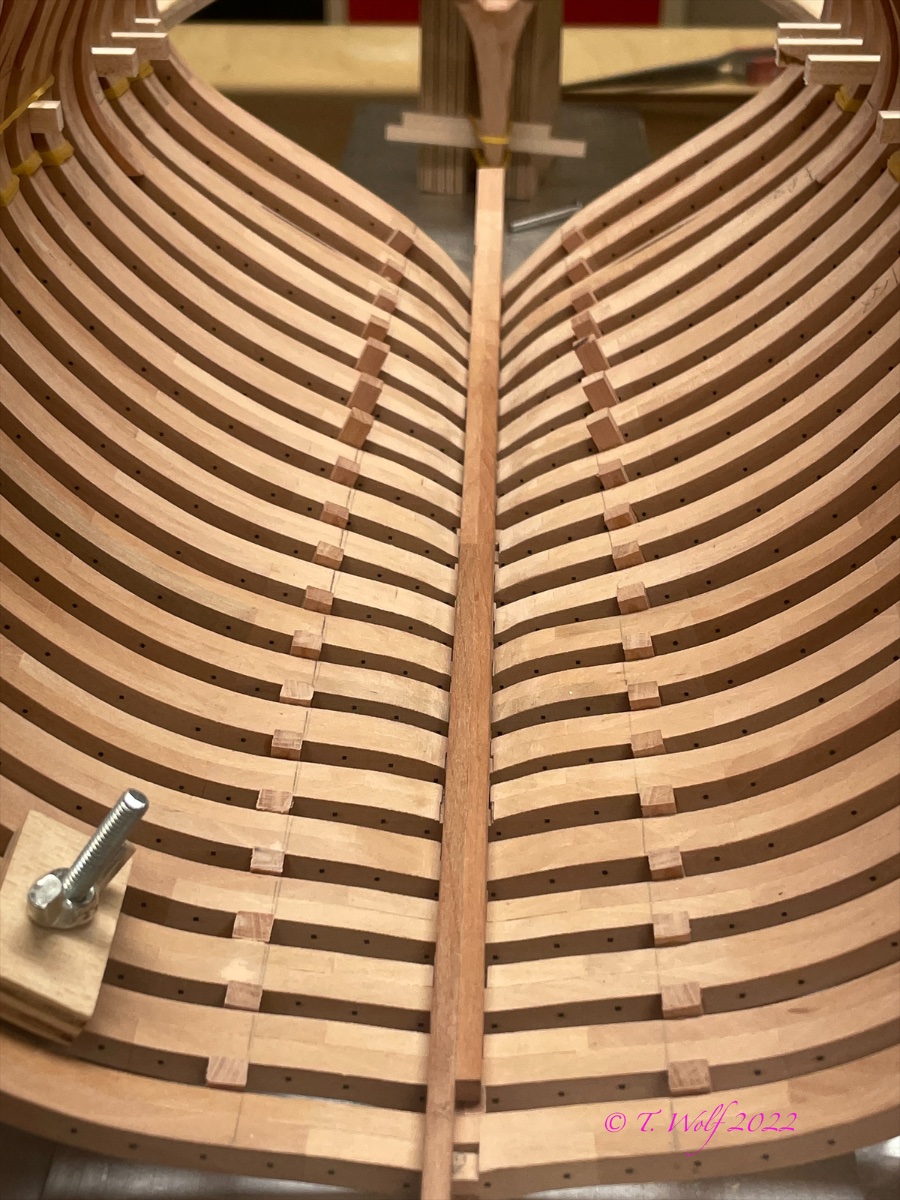
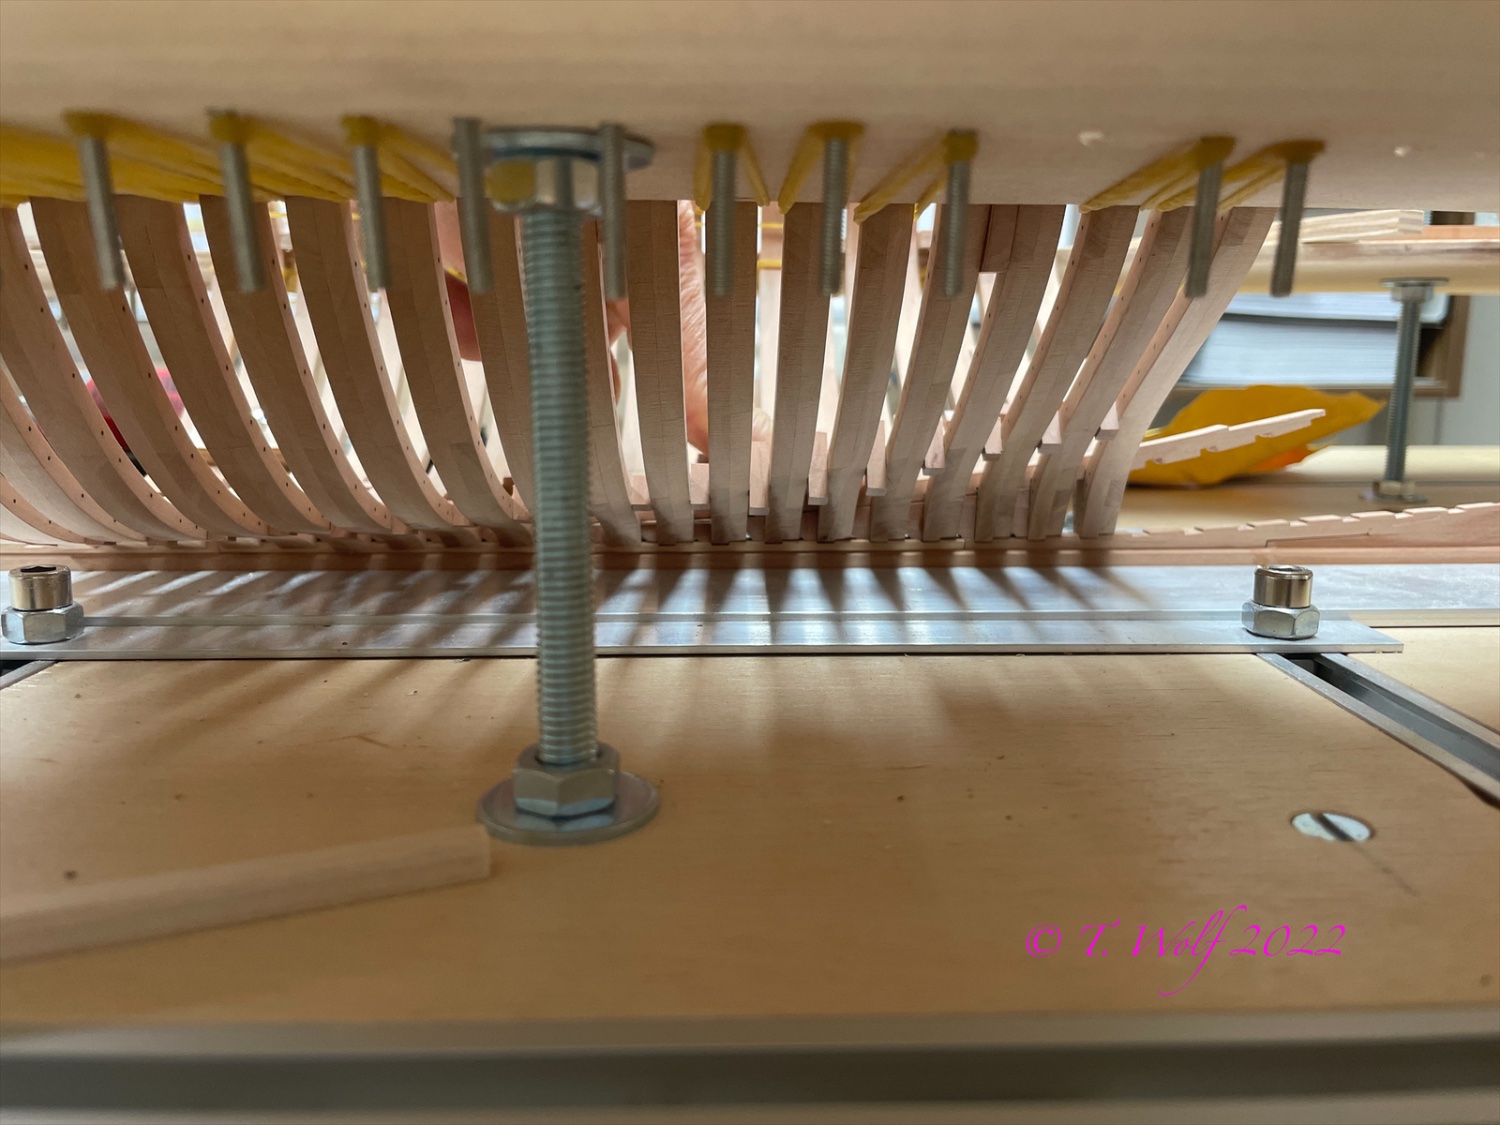
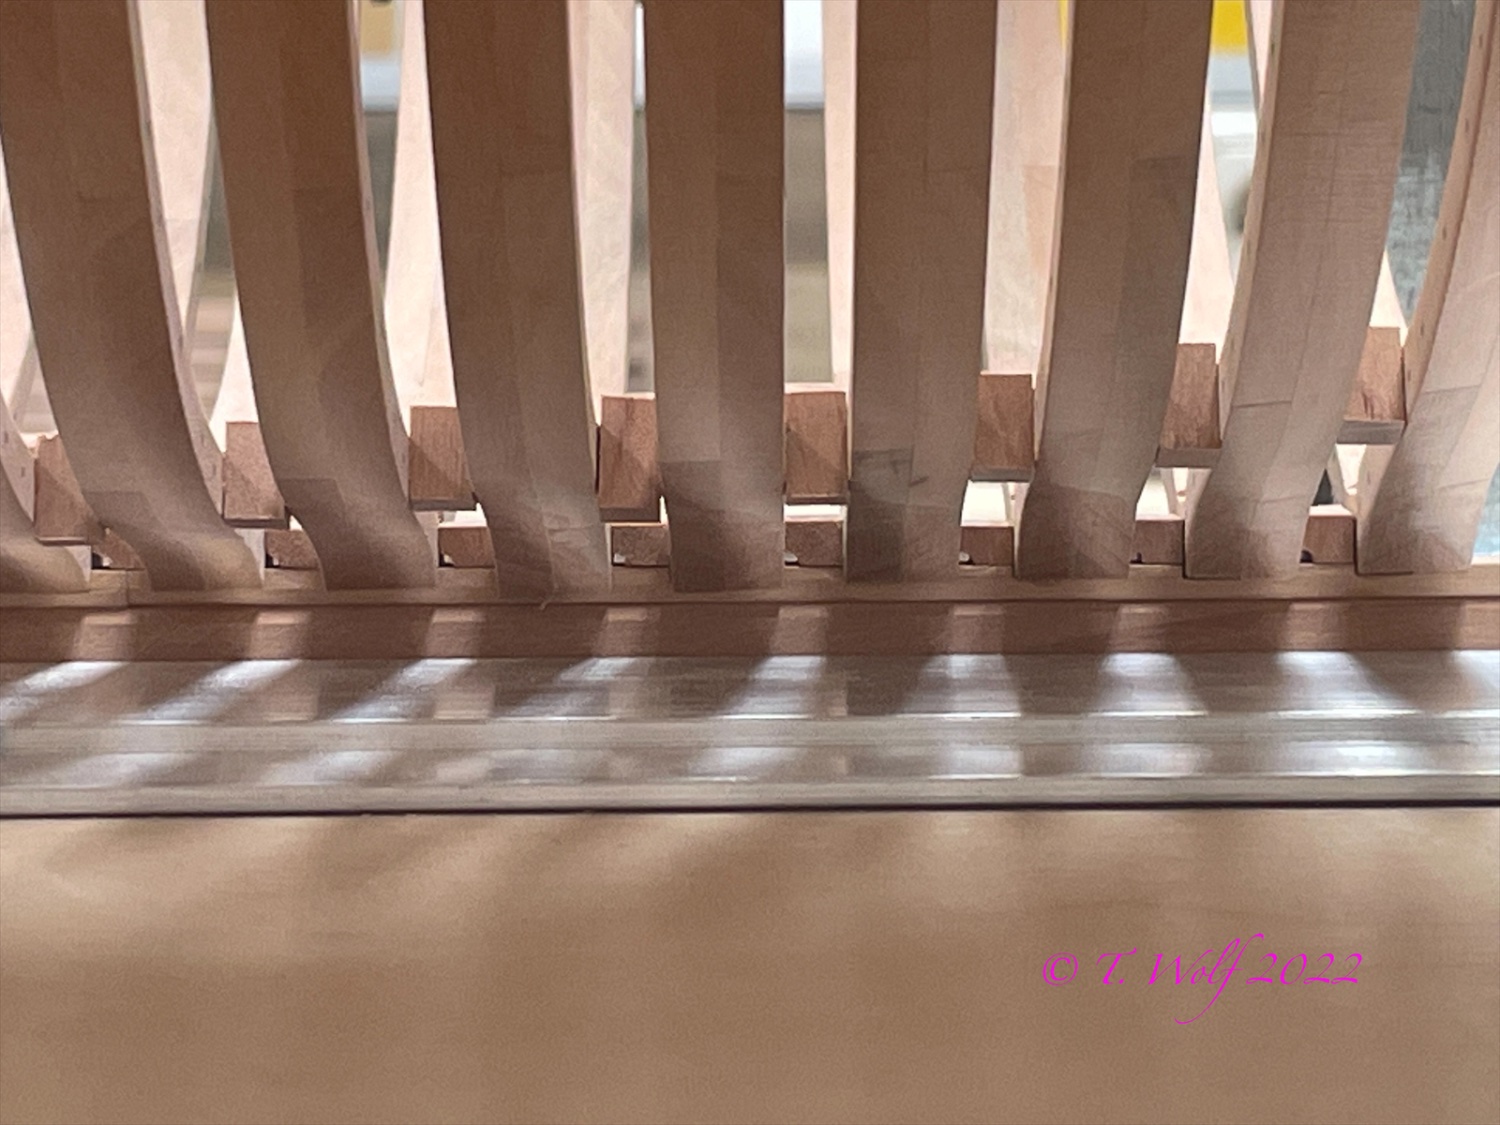
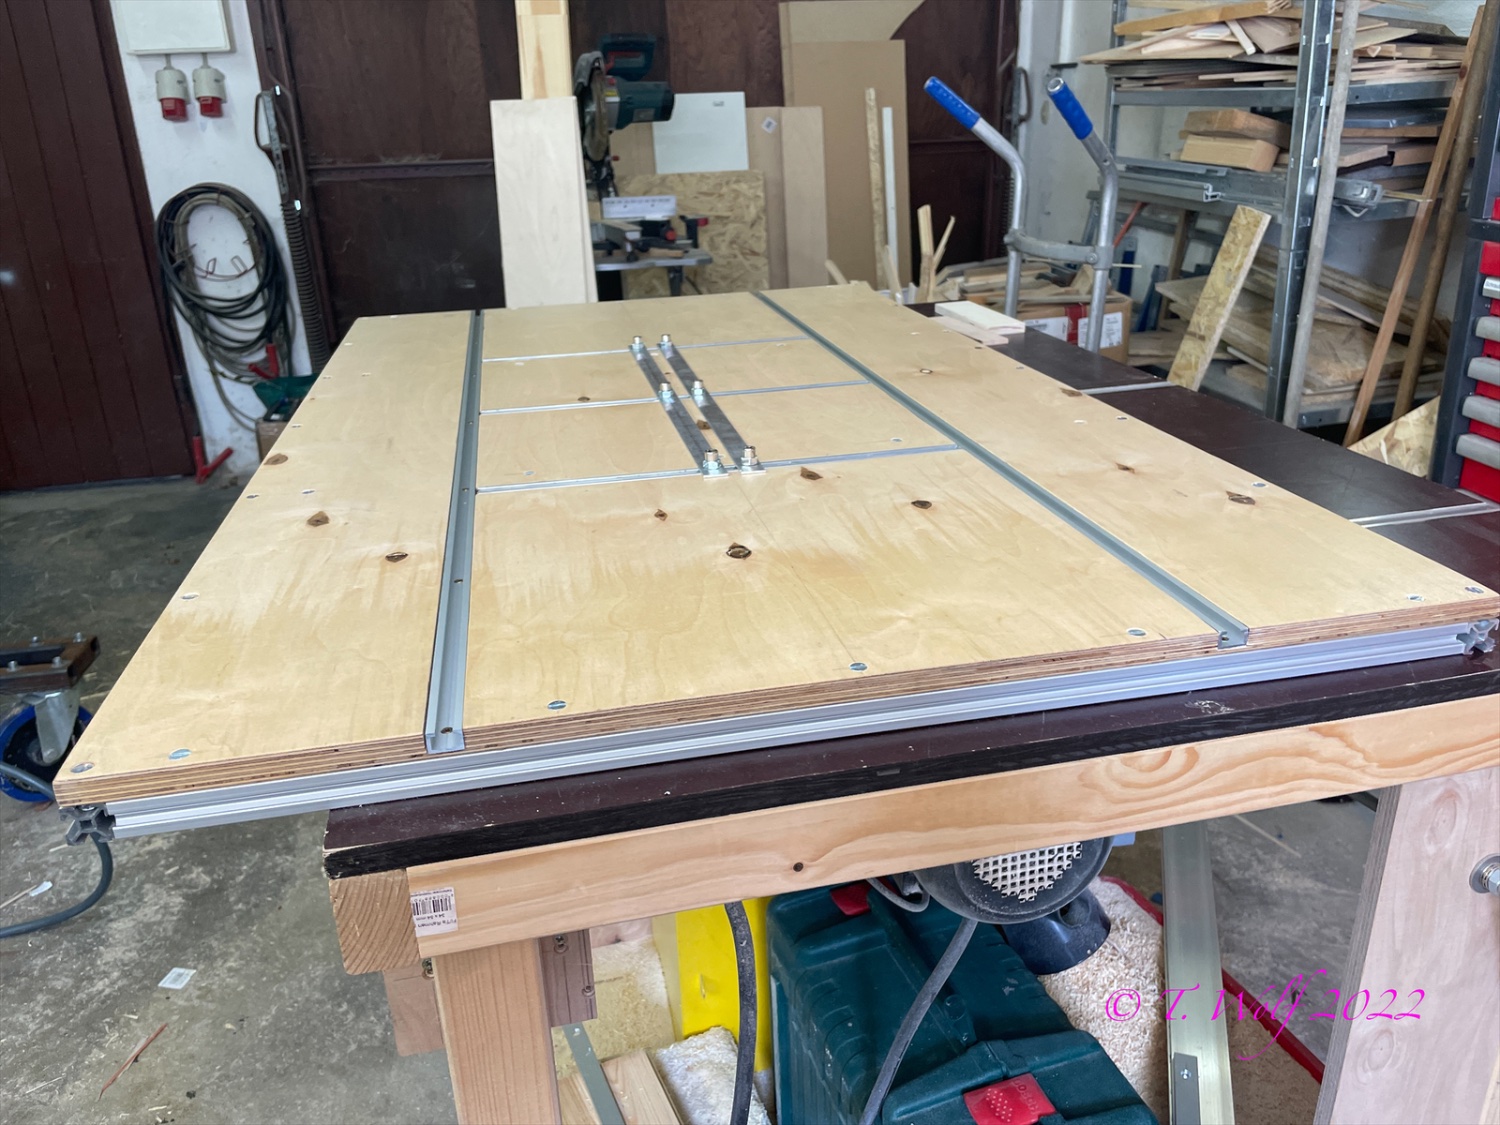
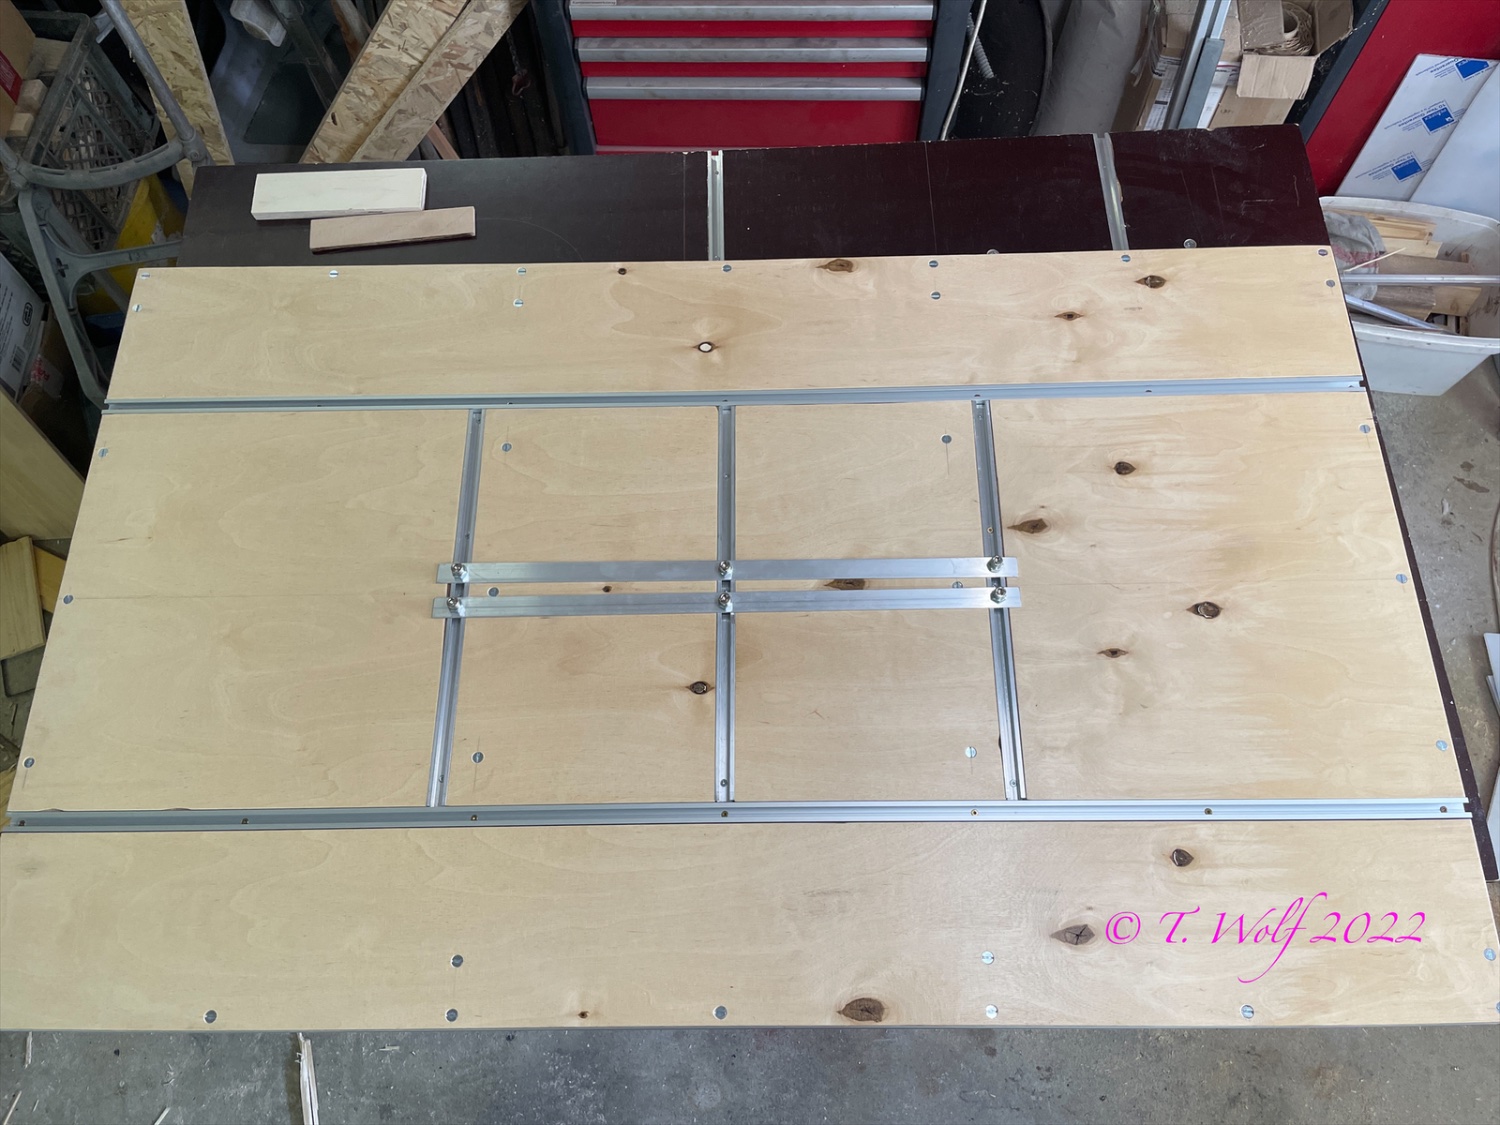
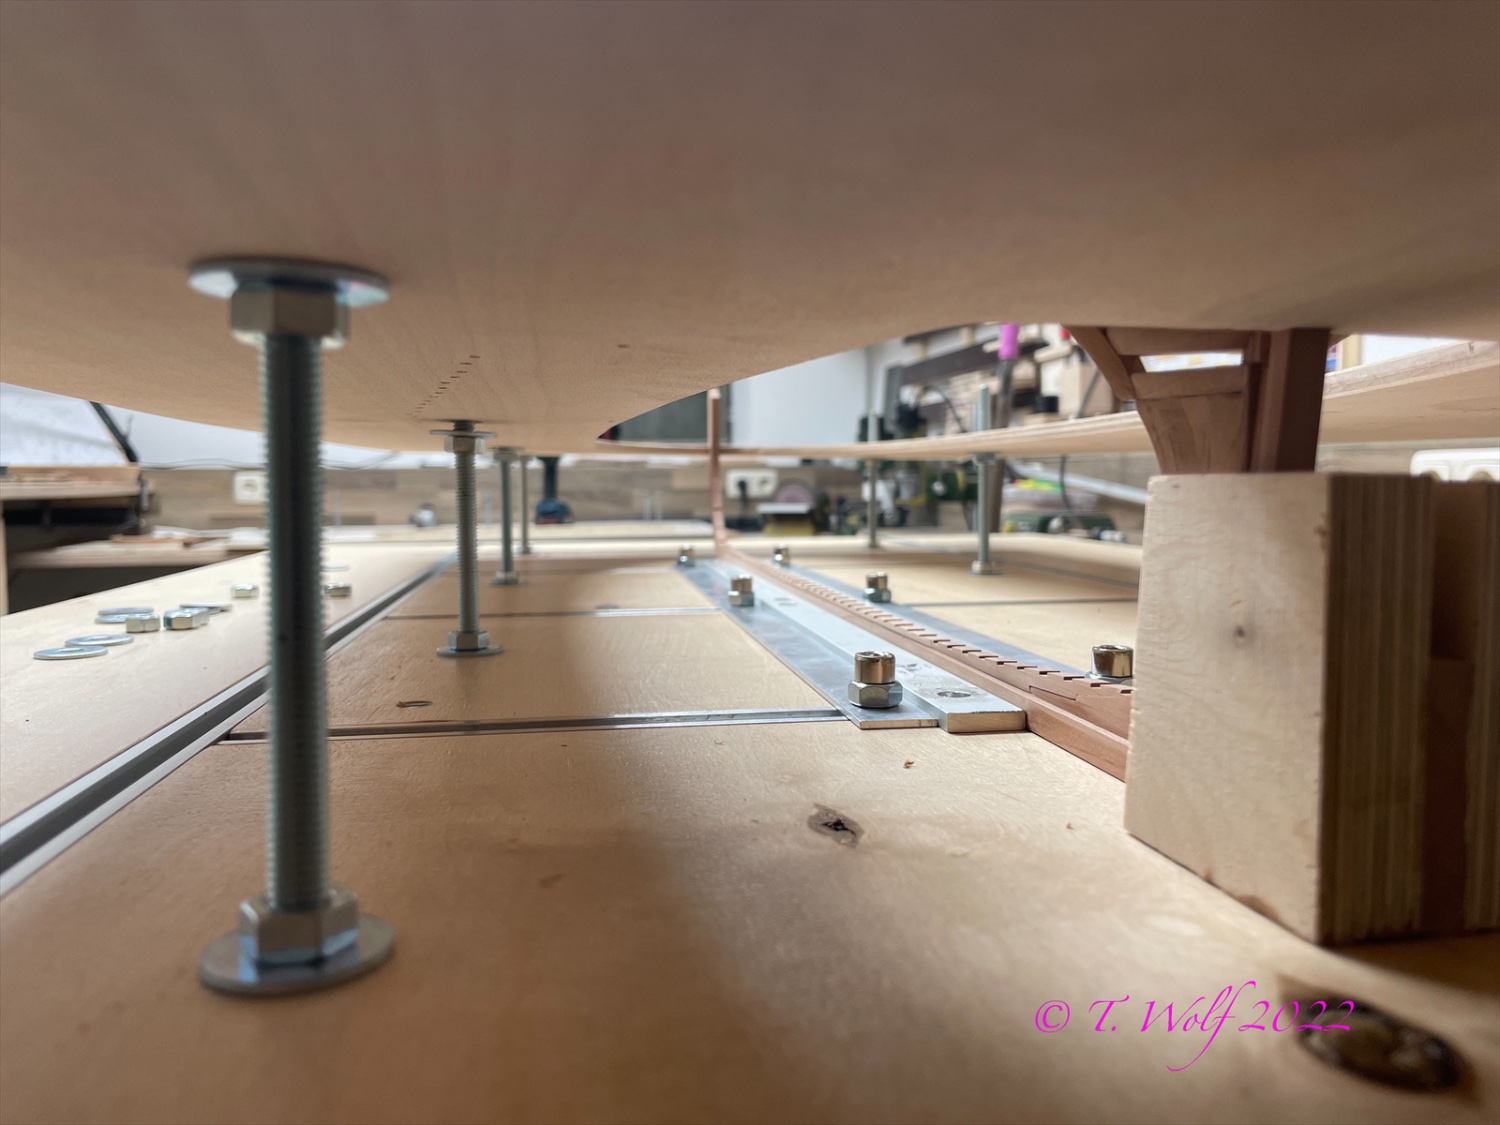
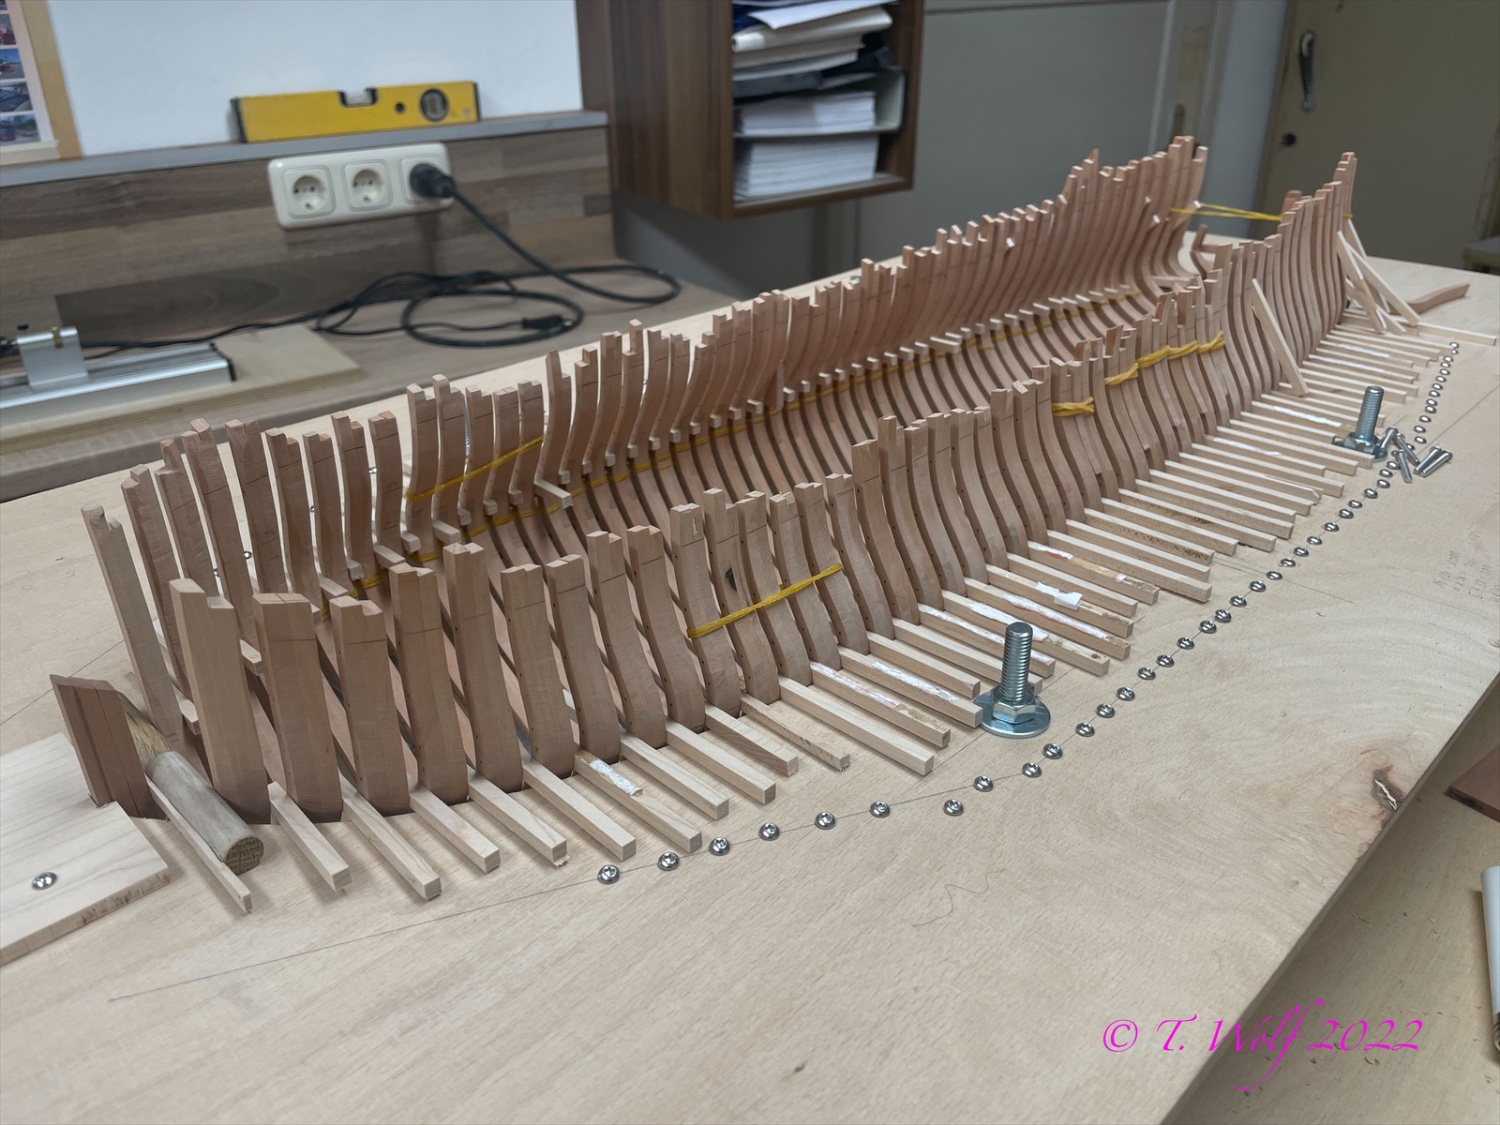
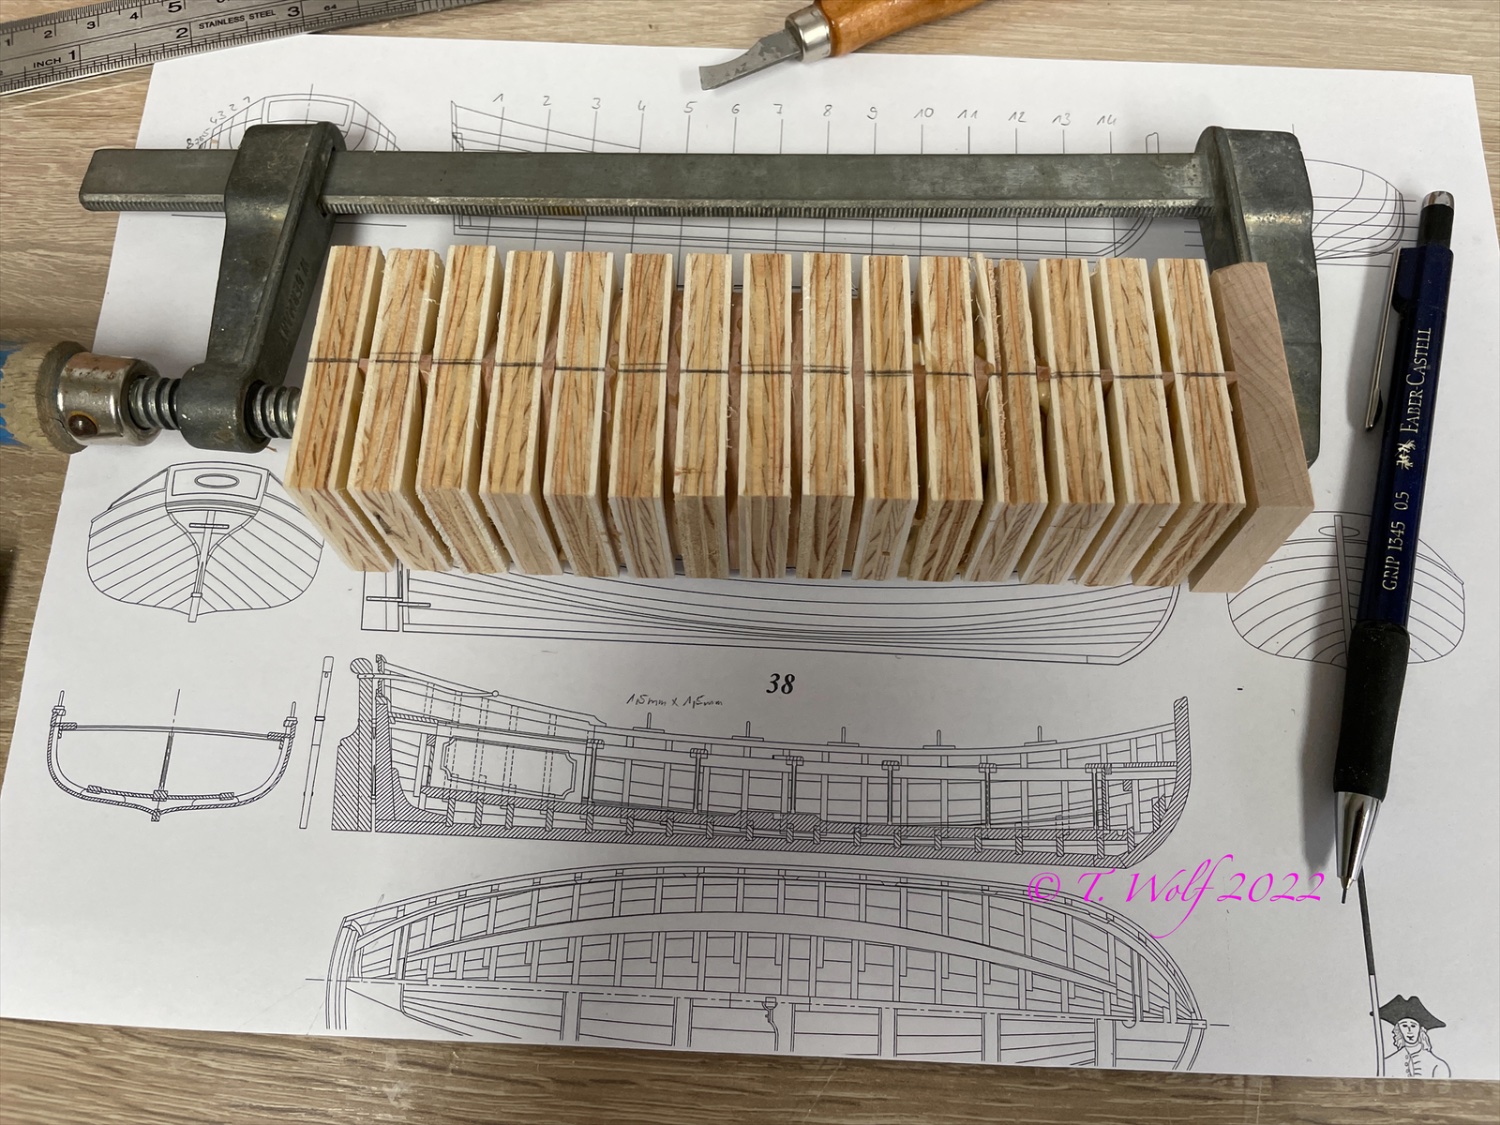
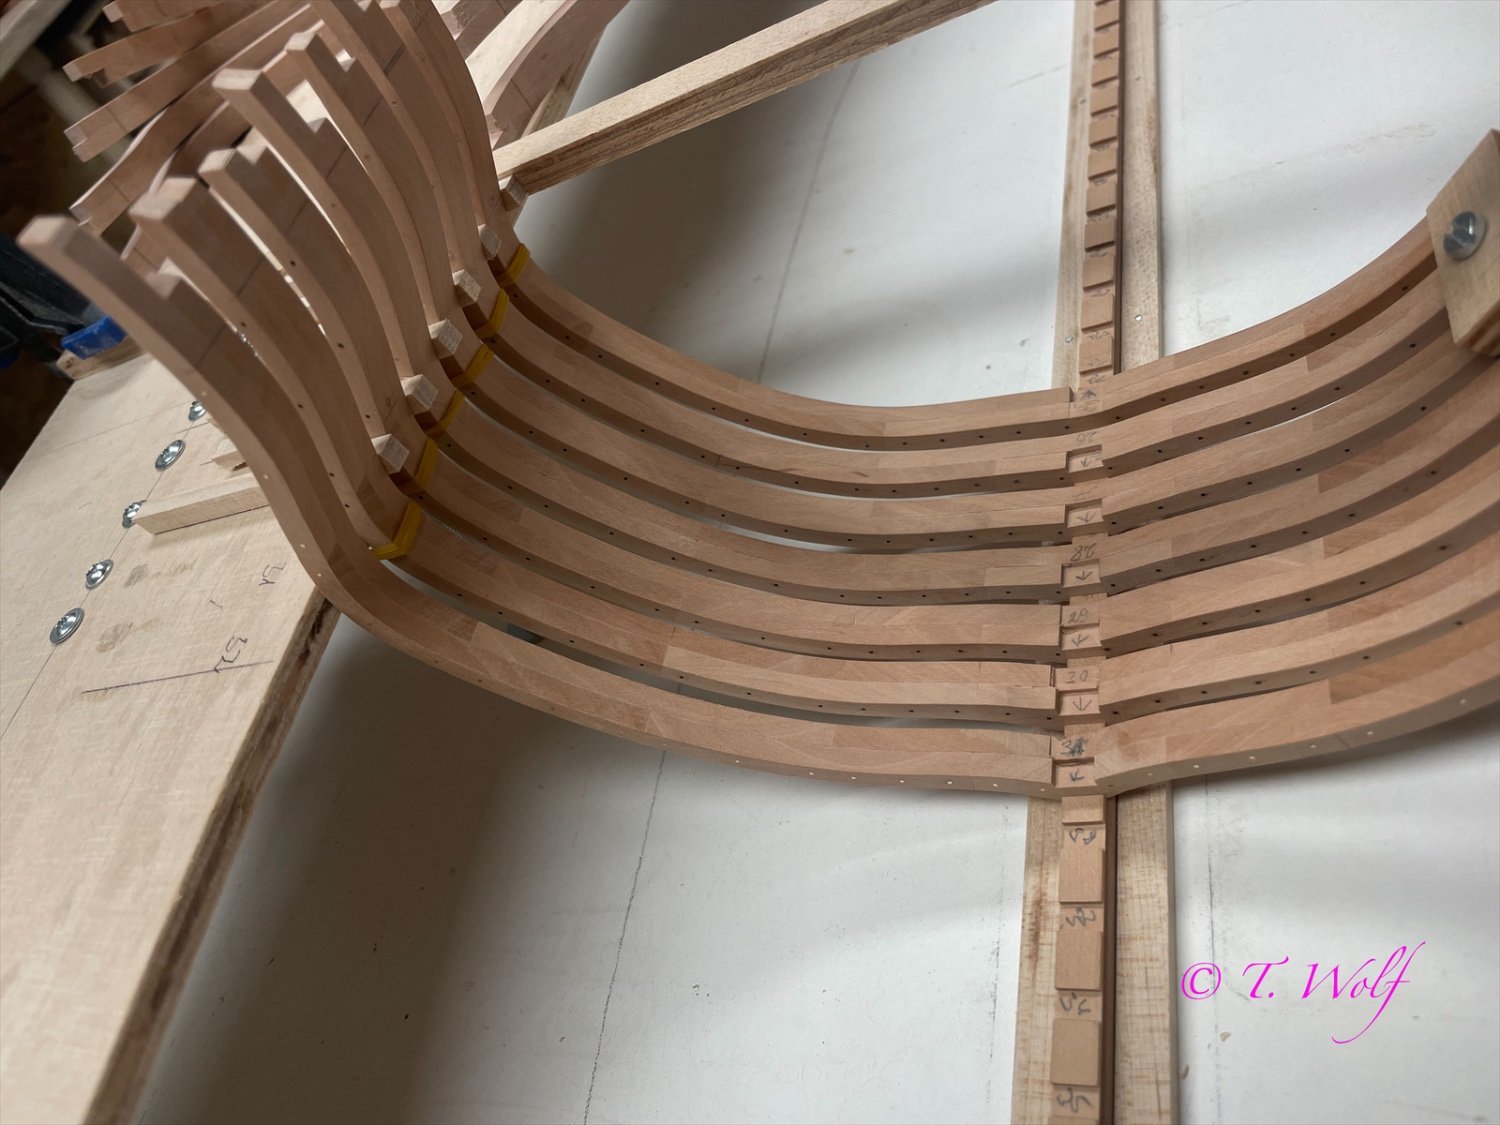
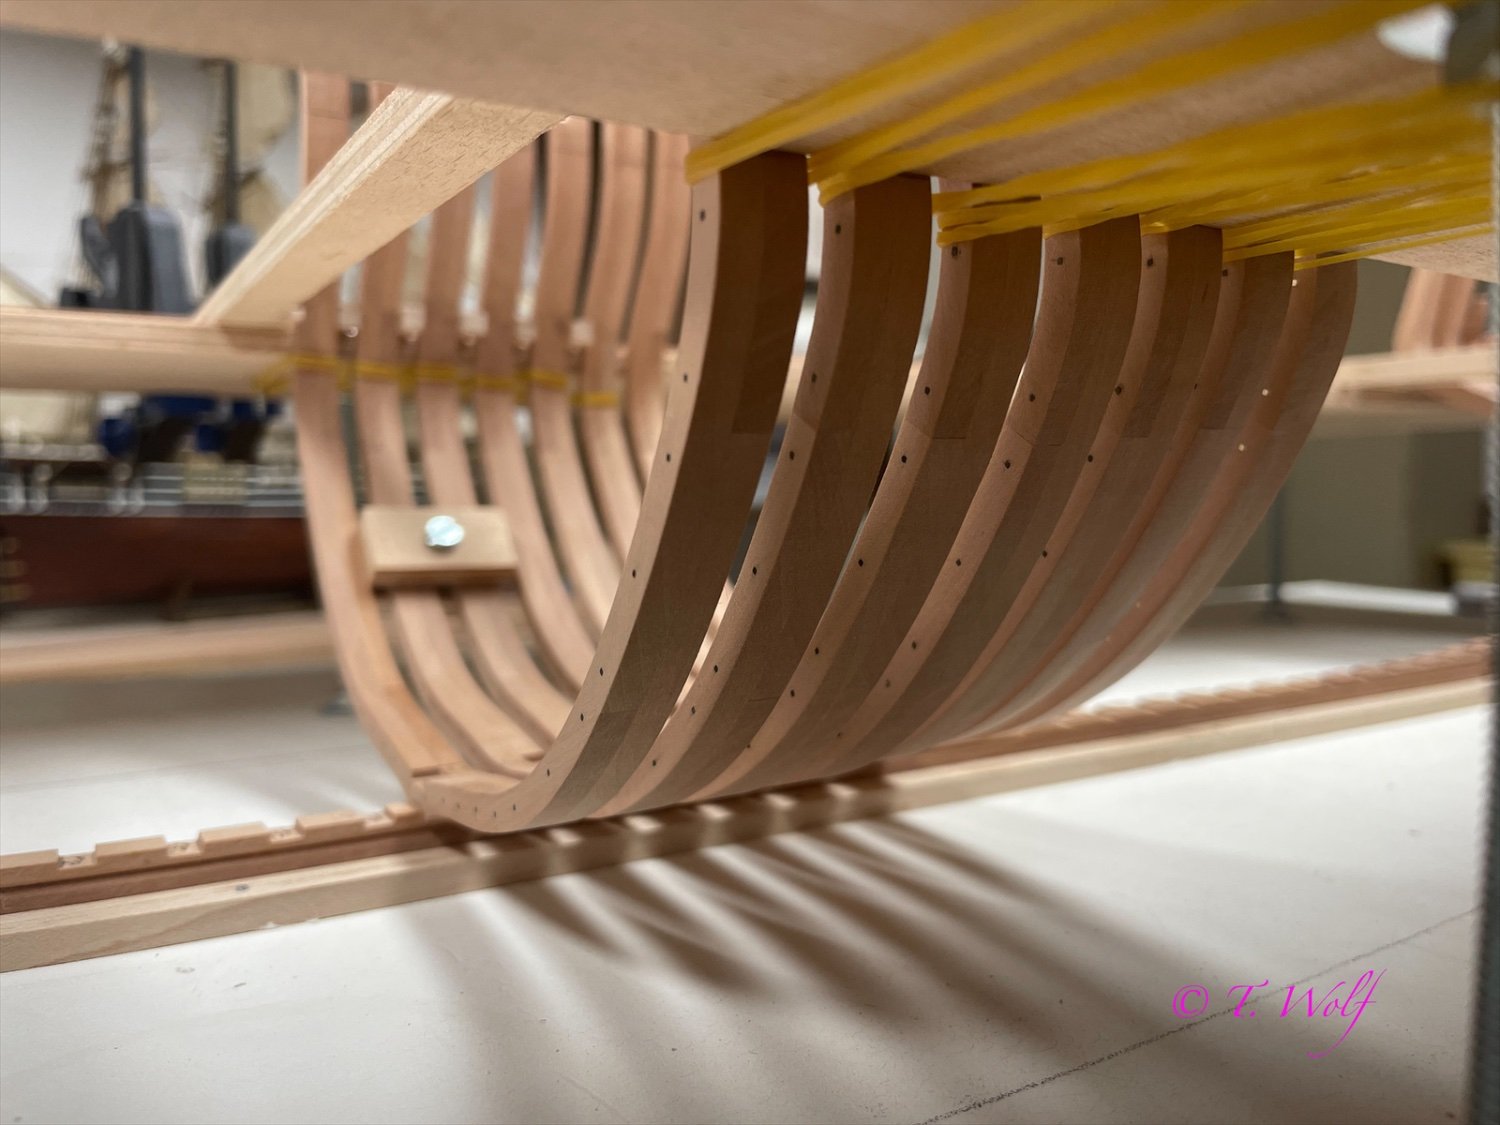
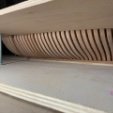
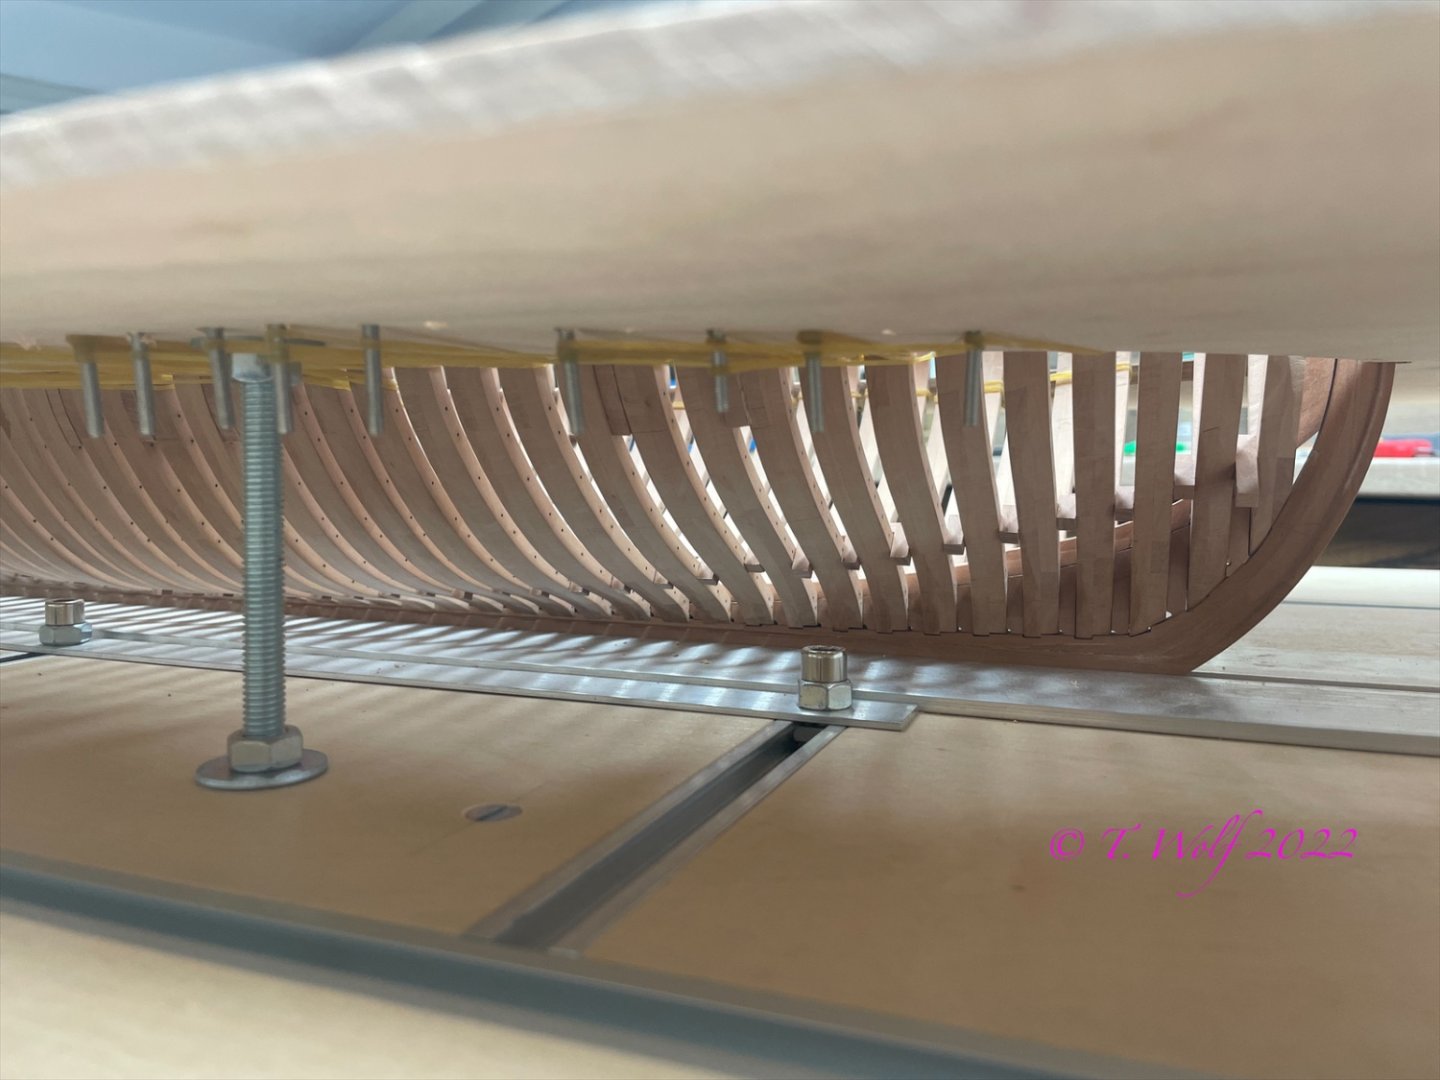
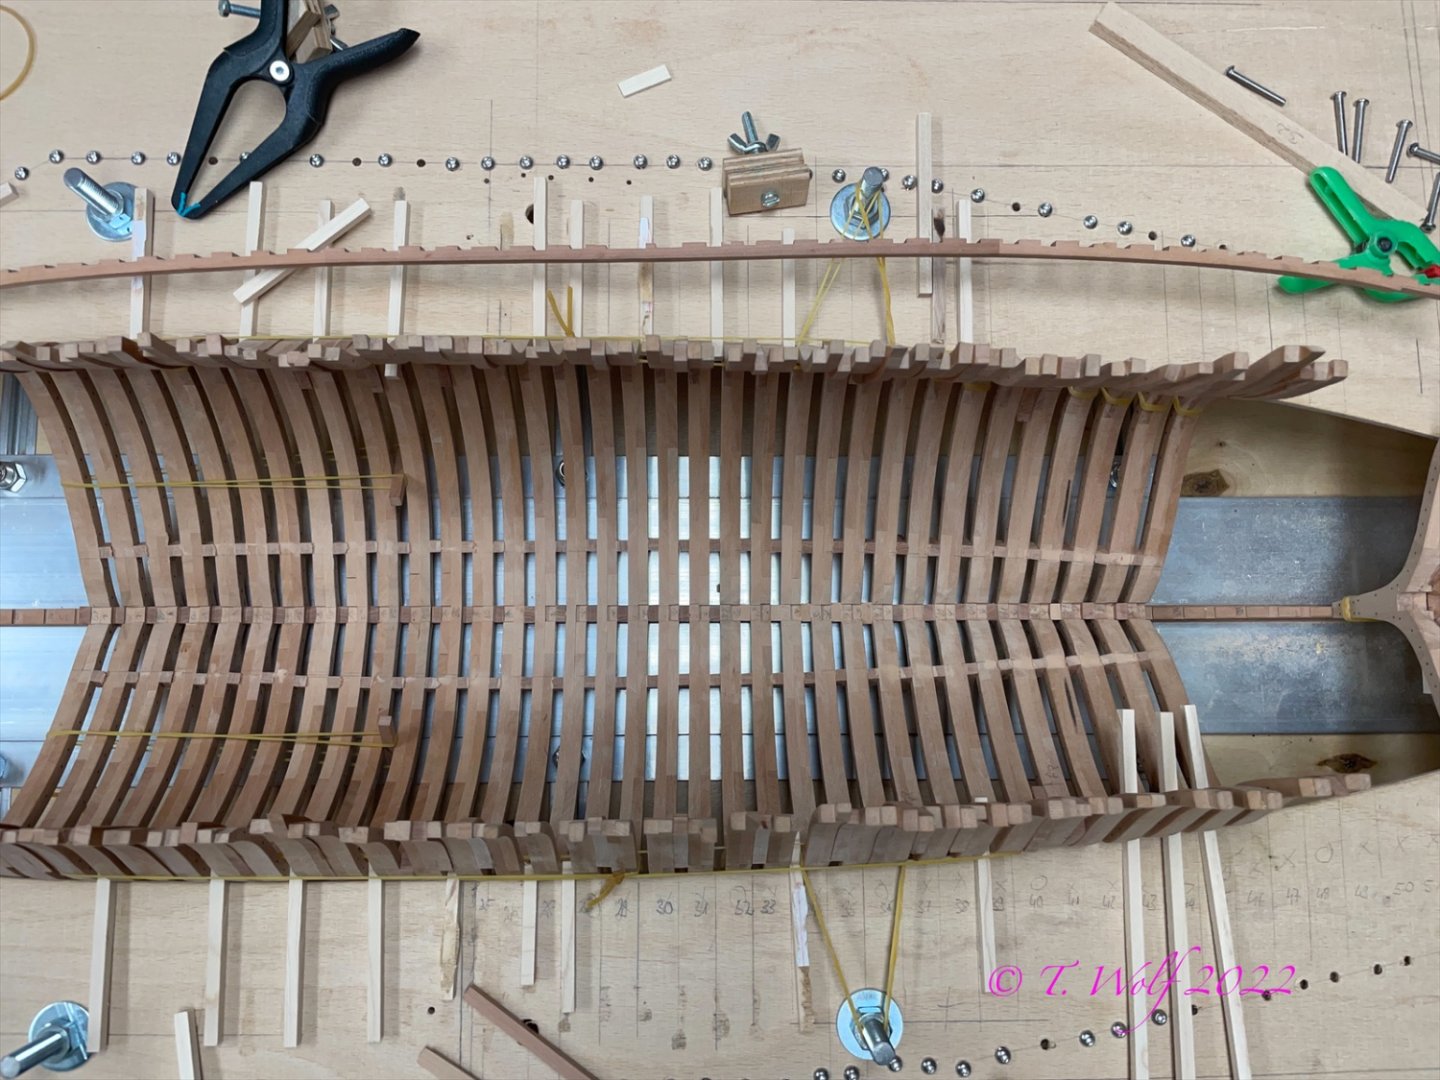
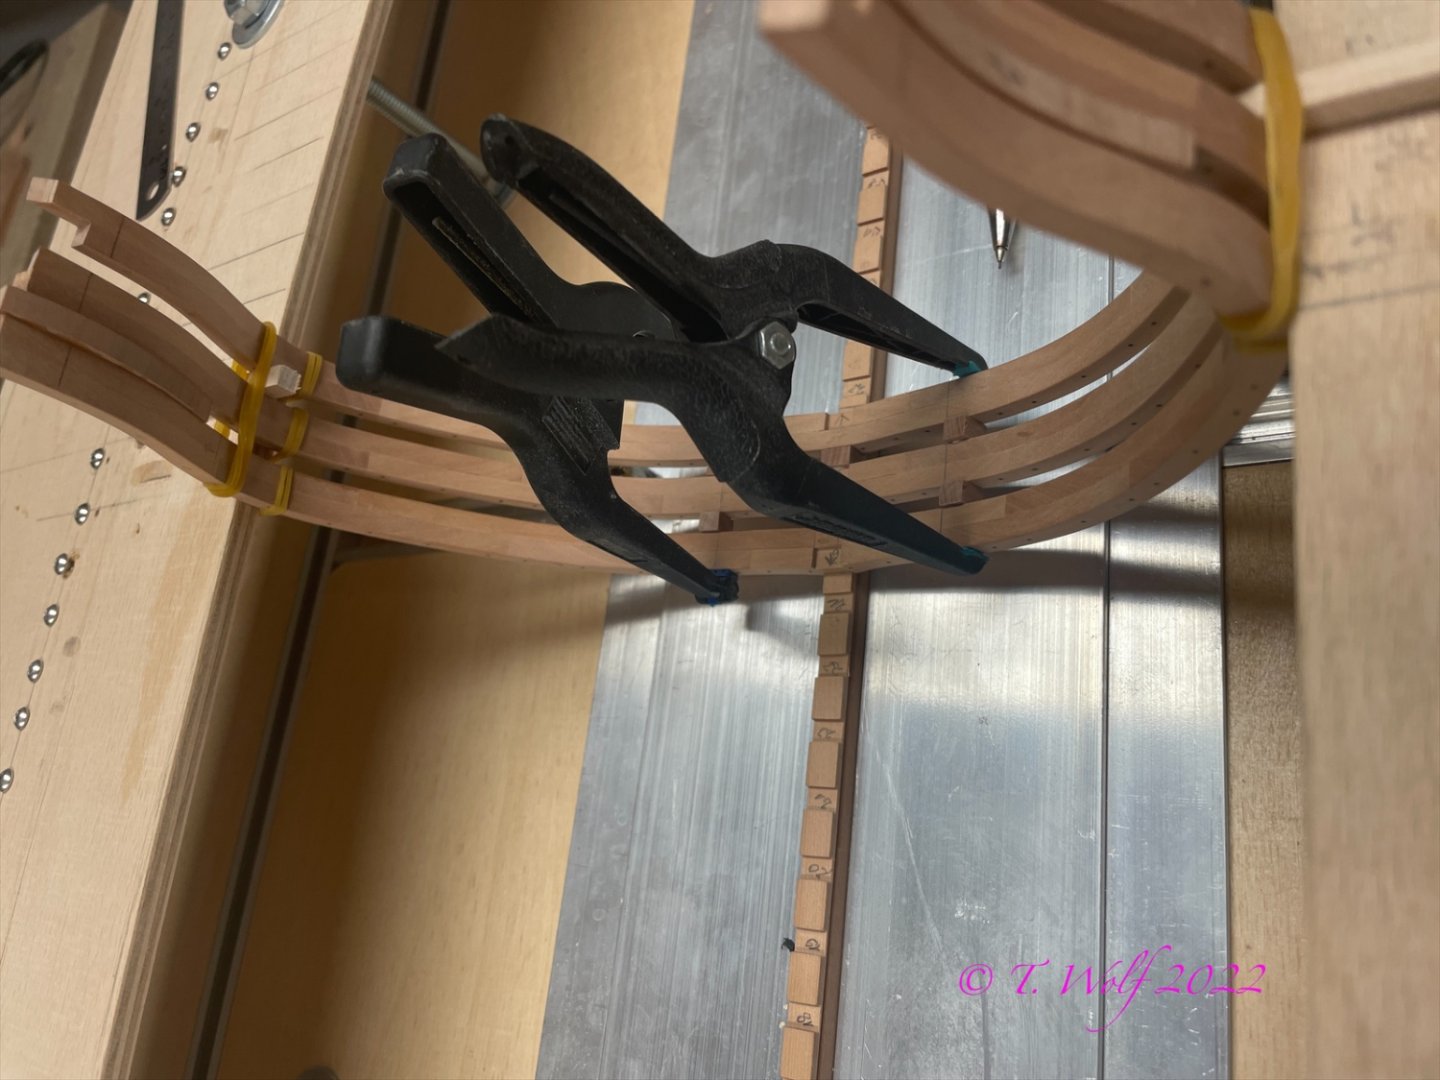
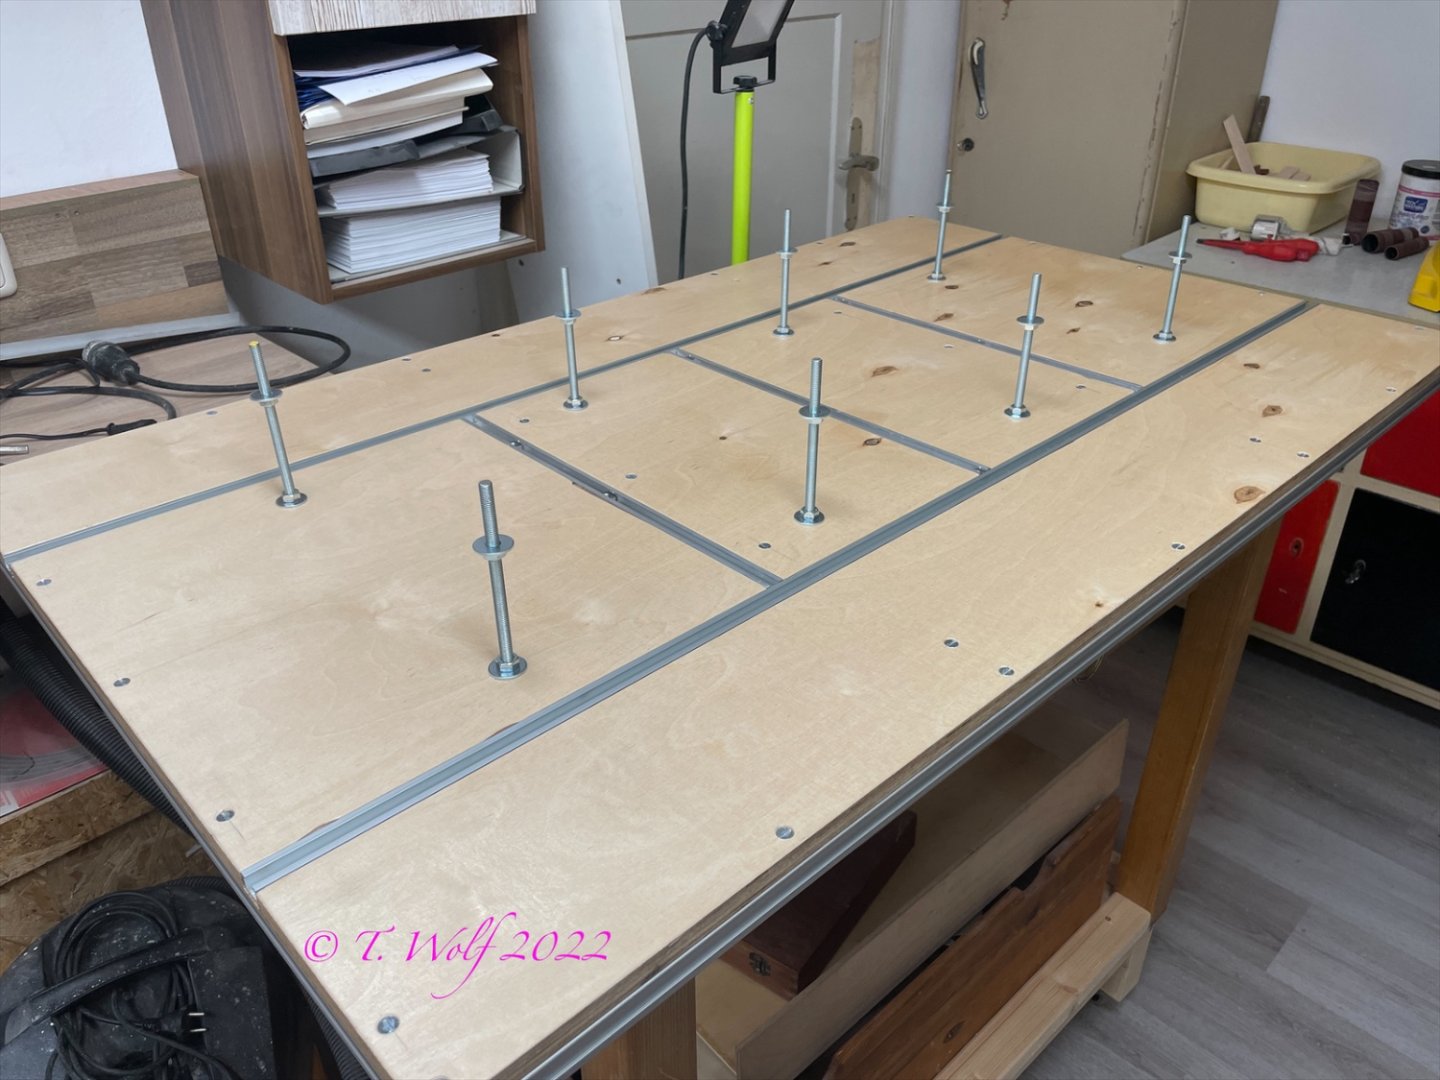
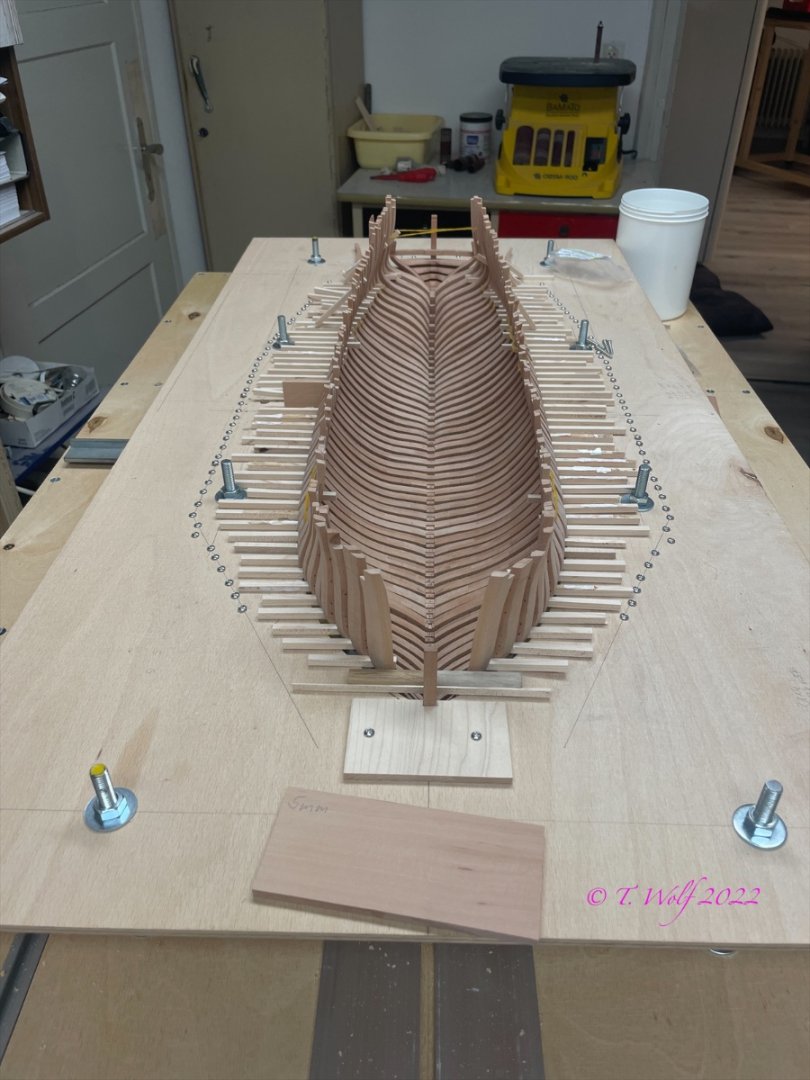
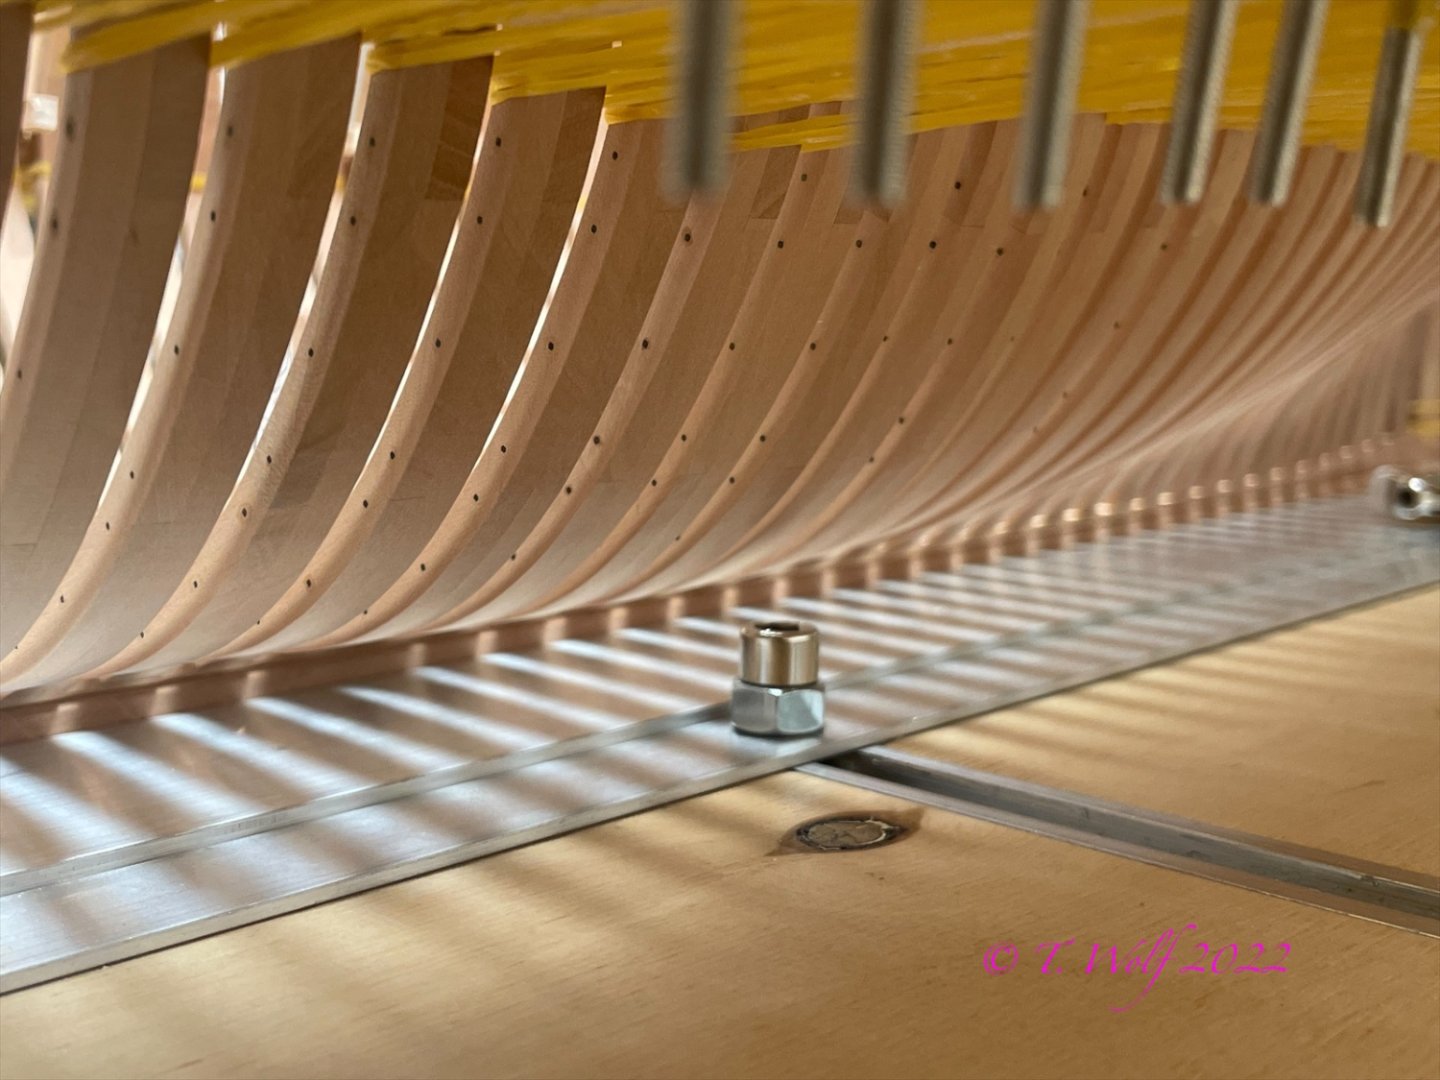
Hello friends thanks for all comments and likes much appreciated. All frames are ready. Now all I have to do is black out all the bolts and then they can be set up clean, but it takes a good shipyard to do that. I decided to redo the build plate. There were several reasons why I had to do this. 1. My first construction was made out of old panels, which isn't too bad on the whole. But it arched very slightly. The top plate was new (multiplex beech) so very stable and it will be recycled. 2. Only 6 threaded rods M6 a bit too small for my taste. 3. Most importantly, the center line from bow to stern from the bottom plate to the top plate was offset and so I had a 3mm warp. So now to the new shipyard: Substructure is a 15mm multiplex board 1250x850 mm with aluminum C-slot profiles. The whole thing was placed on an aluminum profile frame that has 20x20 mm and 8 M8 bolts. I wanted to share some more information with you. With the last bolt I installed a total of 16m of square wire in 52 frames, which is about 30cm per frame per side of a frame between 34 and 48 bolts, I installed a total of 3878 bolts. Have a good time.


-
ancre Le Gros Ventre by ChrisLBren - 1/36
Tobias replied to ChrisLBren's topic in - Build logs for subjects built 1751 - 1800
They look really good when they are lying there. 😉 -
Good morning Daniel, I've been following your construction of the Chebeck for a long time now and I'm really impressed by your great work. I have a lot of respect for your work, I think Le Requin is one of the most beautiful ships. I recently bought the monograph and one day I will try to build it.
-
Hello Ricci masterful as always
-
Really very impressive work, great construction diary.
- 589 replies
-
- 1
-

-
- le gros ventre
- cargo
- (and 1 more)
-
La Palme by Tobias - 1:36 - POF
Tobias replied to Tobias's topic in - Build logs for subjects built 1501 - 1750
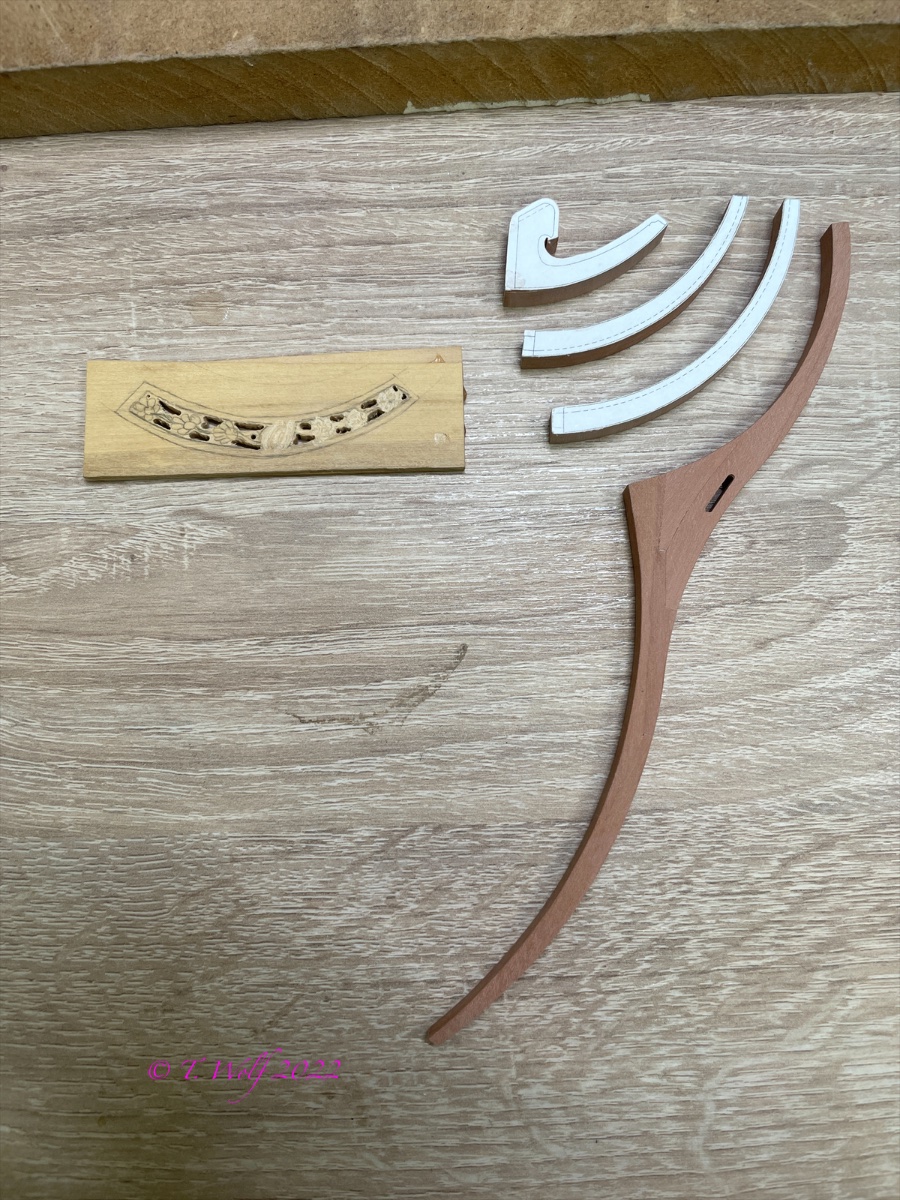
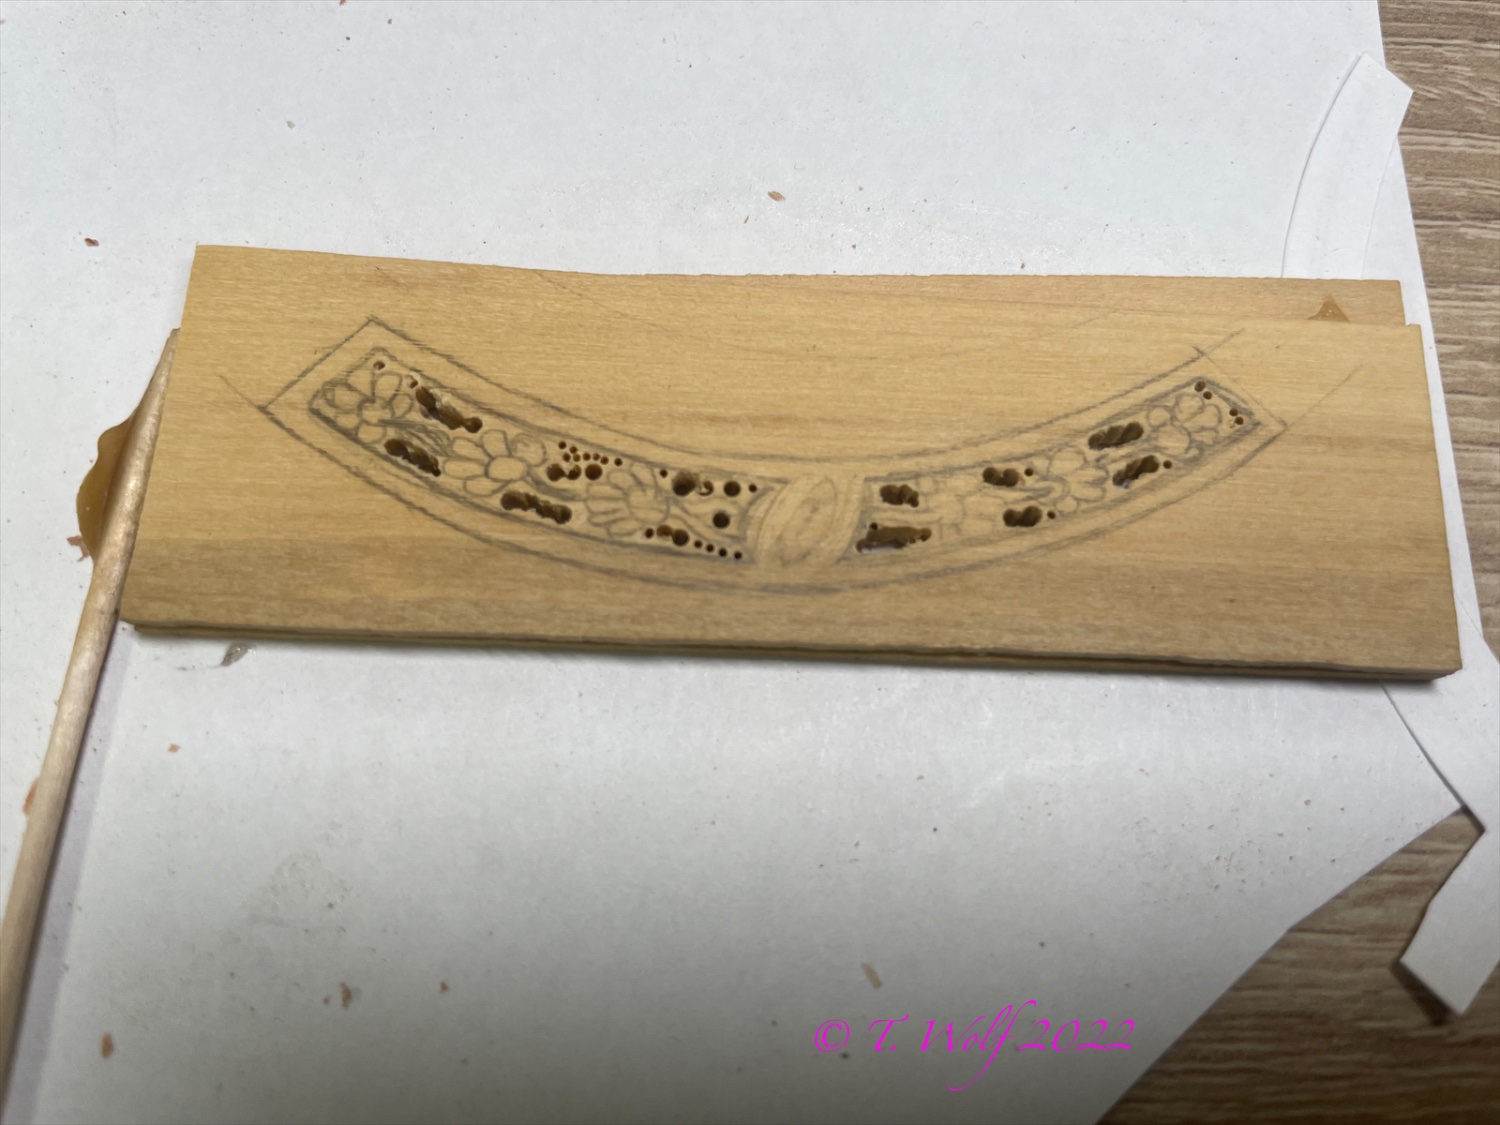
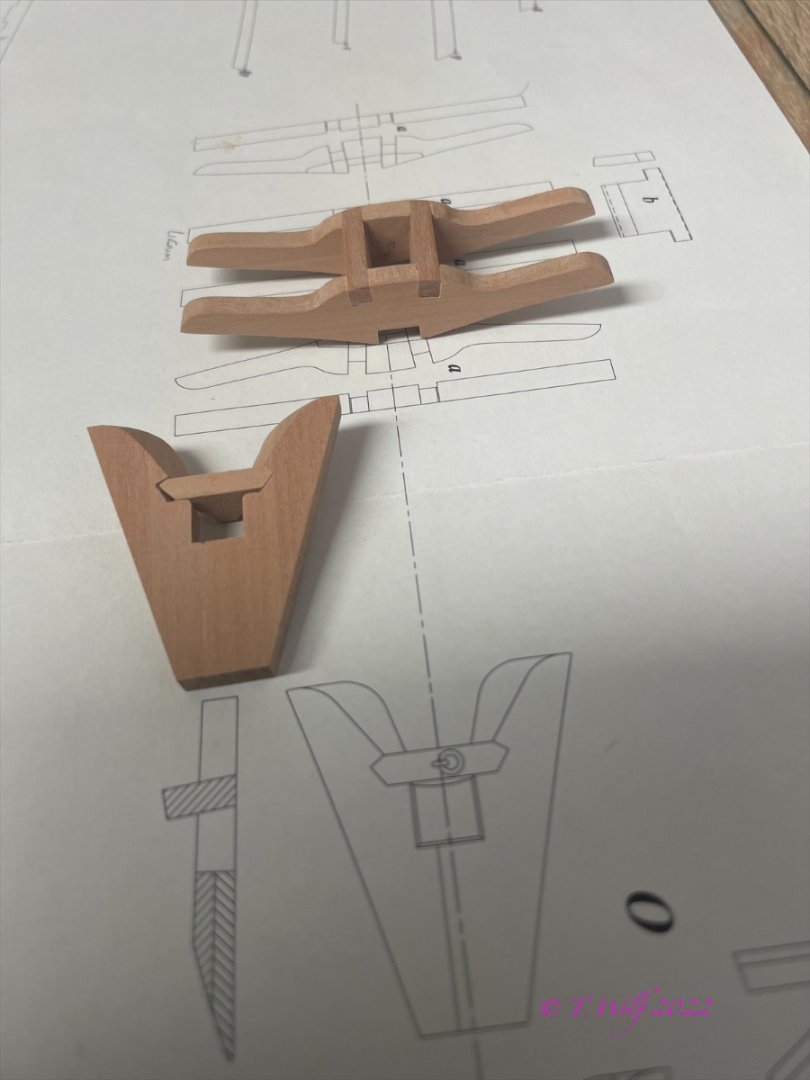
Thank you all for your comments and likes. Another small step, nothing special. The first feeble attempts at carving.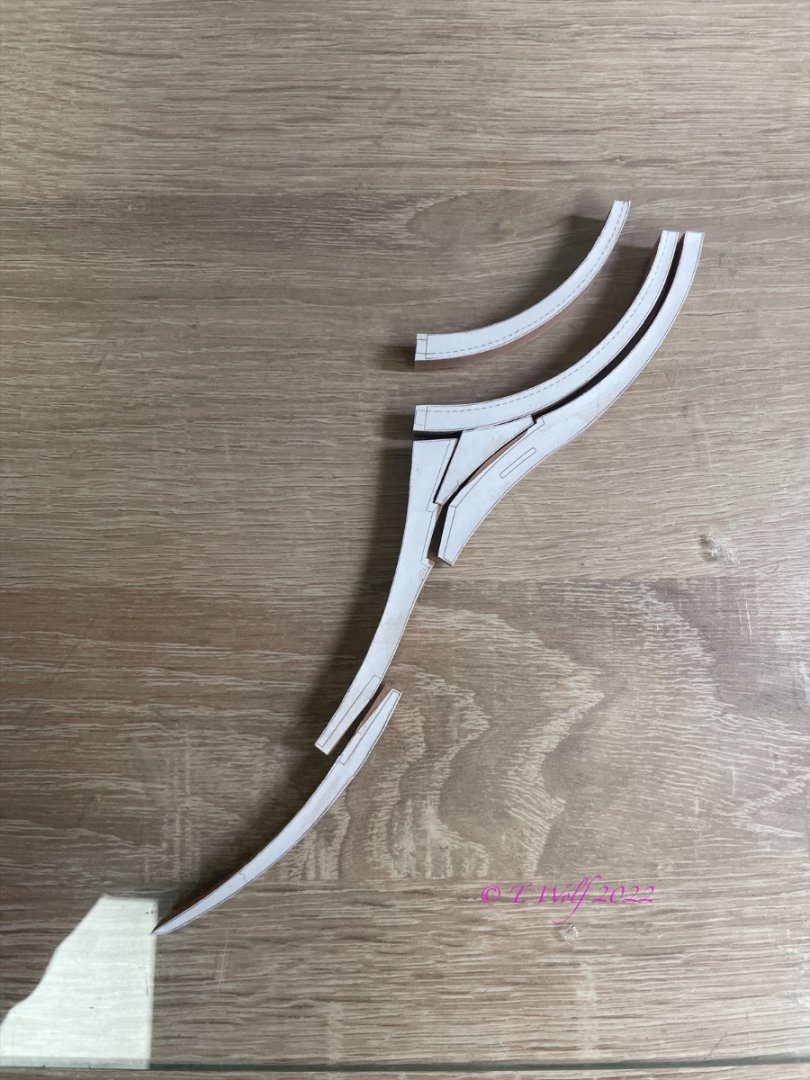


-
ancre Le Gros Ventre by ChrisLBren - 1/36
Tobias replied to ChrisLBren's topic in - Build logs for subjects built 1751 - 1800
As mentioned in the Arsenal great and clean job Chris. -
La Palme by Tobias - 1:36 - POF
Tobias replied to Tobias's topic in - Build logs for subjects built 1501 - 1750
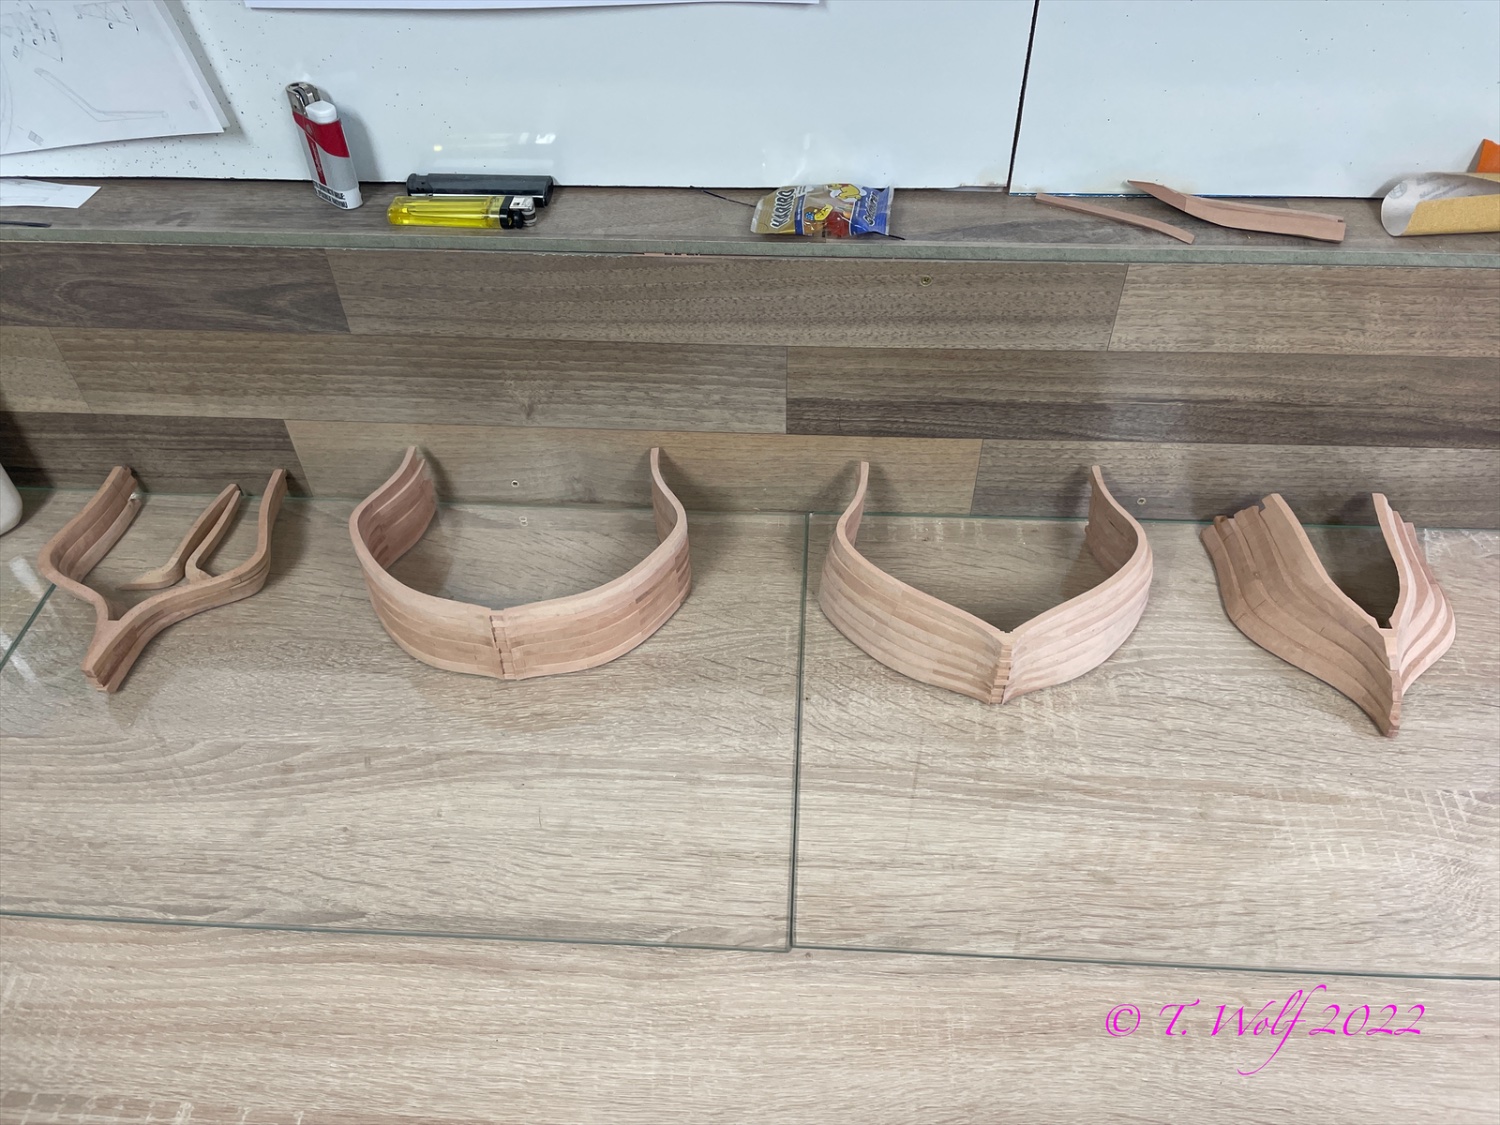
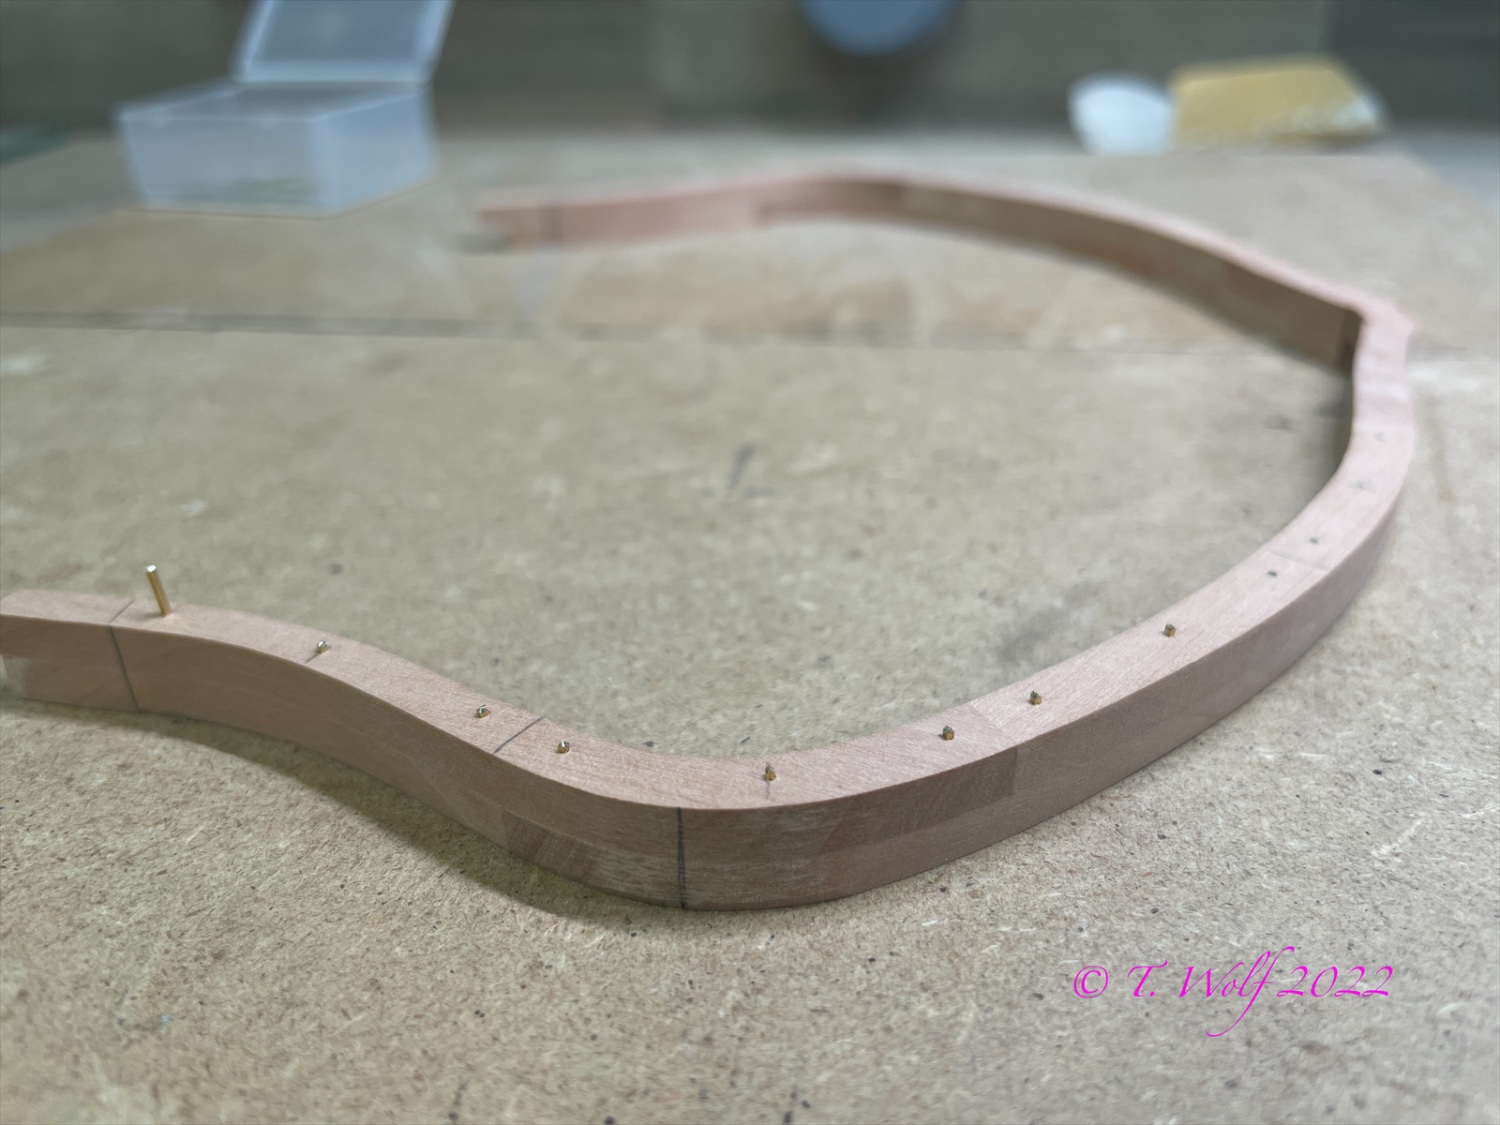
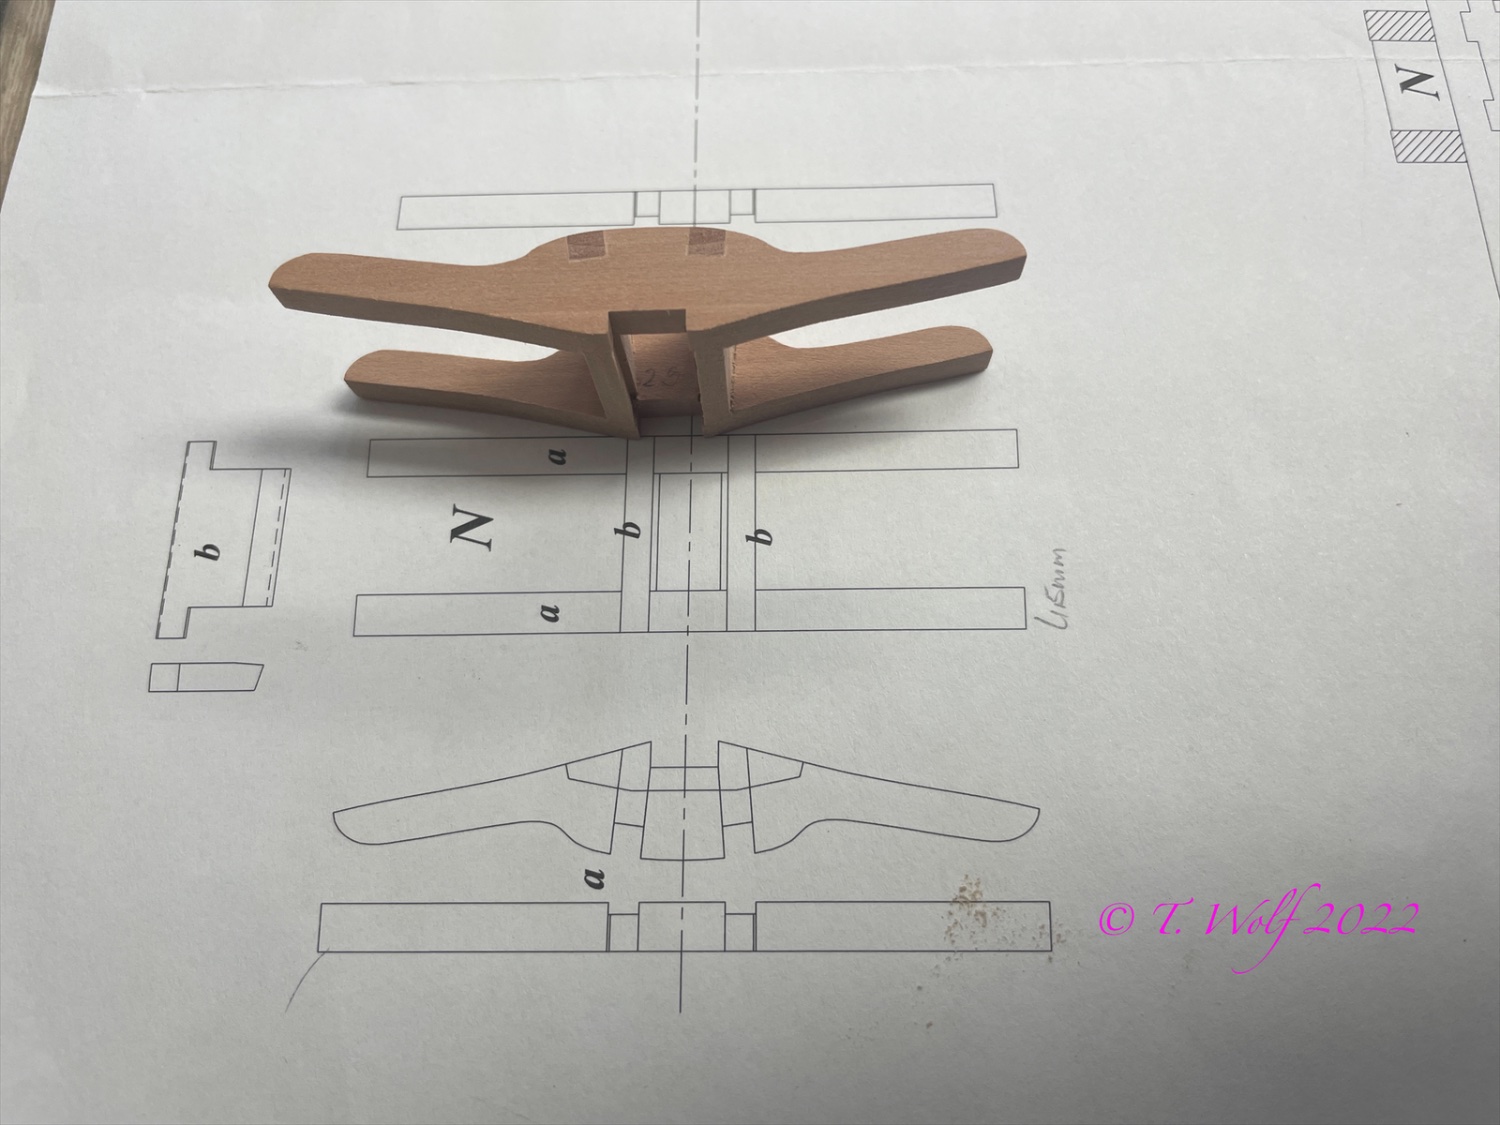
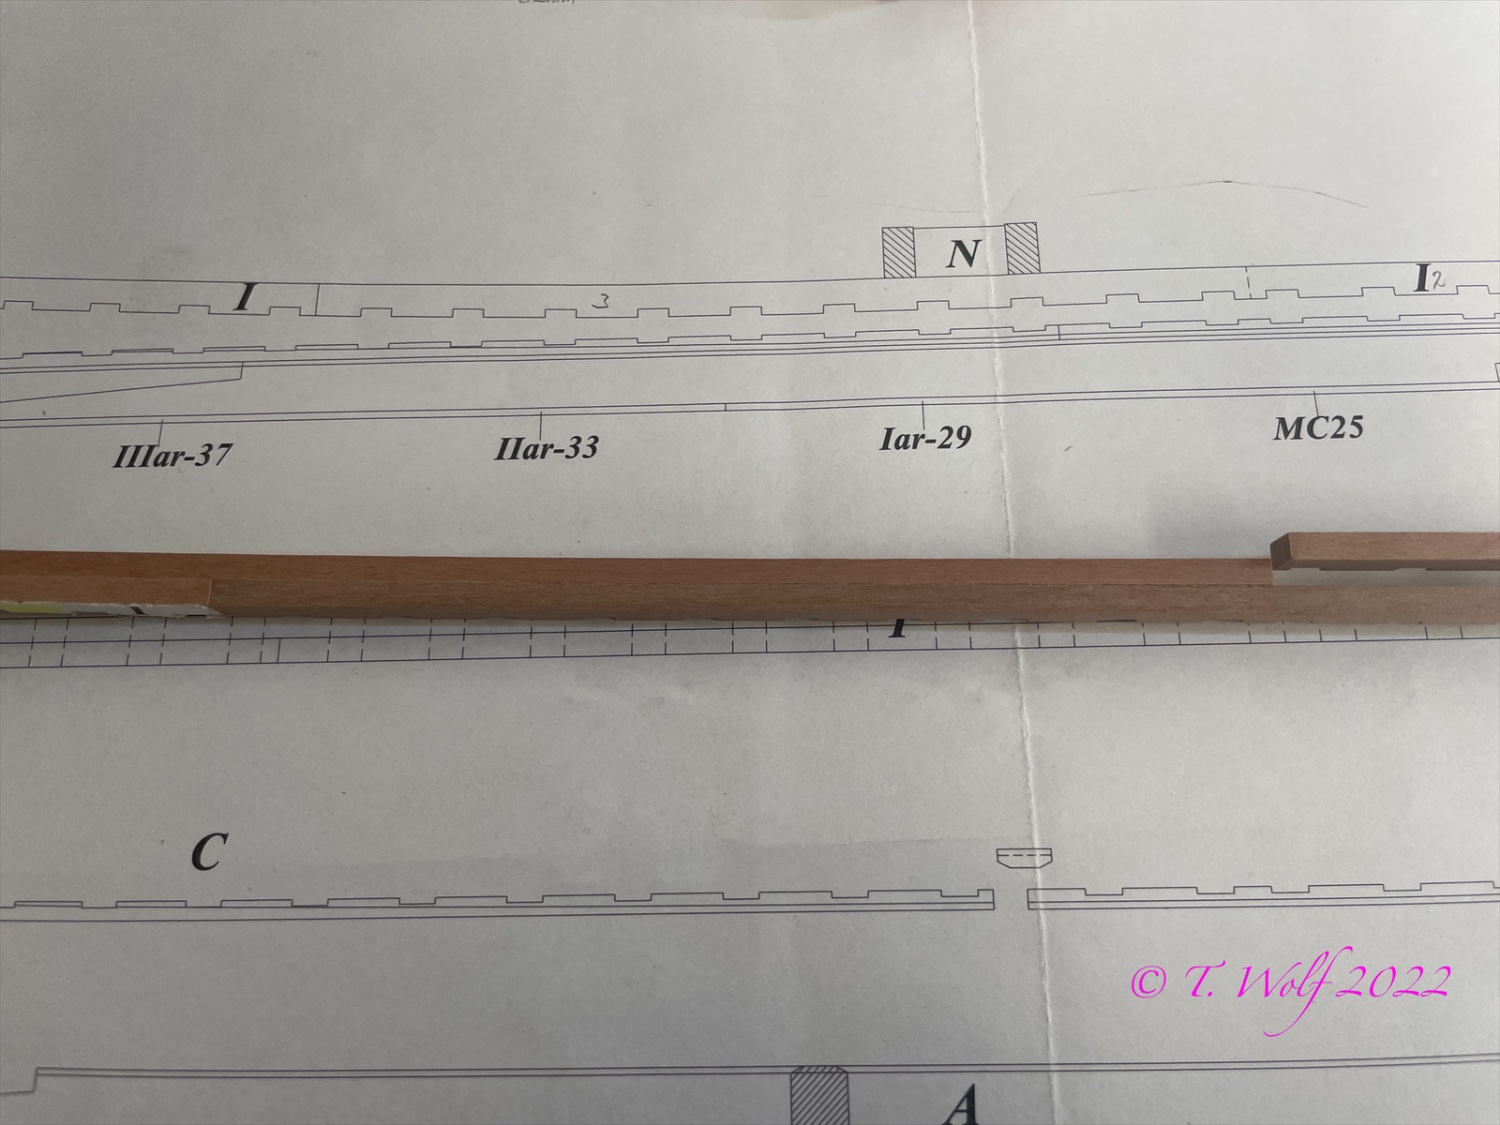
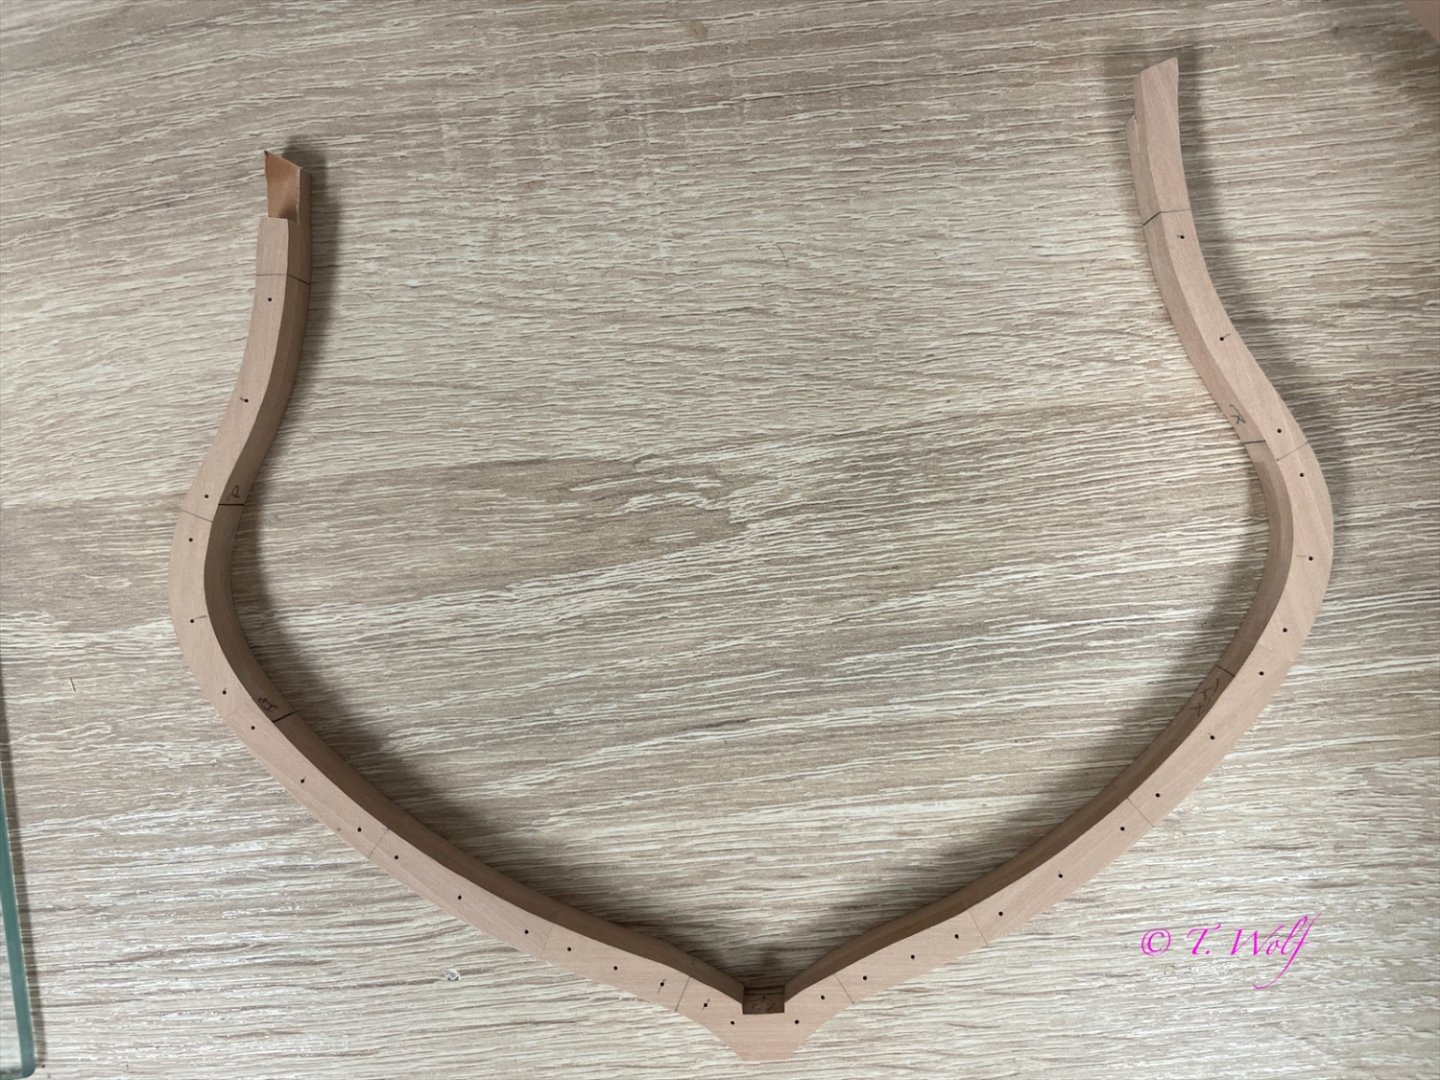
Hello everyone, I'm back with some news. As I said, I needed a little break from the endless nailing. However, I was not idle and continued to build the little house (tree house) of the grandchildren and we went on a few trips. Now back to the shipyard: The first plan is 90% complete. The wrong keel (please correct me if that's the wrong term) was on yesterday's agenda, it's split in two and staggered. Conclusion I have to redo why, I didn't check the copies I made against the plan like I usually do. I.e. it is about 3% too big, does not help. Today I dedicated myself to the mast bearings and the bow clamps. Another 7 frames are marked and ready for drilling. Thank you for looking.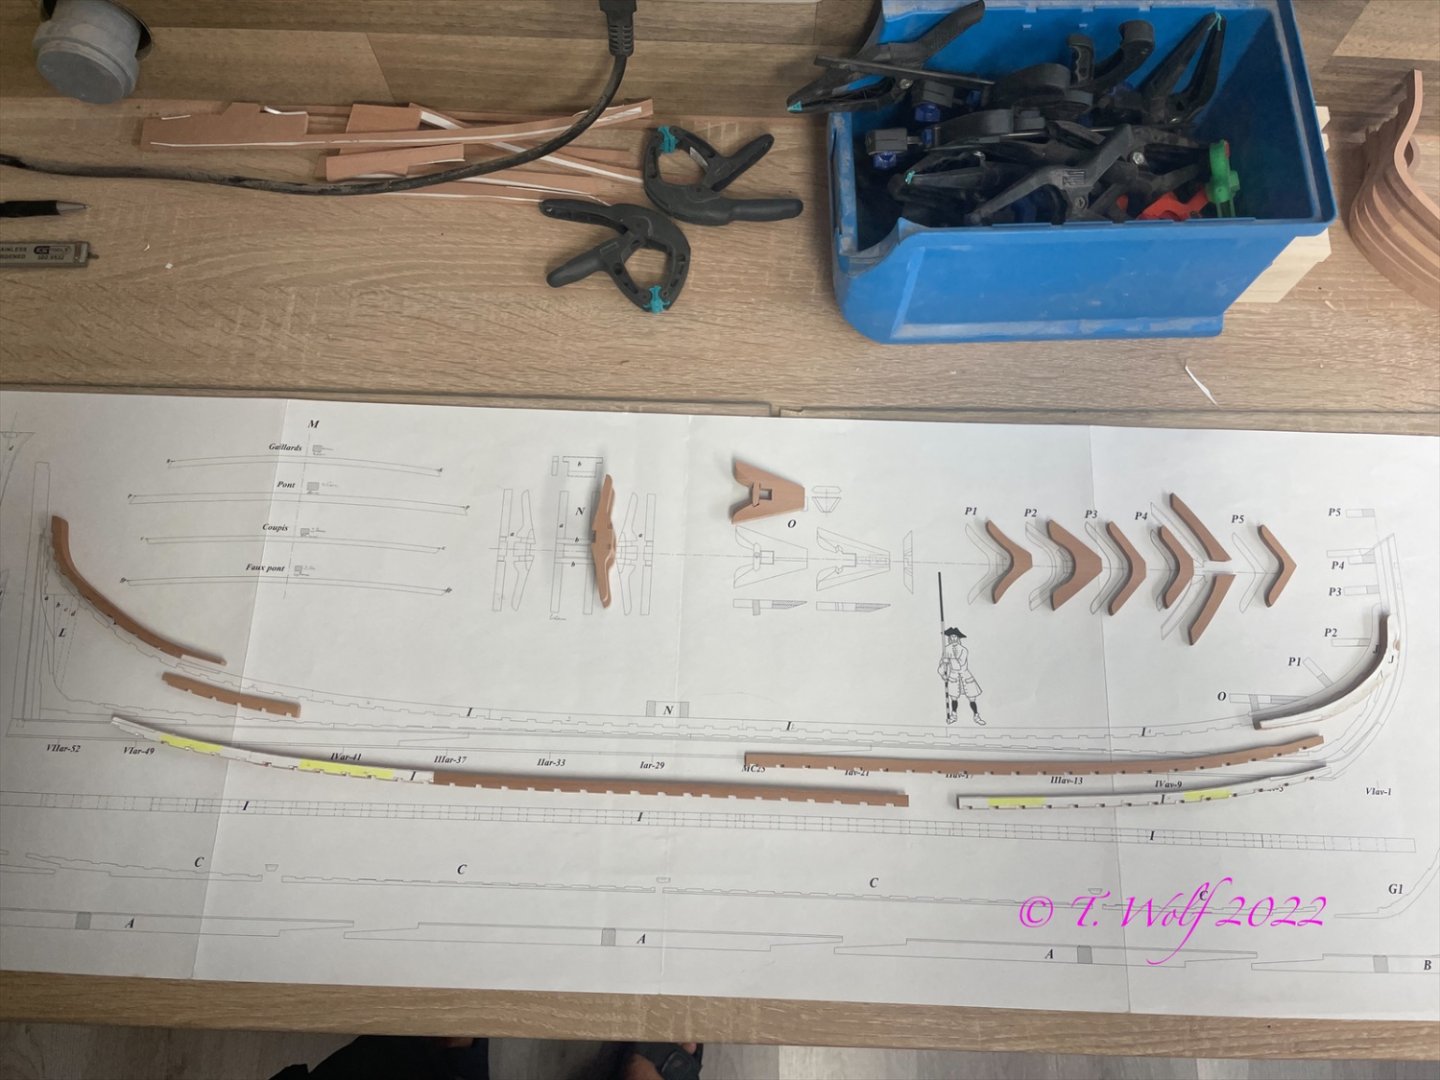


-
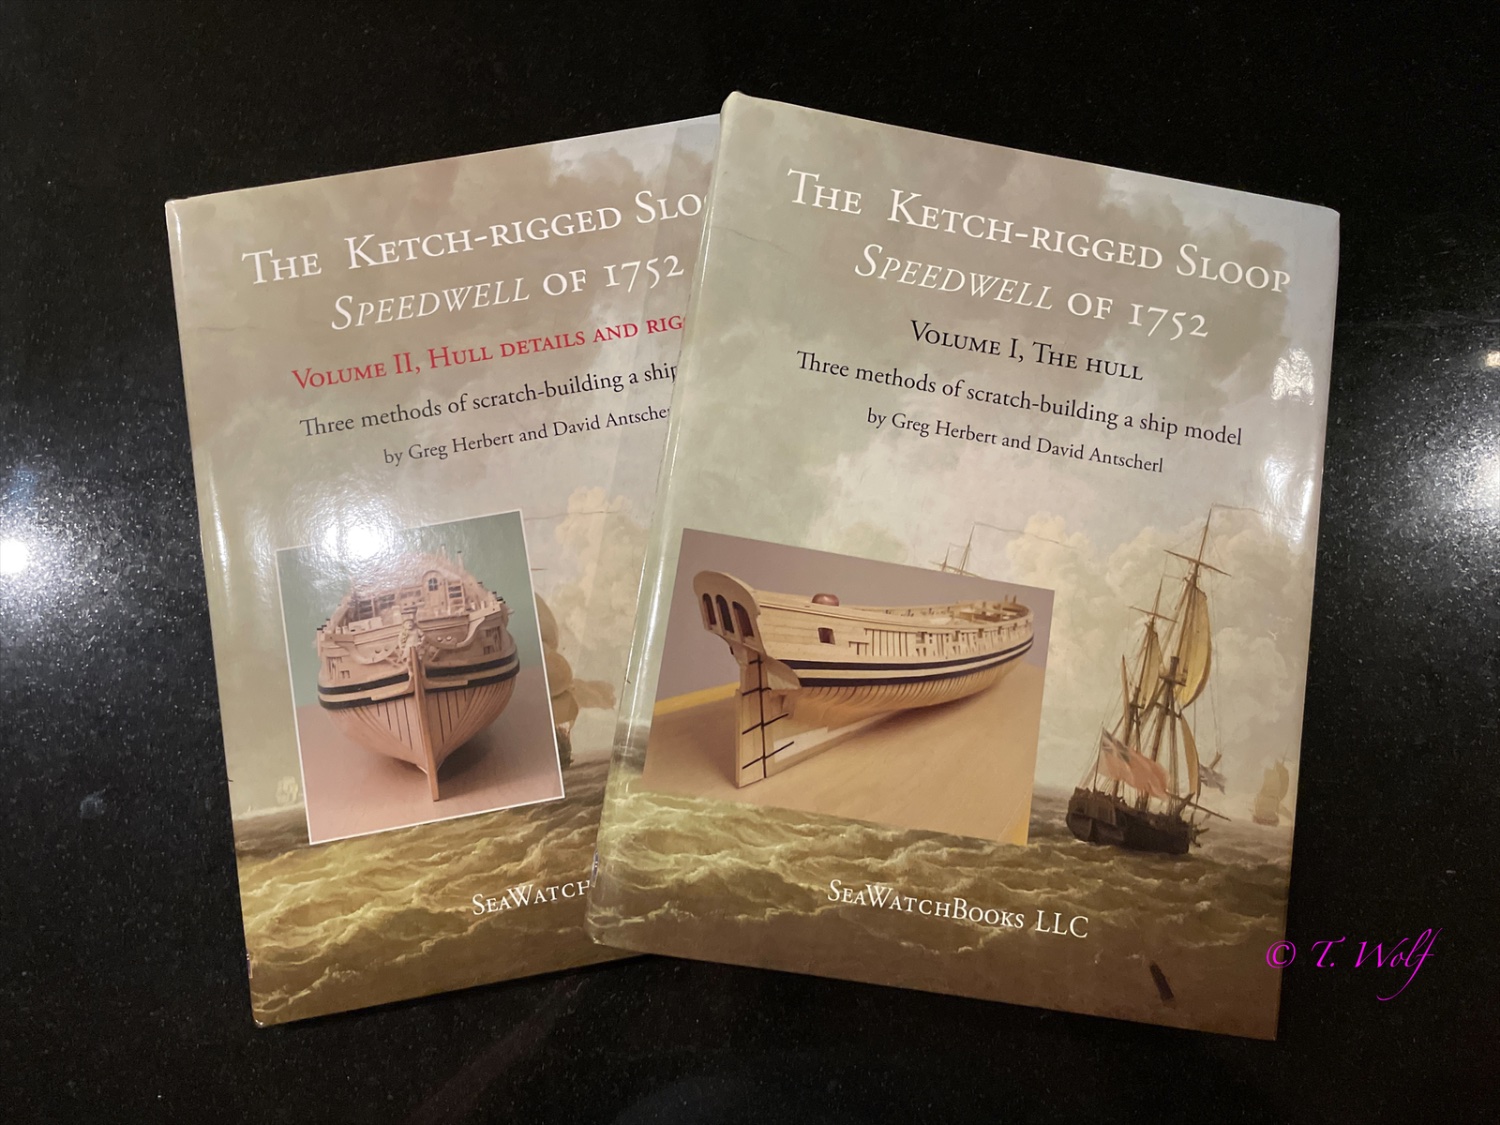
Hallo Greg wirklich tolle Arbeit und ich war so beeindruckt von deinem Bautagebuch, dass ich mir die Bücher gekauft habe, aber es wird wohl noch etwas dauern, da ich gerade erst mit La Palme angefangen habe. Gruß Tobias

- 345 replies
-
- 13
-
-
La Palme by Tobias - 1:36 - POF
Tobias replied to Tobias's topic in - Build logs for subjects built 1501 - 1750
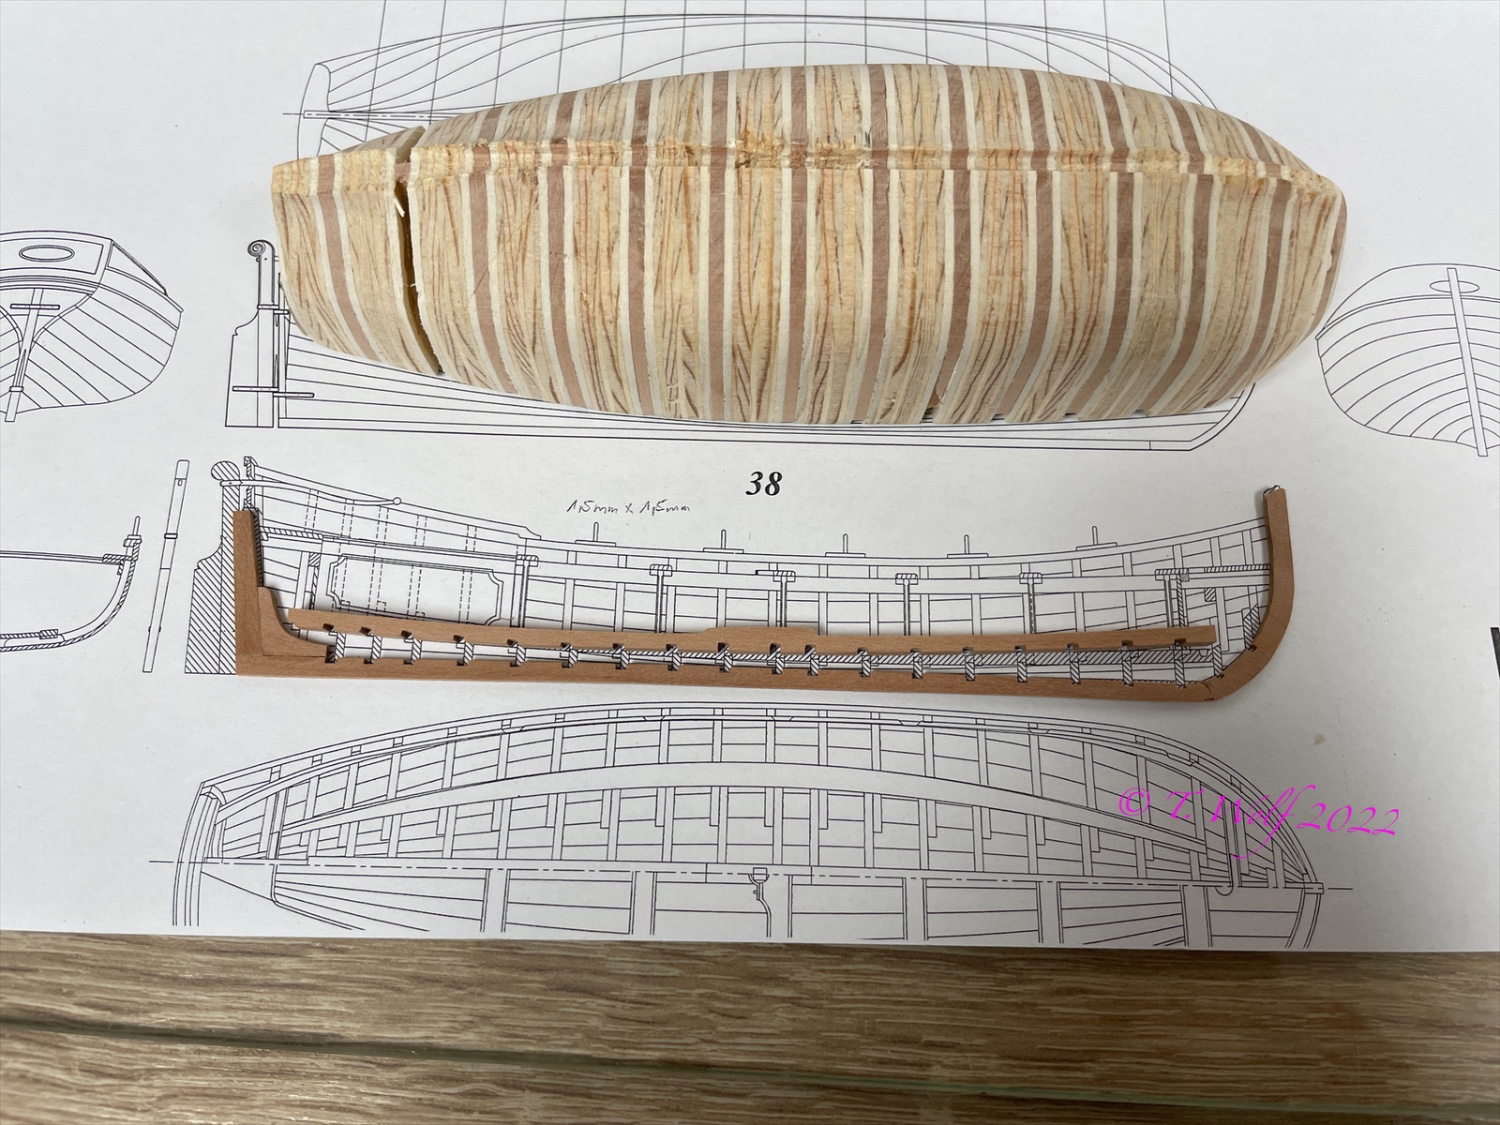
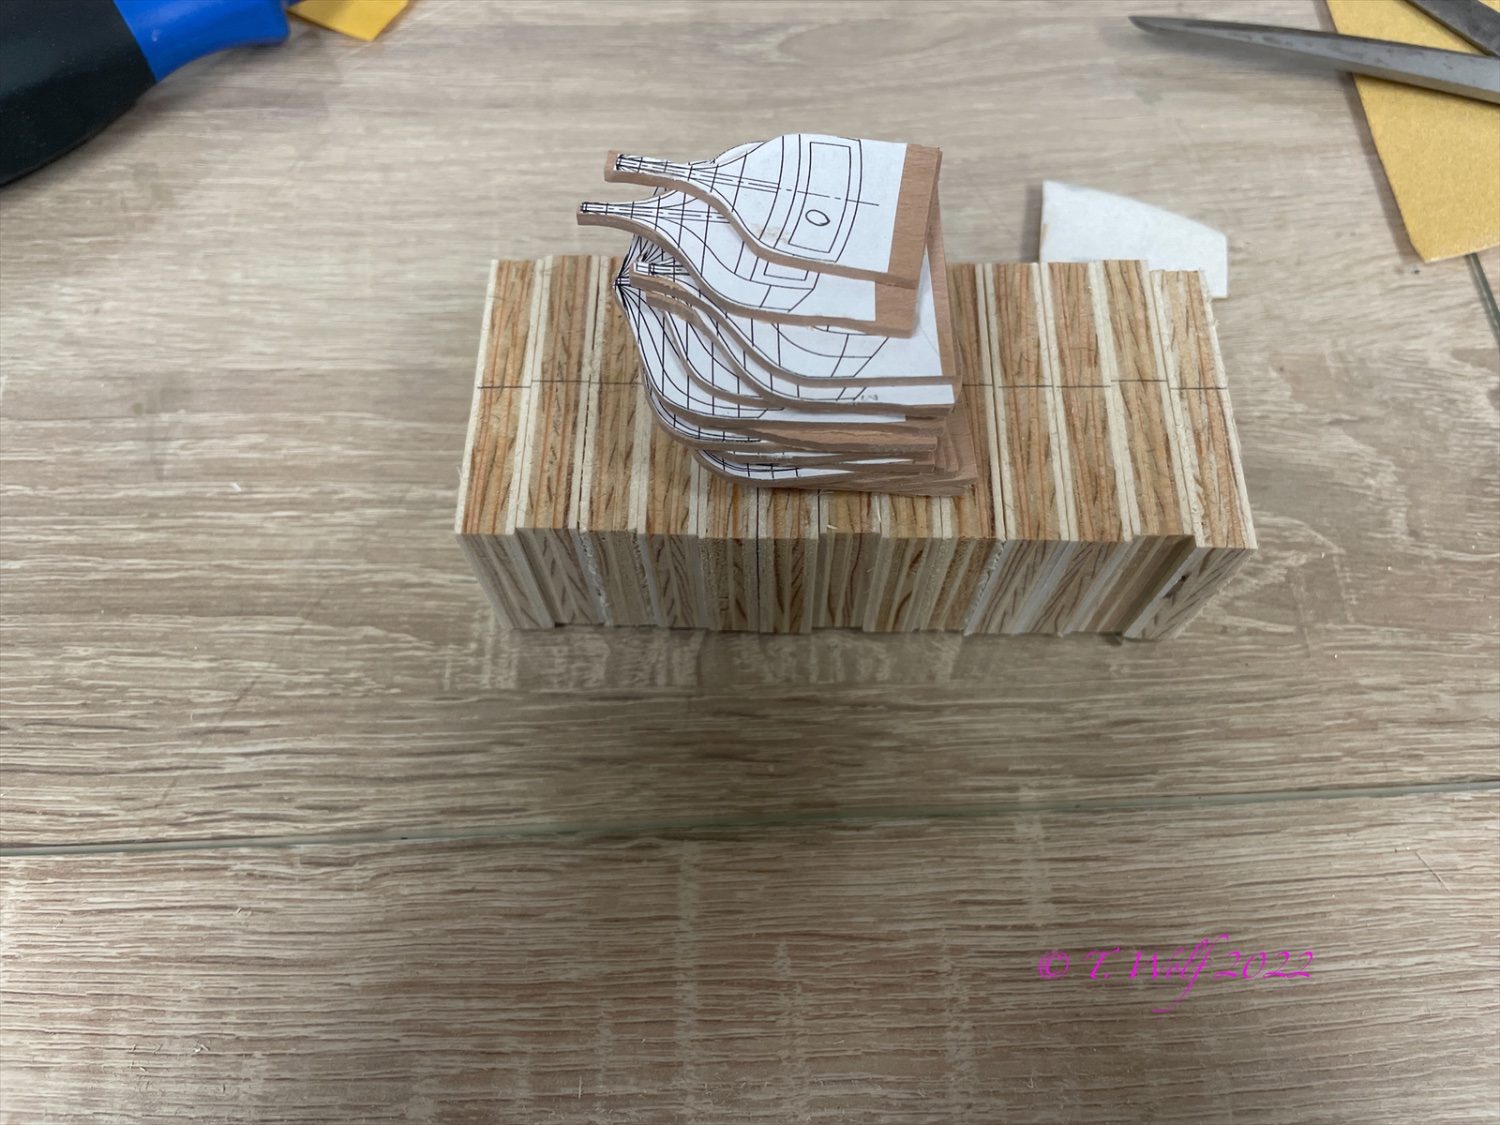
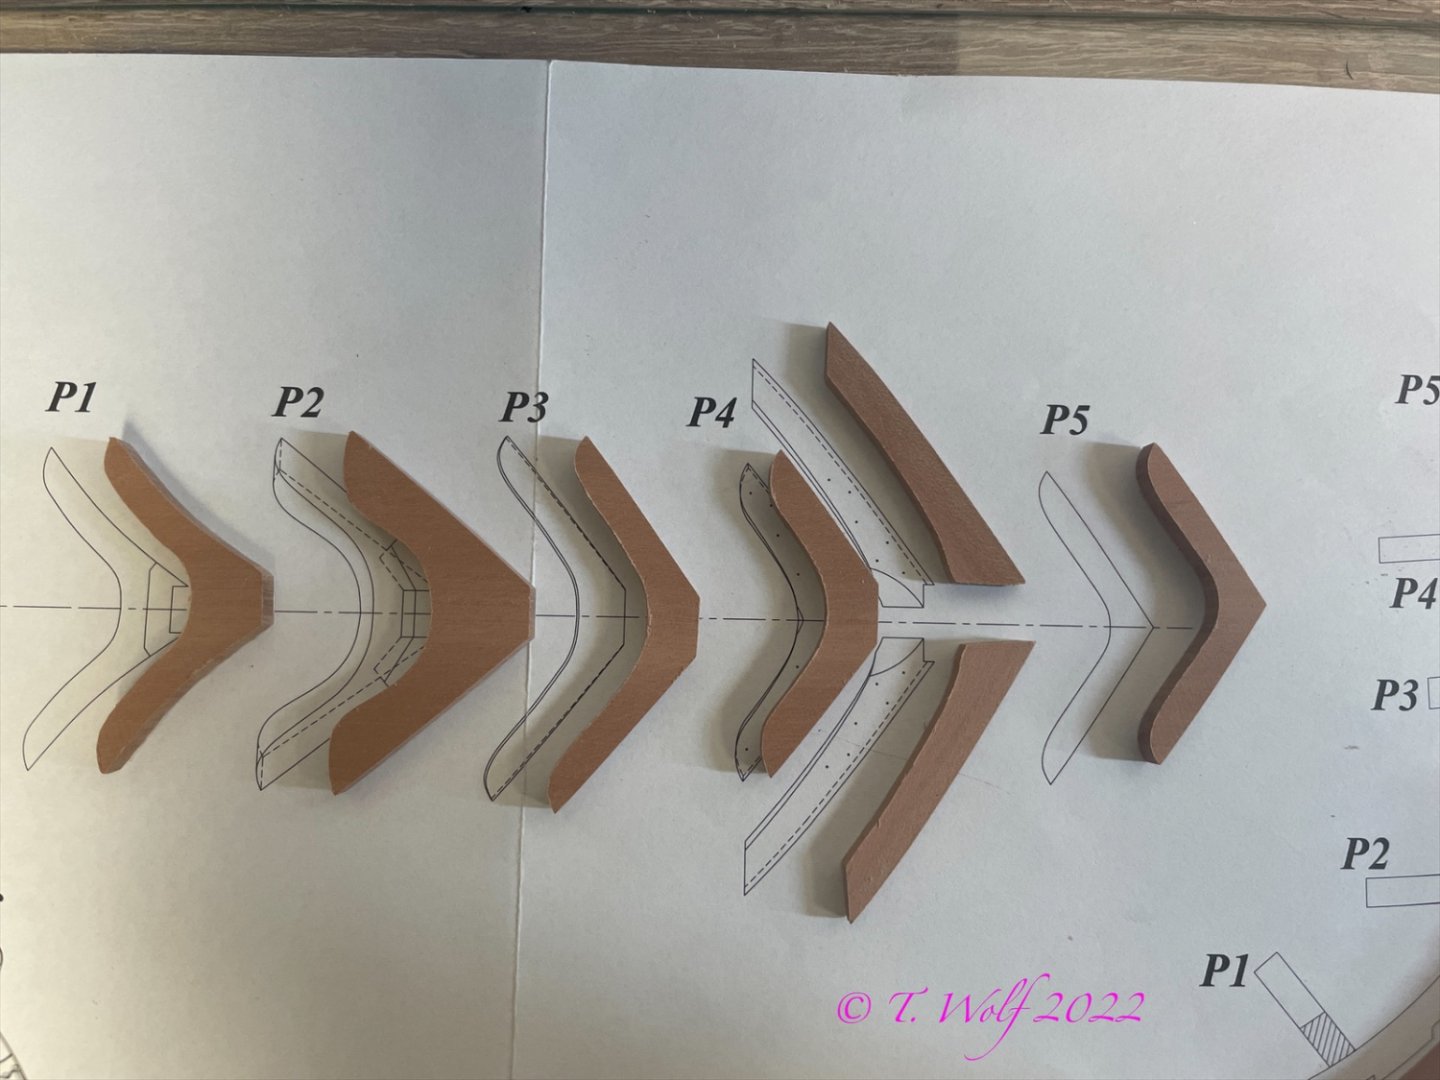
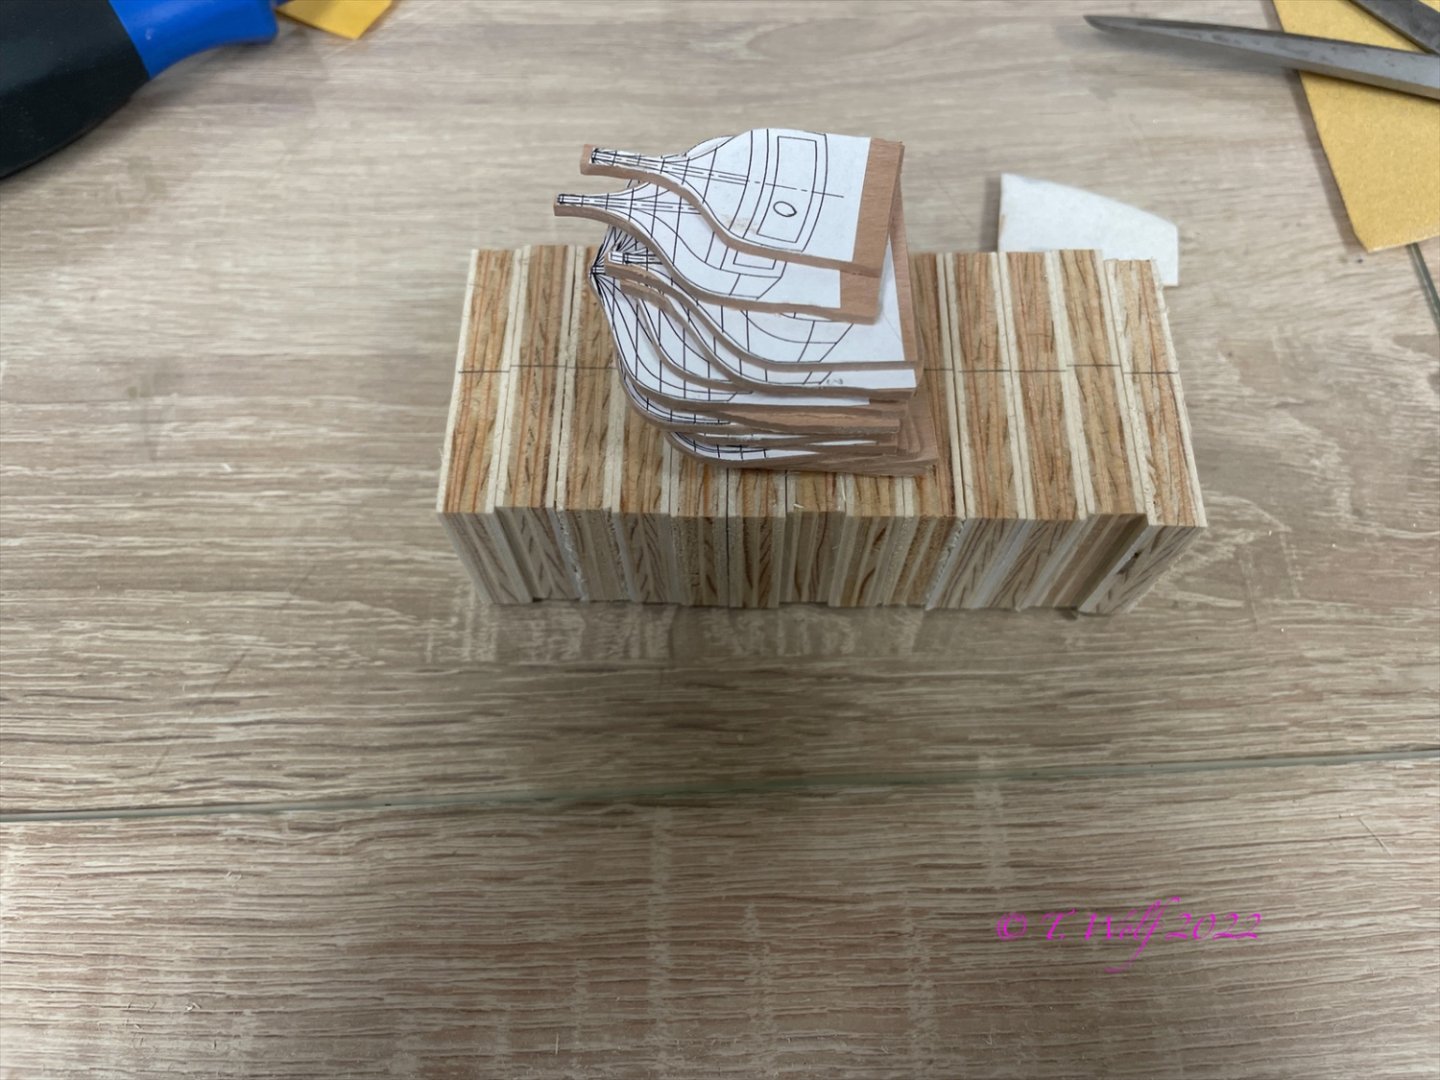
Just a small update. Start with the small dinghy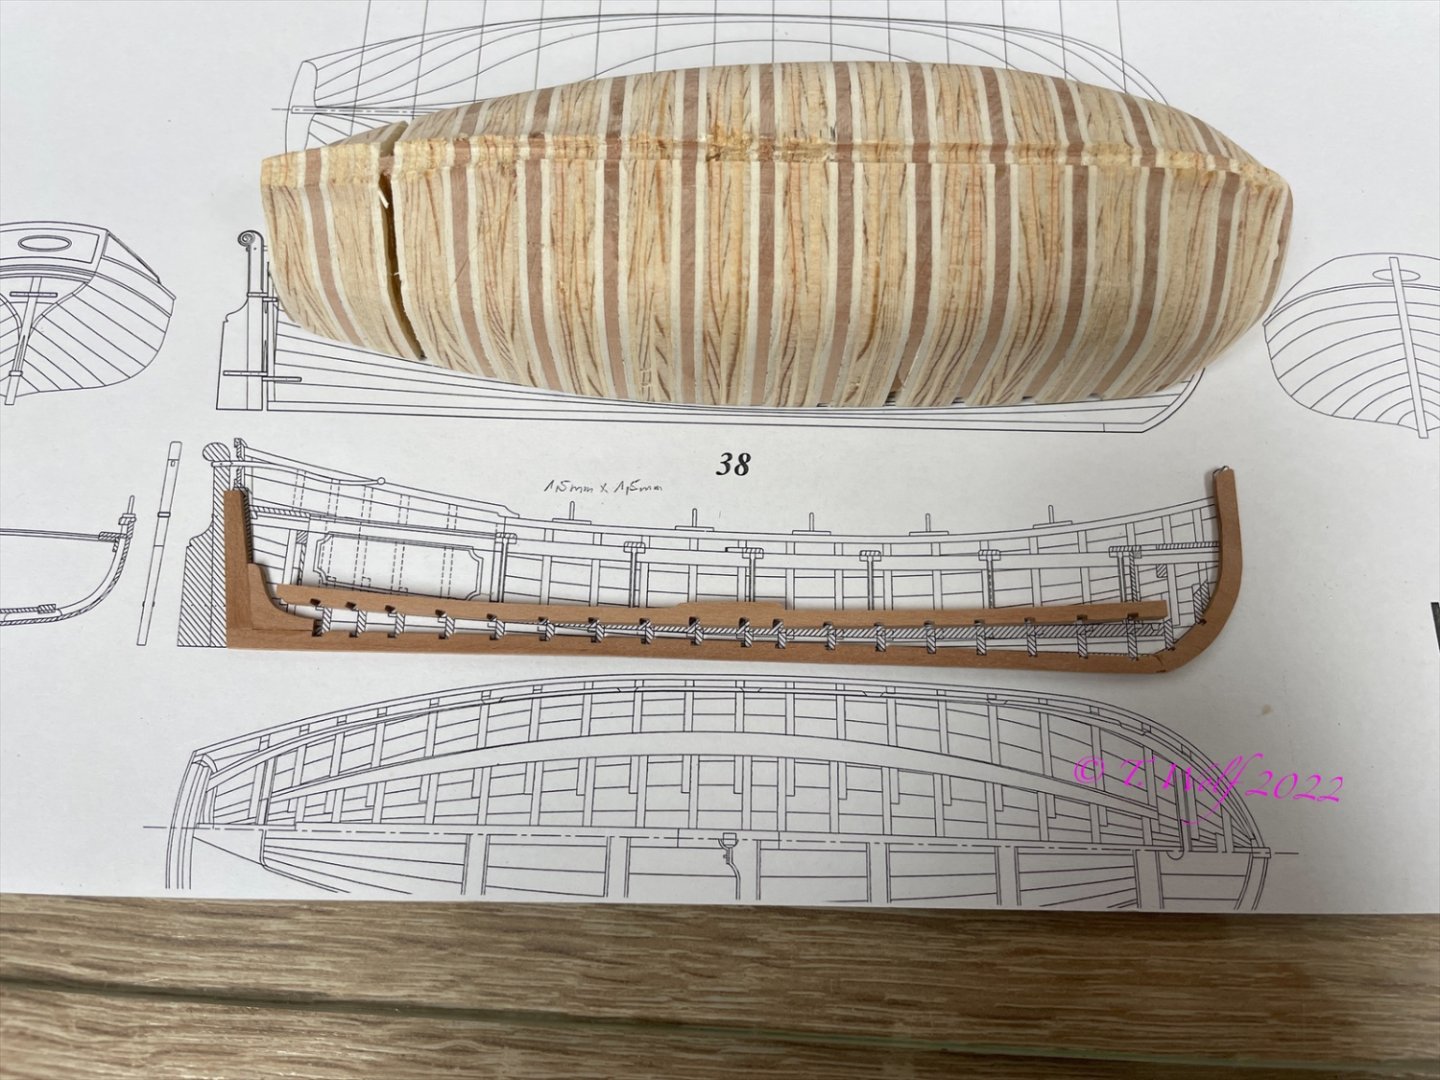

-
La Palme by Tobias - 1:36 - POF
Tobias replied to Tobias's topic in - Build logs for subjects built 1501 - 1750
Small update, it's halftime. So far I've installed 1,868 bolts, now I need a change. Preparations for the small dinghy.

-
La Palme by Tobias - 1:36 - POF
Tobias replied to Tobias's topic in - Build logs for subjects built 1501 - 1750
Hello everyone, Day 4-9: 18 frames are done. In the last few days I've only made a frame every now and then in the evening. The weather is just too nice to work in the workshop. Be patient and thank you for stopping by and your likes and comments.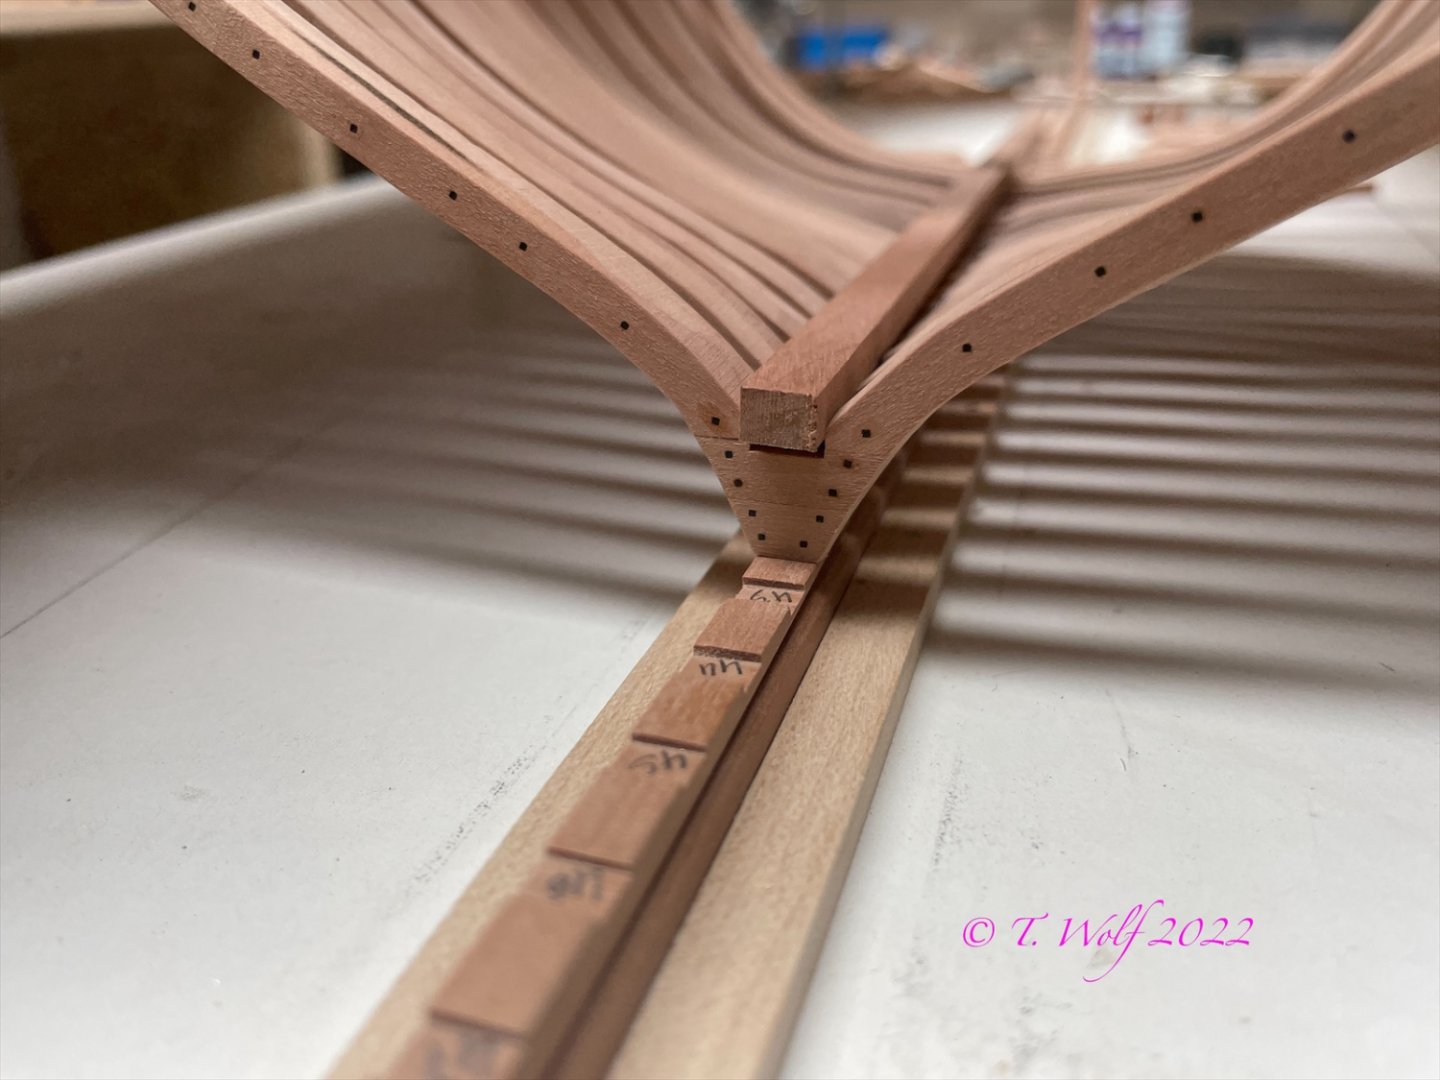


-
La Palme by Tobias - 1:36 - POF
Tobias replied to Tobias's topic in - Build logs for subjects built 1501 - 1750
Hi Allen thank you very much appreciated. -
La Palme by Tobias - 1:36 - POF
Tobias replied to Tobias's topic in - Build logs for subjects built 1501 - 1750
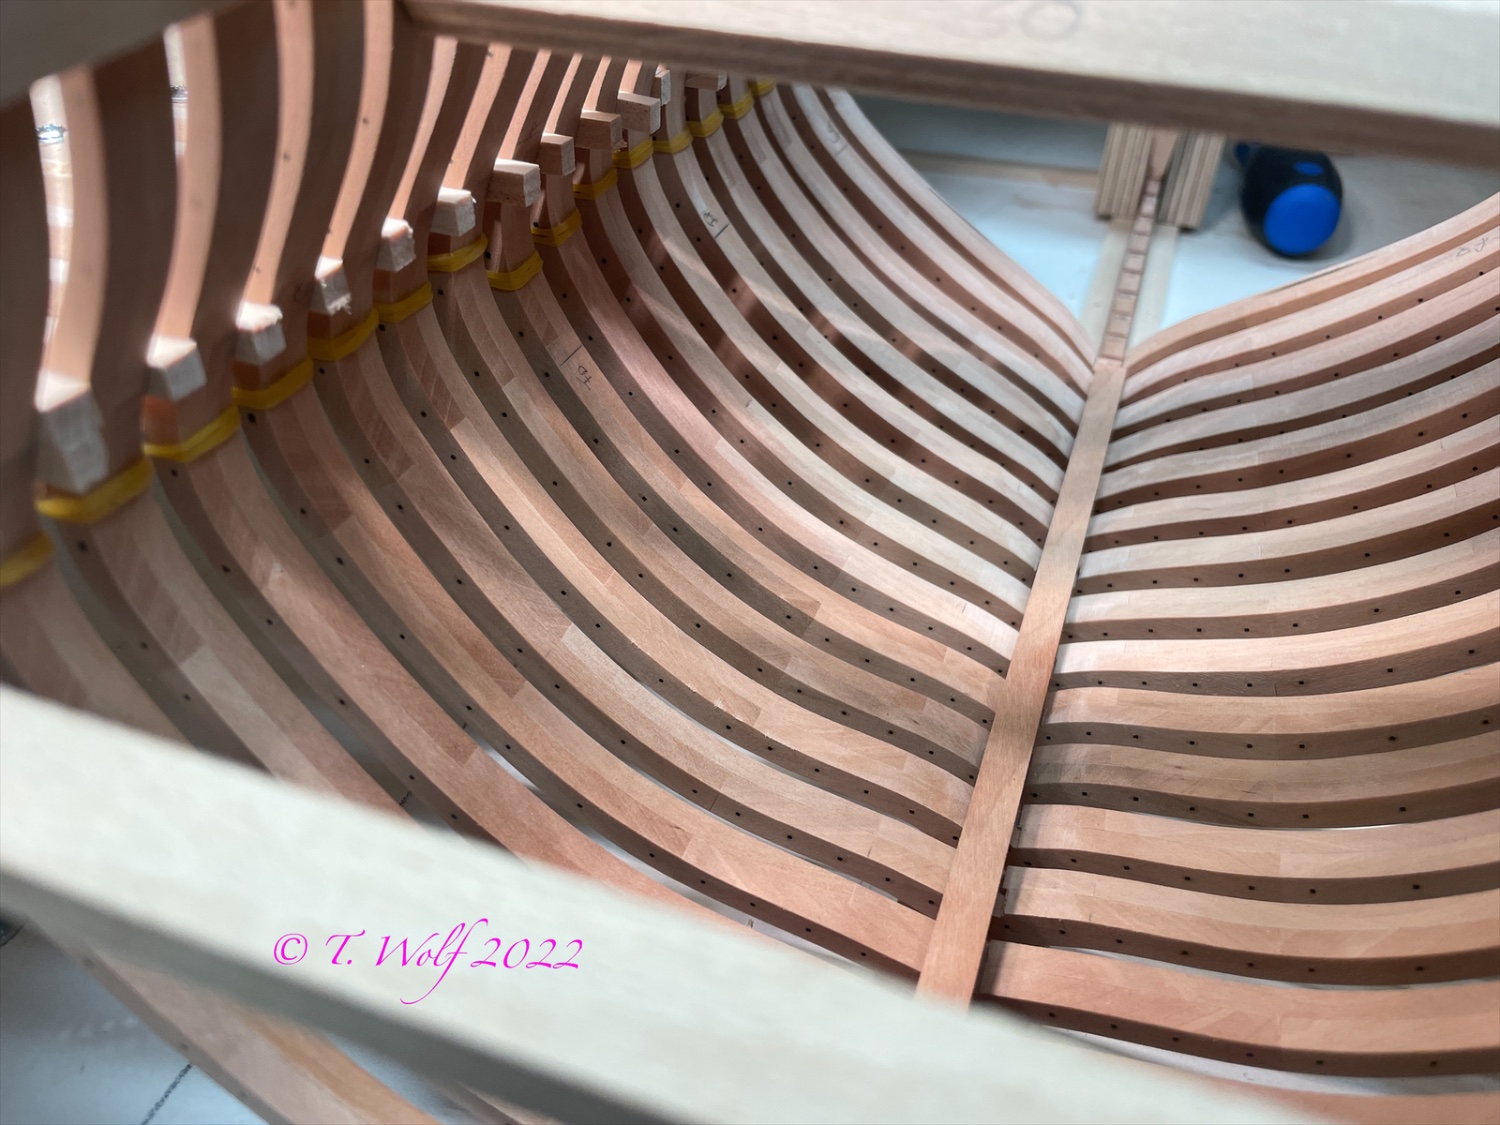
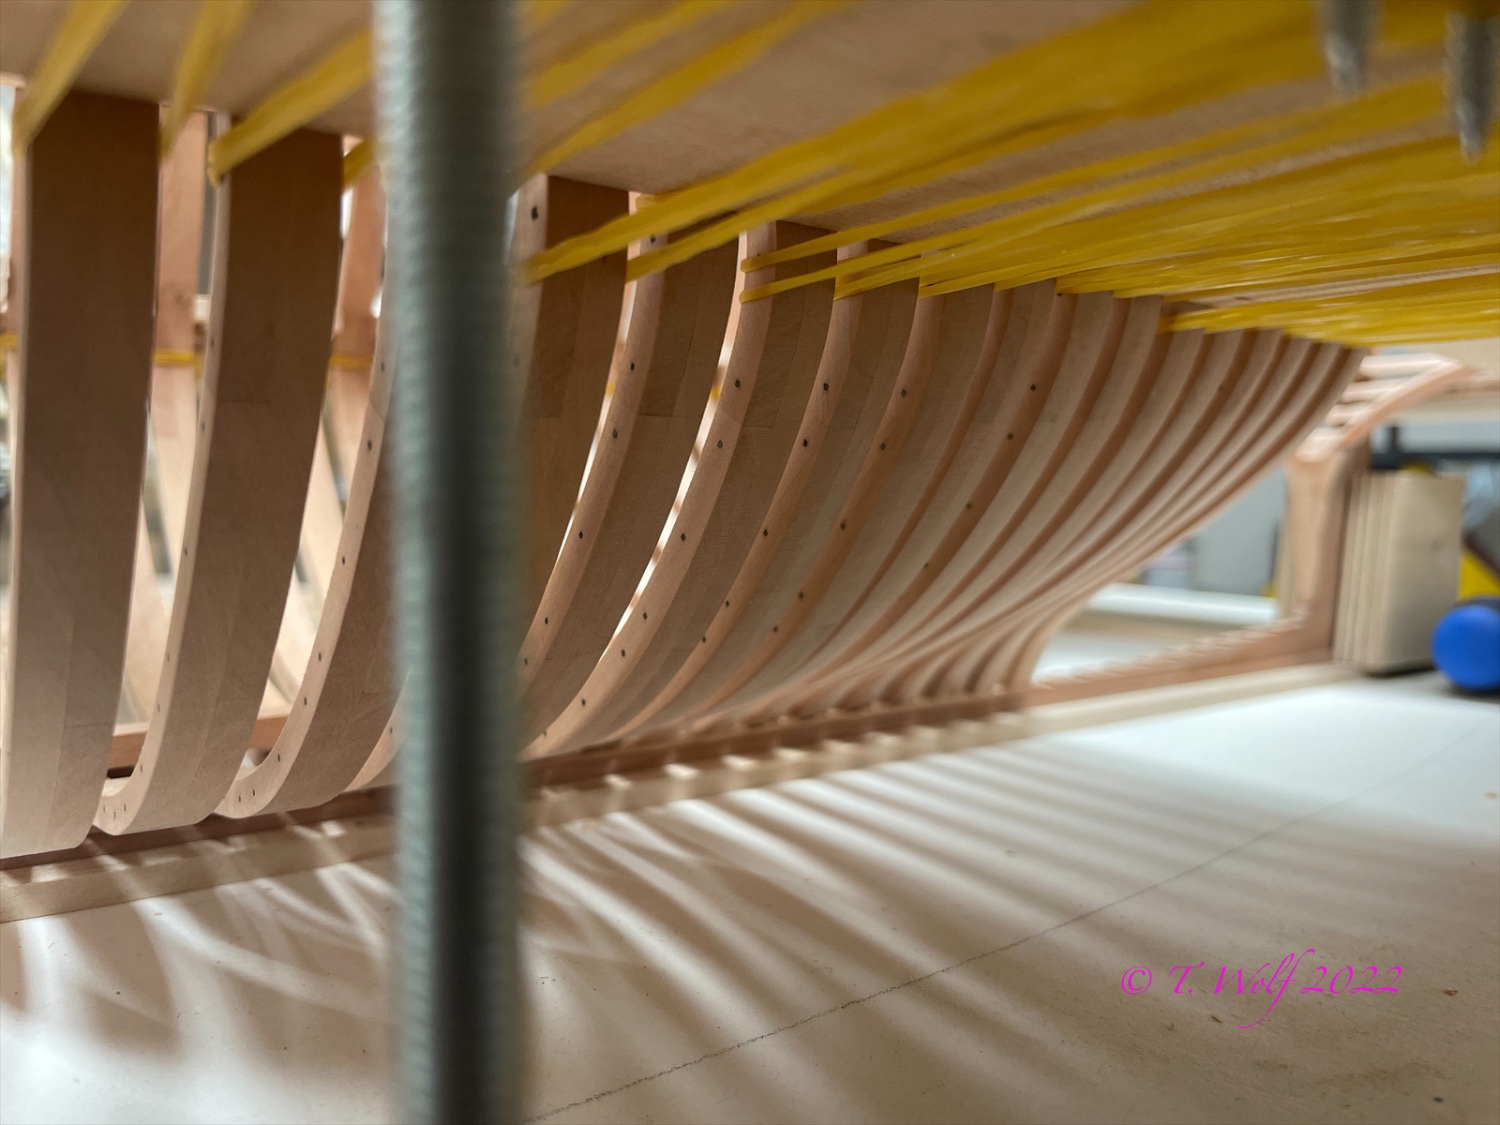
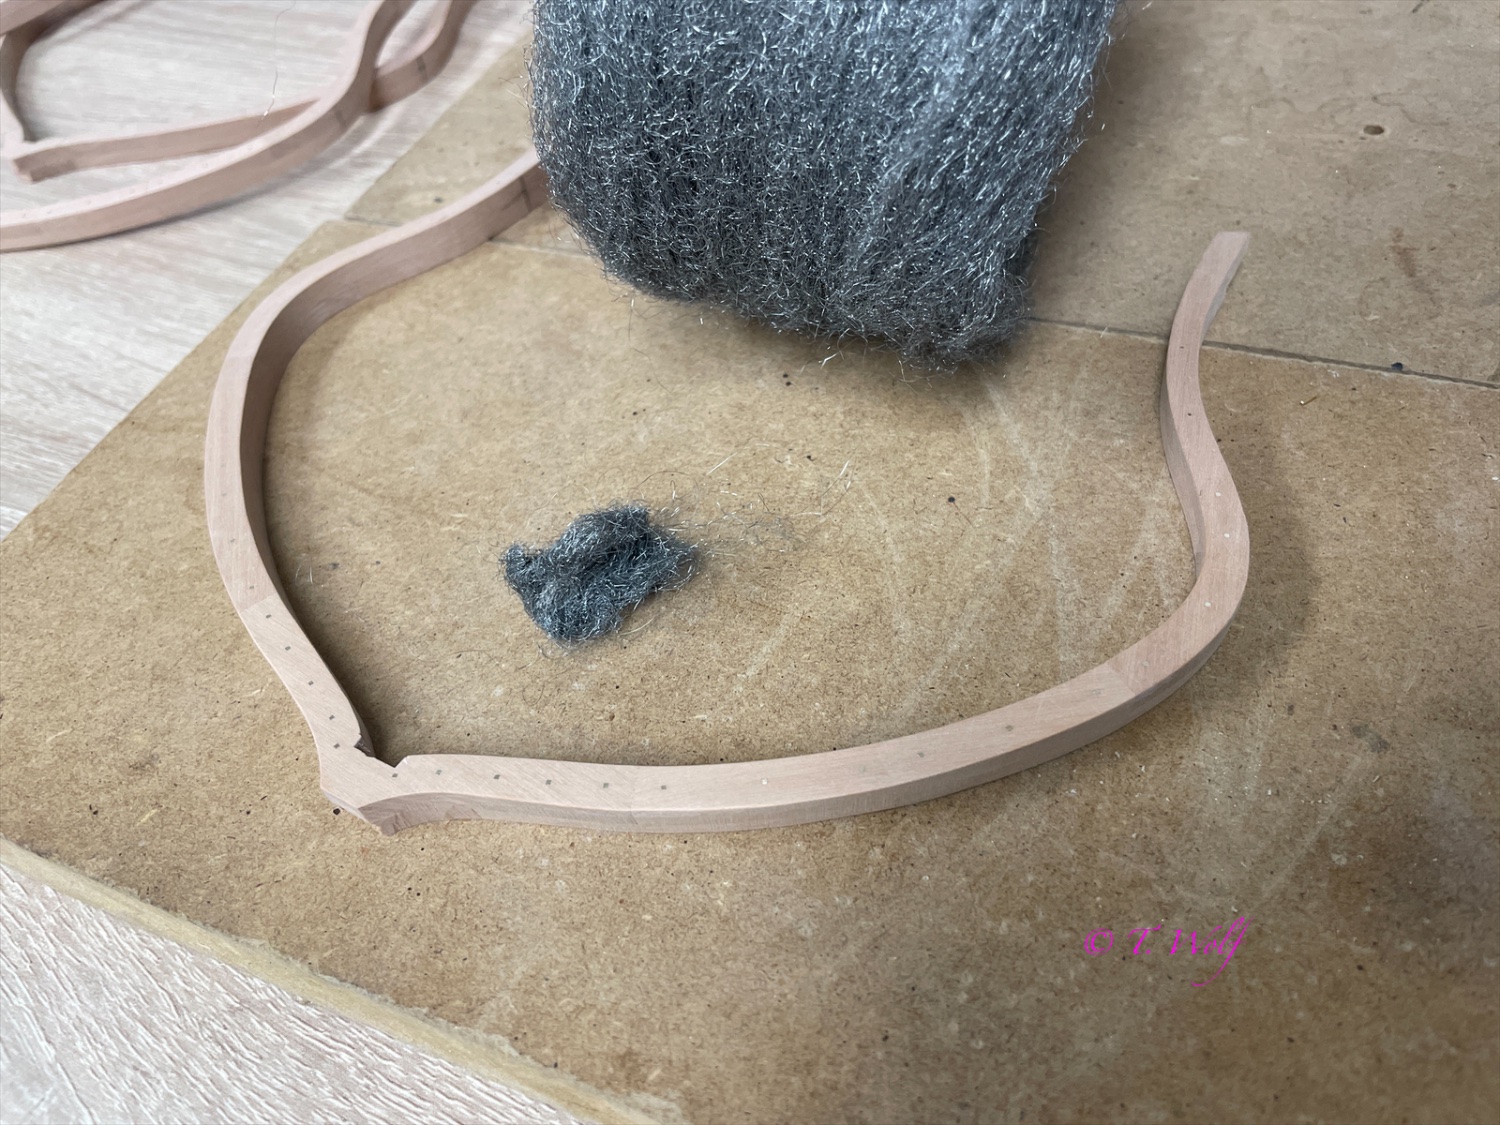
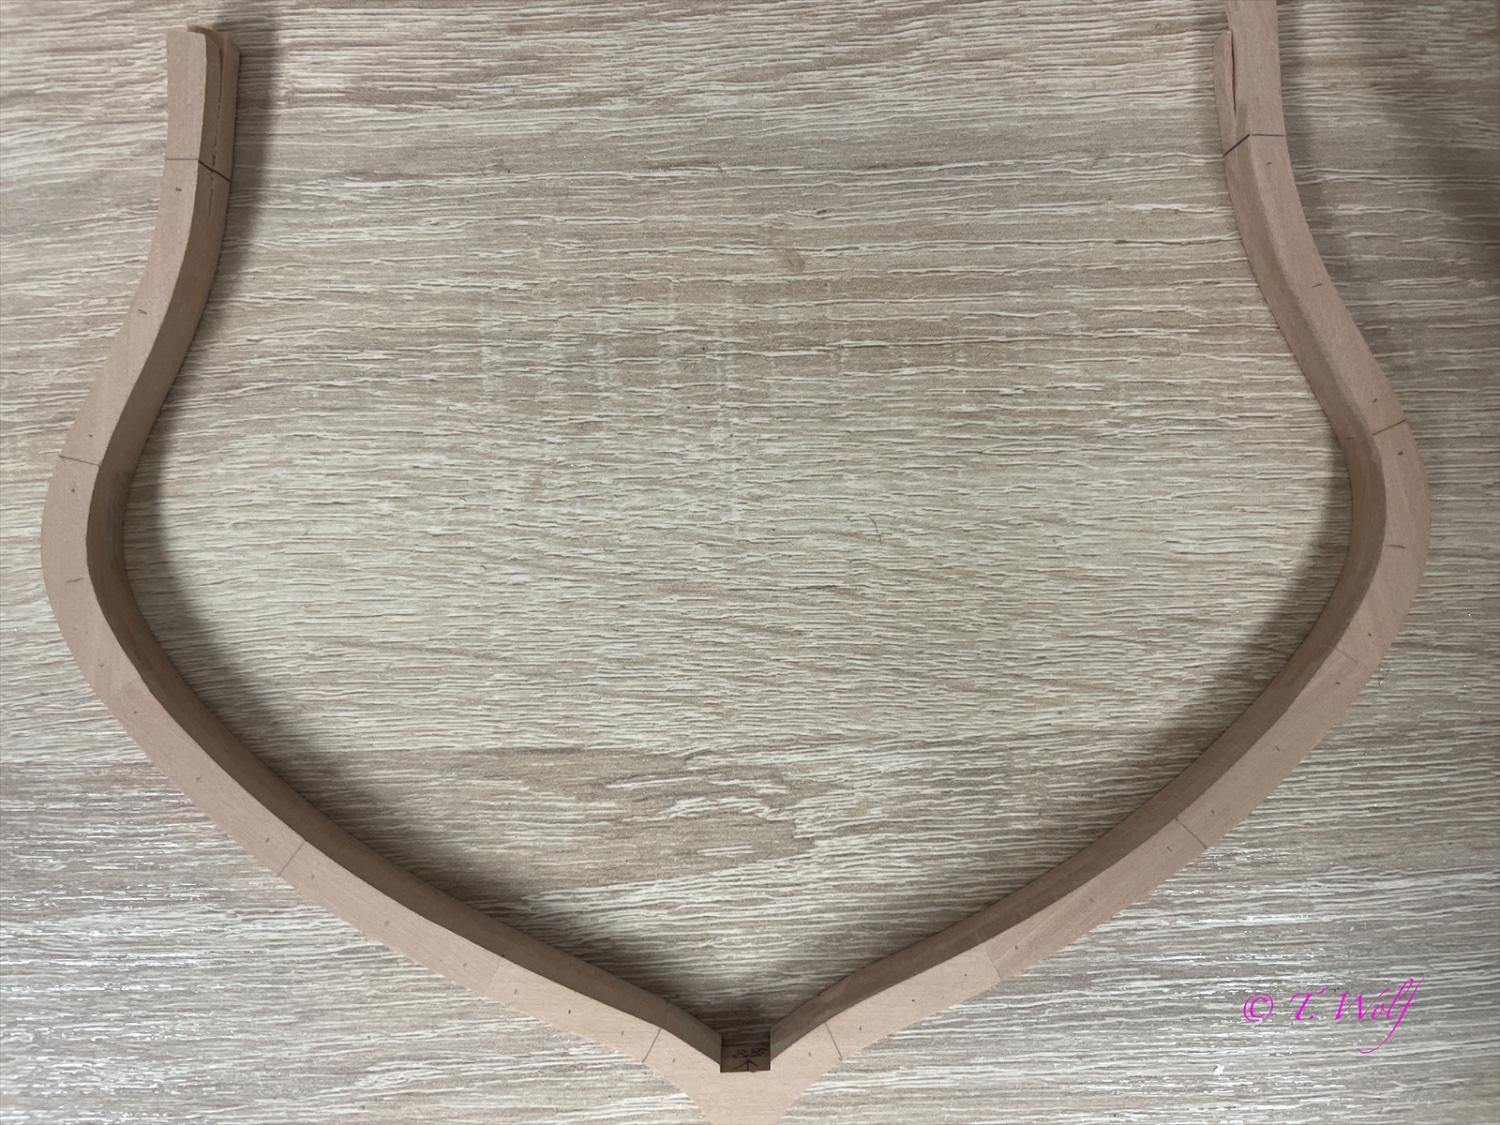
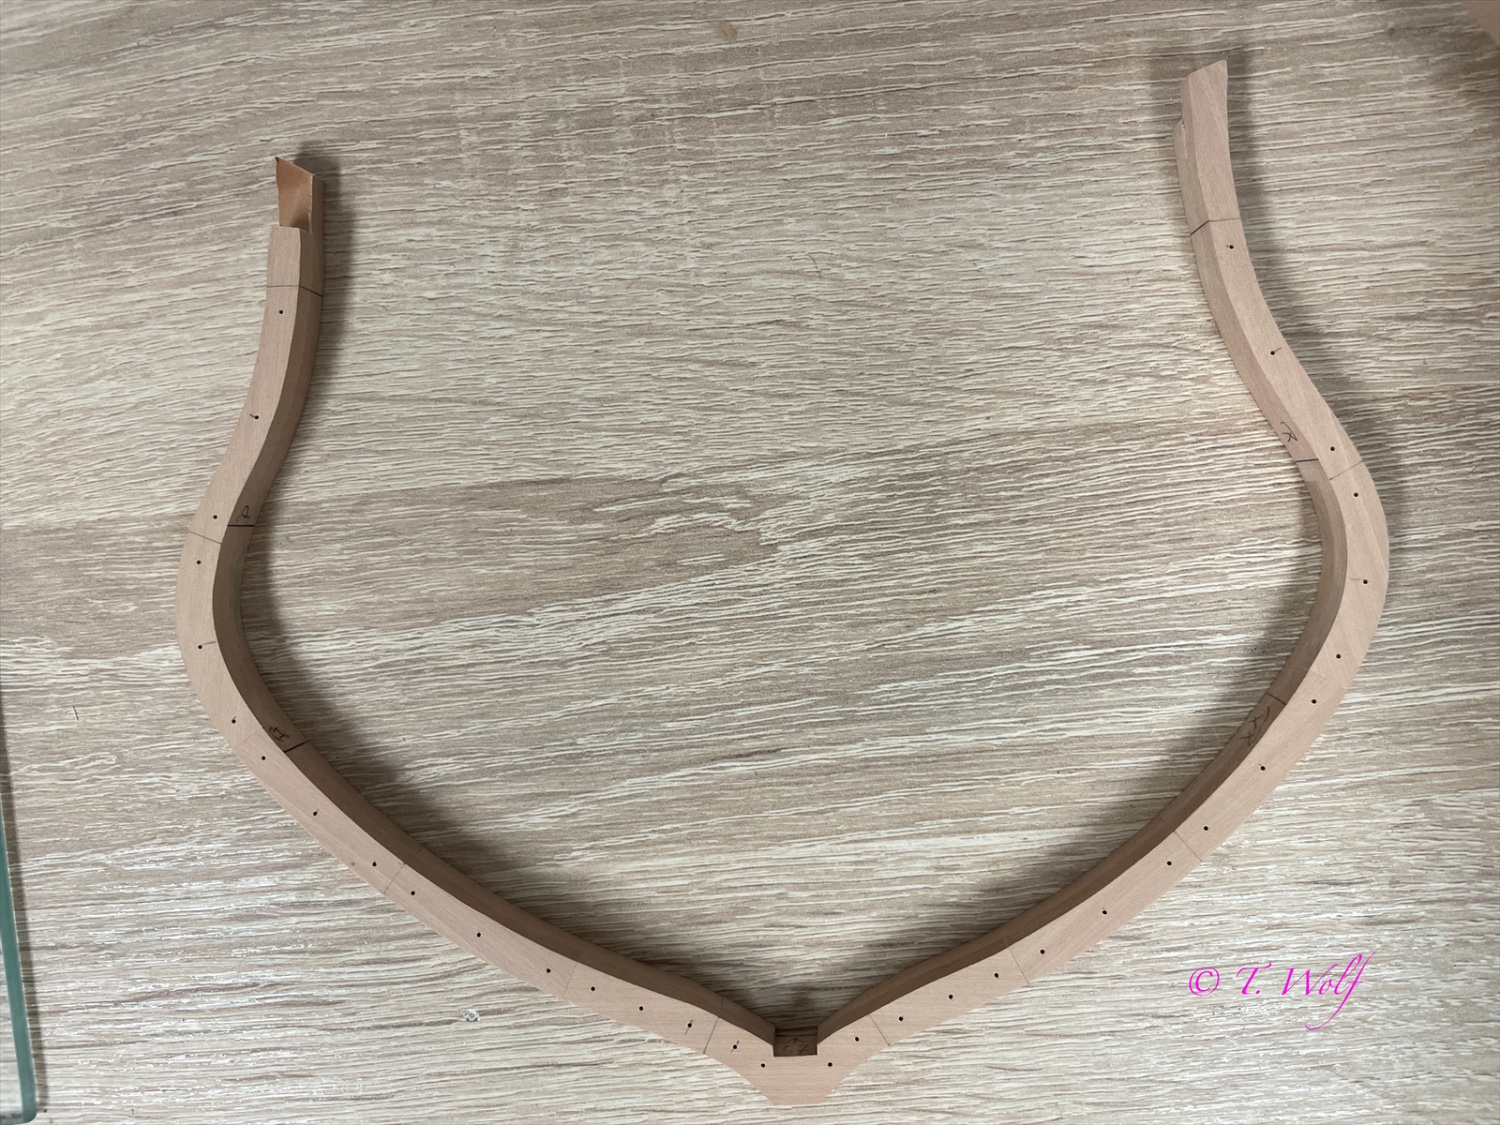
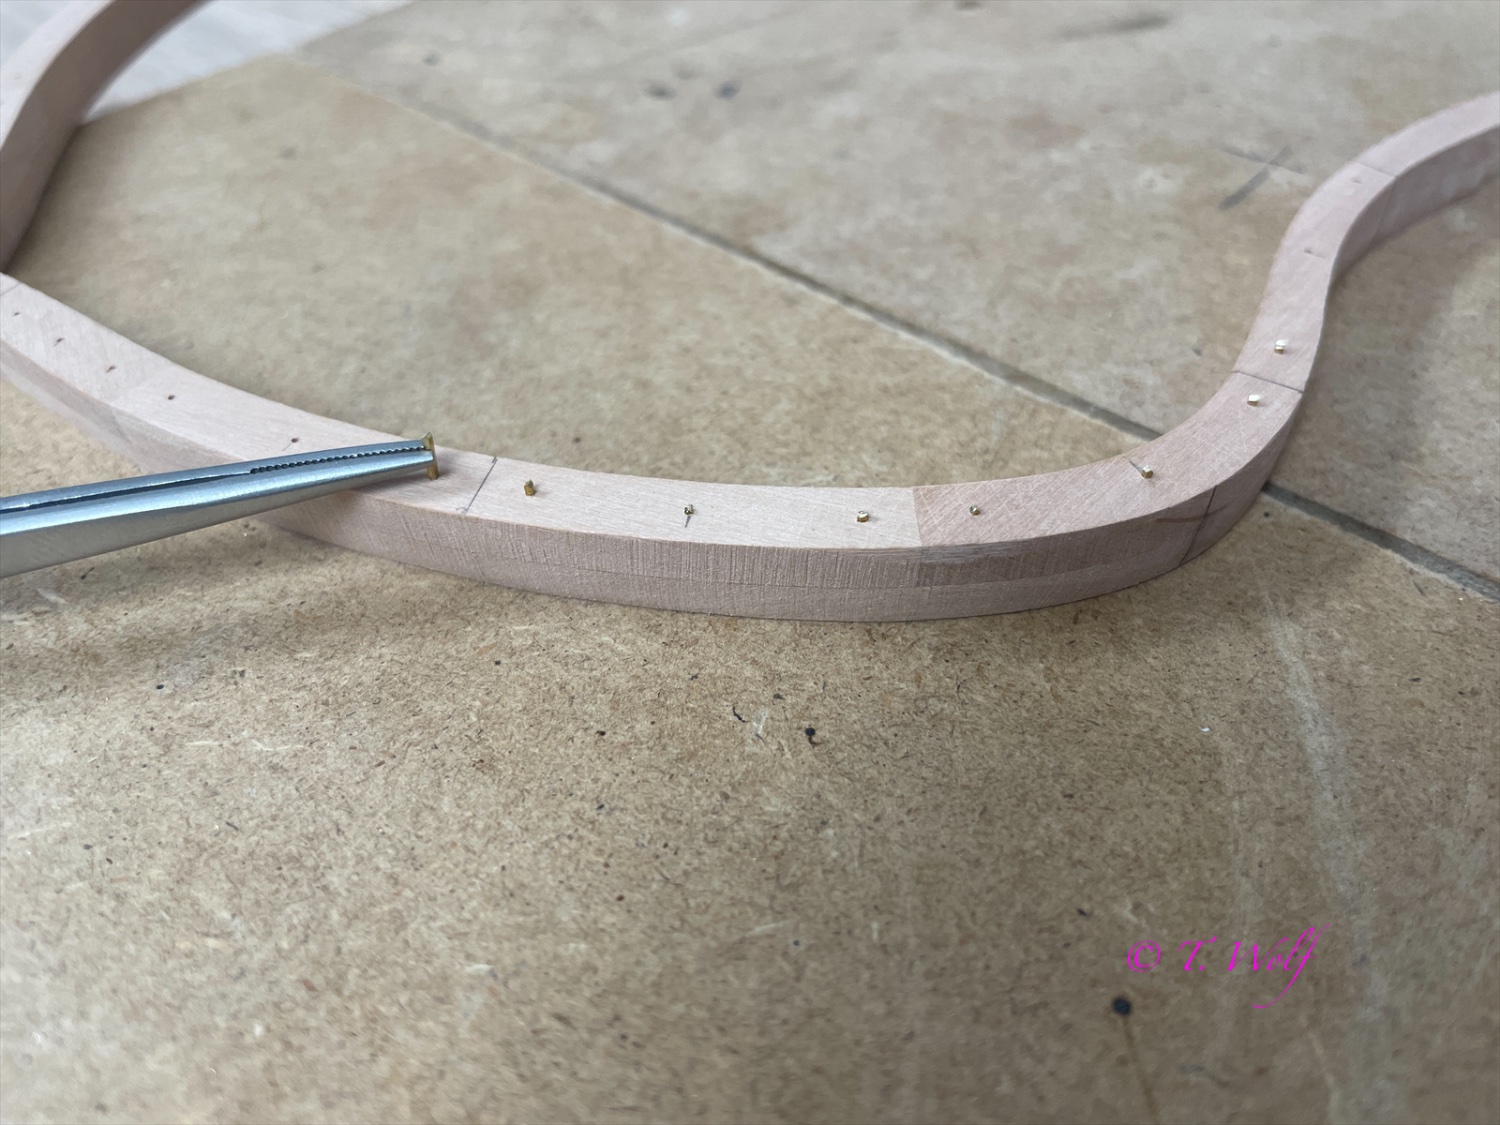
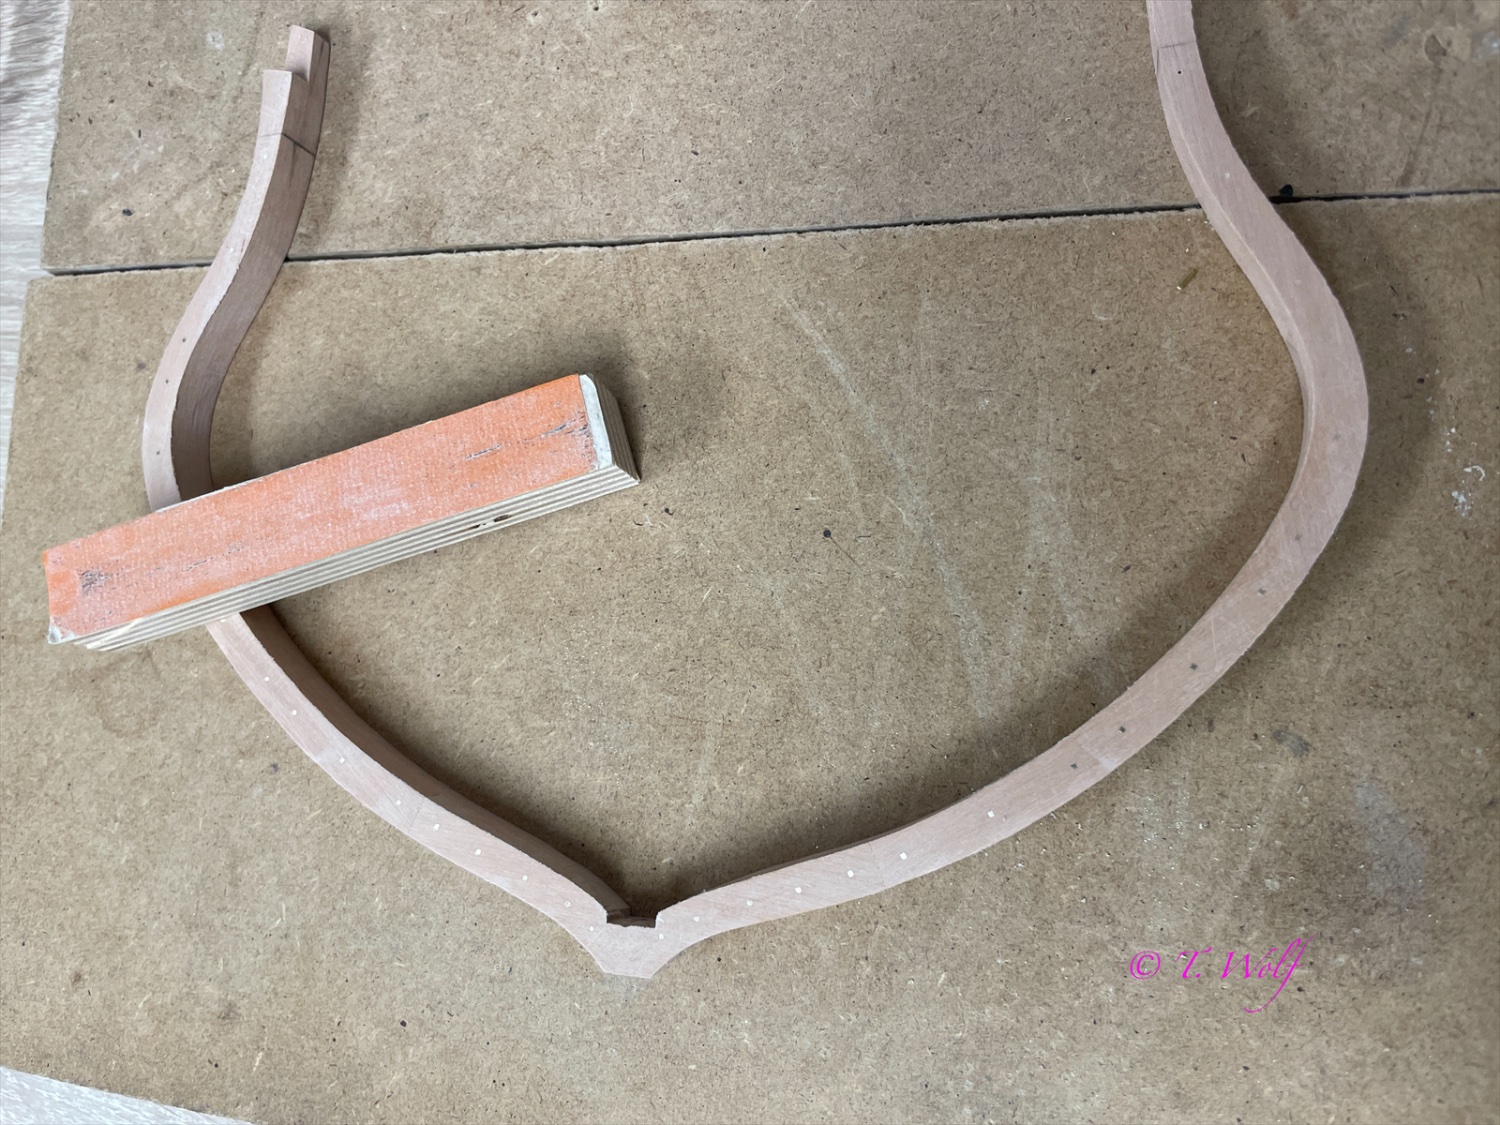
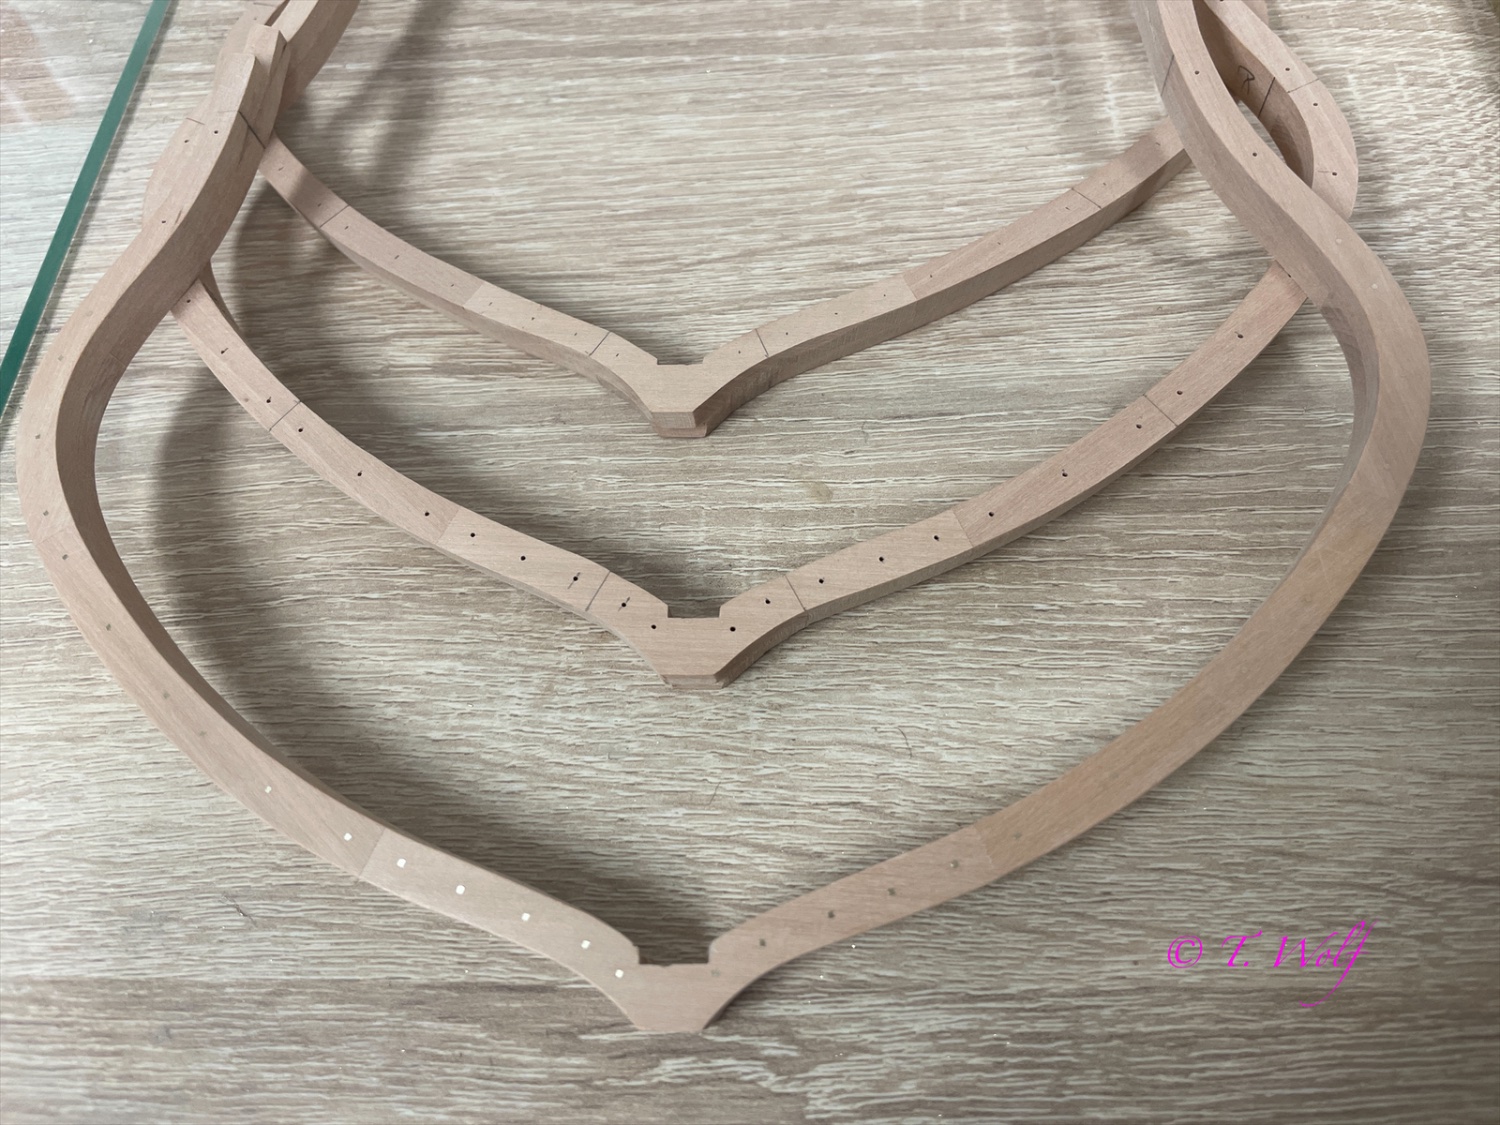
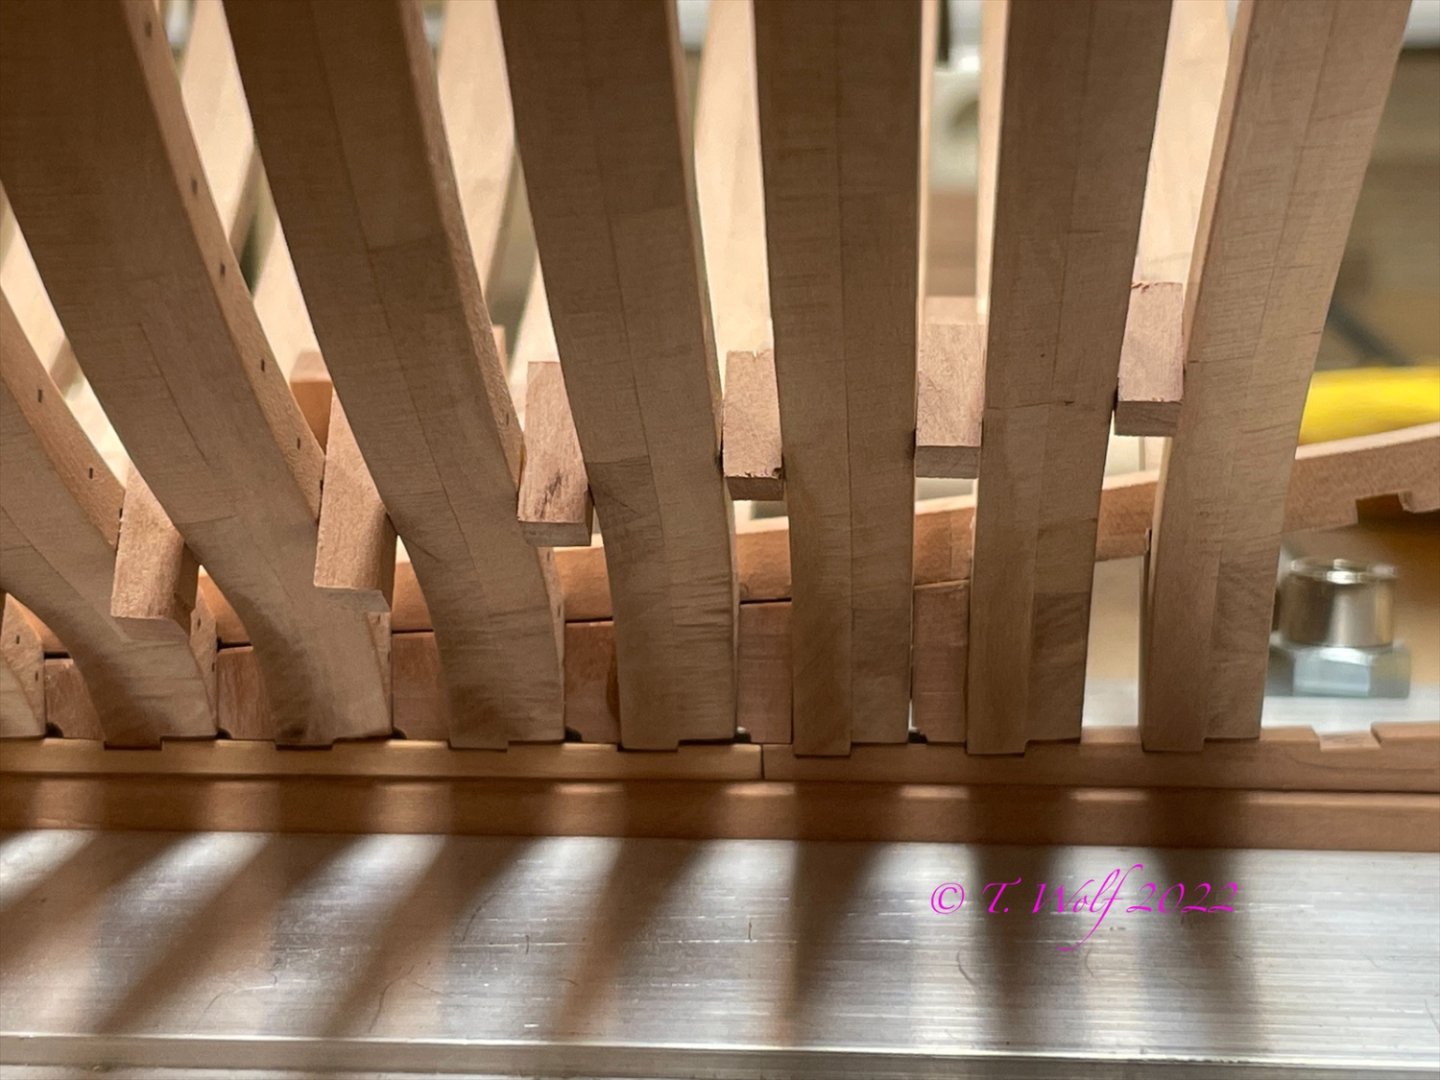
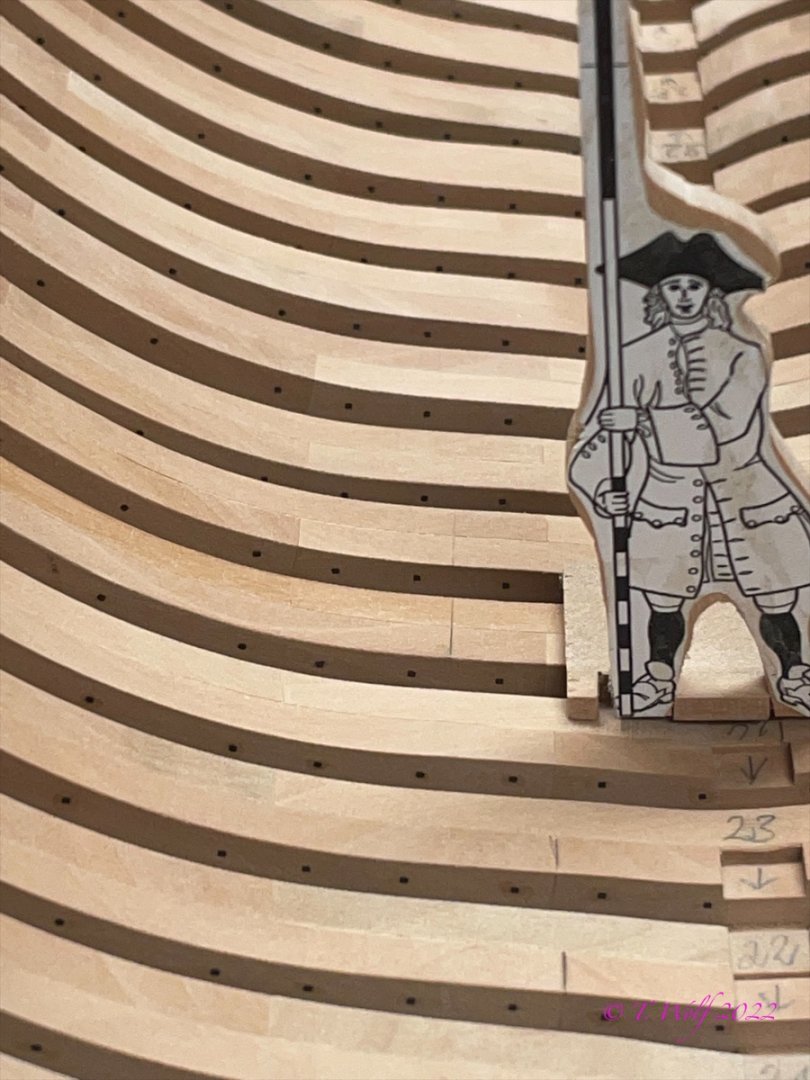
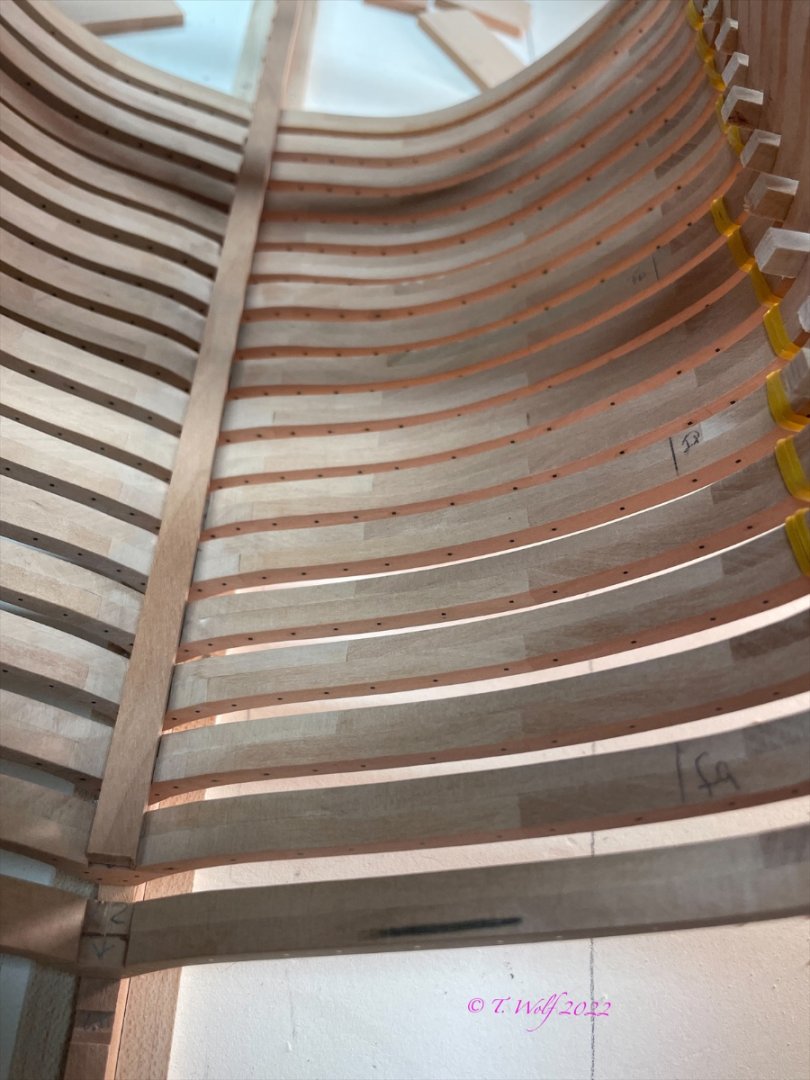
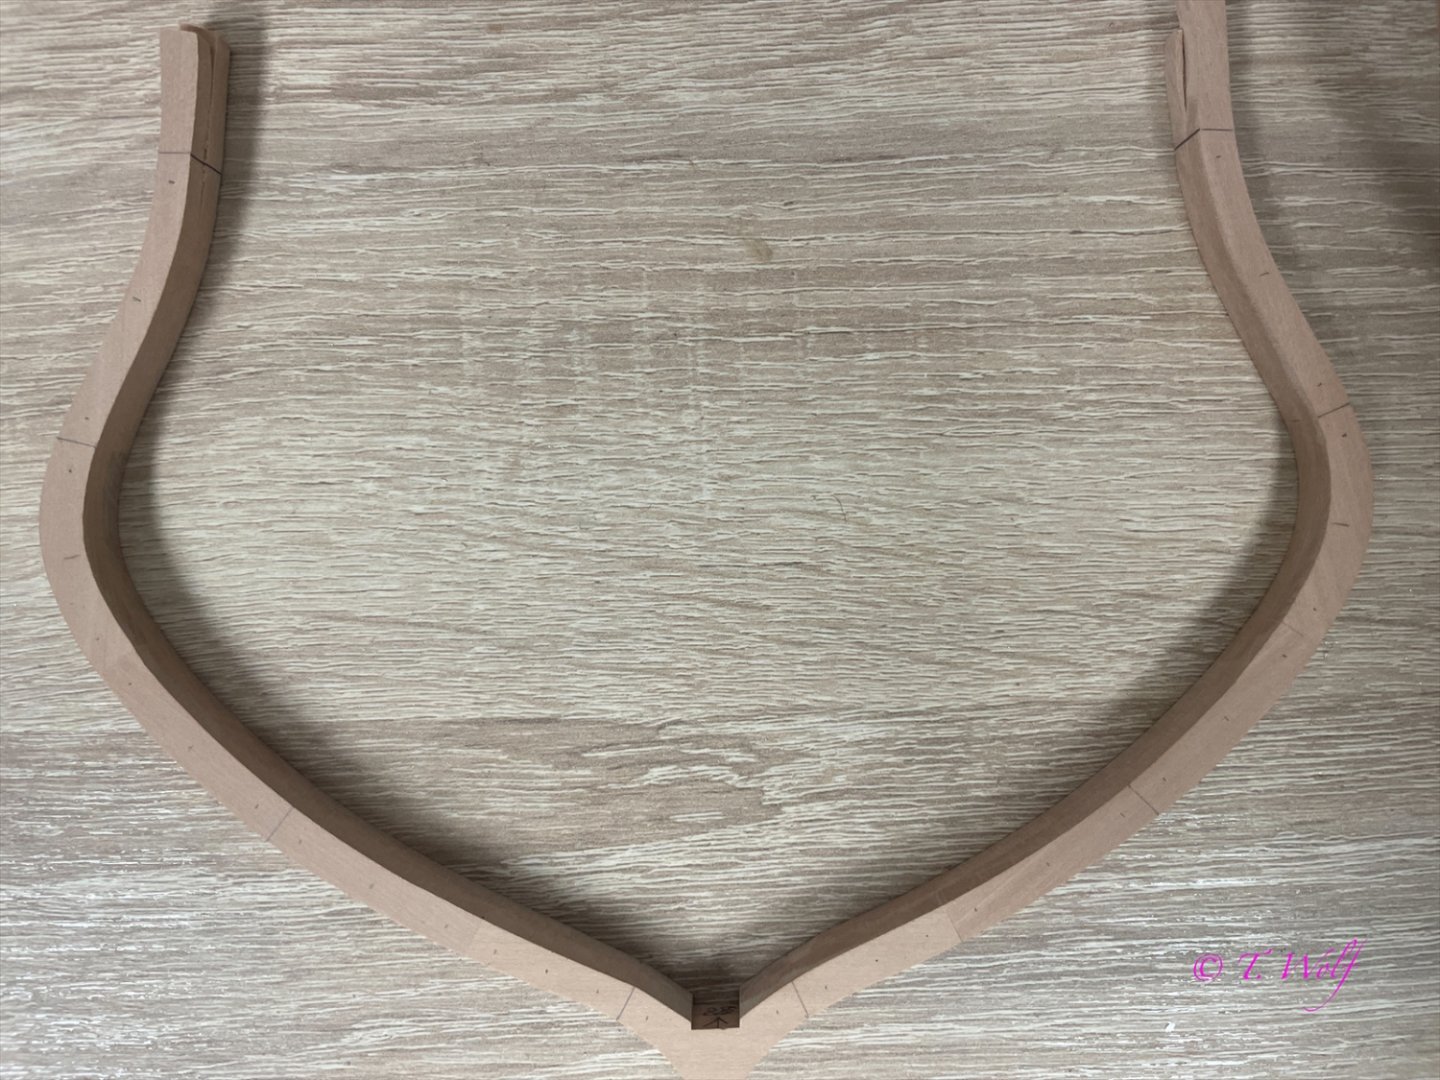
I wish you all a nice evening. In post #24 I already explained how I proceed with the installation of the square bolts, well I thought I would show you a few pictures of the process. 1. Measure and mark the hole pattern from both sides. 2. Drill holes 3. Insert bolts with small pliers and a hammer. 4. File off the bolt with the needle file. 5. Sand with 240 grit sandpaper. 6. Buffing with steel wool. And here three frames in comparison. So now I'll get back to work, there's still a lot to do.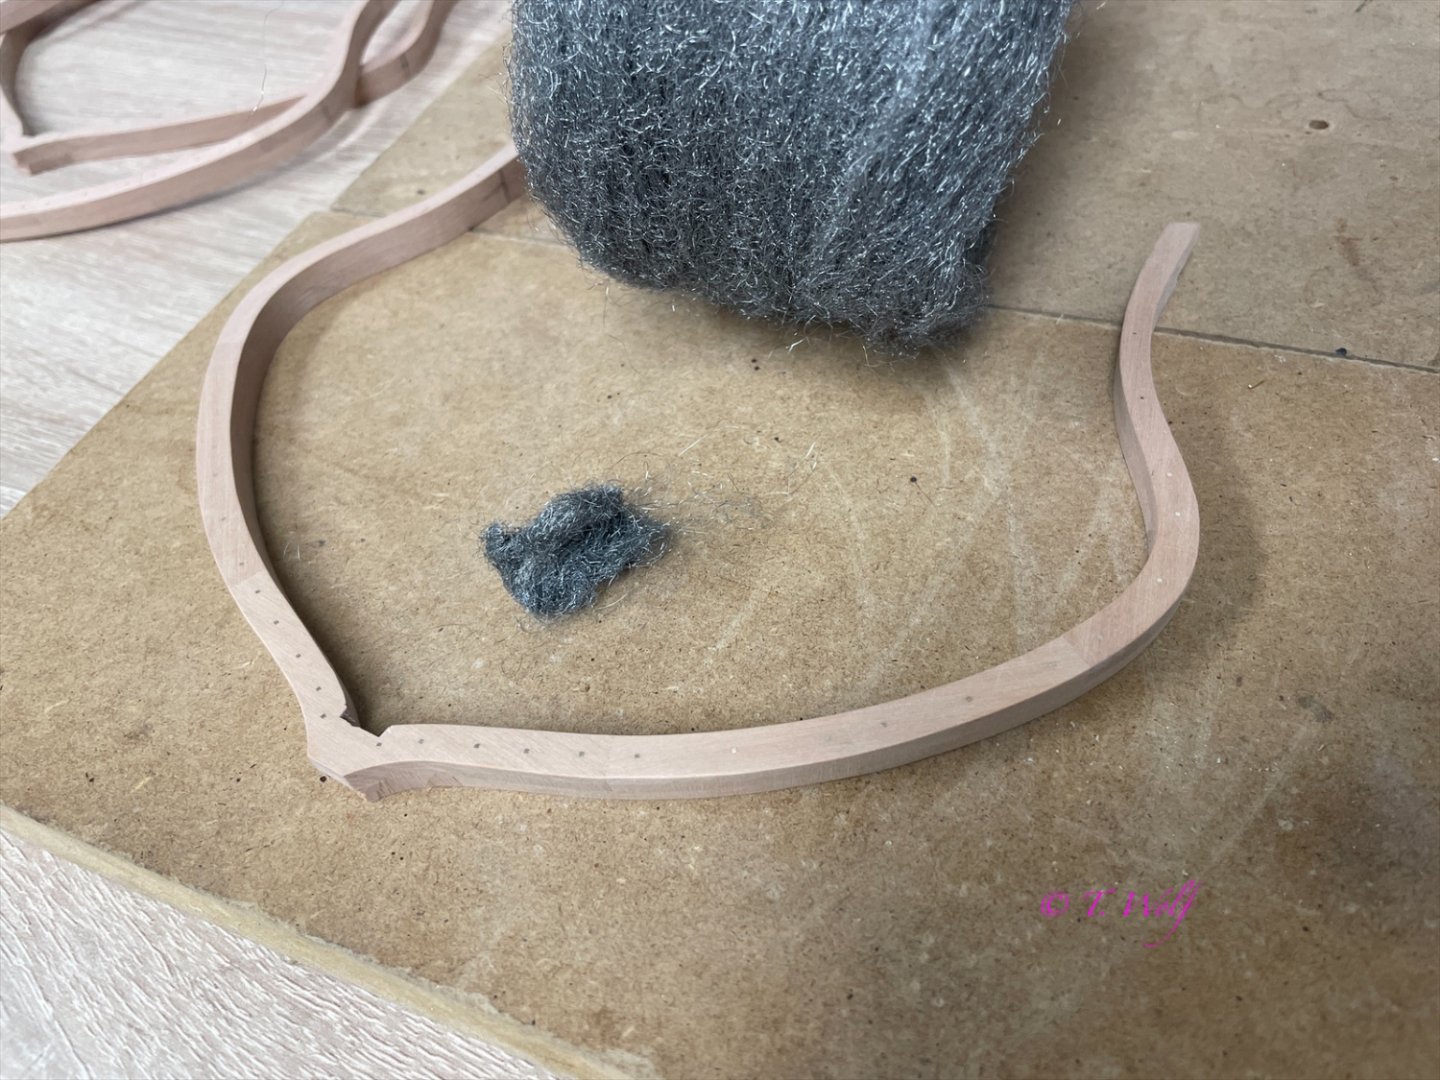


-
La Palme by Tobias - 1:36 - POF
Tobias replied to Tobias's topic in - Build logs for subjects built 1501 - 1750
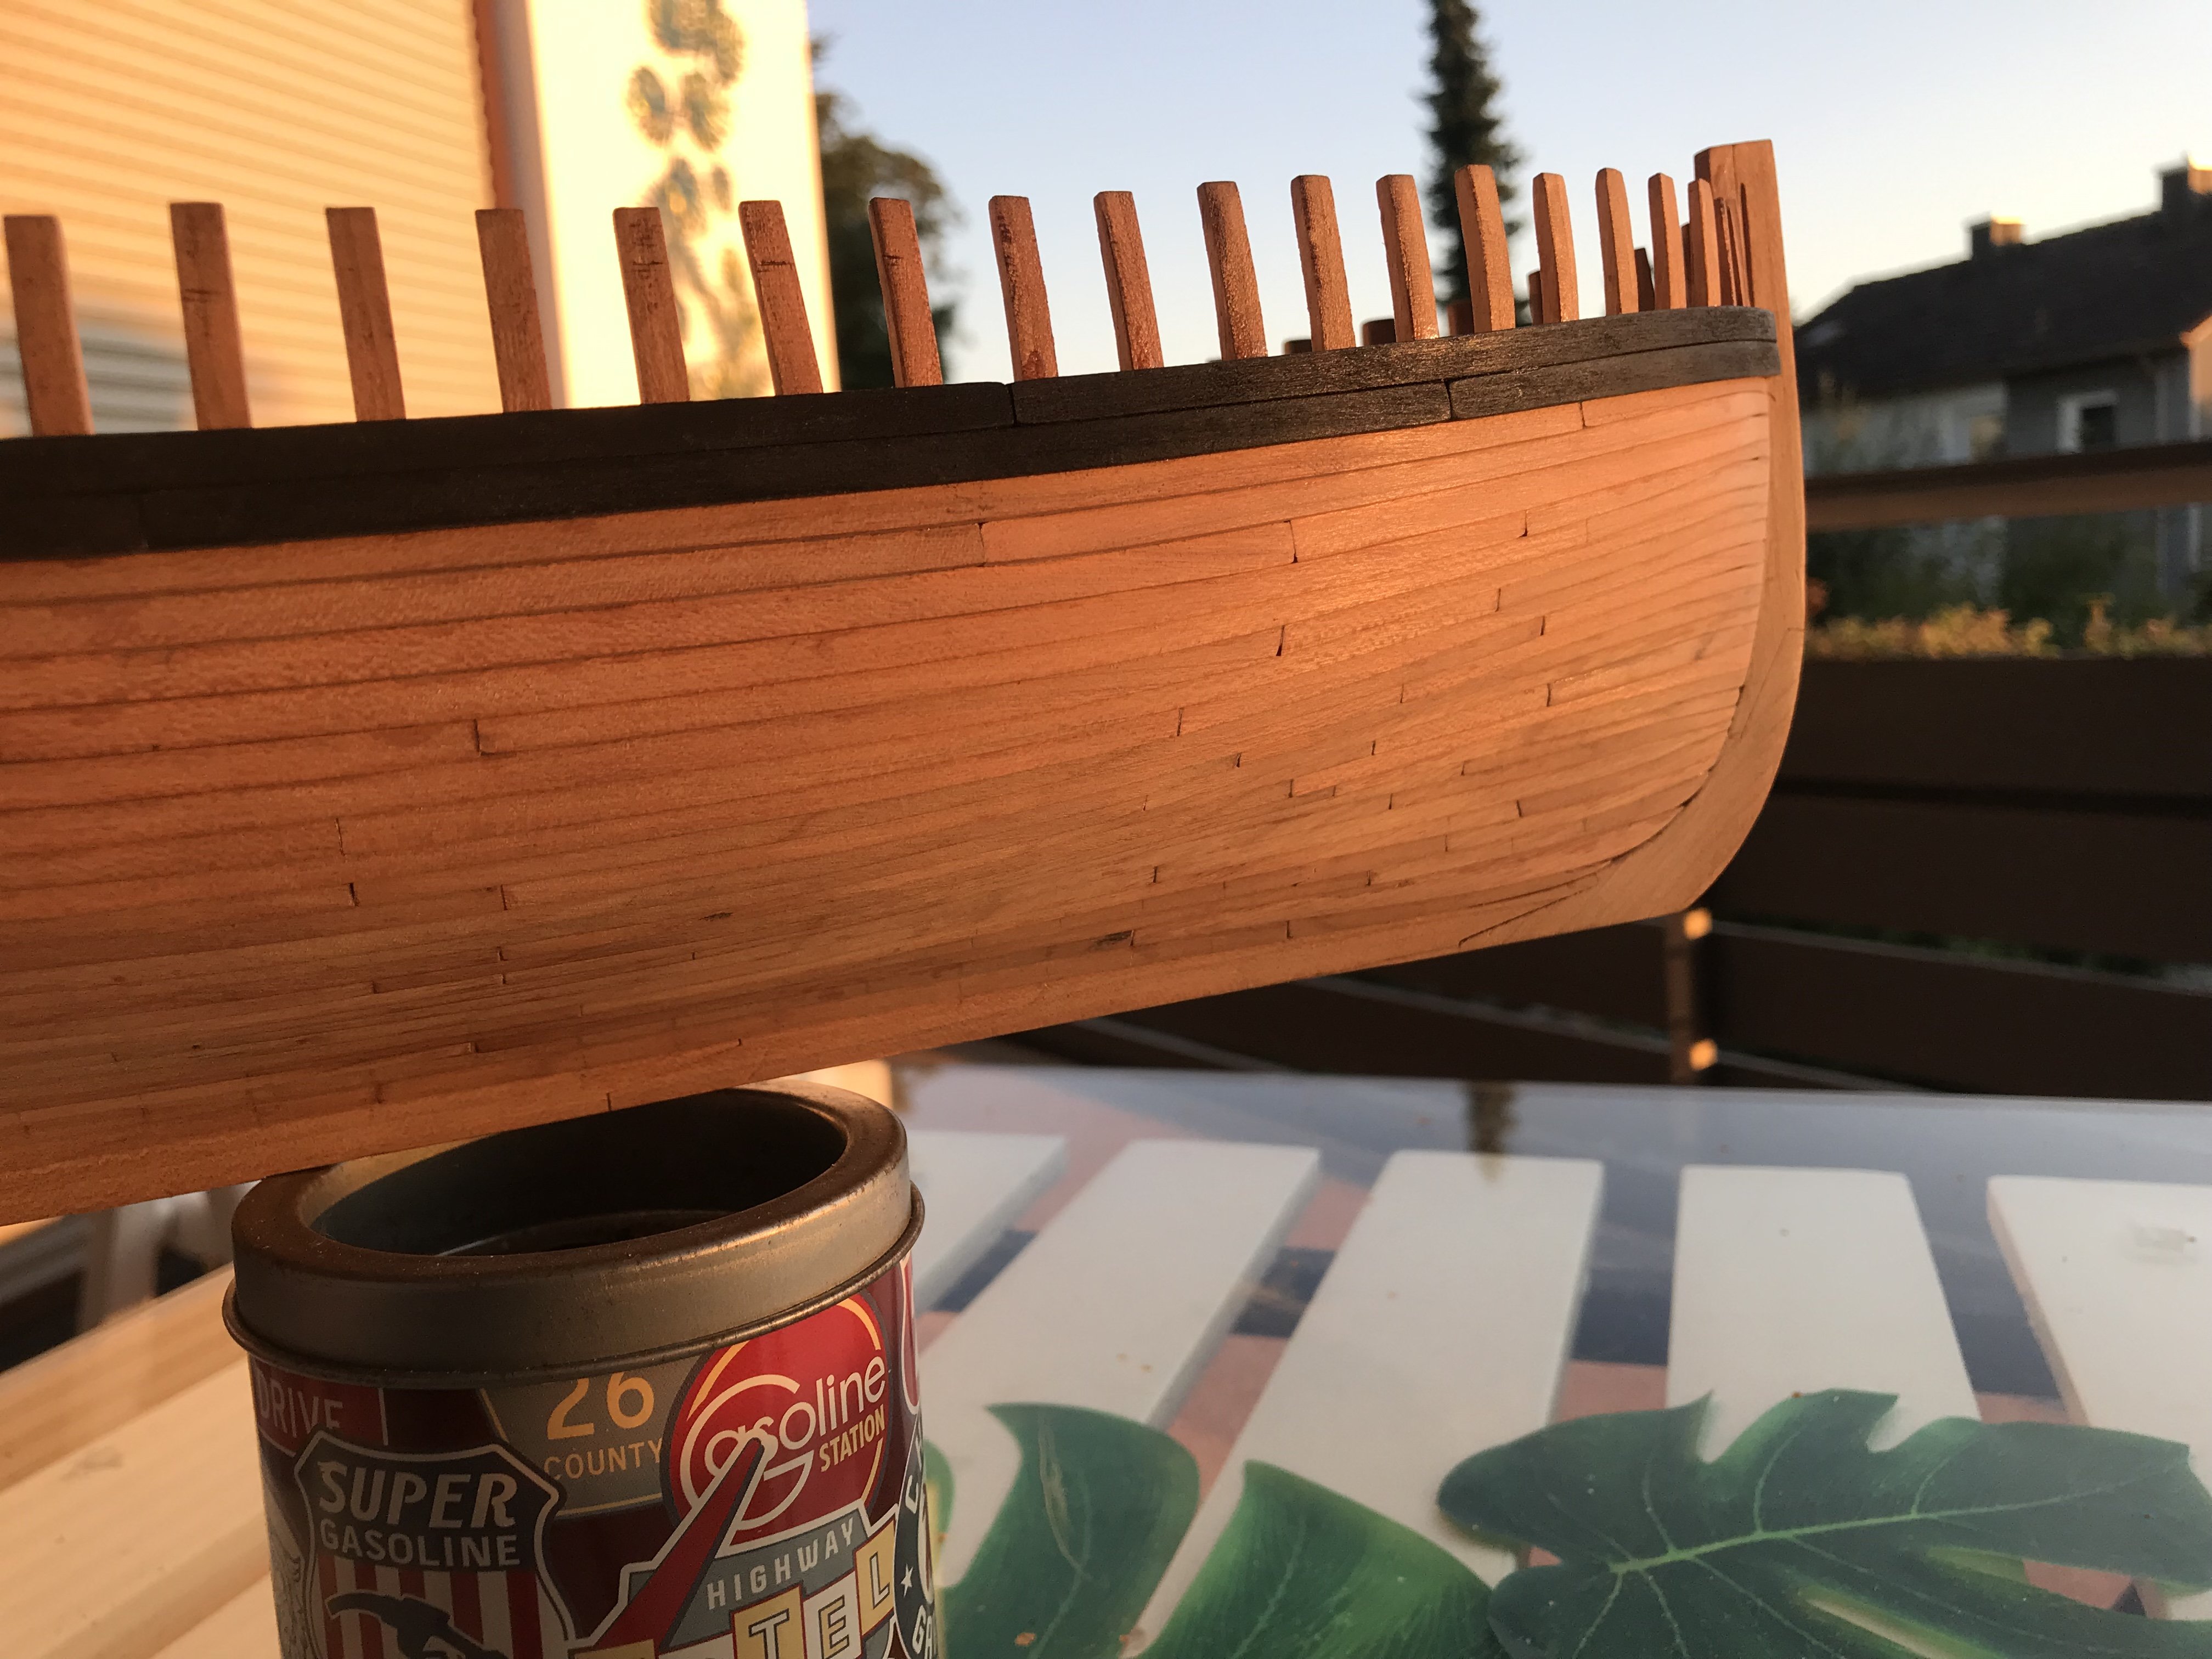
Day 3: 4 more frames are added, I decided to use the square bolts in the upper area as well and not tree nails. The tree nails are just a relief to make it easier to saw out the gunports later. In the area of these openings I will drill the holes, but I will not use anything to retrofit them if necessary after opening them.