

Stevinne
-
Posts
303 -
Joined
-
Last visited
Content Type
Profiles
Forums
Gallery
Events
Posts posted by Stevinne
-
-
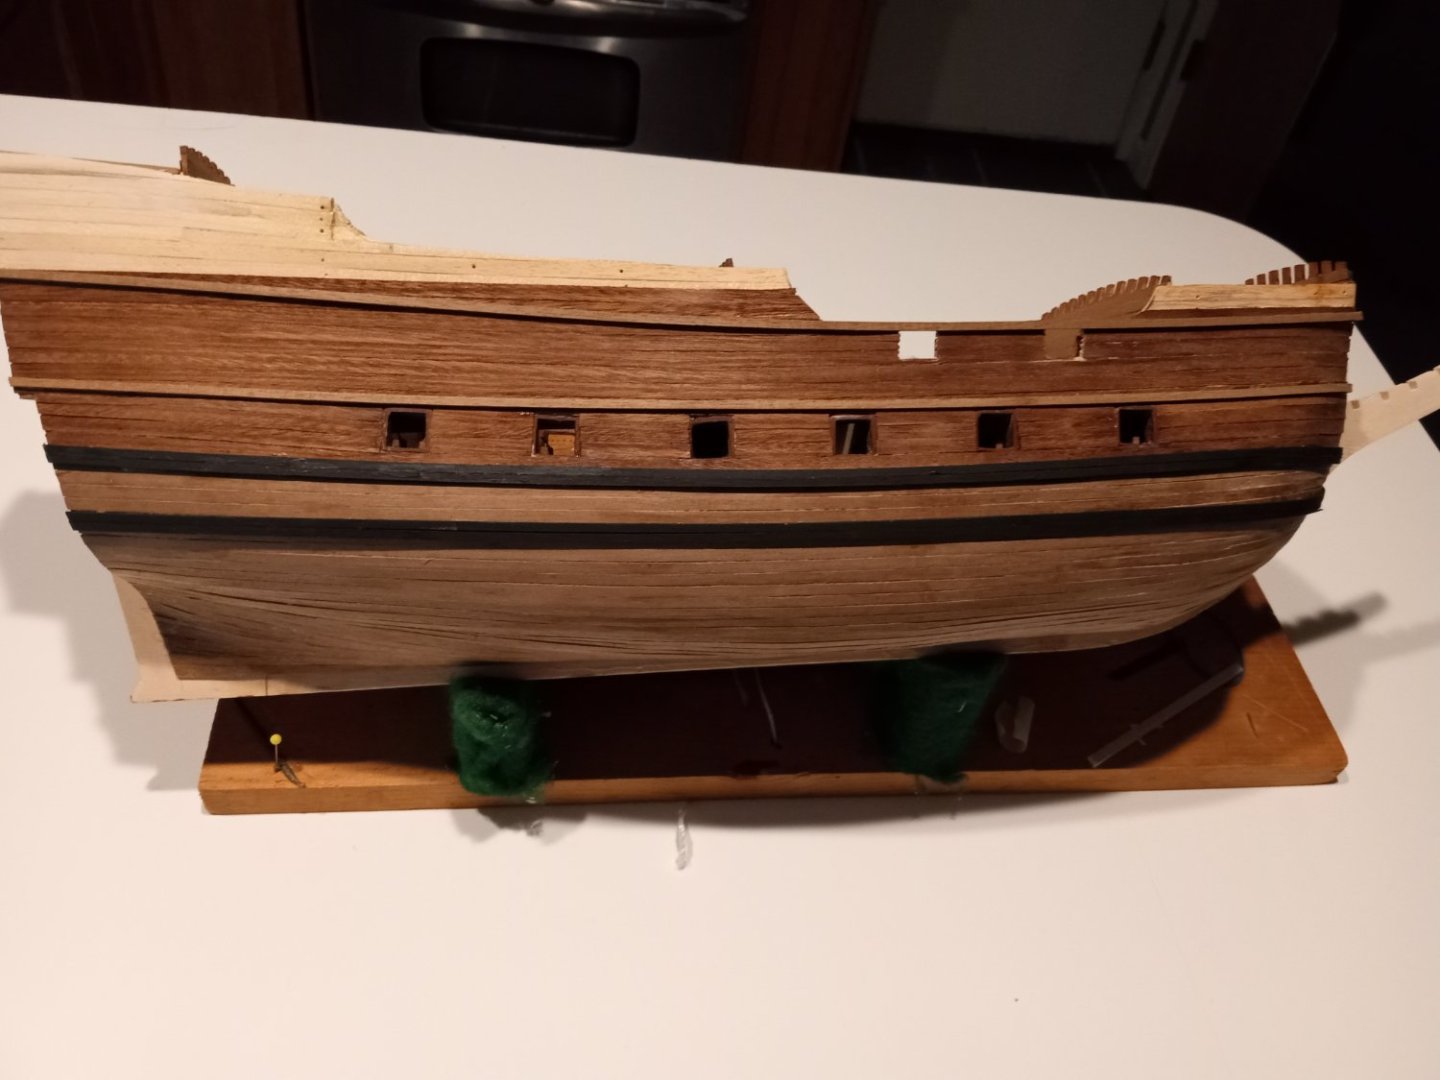
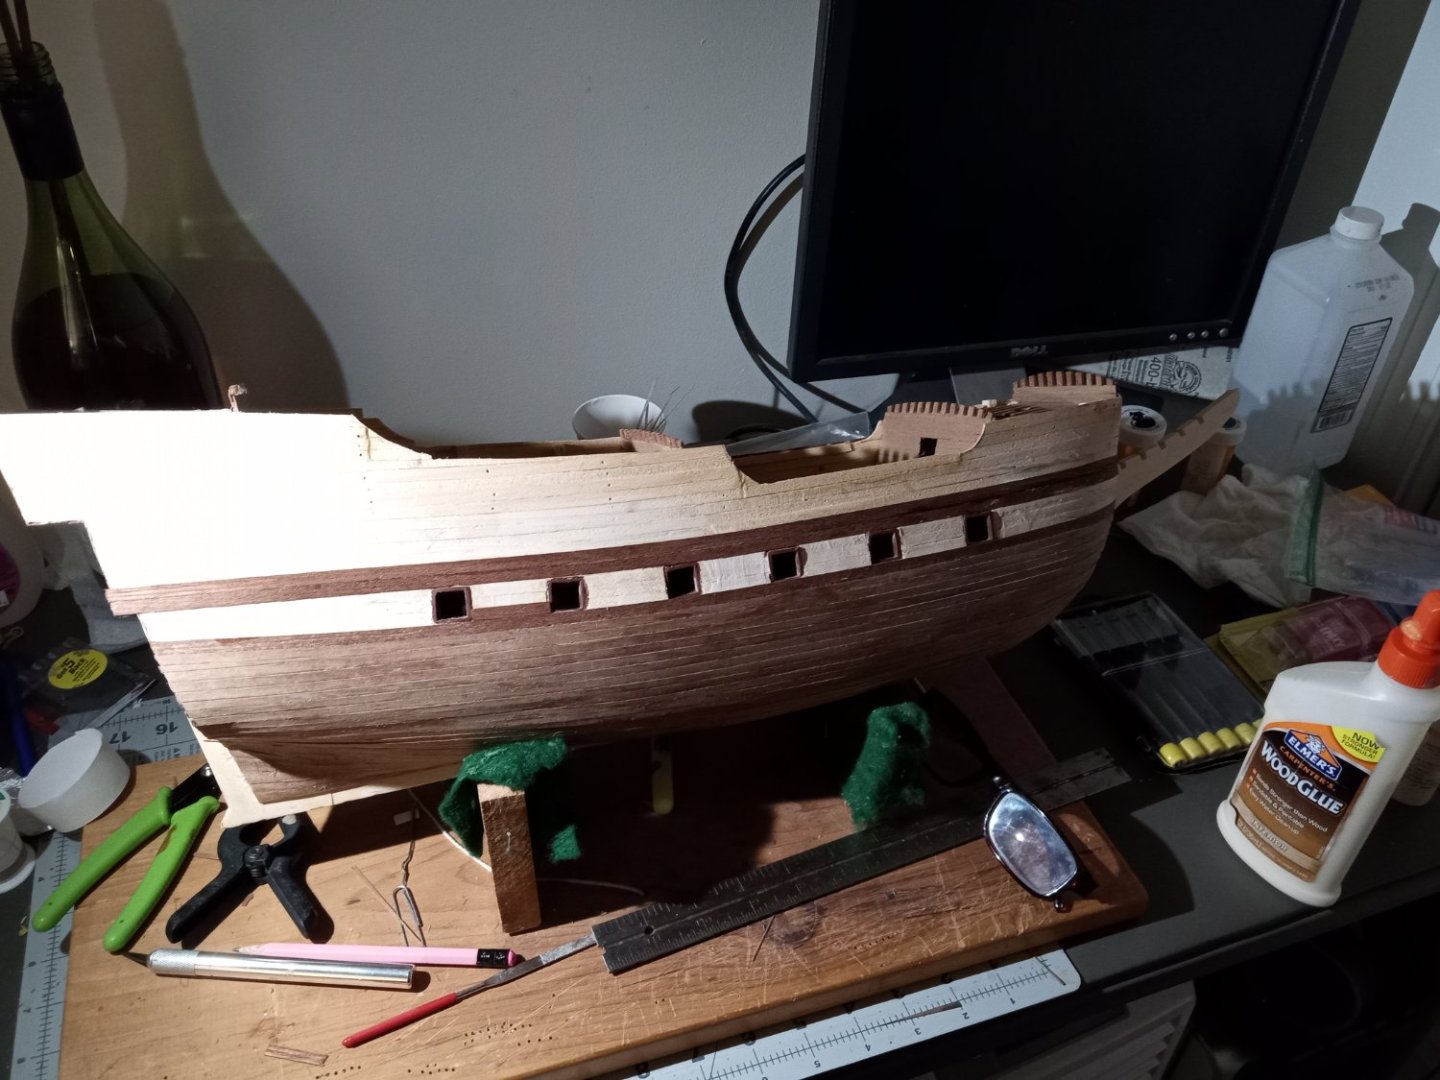
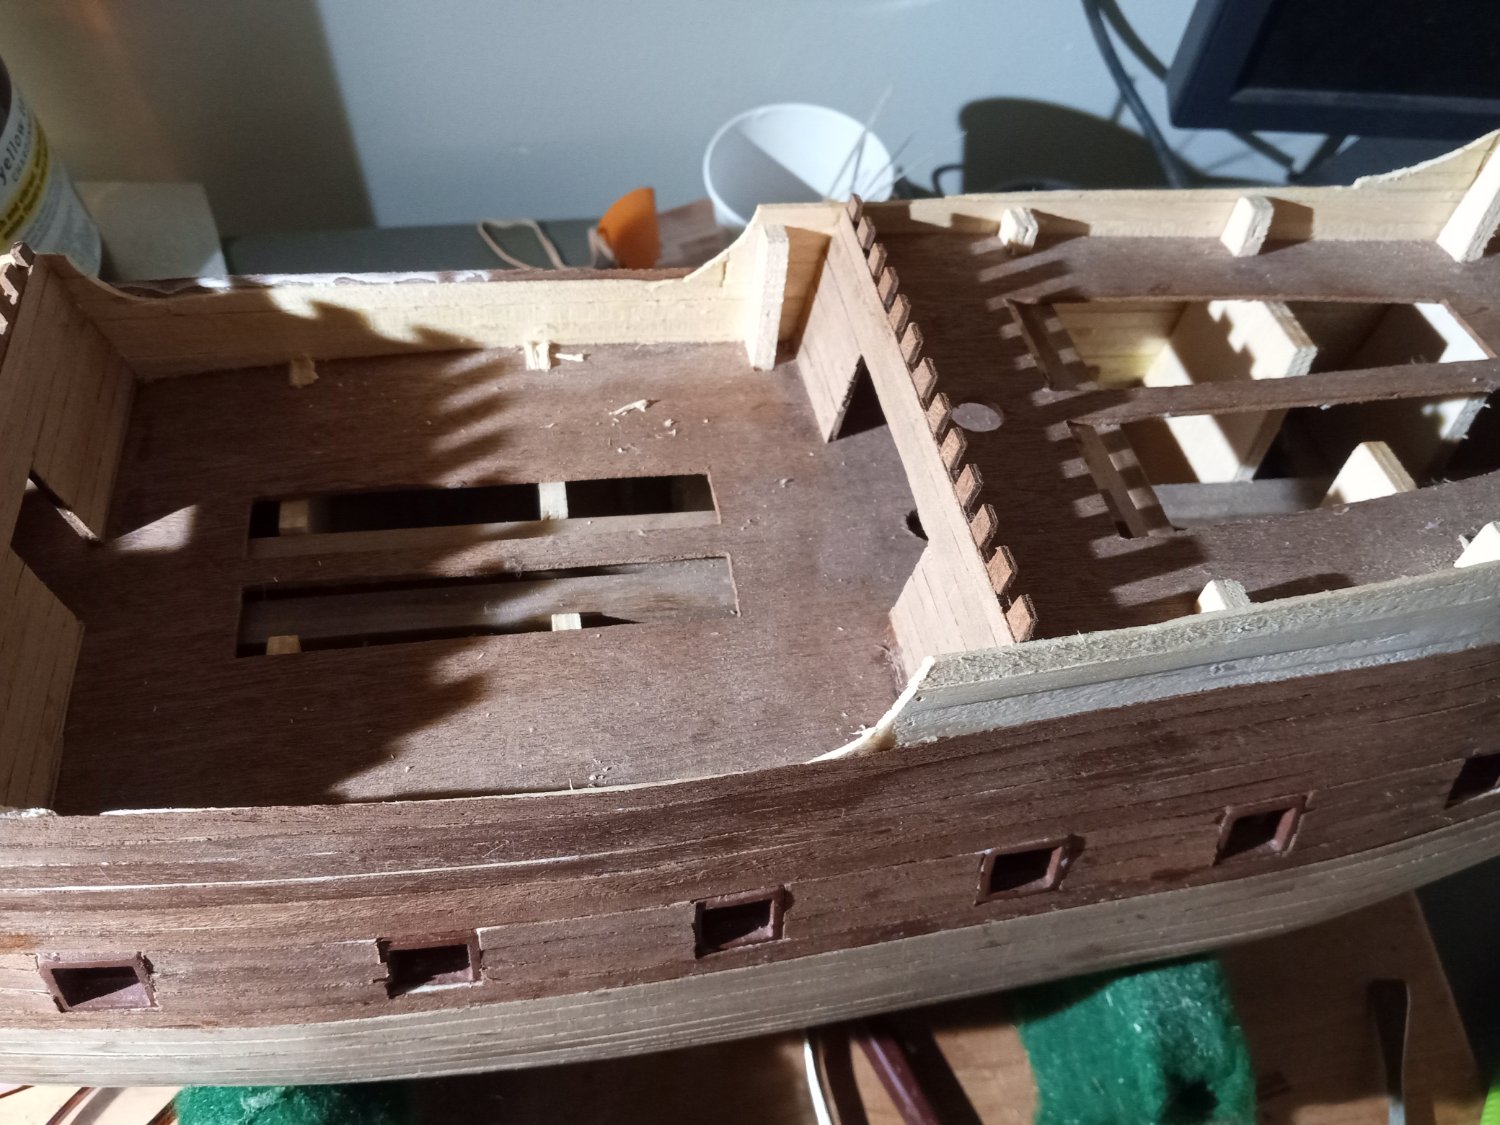
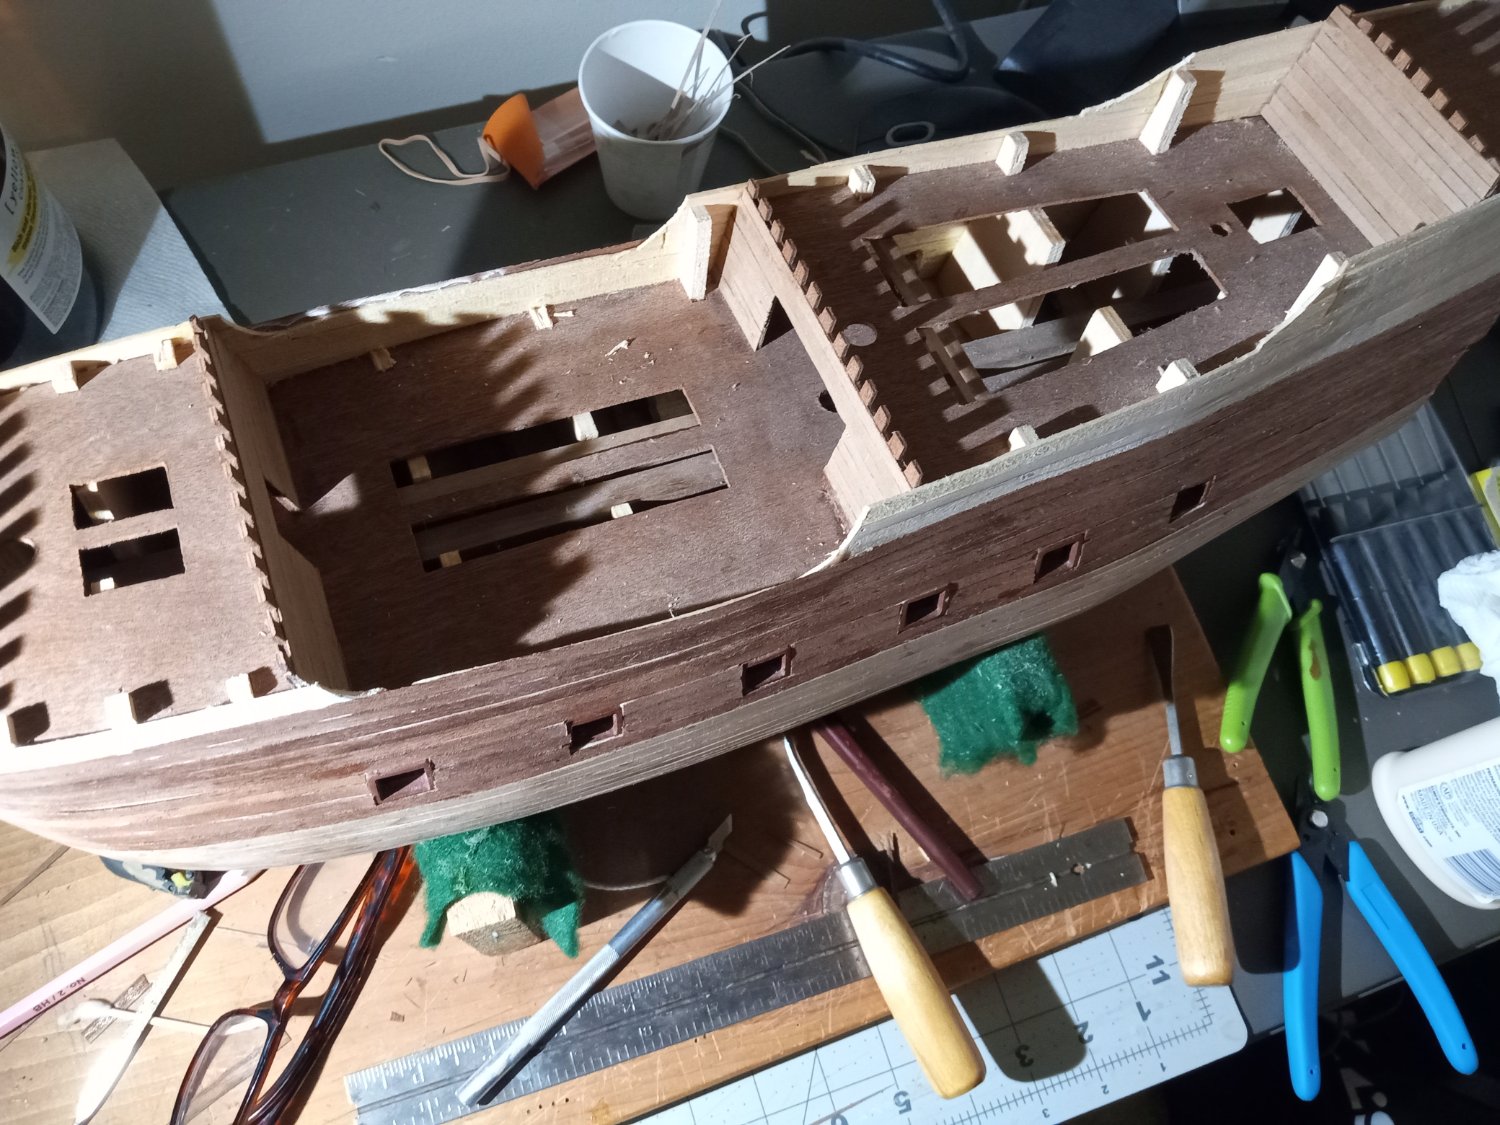
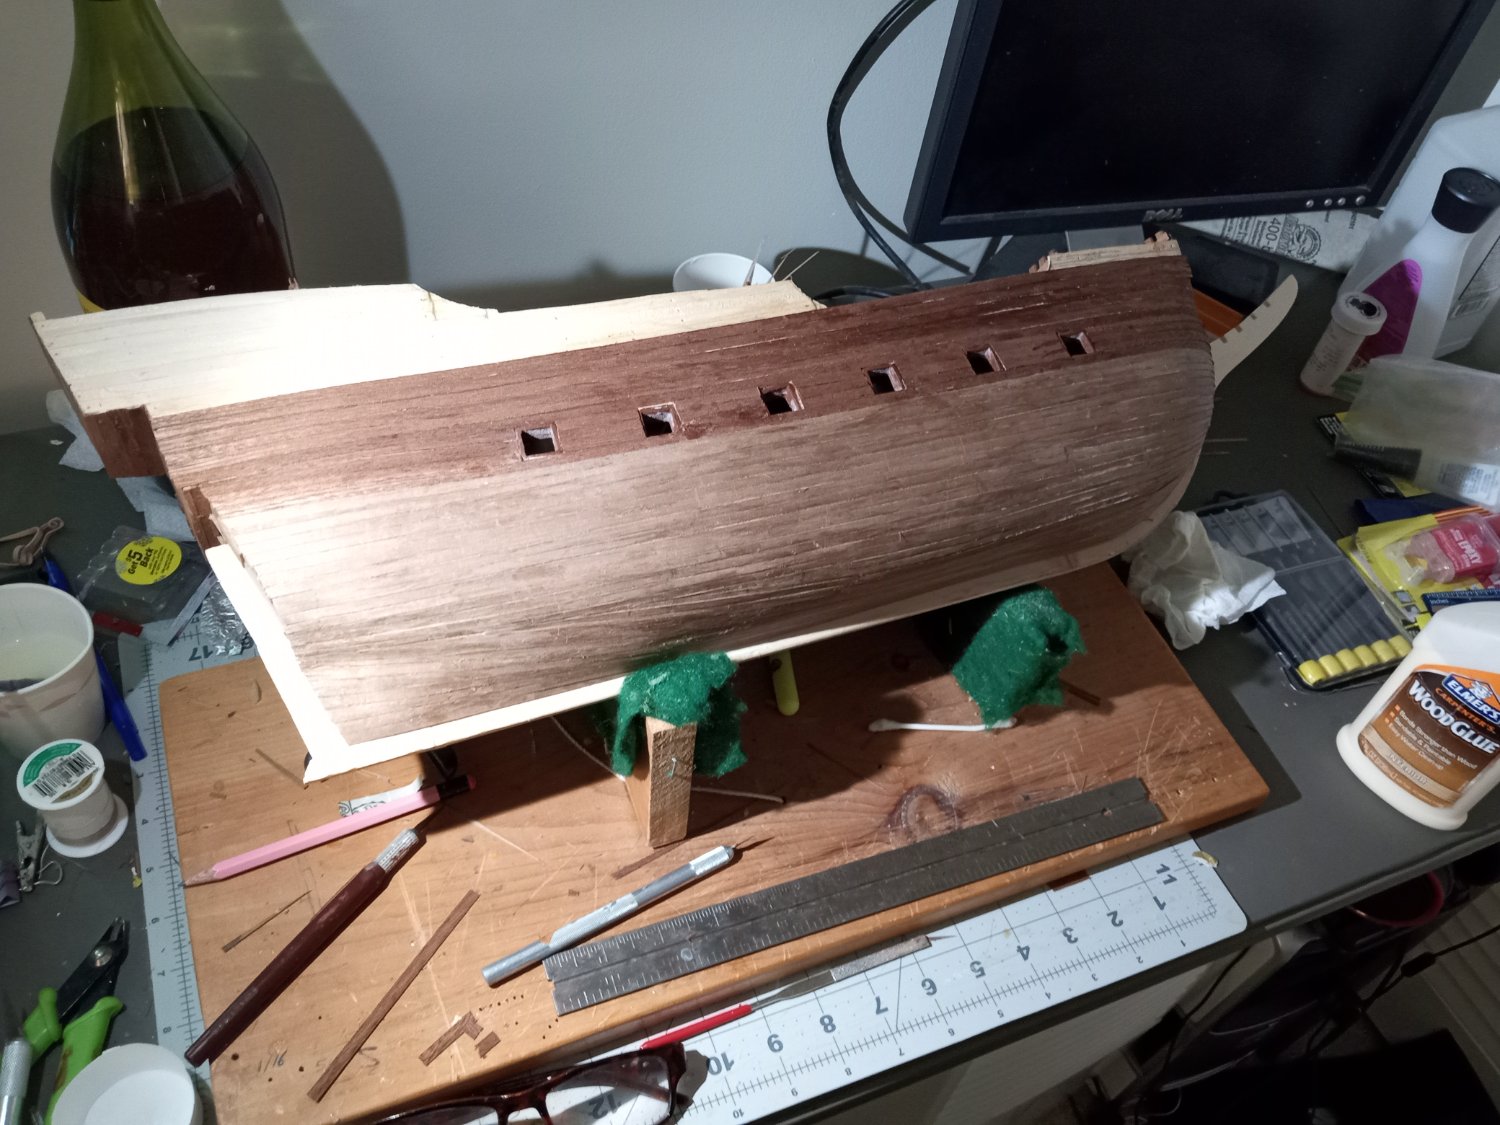
Been adding wales and cutting the upper gunports. I haven't decided yet if I'm going to paint below the waterline white. I want to see what she looks like once I add the decorative strips and she's a bit more colorful. I also have to do more sanding on the gunport edges and cut the sections of wale that runs across the top. But I want to keep them in place for the time being to provide support to bulwark as I work.
- GrandpaPhil and Paul Le Wol
-
 2
2
-
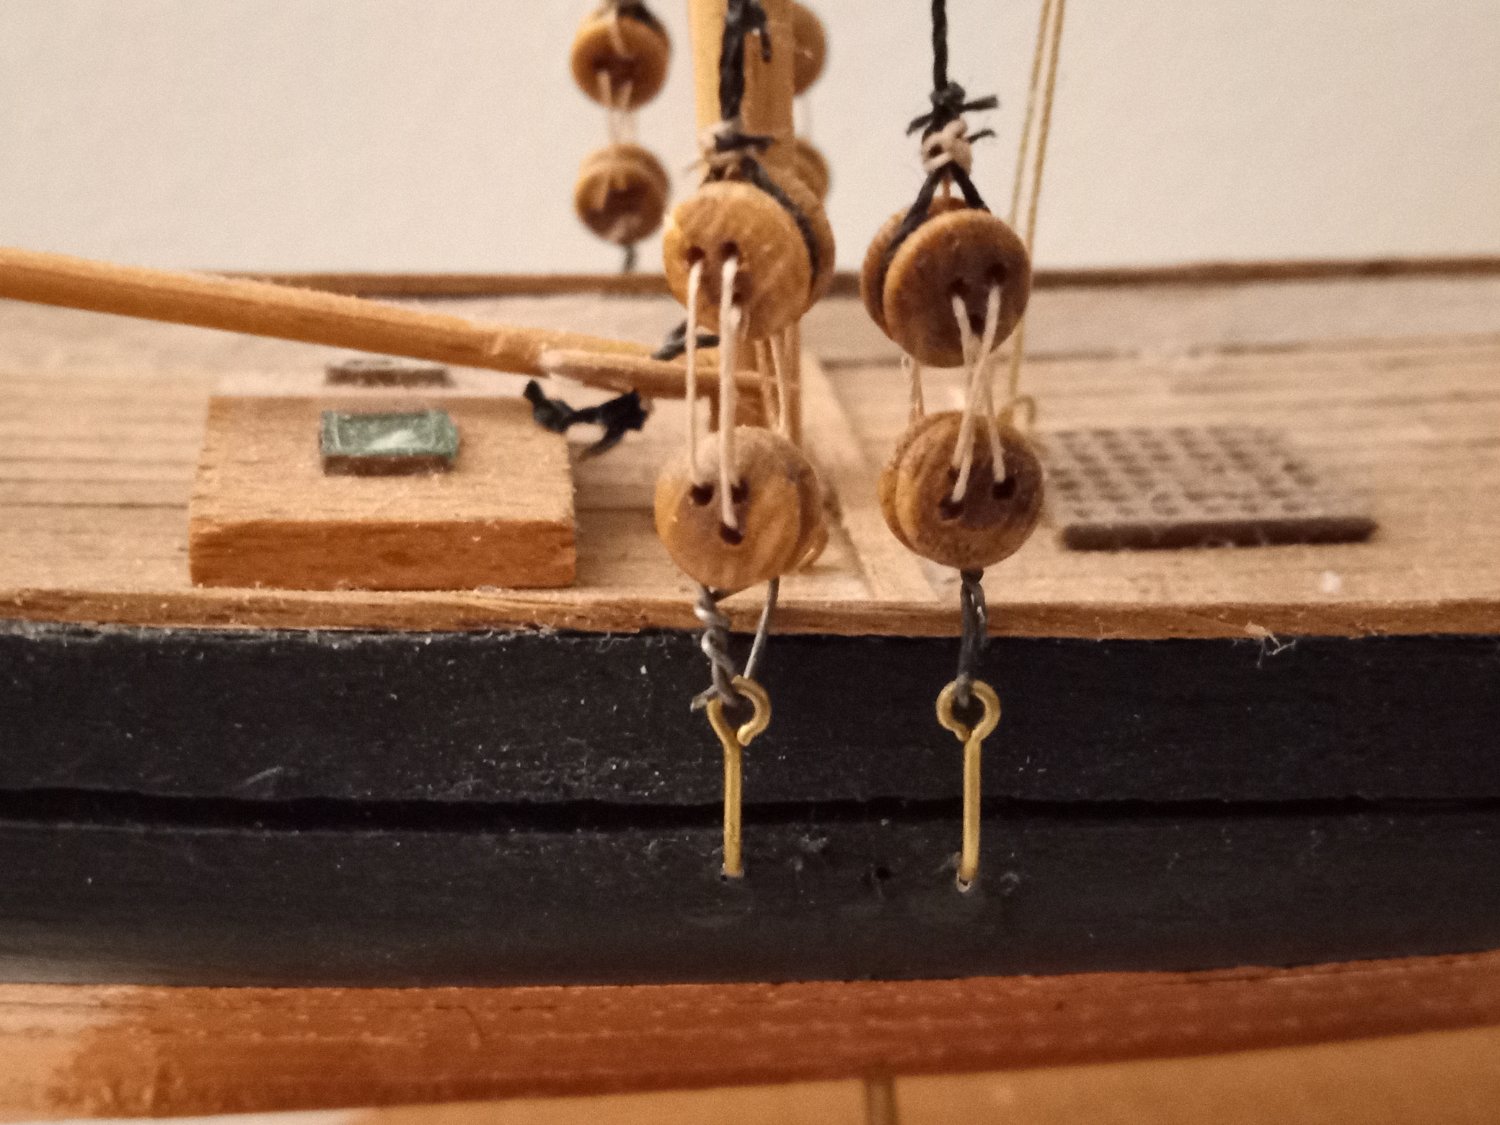
If I remember correctly, I wrapped black wire around the deadeye, gave it a couple of twists and then hooked it through the brass pin, which I then bent into an L shape and inserted the end into a hole I drilled in the hull. As Mastini recommends, I used a u-shaped piece of wire to set the spacing between the upper and lower deadeye and a needle-threader to get the line through the teeny-tiny holes. On a side note, a really close-up picture sure reveals a lot of things I really would rather ignore.

-
With the value of the British Pound falling in relation to the dollar, it might be a good time for U.S. modelers to look at Cornwall Model Boats. I've purchased a few things from them and always found their selection to be good, their everyday prices to be among the best around, the shipping costs across the Atlantic reasonable and the service great. I saw the Pound was trading at all-time lows today, so this might be a way to capitalize on economic turmoil, support a good vendor and get a bargain.
-
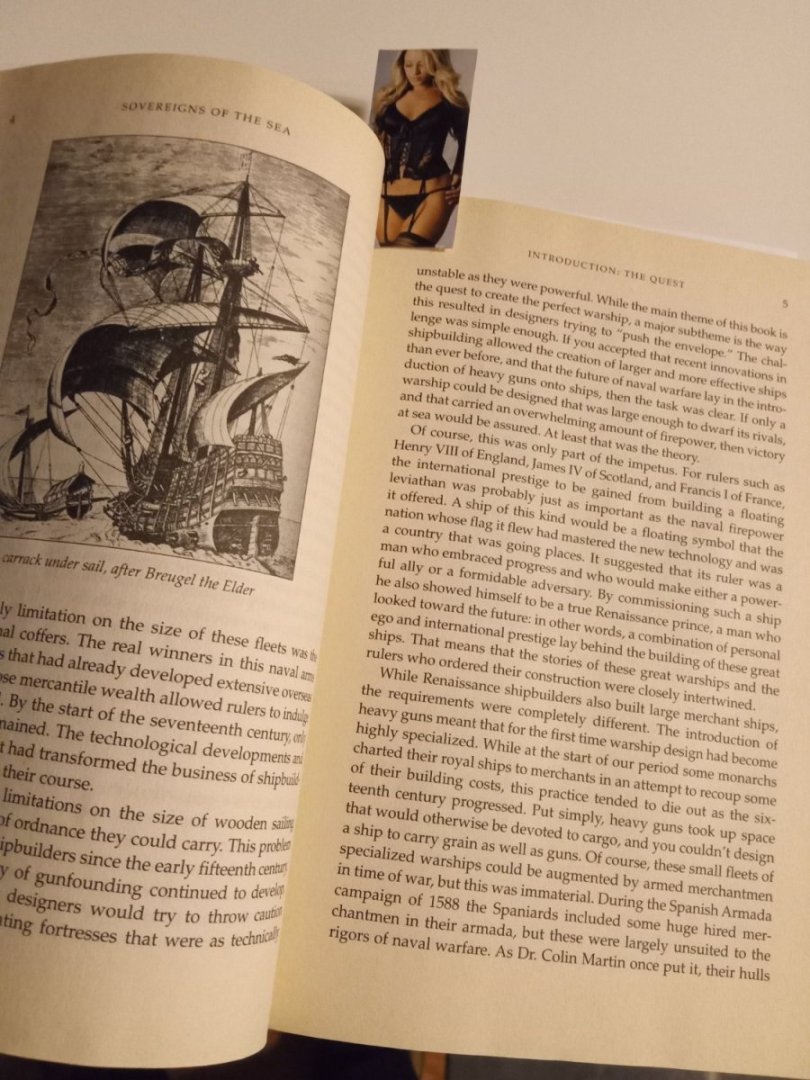
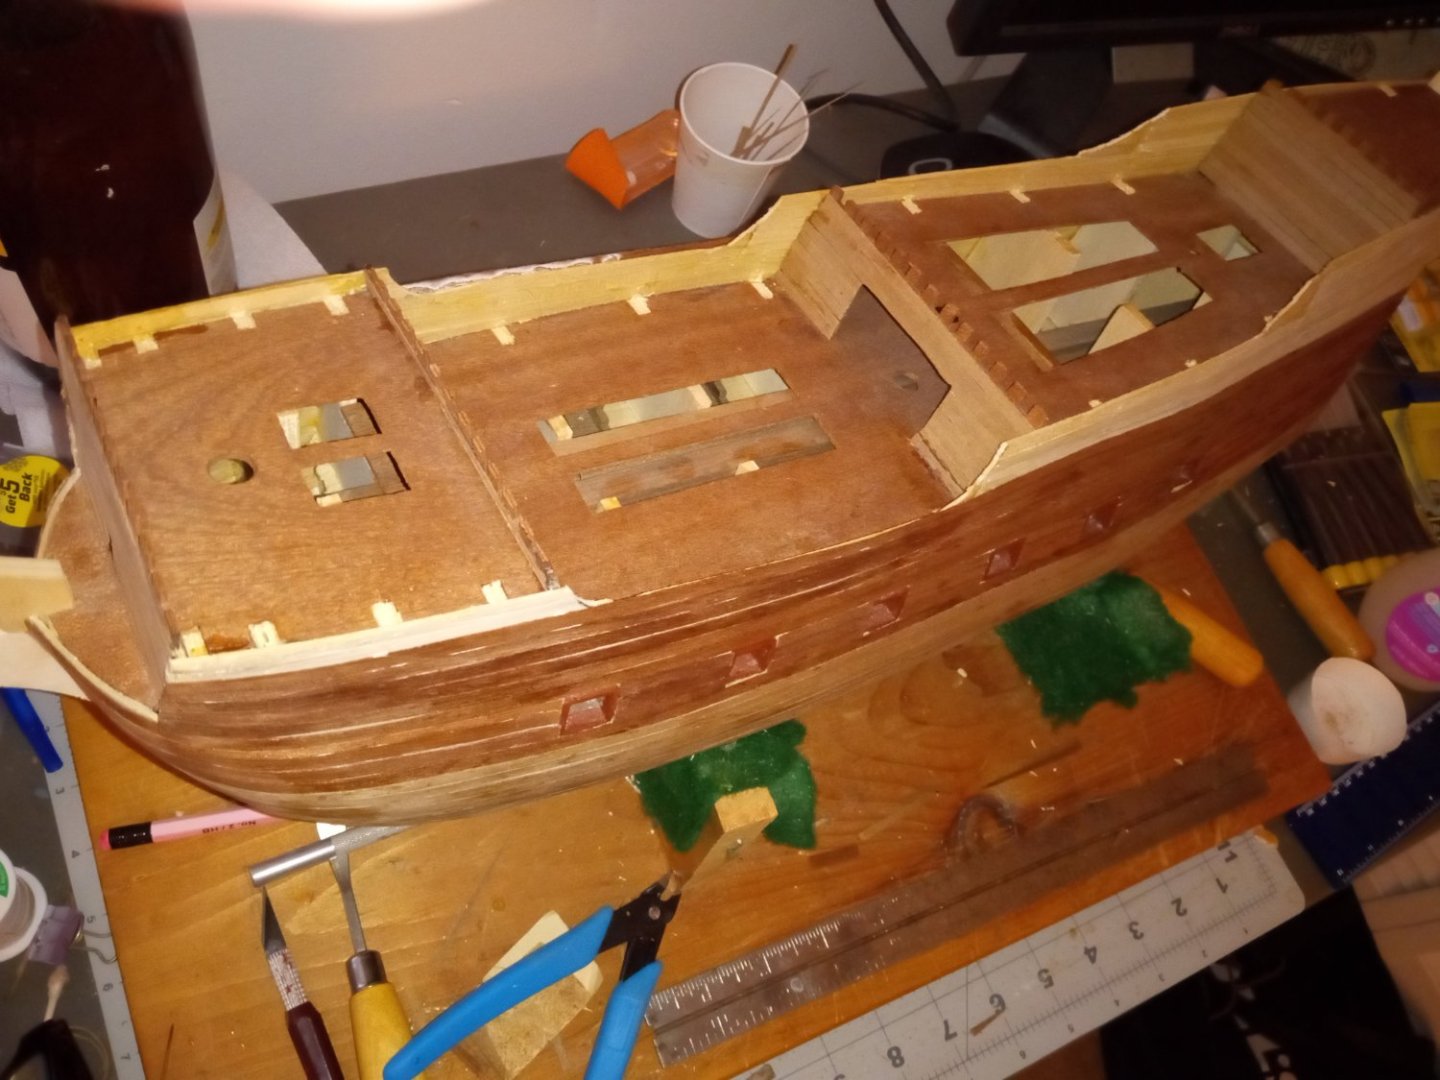
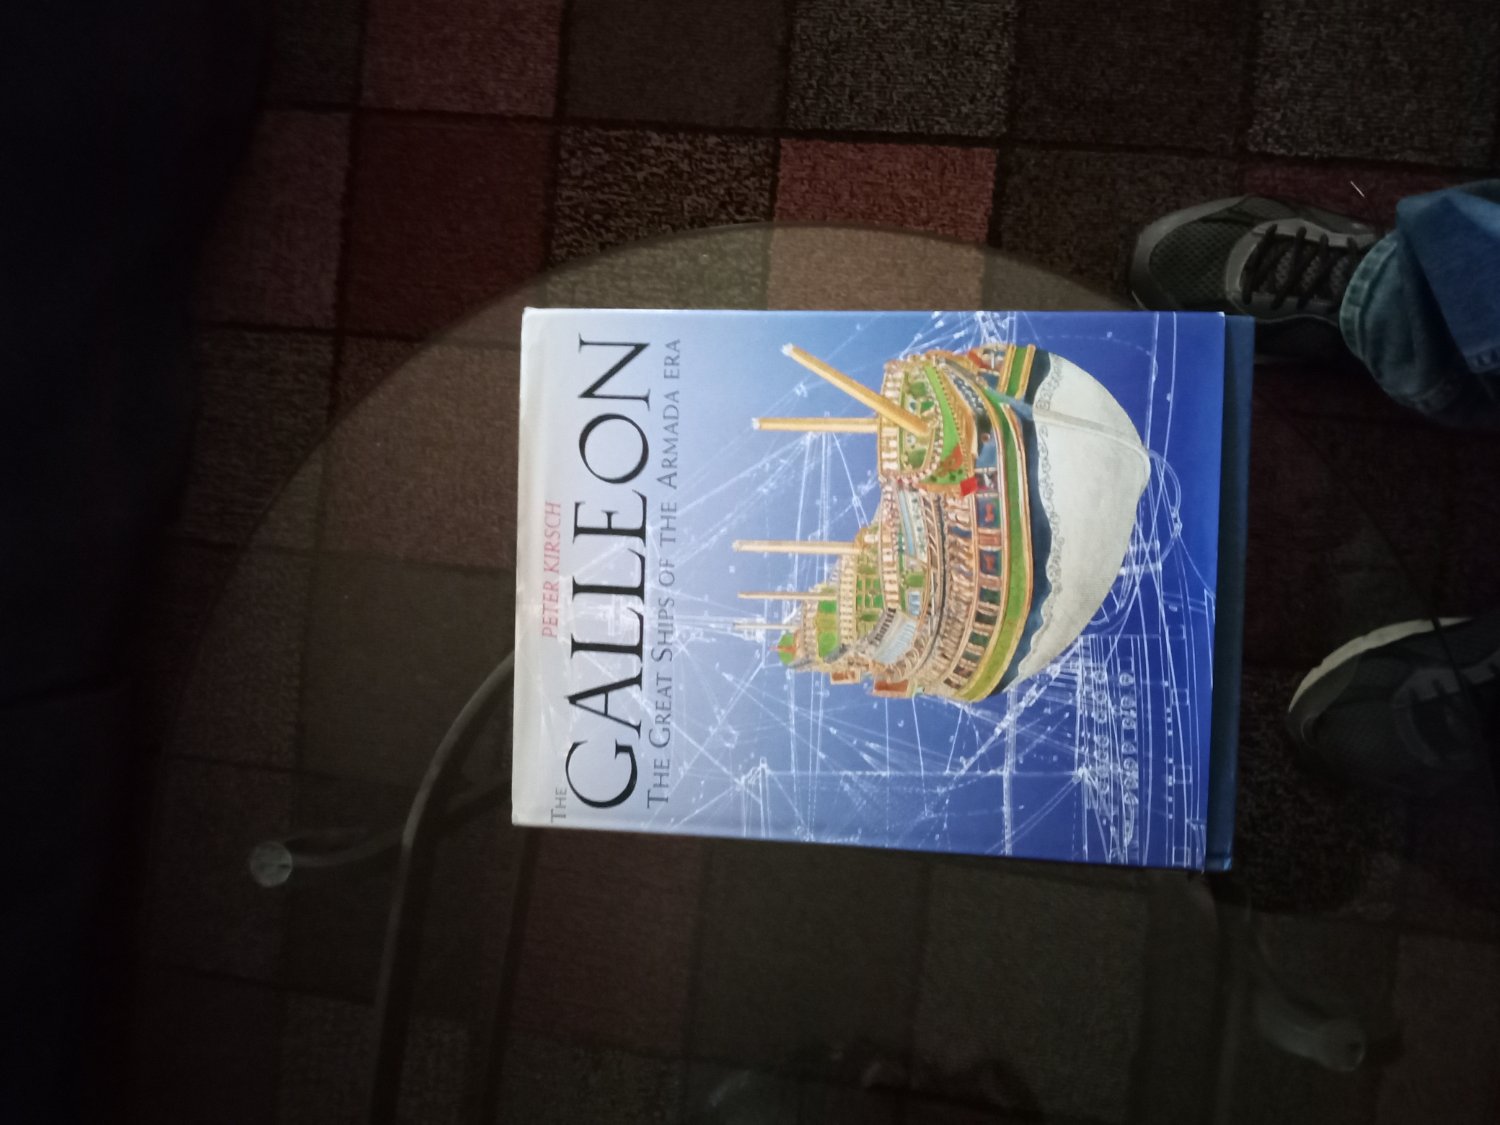
A little more work. Trying to get the run of bulwarks right. Stained the deck with "Bright Pecan." I thought it would be lighter, but I'm sort of happy with it. Also ordered a reference book and also "Sovereigns of the Sea," just because it sounded interesting. The "Sovereigns" book was used and came with an interesting book mark tucked inside.


-
I look at it as a continuum of model building skills. Some folks like to do everything on their own, others just want to concentrate on building. I imagine there are some scratchbuilders who can't see the point of laser-cut bulkheads and parts.
- GrandpaPhil, Canute, mtaylor and 1 other
-
4
-
4 hours ago, Cbrand02 said:
I've noted a few things as I've worked..
1. The shape of the keel is pretty far off. It is tempting to sand it into shape, but I am afraid of destroying it somehow. I will probably just go at it with the sandpaper and hope for the best.
2. I am somewhat satisfied with the finish, but it could be better. For example, even after tons of sanding and filling the transition from the bulwarks is still not perfectly smooth. There are tiny lines where things meet that are very difficult to see through the paint, but still there. Is there a solution for this? A layer of planking? A layer of some type of putty?
3. Is it advised to prime the metal pieces? I find the acrylic paint removes easily.
I don't know if you'll ever be able to get the bulwark lines to disappear. That sort of stuff never bothered me, because I've always approached a wooden ship - where I guess the lines to me show that it's handcrafted - differently than say a plastic model, where I do find seam lines bother me.
-
She's looking great. For the gunwales, I'd recommend the soak/heat method. For the hole in the stern, I'd find a piece of wood of a similar size to the existing bulwark, cut it to fill the gap and once glued into place, dab either end of the break with diluted wood glue and lightly sand the area. If all works out well, it should help blend the patch into place and be virtually unnoticeable once you add paint.
-
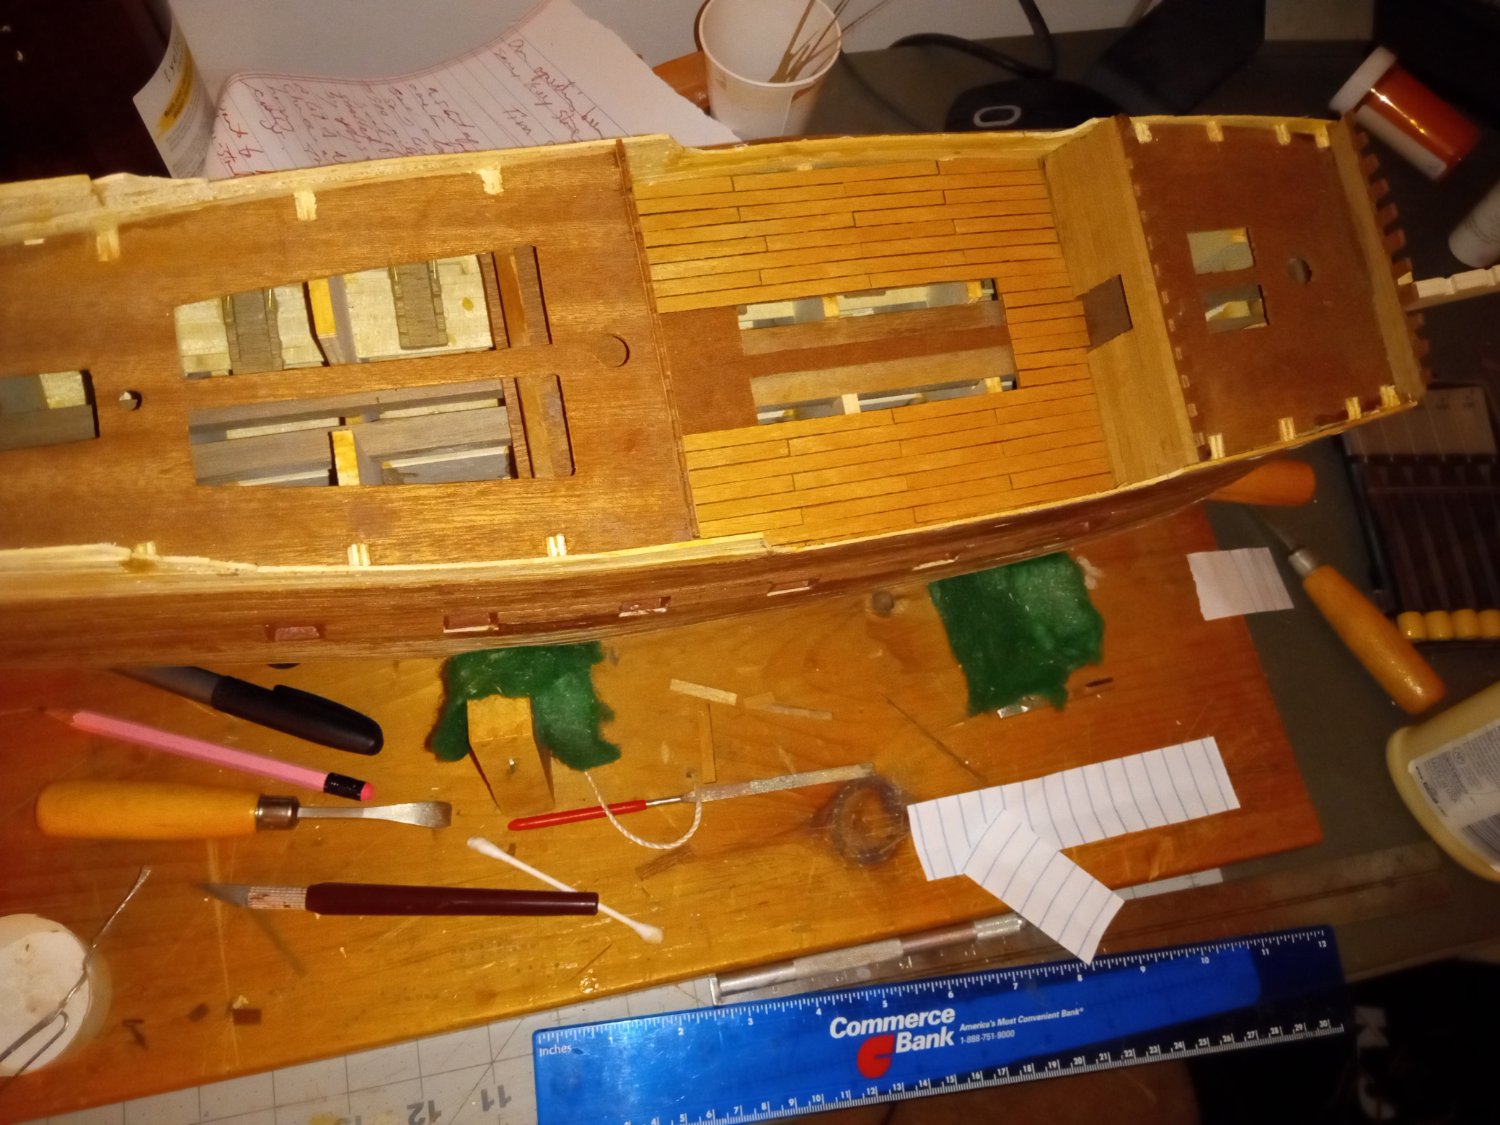
More progress on the deck planking. Have to start on the little deck near the beakhead. The planks look a little overscale to me.
- GrandpaPhil, Baker and BLACK VIKING
-
3
-
8 hours ago, Cbrand02 said:
That looks awesome! You've inspired me a bit, I pulled off all the deck fittings and bowsprit and airbrushed a base white, going to try and achieve the paintjob of the photo on the box. I can't really fix the uneven planking, but I can stain the little "buildings" and paint the capstan and anchor winch. What kind of materials did you consult to know how to rig/build it? It seems like there are tons of different versions of this ship; the box art has a version, the line drawings have a version, there are different photos online that seem to depict different variations of the ship, etc.. I guess I just choose one and go with it? Or flex my creative muscles?
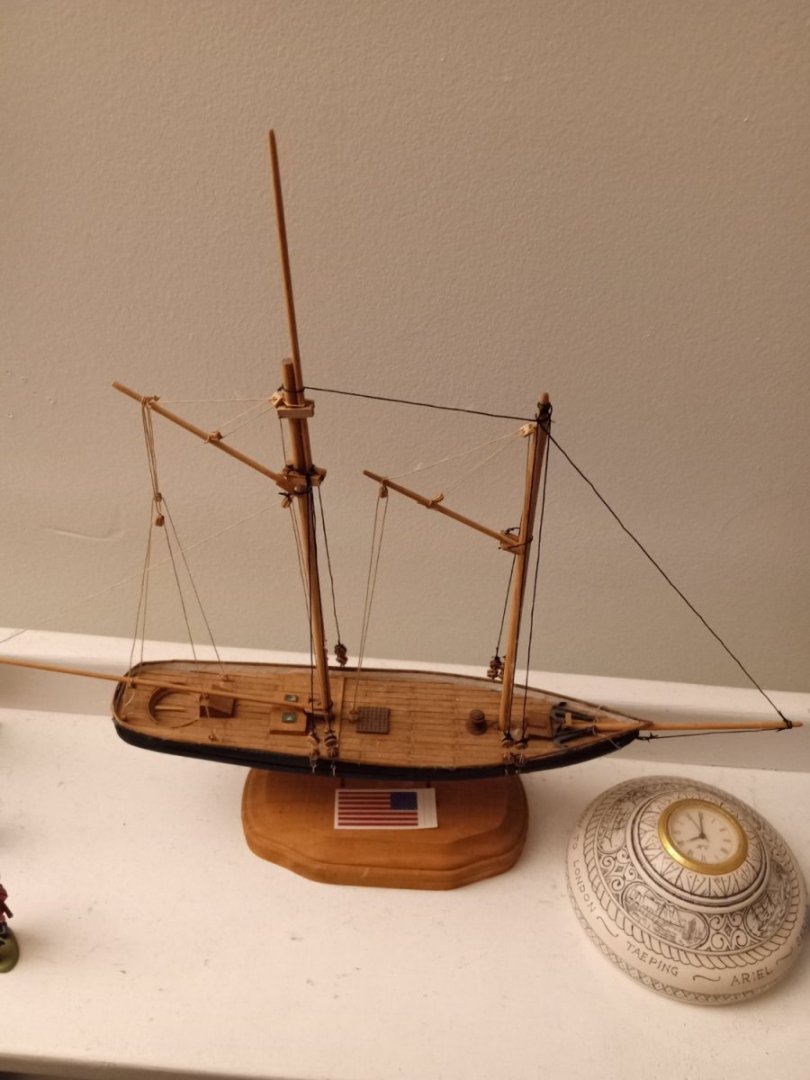
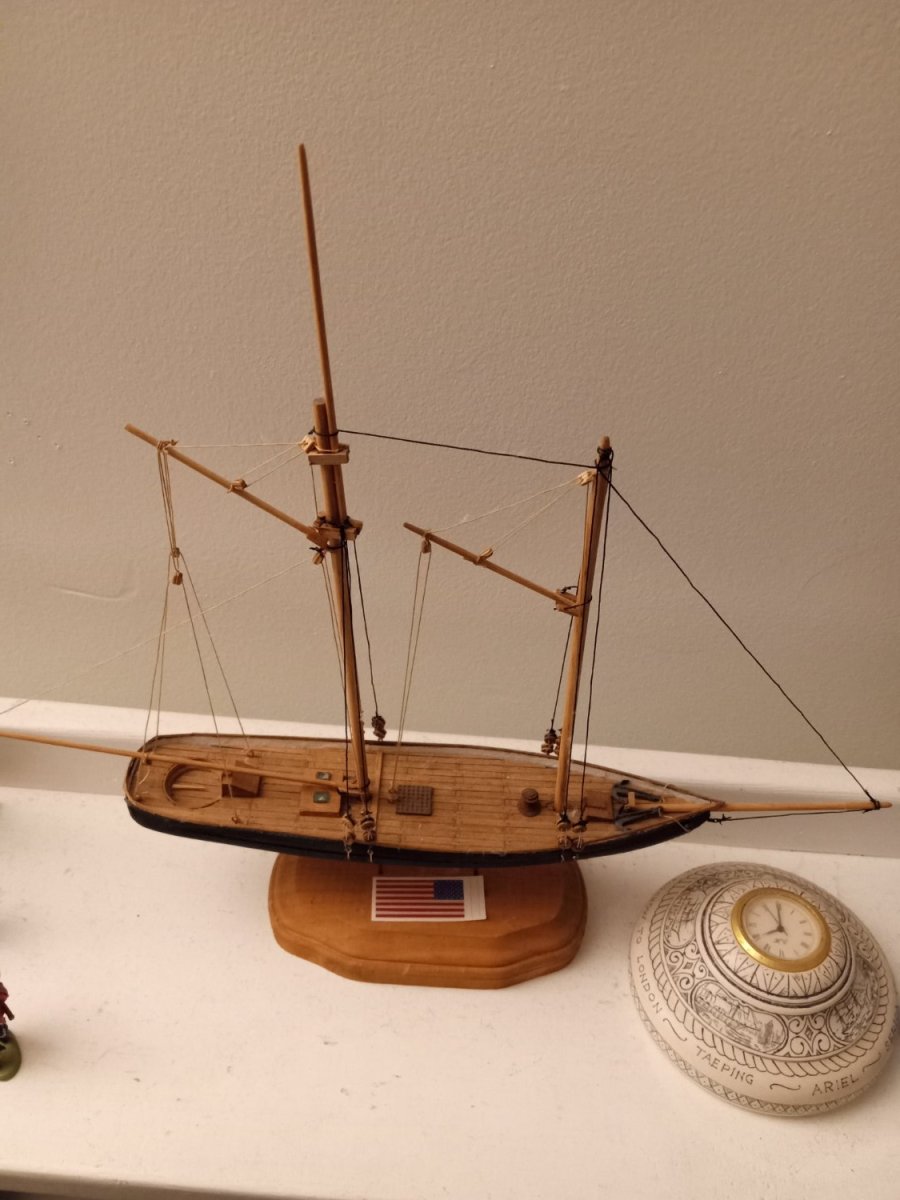
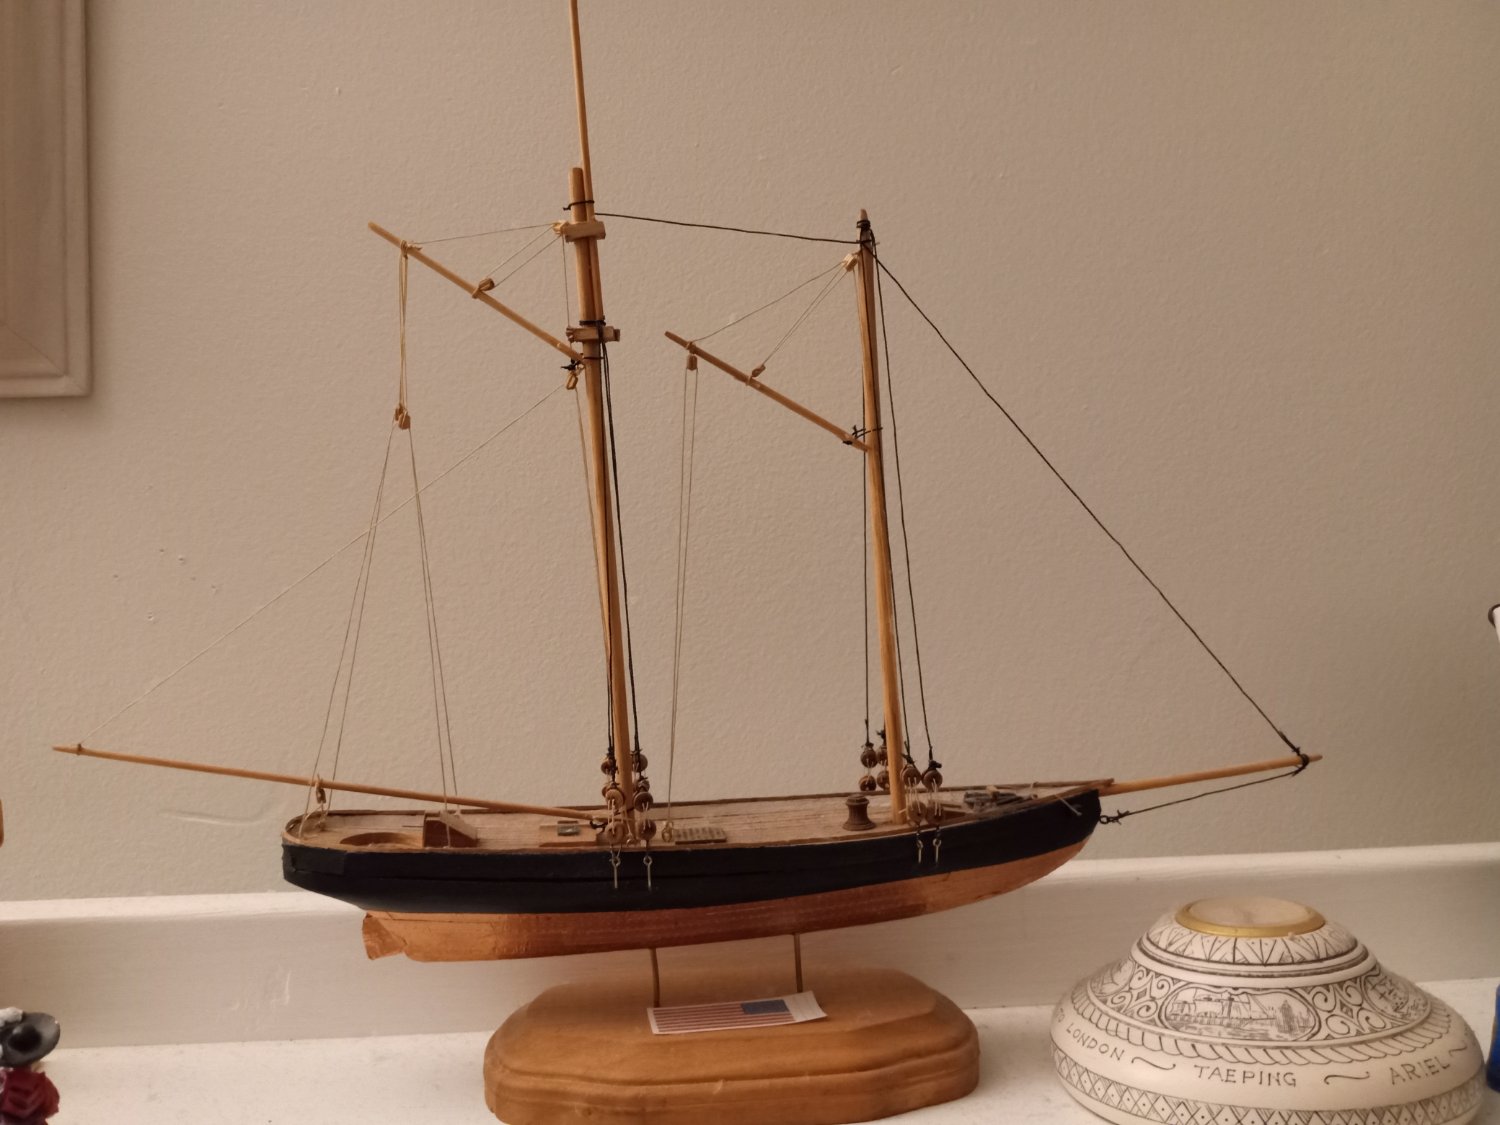
I've built other models, so for the rigging I pretty much used the schemes I'd learned doing similar rigs. Since America was basically a souped-up version of a New York pilot boat, I'd suggest looking up photos of Model Shipways "Phantom" New York Pilot boat model. She's good looking and a close approximation to this model. Yours looks good and you are well on your way to something that will look really nice on a bookshelf or mantle. If you plan on building other ship models, I'd recommend getting a copy of Frank Mastini's "Ship Modeling Simplified." It is a really great book and provides some real guidance for the various steps involved in tackling more-complicated ship models. When I give ship models as gifts I also always include a copy of that book.
-
Your ship is looking good. I'd recommend painting it, because I think it adds something to the model. I wound up planking the helmsman's cockpit and adding a little tiller. I also coppered the bottom because the point of building the model was to try my hand at coppering using copper tape.

-
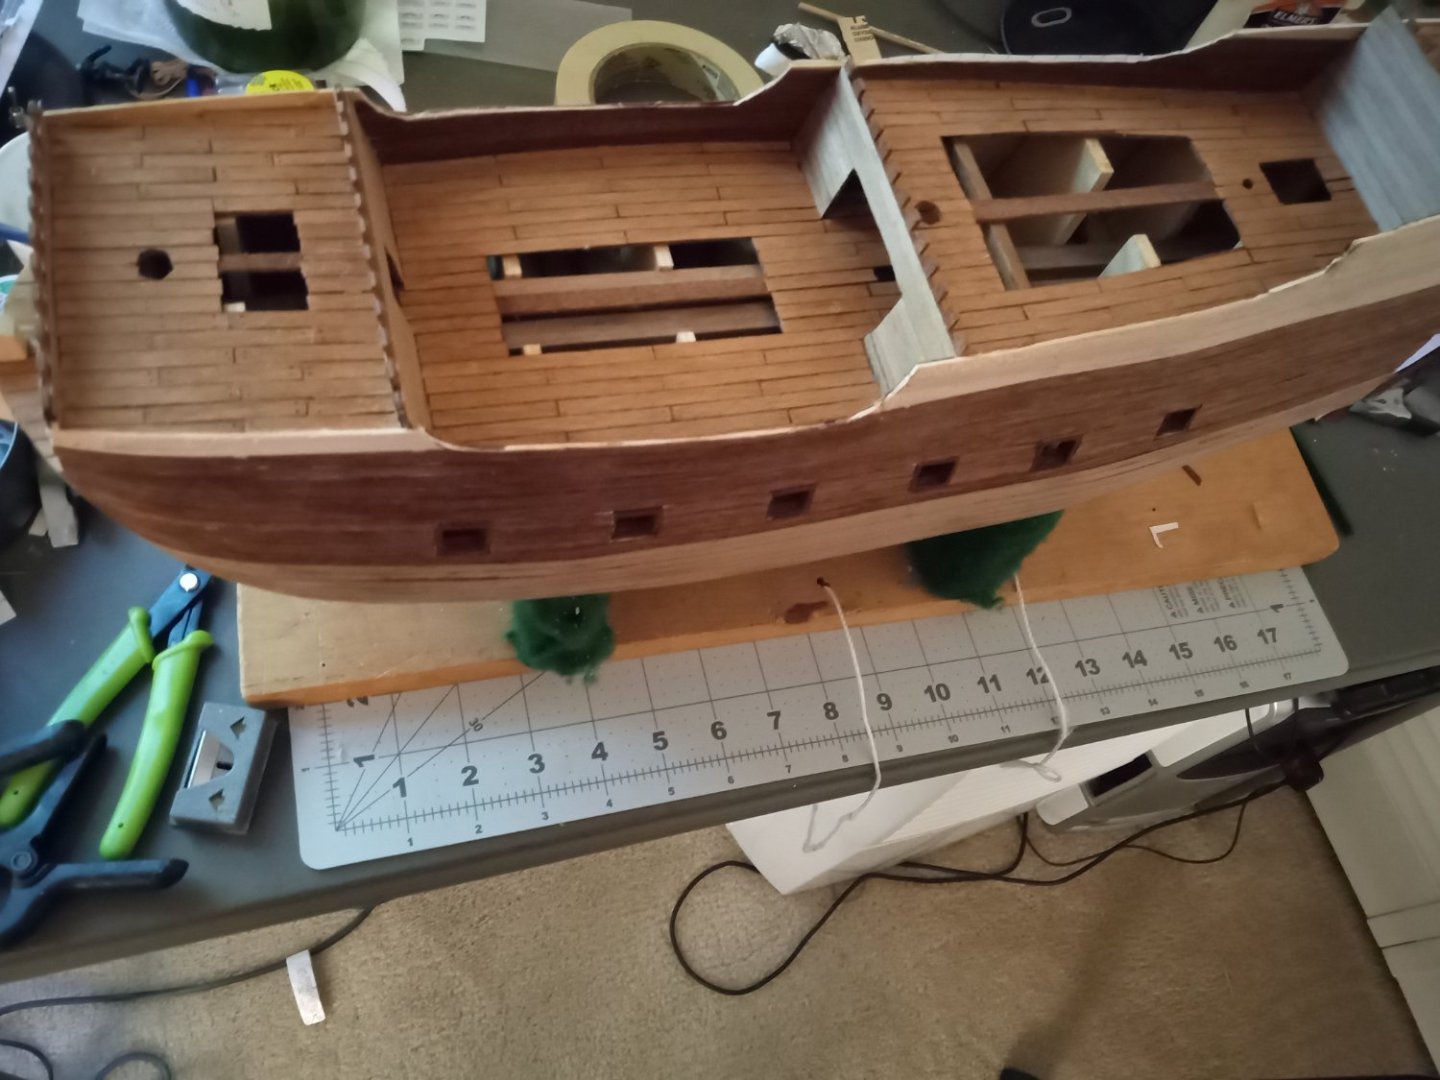
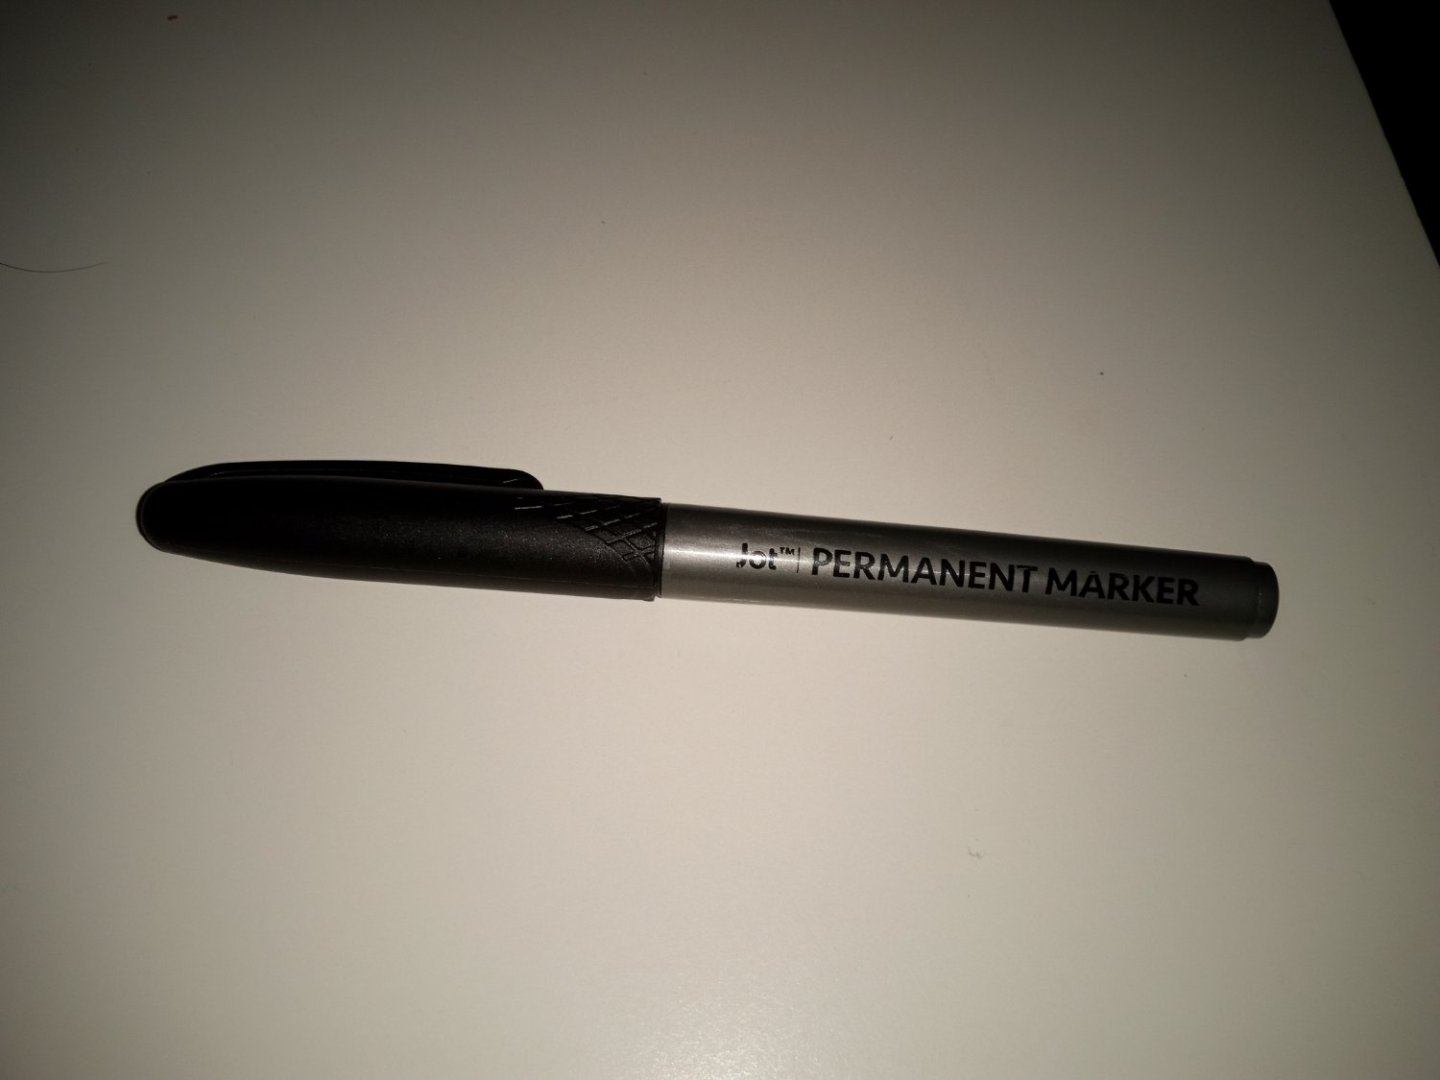
Started the deck planking. First step was running to the store for a permanent marker to add "tar" to the plank edges. There were no black Sharpies available, so I had to settle for some brand named "Jot." They smell pretty strong, so there's no chance I'm going to forget to cap the pen.
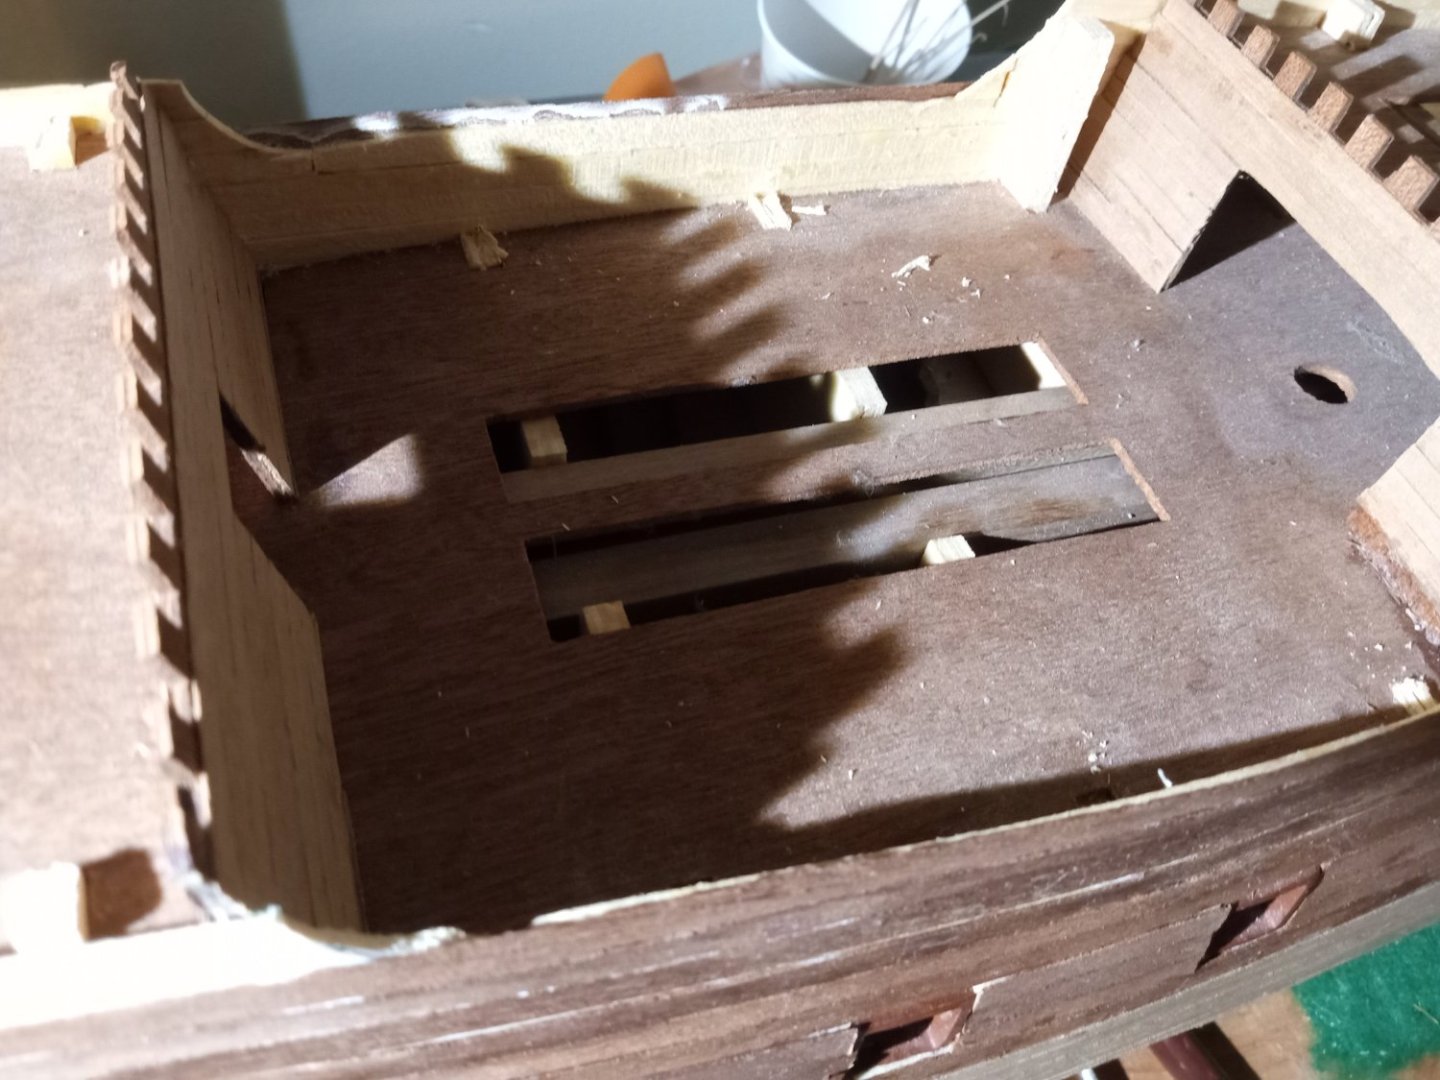
I'm already concerned the kit hasn't come with enough deck planking, so I'm trying my best to stretch it. That's why the planking ends at the focsle door, since the closed door will hide what is inside. I do have to plank some of the deck under the sterncastle, since that entrance is open. But I'm saving that to see if my odd-sized left-over pieces can be used.

- GrandpaPhil, ccoyle, Baker and 1 other
-
4
-
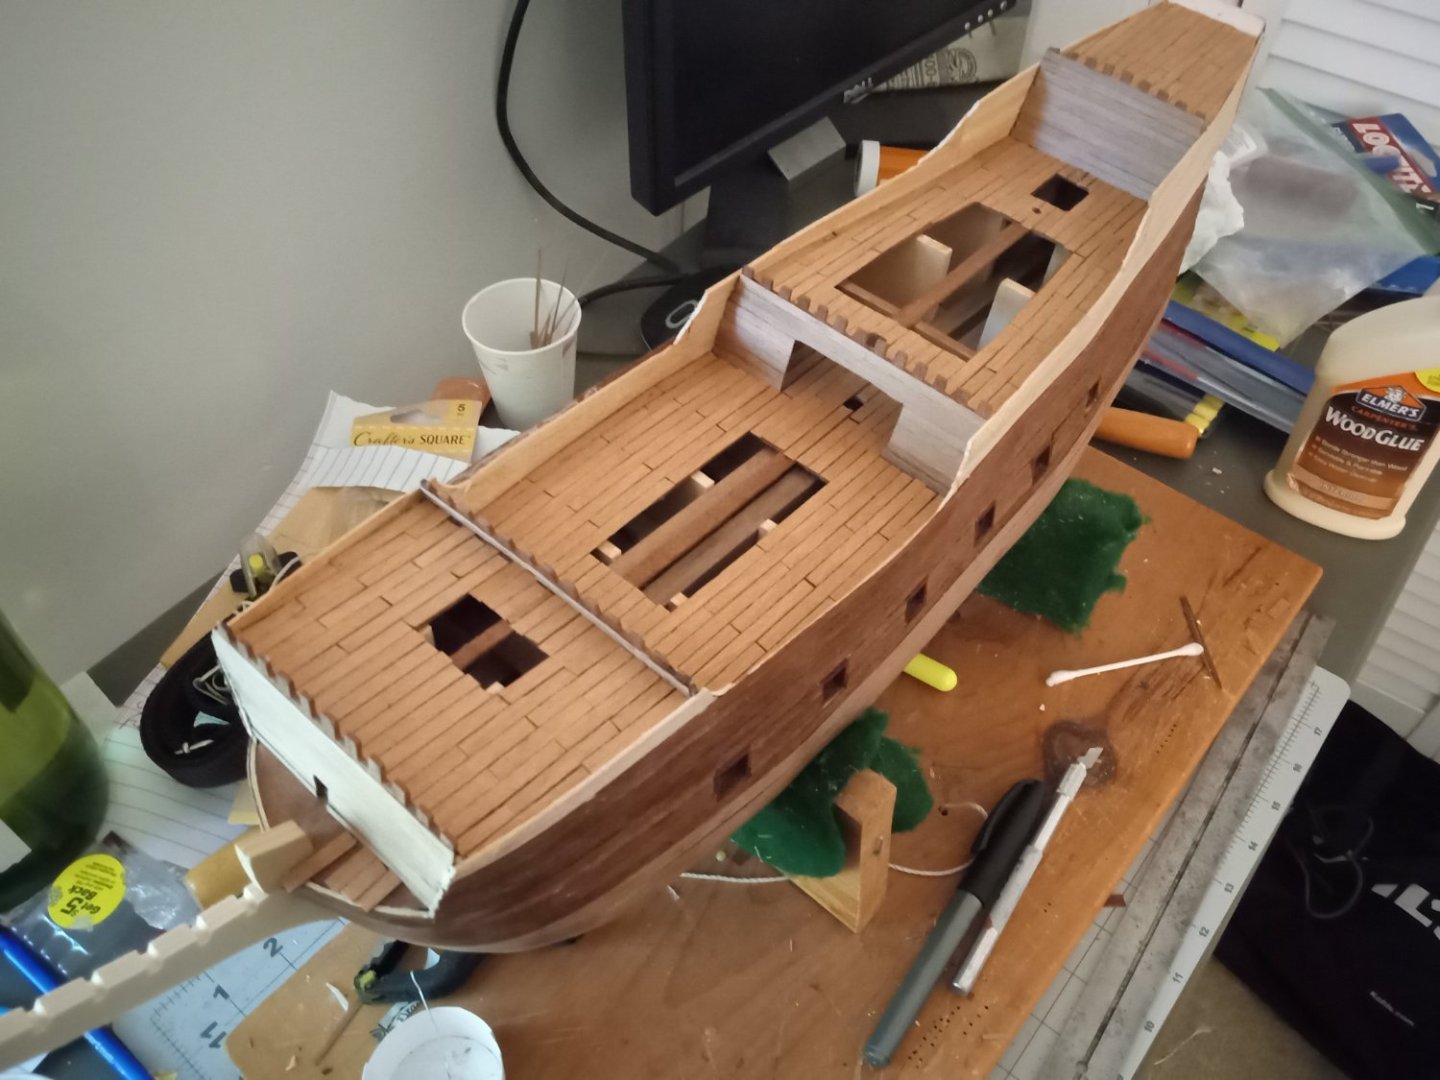
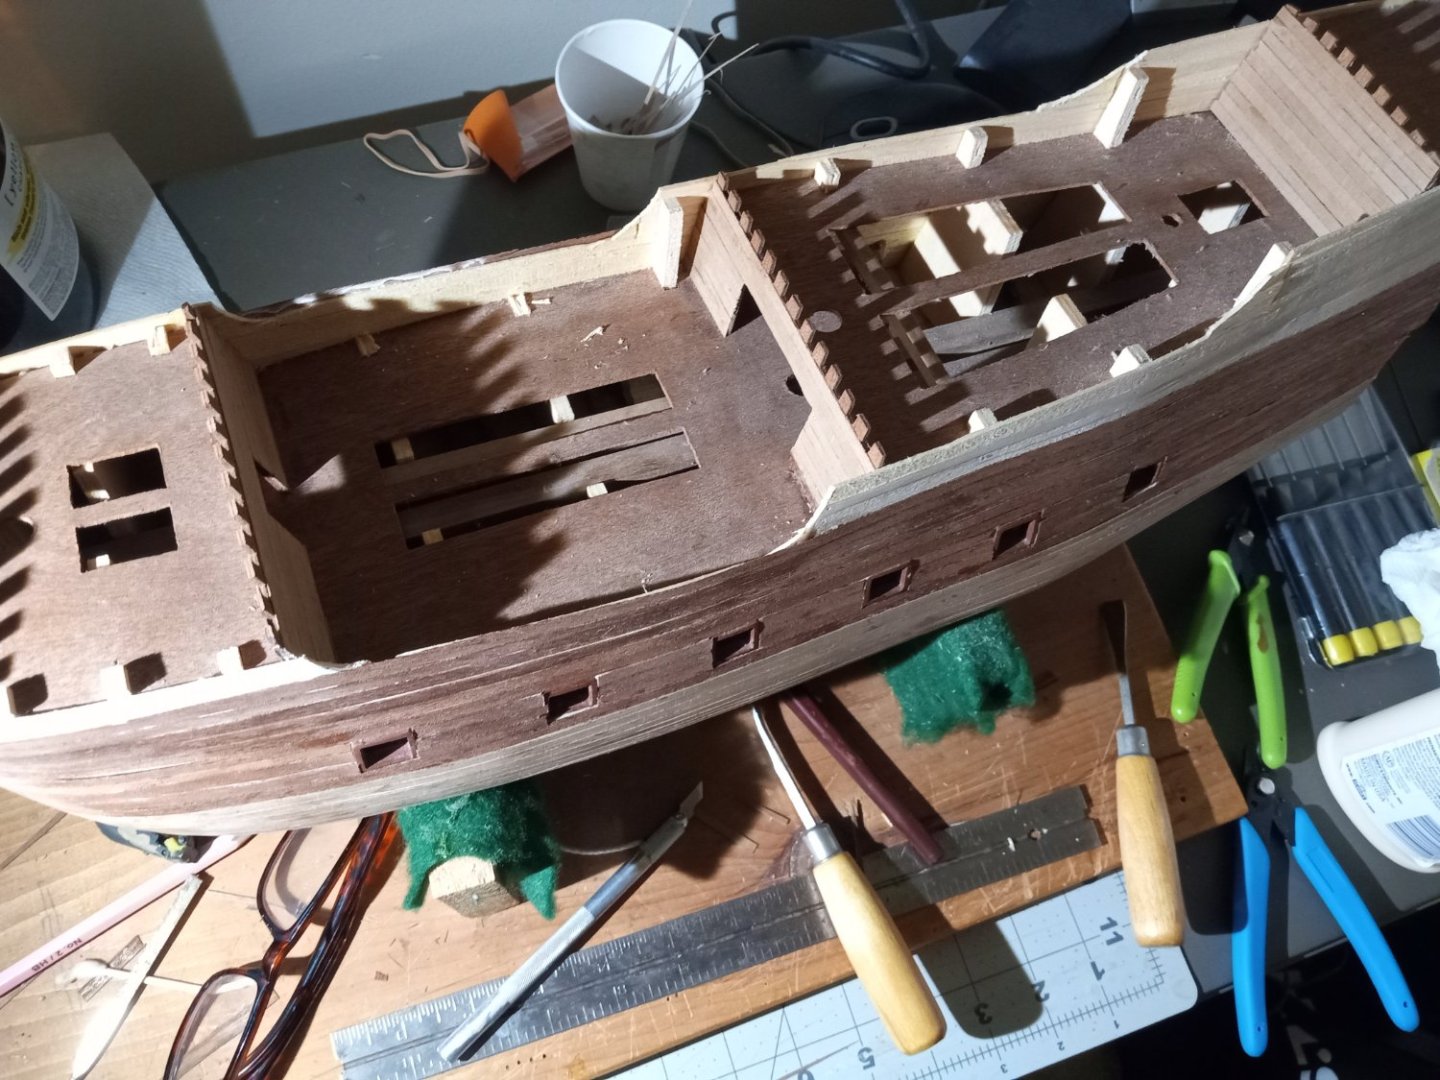
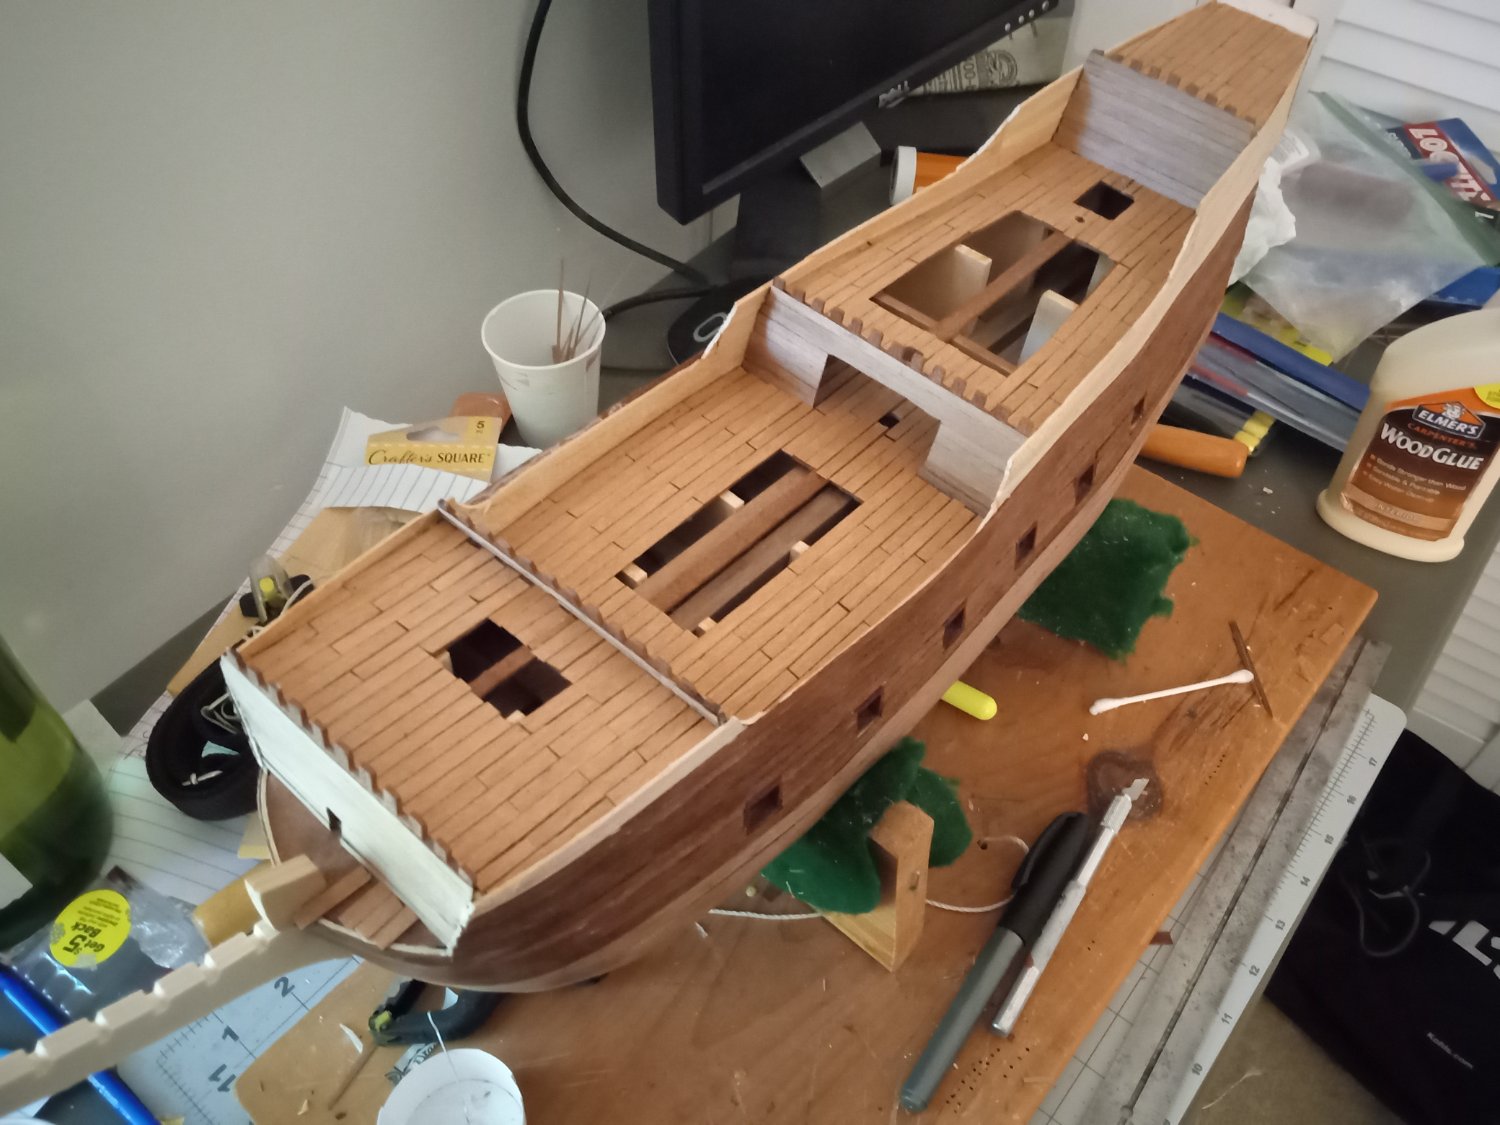
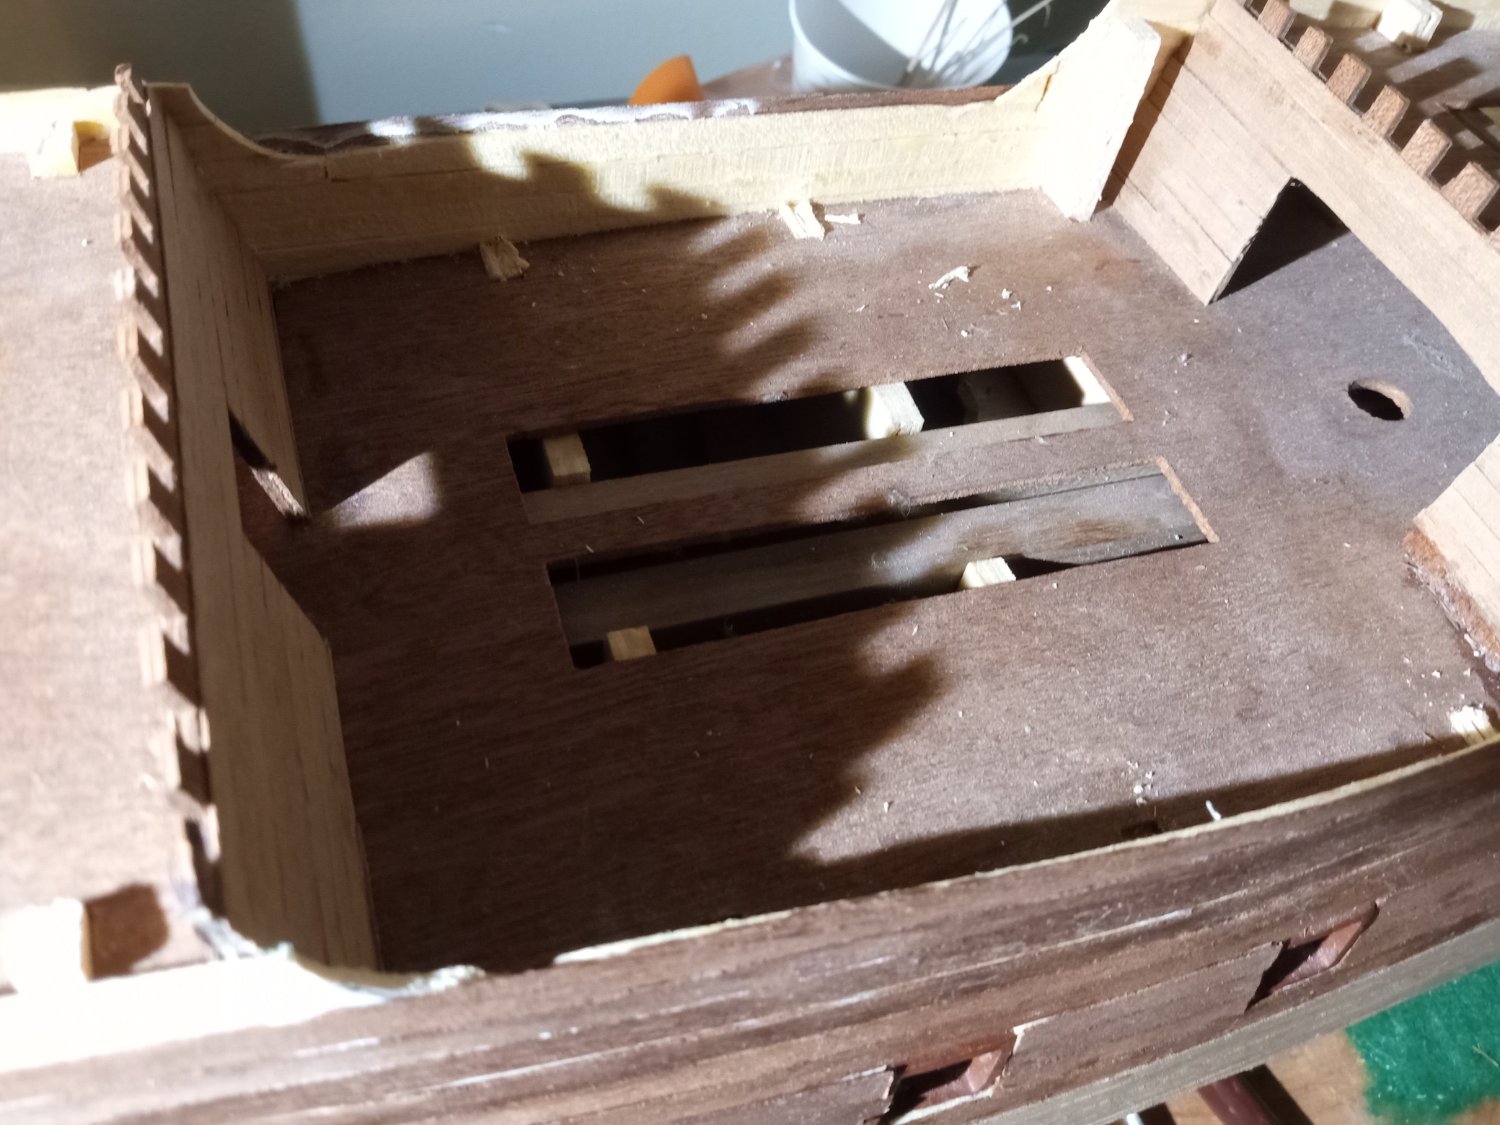
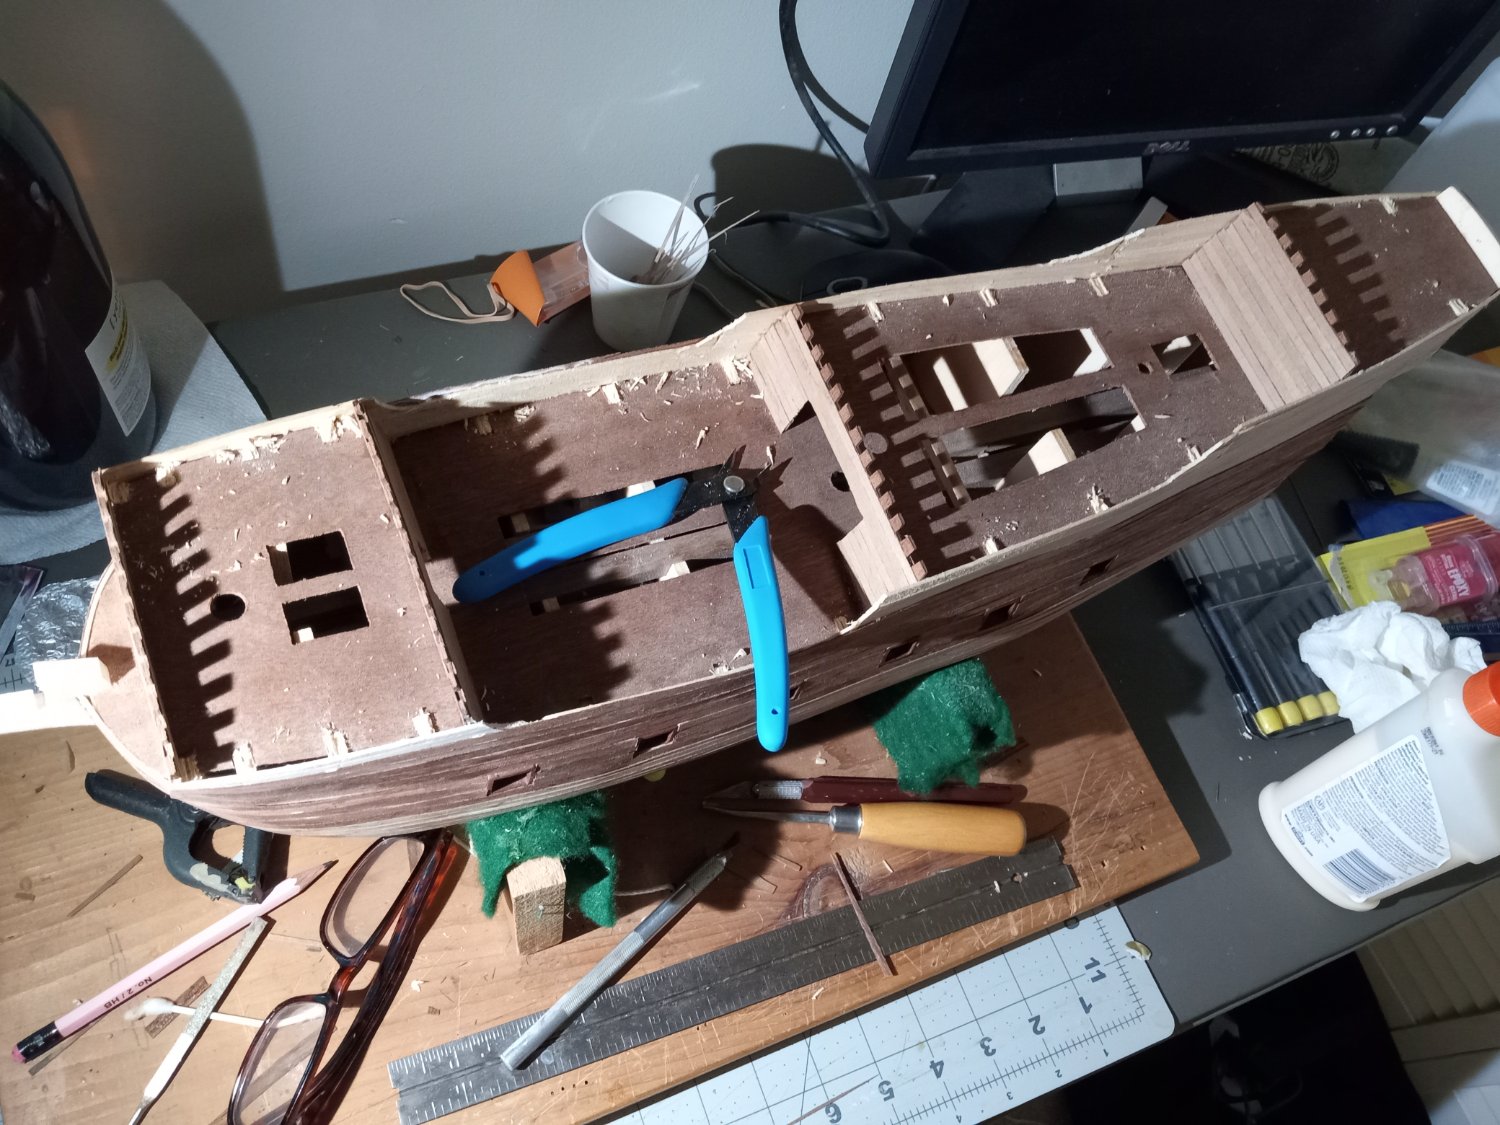
Getting ready to plank the deck. The first step is removing the supports from the frames and then making sure the stubs are flush with the false deck. I found my sprue cutter did a good job clipping the wood nearly flush and then I used some chisels of various head shapes to remove whatever wood was left. I was happy that I took extra pains when installing the hull planking to ensure no glue was anywhere near the supports, since when snipping them they easily came away from the planks.


- ccoyle, Baker and GrandpaPhil
-
3
-
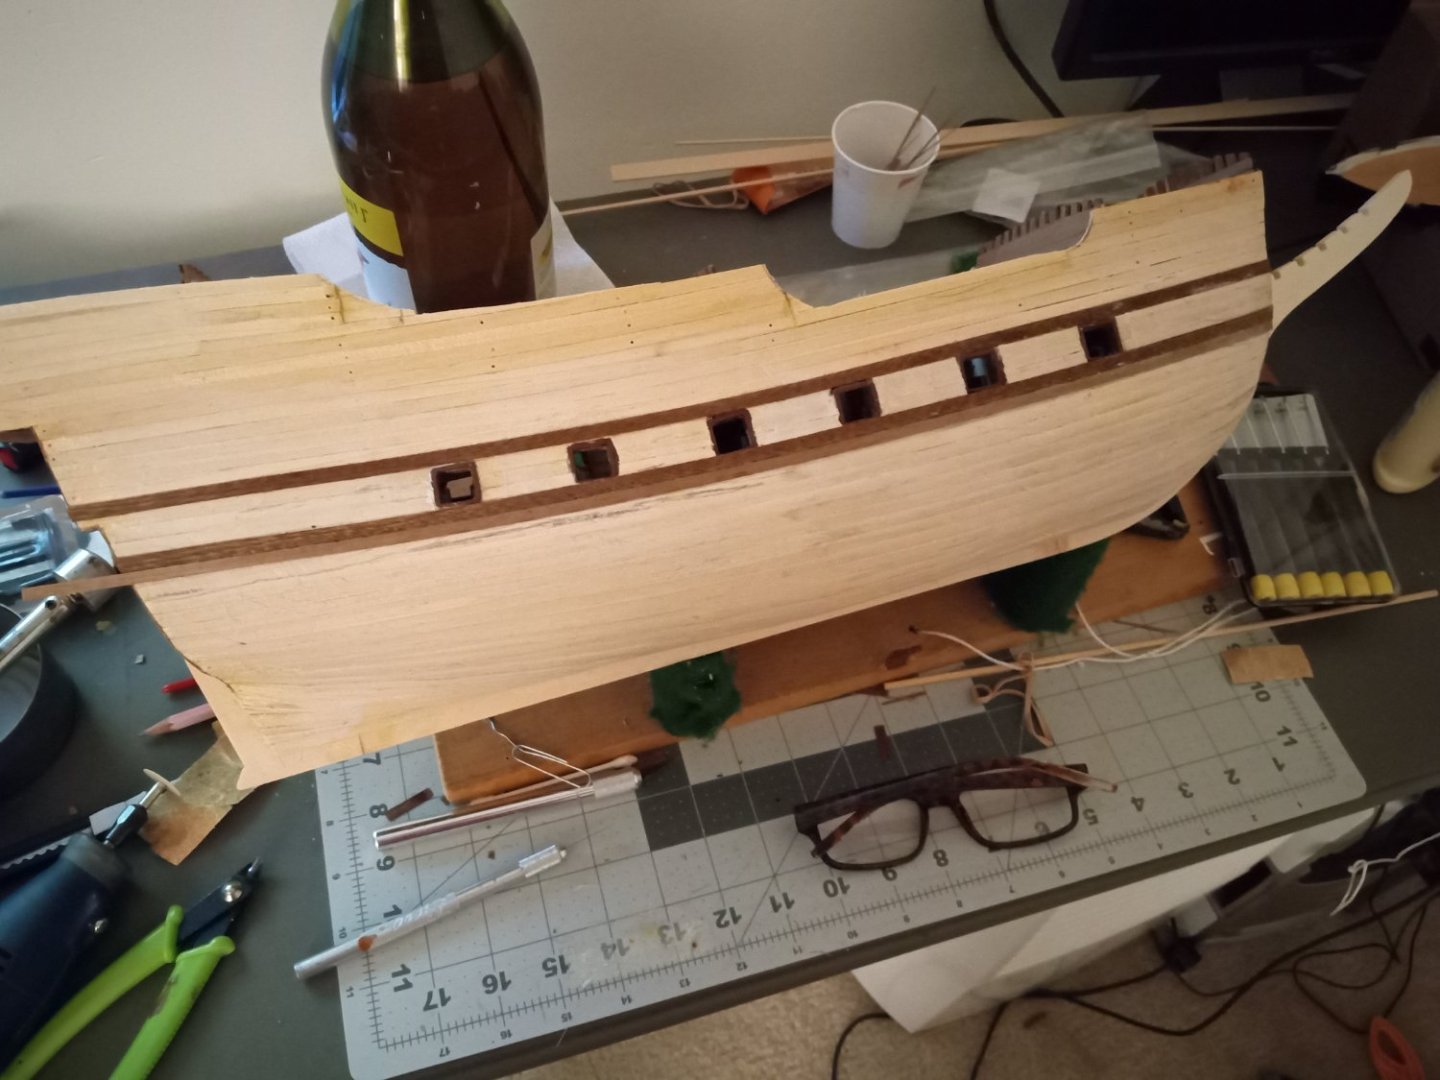
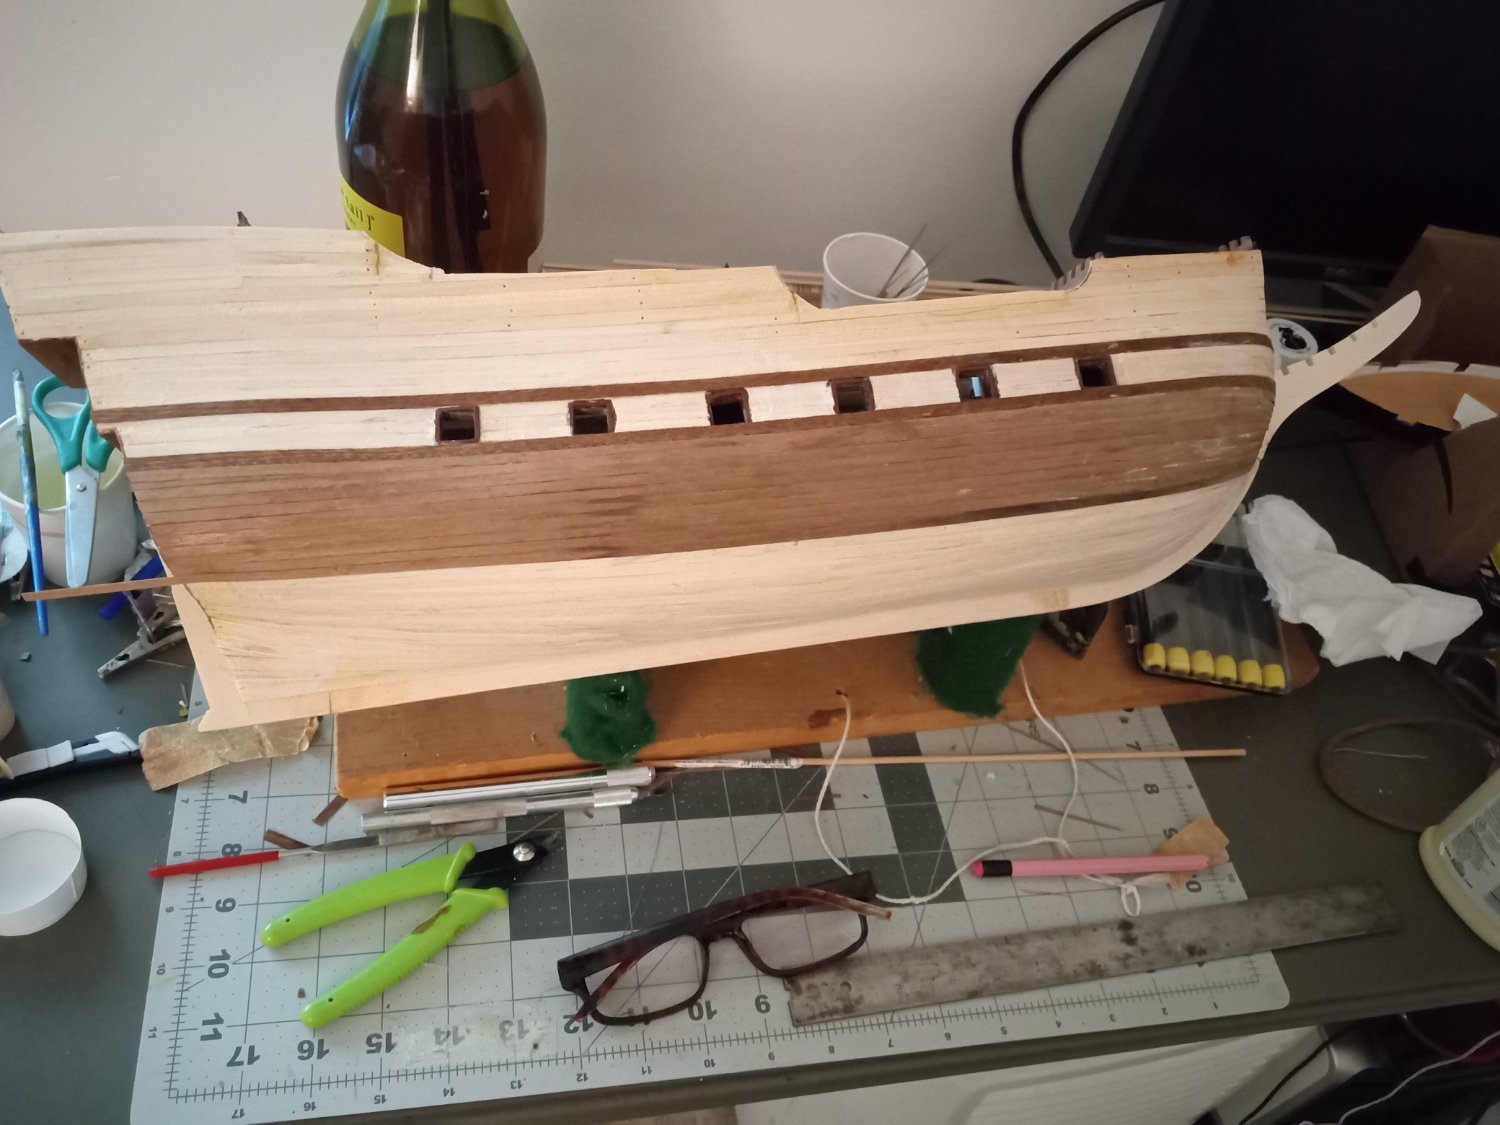
Starboard side work mostly completed. Going to move on to planking the deck as this kit is proving to be pretty stingy with materials. While other kits I've worked on have always provided plenty of spare wood, I finished planking the lower hull with literally the last piece of wood provided.
My preference is to continue planking the upper hull with mahogany, which will then be covered by printed decorations provided in the kit, but I'm not sure if I will have enough wood.
If anyone has ever worked with pre-printed decorations on card paper, any advice on working with such material will be appreciated. So far, the only thing that I am sure of is that I will complete the hull sanding before installing the decorative card.
I think it also important to note that I purchased this kit several years ago. I believe Mamoli is under new management, so I'm not sure if the wood supply situation has improved. I'm just surprised that materials are so tight, since even cheap kits I've purchased in the past always provided an excess of wood.

-
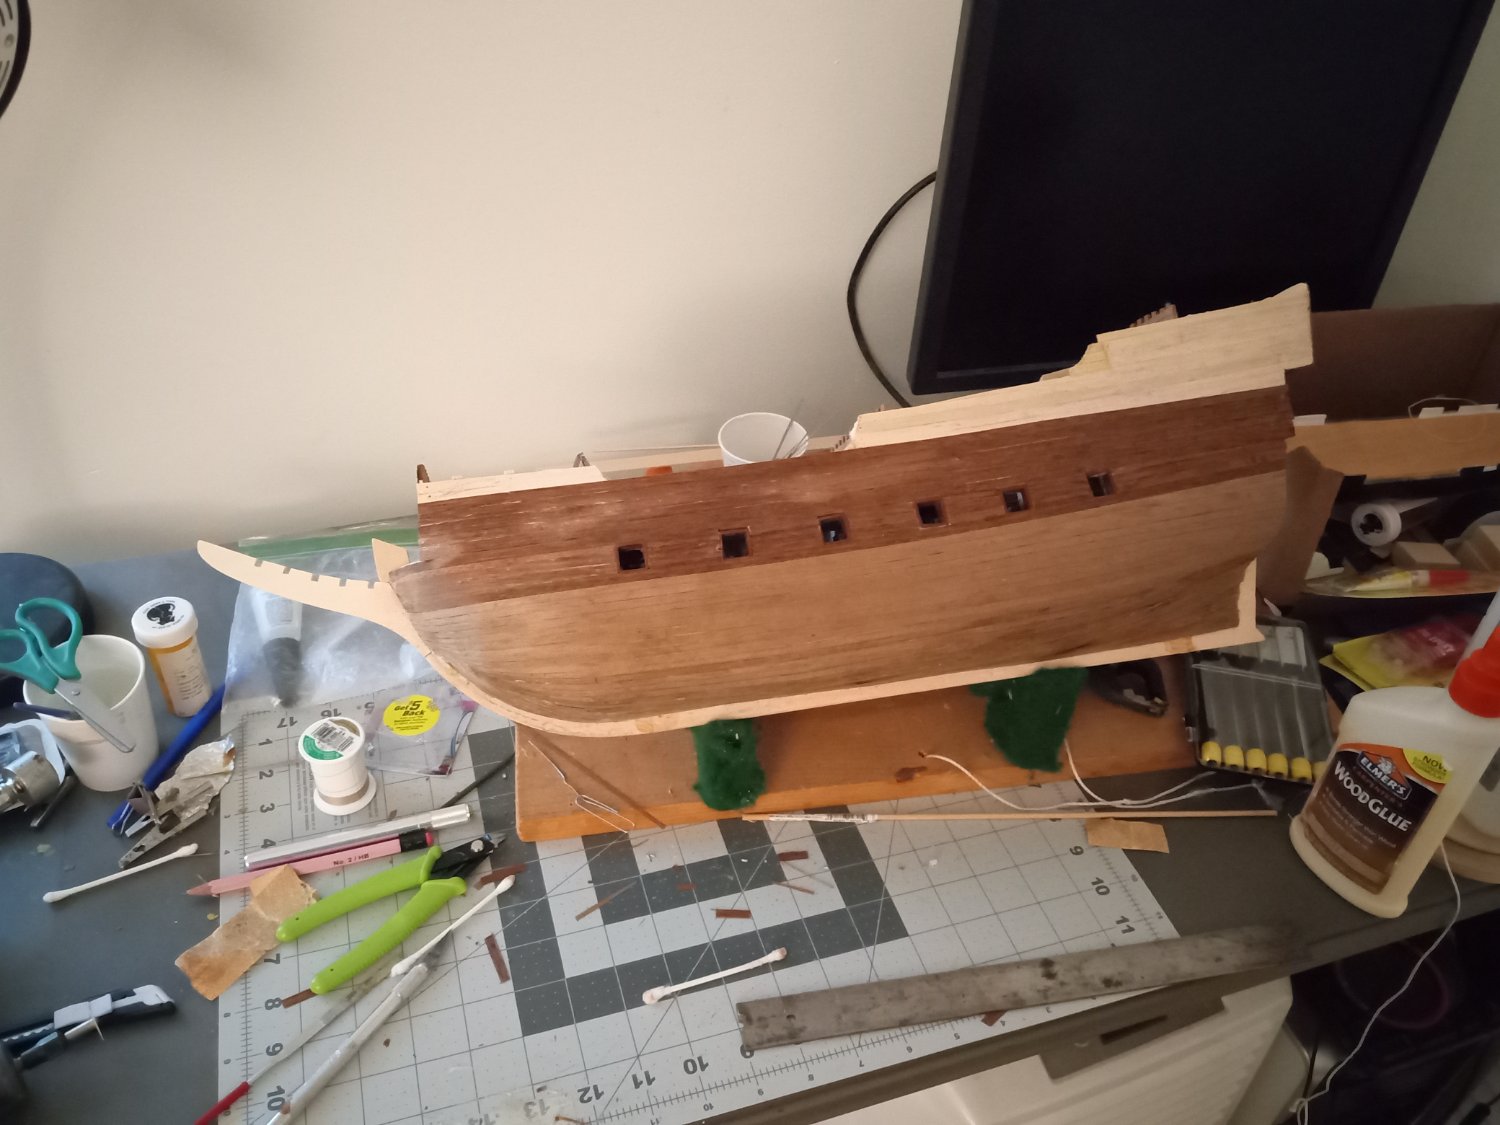
More work on the starboard side. For some reason, I've found planking this ship to be a real chore. Happy that most of it seems done. I've also noticed that most of the photos I shoot for this log seem to come in upside down. I eventually figured out that's because I'm left-handed, so I use the shutter button on the left side. When I flip the phone and take pictures with the shutter button on the right side, the photos come in right-side up.
- Archi, GrandpaPhil, catopower and 4 others
-
7
-
More work on the starboard side planking.

- Seventynet, catopower, Baker and 1 other
-
4
-
I built this kit a while ago. I believe I boiled the wood to soften it and then clamped it around something with a shape similar to the stern. I believe it was a gradual process, with me increasing the bend over several tries, letting the wood dry and then doing the process over again until I got it sort of the correct shape.
-
Moving on to the starboard side. On the port side, I did the second layer of planking by running alternating touches of CA and wood glue on the plank and then applying it to the hull. I found that to be very messy, since anytime the plank touched some already applied wood, the glue would leave a mark. On this side, I'm tacking the plank to the bow with some CA, and then applying the glue to the hull and then pushing the planks into place and then running the plank-bending tool over them to make the glue set quickly. It seems to give me better control so far.
-
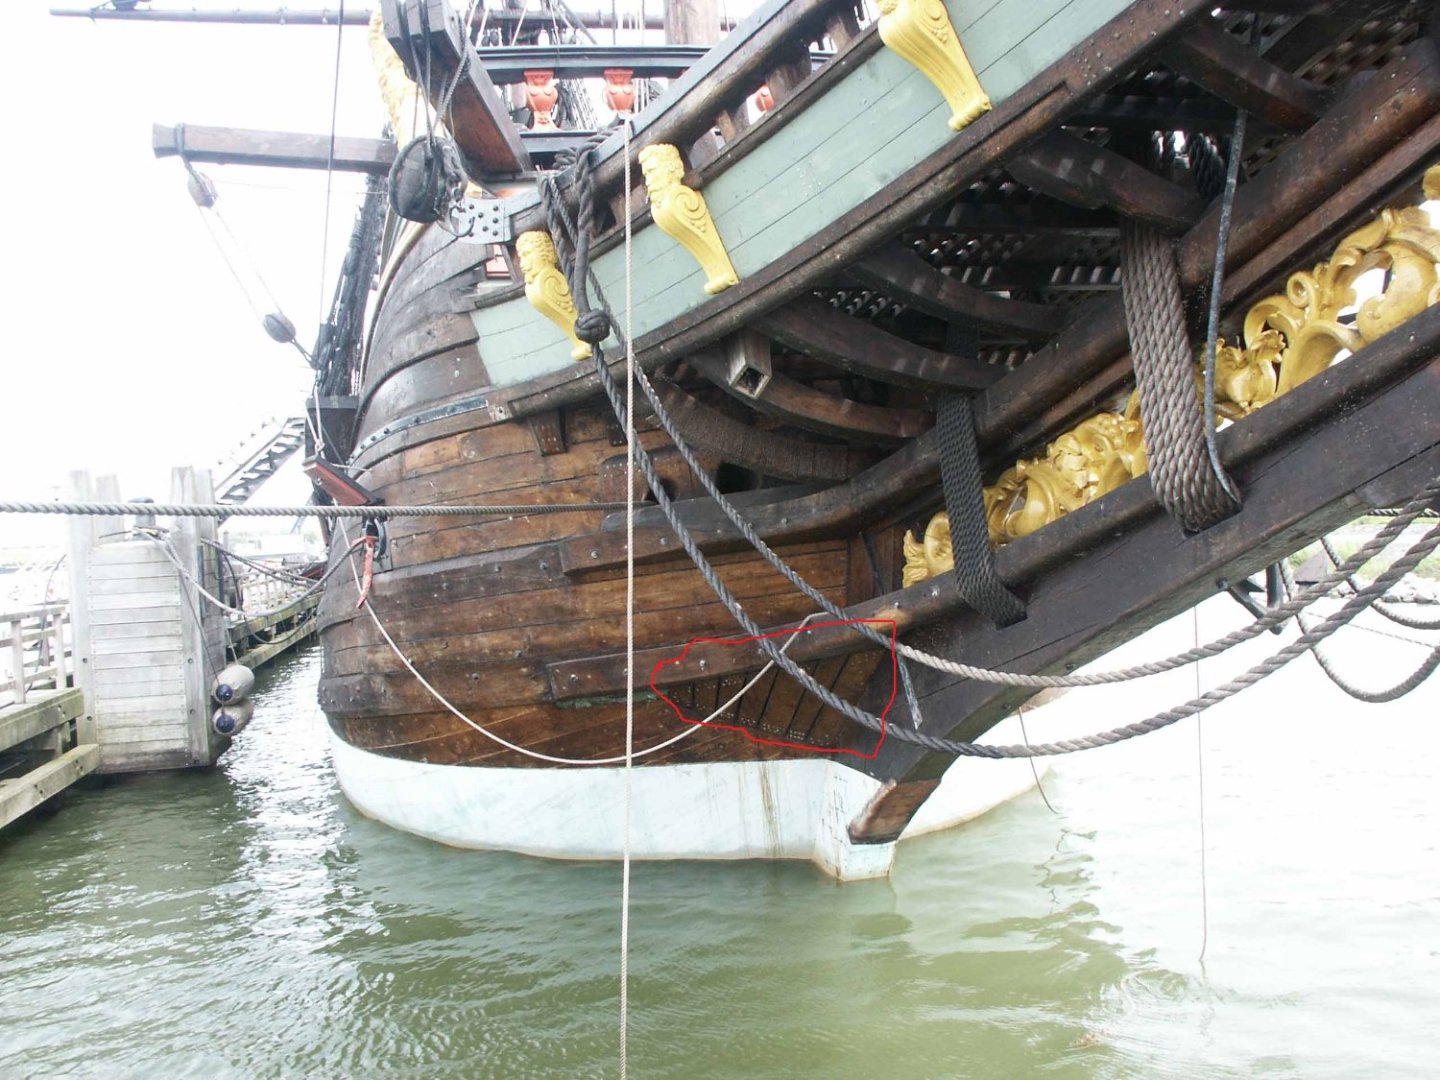
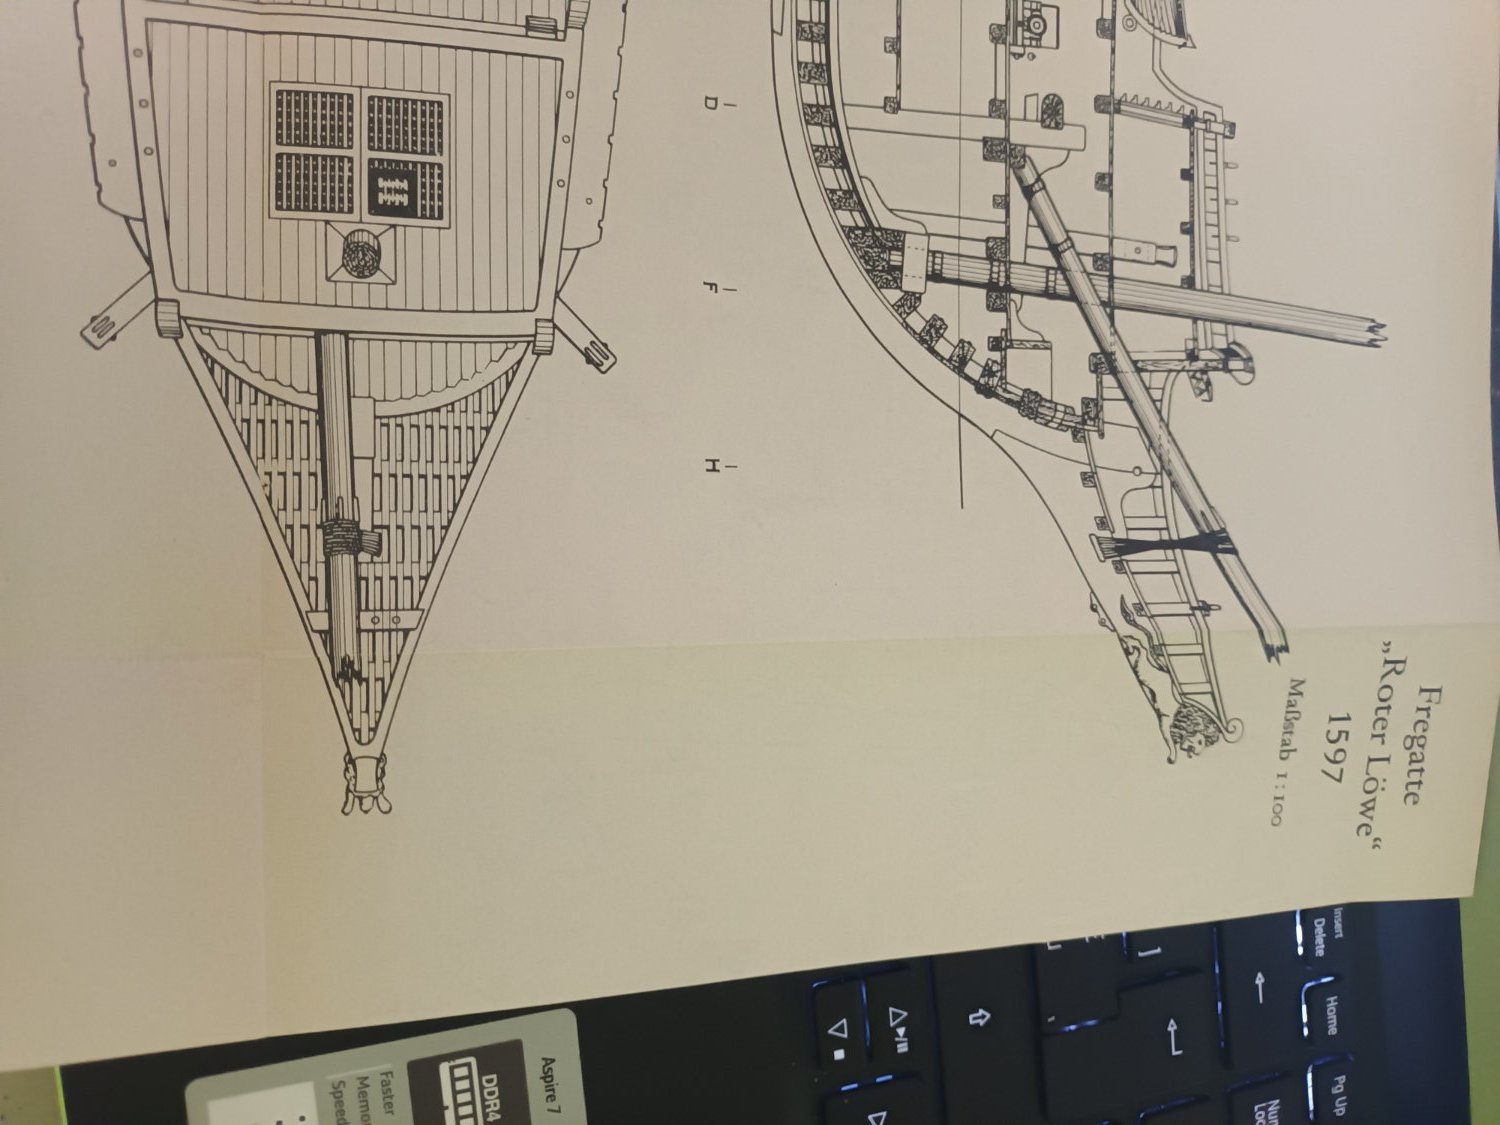
I was looking over photos of the replica ship Batavia that Baker thoughtfully provided. My one takeaway was that I might need to rethink my plan to paint the gilded pieces provided with the kit. I thought ships of the era probably didn't have as much glitter as my kit implied, but the Batavia does seem to have more than I would have thought. Also, looking at the photos, I was wondering what is the point of this planking at the bow. It looks almost like a second layer of planking, maybe to provide extra protection when muscling through the waves? These photos were a big help, so I really appreciate being directed to them.
-
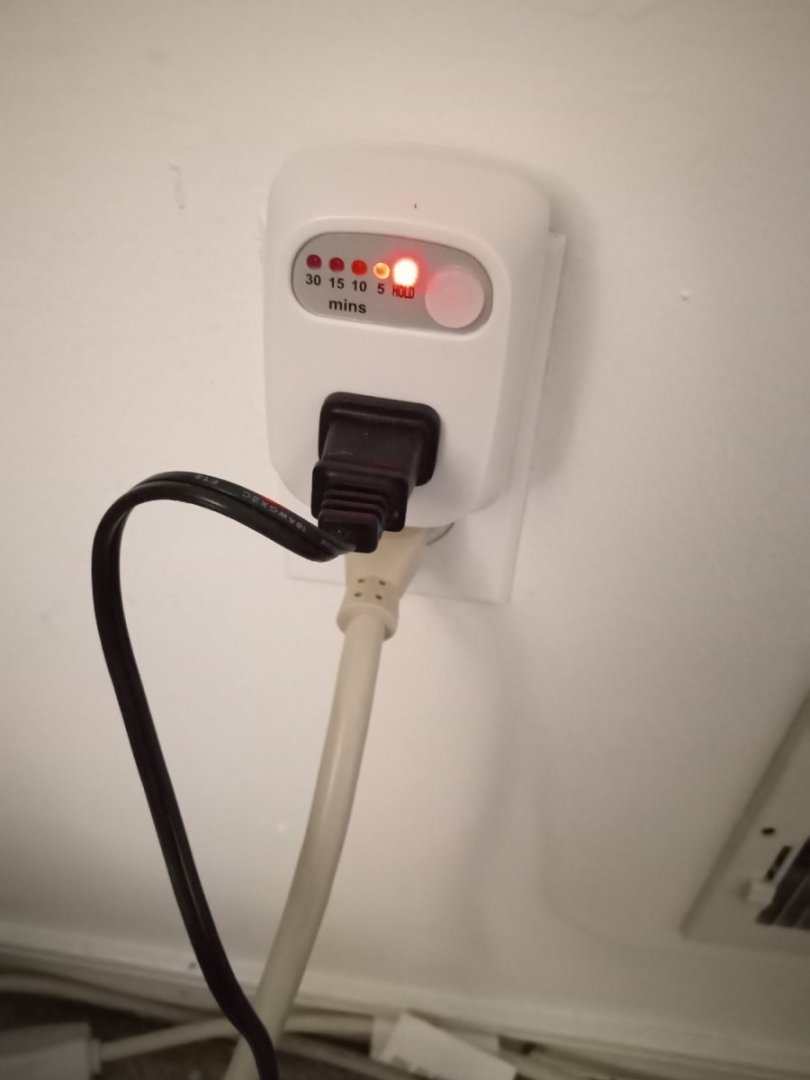
Had a health scare recently, so while I was on Amazon ordering up some CA remover, I also ordered an electric shut-off timer that I can plug my planking heating tool into and not worry about inadvertently burning down the house around my family's ears if things go south for me again while I'm working on the model. When I was a kid, my great-grandmother's summer house had a similar analog egg-timer/electric outlet set up as part of a drop-down ironing board built into the kitchen wall. It struck me, even as someone very young, to be an eminently practical and elegant set up.
-
-
-
-
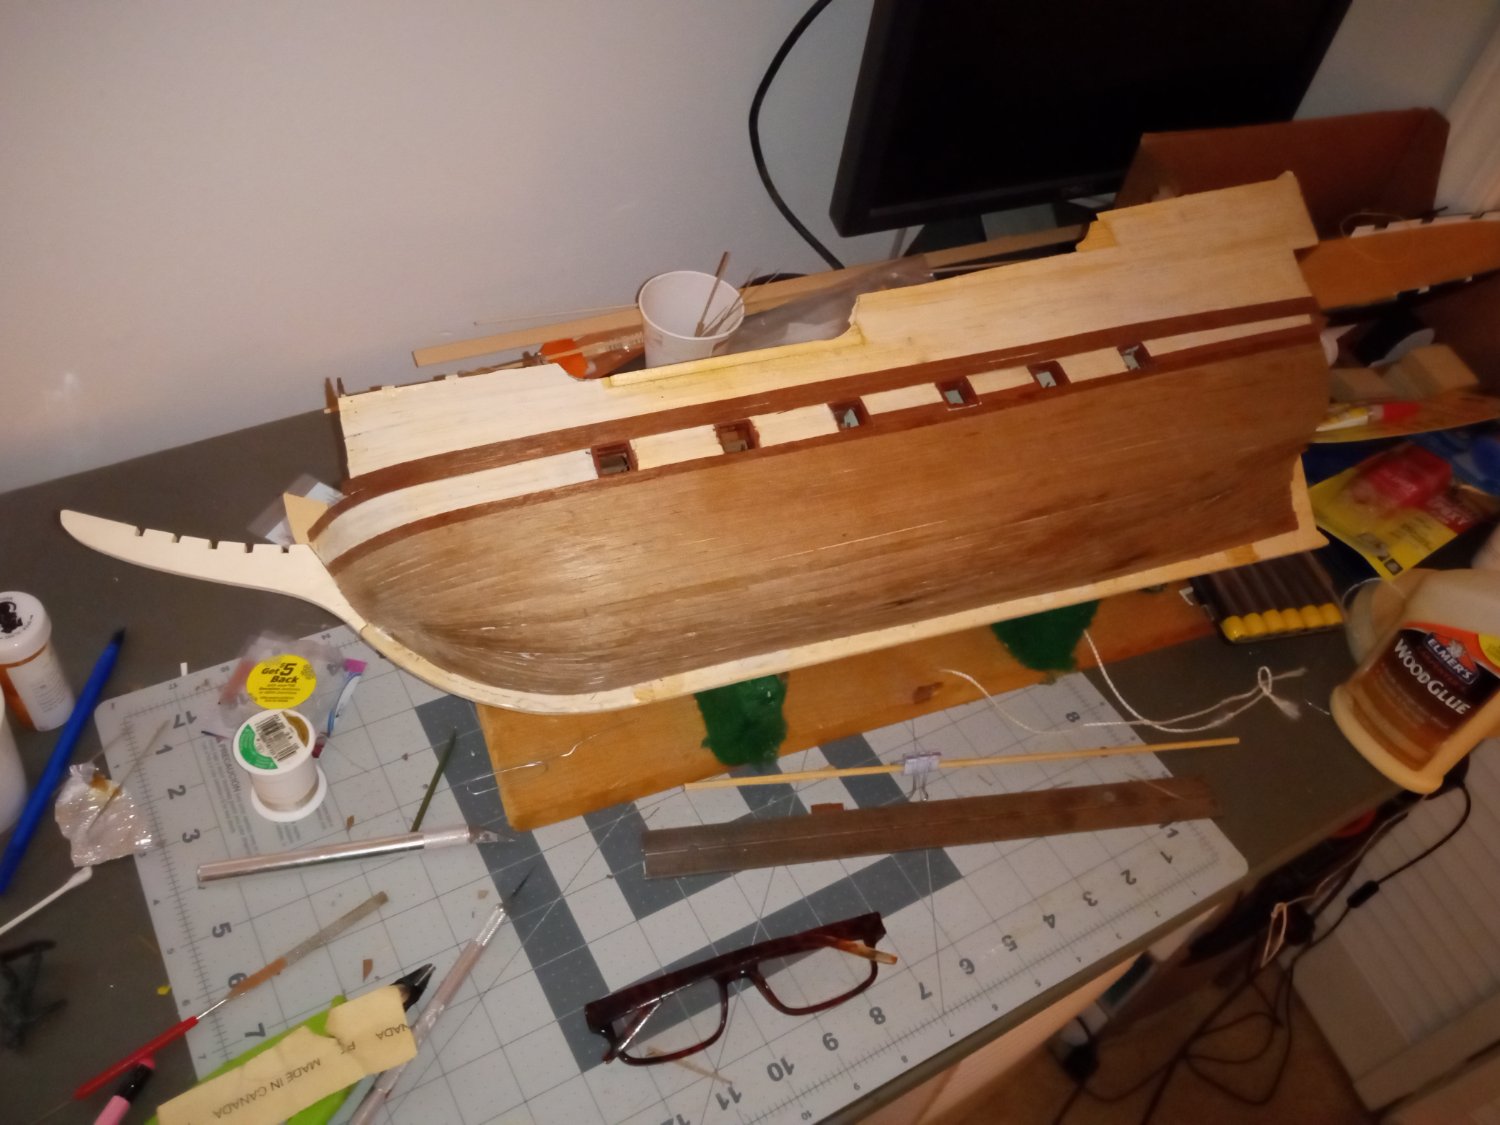
Have a little time on my hands, so did some more work on the second layer of planking. Not as tight as I would have liked, but this is my first time working on this type of hull shape and it gave me trouble. I also need to clean up some stray wood glue (those white patches about 3/4s of the way down the bow). My next ship is going to require me to really school myself on planking technique. You also can't see it in this photo, but the second layer of planking has also shown me the necessity of really making sure I do a good job of fairing the bulkheads. This ship has more lumps and bumps than my 62-year-old frame, which is depressing. I had a question about the beakhead. I always imagined that on real ships, this was compass wood pretty much made of a single piece, but the photo on the kit box appears to show the beakhead either planked or with faux plank lines drawn. Not sure how to approach it.

-
Mamoli makes a line of small, solid-wooden hull kits called Mini Mamoli. It looks like they have a Bounty at about 1:135. I imagine the detail is pretty sparse, but it could be the basis for some scratch work and would be a relatively easy introduction to the hobby.
- Dan DSilva and mtaylor
-
2


How many ships rattle?
in Building, Framing, Planking and plating a ships hull and deck
Posted
A a butter-fingered musician who has spent decades retrieving lost picks, I feel a compulsion to turn things over and shake anytime they fall into a hole in a wood structure.