


Dave_E
-
Posts
1,249 -
Joined
-
Last visited
Content Type
Profiles
Forums
Gallery
Events
Posts posted by Dave_E
-
-
Thanks Phil,
I'm into that back up 3' and the ship looks like WOW! I'm doing that with the Lady. 😁 The lack of quality of the cannons and the rope really got to me the most. I did order scale rope from Syren and Ropes of Scale and I can't help it, I will not use the stuff that came in the kit. Like you said, it all boils down to what we want. Thanks. 👍😀
- Keith Black, Gregory, Ryland Craze and 2 others
-
 5
5
-
Good discussion everyone, thanks for jumping in. I’m going out on a limb here, but I bet most of your average first time builders (if the bug bites them and they want to step up their game), do what I did. Cost IS a factor to some folks. I just could not justify a $500 kit to the Admiral. However I bought a $200 kit, add two - three hundred dollars over the course of a year or more for bashing upgrades… and I think I’ll come out OK (if not, I’m sure you’ll know about it along the way). The first build is also where the noob is tooling up, which also costs.
I’m thankful there are manufacturers who have the goods and the talents to offer upgrades that really do make a difference! 👍😀
- Gregory, Ryland Craze, Keith Black and 3 others
-
6
-
-
Hi All,
I started going through the box for the Rattlesnake and since I'm just finishing up the Lady Nelson (Amati), I noticed all the blocks sure look like the ones on the Lady Nelson. I'm assuming one kit manufacturer may use another's parts? That being said, there is a member here who owns his own company and makes all the blocks required for the Rattlesnake. Boy are they pretty... and look real. Can anyone think of a reason not to replace all the blocks? 😀 I'm also replacing cannons and carriages and all the rope for sure. I know at one time I think I said I was pleased with the rope... but after really looking at it, the natural rope has hairs and the black rope does not have the quality of build that I know is out there (I have purchased some of it).
- Keith Black, Ryland Craze and mtaylor
-
3
-
Hey Jim, welcome to the forum! Glad to have you. 👍😀
- Keith Black, mtaylor, Edwardkenway and 2 others
-
5
-
On my way to the Hobby Lobby to get an assortment of bottles, glue and shellac. I will experiment and share my findings. Who knew you could practice chemistry while building wooden model ships. 😆
- thibaultron, Bob Cleek and mtaylor
-
1
-
 2
2
-
On 5/14/2022 at 2:11 PM, Bob Cleek said:
Add my vote for clear shellac. I've used thinned PVA, which has a drying time longer than I prefer and is very difficult to undo once it's dried if a mistake is made in the rigging. I also used thinned nail polish, but it also is somewhat difficult to reverse if one wishes to do so. Thin CA spreads everywhere and is not easily undone once cured. It also can conflict with other coatings with which it comes in contact.
I've found thinned white (clear) shellac has the following advantages over the other options:
1. Low cost and universal availability.
2. Also a universal sealer for wood which hardens the surface and permits sanding without bringing up any "fuzz" in softer woods (e.g. basswoood,) making it great for topcoats of both solvent and water-based varnish or paint. This means one less specialty product container on the shelf.
After using it as a sealer… can acrylic paint be applied? Can shellac be stored in a squeeze bottle? Thought about how to store it in smaller quantities. Sounds like a pain to open and close a qt can every time you need to use it. 😑
The nail polish is attractive for rigging, but I can’t take the fumes. Thinned white glue is ok, except your always remaking your concoction because it sets up so fast. Can you thin PVA glue and then store it in a small squeeze bottle? I’ve been using CA with a needle point, however as mentioned, your left with little shiny spots, but it is darn convenient.
Think I’ll have a go with the shellac to see how I like it.
- thibaultron and mtaylor
-
2
-
Welcome aboard Drut. Look forward to whatever you decide to build. 👍😀
- Edwardkenway, Drut, Keith Black and 1 other
-
4
-
2 hours ago, Bill97 said:
I will give your Lady Nelson a look Dave. I have no doubt my anxiousness is my nature to want to check the completed box and see how she looks cleaned up rather than have all the steps “in progress”.
Me too, I’m very sure that got me in the spot I’m in now. Mine is so small, I started seeing the finish line.
-
Hi Bill,
I just went through this dilemma on my Lady Nelson build. I was told several times “ground up, middle outwards and front to back. All standing rigging needs to be completed first (but after such items as booms etc), then the ratlines and finally running rigging”. I’m thinking that every build is different and the more complex the ship (I see yours as big and complex), you might have more to think about and plan your strategy before you start. Things like are the belaying pins right behind the shrouds? How would you ever tie up your running rigging and construct rope hoops hanging on belaying pins if you can’t get to them? Stuff like that. See my build log for the Lady Nelson (not near the ship complexity you have, but the dilemma was the same). My new way of thinking before I start is “if I install this rigging, what might need to be installed behind it? Can I get to it? What if I wait”. But I’m a noob 1st time builder and may be told I don’t know what I’m talking about. 😊
-
Your work of excellence is inspiration to me for my next build! (I’m sure many others also). 👍😀
What type of adhesive do you use to finish off a seizing or winding?- mtaylor, Glenn-UK and chris watton
-
3
-
24 minutes ago, Gregory said:
This is really a great build for a first kit.. You will have a much better feel for when to do what on your next.. Most importantly, do what works for you and don't get bogged down, worrying if you are doing it "right "..
Thanks for those encouraging words Greg. There are some real artists on the site and they give everyone inspiration and levels of excellence to work toward, but you don’t get there overnight. 😊 I have a book full of the oop’s and notes to reflect on when I start the Rattlesnake later this summer.
-
4 hours ago, Gregory said:
I mentioned above about the NRG article concerning the Hahn model.
My recent research uncovered this page:
Which has all the pictures of the figurehead carving steps..
I think that site has some relationship to the Hahn estate, so the private use of the images should be on the up-and-up..
My next build is the Rattlesnake. Right now, I’m looking into purchasing the CD from NRG that has a good amount of Rattlesnake data. Where did you get this? Super photos. Thank you. 👍
-
9 hours ago, Rick01 said:
Are you going to add coils of rope where-ever you've ended any running rigging?
Rick
Hey Rick,
Not sure, since It appears I didn’t do any rigging in the correct order. I might do more damage and have to rebuild than to just leave it if I were to attempt. The rat lines should be a minor nightmare. Depending on how that goes, I’ll consider it. This first build is turning out better than I hoped. I have learned where some of my natural talent works well and where I need to “learn” new technique. The 1:64 scale allows for lots of unseen techniques and errors… sometimes to our advantage. We’ll save that discussion for another day. 😁
-
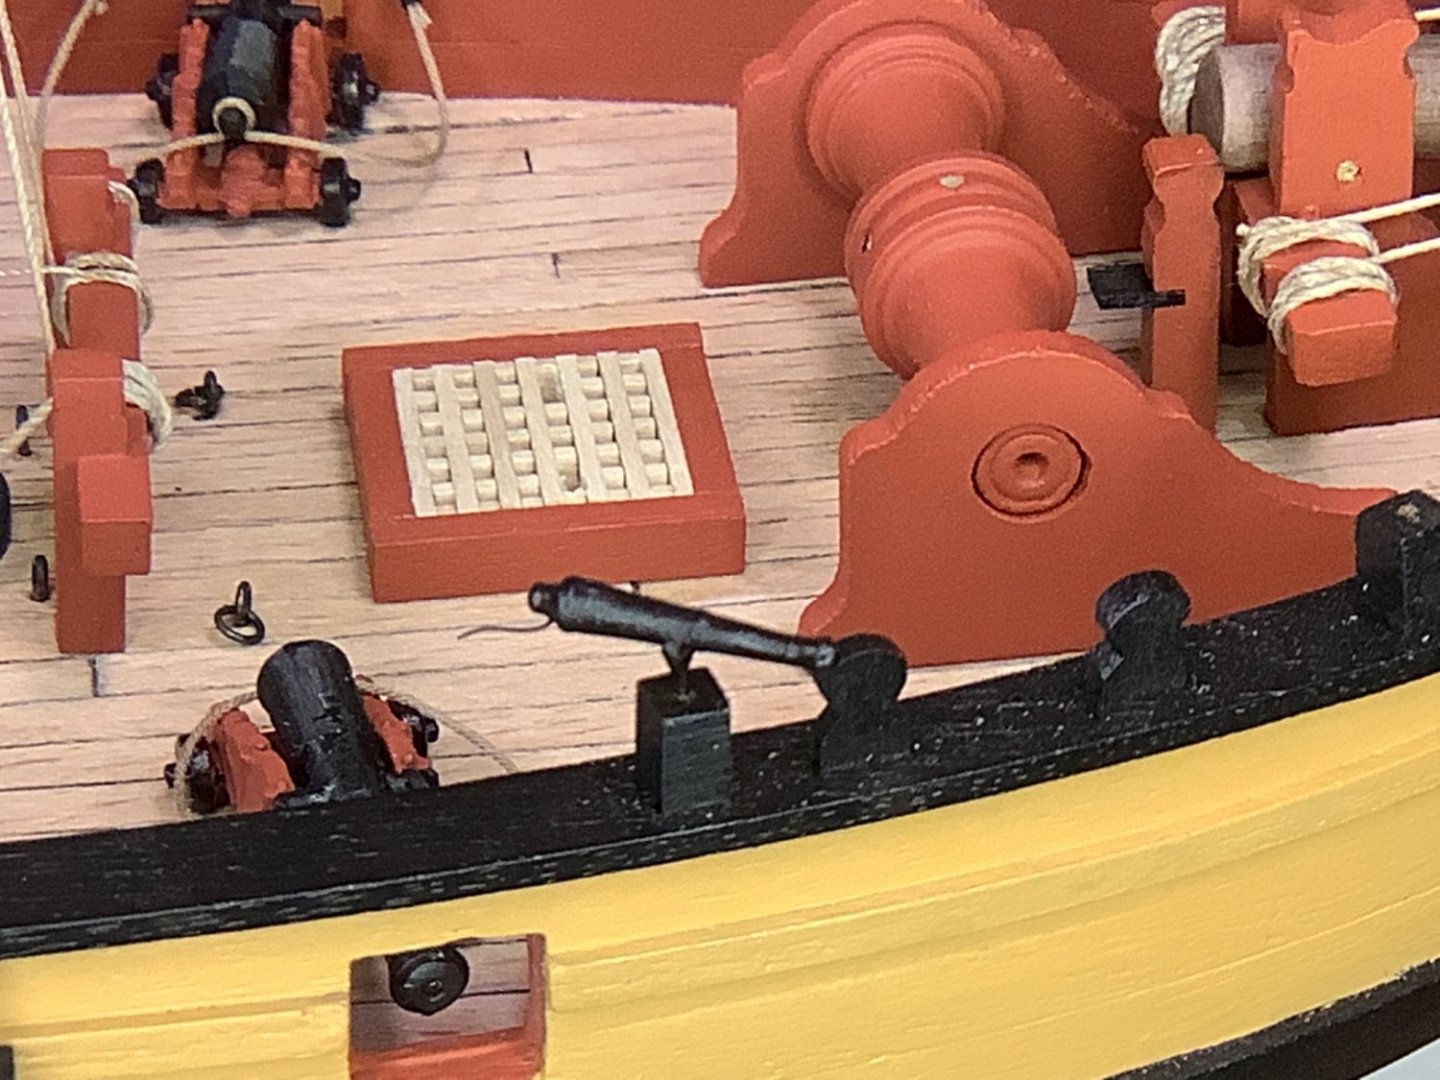
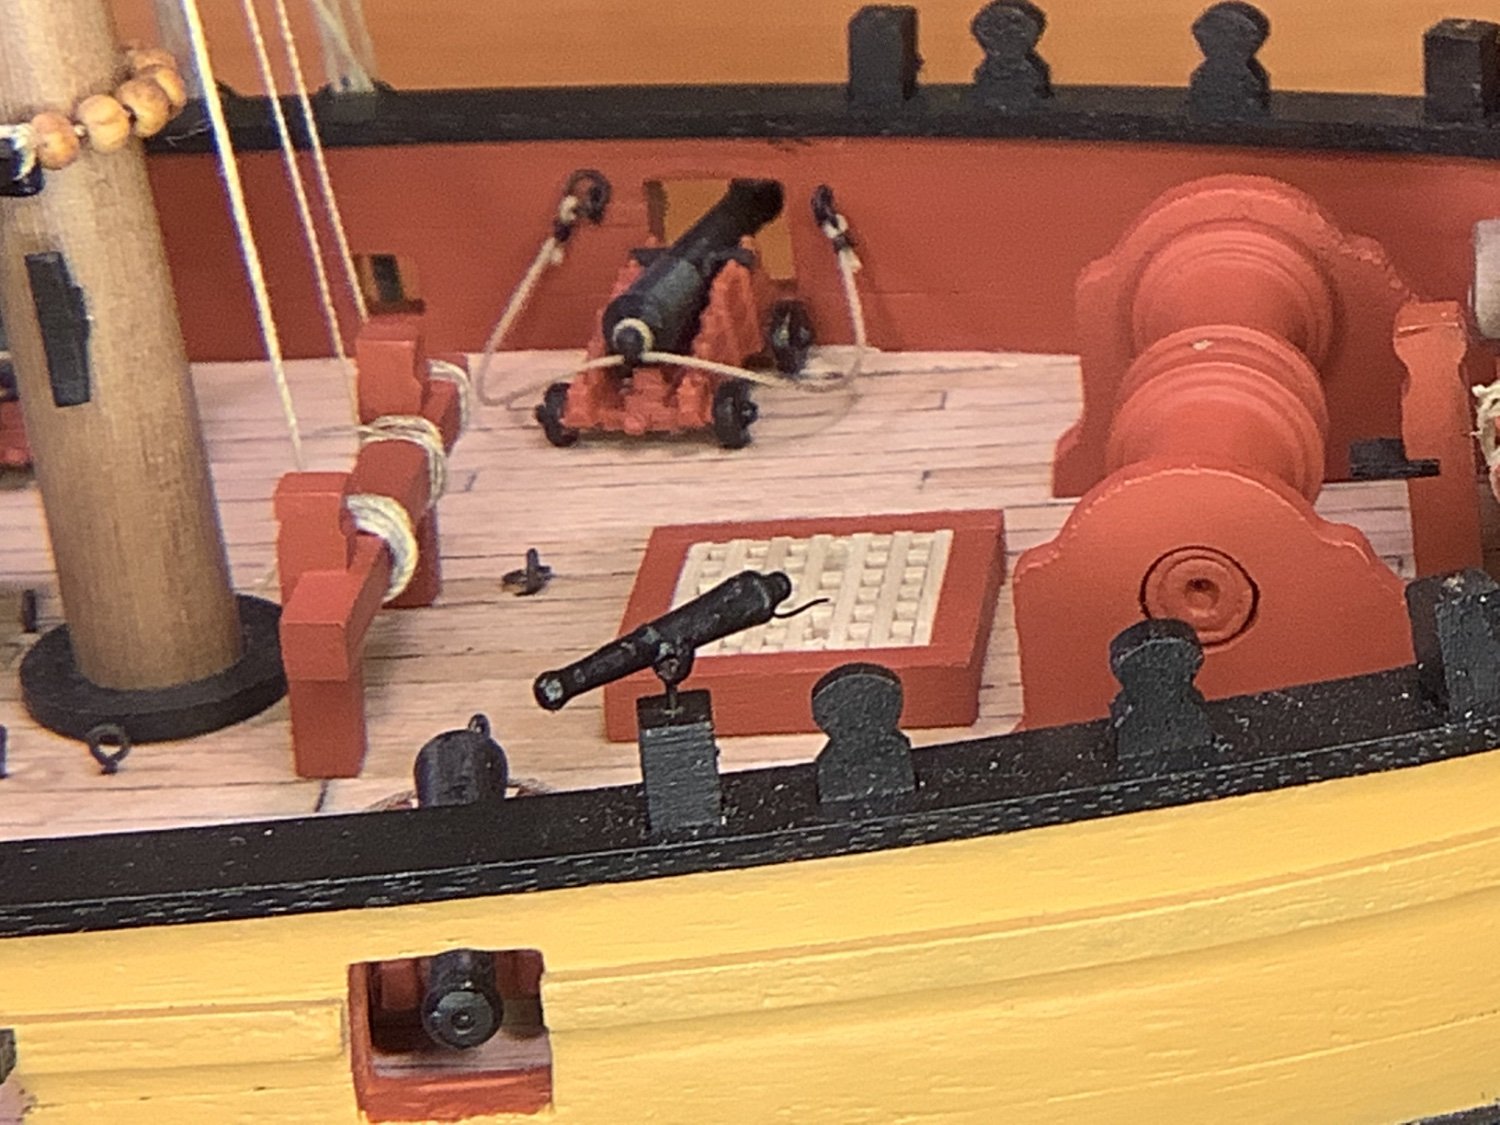
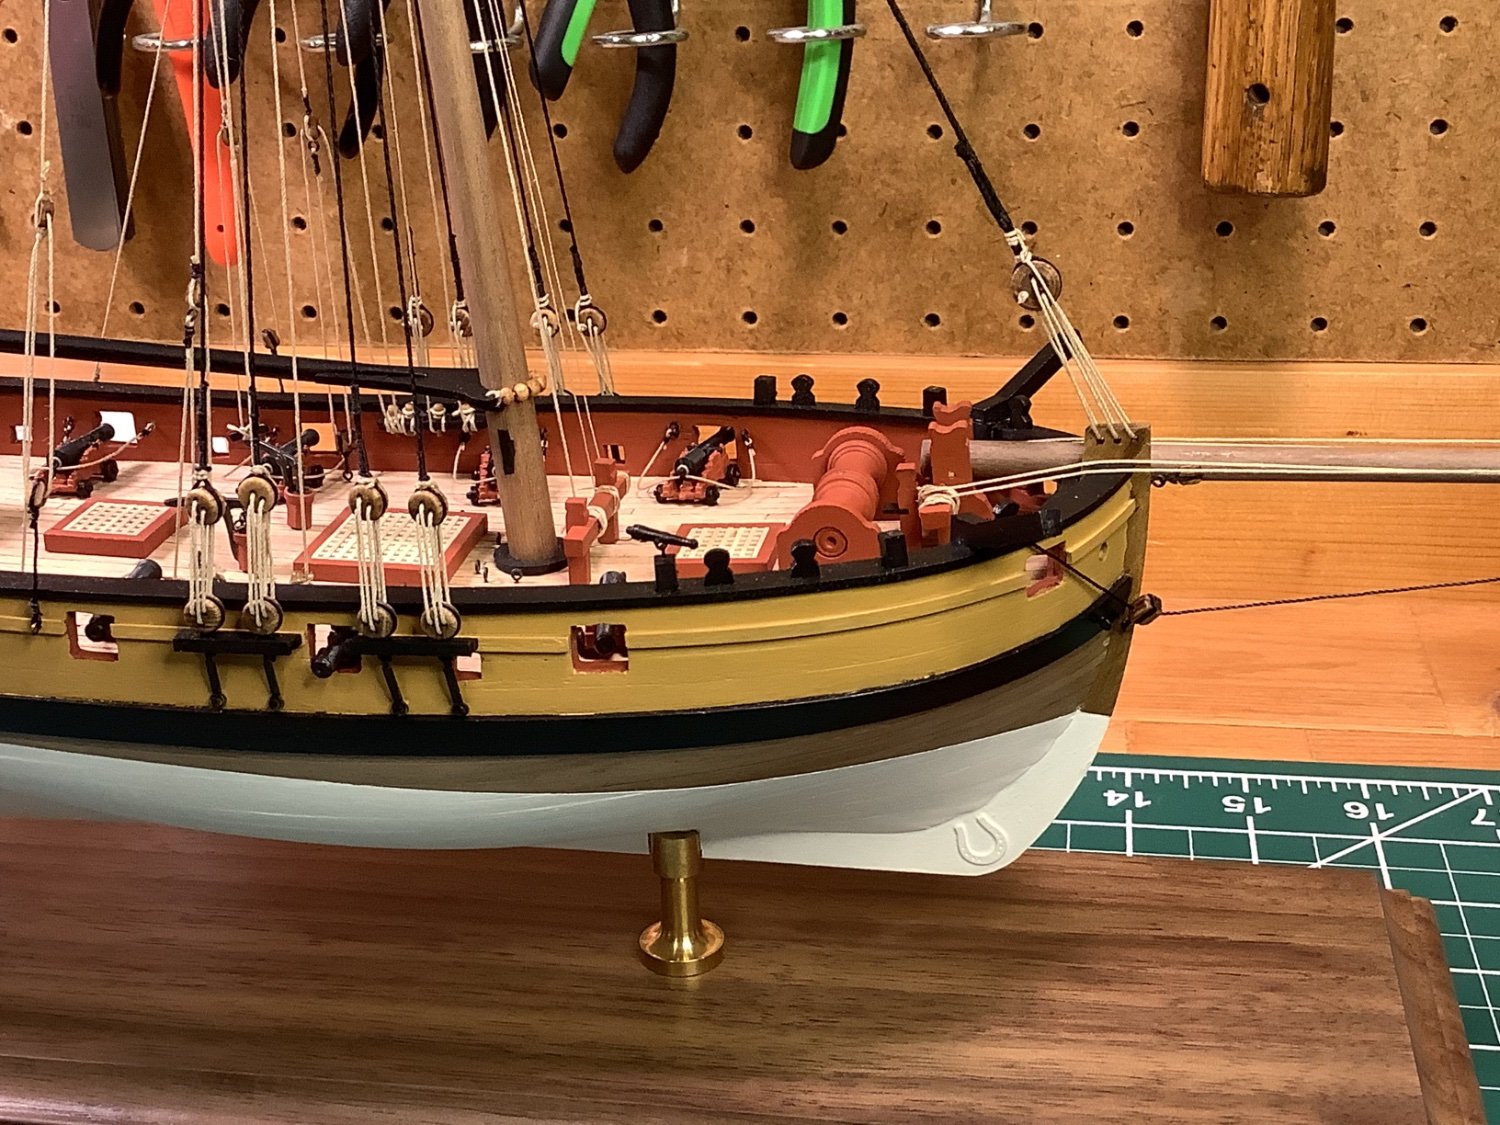
Took the night off from rigging and worked on the swivel guns. These beauties were fabricated (in fact all the cannons on the ship) by Henrythestaffy who lives in Australia. There are many things wrong with this first build, but the cannons are not one of them! Thank you Paul!

- Gregory, Prowler901, Paul Le Wol and 8 others
-
10
-
 1
1
-
-
Hi All,
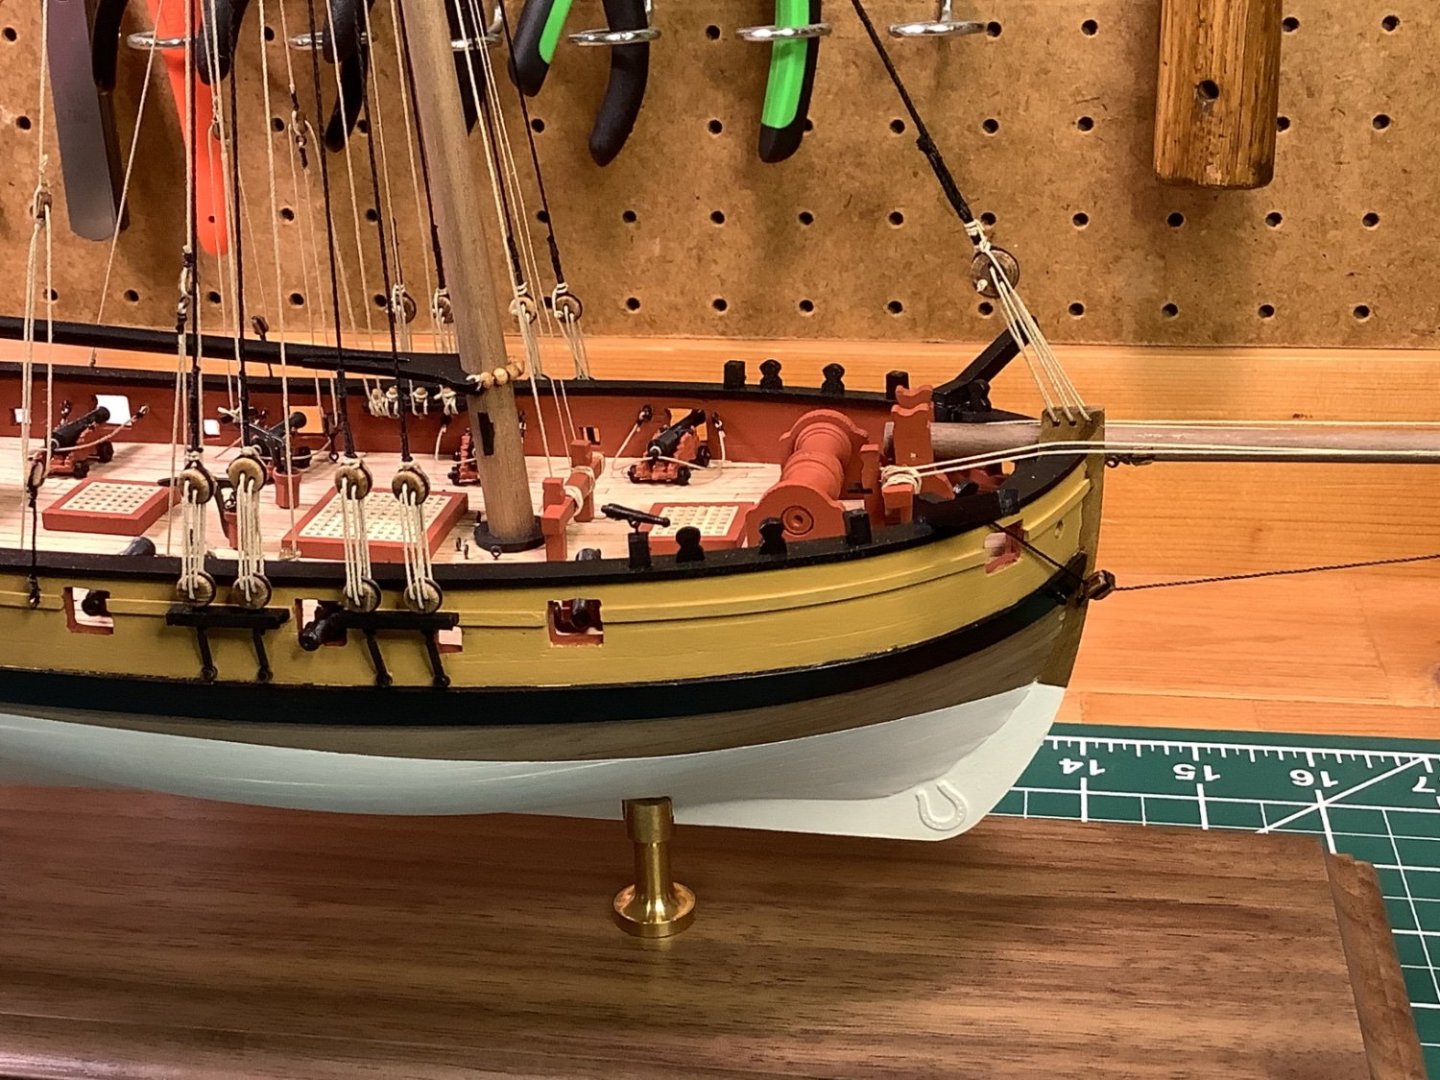
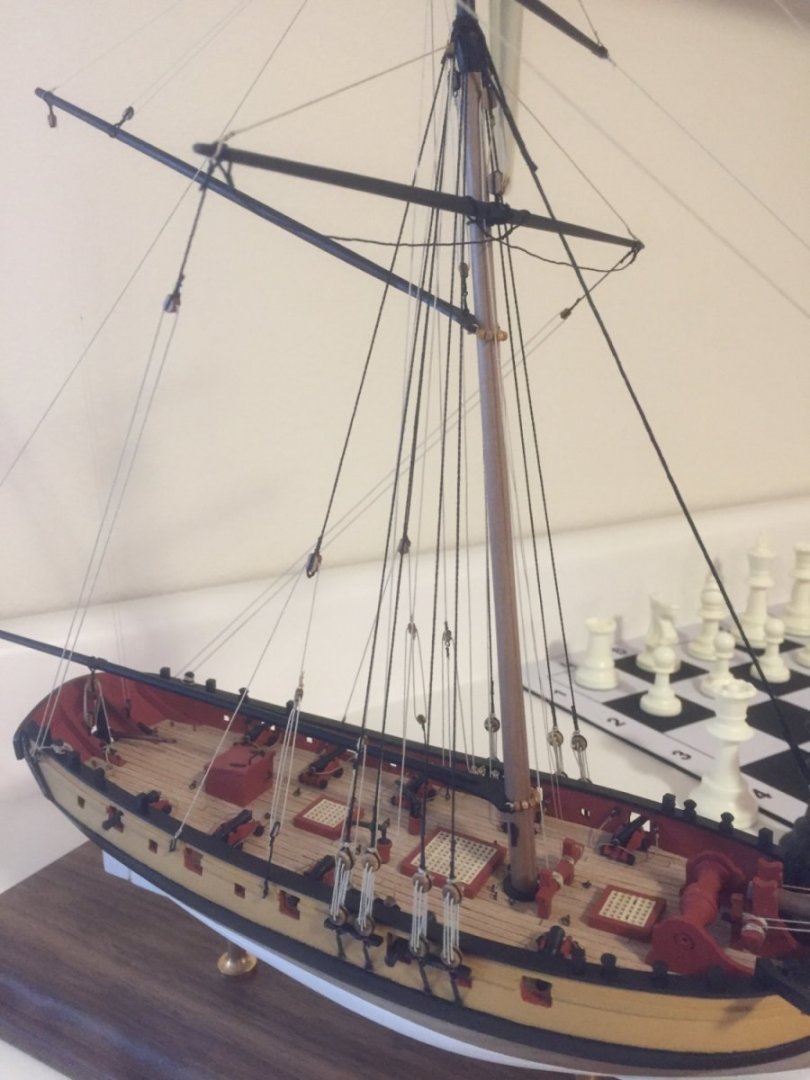
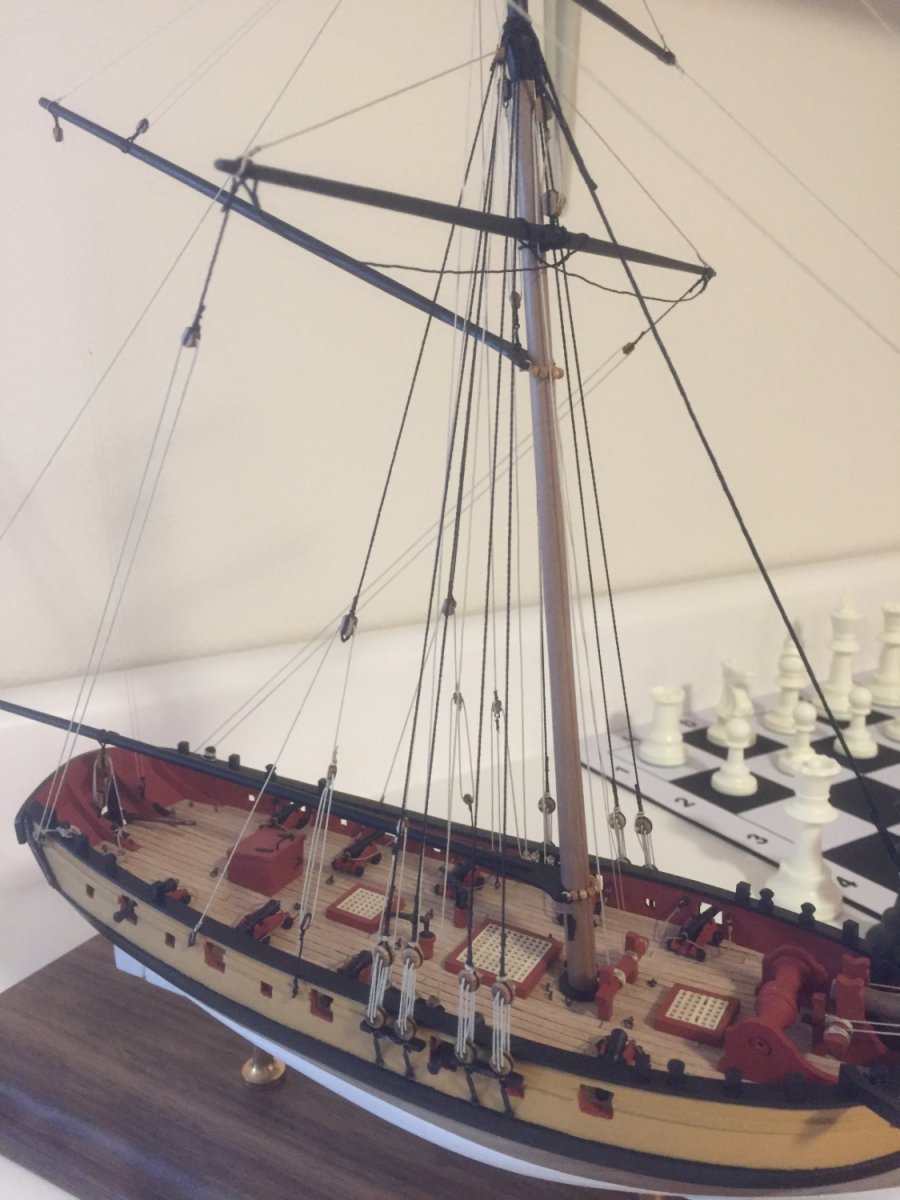
Thought I’d be all excited about getting the shrouds back in place, but after I did… I’m scratching my head wondering how am I going to pull this off. Looking at the LN as she is, it’s like a catch 22. If I had proceeded with rigging with the shrouds and rat lines done and in place, getting to other parts of the rigging looked nay impossible. Now the rest of the rigging is done and I wondering how to do the rat lines. 😳 I see lots of logs where the standing rigging all gets done first. Is that the norm? Did I mess up completing all the rigging first? Looking at it where she lay, how bad is it?
-
-
Very sorry to here of the loss of your son Keith. God’s peace will sustain you and He will guide your heart and your mind in Christ Jesus and his angels with guard over you. Take your time. Prayers for you and the family. 🙏
- ChiefClanker, Keith Black and mtaylor
-
1
-
 2
2
-
-
Outstanding work Sir! 👍
- mtaylor and Ryland Craze
-
2
-
-
Your assessment of how the lines run is correct. The bad drawings that came with my current build had several shown backward with line going the wrong way. My technique for any block installation is to picture the block in my mid and remember there would be a pulley where that hole is and the line always goes in the hole and over the roller, not in the hole and rubbing out the block the wrong way. So the way you described what you see is absolutely correct.
-
I started the rigging on my LN like you, standing rigging. I had the shrouds all done (no rat lines) and someone pointed out I missed some cleats. And then as I started looking at things, discovered there was no way I was going to get lines tied to the belaying pins. Are you concerned about this?

CA-glue for ratlines?
in Masting, rigging and sails
Posted
Hi All,
I have to reopen this thread as I am in the process of constructing rat lines for the first time. I am using .2mm dark brown rope from Syren. Off the top of my head, I don’t recall if is cotton or not. Anyway, here’s the deal. After tying the clove hitch… and moving on to the next shroud line, the last clove hitch knot starts to loosen. I only have 3 shroud lines to tie the clove hitch on and have the temptation to spot glue each knot. Is this unraveling a trait of very thin synthetic rope? I know my knots and checked them against multiple YouTube videos.
How thin should the wood PVA be (in parts) that I should be using on the knots?