
Wawona59
-
Posts
169 -
Joined
-
Last visited
Content Type
Profiles
Forums
Gallery
Events
Posts posted by Wawona59
-
-
Hi Roman,
Welcome to Model Ship World. It's nice to see a new member from the Pacific Northwest. This is a wonderful site with many knowledgeable, helpful and friendly modelers. I've learned a lot from many of the members here such as our recent thread on how to use a table of offsets and drawing your own plans. Welcome Aboard!!
Wawona59
-
Welcome to Model Ship World. This site and its members have been a great help to me in both researching and building techniques. You've definitely come to the right place.
Welcome Aboard
Wawona59
- Keith Black, Knocklouder and mtaylor
-
 3
3
-
Welcome Aboard! Impressive work on your Bismark. Your electronics are on a whole other level to me. You are definitely in the right place. I'm looking forward to seeing more of your work.
Wawona59
- Keith Black, Herby63 and mtaylor
-
3
-
Well, it looks like I'm late to the party again, as usual. When I followed your latest Glory of the Seas build, I often wondered about the ship on the sea in the background. Now I know. I assume it is your first Glory of the Seas based on the Revell Cutty Sark hull. Your multi media builds are interesting and I'll be following this one.
Wawona59
-
Hi Dave. Welcome to MSW (again). In the plastic modeling world, I believe Eduard, Tamiya and Airfix offer scale ground crew figures which could be modified to your needs. It might be worth a shot.
John (Wawona59)
-
Beautiful work! Your skylight bars look perfectly aligned and everything look crisp and clean. I'm glad to see you ditched the ugly cast metal binnacle and replaced it with your better wooden one.
John Newcome (Wawona59)
-
Welcome to MSW. Excellent choice starting with the Model Shipways 3 kit combo. After you finish those kits you will be ready to build something more challenging. There are a lot of great folks on this forum who are very glad to answer questions that arise during a build. BTW, great job on the dory. Your work looks very clean. Keep up the good work and enjoy the journey.
John
Wawona59
- Dave_E, Edwardkenway, Keith Black and 2 others
-
5
-
Hello DanB, it looks like you've made a really good start on your Sultana. While the hull is still being shaped, I would establish an accurate centerline. It seemed to me that everything on the model going forward, deck, deck fixtures, keel and masts all reference off of this centerline. I made the mistake of not making an accurate centerline on my Phantom. The hull ended up not symmetrical and took on a banana shape to my eye. Have you checked out any Sultana build logs on MSW? Keep moving forward with little steps.
Wawona59
- Mr Whippy and GrandpaPhil
-
2
-
Rob,
Your Glory of the Seas is absolutely stunning! The HO figures really add life you your model. I never tire of looking at your model photos. Did you ever consider compiling all of the build photos and narrative into a modelling book documenting your journey building the Glory of the Seas? I'd buy one and I think many other modelers would as well.
Absolutely Outstanding!!!
John
aka Wawona59
-
Hi gak1965,
Yes, I agree the files can be very aggressive which I found out on the forward bulkheads I replaced. I really got carried away with the fairing and shaping and now I think they resemble "rabbit ears". I will replace these and use a less aggressive method, such as sandpaper as you suggested.
As I mentioned to Rick310, fixing errors to try to make things better is part of this wonderful hobby/pastime. I've really enjoyed following your build by the way.
John
aka
Wawona59
-
Hi Rick310,
I think fixing errors to make something better is part of this wonderful hobby/pastime. I know my Fish will not be museum work of art either. I'm just trying to do the best that I can and learn from my mistakes. I really like the Model Shipways POB Flying Fish kit. The plans and instruction book are very well done in my opinion. The Britania fittings leave much to be desired though.
My wife has not given me too much pushback yet on my Flying Fish project since I'm in the process of selling off many of my plastic and balsa airplane kits. Take Care and keep on prodding forward on your Flying Fish project. I'll be following your build log.
John
aka
Wawona59
-
Welcome to MSW William. I built the 1/96 Cutty Sark when I was a kid in the early 70's. The CS can result in a very attractive model if you take your time. Getting additional references is a good move. The Longridge books are a good start. I would not feel like you have to purchase every CS reference book available though.
In my opinion, I think you would be happier with your build if you replaced the deck with a wooden one. Scaledecks.com is one manufacturer that comes to mind.
I would definitely replace the molded ratlines, lanyards and deadeyes with aftermarket items. I would also consider replacing the plastic blocks with wooden ones. There are a few sources of wooden blocks; Syren, Model Expo and Bluejacket are good sources.
I seem to be a fumble fingers/gorilla when it comes to the plastic eyelets and belaying pins. I frequently break them. I would replace them. Consider trying to make the eyelets from wire instead of buying photoetch.
There are many modelers on MSW who have built the Revell 1/96 Cutty Sark. They can provide you with a wealth of knowledge and shared experience for your project.
I wish you the best in your Cutty Sark project and will be following you log. I'm currently working on a Model Shipways Flying Fish that I started over 20 years ago. I'm fixing errors and re-doing parts that I'm not pleased with.
Wawona59
-
Thank you for sharing these reference photographs. It looks like there have been some replacement planks on the deck. That would be a detail that could add interest to a ship model.
Wawona59
-
WOW! What an interesting and personal project. This brings back a lot of memories for me as well. I built this kit when I was a kid in the early 70's.
Here are a few of my suggestions:
1. Since you've done an initial cleaning of the ship I would use cotton buds soaked in a mild dish detergent to clean up the nooks and crannies of the model hull and deck.
2. I would not repaint the hull or deck but rather leave it the way your mother left it; blemishes and all.
3. Consider replacing the masts with stronger wooden ones. You should at least replace the topsail, topgallant and jib booms. My experience is that these masts tend to bend like a fishing pole with a fish on the hook when rigging the backstays.
4. If at all possible, keep as much your mom's work intact such as the painted hull and rigging like the ratlines.
Enjoy the journey. this looks like a rewarding project.
Wawona59
- Kenneth Powell, yvesvidal, ScottRC and 1 other
-
4
-
Build Log entry No. 3
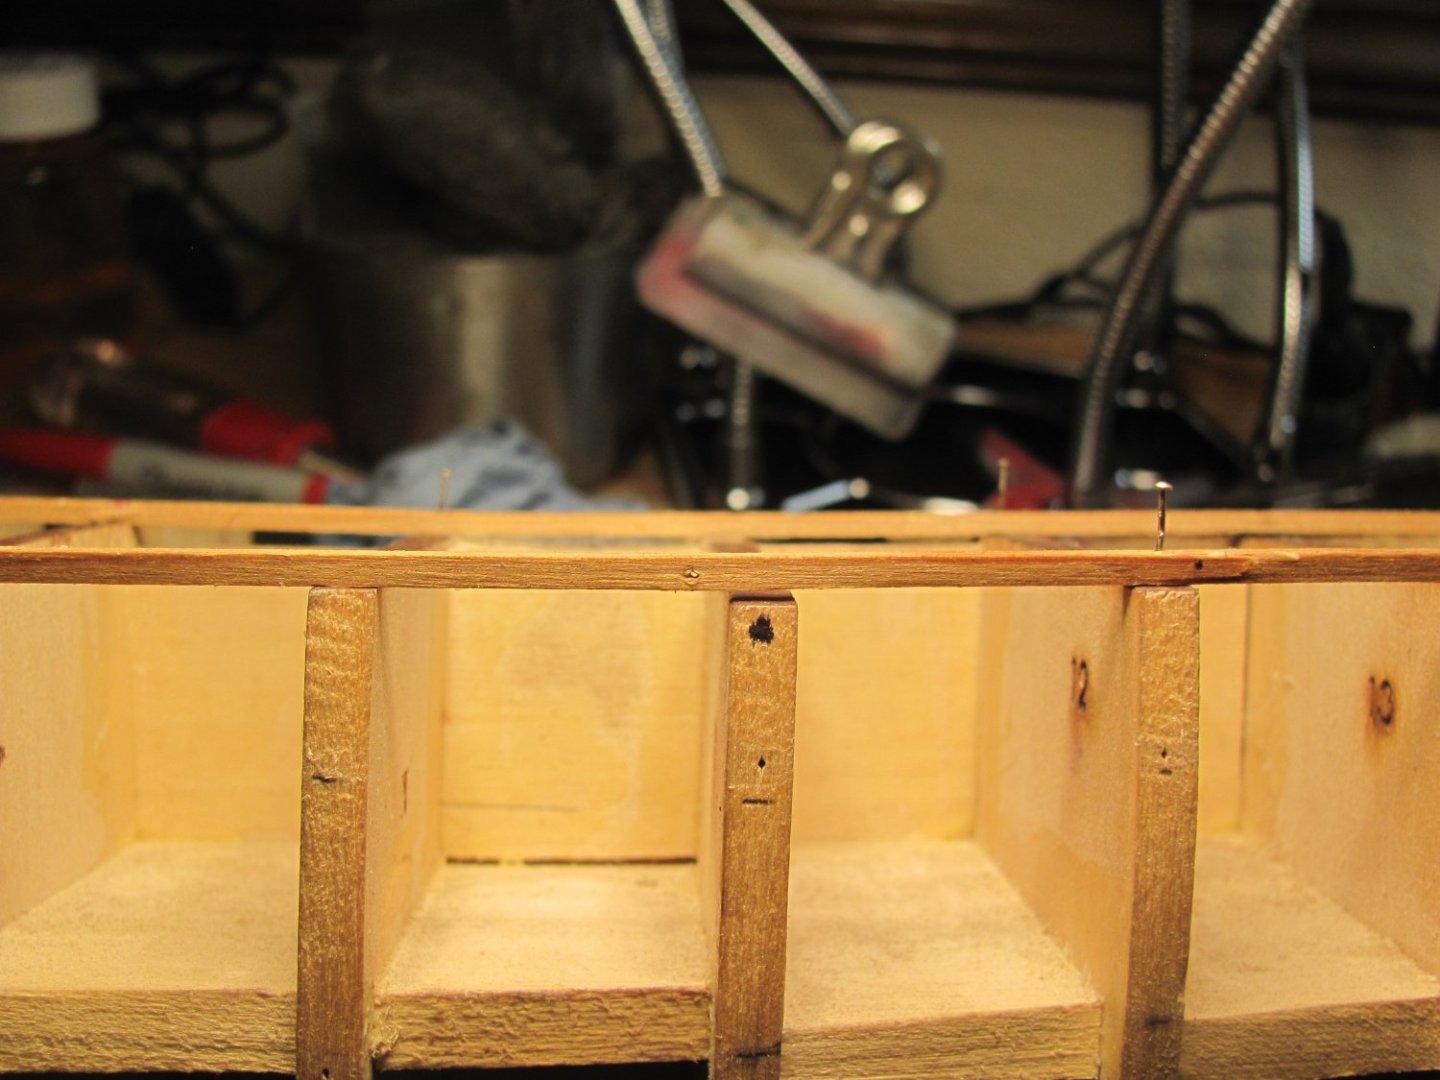
Well, I'm continuing to work on fixing my previous errors. This week, since none of the bulkheads lined up properly I added a wooden strips to the top of each bulkhead. I will then transfer the sheer from the plans to a sanding stick. I'll use this sanding stick to correct the bulkheads for proper sheer and deck curvature.
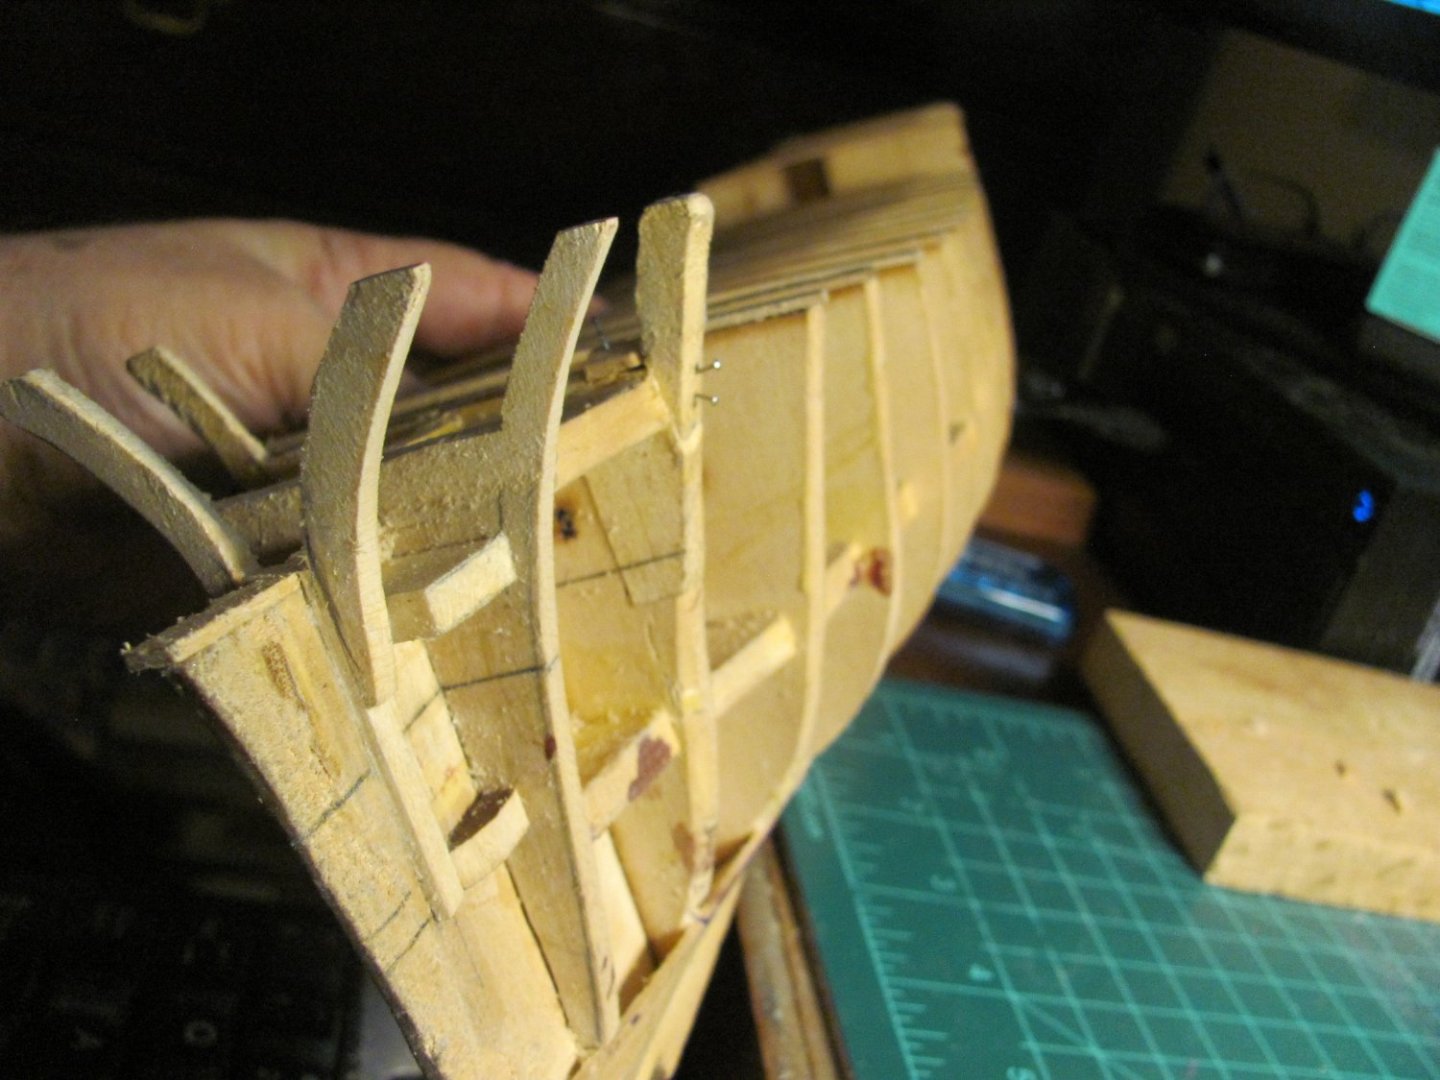
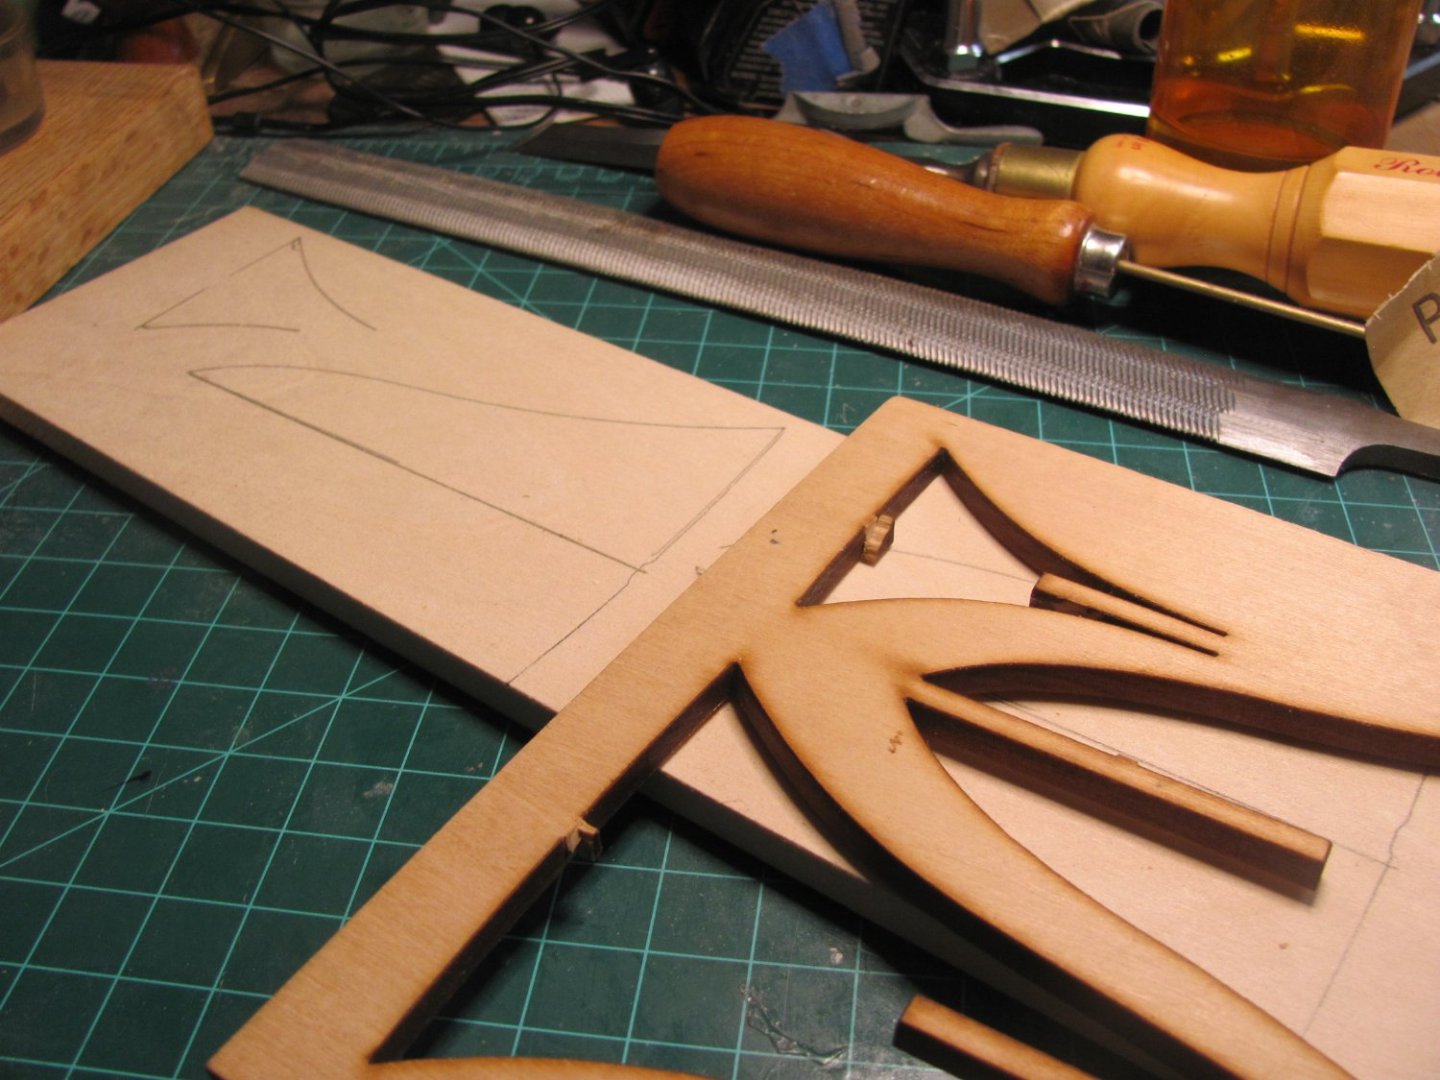
The challenge this week was to make new forward bulkheads as i was not happy with my previous lame attempt. Fortunately, I kept the basswood sheet where the bulkheads were removed from. I used the sheet to as a pattern to make new bulkheads.
After I attached the replacement bulkheads I started the fairing process. As you can see from one of the attached photographs, I managed to incorporate some of my DNA into this model. I'm fairing the bulkheads using files and chisels only. I've got a way to go but I think these replacement bulkheads are much better than the ones that I started with.
After I get the bulkheads faired I'll be adding the keel, stem piece and cutwater following the drawings posted by Clipperfan. After that about a month of planking will commence.Thank you to those who are following this build/restoration. See you next time.
John


-
Thanks Clipperfan,
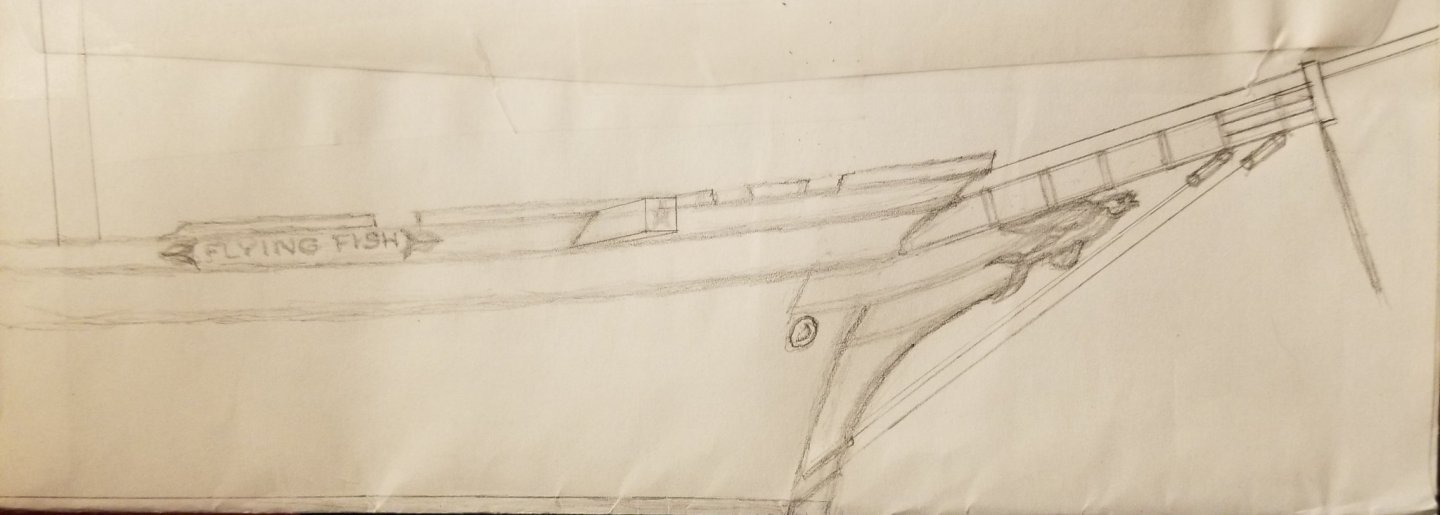
Thank you for your input. If I understand your drawing correctly, the curved cutwater piece begins about the waterline and moves upward in a sweeping curve. At the top, behind the figurehead I assume that the curved cutwater piece is then sandwiched between the two naval hoods. I think I remember reading something to this effect in one of your posts. I must admit, this addition really enhances the profile of the bow into a more graceful shape..
John
-
Thank you Rob,
The nautical terms Naval Hood, Cutwater and Trailboard are new to me. I've learned quite a bit about these features this week. It's clear to me now that I will have to either modify or replace the kit's stem piece.
Now, back to fixing my previous 20 year old mistakes.
thank you
John
-
Clipperfan,
Thank you so much for your explanation. Now, I'm starting to understand and will definitely incorporate this detail in the bow of the Flying Fish I'm working on. These have been filed away for future reference. Thank you again for your explanation.
Wawona59 (John)
-
Thank you for the clarification George. When I get to that point, I will follow the drawings that Clipperfan posted as well as your Flying Fish build. Thank you
Wawona59 (John)
-
Hi Rob,
There's a lot of fixing I need to do to make the hull and deck bulkheads true. I really did a crappy job way back when 20+ years ago. LOL
Once I get the hull and deck bulkheads true to my satisfaction, I'll start the hull planking.
BTW, what is the difference between a naval board and a trail board? The Boston Atlas article by Duncan McLean says that the flying fish did not have any trail boards. What is the difference?? Another topic or a future discussion I think.
If anyone else has any insight to the difference, please let me know. ClipperFan, I hope you can enlighten me.
Thank you for your post. Greatly appreciated.
Wawona59 (John)
-
Build Log No. 2
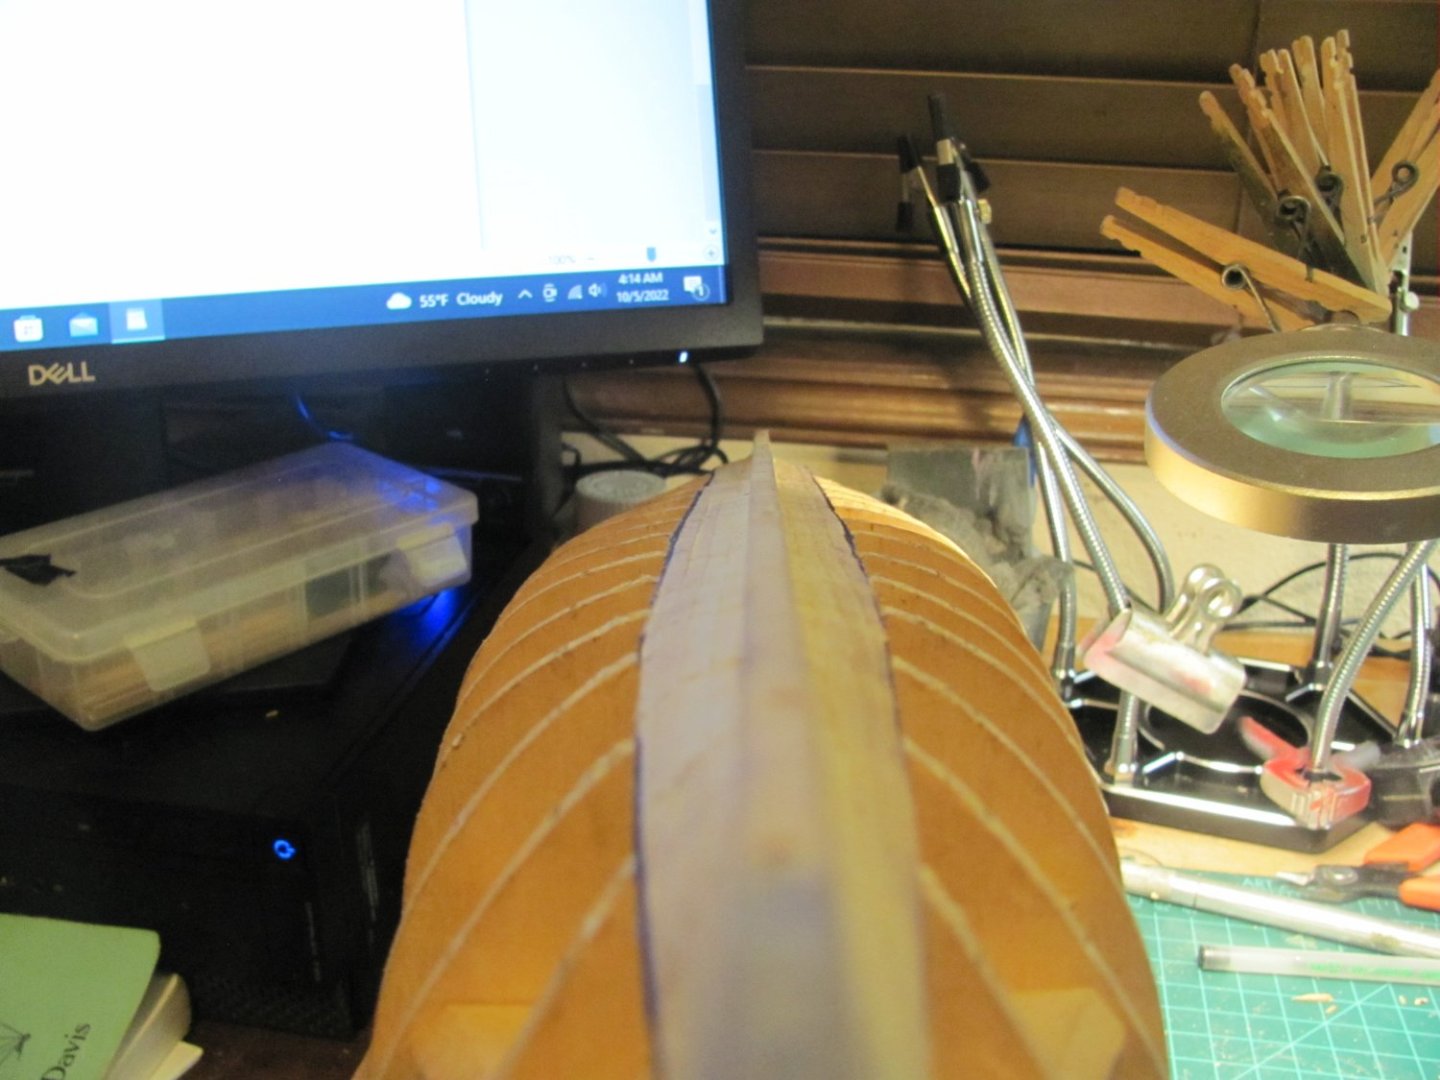
The first task was to remove the battens and the unwanted/incorrect planking. Close examination revealed that things really went south when I started adding stealers. I have no idea of what I was thinking at the time. I also used bamboo dowels made with my drawplate. A sharp chisel was used to cut through the dowels.
The garboard strakes seemed okay, so I left them alone plus three strakes from the keel. Using a metal straight edge, I determined that the keel was straight and true although I haven't trued up the remaining planks to make them symmetrical port and stbd.
Next, I checked the surface of the deck level bulkheads for proper sheer and camber. Many of the bulkheads were not true with multiple gaps which need to be addressed and fixed. I'm starting to view restoring this hull as working on a piece of miniature furniture rather than a ship model.
I hope some of you will stay tuned. My next log will go over truing up the deck bulkheads, fitting the stem, and stern pieces and fixing the bulkheads 1 and 2 forward that I had to replace.
-
sticker,
I'm glad you found Tom Lauria's videos. My favorite videos of his are is 1. 1/48 model of the Kate Cory, 2. Creating an Artistic Impression, 3. Blocks Not from Scratch and his latest series, 4. Repairing the Emma C. Berry. Tom actually teaches. His videos along with Chuck Passaro's planking videos are some of the best and most useful I've ever seen.
Happy Modeling,
Wawona59
- mtaylor, thibaultron and sticker
-
3
-
Thank you so much George for this wonderful build log (practicum). Also a thank you to all of the contributors to this build log including Rob, Clipperfan, Rick310, et al. The tips and photographs you've shared have been filed away and will be invaluable to me as my Fish project progresses.
I've just started my build log for the Fish. My first step has been to dust off 20+ years of cobwebs and remove much of my substandard work. You've all given me something to shoot for. I expect to post another build log shortly.
Thanks again
Wawona59 (John)
-
Thanks George,
I've been following your Fish build with great interest. In fact, I've got your build long on my computer screen right now while I'm working on my fish. I'm currently working on removing the messed up parts so I can start building her up again.
Wawona59 (John)
Current Build: Flying Fish, Model Shipways, 1:96


Norske Love 1765 by niels wilhelm - Billing Boats - scratch built hull
in - Build logs for subjects built 1751 - 1800
Posted
Beautiful work Niels. I recall as a kid in the late 60's and early 70's I helped my next door neighbor work in this Billings kit. I'm not sure if his Norske Love was ever finished. Since this is a scratch built hull, is this the plank on frame hull you displayed at the Museum of Flight February show several years ago?
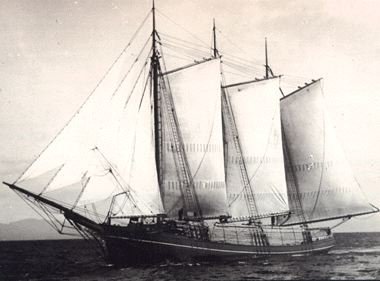
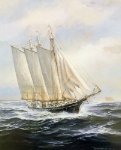
I've put my other ship modeling projects aside as my interest has shifted to Pacific Northwest and Seattle maritime history. I'm currently researching the lumber schooner Wawona (and C.A. Thayer) and the Downeaster St. Paul with an eye of building a 1/8" = 1' model of each. As you once told me, for ship modeling "the mood has to be right". I will never forget that.
I do hope you remember the wonderful weekend we had at the Museum of Flight show several years ago. That was the show where we each wore our red NWSM shirts with yellow "ruler suspenders". As I recall, you were working on a Viking Dakkar at the time.
I hope all is well with you. Please feel free to Private Message me if you get a chance.
Wawona59
John