HOLIDAY DONATION DRIVE - SUPPORT MSW - DO YOUR PART TO KEEP THIS GREAT FORUM GOING! (Only 44 donations so far out of 49,000 members - C'mon guys!)
×


HIPEXEC
-
Posts
2,698 -
Joined
-
Last visited
Content Type
Profiles
Forums
Gallery
Events
Everything posted by HIPEXEC
-
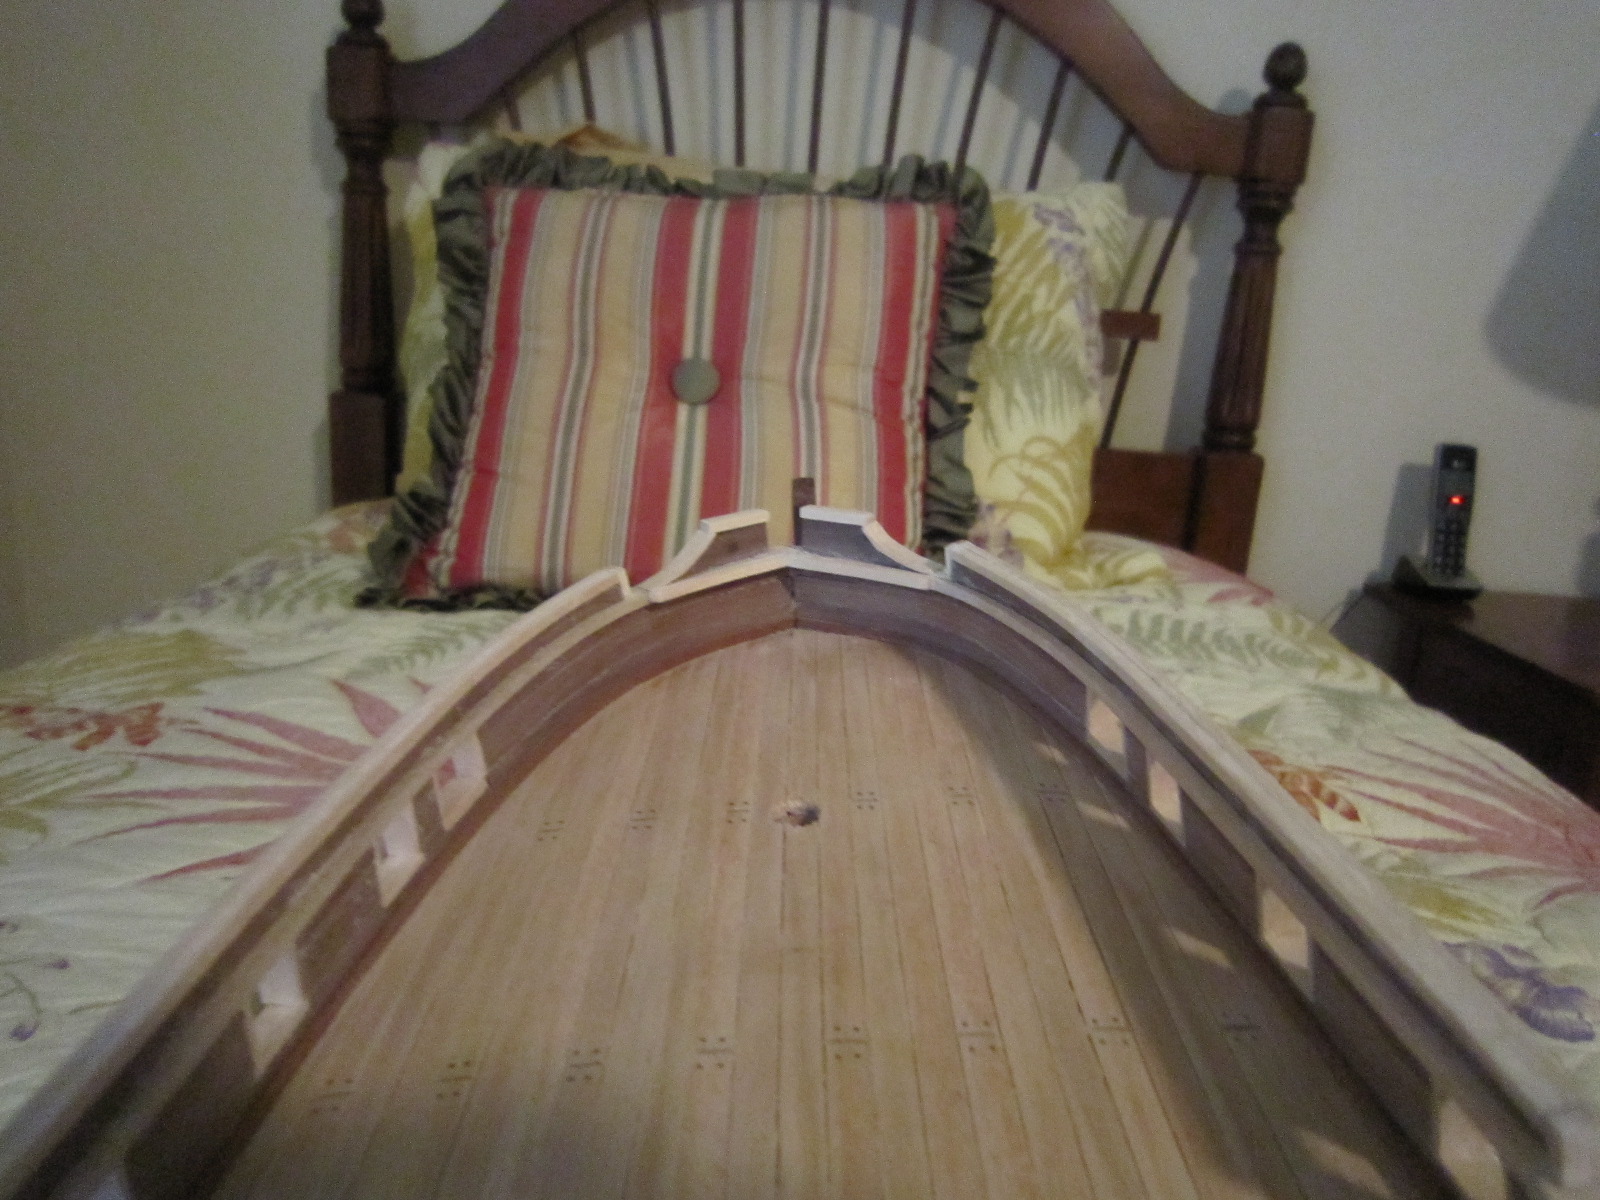
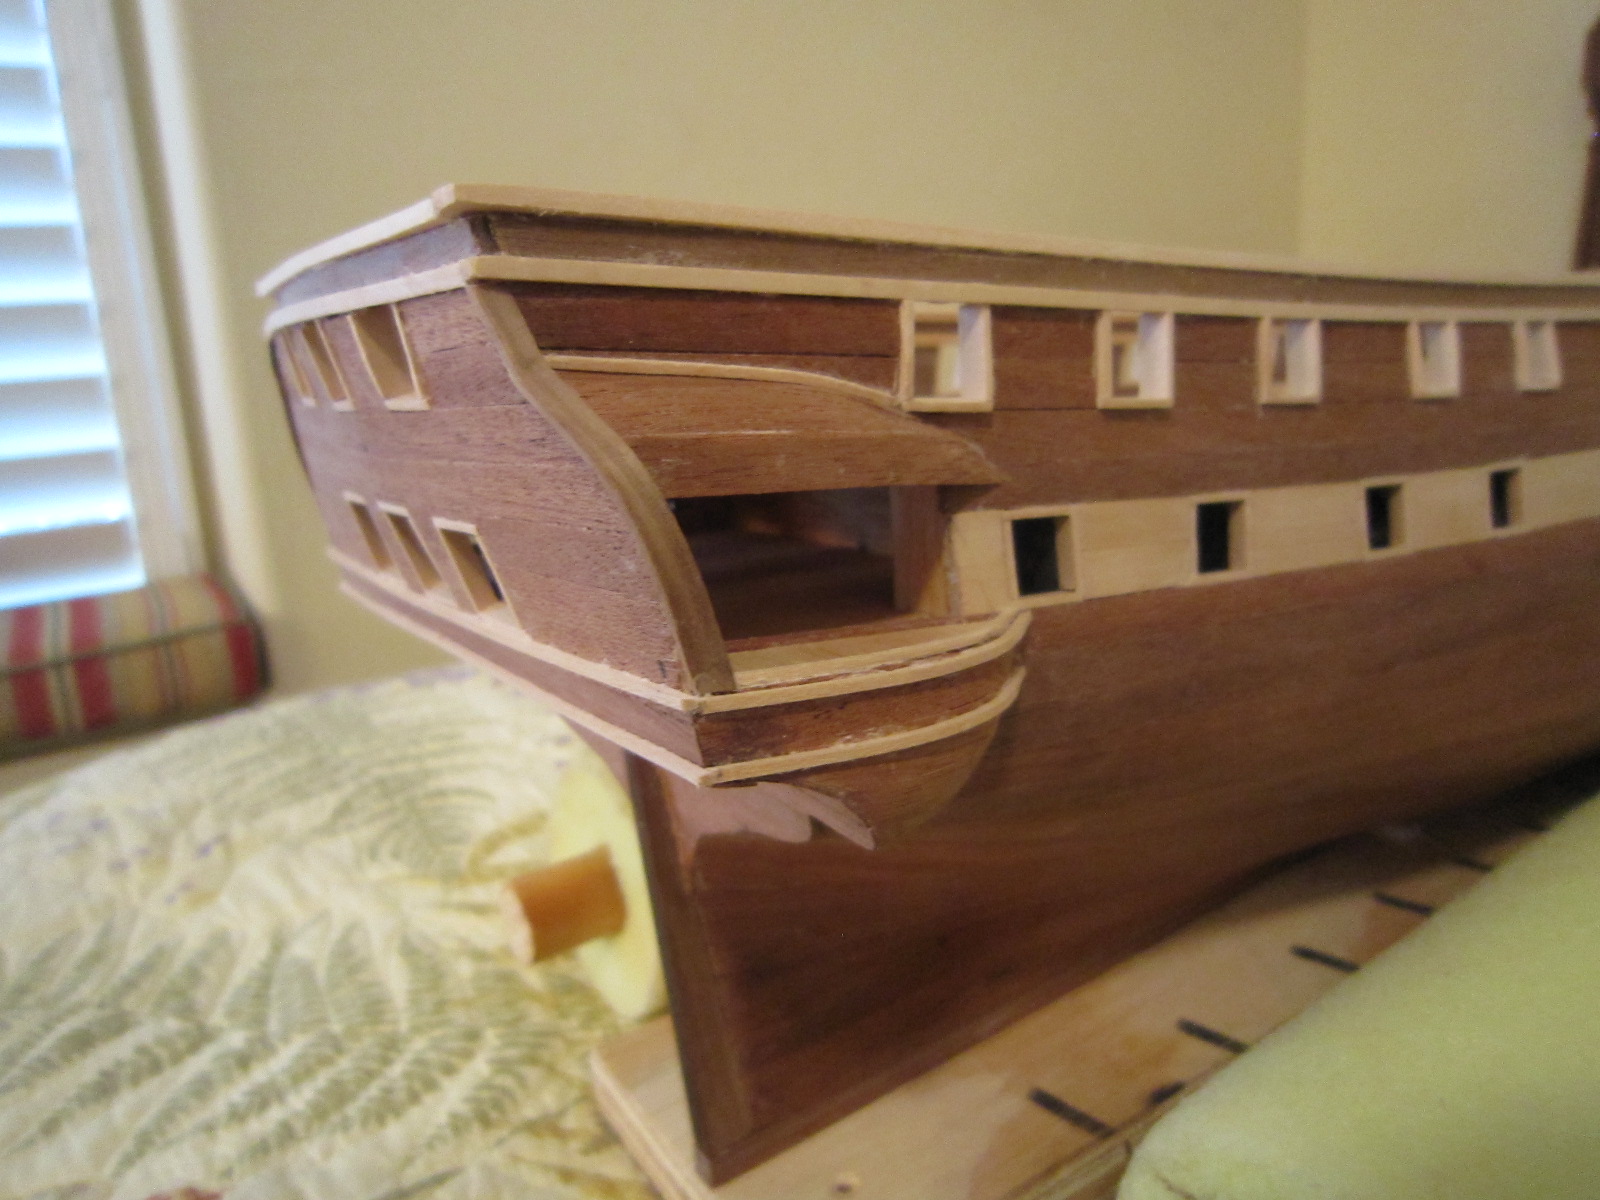
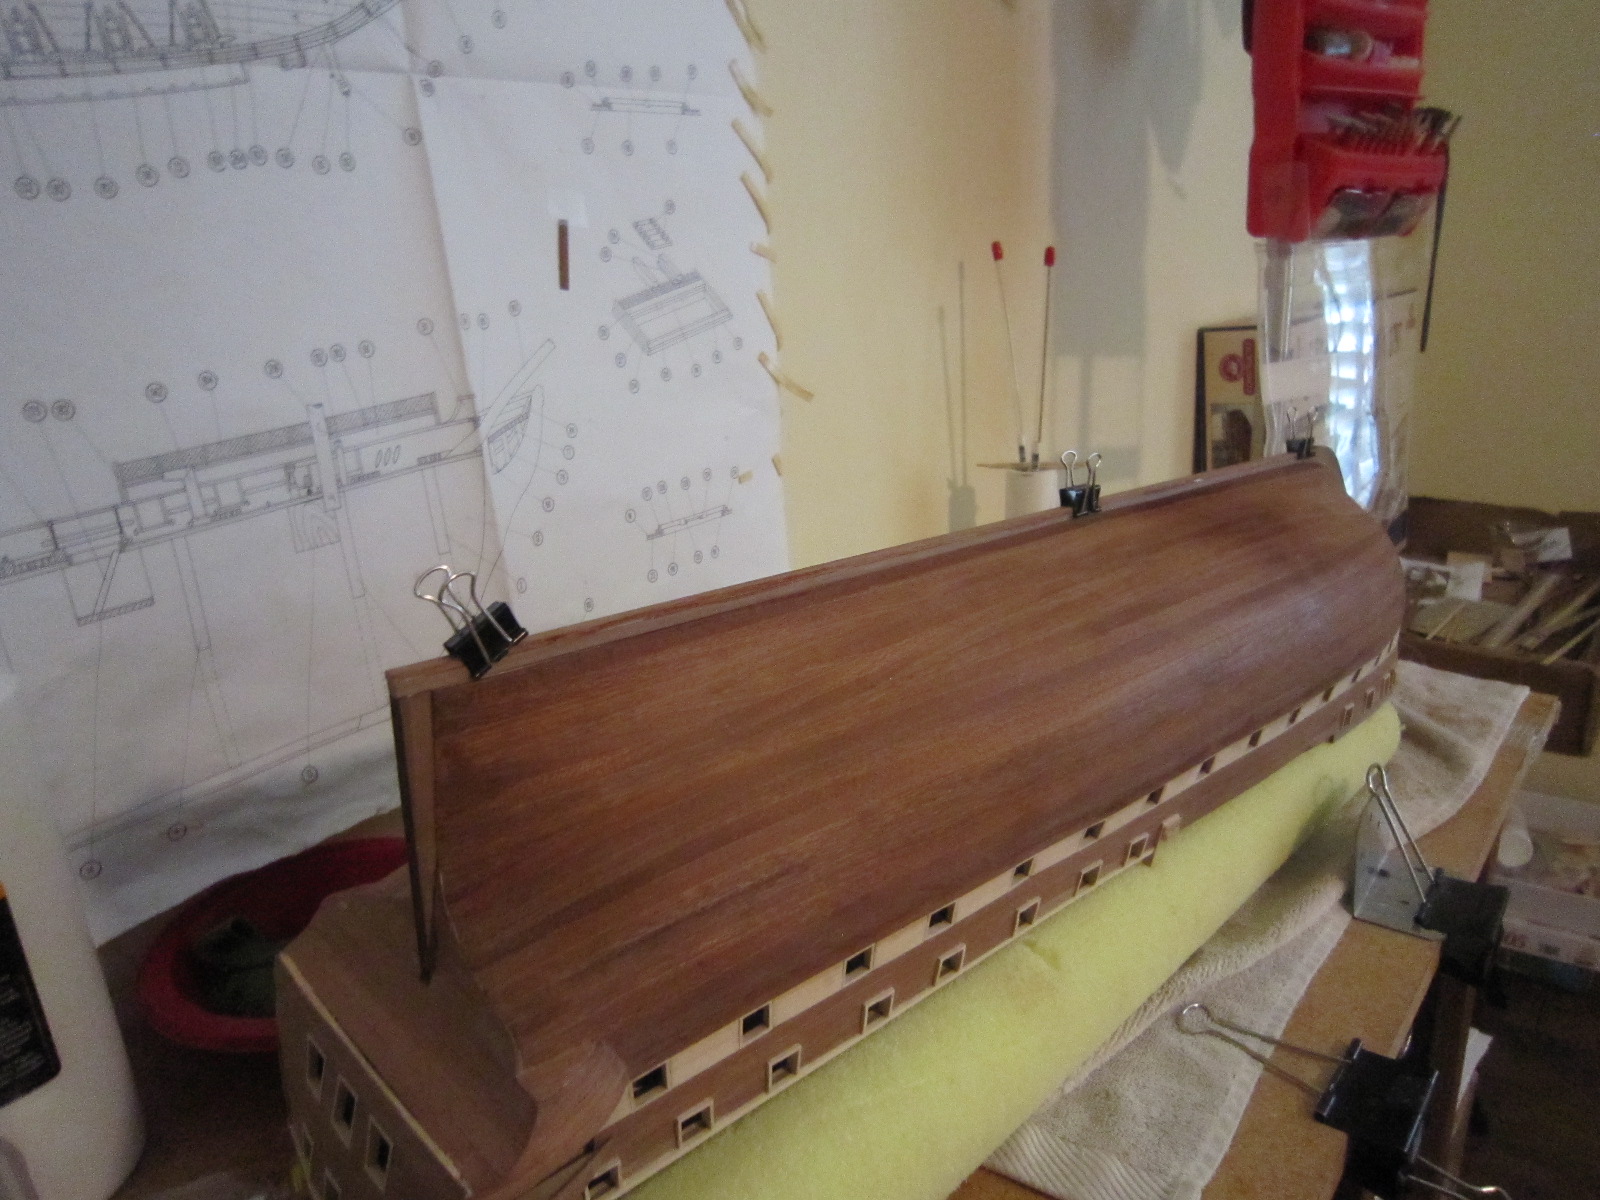
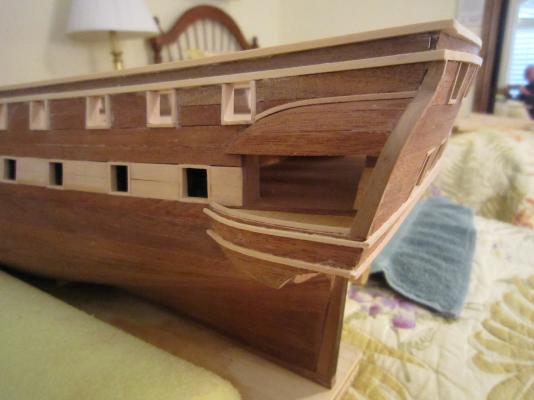
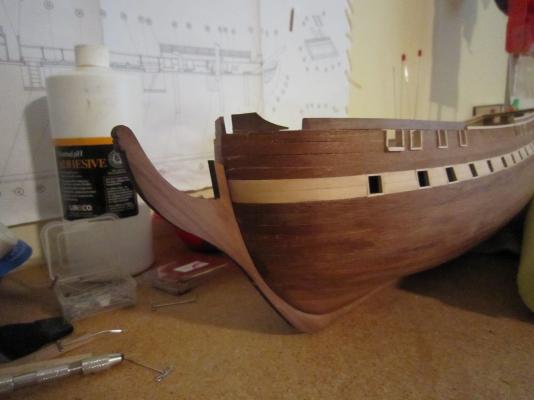
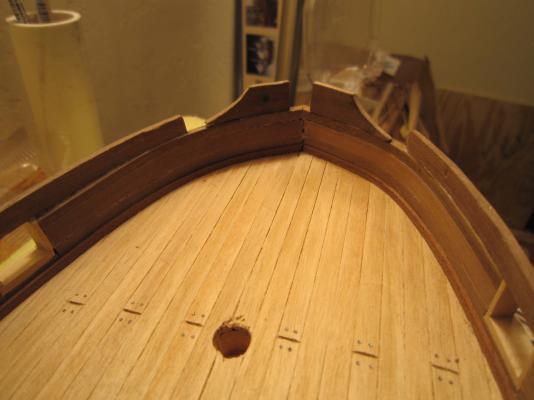
 After I finish trimming the wood parts on the transom, I'm going to take a break before tackling the whole bow section since it is chuck full of complex parts I must fabricate myself since there are no pre-cuts. I'm going to take that time to micro sand and scrape all the glue smudges I've left in my wake. I will also fill in many of the small cracks and voids left while I plunged ahead to get to this stage.
 -
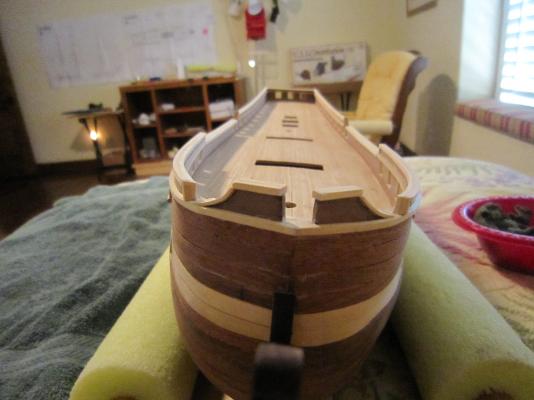
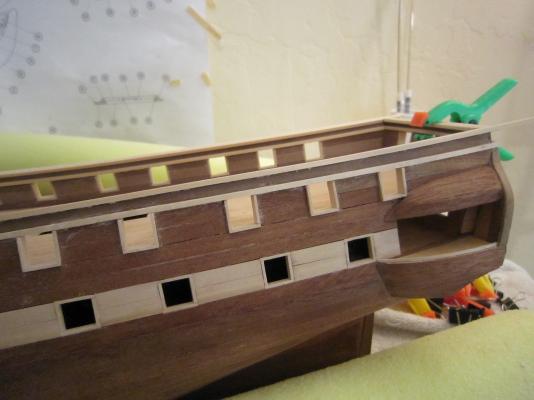
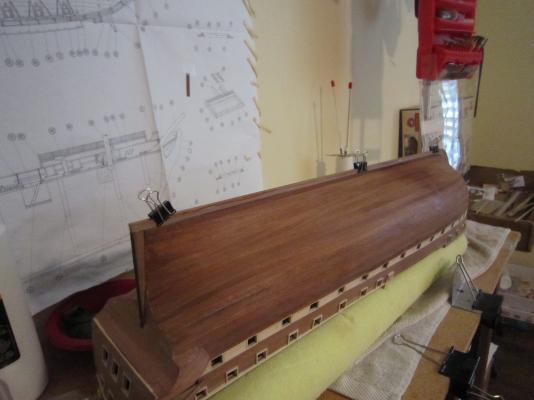
Bow toprails trimmed and I'm bending more transom trim.


- 1,756 replies
-
- 1
-

-
- constitution
- constructo
- (and 1 more)
-
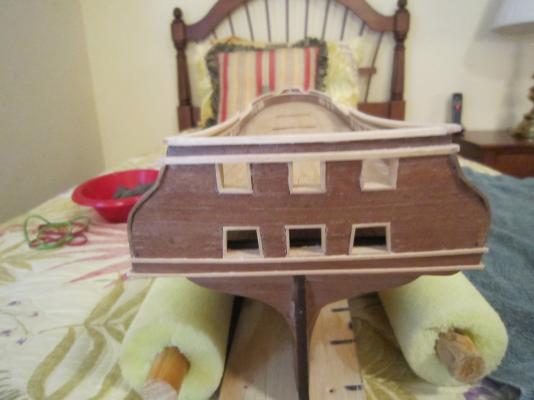
I've put more trim on the transom & galleries. I've selected my own choice for a lot of this since I don't think Constructo's choices will work. This is a good model to help folks transition to scratch built since Constructo doesn't give many pre-cut pieces and ridiculous choices that they provide.

-
How did you get the black background in all that fancy scroll work?
-
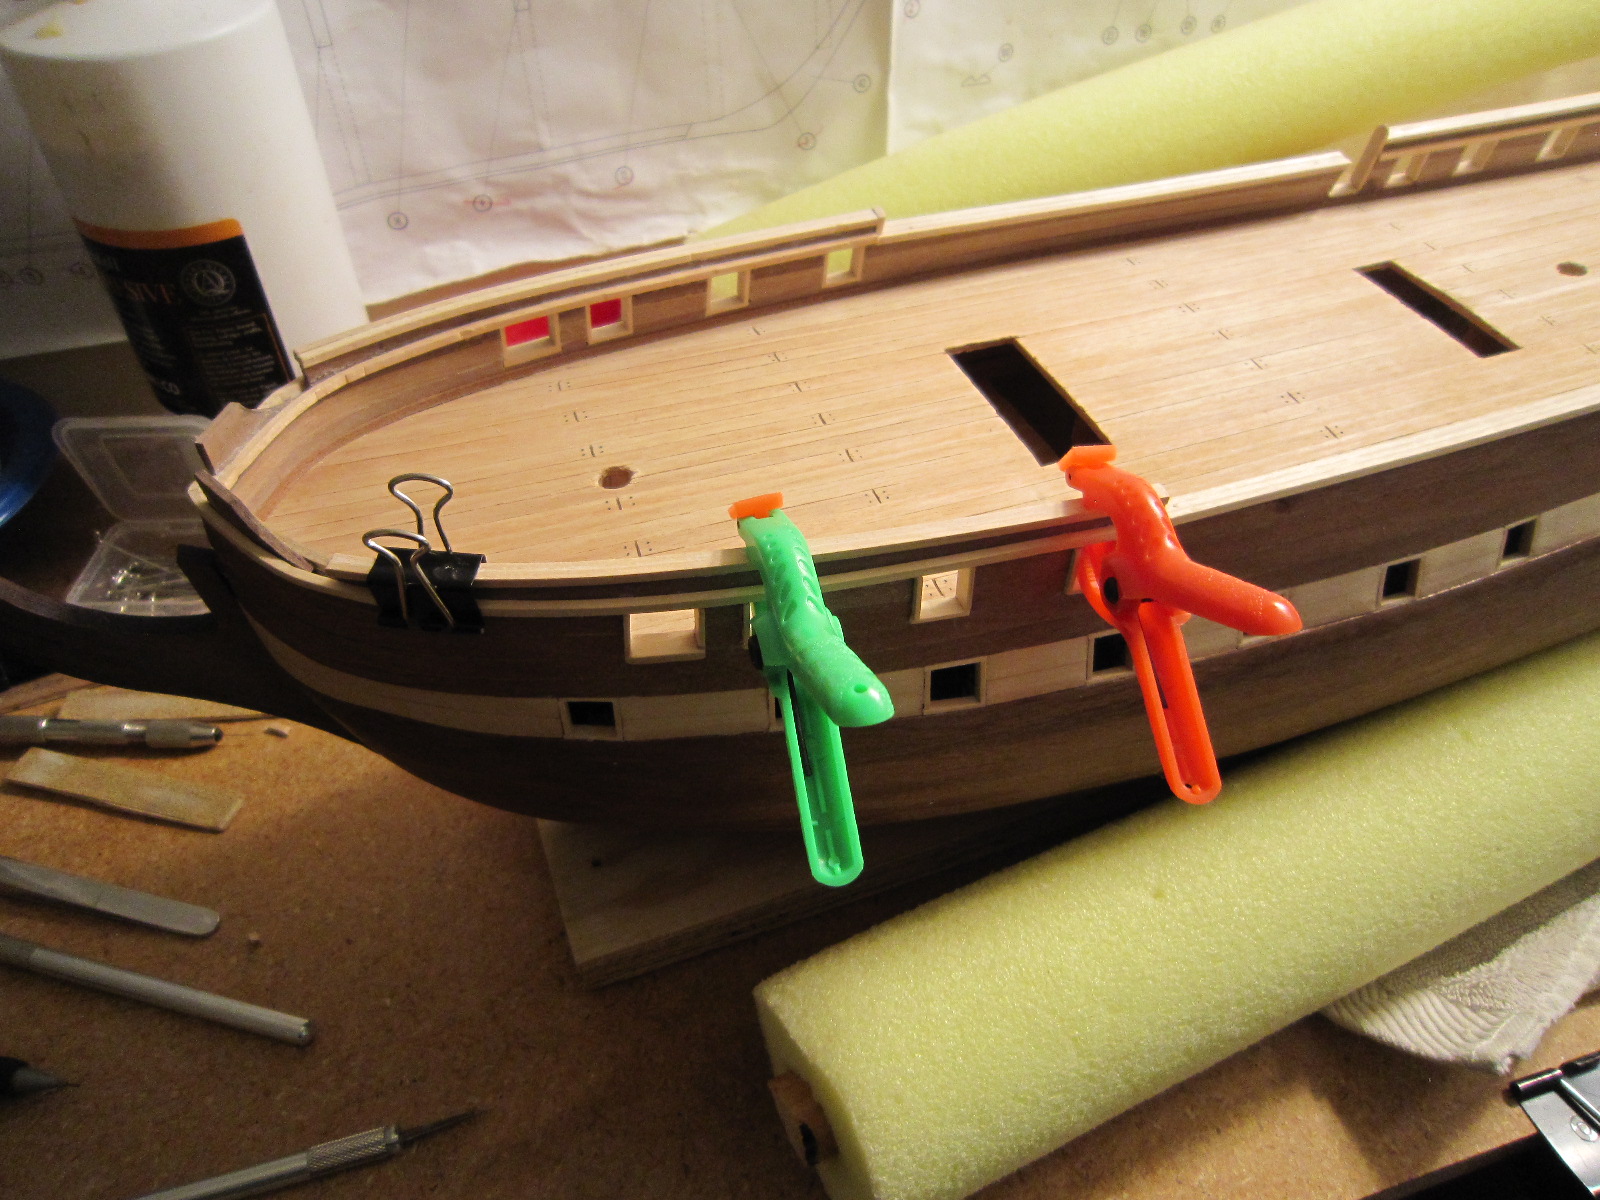
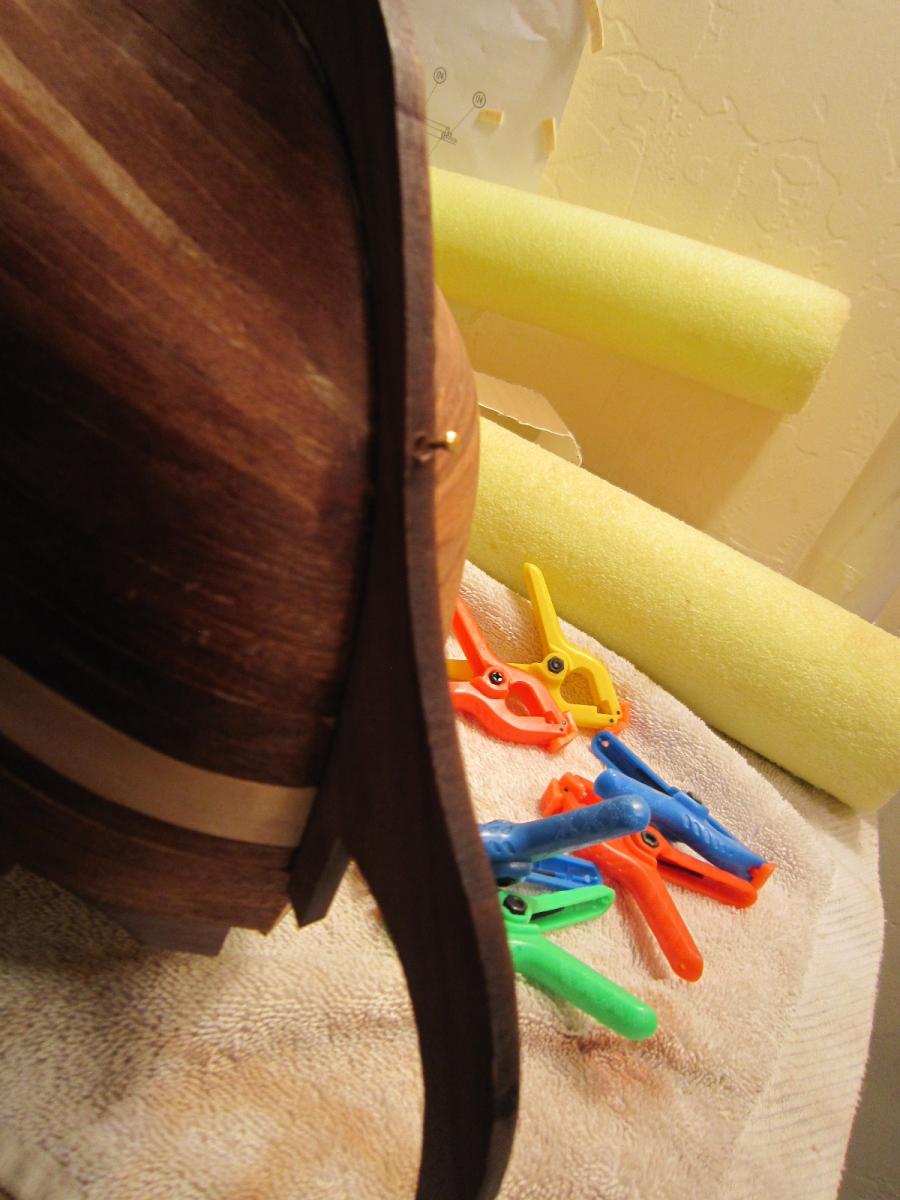
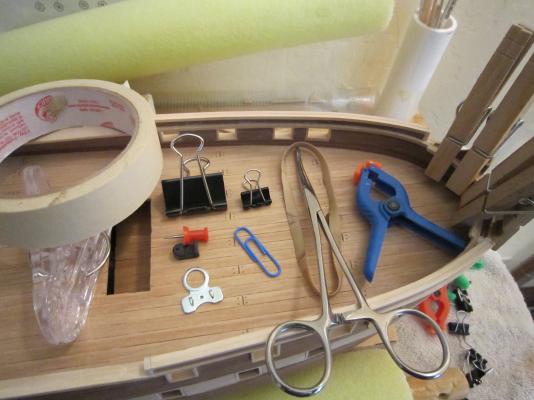
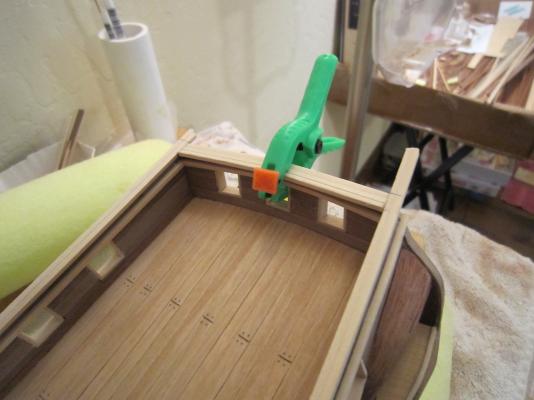
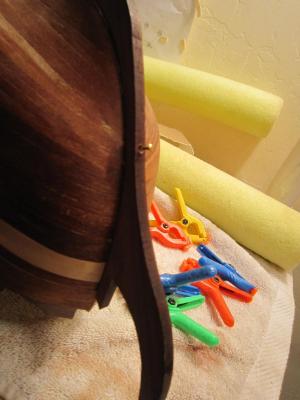
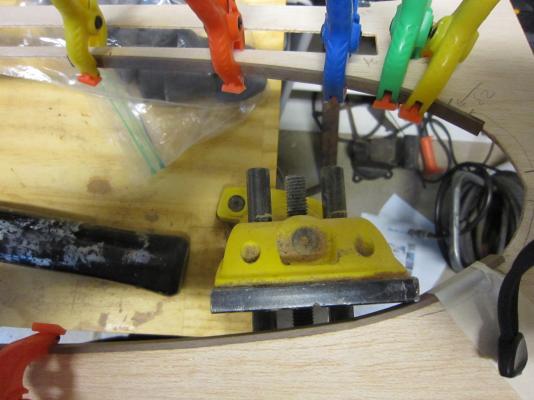
As I clamped some trim pieces today using clothespins, I had to laugh. So far I have used all these items in the picture to clamp various items in place. I've probably forgotten a few, but I can't imaging how many more I will employ by the time I am finished.
- 1,756 replies
-
- 2
-
-
- constitution
- constructo
- (and 1 more)
-
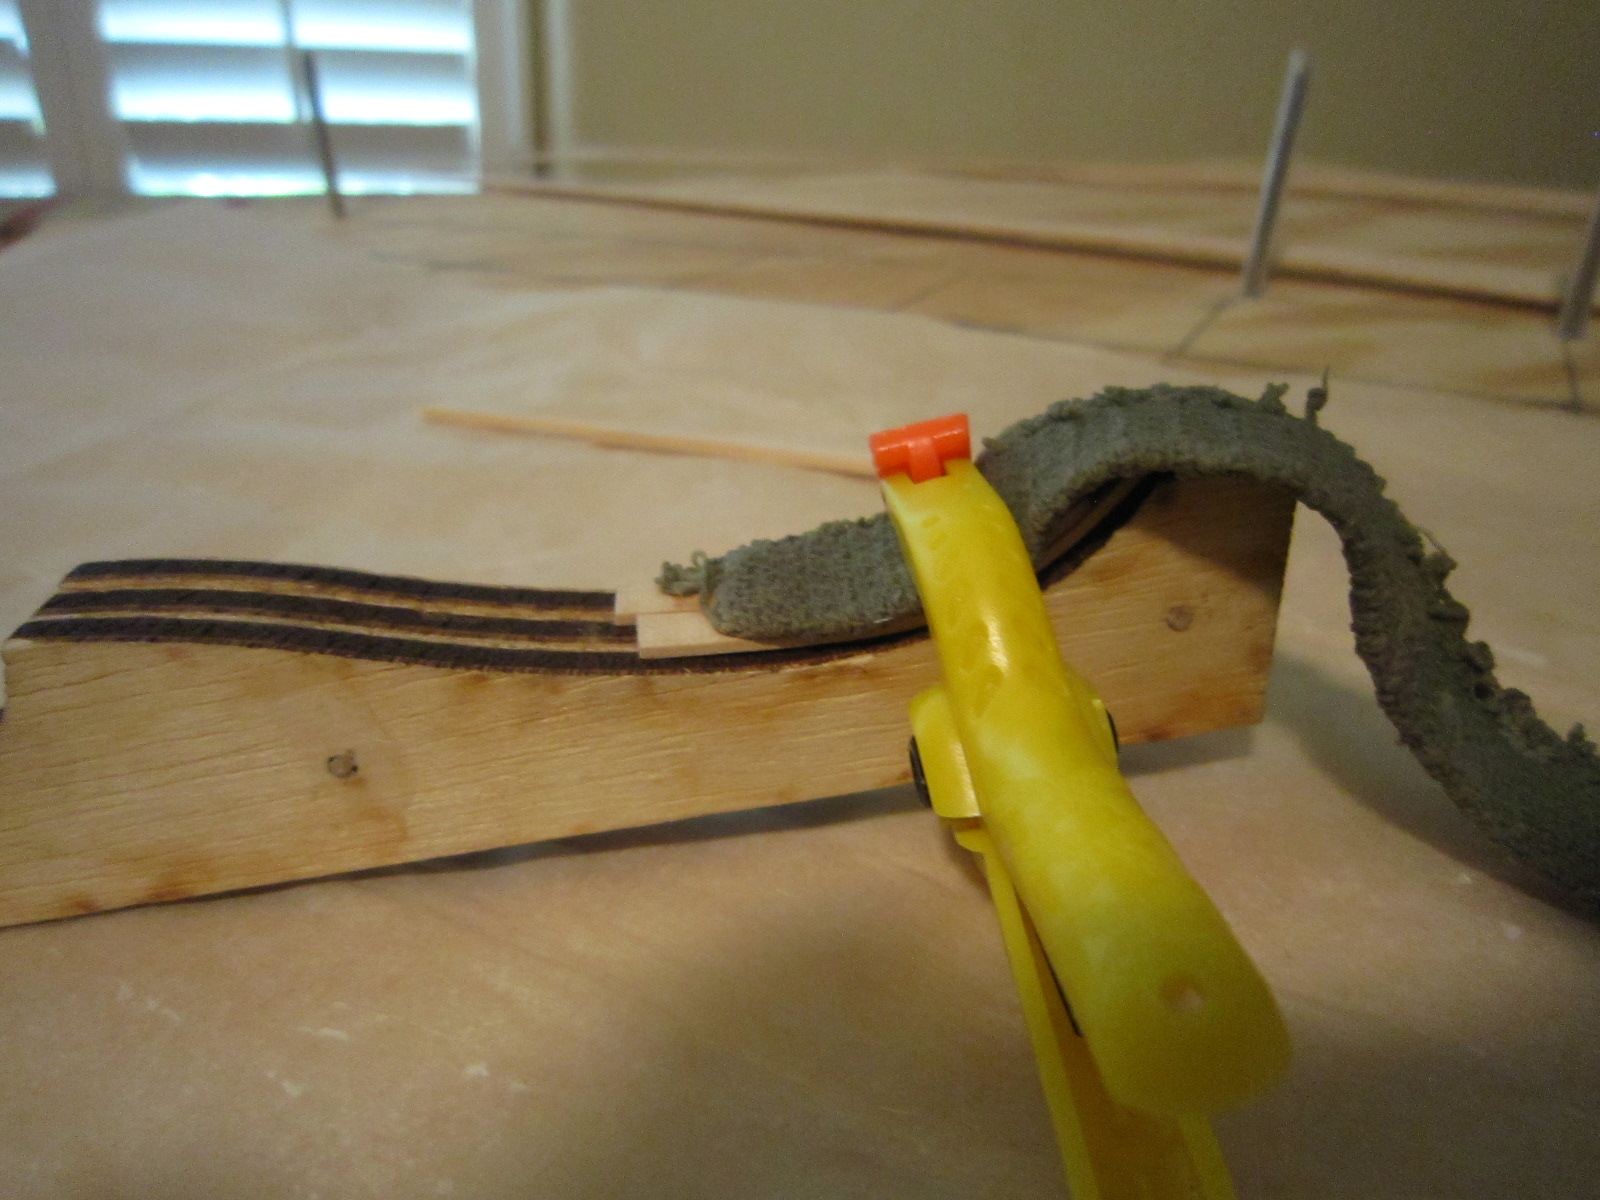
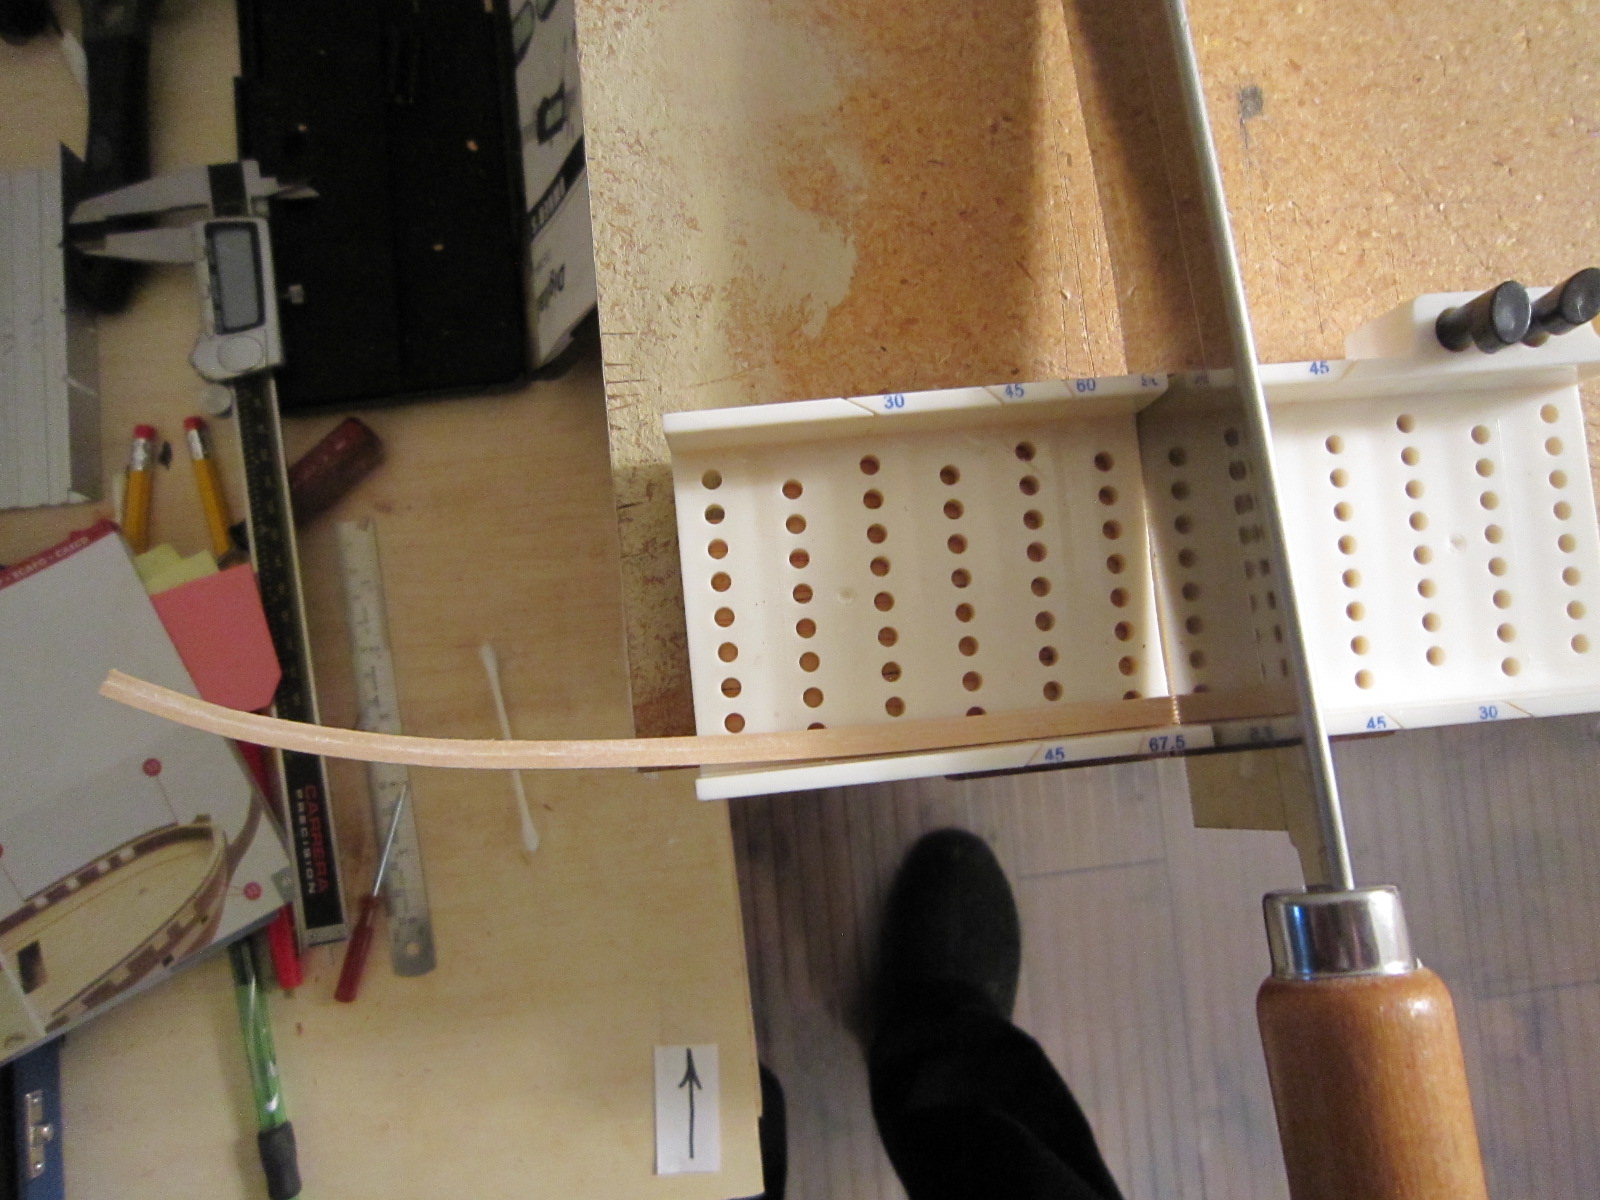
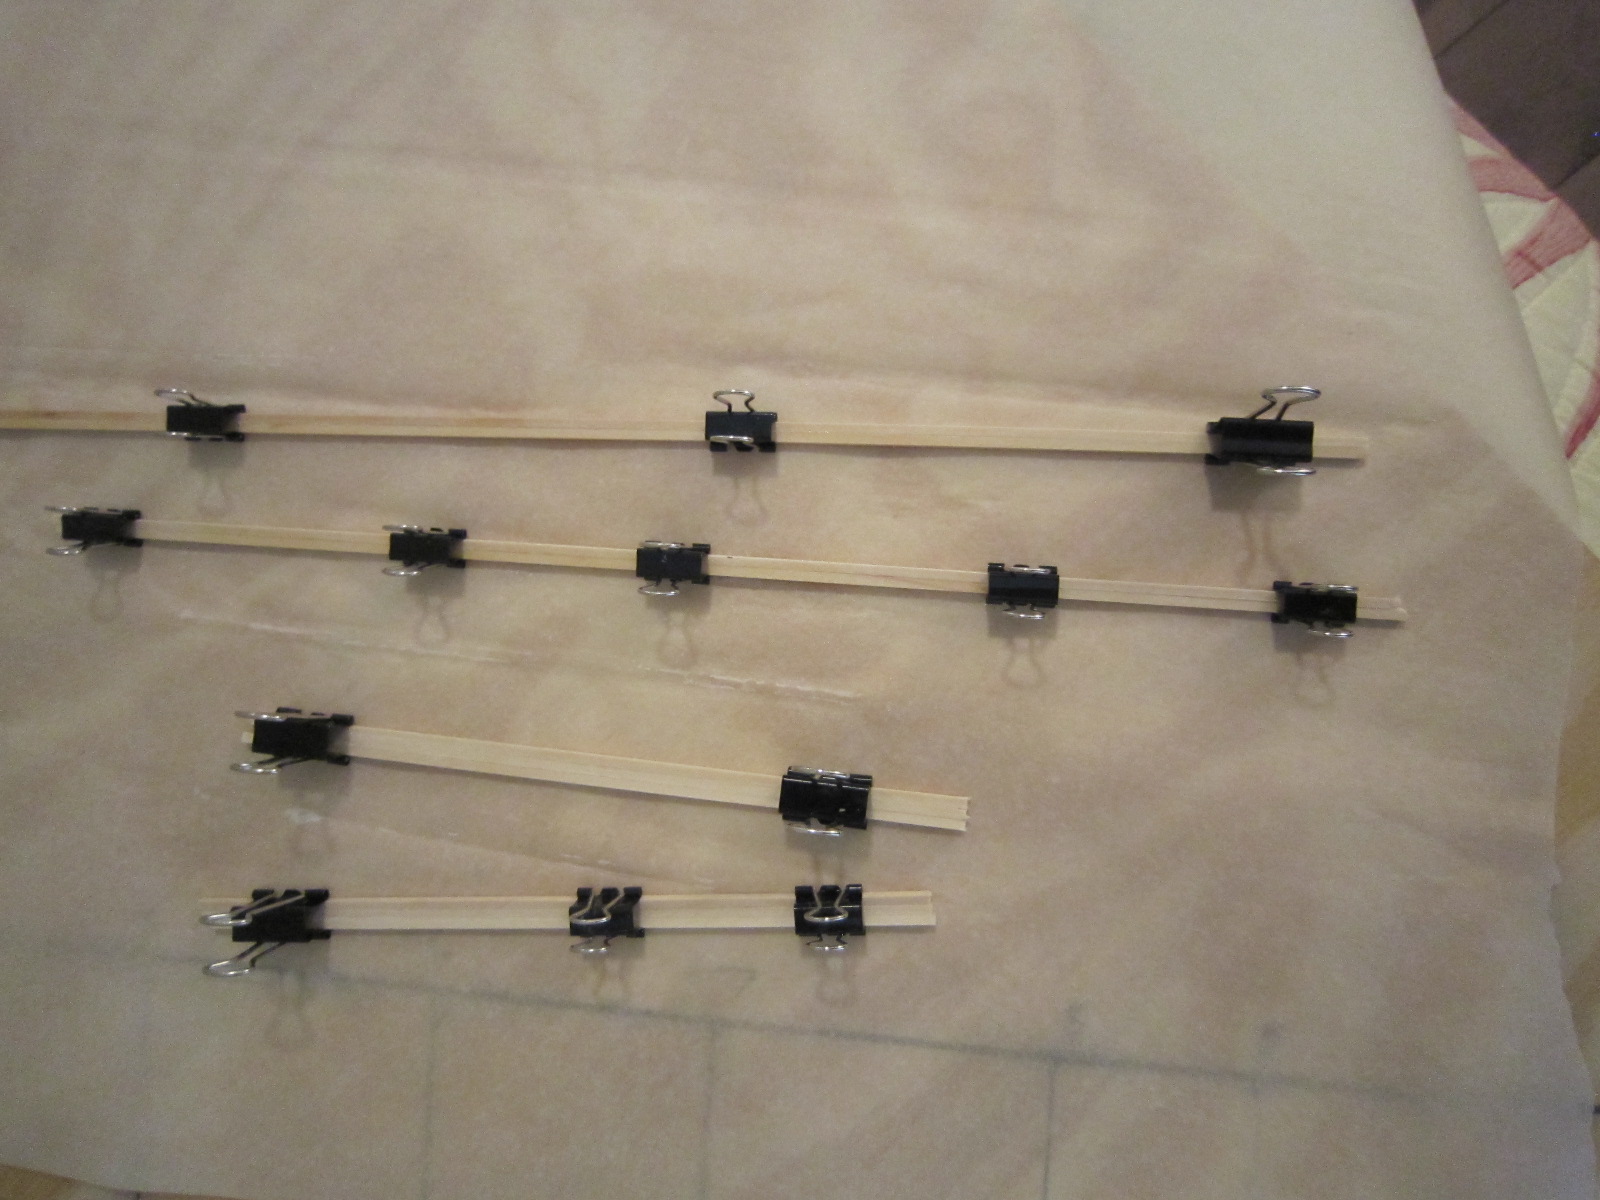
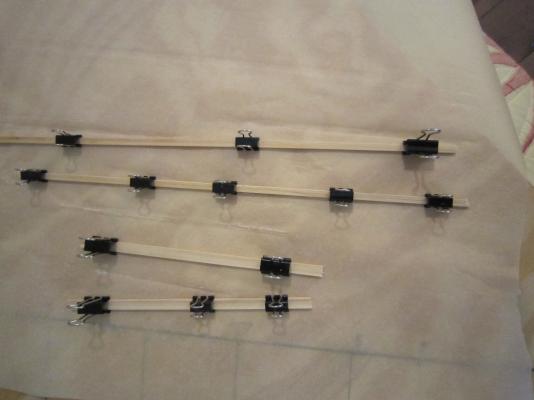
Here's how I'm bending trim 1mm x 5mm planks for the curved bow pieces. After a 15 minutes soak, I placed them side by side in the jig that came with my heating iron. I placed some smaller plank pieces over the parts so as not to mar them with the clamps, then slowly increased the bend until they lay flat against the curve of the jig. Now they're drying. When dry, I'll cut & trim to fir, then glue them. This is my second try, since the clamps made marks on my first attempt.

- 1,756 replies
-
- 3
-
-
- constitution
- constructo
- (and 1 more)
-
No matter what general method you use to pre-bend a plank. Clamping it the exact spot you want to glue it while it's still wet, will give you a nearly net shaped plank for easy gluing. Look at my build of the USS Constitution to see some of the tricks I used. Good luck...planking is not easy!
-
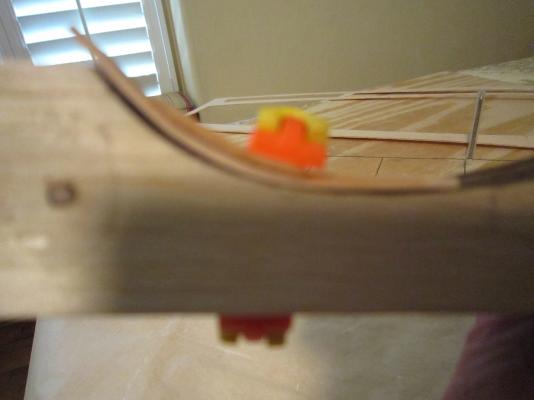
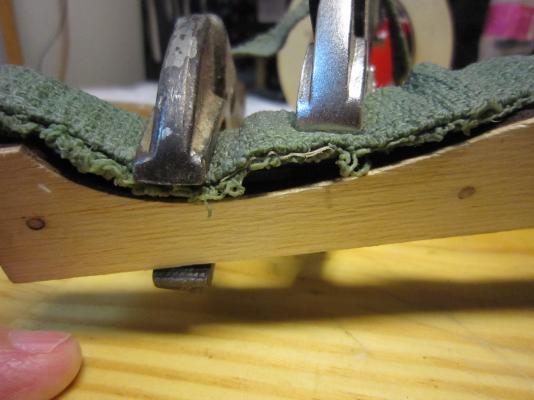
This is how I bend & shape & mount my fore toprail. It's two double 2mm x 2mm pieces bent & glued. First I soak the wood in clean plain water this time, then clamp them to the cutout from the false deck, which is close, but not net shape. Then I fine tune the bend in my jig. Then cut to fit with my miter box & glue. This piece was not pinned since it will have side supports to stabilize it


- 1,756 replies
-
- 1
-
-
- constitution
- constructo
- (and 1 more)
-
Great job so far. The Swift was my first build, so I can identify with what you're doing. I discovered using a sharp pencil to make deck nails on my current build. Many people look at them and think I actually nailed each plank. Nice Job! Rich.
- 84 replies
-
- 1
-
-
- swift
- artesania latina
- (and 1 more)
-
Thanks for the suggestion of Oxalic Acid. The bleach didn't work.
-
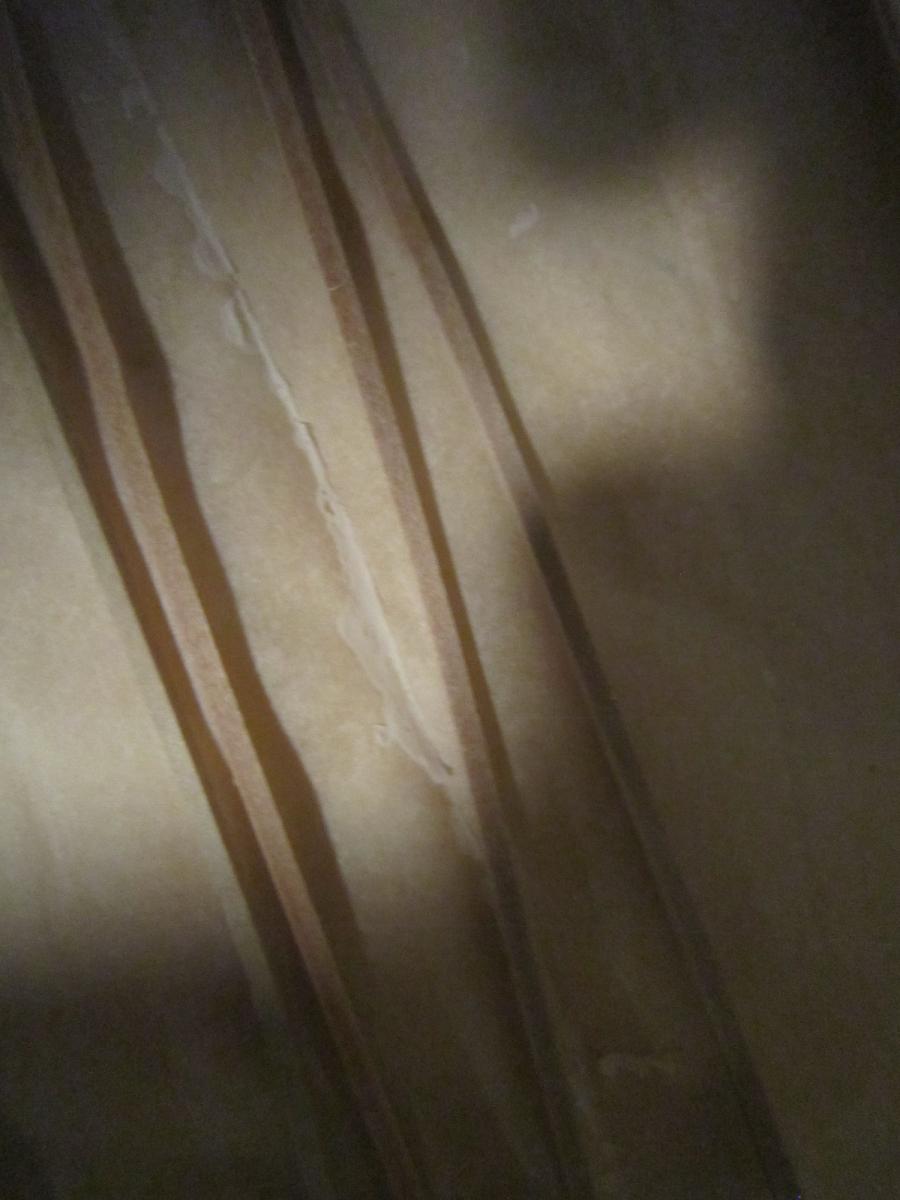
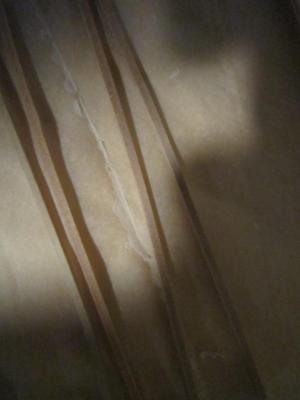
Problem. I soaked some of the blond trim to bend it...and it got stained dark. Probably from leftover Sapele "juice" in my soaking tube. I just bleached this bunch hoping to lighten it.
-
I made a "jig" with plastic coated nails that conformed with my hull shape. It worked pretty well. I fine tuned the bends by wet clamping the planks to the exact spot on the hull that they went. I'd like to see a picture of yours, though. Rich
-
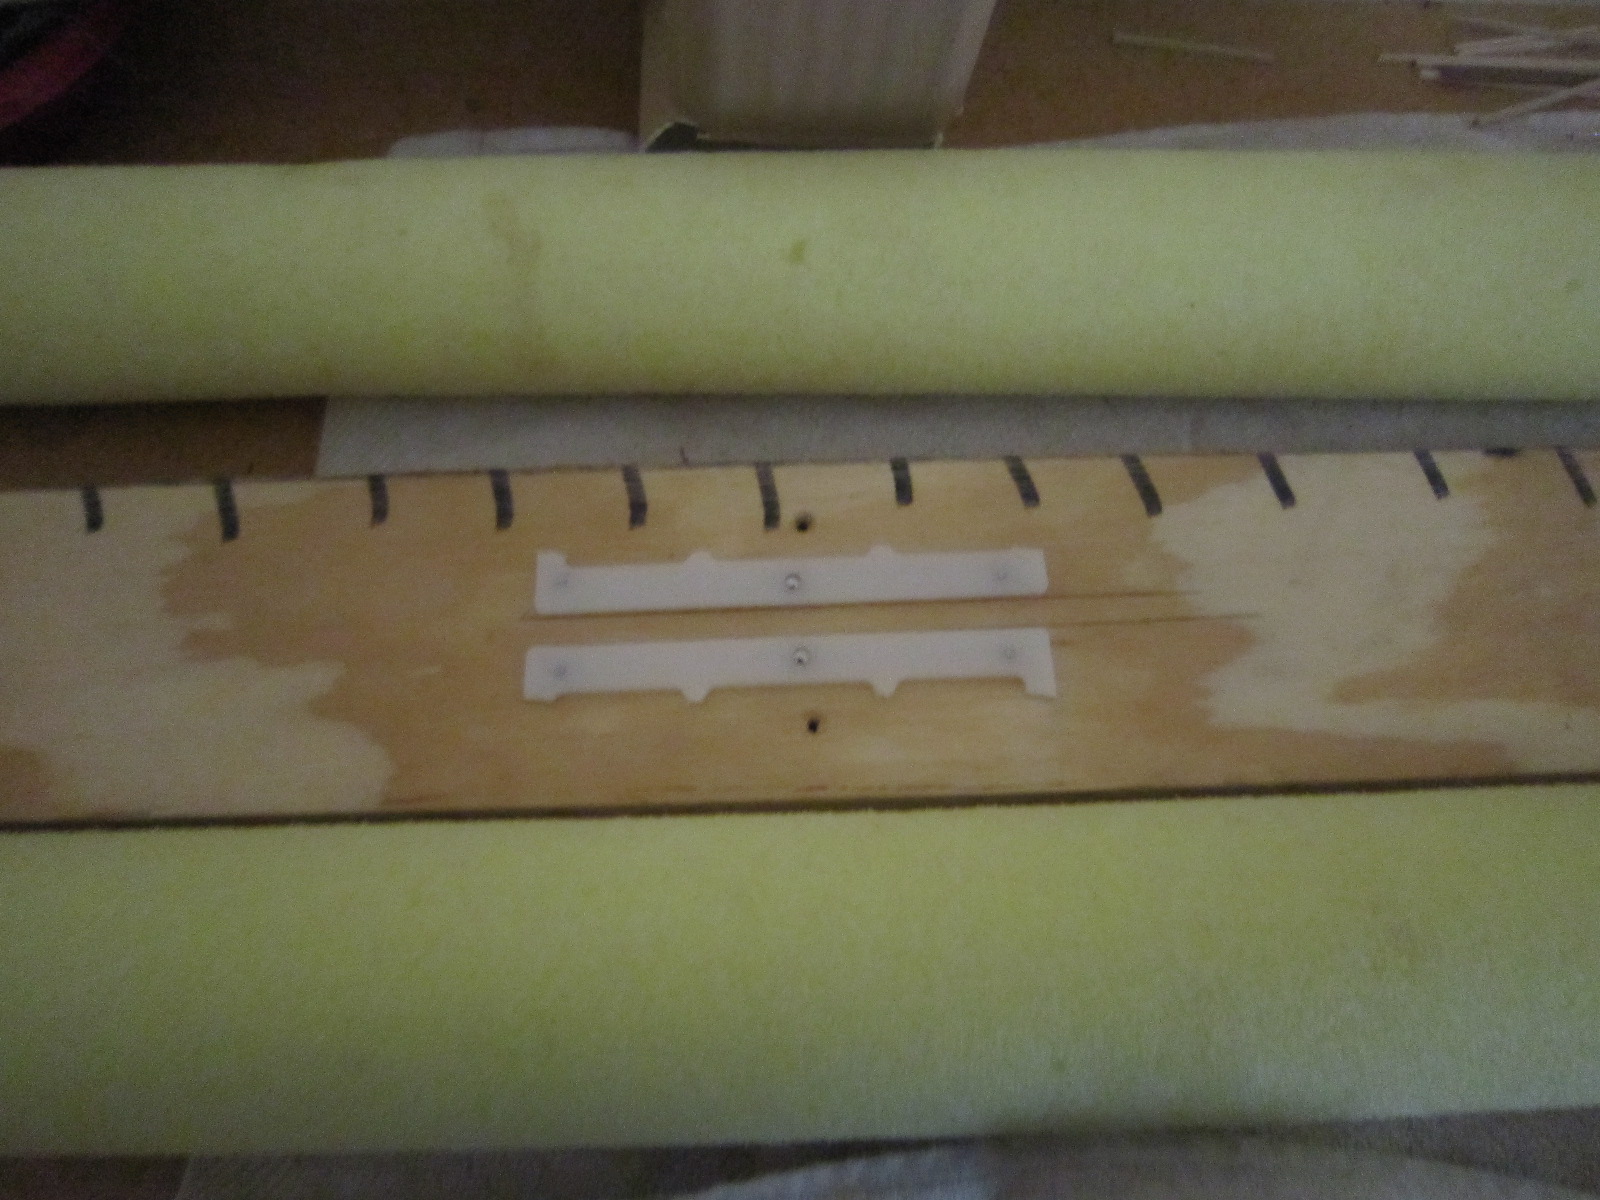
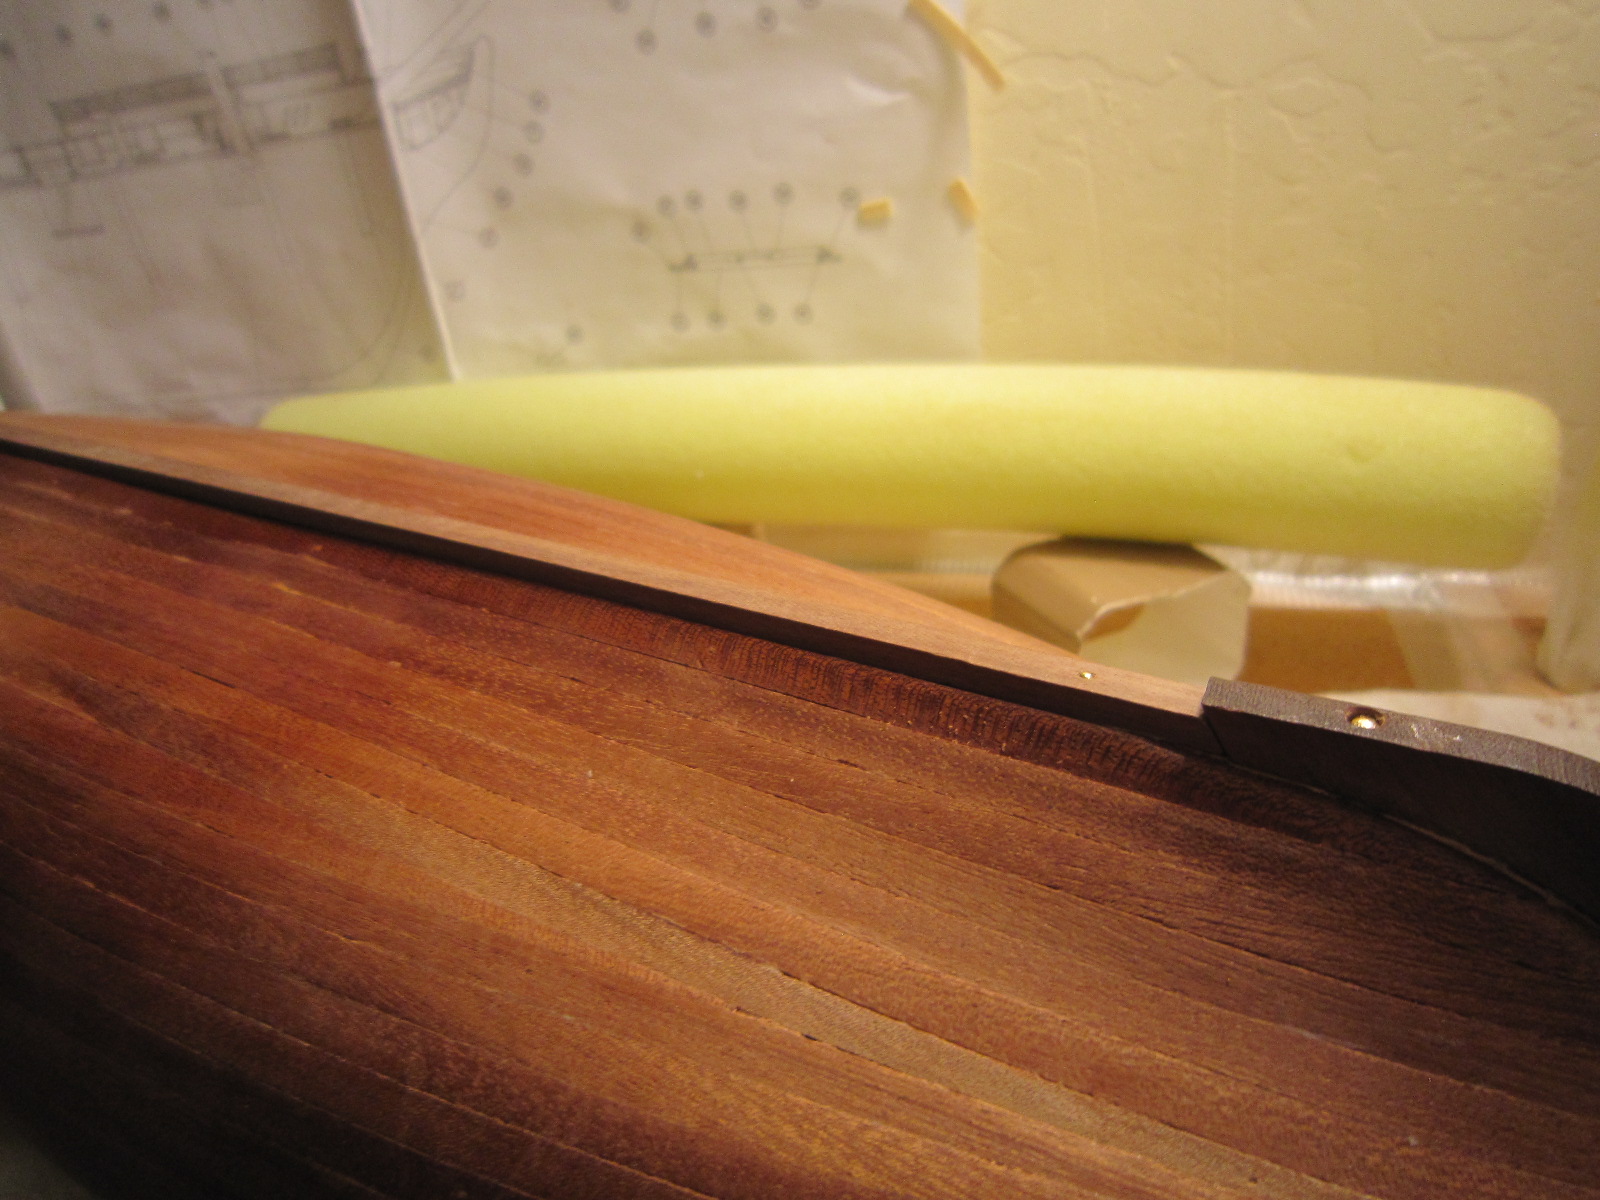
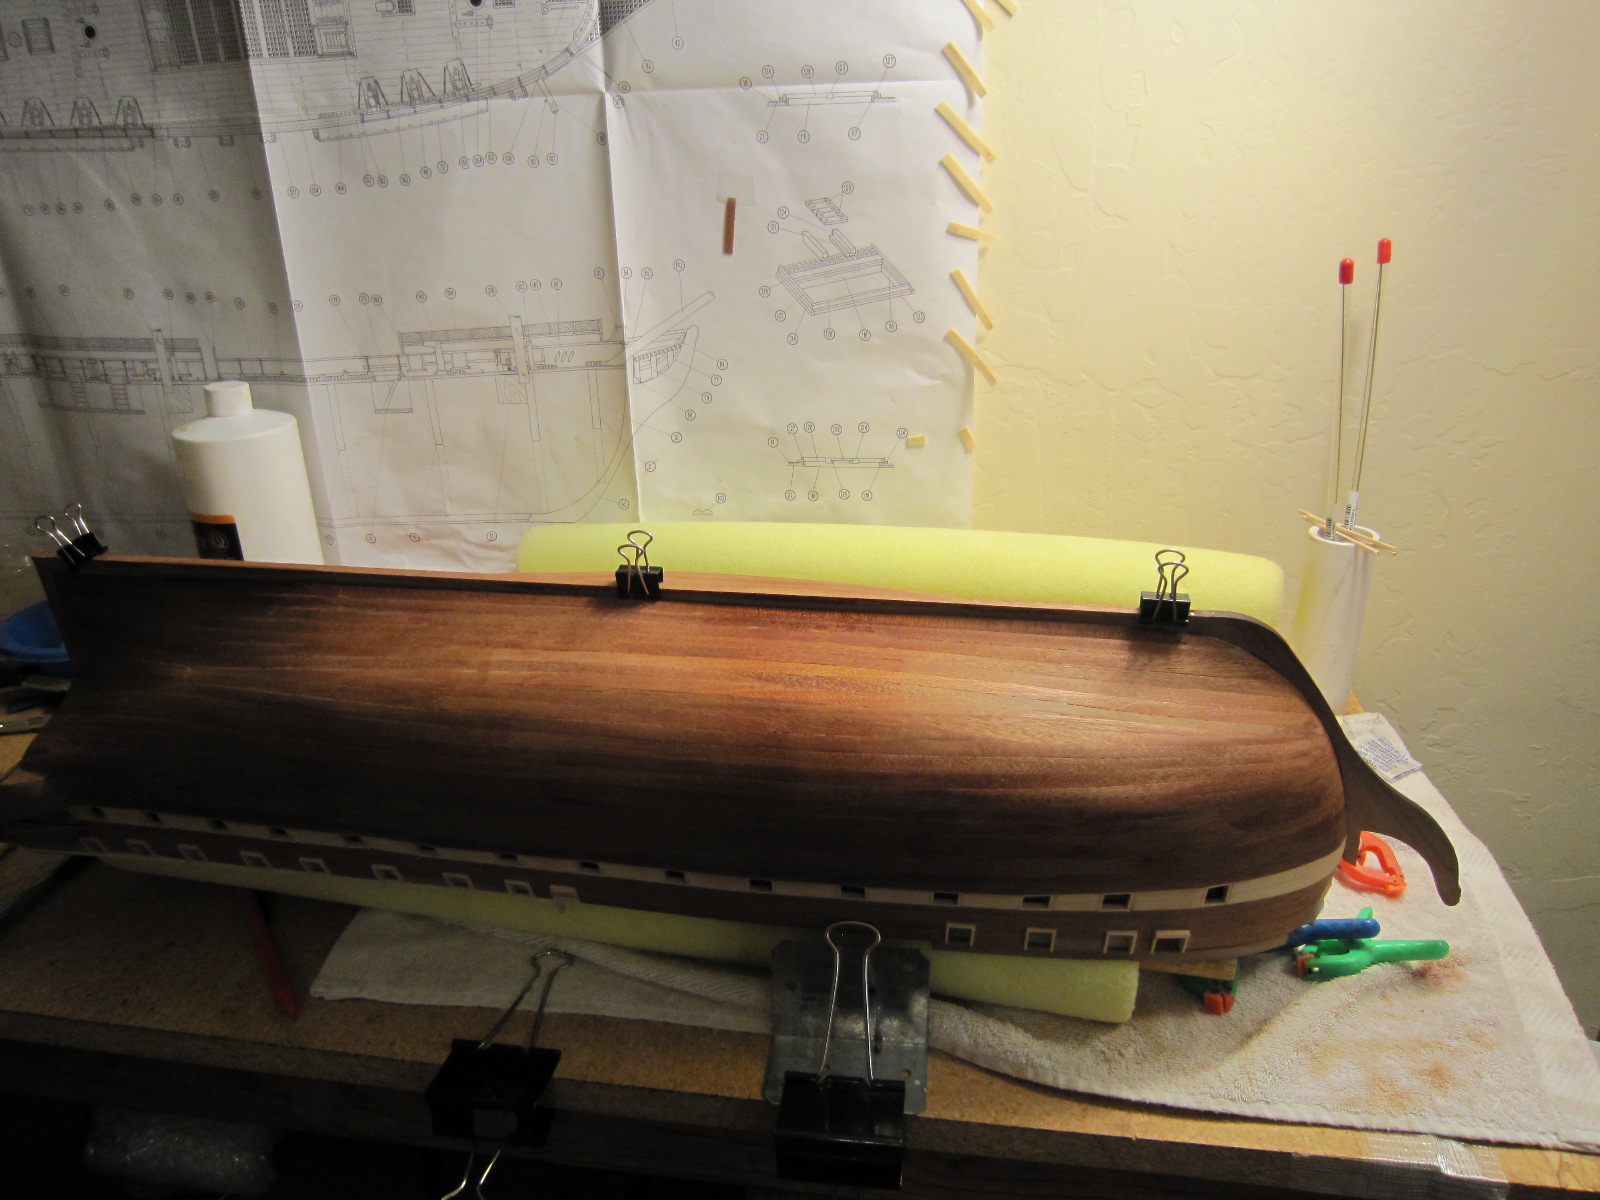
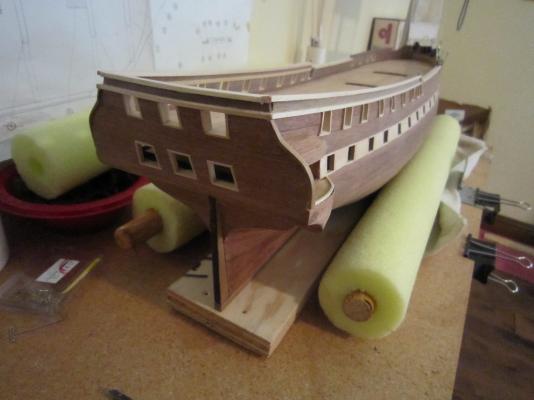
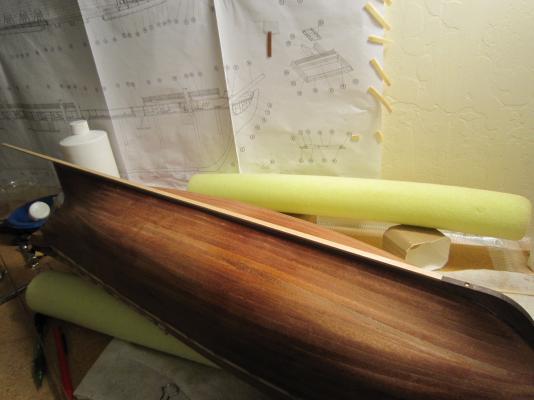
Now that I've installed the keel skeg, the boat suddenly got "floppy" on my work bench. So, I created a stabilizer with some straight Teflon strips I had...and what do you know....no more boat "flopping!"

-
You'll be sorry if you don't have a straight frame. The whole ship will be off down the road. You have to be able to look at the ship from the front or back and see a perfectly symmetrical hull.
-
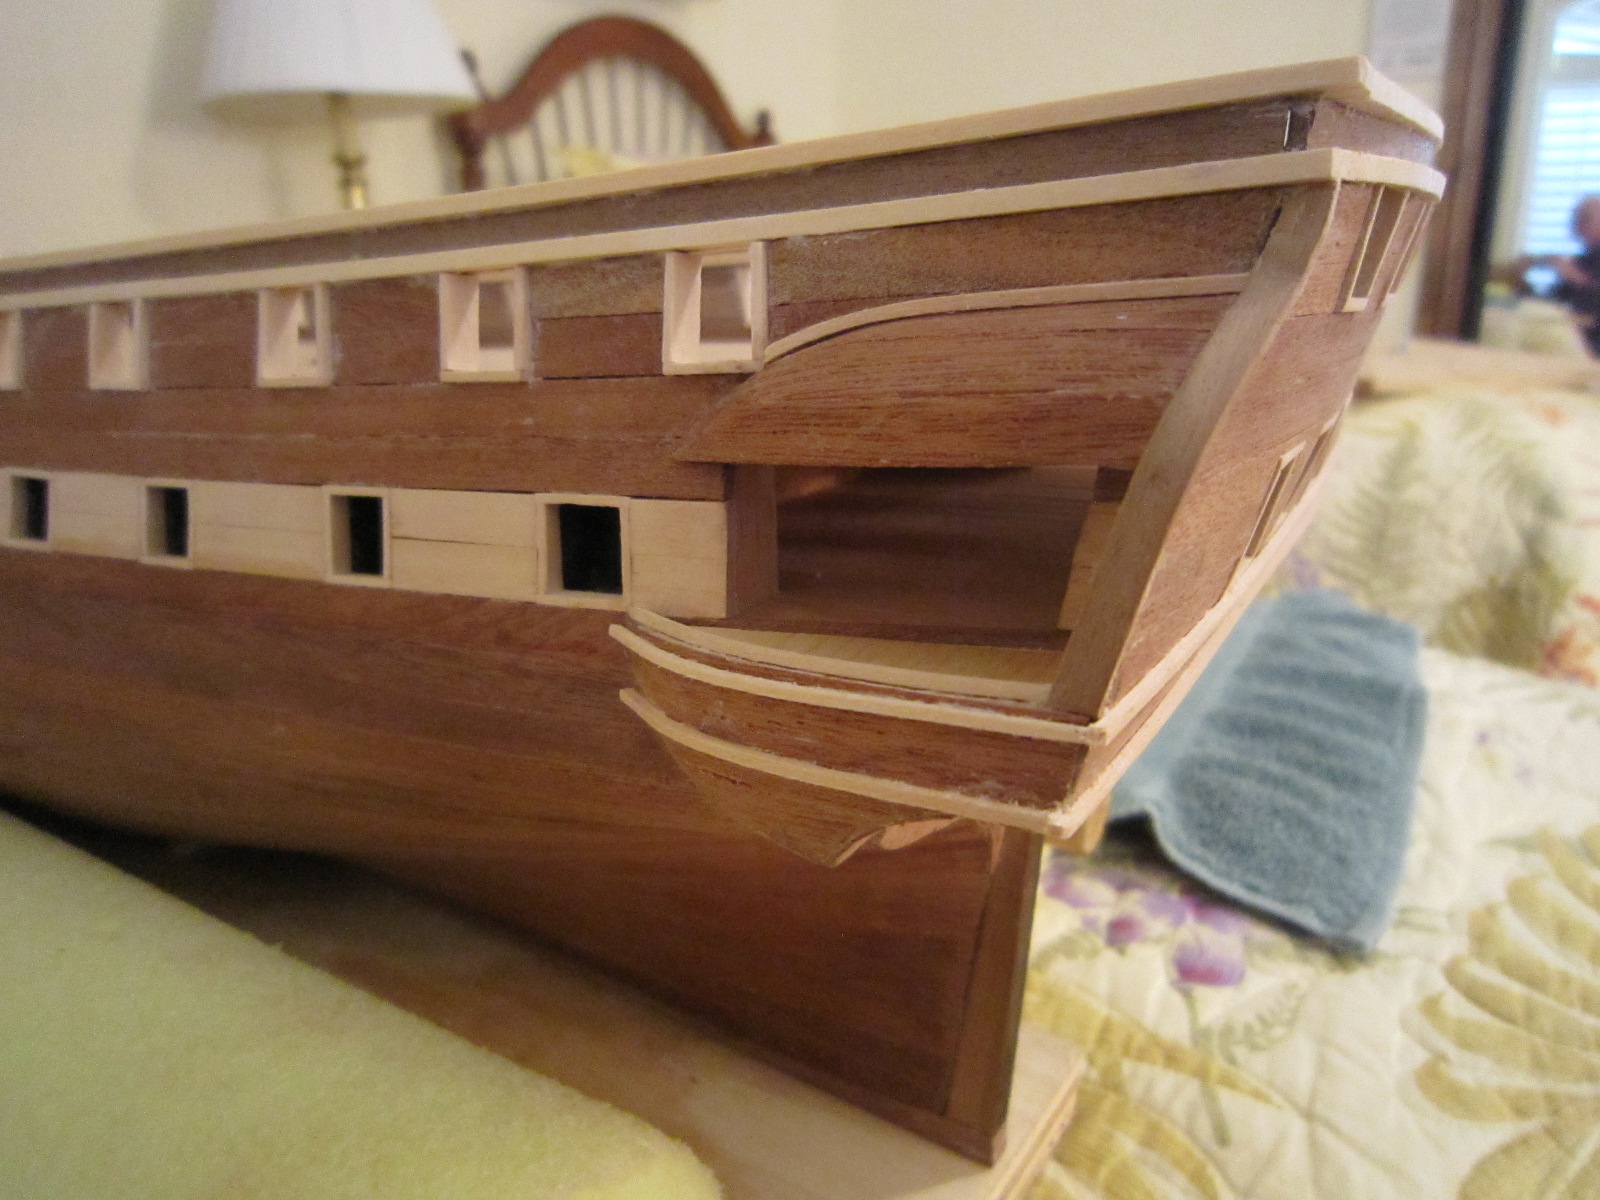
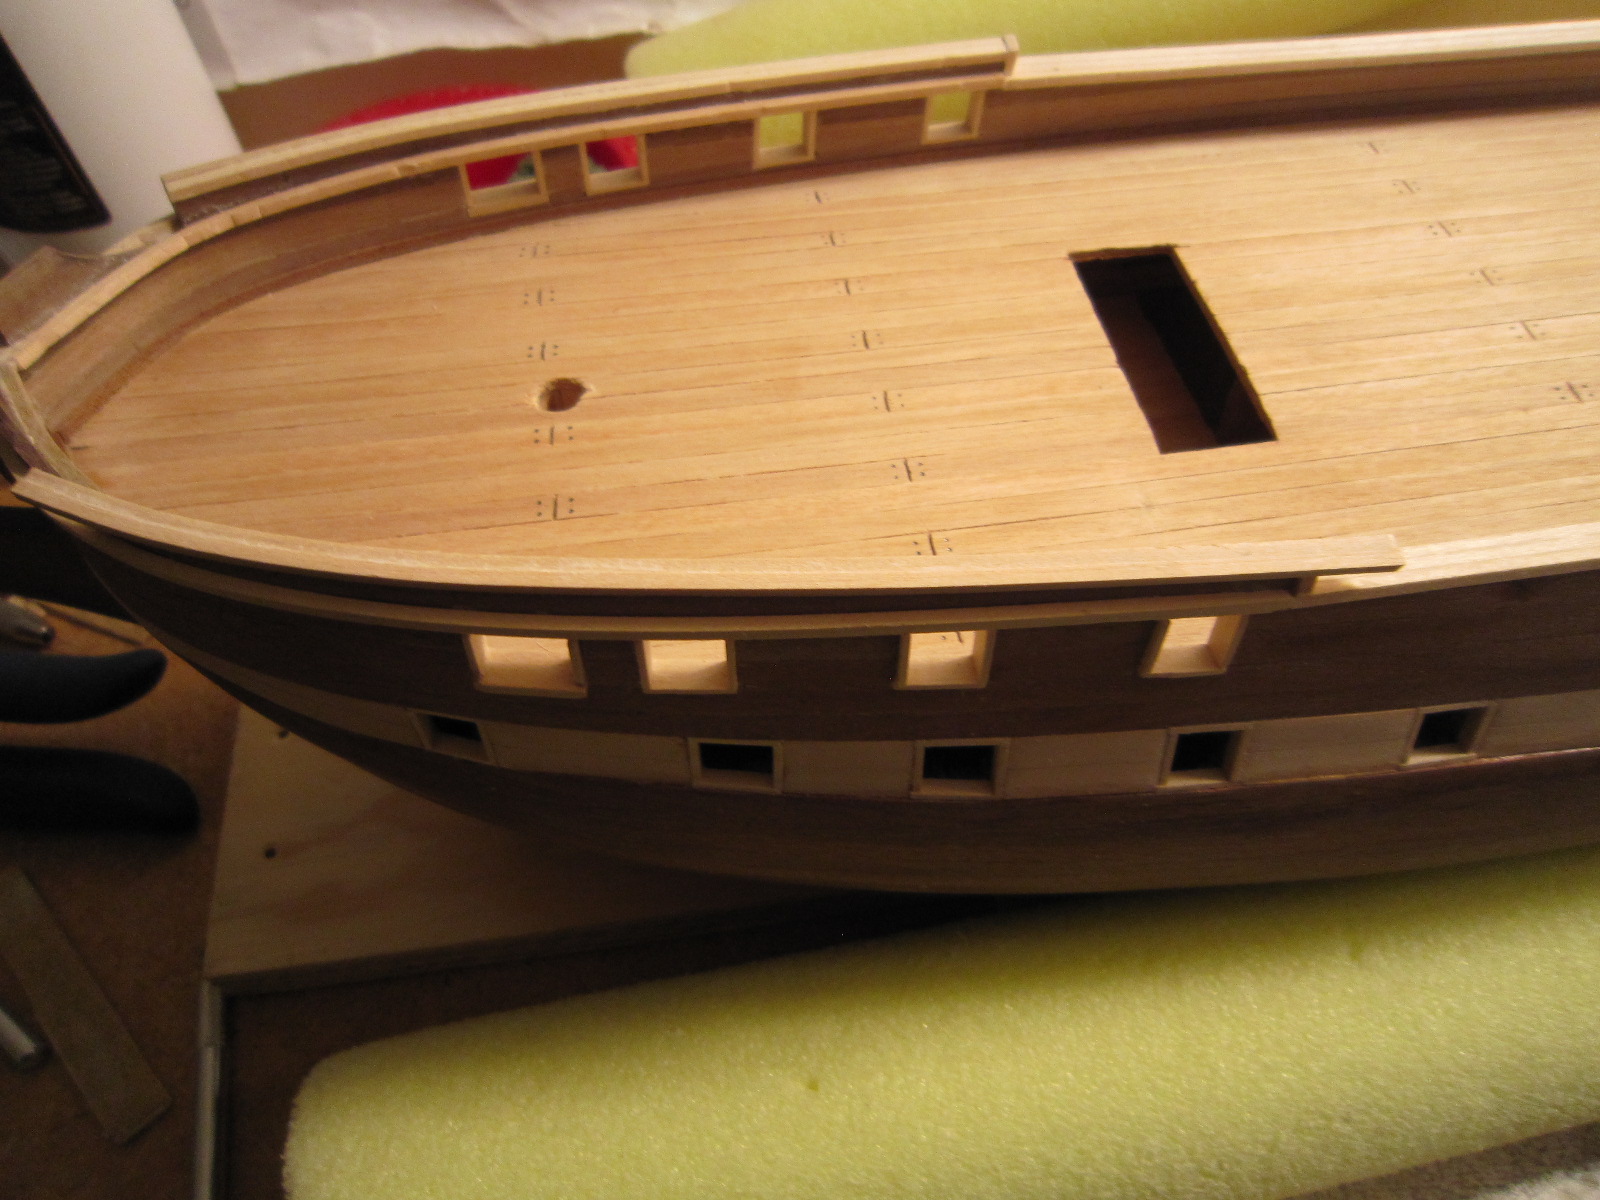
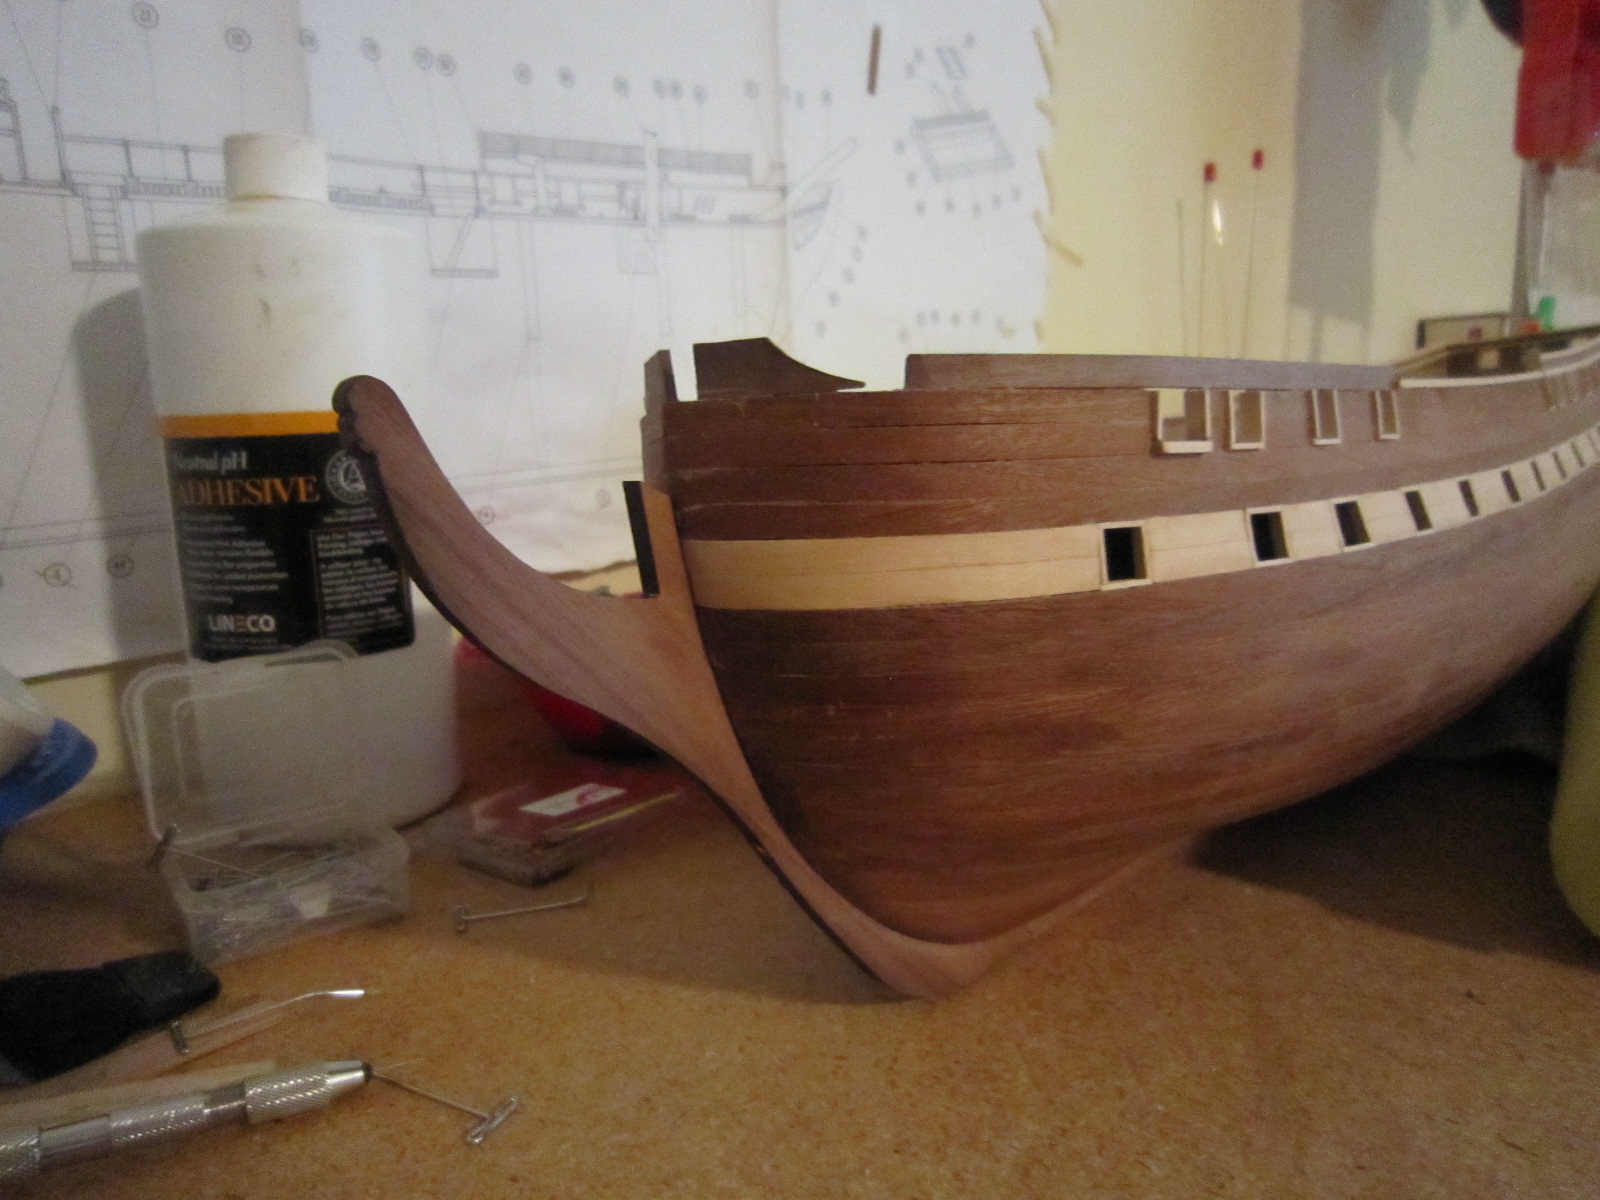
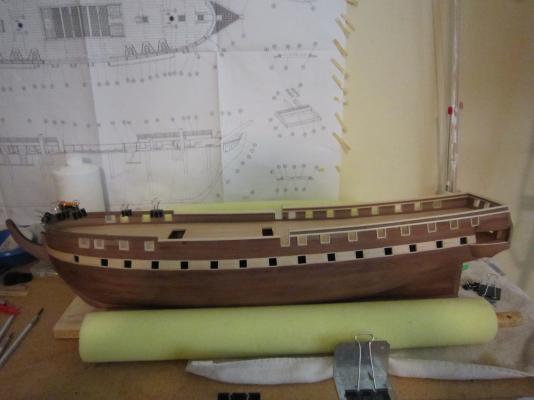
I'm slowly installing the rails & trim (pinned & glued) to the aft half of the ship. Constructo's use of 2mm x 2mm pieces, two across and three across, makes for interesting rails. I'll have to fill them in before varnishing. I'll start on the bow section next, but with its severe curves, It will be harder to trim. The bow stem fits pretty good, but that's because I worked on it for days right after I planked the hull.
- 1,756 replies
-
- 2
-
-
- constitution
- constructo
- (and 1 more)
-
Sorry, but no.
-
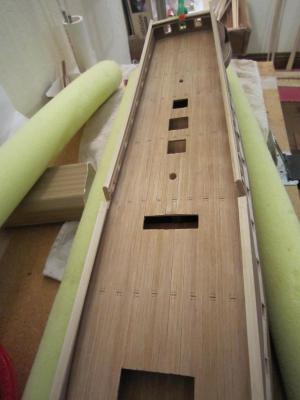
I like running full length planks. It might be harder to do, but I like the finished look. Rich
-
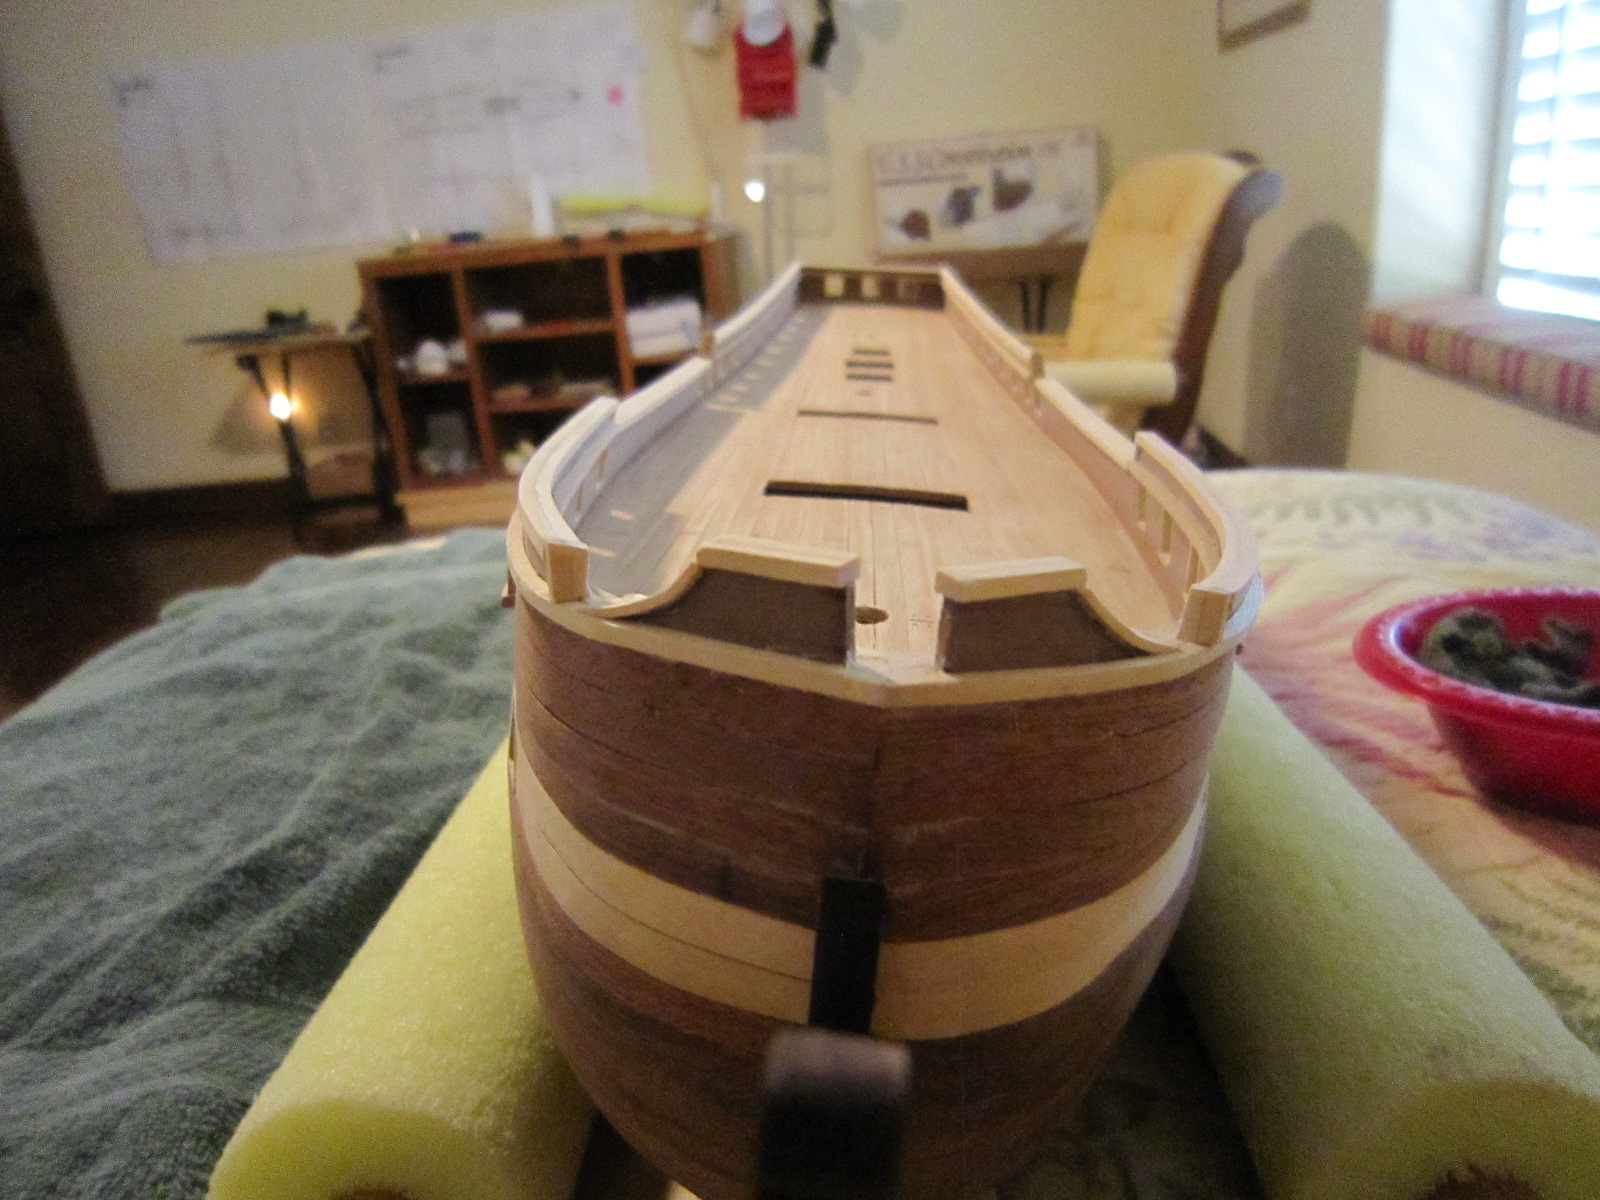
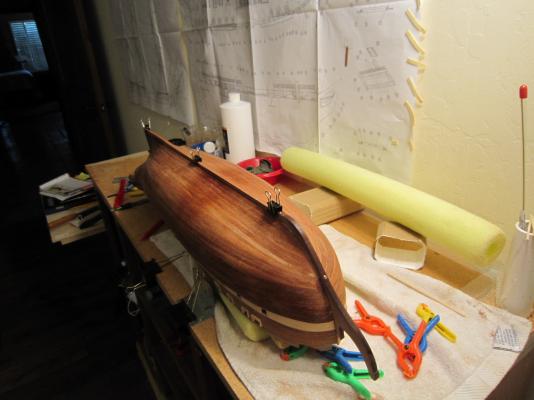
While I'm waiting for my trim to dry, I mounted the bowsprit and keel skeg and keel trim. I had pre-fit all these parts months ago when I was planking the hull, so it was just a matter of pinning and gluing. Constucto wanted me to put a blond keel trim on, but I like the matching Sapele that goes with the planks.


- 1,756 replies
-
- 3
-
-
- constitution
- constructo
- (and 1 more)
-
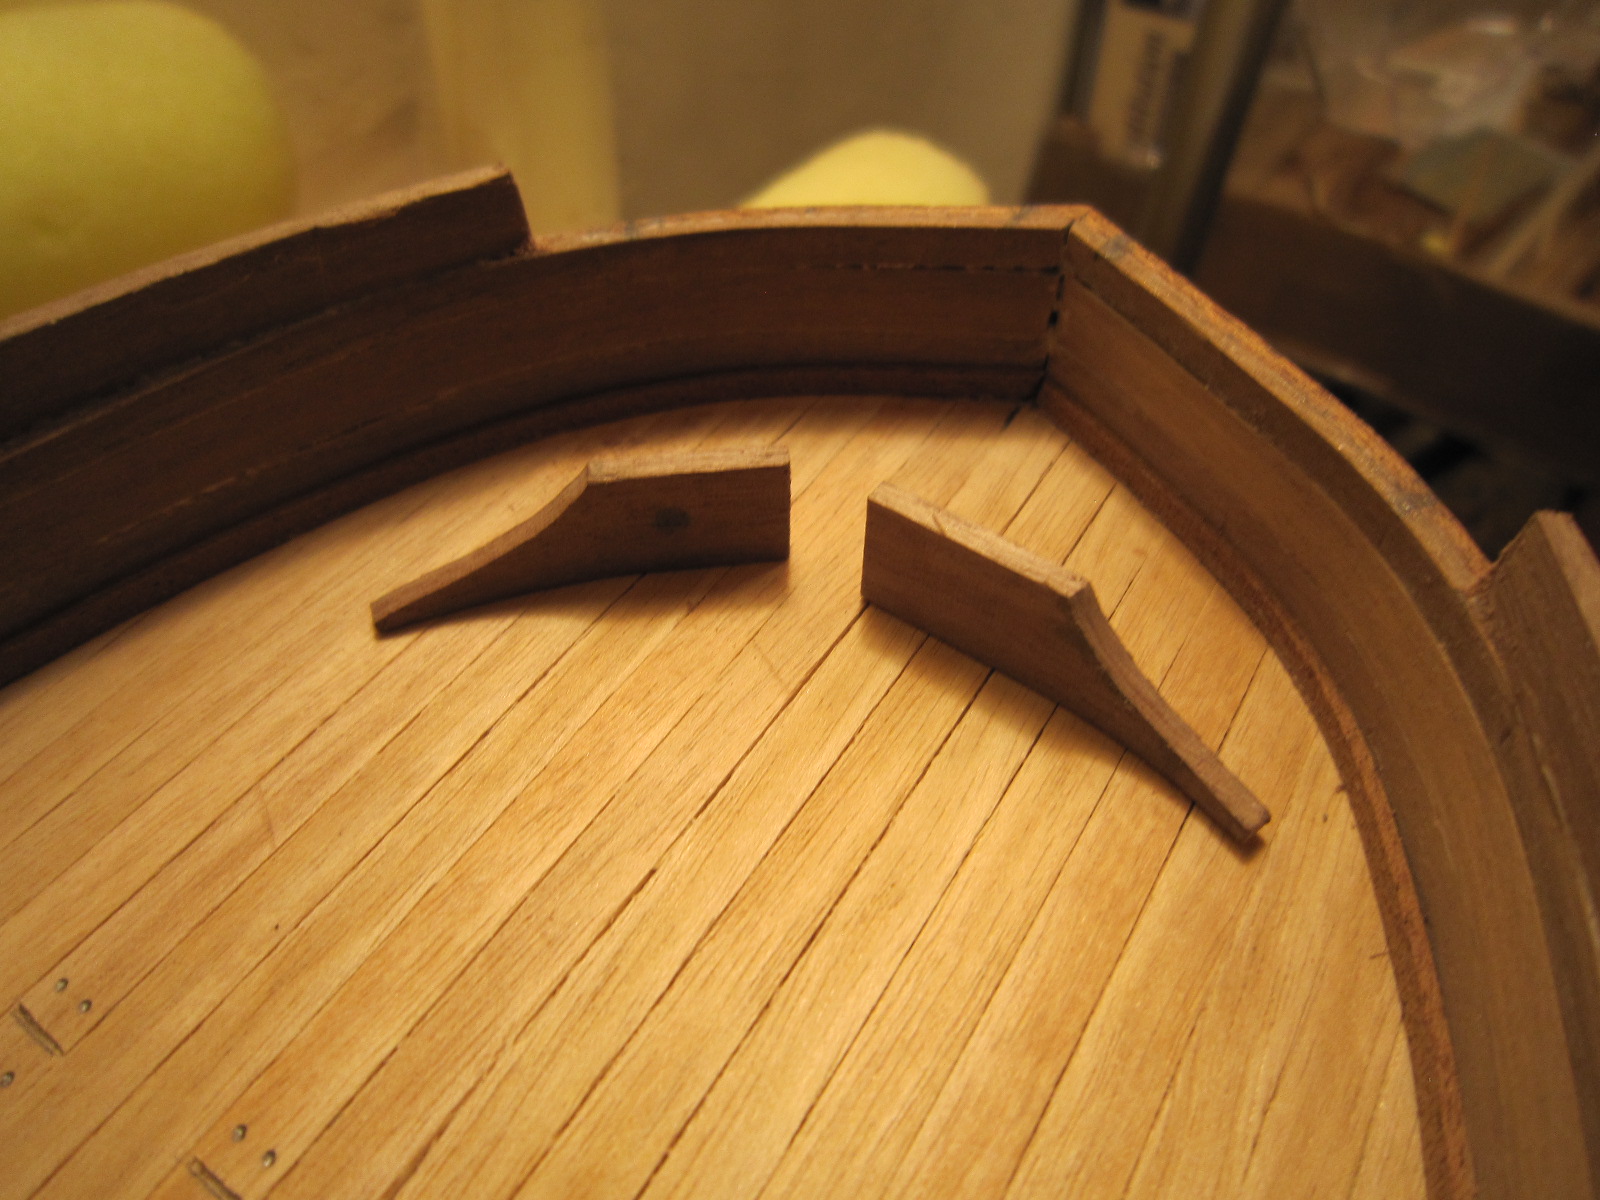
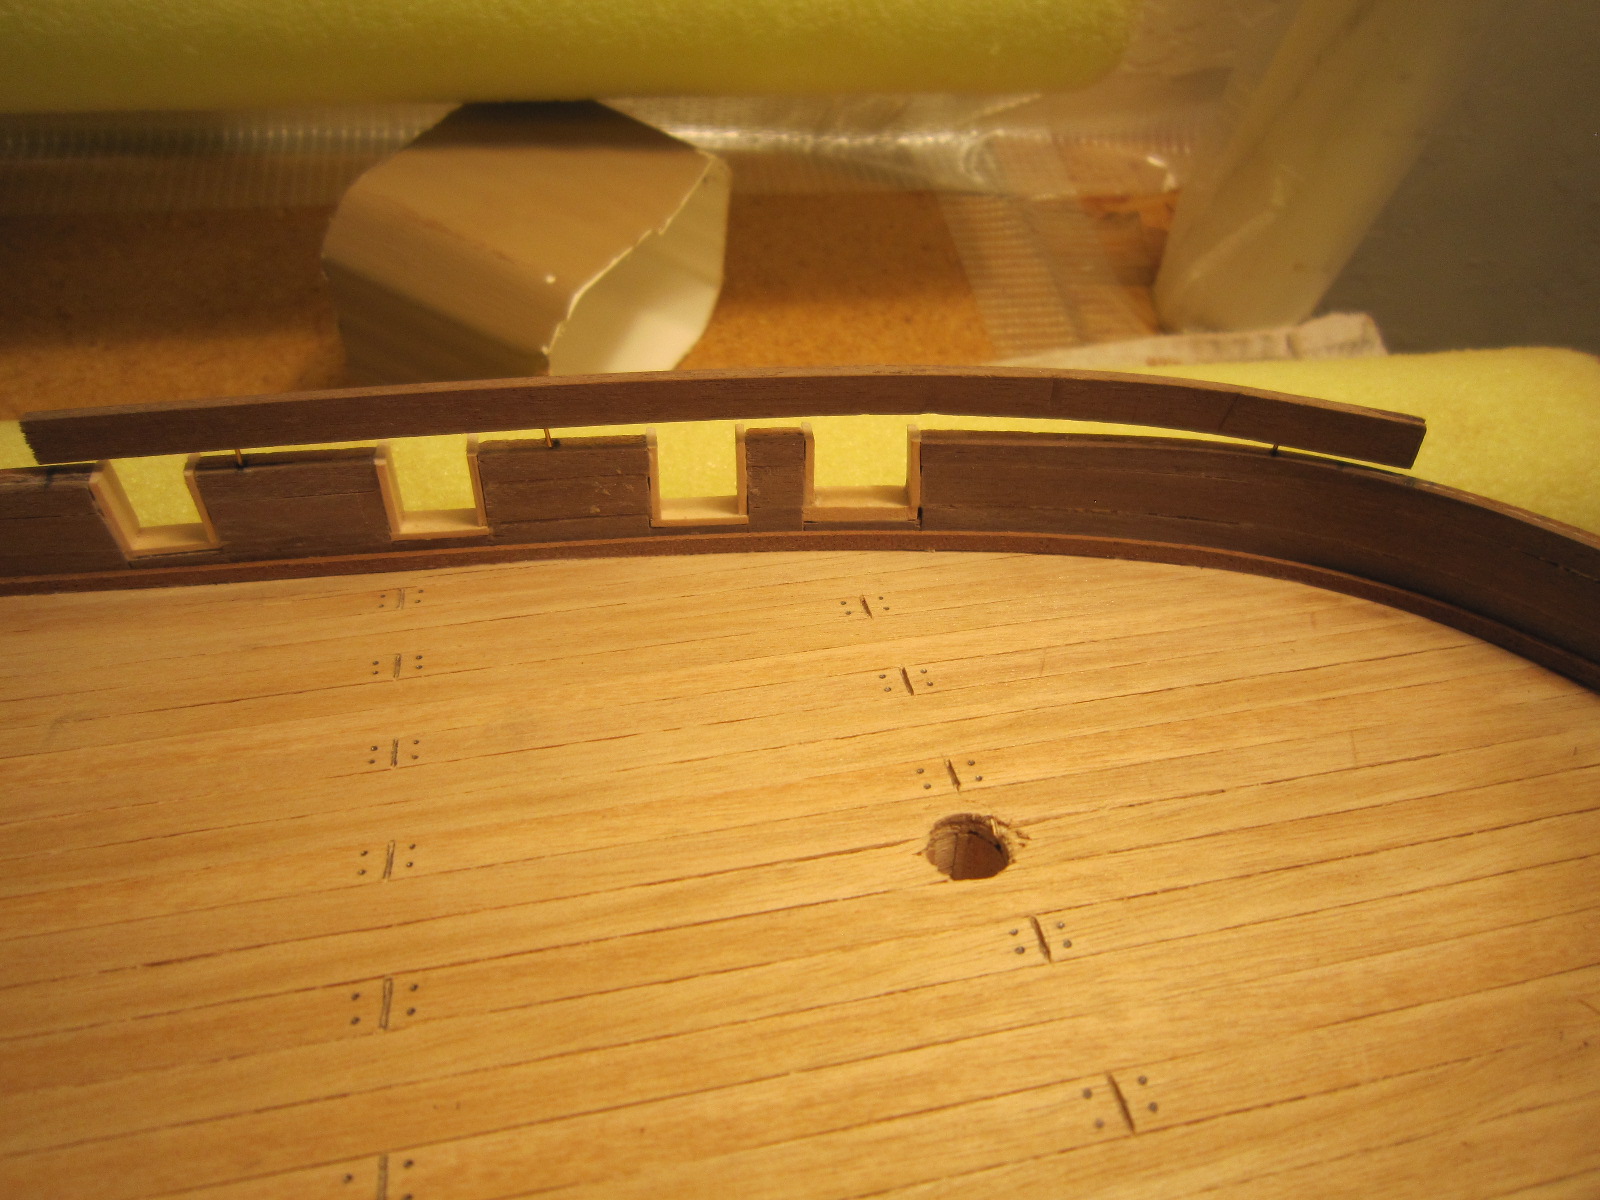
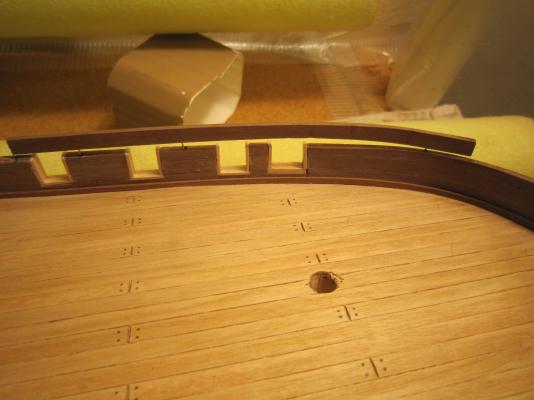
Here I am making planks to trim the toprails. The Constructo plans call for me to magically balance two and in some places three 2mm planks on the head of a pin (a 2mm plank). I don't know how to do that, so I pre-gluing them, then I will pin and glue them to the toprail.

-
Those parts were not pre-shaped! They were just ordinary 10mm planks. You're right, it would have been easier to get the bend with a longer piece. Live and learn.
-
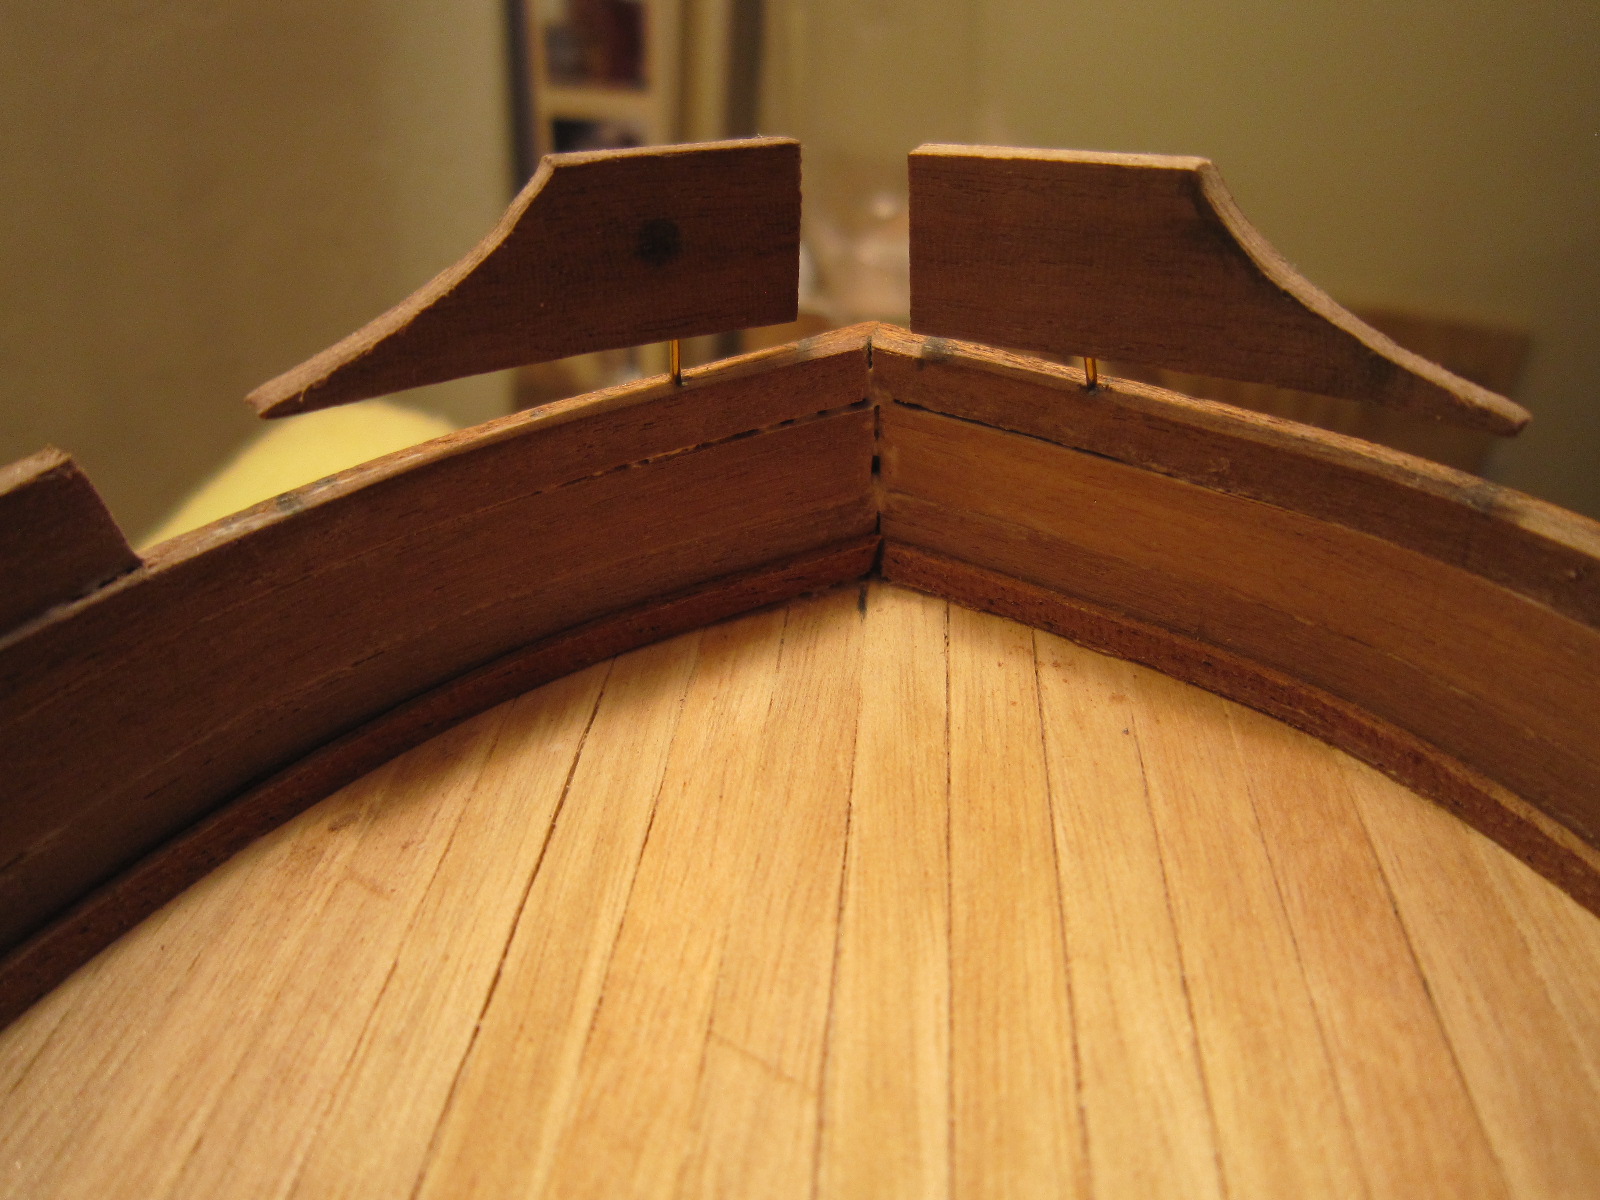
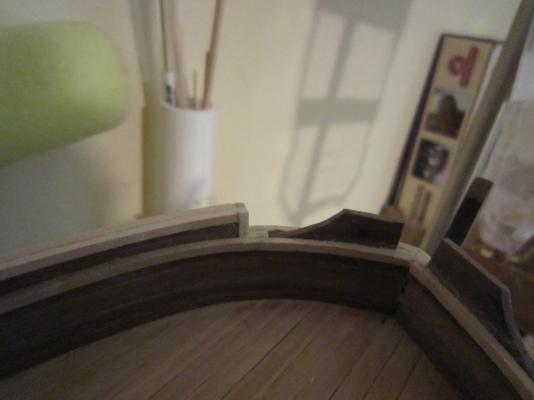
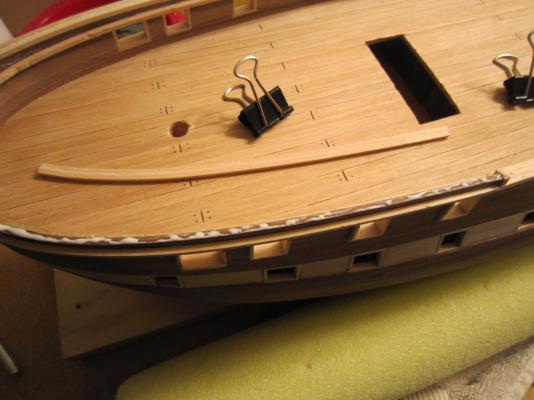
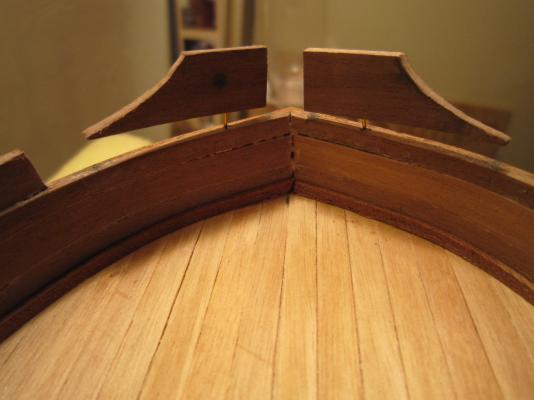
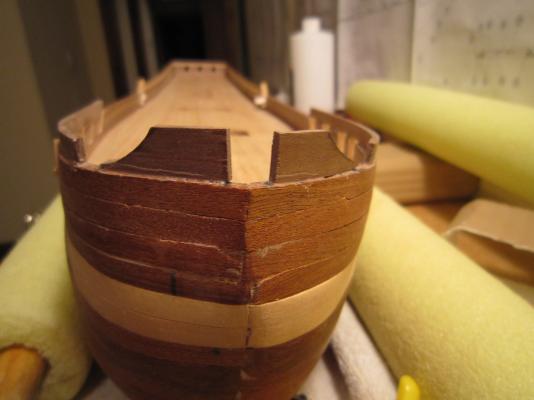
Here's the fore pieces bow toprail pinned, then glued. Everything, of course, will be filled and sanded smooth when dry.
- 1,756 replies
-
- 2
-
-
- constitution
- constructo
- (and 1 more)
-
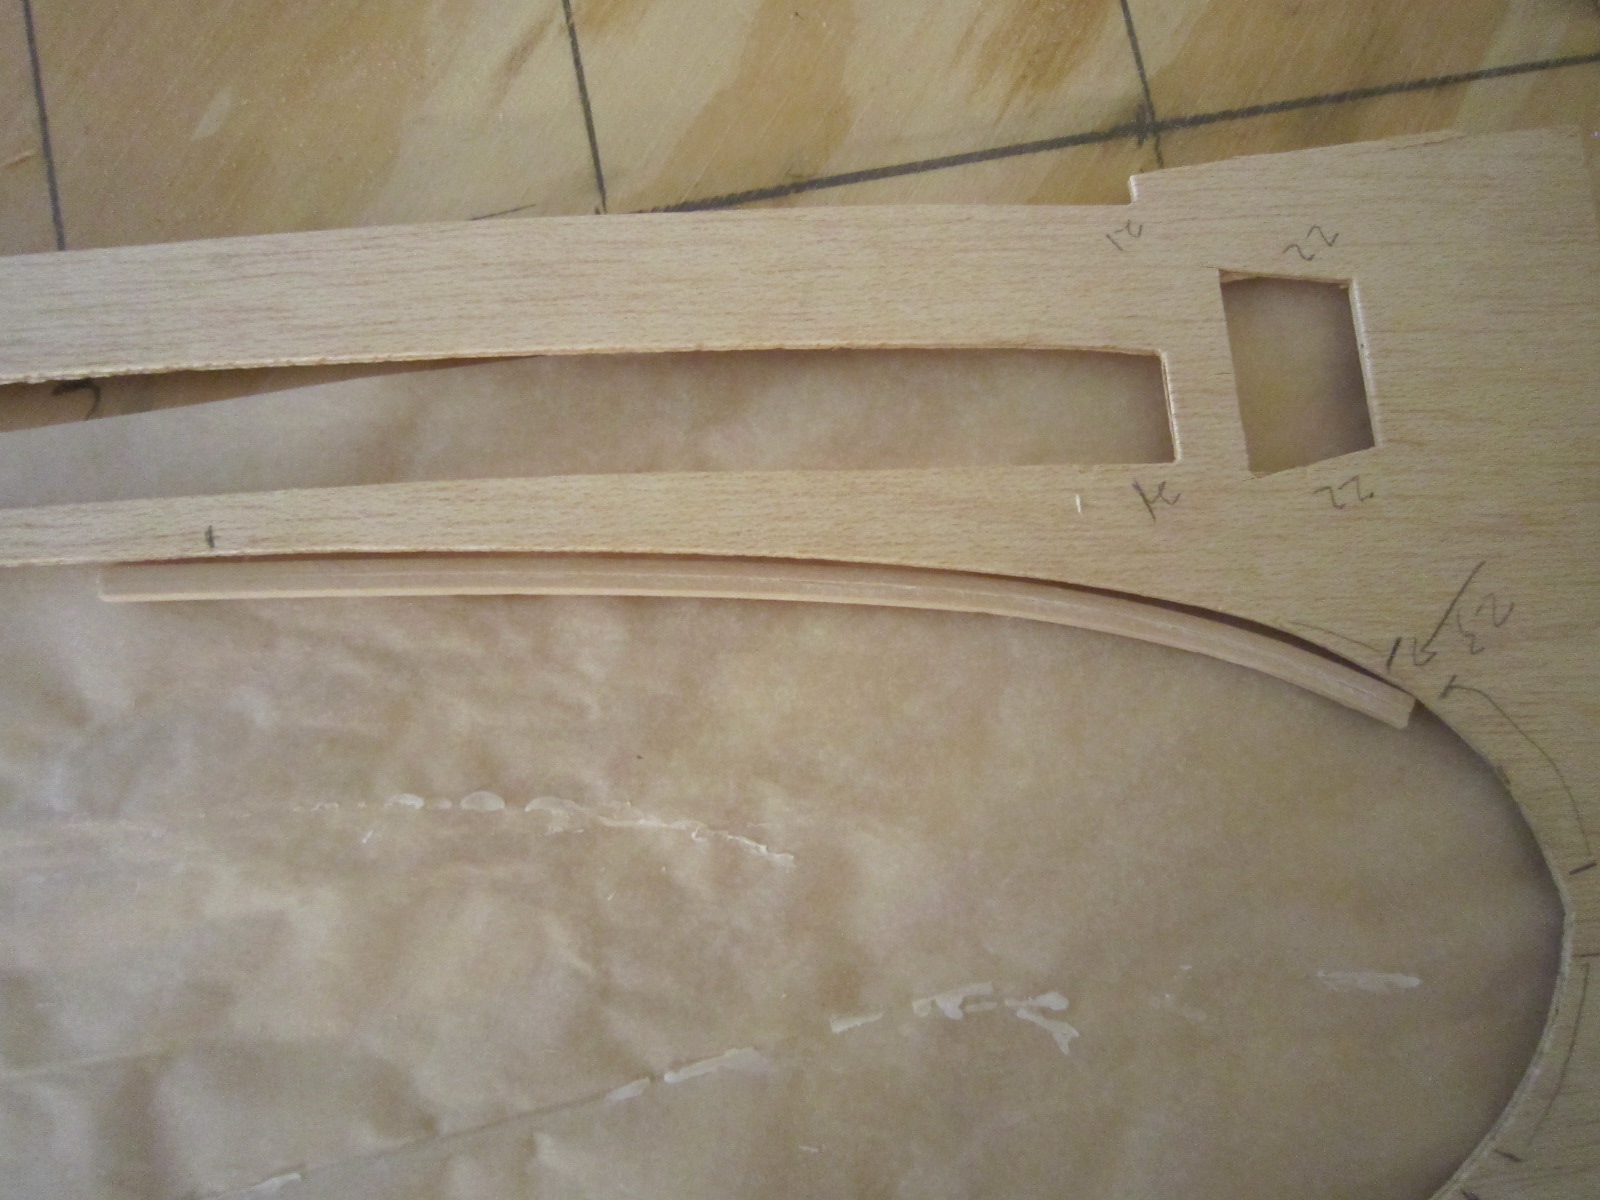
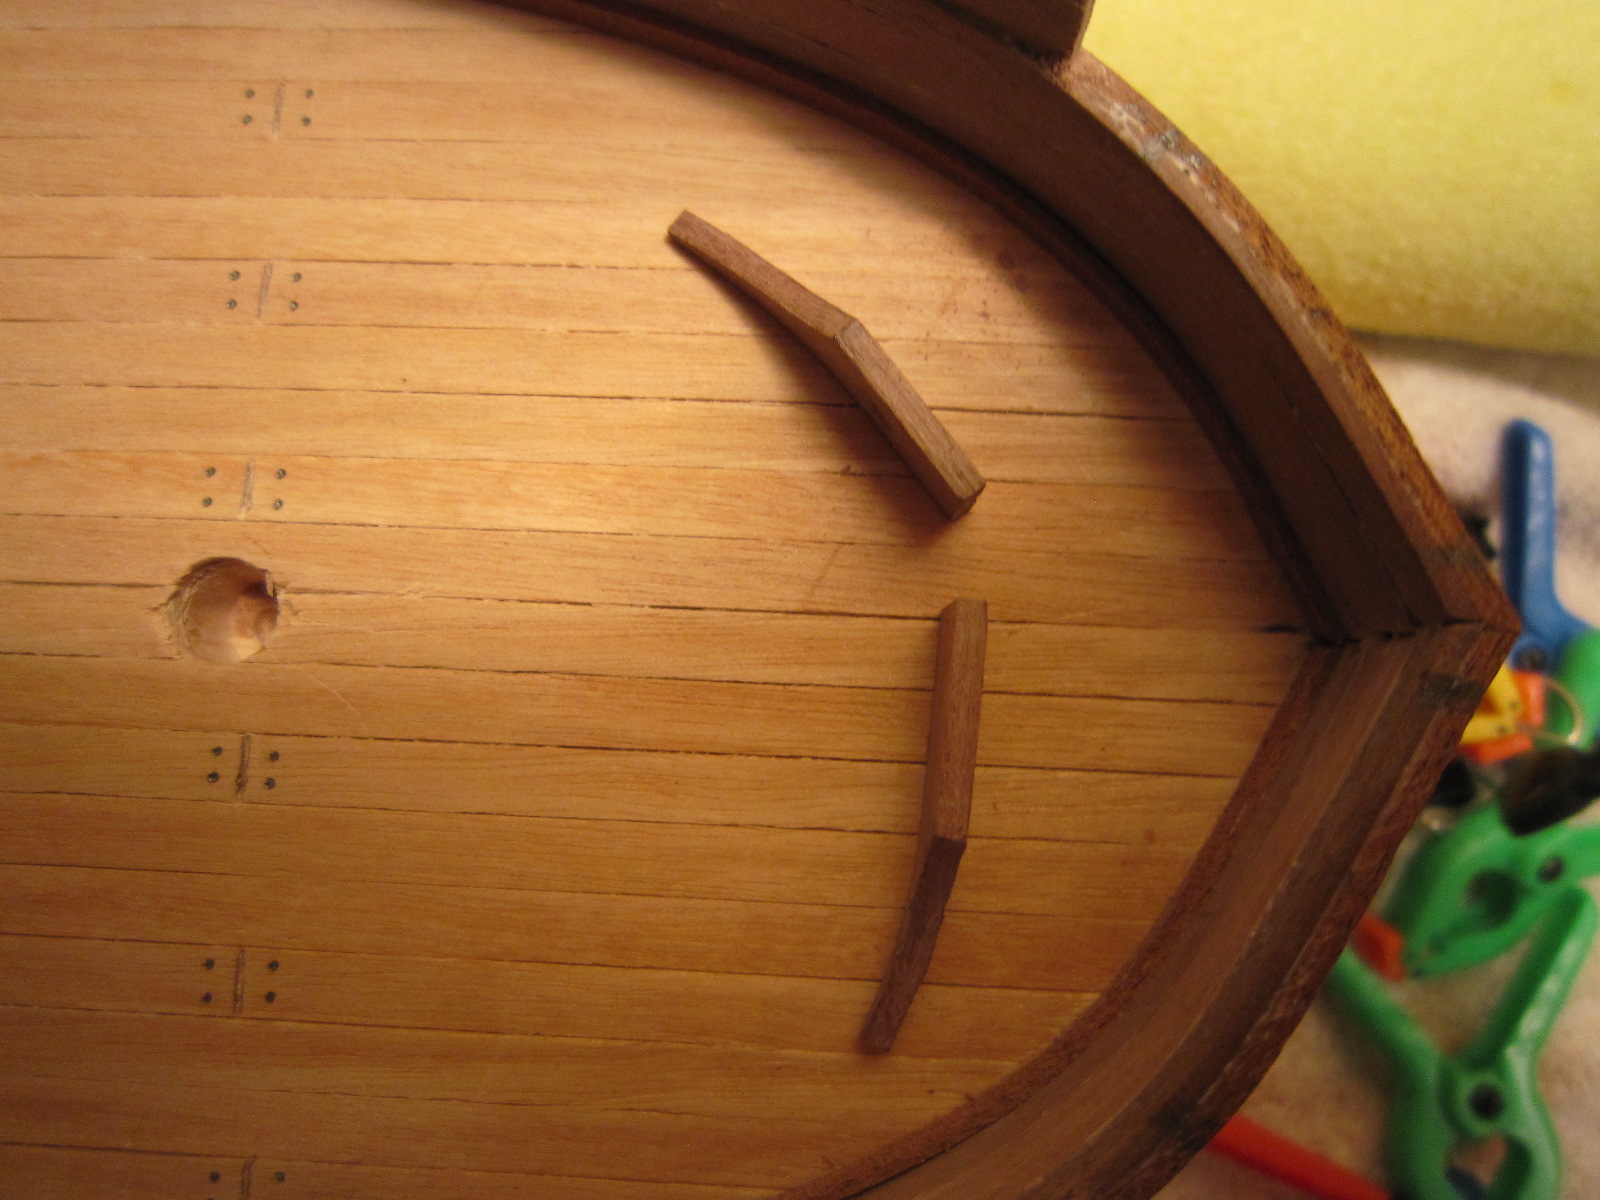
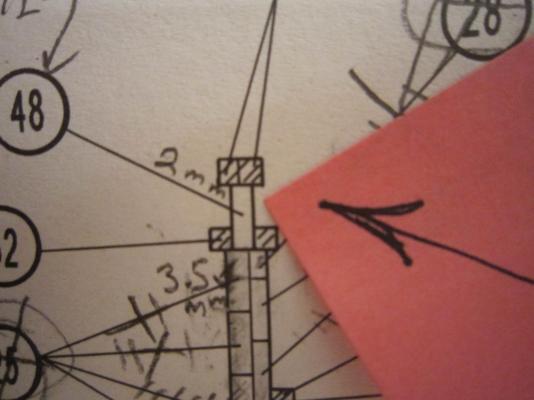
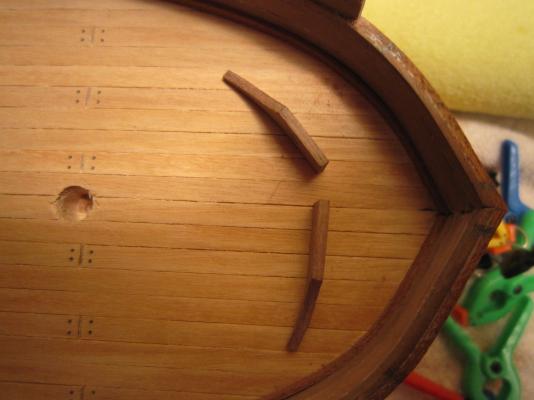
I just finished shaping the fore pieces for the bow toprail. I had to double check the prints and instruction book to get a rough idea of the exact shape. I guess I'm close. I'll pin and glue them tonight. This stuff is tougher that steel.

-
Sam, Believe it or not...it looks like the 10mm stuff took the curve! The 5mm planks took the curve perfectly so I pinned and glued them on. Next, I have to shape those 10mm planks then pin & glue them.

- 1,756 replies
-
- 2
-
-
- constitution
- constructo
- (and 1 more)
-
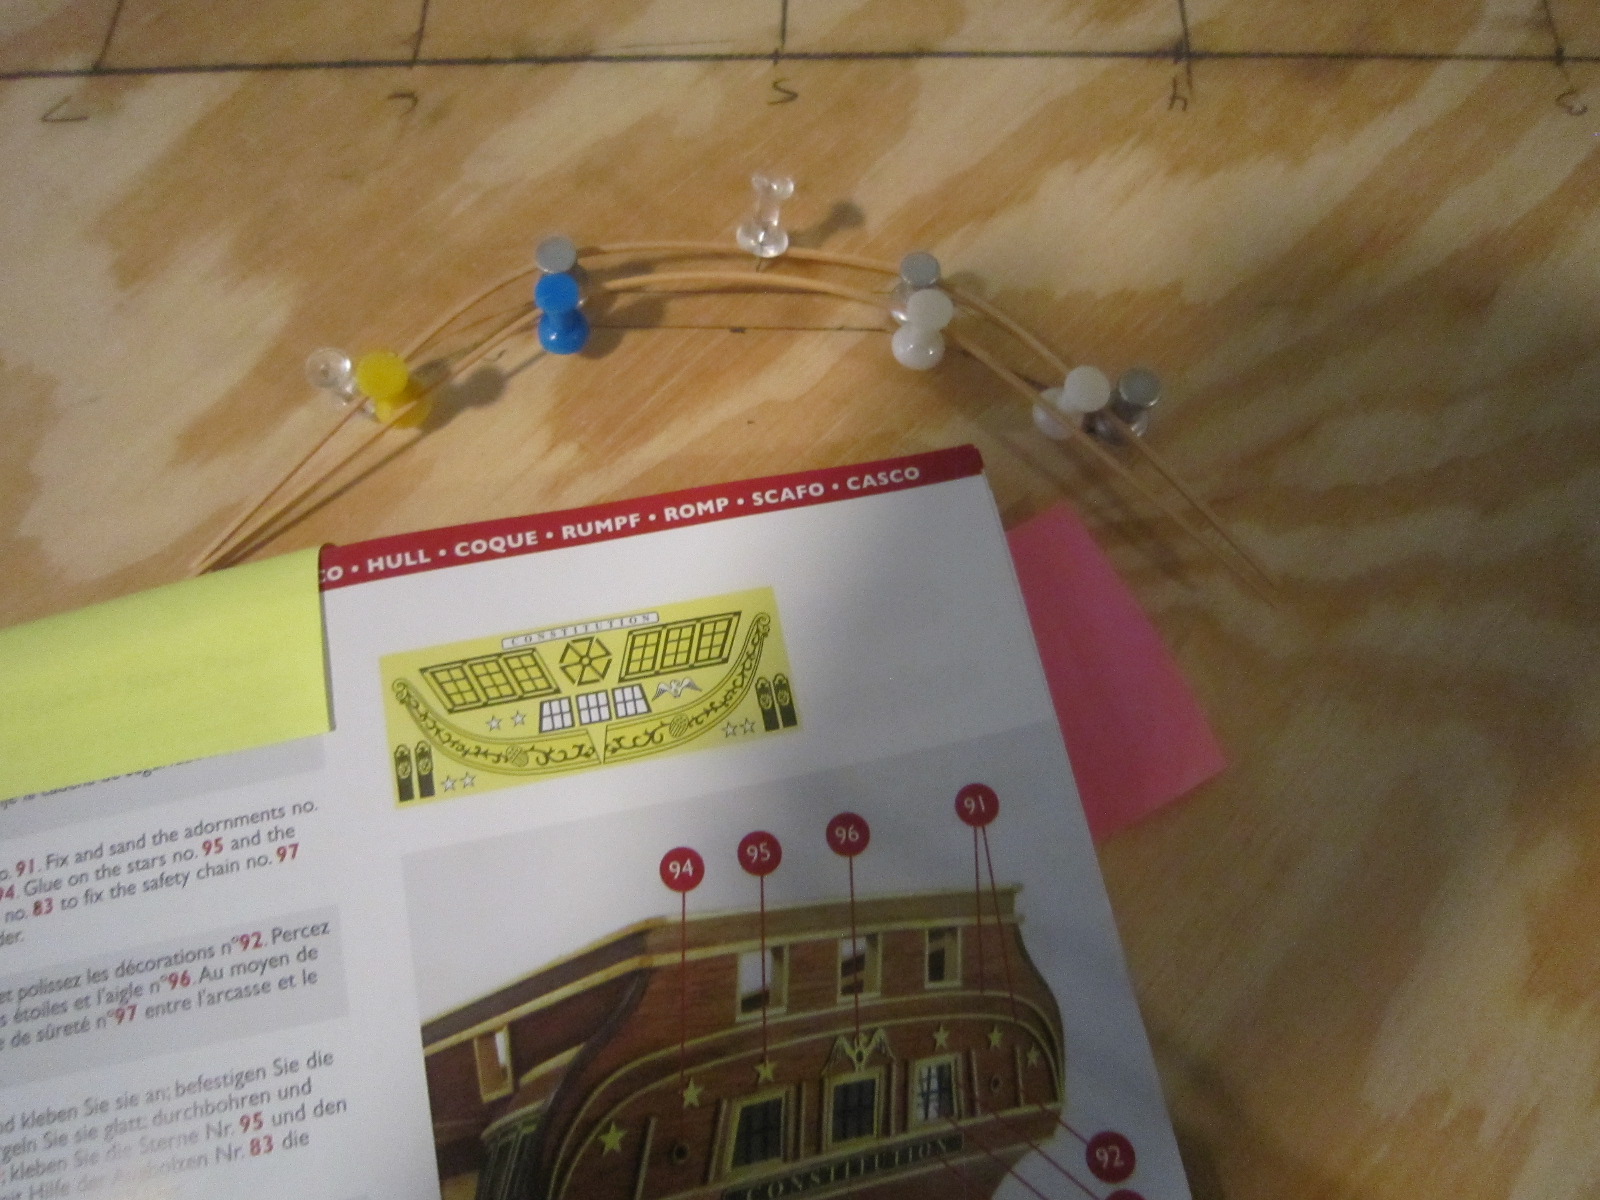
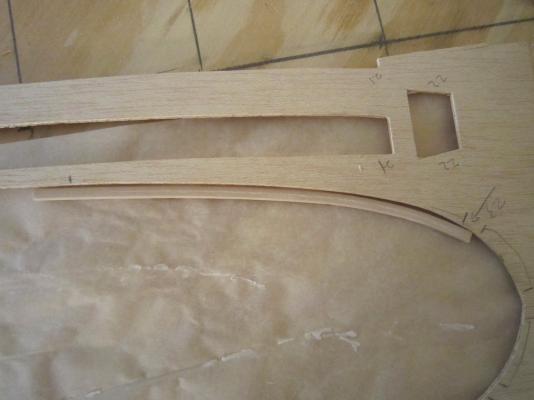
Now I'm trying to get net shape curves for the bow top rails. My jig only got me almost there, so I'm trying something new. I am using the cutout from my false deck as a jig and clamping the 2mm x 5mm planks to it in the exact shape needed. I soaked everything for 30 minutes. As far as the 2mm x 10mm bow pieces go...I'm trying an extreme bending method. I'm using my heating iron jig and some vice clamps. I'll either break them or curve them. Time will tell.
- 1,756 replies
-
- 1
-
-
- constitution
- constructo
- (and 1 more)