HIPEXEC
-
Posts
2,698 -
Joined
-
Last visited
Content Type
Profiles
Forums
Gallery
Events
Everything posted by HIPEXEC
-
 I just glued the last of the toprail trim & support to the aft portion of the ship. Next will be the forward section if I can get that 2mm x 10mm stuff to curve.
- 1,756 replies
-
- 3
-

-
- constitution
- constructo
- (and 1 more)
-
Lime wood soaking
HIPEXEC replied to Mike Dowling's topic in Building, Framing, Planking and plating a ships hull and deck
I built a jig in the shape of the hulls top view and let the planks dry on the jig.
-
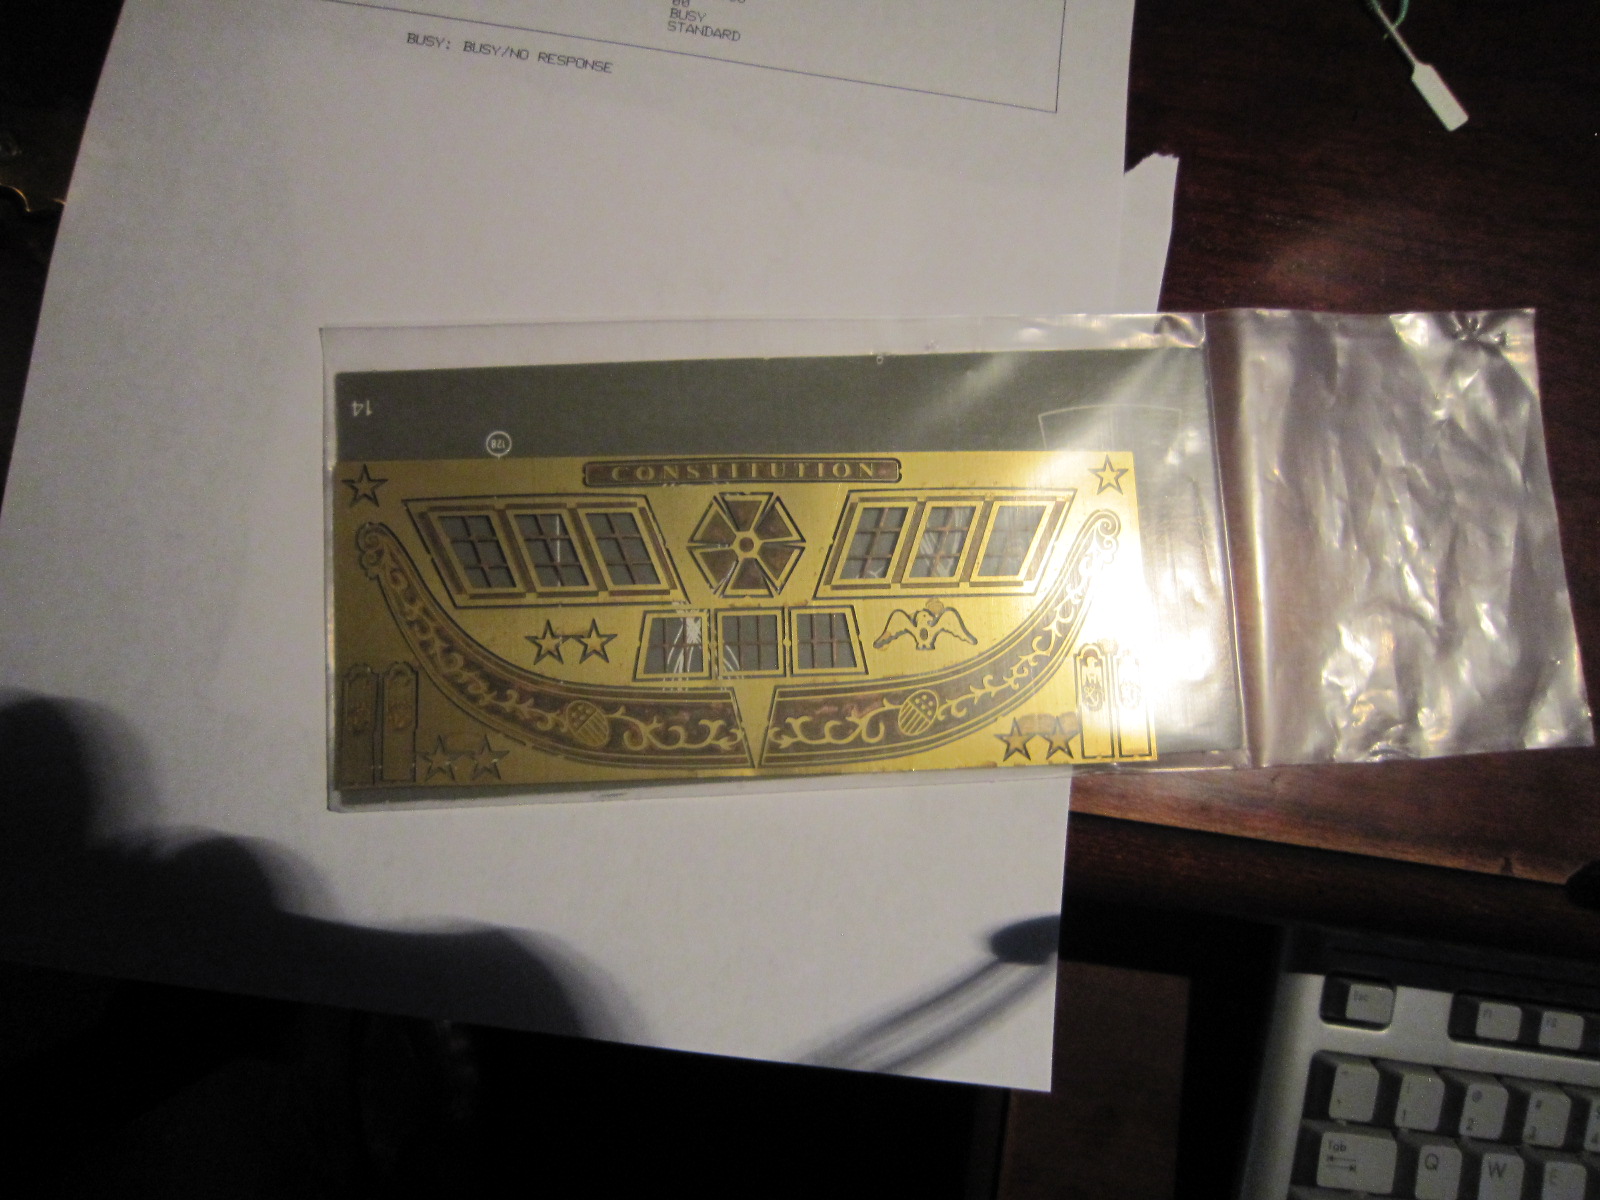
Wow! It's great! Where did you get that fancy molding? Rich
- 2,191 replies
-
- 1
-
-
- confederacy
- Model Shipways
- (and 1 more)
-
While I'm trimming the aft toprails, I figured I'd stay ahead with the bow toprails. Wow! Trying to bend 2mm x 10mm Sapele that is harder than bending steel. At least steel is bendable. I only have to put a slight curve on them, but they don't seem to budge. The rest of the toprail is 2mm x 5mm and bends easier (not easy) the the 10mm stuff. The 5mm stuff is being bent on the jig I built for planking the hull. The 1mm stuff is being bent on the form that came with by heating iron. We'll see?

-
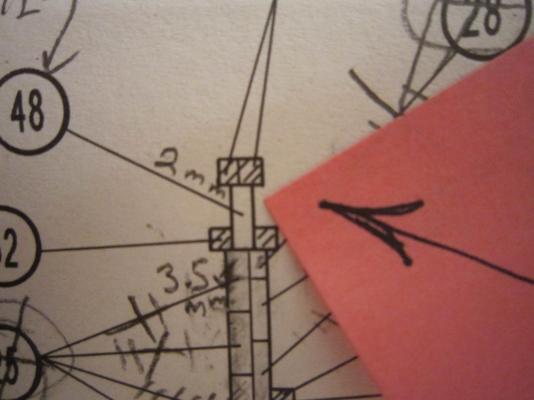
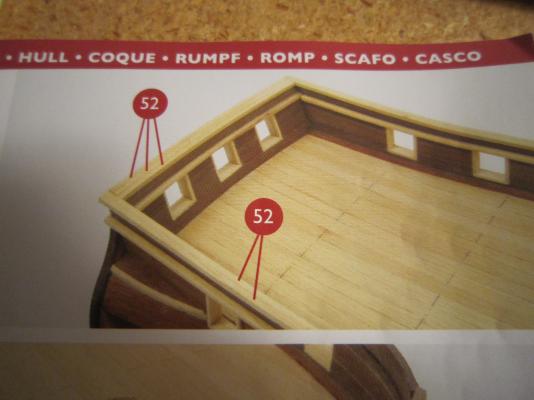
Good old Constructo! If you look closely at this drawing, you will see Constructo tells me to glue two 2mm x 2mm pieces to the top of the toprail. There is no way I have the talent to try to glue two separate 2mm x 2mm strips with each only having a 1mm surface to grip to. I decided when I finish gluing on all the trim, I shall glue two 2mm x 2mm pieces together making on 2mm x 4mm plank which I will then glue & pin to finish the toprail. Do you all think that will work?
-
I'll drink to that! Rich
-
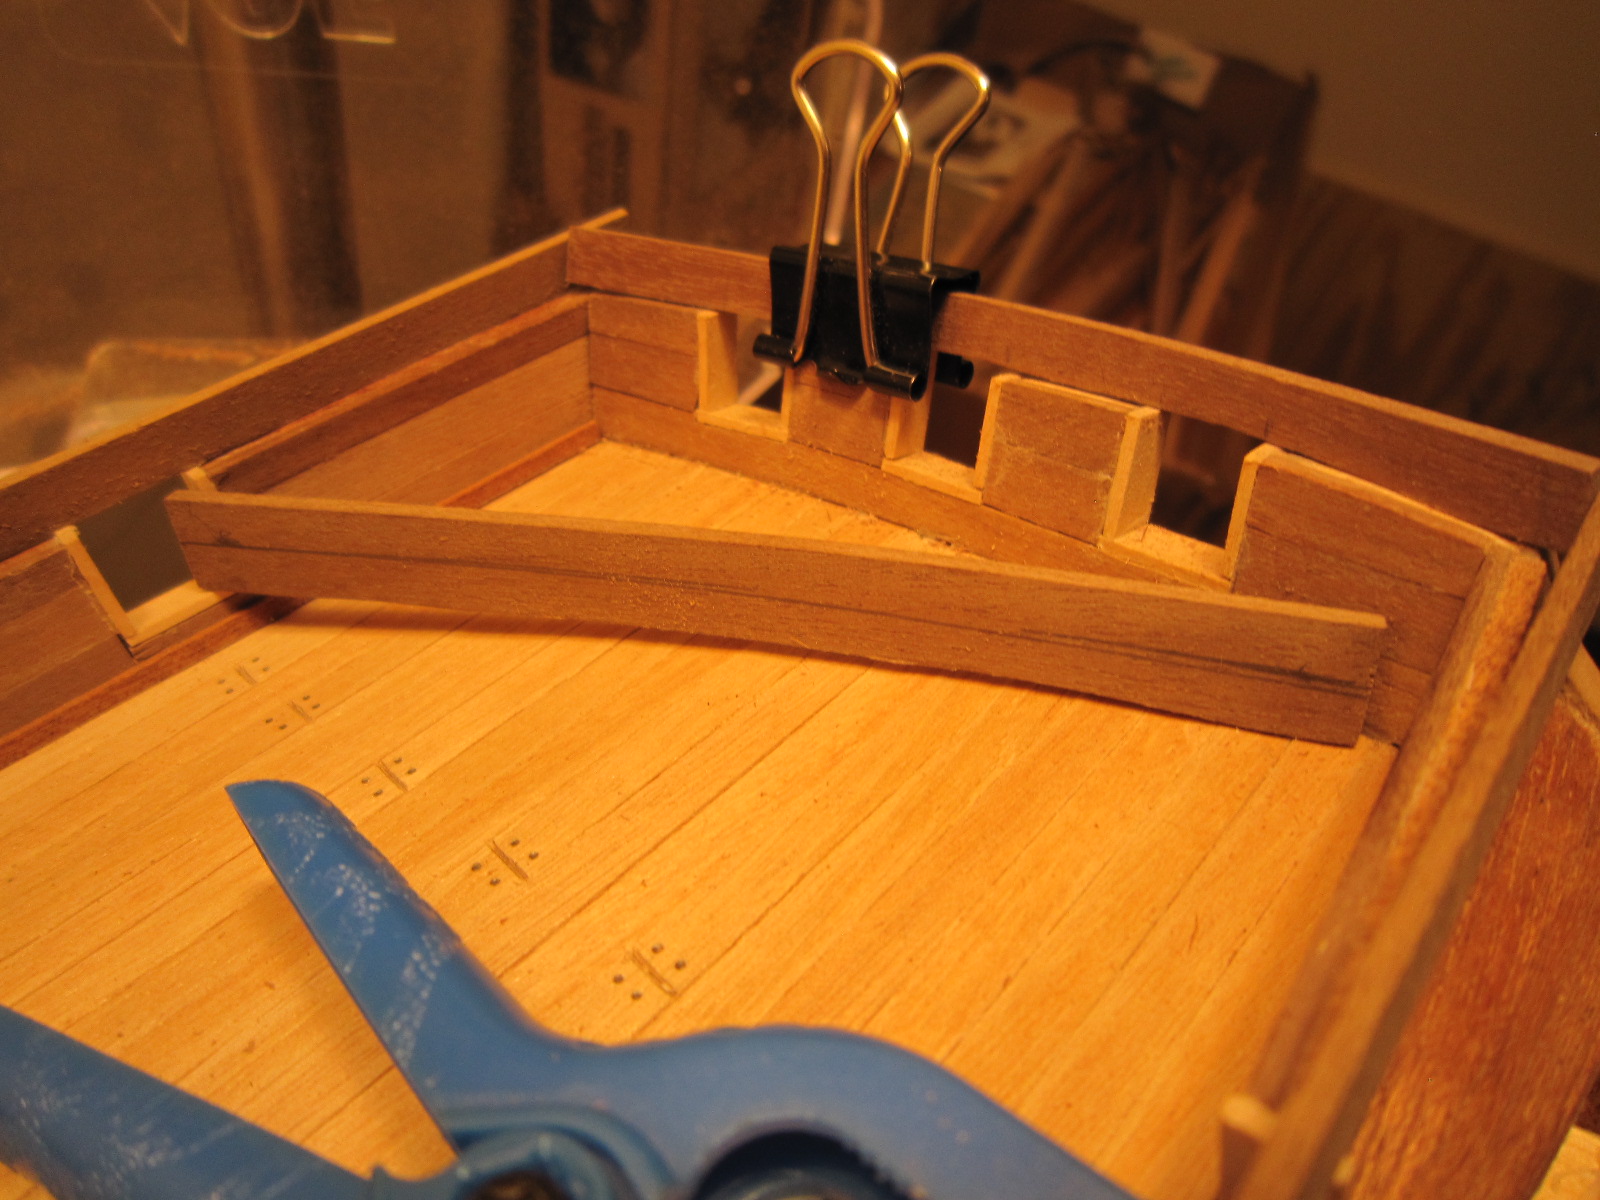
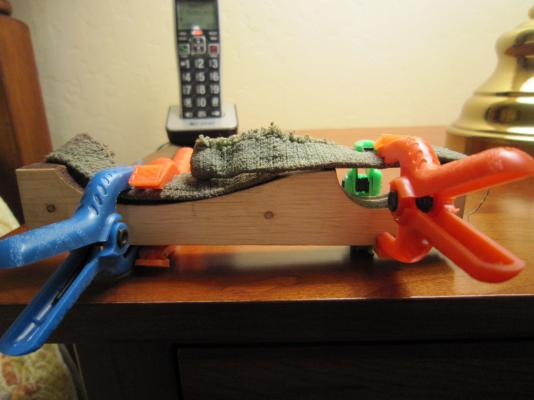
Stern trim & toprail support. Also, port side trim with no clamps. Next I'll tackle the inside trim and toprail supports.
- 1,756 replies
-
- 2
-
-
- constitution
- constructo
- (and 1 more)
-
What do you know! I found a hidden compartment in the handle of my hand drill that contained another collet...this one for smaller bits like my 0.5mm one.
- 1,756 replies
-
- 2
-
-
- constitution
- constructo
- (and 1 more)
-
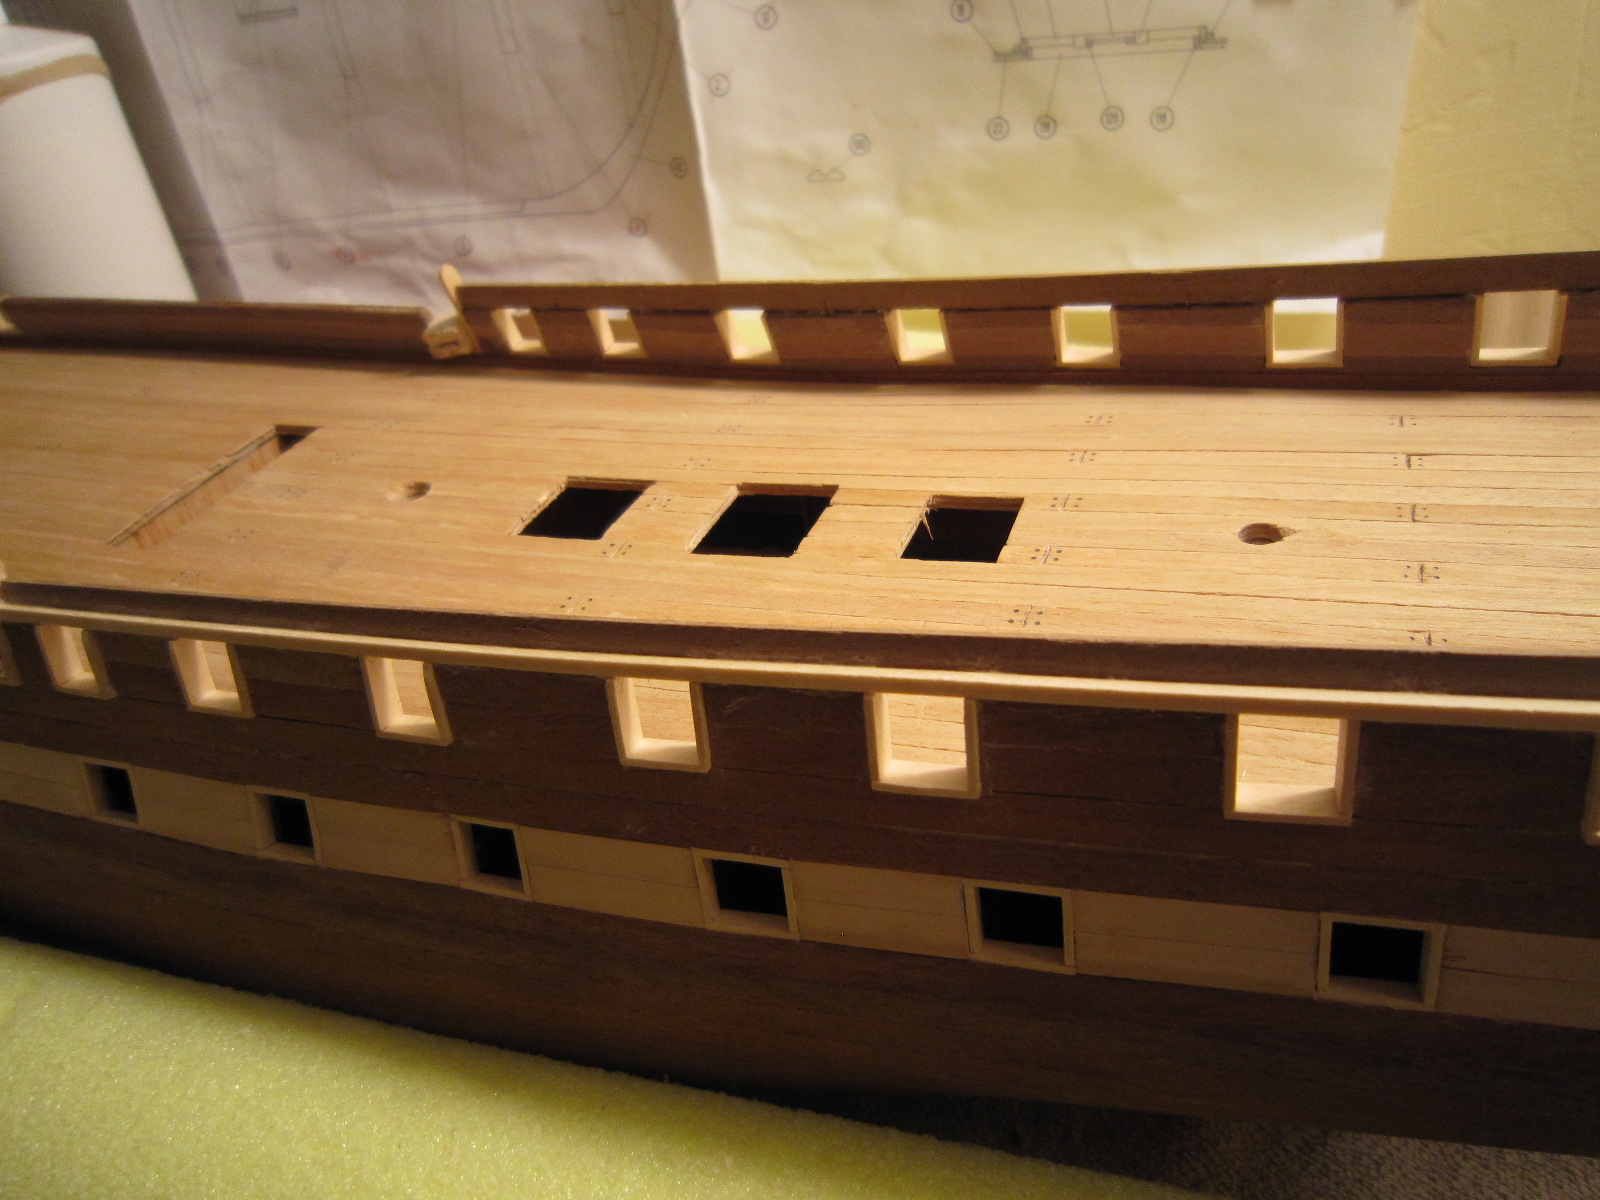
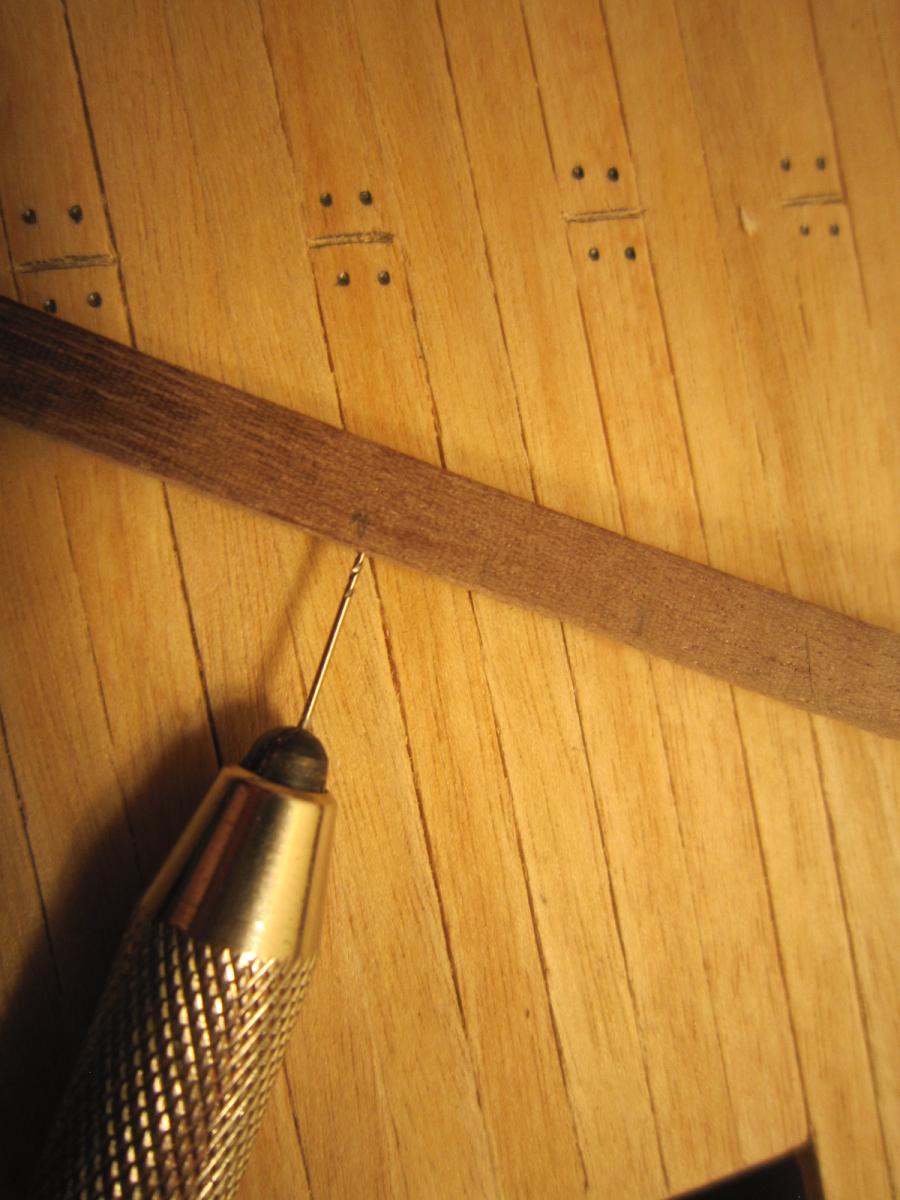
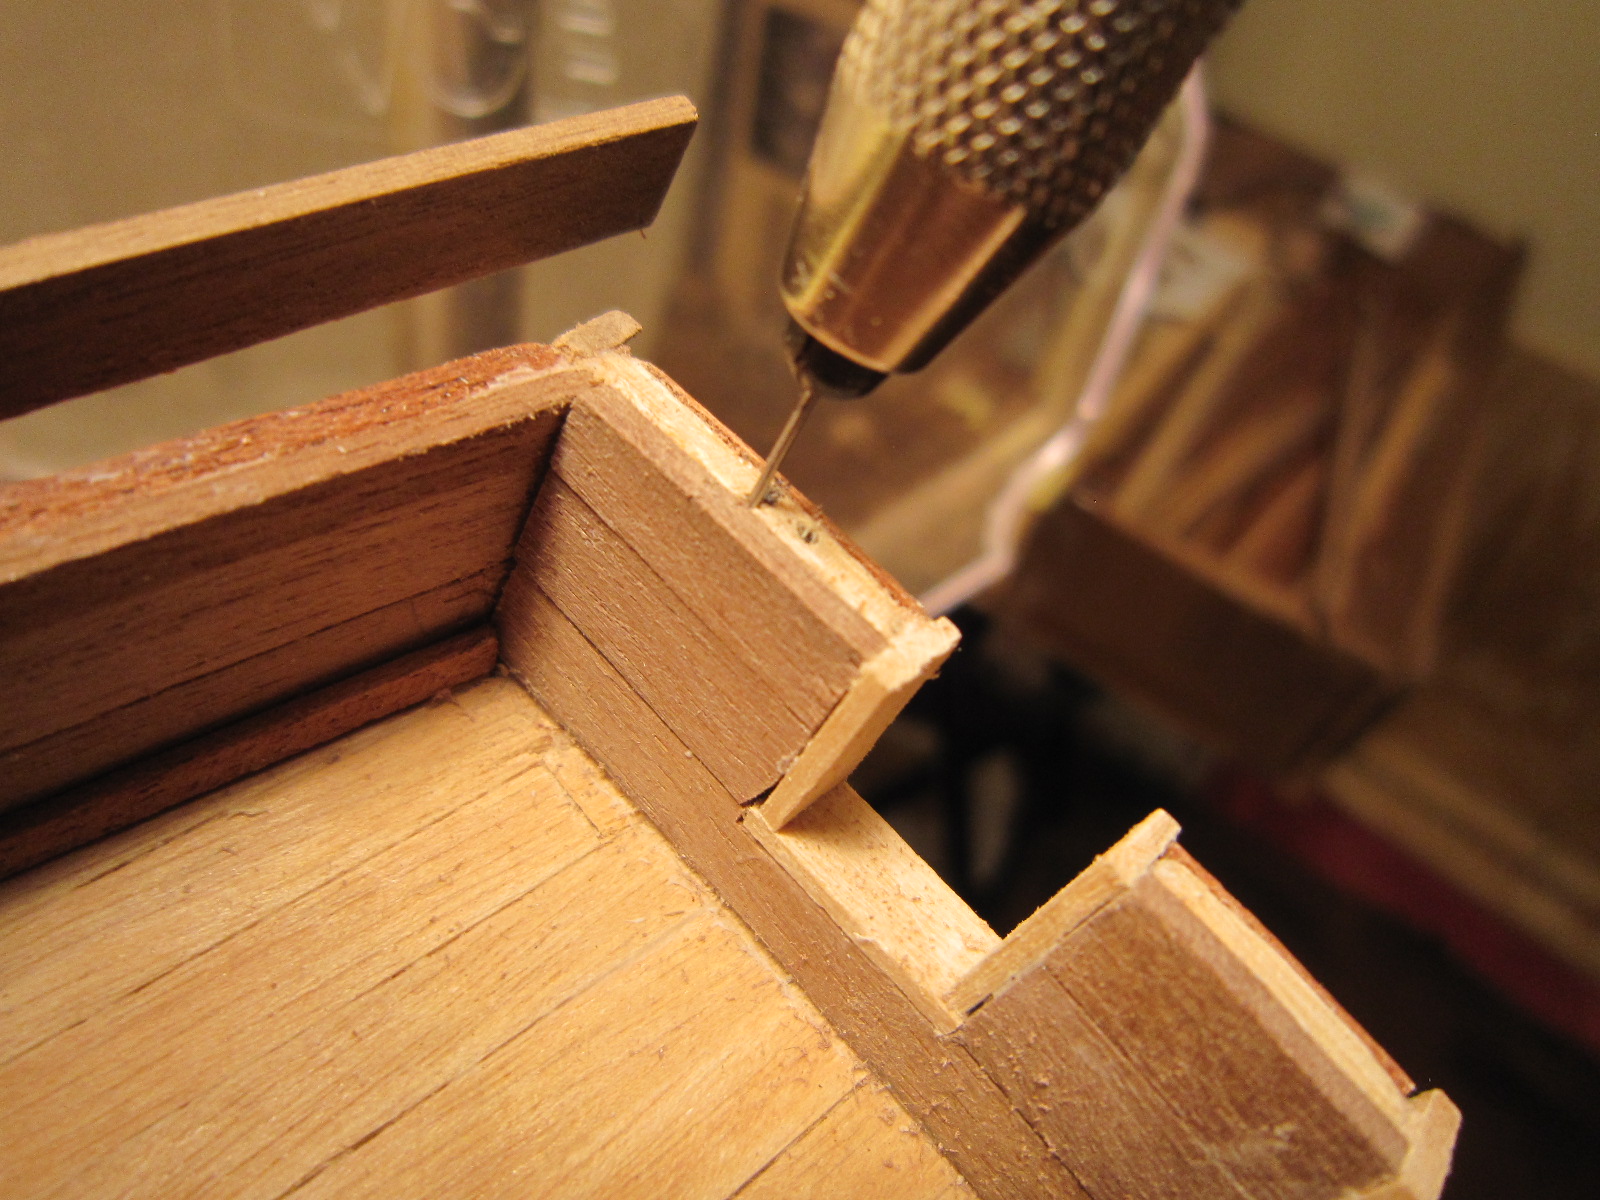
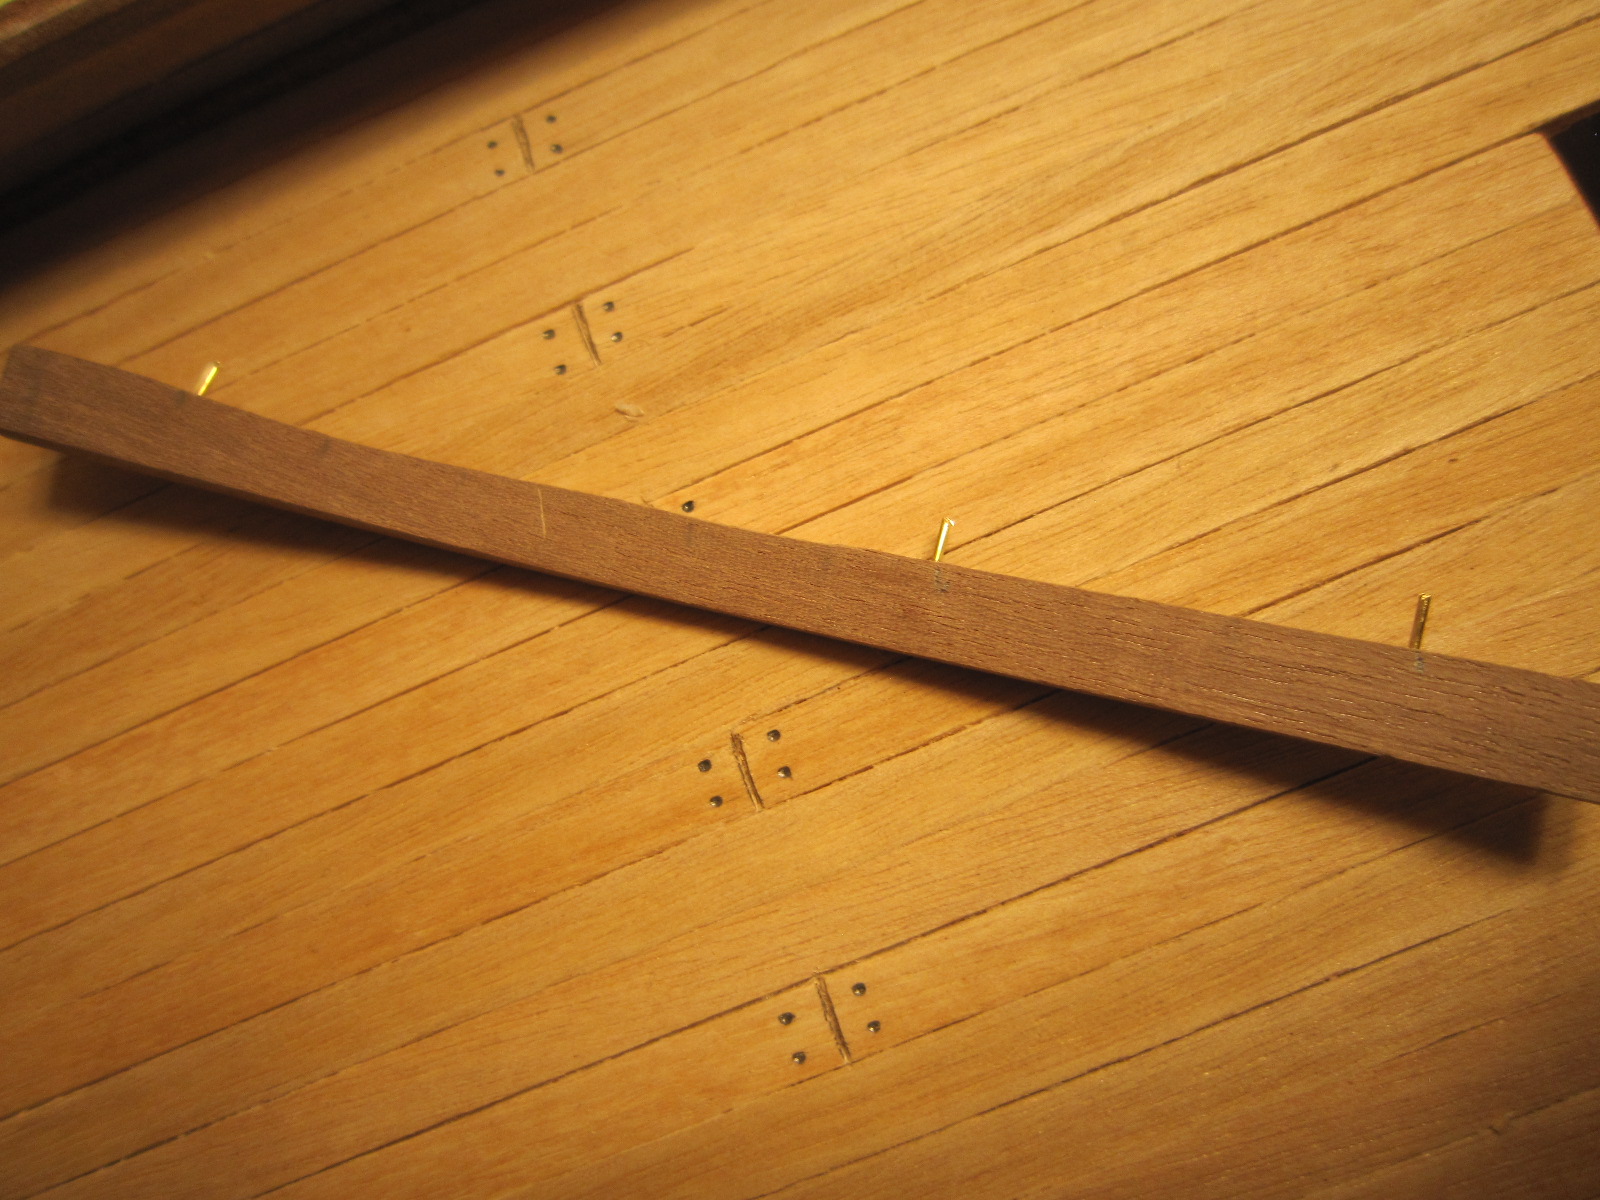
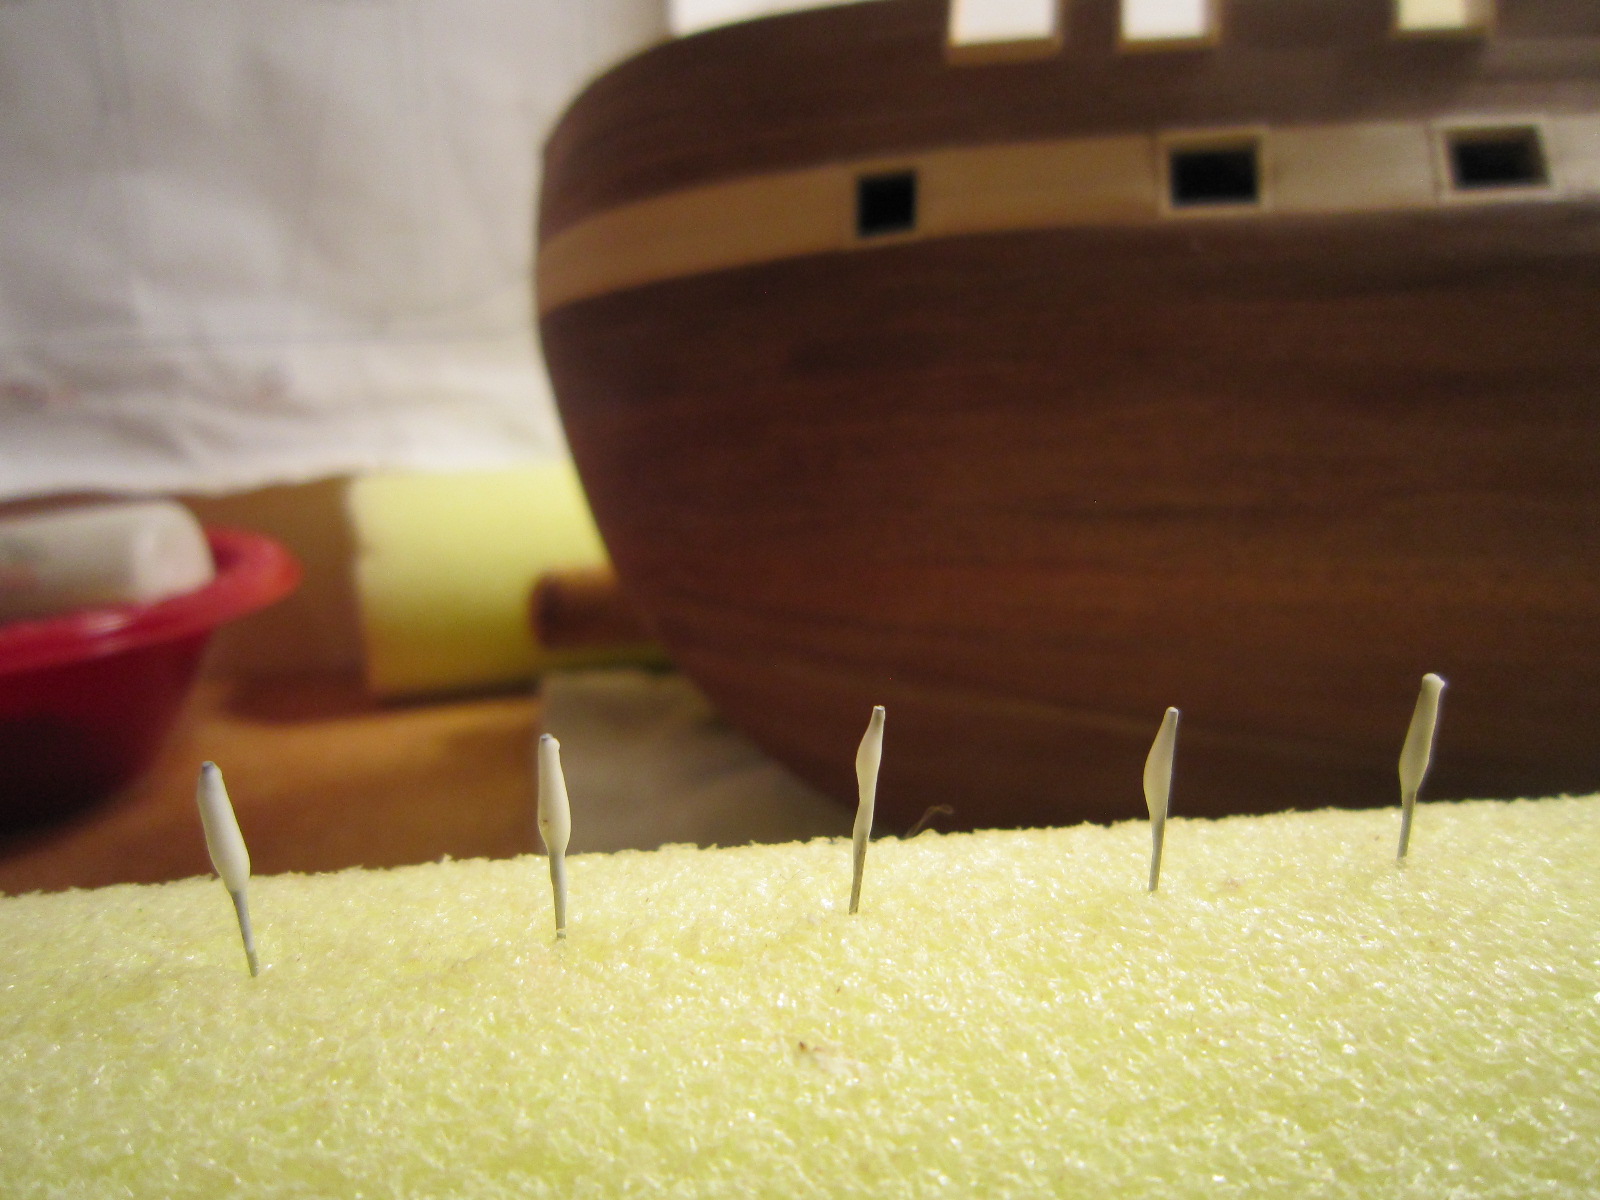
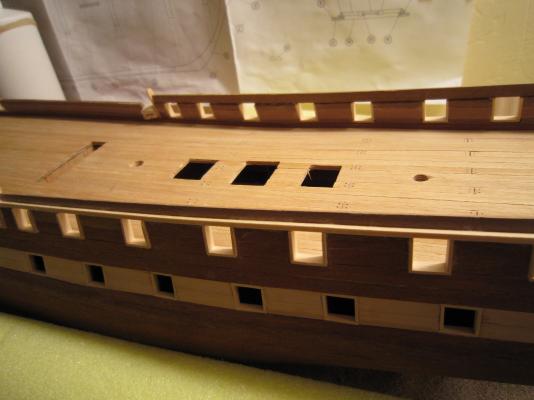
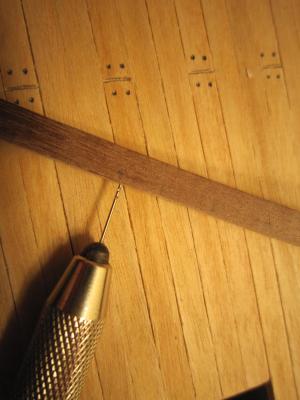
This is how I drilled the plank for the top rail and drilled the gunwale to receive the pins. The last pics show the top rail in place ready to be glued. I had to be very gentle using this hair-like 0.5mm drill or else it will break off. Now I'll glue it all together and I won't have to worry about breaking off top rails while I rig the ship. The pic of the bird's eye view is an illusion. The top rail is on center all the way across.


-
All dark woods give me fits! Rich
-
When I tapered the masts on my first model, I first drew a circle at the top of the dowel to show me the center and limits as I whittled down the dowel to look like a tapered mast. I used sandpaper in that case, however I have purchased a small wood plane for my future mast tapering. Good luck, Rich
-
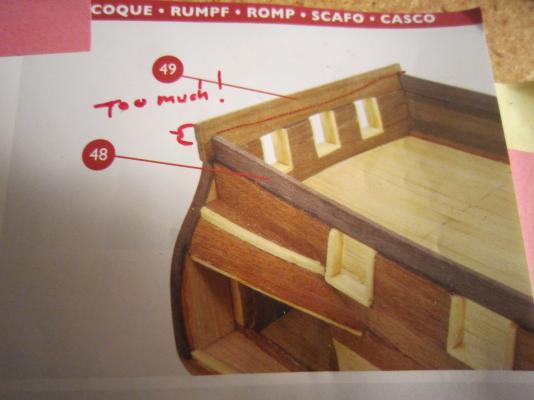
Constructo's engineers strike again! I spent two days bending a 2mm x 10mm plank on two axis to fit the rear top rail as called for by Constructo's plans, which was no easy task. The last phrase in their instructions says "trim to fit". So I looked ahead and saw that the aft top rail and side top rails are the same height and I would have to trim off (probably saw) a whole 5mm of material. So today, I bent a 2mm x 5mm plank on two axis and now the rear top rail will fit with just a tweak of sandpaper. What were they thinking by calling for a whole 5mm of material to be removed?
-
I bought some #76 or 0.5mm drills and they're too small for my smallest collet. So, I thickened the drill bits with some CA glue and....they now hold in my collet. Then I did a practice drill and set a pin into a plank vertically and pinned it to a horizontal plank...and it held real strong with no glue. I think I'm back in the business of building my top rails.. Thanks for all your help...I couldn't have done it without you all.


- 1,756 replies
-
- 1
-
-
- constitution
- constructo
- (and 1 more)
-
Wow! You're off to a great beginning. Good Luck, Rich
- 164 replies
-
- 1
-
-
- model shipways
- armed virginia sloop
- (and 2 more)
-
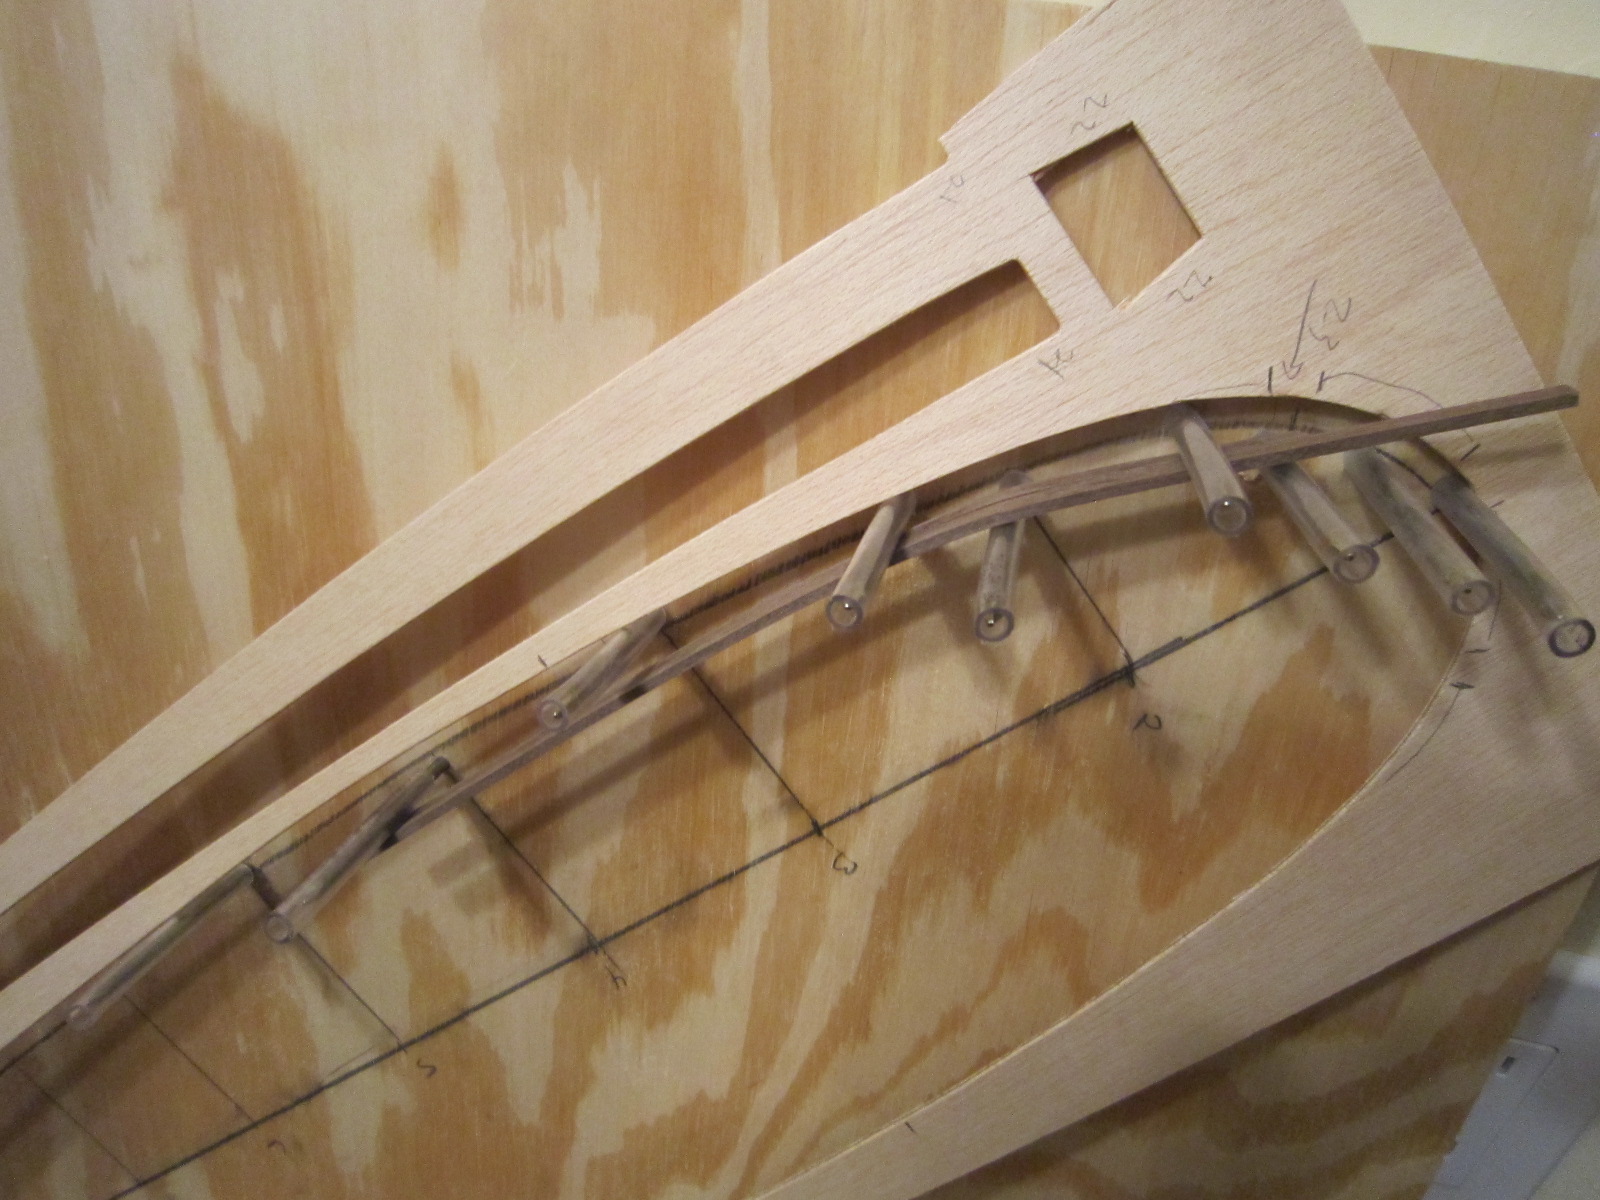
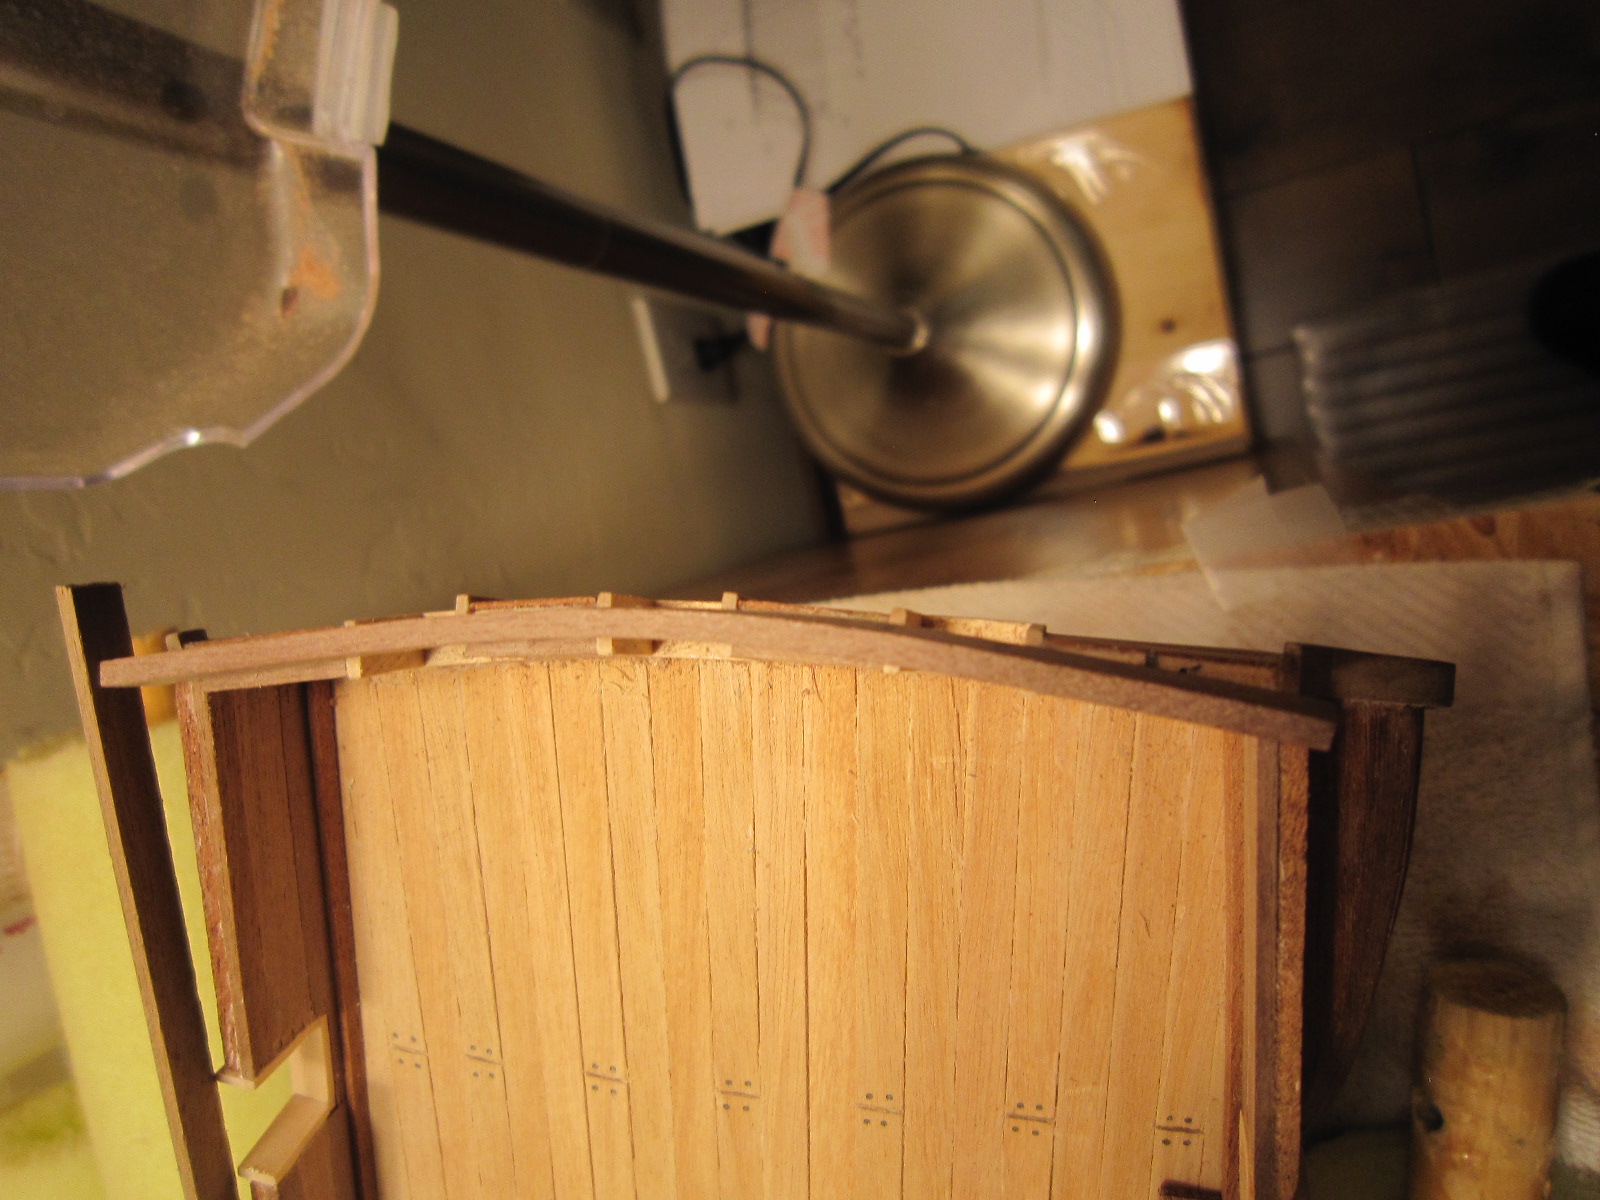
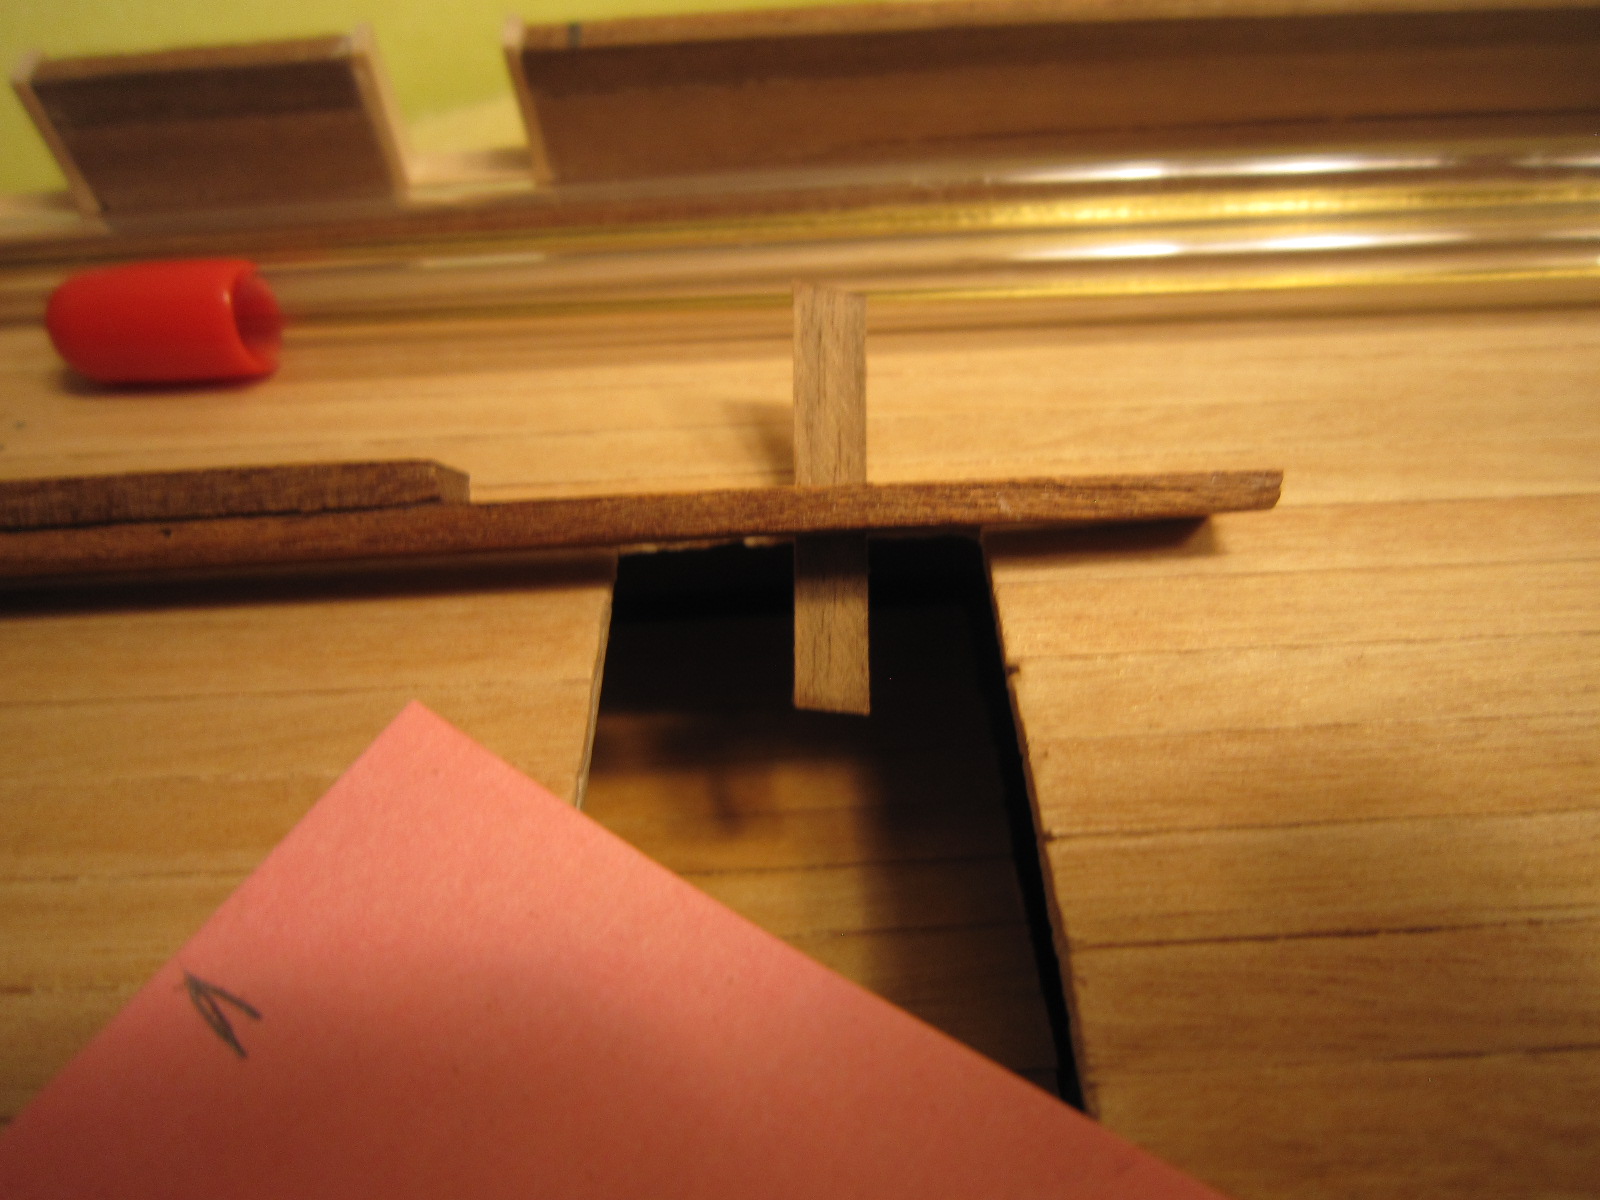
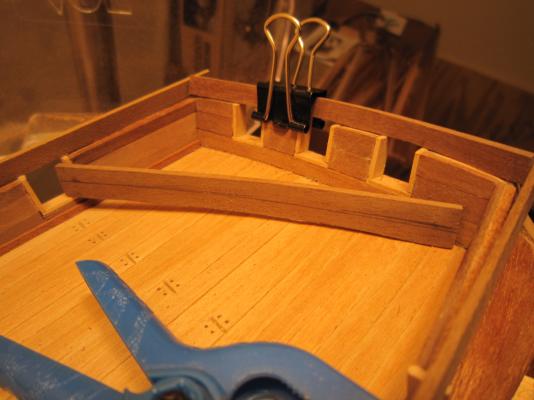
Tomorrow I'll buy some 0.5mm drills and small gage wire to pin all these railings. I also looked way ahead in the instructions and plans, and installed the aft portion of the gangway that I temporarily chocked for extra support while I drill and pin everything. That will give me support on the forward end of the aft rail sections. Then I'm fabricating the aft rail, which needed to be bent vertically as well as horizontally (photo shows horizontal bend being forced in). I'll glue and pin the aft top rail in place, then glue and pin the aft side rails. Big job! I have no idea how I will attack the forward pair of top rails...but that's another day. I'll also try to buy some doll house moldings to trim the stern area.

- 1,756 replies
-
- 2
-
-
- constitution
- constructo
- (and 1 more)
-
Nice planking!!! Rich
-
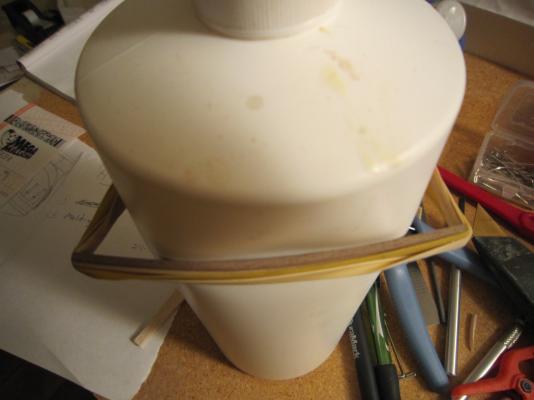
The harder the wood...the longer I soak them. My Constructo USS Constitution had Sapele planks 2mm x 6mm that always cracked when I bent them. I added Ammonia to the water and soaked them 20 - 30 minutes...then used a hot iron to start the bends and them put them on a net shape jig I built for myself out of 3/4 inch plywood and plastic wrapped nails. I used the cutout from my deck piece to trace the hull shape onto the plywood. Check out my build log for pics. Even with all this....bending planks is a tedious time consuming task that is well rewarded with a smoothly planked hull. Read all the tutorials on this website and pick and chose the techniques that suit you. The best advise I got from a member is: treat each plank as if it is its own model. Each one has its own bend, taper and twist. Good Luck, Rich
-
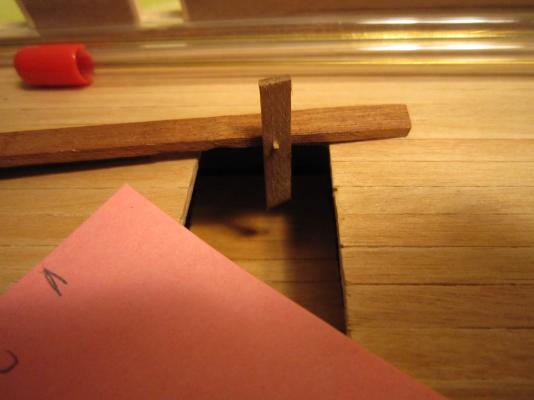
I'm going to work on pinning as well as strong glue. Once the 5mm vertical plank is glued, the small 2mm x 2mm trim pieces will add strength. I'm also looking to see if I can tie it to a cross plank at the stern. There's nothing to cross tie it to at the bow, though. Thanks, Rich
-
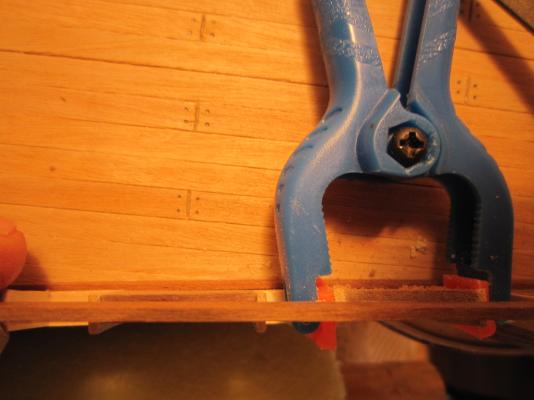
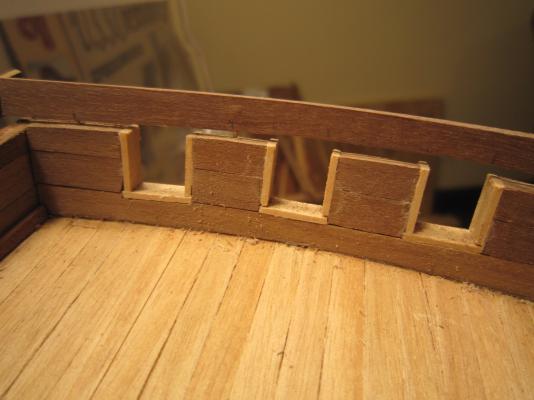
Help! I need help gluing this 2mm wide by 5mm high toprail to a 3.5mm wide gunwale. I can't imaging this arrangement holding together while I rig this model. It will run 3/4 around the whole ship. Any and all ideas welcome. Rich

-
Help!!! How am I supposed to get this 2mm x 5mm rail to stay glued permanently onto a 3.5mm wide gunwale? That's 2mm gluing surface only. If I could pin it like reinforcing rods in concrete, I'd feel better. But drilling down 5mm in a 2mm thick plank is pretty tricky. Any and all ideas will be appreciated. The Constructo plans are of no help here.

-
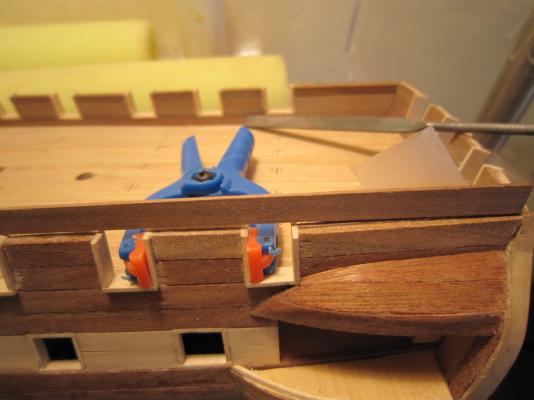
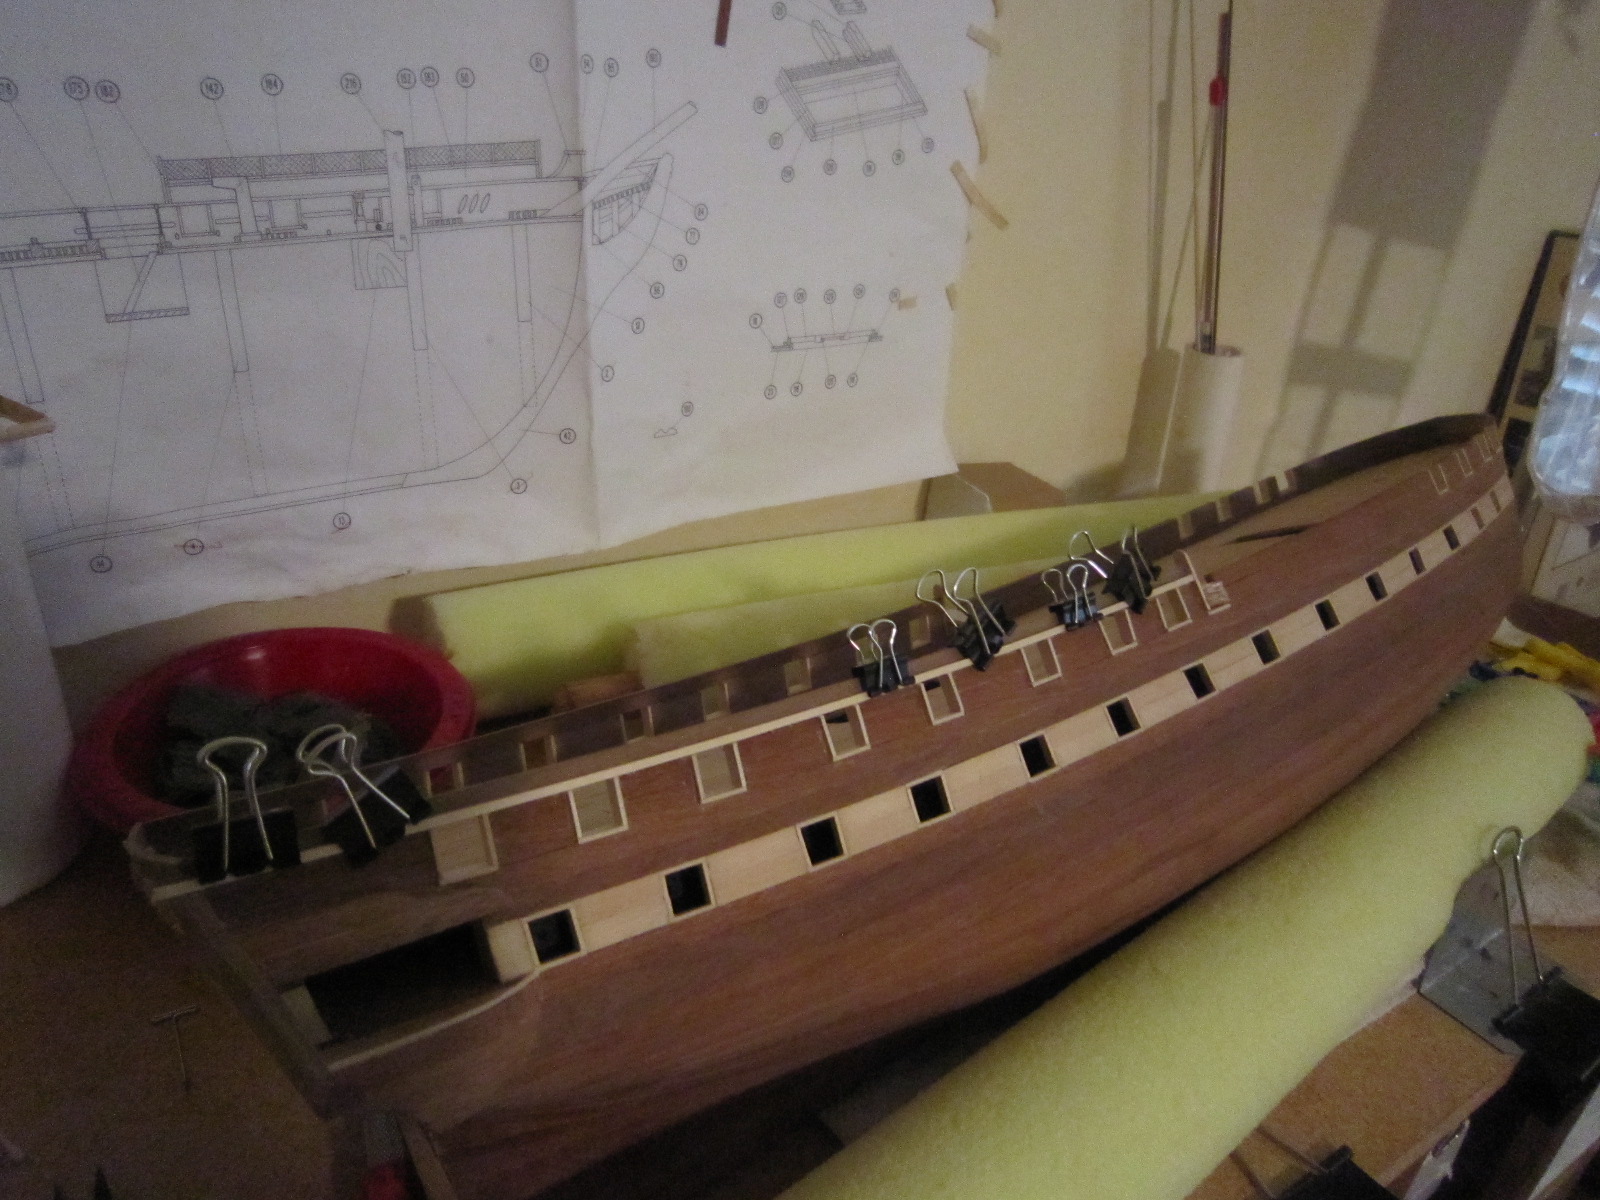
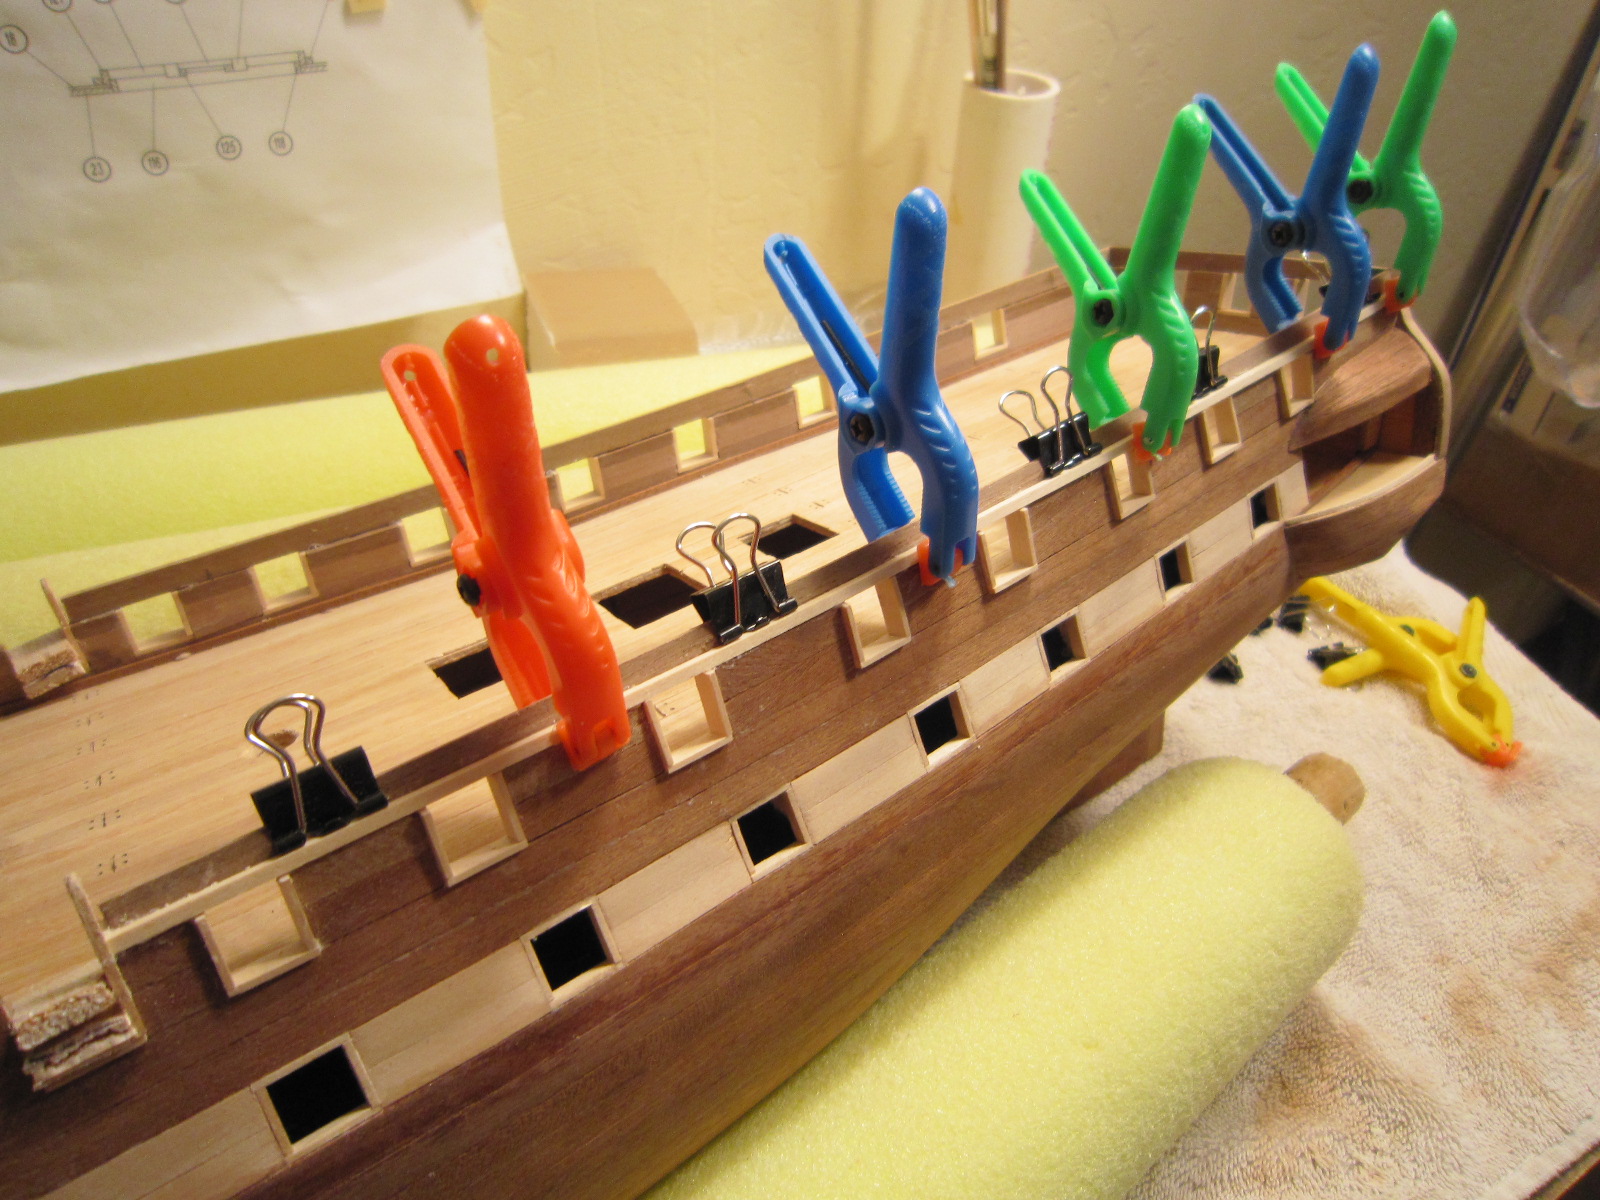
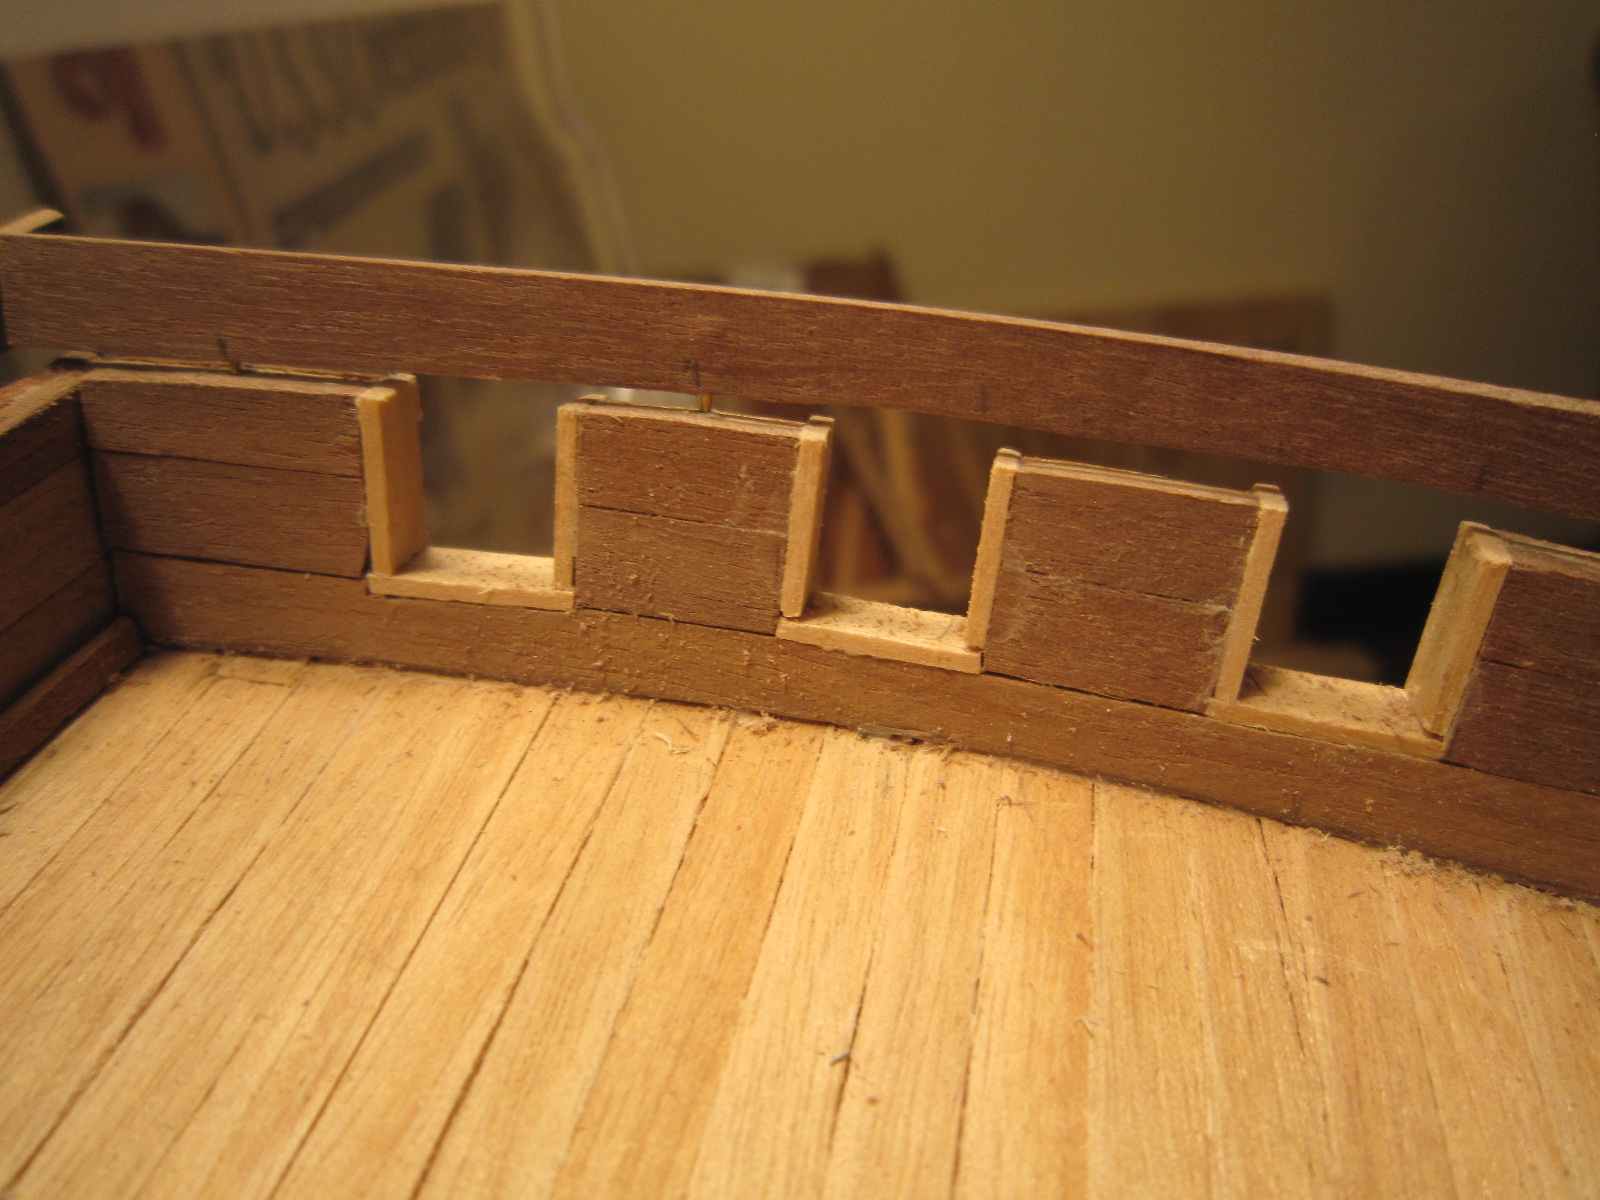
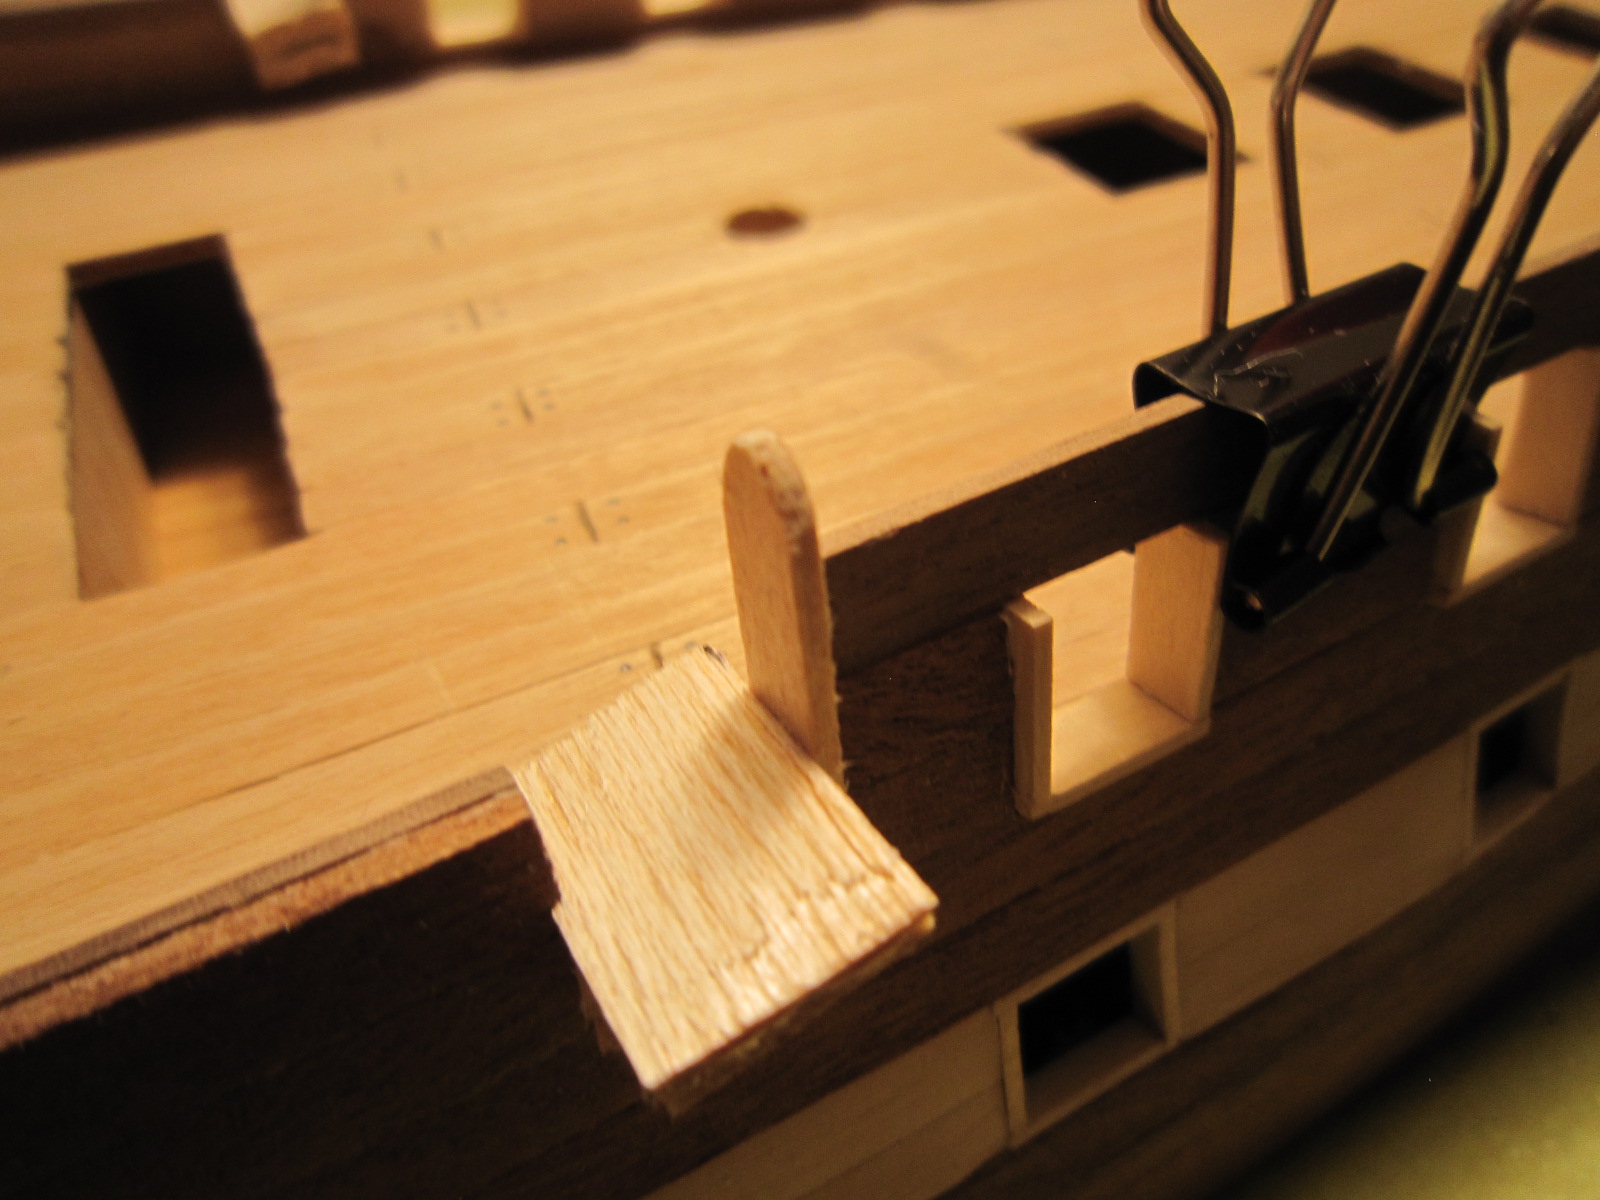
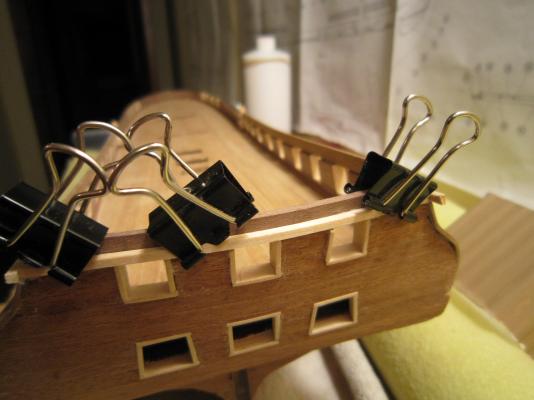
While I am waiting to get moldings and the new parts from Constructo before I finish the galleries and transom, I'm starting to try to figure out how to mount the final top rails to the gunwales. The mounting surface (top of the existing gunwales ) is only 3.6mm wide and the top rail is 1.5mm wide and 5mm high. That seems like a pretty fragile arrangement for just glue to hold upright. Anybody have any ideas as to how the support such a fragile arrangement? Maybe tiny pins? Of course all these pieces have to be bent both vertically and laterally. When I finally get that 5mm piece glued on, it calls for a 1mm x 1mm trim piece to lend it some support. Getting it all on and staying there while I work on the rest of the boat will be the trick. Also, I'm clamping the top gunport frames from breaking off while I file and sand the top of the existing gunwales for a tight fit.